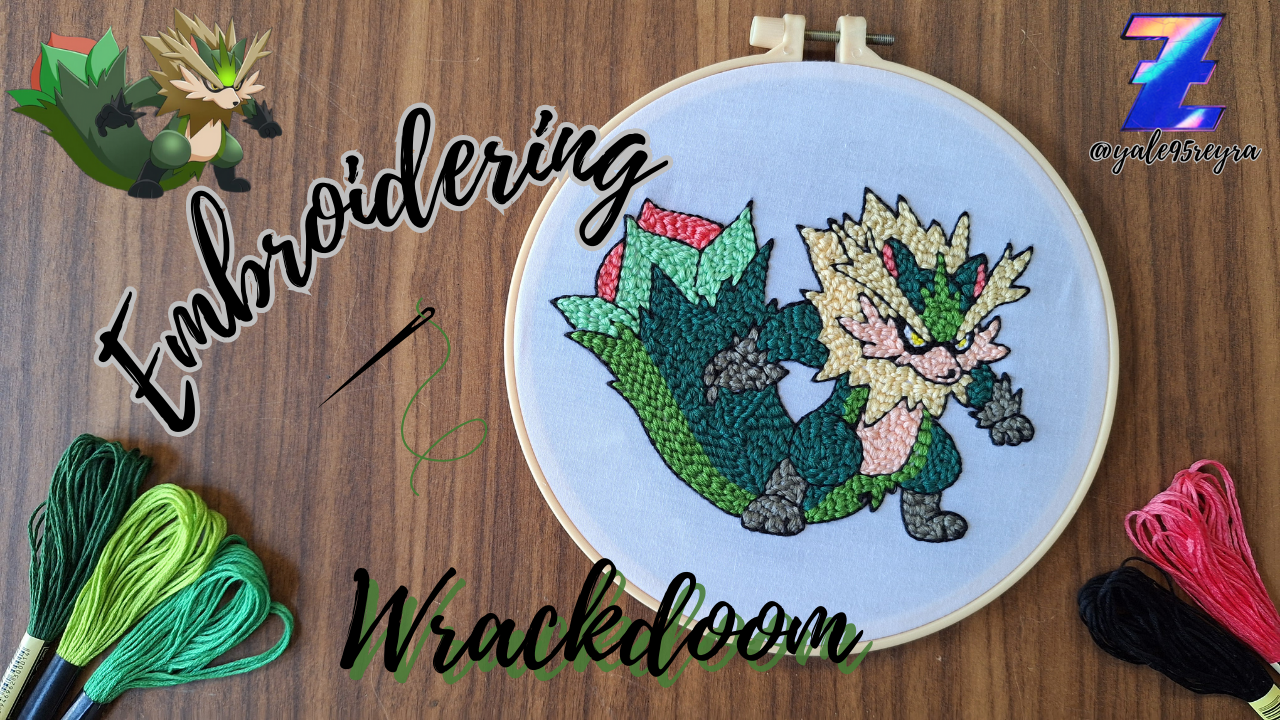
I'm back after a long vacation. I needed to relax and escape the stress of everyday life, so I disconnected a little from everything. I had this embroidery done almost two weeks ago, but I didn't feel like posting it. I was feeling a bit lazy, so I decided to take a break, but here I am to show you this beautiful fanart of Wrackdoom.
This character is an evolution of Wrackoo, whom I already embroidered a few months ago. Here's the link if you want to see it. Wrackdoom has a more aggressive, combat-ready pose, which I liked. Both characters have very similar colors, which made it easier for me to find the colors because I always try to have several skeins of thread in the same shade so I don't get stuck, and I actually had most of the thread colors I needed. I hope you like it. Below, I'll show you the materials needed to make it and the step-by-step creative process.
Ya estoy de vuelta después de unas largas vacaciones, necesitaba relajarme y salir del estrés de la vida diaria, así que me desconecté un poco de todo. Hace casi dos semanas tenía listo este bordado, pero no me animaba a publicarlo. Me daba un poco de pereza, por lo que decidí tomarme un descanso, pero aquí estoy de regreso para mostrarles este hermoso fanart de Wrackdoom.
Este personaje es una evolución de Wrackoo, a quien ya bordé hace unos meses, por aquí te dejo el enlace para si quieres verlo. Wrackdoom tiene una pose como que más agresiva y lista para el combate, lo cual me gustó. Ambos personajes tienen colores muy similares, esto me permitió buscar los colores fácilmente porque siempre intento tener varias madejas de hilo del mismo tono para no quedarme a medias y precisamente tenía la mayoría de los colores de los hilos que necesitaba. Espero que les guste. A continuación, te muestro los materiales necesarios para su elaboración y el paso a paso del proceso creativo.
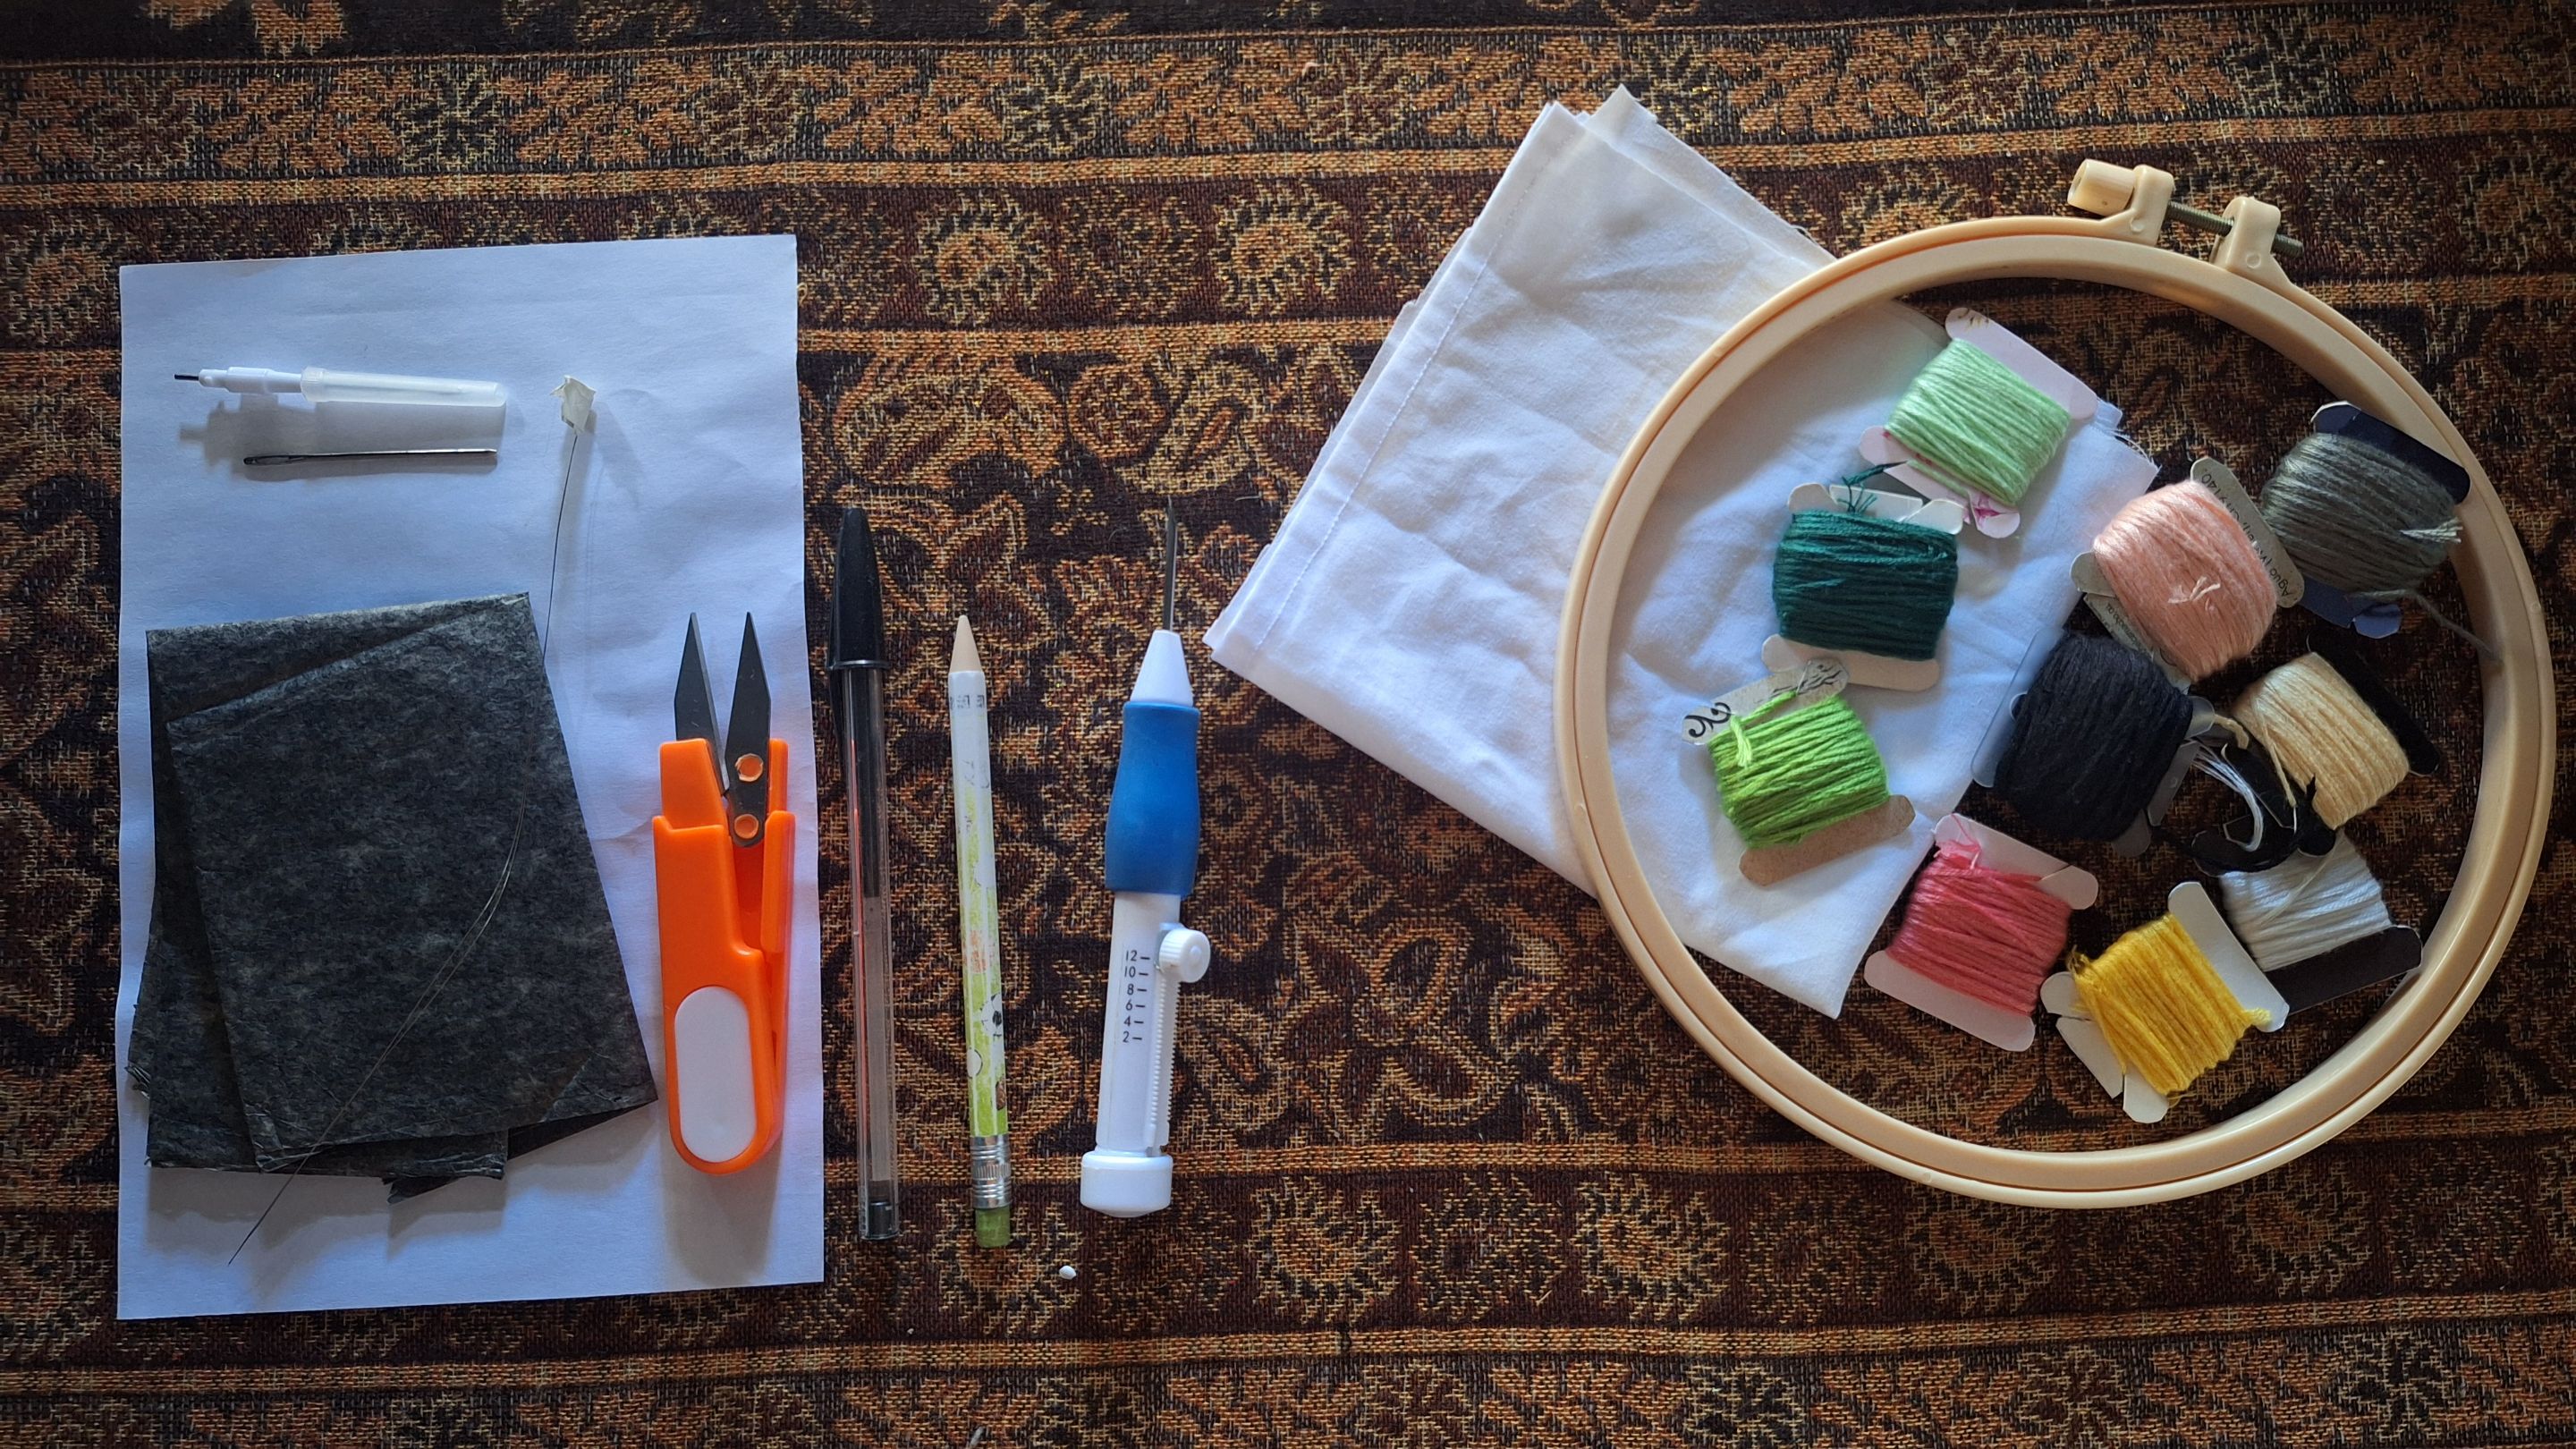
- Cloth / Tela
- Magic needle / Aguja mágica
- Hand needle / Aguja de mano
- Embroidery thread / Hilo de bordar
- Embroidery hoop / Aro de bordar
- Threader / Enhebrador
- Paper sheet / Hoja de papel
- Carbon paper / Papel carbón
- Scissors / Tijera
- Pencil / Lápiz
- Water soluble marker / Marcador soluble en agua
| https://images.hive.blog/0x0/https://files.peakd.com/file/peakd-hive/yale95reyra/Eo8StS8J9pVr2kMrHzHav7XEEDm6kEkFW9Bj4gGPhrZvBMbTot9HFhiUTNzCz7jTWNs.jpg | https://images.hive.blog/0x0/https://files.peakd.com/file/peakd-hive/yale95reyra/EokccvB9TvLwE91H2AY4hoAmVimFvzrhpZ2aUkyUKFQ7rzSseXU1XhHXWLLDEaKJGo7.jpg |
| https://images.hive.blog/0x0/https://files.peakd.com/file/peakd-hive/yale95reyra/Eo254TS8Xpt6BKdrNiNj1uNm7hNhZqqjrbFvqUDL3fuRASCh4oWvwb2guFKv4FTzBLc.jpg | https://images.hive.blog/0x0/https://files.peakd.com/file/peakd-hive/yale95reyra/EoEq1DpG7DFDkVVWsTeLEY5GFQcq2rL4pbeZqiQ47kXRwDUEEmPnptqgJG2kKC221i2.jpg |
As usual, the first thing I do is draw the design to be embroidered on a piece of paper and then transfer it to the fabric using carbon paper. This way, I avoid making mistakes on the fabric if I tried to do the drawing directly on it. These designs are a bit complex to do freehand, and I don't think I'd get it right the first time and would damage the fabric. Therefore, the best option is to use carbon paper. When you finish the transfer, you'll notice that it's a bit unclear, so it's necessary to go over the lines with a pen to increase visibility and prevent it from being erased by hand. Then, the fabric is placed tautly in the embroidery hoop.
Como de costumbre, lo primero que hago es dibujar el diseño a bordar en una hoja de papel para luego transferirlo a la tela utilizando un papel carbón. De esta manera evito cometer errores encima de la tela en el caso de intentar hacer el dibujo directamente en ella. Son diseños un poco complejos como para hacerlos a mano alzada y no creo que me quedaría bien a la primera y lo que haría sería dañar la tela. Por lo tanto, la mejor opción es usar papel carbón. Al terminar la transferencia, se darán cuenta de que queda un poco claro, así que es necesario repasar las líneas con un bolígrafo para aumentar la visibilidad y que no se borre con la manipulación de las manos. Luego se coloca la tela bien estirada en el aro de bordar.
| https://images.hive.blog/0x0/https://files.peakd.com/file/peakd-hive/yale95reyra/EoyPzeiwtMxc9Zyg5BzyggFkx8RYiESoh1Y3GcKvtdjyW9u7KtJhhgaZQkkcUEcdsUE.jpg | https://images.hive.blog/0x0/https://files.peakd.com/file/peakd-hive/yale95reyra/EoptM15fVEnza4dJYUESERWgVFTrt2Rnip3eP2Zv1GeqN1y4oQHpU2JAwE36asoL8nr.jpg | https://images.hive.blog/0x0/https://files.peakd.com/file/peakd-hive/yale95reyra/EoGyoybMpMWyD8uZ3Nit53eQbExQ5fmf62xaJKhYZgaju6H5zNmhfDqm1kvNxRTwJxy.jpg |
For this embroidery, I used two needles of different thicknesses: a thick one that allows me to embroider with all six strands of embroidery thread, and a thin one that I'll use with only three strands of thread. I started with the thinnest needle, as I wanted to mark the entire silhouette of the character with fine stitches to outline each part. In this step, I used only three strands of black thread.
Para este bordado utilicé dos agujas de diferente grosor: una gruesa que me permite bordar con las 6 hebras del hilo de bordar y una fina con la que bordaré solo con 3 hebras de hilo. Comencé con la aguja más fina, ya que quería marcar toda la silueta del personaje con unas puntadas finas para delinear cada parte. En este paso utilicé solo 3 hebras de color negro.
| https://images.hive.blog/0x0/https://files.peakd.com/file/peakd-hive/yale95reyra/EoeEsefxmrVfrTSbwEa6KHtRuqdBrBrwk7jUr8J3ffbBiszBLE2PmCUDPrBwBPPuVj1.jpg | https://images.hive.blog/0x0/https://files.peakd.com/file/peakd-hive/yale95reyra/Eos49Z6qLGdhgexRQSeK3R7afZHFvLLwV9LMP55xTfhuVbSpEsdJM458wLevegun9uJ.jpg |
Using a fine needle, I embroidered the eyes, as they are the smallest part and require more care, as they are stitches tightly spaced together, delineating each area of the eye. I used white and yellow.
Aprovechando la aguja fina bordé los ojos, ya que son la parte más pequeña y se requiere más cuidado, ya que son puntadas bien pegadas una de la otra, delimitando cada zona del ojo. Utilicé los colores blanco y amarillo.
| https://images.hive.blog/0x0/https://files.peakd.com/file/peakd-hive/yale95reyra/EogMoY8RzbhgMLfyUBbNuWSBJT19A4X4P2hF4bAHBWAAUy7nVmDuR4vU3z8Gn4QPrbR.jpg | https://images.hive.blog/0x0/https://files.peakd.com/file/peakd-hive/yale95reyra/EoEstqiotAoswk3APtaMnbh3HMbVGxVztSgMYigTh4y3AFjC9KAZ5qtkPs52YMiouoi.jpg |
| https://images.hive.blog/0x0/https://files.peakd.com/file/peakd-hive/yale95reyra/Eos1kC8yjW58eJUHimMMZ1g9Y6r4v6Gr5dPS45JH6wno1vpmudh4yTWJ3fRtmzryjQc.jpg | https://images.hive.blog/0x0/https://files.peakd.com/file/peakd-hive/yale95reyra/Eoc8uSdPiaxzDv7NL4QZQdTpMVTHkQNryMPDmartgHYM7ap6mhqXjTE4XdMJeAHdAmi.jpg |
I removed the fine needle and replaced the heavy one to begin embroidering with 6-strand thread. This way, I'd finish faster and cover the larger spaces. For the belly, cheeks, and snout, I used a pale shade of thread somewhere between pink and orange, and for the head fur, I used a slightly more yellowish shade. I tried to use the colors I had that were closest to the original character's colors.
Retiré la aguja fina y coloqué la gruesa para comenzar a bordar con hilo de 6 hebras, así terminaría más rápido y cubriría los espacios más amplios. Para la zona del vientre, las mejillas y el hocico utilicé un tono de hilo pálido entre rosa y naranja y para el pelaje de la cabeza un tono un poco más amarillento. Traté de hacerlo con los colores más parecidos que tenía a los colores del personaje original.
| https://images.hive.blog/0x0/https://files.peakd.com/file/peakd-hive/yale95reyra/EoGxRVvL1wUD8TW9zLDC2LheBFZ6MHMVkz9uejVoFroxXXse8xFAmFm6BioGAvp3XY4.jpg | https://images.hive.blog/0x0/https://files.peakd.com/file/peakd-hive/yale95reyra/Eo8UHZN5E4tYA61jVLvam7kKicpDvTvVBZM9WTz6kKJeRPVYqYFCi3HPZkZNs2rr4H2.jpg |
| https://images.hive.blog/0x0/https://files.peakd.com/file/peakd-hive/yale95reyra/EoeGJe1a1cMYuGqBaStVCsQinhtBbKysK31sQowLrZdHLLyuGFa8PHALhN7ibn5db86.jpg | https://images.hive.blog/0x0/https://files.peakd.com/file/peakd-hive/yale95reyra/EowH1urUxT1AzxpVCugmpPvLeoaq8FiJnAD9uwM2eNwzWmuMw33rFTLWwVM1U3HnVUY.jpg |
For the body, I used three different shades of green. These are the largest areas, making them easy to embroider. Here you can see how the design gradually takes on color.
Para el cuerpo utilicé tres tonos diferentes de verde. Estas partes son las más amplias, por lo que resulta fácil de bordar. Aquí se nota cómo va tomando color el diseño.
| https://images.hive.blog/0x0/https://files.peakd.com/file/peakd-hive/yale95reyra/Eokd9vvz5X6GdRtMppSSvtPDGc3HSQxmUUBGXYYtVweTuZSo1HprcJMpntV4ukamJVh.jpg | https://images.hive.blog/0x0/https://files.peakd.com/file/peakd-hive/yale95reyra/Eos2DXFHCTfrNQciCxefdxB6ePPyvGFg1QmCujszh5vGEEK3rLtt4z6U3hD966s5NKG.jpg |
| https://images.hive.blog/0x0/https://files.peakd.com/file/peakd-hive/yale95reyra/EoiWG776PLwEKAeFjW7GTMFiqbBGtq6GsDjw51S8oVytJcEhnvYtrt97EoFUPWaRfr4.jpg | https://images.hive.blog/0x0/https://files.peakd.com/file/peakd-hive/yale95reyra/Ep5o8p6yywFFZe2ZrR3QZ3QJRycwwGCU3pTXwgf1yDHmuYmNXqtyquy6uNSjijCYFdz.jpg |
Only the small parts remain. I embroidered the inside of the ears and the tip of the tail with pink, while I embroidered the hands and feet with a dark gray. These parts are originally darker, almost black, but I decided to make it lighter so the lines of the fingers and toes would be more visible; otherwise, everything would look black, undefined, and without any shape.
Solo quedan las partes pequeñas. Con el color rosado bordé el interior de las orejas y la punta de la cola, mientras que con un tono de gris oscuro, bordé las manos y los pies. Estas partes son originalmente más oscuras, casi negras, pero decidí hacerlo más claro para que se apreciaran mucho mejor las líneas de los dedos de las manos y los pies, de lo contrario se vería todo negro sin delimitar y sin forma alguna.
| https://images.hive.blog/0x0/https://files.peakd.com/file/peakd-hive/yale95reyra/EoGxWXPUY33weAS4Dqy1rYTbFsXWWdUhoNbmpZBcGVZnL3mrtEJswW9AKYhBCgjk7bu.jpg | https://images.hive.blog/0x0/https://files.peakd.com/file/peakd-hive/yale95reyra/Eo8TnCwwa2EoewoEodr1XafdDKDmnRBPZdaw6GoUP3DvVT9GEBotvuNqz9wKKMUMPrs.jpg |
| https://images.hive.blog/0x0/https://files.peakd.com/file/peakd-hive/yale95reyra/Ep5o51ct6czDhVzYxDAUXhvJ1FczJZ68jFWenRasrh8EAhesnwqbYA122Gf7DMuE4F7.jpg | https://images.hive.blog/0x0/https://files.peakd.com/file/peakd-hive/yale95reyra/EpNqJpCbx4e74R9NTg779dBdTb23GF4KsQM7UP8pRNxTKT6bdh877c7VyJKvvdhbegU.jpg |
And so, this fan art of Wrackdoom, another character from the Holozing ecosystem, is finished. Here I show you how it looks from the back; I've never shown it to you before. If you want it to have a plush-like texture, just apply glue to the front so the threads don't move. Use scissors to smooth out the excess threads. Then, cut all the loops and brush them with a brush. It looks beautiful; I'll show you the result another time. I hope you like it. Let me know in the comments what you think and any new suggestions. Best regards.
Y de esta forma se encuentra terminado este fanart de Wrackdoom, un personaje más del ecosistema Holozing. Aquí les muestro cómo queda por la parte de atrás; nunca se los había mostrado. Si quieren que quede con una textura como de peluche, solo deben colocar pegamento por la parte delantera para que no se muevan los hilos y con una tijera emparejar los hilos sobrantes, luego cortar todos los bucles y cepillar con un cepillo. Queda hermoso, en otra ocasión les mostraré el resultado. Espero que les haya gustado, déjenme en los comentarios qué les pareció y nuevas sugerencias. Un saludo.

• • •⊰🍀⊱•⊰🍀⊱•⊰🍀⊱•⊰🍀⊱• •
Photos of my property taken with the phone Cover made in Canva English is not my native language, translated by DeepL
• • •⊰🍀⊱•⊰🍀⊱•⊰🍀⊱•⊰🍀⊱• •