**Good night or good morning everyone, hope u all doing great.**
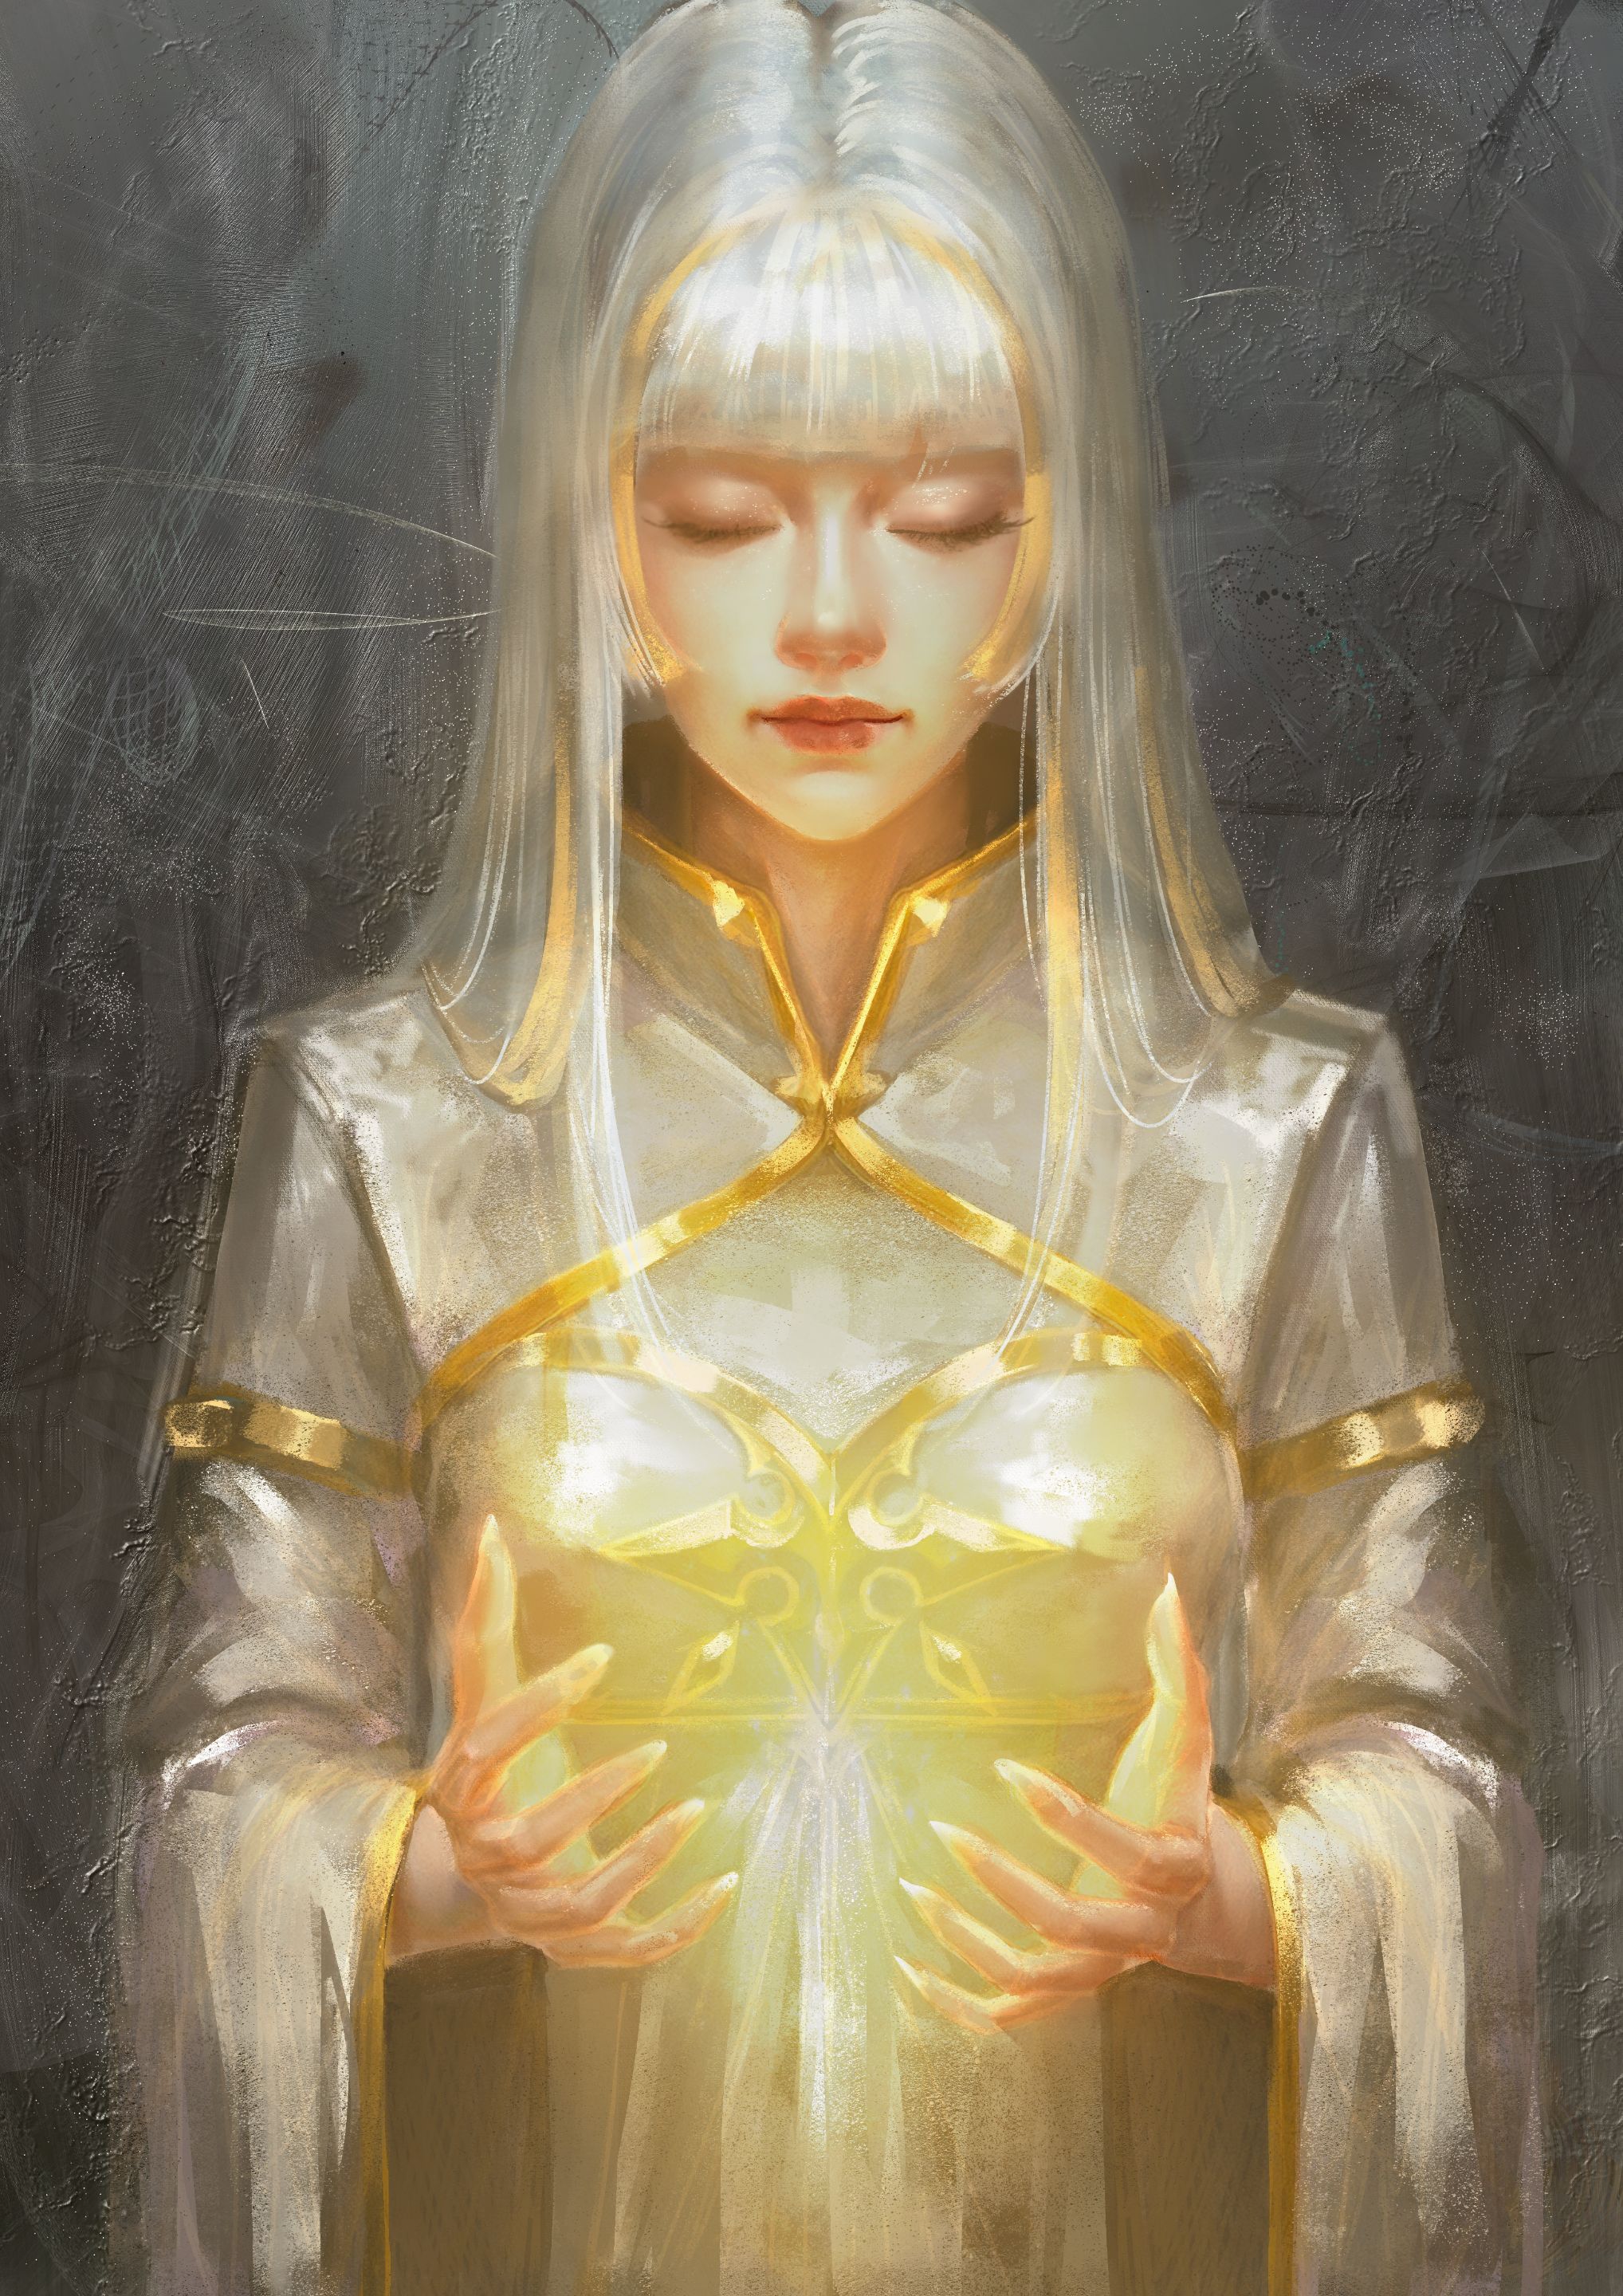
This time I want to share another fanart I made, "Female Light Healer". I worked on it mainly in Photoshop, but also spent some time in Corel Painter, and honestly, it was a different process than what I usually do😄.

Before getting into the process, I should say that I picked this character because I really like her. It’s not the first time I’ve taken the Light Healer from @Holozing as a reference, but every new attempt ends up feeling different. Each version has its own vibe, and that’s something I really enjoy about revisiting her.
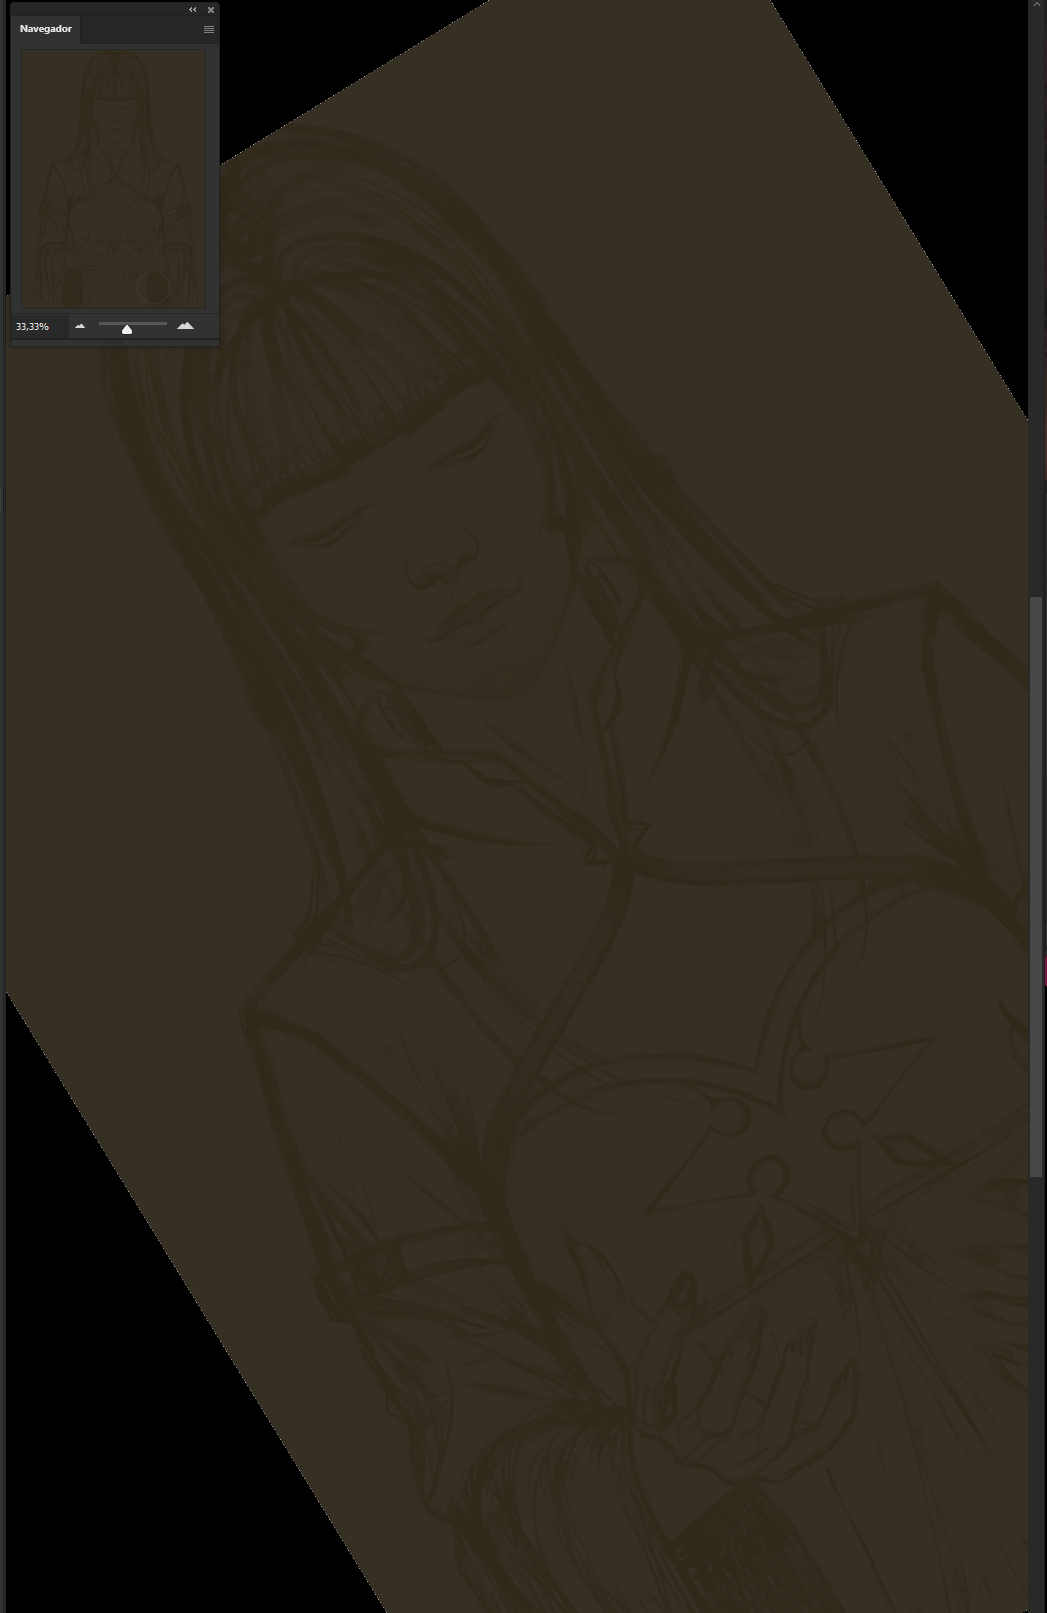
I made this sketch in PS y the first thing I noticed was when I used Photoshop’s symmetry tool—and honestly, it feels kind of limited. Sure, it keeps everything symmetrical, but it’s a bit boring, everything just looks identical. On the other hand, in Corel Painter symmetry feels completely different. Besides duplicating the stroke, the results also change depending on the brush you’re using.
For example, if you use a wet brush, the stroke itself repeats, but the effect isn’t exactly the same on both sides. Those tiny differences, if you pay attention, make the whole thing feel way more natural. One day I’ll definitely do a post just dedicated to Corel Painter 2019 or 2023 ( when I update it soon).
For this piece I was working with three layers: one for the background, another for the colors, and one for the sketch lines. The color layer was below everything, and that’s where I laid down the first base.
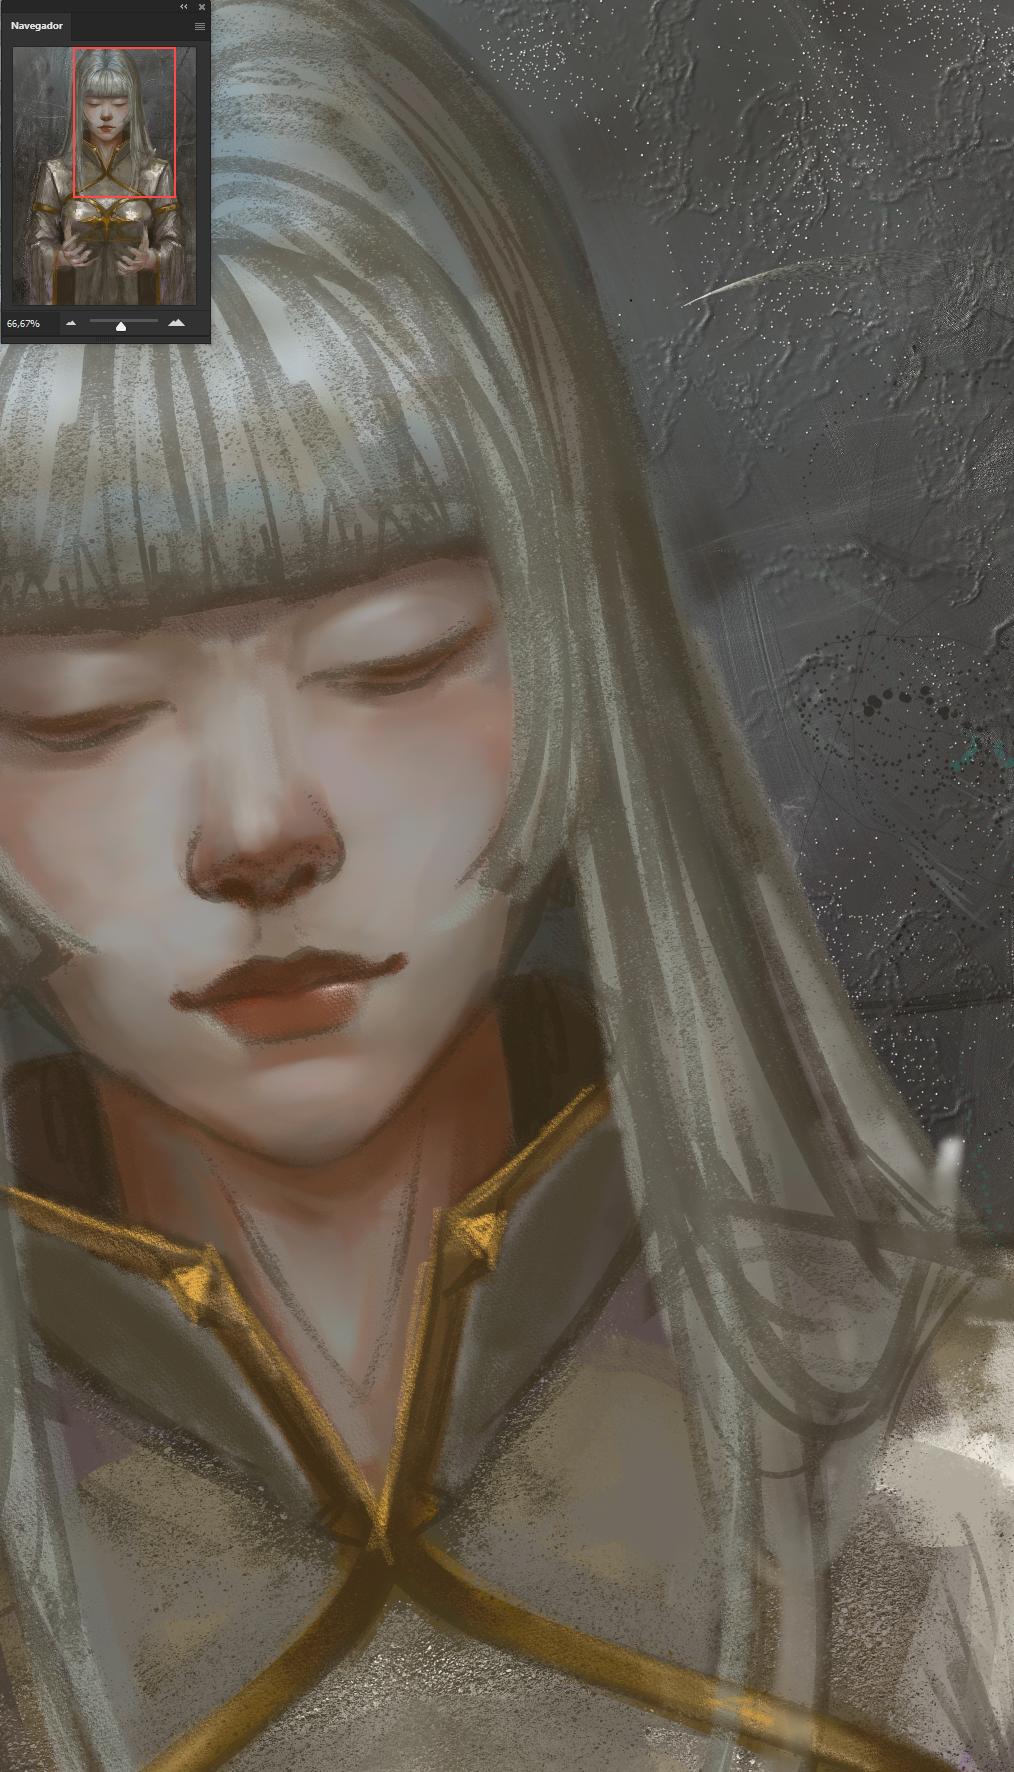
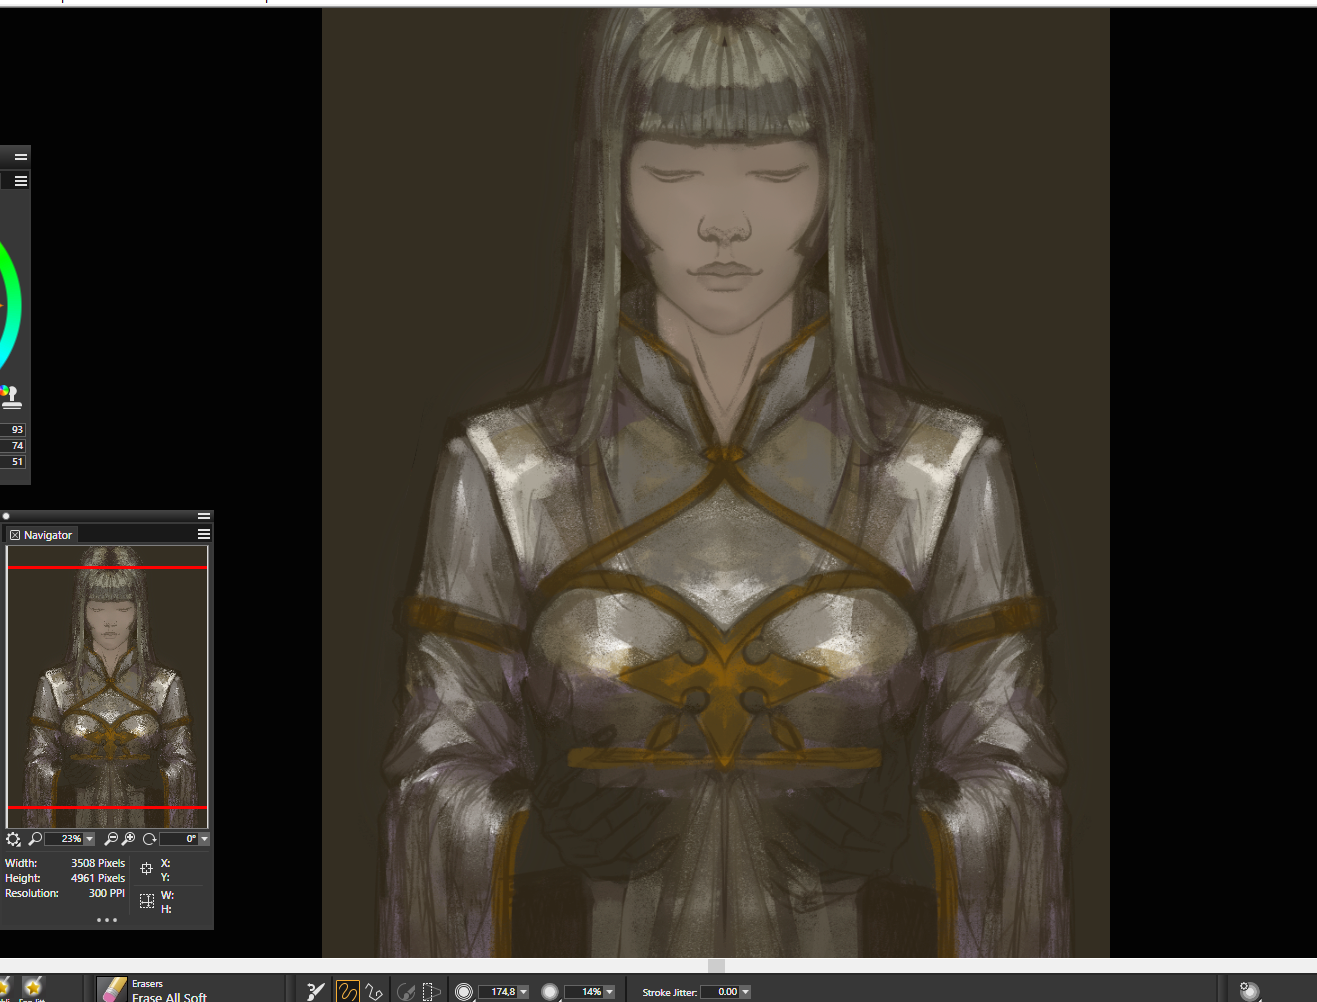
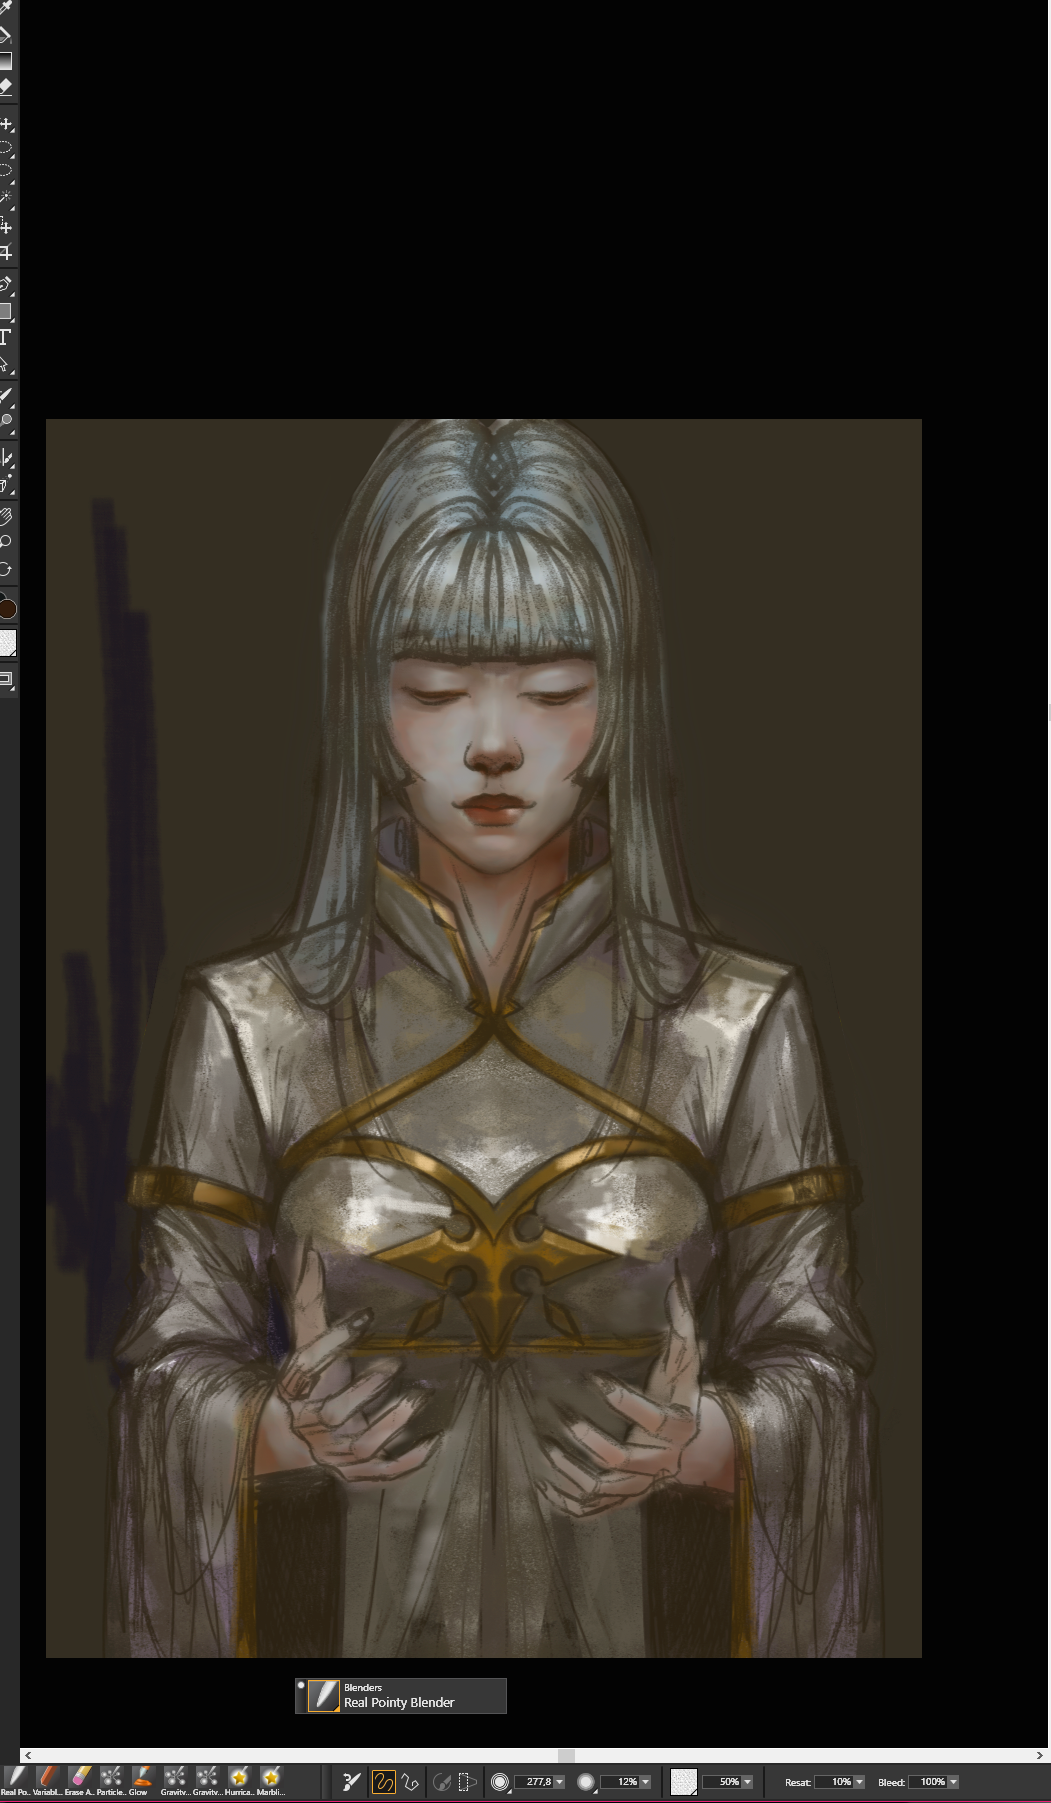
I built that base using pretty thick and random strokes, not aiming for perfection. The idea was just to block out the character’s main tones, nothing too detailed at first. Once I had that down, I opened the file in Corel Painter to work on the background. I knew I wasn’t going to get the kind of textures I wanted in Photoshop, so Painter was the way to go.
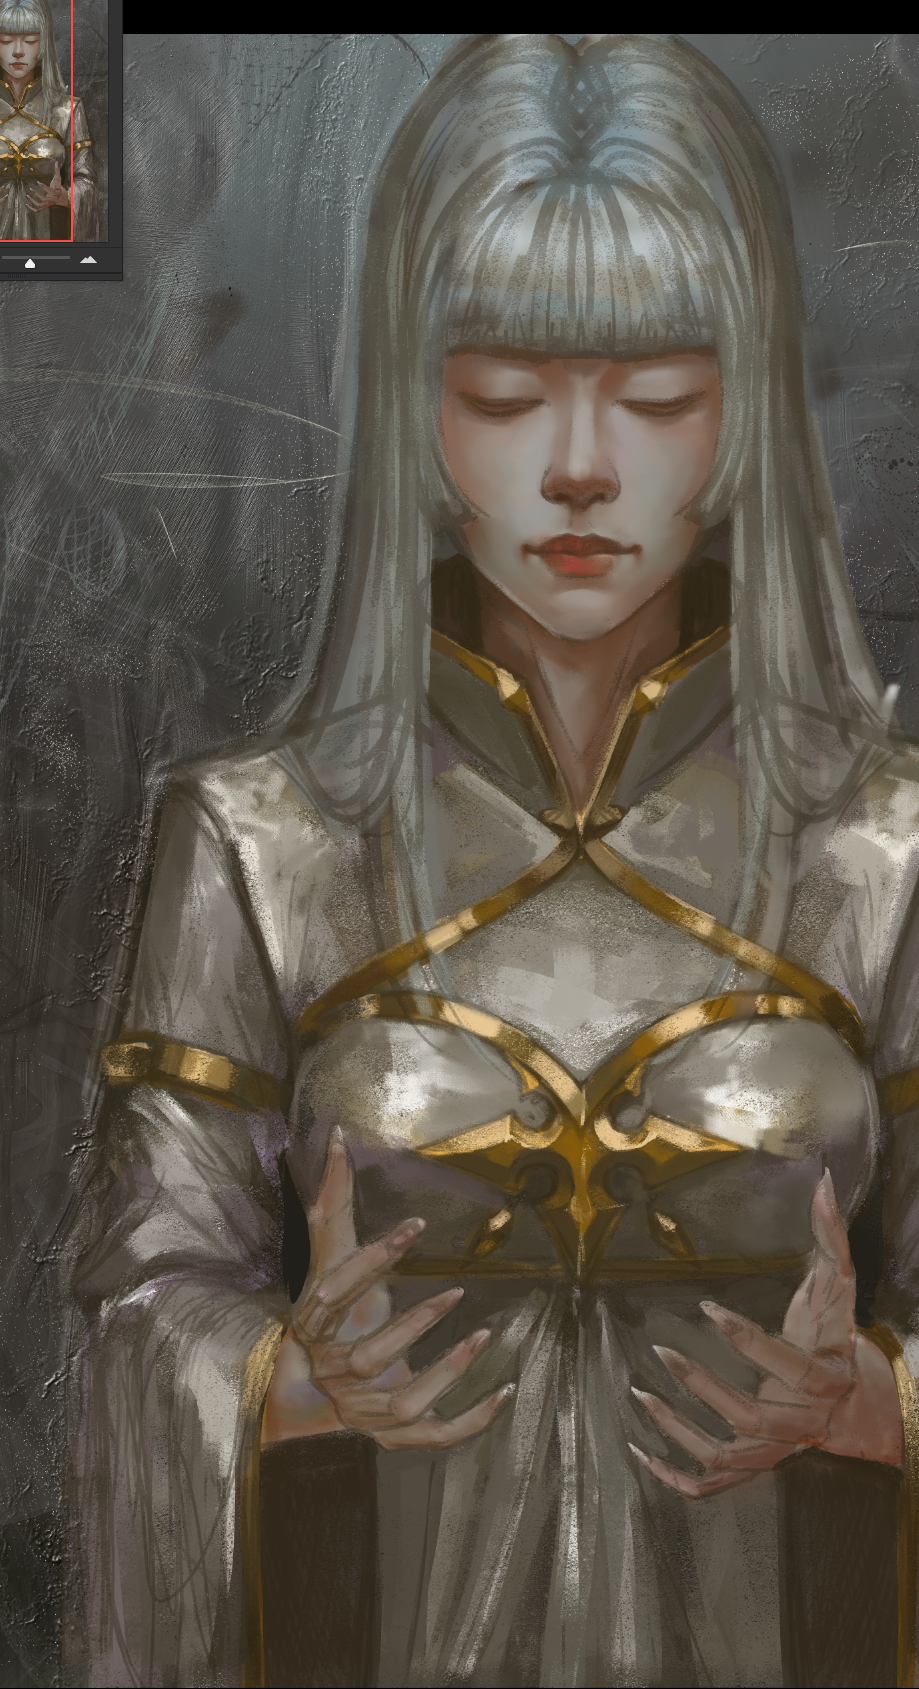
The nice thing is that it opens Photoshop files with no problem, so I could freely paint over the background, trying out strokes and textures that later gave the piece a lot of life. After that, I went back to Photoshop to finish everything else. It ended up being this back-and-forth between both programs, using the best of each one.
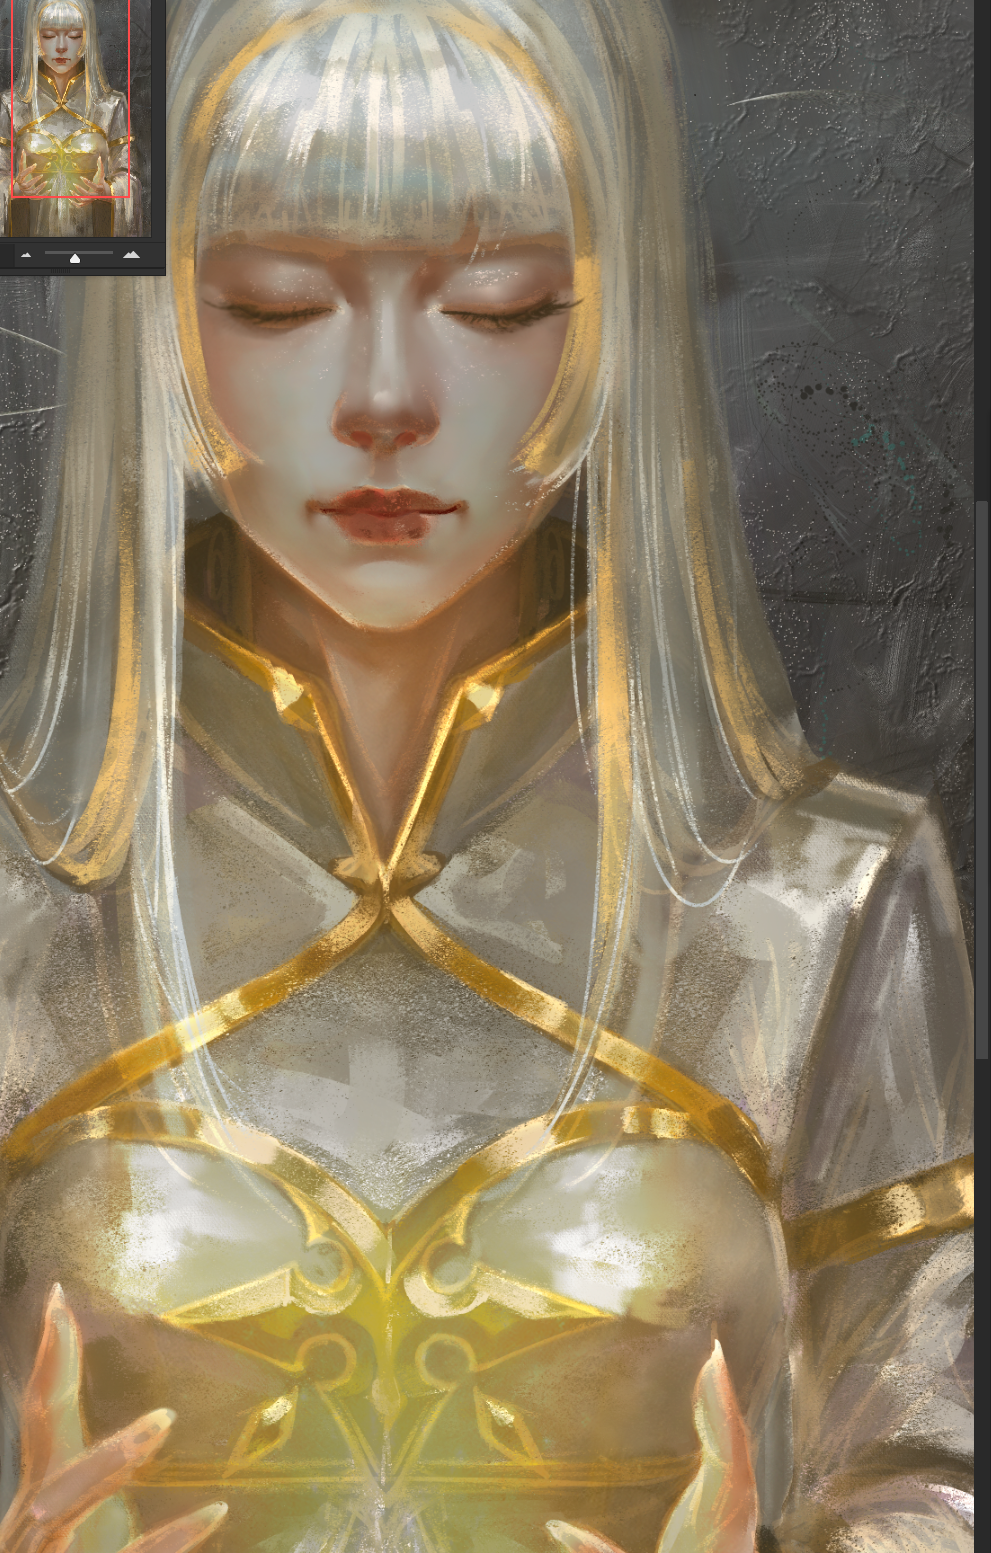
What really stood out to me is that this was the first time I made a character with so much light and brightness. Usually my drawings are more muted, less shiny, but this time I tried something different. And even though it’s not my usual style, I really liked how it turned out. It was a good experiment.

#
Thank you very much for taking the time to view my work.
Oh, and one more thing before I wrap up...

A while ago I was looking for this little shark you see down here 🦈. It’s really special to me. I won it a long time ago here, n it was done by a person many years ago but also I consider a **GREAT** **GREAT** **GREAT** **FRIEND** now n who does amazing work , very talented🤗.
I thought I had lost it , I was very sad… but noooo! I got it back! Yes ! He found n sent it to me again, and I’m so happy to have it with me once more.
So from now on, this shark will be keeping me company 💙
**Now yes! See you next time.**
-.-

✨✨✨

𝕺𝖍𝖍𝖍 BTW
============
𝕱𝖔𝖑𝖑𝖔𝖜 𝖒𝖊 𝖎𝖋 𝖚 𝖜𝖆𝖓𝖙
============
👇🏼👇🏼😶😶👇🏼👇🏼
============
 |
 |
 |
 |
|---|---|---|---|