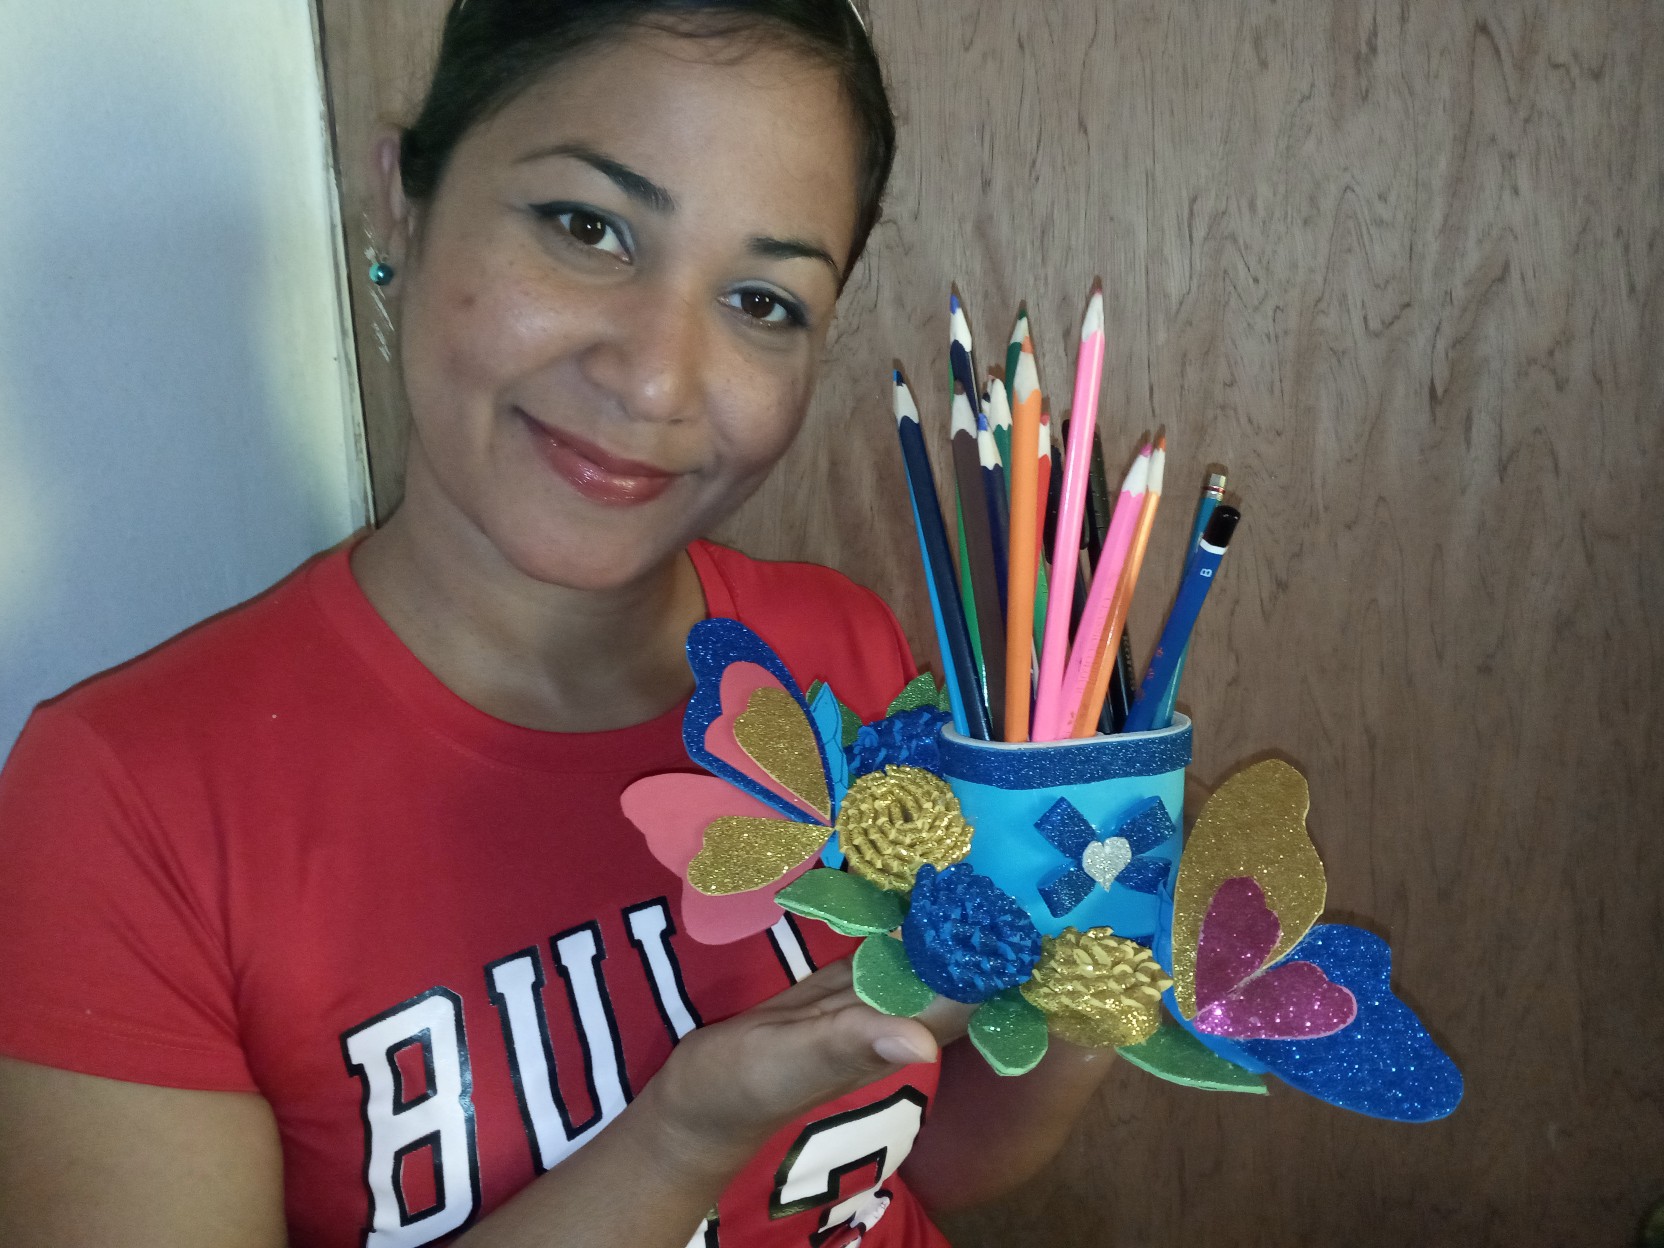
*Greetings, colleagues from the hive, have a warm welcome to this new post, today I will show you how to make a beautiful pencil holder, so I invite you to see my step by step. I hope you enjoy it.*
Saludos compañeros de la colmena tengan una cordial bienvenida a este nuevo post, hoy les mostrare como hacer un hermoso porta lápiz así que te invito a ver mi paso a paso. Espero que lo disfrutes.
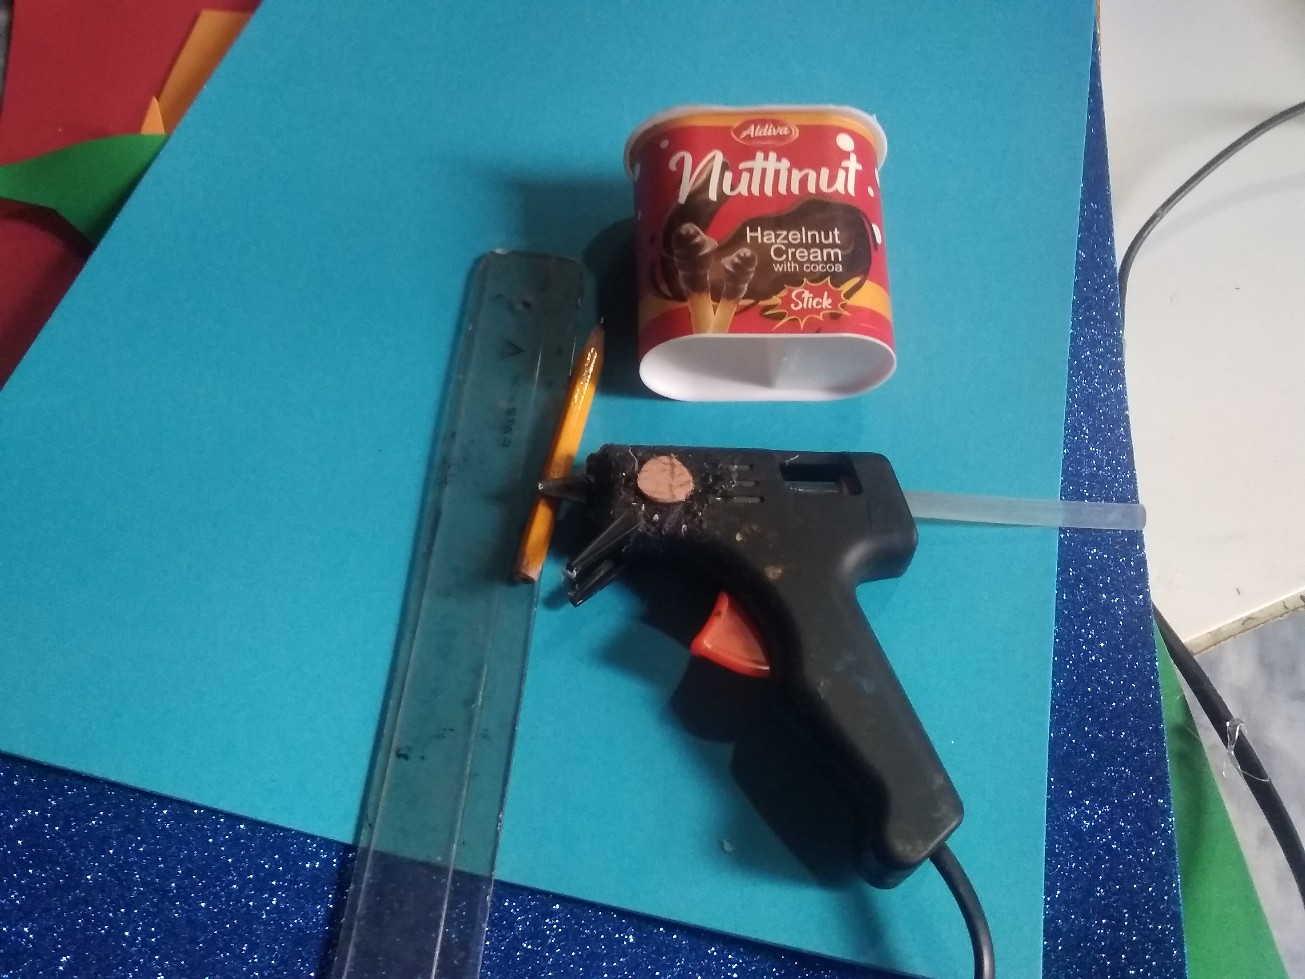
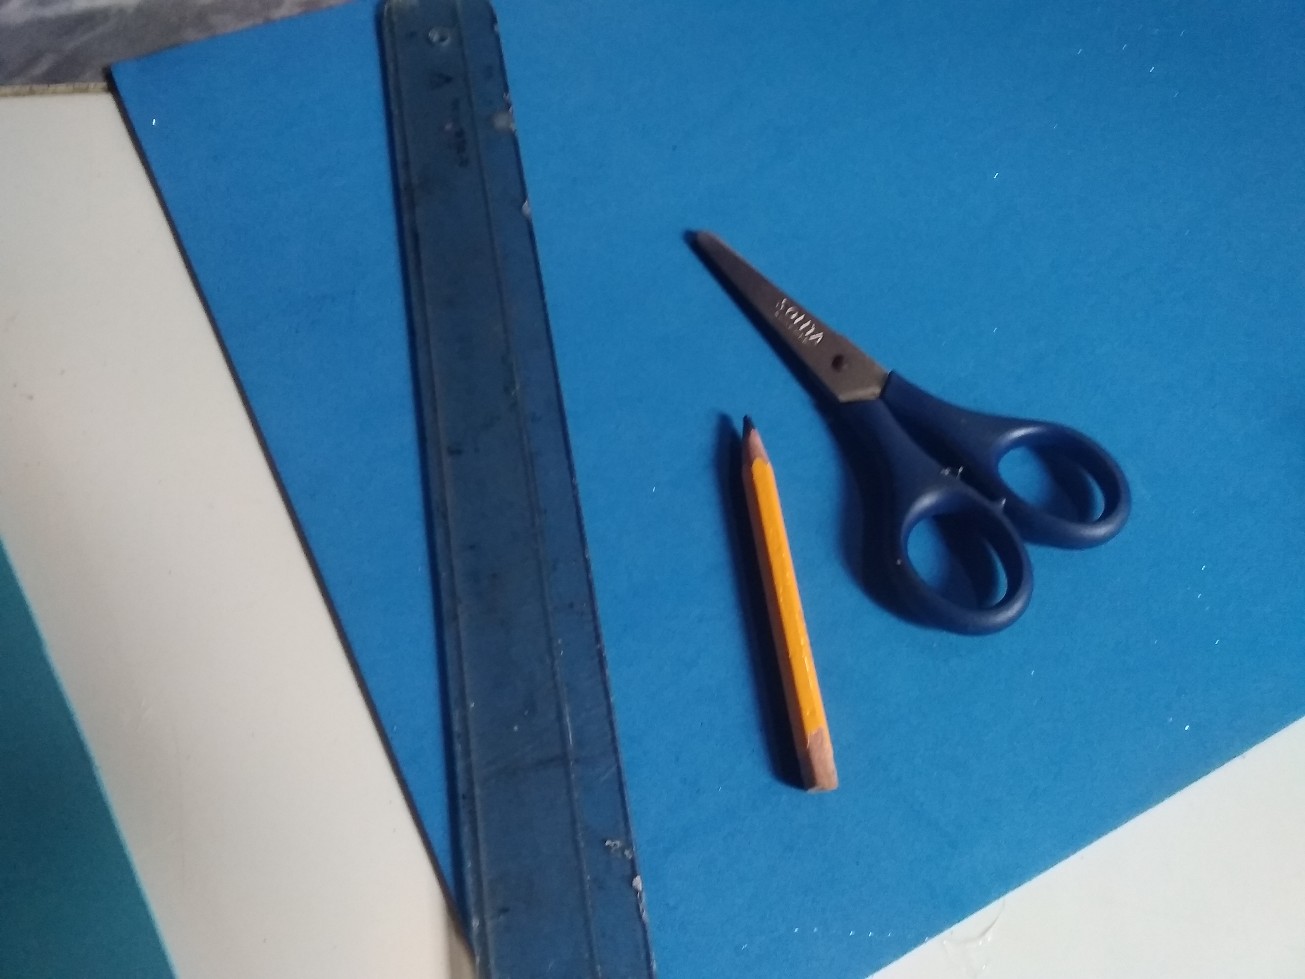
*My materials used were:
. small plastic container
. foami
. silicone and gun
. Ruler
. Pencil*
Mis materiales utilizados fueron:
. Pequeño envase plástico
. Foami
. Silicón y pistola
. Regla
. Lápiz
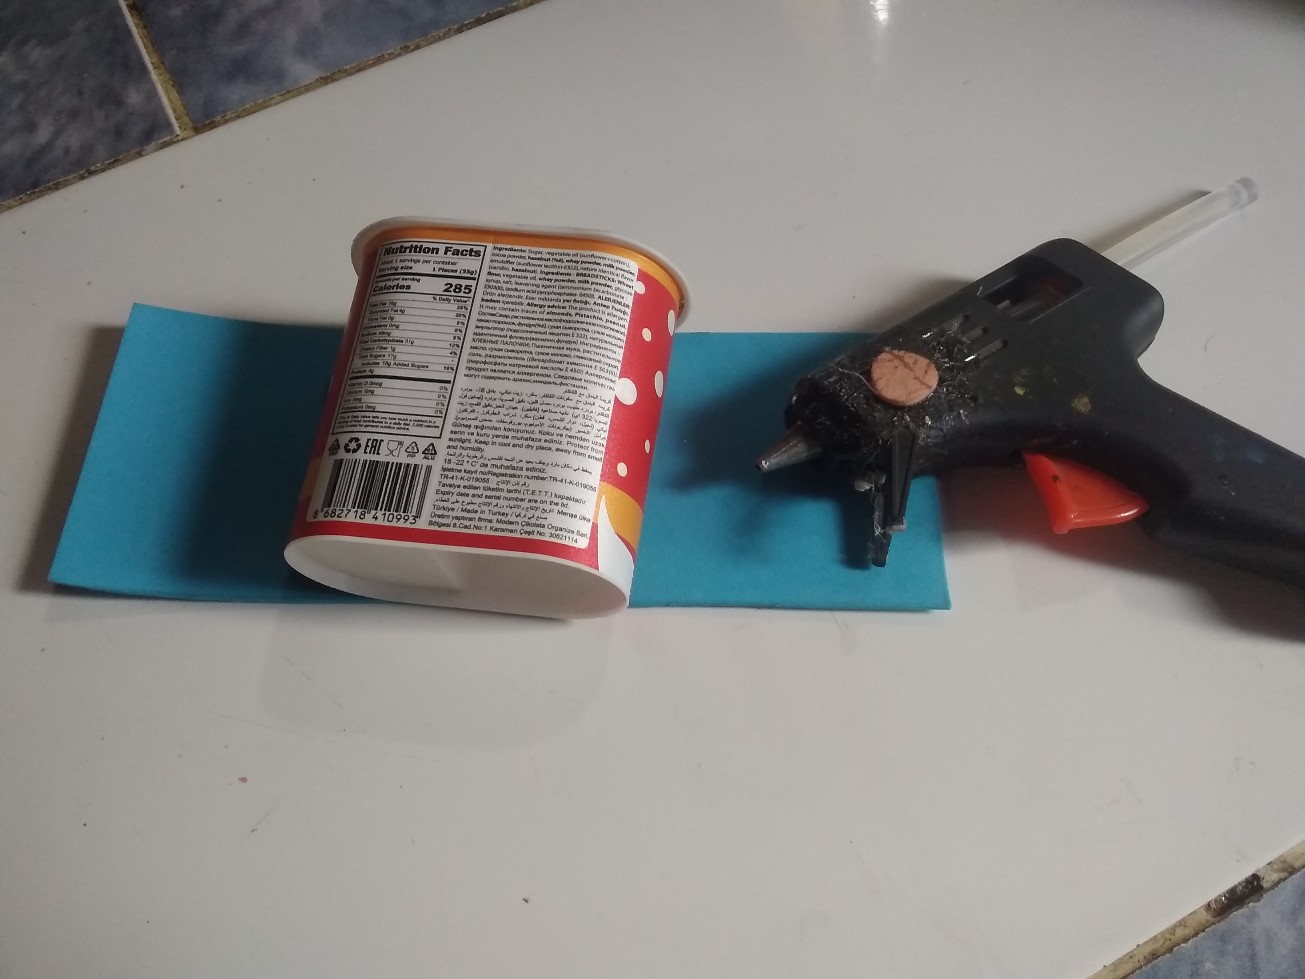
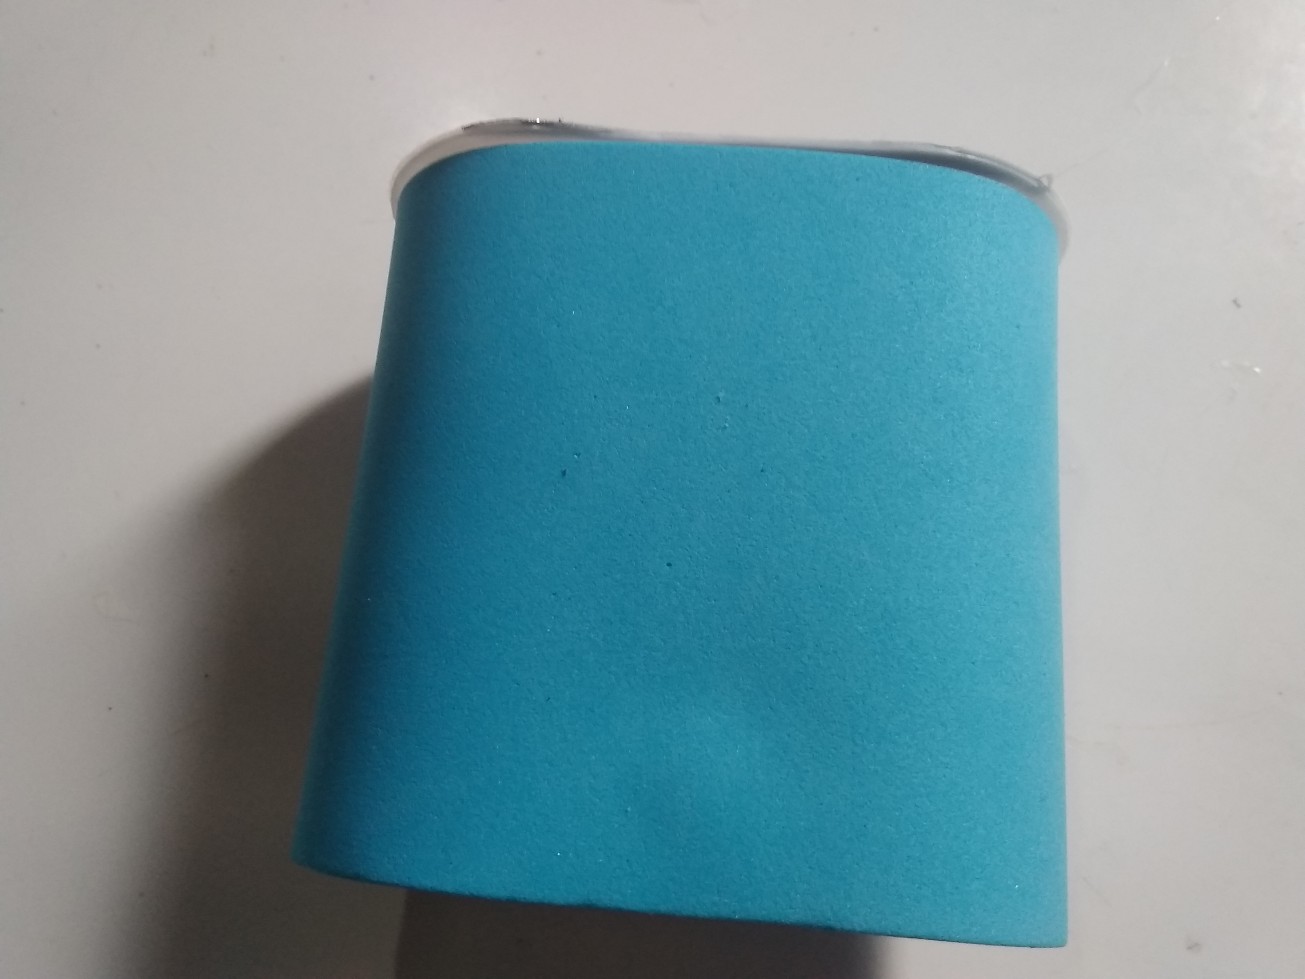
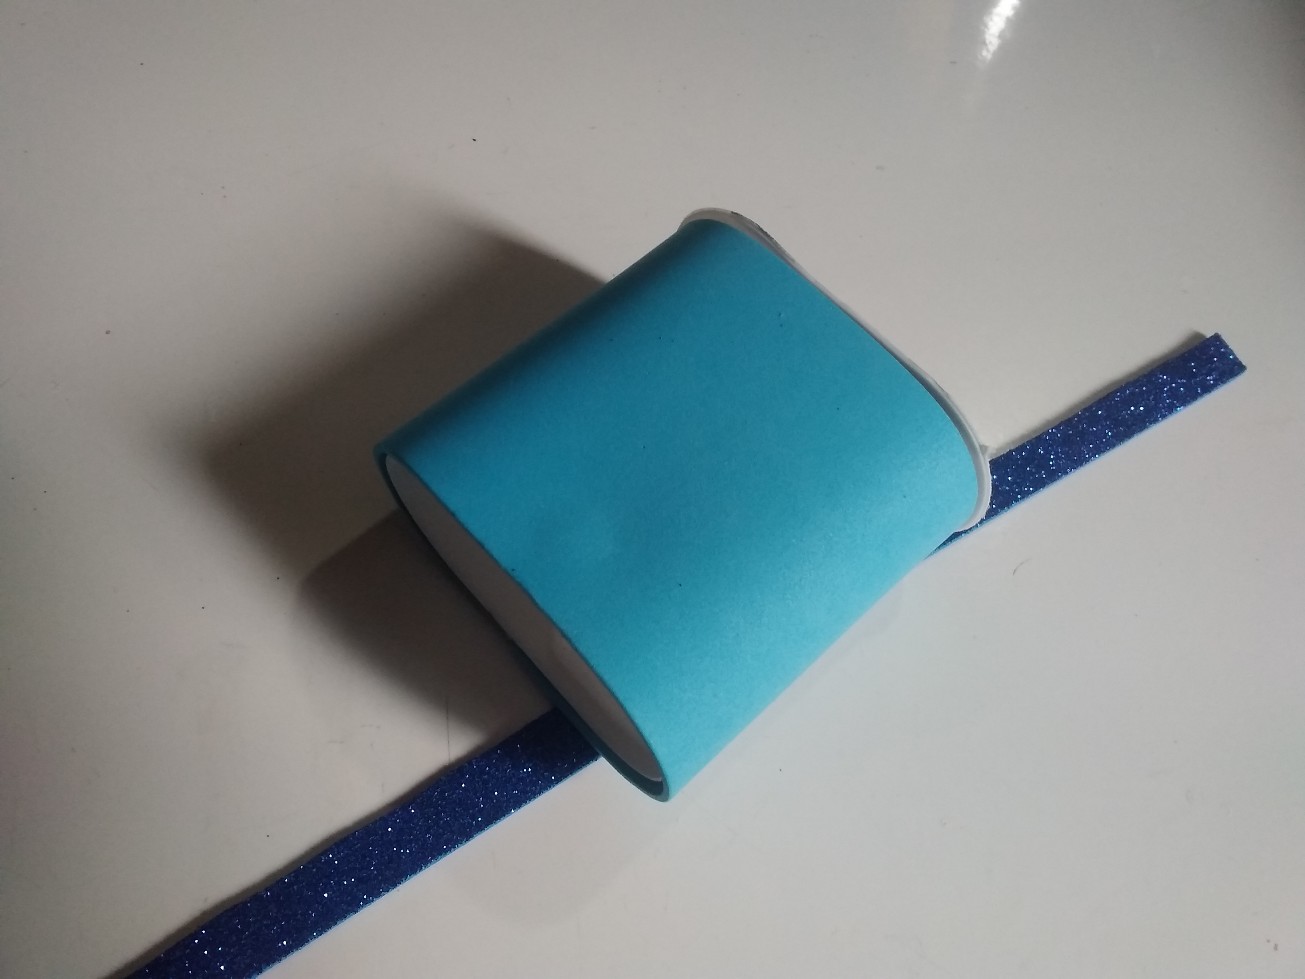
*To begin, cut a piece of foami the width of the plastic container and then line it with it.*
Para comenzar corte un pedazo de foami del ancho de el envase plástico para luego forrarlo con este.
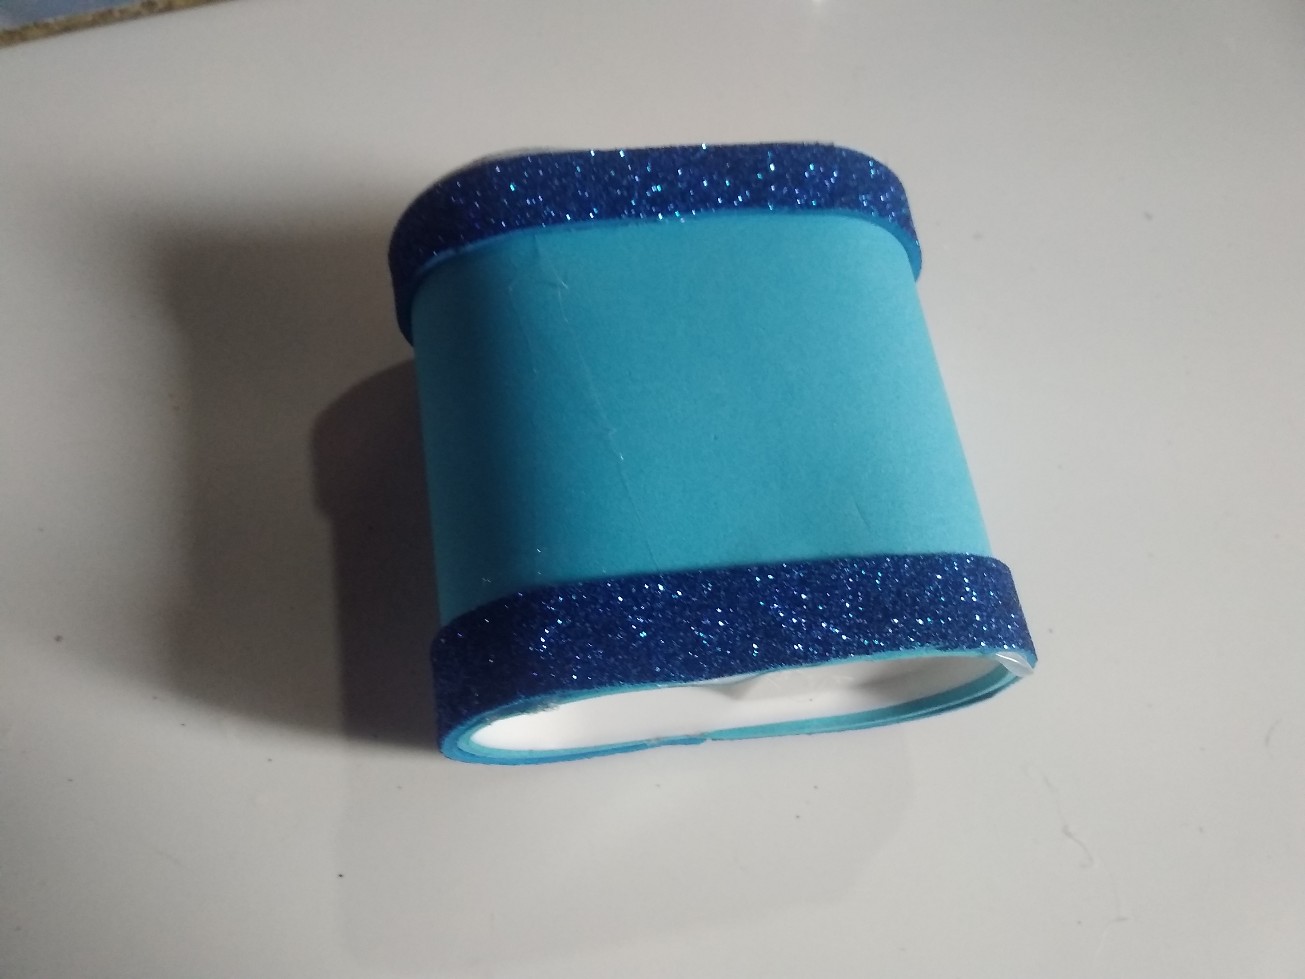
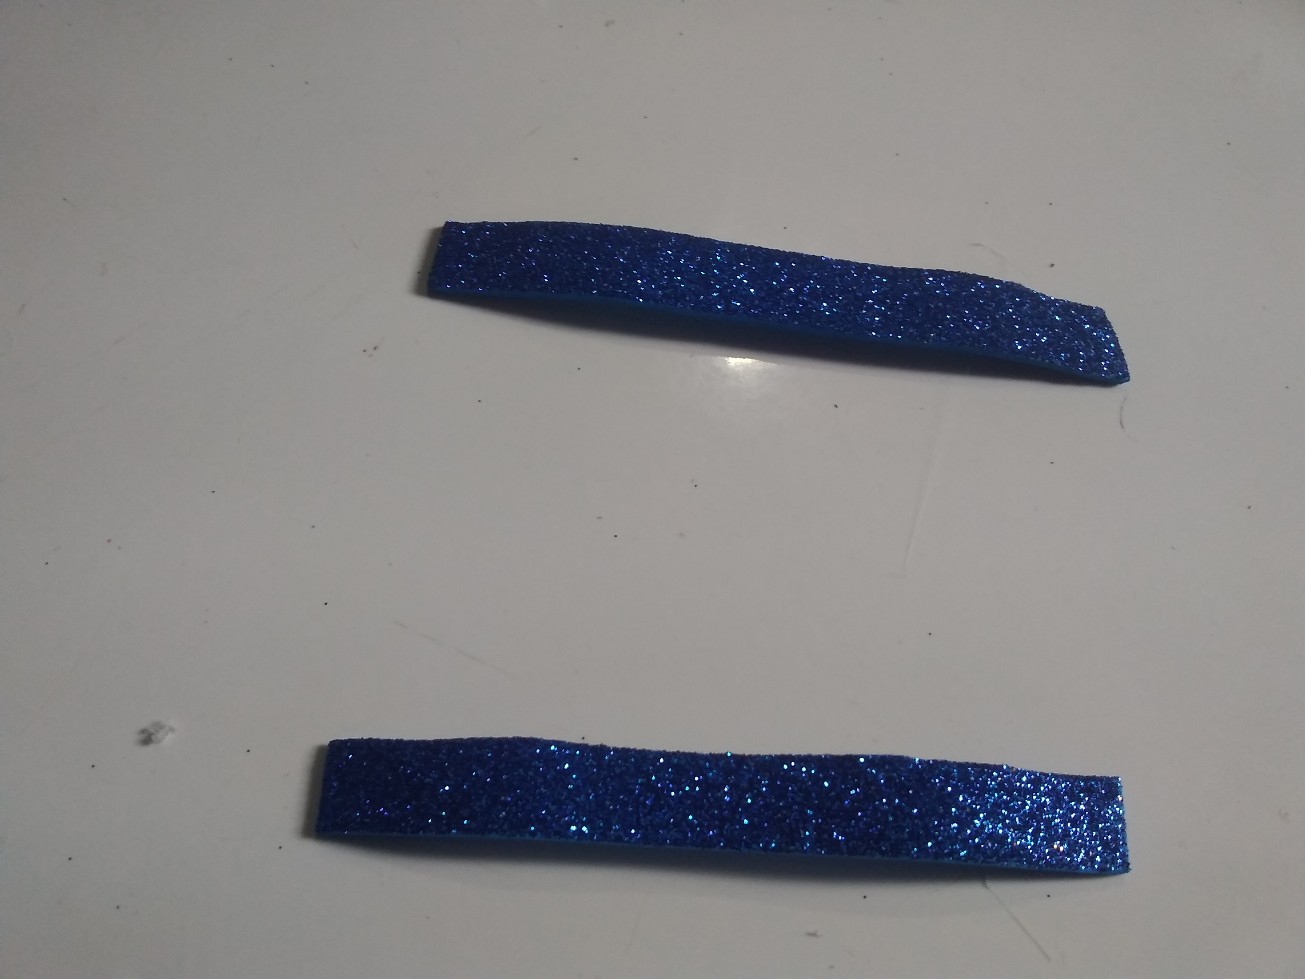
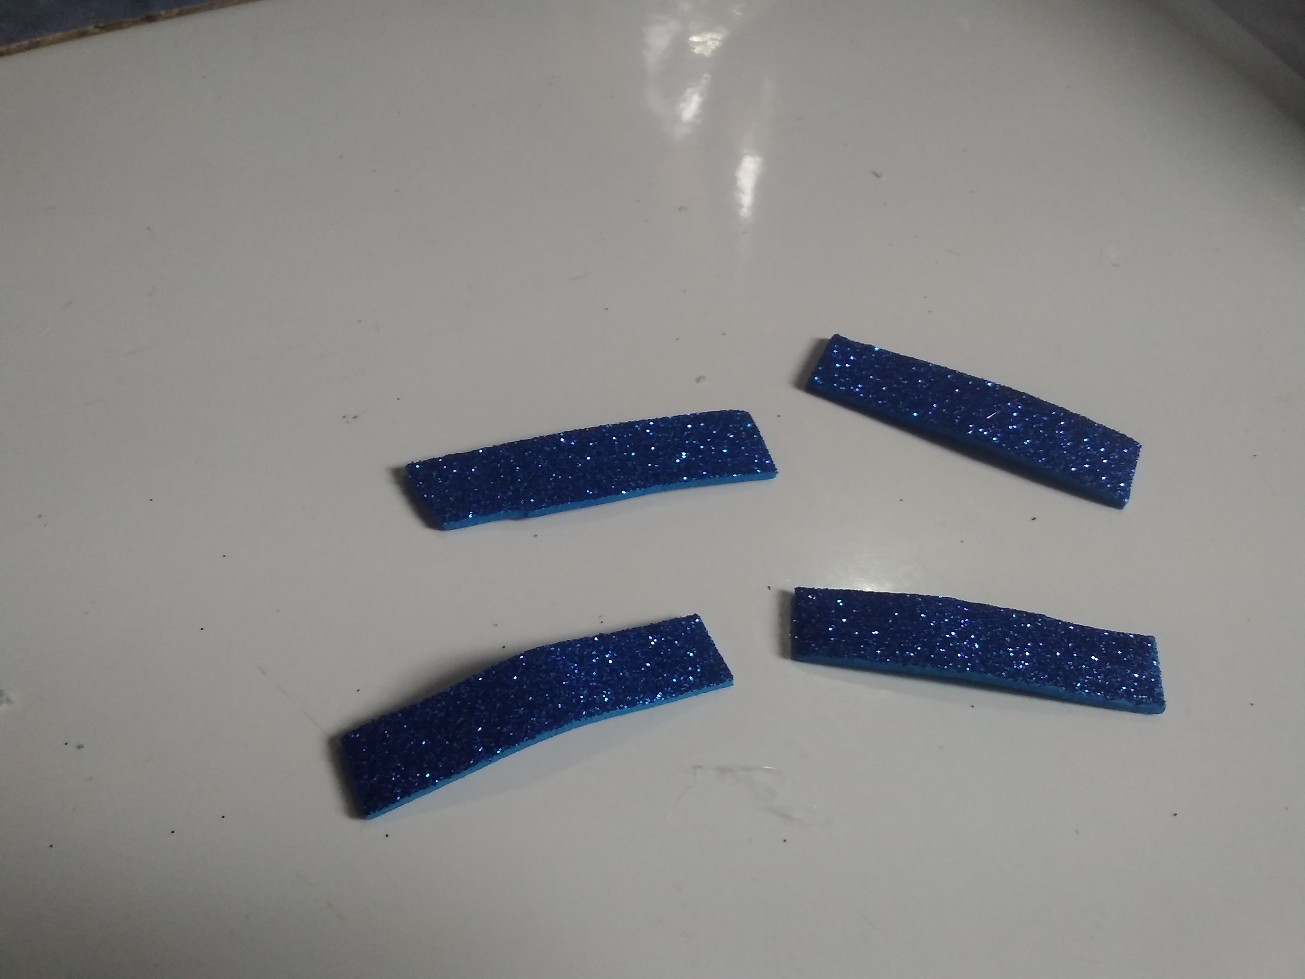
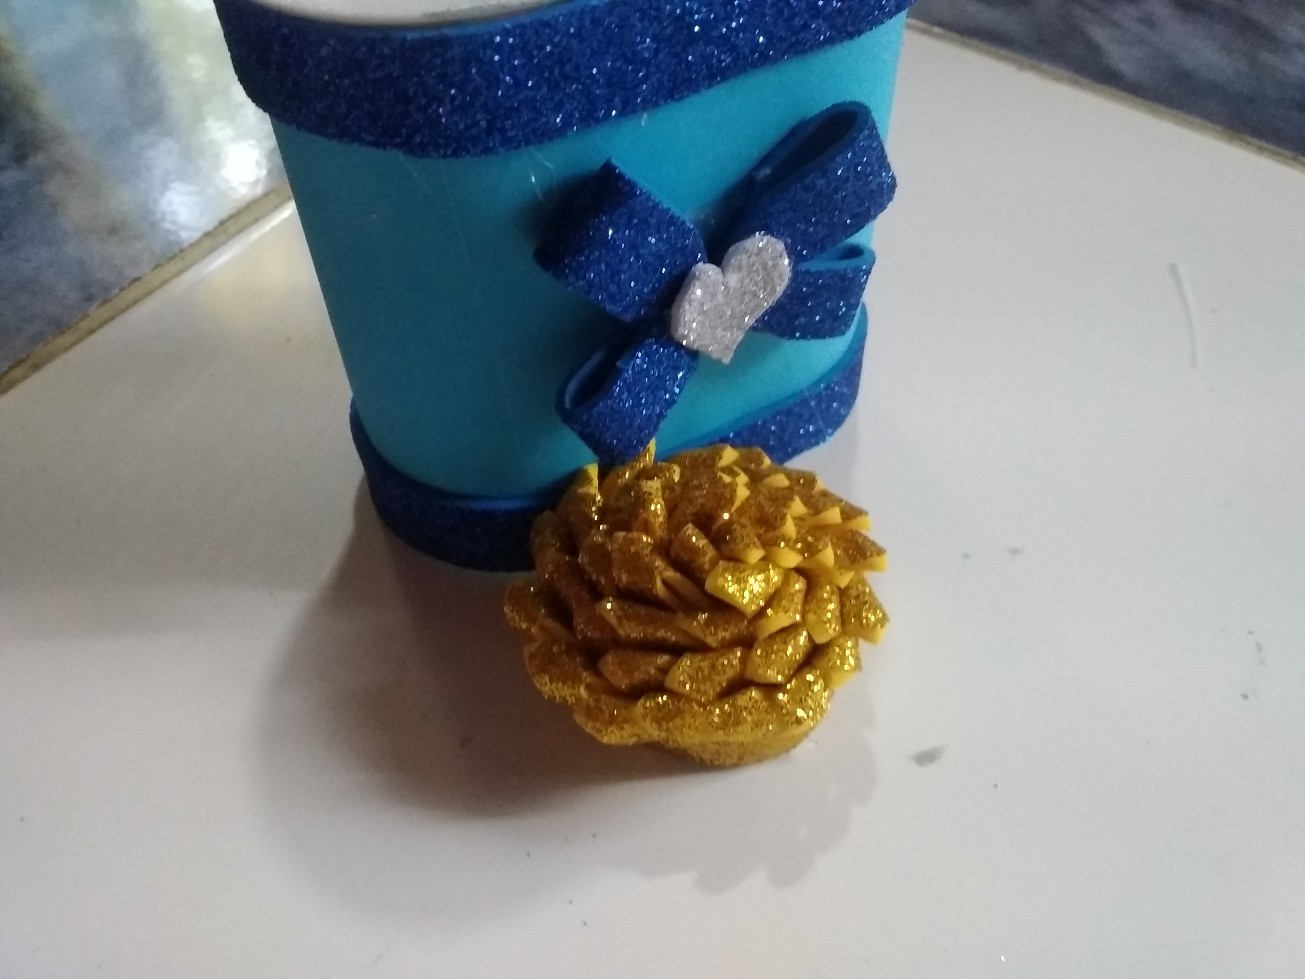
*Cut two strips of frosted blue foami to stick one above and one below the lined container.*
Corte dos tiras de foami azul escarchado para pegarlas una arriba y una abajo de en envase forrado.
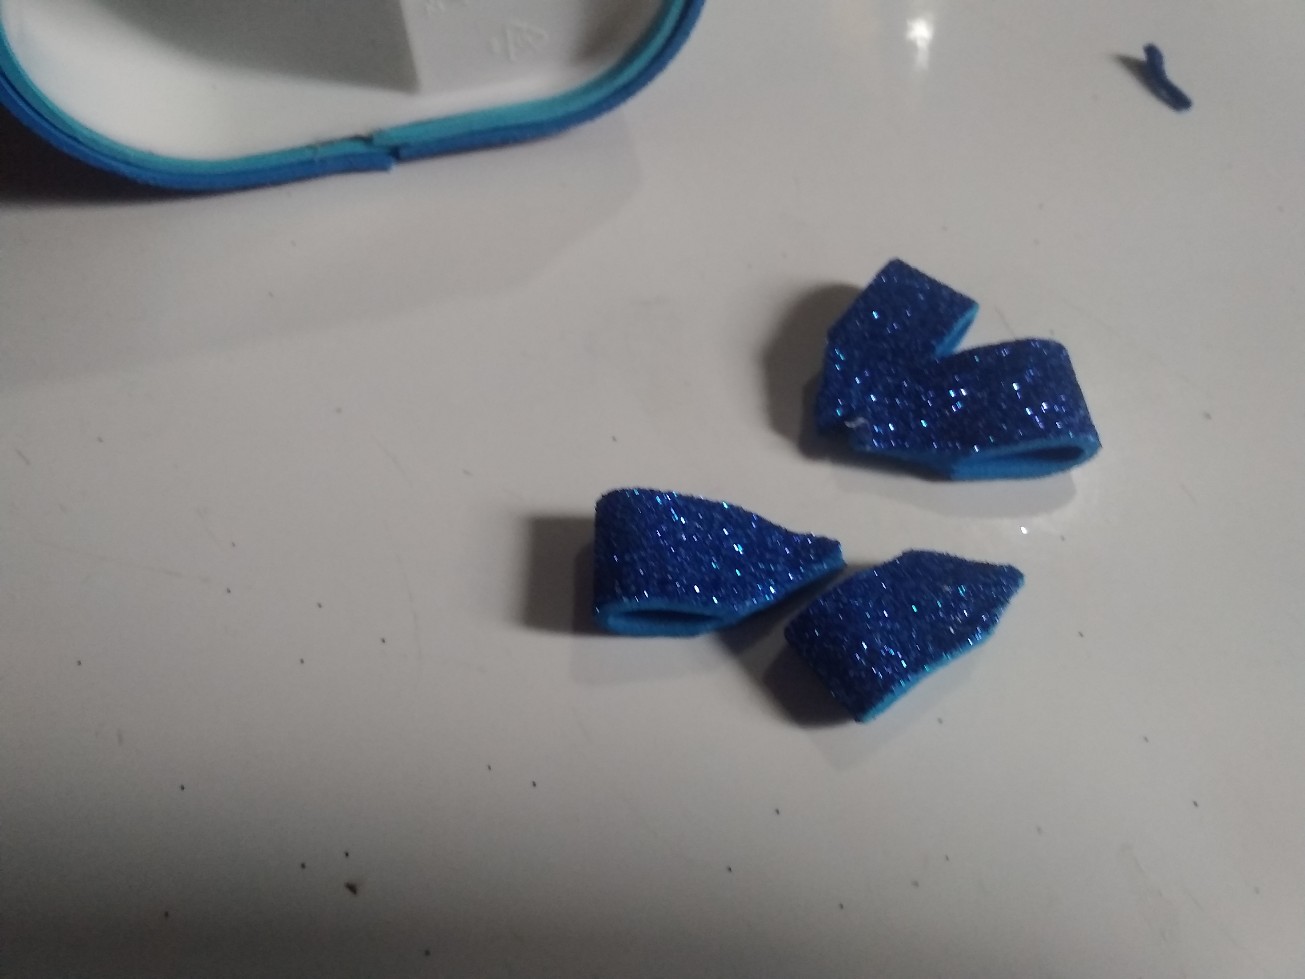
*Also with frosty blue foami I made some small strips to make a small bow which I will place in the middle of this pencil holder and I will add a heart that I made with silver foami.*
También con foami azul escarchado hice unas pequeñas tiras para hacer un pequeño lazo el cual colocare en el medio de este porta lápiz y le agregare un corazón que hice con foami plateado.
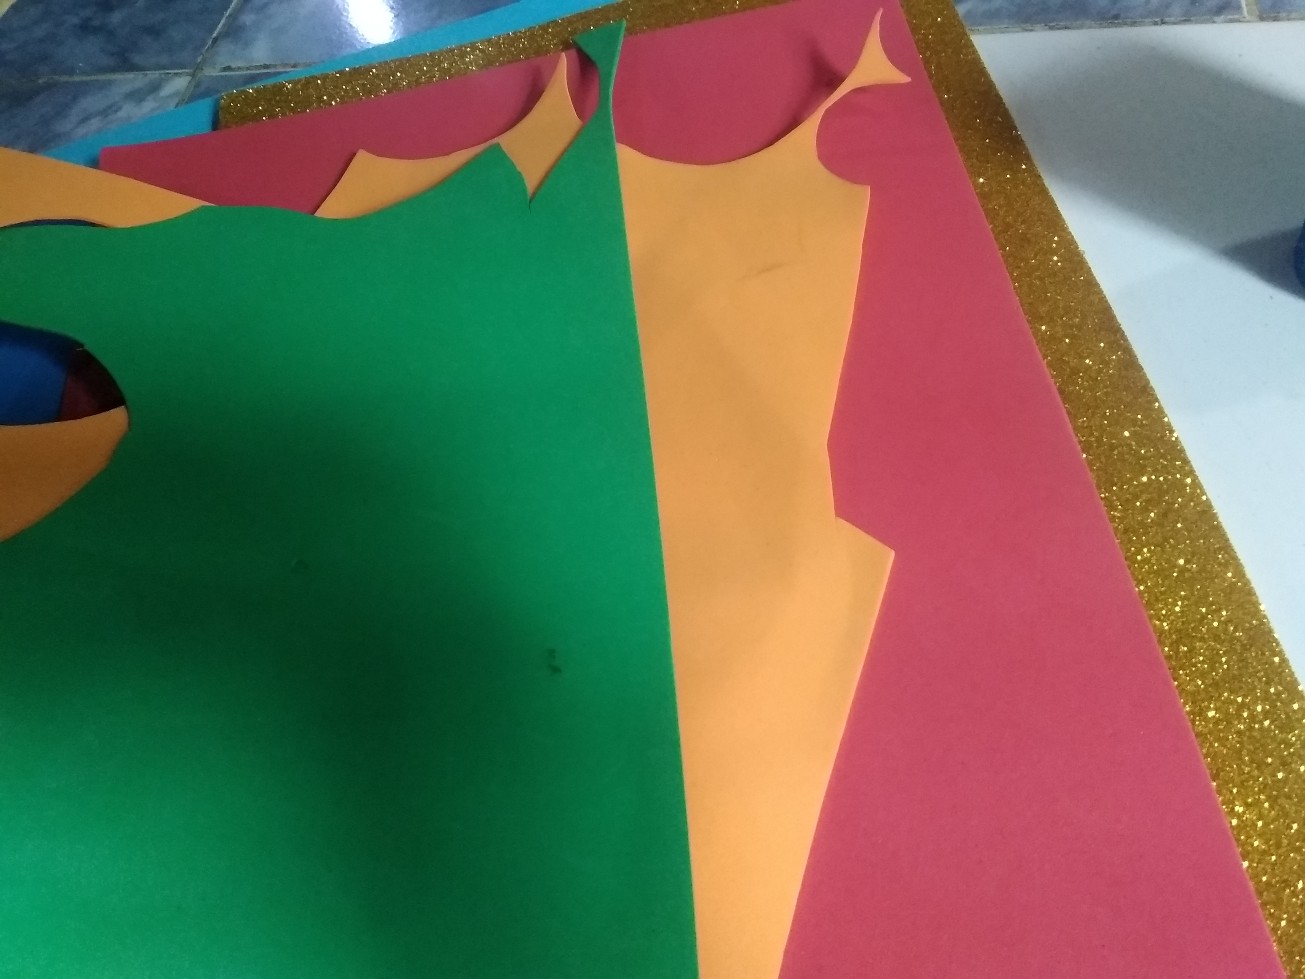
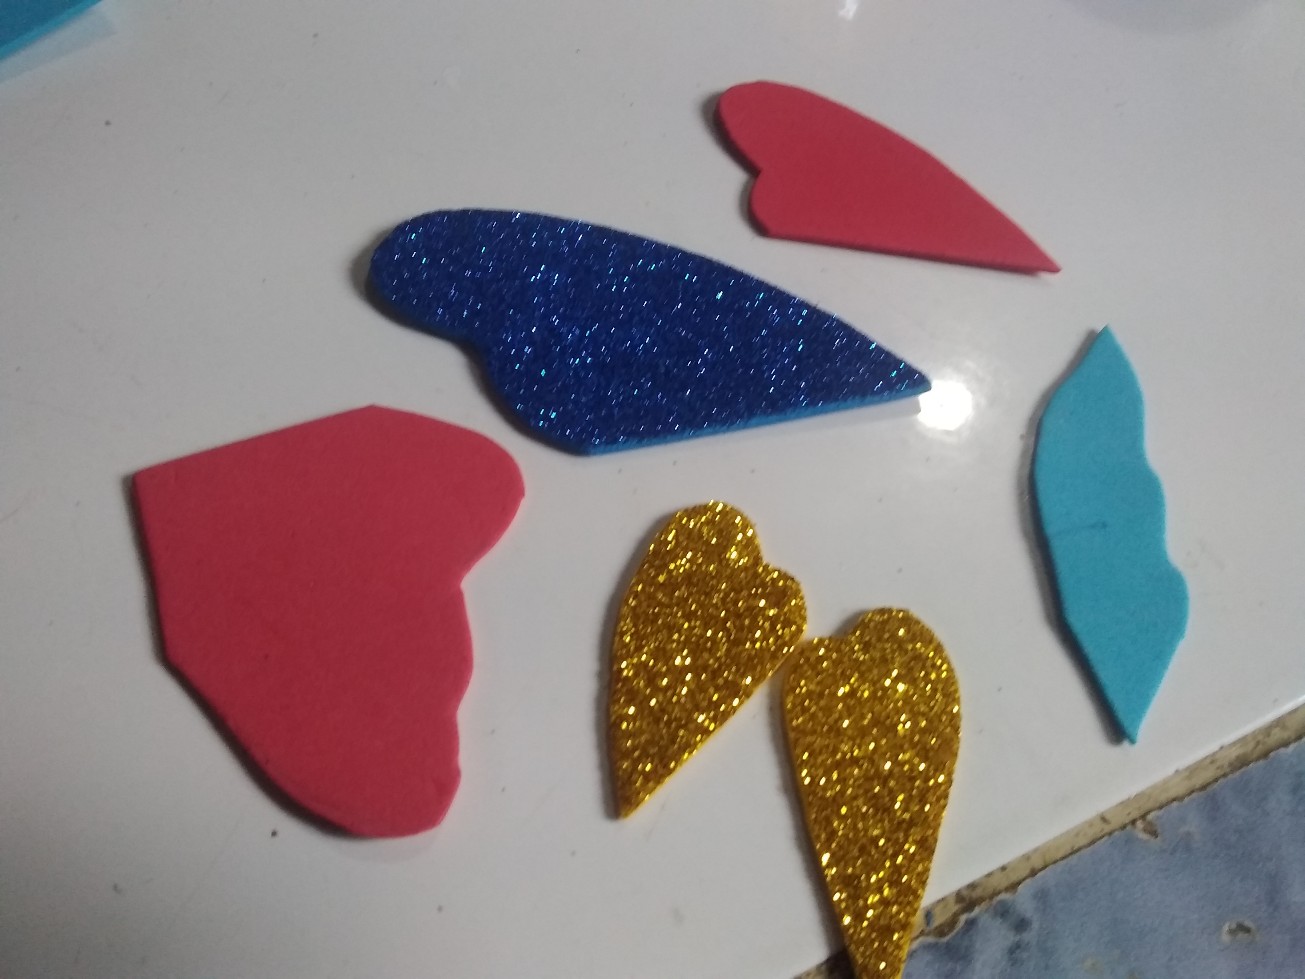
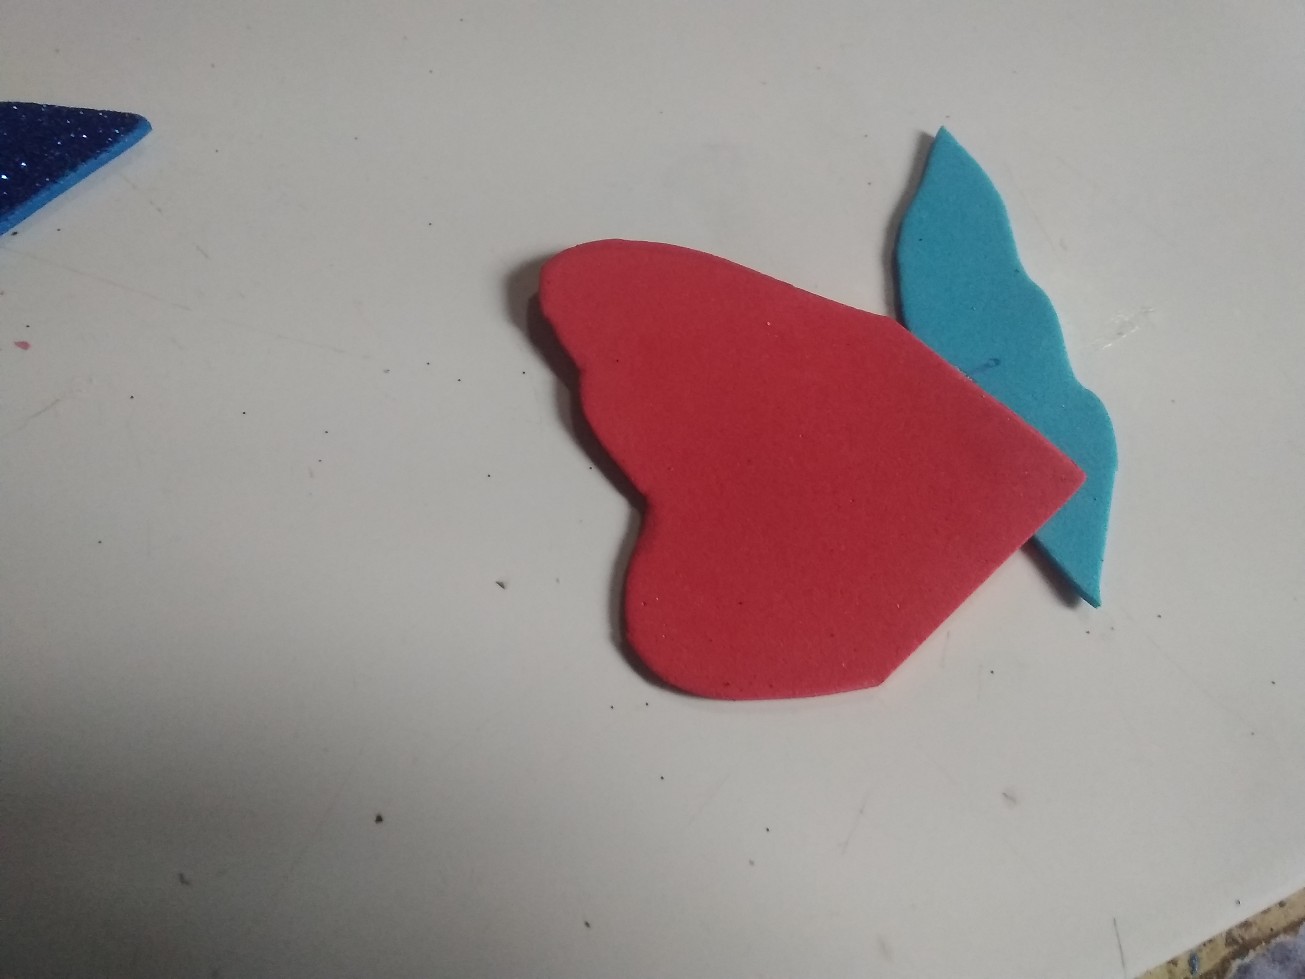
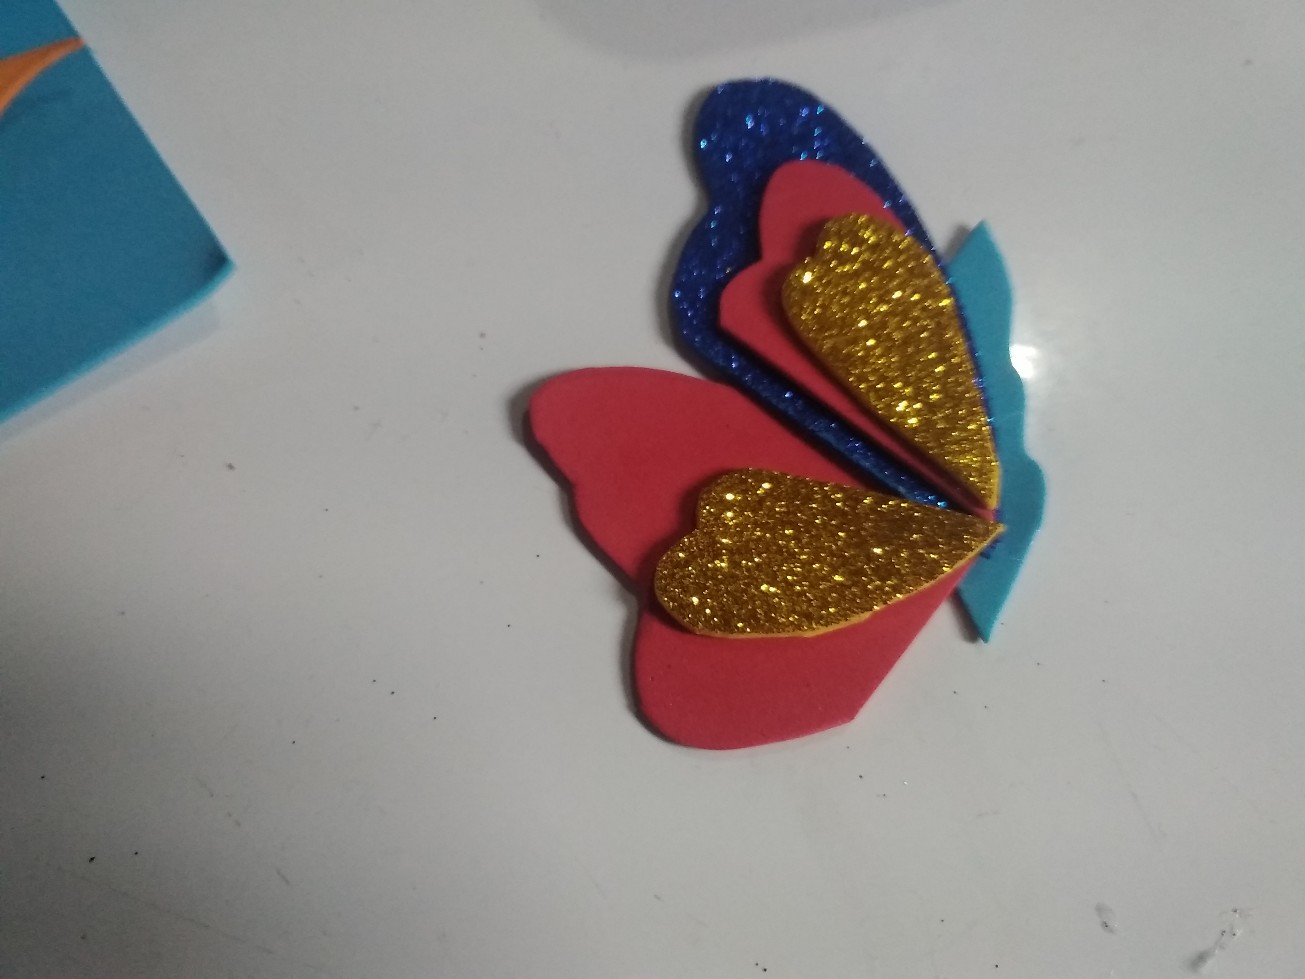
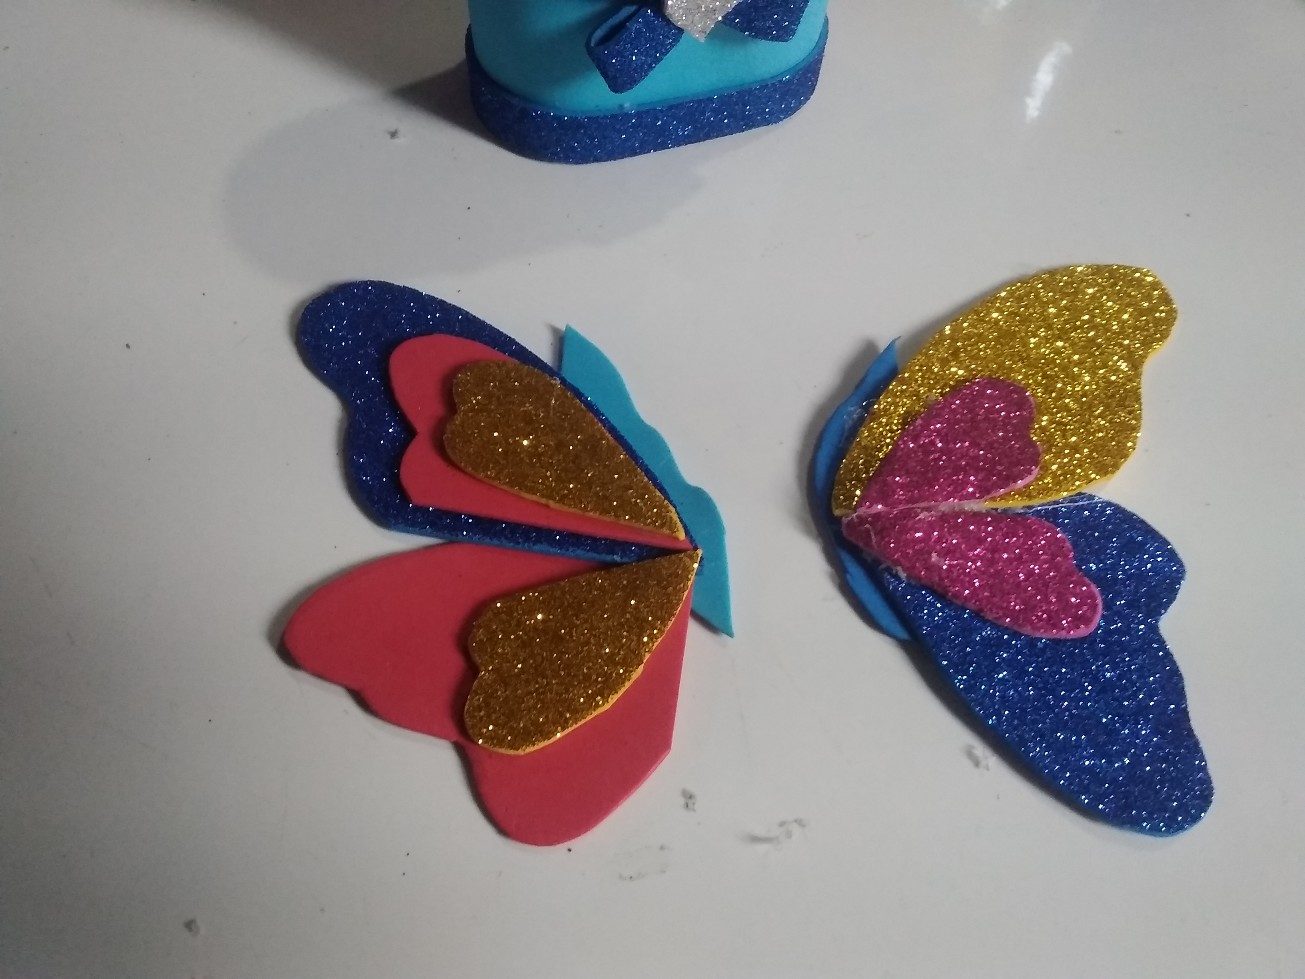
*I made butterflies with foami pear to make them use various colors of foami both frosted and smooth*
Hice mariposas con foami pera hacerlas utilice varios colores de foami tanto escarchados como lisos
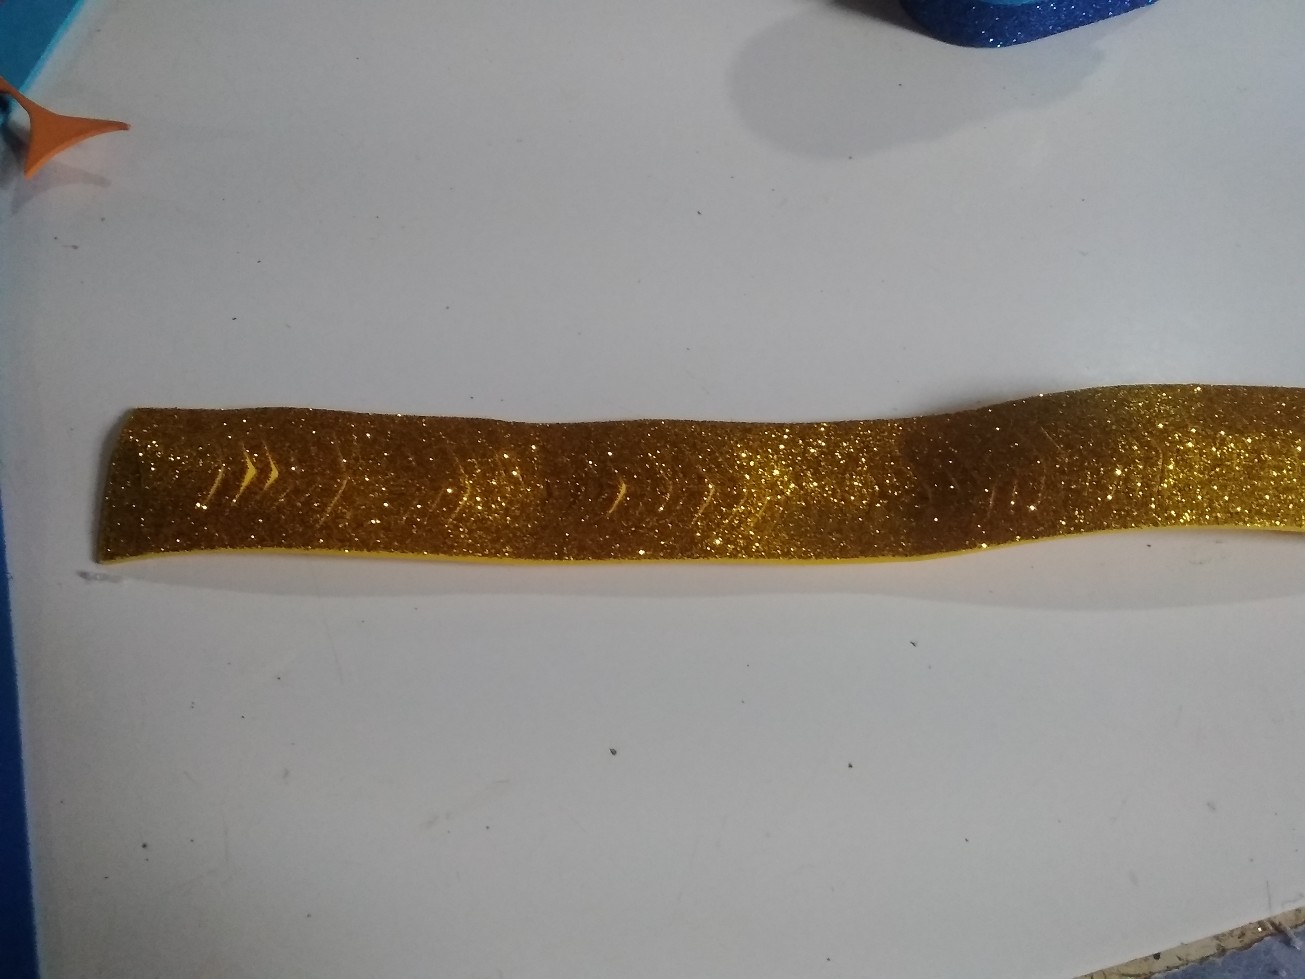
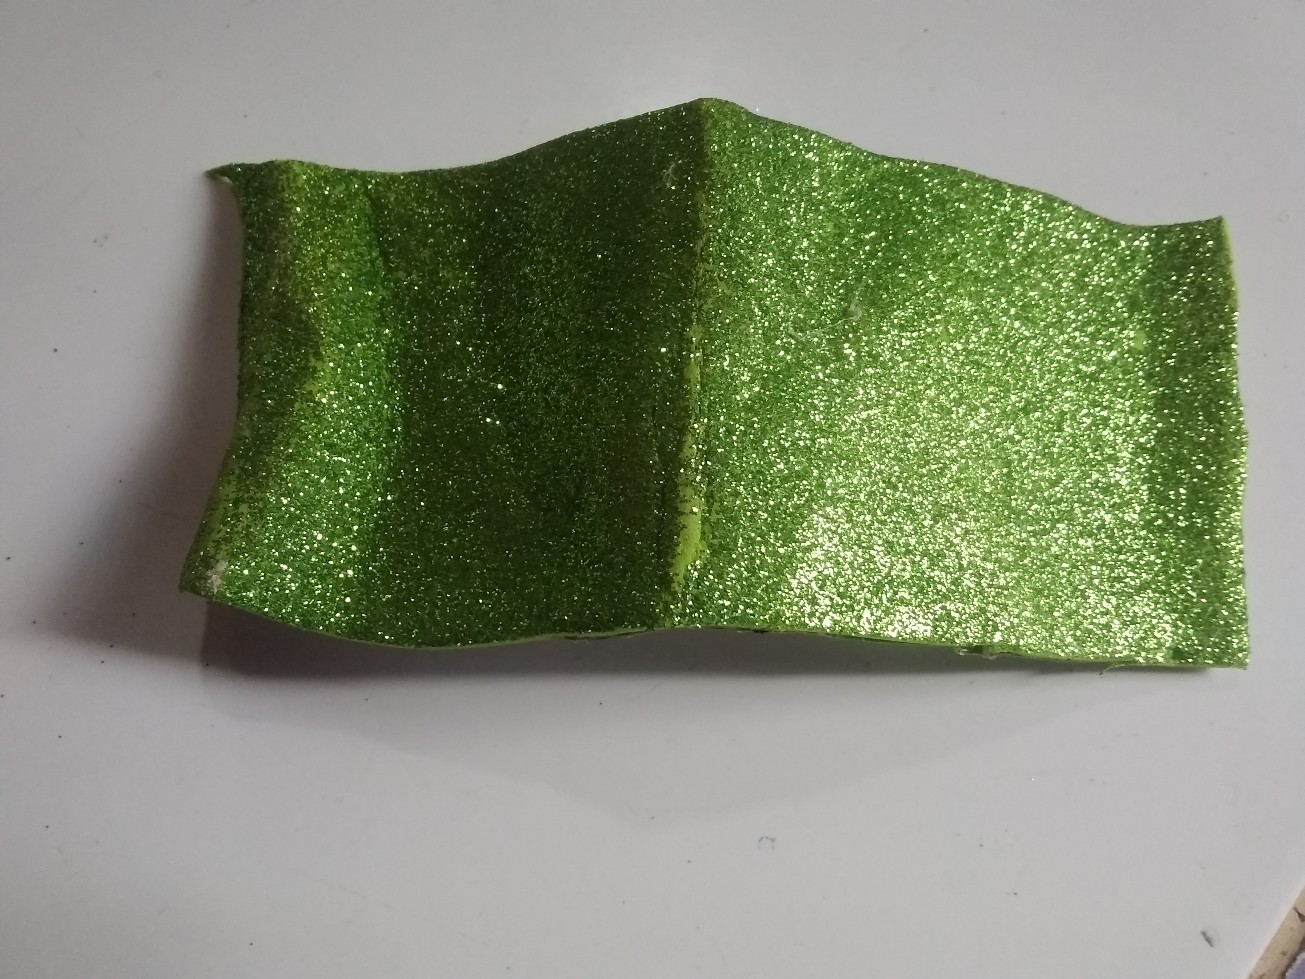
*Cut a ribbon of yellow frosted foami and fold it to make several cuts in the center as shown in the image.*
Corte una cinta de foami escarchado amarillo lo doble para hacer varios corte en el centro como se observa en la imagen.
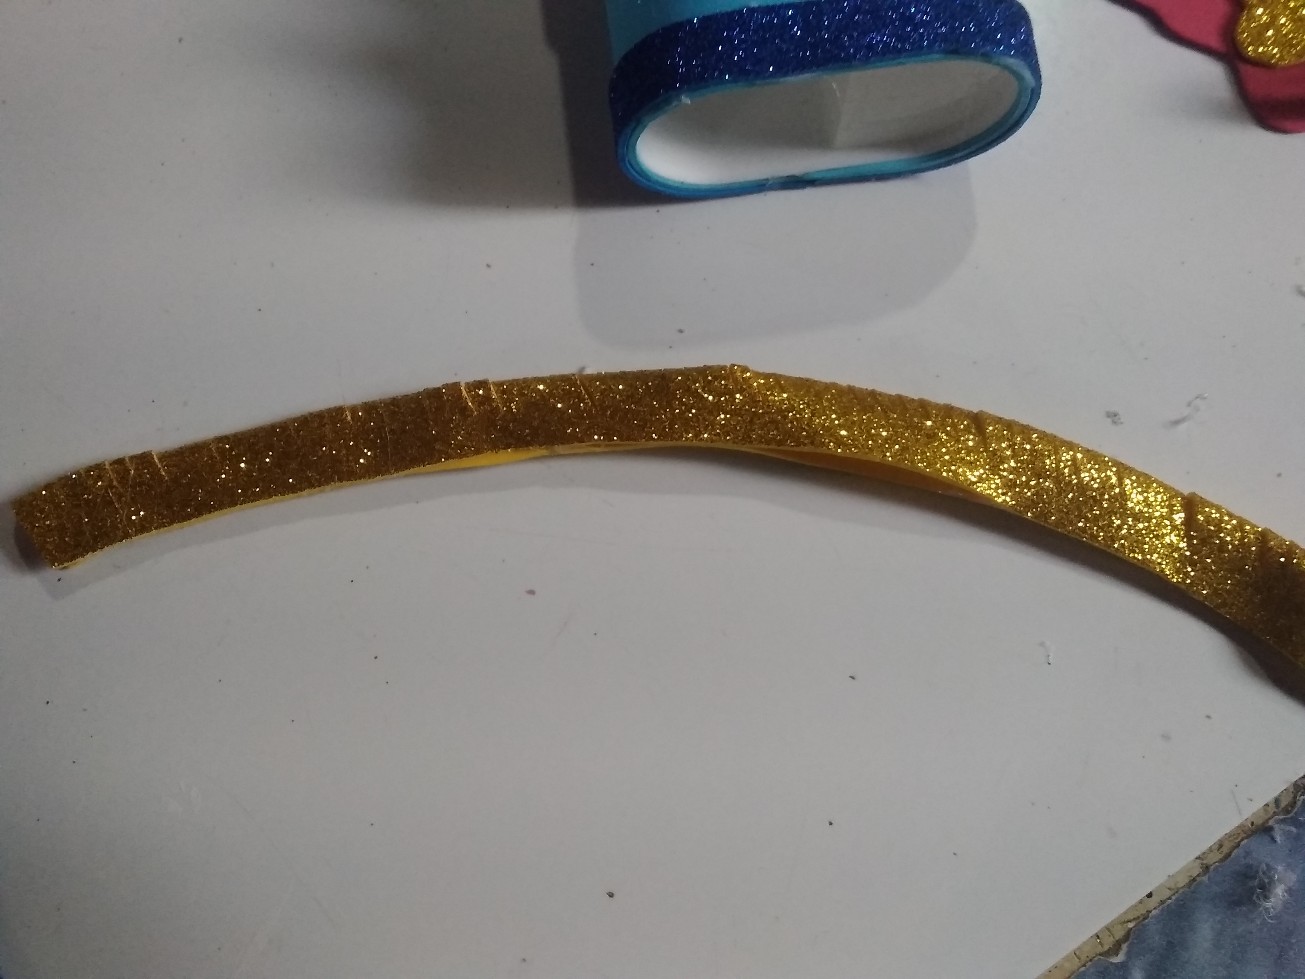
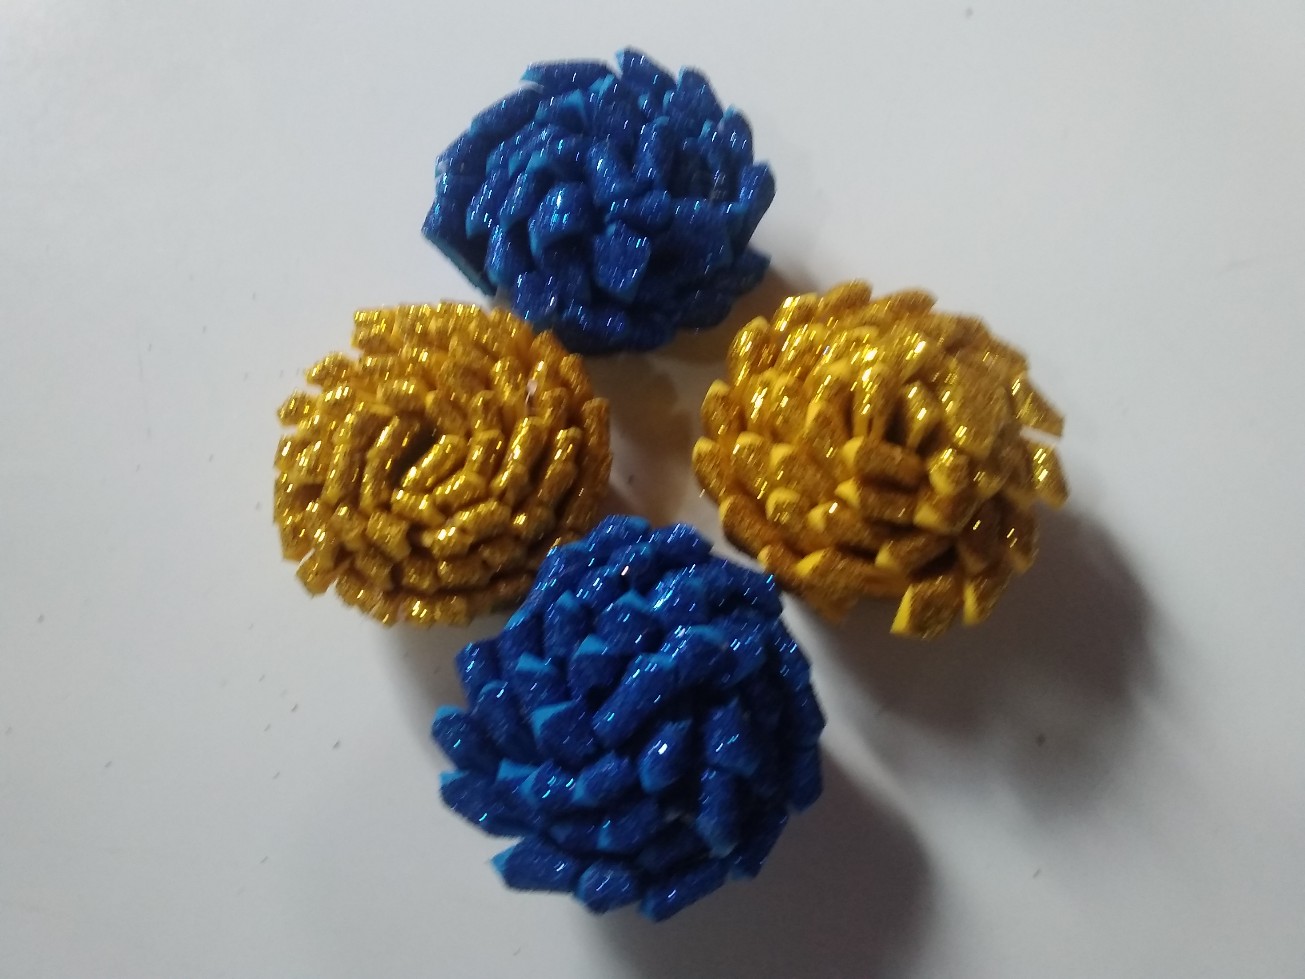
*When rolling this obtained piece we will form these beautiful flowers, as you can see I also made two blue ones, I made them with the same previous process.*
al enrollar esta pieza obtenida formaremos estas lindas flores, como pueden ver también hice dos de color azul esta las elabore con el mismo proceso anterior.
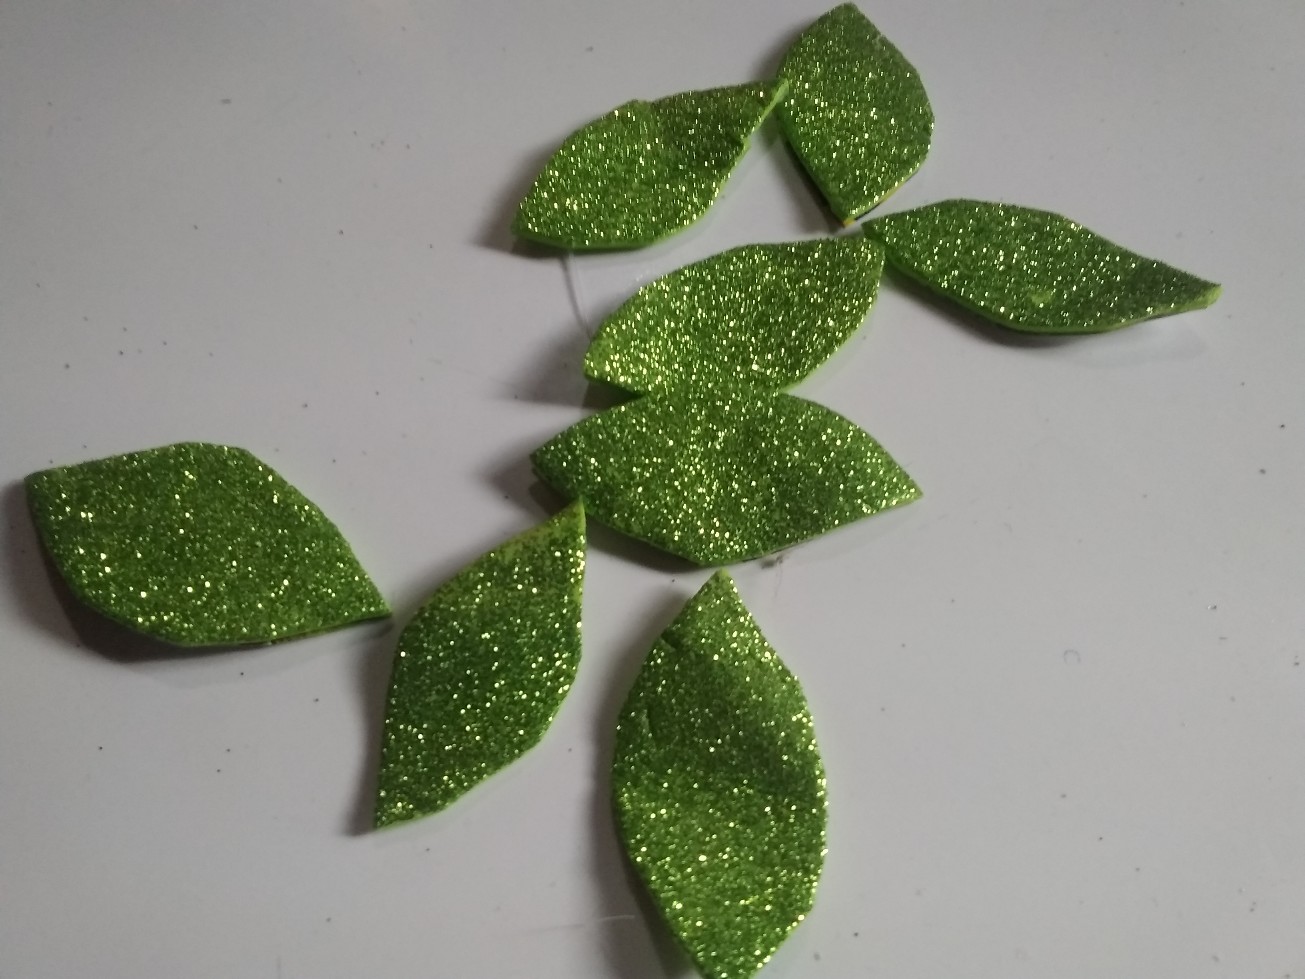
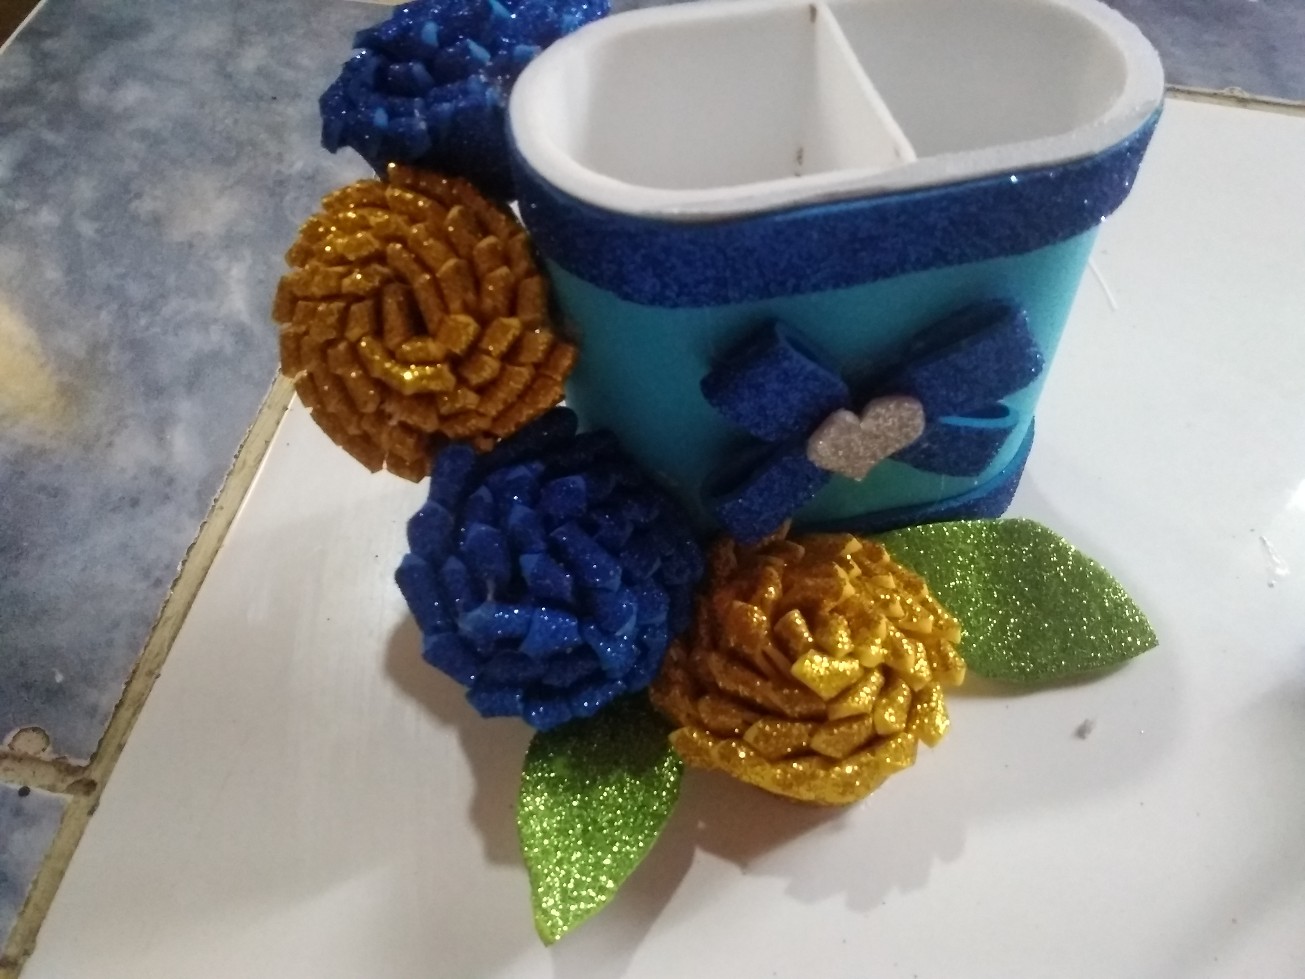
*With frosty green foami I made some small leaves to complete my decoration of this cute pencil holder*
Con foami verde escarchado hice unas pequeñas hojas para completar mi decoración de este lindo porta lápiz
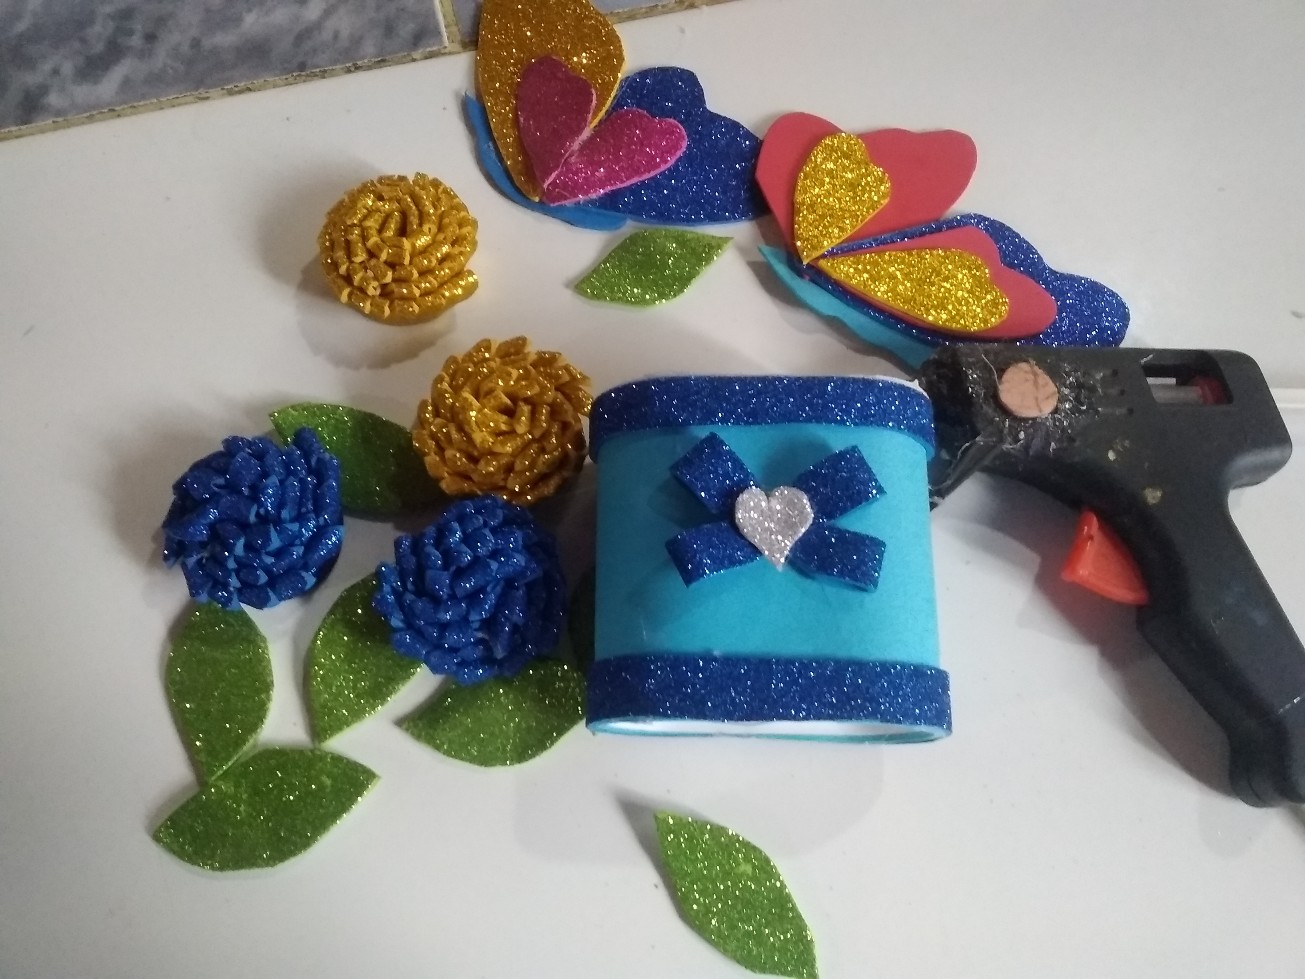
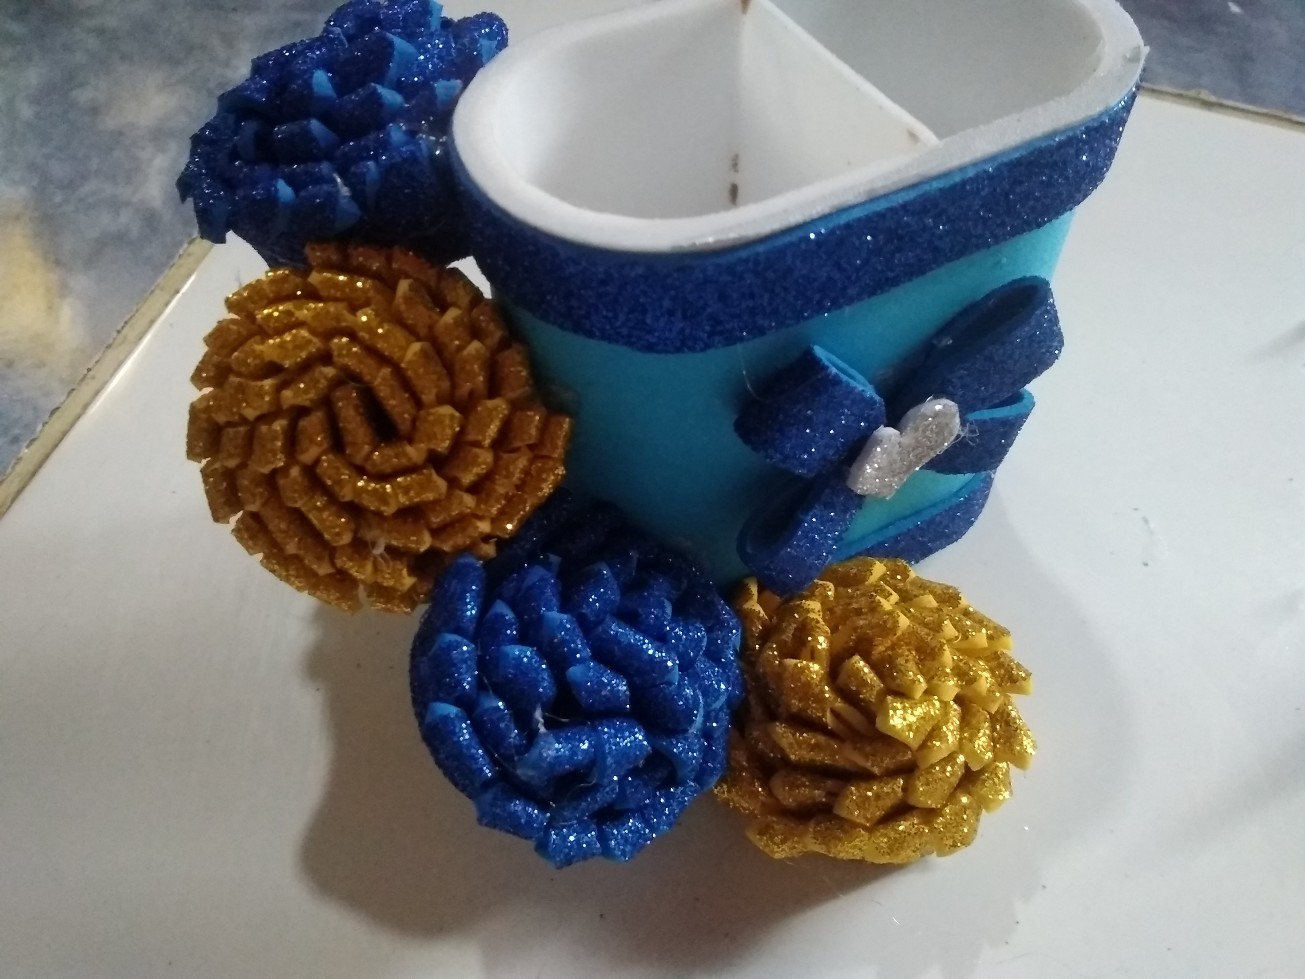
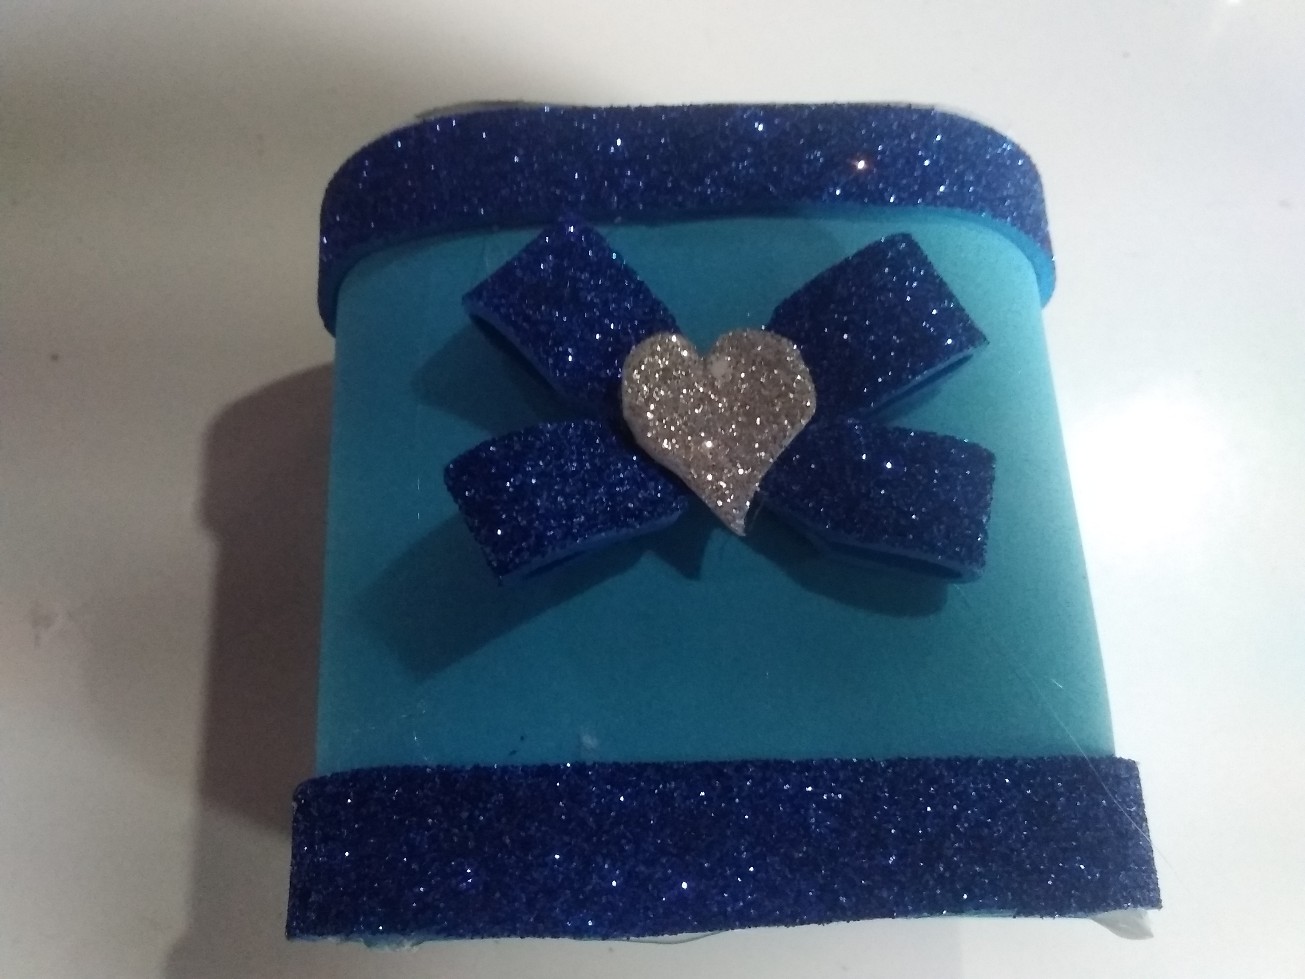
*Now we only have to put the decoration on this pencil holder.*
Ahora solo nos queda ponerle la decoración a este porta lápiz.
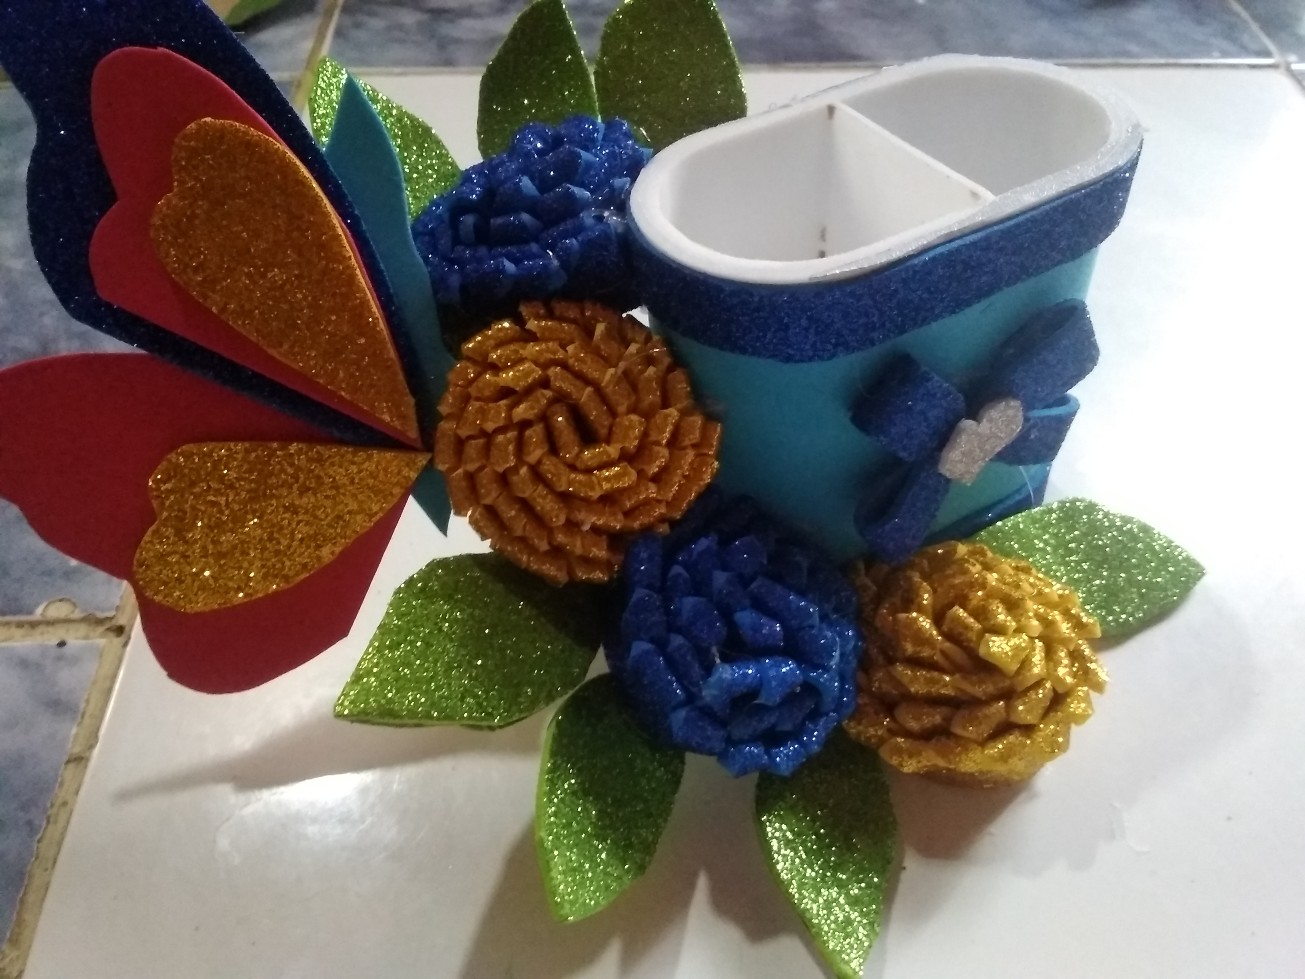
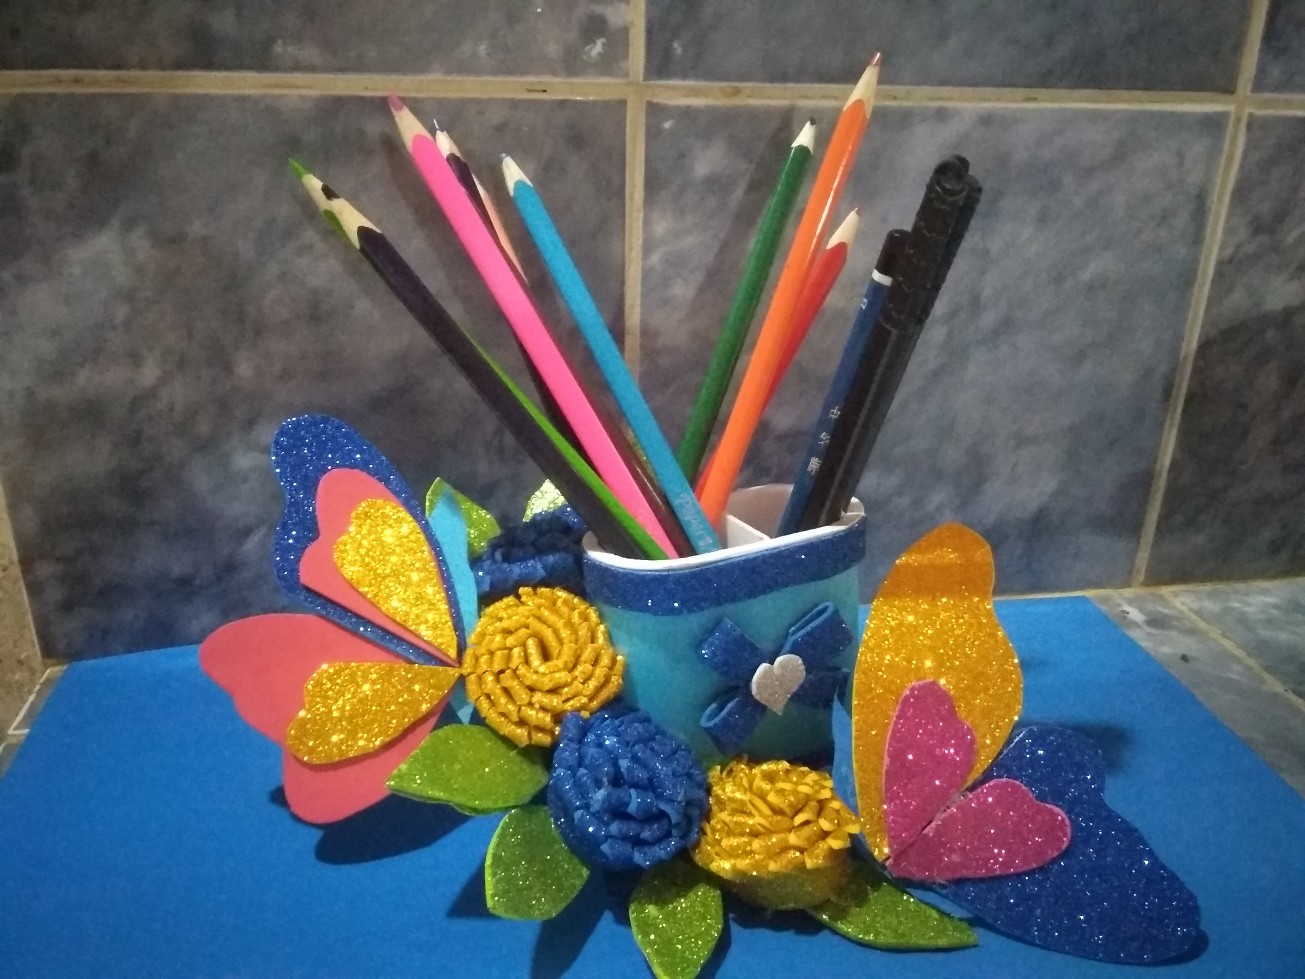
*This is how I finished this cute pencil holder, I really liked the result a lot since it looks very decorative. I hope you liked it there and thank you for your visit.*
Así culmine este lindo porta lápiz de verdad me gusto mucho el resultado ya que se ve muy decorativo. Espero te allá gustado y gracias te doy por tu visita.

*The images are my complete authorship and the translations were made with the google translator.*
Las imágenes son de mi completa autoría y las traducciones la hice con el traductor de google.

[Ing-Esp]How to make a cute and decorative pencil holder / Como hacer un lindo y decorativo porta lápiz
@yeniriverabello
· 2022-03-18 00:35
· Hive Diy
#hive-130560
#spanish
#creativerecycling
#appreciator
#cervantes
#curangel
#rocky1
#ocdb
Payout: 0.000 HBD
Votes: 264
More interactions (upvote, reblog, reply) coming soon.