A Recycling and Creativity Project / Un proyecto de Reciclaje y Creatividad
@yennysferm71
· 2025-08-13 22:12
· DIYHub
About a month ago, my son bought some sheets for his bed, and the moment I saw the package, I said, "Let me have the packaging." I'm referring to the plastic bag that the sheet sets come in, which is made of clear plastic or clear vinyl. He was surprised by my interest, and I explained that I wanted to create the frosted vinyl effect by recycling that material and adding some glitter I have for nail art.
I even saved some green bias tape for this project, and today I decided to make this DIY Frosted Vinyl Case. Today, I want to show you the step-by-step process of this DIY HUB project. I'm so happy to share how it worked for me... Welcome.
Hace como un mes mi hijo compró unas sábanas para su cama y desde que vi el paquete le dije "déjame el envase" me refiero a la bolsa plástico donde vienen los juegos de sábanas que es de plástico transparente o vinil transparente, él se sorprendió por mi interés y le expliqué que quería hacer el efecto de vinil escarchado, reciclando ese material y adicionando unas escarchas que tengo que son para decorar las uñas.
Incluso he guardado cinta de tela al bies de color verde para este proyecto, y ya hoy me decidí a realizar este Estuche con Vinilo escarchado hecho por mí misma. Hoy quiero mostrarles el paso a paso de este proyecto DIY HUB, ya que lo logré y estoy muy feliz de explicarles cómo me funcionó... Bienvenidos.
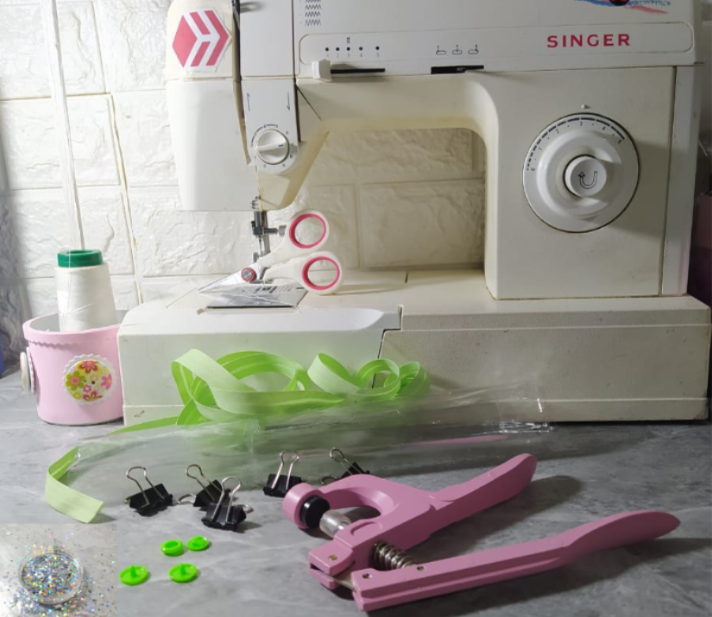
* Sewing machine, needle, thread, and scissors.
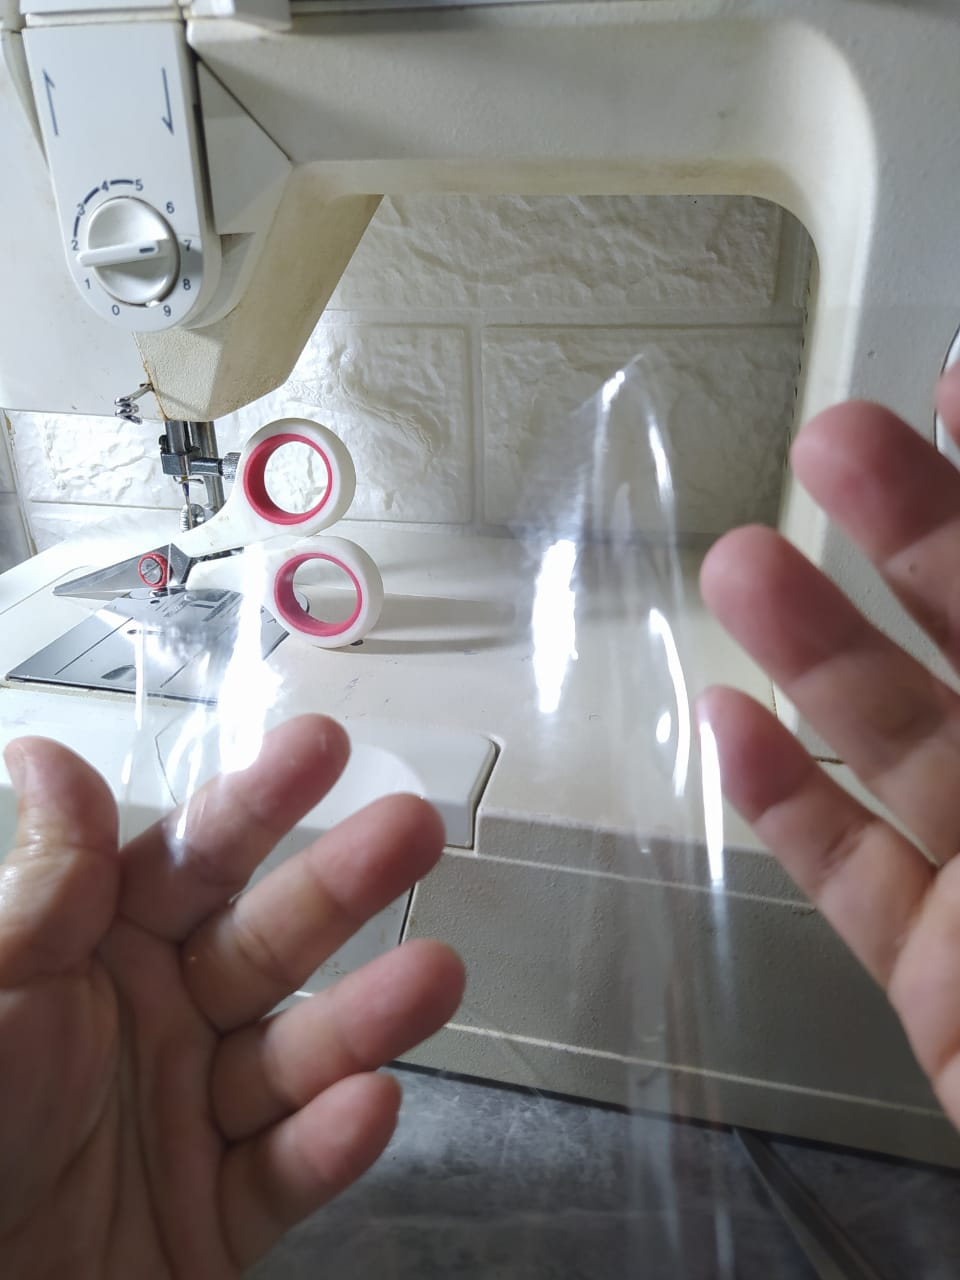
* Clear plastic or vinyl (recycled).
* Glitter.
* Fabric bias tape.
* Plastic snap fasteners, awl, and pliers.
* Snap clips.
* Máquina de coser, aguja, hilo y tijera.
* Plástico o vinil transparente (reciclado).
* Escarchas.
* Cinta de tela al bies.
* Broches plásticos de presión, punzón y alicate.
* Clips de presión.
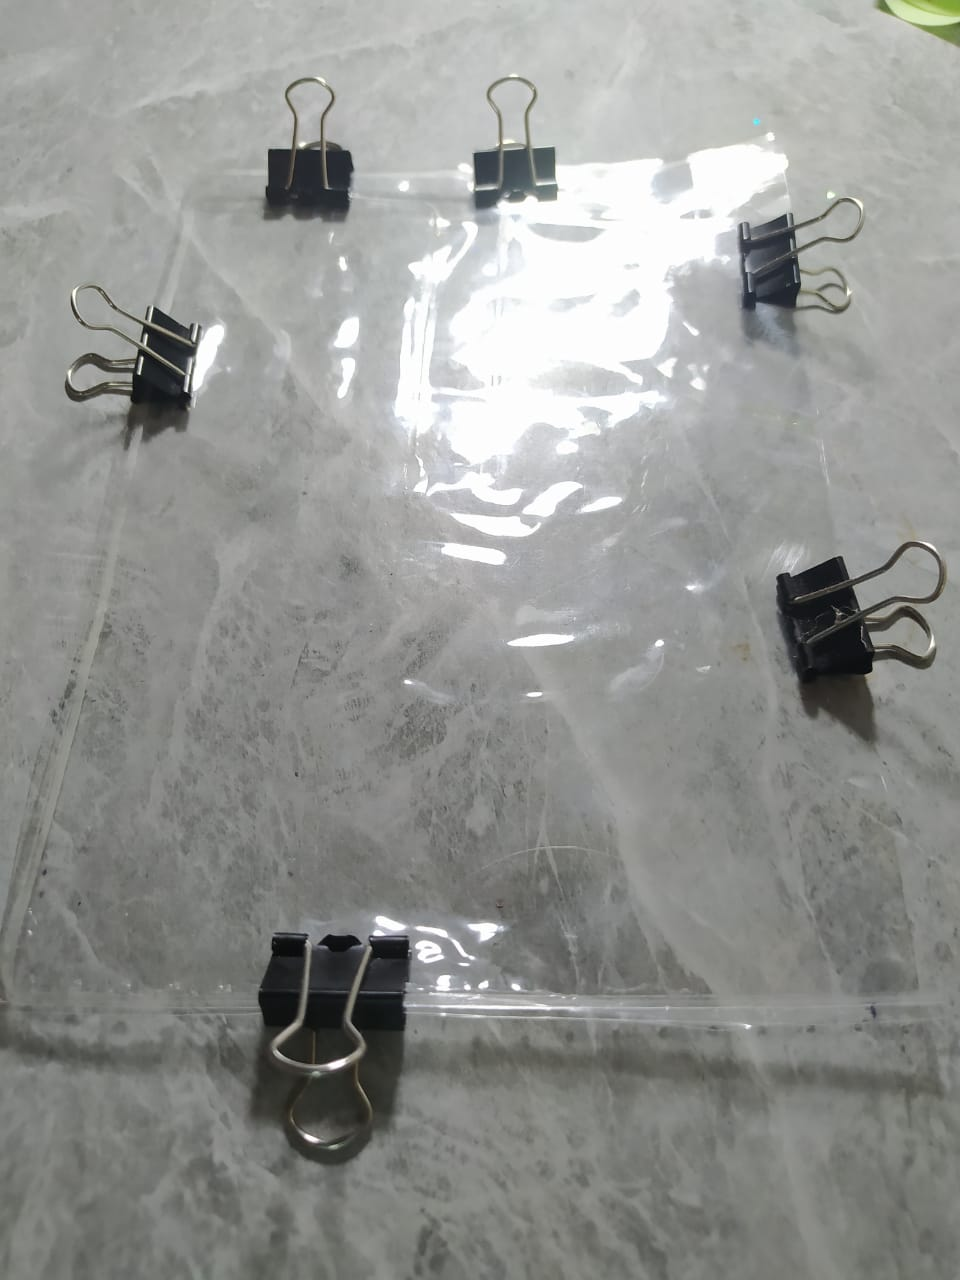
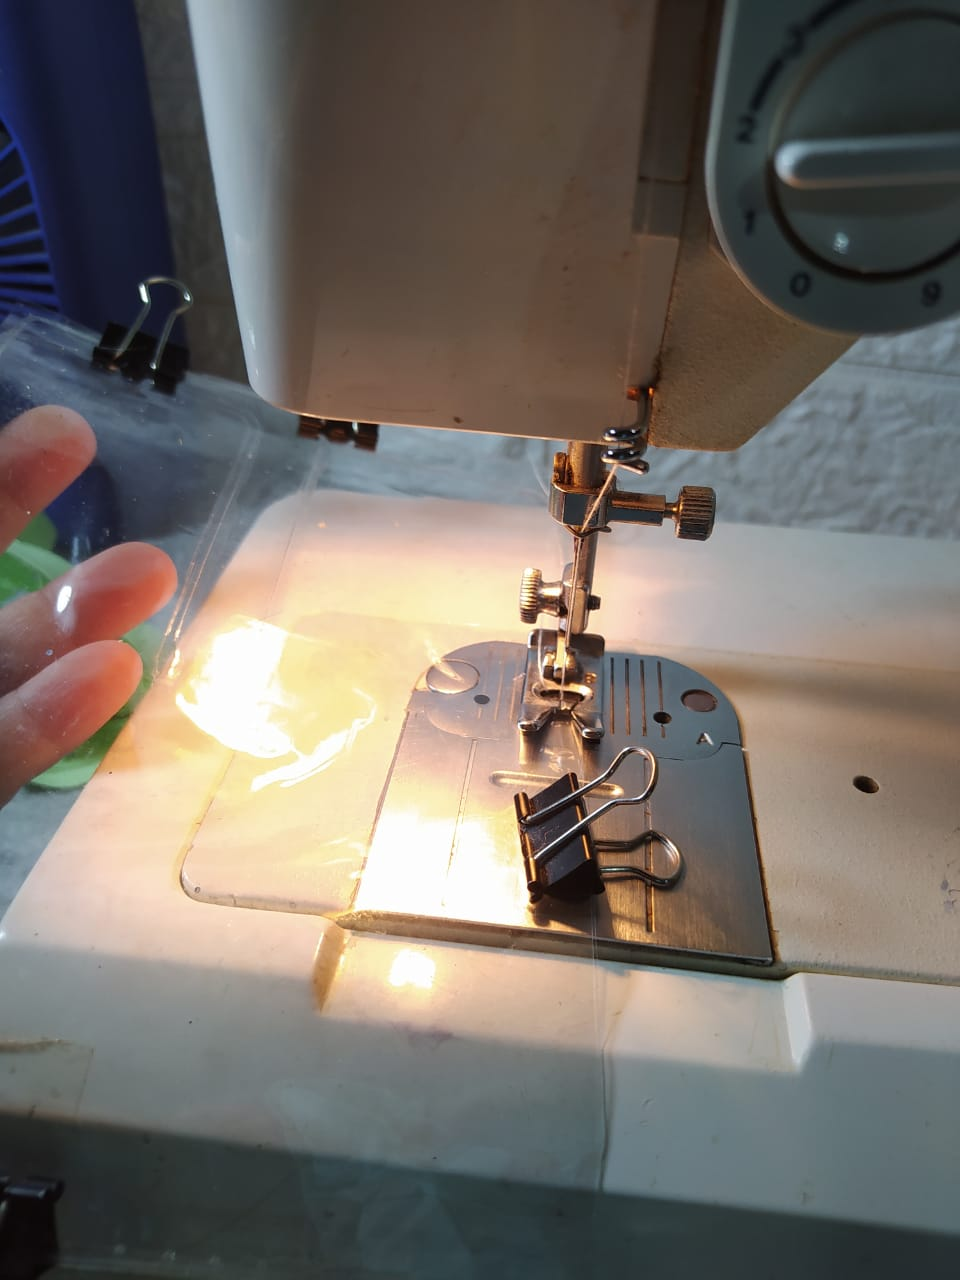
* Cut two pieces of clear vinyl measuring 18cm x 12cm.
* Place both pieces together and secure with pressure clips to ensure they stay in place.
* Sew a straight stitch along three sides, leaving one side (the shorter side) unstitched.
* It will look like this:
* Corta 2 piezas del vinil transparente de 18cms x 12cms.
* Enfrenta ambas piezas y fija con clips de presión para garantizar que no se muevan.
* Coser con costura recta por 3 de sus lados, dejando un lado (de lado más corto) sin coser.
* Se verá de la siguiente forma:
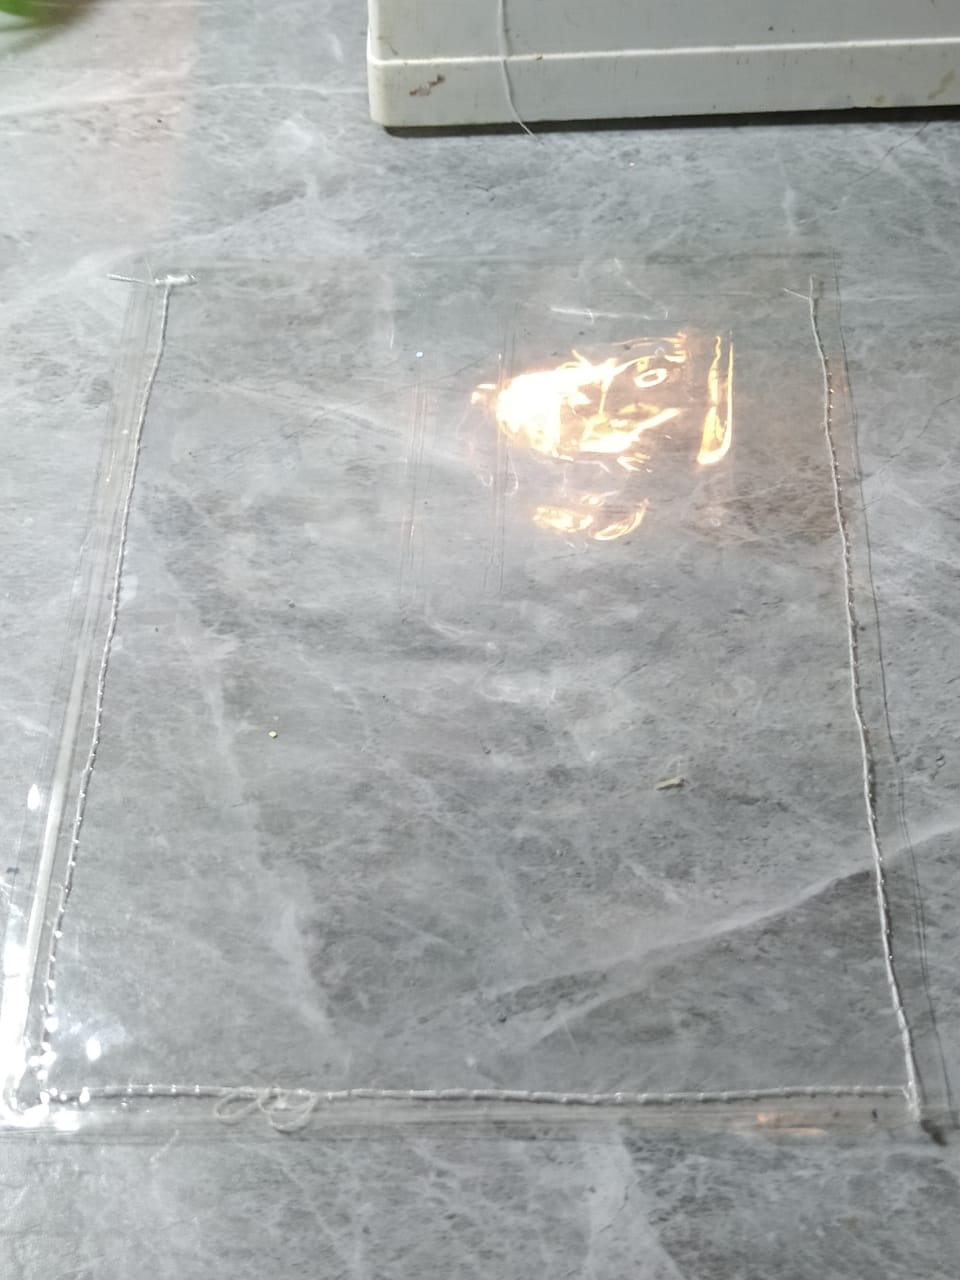
* On the unstitched end, add the glitter. You don't need a large amount, although it's entirely up to your personal taste.
* Distribute the glitter evenly over the entire piece.
* Now, close the unstitched end with a straight seam.
These glitters won't move, as there's no air or space between the two pieces of clear vinyl.
* Por el extremo que dejé sin coser, se introducen las escarchas, no es necesaria tanta cantidad, aunque es totalmente a gusto personal.
* Distribuir bien las escarchas por toda esa pieza.
* Ahora si, cerrar con costura recta el extremo que había quedado sin costura.
Estas escarchas no se moverán, ya que no se está dejando aire o espacio entre las dos piezas de vinil transparente.
Using scissors, cut close to the seam and all the way around. This will complete the piece that will be the front of the case.
Con una tijera cortamos bien cerca de la costura y por todo el alrededor. Con esto quedaría lista la pieza que será el frente del estuche.
* The other piece of the case will be another piece of clear vinyl with the same width, 18cm x 20cm.
* On one of its 18cm edges, I mark 2cm from each side of each corner, and then freehand or using any round object (I used a roll of masking tape), I make the circumference touch both marked points and mark this shape with a pen.
* Cut the curved shape we just drew on both corners of one of its edges with scissors. This side of the vinyl will be the flap of the case.
* La otra pieza del estuche será otra pieza de vinil transparente con el mismo ancho de 18cms x 20cms.
* En uno de sus extremos de 18cms, marco 2cms de cada lado de cada esquina, y luego a mano alzada o utilizando cualquier objeto redondo (yo utilicé un rollo de cinta adhesiva) hacemos que la circunferencia toque ambos puntos marcados y marco con bolígrafo esta forma.
* Se corta con tijera la forma curva que acabamos de dibujar en las dos esquina de uno de sus extremos. Este lado del vinil será la solapa del estuche.
Place the bias tape.
* Place the glitter piece next to the larger piece cut in the previous step.
* Open the bias tape and place it anywhere on the edge. Run a straight seam over the bias tape, specifically along the fold, but LEAVE 1.5 cm of tape unsewn to start with. This small piece of unsewn tape will help create a clean finish.
* Run the seam all the way around the edge. Carefully sew the corners where the edges are rounded. The corners left at 90° angles have another technique that I describe below:
To form perfect corners, follow two steps:
* Take the straight seam almost to the corner of the vinyl.
* Lift the tape and bring it up to the opposite side, forming a diagonal.
* Securing the corner with the tape, I now lower it to the opposite side, and continue sewing again along the same mark on the bias tape.
Colocar la cinta de tela al bies.
* Ubicamos la pieza de las escarchas junto a la pieza más grande que se cortó en el paso anterior.
* Abrir el bies de tela y ubicarlo en cualquier punto en el borde. Se pasa costura recta sobre el bies, específicamente en el doblez, pero DEJANDO 1,5cm de cinta sin costura al empezar, este pedacito de cinta sin costura me servirá para hacer un remate limpio.
* Se pasa la costura por todo alrededor del borde, donde está redondeadas las esquinas se pasa con cuidado, y las esquinas que quedaron en ángulos de 90° tienen otra técnica que describo a continuación:
Para formar esquinas perfectas se realizan dos movimientos o pasos:
* La costura recta la llevamos casi hasta la esquina del vinil.
* Levantamos la cinta y la subimos hacia el lado contrario lateral, haciendo que se forme una diagonal.
* Asegurando la esquina con la cinta, ahora la bajo hacia el lado contrario, y seguimos cosiendo nuevamente por la misma marca de la cinta al bies.
To finish where the bias tape started:
* I fold the bias tape over the 1.5 cm (0.6 in) gap I left unsewn at the beginning.
* I place the end of the bias tape over the previous fold. This step will ensure that the joined ends of the bias tape are very clean and neat.
Para rematar donde empezaba la cinta al bies:
* Doblo la cinta en el 1,5cms que había dejado sin costura al comenzar.
* Ubico el extremo de la cinta al bies sobre el doblez anterior. Con este paso se logrará que la unión de los extremos de la cinta al bies quede muy limpio o prolijo.
Now I fold the bias tape back to its normal shape and sew on the other side.
Notice that the corner is perfect with the diagonal fold achieved with the corner technique described above.
Ahora doblo la cinta al bies con su forma normal y coso por el otro lado.
Nótese que la esquina queda perfecta con el doblez en diagonal que se logró con la técnica para esquinas descrita anteriormente.
* Now, on the flap with the rounded corners, I determine the center and place the plastic snap fastener with its two parts.
* I press down with the specialized snap fastener pliers.
* I mark where the other snap will go to close, which will be where the first snap will fit best, and repeat the step to place the other snap fastener.
* Ahora en la solapa que es la parte de las puntas redondeadas, determino el centro y coloco el broche plástico de presión con sus dos partes.
* Presiono con el alicate especializado para el broche de presión.
* Marco donde irá el otro broche para cerrar, que será donde cuadre mejor el broche que se colocó primero, y se repite el paso para colocar el otro broche de cierre.
As you can see, the front piece, which was transformed to look like frosted vinyl, is very well finished. It doesn't move, nor will it move, since there's no space between the two pieces.
This effect can be achieved with glitter or confetti, or even with gelatin for another type of effect.
Como puedes ver la pieza frontal que se hizo la transformación para que quedara como un vinil escarchado, queda muy bien acabado, no se mueven ni se van a mover ya que no ha espacio entre ambas piezas.
Este efecto se puede lograr con escarchas o confeti, incluso con gelatina para otro tipo de efecto.
The case is truly multipurpose; it can be used for whatever you want and made in any size you want. I used the measurements I mentioned because I wanted a case for my highlighters, and as you can see, it's perfect and looks beautiful with the glitter effect.
El estuche realmente es multipropósito, se puede usar para lo que deseemos y realizarse en las medidas que deseemos. Yo utilicé las medidas que mencioné porque quería tener un estuche para mis resaltadores, y como pueden observar es ideal y se ve precioso con el efecto logrado con las escarchas.
I'm very happy with the final result. The color of the bias tape and the snaps look great, and I loved the frosted effect; it's one of my favorites.
Beautiful stitching is essential for everything to look good, as are perfect corners and the finished trim. Everything must look great to achieve quality. Whether it's for us, to give as a gift, or to sell, it should always look its best.
Estoy muy feliz con el resultado final. El color de la cinta de tela al bies y los broches de presión se ven geniales, y el efecto escarchado lo amé, es de mis preferidos.
Una bonita costura es necesaria para que todo luzca bien, y las esquinas perfectas y el acabado de remate de la cinta también, todo debe verse muy bien para que luzca de calidad, tanto si es para nosotros, para regalar o vender, siempre debe verse lo mejor posible.
I hope you enjoyed this tutorial and that it inspires you to make beautiful details with your own hands.
Deseo que les haya gustado este Tutorial y que se inspiren a realizar detalles hermosos con sus propias manos.
I took the photos with my phone Redmi Note 8
Apps I used:
Canva Pro for Cover, Collage and Banners
I used Deepl Translator
My social networks:
Discord: YennysYaneth#0189
Twitter: @yennysferm
Instagram: @yennysyaneth
Las fotos las tomé con mi teléfono Redmi Note 8
Apps que utilicé:
Canva Pro para la Portada, Collage y Banners
Utilicé el Traductor Deepl
Mi redes sociales:
Discord: YennysYaneth#0189
Twitter: @yennysferm
Instagram: @yennysyaneth