Diy de Bandeja + Primer Casero + Barniz Casero, te enseño a hacerlo

@yennysferm71 · 2025-09-04 02:36 · DIYHub

image.png

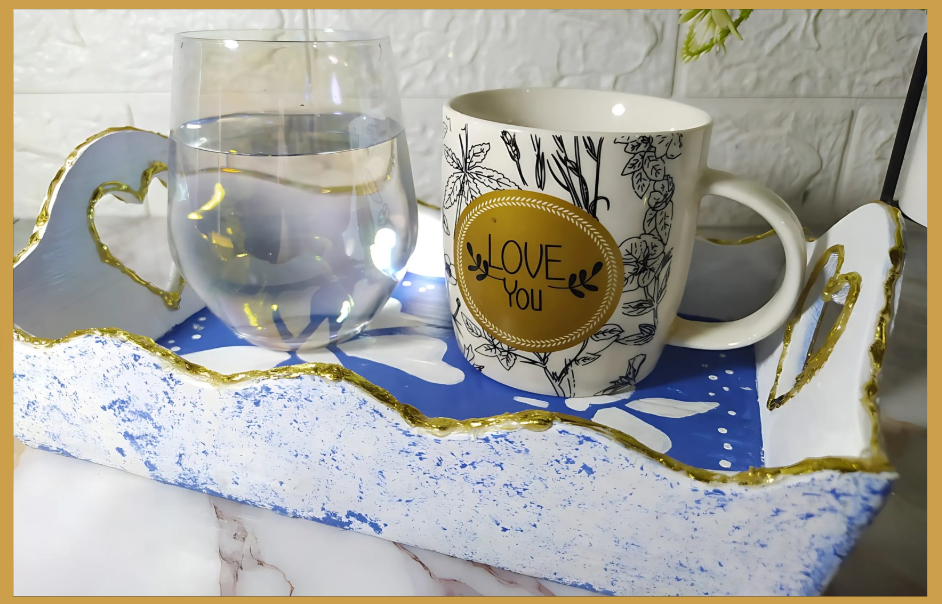
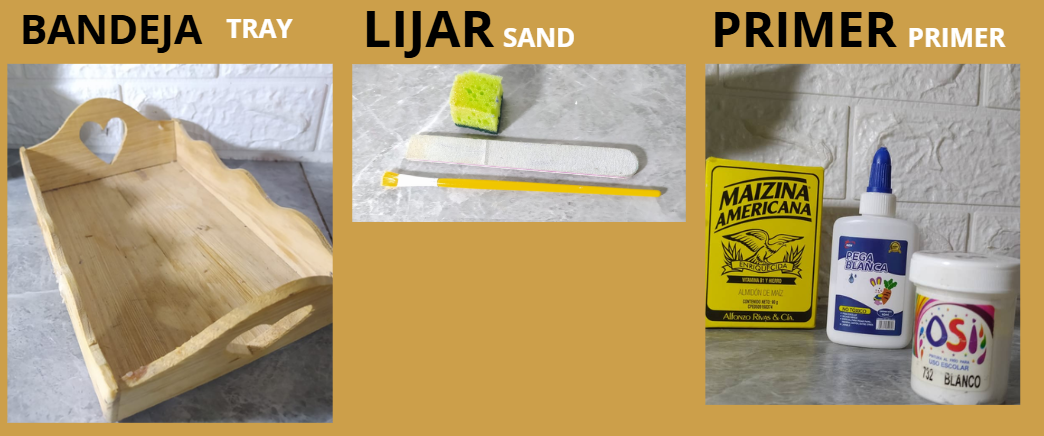
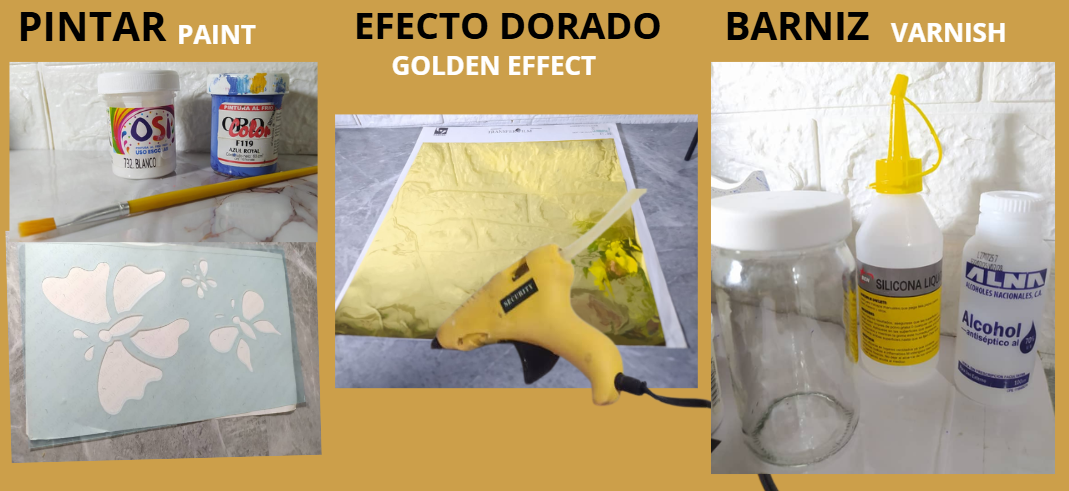
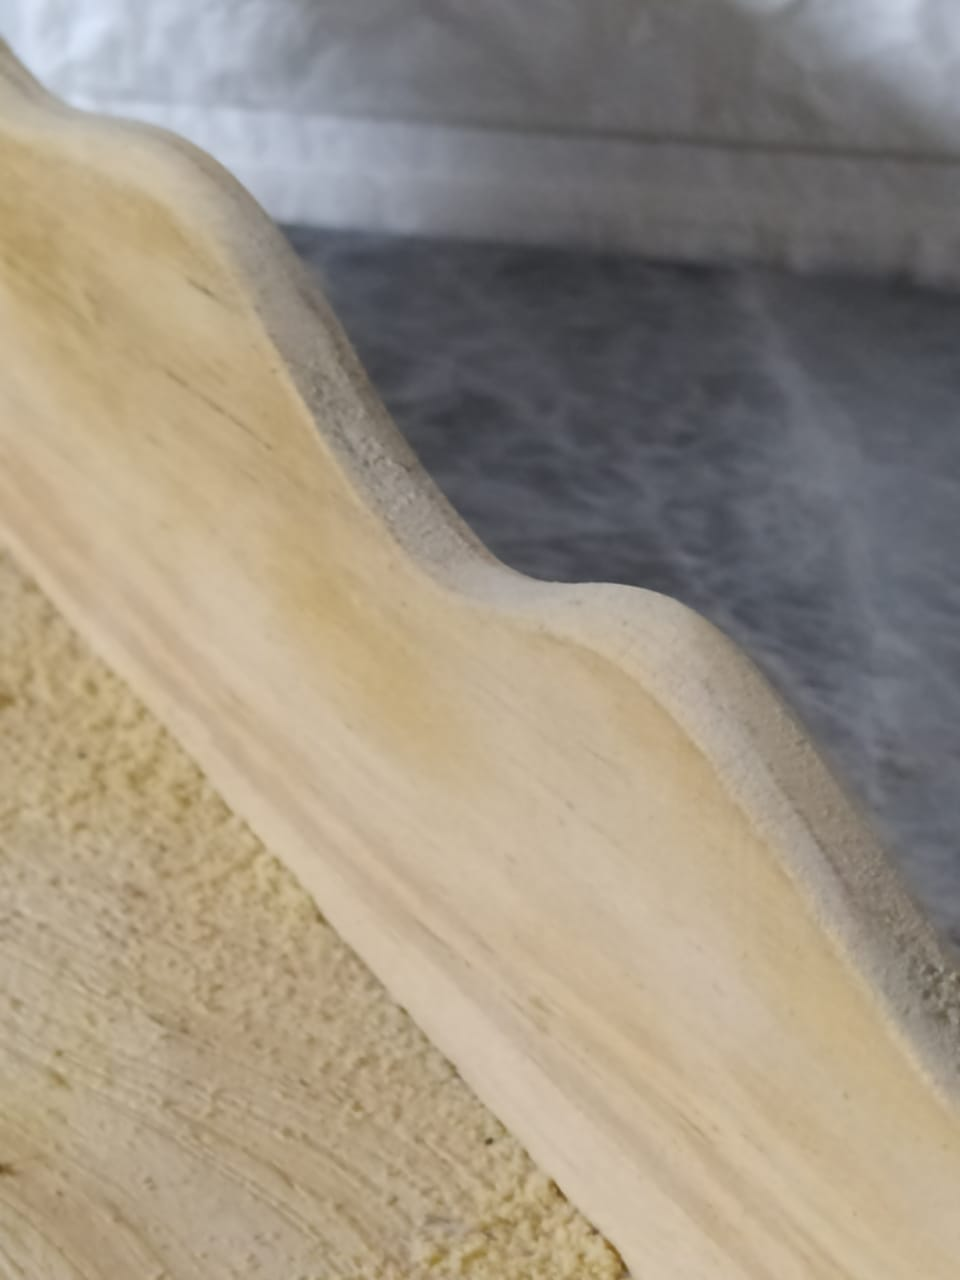
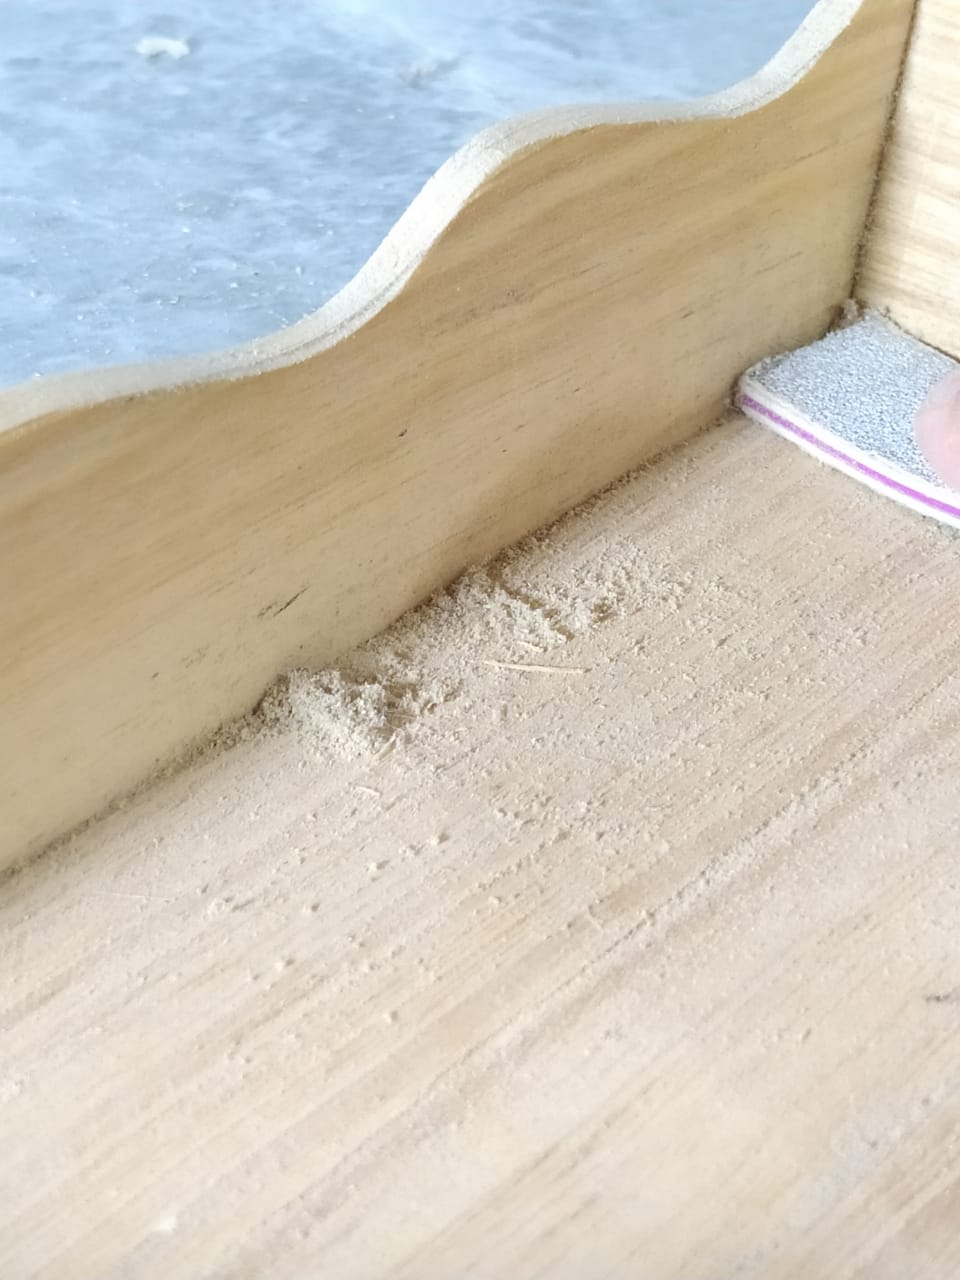
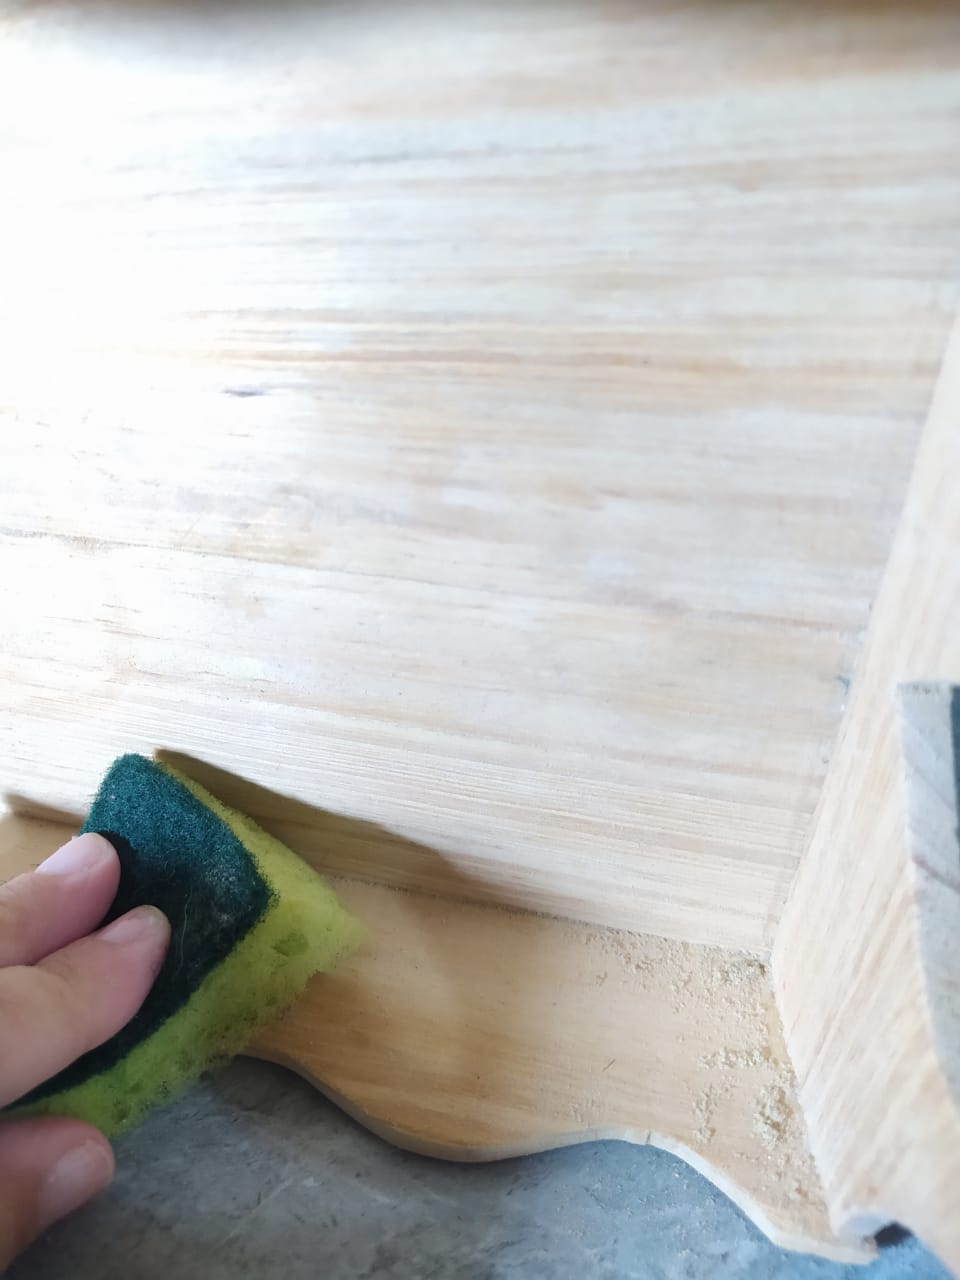
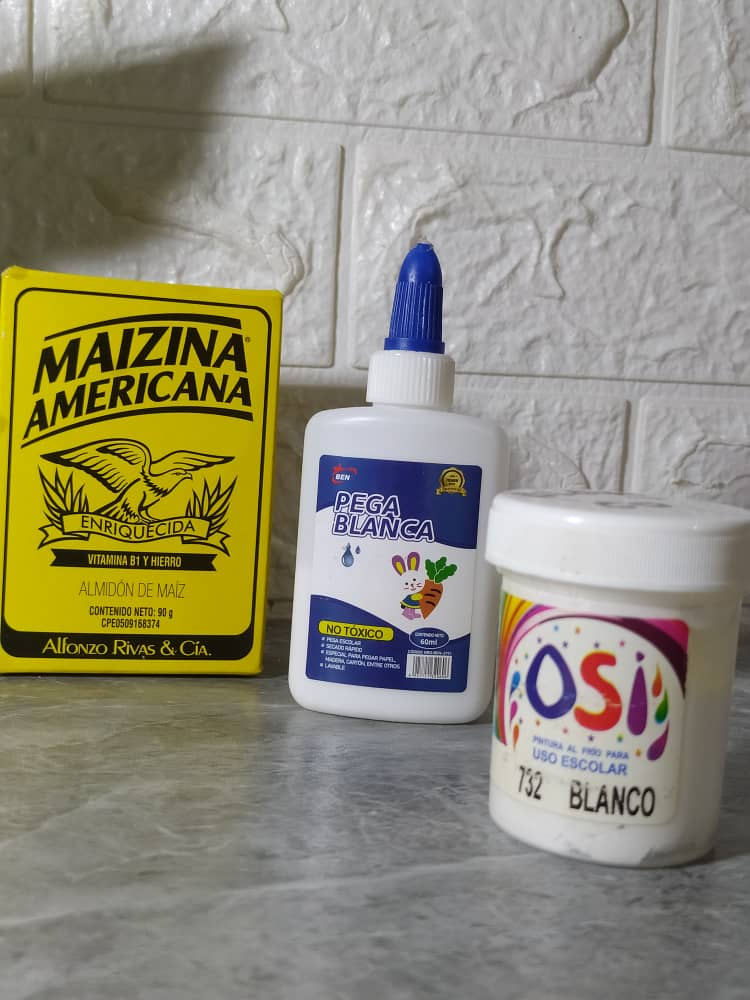
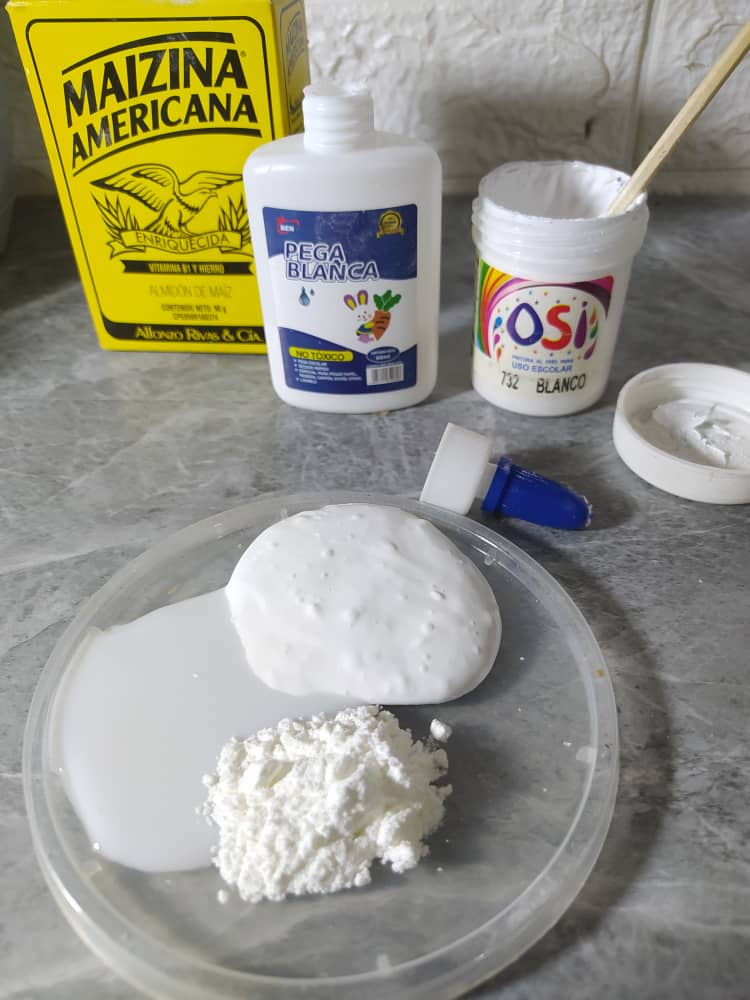
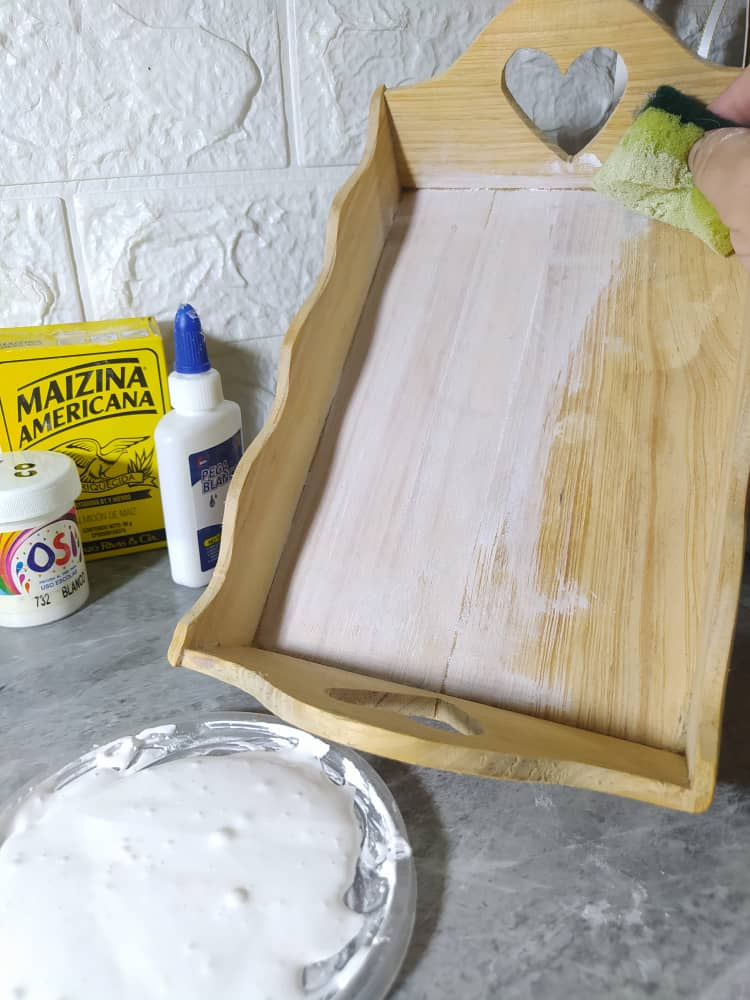
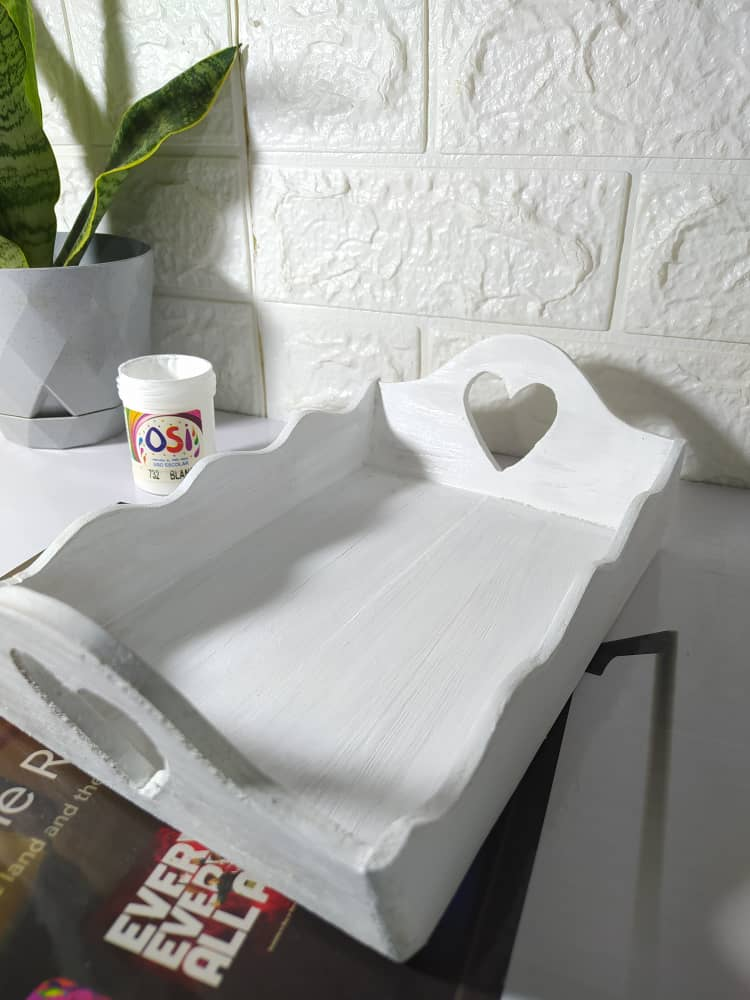
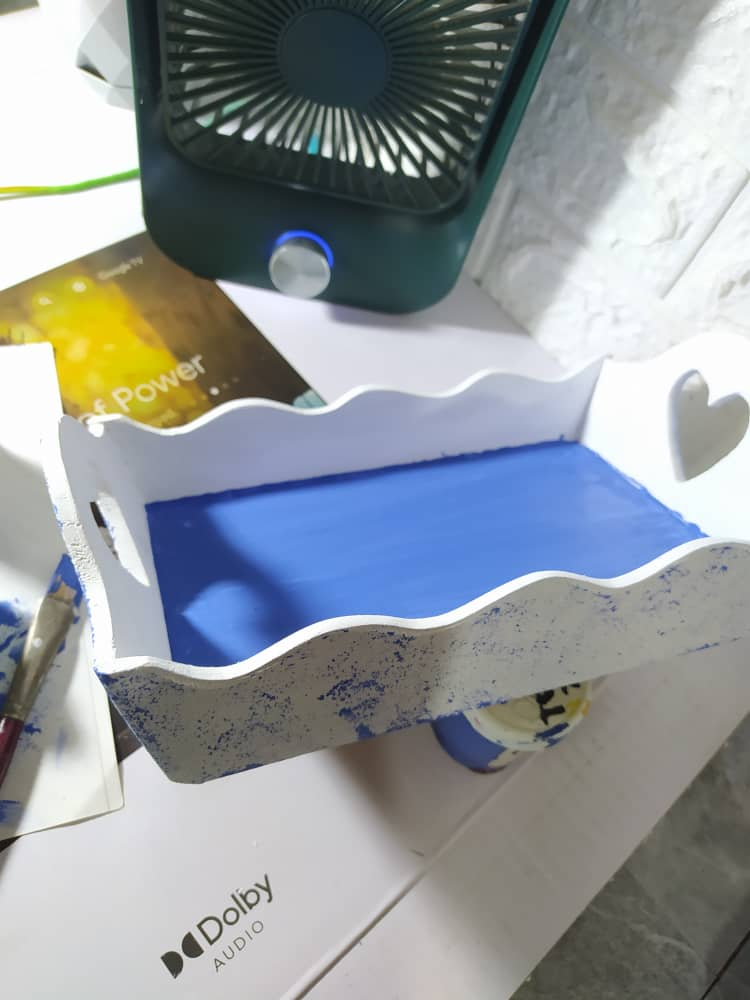
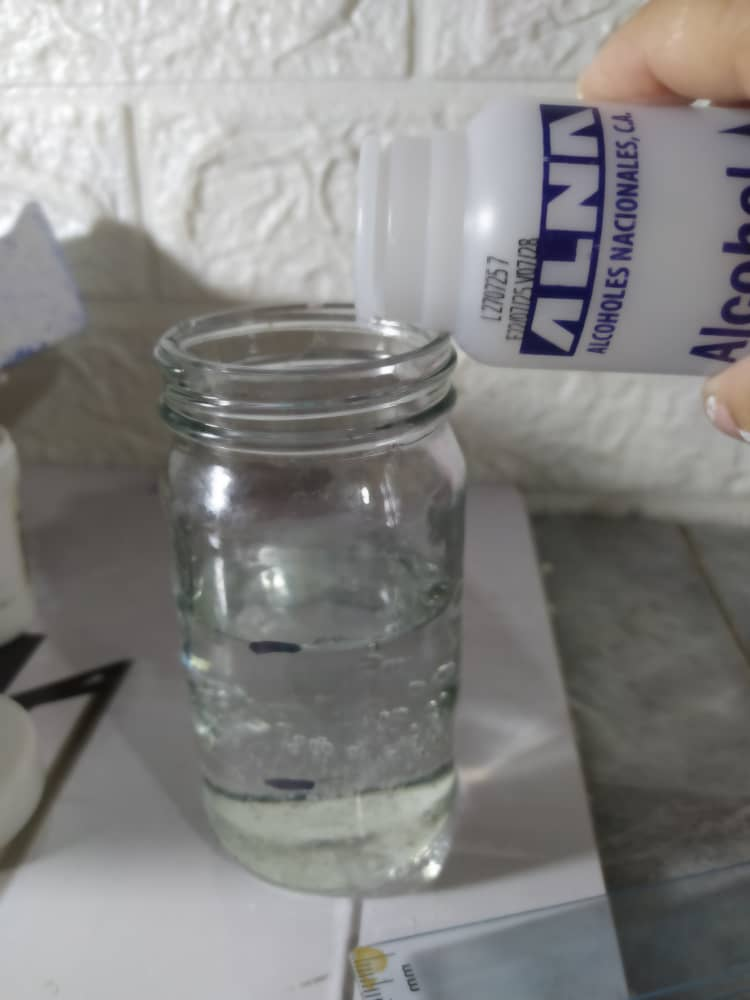
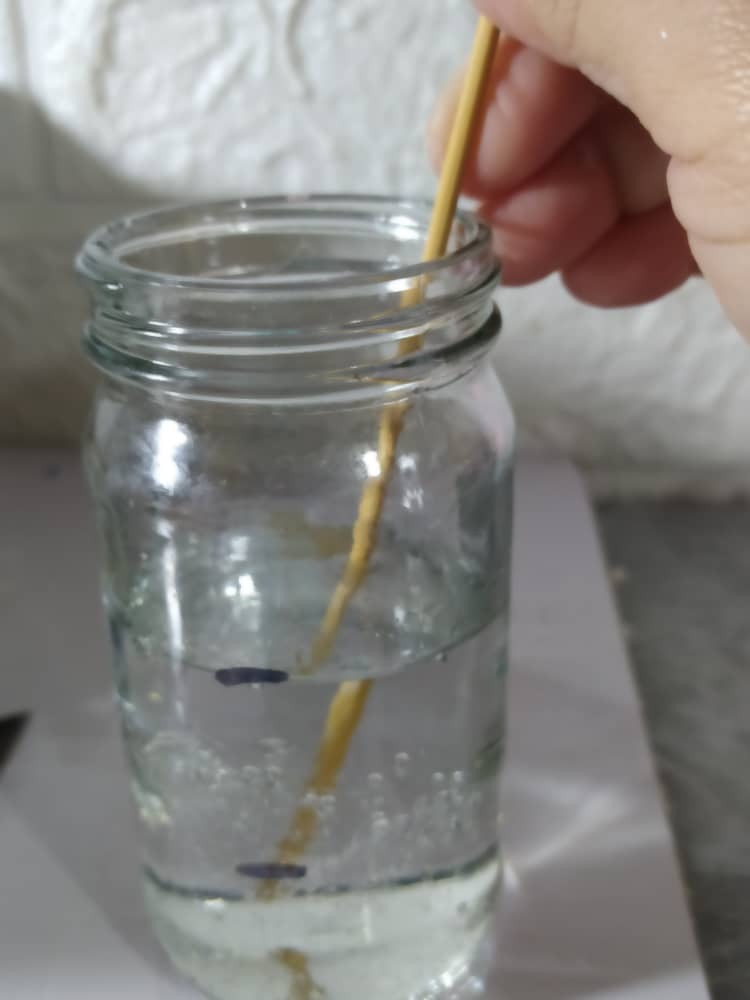
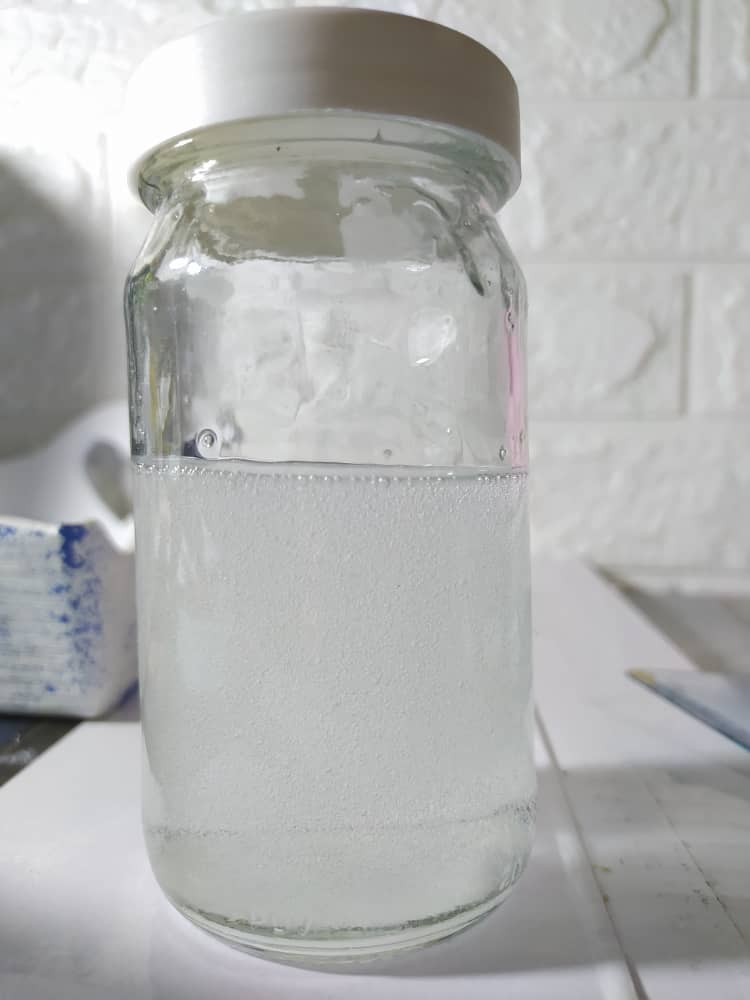
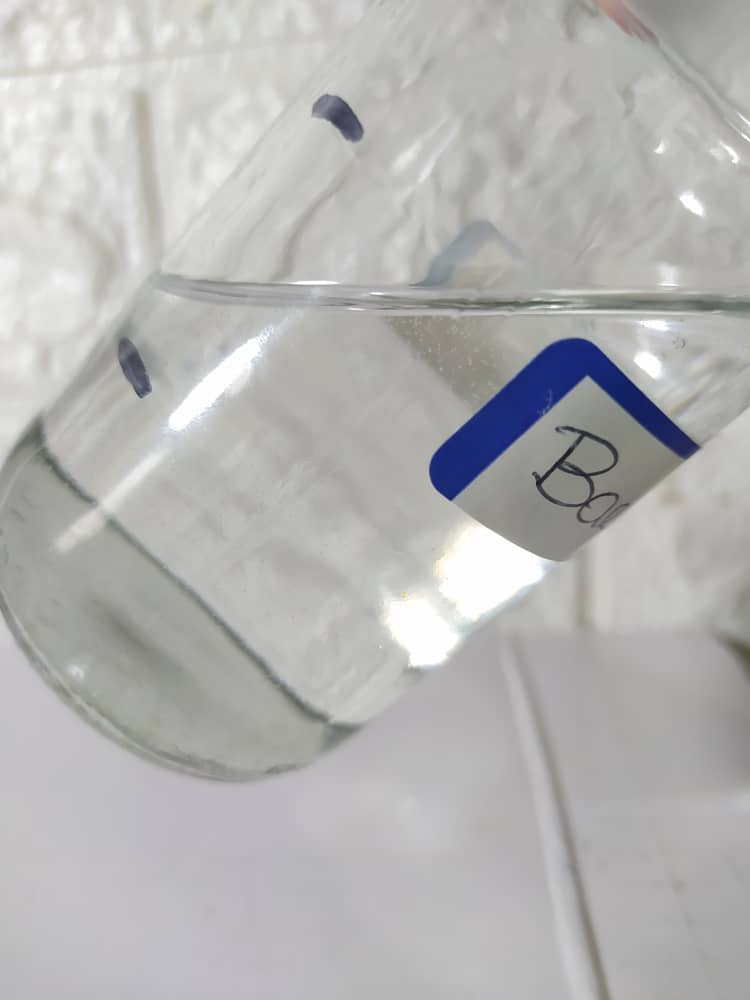
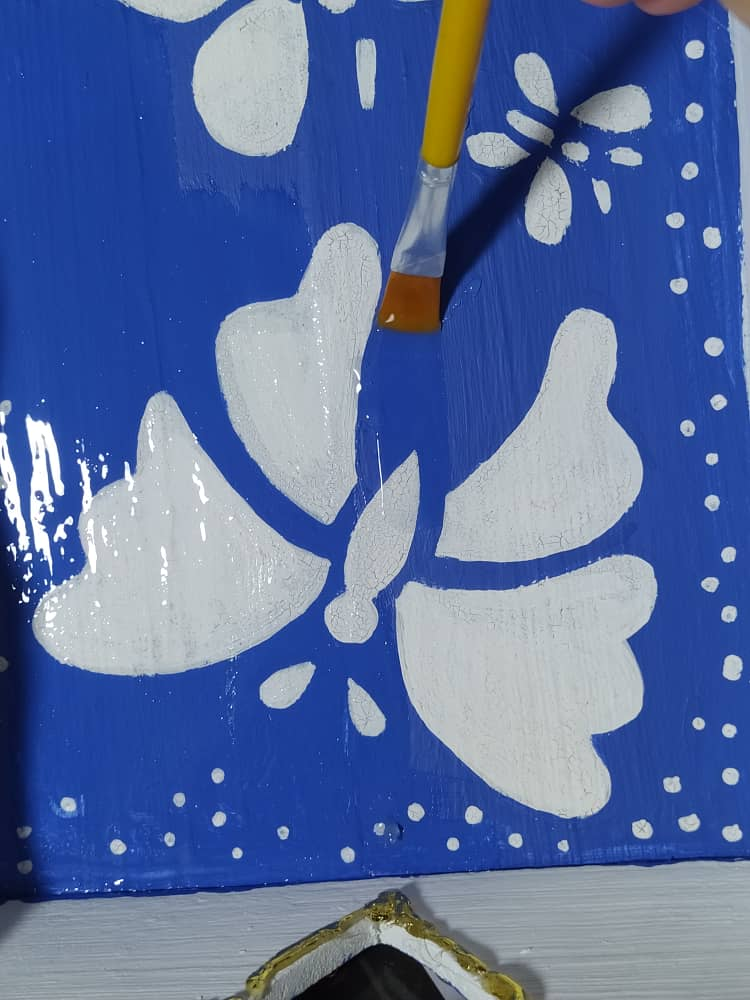
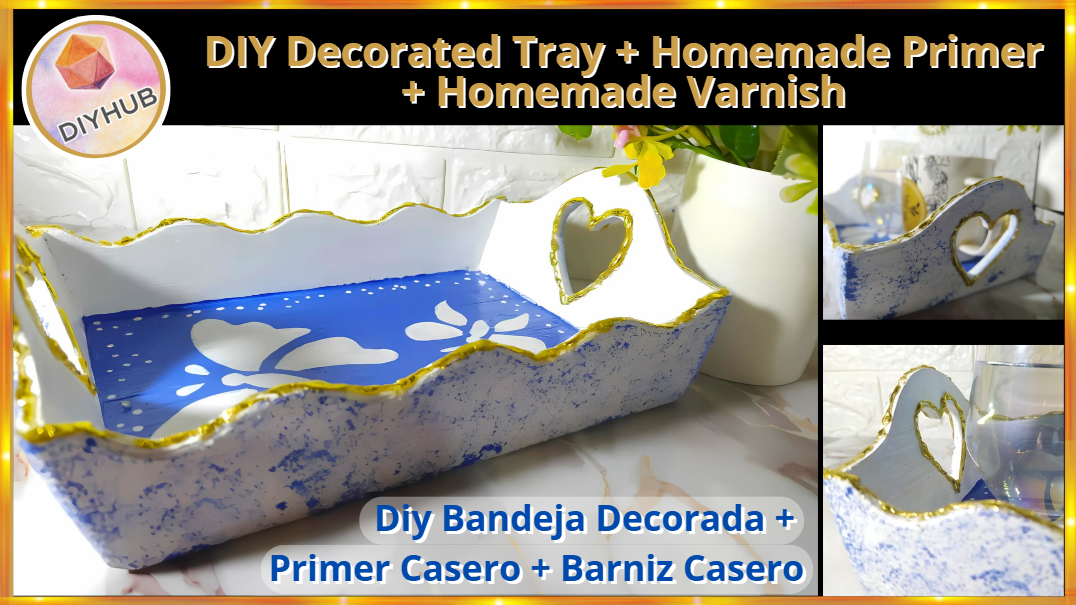
A year or so ago, I bought a wooden tray to decorate, but I'd put it off, although I've used it a lot. I take it to bed with me, my afternoon coffee with milk, when I treat myself to a little rest after a bath, and a full day of work. I also use it on my desk to make sure I don't spill anything on it. I wasn't sure about decorating it because I had to buy some essential materials, like the **Primer** that you apply before painting, and the **Varnish** that you apply after finishing to preserve the work and even make it waterproof. But today, "inspiration" struck me, and I decided to make both materials myself with things I always have around the house, and I loved the process. I want to show you... Welcome.

Hace una año o más, compré una bandeja de madera para decorarla, pero lo había dejado pasar, aunque si que la he usado mucho. Con ella llevo a mi cama, mi café con leche de las tardes, cuando me regalo un ratito a descansar luego de un baño y todo el día de trabajo. También la uso en mi escritorio y así me aseguro de no derramar nada en él. No me decidía a decorarla porque tenía que comprar algunos materiales indispensables como lo son el **Primer** que se coloca antes de pintar, y el **Barniz** que se coloca al finalizar todo para preservar el trabajo e incluso hacerlo impermeabilizante. Pero, hoy me llegó la "inspiración" y **me decidí a hacer ambos materiales yo misma con cosas que siempre tengo en casa**, y me encantó el proceso, les quiero mostrar... Bienvenidos.


EpLhvjKcC38TDQU17pBXFMvz3FZsMU6aHvbsfHyY5Q1uA7BhBRxyZaip6VT52tdPtG4.png

Materiales.png

* Tray * Sandpaper or files * Paintbrush * For the Primer: Cornstarch, white glue, and white paint * Freeze-dried paint and butterfly stencil * Gold foil or leaf and hot silicone * For the Varnish: Liquid silicone, alcohol, and glass container
* Bandeja * Lija o limas * Pincel * Para el Primer: Maicena-Pega blanca y Pintura blanca * Pinturas al frio y esténcil de mariposas * Lámina o Hojas de Oro y Silicón Caliente * Para el Barniz: Silicón Líquido-Alcohol-Envase de vidrio

image.png

image.png

Tutorial.png

🔔 SANDING: The first step is always to sand the piece of wood. I used an acrylic nail file, which is quite coarse or strong, and another regular file with a much finer grit. This allowed me to really smooth or polish the piece. 🔔 CLEANING: The entire piece must be left very clean and dust-free. Likewise, our work area must be very clean.

🔔 LIJAR: Lo primero siempre es lijar la pieza de madera. Yo utilicé una lima de uñas acrílicas que son bastante fuertes o gruesas, y otra lima normal de un grano mucho más fino. Con esto logré realmente alisar o pulir la pieza. 🔔 LIMPIAR: Toda la pieza hay que dejarla bien limpia y libre de polvo. Igualmente, nuestro lugar de trabajo debe quedar muy limpio.

image.png image.png image.png image.png

🔔 HOMEMADE PRIMER: The recipe is very easy. I prepared it on a plastic lid, as I only made a little, enough to form the necessary base for this tray. The recipe is as follows: Two parts White Glue + Two parts XXXX + 1 part Cornstarch. Use the same amount as you want, always in those proportions. Mix very well until everything is combined and homogenized. And that's it, apply a thin layer all over the tray... let it dry for about half an hour; it really dries very quickly. In the GIF, you can see that the tray with all the primer, already dry, doesn't give off anything. This recipe is very good.

🔔 PRIMER CASERO: La receta es muy fácil, yo la preparé sobre una tapa plástica, ya que solo haría un poco, suficiente para dar la base necesaria a esta bandeja. La receta es así: Dos partes de Pega Blanca + Dos partes de XXXX + 1 parte de Maicena. En la medida que sea que quieras hacer, siempre será en esas proporciones. Se mezcla muy bien, hasta que quede todo integrado y homogenizado. Y listo, se aplica una capa fina por toda la bandeja... se deja secar como media hora, realmente seca muy rápido. En el gif puede ver que la Bandeja con todo el Primer, ya seco y no desprende nada, es muy buena esta receta.

image.png image.png image.png

10 GIF.gif

🔔 PAINTING: I used a white cold paint base. I painted some butterflies with a stencil and XXX cold paint. I also used a small sponge to add speckled details—very easy. Let everything dry very well, although it dries quickly, so I used my small fan to help.

🔔 PINTAR: Utilicé una base blanca de pintura al frío. Pinté unas mariposas con una plantilla y pintura al frio XXX. También utilicé una esponja pequeña para dar detalles de moteado, muy fácil. Se deja secar todo muy bien, aunque seca rápido me ayudé de mi ventilador pequeño.

image.png image.png image.png image.png

🔔 GOLD DETAILS: This was an experiment, since I wanted to give it details with the material called GOLD LEAF, but that had a certain relief. So, I used HOT SILICONE, I placed a little hot silicone following an IRREGULAR line, I wait a few seconds for it to start to harden but not completely, since at that moment it is sticky, then I place a piece of the Gold Leaf and remove it, you will see that it sticks and the relief remains as if it were MELTED GOLD.

🔔 DETALLES EN DORADO: Esto fue un experimento, ya que quería darle detalles con el material llamado HOJA DORADA, pero que tuviese un cierto relieve. Entonces, usé SILICÓN CALIENTE, coloqué un poco de silicón caliente siguiendo una línea IRREGULAR, espero pocos segundos a que empiece a ponerse duro pero no del todo, ya que en ese momento está como pegajoso, entonces coloco un pedazo de la Hoja Dorada y retiro, verás que se queda pegado y queda el relieve como si fuese ORO DERRETIDO.

dorado gif.gif

🔔 Homemade Varnish: The recipe is: One part liquid silicone + One part alcohol. In a glass jar, I poured the liquid silicone and marked the top. I measured with a ruler and marked the same amount upwards. I filled it with alcohol to achieve the same amount of liquid silicone. I mixed thoroughly with a stick until smooth. Then, I let it sit for approximately 2 hours to eliminate any bubbles. This is important to avoid creating bubbles in my work. After 2 hours, the mixture looked very clear and transparent, without bubbles. I applied two thin coats over my entire tray (except for the gold, as the alcohol can remove it). This homemade varnish dries very quickly; however, I always use my small fan to help me.

🔔 Barniz Casero: La receta es: Una parte de silicón líquido + Una parte de alcohol. En un frasco de vidrio coloqué el silicón líquido y marqué hasta donde llegó, medí con una regla y marqué esa misma medida hacia arriba, hasta ahí llenaría con alcohol, así logro tener las dos medidas iguales. Mezclo muy bien con un palito, hasta homogenizar. Luego, dejo reposar 2 horas aproximadamente, para que se eliminen las burbujas, esto es importante para no colocar burbujas en el trabajo. Después de las 2 horas, la mezcla se ve muy clara y transparente, sin burbujas. Apliqué dos capas finas sobre toda mi Bandeja (Menos sobre el dorado, porque lo puede quitar al tener alcohol) Este Barniz casero se seca muy rápido, de todas formas siempre me ayudo de mi ventilador pequeño.

image.png image.png image.png image.png

Why did I put so much love into this tray? Because it's for me, because I've been using it a lot for a long time, and even though it's very useful, I hadn't given it any love. These details remind me to do crafts. There really was no excuse not to have something beautiful that I use so much. 🔔 The HOMEMADE PRIMER and 🔔 The HOMEMADE VARNISH are two materials I loved making. I only made what I needed with the primer, but I still had plenty left over with the varnish. Now I've stored it very well, tightly closing the lid and even wrapping it with plastic wrap to ensure no air gets in. I recommend them 100%.

¿Por qué le puse tanto amor a esta Bandeja? Porque es para mí, porque la uso mucho desde hace tiempo y aunque es muy útil no le había dado amor, detalles que me recuerdan que haga manualidades. Realmente no había justificación para no tener algo lindo que uso tanto. 🔔 El PRIMER CASERO y 🔔 El BARNIZ CASERO son dos materiales que amé hacerlos, el Primer solo hice lo que necesitaba, pero el Barniz me quedó mucho todavía, ahora lo guardé muy bien, cerrando bien la tapa y envolví incluso con plástico de cocina, para garantizar que no le entre aire. Los recomiendo al 100%

!https://images.ecency.com/DQma2TZsqjkX2uQK8X8G1S5pSuDP7P2hCfe9T4RAFK9uezd/image.png

I hope you enjoyed this tutorial. I loved it. I'm still using it, and now I can't imagine it any other way. I don't know why I kept it so basic and bare for so long. We have to put love into our objects because that contributes to our well-being, to having beautiful things that we make ourselves.

Deseo que les haya gusta este Tutorial, a mi me encantó, la estoy usando y ahora no la concibo de otra forma, no se por qué la usé tan básica y desnuda tanto tiempo. Hay que ponerle amor a nuestros objetos porque eso suma en nuestro bienestar, tener cosas lindas y hechas por nosotras o nosotros mismos.


I took the photos with my phone Redmi Note 8 Apps I used: Canva Pro for Cover, Collage and Banners

I used Deepl Translator

My social networks: Discord: YennysYaneth#0189 Twitter: @yennysferm Instagram: @yennysyaneth


Las fotos las tomé con mi teléfono Redmi Note 8
Apps que utilicé: Canva Pro para la Portada, Collage y Banners

Utilicé el Traductor Deepl

Mi redes sociales:
Discord: YennysYaneth#0189
Twitter: @yennysferm
Instagram: @yennysyaneth

#hive-189641 #diy #diyhub #spanish #manualidades #handmade #bandeja #ecency #neoxian
Payout: 8.289 HBD
Votes: 263
More interactions (upvote, reblog, reply) coming soon.