DIY FRIDGE MAGNET - Diy Imán para nevera HALLOWEEN

@yennysferm71 · 2025-10-20 01:11 · DIYHub

image.png

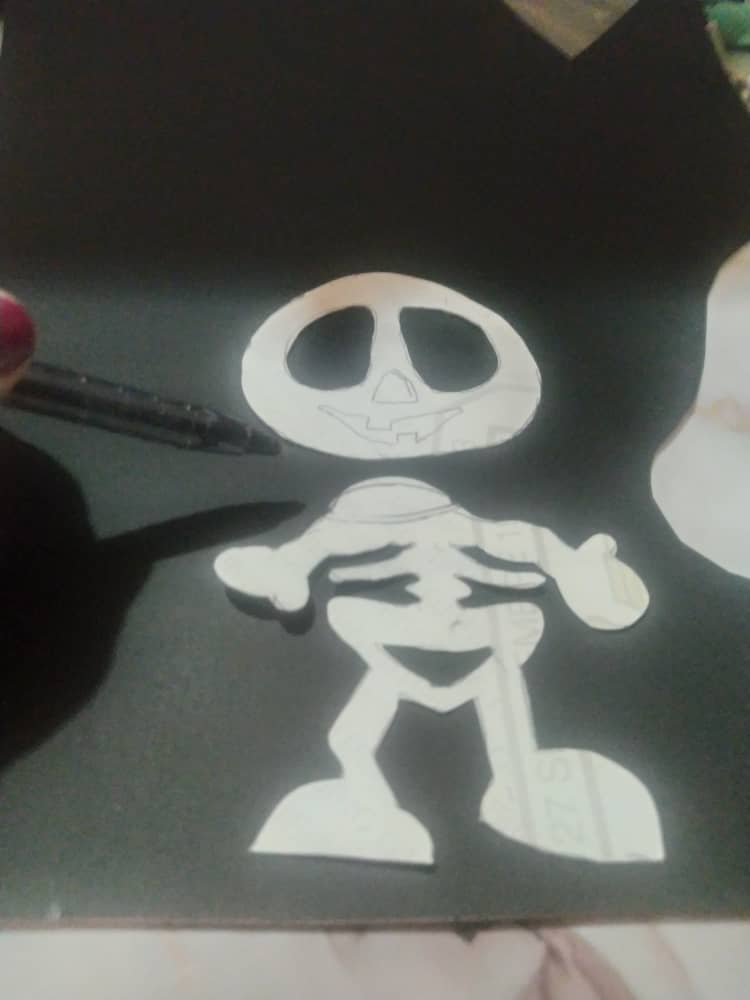
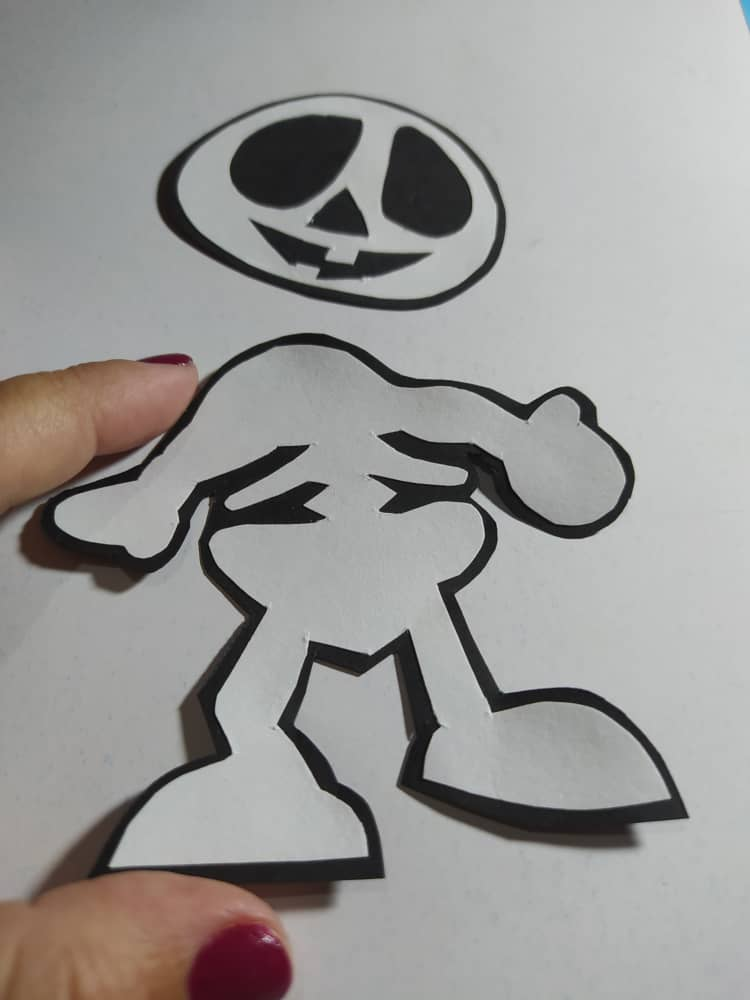
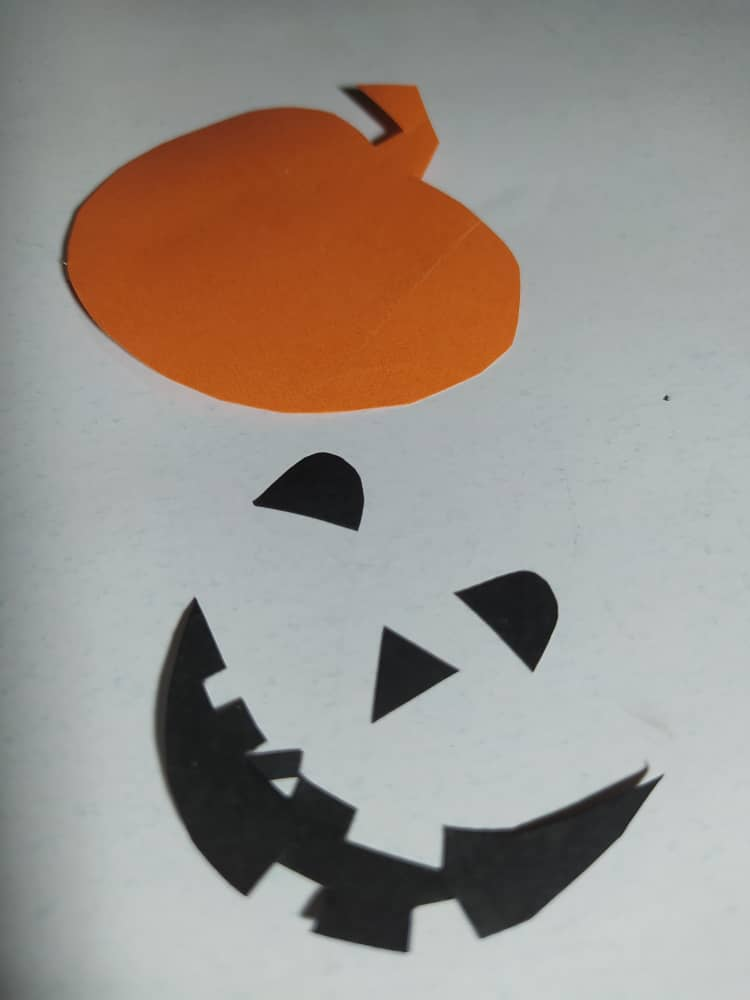
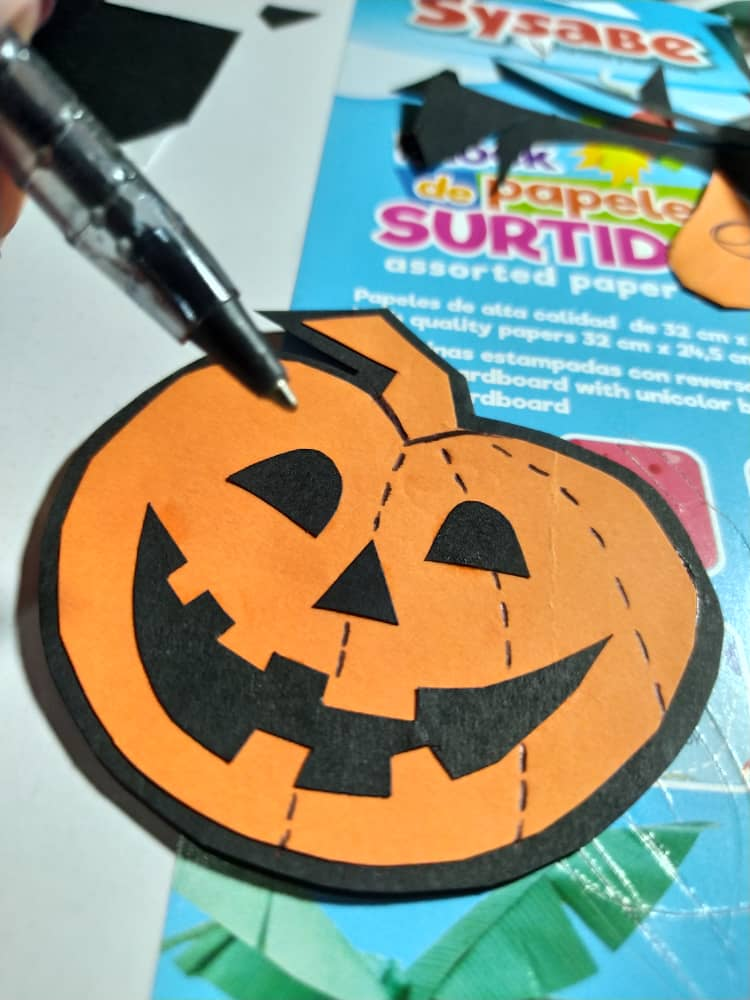
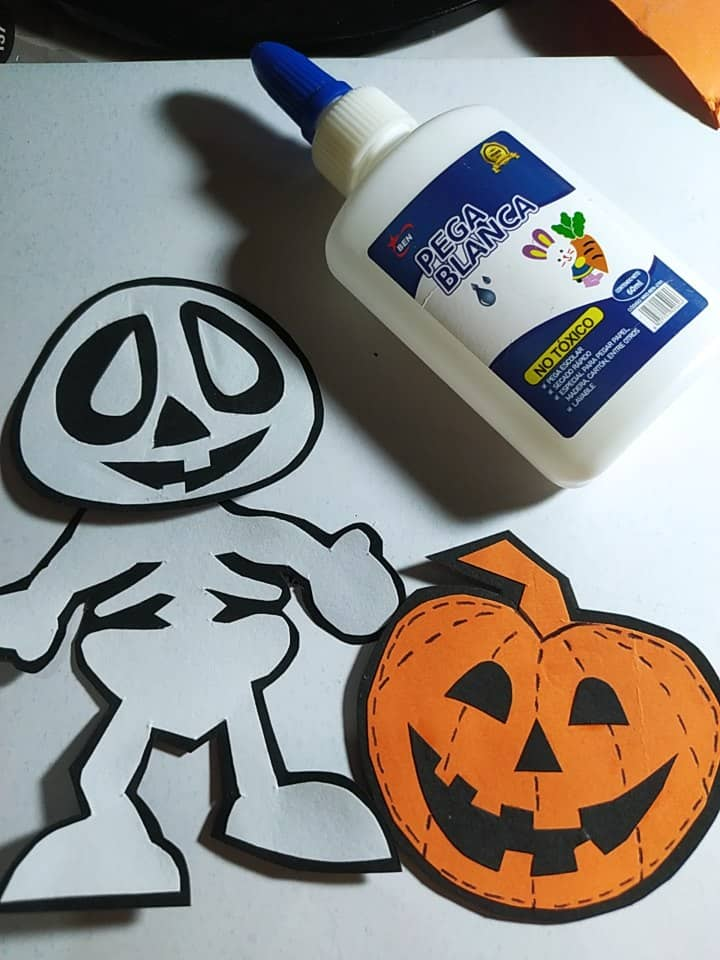
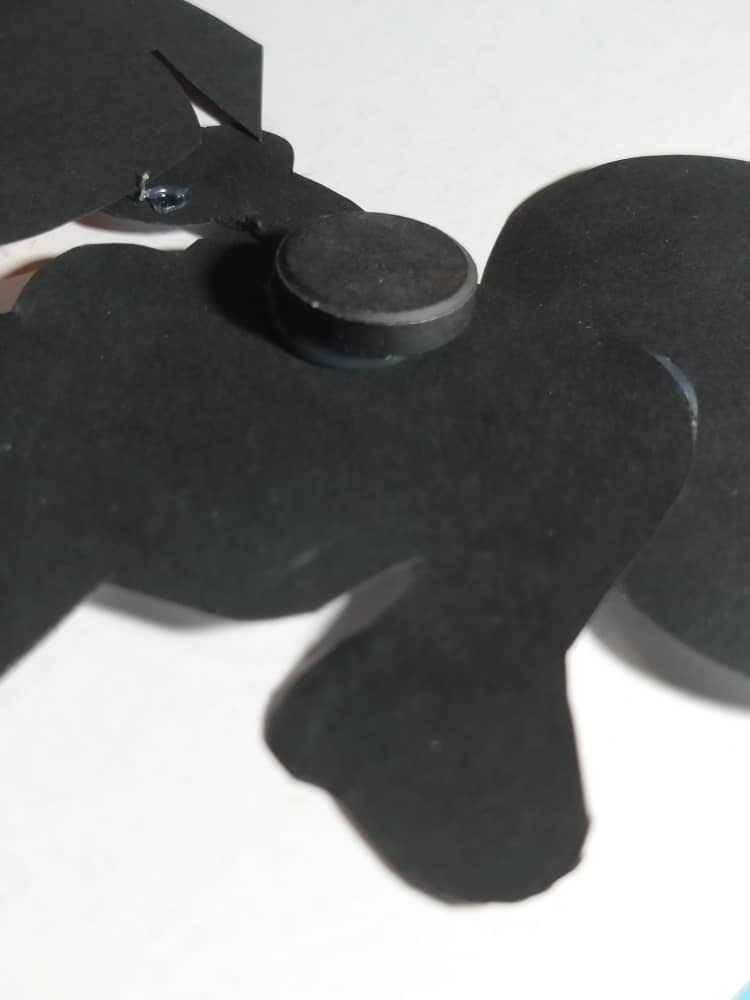
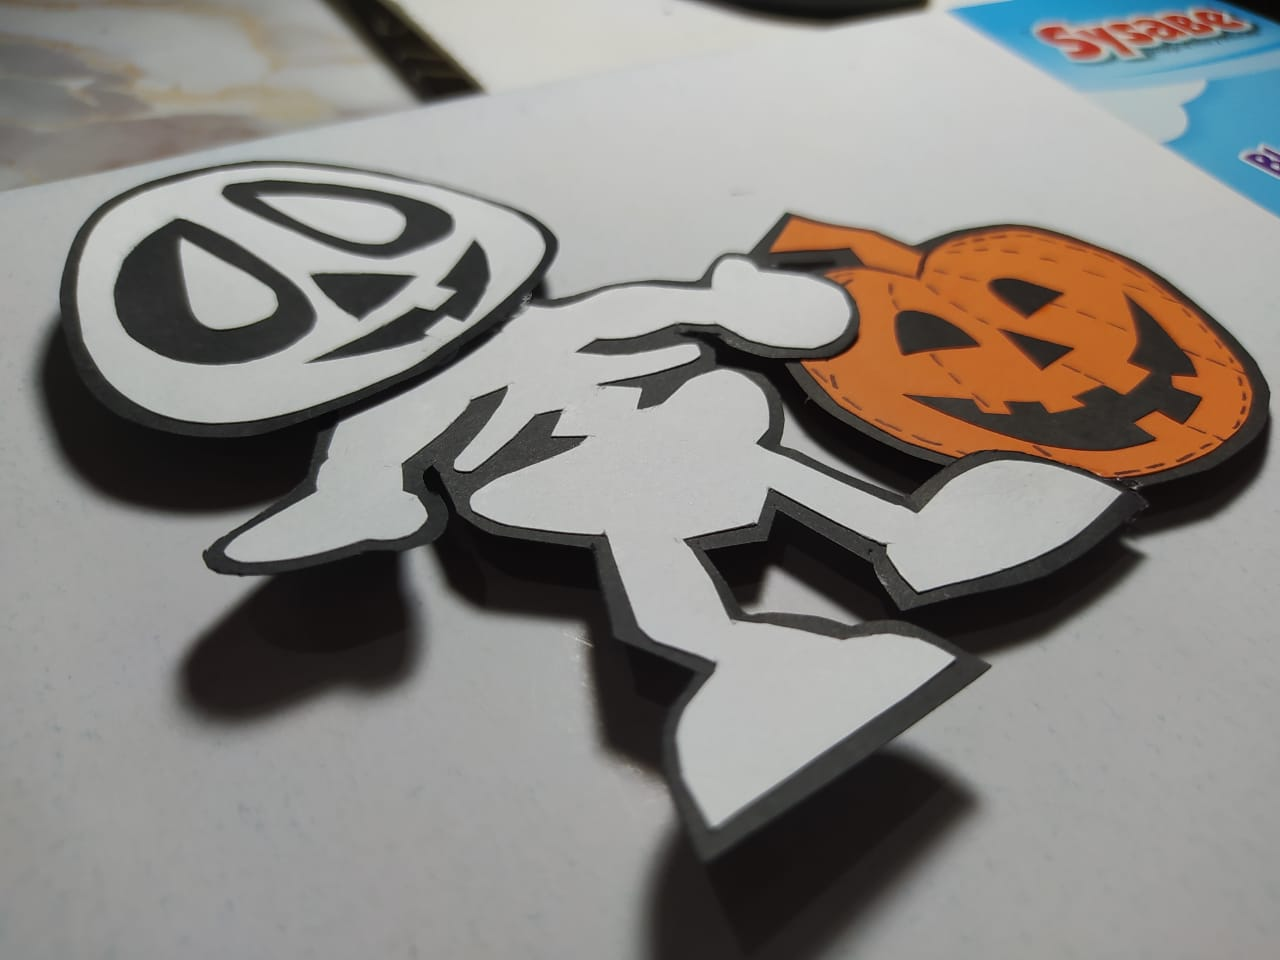
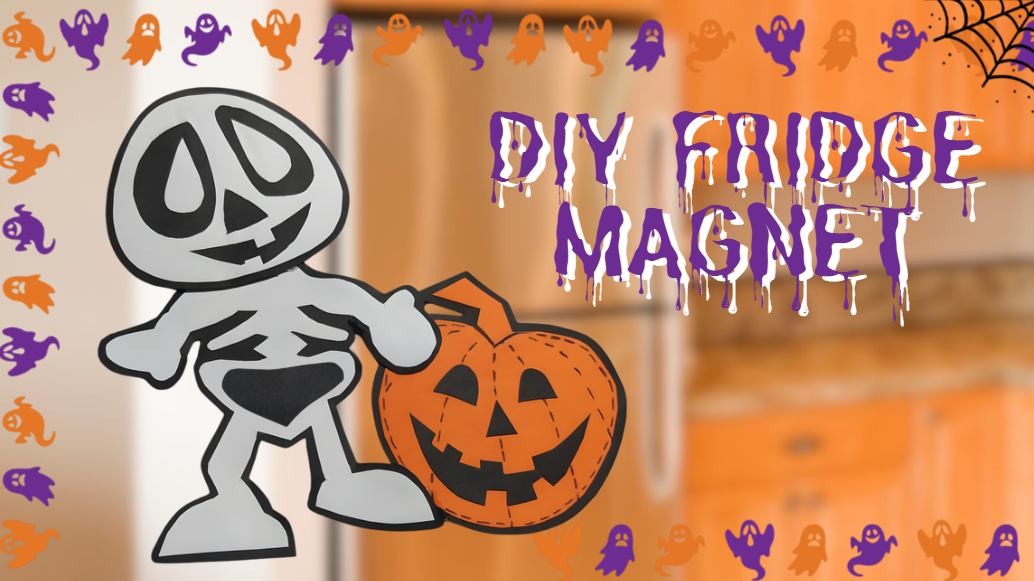
The kitchen is one of the places in my house where I spend the most time, and I wanted to give it a fun Halloween-themed touch, without having to really intervene. Just a few details that give the family an excuse to laugh a little and allow everyone to make their own and display it on the fridge. Today I wanted to make a Halloween skeleton, a somewhat cartoonish version, next to a pumpkin. The materials were simply cardboard, glue, and of course, a magnet to hang it on the fridge. Here's the tutorial... Welcome.

La cocina es uno de los lugares de mi casa donde paso la mayor parte del tiempo, y quería darle un toque divertido sobre la temática de Halloween, sin tener que intervenirla realmente, solo algunos detalles que permita a la familia una excusa para reír un poco y que cada uno pueda hacer el suyo y exhibirlo en la nevera. Hoy quise hacer un esqueleto de Halloween, con una versión algo caricaturesca y junto a una calabaza. Los materiales son simplemente cartulina, pega y por supuesto que un imán, para ubicarlo en la nevera, y aquí les dejo el tutorial... Bienvenidos.


Materiales.png

* White, black, and orange cardstock. * White school glue. * Scissors, pen, and paper to make the design. * Magnet.
* Cartulina blanca, negra y naranja. * Pega escolar blanca. * Tijera, bolígrafo y hoja para hacer el diseño. * Imán.


Tutorial.png

First, I designed the skeleton on a recycled sheet of paper, separating the head and body, and cut it out. I cut a rectangle out of white cardstock and cut out the body and head shapes separately. Then, I glued the white cardstock shapes onto other pieces of black cardstock using white school glue, and cut them out to leave a border around the entire shape.

Primero hice el diseño del esqueleto en una hoja reciclada, lo hice con la cabeza y el cuerpo separado, y lo recorté. Corté una rectángulo en cartulina blanca, y recorté las figuras del cuerpo y cabeza igualmente por separado. Luego, pego con pega blanca escolar, las figuras de cartulina blanca sobre otras piezas de cartulina negra, y recorto de manera que ir dejando un borde alrededor de toda la figura.

image.png image.png image.png image.png

Now I add the details to the eyes, just to make them more interesting, two pieces of white cardboard with a shape somewhat resembling a drop of water, and I place them in the eye socket.

Ahora agrego los detalles en los ojos, solo para hacerlos más interesantes, dos trozos de cartulina blanca con una forma algo parecida a una gota de agua, y los ubico en la órbita de los ojos.

image.png image.png image.png

For the Halloween pumpkin, I also drew it on a leaf and cut it out of orange cardstock. This time, I cut the eyes, nose, and mouth out of black cardstock because I think it's easier to manipulate, although you can do it this way or like I did for the skeleton. I also glued everything together and then glued it to a piece of black cardstock to leave a border around it. One last detail is to add dotted lines to the pumpkin.

Para la calabaza de Halloween, igualmente la dibujé en una oja y la recorté en cartulina de color naranja. En esta ocasión corté los ojos, nariz y boca en cartulina negra, porque creo que es más fácil de manipular, aunque se puede hacer de esta forma o como hice en el esqueleto. También pegué todo y lo pegué luego en una pieza de cartulina de color negro para dejar un borde alrededor. Un último detalle es hacerle una líneas punteadas a la calabaza.

image.png image.png image.png image.png

I glued the skeleton and pumpkin pieces together with white glue so they're a single piece. The magnet I have is the perfect size for this type of craft, and you can attach it to the design with just the same white glue. Since it's paper, it will stick to the magnet on the back without any problem. Just let it dry thoroughly.

Pegué con pega blanca, las piezas del esqueleto y la calabaza para que sean una sola pieza. El imán que tengo es de un tamaño ideal para este tipo de manualidades, y solo con la misma pega blanca se puede unir al diseño, ya que al ser papel se pegará sin problema al imán, por el reverso, solo hay que dejar secar muy bien.

image.png image.png image.png

Here's the Halloween Skeleton and Pumpkin magnet. I loved it, and it looks prettier in person than in the photos. The black background is essential to make the Halloween design stand out, and the skeleton and pumpkin's expressions are so fun and cheerful.

Aquí está listo el imán de Esqueleto y Calabaza de Halloween, me encantó, y en persona se ve más lindo que en las fotos. El fondo negro es sumamente necesario para destacar más el diseño de Halloween, y la expresión del esqueleto y de la calabaza son muy divertidas y alegres.

image.png

I hope you'll be inspired to make your own personalized refrigerator magnets. They can be made with materials as simple as cardboard; the important thing is the design and color combination. We can also try other materials like foam or flexible clay, which I will experiment with in future projects.

Deseo que se animen a hacer sus figuras personalizadas con imán para la nevera, se pueden hacer con materiales tan sencillo como la cartulina, lo importante es el diseño y la combinación de colores. También podemos probar con otros materiales como foami o masa flexible, con los cuales probaré en futuros y próximos proyectos.


Banner Yennys (1).png

I took the photos with my phone Redmi Note 8 Apps I used: Canva Pro for Cover, Collage and Banners

I used Deepl Translator

My social networks: Discord: YennysYaneth#0189 Twitter: @yennysferm Instagram: @yennysyaneth


Las fotos las tomé con mi teléfono Redmi Note 8
Apps que utilicé: Canva Pro para la Portada, Collage y Banners

Utilicé el Traductor Deepl

Mi redes sociales:
Discord: YennysYaneth#0189
Twitter: @yennysferm
Instagram: @yennysyaneth

#hive-189641 #ecency #halloween #craft #handmade #magnet #imanparanevera #decoracion #cocina
Payout: 0.000 HBD
Votes: 322
More interactions (upvote, reblog, reply) coming soon.