Diy Marca Páginas transparentes y enmarcados en cartulina / DIY Transparent and Framed Bookmarks on Cardstock

@yennysferm71 · 2025-07-01 06:19 · Hive Diy

Portada.gif

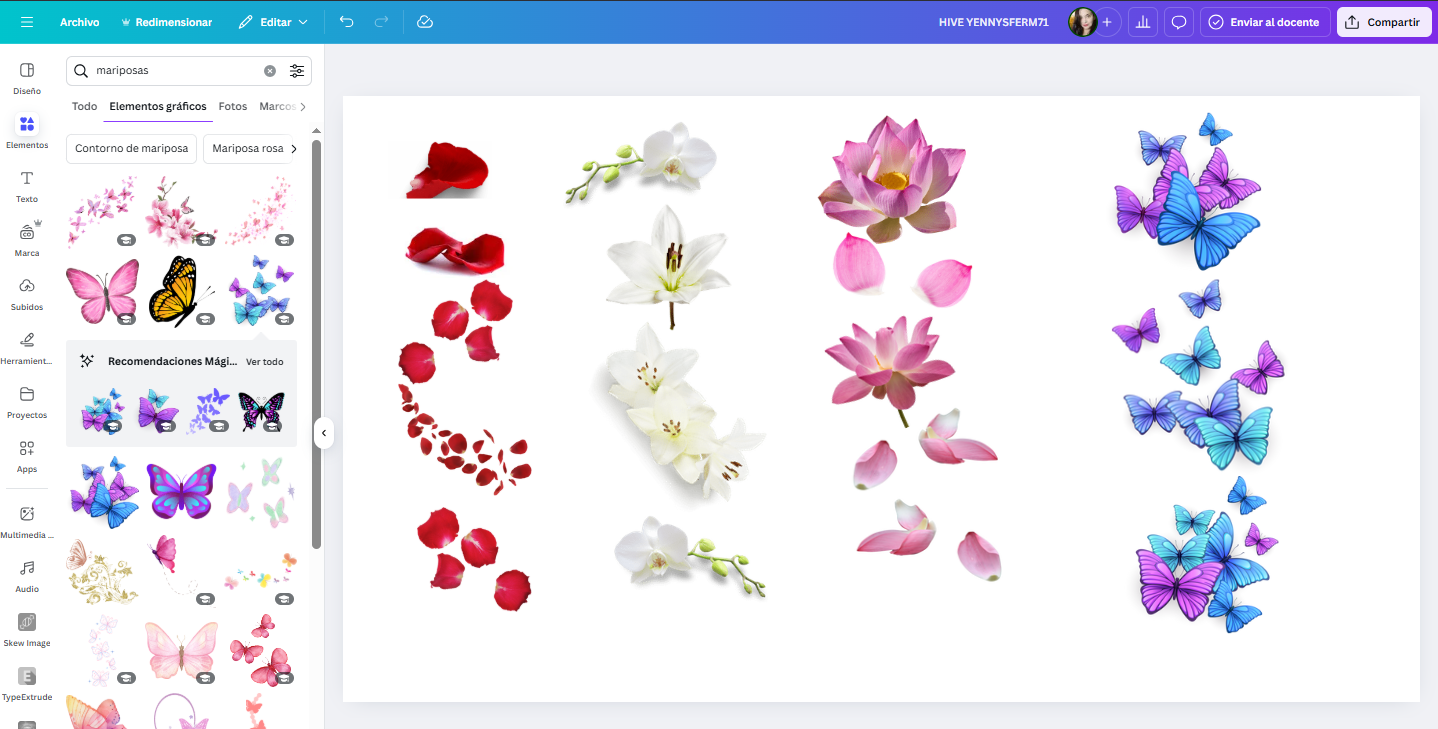
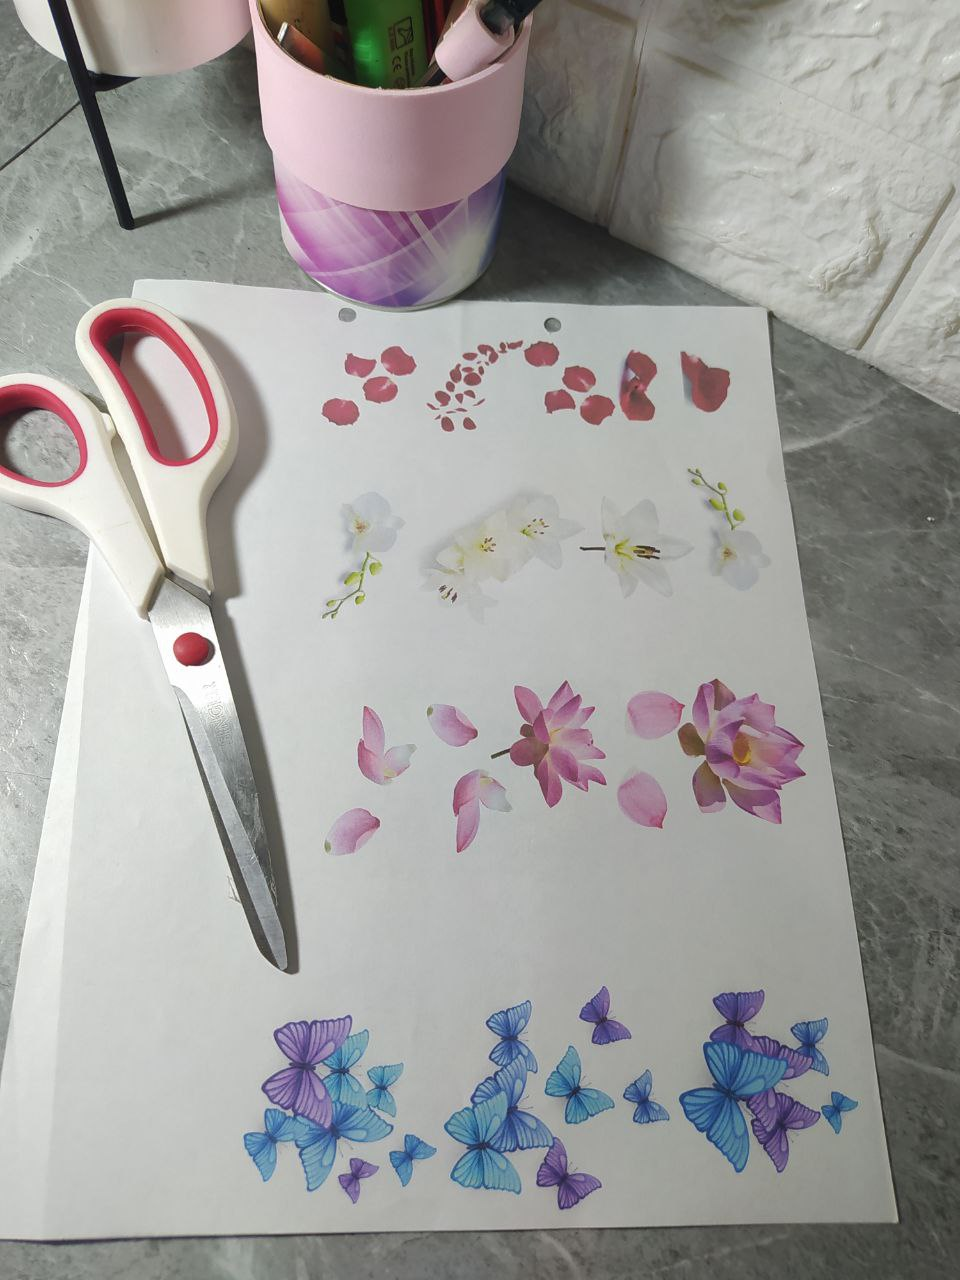
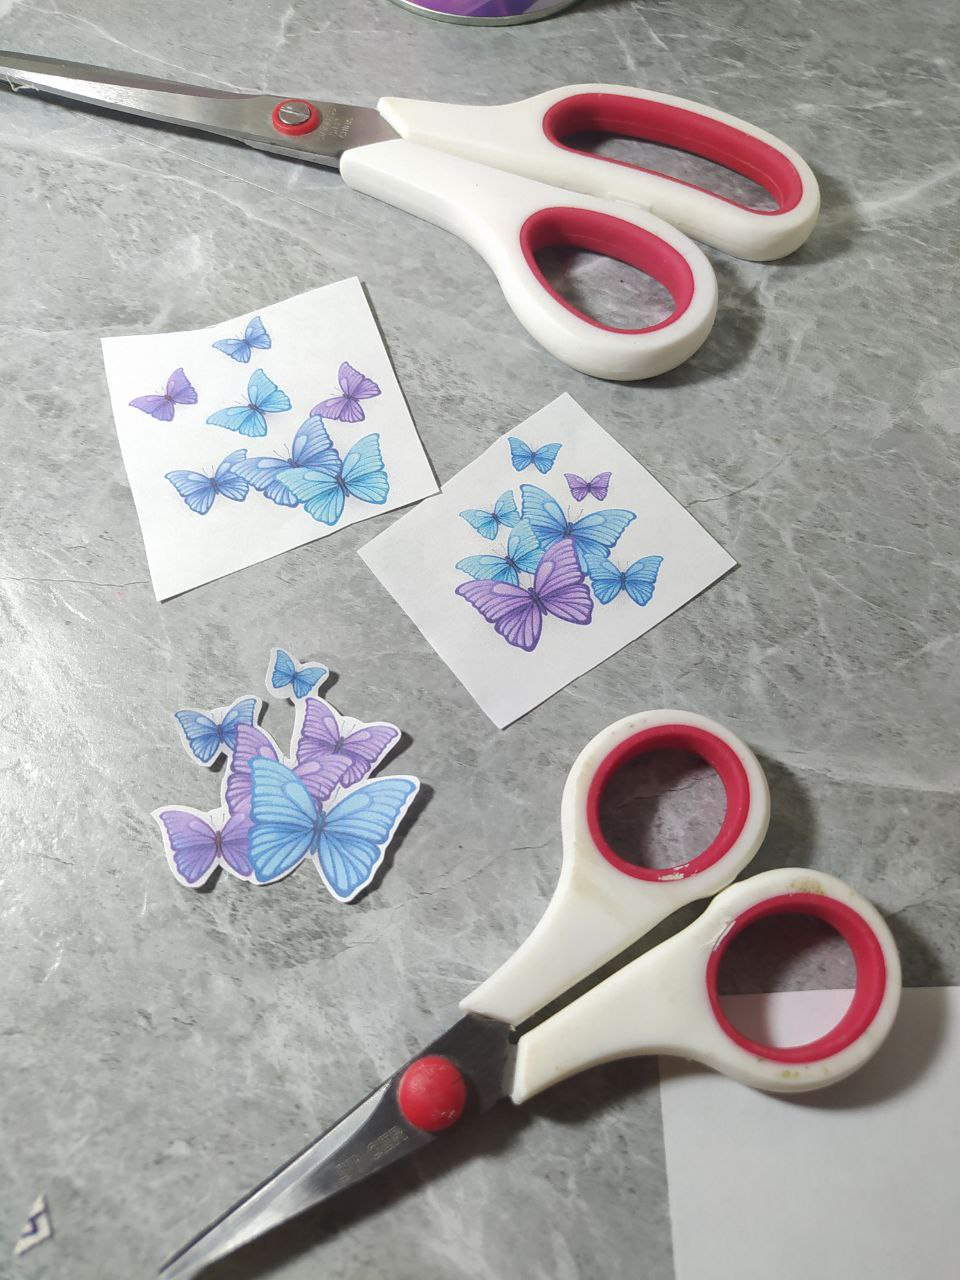
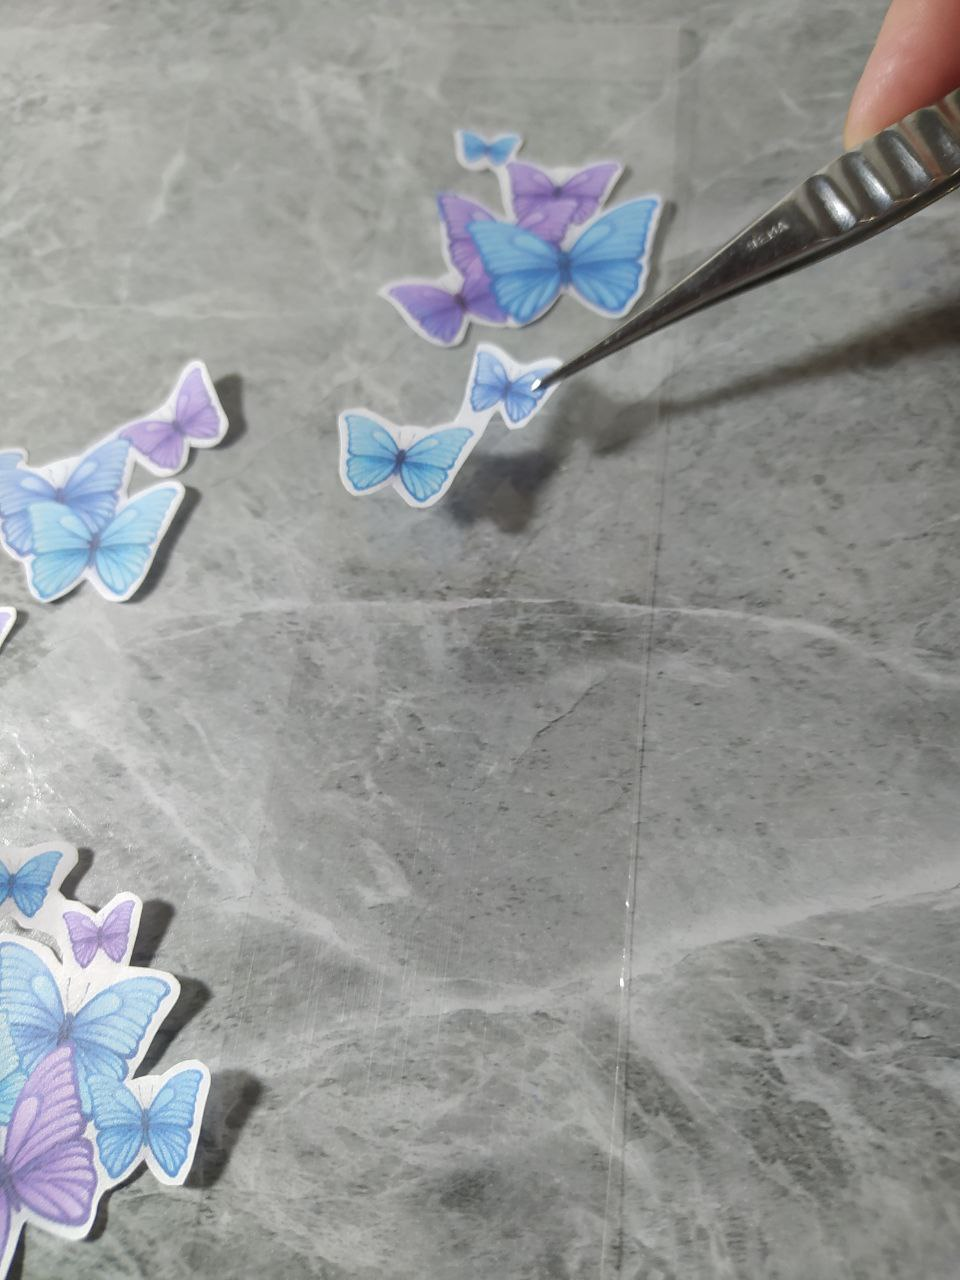
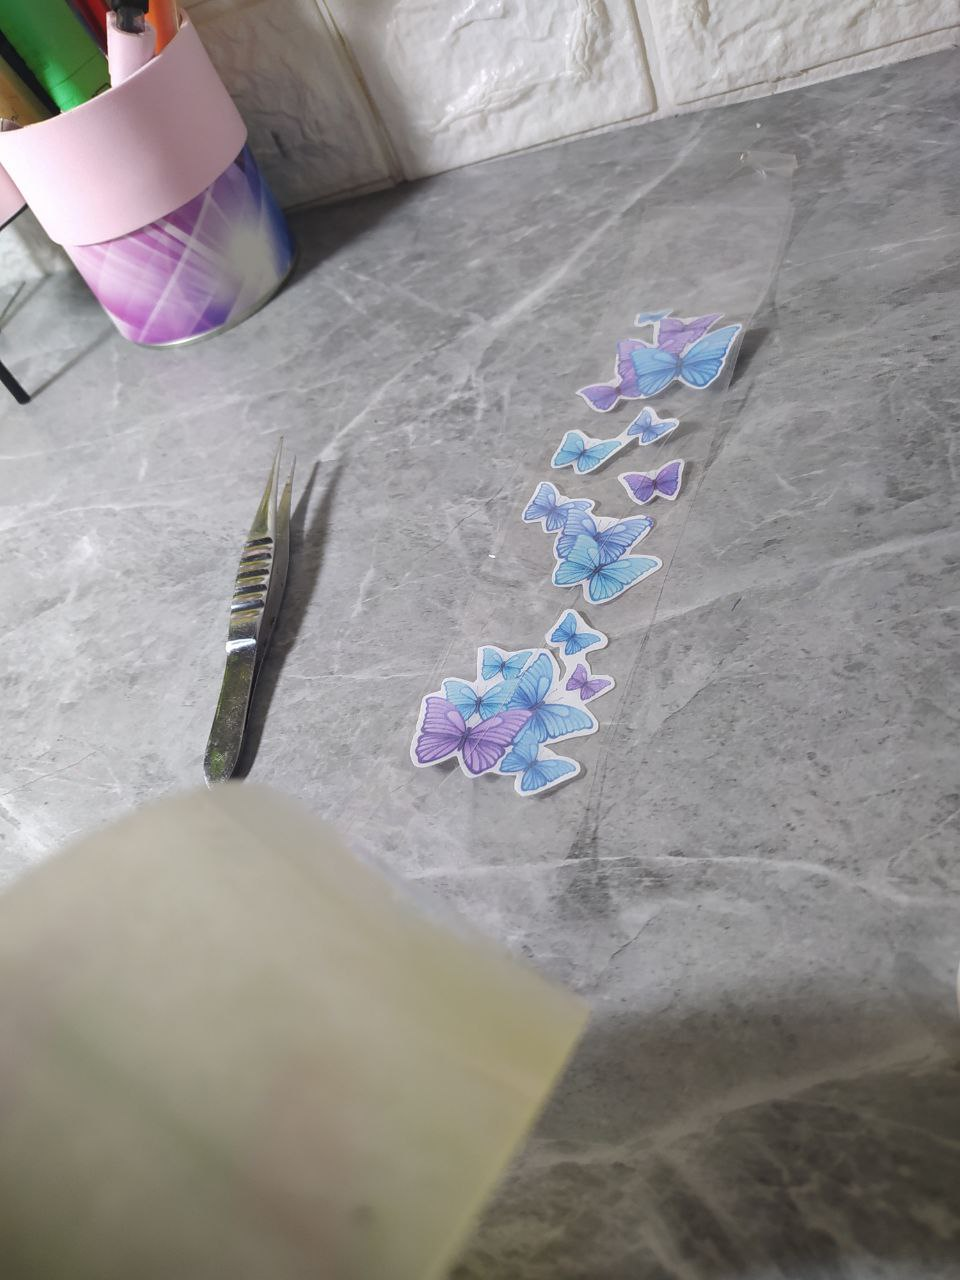
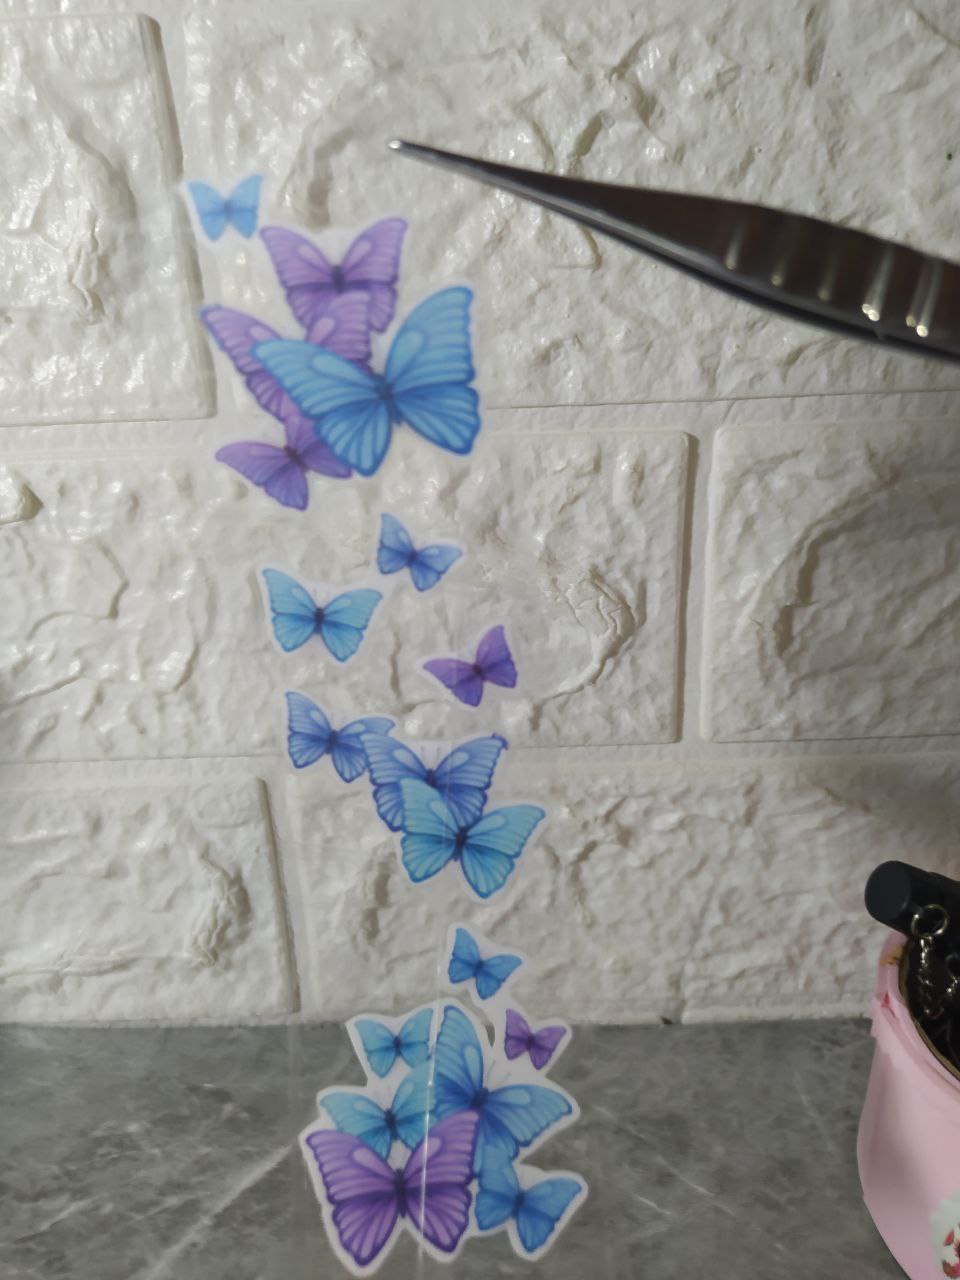
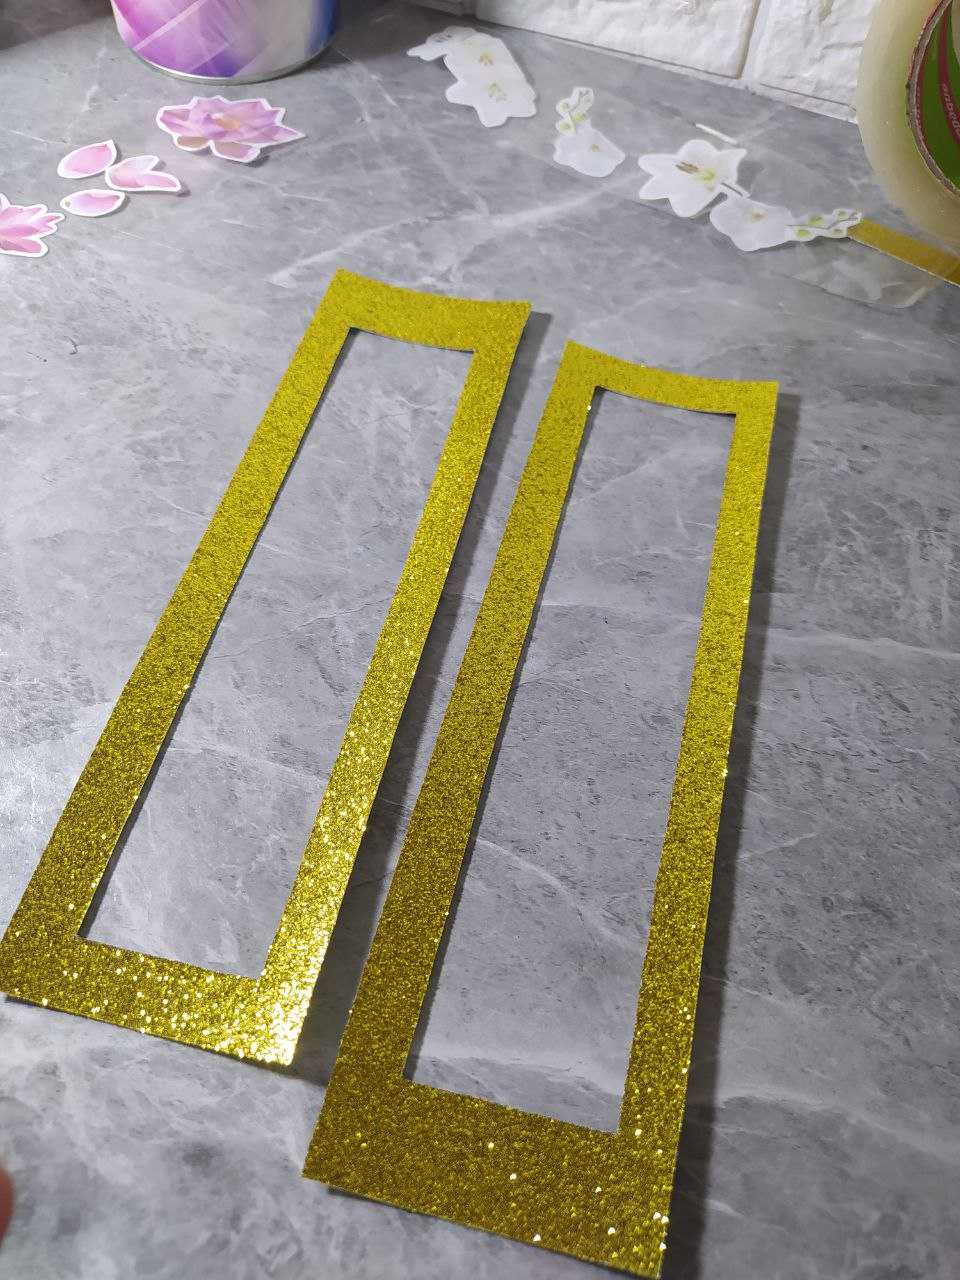
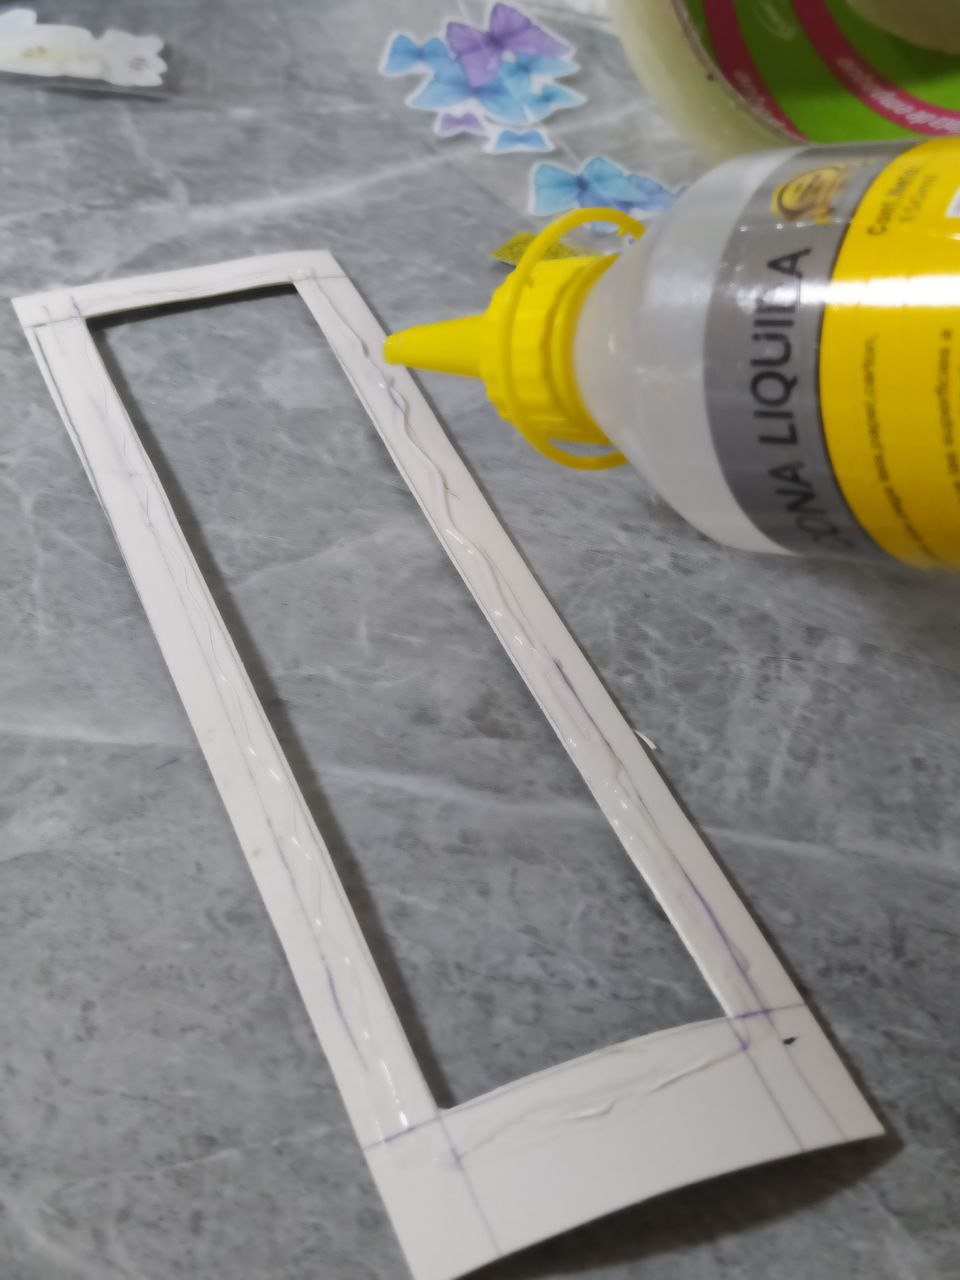
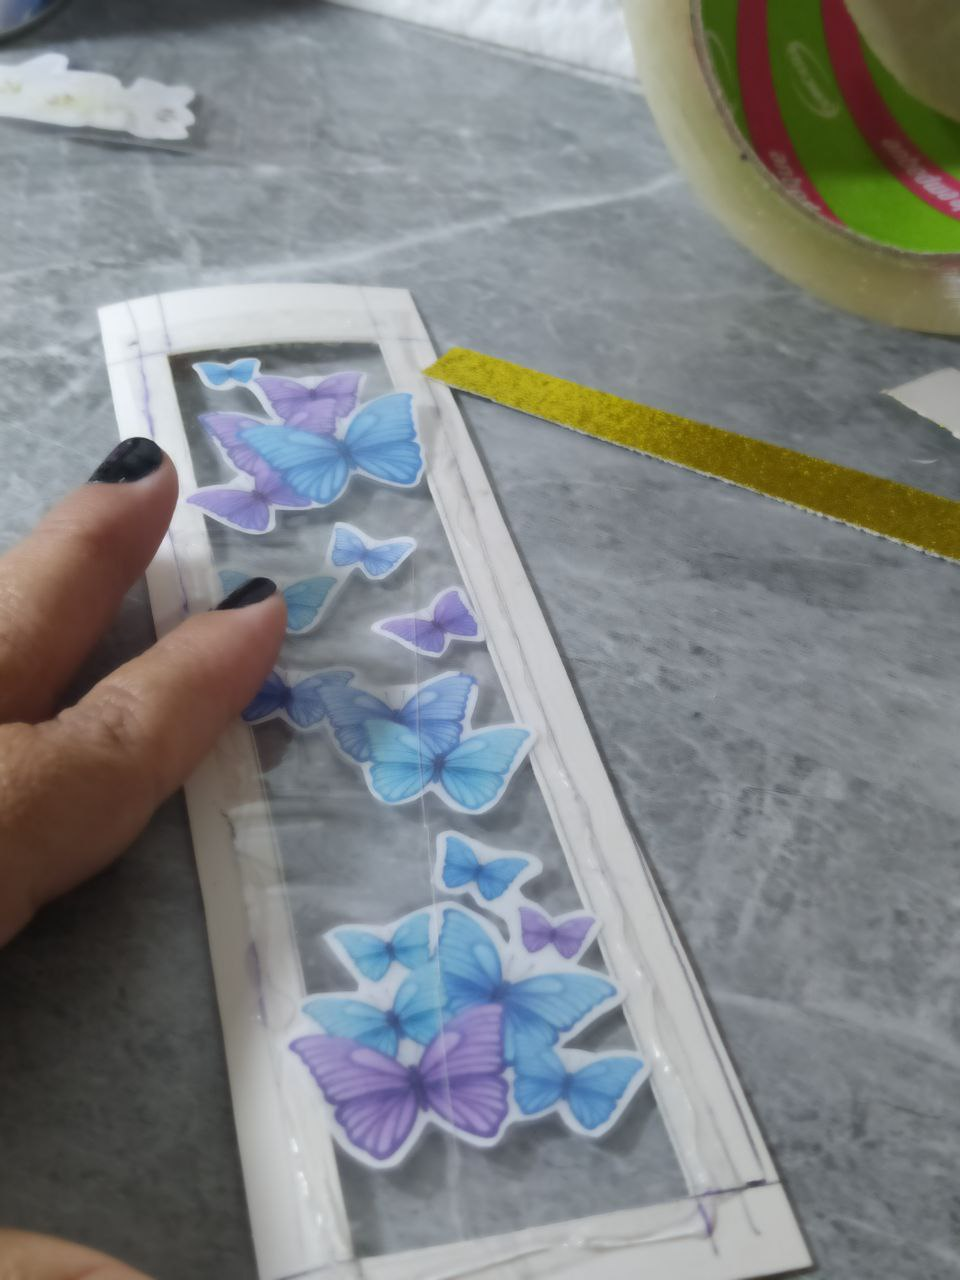
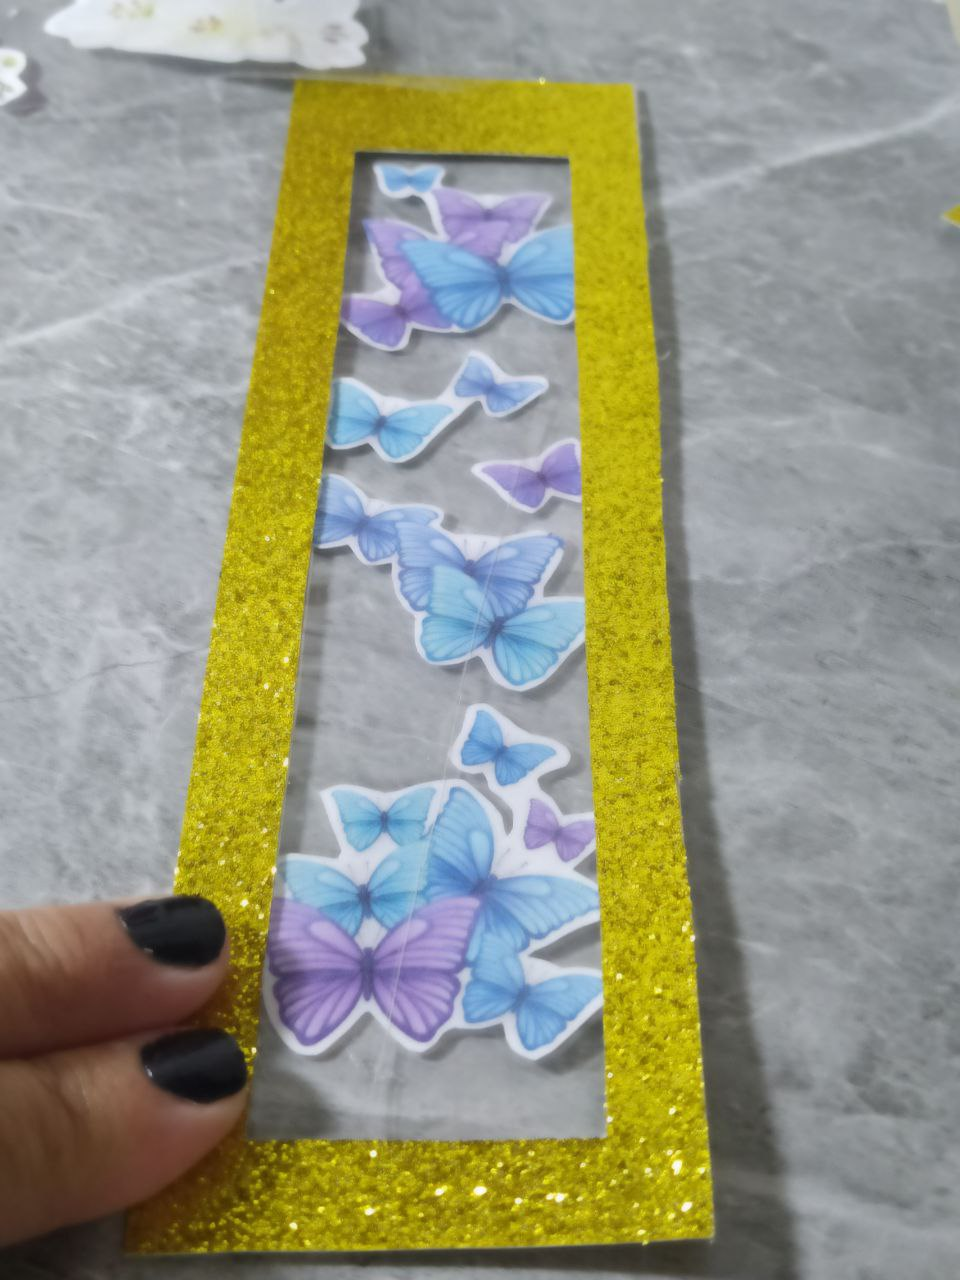
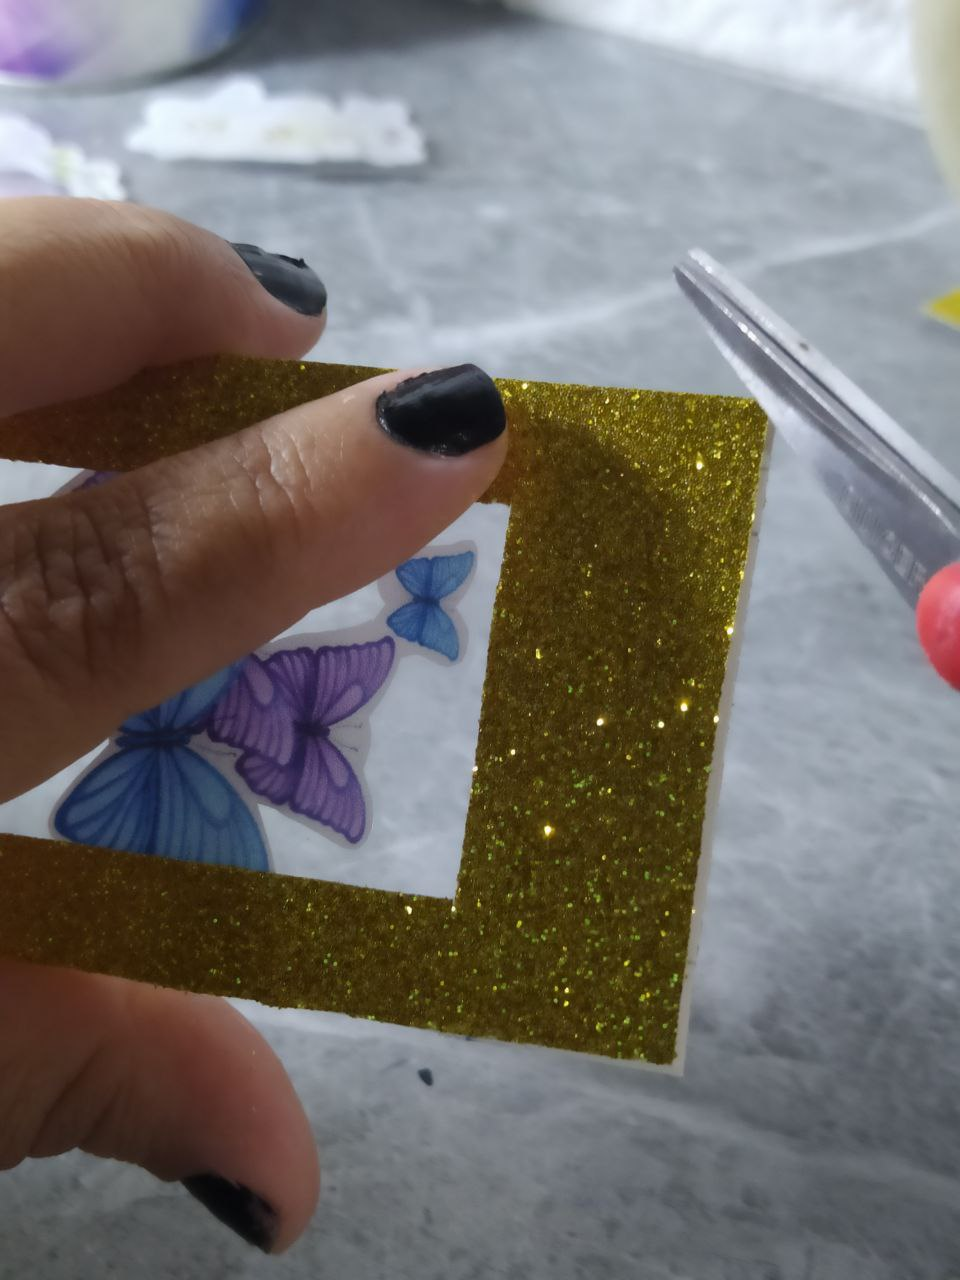
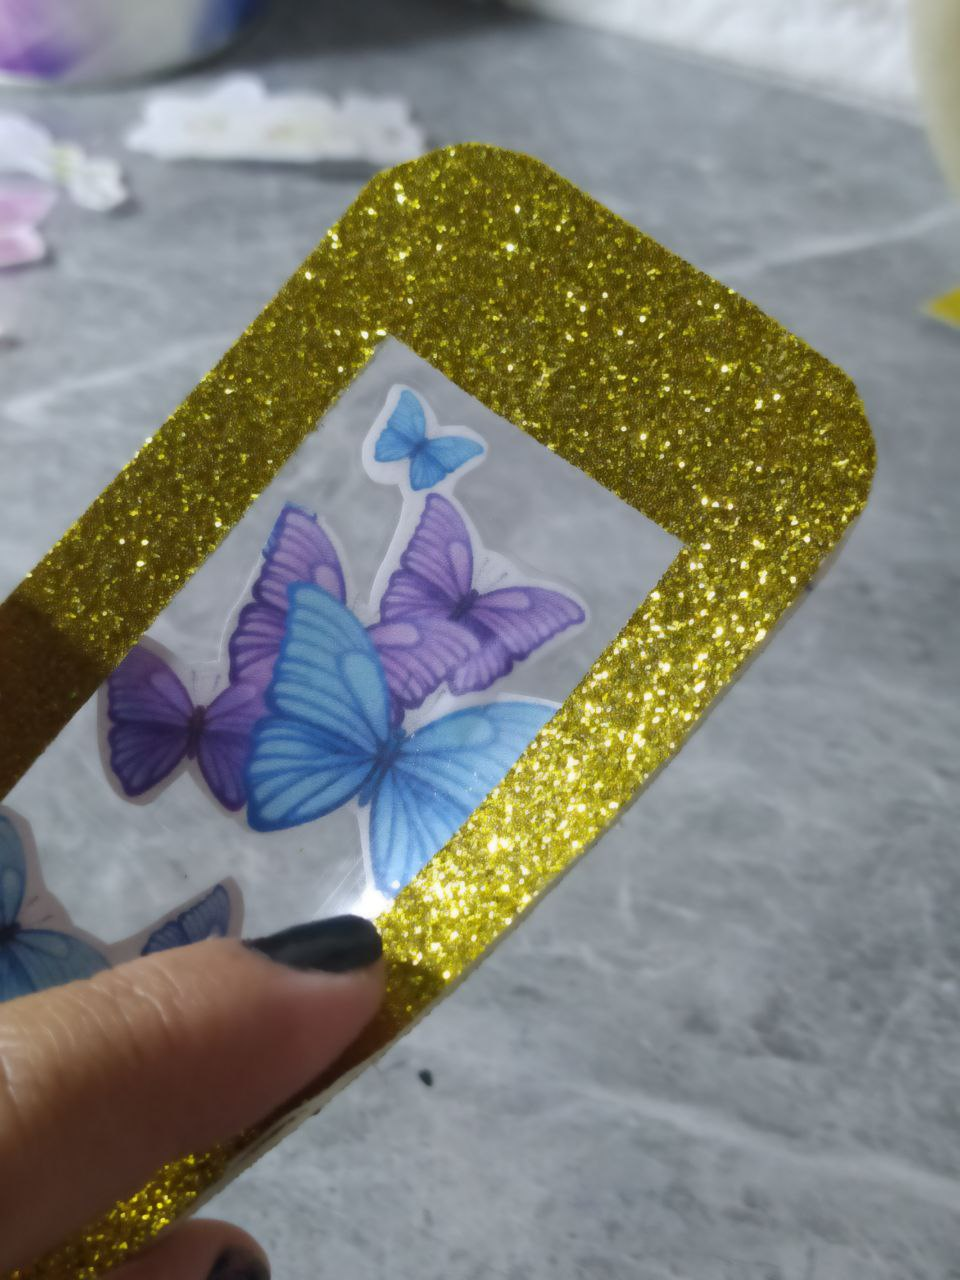
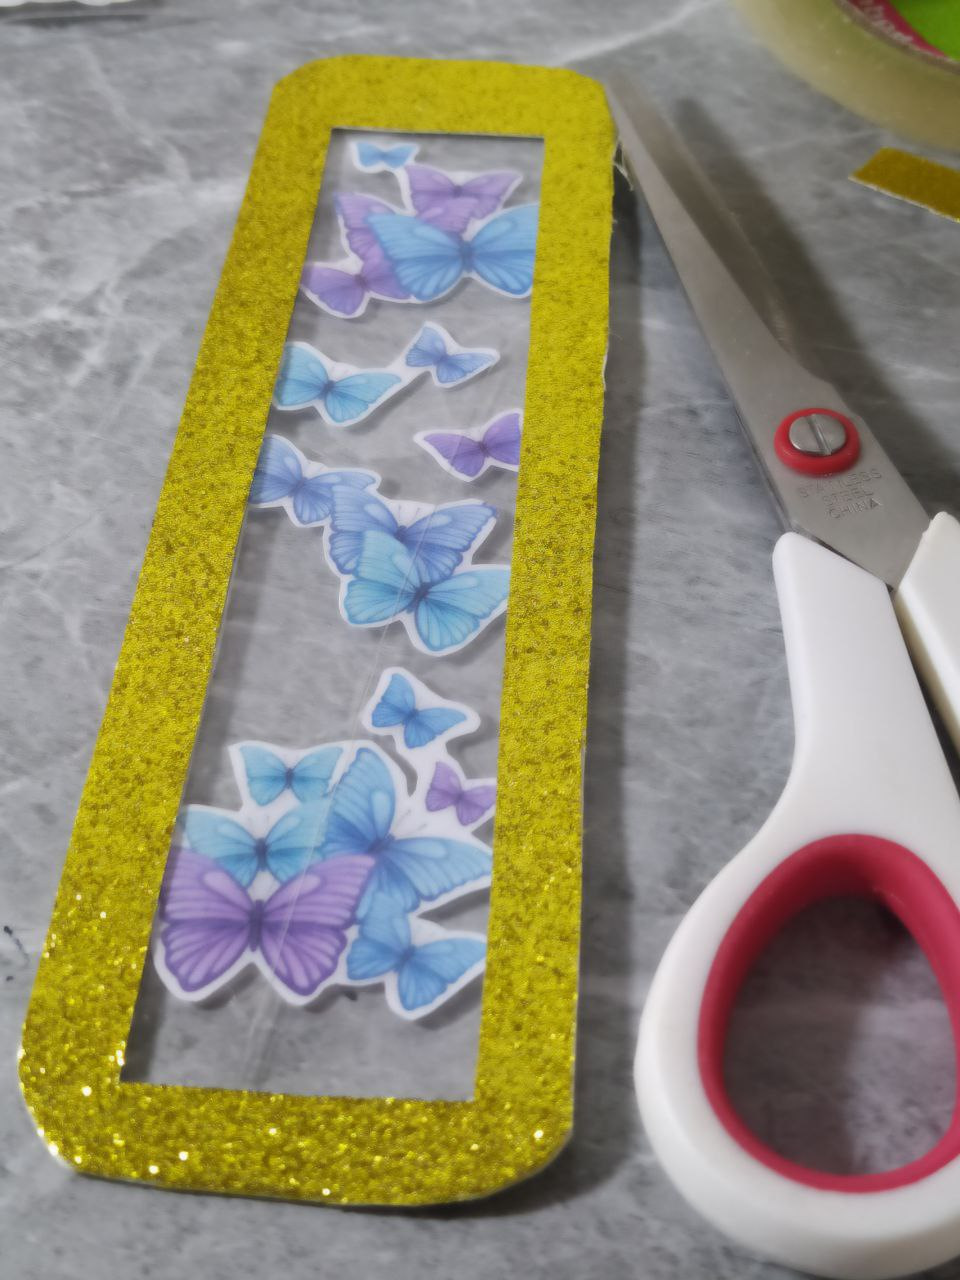
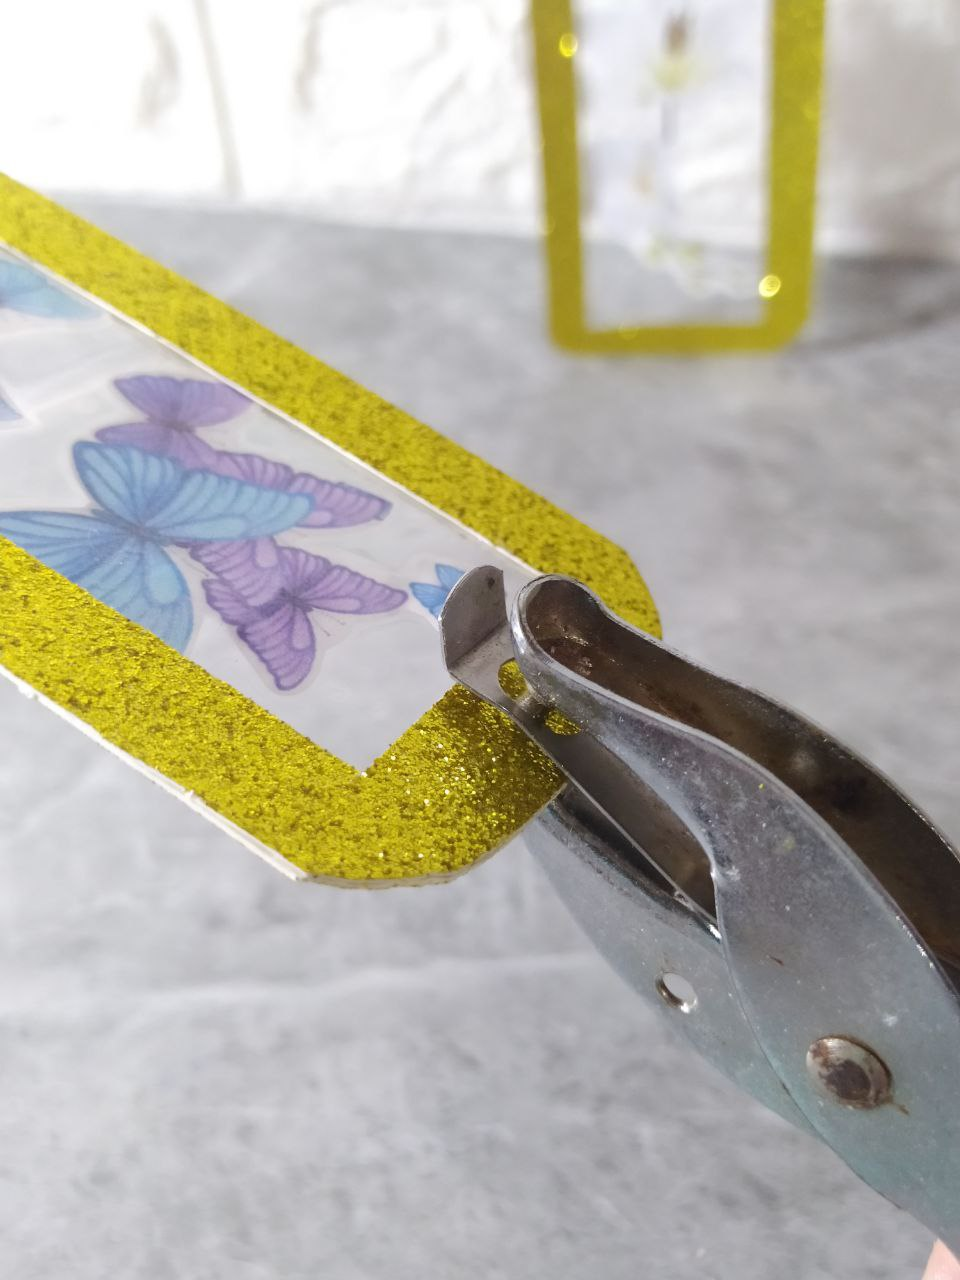
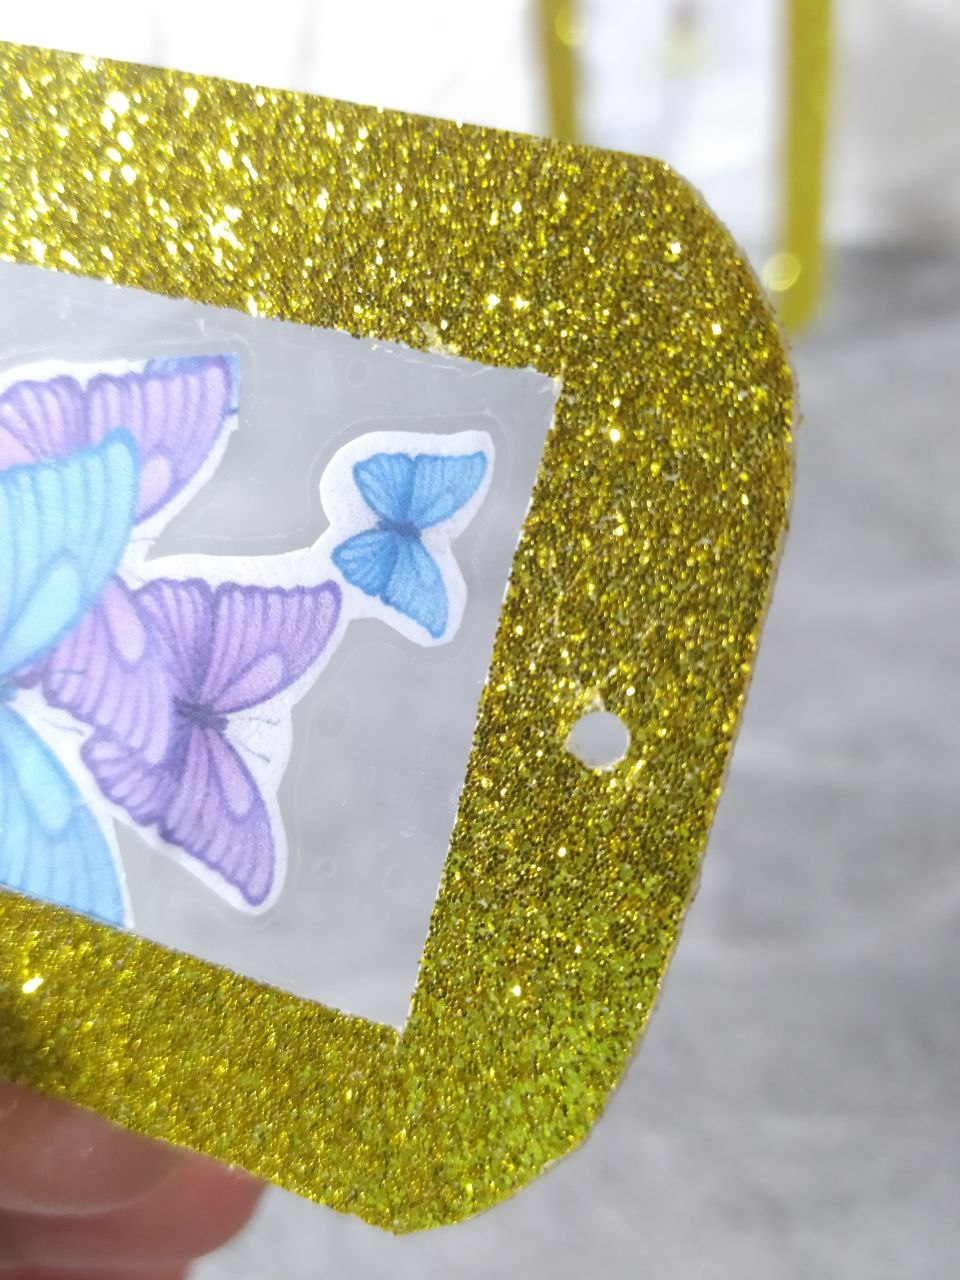
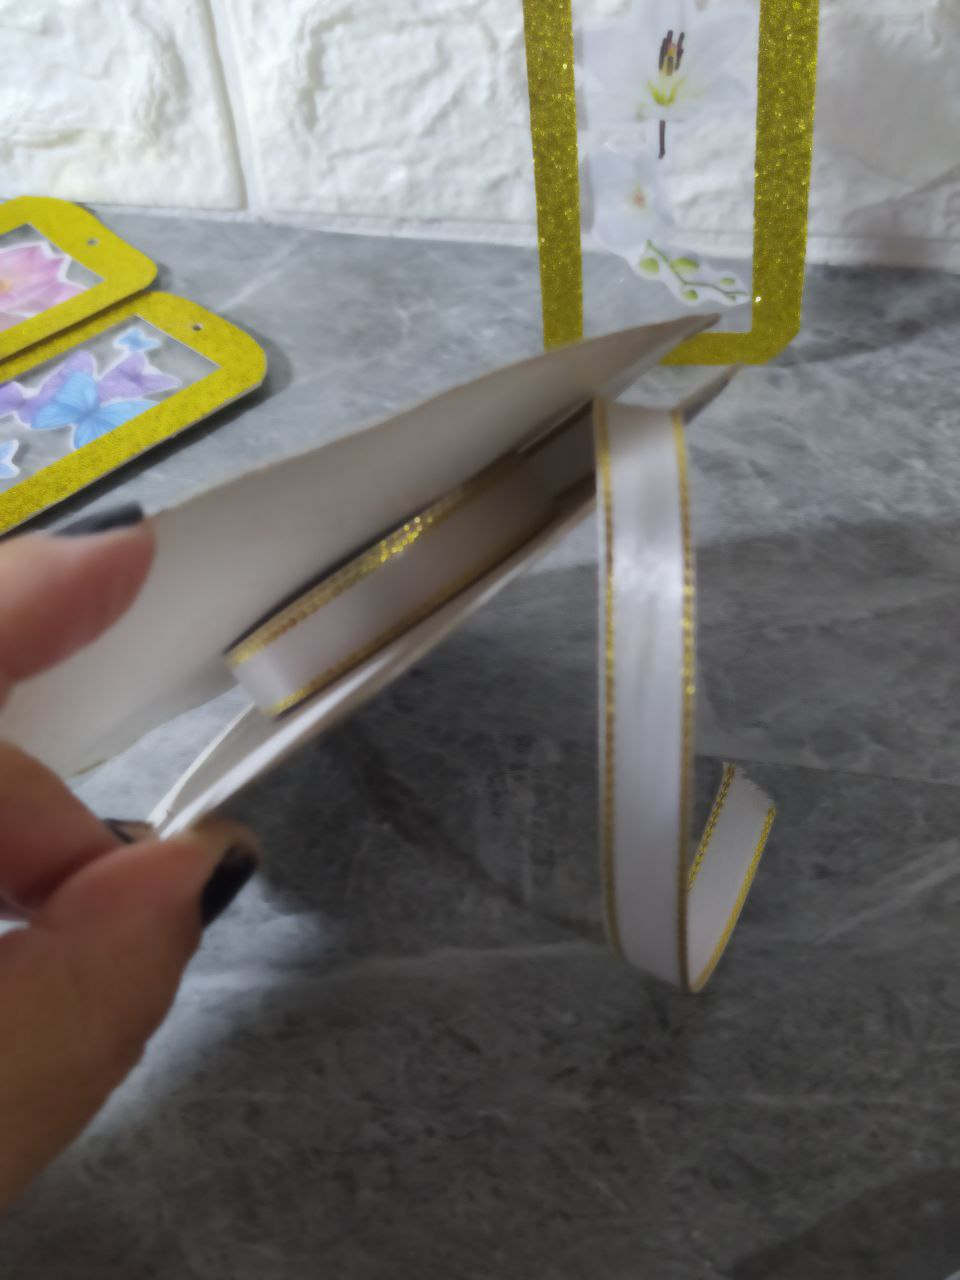
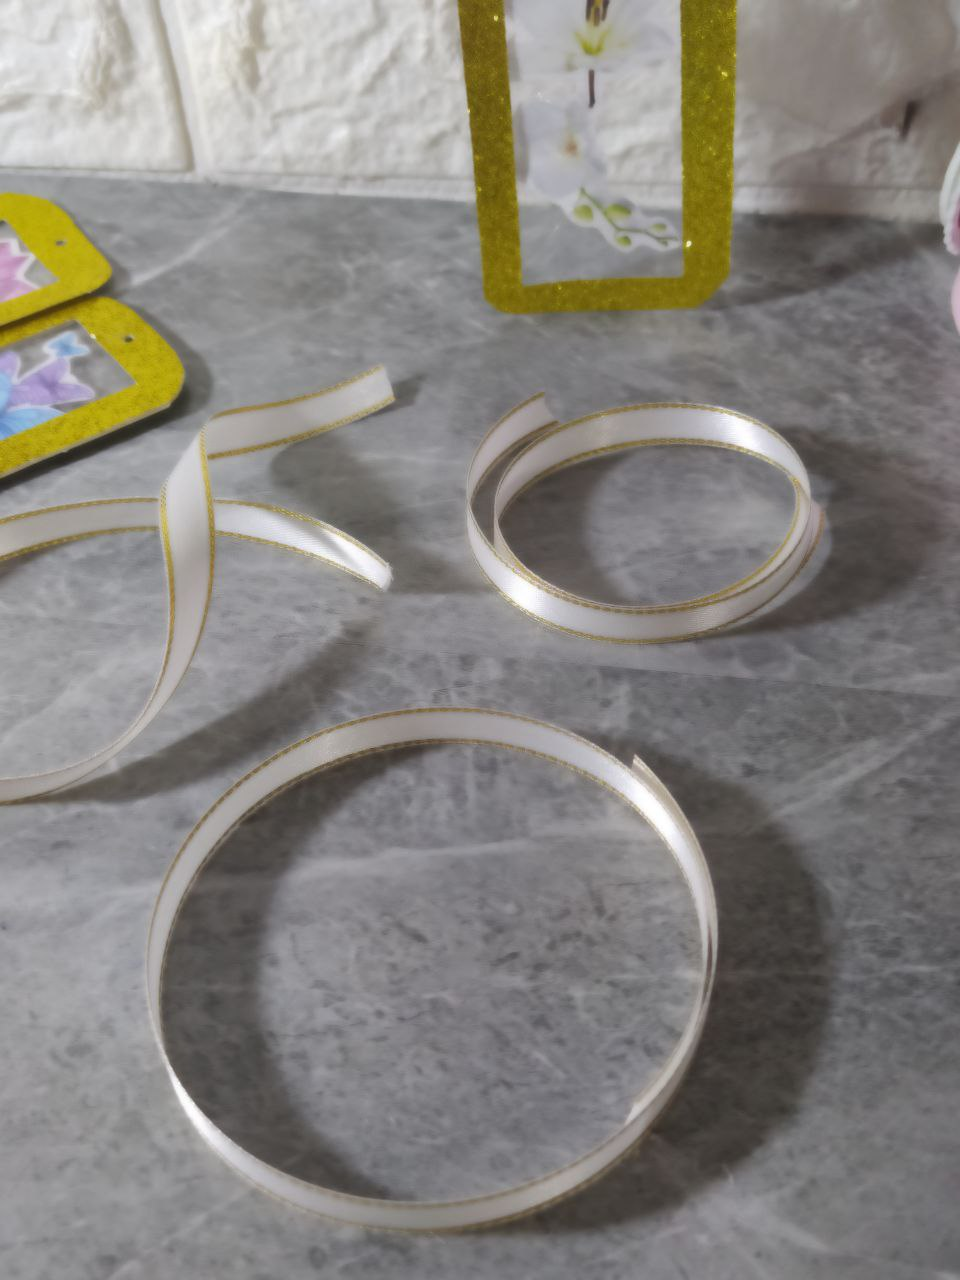
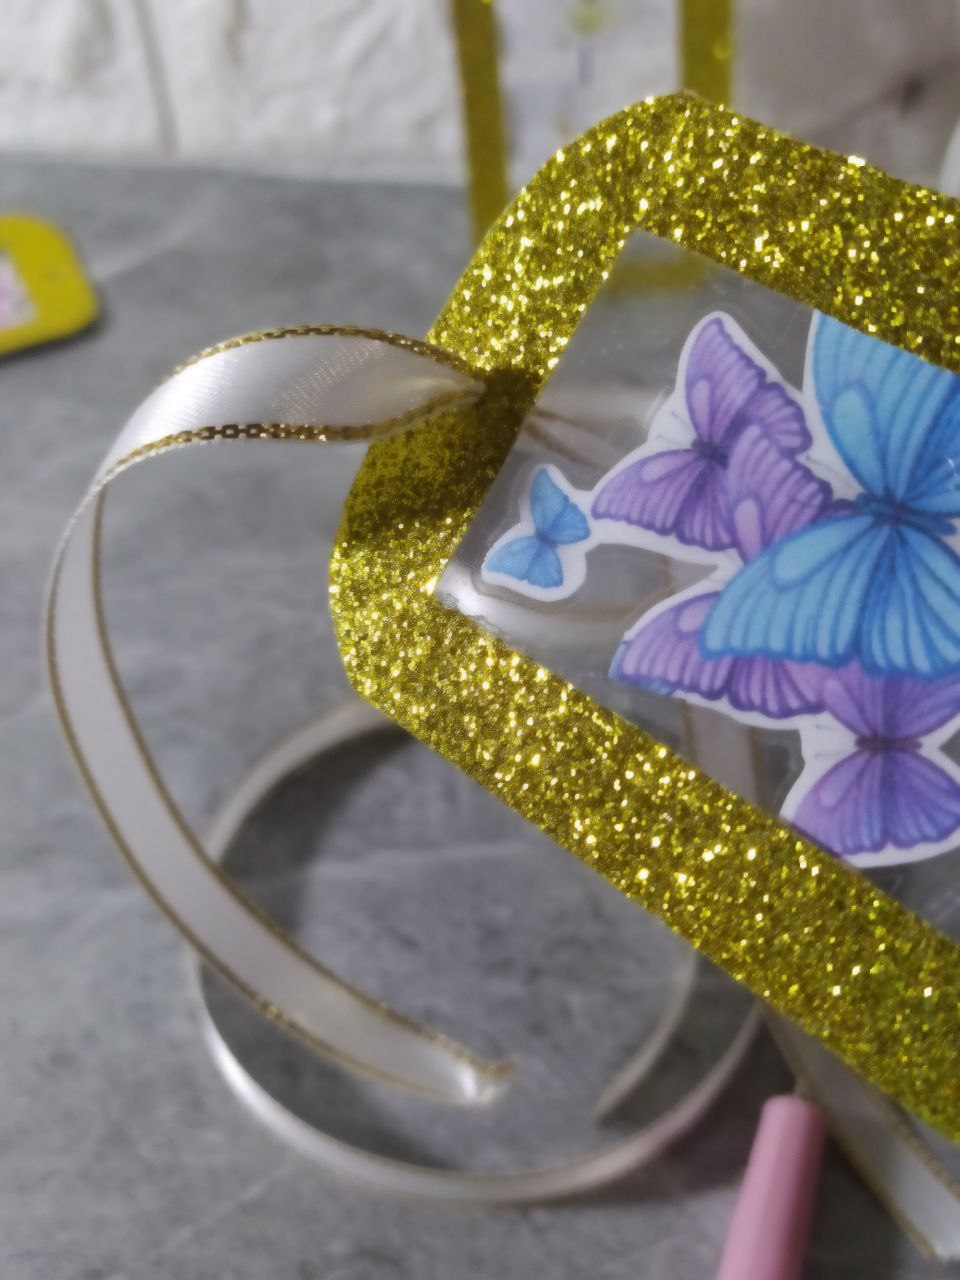
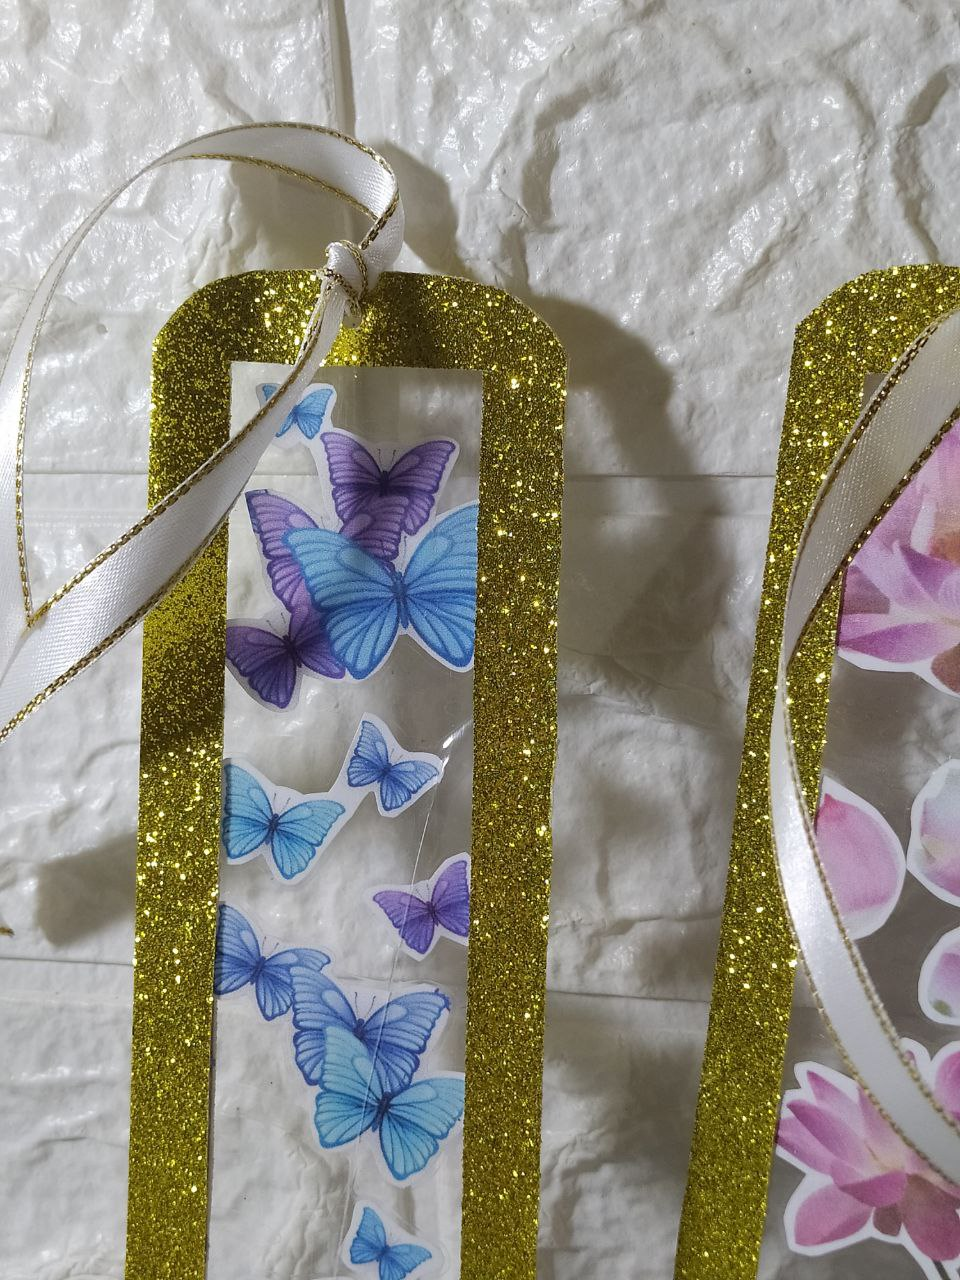
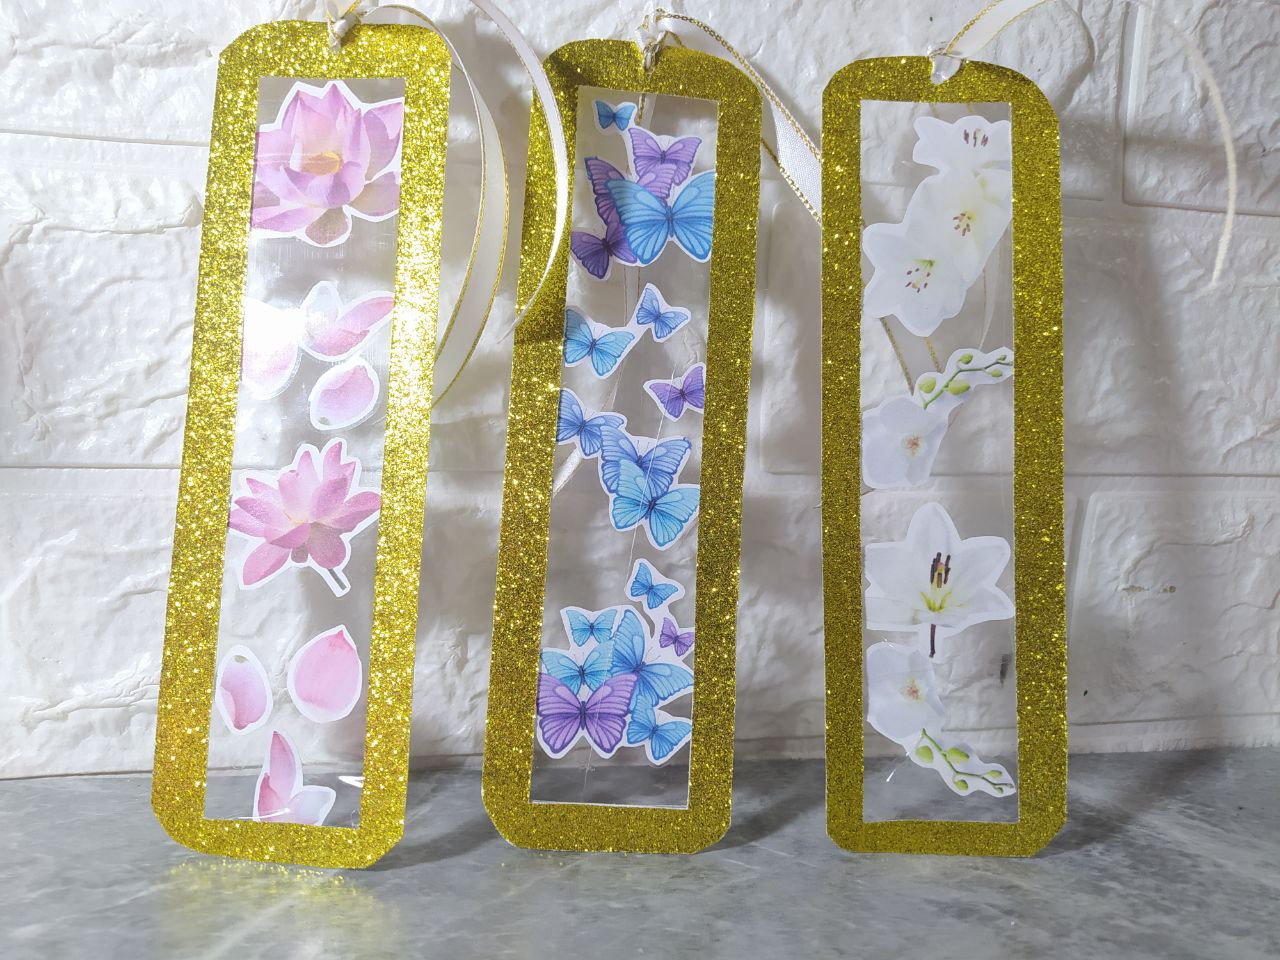
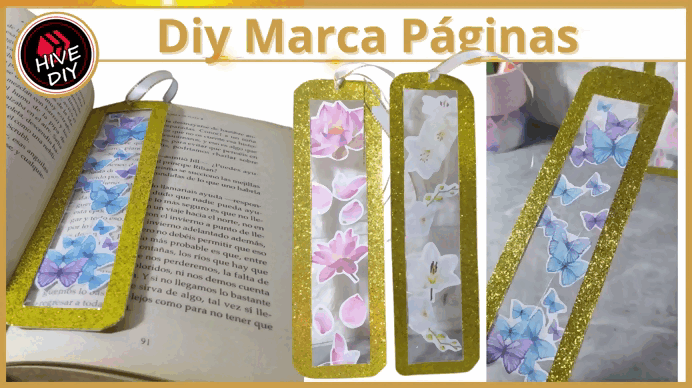
A pesar de la creciente digitalización, los **Marca Páginas** siguen siendo herramientas indispensables en nuestro día a día, ya que lejos de estar desactualizados, estos pequeños objetos nos ofrecen una forma práctica y personal de interactuar con nuestros textos, bien sea para señalar la página exacta de nuestro libro de lectura, de un libro o revista de recetas de cocina, para mantener el hilo de algún libro de estudio, etc. El día de hoy realicé unos Marca Páginas que tenía en mente desde hace tiempo, quería que tuviesen algo de transparencia, y con ilustraciones o impresiones diversas de flores o mariposas, les quiero mostrar mi proceso para crearlos... Bienvenidos.

Despite increasing digitalization, **Bookmarks** remain indispensable tools in our daily lives. Far from being outdated, these small objects offer us a practical and personal way to interact with our texts, whether to mark the exact page of our reading book, a recipe book or magazine, to keep track of a textbook, etc. Today I made some Bookmarks that I've had in mind for a while. I wanted them to have some transparency, and with various illustrations or prints of flowers or butterflies, I want to show you my process for creating them... Welcome.

Rojo Materiales.png

* Impresiones de flores y mariposas. * Cinta adhesiva transparente gruesa. * Tijeras, perforador y cúter. * Regla y bolígrafo. * Cinta de raso blanca con bordes dorados. * Cartulina dorada. * Silicón líquido.
* Flower and butterfly prints. * Thick clear tape. * Scissors, hole punch, and box cutter. * Ruler and pen. * White satin ribbon with gold trim. * Gold cardstock. * Liquid silicone.

image.png

Rojo Tutorial.png

Para obtener las imágenes de flores y de mariposas, utilicé Canva Pro, aunque en su versión gratis también disponemos de muchísimos recursos y muy lindos. Elegí algunos elementos parecidos y los coloqué en forma vertical en un formato A4 o Carta.

To create the flower and butterfly images, I used Canva Pro, although the free version also offers tons of beautiful resources. I chose some similar elements and arranged them vertically in A4 or letter size.

image.png

Los imprimí en una hoja tamaño carta, y con las tijeras recorté las diferentes formas, dejando un borde blanco alrededor, me parece que le daba una apariencia de stickers y eso me gustó mucho. Luego, con la cinta adhesiva transparente y gruesa, aquí en mi país le decimos cinta de embalar, coloqué una tira doblando el primer borde para pegarlo en la mesa y dejando el lado con pega hacia arriba, y comienzo a ubicar los recortes clasificados y generando ciertos espacios entre ellos.

I printed them on letter-sized paper and cut out the different shapes with scissors, leaving a white border around them. I think it gave them a sticker-like appearance, and I really liked that. Then, using thick, clear adhesive tape—here in my country, we call it packing tape—I placed a strip, folding the first edge over to stick it to the table, leaving the sticky side facing up. I began placing the sorted cutouts, creating some space between them.

image.png image.png image.png image.png

Para facilitar me ayudé de una pinza, pero no es indispensable, solo hay que tener algo de delicadeza para que no se doblen. Luego, regreso la cinta adhesiva sobre todo esto, con la pega hacia abajo. Presiono bien, y así es como quedará un efecto de plastificados que se ve genial. Para enmarcar el diseño, corté dos piezas en cartulina dorada, considerando que el ancho de la cinta adhesiva quede dentro del marco.

To make it easier, I used a pair of tweezers, but it's not essential; you just need to be gentle enough to prevent bending. Then, I place the tape over all of this, glue-side down. I press it down firmly, and this creates a laminated effect that looks great. To frame the design, I cut two pieces out of gold cardstock, ensuring the width of the tape fits within the frame.

image.png image.png image.png image.png

Por cada Marca Páginas necesitaré dos marcos dorados iguales, así que por el reverso es que marco o dibujo las líneas de corte, y luego recorto con tijera o con el cúter, para obtener así los dos marcos. En uno de los marcos coloco silicón líquido alrededor, y luego coloco el diseño que hice con la cinta adhesiva.

For each bookmark, I'll need two identical gold frames, so on the back, I mark or draw the cutting lines, then cut them out with scissors or a utility knife to create the two frames. I place liquid silicone around one of the frames, then apply the design I made with the adhesive tape.

image.png image.png image.png image.png

Ahora, colocando nuevamente silicón líquido, coloco el otro marco de cartulina dorada, arriba del diseño, de esta forma el Marca Páginas se puede ver genial por cualquiera de sus lados. Para darle más delicadeza o suavizar las formas, redondeo las esquinas del Marca Página, con una tijera.

Now, applying liquid silicone again, I place the other gold cardstock frame on top of the design. This way, the bookmark can look great from any side. To give it more delicacy or soften the shapes, I round the corners of the bookmark with scissors.

image.png image.png image.png image.png

Con un perforador realicé un agujero en la parte superior, y corté cintas de raso blanco con bordes dorados (puede ser cualquier cinta realmente) la cual pasaré por el agujero para darle un toque decorativo más.

Using a hole punch, I made a hole in the top, and cut white satin ribbons with gold edges (it can be any ribbon, really), which I will thread through the hole to give it an extra decorative touch.

image.png image.png image.png image.png

Paso la cinta y realizo dos nudos para asegurarla. Este proceso lo realicé en los 3 Marca Páginas que realicé el día de hoy.

Using a hole punch, I made a hole at the top and cut some white satin ribbon with gold trim (it can be any ribbon, really), which I'll thread through the hole for an extra decorative touch. I thread the ribbon through and tie two knots to secure it. I did this process on the three bookmarks I made today.

image.png image.png

Así lucen los 3 Marca Páginas, que los realicé con diseños diferentes y me encantó mucho el resultado.

This is what the 3 bookmarks look like. I made them with different designs and I really loved the result.

image.png

Deseo que les haya gustado este Tutorial, recuerden que siempre podemos personalizar todos nuestros objetos a nuestro gusto, y utilizando nuestra Creatividad y amor en los detalles.

I hope you enjoyed this tutorial. Remember that we can always customize all our objects to our liking, using our creativity and love for details.

diy comunity banner.gif

I took the photos with my phone Redmi Note 8 Apps I used: Canva Pro for Cover, Collage and Banners

I used Deepl Translator

My social networks: Discord: YennysYaneth#0189 Twitter: @yennysferm Instagram: @yennysyaneth


Las fotos las tomé con mi teléfono Redmi Note 8
Apps que utilicé: Canva Pro para la Portada, Collage y Banners

Utilicé el Traductor Deepl

Mi redes sociales:
Discord: YennysYaneth#0189
Twitter: @yennysferm
Instagram: @yennysyaneth

#spanish #diy #manualidades #handmade #marcapaginas #bookmarks #craft
Payout: 0.000 HBD
Votes: 754
More interactions (upvote, reblog, reply) coming soon.