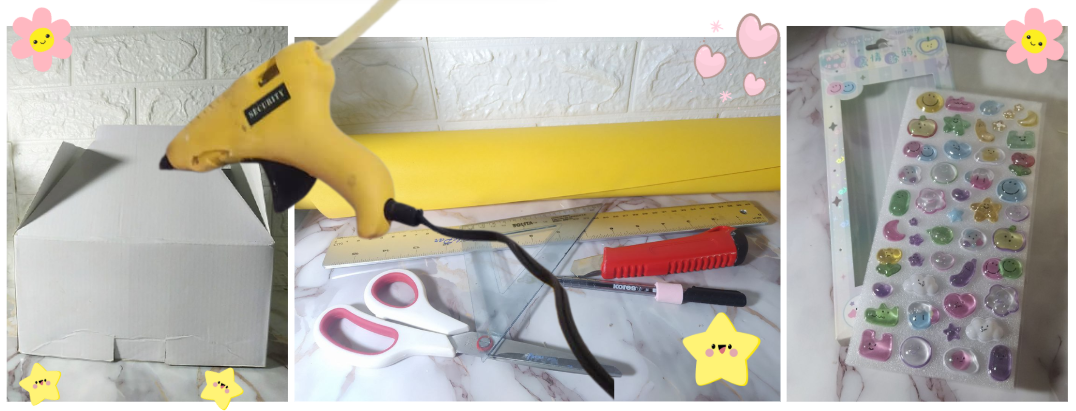
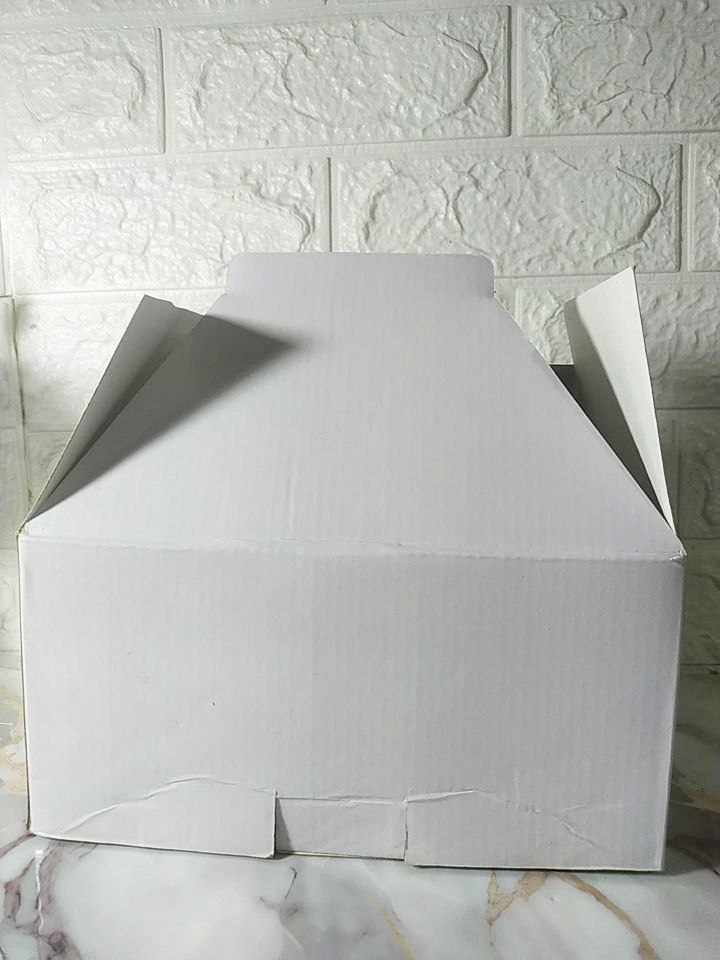
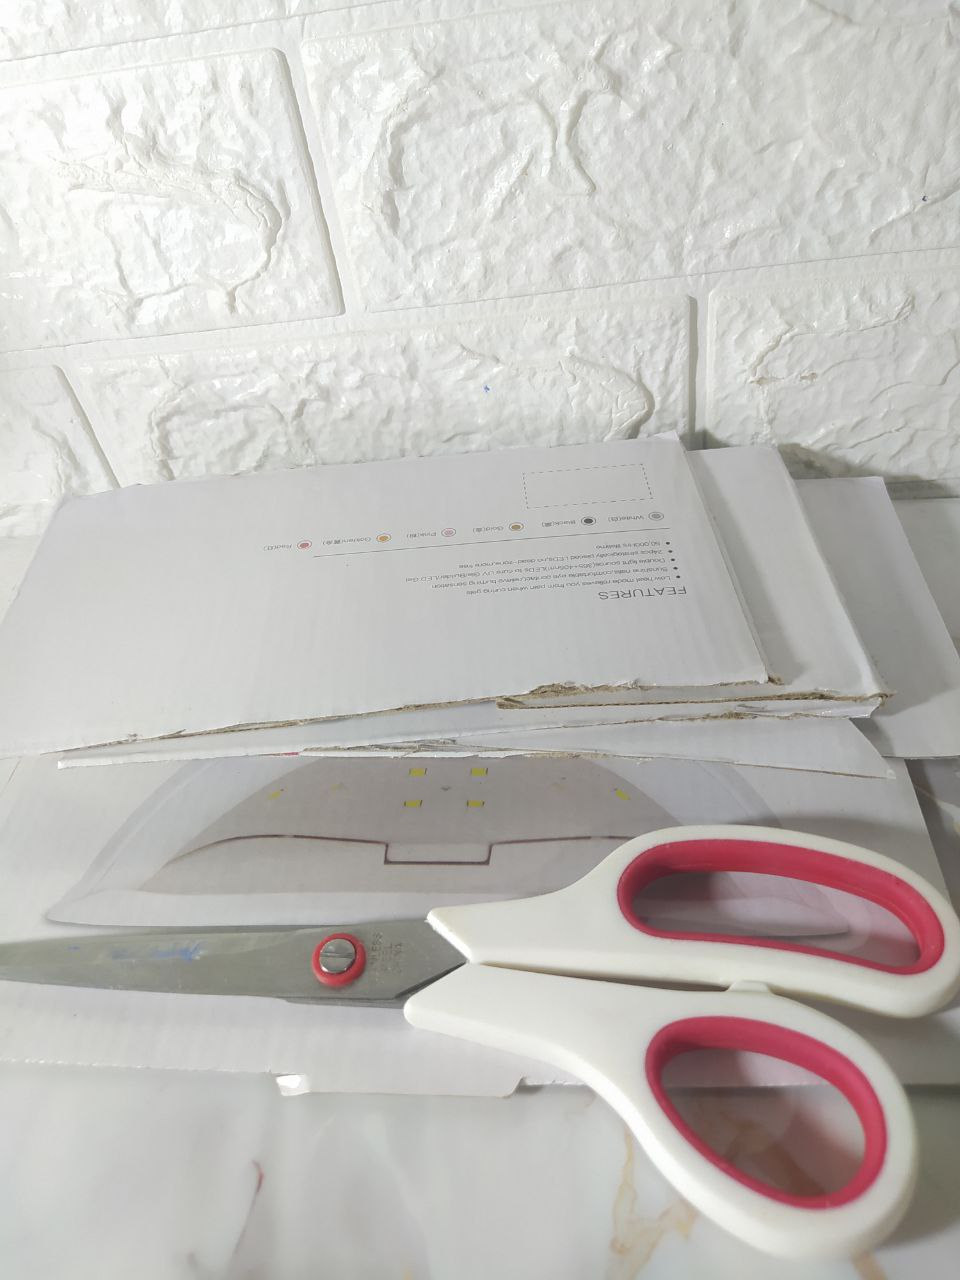
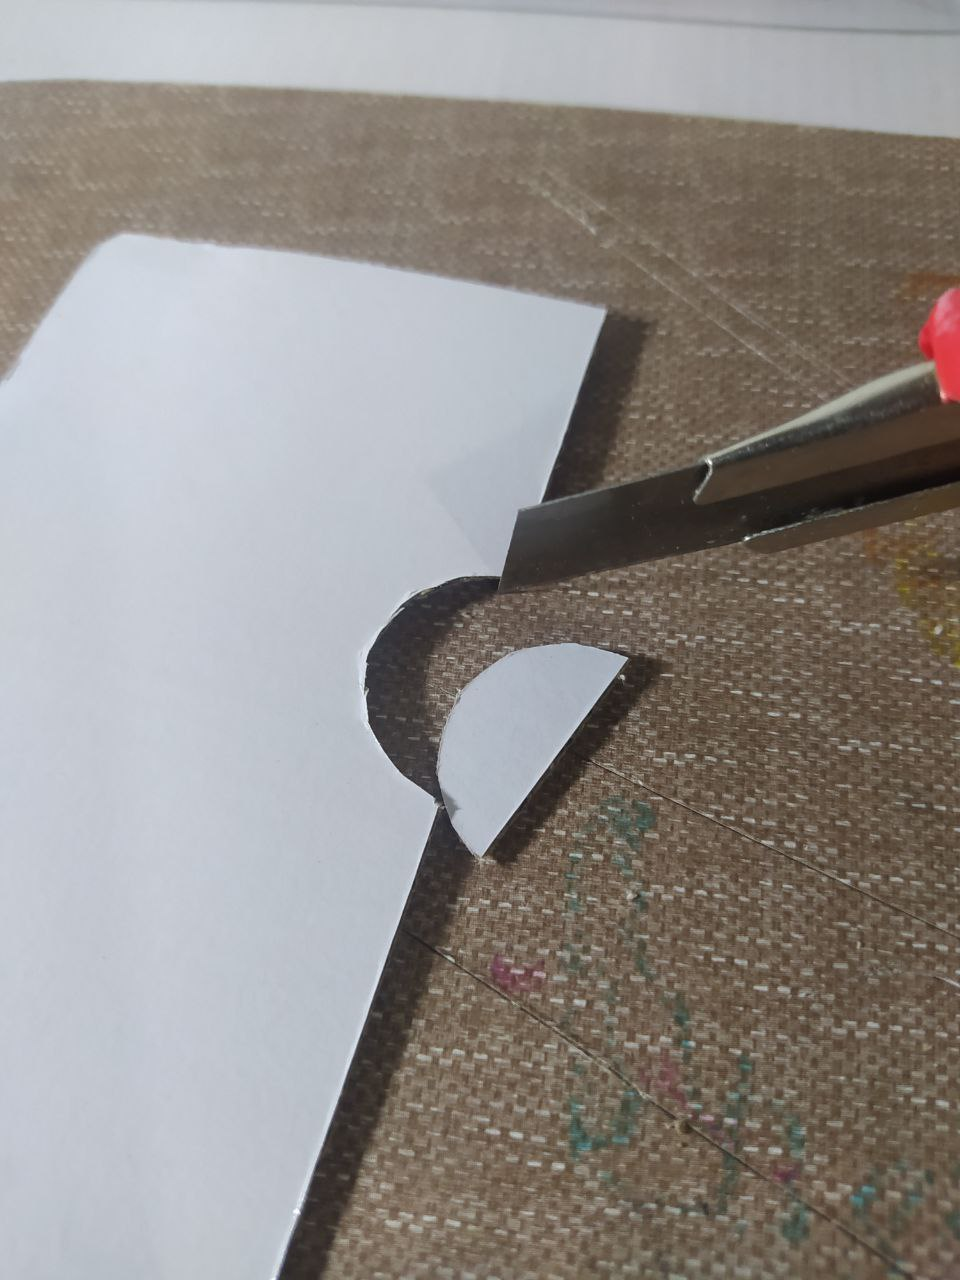
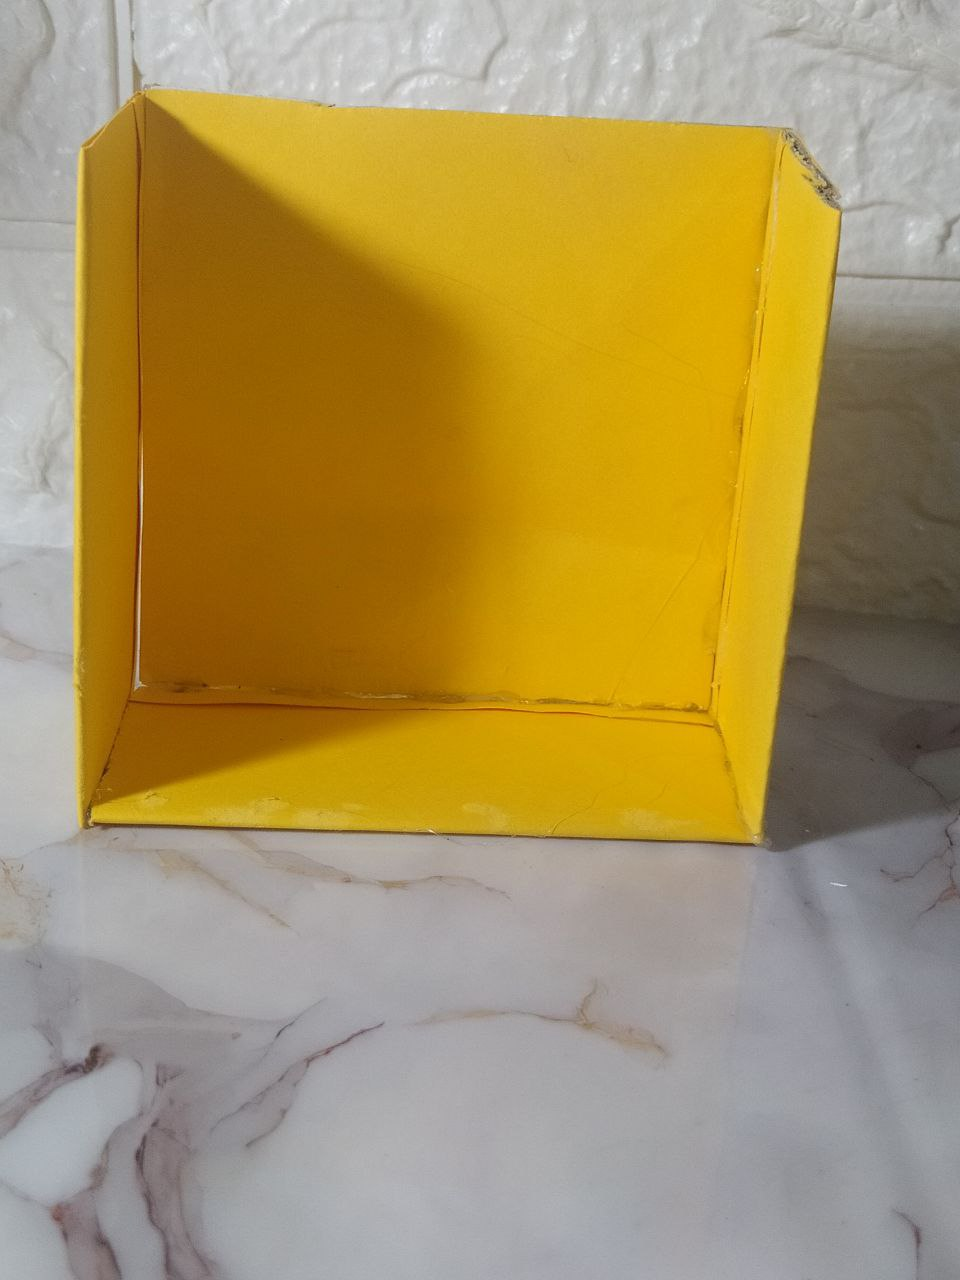
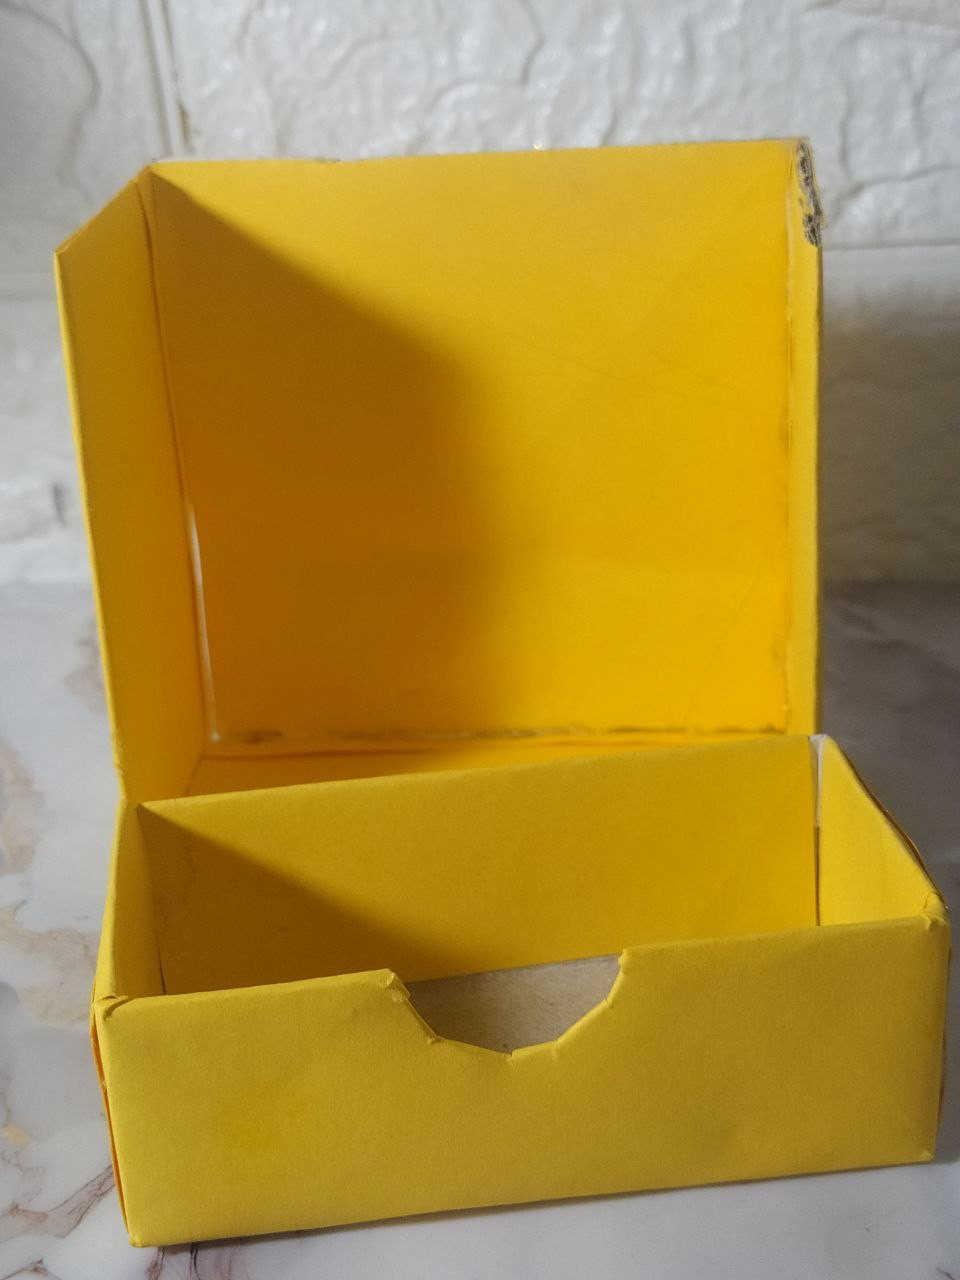
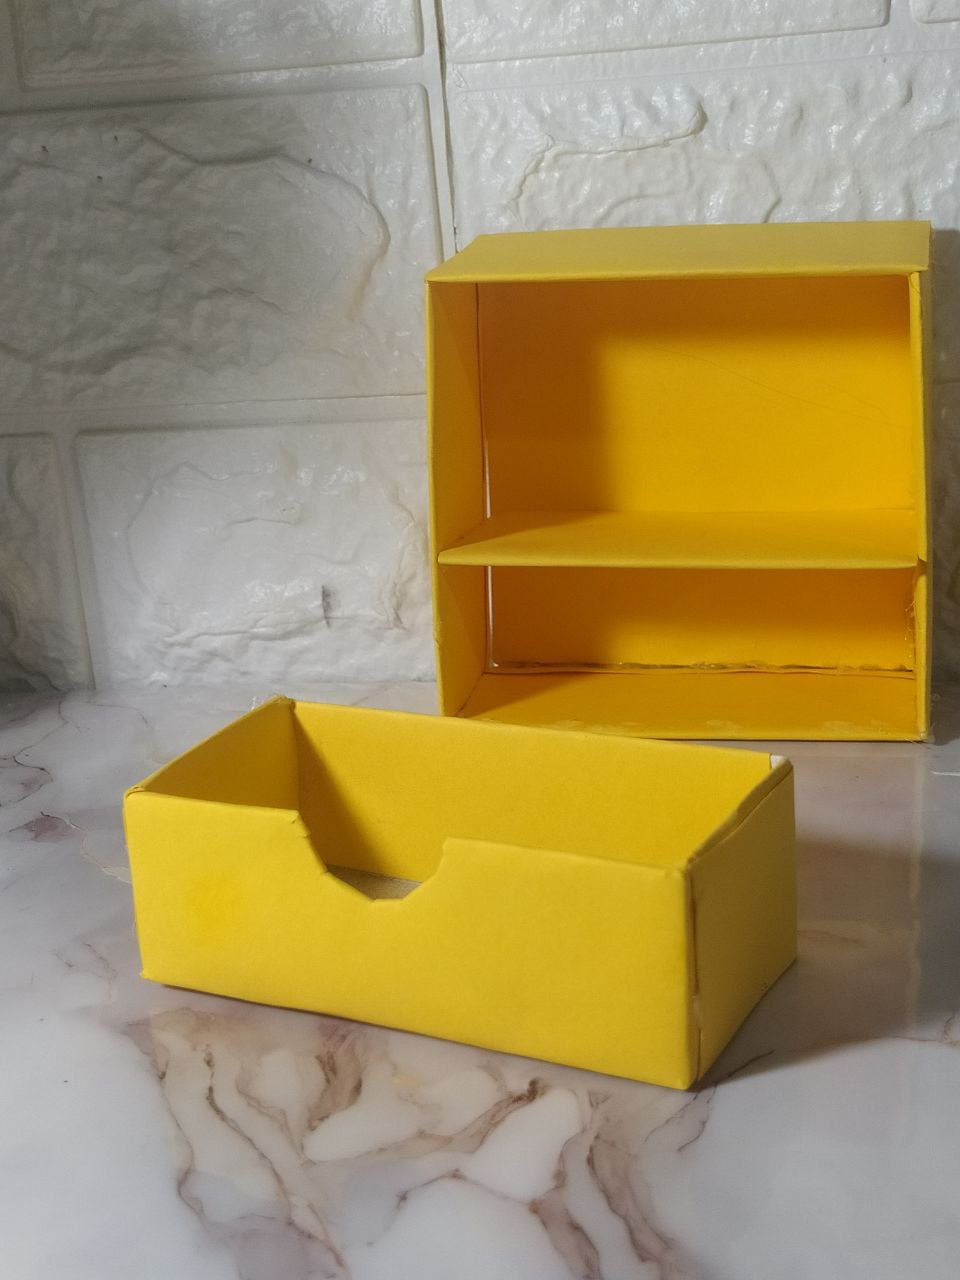
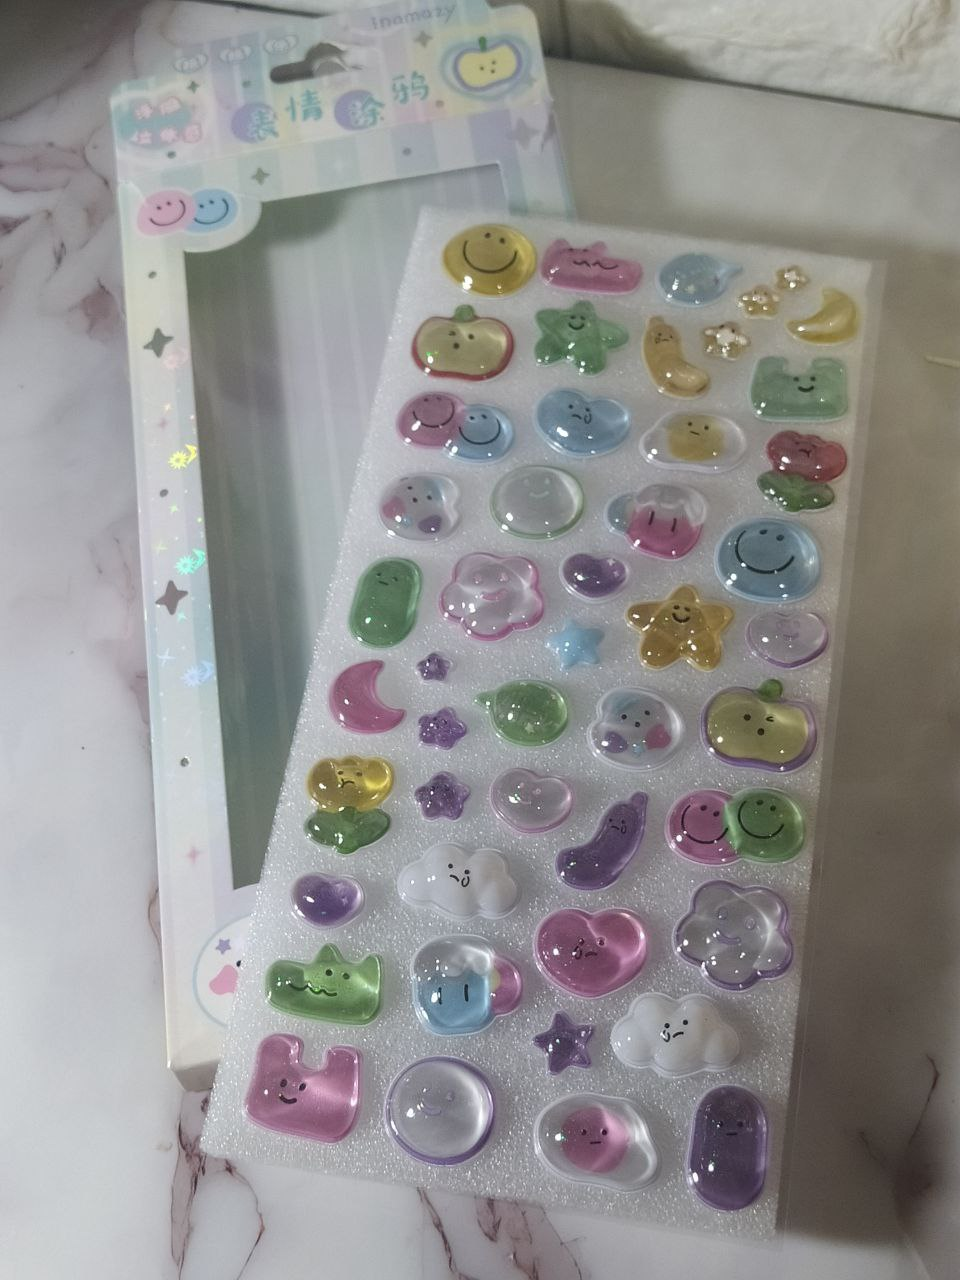
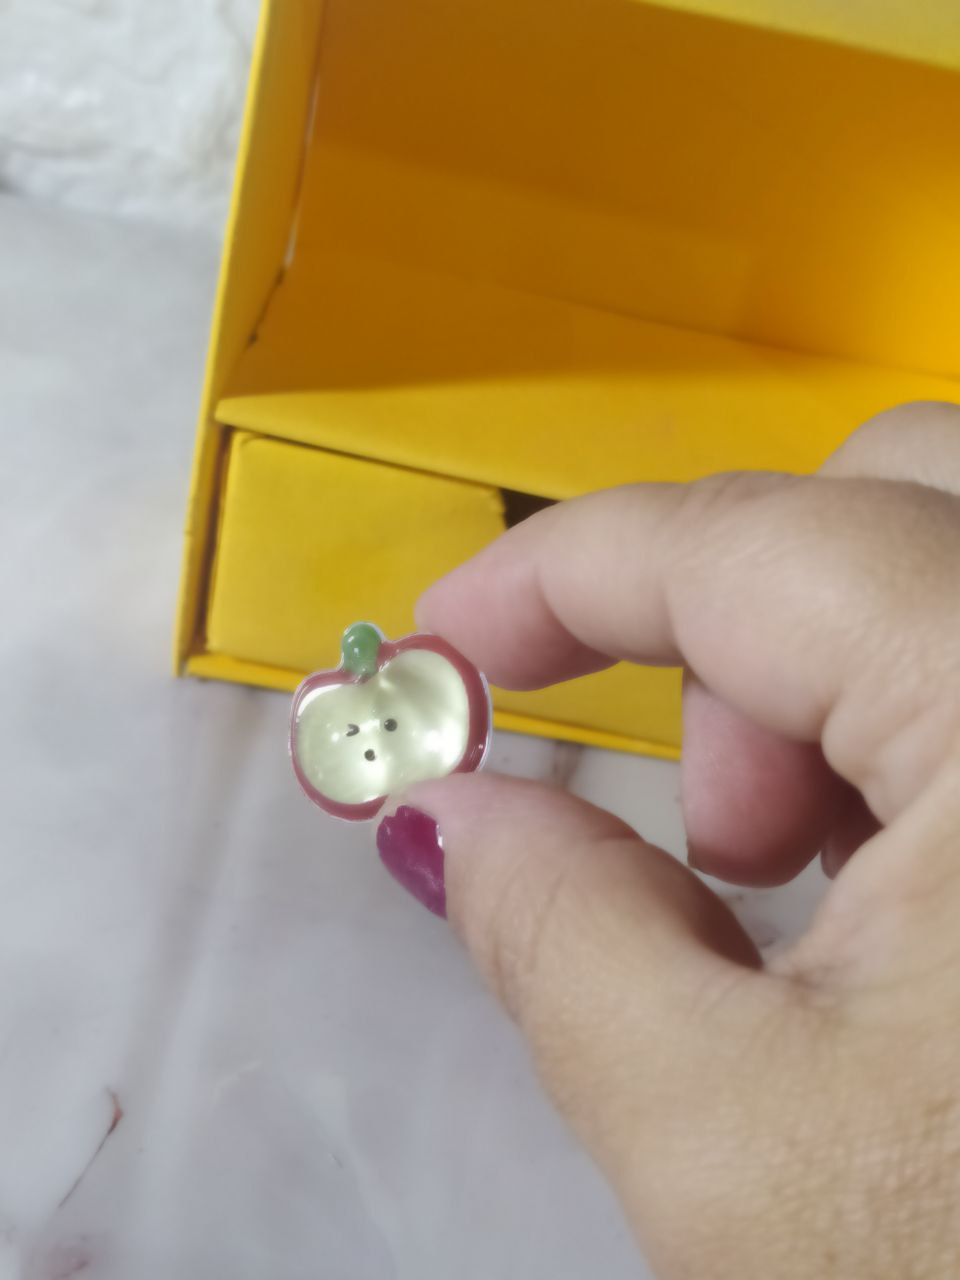
DIY Mini Kawaii Shelf, I'll show you - Diy Mini Estante Kawaii, te enseño

@yennysferm71 · 2025-09-16 23:21 · DIYHub

Portado.gif

I love the idea of ​​creating Kawaii-style Mini Shelves, and although I presented this project on my desk with my materials, it's really in the hands of my daughter, who instantly took over. My goal for this **DIY Hub** project was: * Create a Kawaii-style Mini Shelves. * Use recycled materials, like a nail lamp box I had stored away, because I liked the quality of the cardboard. * Have a Mini Drawer; I've never made one before, but I really want to do more of these types of projects, to hone my skills with practice and gradually make them more structured and complex. I don't just want to make crafts and post about my step-by-step instructions; I also want to inspire you to make beautiful things. No matter how they turn out, I assure you that with practice, the next craft will always be prettier than the last... Welcome.

Me encanta la idea de crear Mini Estantes con estilo Kawaii, y aunque presenté este proyecto en mi escritorio y con mis materiales, realmente ya se encuentra en poder de mi hija, quien se adueñó en el acto. Mi objetivo en este Proyecto **Diy Hub** fue: * Crear un Mini Estante con estilo Kawaii. * Utilizar materiales reciclados, como una caja de una lámpara de uñas que tenía guardada, porque me gustó la calidad de ese cartón. * Que tuviese una Mini Gaveta, nunca la había realizado, pero realmente quiero hacer y hacer más de este tipo de proyectos, para ir puliendo mis acabado con la práctica y progresivamente hacerlos más estructurados y complejos. No solo deseo hacer manualidades y crear publicaciones sobre mi paso a paso, también deseo inspirarte a hacer cositas hermosas, no importa cómo queden, te aseguro que con la práctica la siguiente manualidad será siempre más linda que la anterior... Bienvenidos.

Materiales.png

* Recycled cardboard. * Yellow cardstock. * 3D stickers. * Hot glue. * Rulers, scissors or box cutter, and pen.
* Cartón reciclado. * Cartulina amarilla. * Stickers 3d. * Silicón caliente. * Reglas, tijera o cúter y bolígrafo.

image.png

Tutorial.png

You don't know how grateful I am when I have the opportunity to use those boxes or cardboard boxes I keep, because the bulk I keep with them makes sense. This is a box from a nail lamp I bought last year; the material is of good quality. I took it apart and cut all the pieces I could use. I also used a hearing aid box that I used half of in my previous project [Forest Healer Chibi on Standee - Chibi Forest Healer on Standee](https://peakd.com/hive-131131/@yennysferm71/forest-healer-chibi-on-standee). Taking into account the size of that half-box, I made this entire project. I cut a piece and a semicircle shape for the front of the drawer, as seen in the image:

No saben cómo agradezco cuando tengo la oportunidad de usar esas cajas o cartones que guardo, porque tiene sentido ese bulto que guardo con ellas. Esta es una caja de una lámpara de uñas que compré el año pasado, el material es de buena calidad. La desarmé y corté todas las piezas que podía utilizar. También utilicé una cajita de audífonos que usé la mitad en mi proyecto anterior [Forest Healer Chibi on Standee - Chibi Forest Healer en Standee](https://peakd.com/hive-131131/@yennysferm71/forest-healer-chibi-on-standee), tomando en consideración el tamaño de esa media cajita hice todo este proyecto. Corté una pieza y una forma de semicírculo para el frente de la gaveta, como se ve en la imagen:

image.png image.png image.png image.png

In this project, I always worked with a hot glue gun to join everything I needed. Once I glued the front piece of the drawer, I cut the shelf pieces from the same cardboard. * A back piece the length of the drawer and 12 cm high. * Two side pieces the width of the drawer and 12 cm high. * Three shelves the same size as the drawer. Then, I proceeded to cover all the pieces with yellow cardstock.

En este proyecto trabajé siempre con la pistola de silicón caliente para unir lo que necesitaba. Una vez que pegué la pieza frontal de la gaveta, corté en el mismo cartón las piezas del estante. * Una posterior del largo de la gaveta y 12cms de altura. * Dos laterales del ancho de la gaveta y 12cms de altura. * Tres repisas del mismo tamaño de la gaveta. Luego, procedí a forrar todas las piezas con la cartulina amarilla.

image.png image.png image.png image.png

I glued all the already lined pieces together, as shown below:

Pegué todas las piezas ya forradas, como se muestra a continuación:

image.png image.png image.png

The best excuse to break out my 3D Stickers, which I recently mentioned in my [Craft Supplies Haul](https://peakd.com/hive-130560/@yennysferm71/haul-de-materiales-de-manualidades-craft-supplies-haul) post. They're beautiful shapes, and it really took me a while to decide which ones to use. I glued the ones I chose to the front of the drawer.

La mejor excusa para estrenar mis Stickers 3D, que se los mencioné hace poco en mi post [Haul de Materiales de Manualidad](https://peakd.com/hive-130560/@yennysferm71/haul-de-materiales-de-manualidades-craft-supplies-haul), son hermosas figuras y realmente me costó un poco decidirme por cuales utilizar. Las que escogí, las pegué en la parte frontal de la gaveta.

image.png image.png

This is how this Kawaii Mini Shelf turned out. I loved it. As I mentioned before, I presented it to you with my things on my desk, but I no longer have it. My daughter Viviana kept it, as always. I'm happy with the process. I've learned a little more about how to manipulate these pieces, and I want to make other, more complex models gradually.

Así quedó este Mini Estante Kawaii, me encantó cómo quedó. Como les comenté antes, les hice la presentación con mis cositas y en mi escritorio, pero ya no lo tengo, se lo quedó como siempre mi hija Viviana. Estoy feliz con el proceso, he aprendido un poco más sobre como manipular estas piezas, y quiero hacer otros modelos más complejos progresivamente.

10.gif

I hope you enjoyed my DIY Hub project today, thanks for reading and see you in the next post.

Deseo que les haya gustado mi proyecto Diy Hub de hoy, gracias por leer y nos vemos en la próxima publicación.

image.png


I took the photos with my phone Redmi Note 8 Apps I used: Canva Pro for Cover, Collage and Banners

I used Deepl Translator

My social networks: Discord: YennysYaneth#0189 Twitter: @yennysferm Instagram: @yennysyaneth


Las fotos las tomé con mi teléfono Redmi Note 8
Apps que utilicé: Canva Pro para la Portada, Collage y Banners

Utilicé el Traductor Deepl

Mi redes sociales:
Discord: YennysYaneth#0189
Twitter: @yennysferm
Instagram: @yennysyaneth

#hive-189641 #diy #tutorial #crafting #hadmade #miniestante #kawaii #ecency #manualidades
Payout: 0.000 HBD
Votes: 115
More interactions (upvote, reblog, reply) coming soon.