Los Lazos de cintas son un Accesorio para el cabello de las pequeñas princesas que a ellas les encantan y a las mamis también nos encanta disponer de los colores o diseños necesarios para combinar con los diferentes outfits de nuestras princesas, y es que incluso las ropas casuales, los uniformes o las ocasiones más especiales siempre se ven más lindas si tienen sus accesorios.
Una amiga me pidió unos lazos en color amarillo que fuesen muy vistosos y llamativos, pero que fuesen solamente amarillos porque son para una fiesta elegante y ya tenía el vestido muy bello, de tul, un vestido de ensueño. Así que quería que los lazos fuesen bastante sobrios y en el tono exacto, de manera que me trajo 2 metros de la cinta de tela de este hermoso color. Quiero mostrarles el paso a paso para realizarlo con una Herramienta que se llama LAZO FÁCIL que tengo desde la época en que le hacía lazos a mis hijas... Bienvenidos.
Ribbon bows are a hair accessory for little princesses that they love, and we moms also love having the colors or designs we need to match our princesses' different outfits. Even casual clothes, uniforms, or special occasions always look prettier if they have their accessories.
A friend asked me for some bright and eye-catching yellow bows, but only yellow because they were for an elegant party, and she already had a beautiful tulle dress, a dreamy dress. So, she wanted the bows to be quite simple and in the perfect shade, so she brought me 2 meters of fabric ribbon in this beautiful color. I want to show you the step-by-step instructions for making them with a tool called EASY BOW, which I've had since I was making bows for my daughters... Welcome.
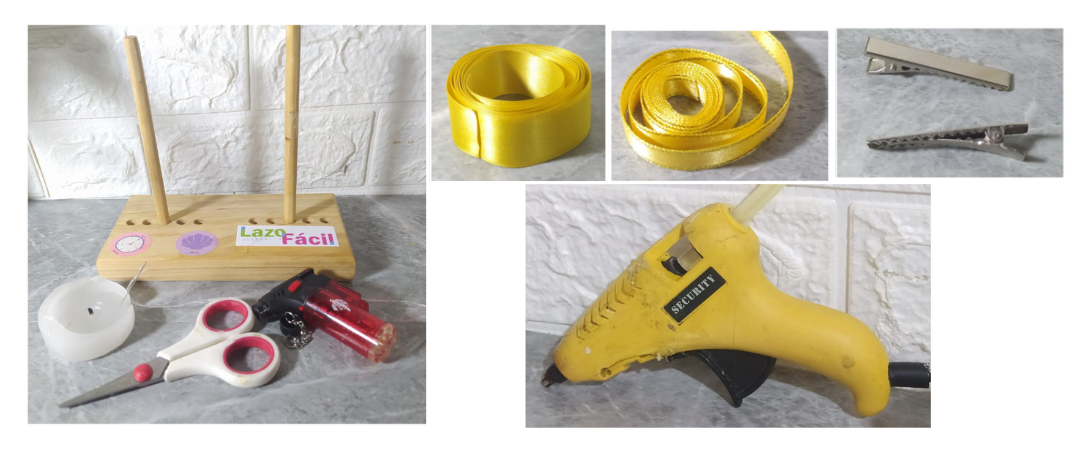
* Lazo Fácil.
* Cinta de Tela gruesa.
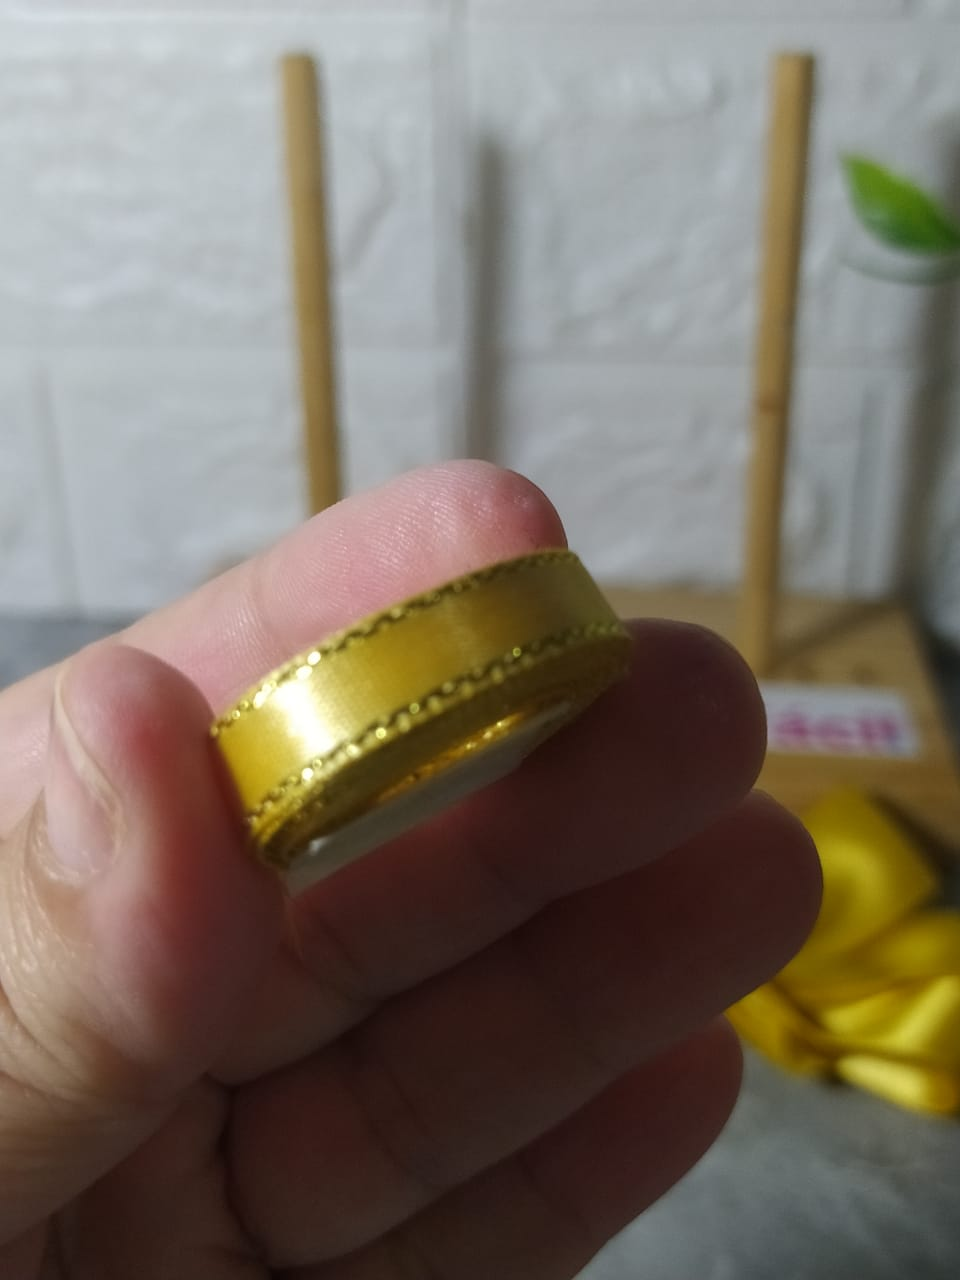
* Cinta de tela delgada con borde dorado.
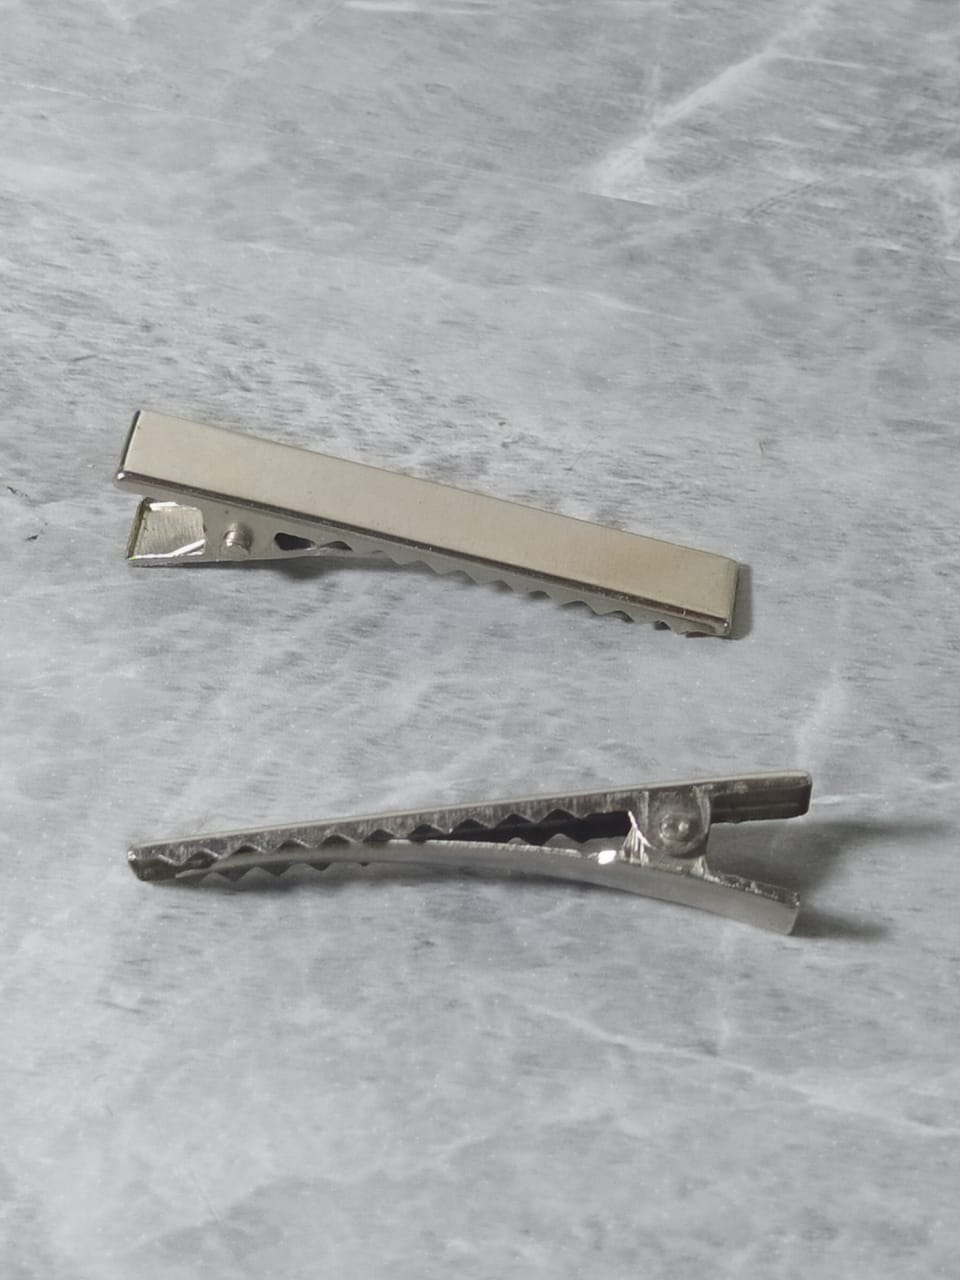
* 2 pinzas tipo caimán.
* Yesquero y vela.
* Tijera, aguja e hilo.
* Pistola de silicón caliente.
* Easy Bow.
* Thick fabric ribbon.
* Thin fabric ribbon with gold trim.
* 2 alligator clips.
* Tinder box and candle.
* Scissors, needle, and thread.
* Hot glue gun.
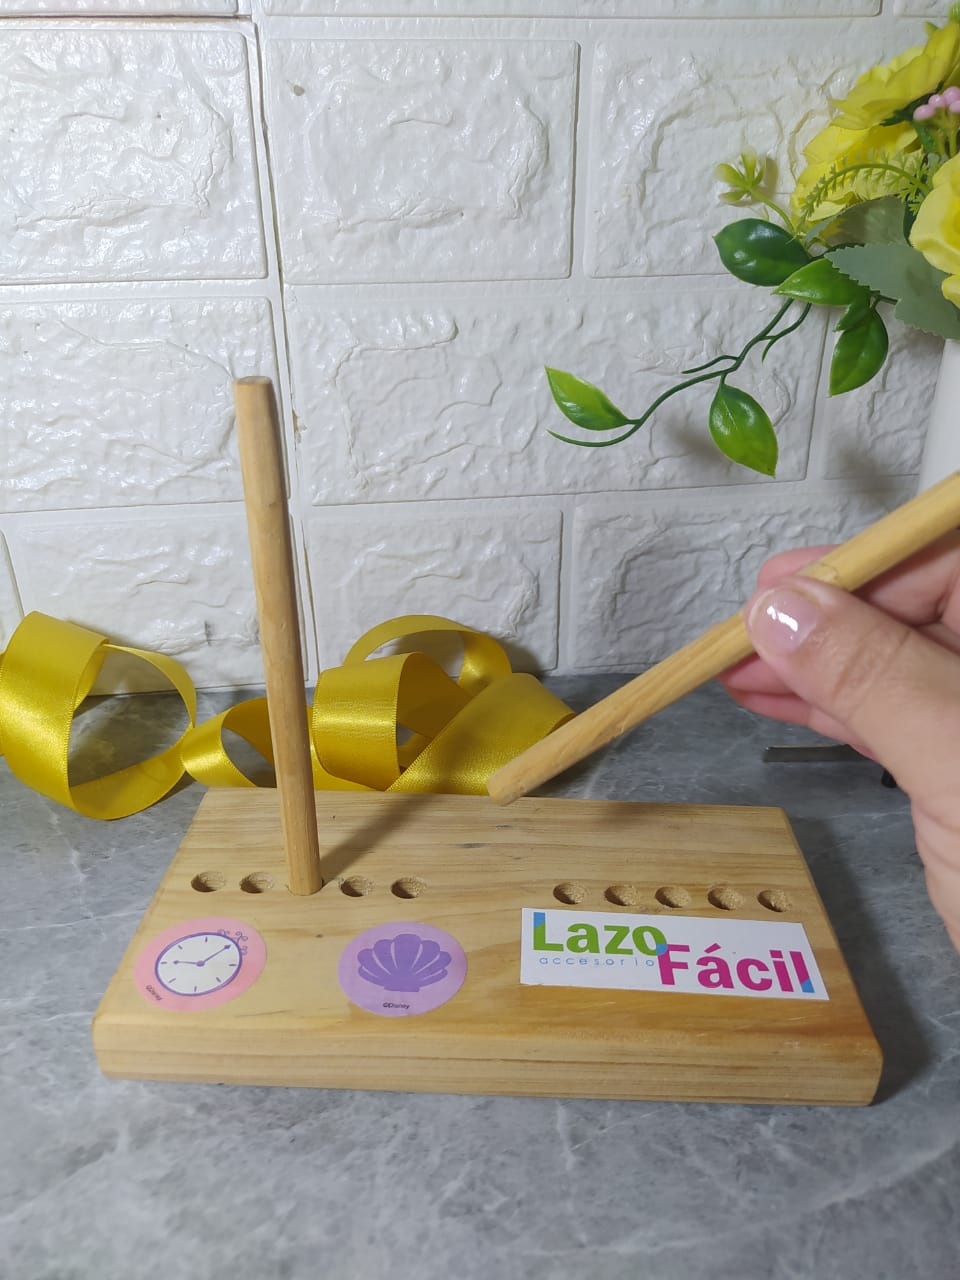
Primero quiero presentarles esta herramienta que se llama LAZO FÁCIL, y que lo venden en las diferentes mercerías y expo de manualidades, si llegas a verlo te recomiendo al 100% que lo compres porque te va a facilitar mucho el trabajo de hacer lazos, y te va a ayudar a garantizar que tengan la misma medida o tamaño, y como su nombre lo dice es Muy Fácil de utilizar.
Es simplemente una base con unas perforaciones equidistantes, donde ubicamos dos palitos de madera, y que nos permitirá hacer lazos más pequeño o más grandes, según la distancia que elijamos.
First, I want to introduce you to this tool called EASY BOW. It's sold at various haberdasheries and craft expos. If you happen to see it, I 100% recommend buying it because it will make making bows much easier and will help ensure they're all the same size. As its name suggests, it's very easy to use.
It's simply a base with equidistant perforations, where we place two wooden sticks. It will allow us to make smaller or larger bows, depending on the distance we choose.
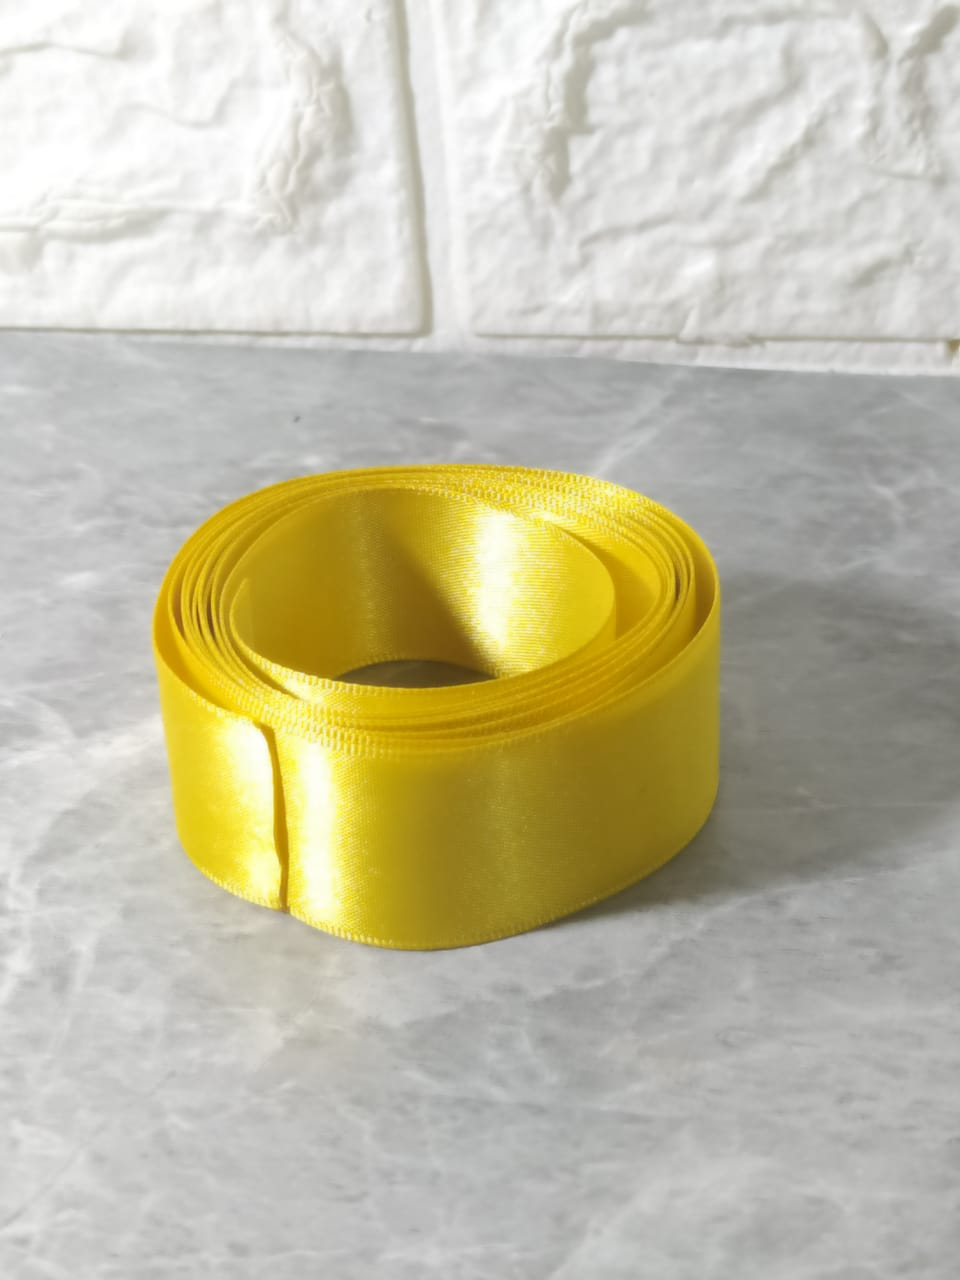
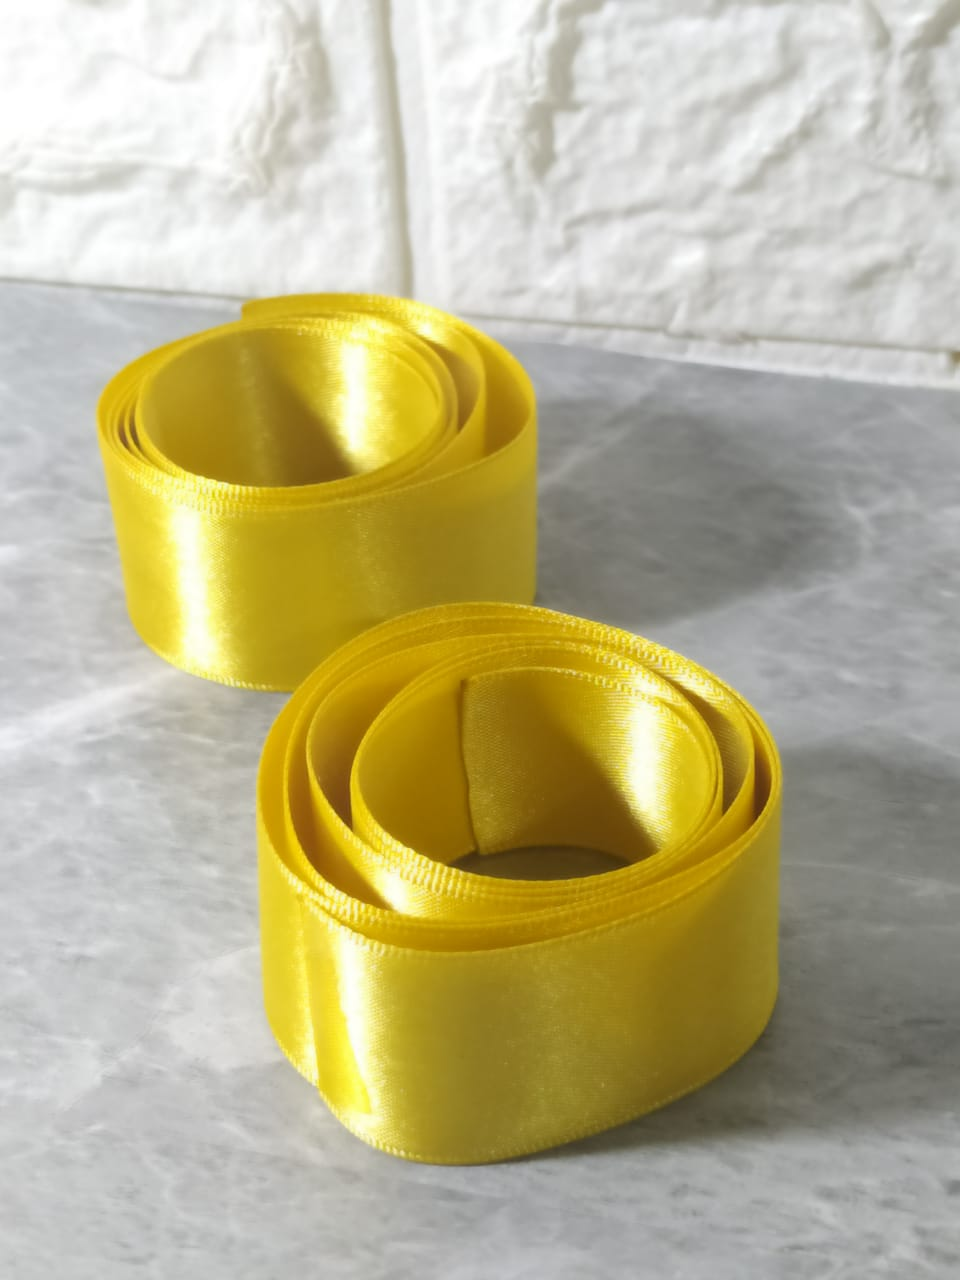
Mi amiga me trajo 2 metros de cinta, pero yo corté dos tiras de 72 cms cada una, para hacer mis lazos.
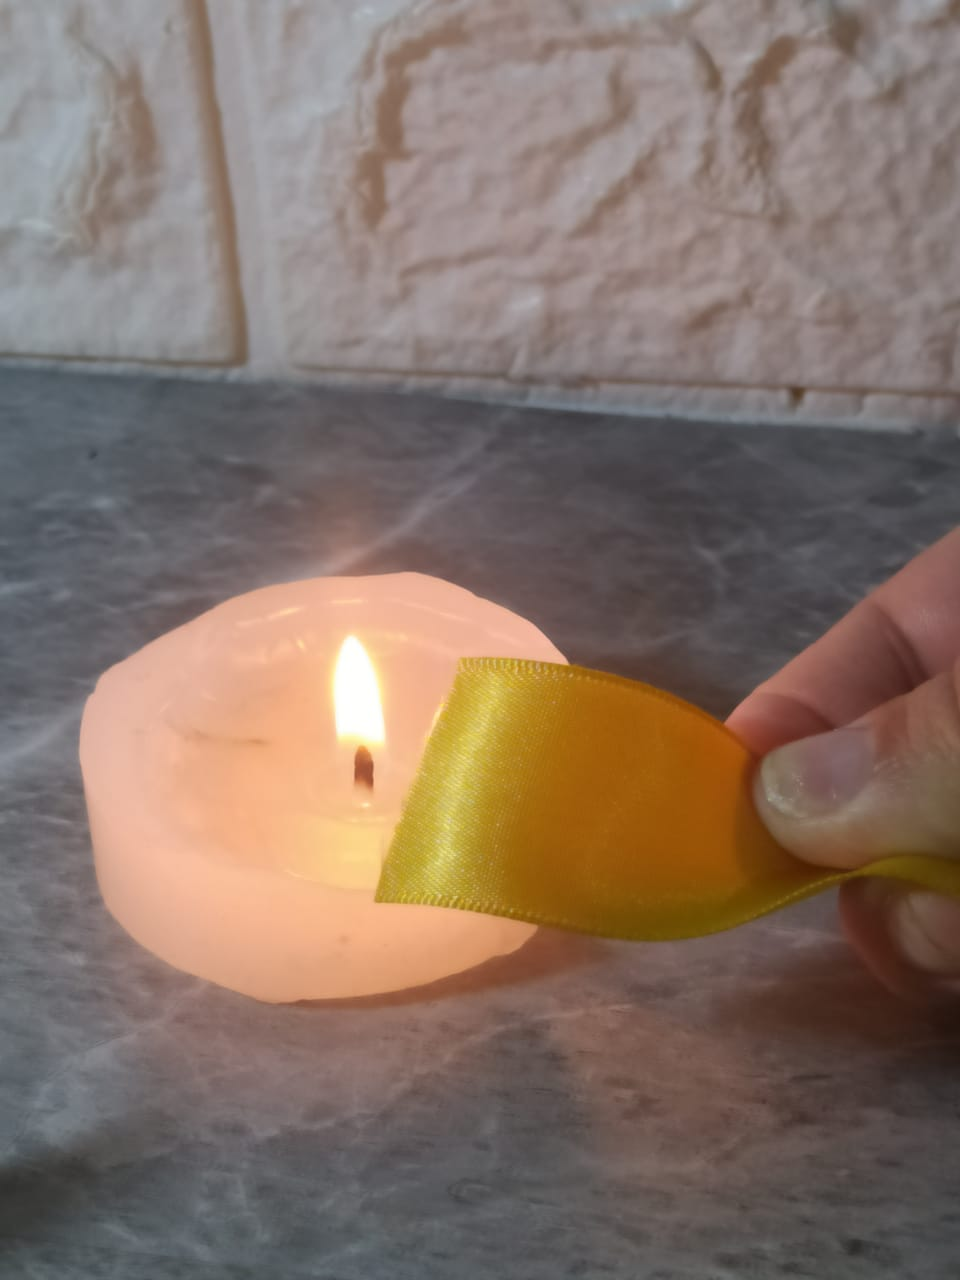
Es bueno que antes de comenzar a hacer los lazos se corte prolijamente las puntas y luego se quemen un poco con una vela, con mucho cuidado de no ponerla de color negro. Esto es para garantizar que no se deshilache la cinta, y lo hago en este momento para no hacerlo durante el proceso.
My friend brought me 2 meters of ribbon, but I cut two strips, each 72 cm long, to make my bows.
It's a good idea to neatly trim the ends before starting to make the bows and then burn them a little with a candle, being very careful not to blacken it. This is to ensure the ribbon doesn't fray, and I do it now so it doesn't fray during the process.
Voy a explicar con Gifs muy detallados cómo se utiliza el Lazo Fácil. Una vez elegido el tamaño del lazo y se ubican los palitos en esas perforaciones, comenzamos:
* Comienzo con la punta de la tira casi en un extremo (esto porque me gusta que la punta quede corta, pero es algo de gusto personal) voy dando vueltas alrededor de ambos palitos.
* Cuando voy por la mitad, me ayudo de una pinza para que no se desarmen las vueltas.
I'm going to explain how to use the Easy Bow using very detailed GIFs. Once you've chosen the bow size and placed the sticks in the holes, we begin:
* I start with the tip of the strip almost at one end (this is because I like the tip short, but it's a matter of personal preference), wrapping it around both sticks.
* When I'm halfway through, I use a pair of tweezers to keep the twists from coming undone.
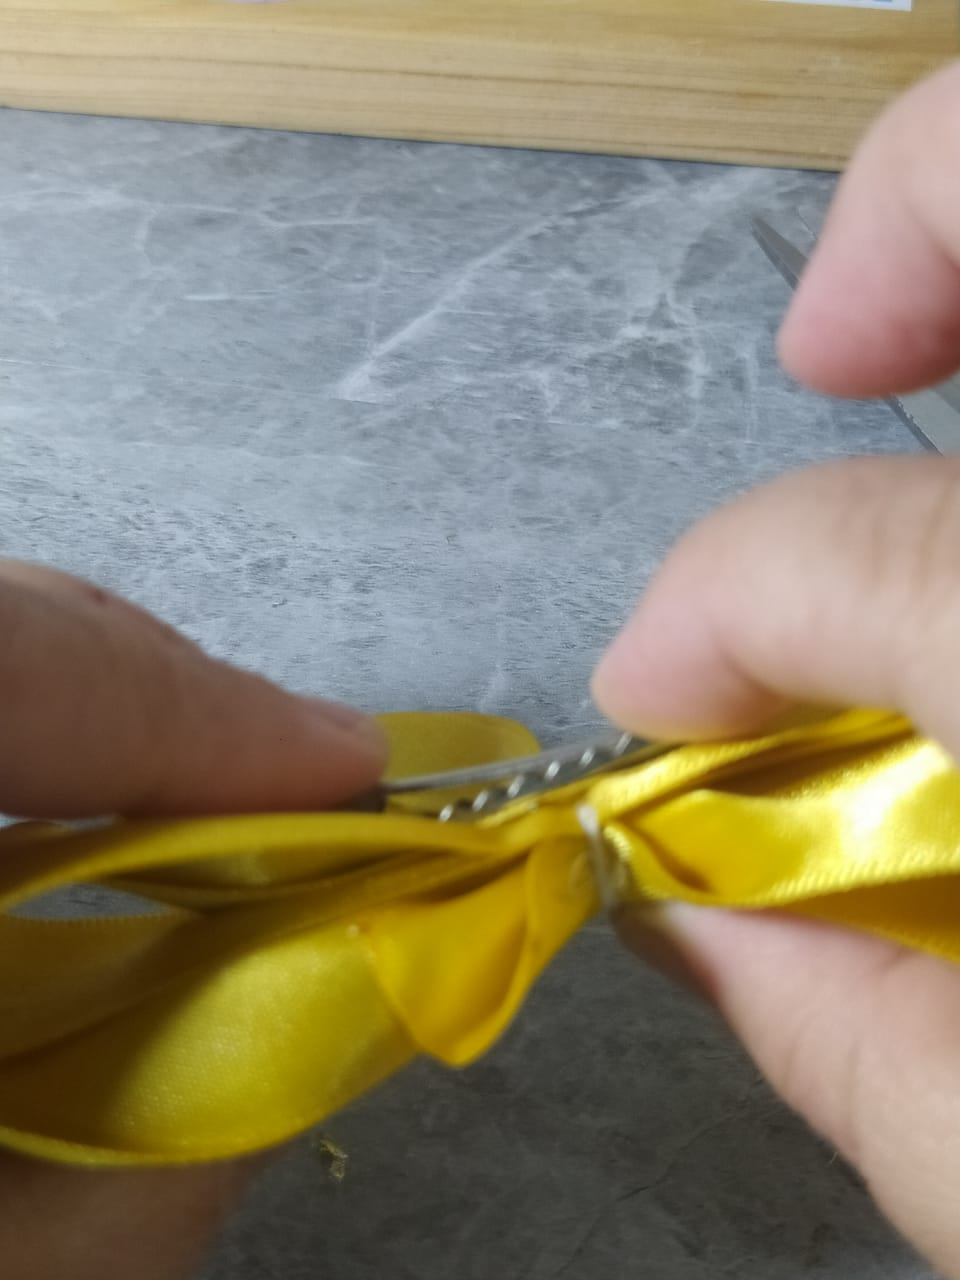
* Al terminar de dar vueltas, muevo la pinza para que agarre todo.
* Paso una costura recta muy amplia, como de basta, por el medio de las cintas, asegurándome de ir agarrando todas, y voy retirando la pinza que ya no la voy a ir necesitando porque la costura va agarrando todo.
* When I'm done turning, I move the dart so it grips everything.
* I sew a very wide, straight, basting stitch down the middle of the ribbons, making sure to grip them all. I then remove the dart, as I won't need it anymore because the stitching will grip everything.
* Retiro uno de los palitos para retirar fácilmente mi cinta.
* Halo el hilo y recojo todas las cintas, juntándolas bien.
* I remove one of the sticks to easily remove my ribbon.
* I pull the thread and gather all the ribbons, gathering them neatly.
* Con el mismo hilo doy varias vueltas en el centro de las cintas, y hago una costura de atraque o cierre.
* Abro bien todo el diseño de lazo que se formó.
* Using the same thread, I make several turns in the center of the ribbons and make a locking or closing seam.
* I open the entire bow design that was formed.
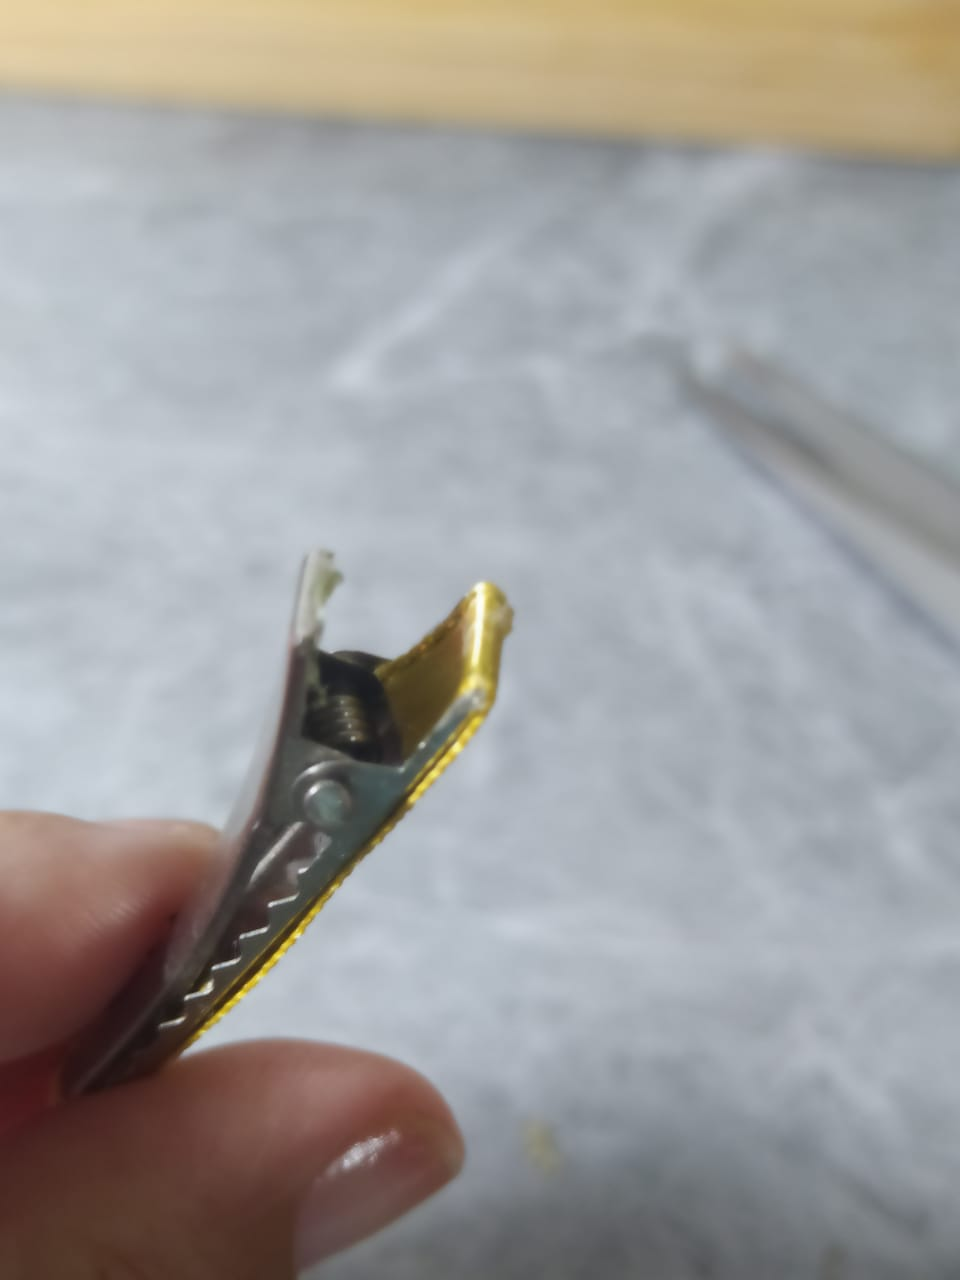
Me gusta decorar la pinza caimán, esto es opcional, pero es un detalle de calidad que me gusta aportarle a mis lazos y tocados.
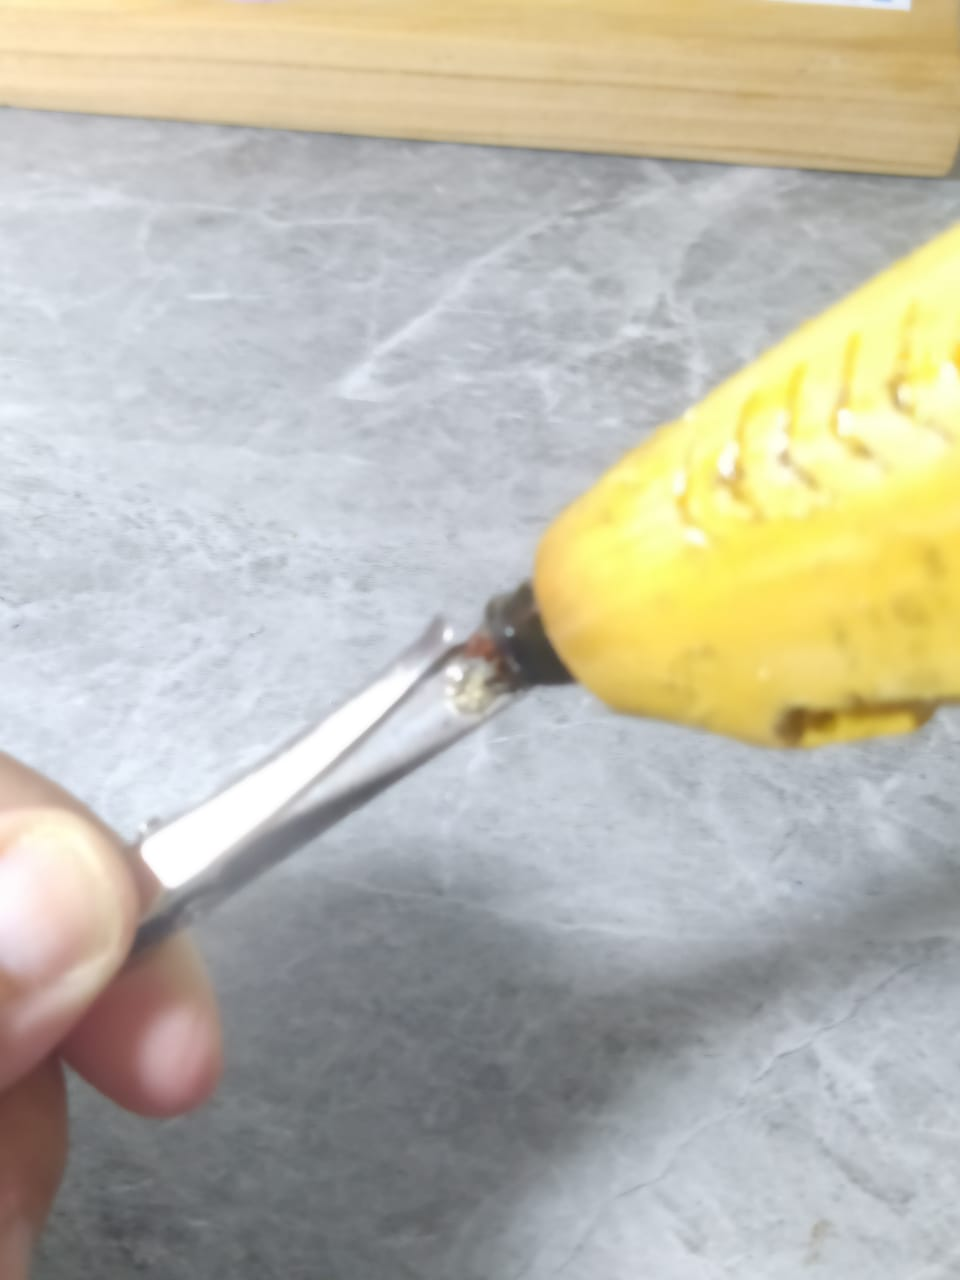
En la parte interna de la pinza, coloco un poco de silicón caliente y pego un extremo de la cinta delgada.
I like to decorate the alligator clip. This is optional, but it's a quality detail I like to add to my bows and headpieces.
On the inside of the clip, I place a dab of hot glue and glue one end of the thin ribbon.
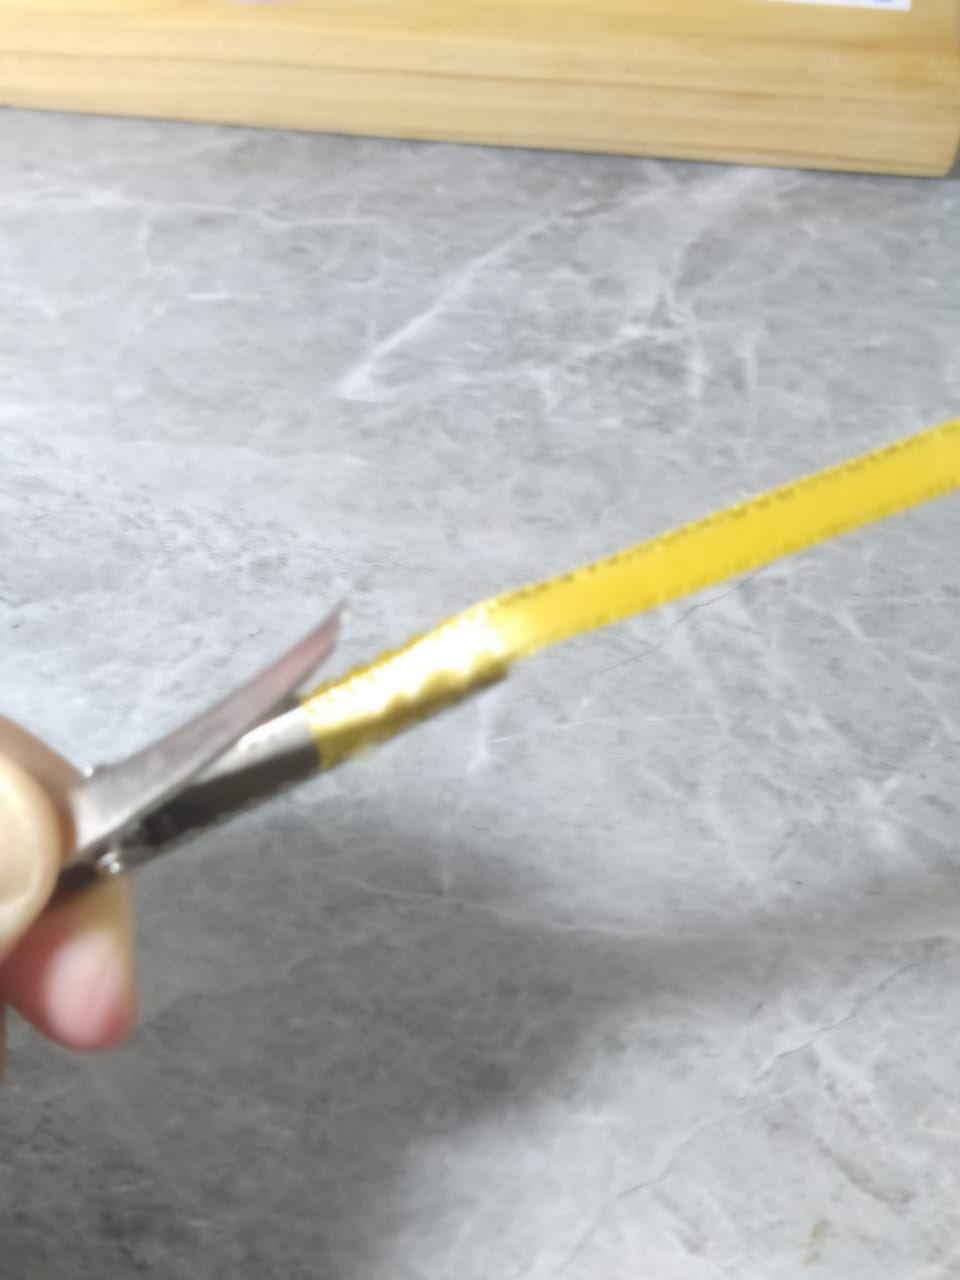
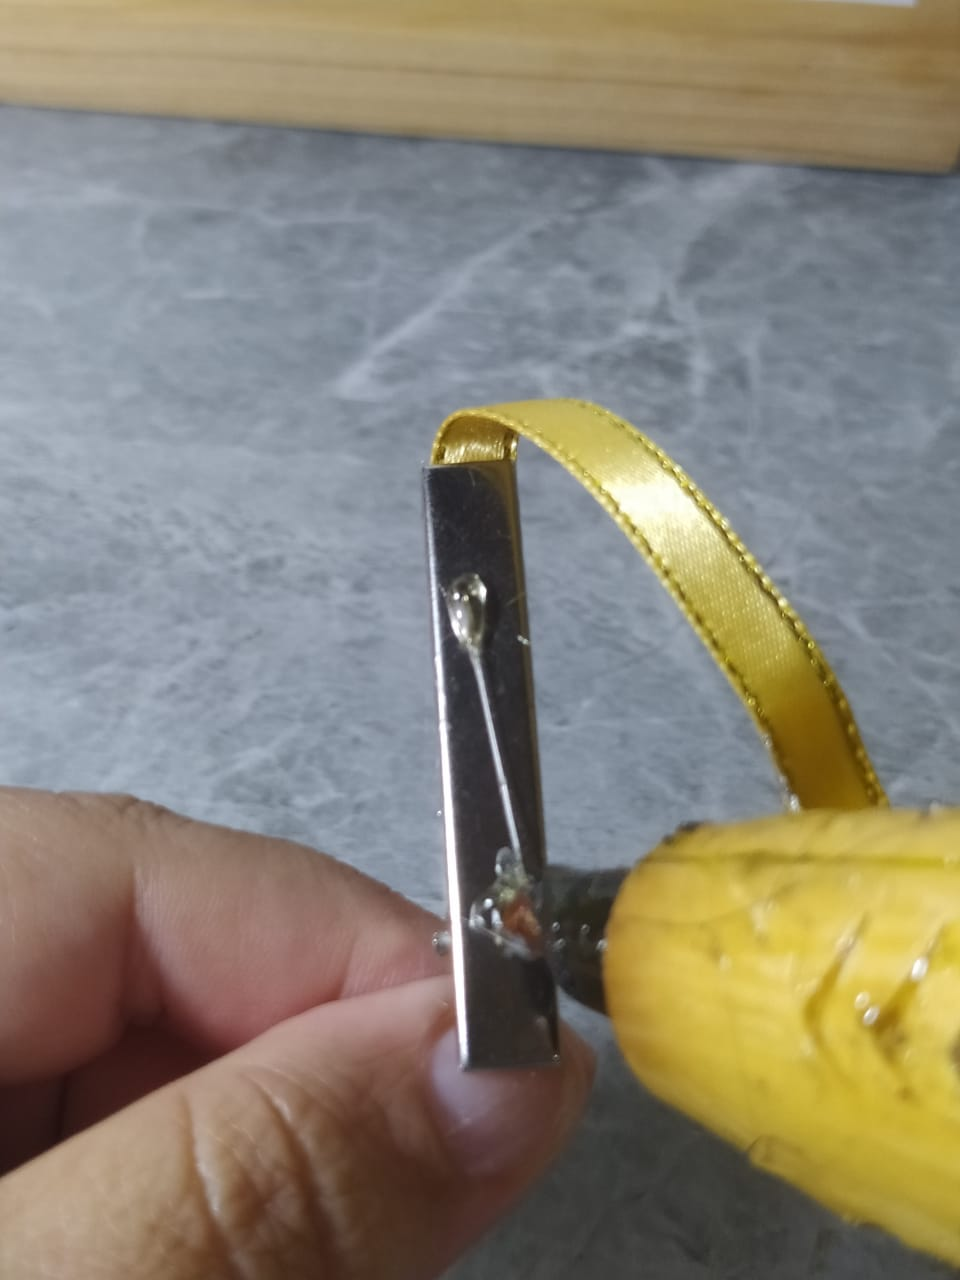
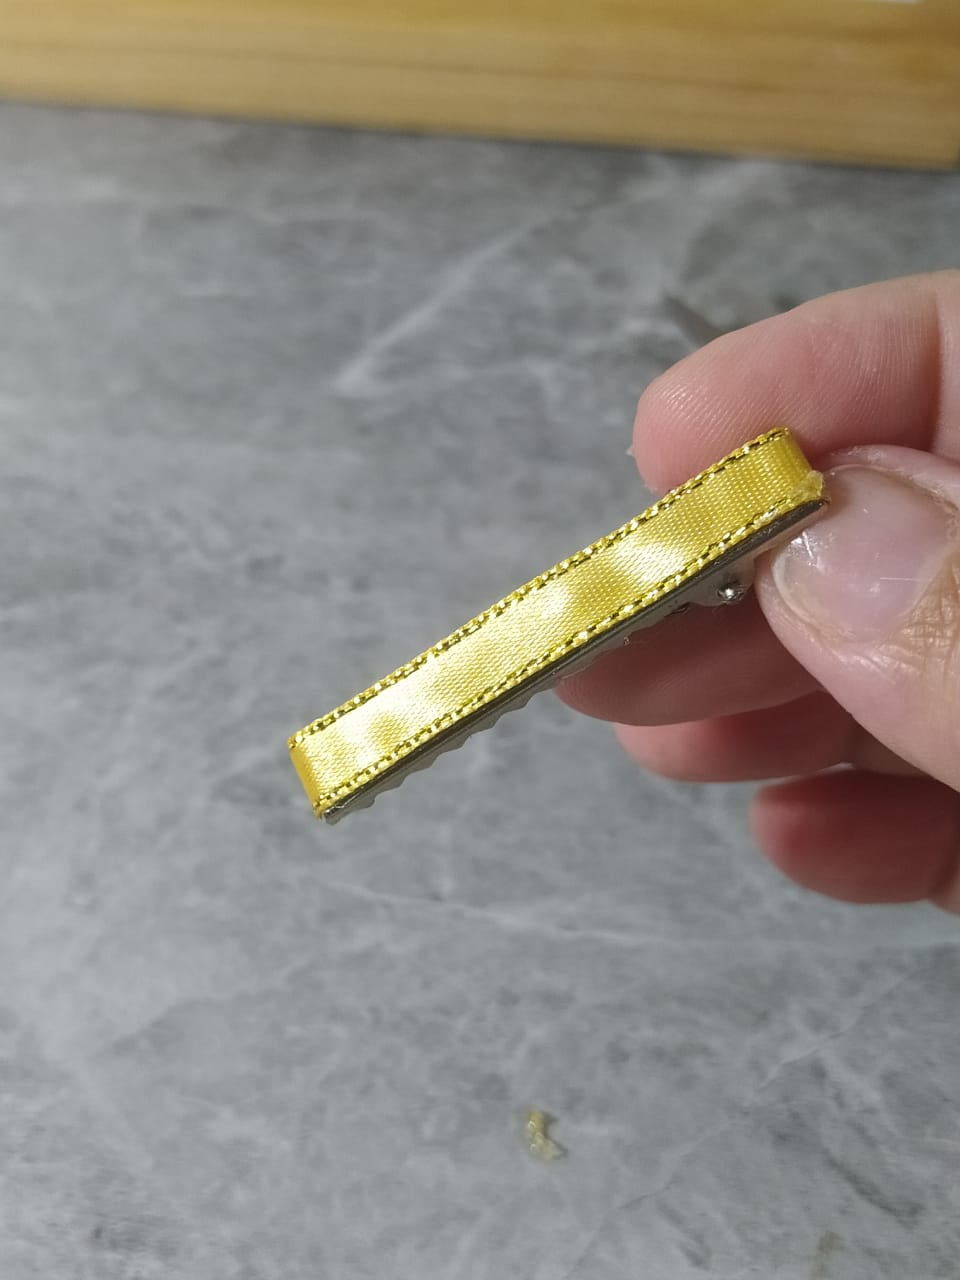
Doy la vuelta y en la parte superior de la pinza coloco otro poco de silicón caliente y pego la cinta y termino en la parte de la pinza que uno presiona.
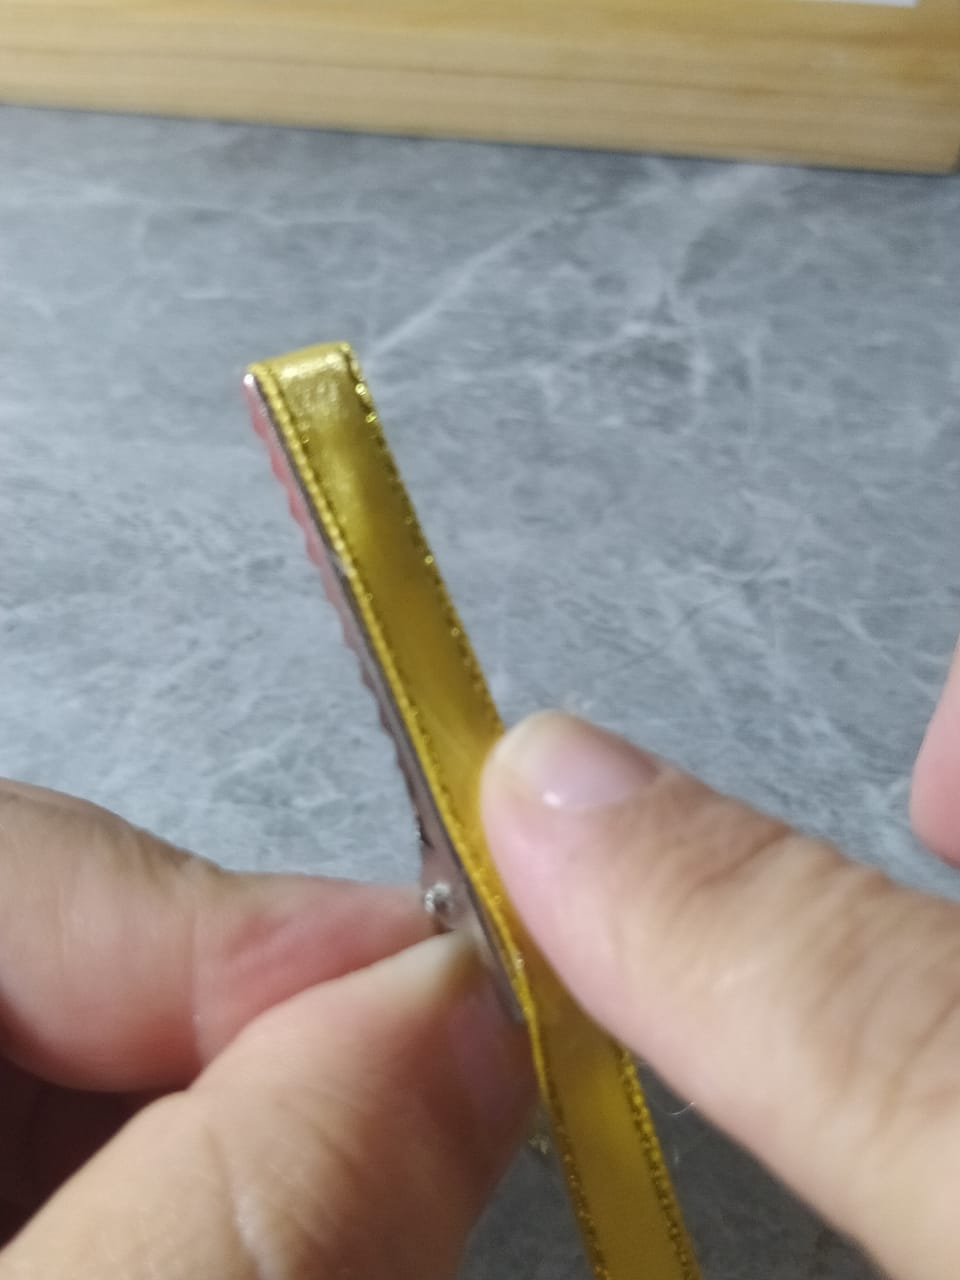
La pinza quedará así, bien forrada y presentada.
I turn it over and place another bit of hot glue on top of the clip, then glue the tape, finishing with the part of the clip that you press down on.
The clip will be like this, nicely wrapped and presented.
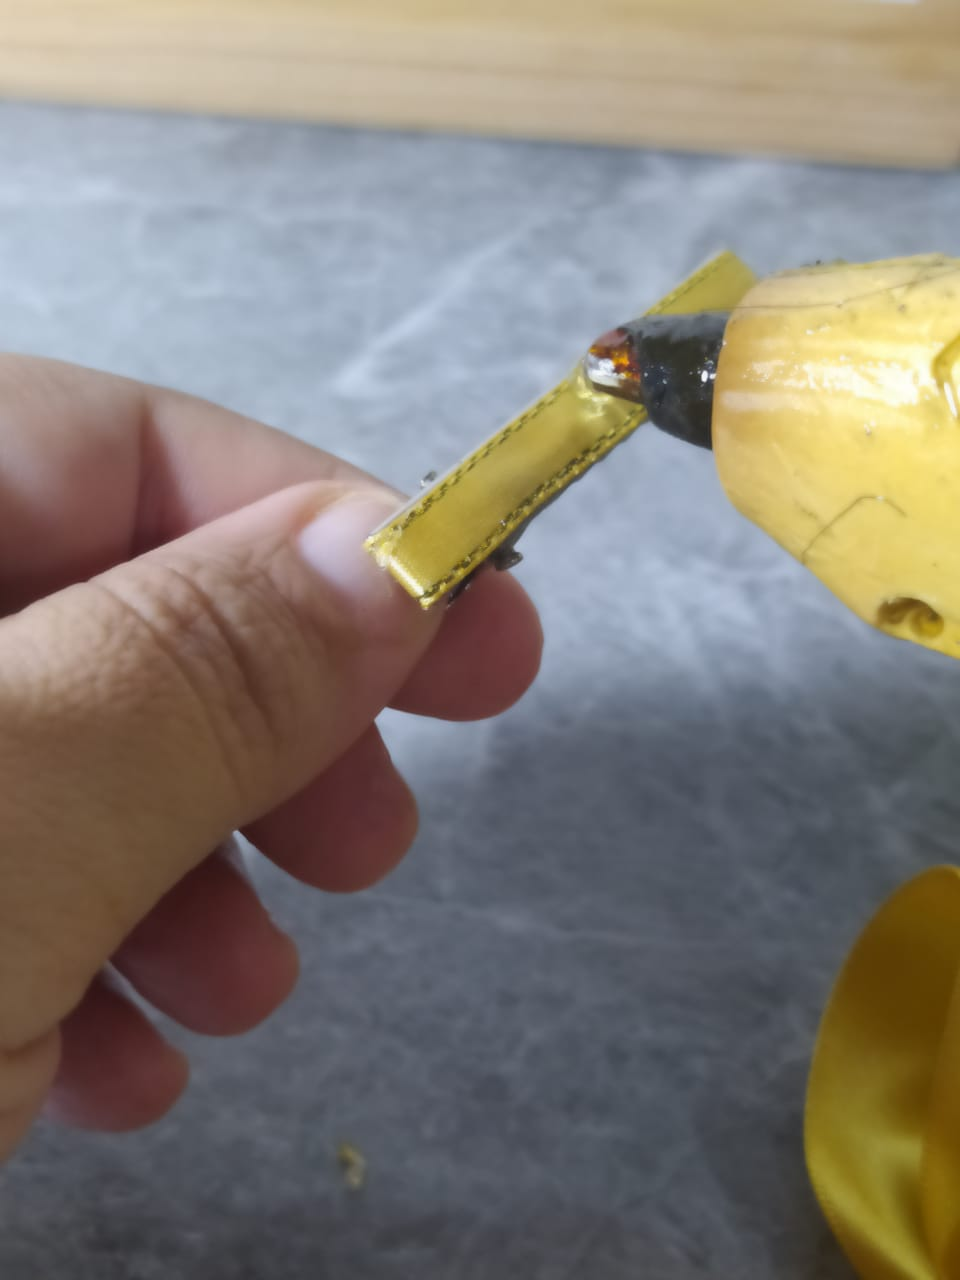
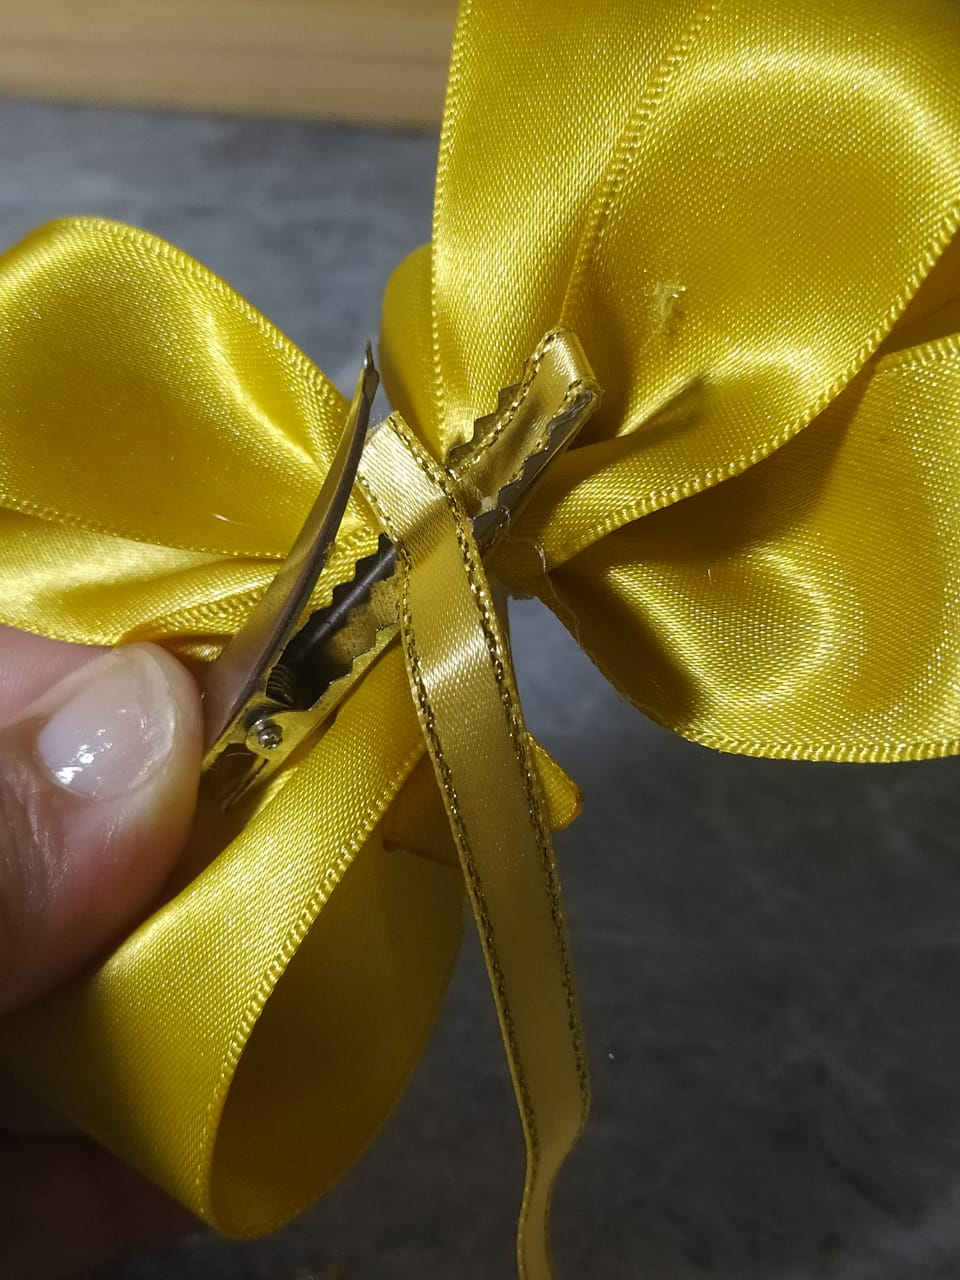
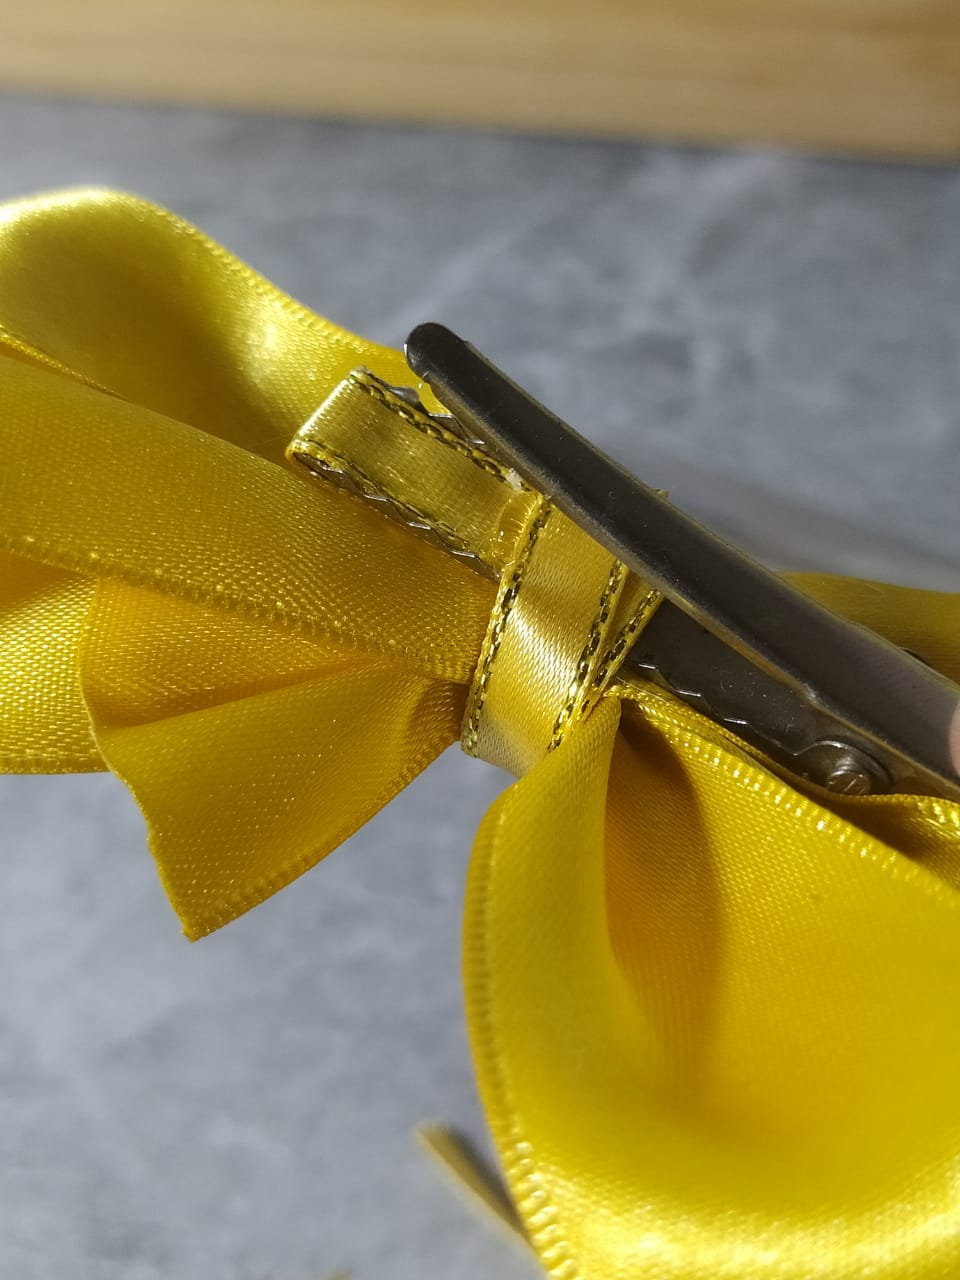
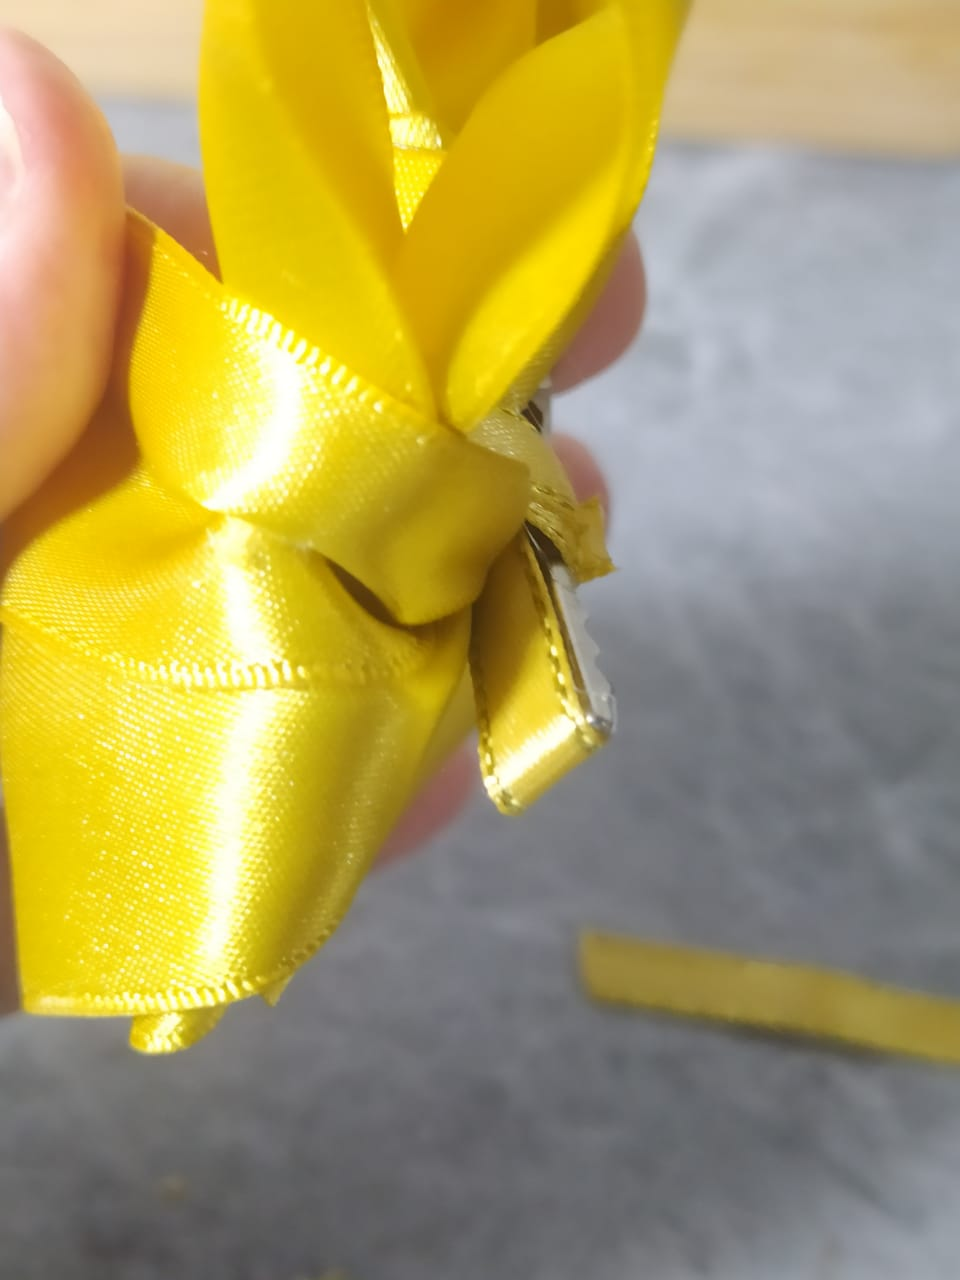
Ahora coloco sobre la pinza forrada un poco de silicón caliente y lo pego en una de las caras del lazo.
Doy vuelta a la cinta alrededor del lazo y termino nuevamente dentro de la pinza, donde pego con silicón caliente y corto la cinta.
Now I place a little hot glue on the lined clip and glue it to one side of the bow.
I wrap the ribbon around the bow and finish it back inside the clip, where I glue it with hot glue and cut the ribbon.
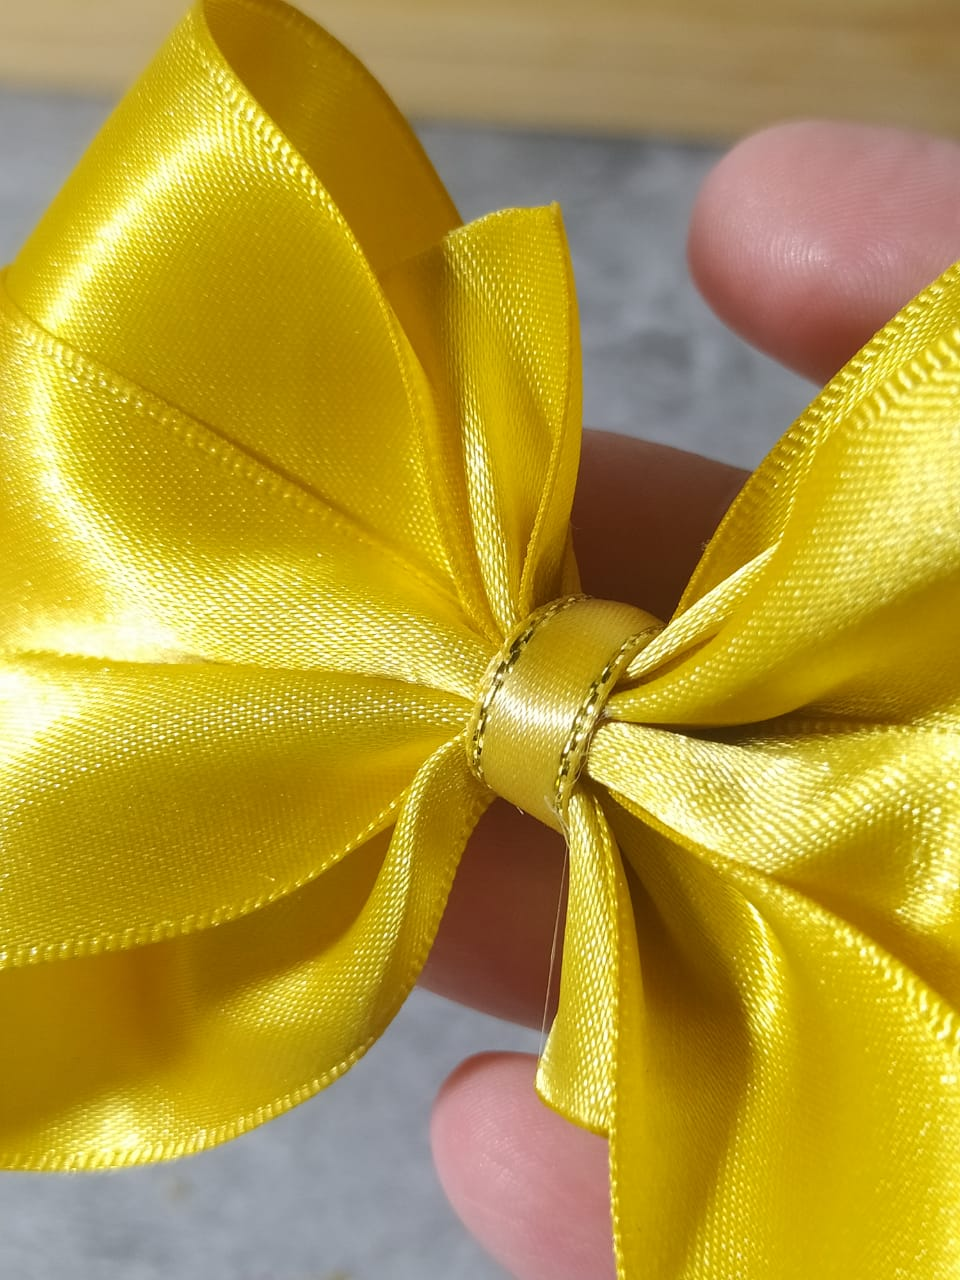
Así queda bien acabado el lazo, que repito todo para hacer un segundo lazo.
Aunque pienses que la pinza forrada no tiene sentido ya que se pega del lazo, pues fíjate cómo se ve el lazo y la pinza, todo con acabados prolijos y de calidad. Estos detalles elevan completamente el producto y le da mucha belleza.
This leaves the bow finished, and I repeat everything to make a second bow.
Although you might think the lined clip doesn't make sense since it sticks to the bow, look at how the bow and clip look, all with neat, high-quality finishes. These details completely elevate the product and give it a lot of beauty.
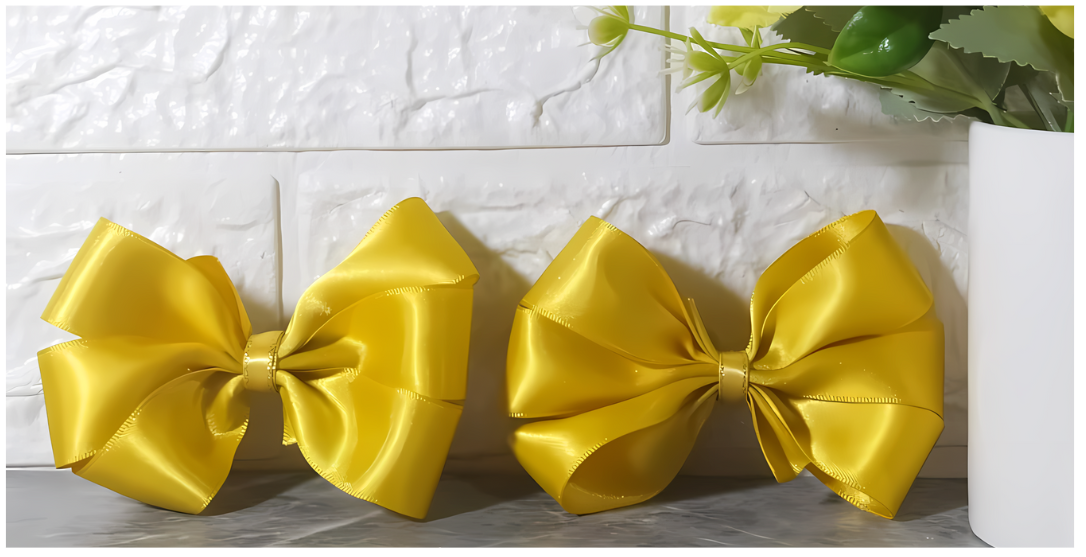
Así quedan los dos lazos, del mismo tamaño, me encantaron. Son justo lo que quería mi amiga, y es su gusto personal, lo que ella piensa que necesitaba el outfit de su niña.
Estoy muy complacida de haberlos hecho.
This is how the two bows turned out, the same size. I loved them. They're exactly what my friend wanted, and it's her personal taste, what she thinks her daughter's outfit needed.
I'm so glad I made them.
Nuevamente les digo que si tienen la oportunidad de adquirir esta herramienta llamada LAZO FÁCIL, lo hagan porque facilita mucho esta manualidad.
Deseo que les haya gustado esta publicación.
Once again, if you have the opportunity to purchase this tool called EASY LASSO, do so because it makes this craft much easier.
I hope you enjoyed this post.
I took the photos with my phone Redmi Note 8
Apps I used:
Canva Pro for Cover, Collage and Banners
I used Deepl Translator
My social networks:
Discord: YennysYaneth#0189
Twitter: @yennysferm
Instagram: @yennysyaneth
Las fotos las tomé con mi teléfono Redmi Note 8
Apps que utilicé:
Canva Pro para la Portada, Collage y Banners
Utilicé el Traductor Deepl
Mi redes sociales:
Discord: YennysYaneth#0189
Twitter: @yennysferm
Instagram: @yennysyaneth