Mi Técnica Favorita de Colocación de Sesgo - My Favorite Bias Placement Technique
@yennysferm71
· 2025-09-06 23:03
· Hive Diy
A partir de un pantalón de licra con estampado de animal print, que ya no le servía a mi hija, quise realizar un proyecto de costura para aprovechar esa tela que es de muy buena calidad, elástica y gruesa, le tenía muchas ganas a este proyecto, y es que no me gusta desperdiciar materiales.
Así que, descosí el pantalón y le saqué provecho. Otro género de tela para este proyecto de costura fue una tela de algo así como un encaje, del cual solo necesité muy poca, ya que utilizaría para hacer la parte posterior del top y un detalle central, de acuerdo al diseño que pensé. Sin patrón, simplemente tomando como referencia una camisa que sea igualmente de tela elástica, donde realicé las modificaciones que necesitaba para el diseño que tenía en mente... Bienvenidos.
Starting with a pair of animal print spandex pants that my daughter no longer needed, I wanted to do a sewing project to use up this fabric, which is very good quality, stretchy, and thick. I was really looking forward to this project, as I don't like wasting materials.
So, I unstitched the pants and made use of them. Another type of fabric for this sewing project was a lace-like fabric, of which I only needed a very small amount, as I would use it to make the back of the top and a center detail, according to the design I had in mind. Without a pattern, I simply used a shirt that was also made of stretchy fabric, where I made the necessary modifications for the design I had in mind... Welcome.
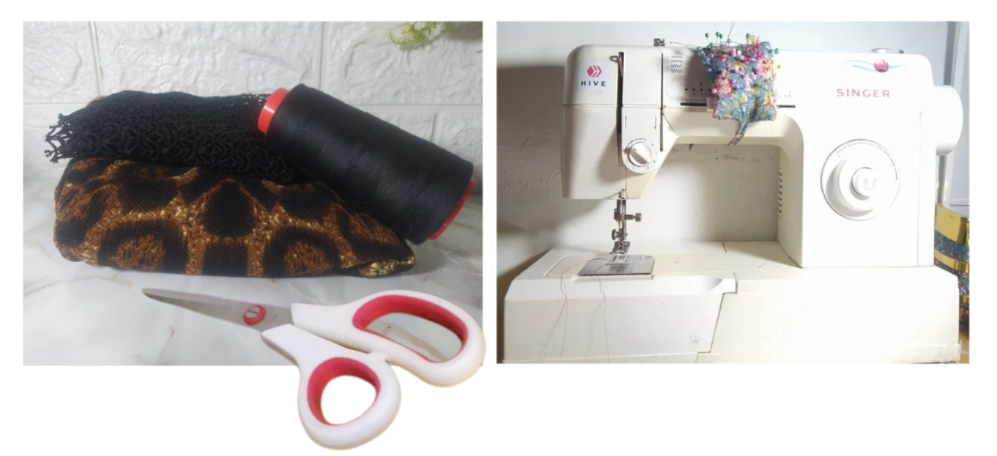
* Tela de animal print.
* Tela de encaje negro.
* Máquina de coser.
* Hilo, tijera y alfileres.
* Una camisa para sacar el patrón.
* Animal print fabric.
* Black lace fabric.
* Sewing machine.
* Thread, scissors, and pins.
* A shirt to cut the pattern from.
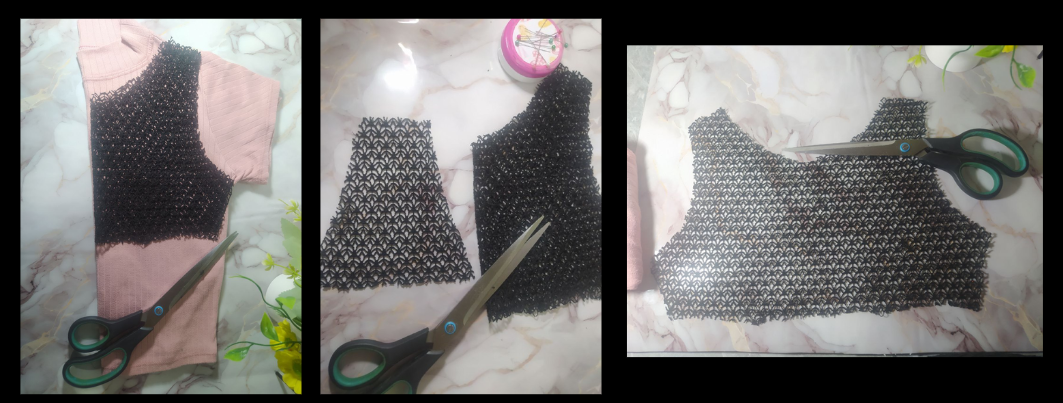
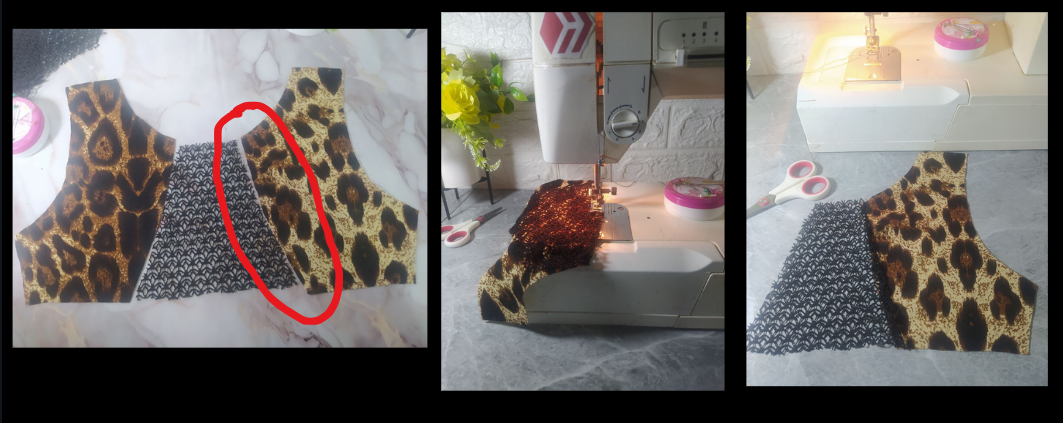
🔔 CORTA LAS PIEZAS USANDO UNA REFERENCIA
Sin patrones previos, solo utilizo una camisa como referencia, que sea elástica al igual que las telas. La camisa que voy a usar la doblo por el centro delantero, y corto la tela del encaje negro siguiendo la forma que quería realizar, esto tomando en consideración las alturas de sisa, cuello y largo que deseaba hacer.
También corté una forma para la parte delantera del top.
🔔 CUT THE PIECES USING A REFERENCE
Without any previous patterns, I just used a shirt as a reference, one that was stretchy, just like the fabrics. I folded the shirt I was going to wear down the center front and cut the black lace fabric following the shape I wanted, taking into account the armhole, neckline, and length I wanted.
I also cut a shape for the front of the top.
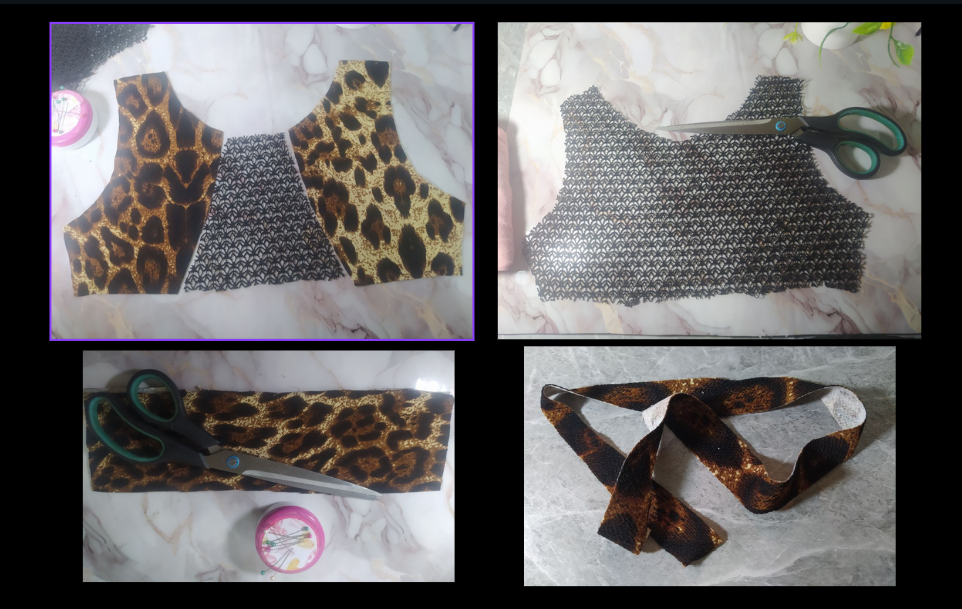
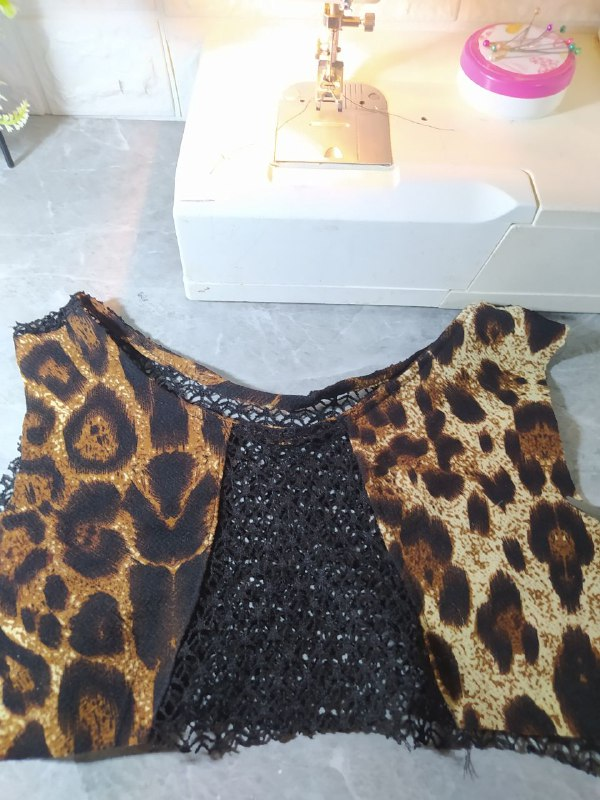
🔔 TODAS LAS PIEZAS LISTAS PARA COMENZAR A ARMAR
- Las piezas que formaran el delantero.
- La pieza posterior.
- La pieza inferior de 10cms de ancho y que alcance para delantero y posterior.
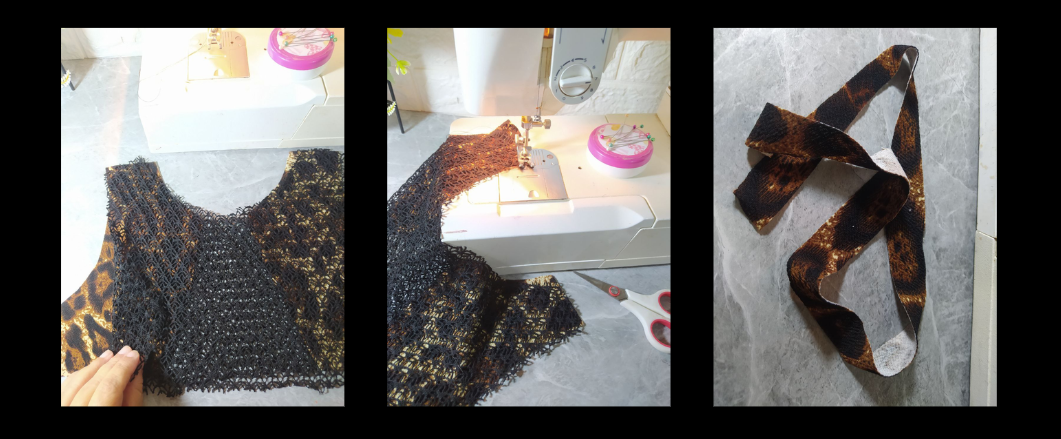
- Las tiras para hacer el sesgo de 4cms de ancho.
🔔 ALL THE PIECES READY TO BEGIN ASSEMBLY
- The pieces that will make the front.
- The back piece.
- The bottom piece, 10 cm wide and long enough for both the front and back.
- The bias strips, 4 cm wide.
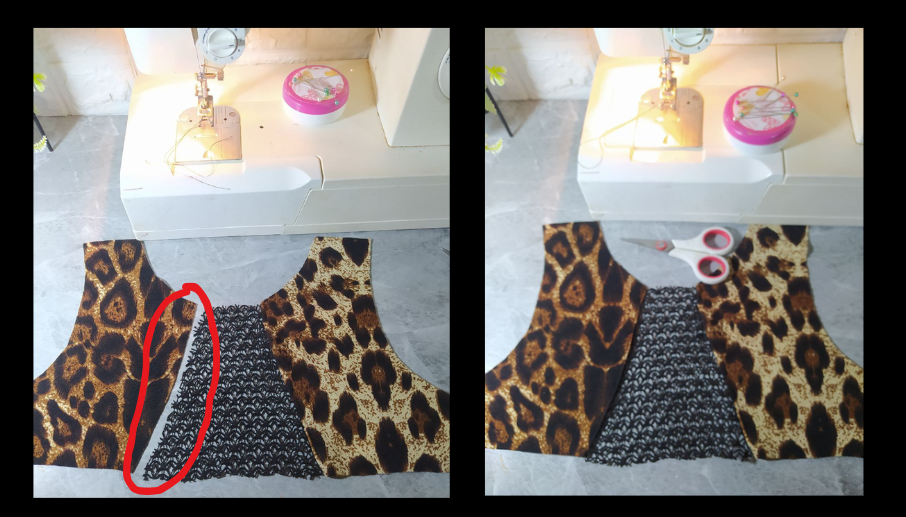
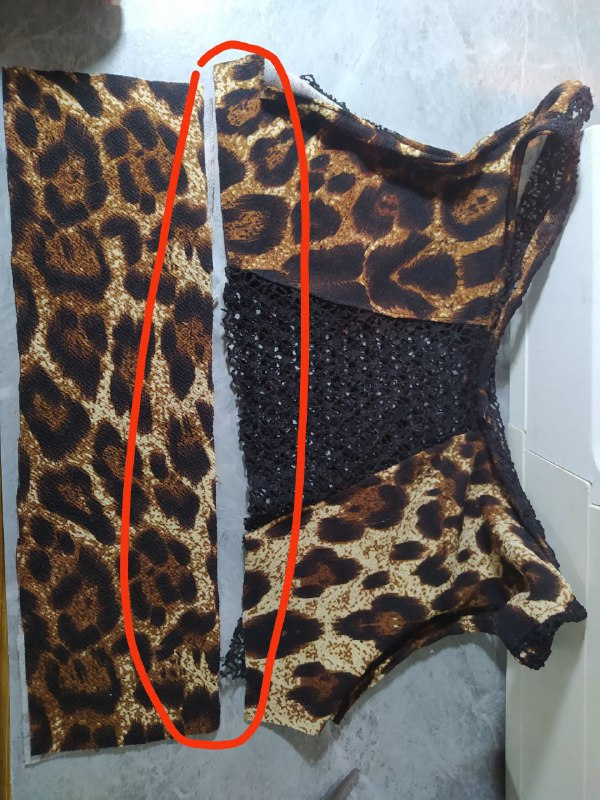
🔔 Armar el delantero:
- Derecho con derecho, costura recta.
- Luego se repisa esa costura hacia el lateral para que no se vea.
🔔 Assemble the forward:
- Right sides together, straight seam.
- Then, fold that seam to the side so it's not visible.
- Se repite igual con la otra pieza y ya esa será la parte delantera completa.
- Repeat the same with the other piece and that will be the complete front part.
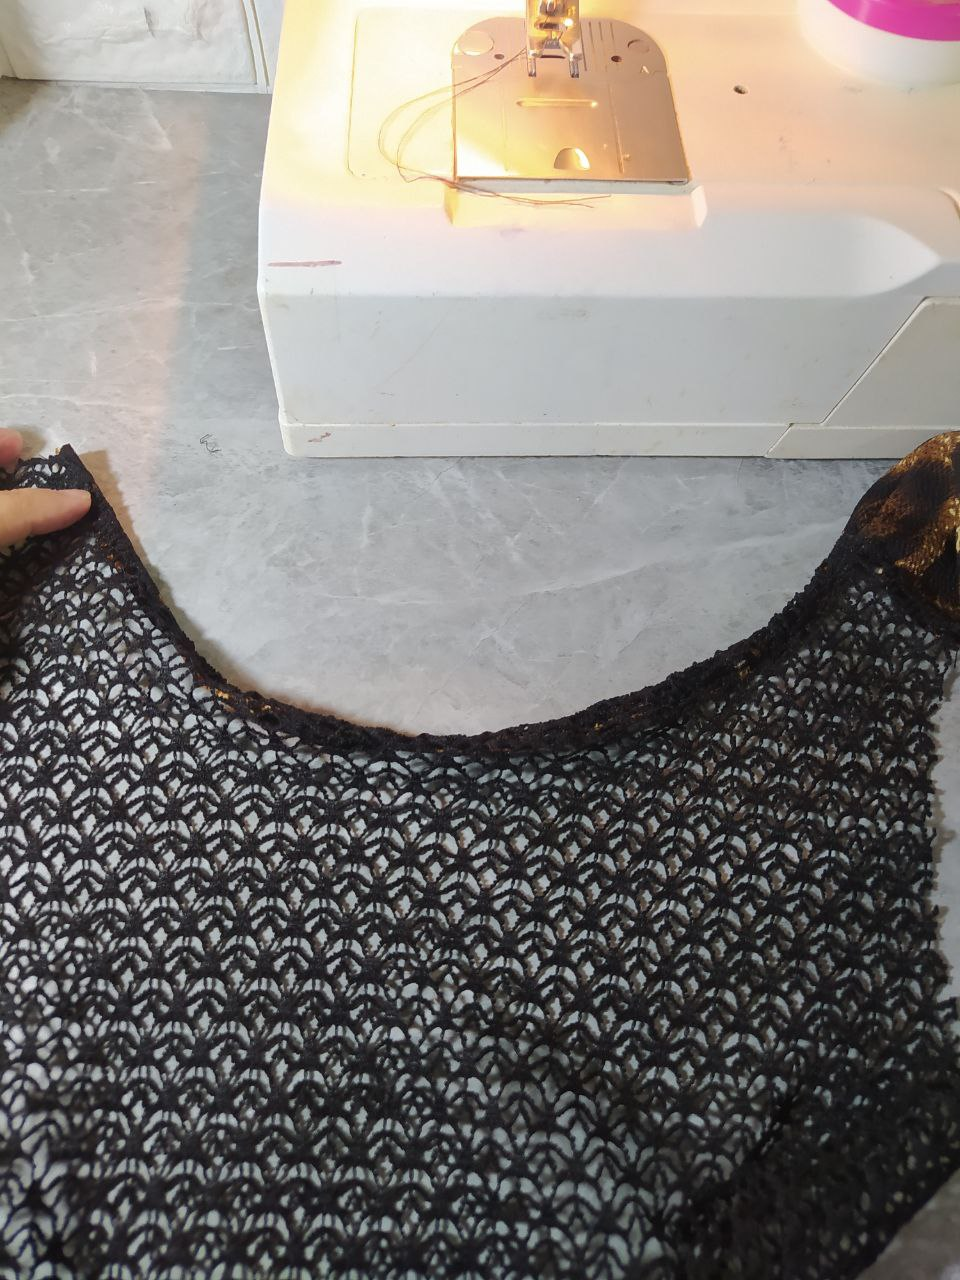
🔔 UNIR UN HOMBRO PARA COLOCAR SESGO:
- Derecho con derecho del delantero y posterior.
- Se pasa costura recta en un solo hombro.
- Se repisa esa costura hacia el delantero, ya que en el posterior está el encaje y se vería muy mal.
- Usaremos el sesgo de la misma tela.
🔔 JOINING A SHOULDER TO USE A BIAS:
- Right sides together on the front and back.
- Sew a straight seam on one shoulder only.
- Turn that seam toward the front, since the lace is on the back and would look awkward.
- We'll use the bias tape made from the same fabric.
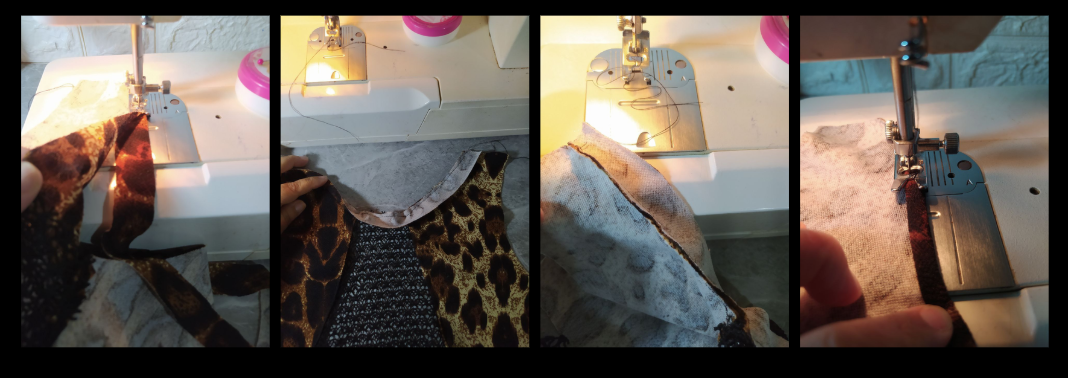
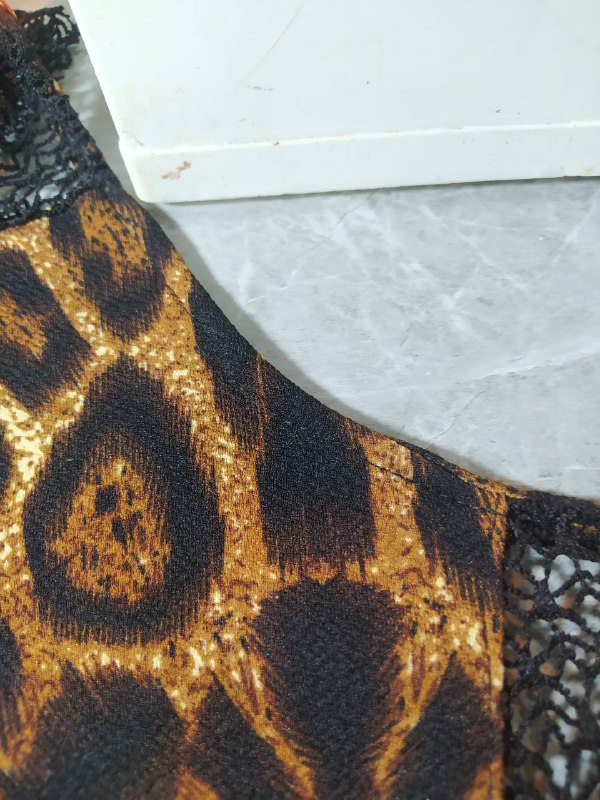
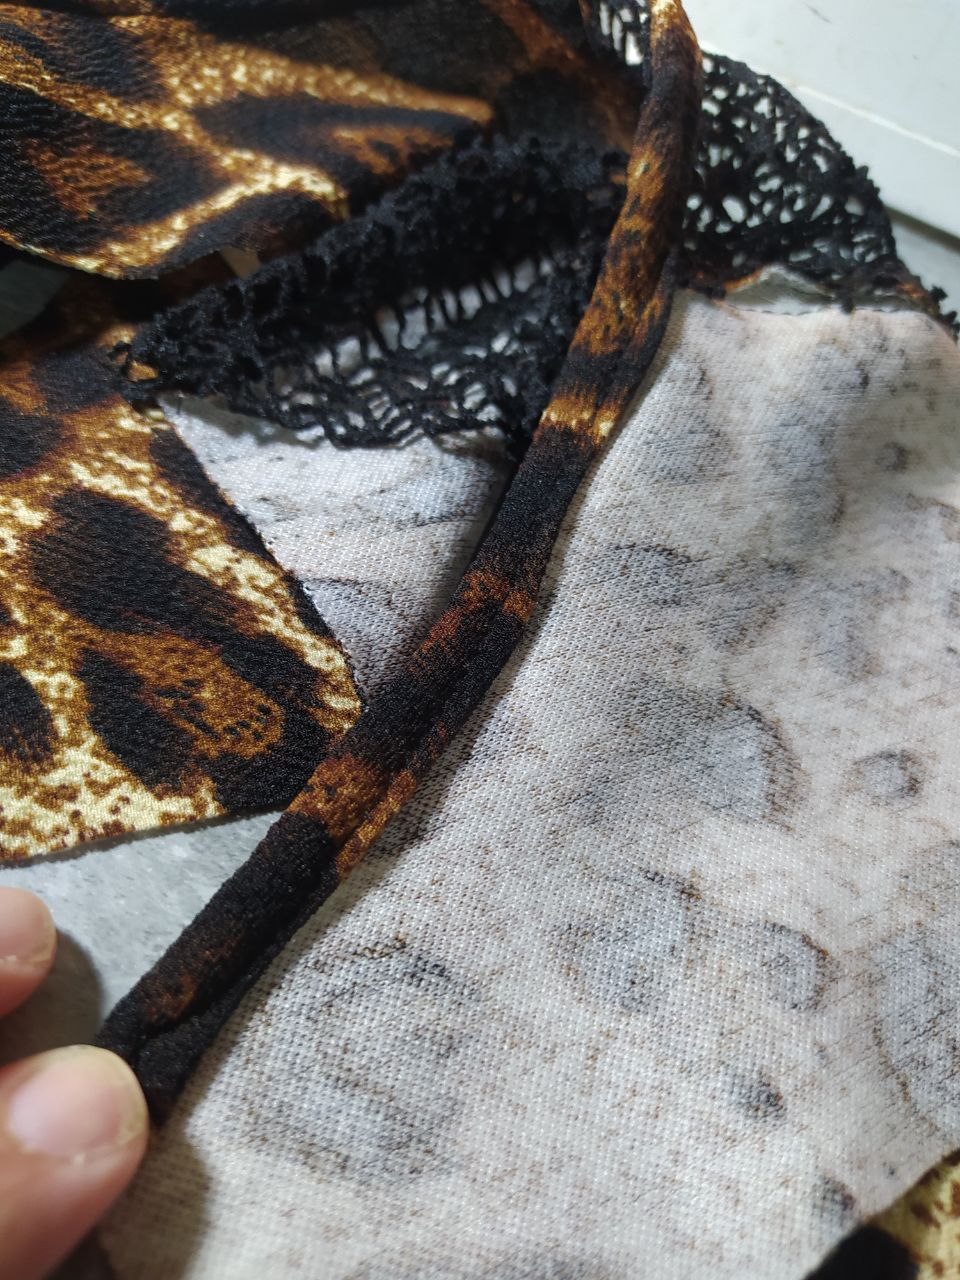
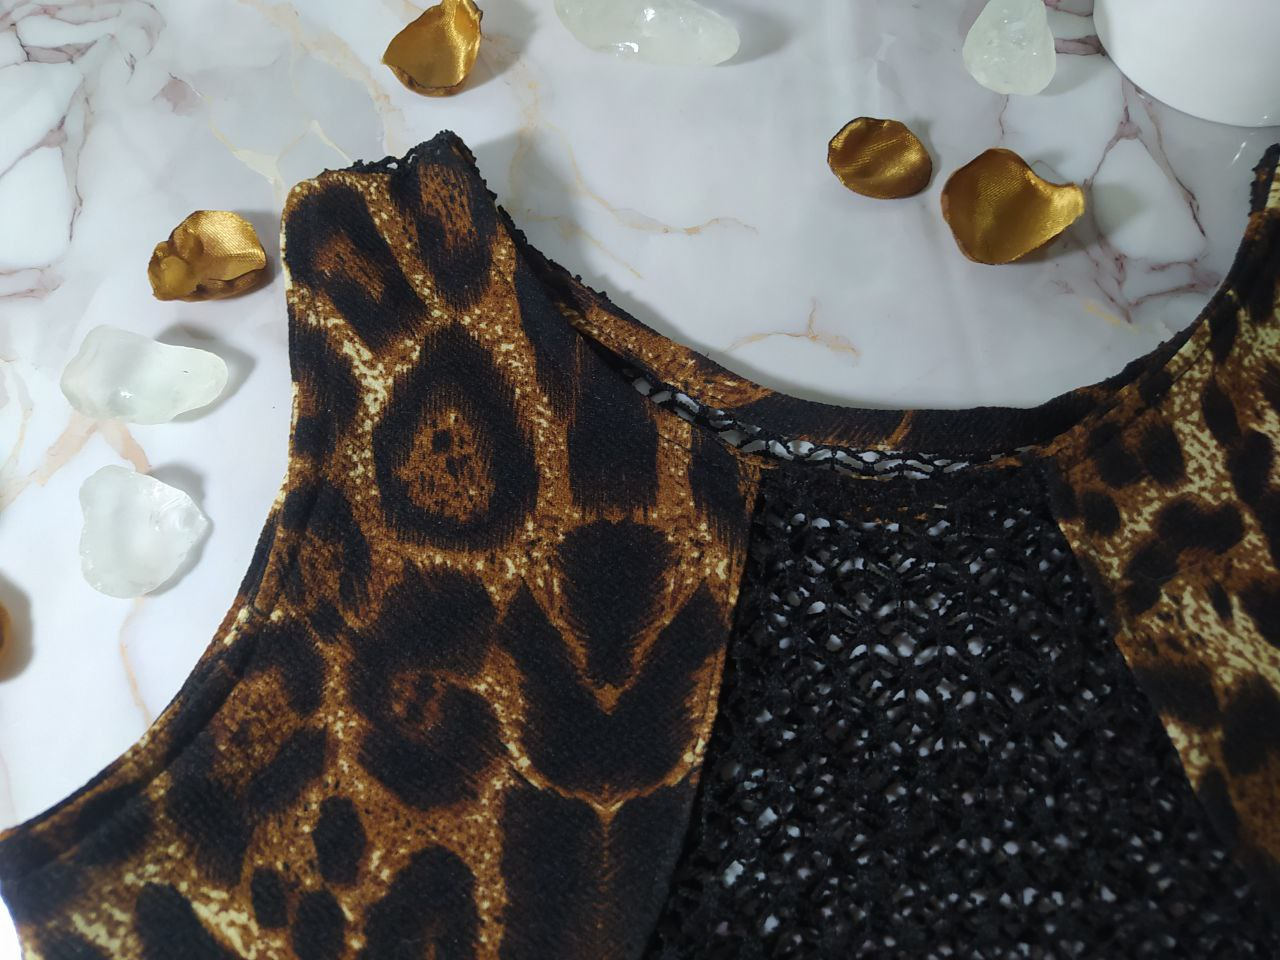
🔔 COLOCAR SESGO A TODO EL CUELLO:
- Derecho del cuello (delantero y posterior) con derecho del sesgo, se pasa costura recta.
- Se abre el sesgo y se dobla dos veces hacia la parte interna, de la prenda.
- Se pasa costura recta por el borde.
🔔 APPLY BIAS TO THE ENTIRE NECKLINE:
- With the neckline (front and back) facing the bias, sew a straight stitch.
- Open the bias and fold it twice toward the inside of the garment.
- Sew a straight stitch along the edge.
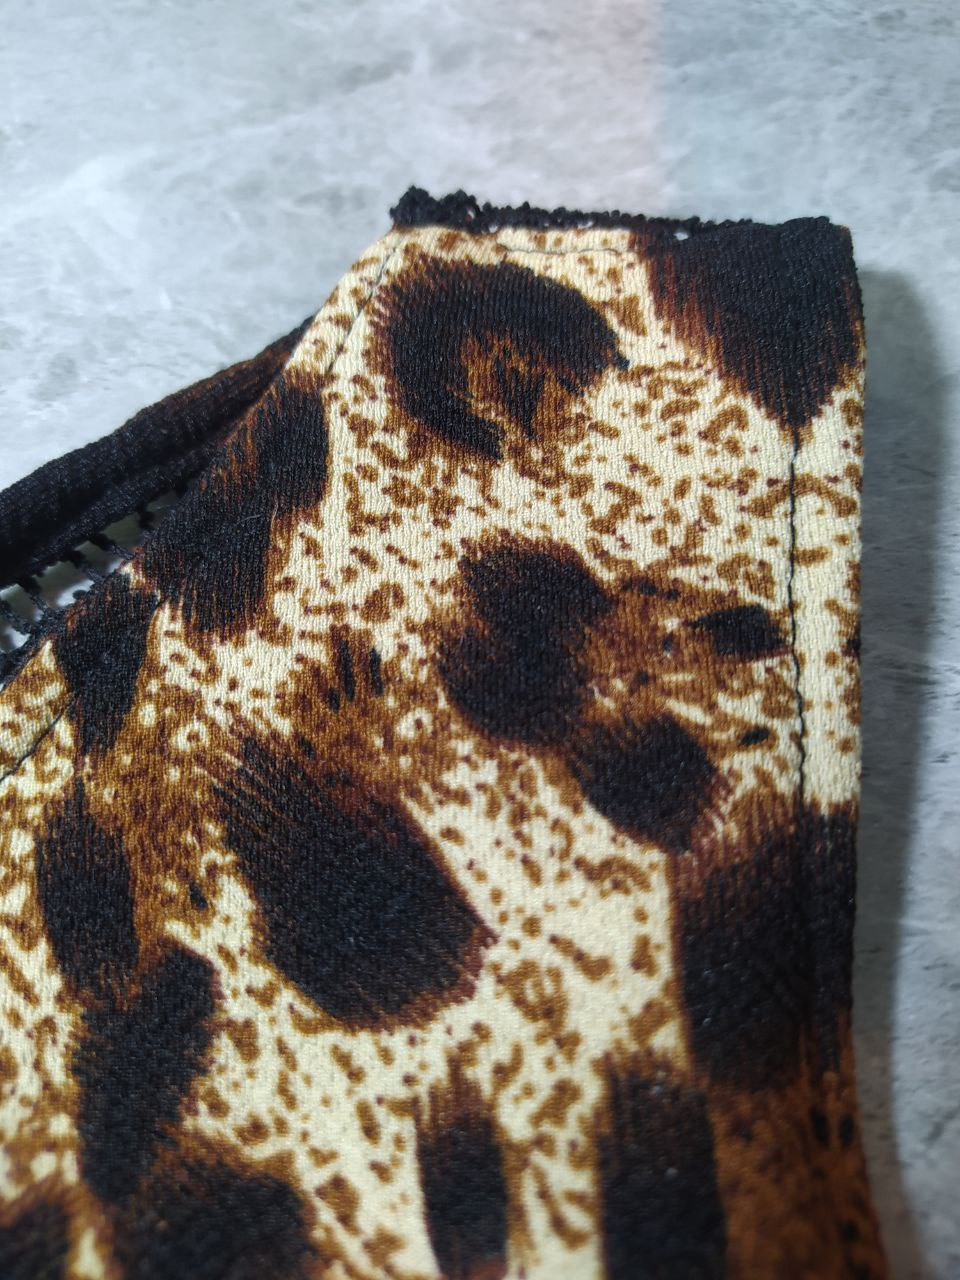
Con esta TÉCNICA DE SESGO se ve muy limpia la costura tanto por fuera como por dentro, garantizando que todo quede dentro del doblez. En el posterior que es de encaje, también luce muy bien esta Técnica.
🔔 CERRAR EL OTRO HOMBRO y repisar hacia adelante, ya que en el posterior se notaria en el encaje.
With this bias stitching technique, the seam looks very clean both inside and out, ensuring that everything stays within the fold. This technique also looks great on the back, which is lace.
🔔 Close the other shoulder and fold forward, as the lace will be noticeable on the back.
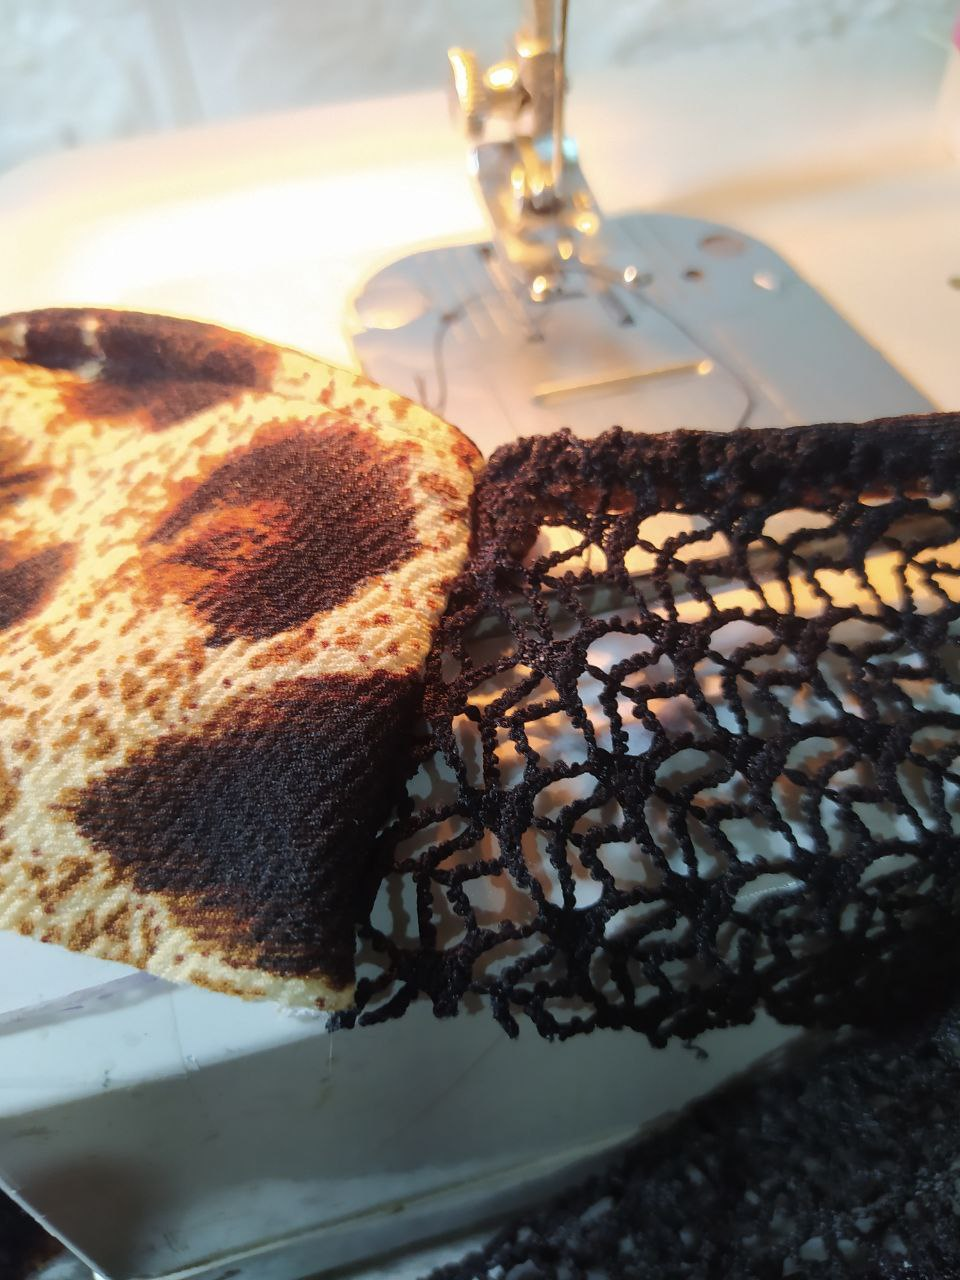
🔔 COLOCAR SESGO EN LAS SISAS
- Con la misma Técnica de sesgo que se usó en el cuello, se aplica en las sisas.
🔔 PLACING BIAS IN THE ARMHOLES
- Using the same bias technique used on the neckline, apply it to the armholes.
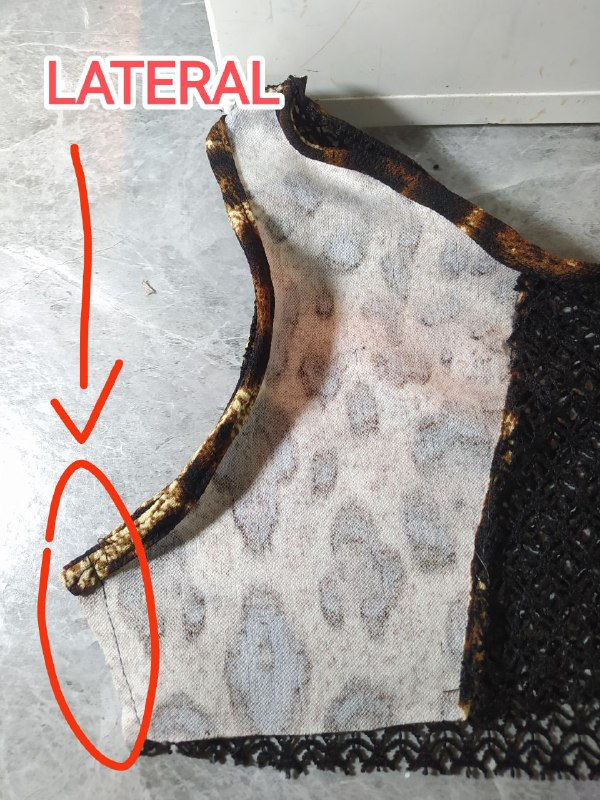
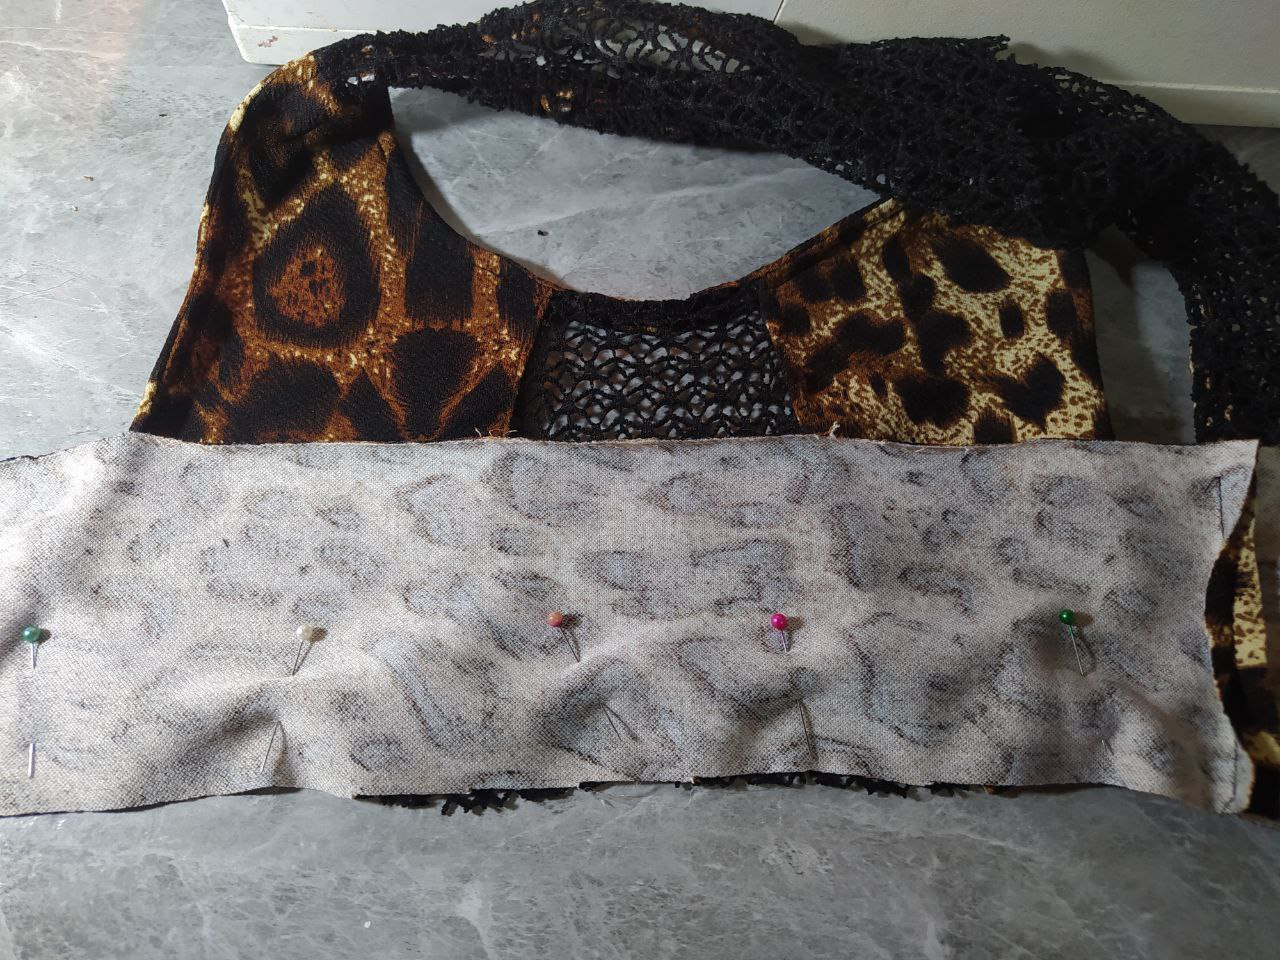
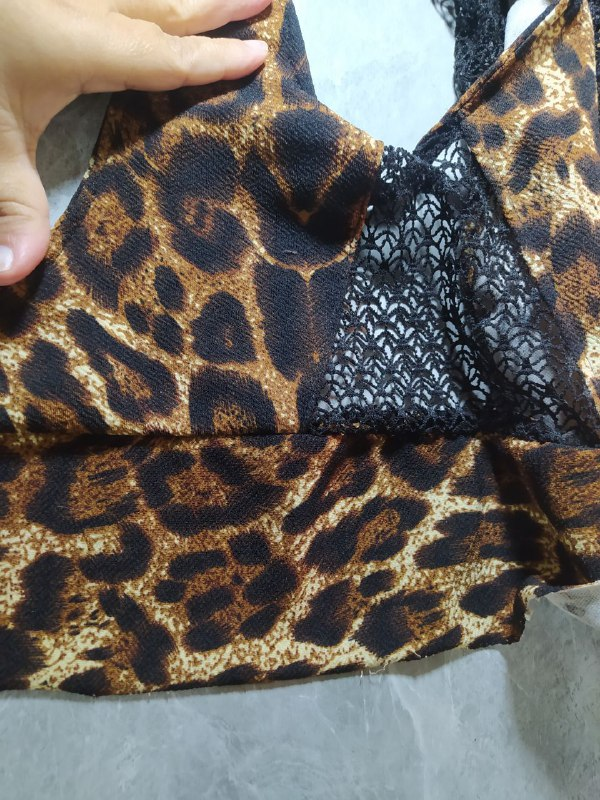
🔔 COLOCAR LA PARTE INFERIOR DEL DISEÑO.
- Se cierran los Laterales, repisando hacia el delantero ya que el posterior es de encaje y se vería mal.
-
- La parte inferior es una tira gruesa que cierro en los extremos, y la coloco de la misma forma que coloqué el sesgo. Derecho con derecho, y luego doblo y paso costura recta por la parte interna.
🔔 PLACE THE BOTTOM PART OF THE DESIGN.
- Close the sides, facing the front, as the back is made of lace and would look awkward.
-
- The bottom part is a thick strip that I close at the ends and place it the same way I placed the bias. Right sides together, then fold and sew a straight stitch along the inside.
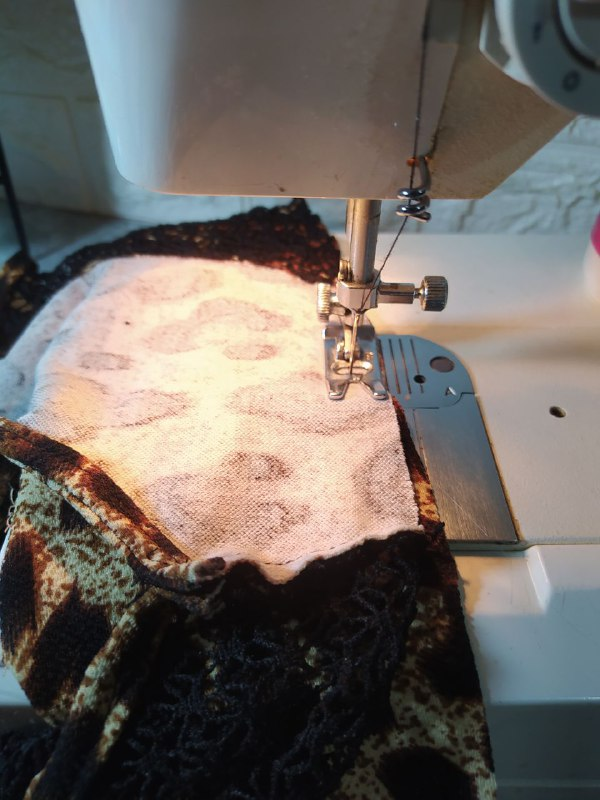
A continuación se puede ver como se ve al unir derecho con derecho. Y luego, se aprecia mejor cuando doblo hacia la parte interna y paso costura recta. Es exactamente igual que lo que había hecho en cuello y sisas.
Below you can see what it looks like when I join right sides together. And then, you can see it better when I fold it to the inside and sew a straight stitch. It's exactly the same as what I did on the neck and armholes.
**ACABADOS COMERCIALES**
La Técnica de sesgo utilicé en esta pieza y que les expliqué en el post, es mi preferida para dar acabado comercial a las prendas. Se ve realmente hermoso tanto por fuera como por dentro, y le da mucha estructura a la prenda.
📢📢 IMPORTANTE: Que las tiras que se utilicen sean cortadas AL SESGO, o como en este caso que se trate de una tela elástica.
**COMMERCIAL FINISHES**
The bias binding technique I used in this piece, which I explained in the post, is my favorite for giving a commercial finish to garments. It looks truly beautiful both inside and out, and gives the garment a lot of structure.
📢📢 IMPORTANT: Make sure the strips used are cut ON THE BIAS, or, as in this case, are made from stretch fabric.
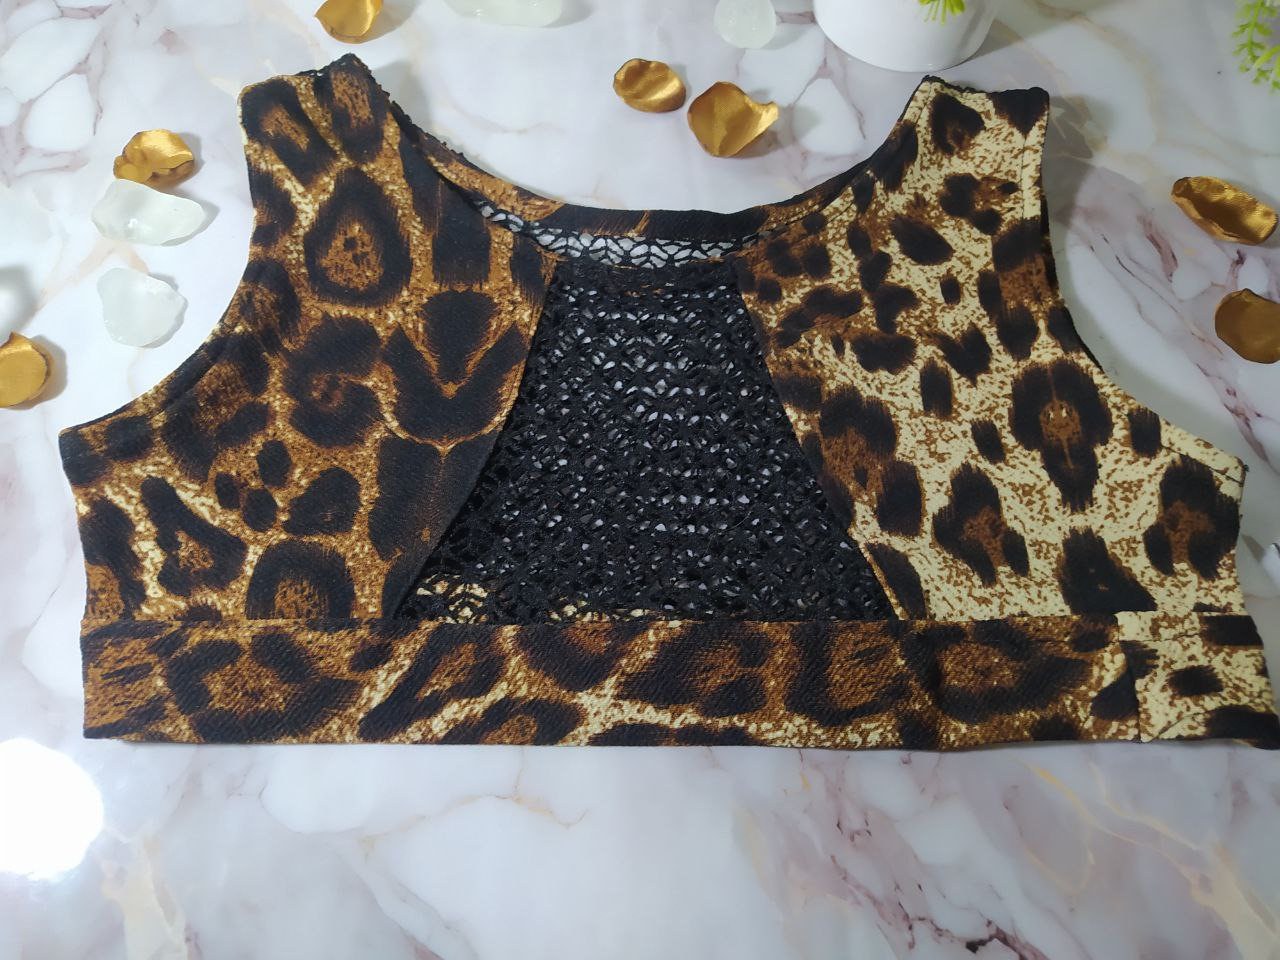
Aquí les muestro la prenda entera, el diseño es realmente muy sexy, tapa perfectamente lo que tiene que tapar, pero expone el busto femenino para que se vea muy atractivo. El tipo de tela que a pesar de ser elástico es bastante grueso, le da la estructura que necesita.
Deseo que les haya gustado y nos leemos en la próxima publicación.
Here I show you the entire garment. The design is truly sexy. It perfectly covers what it's supposed to cover, yet exposes the female bust for a very attractive look. The fabric, despite being stretchy, is quite thick, giving it the structure it needs.
I hope you like it, and I'll see you in the next post.
I took the photos with my phone Redmi Note 8
Apps I used:
Canva Pro for Cover, Collage and Banners
I used Deepl Translator
My social networks:
Discord: YennysYaneth#0189
Twitter: @yennysferm
Instagram: @yennysyaneth
Las fotos las tomé con mi teléfono Redmi Note 8
Apps que utilicé:
Canva Pro para la Portada, Collage y Banners
Utilicé el Traductor Deepl
Mi redes sociales:
Discord: YennysYaneth#0189
Twitter: @yennysferm
Instagram: @yennysyaneth