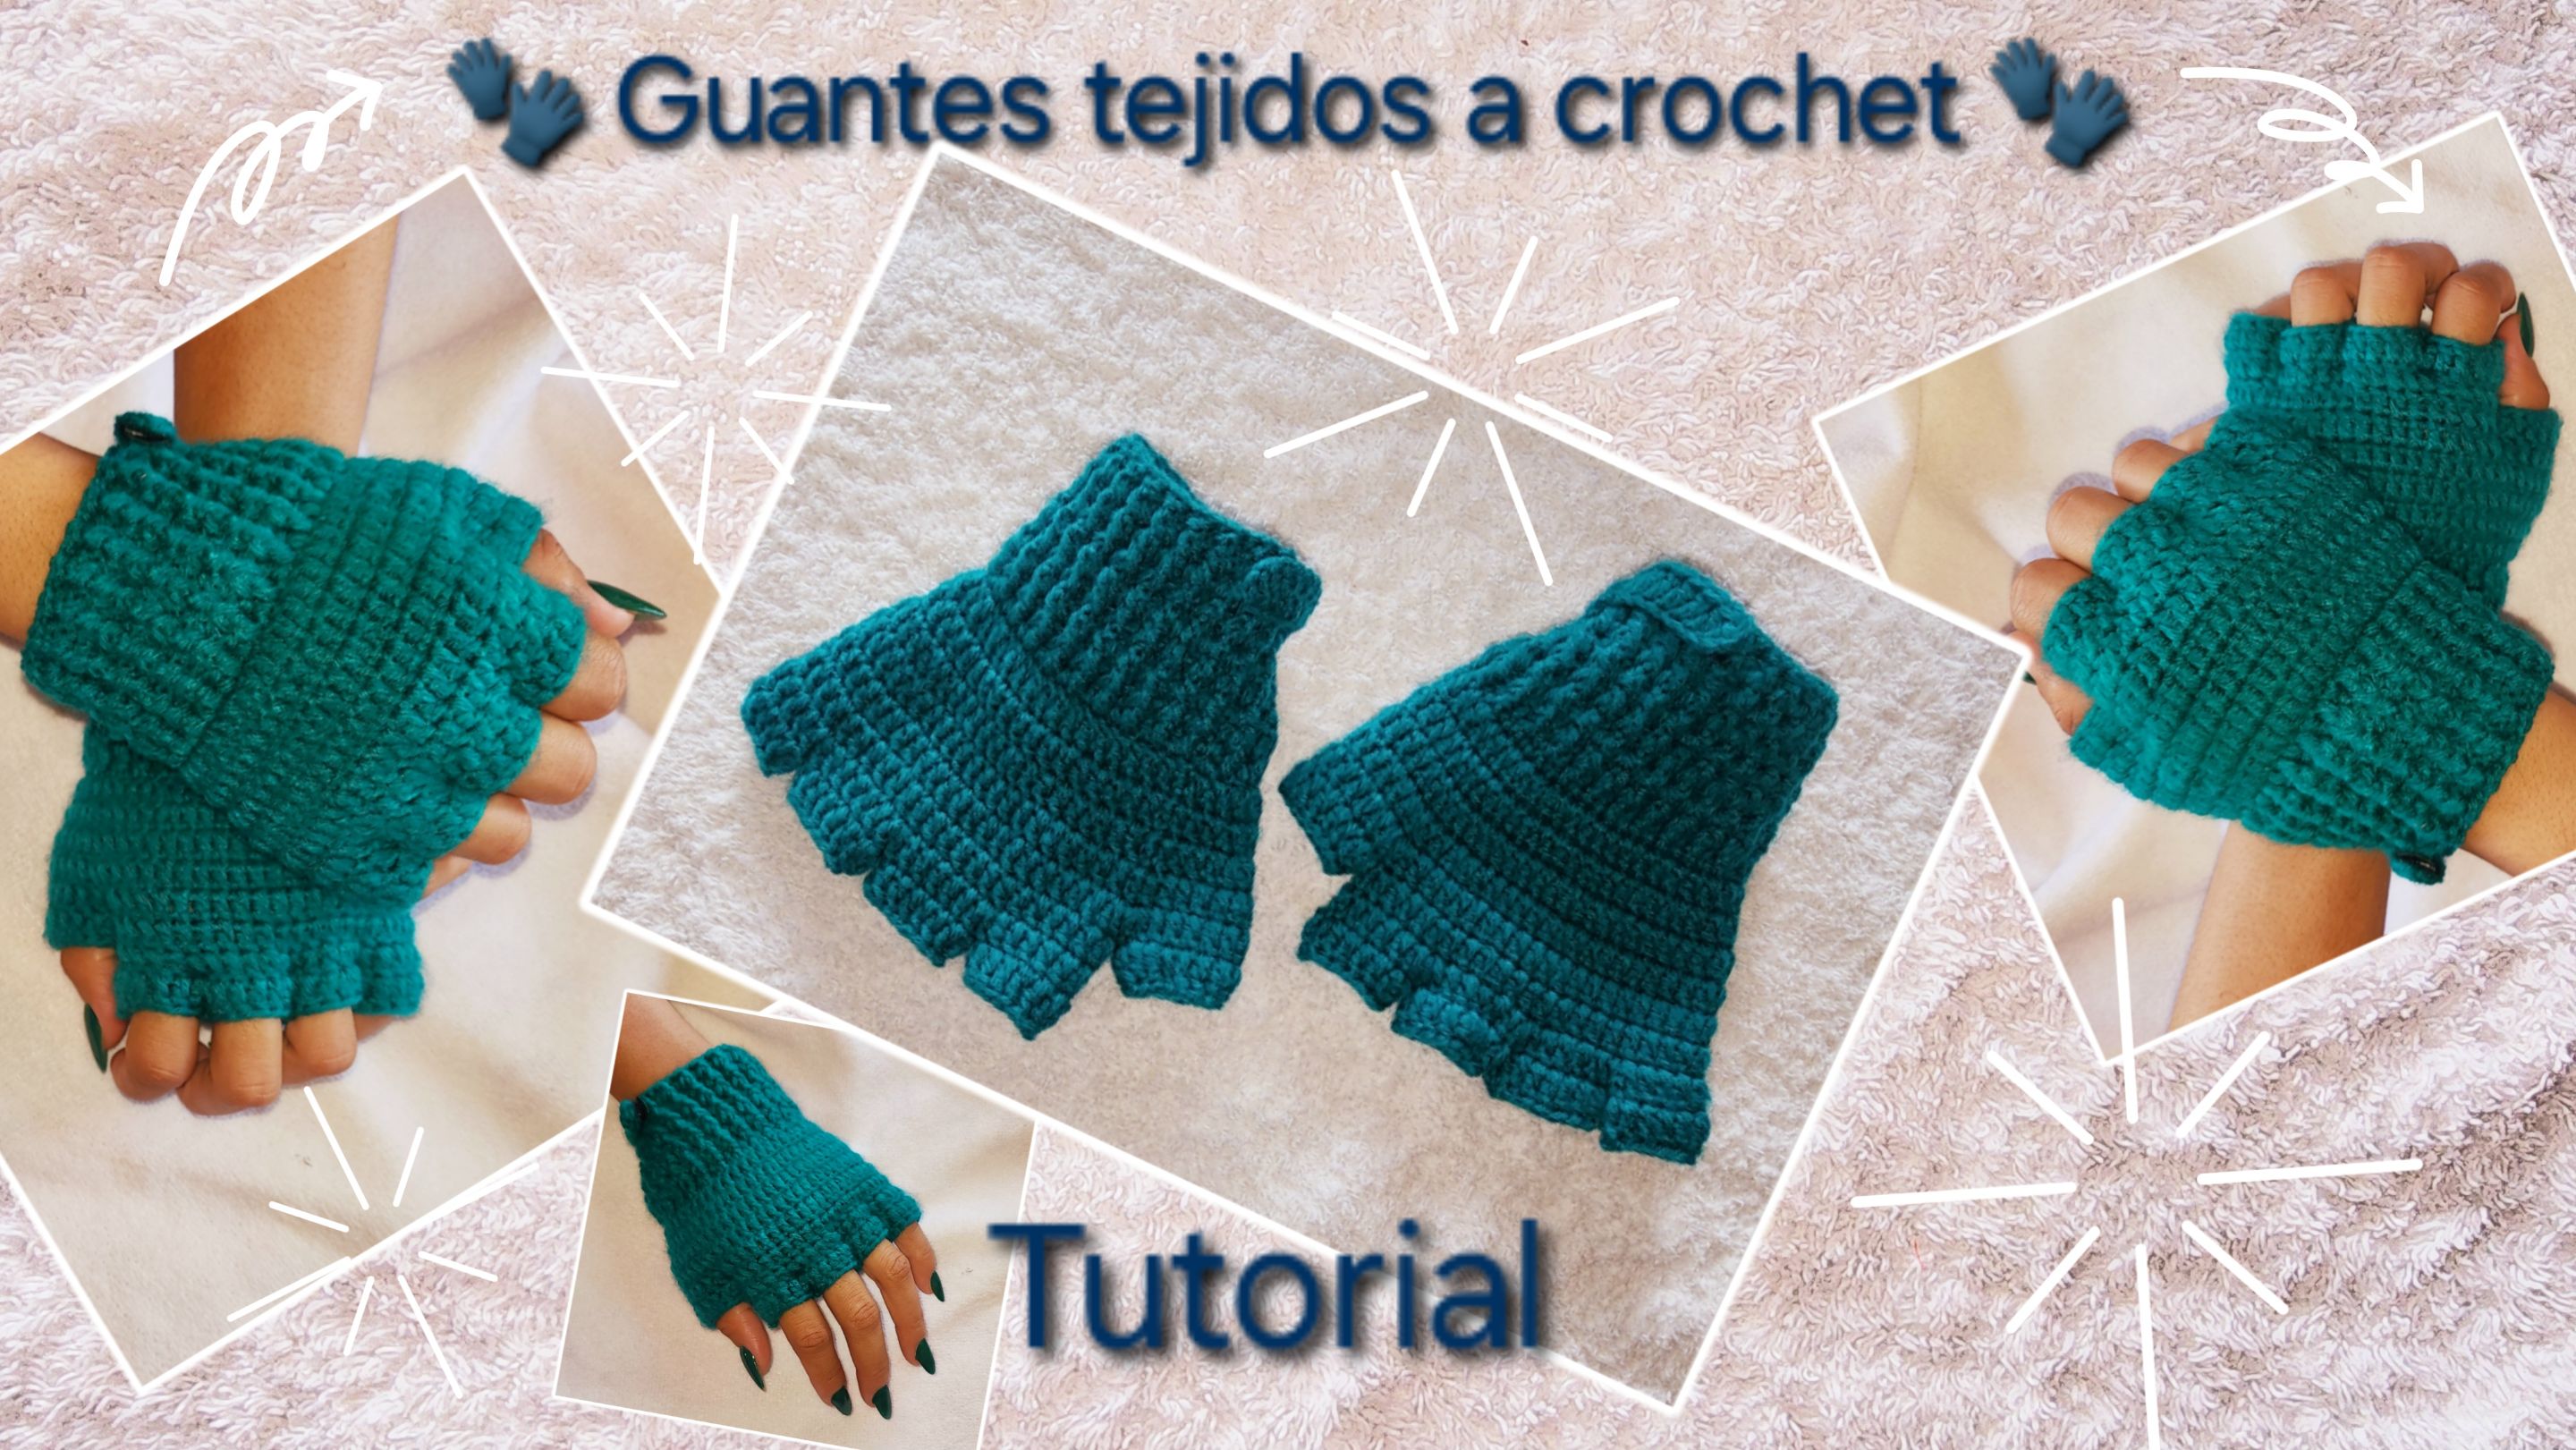
Linda noche a todos los amigos creativos de esta comunidad, del mundo entero y a todos los amantes de las manualidades. Hace tiempo no paso por acá por problemas personales, pero con muchas ganas vuelvo con un nuevo proyecto. Deseo y espero que se encuentren muy bien, por mi parte me siento agradecida con Dios por un nuevo despertar para mi familia y para mí. Creo que tenerlos bien ya es una bendición y lo más importante, ellos son quienes me sostienen cuando creo que me voy a derrumbar.
Hace unas semanas comencé a dedicar mis tardes de lunes a viernes a ir al gimnasio buscando un nuevo estilo de vida más saludable y poniéndome como prioridad. Necesitaba unos guantes y quise crear unos tejidos a crochet. Así que puse manos a la obra y ya los tengo terminados, amé el resultado y quiero compartirlos con ustedes hoy. Sin más les muestro el paso a paso.
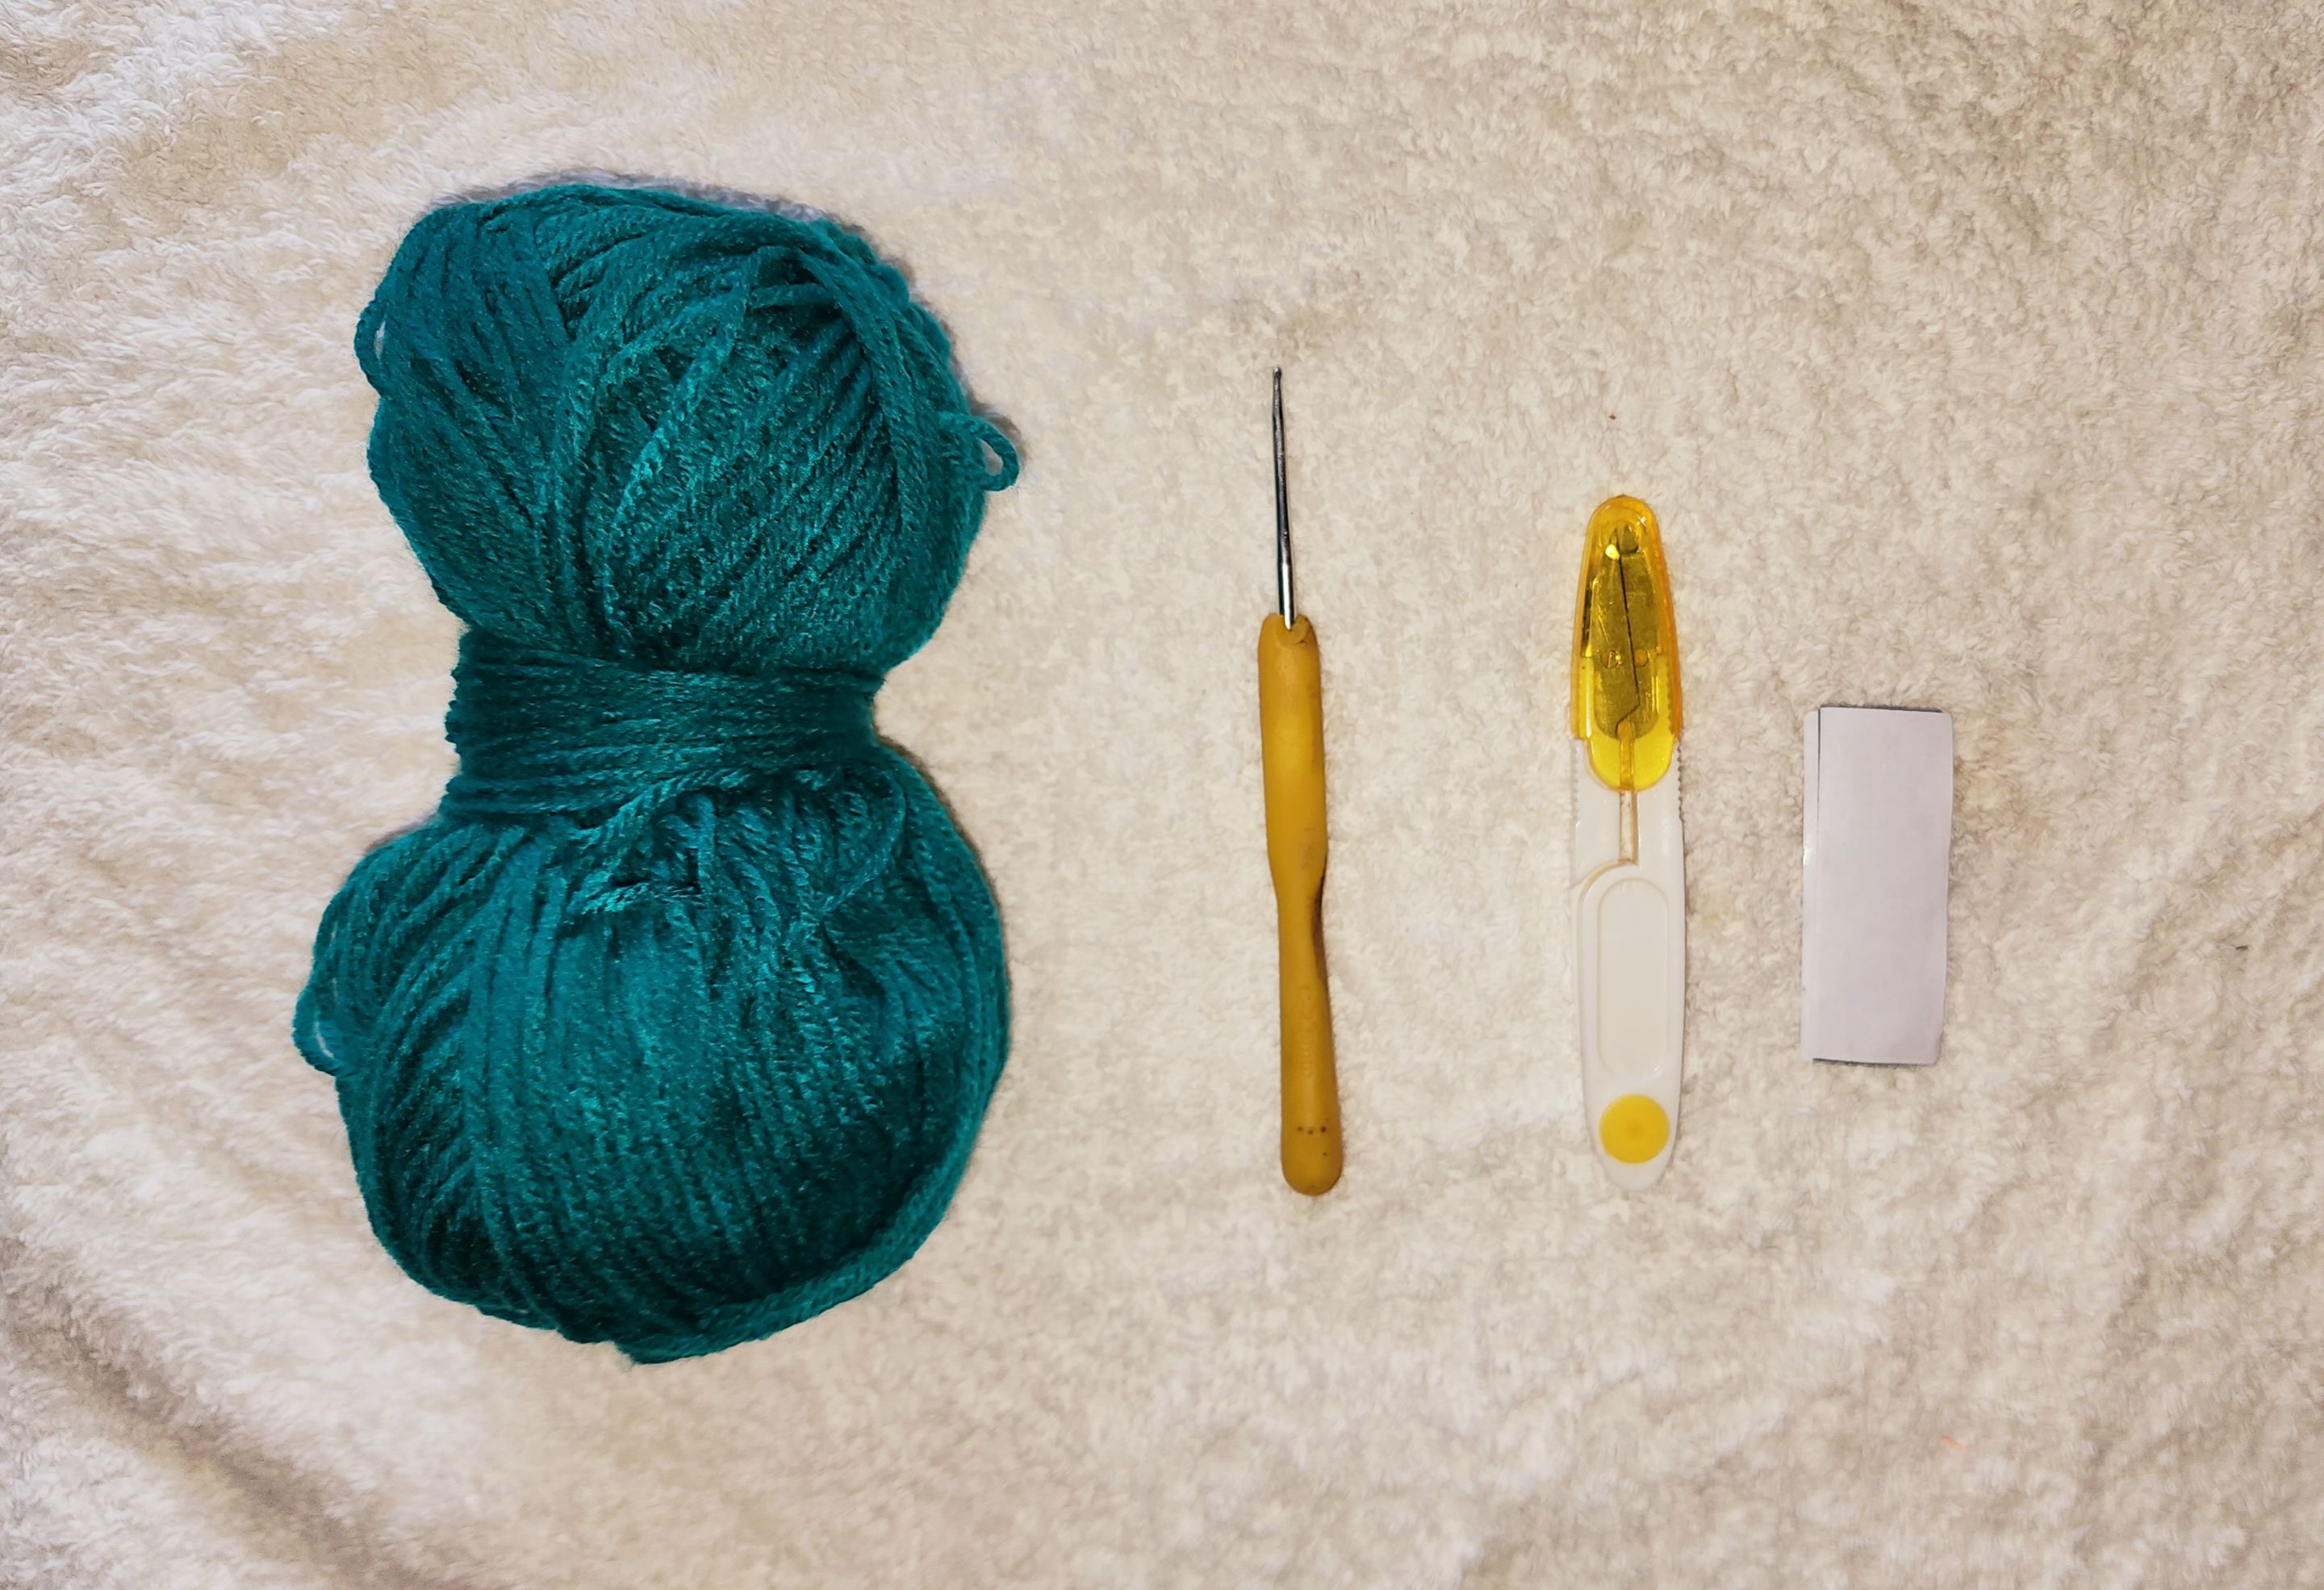
🧤 Materiales 🧤
- Lana de tu color preferido.
- Agujeta.
- Tijera.
- Peguetas.
🧤 Paso a paso 🧤
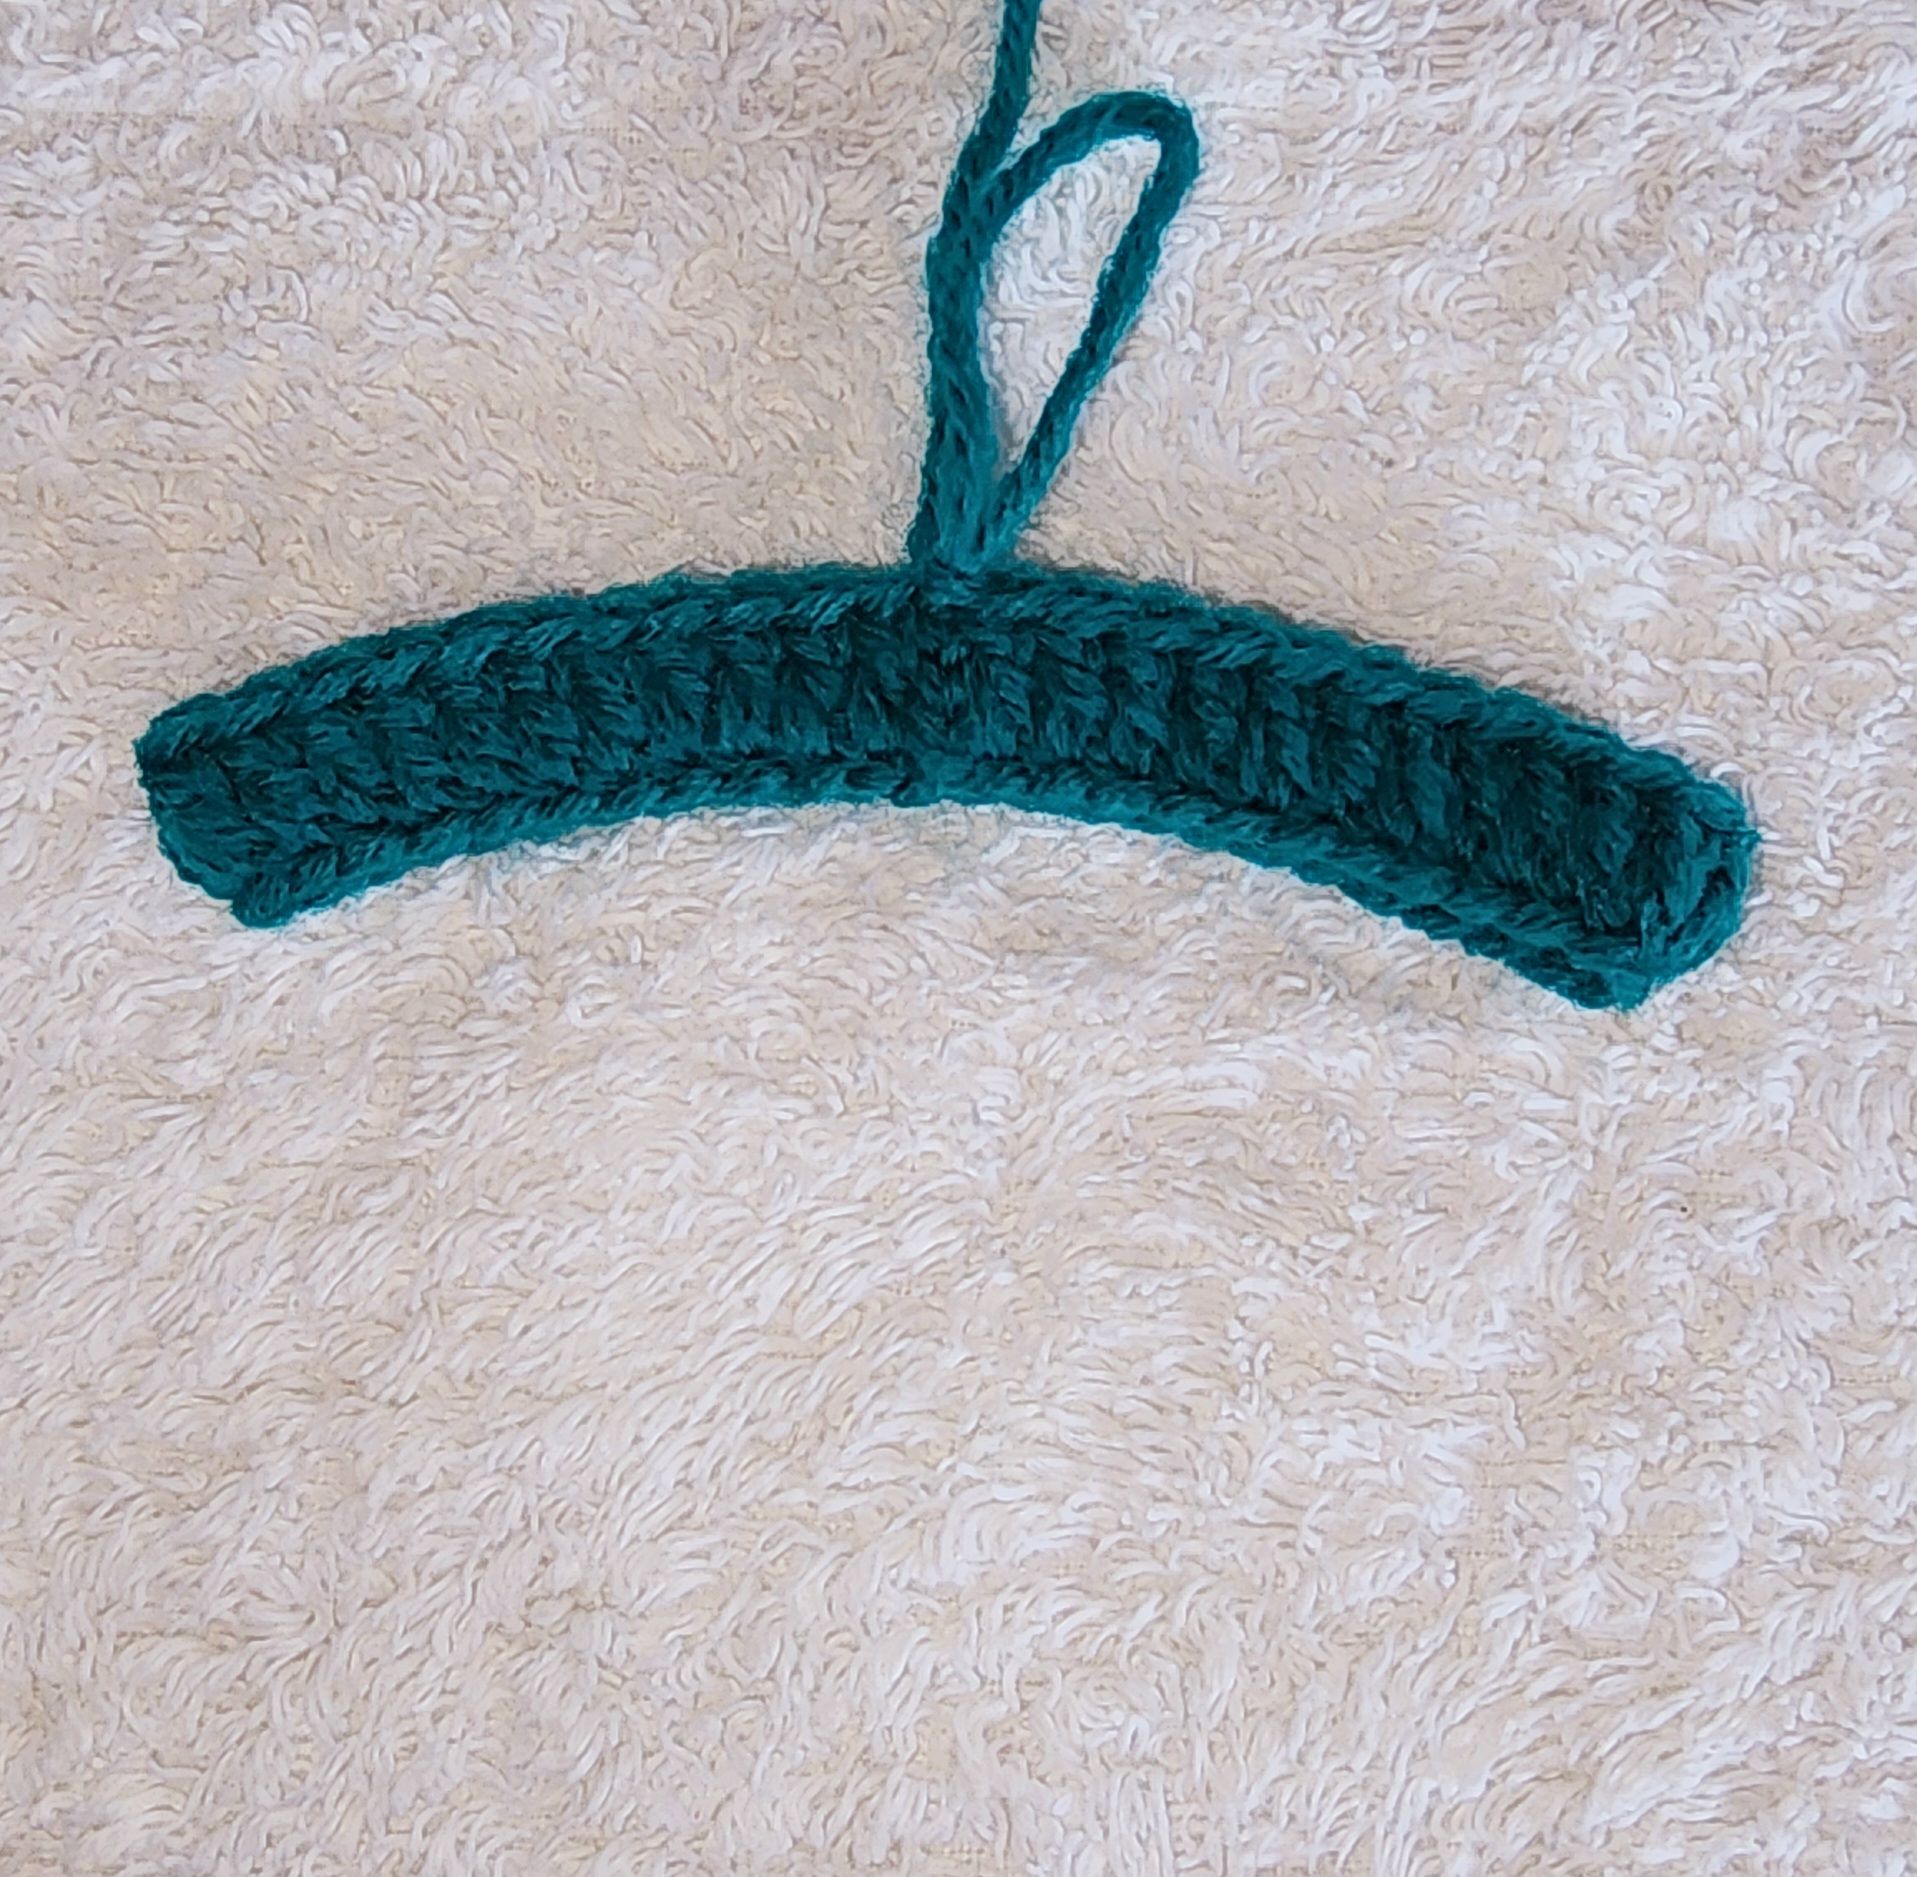
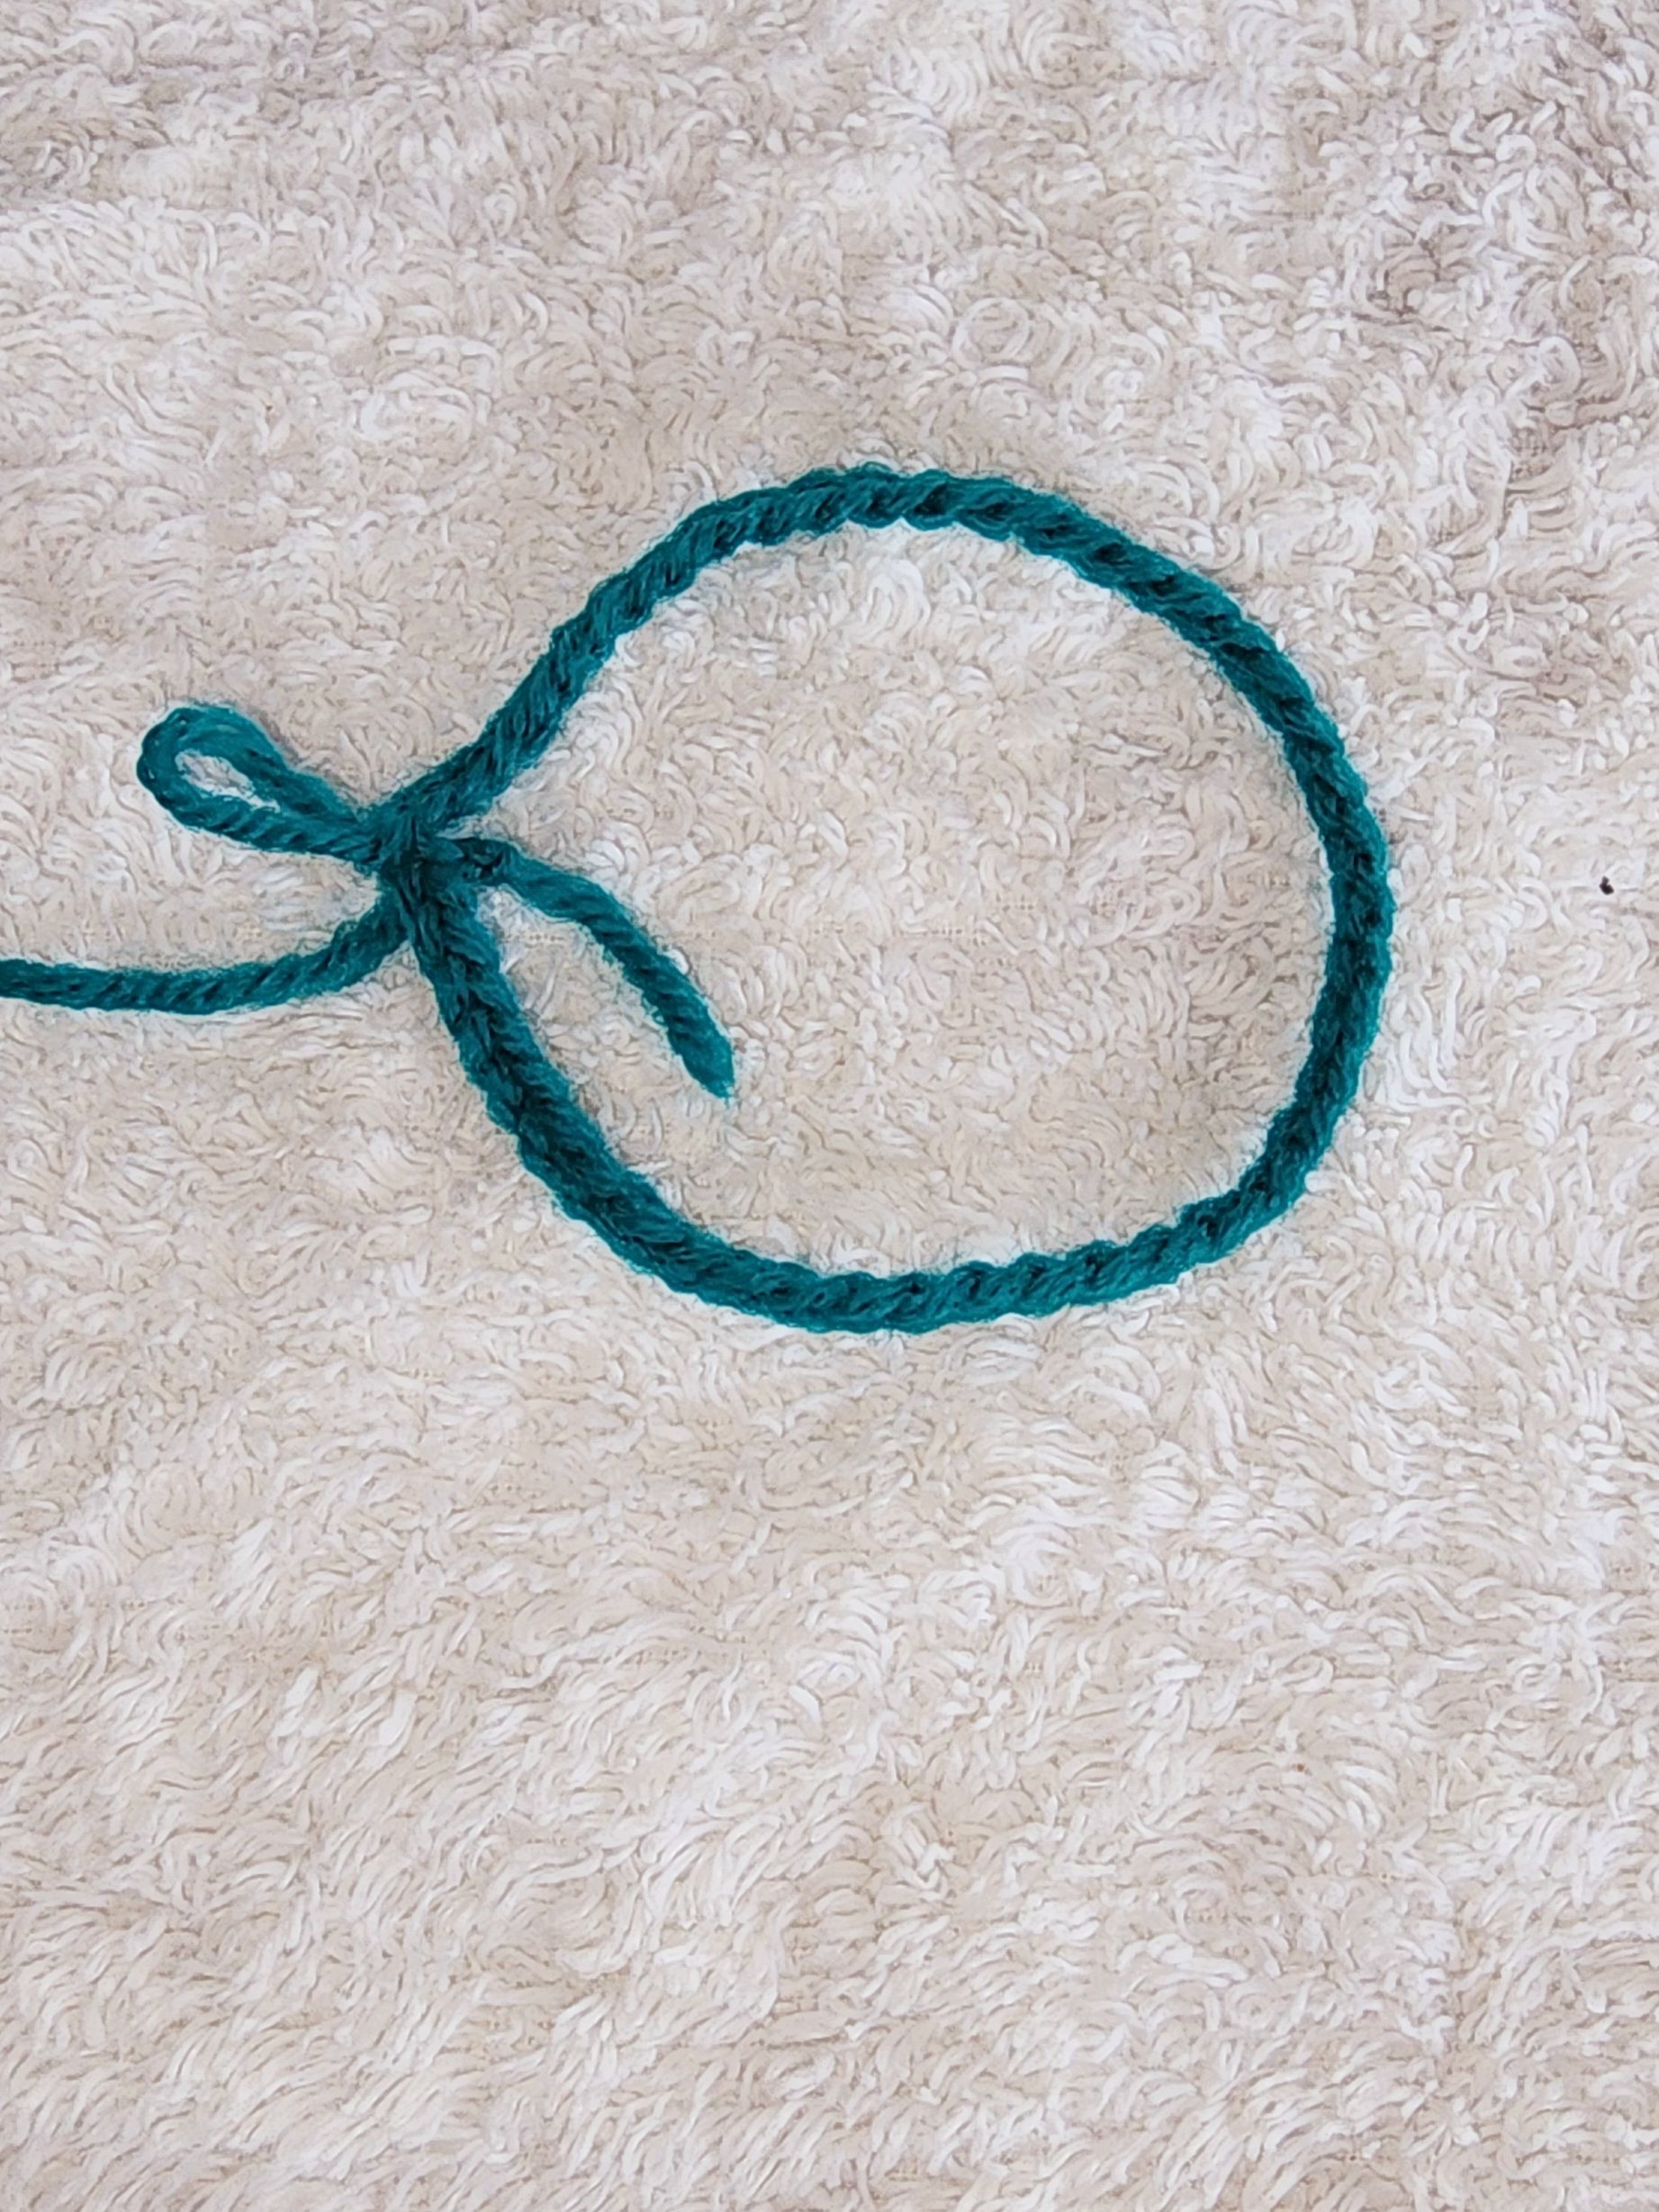
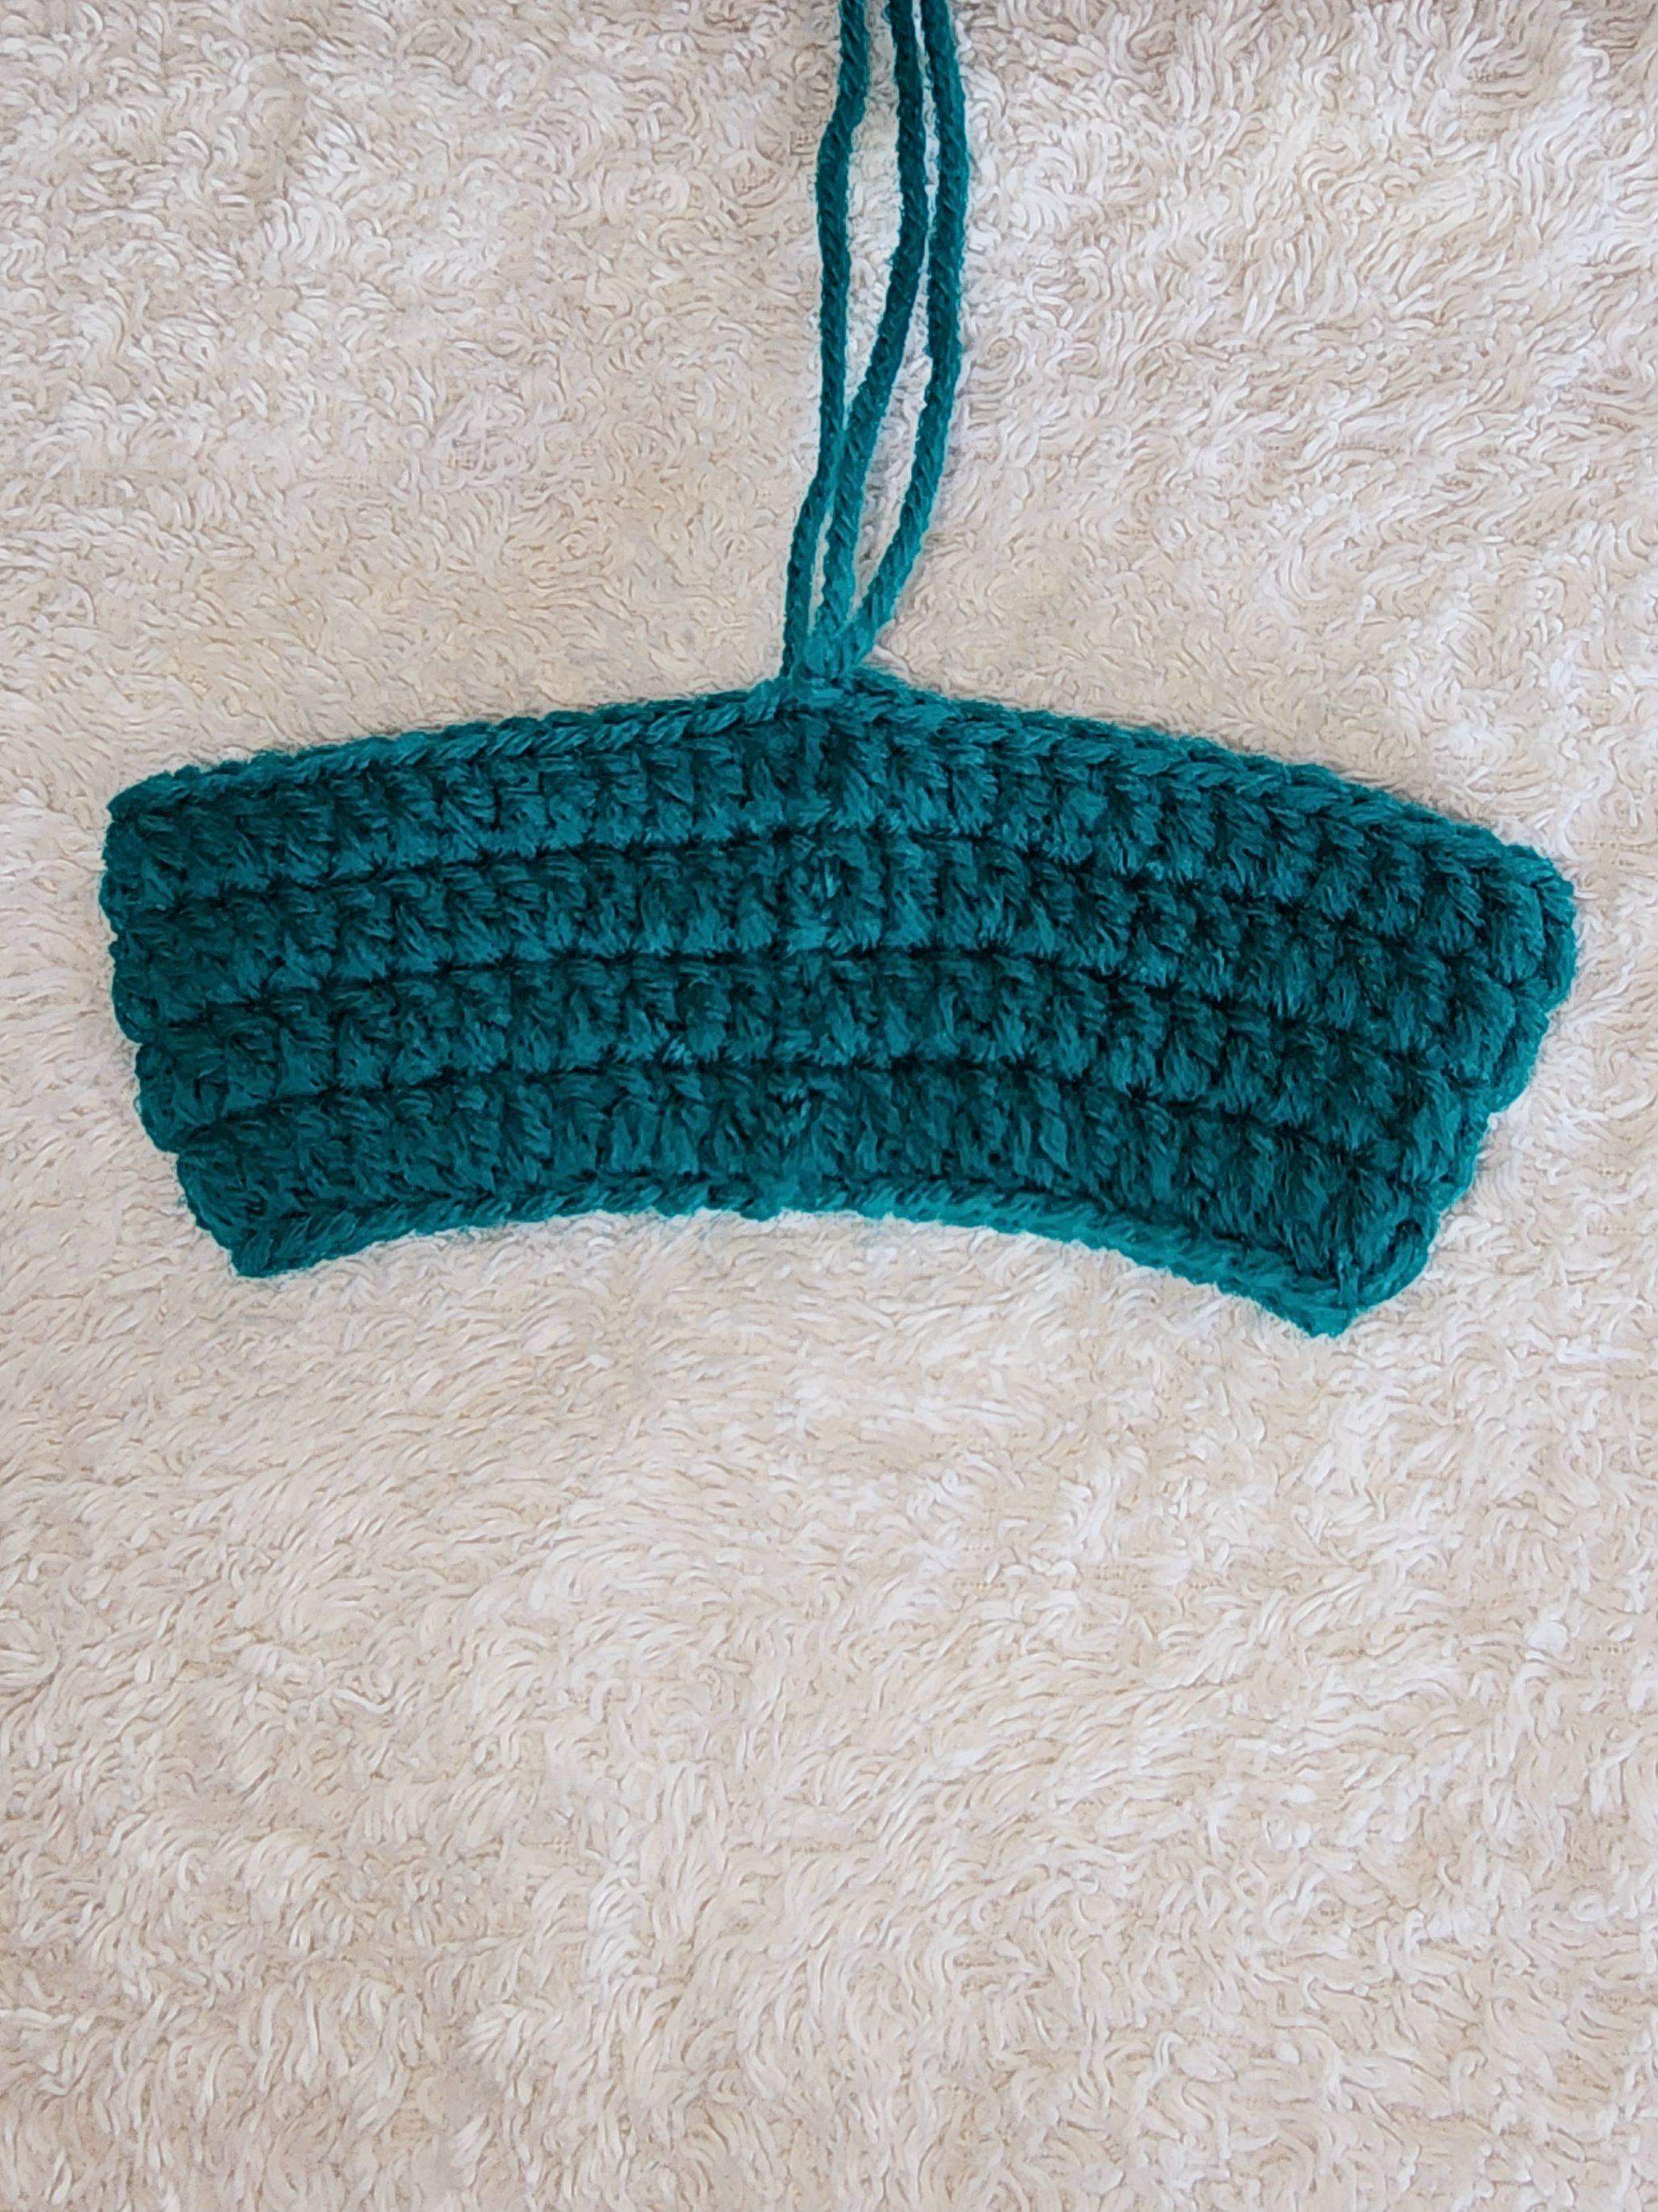
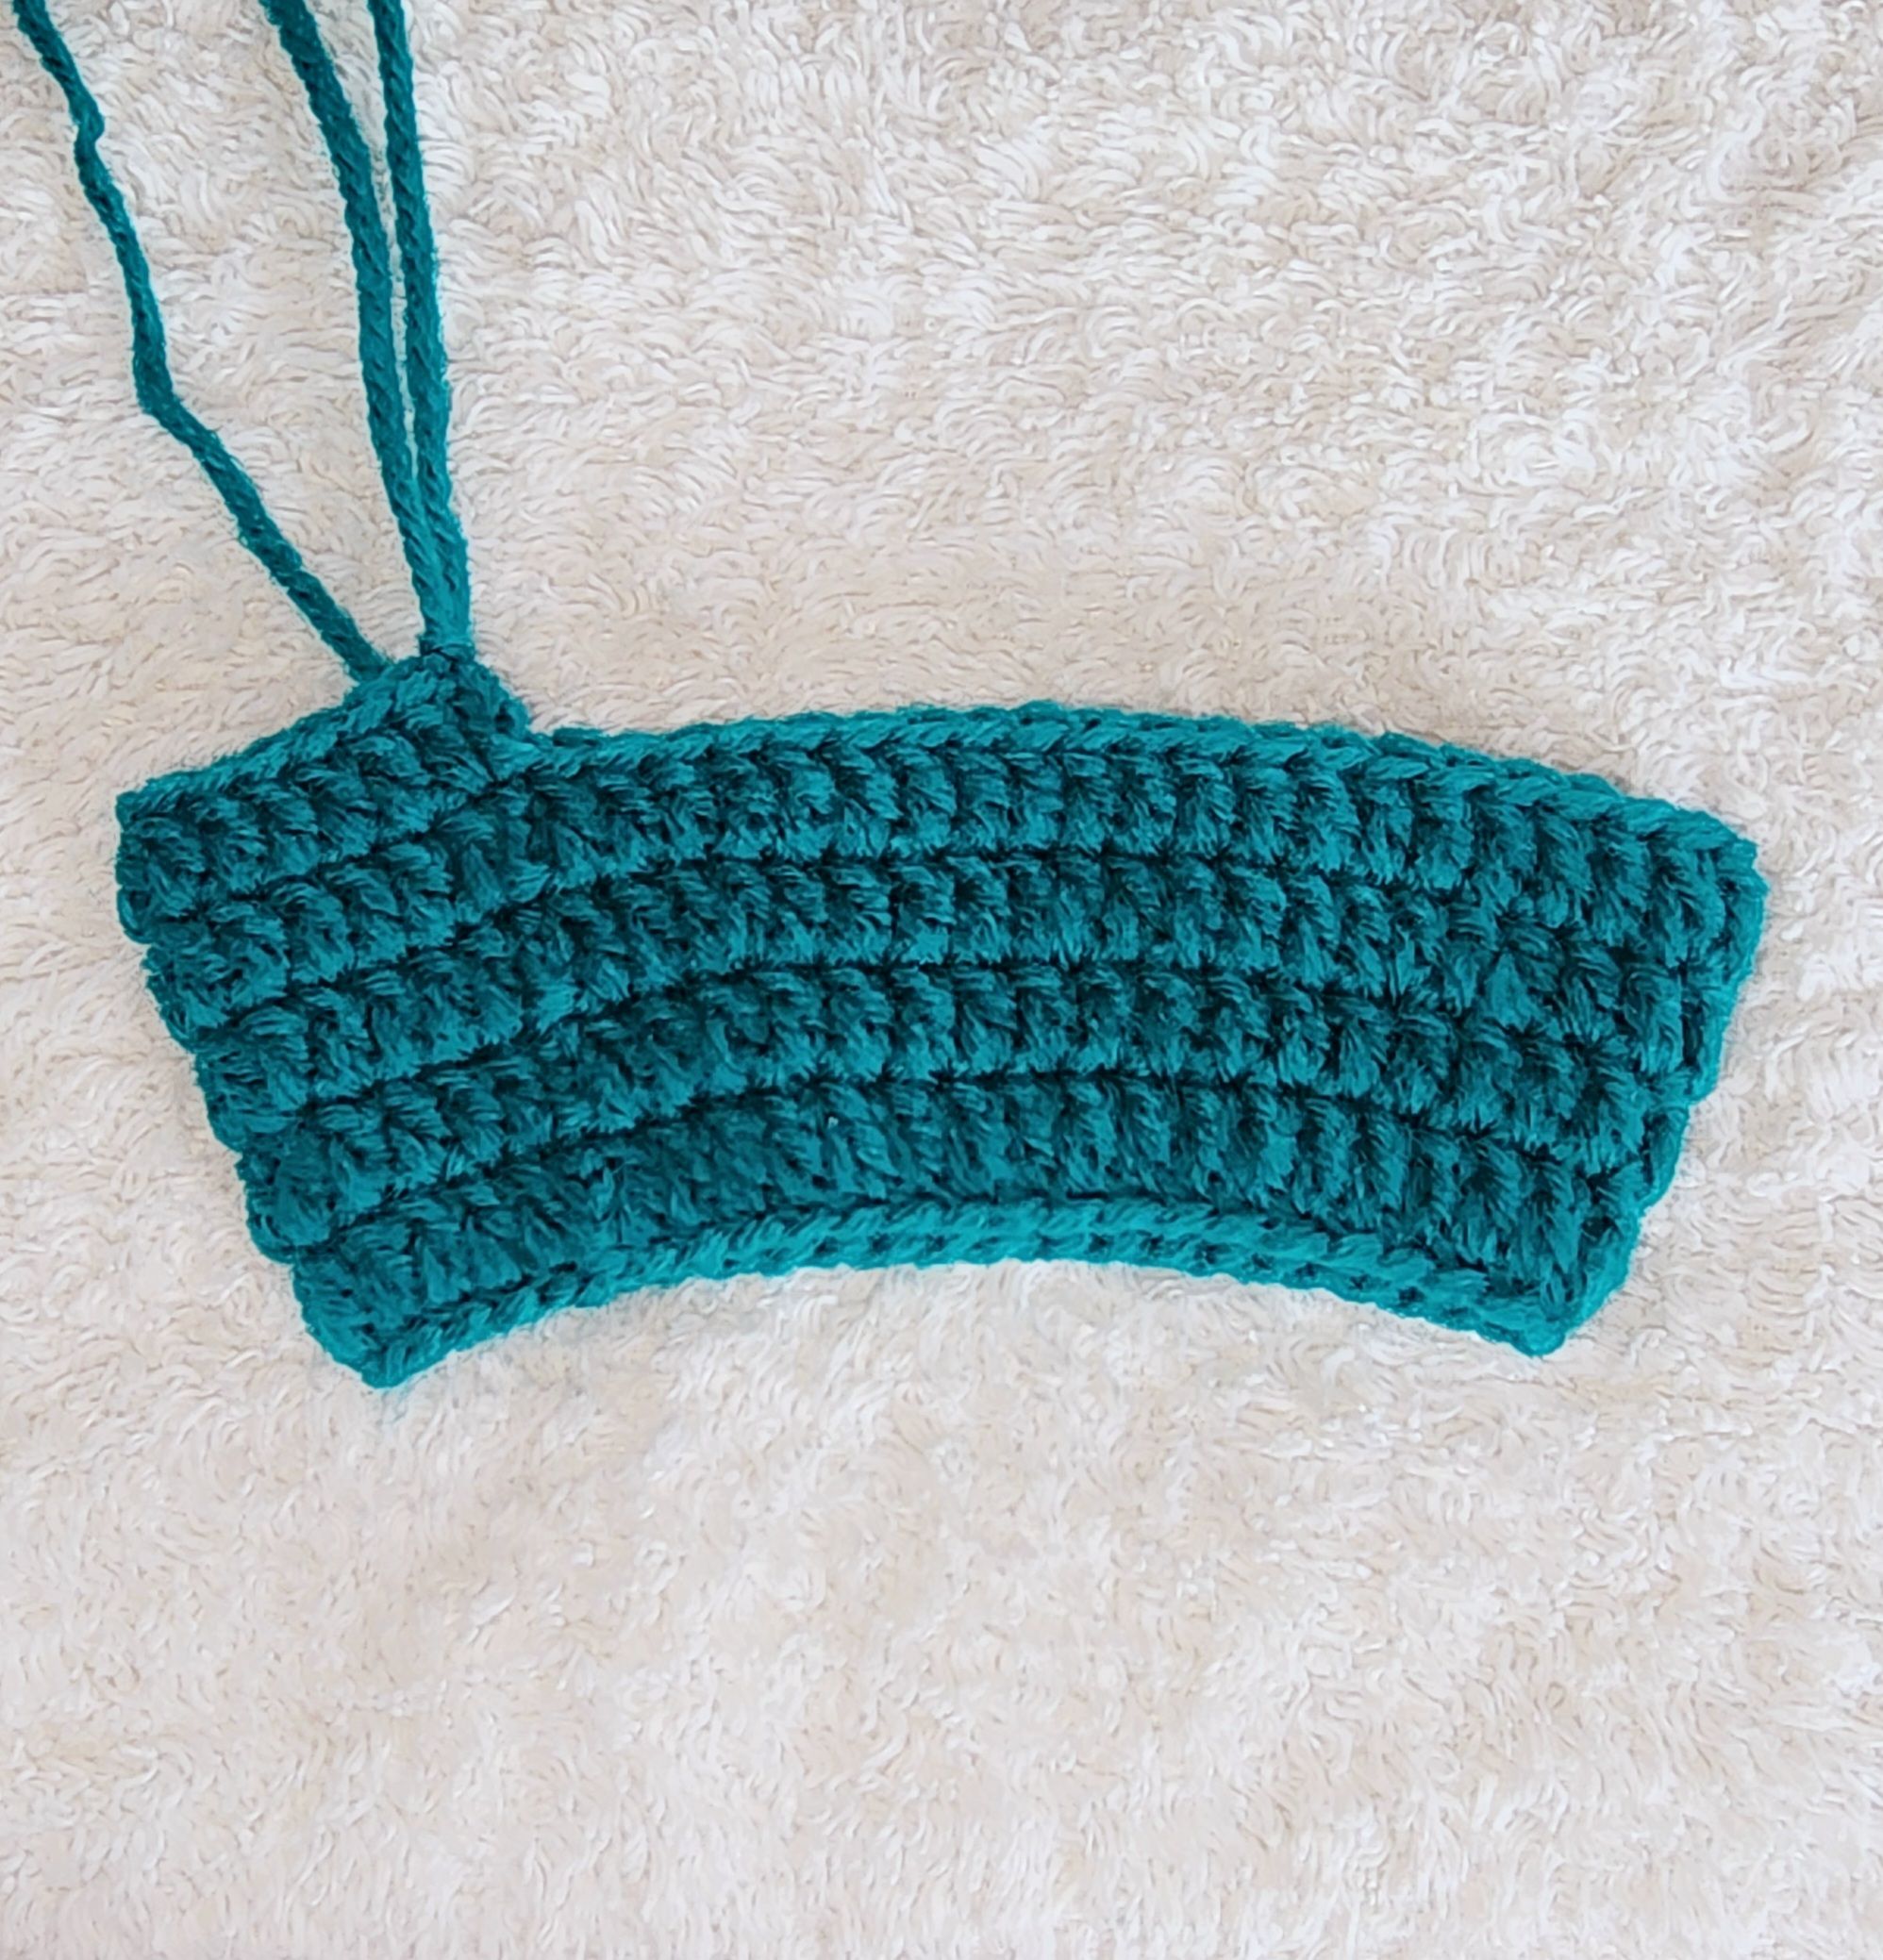
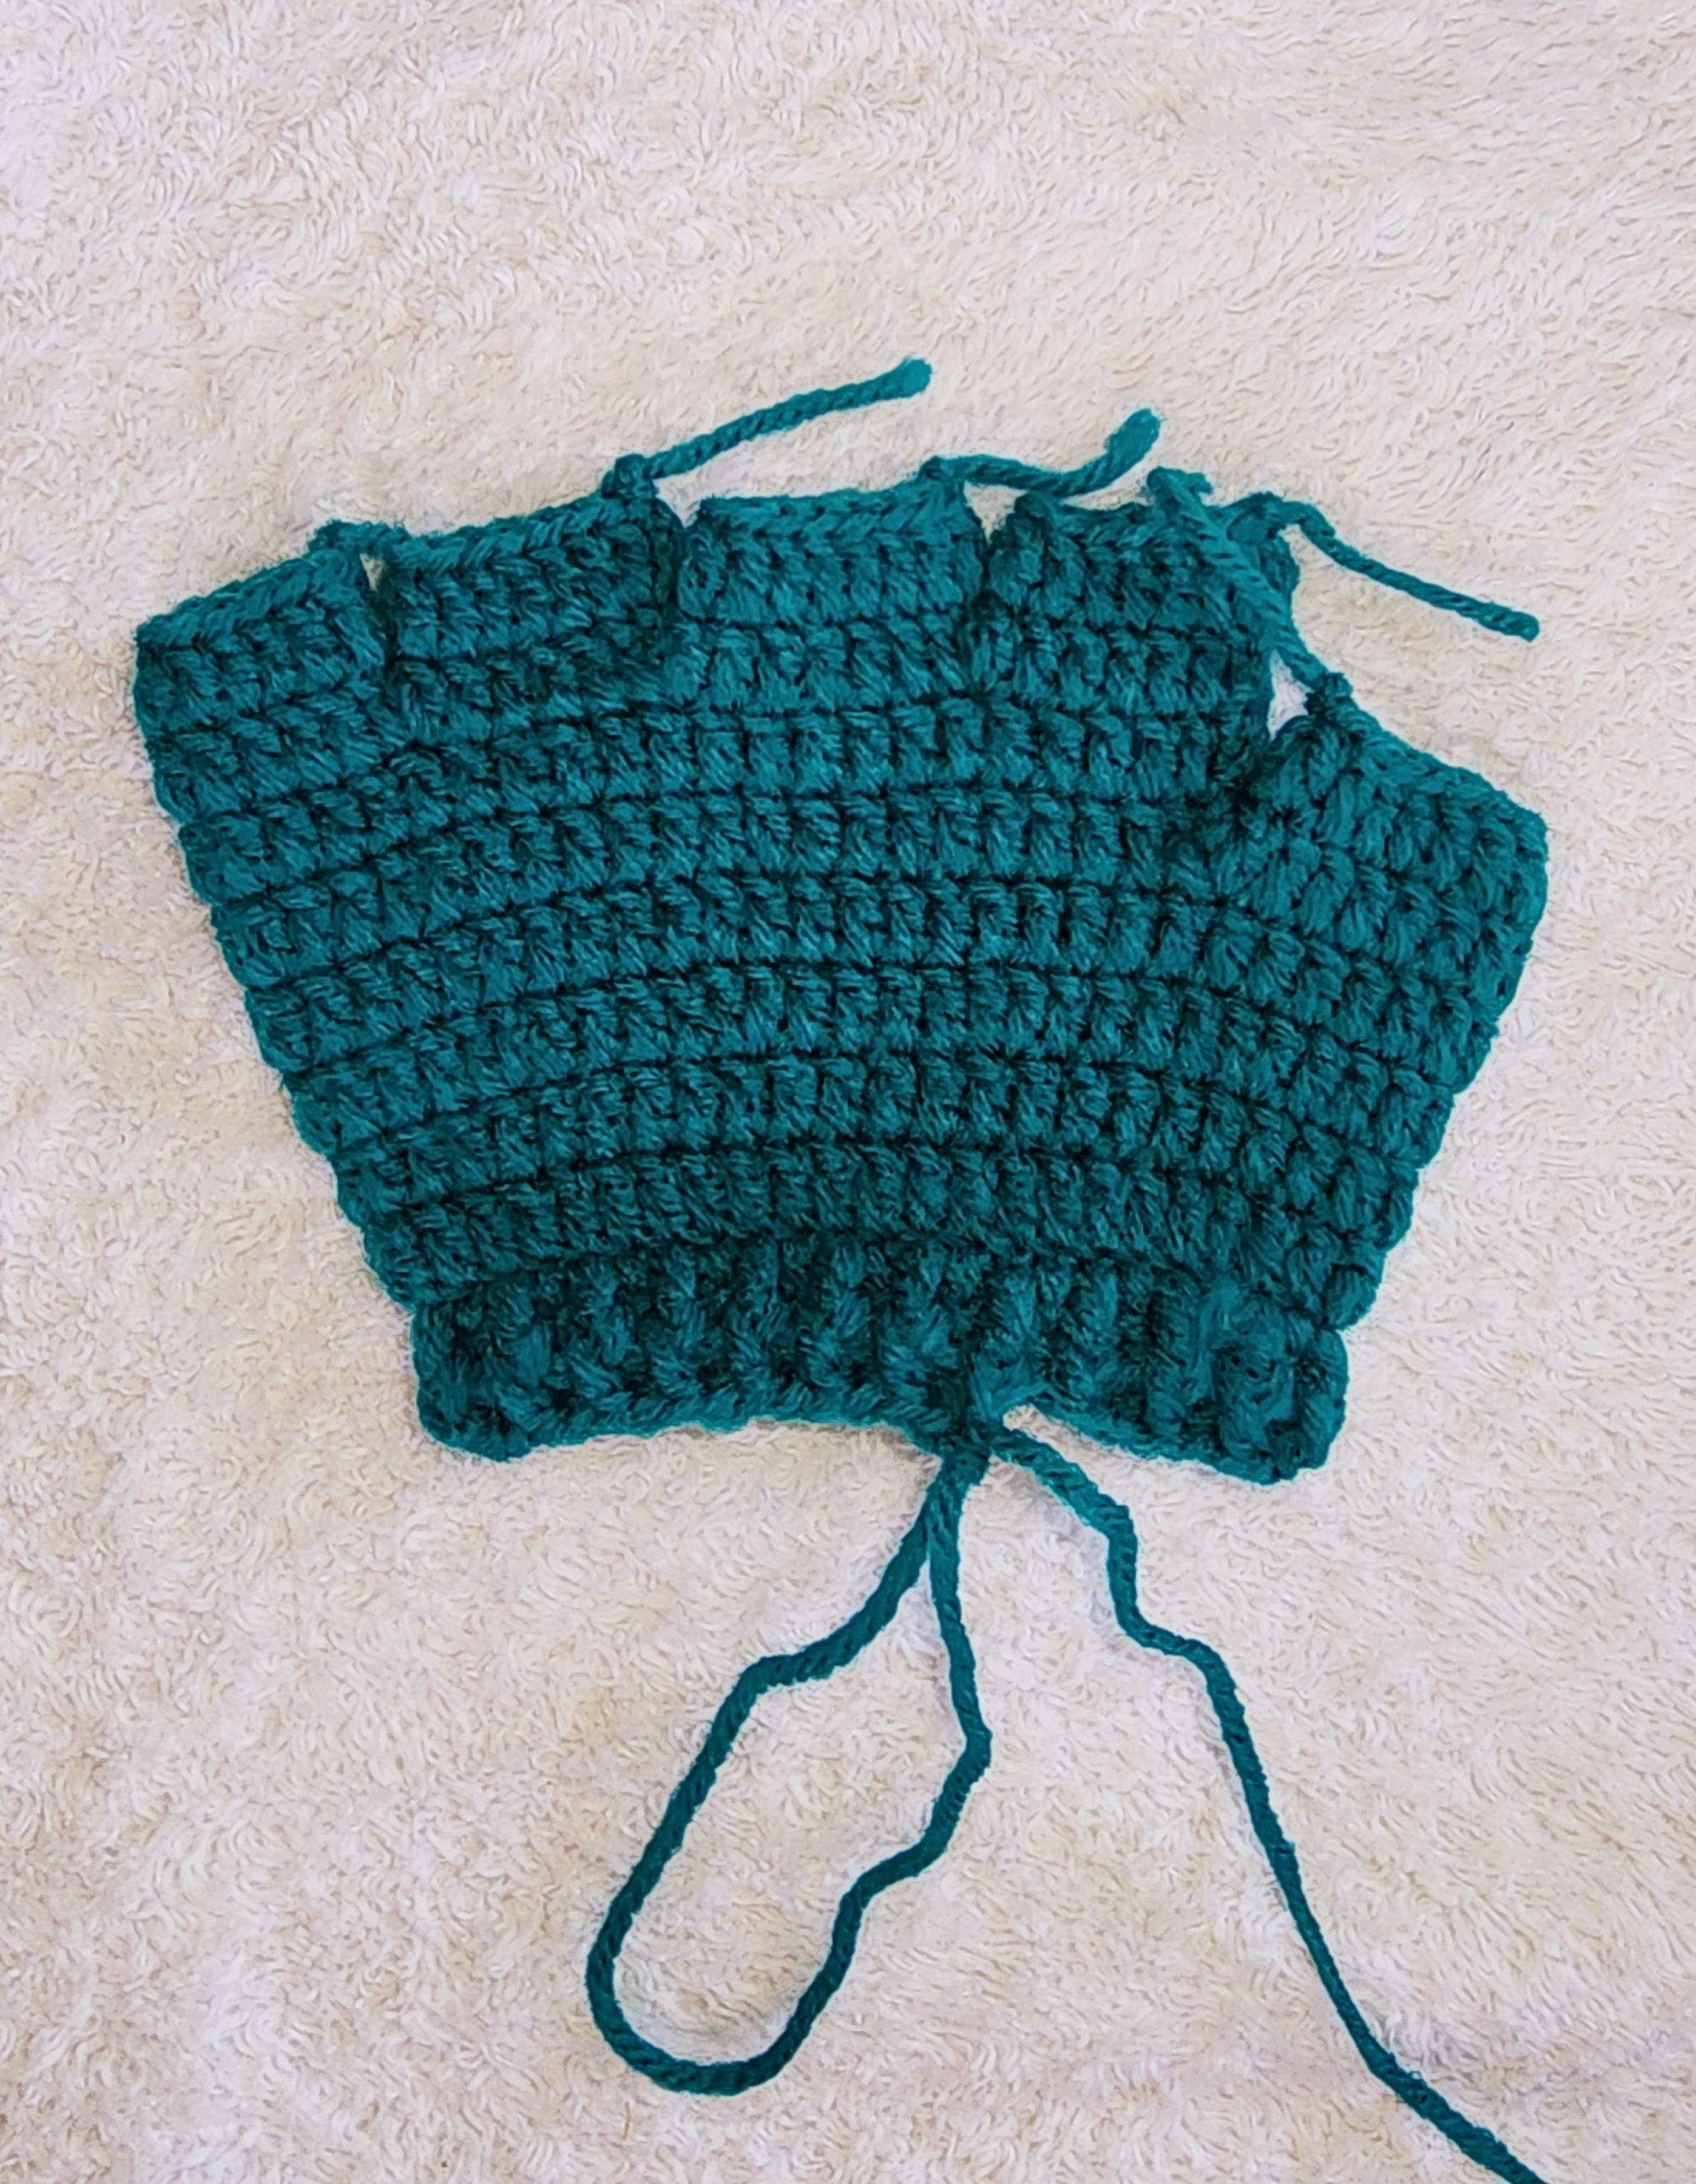
V1- Comenzamos realizando 47 cadenas y unimos con punto deslizado, subimos 3 cadenas y realizamos 1 punto alto en cada punto quedando un total de 47 puntos altos.
V2- Vamos a realizar estos 47 puntos altos sin aumentos ni disminuciones. V3- Hacemos secuencias de 4 puntos altos + 1 aumento. V4- Vamos a tejer 1 punto sobre cada punto. 55 pb Hasta tener altura de 5,50 cm.
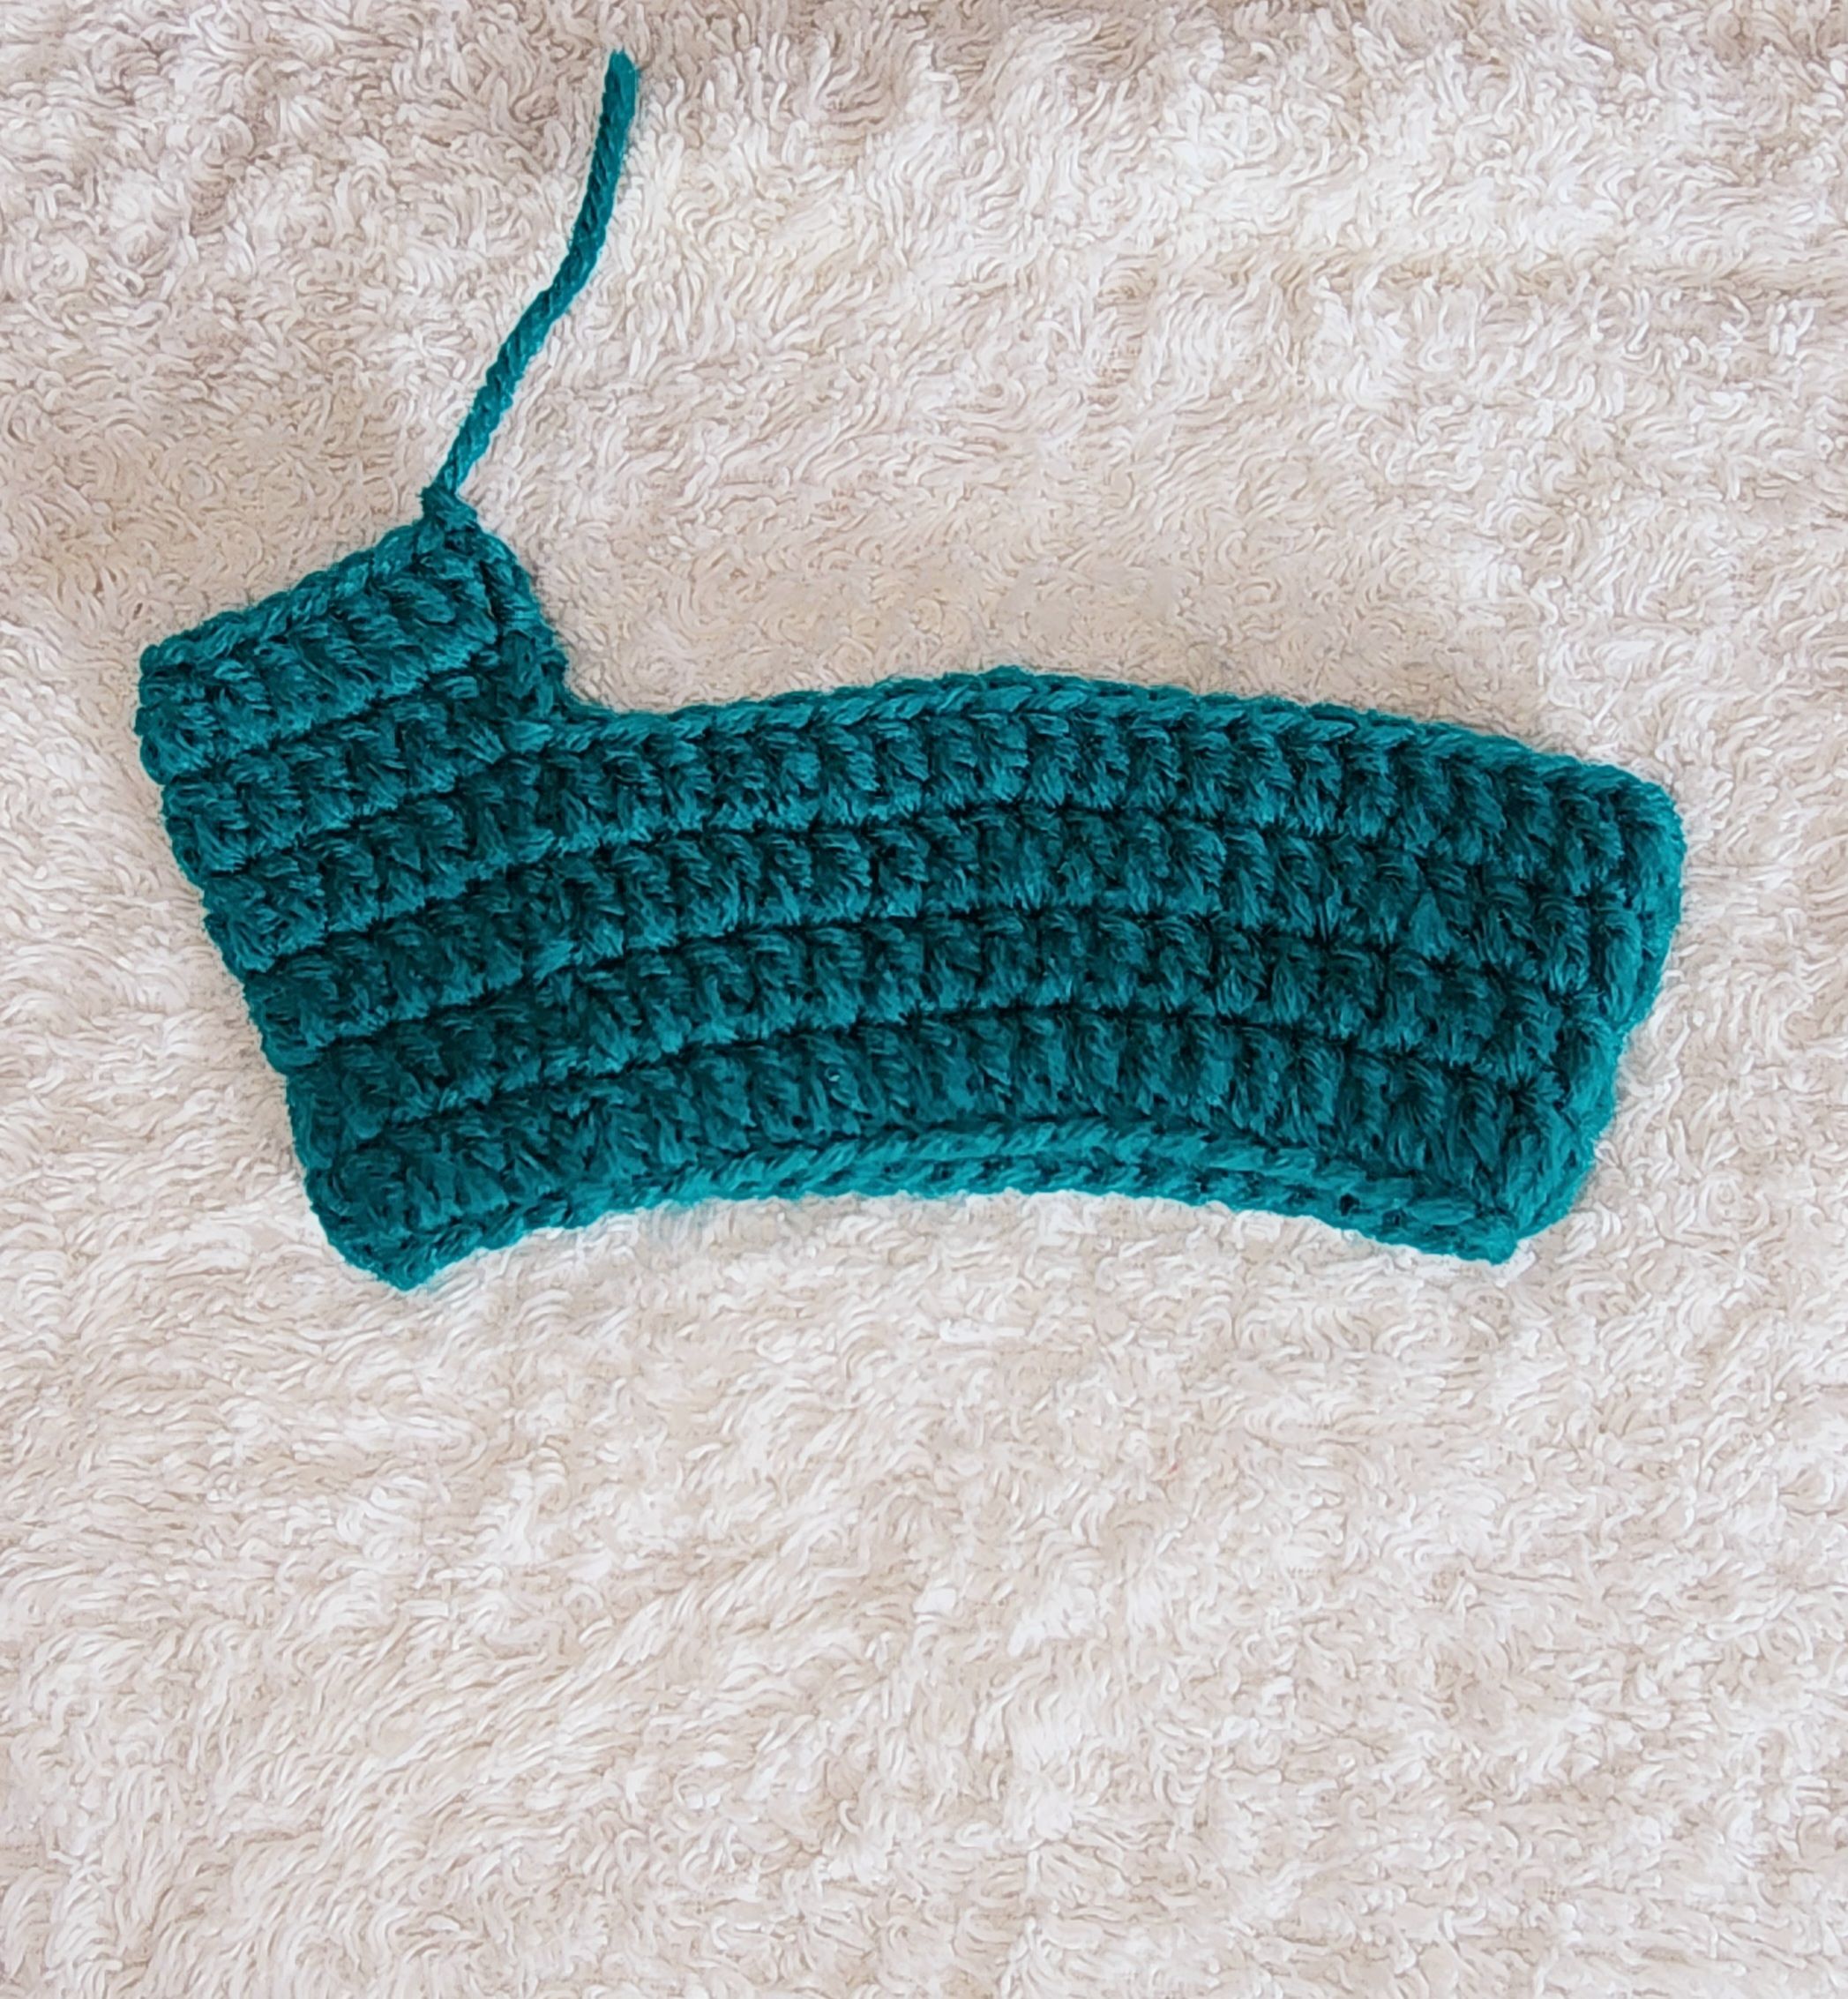
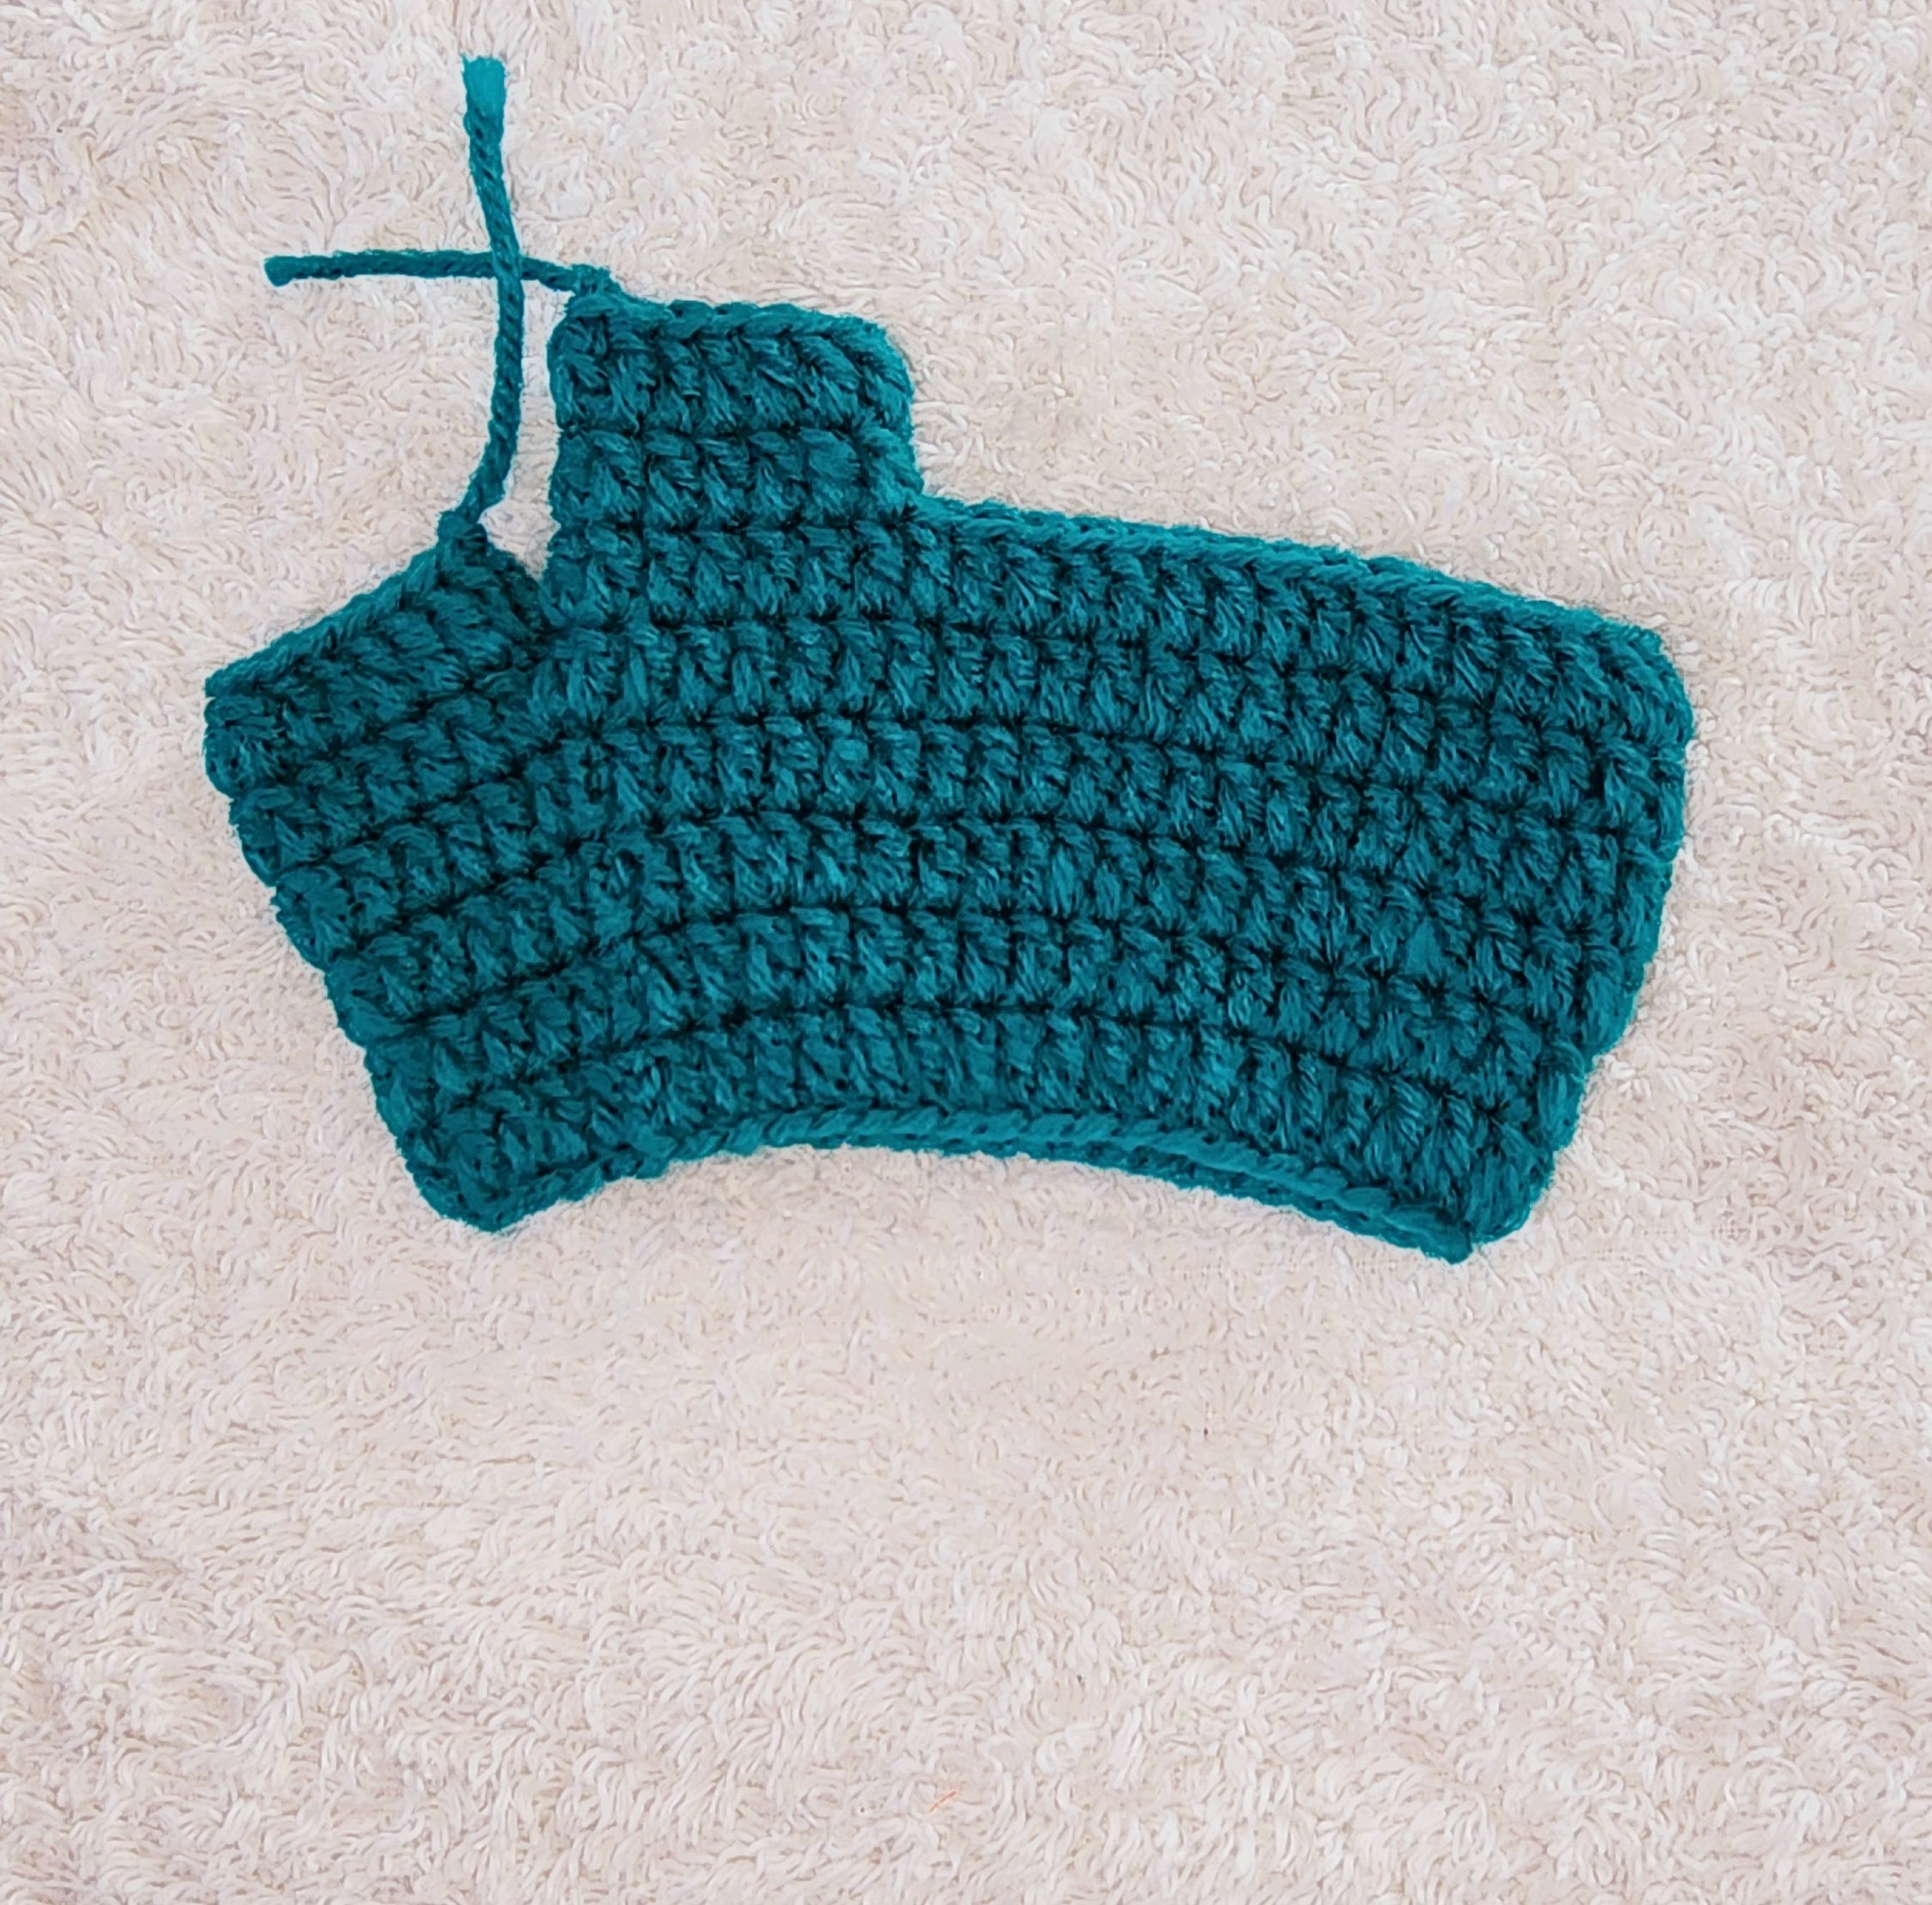
🧤 Pulgar🧤
V7- Ahora vamos a hacer 14 puntos altos y no tejemos más, sino que cerramos. Este sería el dedo pulgar.
V8- Vamos a hacer estos 14 puntos altos, cerramos y cortamos hilo.
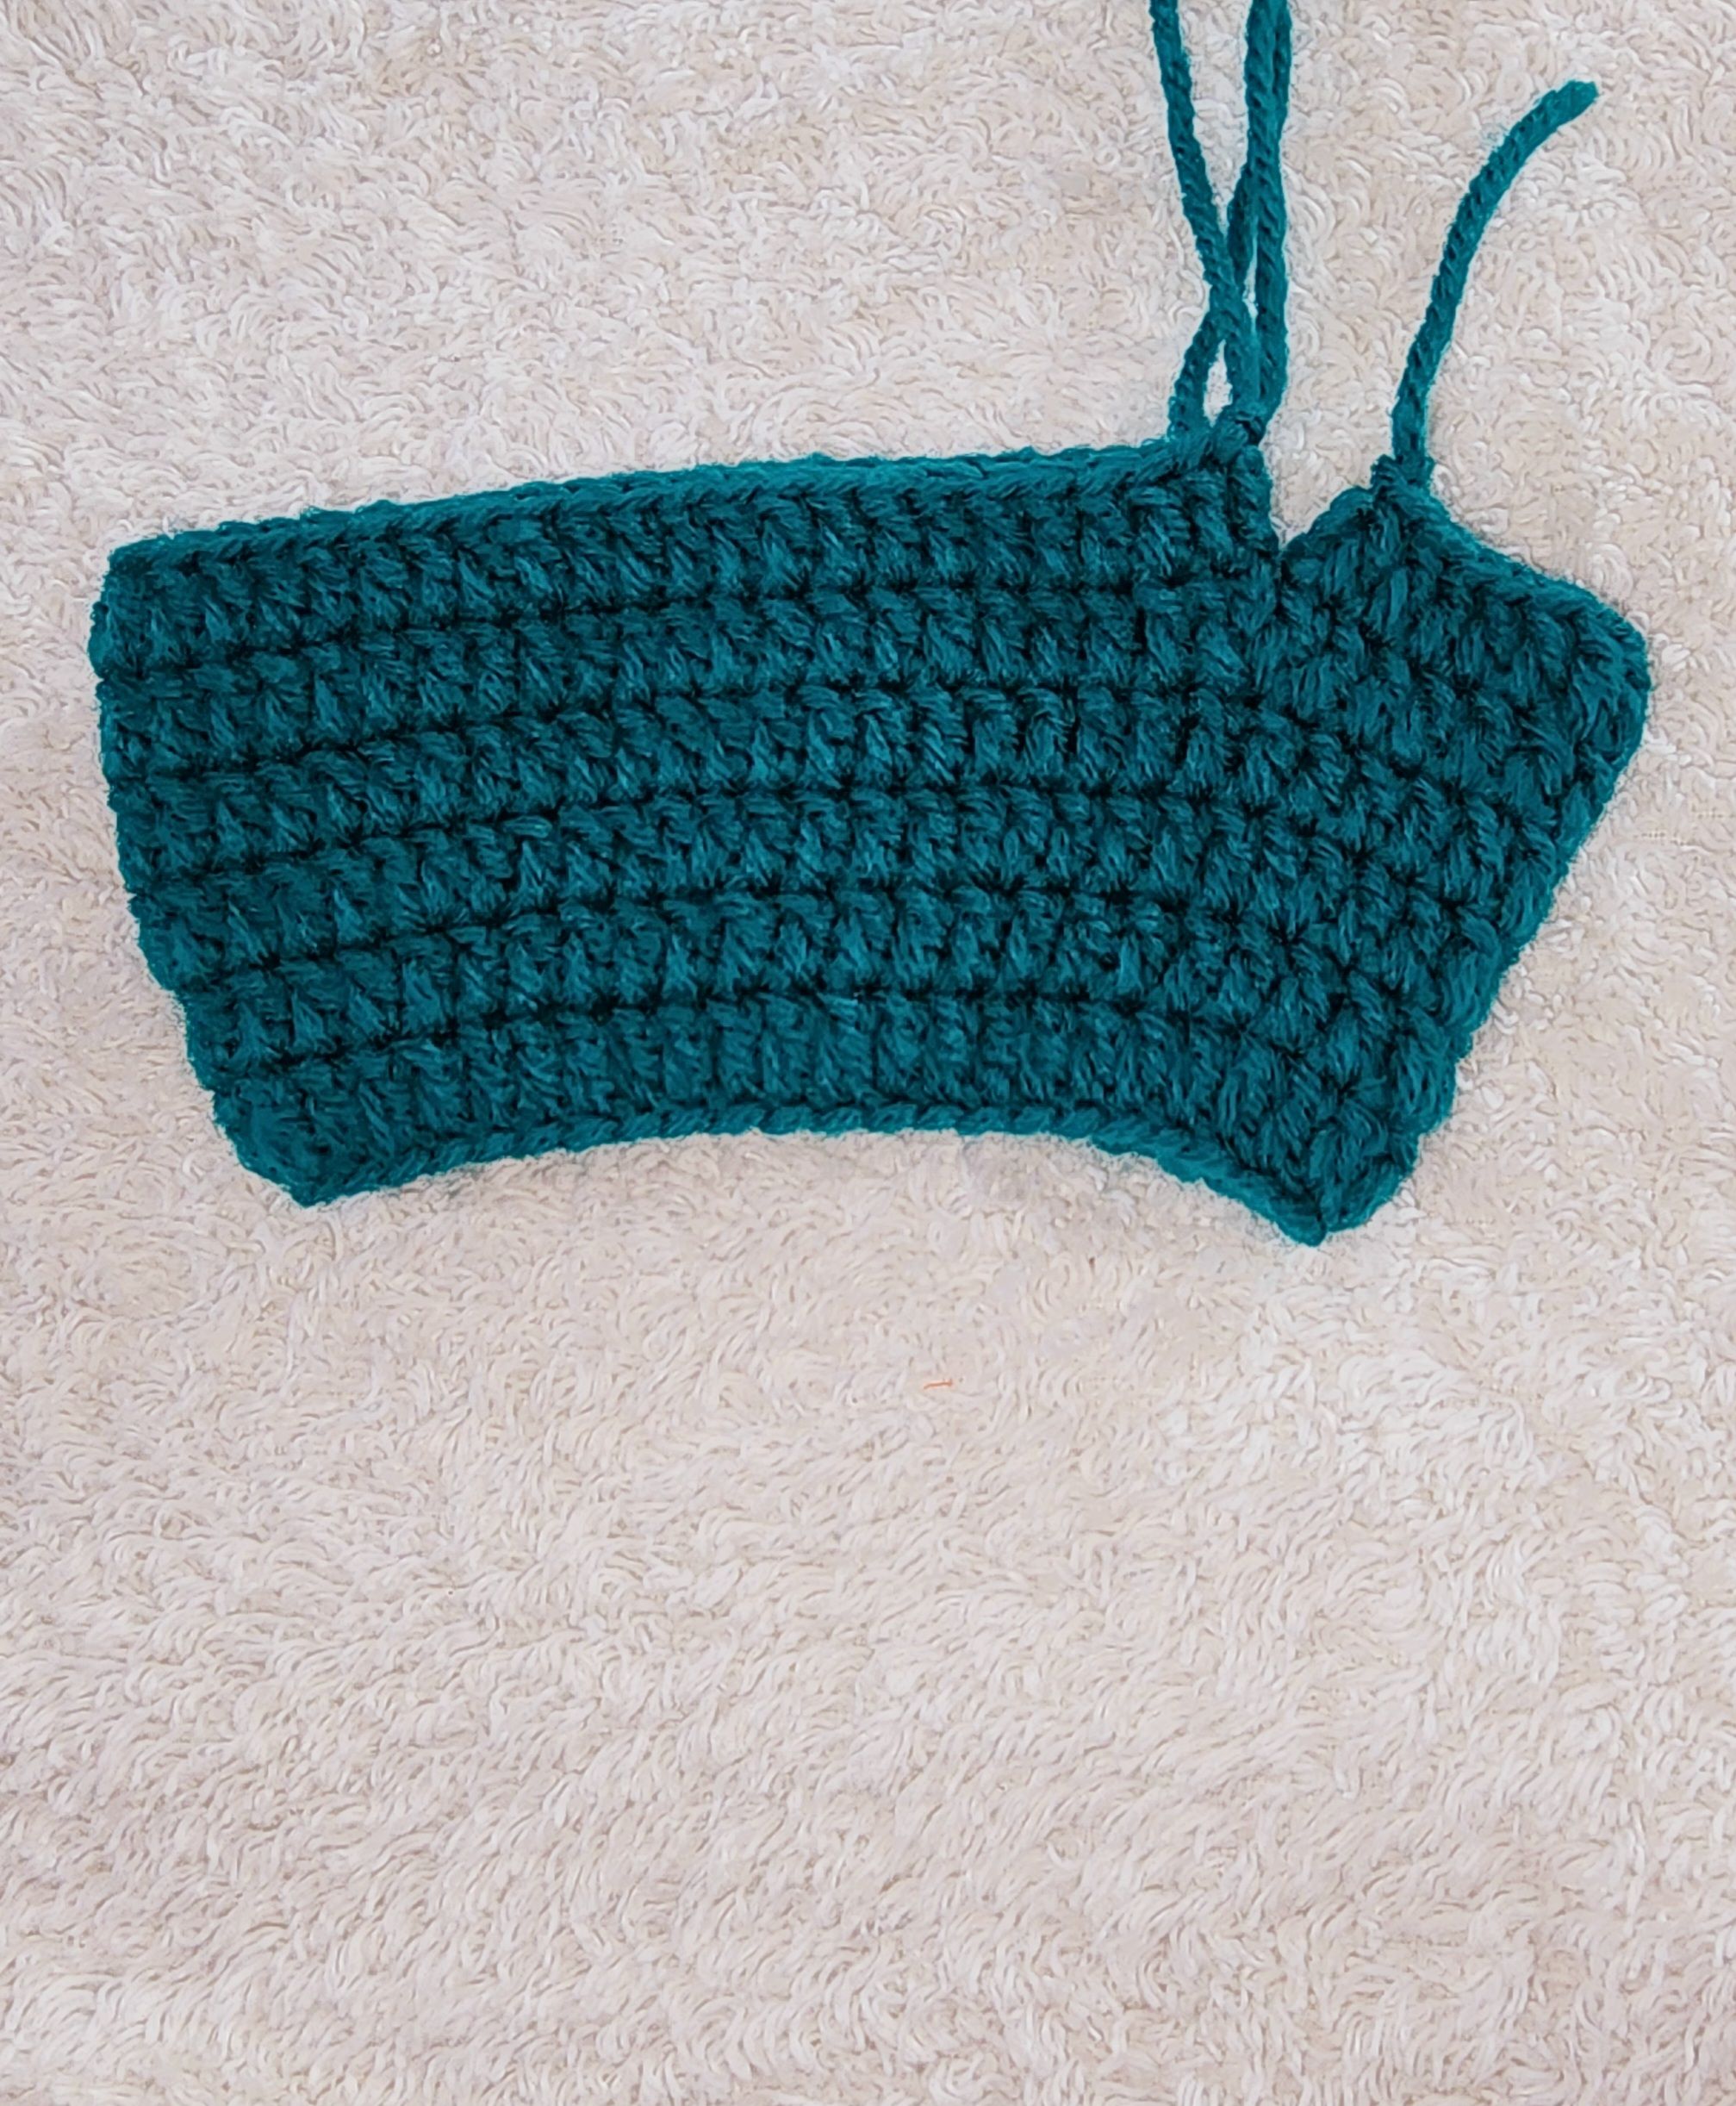
Seguimos
V7- Vamos a tejer estos puntos altos y cerramos. V8-V9- Vamos a tejer estos 43 puntos altos.
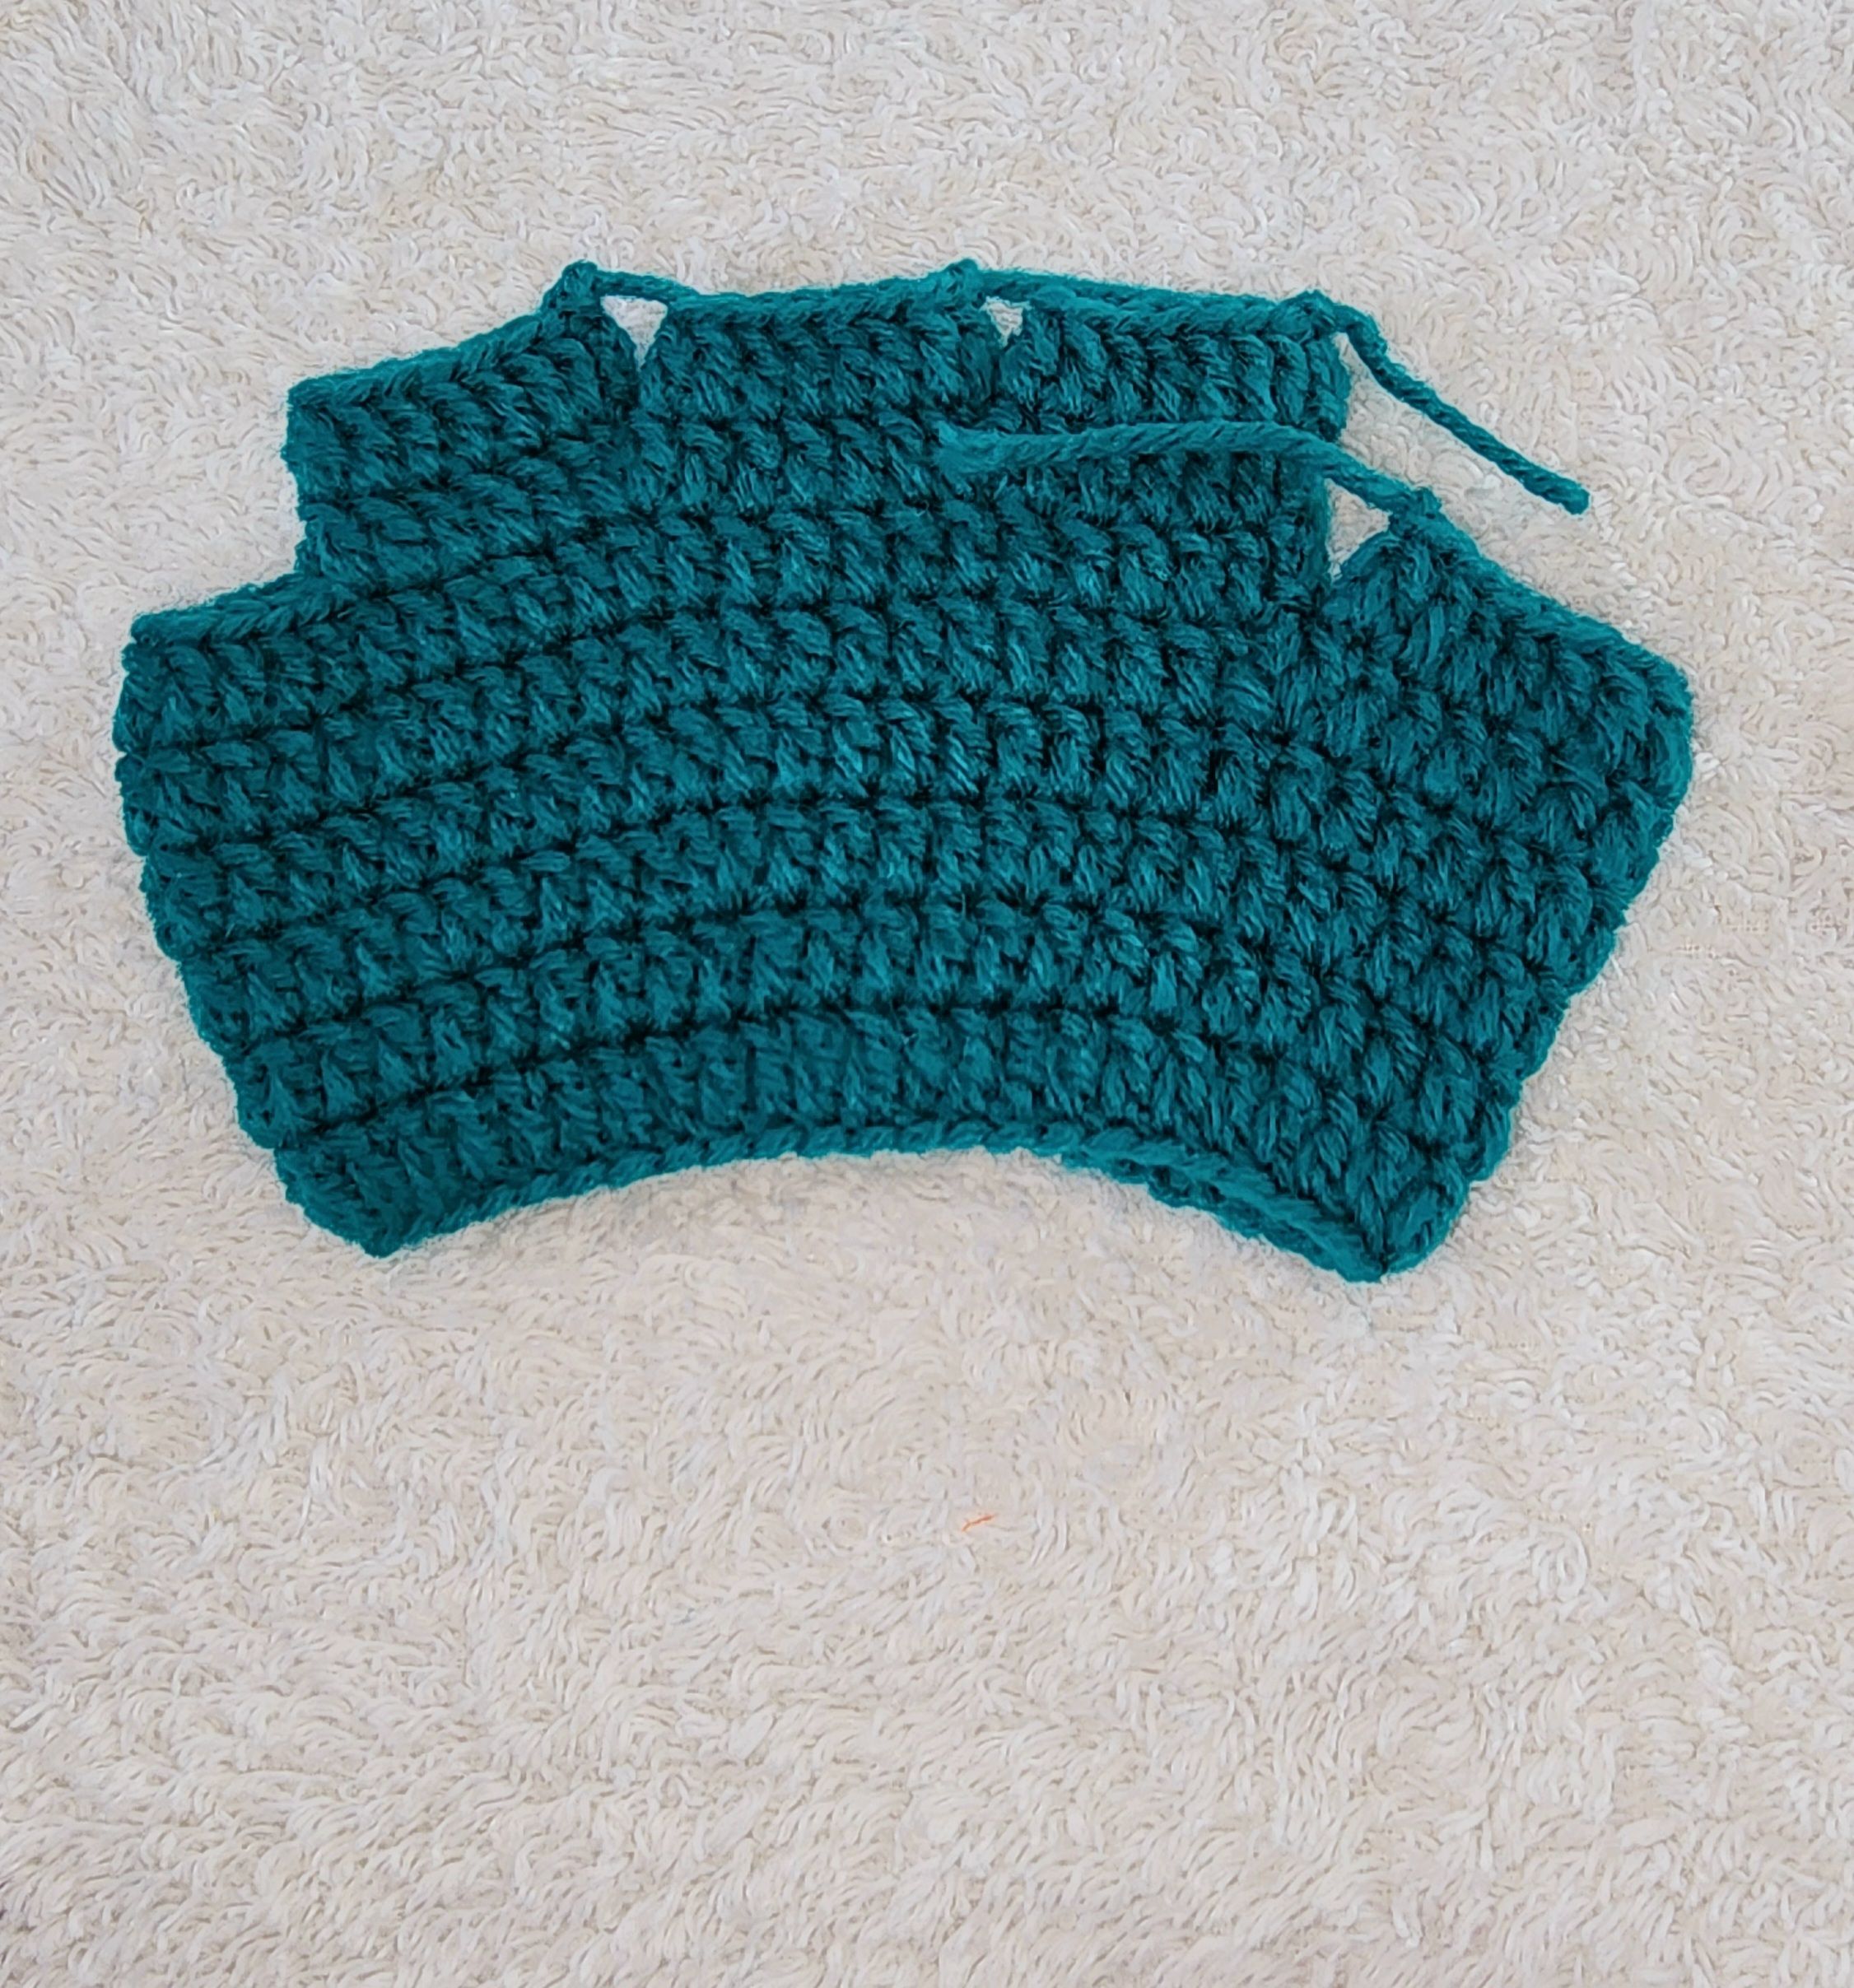
🧤 Dedos: anular, el del medio e índice 🧤
V10- Vamos a realizar 6 puntos altos por delante y 7 puntos altos por detrás, quedando un total de 13 puntos altos y los cerramos con punto deslizado.
V11- Vamos a subir 3 cadenas, hacemos 1 punto alto en cada punto y cerramos con punto deslizado.
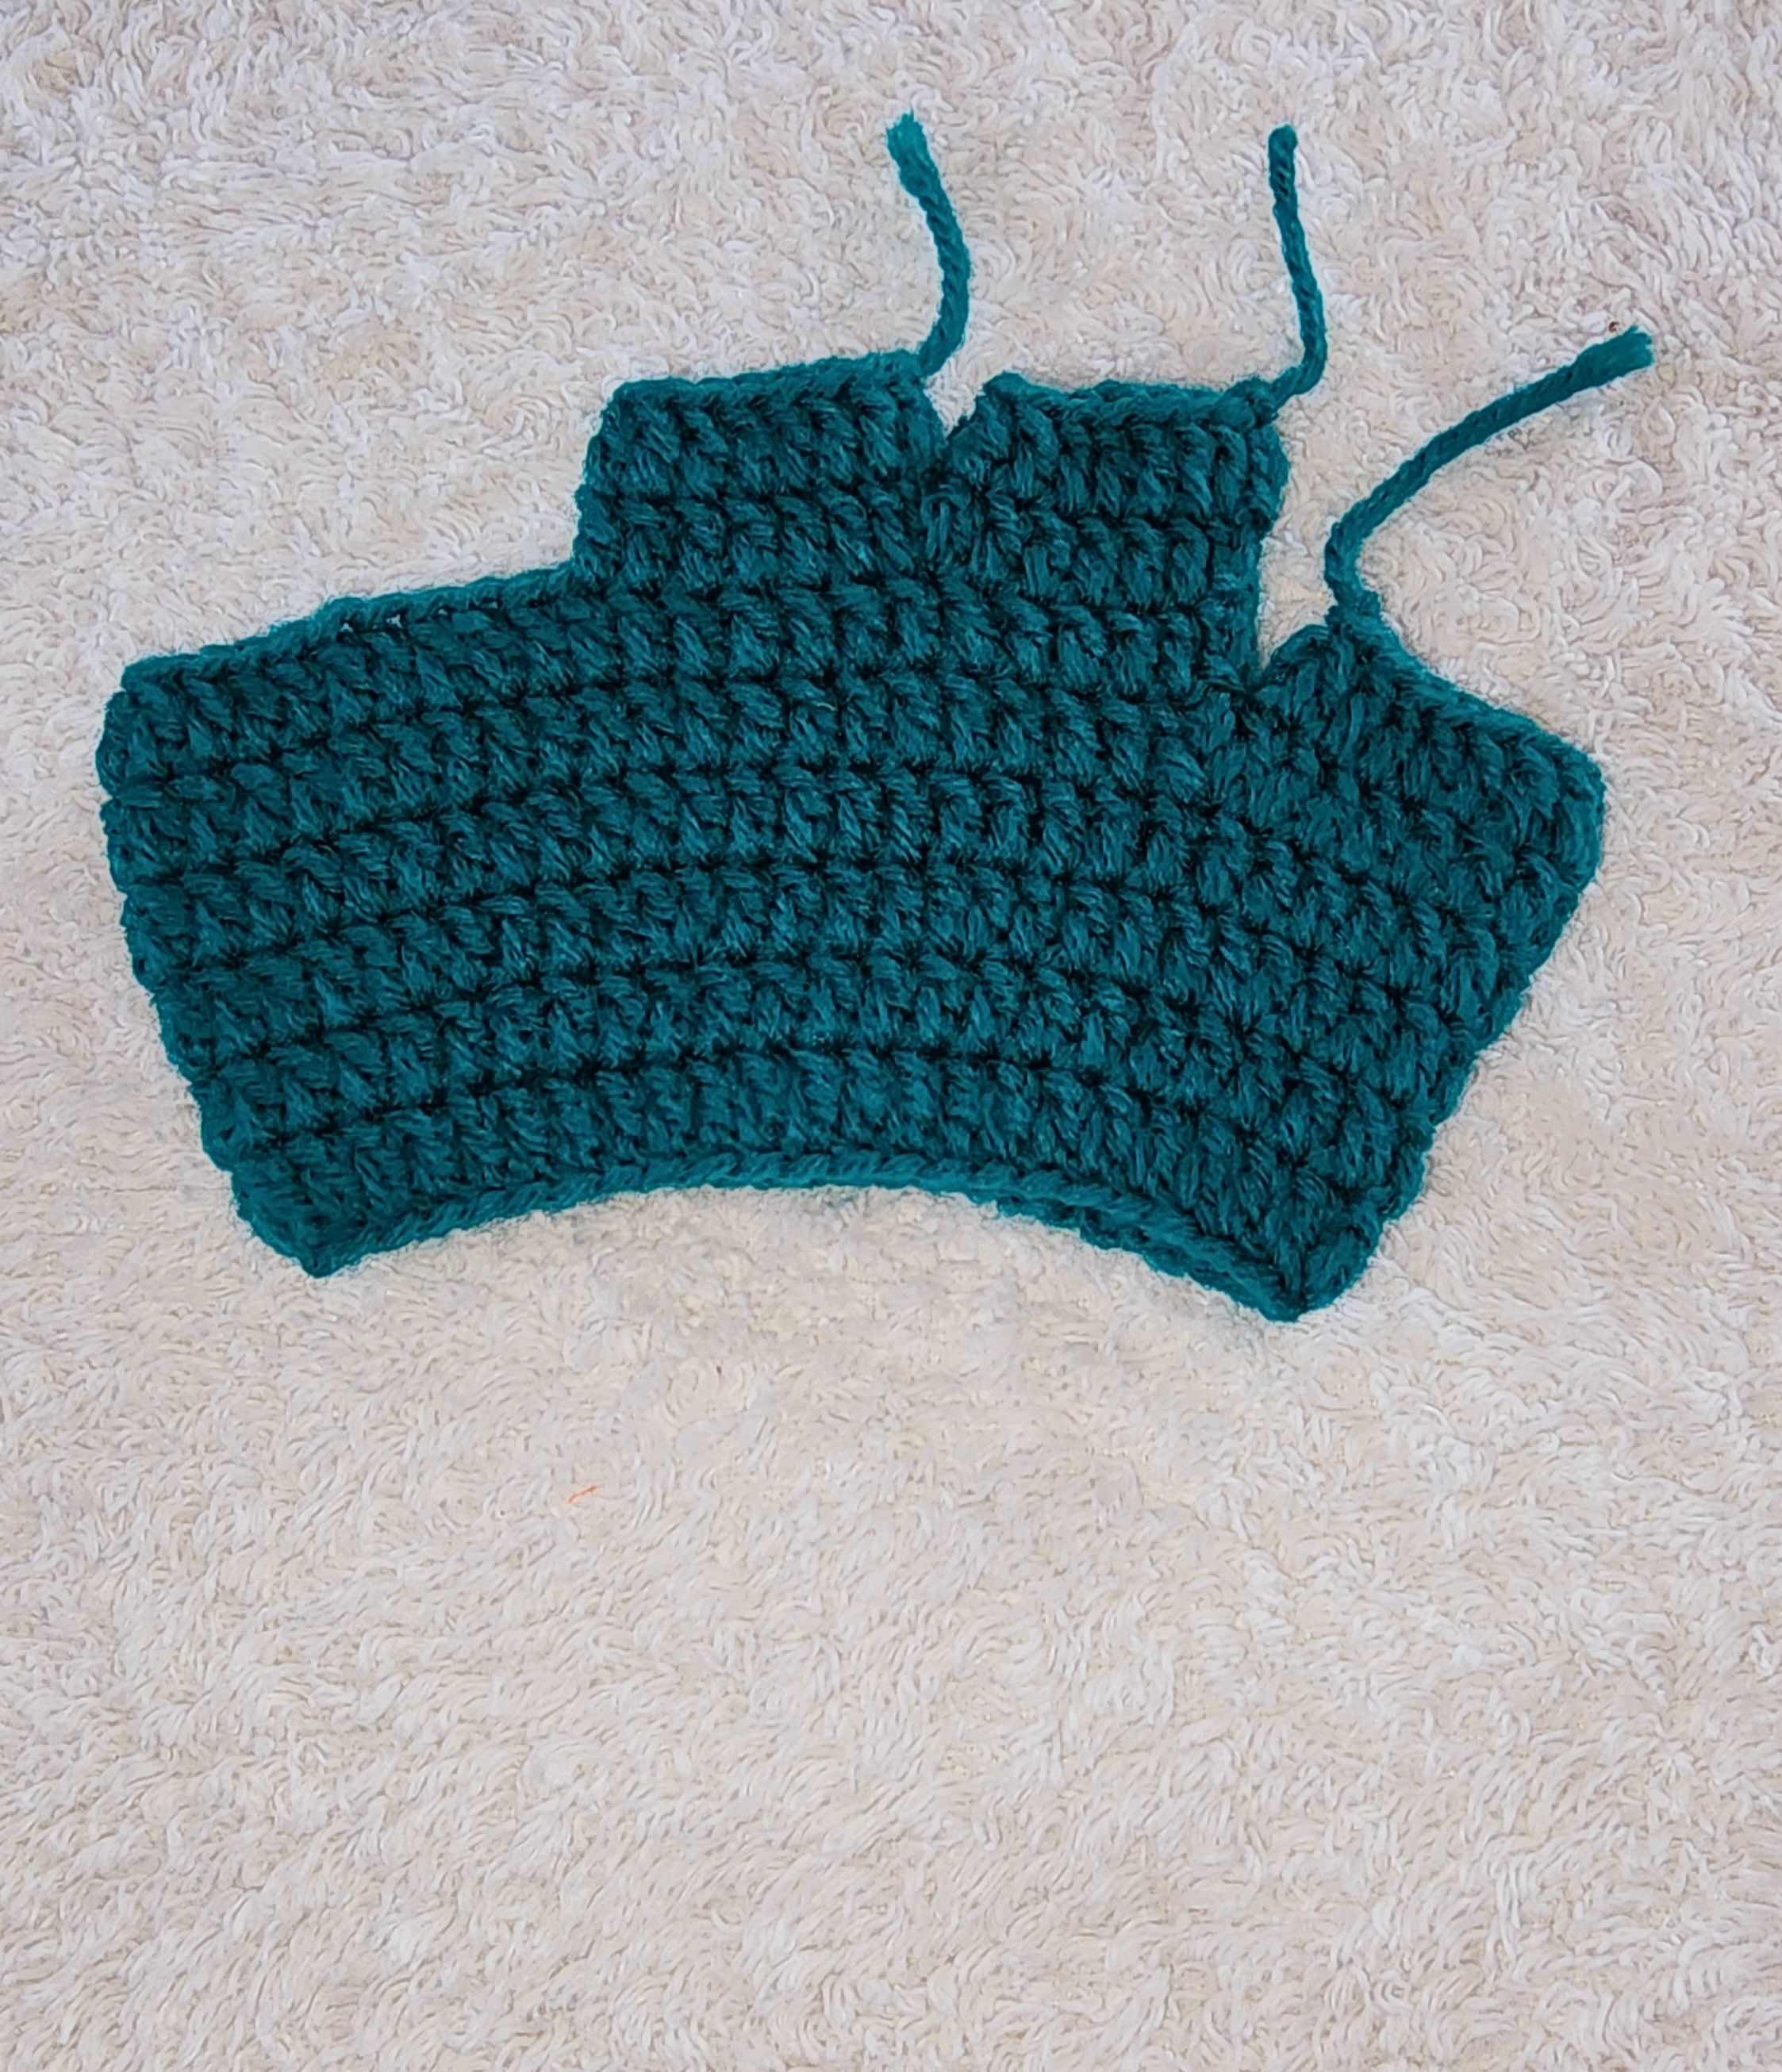
🧤 Dedo meñique 🧤
V10- Vamos a subir 3 cadenas y realizar los puntos que nos quedan que son 10 puntos altos. V11- Subimos 3 cadenas y hacemos 1 punto alto en cada punto y cerramos nuevamente con punto deslizado.
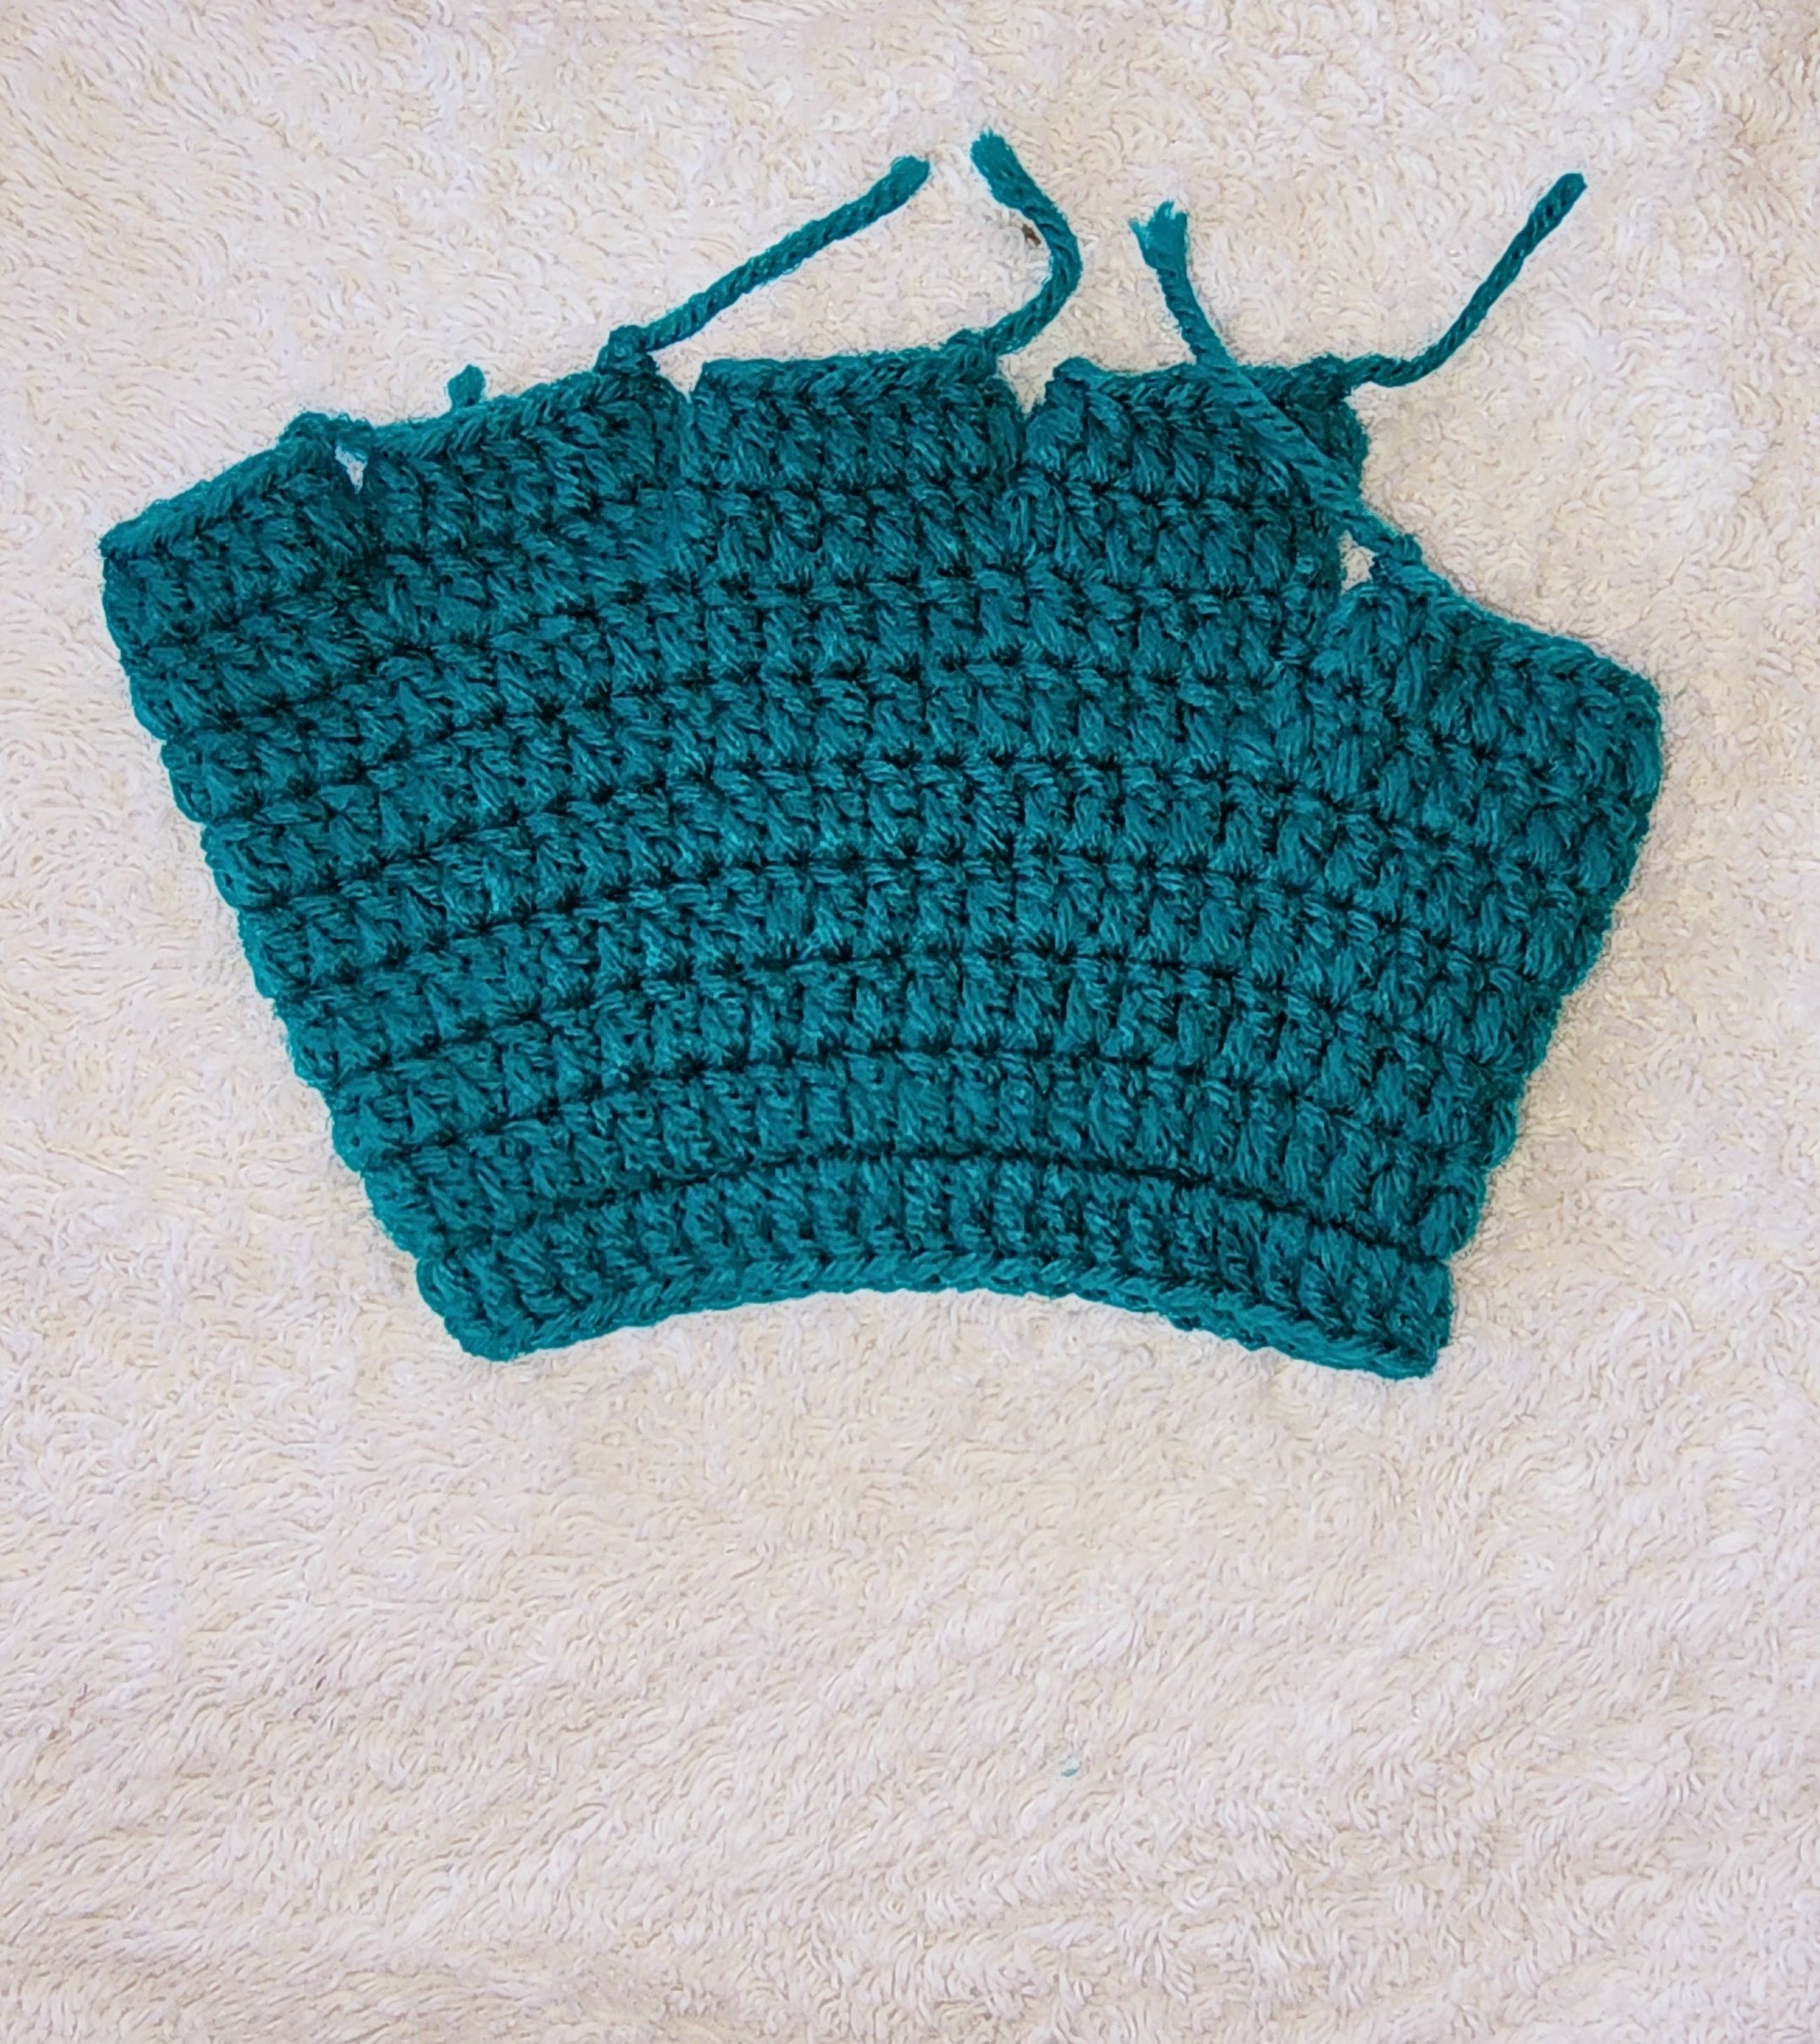
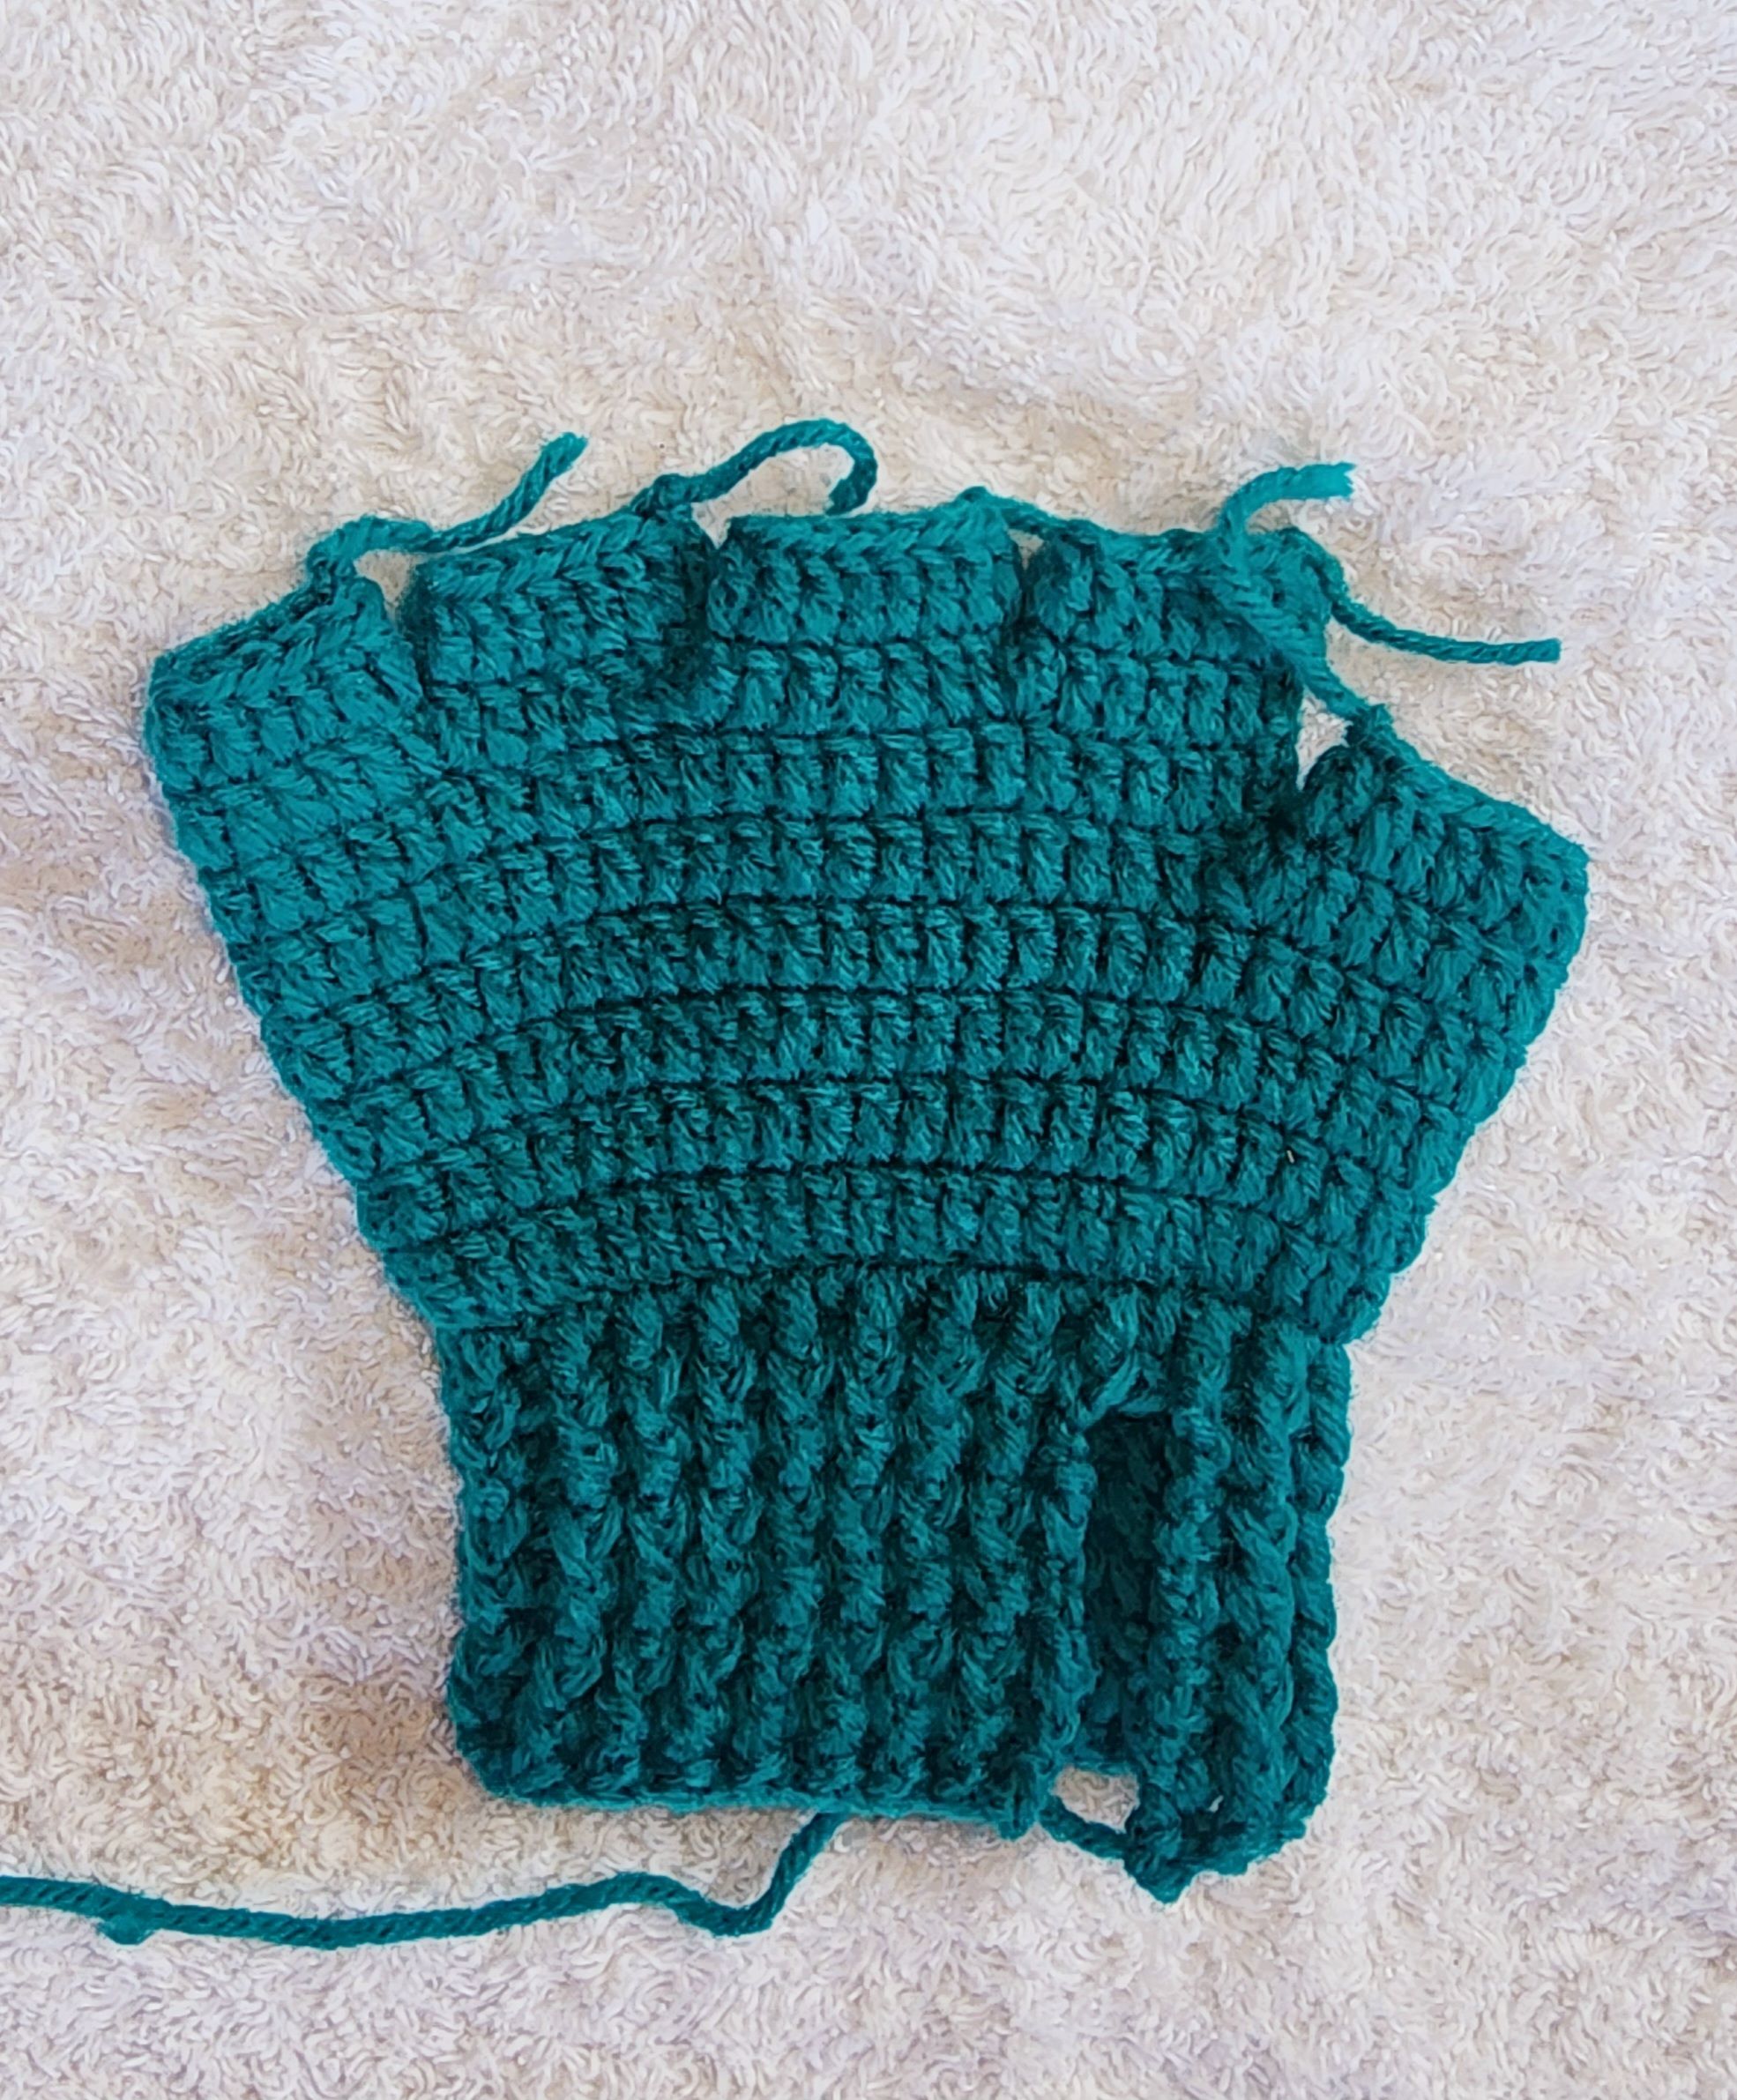
🧤 Puño 🧤
Colocamos la hebra, hacemos una cadena, y en el siguiente punto, pero tomando por delante hacemos 1 punto alto, en el siguiente hacemos otro punto alto, pero por detrás y así sucesivamente hacemos puntos altos en toda la vuelta, 1 por delante y uno por detrás. Subimos 3 cadenas, giramos tejido y continuamos haciendo lo mismo. Vamos a hacer 5 vueltas.
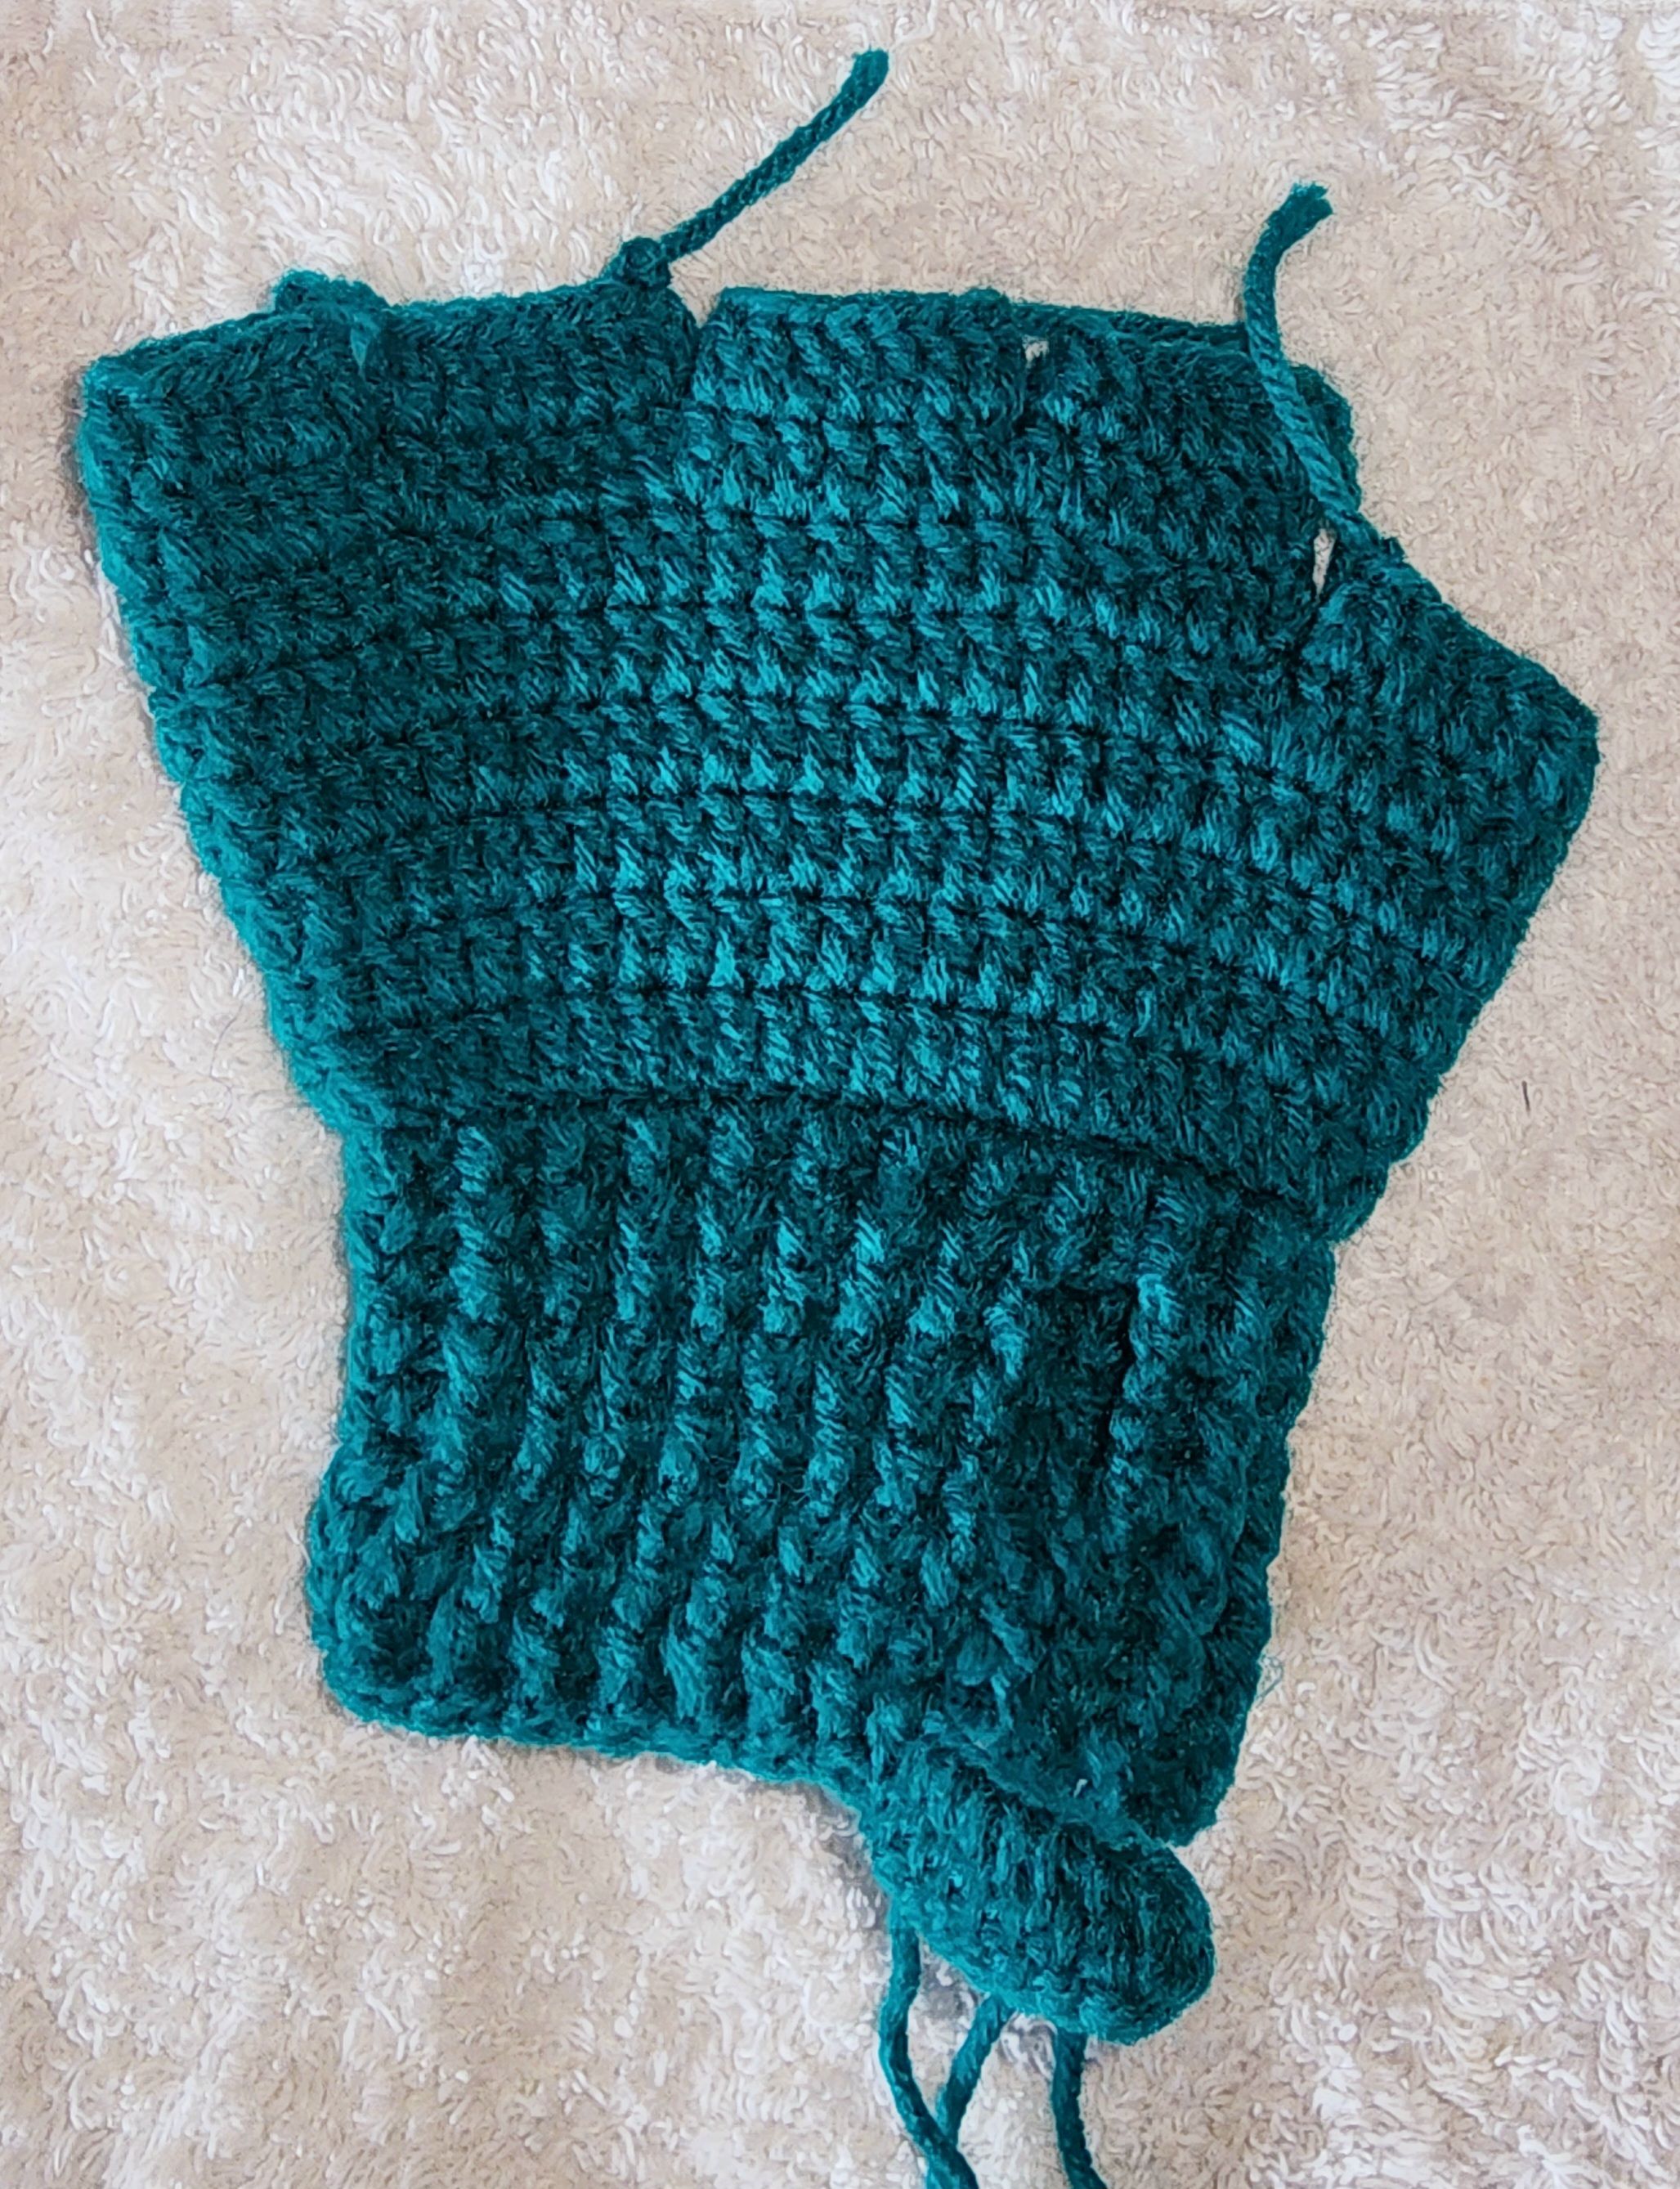
Al terminar la cuarta vuelta hacemos 10 cadenas, saltamos la primera y la segunda y en la tercera hacemos 1 punto alto y continuamos así hasta tener 8 puntos altos. Ahora vamos a terminar la vuelta con los puntos elásticos. En la parte que hicimos los 8 puntos altos, pegamos una parte de la pegueta y la otra donde más nos acomodé a nuestra muñeca.
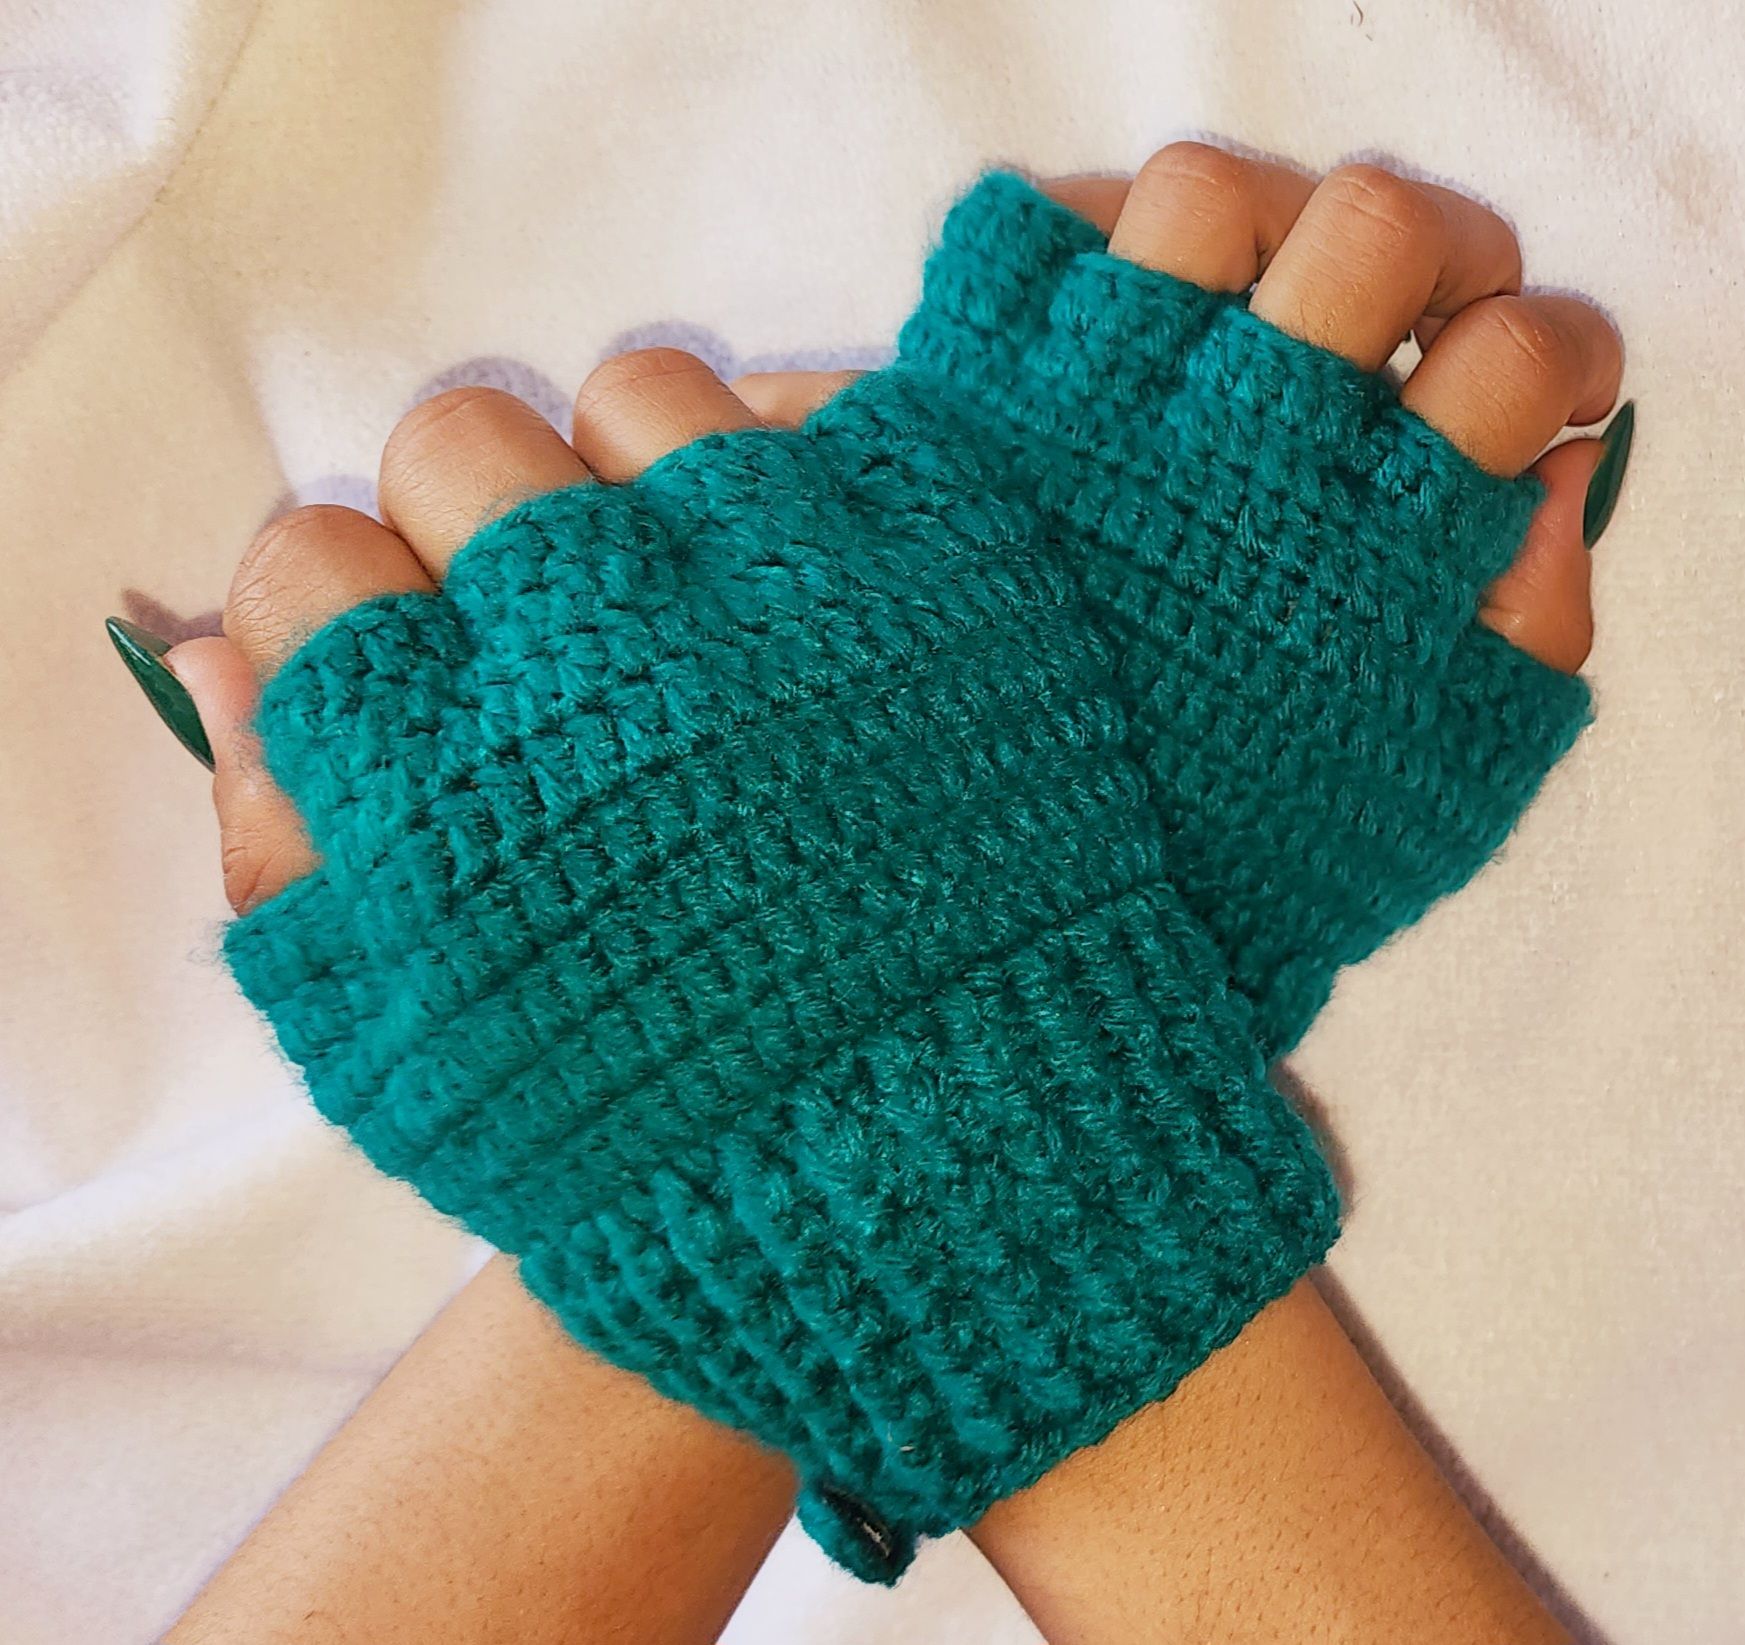
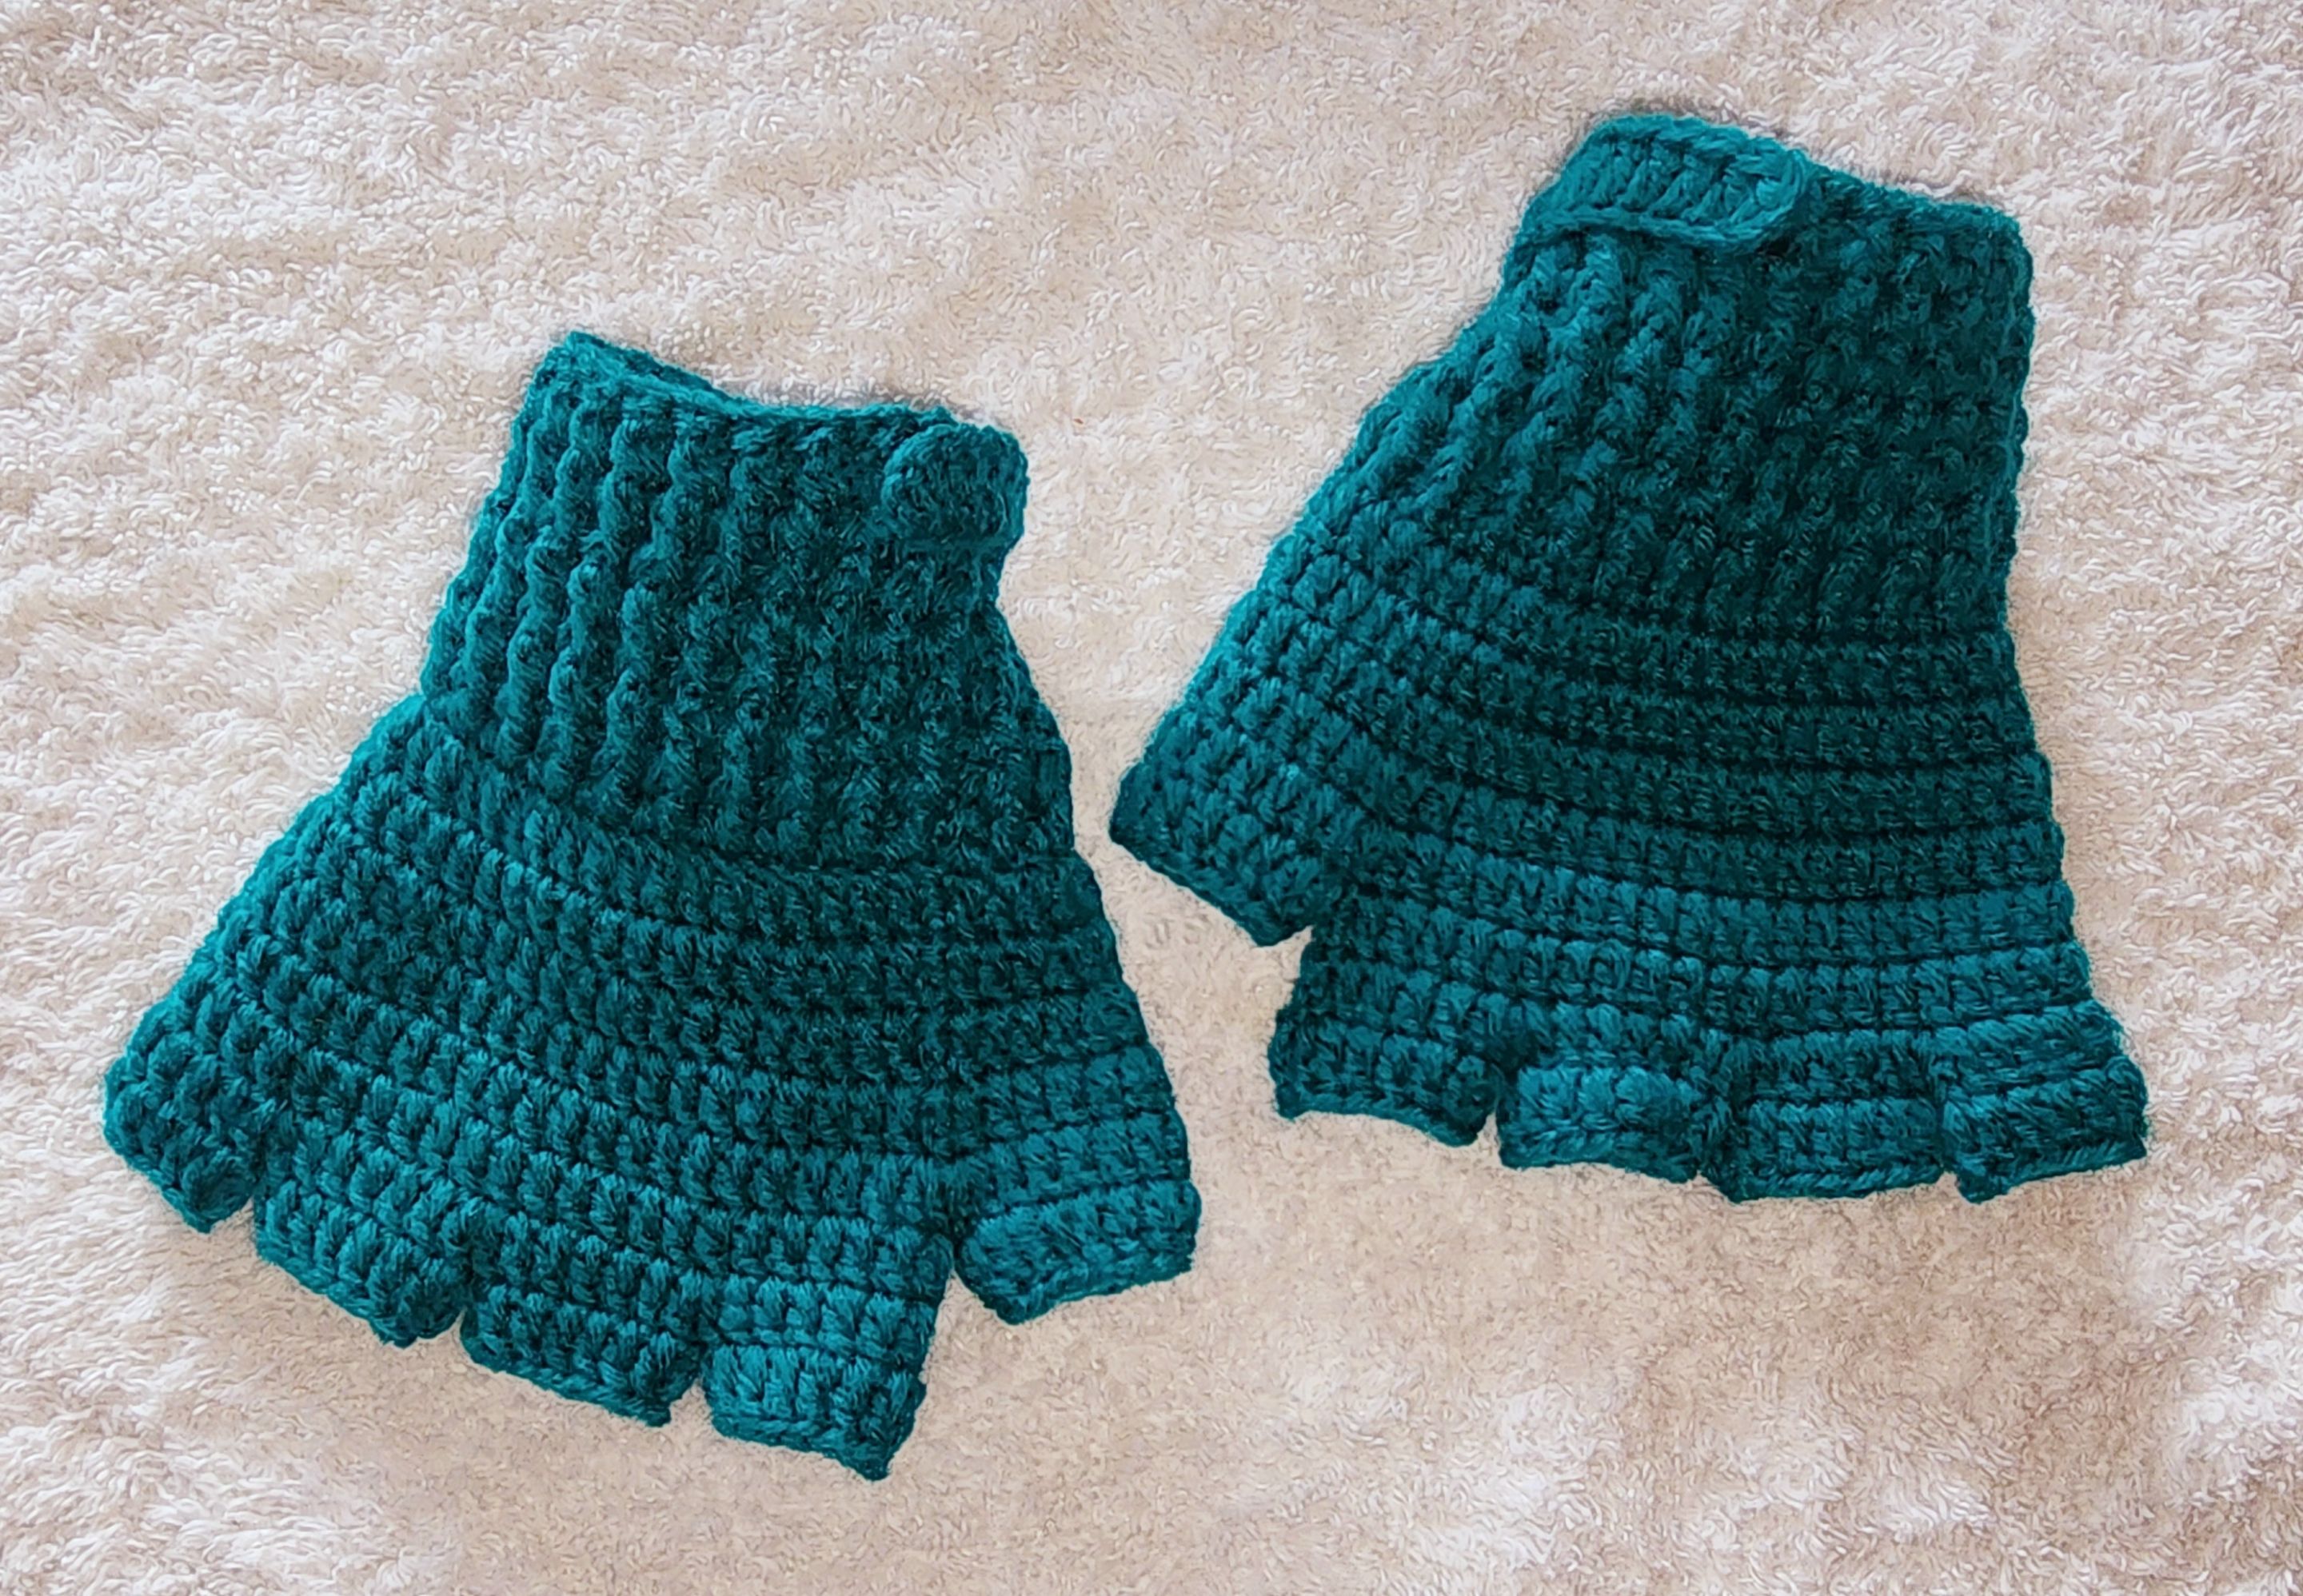
🧤 Hacemos dos guantes exactamente iguales, solo que debemos hacer la parte de abrochar contrarias, quedando una para cada mano.

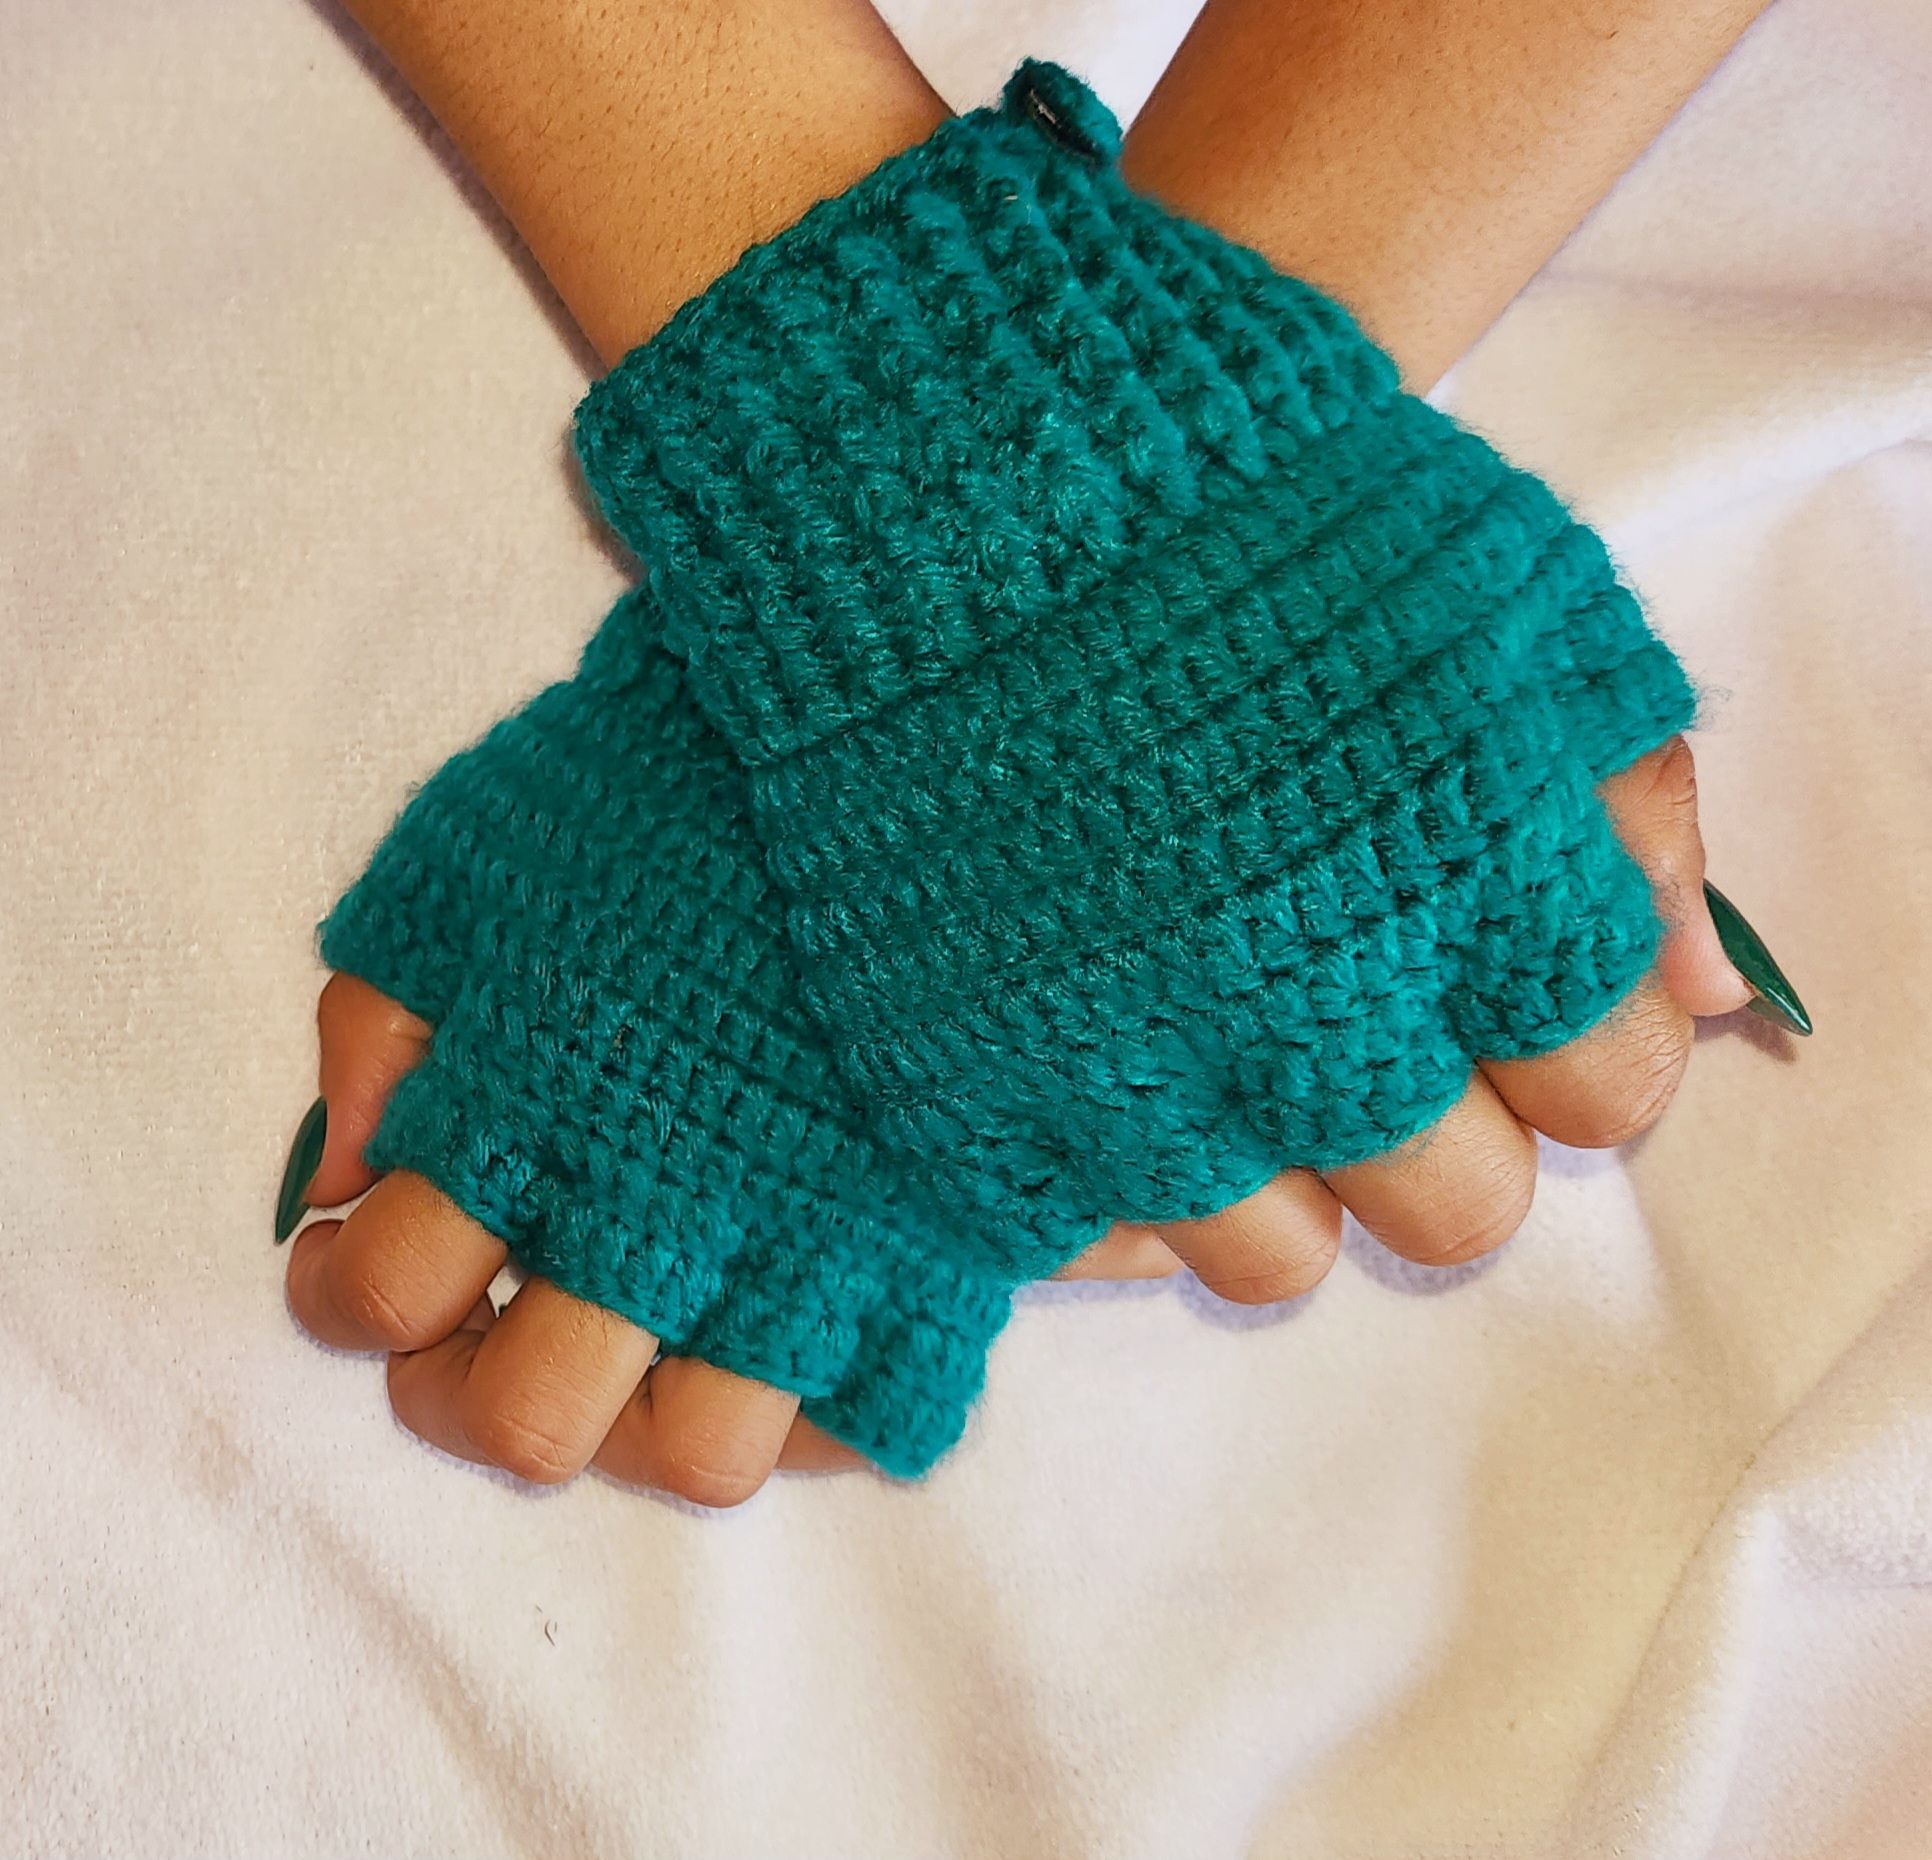
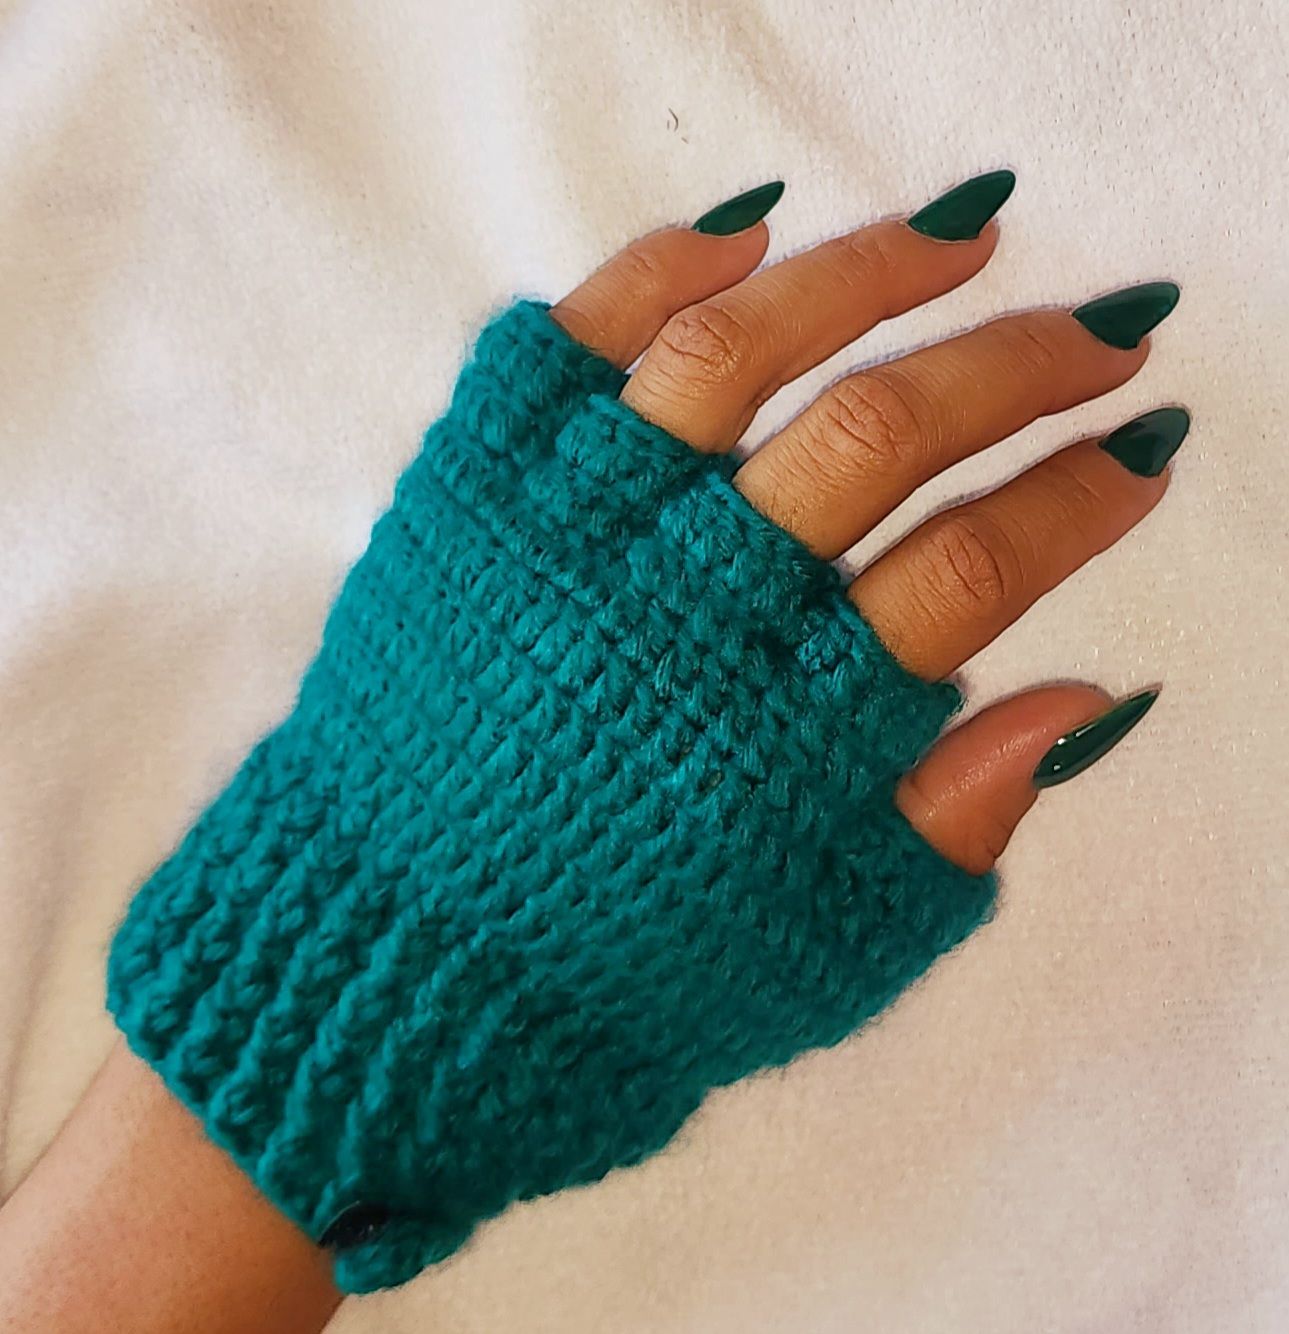
Y listo, amigos, así de fácil de crear son estos bonitos y muy cómodos guantes tejidos. A mi como siempre me encantaron. Y a ti que te pareció? Te atreves a realizarte unos?
Los leo en los comentarios. Gracias de antemano por leerme hasta aquí. Bendiciones miles 🥰, abrazos virtuales 🤗 y hasta una nueva publicación ✨️.
🧤 English 🧤
Nice evening to all the creative friends of this community, of the whole world and to all the craft lovers. I haven't been here for a long time due to personal problems, but I am back with a new project. I wish and hope that you are doing well, for my part I feel grateful to God for a new awakening for my family and me. I believe that having them well is already a blessing and most importantly, they are the ones who support me when I think I am going to collapse.
A few weeks ago I started dedicating my afternoons Monday through Friday to going to the gym looking for a new healthier lifestyle and making myself a priority. I needed some mittens and wanted to create some crochet ones. So I got to work and I have them finished, I loved the result and I want to share them with you today. Without further ado I show you the step by step.
🧤 Materials 🧤
- Wool of your favorite color.
- Needle.
- Scissors.
- Stickers.
🧤 Step by step 🧤
V1- We start by making 47 chains and join with slip stitch, we go up 3 chains and make 1 high stitch in each stitch leaving a total of 47 high stitches.
V2- We are going to make these 47 high stitches without increases or decreases.
V3- We make sequences of 4 double crochet stitches + 1 increase.
V4- We are going to knit 1 stitch over each stitch. 55 stitches until we have a height of 5.50 cm.
🧤 Thumb🧤
V7- Now we are going to knit 14 high stitches and not knit any more, but close.
This would be the thumb.
V8- We are going to make these 14 high stitches, close and cut yarn.
We continue
V7- We are going to knit these high stitches and close.
V8-V9- We are going to knit these 43 high stitches.
🧤 Fingers: ring finger, middle finger and index finger 🧤
V10- We are going to knit 6 high stitches in the front and 7 high stitches in the back, leaving a total of 13 high stitches and close them with slip stitch.
V11- We are going to go up 3 chains, we will make 1 high stitch in each stitch and close with slip stitch.
🧤 Pinky finger 🧤
V10- Let's go up 3 chains and make the remaining stitches which are 10 high stitches.
V11- We go up 3 chains and make 1 high stitch in each stitch and close again with slip stitch.
🧤 Cuff 🧤
We place the yarn, make a chain, and in the next stitch, but taking in front we make 1 high stitch, in the next one we make another high stitch, but in the back and so on we make high stitches in the whole round, 1 in front and one in back. We go up 3 chains, turn knit and continue doing the same. We will make 5 rows.
At the end of the fourth row we make 10 chains, skip the first and the second and in the third row we make 1 double crochet and continue in this way until we have 8 double crochets. Now we are going to finish the row with the elastic stitches. In the part where we made the 8 high stitches, we glue one part of the elastic and the other part where it best suits our wrist.
🧤 We make two gloves exactly the same, only we must make the opposite buttoning part, leaving one for each hand.
And ready, friends, that's how easy to create are these beautiful and very comfortable knitted mittens. As always, I loved them. And what did you think? Do you dare to make your own?
I'll read them in the comments. Thanks in advance for reading me so far. Thousands of blessings 🥰, virtual hugs 🤗 and until a new publication ✨️.
Recursos empleados
| RECURSO / RESOURCE | FUENTE / SOURCE |
|---|---|
| Edición / Edition: | @yunacrochet |
| Imágenes / Pictures: | Samsung Galaxy s22 Ultra |
| Translated / Traducción: | Deepl Translate by @noakmilo |
Posted Using INLEO