Hello friends of this diy community, I hope you are having a nice week and are doing well. Today, as I told you in a previous post, I am going to share with you how I made my biretta for my graduation. I made this biretta without a very clear idea in my mind, several things were flowing as the biretta was progressing, but I still want to tell you how it turned out and then tell me what you think.
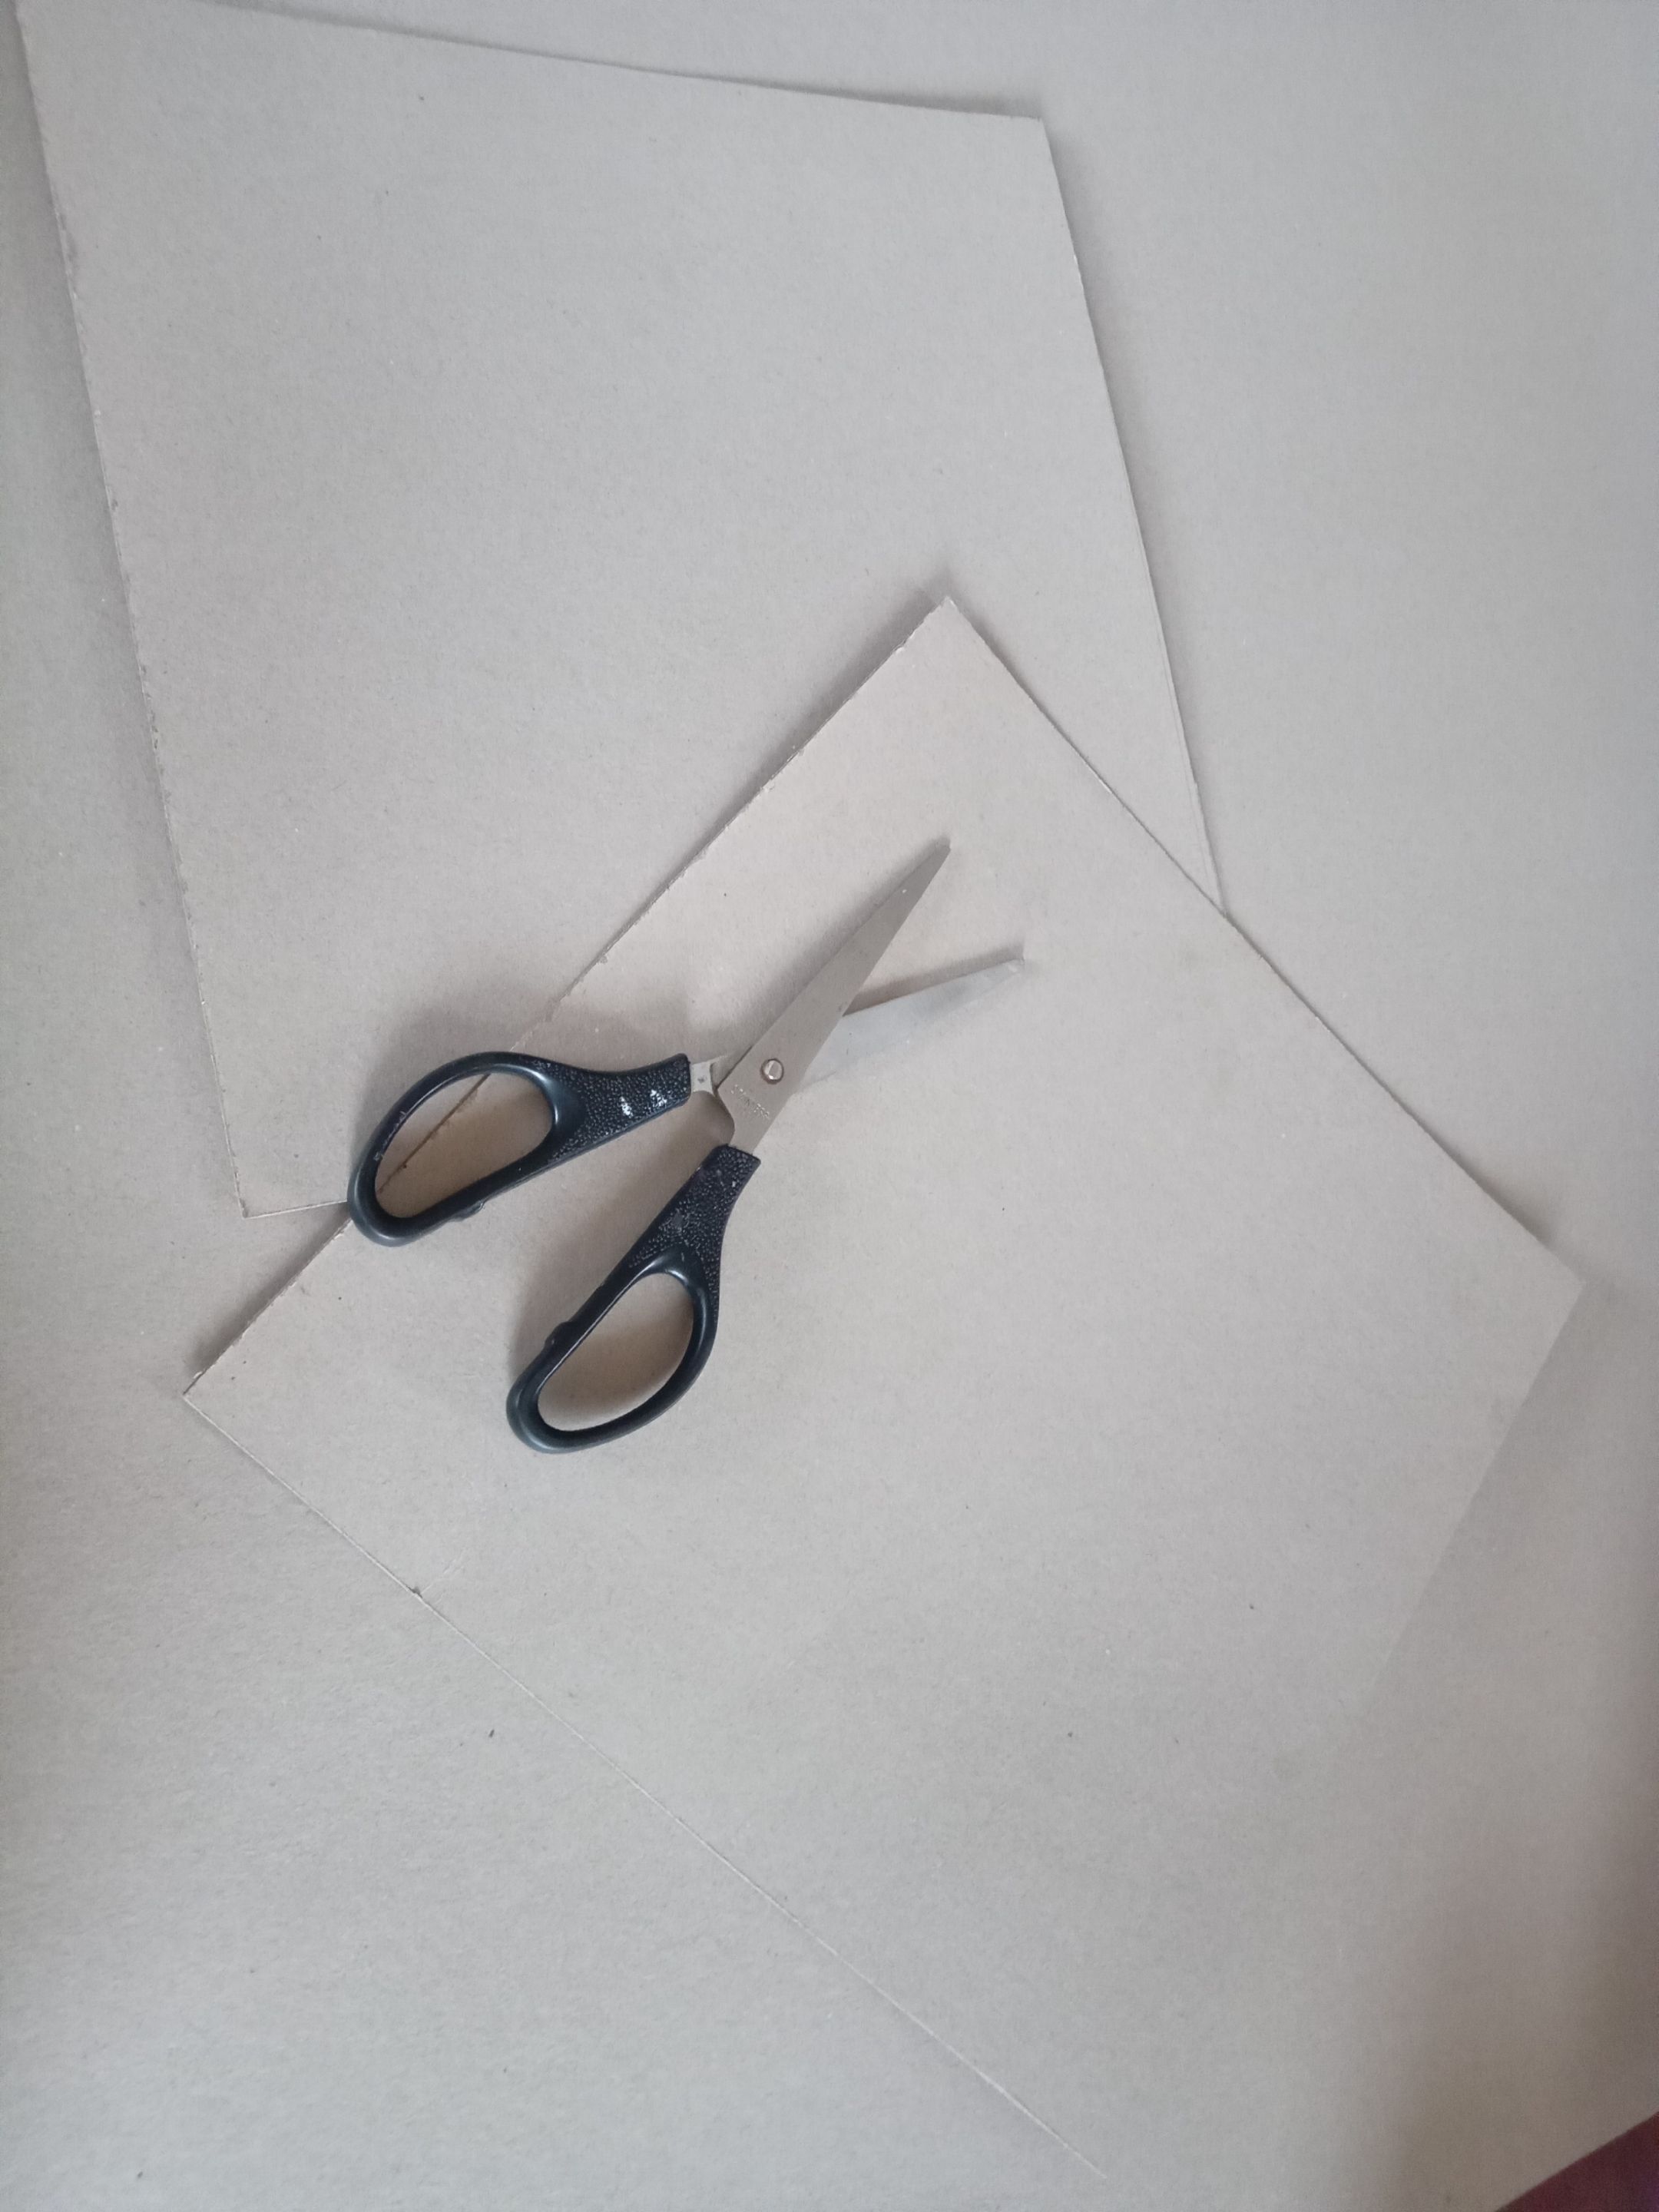
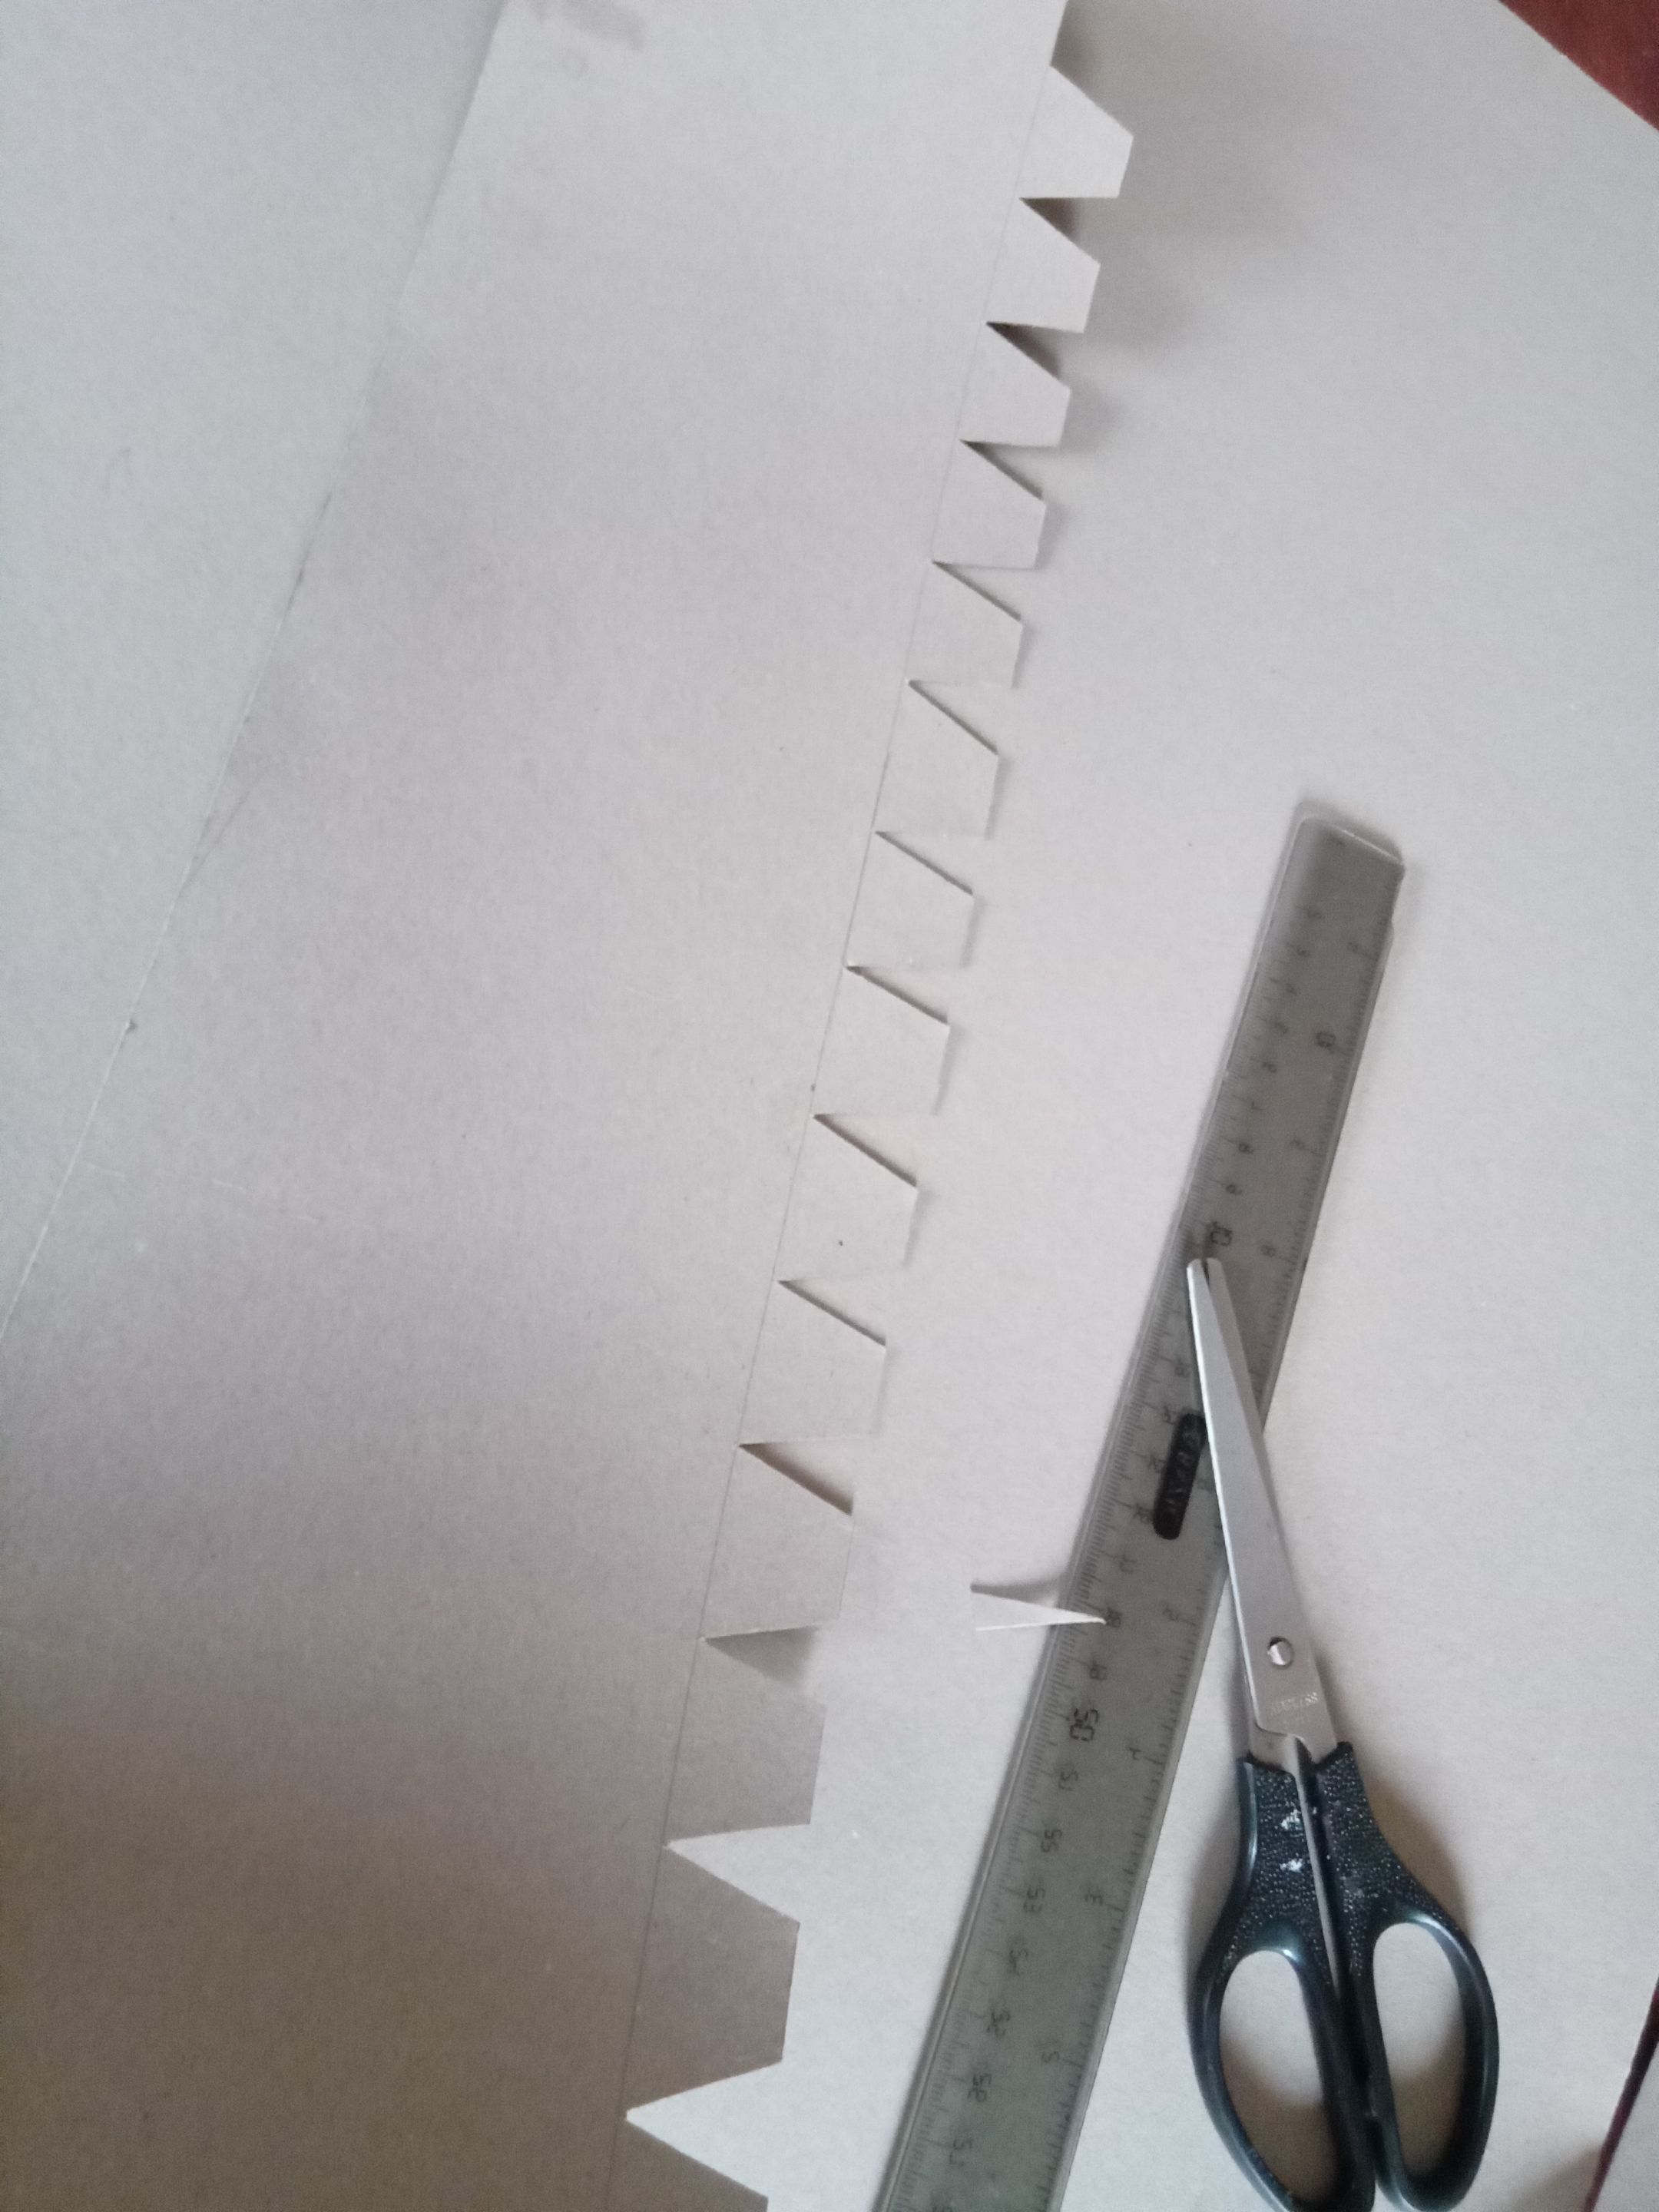
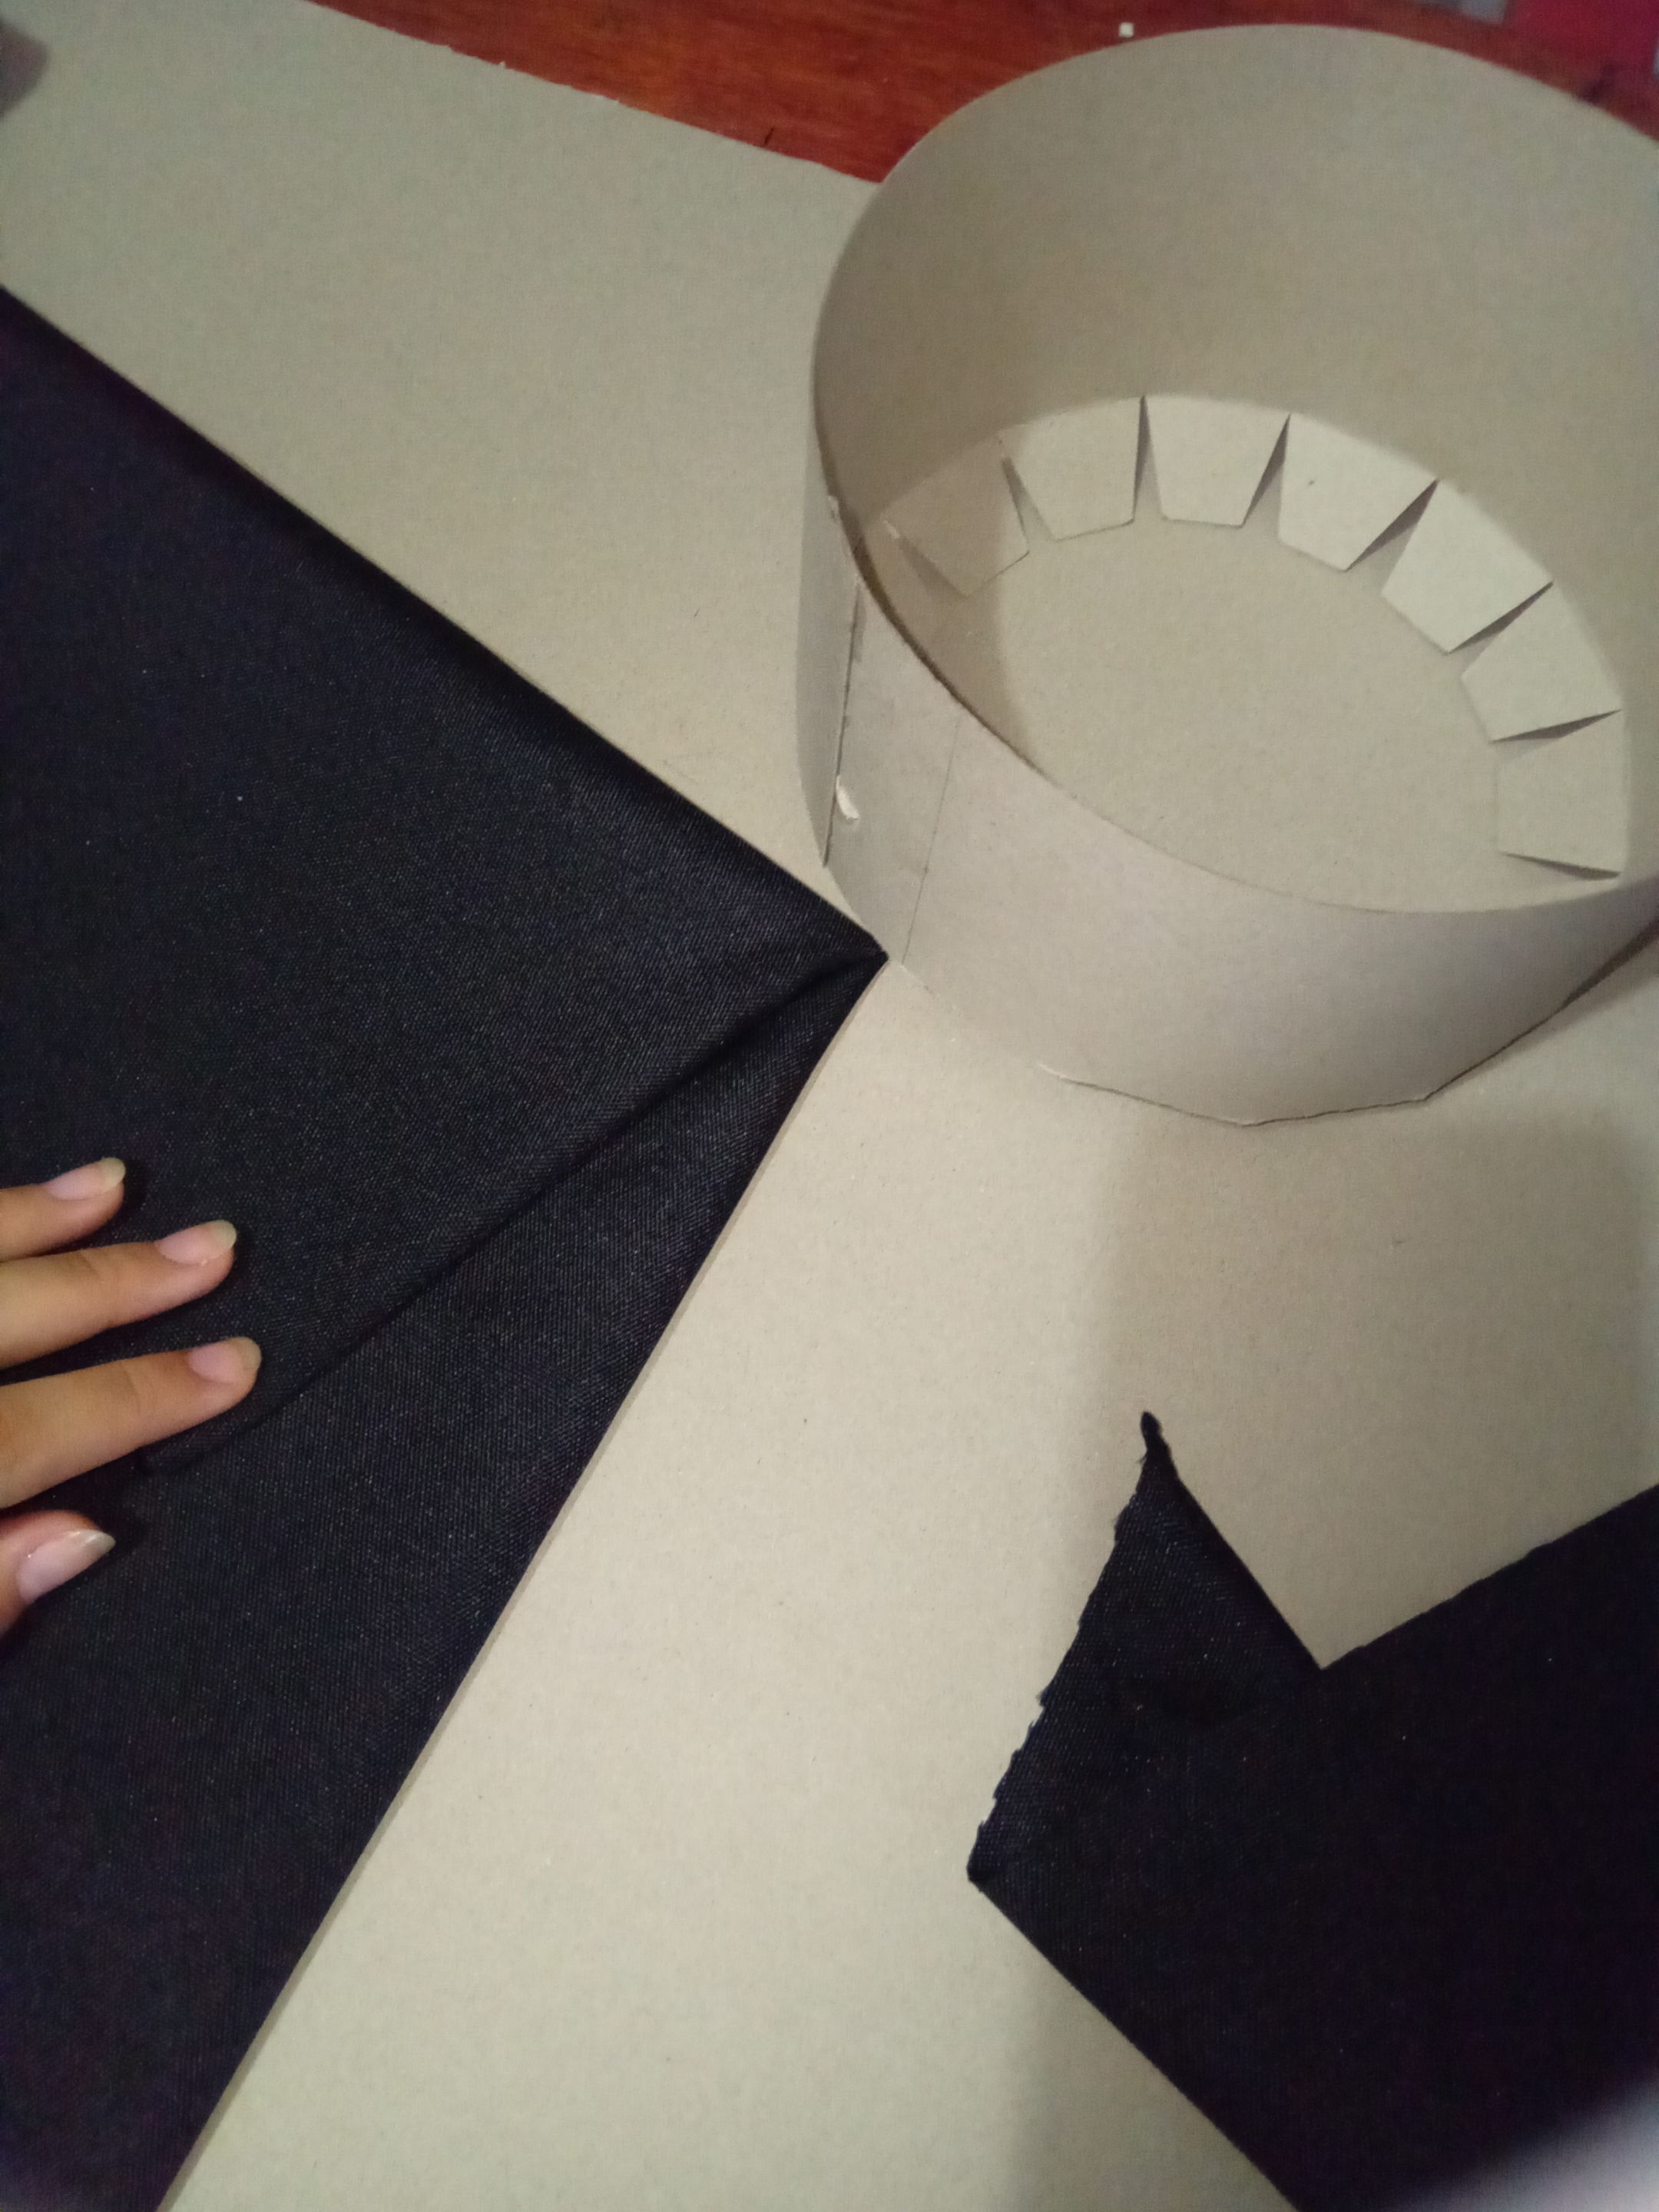
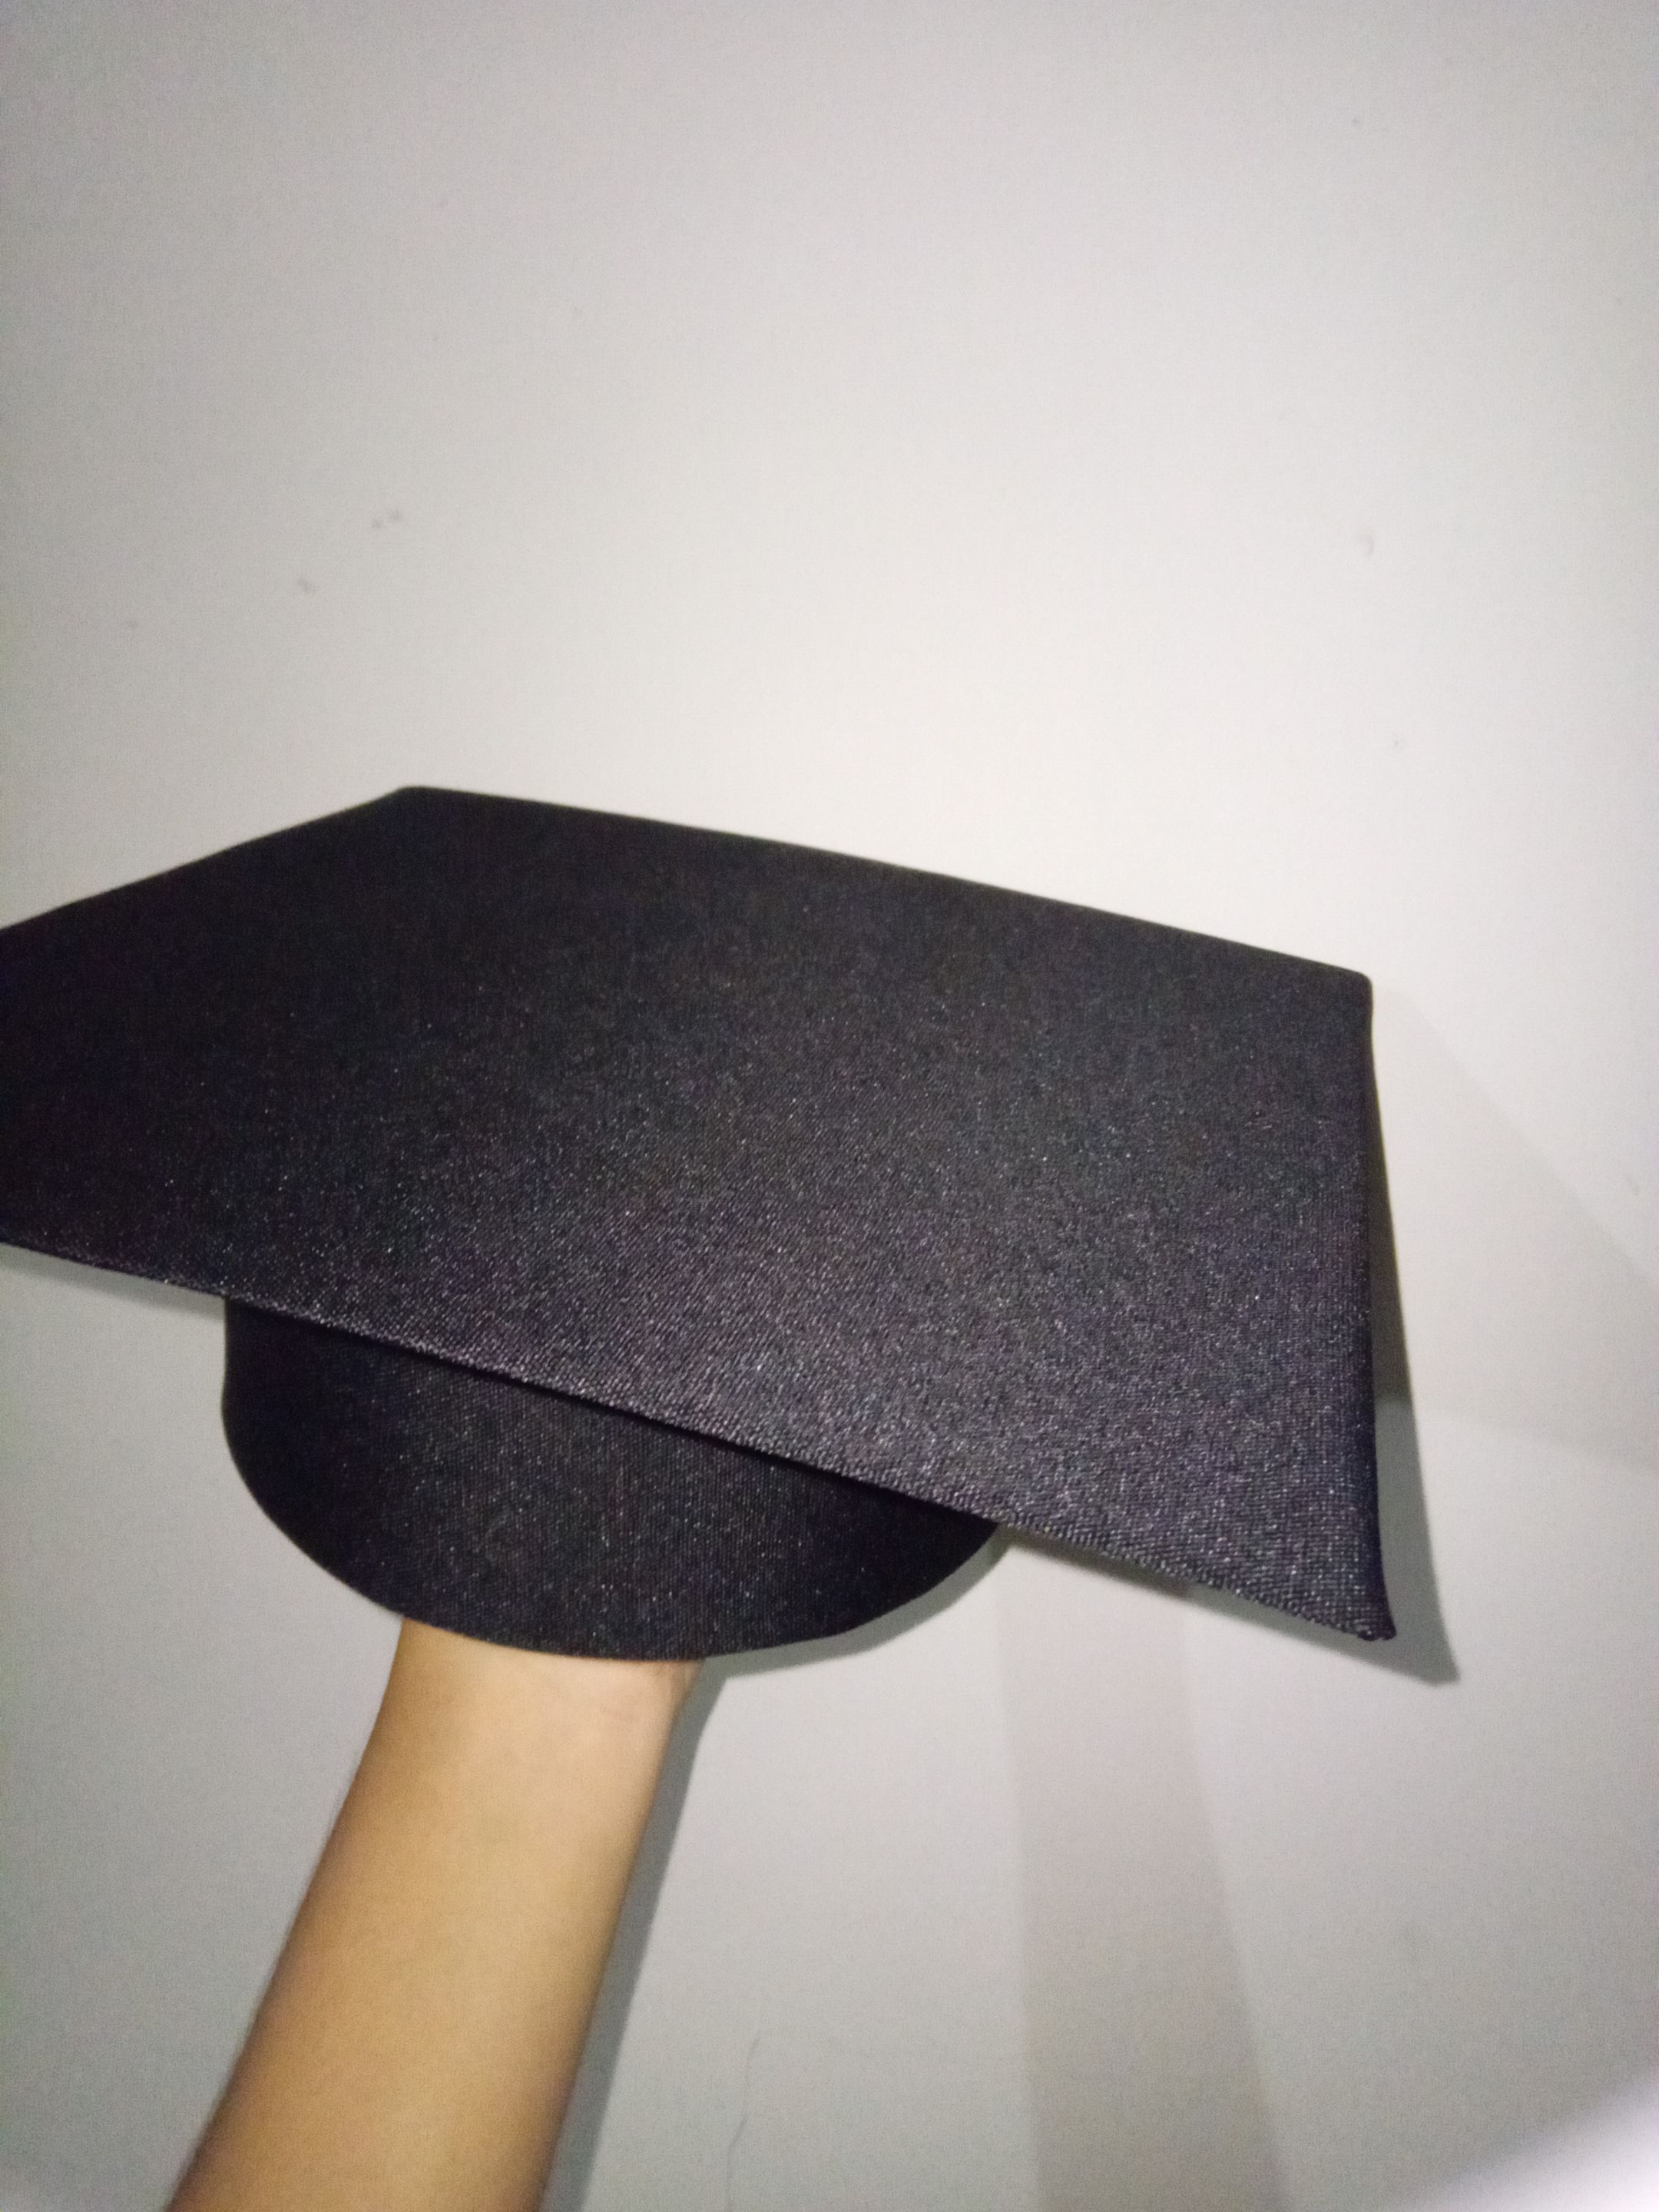
As I had already told you when I went to look for the fabric for the biretta, my biggest doubt was whether to do it with cardboard or with fabric, in the end I decided to buy a fairly large thin cardboard, and with this I made the structure of the biretta to then cover it with fabric and decorate it to my liking and that's exactly what I did, I started cutting a square of 25 cm by 25 cm which was going to be the top of the biretta, but as I told you the cardboard was thin so I made this double piece to join them and that the cardboard was stronger and the biretta was not so weak, then the second piece had a height of approximately 10 cm and approximately 50 cm wide.
Versión en Español
Hola amigos de esta comunidad diy, Espero que estén teniendo una bonita semana y se encuentren bien. El día de hoy, como les había dicho en algún post pasado, les voy a compartir cómo hice mi birrete para mi graduación. Este birrete lo hice sin una idea muy clara en mi mente, varias cosas fueron fluyendo a modo que iba avanzando el birrete, pero igual les quiero contar qué tal me quedó y luego me digan qué les pareció.
Como ya les había dicho cuando fui a buscar la tela para el birrete era que mi duda más grande era así hacerlo con cartulina o con tela, al final terminé decidiendo por comprar un cartón delgado bastante grande, y con este hacer la estructura del birrete para luego forrarla con tela y ya decorarlo a mi gusto y eso fue exactamente lo que hice, empecé cortando un cuadrado de 25 cm por 25 cm el cual iba a ser la parte superior del birrete, pero como les dije el cartón era Delgado por lo que hice esta pieza doble para juntarlas y que estuviera más fuerte el cartón y no estuviera tan débil el birrete, luego la segunda pieza tenía una altura aproximada de 10 cm y aproximadamente unos 50 cm de ancho.
 |  | 
-|-|-
---
Of those 10 cm of height approximately 2 cm were used to make these tabs that I cut with the scissors, these were going to make it easier when I was going to join the two pieces, the remaining 8 cm were going to be the height of the biretta although these can be modified according to the taste of each one, I joined end to end and the figure I wanted was left.
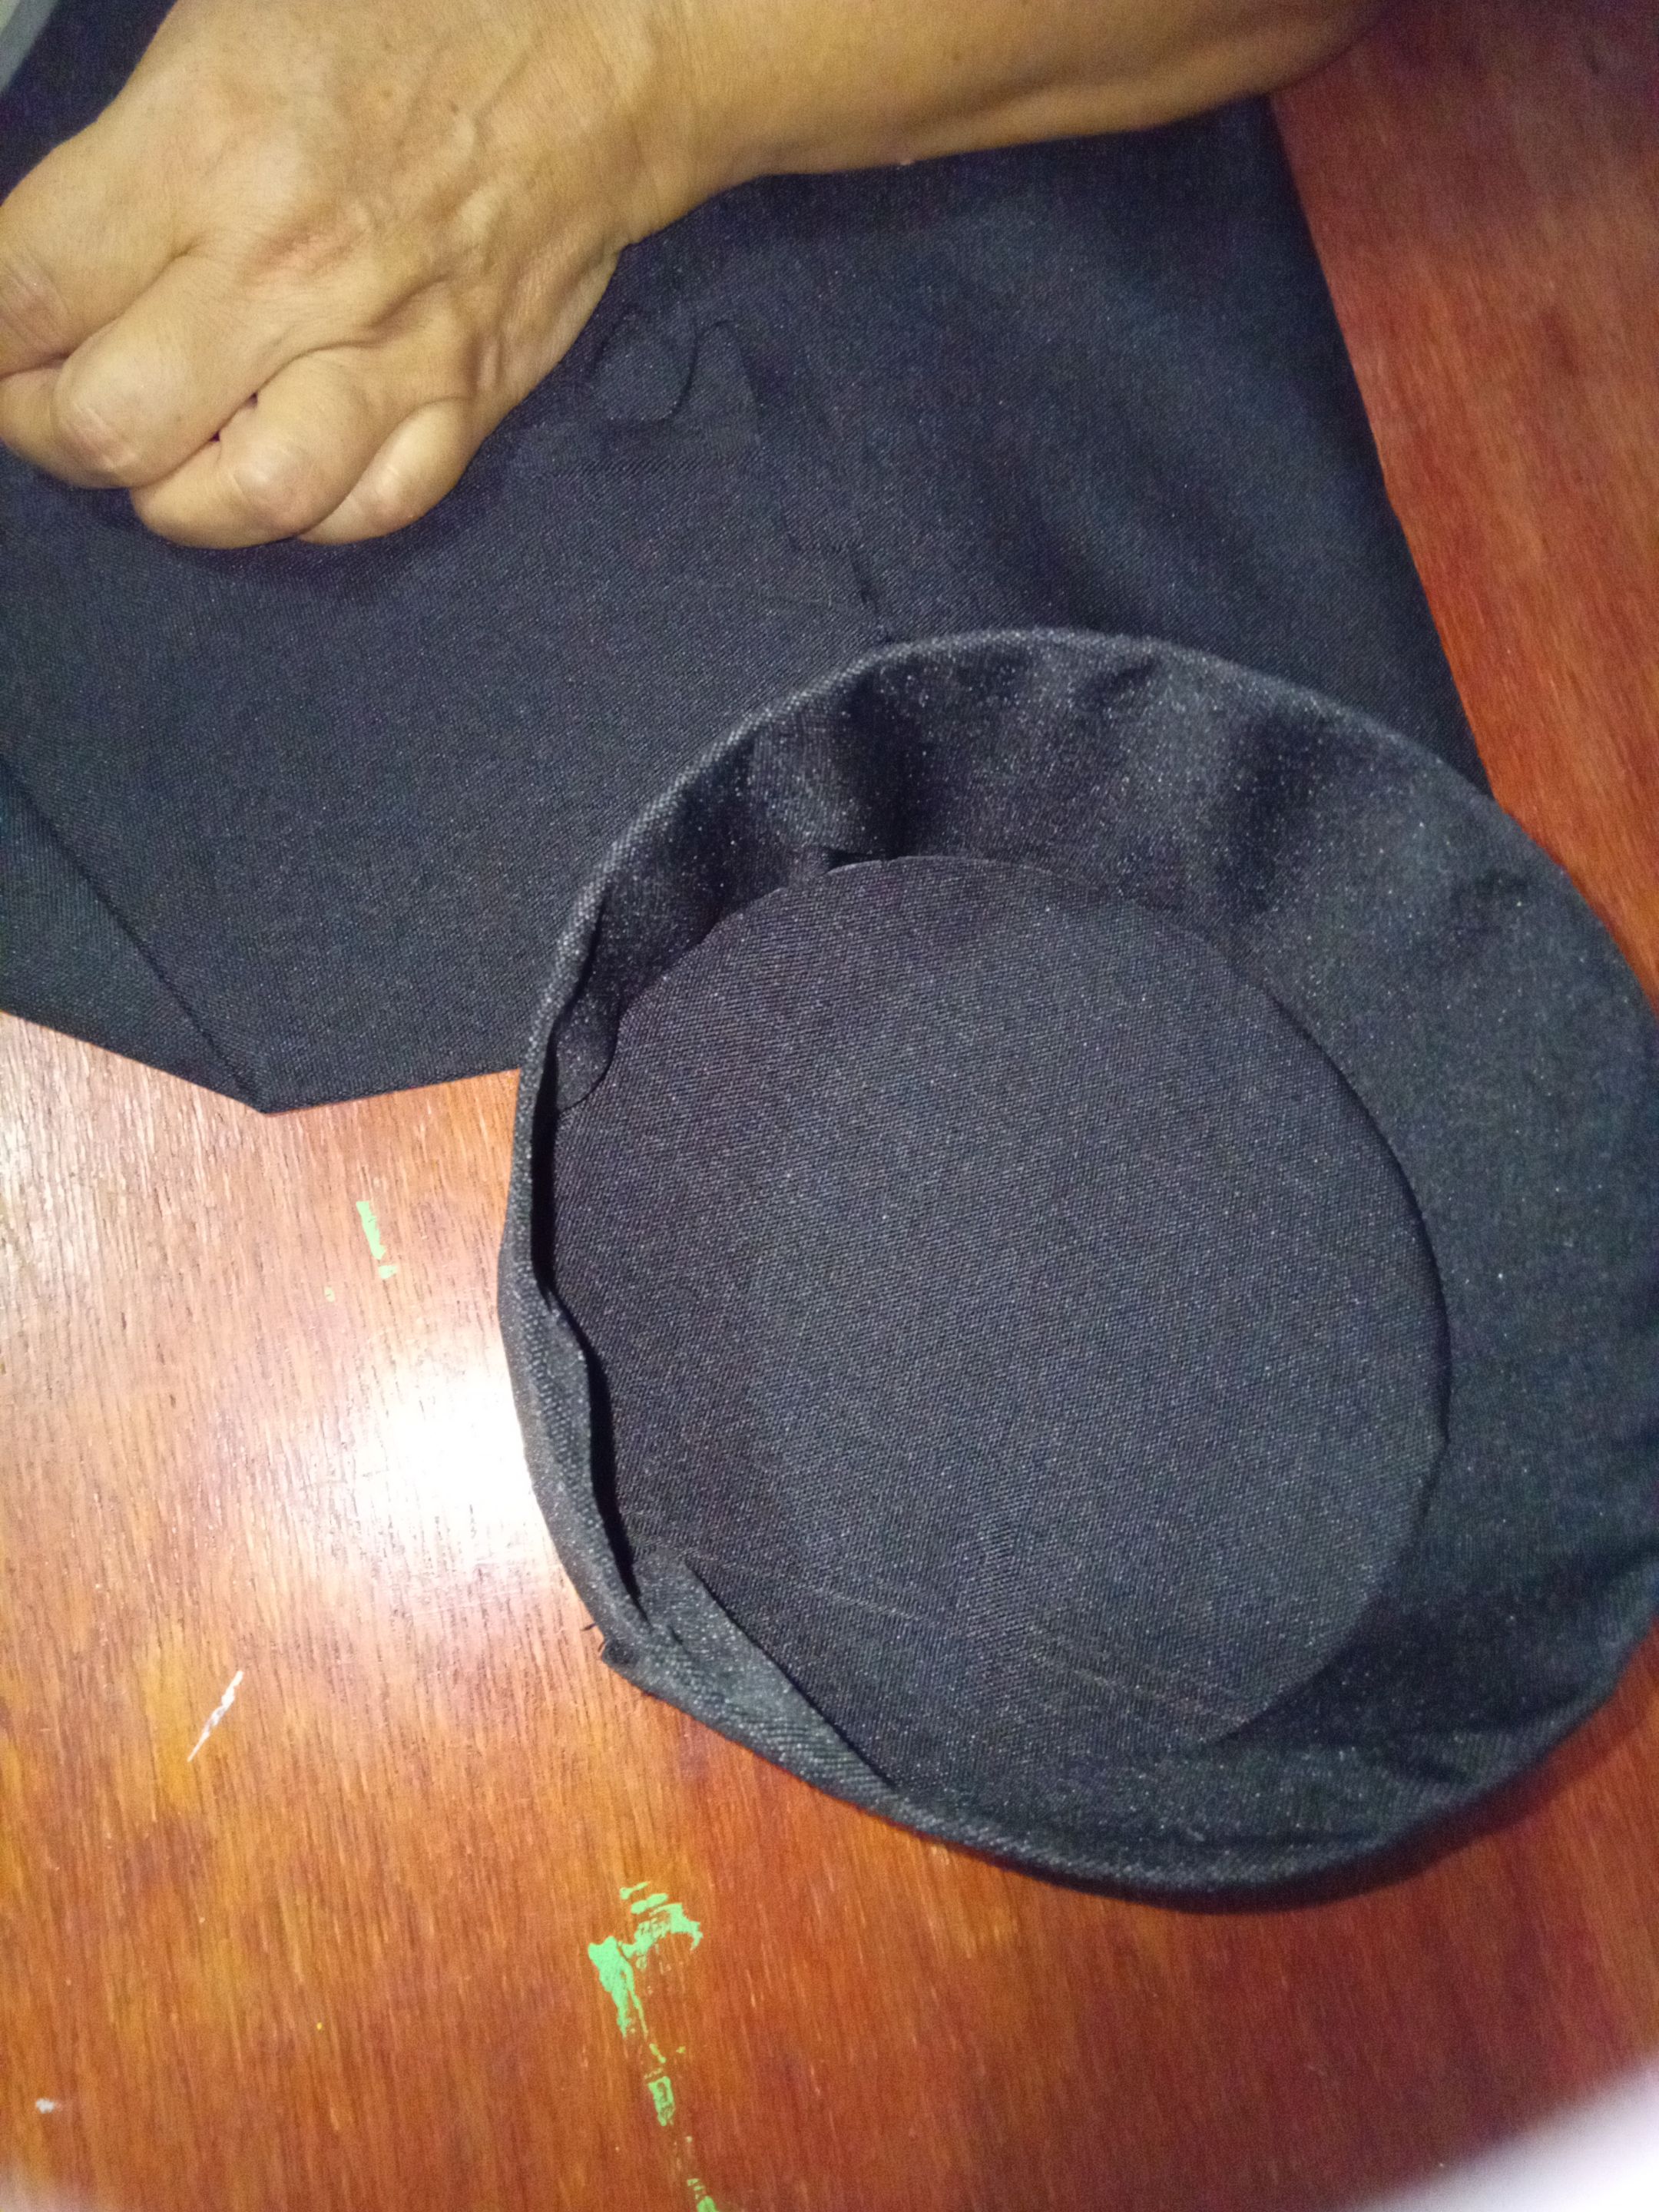
Then came the part of lining the pieces with black fabric, in this part my mom saved me, since I am not very expert handling the fabric so she was the one who did me the favor of lining the two pieces, the fabric was glued with cold silicone and was a good time with weight on top to dry well, and then it was time to join the two pieces so I had to make sure it was well centered and not sideways, use the ruler to glue it well and again wait for it to dry.
Versión en Español
De esos 10 cm de altura 2 cm aproximadamente fueron utilizadas para hacer estas pestañas que fui cortando con la tijera, estas iban a facilitar cuando fuera a juntar las dos piezas, los 8 cm restantes iban a ser la altura de birrete aunque estos pueden ser modificados según el gusto de cada quién, uni extremo con extremo y quedo la figura que quería.
Luego vino la parte de forrar las piezas con tela negra, en esta parte me salvó mi mamá, ya que yo no soy muy experta manejando la tela por lo que ella fue quien me hizo el favor de forrarme las dos piezas, la tela se pegó con silicona fría y estuvo un buen rato con peso encima para que se secara bien, ya luego tocaba unir las dos piezas por lo que tuve que asegurarme que quedara bien centrado y no de lado, use la regla para pegarlo bien y otra vez espere a que se secara.
 |  |  | 
-|-|-|-
---
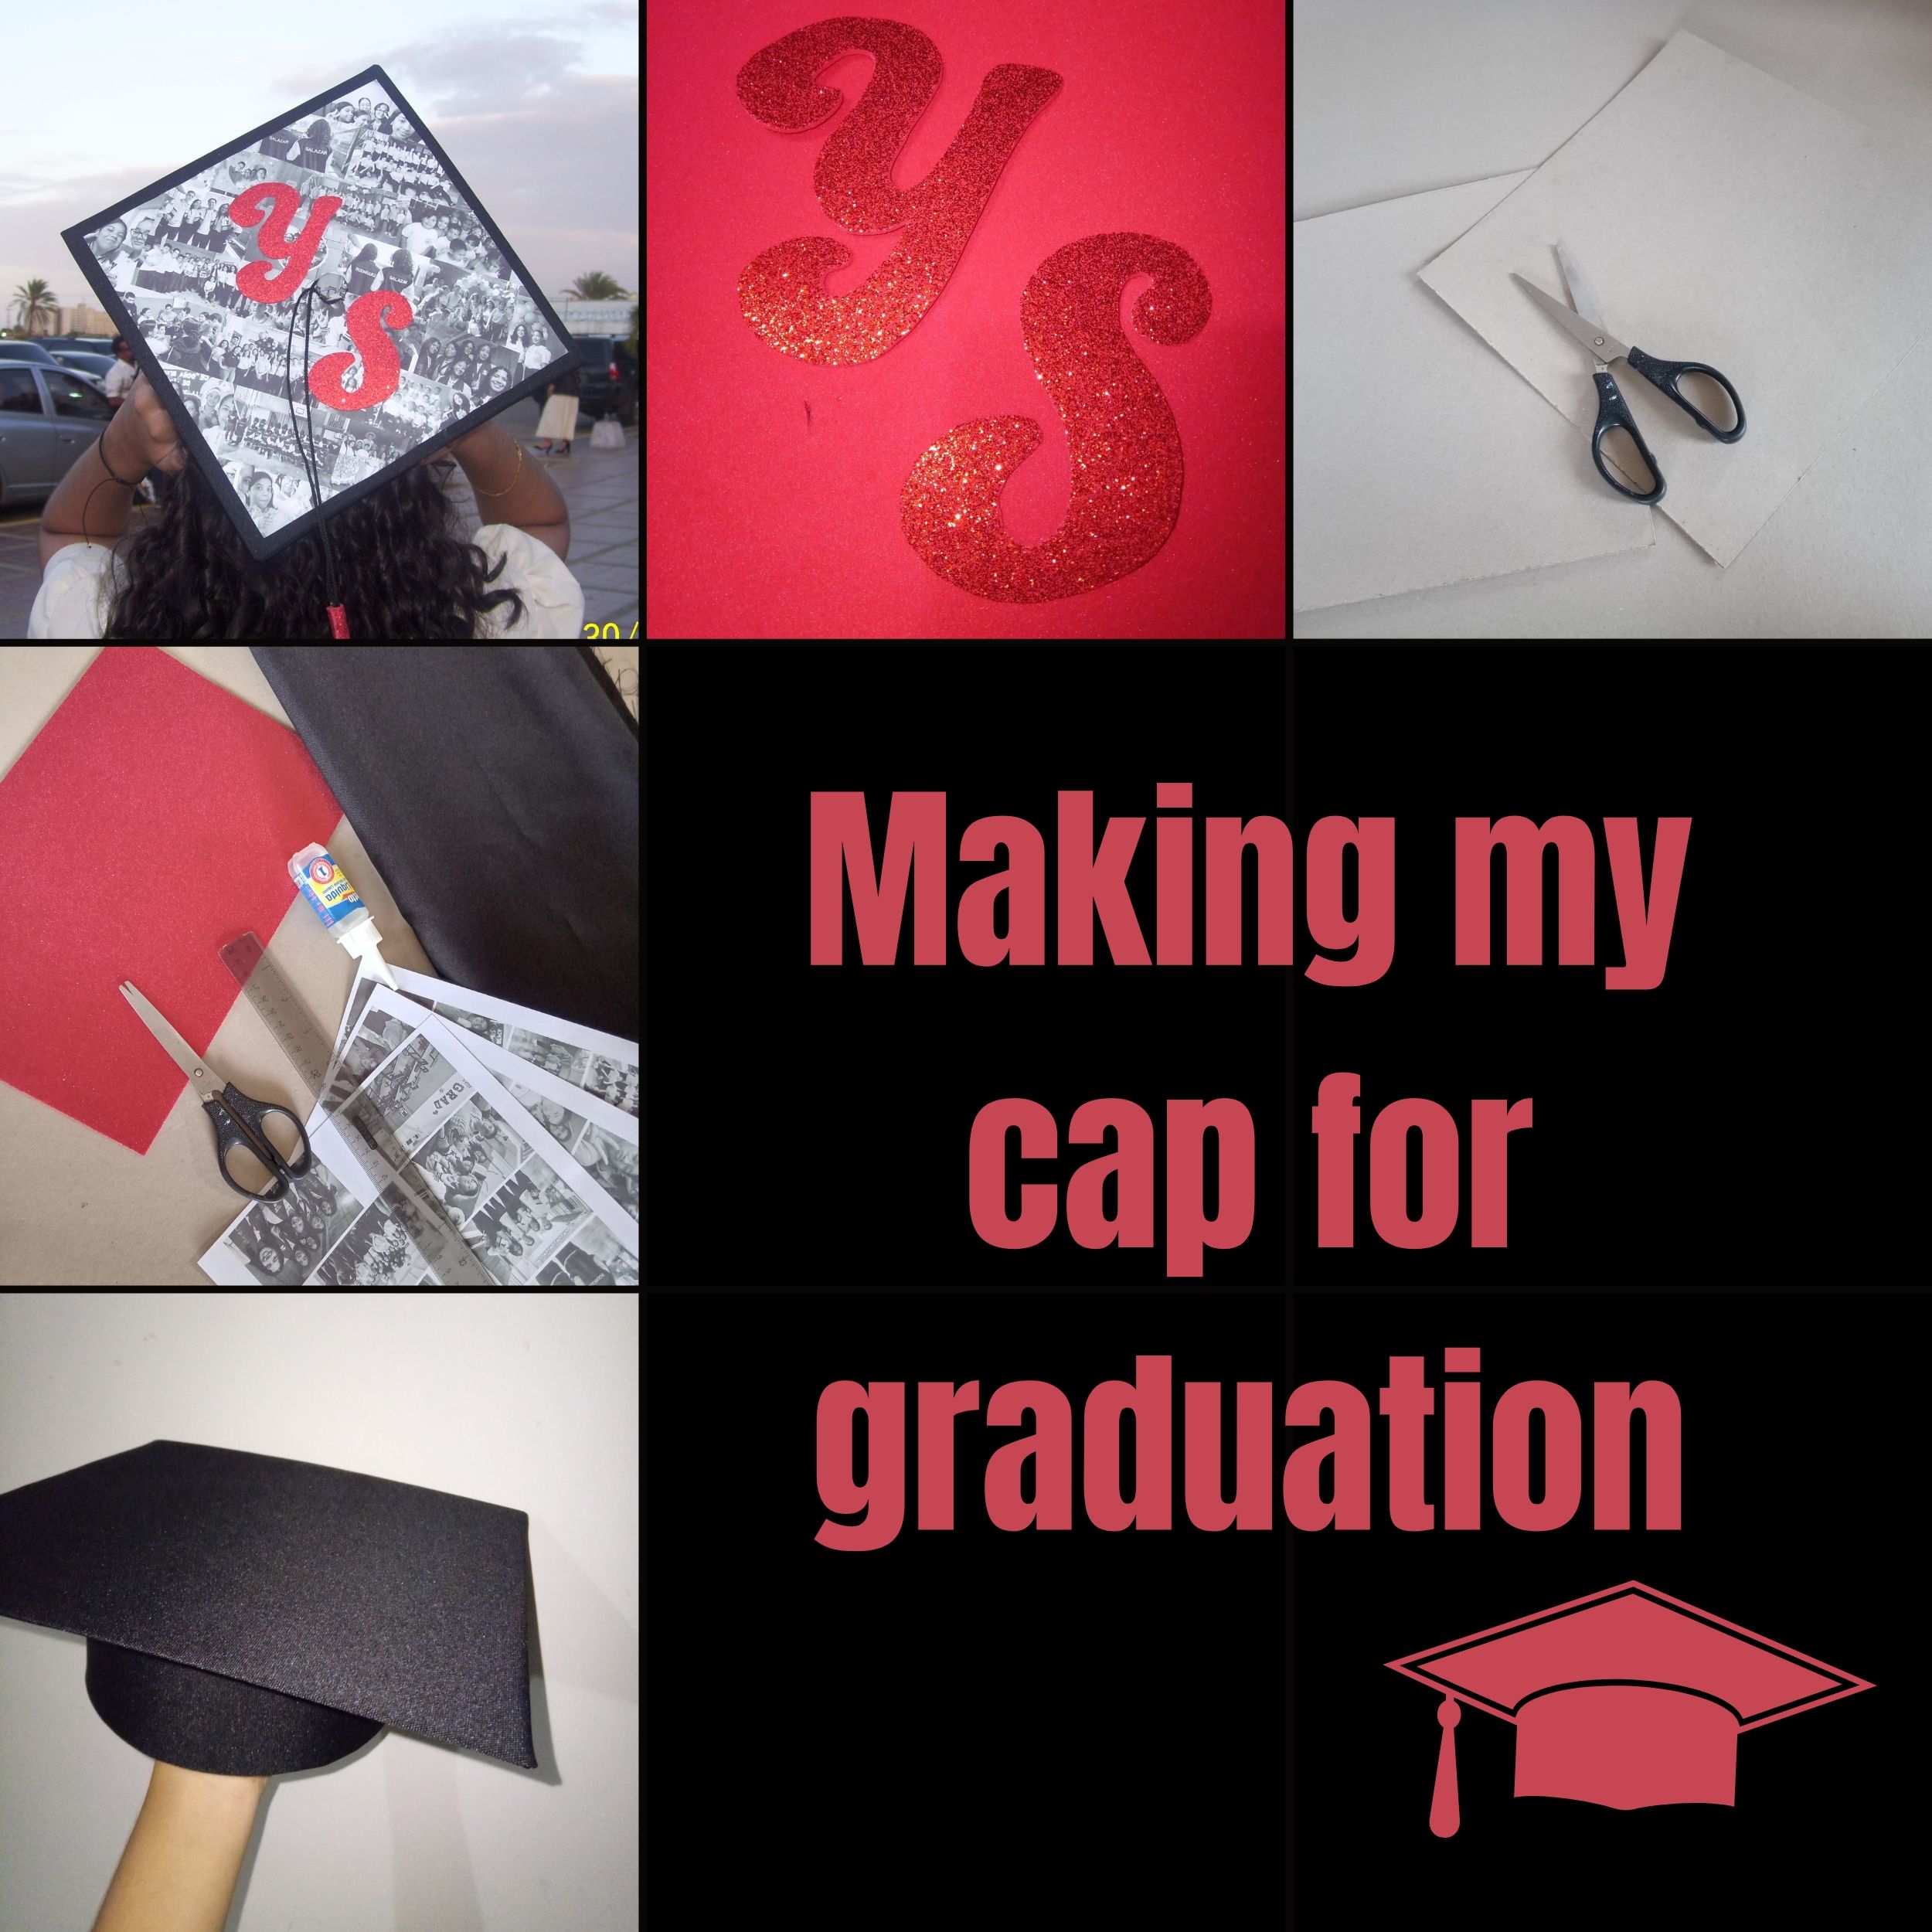
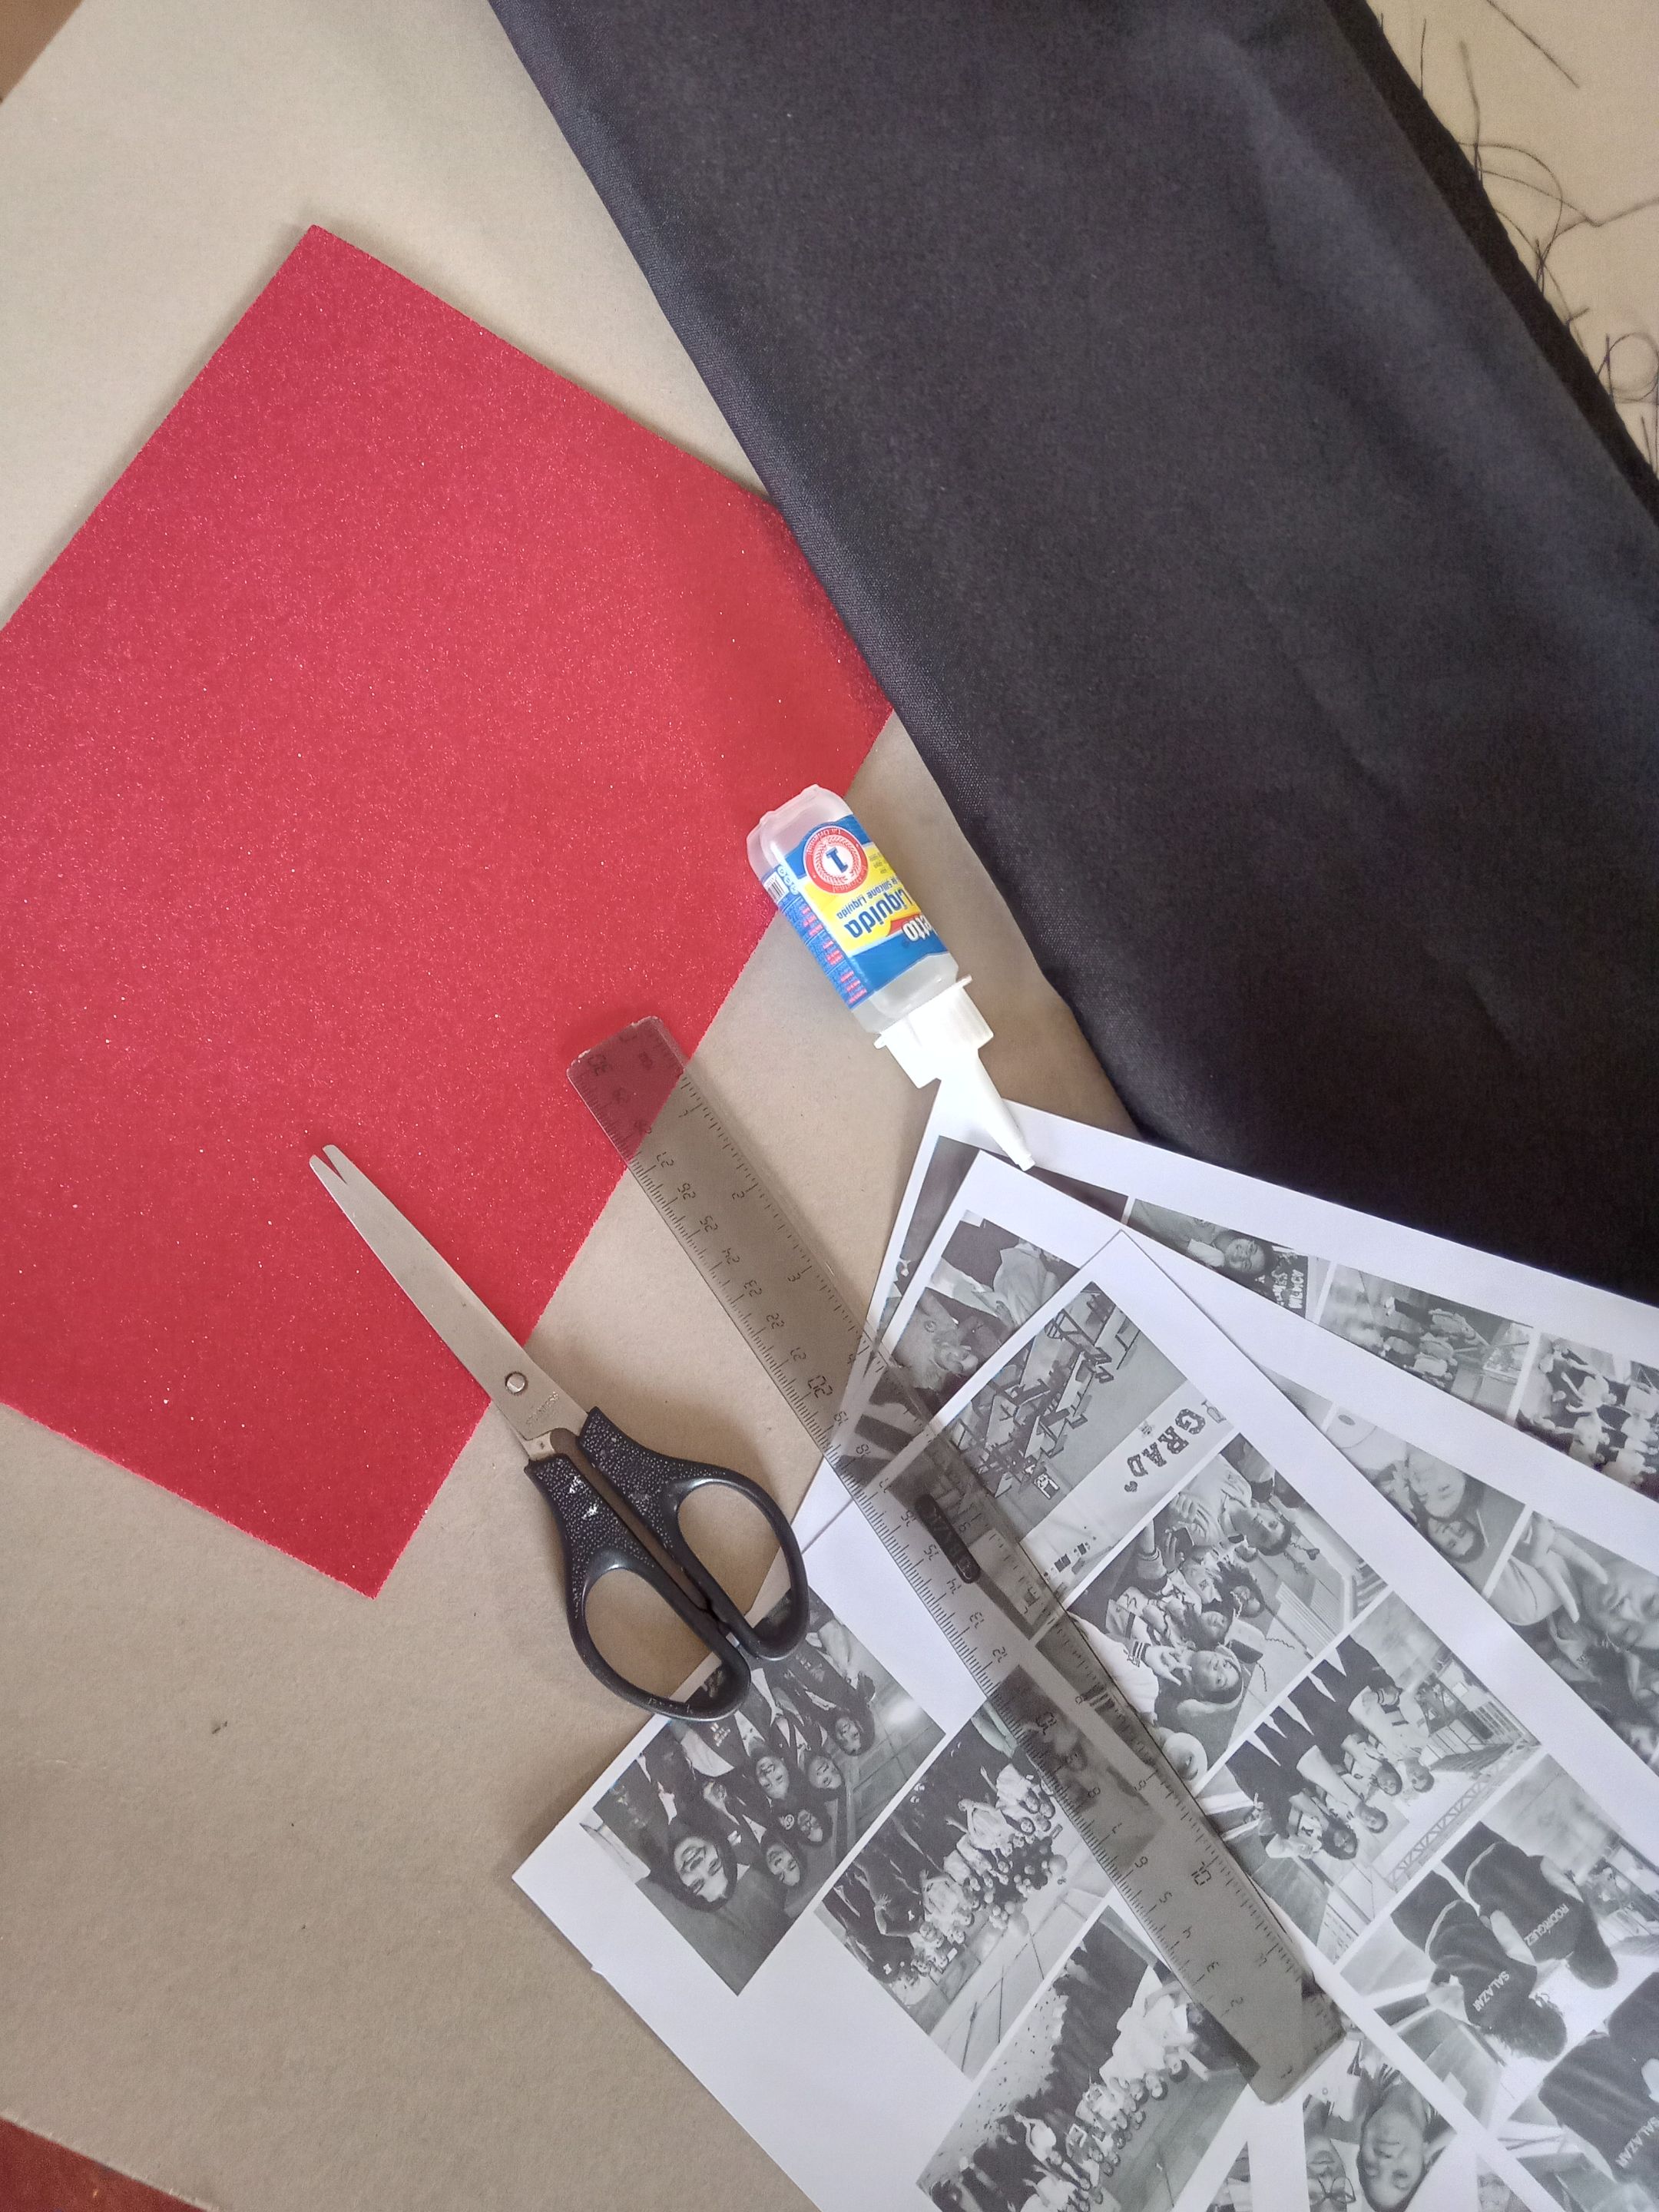
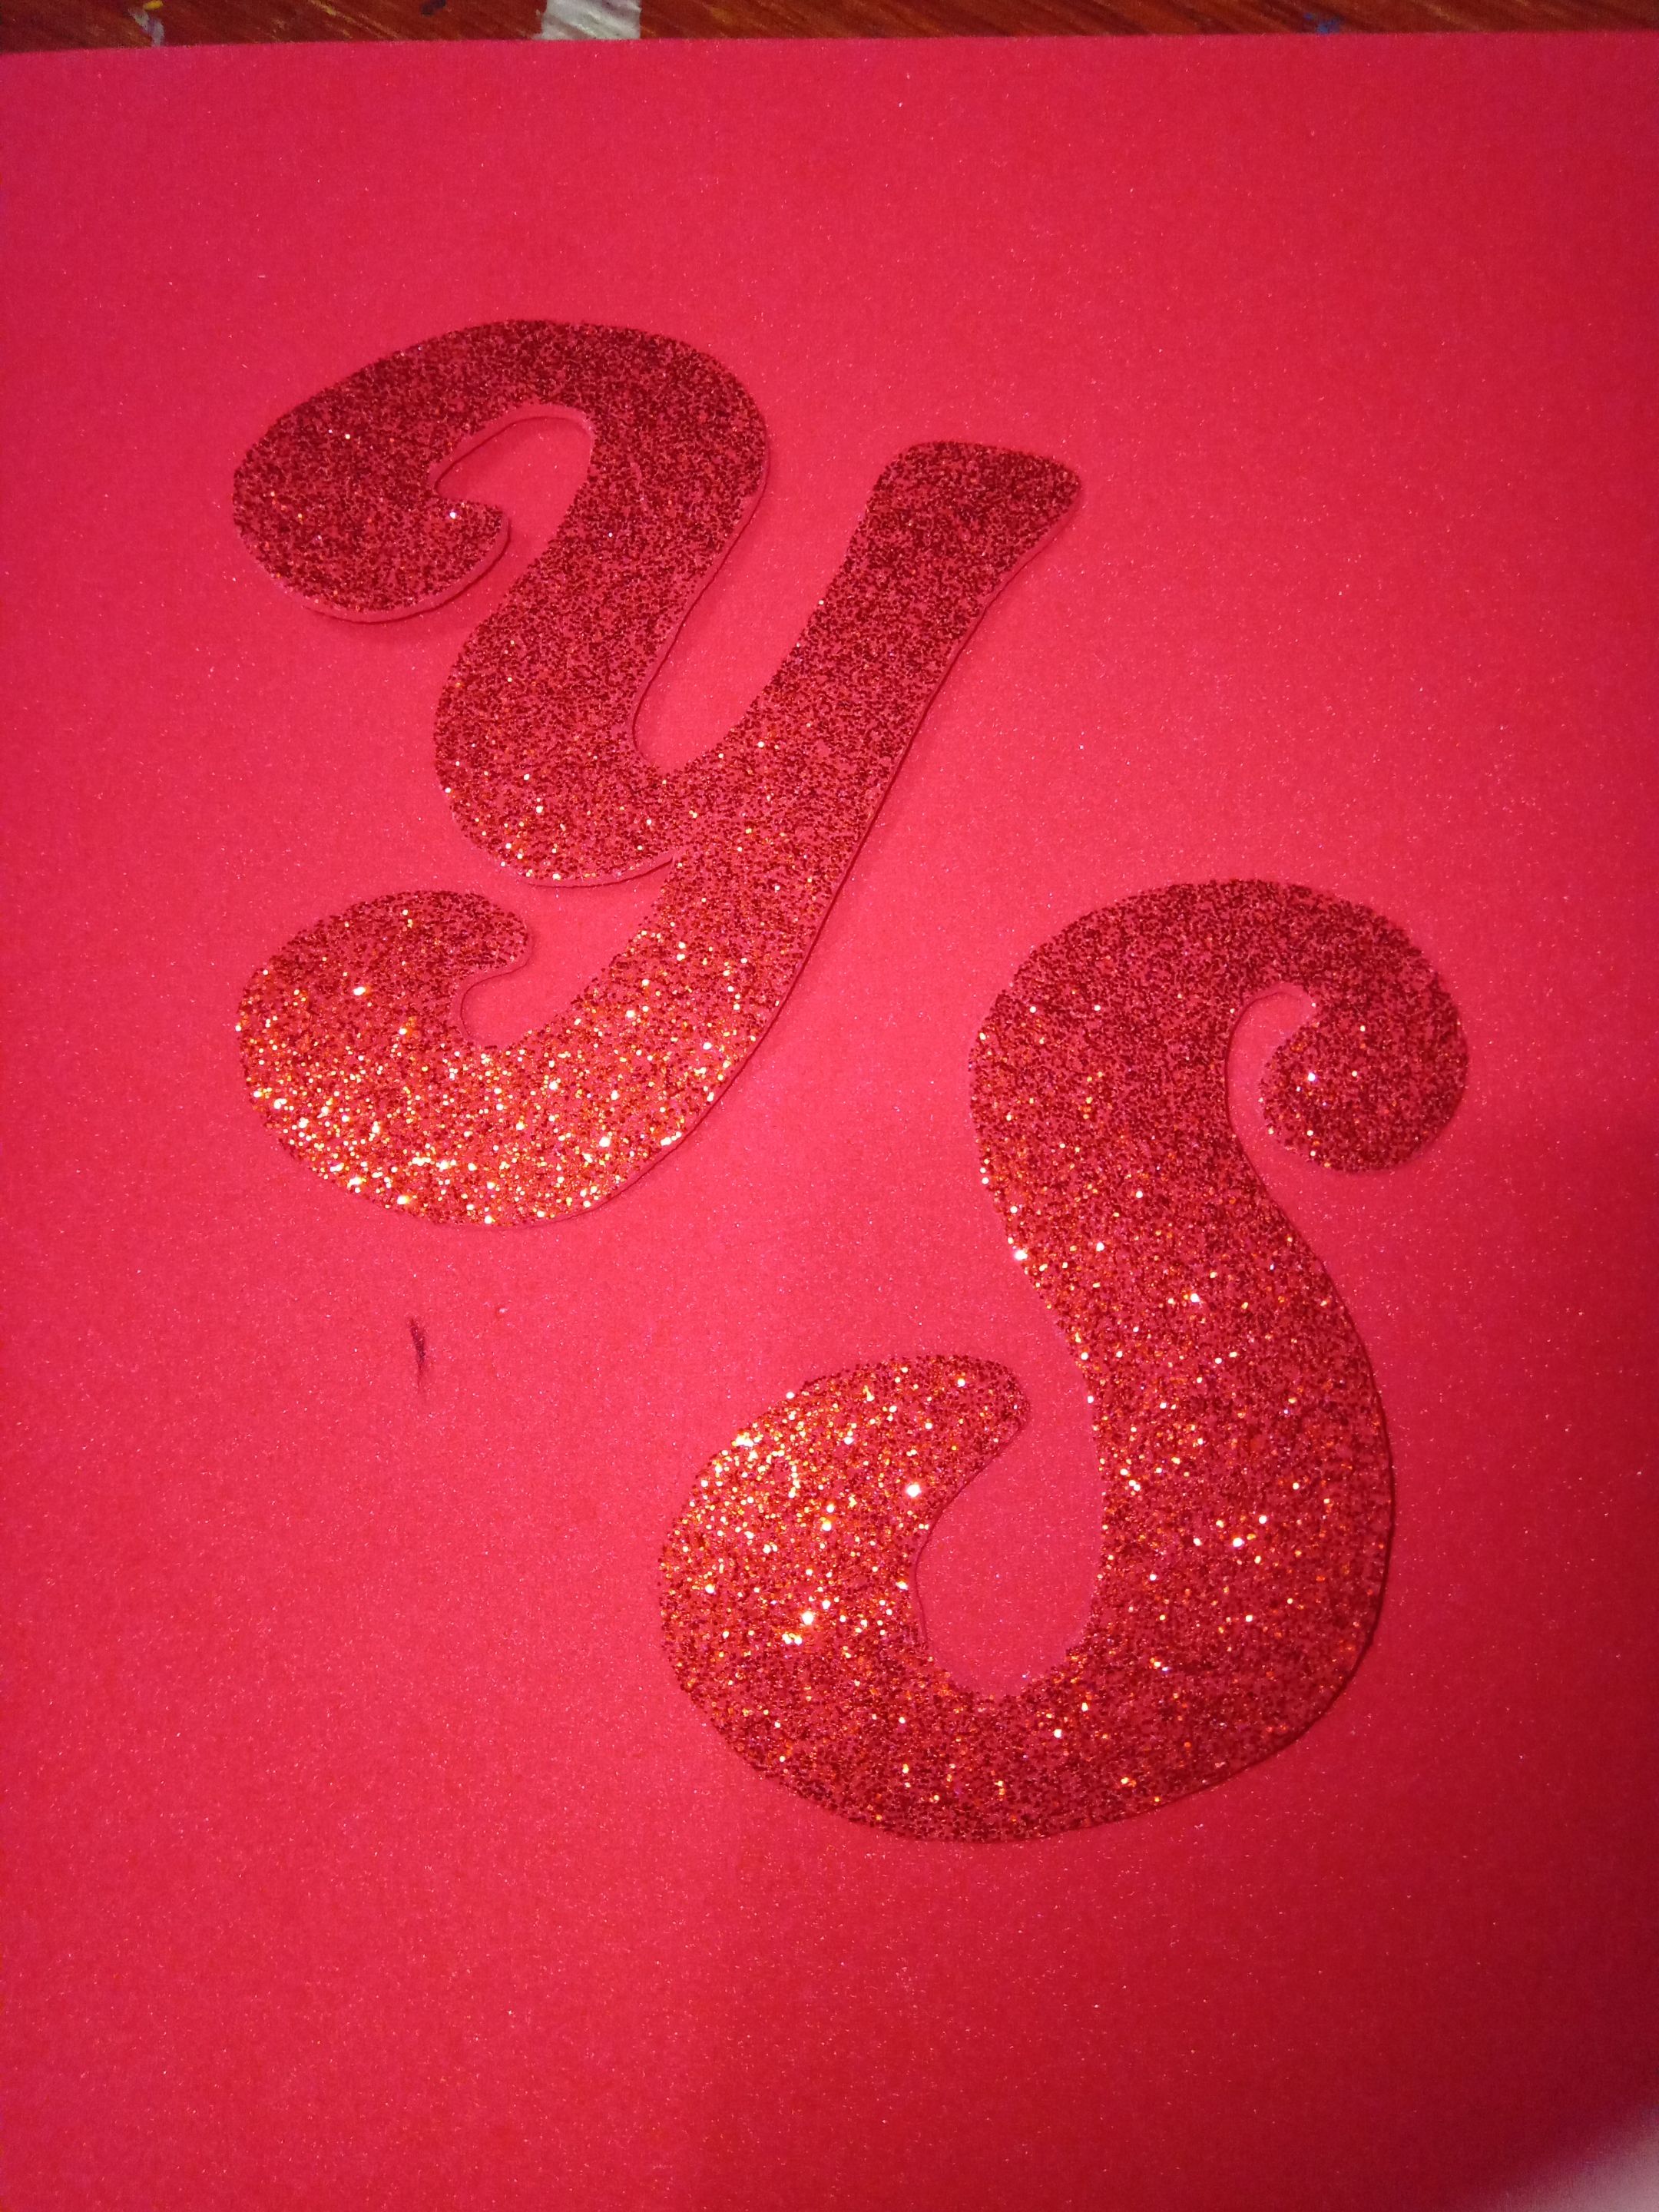
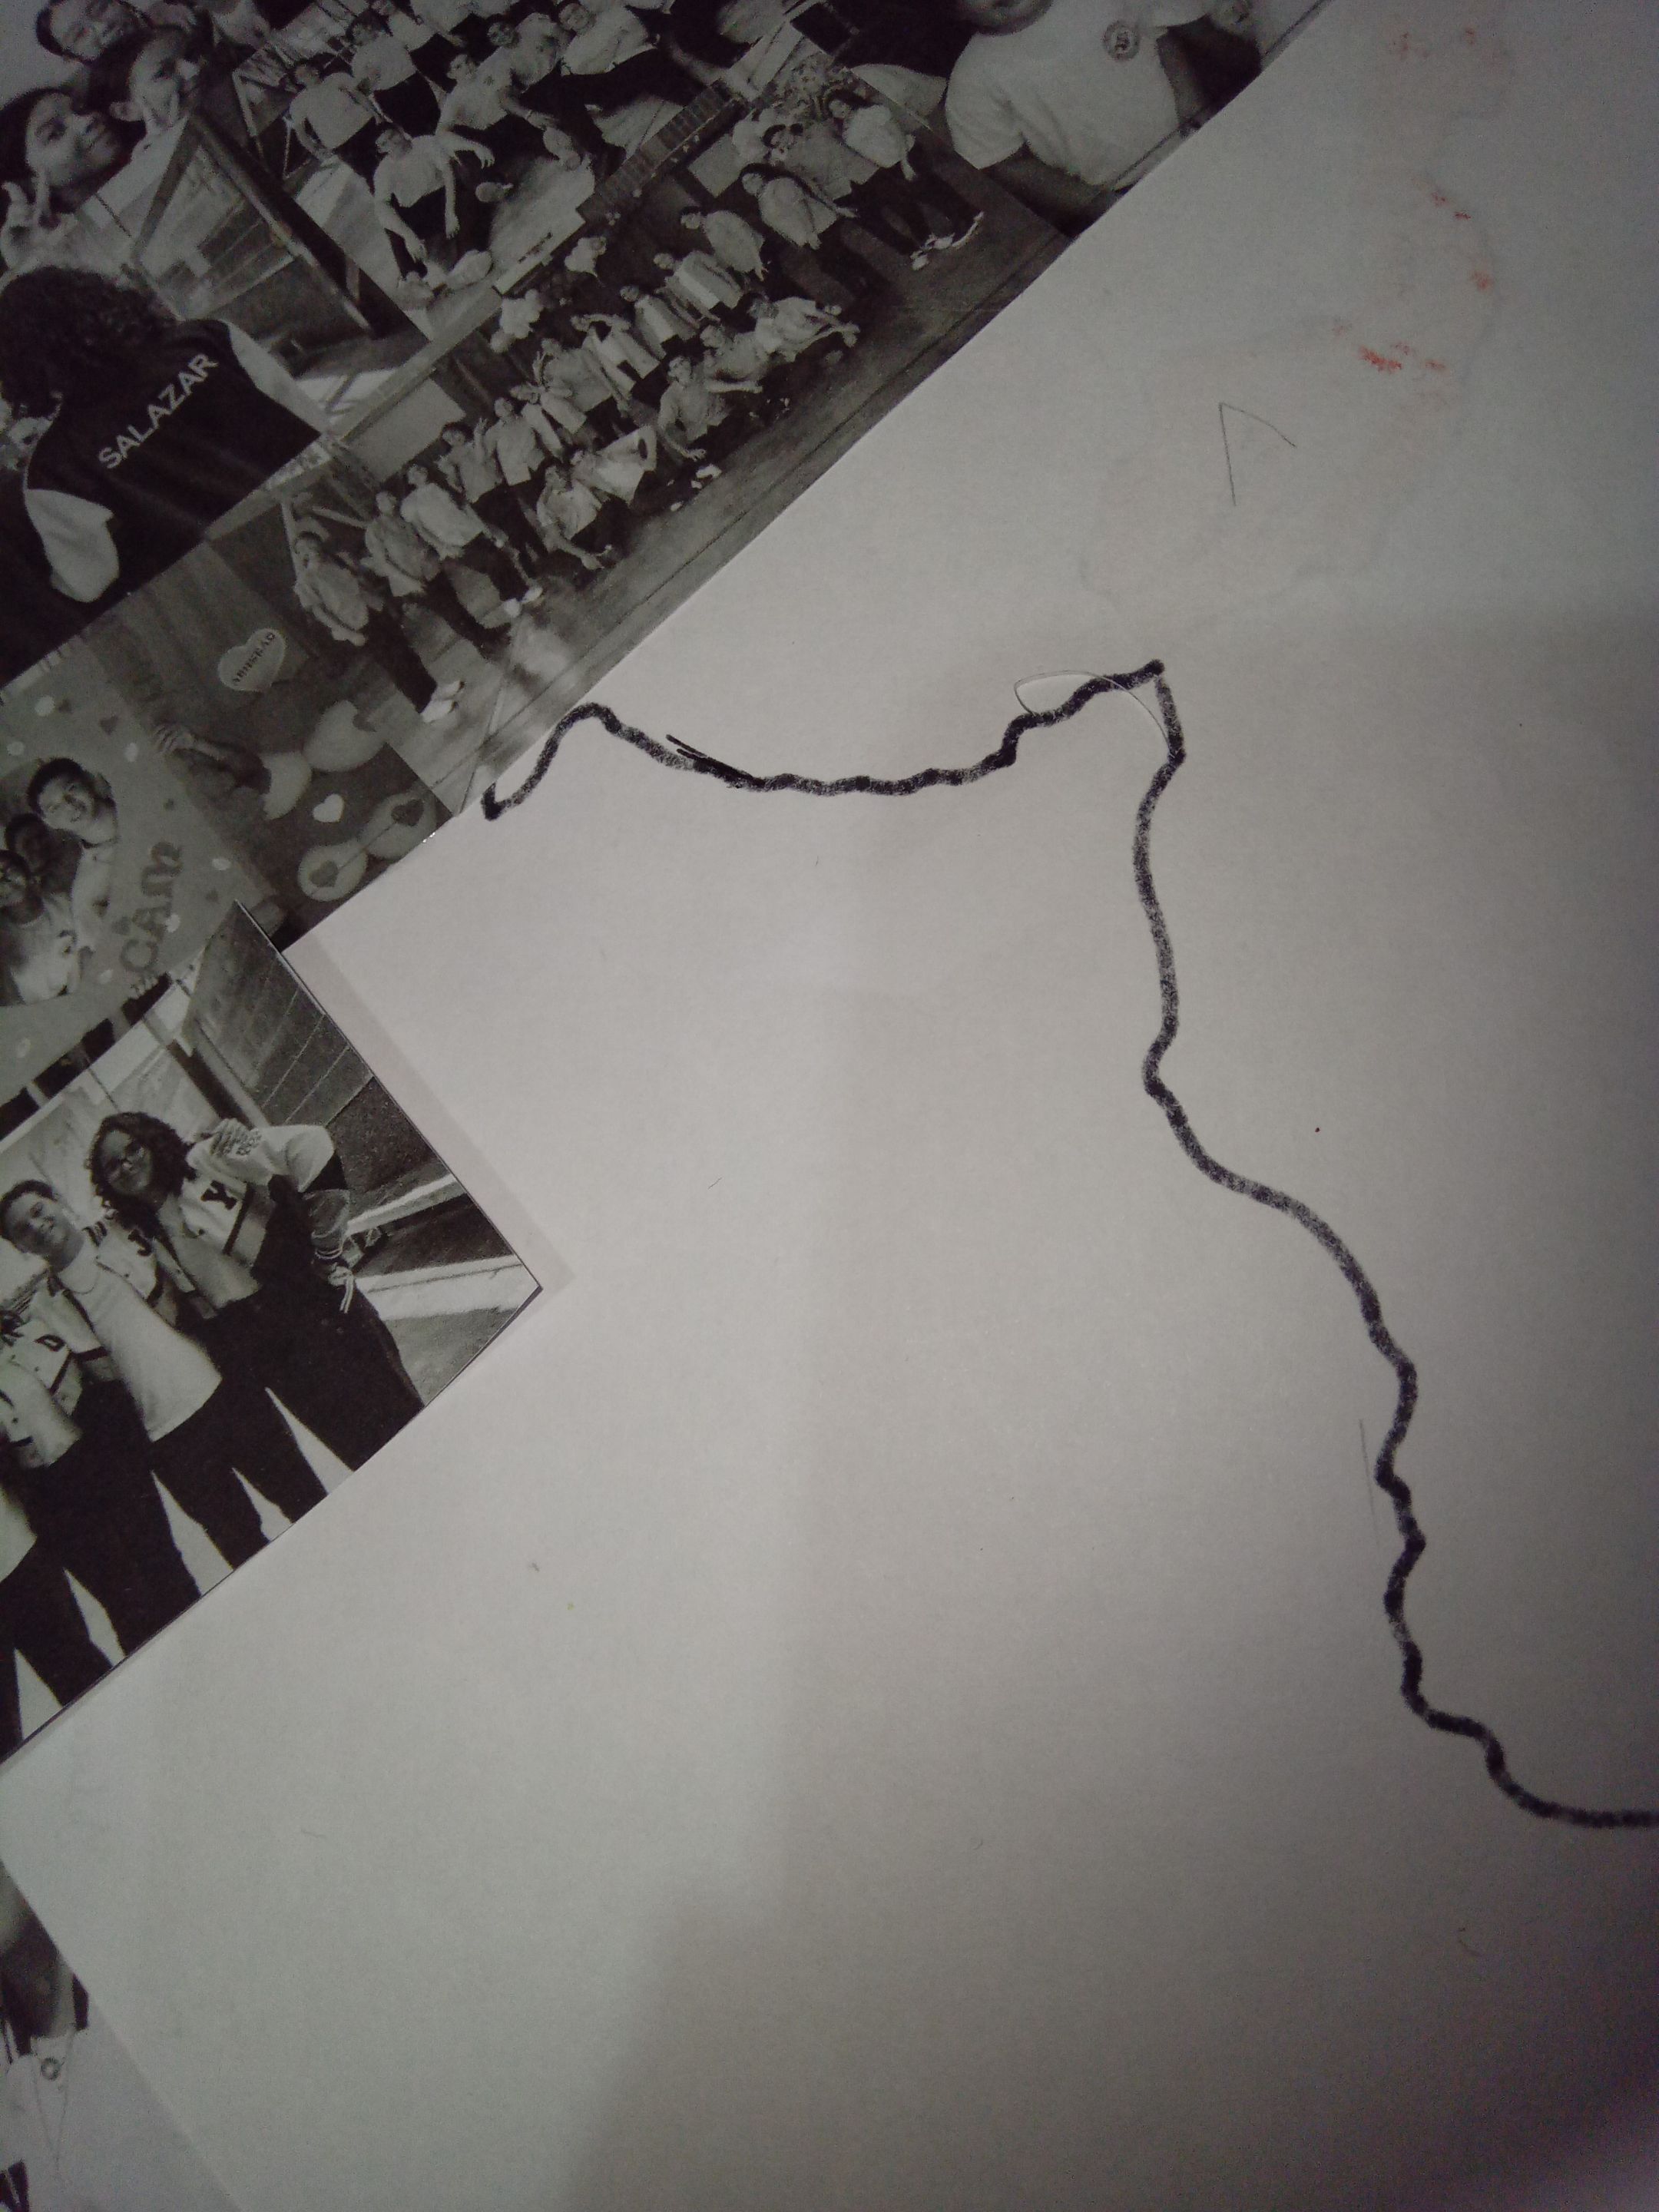
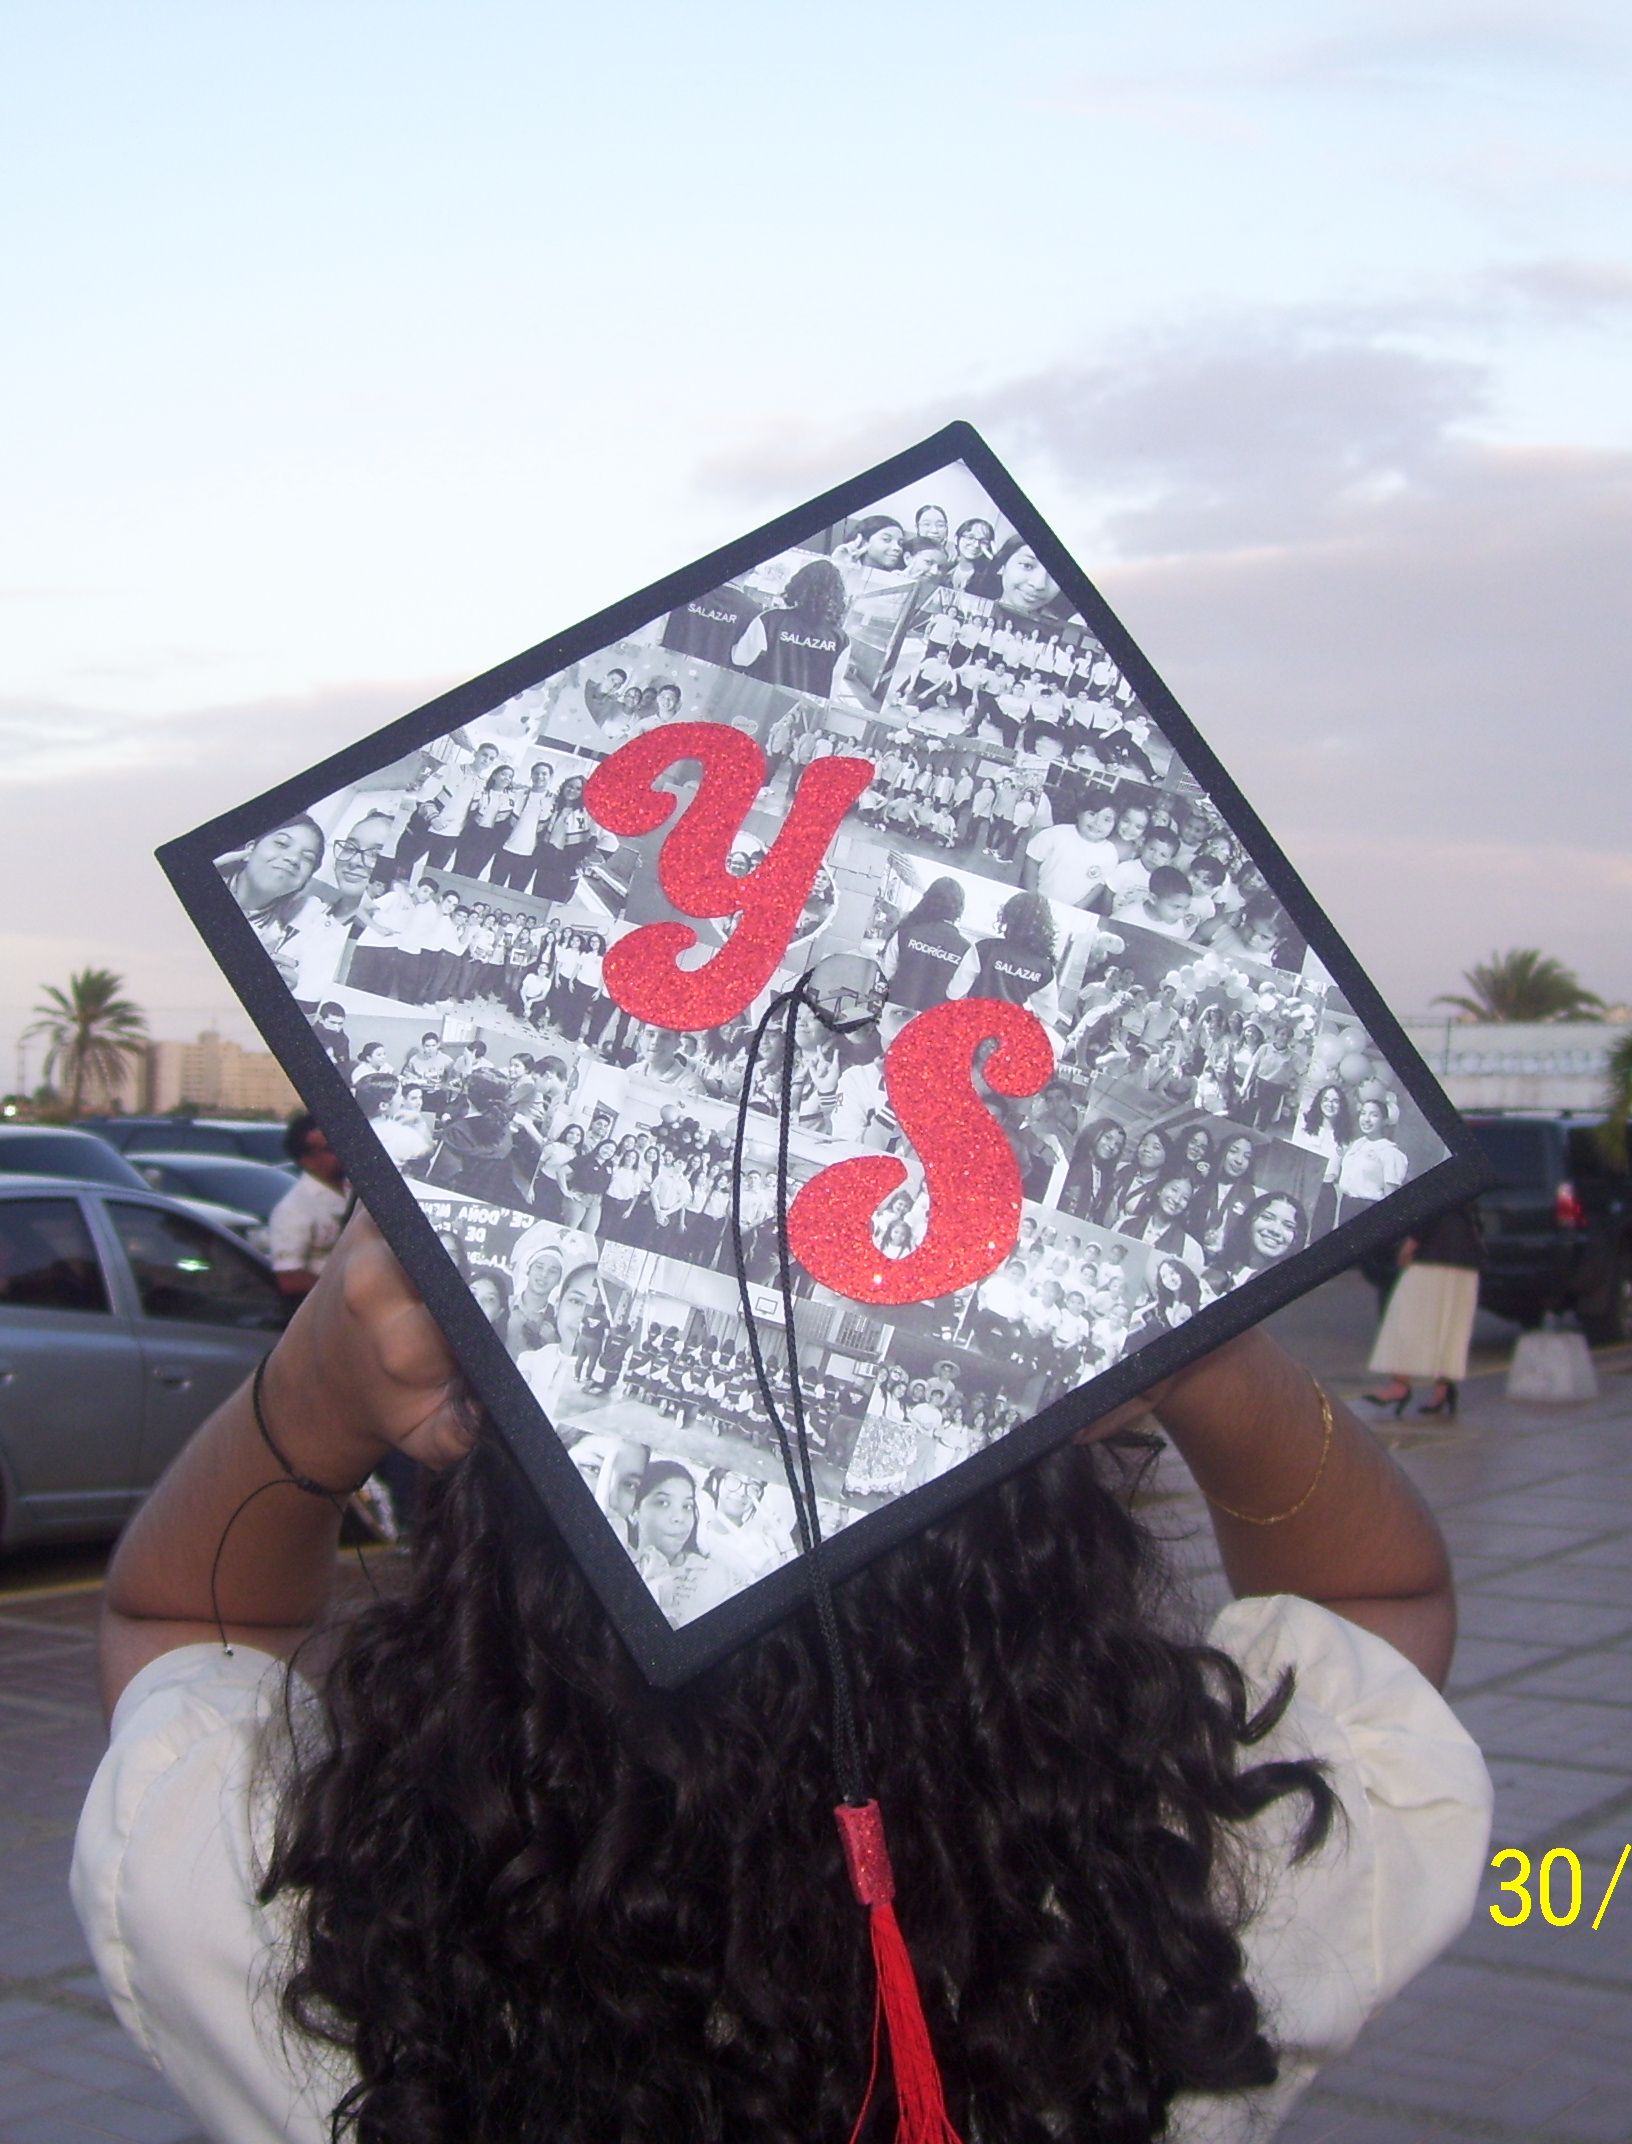
Then came my favorite part, which was to decorate the top of the biretta. I had the idea pretty clear, since I had been thinking about what to do there for several months, to decorate it the way I wanted. I used a red foami, and photos with my friends that I had printed a few days before.
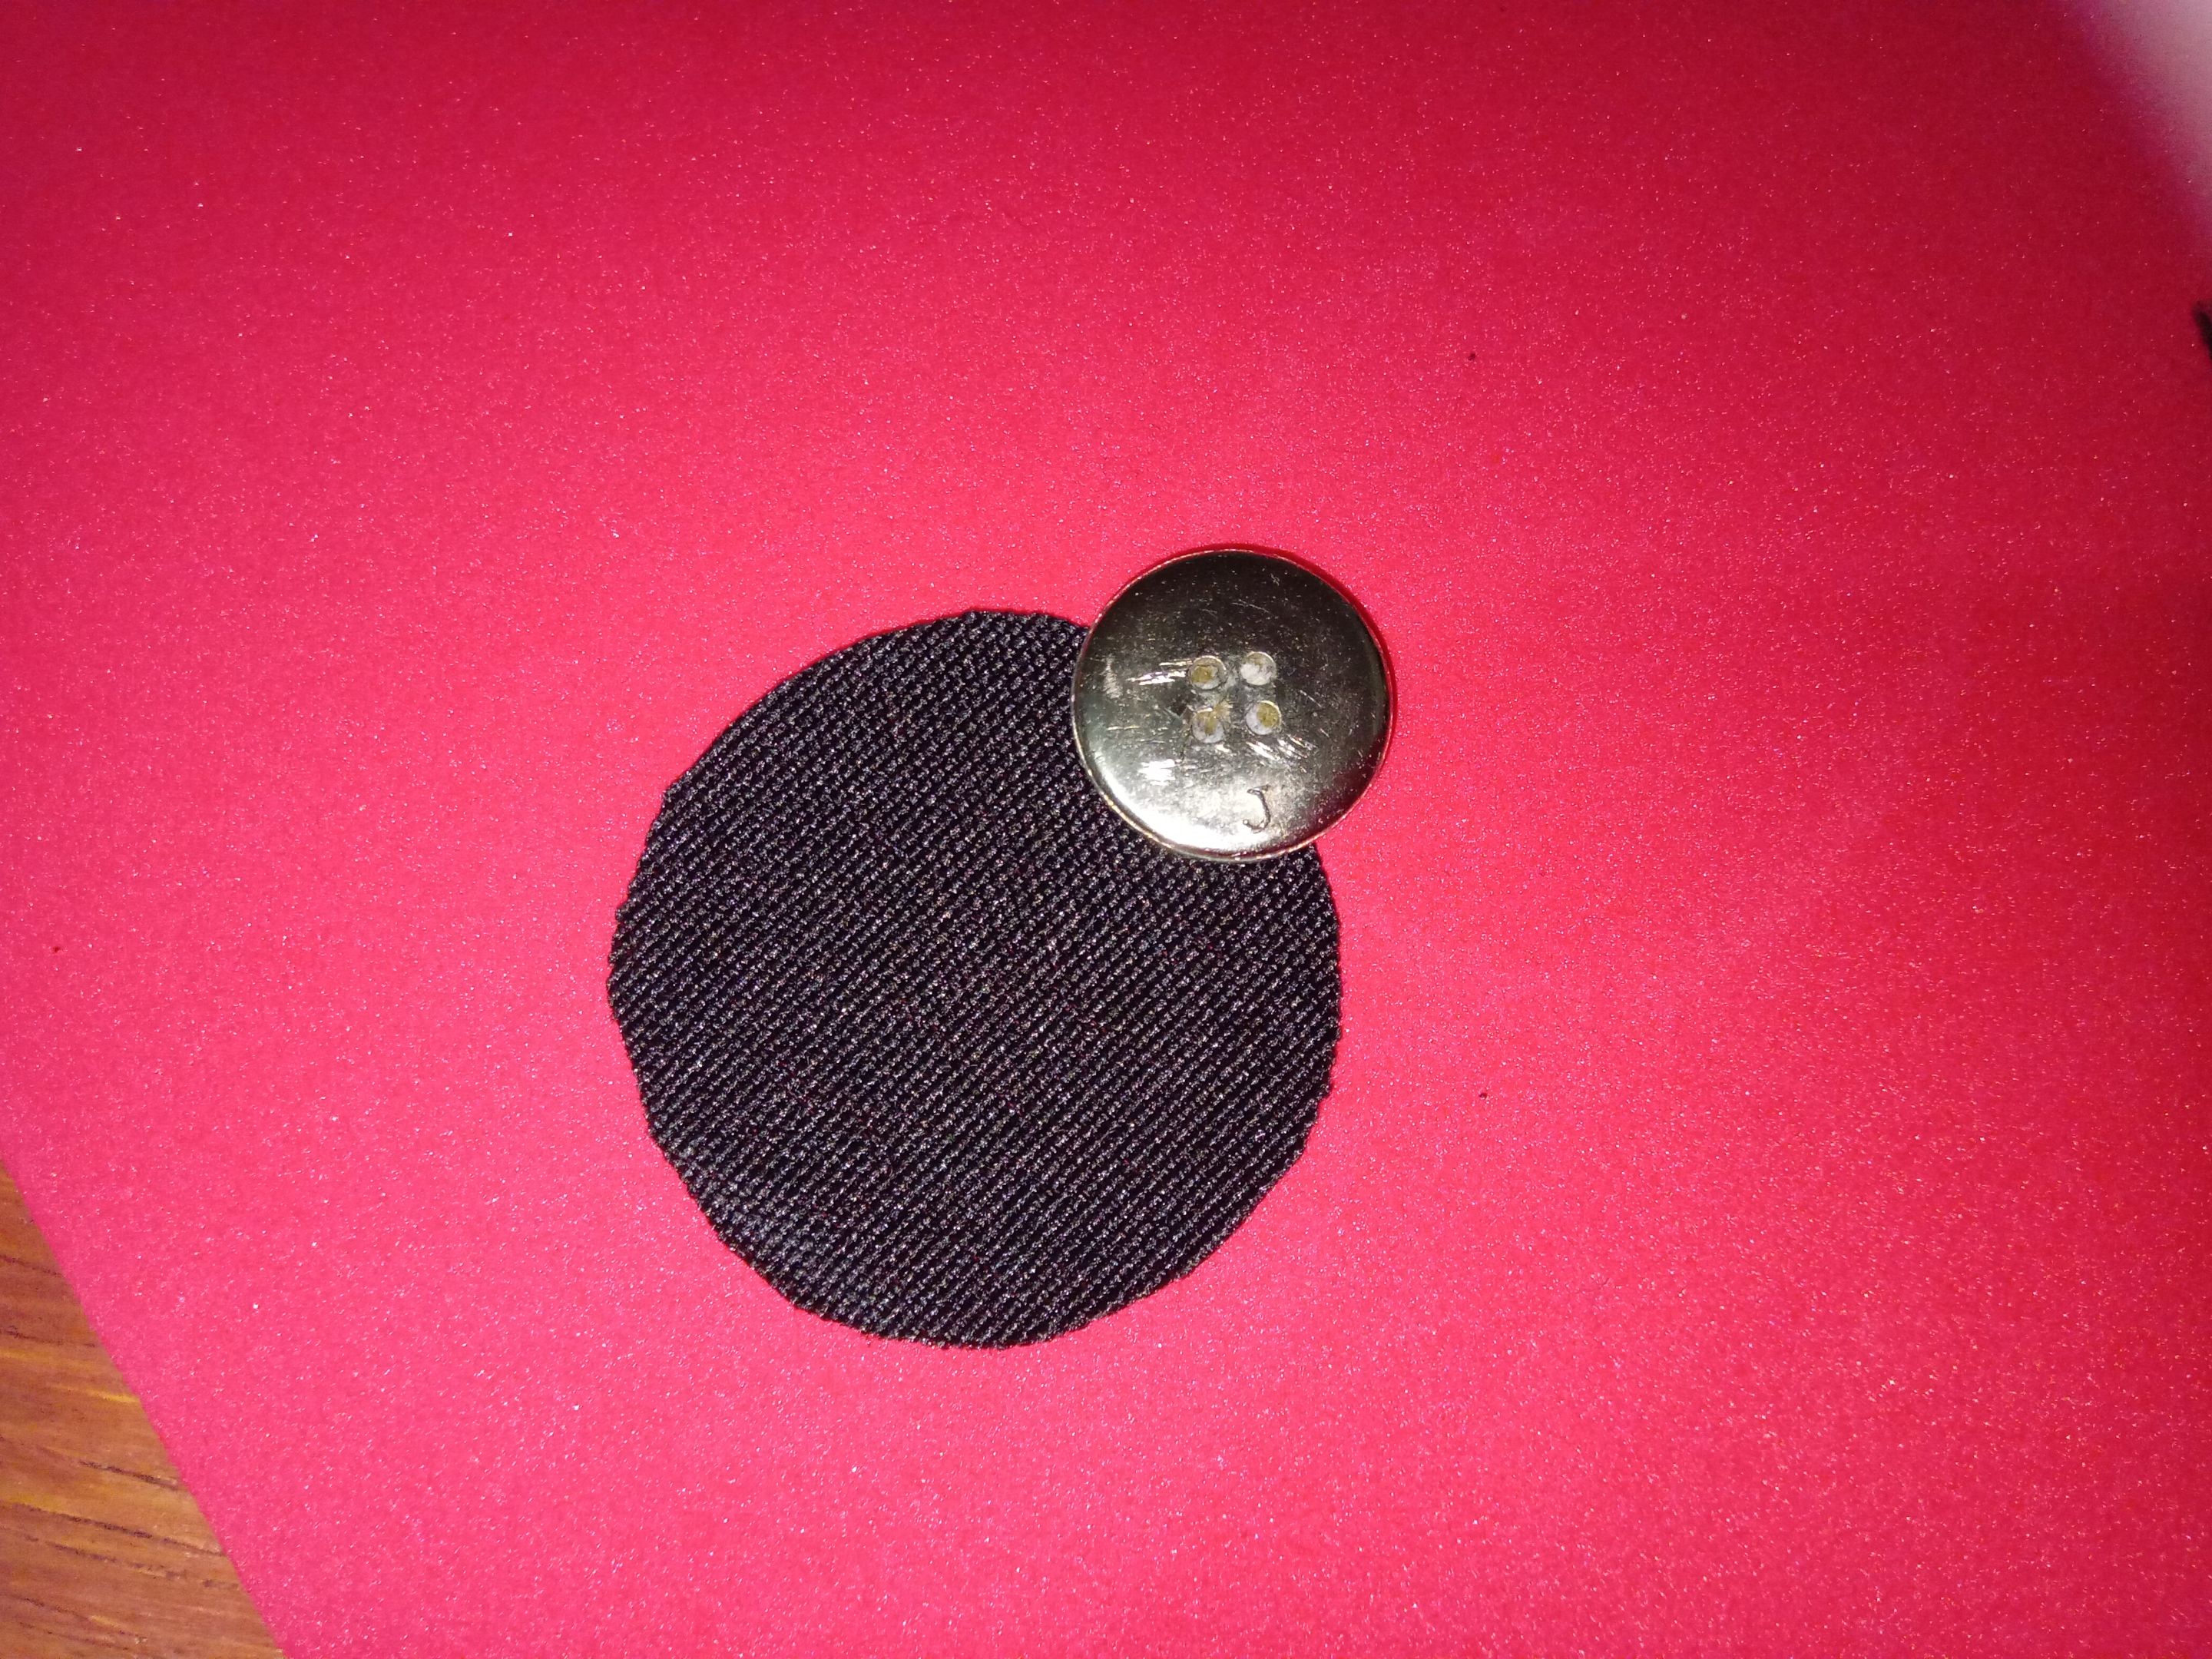
The idea was to put the photos together and arrange them well to be the background and with the red foami to make my initials and as this was bright, they would stand out, and that's what I did, to arrange the photos cost me a little but it was achieved, for the letters I first made a mold on a white sheet and then I took them out on the foami and glued them to the cap, I only needed the last detail which was the tassel and I had my cap ready! ! for the button that held the tassel what I did was to use a normal button and cover it with a photo that I had left, because if I covered it with black fabric it would not go unnoticed with the background. I was very happy with the result and all the hours I spent doing it were worth it!
Versión en Español
Ya después vino mi parte favorita, que era decorar la parte de arriba del birrete. La idea la tenía bastante clara, ya que venía pensando qué hacer ahí desde hace varios meses, para decorarlo de la manera en que quería. Usé un foami rojo, y fotos con mis amigos que había impreso unos días antes.
La idea era juntar las fotos y acomodarlas bien para que fueran el fondo y con el foami rojo hacer mis iniciales y como este era brillante, iban a destacar, y eso fue lo que hice, acomodar las fotos me costó un poco pero se logró, para las letras primero hice un molde en una hoja blanca y ya luego las saque en el foami y los pegue al birrete, ya solo faltaba el último detalle que era la borla y tenía mi birrete listo!! para el botón que sujetaba la borla lo que hice fue usar un botón normal y forrarlo con una foto que me había quedado, ya que si lo forraba con tela negra no pasaría desapercibido con el fondo. Quede muy contenta con el resultado y todas las horas que estuve haciéndolo valieron la pena!!
 |  | 
-|-|-