Good day, everyone, and Splinterlands community, I will be sharing another interesting battle strategy today in modern format that particularly caught my attention. Building around Barashkukor strategy line-up, one of my favourite legendary cards in the Death element. This card has a really distinct effect to it, and when played well, it may totally determine the outcome of the match. I’ll be going over how I like to build around it, which cards tend to pair well, and why it works so effectively in certain rule sets.
The way Barashkukor can main magic damage strategy, a lineup allows the rest of the lineup to zero in on supporting control, like cutting away at the opponent's health stats ignoring defense (except Void Armor), while it deals out a lot of damage. This is what makes Barashkukor so much fun to deploy. I've been using this strategy with the positioning of the card and combos in most rule sets, and here I am showing you how I've managed to make it work in various scenarios with this card.
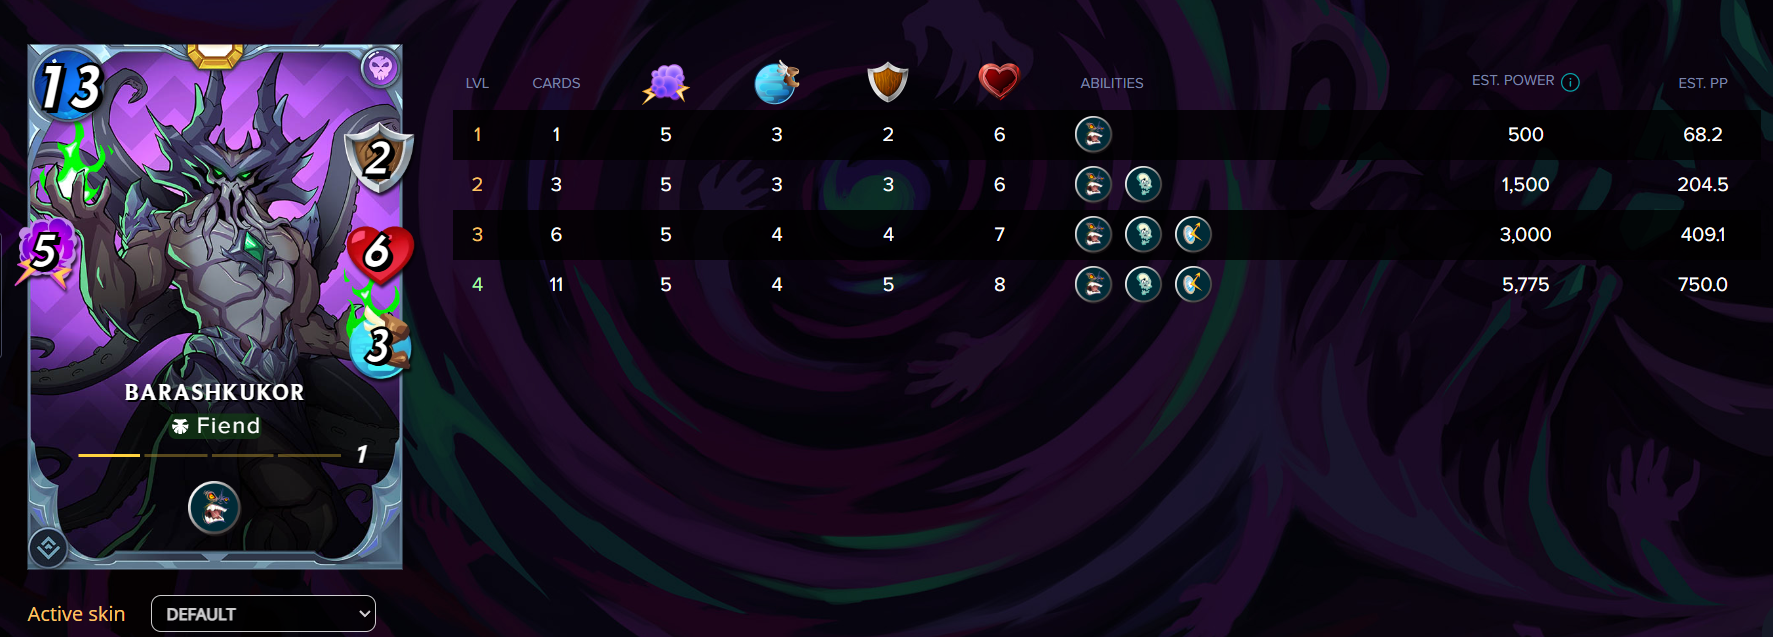
Barashkukor's that has strong magic damage stats is what makes it noteworthy, and this card can dominate most opponents and shift the scales in your favour, even if it is a level 1. For me, renting a higher-level version doesn’t feel practical; level 1 is enough with the 5 magic damage it has.
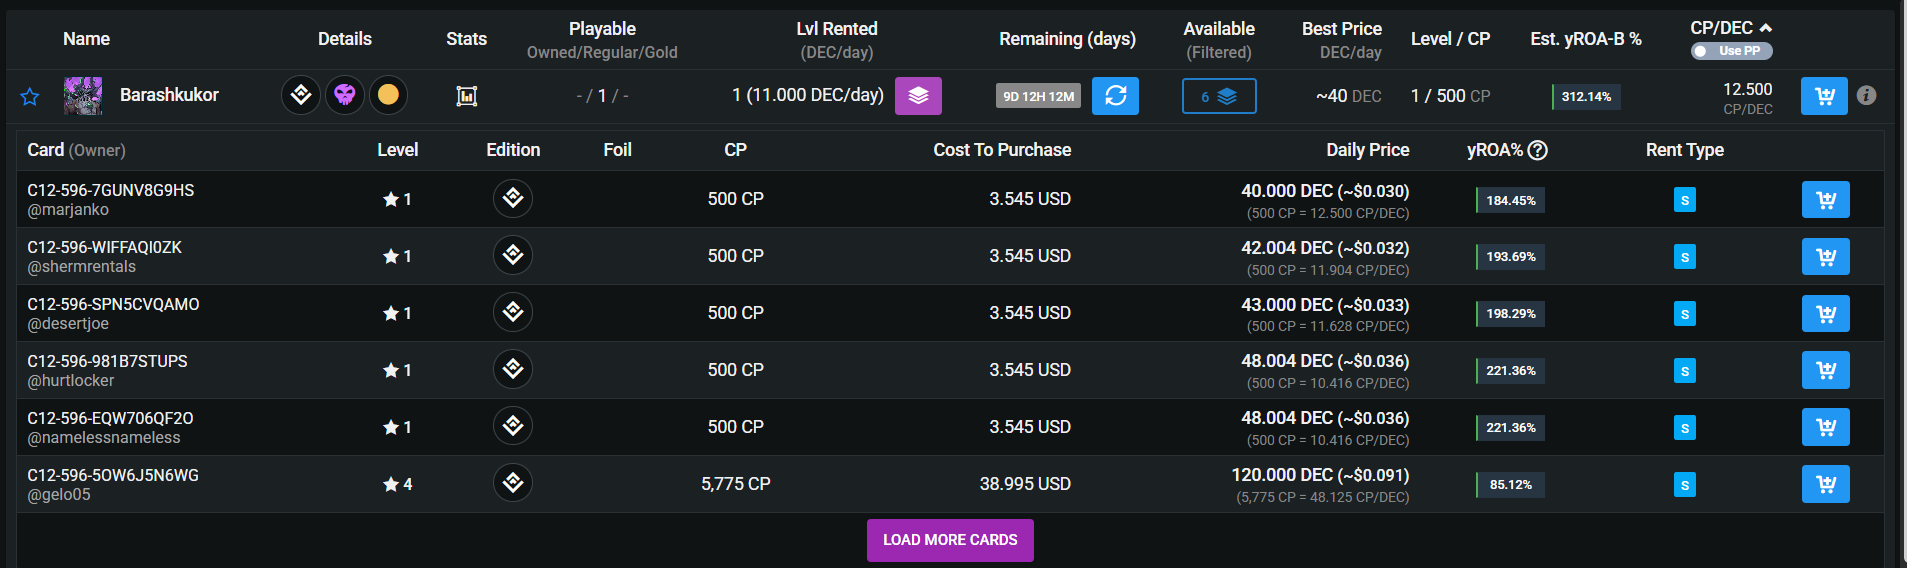
It’s pricey, and honestly, level 1 already does the job I need it to do. The key is knowing when to bring it out. I’ve had the best results in rule sets like High Mana Cap, Wands Out, Keep Your Distance, Aimless, or Back to Basics, where magic really shines or physical options get limited.
Sometimes I’ll even base my decision on an opponent’s history if I know they lean toward lineups weak to magic. It feels like a bit of a gamble at times, but when Barashkukor is supported by the right team, it becomes a real game-changer and can swing matches that might otherwise look unwinnable.

Into the battle: https://splinterlands.com/battle/sl_8732edd095c363ab3f33ff1ae069d8dd
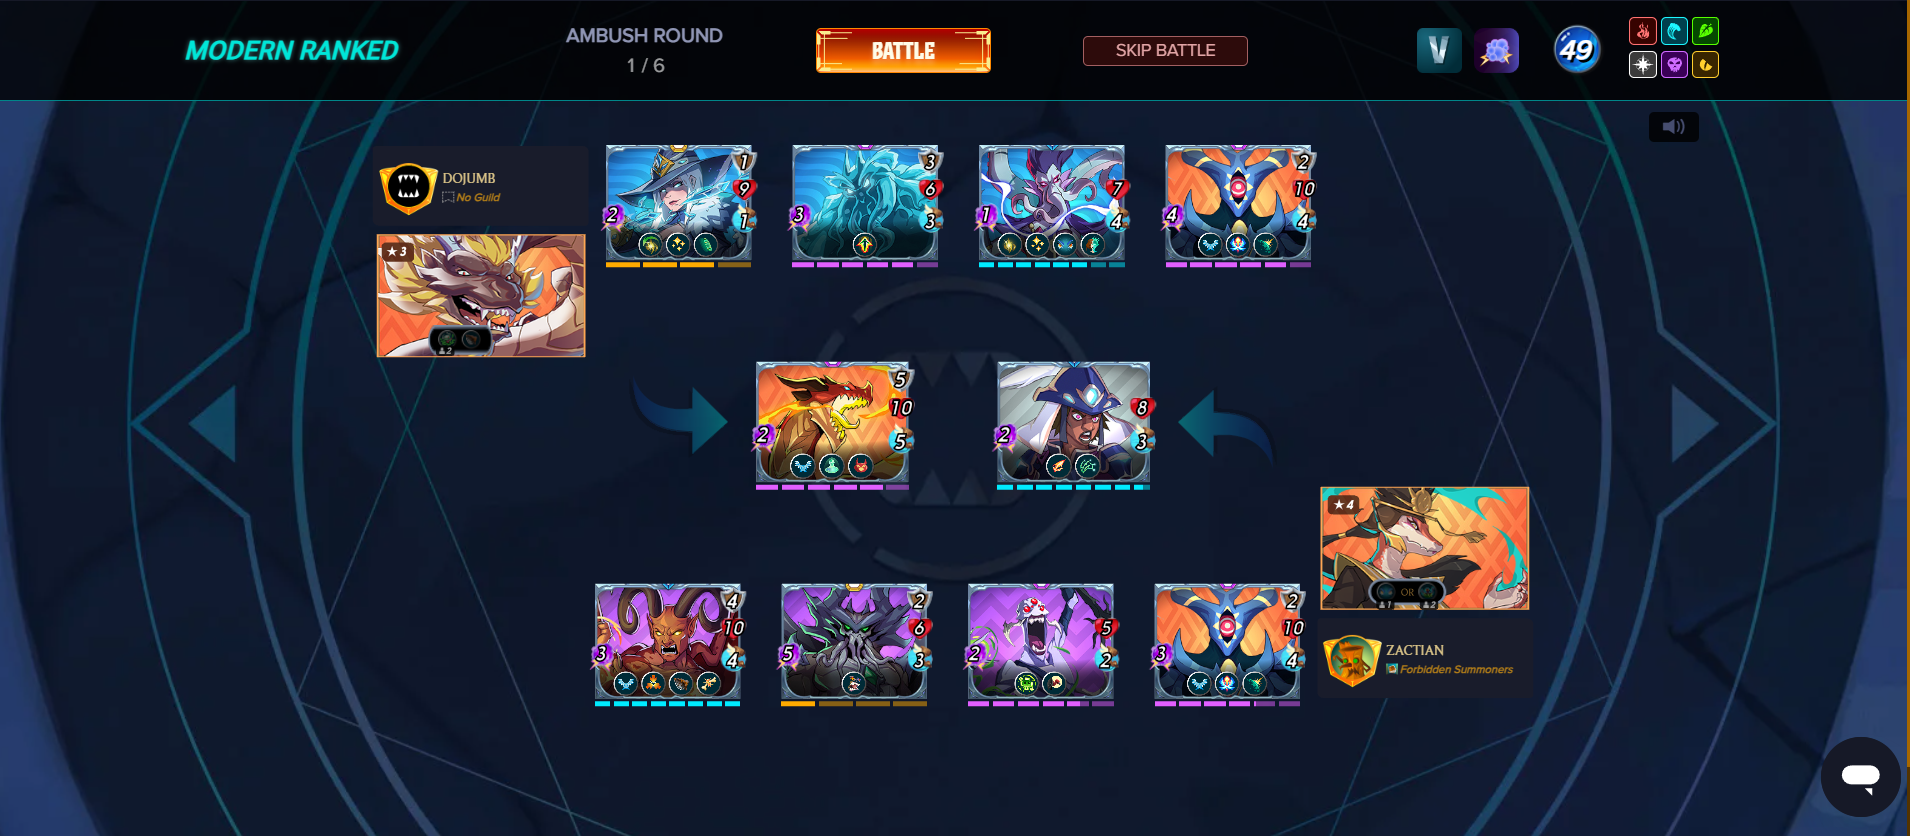
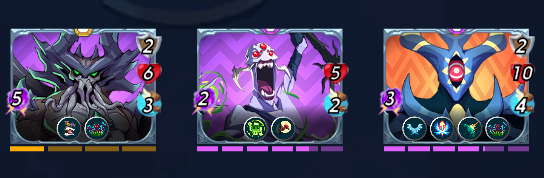
In this match, the rule sets were High Five and Wands Out, with a pretty generous 49 mana cap and all elements available. Since I wanted both flexibility in my choices and the extra punch from Ambush, I decided to deploy Akane as my summoner. I put together my team using a combination of strong magic damage and decent durability health stats in first place based on the rules provided. I put Night Reaper in the second slot, prepared to step in as a backup tank when the frontline afterwards splintered, and Chaos Adjutant in the first slot to absorb the early hits.
Because of its Scavenger ability, which allows it to gradually increase health while acting as a buffer before my main carry reaches the stage, I chose Arachne Weaver for the third spot.
That main carry, of course, was Barashkukor, which I placed in the fourth position. With 5 base magic damage, it’s an absolute monster if you can keep it alive long enough, and having Weaver right in front of it gave me exactly that breathing room. In the back, I dropped Helheim Demon as my anchor. Thanks to its Taunt, opponents are forced to waste attacks on it instead of gunning for my core units. The combination of Barashkukor's steady huge damage and Helheim's presence gave Arachne Weaver more time to continue stacking life through Corrupted Healing, which further supported the setup's durability. In all, the team seemed to strike a decent balance between power and defence, which made it ideal for Barashkukor to truly shine.
Since I anticipate that my opponent plans on using some flying abilities, I also choose to use ambush abilities on Barashkukor and Night Reaper. If the Night Reaper ability is able to double the damage when it hits flying ability entirely, then I'm all set.
My opponent decided to go with Shen Xiao as their summoner, making use of the Poison Burst buff to strengthen both Anasth Soothsayer and Jicarilla the Rime. Their lineup was Redwyrm Dragon holding the frontline, then Anasth Soothsayer, Abyssal Elemental, Jicarilla the Rime, and Night Reaper in the back. It was actually a pretty solid setup, especially with the double Tank Heal support and the clever placement of Jicarilla the Rime in the second spot, which gave their Redwyrm Dragon the Phase ability. That meant my magic attacks would have a tougher time landing clean hits.
We can observe that the opponent has a distinct speed advantage and a healing advantage. Naturally, the most bothersome aspect was that increased speed always involves the chance of attackers going ignored, which is a serious problem when facing a problematic unit with Phase ability like Redwyrm Dragon. Nevertheless, I felt like I was exerting more pressure overall because my team was constantly getting the initial strikes and producing a little more damage. (Hoping my luck on this will hit)😁
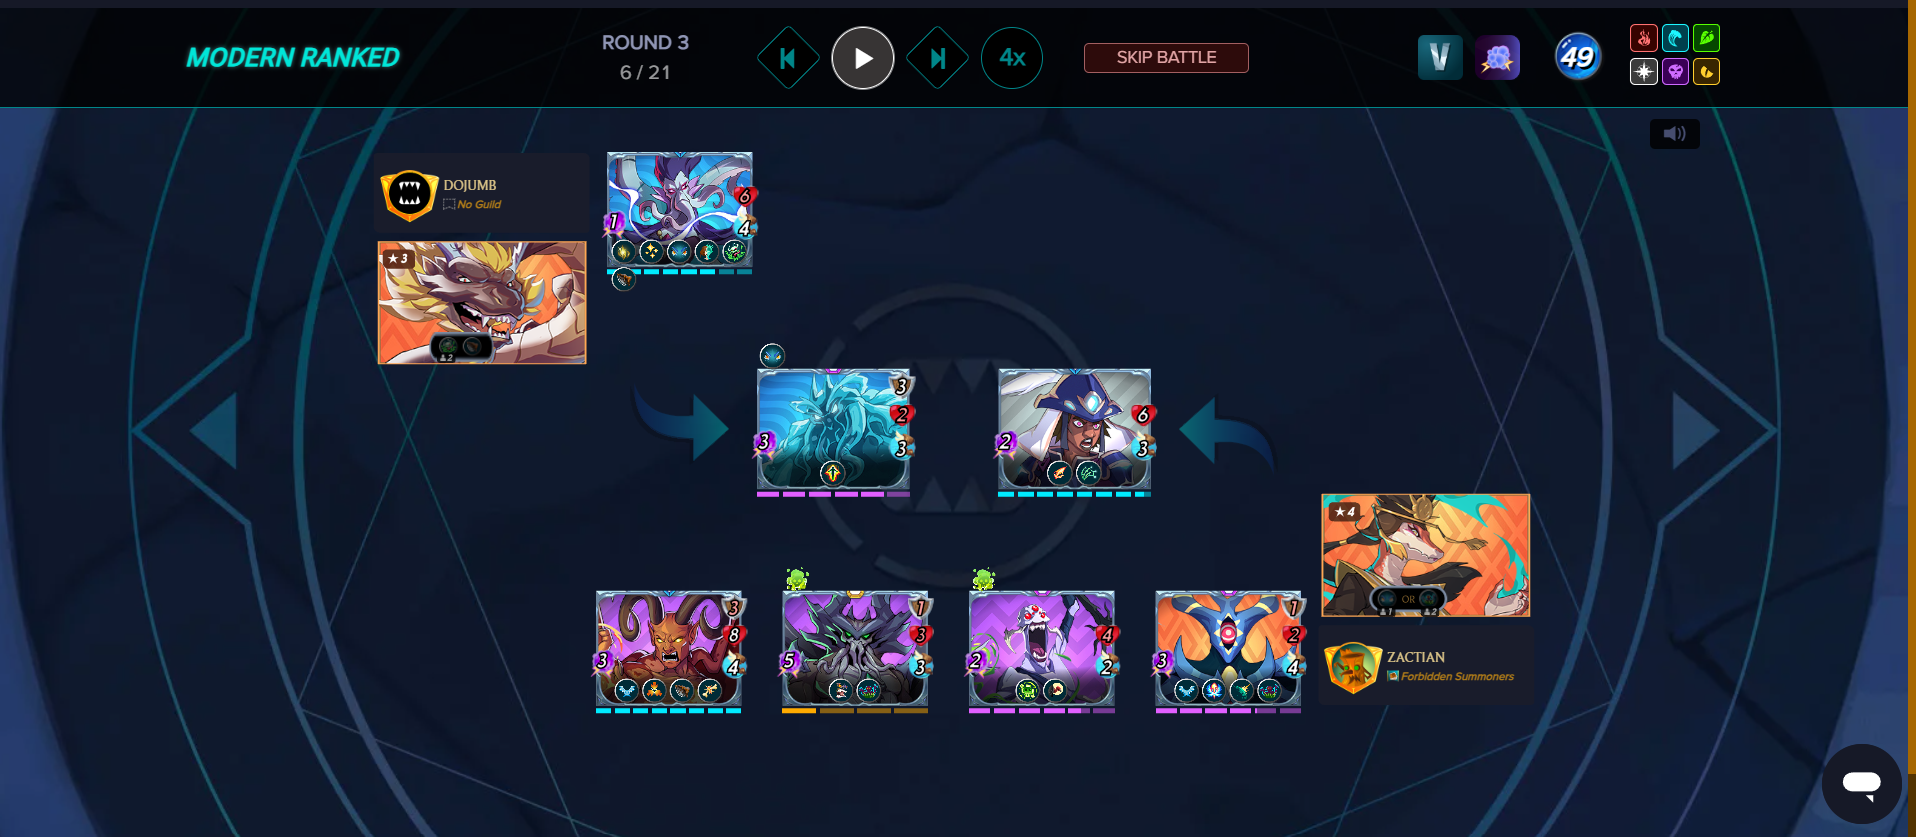
By the time the match reached round three, it was obvious that the opponent’s Redwyrm Dragon couldn’t keep pace with the pressure coming from my Night Reaper and Barashkukor. Honestly, luck was on my side too; most of my hits landed cleanly despite the speed difference, and even with the Redwyrm getting healed twice, the damage piled on too quickly for it to survive.
The match shifted greatly in my favour that round. The rest of the fight went smoothly until I won, with Barashkukor leading as the primary magic attacker and supported by Arachne Weaver and Helheim Demon.
Still, I can admit that if my opponent had used a solid Void unit with healing, the outcome might have been very different. A setup like that can really slow down heavy magic damage and flip the momentum fast. It’s a reminder that building around Void or adding it to your lineup is one of the safest ways to counter strong magic cards like Barashkukor, giving you a much higher shot at coming out on top.

A Big Thanks! For supporting me, being here, and coming this far. I hope this strategy assists you with some of your battles with these rule sets in modern format conclave and rebellion sets.
If you haven’t played Splinterlands, now is a great opportunity to sign up for Splinterlands and earn.
Use my referral link: Click Here
Credits:
Thumbnail Edited the Design photo Splinterlands Modern League using PicsArt Screenshot In-game splinterlands