Una de mis fortalezas son las manualidades, también diría que una de mis debilidades, por lo cual doy gracias a Dios siempre por darme el don de tener unas manos para hacerlas.
En esta oportunidad, mi sobrinita Aurora, es una sobrina de corazón, es hija de la cuñada de mi hermano, que esta estudiando preescolar su ultimo año, pero hace poco en le pidieron un sombrero loco, esto esta de moda lo he visto en redes que hacen desfiles de sombreros locos, como de peinados locos, trajes y otras cosas, unos se ven muy bellos.
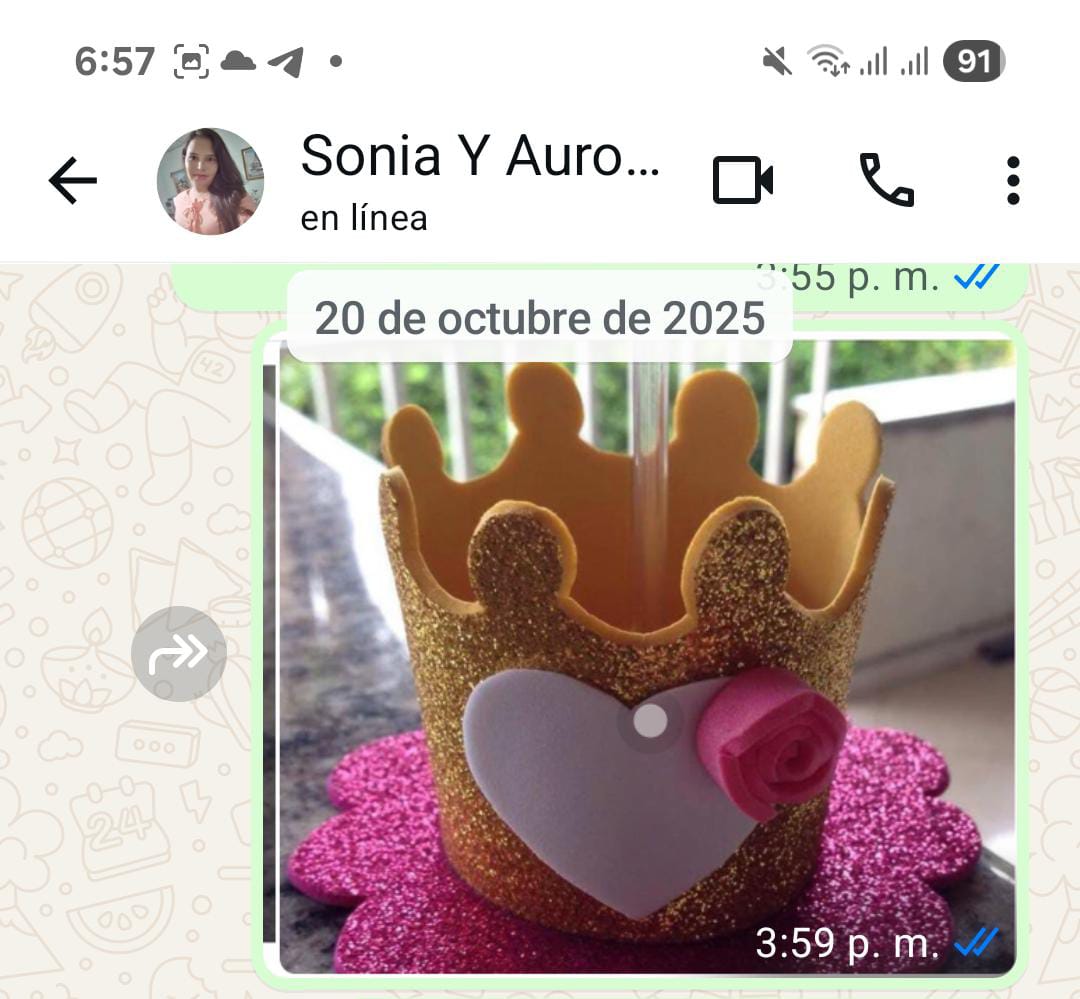
La mama de Aurora, que se llama Sonia, me envió vía WhatsApp, el modelo que me mando para que le ayudara a hacerlo, porque ella en verdad no sabe, luego me traería los materiales básicos los foamis, lo demas lo tengo yo.
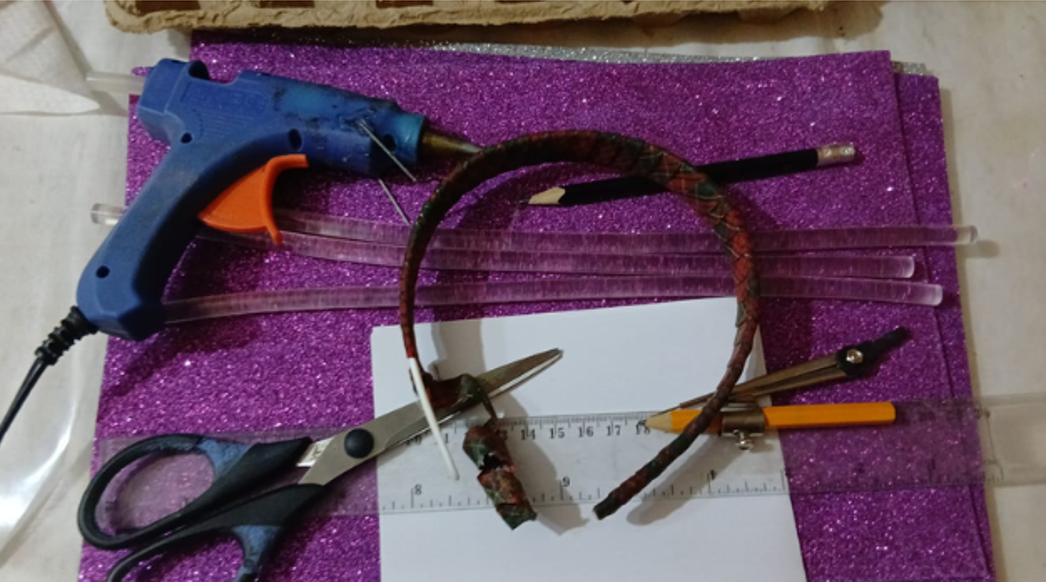
**Materiales:**
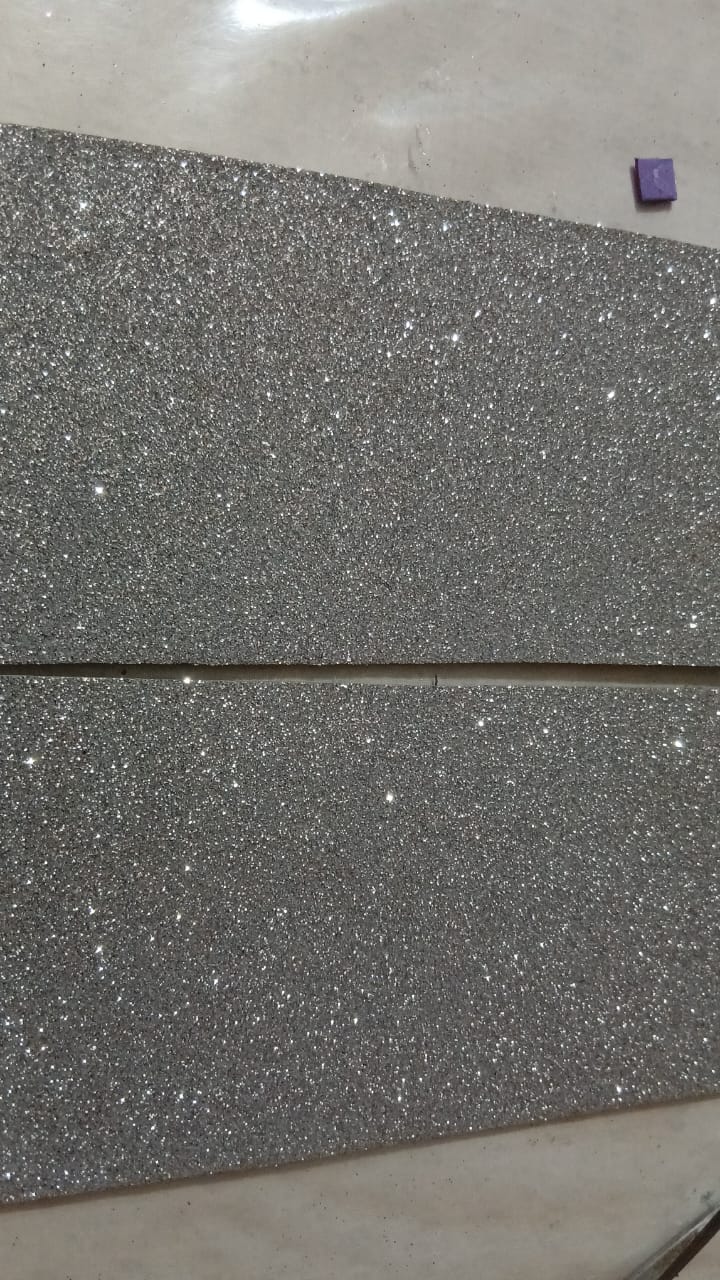
-Foamis escrachados: plateado y morado.
-Barras de Silicon.
-Base de cintillo.
-Pistola de silicon.
-Tijera, lapiz, regla.
-Compas.
**Como lo hice:**
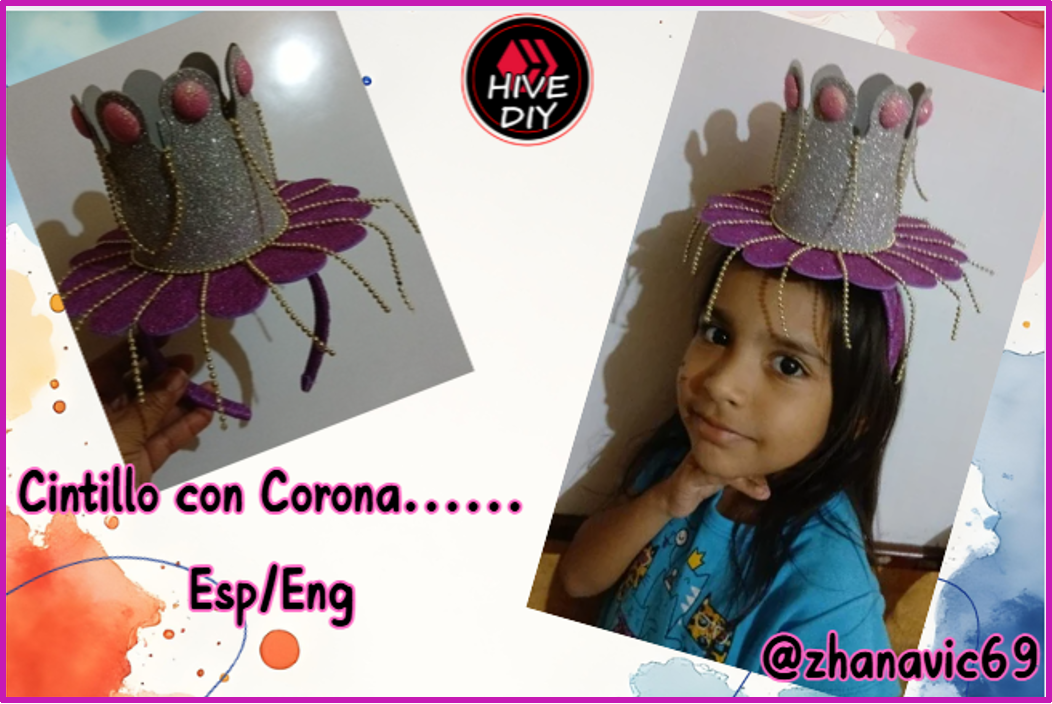
1.- La idea en si es un sombrero pero hacerlo muy grande no quería, ademas de seguro ese sombrero se le iba a caer mucho, por lo que se me ocurrió, pegarlo a un cintillo, así por mucho que se mueva no se le caería.
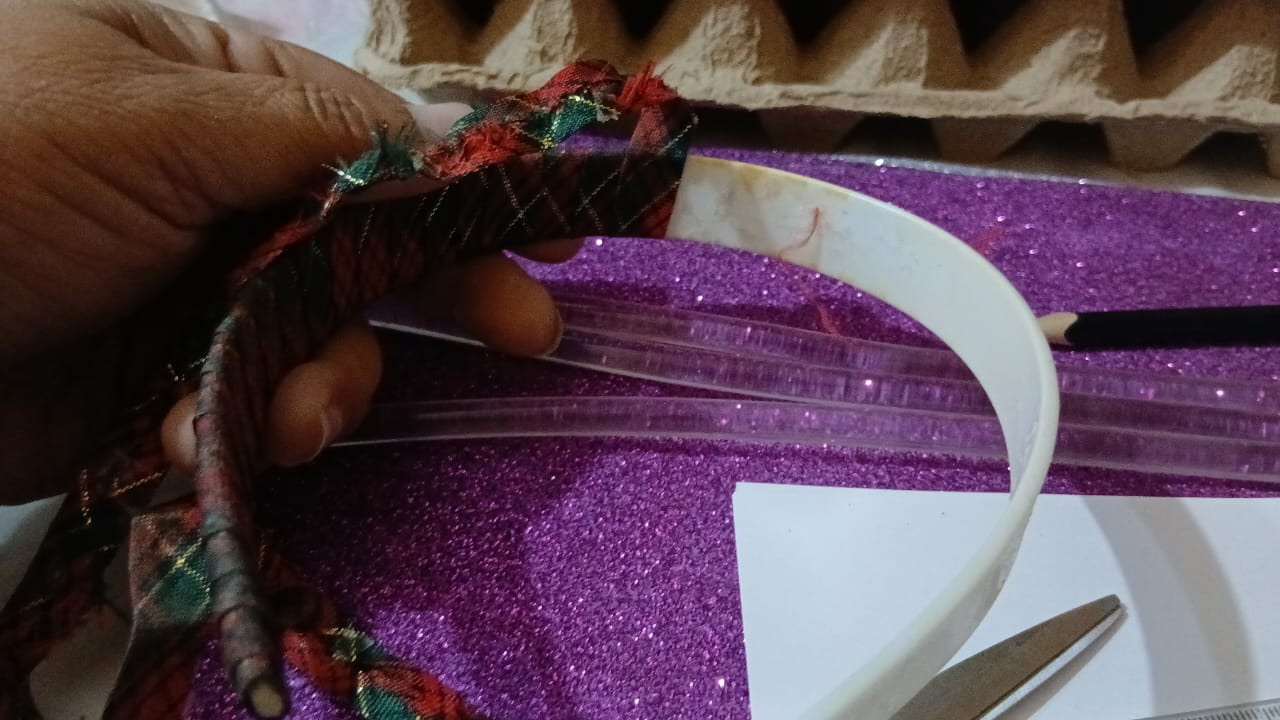
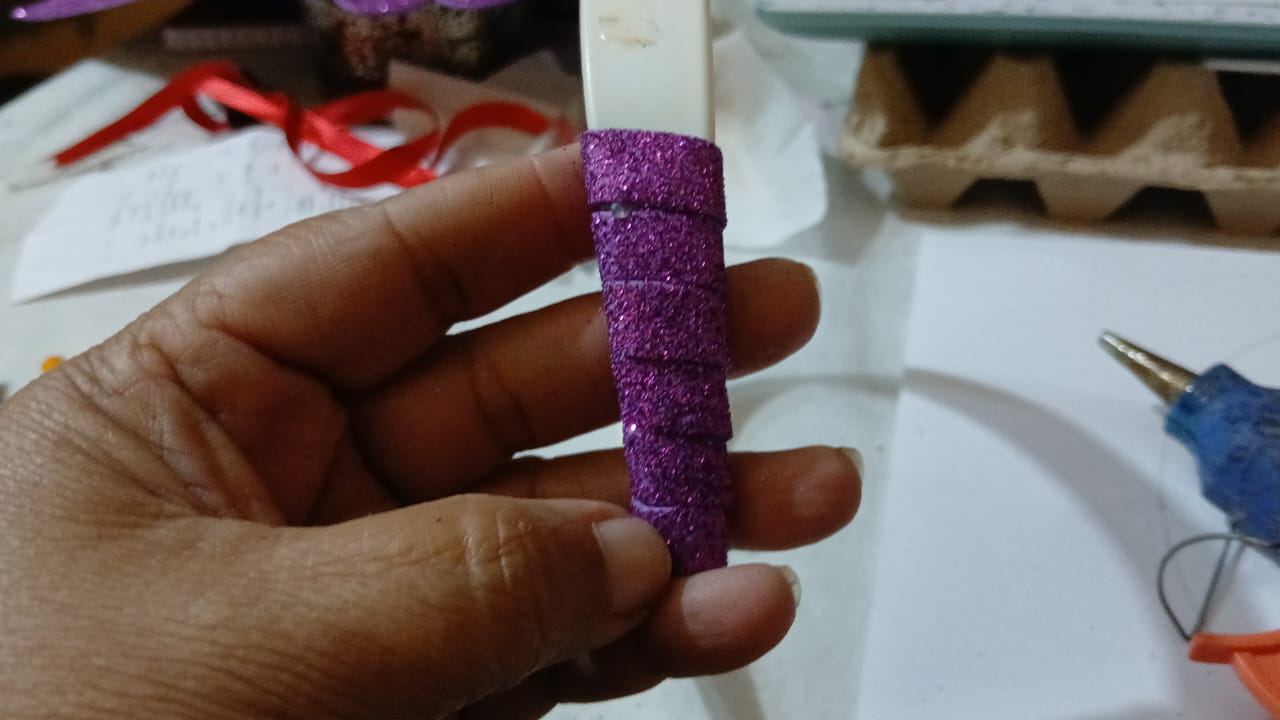
2.-Busque un cintillo mio que no uso, le quite la tela, medí y corte tiras de 1 centímetro del foami morado, y forre el cintillo, pegándolo con silicon.
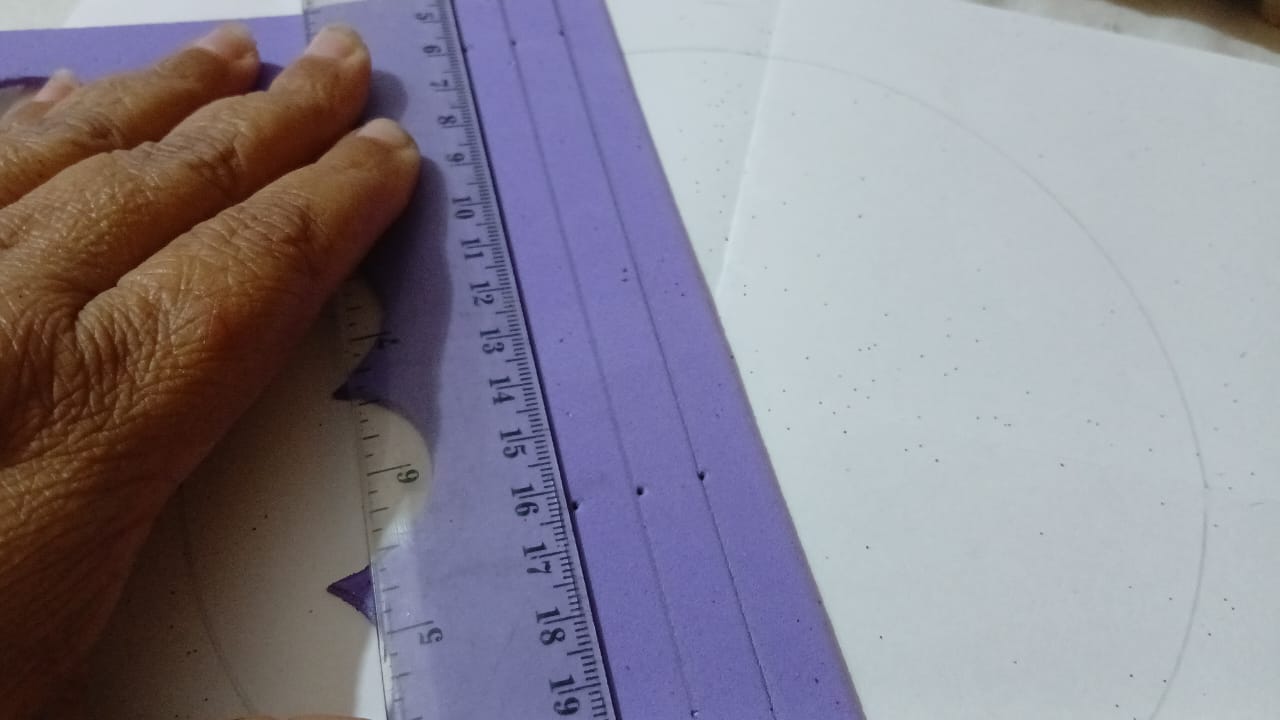
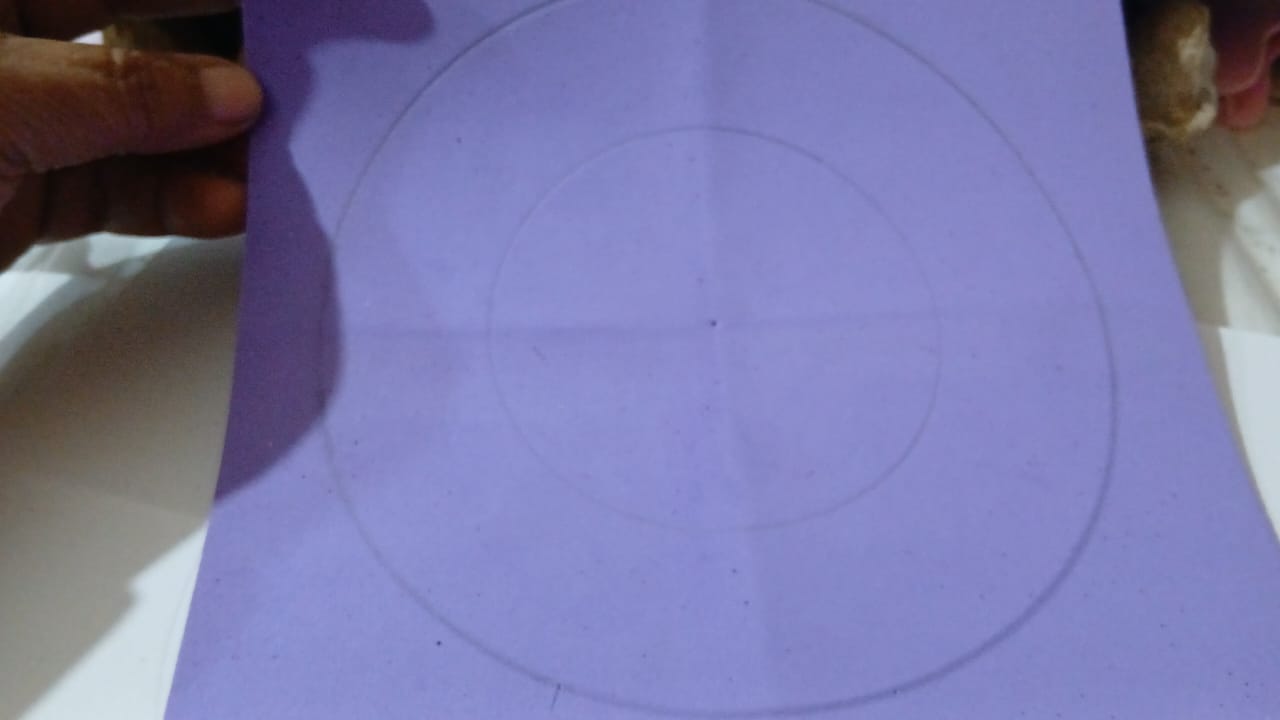
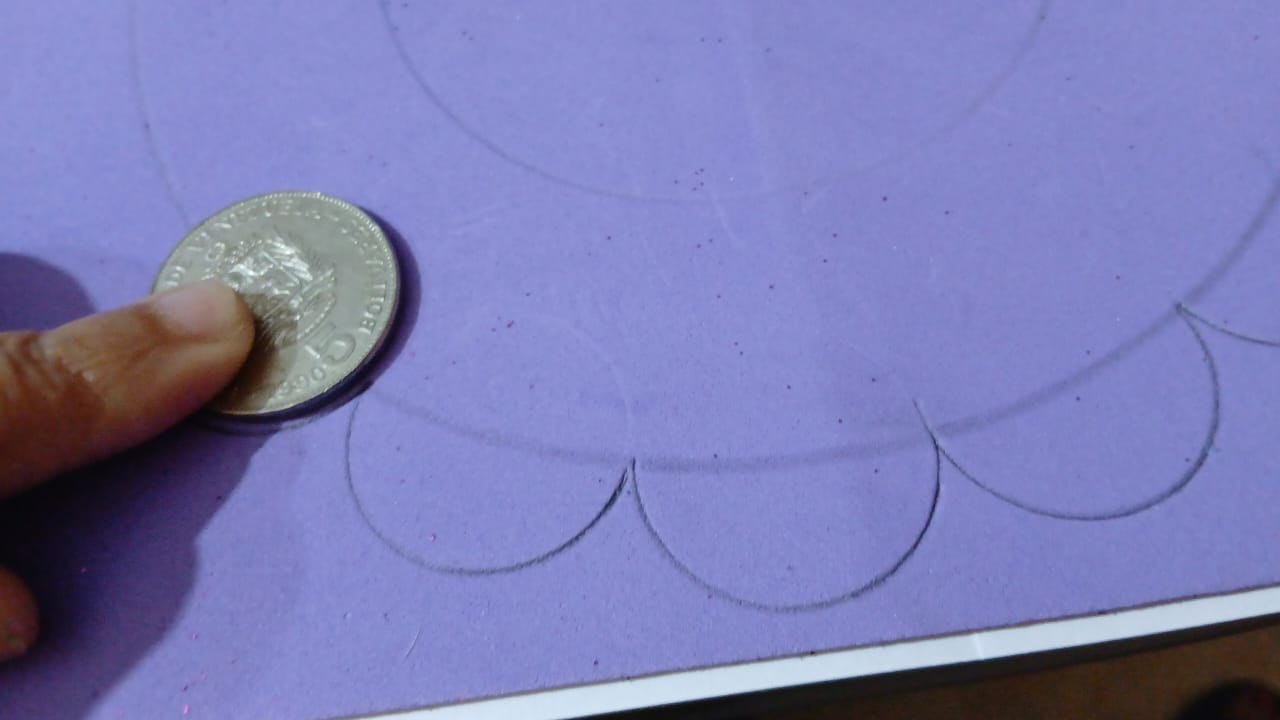
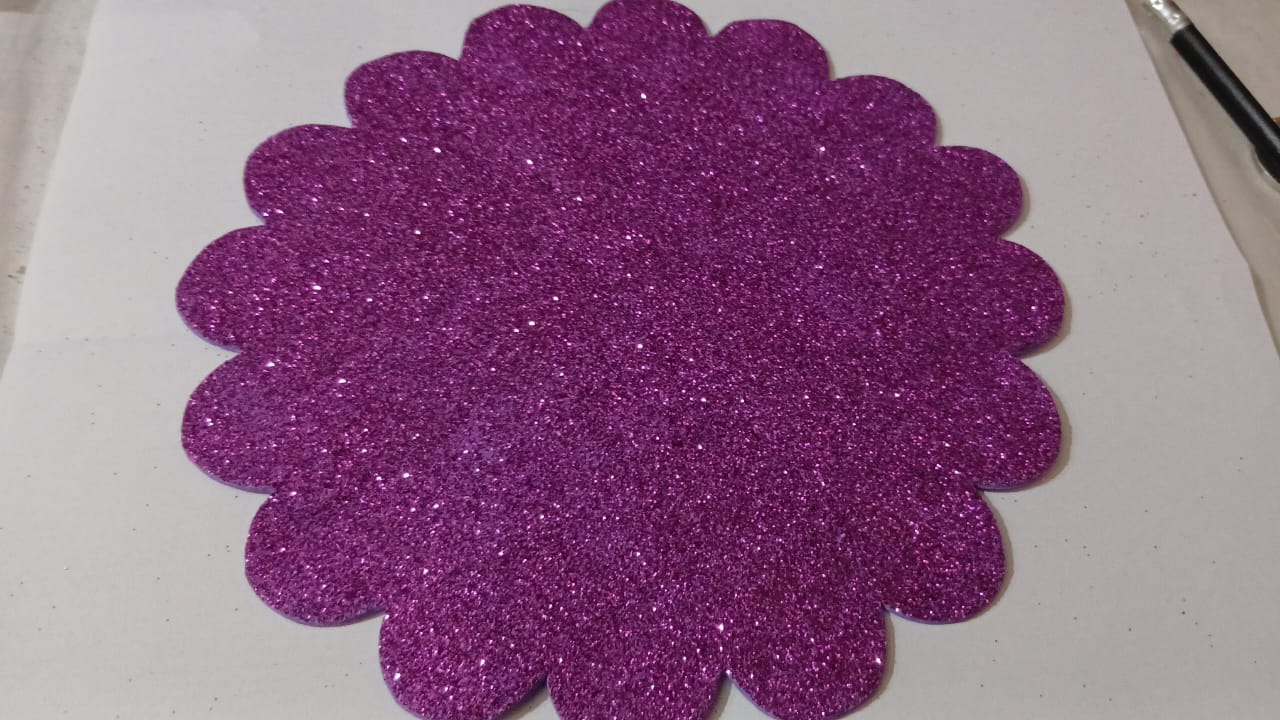
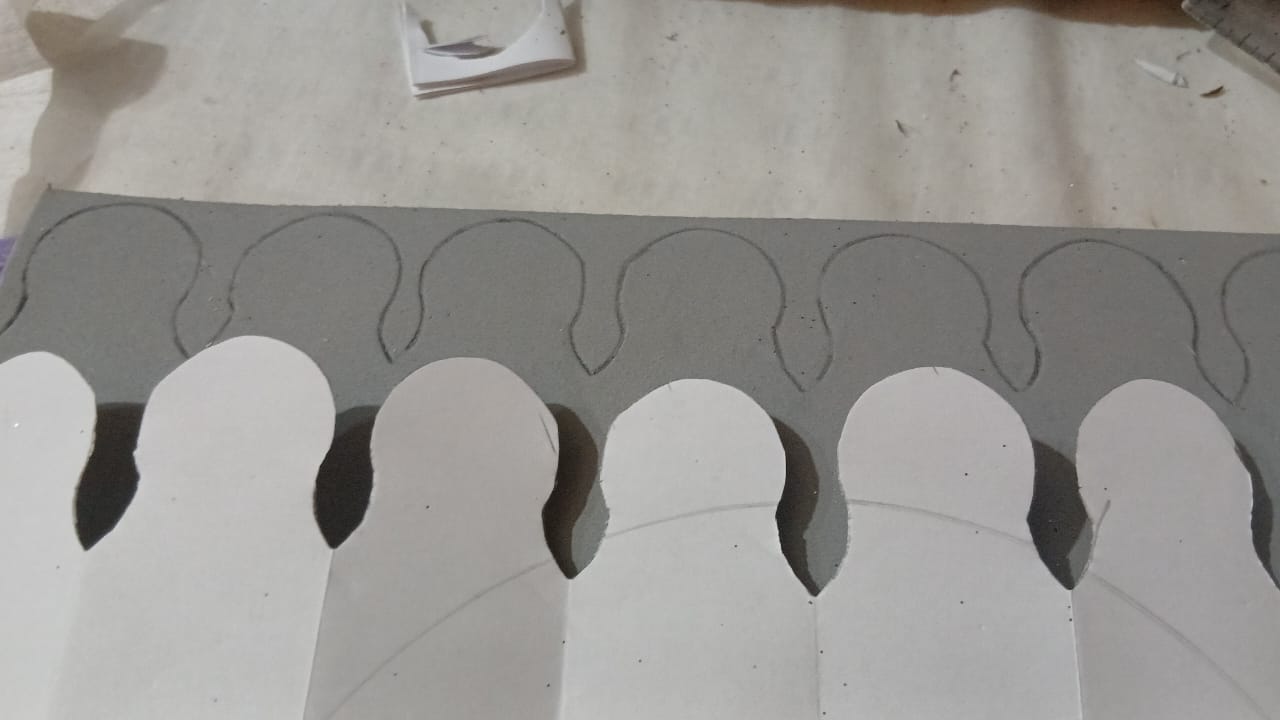
3.- Viene la base del sombrero que se parece a una flor, doble el fomai a lo largo y a lo ancho para saber cual seria el centro en el cual puse la punta del compas y trazar el circulo casi en todo el contorno del foami. Y con una moneda hice los petalos.
4.-Busque la tijera, que la mía es exclusiva para foami debe cortar perfecto sino queda feo, el foami tiene su manera de como recortarlo.
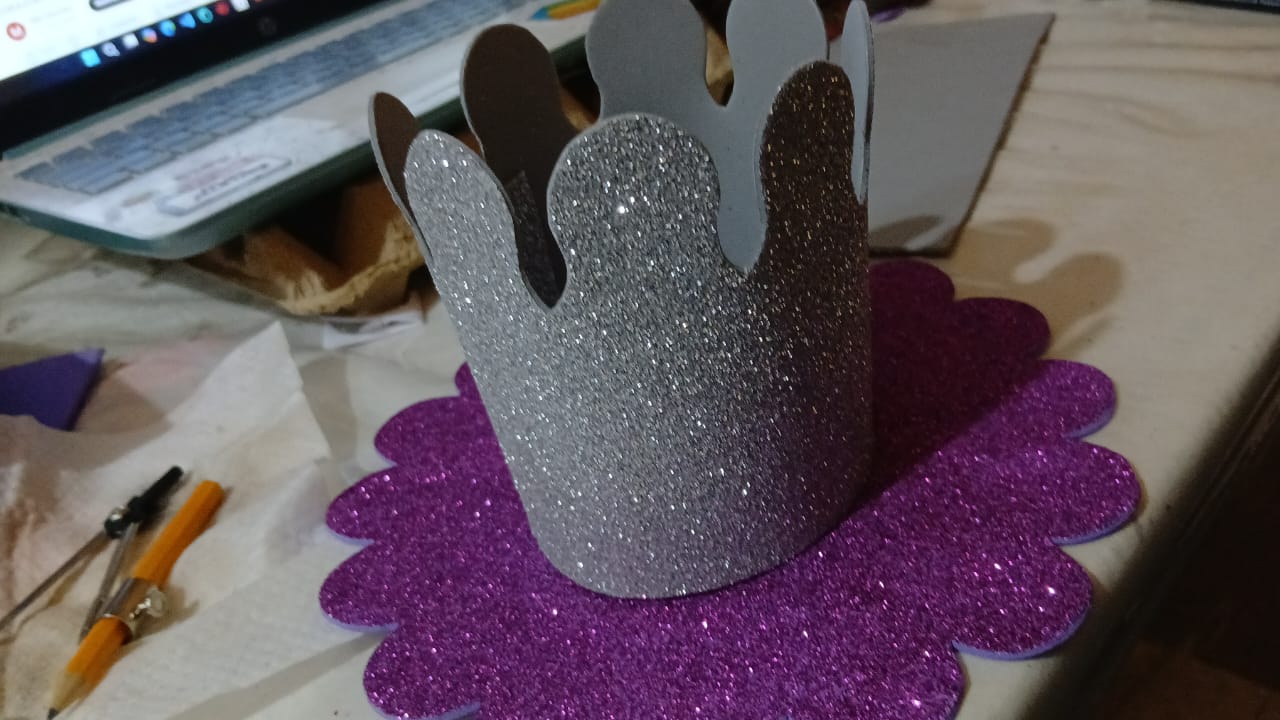
5.- Base lista busque el cintillo, medí la ,mitad para justo a la mitad pegar la base pero en el centro solamente.
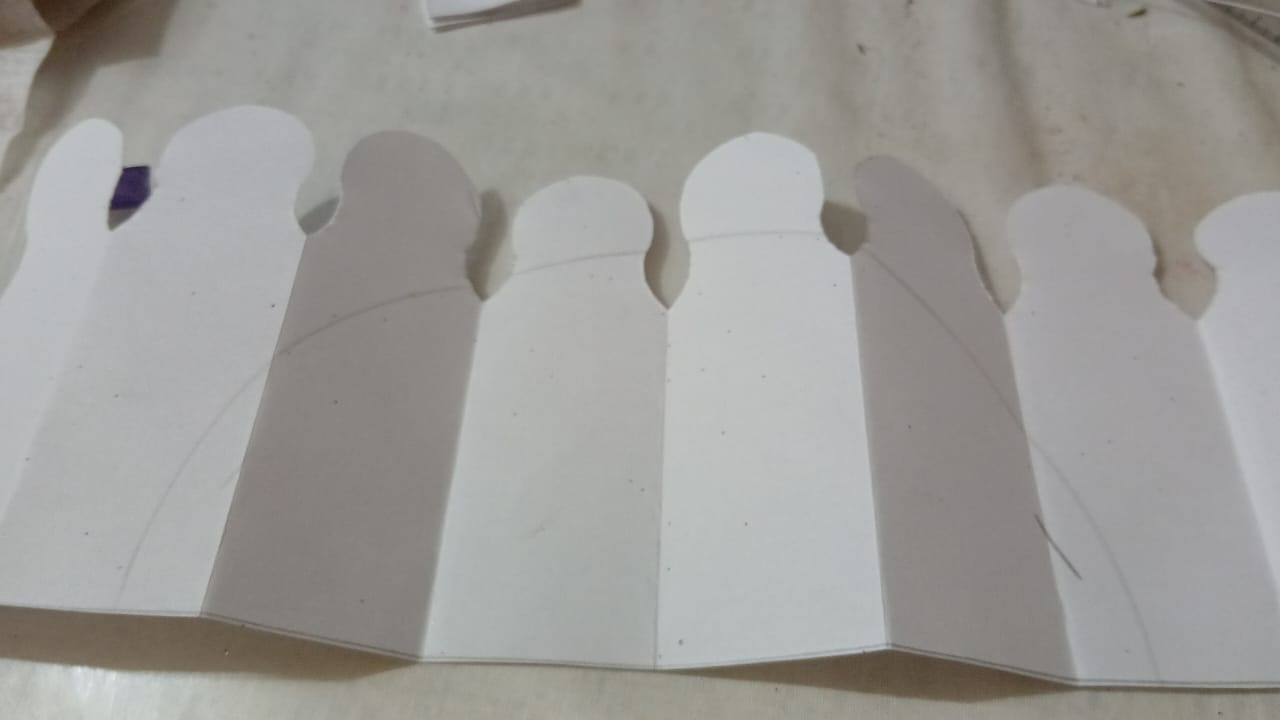
6.- Ahora la coronita es pequeña use una hoja tamaño carta la doble a lo largo quedaría como de 10 cms de ancho y 28 cms de largo. Lo doble varias veces hasta que en la parte arriba trazara un circulo de una moneda mas pequeña y hacer como un medio circulo, para luego cortar y ya el patrón esta listo.
7.- Pase el patrón al foami por el lado al revés, con un lápiz, luego recorte para hacer la corona, que corte otro foami como un rectángulo y ahí juntar, pegar los extremos de la corona.
8.- Con unas pestañas pegadas en la parte inferior de la corona por dentro la pegue a la base, para que quede mejor.
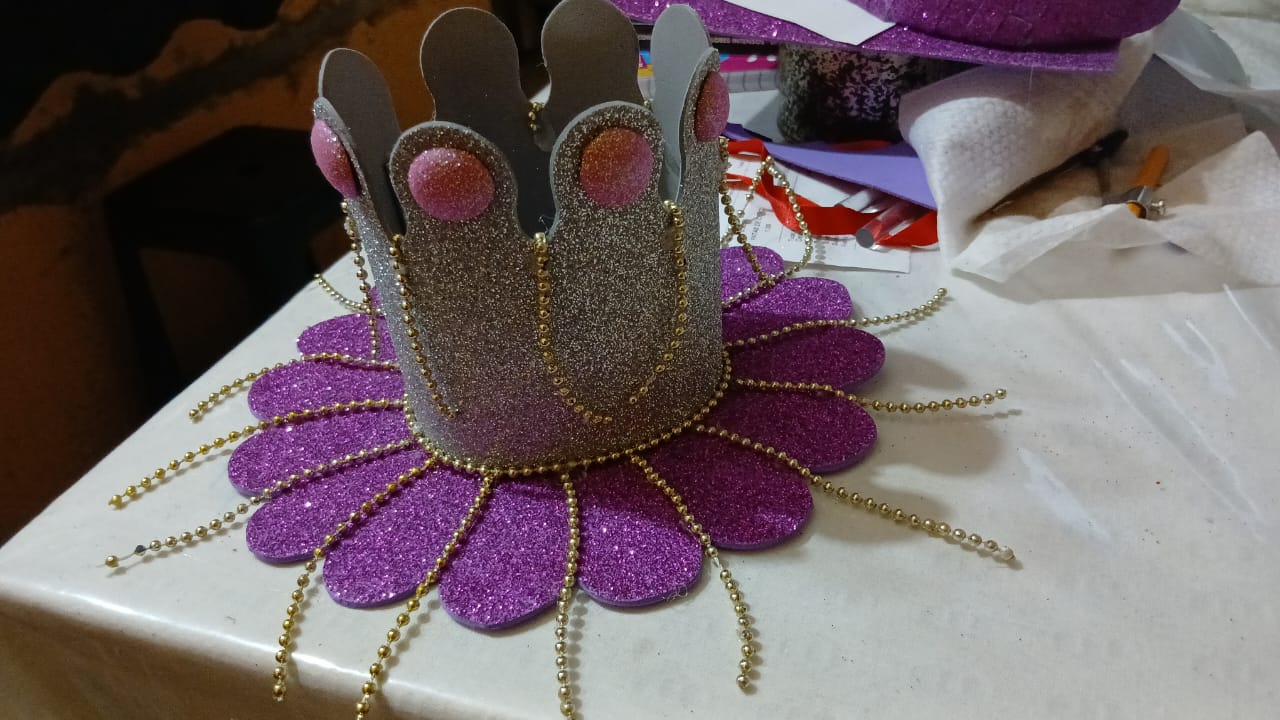
9.- En la parte superior de la corona que eran como circulo, 8 en total, tenia unos circulos de foami escarchado rosado ya abombados por la plancha y los pegue.
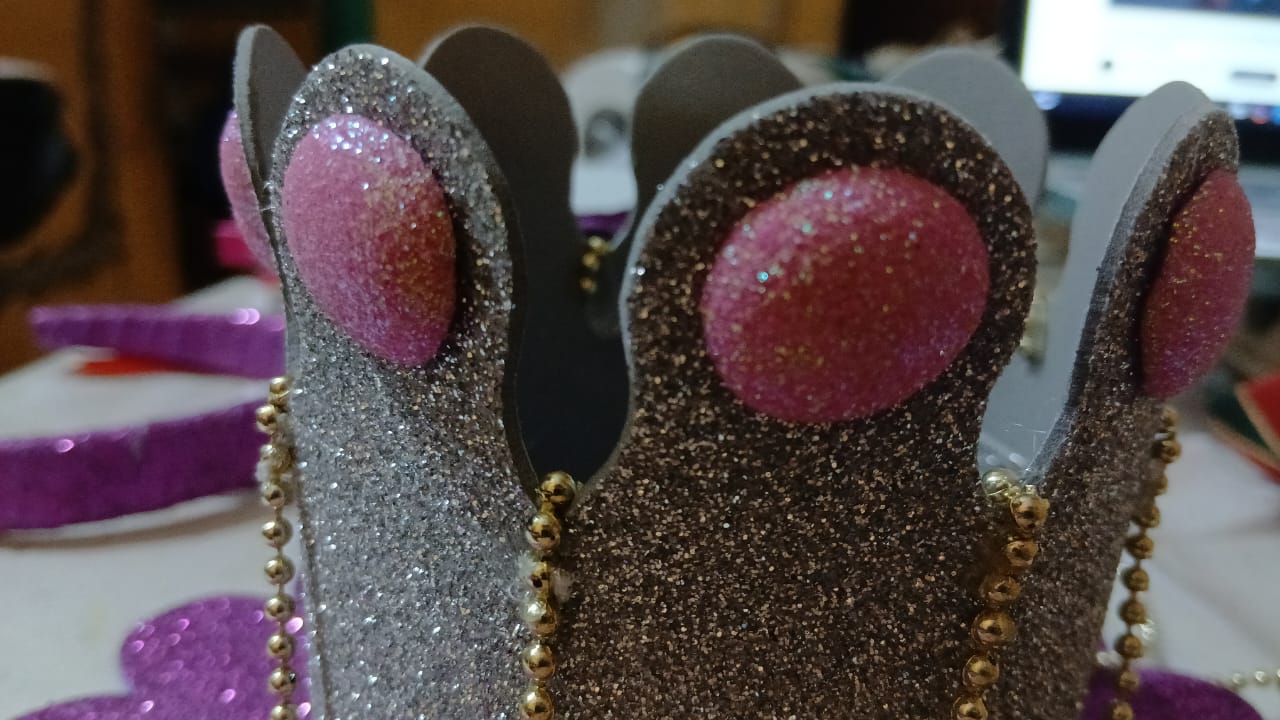
10.- Para que brillara aun mas porque asi son las coronas, faltaba algo como dorado, asi que use unas perlitas cocidas doradas, que recicle de unas esferas de navidad y las pegue en varias partes de la corona, quedo super.
11.- Al dia siguiente llego mi sobrina Aurora y le probe su cintillo-sombrero quedo feliz con su cintillo, como toda niña que sueña con una corona, ser una princesa.

Todas las fotos las fui tomando con mi celular Cámara Samsung Galaxy A16.
Contenido original, traducido con la app DeepL.
Portada editada en Canva.

One of my strengths is crafts, which I would also say is one of my weaknesses, so I always thank God for giving me the gift of having hands to do them.
On this occasion, my little niece Aurora, who is a niece of the heart, is the daughter of my brother's sister-in-law. She is in her last year of preschool, but recently she was asked to make a crazy hat. This is very fashionable; I have seen it on social media where they have crazy hat parades, as well as crazy hairstyles, costumes, and other things. Some of them look very beautiful.
Aurora's mother, Sonia, sent me the model via WhatsApp so I could help her make it, because she really doesn't know how. She would then bring me the basic materials, the foam, and I have the rest.
**Materials:**
-Foam sheets: silver and purple.
-Silicone bars.
-Headband base.
-Silicone gun.
-Scissors, pencil, ruler.
-Compass.
**How I did it:**
1.- The idea itself is a hat, but I didn't want to make it too big, and I was sure that the hat would fall off a lot, so I came up with the idea of sticking it to a headband, so that no matter how much she moved, it wouldn't fall off.
2.- I looked for a headband of mine that I don't use, removed the fabric, measured and cut 1-centimeter strips of purple foam, and covered the headband, gluing it with silicone.
3.- Next comes the base of the hat, which looks like a flower. Fold the foam lengthwise and widthwise to find the center, where I placed the tip of the compass and traced a circle around almost the entire contour of the foam. I used a coin to make the petals.
4.-Find the scissors. Mine are specifically for foam, so they cut perfectly; otherwise, it looks ugly. Foam has its own way of being cut.
5.- Once the base is ready, find the headband, measure the middle so that you can stick the base right in the middle, but only in the center.
6.- Now, the crown is small, so use a letter-sized sheet of paper, fold it lengthwise so that it is about 10 cm wide and 28 cm long. Fold it several times until you can trace a circle of a smaller coin at the top and make a half circle, then cut it and the pattern is ready.
7.- Trace the pattern onto the foam board with a pencil, then cut it out to make the crown. Cut another piece of foam board into a rectangle and attach it to the crown, gluing the ends together.
8.- With some tabs glued to the bottom of the crown on the inside, glue it to the base so that it fits better.
9.- On the top of the crown, which was circular in shape, there were 8 pink frosted foam circles, already curved by the iron, which I glued on.
10.- To make it shine even more, because that's how wreaths are, it needed something gold, so I used some gold-colored beads that I recycled from some Christmas baubles and stuck them in various places on the wreath. It looked great.
11.- The next day, my niece Aurora arrived and I tried her headband-hat on her. She was delighted with her headband, like any little girl who dreams of a crown and being a princess.
All photos were taken with my Samsung Galaxy A16 camera phone.
Original content, translated with the DeepL app.
Cover edited in Canva.