Saludos mis bellos amigos, amigas que se destacan en las artes sobre todo en las manualidades, aunque ahorita con tanta tecnología, que solo la uso digamos para ver y hacer pero no la he usado para hacer algo que bien puedo hacer con mis manitas bendecidas.
Es decir sigo siendo y haciendo las cosas de manera tradicional, así como hago mis tortas, mis arreglos, lo tradicional no debería pasar nunca de moda.
Como buscando otra entrada de dinerito para ayudarme mas con los gastos de casa, dije de volver a las manualidades educativas es decir: carteleras, rotafolios, lap books, y bueno lo que me encarguen si esta en mi de poder hacerlos, sino les digo que no puedo para que así puedan encontrar quien se los pueda hacer.
Ya he hecho dos carteleras según como la pidieron una de bienvenidas al año escolar y otra de efemérides, aquí si recurrí a la tecnología, porque me pareció muy bueno y que ese material lo pueden reciclar para otra oportunidad.
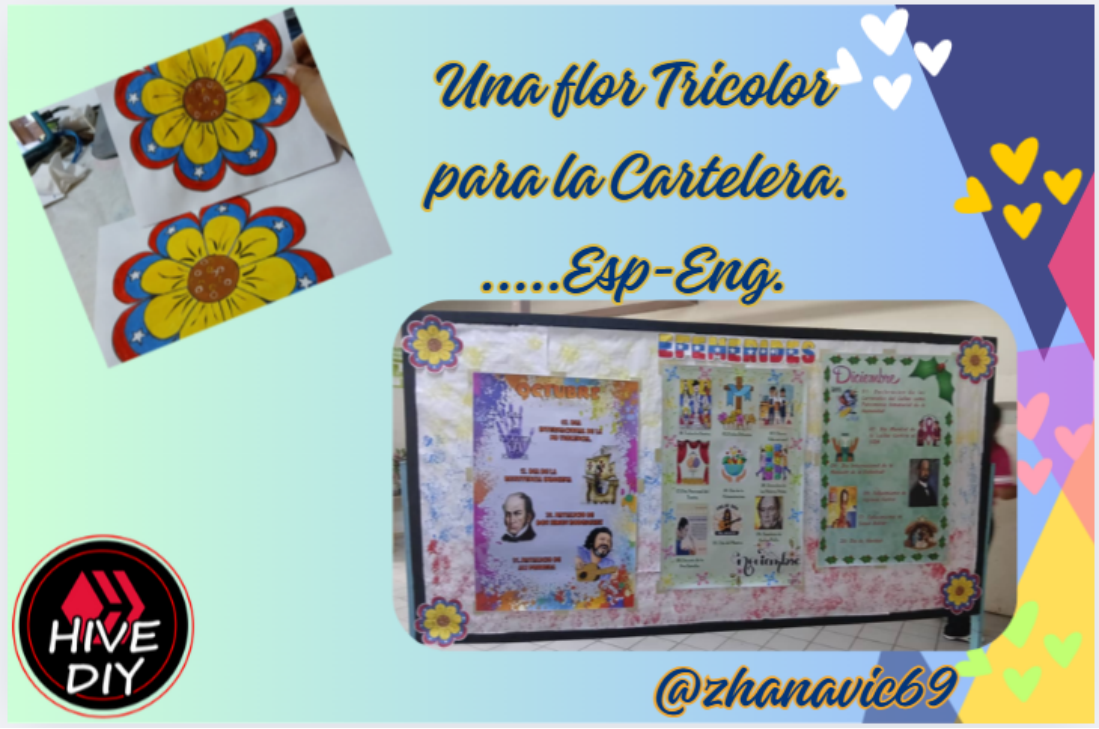
Para la cartelera de las efemérides, como ya vi que era grande, hice los diseños de las efemérides las mande luego a imprimir en Vinil auto-adhesivo, pero faltaba digamos los contornos de la cartelera, como es algo que puede durar mucho tiempo, dije porque no hacer una flor tricolor, con los colores de mi bandera nacional, pero esta debía tener 8 pétalos, asi la busque.
Primero busque esa flor, la copie y la pase a PowerPoint donde le quite el fondo, para dejarla transparente, con esa misma flor copie y pegue dos flores mas, pero de diferentes tamaños.
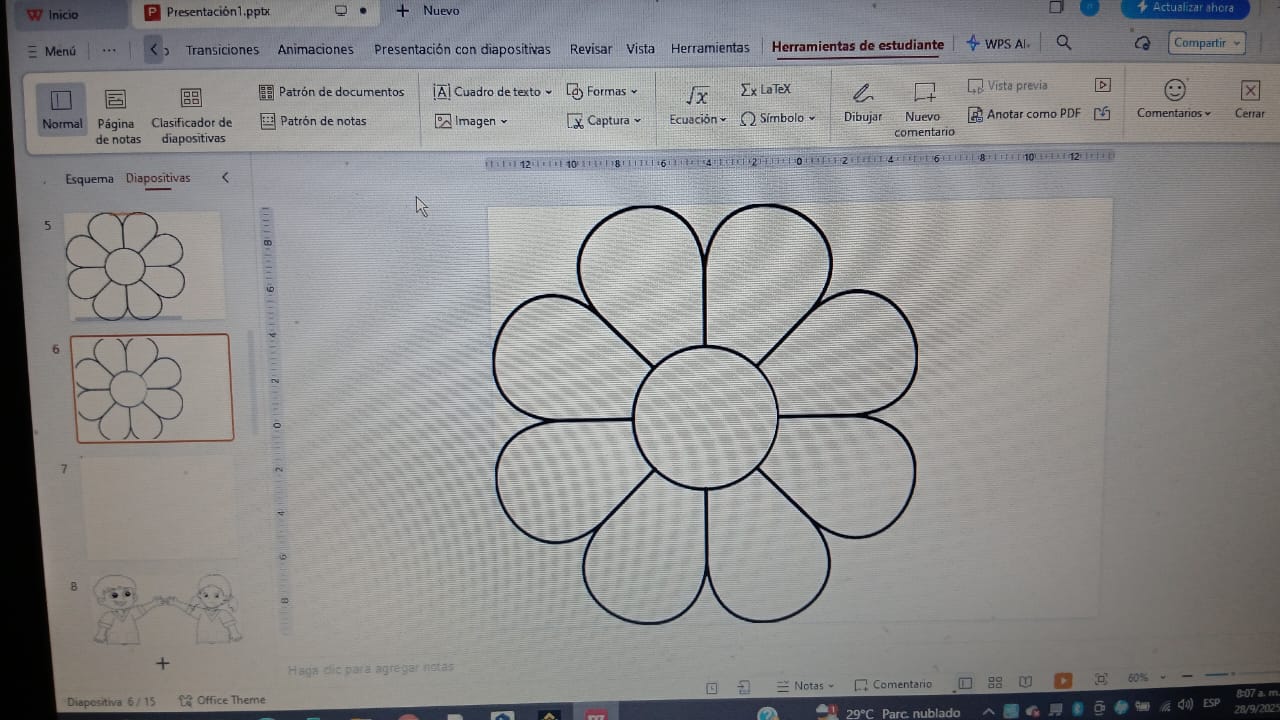
La primera de 30 x 30 cms, estas medidas recuerden no siempre son iguales en fisico, la segunda flor de 26 x 26 y la ultima de 20 x 20 cms, la mas grande para el rojo, luego la otra para azul y la del centro amarillo.
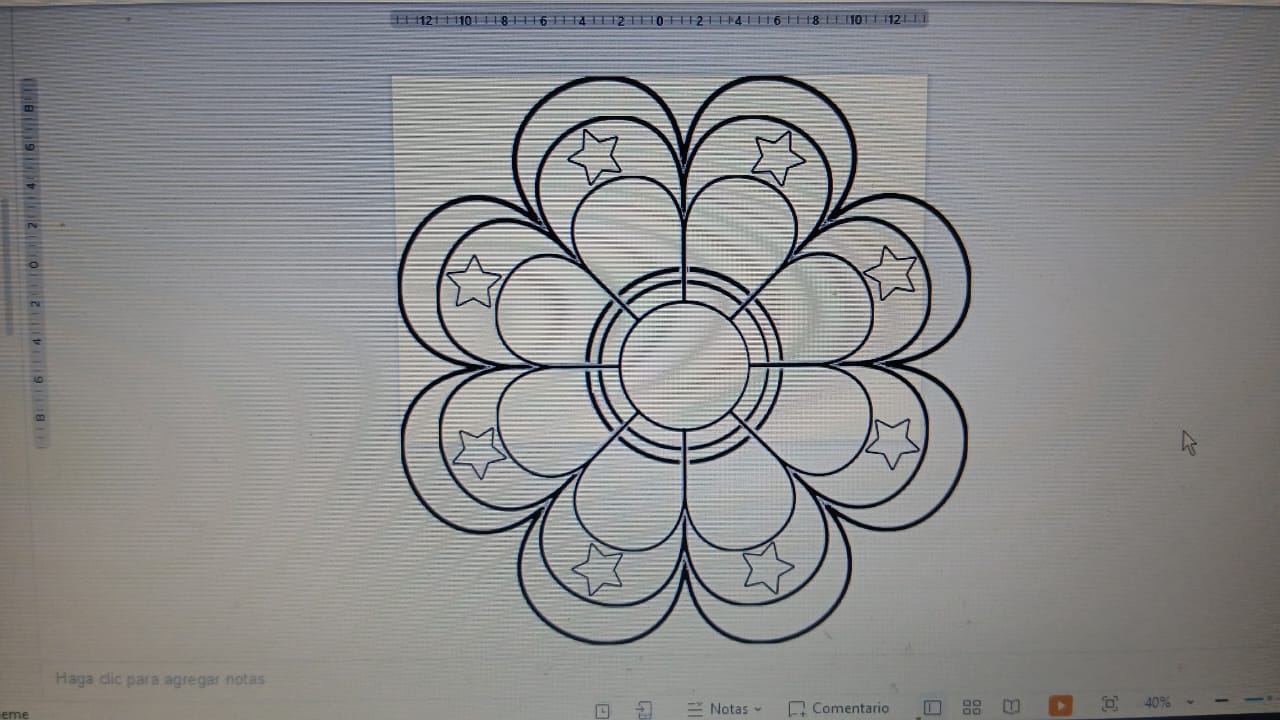
Como era de 8 petalos en la flor que iba el azul busque, le monte unas estrellas pequeñas, estas serian blancas, ya teniendo todo, asi guarde la imagen en las carpetas.
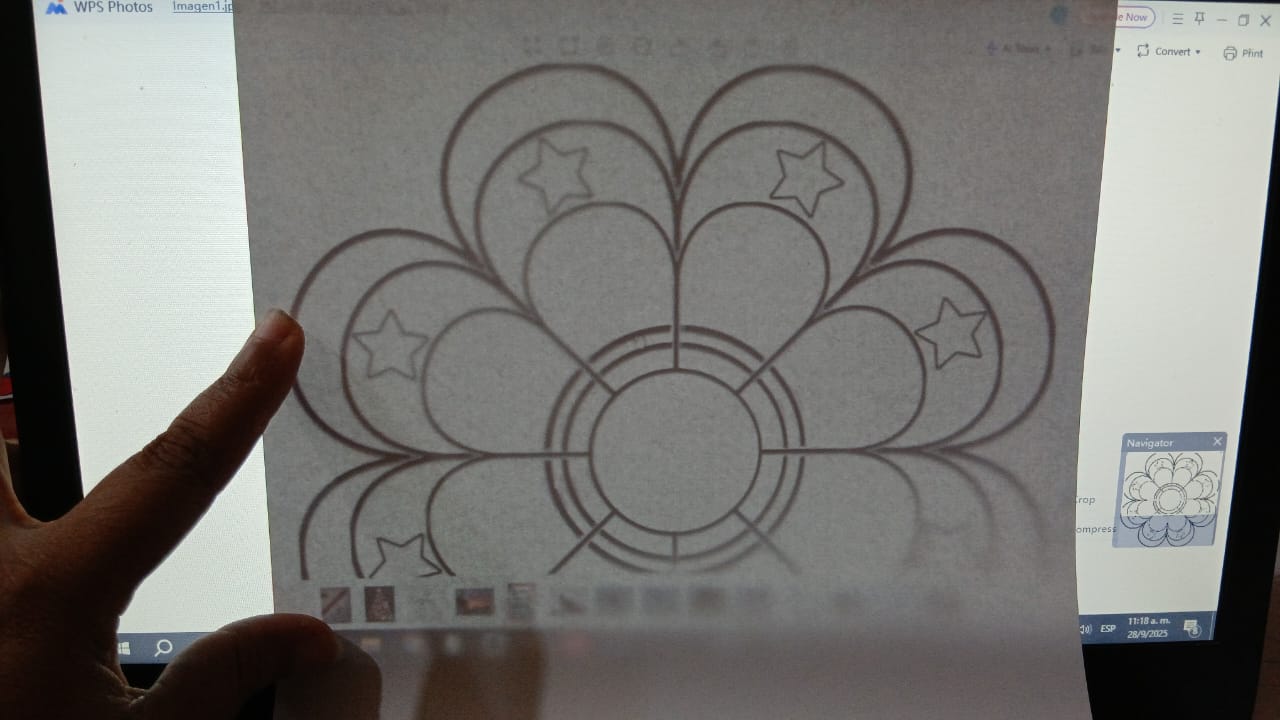
Ya en las carpetas de imagenes busque la flor y la aumente a un 60%, que cabia en una hoja tamaño carta, asi que marque 4 flores. Que luego con un marcador negro punta redonda algo fina, repase las lineas, despues borre las marcas de lapiz.
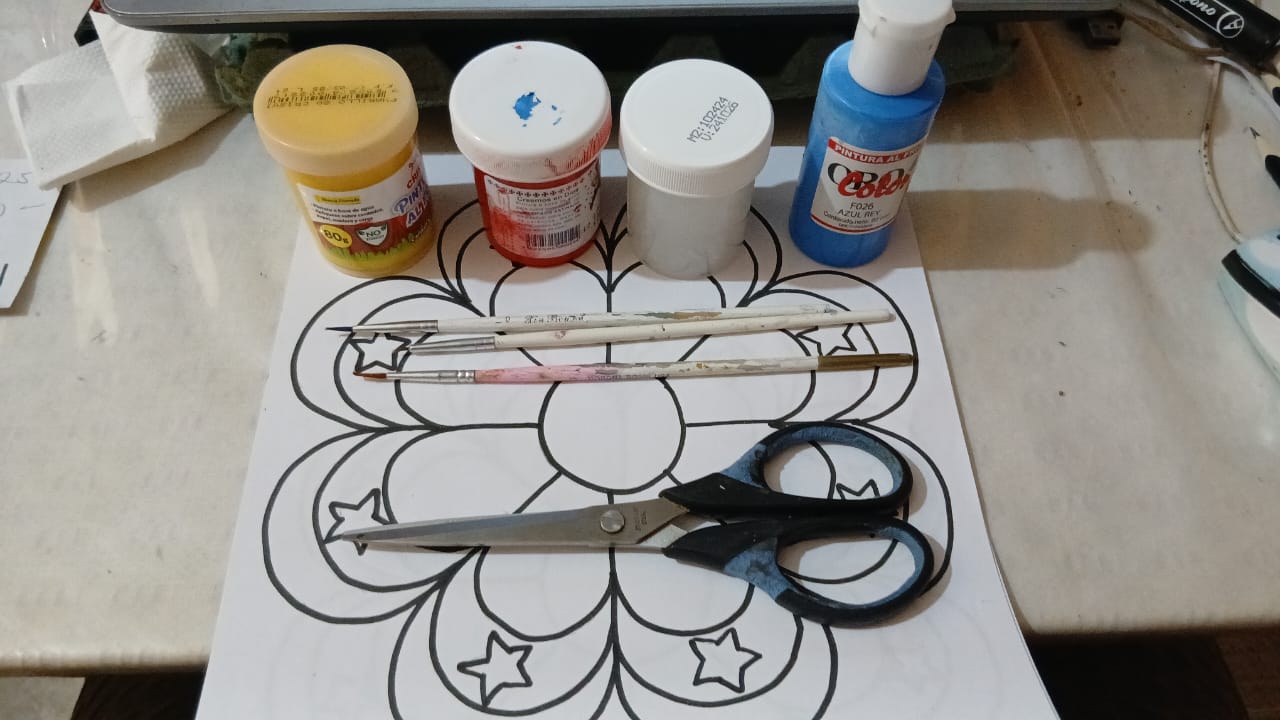
**Materiales para colorear:**
Pinturas al frio: amarillo, azul y rojo, marrón para el centro a final.
Pinceles finos y uno mediano.
Tijera, pitillo.
**A pintar ahora:**
Se empieza desde el centro hacia el borde, primero con el amarillo, asi pinte todas de amarillo.
Espere que se secara para ahora con el azul con mucho cuidado de no pasarme a las estrellas.
Por ultimo el rojo aquí si fue mas rápido, pero siempre con cuidarme de no salirme de la linea así como nos decían cuando eramos niños, de no salirnos.
El centro de las flores con marrón, después con el pitillo marque con amarillo, naranja y blanco.

Luego con la pintura negra unas pinceladas a la flor unas lineas.
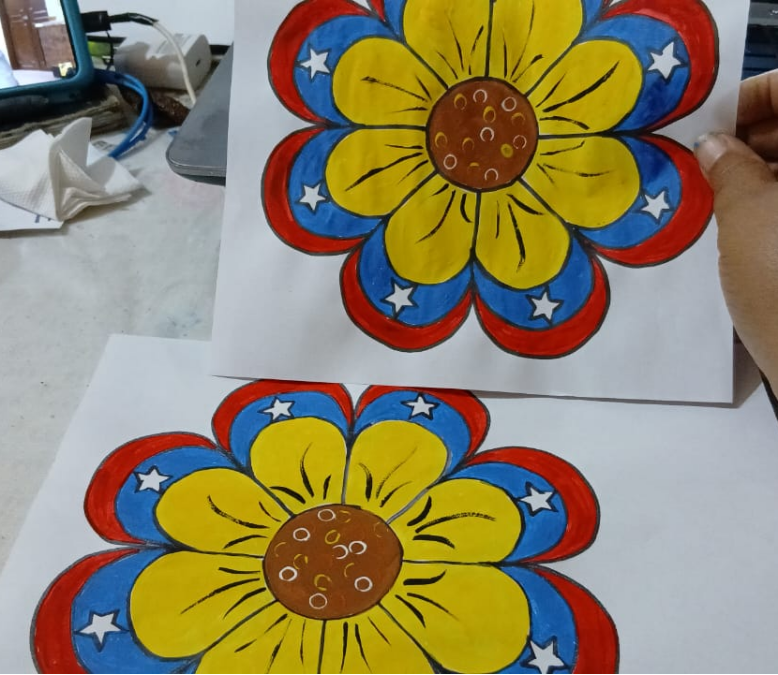
Para el final recorte cada flor dejando un pequeño borde de papel en blanco no se corta nunca al ras de la figura al menos yo no lo hago.
Ya cuando fui al liceo a montar la cartelera, las flores se ven bellas le dan vida, así mismo tricolor hice las letras efemérides y también el papel de fondo de la cartelera.
Todos satisfechos con el trabajo, yo mas y gracias a ello, ya me pidieron otros trabajos sobre navidad.
Fotos tomadas con celular Samsung Galaxy A16.
Portada editada en Canva.
Traducción con la app DeepL.
Greetings, my beautiful friends, friends who excel in the arts, especially in crafts, although right now with so much technology, I only use it to see and do things, but I haven't used it to do something that I can do with my blessed hands.
In other words, I continue to be and do things in the traditional way, just as I make my cakes and my arrangements. The traditional should never go out of style.
As if looking for another source of income to help me more with household expenses, I decided to return to educational crafts, that is: posters, flipcharts, lap books, and well, whatever they ask me to do if it's within my power to do it, otherwise I tell them I can't so they can find someone else who can do it for them.
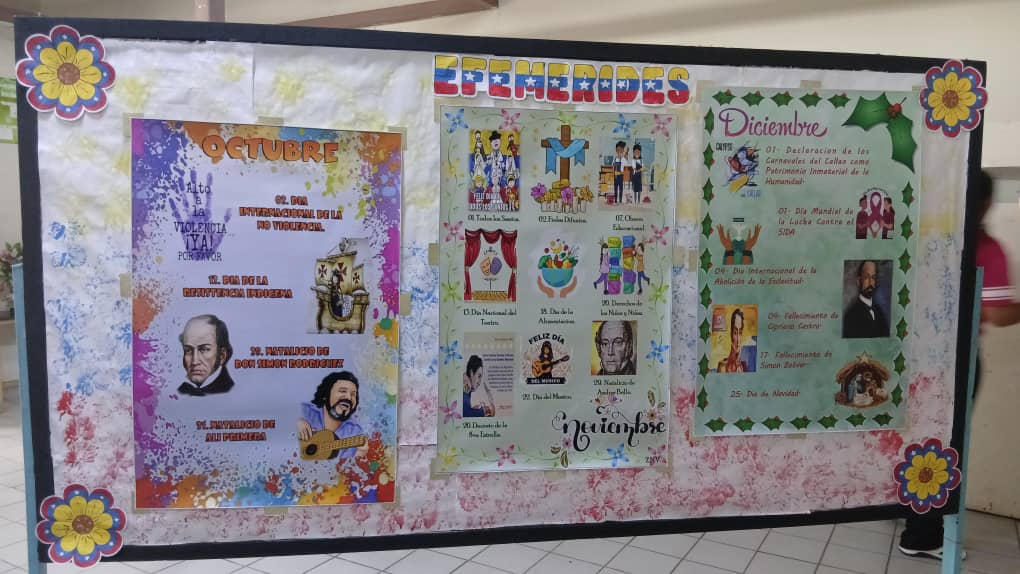
I've already made two posters as requested, one welcoming the school year and another with important dates. Here I did resort to technology, because I thought it was a great idea and the material can be recycled for another occasion.
For the events board, as I could see it was going to be large, I designed the events and then had them printed on self-adhesive vinyl, but the outline of the board was missing. As it is something that could last a long time, I thought, why not make a tricolor flower with the colors of my national flag, but it had to have eight petals, so I looked for one.
First, I found that flower, copied it, and pasted it into PowerPoint, where I removed the background to make it transparent. With that same flower, I copied and pasted two more flowers, but in different sizes.
The first one measures 30 x 30 cm, but remember that these measurements are not always the same in physical terms. The second flower measures 26 x 26 cm and the last one 20 x 20 cm. The largest one is for the red, then the other one is for blue and the one in the center is for yellow.
As the blue flower had eight petals, I added some small stars, which would be white. With everything ready, I saved the image in the folders.
In the image folders, find the flower and enlarge it to 60%, which fits on a letter-size sheet, so mark 4 flowers. Then, with a black marker with a slightly fine round tip, go over the lines, then erase the pencil marks.
**Coloring materials:**
Cold paints: yellow, blue, and red, brown for the center to the end.
Fine brushes and one medium brush.
Scissors, cigarette lighter.
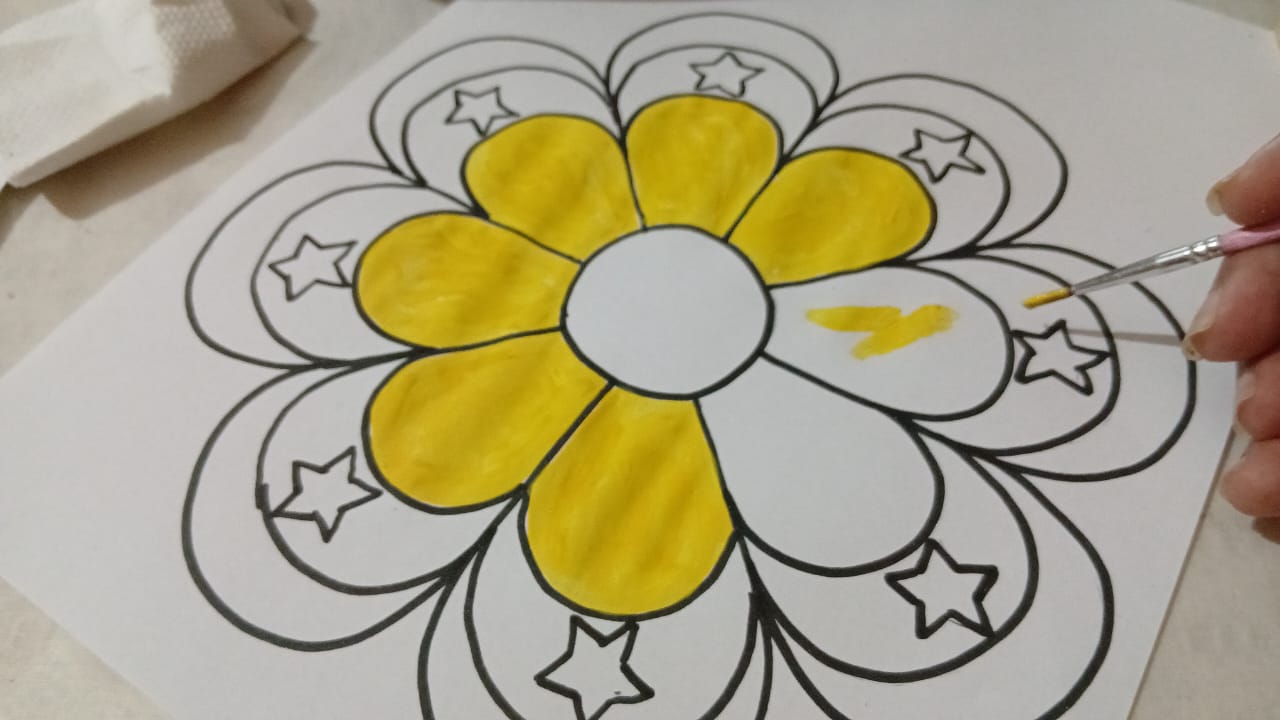
**Now let's paint:**
Start from the center and work your way toward the edge, first with yellow, so I painted them all yellow.
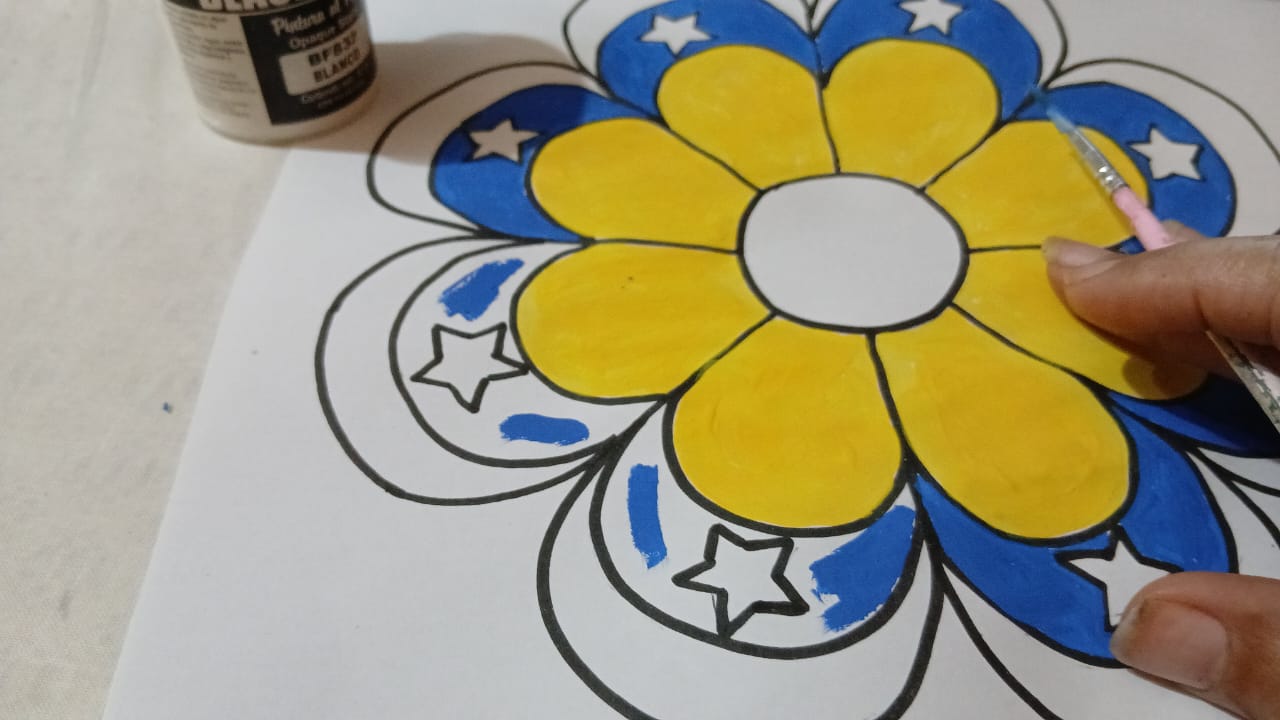
Wait for it to dry, carefully applying the blue paint and taking care not to get any on the stars.
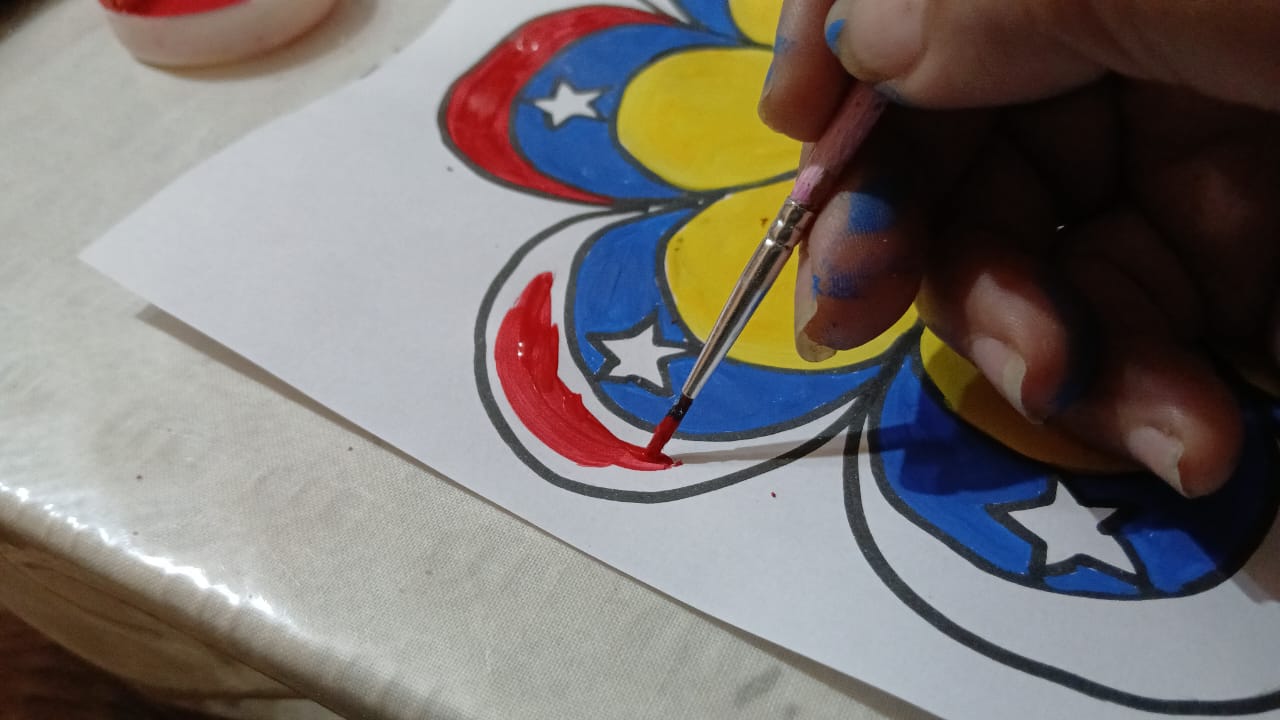
Finally, the red light here was faster, but I always took care not to cross the line, just as we were told when we were children, not to cross the line.
The center of the flowers is brown, then use the pencil to mark them with yellow, orange, and white.
Then use black paint to add a few brushstrokes and lines to the flower.
Finally, cut out each flower, leaving a small border of white paper. Never cut flush with the shape, at least I don't.
When I went to the school to put up the poster, the flowers looked beautiful and brought it to life. I also made the letters for the dates and the background paper for the poster in the same three colors.
Everyone was satisfied with the work, especially me, and thanks to that, I've already been asked to do other Christmas-themed projects.
Photos taken with a Samsung Galaxy A16 cell phone.
Cover edited in Canva.
Translation with the DeepL app.