31/10/25
**¡Bienvenido a un nuevo post, querido Hiver!**
*Hace algunos días fue mi presentación de pasantías, para la que realicé algunos regalos y también las letras de la decoración.*
Así que te cuento el paso a paso de esto. Para ello estuve usando:
+ Un cuter.
+ Un vidrio, en este caso uso el que me regalaron como base para una torta. Se había rallado un poco, así que ahora es parte del material de manualidades.
+ Una cartulina completa en color dorado metalizado.
+ Moldes. Para esto, mi compañera me envió un documento de Microsoft Word con la tipografía que quería.
**Ampliar las letras**
Mi compañera me envió el documento; sin embargo, era del tamaño de una hoja carta. Al ser para decorar parte de una pared, debía ampliarlas.
Así que aumenté el tamaño de las letras, también el zoom que tiene por defecto Microsoft Word, y con ello calqué la pantalla de mi computadora.
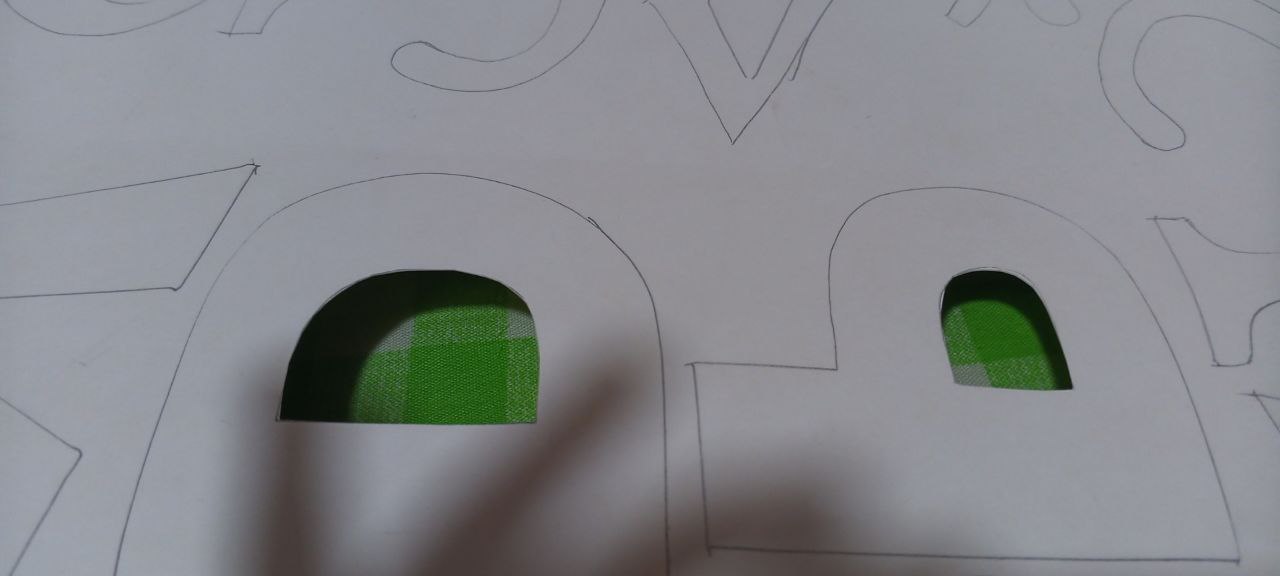
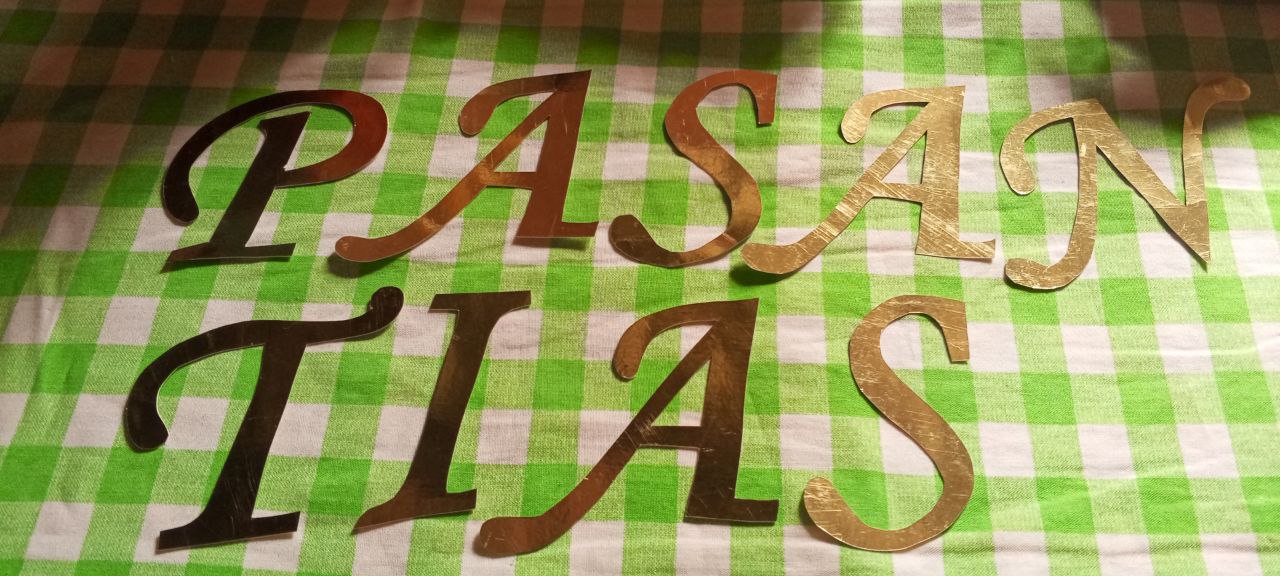
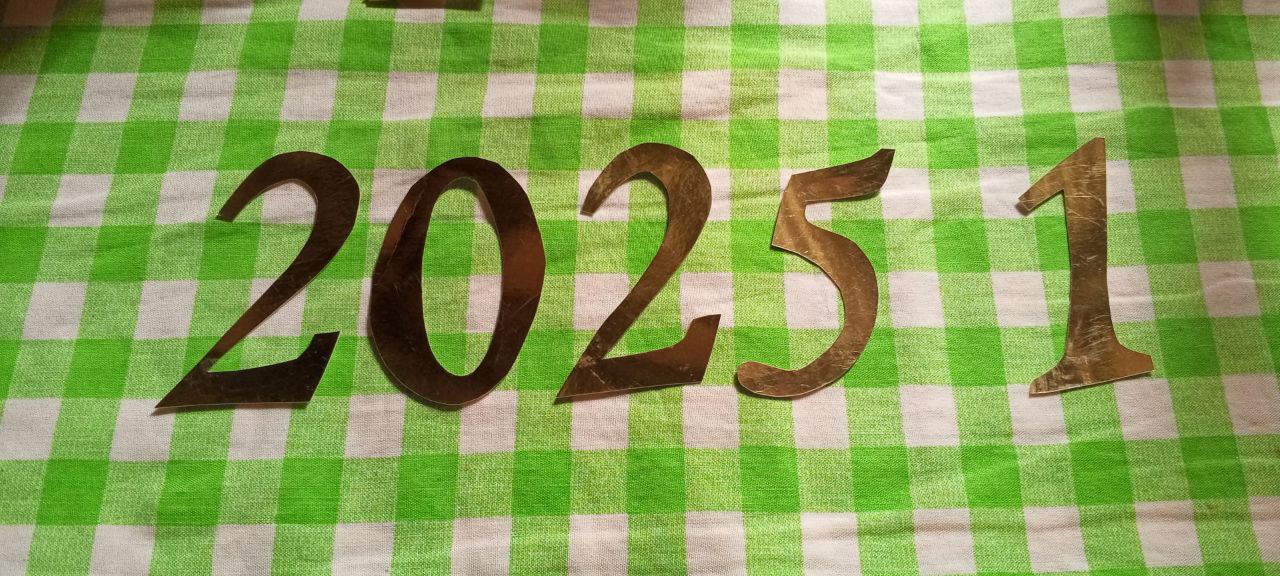
**Luego pasé las letras al papel, y del papel a la cartulina**
Una vez que tuve todas las letras listas, las recorté, para luego pasarlas a la cartulina.
Para ello, hice todas las letras al revés, de forma que al dar la vuelta quedarán al derecho.
De lo contrario no quedarían bien.
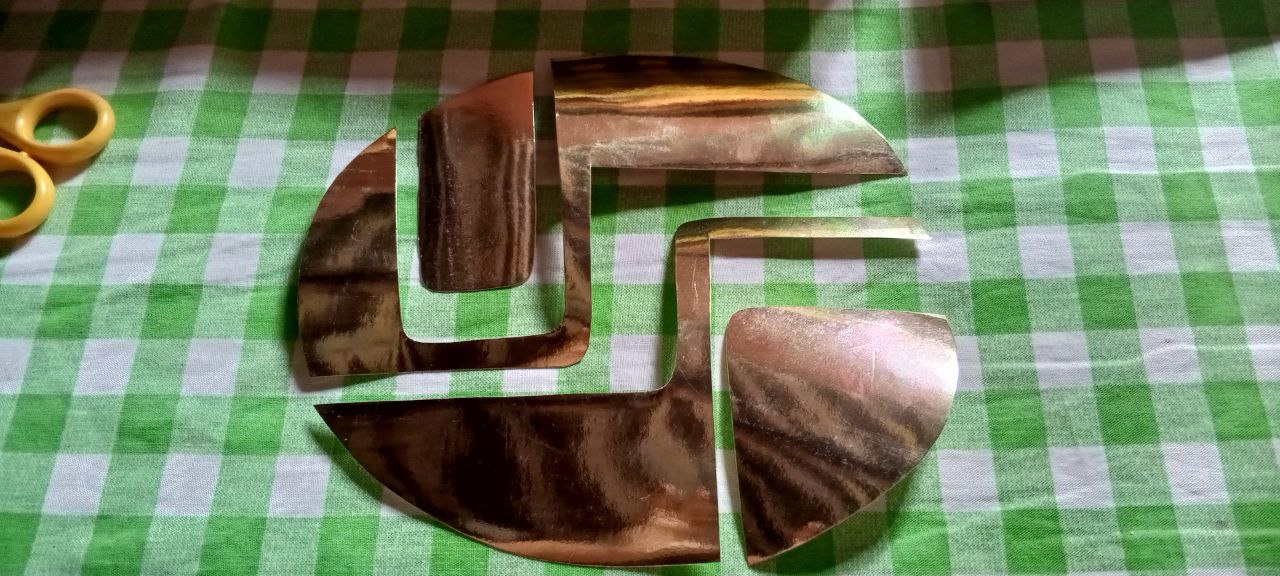
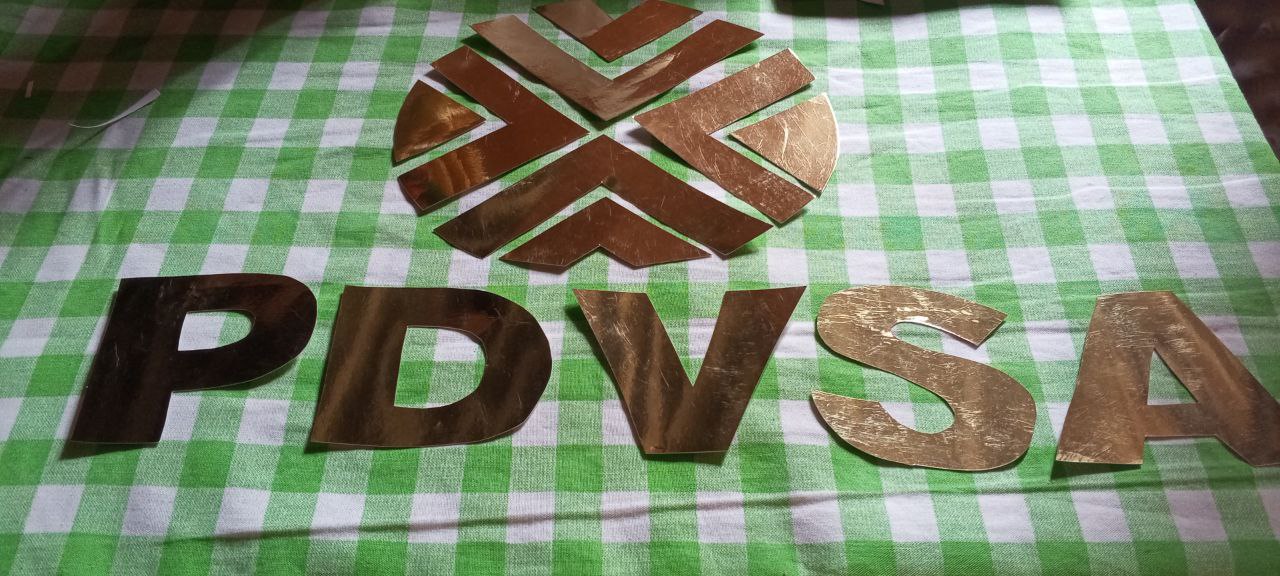
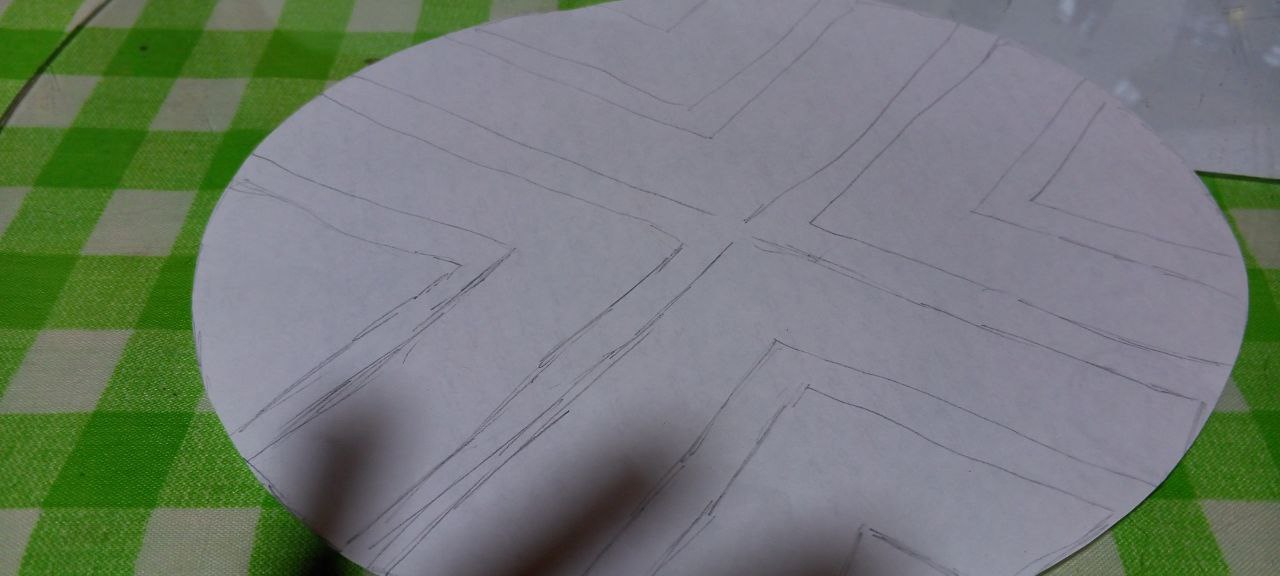
**Recorte la cartulina**
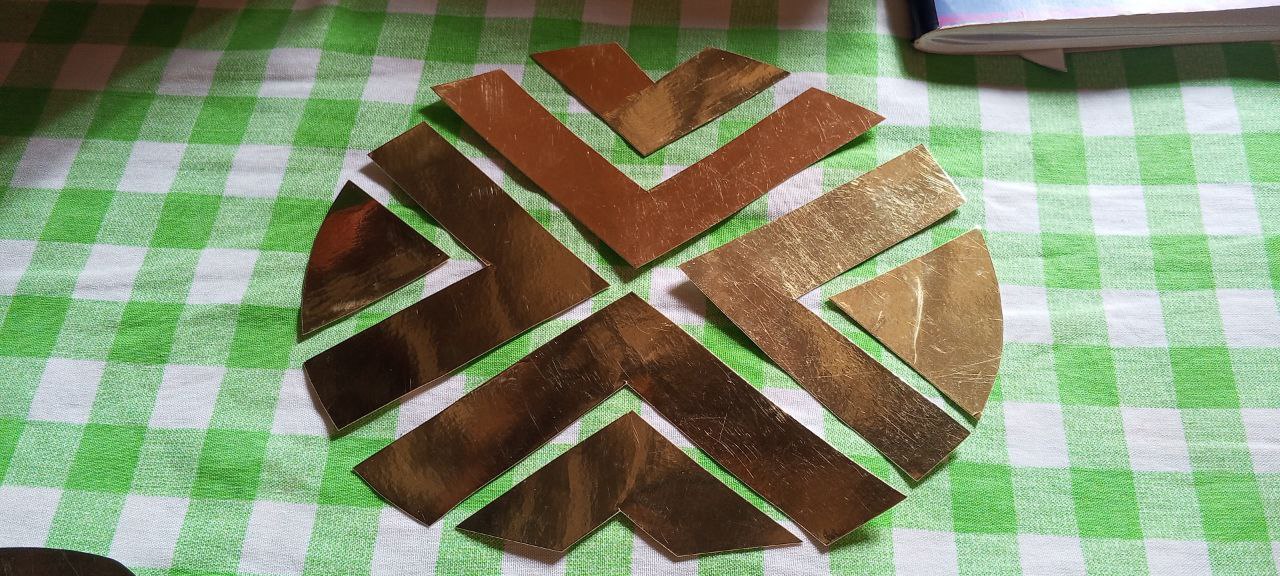
Esta vez, al hacer los logos de la universidad y del lugar donde realizamos las pasantías, decidí usar una tijera, debido a que eran figuras más grandes, lo que lo hacía más sencillo.
En cuanto a las letras, estuve usando mi cuter para mayor exactitud.
|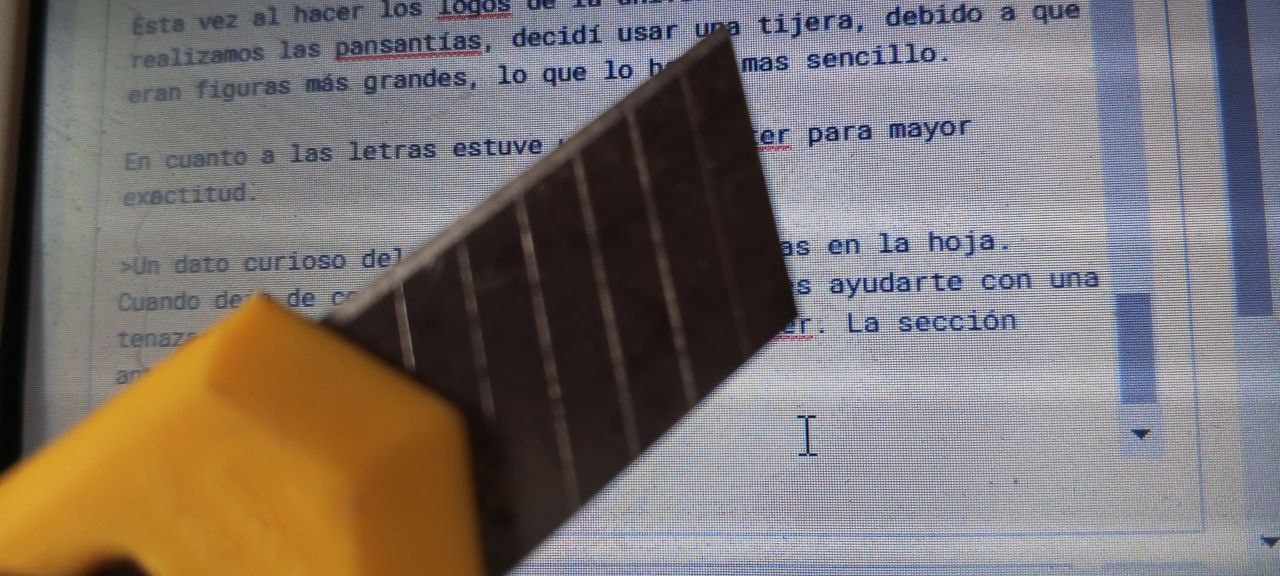|*Un dato curioso del cuter:* Tiene estas líneas en la hoja. Cuando deja de cortar por falta de filo puedes ayudarte con una tenaza y quitar una de las secciones del cuter. La sección anterior tendrá un filo excelente. Como veras, ya me quedan pocas porque suelo hacer varios trabajos de manualidades con el. |
|-|-|
**Después de ello, solo las guardé hasta el día de la presentación**
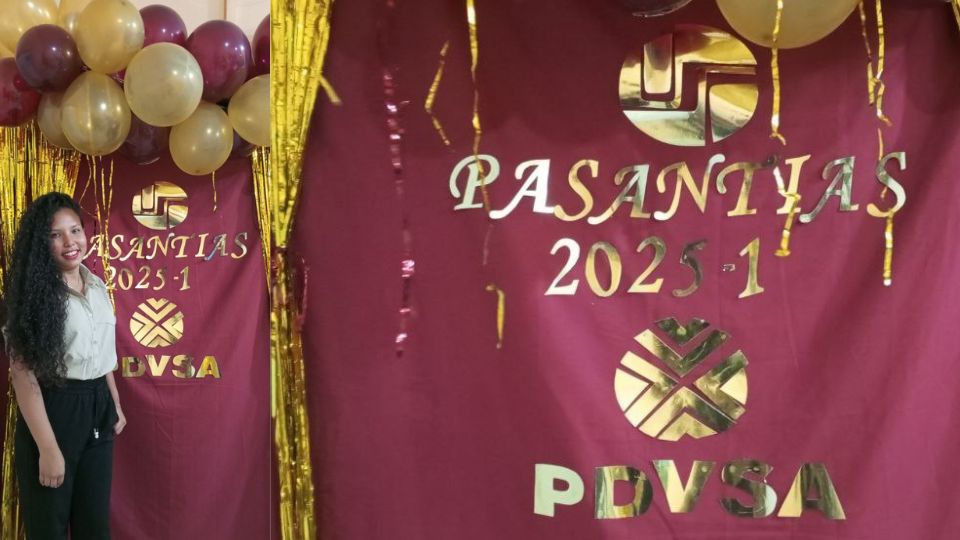
Al llegar el gran día, mi compañera se encargó de la decoración.
Honestamente, decorar no es mi fuerte, lo que es contradictorio debido a que realizo trabajos de manualidades, pero es así. Siempre hay alguien más que lo hace por mí, de forma que no me he preocupado por ello.
En esta ocasión ayudé un poco a mi compañera, a pegar las letras, ver si estaban quedando derechas, y a que los logos encajaran. Estos tenían diversas piezas, así que había que estar atentas, y 4 ojos ven mejor que 2.
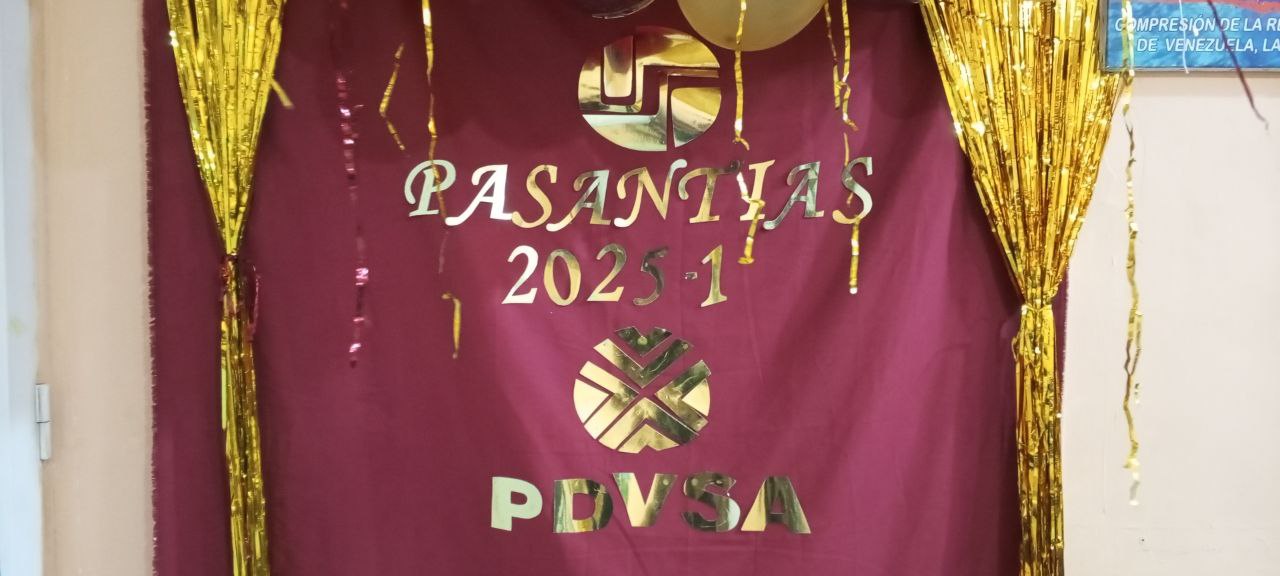
La decoración se armó en cuestión de minutos, gracias a que mi compañera es muy ágil con ello.
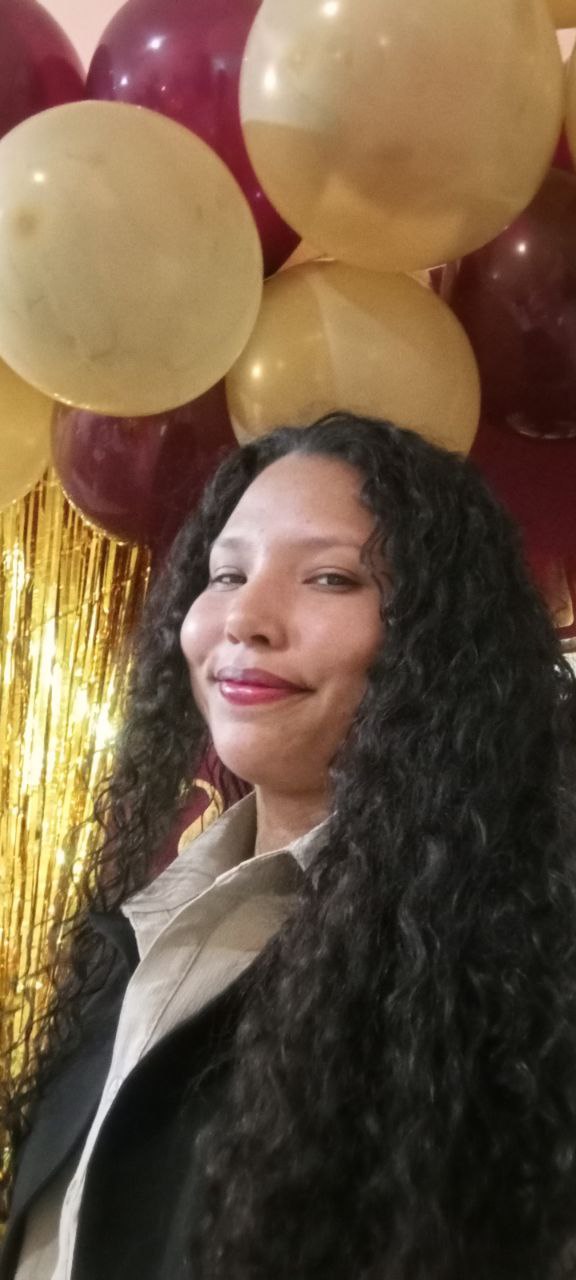
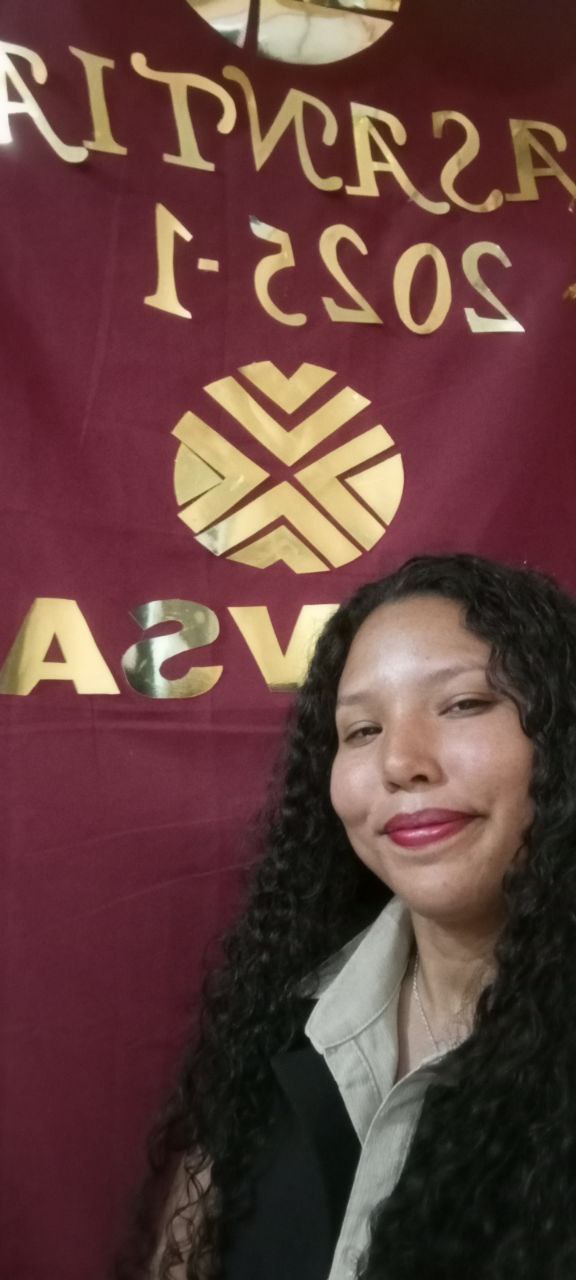
Y finalmente pudimos disfrutar de ella para tomar algunas hermosas fotos como recuerdo de la presentación final de pasantías.
||||
|-|-|-|
>! [English Version Here]
>

>
>*A few days ago was my internship presentation, for which I made some gifts and also the letters for the decoration.*
>
>So I'll tell you step by step about this. For this I was using:
>
>+ A cutter.
>+ A glass, in this case I use the one they gave me as a base for a cake. It had been scratched a little, so now it's part of the craft material.
>+ A complete cardstock in metallic gold color.
>+ Molds. For this, my colleague sent me a Microsoft Word document with the font I wanted.
>
>**Expand the letters**
>
>My partner sent me the document; However, it was the size of a letter sheet. Since it was to decorate part of a wall, it had to be expanded.
>
>So I increased the size of the letters, as well as the zoom that Microsoft Word has by default, and with this I traced my computer screen.
>
>

>
>

>
>**Then I transferred the letters to the paper, and from the paper to the cardboard**
>
>Once I had all the letters ready, I cut them out and then transferred them to the cardboard.
>
>To do this, I made all the letters upside down, so that when turned around they will be right side up.
>
>Otherwise they wouldn't look good.
>
>

>
>

>
>

>
>**Cut out the cardboard**
>
>This time, when making the logos of the university and the place where we did the internships, I decided to use scissors, because they were larger figures, which made it easier.
>
>As for the letters, I was using my cutter for greater accuracy.
>
>

>
>

>
>
*A Curious fact about the cuter:* It has these lines on the blade. When it stops cutting due to a lack of edge, you can help yourself with a pair of pliers and remove one of the sections of the cutter. The previous section will have an excellent edge. As you will see, I have few left because I usually do various craft projects with it.
>
>

>
>**After that, I only saved them until the day of the presentation**
>
>When the big day arrived, my partner was in charge of the decoration.
>
>Honestly, decorating is not my strong suit, which is counterintuitive since I do craft work, but that's the way it is. There's always someone else who does it for me, so I haven't worried about it.
>
>On this occasion I helped my partner a little, to glue the letters, see if they were straight, and to make sure the logos fit. These had various pieces, so you had to be attentive, and 4 eyes see better than 2.
>
>The decoration was put together in a matter of minutes, thanks to the fact that my partner is very agile with it.
>
>And finally we were able to enjoy it to take some beautiful photos as a souvenir of the final internship presentation.
>
>

>

>


