1. Precalentar el horno
Es fundamental este paso para el éxito de la receta. El truco de calentar a máxima temperatura para que “se caliente rápido” y luego bajarlo, no funciona ya que al introducir el bizcochuelo recibirá un golpe de calor extremo que no necesita. Hay que hacerlo a la temperatura que indica la fórmula, y es a 160°/170°. Con 15 minutos de calor, está perfecto.
Preheat the oven
This step is essential for the success of the recipe. The trick of heating to maximum temperature so that it "heats up quickly" and then lowering it does not work, since when the sponge cake is introduced it will receive an extreme heat shock that it does not need. It must be done at the temperature indicated in the formula, which is 160°/170°. With 15 minutes of heat, it is perfect.
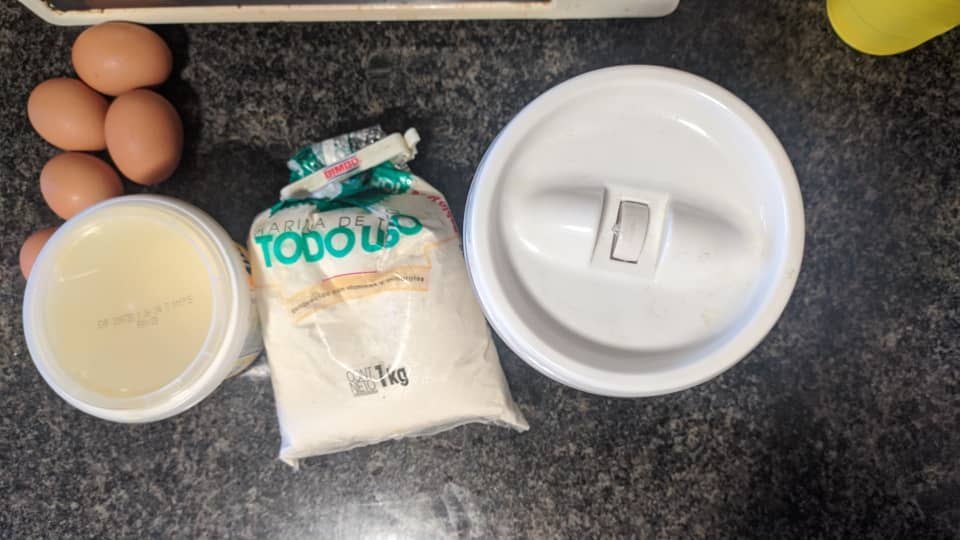
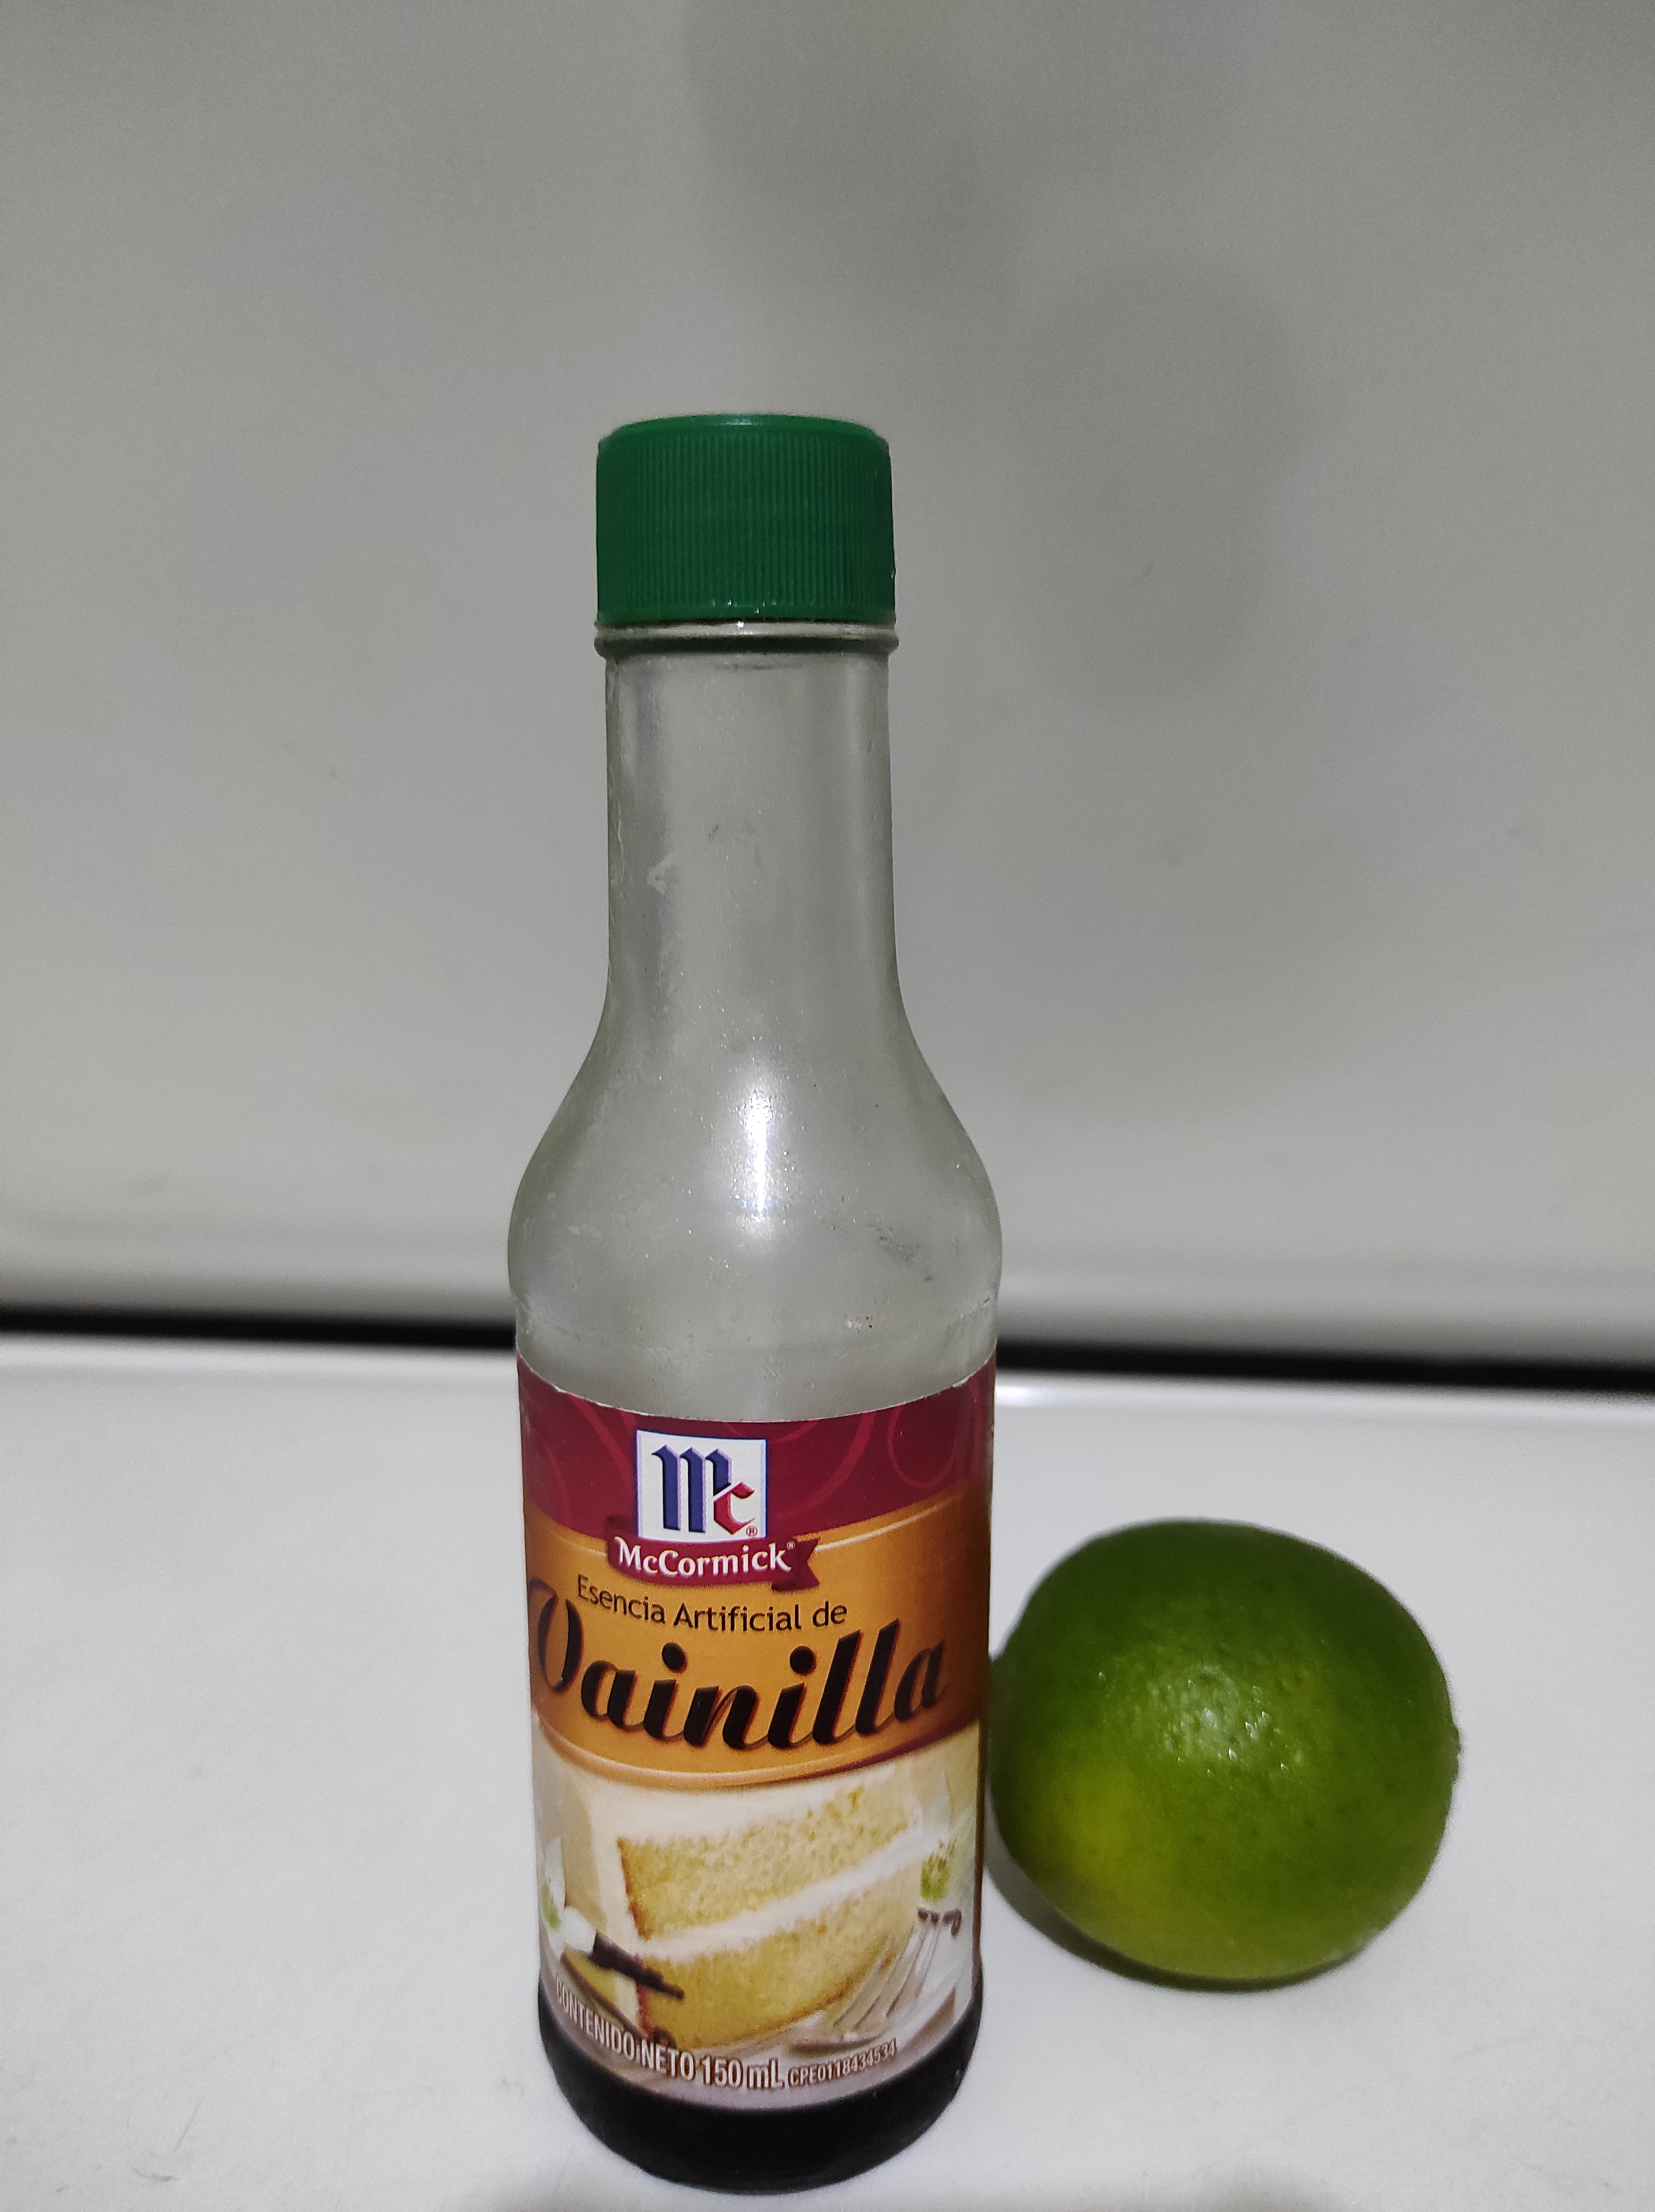
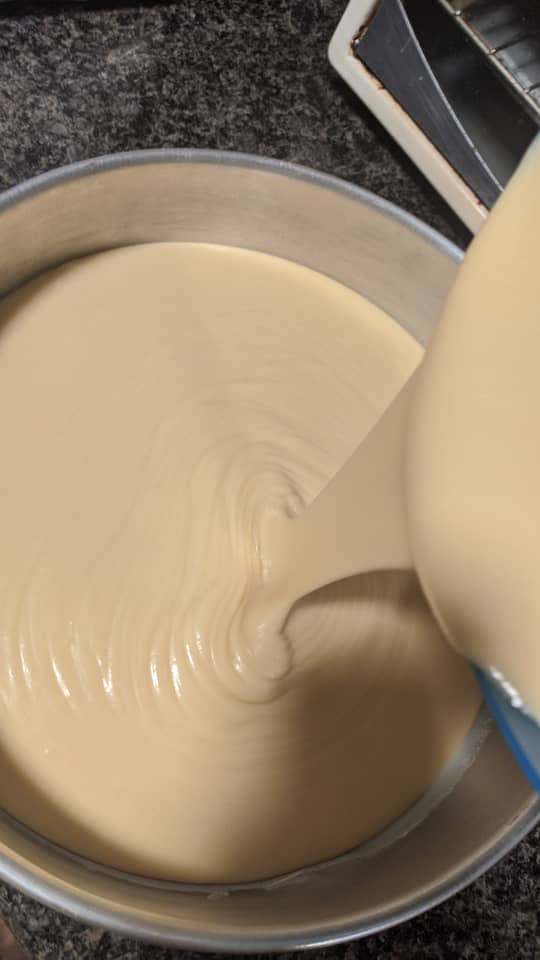
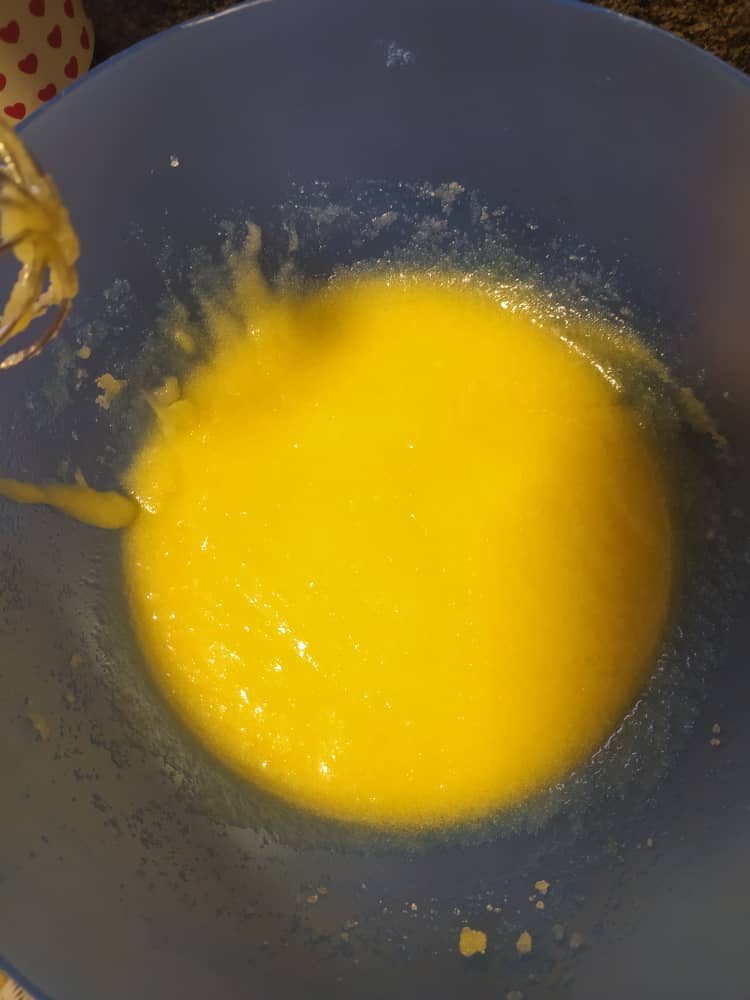
Preparación
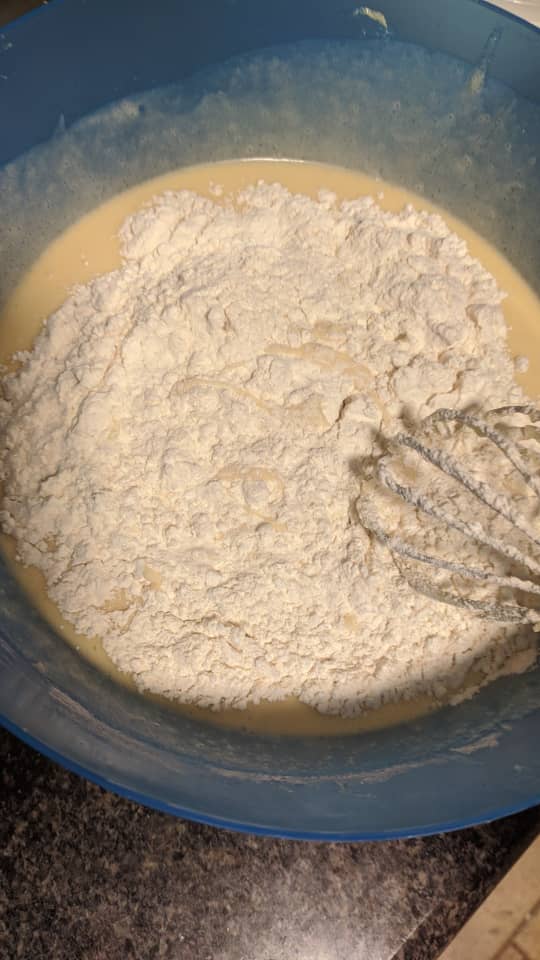
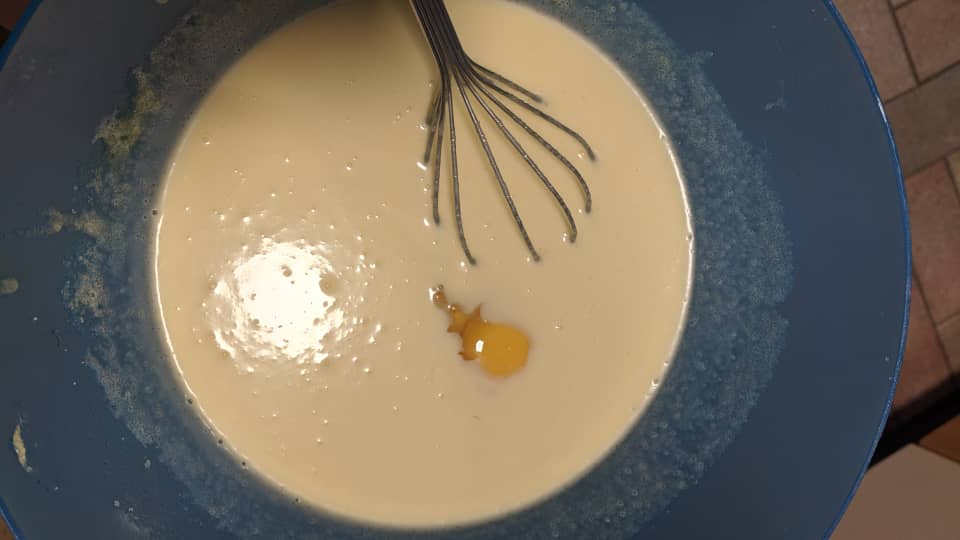
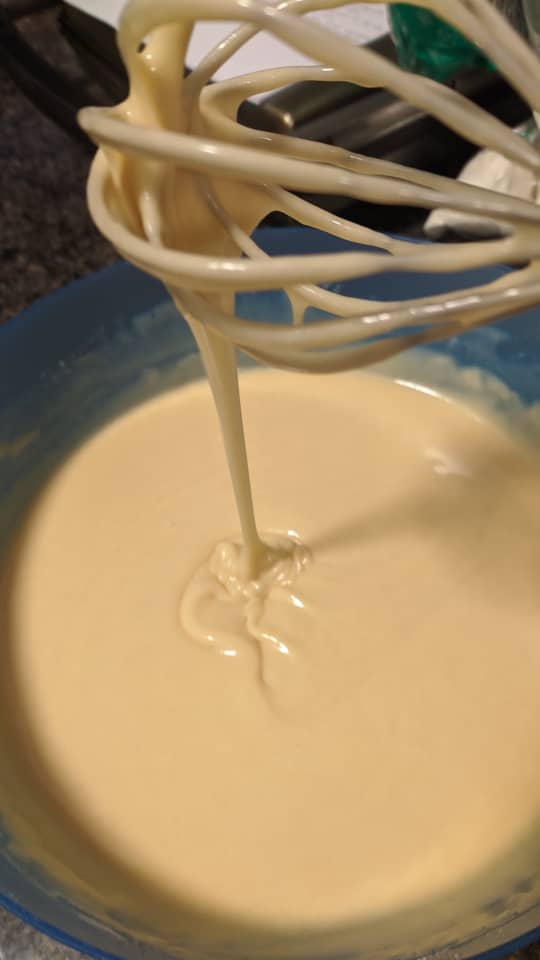
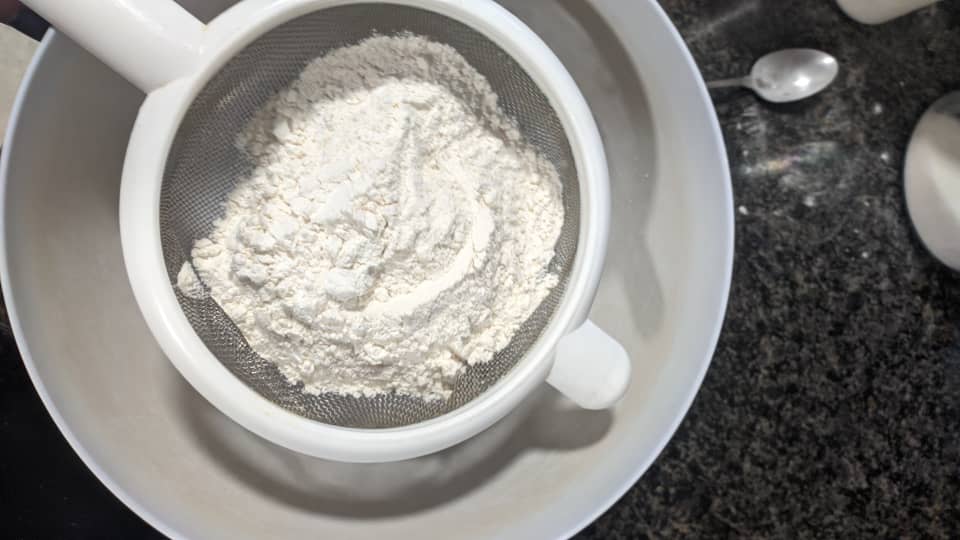
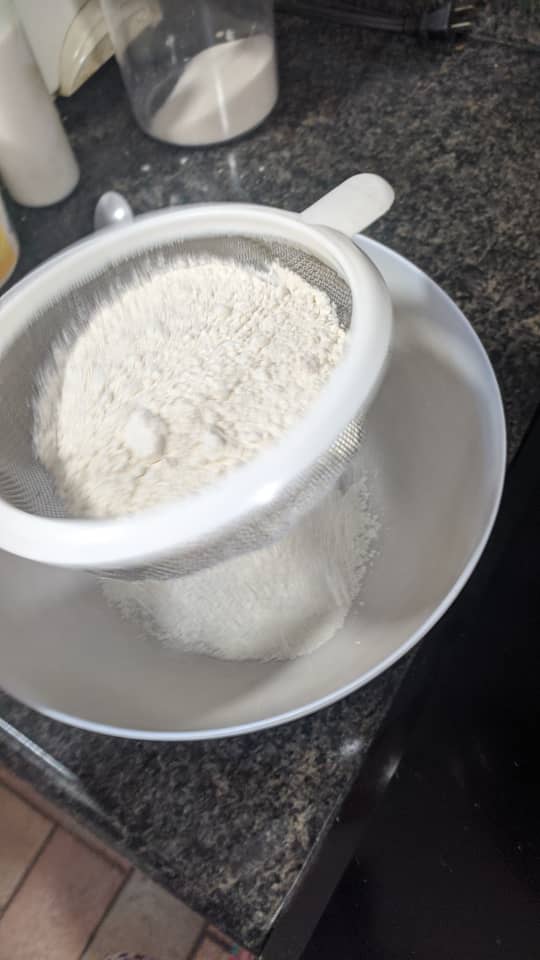
Bowl con leche + ralladura de limón Batir la mantequilla y el azúcar hasta quedar cremosa Agregar uno por uno los huevos a la vez batir entre cada uno Batir lentamente e ir agregando la harina y la leche poco a poco En otro bowl colocar harina + bicarbonato+ polvo de hornear Mezclar todo y agregar la cucharada de vainilla
Preparation
Bowl with milk + lemon zest Beat butter and sugar until creamy. Add one by one the eggs at a time, beating between each one. Beat slowly and add the flour and milk little by little. In another bowl place the flour + baking soda + baking powder. Mix everything together and add the tablespoon of vanilla.
Galería de fotos con el paso a paso // Photo gallery with the step by step:
.jpg)