***English***
Türkçe bölüm için lütfen buraya tıklayın.
---
Hello everyone!!!
I hope you are well or are trying to be well. I am doing okay. As I am currently focused on learning new things, I have learnt a new crocething style. If I remember correctly, it is called the ‘waffle’ style. I really like it. It is also quite easy to make.
However, that's not what we're talking about today. I still had one ball of cotton yarn left, baby blue in colour. If you remember, this ball was leftover from the bag and cardigan. I thought to myself, ‘Why not make something small with this?’ One of the most practical things to make with it, I thought, was a bandana.

---
It turned out to be a product I didn't even use half of what I had. This was a bit challenging for me, to be honest, but not in terms of difficulty. I found it hard to remember where I left off when I constantly had to do something else. I also took this model from [this video](https://www.youtube.com/watch?v=EbnTdCuBszo&t=1337s). I thought it was quite nice, so I wanted to make it too. Although the video says it's advanced, it's definitely something a beginner can do with a bit of time. I recommend it.

---
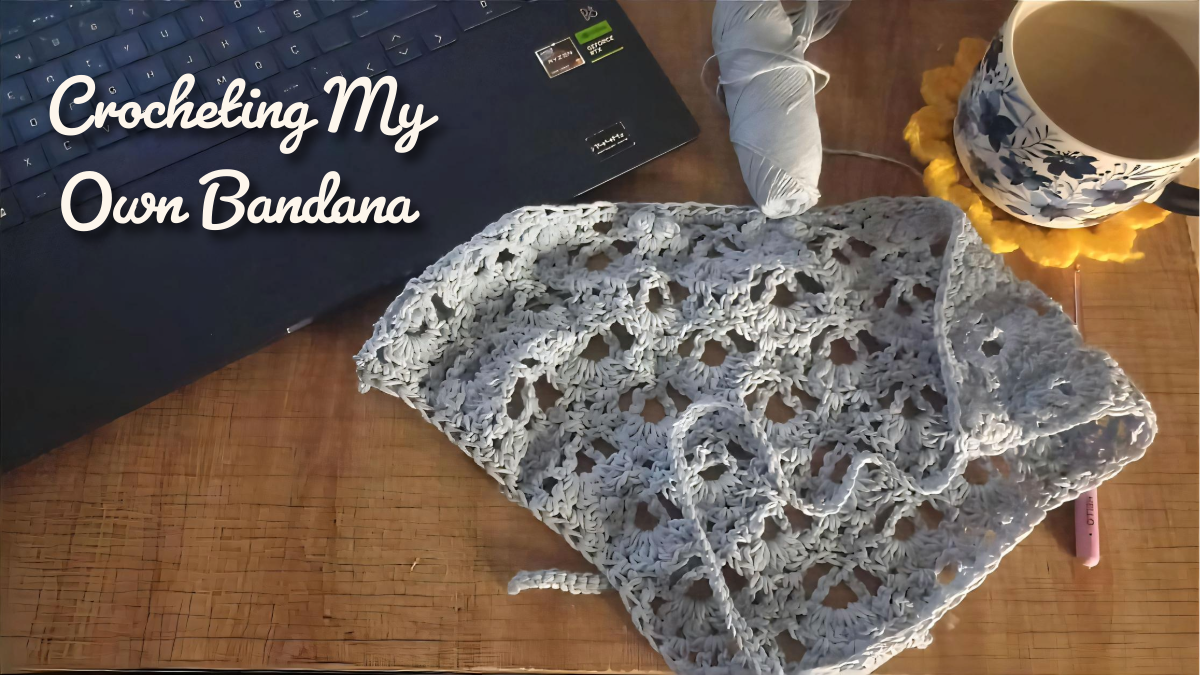
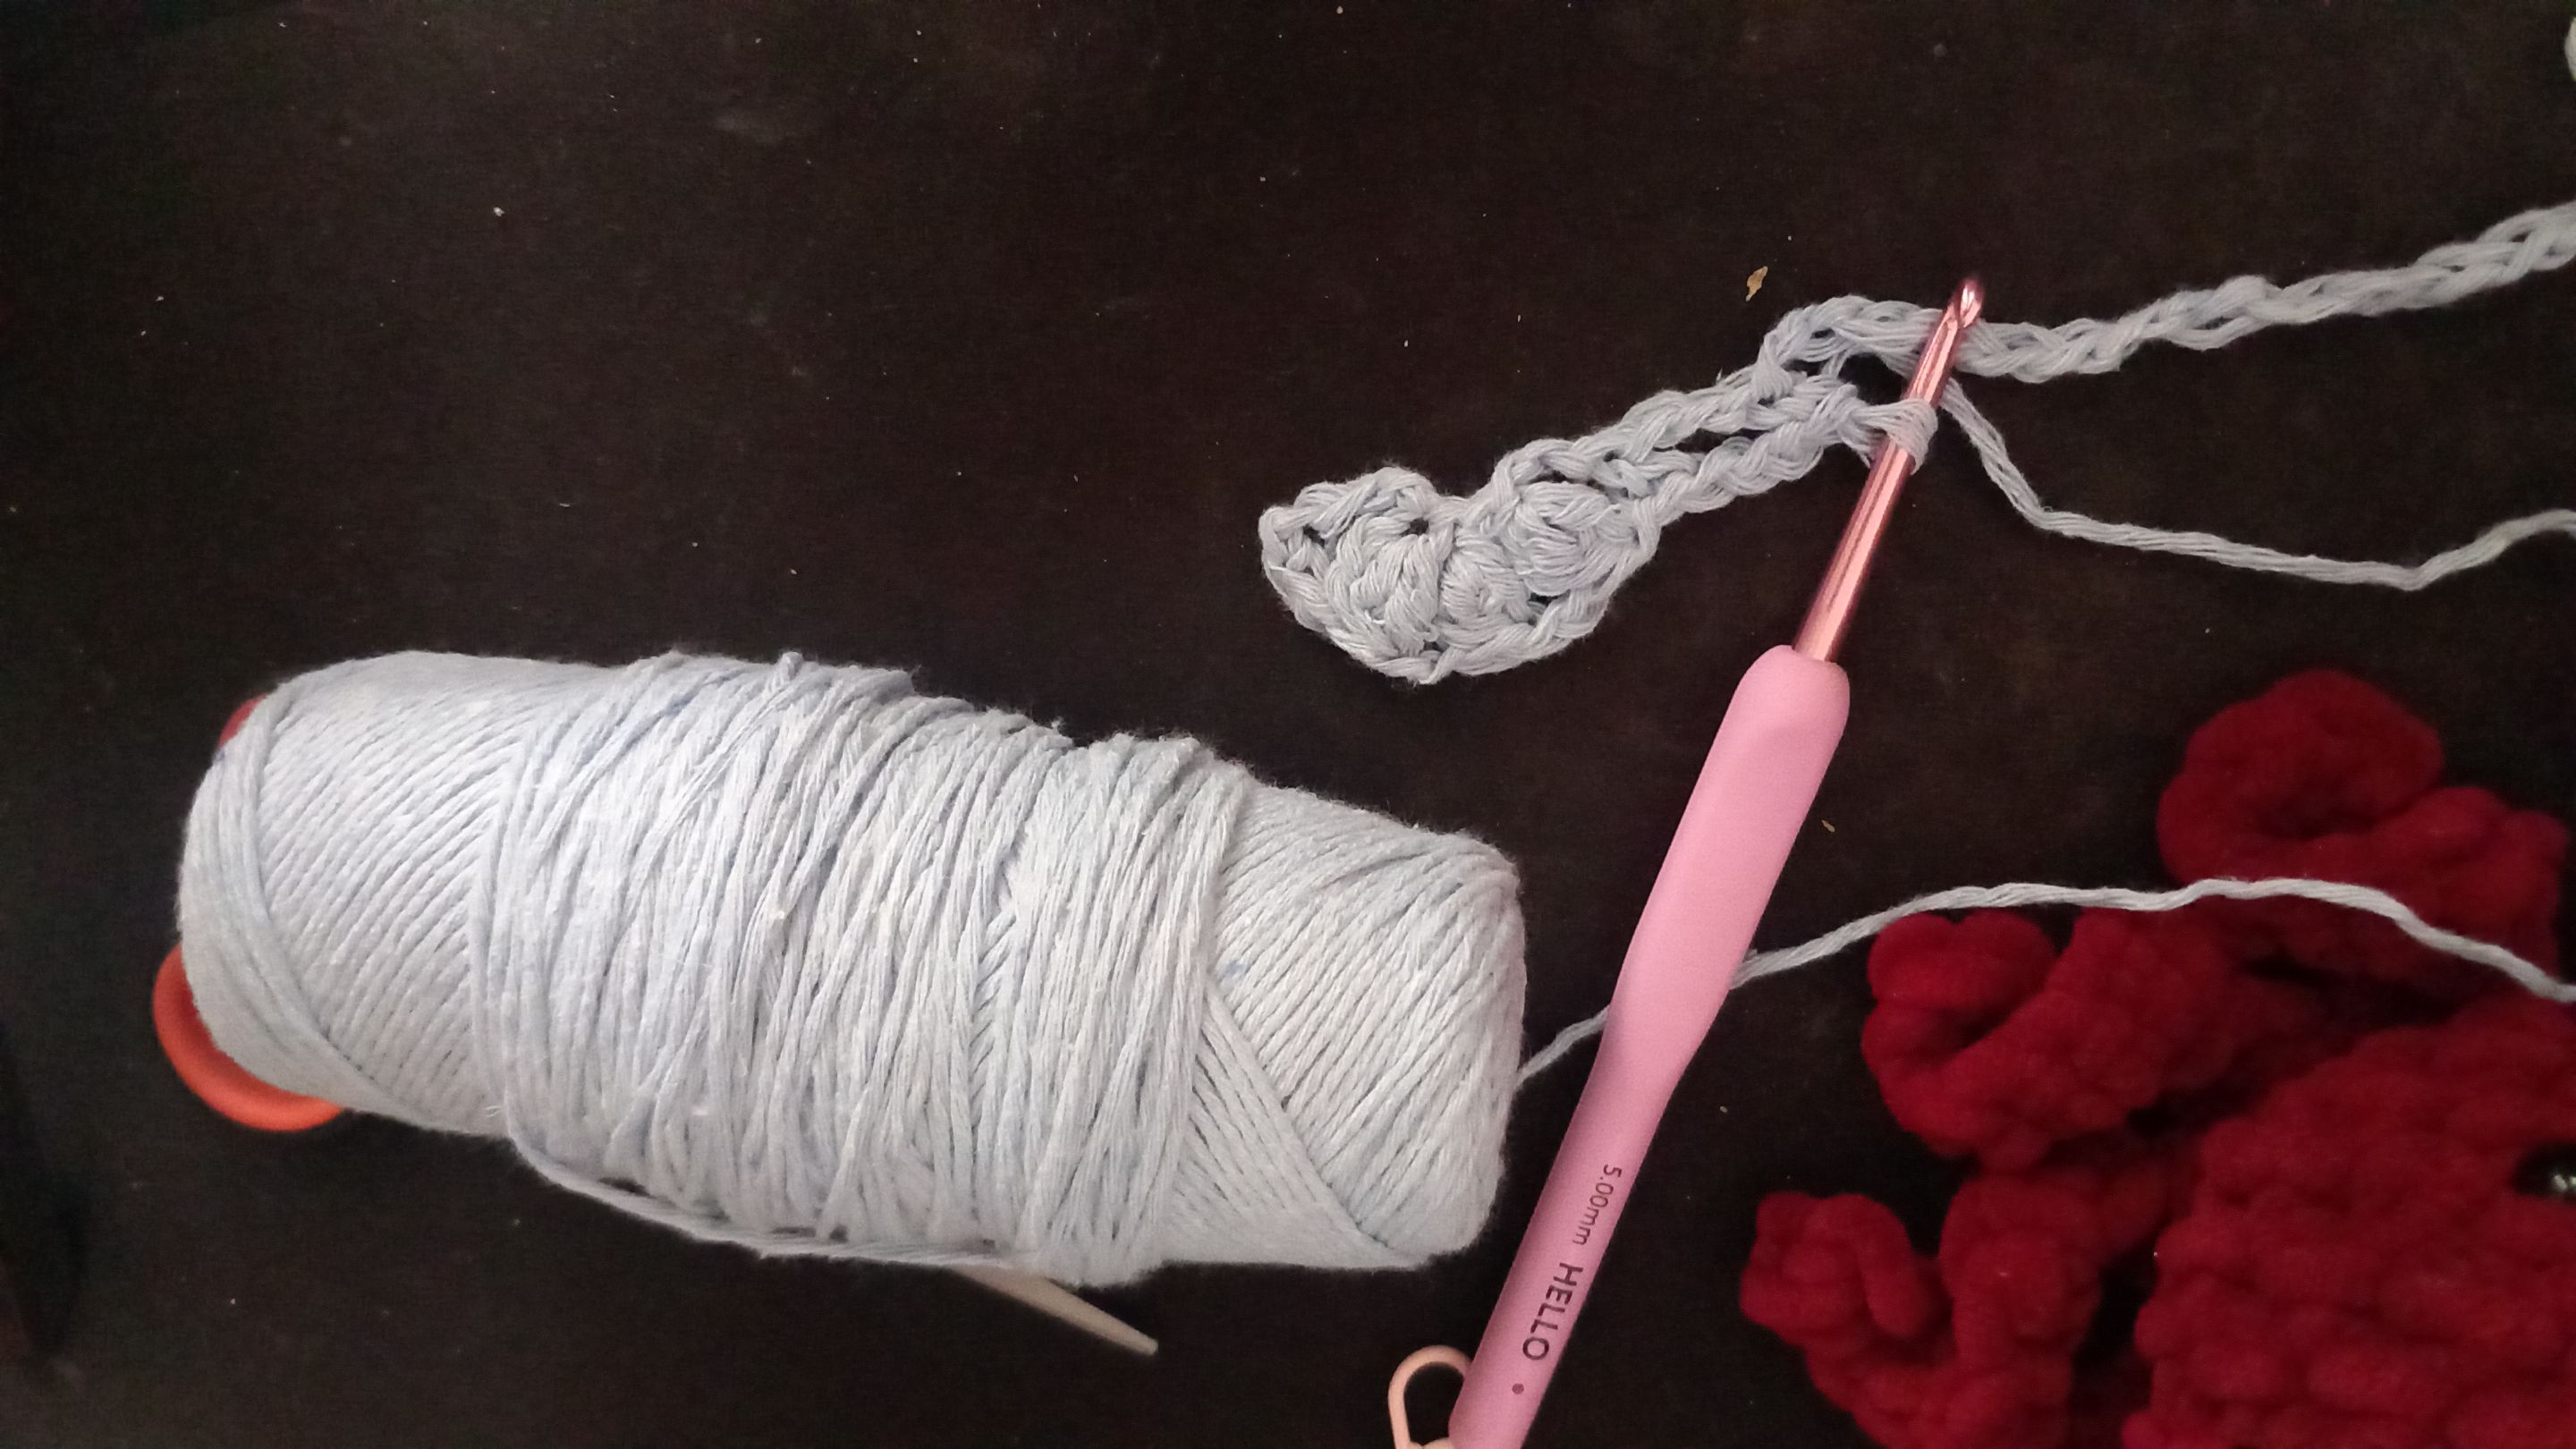
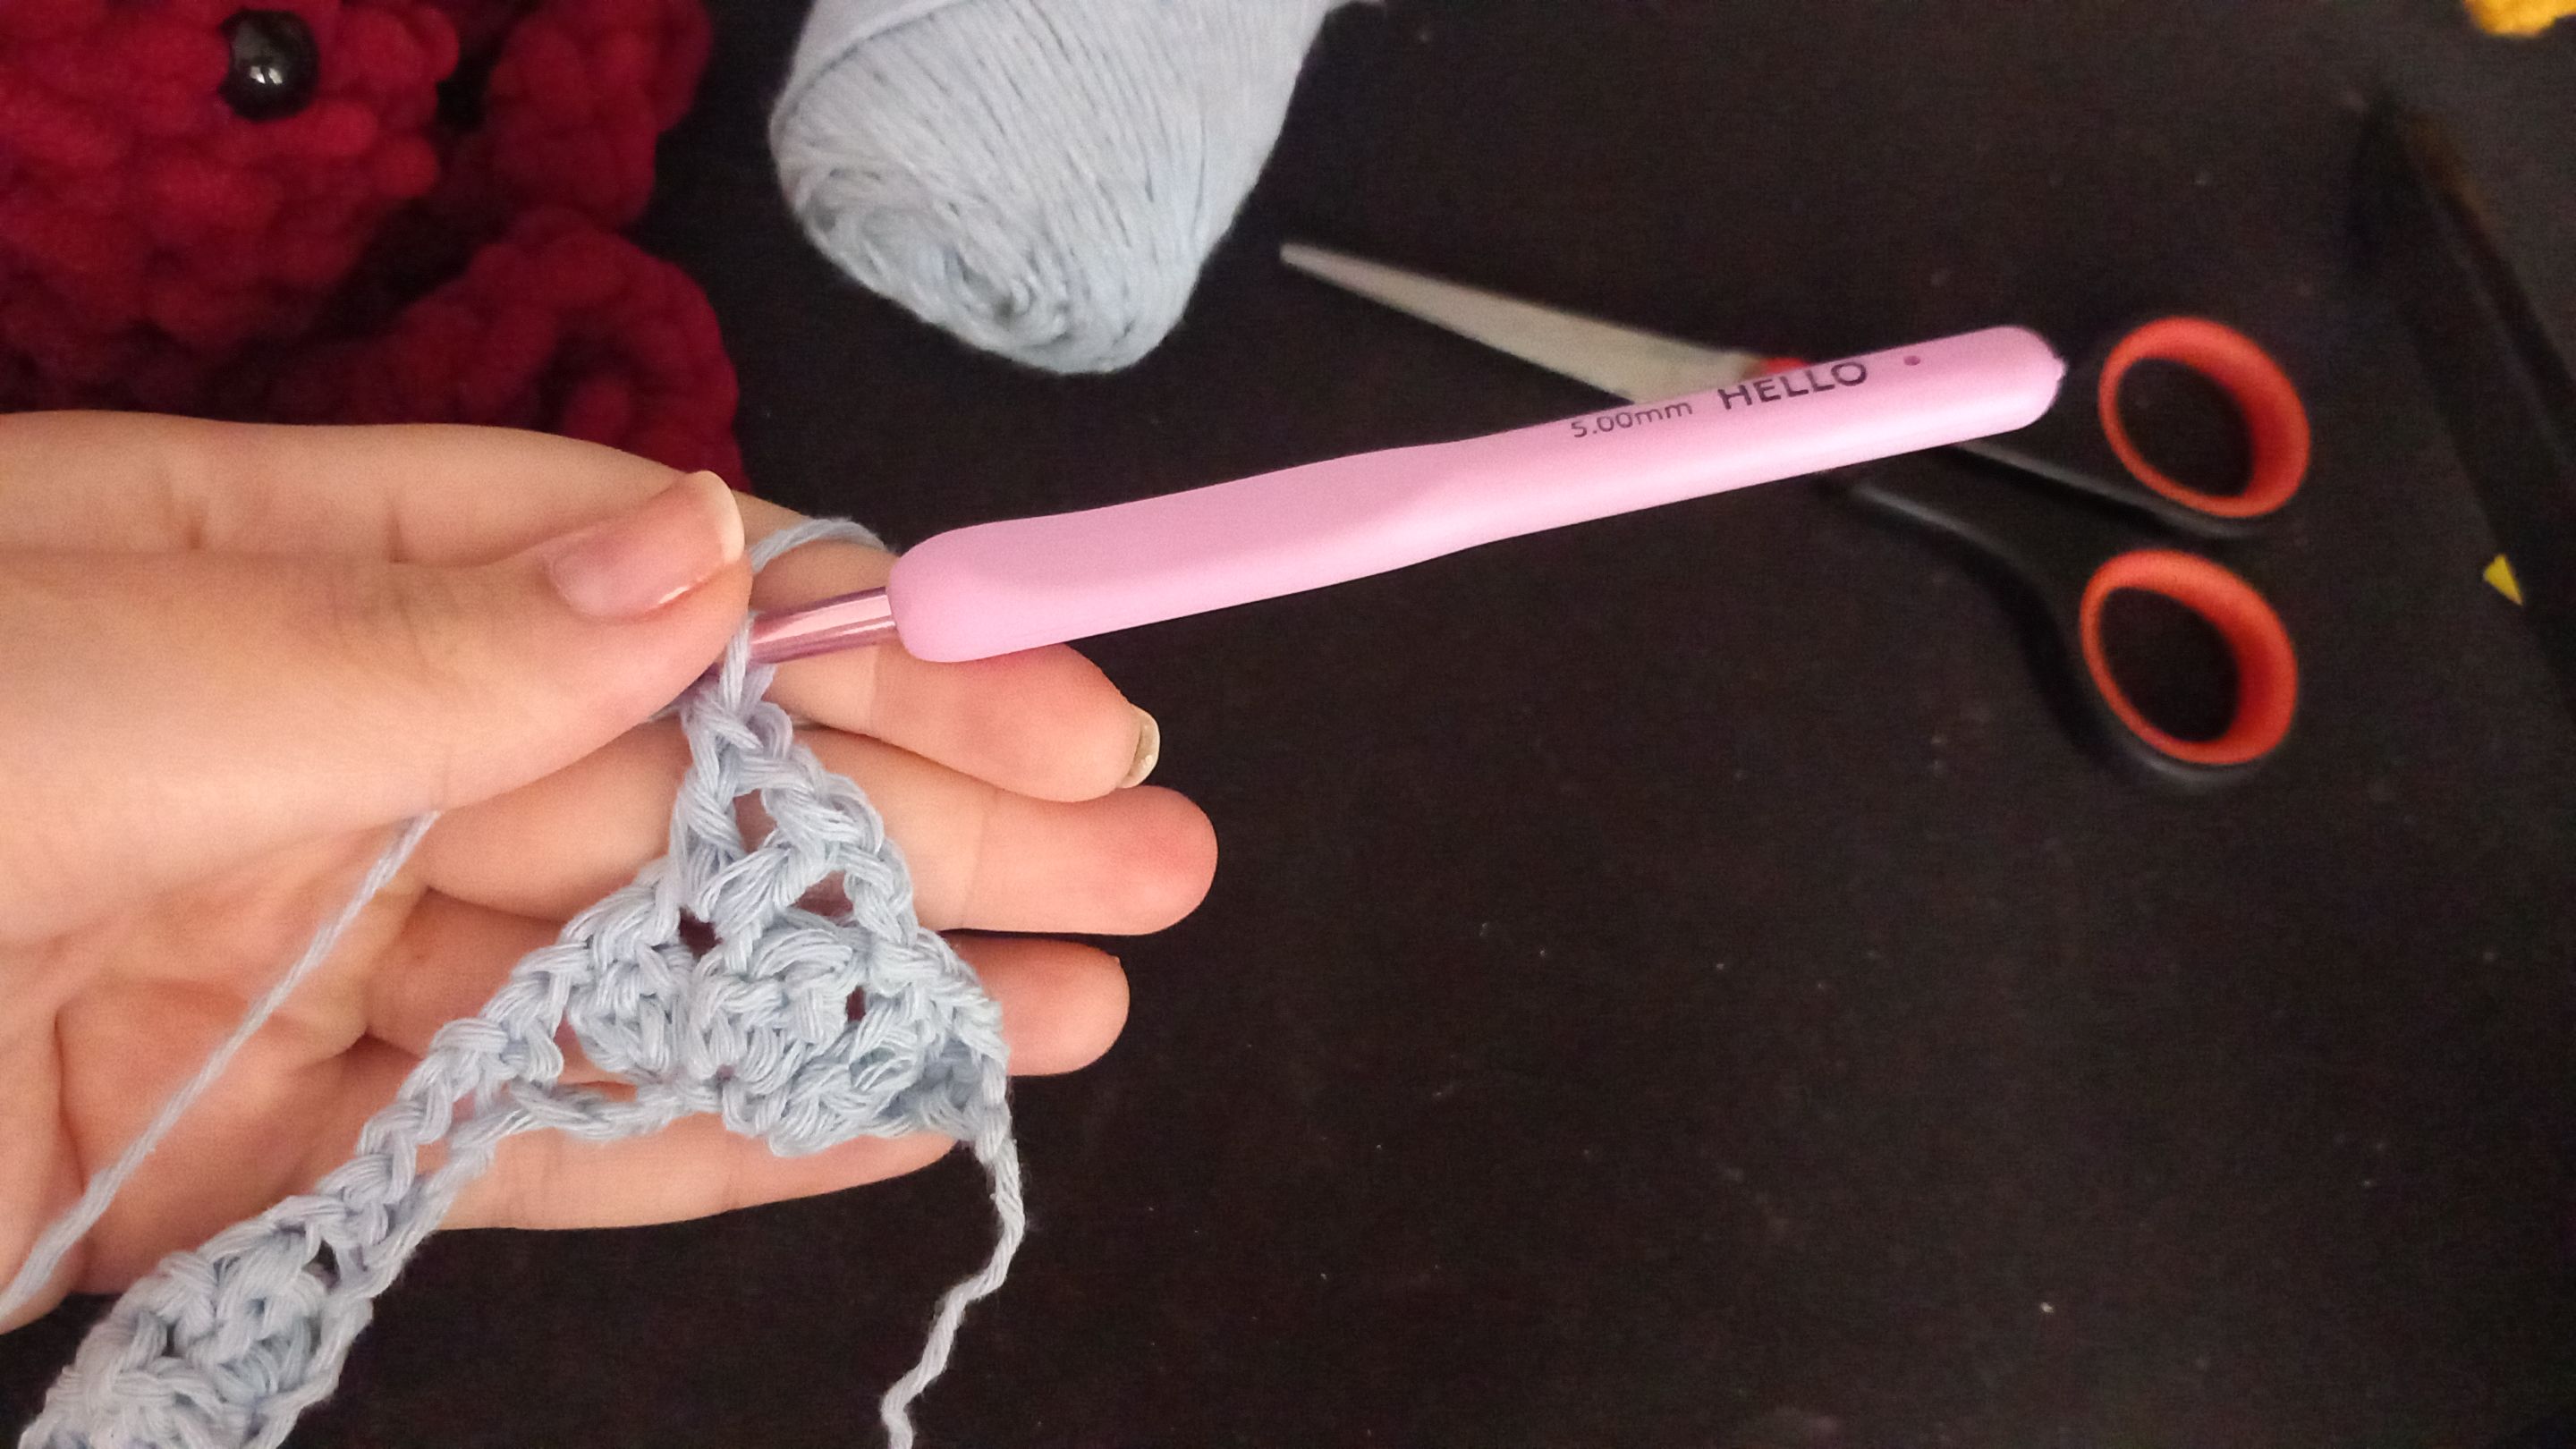
Since my yarn was a bit thicker, I used a 5 mm crochet hook instead of the recommended size. The other materials were scissors and, if you prefer, a marker. I stopped using it after a while, to be honest, because the beginning and end were very obvious. Cub was with me throughout this process 😁 He really supported me in terms of morale.

 ---


This way, the bandana was completely finished. I'm not someone who normally wears bandanas, but I'm sure I'll find a use for it one day. Of course, with the end of the summer, I'll put it away somewhere dust-free and keep it until next summer. As I mentioned above, even though the video says it's advanced, it's a bandana that can be easily made with a little patience and attention. I spent about an hour on it, and I think it turned out great. I'll use it as much as I can. Maybe you'll see me wearing a bandana now 😁 That's all for now. See you later. Take care of yourself in advance, stay in health and love, and please remember that; ***You are the only one of you.*** 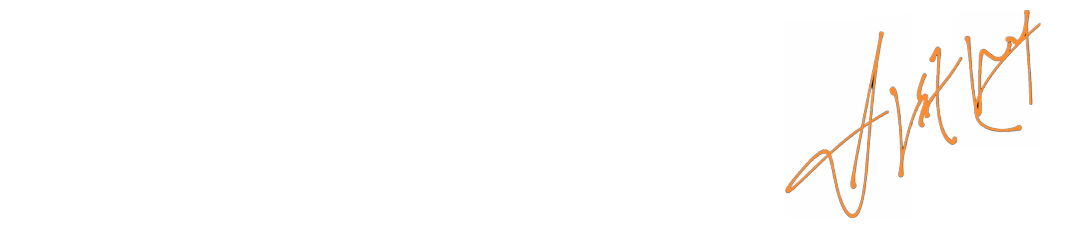

 ---


---

---
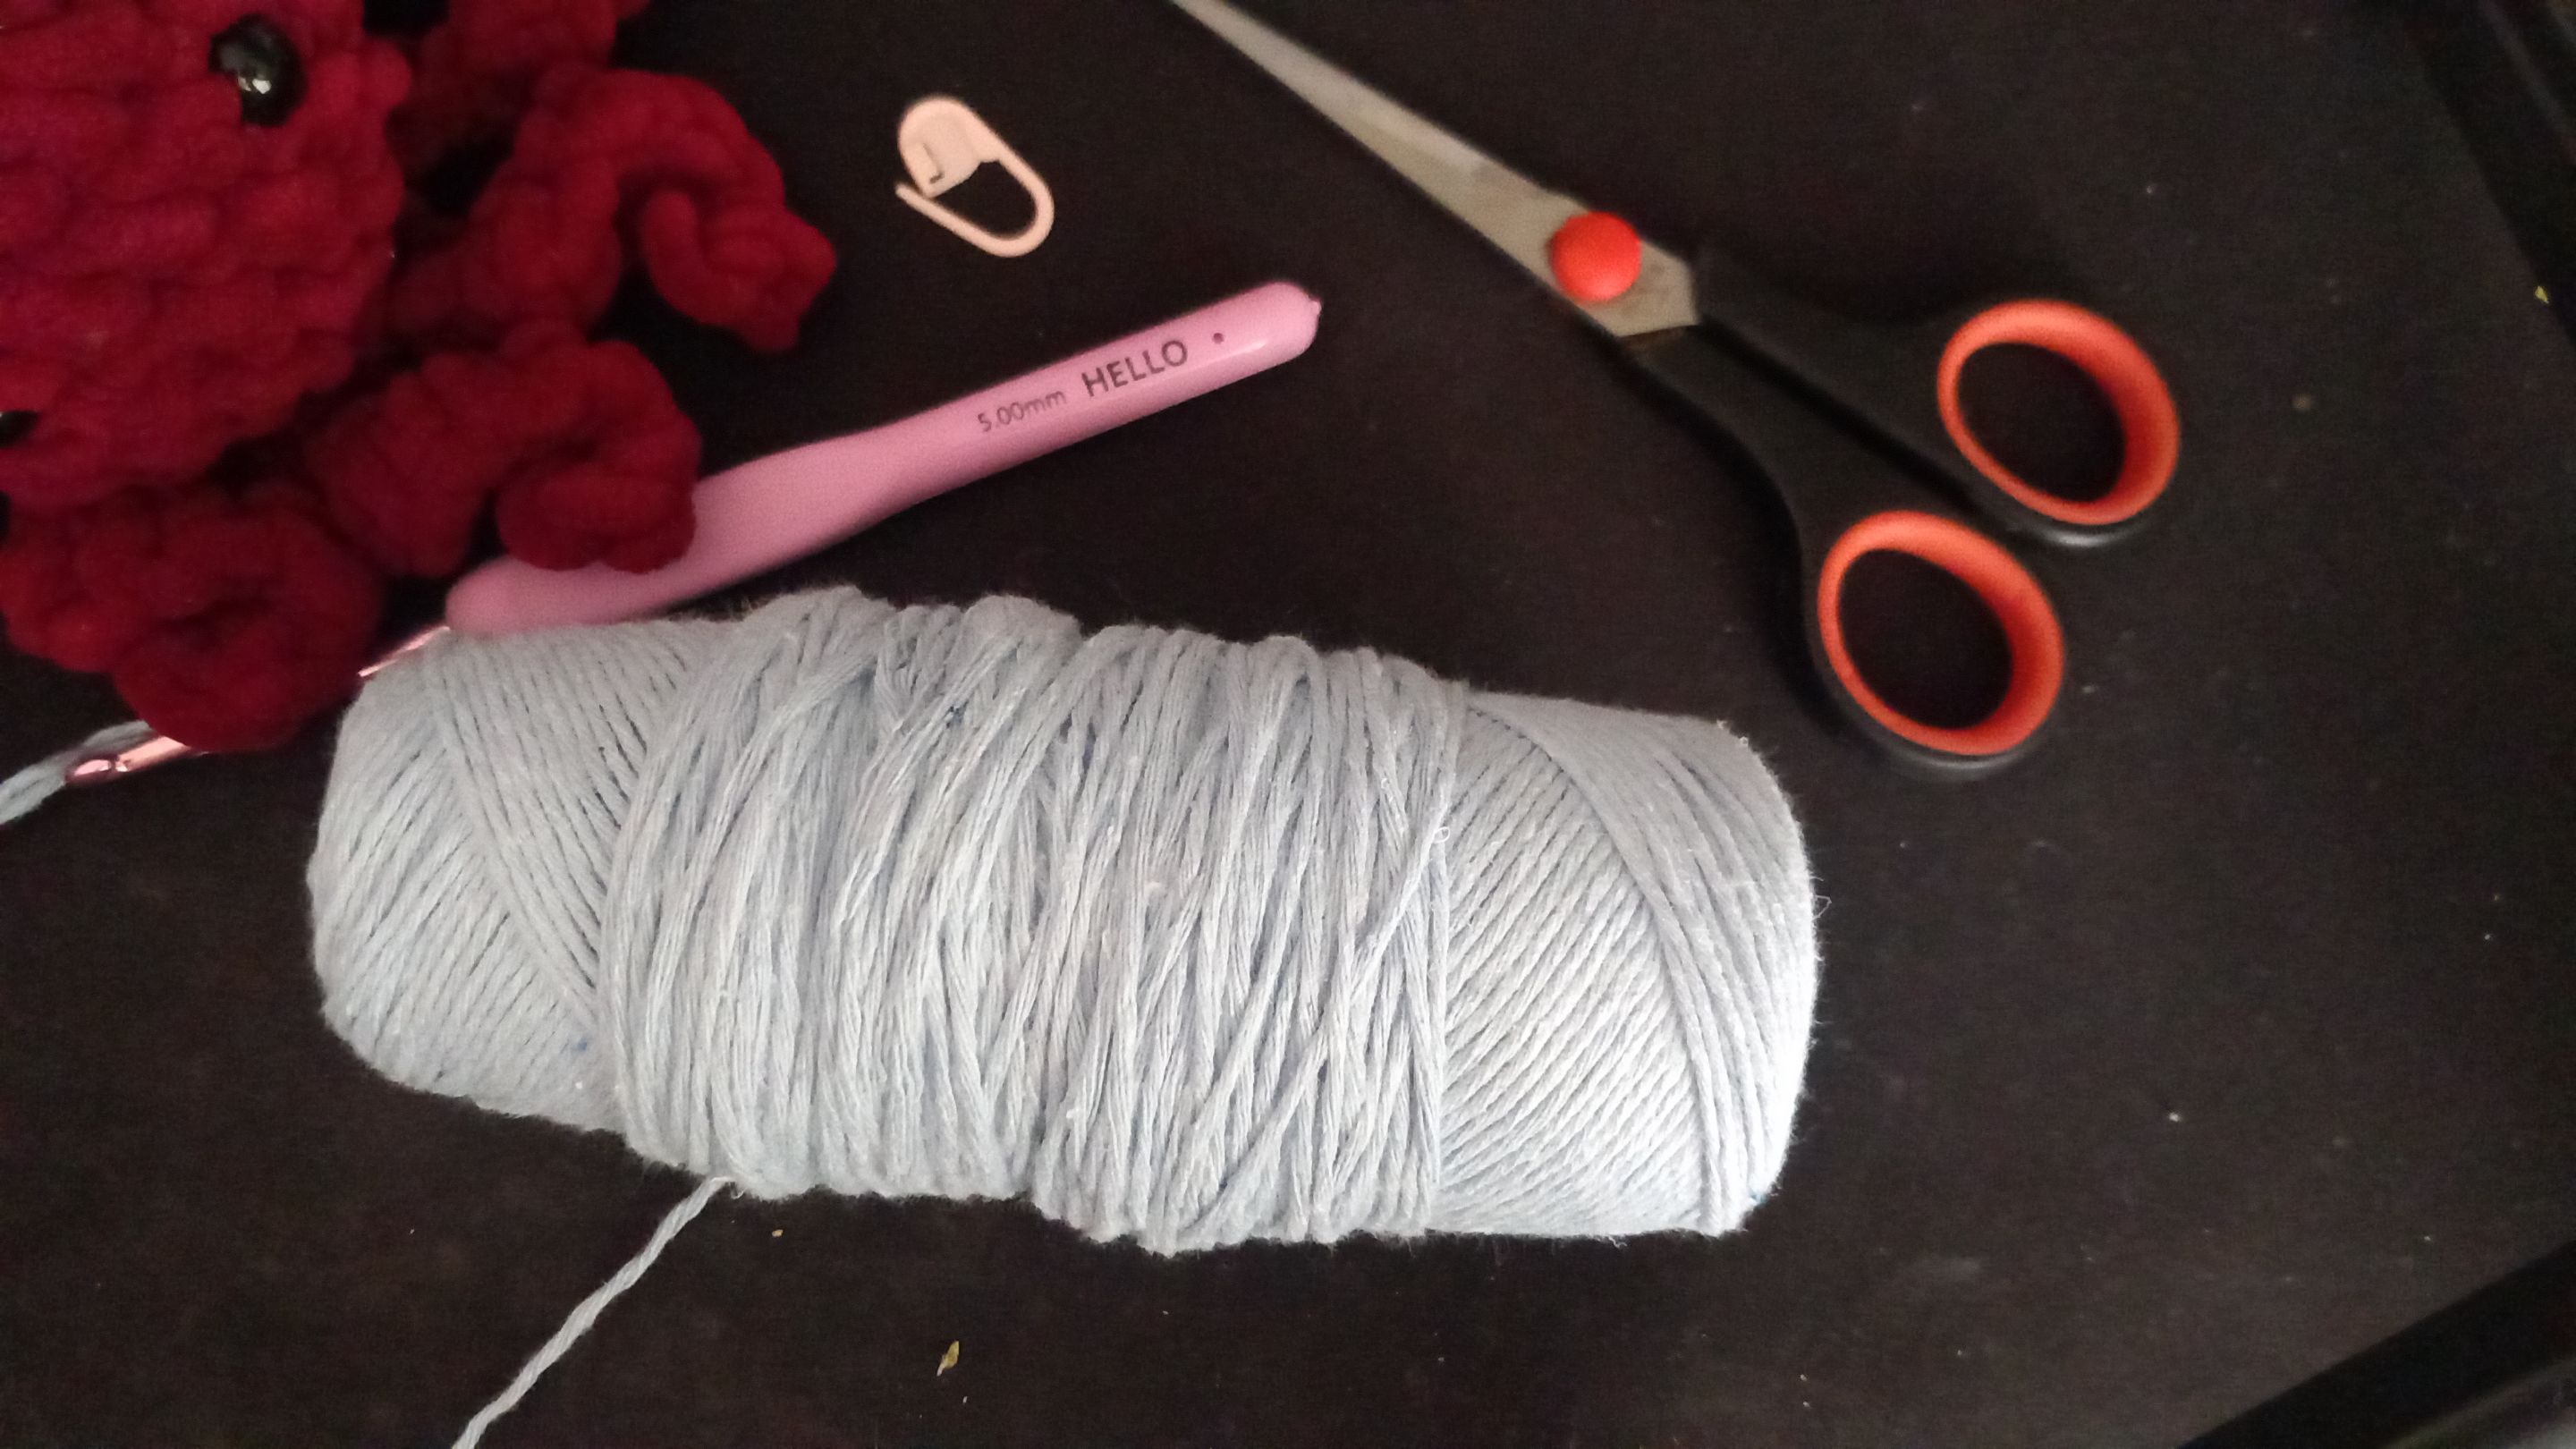
After measuring my head with a tape measure, I pulled the chain to fit. This chain should be a multiple of 11, followed by 10 more. Mine ended up being 87 chains. It seemed like a lot at first, but it really was too much 😂 When I tried it on after finishing, it was too big.
I turned the chain over and worked on those little protrusions. Actually, it was good that I learned this because it resulted in a better outcome in the end. I liked it, to be honest.
After that, things get a bit more complicated than I can explain, but I'll work on it. If I can't explain it well and you don't understand anything, I think it would be better if you click on the video link above. The person making it explains it by showing it in the video, so it's much clearer.
First, you need to make a single crochet in the first ring. This will give us some slack because what we really want to do is create a fan-like shape. Then I made 1 chain and 3 triple double crochets. So, I didn't finish the 3 double crochets on the next ring, but I didn't finish them completely either. Each time, I didn't pass through the last ring, but kept it on the hook, so that in the end you have 4 rings on your hook. You can see this in the photo above. Then I twisted the yarn once on the hook and pulled it all through, and I repeated this two more times.
Then I made two chains, skipped two loops, and attached to the third with a single crochet. This time, after pulling three chains, I skipped two loops again and attached to the third with a single crochet. Then I continued with this fan-like cluster, and the whole row continues in this manner.


---

---


---

---
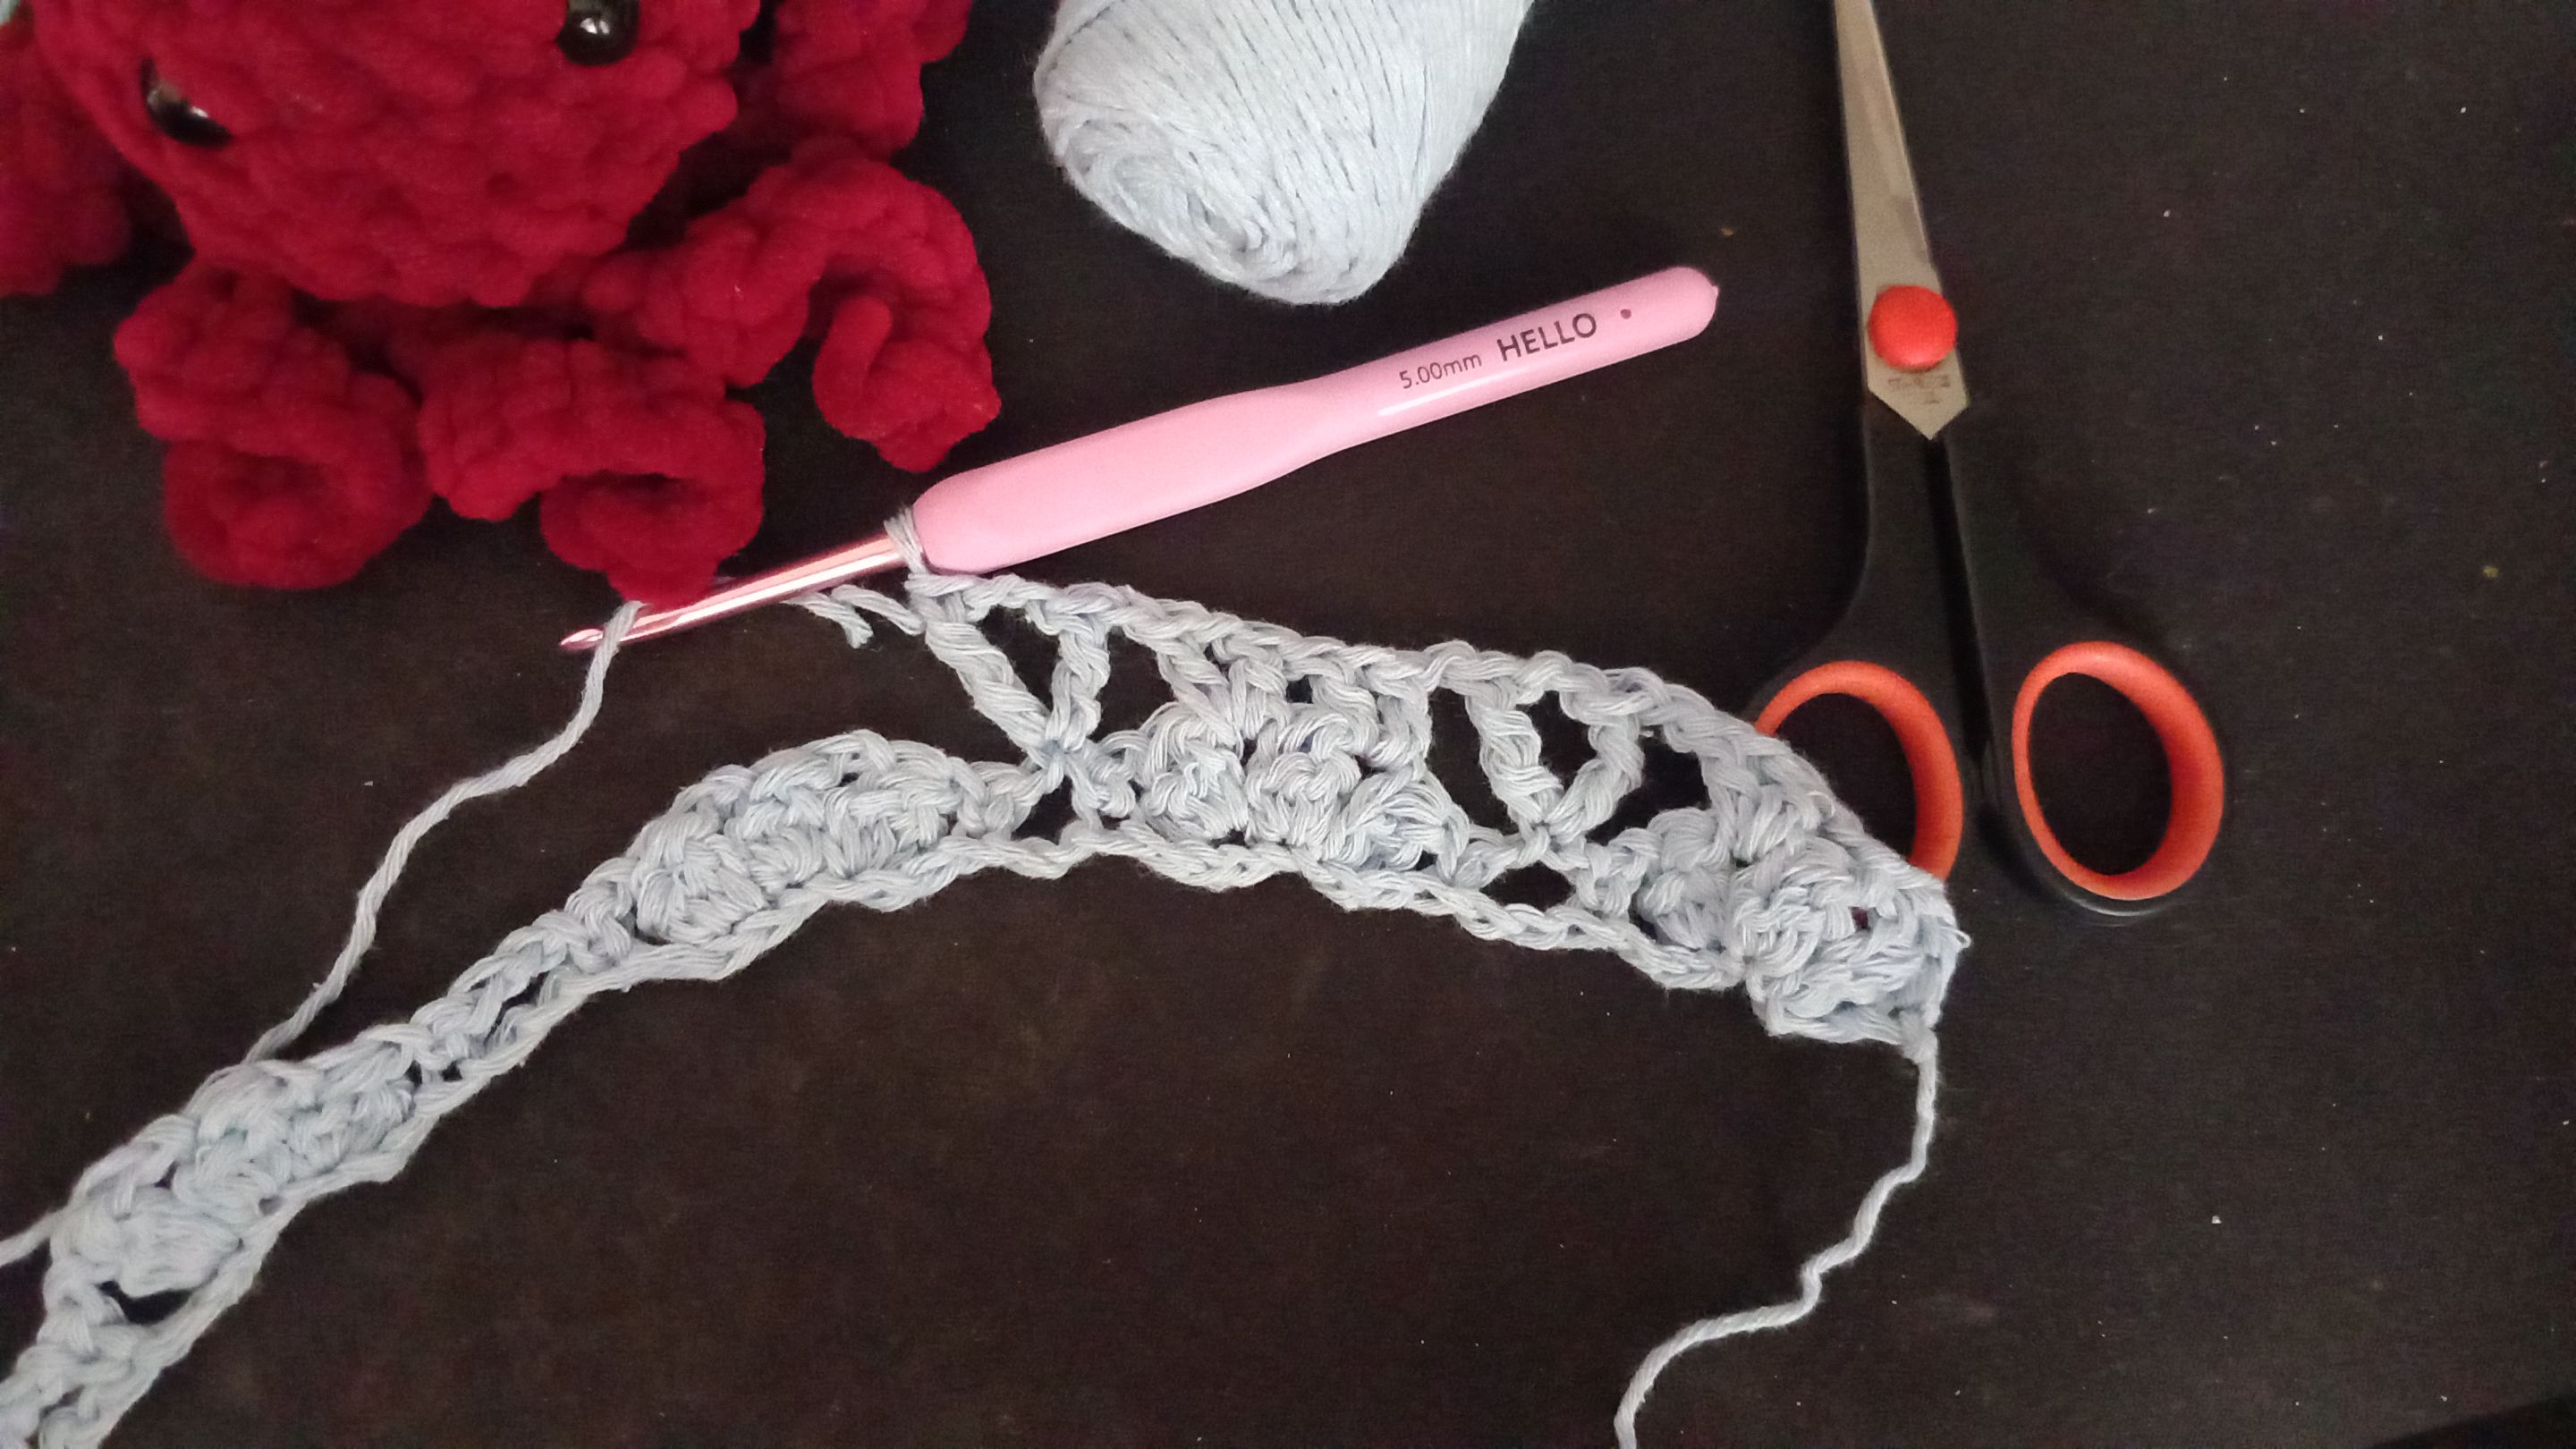
The second row is a bit simpler in terms of logic. It continues with a simple v stitch and treble stitch. Since we started with this fan, we begin the second row with a v stitch. Of course, first we need to pull two chains to move up to the top row. Then, in the first space of the fan, I first made one double crochet, then one chain, then another double crochet, and finally a v stitch. After adding a v stitch to the other space in the same way, I pulled a chain.
At this point, the treble crochet row came, with the aim of levelling the second row for the upper row. How is this done? After the chain, I wrapped the yarn around the hook twice, then entered the middle chain of the three chains in the sixth row from the back, passing two loops each time to finish this treble crochet. You pull the yarn three times in a treble crochet, similar to a double crochet.
The entire row continues in the same manner. At the end of each row, you always need to finish with a decrease. This was easy for me on the right side but difficult on the left. Perhaps my brain couldn't get used to it. Since I kept repeating the first two rows, I stopped watching the video 🫢

---
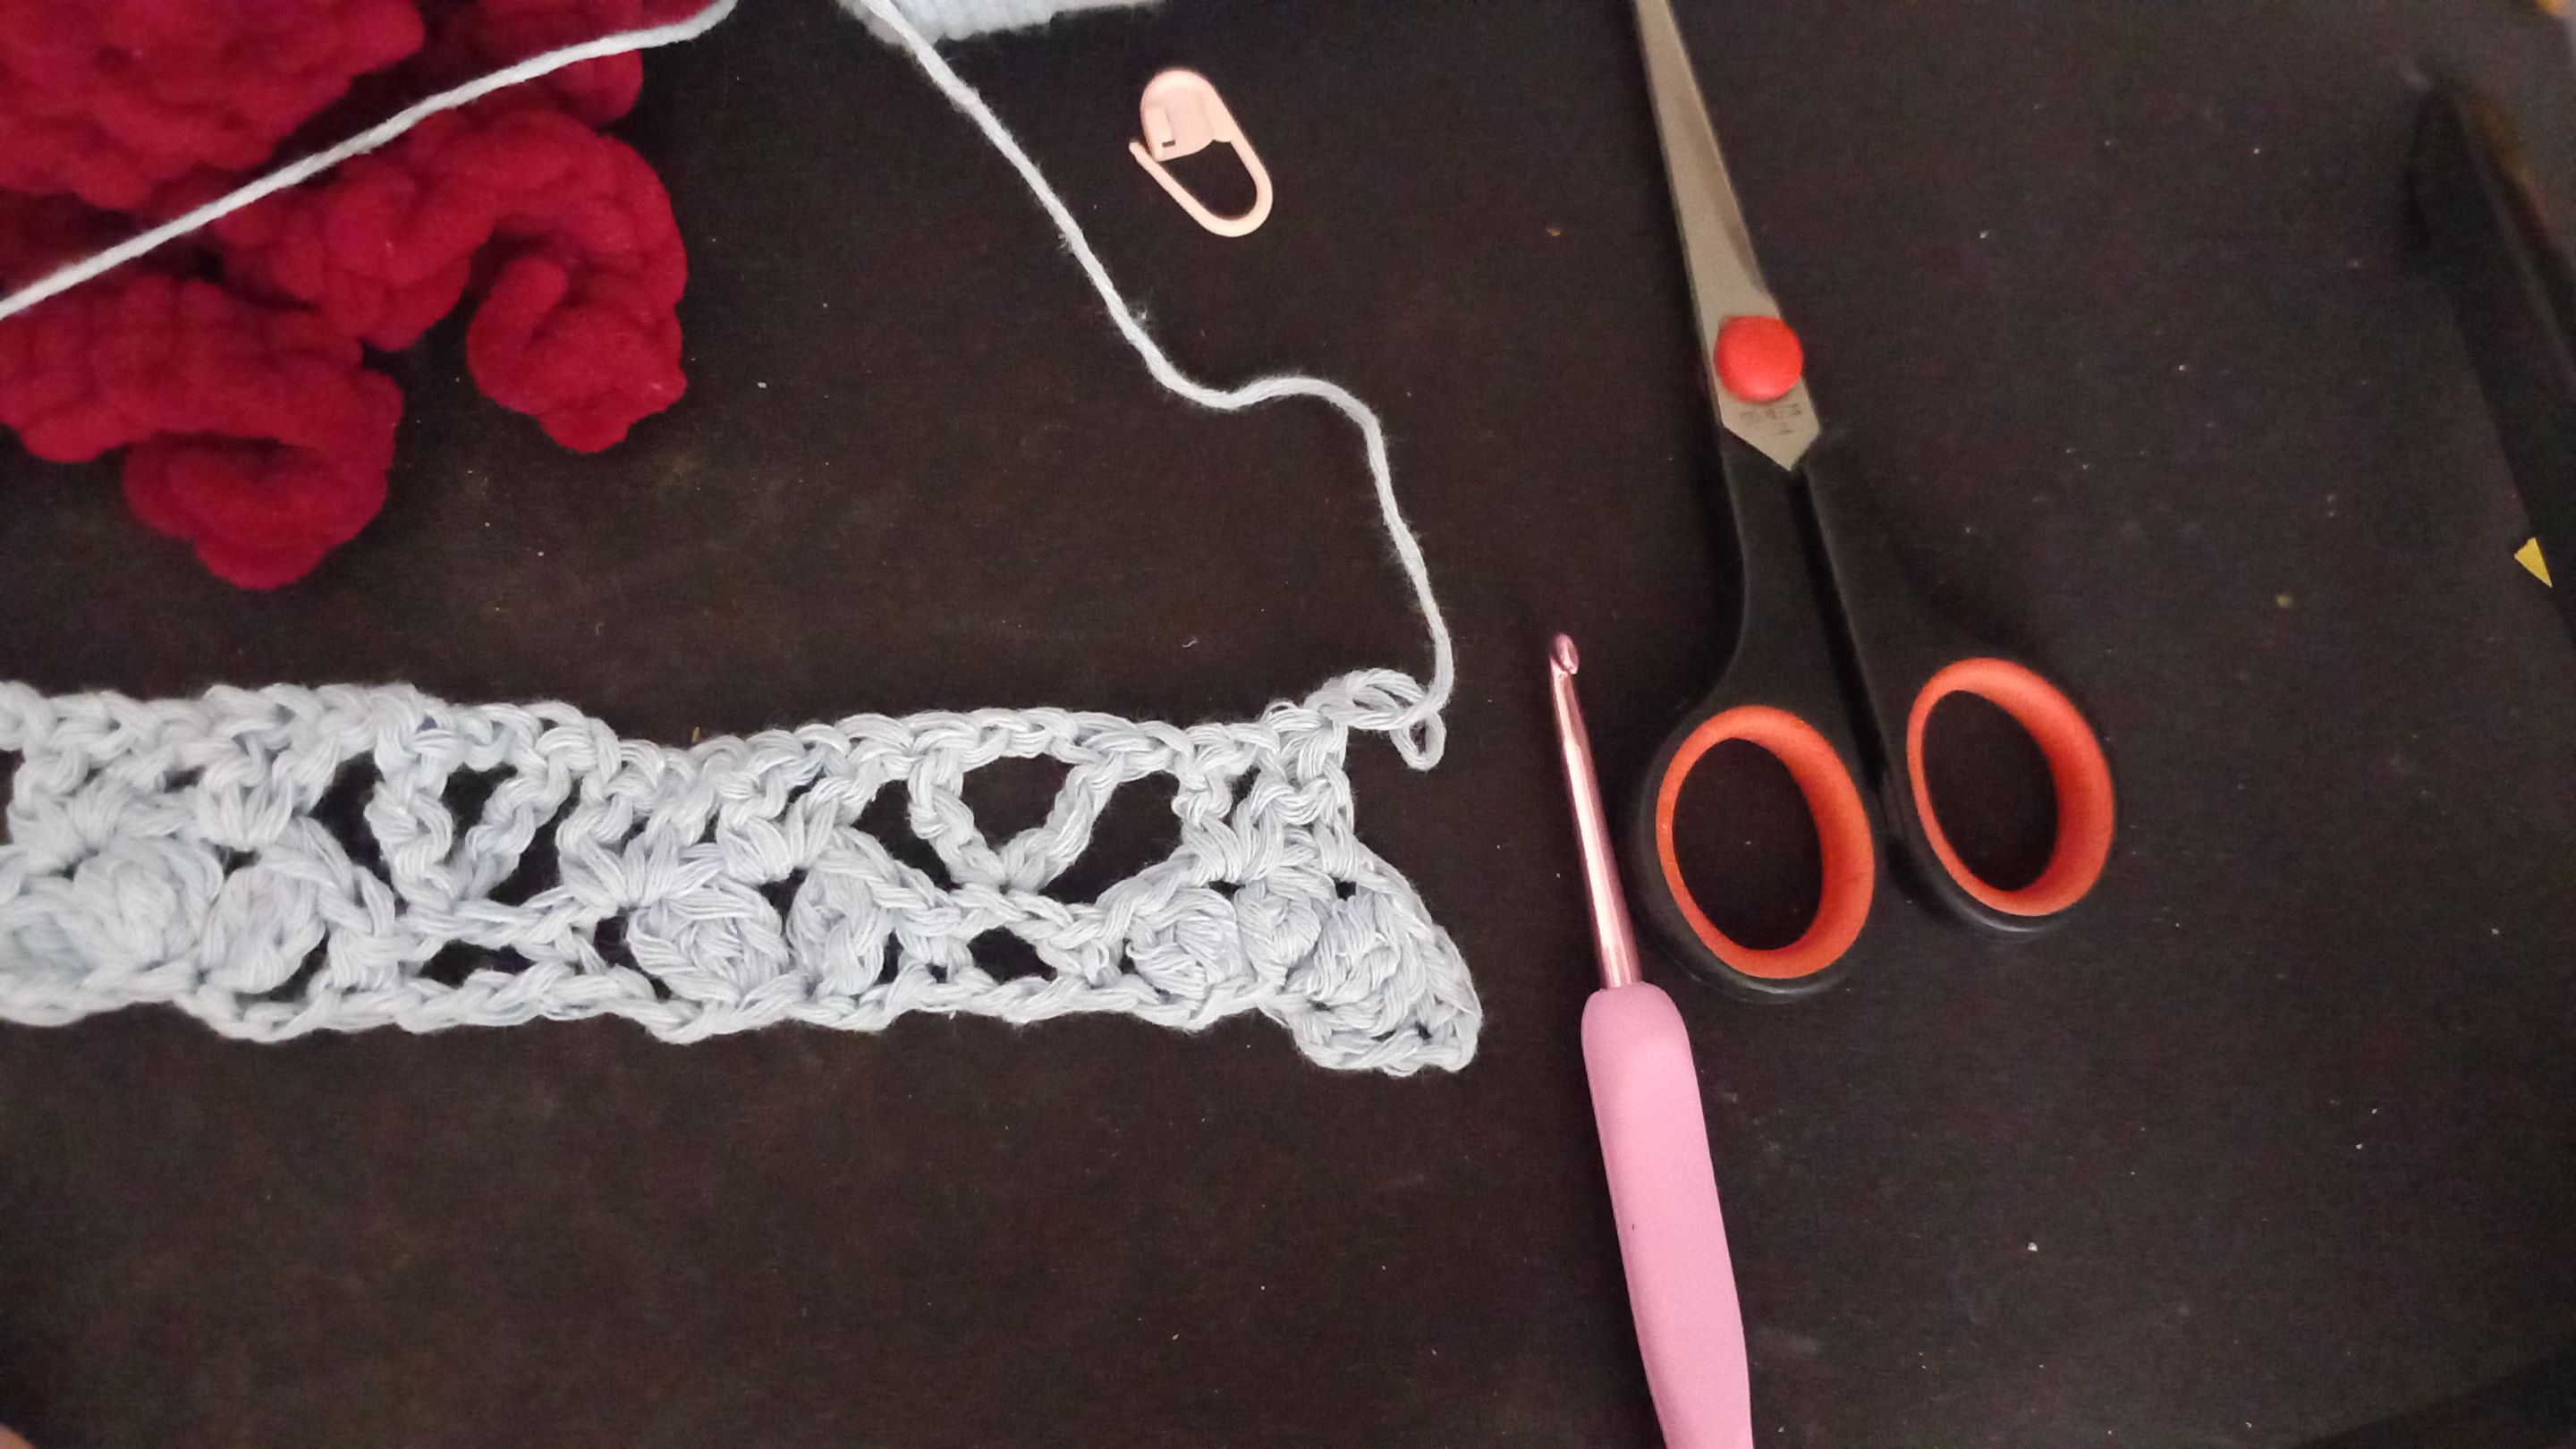
Finally, to ensure evenness, I worked a single crochet around the edge of the bandana, starting from where the bandana ended. When I reached the other corner, I pulled a chain stitch to secure it. I made 56 stitches. Then, when turning back, I used a slip stitch to ensure the handle wasn't too thick and to continue without breaking the yarn.
I continued to the last corner with single crochet and, for the other handle, I made 56 chains again and then turned back with a slip stitch. I tied the yarn securely, made sure it was safe, and cut the yarn.

This way, the bandana was completely finished. I'm not someone who normally wears bandanas, but I'm sure I'll find a use for it one day. Of course, with the end of the summer, I'll put it away somewhere dust-free and keep it until next summer. As I mentioned above, even though the video says it's advanced, it's a bandana that can be easily made with a little patience and attention. I spent about an hour on it, and I think it turned out great. I'll use it as much as I can. Maybe you'll see me wearing a bandana now 😁 That's all for now. See you later. Take care of yourself in advance, stay in health and love, and please remember that; ***You are the only one of you.*** 

Herkese merhabaaaa!!!
Umarım iyisinizdir ya da iyi olmaya çalışıyorsunuzdur. Ben iyi sayılırım. Şu sıralar yeni şeyler öğrenmek odaklı olduğum için yeni bir örgü stili öğrendim. Yanlış hatırlamıyorsam "waffle" isimli bir stil. Çok hoşuma gitti. Yapımı da oldukça kolay.
Bunun zıttı olarak bugünkü konumuz bu değil. Elimde hâlâ 1 top pamuk, bebek mavisi ipim vardı. Hatırlarsanız eğer çanta ve hırkadan ekstra kalandı bu top. Bende düşündüm ki "Neden bununla küçük bir şeyler yapmıyorum?" En işlevsel olabilecek şeylerden birisi ise bence bandanaydı.
---
Elimdekinin yarısını bile kullanmadığım bir ürün oldu. Bu beni biraz zorladı açıkçası ama zorluk açısından değil. Sürekli başka bir iş yapmak zorunda kaldığımda nerede kaldığımı unutmakta zorlandım. Ayrıca bu modeli [bu video](https://www.youtube.com/watch?v=EbnTdCuBszo&t=1337s)dan örnek aldım. Oldukça güzel olduğunu düşündüğüm için ben de yapmak istedim. Videoda ileri düzey dese de biraz zaman ayırarak kesinlikle başlangıç seviyesindeki birisinin yapabileceği bir şey. Tavsiye ederim.
---
İpim biraz daha kalın olduğu için tavsiye edilen tığ numarası yerin 5 mm'lik bir tığ kullandım. Diğer malzemeler ise makas ve eğer kullanmayı tercih ederseniz eğer işaret. Ben bir süre sonra kullanmayı bıraktım açıkçası çünkü başlangıç ve bitiş kendini çok belli ediyor. Bu süreçte de Cub benimleydi 😁 Bana moral açısından destek olduğu bayağı.

 ---


Bu şekilde bandana tamamen bitmişti. Normalde bandana kullanan birisi değilim fakat eminim bir şekilde bir gün kullanırım. Tabii yazın bitmesi ile birlikte bunu toz tutmayacak şekilde kaldırıp kenara koyacağım ve yaza kadar beklemeli. Yukarıda da bahsettiğim gibi videoda ileri seviye dese de biraz sabır ve dikkat ile birlikte kolayca yapılacabilecek bir bandana. Ben 1 saat kadar bununla ilgilendim ve bence harika bir şey ortaya çıktı. Elimden geldiğince bunu kullanacağım. Belki bakarsınız artık bandana kullanan biri olurum 😁 Bununla birlikte bu kadar. Sonra görüşmek üzere. Kendinize dikkat edin, sağlık ve sevgiyle kalın ve lütfen unutmayın ki; ***Bu dünyada sizden başka bir tane daha yok.*** 

 ---


---
---
Kafamın ölçüsünü bir metre yardımı ile öğrendikten sonra buna uygun bir şekilde zincir çektim. 11'in katı olması gereken bu zincirin ardından 10 tane daha olmalı. Benimki normalde 87 zincir oldu. Başlangıçta fazla görünse de gerçekten de fazlaymış 😂 İş bittikten sonra denediğimde büyük geldi.
Zinciri arkaya çevirip o minik çıkıntılara çalışlıyor. Aslında bunu da öğrendiğim iyi oldu çünkü iş sonunda ortaya daha iyi bir sonuç çıkıyor. Ben beğendim açıkçası.
Sonrasında ise işler benim anlatabileceğimden biraz daha karışık ama çalışacağım. Eğer ben anlatmayı beceremez ve siz bir şey anlamazsanız, sanırım yukarıdaki video linkine tıklarsanız daha iyi olur. Yapan kişi videoda göstererek anlatabildiği için çok daha açıklayıcı.
İlk sırada ilk olarak yapılacak şey ilk halkaya single crochet yapmak gerekiyor. Bu bize alçalma bazı sağlayacak çünkü asıl yapmak istediğimiz yelpaze gibi bir görüntü. Ardından 1 zincir, 3 adet 3'lü double crochet yaptım. Yani bir sonraki halkaya bitirmediğim 3 double crochet ama tamamıyla bitirmeden. Her seferinde son halkadan geçirmeyip tığda tutarak en sonunda 4 adet halka oluyor tığınızda. Yukarıdaki fotoğraf görebilirsiniz. Sonrasında ise ipi bir kere tığda döndürüp hepsini toptan çektim ve bunu iki kere daha tekrarladım.
Ardından ise iki zincir ardından ik halka atlayıp üçüncüye single crochet ile bağladım. Bu sefer 3 zincir çektikten sonra yine 2 halka atladıktan sonra üçüncüye yine single crochet ile bağladım. Ardından ise bu yelpaze gibi cluster ile devam ettim ki bütün sıra bu şekilde devam ediyor.


---
---


---
---
İkinci sıra ise biraz daha basit mantıkta. Basit v stitch ve treble stitch ile deva ediyor. Bu yelpaze ile birlikte başladığımız için ikinci sırada v stitch ile başlıyor. Tabii ilk önce, üst sıraya çıkmak için iki zincir çekmek gerekiyor. Ardından yelpazenin ilk boşluğuna ilk önce bir adet double crochet, sonra bir zincir, ardından bir adet daha double crochet ile birlikte bir v stitch elde ettim. Diğer boşluğa da aynı şekilde v stitch ekledikten sonra bir zincir çektim.
Bu kısımda ikinci sıranın amacı olan bir üst sıra için seviye eşitleme amacı ile treble crochet sırası geldi. Bu nasıl peki? Zincirin ardından ipi tığa 2 kere doladıktan sonra bir altı sıradaki 3 adet zincirin ortasındaki zincire yine tersinden girip her seferinde 2 adet halka geçirip bu treble crochet'i bitirdim. Bir treble crochet'te 3 kere ip çekiyorsunuz double crochet'e benzer bir şekilde.
Yine aynı şekilde bütün sıra bu şekilde devam ediyor. Sıra sonlarında ise her zaman bir azaltma ile birlikte bitirmek gerekiyor. Bu benim için sağ tarafta kolayken sol tarafta zordu. Belki de beynim buna alışamadı. Zaten ilk iki sırayı sürekli tekrar ettiğim için videoyu izlemeyi bıraktım 🫢

---
Son ise eşitleme sağlayabilmek için bandananın çevresini bir tur bandananın bittiği yerden başlayarak single crochet ile birlikte dolaştım. Diğer köşeye ulaştığımda aklıma bağlama için zincir çektim. Ben 56 adet yaptım. Ardından geri dönerken, hem sapı çok kalın olmasın hem de ipi koparmadan devam edebilmek için, slip stitch ile geri döndüm.
Son köşeye de devam ettim single crochet ile birlikte ve diğer sap için yine aynı şekilde 56 zincir ardından slip stitch ile geri döndüm. İpi ise iyice bağlayıp, güvene alıp ipi kestim.

Bu şekilde bandana tamamen bitmişti. Normalde bandana kullanan birisi değilim fakat eminim bir şekilde bir gün kullanırım. Tabii yazın bitmesi ile birlikte bunu toz tutmayacak şekilde kaldırıp kenara koyacağım ve yaza kadar beklemeli. Yukarıda da bahsettiğim gibi videoda ileri seviye dese de biraz sabır ve dikkat ile birlikte kolayca yapılacabilecek bir bandana. Ben 1 saat kadar bununla ilgilendim ve bence harika bir şey ortaya çıktı. Elimden geldiğince bunu kullanacağım. Belki bakarsınız artık bandana kullanan biri olurum 😁 Bununla birlikte bu kadar. Sonra görüşmek üzere. Kendinize dikkat edin, sağlık ve sevgiyle kalın ve lütfen unutmayın ki; ***Bu dünyada sizden başka bir tane daha yok.*** 
All of my content is written in Turkish first and then with the help of translators and dictionaries below translated in English.
https://www.seslisozluk.net https://www.deepl.com/translator
P.S. If you know English AND Turkish, I do that too... If you see a translation discrepancy that was on purpose. I did think this is as proper as I could do. Because there are many differences between these languages.
Not: Hem Türkçe hem de İngilizce biliyorsanız, ben de biliyorum... Eğer çeviri farklılığı görürseniz bunun bilinçli olduğunu bilin lütfen. Bunu yapabileceğim en uygun şekilde yaptığımı düşünüyorum. Çünkü bu iki dil arasında çok fazla fark var.