

¡Hola, queridos amigos de Hive y amantes de la costura! ¿Listas para un nuevo proyecto? Hoy lunes y para iniciar la semana, te guiaré paso a paso en la creación de una prenda íntima o lencería, tan hermosa como cómoda, con un toque de encaje y tul licrado, que hace que se vea muy sexy y ademas que le añadimos el color blanco con el lazo rojo. Sin más ¡Manos a la obra!
- - -

- - -
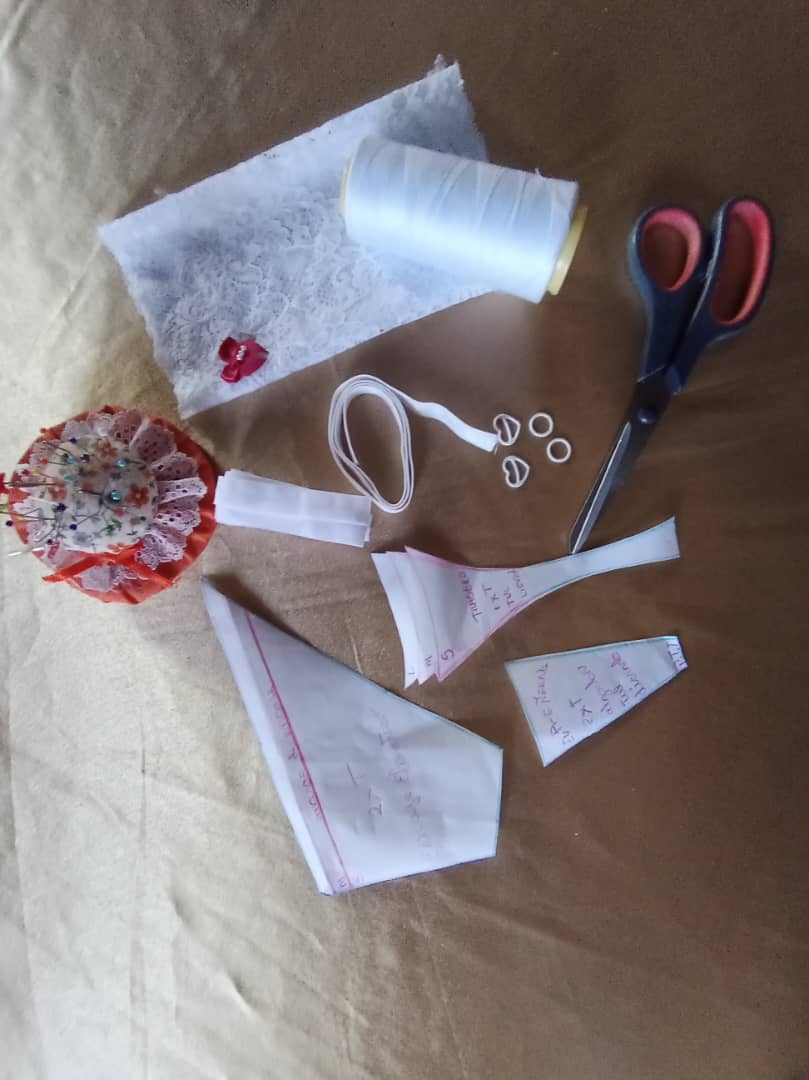
- Encaje elástico o tul elástico
- Sesgo ancho
- Elástico plano
- Dos argollas y dos ochos o tensores
- Lazo decorativo
- Algodón Jersey
- Hilo, alfileres, y tijeras
- - -

- - -
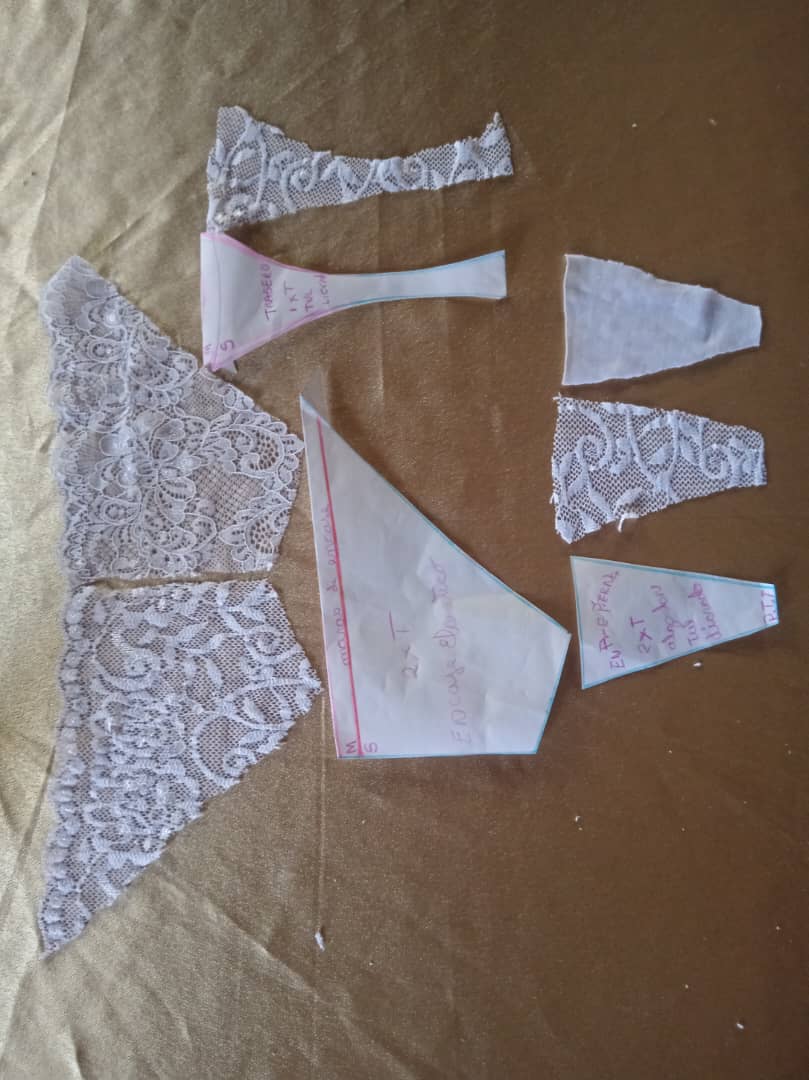
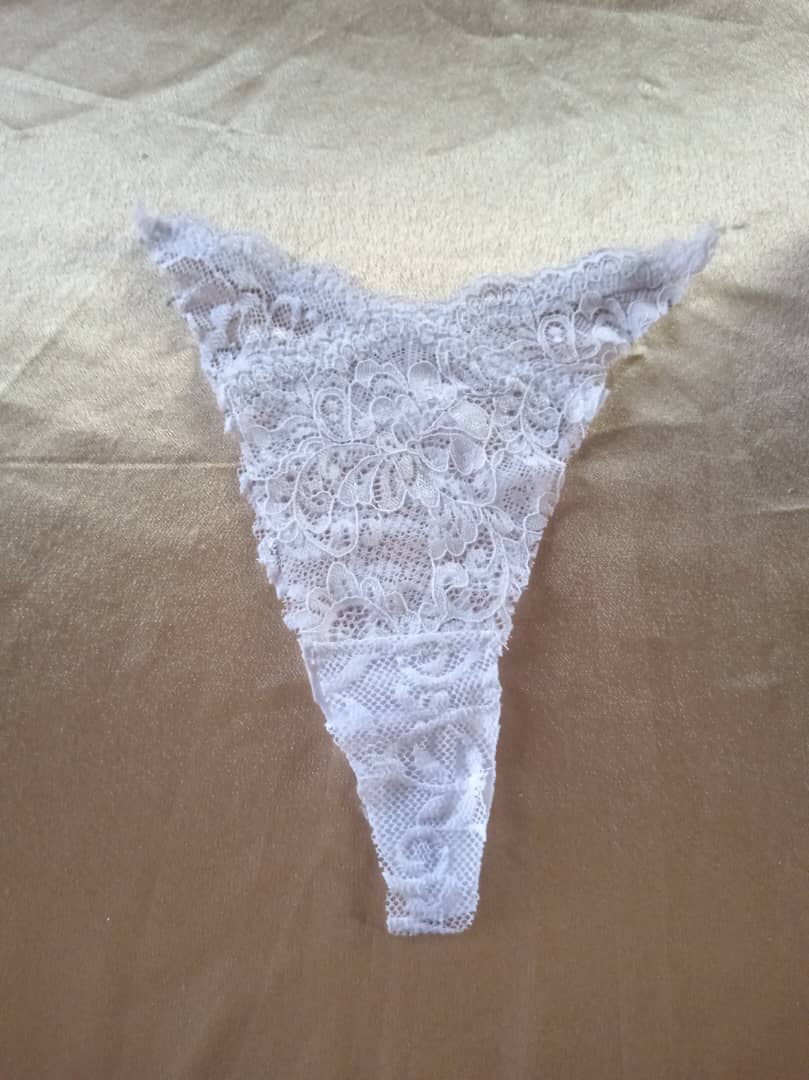
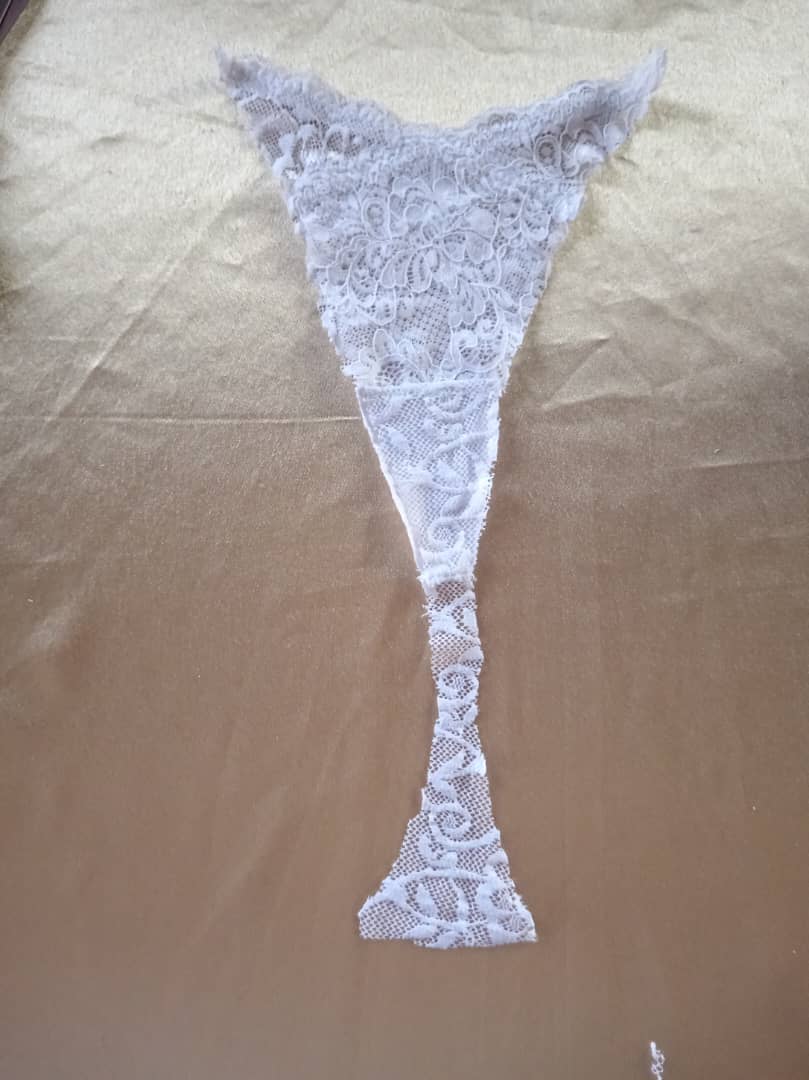
Para empezar con la confección se debe de tener los moldes, así que, comienza cortando cada una de las partes de la tanga según tu molde. La parte delantera debe ser de encaje elástico (dos piezas). La parte trasera y la entrepierna, también de encaje elástico, deben estirar a lo largo, no a lo ancho.
- - -
---
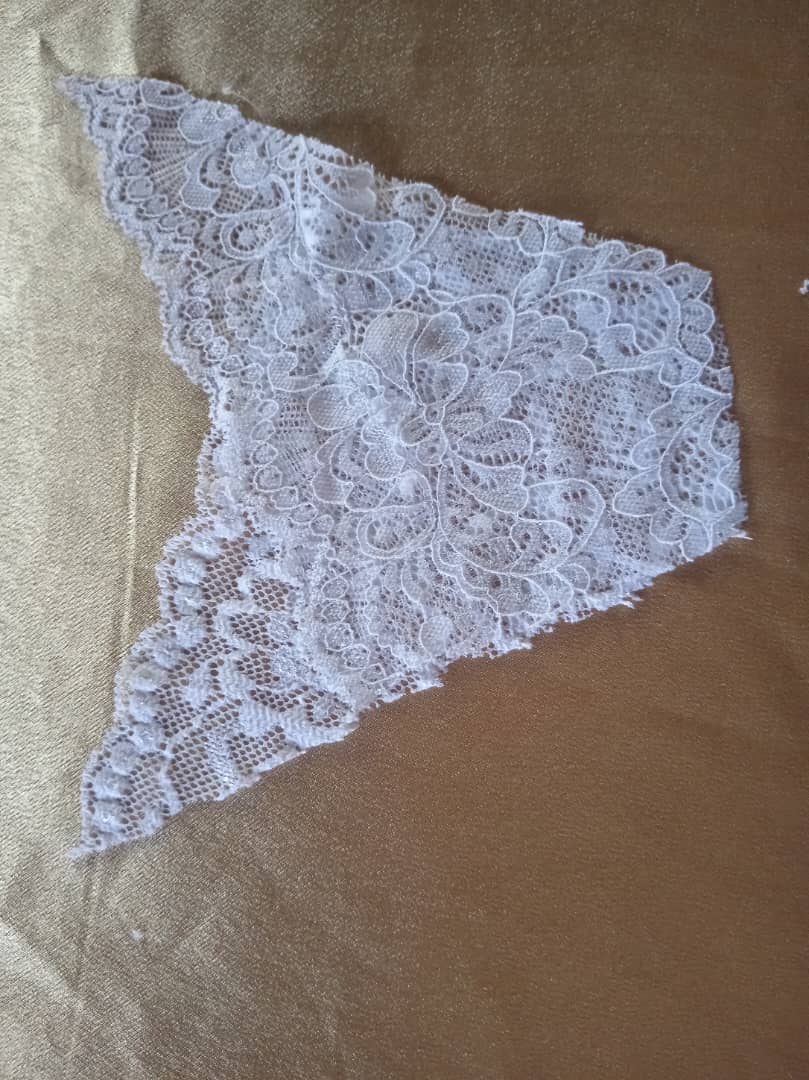
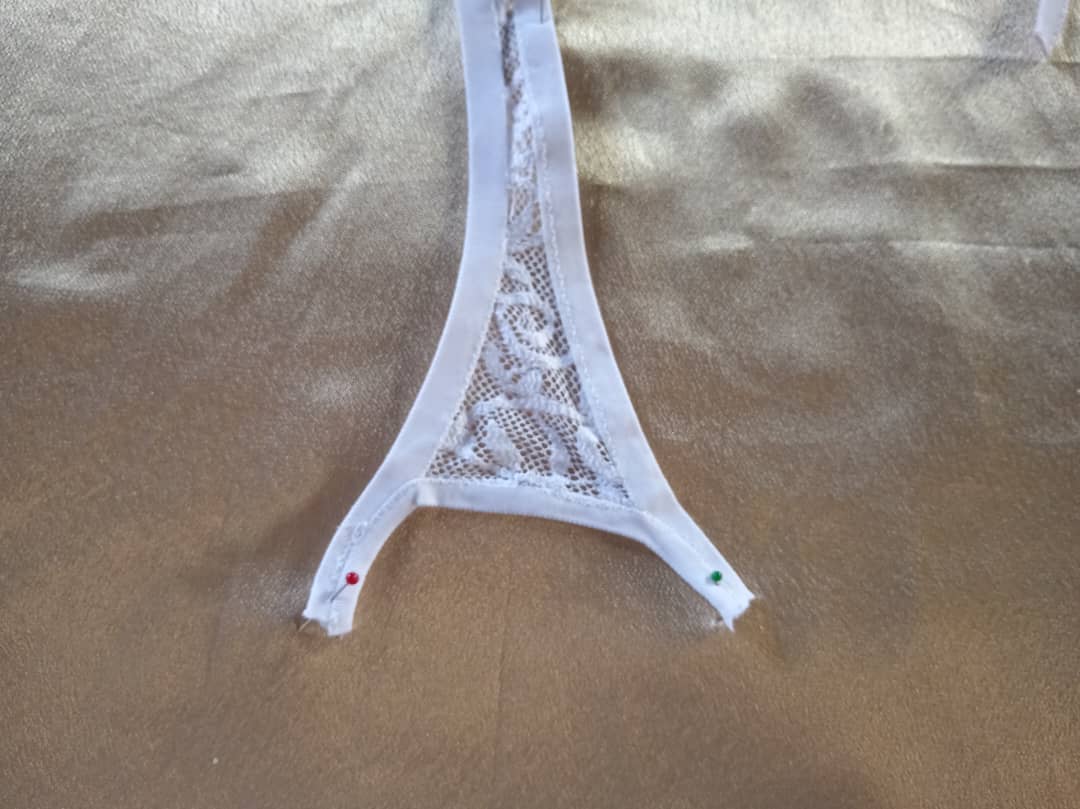
Une una pieza delantera sobre la otra, aseguráte de que los extremos puntiagudos queden a los lados.
Puedes fijarlas con alfileres para mayor seguridad.
- - -

- - -
---
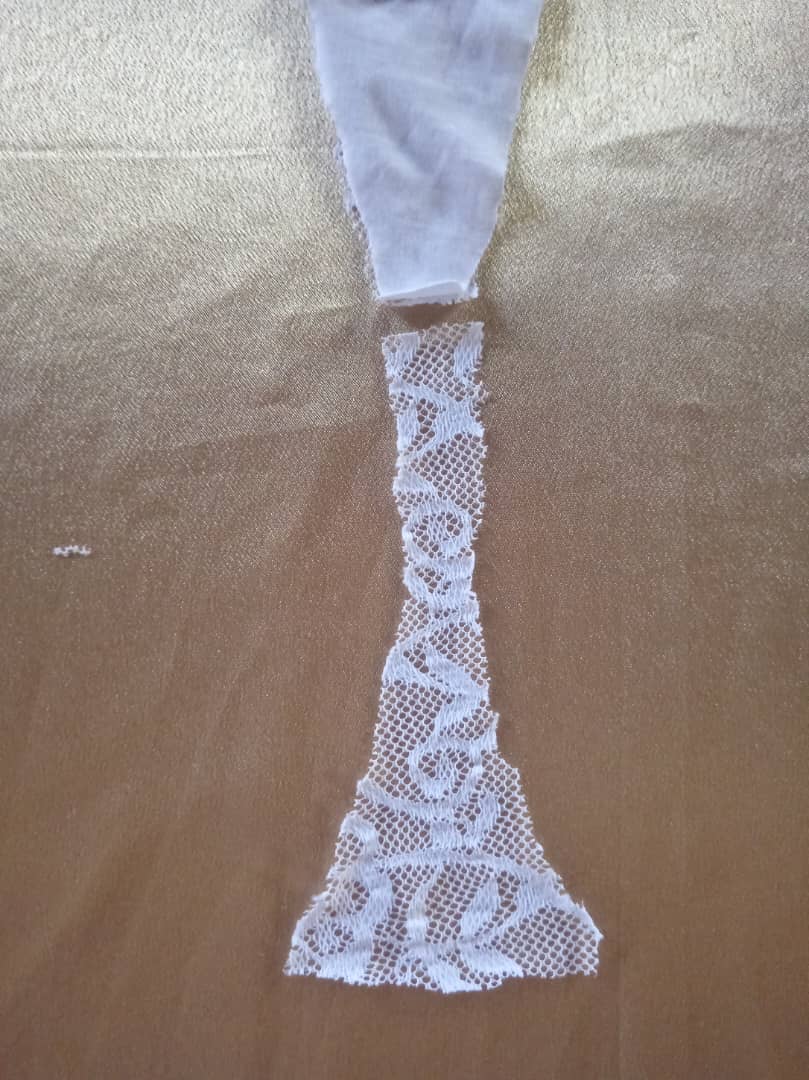
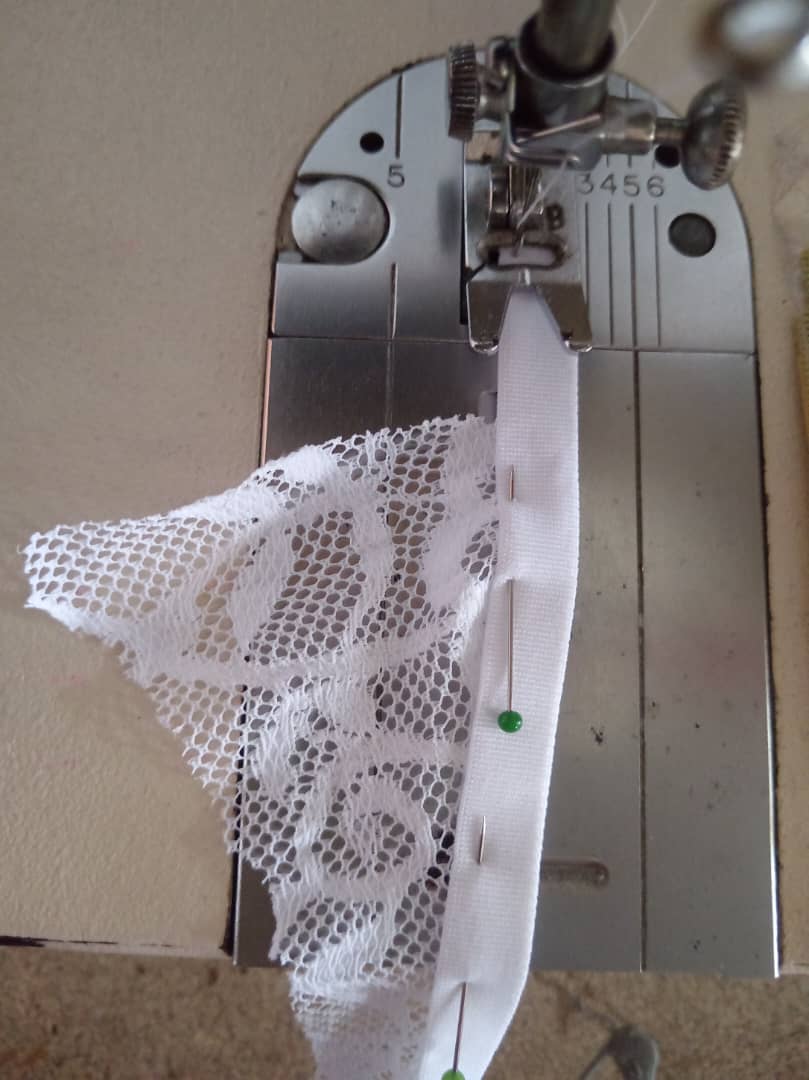
Ahora, cose el elástico plano en la parte del revés, justo por debajo de las ondas del encaje (moras de encaje). Hazlo con una costura recta o en zigzag.
Repite el mismo procedimiento en el otro lado.
- - -

- - -
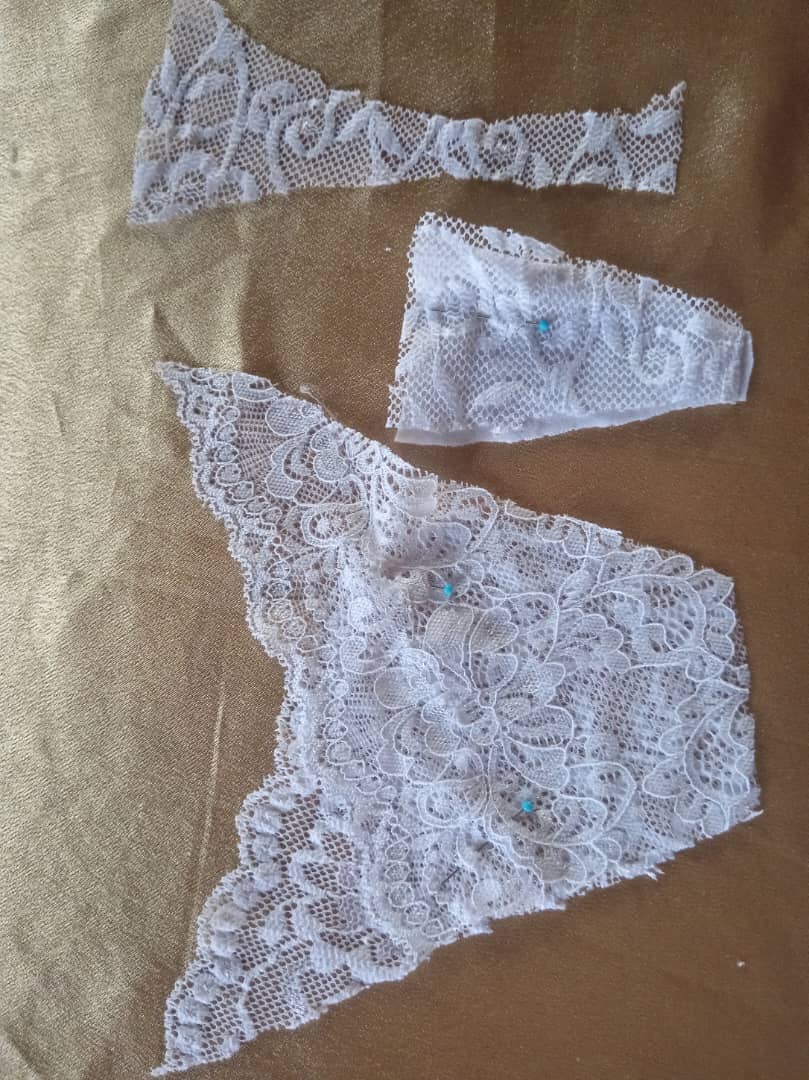
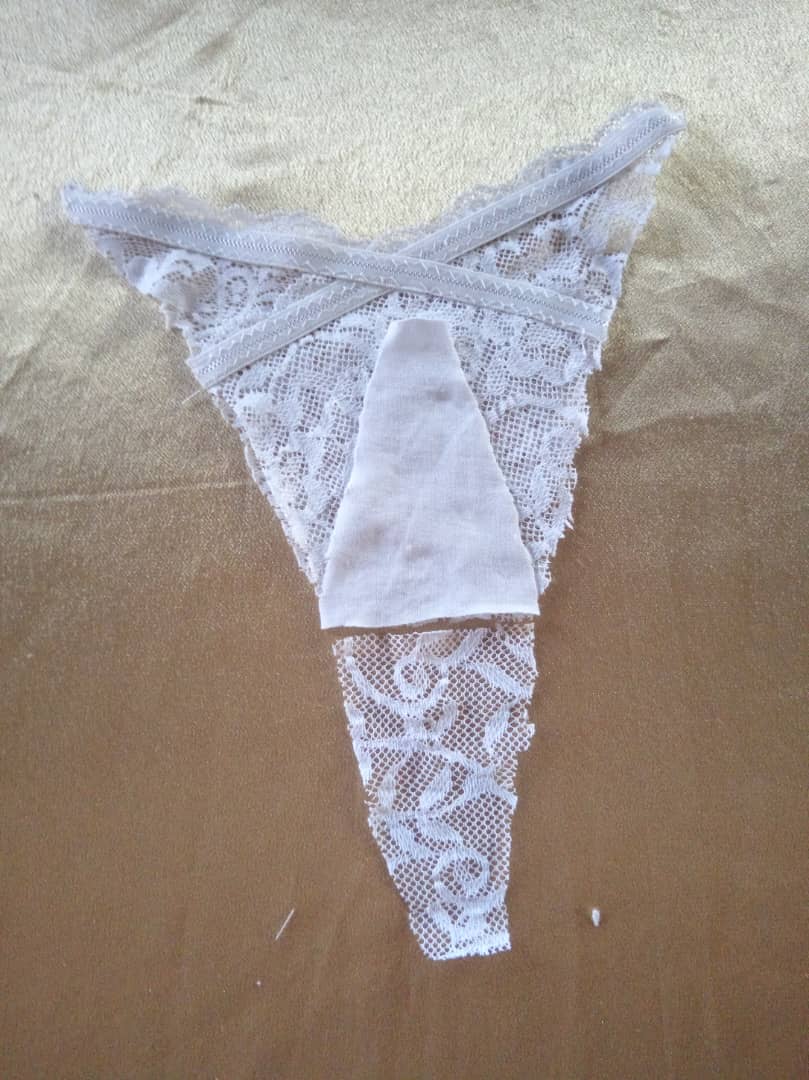
Para el siguiente paso, cose la entrepierna, que es de algodón jersey con el encaje, con una costura recta, de nuevo se puede asegurar con unos alfileres para poder coser con mayor seguridad y evitar que la pieza se mueva de su sitio, es importante centrar bien.
- - -

- - -

---
Une la entrepierna con la parte trasera. Asegúrate de que la costura no quede visible al doblar la tela, uniendo las dos piezas de forma que la costura quede “embonada” o totalmente tapada.
- - -
- - -
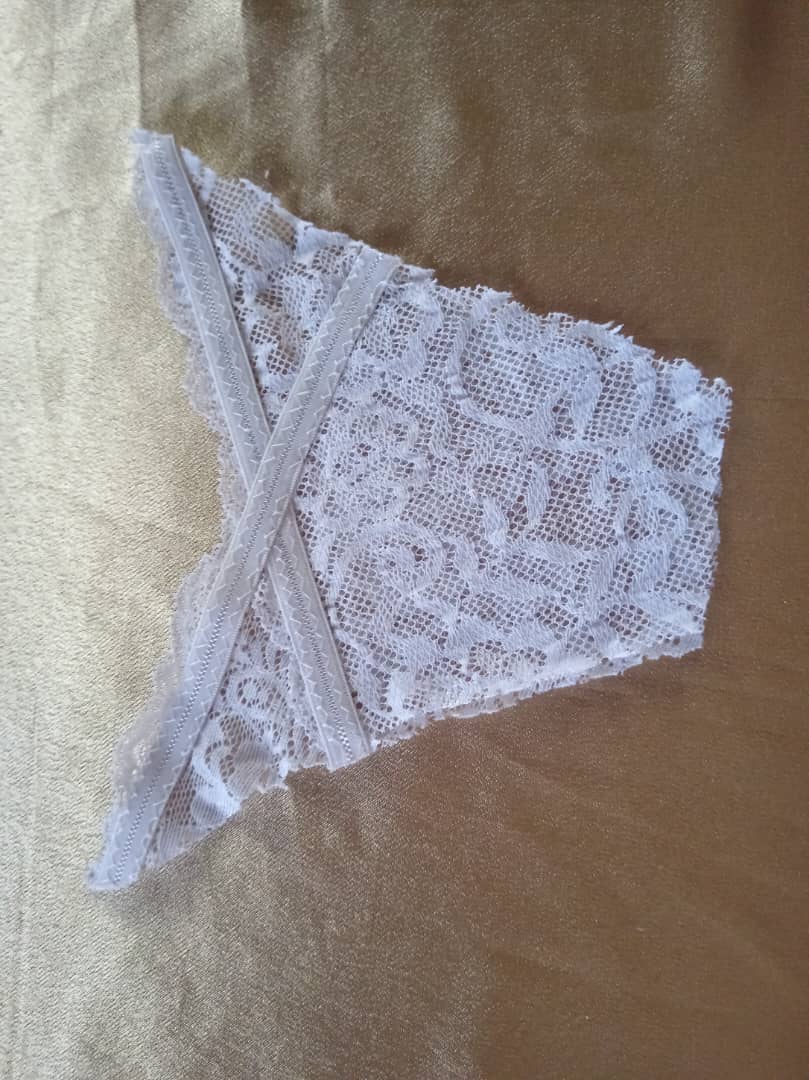
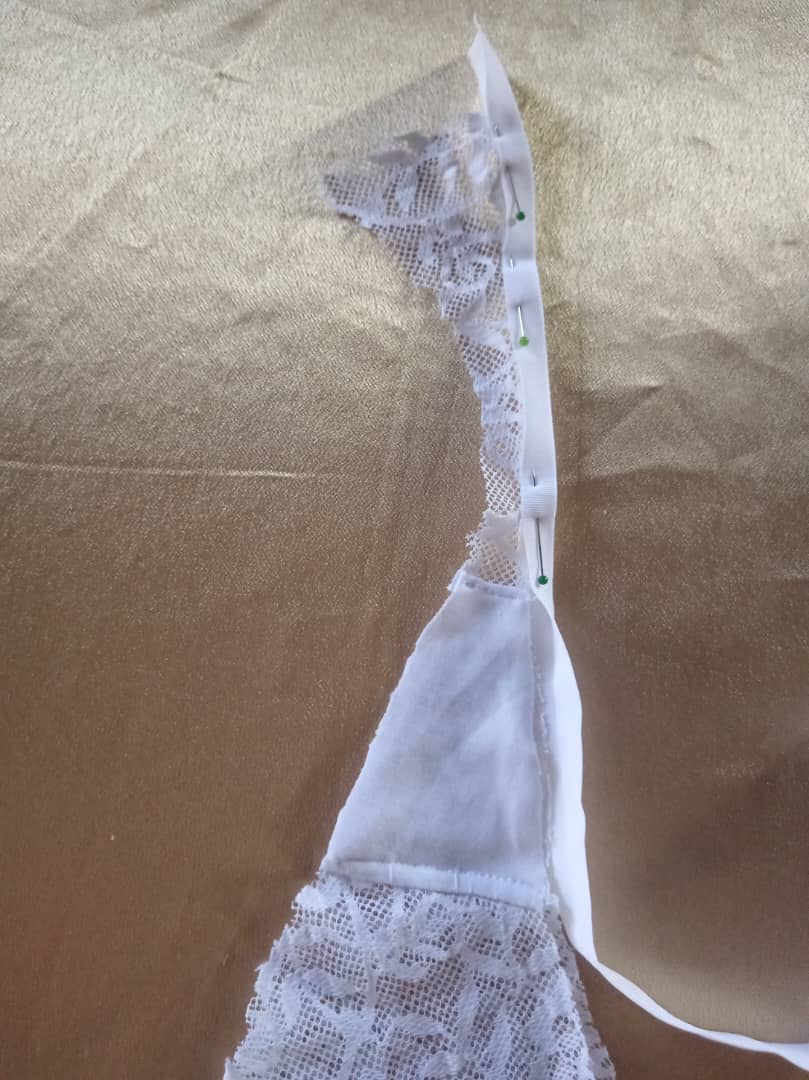
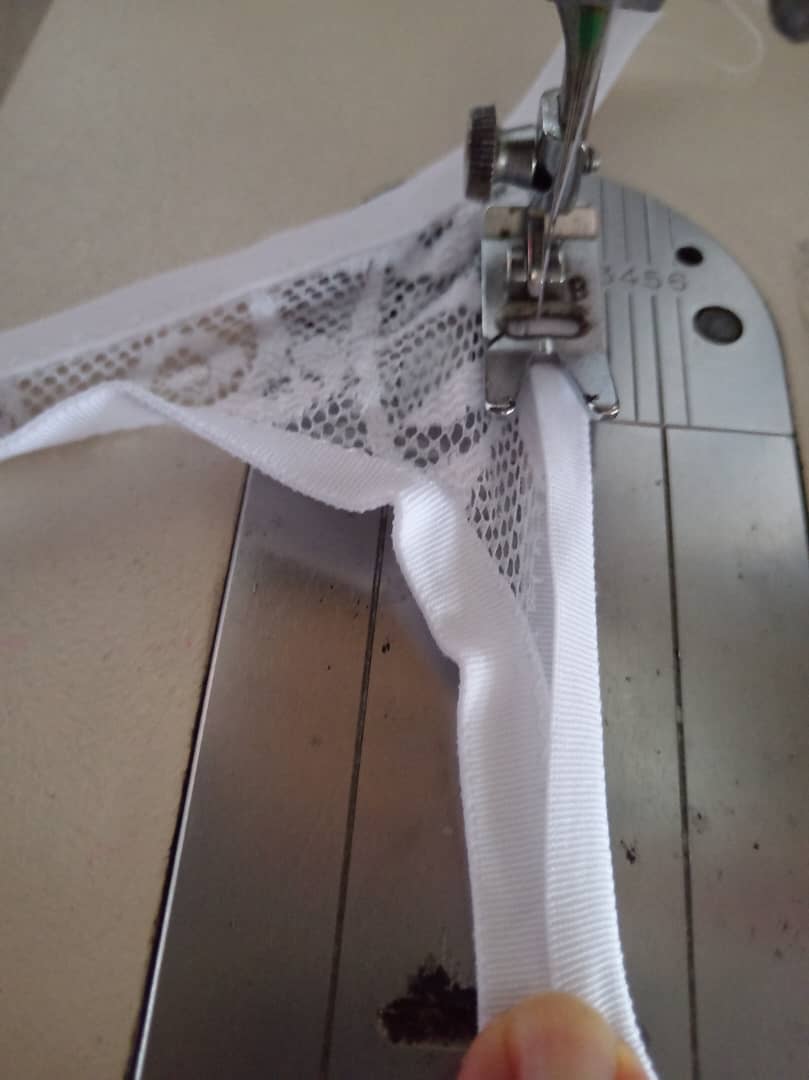
Ahora, es momento de colocar el sesgo elástico.
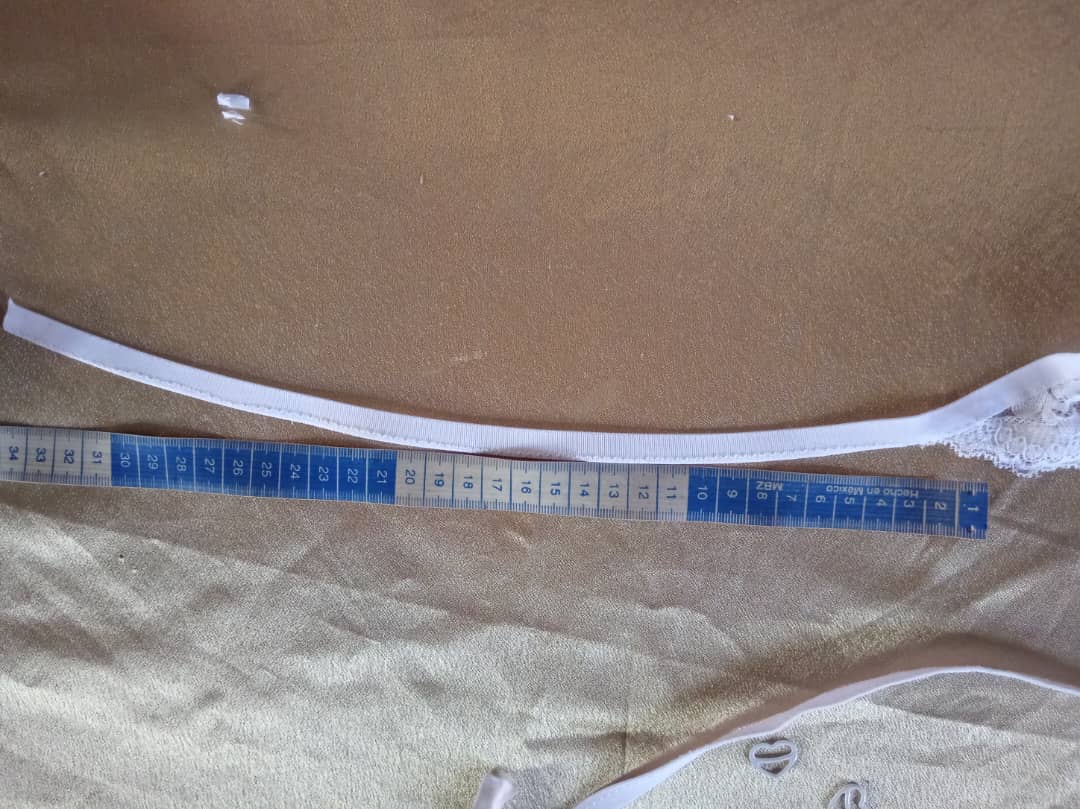
Comienza por la parte trasera, dejando un excedente de 3 cm al inicio. Cose, pero estirando muy poco. Cuando llegues a la parte delantera, continúa cosiendo el sesgo en una tira. Las medidas para esta tira son:
34 cm para la talla S.
36 cm para la M.
38 cm para la L.
- - -
- - -
Corta el hilo y repite el mismo procedimiento, pero ahora en el otro lado de la tanga.
- - -
- - -
En los 3 cm que dejaste al inicio, coloca el sesgo de la parte trasera cubriendo o por encima del sesgo anterior, y pasa la costura con una tensión mínima.
- - -
- - -
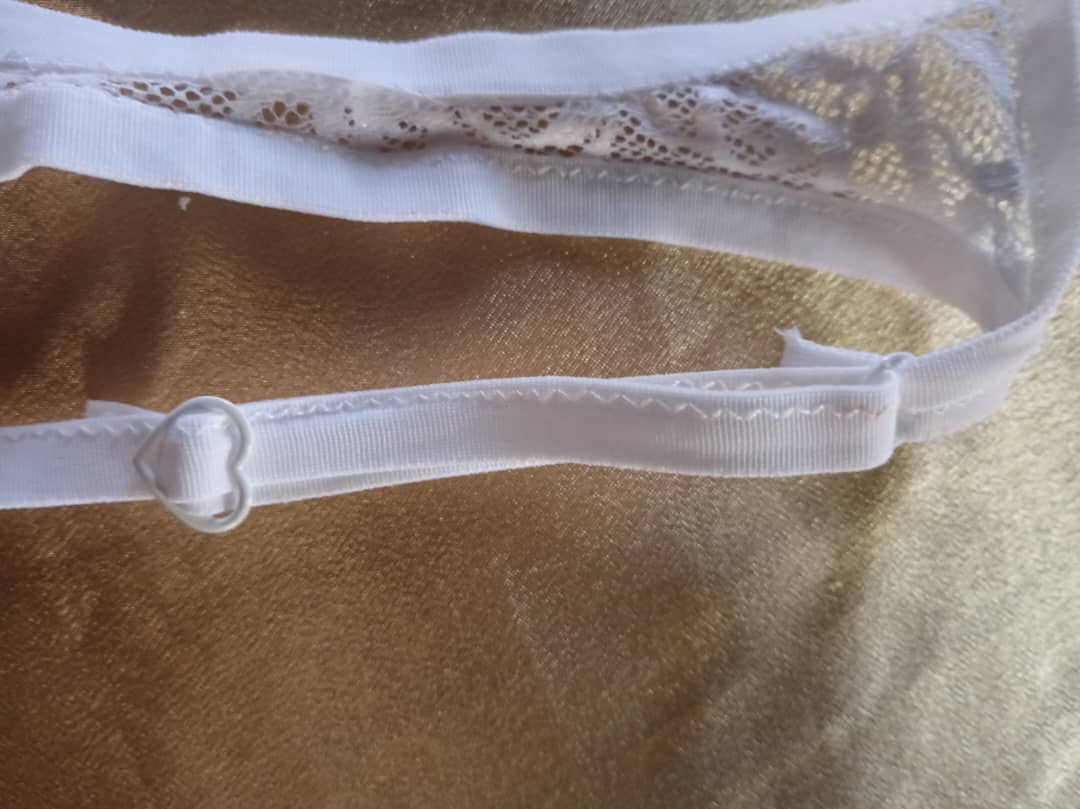
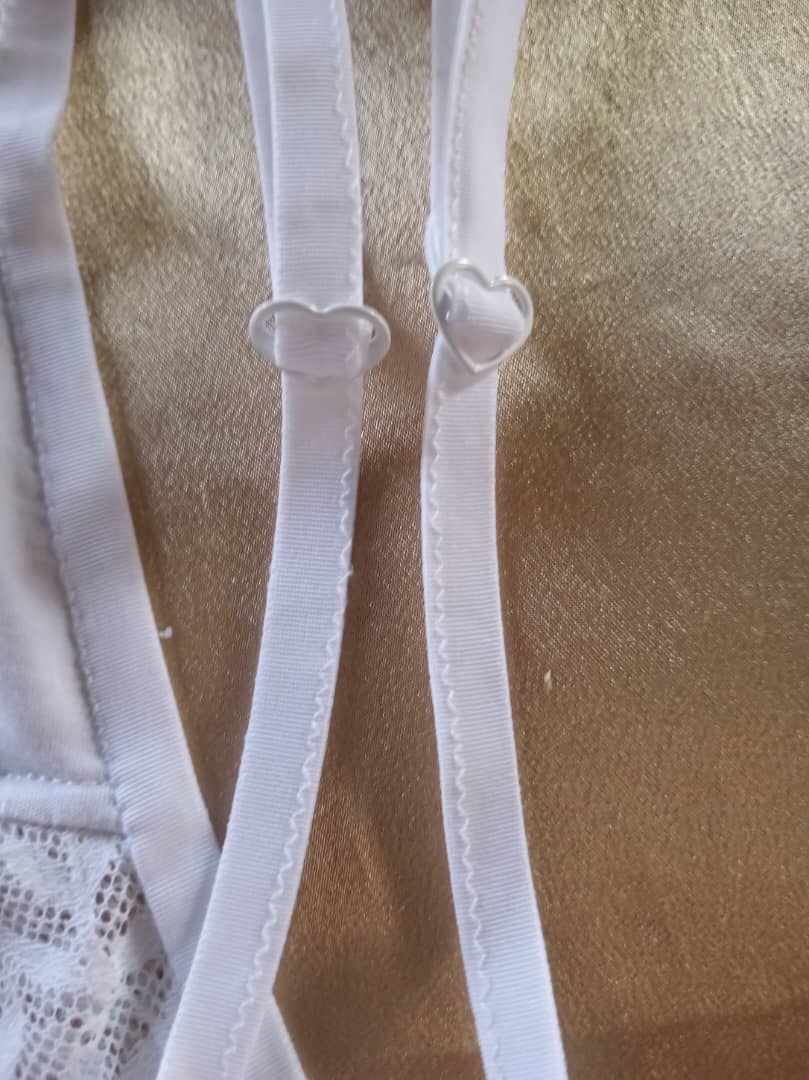
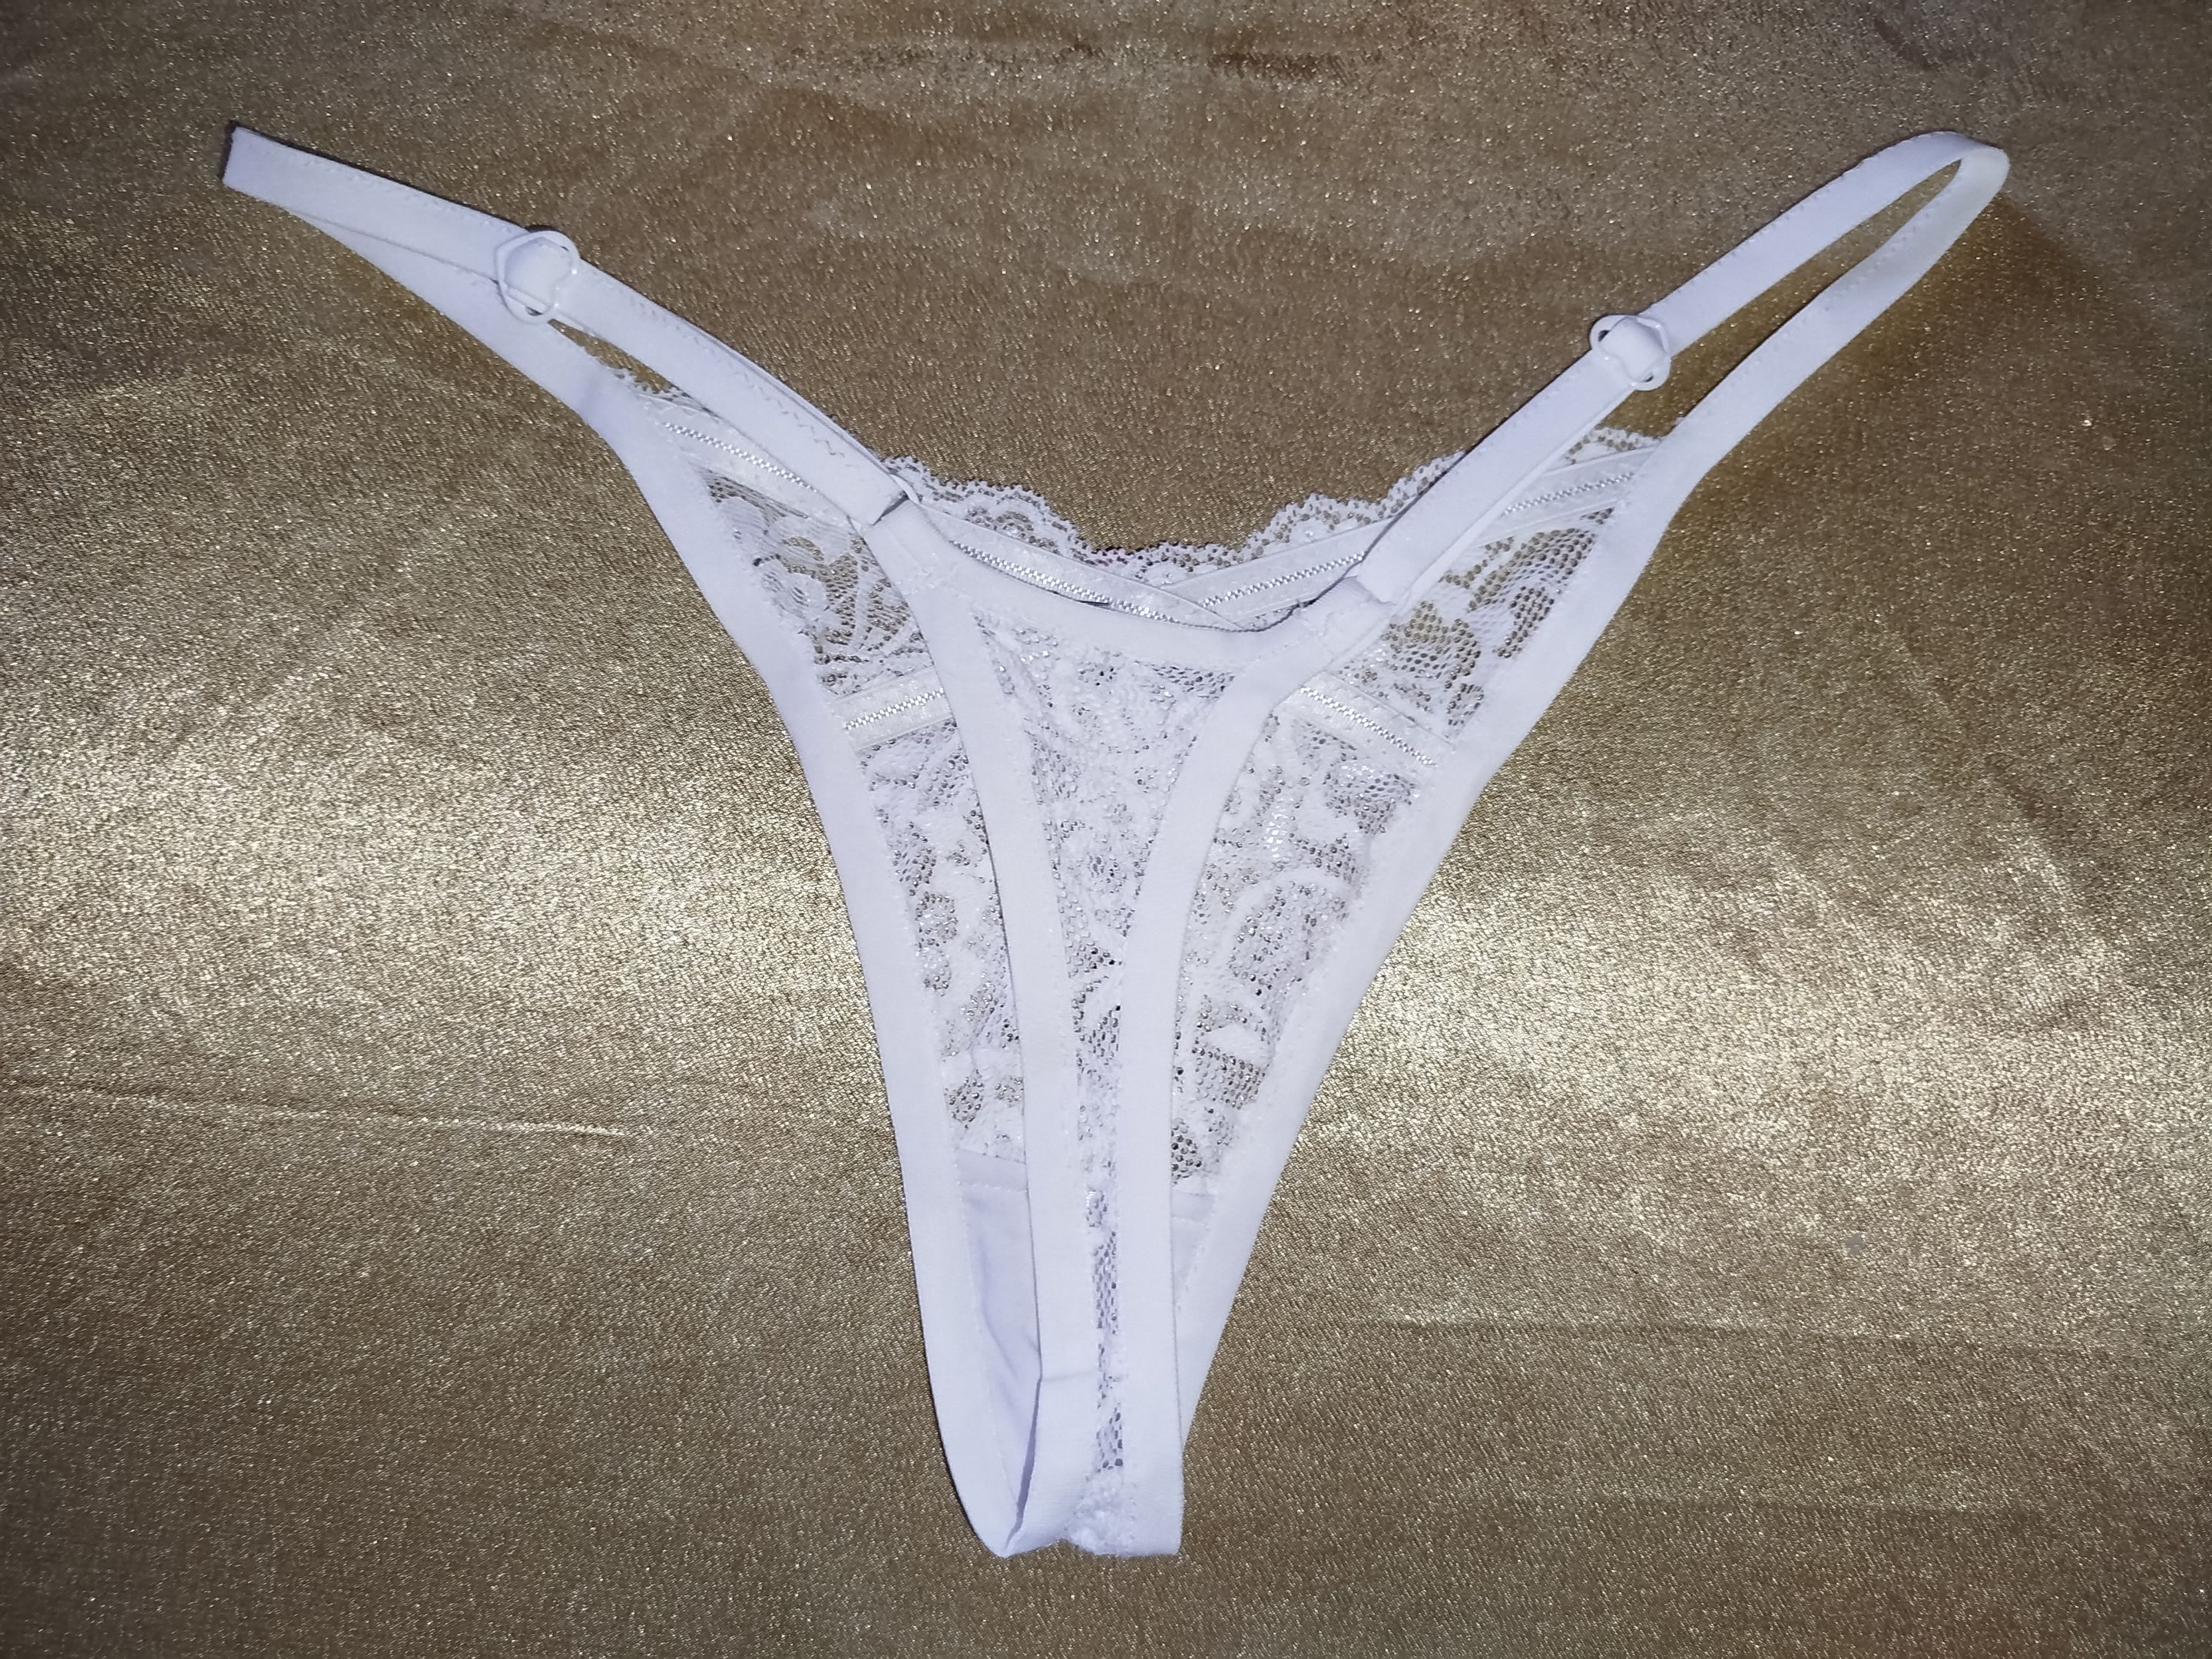
Para terminar, solo te queda añadir los detalles finales. En cada extremo, coloca las argollas y los tensores. La manera de hacerlo es idéntica a cómo se arman las tiras de un brasier, asegurando que todo quede bien fijo y ajustable.
- - -
- - -
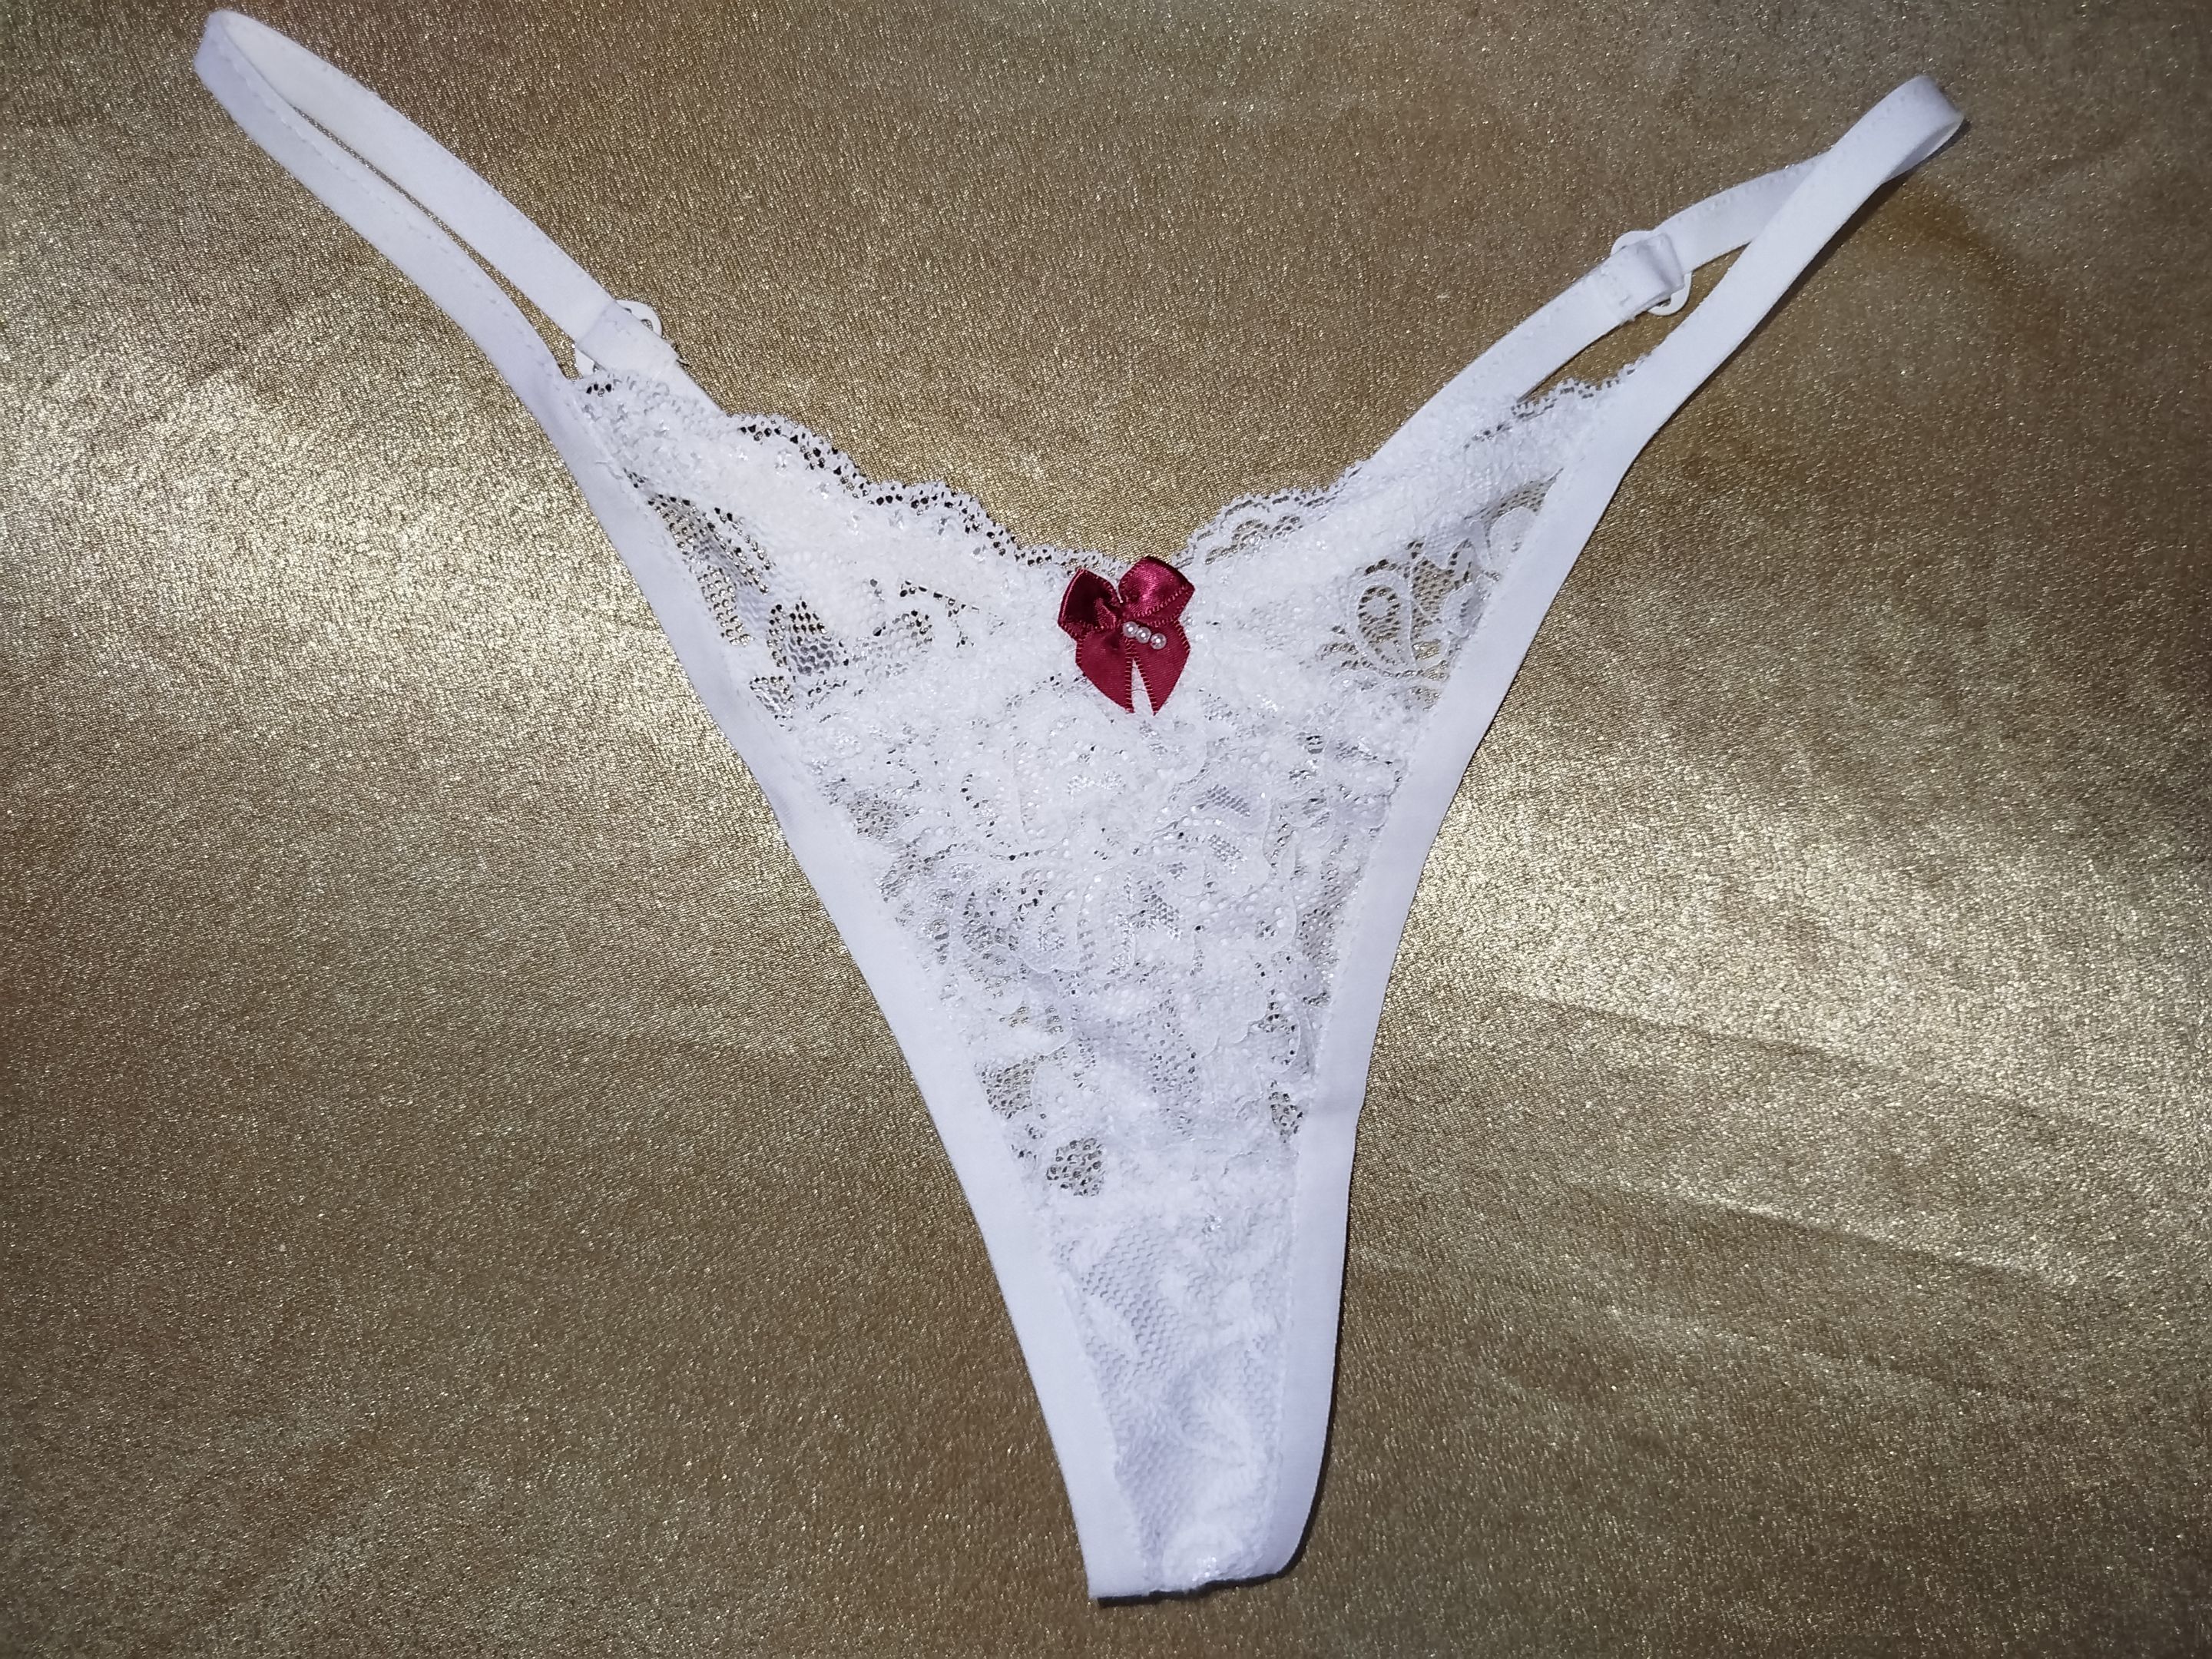
Se puede agregar un lazo decorativo en la parte delantera de la prenda, en mi caso escogi uno de color rojo, en un tamaño pequeño, lo que asegura una buena combinacion de ambos colores sin que se vea ordinario o fuera de lugar.
Con esto, tendremos lista la lencería.
Gracias de nuevo por llegar hasta aquí, me alegra mucho saber que cuento con tu apoyo.
Que tengan un feliz día y noche.
---
---
---

Hello, dear Hive friends and sewing enthusiasts! Ready for a new project? Today is Monday, and to kick off the week, I will guide you step by step through the creation of an intimate garment or lingerie, as beautiful as it is comfortable, with a touch of lace and lycra tulle, which makes it look very sexy. We will also add the color white with a red bow. Without further ado, let's get started!
- - -

- - -
- Elastic lace or elastic tulle
- Wide bias tape
- Flat elastic
- Two rings and two figure eights or tensioners
- Decorative bow
- Cotton jersey
- Thread, pins, and scissors

- - -

- - -
To begin sewing, you must have the patterns, so start by cutting each part of the thong according to your pattern. The front should be made of stretch lace (two pieces). The back and crotch, also made of stretch lace, should stretch lengthwise, not widthwise.
- - -

---
Join one front piece to the other, making sure that the pointed ends are on the sides.
You can pin them together for extra security.
- - -


- - -

---
Now, sew the flat elastic onto the wrong side, just below the lace waves (lace berries). Use a straight or zigzag stitch.
Repeat the same procedure on the other side.
- - -


- - -
For the next step, sew the crotch, which is cotton jersey with lace, with a straight stitch. Again, you can secure it with pins to sew more safely and prevent the piece from moving out of place. It is important to center it well.
- - -


- - -


---
Join the crotch to the back. Make sure that the seam is not visible when you fold the fabric, joining the two pieces so that the seam is “tucked in” or completely covered.
- - -


- - -
Now it's time to attach the elastic bias tape.
Start at the back, leaving an extra 3 cm at the beginning. Sew, but stretch very little. When you reach the front, continue sewing the bias tape in a strip. The measurements for this strip are:
34 cm for size S.
36 cm for size M.
38 cm for size L.
- - -


- - -
Cut the thread and repeat the same procedure, but now on the other side of the thong.
- - -


- - -
On the 3 cm you left at the beginning, place the bias tape from the back covering or overlapping the previous bias tape, and sew with minimal tension.
- - -

- - -
To finish, all you have to do is add the final details. At each end, attach the rings and tensioners. The method for doing this is identical to how bra straps are assembled, ensuring that everything is secure and adjustable.
- - -


- - -
You can add a decorative bow to the front of the garment. In my case, I chose a small red one, which ensures a good combination of both colors without looking ordinary or out of place.
With that, the lingerie is ready.
Thank you again for reading this far. I am very happy to know that I have your support.
Have a happy day and night.
---

---
IMG_20250922_174514.jpg (https://files.peakd.com/file/peakd-hive/gabimramirez/EoK6ryr5v64V8R3aWNKX6kRCx46CsQYoziN6NAeVjq4xj1K3SK1HiywXfmedJvow148.jpg)
Fotos tomadas de mi teléfono Xiaomi Redmi Note 11 Pro y mi teléfono Honor X8a || Photos taken from my Xiaomi Redmi Note 11 Pro phone and from my Honor X8a phone.