🌸Hola Comunidad HIVE🌸
Hello HIVE Community
Feliz día amigos de @needleworkmonday. Acostumbro hacer mis proyectos de costura desde una prenda de medida de la persona que necesita el trabajo, pero a todo debemos desacostumbrarnos y en estos días de trajes elegantes para graduaciones me tocó aprender a trabajar a través de patrones, no es que no lo haya hecho antes sino que es mas rápido cortar desde una medida pero no siempre es lo mejor y en estos días lo confirmé.
Me tocó hacer una falda para un conjunto muy lindo para una bella graduando la falda es larga con un top juvenil muy hermoso pero la falda tiene su corte especial además de larga tiene cierta amplitud que es necesario respetar, así que compre dos papel bond y me dispuse a hacer el patrón para luego cortar sin errores la tela.
Happy day, friends of @needleworkmonday. I usually do my sewing projects based on the measurements of the person who needs the garment, but we all have to break our habits, and in these days of elegant graduation outfits, I had to learn to work with patterns. It's not that I haven't done it before, but it's faster to cut from measurements, although it's not always the best option, as I confirmed recently.
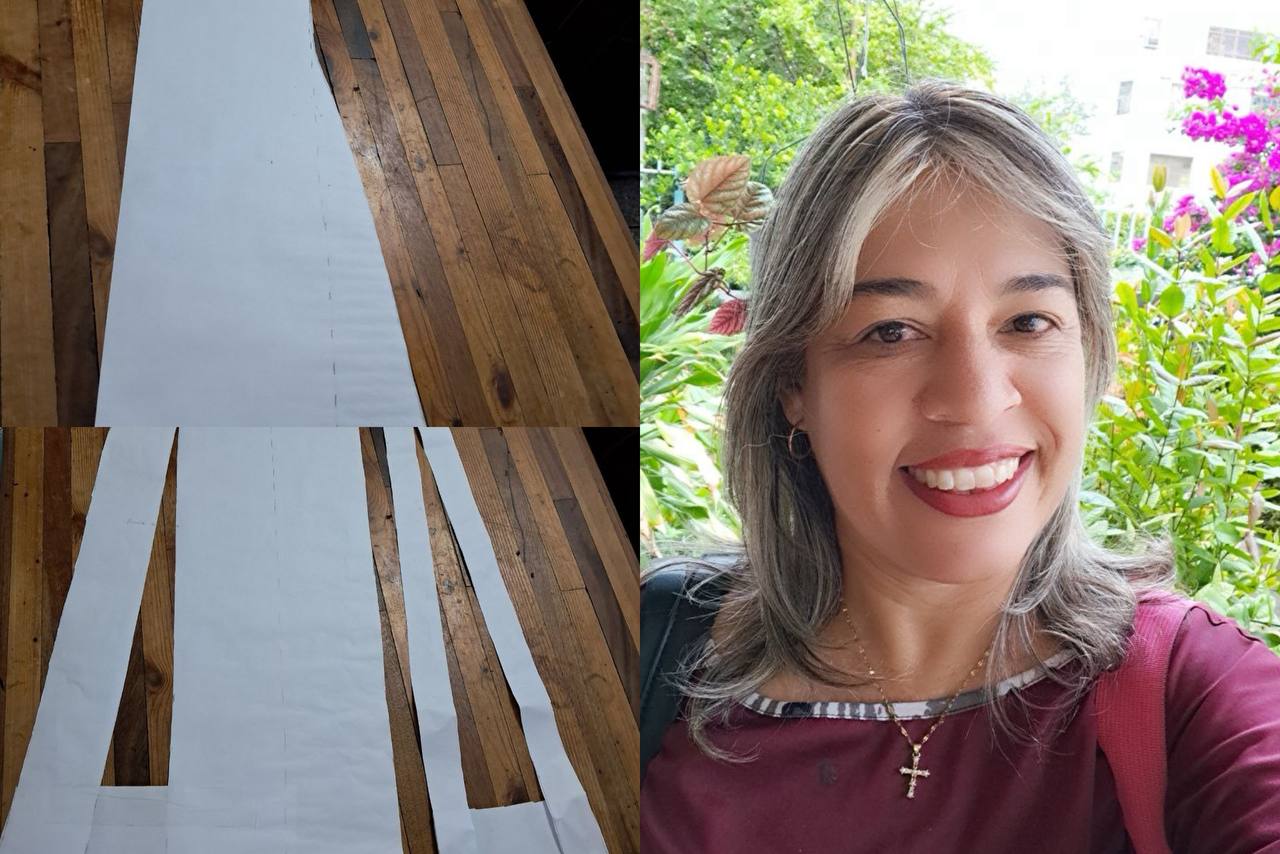
I had to make a skirt for a very cute outfit for a beautiful graduate. The skirt is long with a very pretty youthful top, but the skirt has a special cut. In addition to being long, it has a certain width that must be respected, so I bought two sheets of bond paper and set out to make the pattern so I could cut the fabric without mistakes.
---
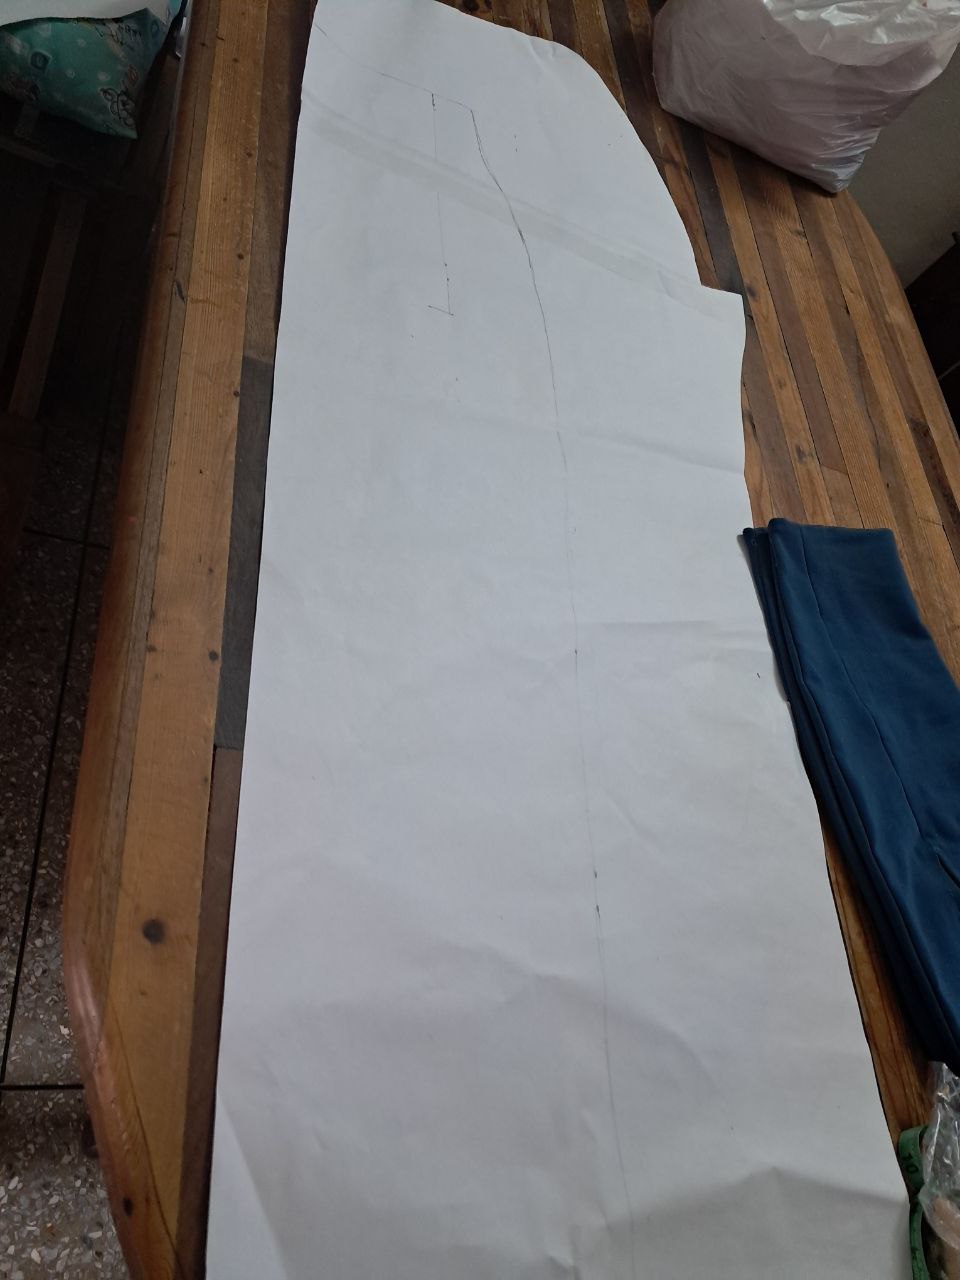
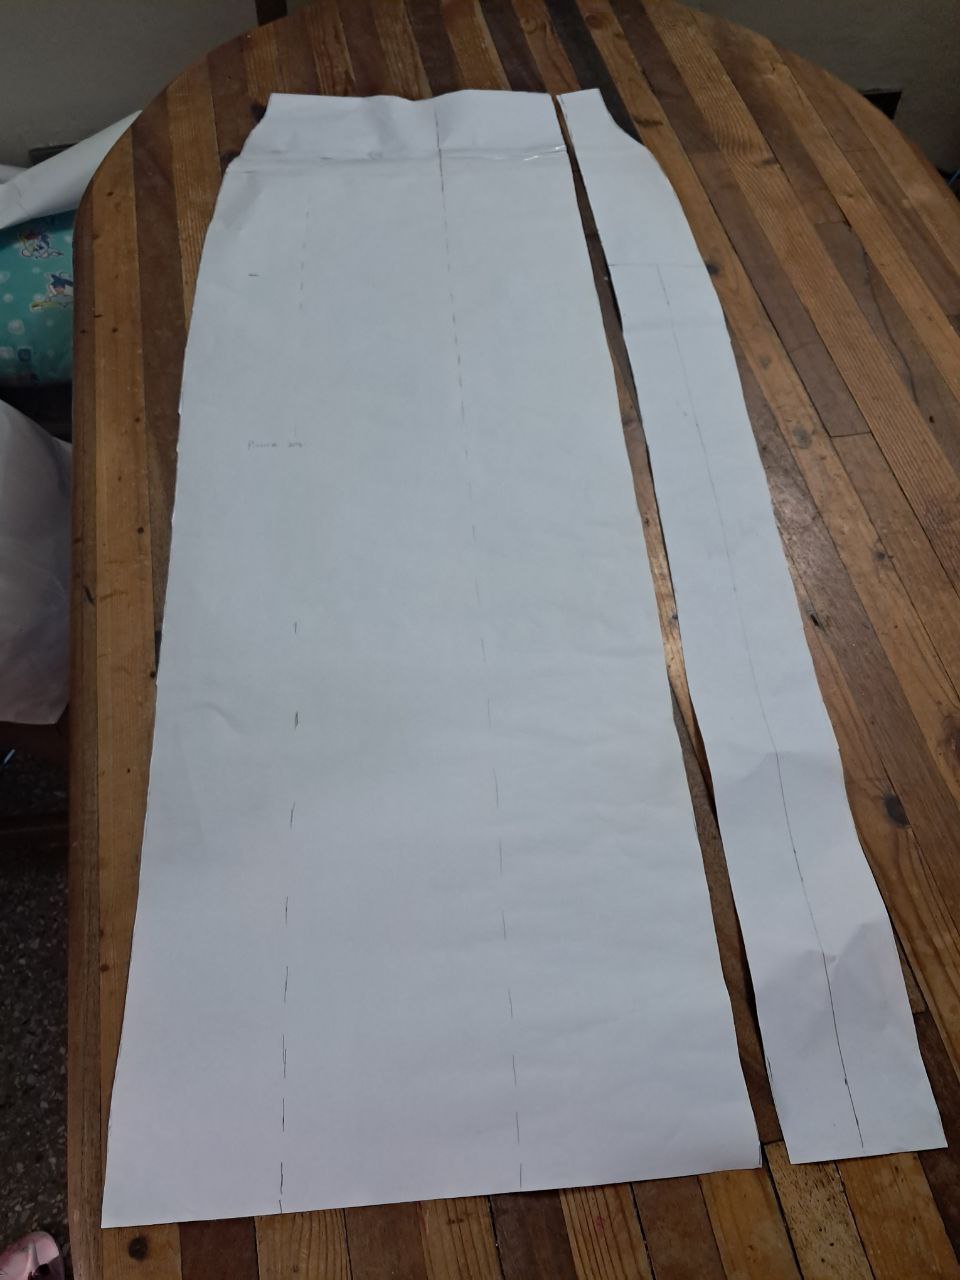
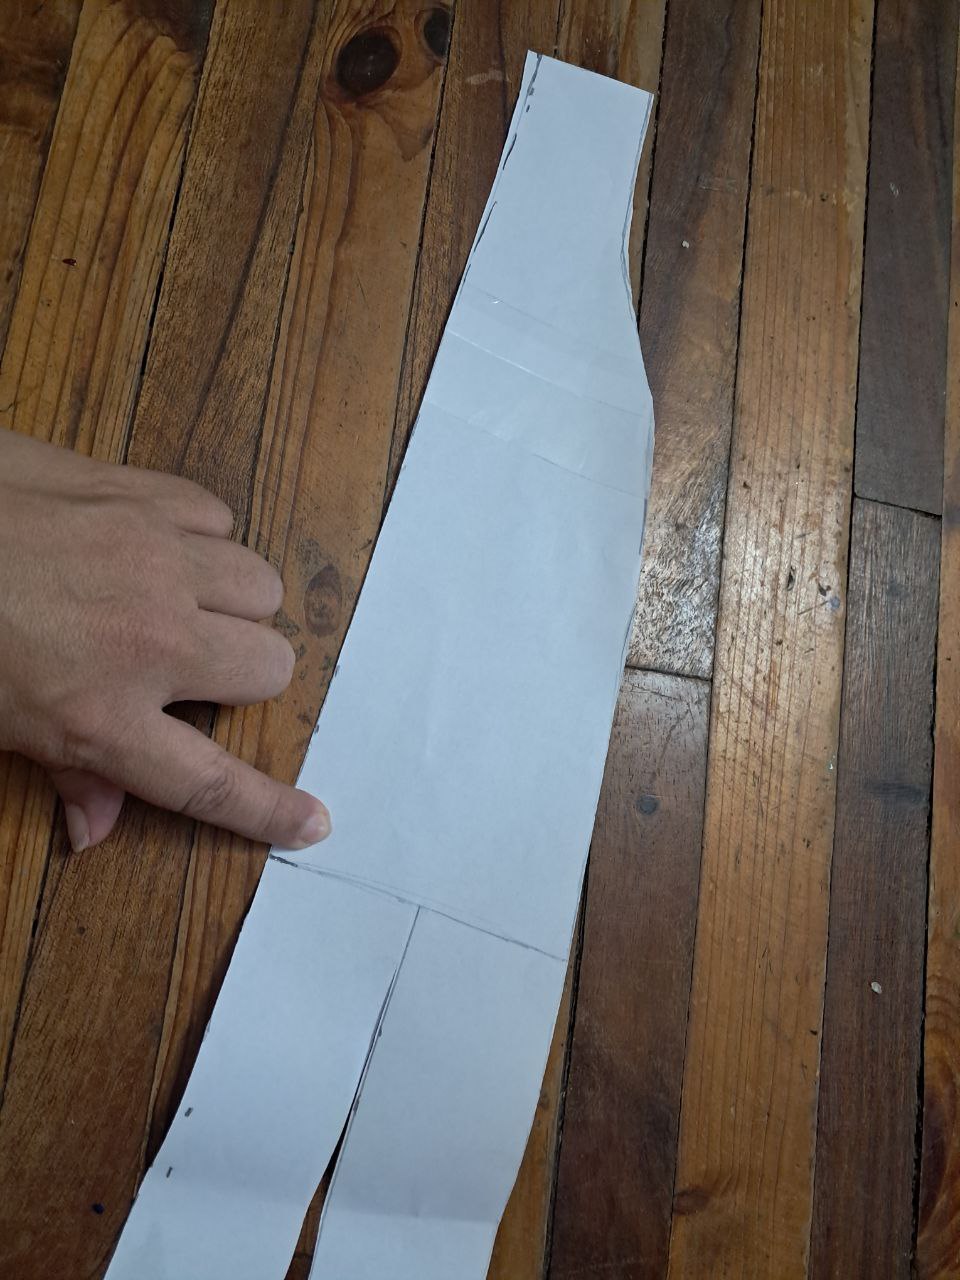
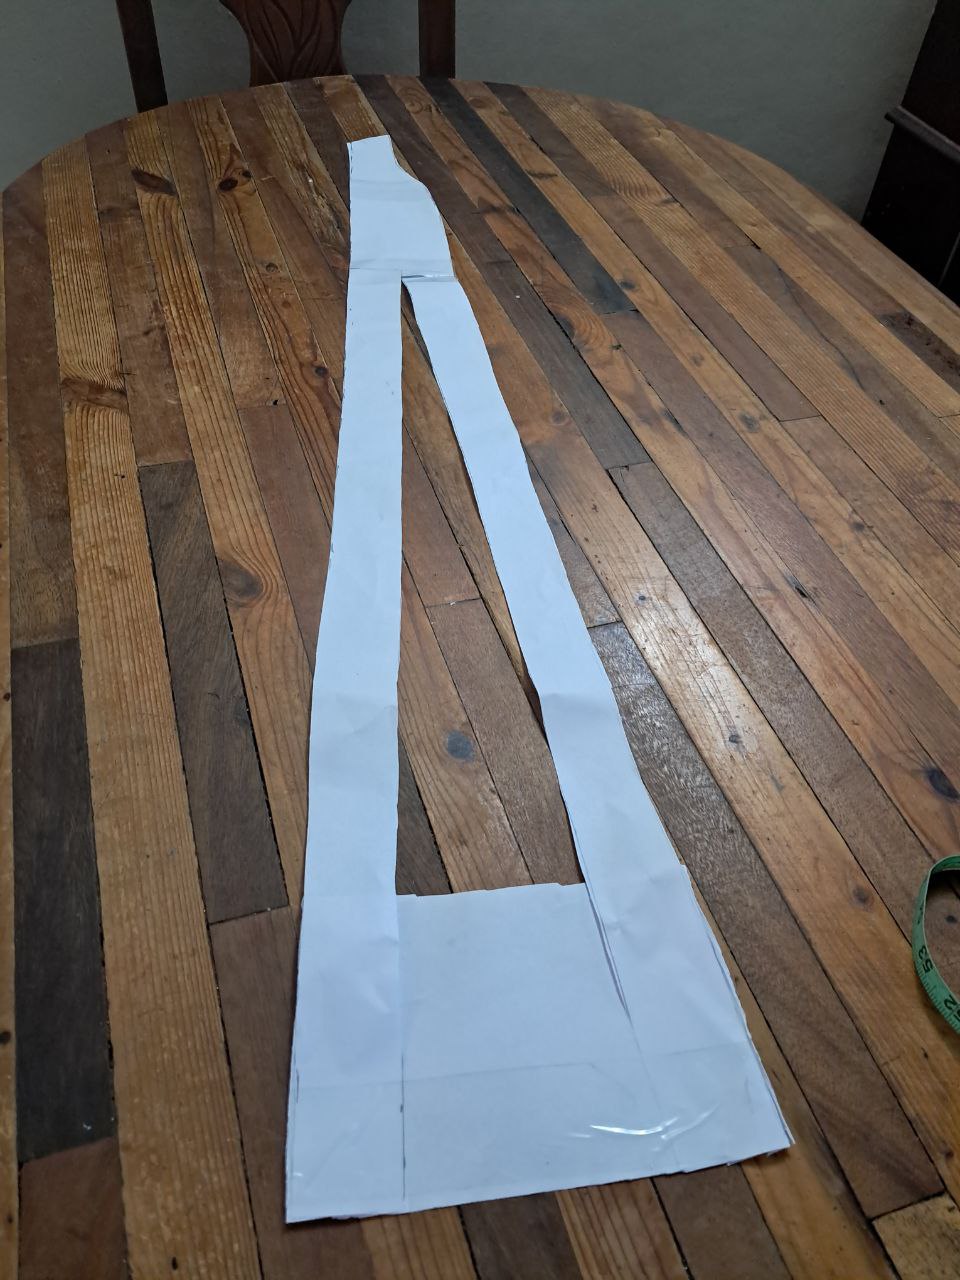
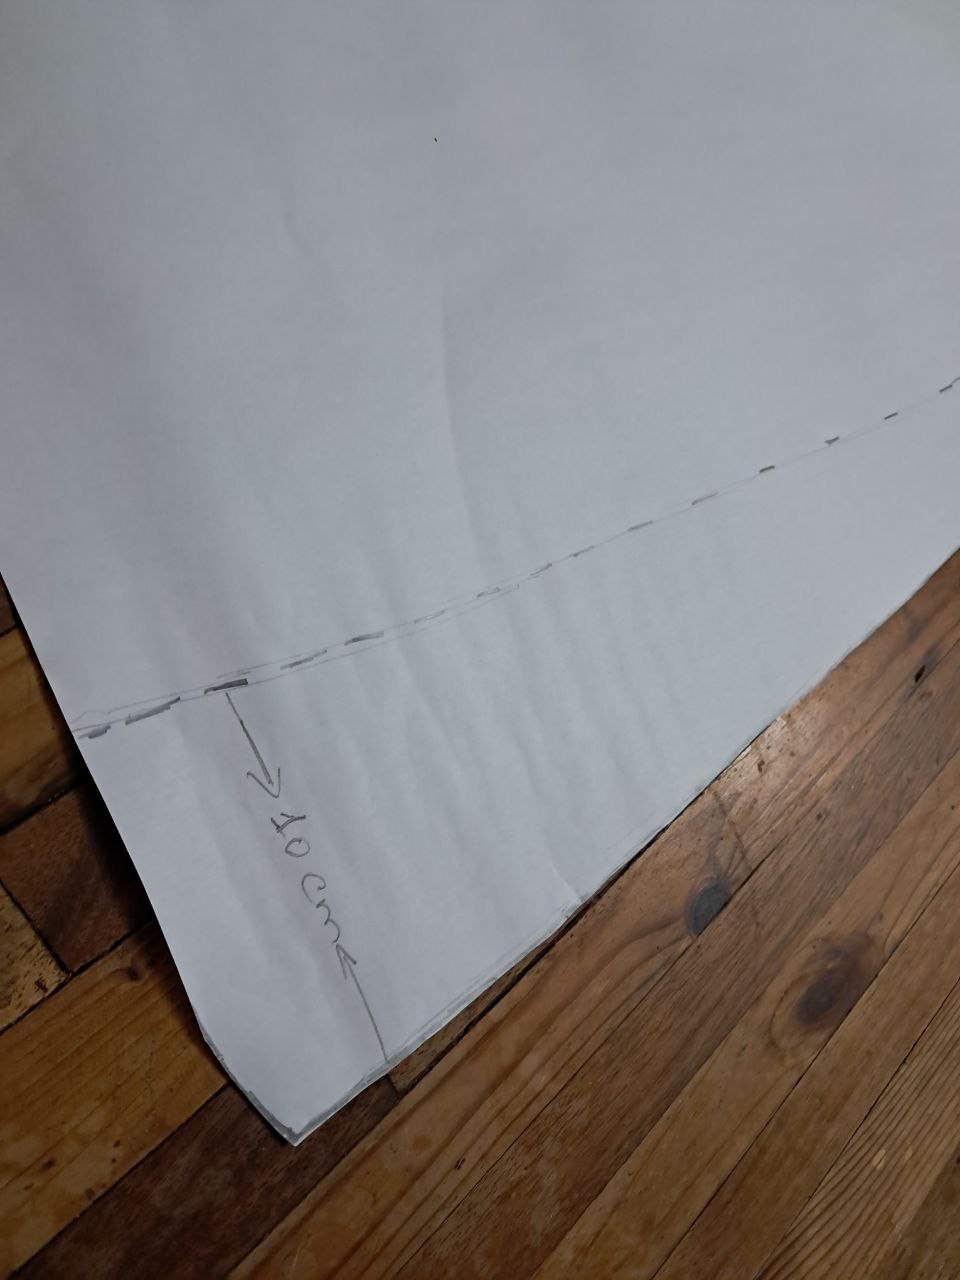
La falda lleva en la parte delantera una abertura en la pierna derecha, así que, luego de marcar el molde de la falda con su largo correspondiente, marqué y corté dónde llevaría la abertura desde el ruedo a la cintura, una vez separadas las piezas tomé el corte menos ancho que corresponde al costado y le marqué el inicio de la abertura delantera. Luego cortamos nuevamente desde el ruedo hasta la marca de la abertura por todo el centro de esta pieza, lo siguiente es separar el ruedo unos 10 a 15 cm dependiendo la amplitud que queremos en la falda, le puse 10 cm, colocamos otro papel debajo y con ayuda de cinta plástica mantenemos los 10 cm de amplitud cortamos los excesos de papel.
The skirt has an opening on the front of the right leg, so after marking the skirt pattern with its corresponding length, I marked and cut where the opening would go from the hem to the waist. Once the pieces were separated, I took the narrowest cut, which corresponds to the side, and marked the beginning of the front opening. Then cut again from the hem to the opening mark across the center of this piece. Next, separate the hem by about 10 to 15 cm, depending on the width you want for the skirt. I used 10 cm. Place another piece of paper underneath and, with the help of plastic tape, maintain the 10 cm width and cut off the excess paper.
---
 ---
---
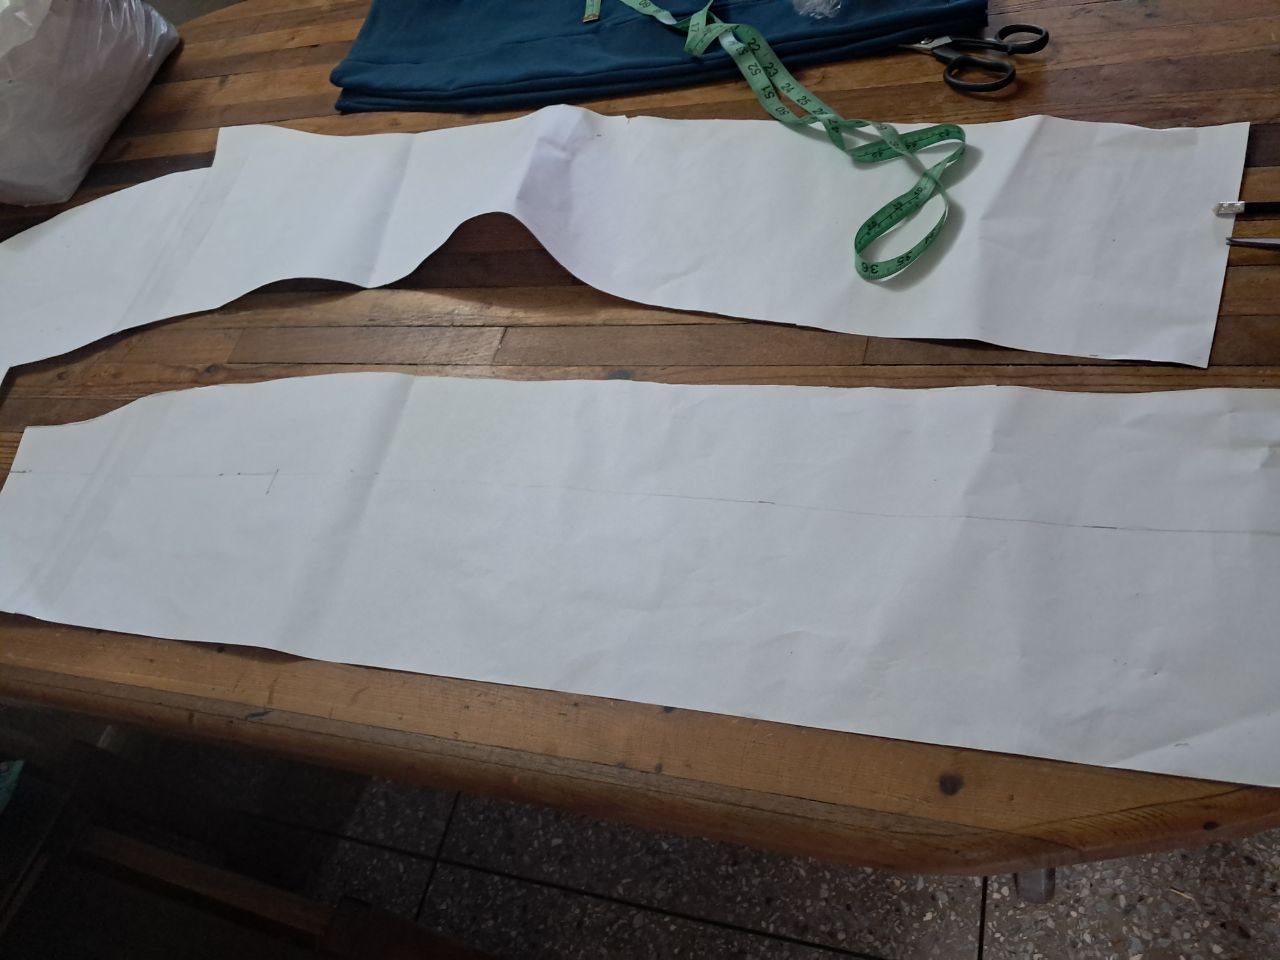
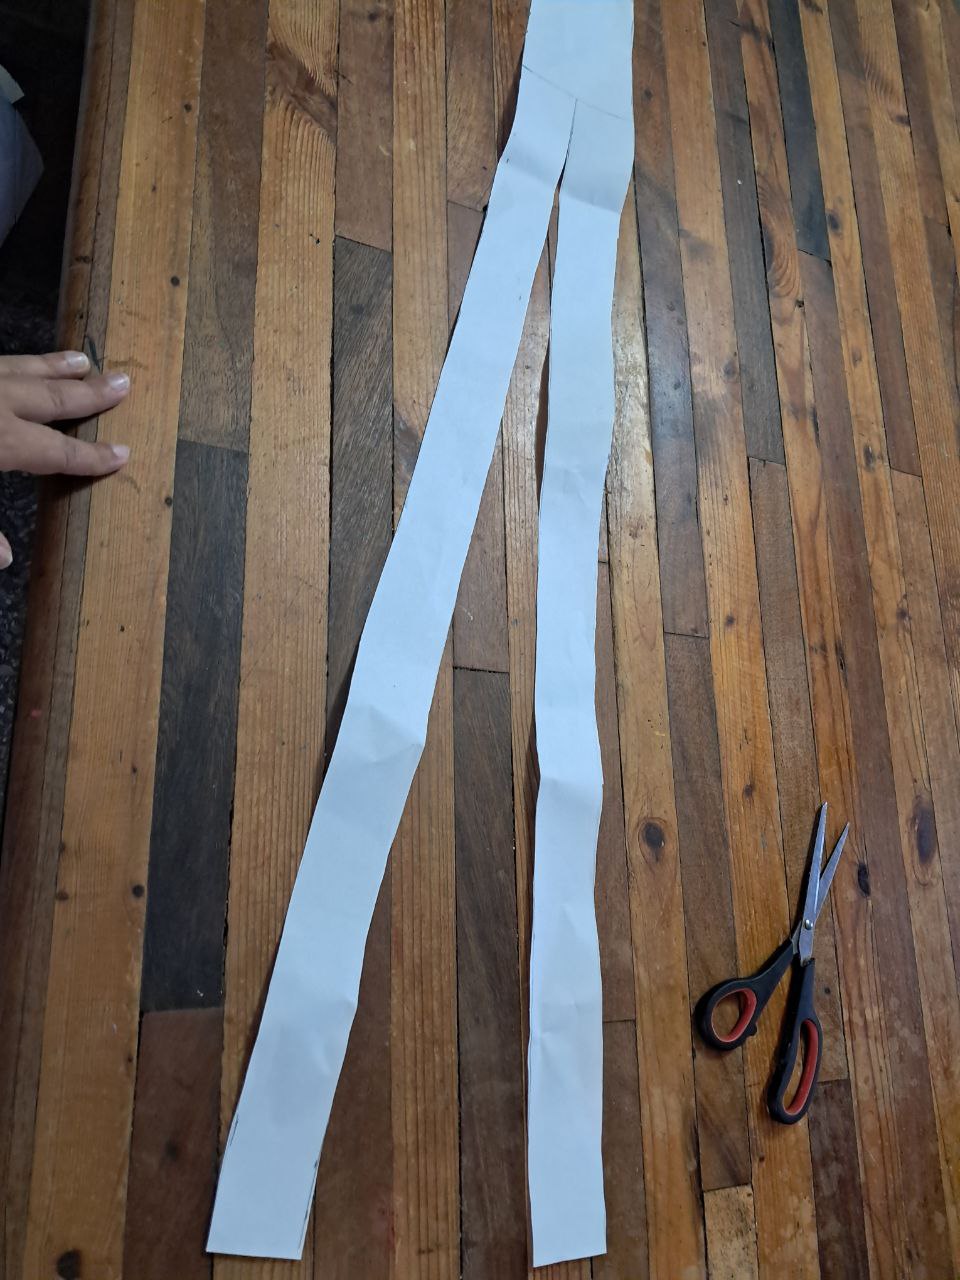
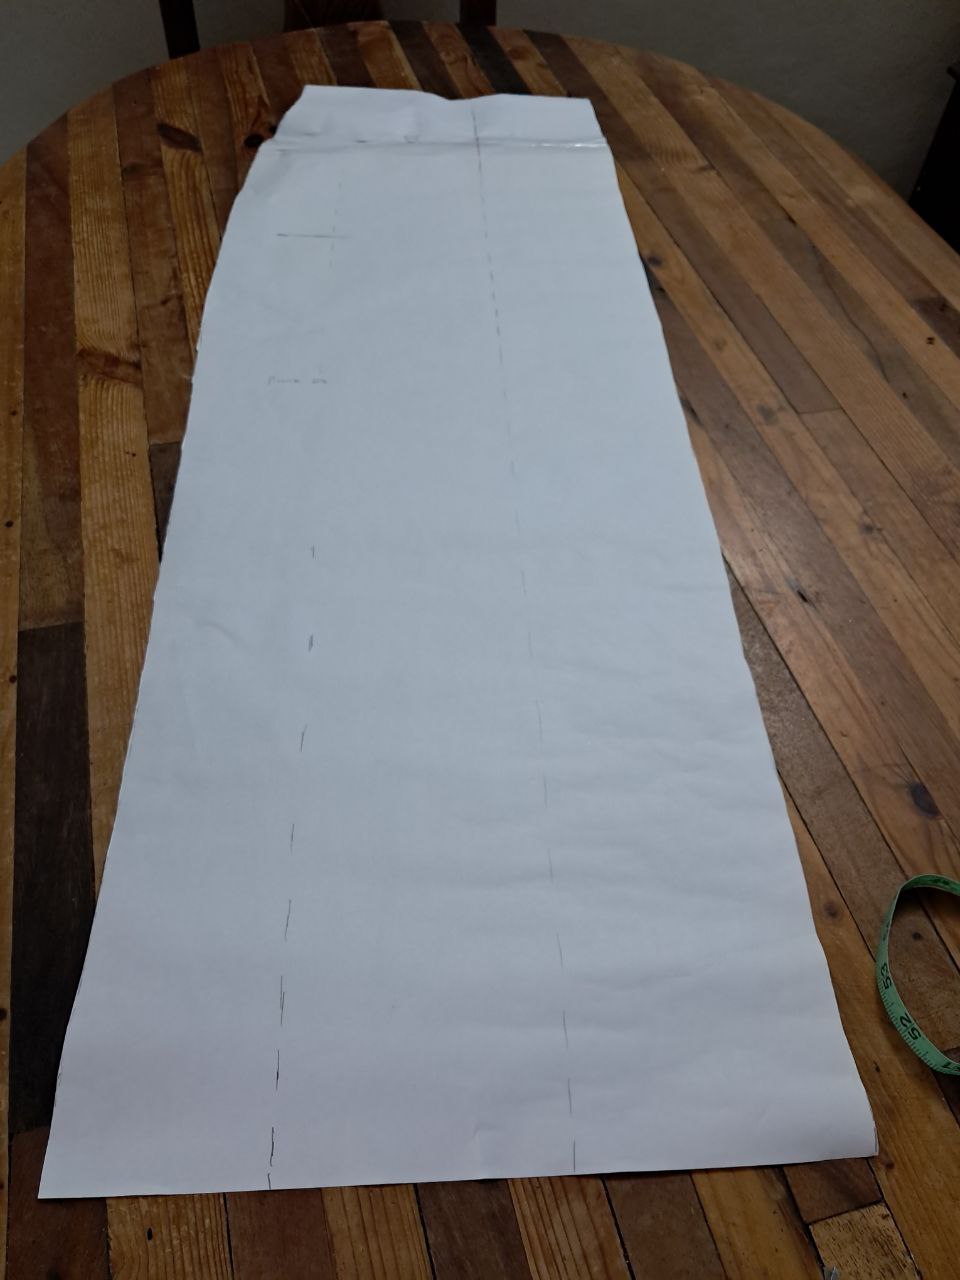
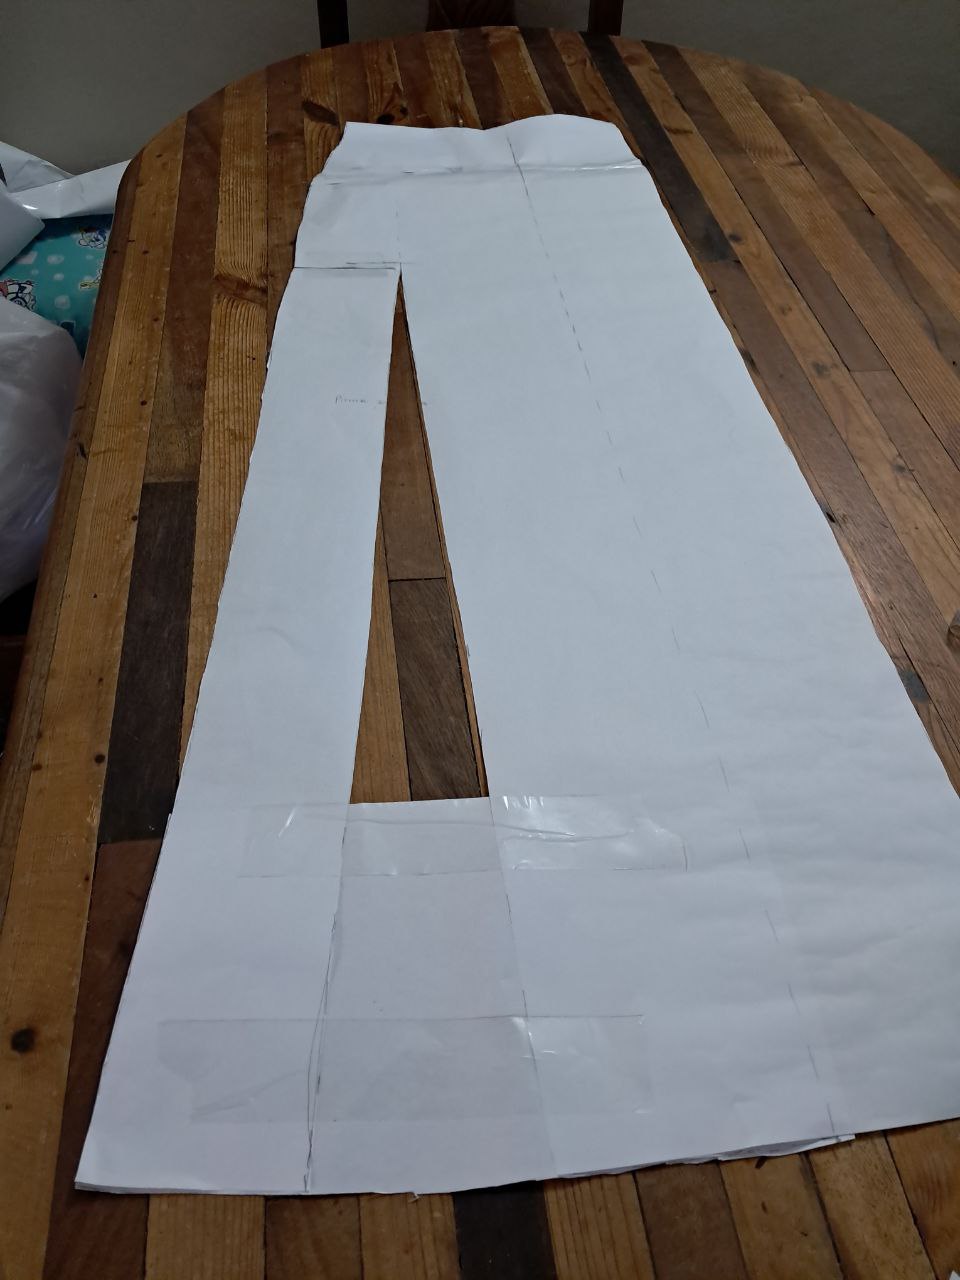
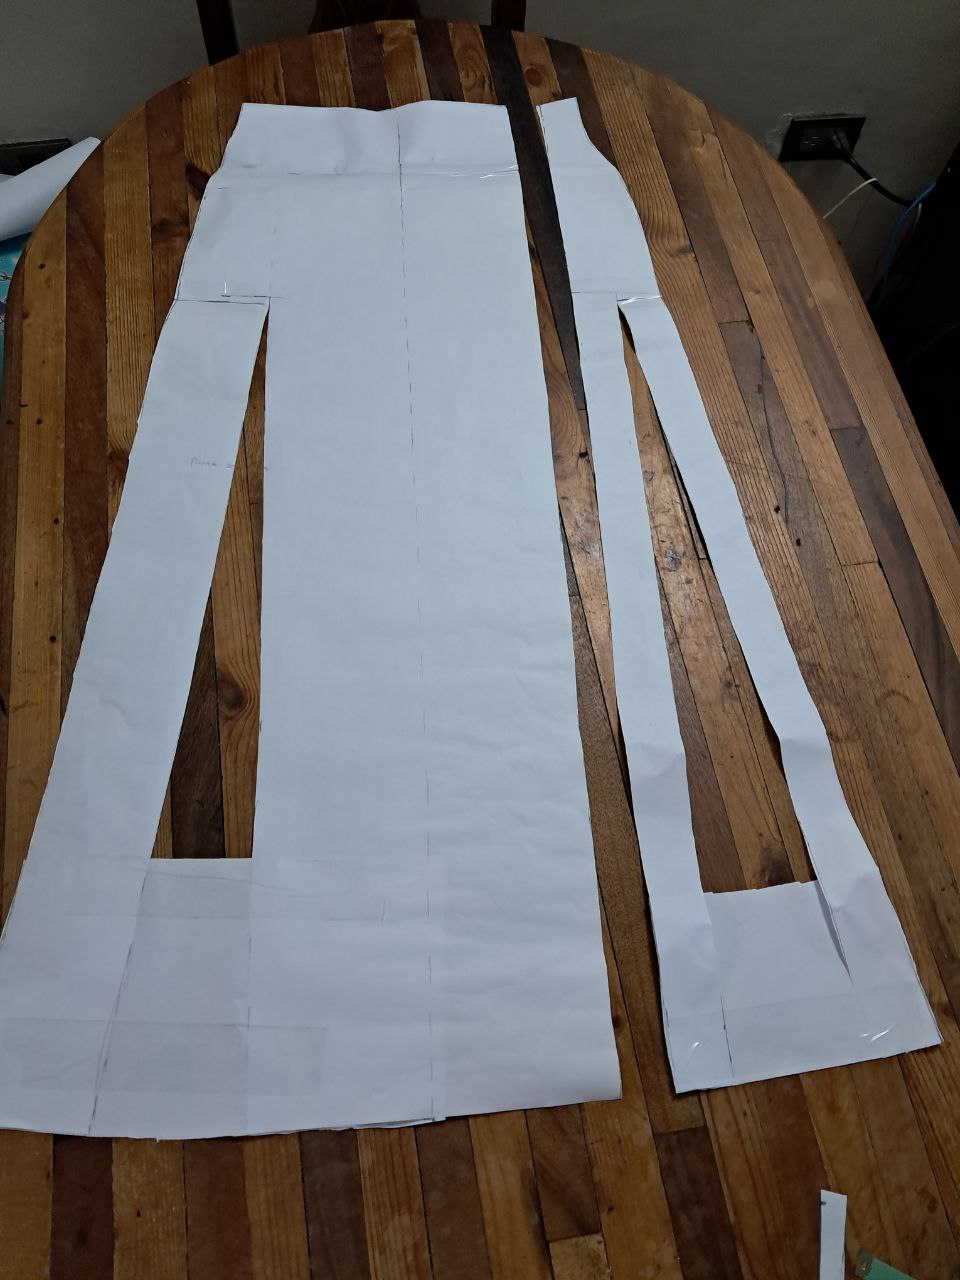
Ahora nos vamos a la otra parte delantera de la falda, la que nos quedó en el paso anterior y marcamos también donde va la abertura sobre todo su inicio, cortamos desde el ruedo hasta el inicio de la abertura y hacemos lo mismo que en el paso anterior separamos a 10 cm, colocamos un trozo de papel debajo y con cinta plástica fijamos, cortamos los excesos de papel.
Now we move on to the other front part of the skirt, the one we left in the previous step, and we also mark where the opening will go, especially its beginning. We cut from the hem to the beginning of the opening and do the same as in the previous step: we separate it by 10 cm, place a piece of paper underneath and secure it with plastic tape, and cut off the excess paper.
---
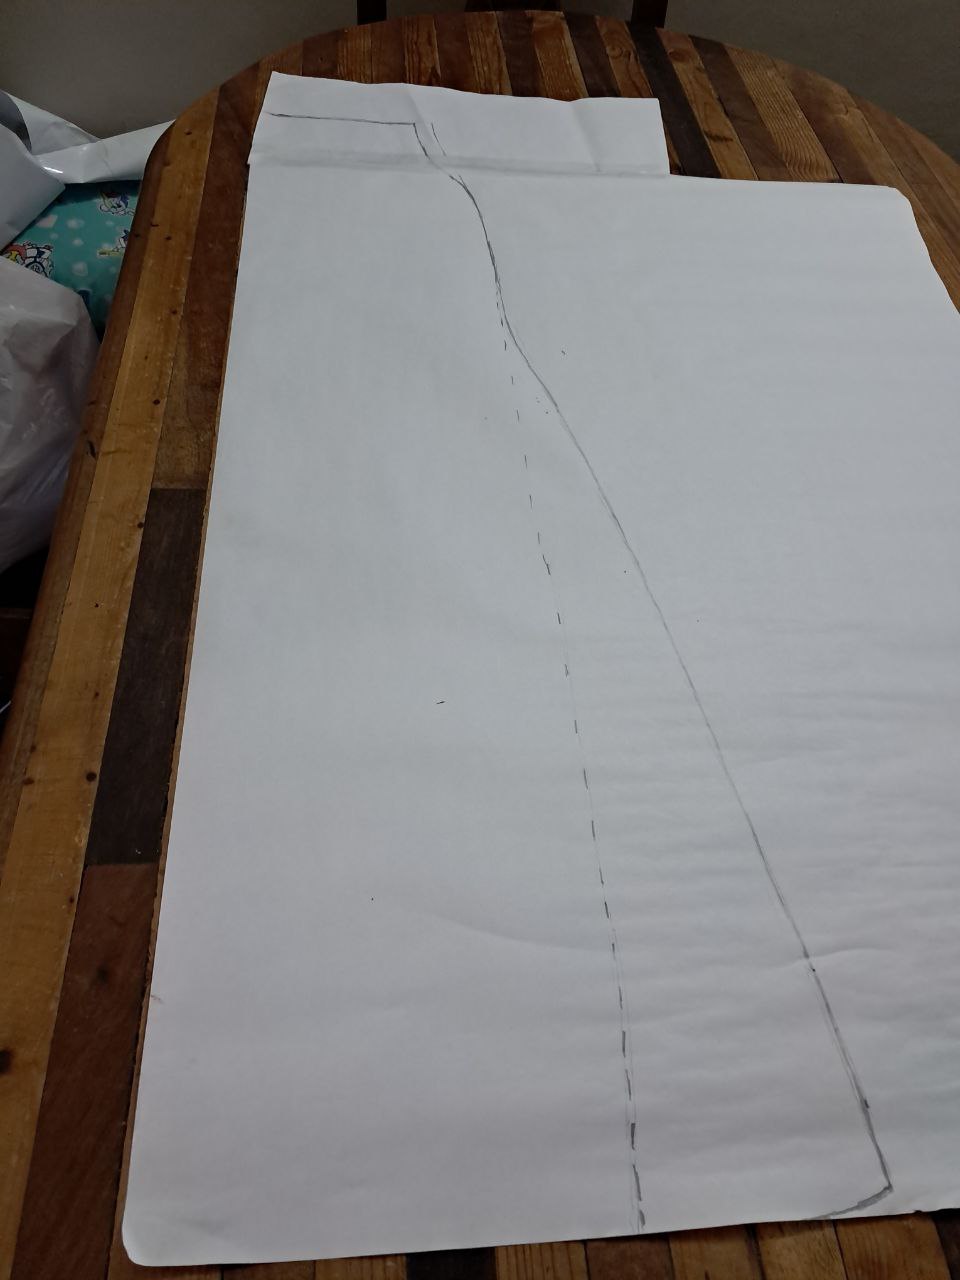
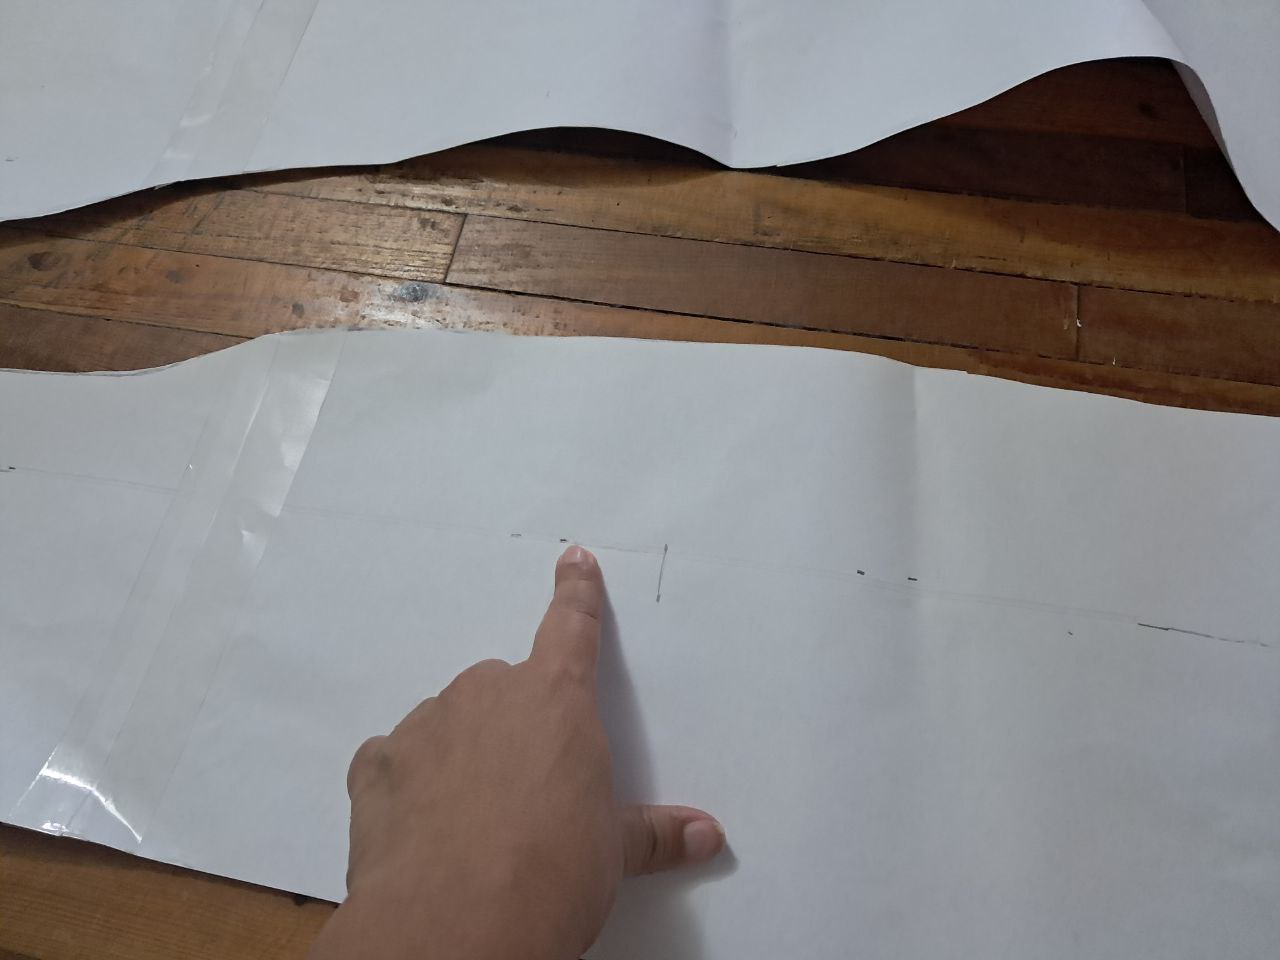
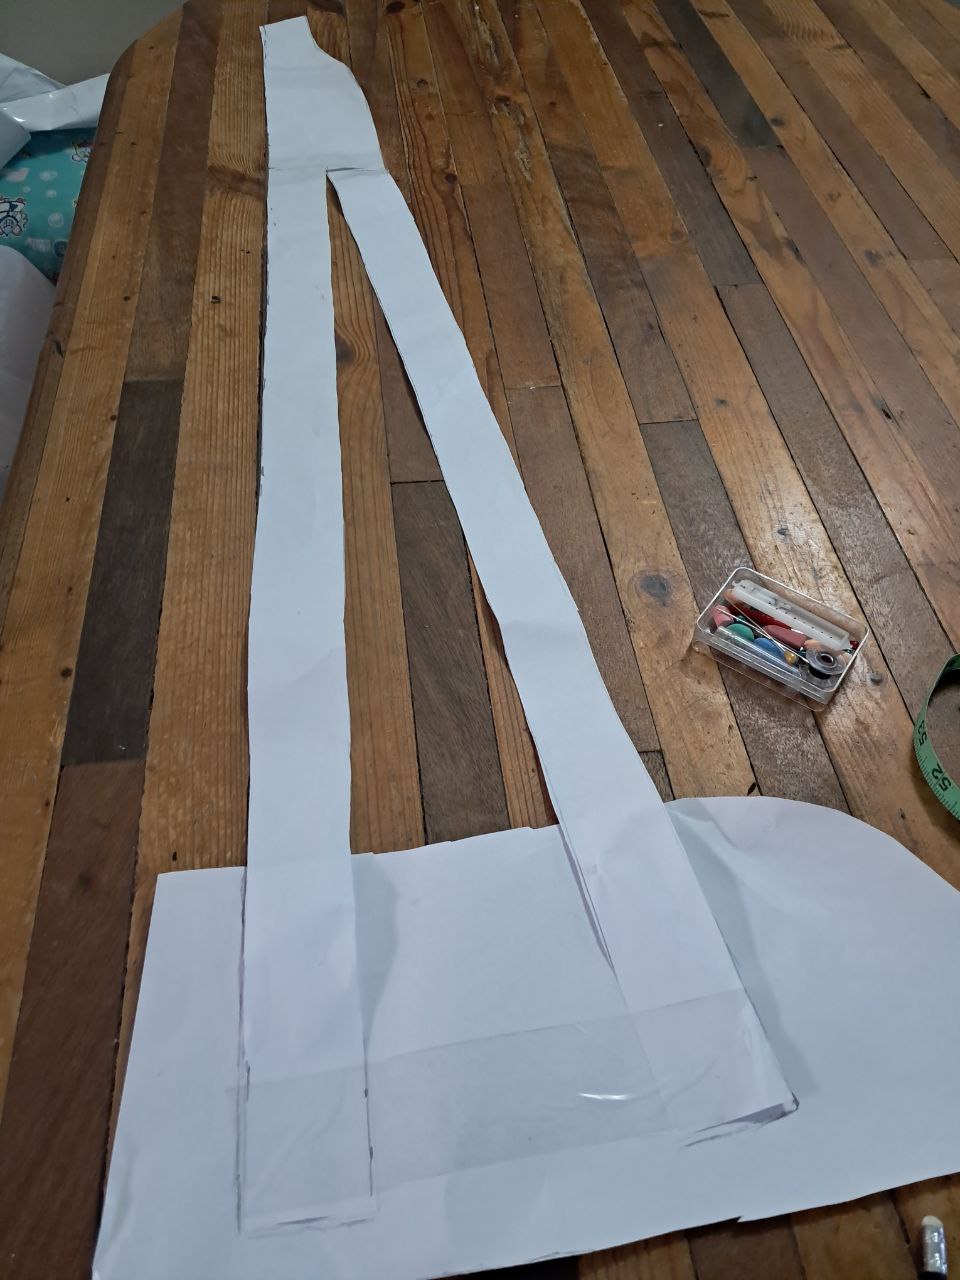
La parte trasera la cortamos al doblez con el largo de la falda y en la parte del vamos a agregar 10 cm de ancho y desde donde inicia la abertura delantera vamos a hacer una línea que una con el nuevo ancho de la parte de abajo de la falda. Cortamos el exceso de papel.
Cut the back at the fold along the length of the skirt and add 10 cm to the width. From where the front opening begins, draw a line that connects to the new width at the bottom of the skirt. Cut off the excess paper.
---
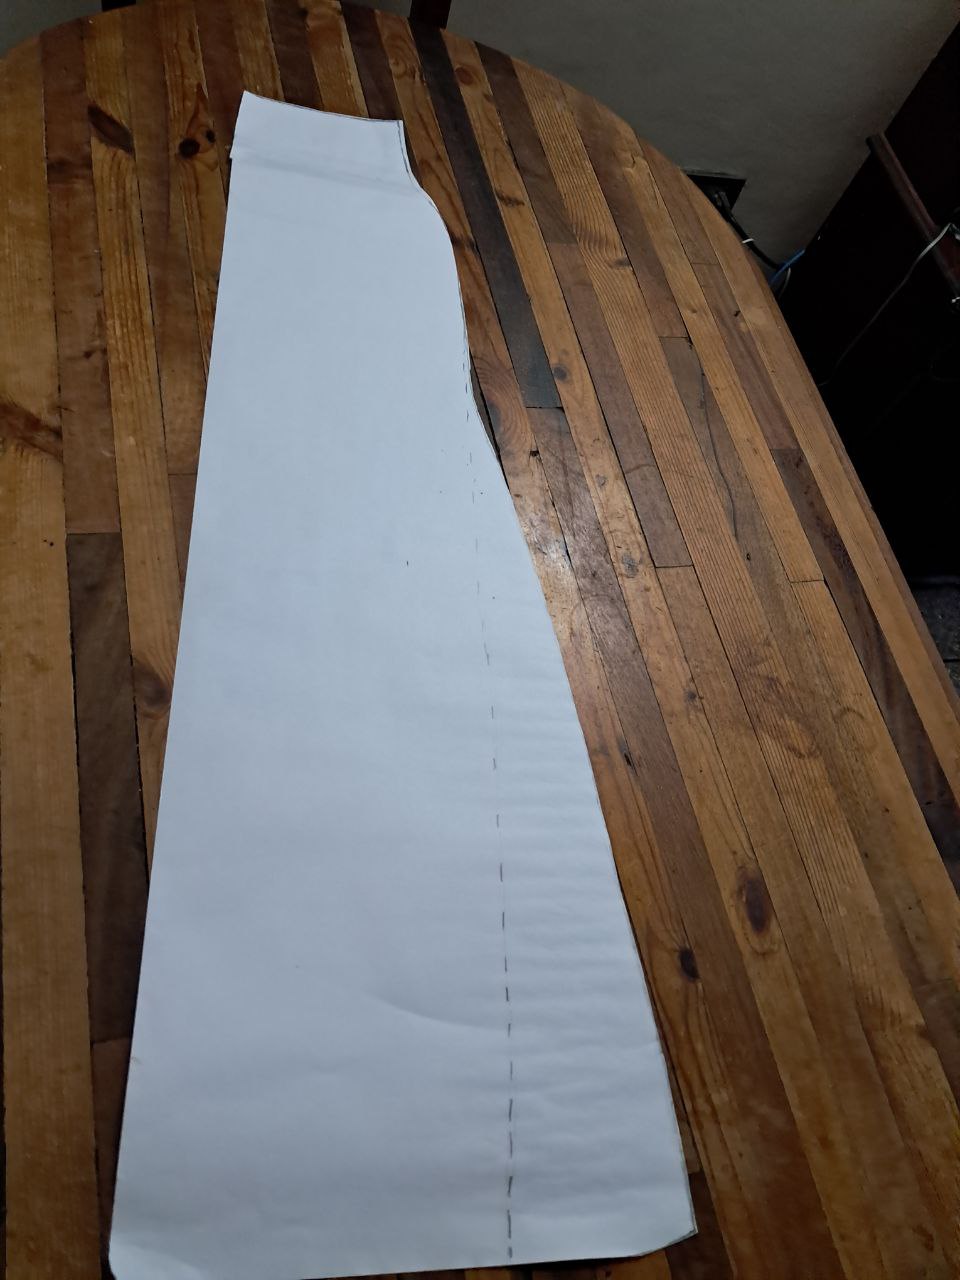
The skirt pattern is ready to start cutting the fabric. As you can see, it's quite a process, but it's not complicated, and best of all, it guarantees a well-made garment with minimal corrections. I hope I've made myself clear, and I'll show you the result on fabric soon. Best regards, and we'll talk again soon.
🌸🌸🌸🌸Fotos de mi Propiedad, tomadas con un Redmi 9🌸🌸🌸🌸
Photos of my Property, taken with a Redmi 9