https://files.peakd.com/file/peakd-hive/bertrayo/Enyo4d2KNC9dwGuWMVoWdT9r7awN4qgRzhmXSAVcpnyFGVx2s9Vx9PFMvLJYQdCFZvJ.png
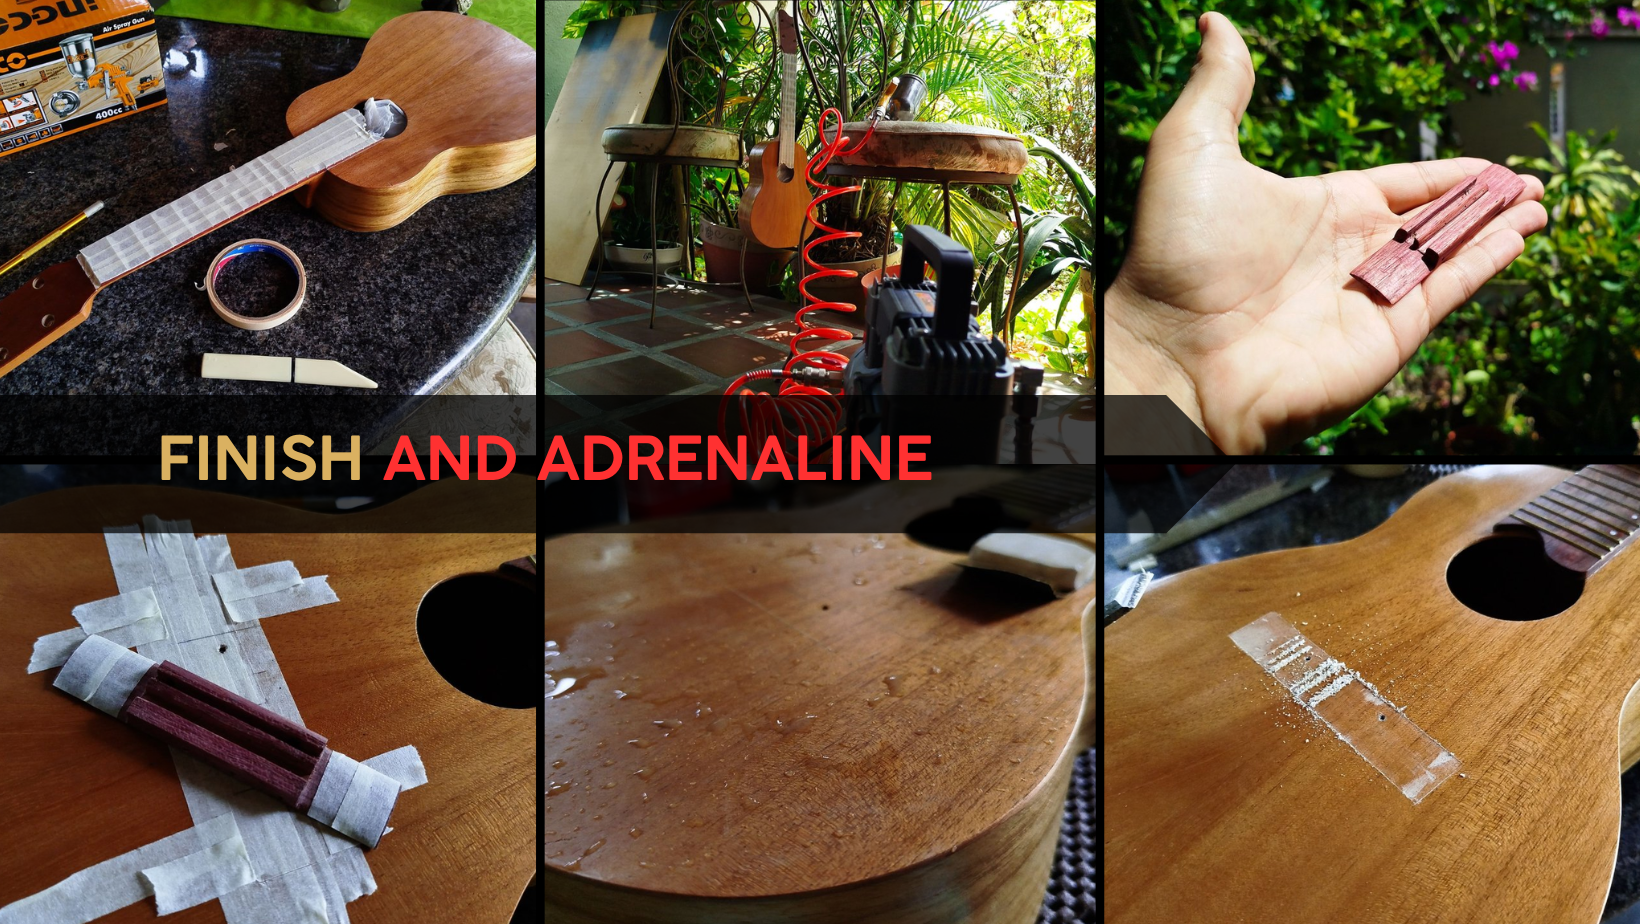
Welcome back to the second to last entry on this Ukulele build. We are working on the last bits regarding the finish of the instrument. Then we are working the zone of the bridge and removing finish on this are until we have a clean seat for this. This is what is called the dose of adrenaline of the build.
Let's get to it!
Lacquer
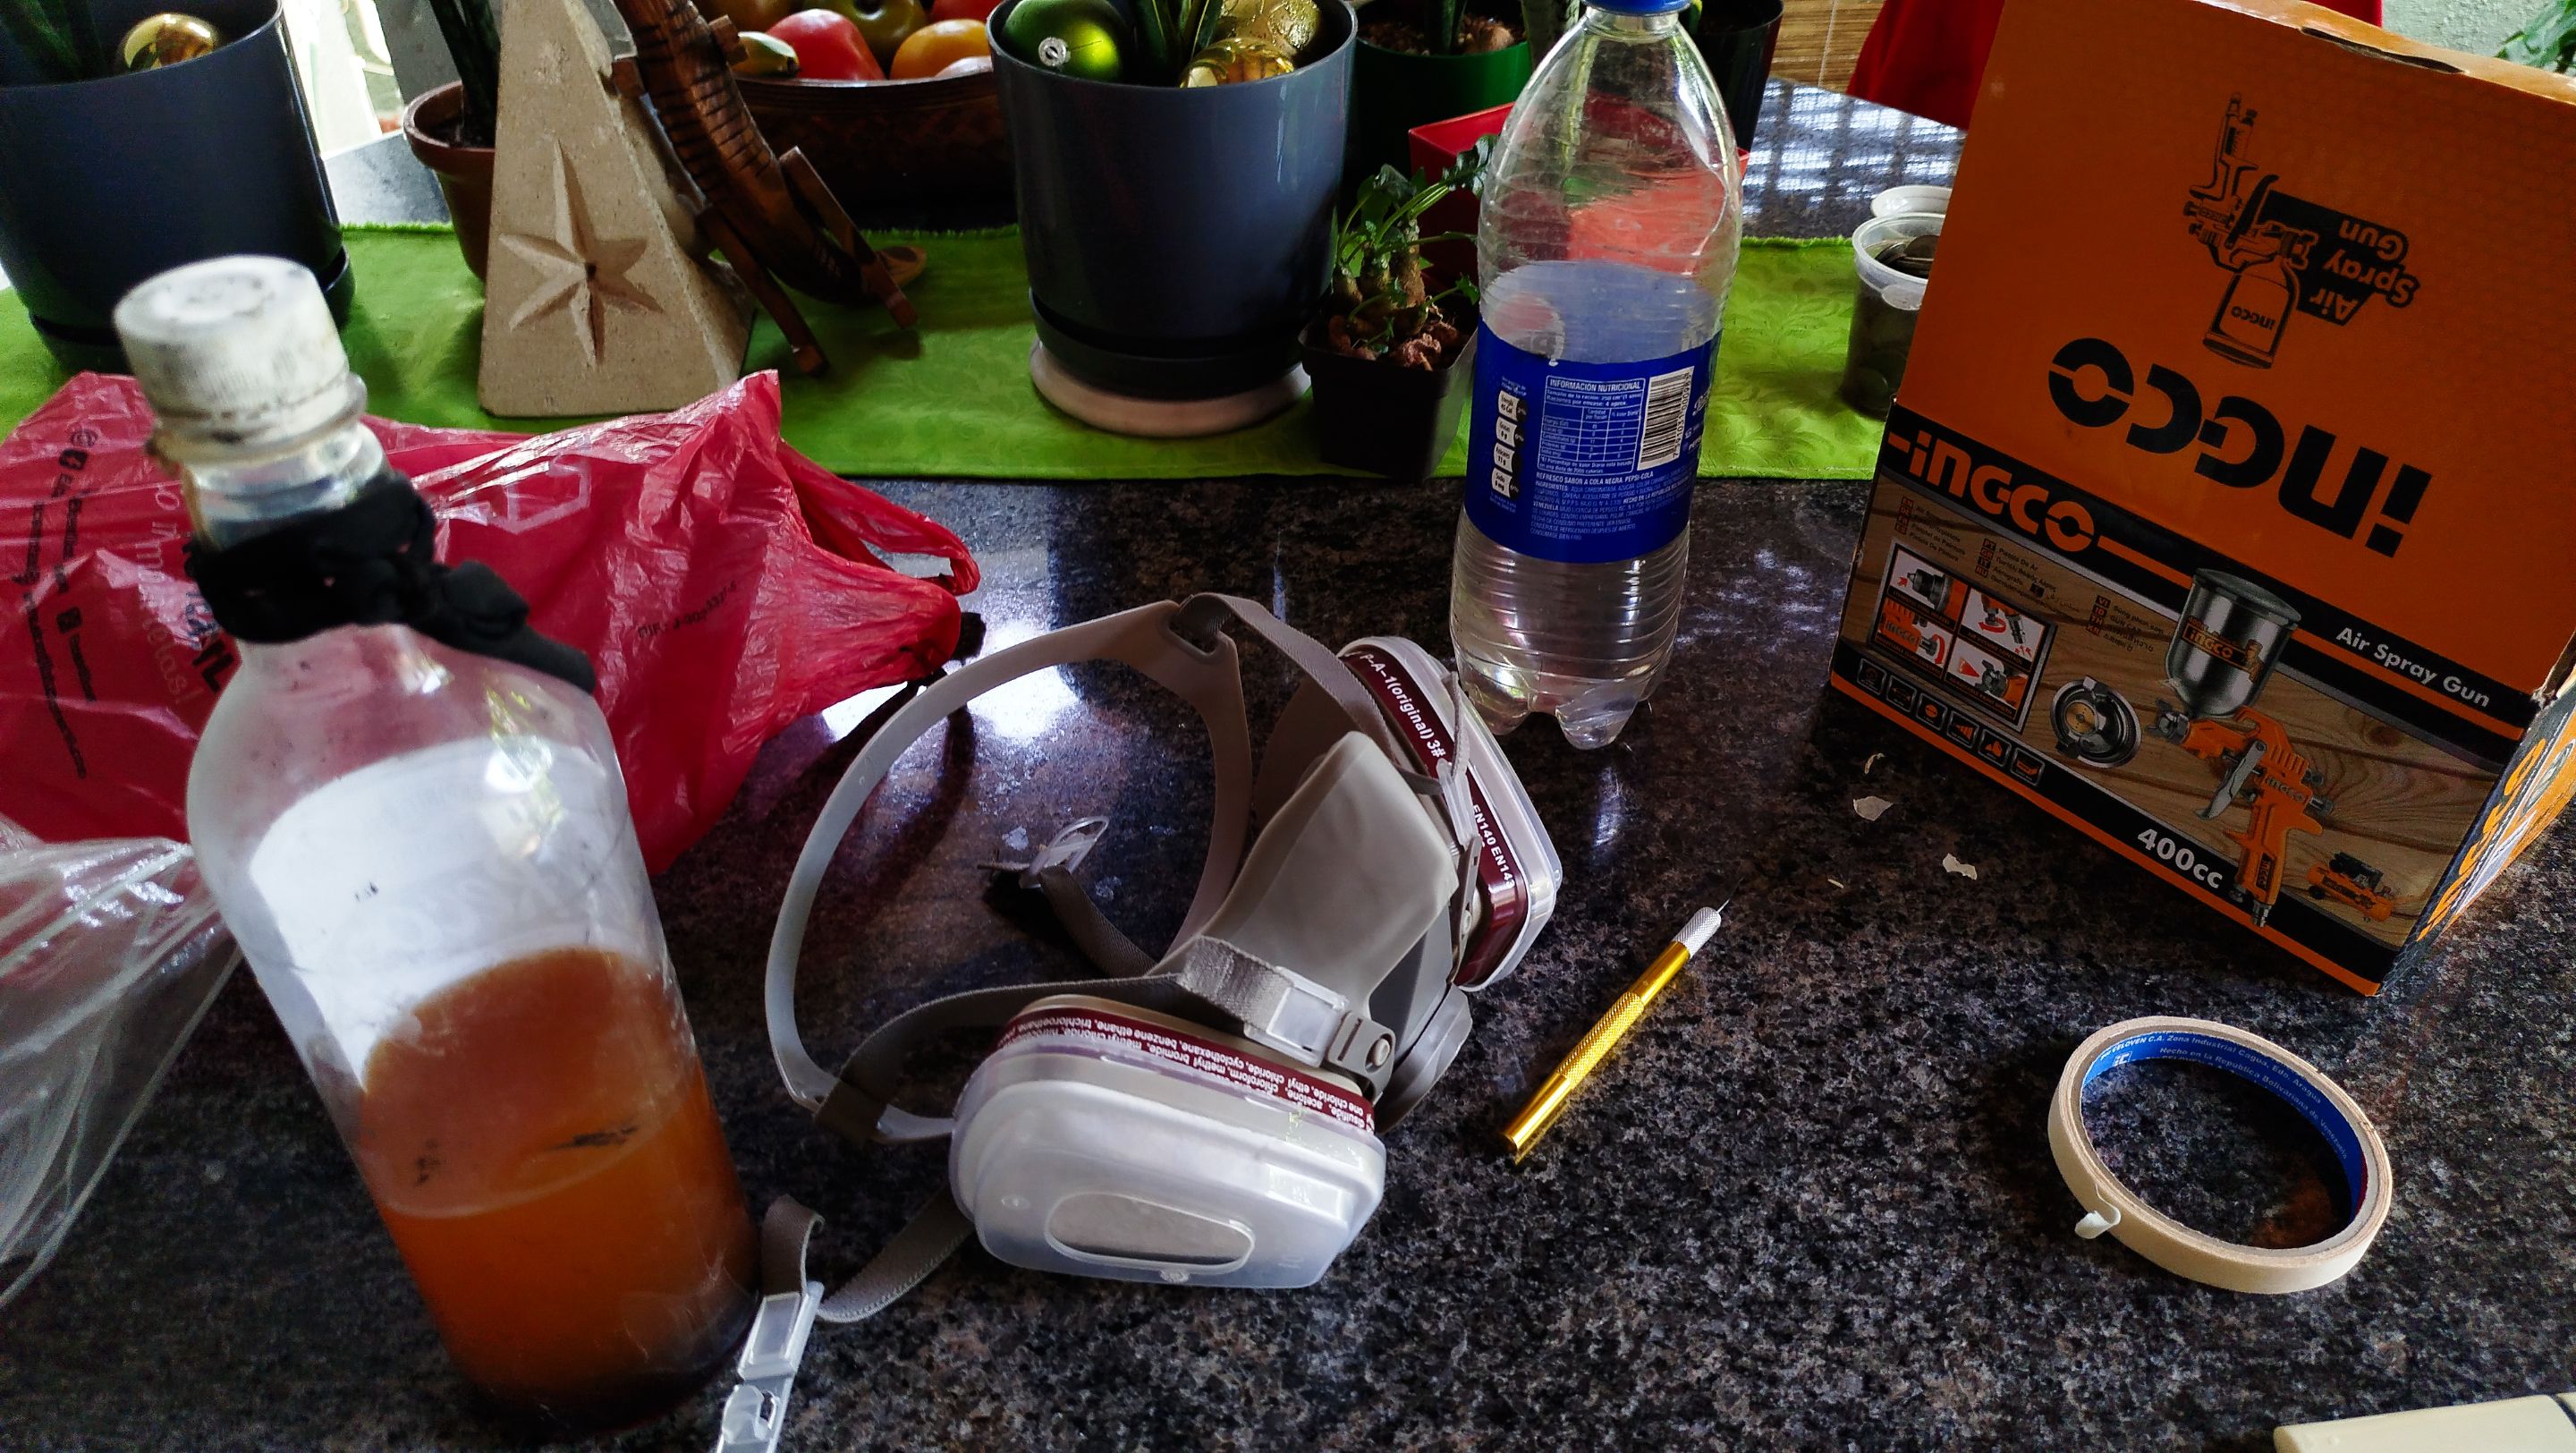

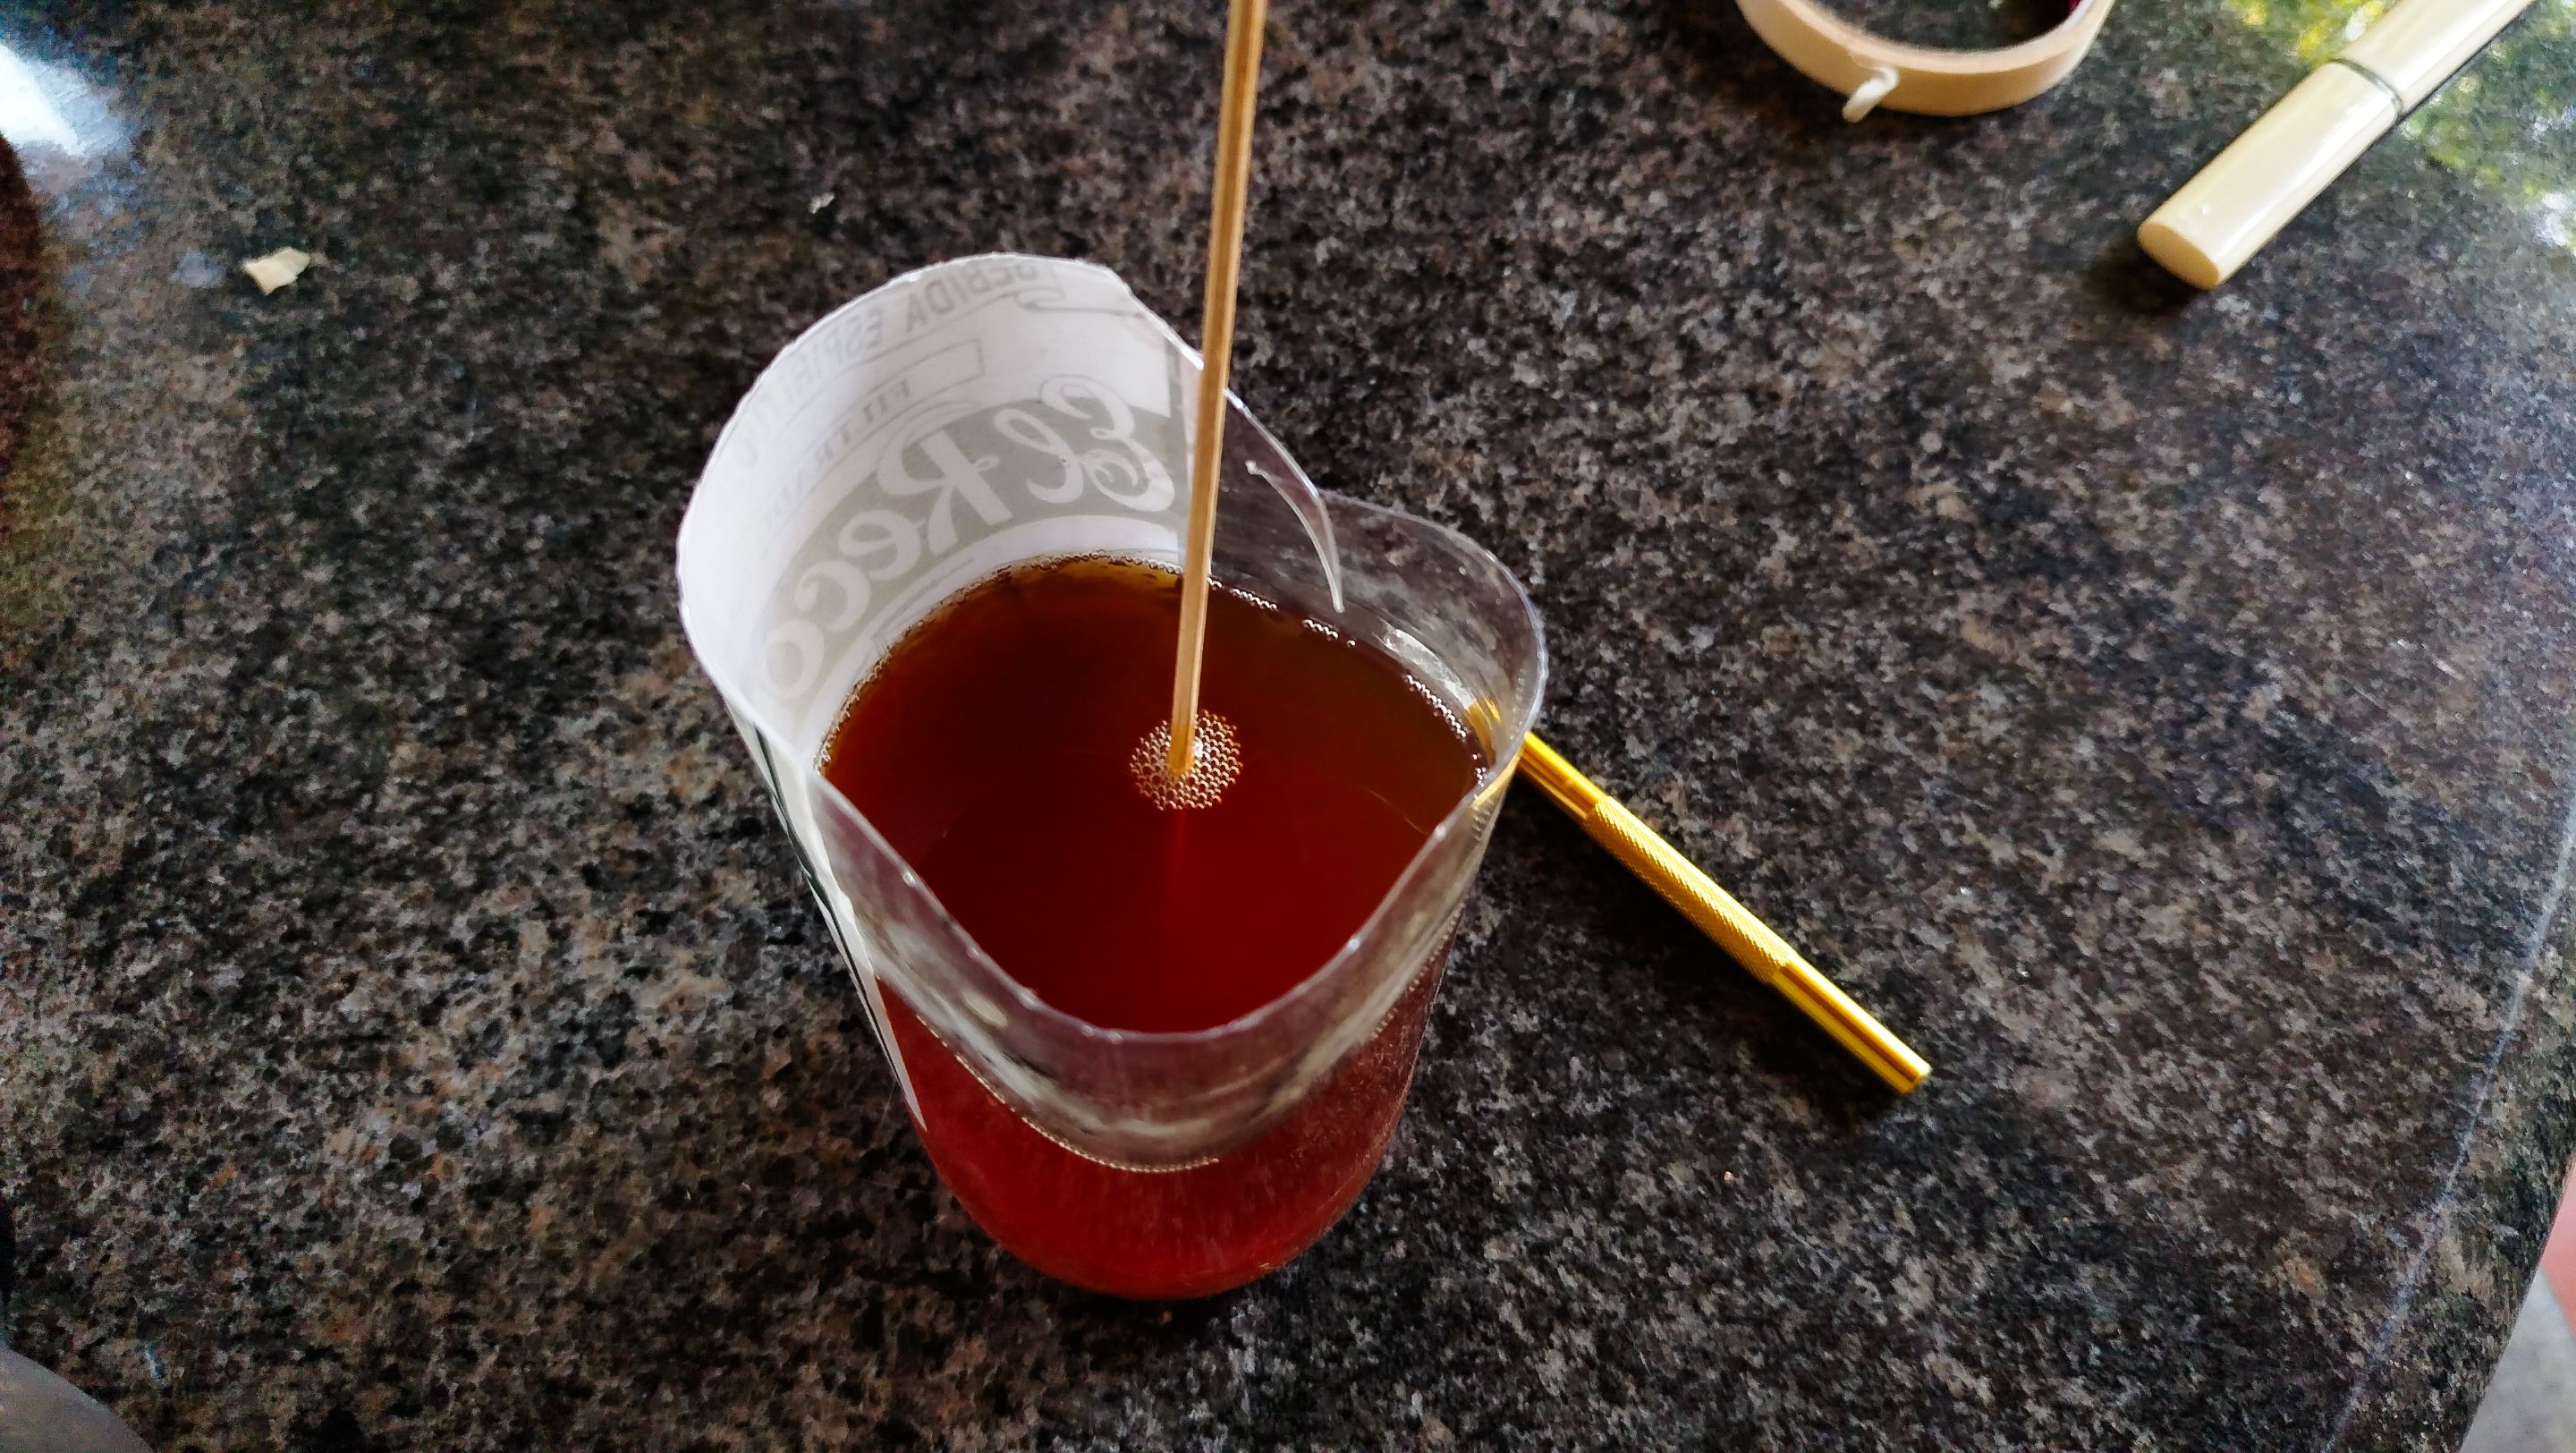
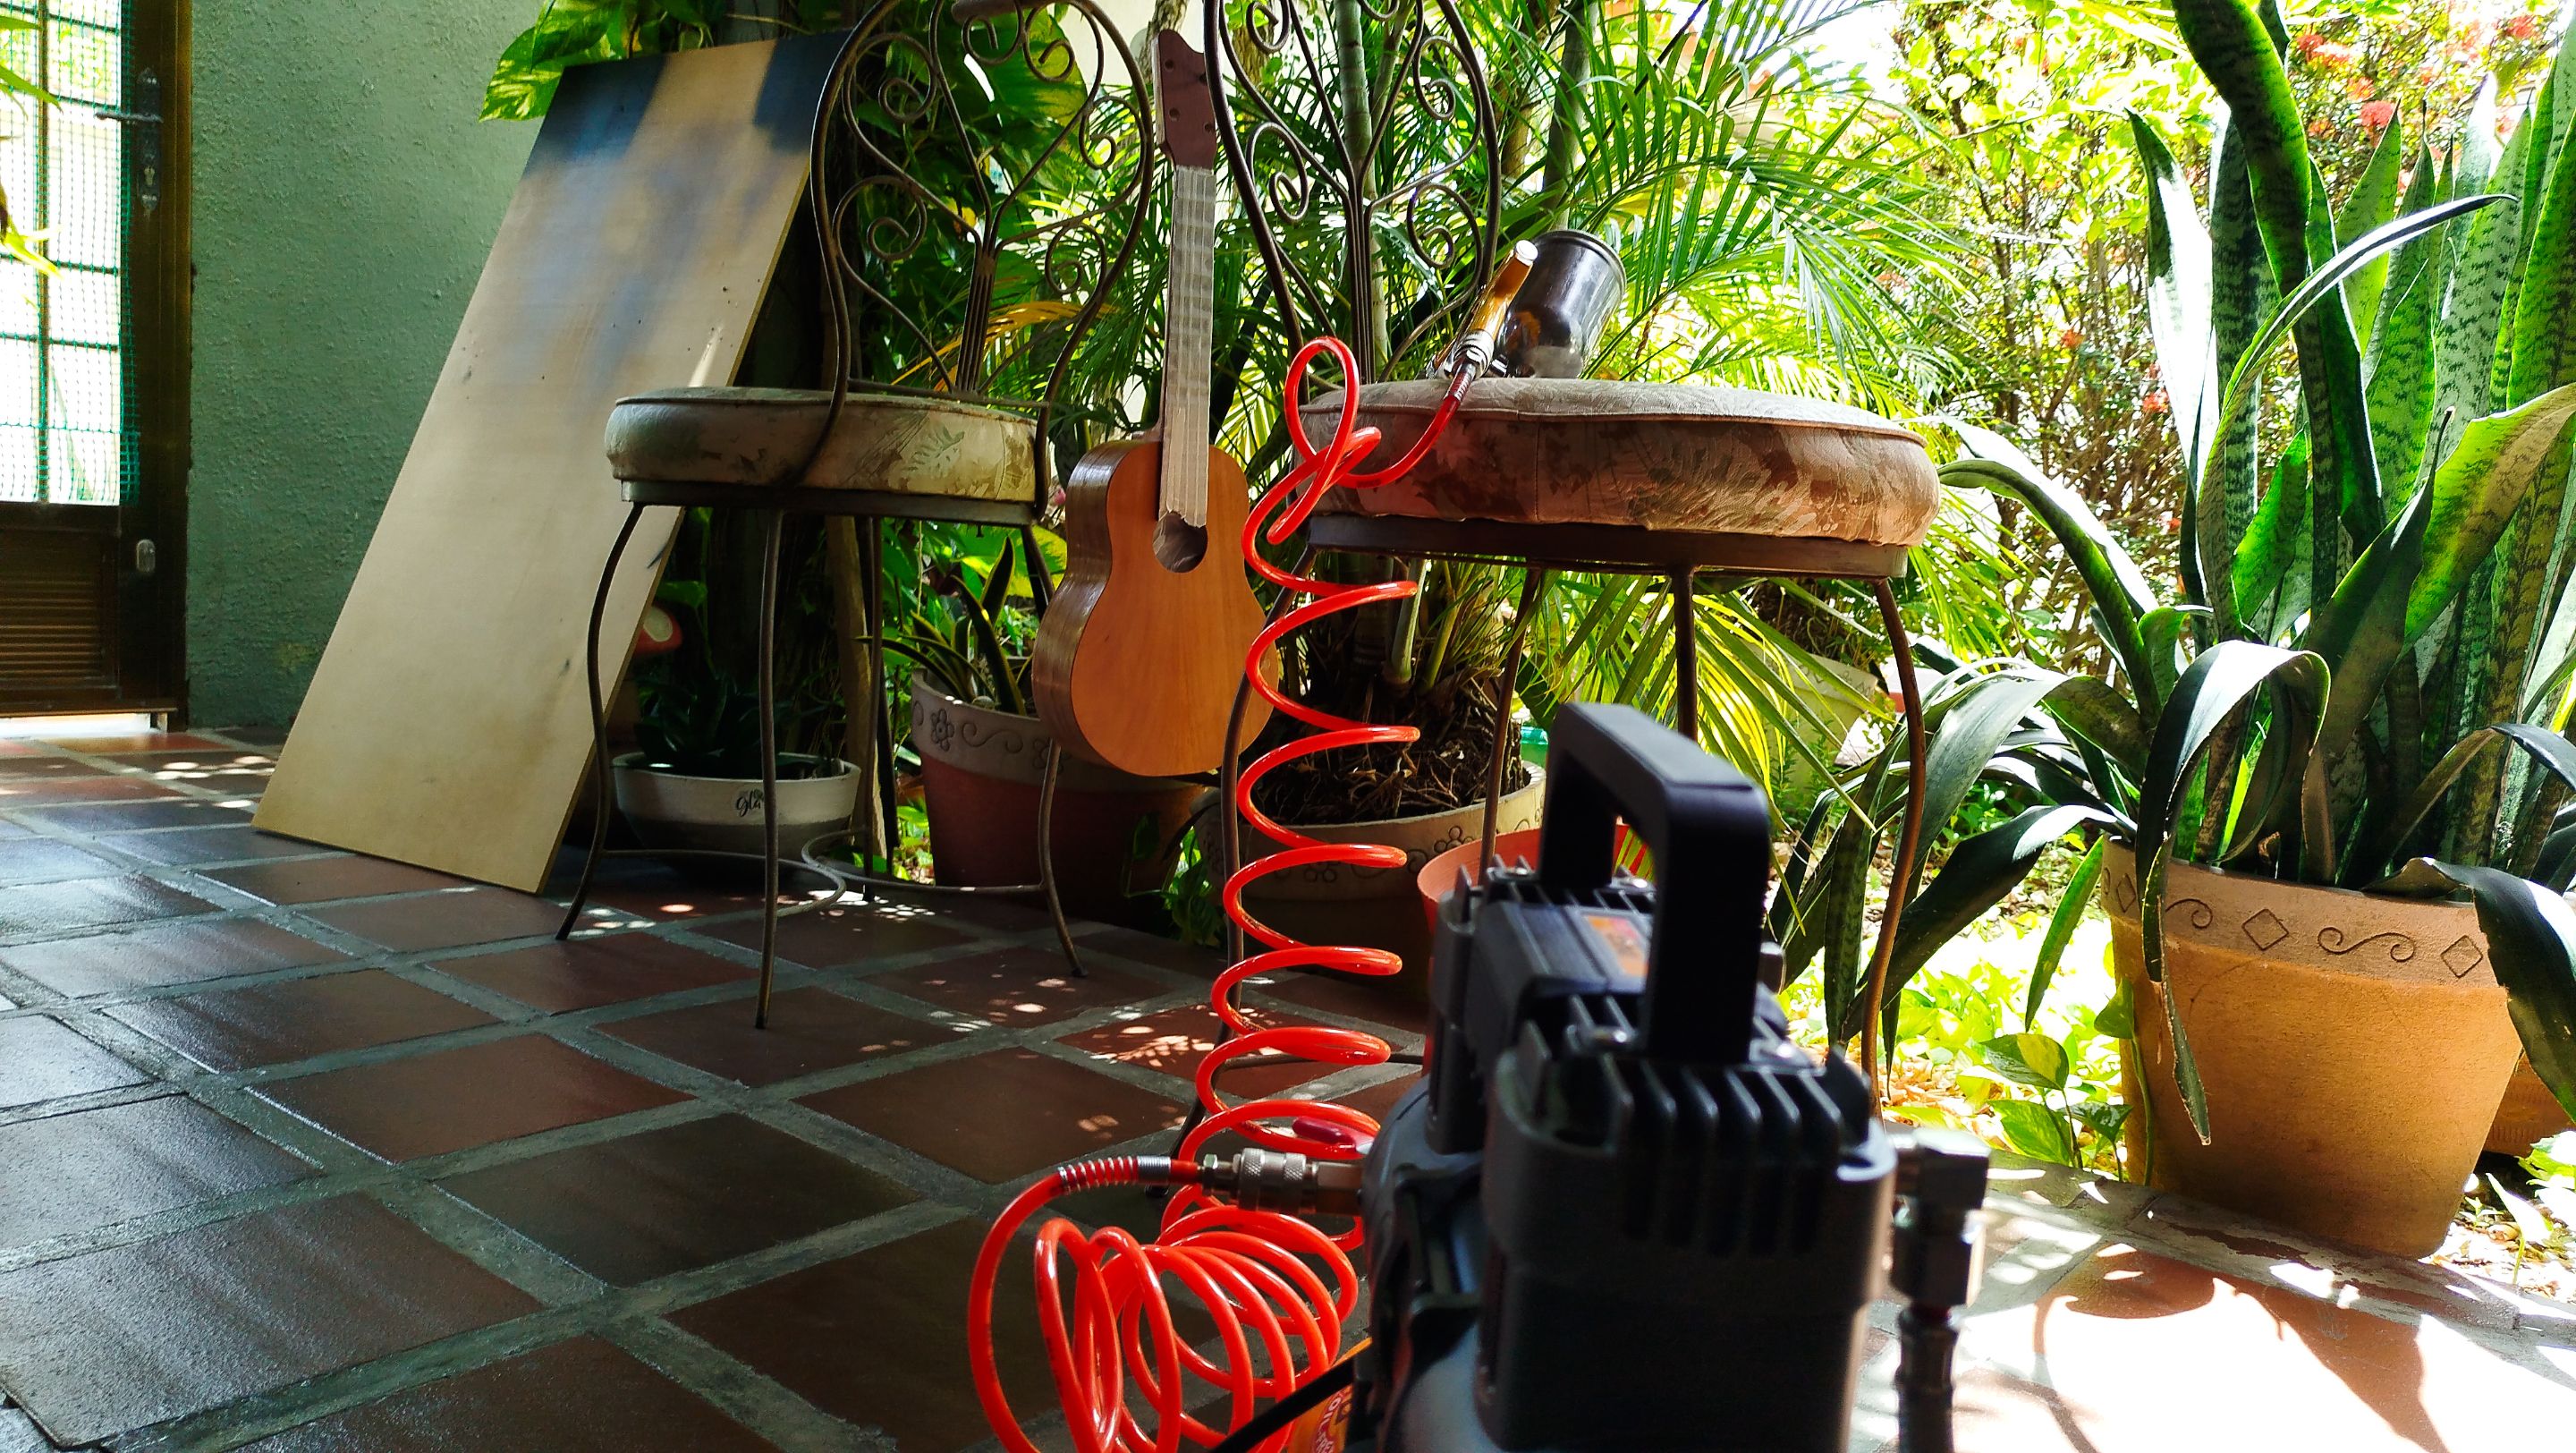
Preparing the lacquer for an instrument is the one of the best parts of the build. It marks a milestone of the work getting ready for the last stages. We mix the lacquer with thinner in a proportion that gives us a very thin mix. Then we need to prepare the rest of the working are. We put the piece of MDF that is a leftover from other builds to avoid blowing any lacquer into the walls.
Then we turn on the compressor. First, we make some purges. That means letting the tank fill up with air and then letting all get out from the purge valve. This is to remove any condensation from the compressor. This is important to keep water from getting in the mix throw the air.
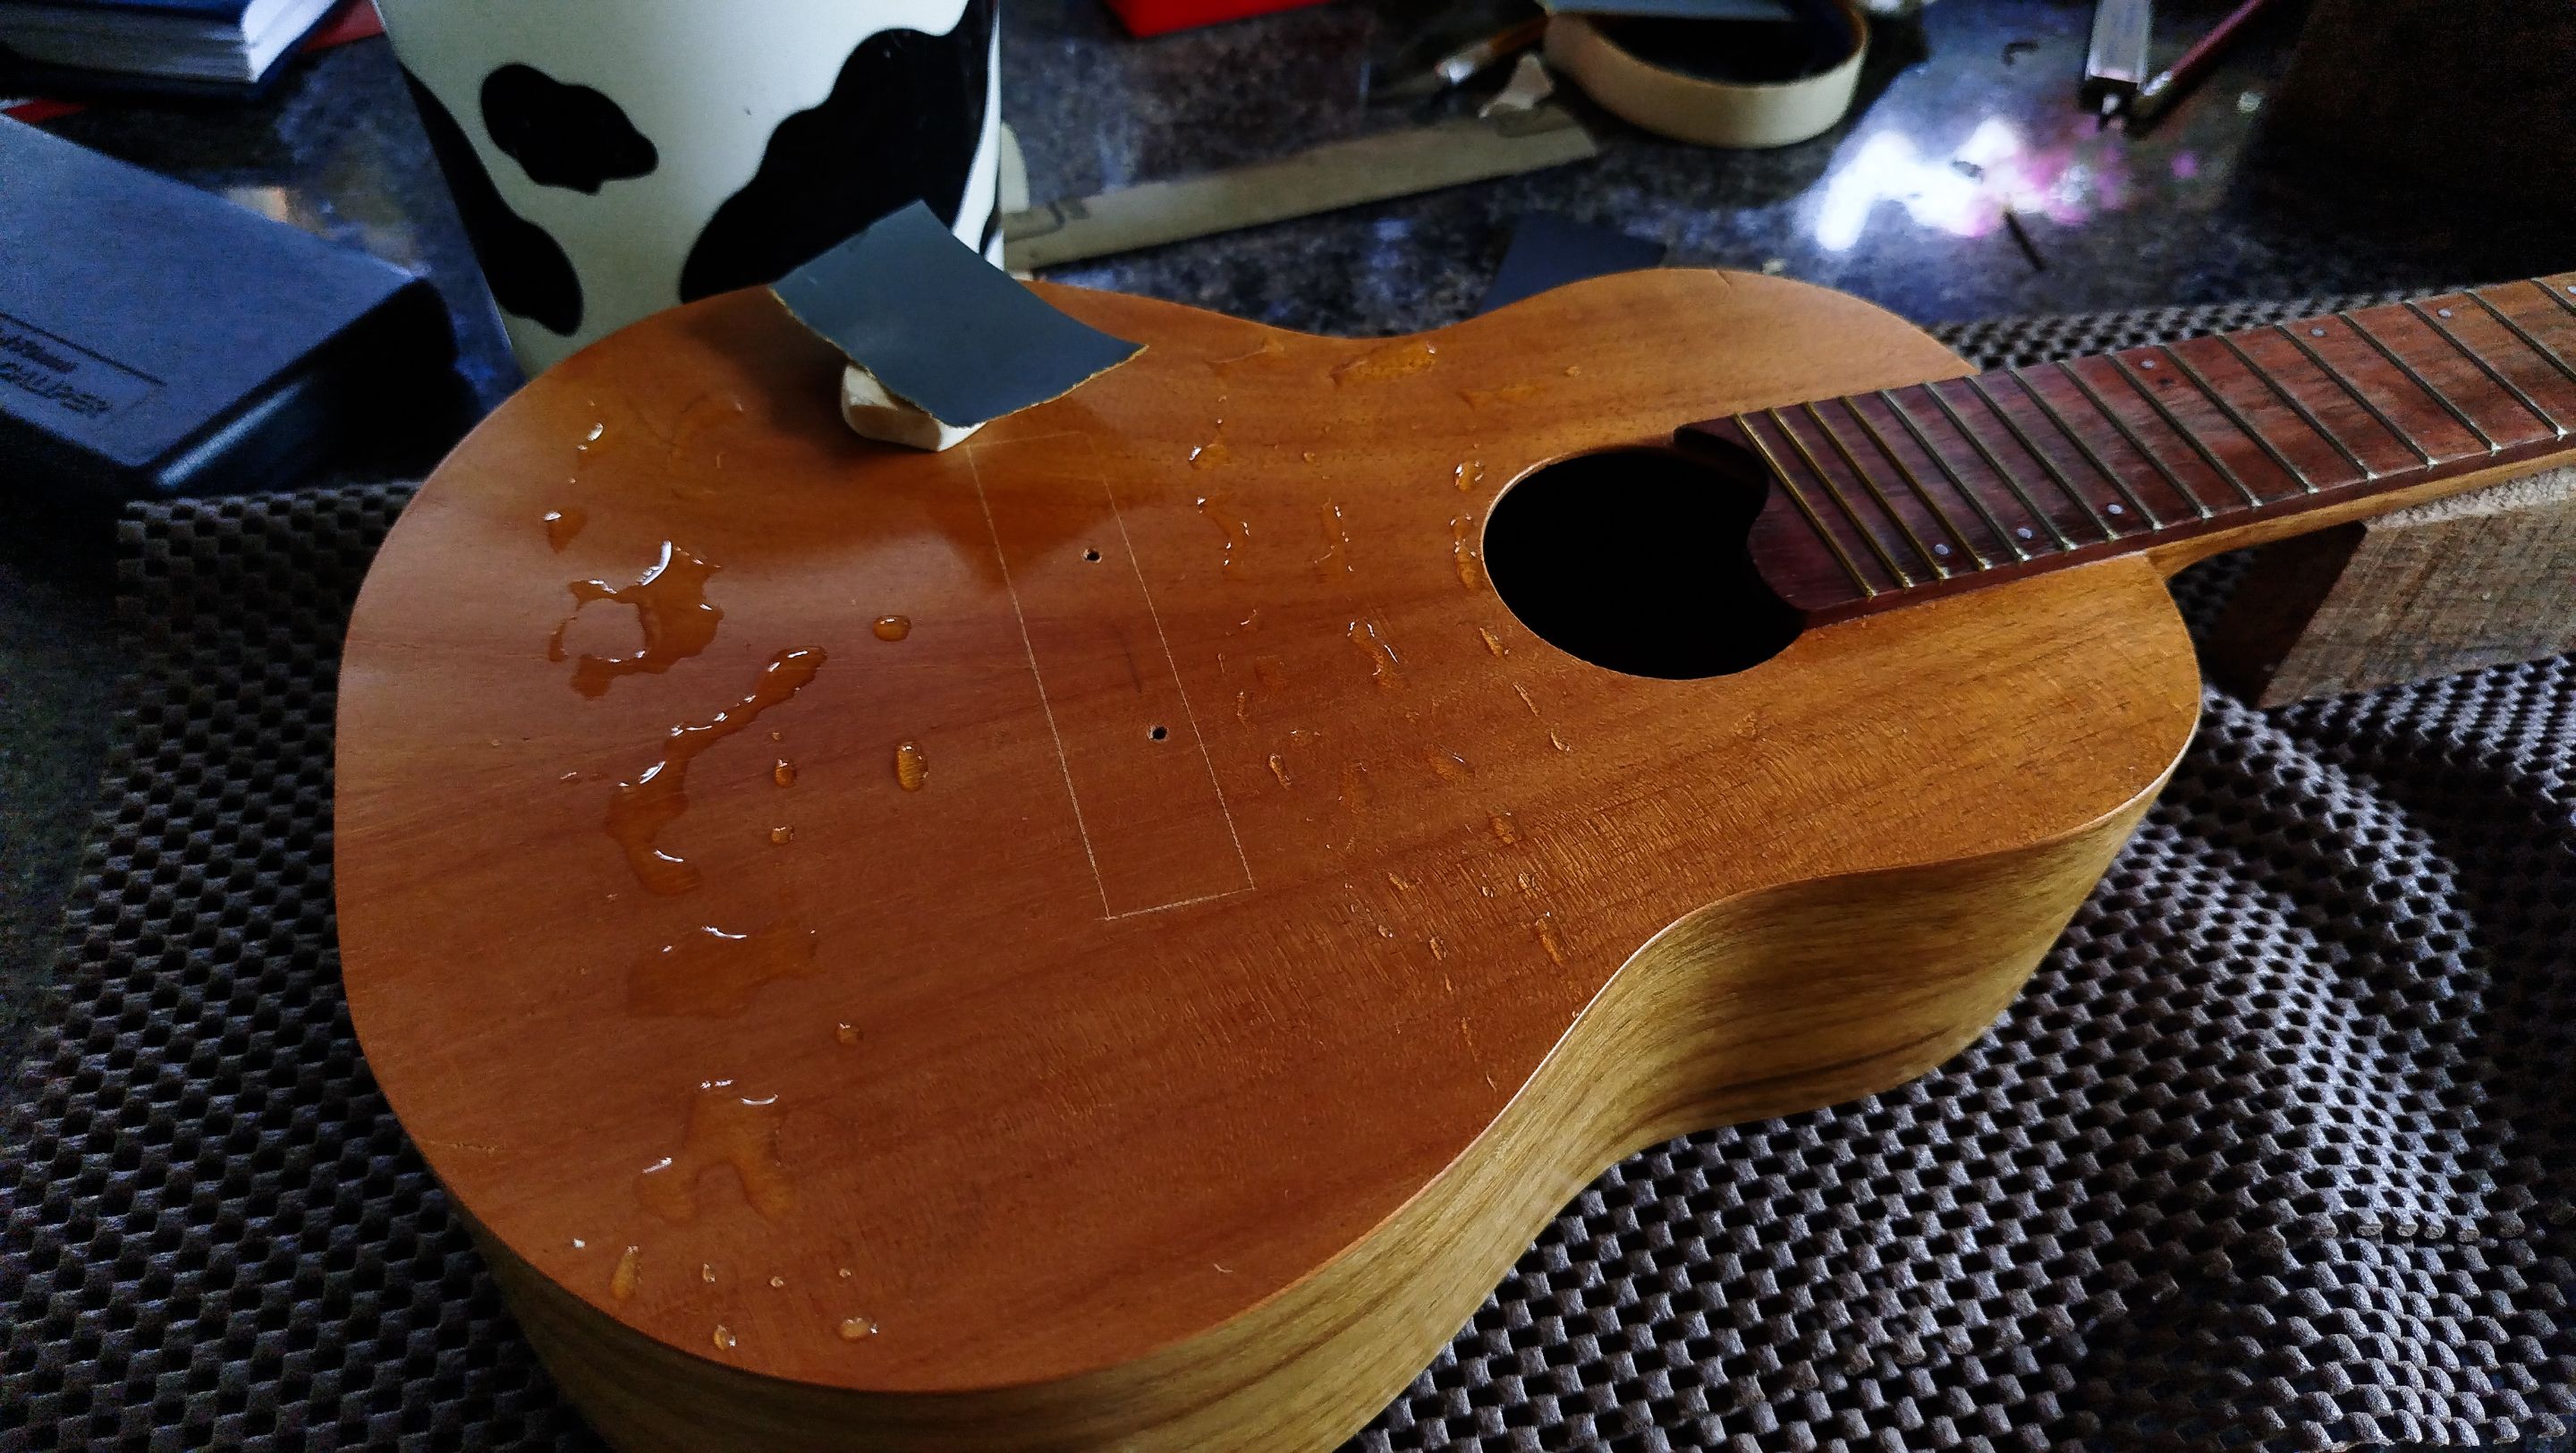
Once we the mix is ready and the air has been purged, we can plug the hose and the gun into the compressor and get everything ready for the task. We had a little accident. I dropped the lacquer on myself. It was a mess and a lot of things had to be done to clean the floor and my clothes.
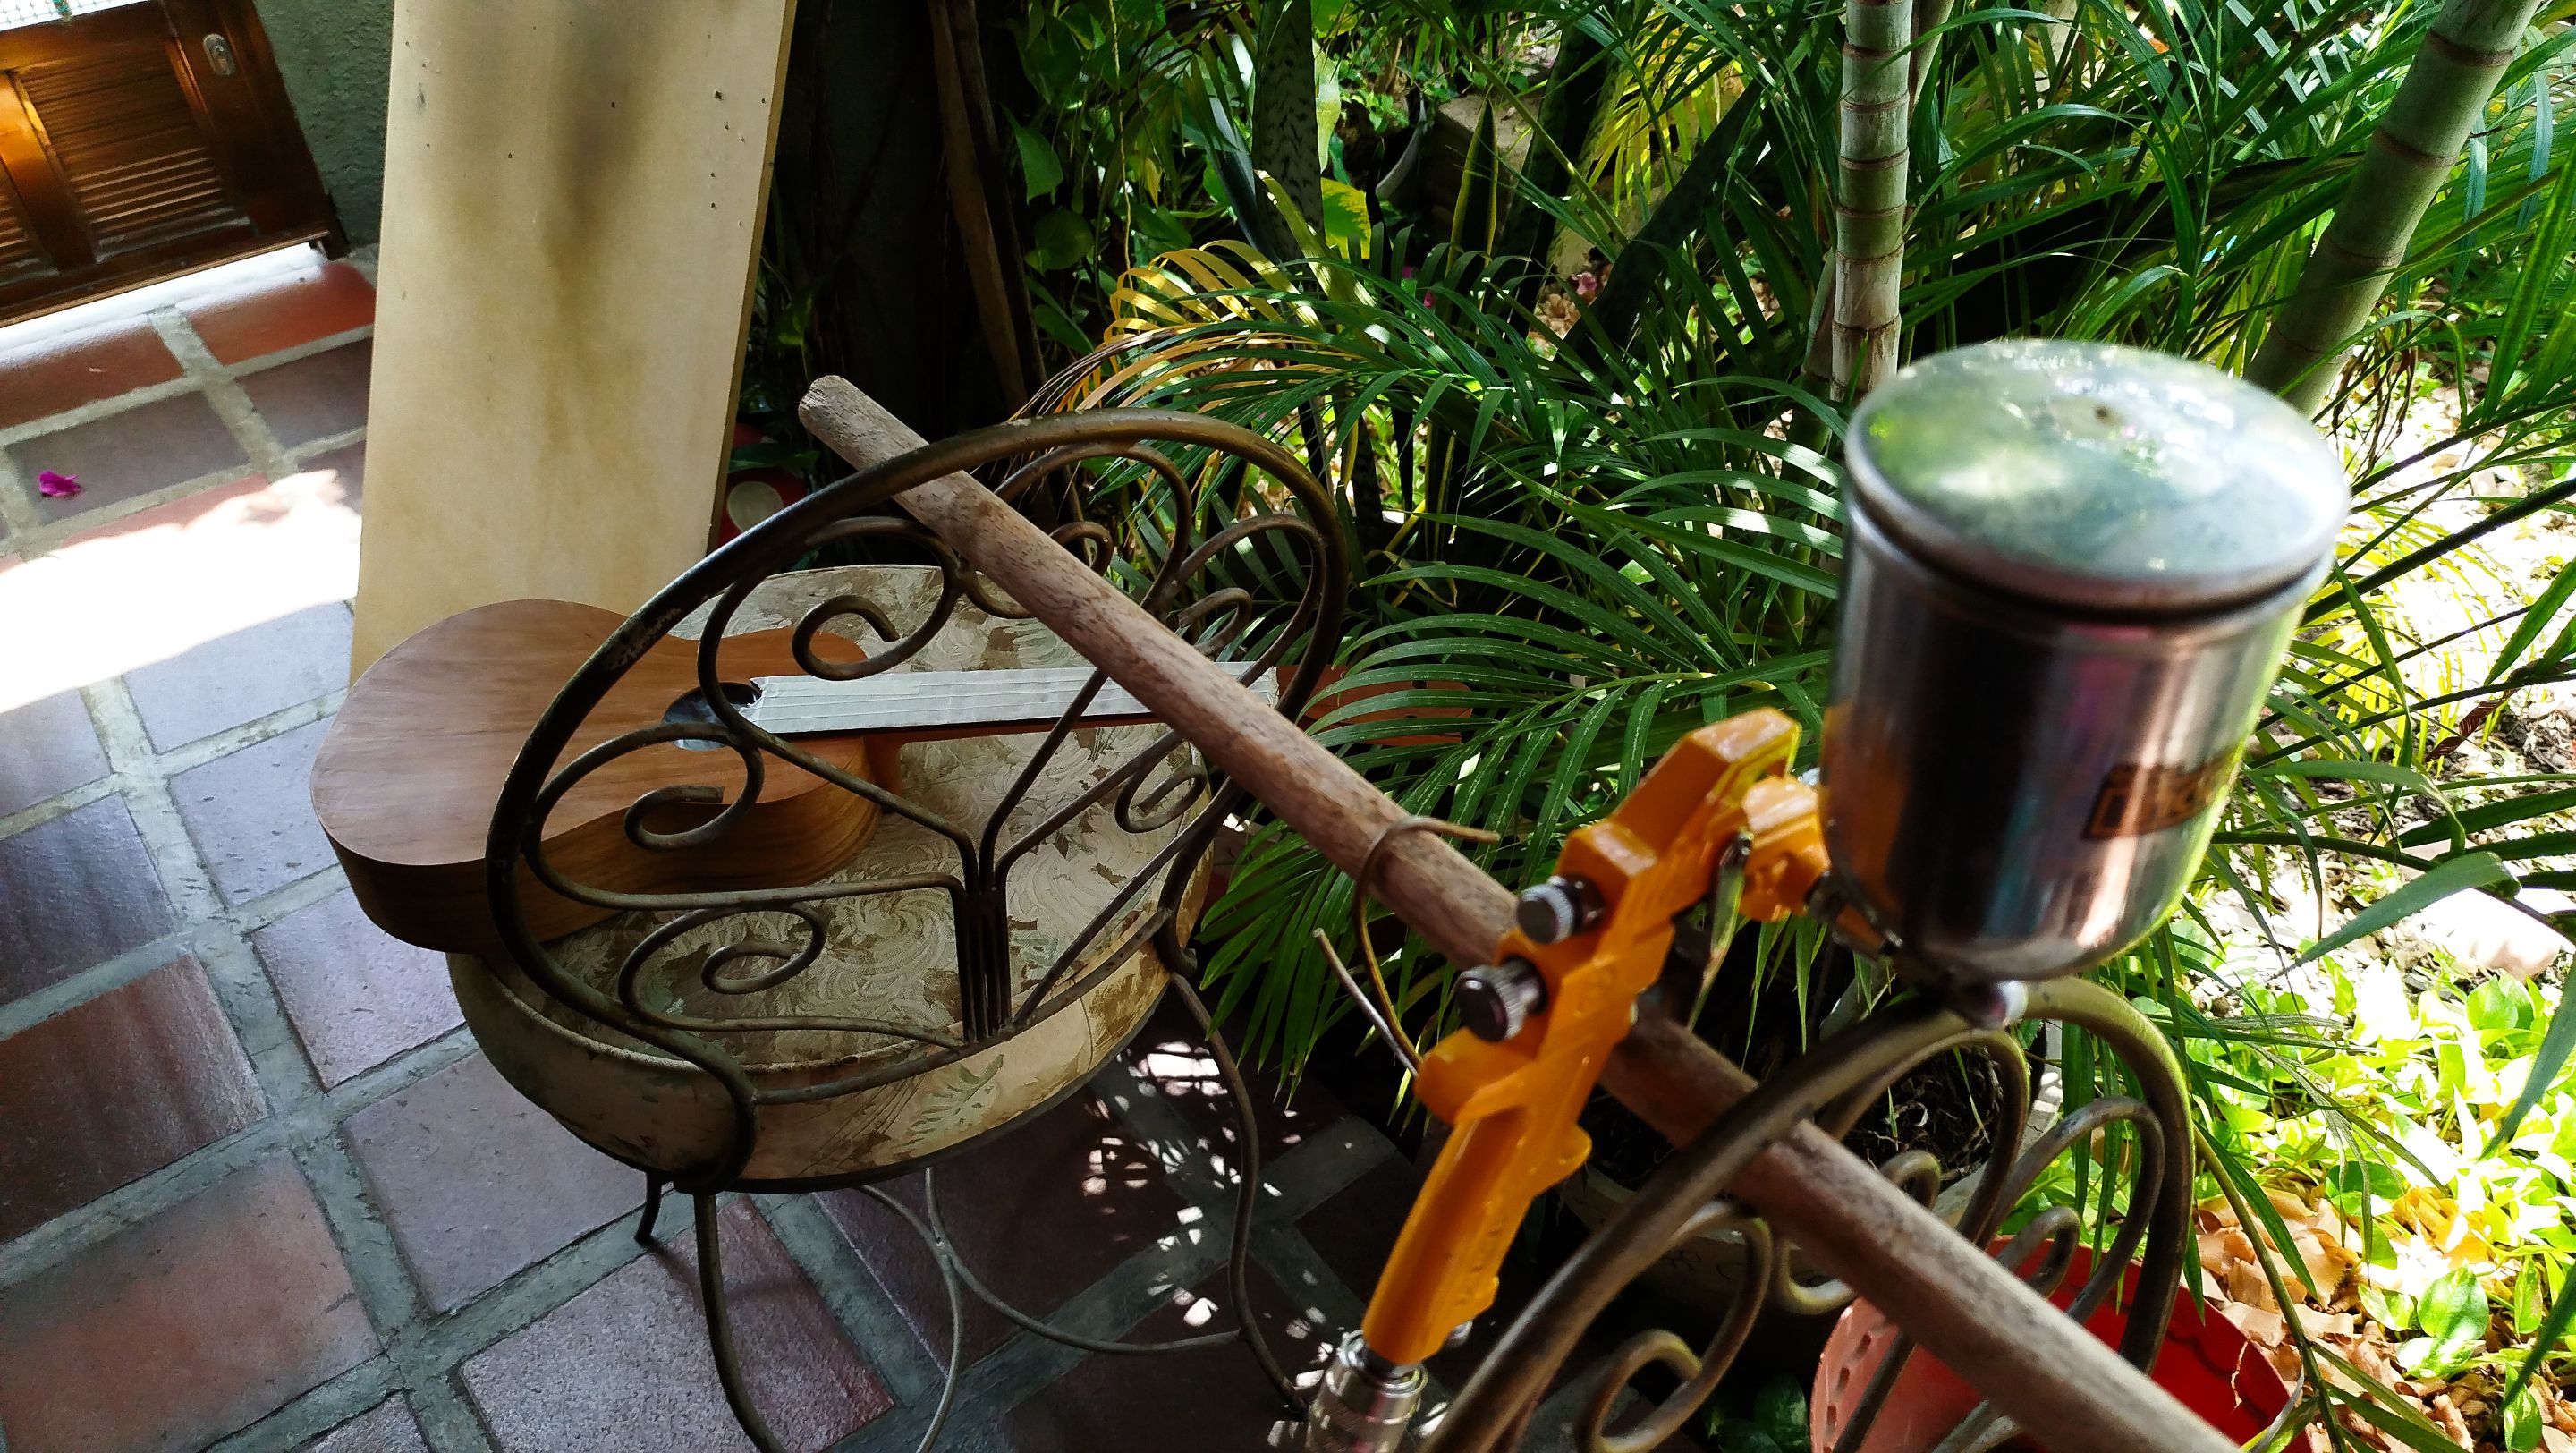
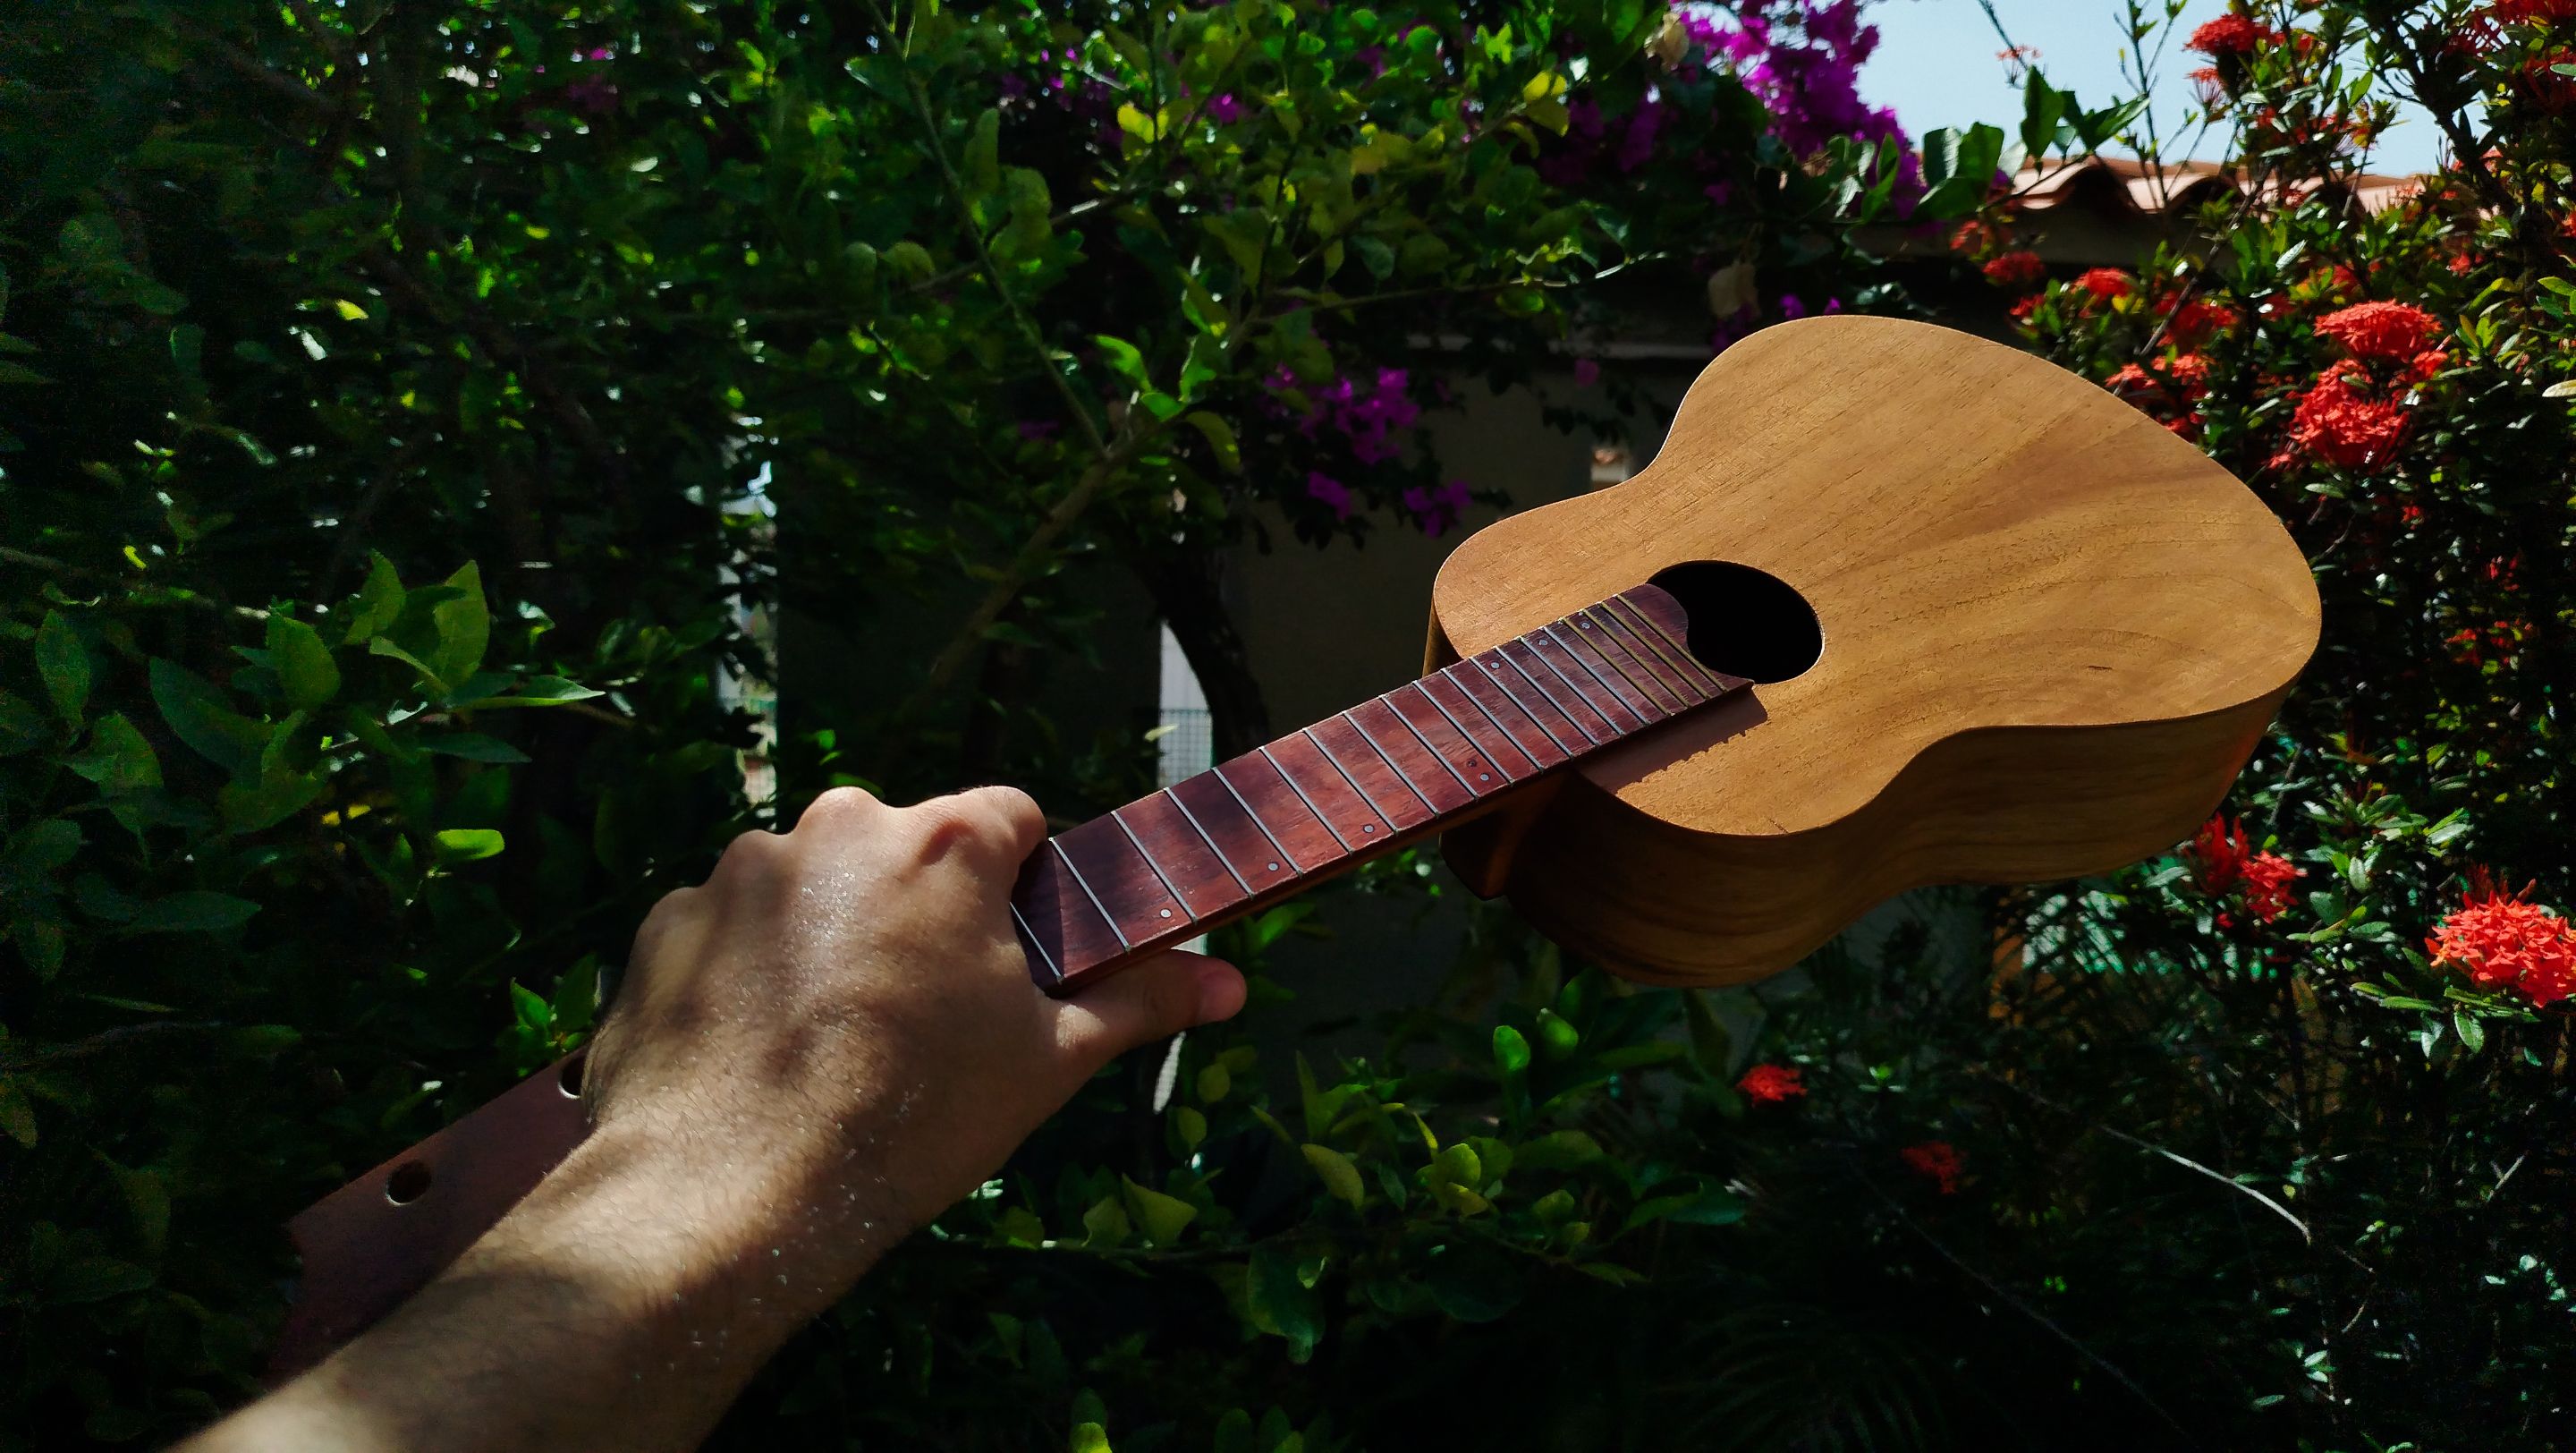
After getting all this sorted, we could finally start applying the lacquer on the Ukulele. We just need to adjust the pressure of air in the gun and make some tests before applying the product. The best part of this kind of finish is that is dry really fast.
Bridge position
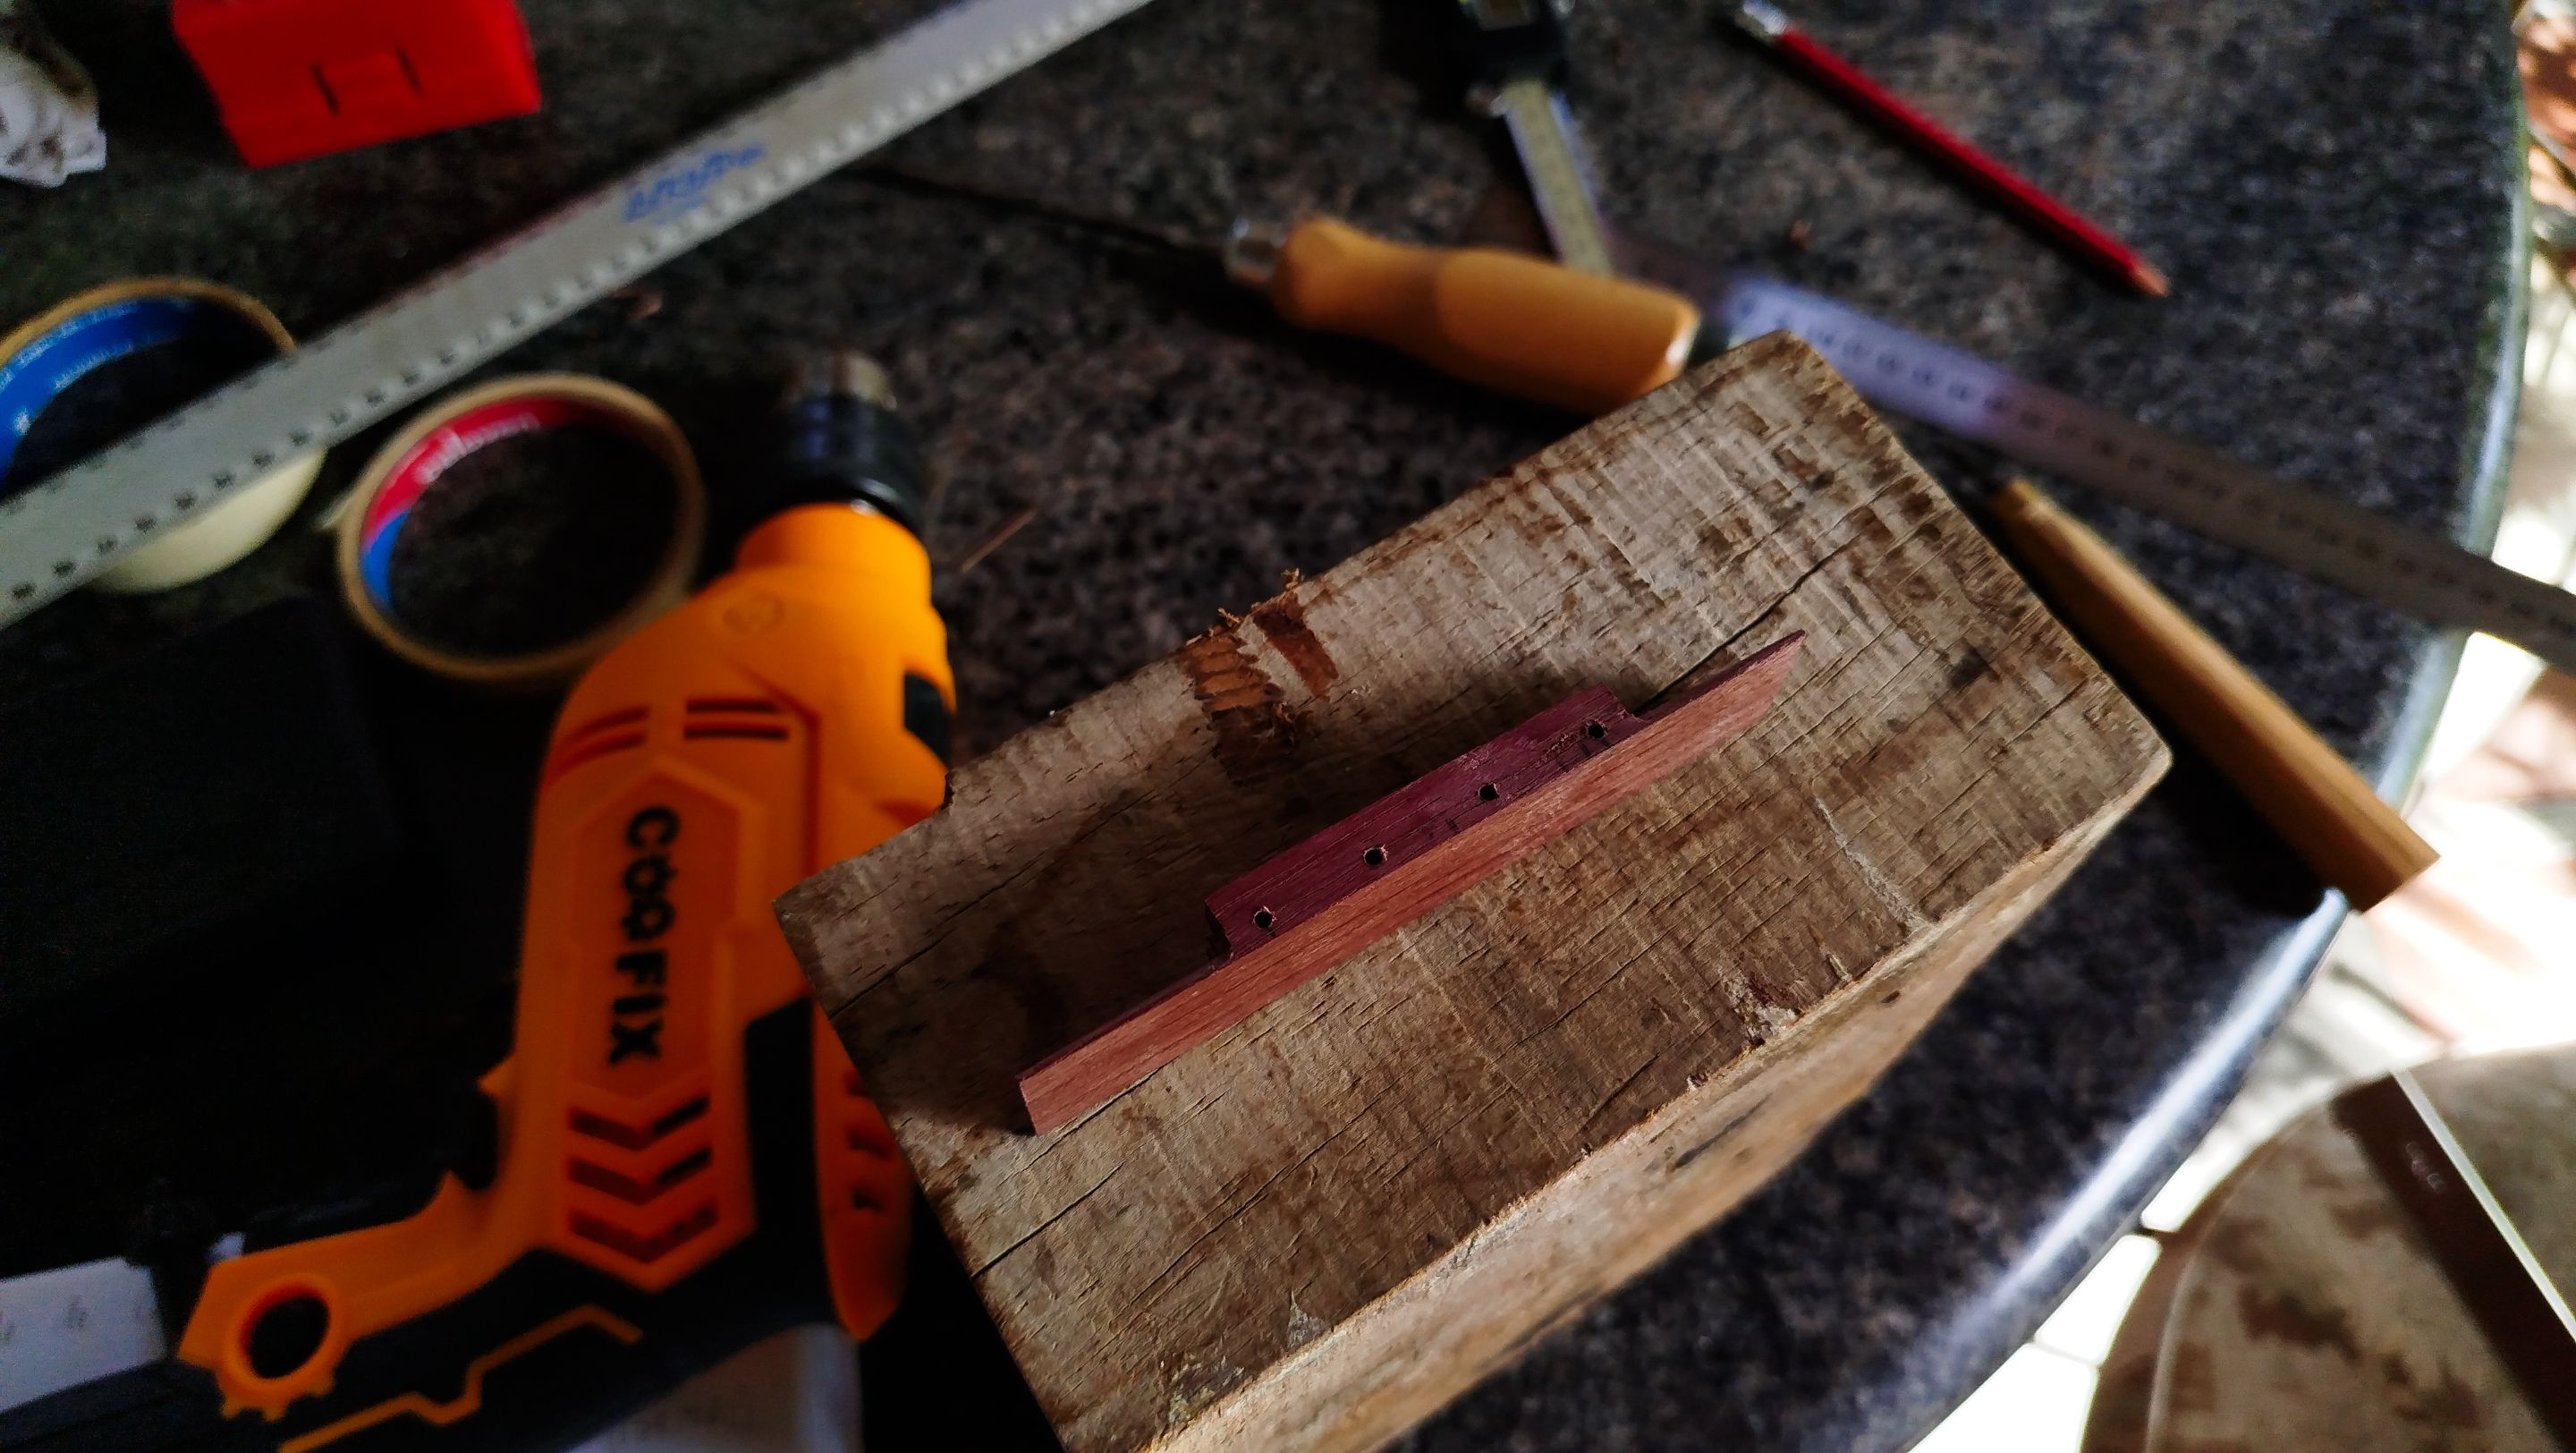
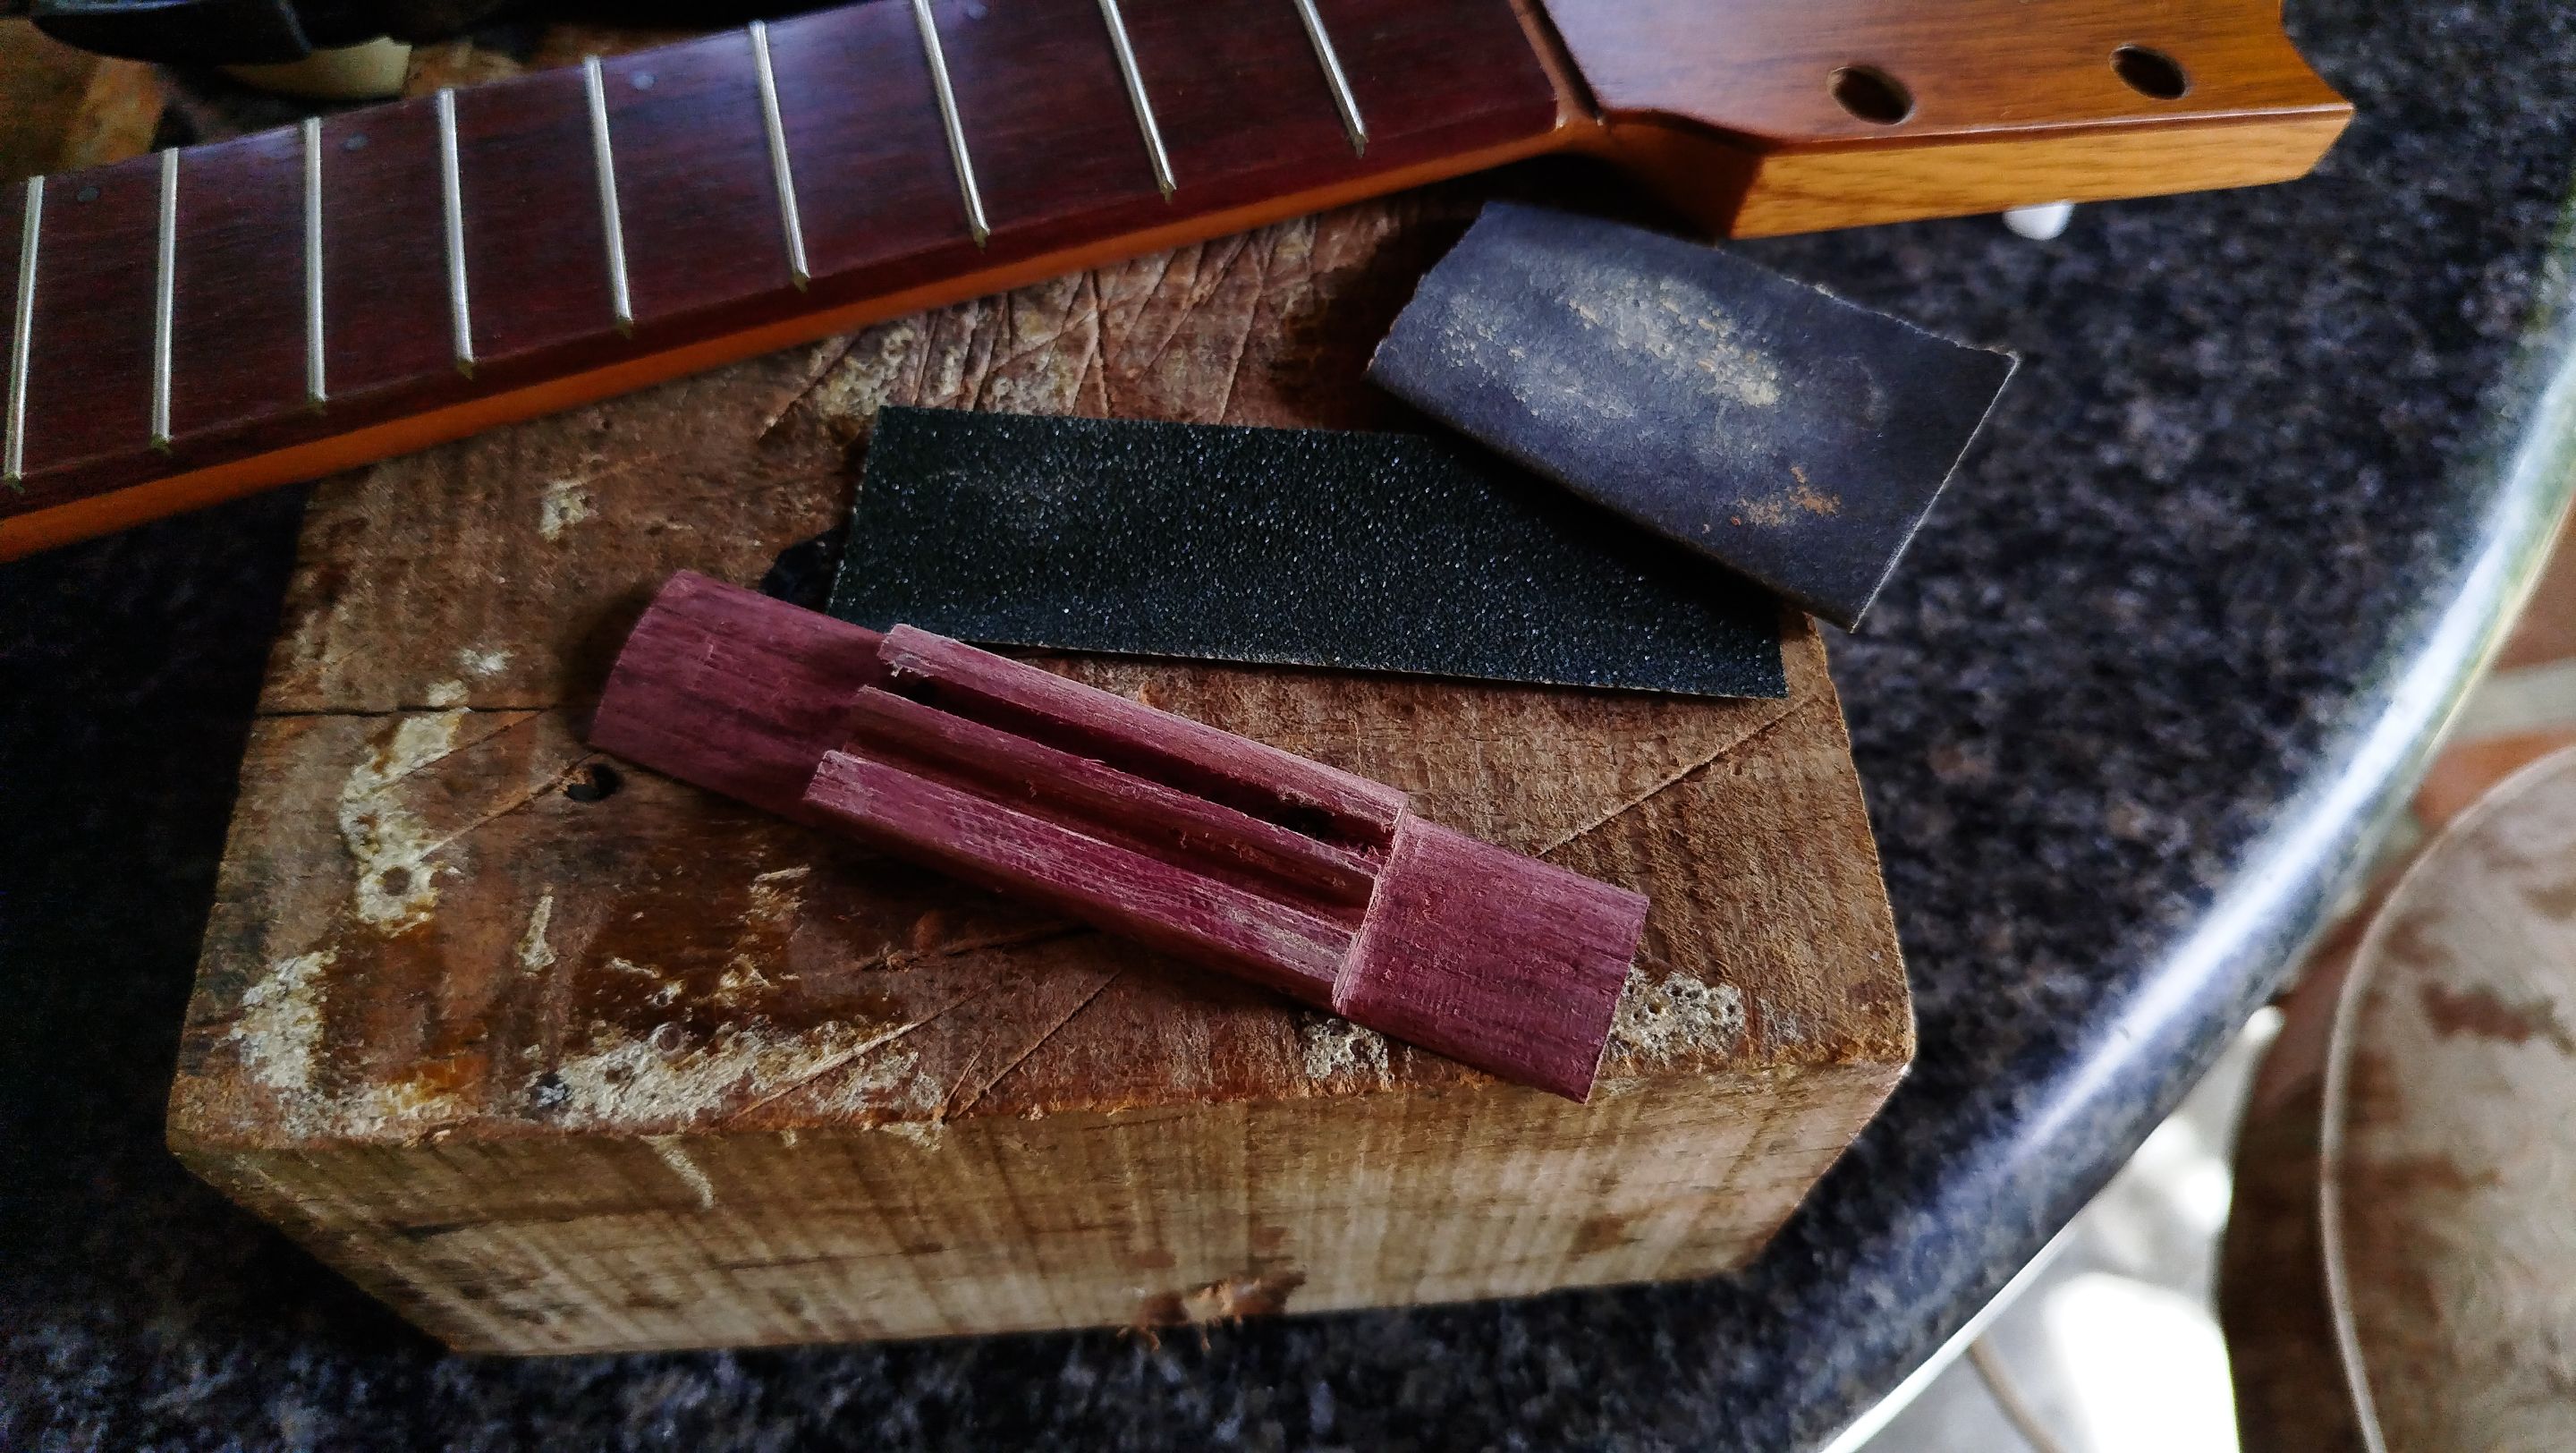
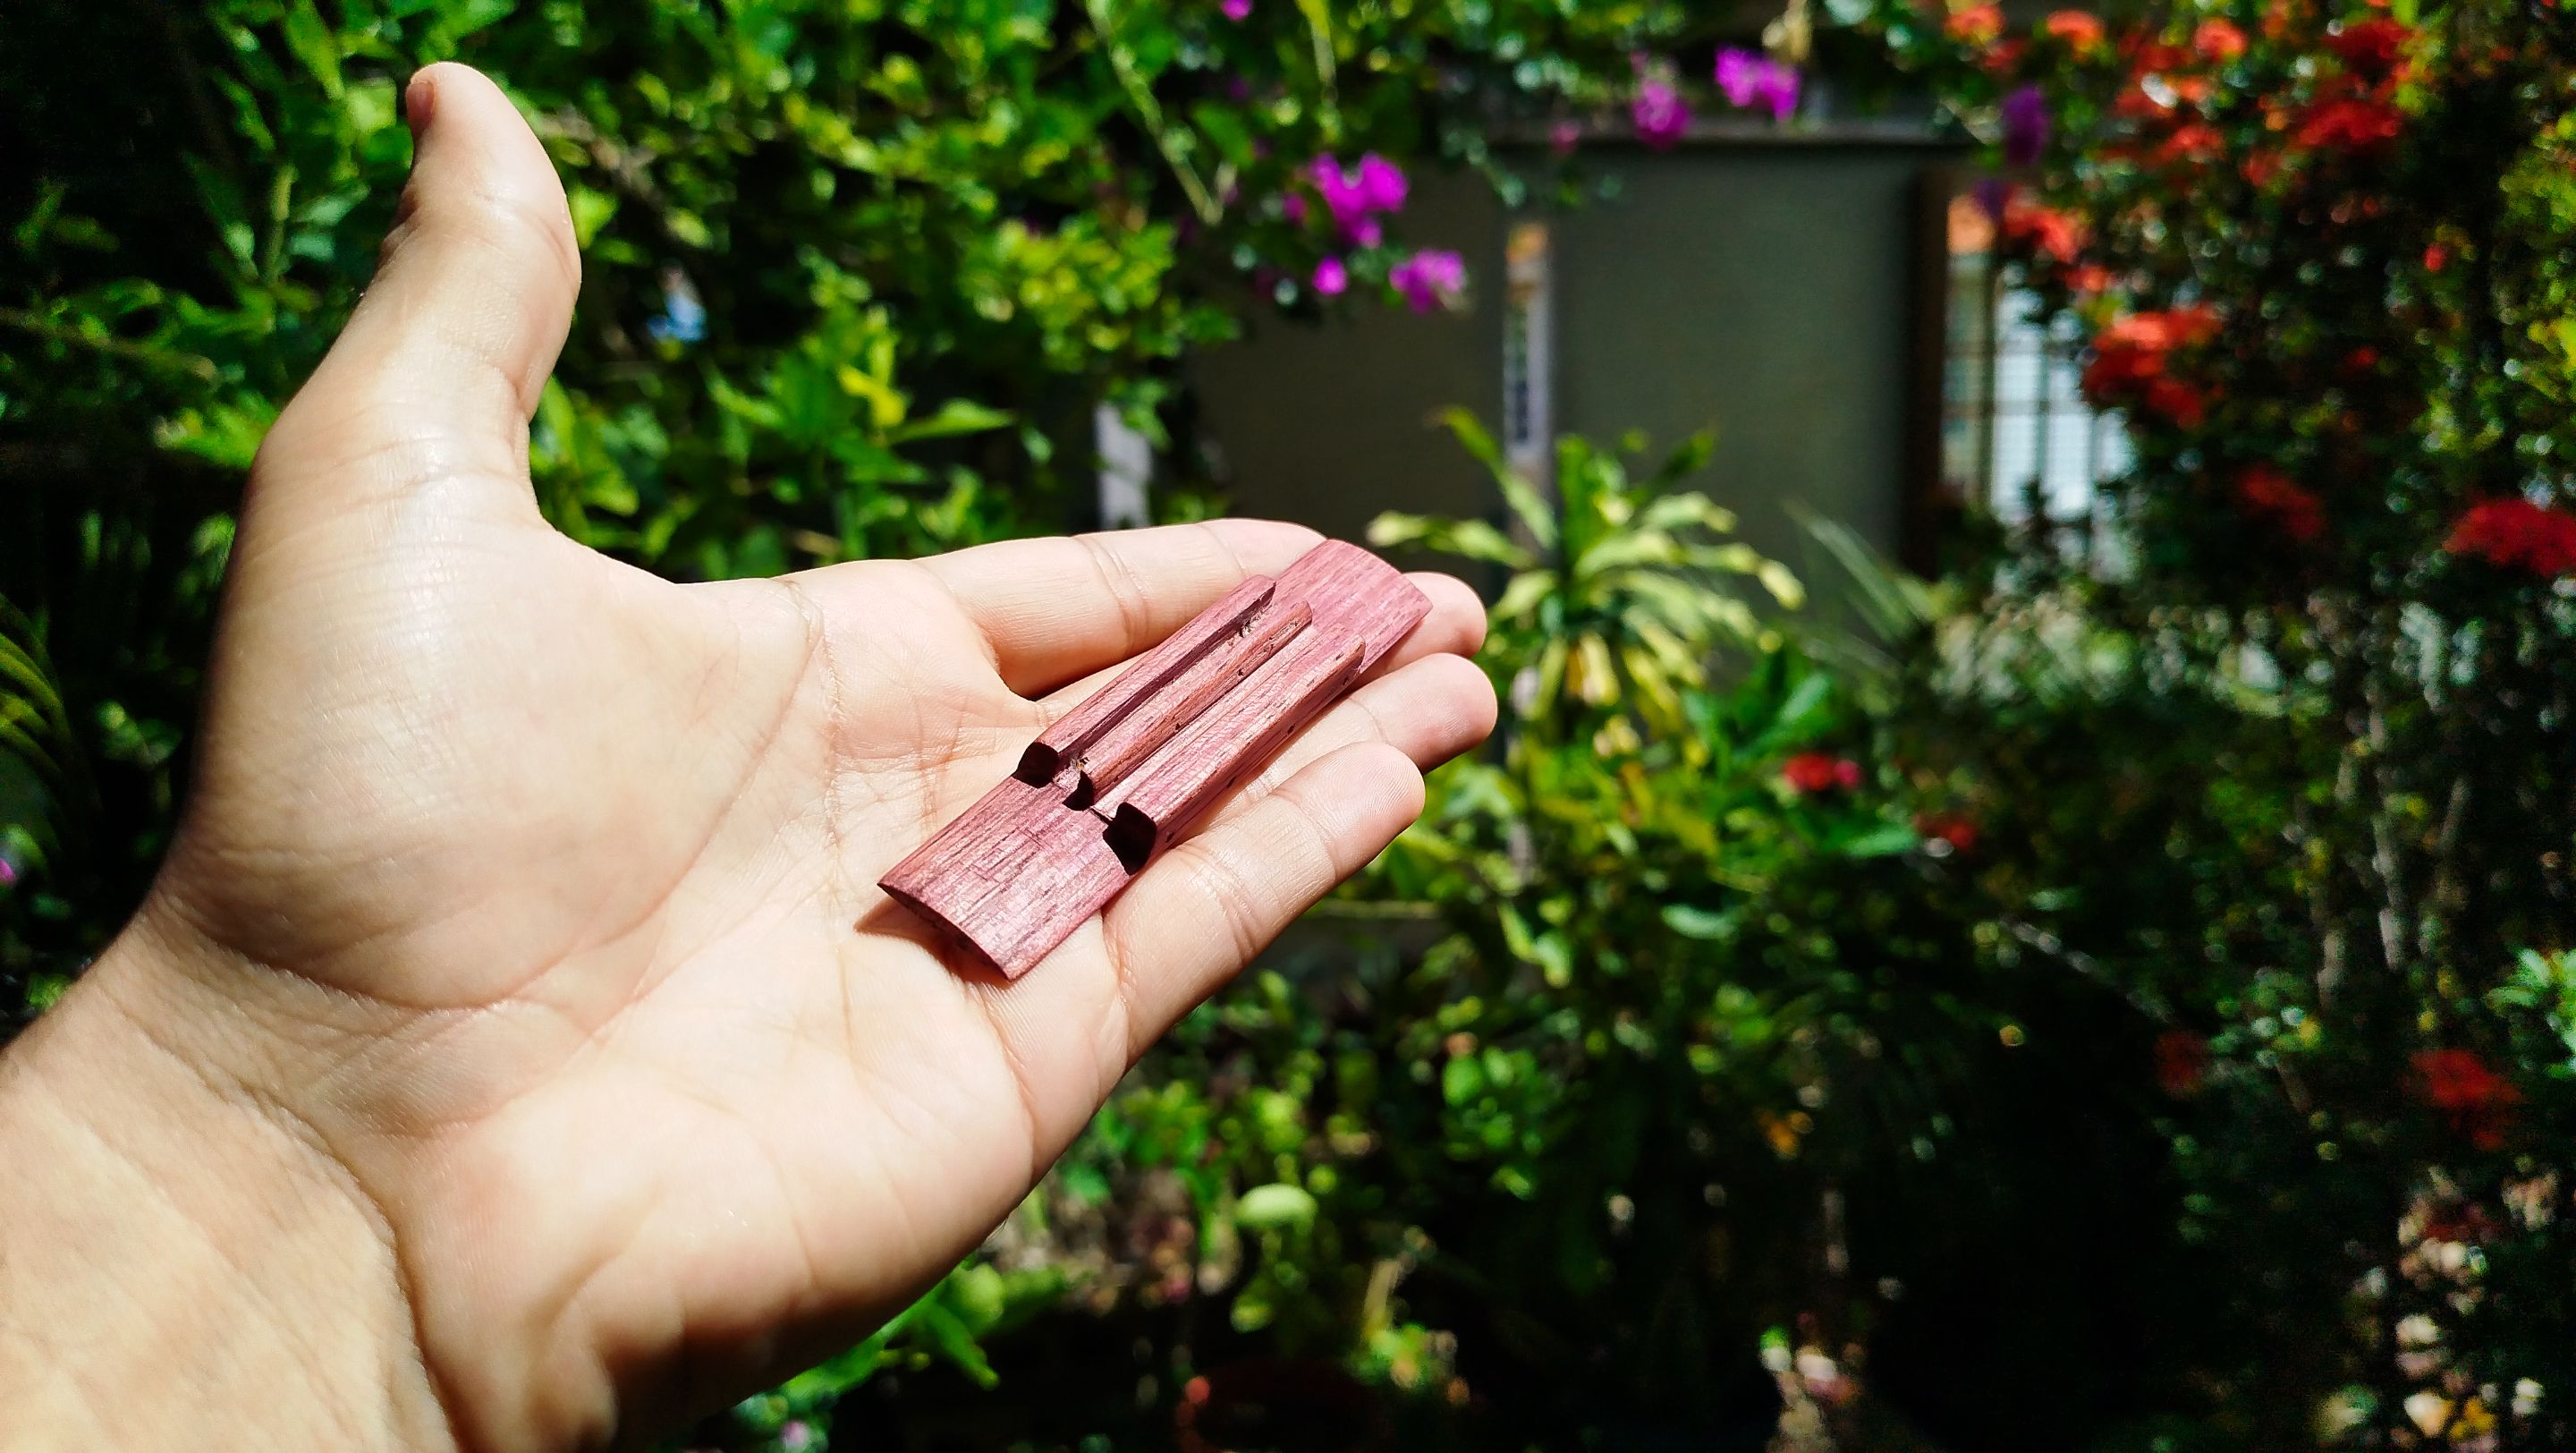


We need to make some measurements to make the holes in the bridge. Once we finish this task, we can finally sand all the bridge and then apply some oil to protect it.
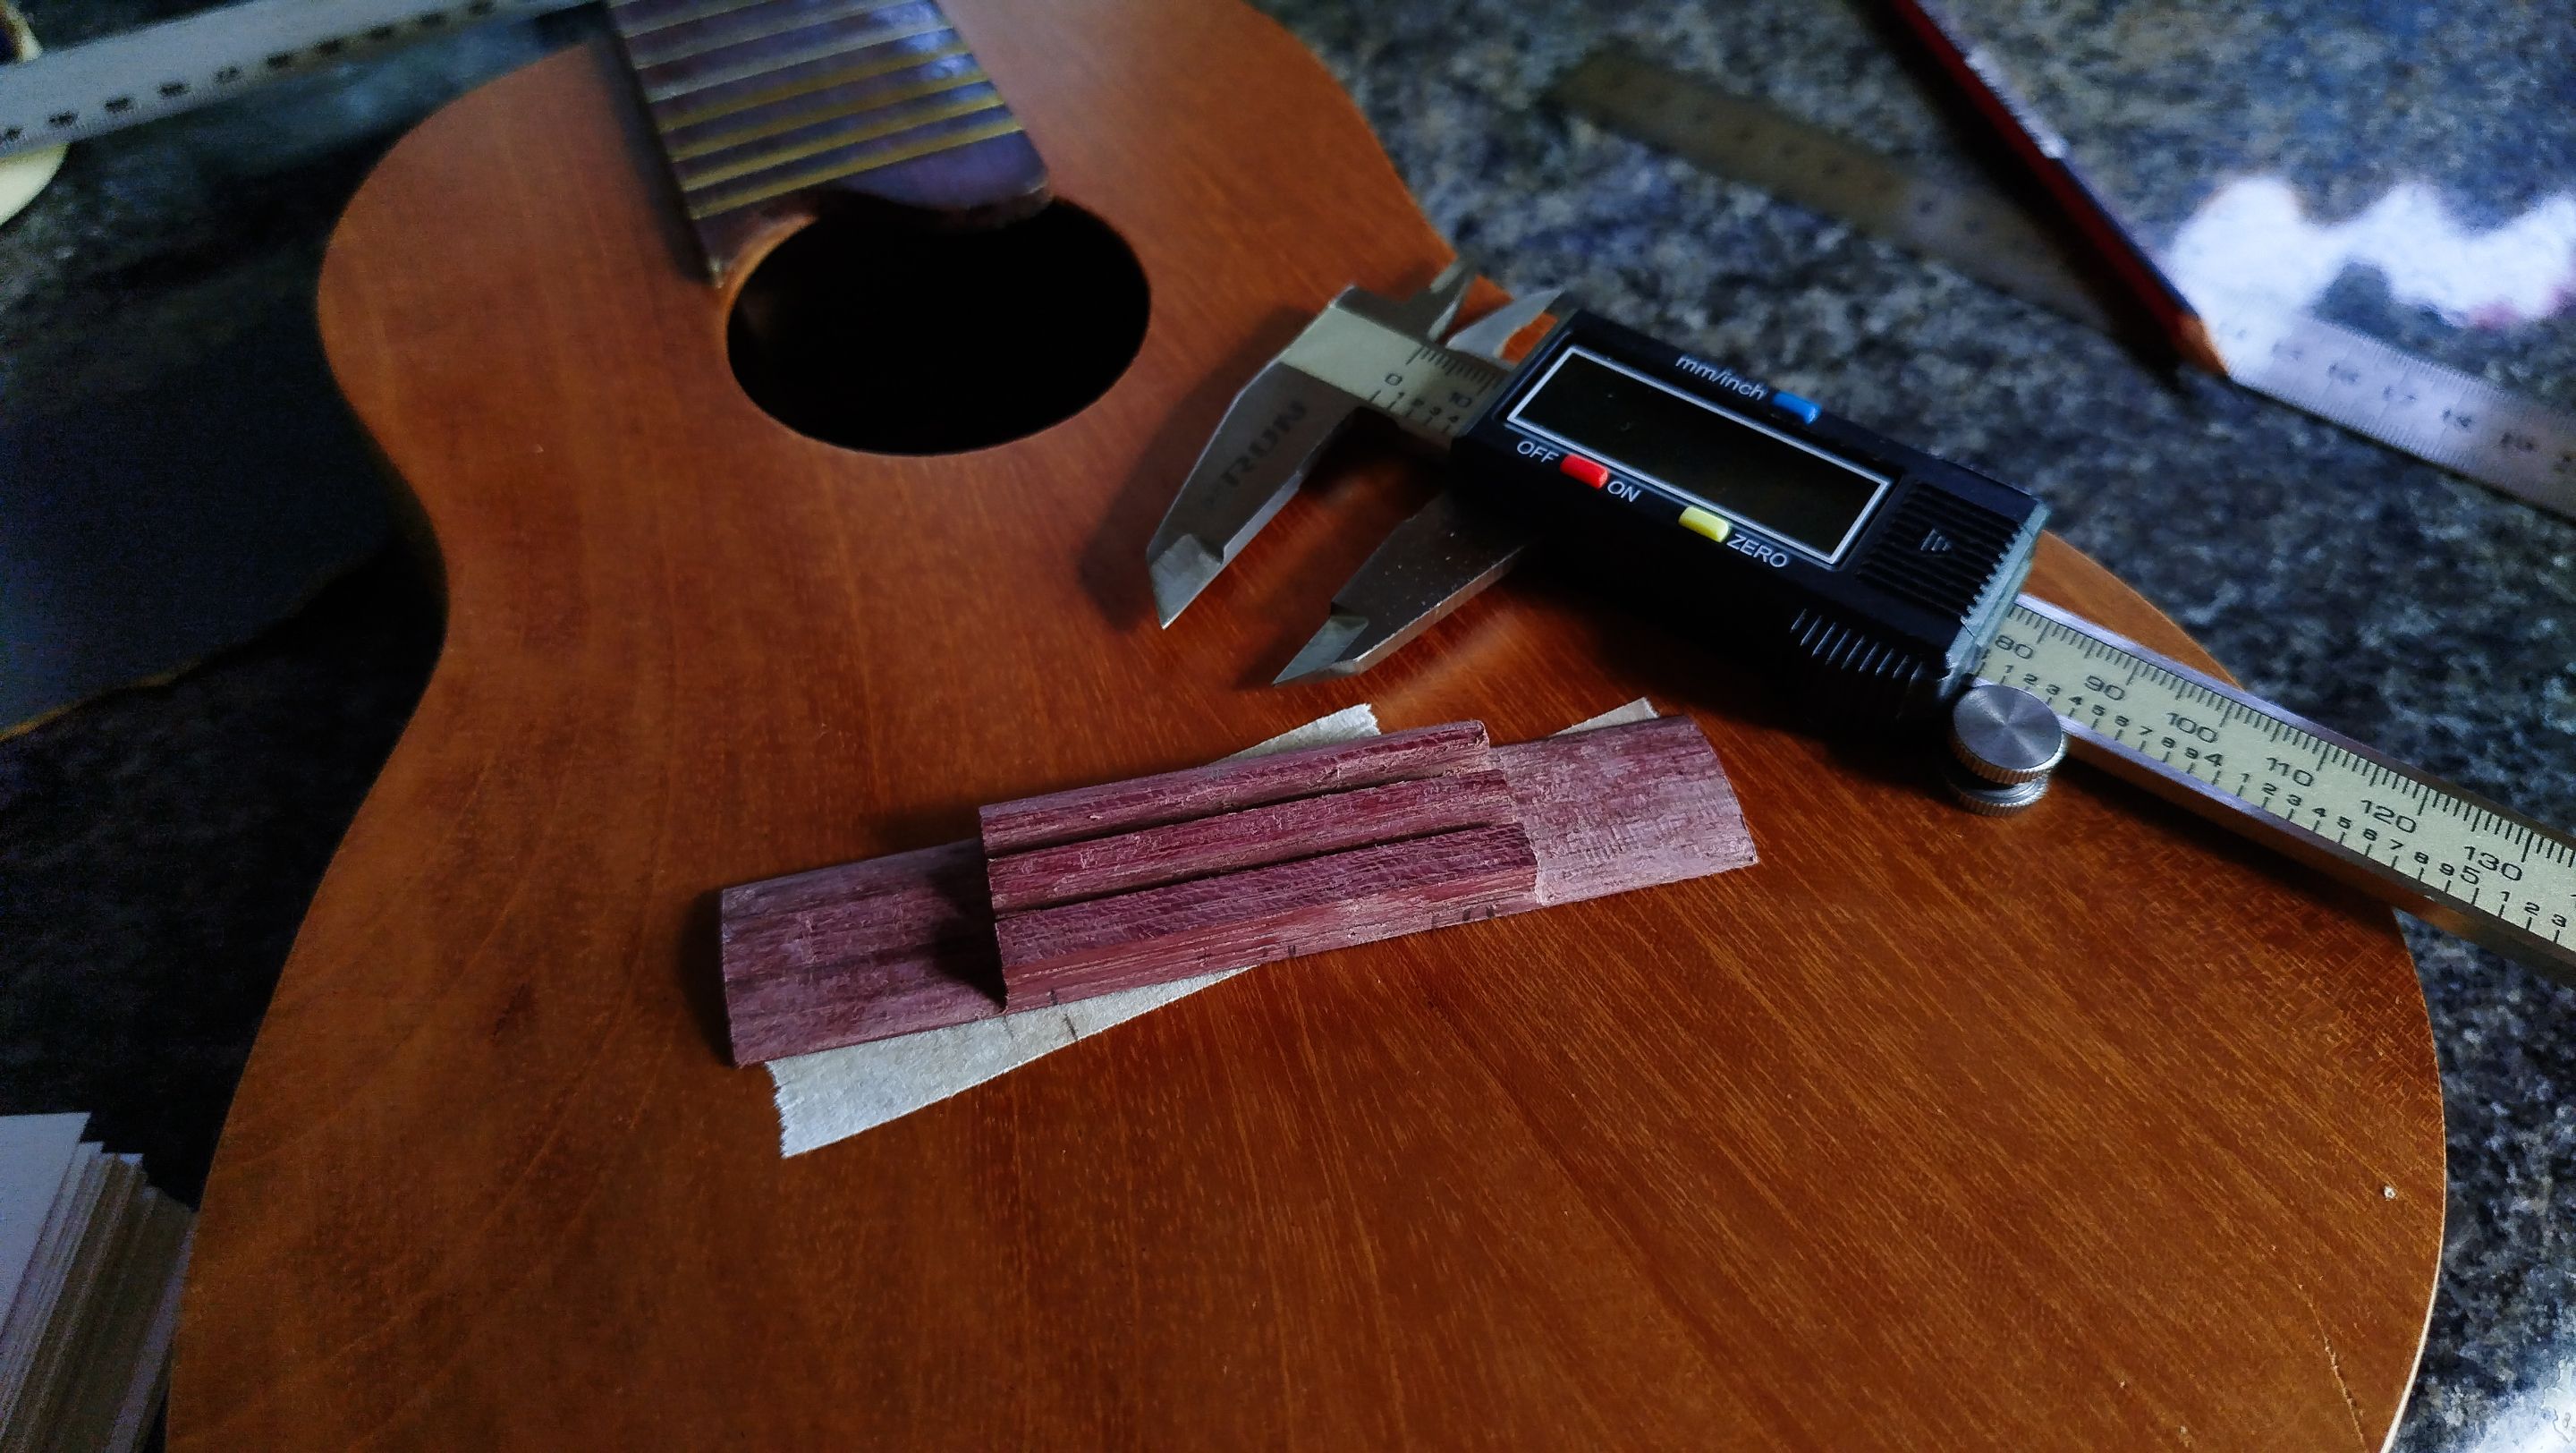
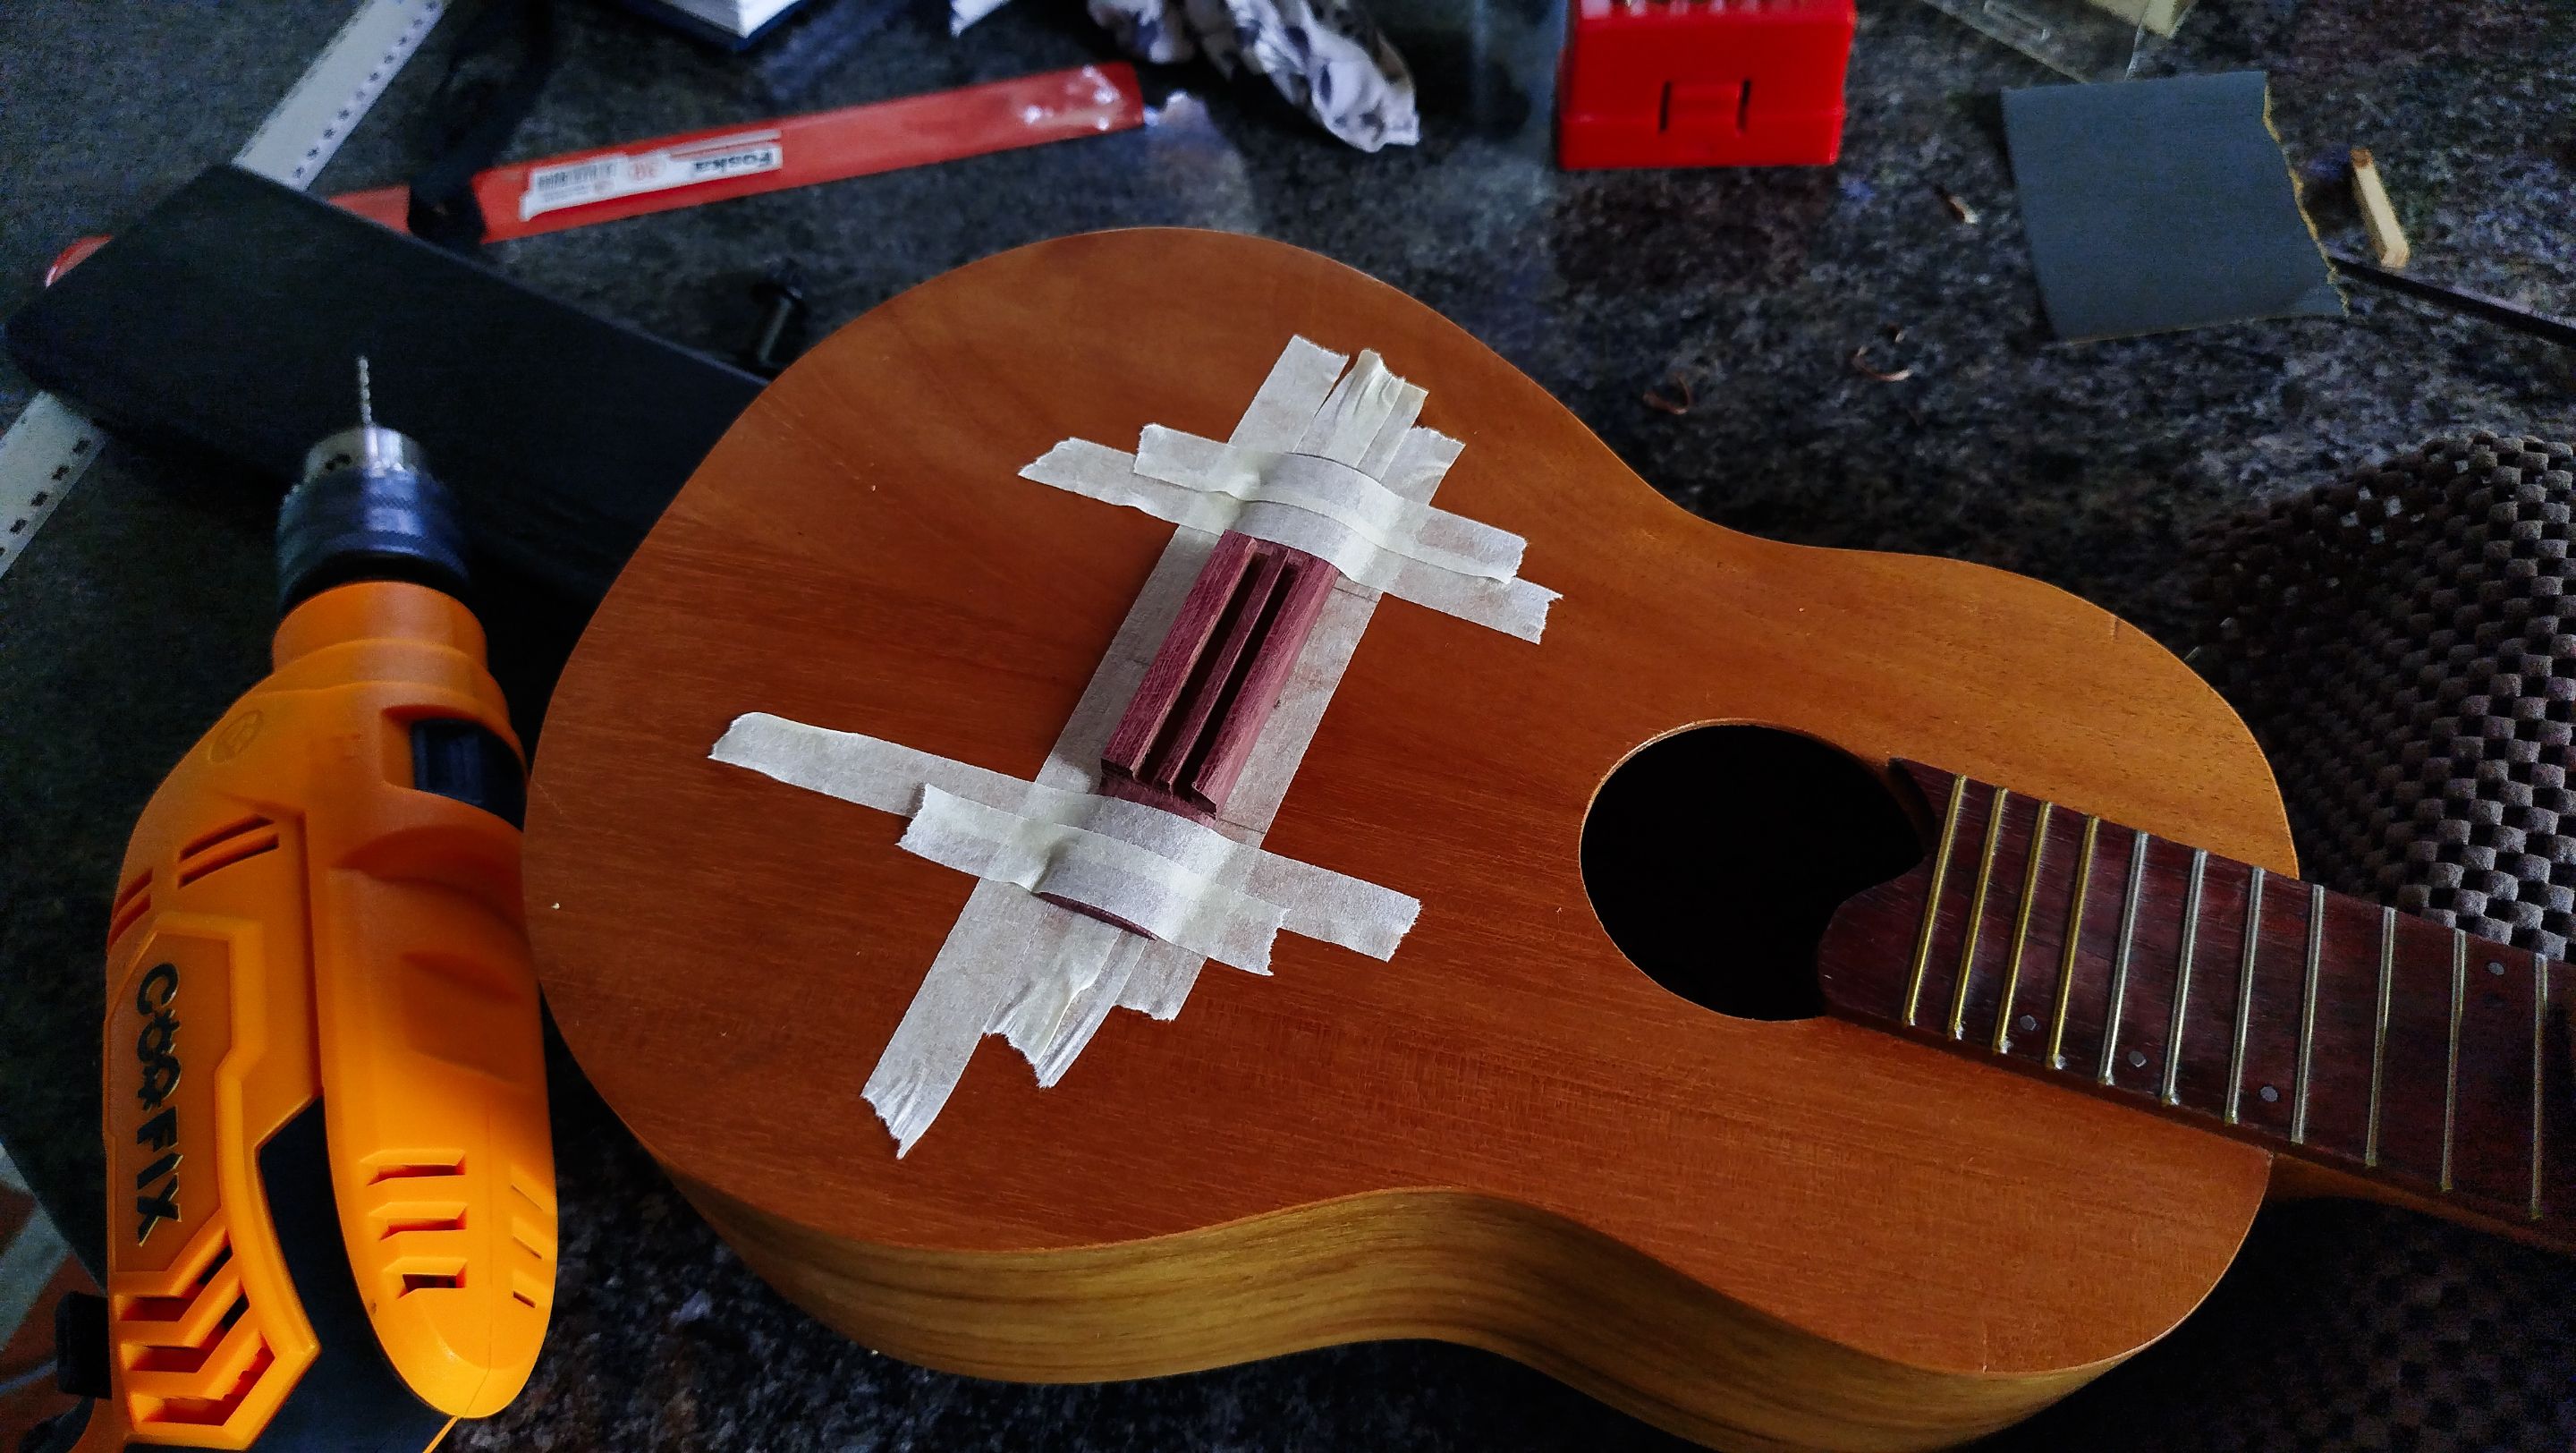
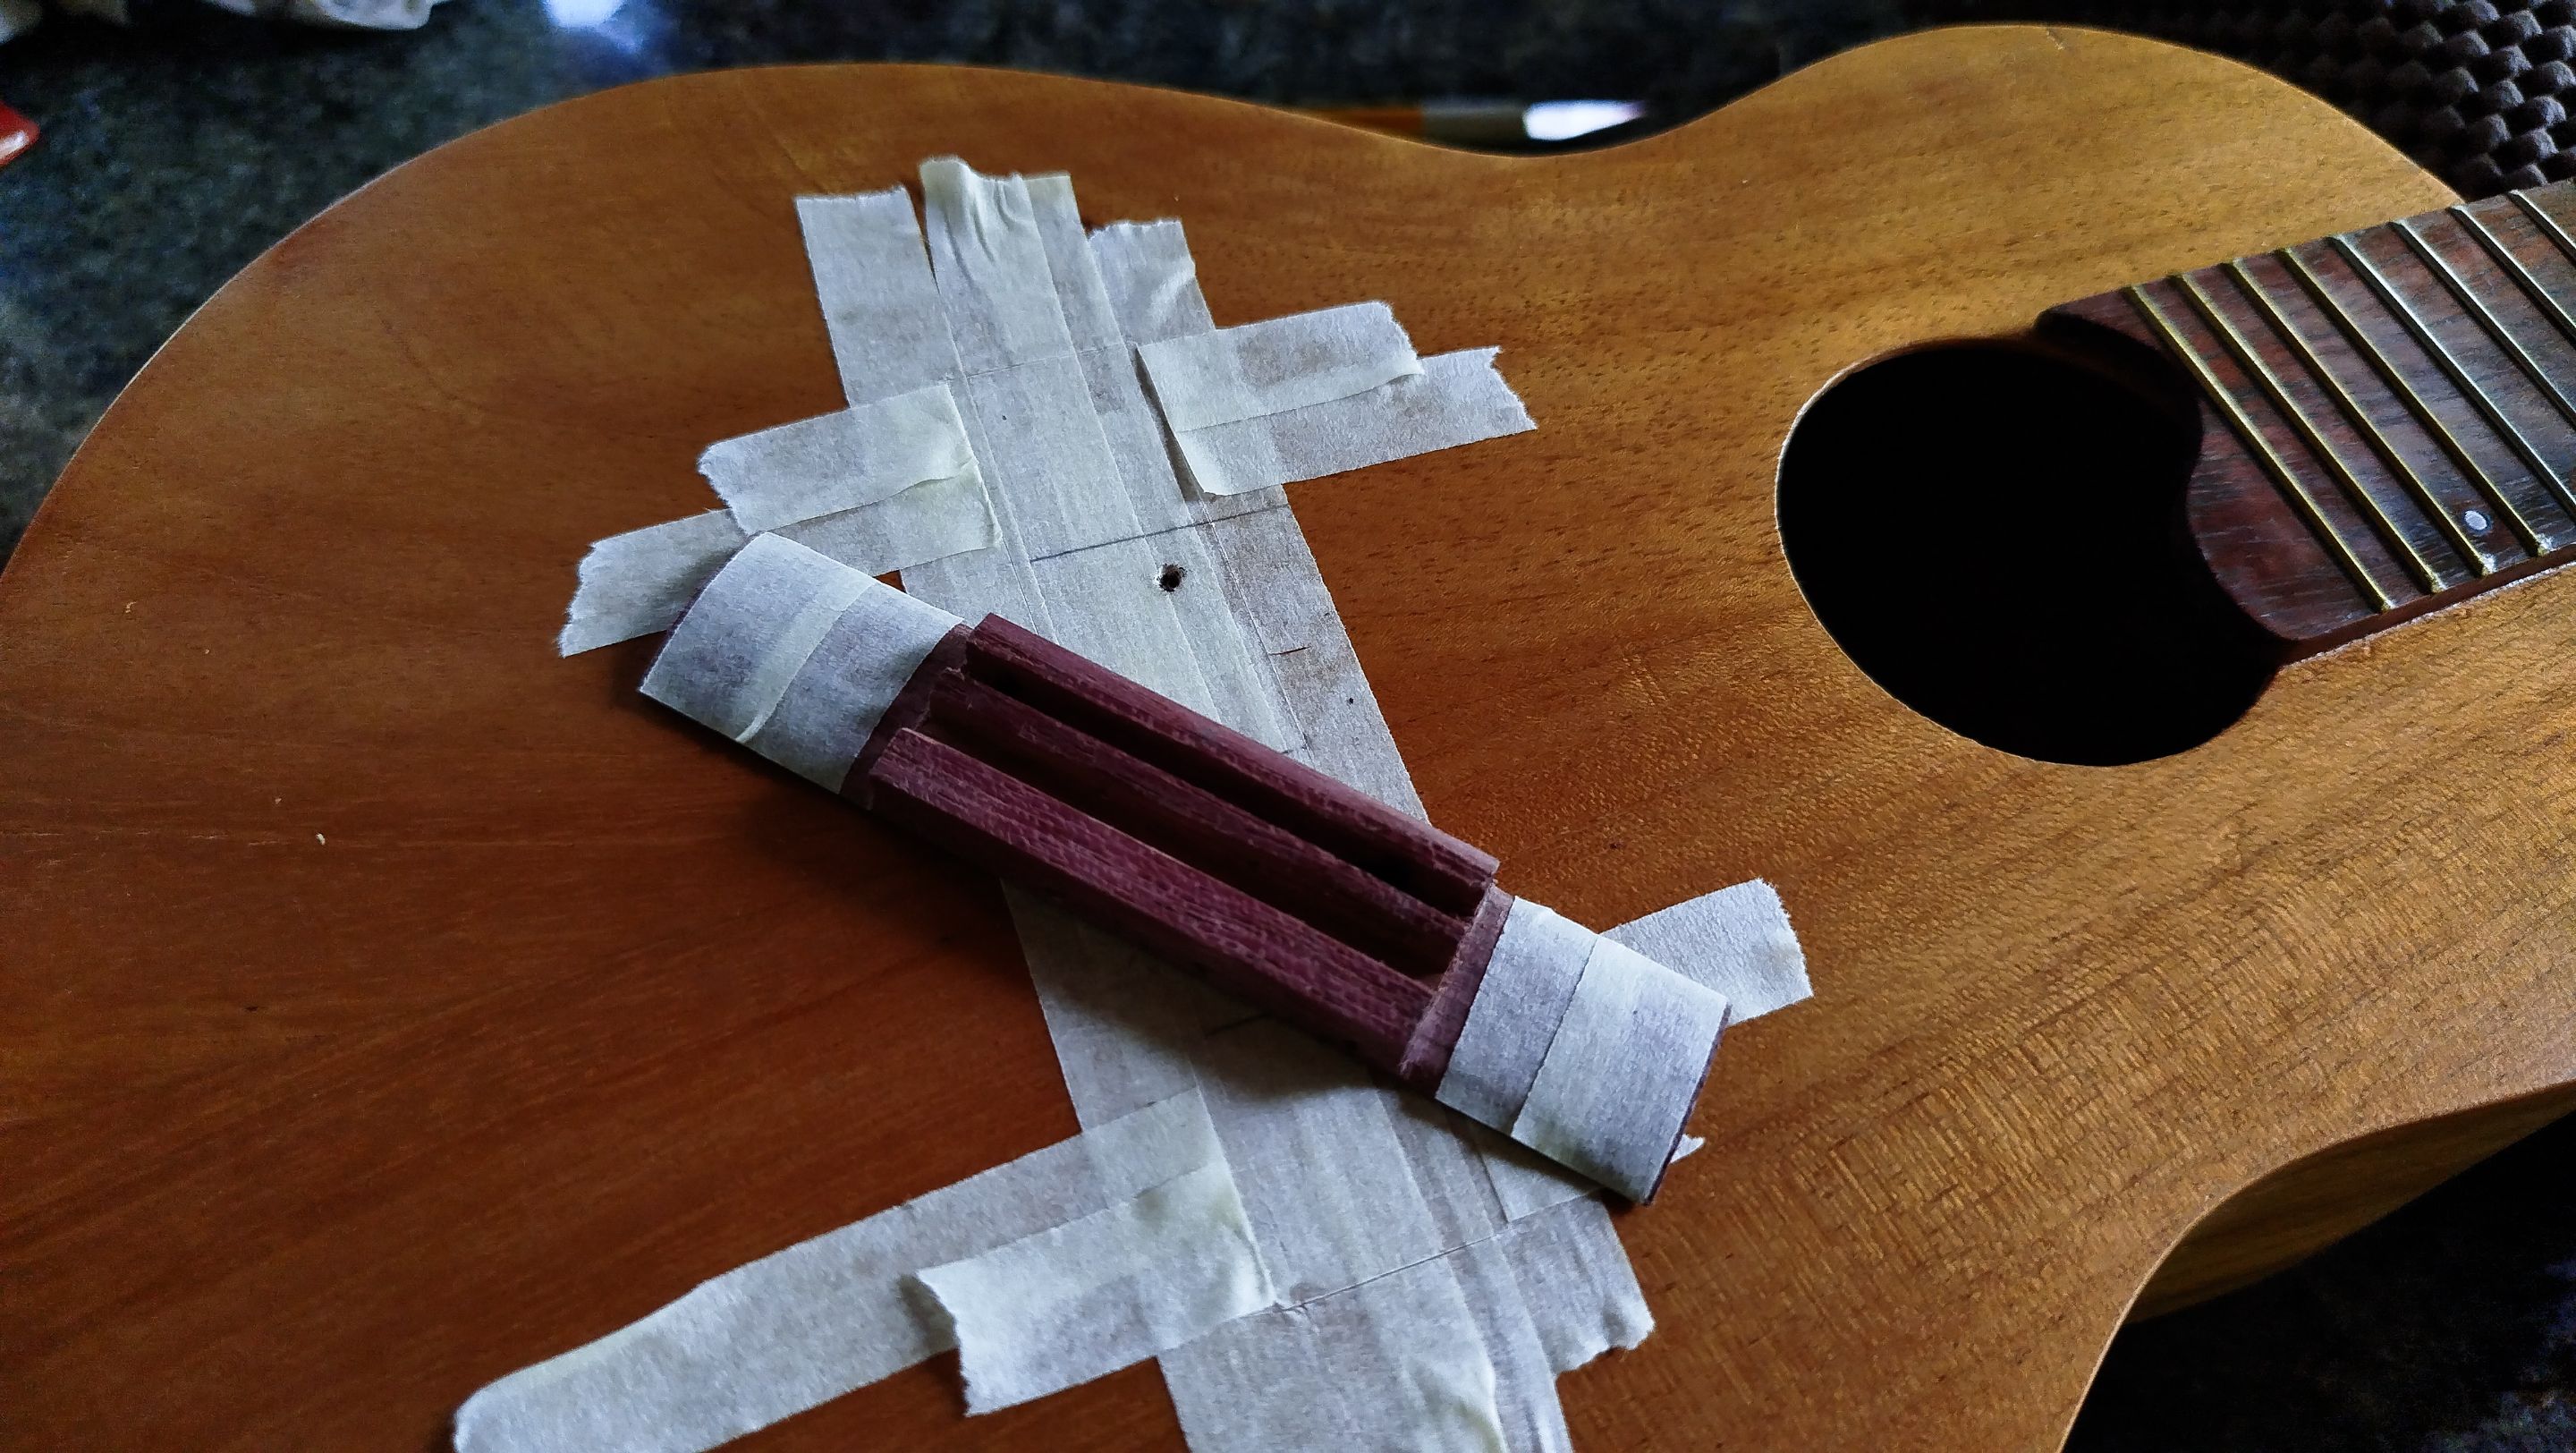
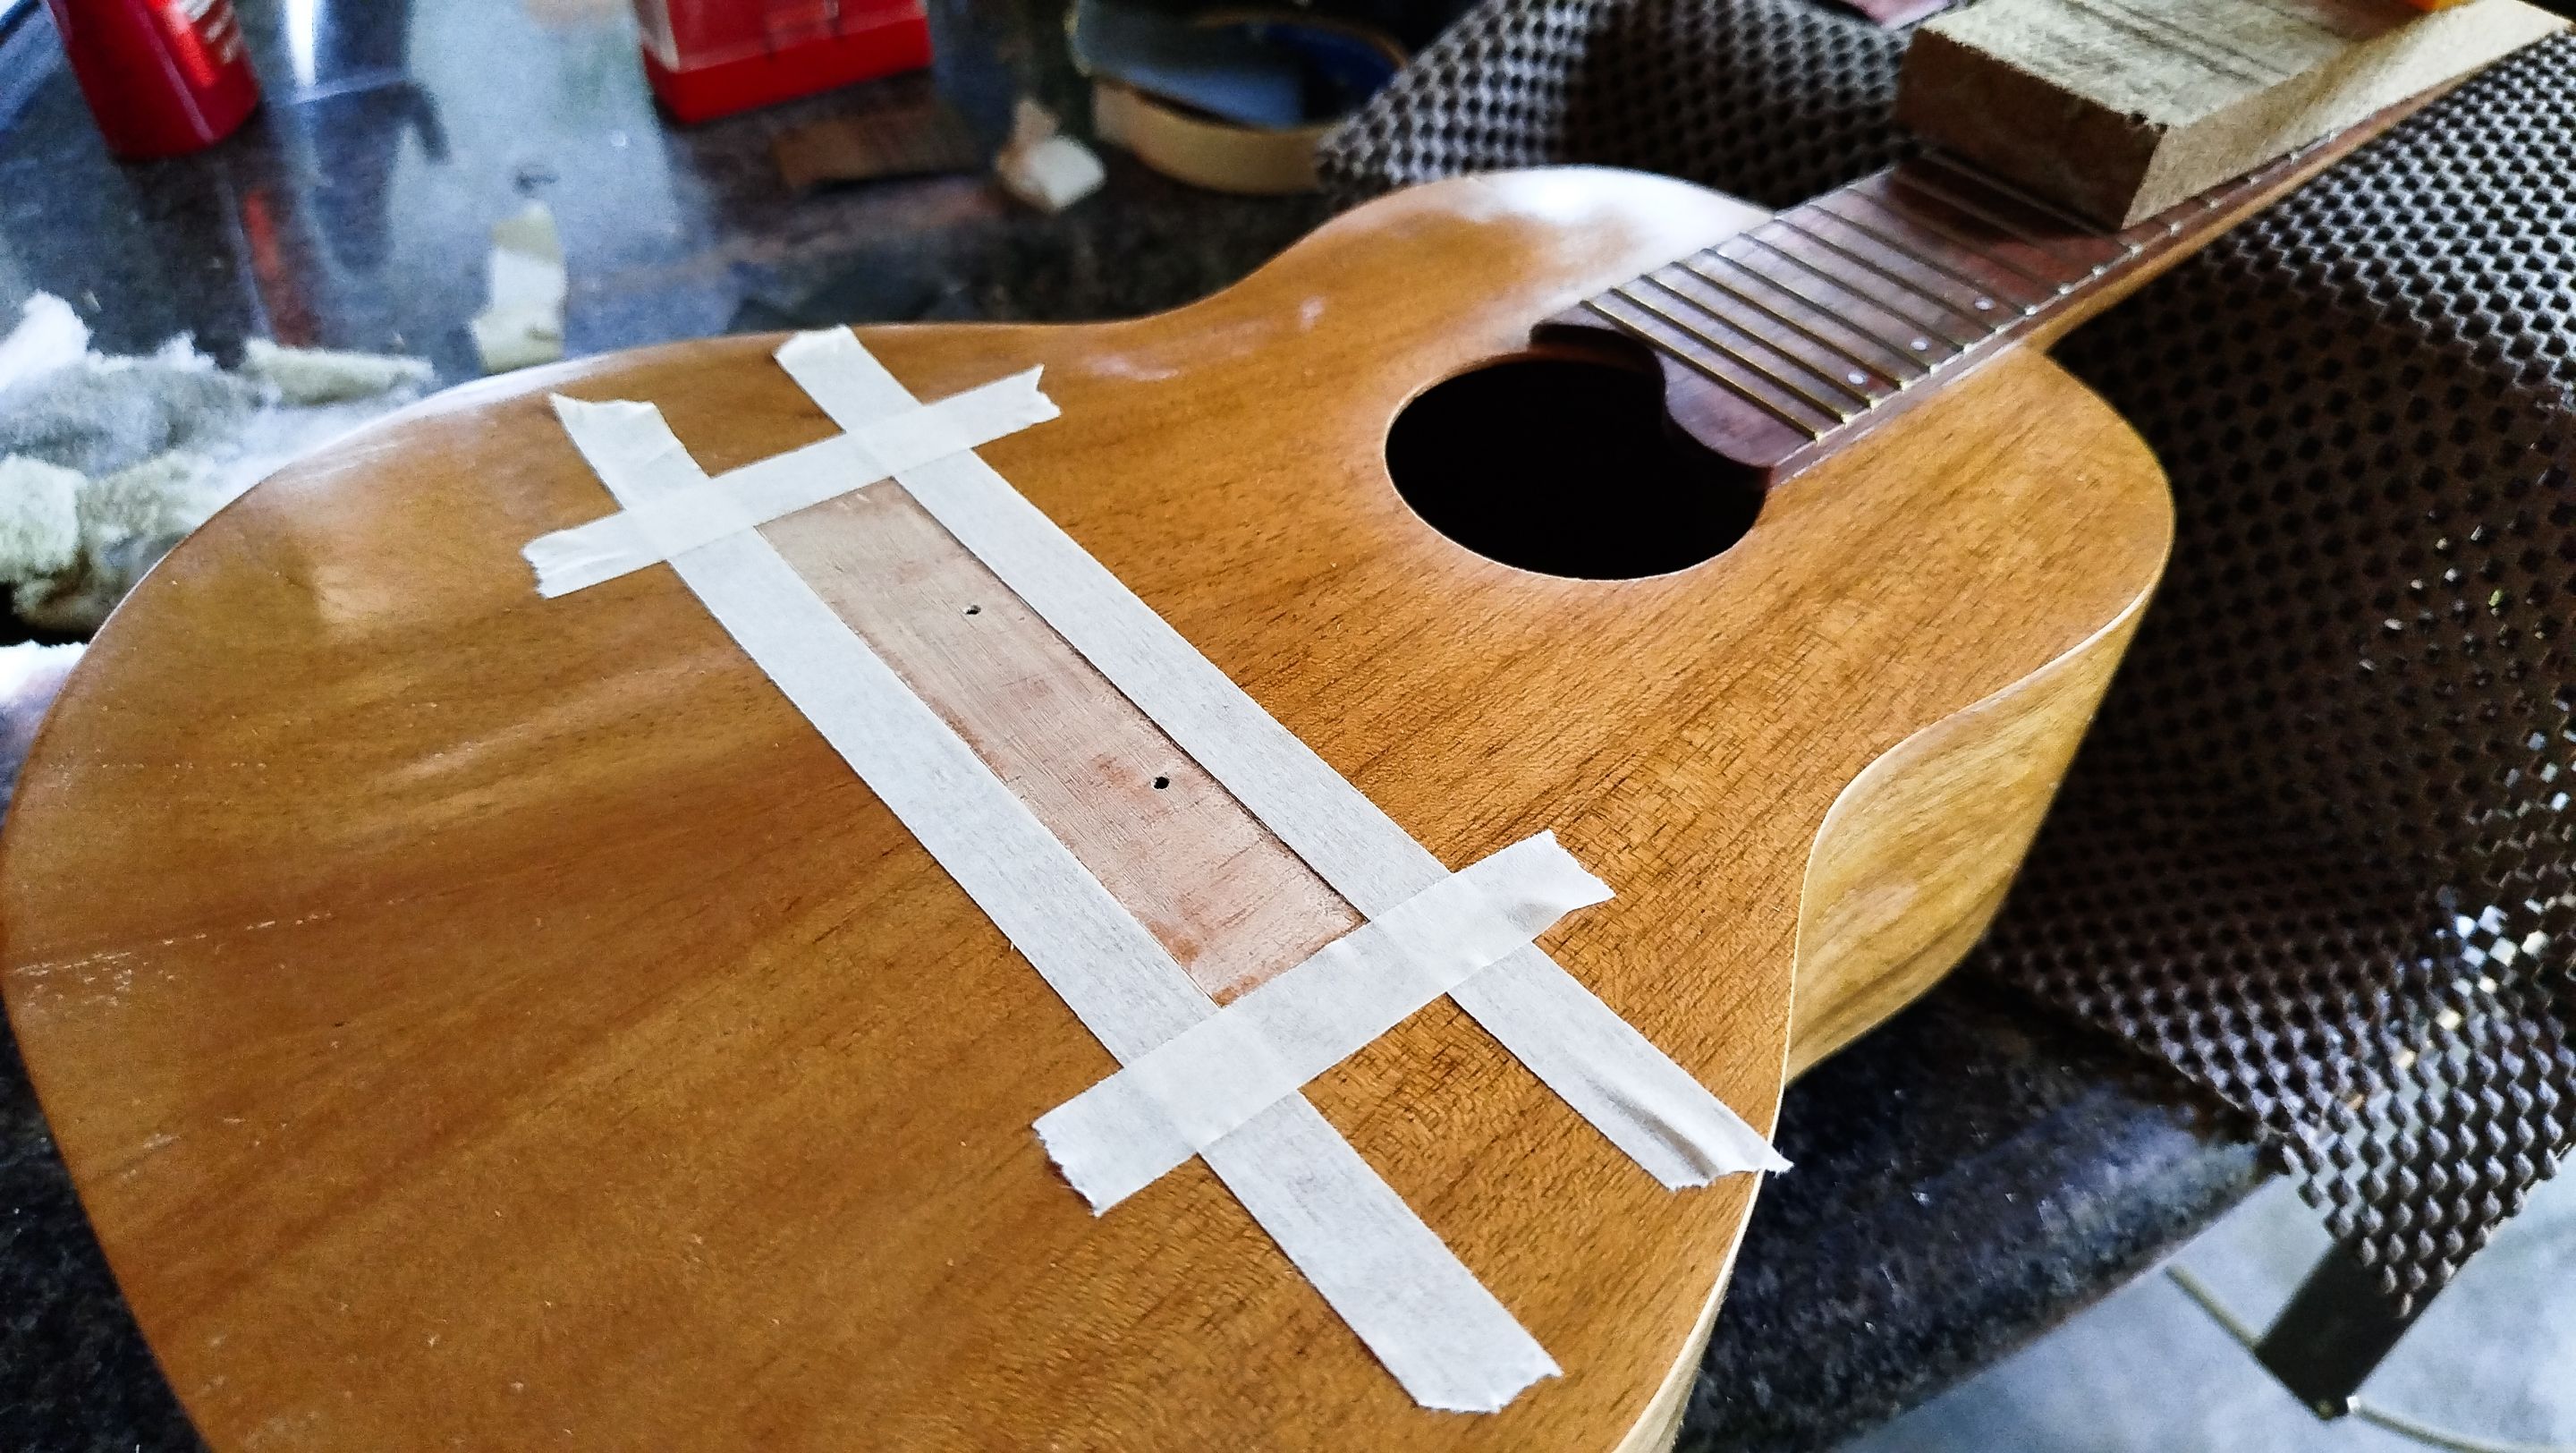
Then comes the dance of measuring the position of the saddle. For this, we use a calculator on Excel that has all the information needed to calculate the position of frets and saddle. It gives us the distance between the 12th fret and the saddle on the bridge. We take the measure and use some masking tape to keep the measure in place without scratching the finish. We use more masking take to address the position of the bridge and also to hold it in place.
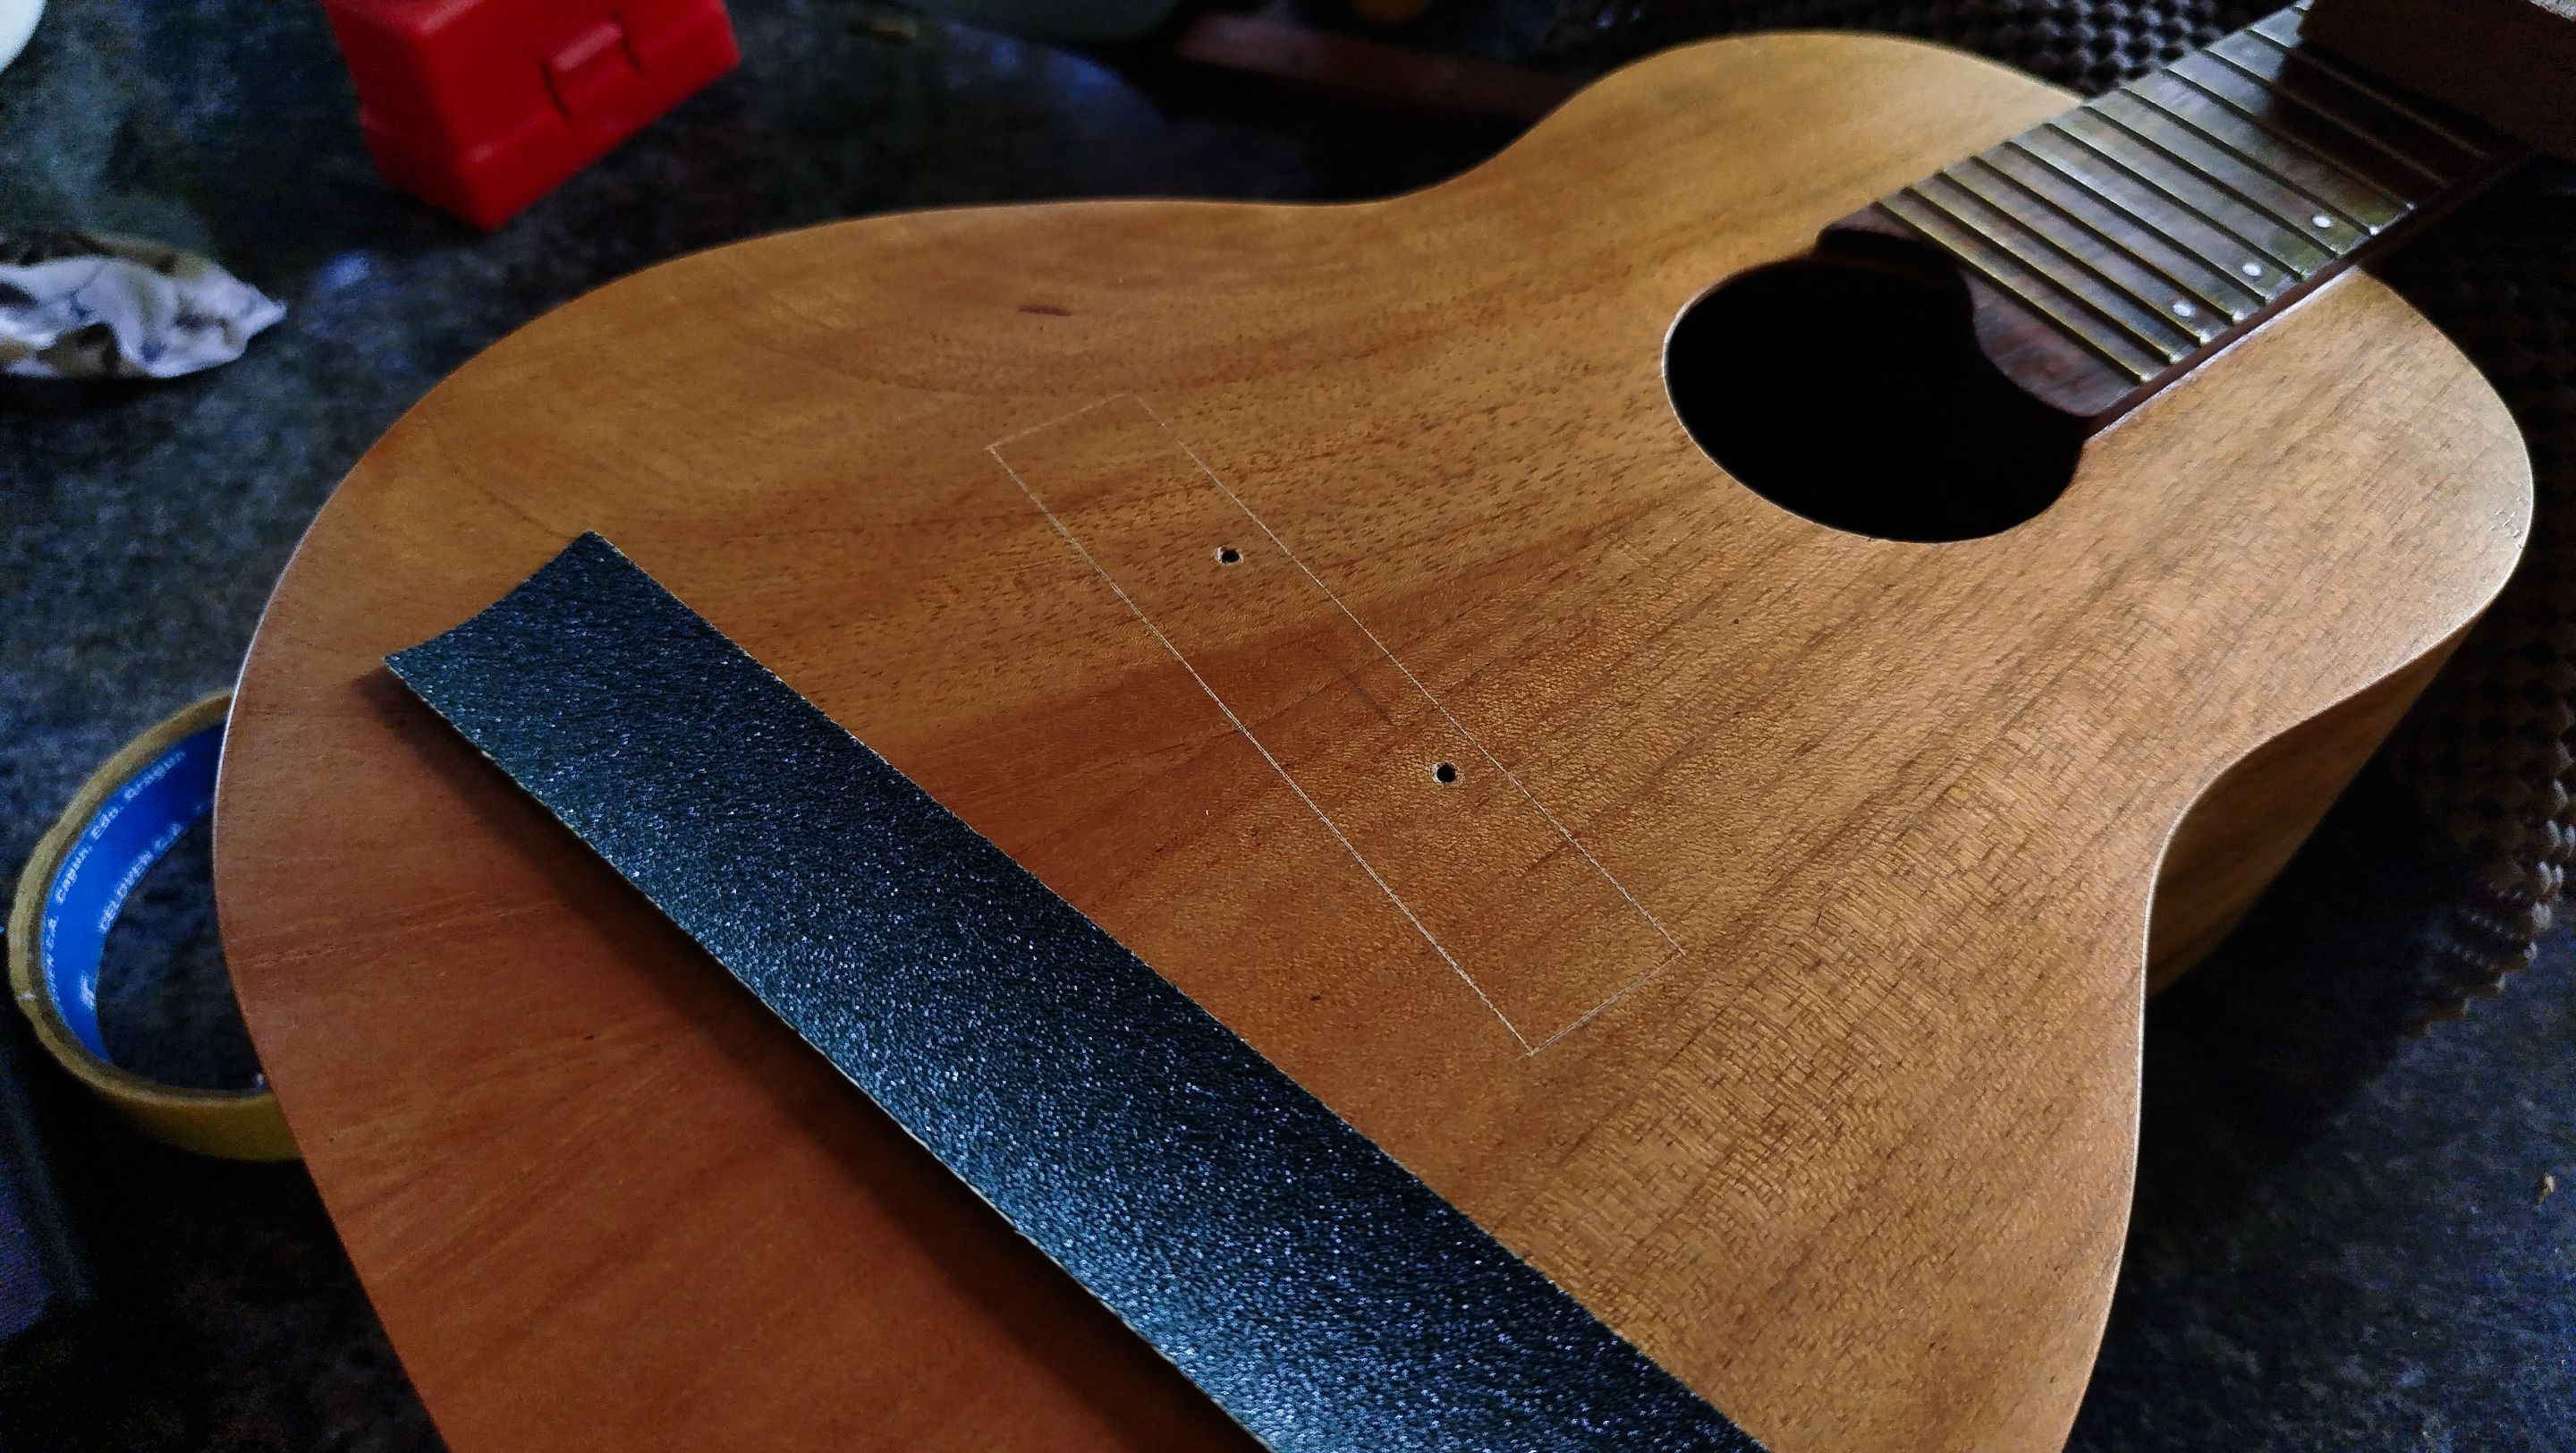
The next step is using the drill to get some holes through the bridge and sound board. This will help us put some anchors to keep it in place and glue it without having it move when we use the clamps. The last part is using more masking tape to hold a piece of sandpaper on the are where the bridge will be located. This way we will give it the shape of the sound board and it will rest flat on top of this piece.
Polish and removal
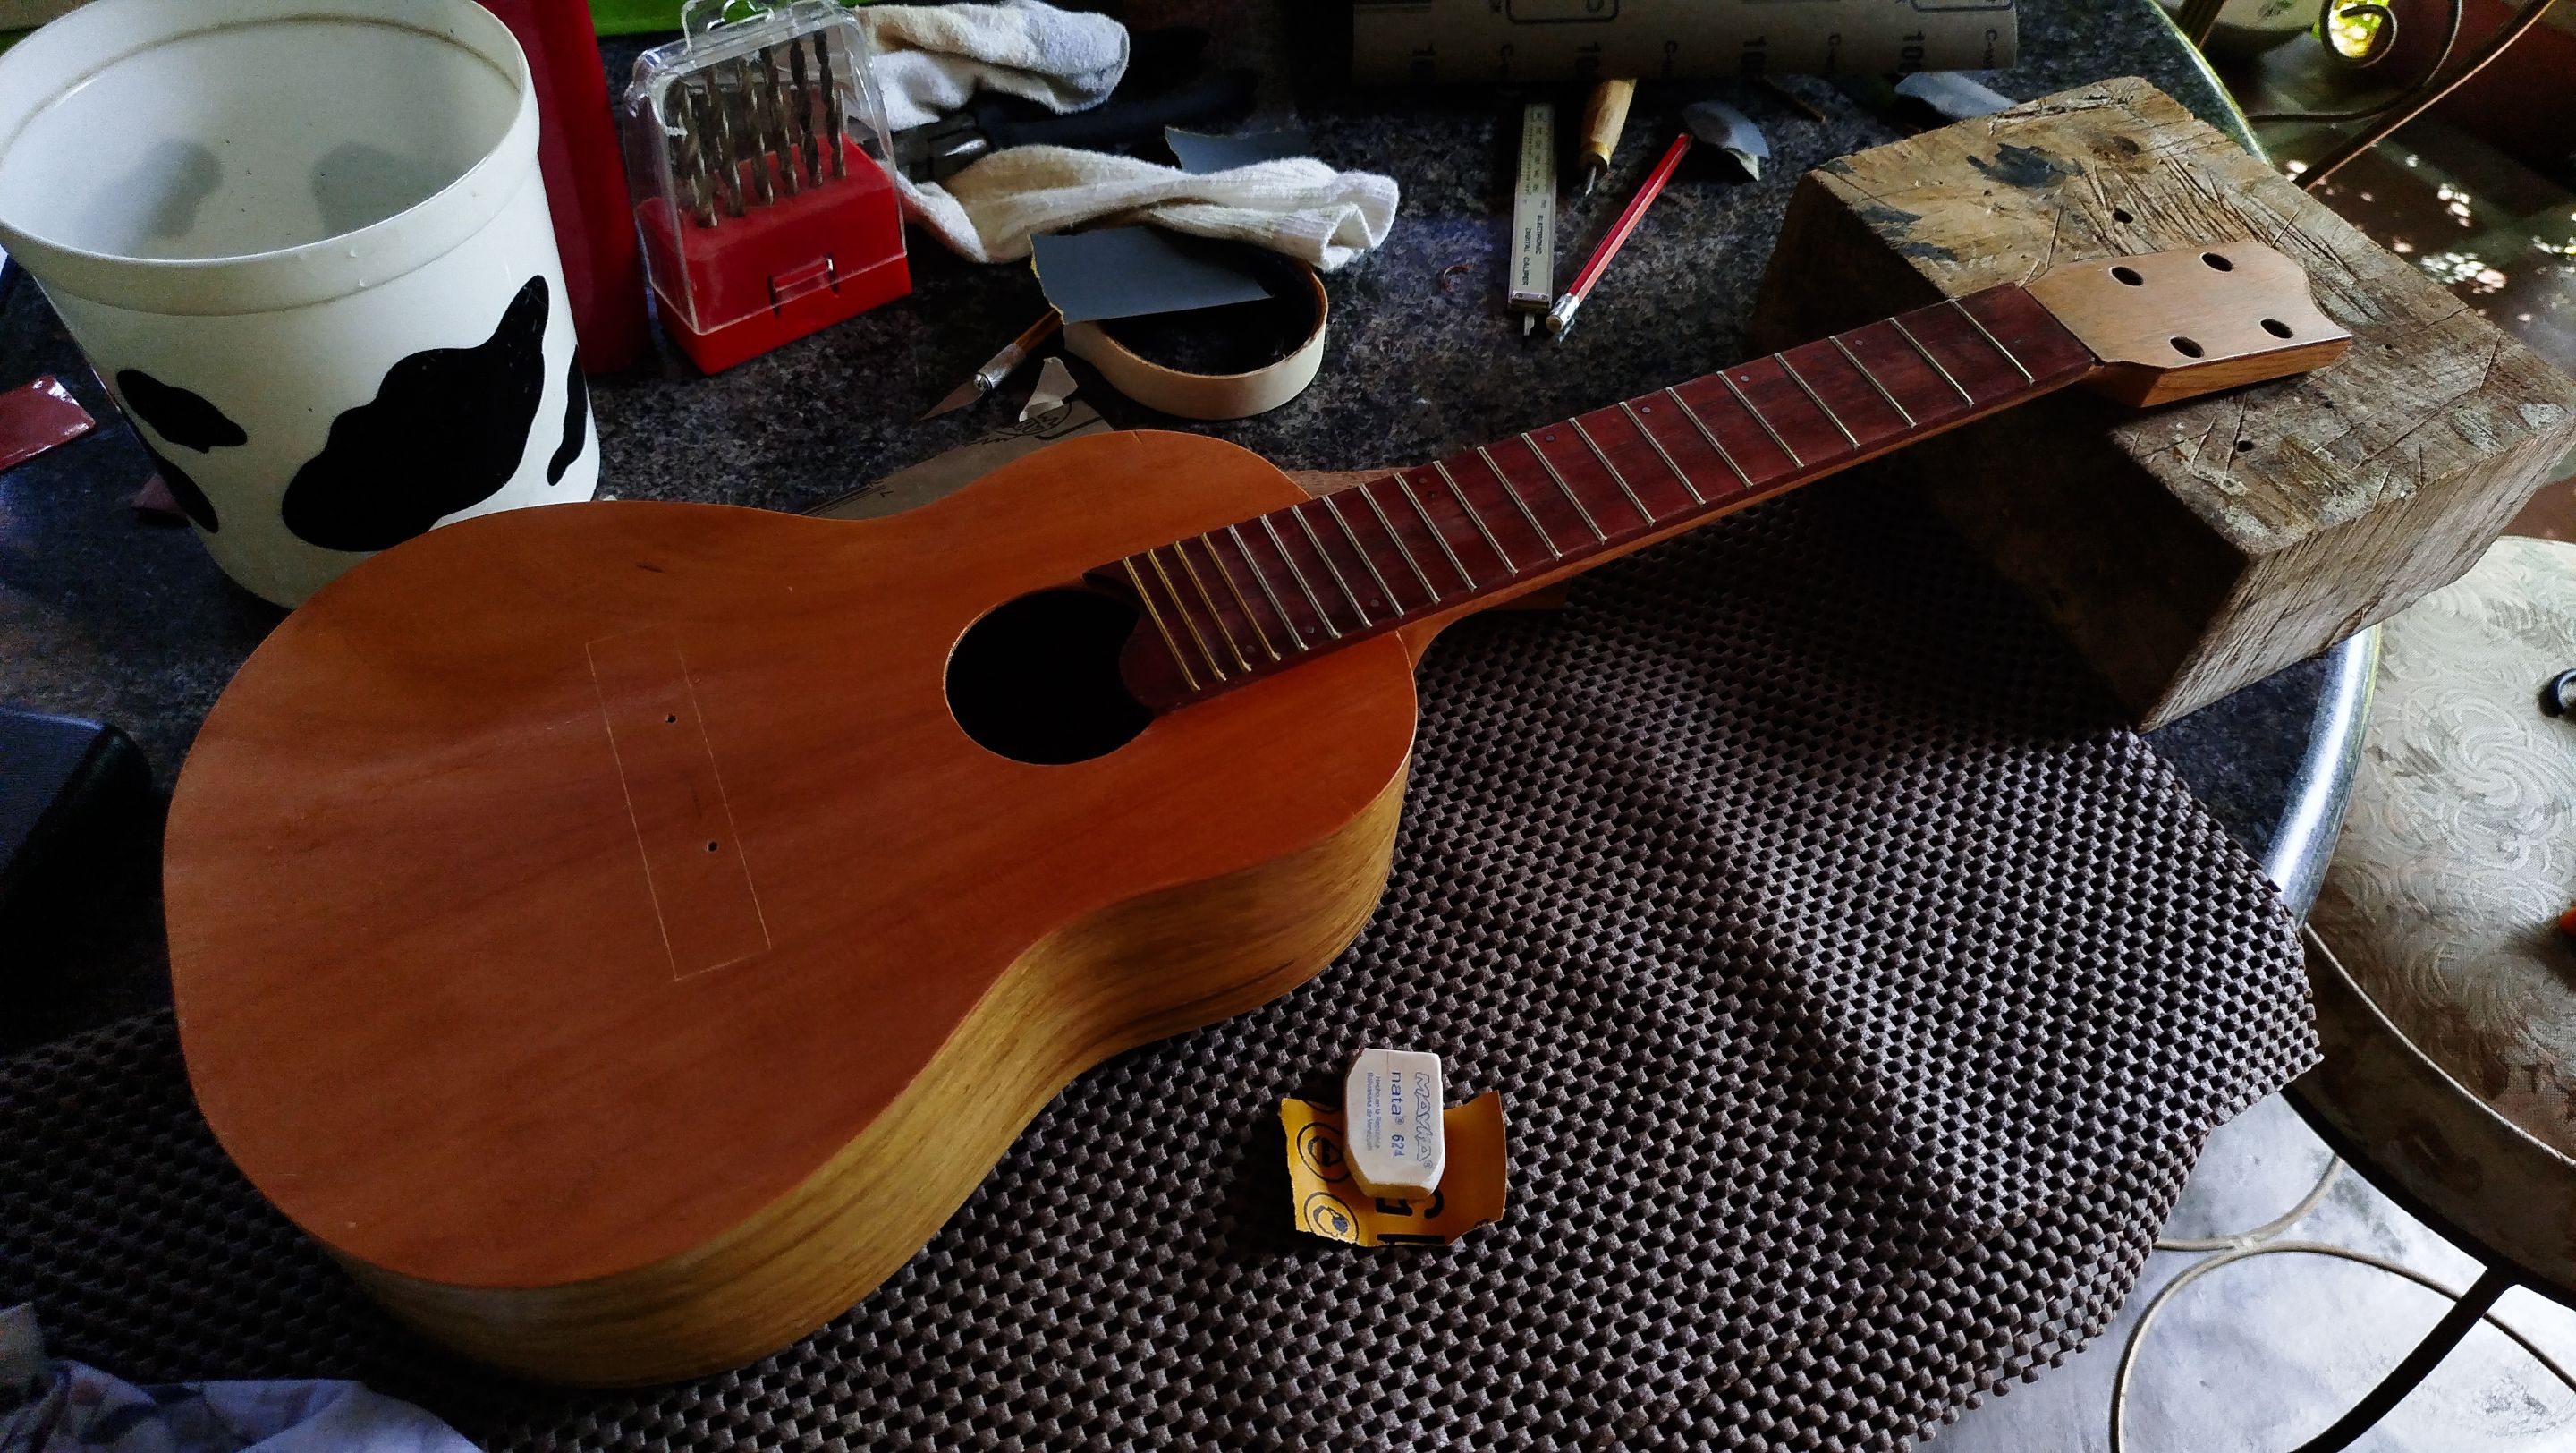
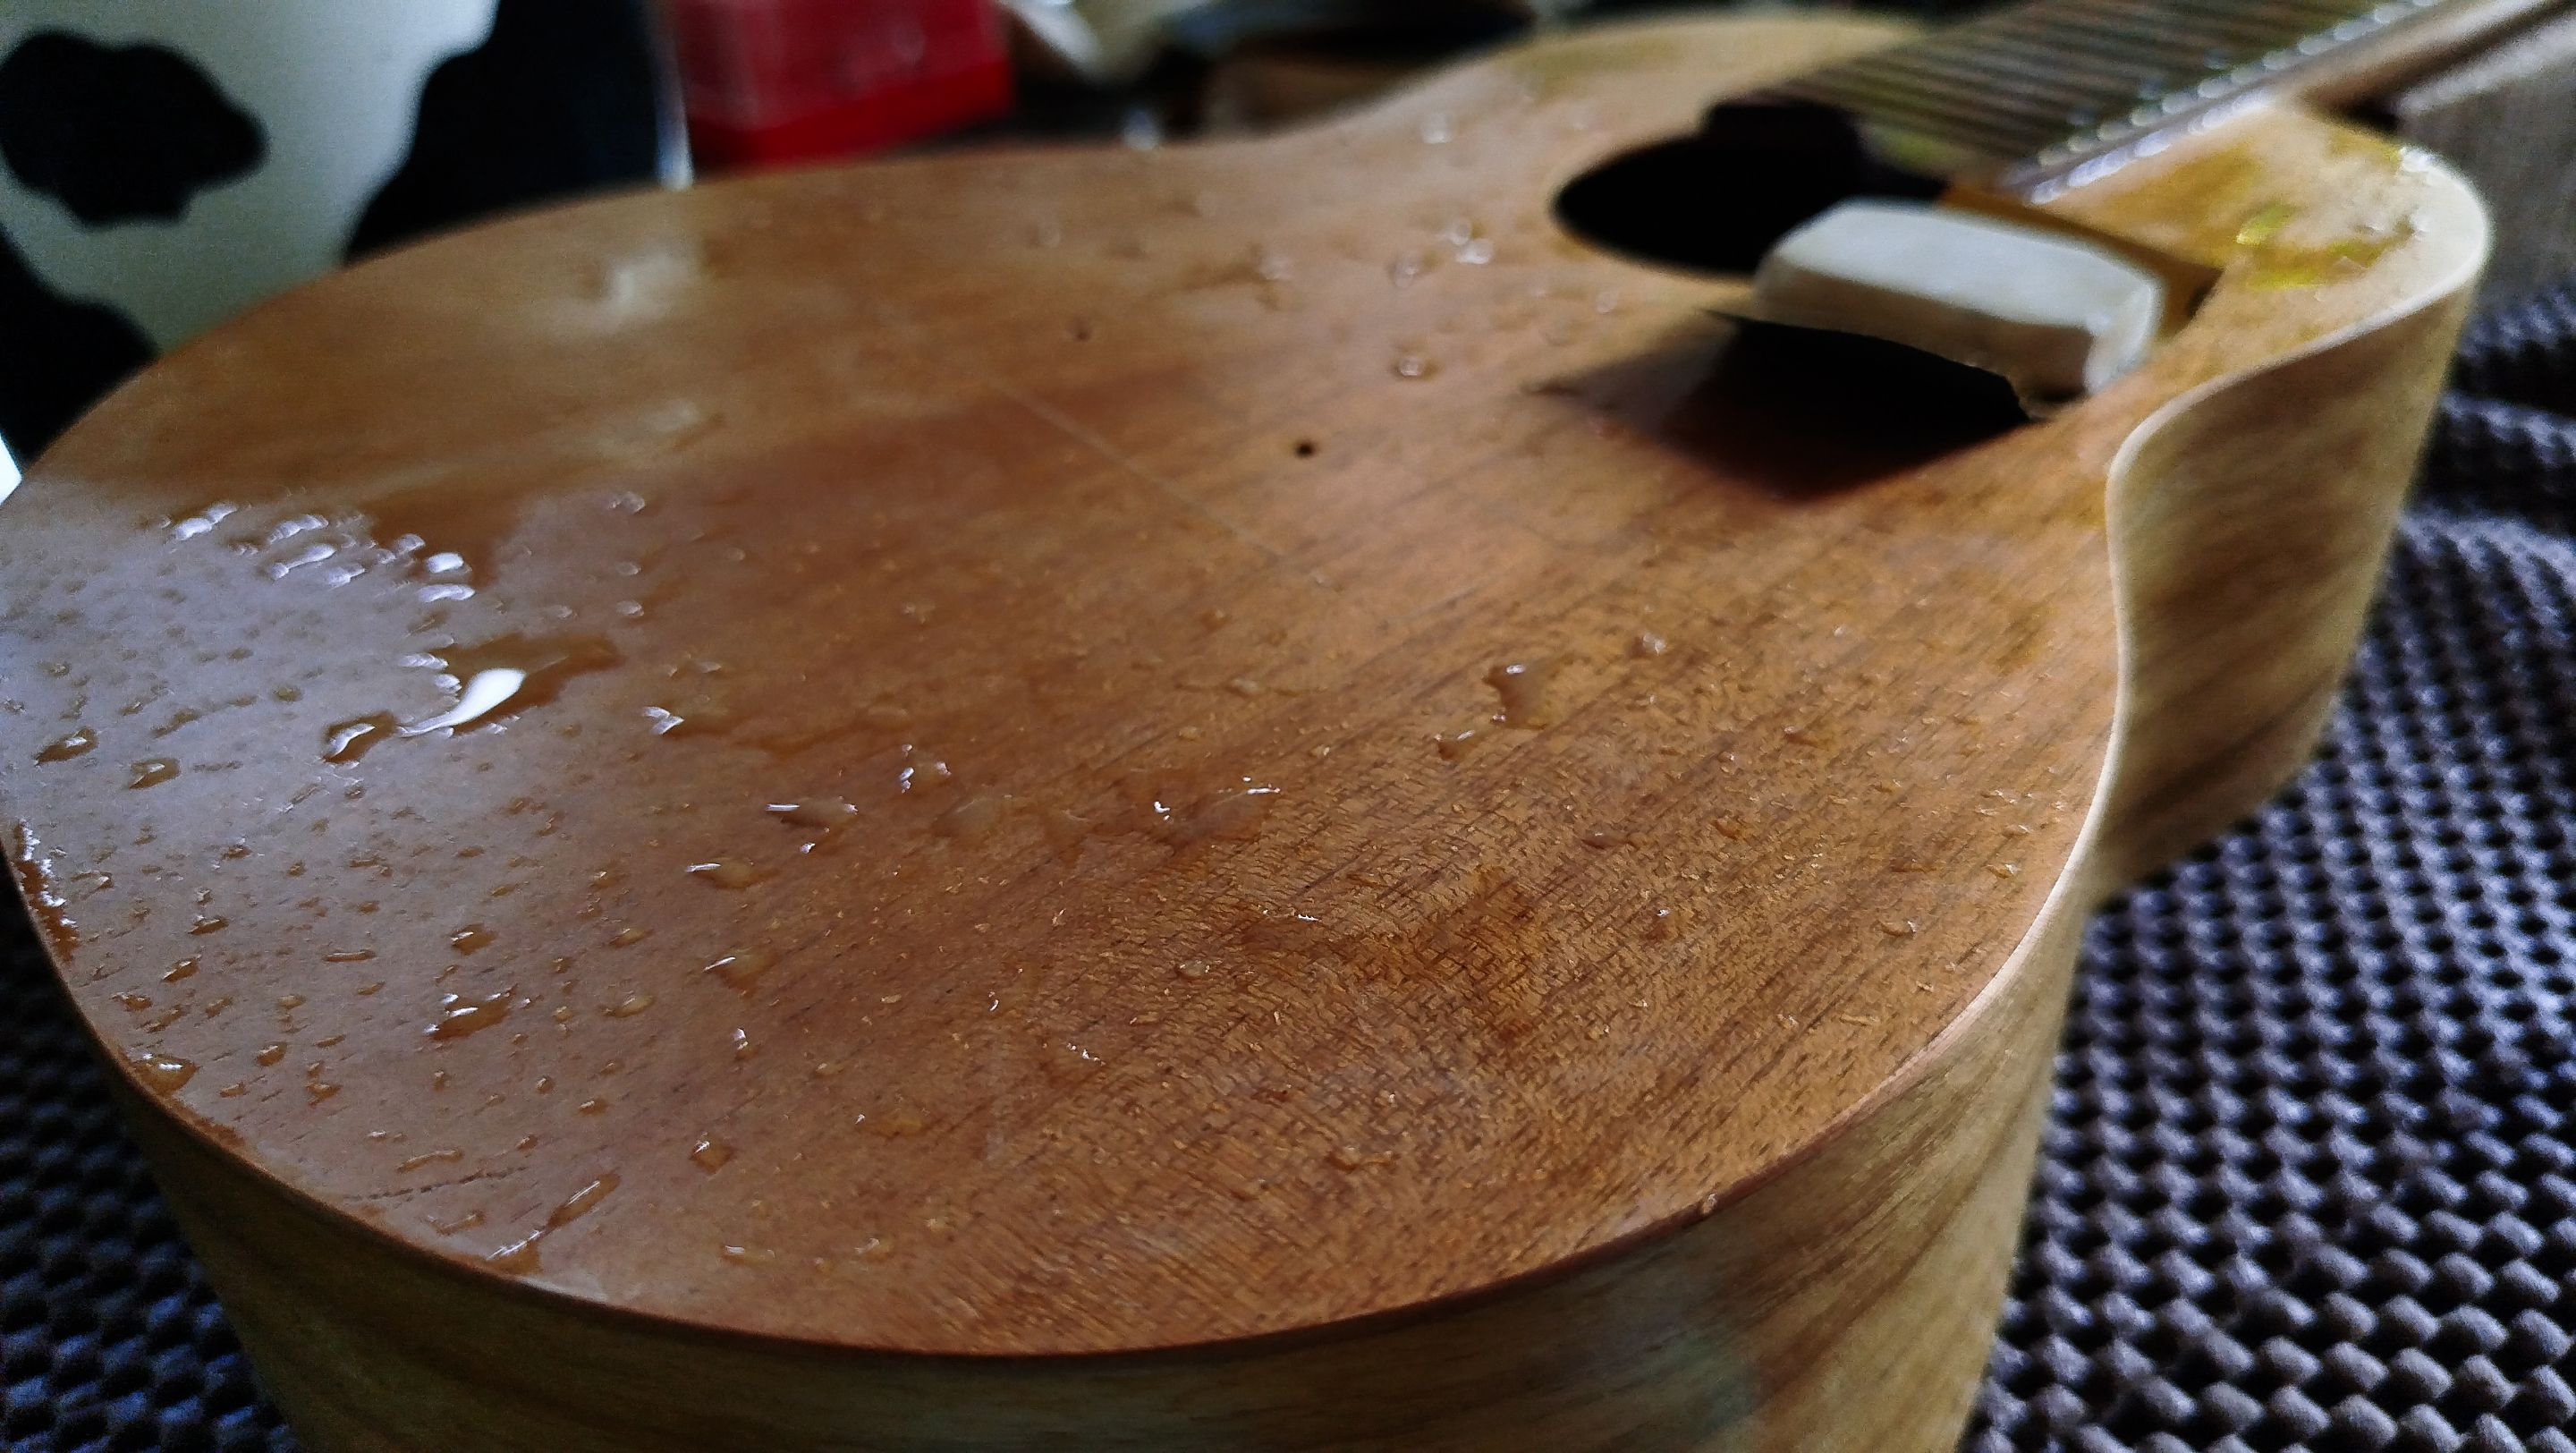
Now we can sand using water. This last bit of sanding is done with some water. This is to remove all the dust from the top of the instrument. We just need to use some water and a piece of 1500-grit sandpaper. The movements need to be very subtle. And we need to do this until we see the water start getting some bit of white powder.
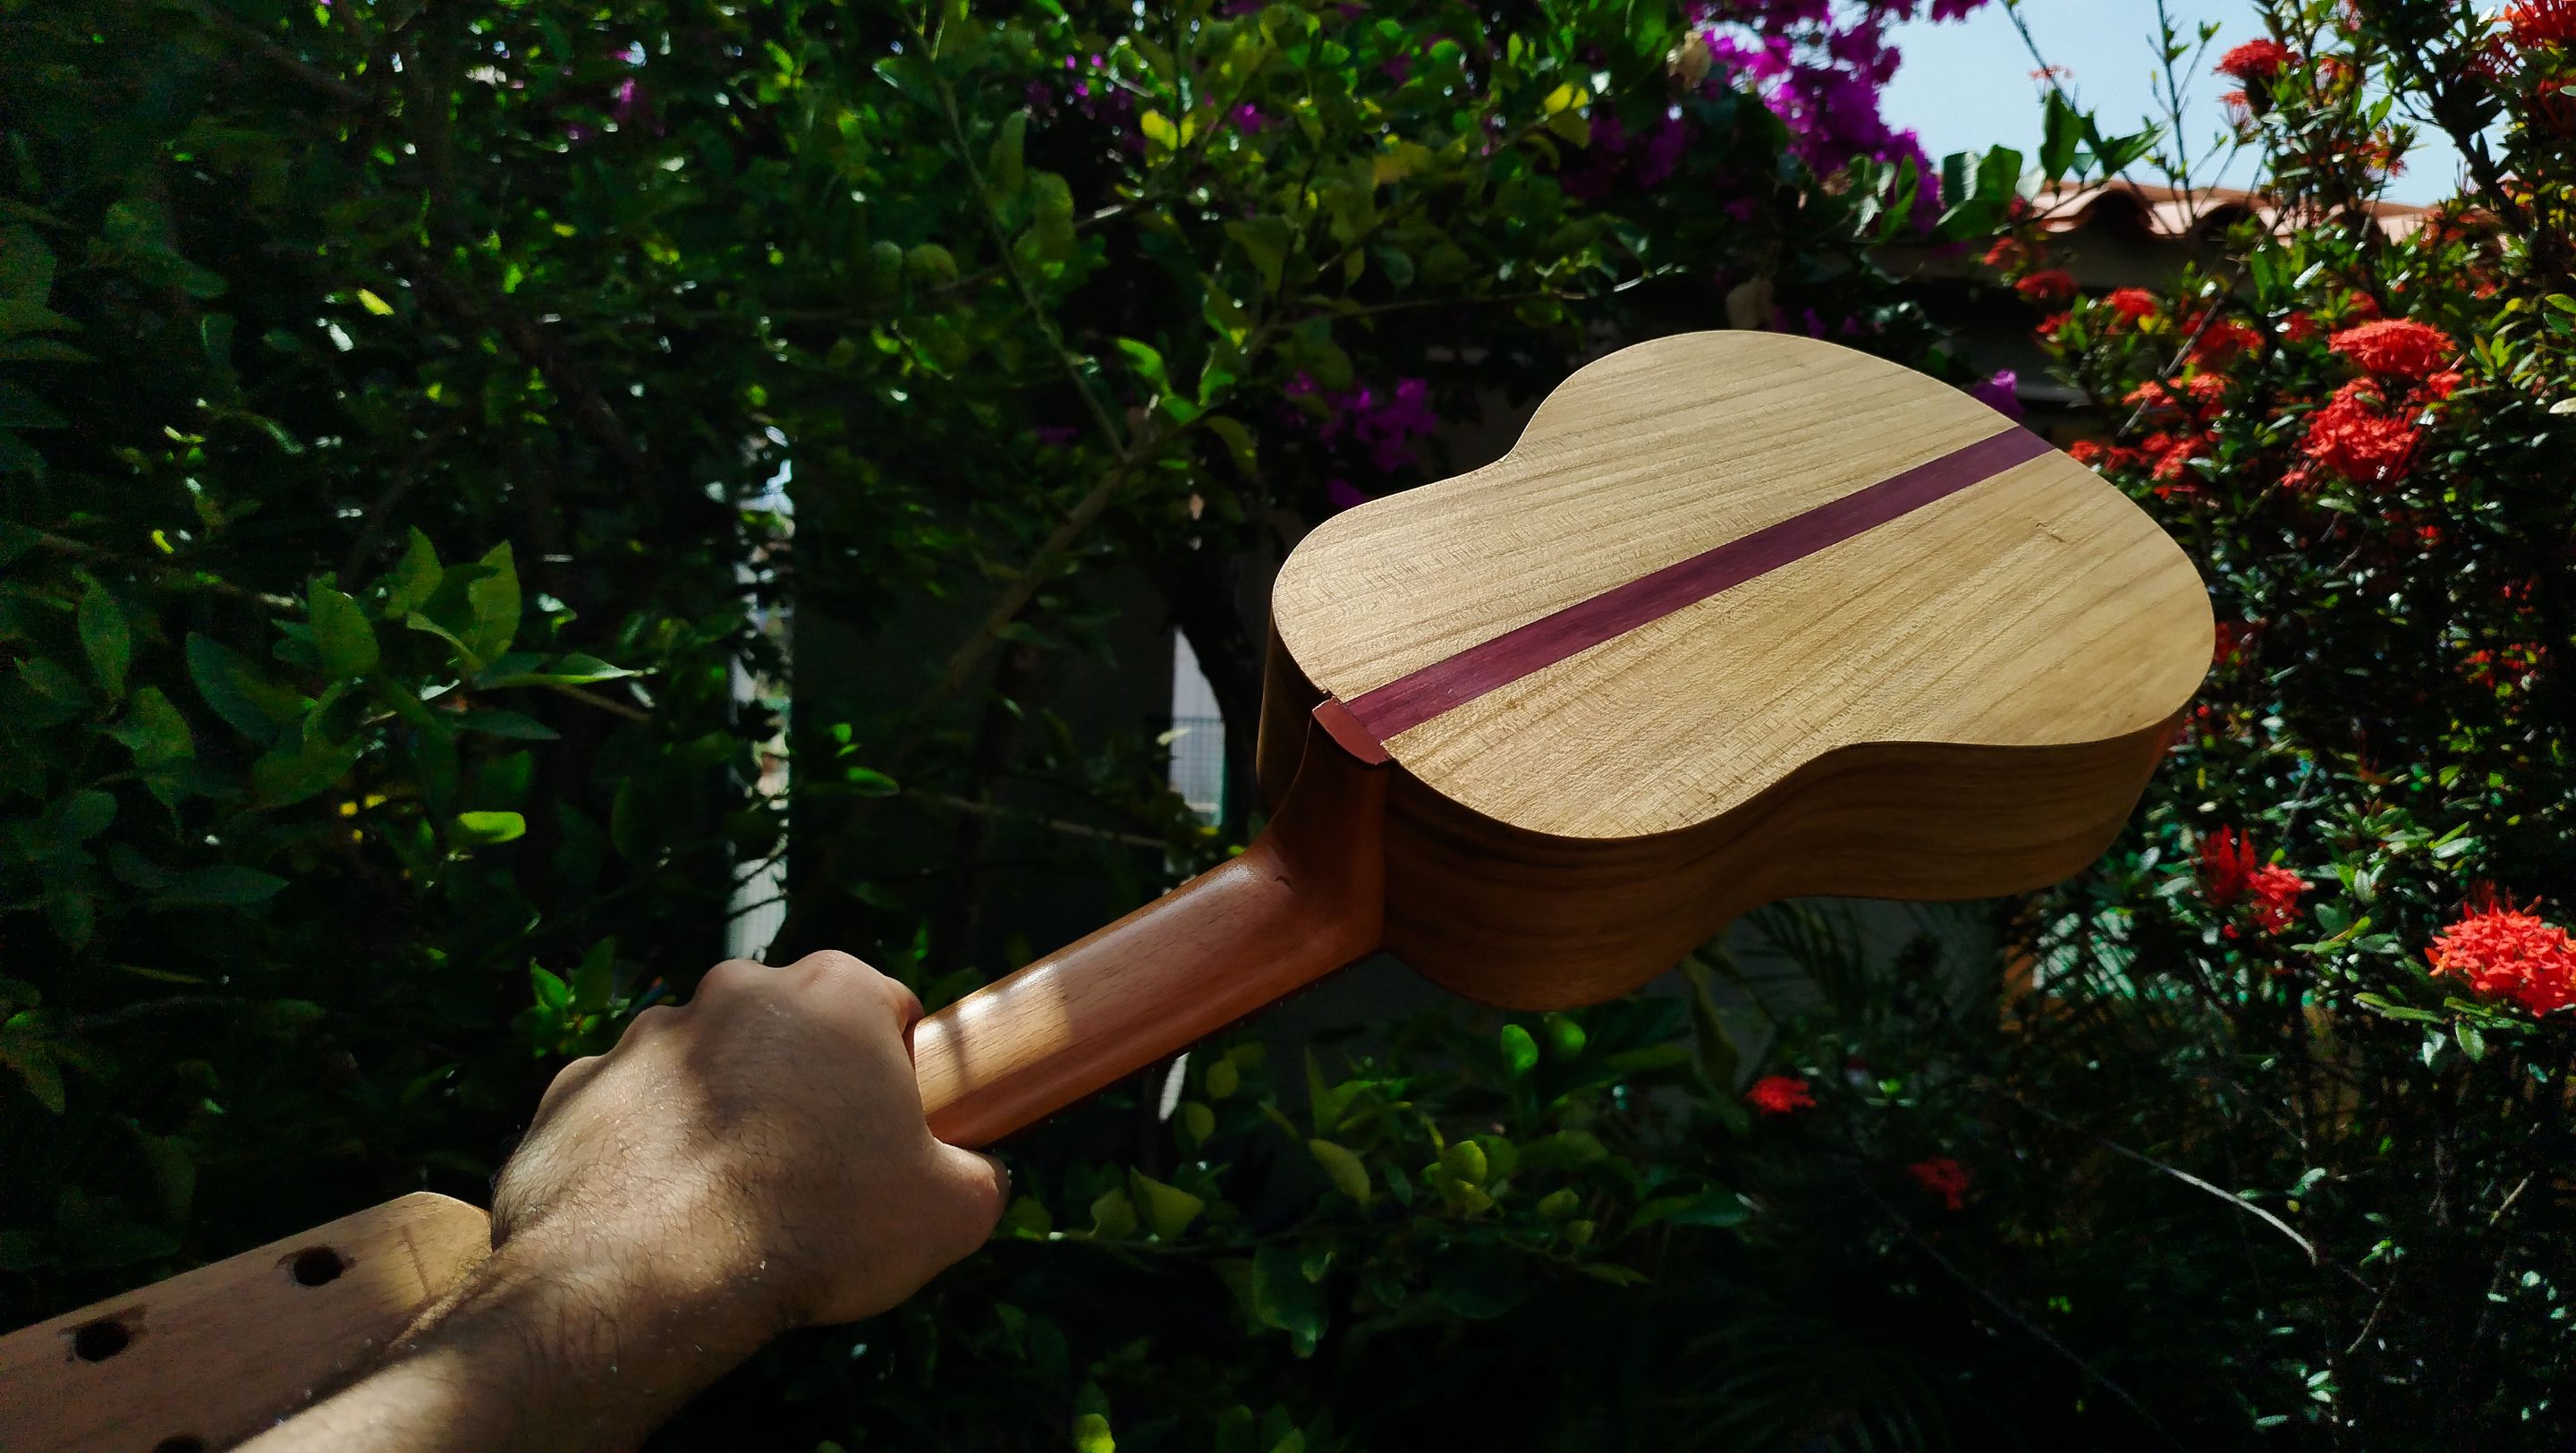
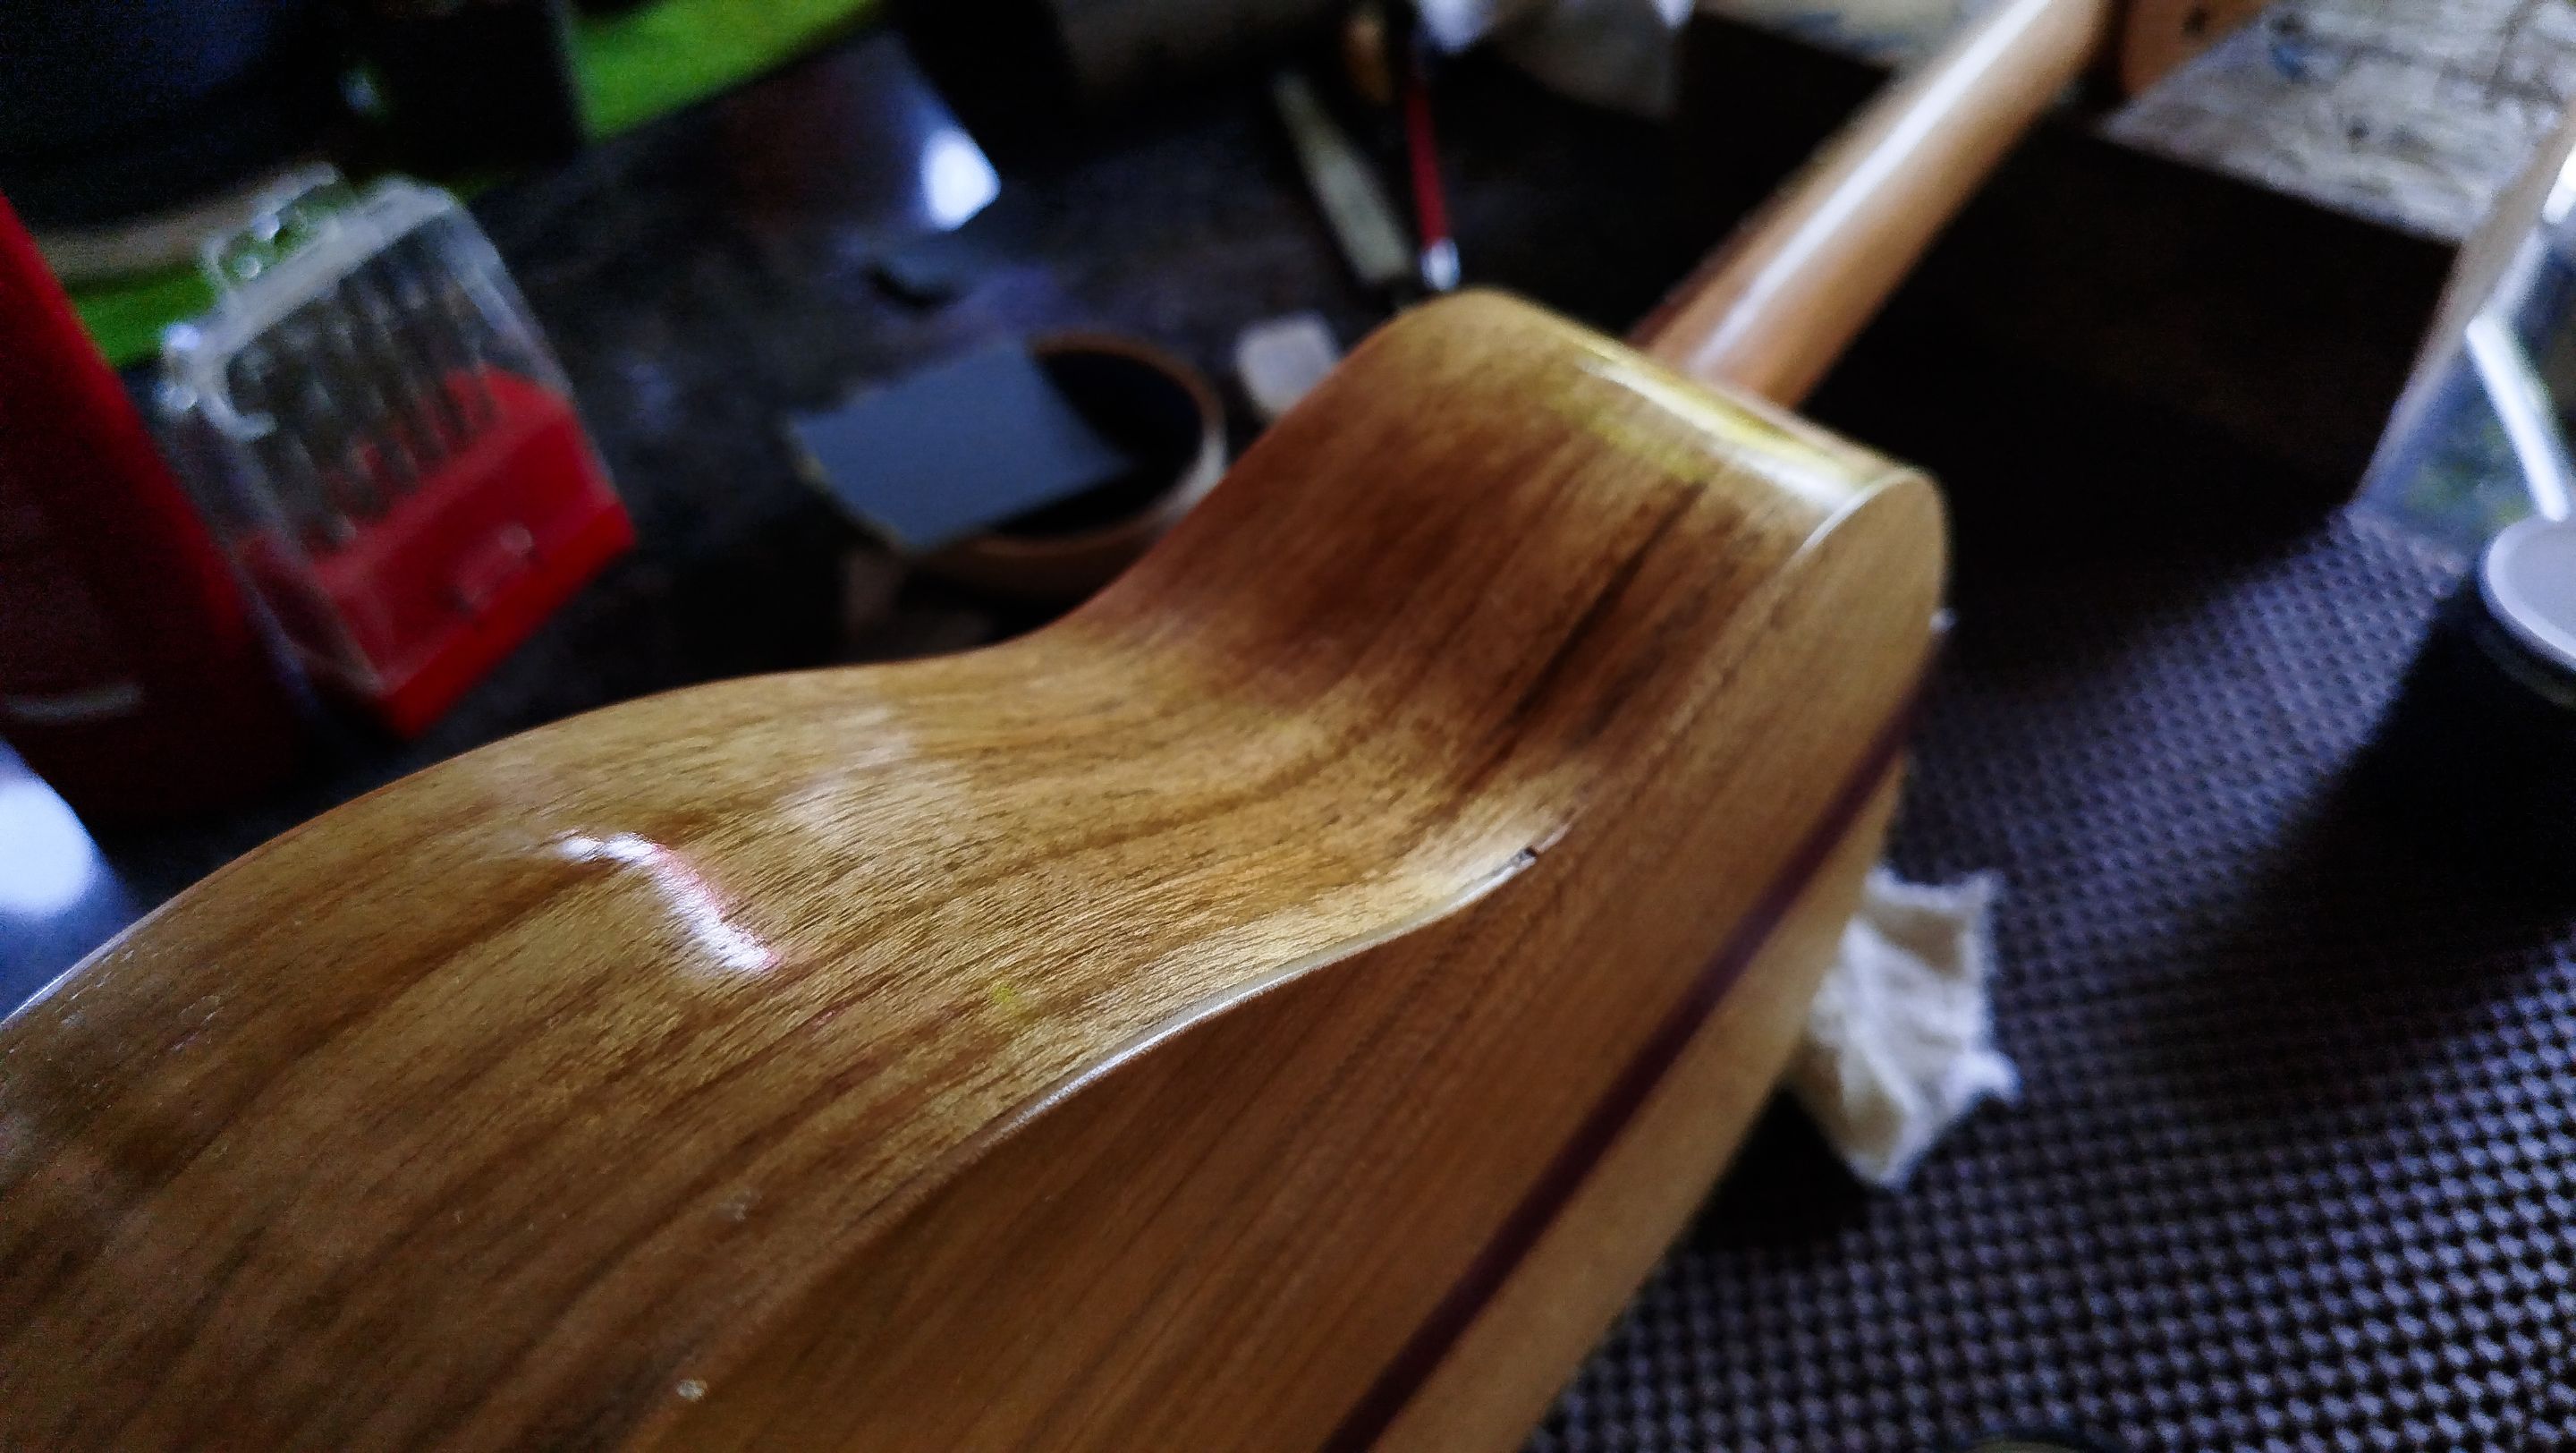
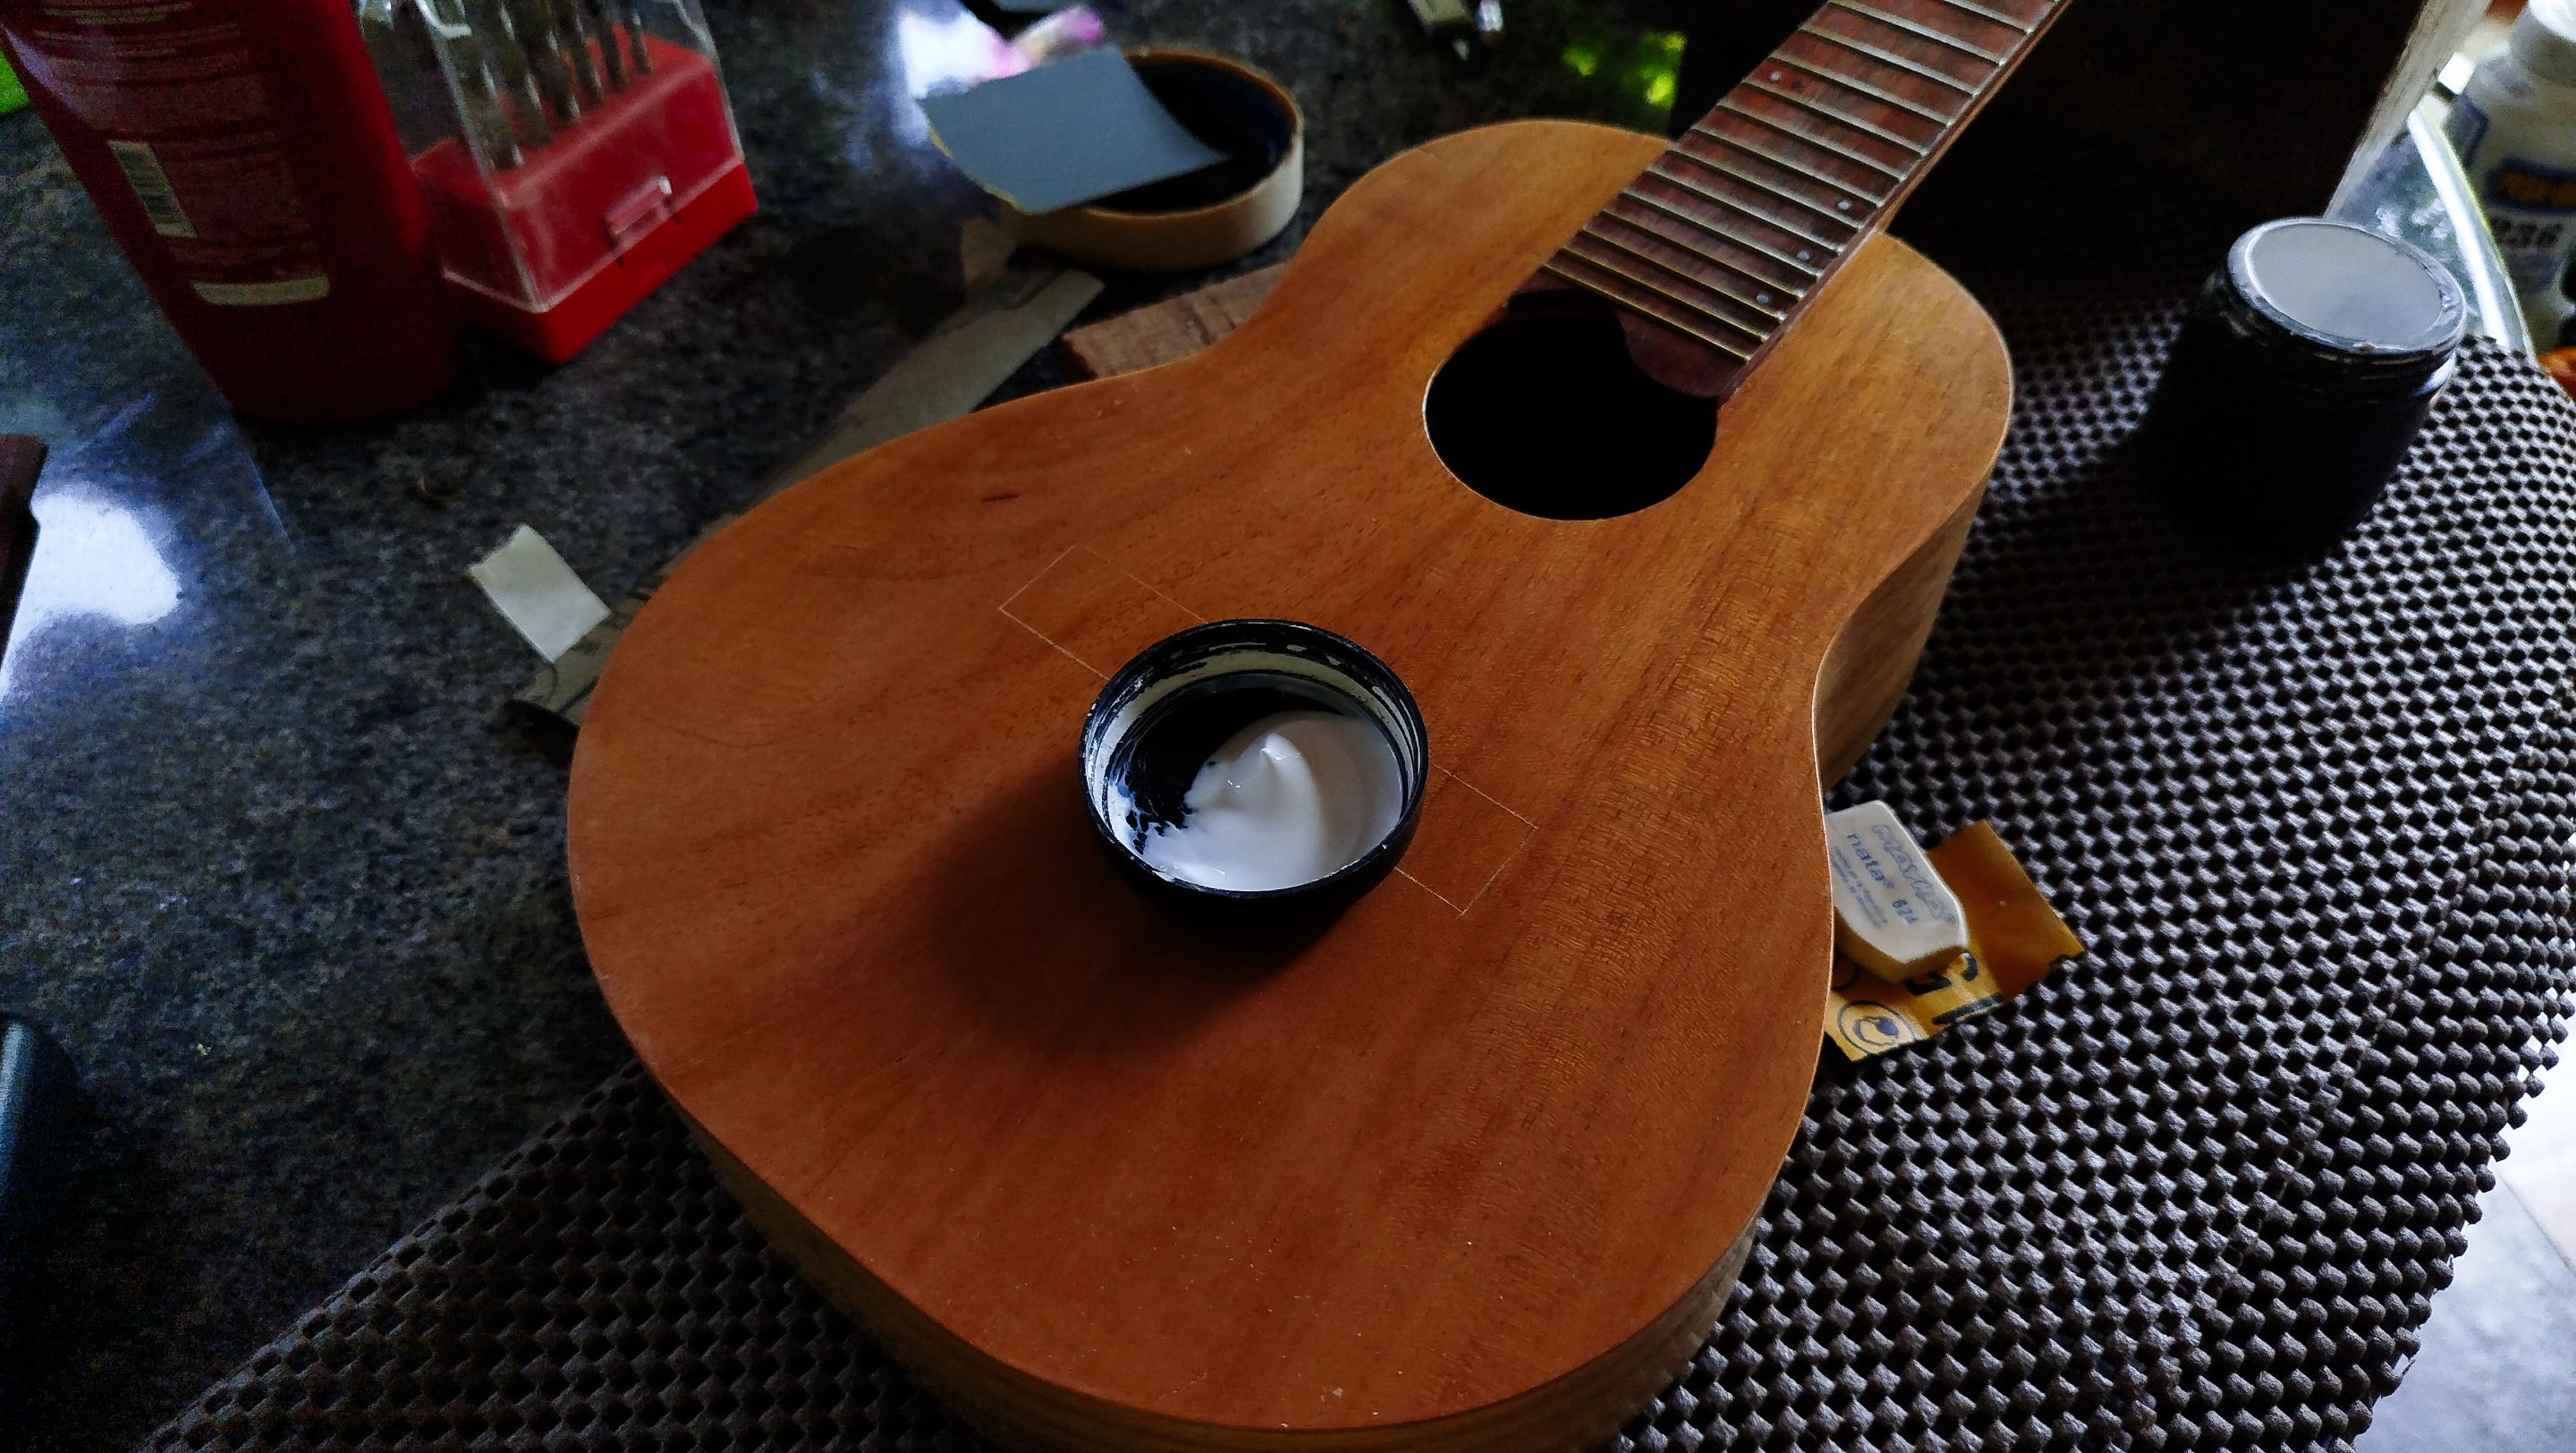
Once we have sanded the whole instrument, we move to the polish. We use a bit of the polishing wax. The trick is just going with wax on and wax off. Move from one side to the other. We make circles with one piece of cloth. Then we use a clean cloth to remove the wax. That way we get the surface very bright. We can repeat this process more than once until we get the results we desire. Of course, this polishing compound is just step 1. There are some other steps to get things even brighter.
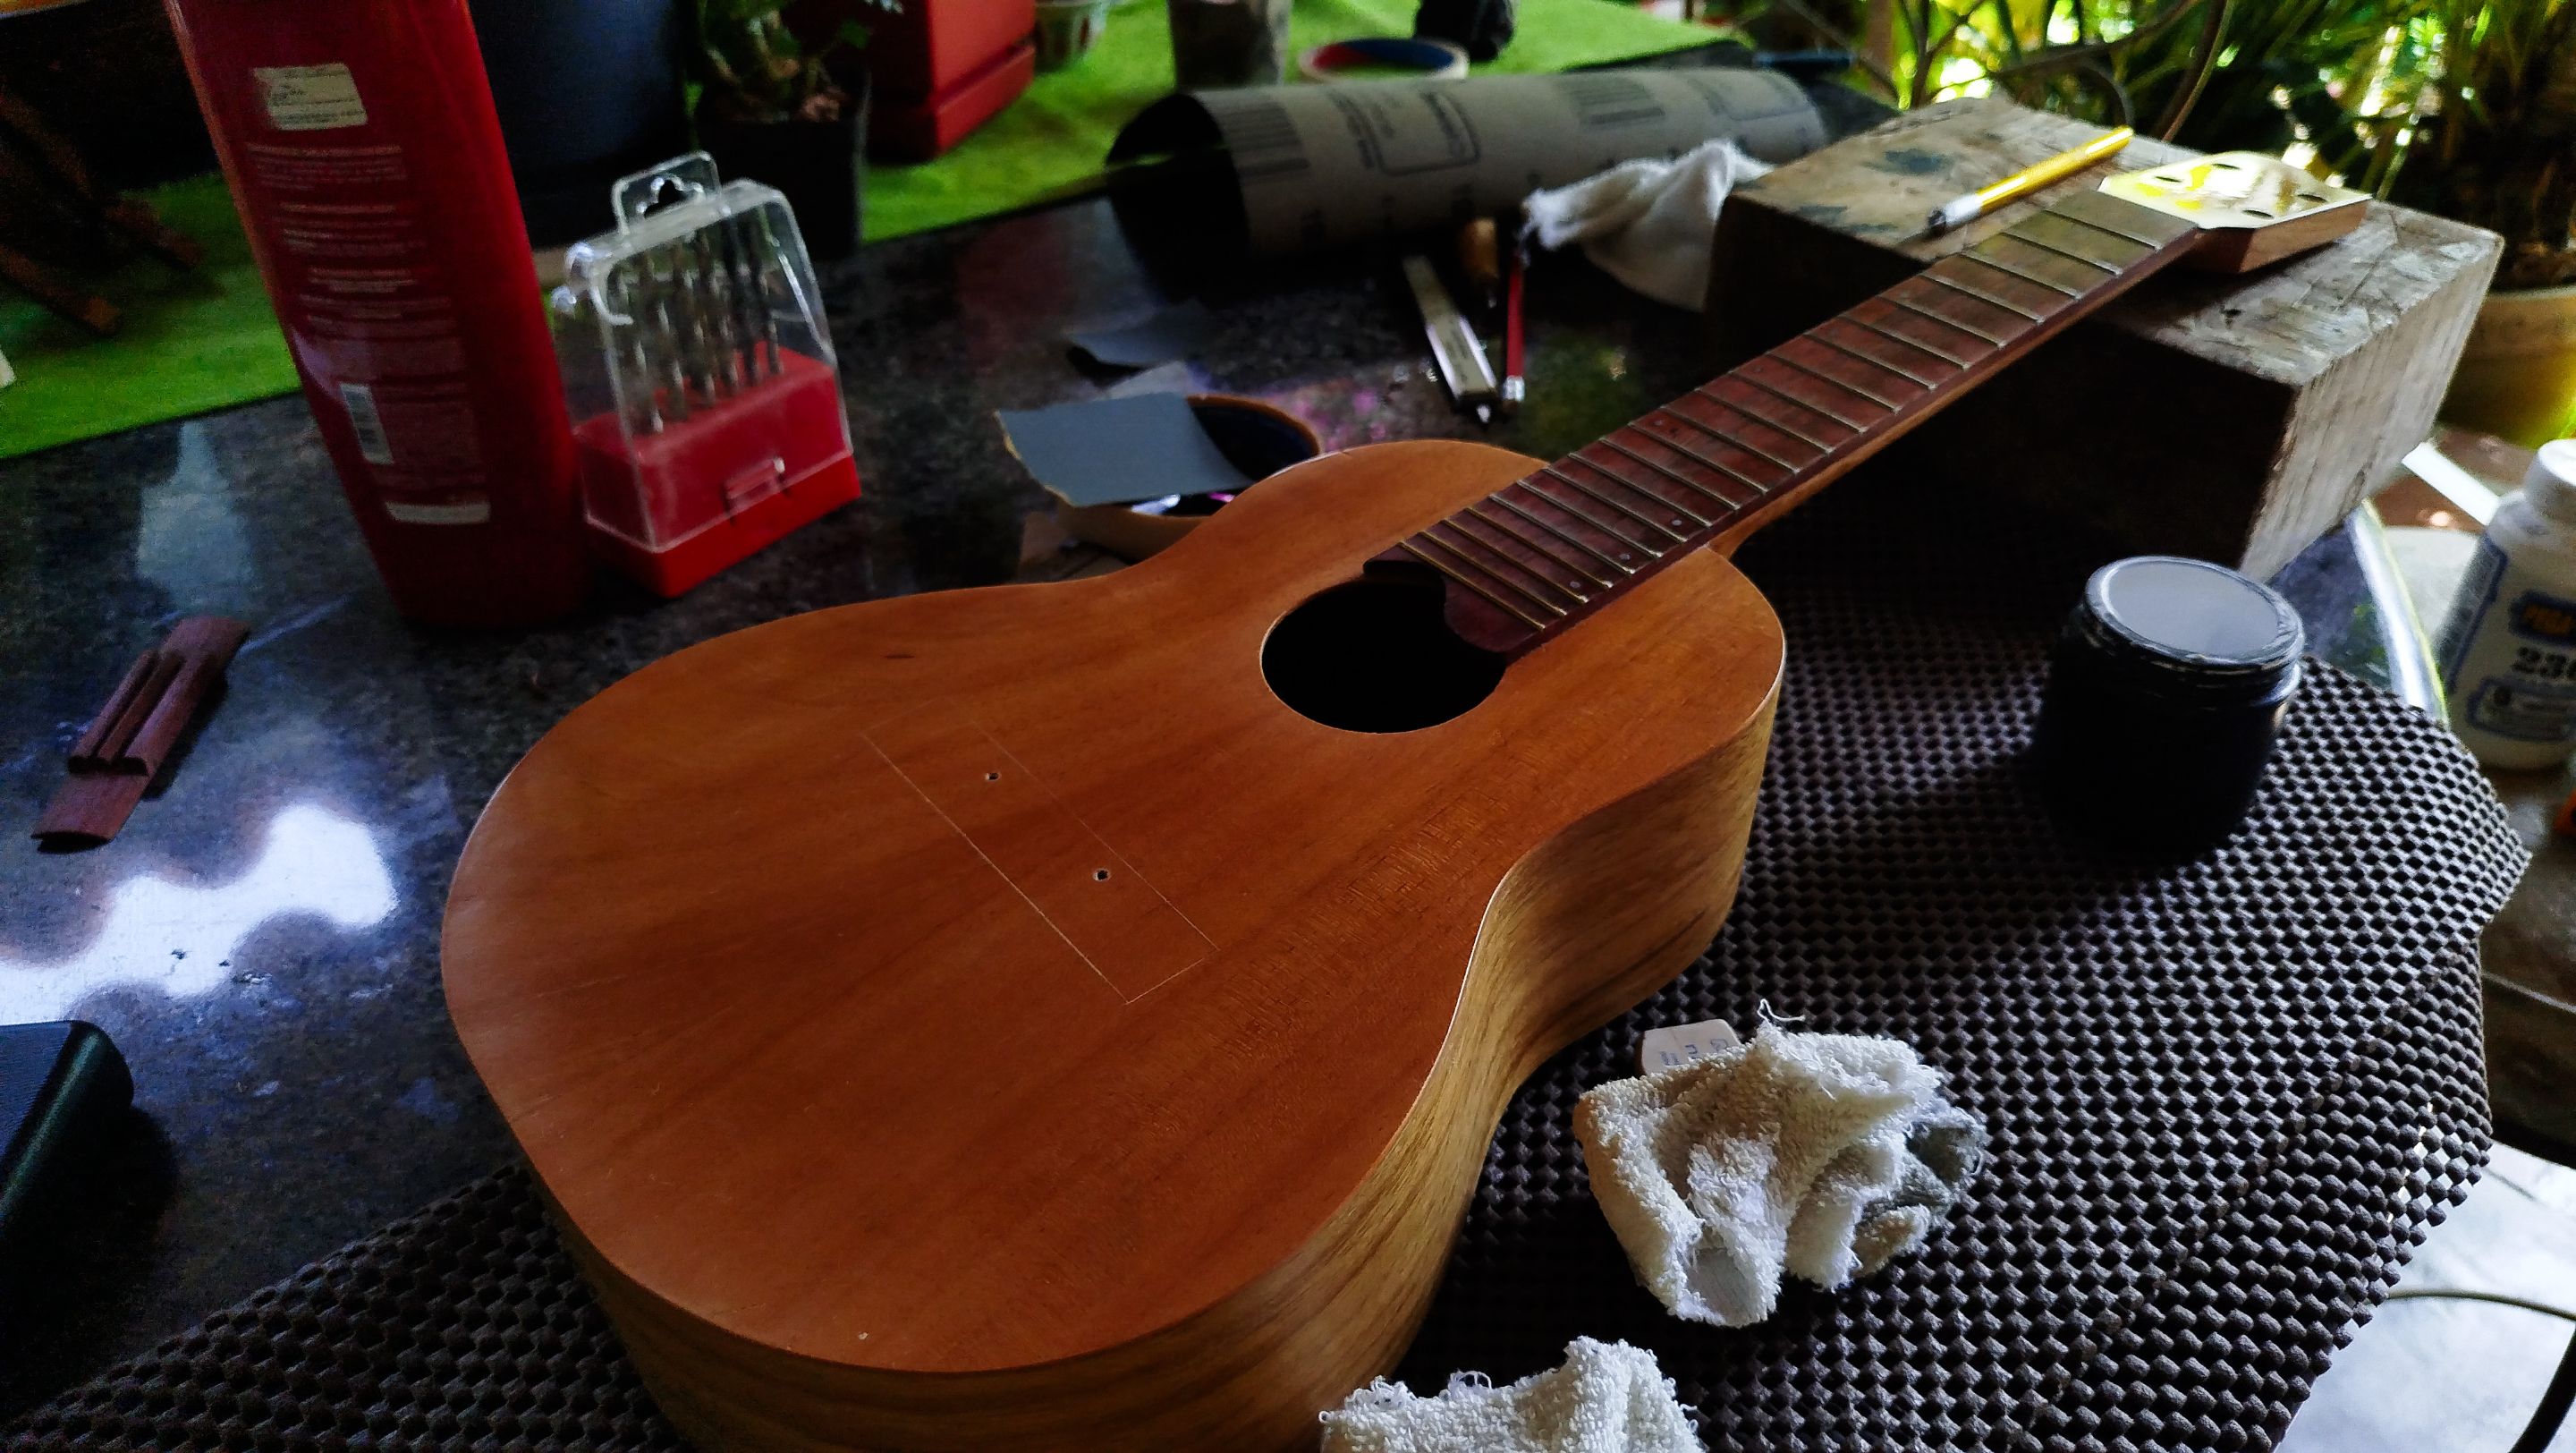
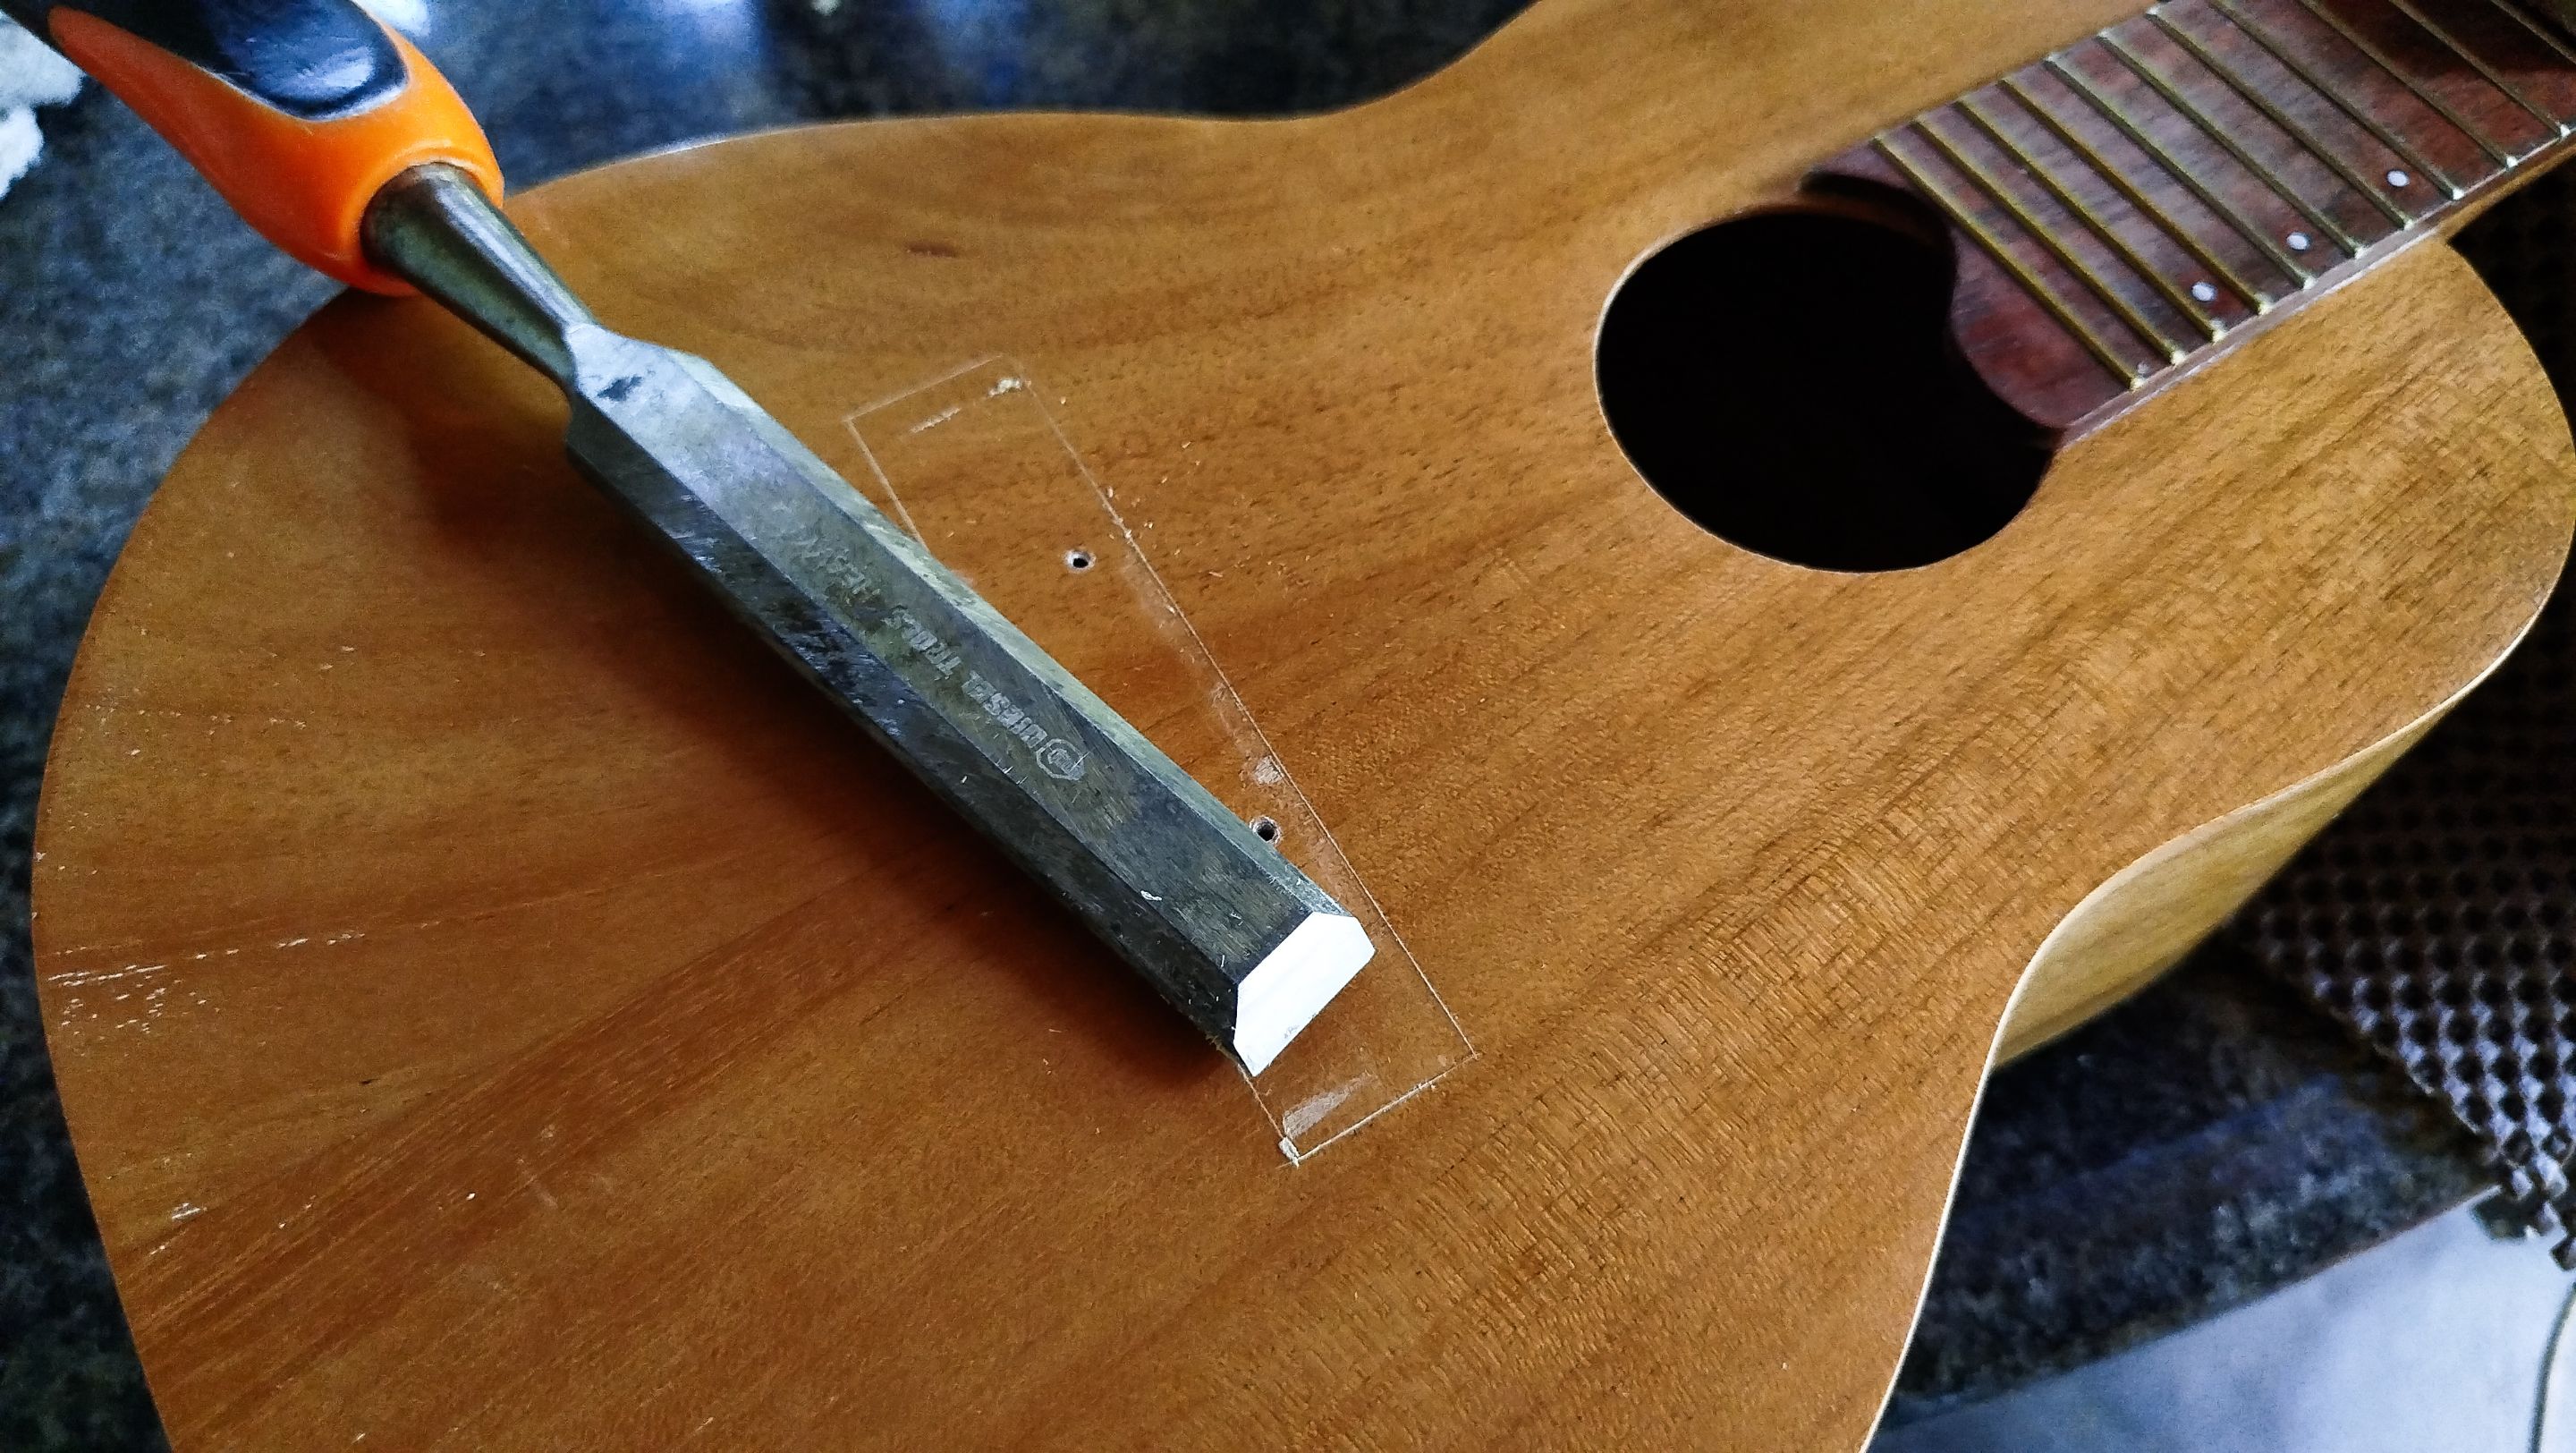
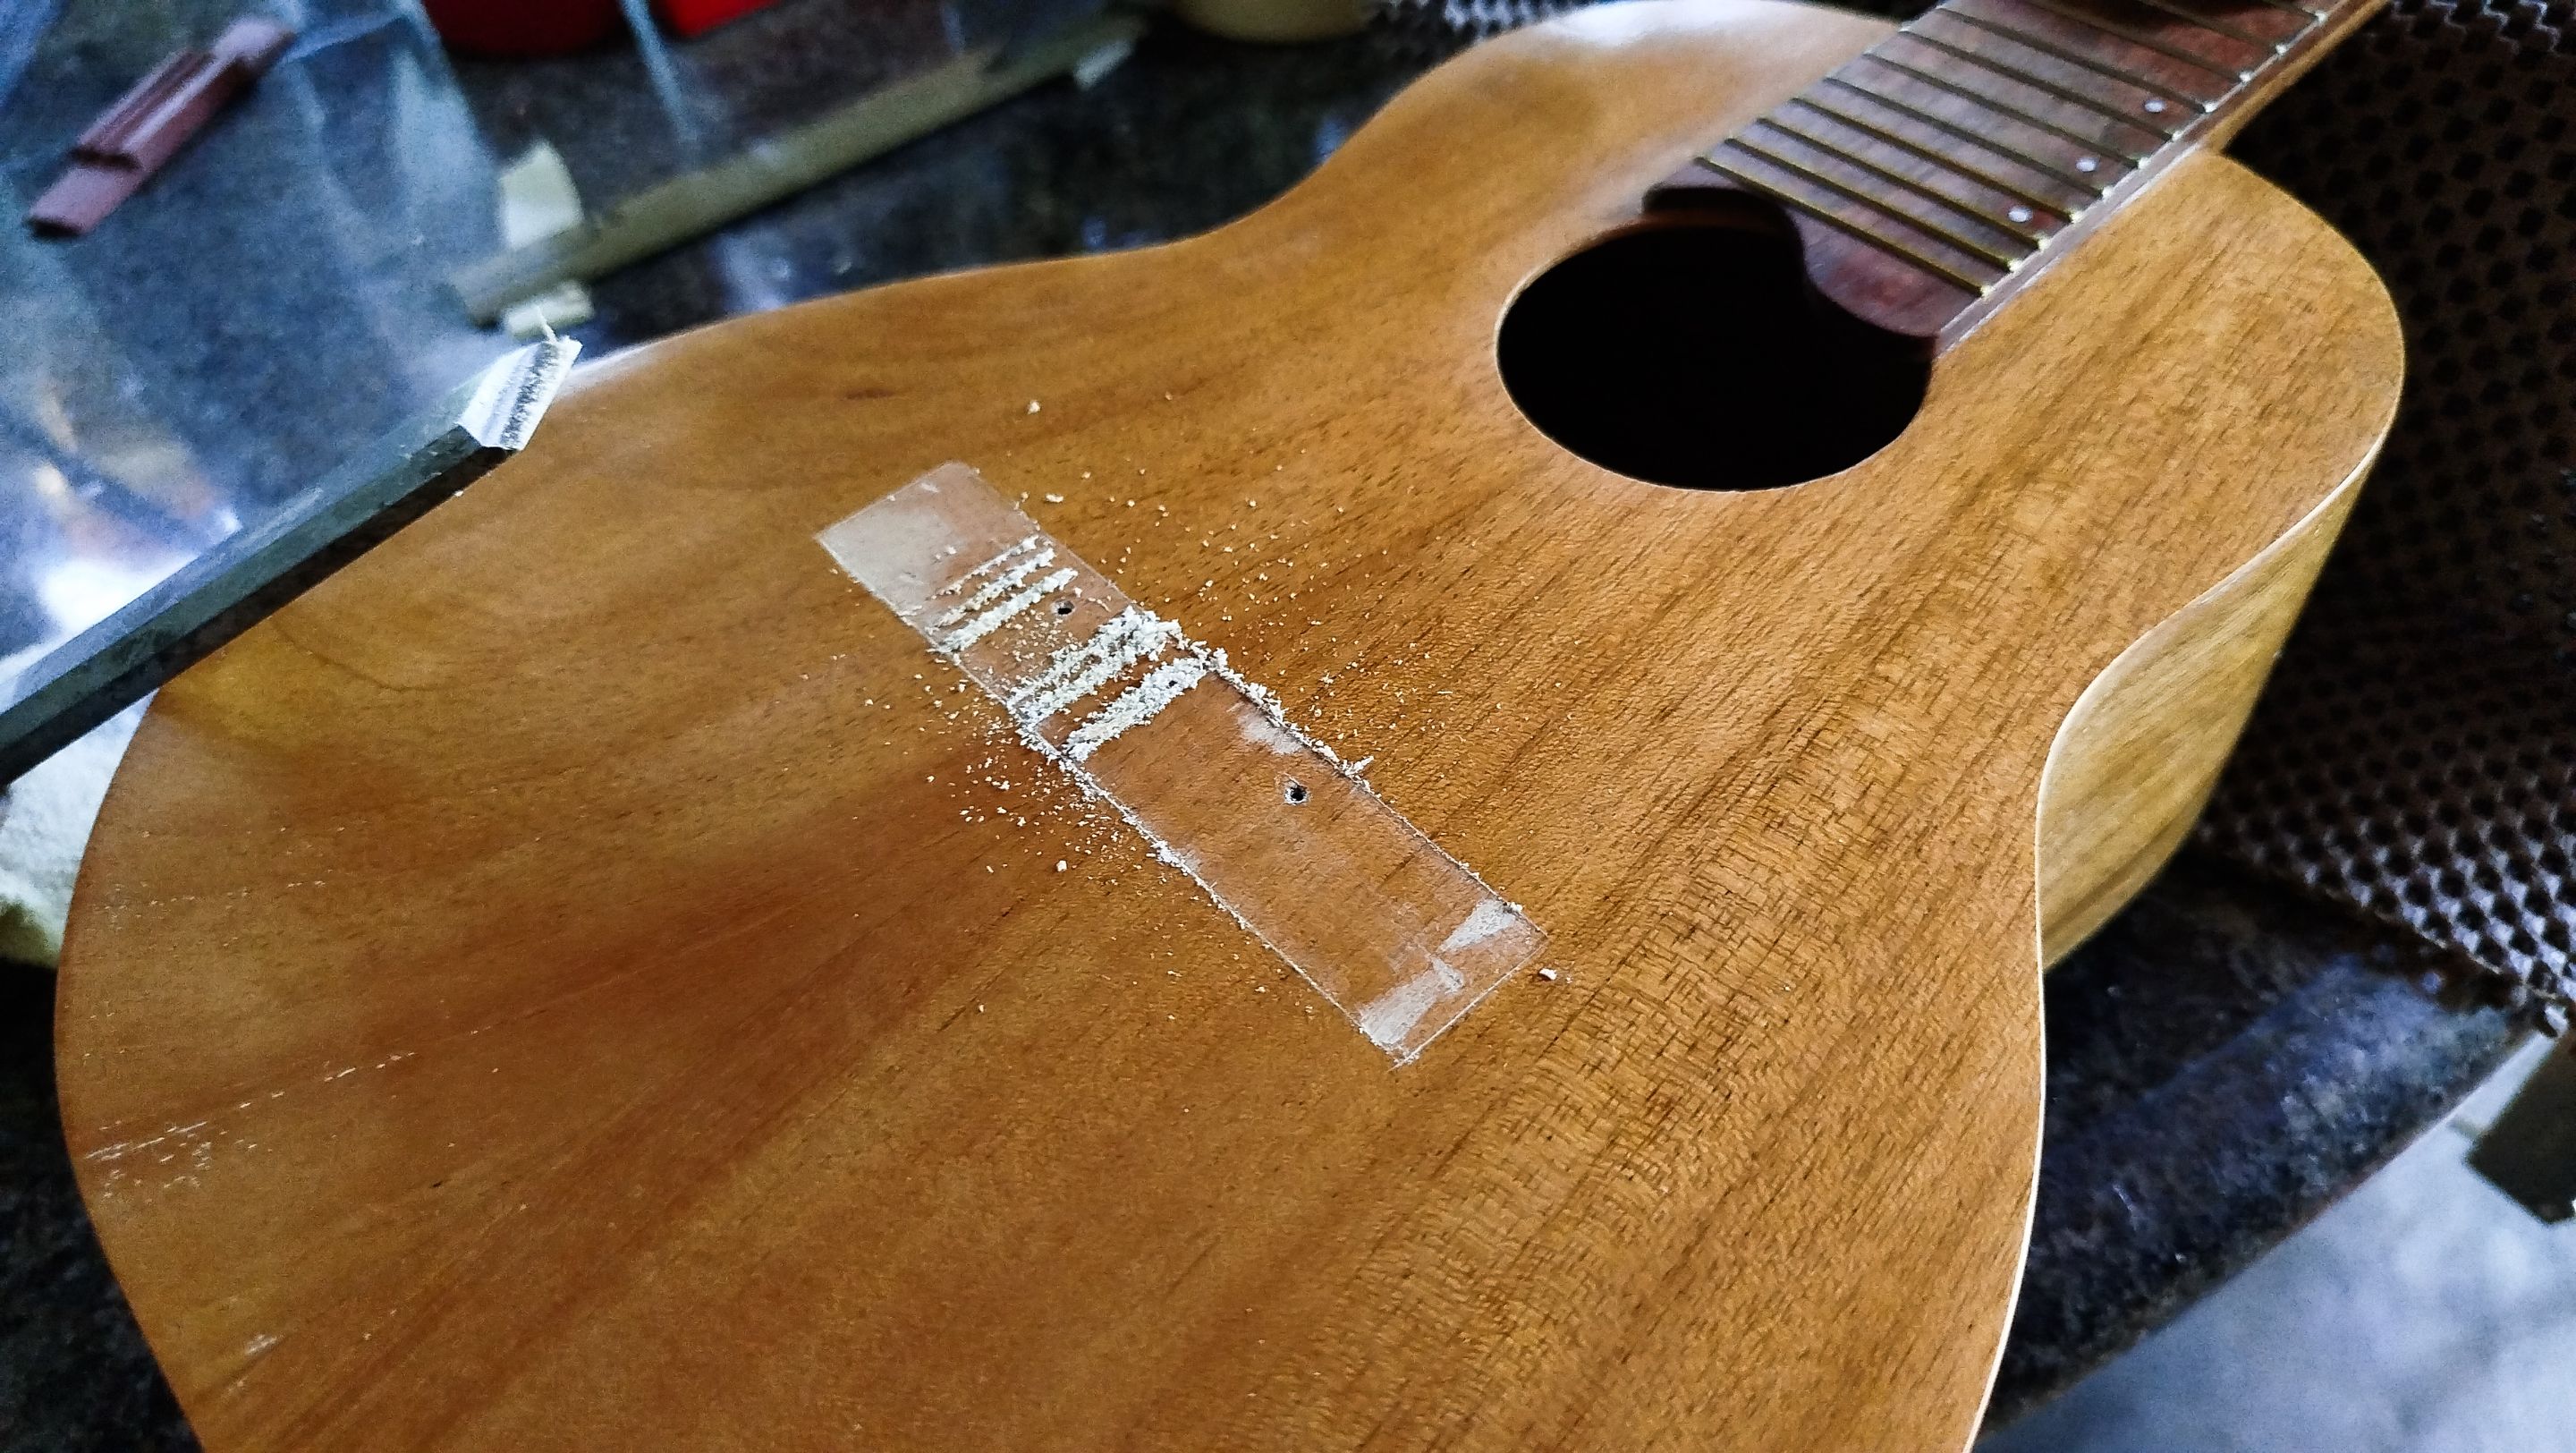
And the last bit of work is using the bridge with some anchors. This is to use it as a template with an exacto knife to mark the outline of the bridge. Now we can remove the finish from this portion of the sound board. The reason behind this is to have a the naked wood to make the glue up. However, that will be left for our next entry. That will be the last one for this build. You can see why this last step is a great cliff hanger for the last piece of the build.
Thanks a lot for reading. See you next time!
https://files.peakd.com/file/peakd-hive/bertrayo/Enyo4d2KNC9dwGuWMVoWdT9r7awN4qgRzhmXSAVcpnyFGVx2s9Vx9PFMvLJYQdCFZvJ.png
| Entry | Title |
|---|---|
| 1 | The Fist Ukuele |
| 2 | Structure |
| 3 | Heel and Bars |
| 4 | Head Stock and End Block |
| 5 | Sides and Kerfing |
| 6 | Out of the Mould |
| 7 | Lid On |
| 8 | Fretboard on |
| 9 | Bridge and Markers |
| 10 | Frets and Neck |
| 11 | Sealer Coats |
https://files.peakd.com/file/peakd-hive/bertrayo/Enyo4d2KNC9dwGuWMVoWdT9r7awN4qgRzhmXSAVcpnyFGVx2s9Vx9PFMvLJYQdCFZvJ.png
-
Photos 📷: Redmi Note 13
-
Thumbnail 🖼️: Canva.
-
Editing 🎬:Adobe Photoshop Lightroom.
https://files.peakd.com/file/peakd-hive/bertrayo/Enyo4d2KNC9dwGuWMVoWdT9r7awN4qgRzhmXSAVcpnyFGVx2s9Vx9PFMvLJYQdCFZvJ.png

Follow me on Instagram for enquires and commission.
If you'd like to help the workshop grow, you can make a donation here.
You can find me at discord as bertrayo#1763