https://files.peakd.com/file/peakd-hive/bertrayo/Enyo4d2KNC9dwGuWMVoWdT9r7awN4qgRzhmXSAVcpnyFGVx2s9Vx9PFMvLJYQdCFZvJ.png
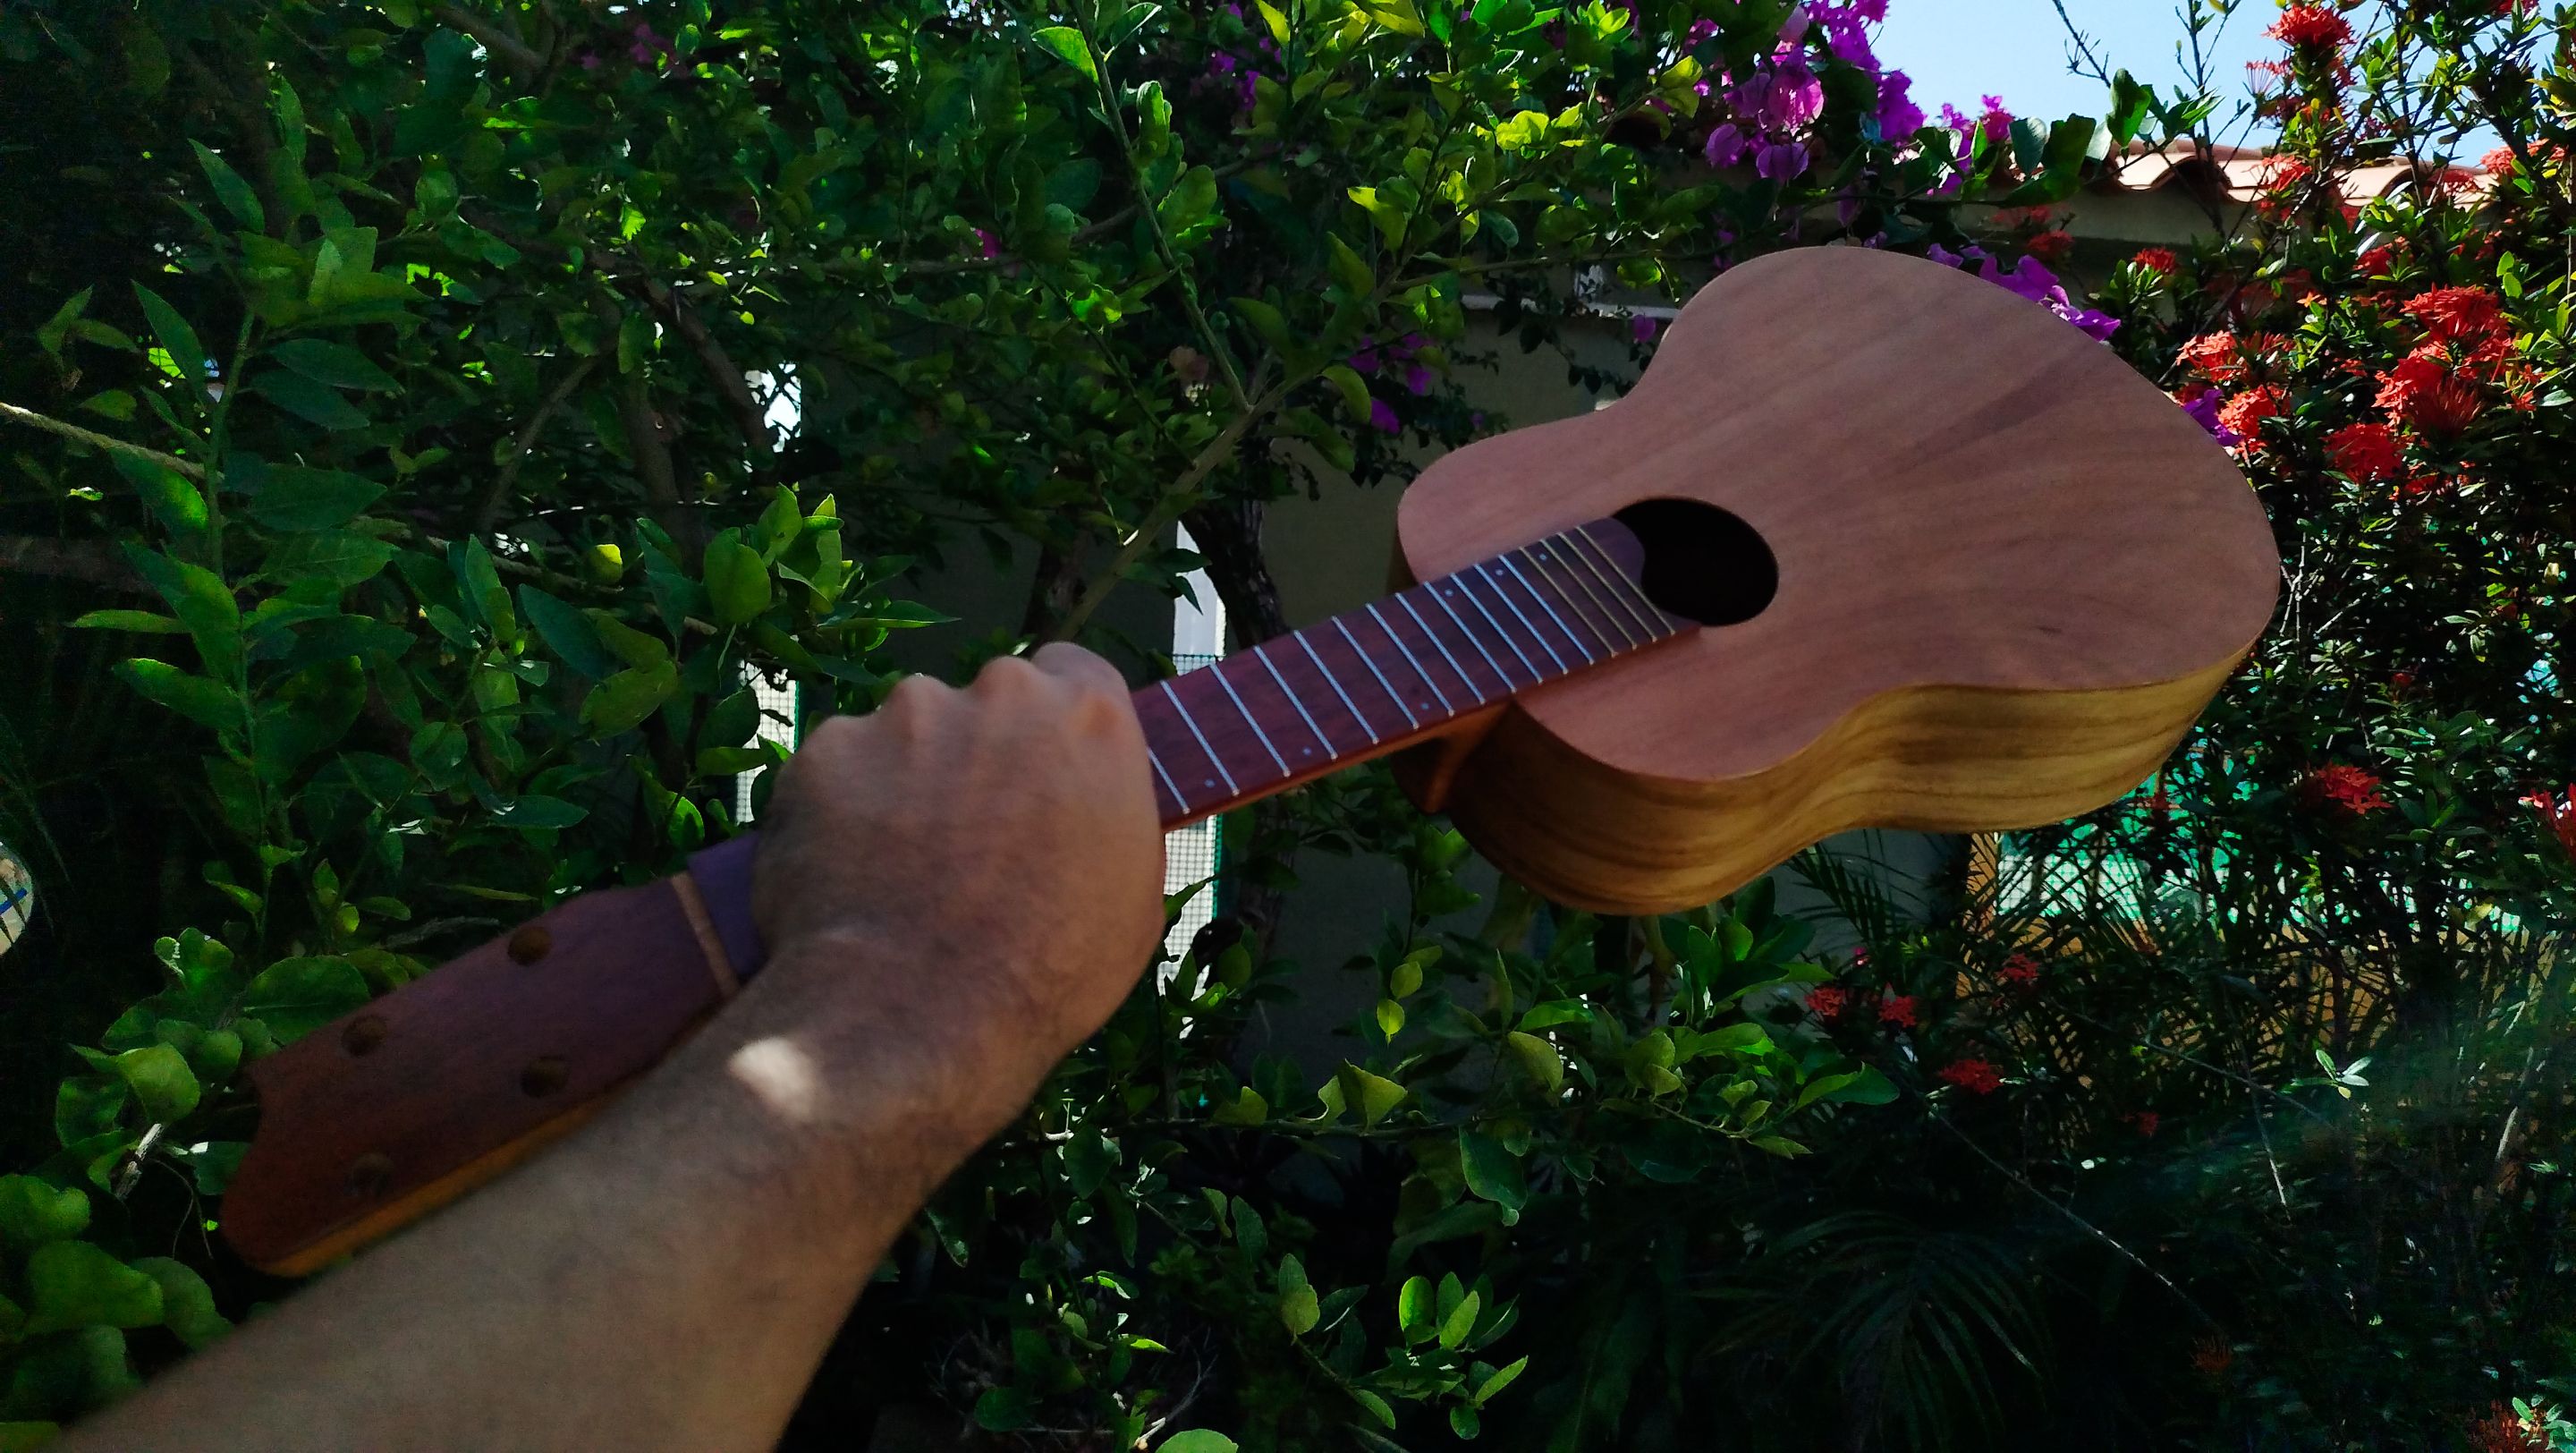
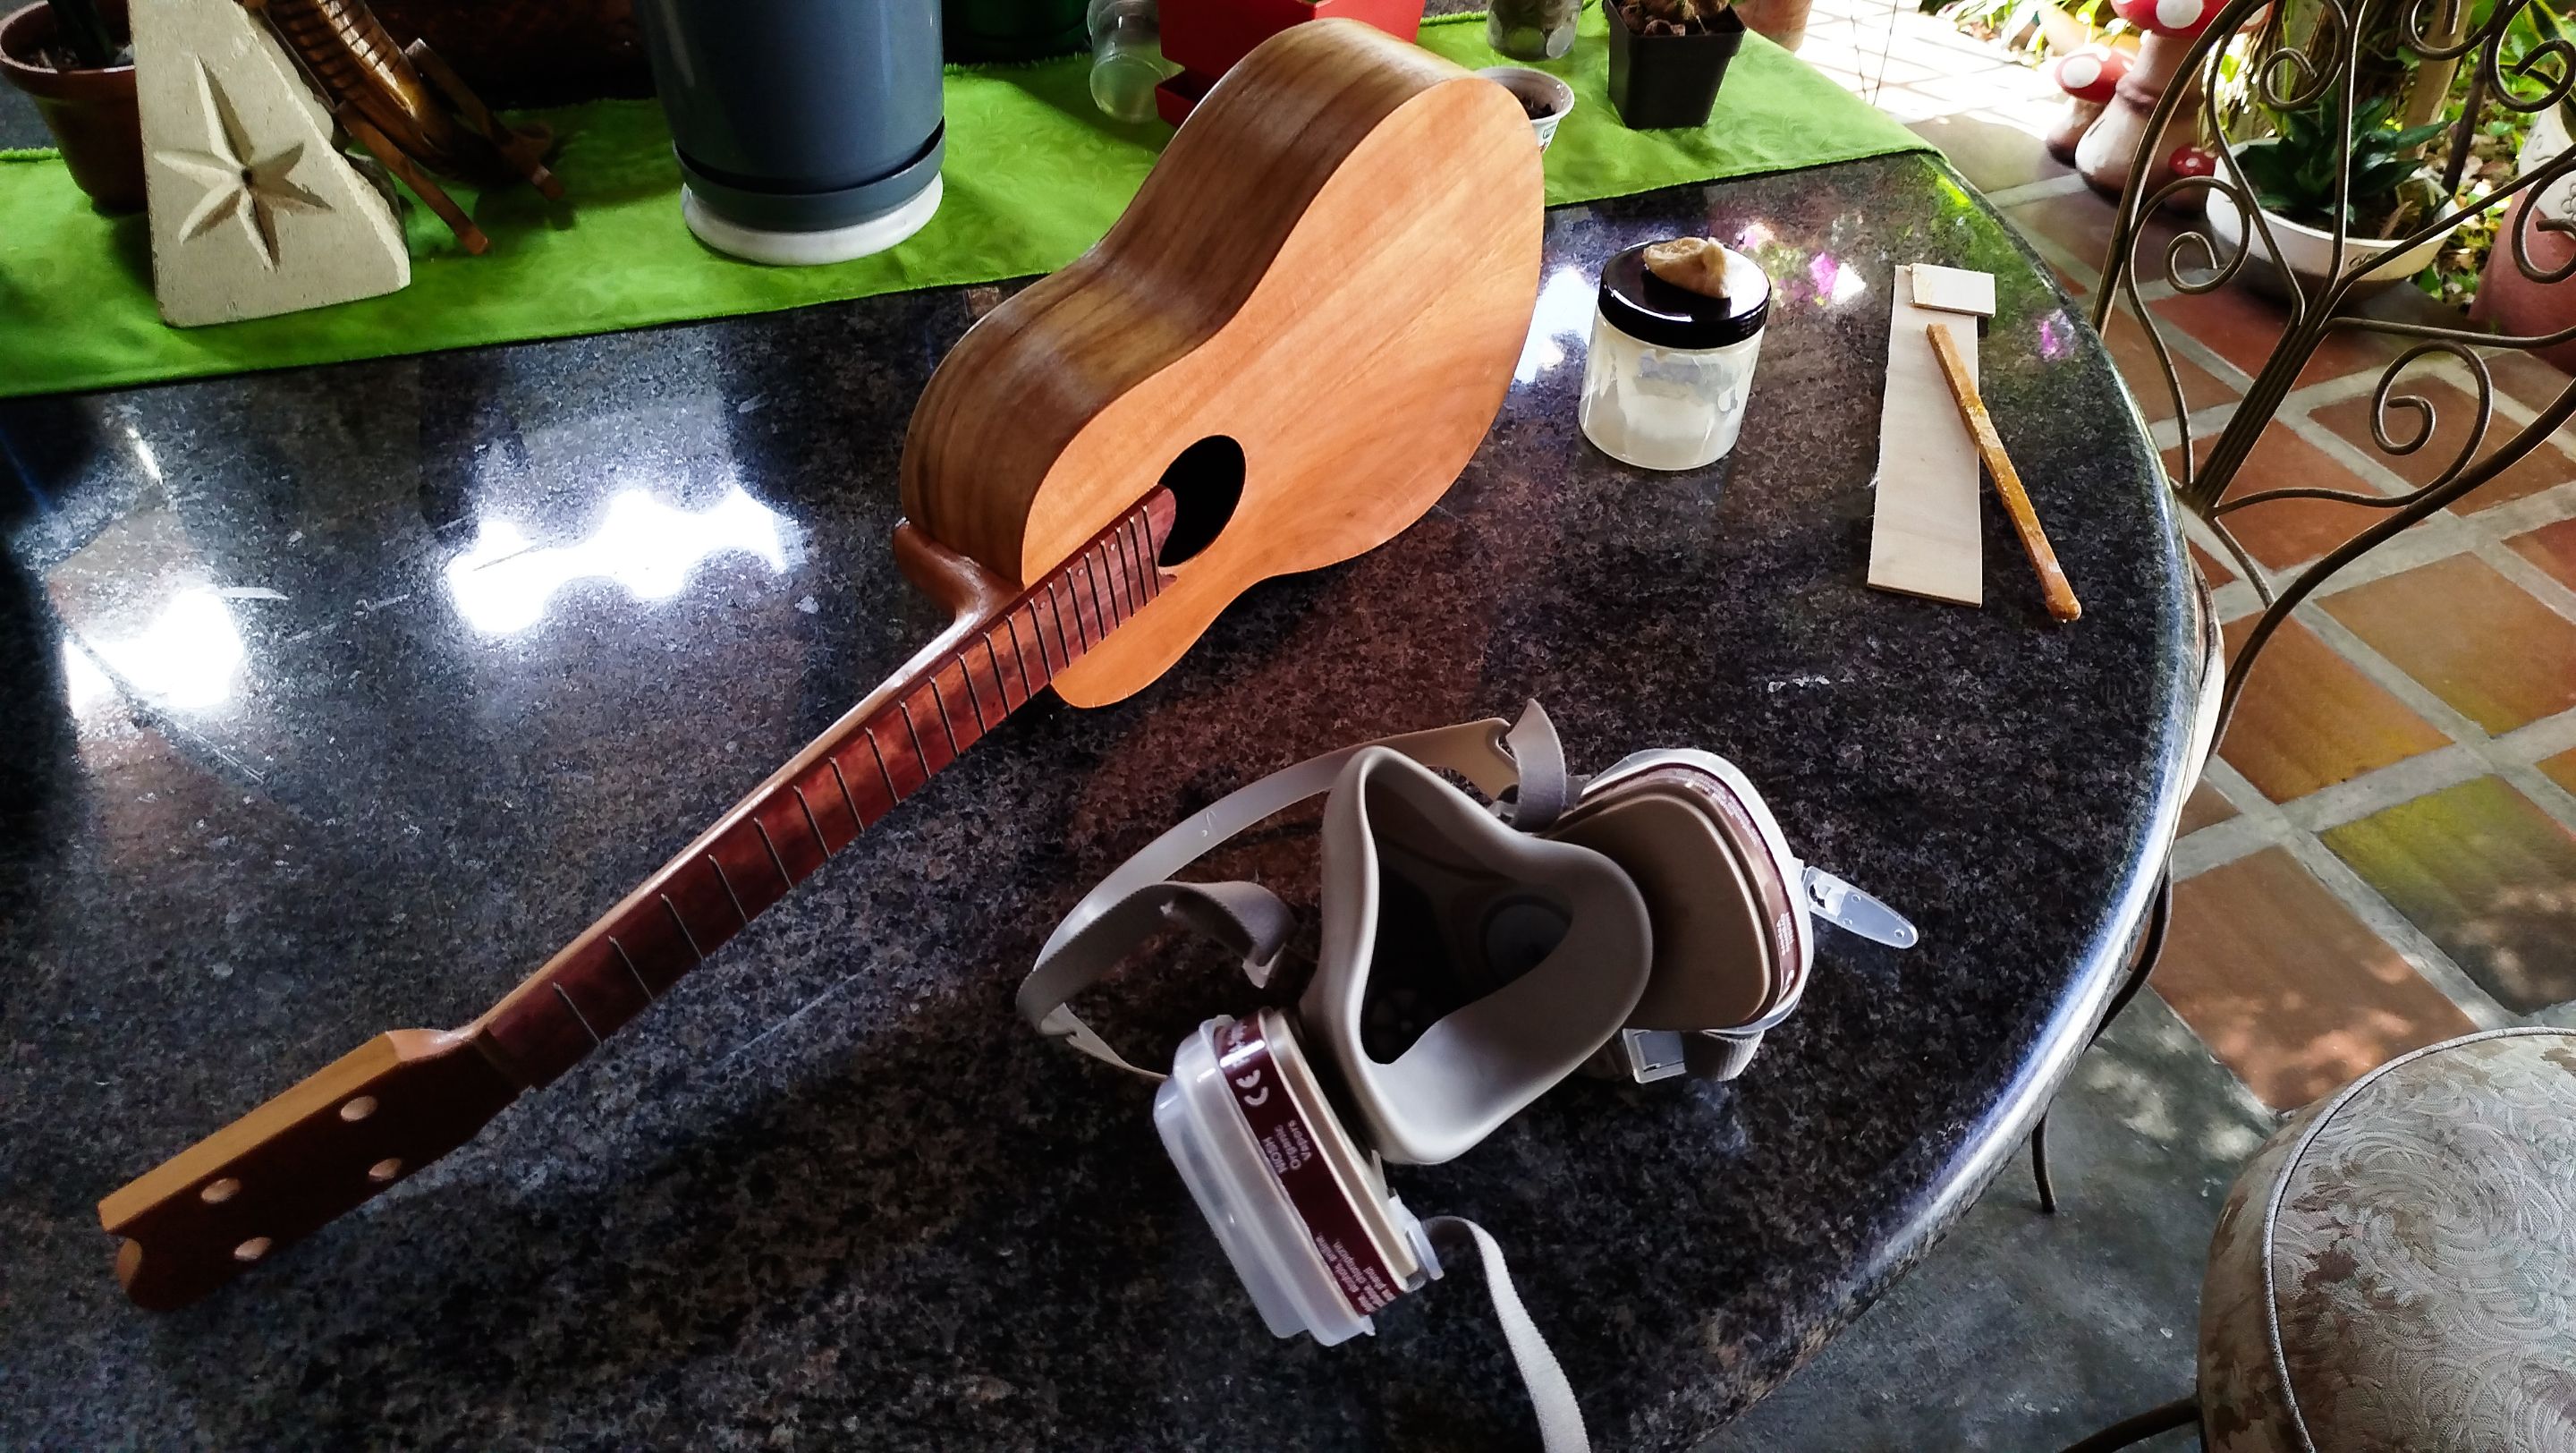
Welcome back to another entry in this Ukulele build. Last time, we saw the rest of the job related to the preparation of the instrument for sealing the grain of wood. We rounded the neck and then sanded the whole instrument. The idea was making the surface of the instrument smooth. Now, we can apply the sealer in coats and sand every one of those coats.
Let's get to it!
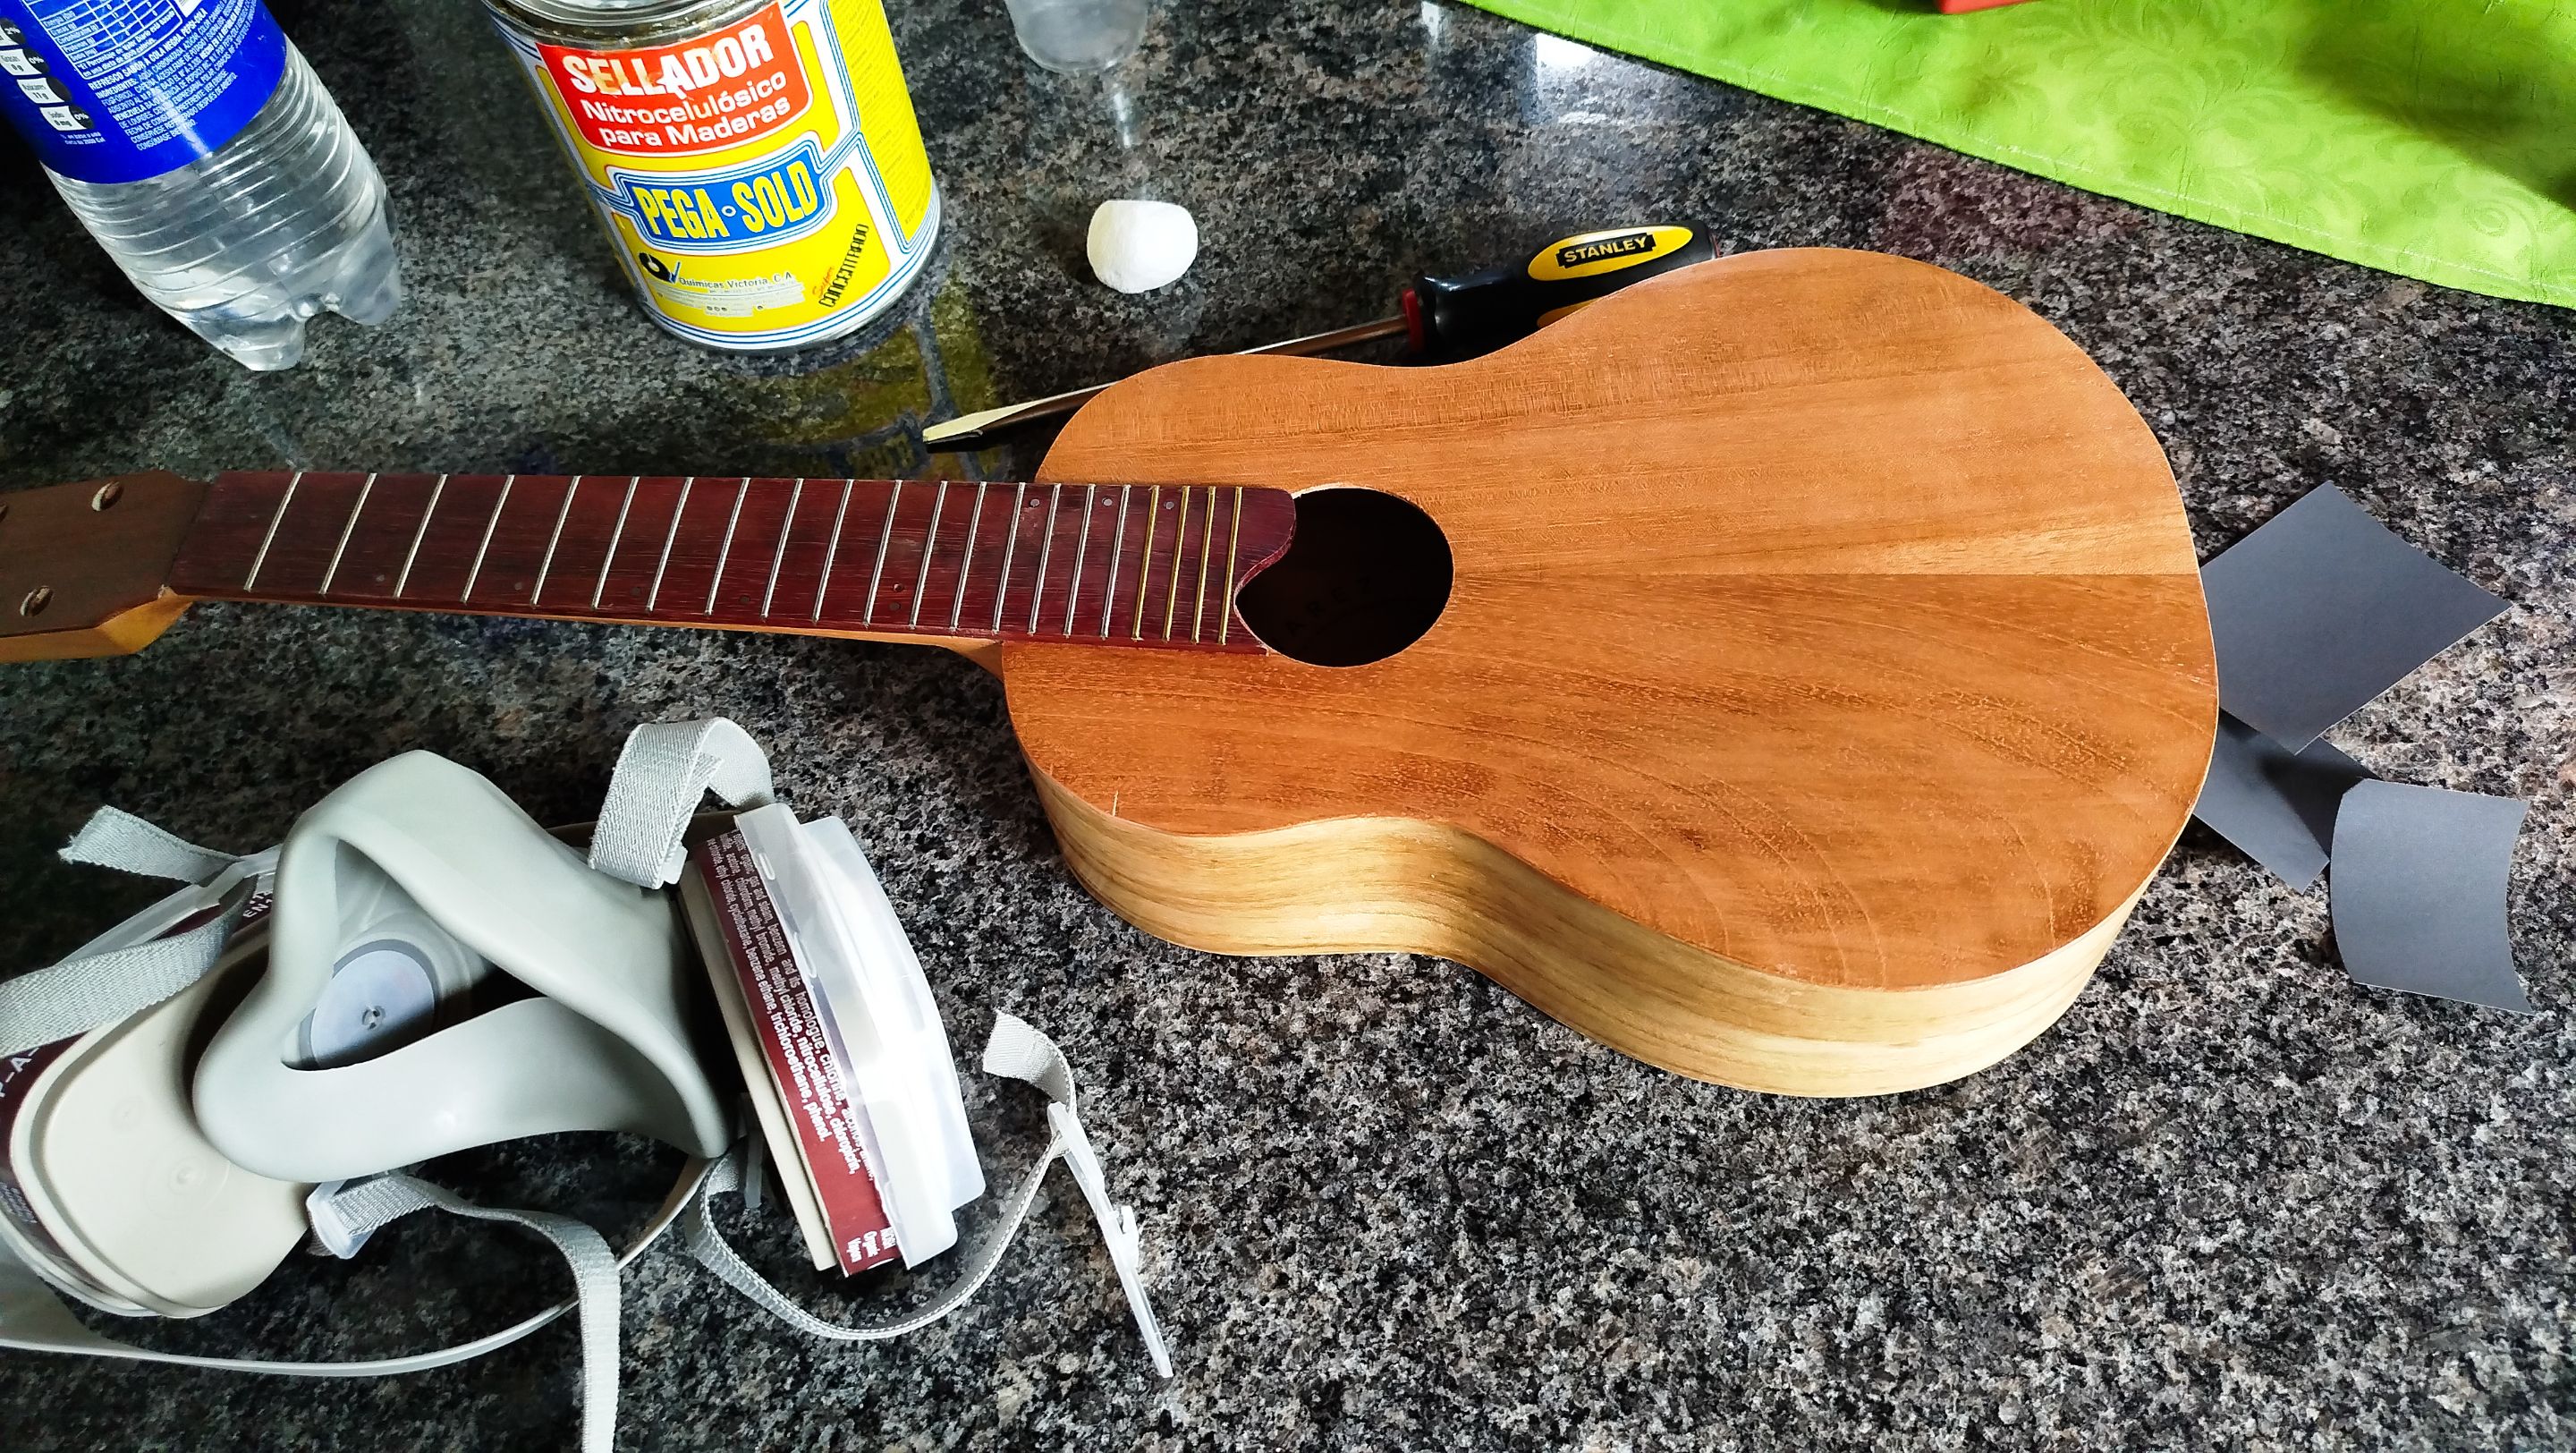
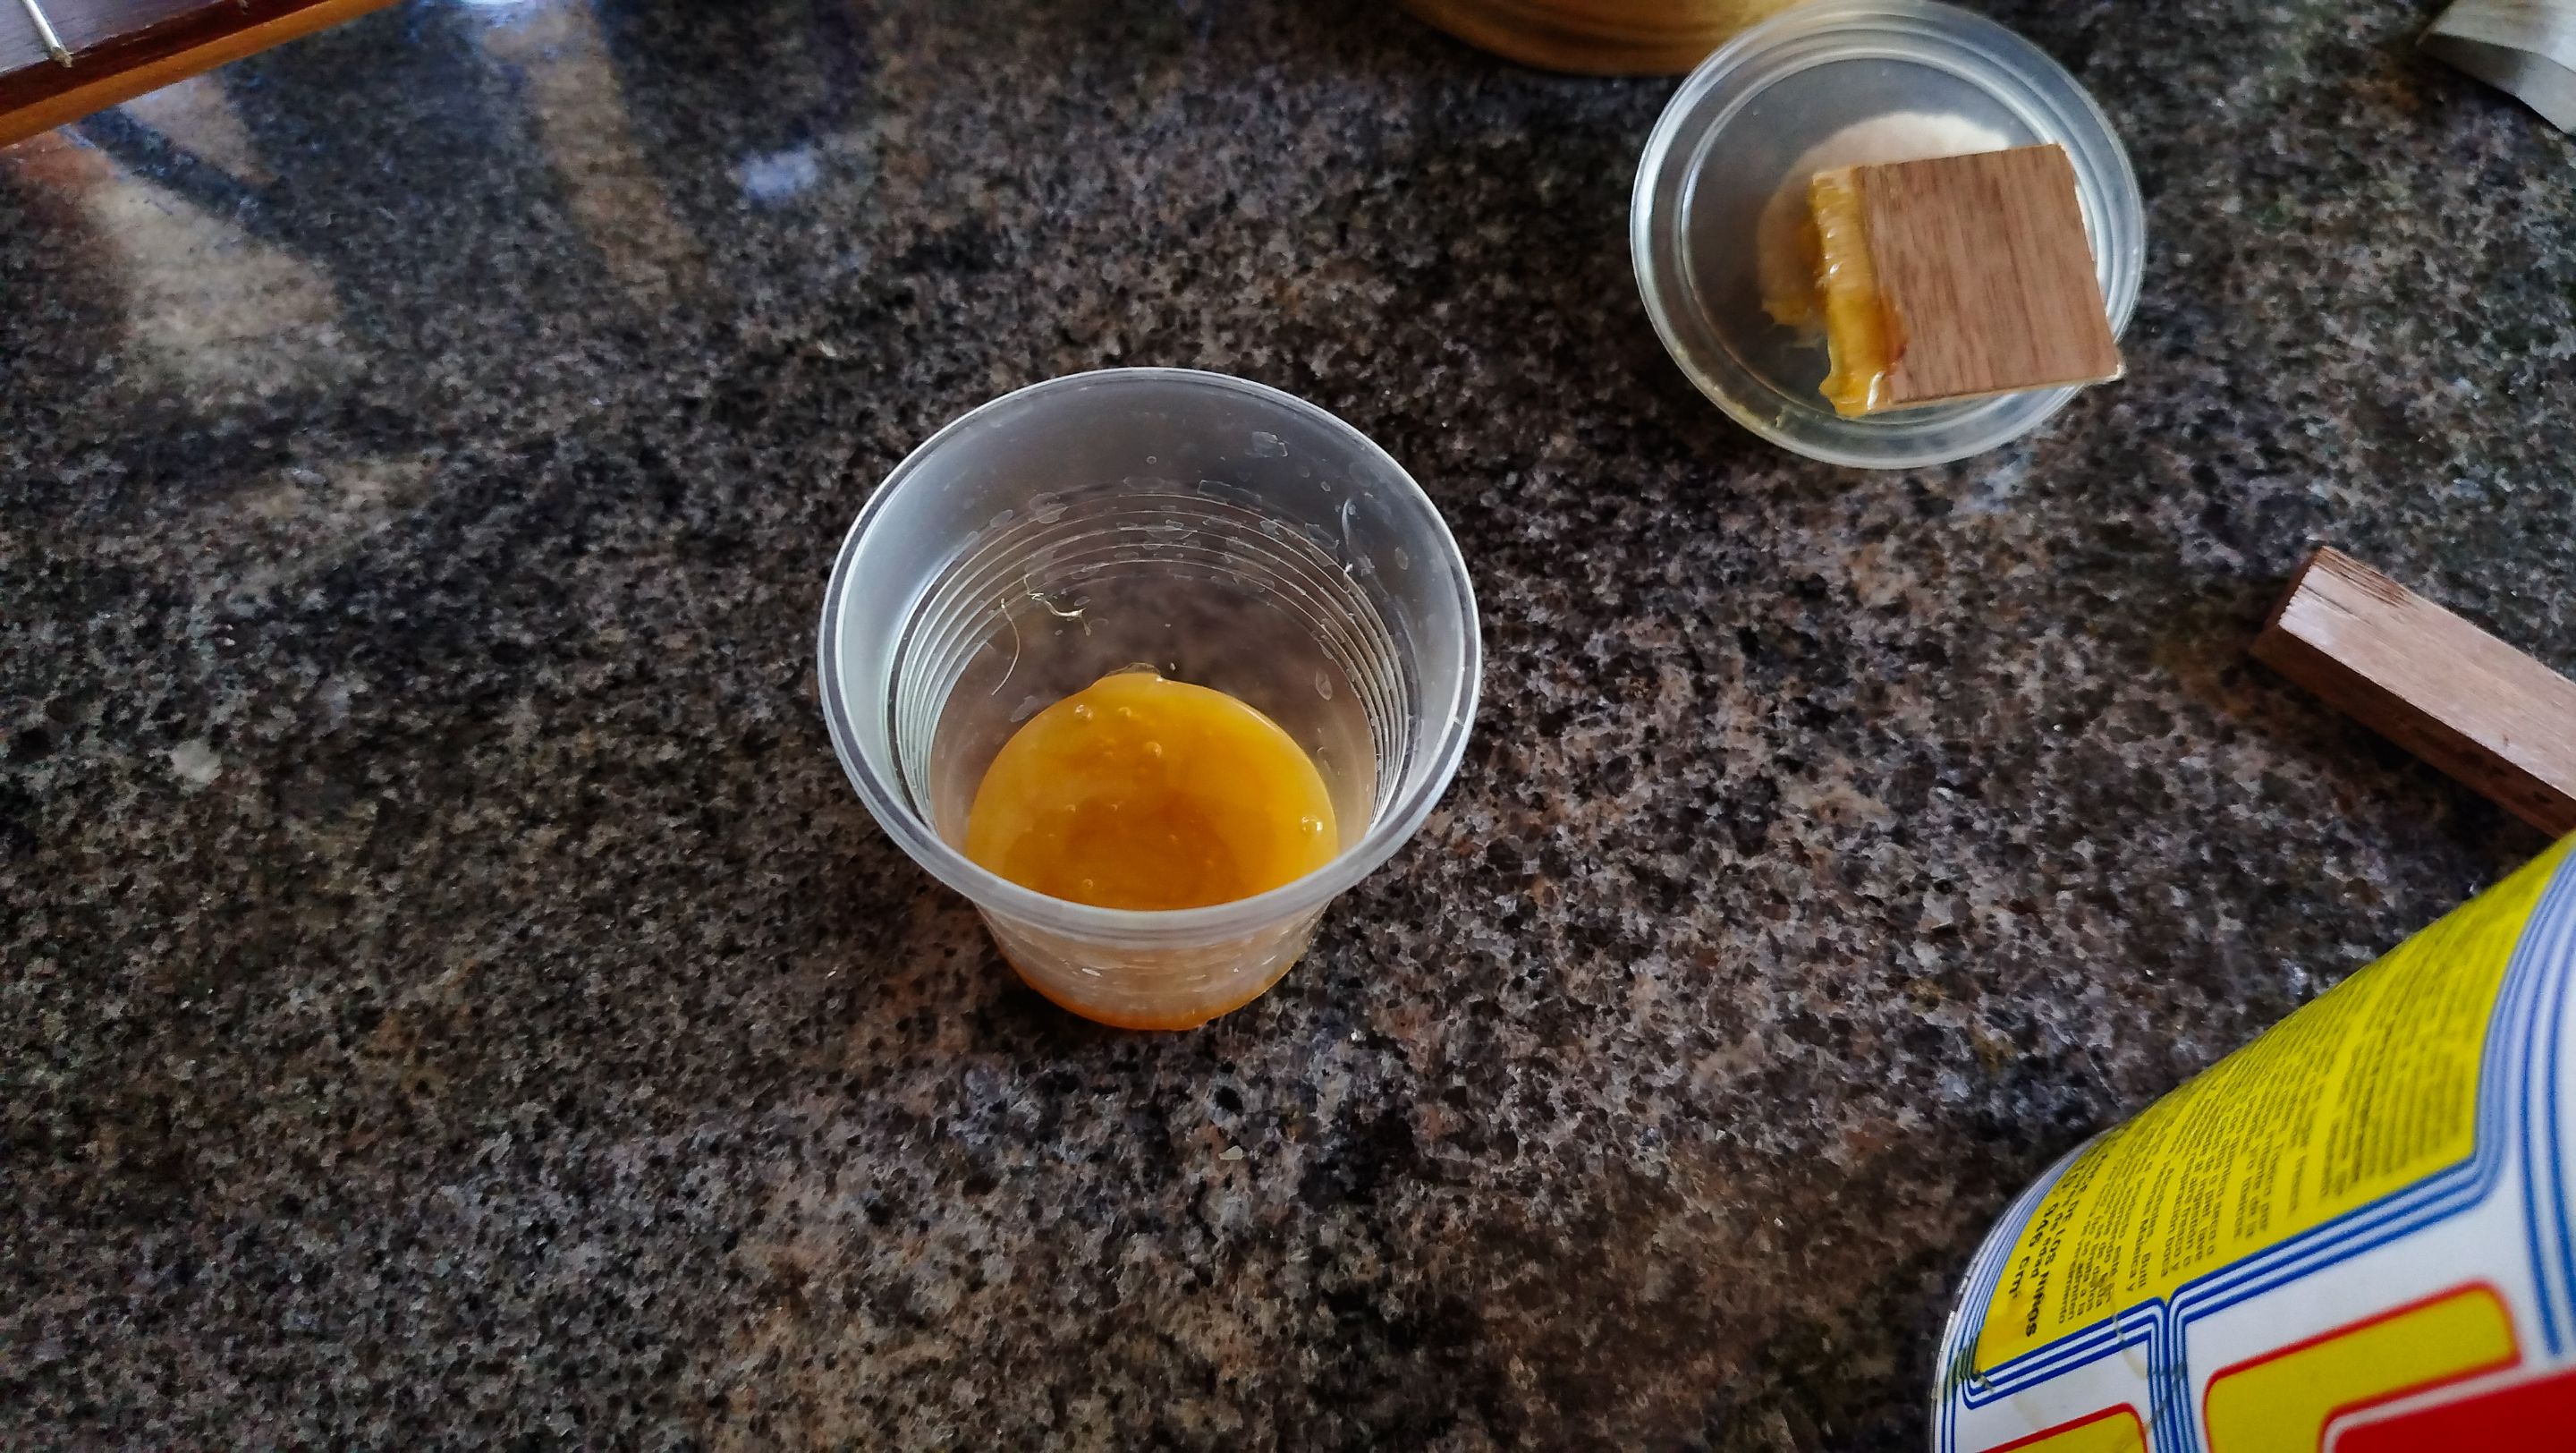
First coat
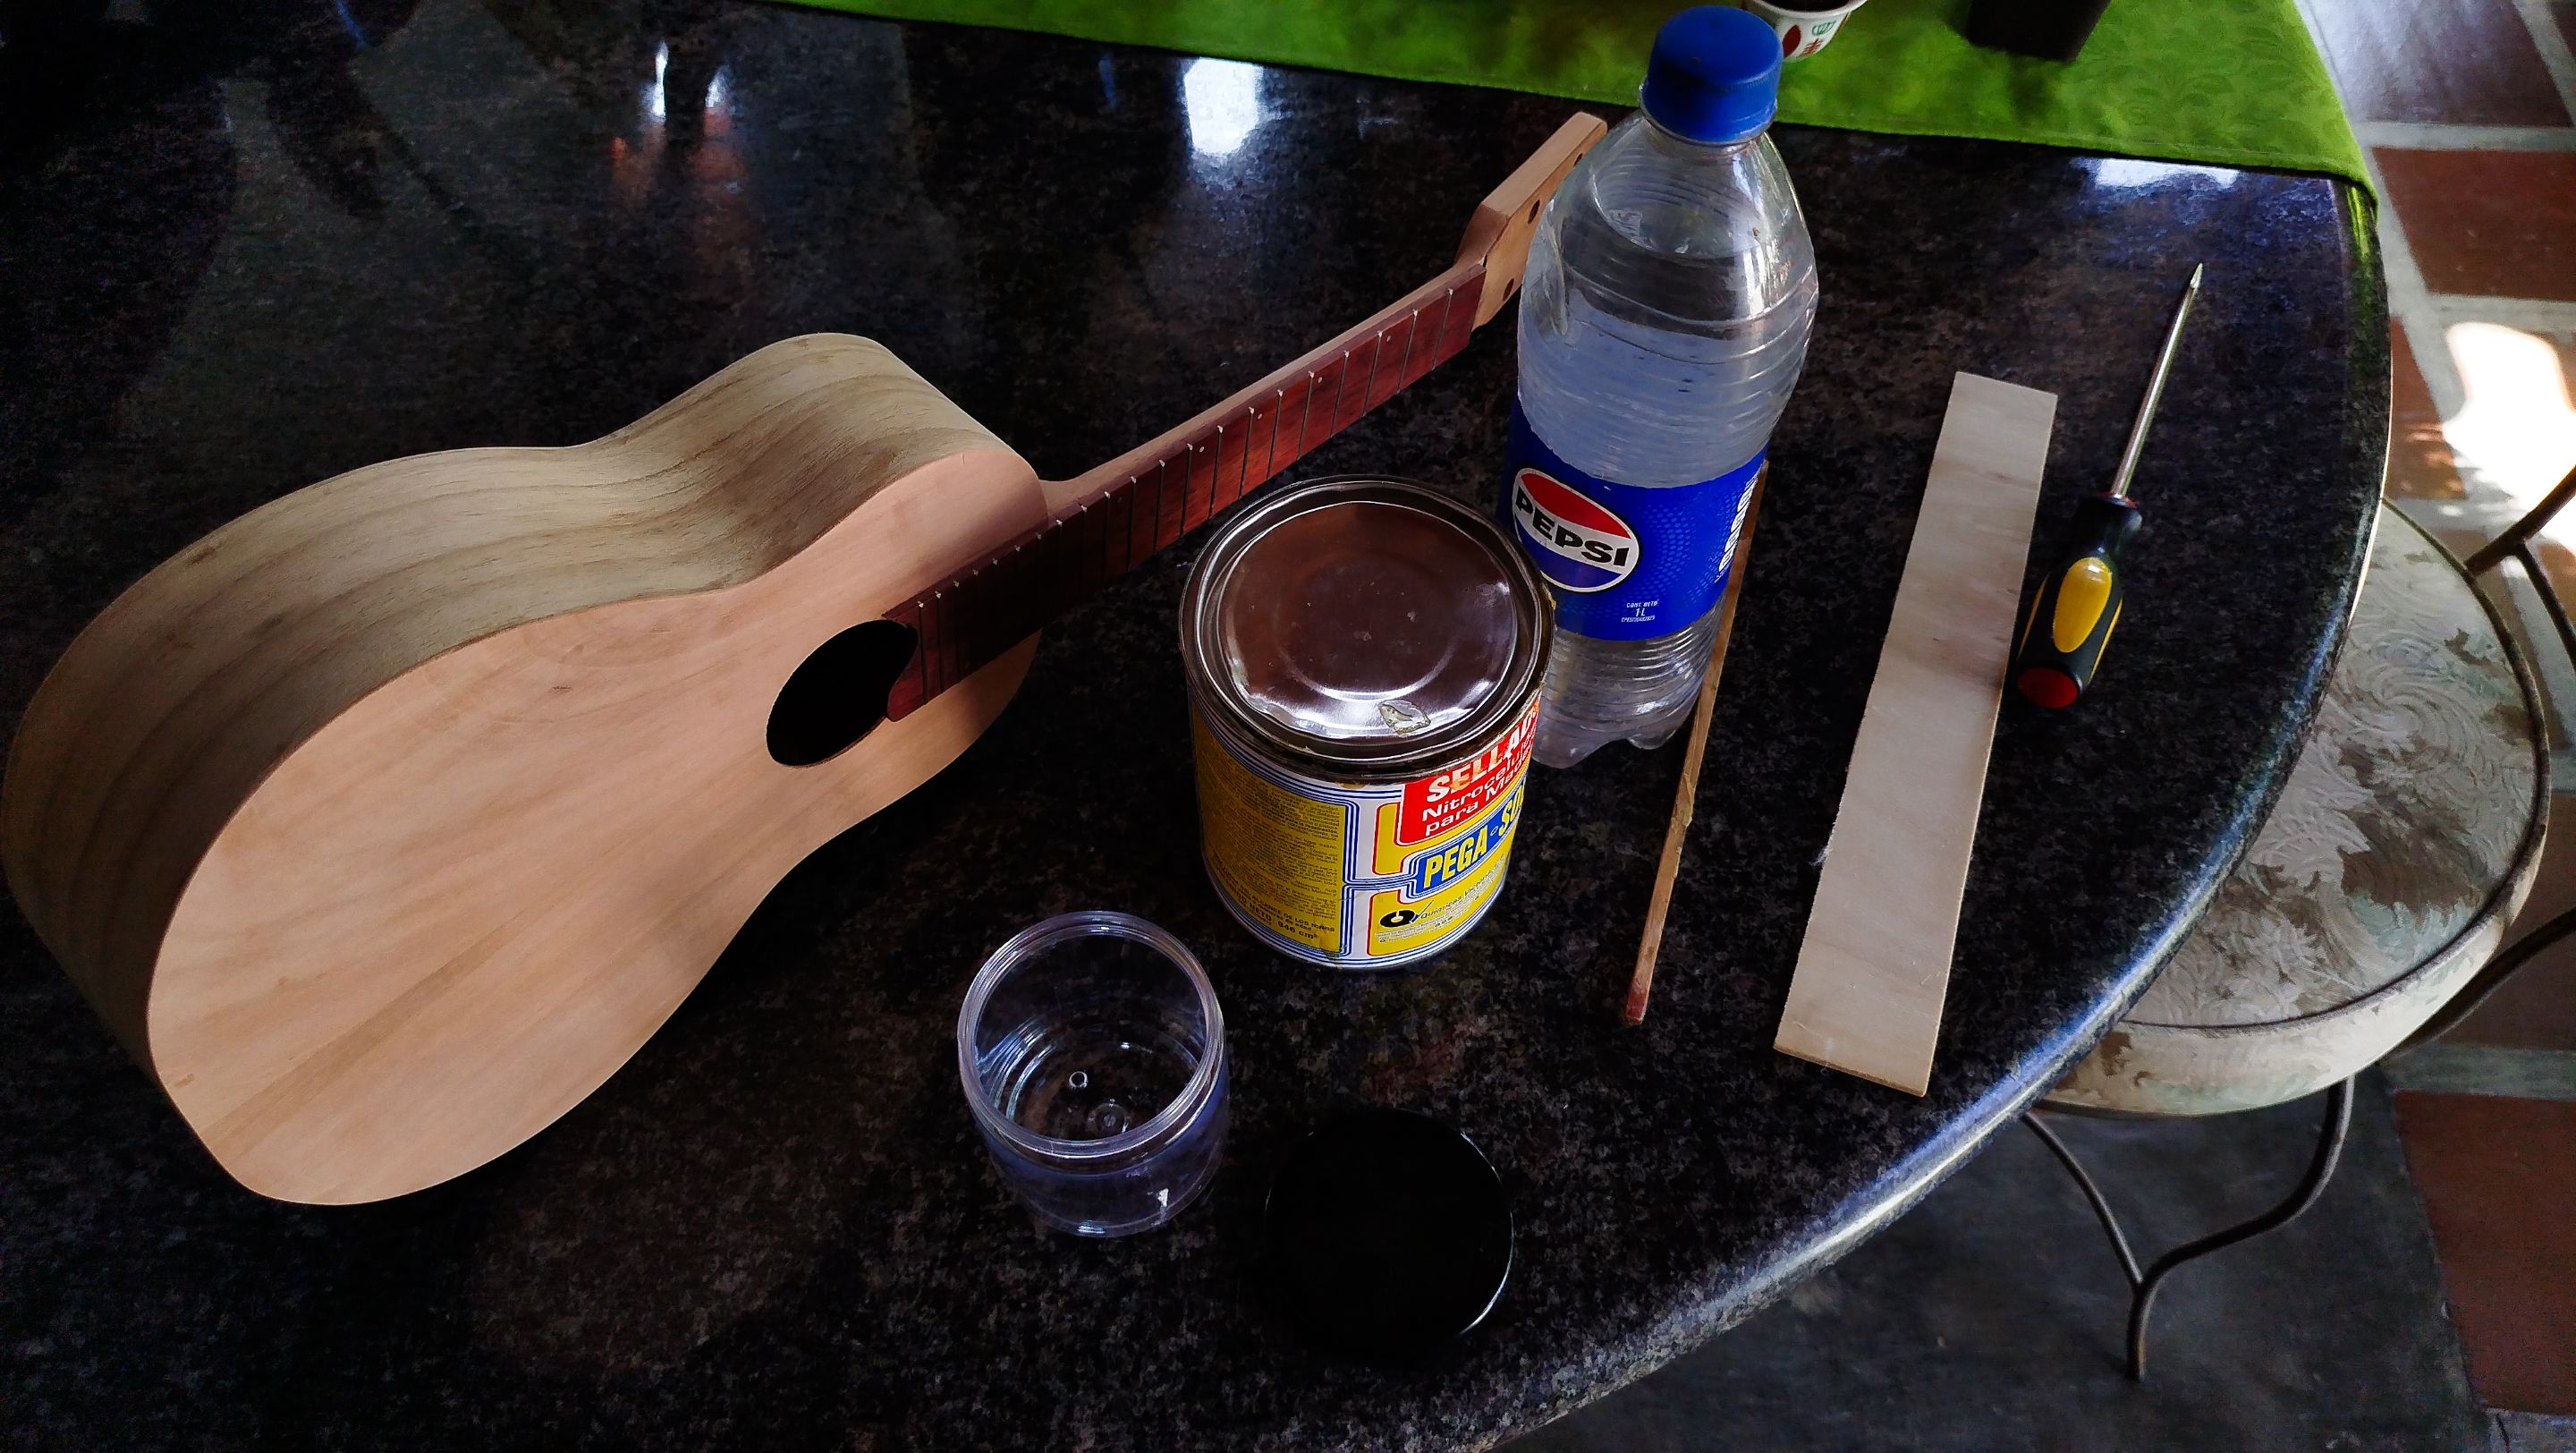
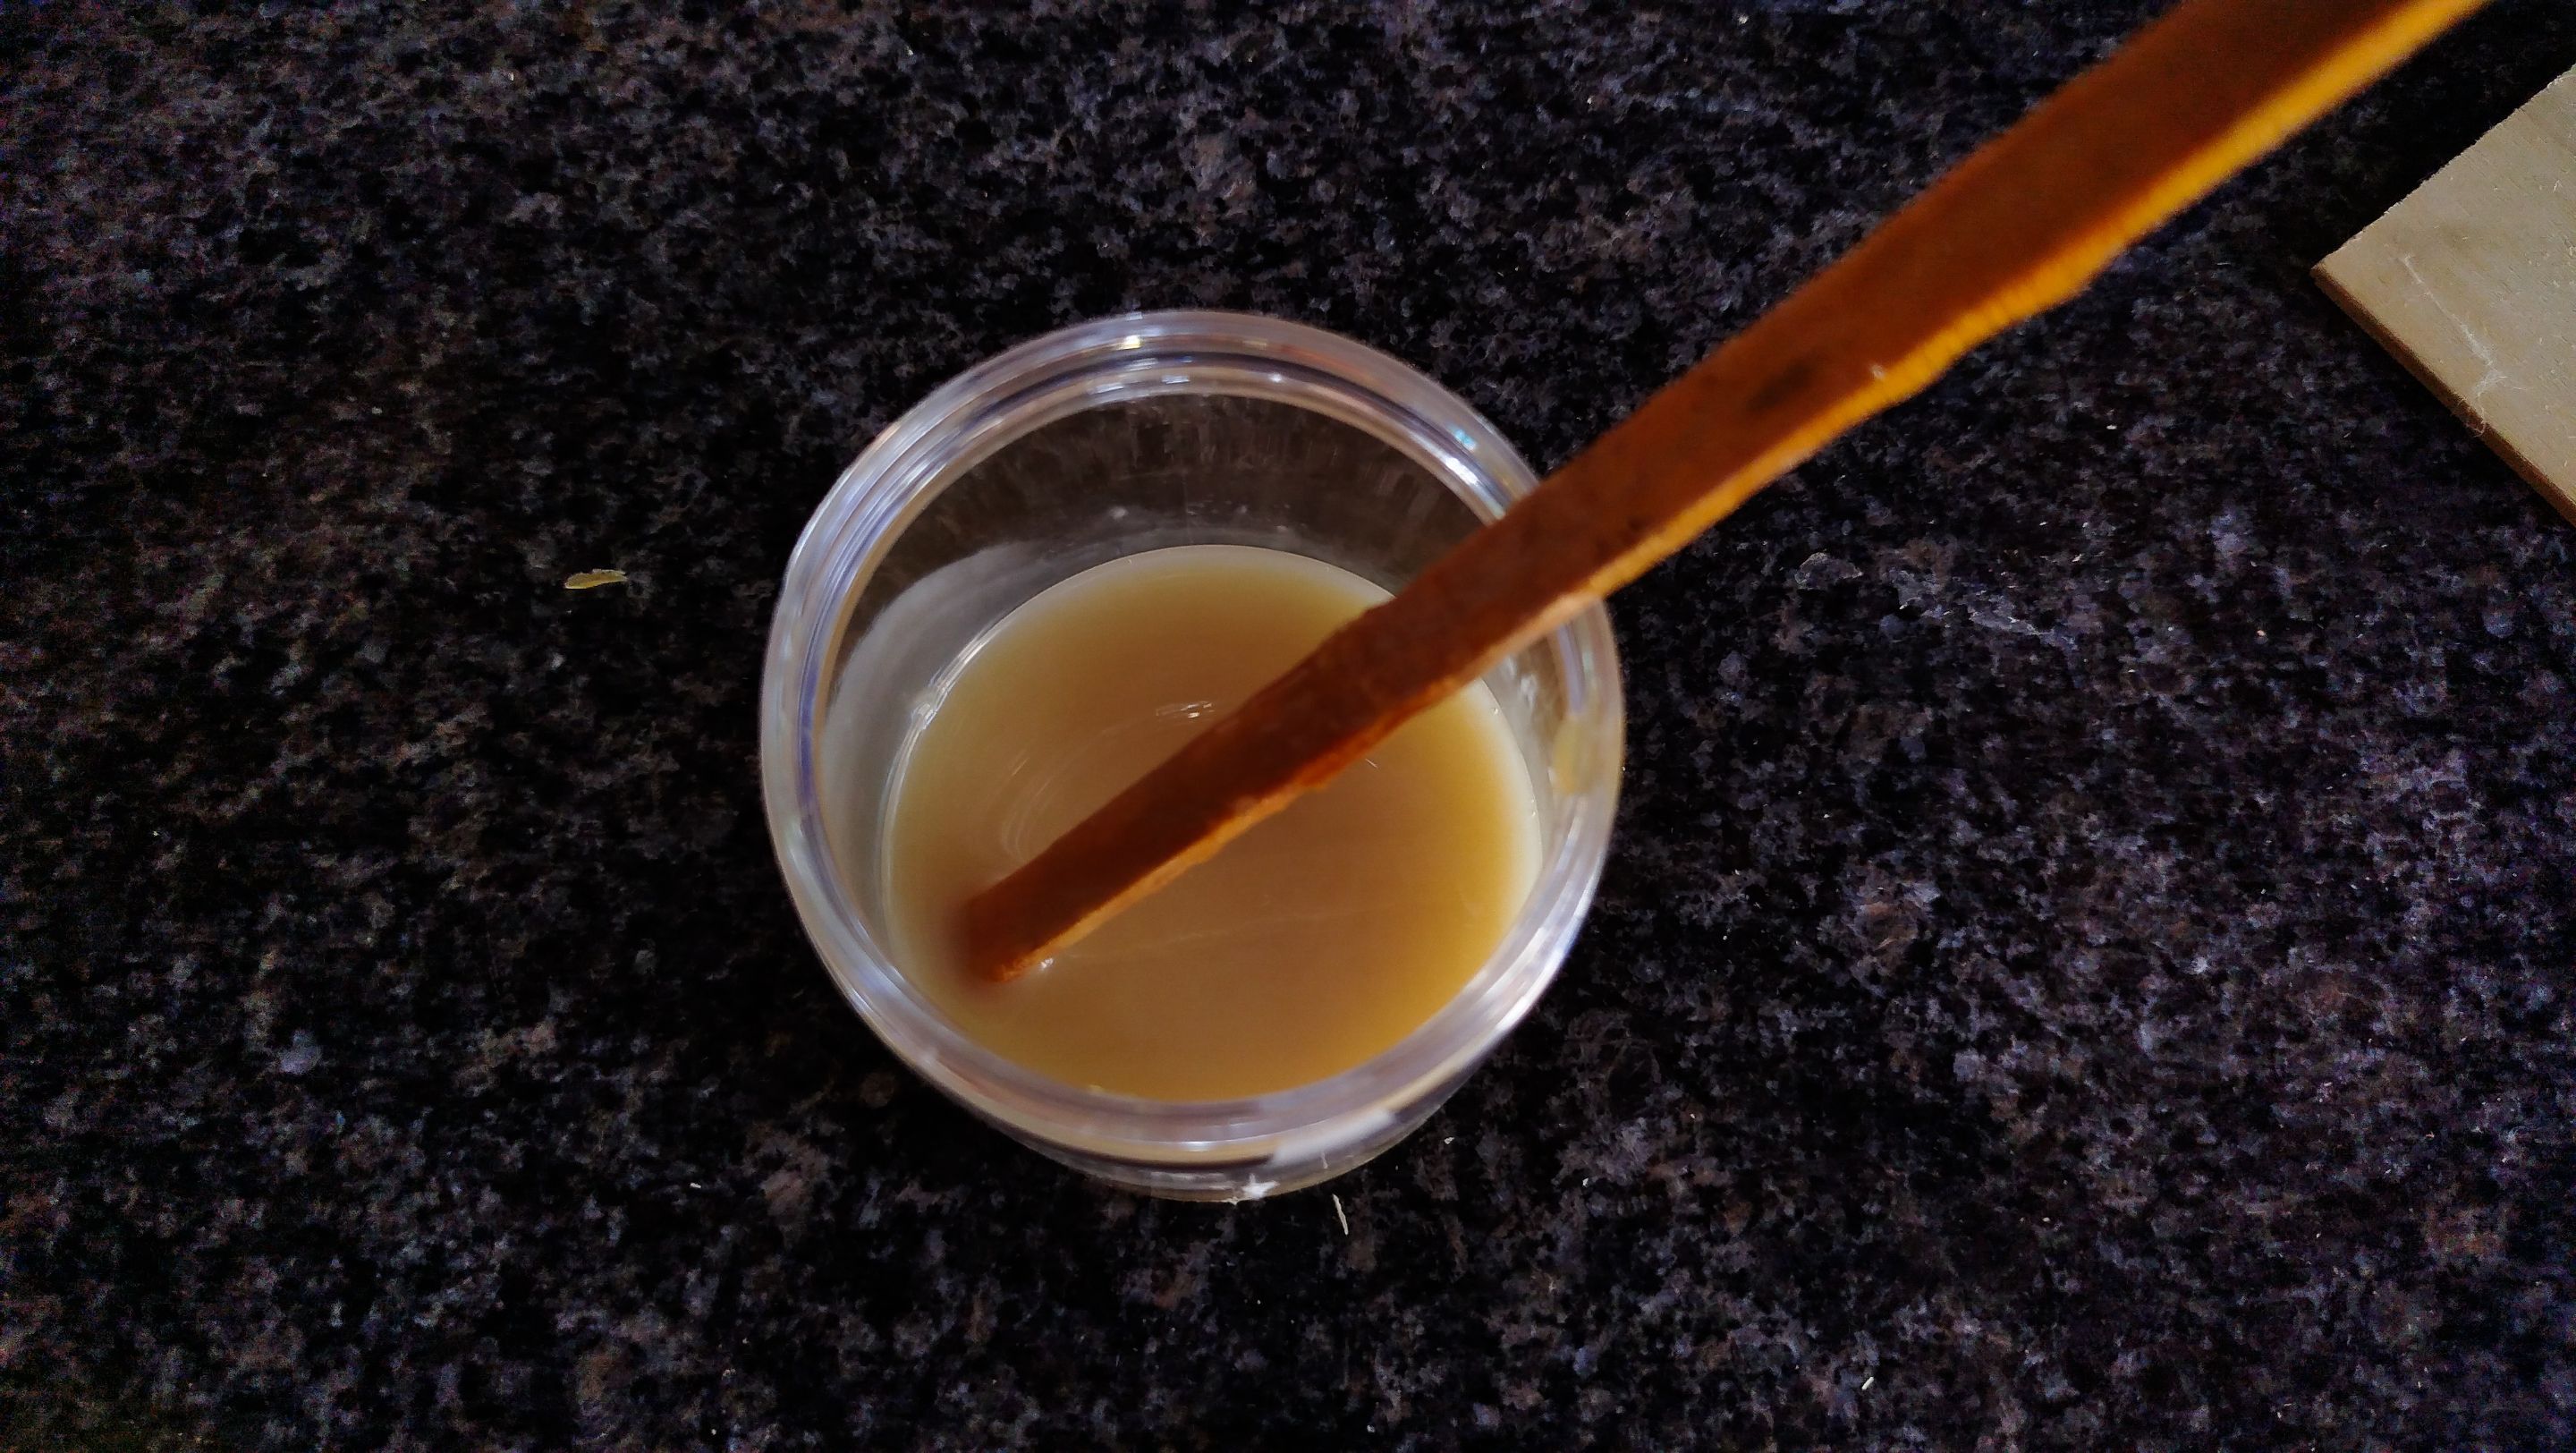
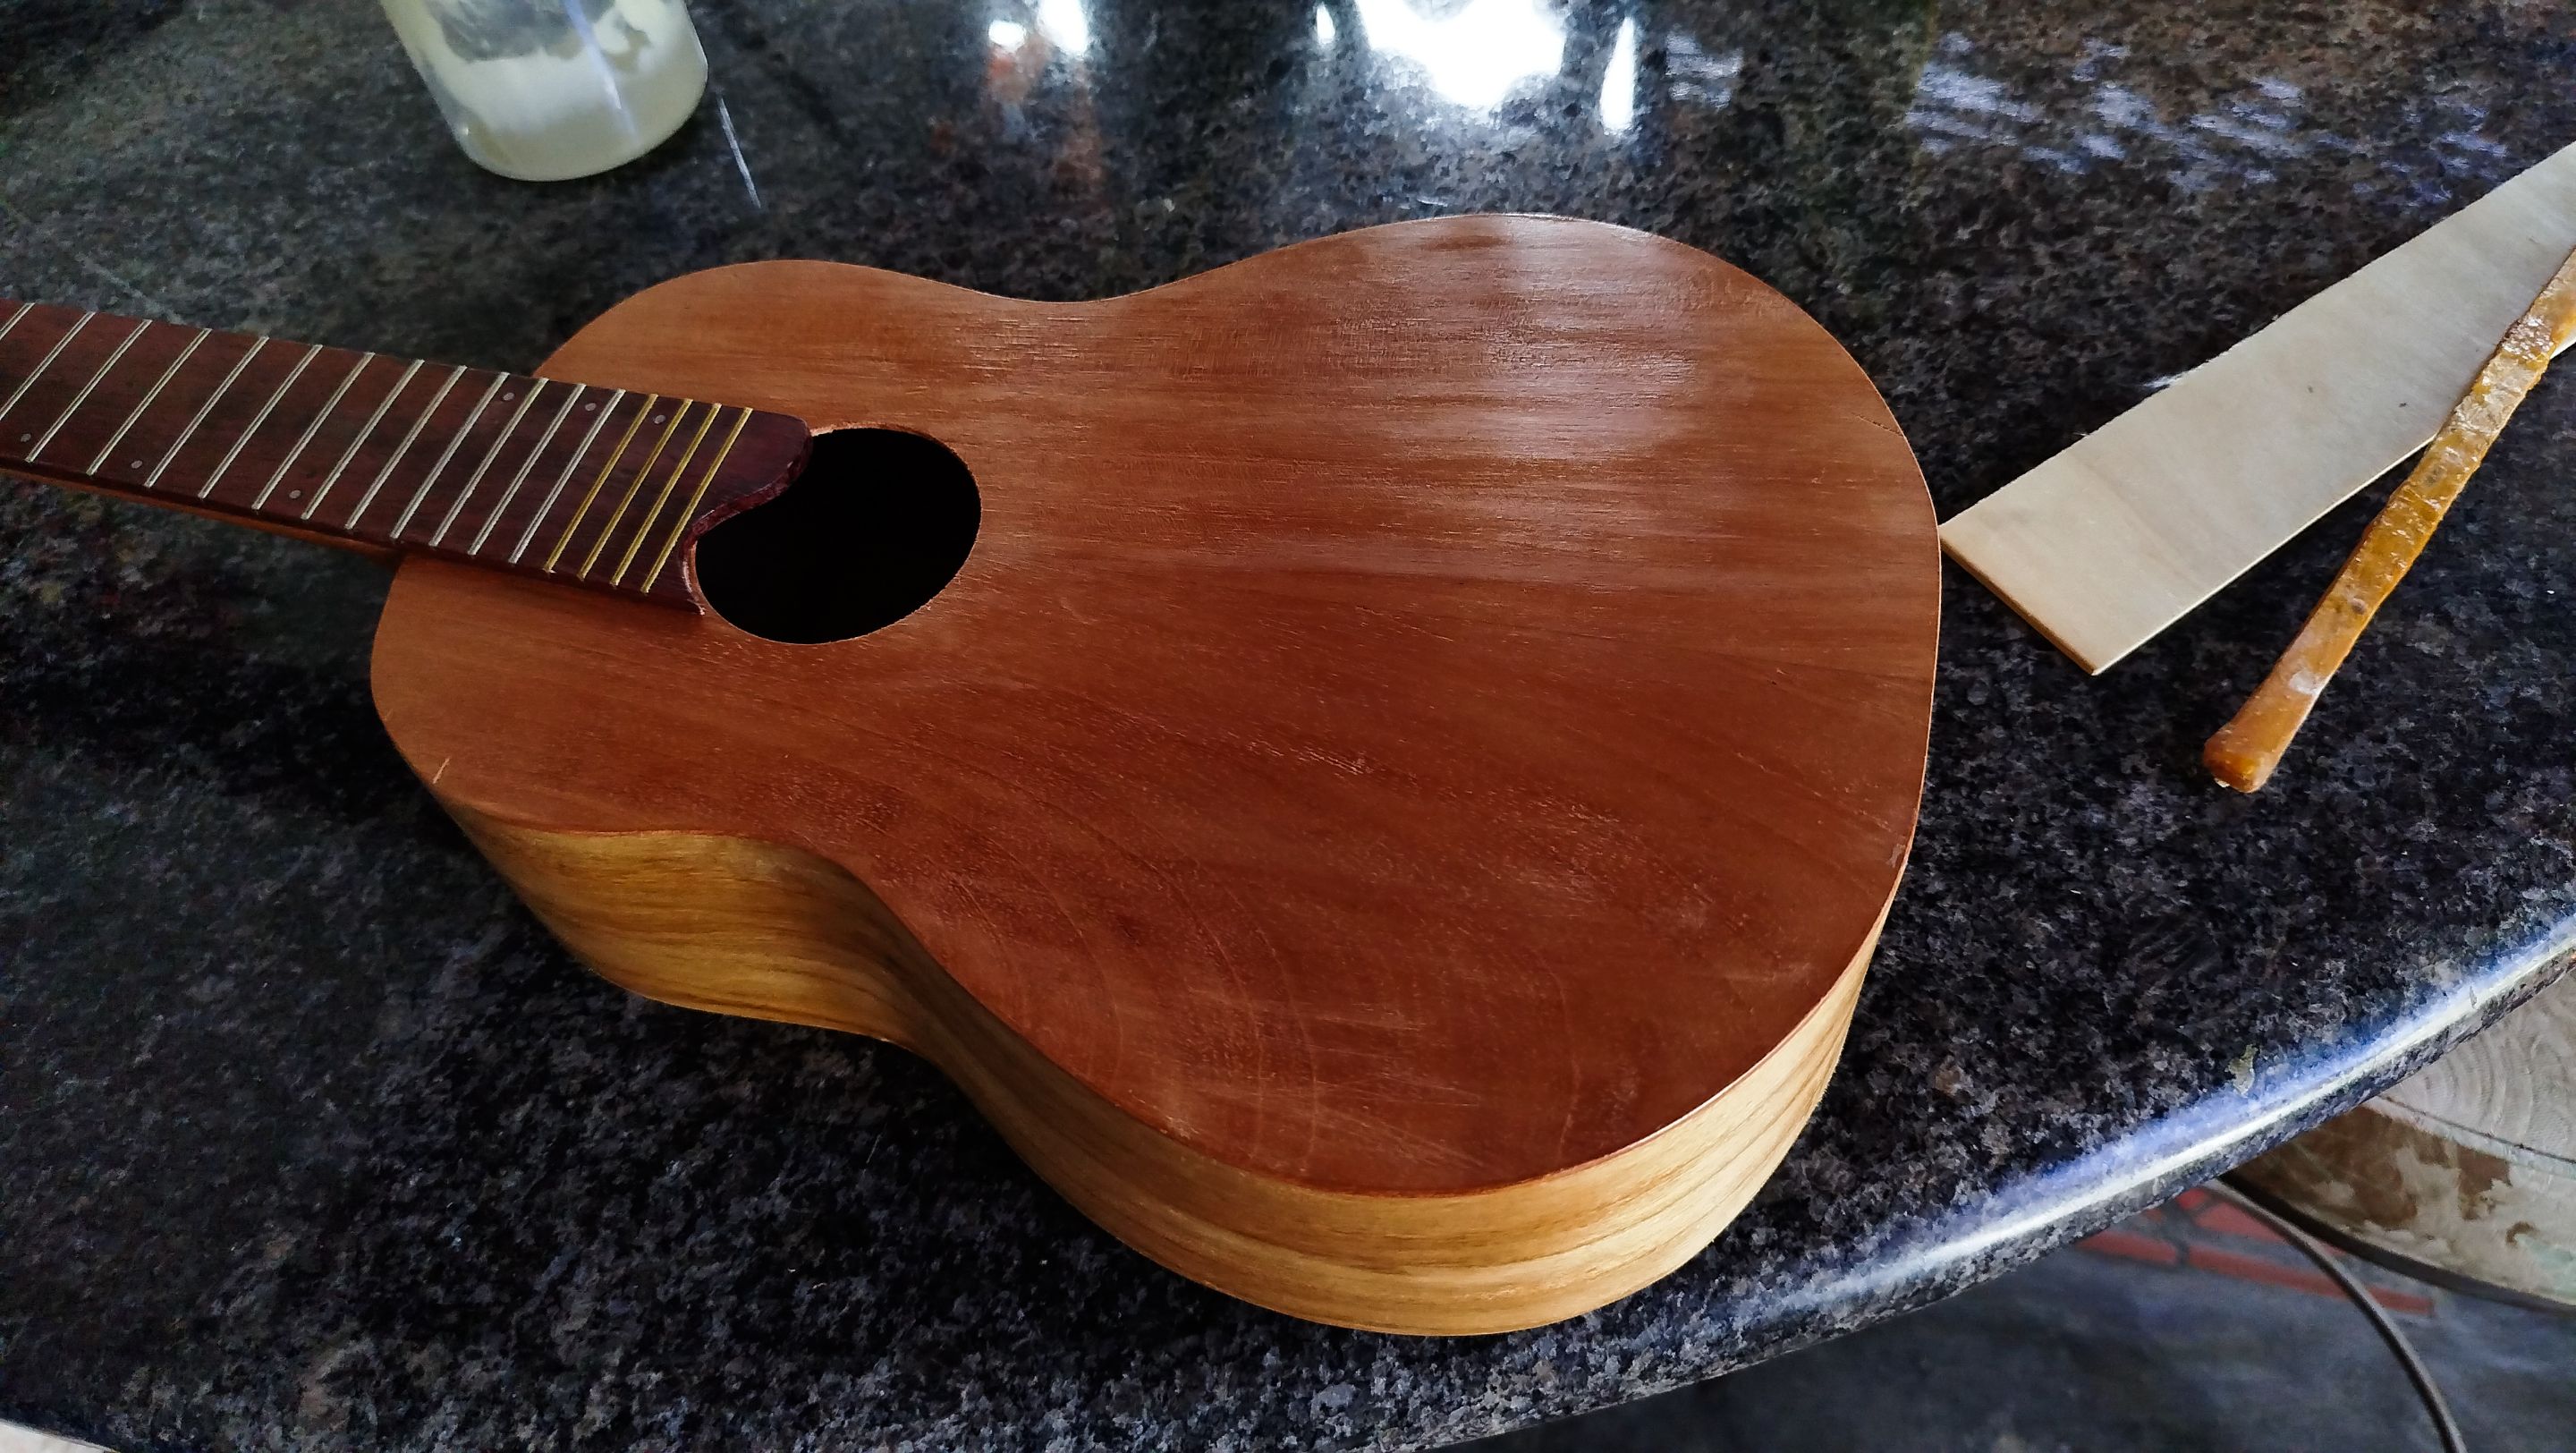
We make the cotton ball until we remove any of the threads that are loose and might get stuck in the application of the sealer. The next step is making the mix. One part of sealer and three parts of thinner. This needs to be blended thoroughly. That is to avoid having no lumps or not any parts of concentrated sealer. The thinner the coats of prepared sealer, the faster the process.
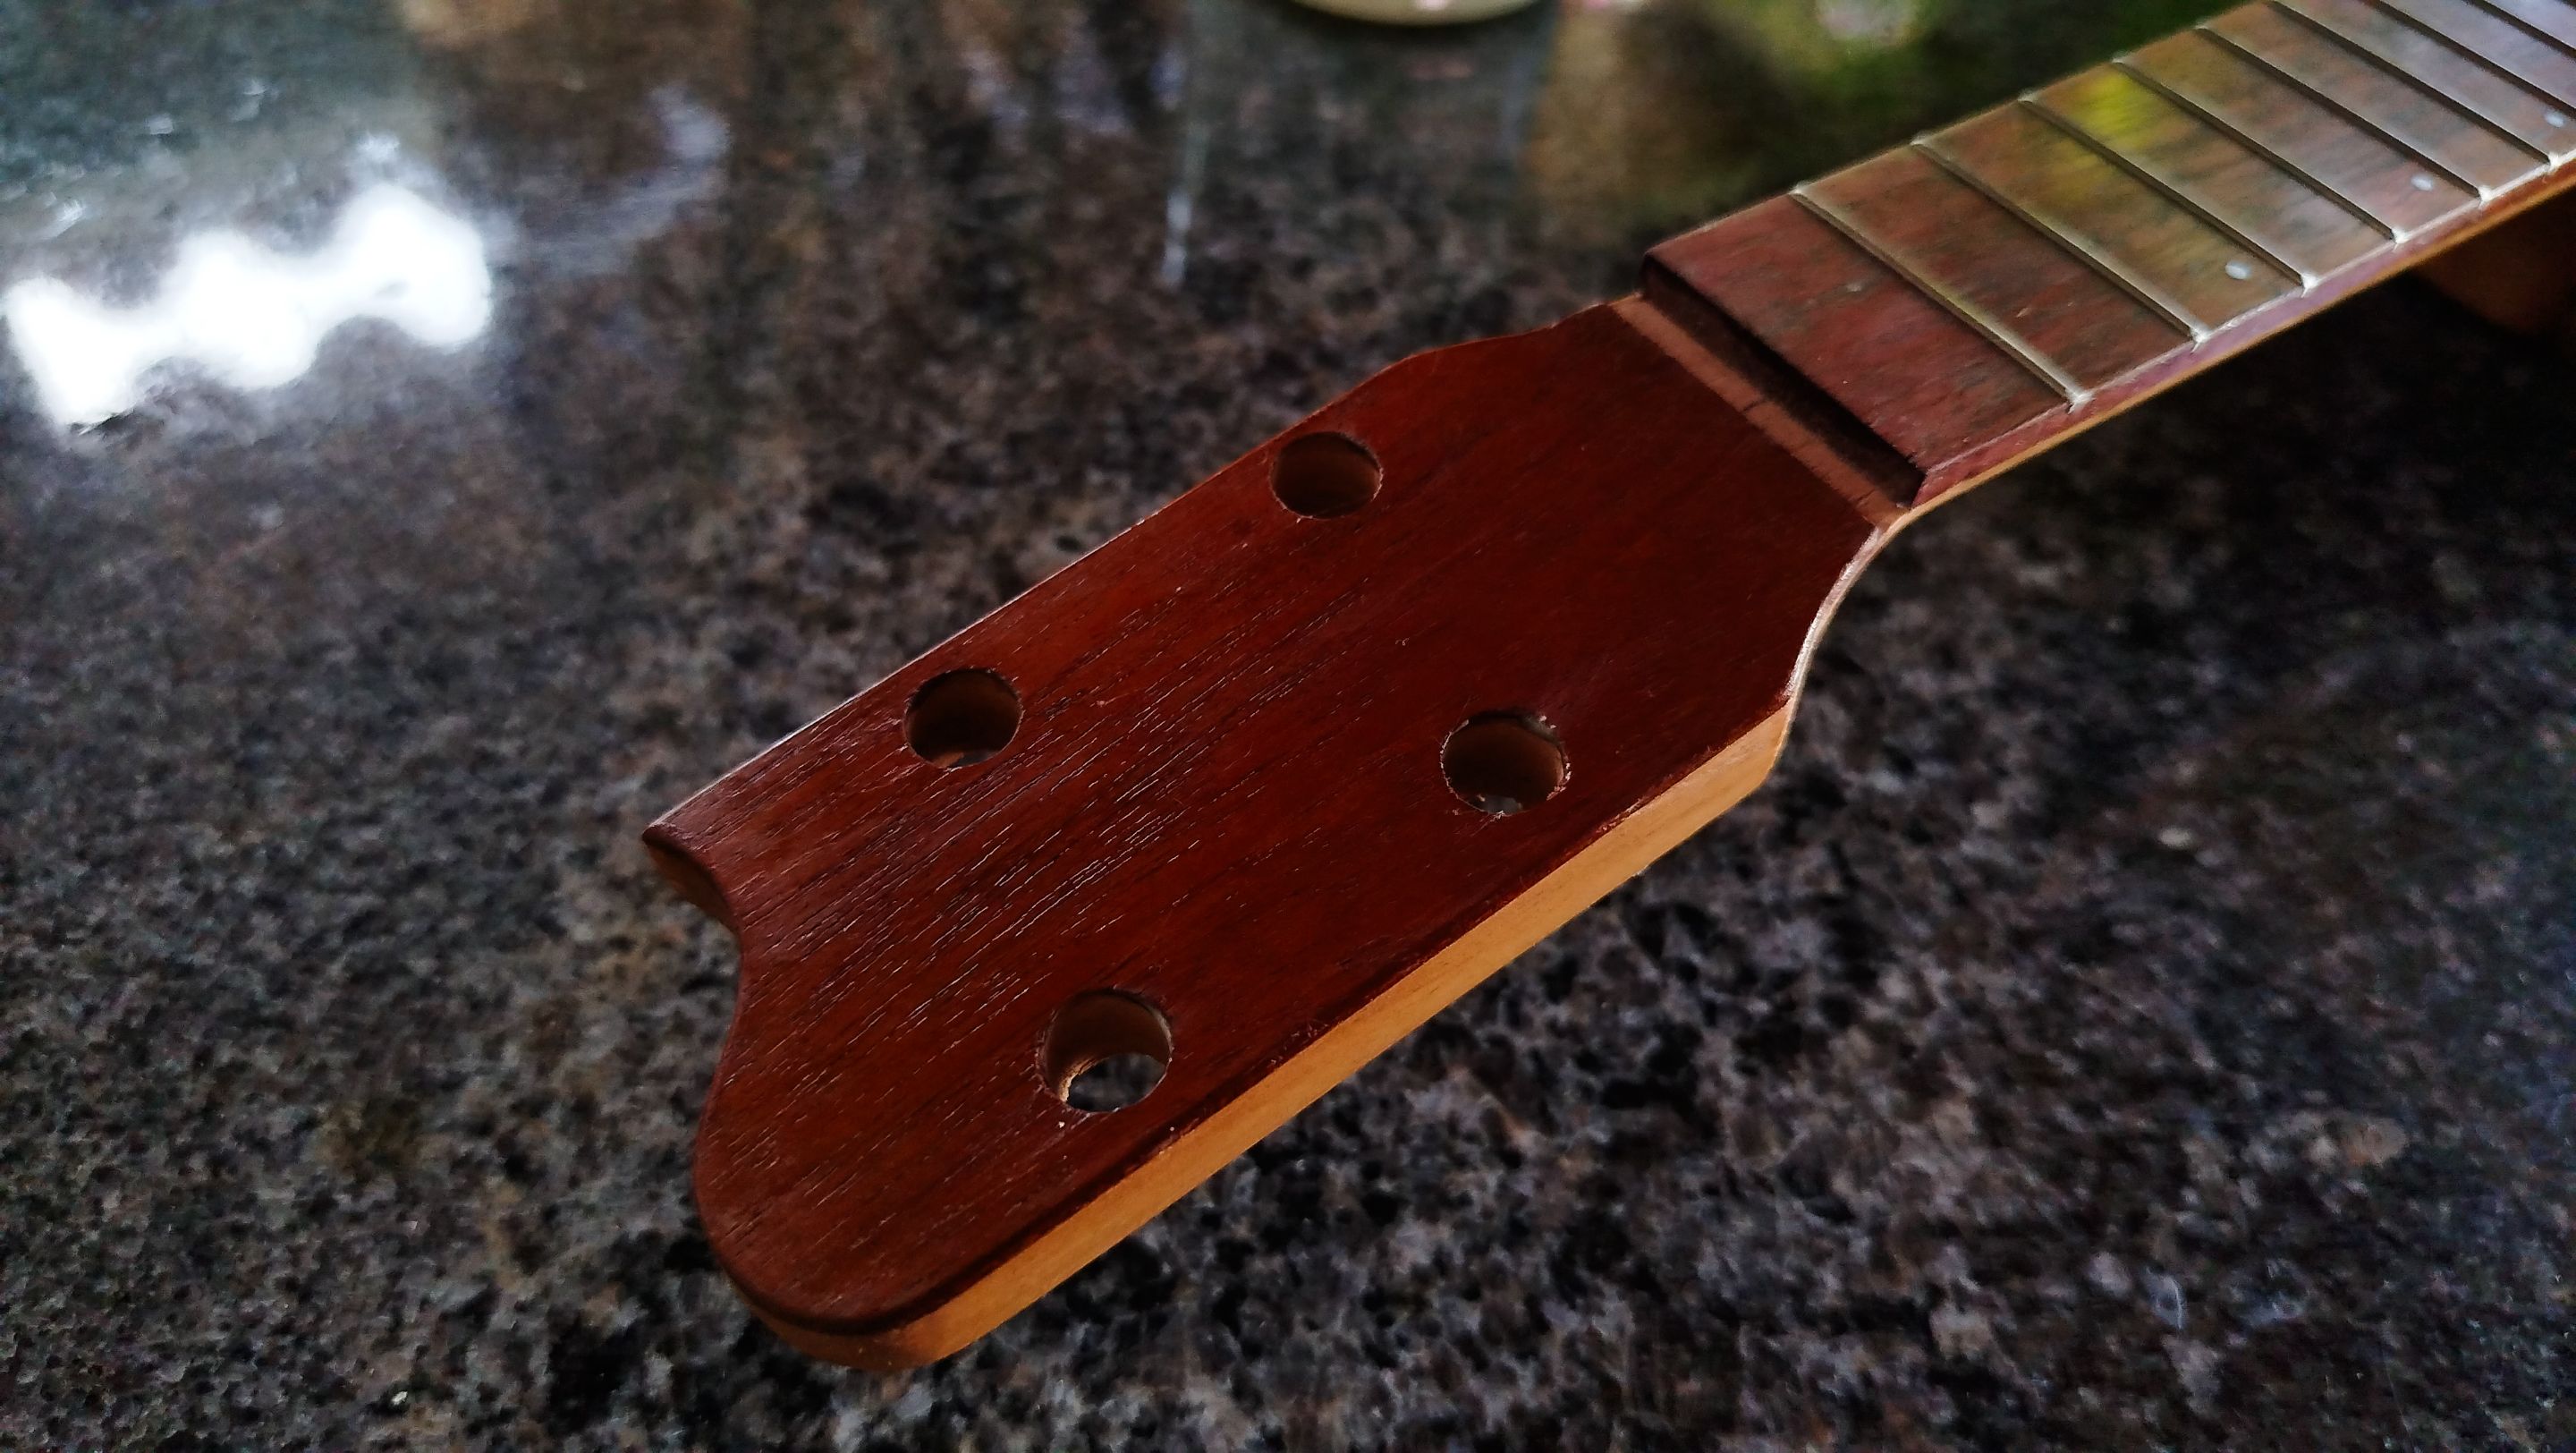
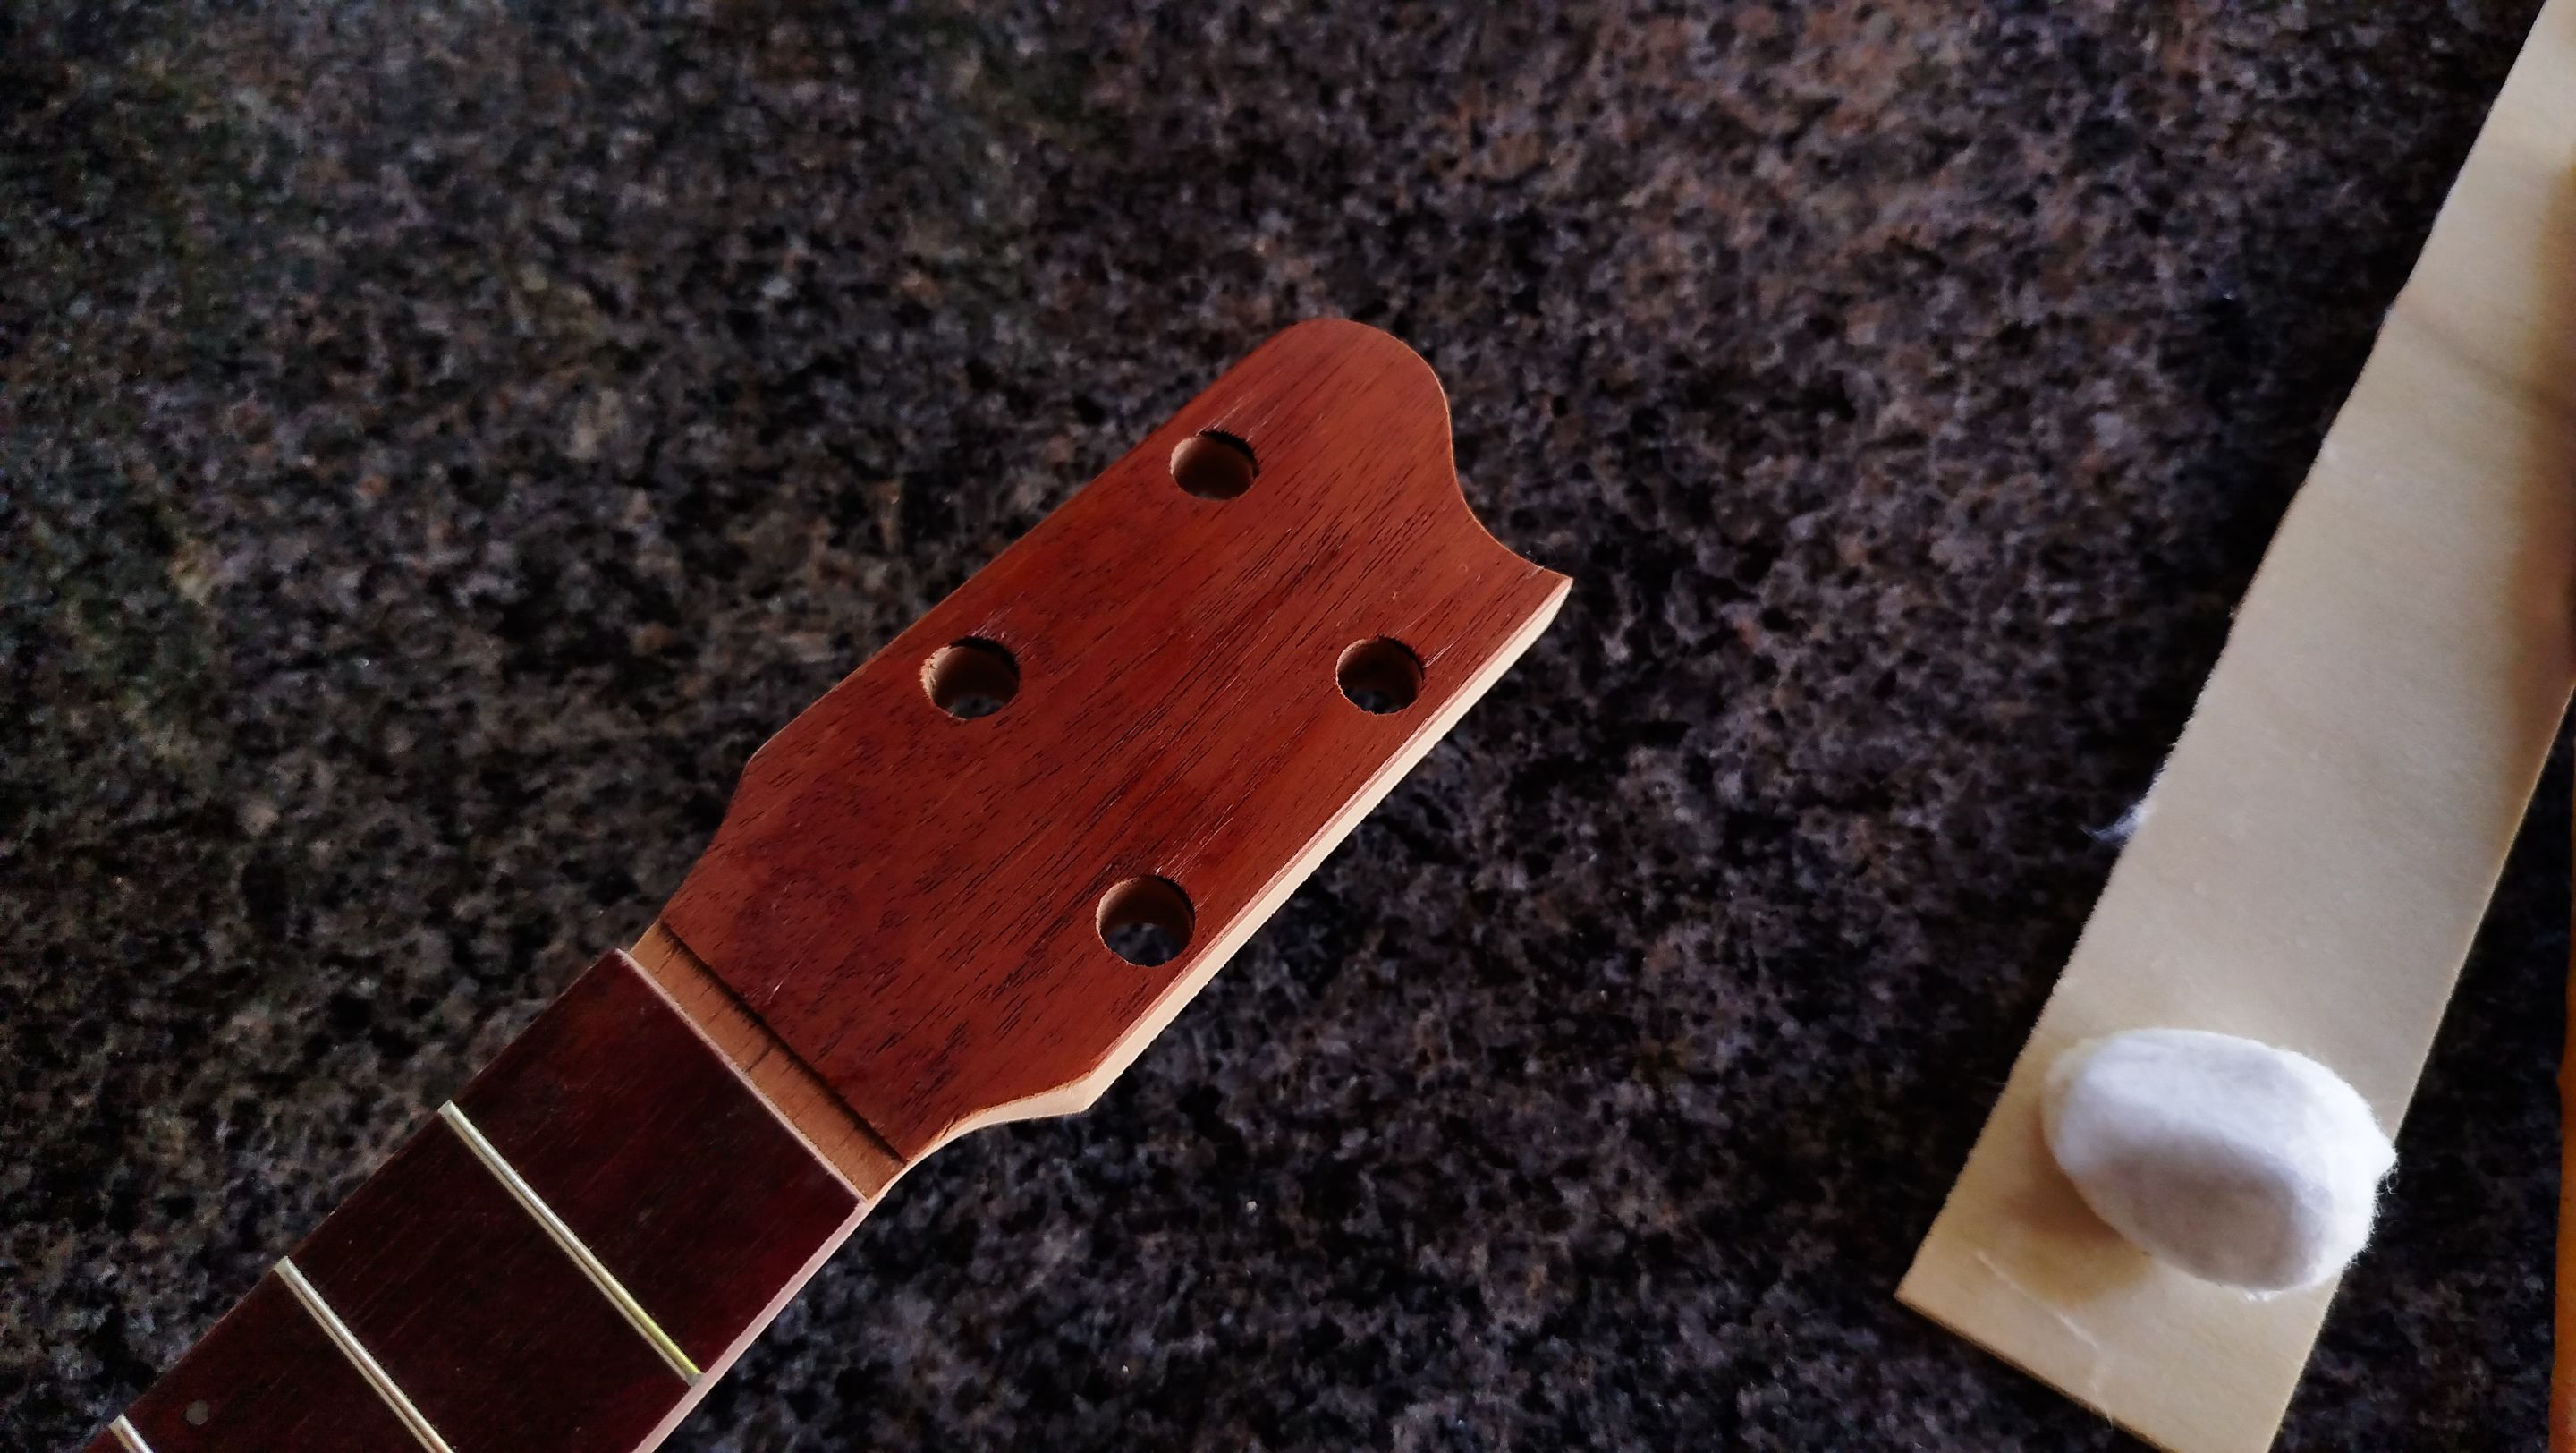
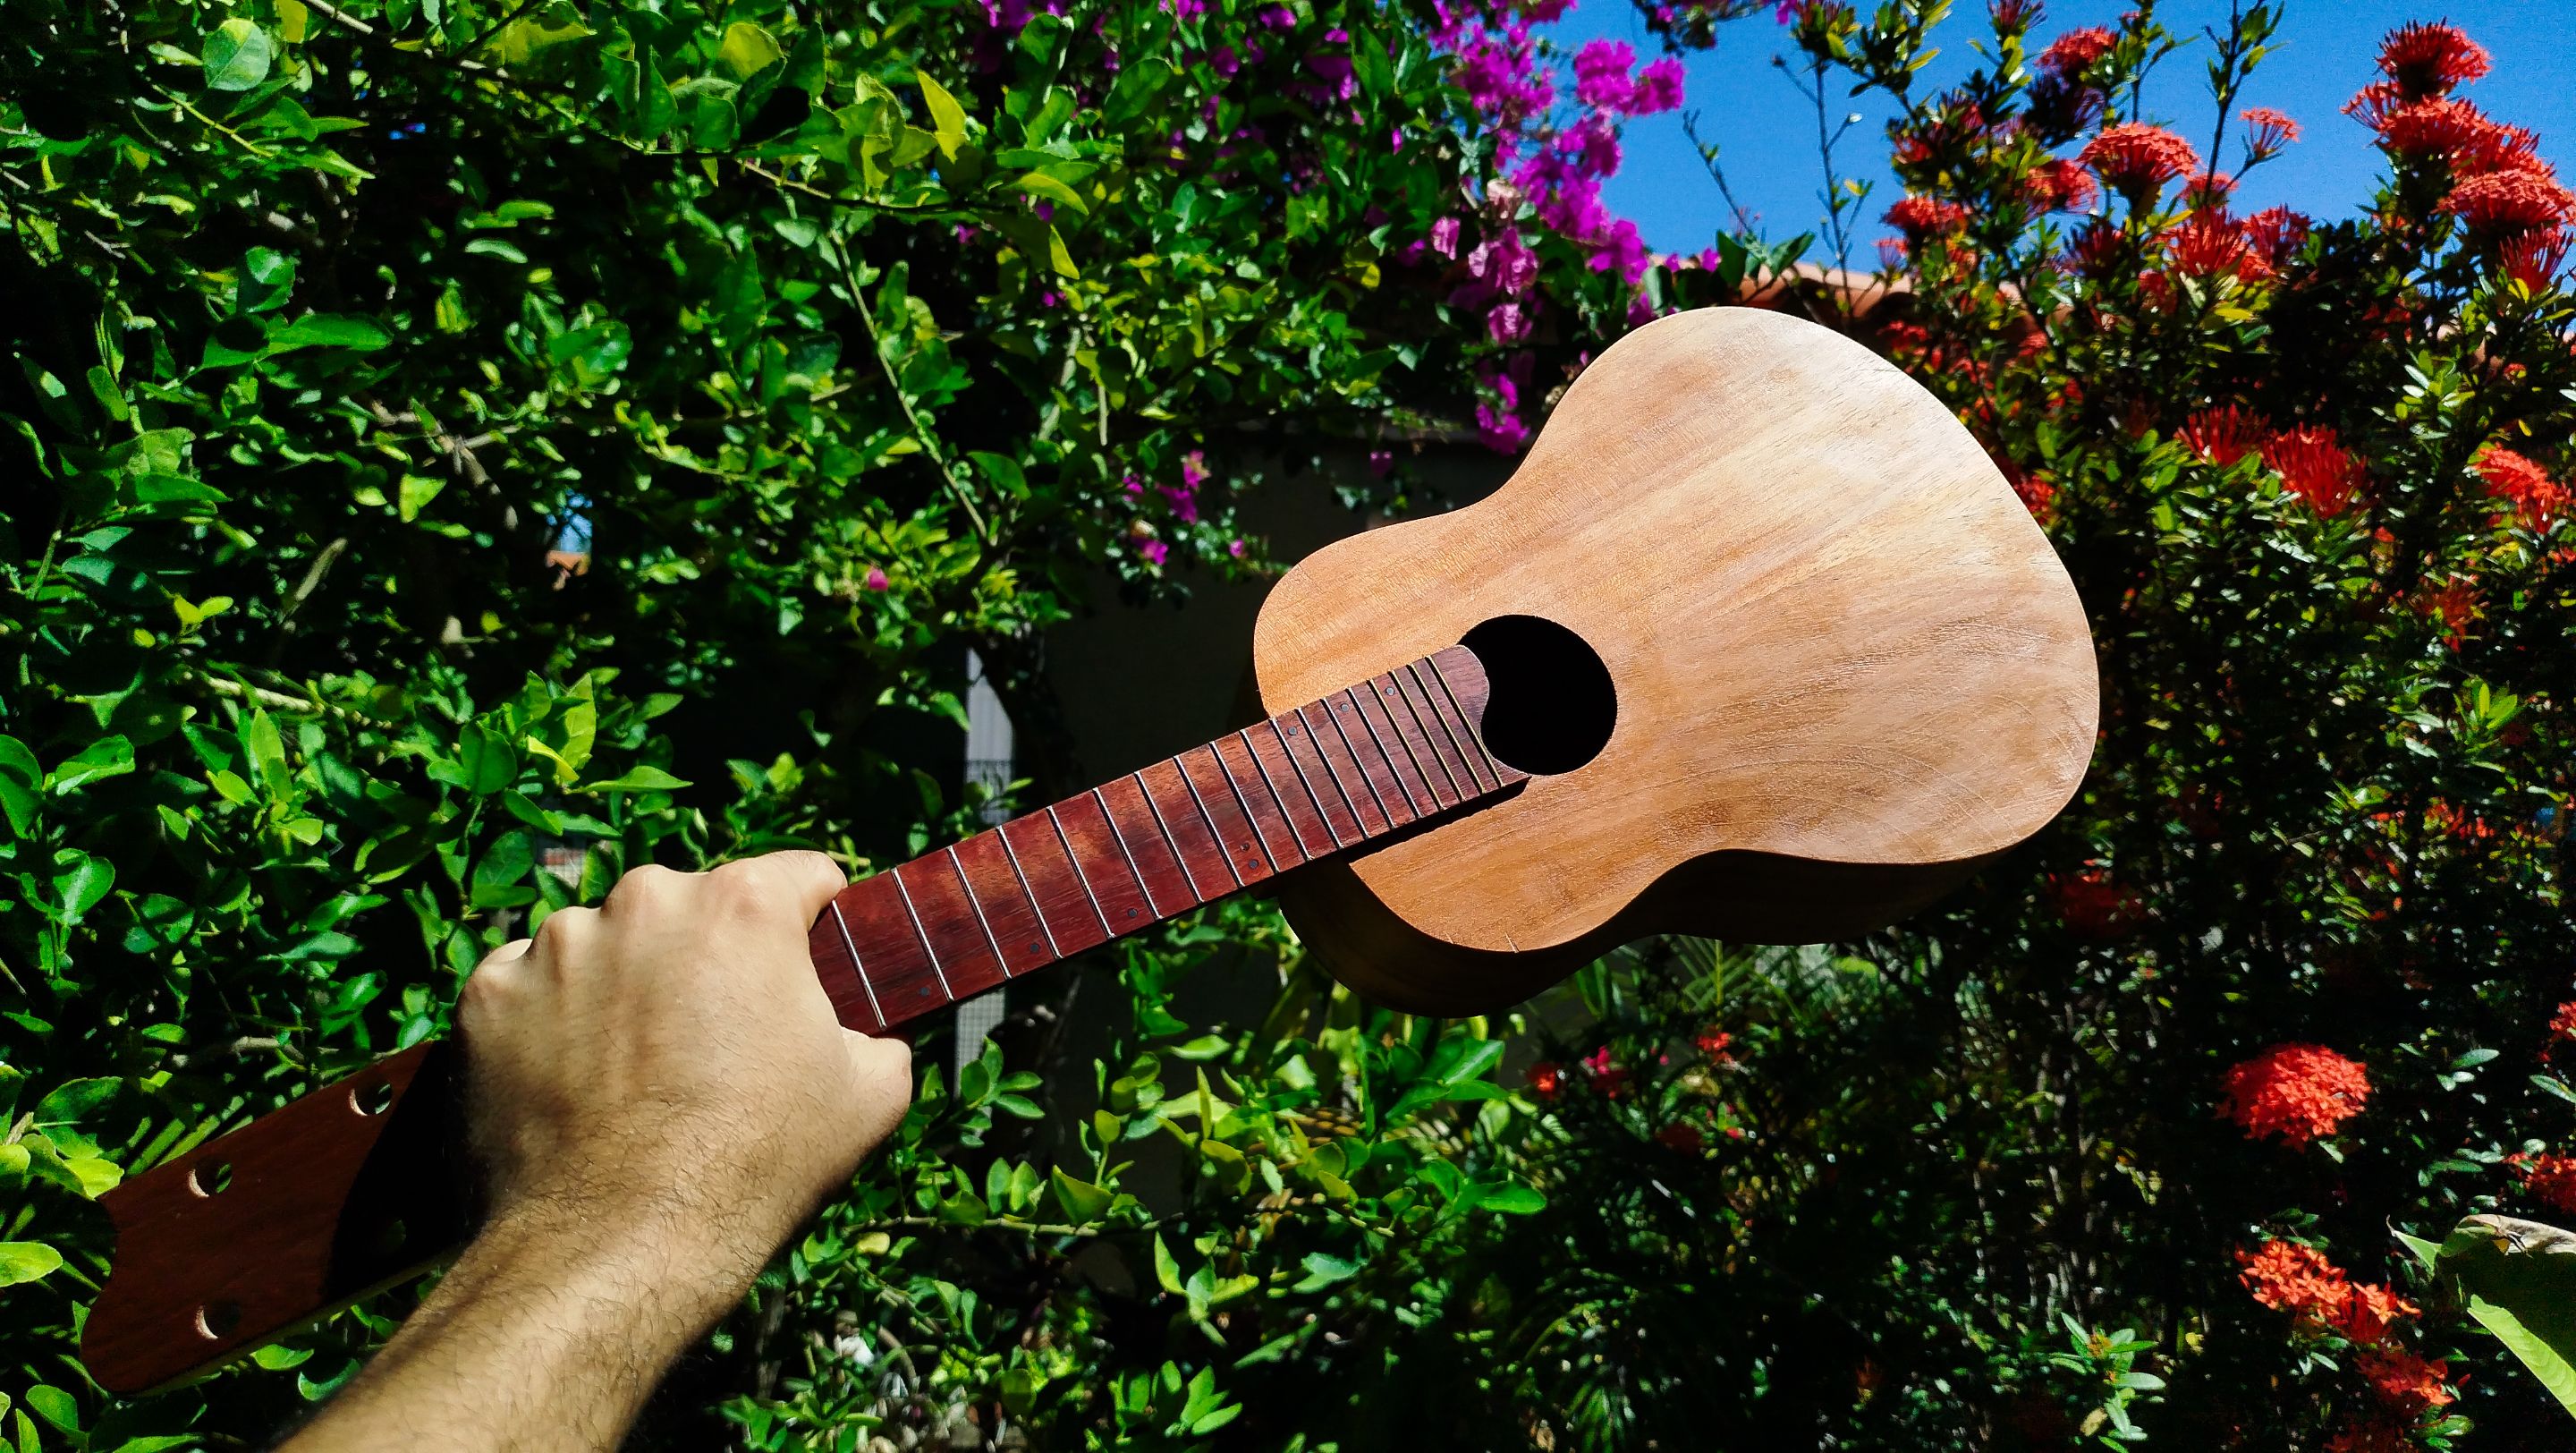
Then we start applying the the coats of sealer going with the direction of the grain of the wood. We go over the parts of the instrument without going back to the fretboard. That part has already been sealed before fretting it.
We might need to let the coats dry for a moment until the next coat does not remove the previous one. This happen because thinner is a solvent and if it does not dry, it might get the sealer off the wood.
The rest of the work is just keep applying the mix until there is no more in the container. Then we just need to let the coat cure for at least 12 hours before sanding.
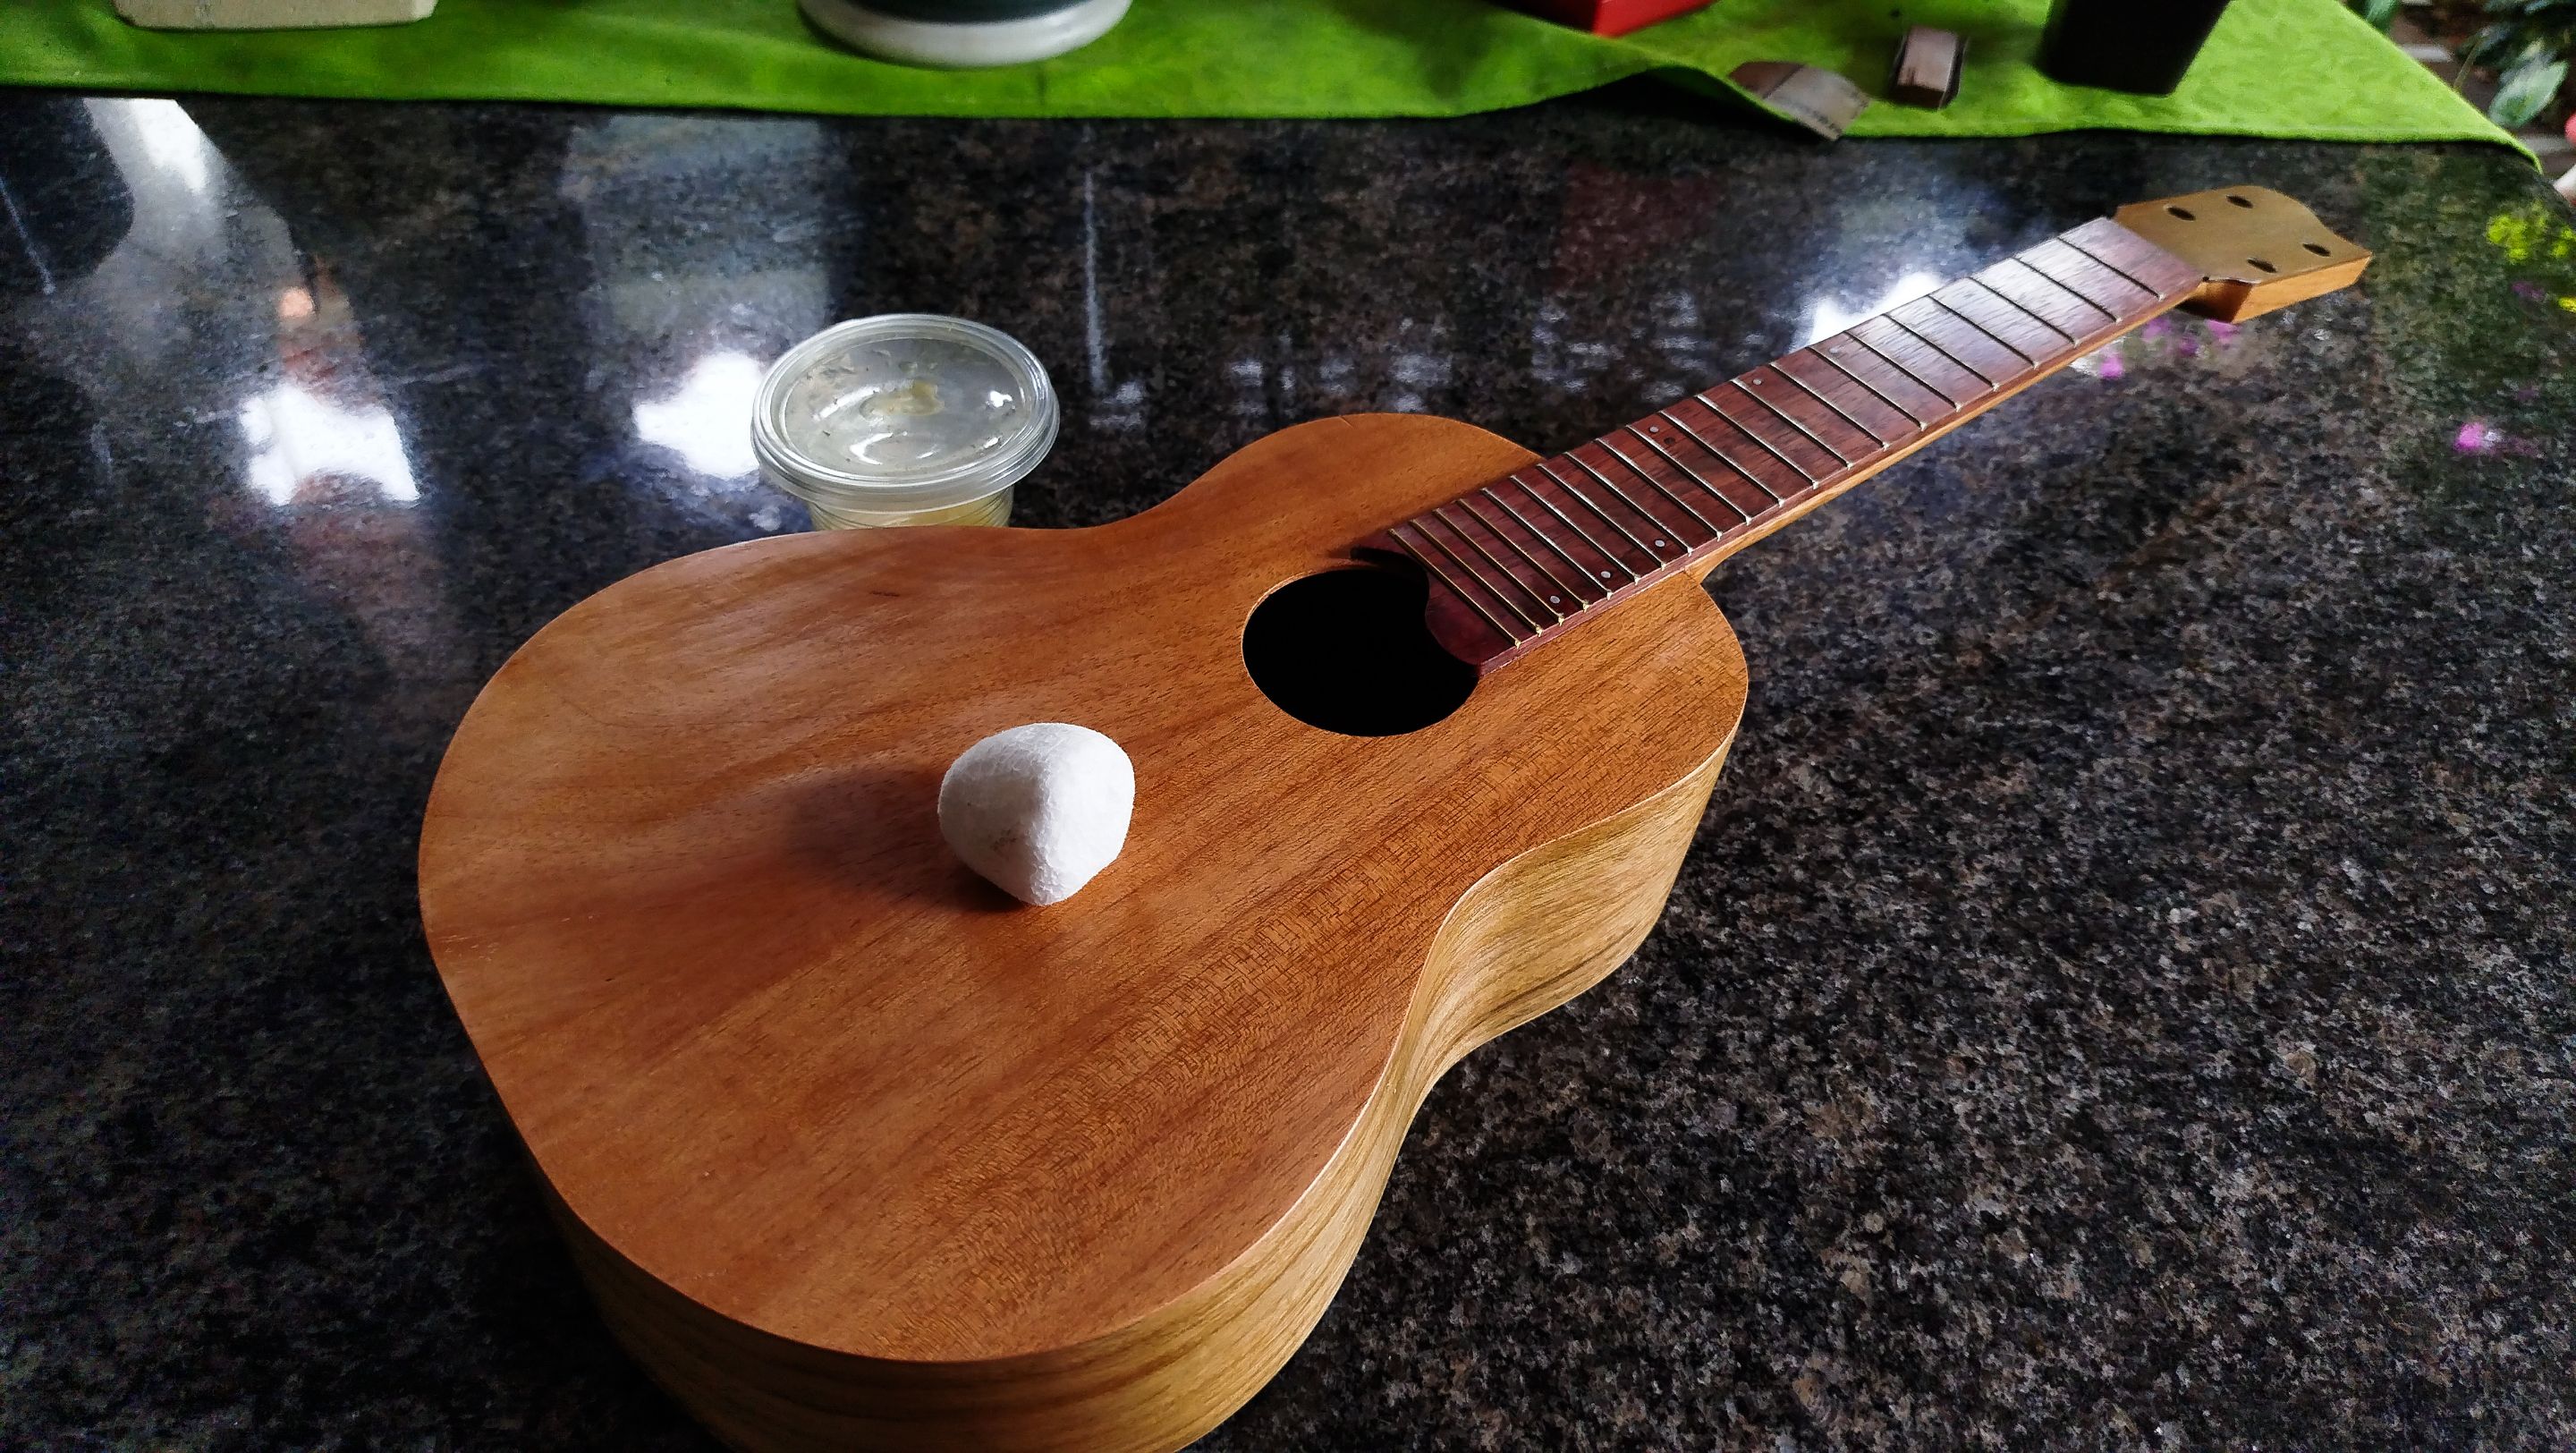
Sanding and second coat
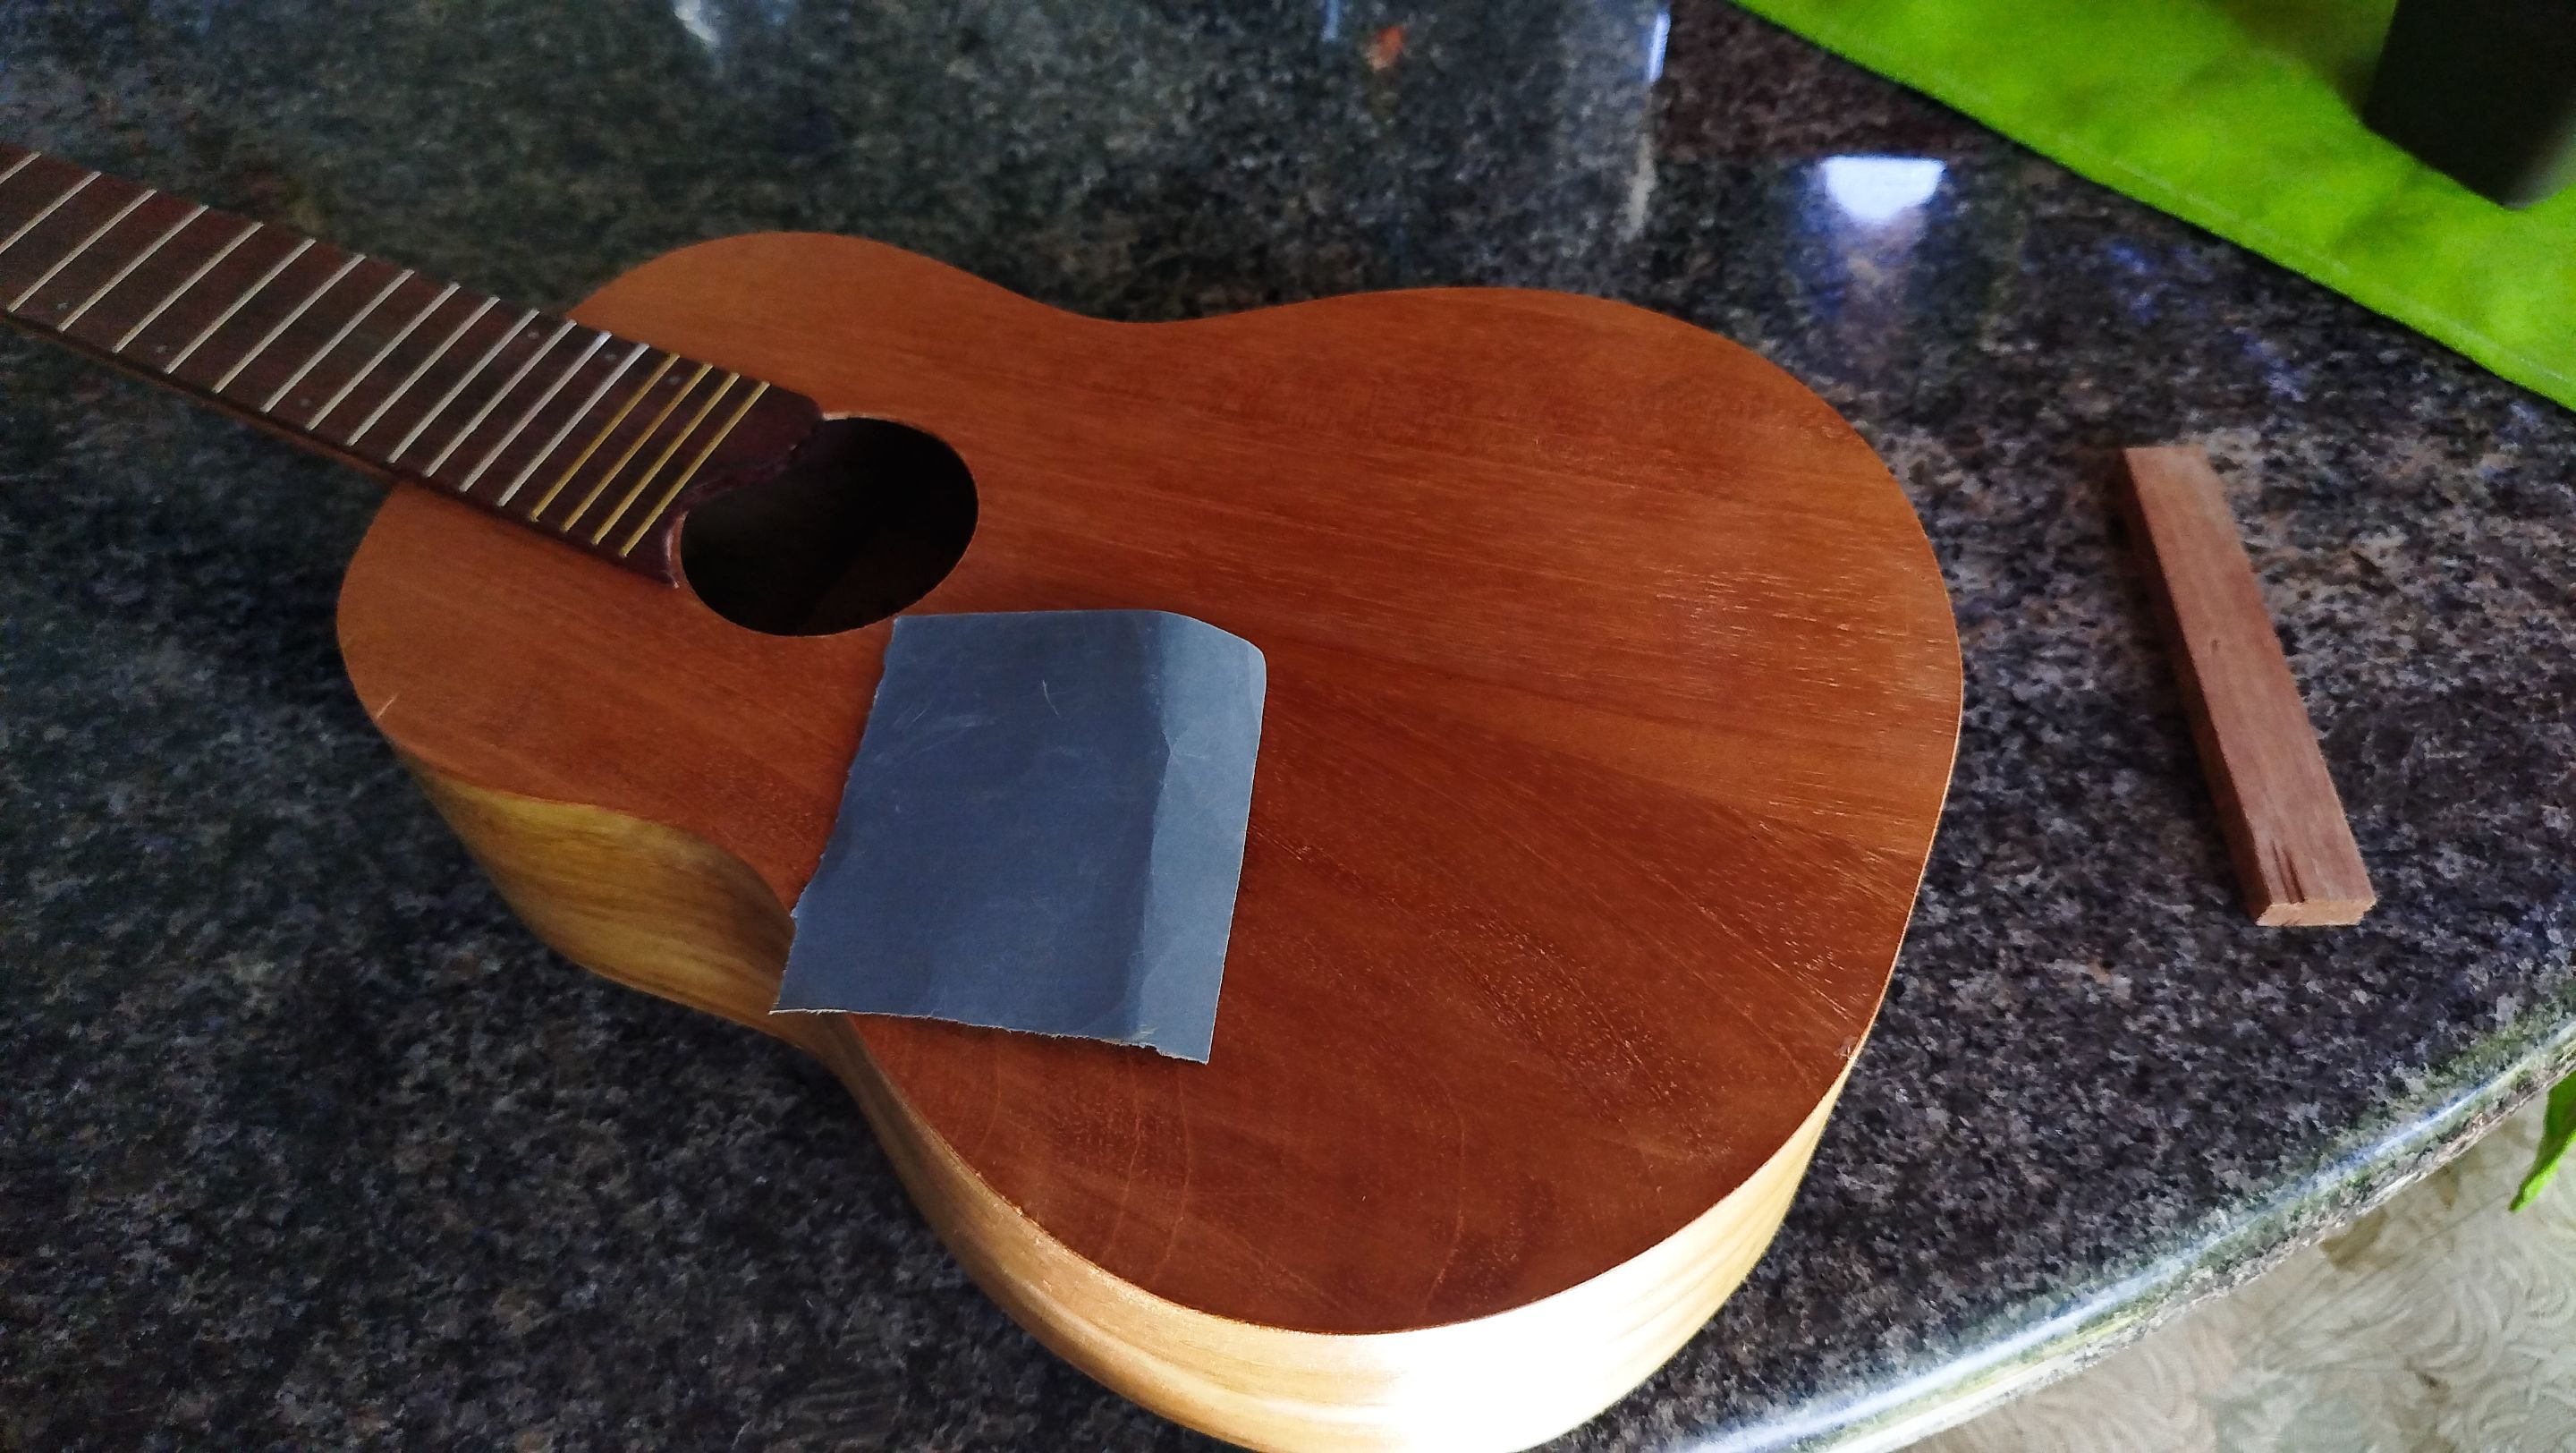


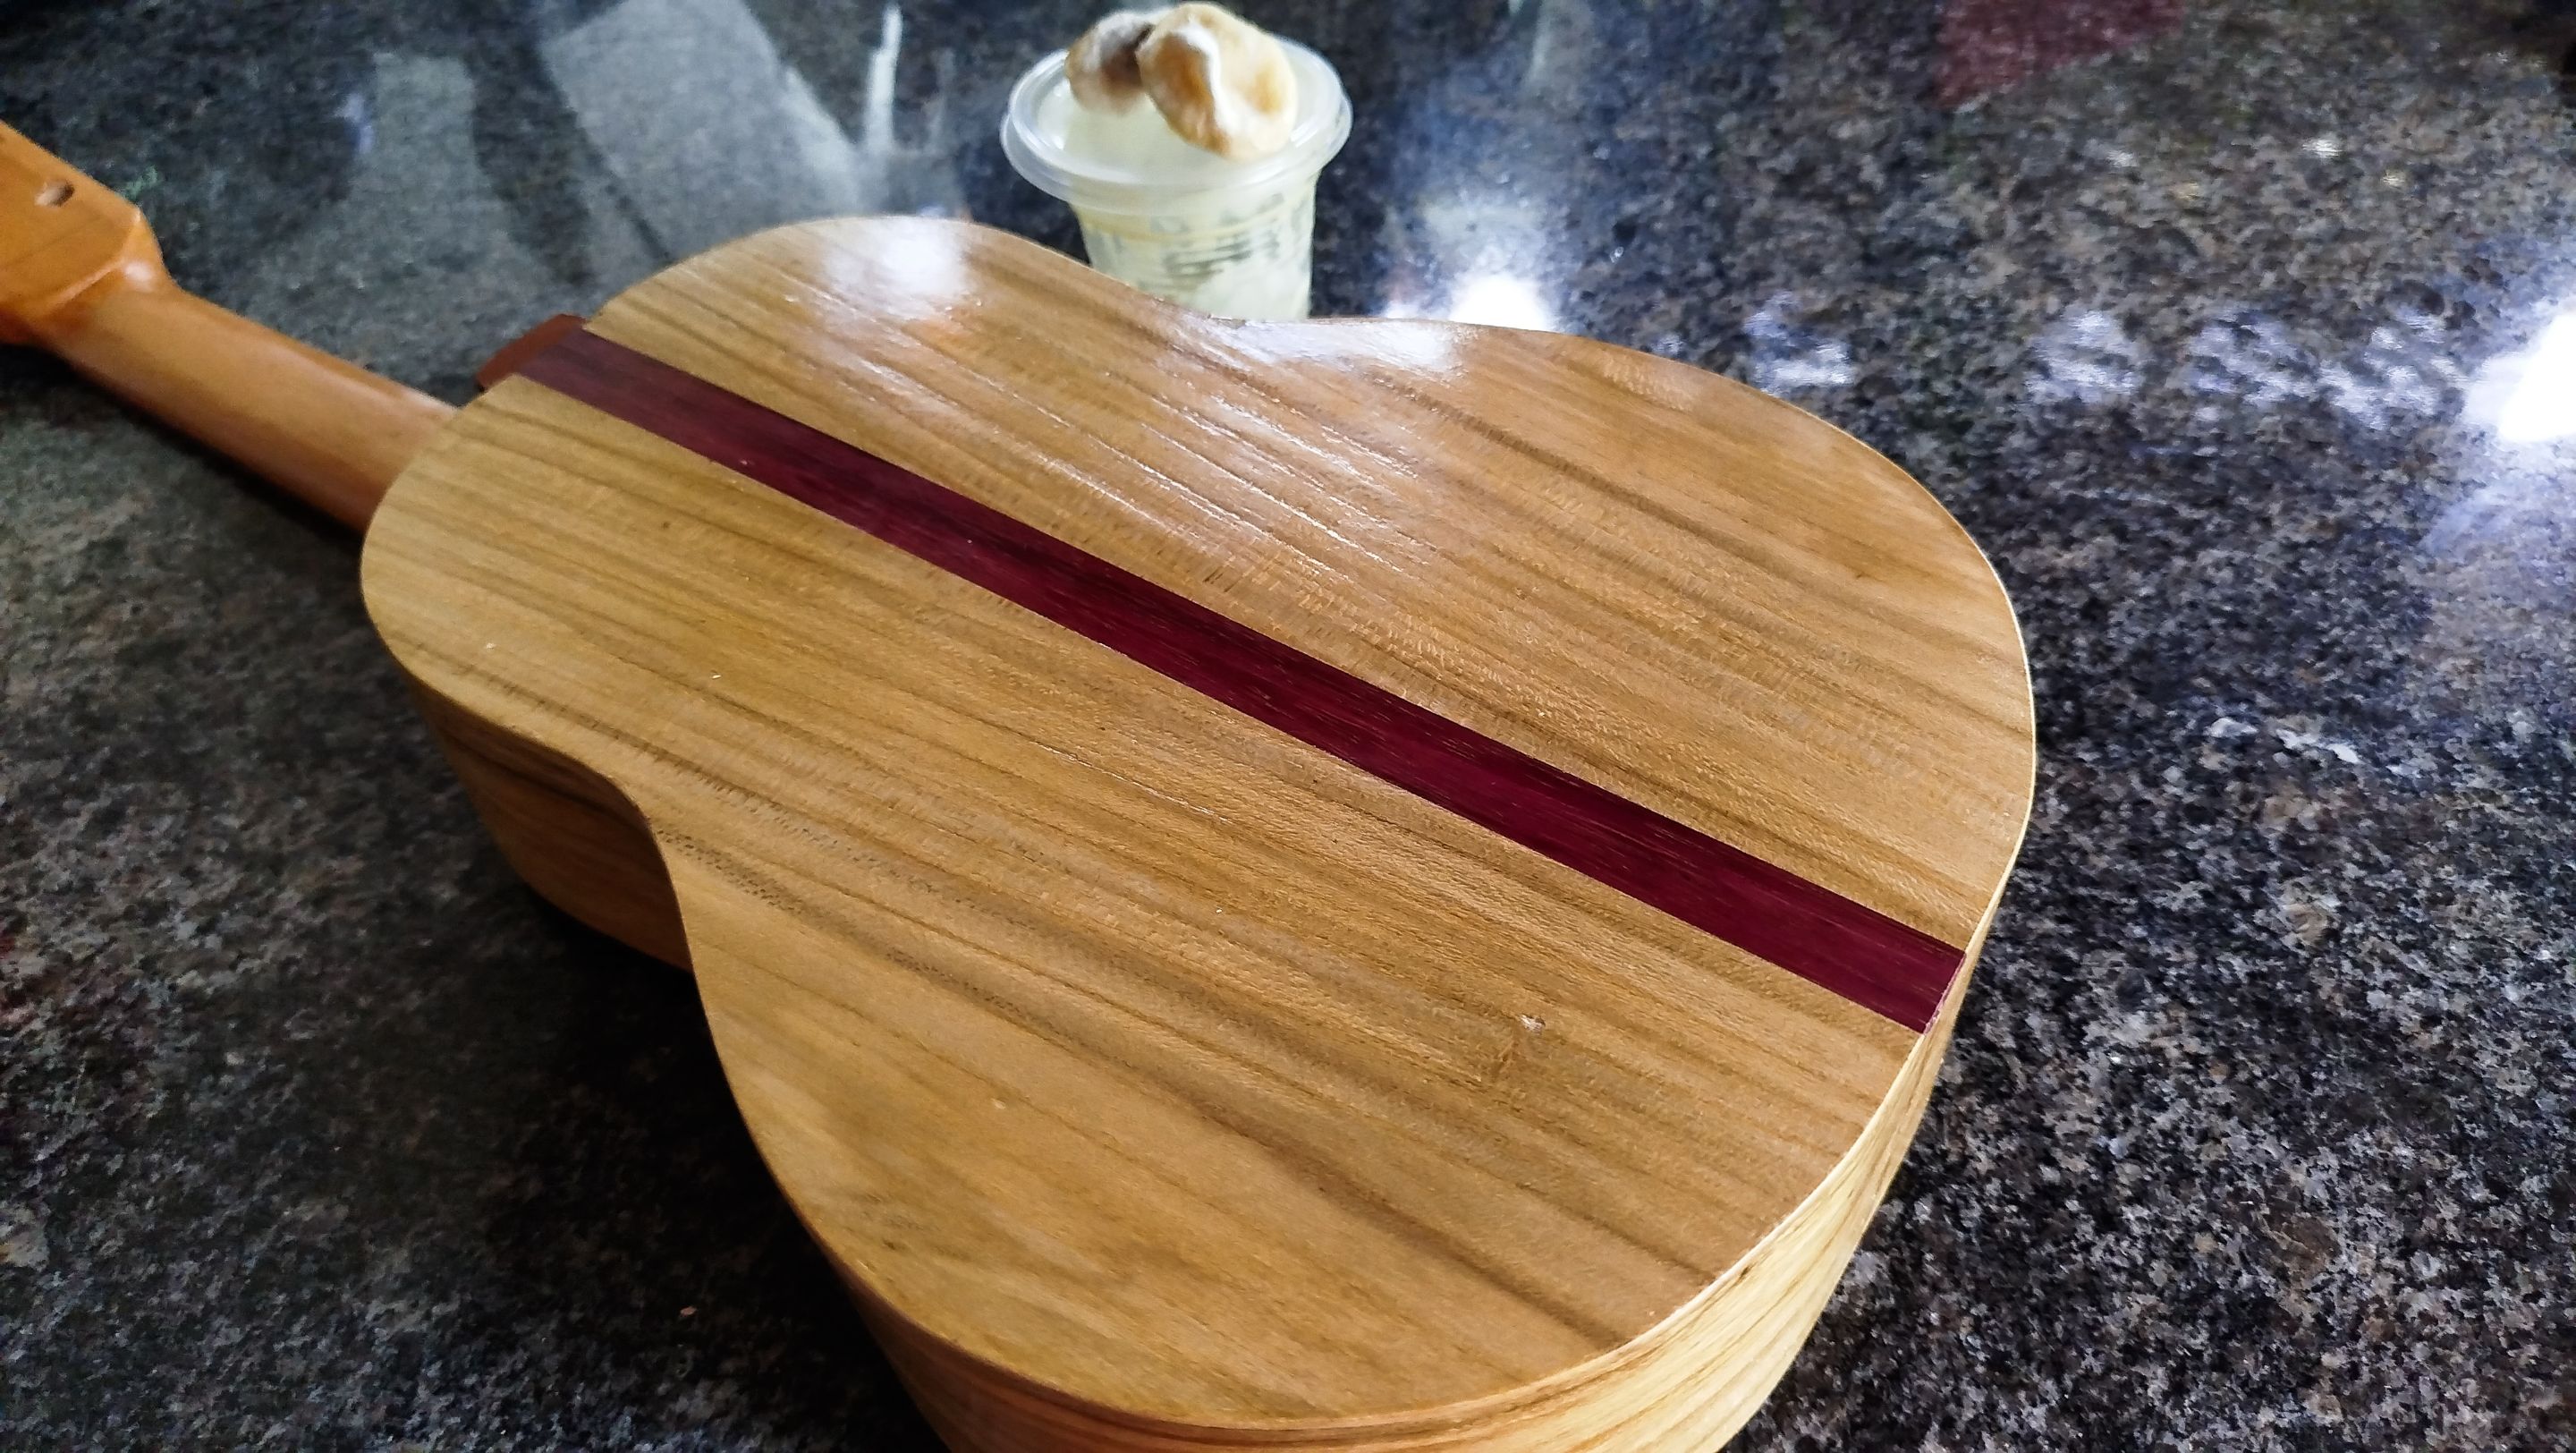
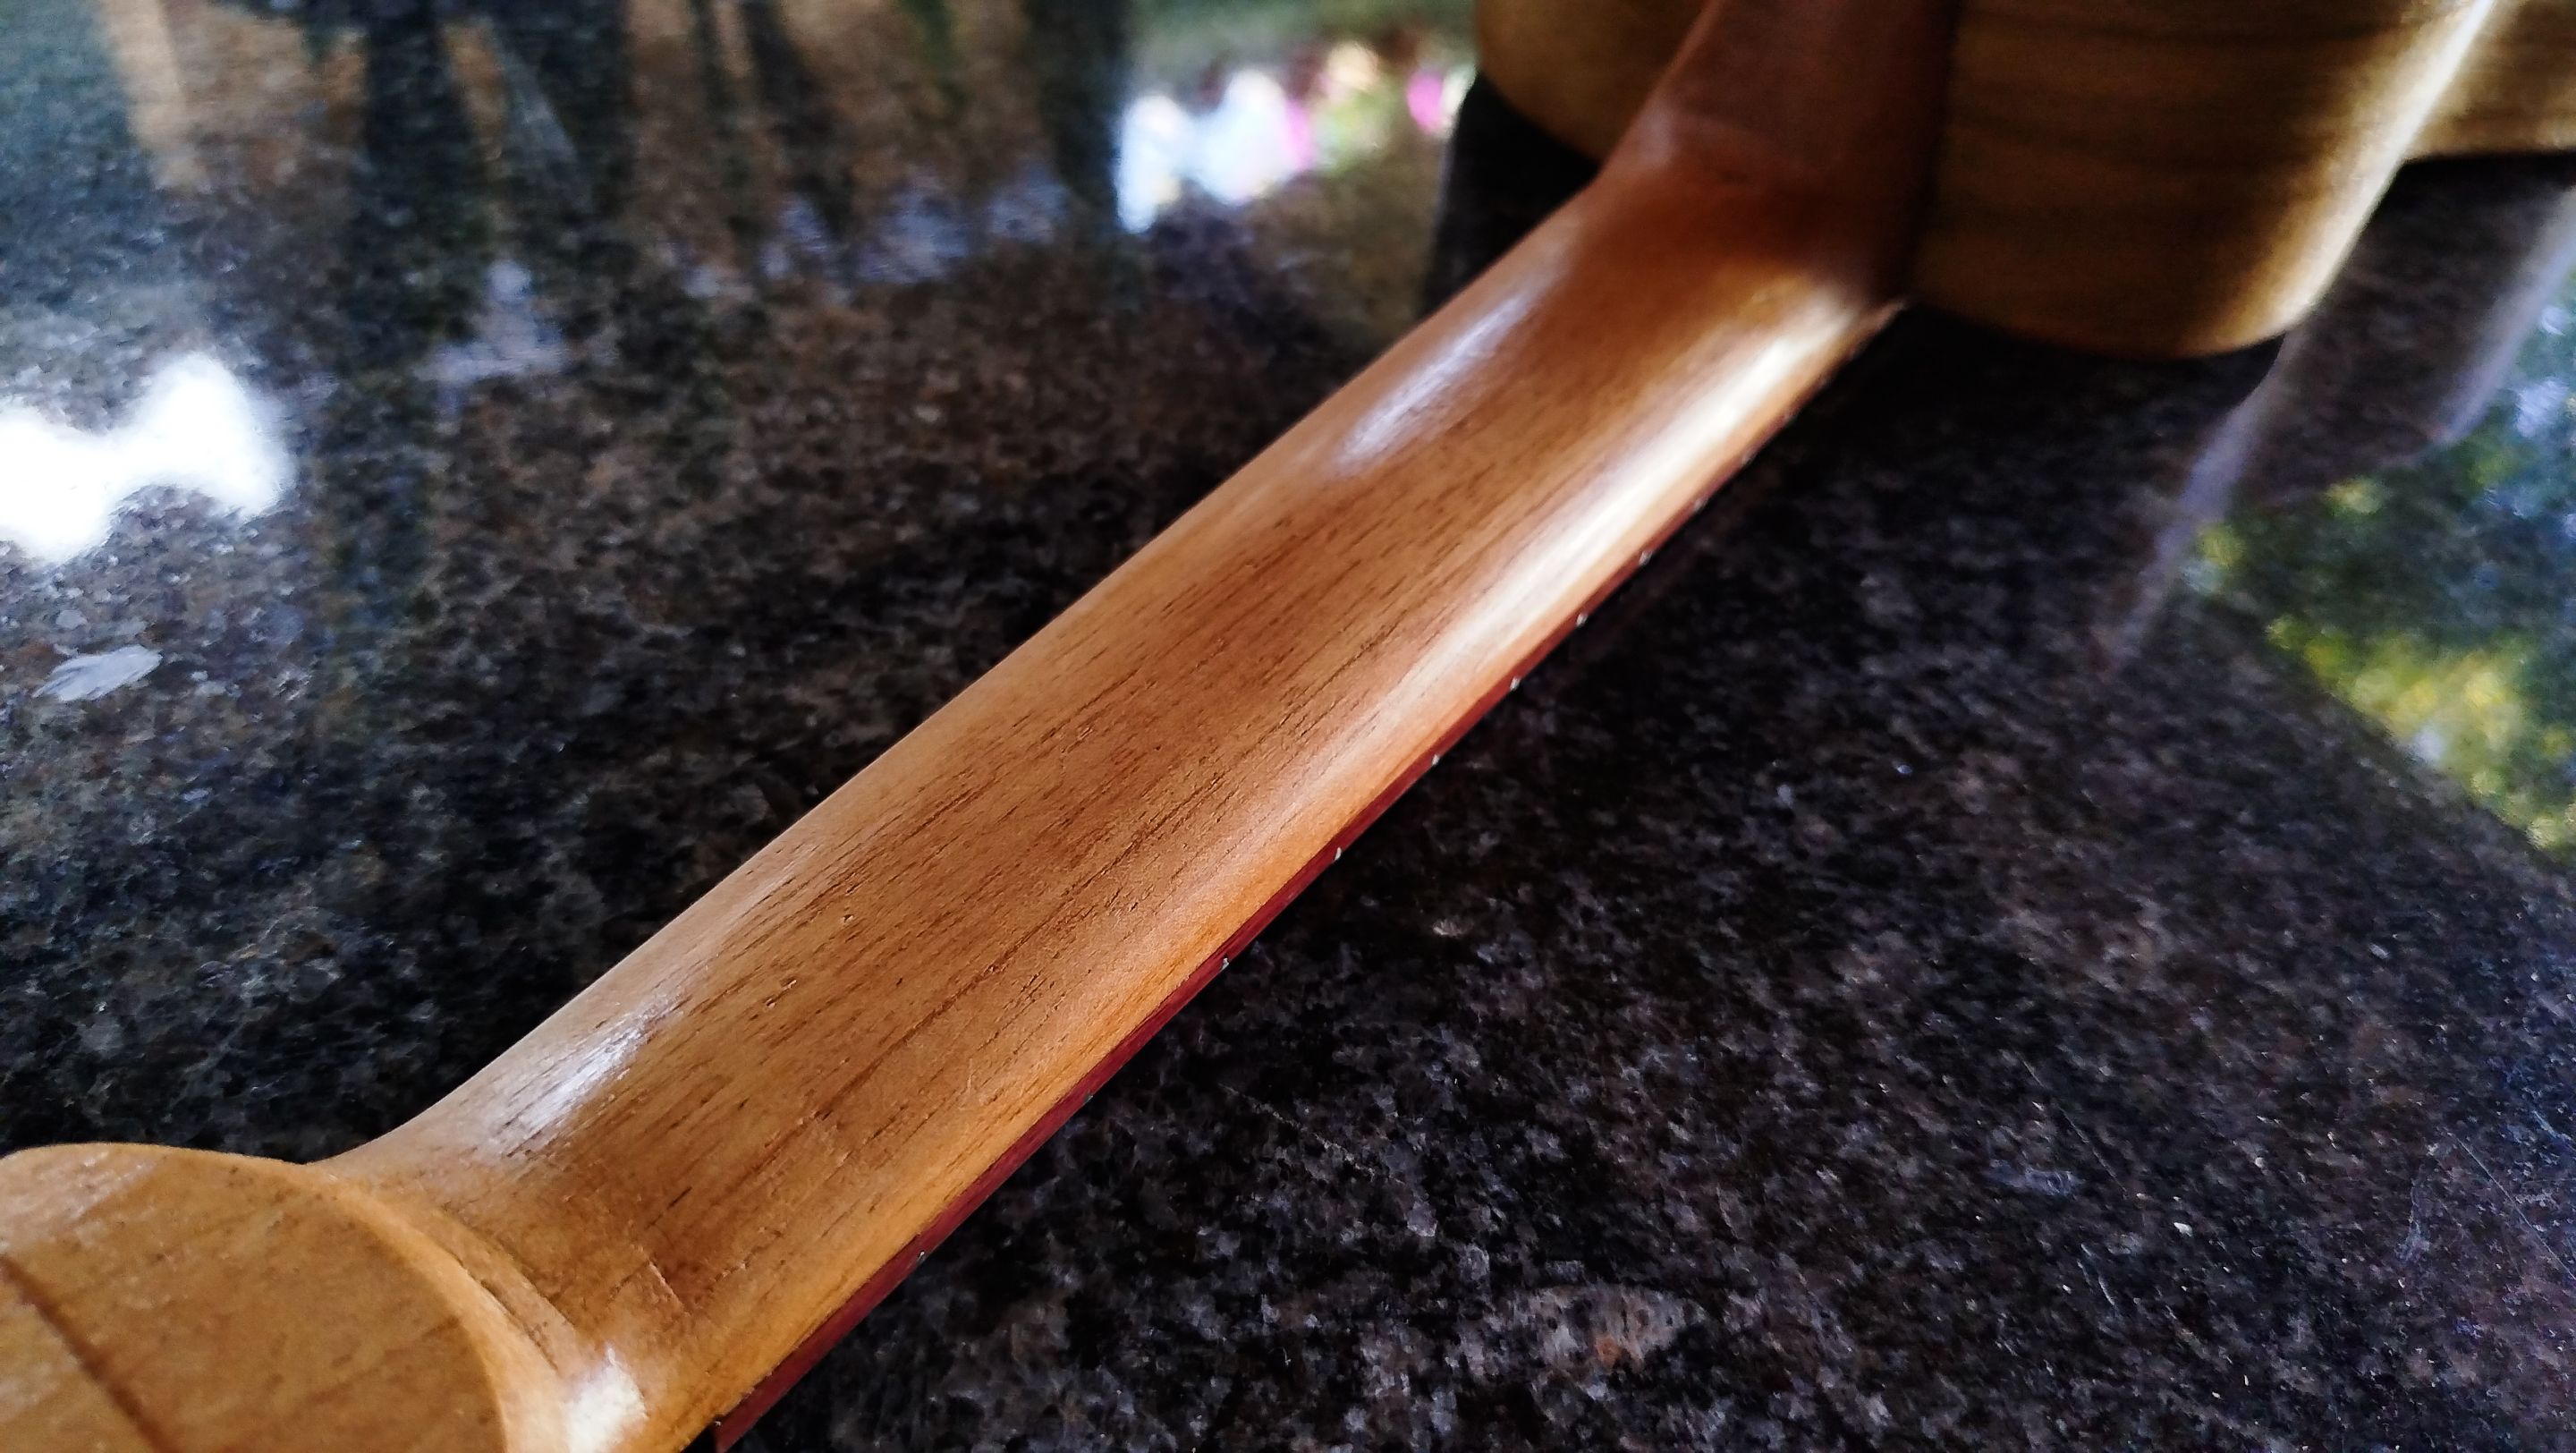
The next task is sanding the first coat. We use 400-grit sandpaper. We try to remove any uneven spots in the sealer. And trying to sand without going down to the wood. We can keep an eye on this by watching the color of dust that comes out of the sanding. It should always be white.
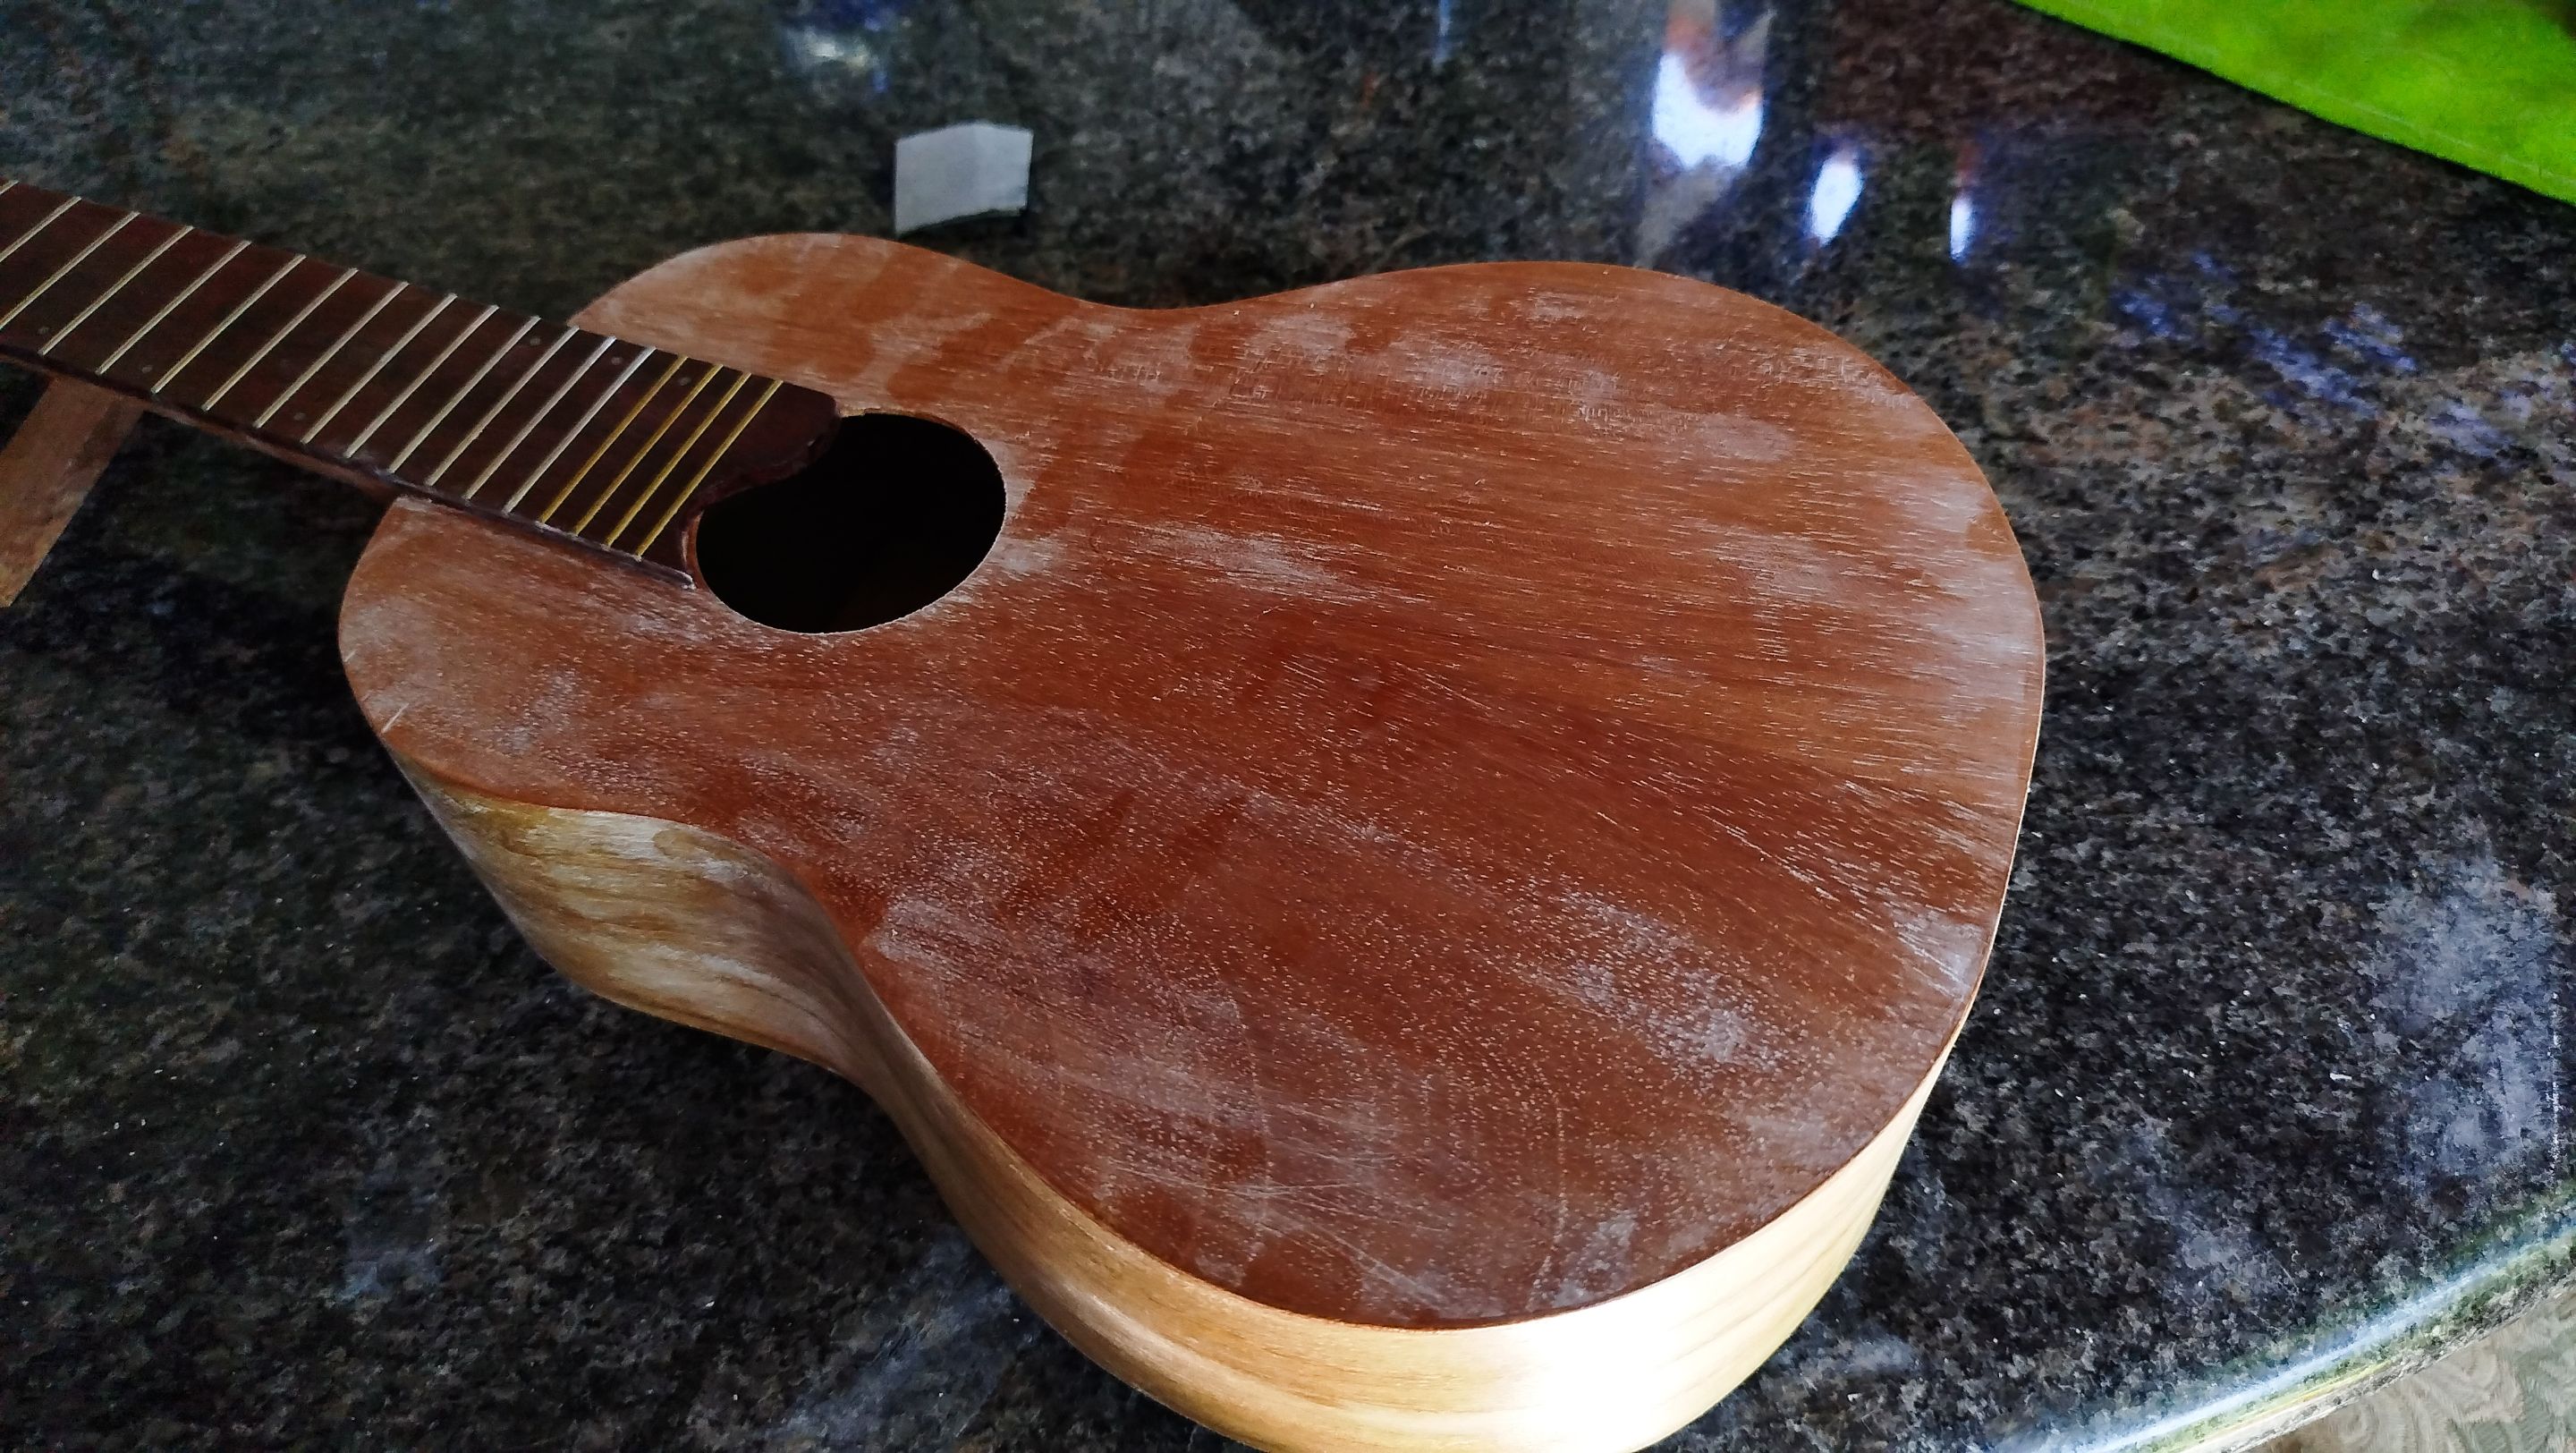
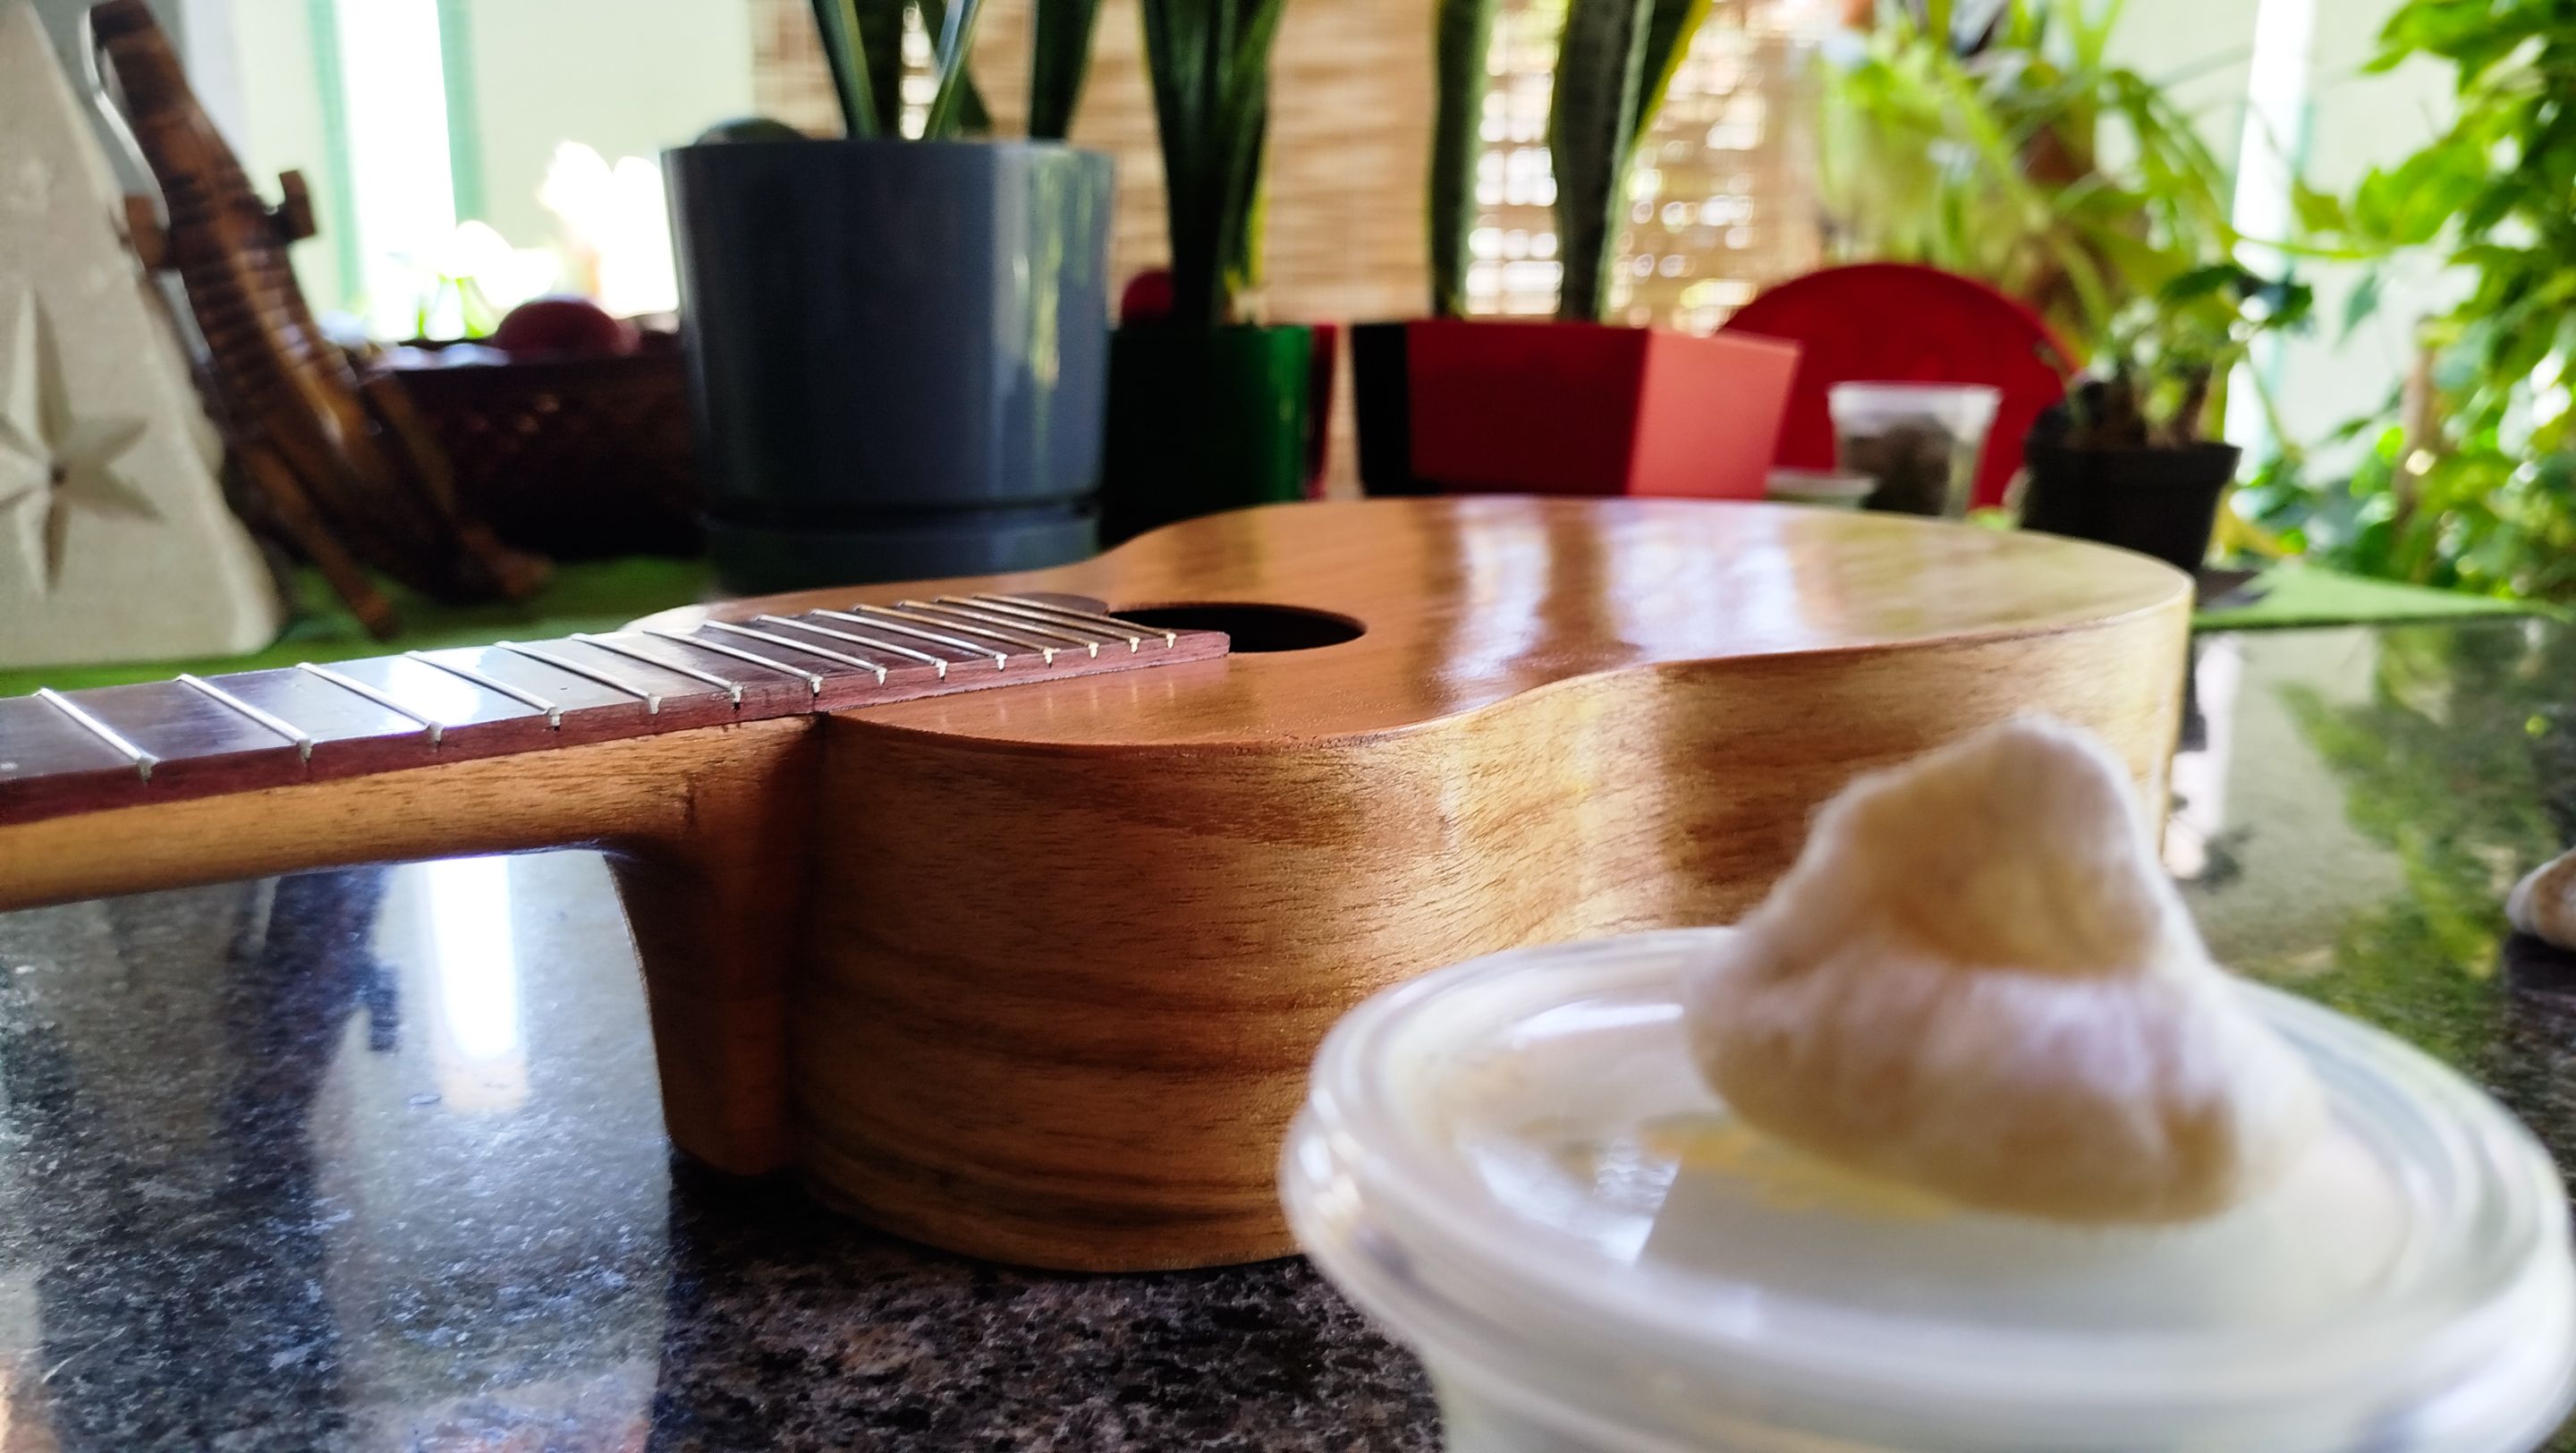
Then we make another mix of sealer. We use the same proportions of 3 to 1. And we create another cotton ball to apply this next coat. The first pass of it needs to go with the grain again. Then we can follow other paths. We might go against the grain or apply the mix in circles. The idea is that we need to start filling the pore we can see in the surface of the wood.
Here we will need to stop for some minutes from time to time because there is a coat already in place and thinner gasses tend to mess with the coats. It is easy to remove the coat if we apply the mix with too much pressure or when there is already a lot of it on the spot.
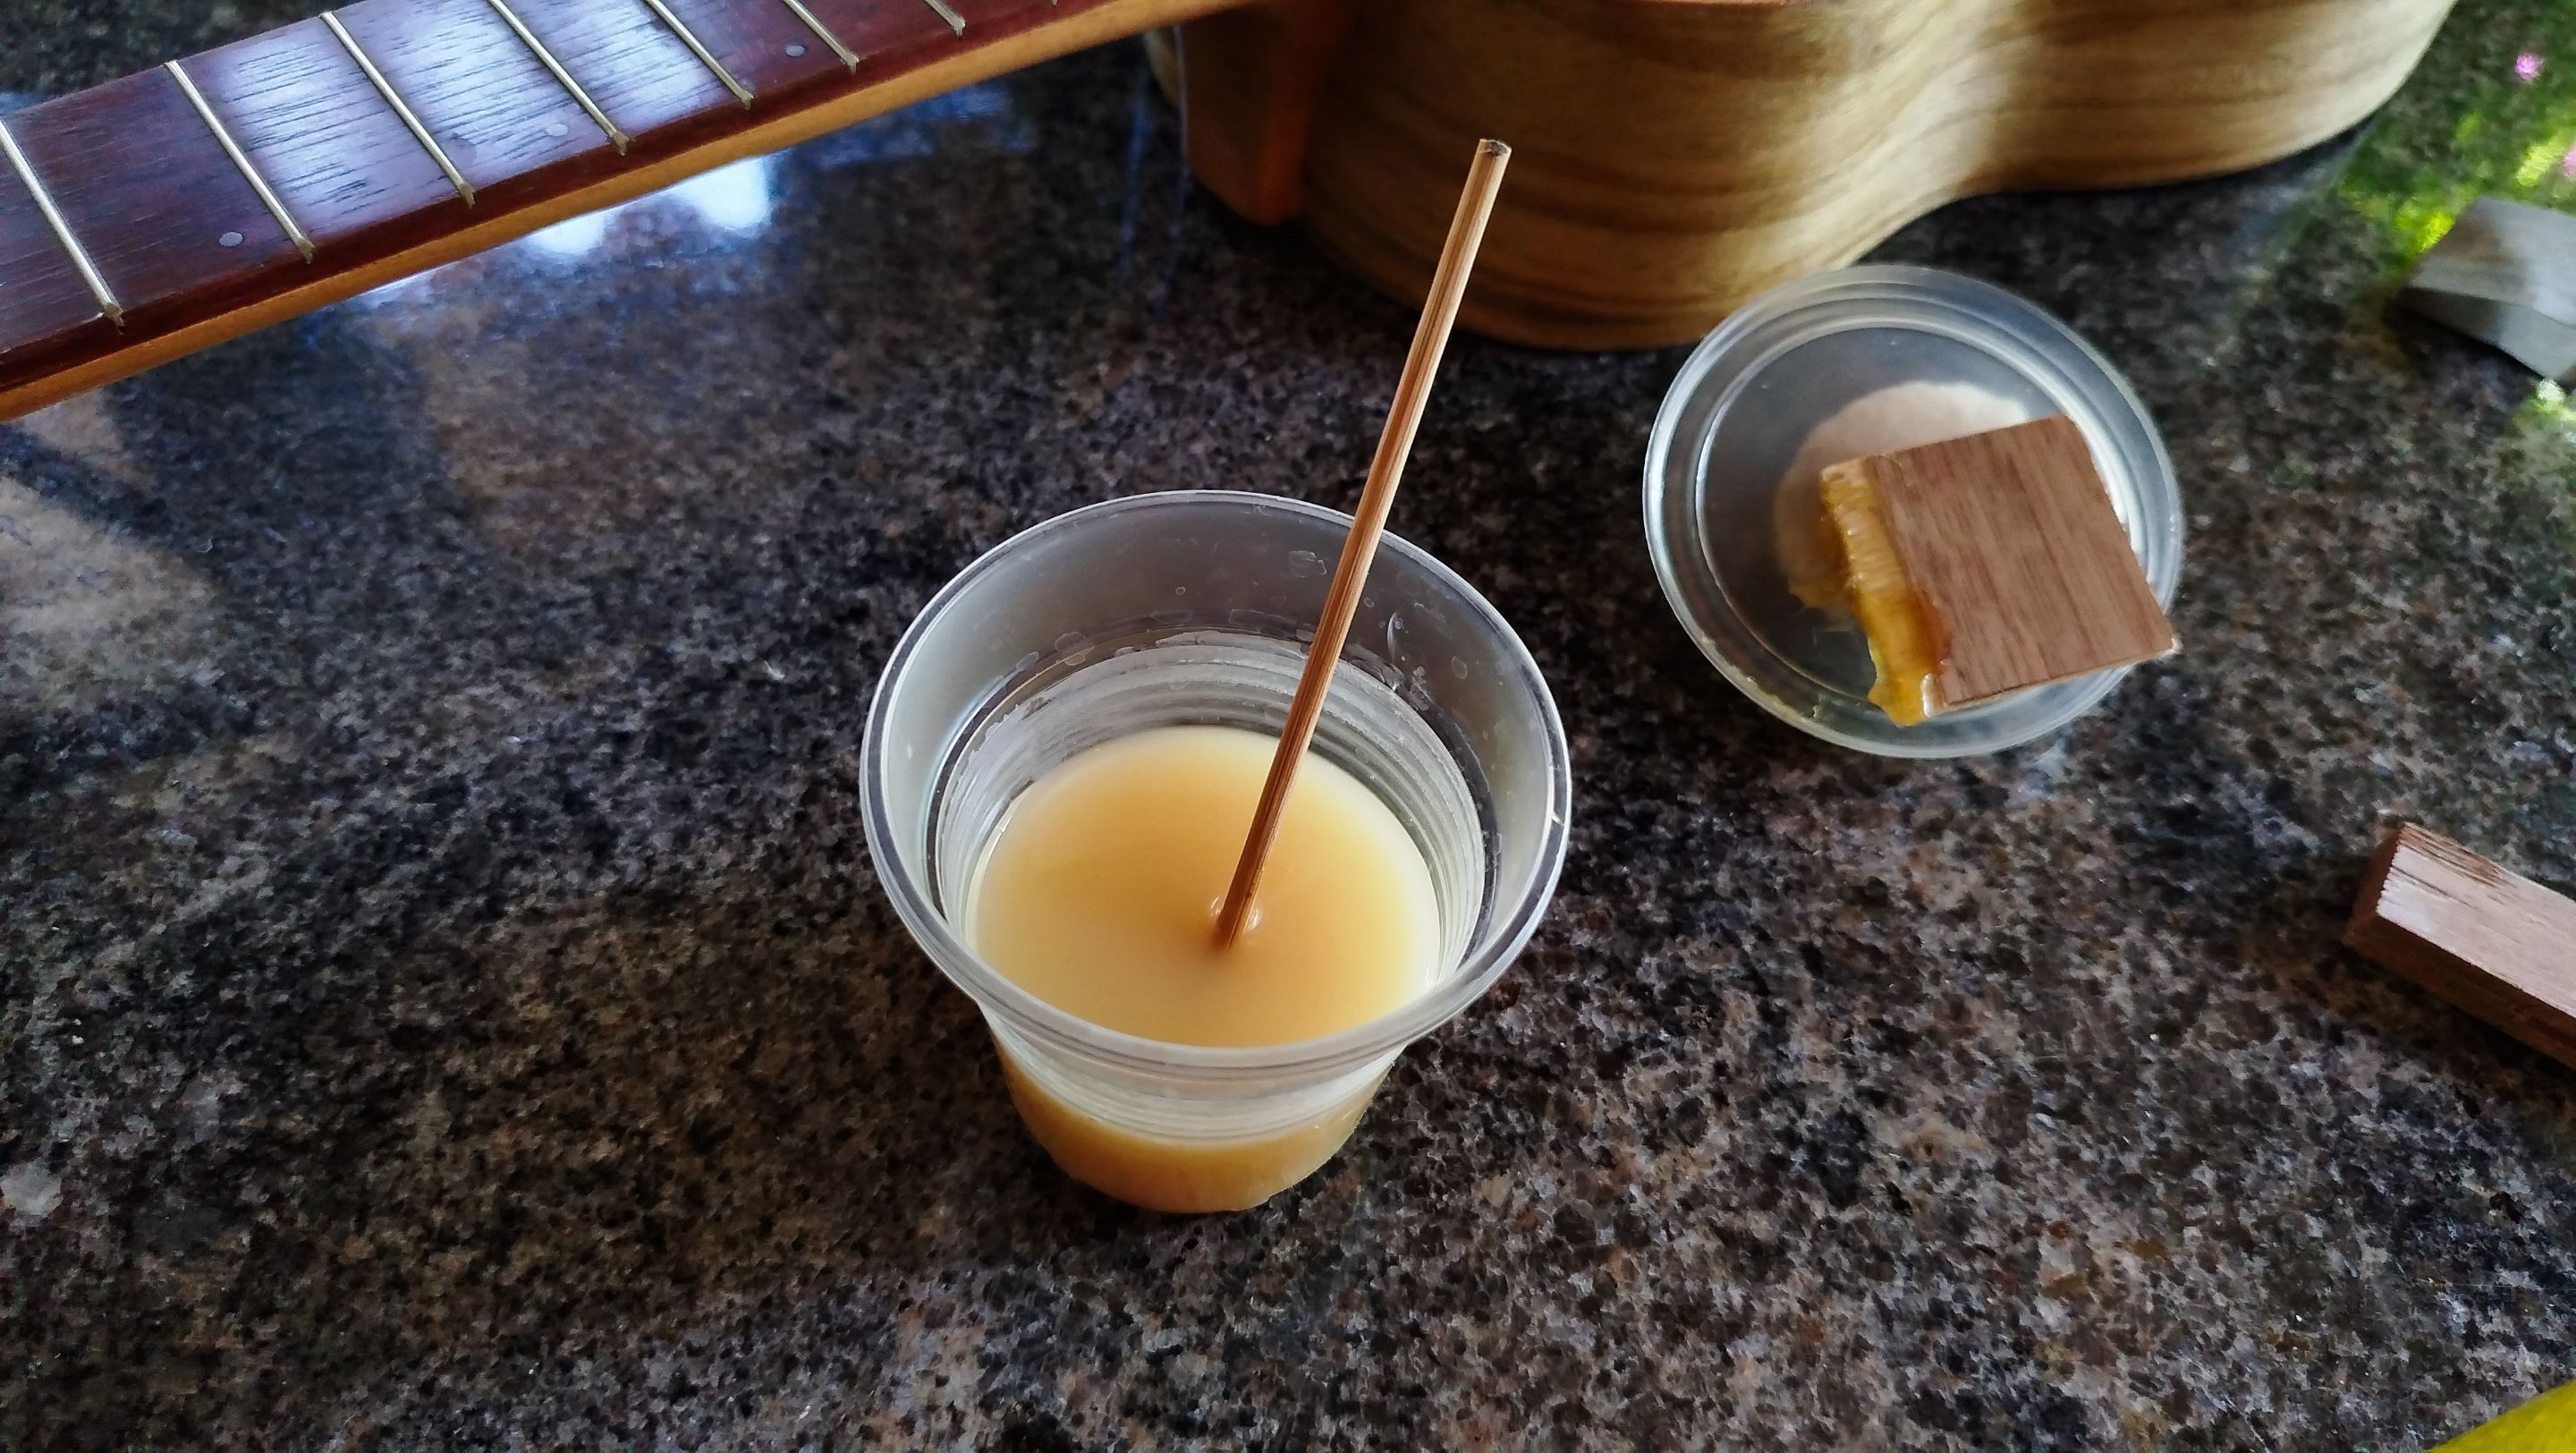
Third coat
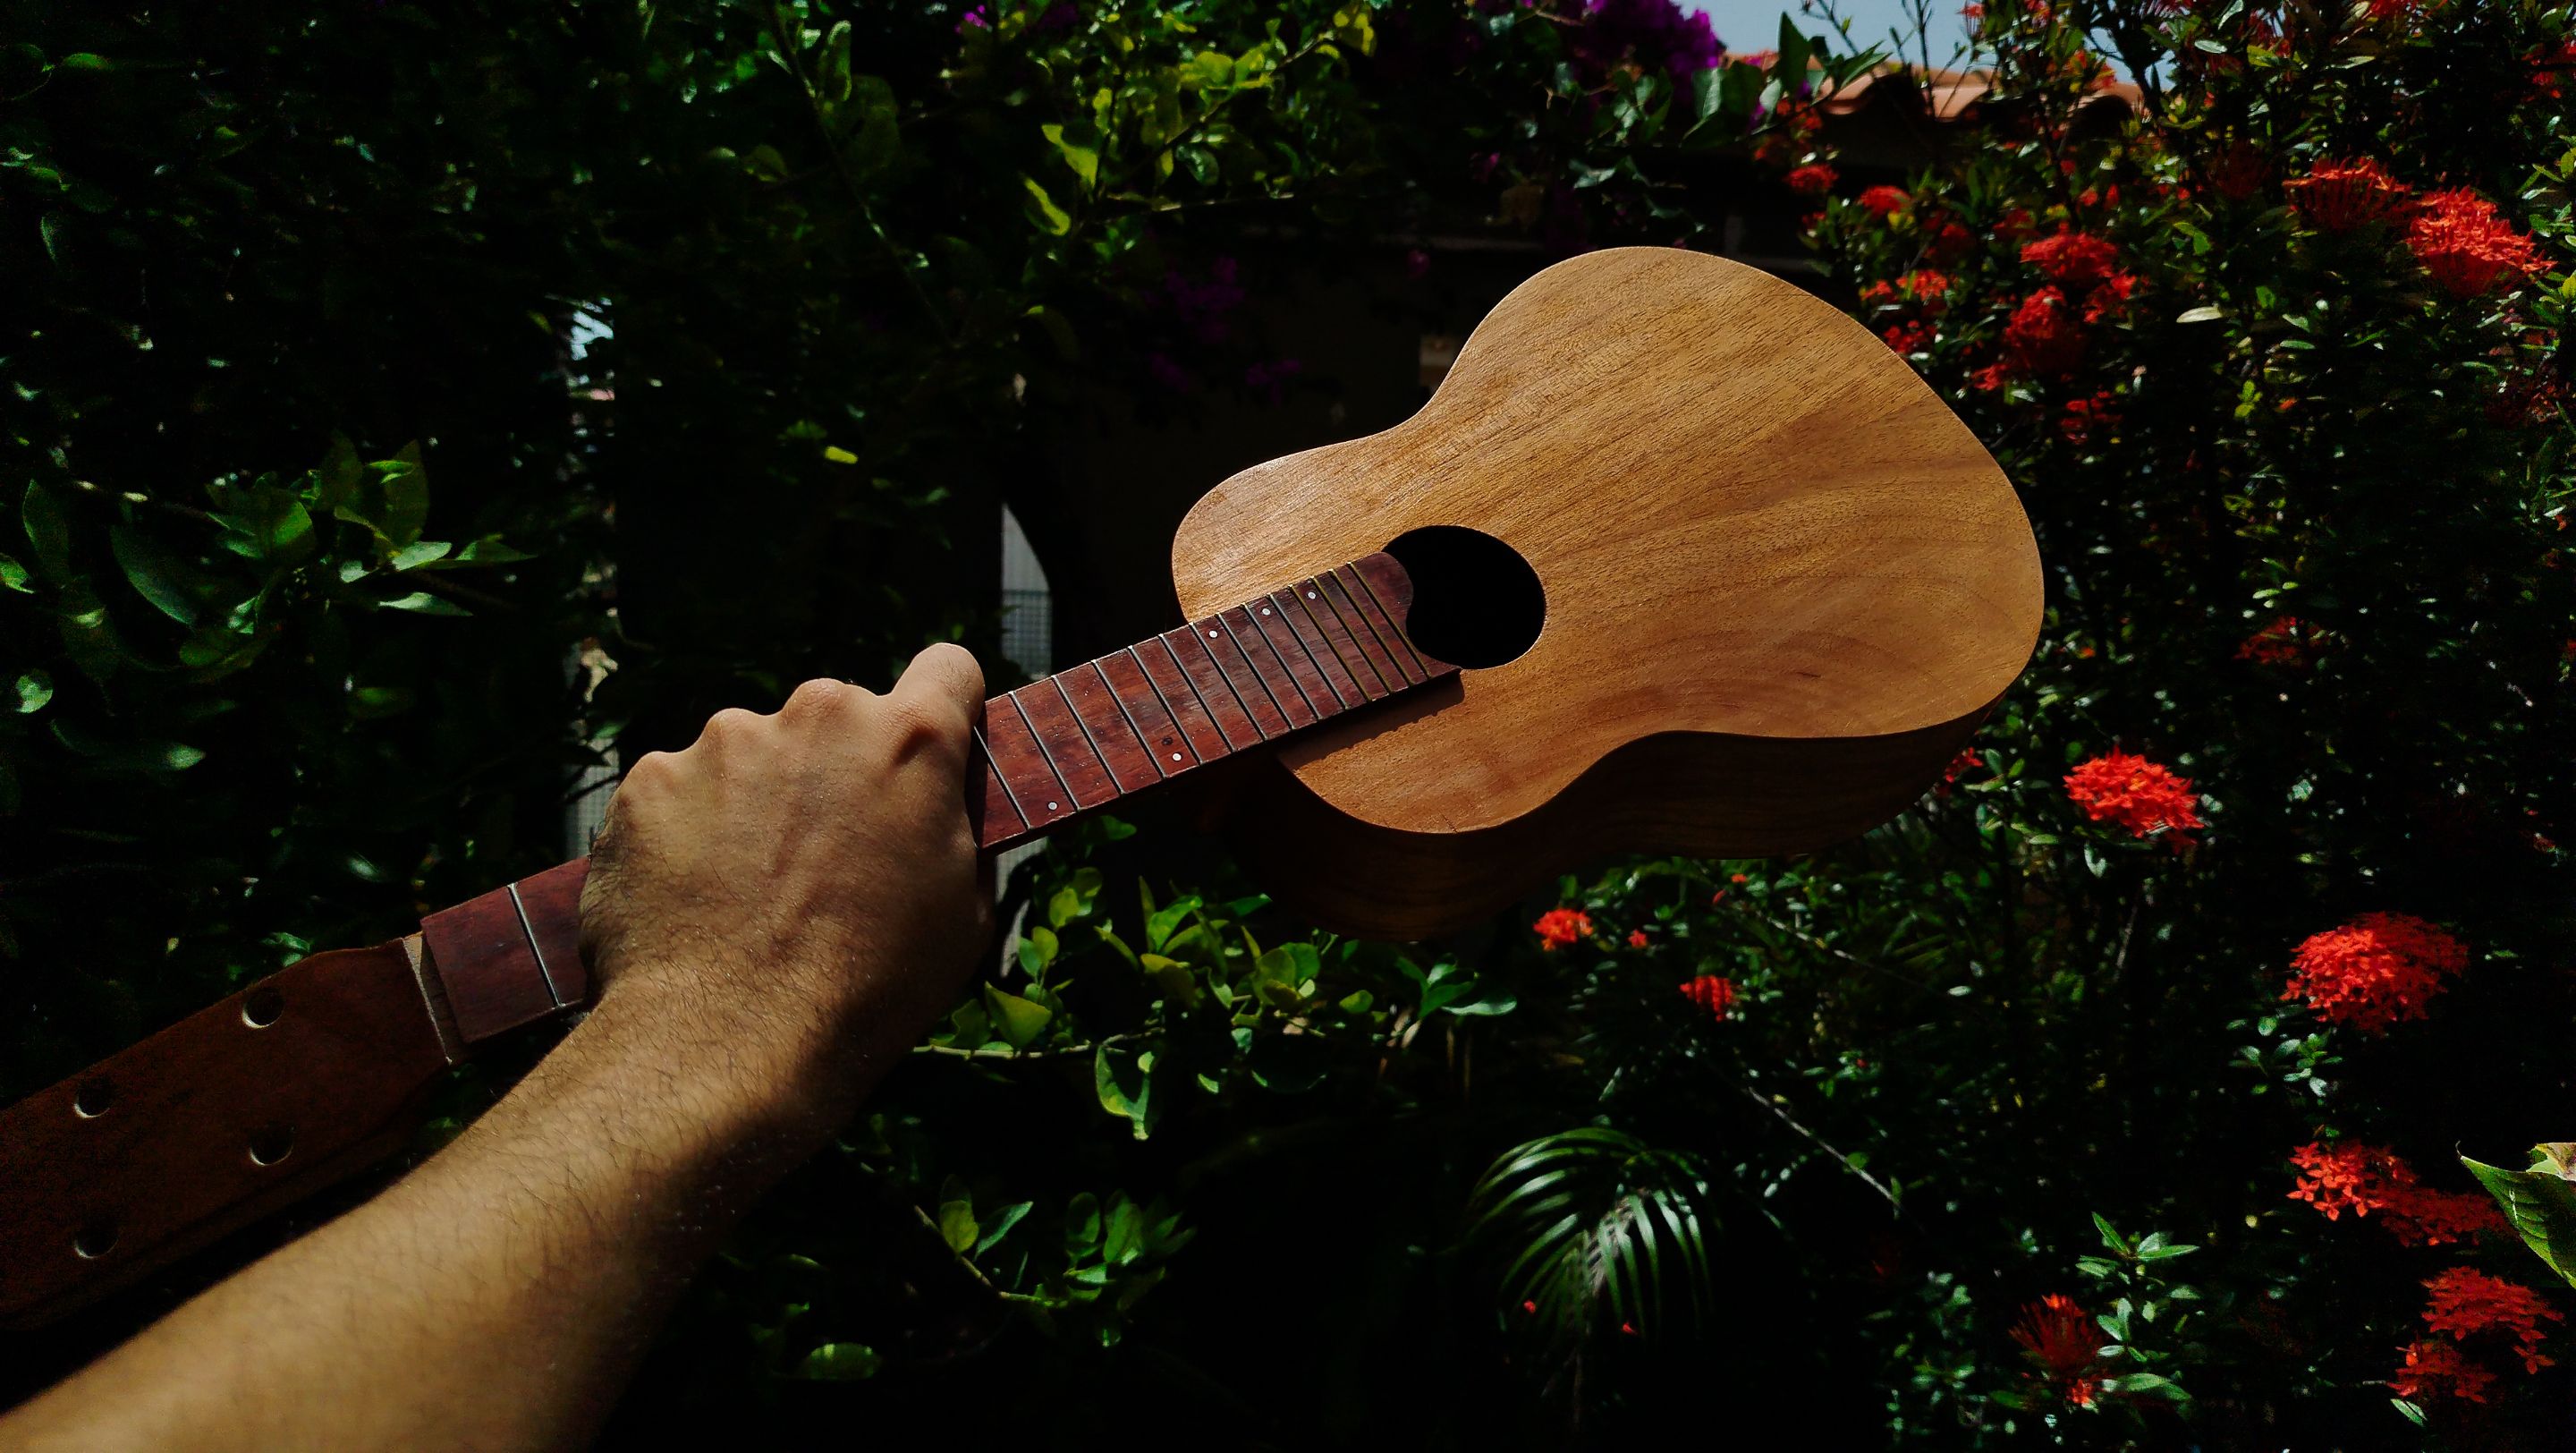

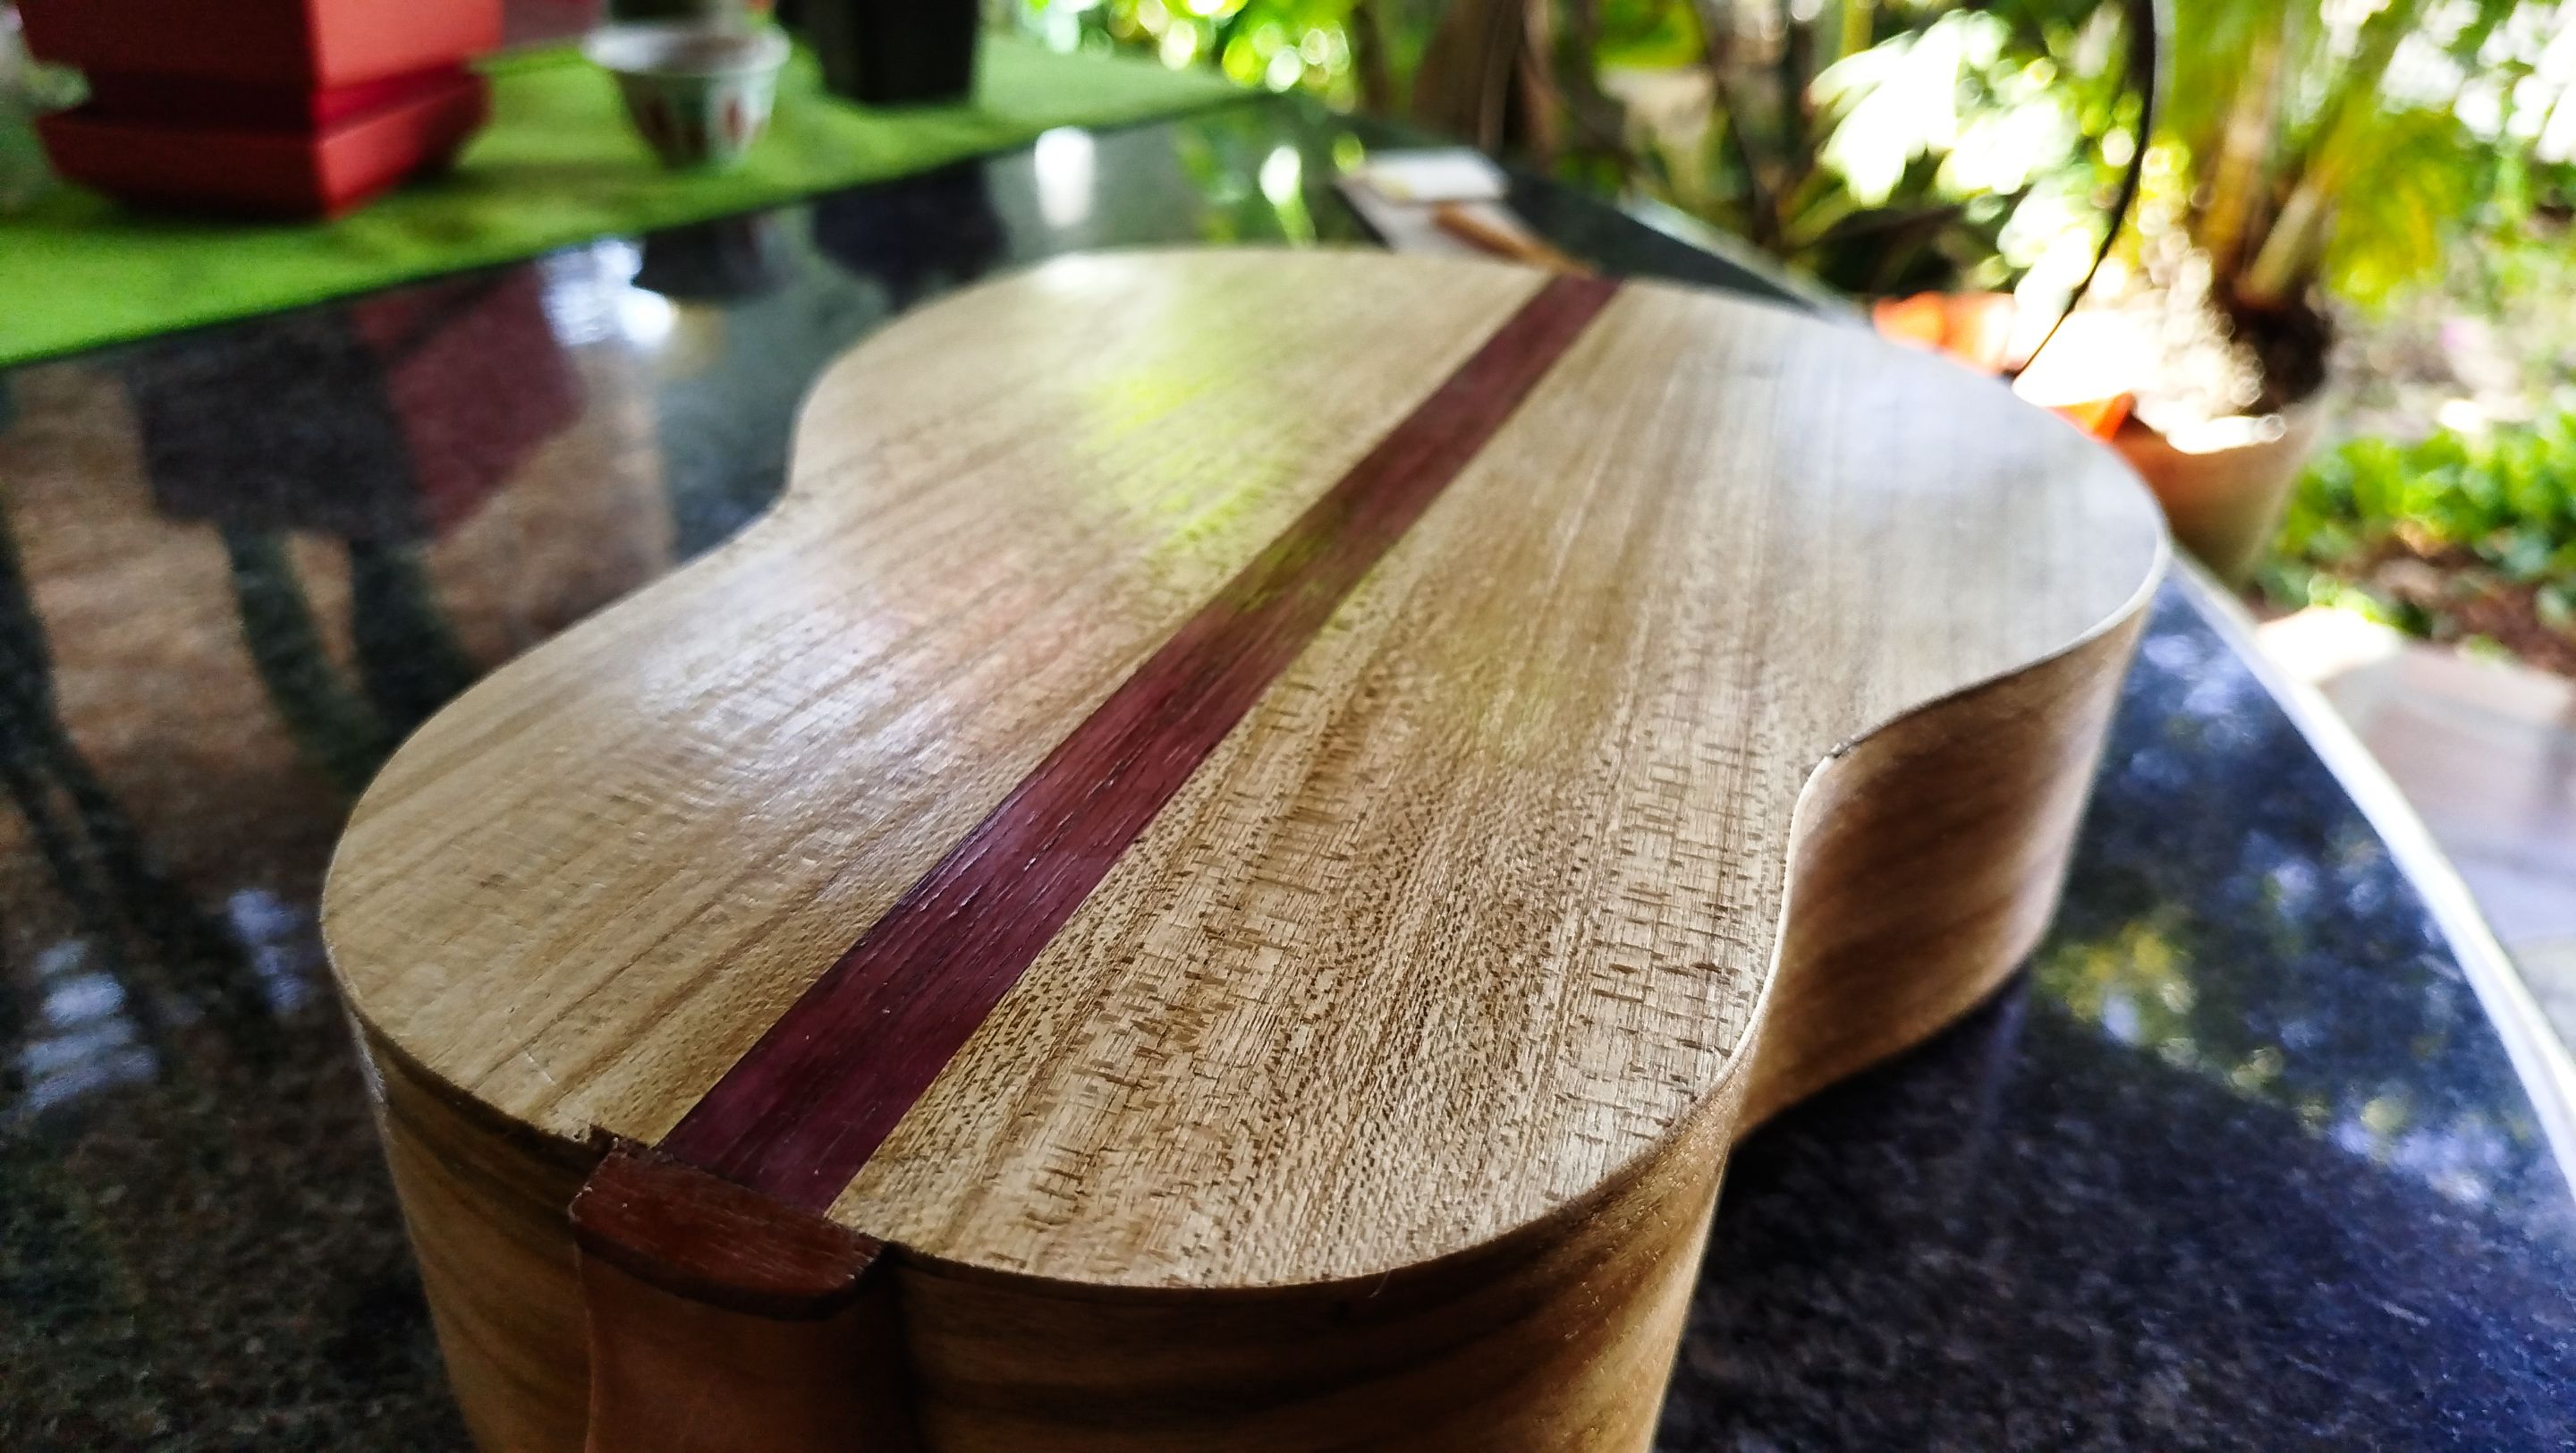
The last bits of the work are repeating the same steps over gain. First, we sand. And it was not addressed before, but we need to use a brush to remove the dust from the surface of the instrument. Once we do, we can go ahead and apply the next coat of sealer. This time, we are going for a proportion of 4 to 1. This is to get a mix that dries faster.
The results speak for themselves. The applying process is also something faster, but we need to be careful since there is even more thinner. We could remove the previous coats if we are passing the cotton ball too fast. After letting the third coat cure for another 12 hours, we sand everything again.
And with this we are ready for the last part of the build. Now we can apply the finish. Then glue the bridge in place. Make the nut. Put the tuners. And finally string up the instrument.
https://files.peakd.com/file/peakd-hive/bertrayo/Enyo4d2KNC9dwGuWMVoWdT9r7awN4qgRzhmXSAVcpnyFGVx2s9Vx9PFMvLJYQdCFZvJ.png
| Entry | Title |
|---|---|
| 1 | The Fist Ukuele |
| 2 | Structure |
| 3 | Heel and Bars |
| 4 | Head Stock and End Block |
| 5 | Sides and Kerfing |
| 6 | Out of the Mould |
| 7 | Lid On |
| 8 | Fretboard on |
| 9 | Bridge and Markers |
| 10 | Frets and Neck |
https://files.peakd.com/file/peakd-hive/bertrayo/Enyo4d2KNC9dwGuWMVoWdT9r7awN4qgRzhmXSAVcpnyFGVx2s9Vx9PFMvLJYQdCFZvJ.png
-
Photos 📷: Redmi Note 13
-
Thumbnail 🖼️: Canva.
-
Editing 🎬:Adobe Photoshop Lightroom.
https://files.peakd.com/file/peakd-hive/bertrayo/Enyo4d2KNC9dwGuWMVoWdT9r7awN4qgRzhmXSAVcpnyFGVx2s9Vx9PFMvLJYQdCFZvJ.png

Follow me on Instagram for enquires and commission.
If you'd like to help the workshop grow, you can make a donation here.
You can find me at discord as bertrayo#1763