Hey creative friends, we're already Thursday, and tomorrow is the weekend. What have you planned for this weekend?
Finally, after all this time, I finally have a job and a desk of my own. Since it's been so empty, I wanted to add some sweetness to it. I thought of a clay decoration.
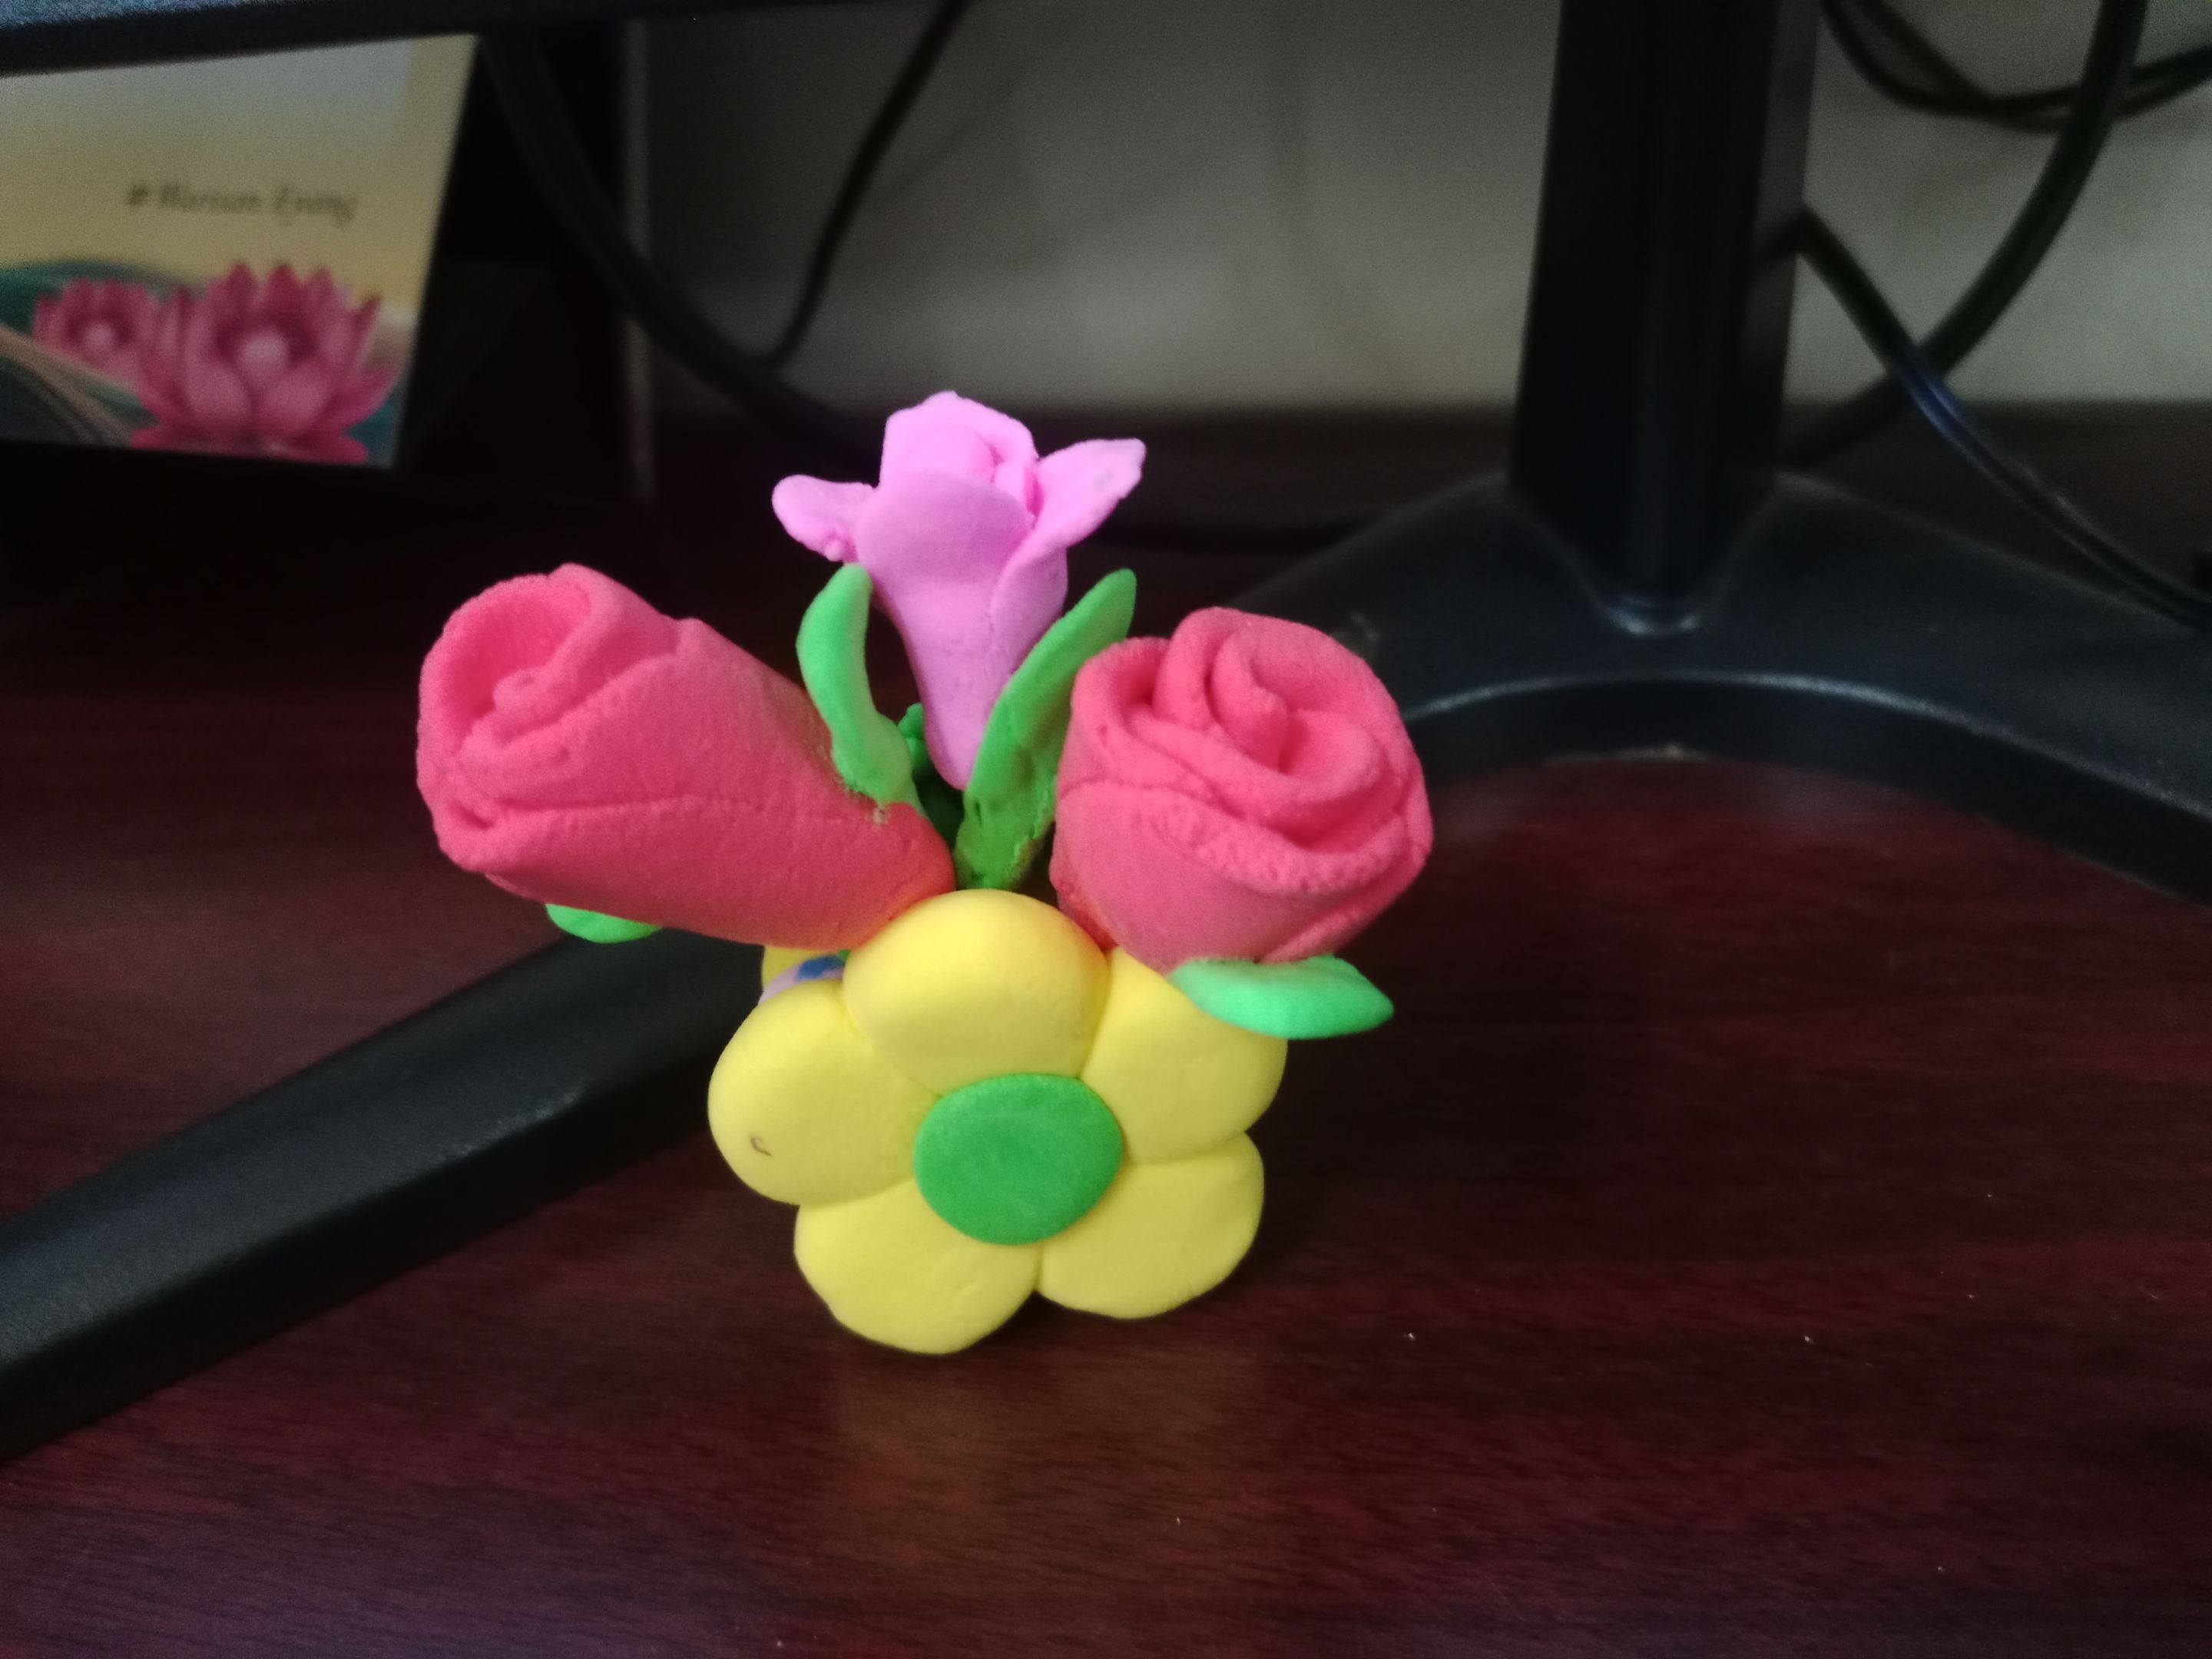
Clay Flower For My Office Desk
The next day, I immediately brought my stock of clay from home to decorate my office desk. Don't be mistaken, I did this during my break, so it wouldn't interfere with my work hours. So, let's get the materials ready.
-------------------
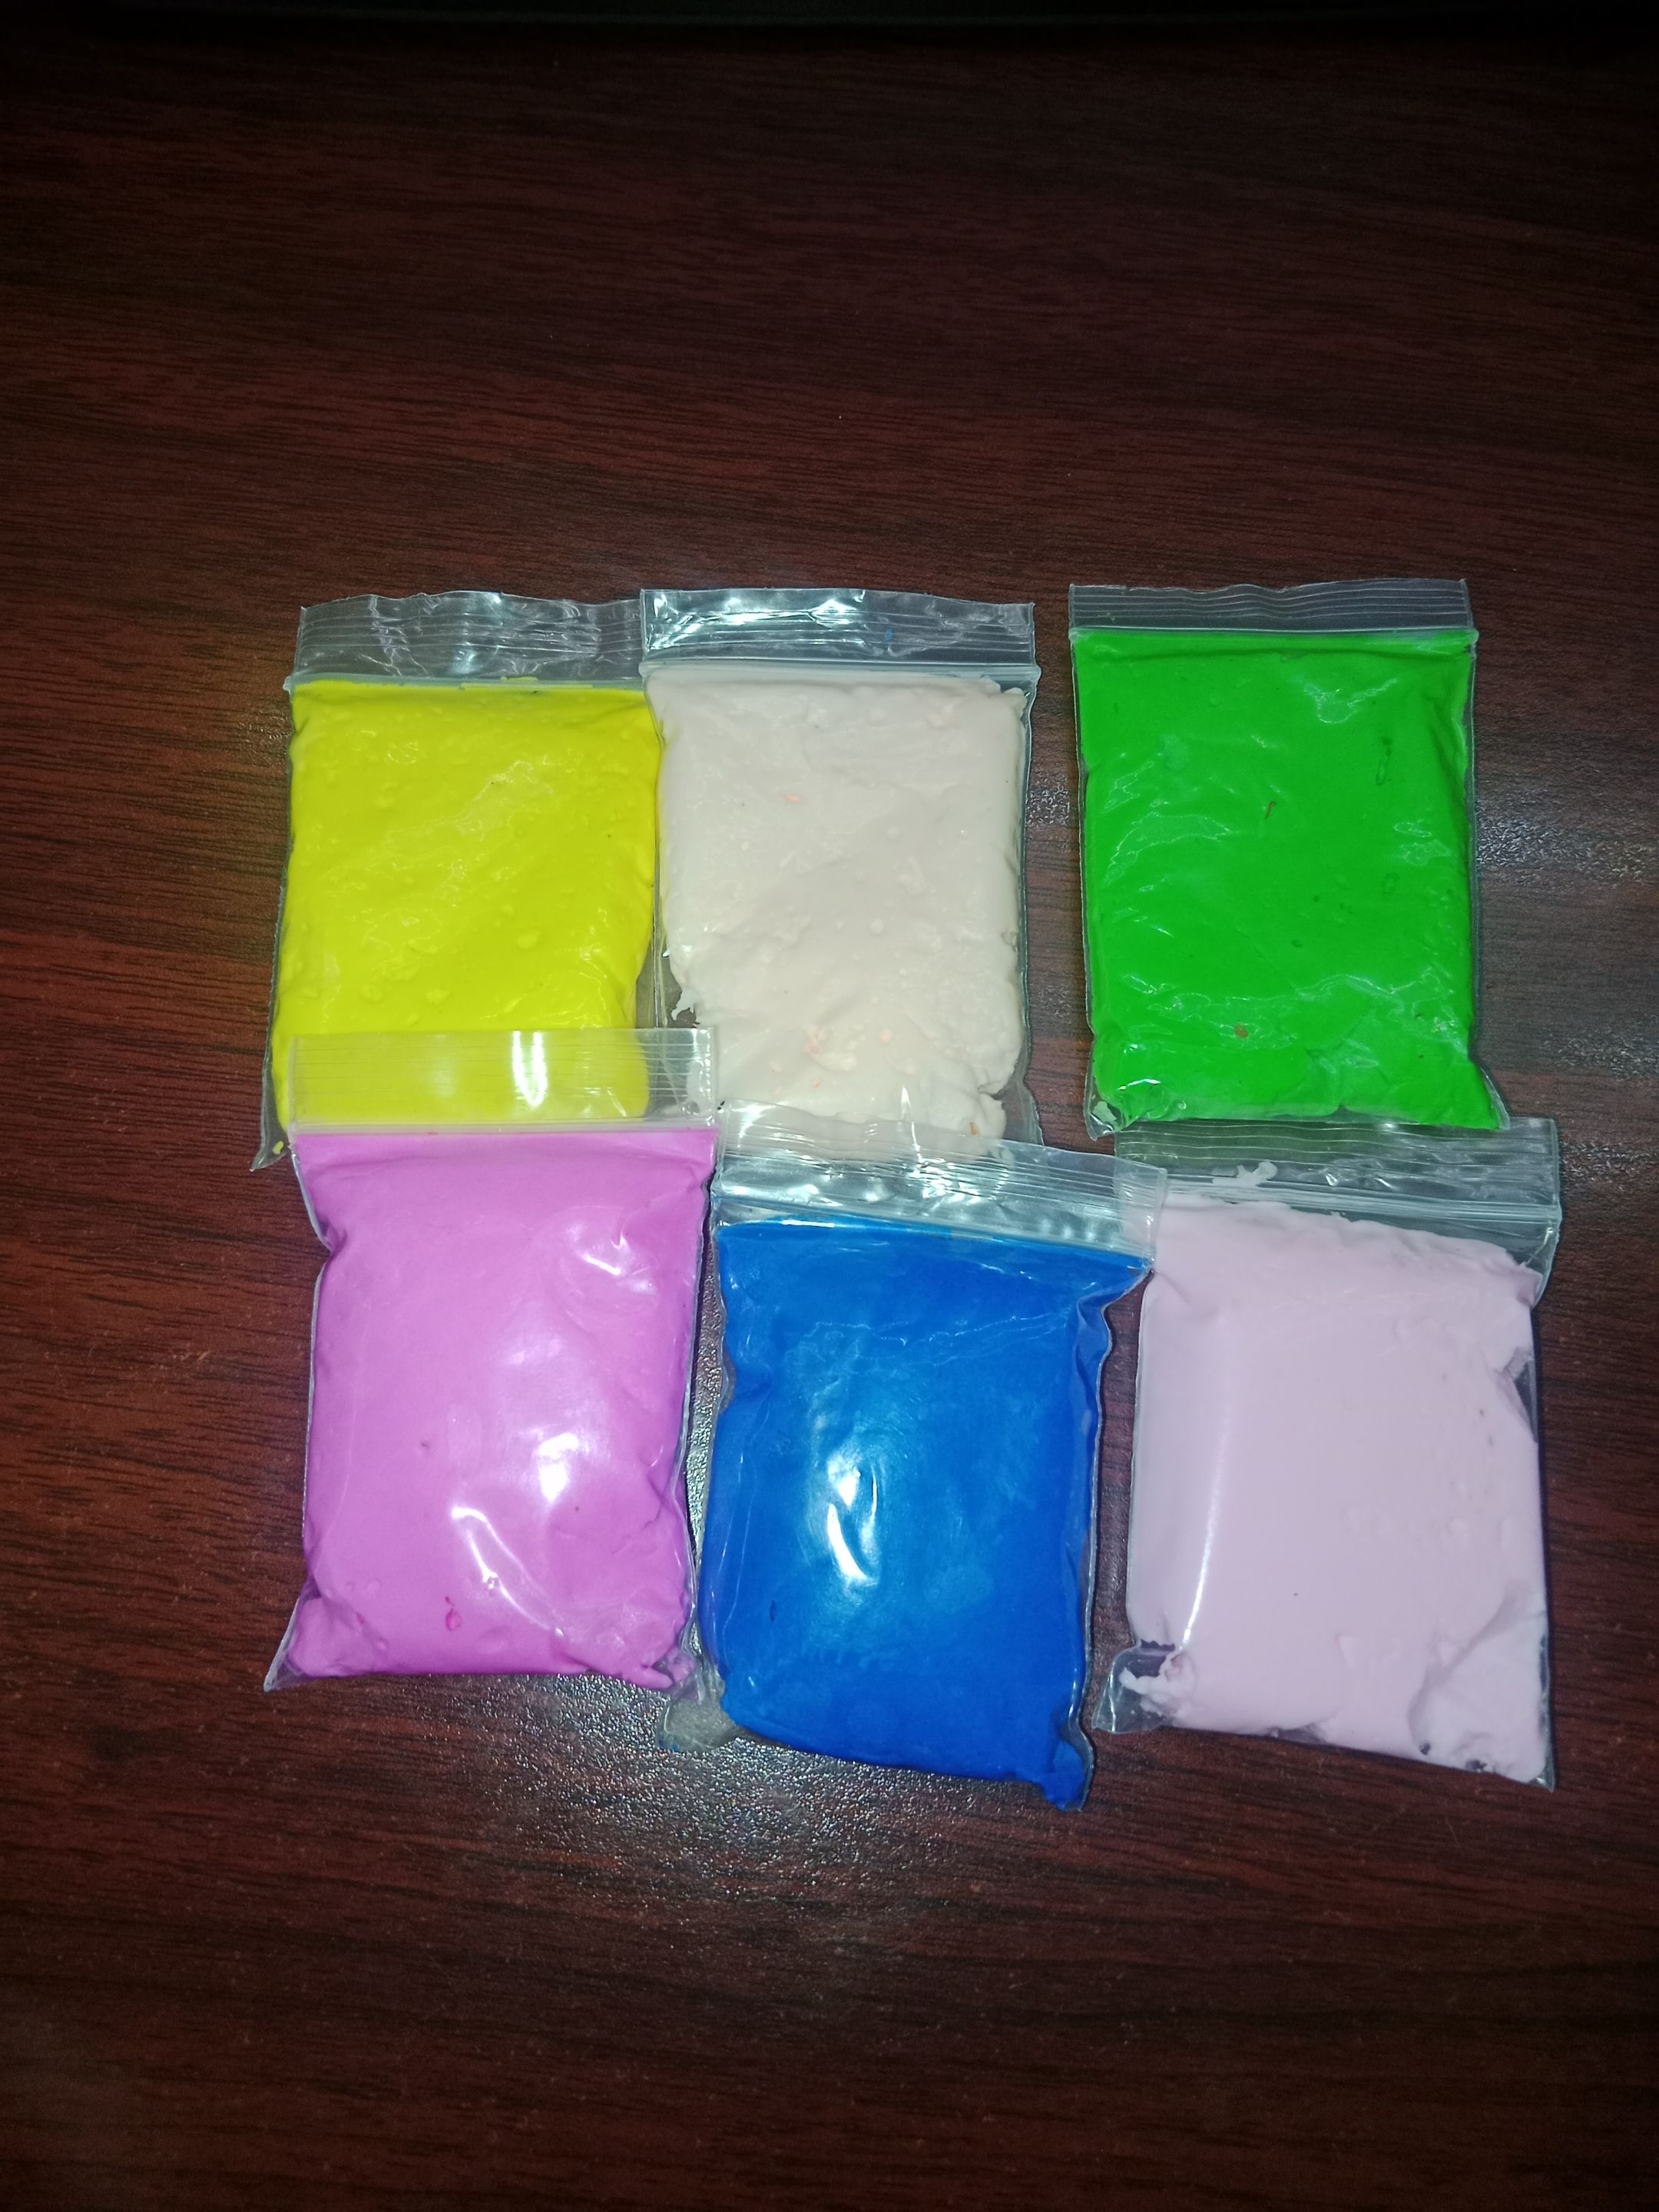
Materials Needed:
- Yellow Clay
- Green Clay
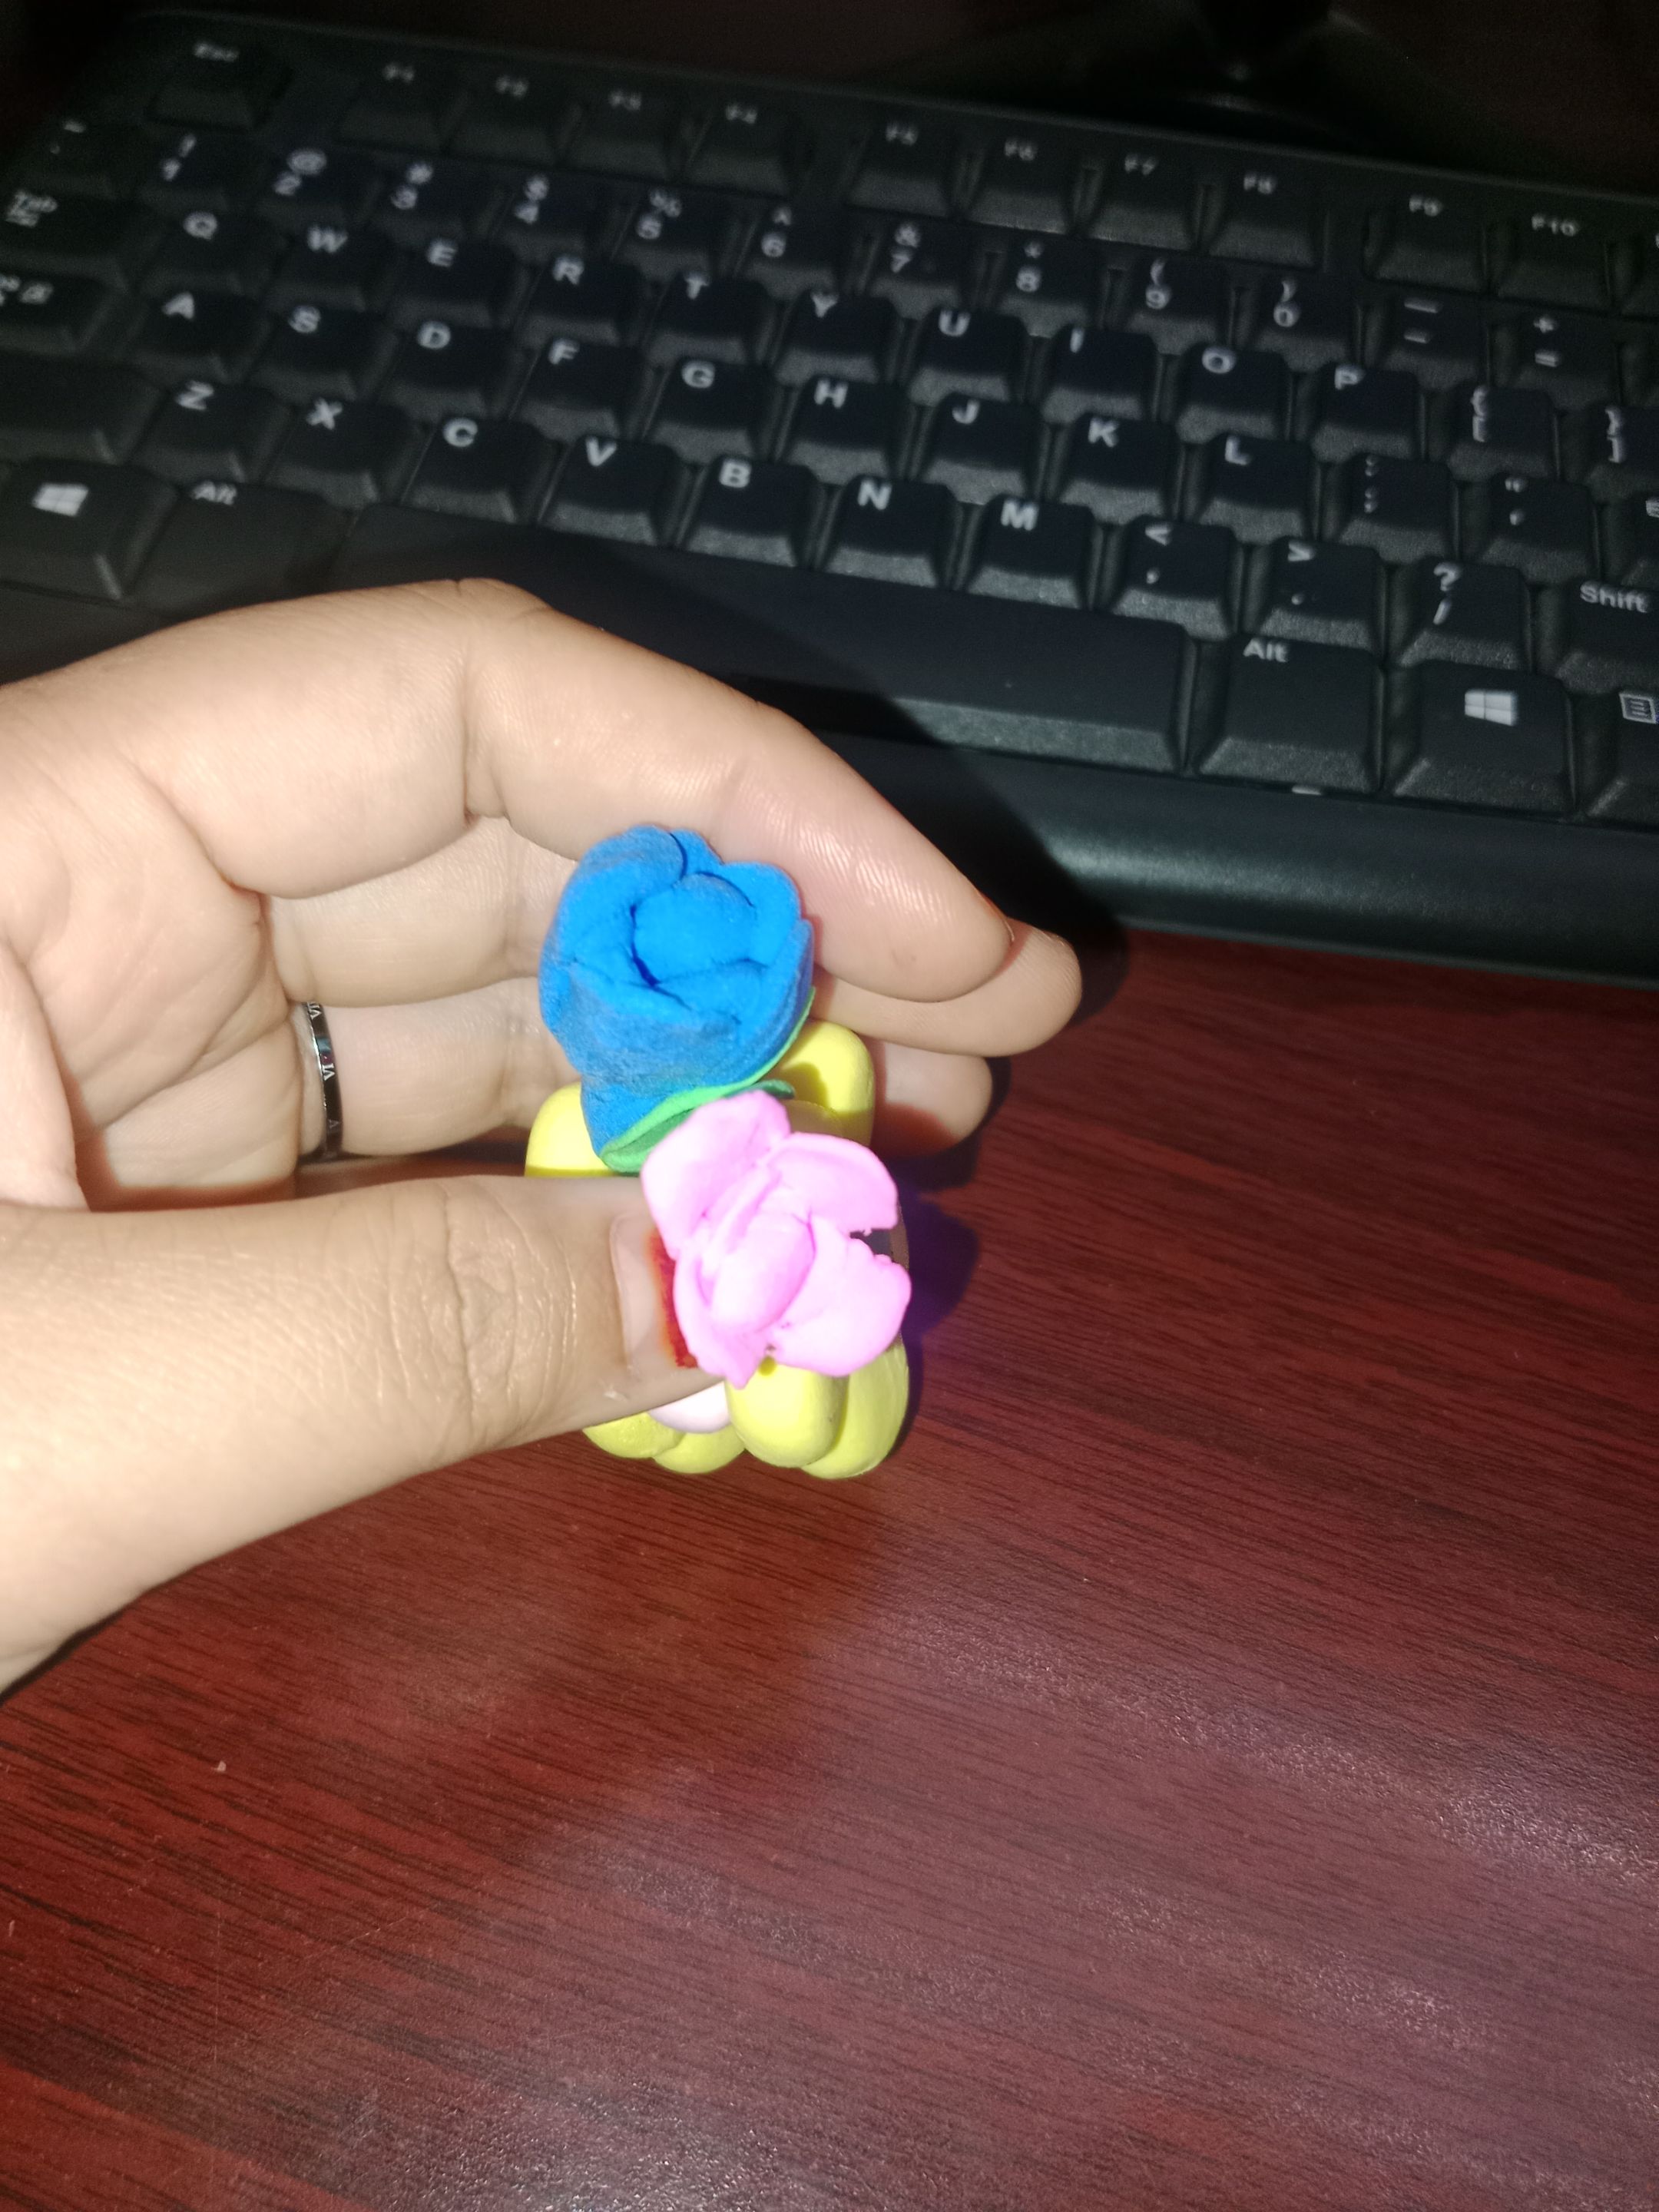
- Blue Clay
- Pink Clay and light pink Clay
----------------
How to Make:
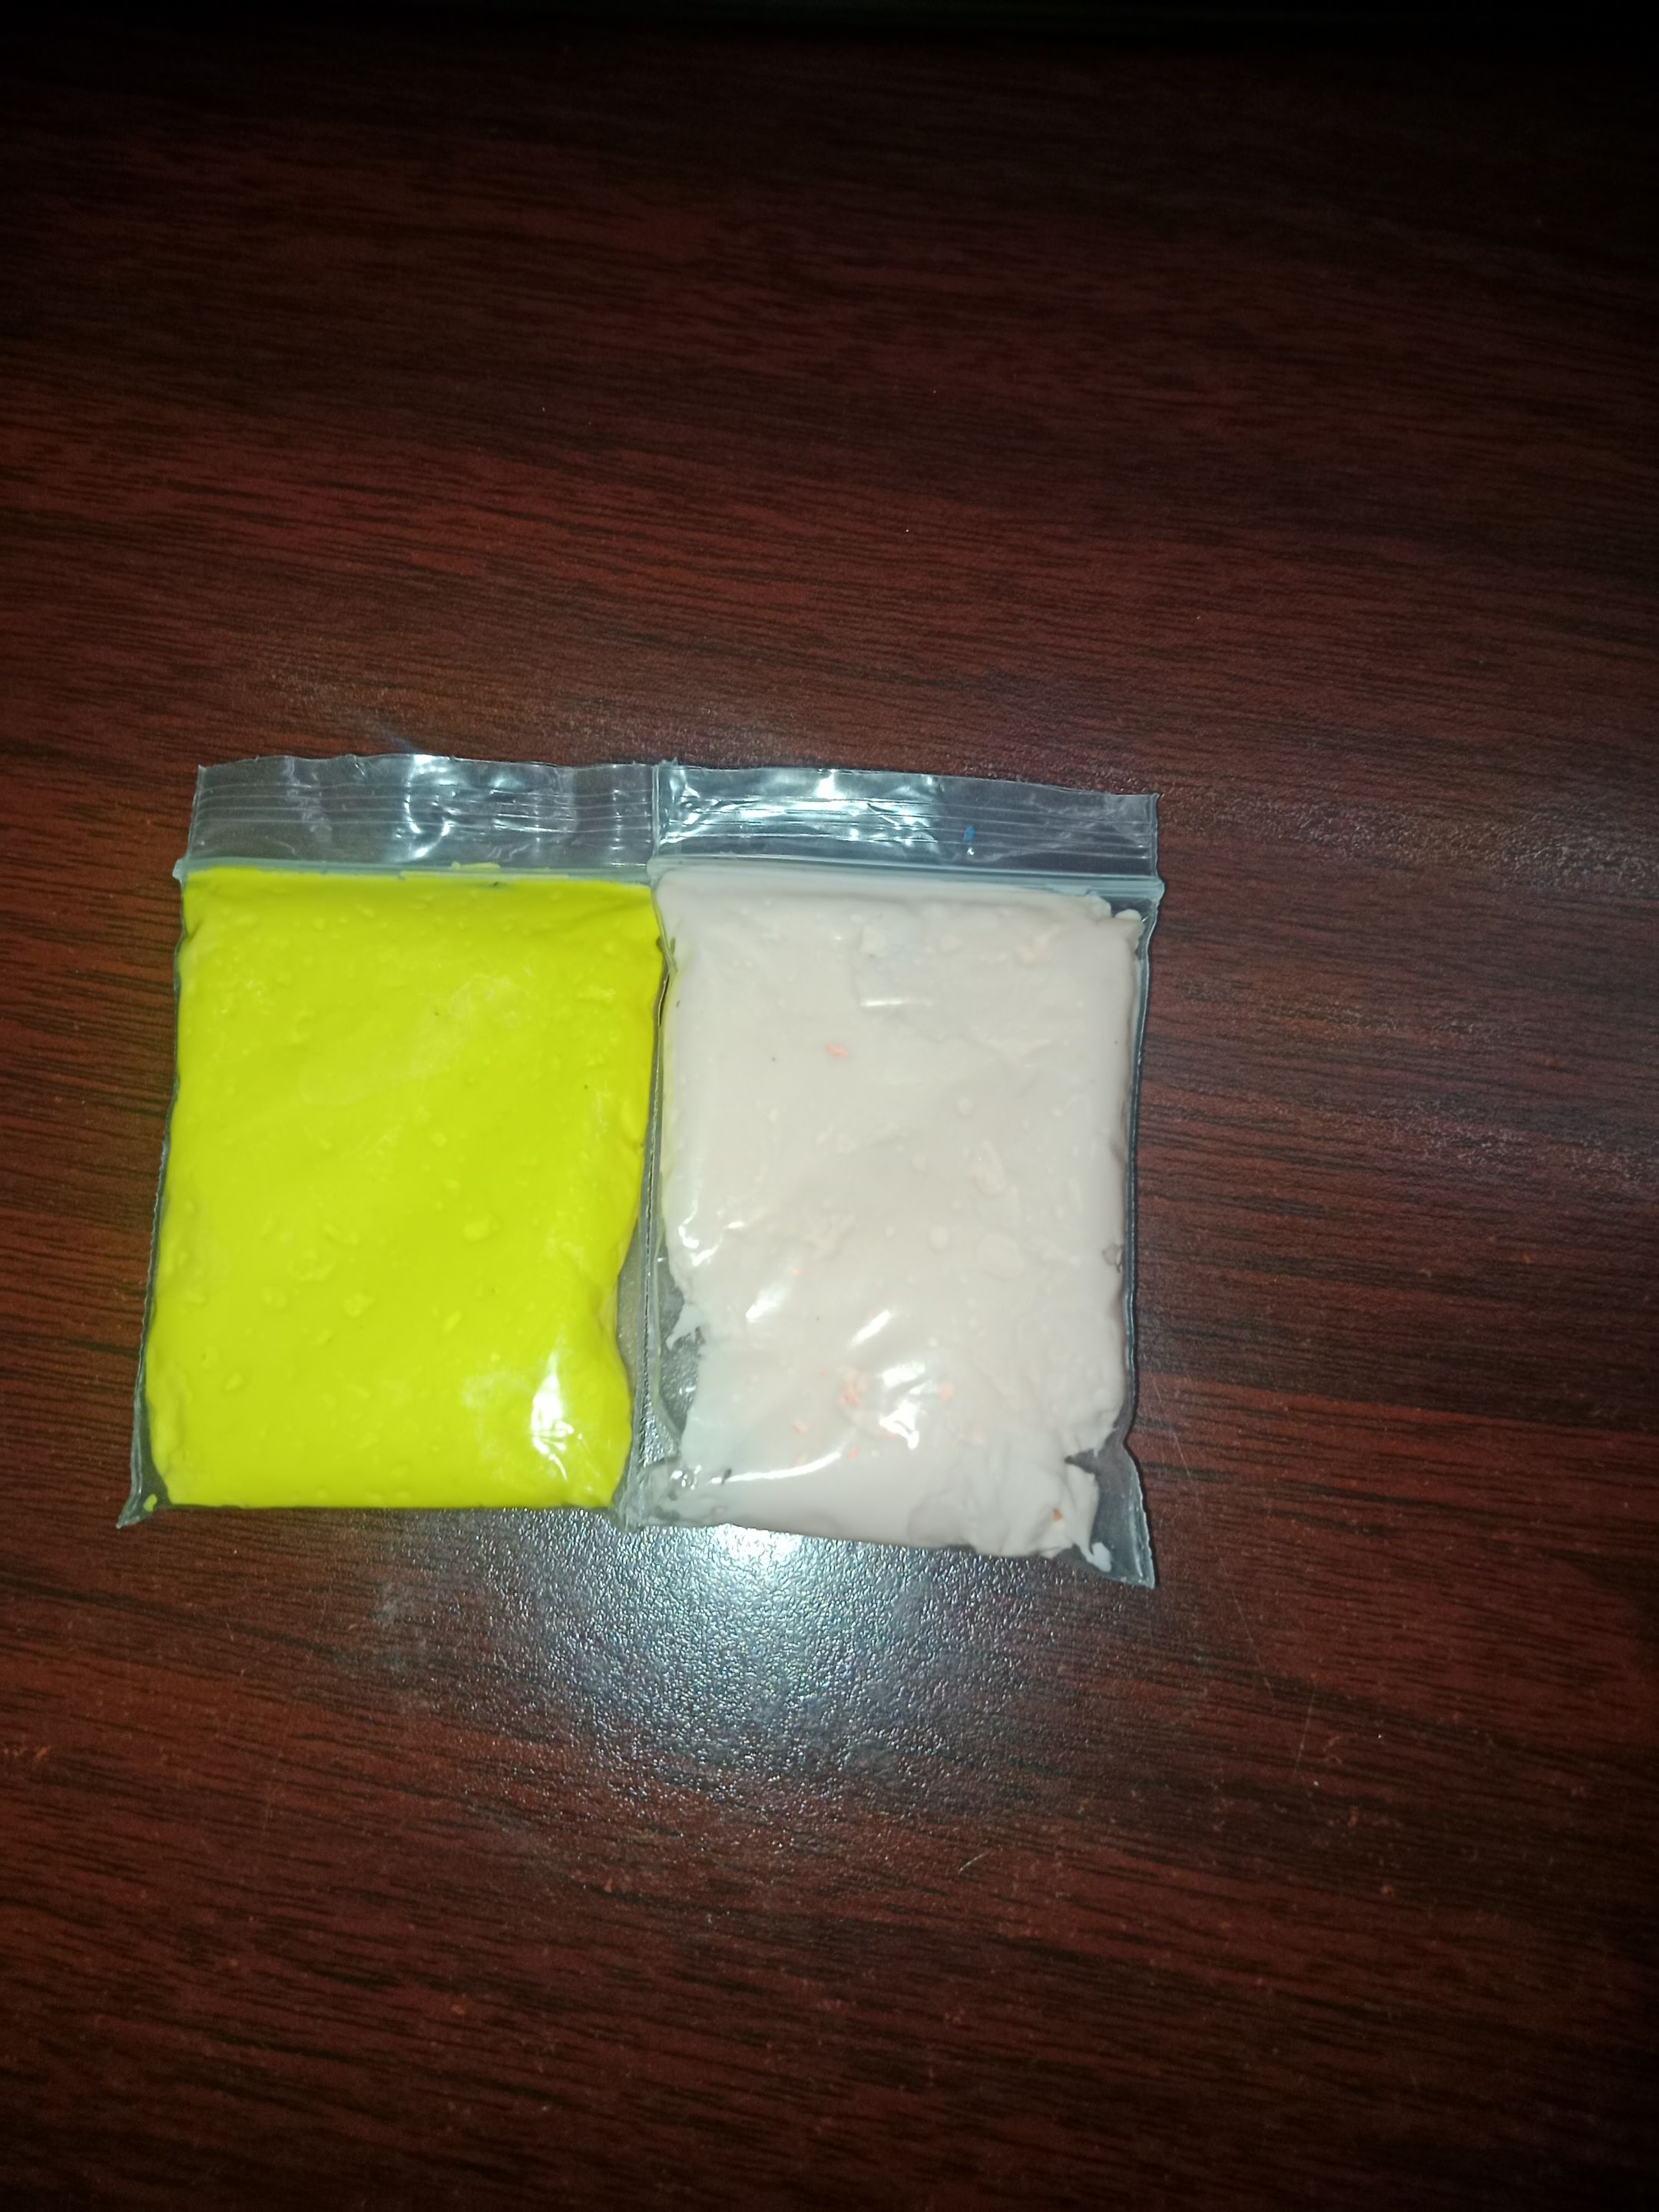
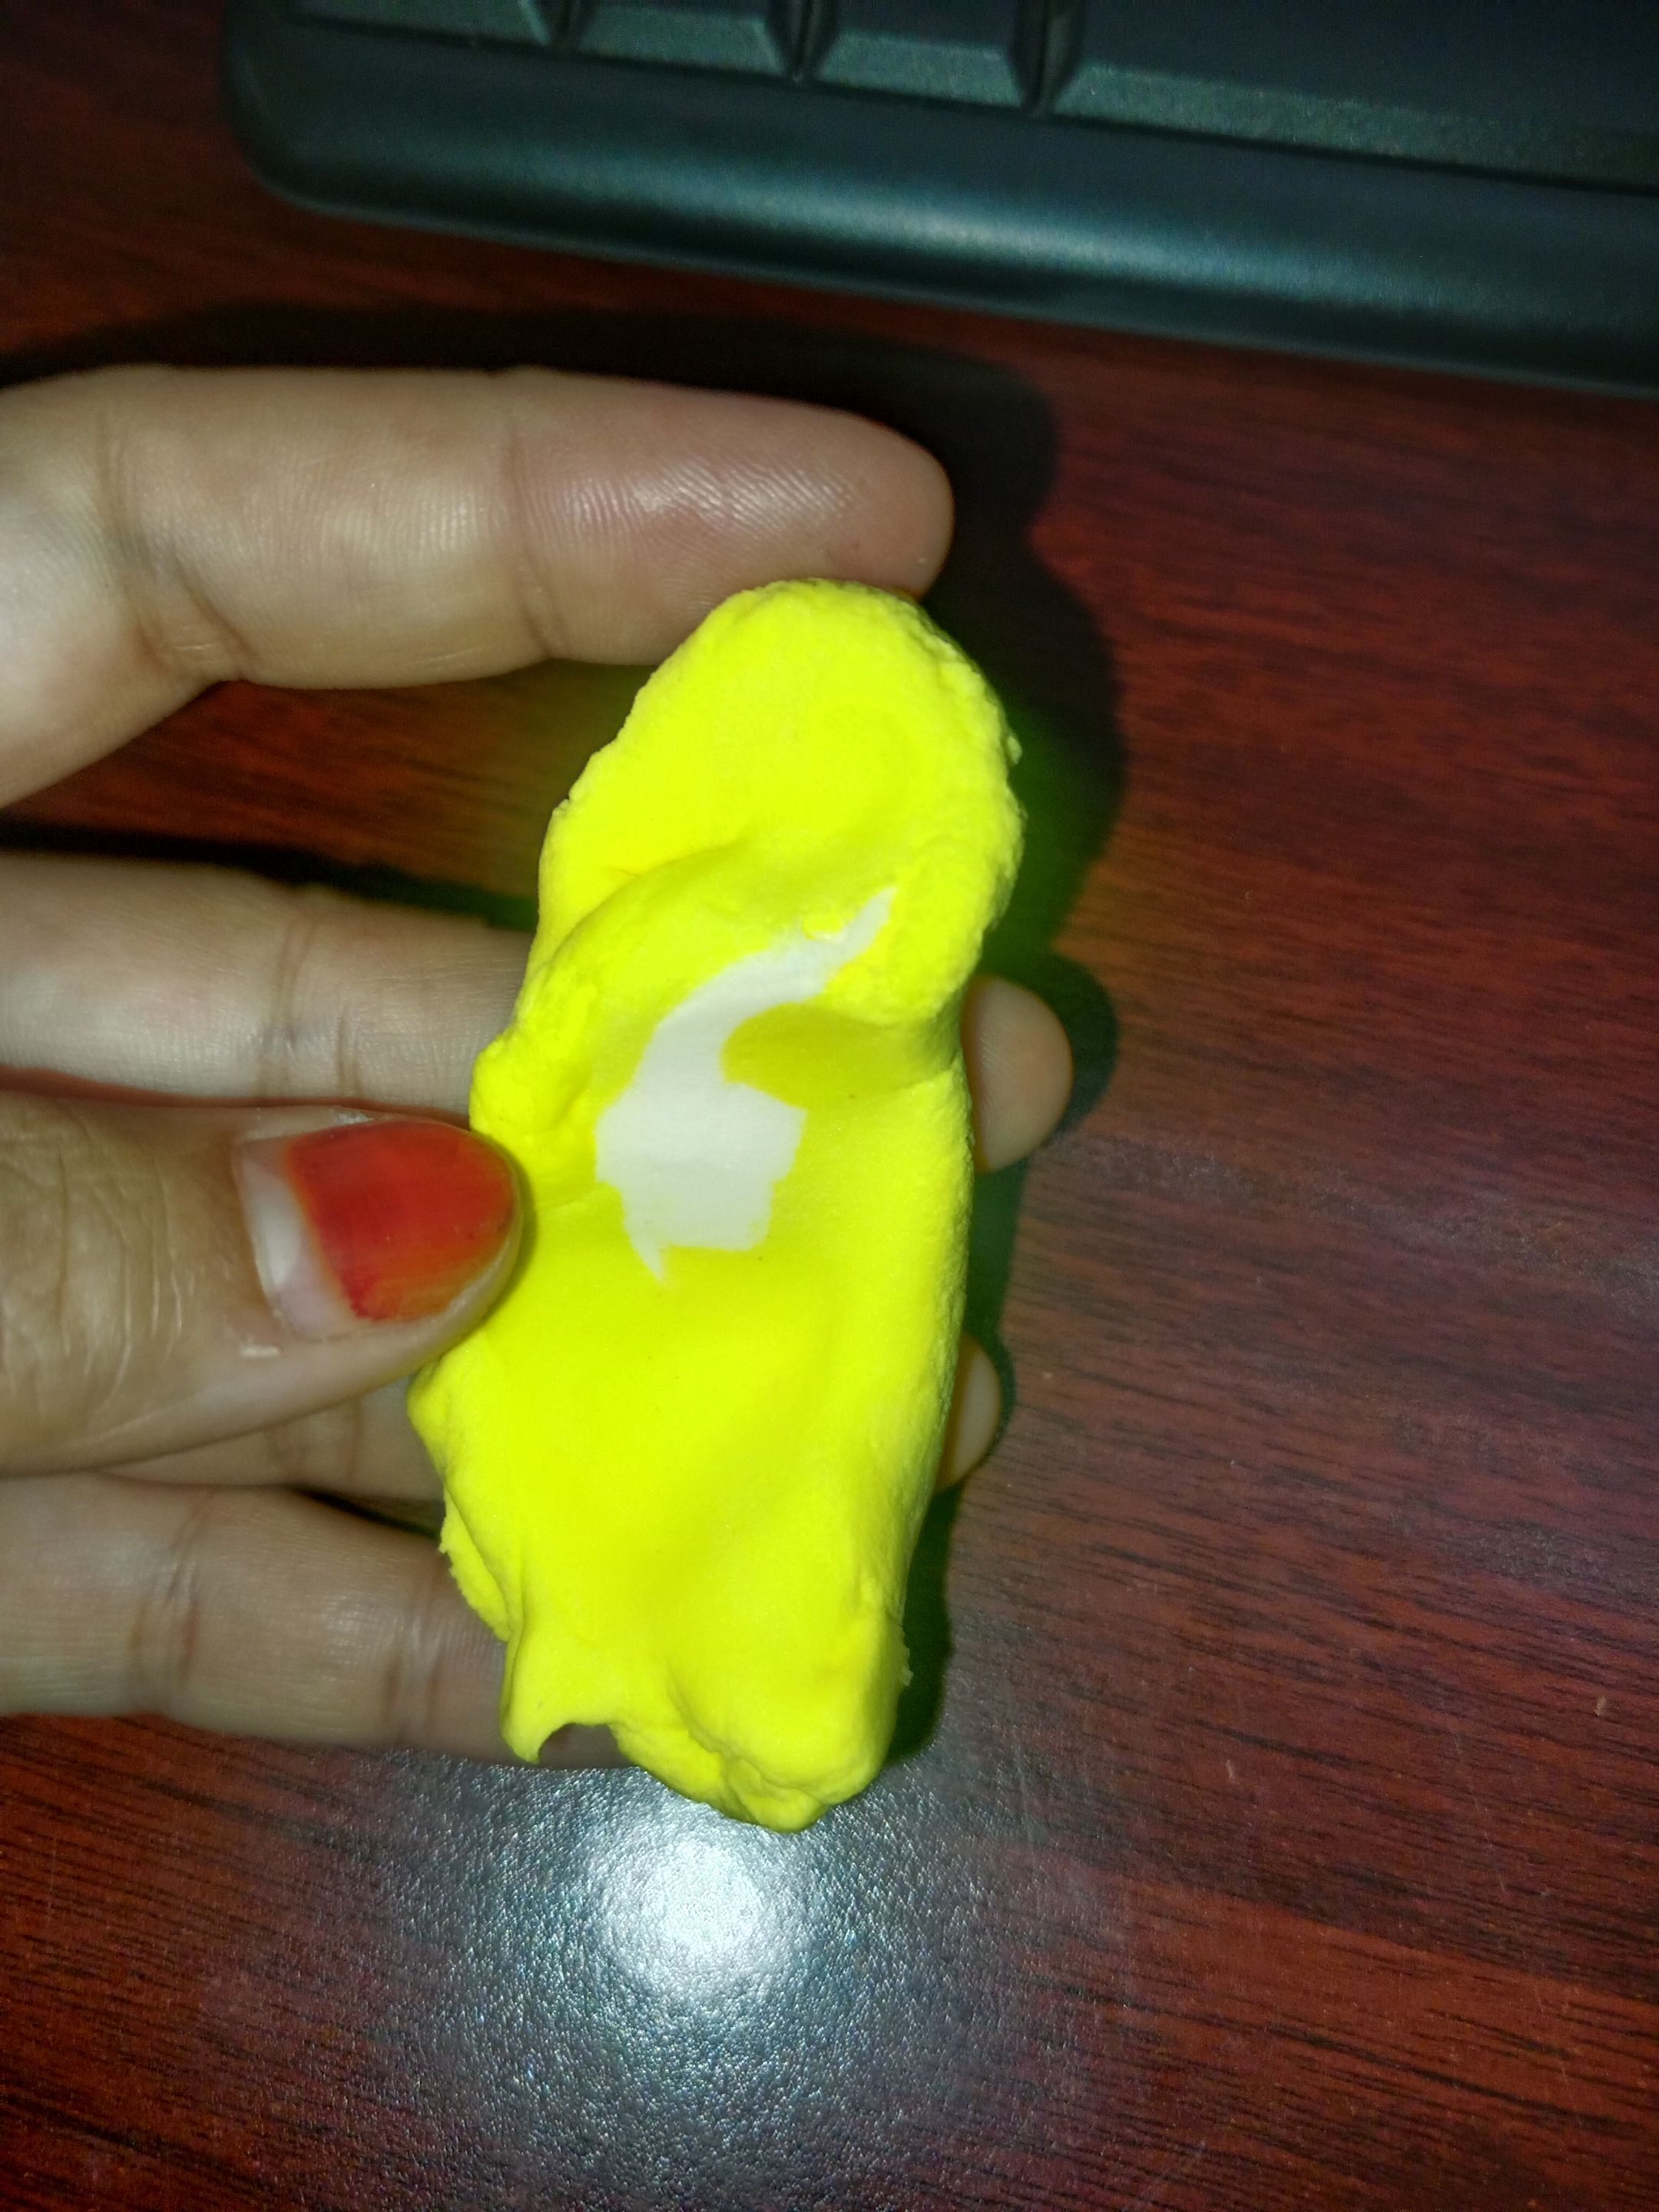
- Take 1 box of yellow clay and 1/6 box of light pink clay.
 |
 |
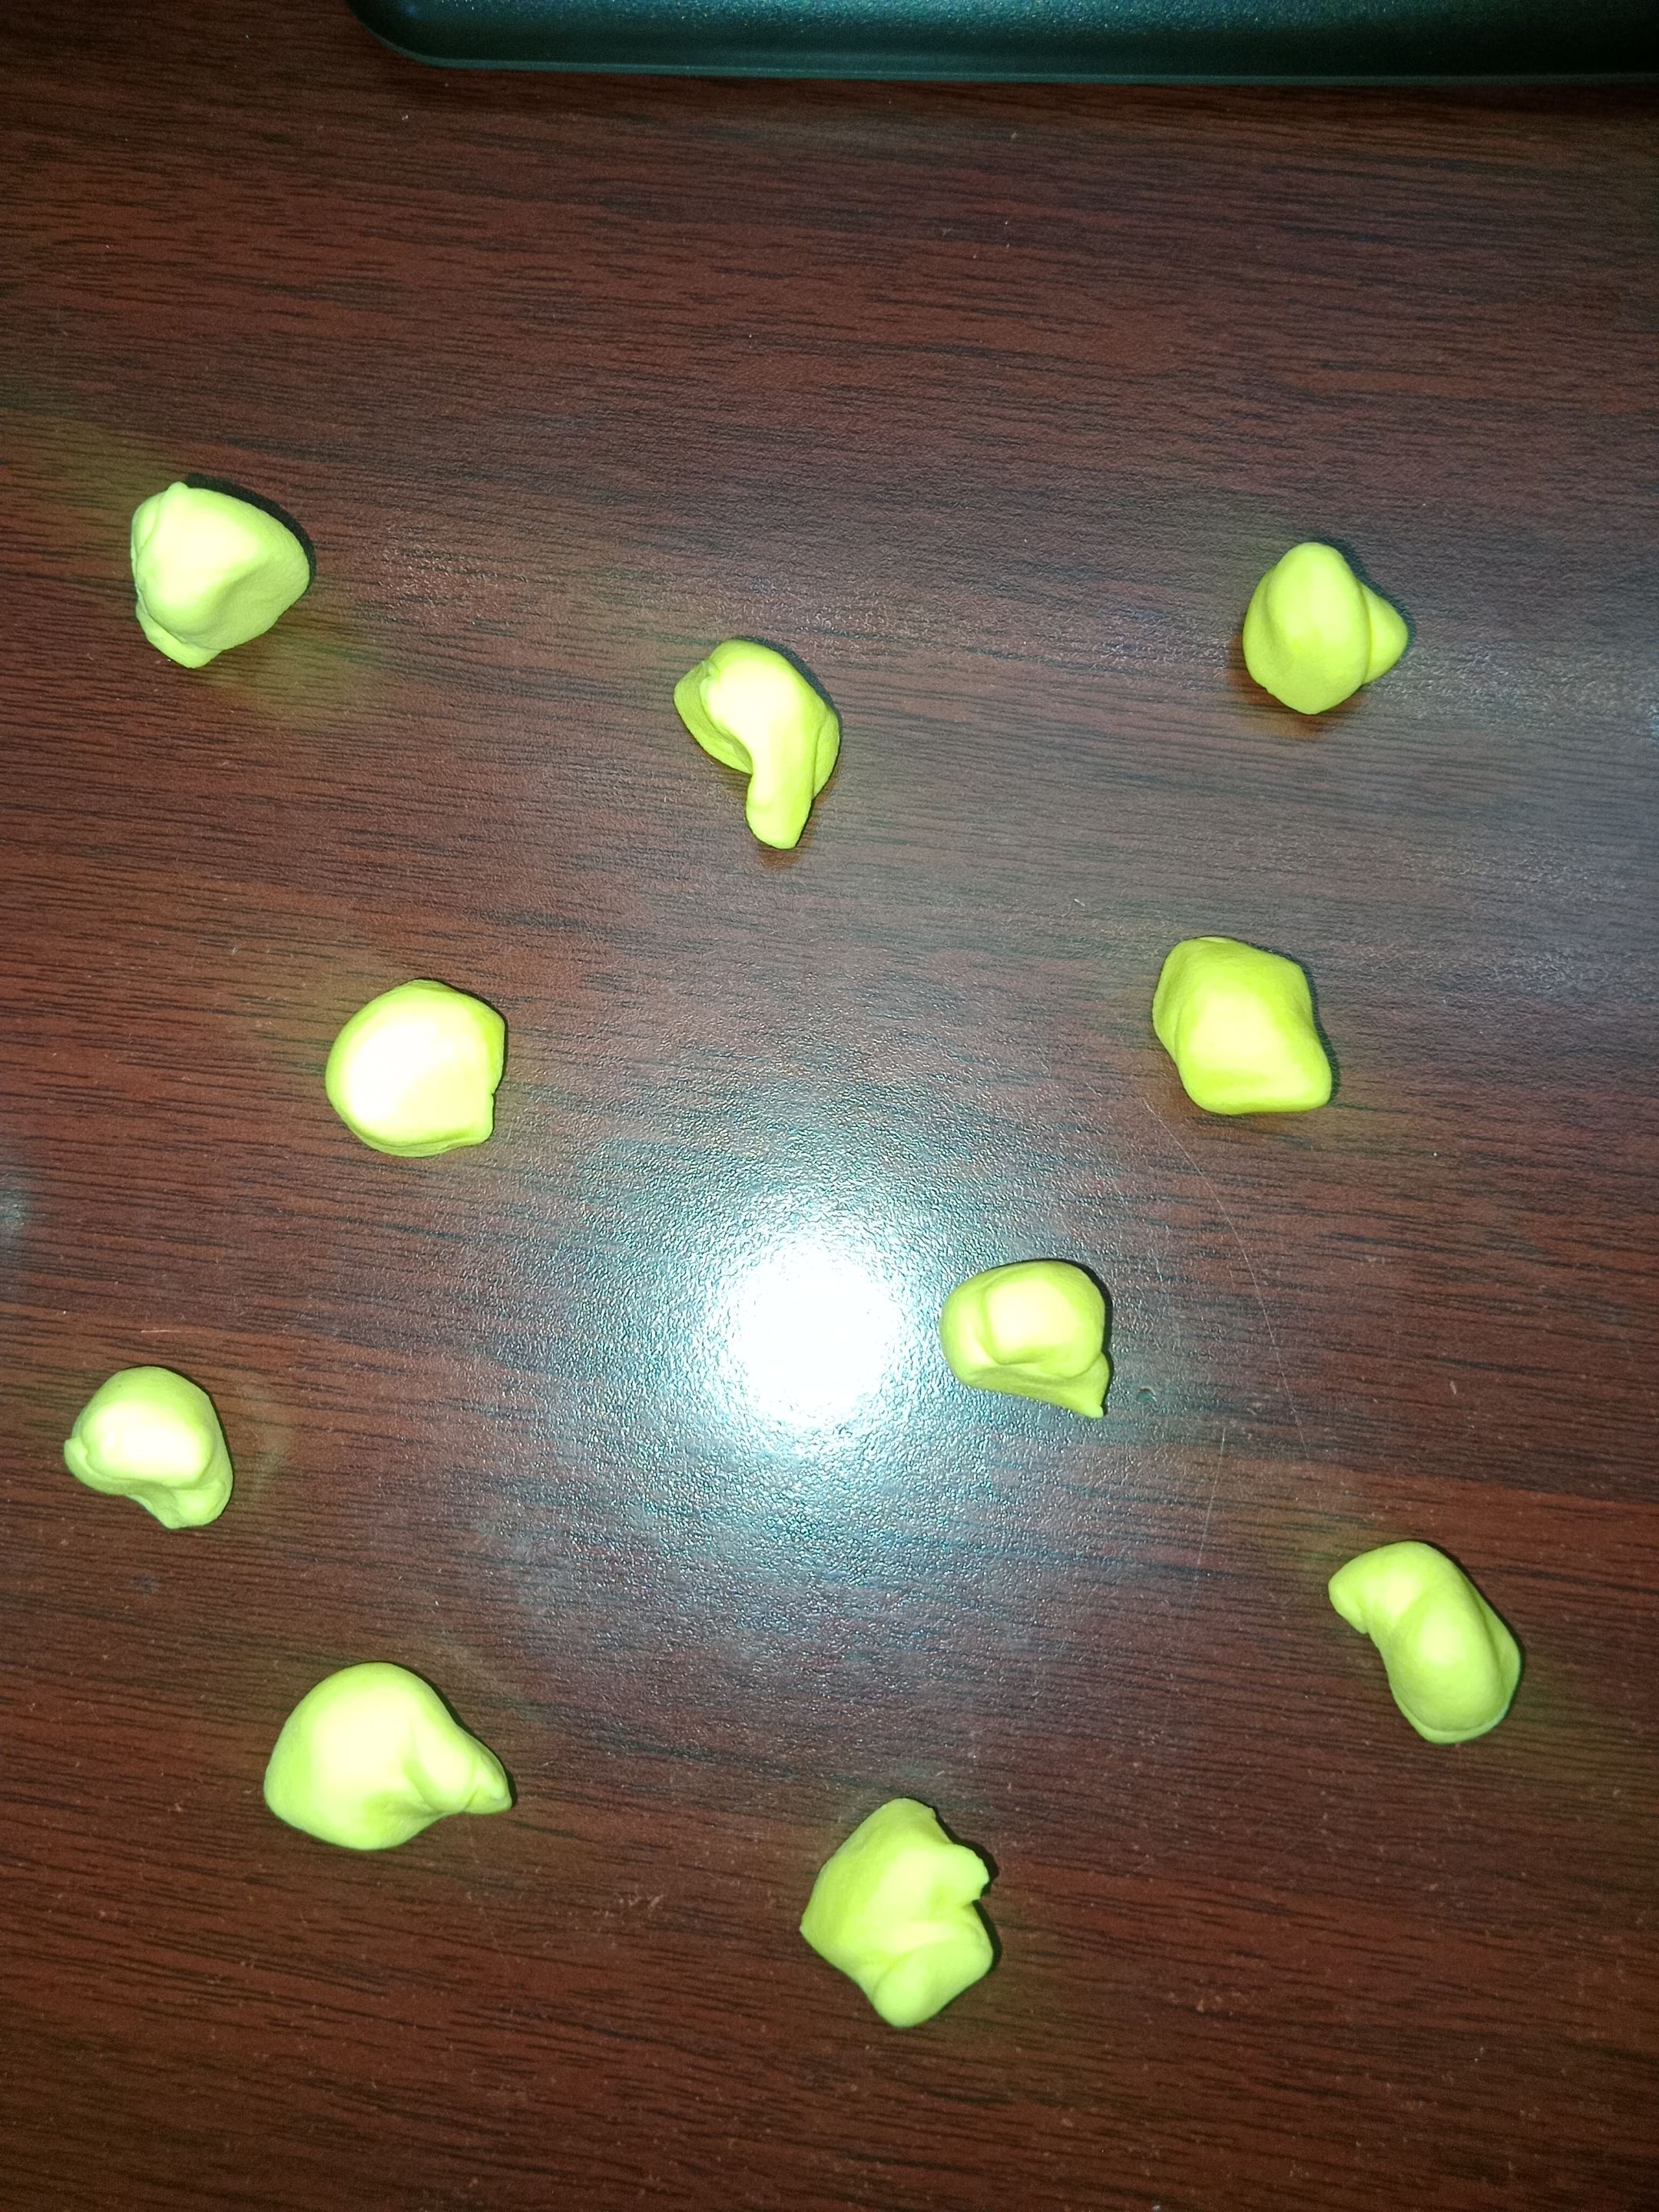
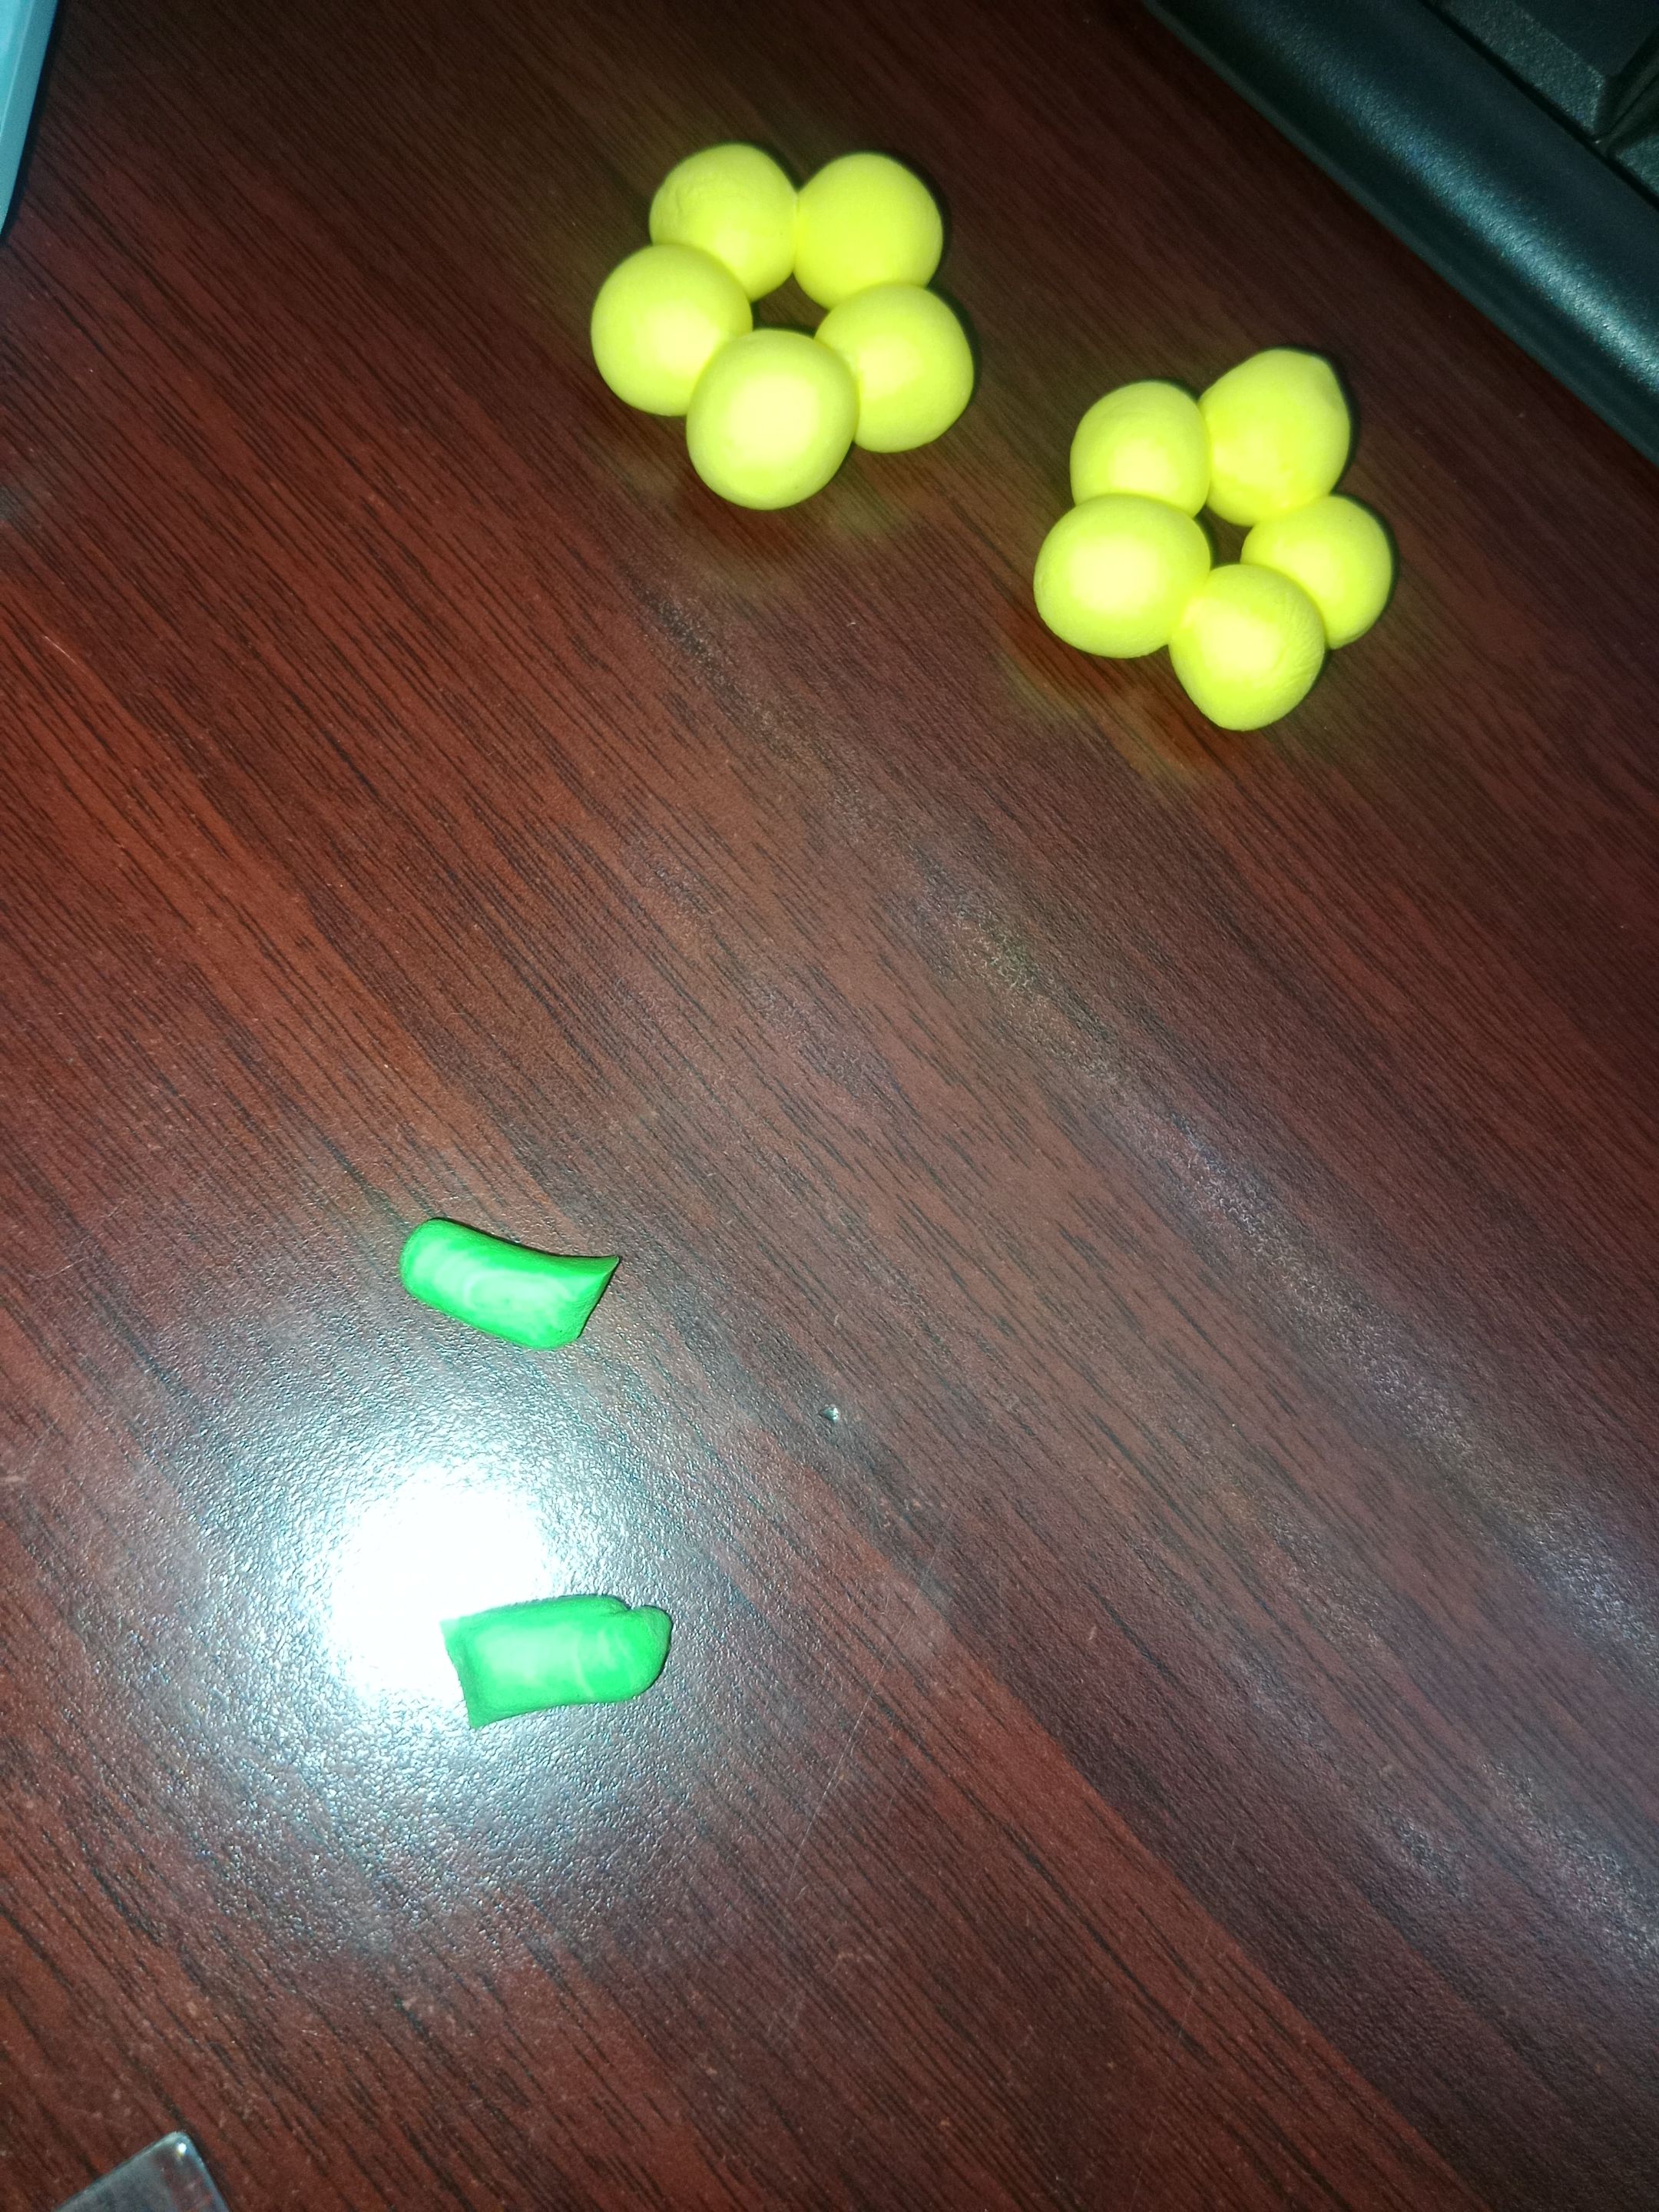
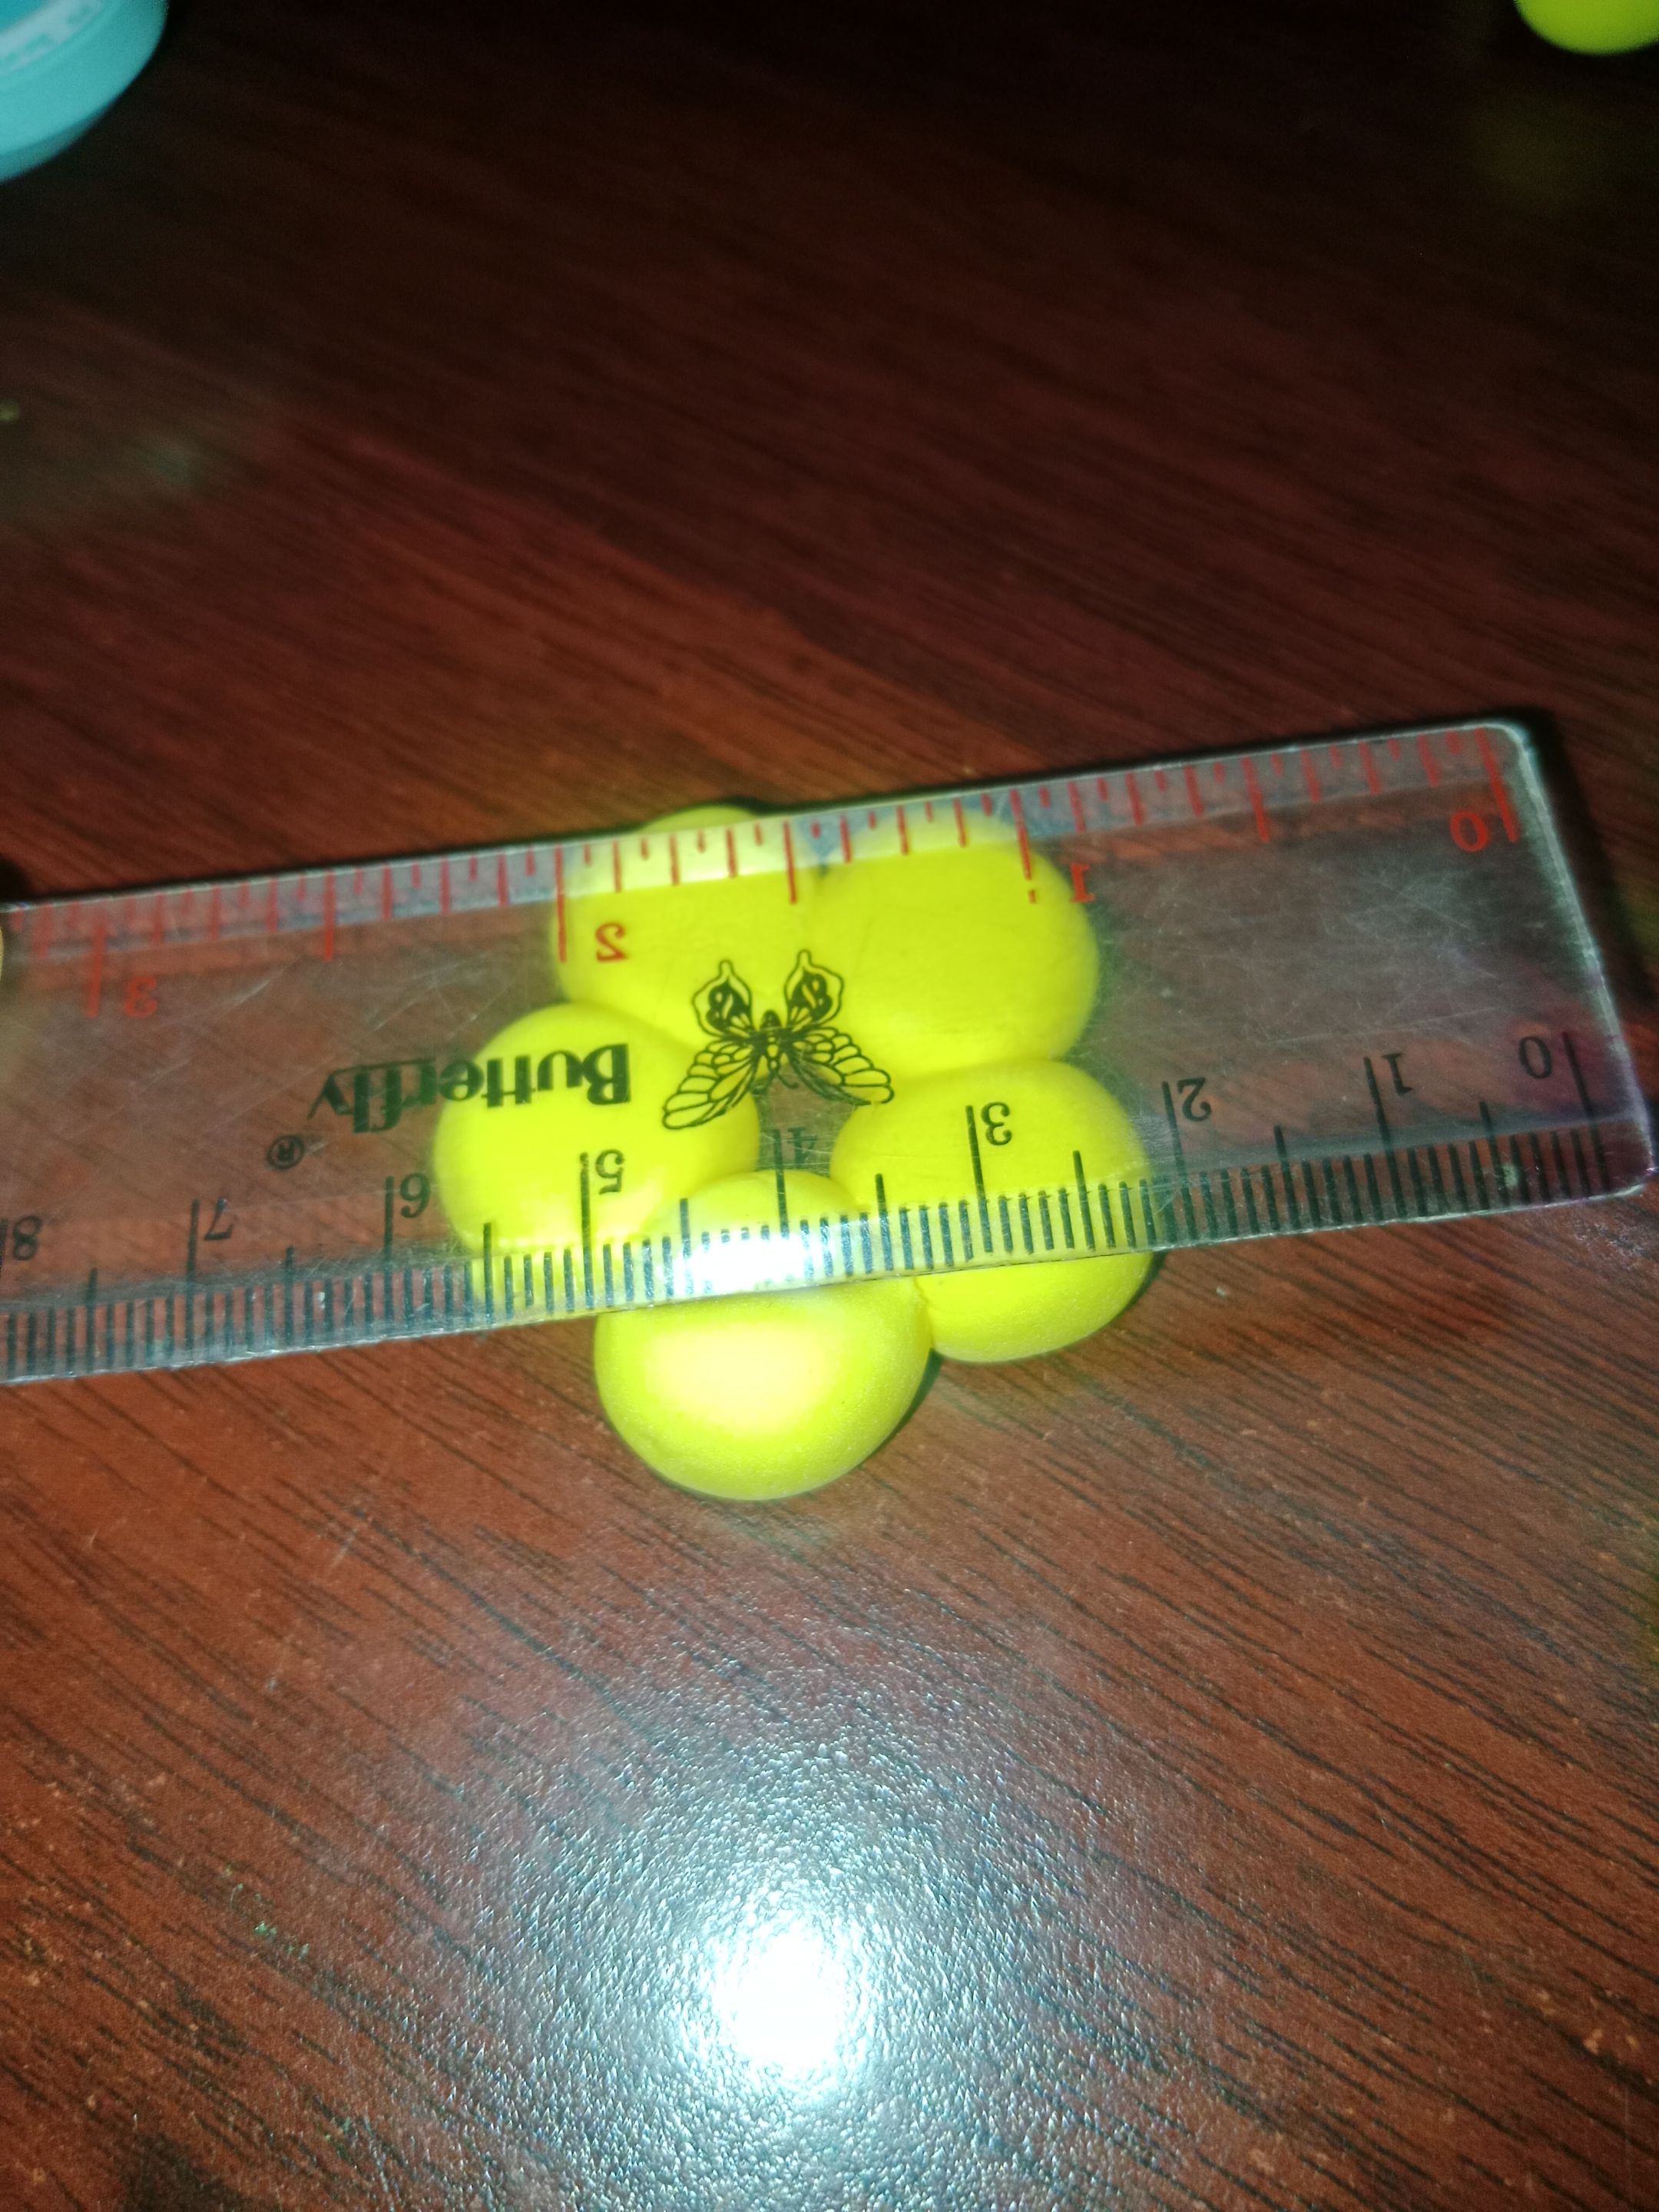
- Mix the colors until you get a light yellow color. Then, divide into 10 medium-sized balls.
 |
 |
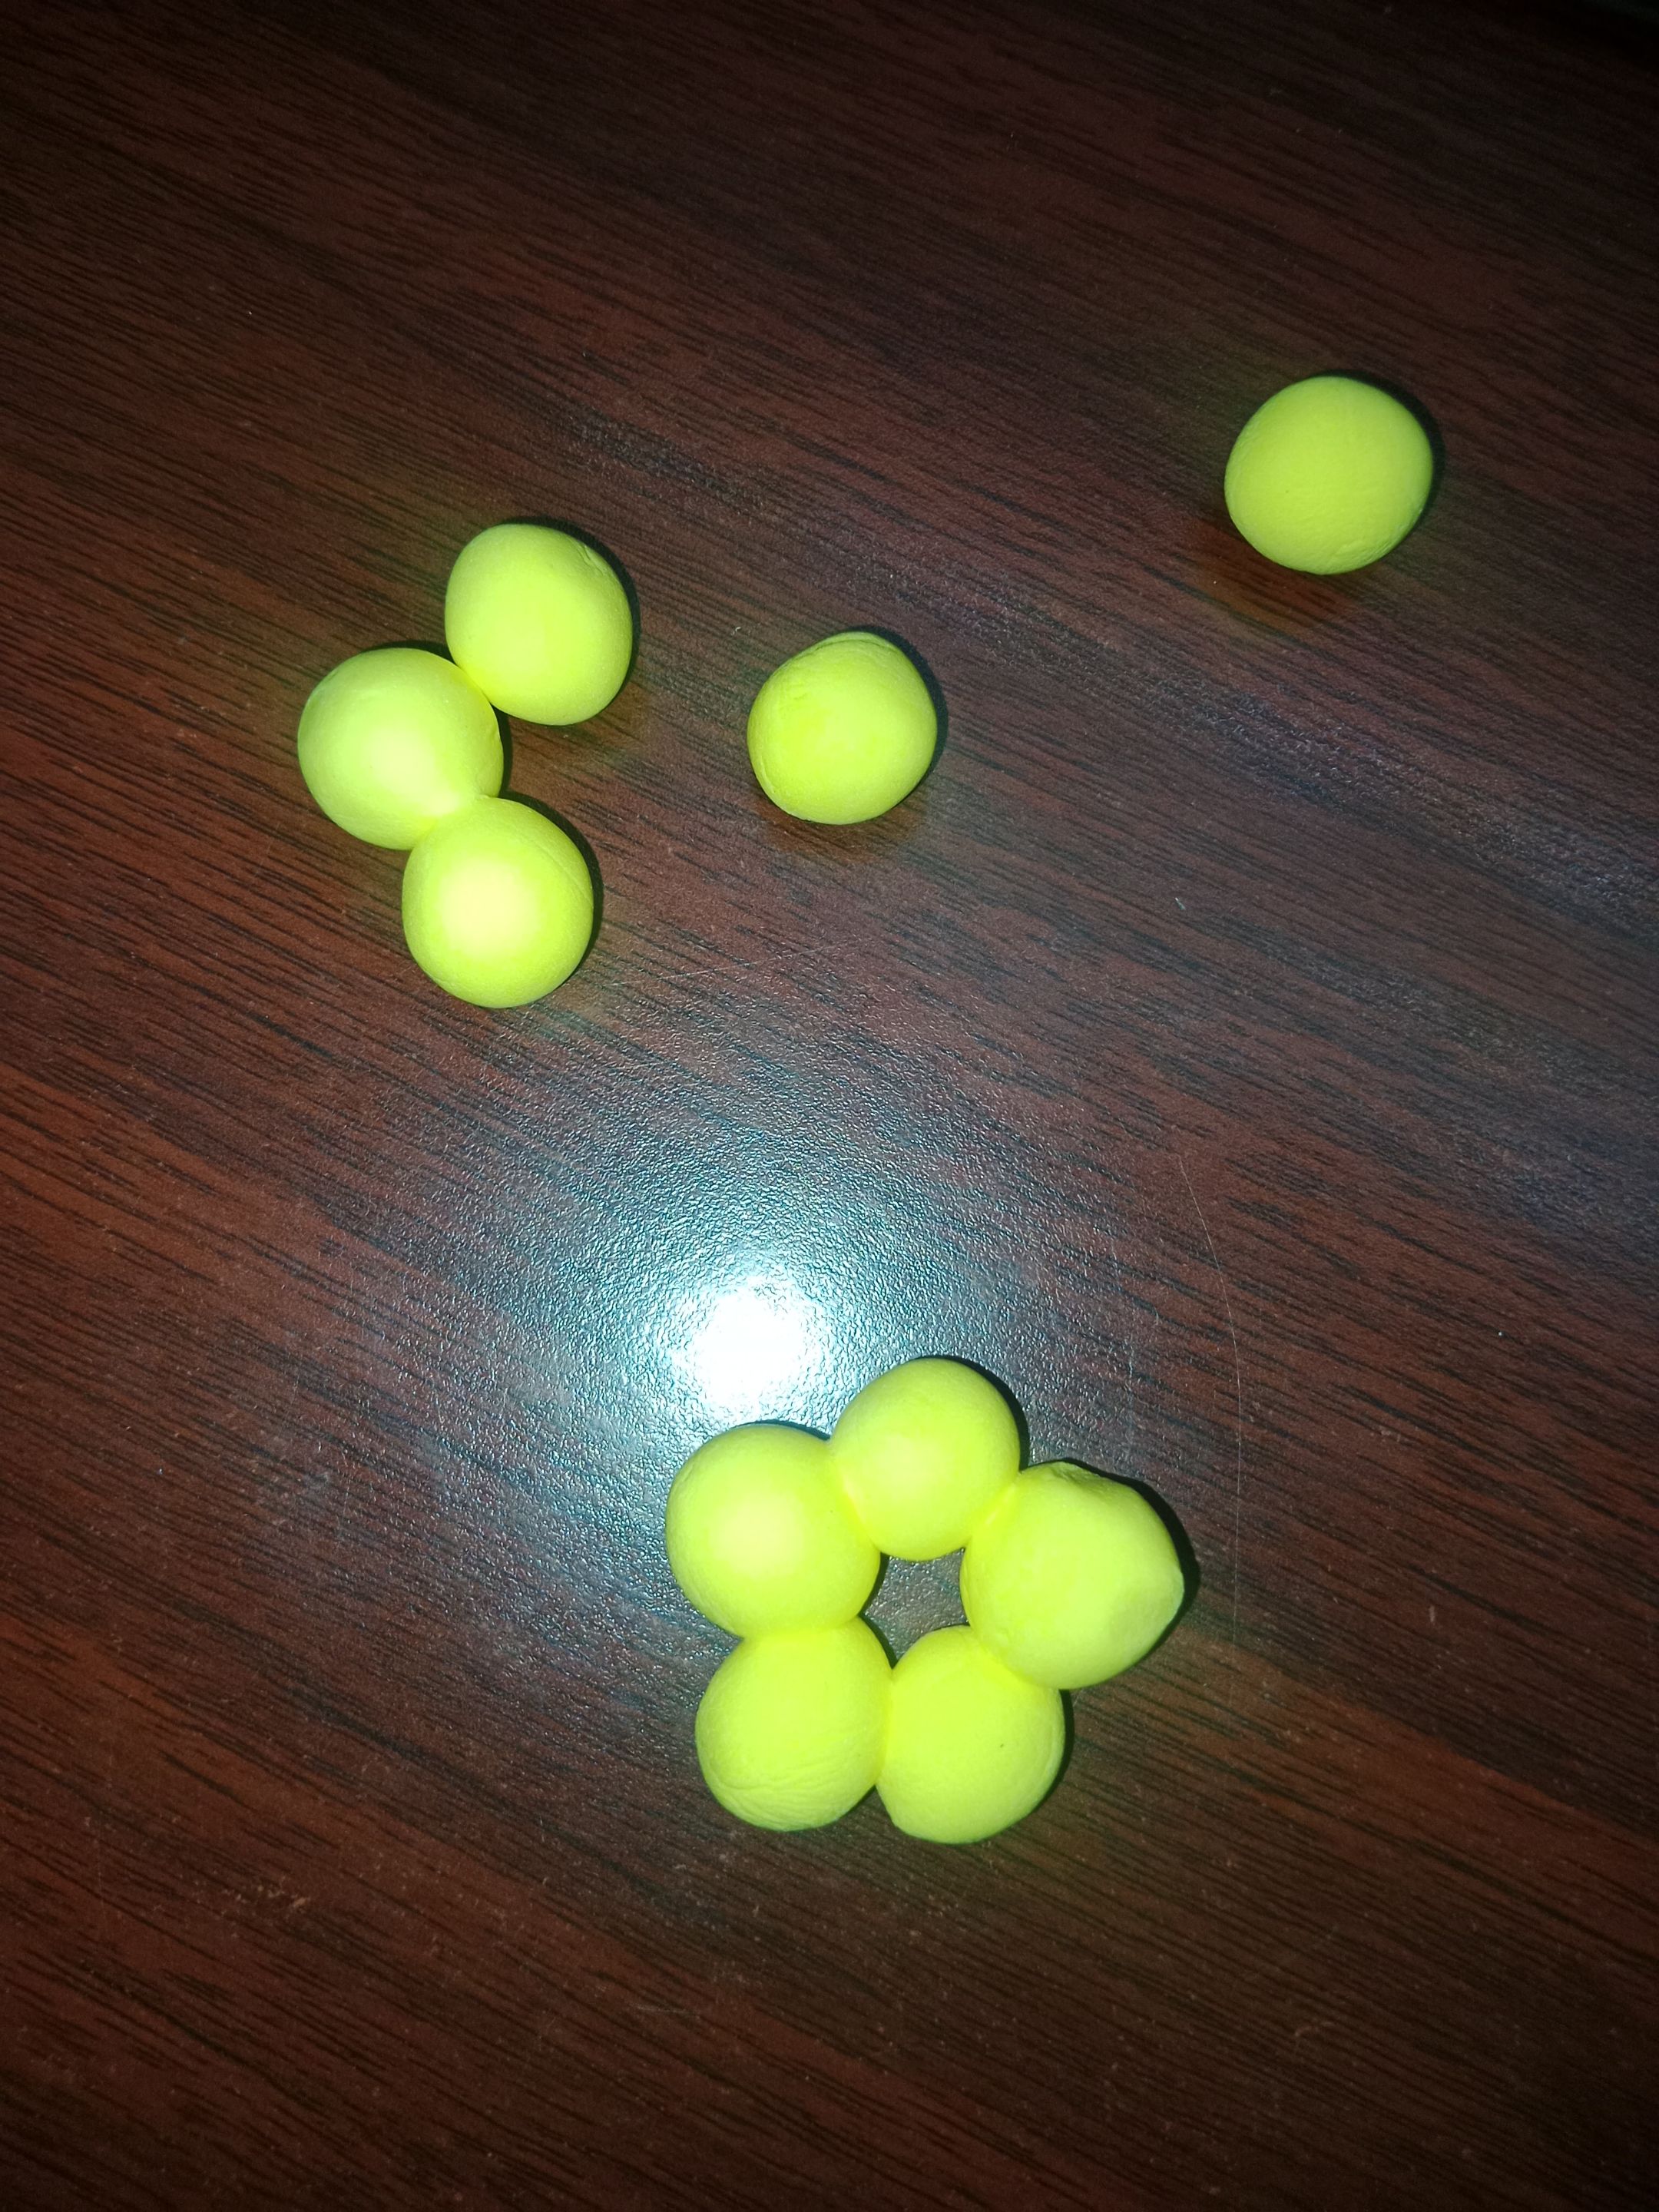
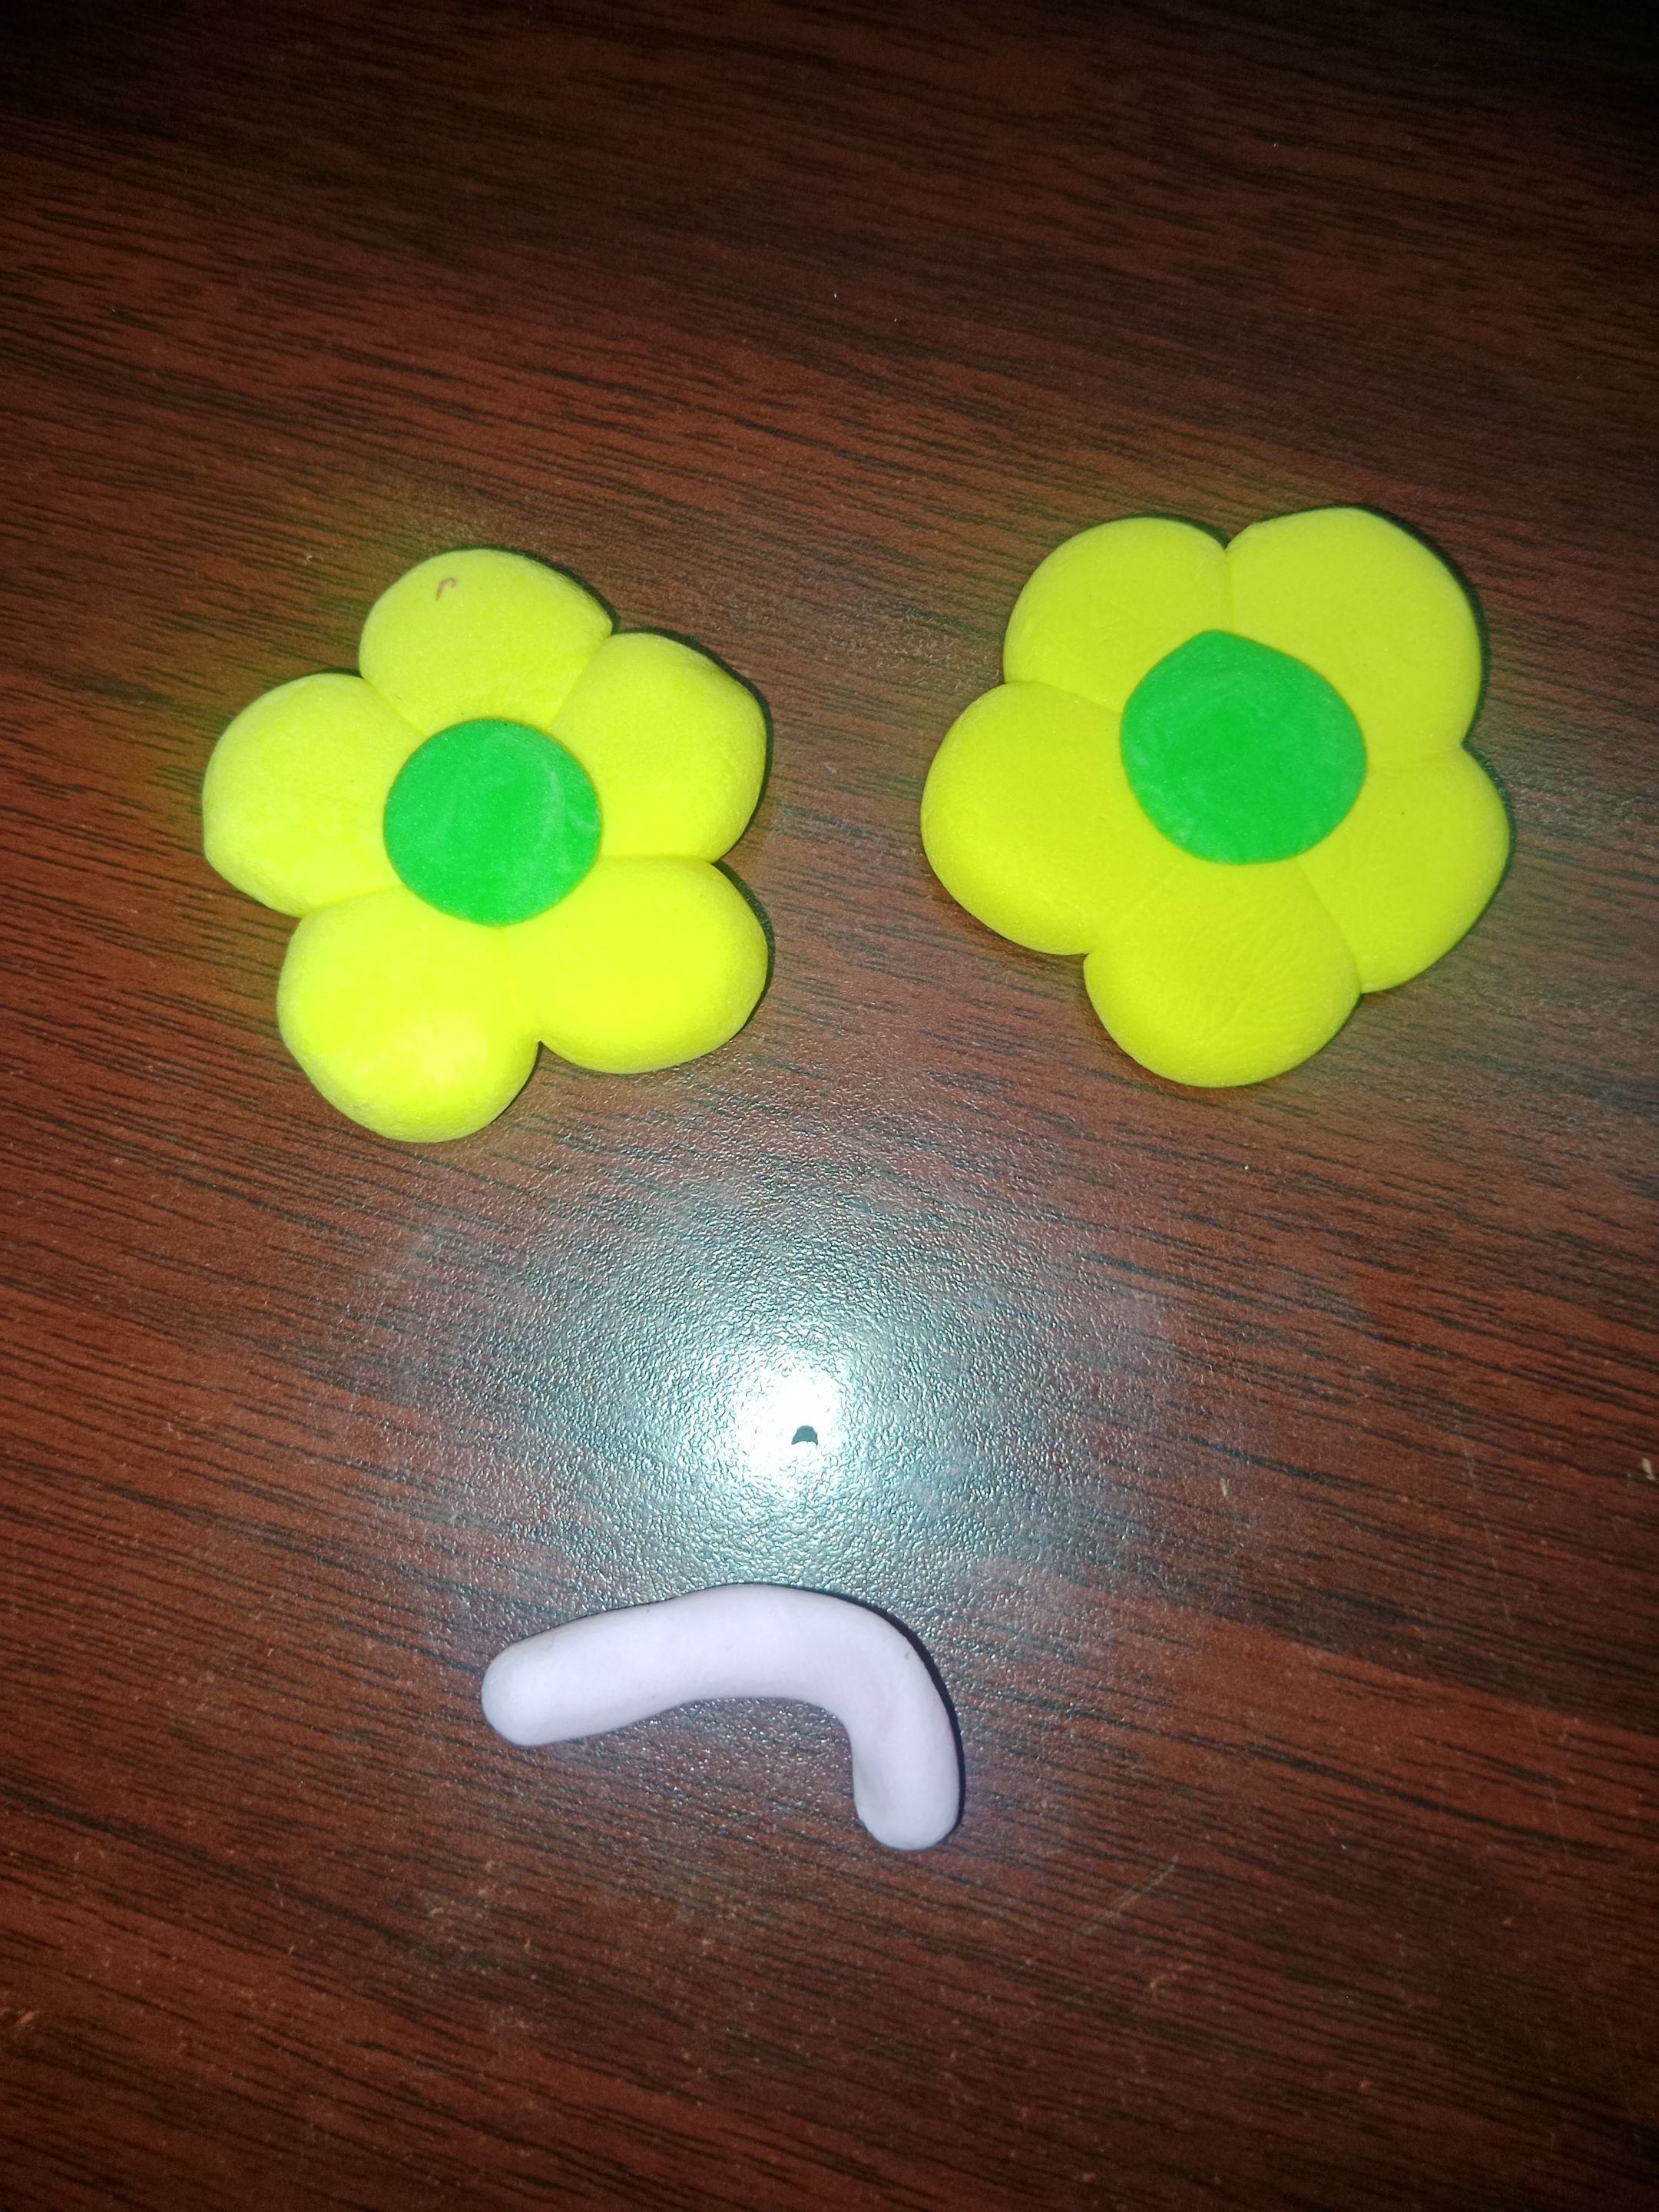
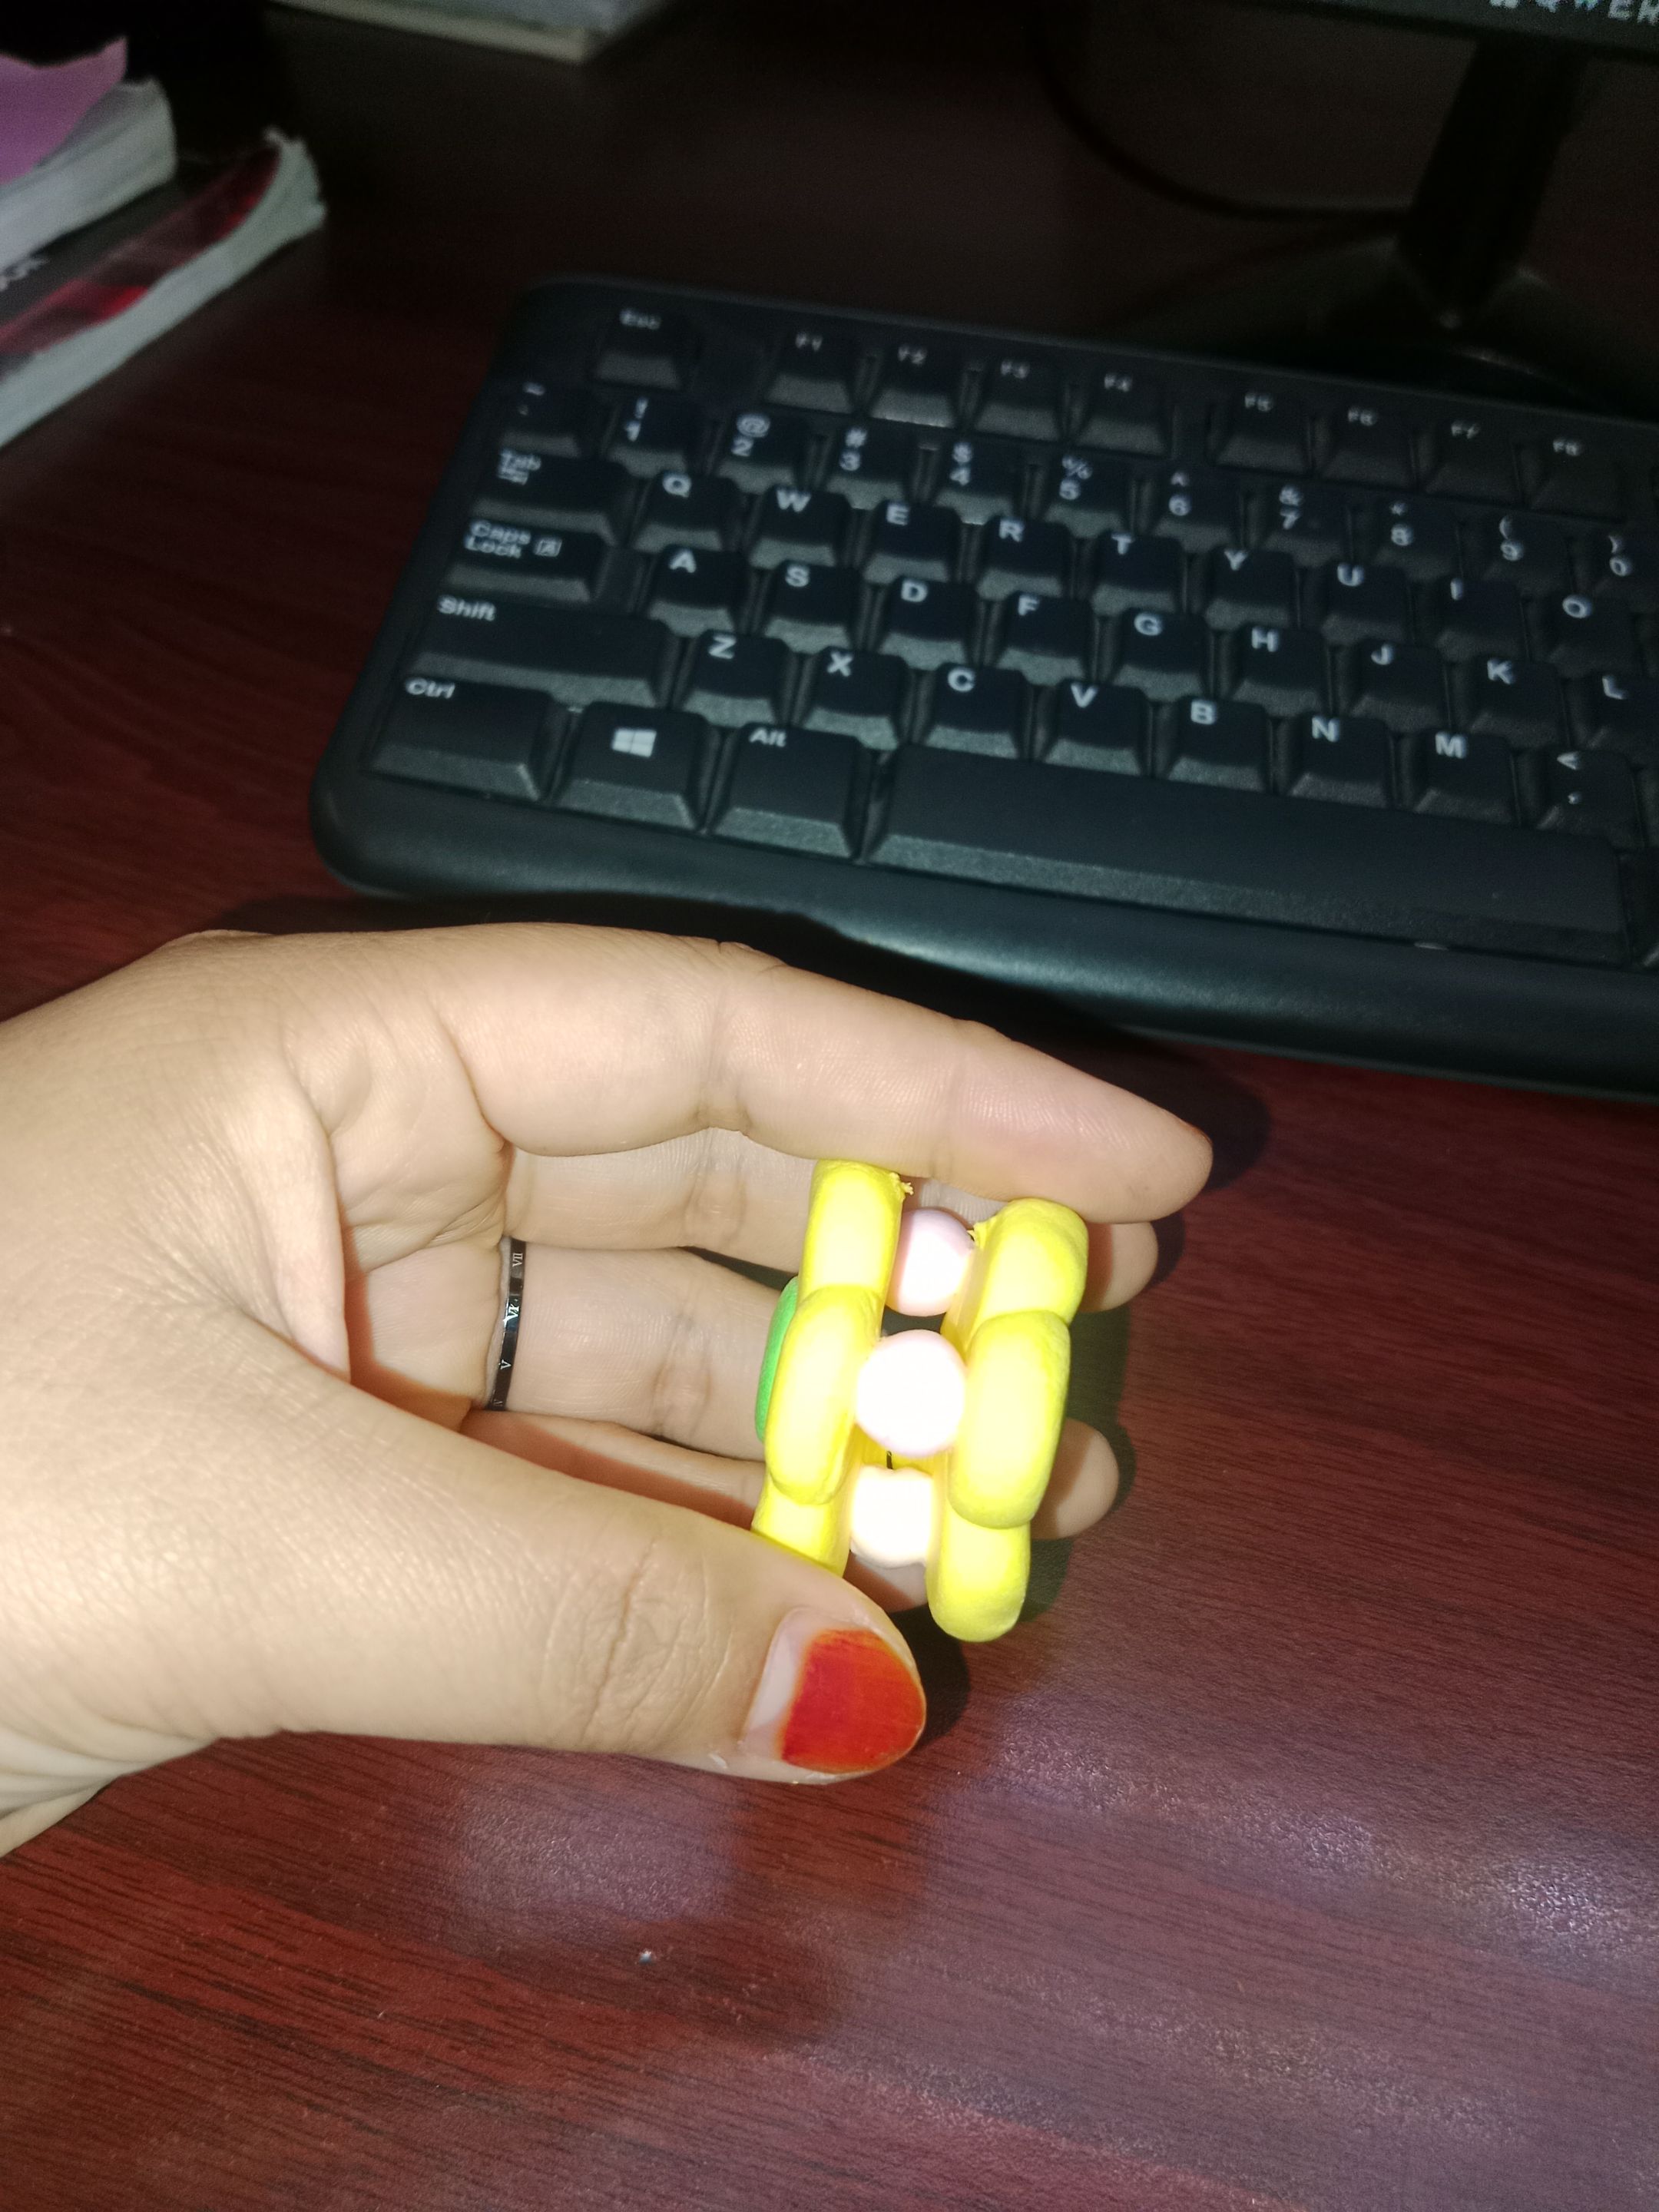
- Then, combine the finished circles into a flower shape, here I combined 5 circles
 |
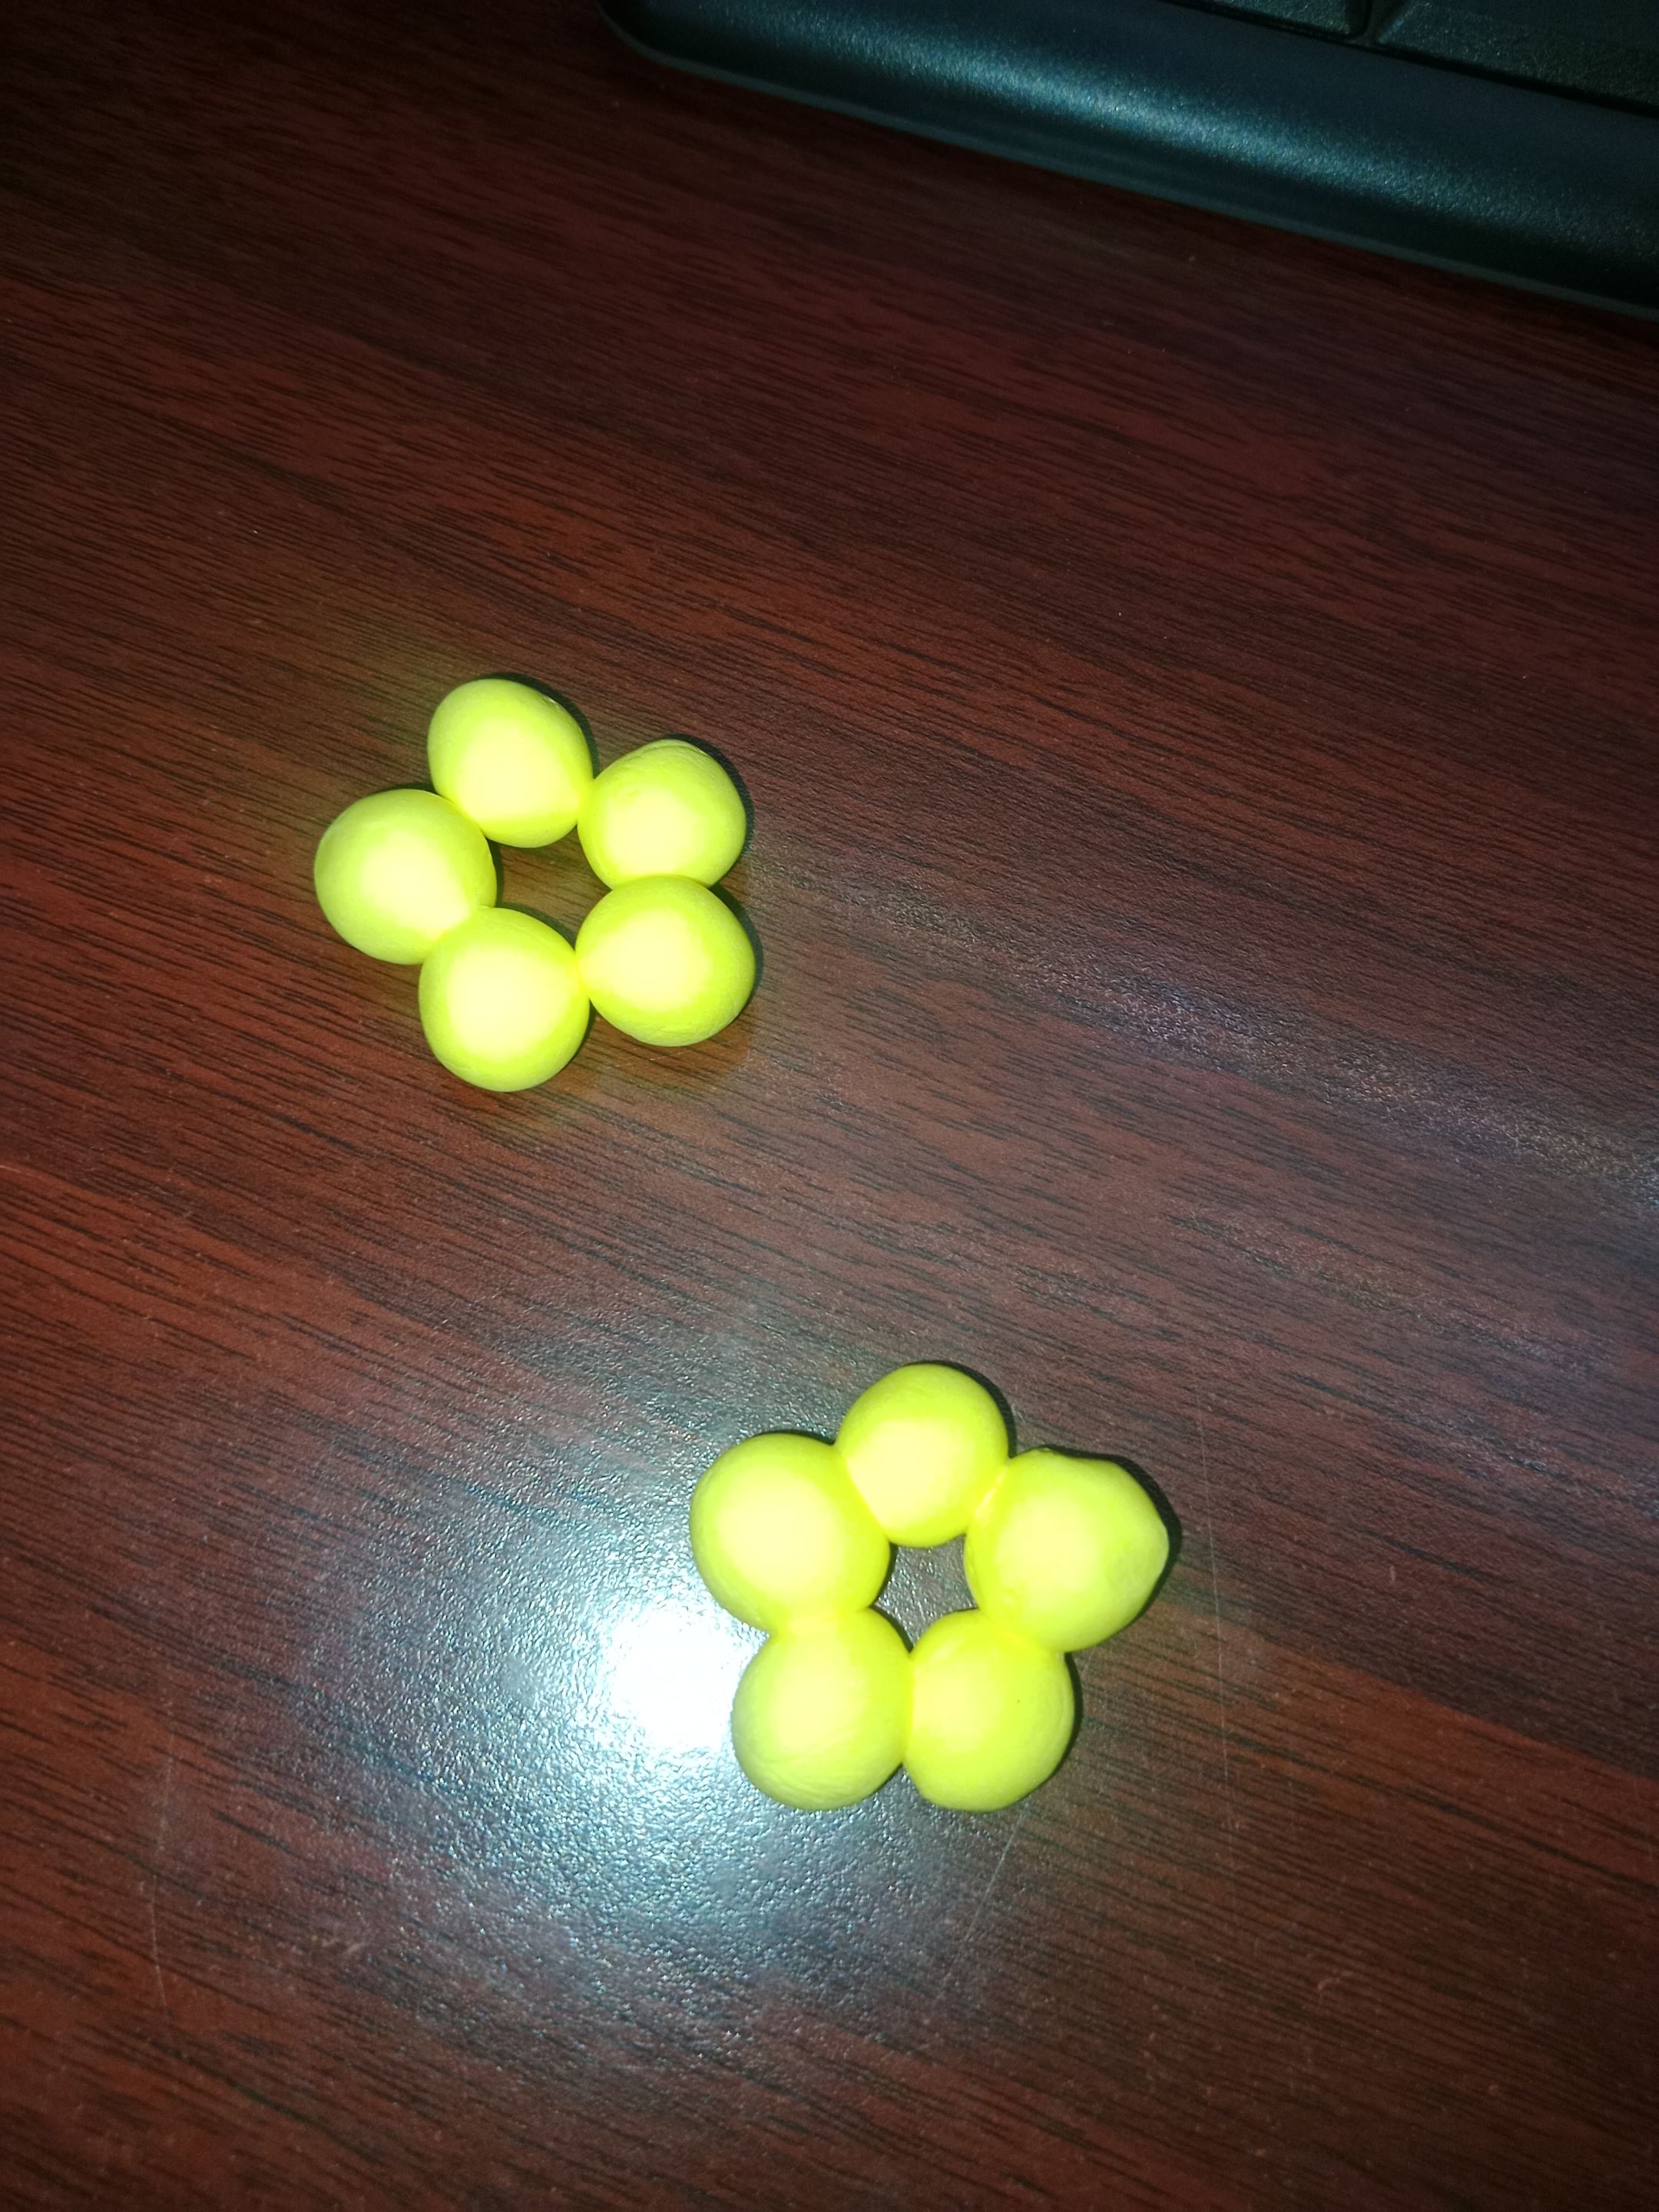 |
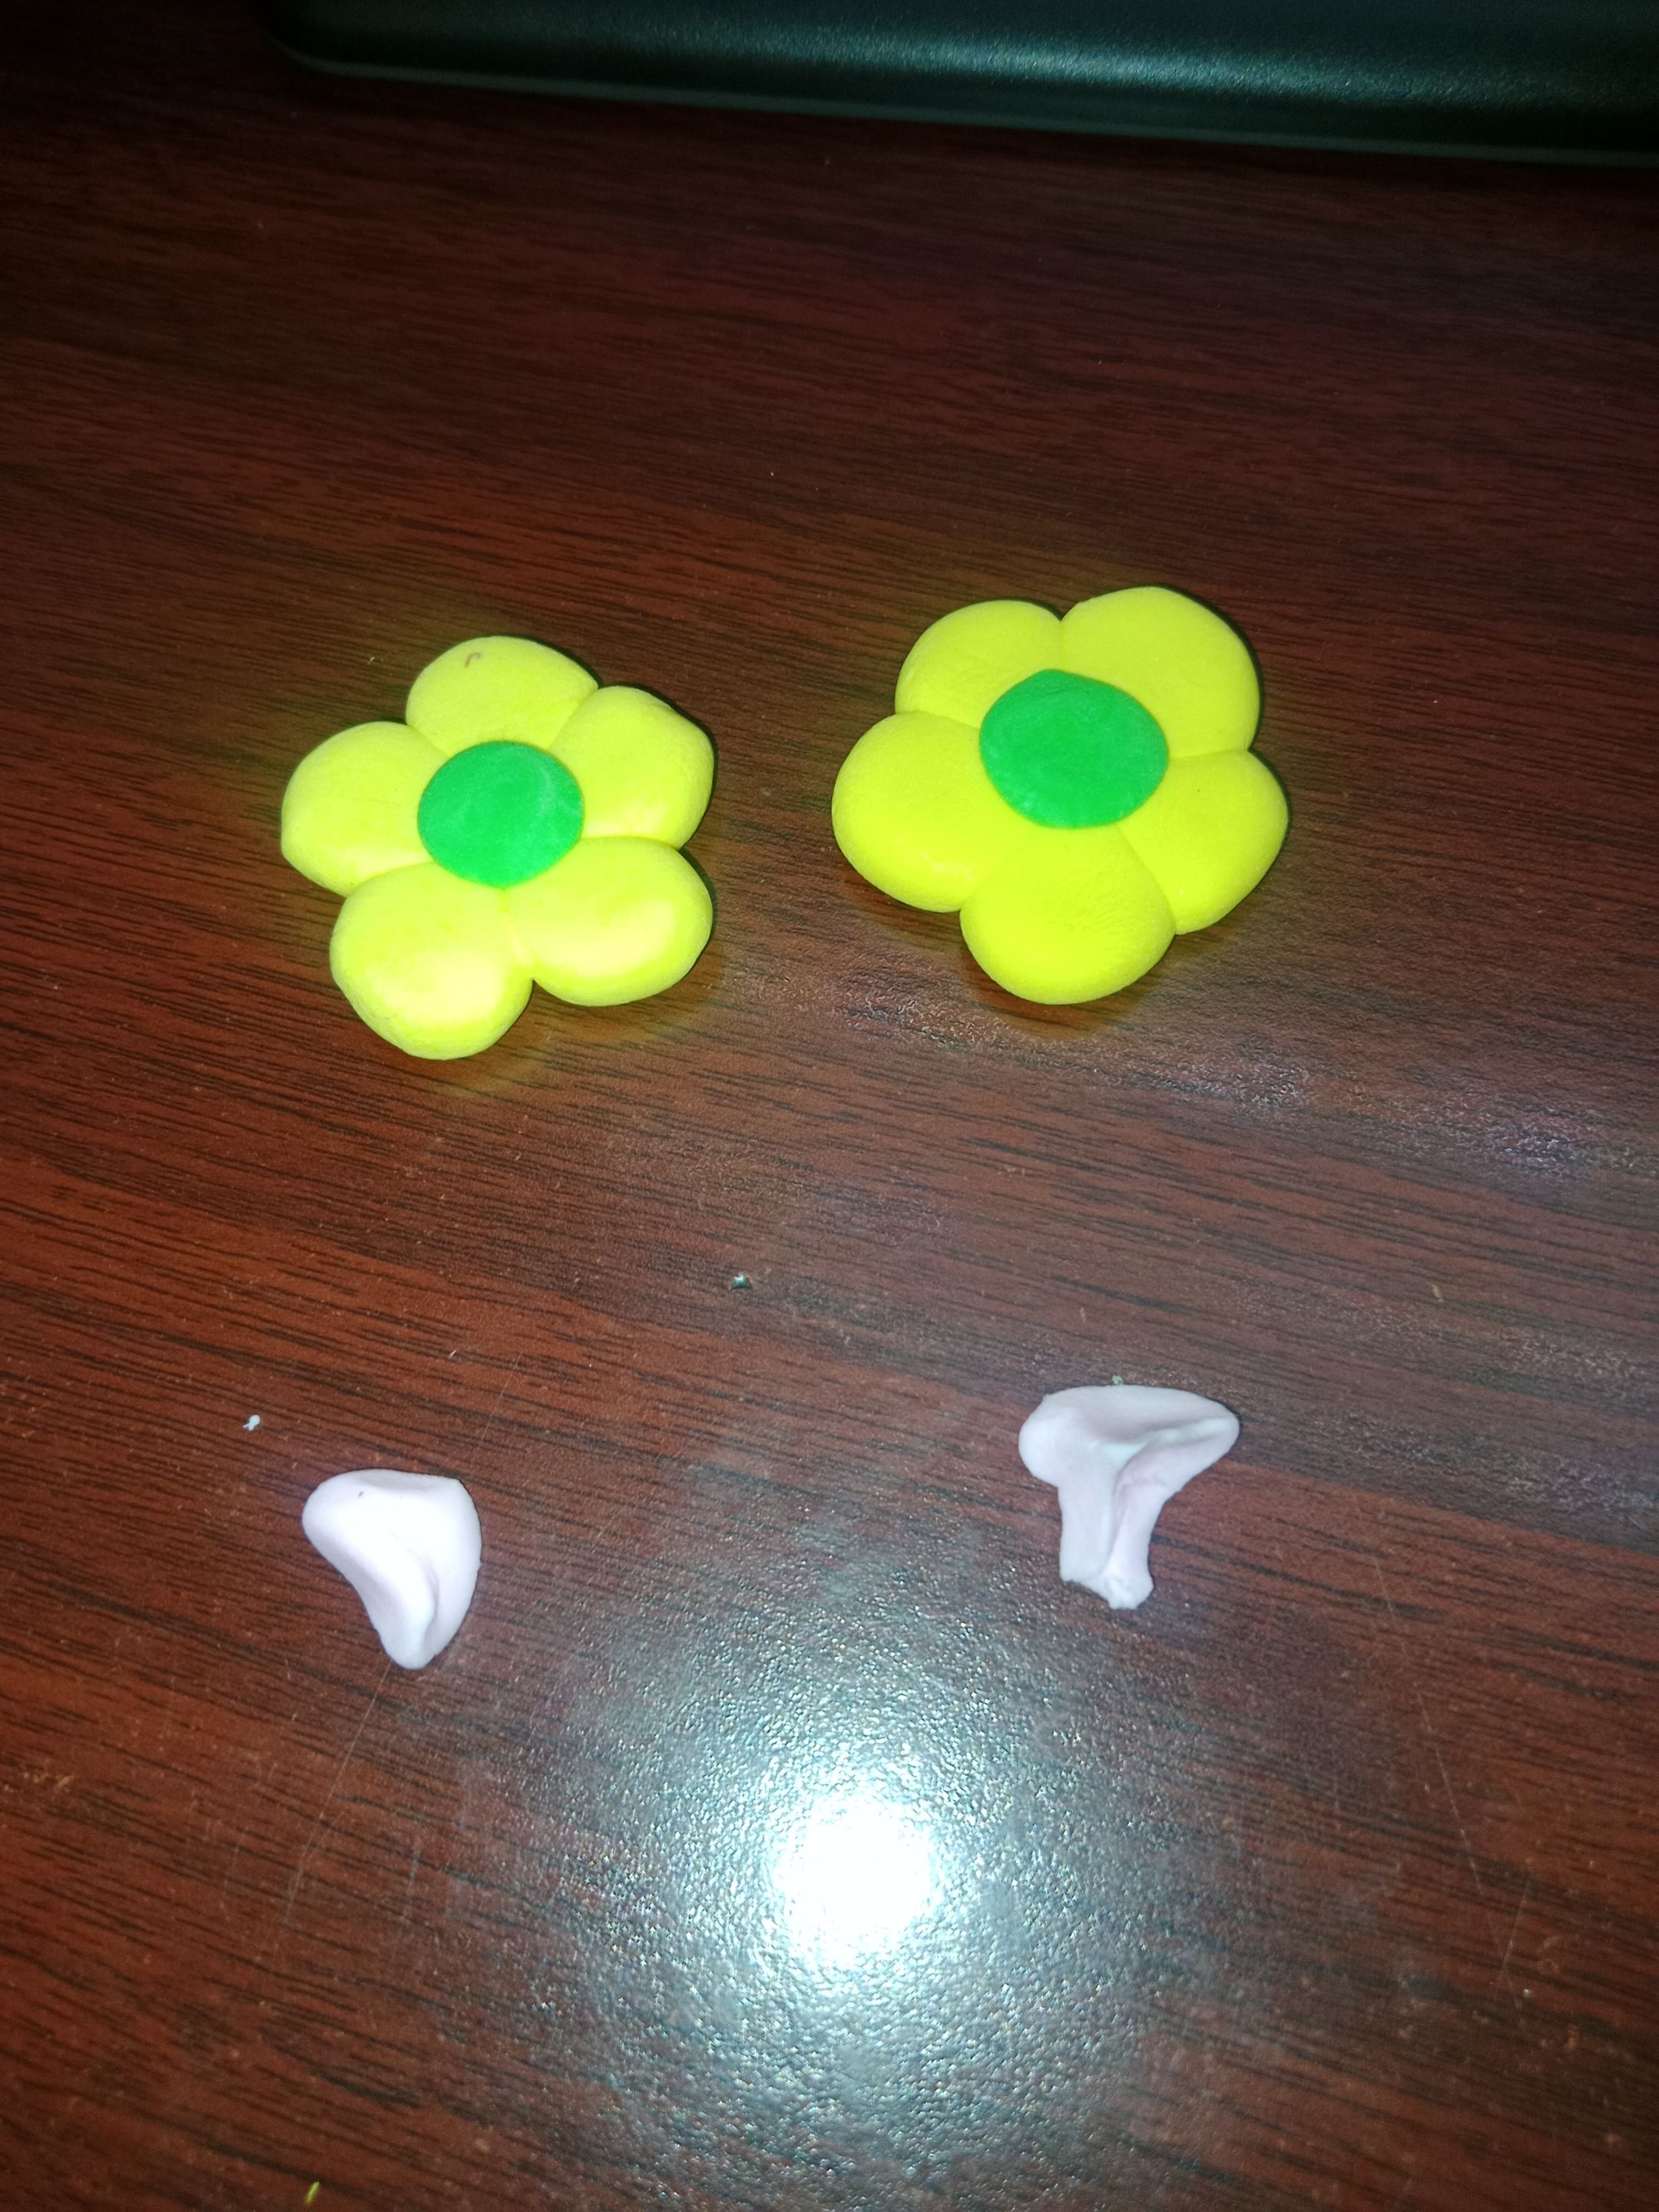
- On the other side, take a little green clay and shape it into a ball again, forming two balls.
 |
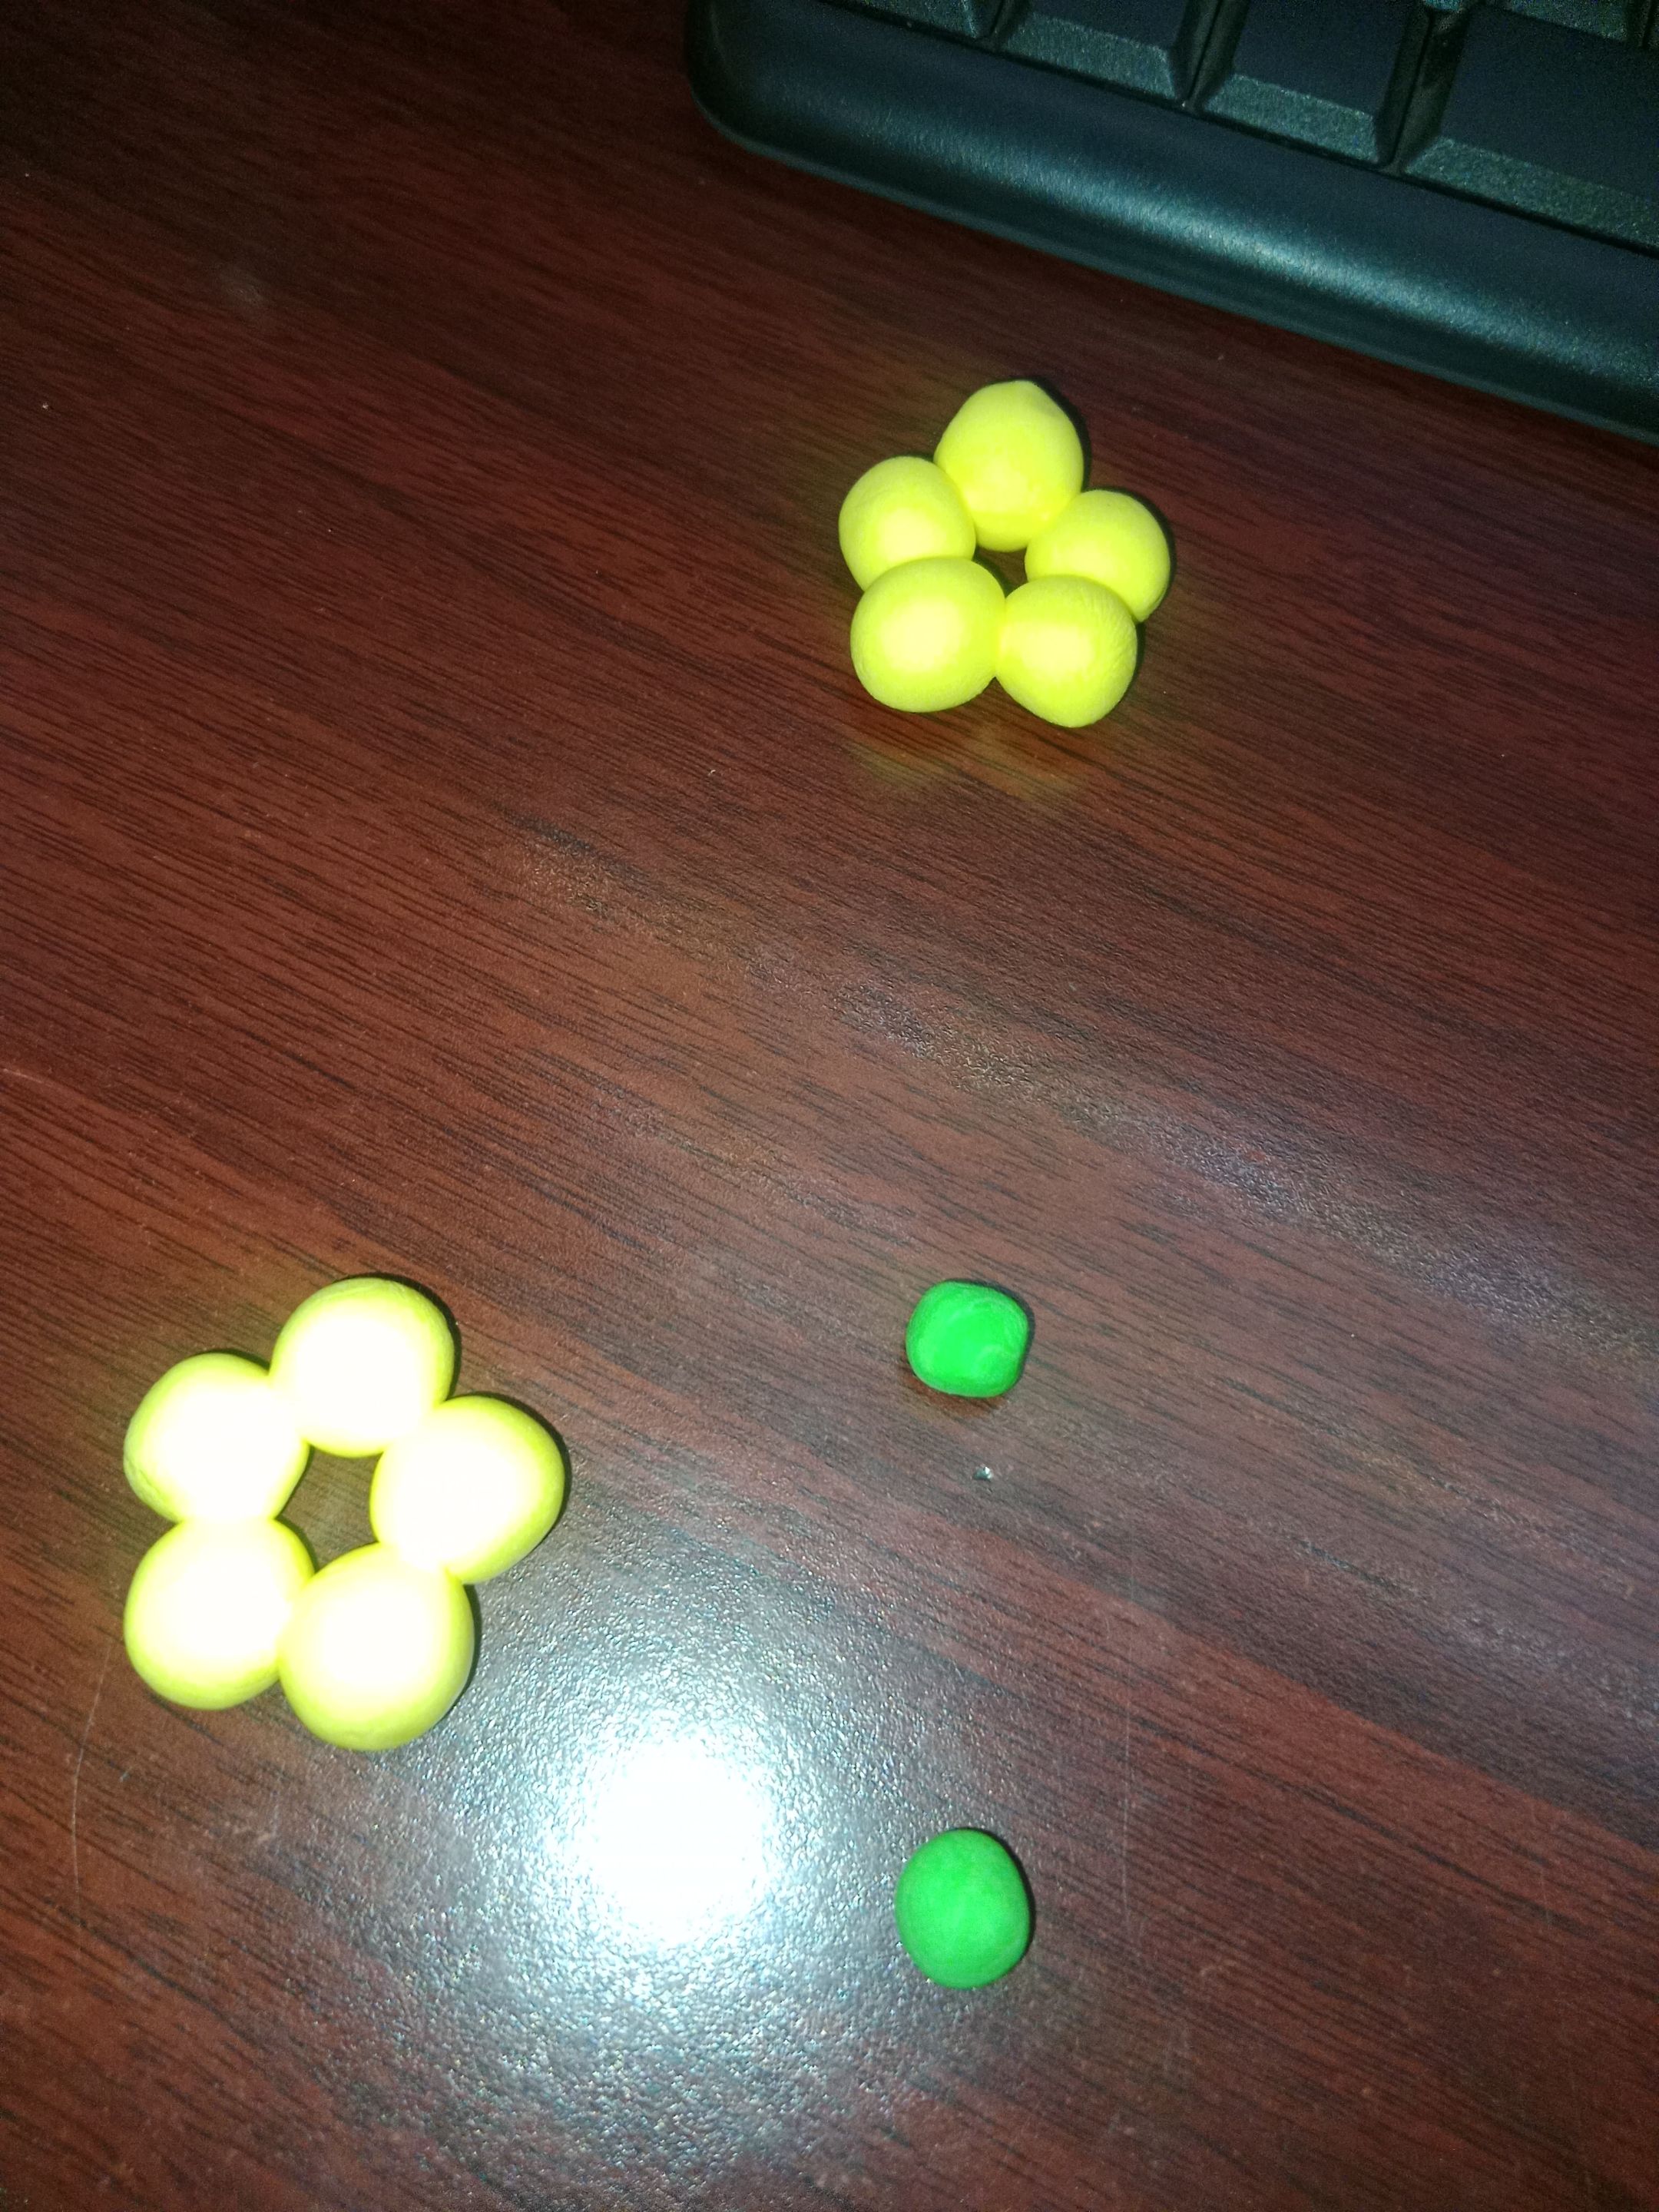 |
- Fill the gap in the center of the flower with the green ball. Then, apply a little pressure to press it into place or join it to the yellow flower.
 |
 |
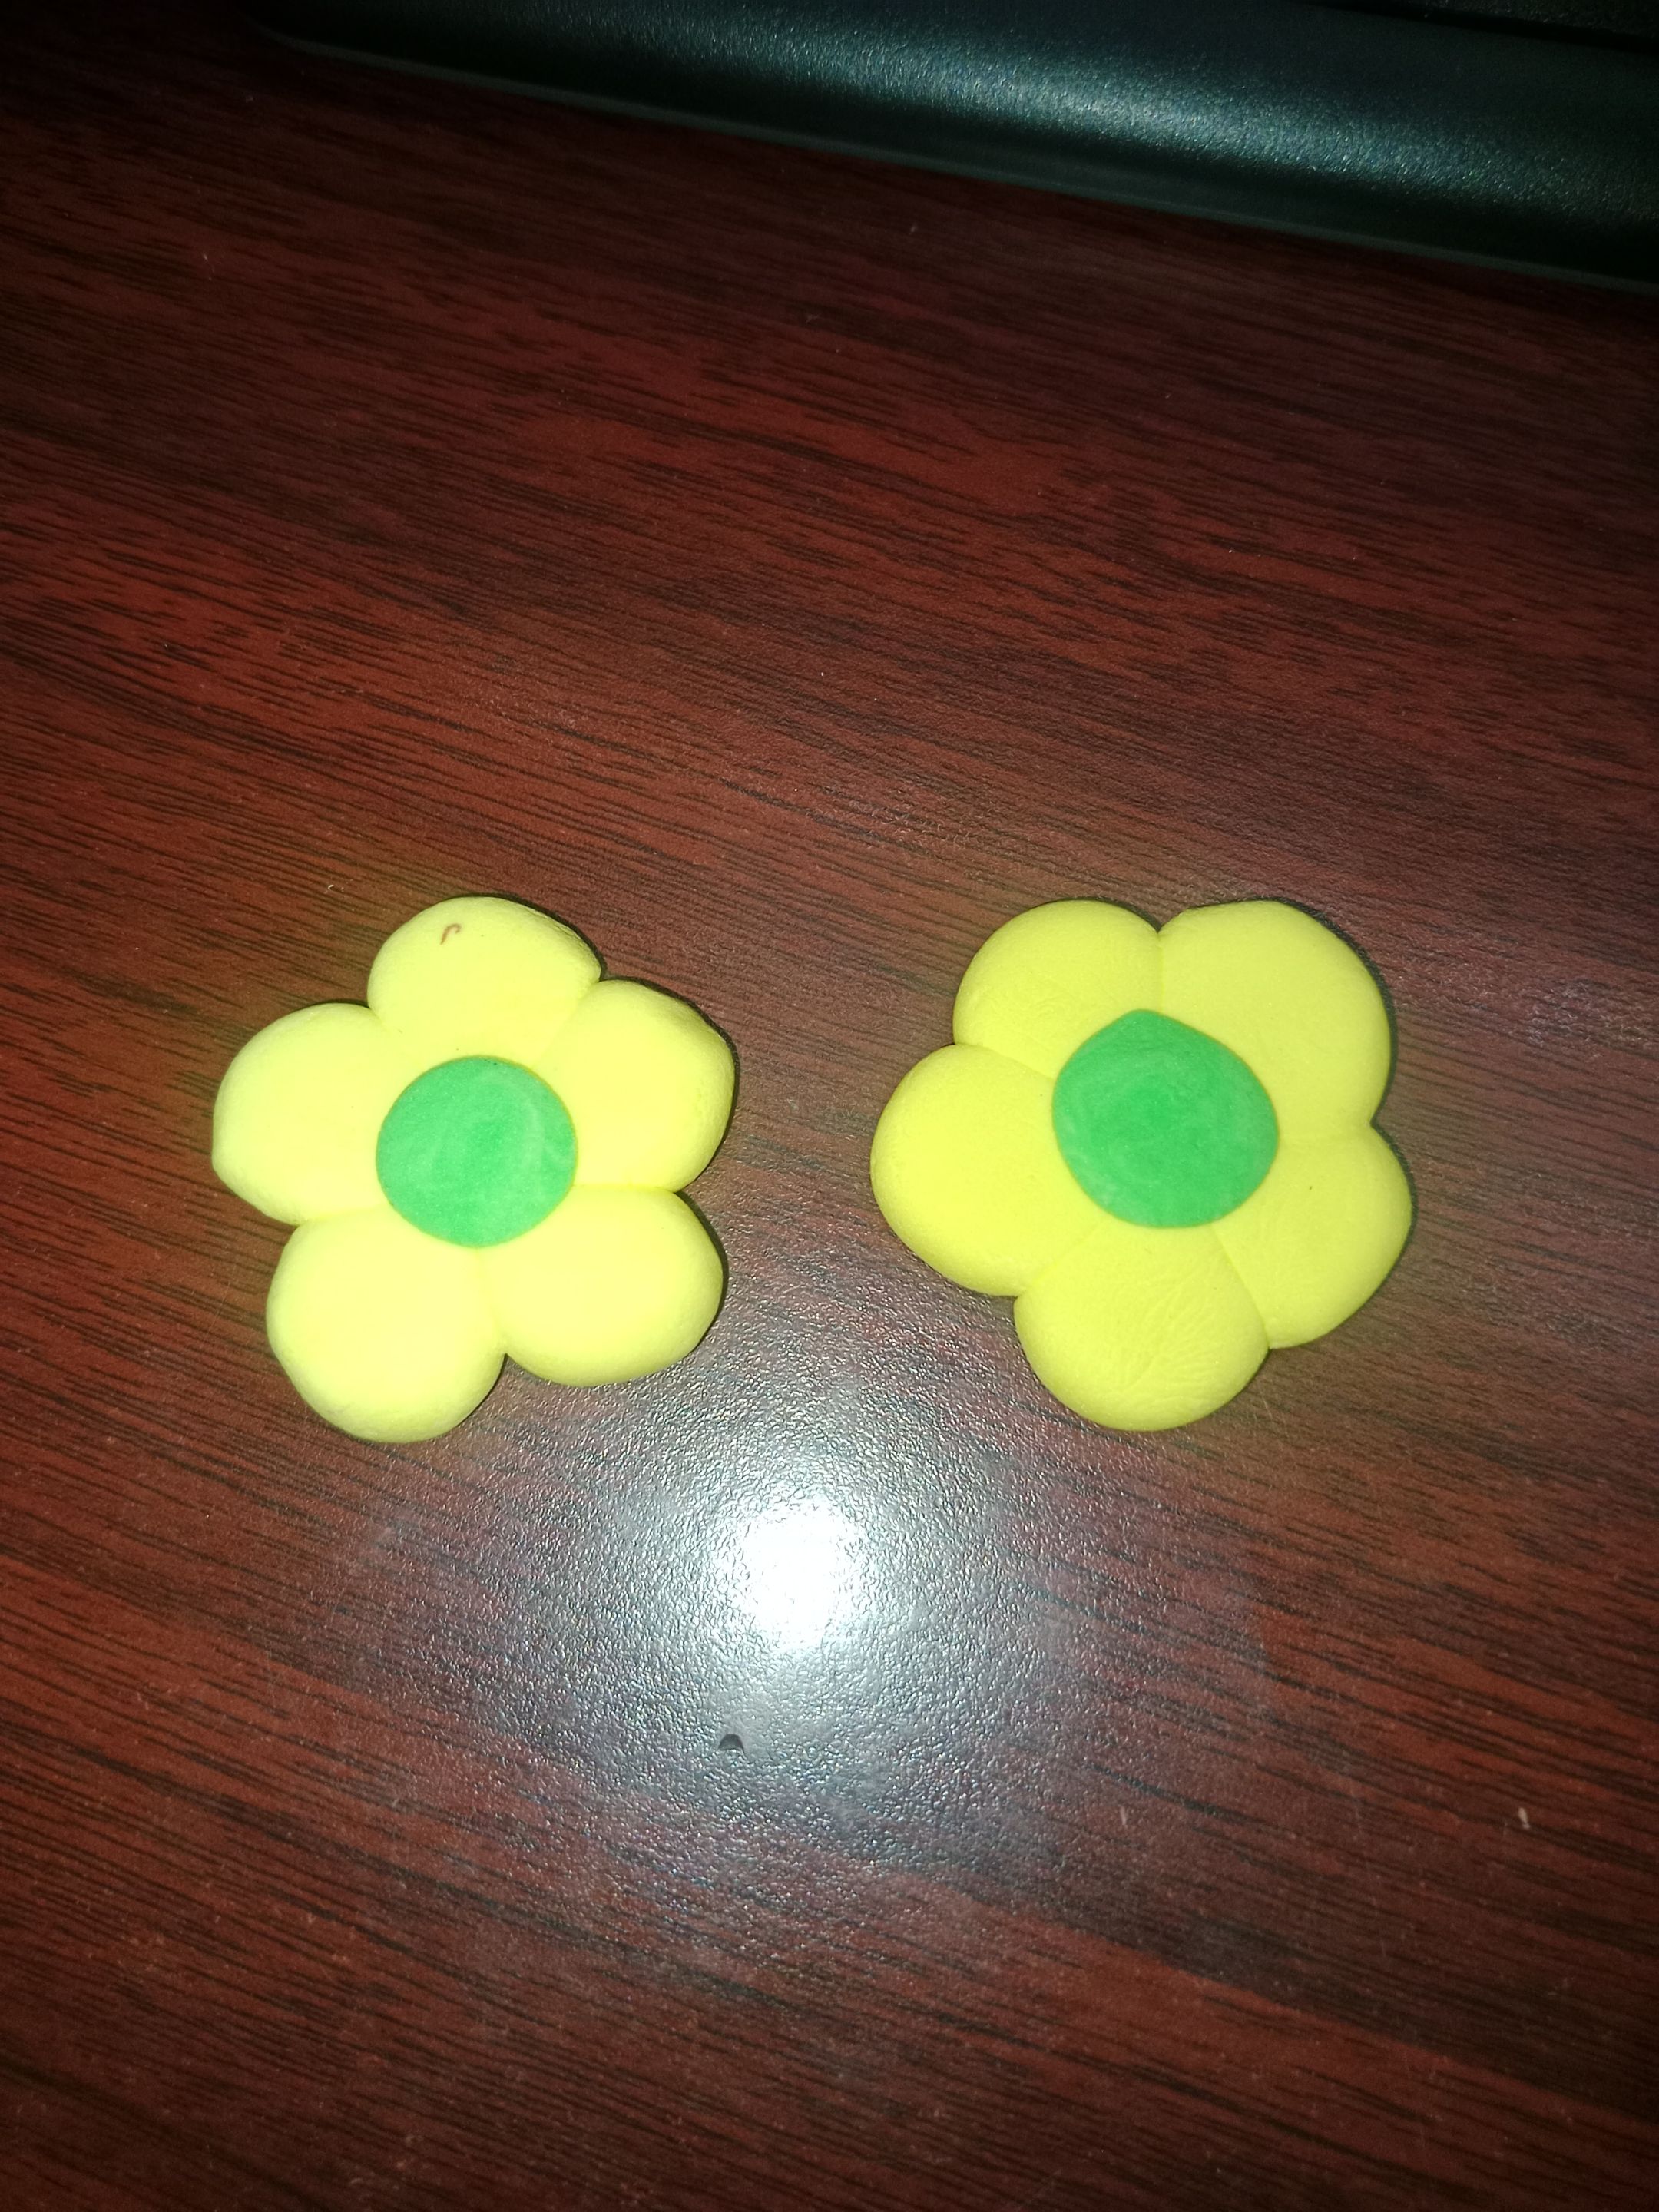 |
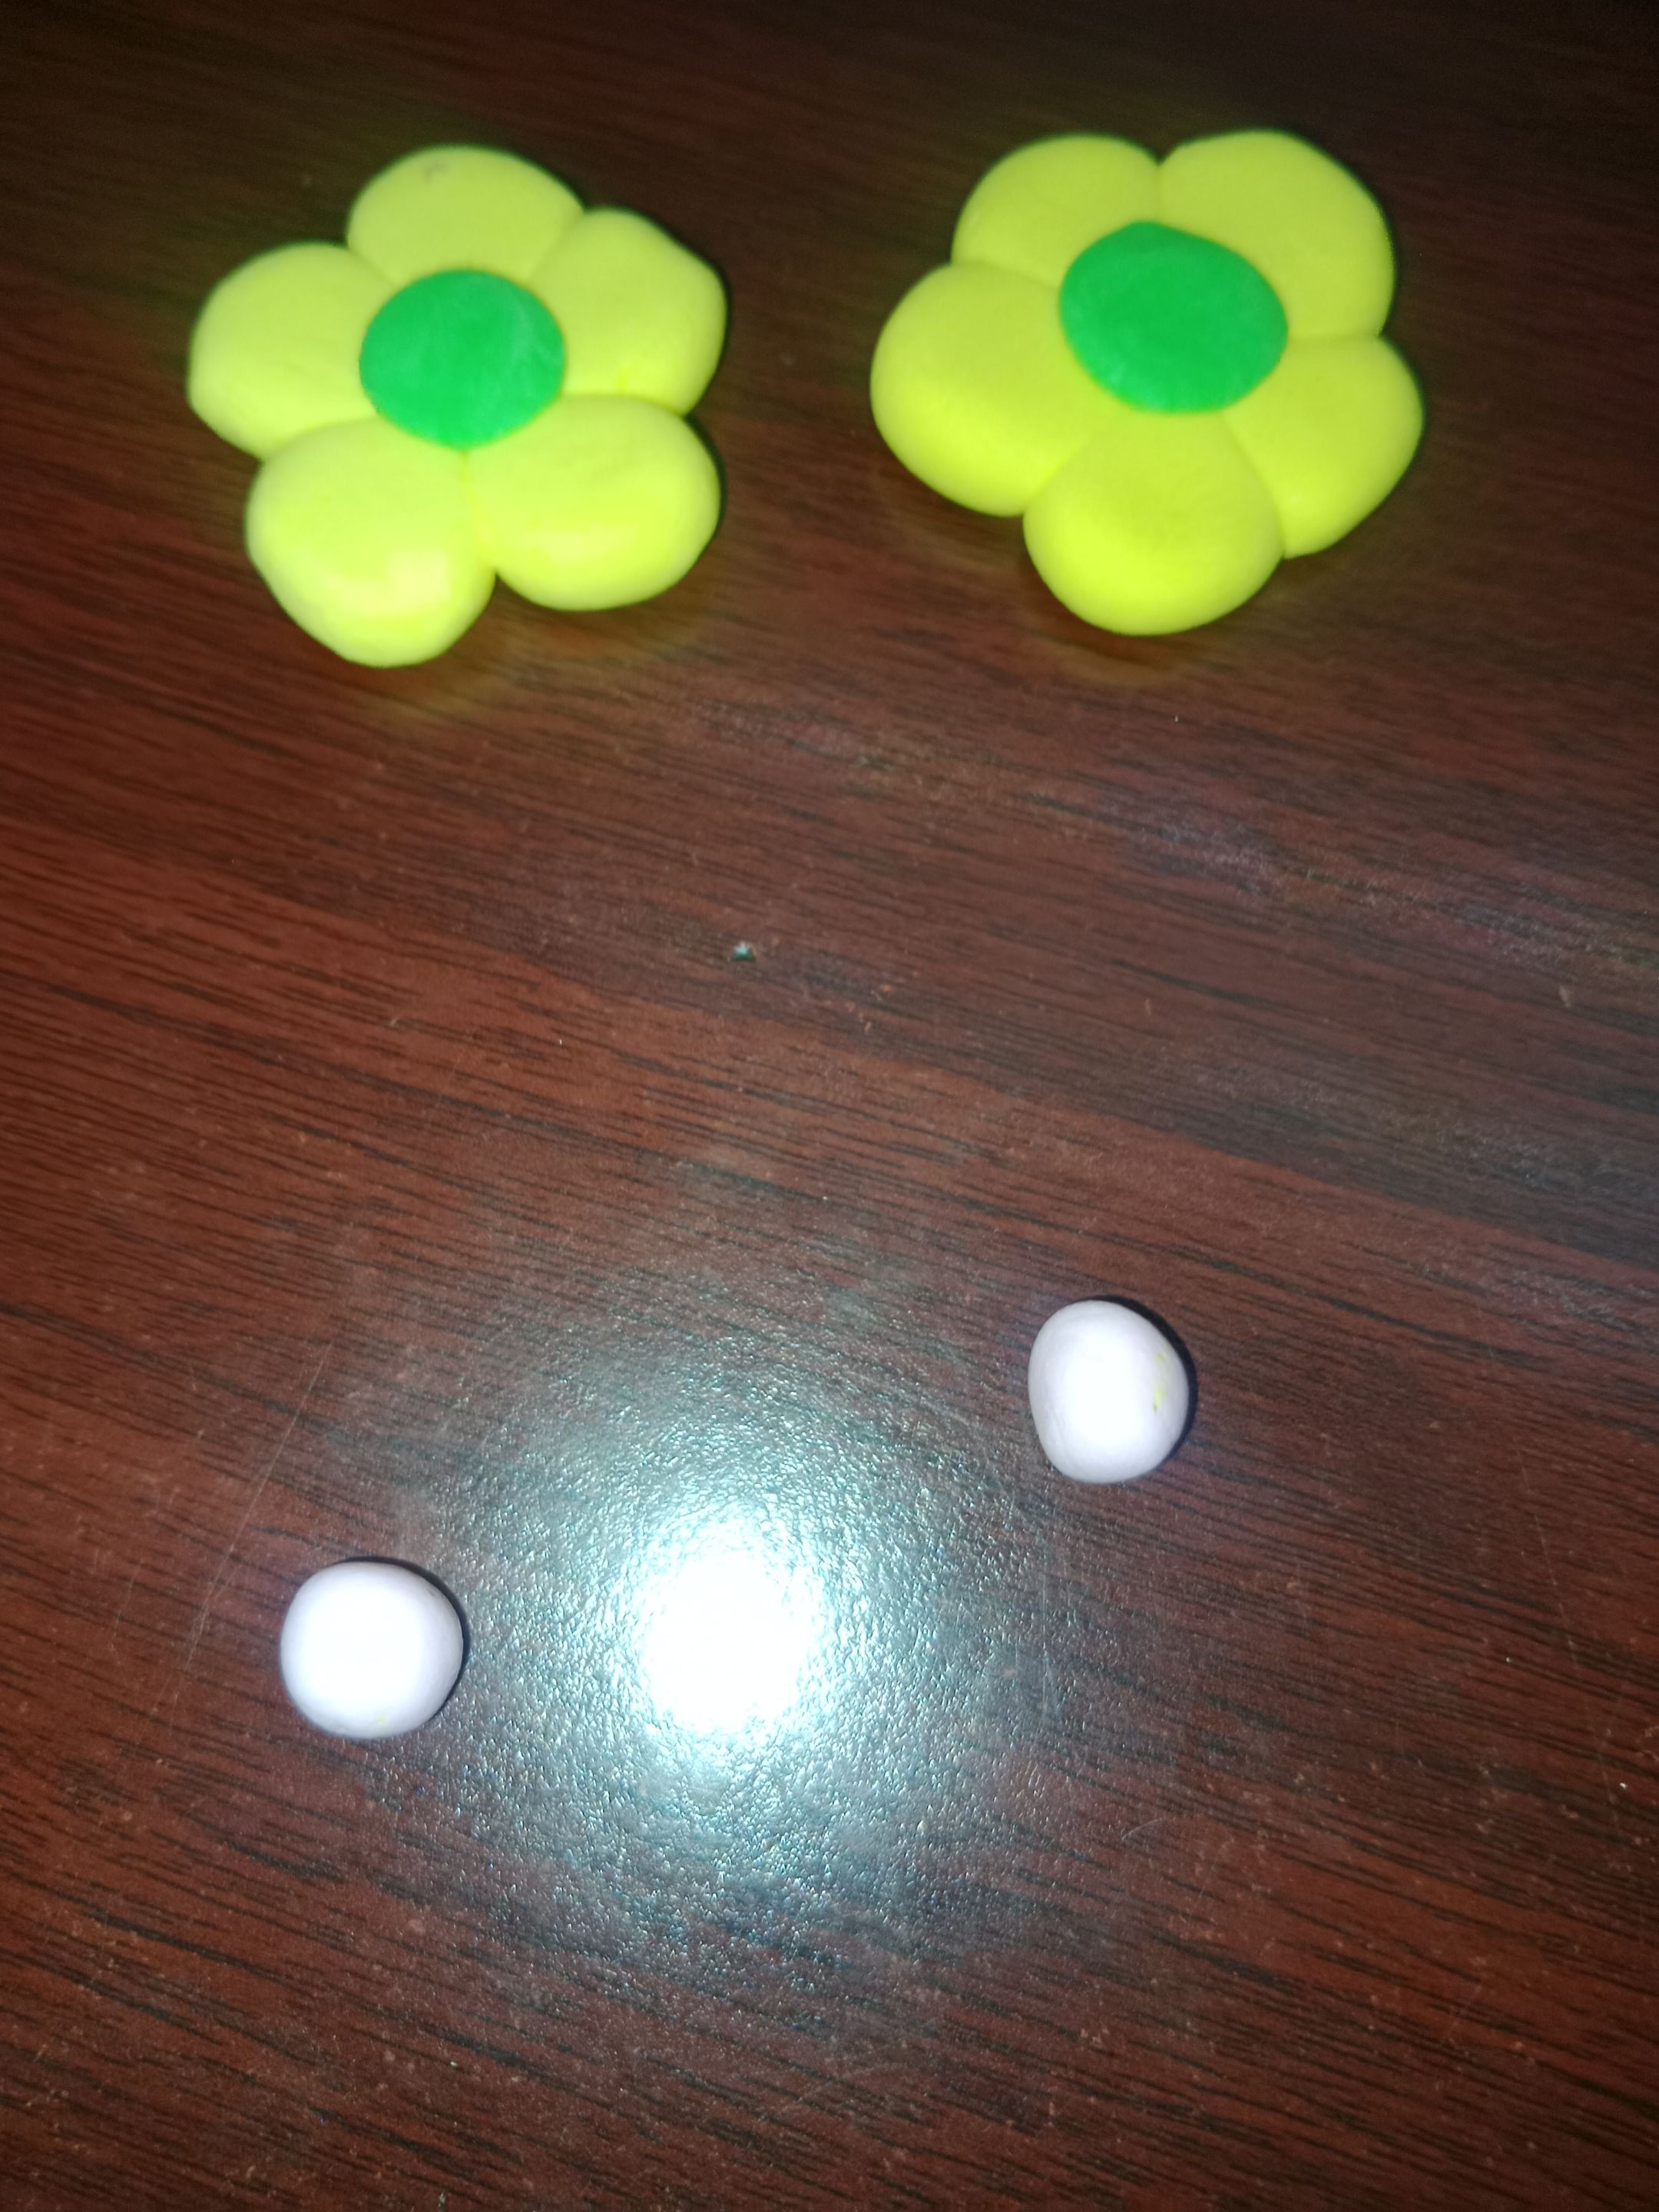
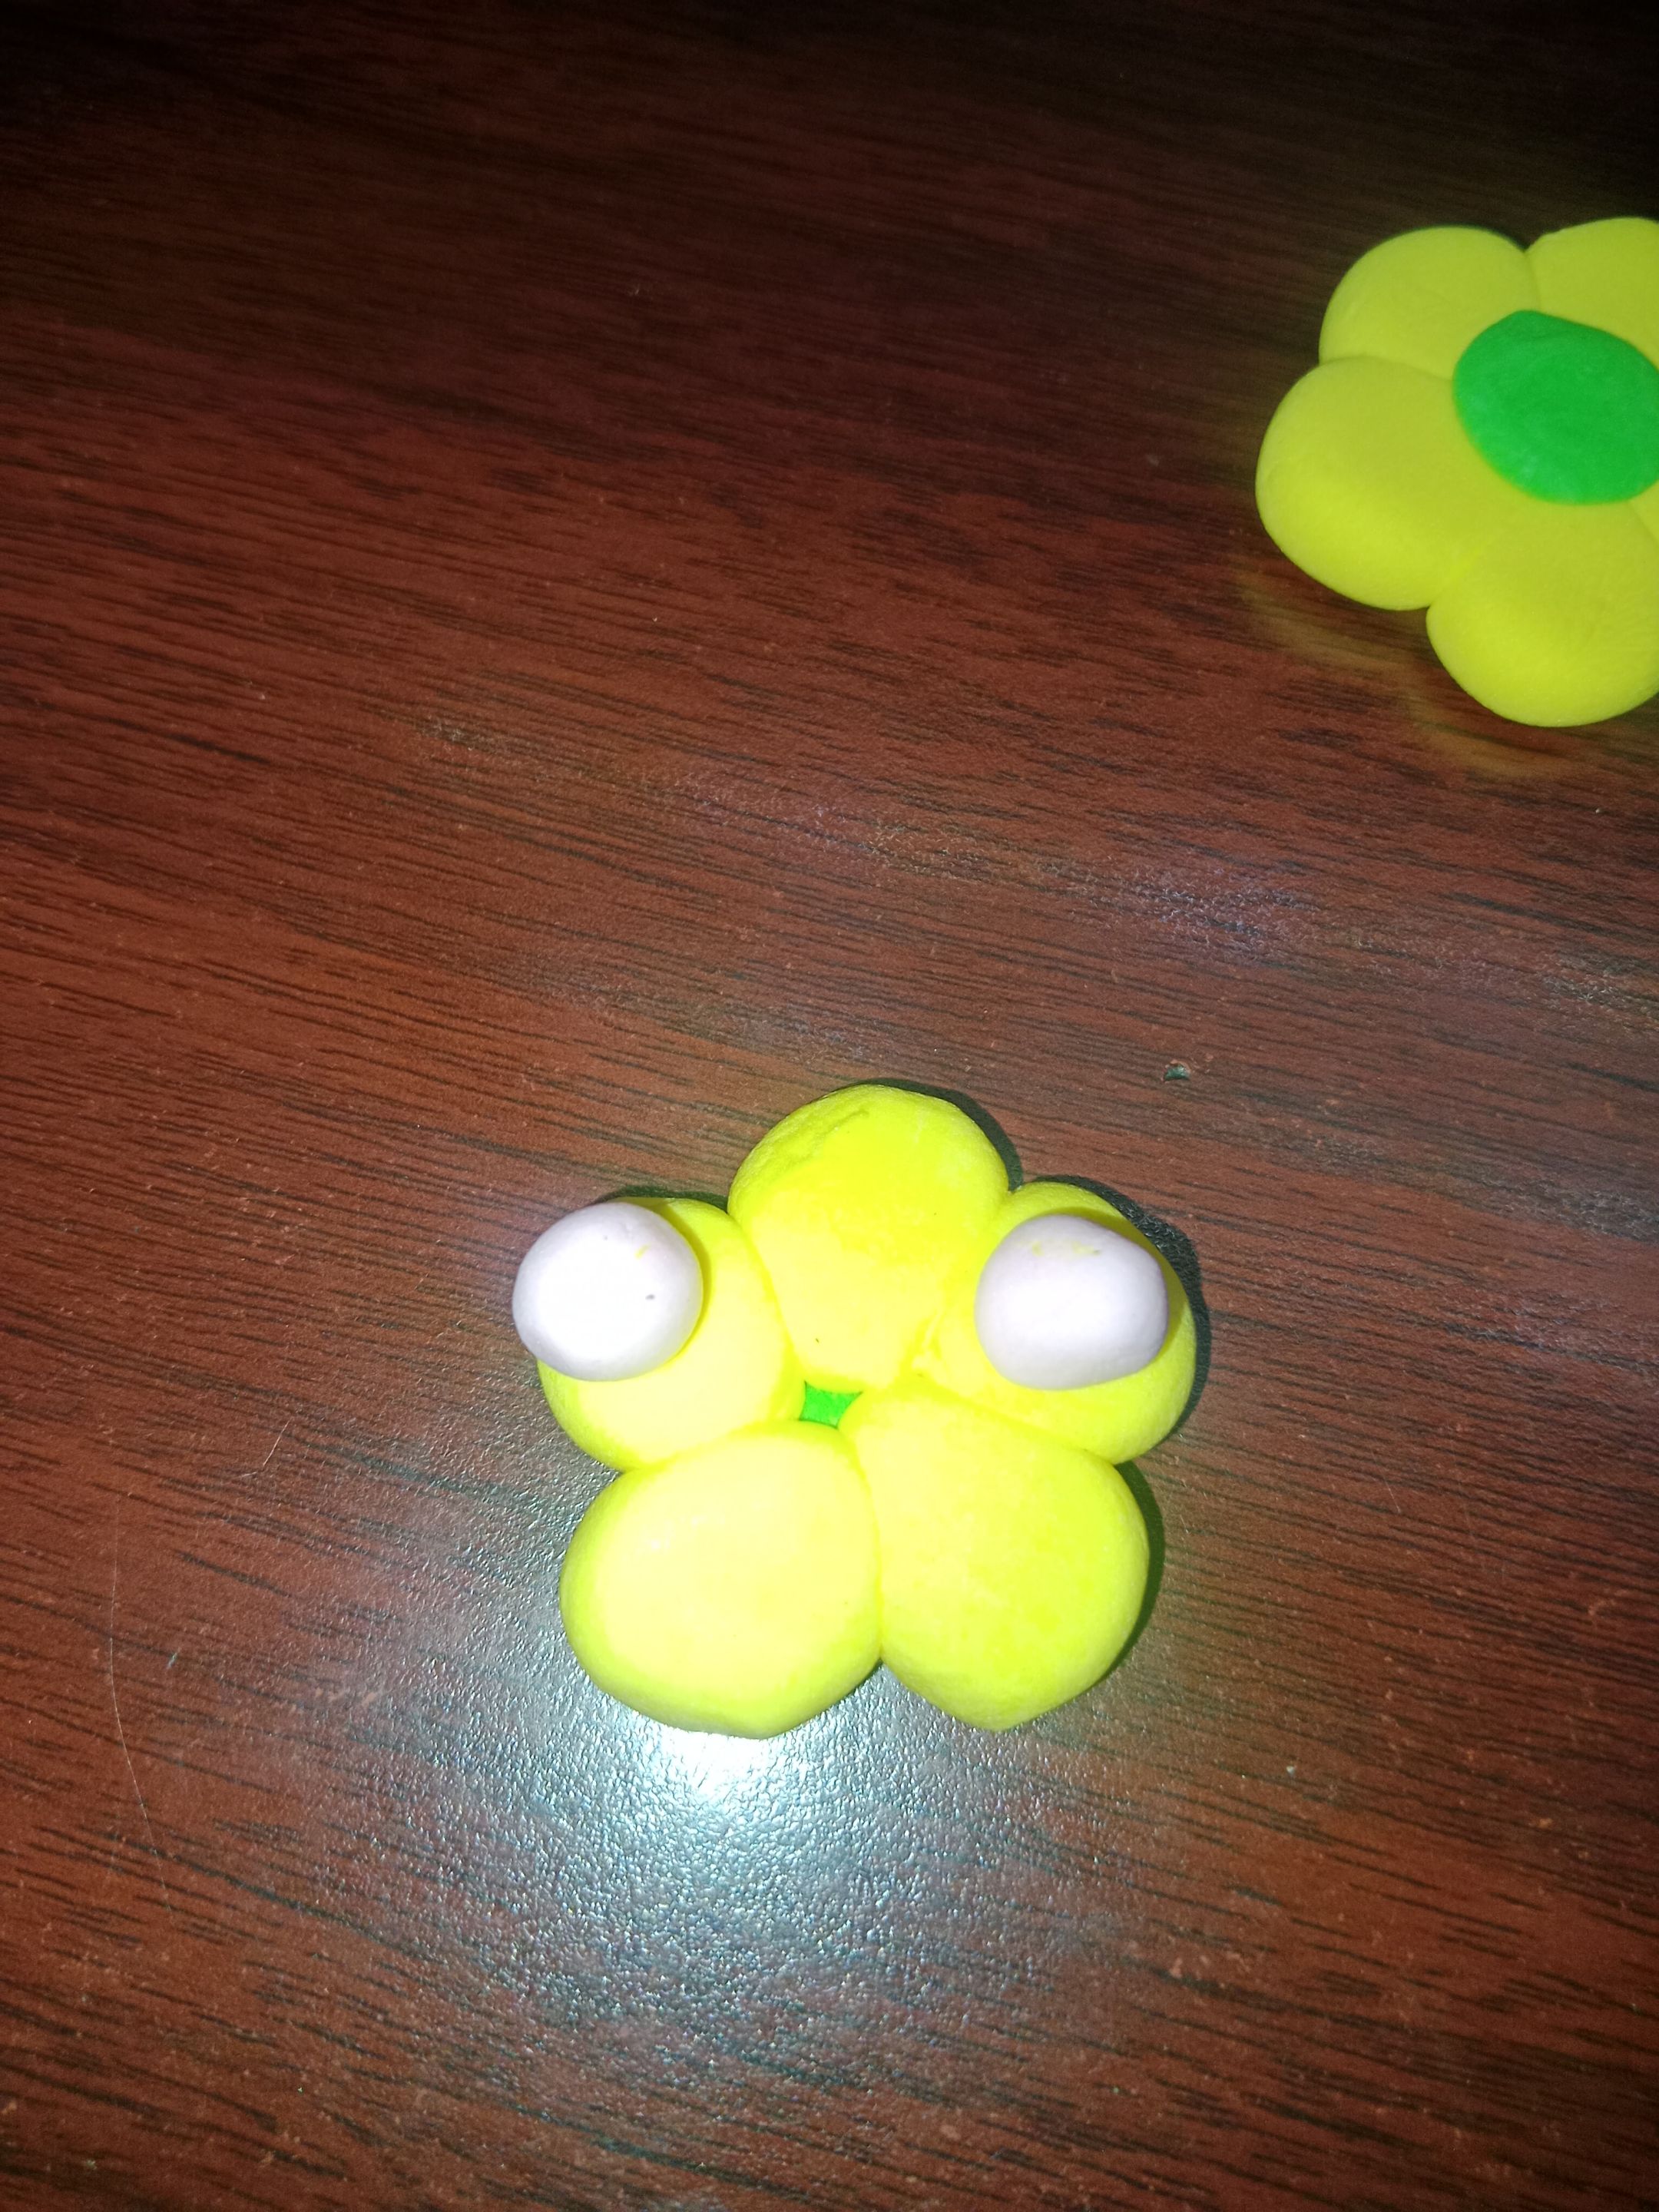
I also added 2 small circles, here their function is to combine the 2 yellow flowers.
 |
 |
 |
 |
 |
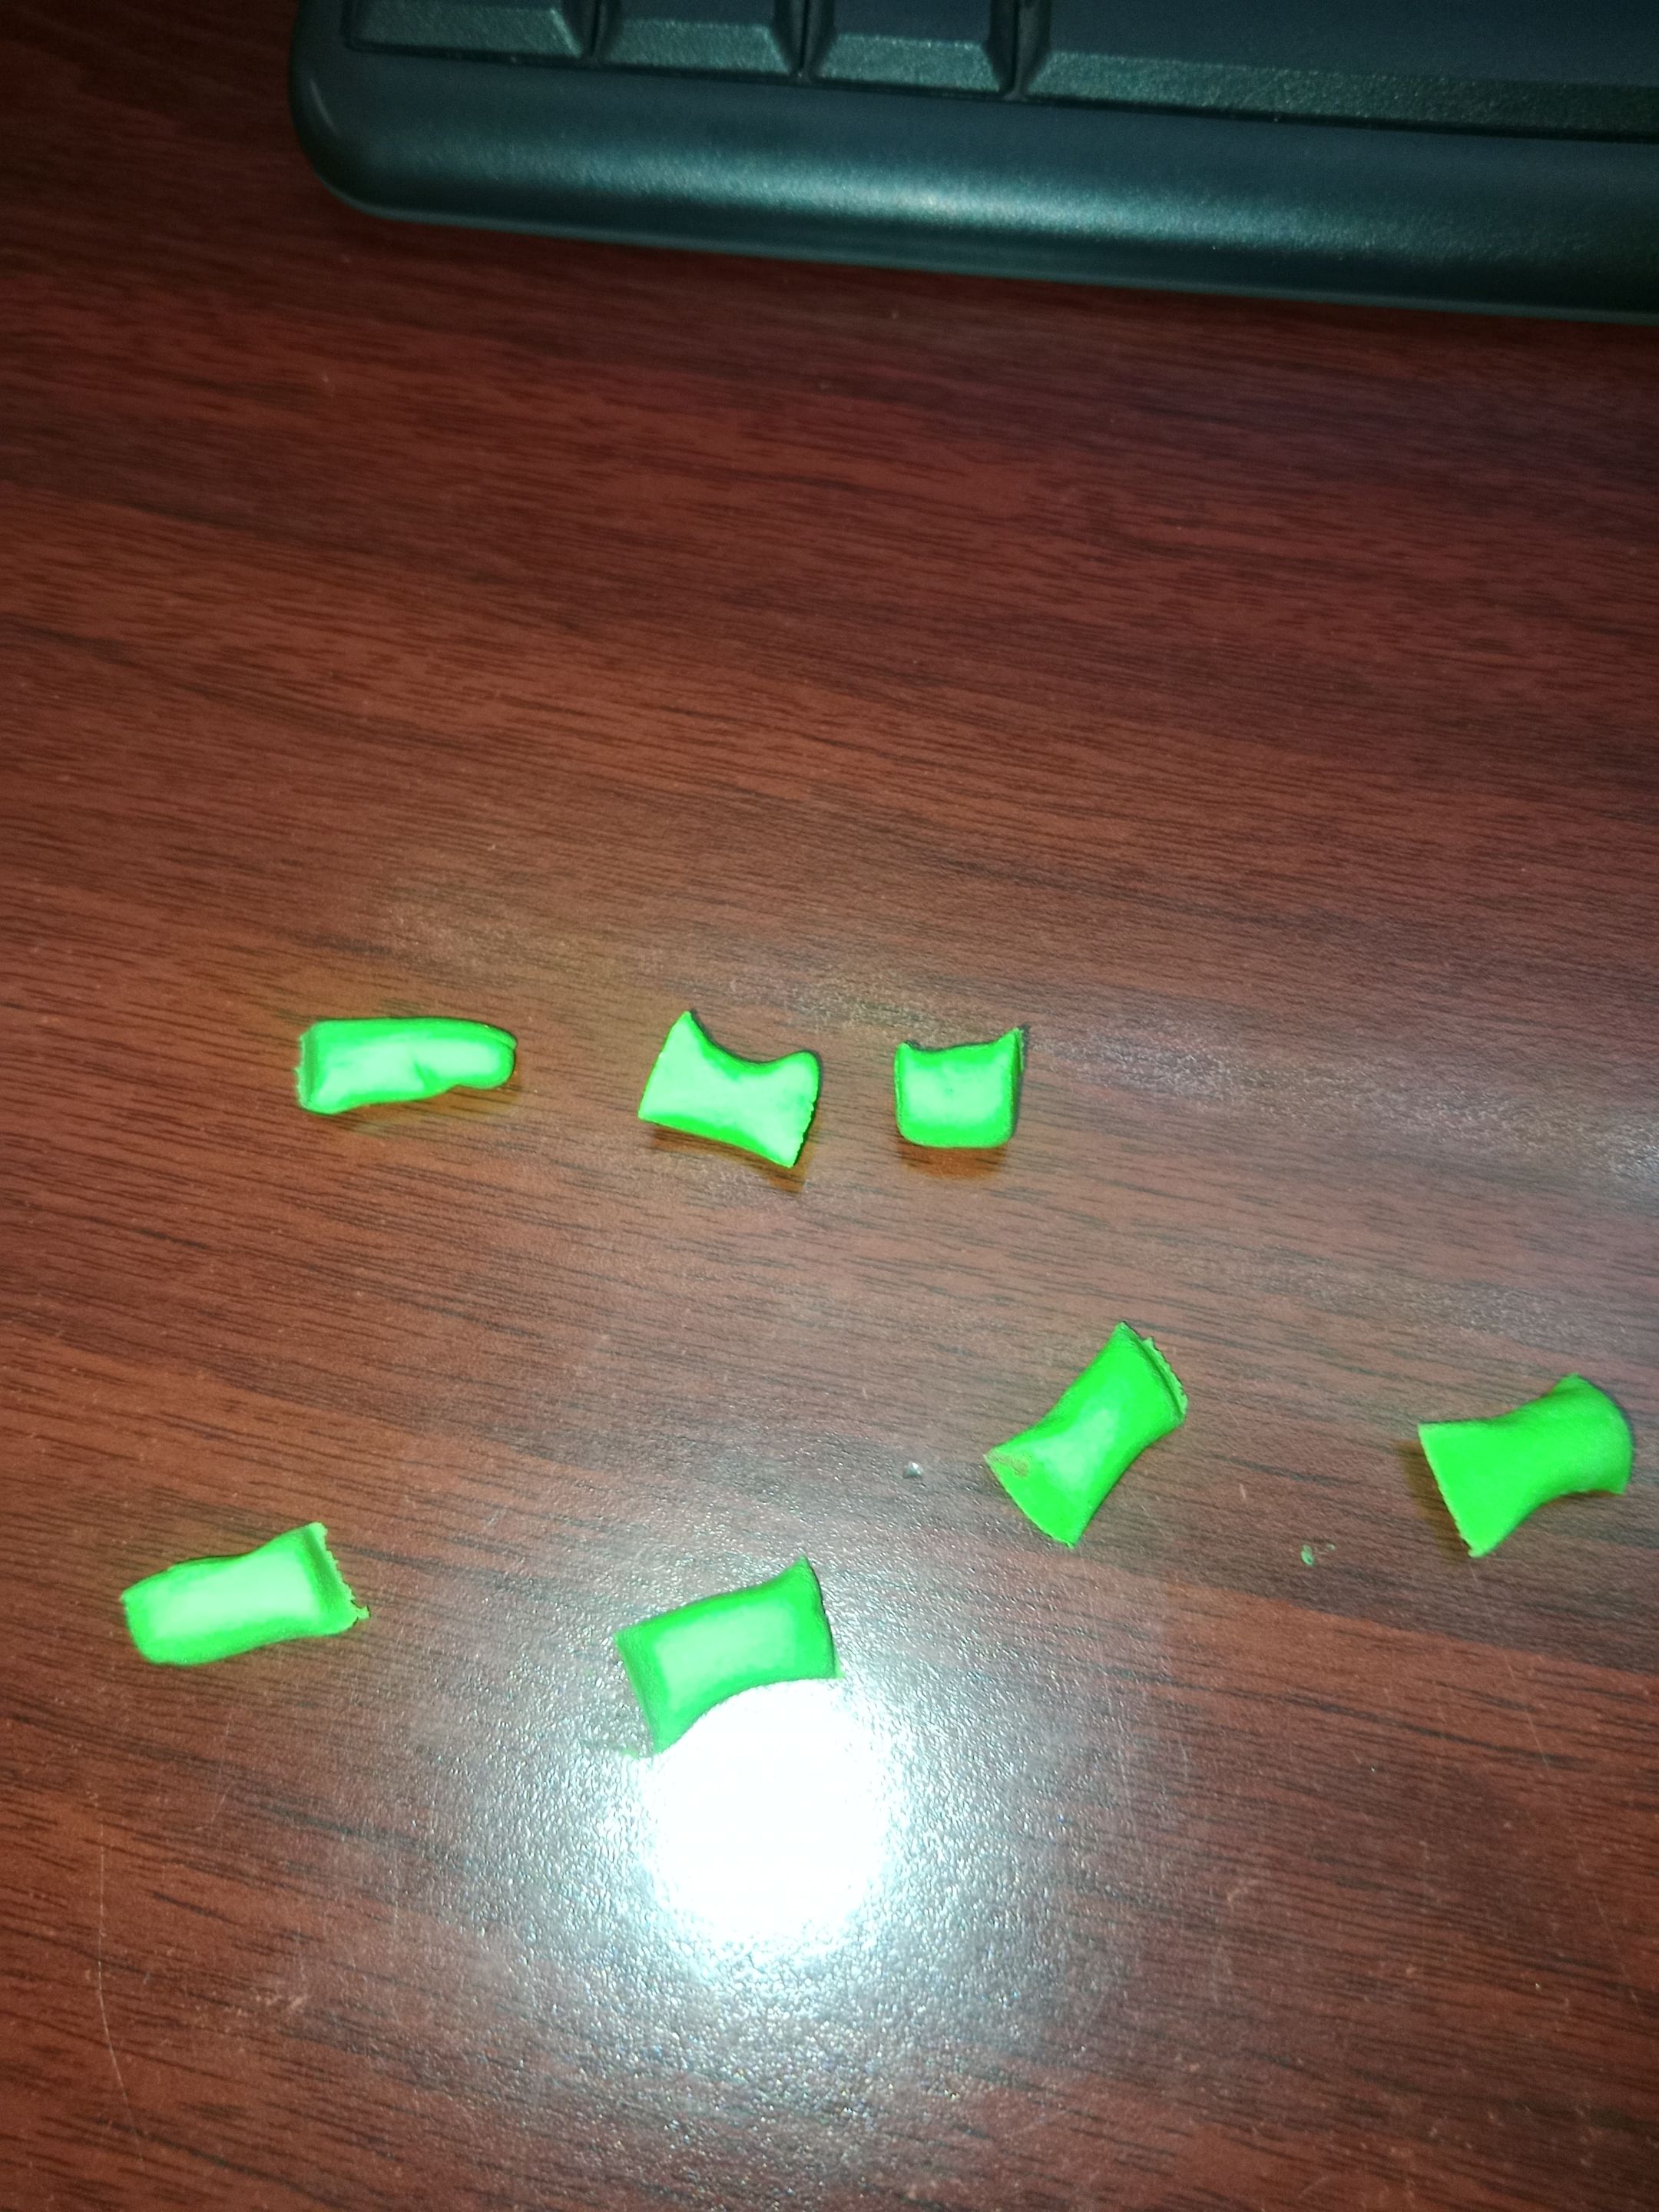
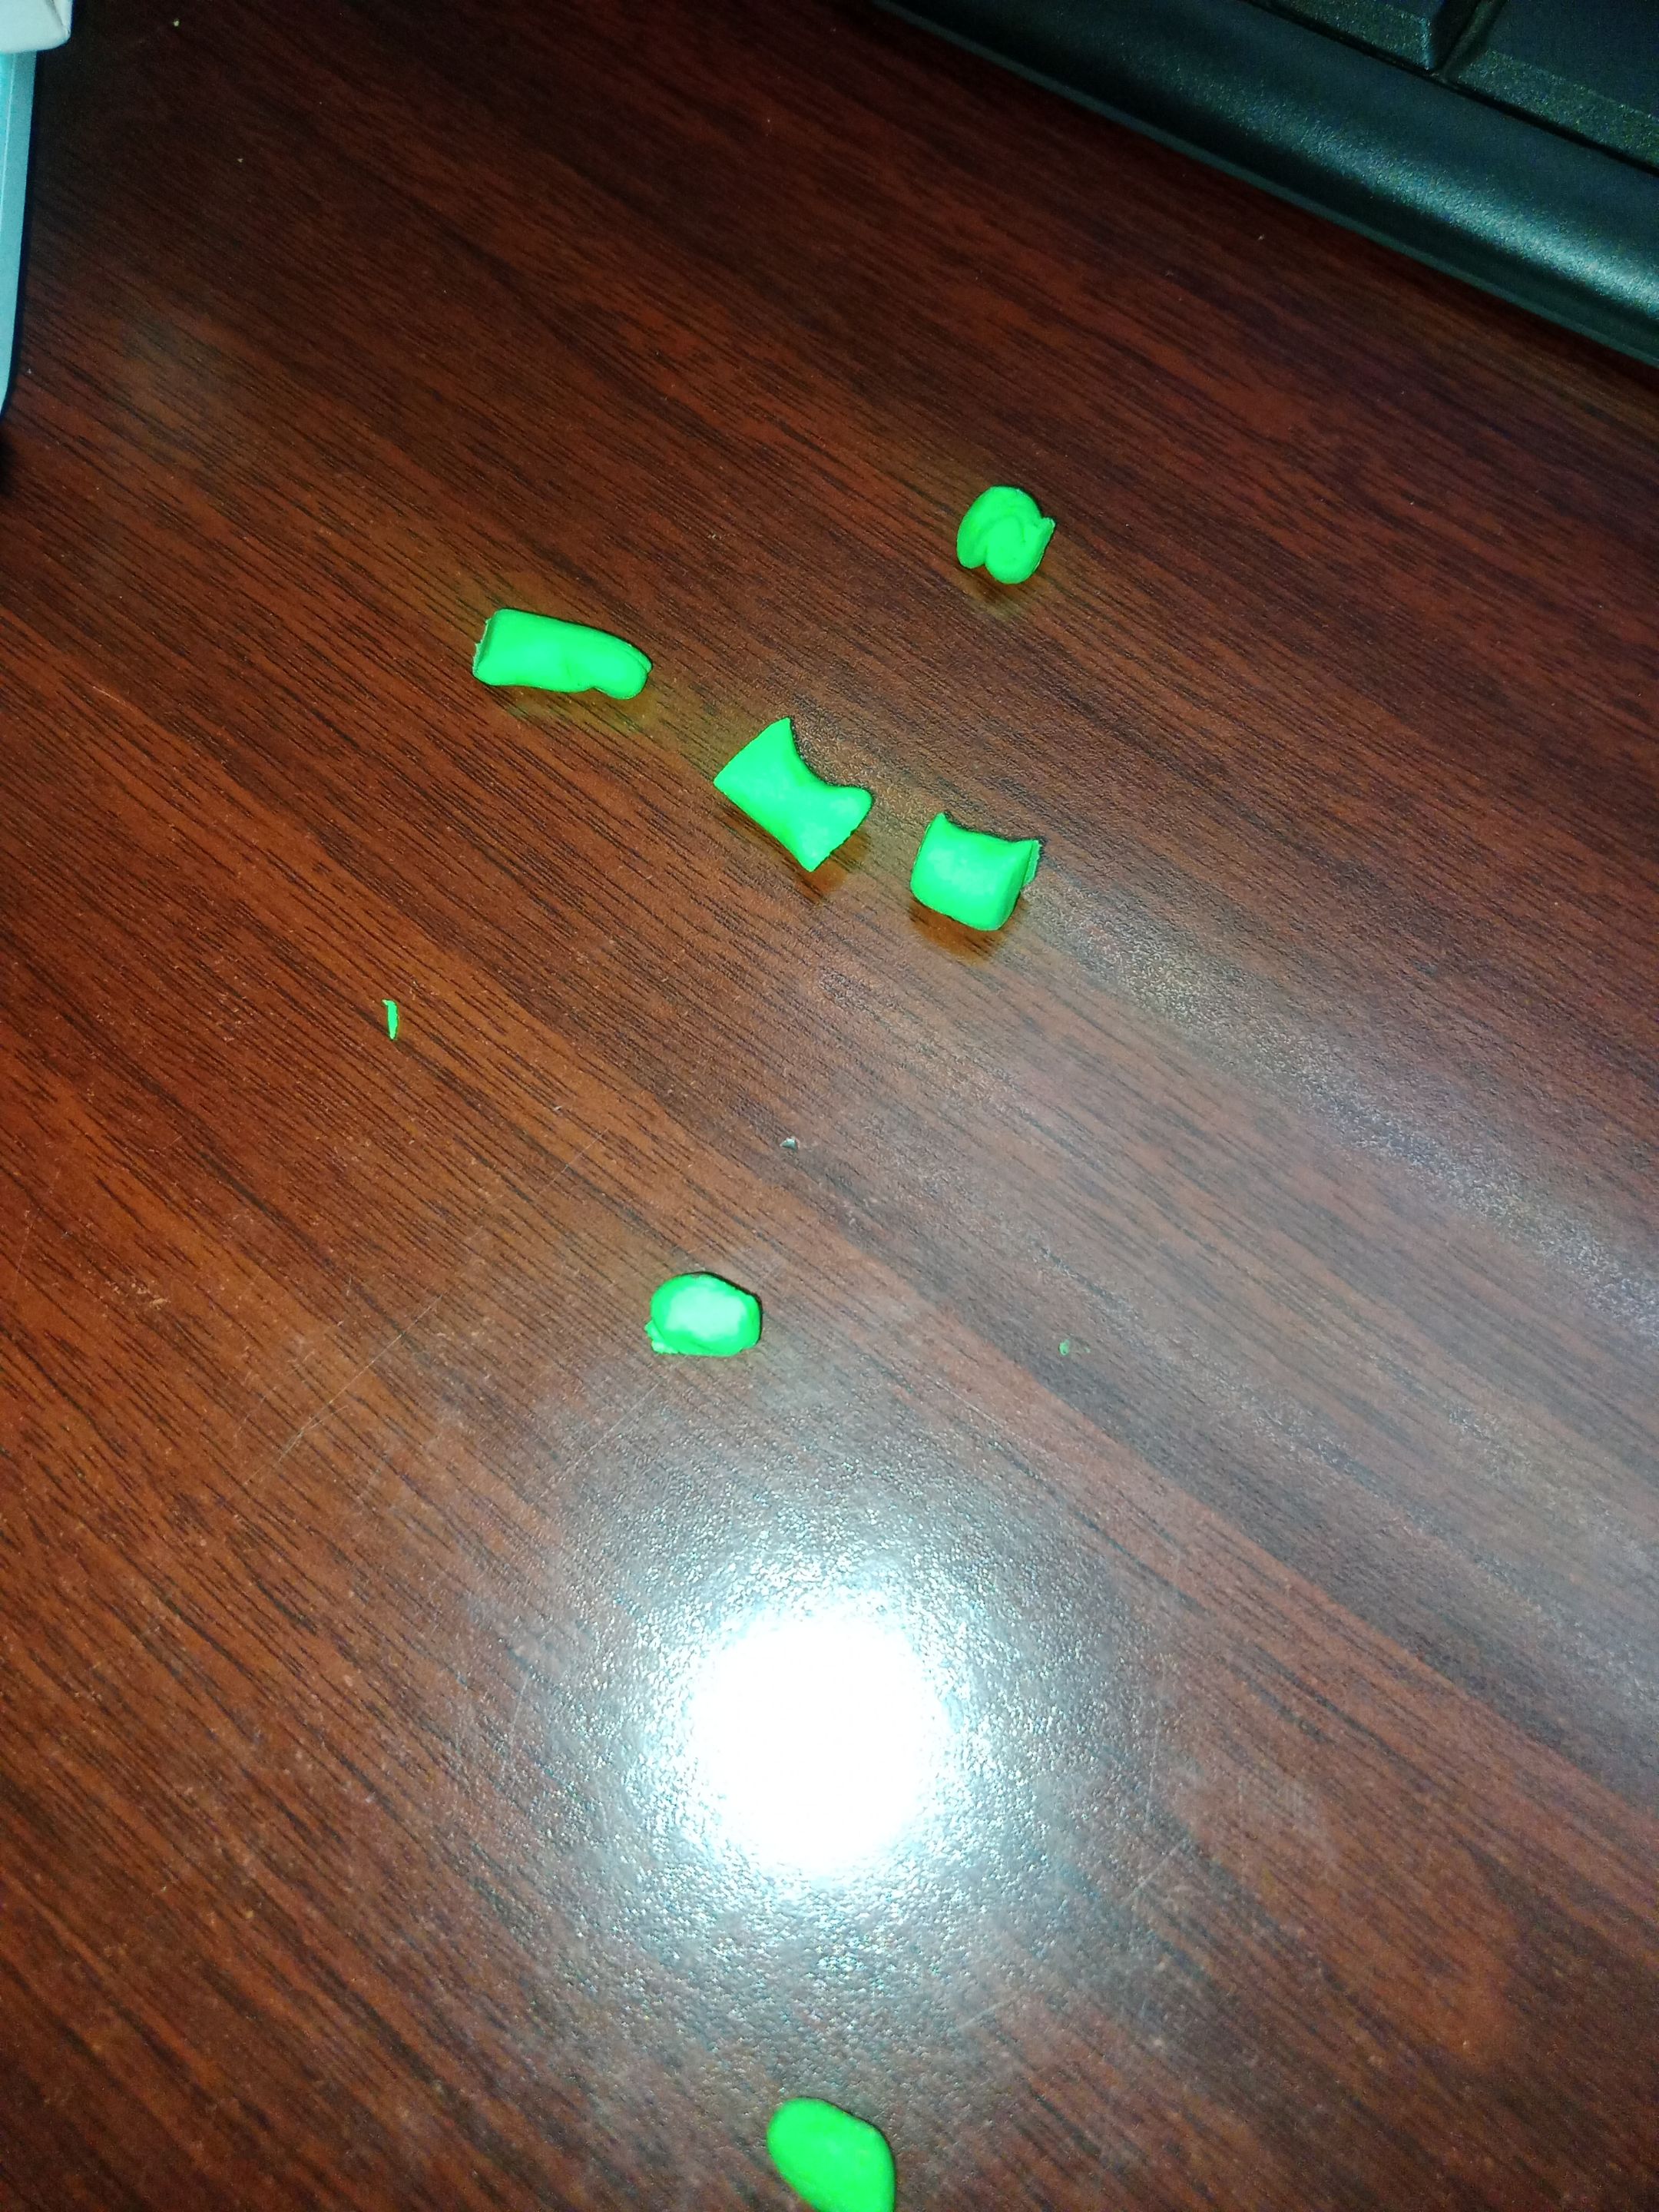
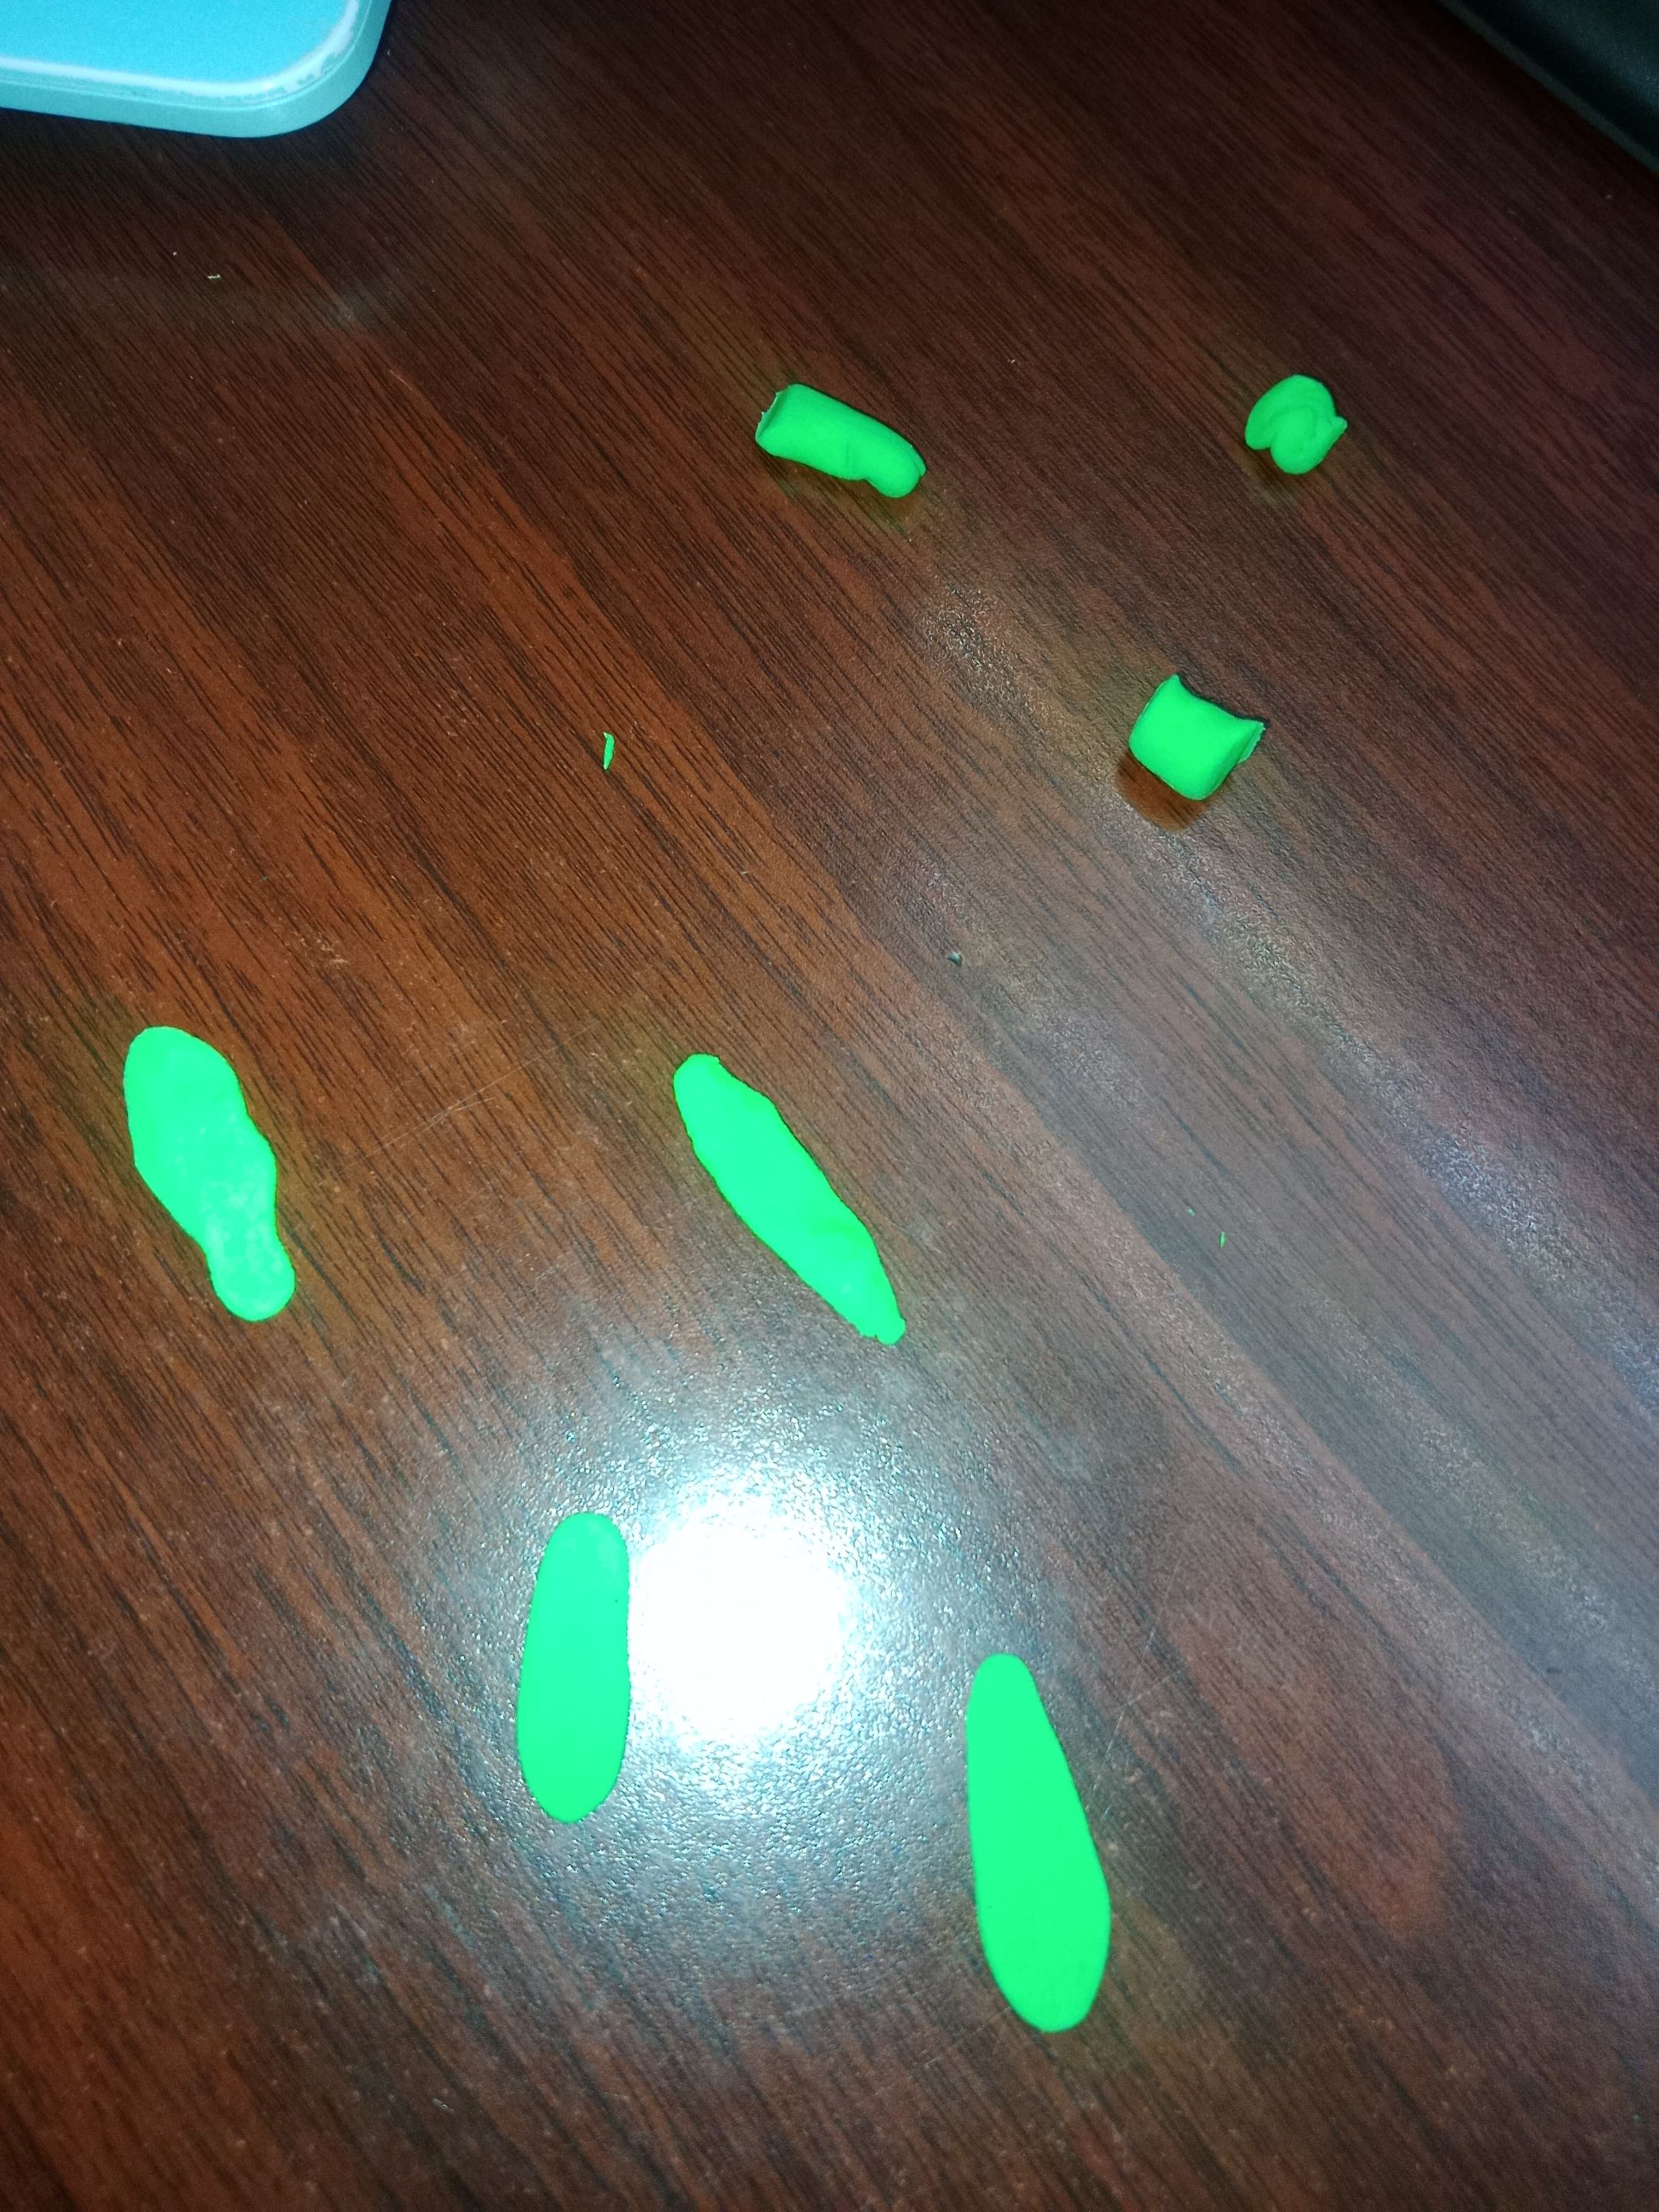
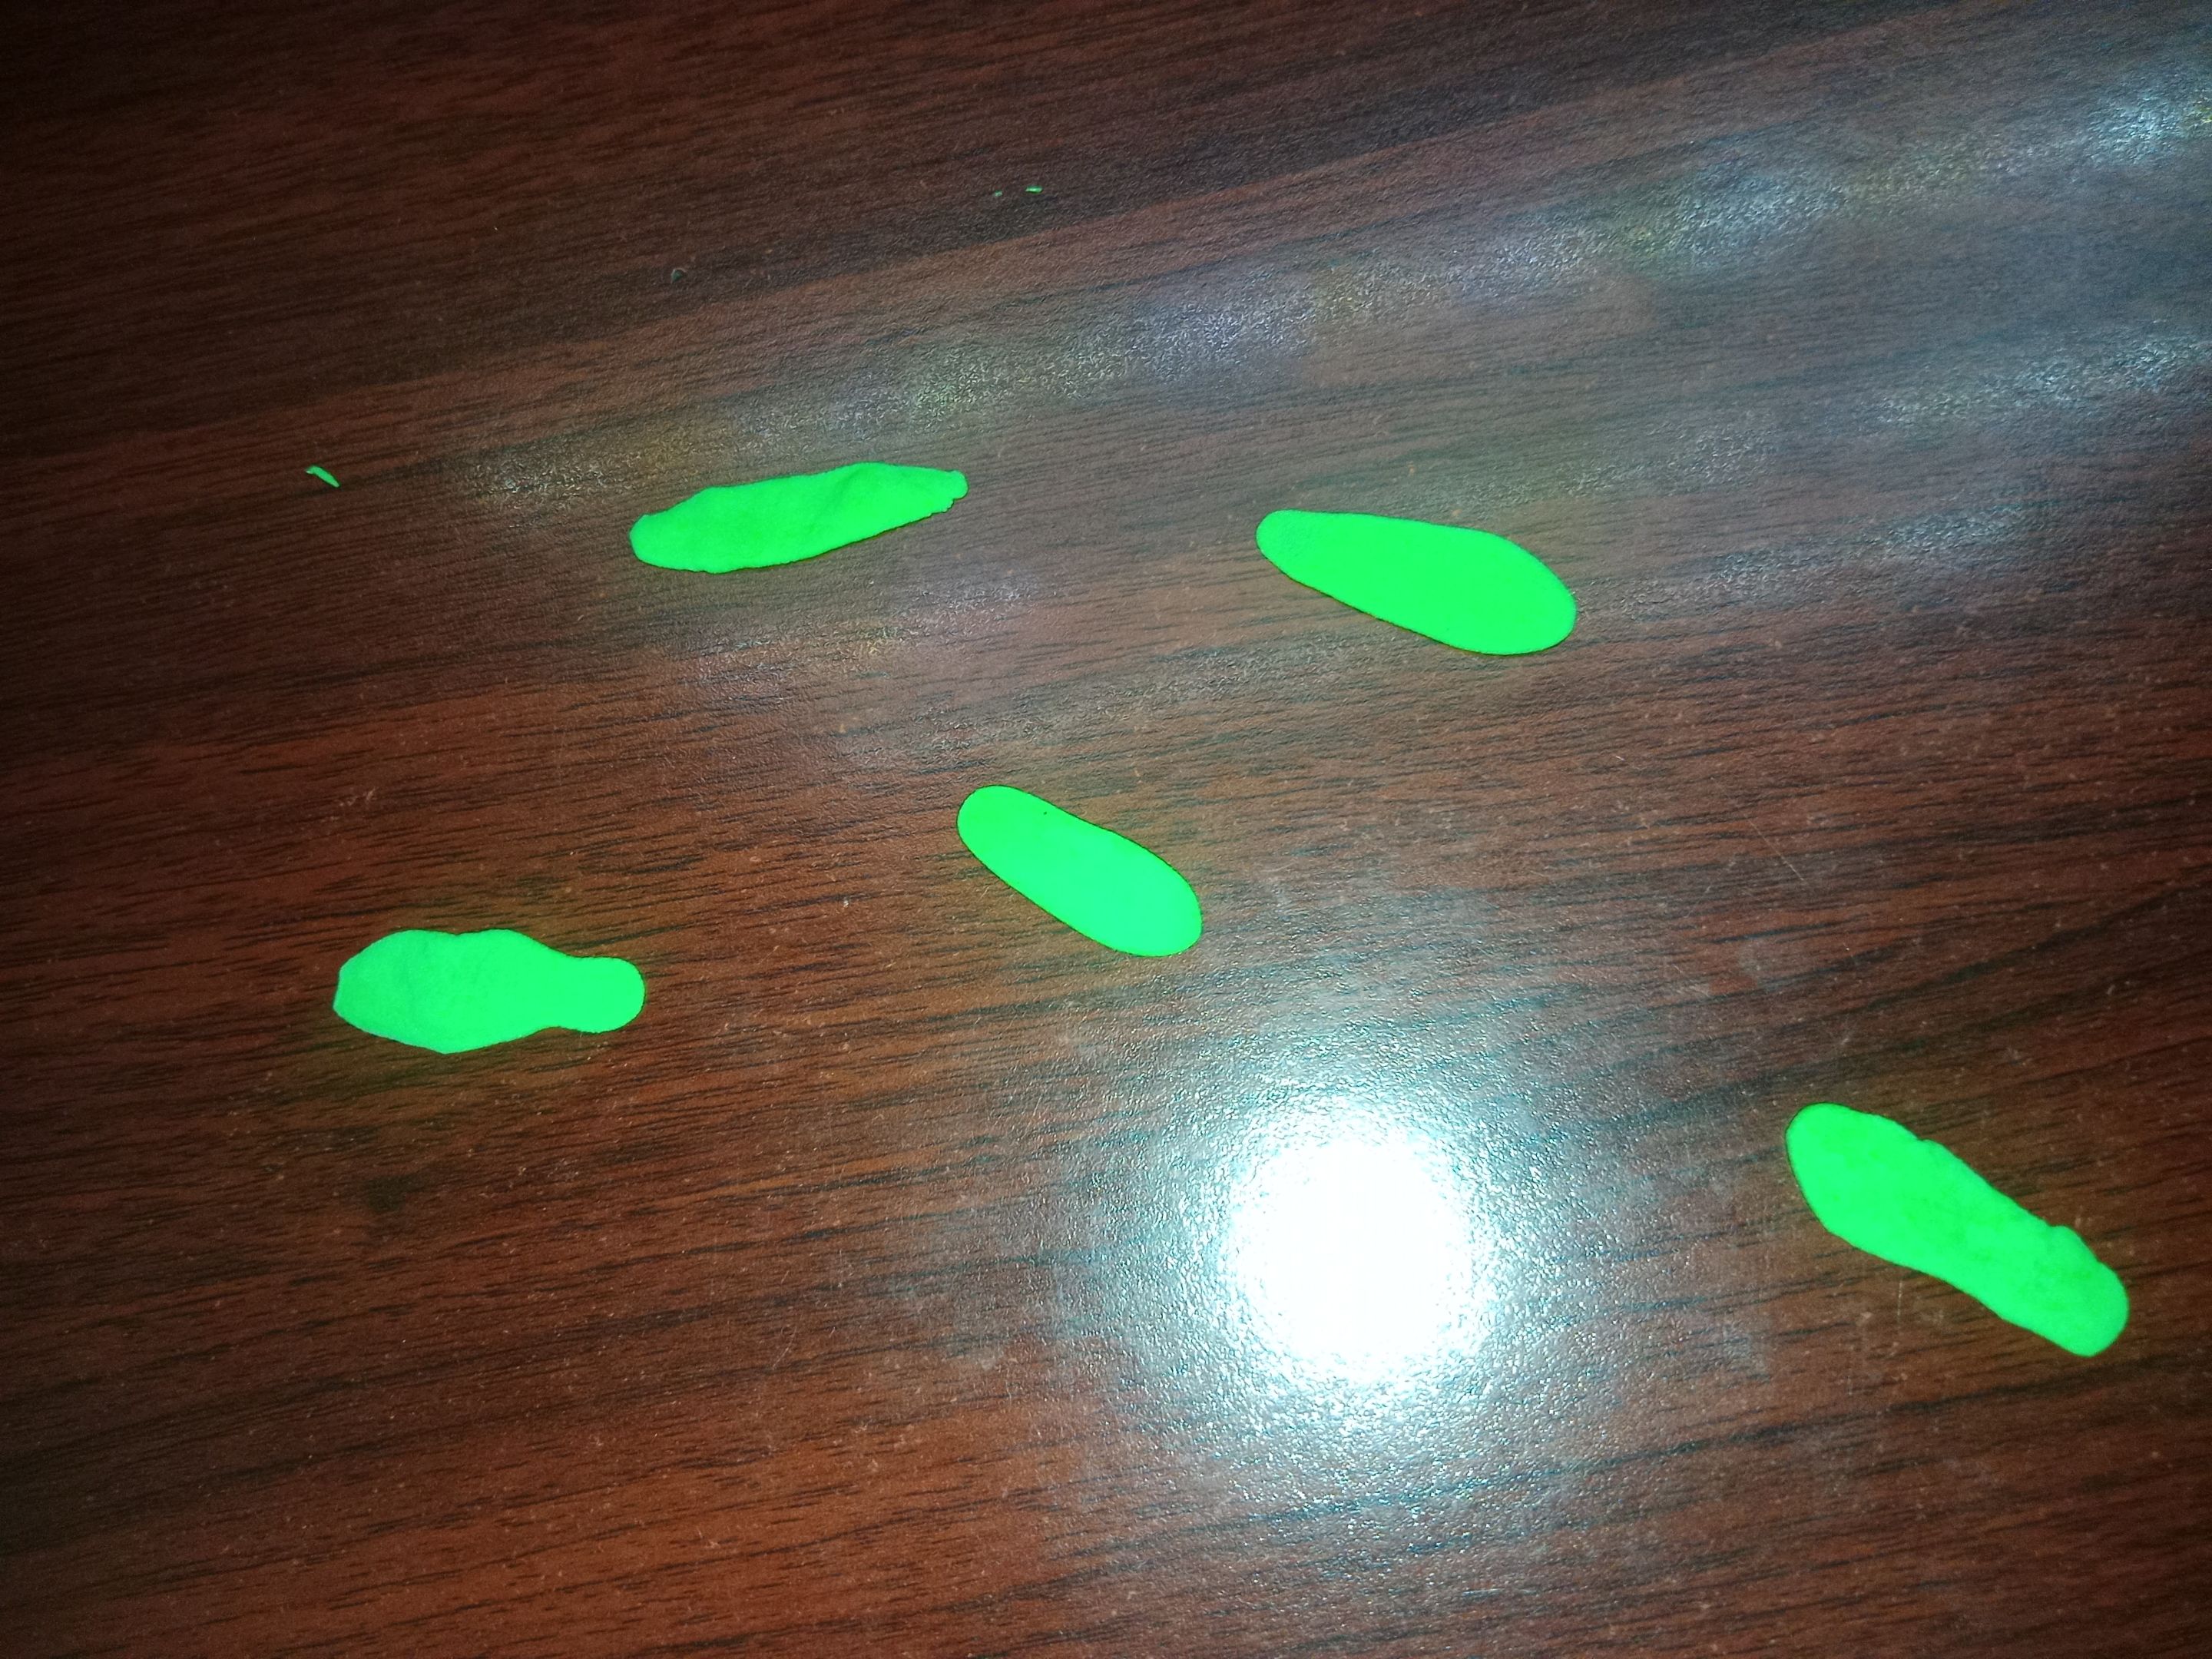
- Then we move on to the leaves and stems. Take green clay. then circle 5 circles. Each circle is shaped into an oval and then pressed
 |
 |
 |
 |
 |
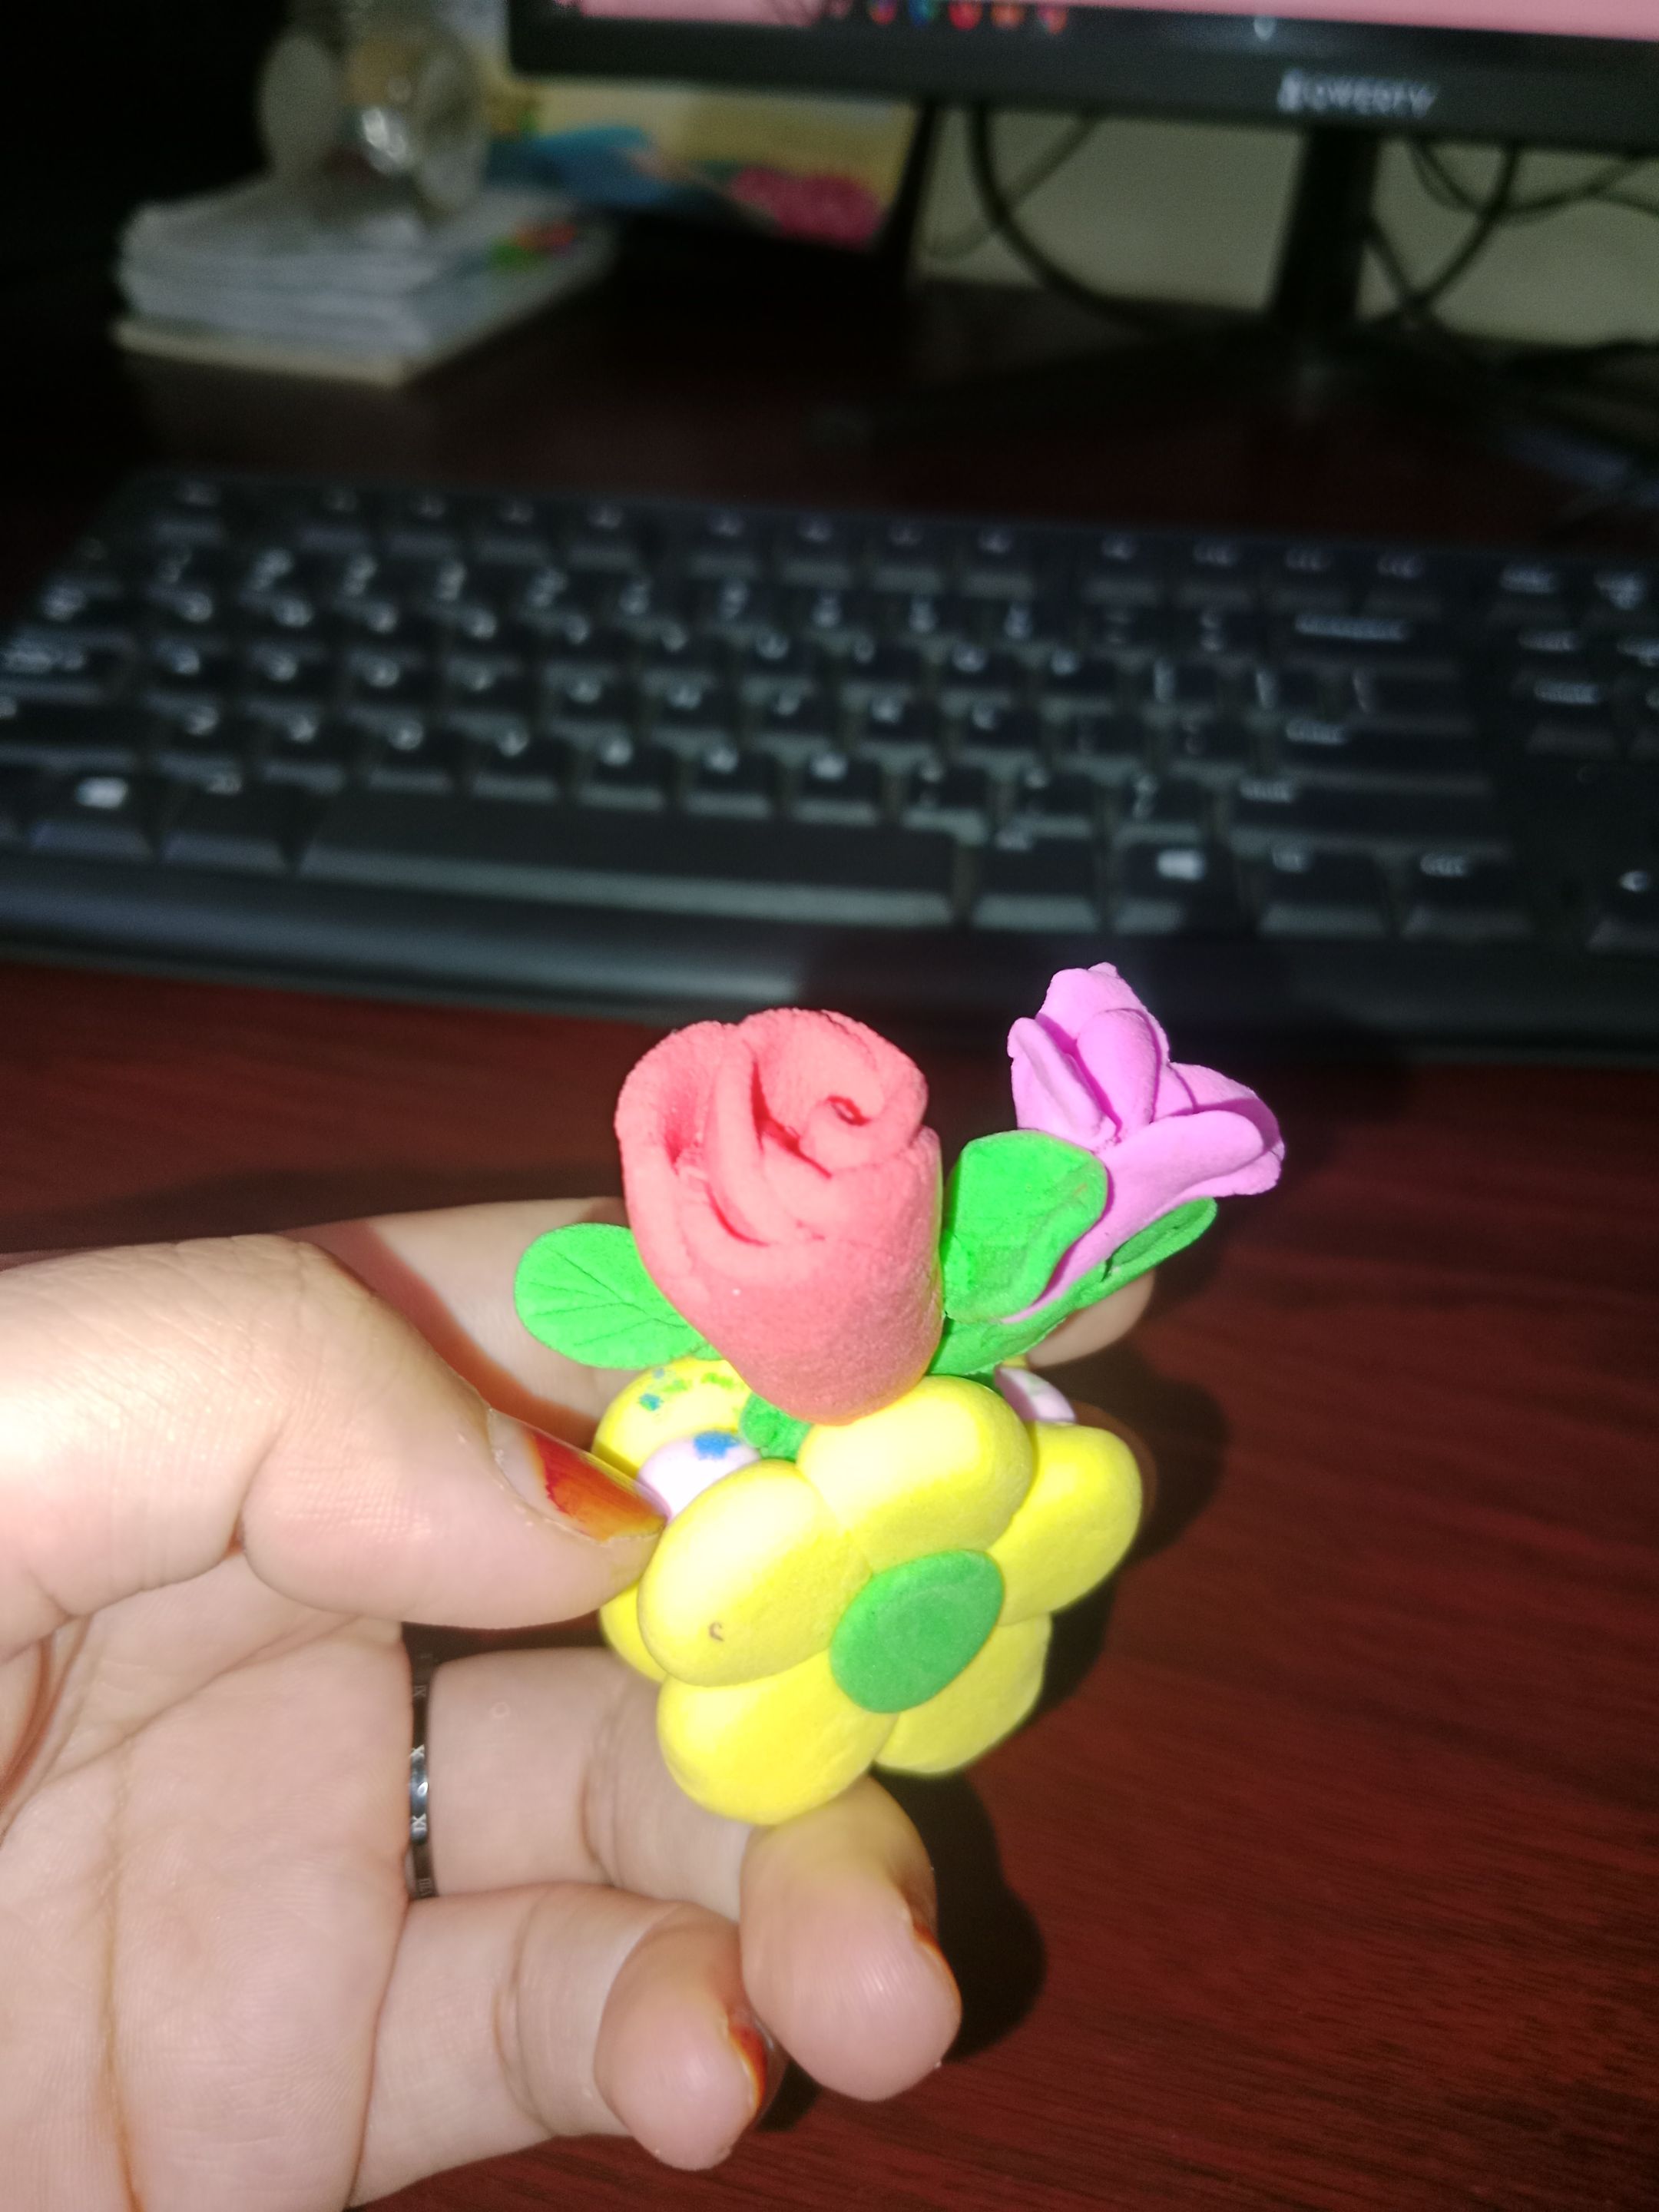
and finally we will prepare the flowers.
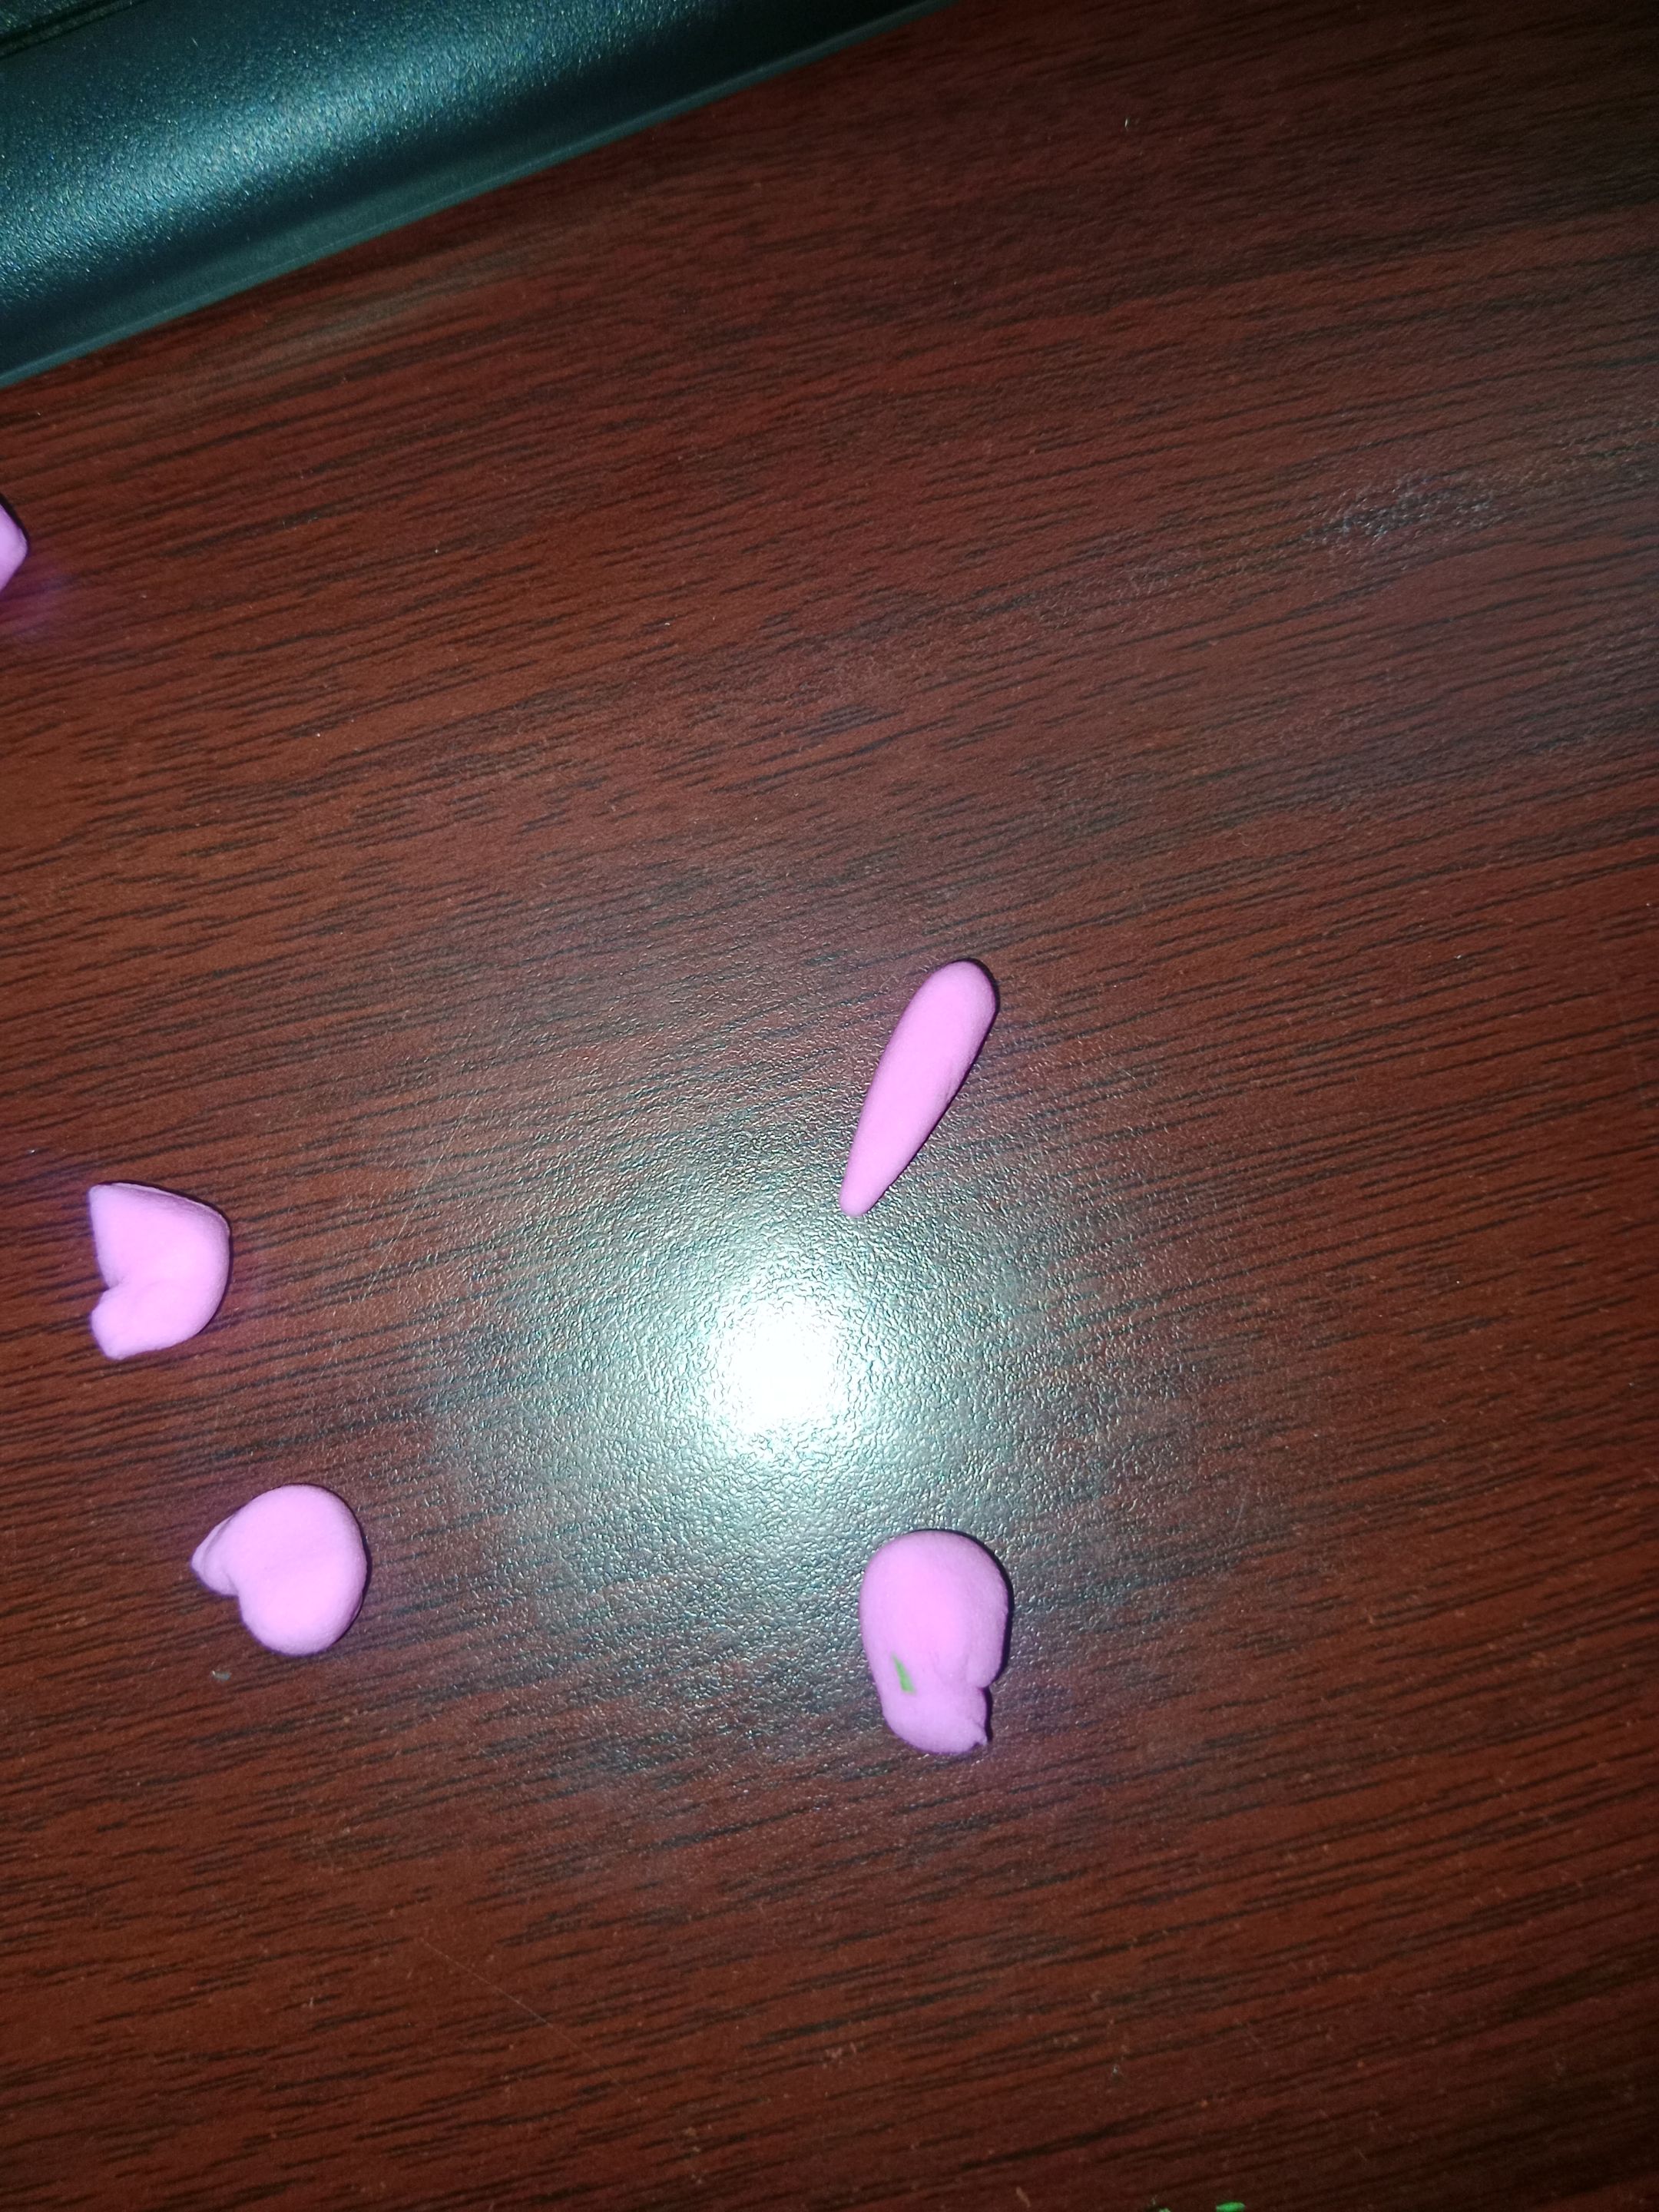
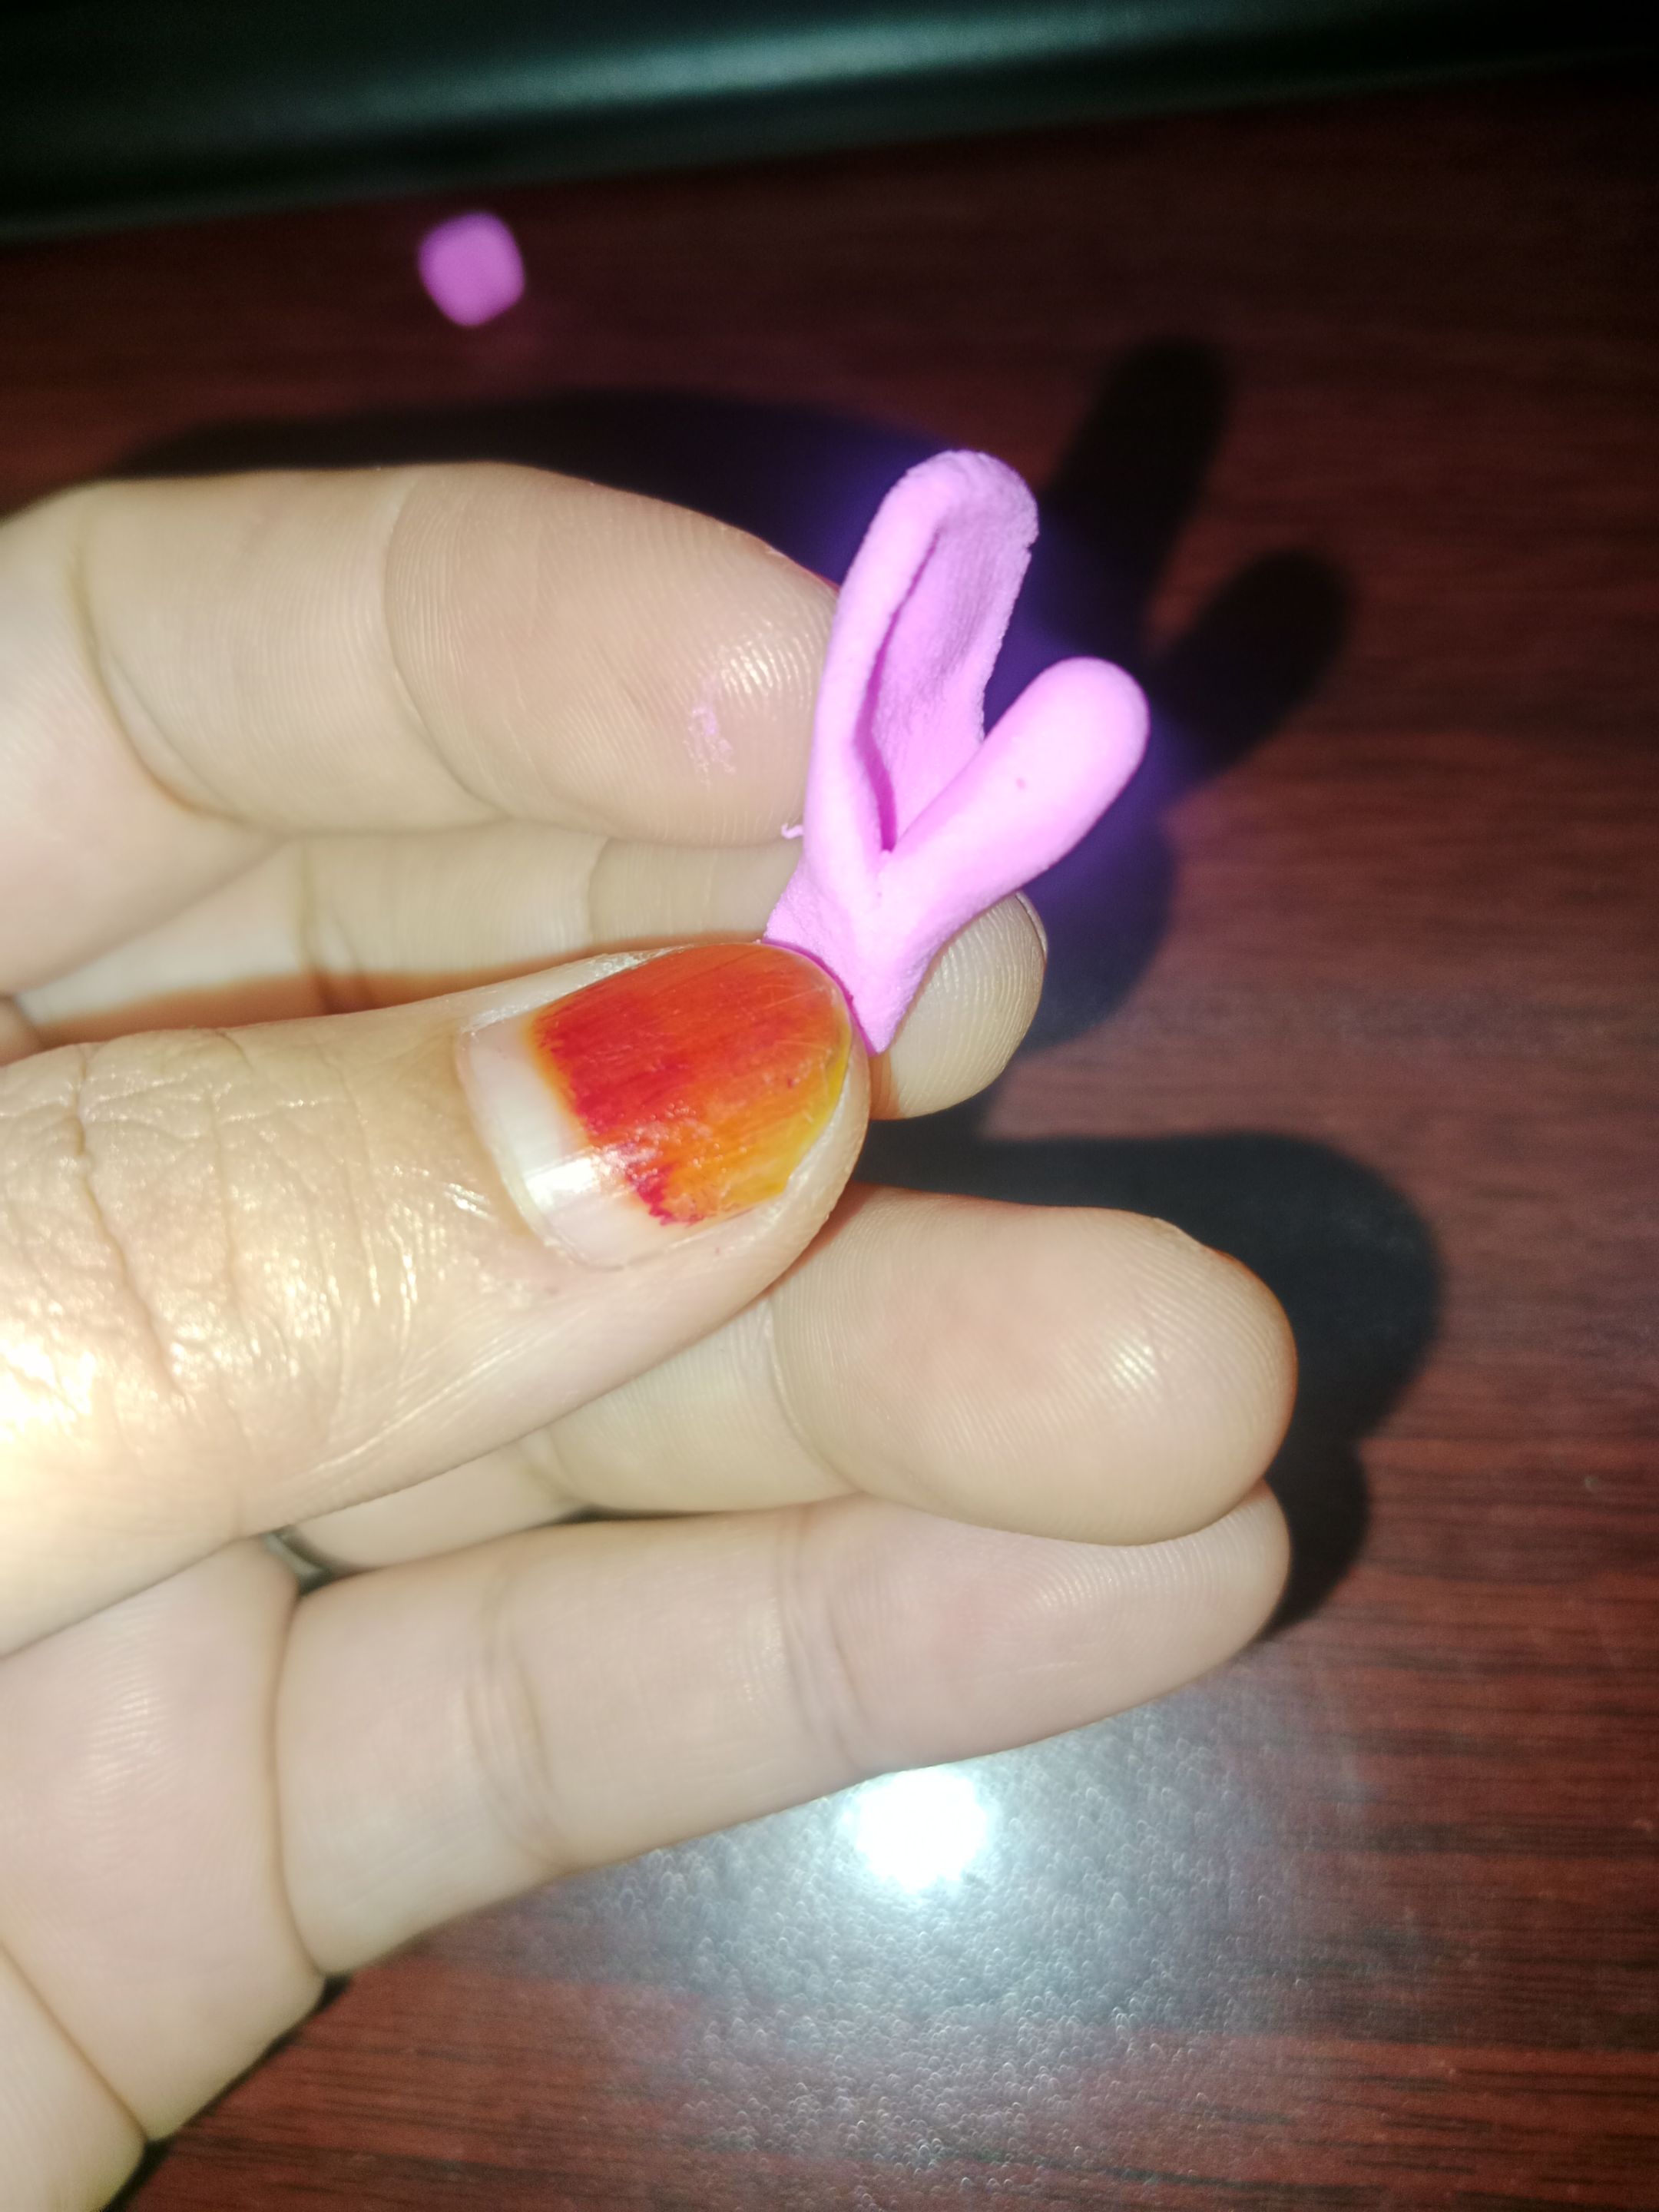
- take a little clay, then form an oval to become the top of the flower and continue with the flower petals.
 |
 |
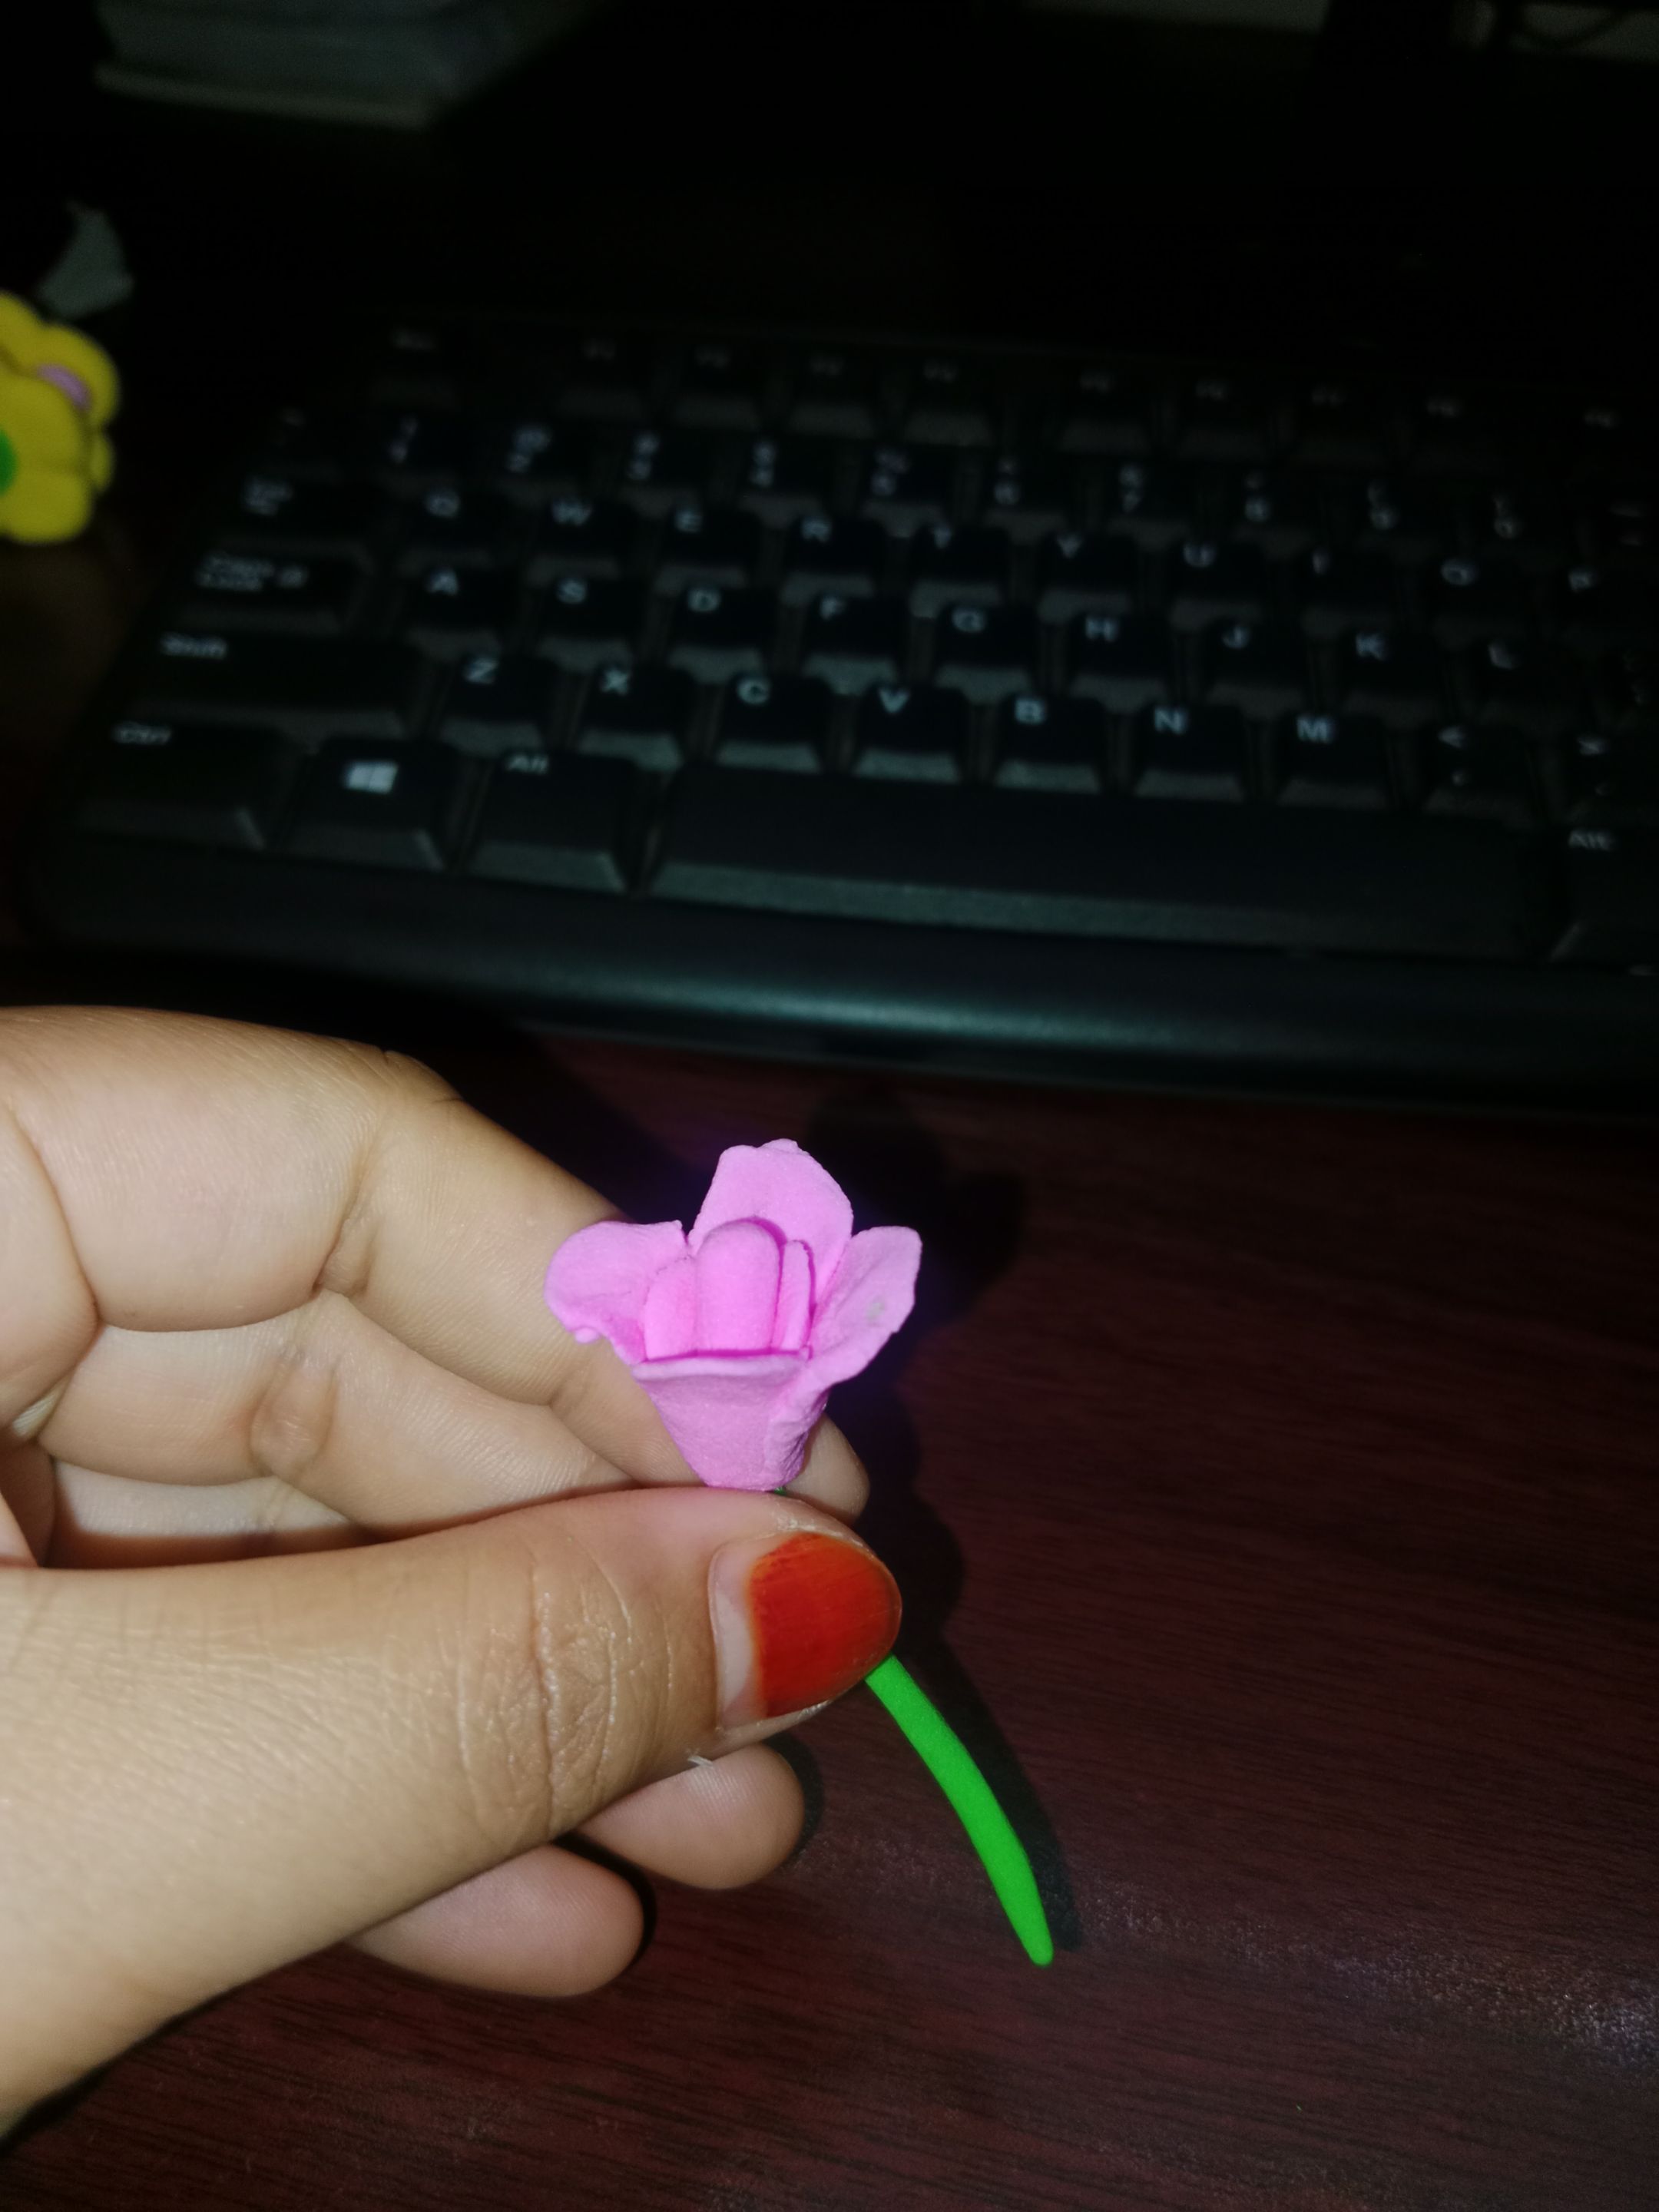
- then add the stems and leaves that were made from green clay
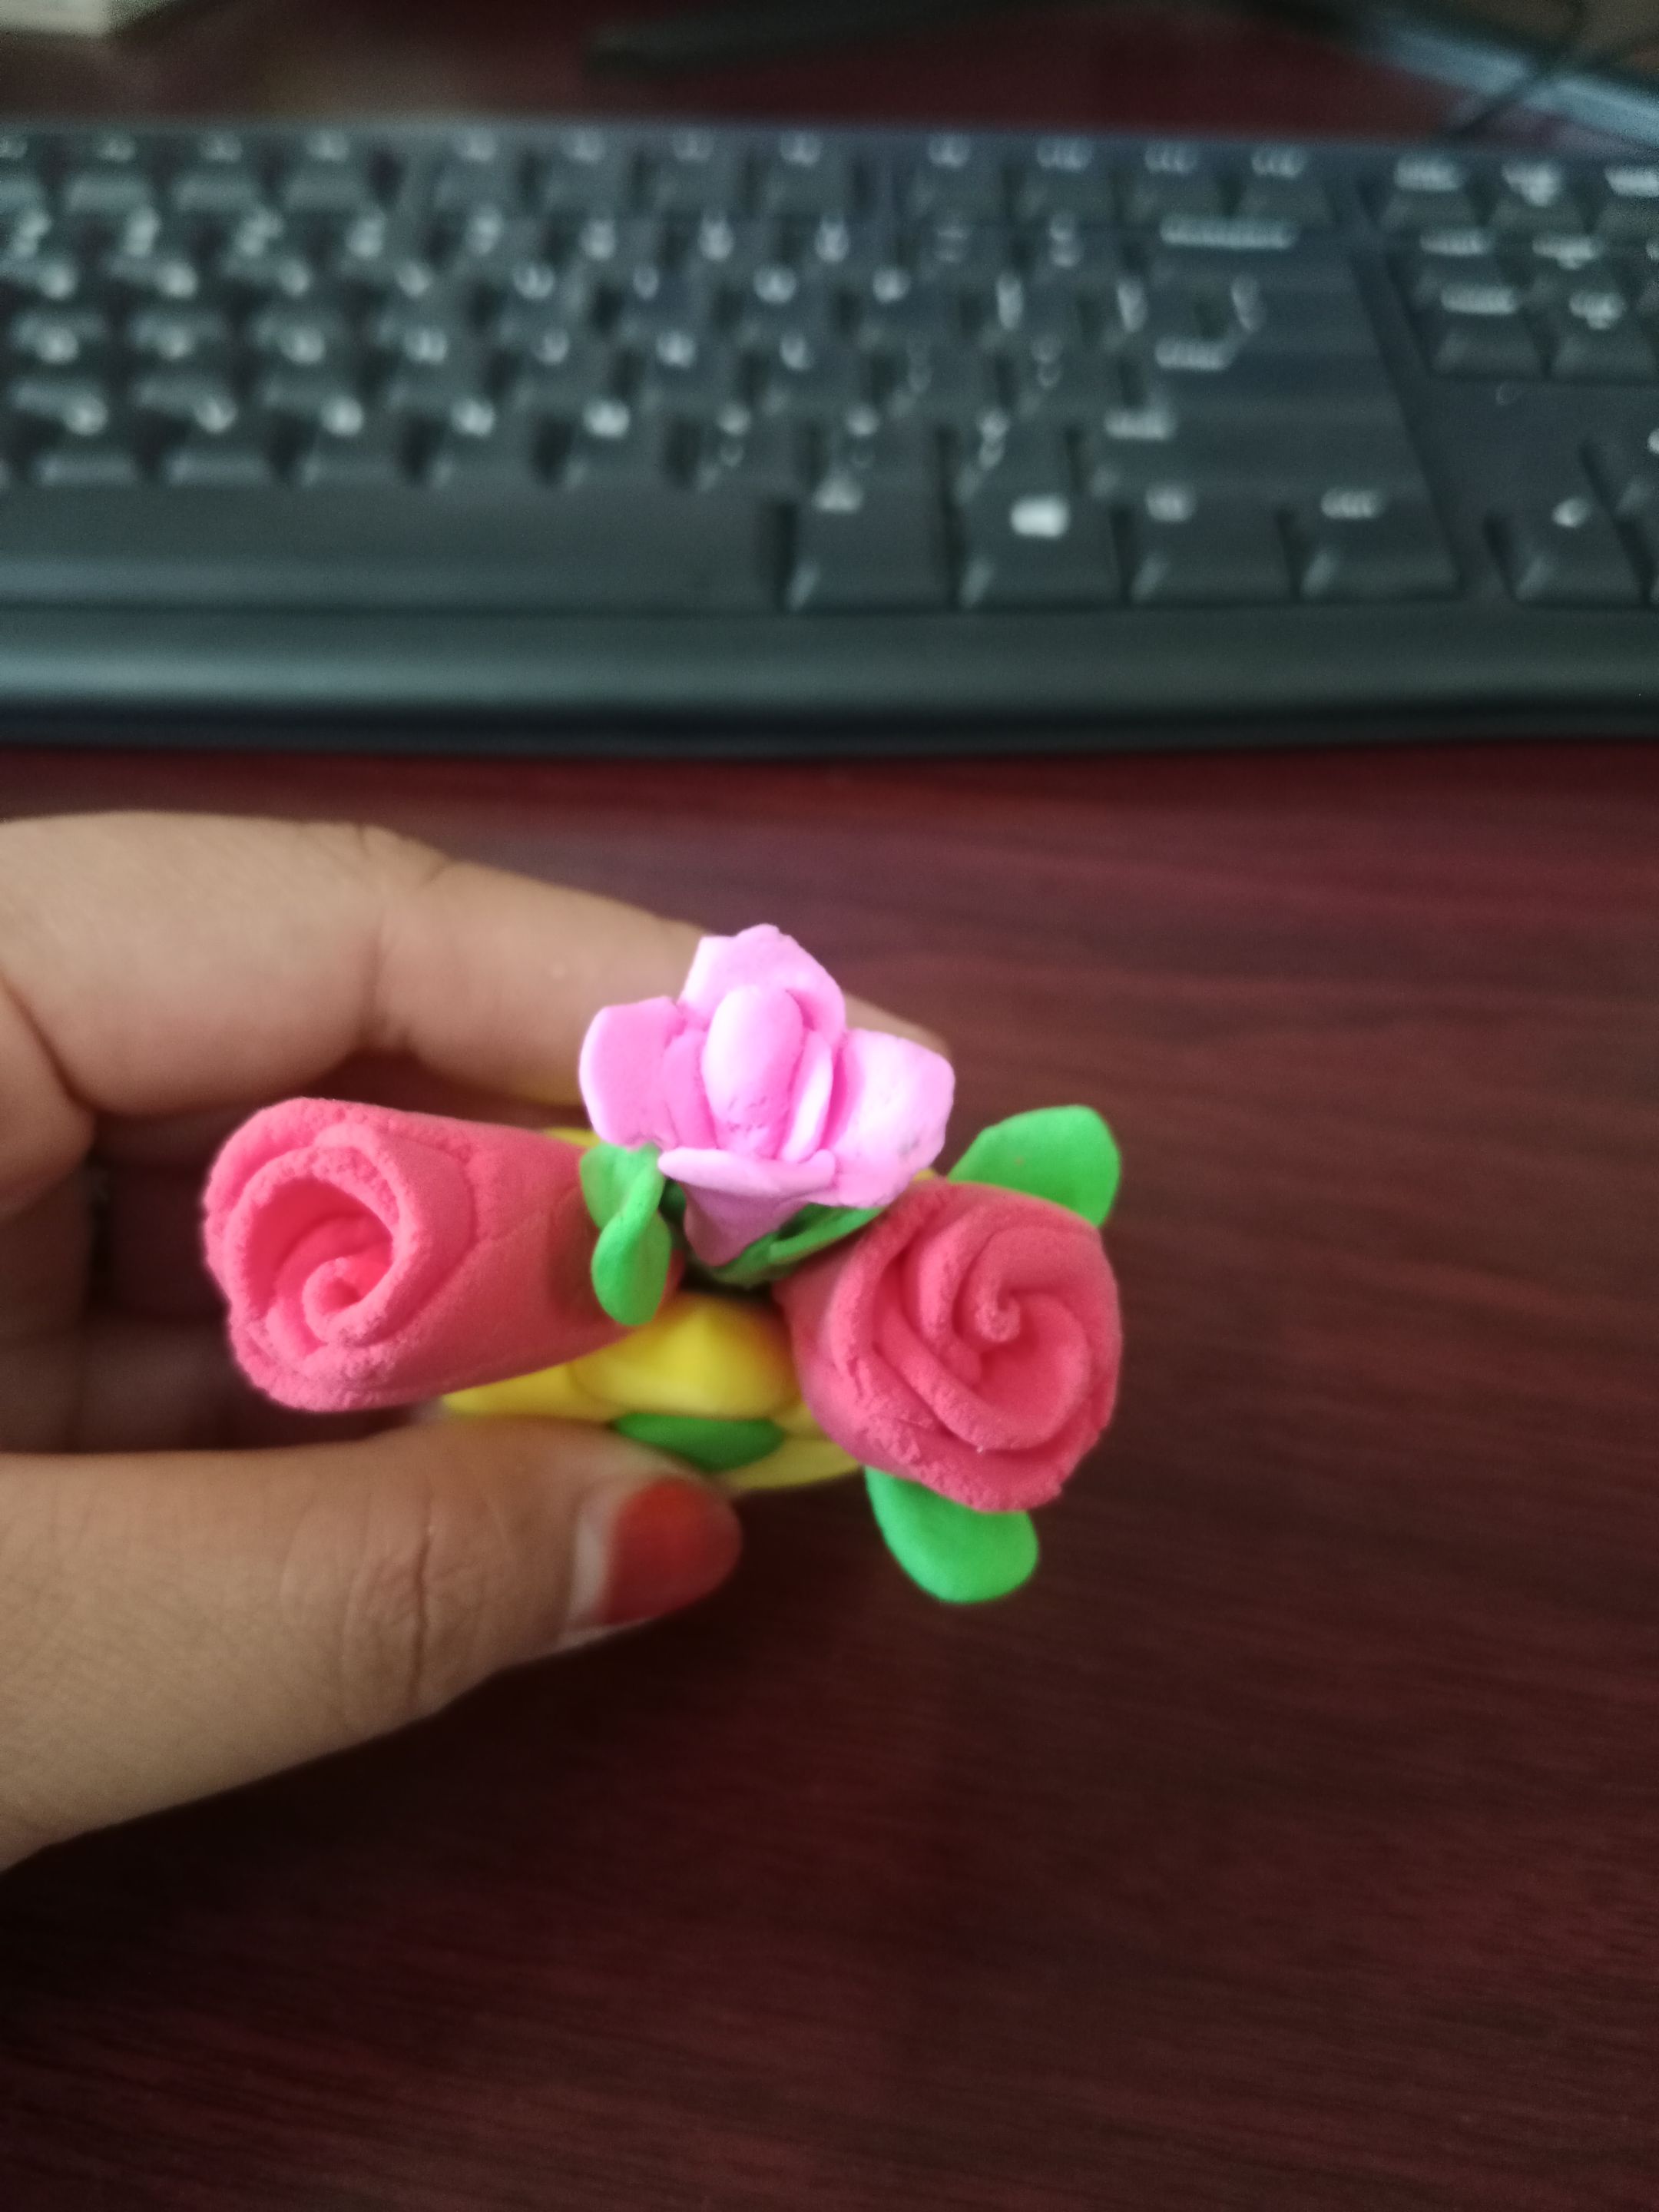
For the roses, I took red clay, then I rounded it and pressed it into 6 thin circles.
 |
 |
 |
After that, arrange them parallel and roll them up. then cut the middle part of the clay. and so the roses...
 |
 |
 |
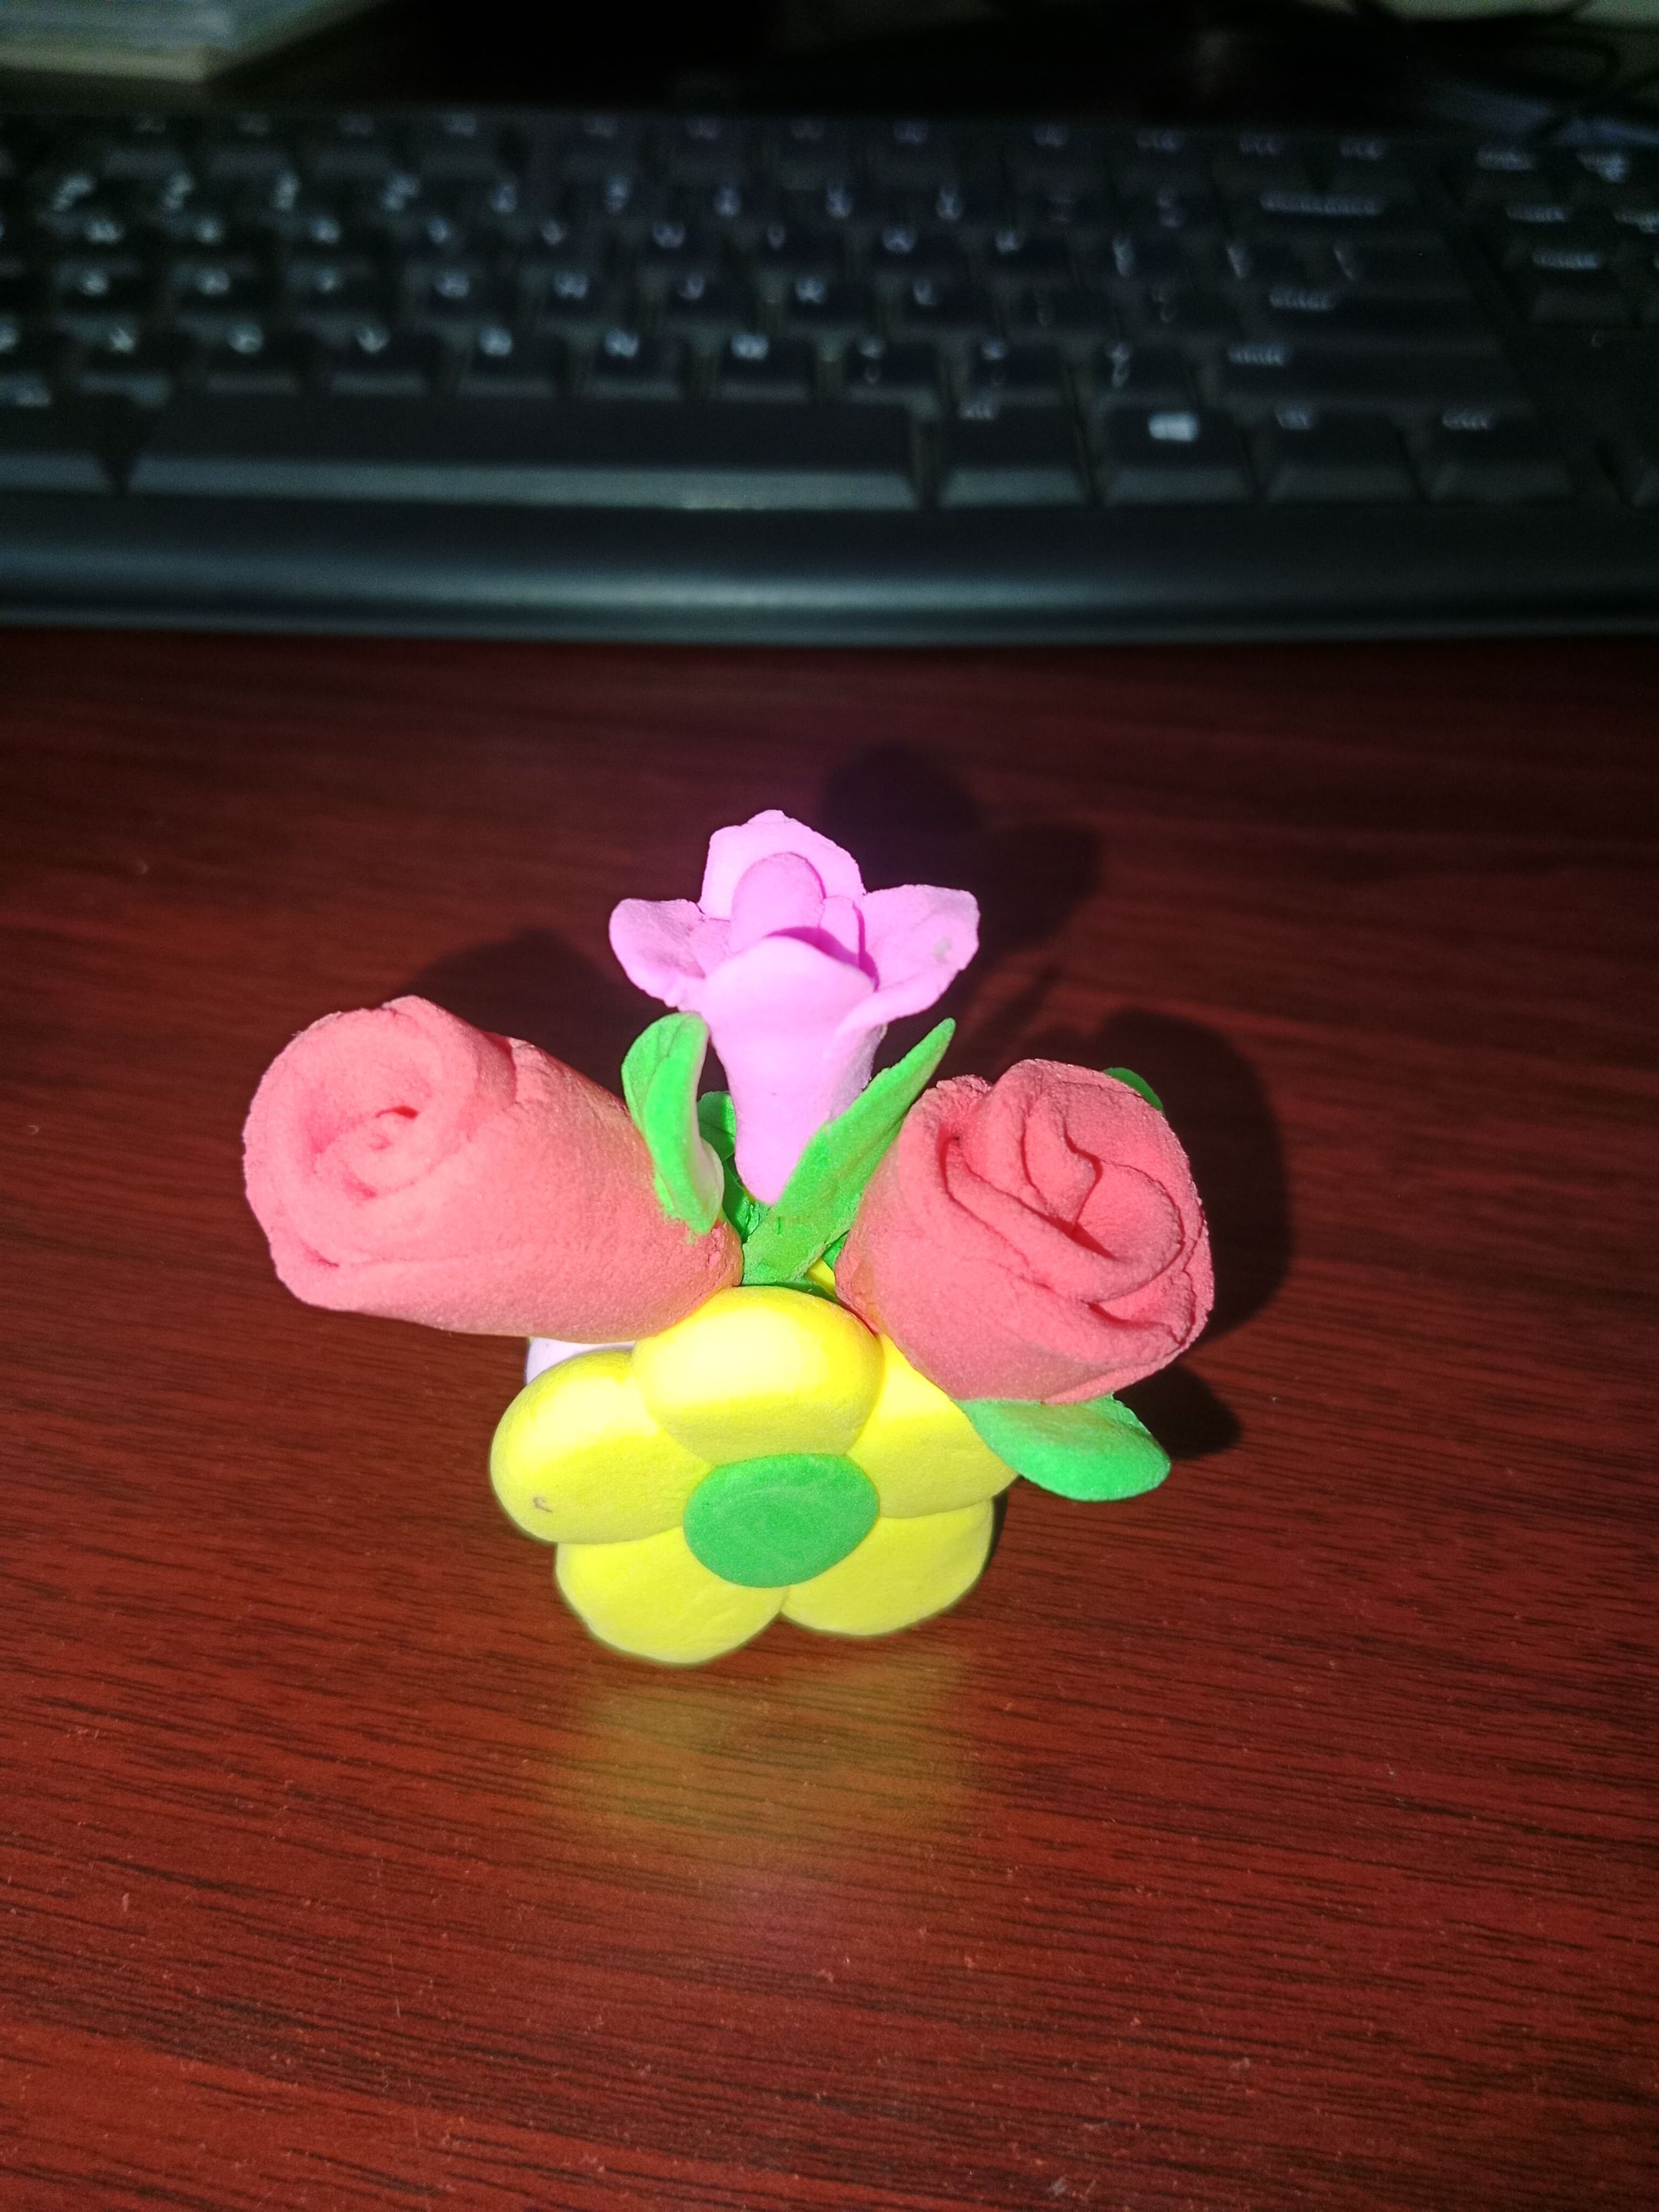
The final step is to insert the flowers into the yellow flower pot that we made earlier.
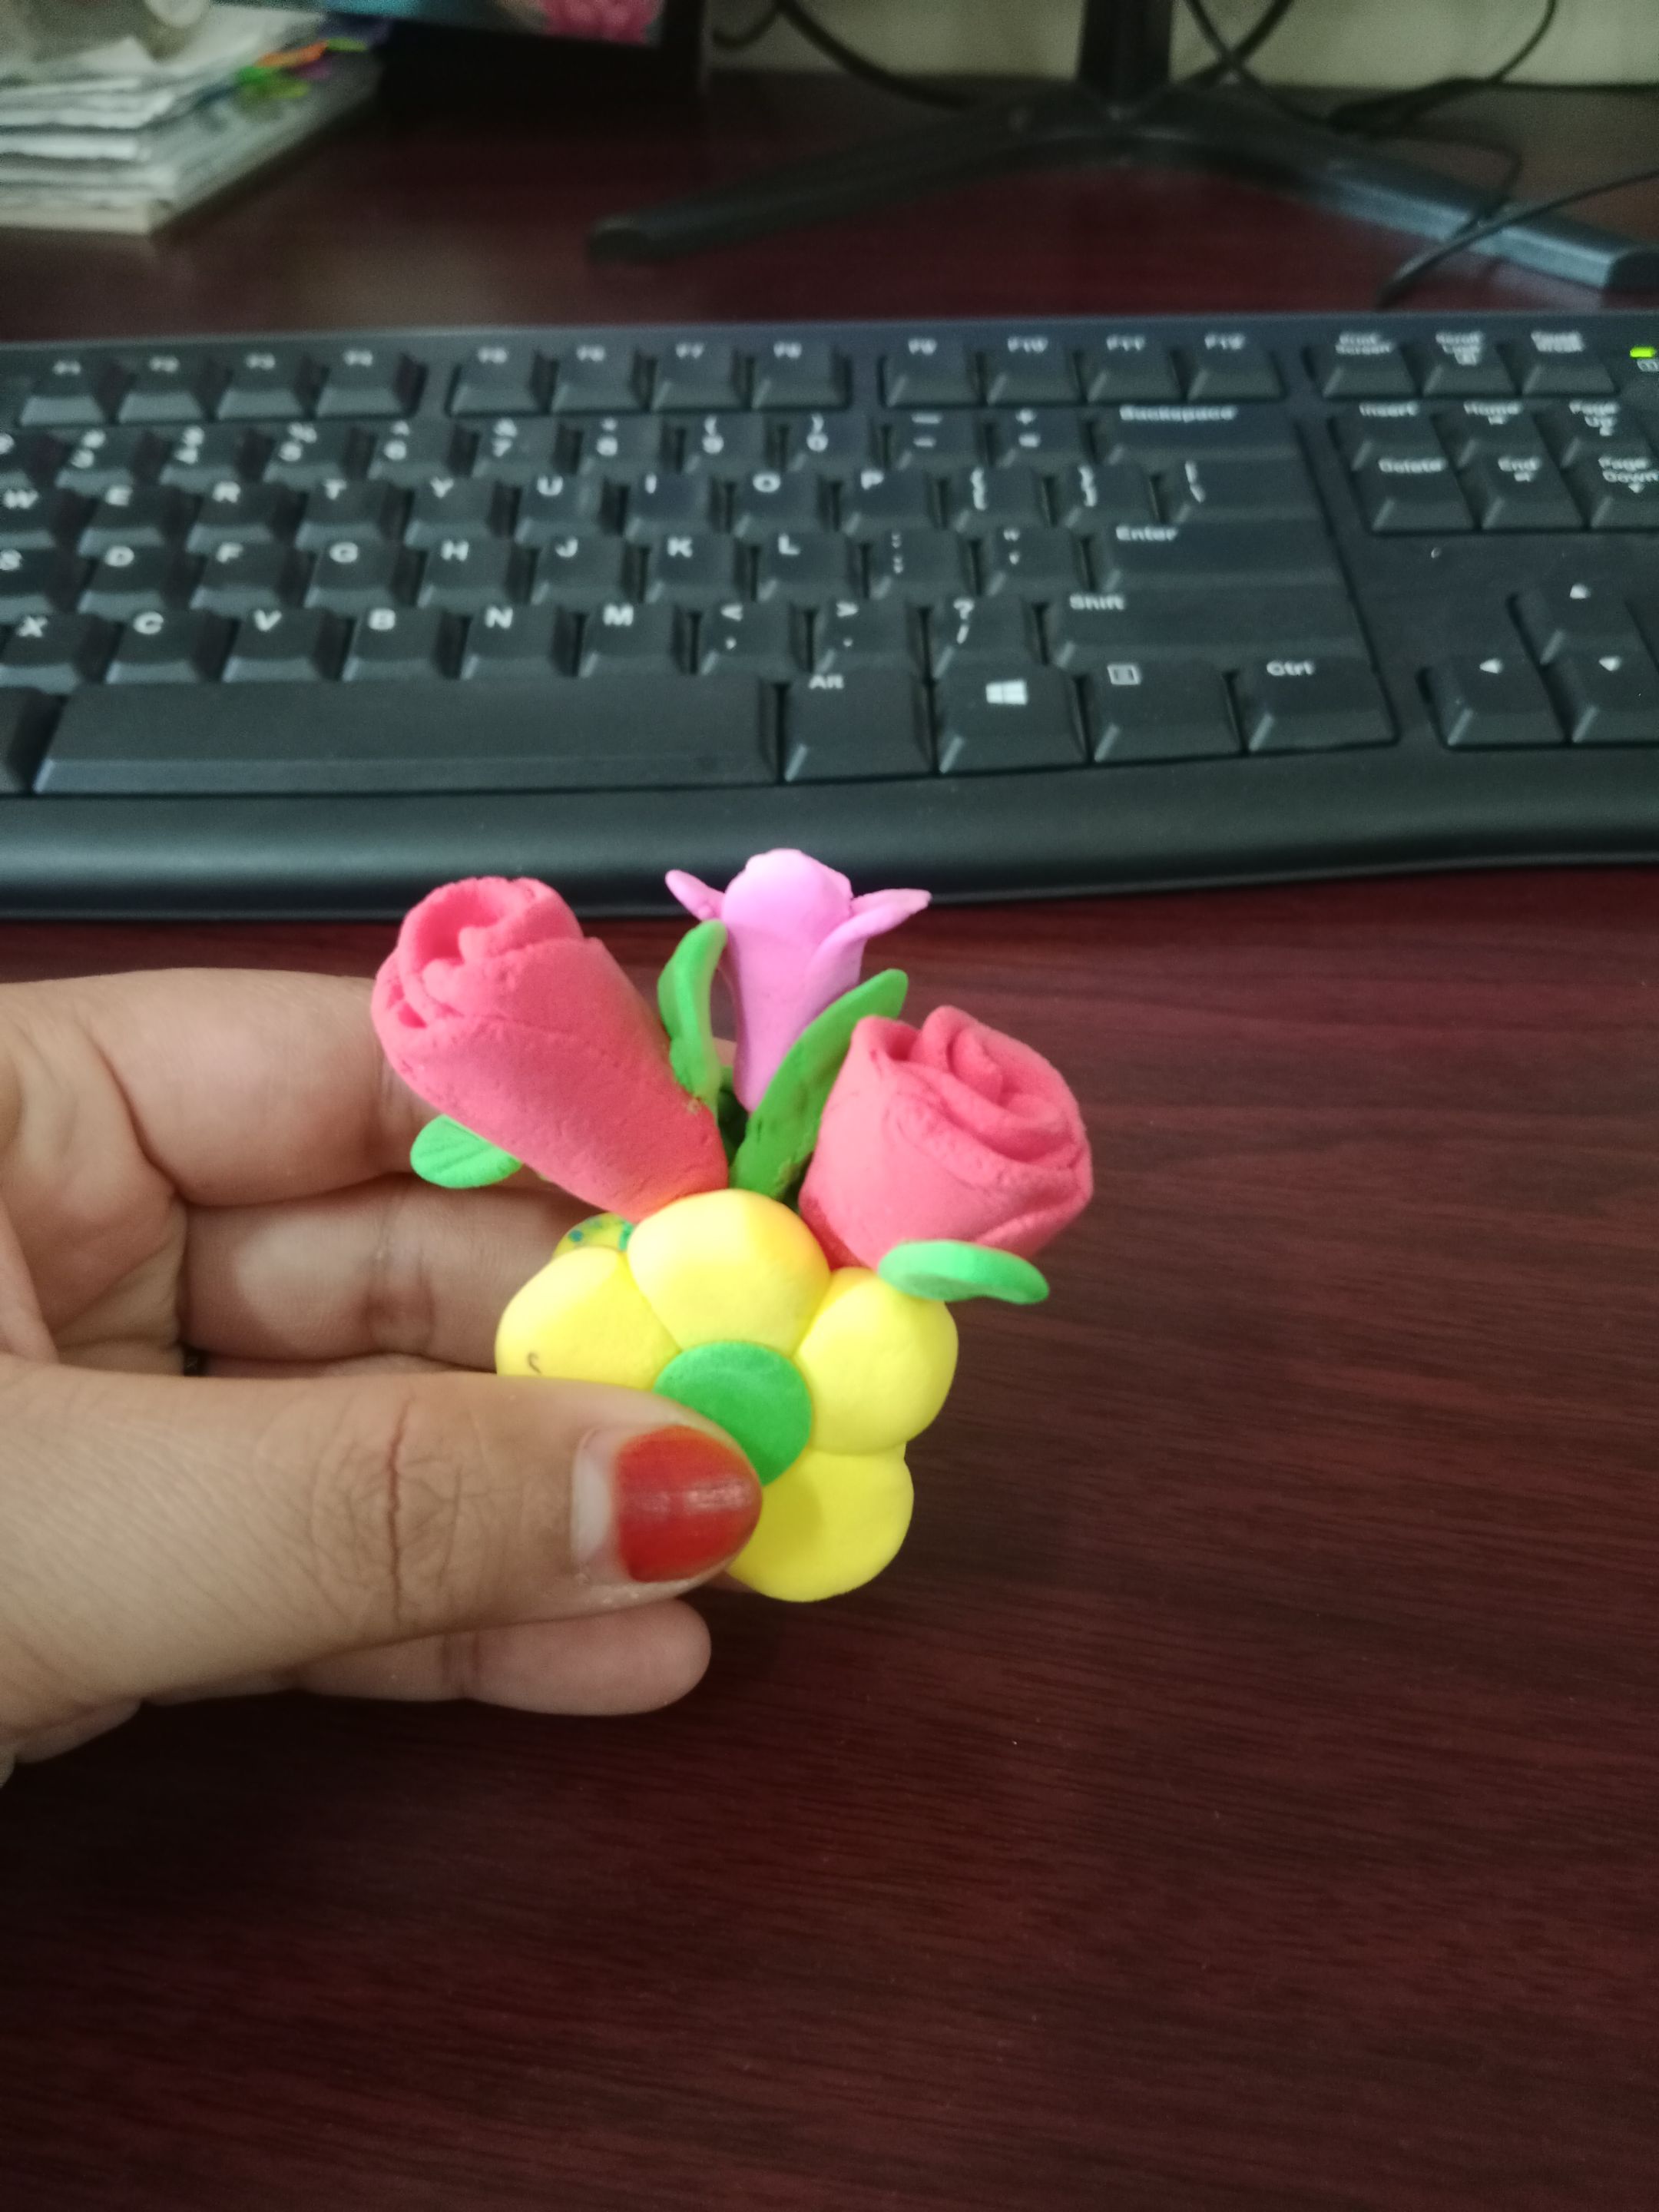
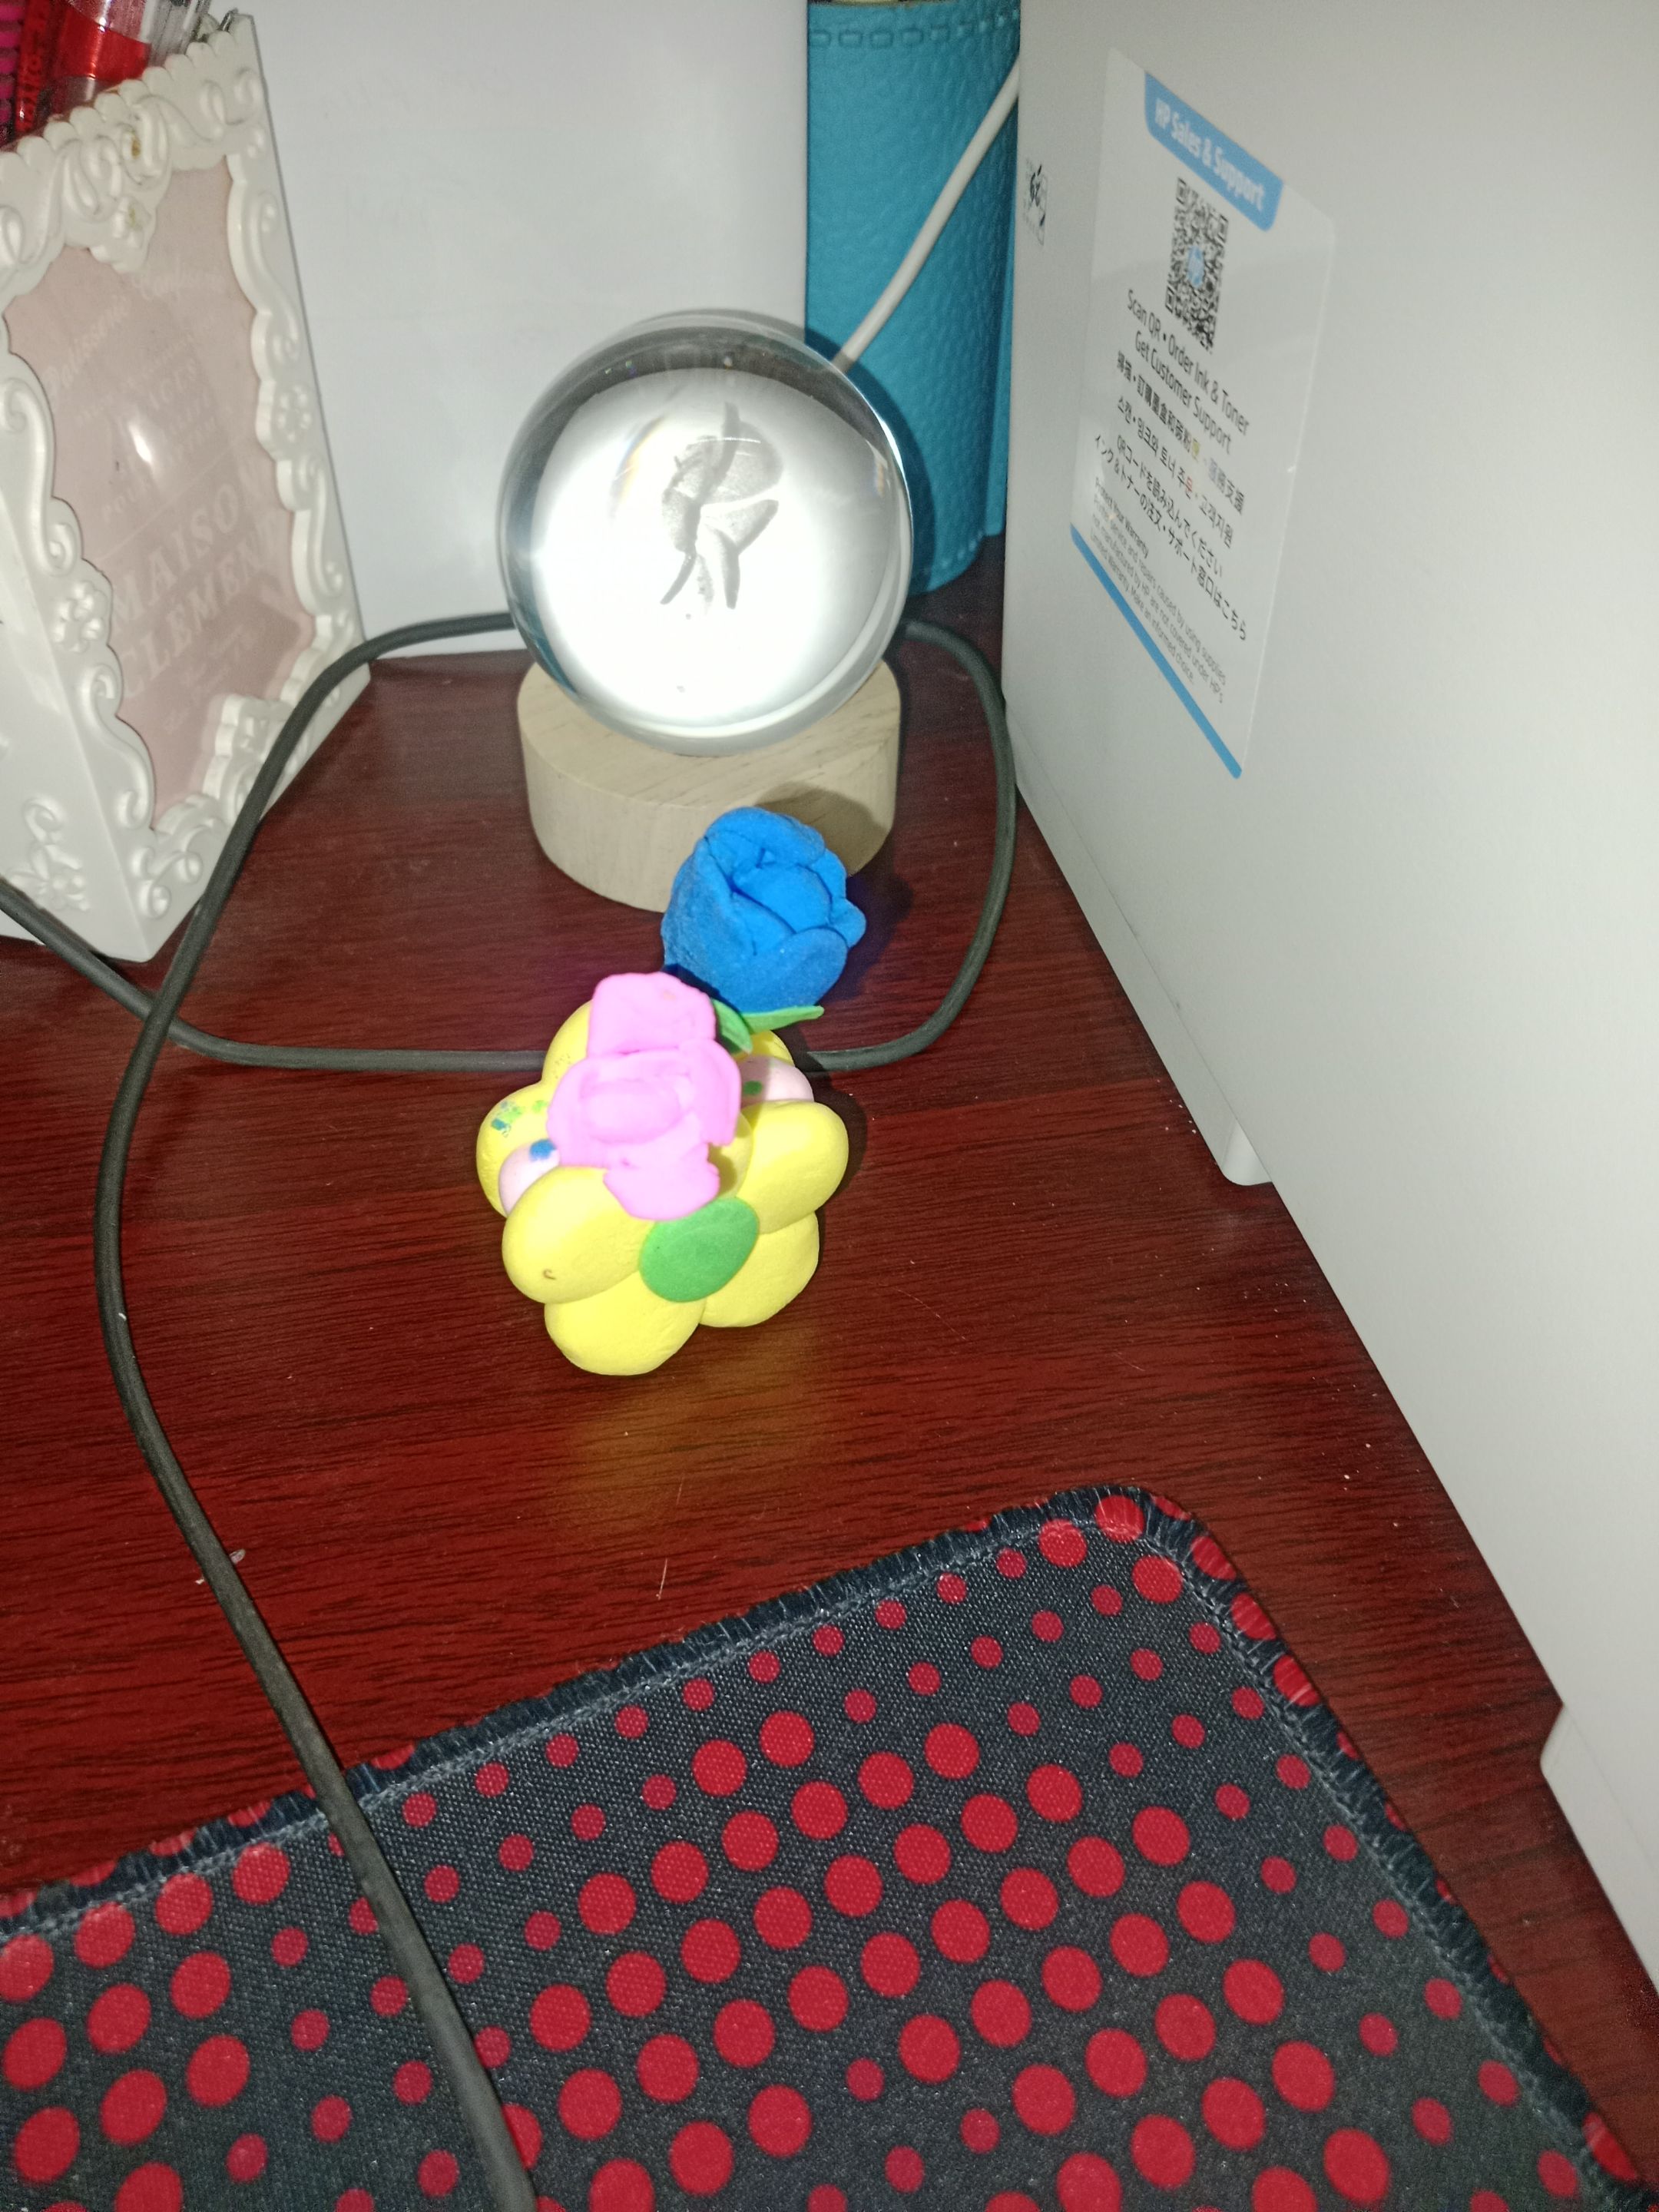
---------------
Hello This is Nisa, an amateur writer (I apologize if there are any errors in writing or in the wrong translation of words in writing, and I am very grateful that you have visited my blog. See you in other posts)