Hello to my dear Hivers and the dear community of artists #HiveDIY, as always very pleased and excited to be here again, showing you my work made with love and especially for you.
Today I bring you a very elaborate work, it is a special figure because it is a gift that I am going to give to a childhood friend, she had been asking me for a figure for a long time because she is a fan if I can not describe her better as a fan of the character, she has many little things alluding to it, so I wanted to add something made by me to her collection.
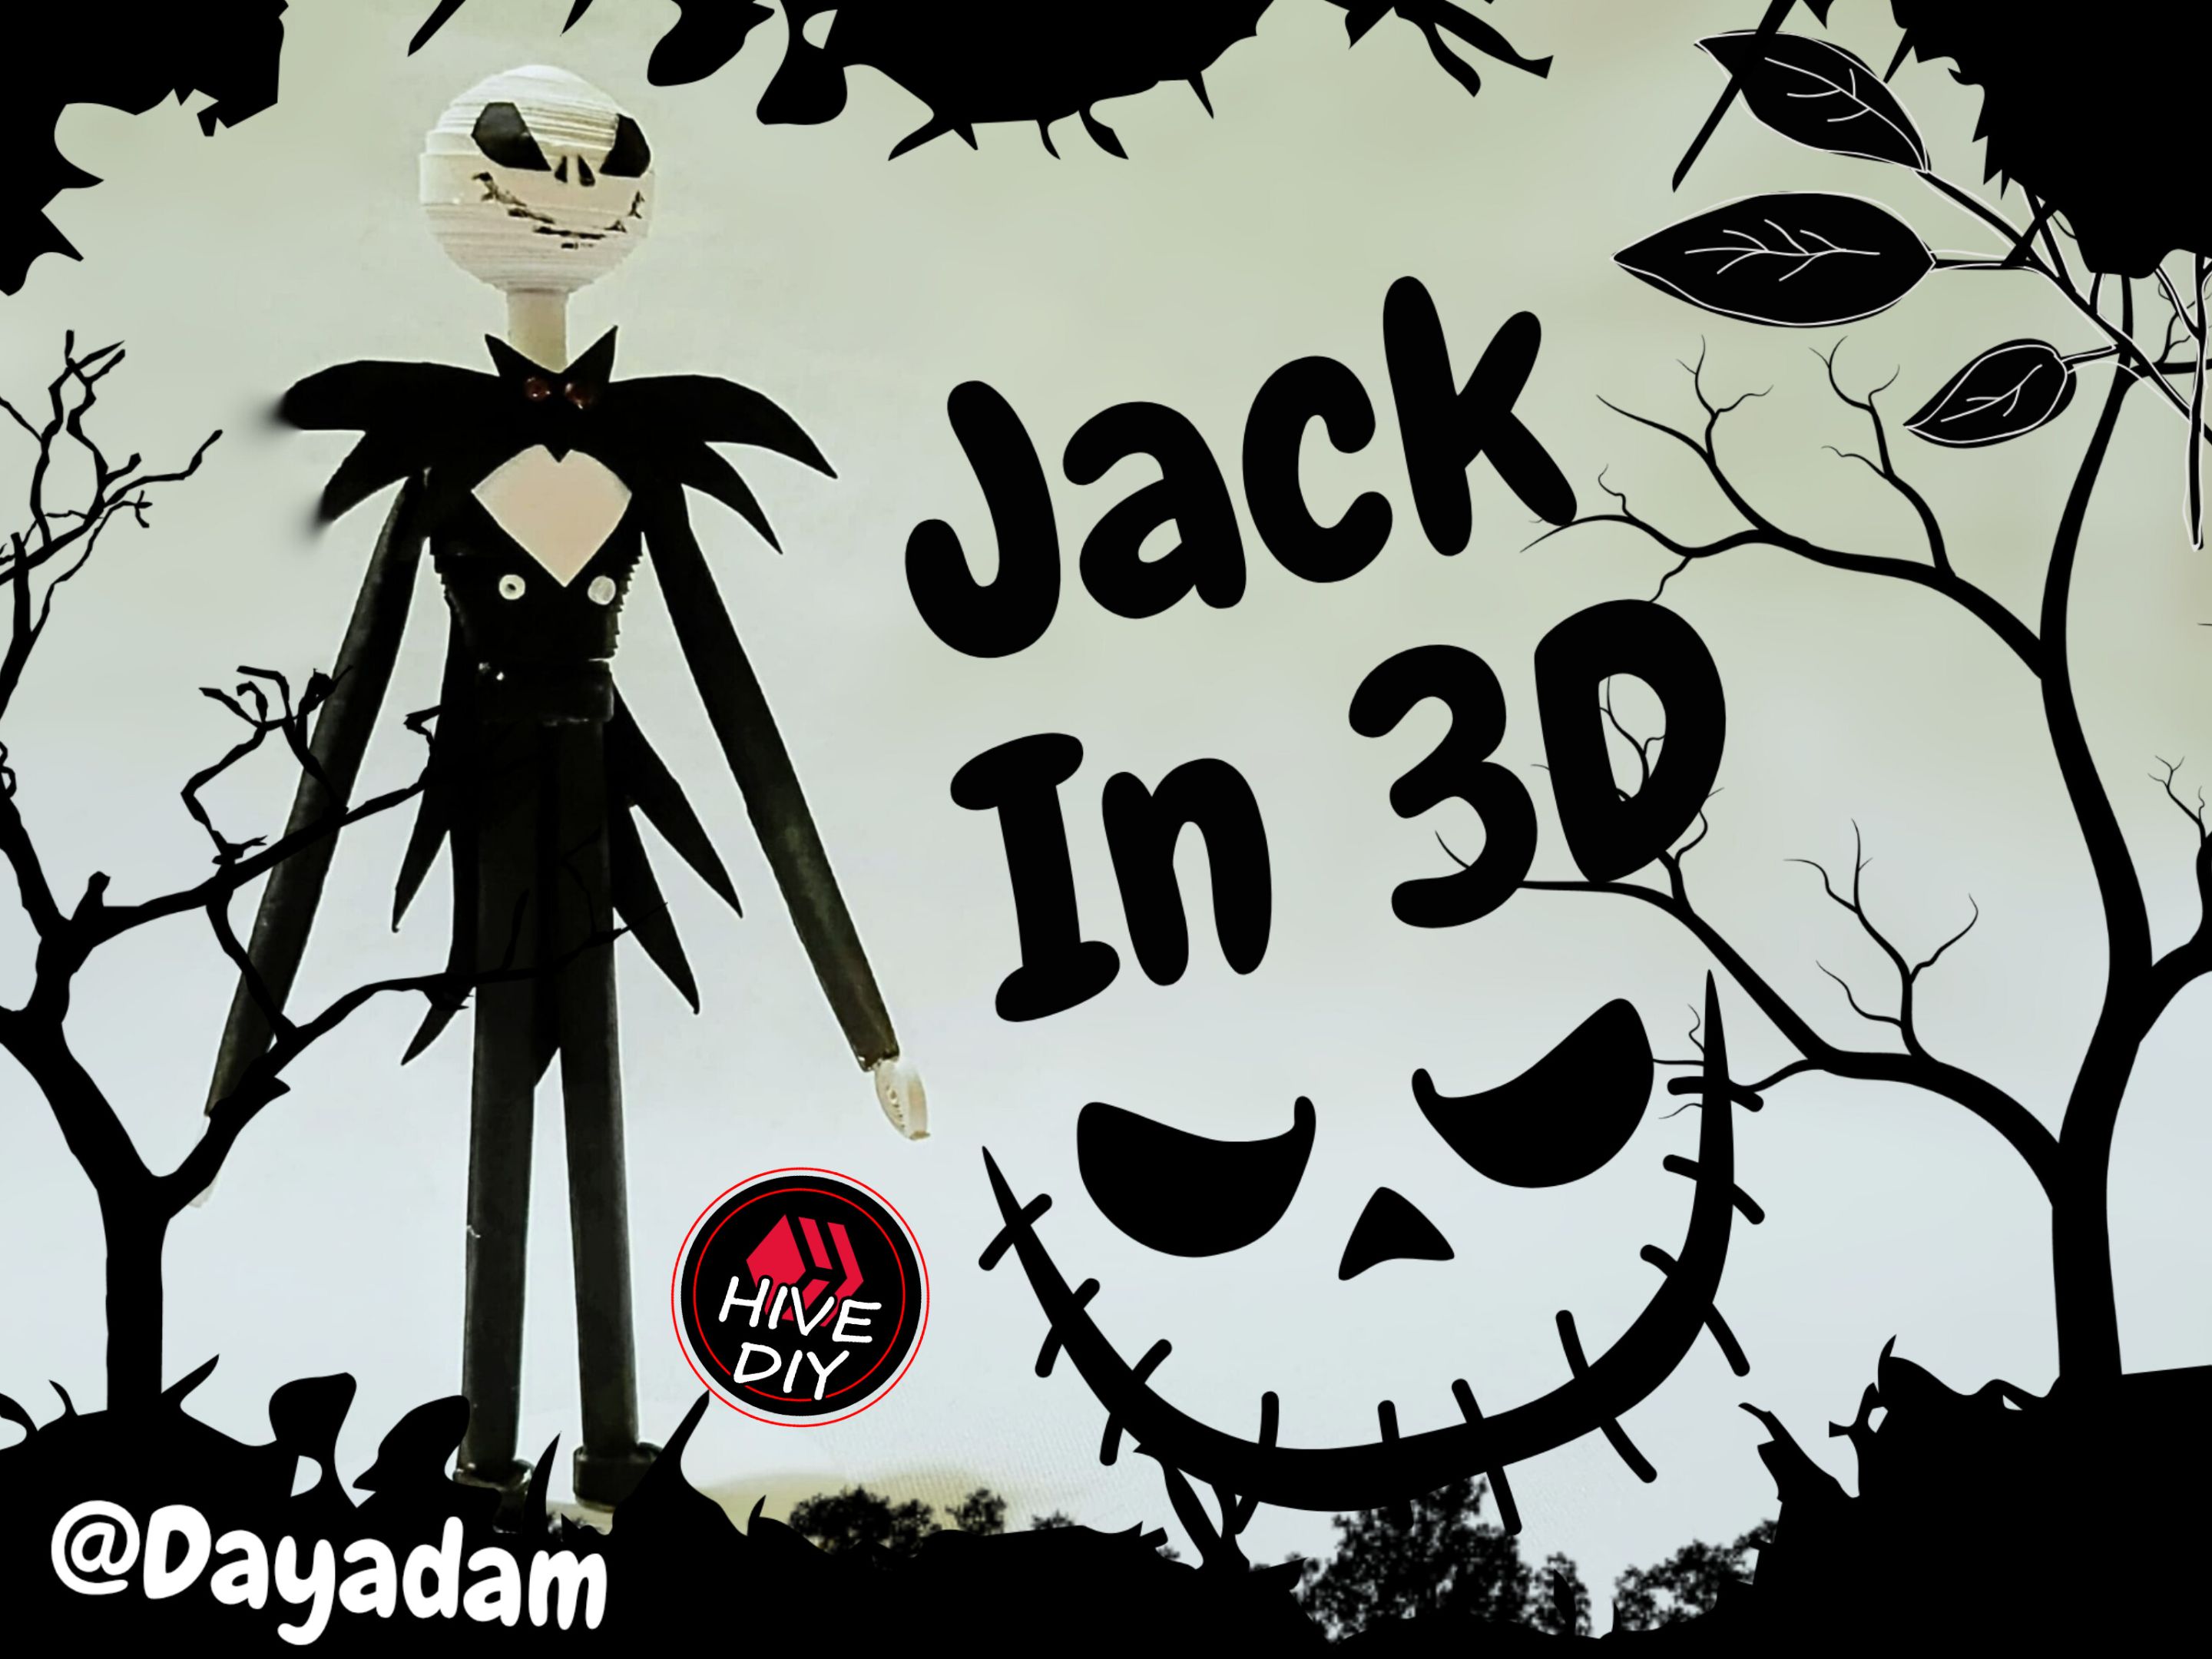
I challenged myself to make it, I did it and I bring you the creative process of this Jack in 3D, in the quilling technique.
Hoping you like it, I leave you my creative process:
Let's get started:😃

Hola a Todos...✨
Hola a mis queridos Hivers y a la querida comunidad de artistas #HiveDIY, como siempre muy complacida y emocionada de encontrarme por acá nuevamente, mostrándole mi trabajo hecho con mucho amor y especialmente para ustedes.
Para hoy les traigo un trabajo bastante elaborado, es una figura especial ya que es un obsequio que le voy a dar a una amiga de la infancia, ella llevaba muchísimo tiempo pidiéndome una figura ya que es una admiradora si acaso no puedo describirla mejor como una fanática del personaje, tiene muchas cositas alusivas al mismo, por esto con mucho cariño quise añadir algo realizado por mí a su colección.
Me reté a realizarlo, lo logré y les traigo el proceso creativo de este Jack en 3D, en la técnica de quilling.
Esperando que sea de su agrado, les dejo mi proceso creativo:
Comencemos:😃
 |


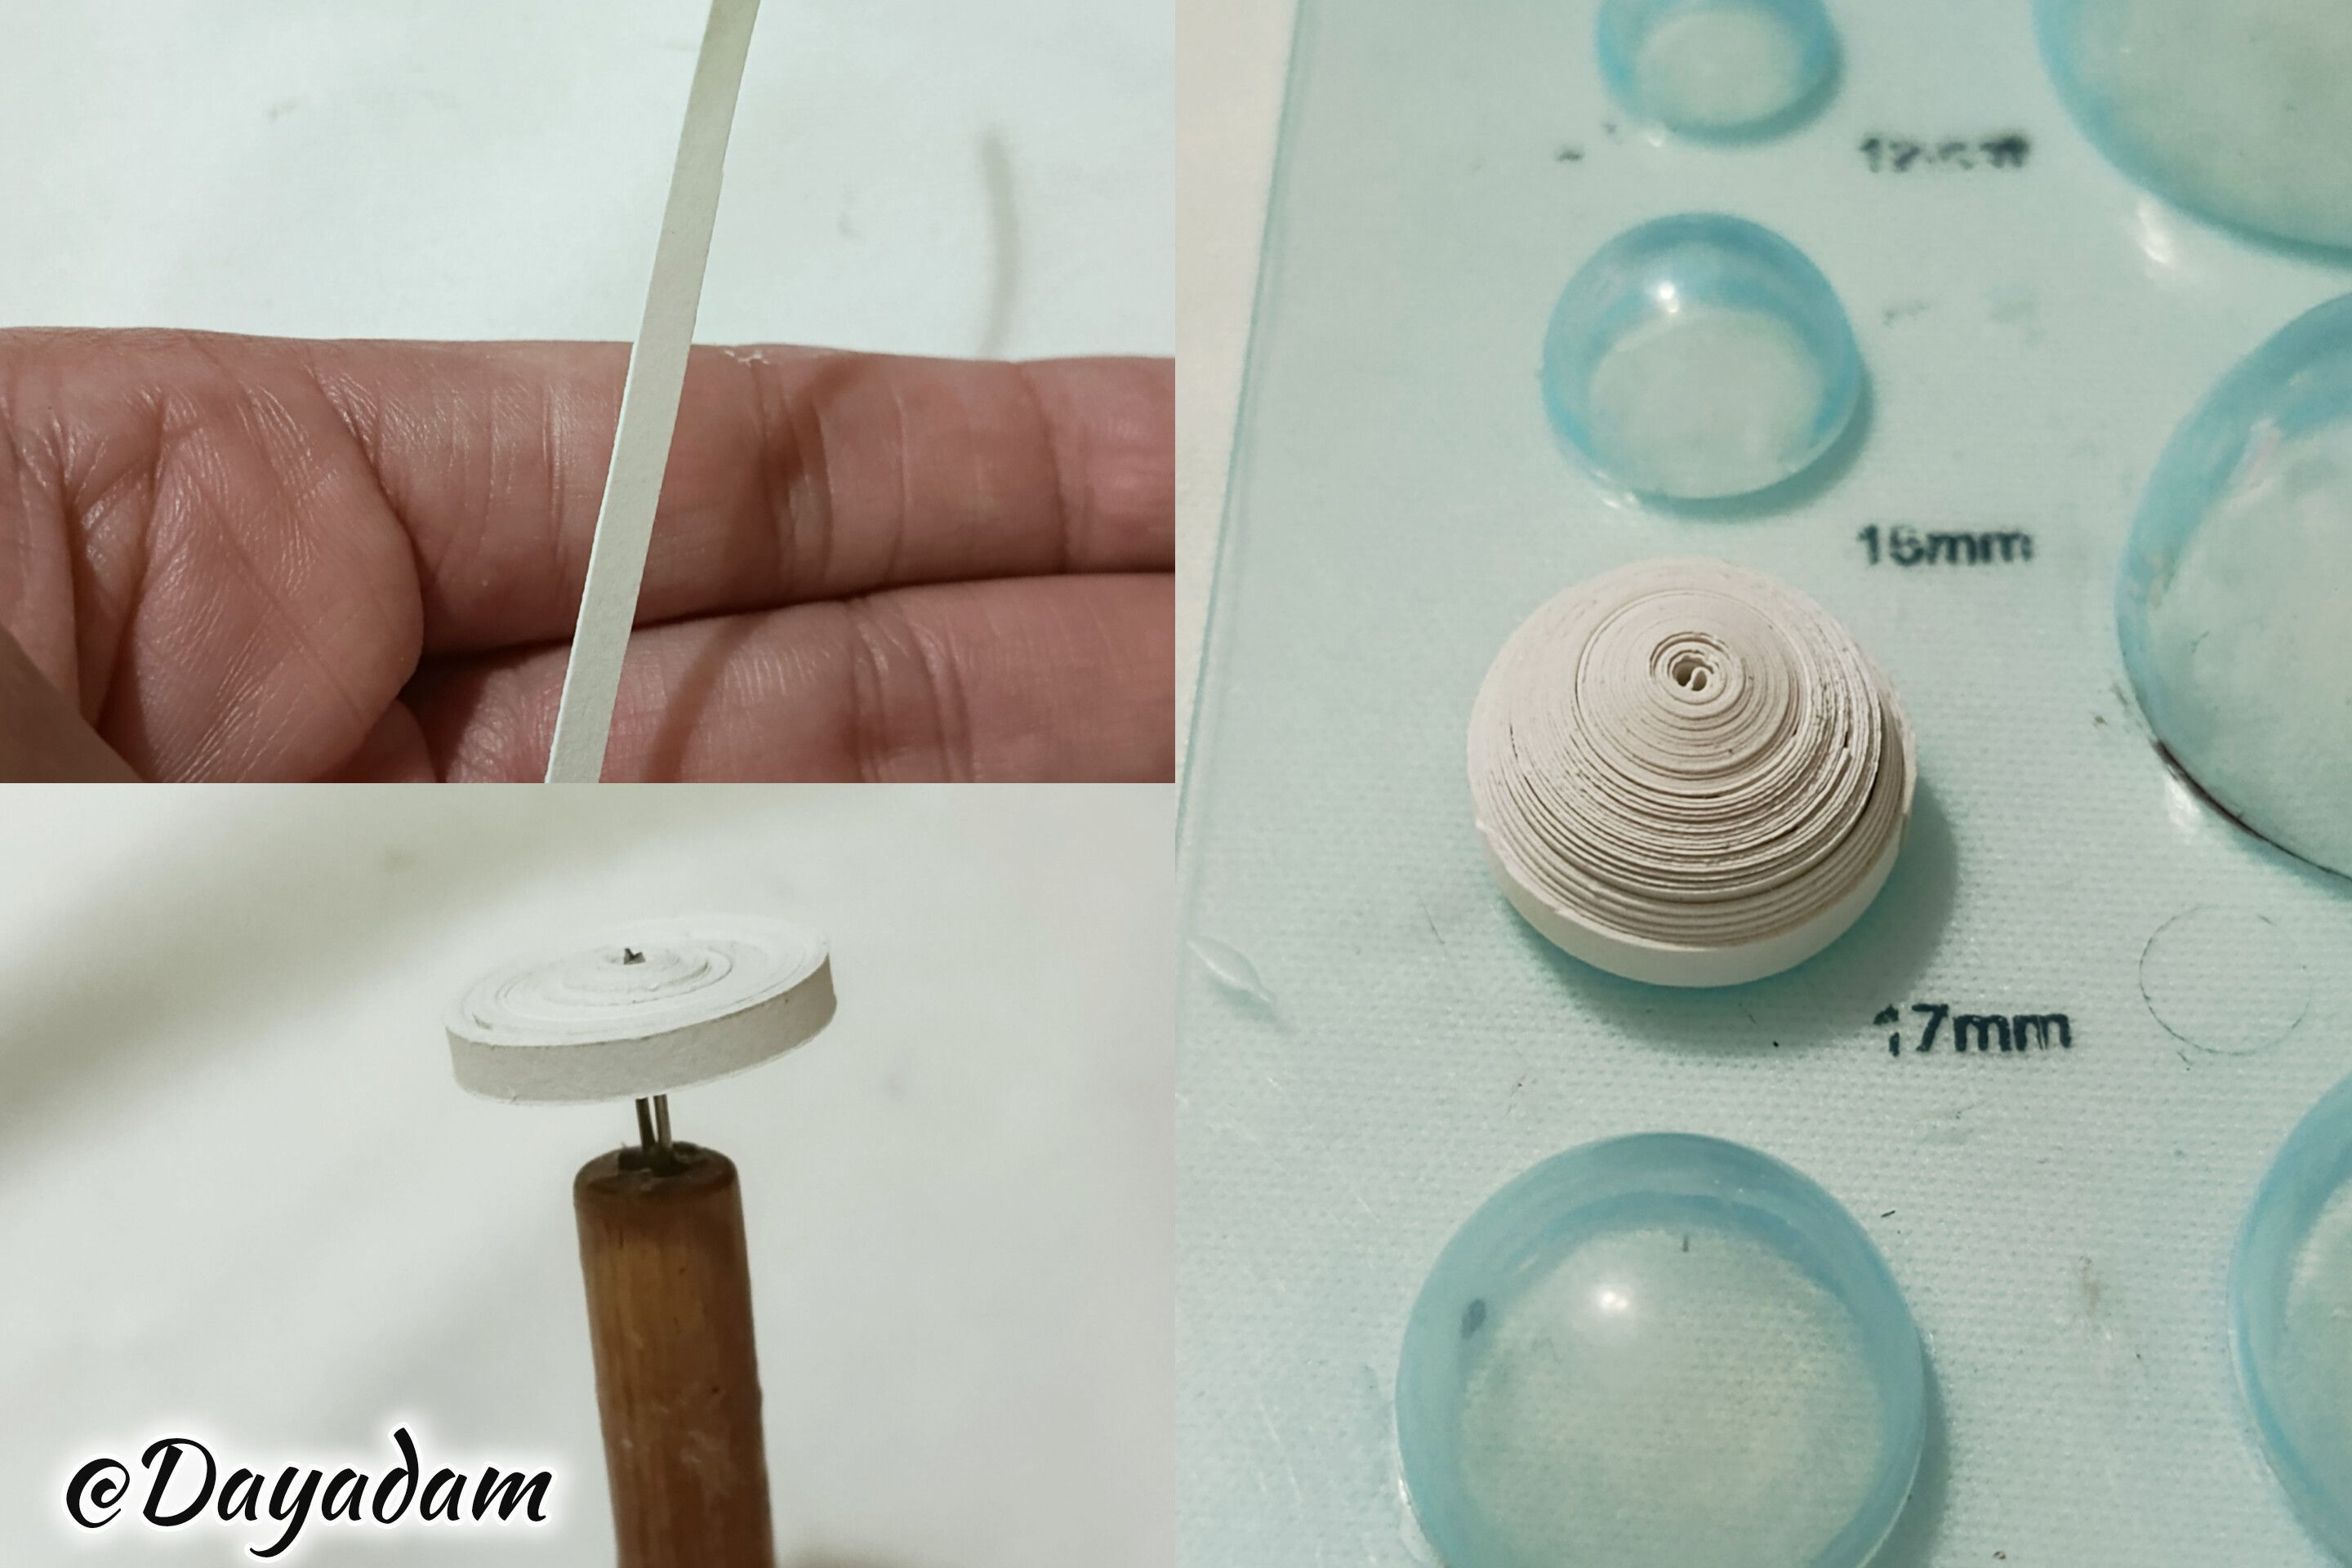
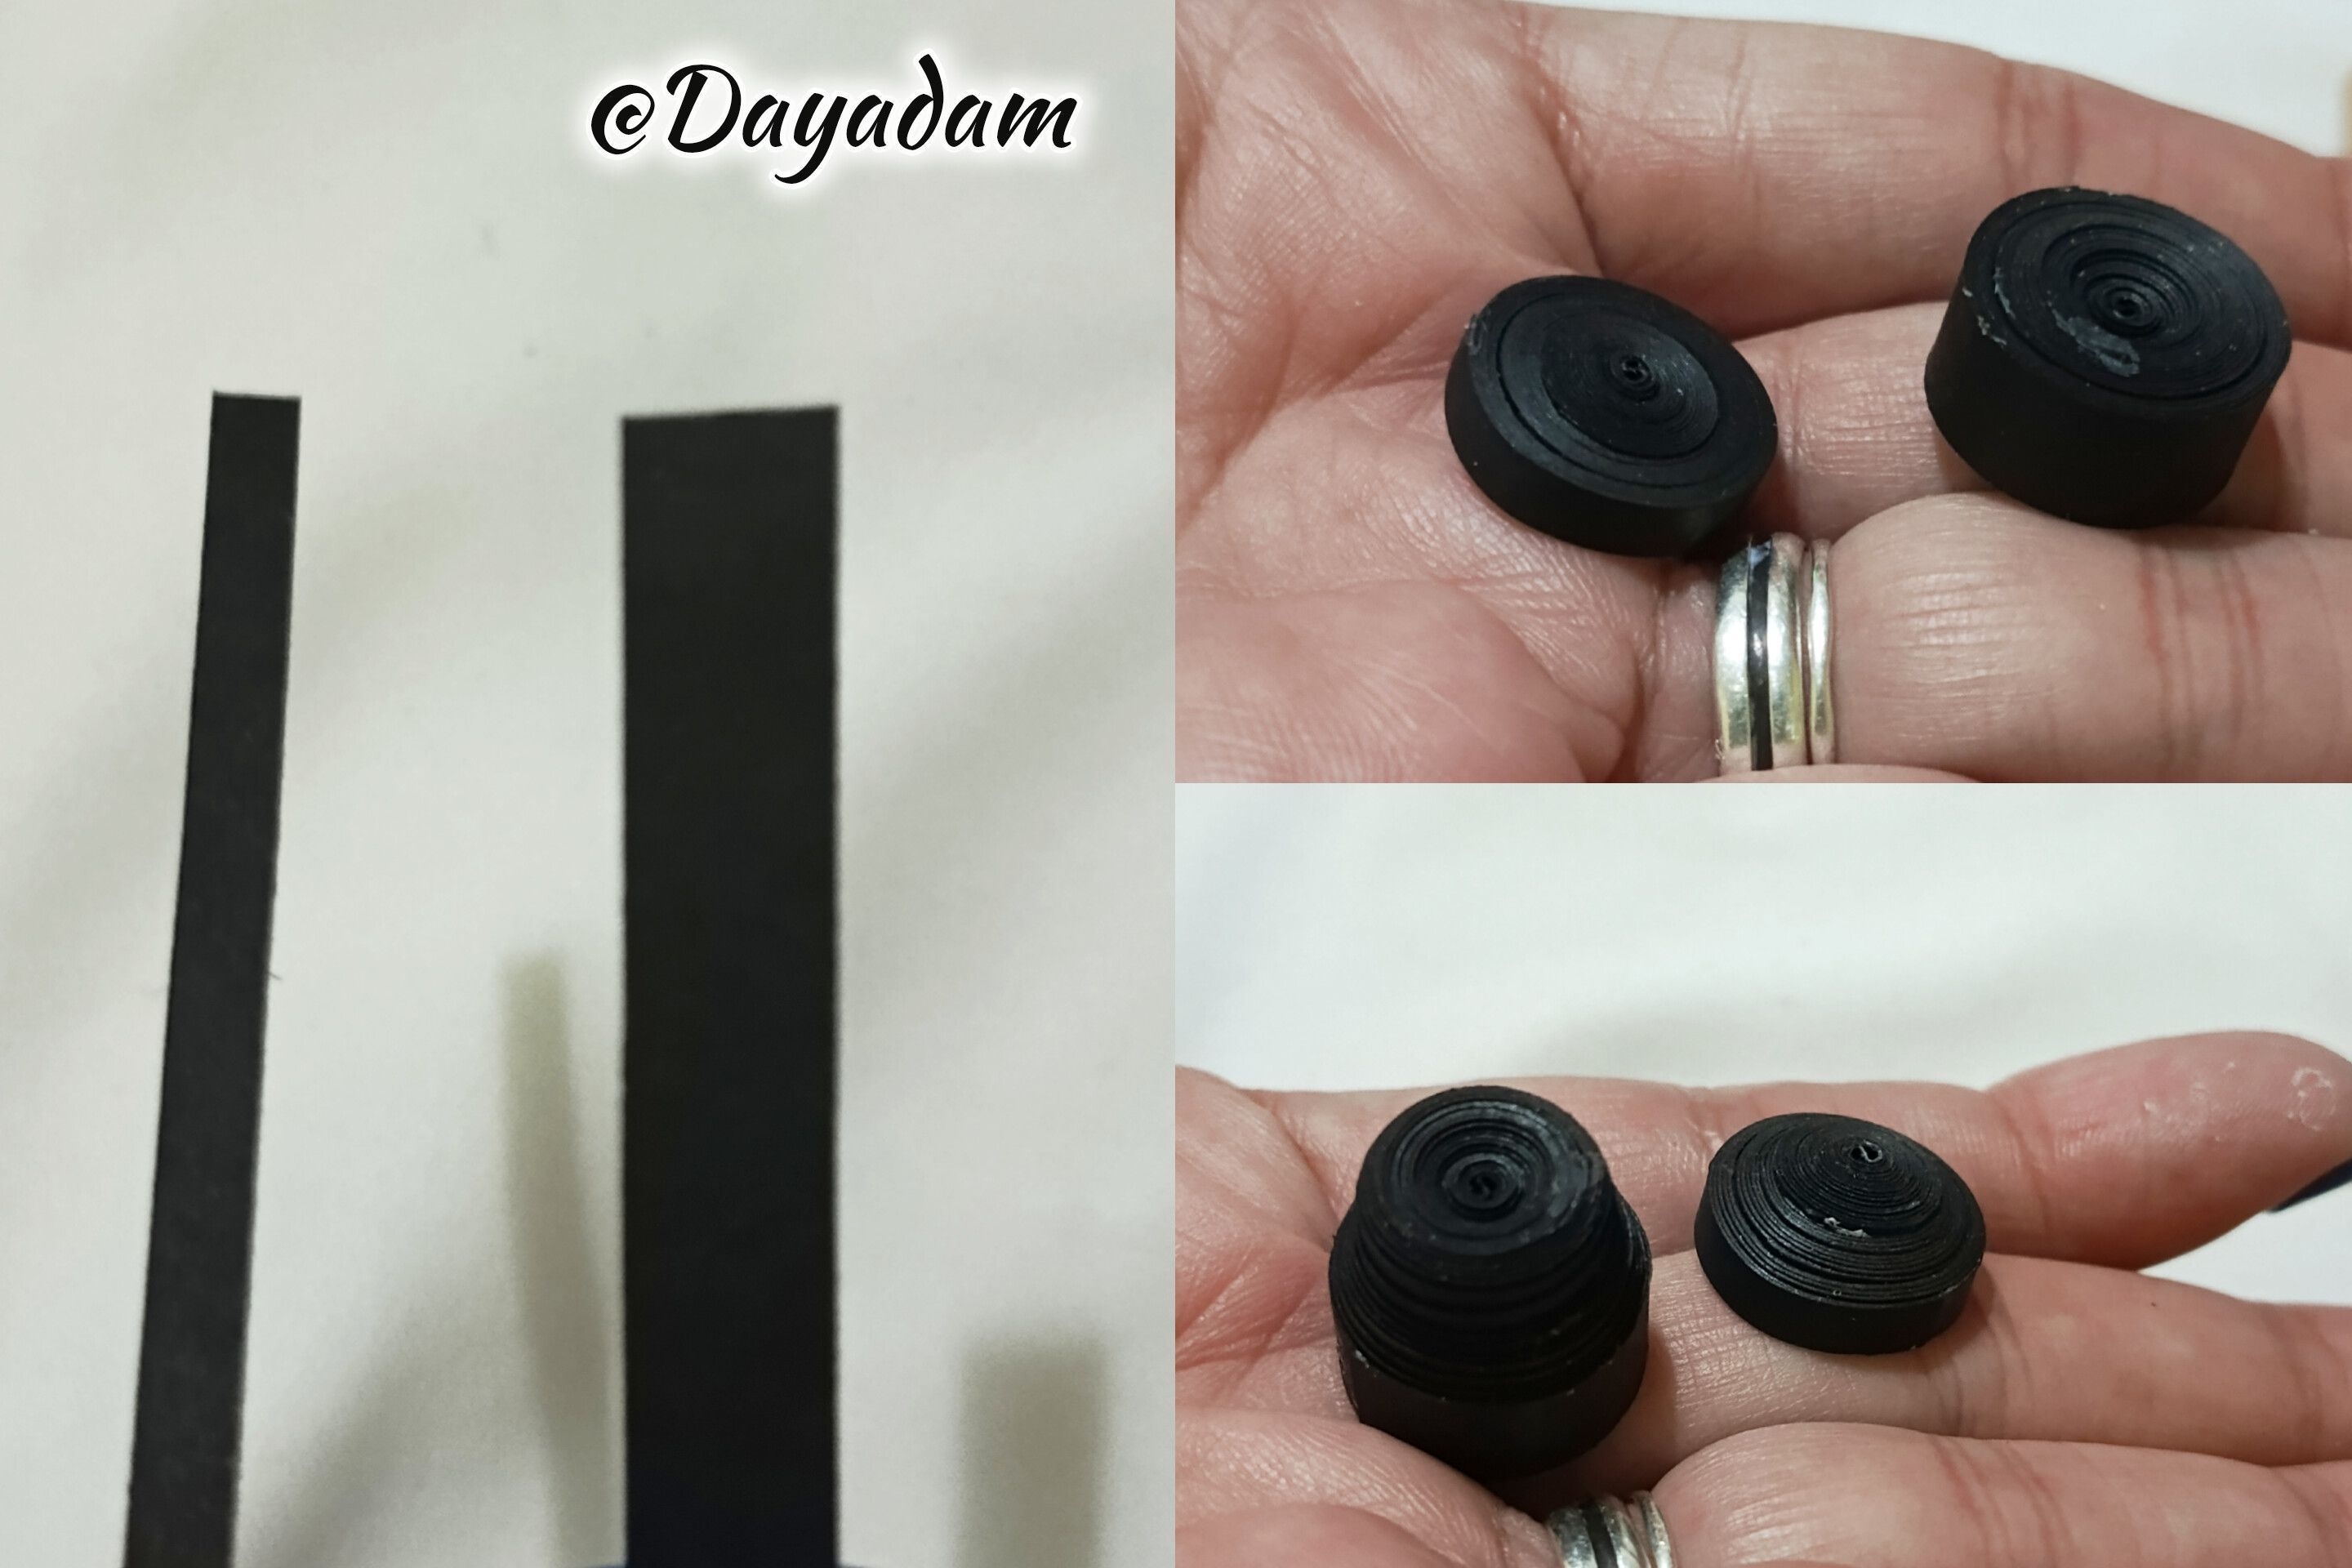
- I started by taking a strip of white color 3 mm wide, with the needle roll up to the end of the same, seal with white glue extra strong I took out of the needle, to obtain a closed circle we will need two equal.
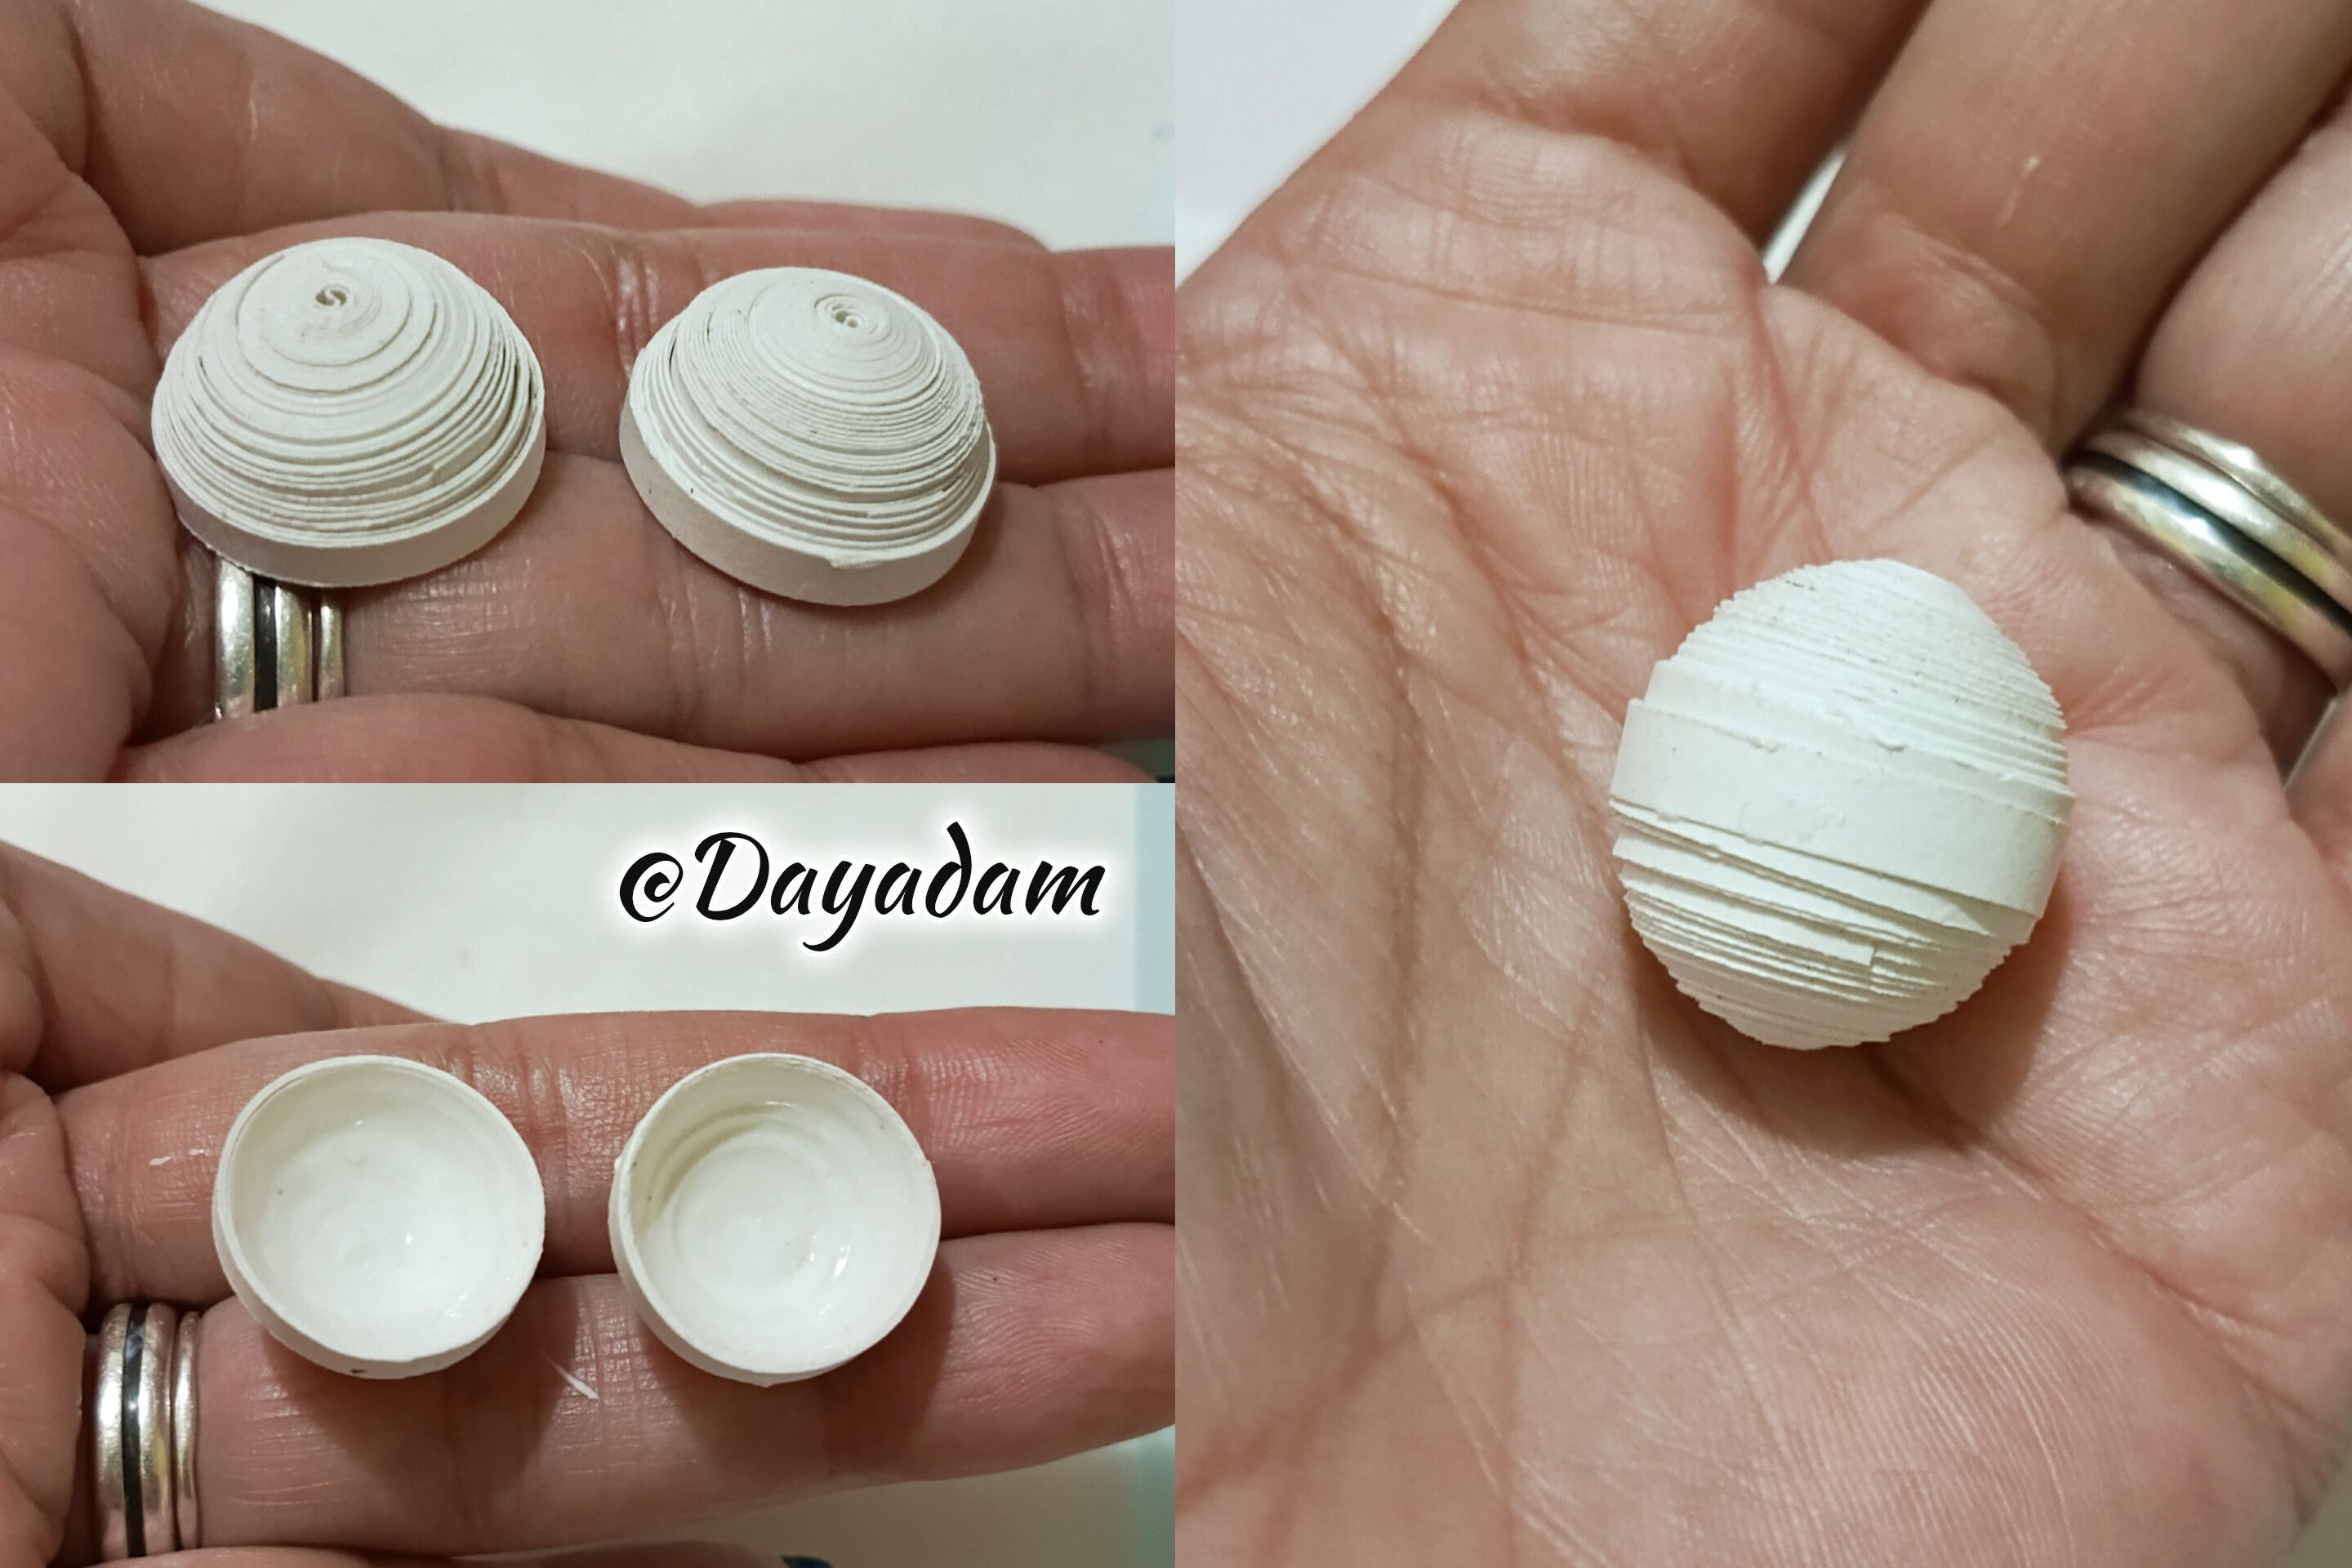
- We are going to mold both circles in a template in the measure number 17 mm, we take out of the same one we apply white glue extra strong for its internal part, we let dry very well to avoid that the same ones are deformed, then we unite both passing a white strip around. In this way we will have ready the head of the Jack.
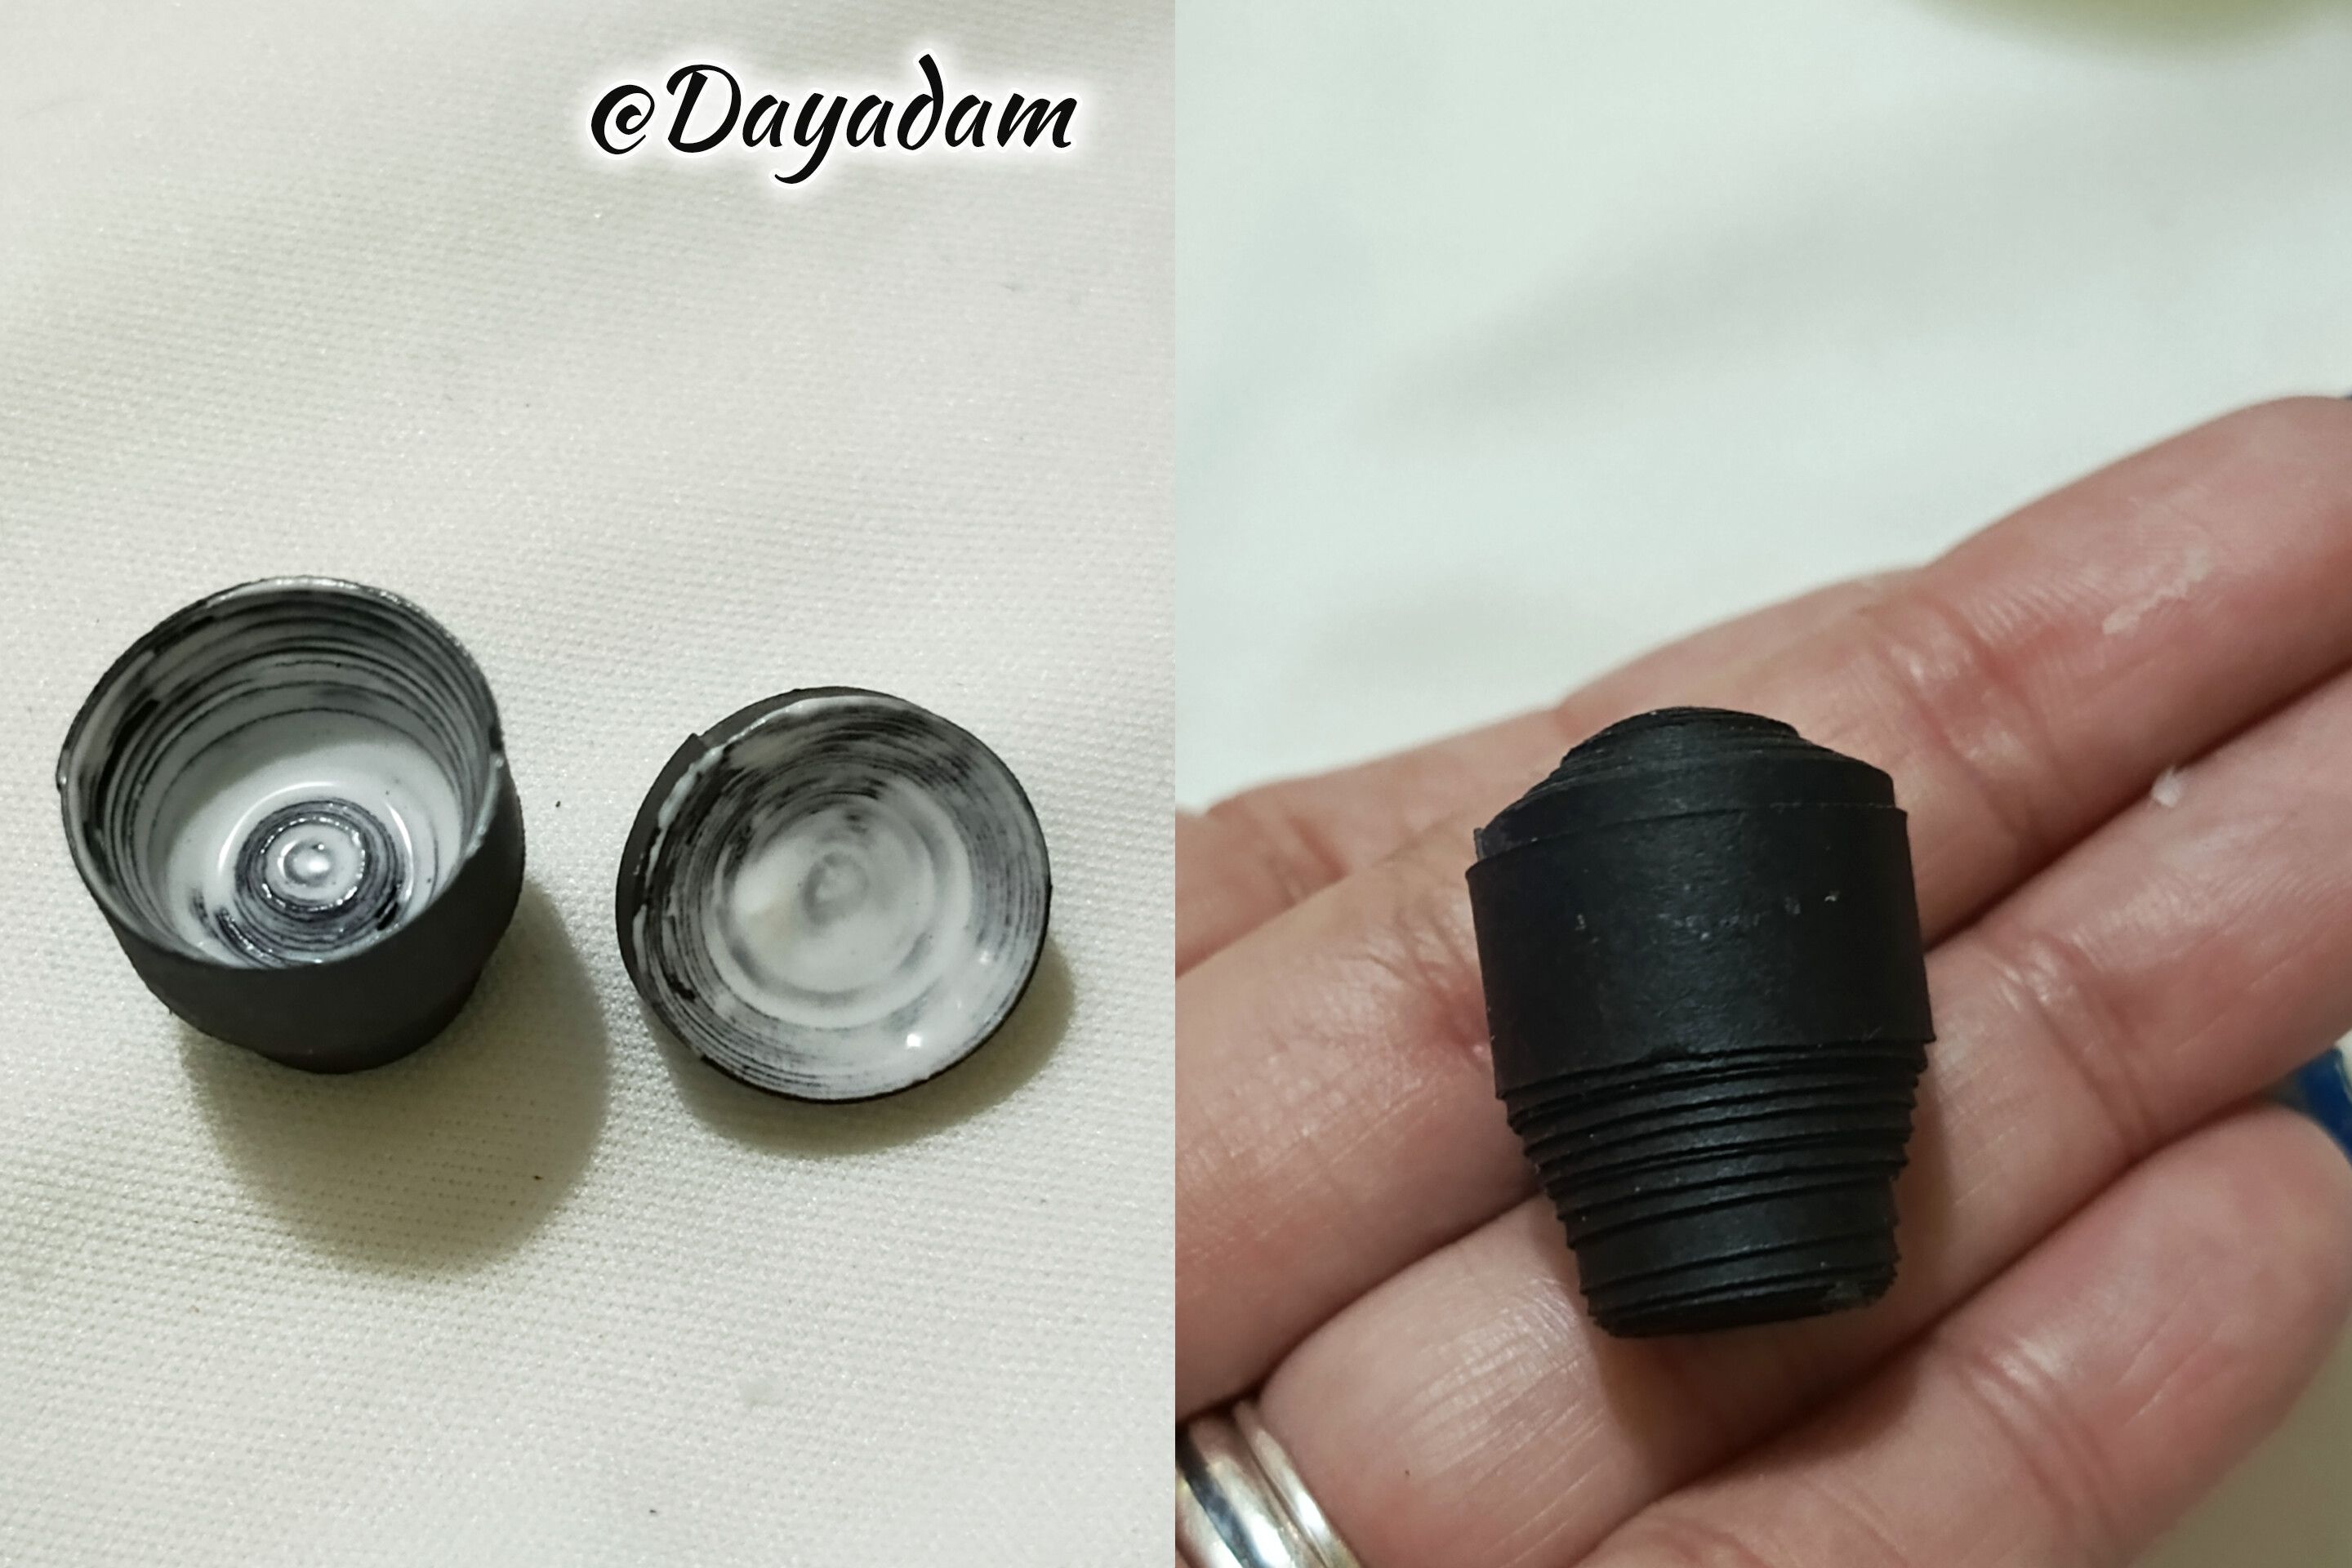
- For the body we are going to take a black ribbon of 3 mm wide and another of 5 mm wide, with each one we will make a closed circle, the circle of 5 mm we are going to mold it as a kind of flattened cone, the other one we will take it slightly outwards, we join both passing a ribbon around them.

• Comencé tomando una tira de color blanco de 3 mm de ancho, con la aguja enrolle hasta llegar al final de la misma, selle con pega blanca extra fuerte saqué de la aguja, para obtener un círculo cerrado vamos a necesitar dos iguales.
• Vamos a moldear ambos círculos en una plantilla en la medida número 17 mm, sacamos de la misma aplicamos pega blanca extra fuerte por su parte interna, dejamos secar muy bien para evitar que los mismos se deformen, luego unimos ambos pasando una tira blanca alrededor. De esta manera tendremos lista la cabeza del Jack.
• Para el cuerpo vamos a tomar una cinta de color negro de 3 mm de ancho y otra de 5 mm de ancho, con cada una realizaremos un círculo cerrado, el círculo de 5 mm lo vamos a moldear como una especie de cono aplanado, el otro lo sacaremos ligeramente hacia afuera, unimos ambos pasando una cinta alrededor de los mismos.
 |
 |
 |
 |
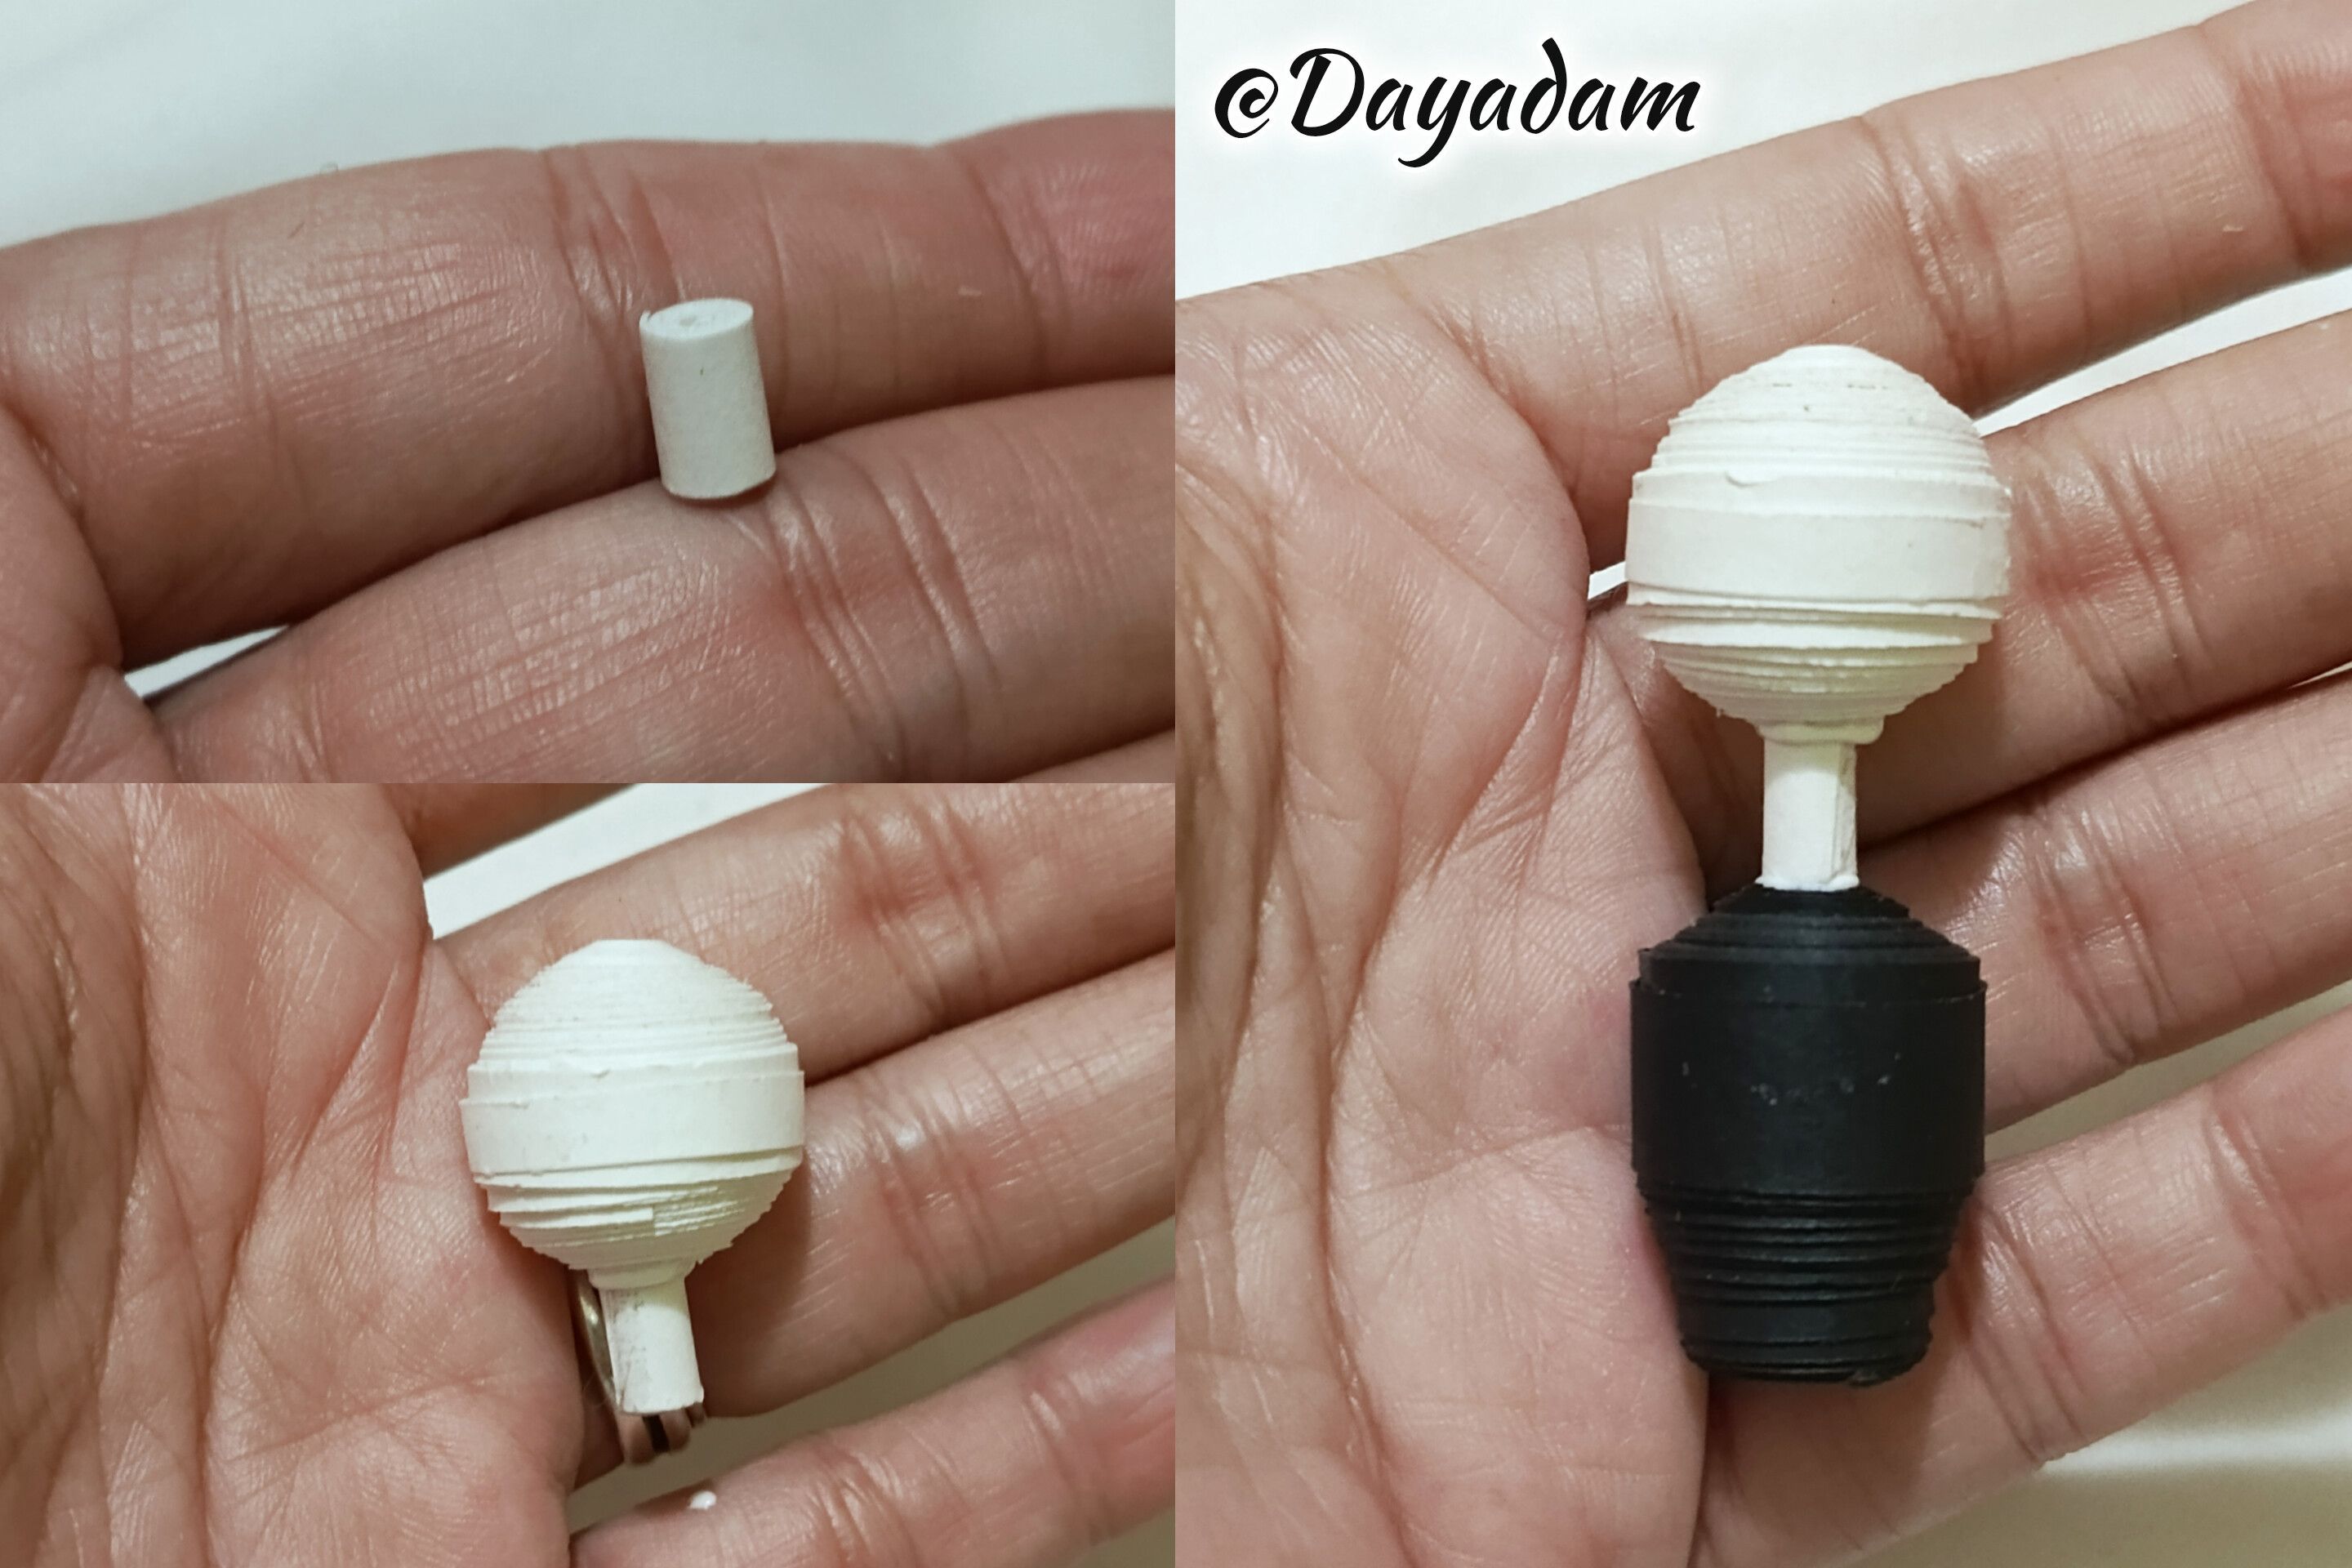
- To make the neck we will take a piece of white ribbon 4 mm wide with it we will make a small circle, we will glue it under the head and below we will place the body.
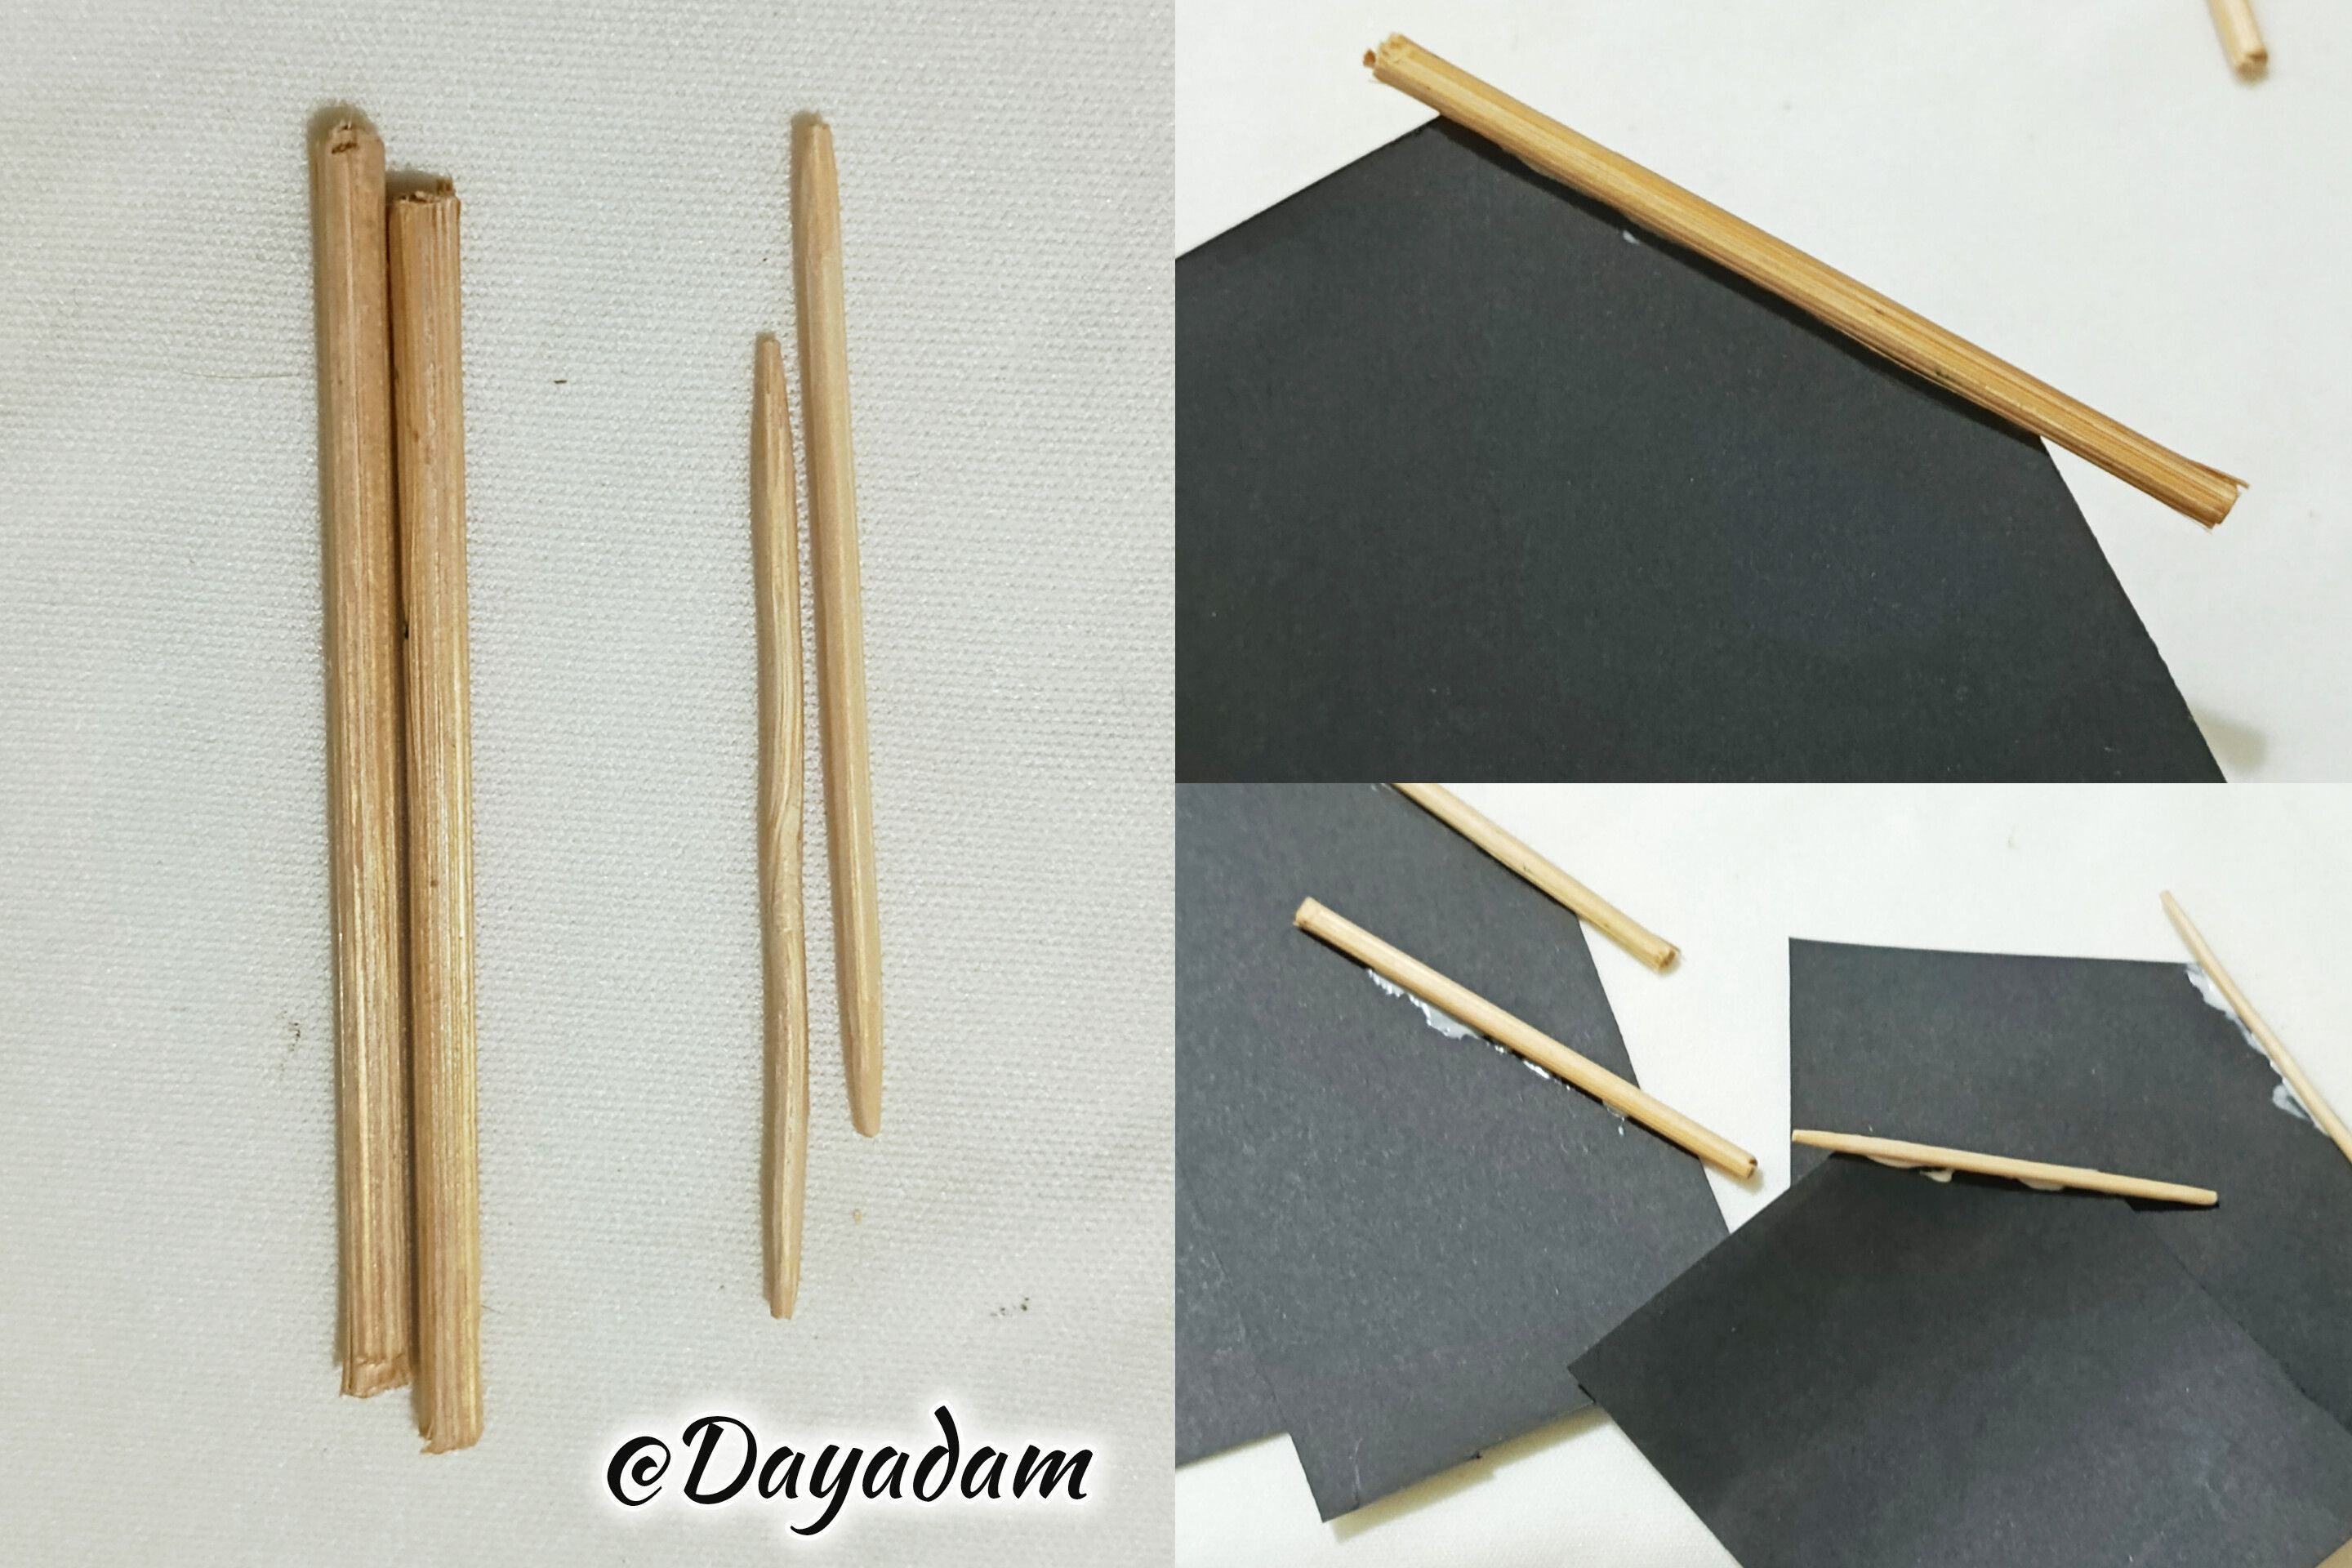
- For the arms we will use toothpicks, and for the legs we will use toothpicks of height, these we will line them with black cardboard.
- The legs which I made with the toothpick height and are the longest, I will join them at the tip with a piece of black ribbon.
- Then I made two small drops with black colored tape 3 mm wide, glued on the bottom of the legs, then incorporated into the body of the Jack.
• Para realizar el cuello tomaremos un trozo de cinta blanca de 4 mm de ancho con ella haremos un pequeño círculo, pegaremos debajo de la cabeza y abajo colocaremos el cuerpo.
• Para los brazos utilizaremos palillos mondadientes, y para las piernas unos palillos de altura, estos los forraremos con cartulina de color negro.
• Las piernas las cuales realicé con el palillo de altura y son las más largas, las uniré en la punta con un trozo de cinta negra.
• Luego realicé dos pequeñas gotas con cinta de color negro de 3 mm de ancho, pegué en la parte de abajo de las piernas, luego incorporé en el cuerpo del Jack.
 |
 |
 |
 |
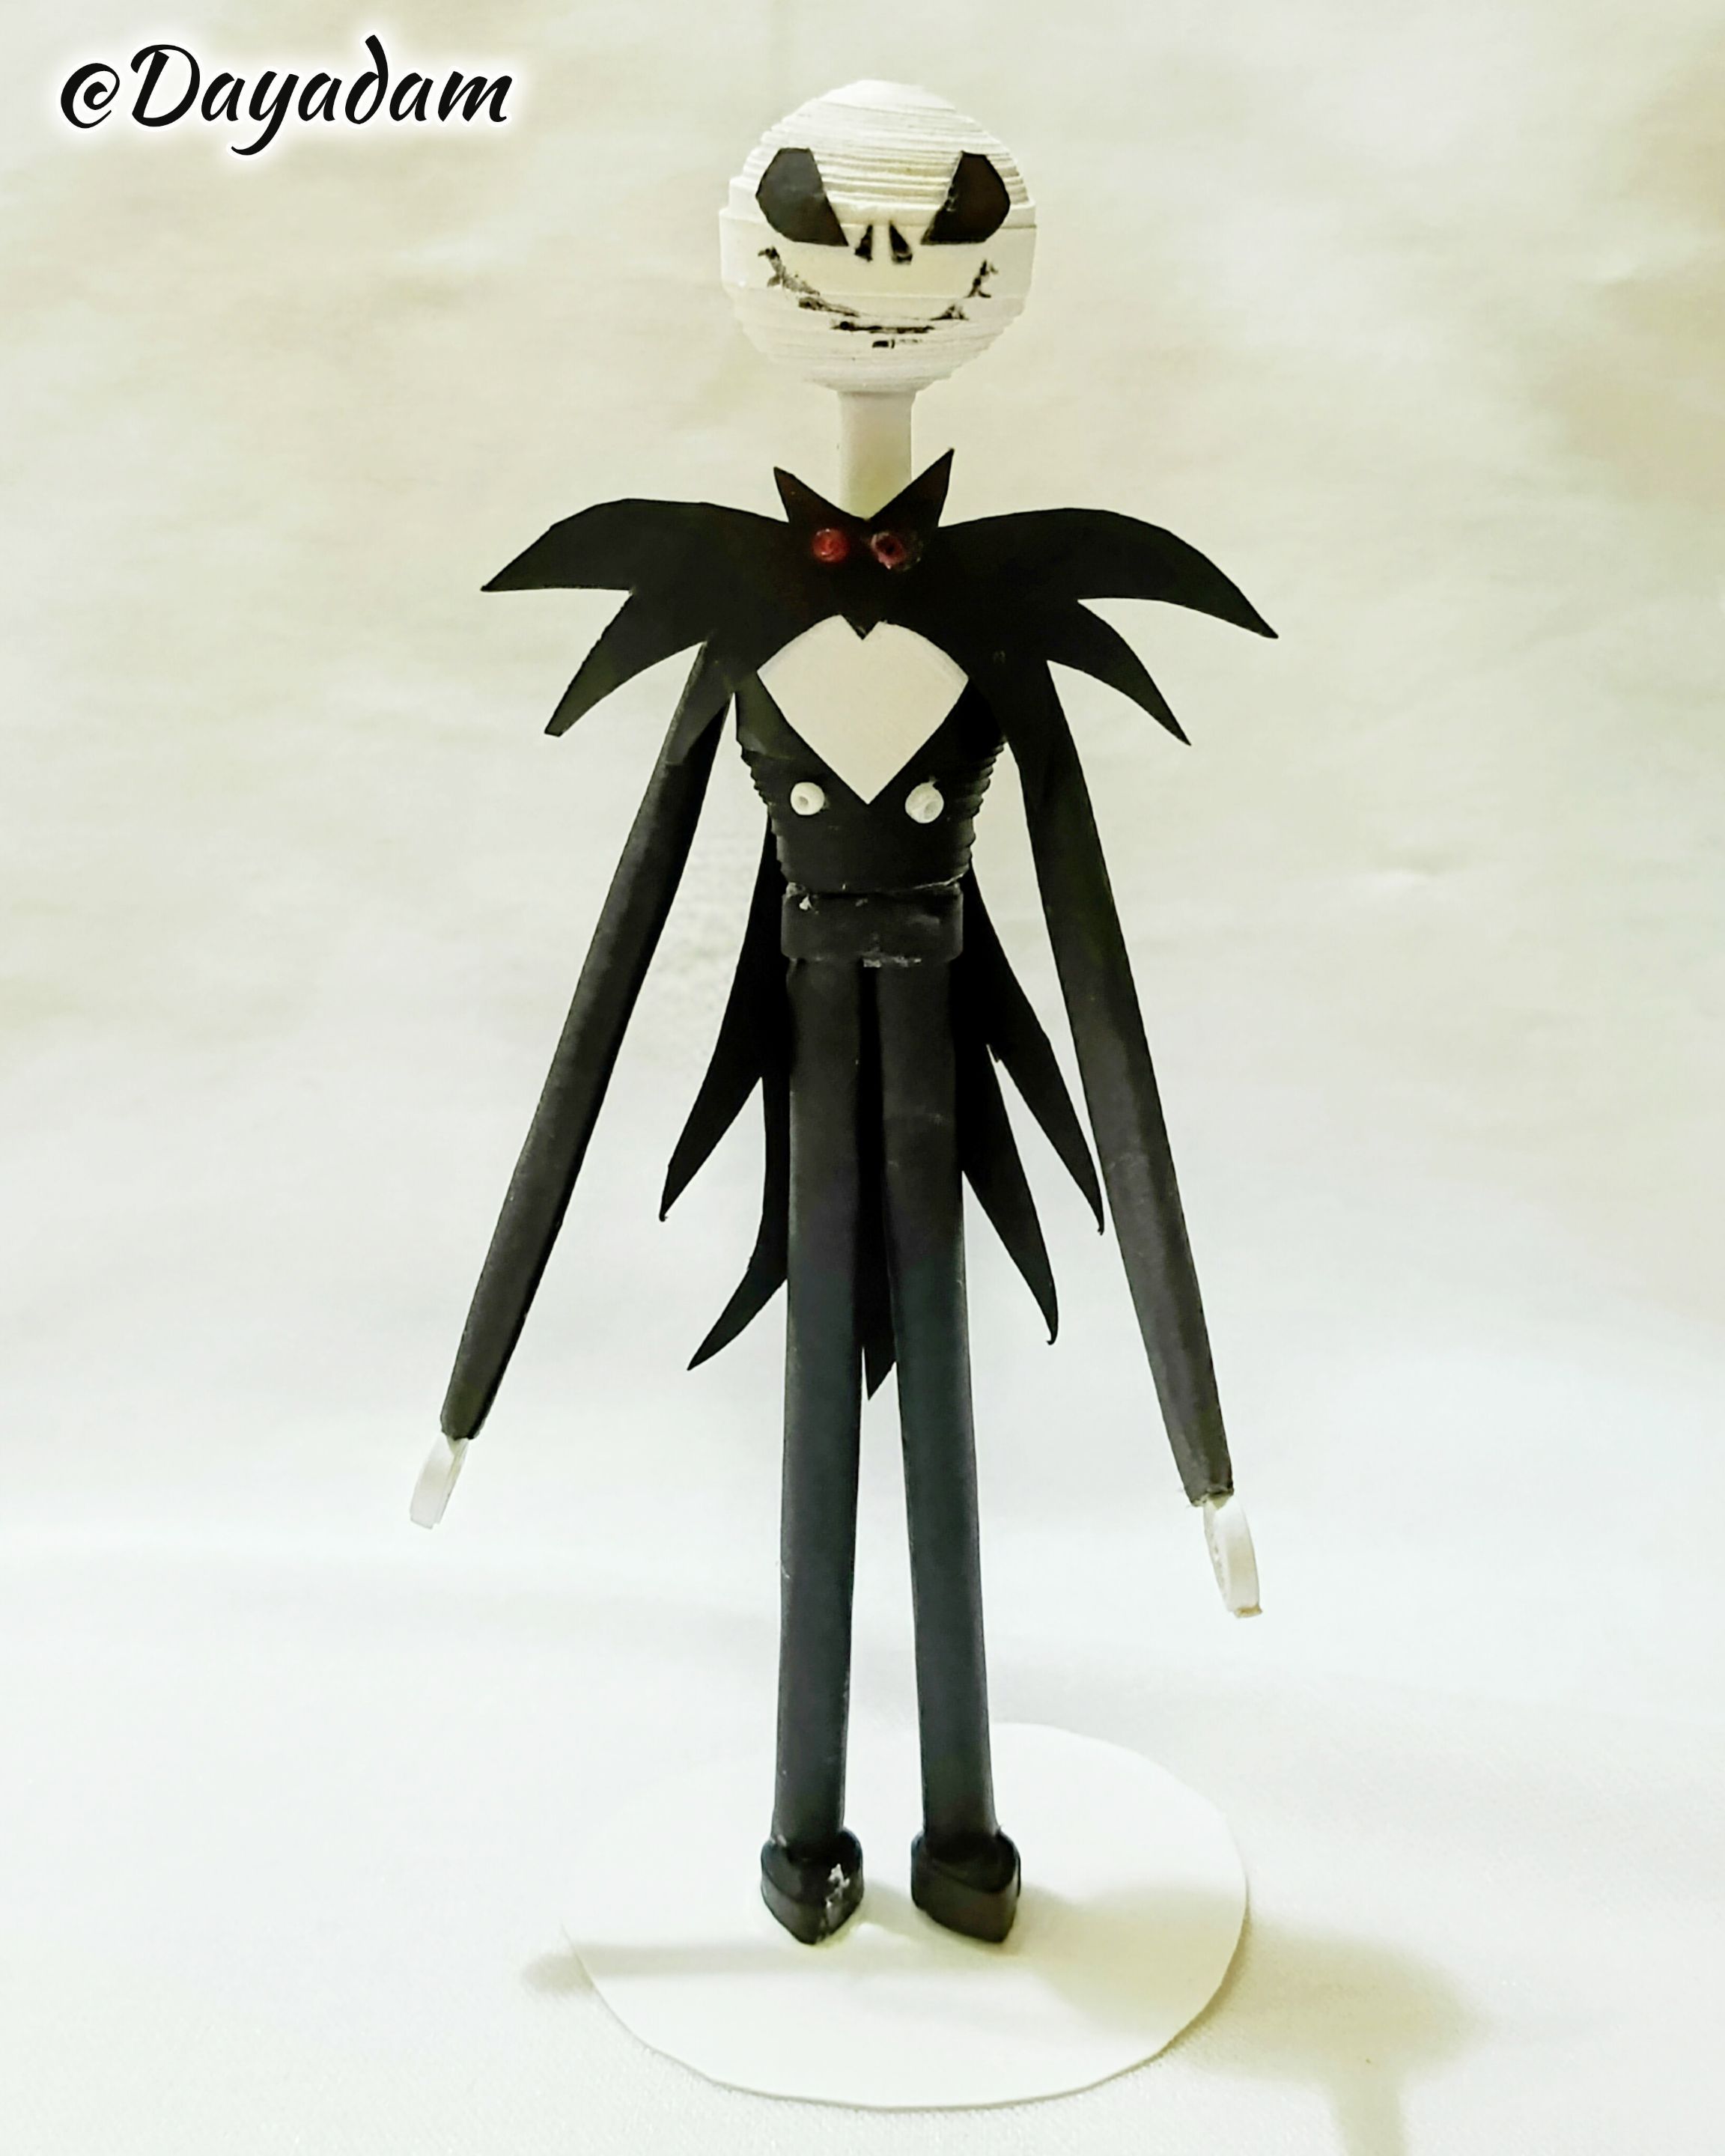
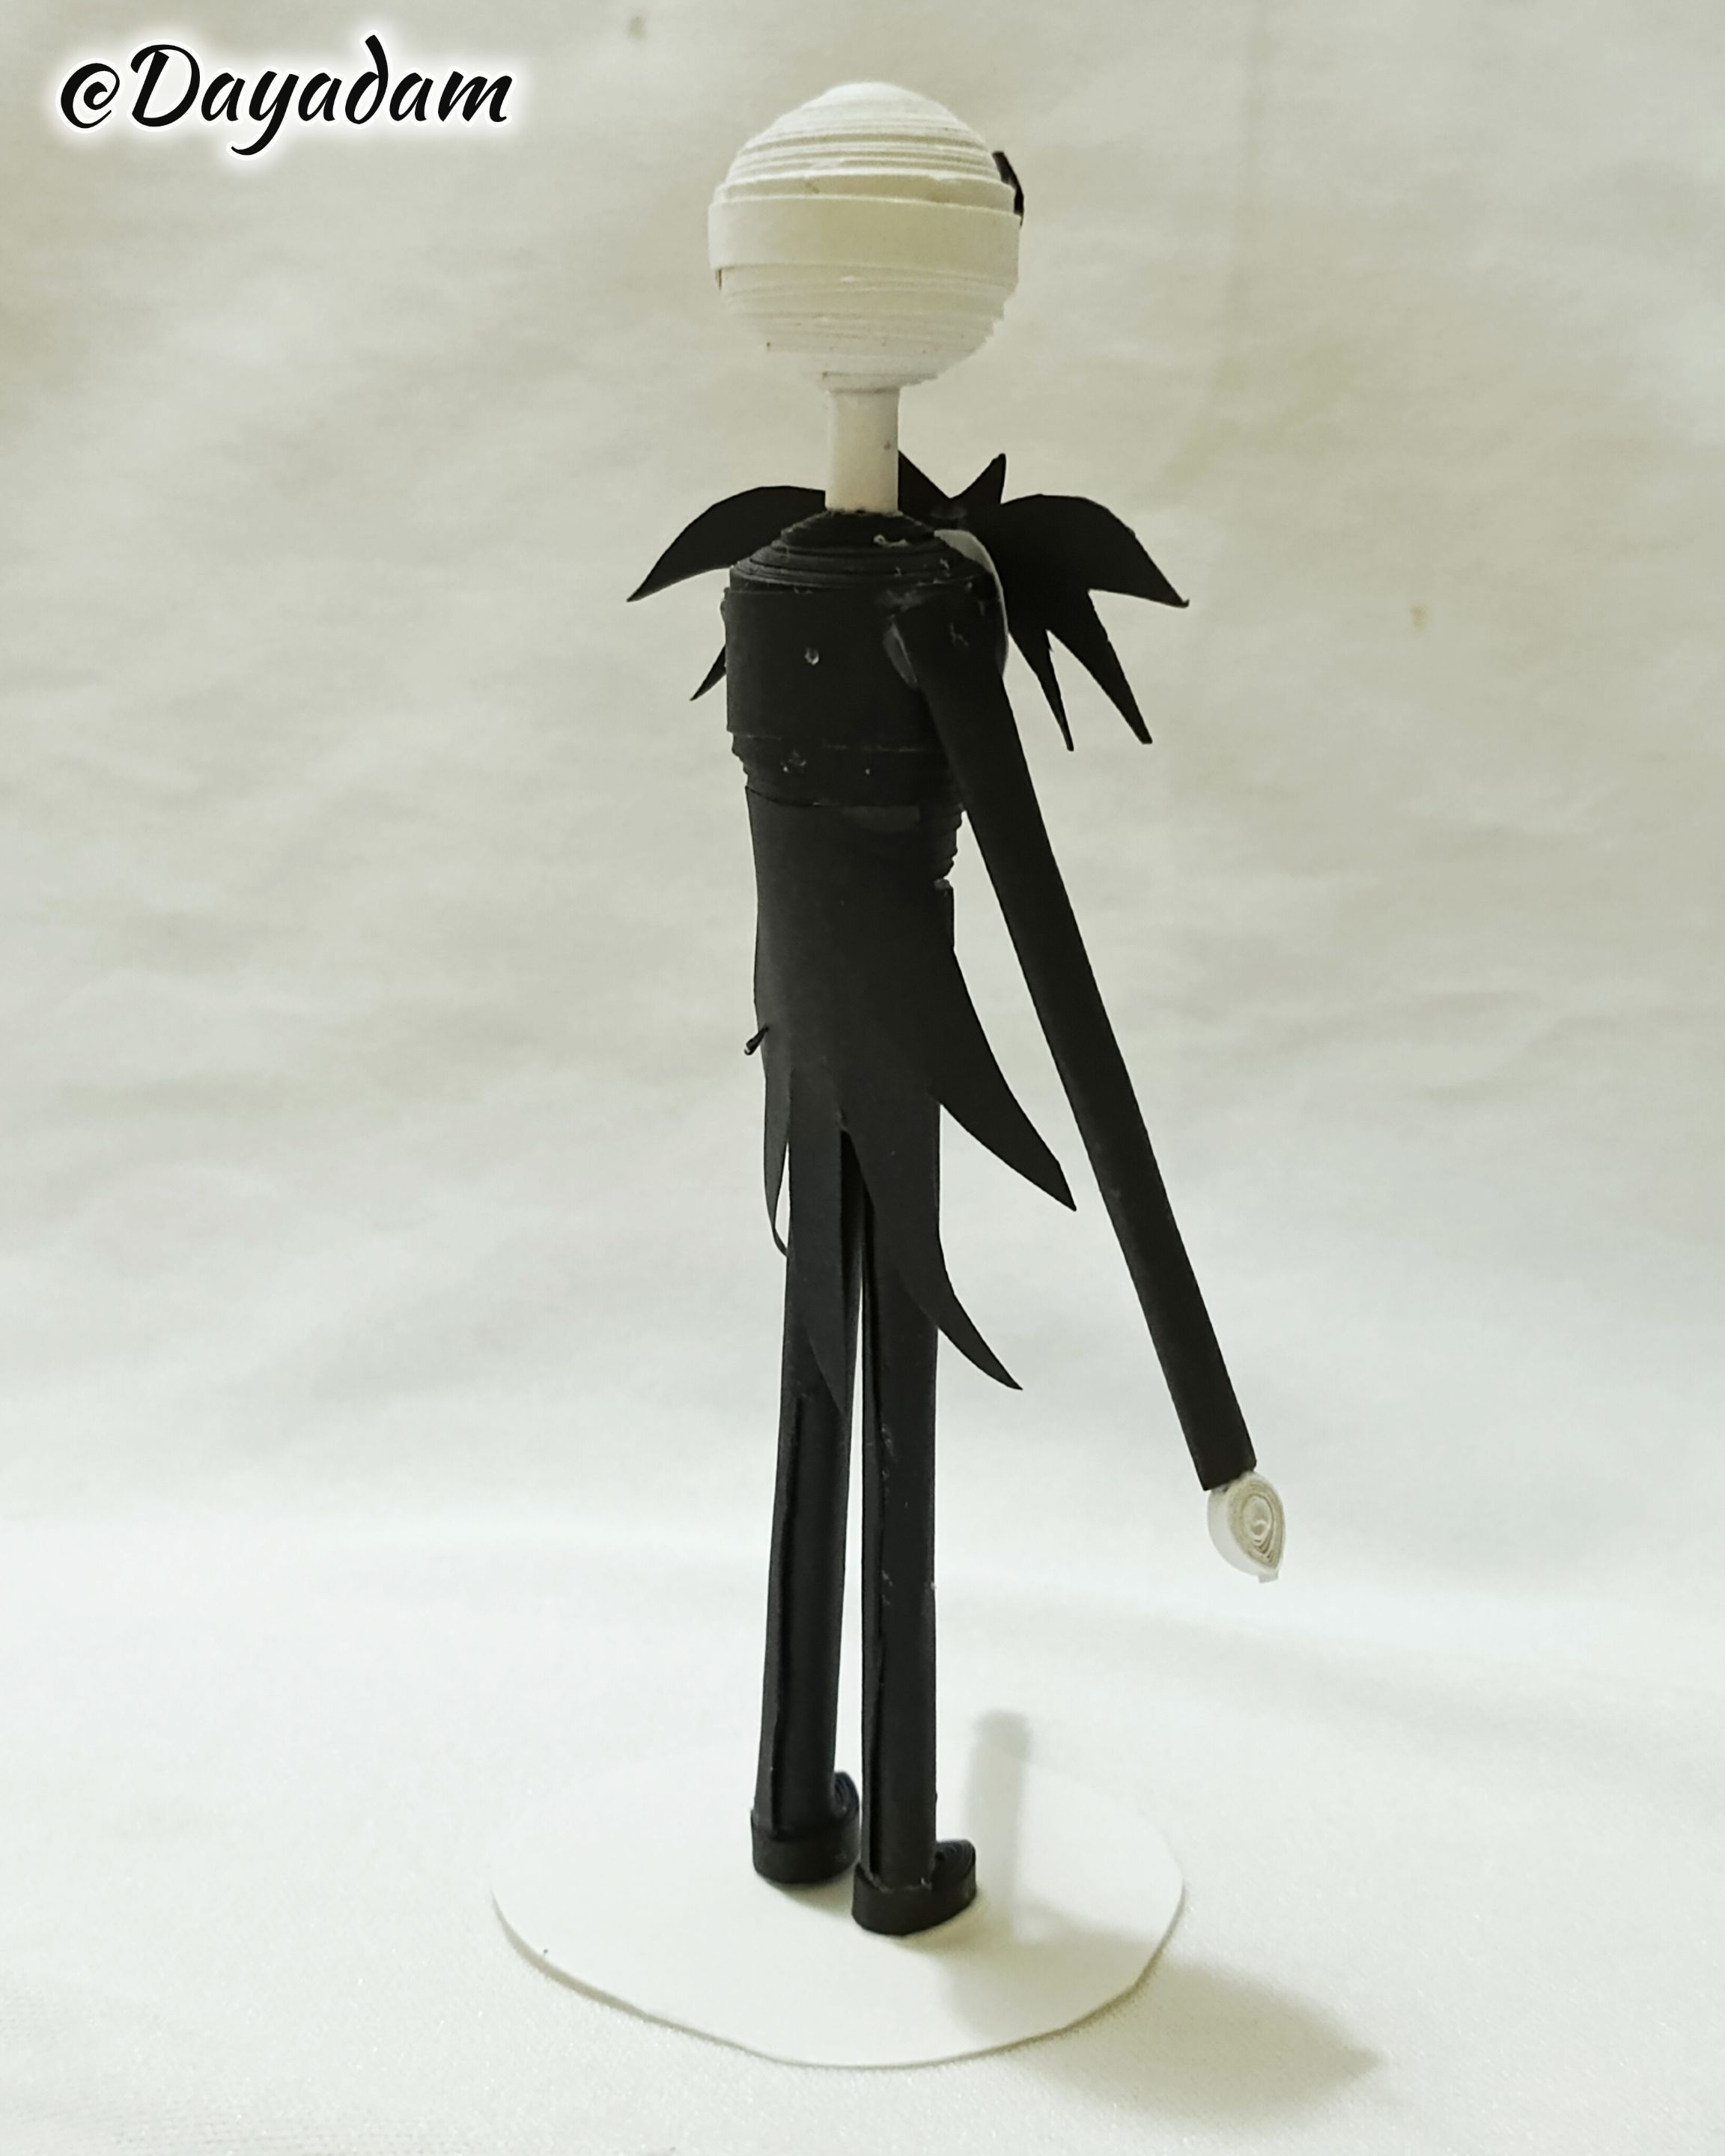
- For Jack's hands I made two small drops with white ribbon, I glued them to the arms.
- I took a piece of cardstock and cut out some small spikes, this will be the back of the character's costume, glue to it.
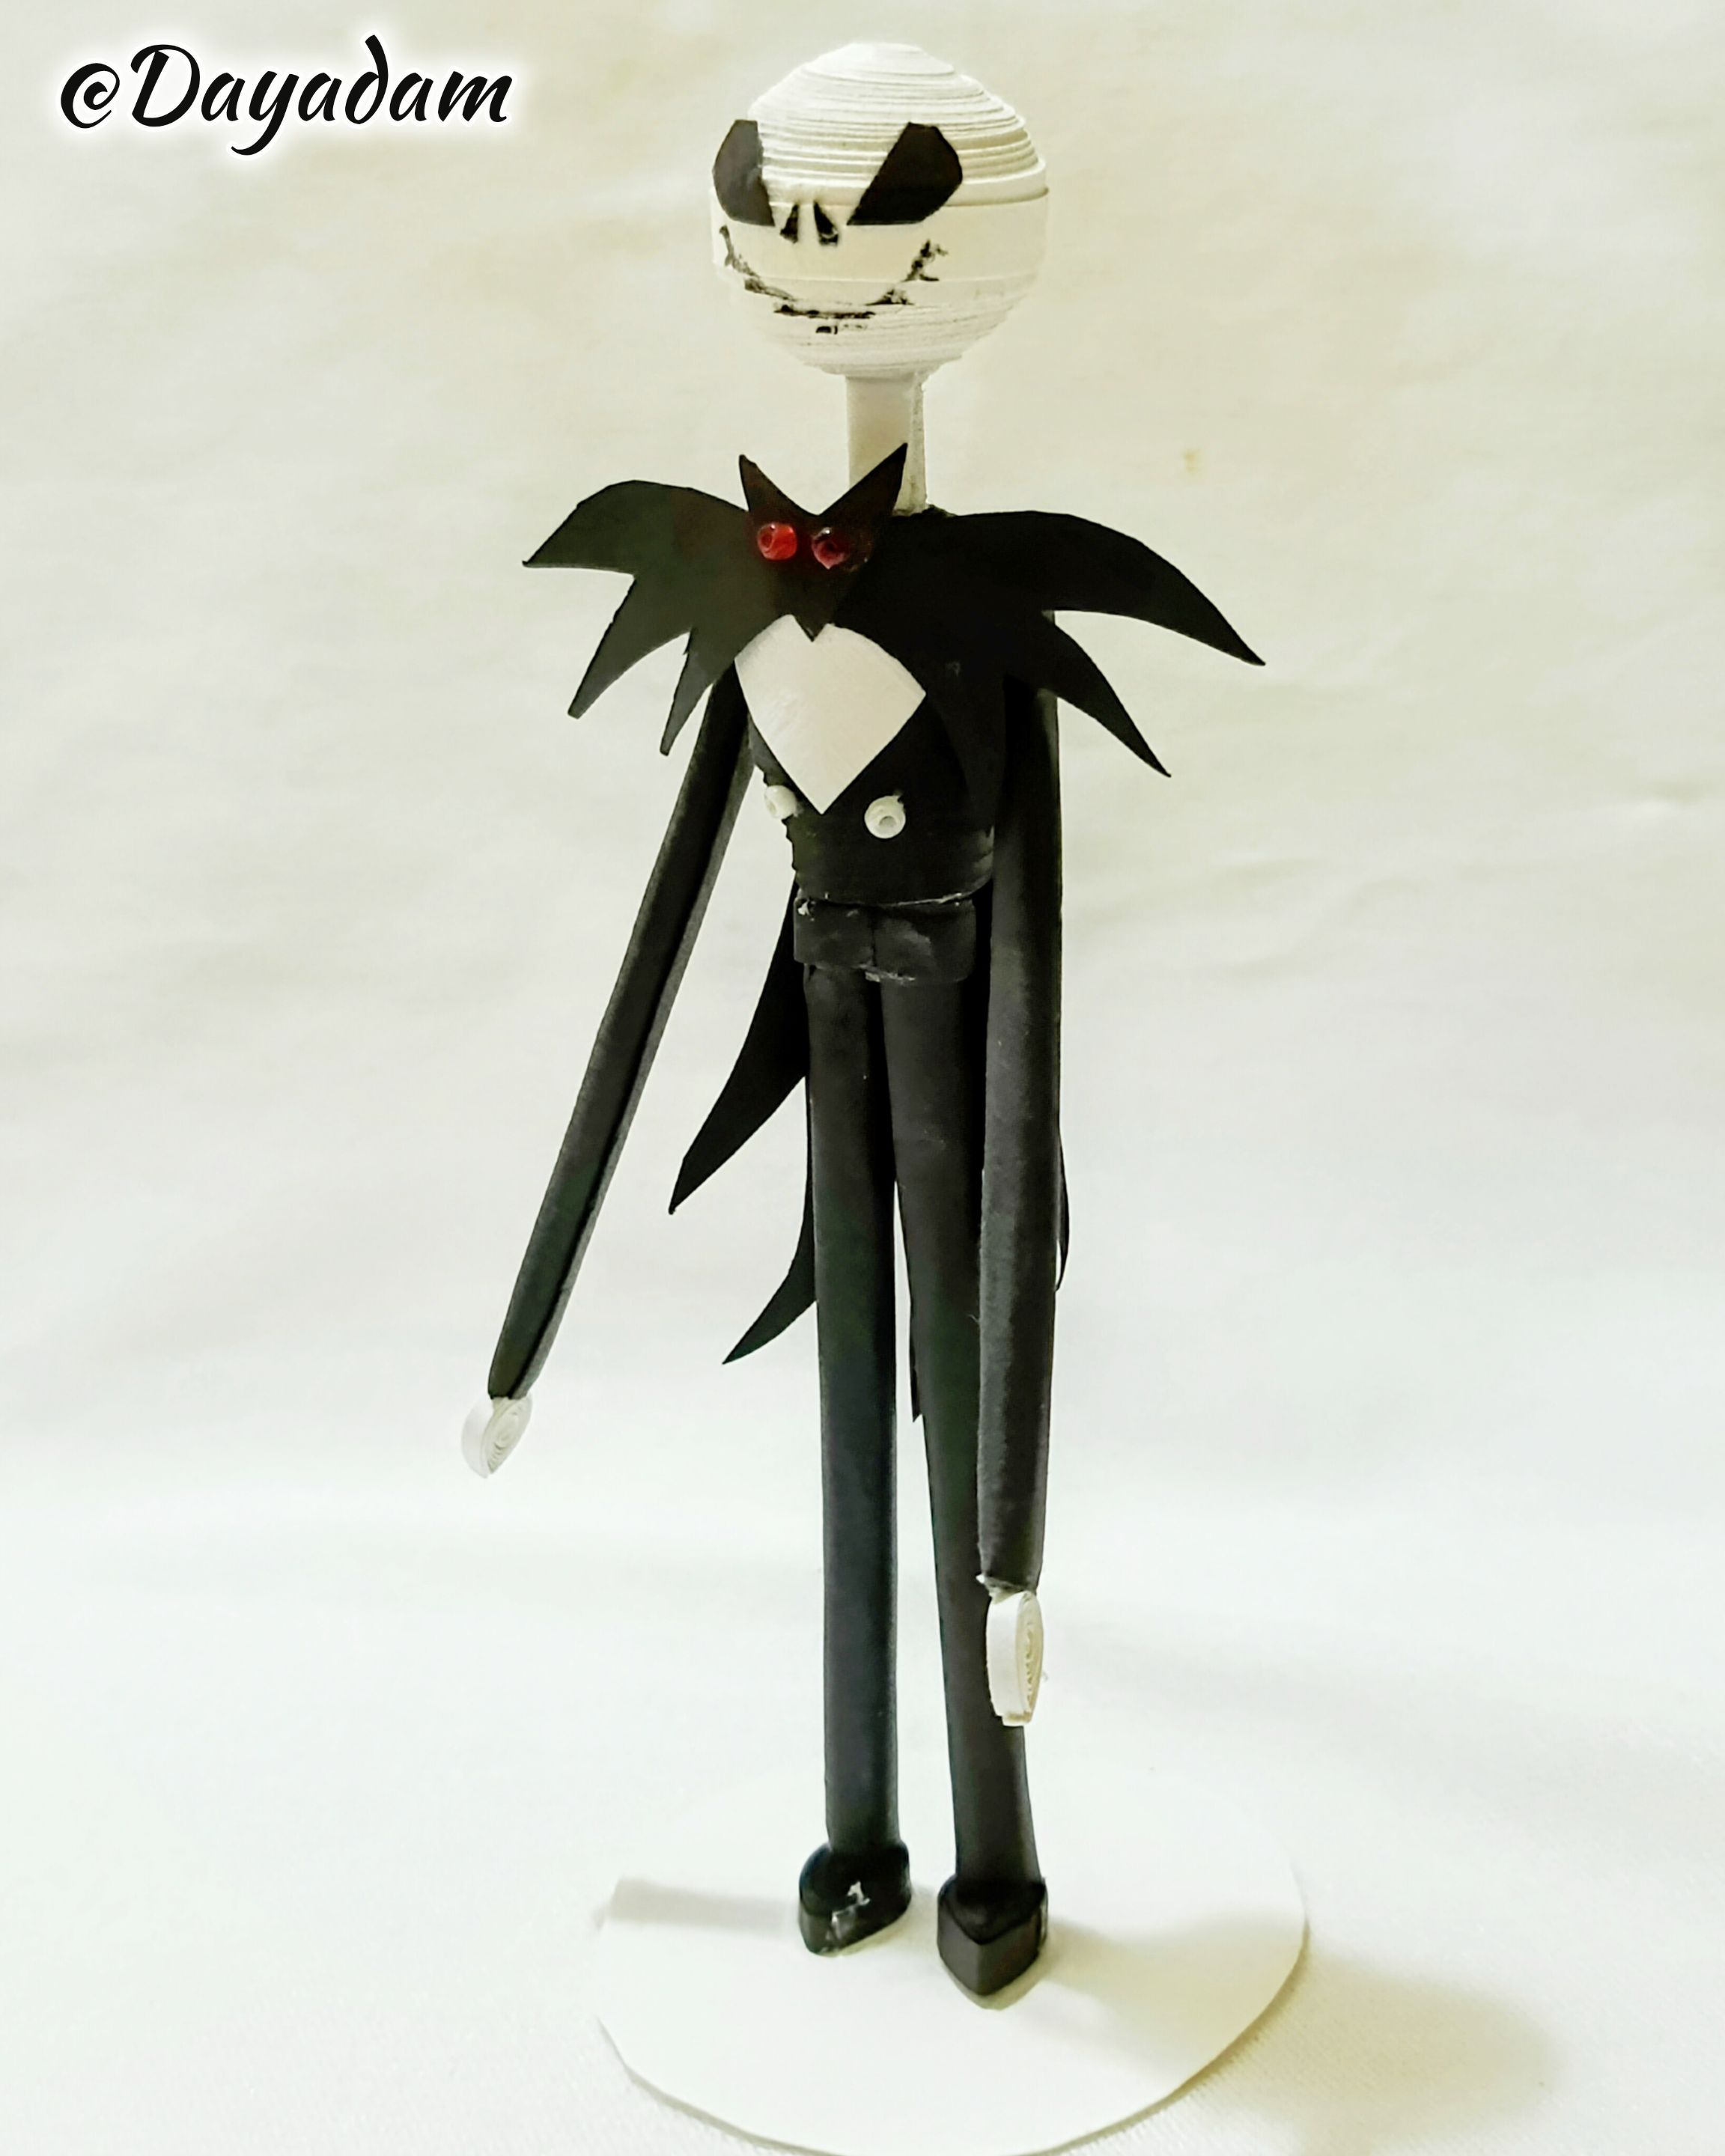
- For the front of the costume cut out a piece of white cardboard, and for the bow tie which is a bat cut out a piece of black cardboard, glue to the front of the character's costume, decorate with red and white beads as you can see in the picture.
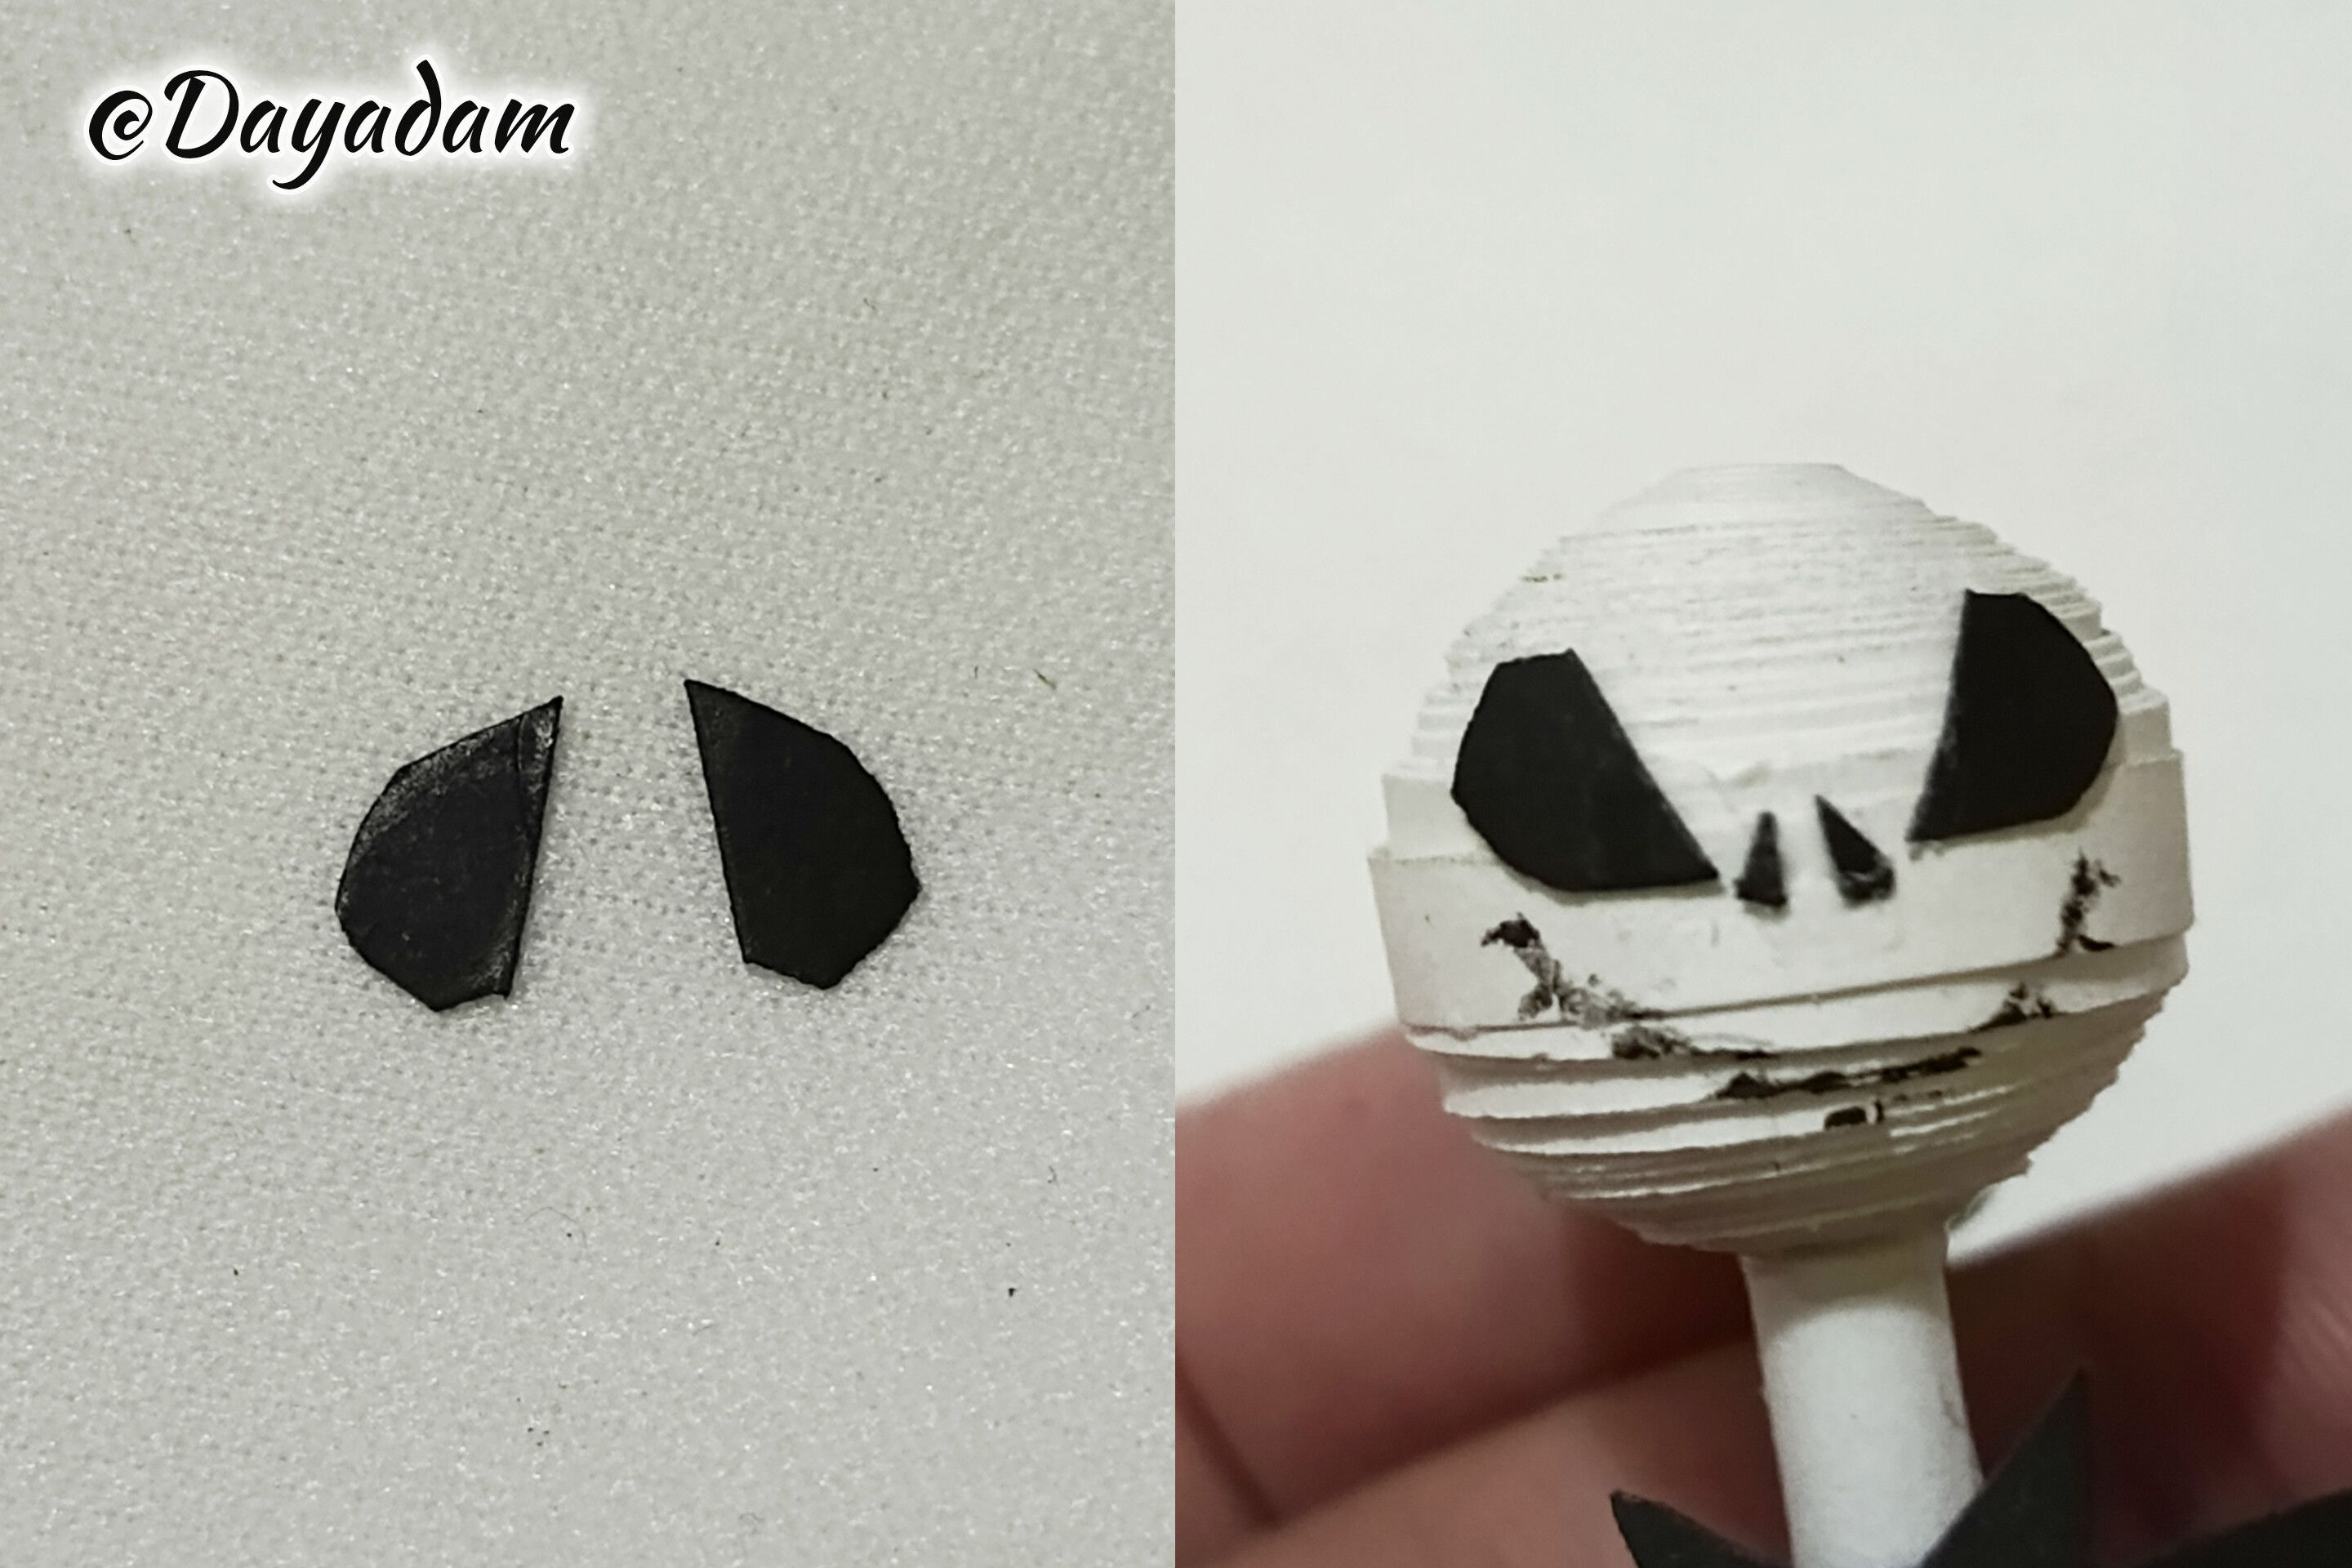
- Also with colored cardboard to black cut out the eyes and nose, I glued from the face of the character.
- To finish with a black pencil I drew the mouth of the Jack.
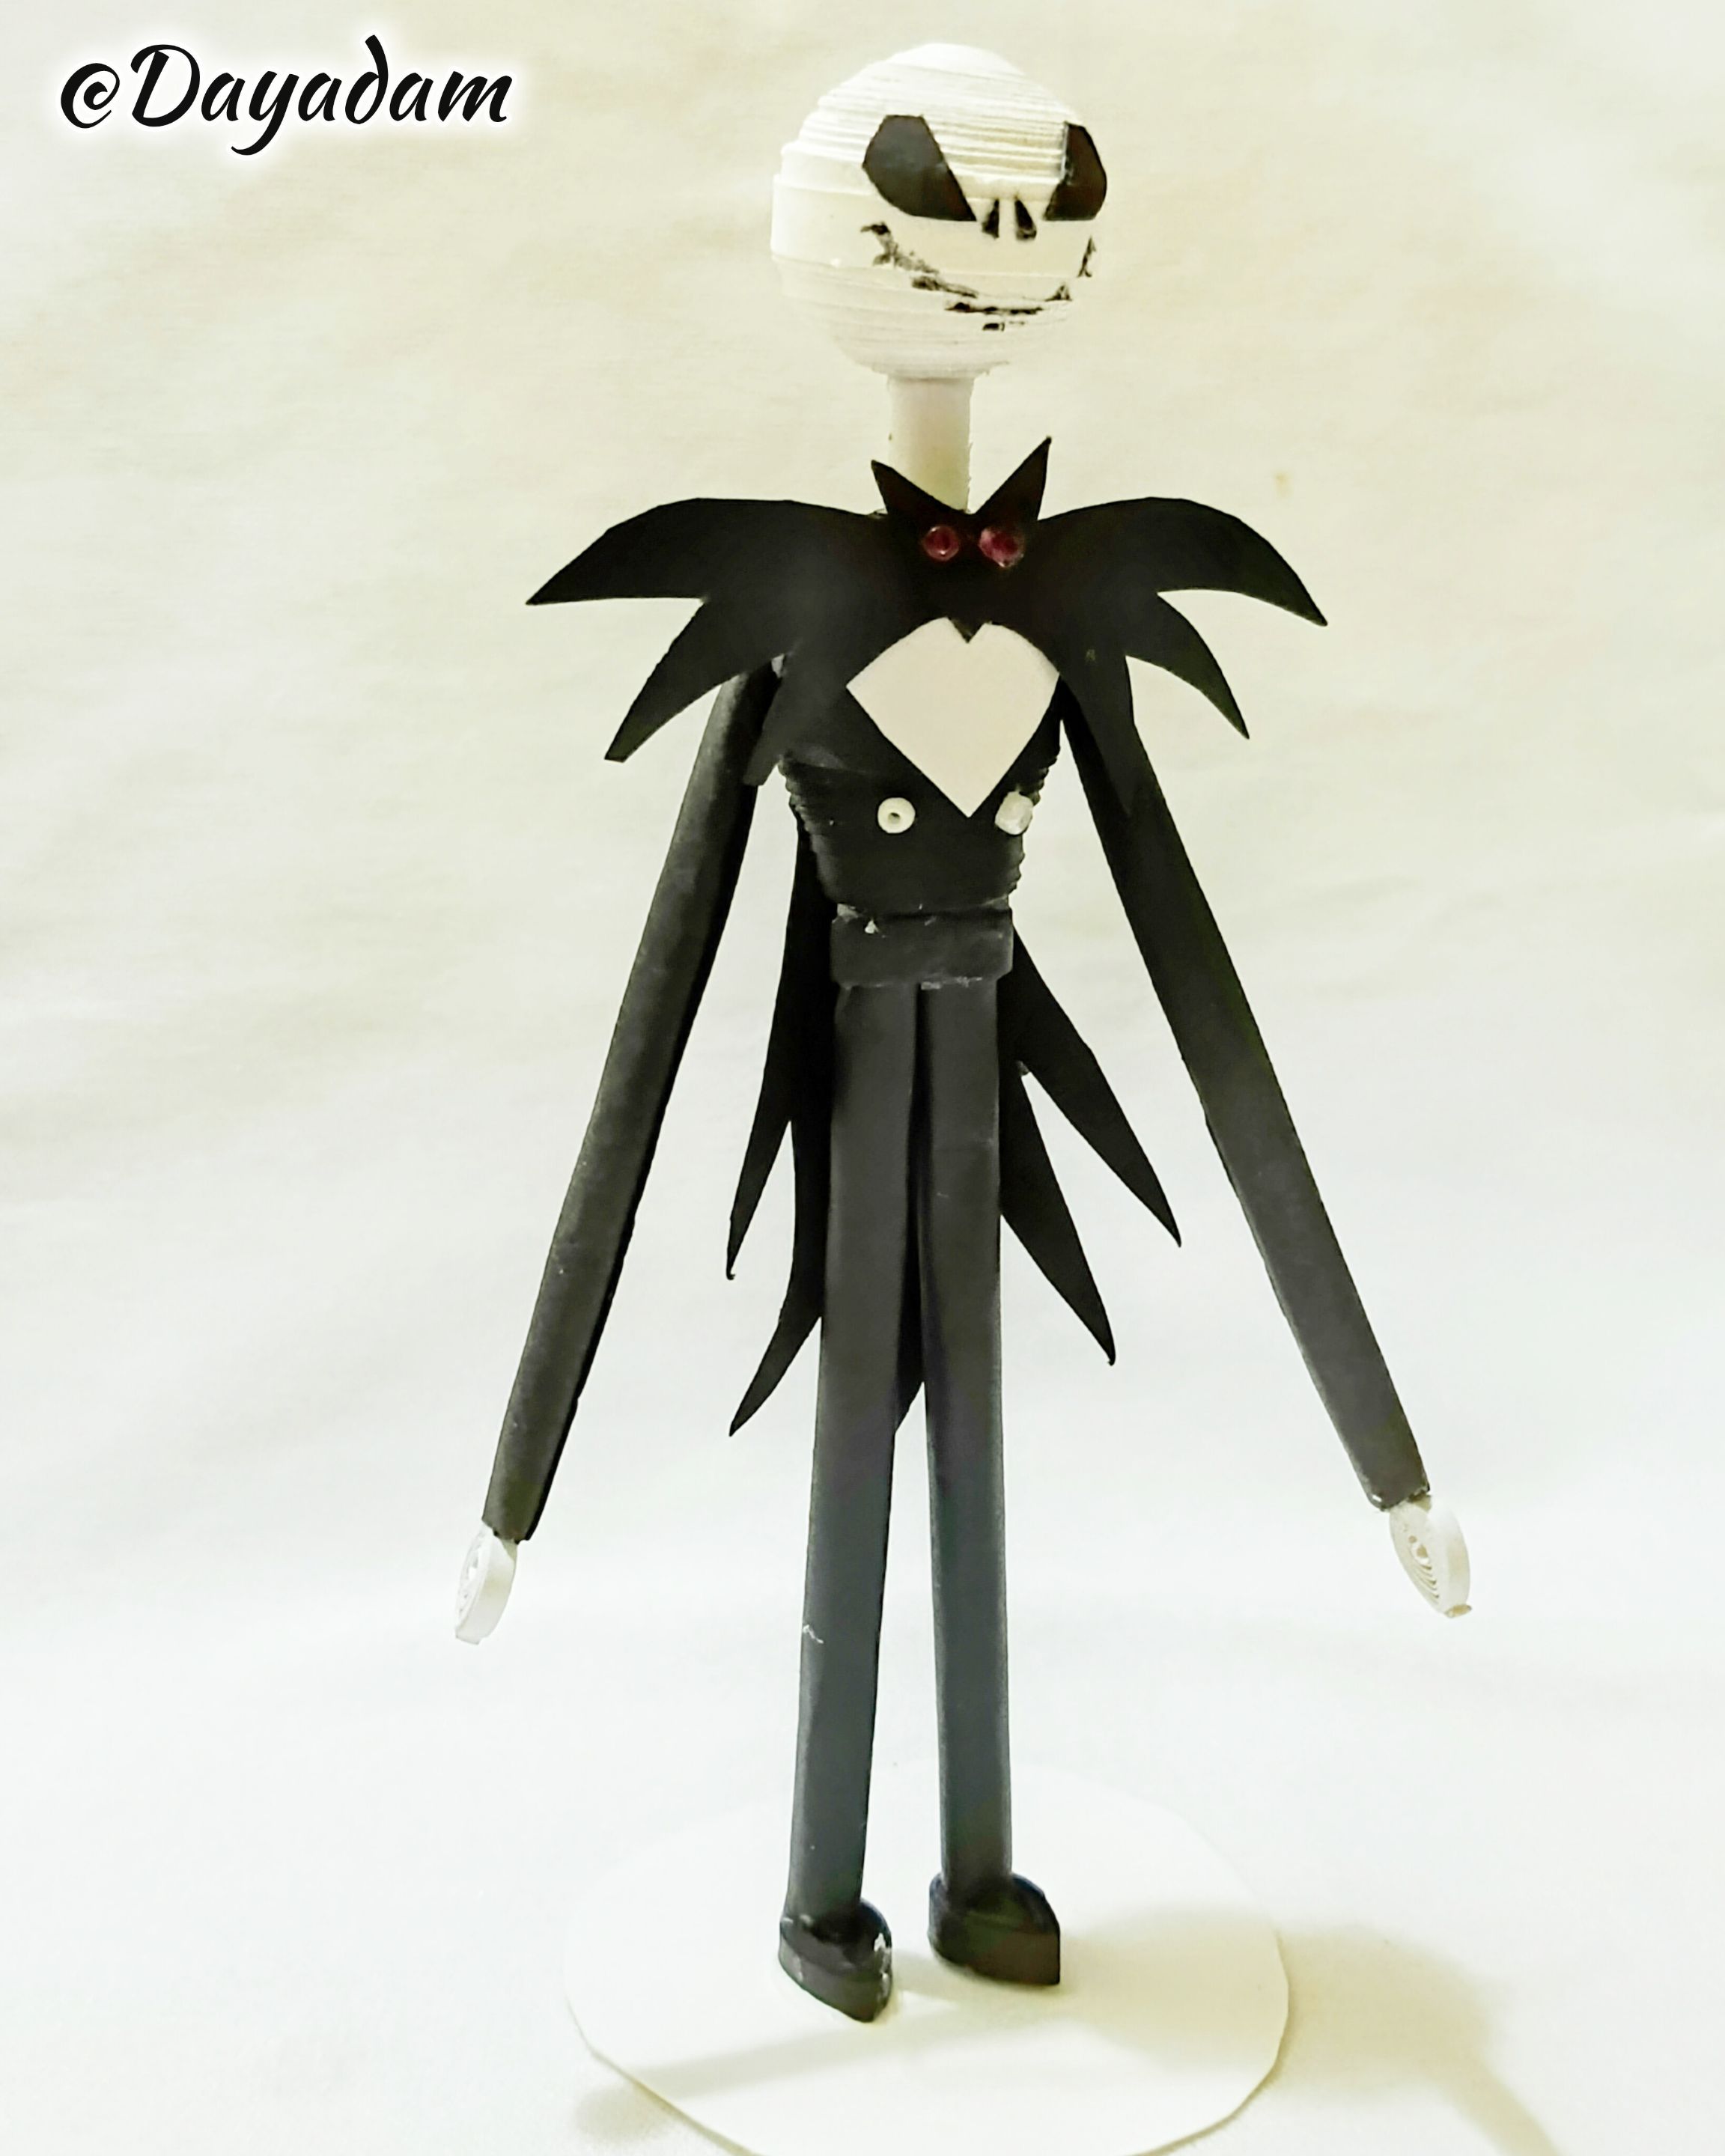
In this way I finished this decorative figure of Jack in 3D, in the technique of quilling technique.
• Para las manos del Jack realicé dos pequeñas gotas con cinta de color blanco, pegué a los brazos.
• Tomé un trozo de cartulina y recorte unos pequeños picos, esta será la parte de atrás del traje del personaje, pegue al mismo.
• Para la parte delantera del traje recorte un trozo de cartulina de color blanco, y para el corbatín que es un murciélago recorte de un trozo de cartulina negra, pegue a la parte delantera del traje del personaje, decoré con canutillos de color rojo y blanco tal y como pueden ver en la imagen.
• También con cartulina de color al negro recorte los ojos y nariz, pegué de la cara del personaje.
• Para finalizar con un lápiz de color negro dibujé la boca al Jack.
De esta manera finalice esta figura decorativa de Jack en 3D , en la técnica de técnica de quilling.
 |
 |
 |
 |

|
 |
 |
 |
|
What did you think, did you like it?
I hope you did, I hope you liked my explanation, procedure and photos, I made them with love for you.
"Let out that muse that inspires you, and let your imagination fly".
Thank you all, see you next time ✨.
¿Que les pareció, les gustó?
Espero que sí, que les haya gustado mi explicación, procedimiento y fotos, los hice con mucho cariño por y para ustedes."Deja salir esa musa que te inspira, y deja volar tu imaginación".
Gracias a todos, nos vemos en la próxima✨

All photos used in this post are of my authorship and have been taken on my personal cell phone a Redmi 9T, edited in InShot and Canva
Banner and separator made by me in Canva
Translated with the help of DeepL
Todas las fotos usadas en este post son de mi autoría y han sido sacadas en mi celular personal un Redmi 9T, editadas en InShot y Canva
Banner y separador hecho por mí en Canva
Traducido con la ayuda de DeepL

Posted Using INLEO