Greetings fellow creators of the community.
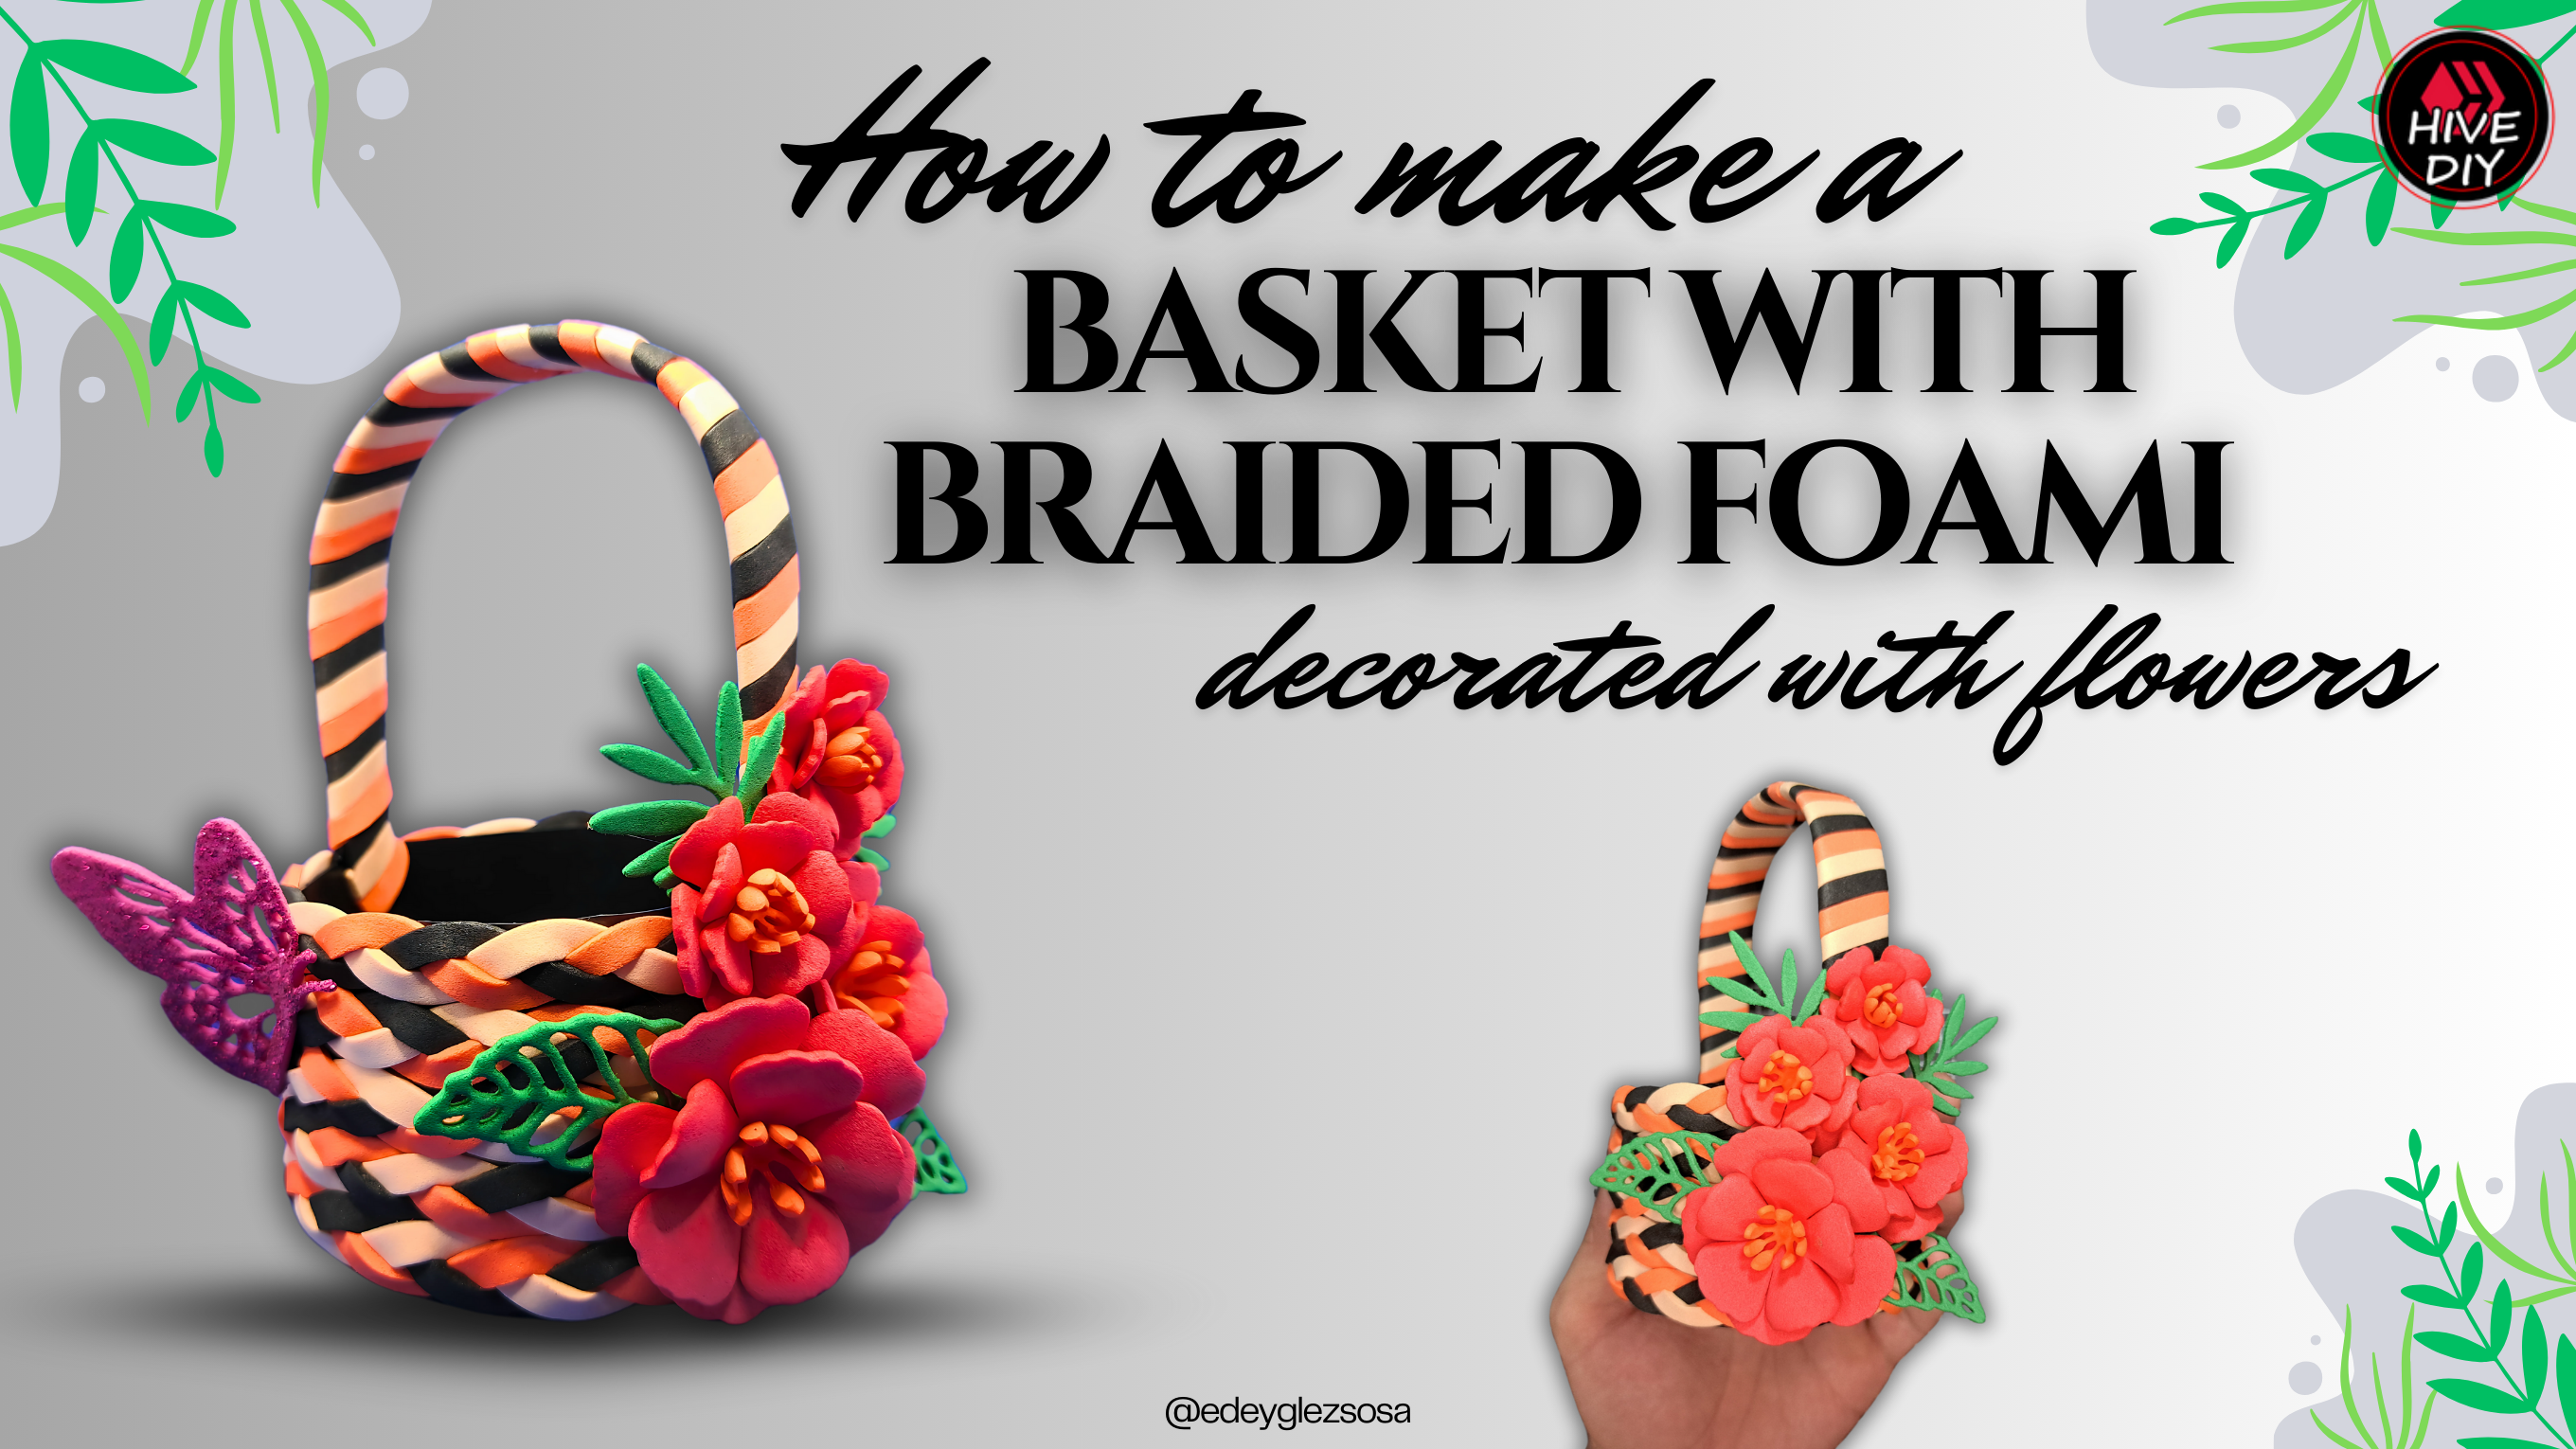
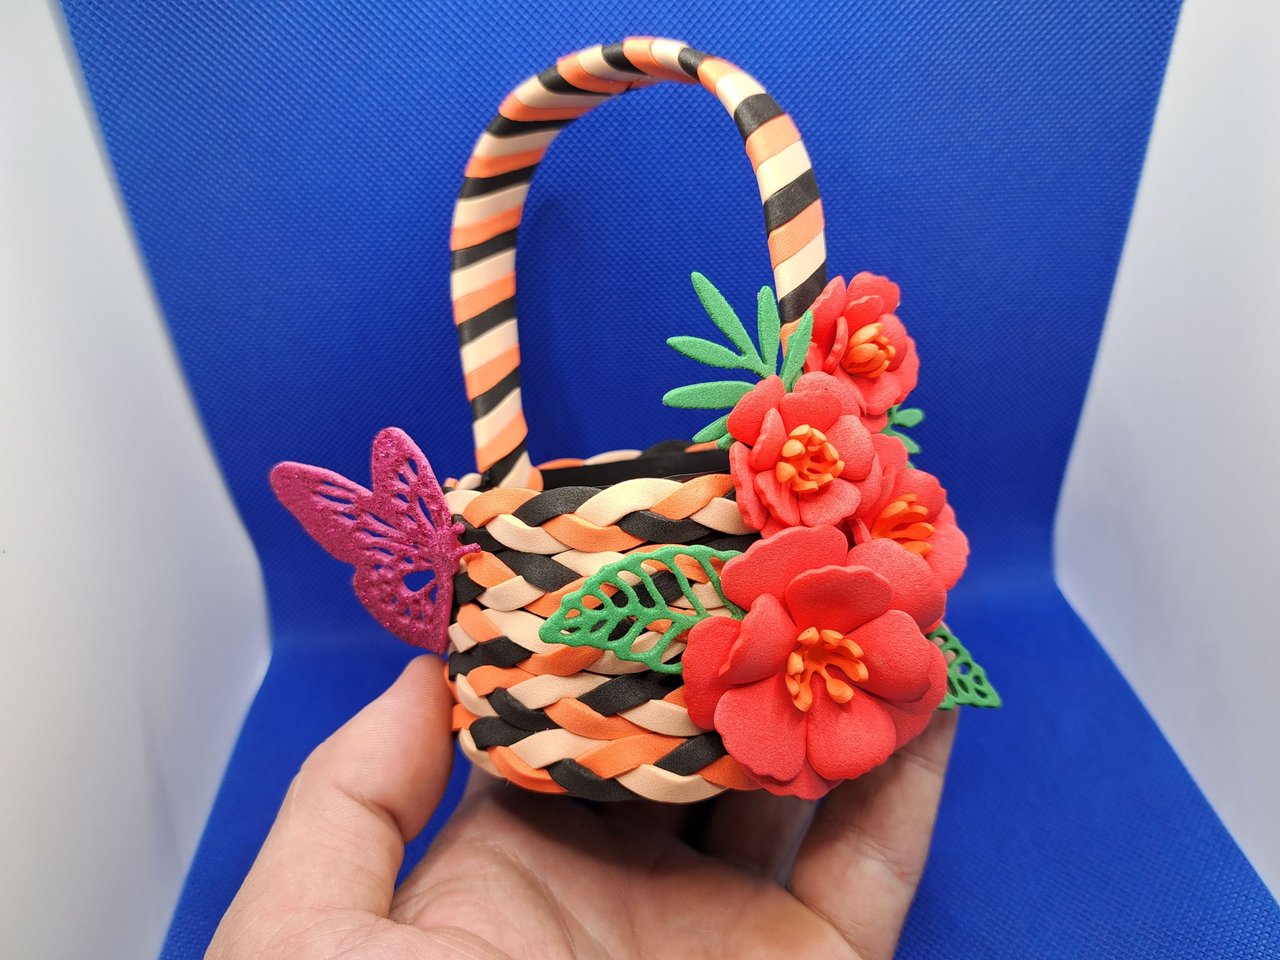
Today I would like to invite you to join me on a creative journey in which we will be using fomi and a plastic cream container to give life to a beautiful basket decorated with flowers. That's right, this time we will again be using recycled materials to create new decorative pieces.
To make this piece we will use the plastic container as the base structure of the basket and on top of it we will glue braided fomi in three different colors, which will give a beautiful look to the basket. And how could it be otherwise, on top of the braided fomi we will place some small red flowers, which will give a more striking appearance to this craft. That is why I invite you to follow the following tutorial, which will begin after getting to know the materials.
Saludos amigos creadores de la comunidad.
El día de hoy los quiero invitar a que me acompañen en un viaje creativo en el cual estaremos utilizando fomi y un envase plástico de crema para dar vida a una hermosa cesta decorada con flores. Así es, en esta ocasión estaremos nuevamente utilizando materiales reciclados para crear nuevas piezas decorativas.
Para la confección de esta pieza se utilizará el envase plástico como estructura base de la cesta y encima de ella pegaremos fomi trenzado de tres colores distintos, el cual le dará un hermoso aspecto a la cesta. Y como no podría ser de otra forma, encima del trenzado de fomi colocaremos unas pequeñas flores rojas, las cuales le darán un aspecto más llamativo a esta manualidad. Es por ello que los invito a seguir el siguiente tutorial, el cual dará comienzo luego de conocer los materiales.
| English | Español |
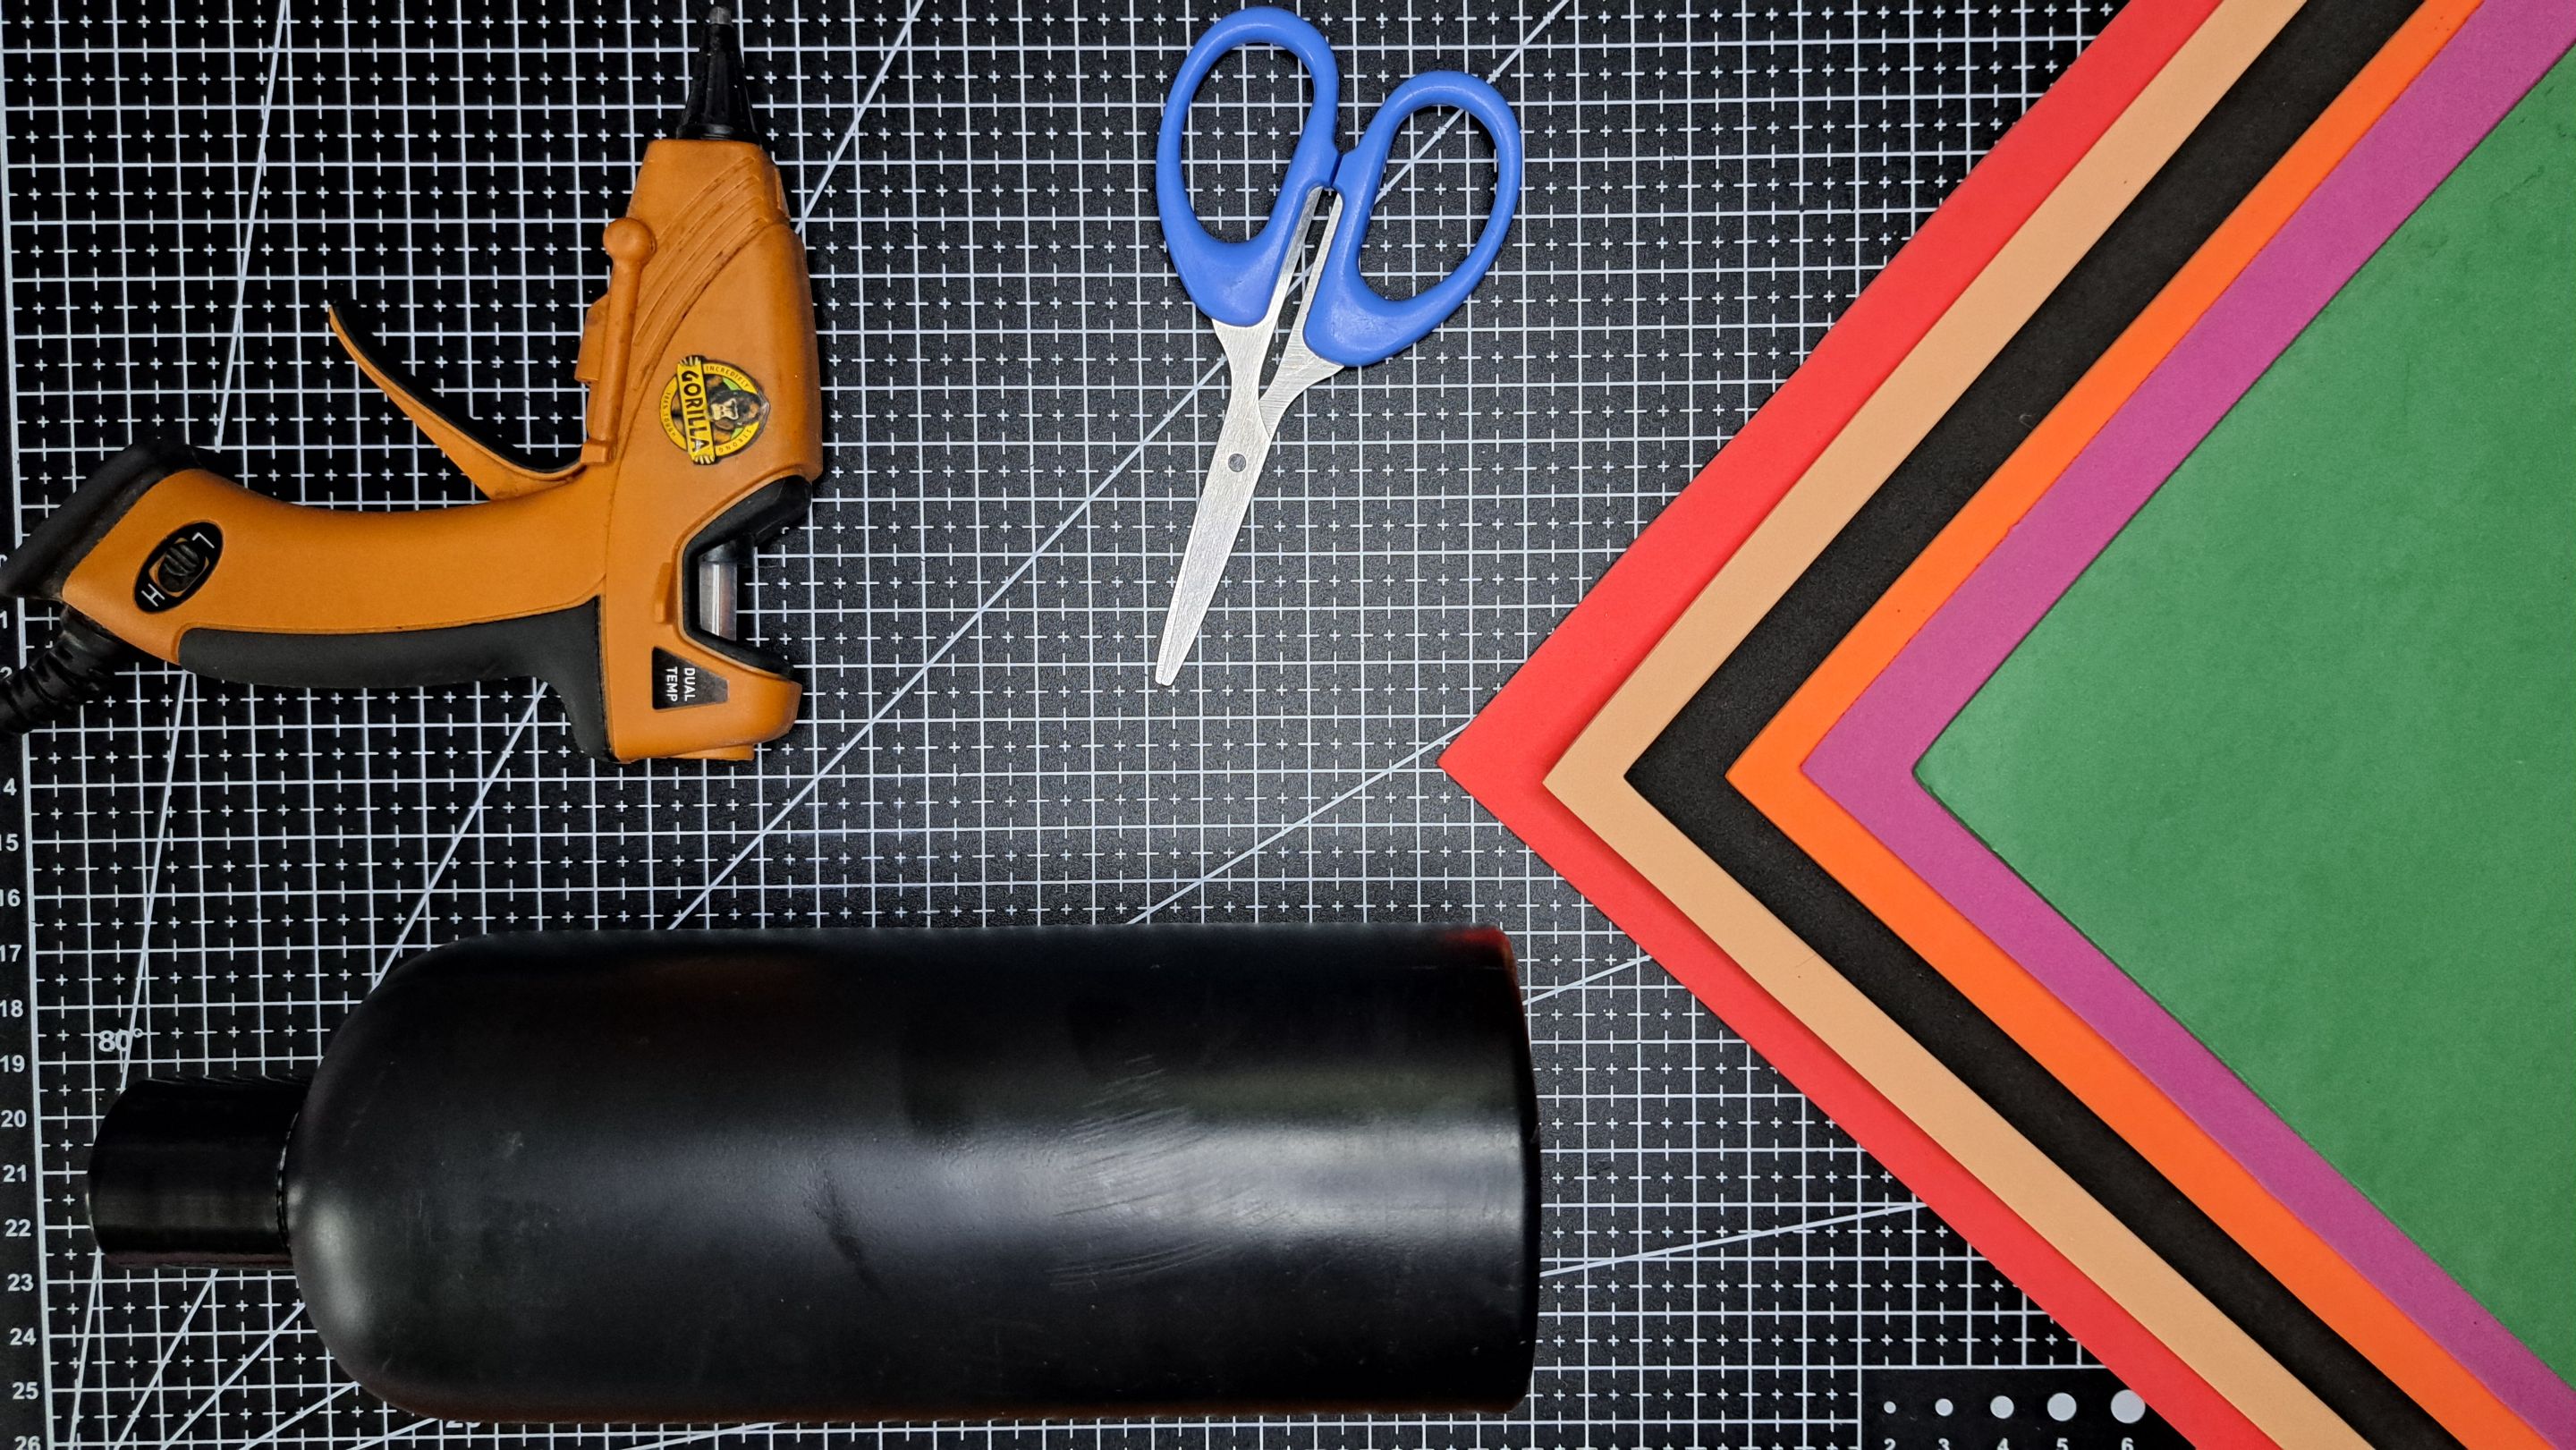
| ✔️ Plain fomi: red, orange, green, black and skin colored | ✔️ Fomi liso: rojo, naranja, verde, negro y color piel |
| ✔️ Fuchsia pink frosted fomi | ✔️ Fomi escarchado rosado fucsia |
| ✔️ Plastic container of cream or shampoo | ✔️ Envase plástico de crema o champú |
| ✔️ Scissors | ✔️ Tijeras |
| ✔️ Hot silicone | ✔️ Silicona caliente |
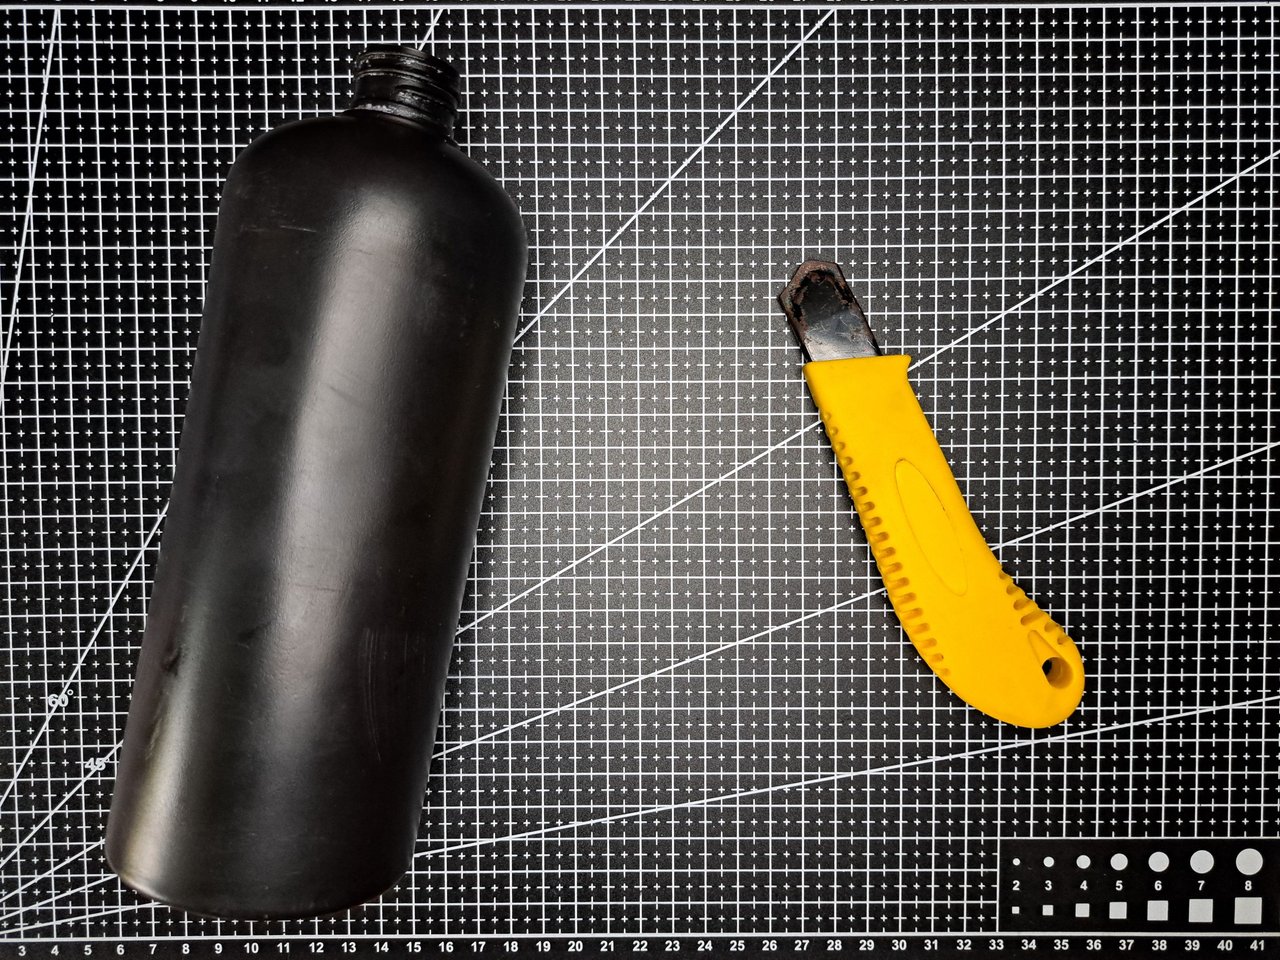
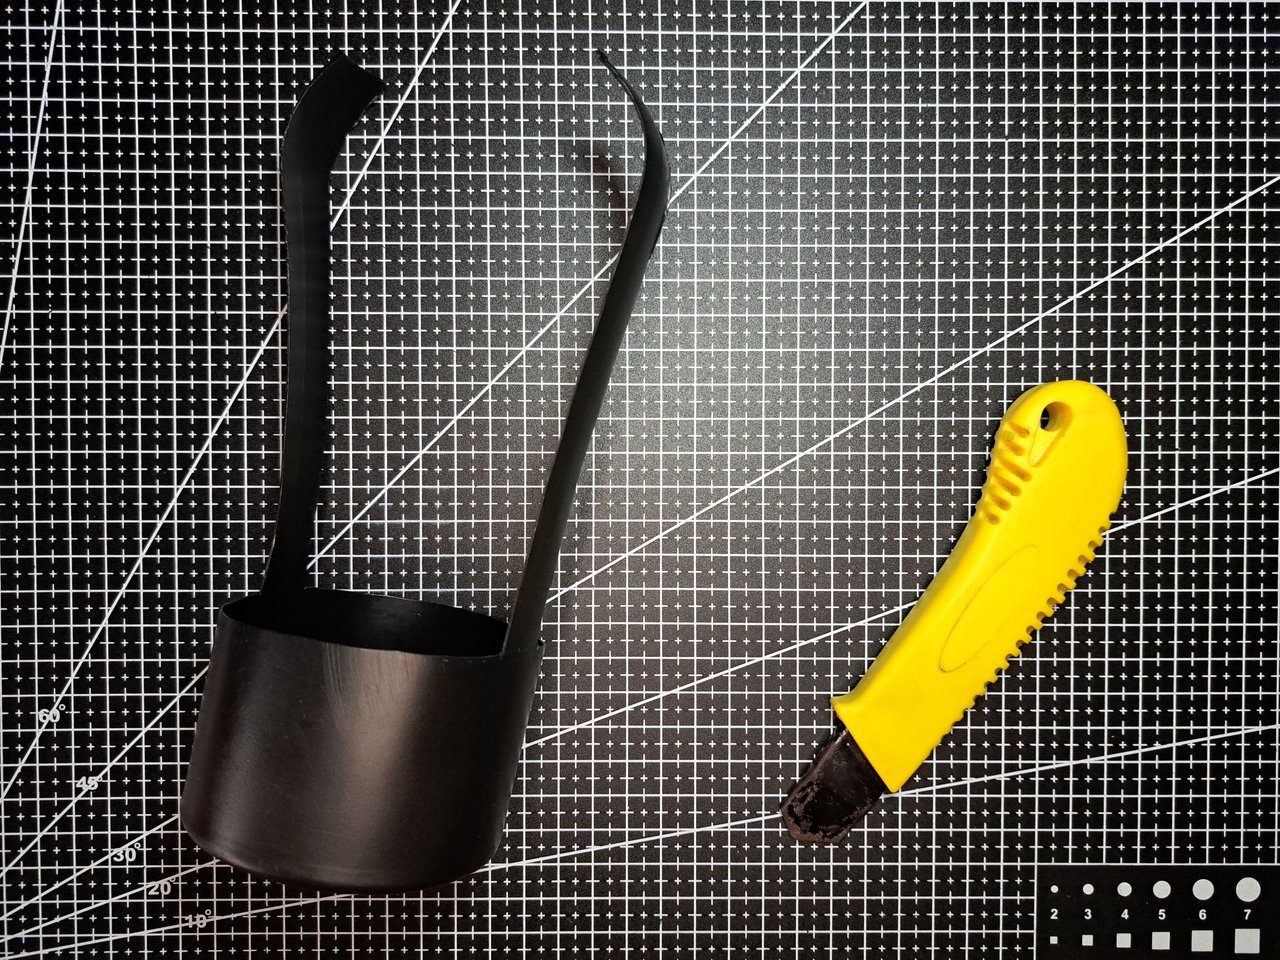
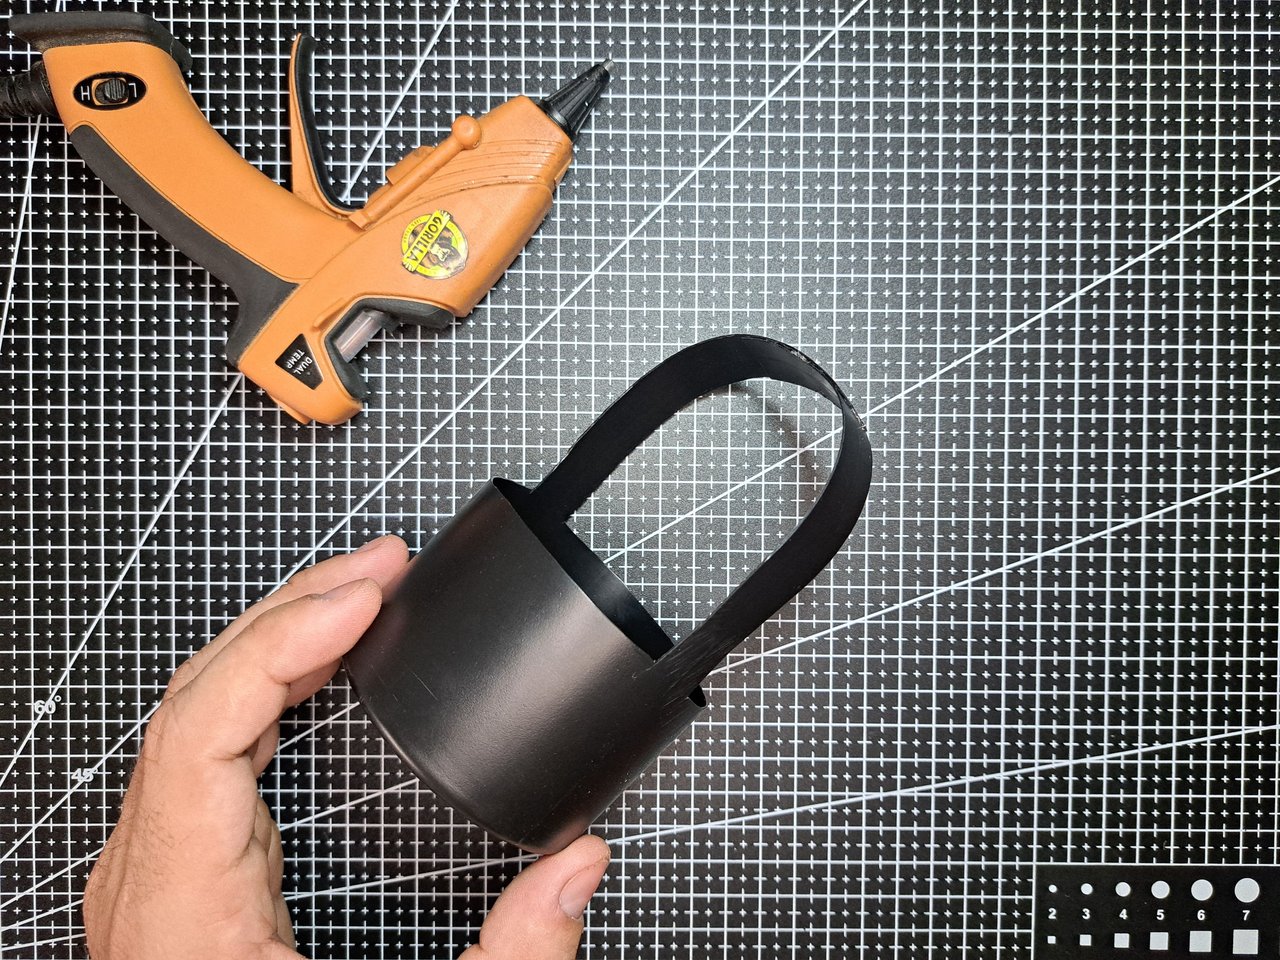
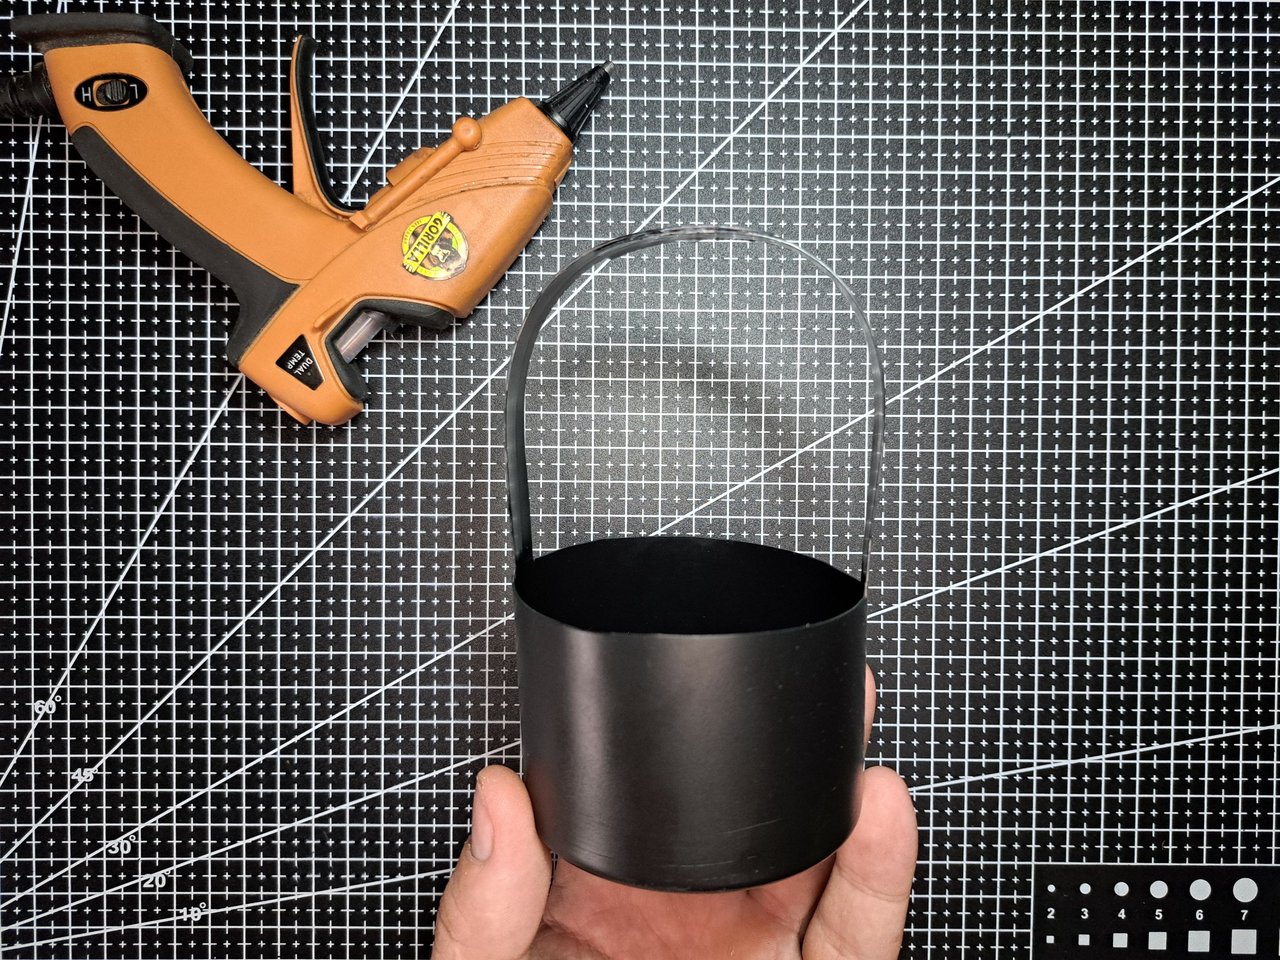
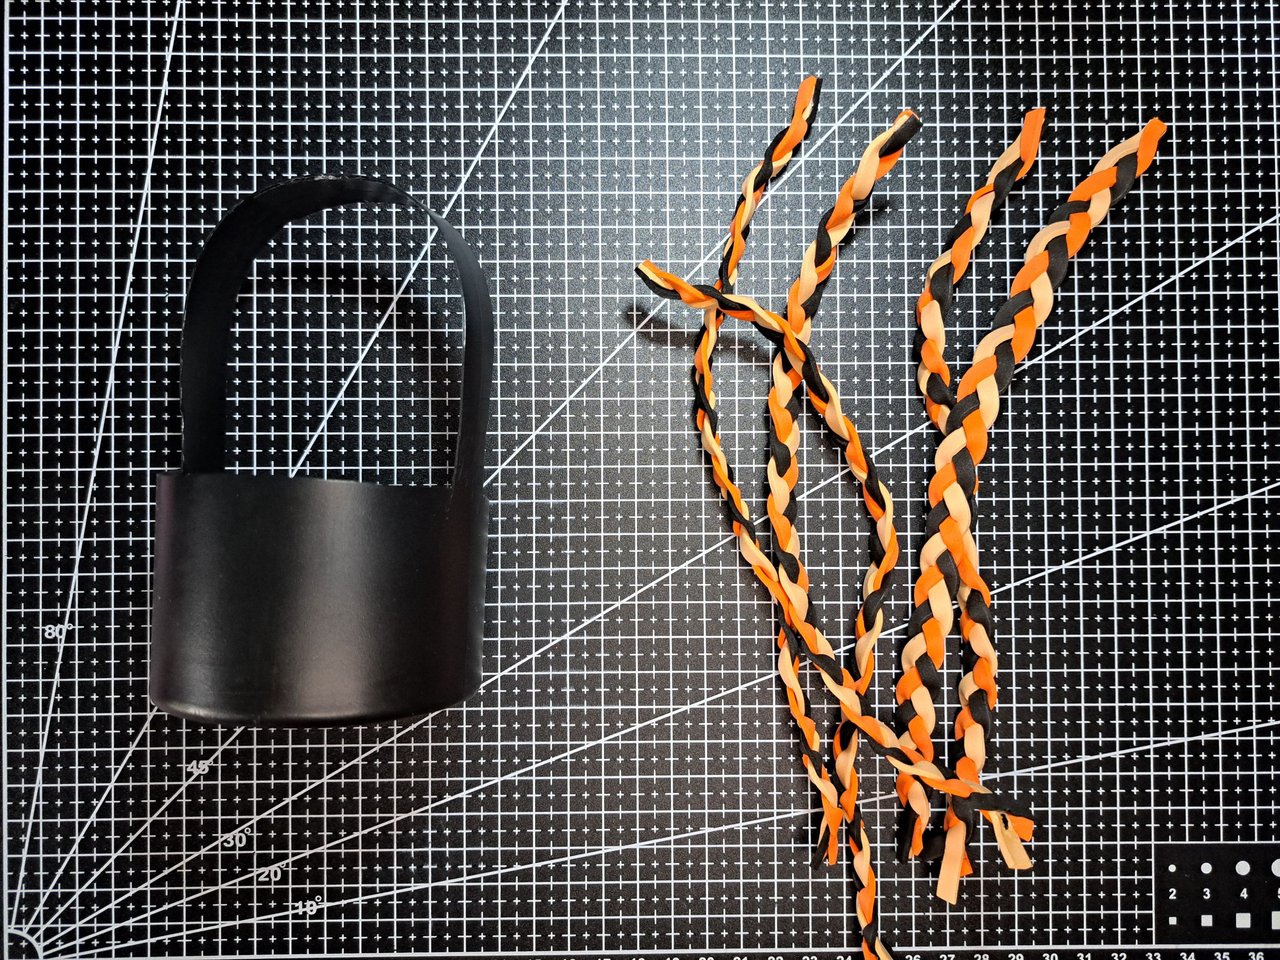
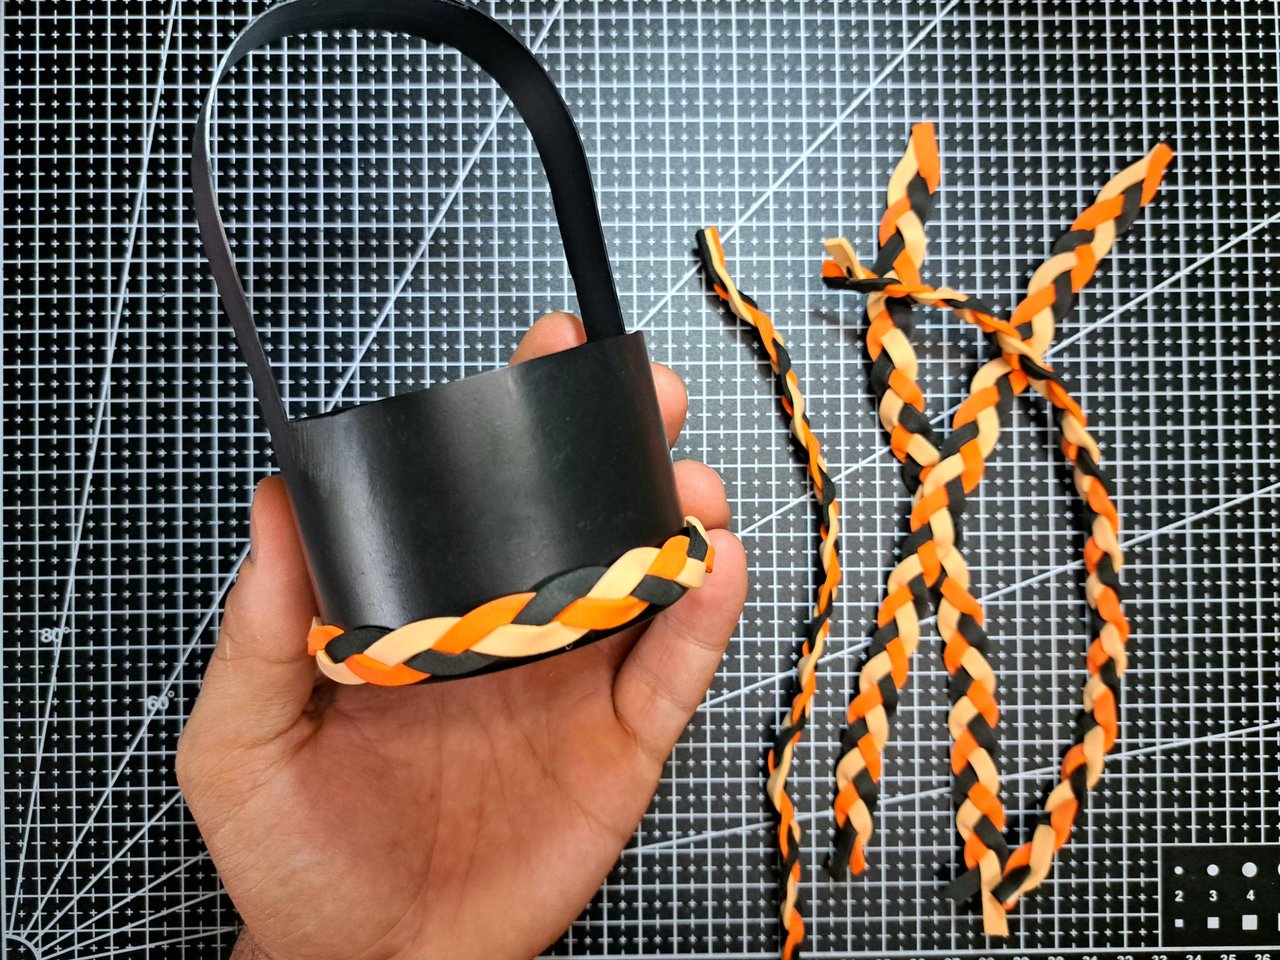
1️⃣ With a straight cutter, cut out the sides of the plastic container to leave a base 5 cm high and two sides of the container 1.5 cm wide. The ends of the long ends are cut off and the new ends are glued on top of each other, forming the arc of the basket handle.
Con un cutter recto se recortan los laterales del envase plástico para dejar una base de 5 cm de altura y dos laterales del envase de 1.5 cm de ancho. Se recortarán las puntas de los extremos largos y se pegarán las nuevas puntas una encima de otra, formando el arco del asa de la cesta.
 |
 |
 |
 |
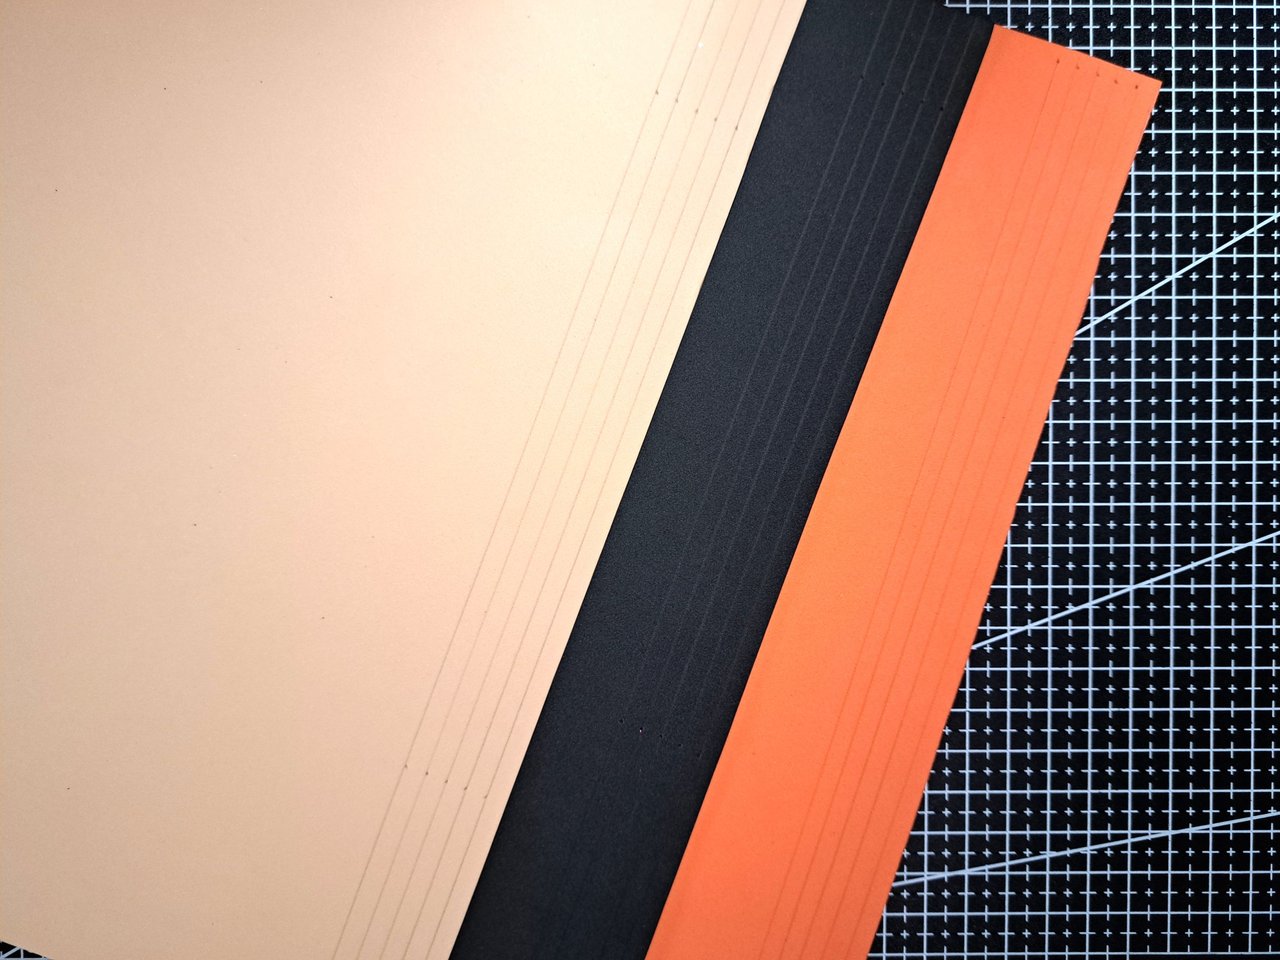
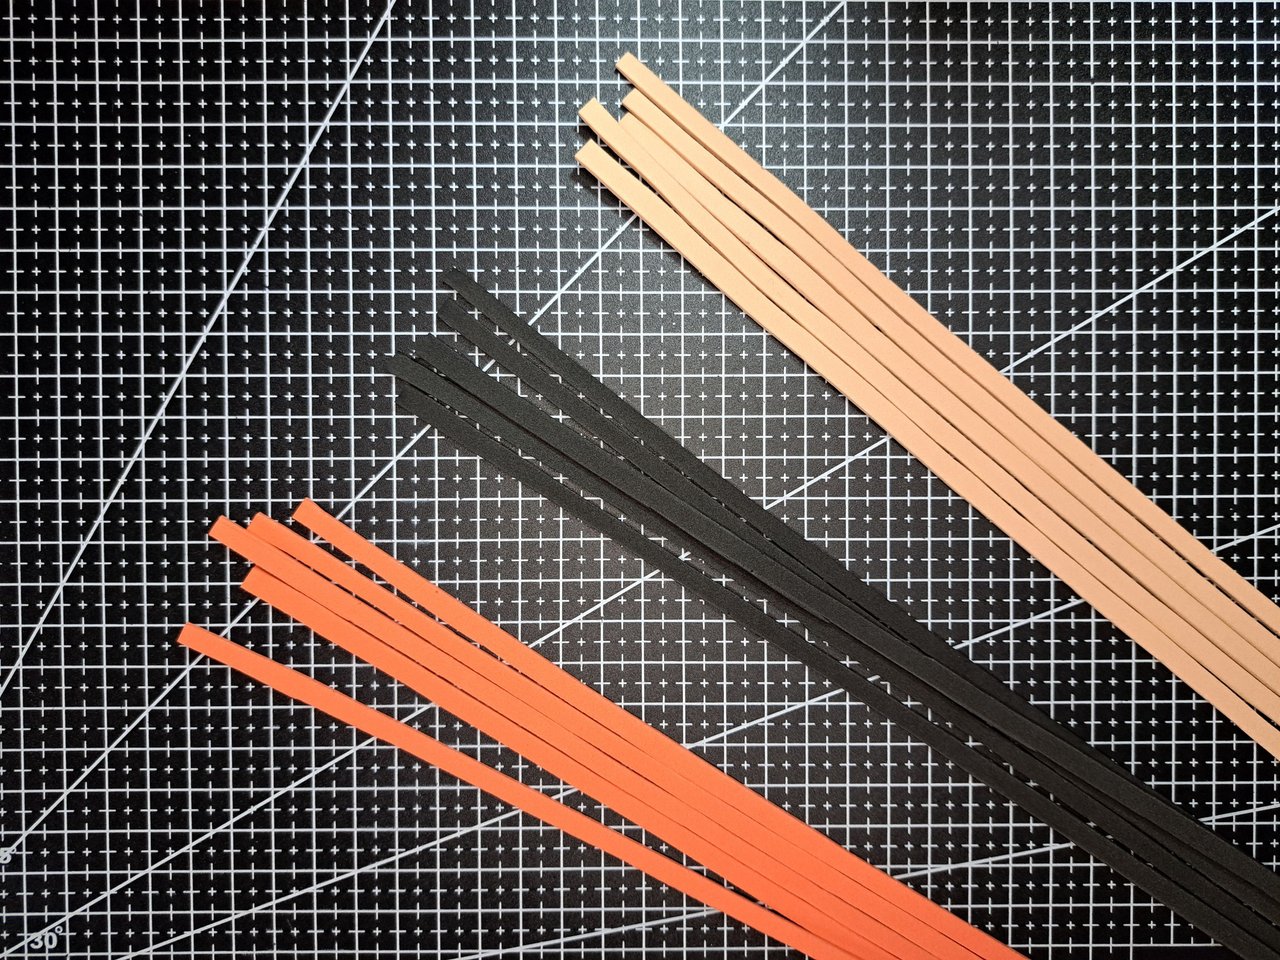
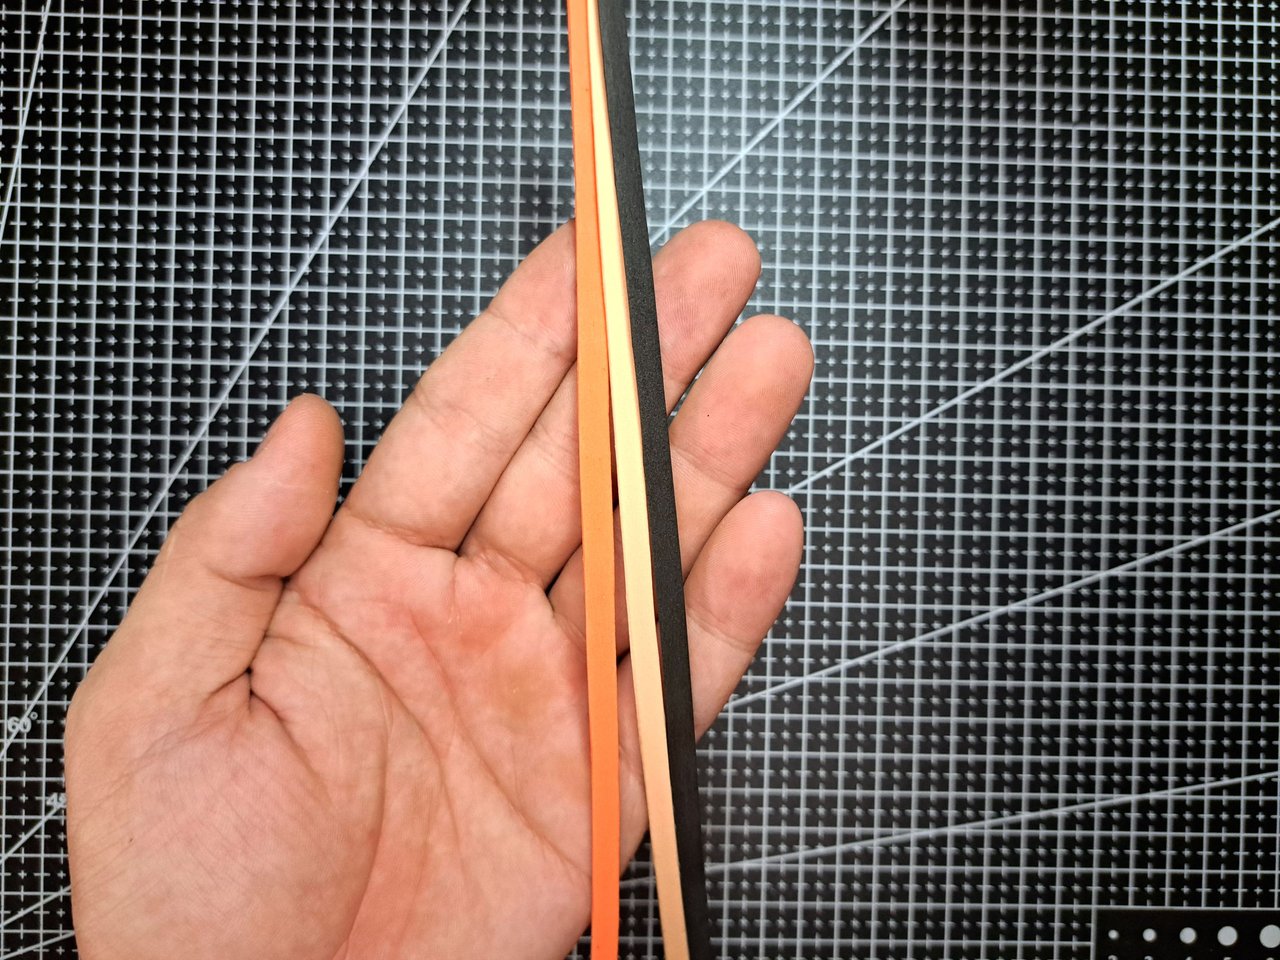
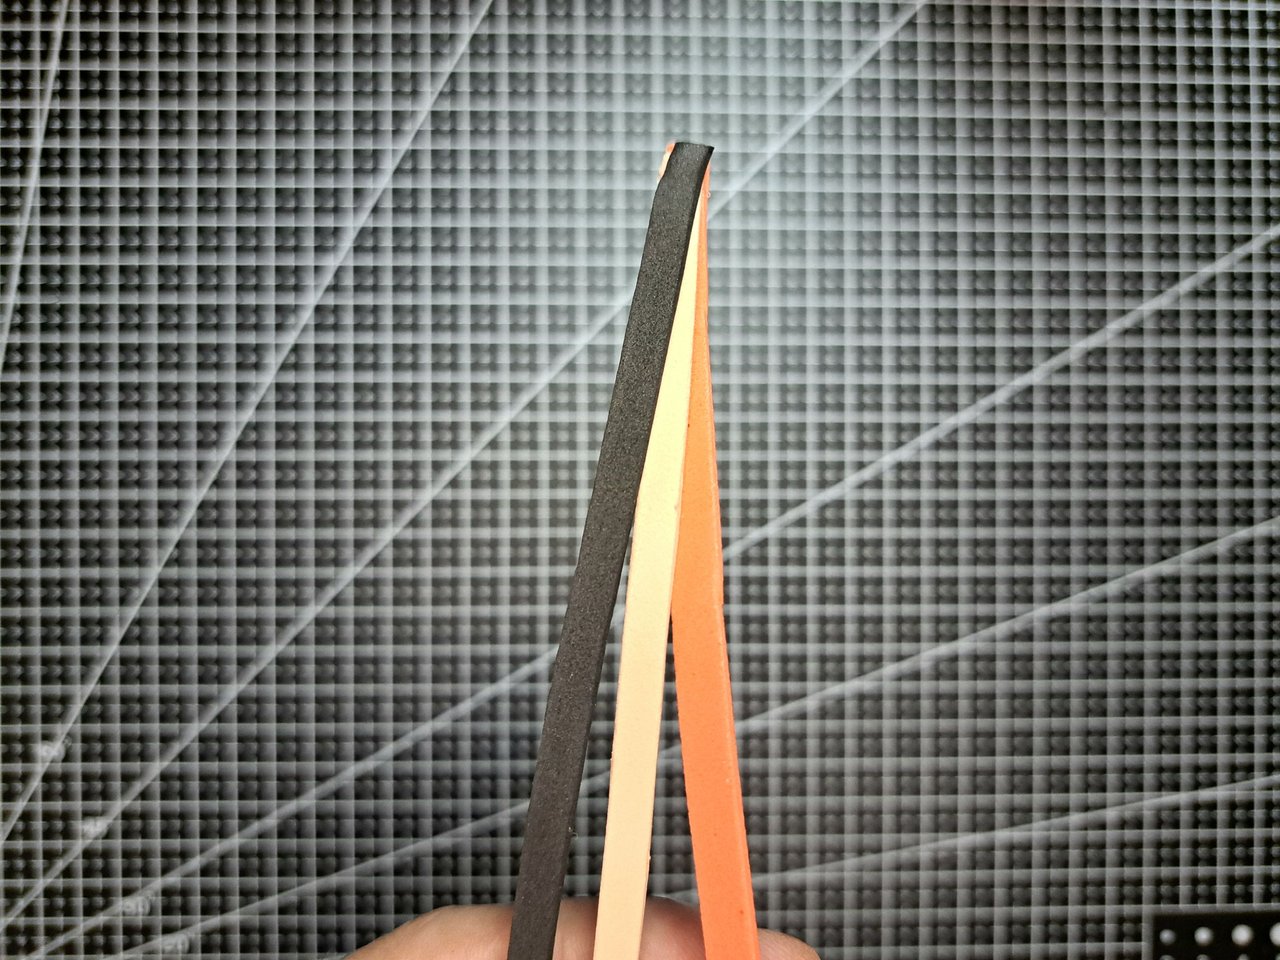
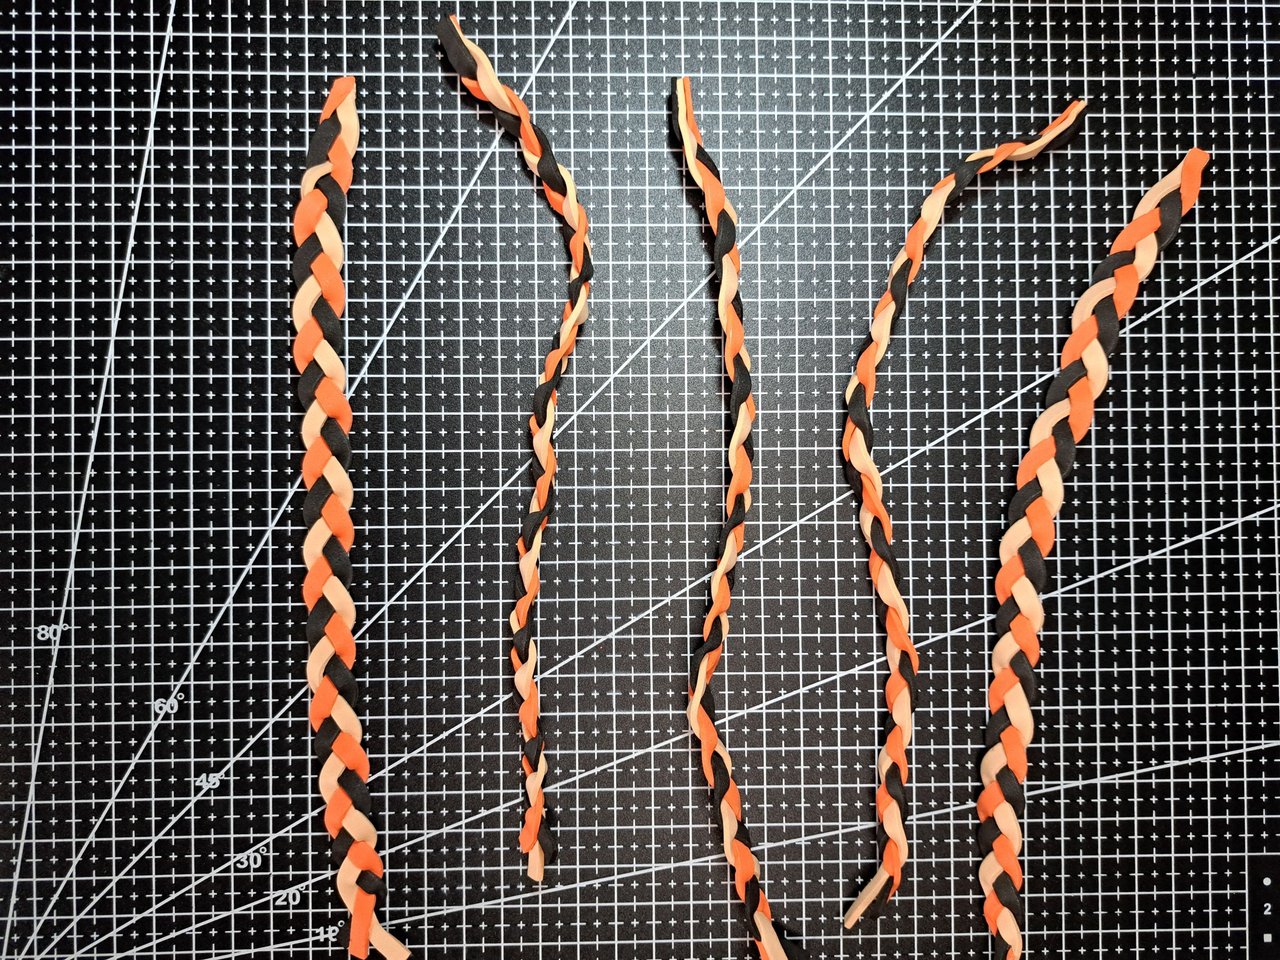
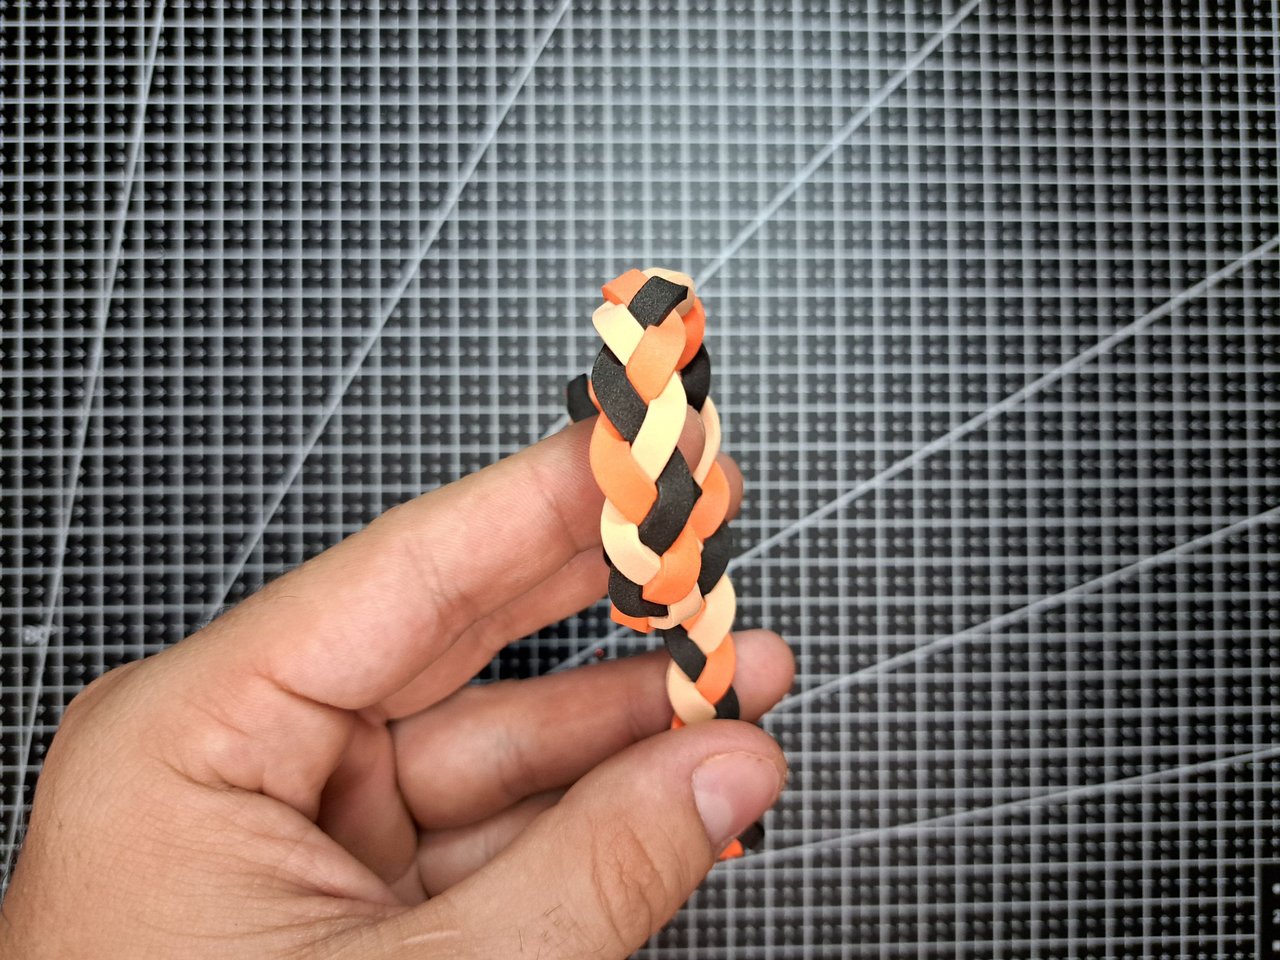
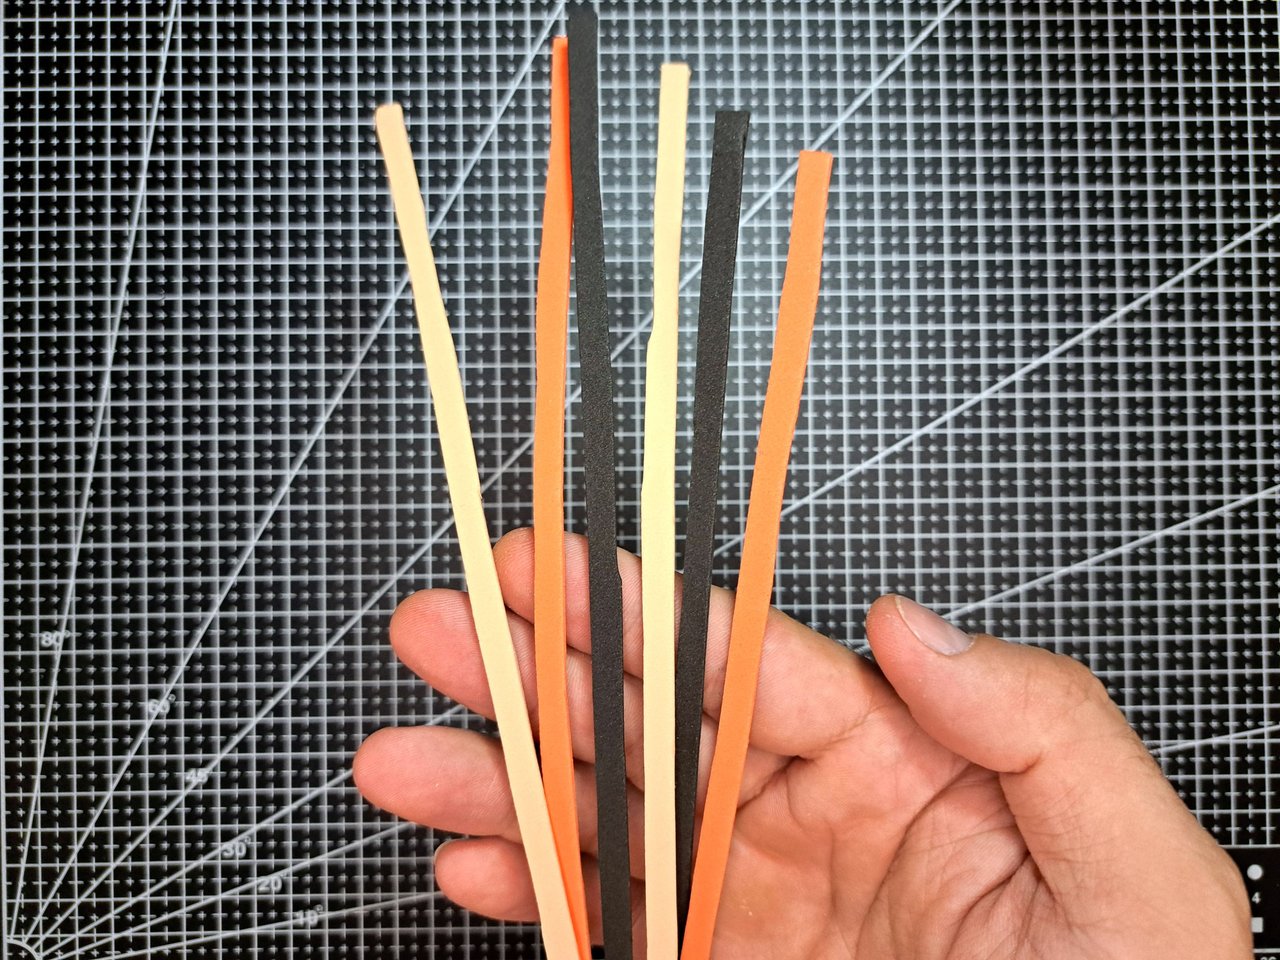
2️⃣ On three sheets of black, orange and skin-colored fomi, draw and cut out 15 lines of 0.5 cm wide, 5 lines of each color. Forming trios with each of the colors, braid the fomi strips, leaving 5 braids at the end.
En tres láminas de fomi negro, naranja y color piel se dibujarán y recortarán 15 líneas de 0.5 cm de ancho, 5 líneas de cada color. Formando tríos con cada uno de los colores, se trenzarán las tiras de fomi, quedando 5 trenzas al final.
 |
 |
 |
 |
 |
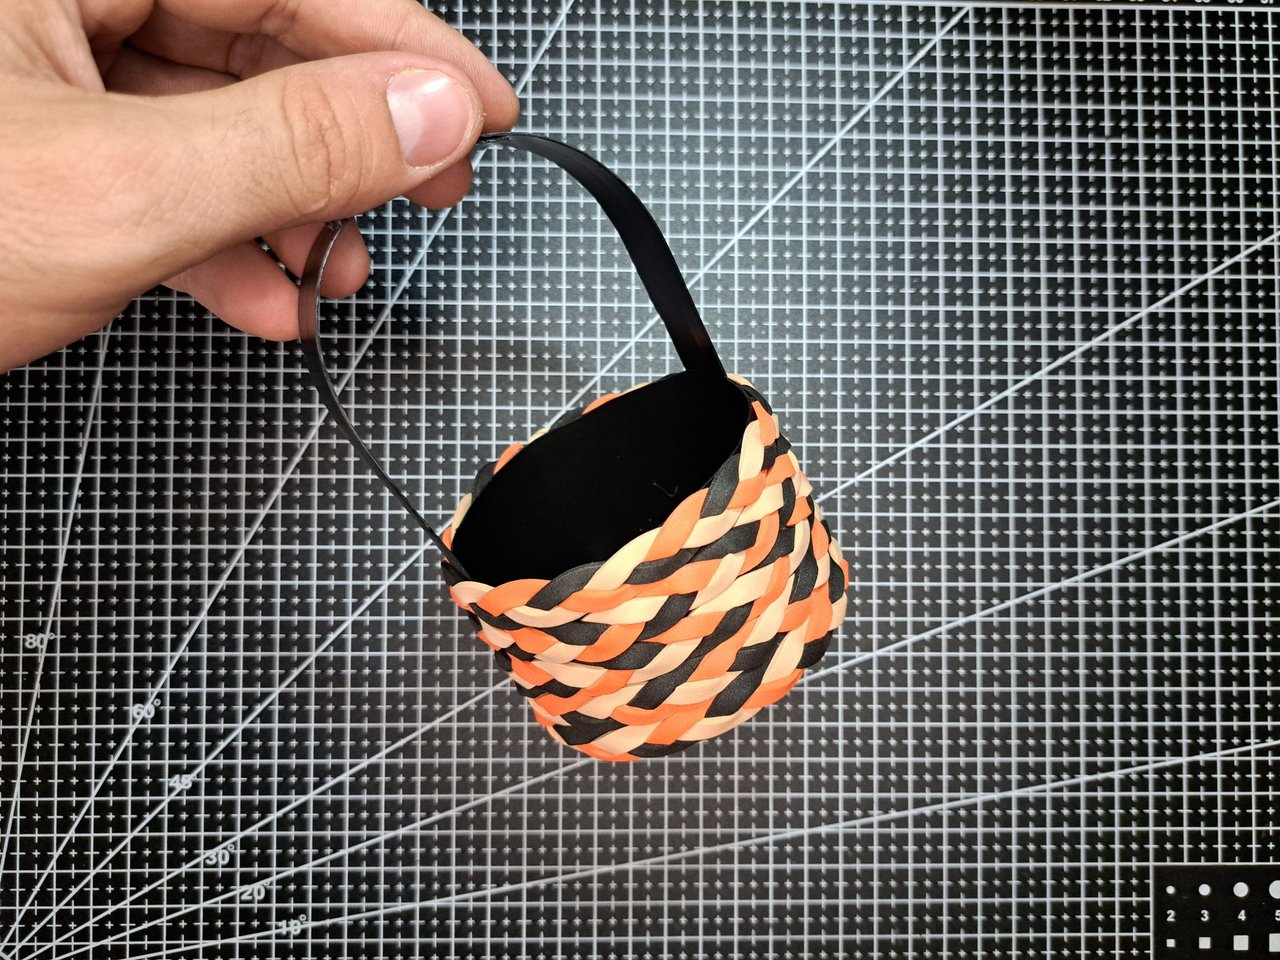
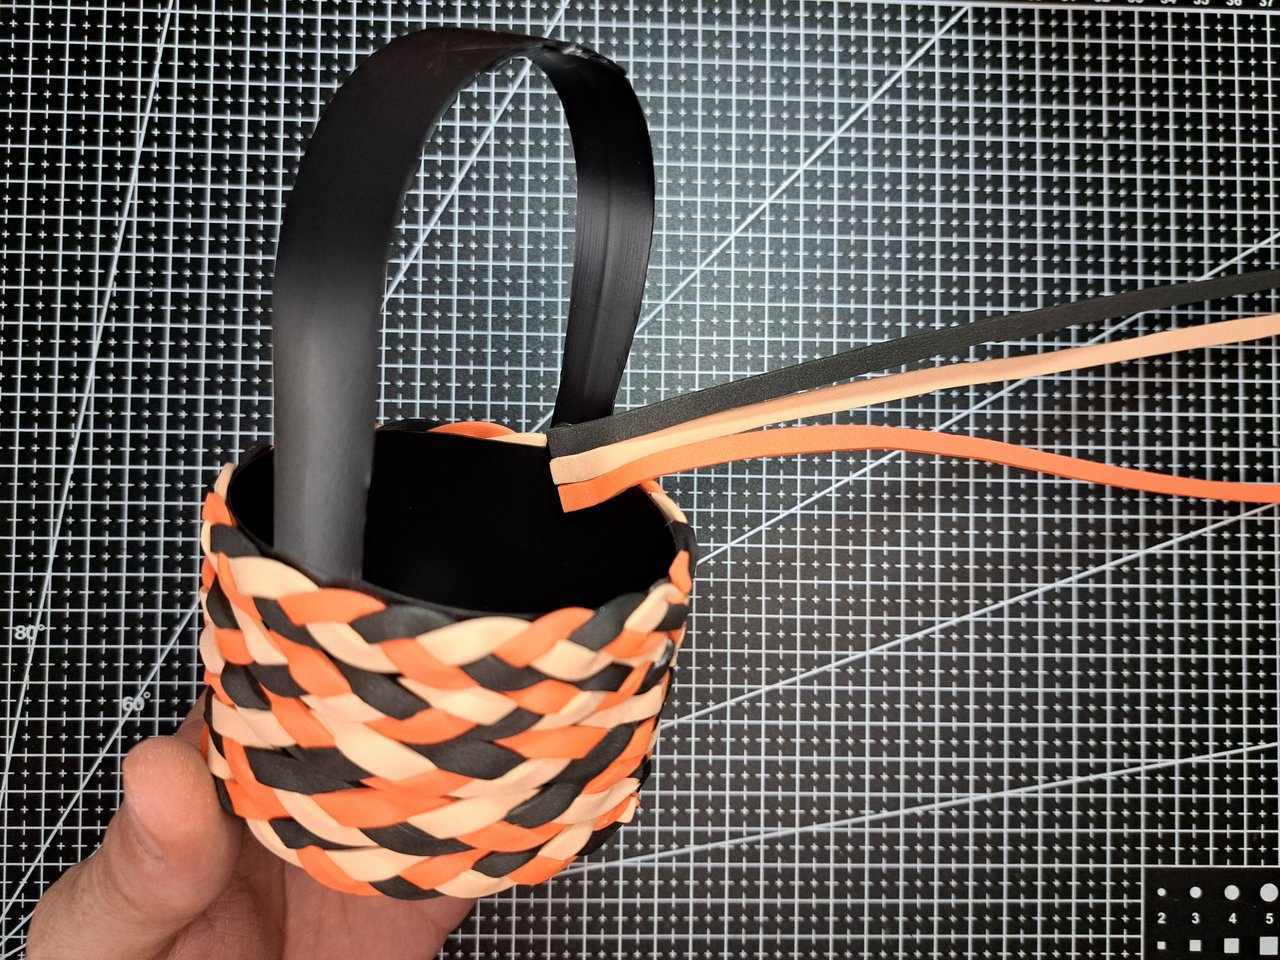
3️⃣ Each of the braids will be glued around the base of the basket, forming a beautiful pattern, as you can see below. In case the braids are not long enough, you can stretch them, as the fomi allows you to do this; just keep in mind that the braids will become thinner.
Cada una de las trenzas se pegará alrededor de la base de la cesta, formando un hermoso patrón, como podrán ver a continuación. En caso de que las trenzas no sean lo suficientemente largas, pueden estirarlas, ya que el fomi permite hacer esto; solo deben tener en cuenta que las trenzas se volverán más finas.
 |
 |
 |
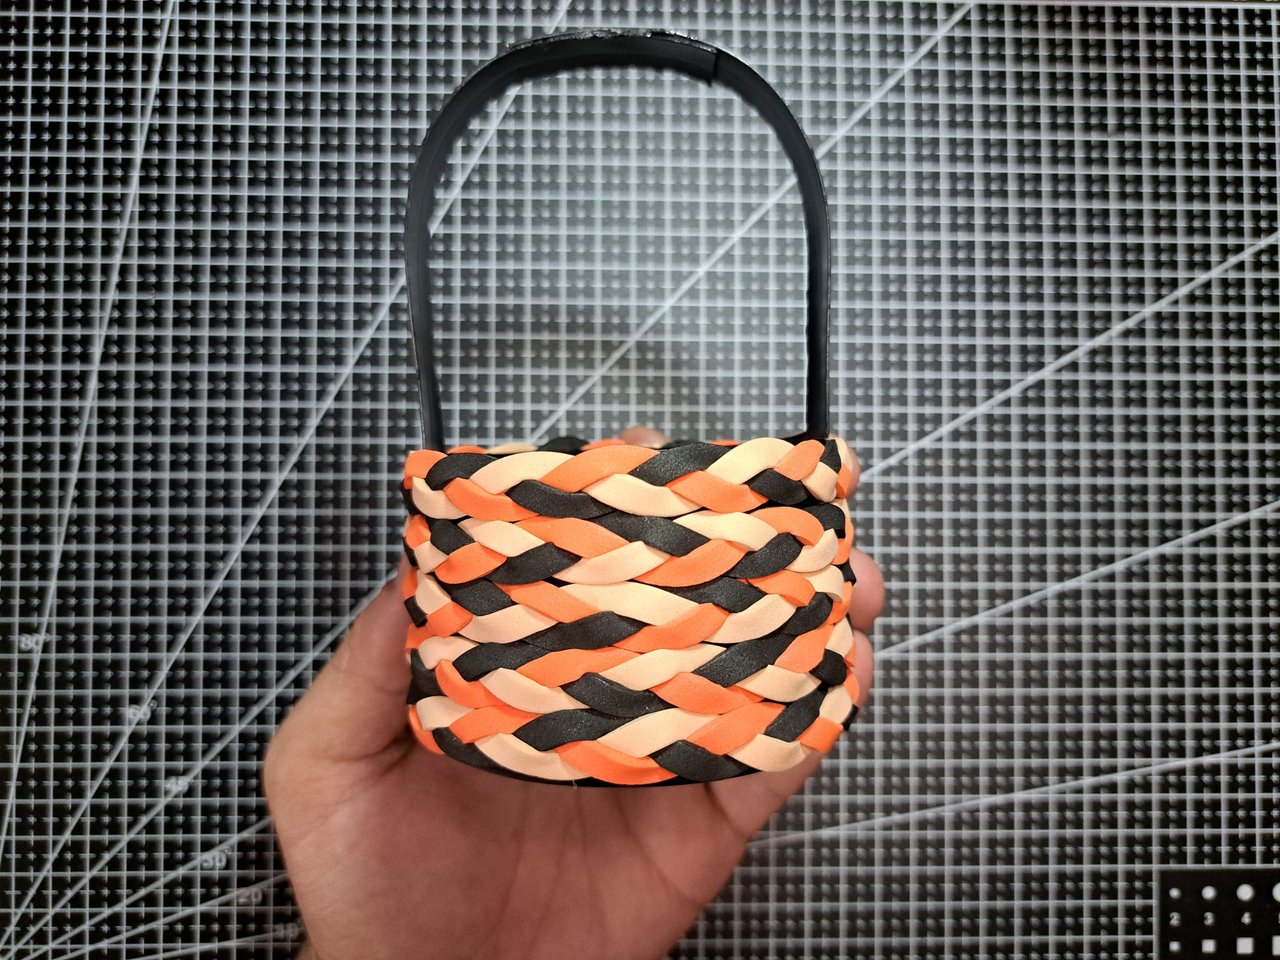 |
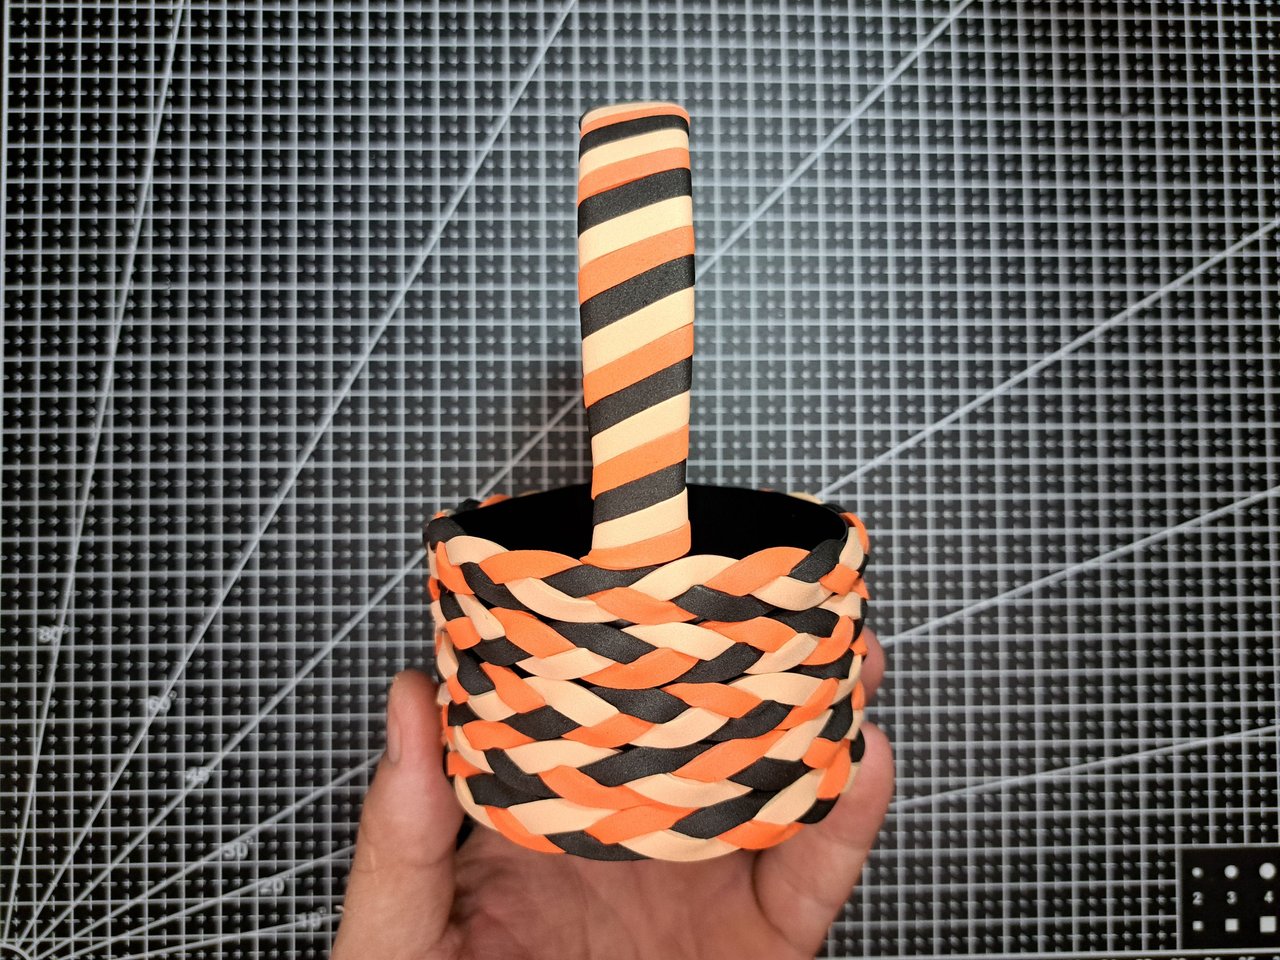
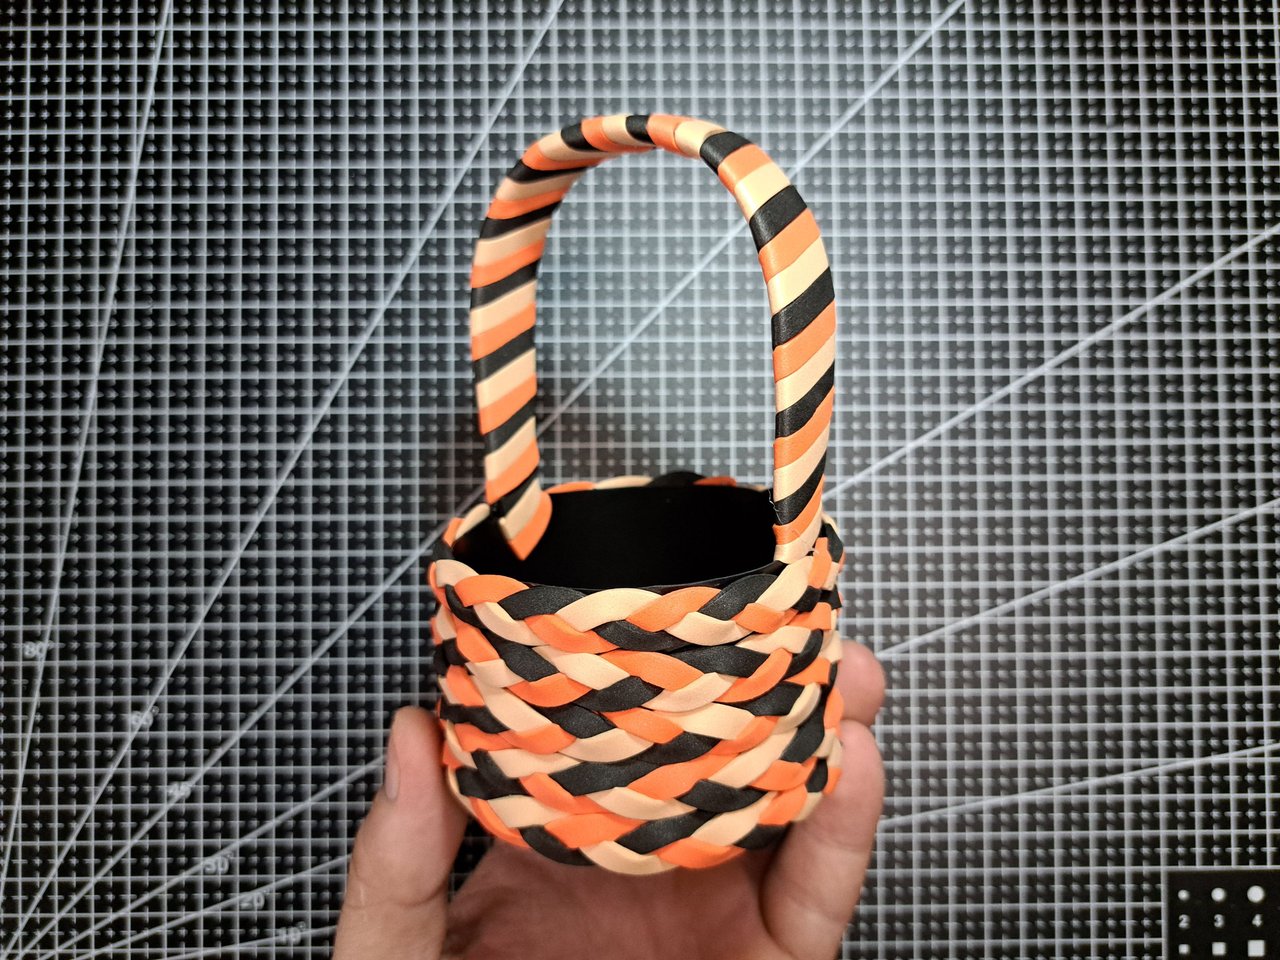
4️⃣ For the handle of the basket, a similar procedure will be performed as explained in the previous step, but this time the fomi strip will be 0.3 cm wide. In this case, the strips of fomi will not be braided, but wrapped side by side, but at the same time to create a spiral pattern around the handle of the basket.
Para el asa de la cesta se realizará un procedimiento similar al explicado en el paso anterior, pero esta vez la tira de fomi tendrá 0.3 cm de ancho. En este caso, las tiras de fomi no se trenzarán, sino que se envolverán una al lado de otra, pero a la vez para crear un patrón de espiral alrededor del asa de la cesta.
 |
 |
 |
 |
 |
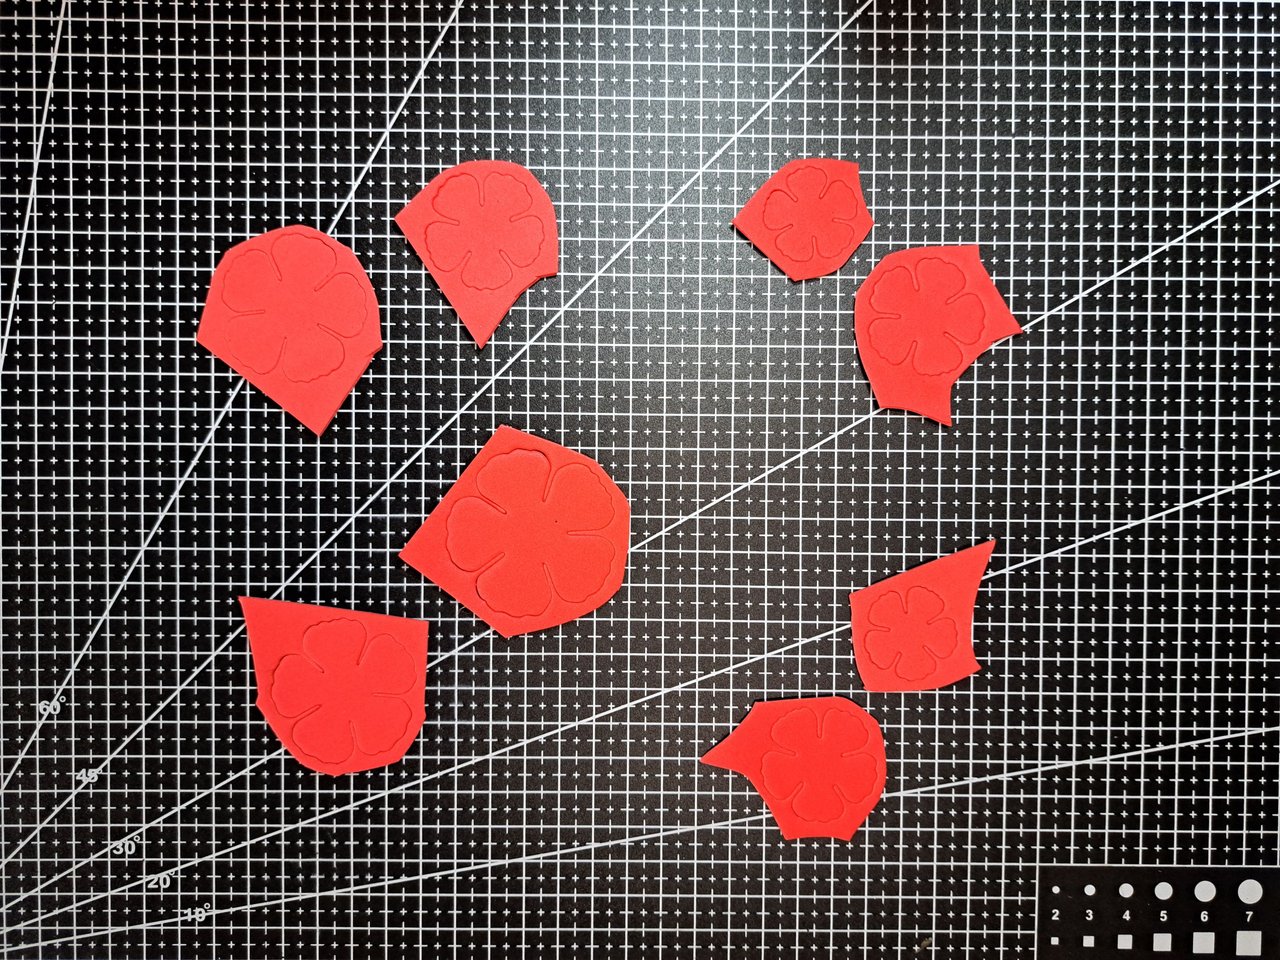
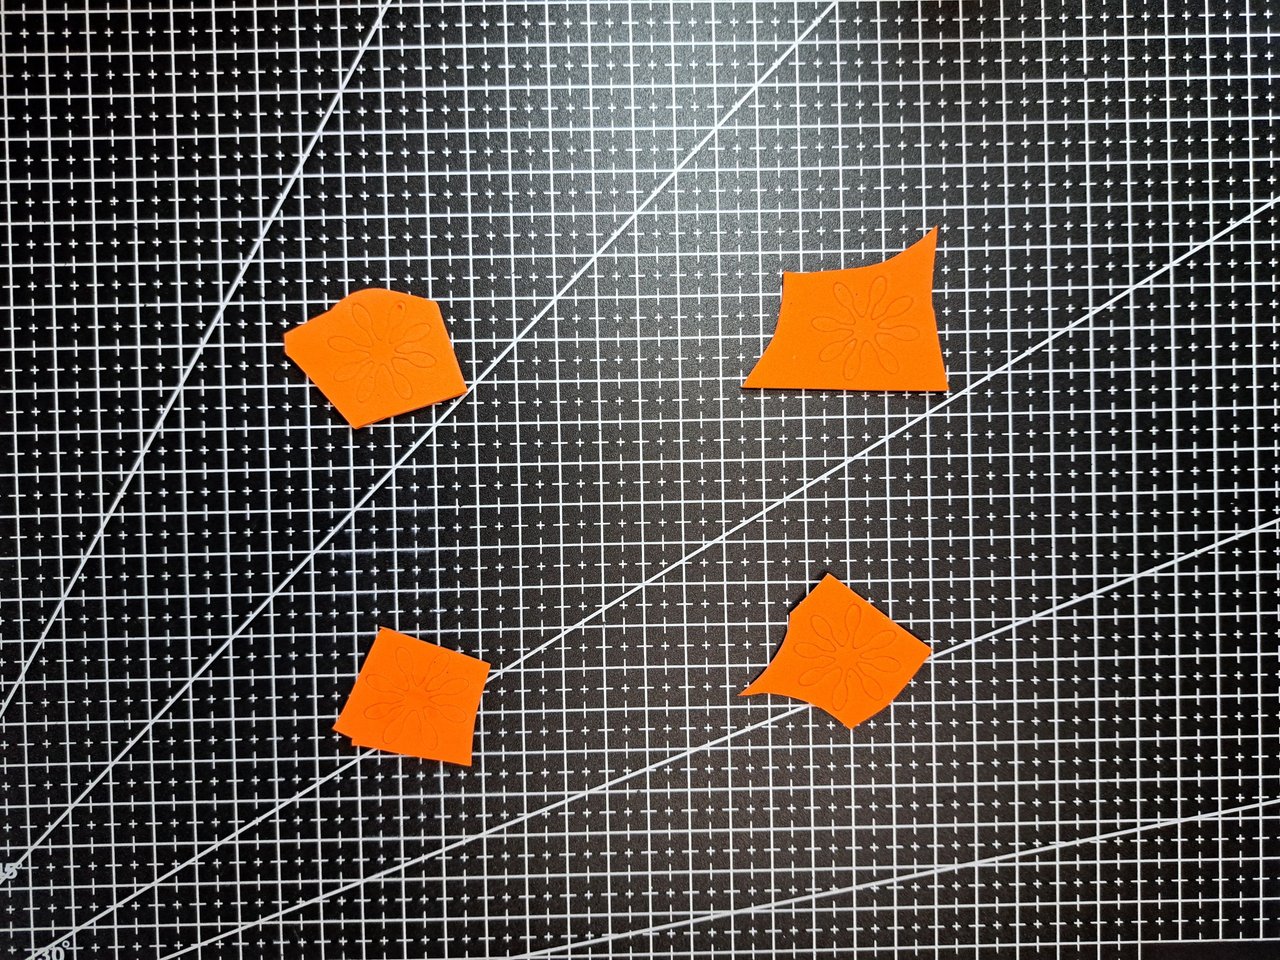
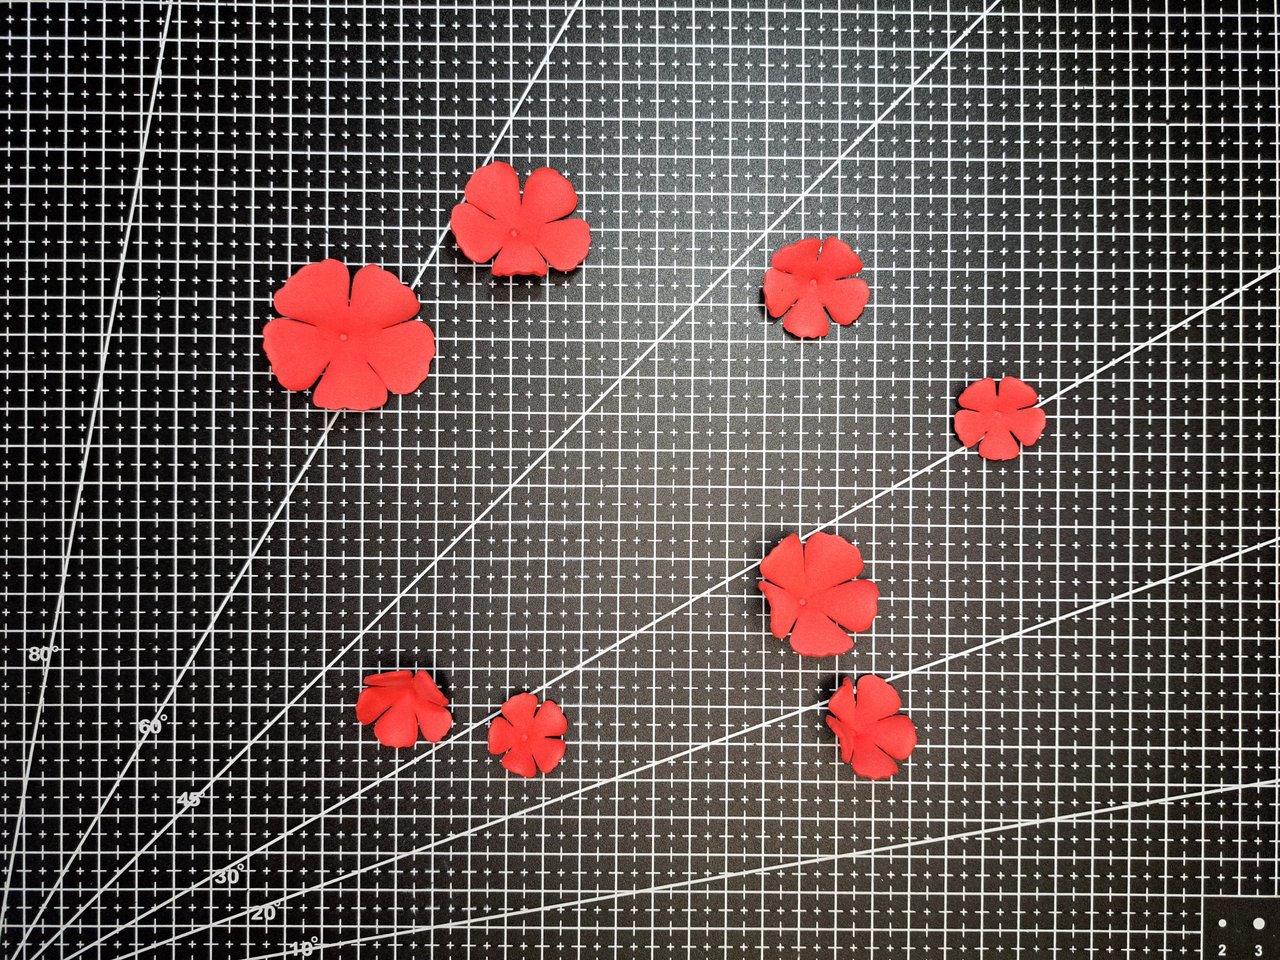
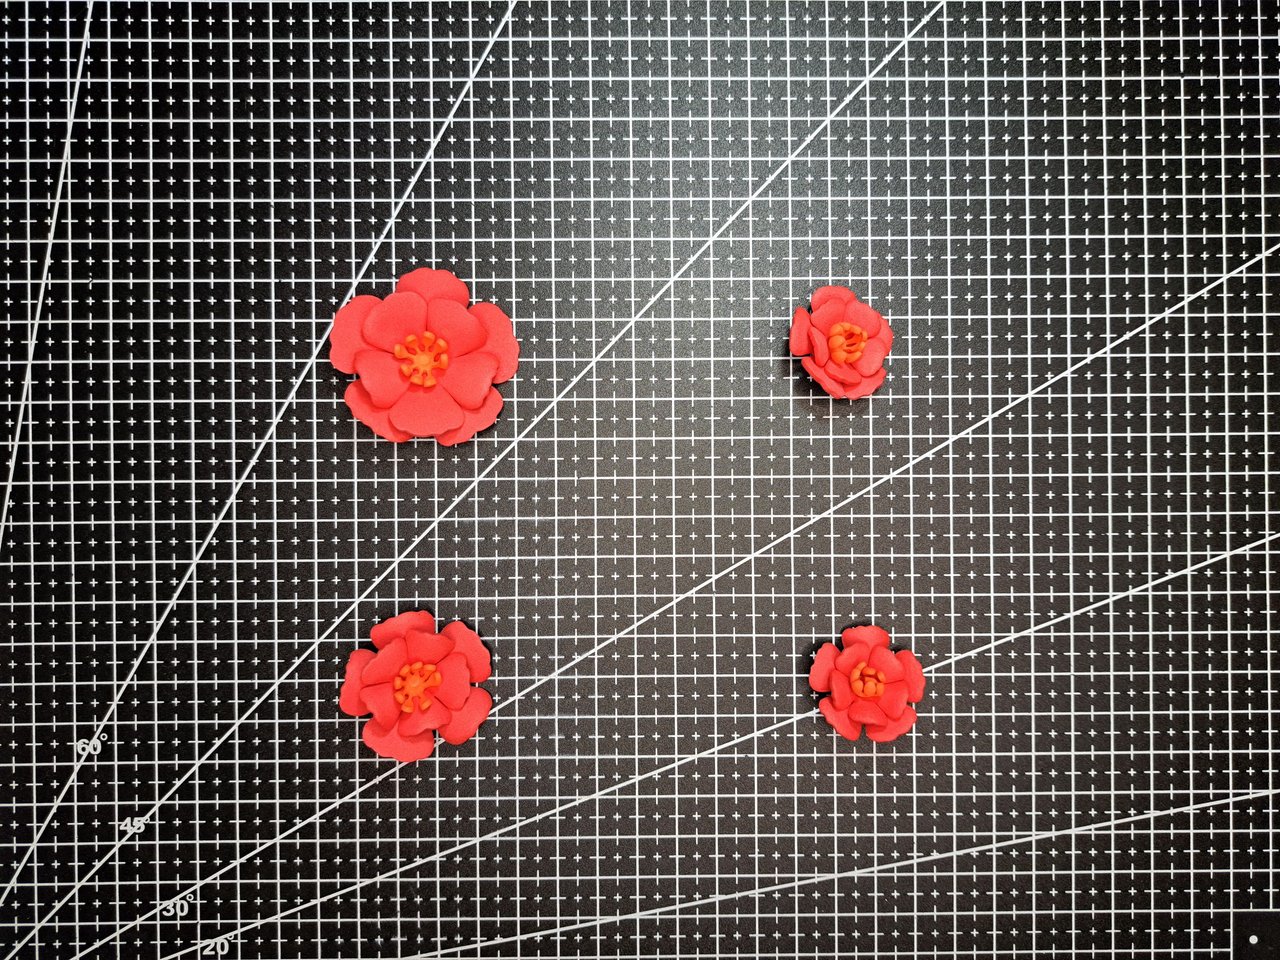
5️⃣ After finishing the basket, we will start working on the decoration. To do this, patterns of each of the petals will be marked and cut out of red fomi. Each flower will have a different size and two layers of petals. Additionally, for the center of each flower, 4 orange pistils will be marked and cut out.
Luego de terminar con la cesta, se empezará a trabajar en la decoración. Para ello, se marcarán y recortarán patrones de cada uno de los pétalos en fomi rojo. Cada flor tendrá un tamaño distinto y dos capas de pétalos. Adicionalmente, para el centro de cada flor se marcarán y recortarán 4 pistilos naranjas.
 |
 |
 |
 |
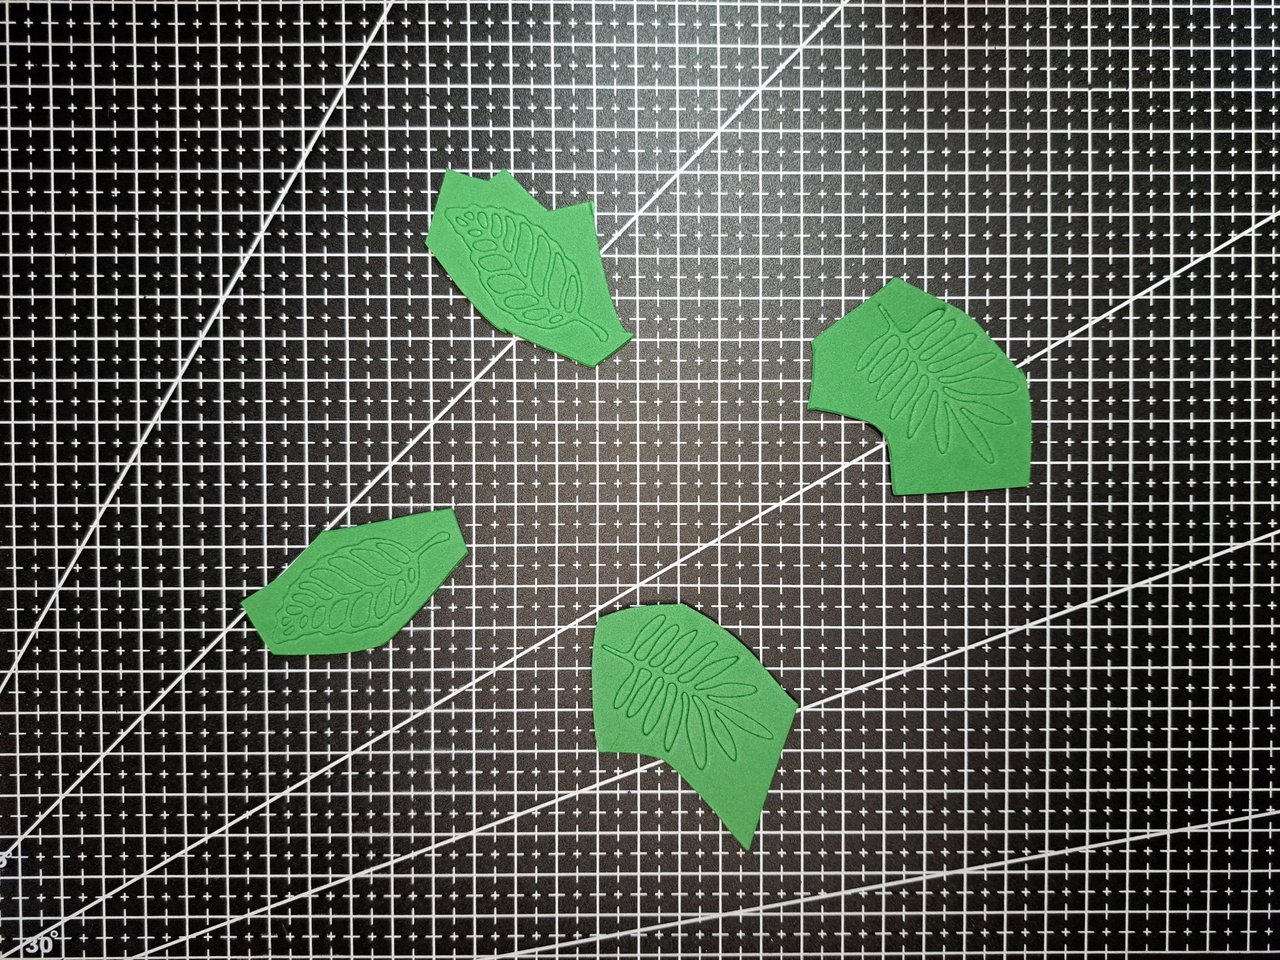
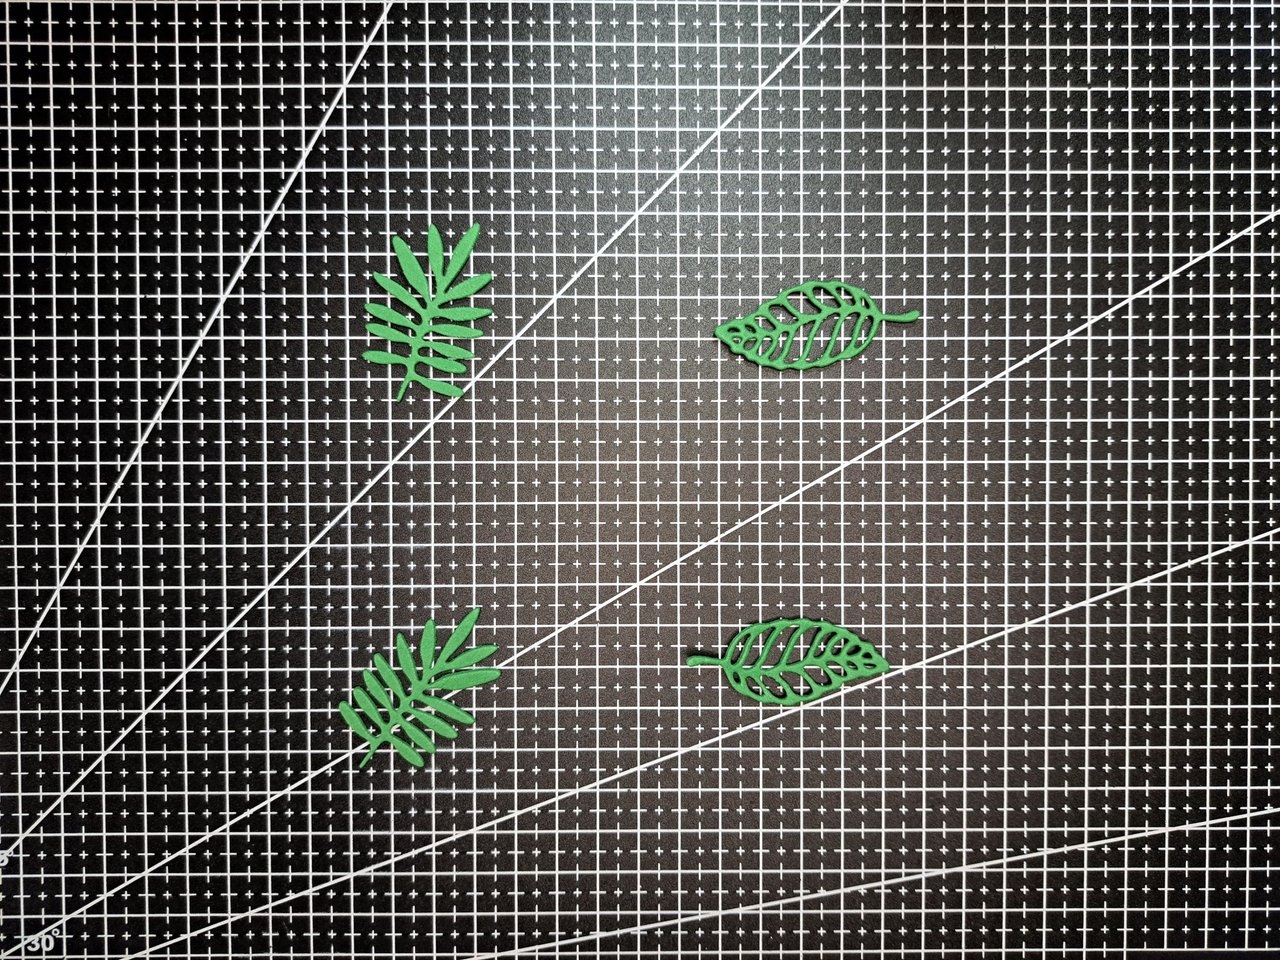
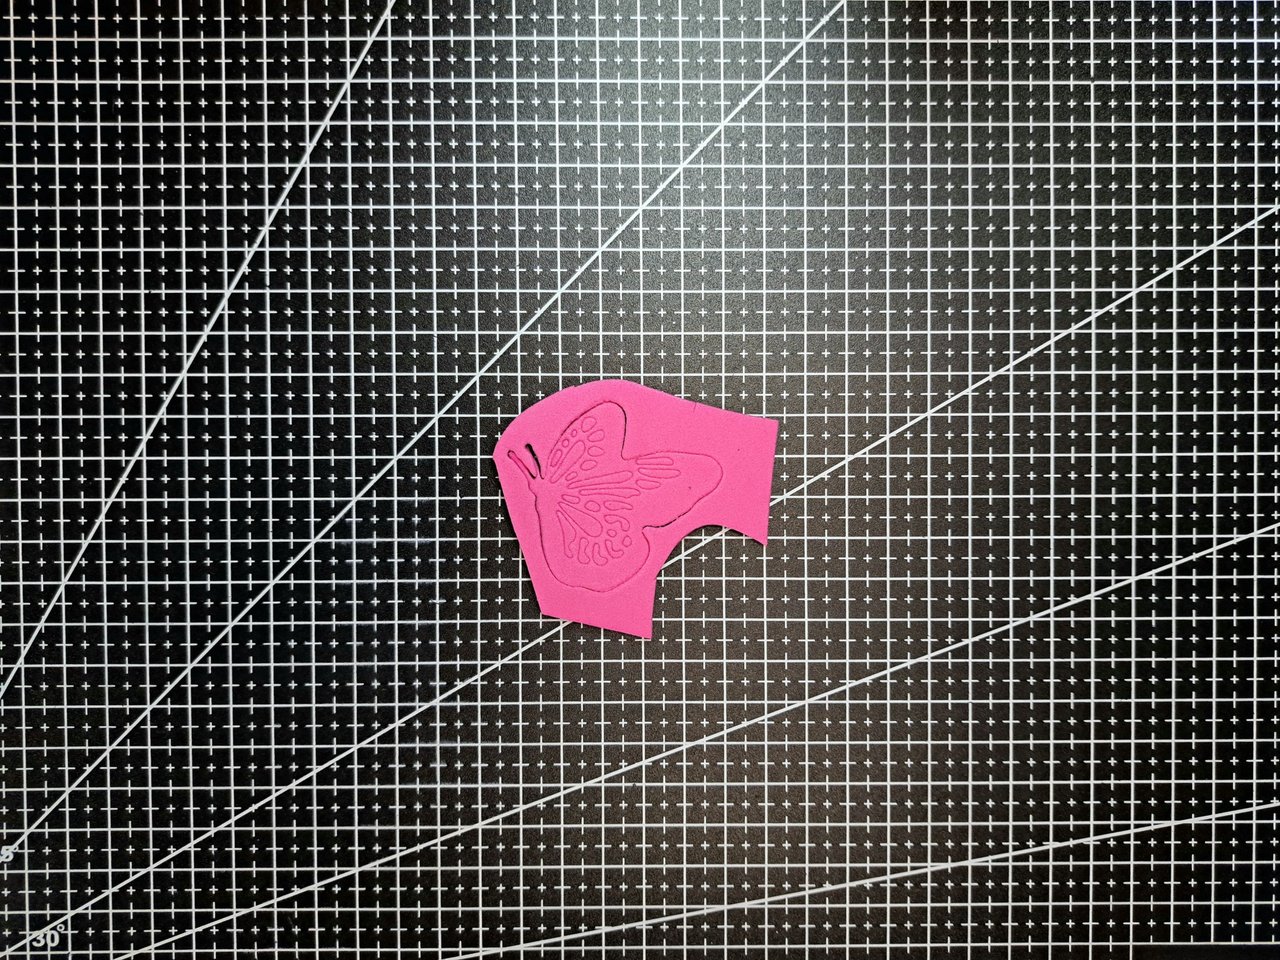
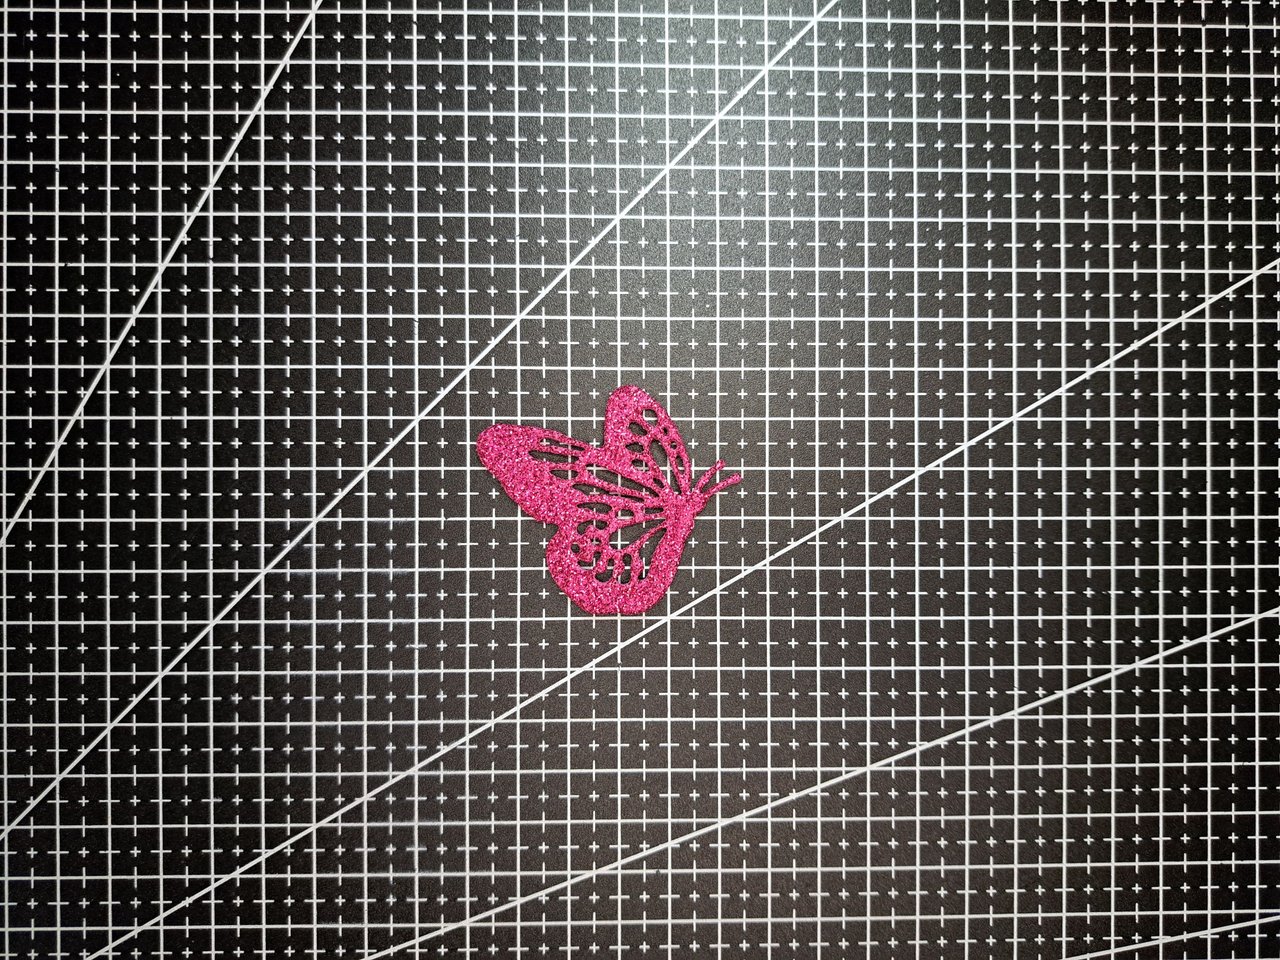
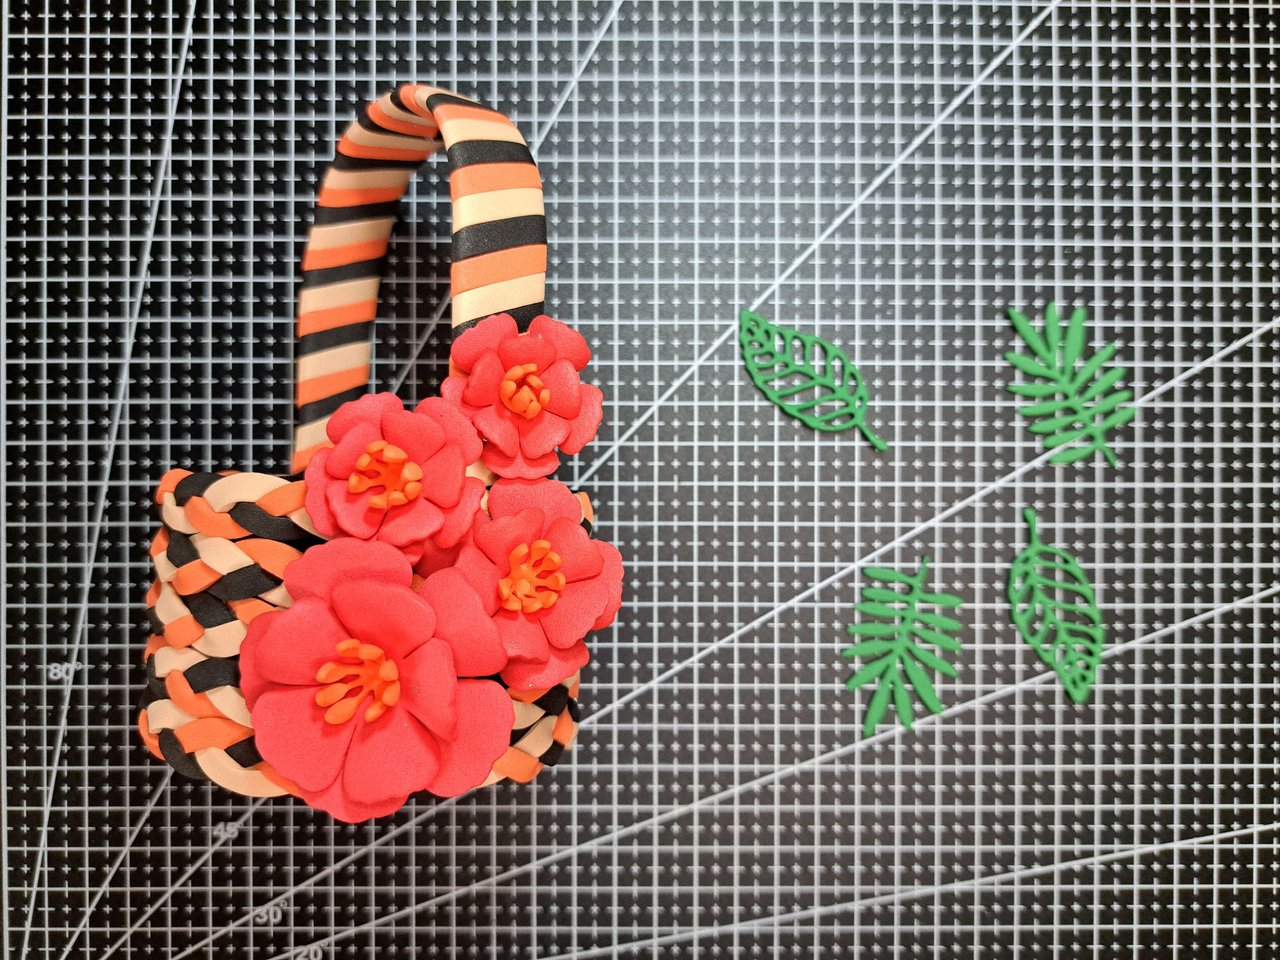
6️⃣ As part of the decoration, leaf patterns will also be scored and cut out on green fomi and a butterfly pattern. The butterfly pattern is shown on the opposite side of the glitter to make it look nice, but in reality the butterfly will be made of frosted fomi.
Como parte de la decoración, también se marcarán y recortarán patrones de hojas sobre fomi verde y un patrón de mariposa. El patrón de mariposa se muestra por el lado contrario al del brillo para que se vea bien, pero en realidad la mariposa será de fomi escarchado.
 |
 |
 |
 |
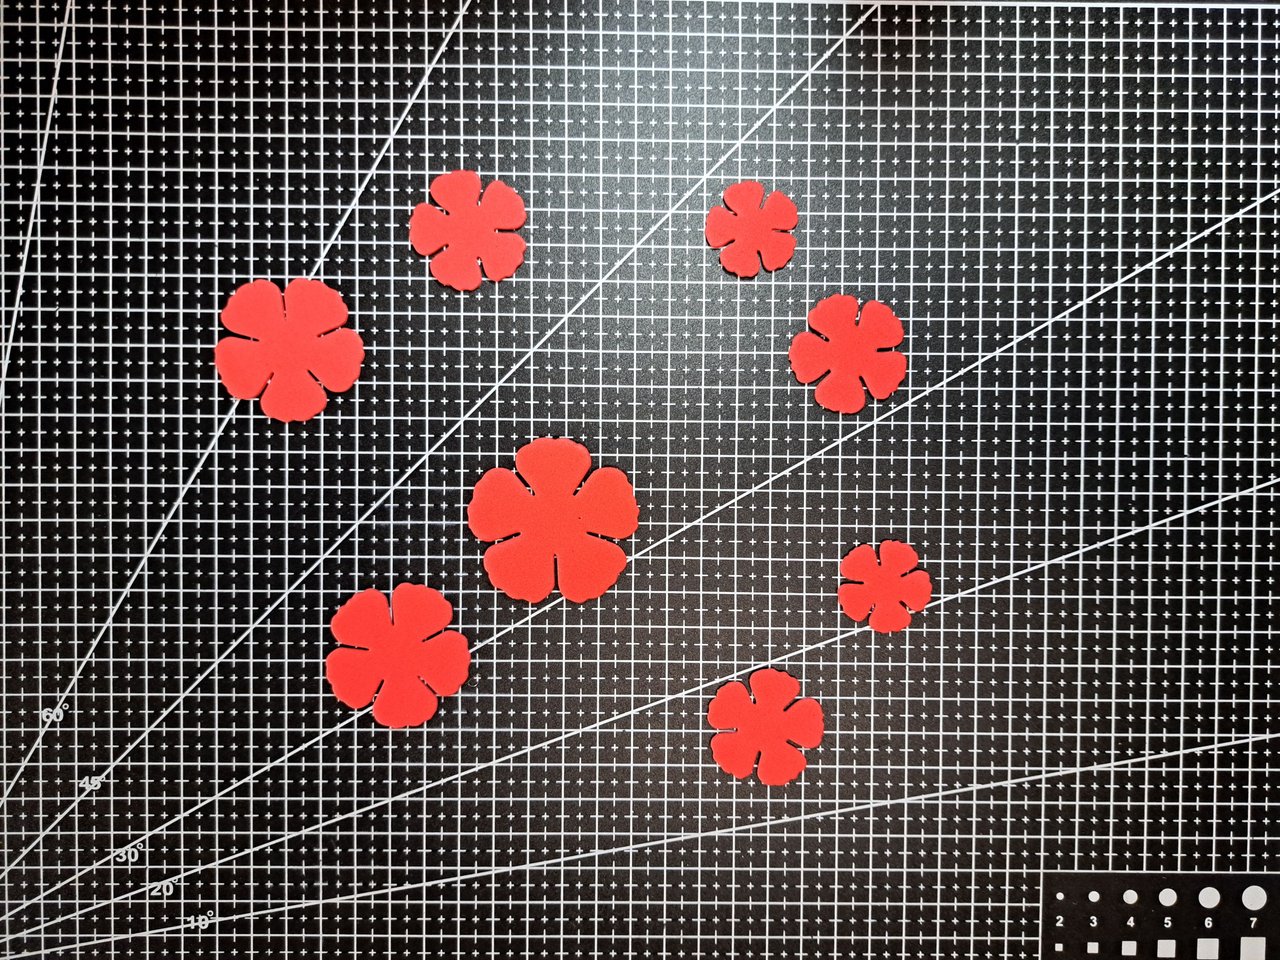
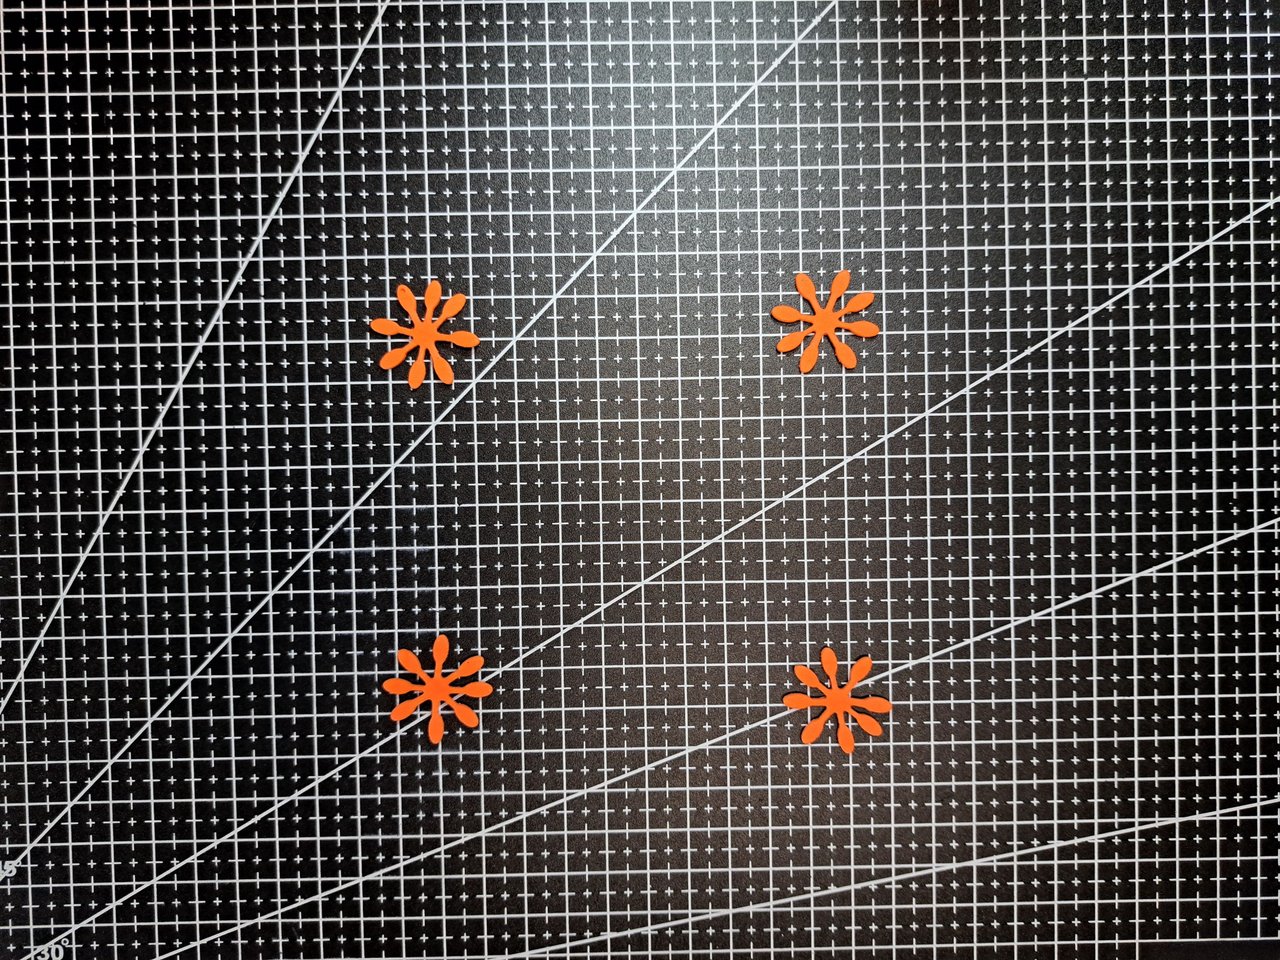
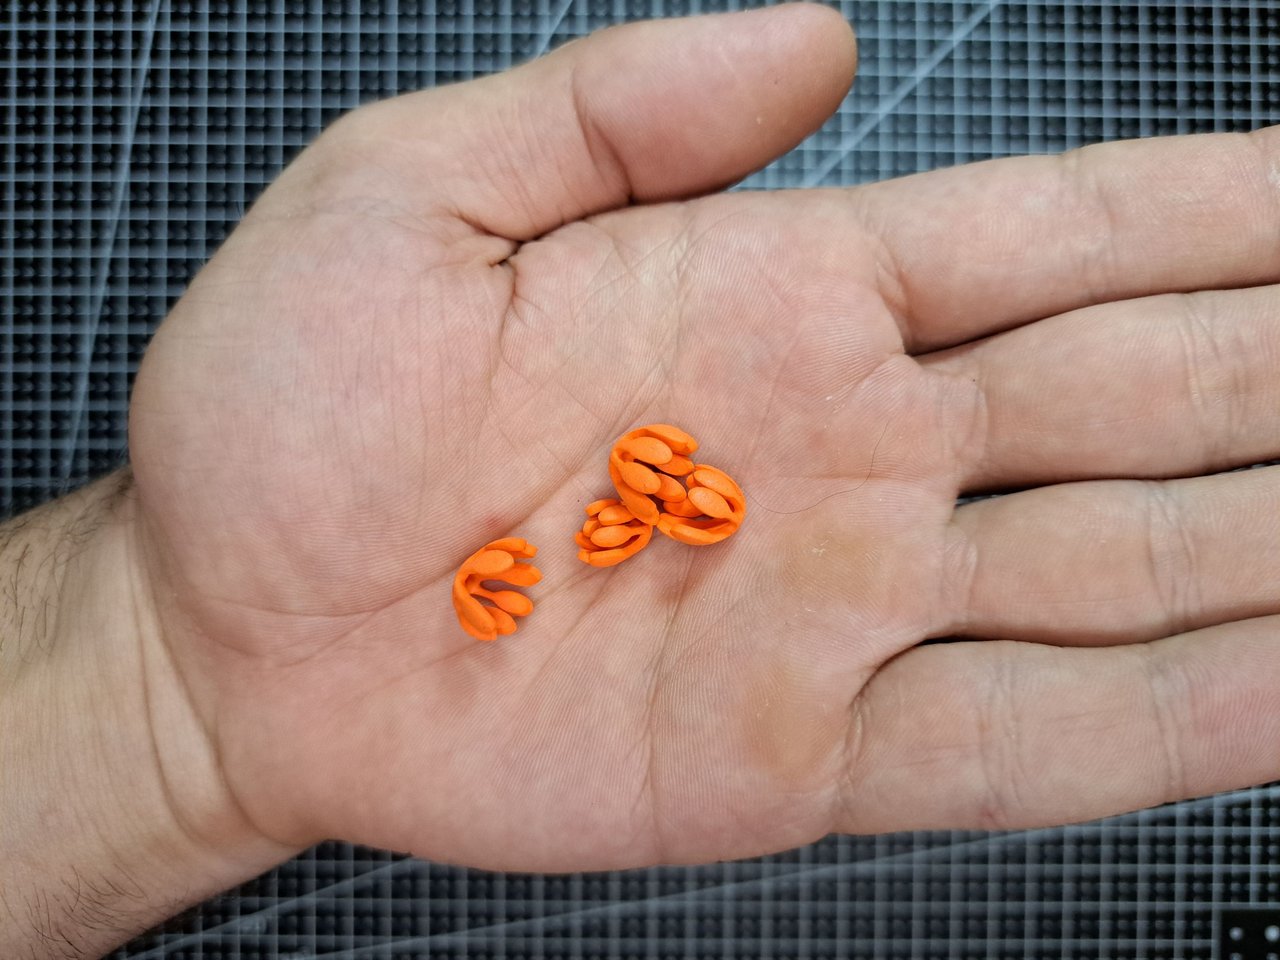
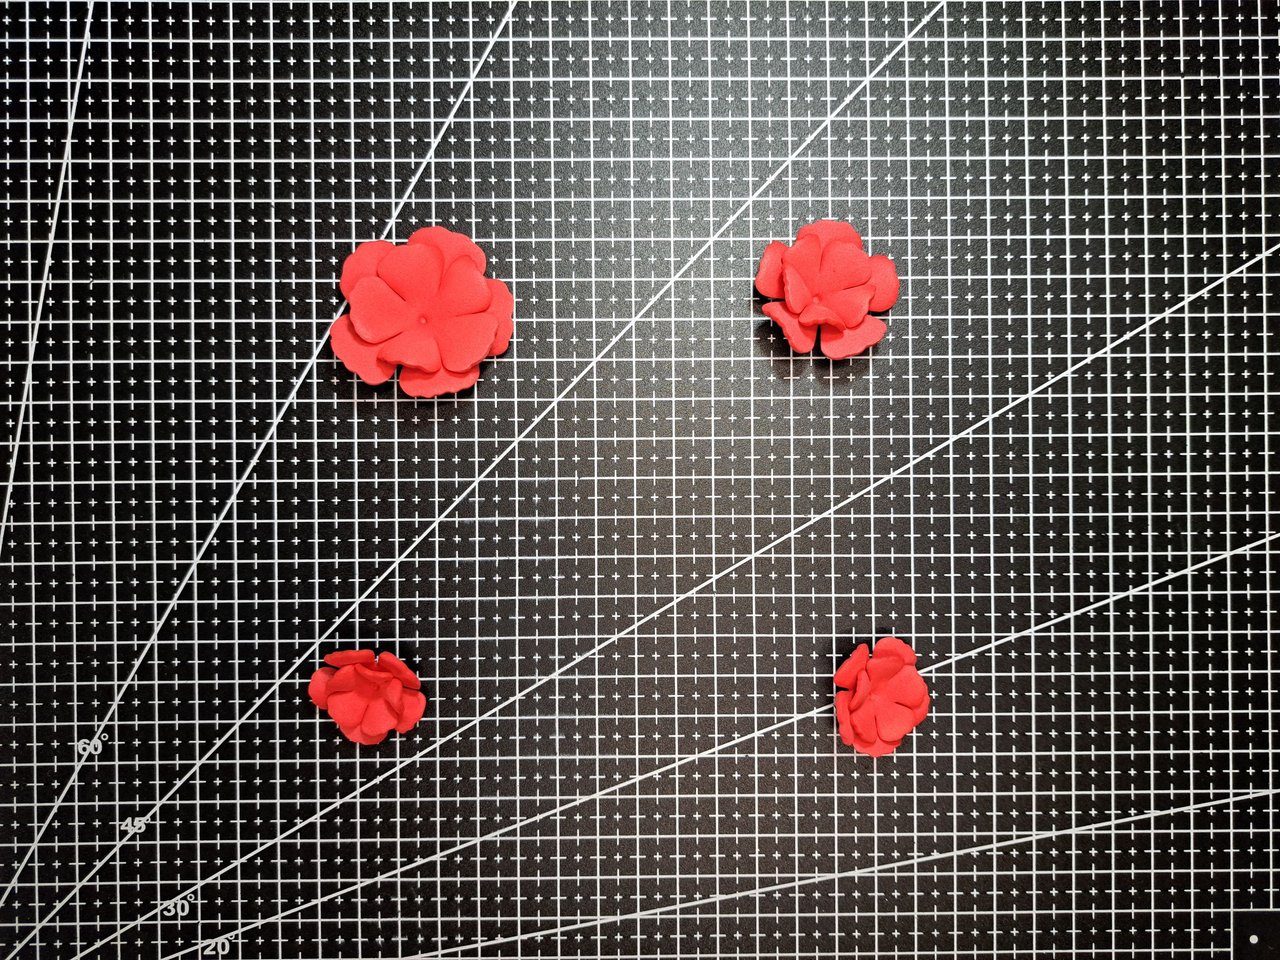
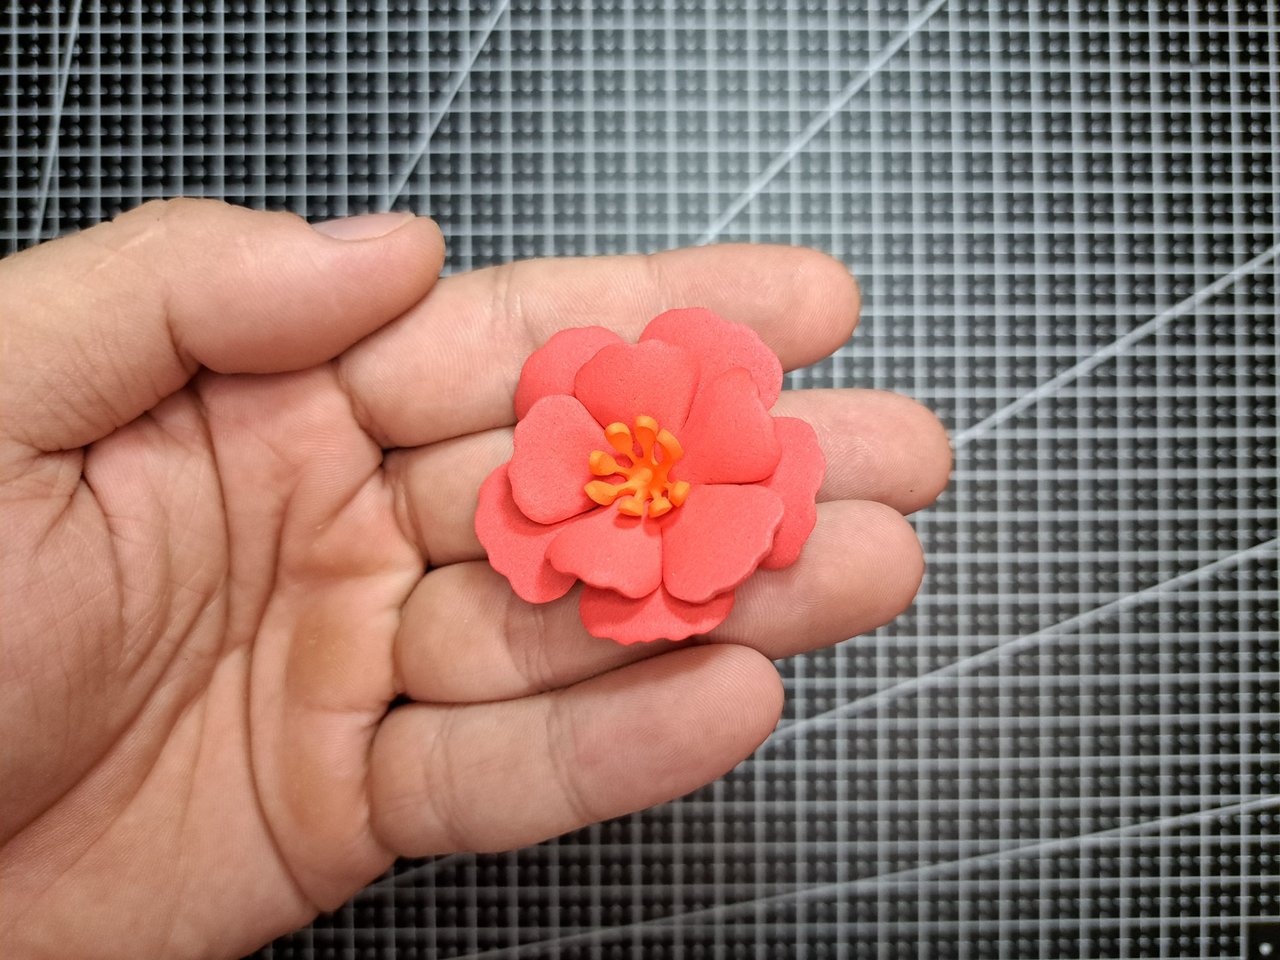
7️⃣ The layers of petals will go through a thermoforming process by means of which they will obtain volume and a nicer appearance. The same will be done with the orange pistils to close their tips. After thermoforming everything, the pairs of petal layers will be glued together and the pistils will be glued on top so that the flowers are ready.
Las capas de pétalos pasarán por un proceso de termoformado mediante el cual obtendrán volumen y un aspecto más agradable. Lo mismo se hará con los pistilos naranjas para que cierren sus puntas. Luego de termoformar todo, se pegarán las parejas de capas de pétalos y encima los pistilos para que queden listas las flores.
 |
 |
 |
 |
 |
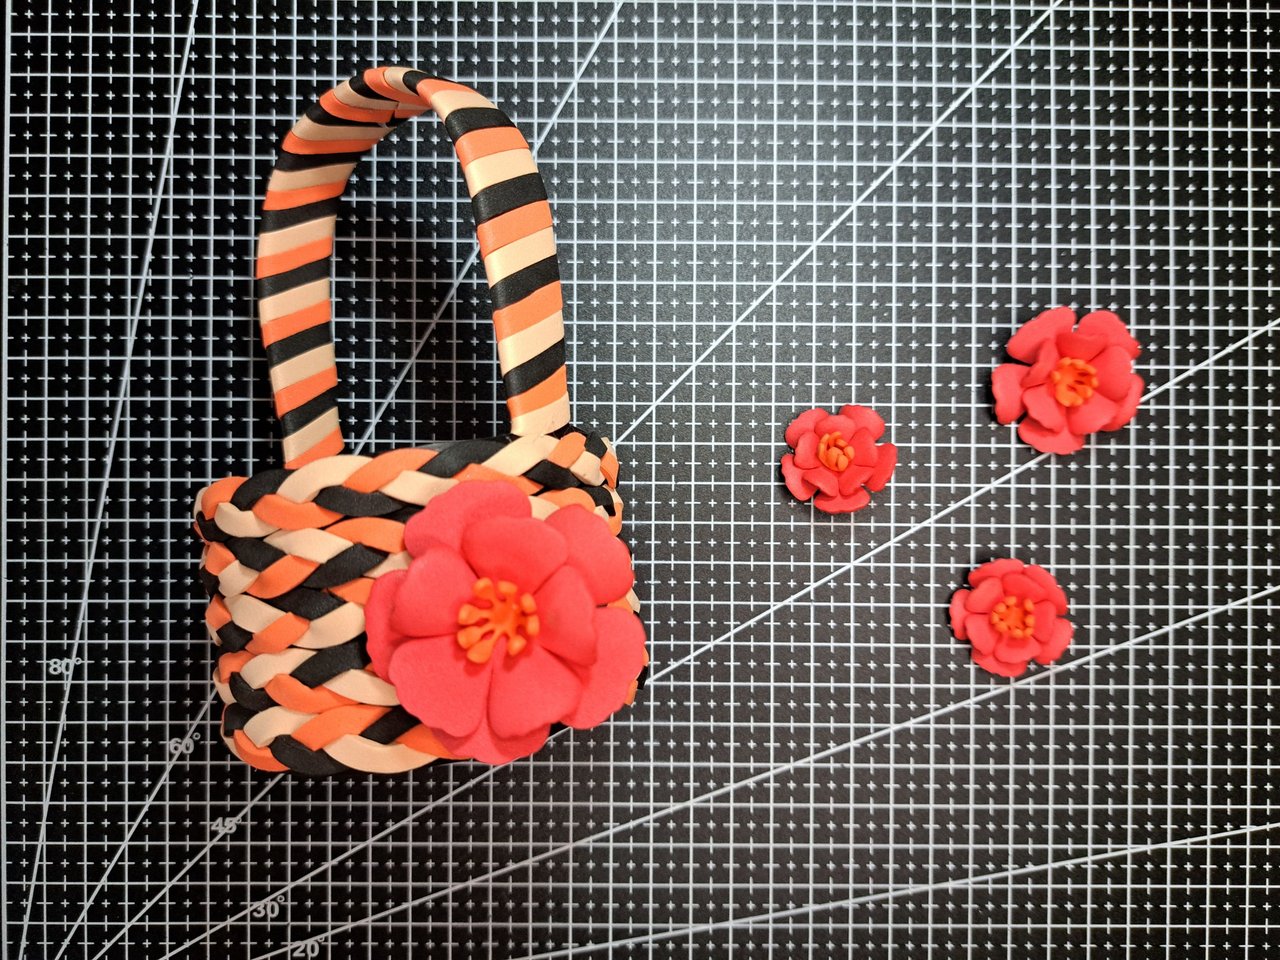
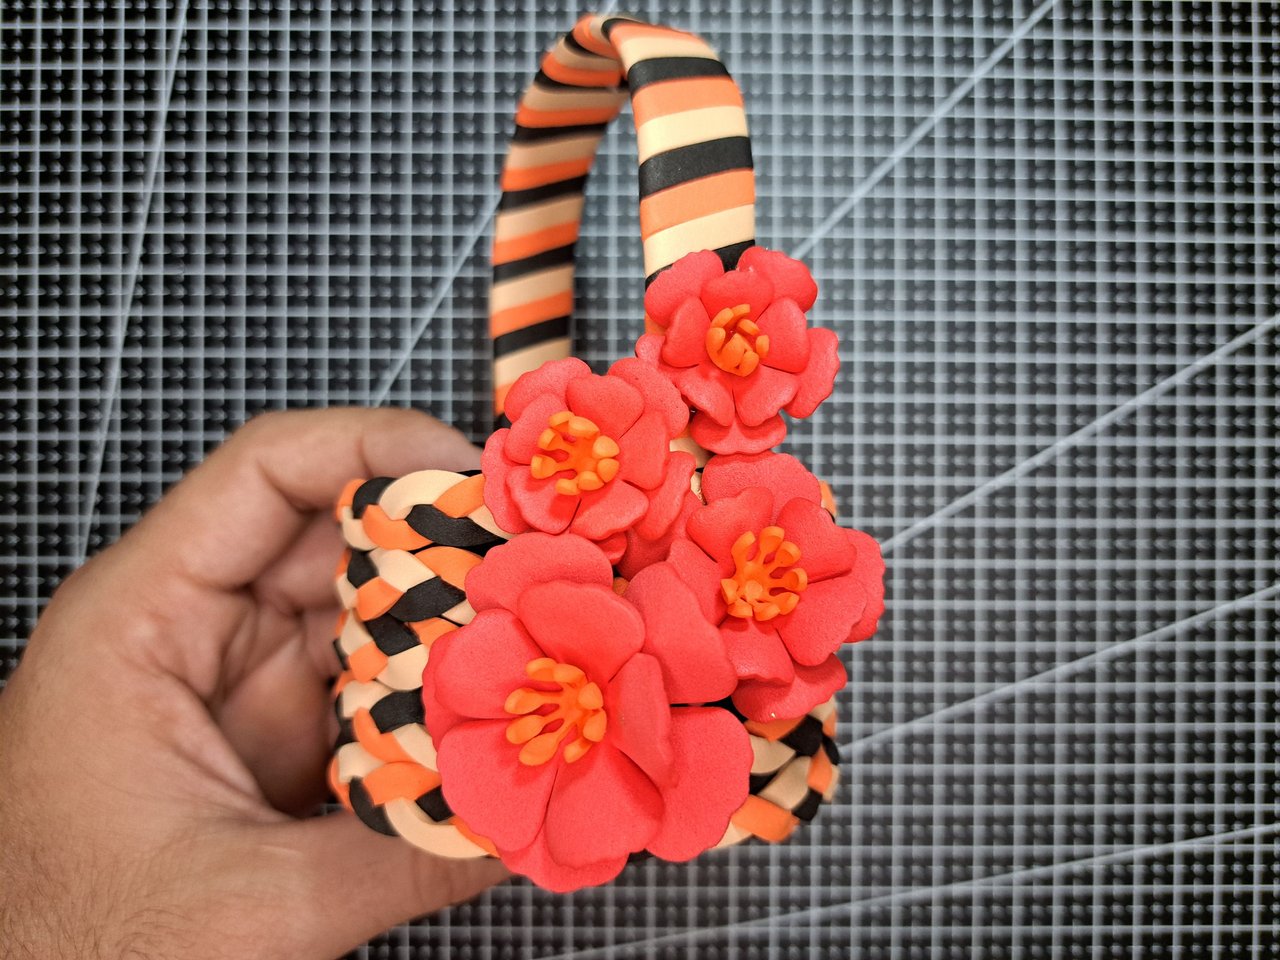
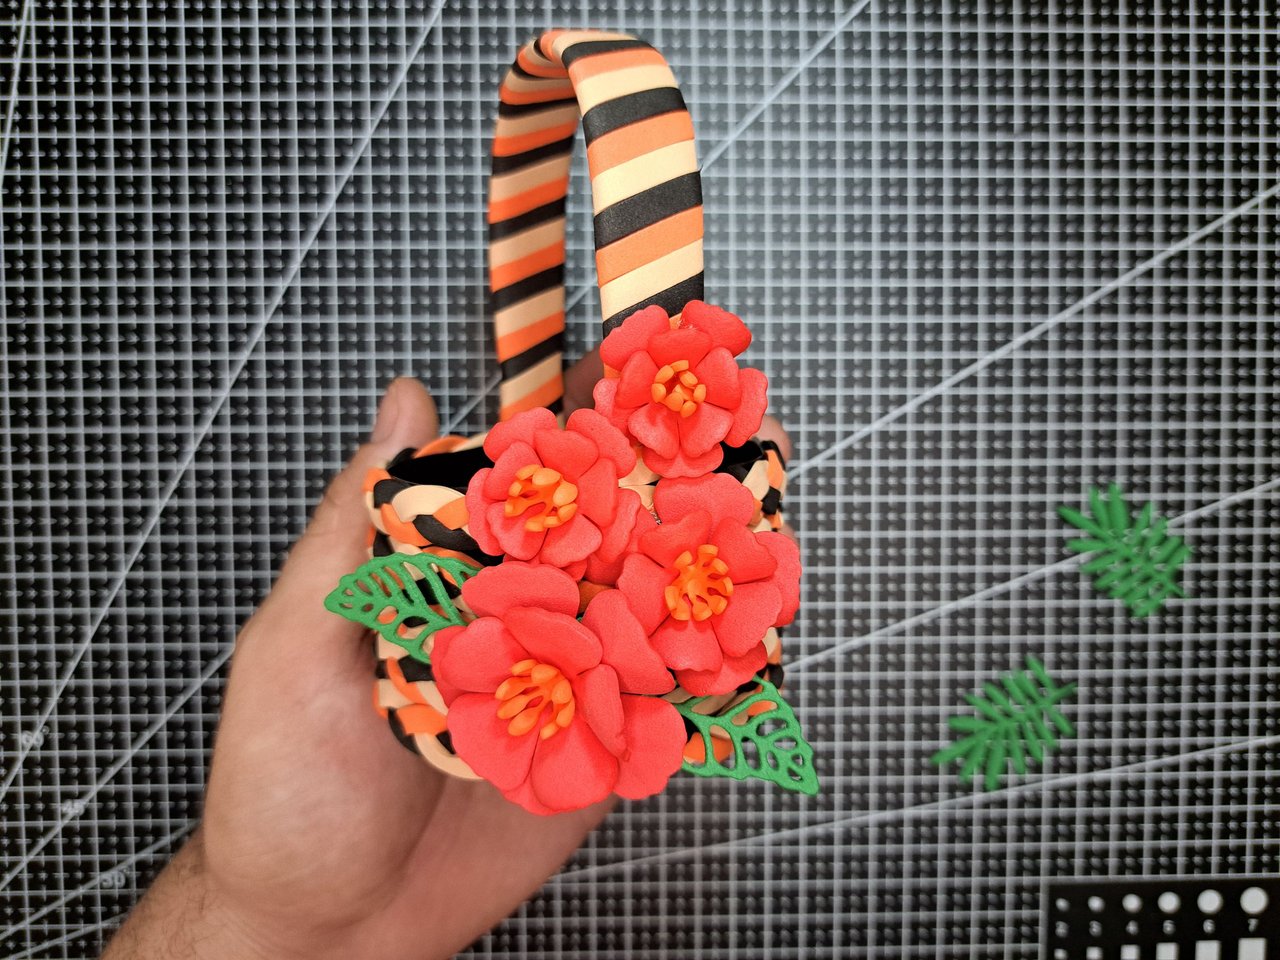
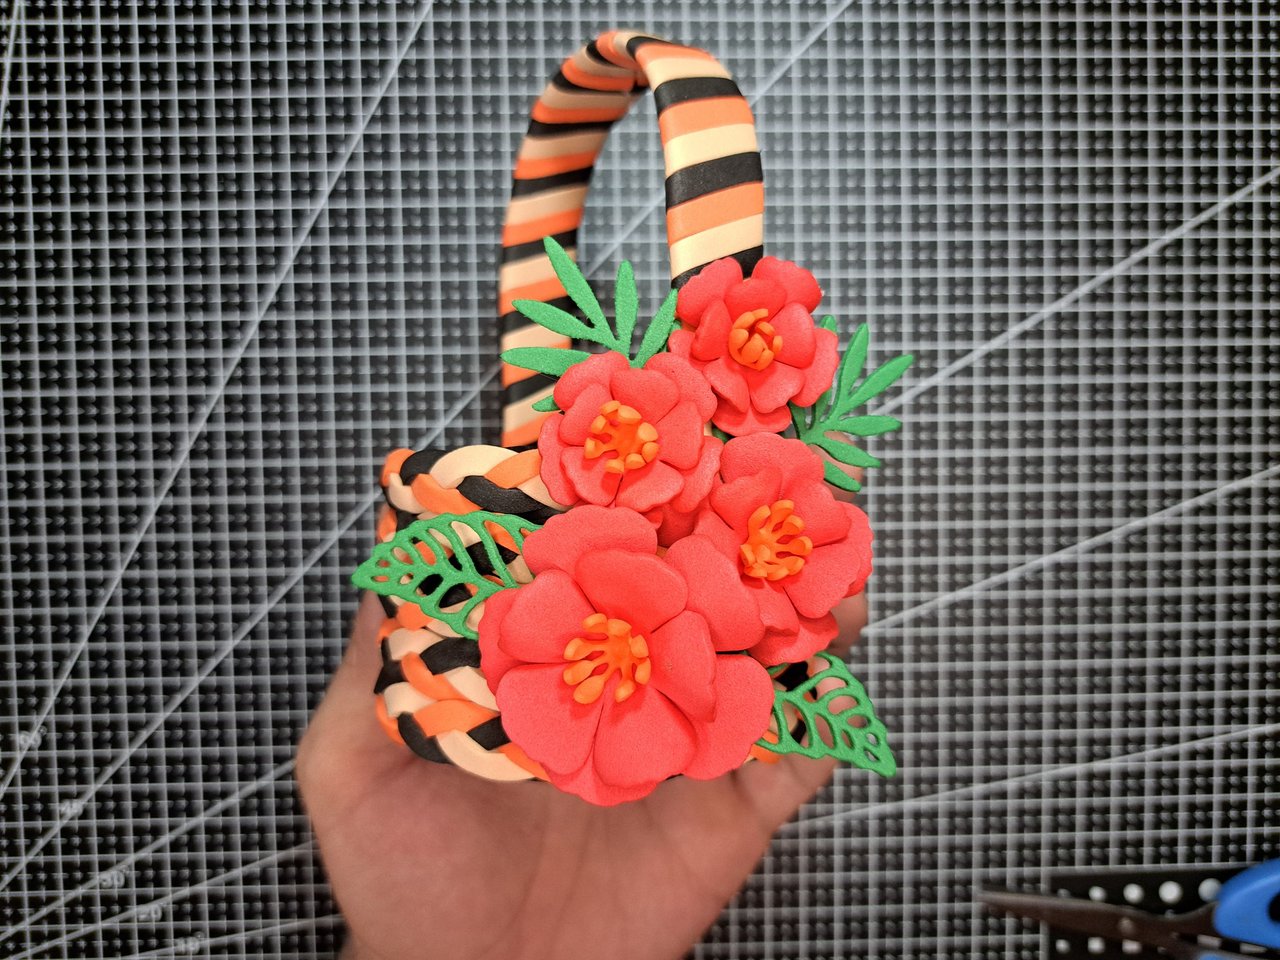
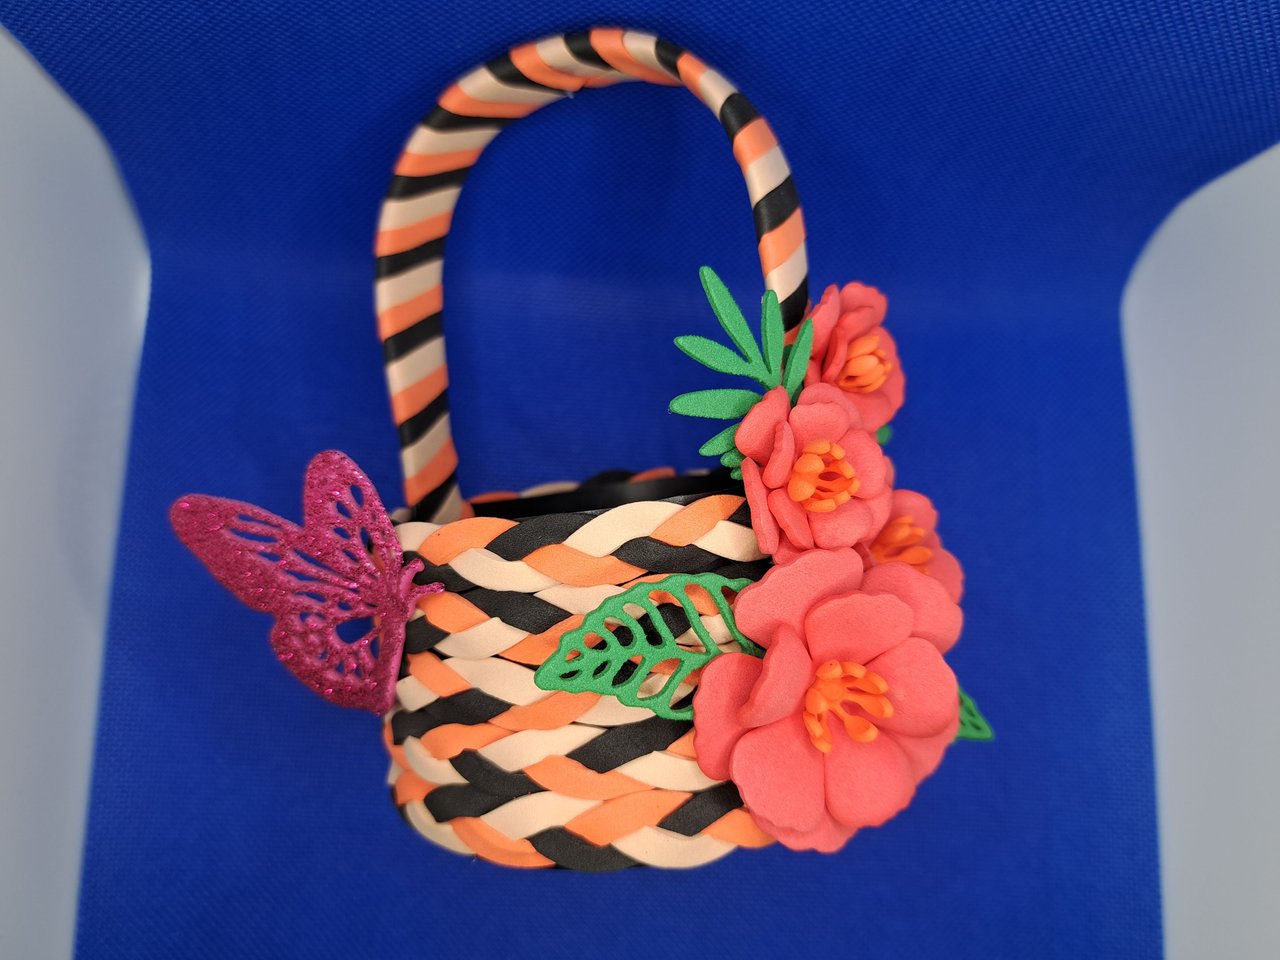
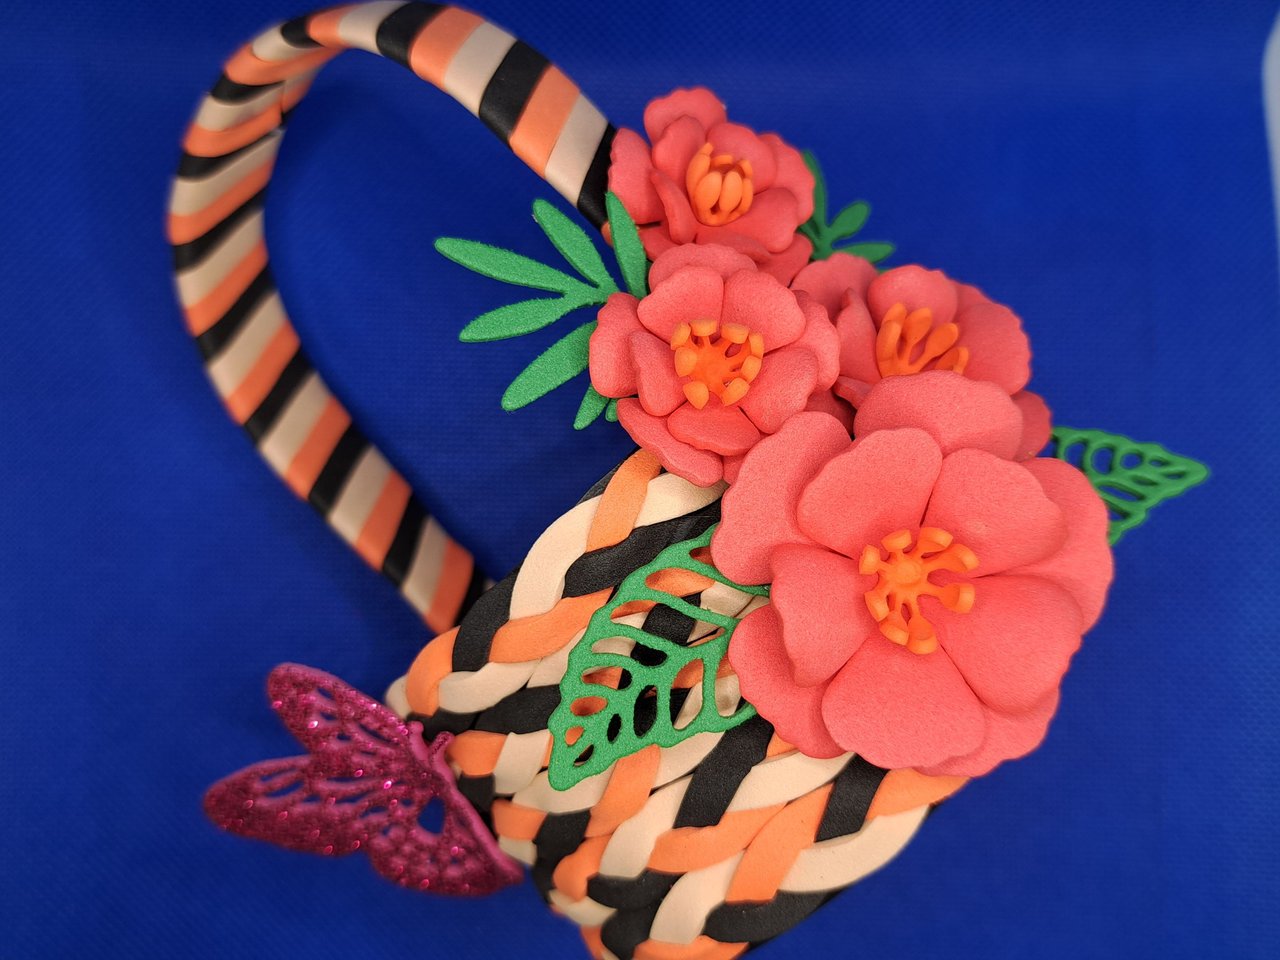
8️⃣ With the flowers ready, glue them on the left side of the ornament and slightly tilted forward. The large one is glued first, the medium one in a corner and the two small ones on top. In the same way, glue the leaves on the back of the flowers, leaving only their tips visible.
Con las flores listas se procede a pegarlas en el lado izquierdo del adorno y levemente inclinadas hacia adelante. Primero se pegará la grande, la mediana en una esquina y más arriba las dos pequeñas. De igual forma se pegan las hojas en la parte trasera de las flores, dejándose ver solo sus puntas.
 |
 |
 |
 |
 |
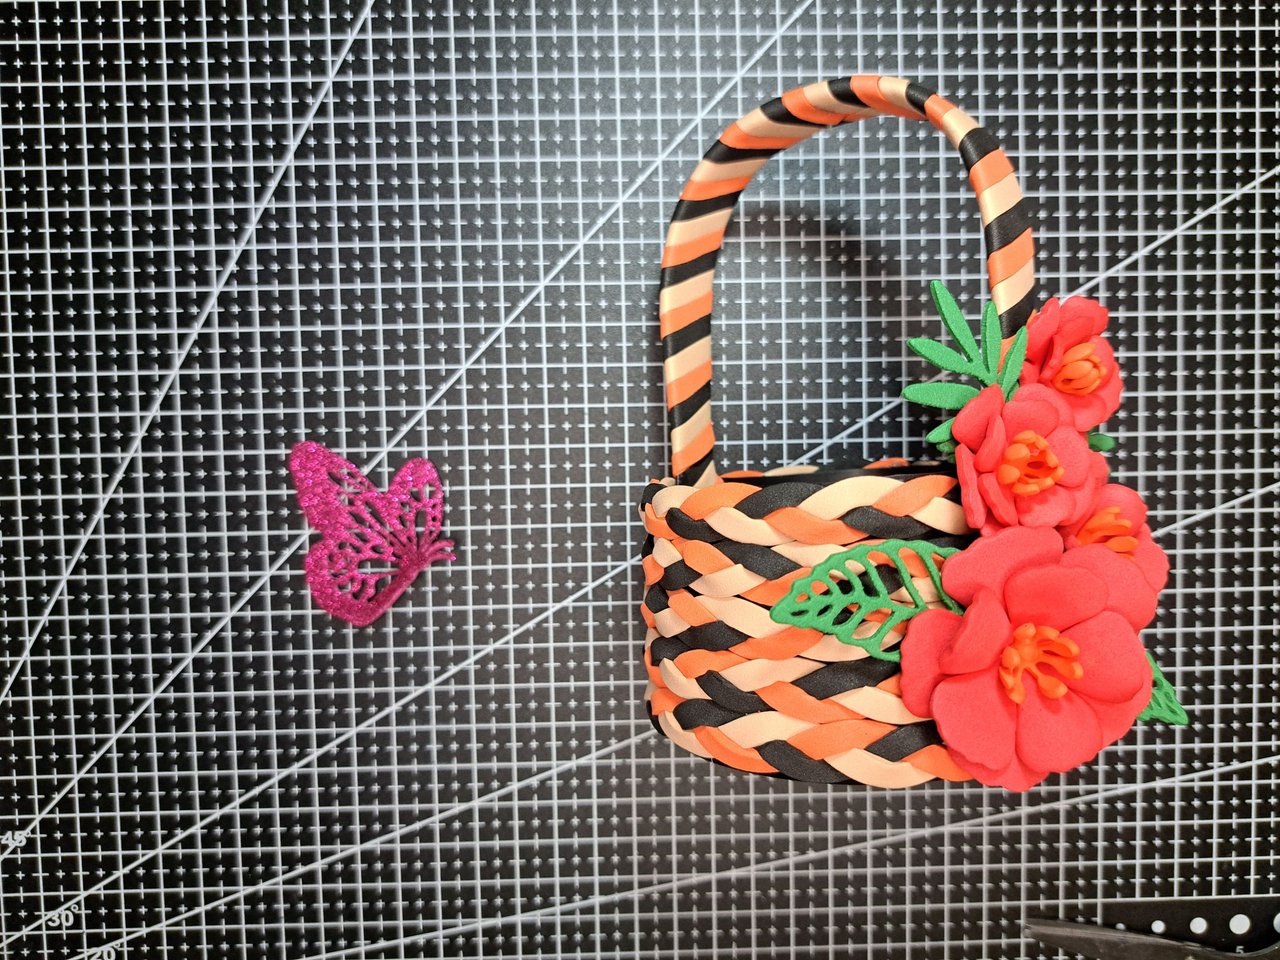
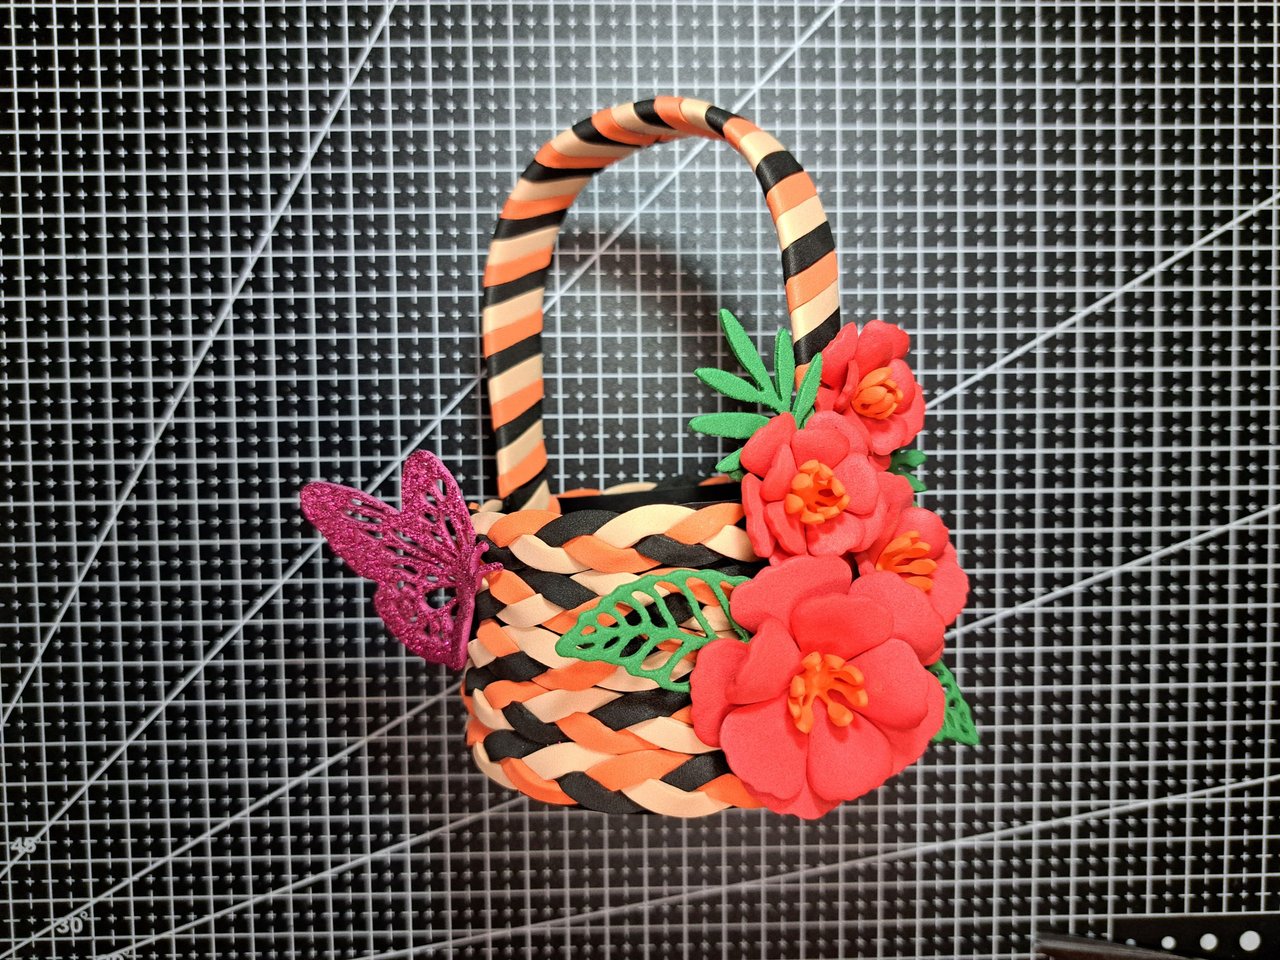
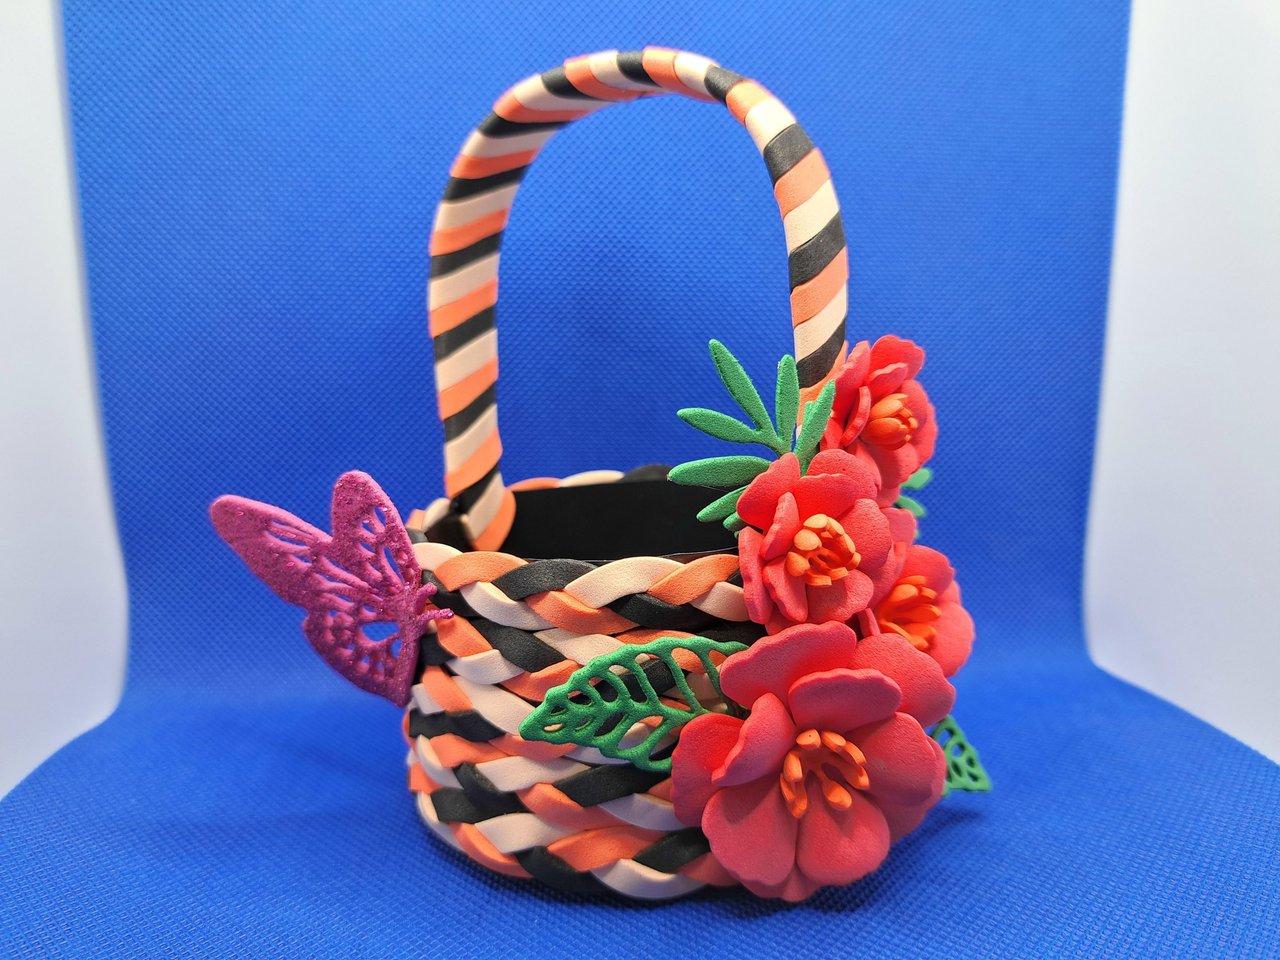
9️⃣ Finally, the butterfly will be glued on the opposite side where the flowers were placed to give a more complete look to the ornament and eliminate the feeling of emptiness on that side.
Para finalizar, se pegará la mariposa en el lado opuesto donde se colocaron las flores para dar un aspecto más completo al adorno y eliminar la sensación de vacío de ese lado.
 |
 |
And well, friends, once again we come to the sad end where it is my turn to say goodbye to all of you, hoping you liked this little creation of mine. Without further ado, I wish you all a happy and prosperous day.
Y bueno, amigos, una vez más llegamos al triste final donde me toca despedirme de todos ustedes, esperando que les haya gustado esta pequeña creación mía. Sin más que agregar, les deseo una feliz y próspera jornada a todos.
 |
 |
 |
 |

Cover page created in Canva Translated by DeepL Images captured with my Samsung Galaxy A53


Posted Using INLEO