
[Esp]
¡Saludos comunidad!
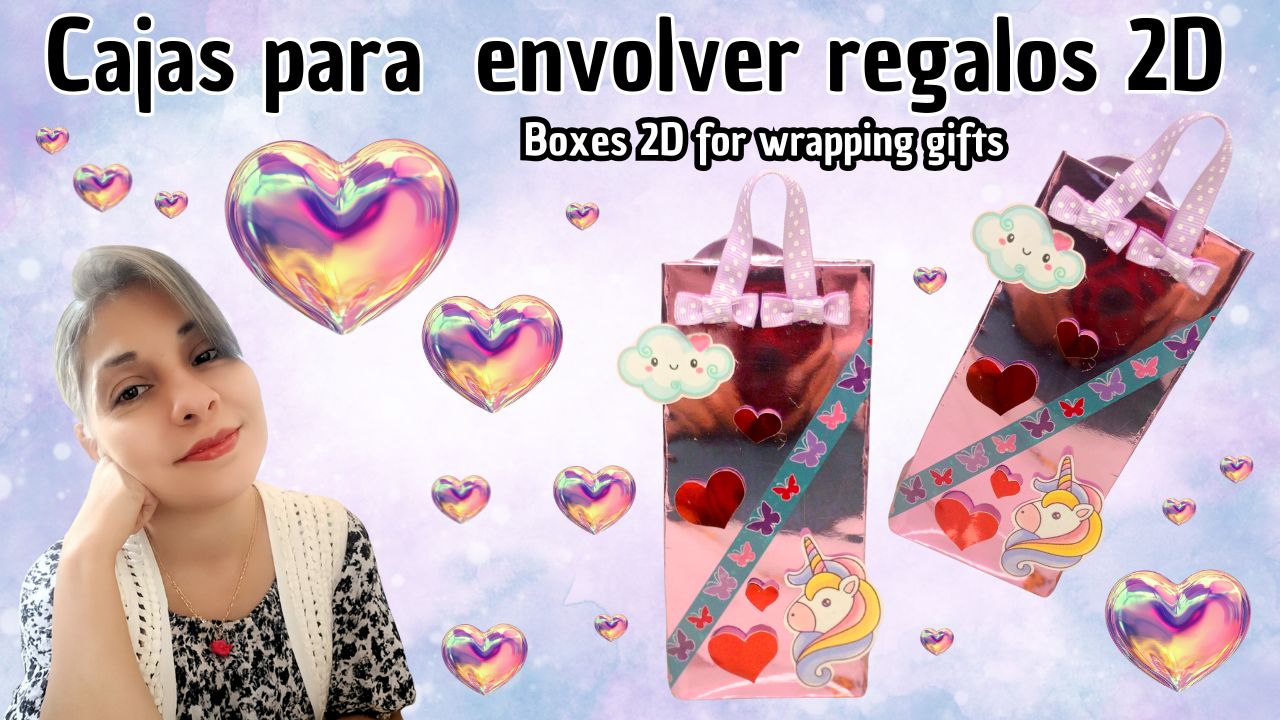
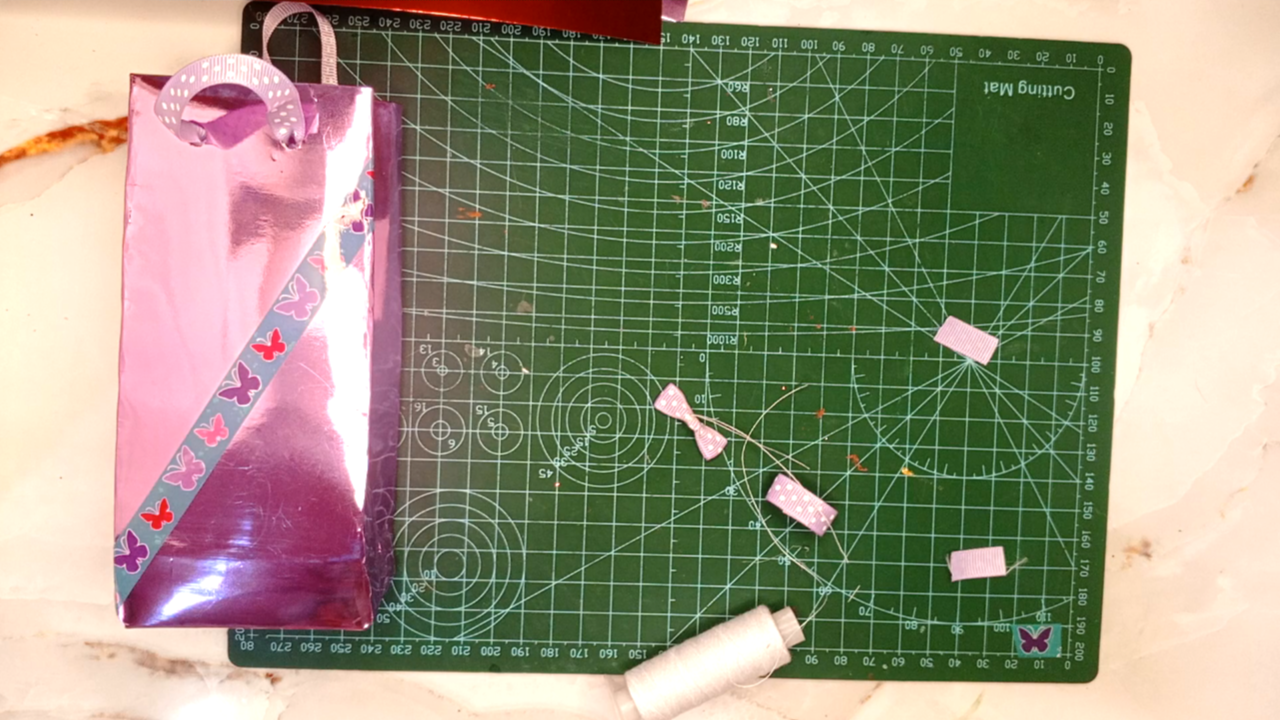
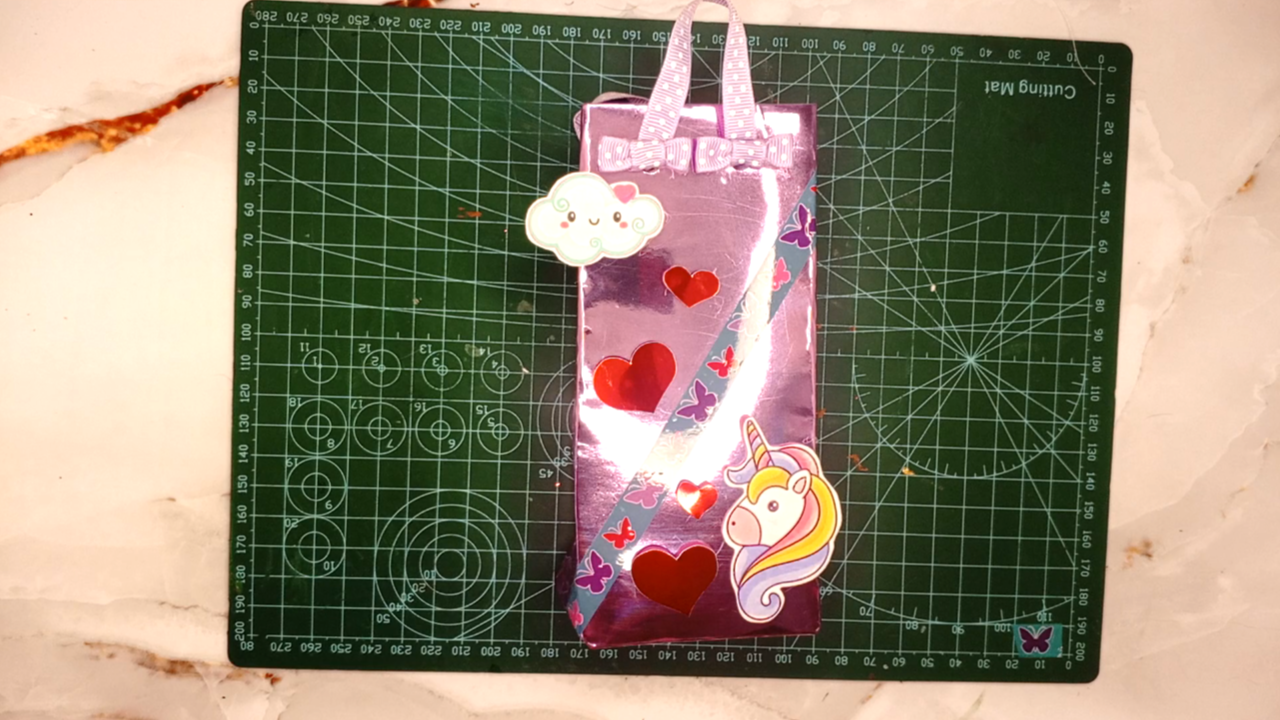
Espero tengan un fin de semana muy hermoso y de descanso. Hoy quería trabajar haciendo algo en filigrana, una letra decorada, algo bonito, sin embargo, cuando iba a tomar el papel y las cartulinas, vi esta hermosa cartulina metalizada morada y no aguanté la tentación de armar una caja para envolver regalos. Algo estilo kawaii para algún perfume, crema que por su tamaño es ideal, niñas y adolescentes que amen el estilo kawaii les gustará incluso a mí me fliparía me personalizaran algo asi, hecho a mano con mucho valor sentimental.
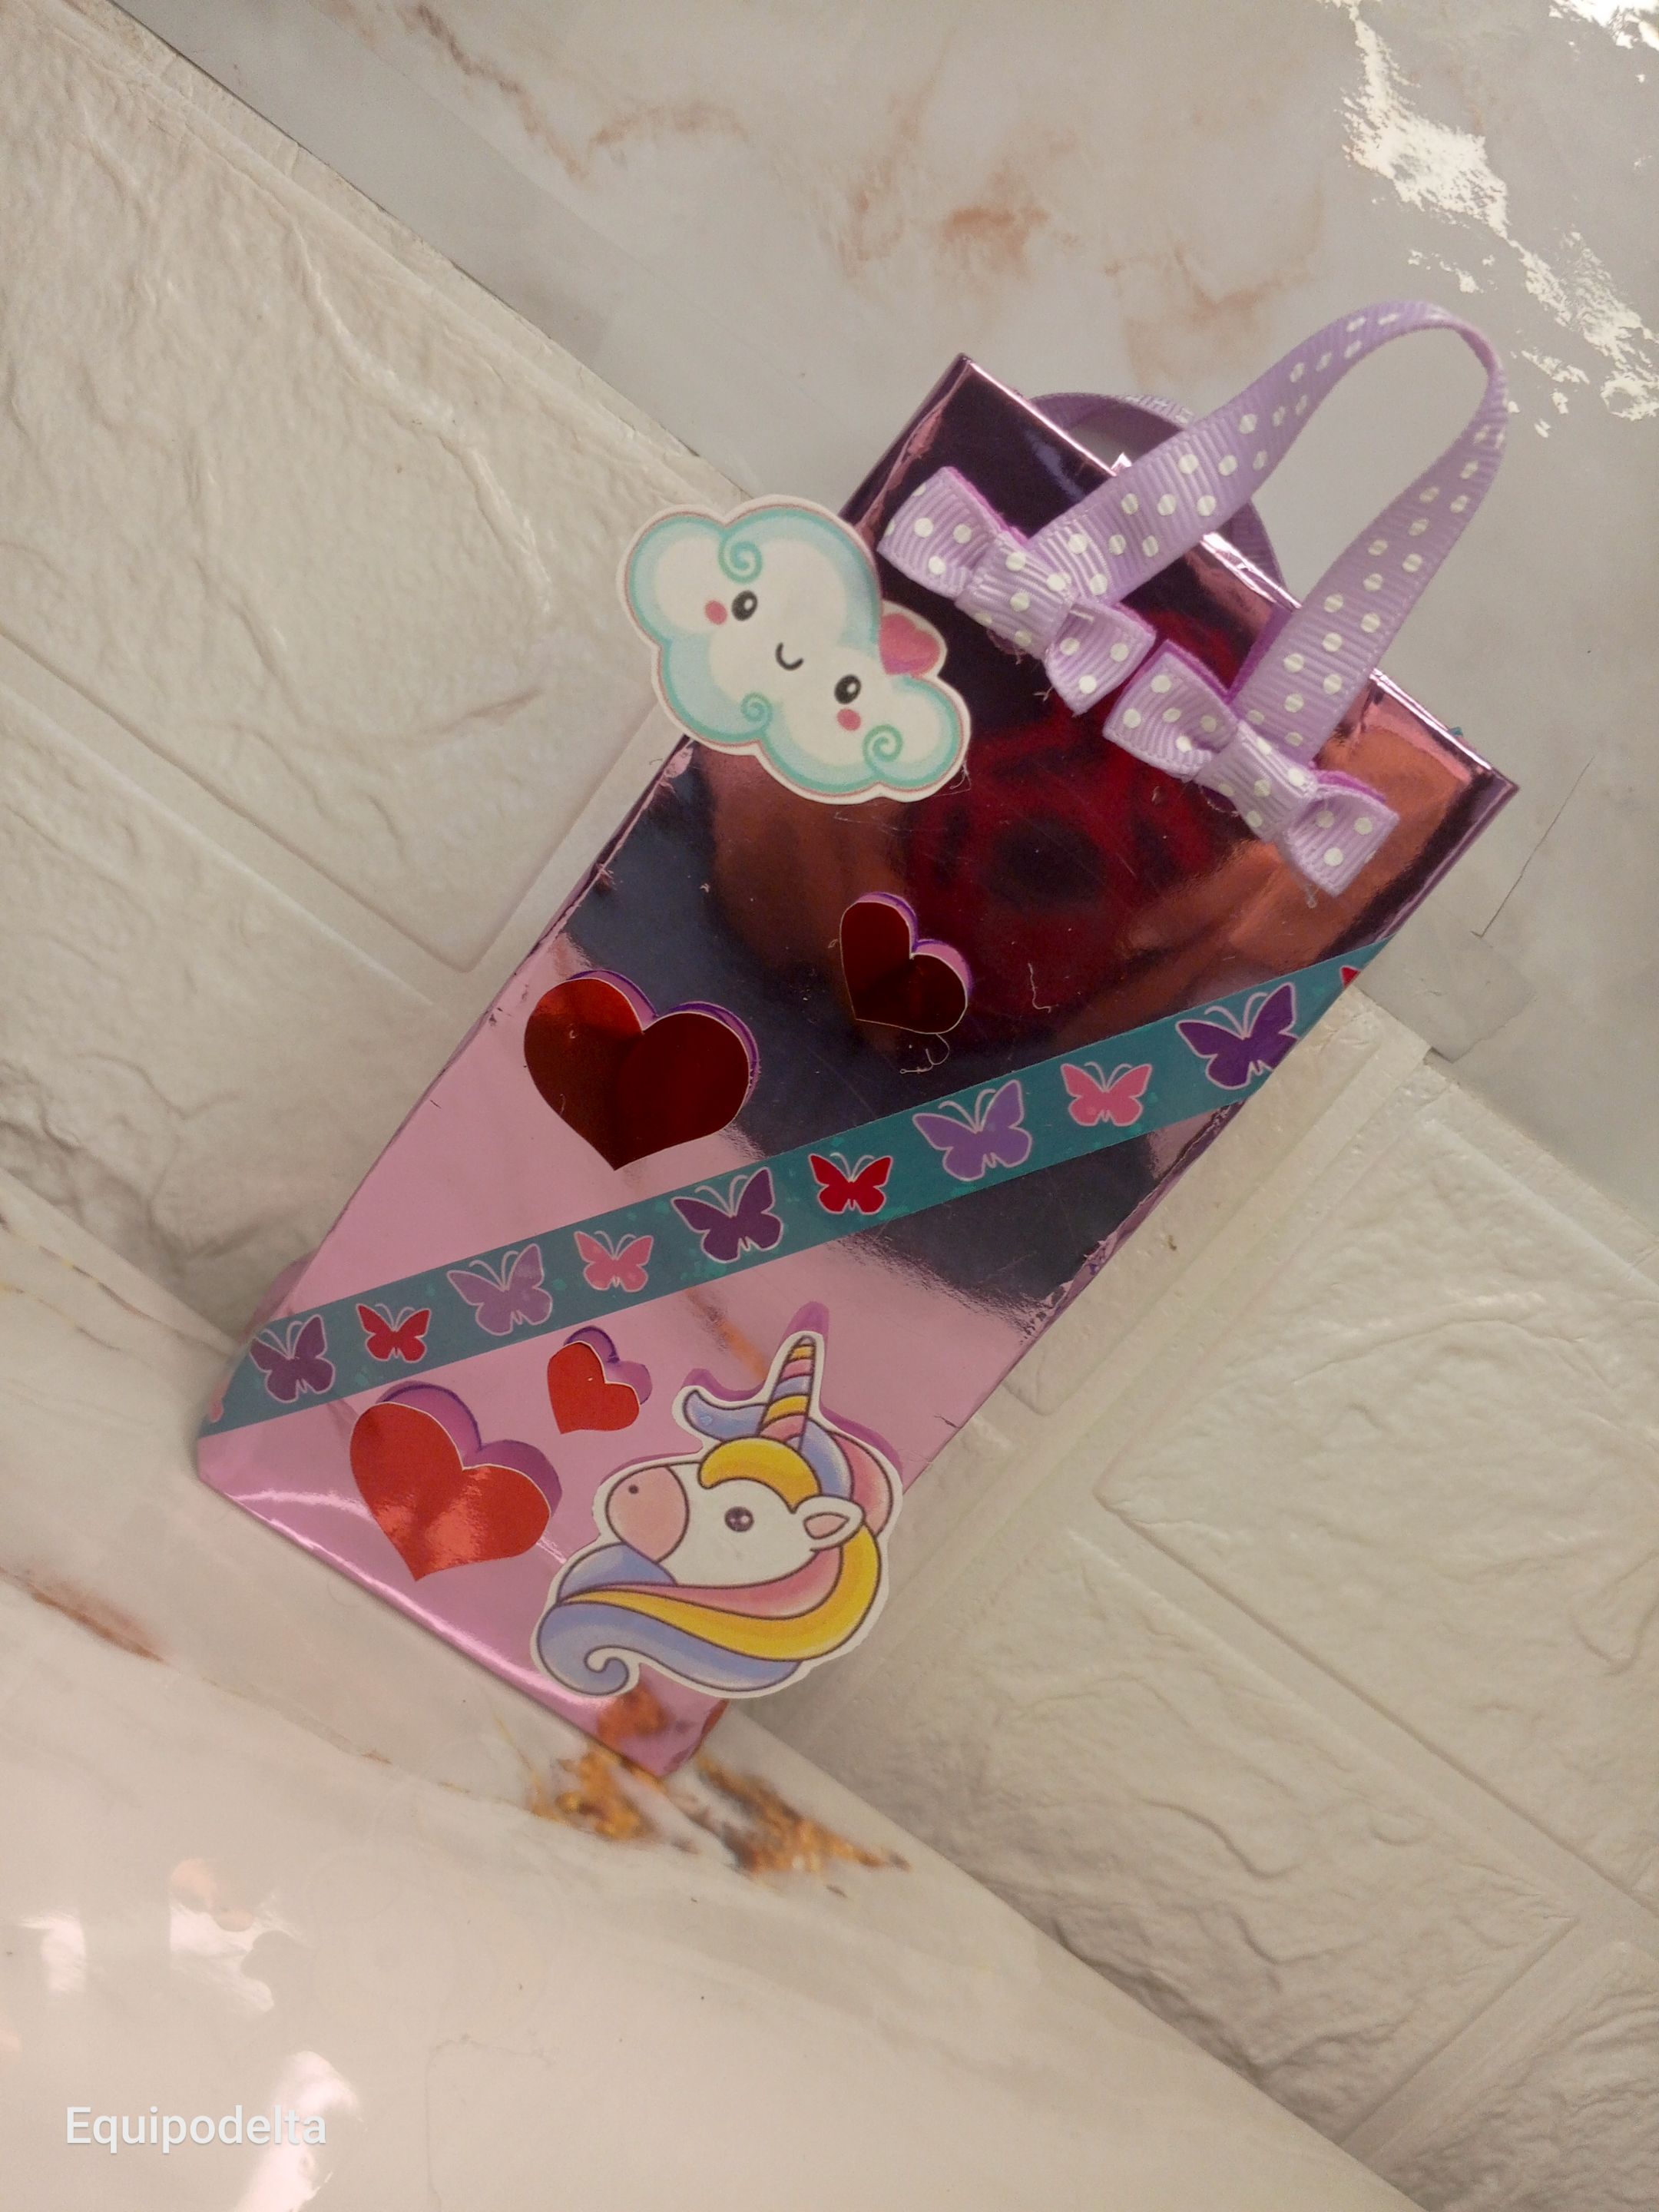
Si en la parte superior luego de introducir el obsequio lo decoras con papel coreano de color morado y agregas unos chocolates, ¡Wow! el combo completo.
Esta cartulina metalizada es brillante y refleja todo, es muy dificultoso para grabar y por la cámara, de hecho confirmé que es morado, pero en la grabación y en foto parece otro color (o no sé si soy yo con mi daltonismo) de todas maneras, lo amo, es estupendo, desearía me obsequiaran algo personalizado como esto y lleno de dulces.
Tiene un efecto 2D pues los corazones los pude en un segundo plano, sobresaliendo del resto. Espero les guste.
>! [English version]
Greetings, community!
I hope you have a wonderful, relaxing weekend. Today I wanted to work on something filigree, a decorative letter, something pretty, but when I went to get the paper and cardstock, I saw this beautiful purple metallic cardstock and couldn't resist the temptation to make a gift box. Something kawaii-style for perfume or cream, which is ideal because of its size. Girls and teenagers who love the kawaii style will love it. Even I would be thrilled if someone personalized something like this for me, handmade with a lot of sentimental value.
If, after putting the gift inside, you decorate the top with purple Korean paper and add some chocolates, wow! The complete combo.
This metallic cardstock is shiny and reflects everything. It's very difficult to record and photograph. In fact, I confirmed that it's purple, but in the recording and photo, it looks like a different color (or maybe it's just me and my color blindness). Anyway, I love it, it's great. I wish someone would give me something personalized like this and filled with candy.
It has a 2D effect because the hearts are in the background, standing out from the rest. I hope you like it.
# Materiales / Materials
| Spanish | English | |
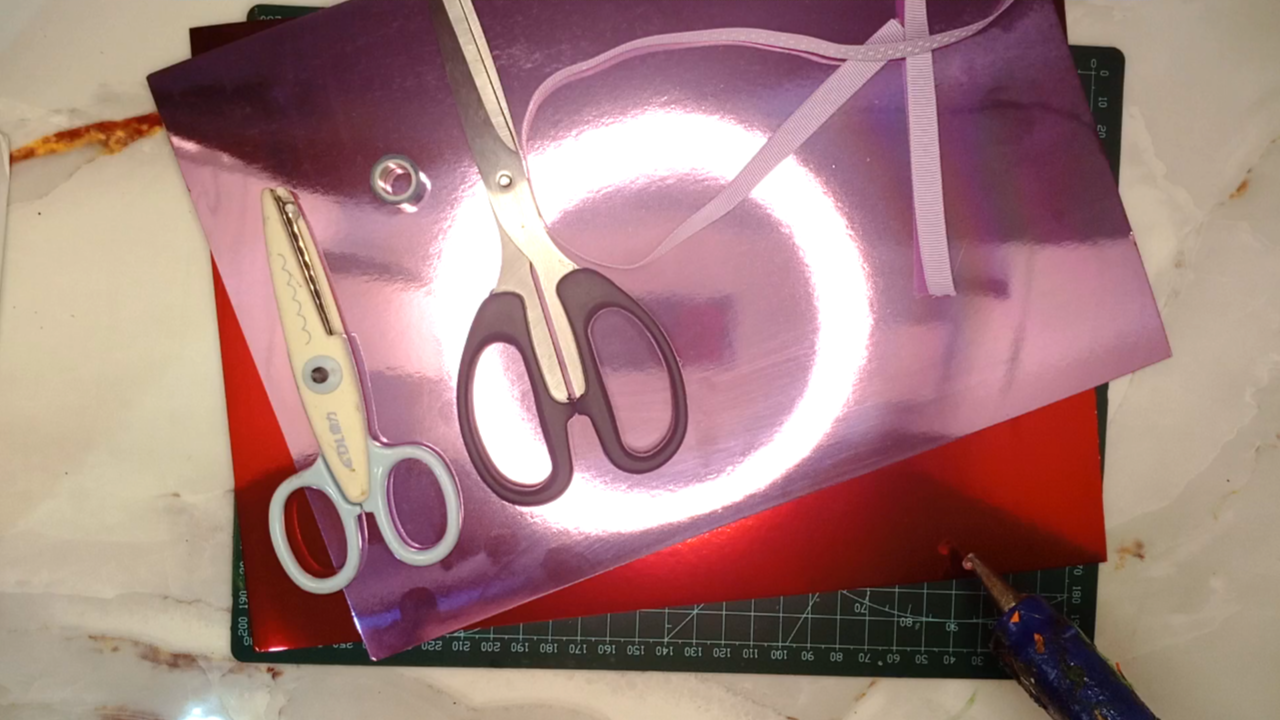
| Cartulina metalizada | Metallic cardstock | |
| Cinta gross delgada | Thin gross ribbon | |
| Cinta Washi | Whashi tape | |
| Yesquero, stickers | Lighter, Stickers | |
| Tijera de formas y tijera normal | Shape scissors and regular scissors | |
| Silicón caliente | Hot silicone | |
| Cinta doble contacto | Double-sided tape |
Paso a paso / Step by Step
Step 1️⃣/ Paso 1️⃣
 |
 |
|
 |
 |
[Esp]
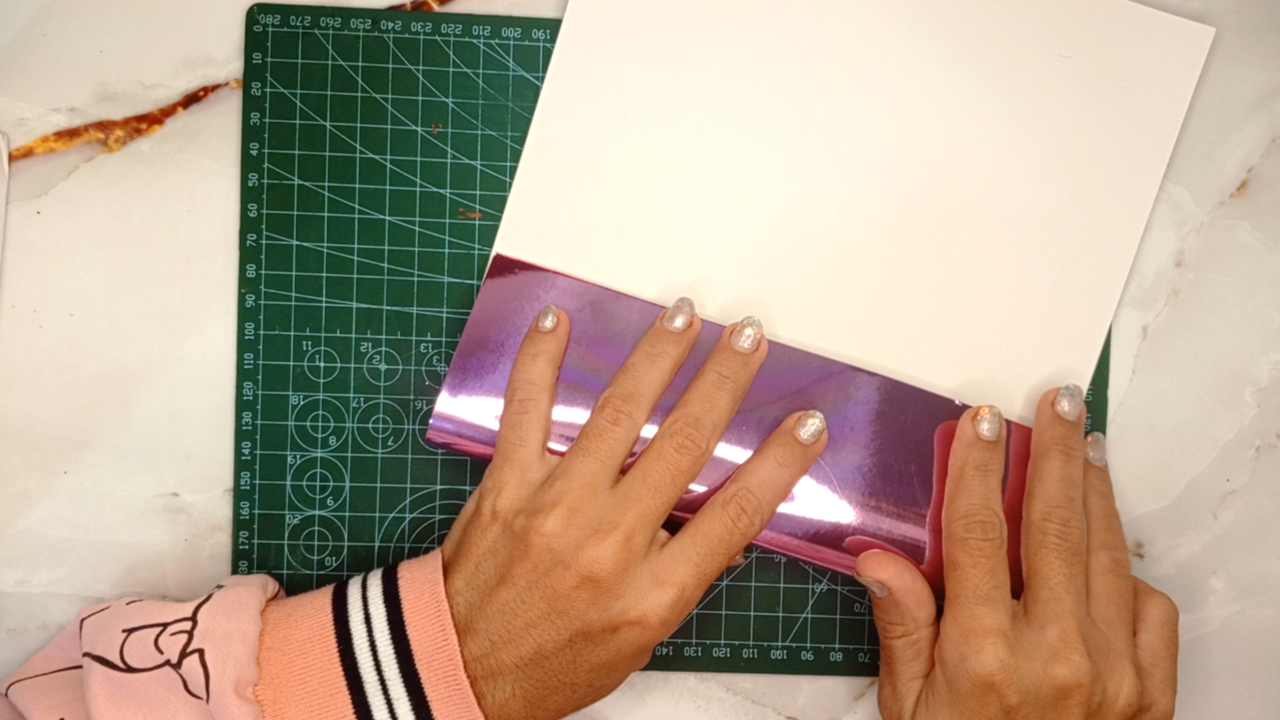
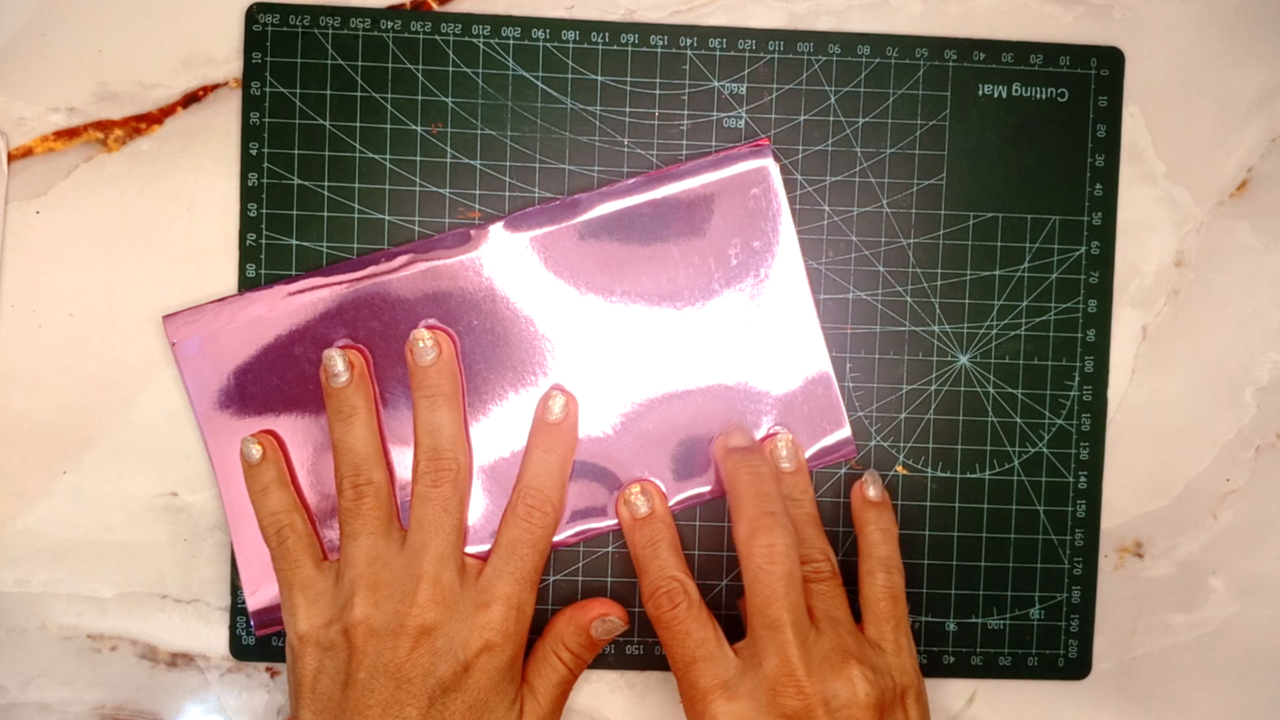
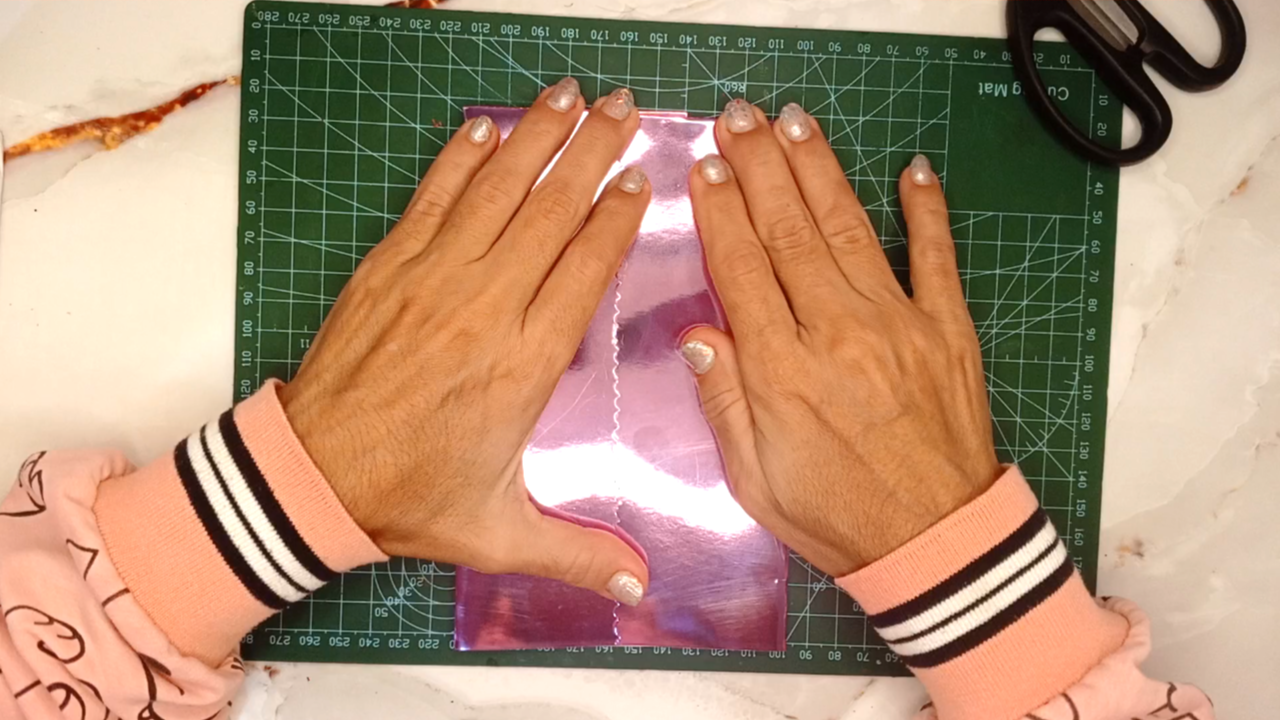
Toma la medida del alto y ancho que quieres la caja de regalo. realiza el primer doblez vertical por un lado y luego del otro lado del mismo ancho.
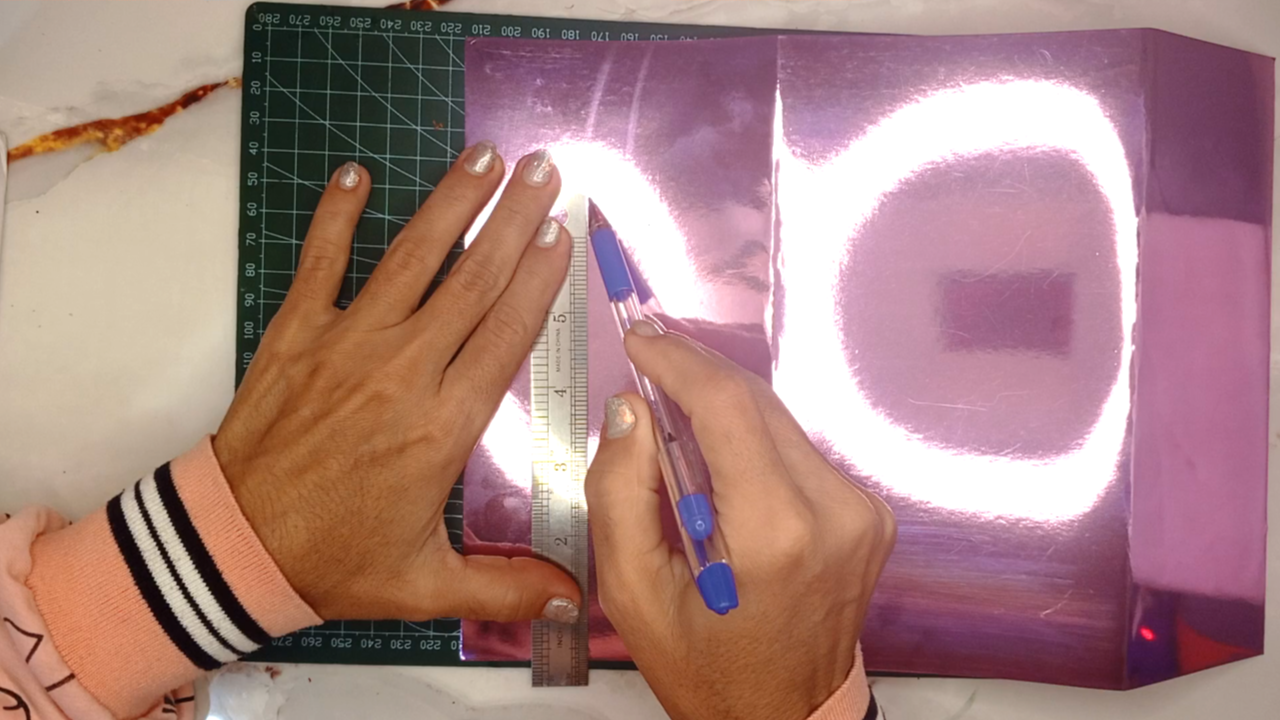
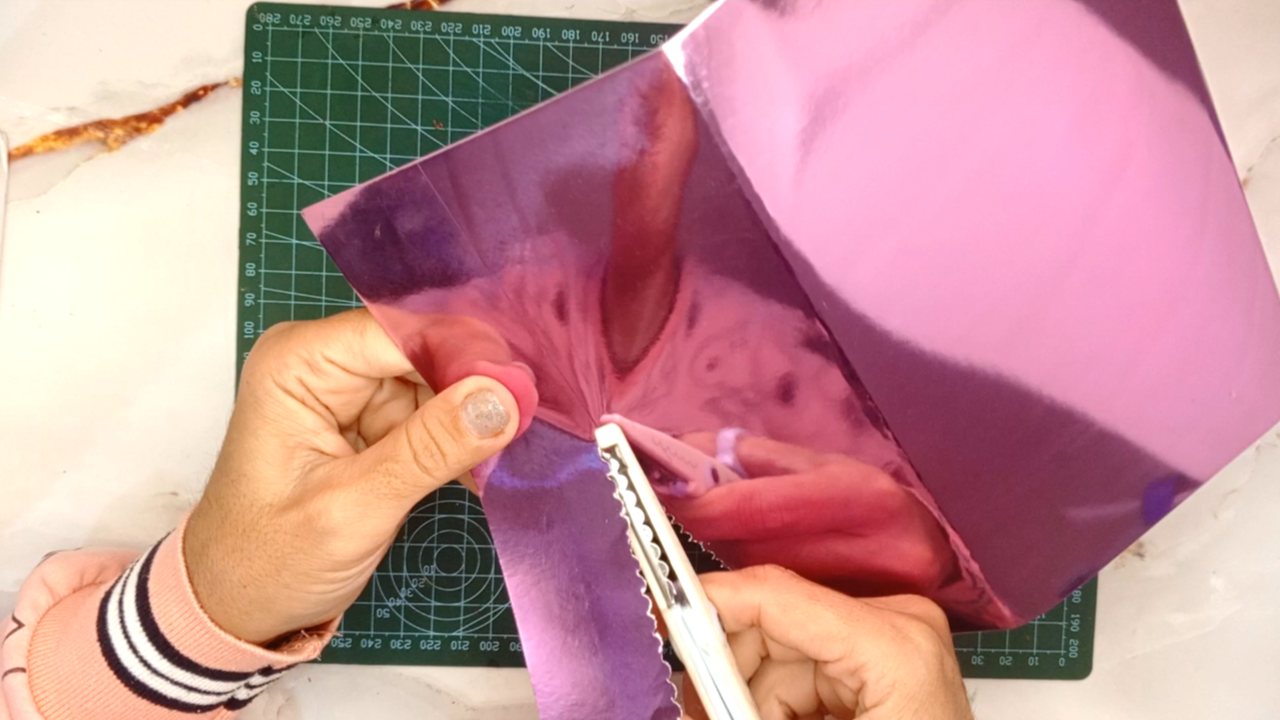
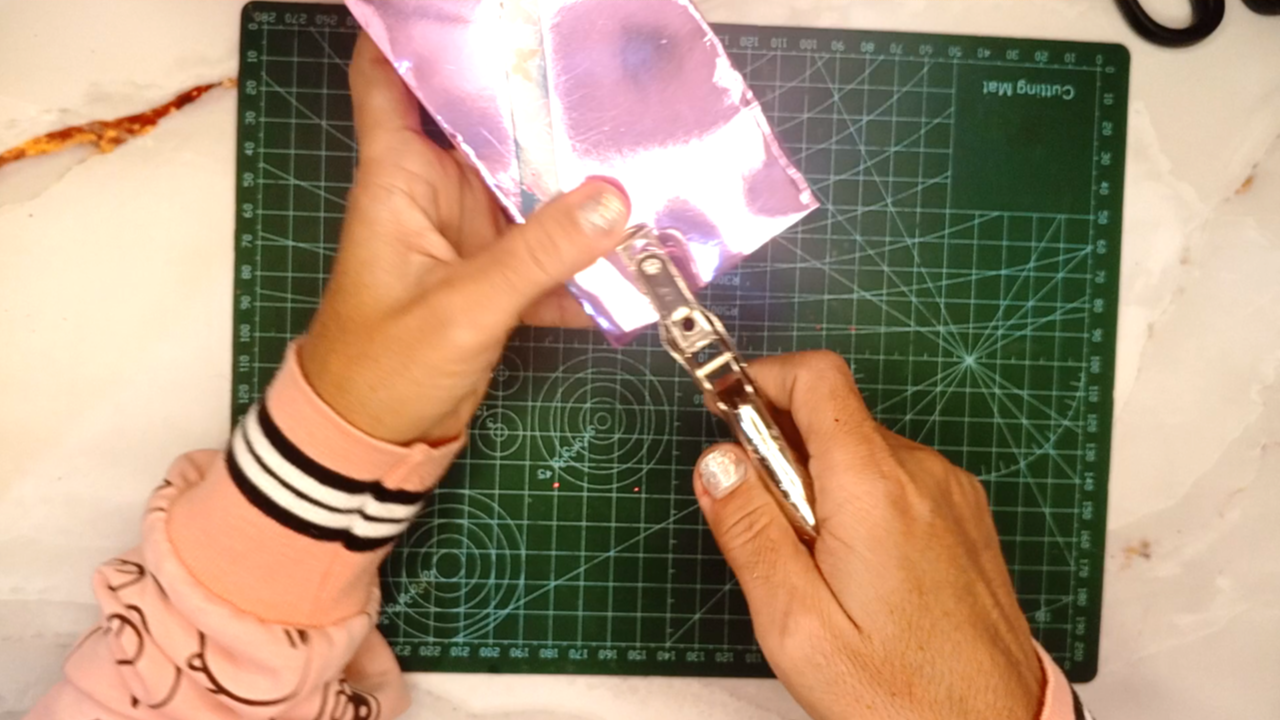
Esta cartulina es tamaño carta por lo que me quedó 6 centímetros de más qué cortar, aprovecho y uso la tijera de formas para hacerlo y darle textura.
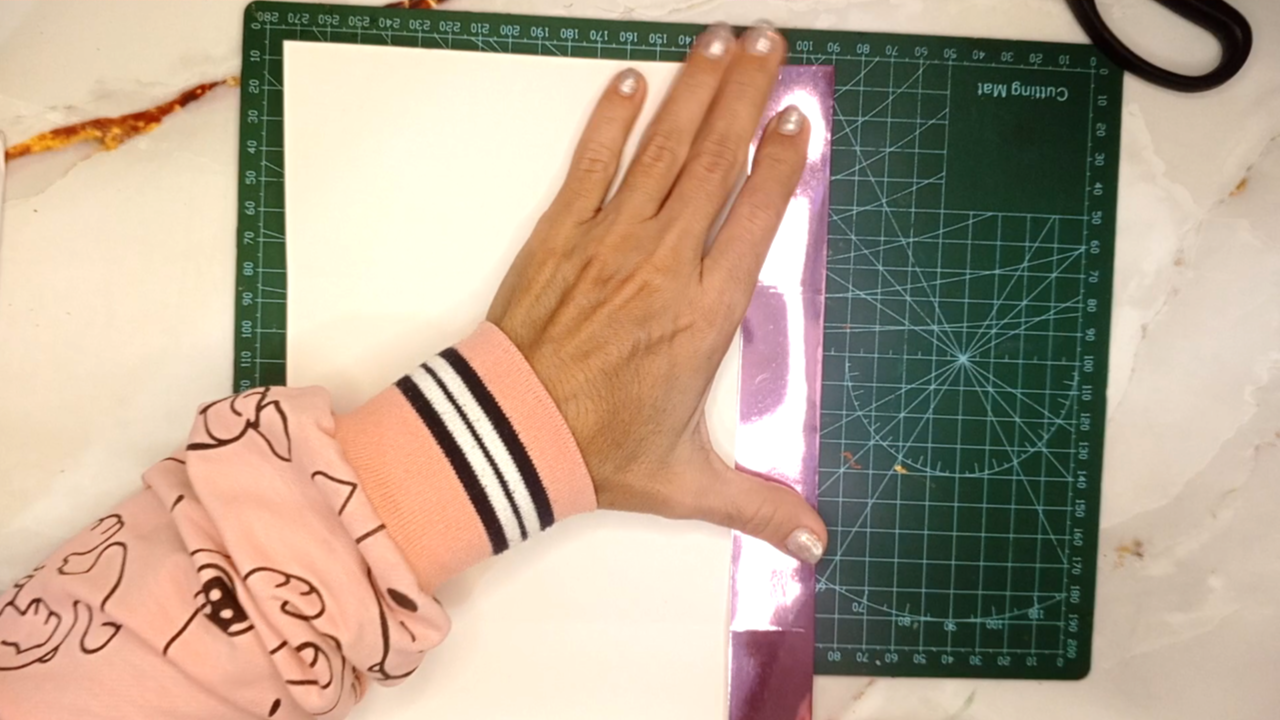
Dobla 2 centímetros de cartulina hacia adentro en la parte superior de la caja.
>! [English version]
Measure the height and width you want for the gift box. Make the first vertical fold on one side and then on the other side of the same width.
This cardstock is letter size, so I had 6 centimeters left to cut. I took advantage of this and used shaped scissors to do it and give it texture.
Fold 2 centimeters of cardstock inward at the top of the box.
Step 2️⃣/ paso 2️⃣
 |
 |
 |
 |
[Esp]
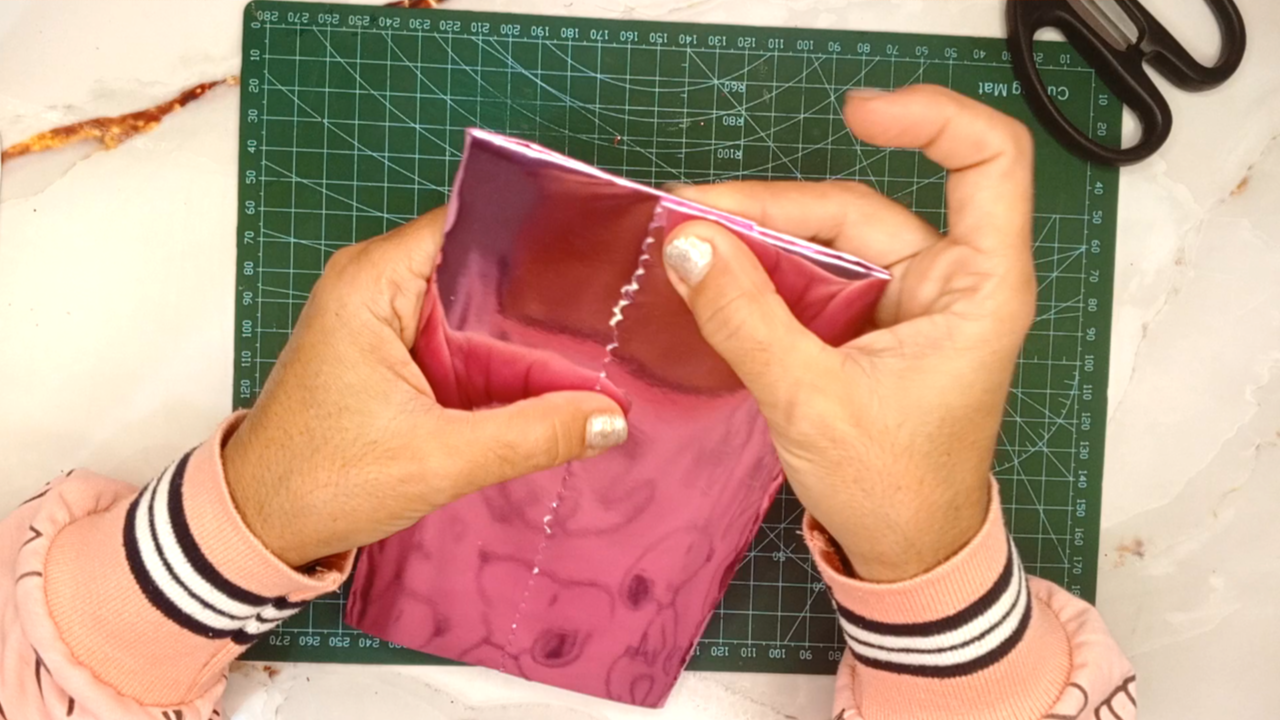
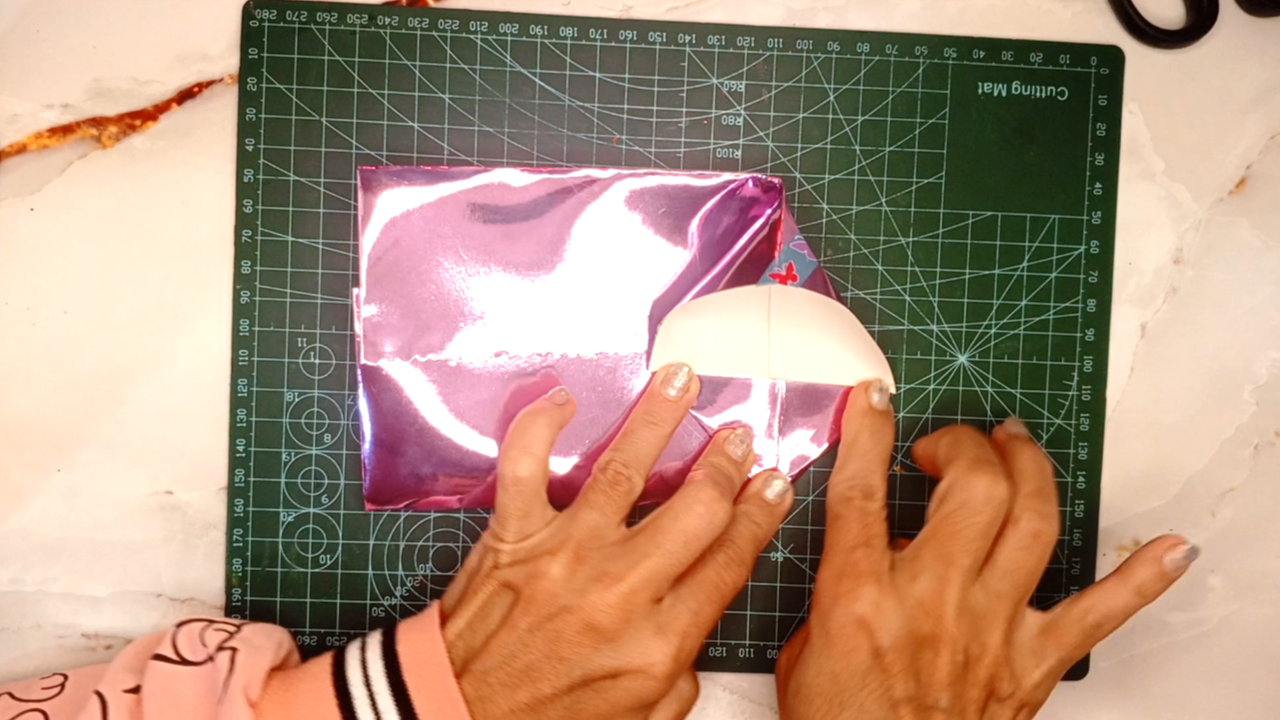
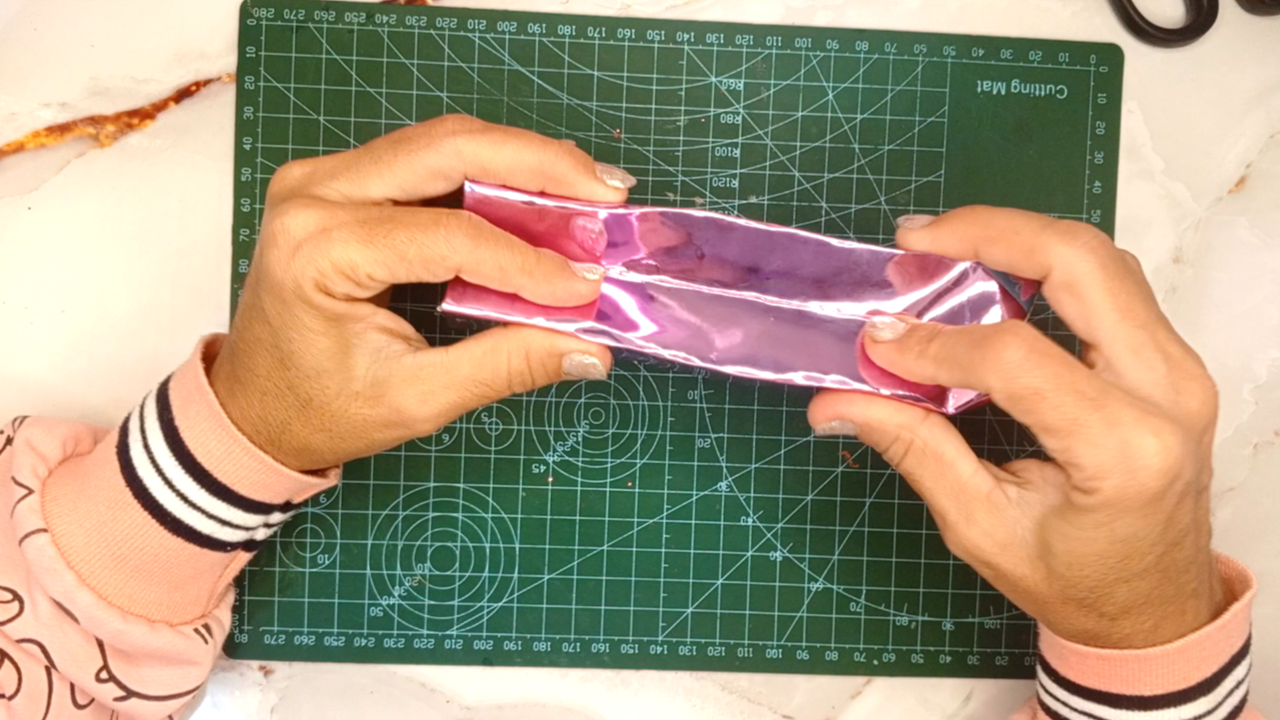
Dobla bien por los lados quedando el corte en el medio.
Aplica pegamento a lo largo para cerrar.
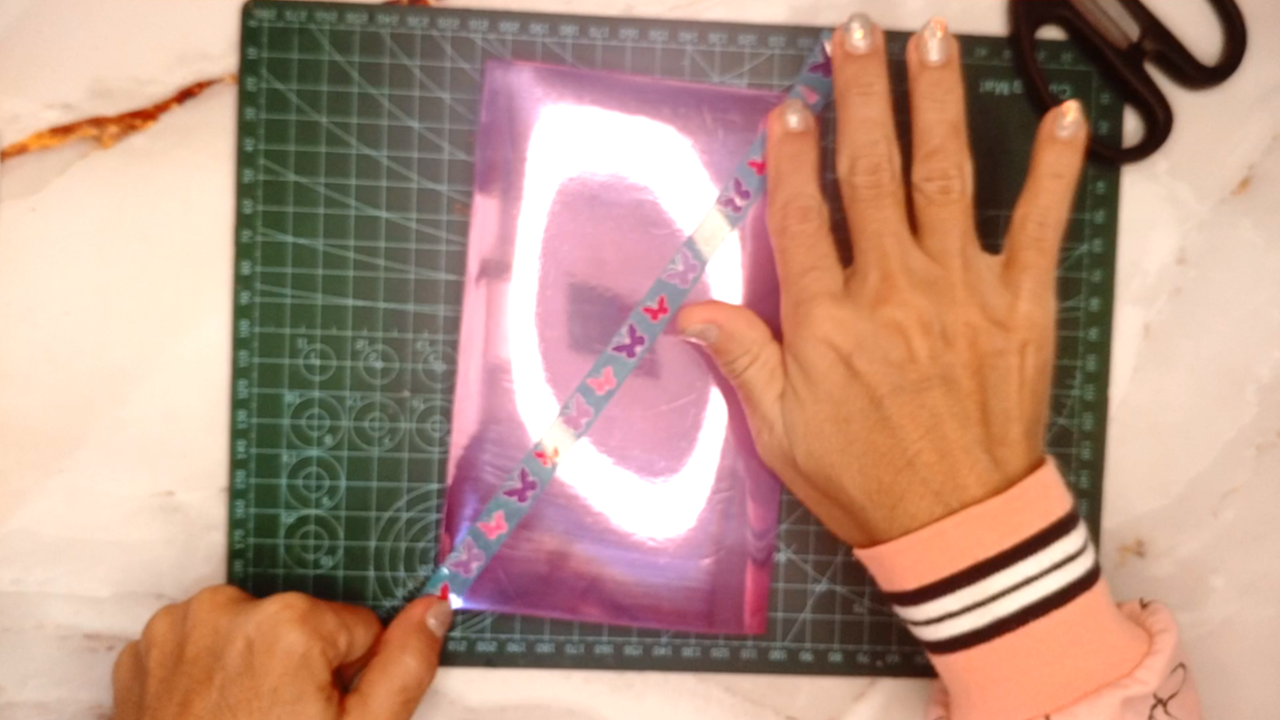
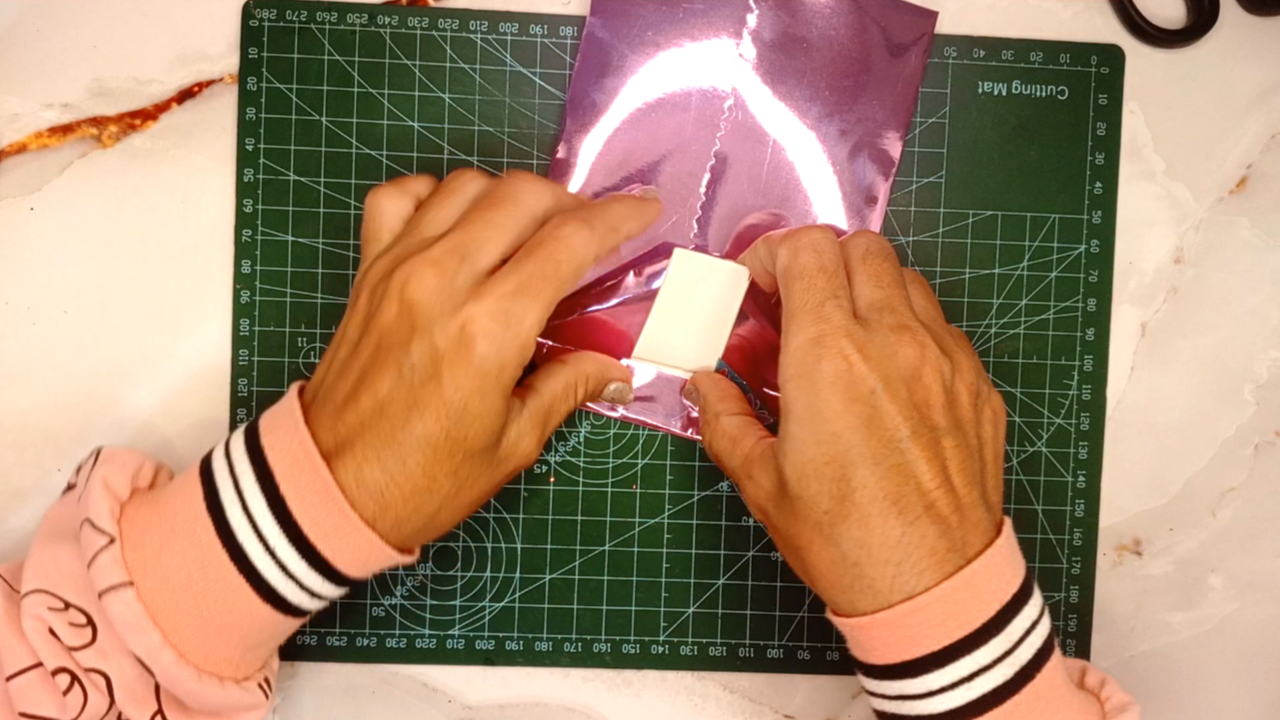
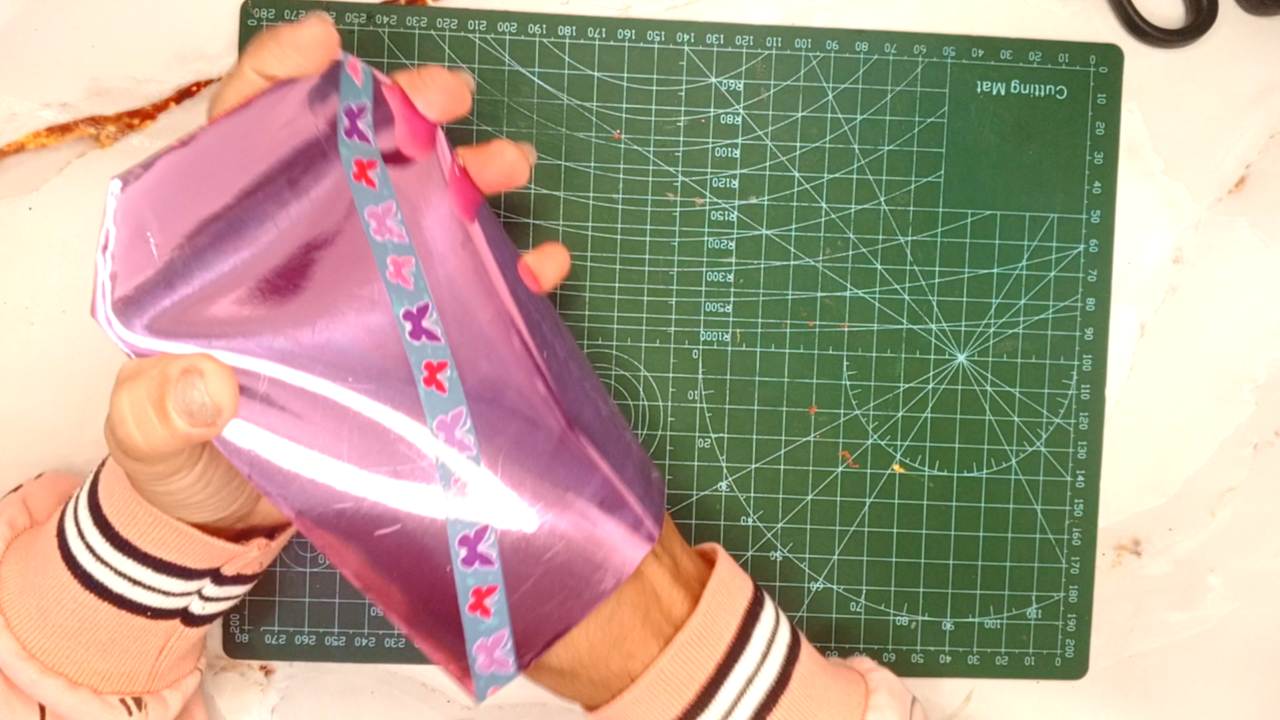
Toma la cinta Washi y pega diagonal en la caja. Corta el excedente.
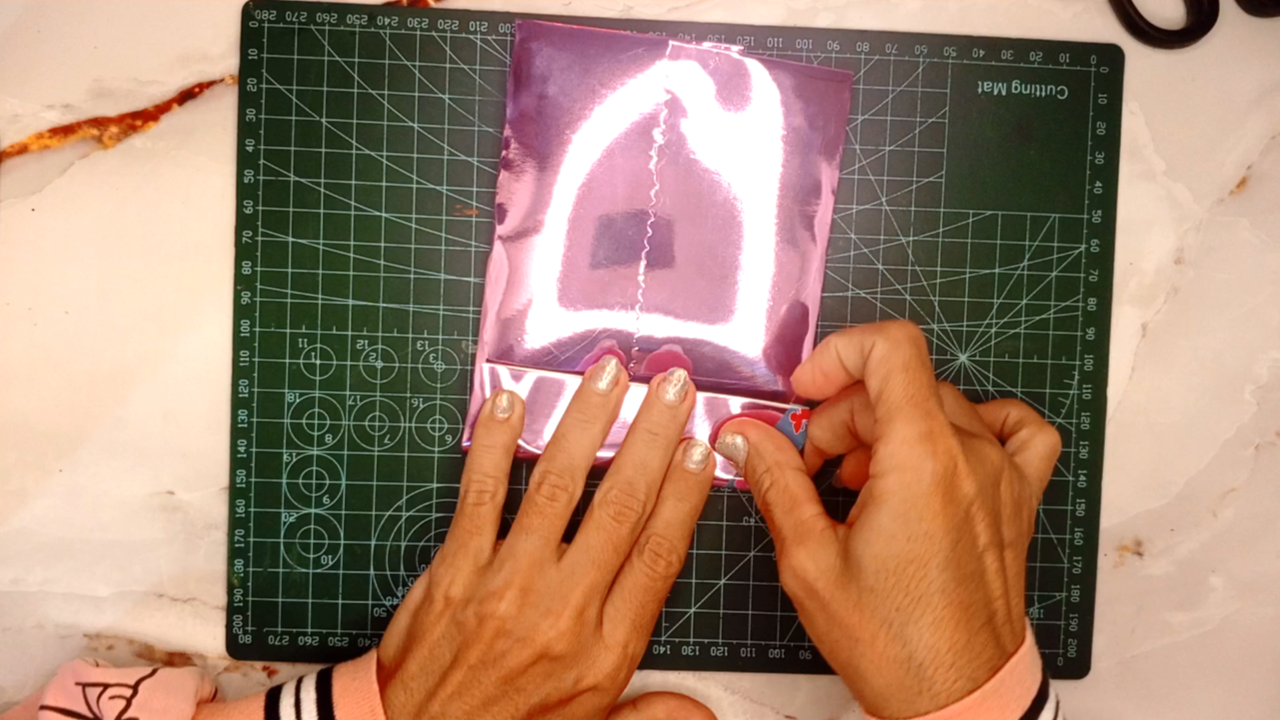
Dobla la parte superior una pestaña de 4 centímetros.
Abre la pestaña y en una esquina dobla para formar un triángulo. Repite este paso del otro lado.
Dobla nuevamente la pestaña hacia adentro hasta el centro, aplica pegamento.
Dobla la otra pestaña hacia adentro y aplica el pegamento.
>! [English version]
Fold the sides neatly, leaving the cut in the middle.
Apply glue along the length to close.
Take the Washi tape and stick it diagonally onto the box. Cut off the excess.
Fold the top part down 4 centimeters.
Open the flap and fold one corner to form a triangle. Repeat this step on the other side.
Fold the flap back in toward the center and apply glue.
Fold the other flap inward and apply glue.
Step 3️⃣/ paso 3️⃣
 |
 |
|
 |
 |
[Esp]
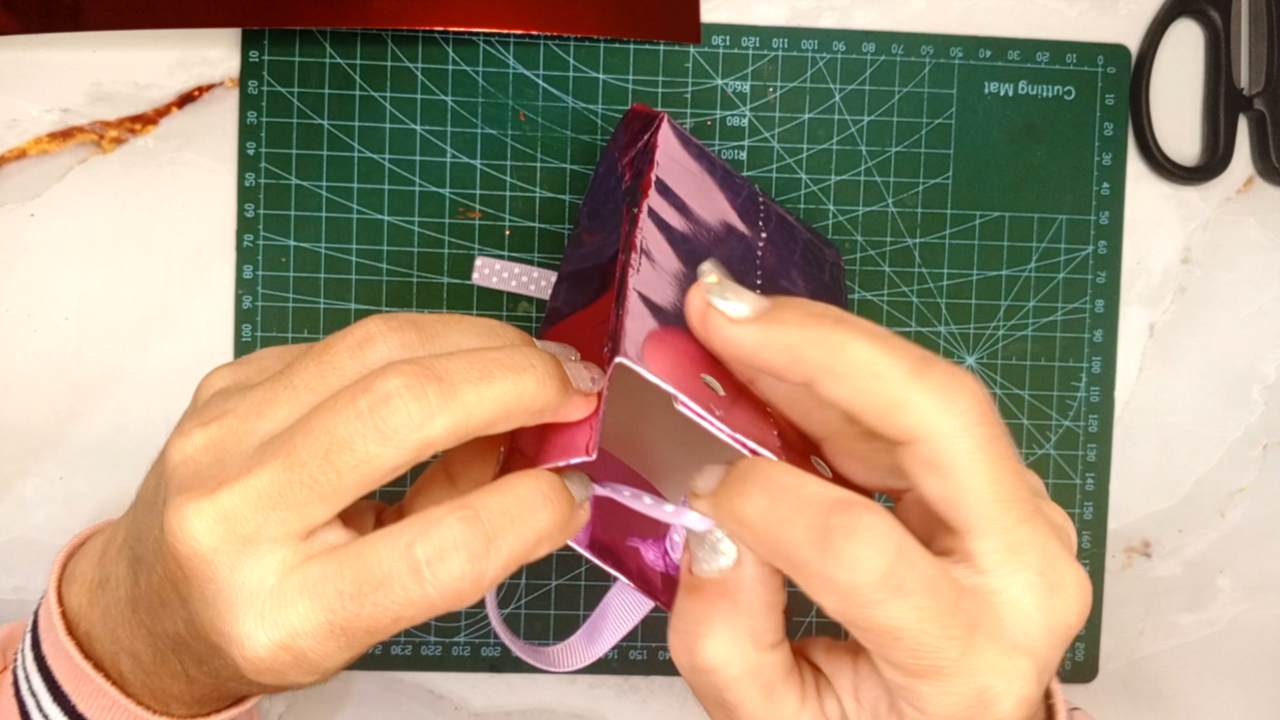
Abre la caja y ve dando forma a los bordes hacia adentro de cada lado.
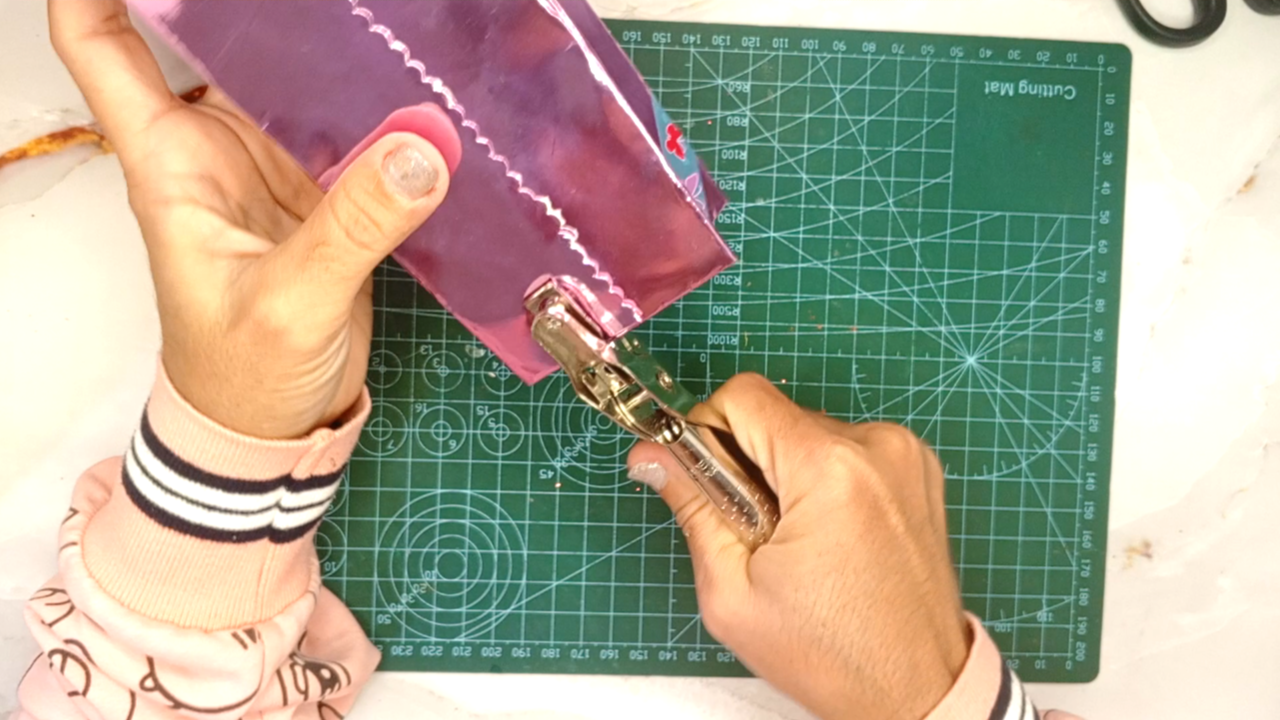
Toma el abre huecos y abre dos huecos de cada lado por la parte delantera y trasera.
Toma un trozo de cinta gross y corta dos de la misma media, en cada una haces un nudo y quema las puntas para que no deshilache.
>! [English version]
Open the box and shape the edges inward on each side.
Take the hole punch and punch two holes on each side at the front and back.
Take a piece of thick ribbon and cut two pieces of the same length. Tie a knot in each one and burn the ends so they don't fray.
Step 4️⃣/ paso 4️⃣
 |
 |
|
 |
 |
[Esp]
Introduce la cinta por los agujeros dejando el nudo hacia adentro, luego de introducirlo en el otro orificio realiza un nudo para que no se salga, repite este paso con el otro lado.
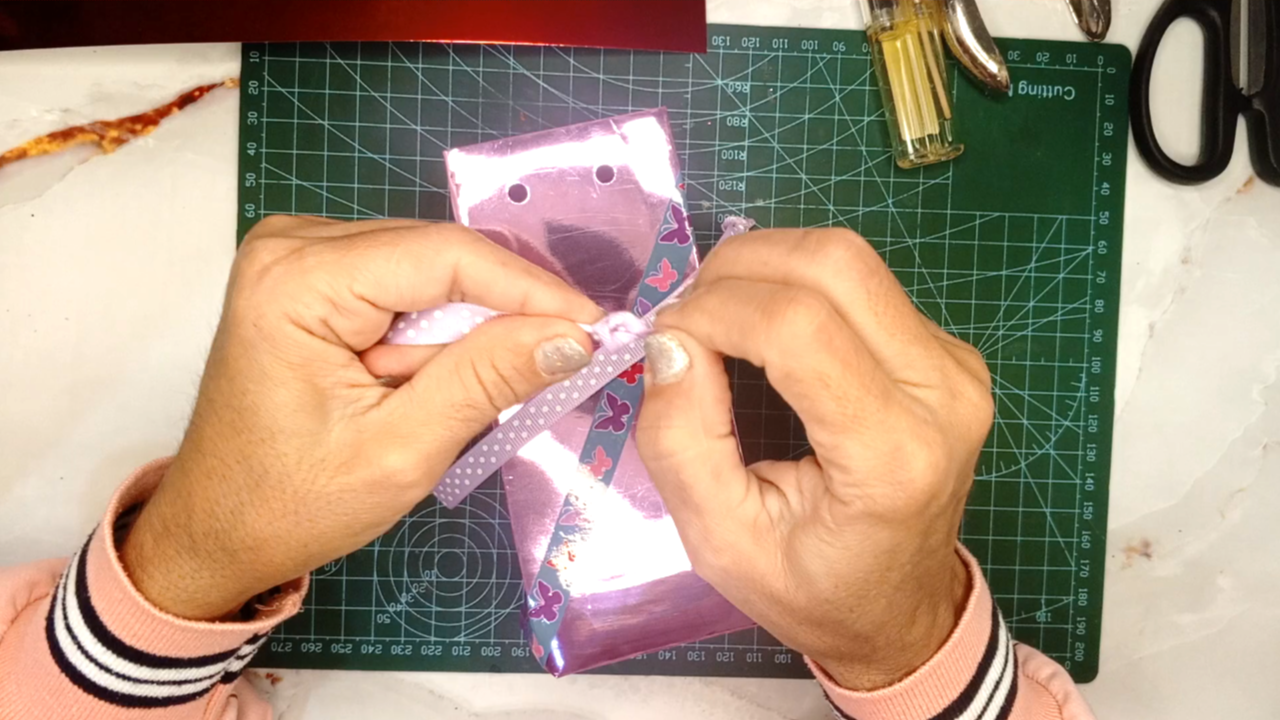
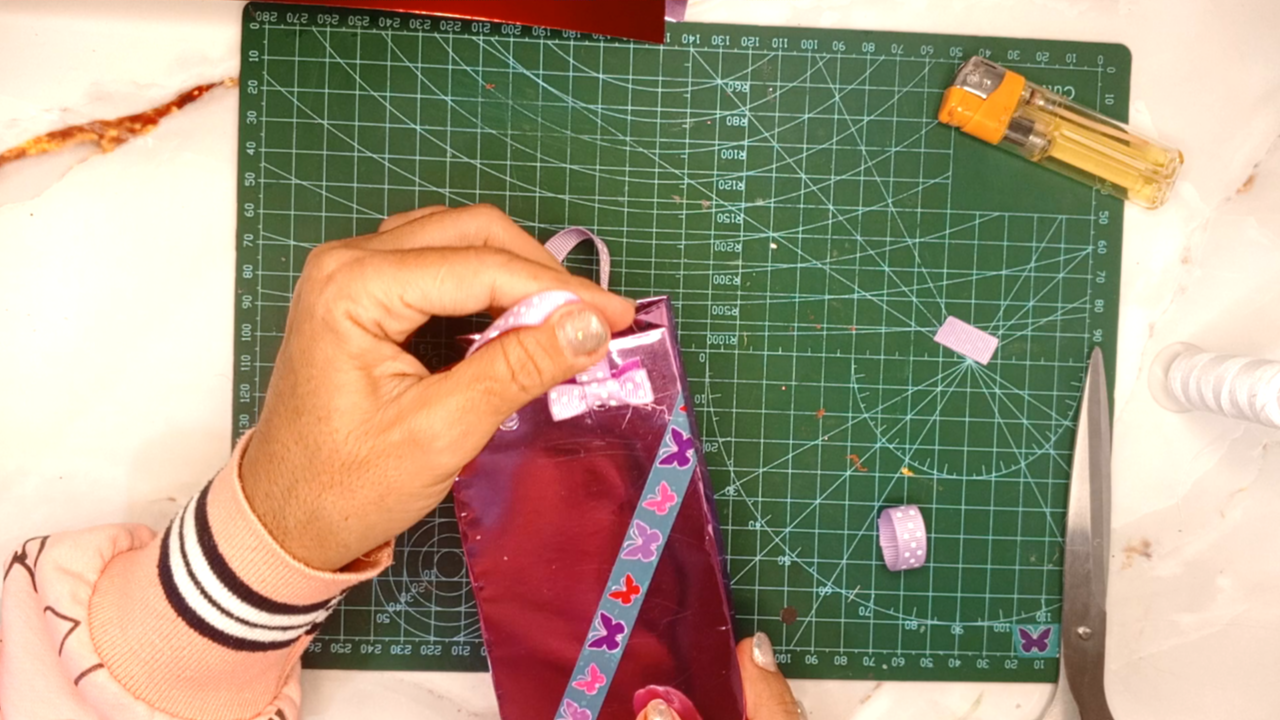
Toma dos trozos de cinta y realiza dos mini lazos.
Pega cada mini lazo en la parte delantera en el asa.
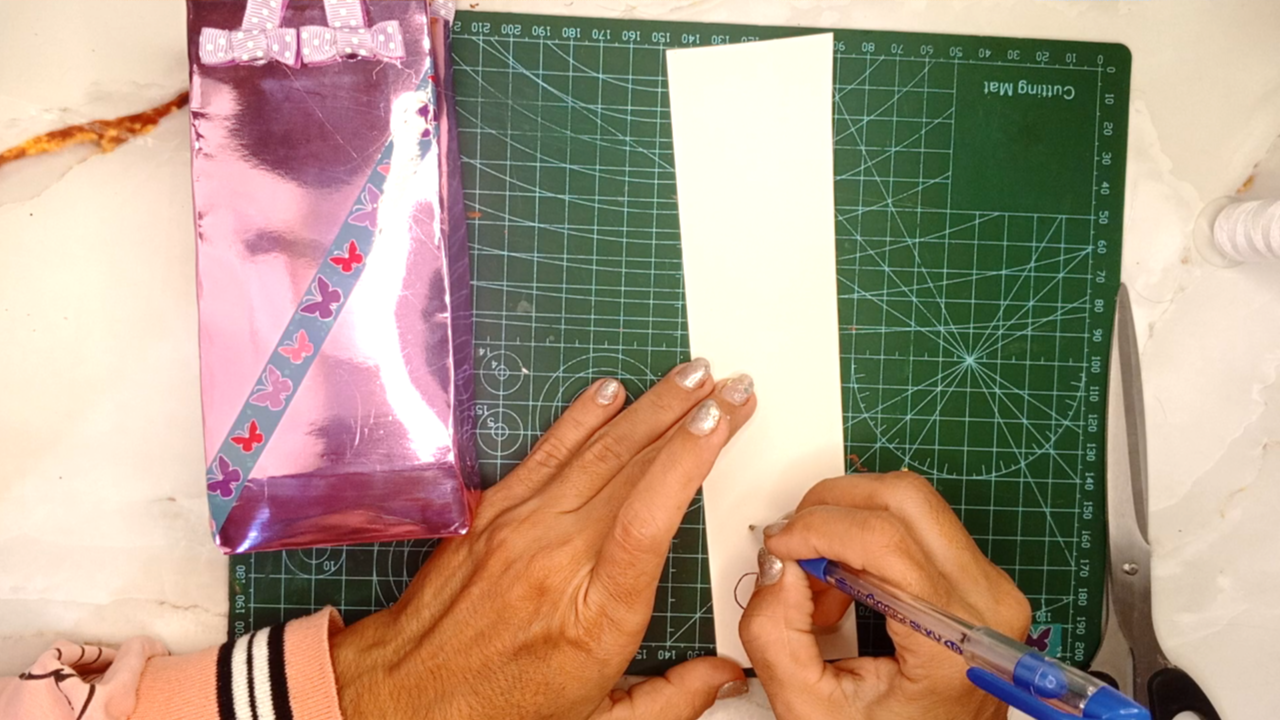
Dibuja unos corazones en cartulina roja y recorta.
>! [English version]
Insert the ribbon through the holes, leaving the knot inside. After inserting it into the other hole, tie a knot so that it doesn't come out. Repeat this step on the other side.
Take two pieces of ribbon and make two mini bows.
Glue each mini bow to the front of the handle.
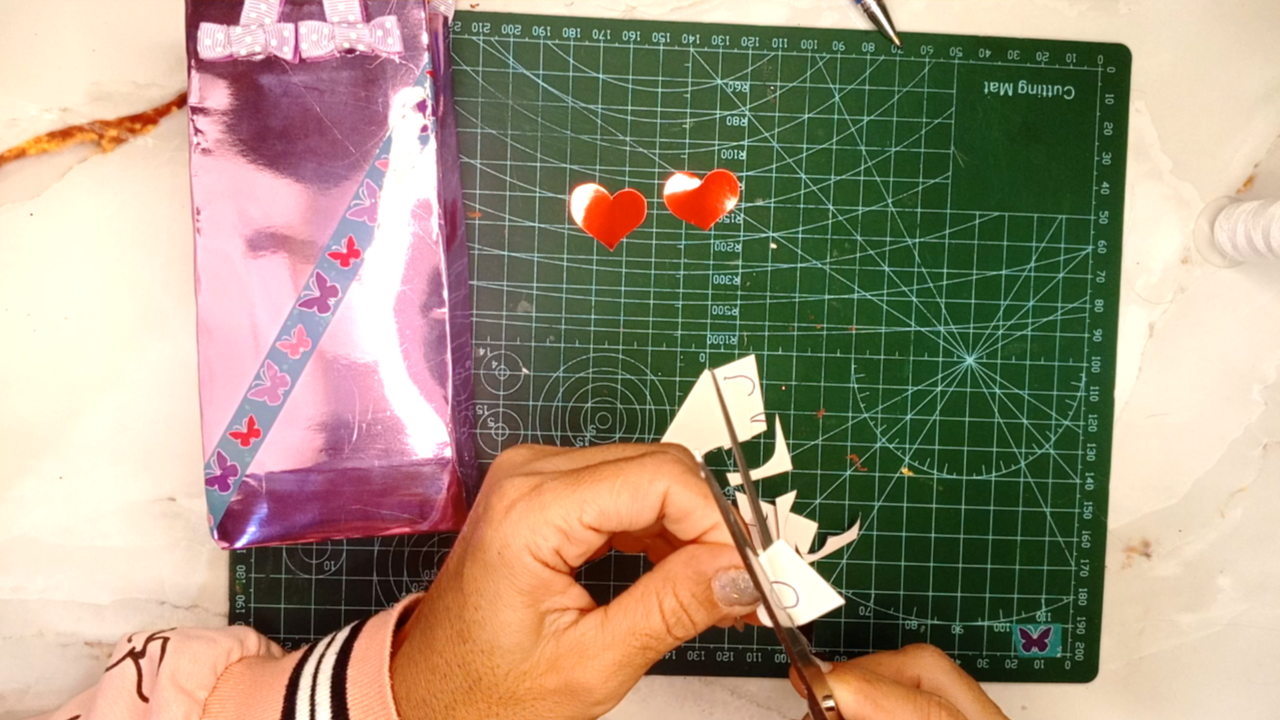
Draw some hearts on red cardstock and cut them out.
Step 5️⃣/ paso 5️⃣
 |
! |
|
 |
! |
[Esp]
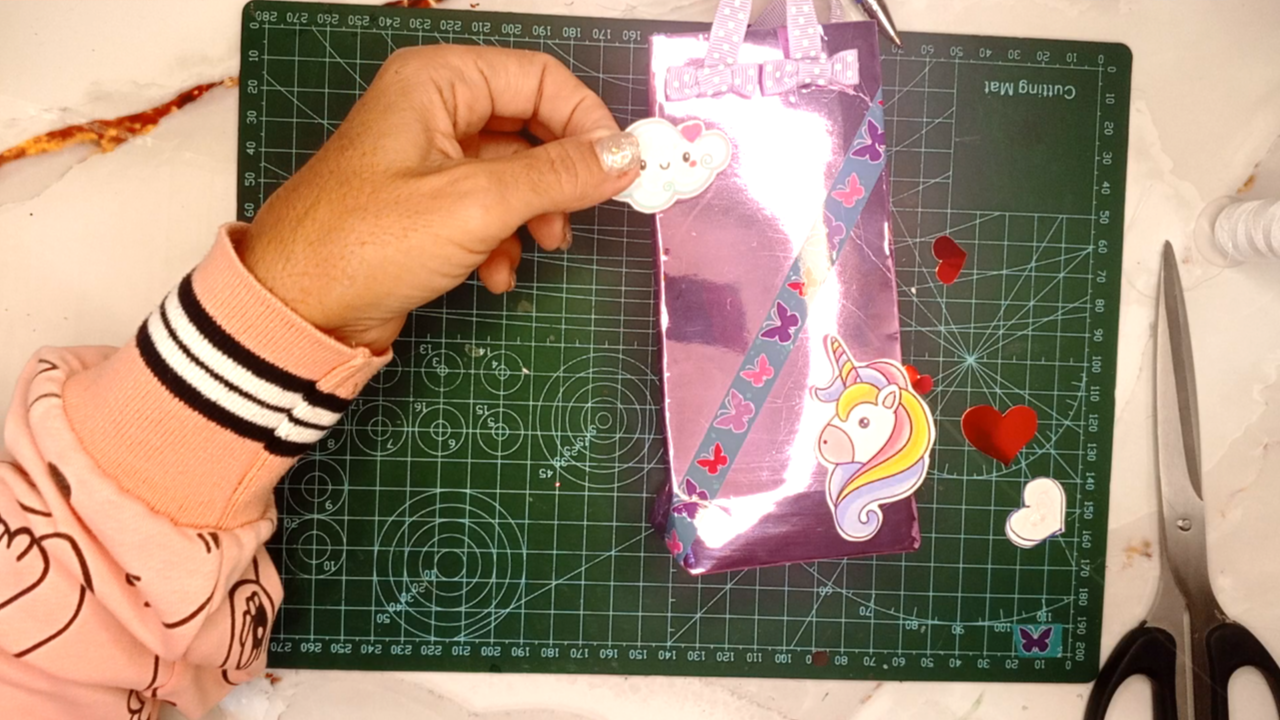
Decora a tu gusto coloca los stickers.
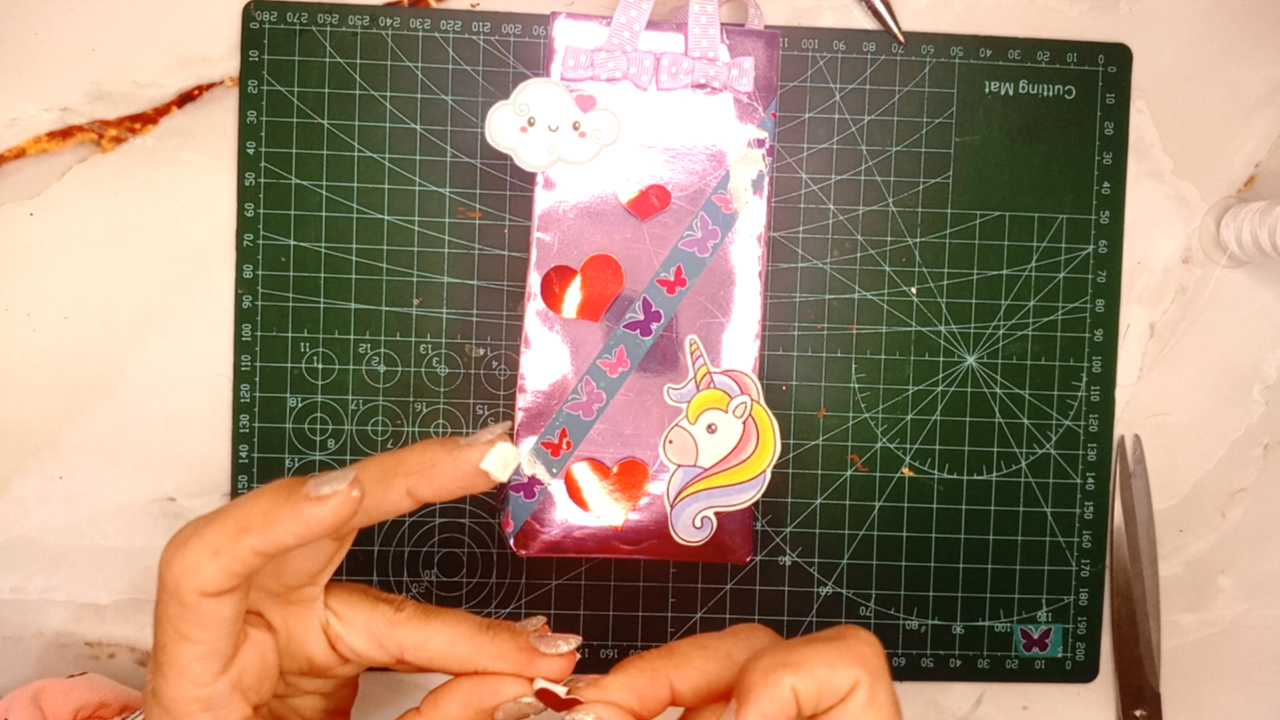
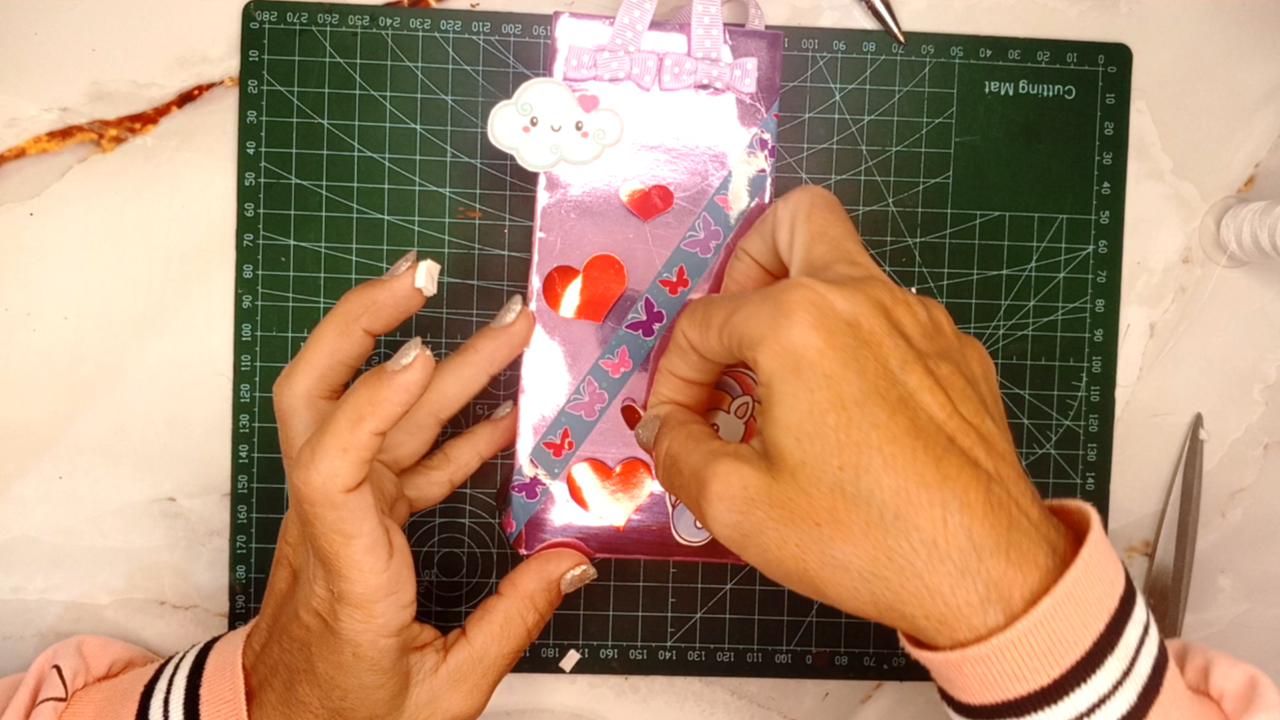
Corta un pequeño trozo de cinta doble contacto y pega detrás de cada corazón, ahora lo pegas decorando la caja, esto lo hará sobresalir de los demás.
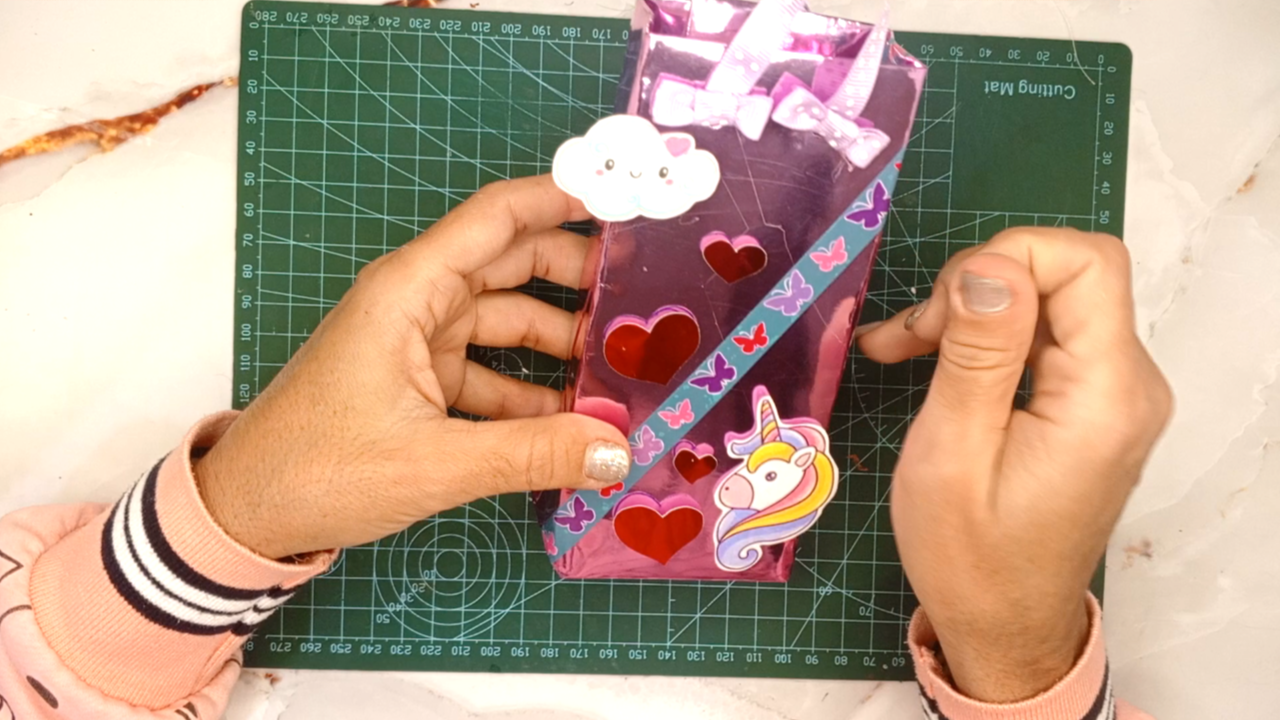
Espero te guste esta idea, es un detalle especial.
>! [English version]
Decorate to your liking and place the stickers.
Cut a small piece of double-sided tape and stick it behind each heart. Now stick them onto the box to decorate it, making it stand out from the rest.
I hope you like this idea, it's a special touch.


Créditos / Credits
Program: [MediBang Paint Pro.](https://medibangpaint.com/es/pc/) Tablet Huion model 420 [Translated by www.deepl.com/](https://www.deepl.com/) [Canva Editions](https://www.canva.com/)

 💜💜💜
💜💜💜
![]() 👉
👉  👉
👉 ![]() 👉
👉 ![]() 👉
👉  Here / Bríndame un café
