

[Esp]
¡Saludos comunidad!
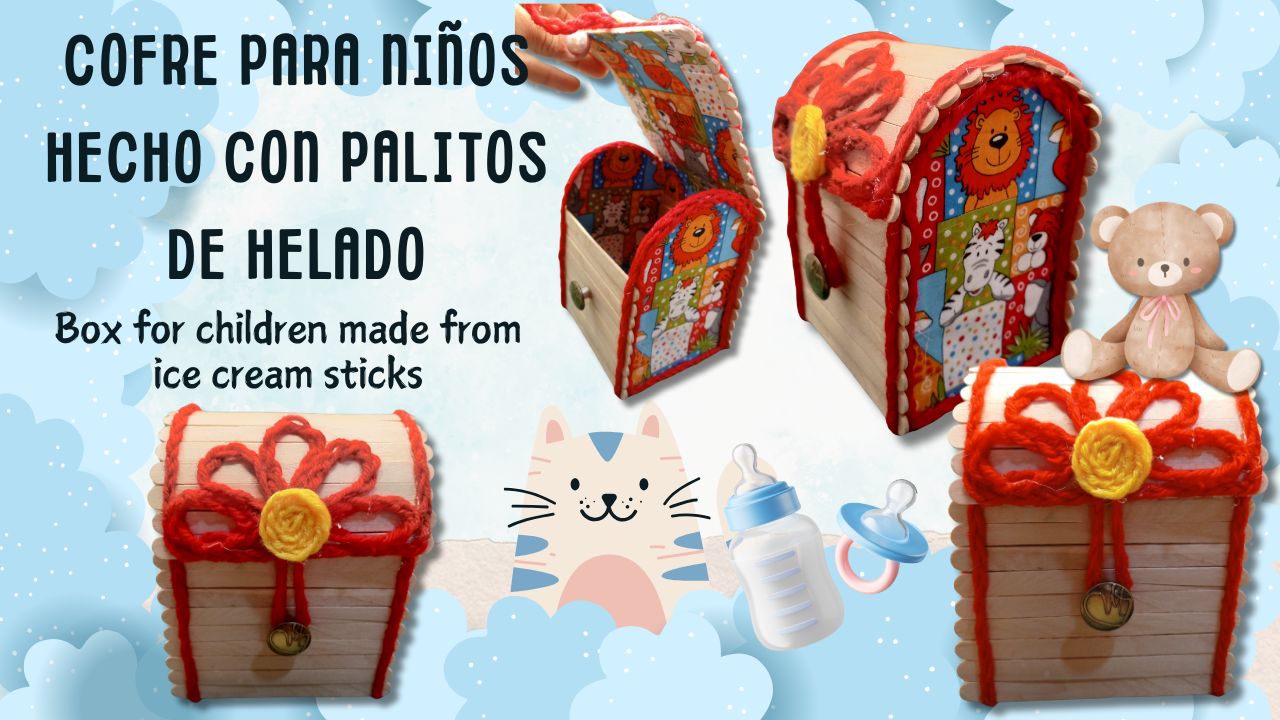
Es increíble todo lo que se puede hacer con palitos para helado y en temas para cofres, creo que es el material en el que más prolijos me salen y la práctica hace al maestro, hoy me inspiré en un tema infantil, un cofrecito par aguardar las cositas delicadas de tus bebés o un detalle especial para regalar en un baby shower con algo dentro, seguro sorprenderás a la futura mamá.
Hoy usaré más materiales y me aventuraré en otro modelo usando telas de reciclaje y estambre.
Ya se me acabaron los palitos y quiero hacer más cofrecitos y cositas, en cuanto pueda iré a reponer mi stock para seguir compartiendo ideas con este material tan amigable.
Espero les guste.
>! [English version]
Greetings community!
It's amazing all that can be done with popsicle sticks and in themes for chests, I think it's the material in which I get the most neat and practice makes perfect, today I was inspired by a children's theme, a little chest to hold the delicate things of your babies or a special detail to give at a baby shower with something inside, sure to surprise the future mom.
Today I'll use more materials and I'll venture into another model using recycled fabrics and yarn.
I'm running out of sticks and I want to make more little boxes and things, as soon as I can I'll go to replenish my stock to continue sharing ideas with this friendly material.
I hope you like it.

# Materiales / Materials

| Spanish | English | |
| Cartón reciclado o cartulina | Recycled cardboard or cardboard | |
| Estambre rojo y amarillo | Red and yellow stamen | |
| Tijera | Scissors | |
| Silicón frio | Cold silicone | |
| Tela con estampado infantil | Fabric with children's print | |
| Palitos para helado | Ice cream sticks | |
| Silicón caliente | Hot Silicone |

Paso a paso / Step by Step

Step 1️⃣/ Paso 1️⃣
[Esp]
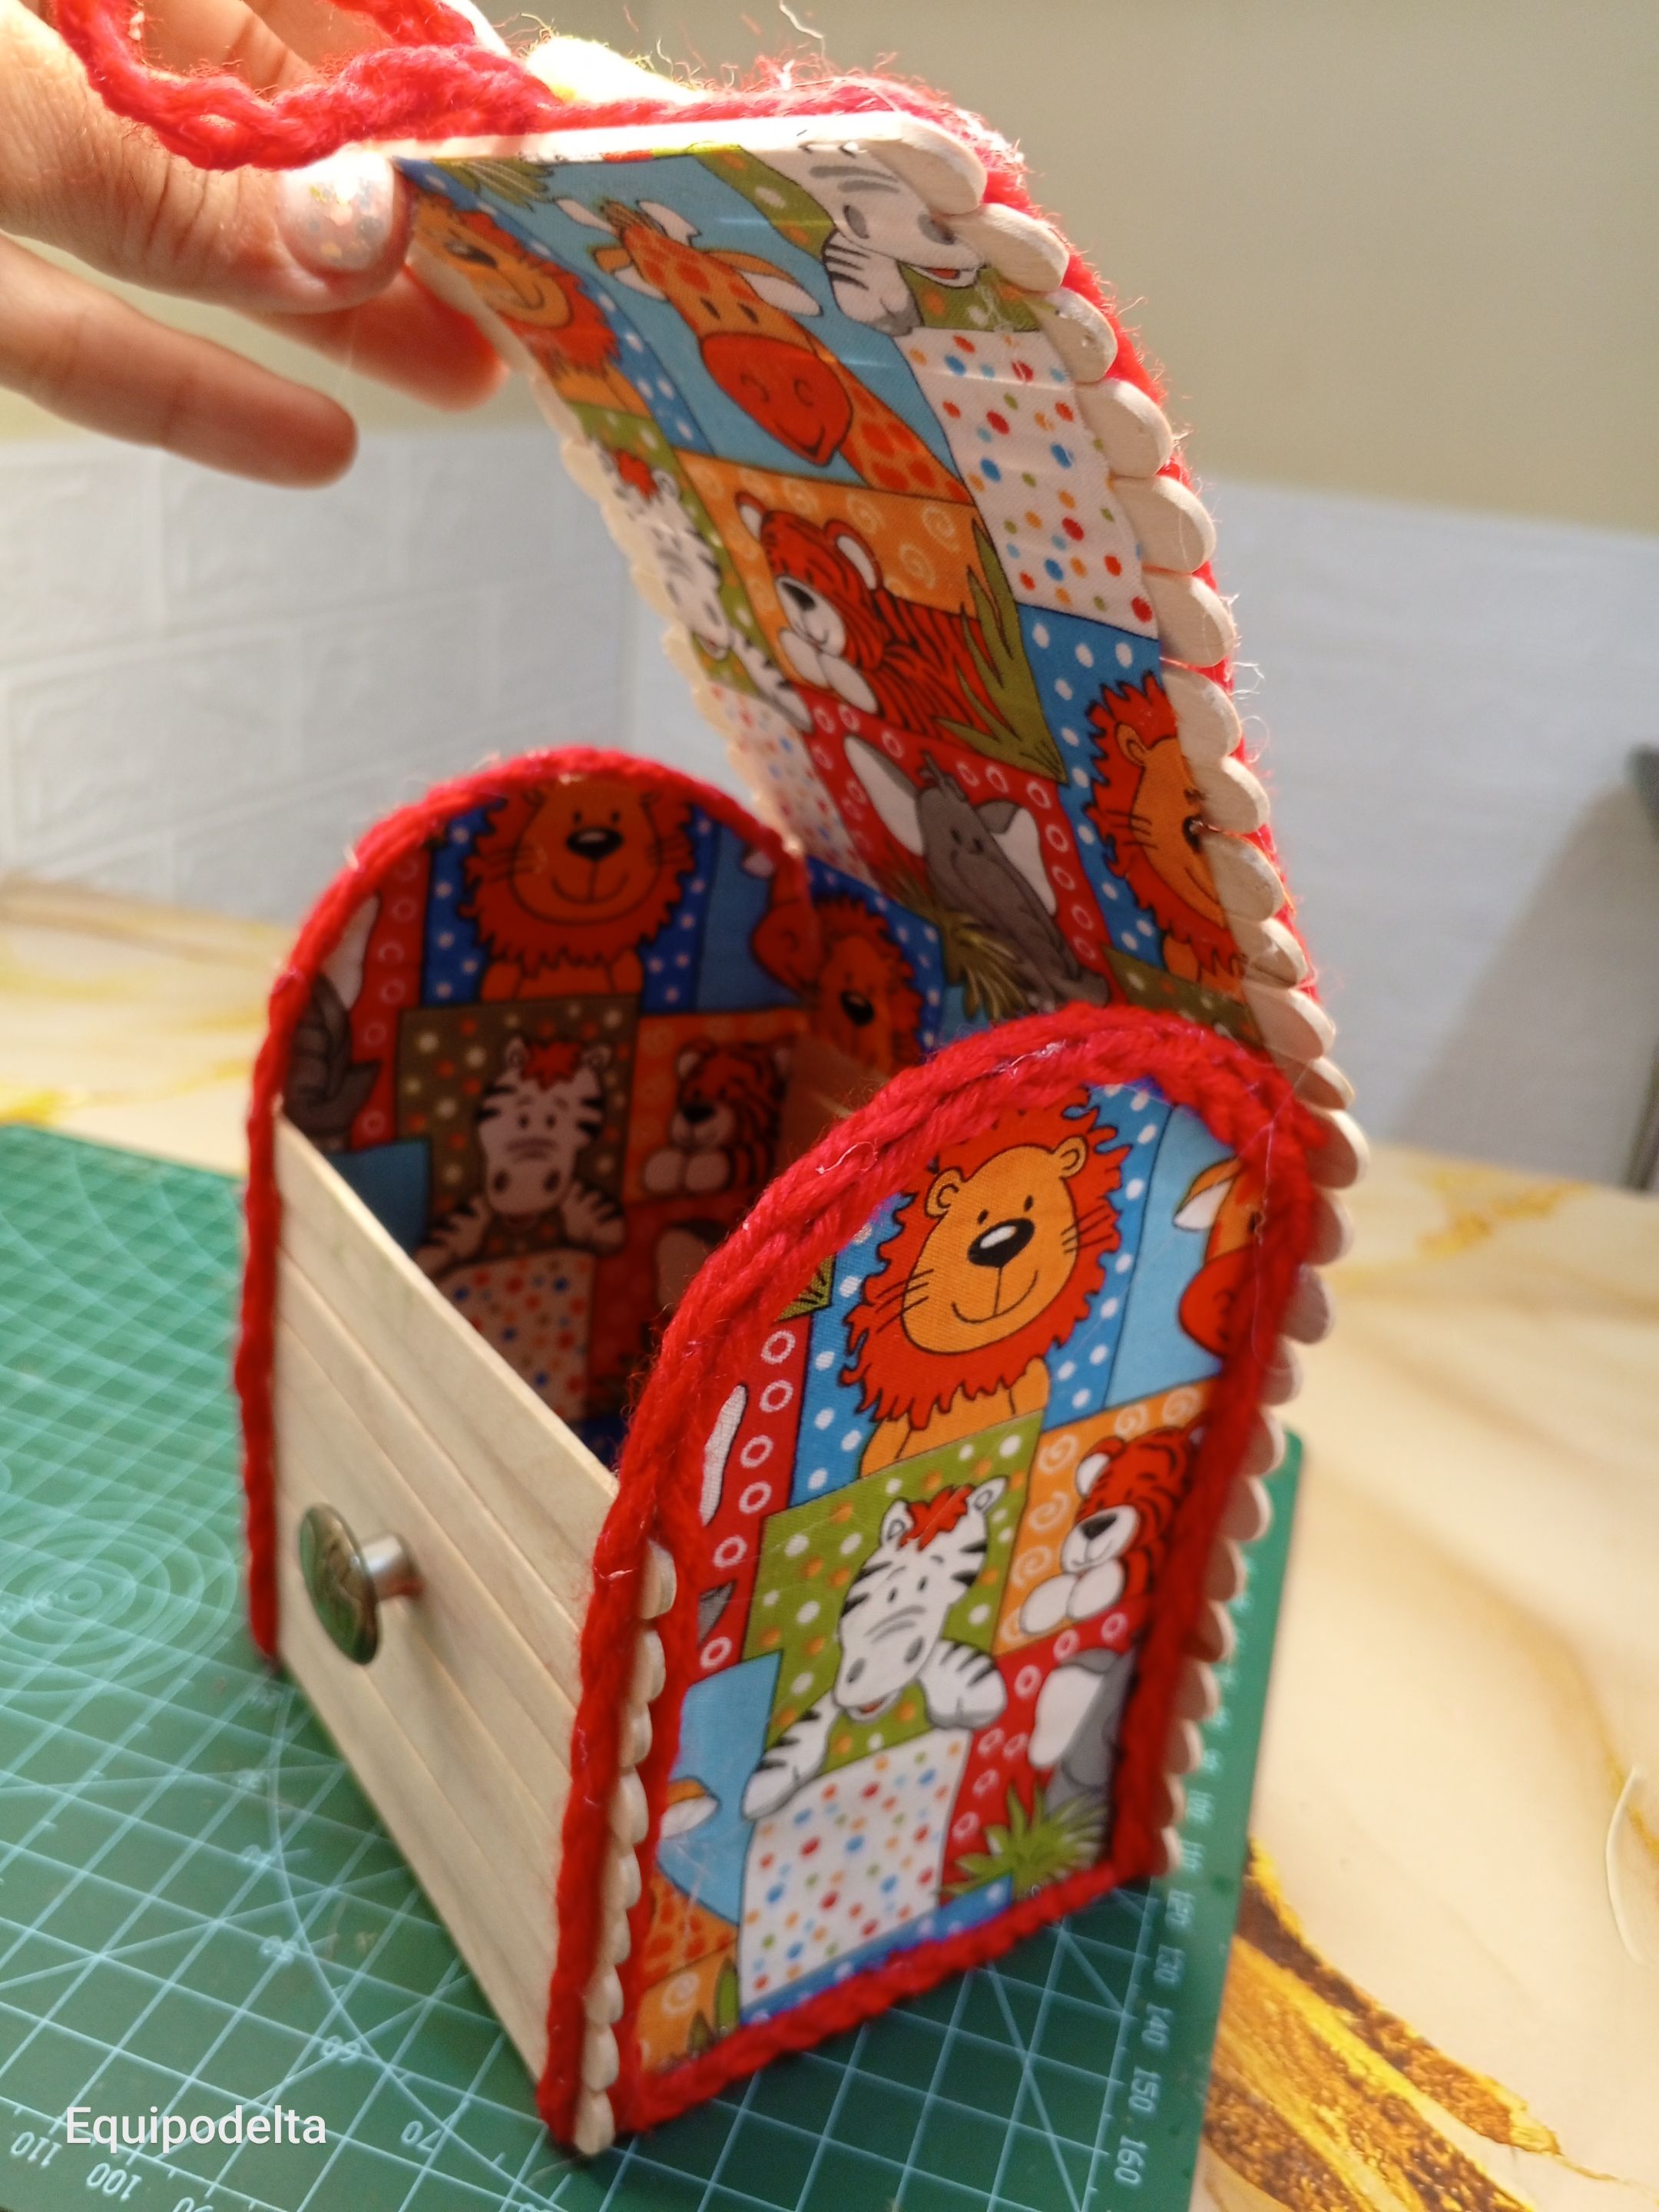
Toma la medida de los palitos de helado y marca un rectángulo con menos 0.5 centímetro de cada lado en una cartulina y con una altura de 9 palitos de helado más una semicircunferencia que harás con ayuda de algo redondo.
Recorta dos piezas de tela para cada pieza de cartulina.
Pega la tela en cada pieza por ambos lados.
Pega cada pieza (con el arco) de cada lado del rectángulo.
>! [English version]
Take the measurement of the popsicle sticks and mark a rectangle with minus 0.5 centimeter on each side on a piece of cardboard and with a height of 9 popsicle sticks plus a semicircle that you will make with the help of something round.
Cut out two pieces of fabric for each piece of cardboard.
Glue the fabric to each piece on both sides.
Glue each piece (with the bow) on each side of the rectangle.

Step 2️⃣/ paso 2️⃣
[Esp]
Pega nueve palitos de helado tanto por la parte delantera como trasera.
Recorta un trozo de tela del largo para cubrir y ser la tapa del cofre, la tela debe estar recortada con menos de 0.5 centímetros de cada lado según el ancho del palito de helado.
Comienza a pegar los palitos de helado por el reverso de la tela.
>! [English version]
Glue nine popsicle sticks on both the front and back.
Cut a piece of fabric to the length to cover and be the lid of the chest, the fabric should be trimmed to less than 0.5 centimeters on each side according to the width of the popsicle stick.
Start gluing the popsicle sticks to the back of the fabric.

Step 3️⃣/ paso 3️⃣
[Esp]
Pega los primeros dos palitos a la caja armada.
Toma tres tiras de estambre y elabora un trenzado.
Pega el trenzado a lo largo de todo el cofre.
>! [English version]
Glue the first two sticks to the assembled box.
Take three strips of yarn and make a braid.
Glue the braid along the entire length of the box.

Step 4️⃣/ paso 4️⃣
[Esp]
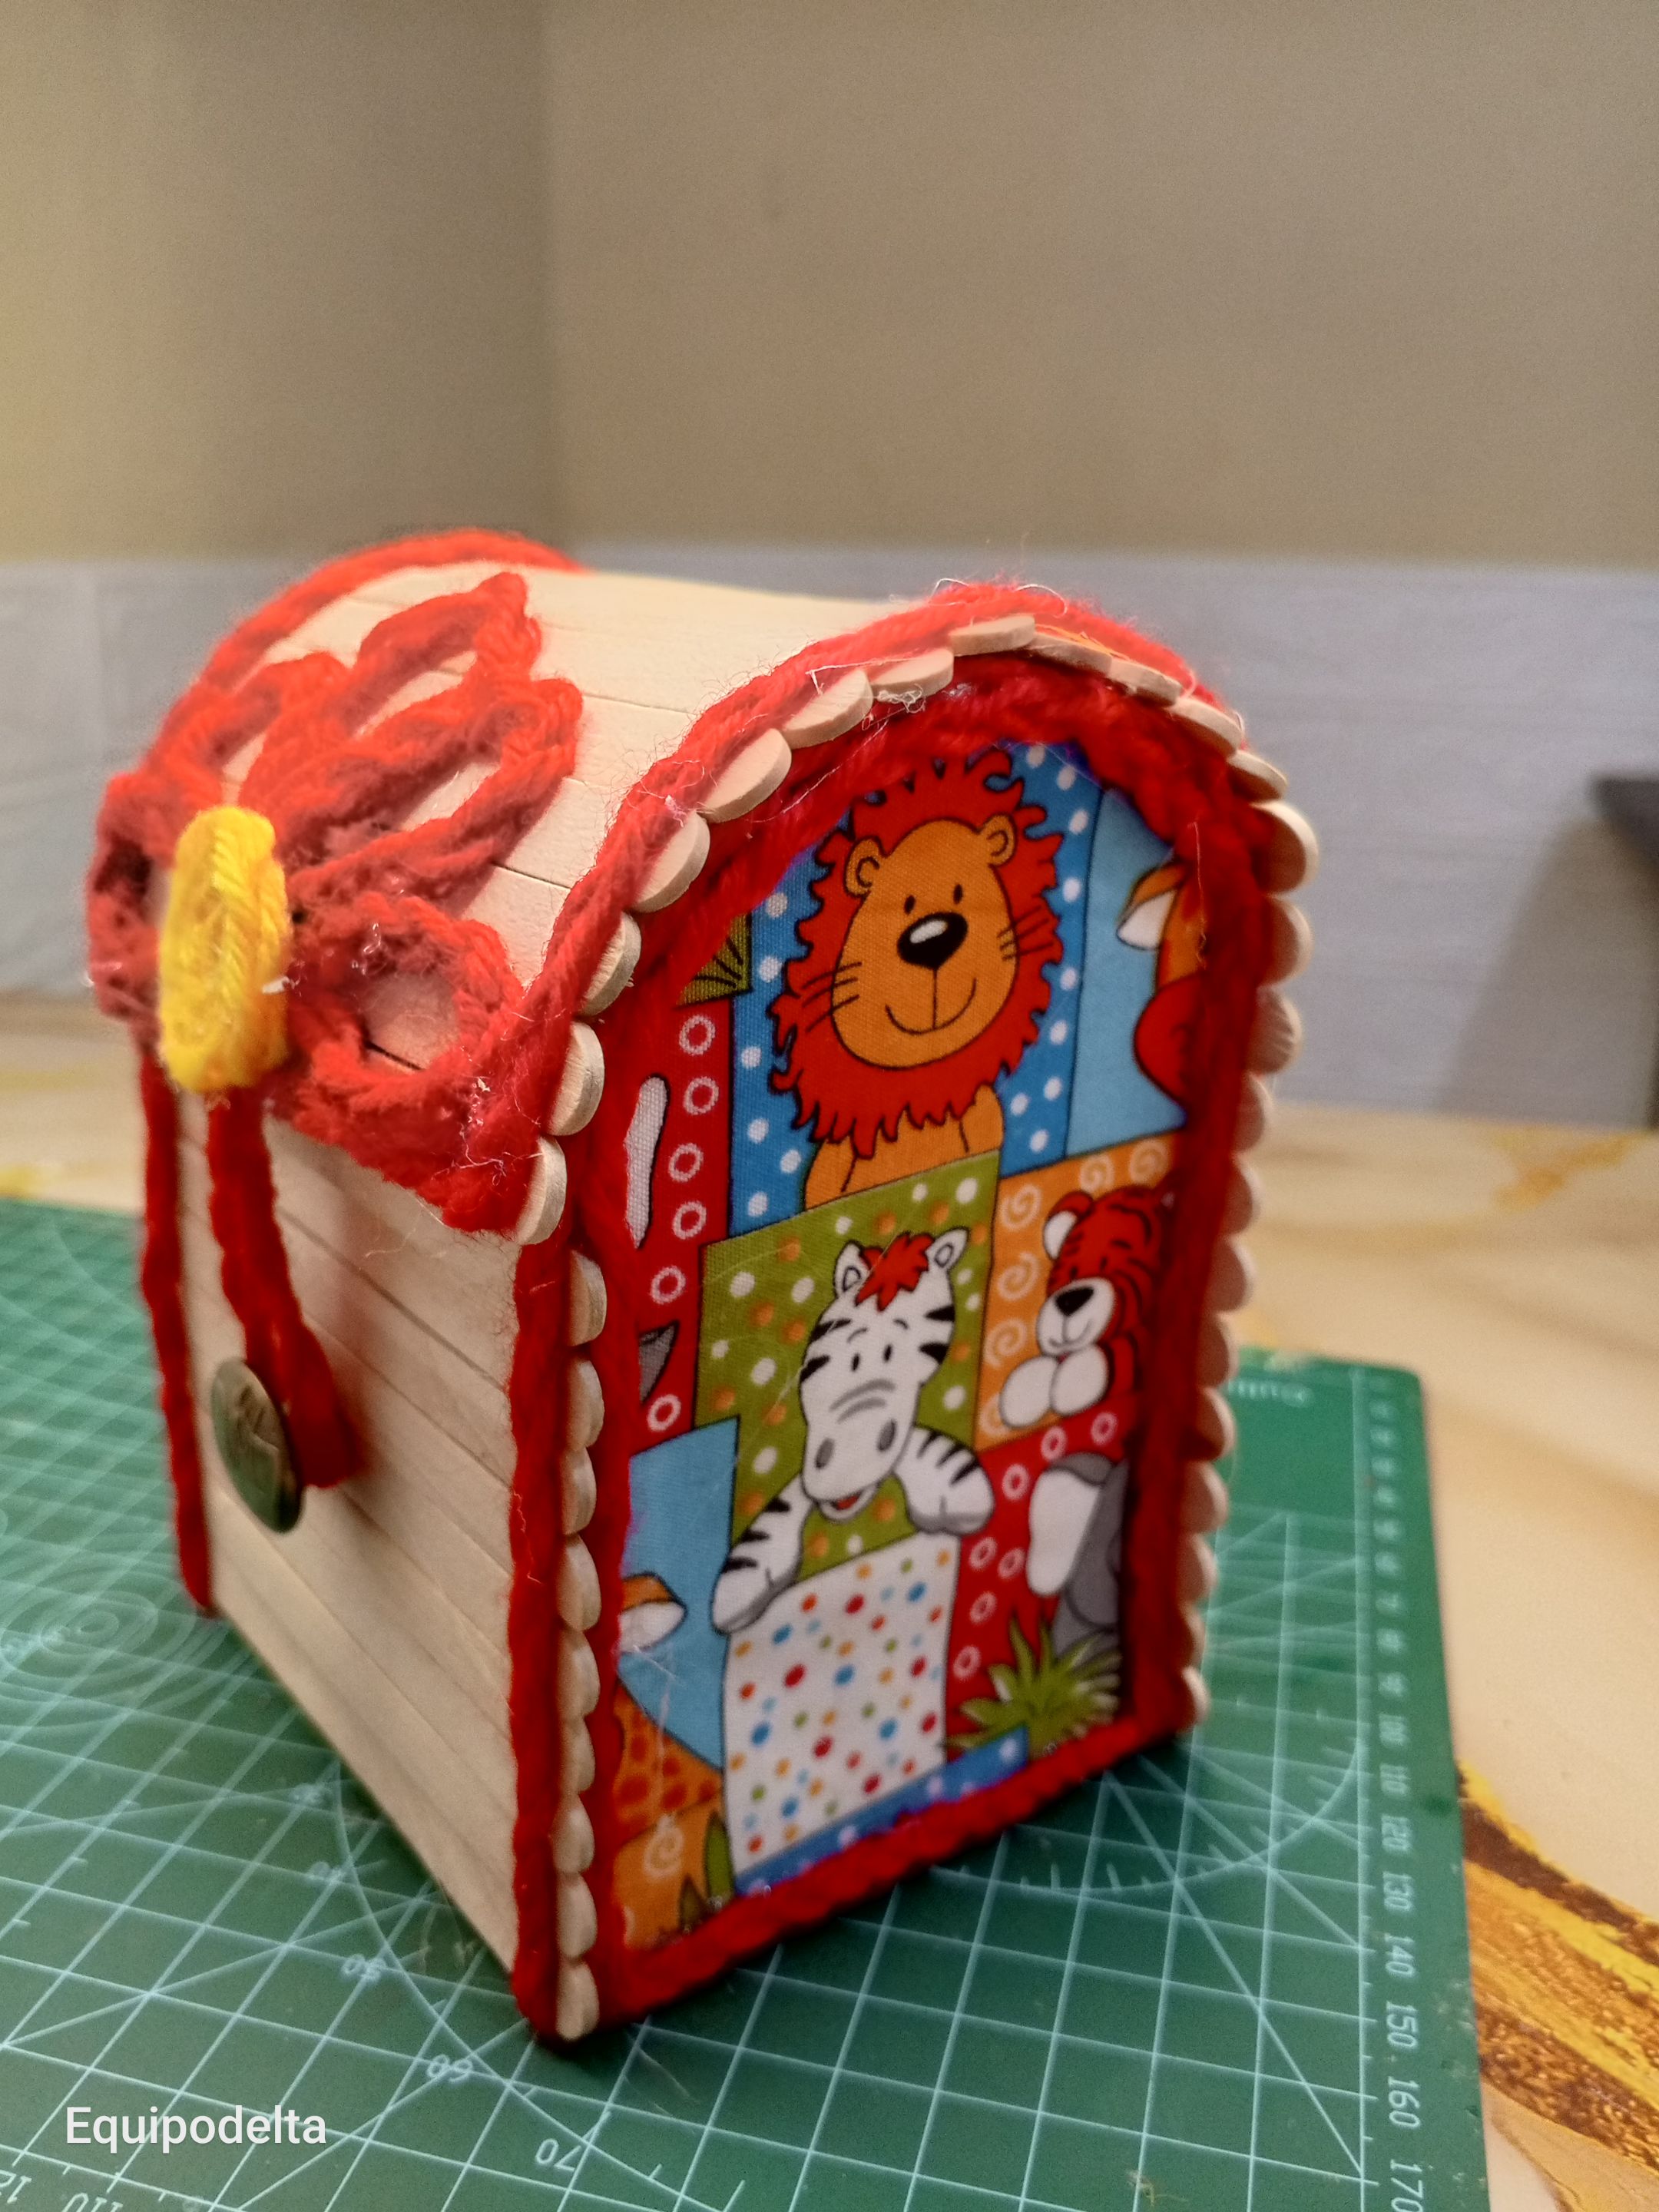
Bordea la caja pegando el trenzado en los laterales.
Recorta cinco tiras de 5 centímetros y une en la punta con pegamento.
Recorta un círculo de cartulina de 1.5 centímetros de diámetro.
Pega las tiras de estambre formando unos pétalos.
>! [English version]
Border the box by gluing the braid on the sides.
Cut out five 5-centimeter strips and join at the end with glue.
Cut out a circle of cardboard 1.5 centimeters in diameter.
Glue the strips of yarn together to form petals.

Step 5️⃣/ paso 5️⃣
[Esp]
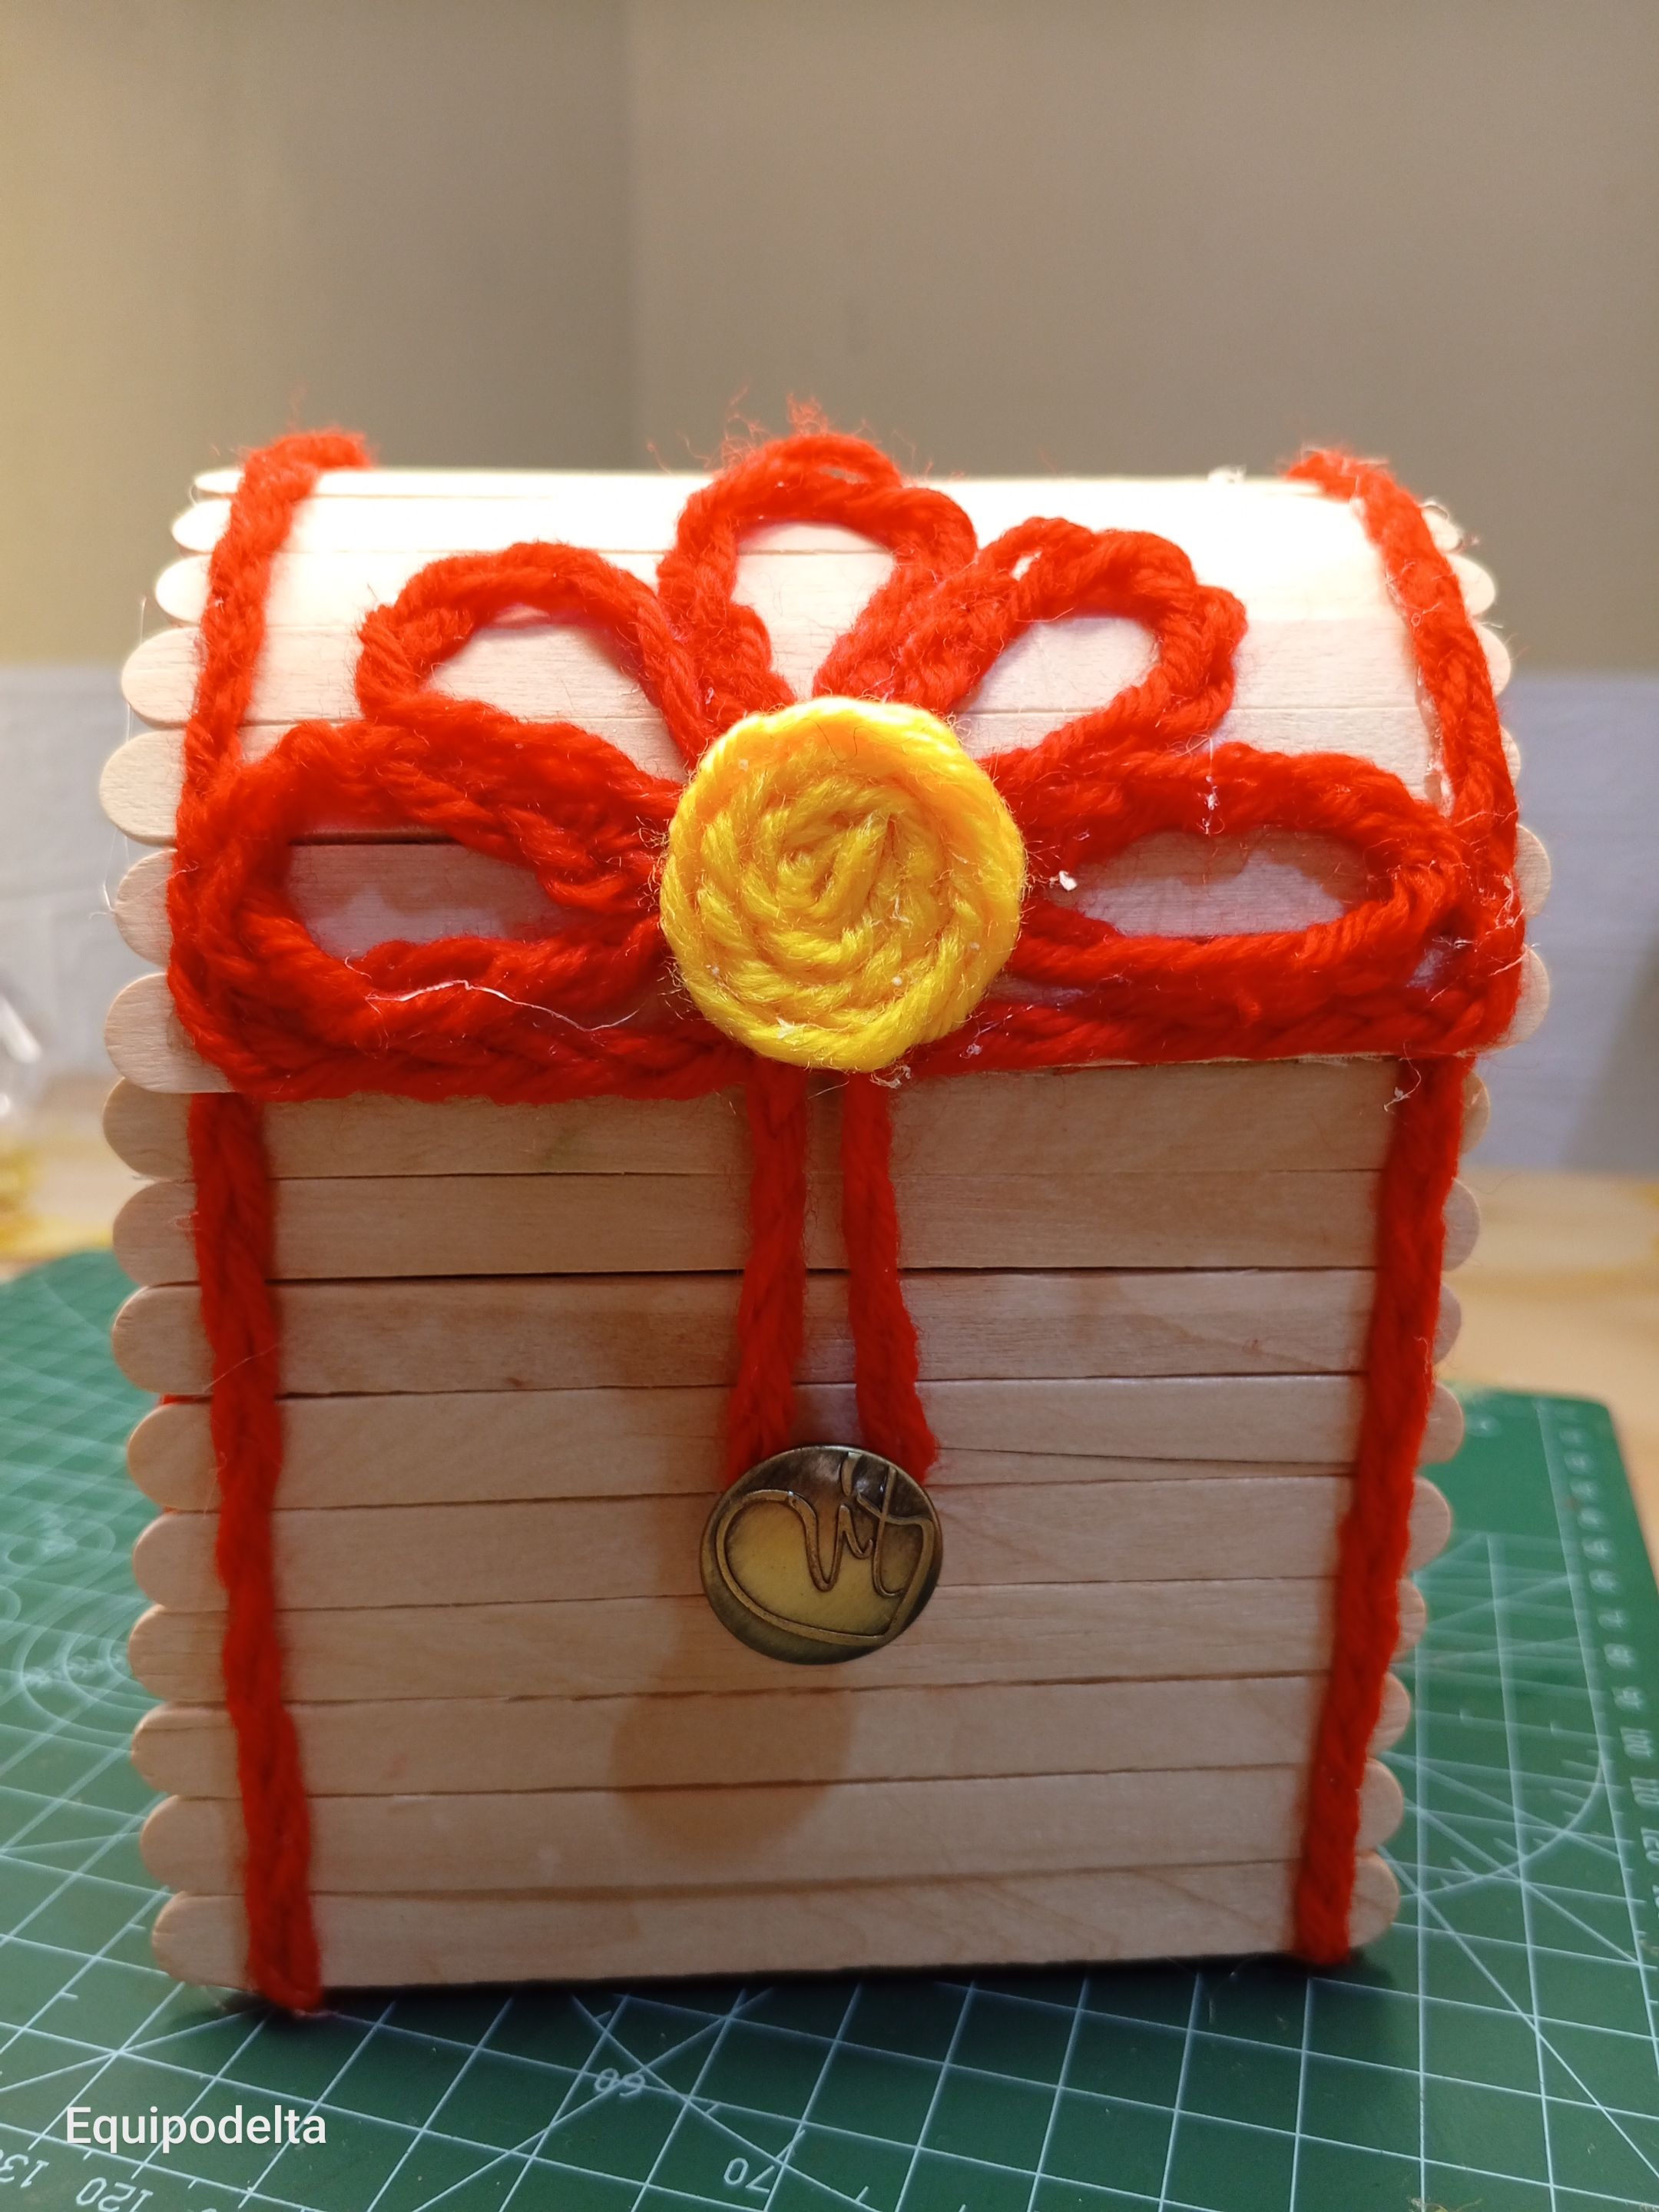
Elabora otro pétalo para hacerlo un broche que cierre el cofre.
Pega el pétalo en la parte central del cofre en la tapa.
Toma la medida del largo del pétalo para pegar algo que lo haga cerrar como por ejemplo un botón.
Realiza un trenzado con el estambre amarillo para hacer el botón de la flor.
Pega haciendo un círculo, puedes usar un trocito circular de cartulina para ayudarte.
Pega la flor en el cofre y luego el circulo amarillo.
Con ello terminamos nuestro lindo proyecto.
Hecho a mano, hecho con amor.
>! [English version]
Place cold silicone on the back of the gourd and glue the black felt.
With this we have finished this cute project that I hope you like, it's super fun.
Handmade, made with love.


Créditos / Credits


Program: [MediBang Paint Pro.](https://medibangpaint.com/es/pc/) Tablet Huion model 420 [Translated by www.deepl.com/](https://www.deepl.com/) [Canva Editions](https://www.canva.com/) [Source](https://www.youtube.com/watch?v=DgdX0yBjrnk)


 💜💜💜
💜💜💜


![]() 👉
👉  👉
👉  👉
👉  👉
👉  Here / Bríndame un café
