
[Esp]
¡Saludos comunidad!
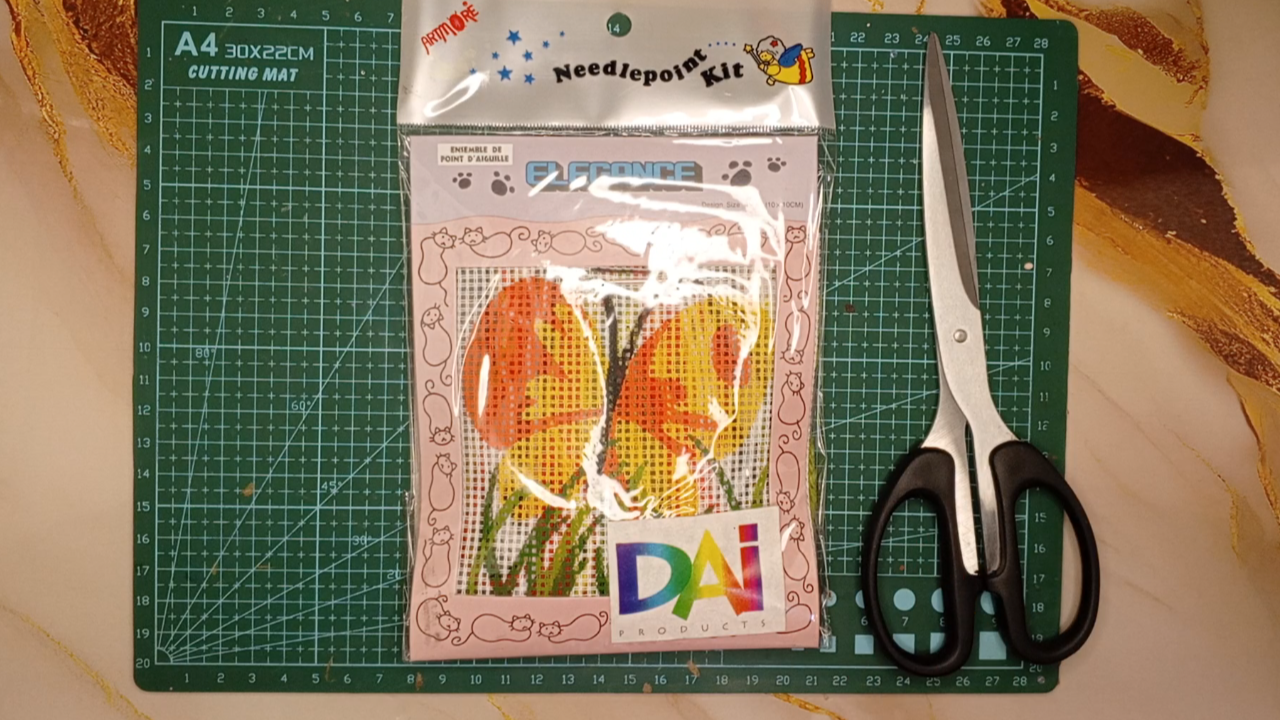
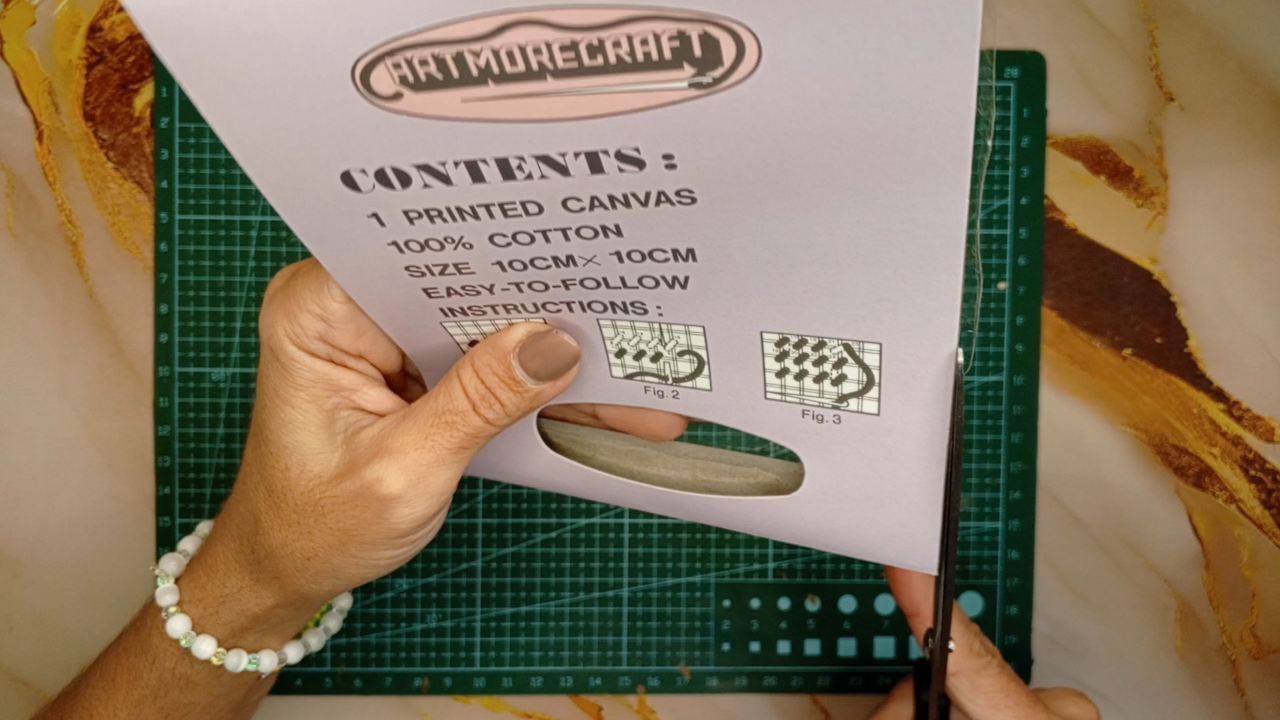
Espero se encuentren todos bien. Hace unos días fui a sacar cita para consulta médica y pasé cerca de la tienda que llevaba cerrada mucho tiempo, mi sorpresa que volvieron a abrir, allí es donde hay más variedad, precios accesibles y es donde encuentro mis kits para bordar que no se ven en ningún otro lado. Me hizo muy feliz, no aguanté la tentación de comprar tres Kits que iré mostrando poco a poco.
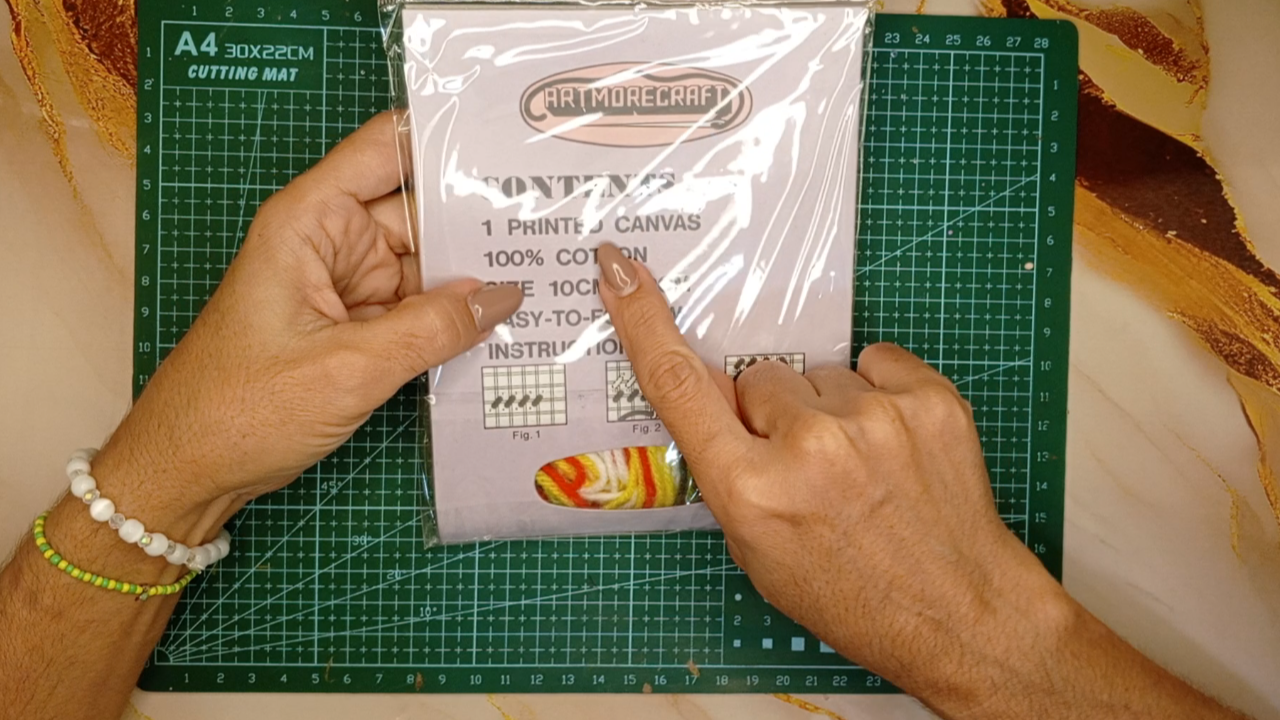
El bordado a mano con estambre o lana es uno de mis favoritos, los kits vienen con todos los materiales para realizar el bordado y el lienzo viene con su estampado para que puedas rellenarlo sin mucha dificultad.
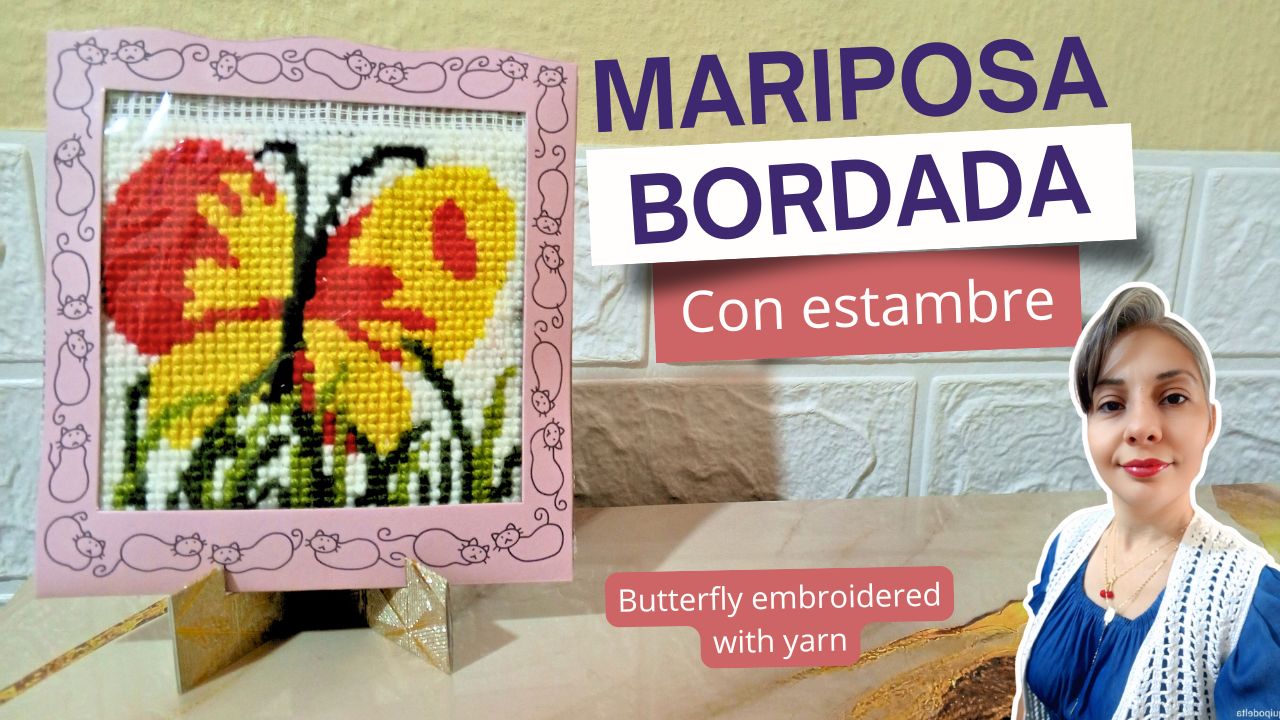
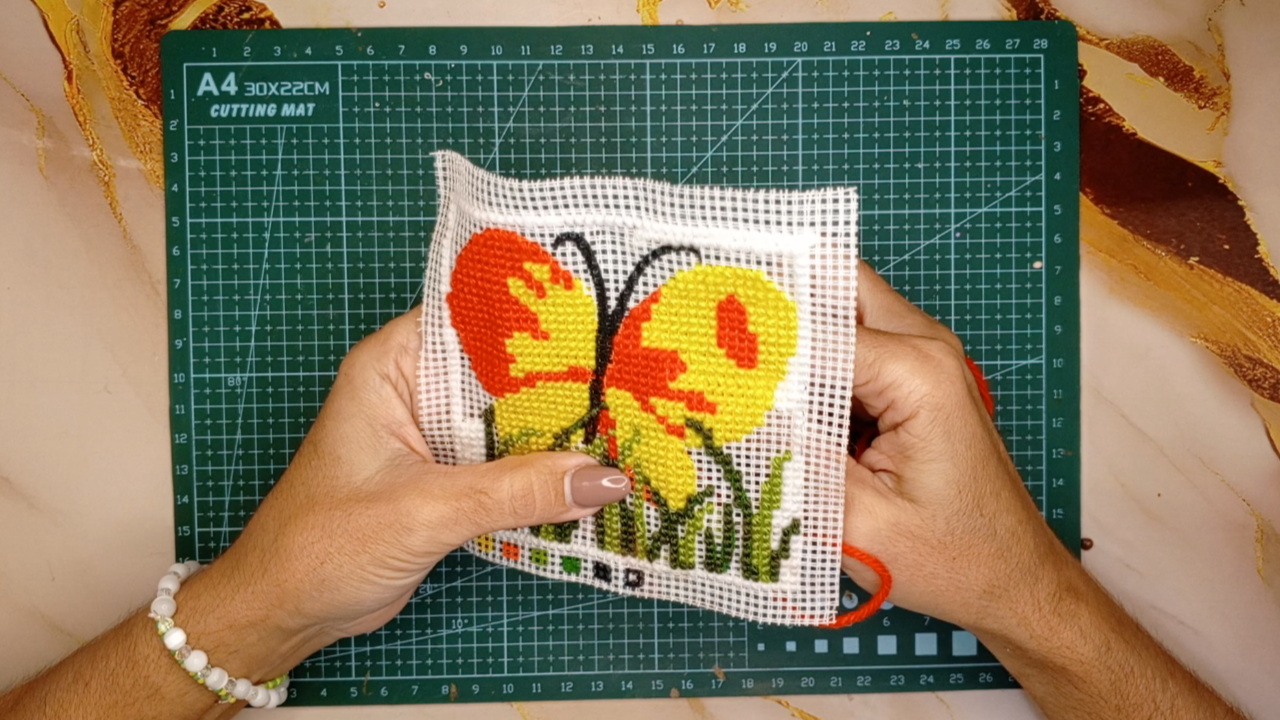
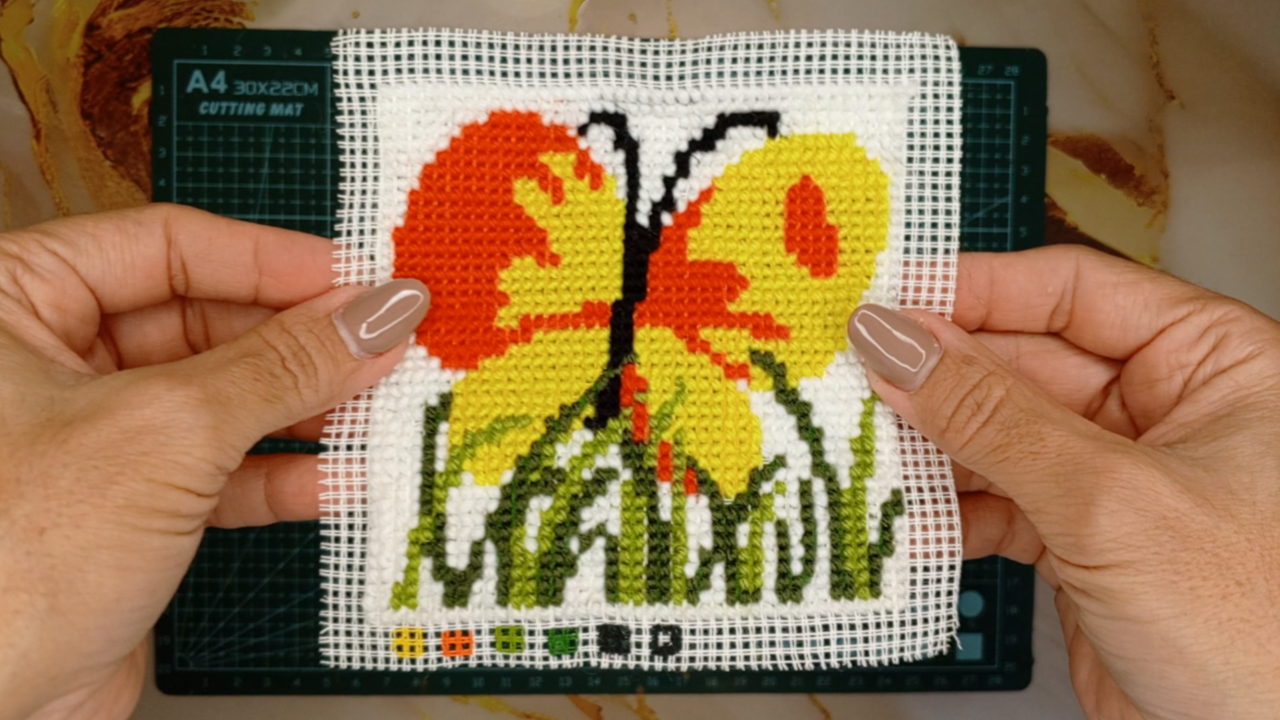
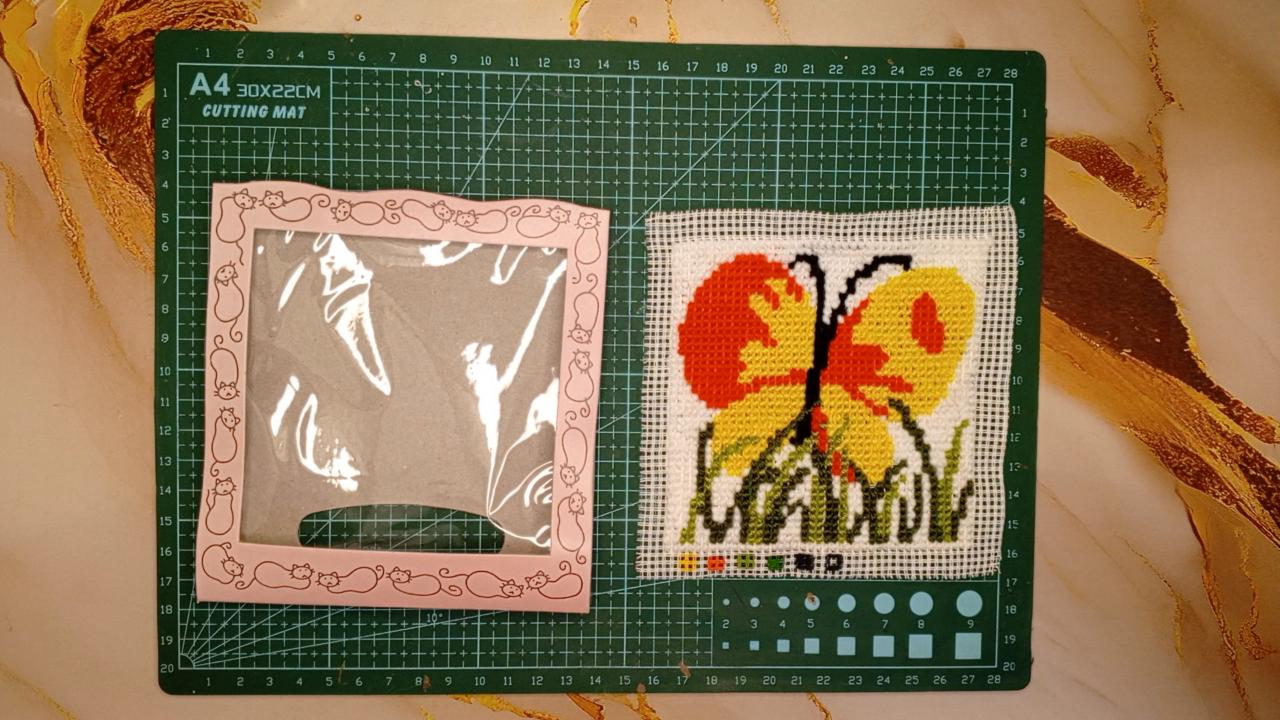
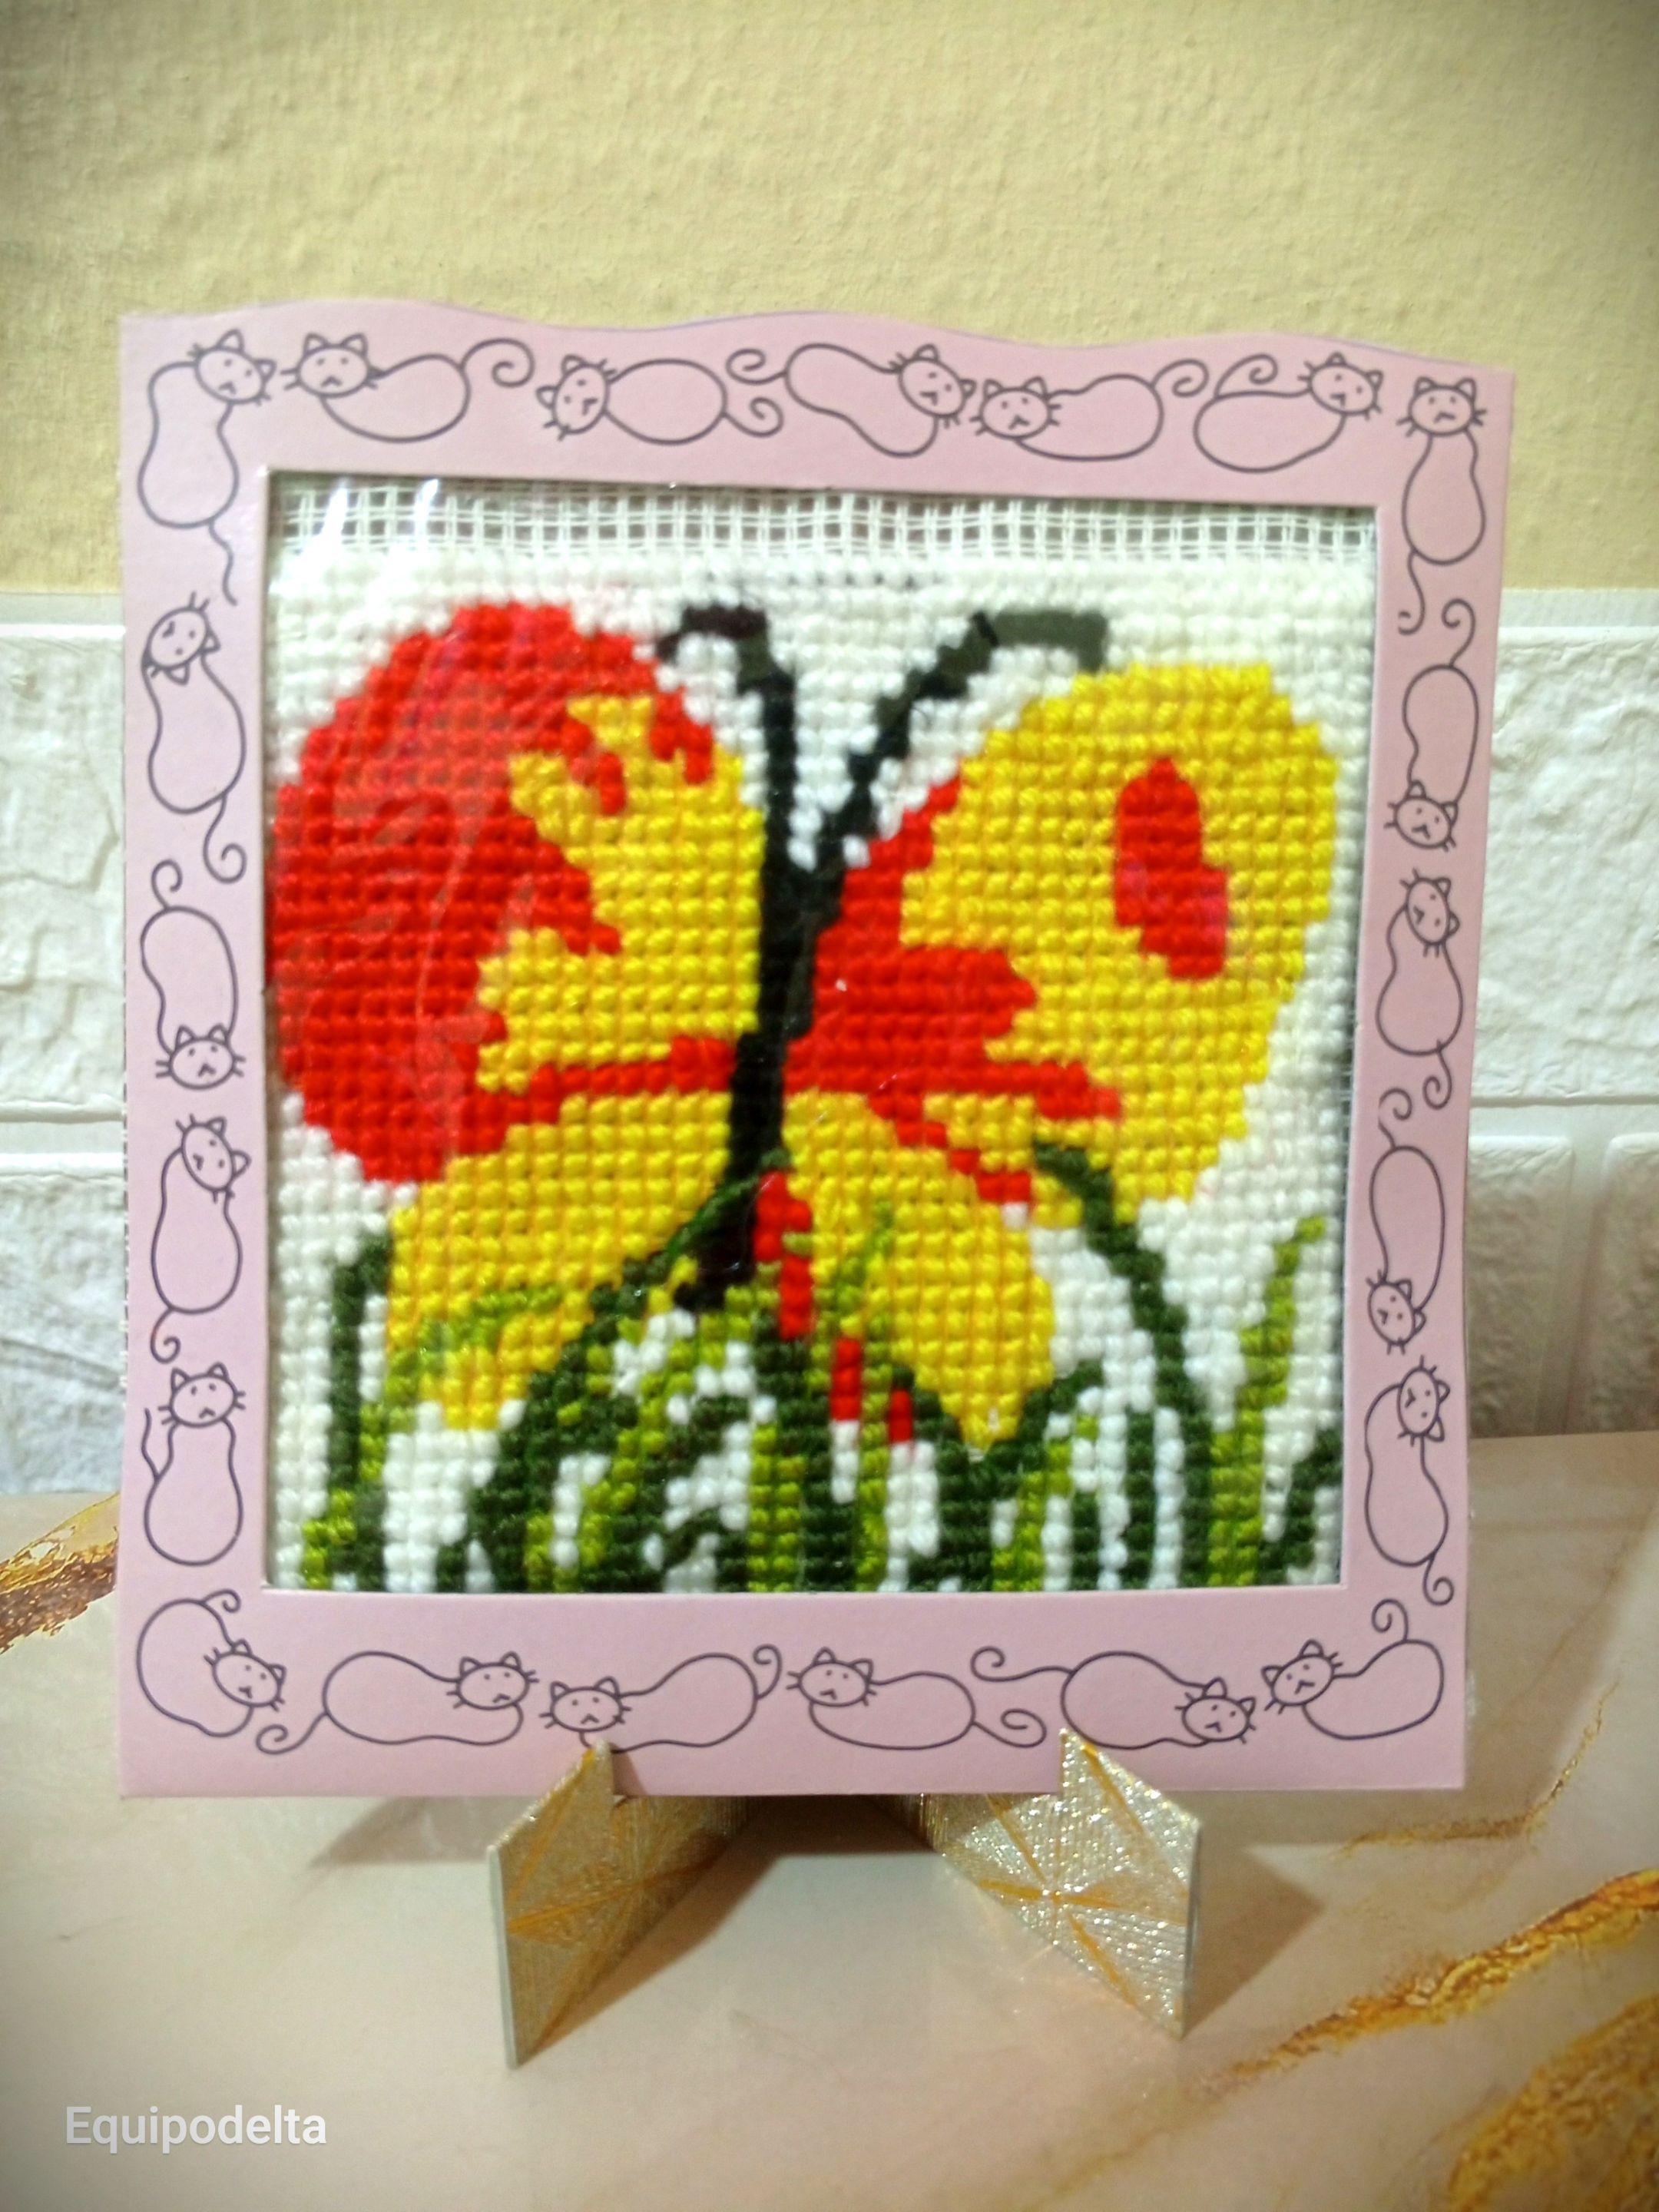
Hoy te muestro este lindo cuadro decorativo de una mariposa, sus colores son brillantes y hermosos.
Les hice un videíto, espero les guste, está hecho modo satisfacción visual.
>! [English version]
Greetings community!
I hope you are all well. A few days ago I went to make an appointment for medical consultation and passed near the store that had been closed for a long time, my surprise that they reopened, there is where there is more variety, affordable prices and is where I find my embroidery kits that are not seen anywhere else. It made me very happy, I could not resist the temptation to buy three kits that I will show you little by little.
Hand embroidery with yarn or wool is one of my favorites, the kits come with all the materials to make the embroidery and the canvas comes with its pattern so you can fill it without much difficulty.
Today I show you this cute decorative painting of a butterfly, its colors are bright and beautiful.
I made a little video for you, I hope you like it, it is made in visual satisfaction mode.
https://www.youtube.com/watch?v=_82f3SLVimA
Mariposa bordada con estambre - fácil - Antes y después
# Materiales / Materials
 |
 |
 |
Kit de bordado / Embroidery kit
| Spanish | English | |
| Estambre | Yarn | |
| Lienzo con diseño | Lienzo con diseño | |
| Tijera | Scissors | |
| Aguja grande punta roma | Large blunt needle | |
| Marco para cuadro | Picture frame | |
| Silicón caliente | Hot Silicone |
Paso a paso / Step by Step
Step 1️⃣/ Paso 1️⃣
 |
 |
|
 |
 |
[Esp]
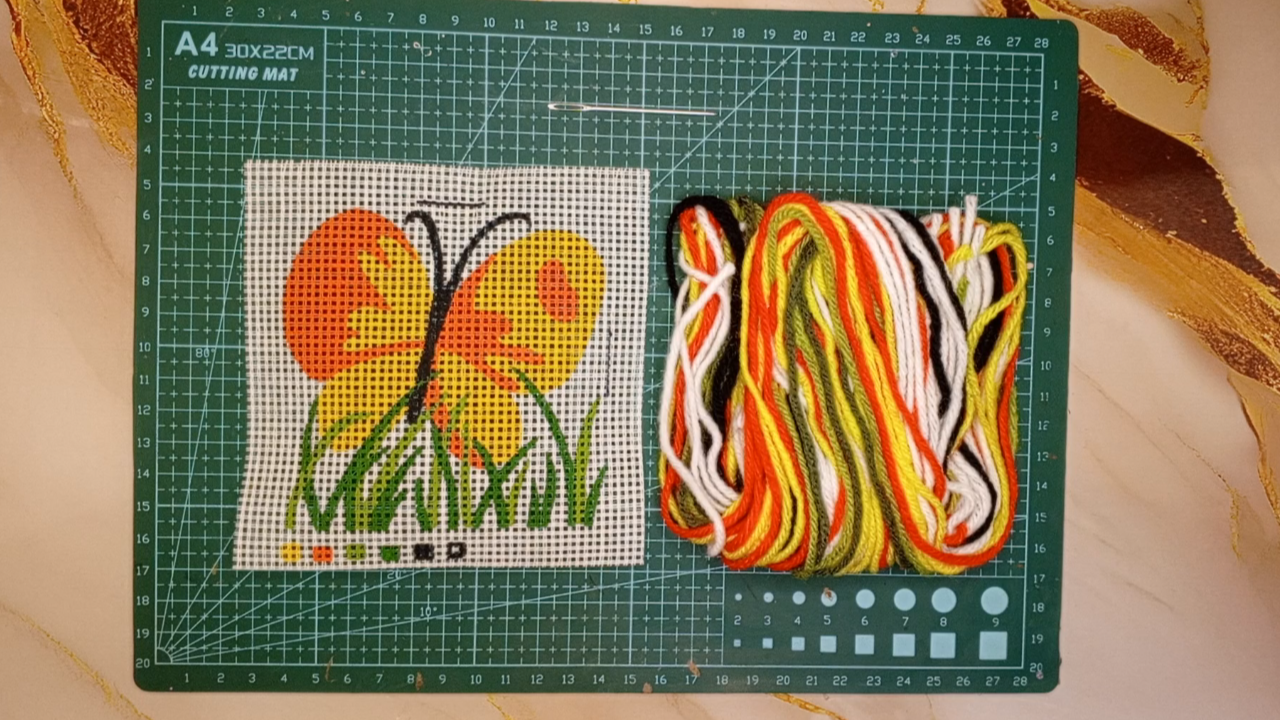
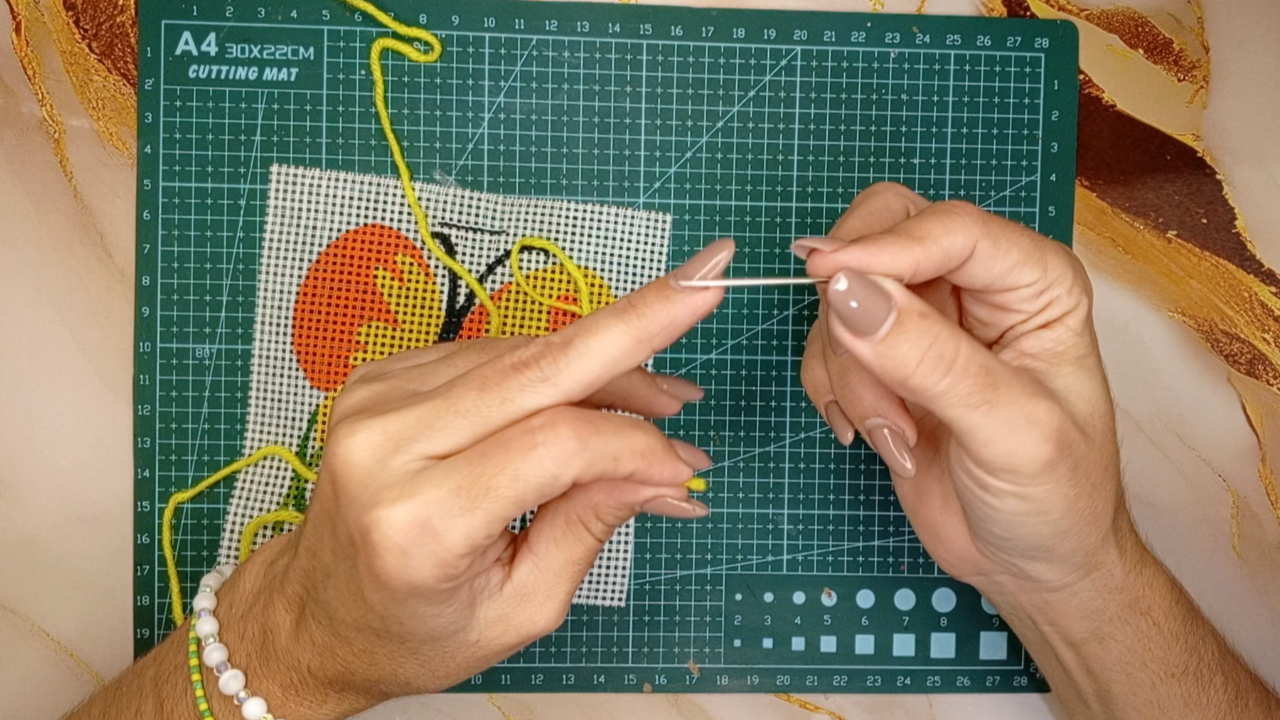
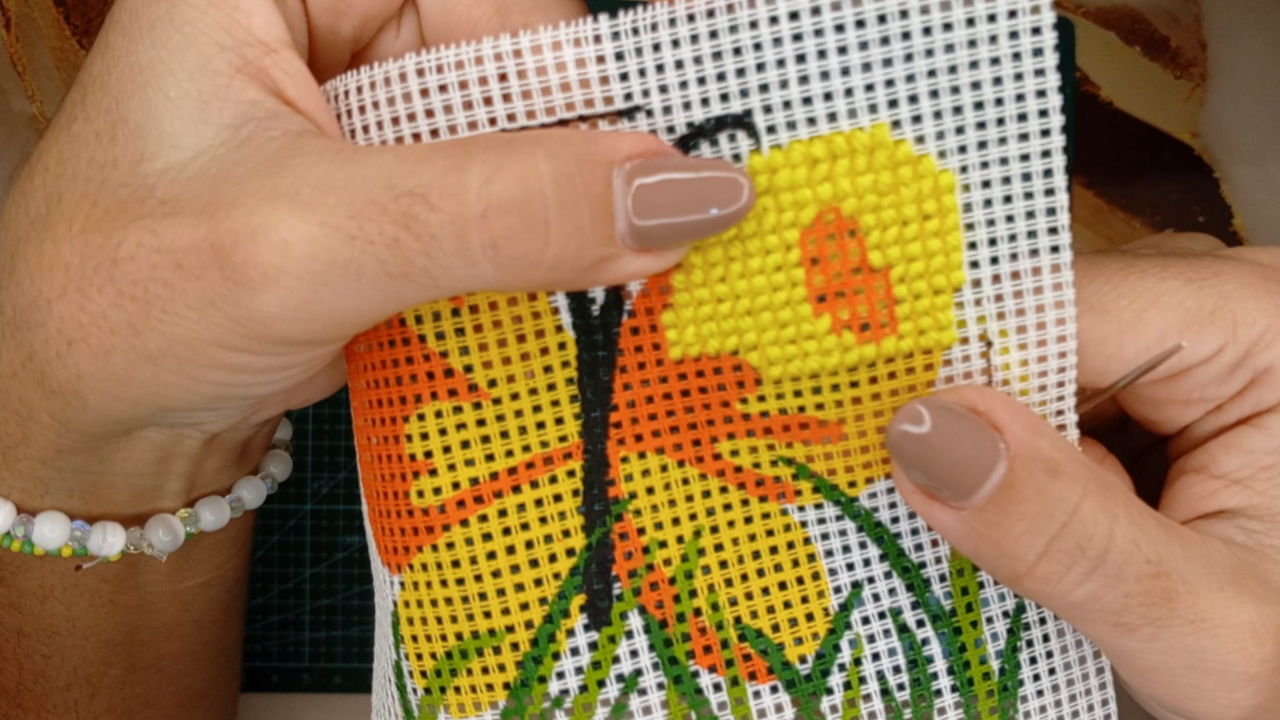
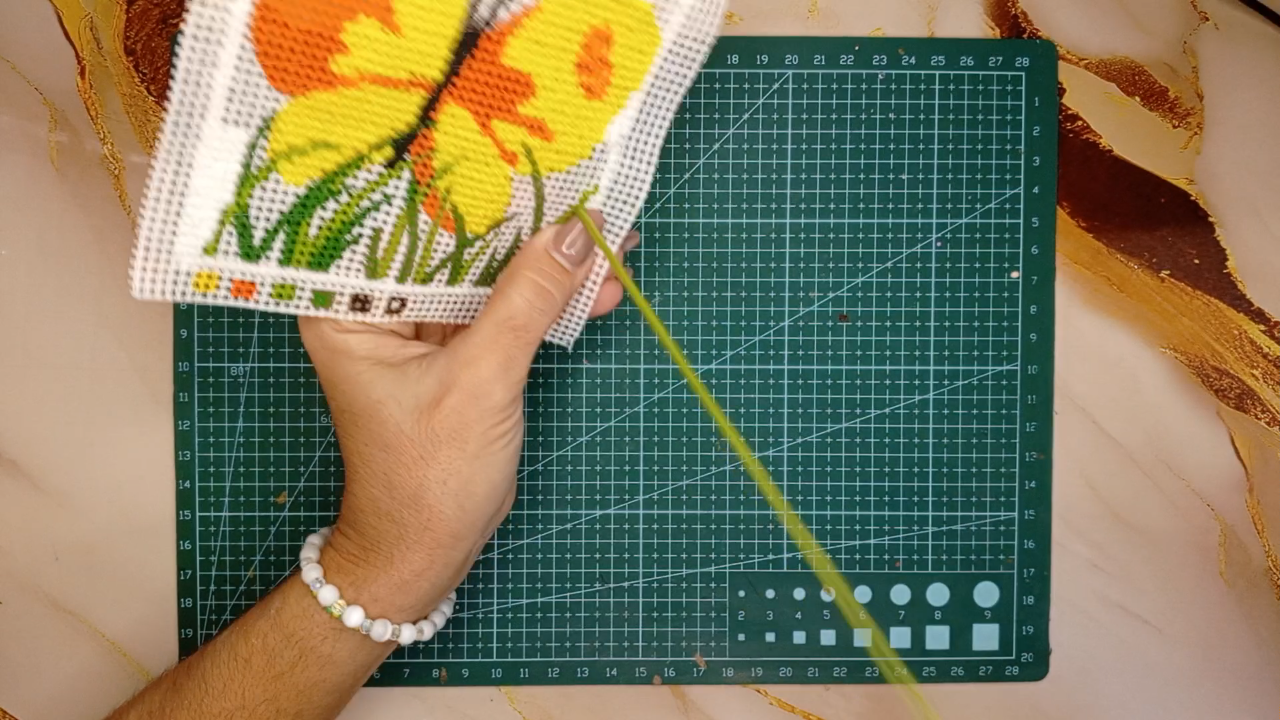
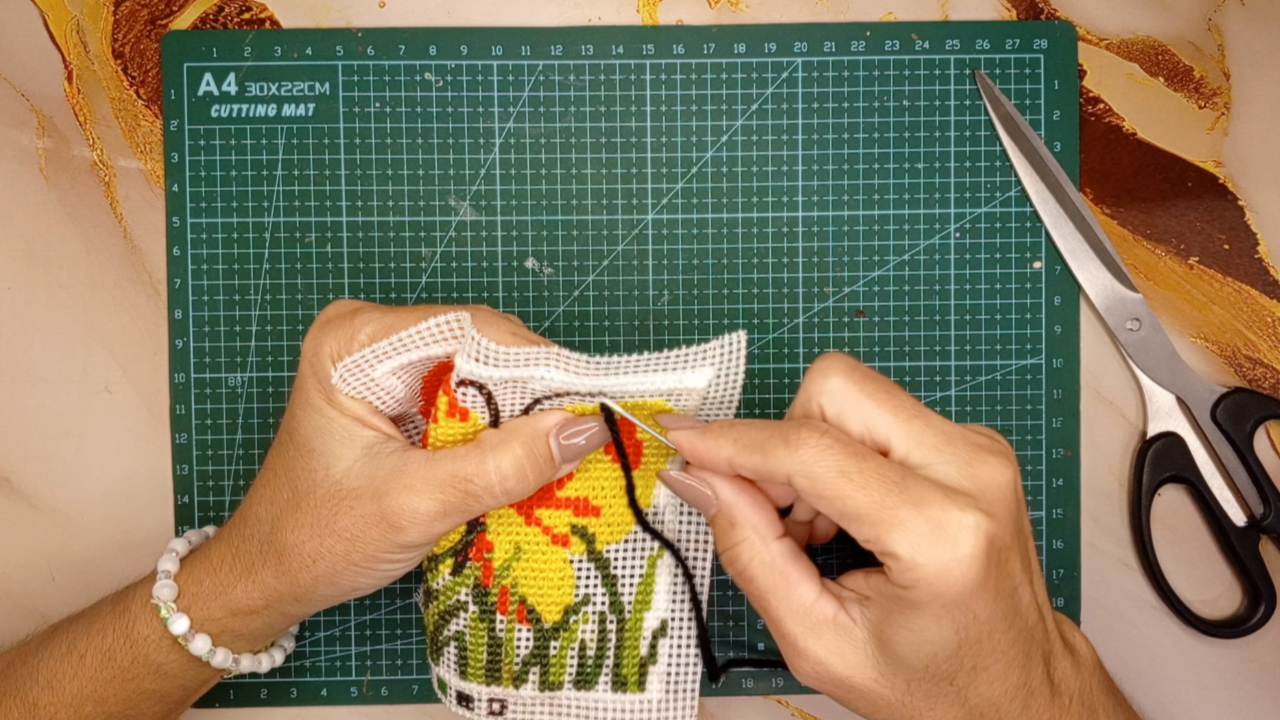
El Kit trae su aguja de bordar, es una aguja grande punta roma, es ideal para no pincharse y no enredar tanto el hilo, esta aguja pasa con facilidad por cada orificio del lienzo.
El lienzo tiene el diseño pintado, elige con qué color vas a trabajar, enhebra la aguja y realiza un nudo sencillo en el extremo final.
Introduce la aguja en el color correspondiente y comienza a bordar.
El kit trae sus instrucciones de cómo hacer el punto, sin embargo el punto que recomienda el kit no es de mi agrado porque es inclinado, prefiero bordar con un punto recto y corto, así el lienzo no queda torcido.
La separación es de un punto, es decir un cuadrito.
>! [English version]
The kit comes with an embroidery needle, it is a large blunt needle, it is ideal for not getting pricked and not tangle the thread so much, this needle passes easily through each hole of the canvas.
The canvas has the design painted on it, choose the color you are going to work with, thread the needle and tie a simple knot at the end.
Insert the needle in the corresponding color and start embroidering.
The kit comes with instructions on how to make the stitch, however the stitch recommended in the kit is not to my liking because it is slanted, I prefer to embroider with a straight and short stitch, so the canvas is not twisted.
The separation is one stitch, that is to say, one square.
Step 2️⃣/ paso 2️⃣
 |
 |
|
 |
 |
[Esp]
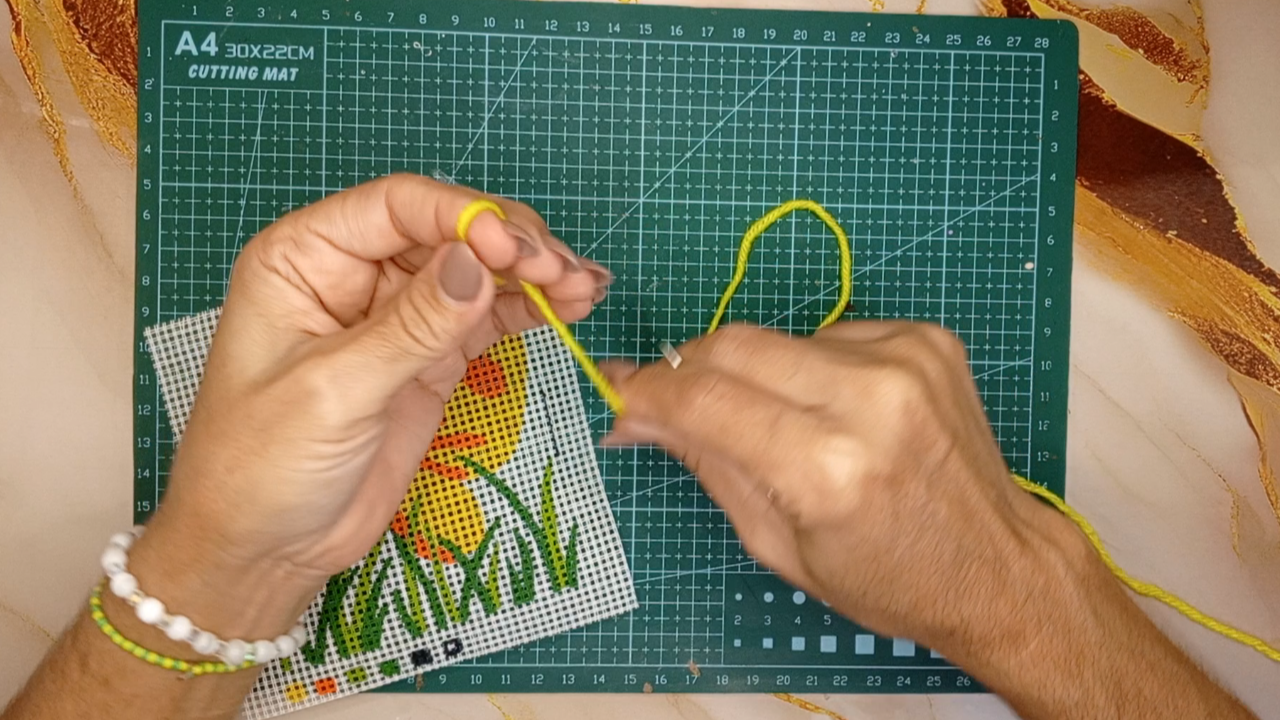
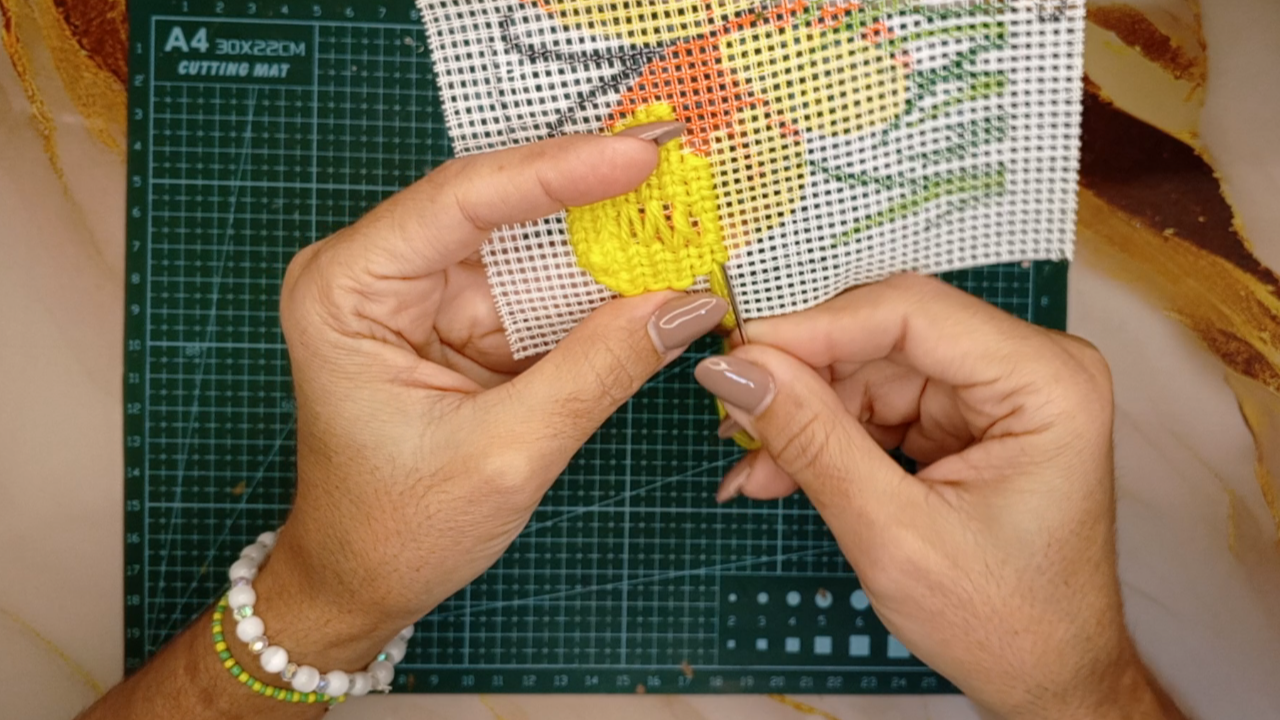
Cuando el hilo se acabe o termines un color, o desees cambiar de color de diseño, la forma que me enseñó mi madre de rematar el punto por la parte de atrás, es introduciendo la aguja en algunos puntos ya echos y luego cortamos el excedente, esto evitará que se vea muy sucio, desordenado y evita que se suelte.
He bordado al rededor del marco del lienzo para saber hasta dónde voy a bordar el color de fondo (blanco)
Recomiendo trabajar de forma ordenada, es más satisfactorio, rellena todos los espacios del mismo color siguiendo la platilla o el diseño pintado.
Cuando termines un área comienza otra.
>! [English version]
When the thread runs out or you finish a color, or you want to change the color of the design, the way my mother taught me to finish the stitch on the back side, is to introduce the needle in some stitches already made and then cut the excess, this will prevent it from looking too messy, messy and prevents it from coming loose.
I have embroidered around the frame of the canvas to know how far I am going to embroider the background color (white).
I recommend working in an orderly fashion, it is more satisfying, fill in all the spaces with the same color following the template or painted design.
When you finish one area start another.
Step 3️⃣/ paso 3️⃣
 |
 |
|
 |
 |
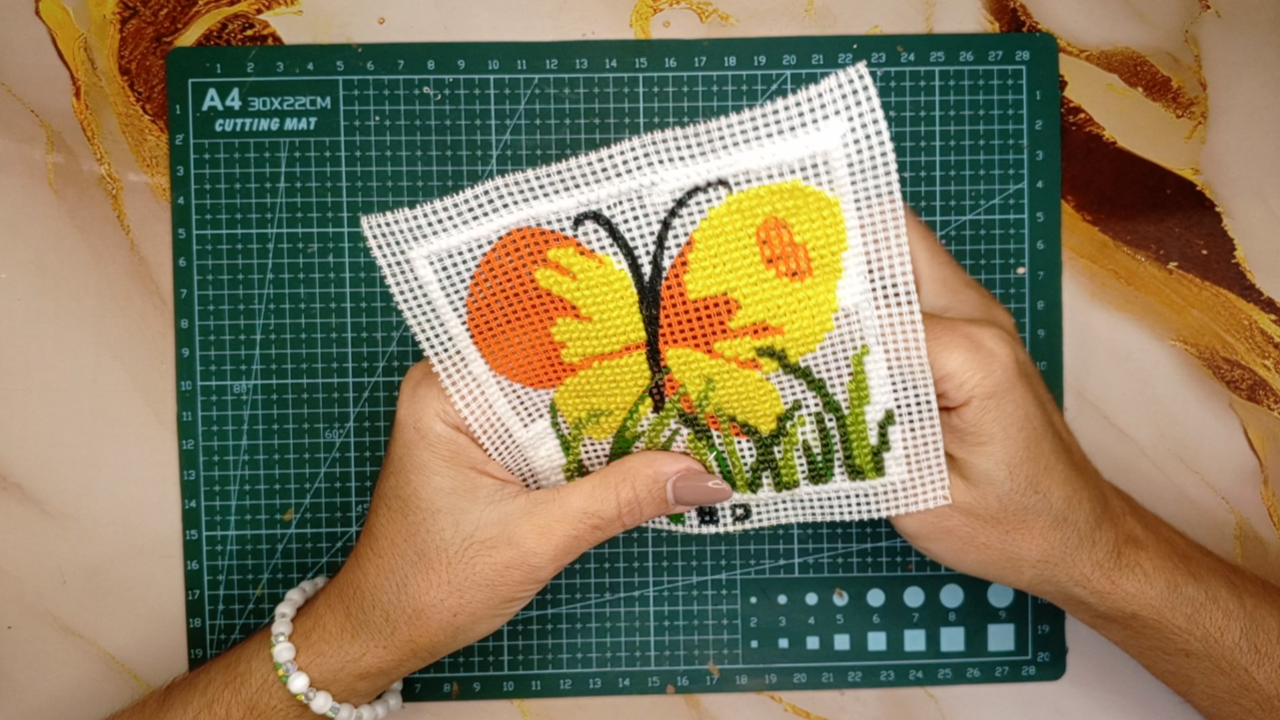
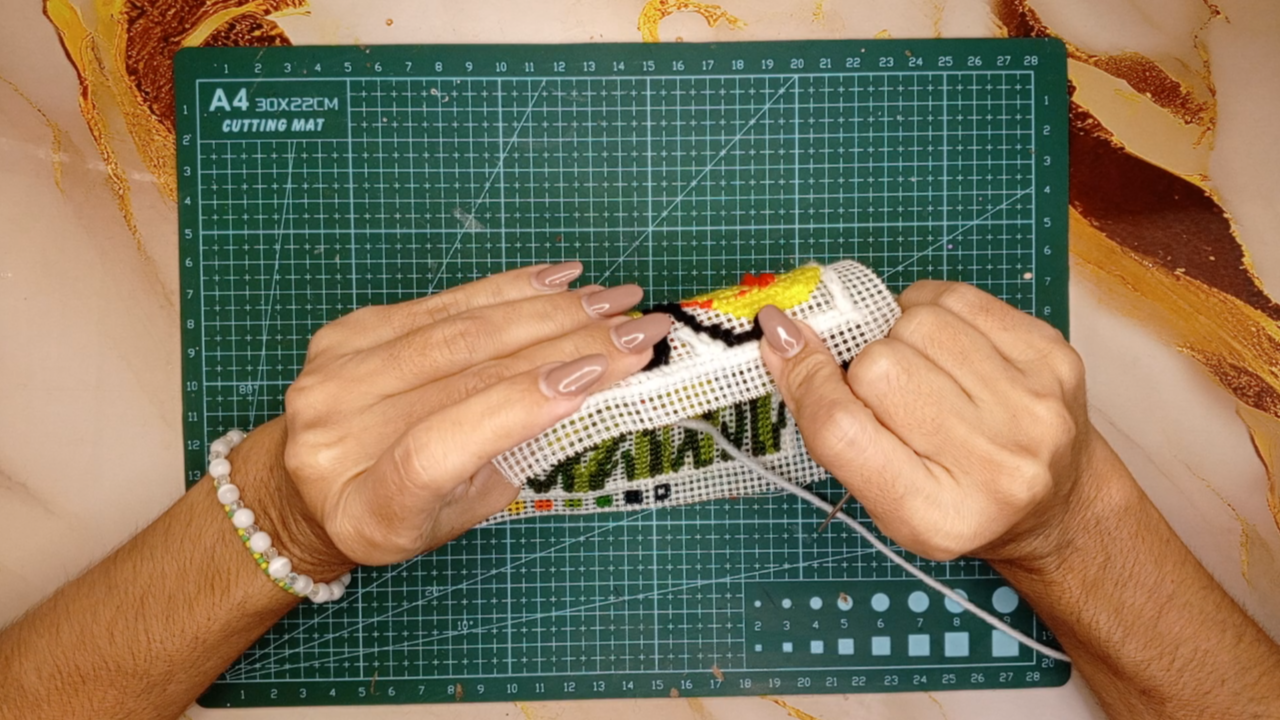
[Esp]
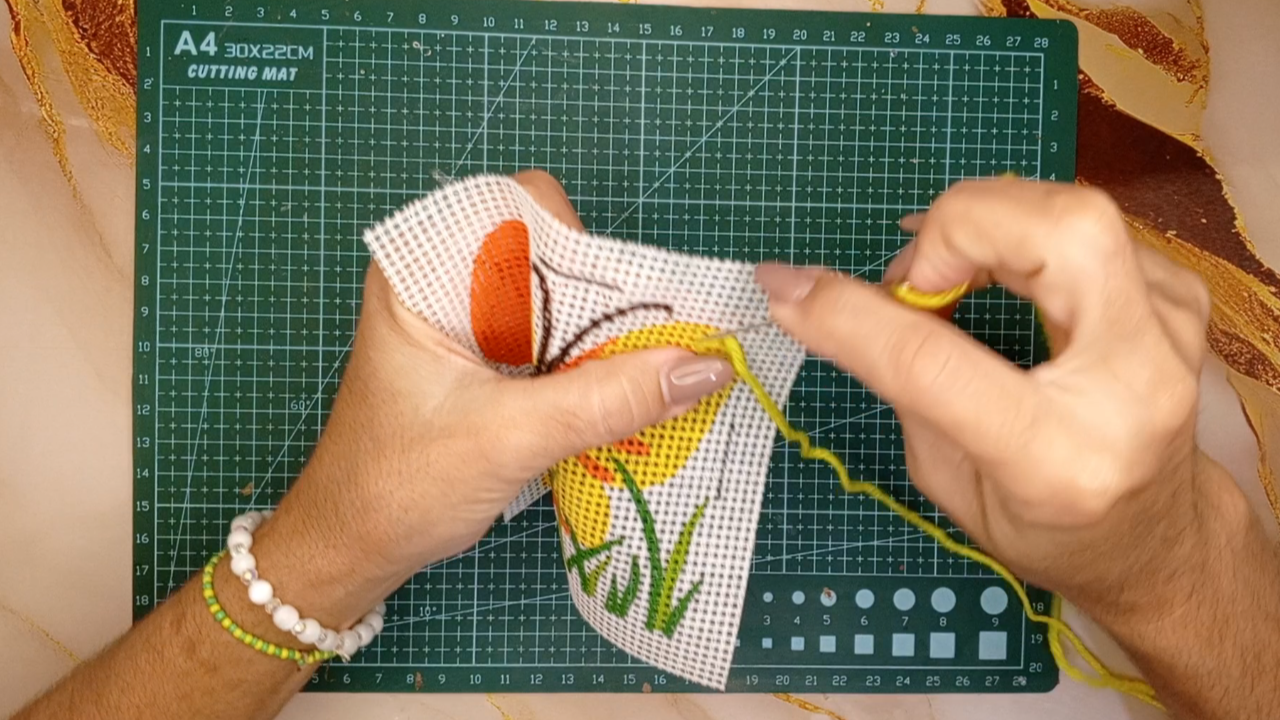
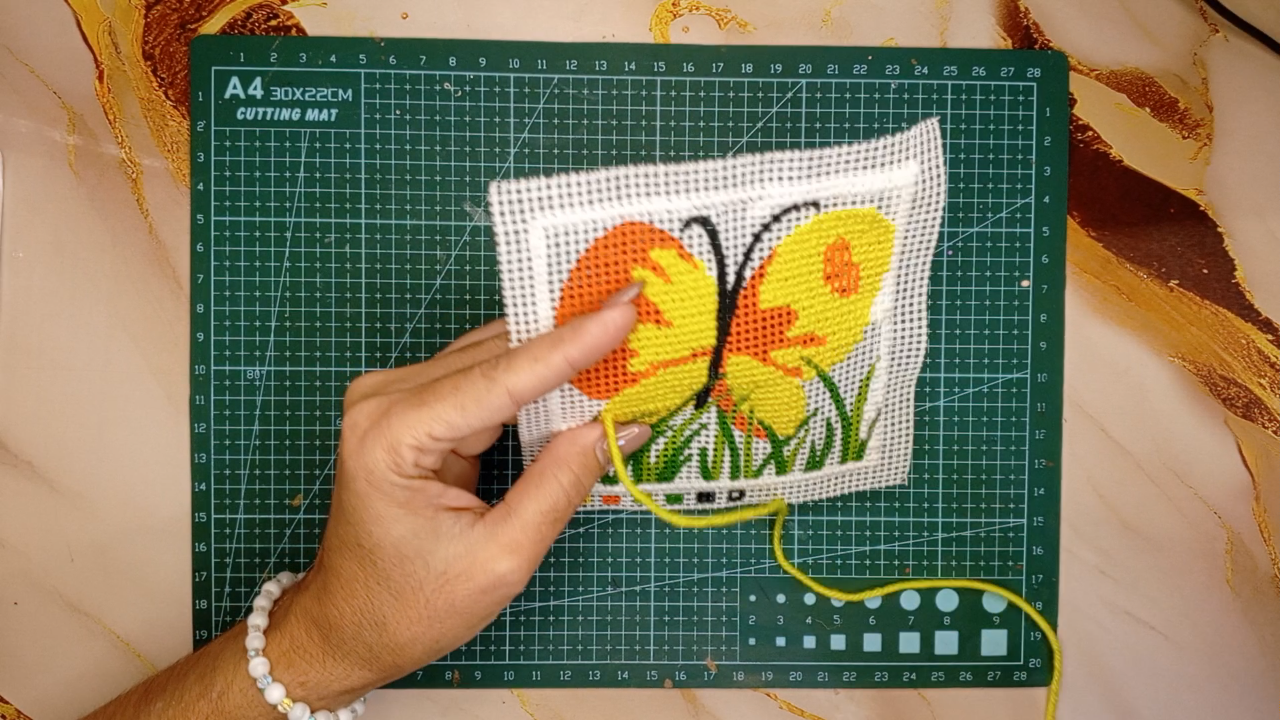
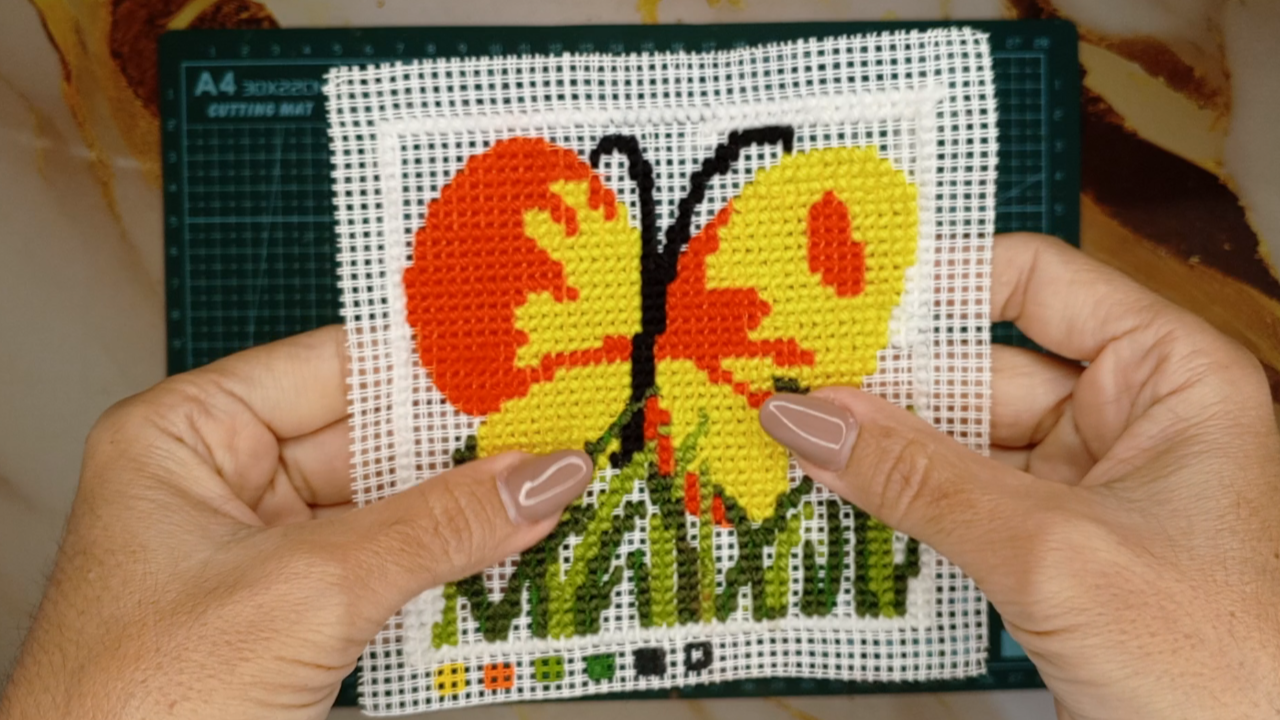
En este punto he bordado; las dos secciones de color de la mariposa, el marco, las antenas, el cuerpo de la mariposa y el follaje.
Evita apretar el punto para que el bordado se vea más tupido.
>! [English version]
In this stitch I have embroidered; the two colored sections of the butterfly, the frame, the antennae, the body of the butterfly and the foliage.
Avoid tightening the stitch to make the embroidery look tighter.
Step 4️⃣/ paso 4️⃣
 |
 |
|
 |
 |
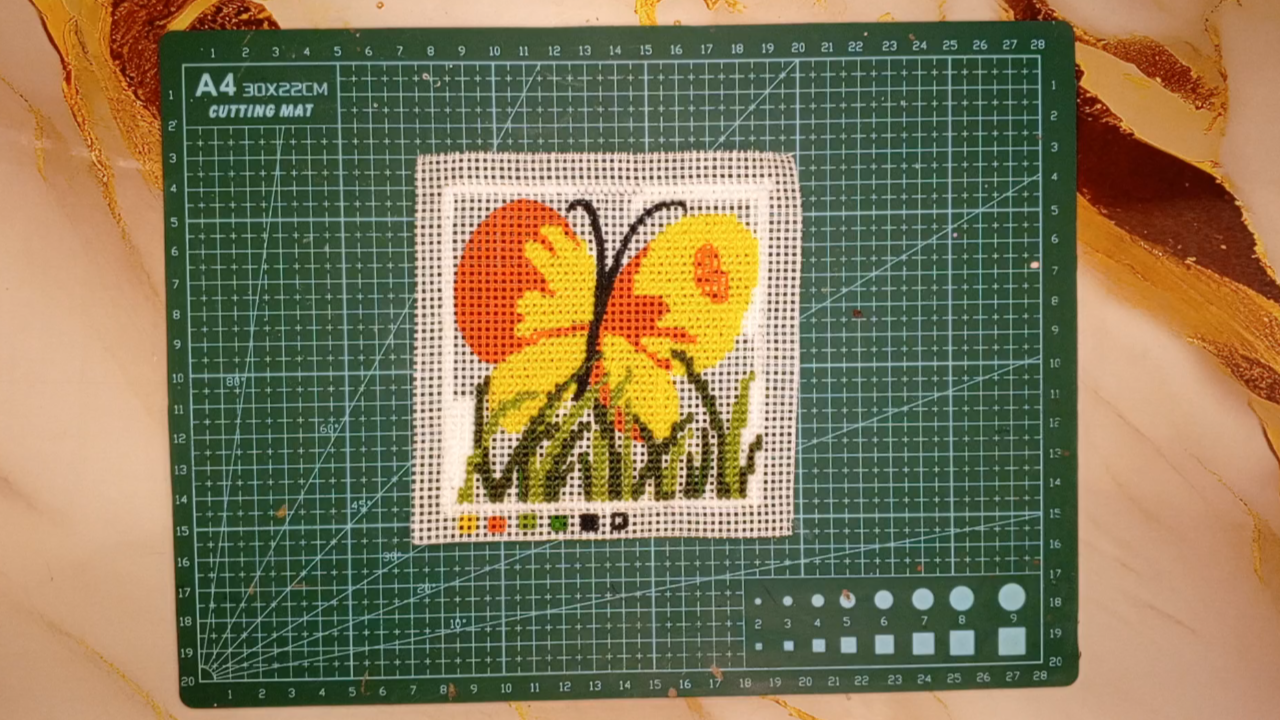
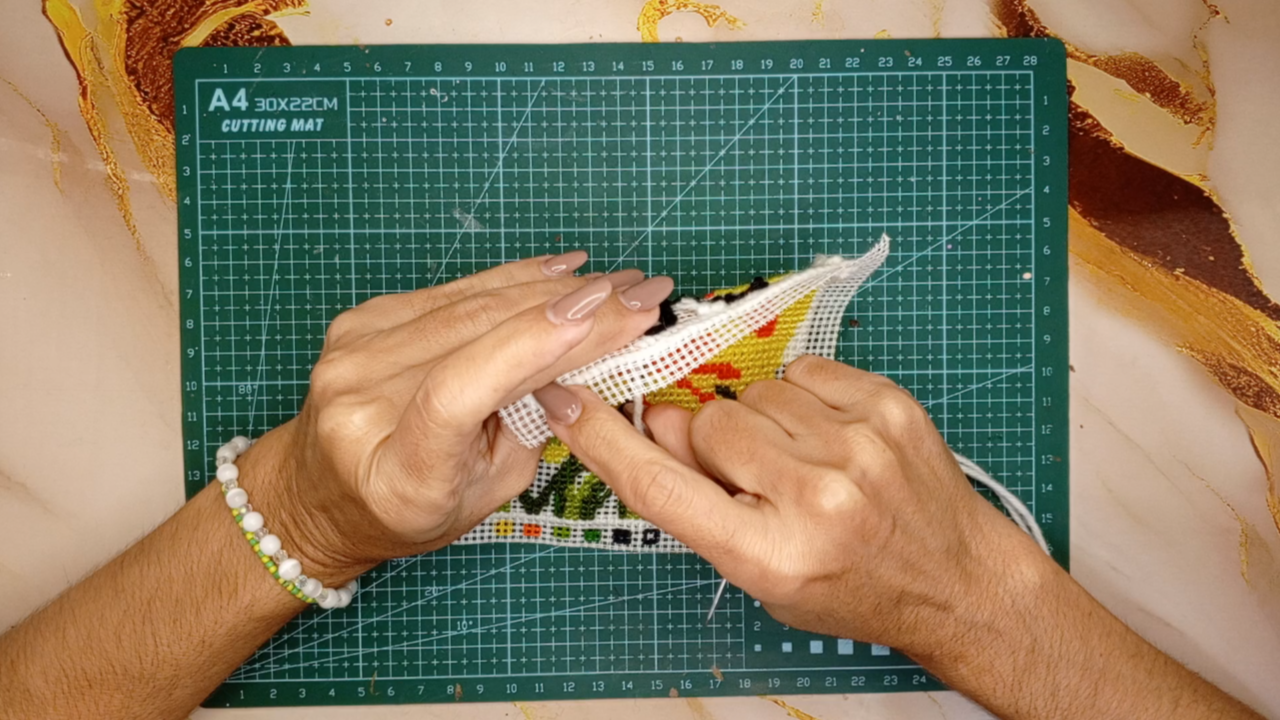
[Esp]
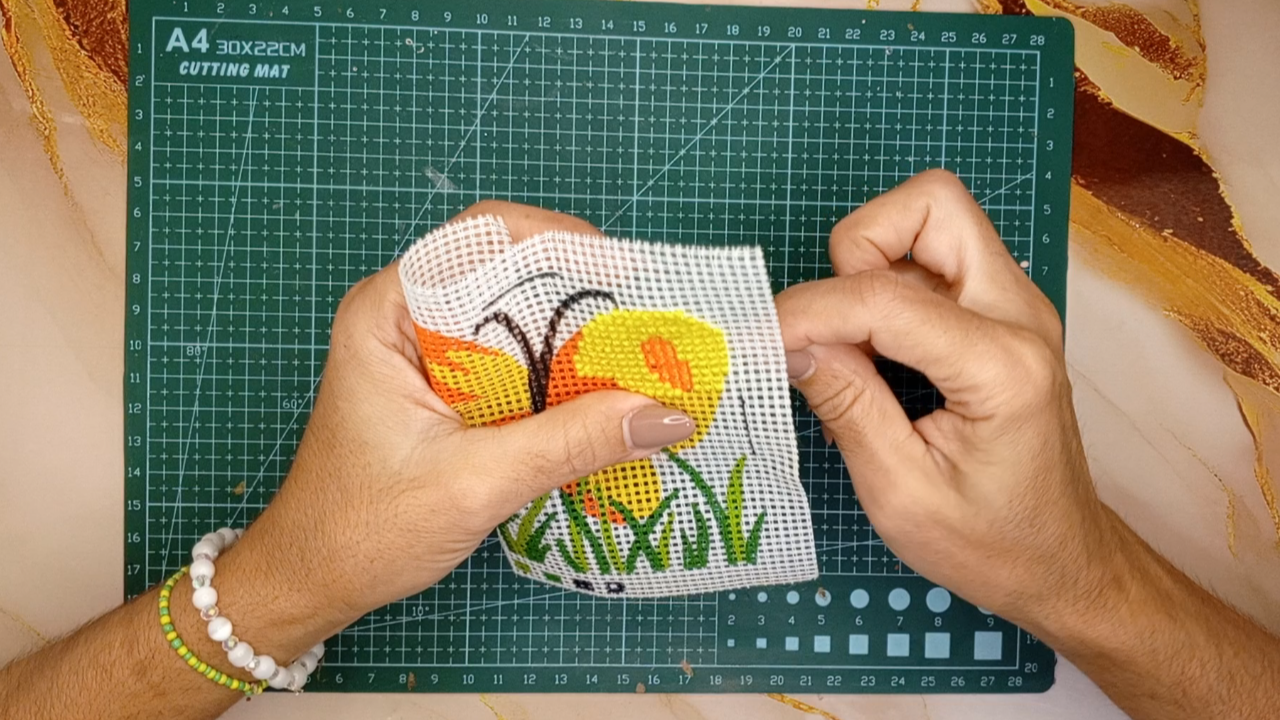
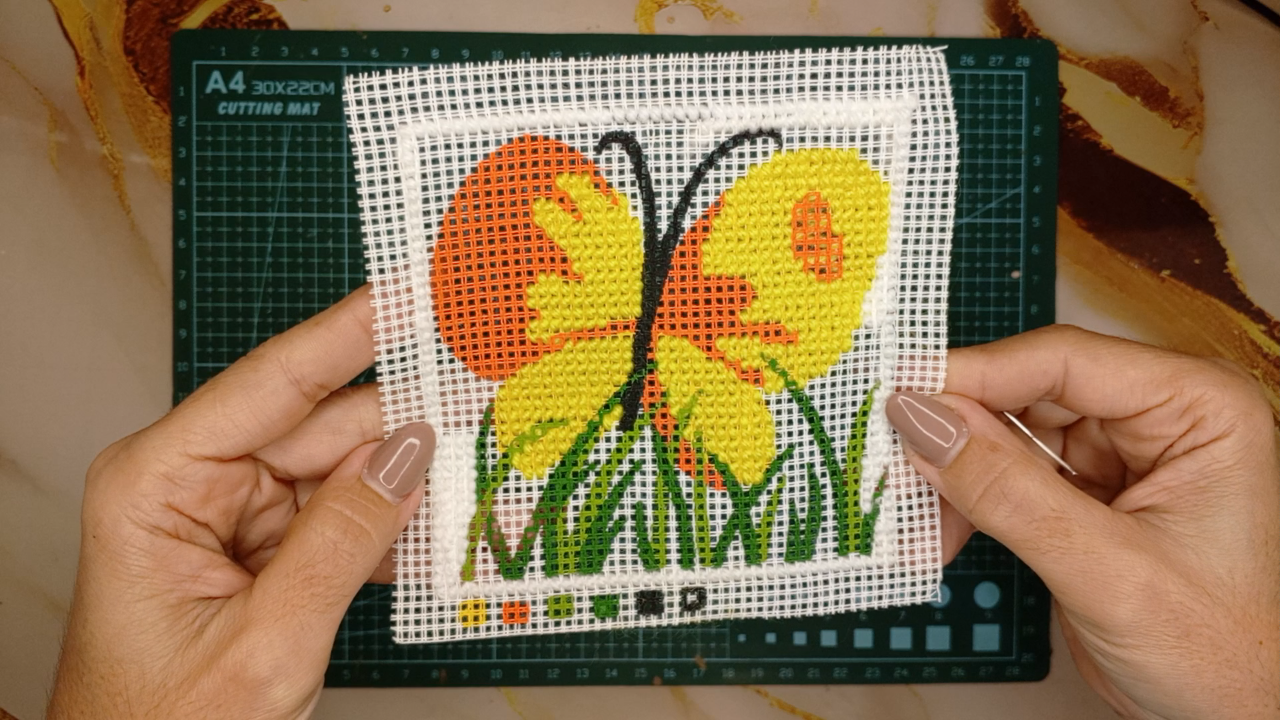
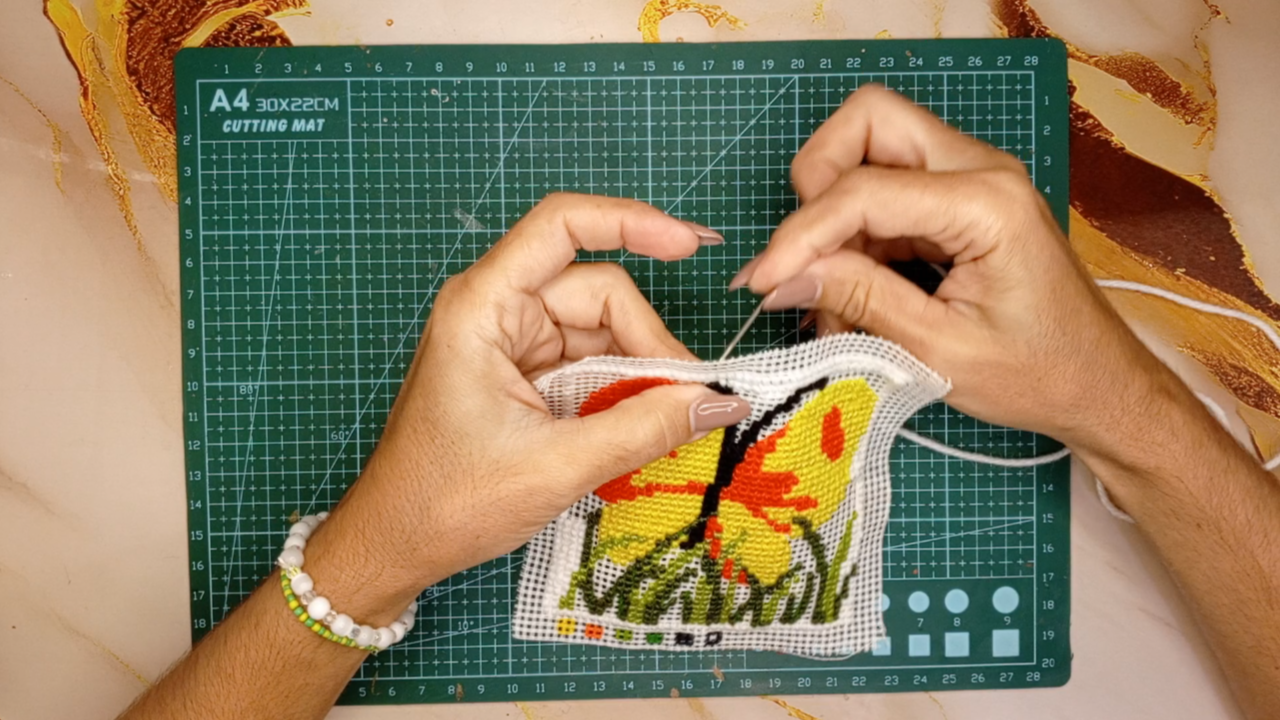
Ahora terminamos el cuadro bordando toda la sección del fondo, el color blanco.
Te preguntarás mientras ves el vídeo ¿Cómo sabe por dónde introducir la aguja por la parte de atrás si no la está viendo?
Secretos de abuelita: Mi madre me enseñó a colocar mi dedo índice por la parte de atrás del lienzo y la uña o el dedo en el cuadro correspondiente, esto es una buena guía.
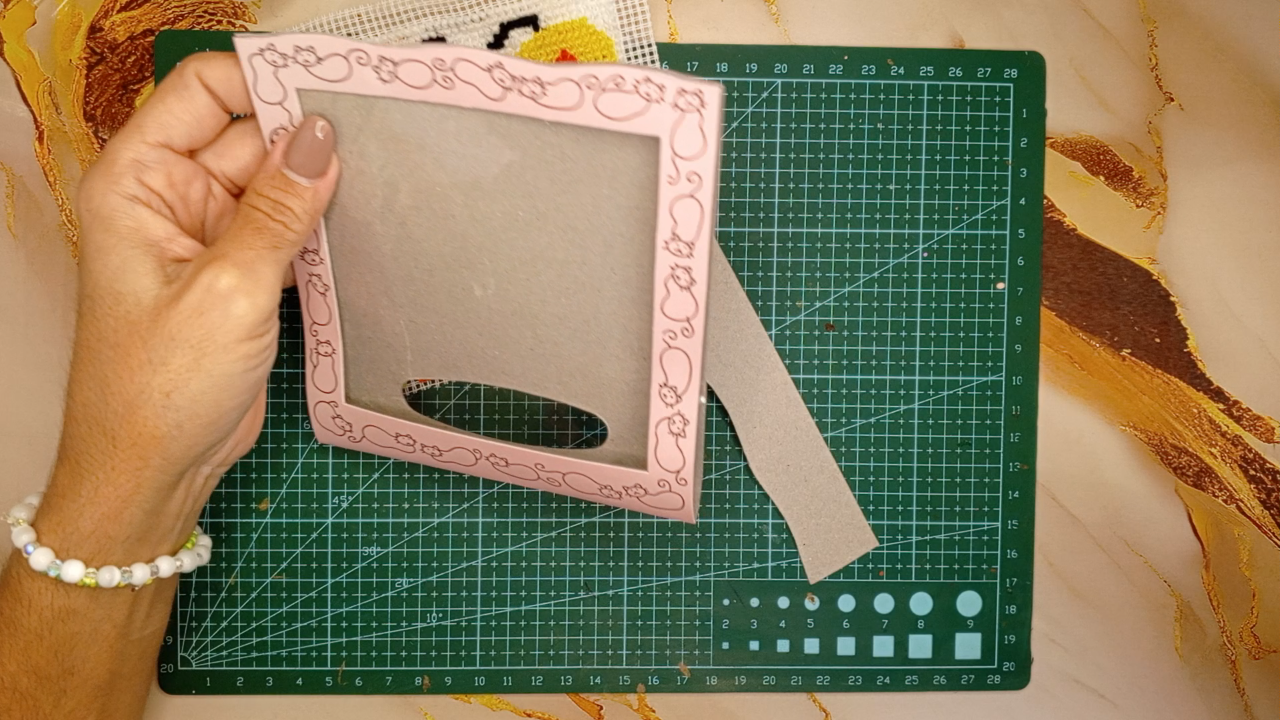
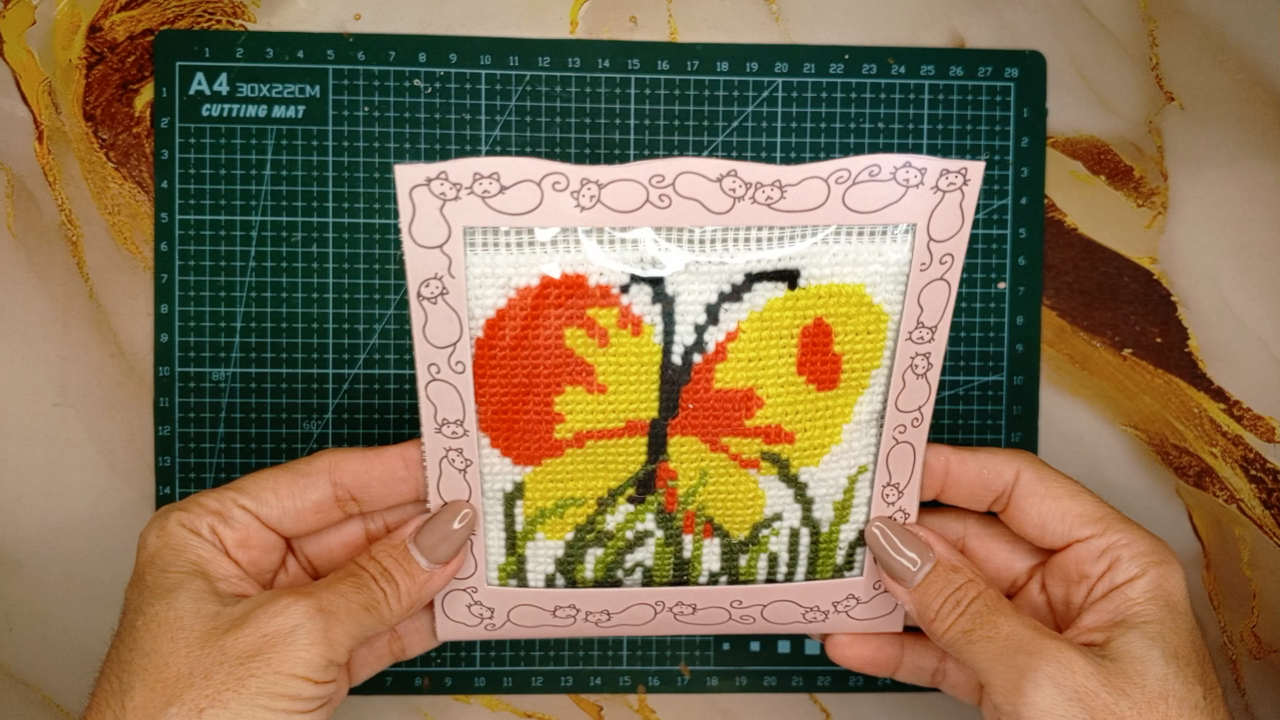
El kit trae un marco de cuadro muy bonito que me pareció estupendo usarlo, he pegado la parte plástica protectora en la parte interna para que continúe protegiendo el lienzo del polvo.
>! [English version]
Now we finish the picture by embroidering the entire background section, the white color.
You may wonder as you watch the video, how does she know where to put the needle through the back if she can't see it?
Grandma's secrets: My mother taught me to place my index finger on the back of the canvas and my fingernail or finger in the corresponding frame, this is a good guide.
The kit comes with a very nice picture frame which I thought was great to use, I have glued the protective plastic part on the inside so it will continue to protect the canvas from dust.
Step 5️⃣/ paso 5️⃣
 |
 |
 |
 |
 |
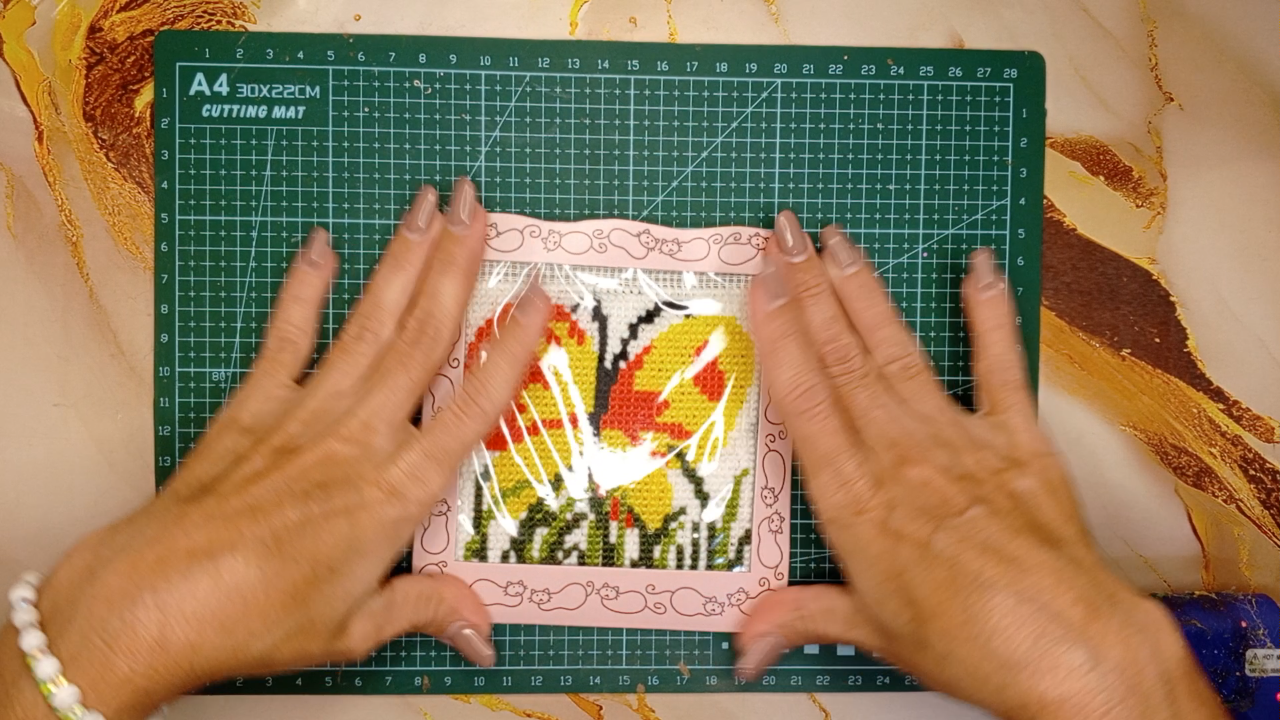 |
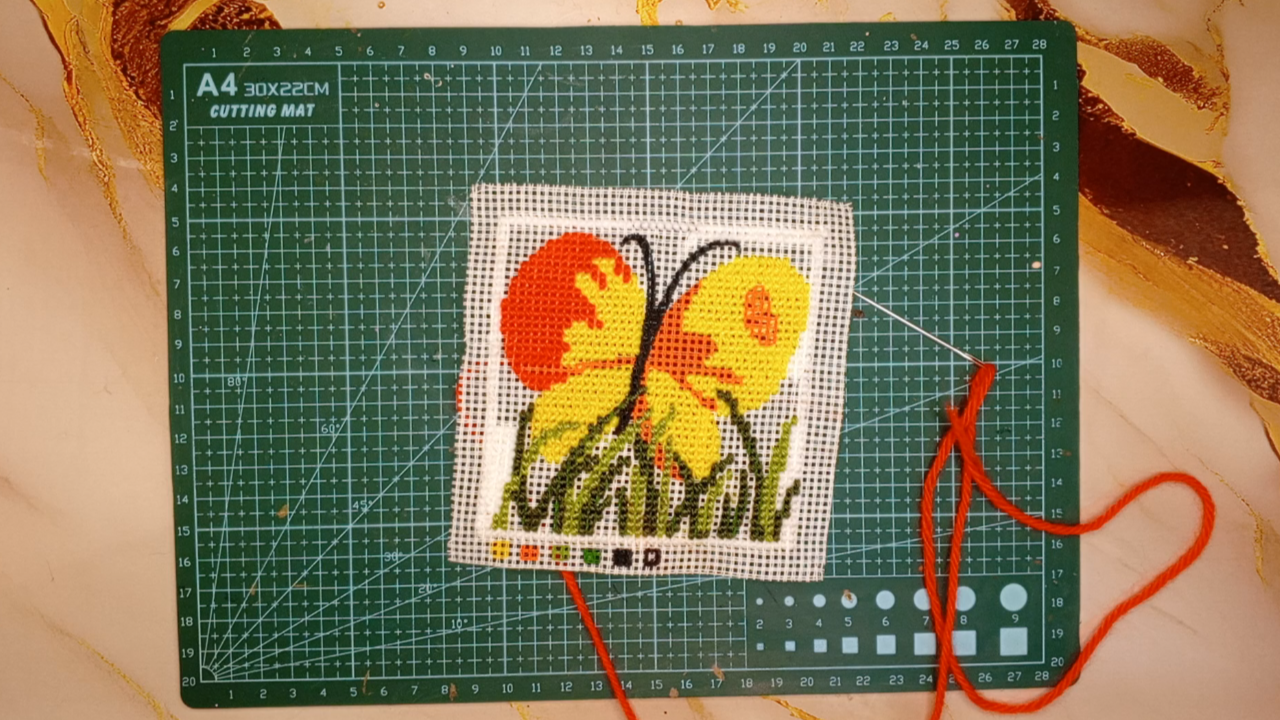
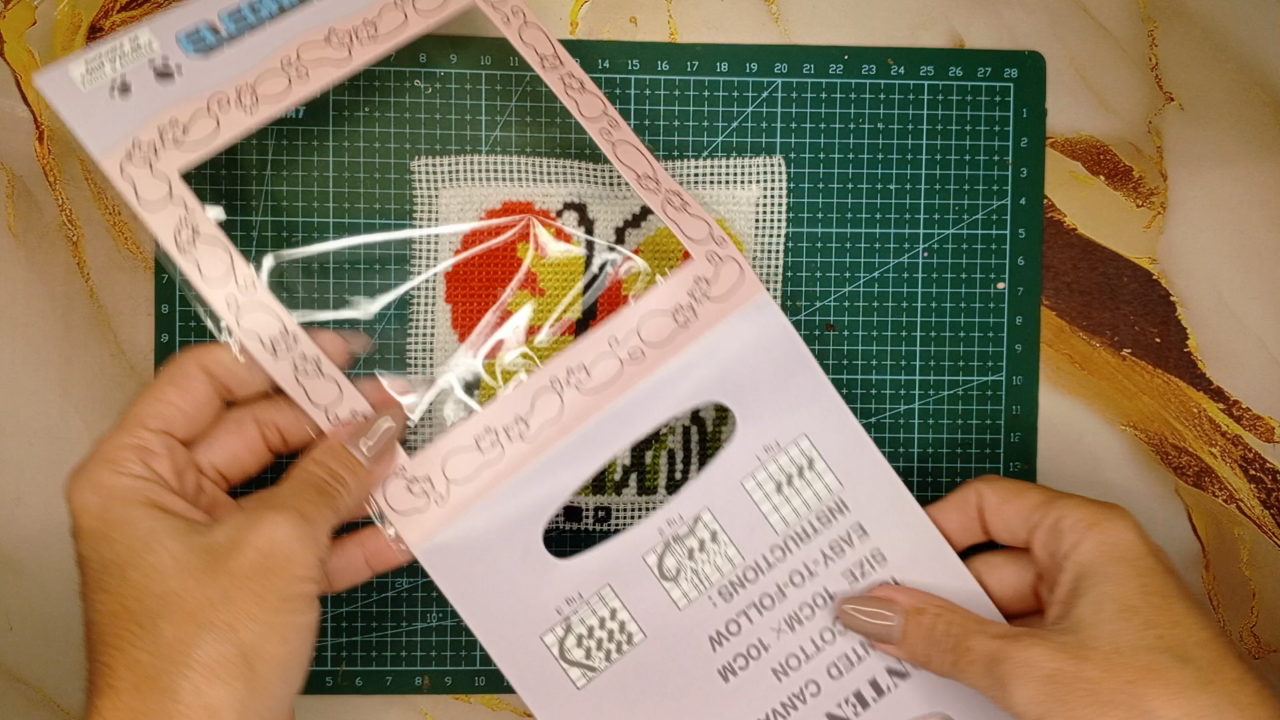
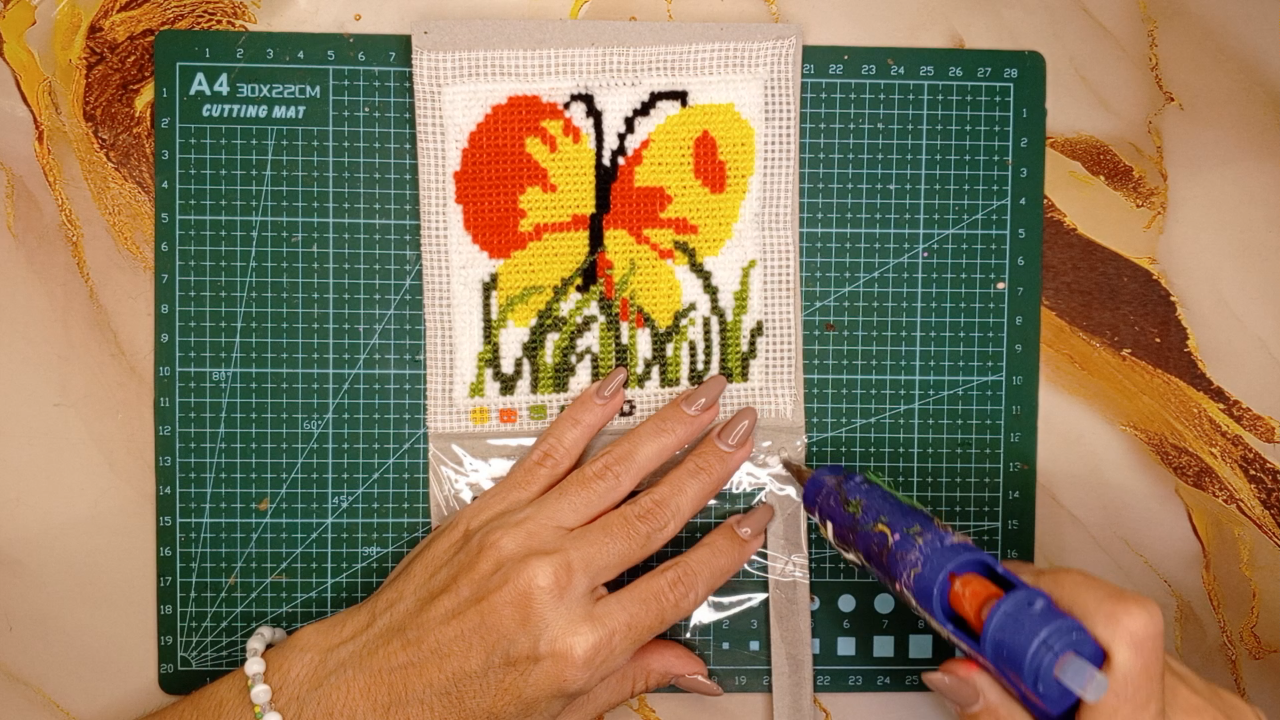
[Esp]
Recorta el plástico excedente.
Recorta el marco siguiendo la línea guía.
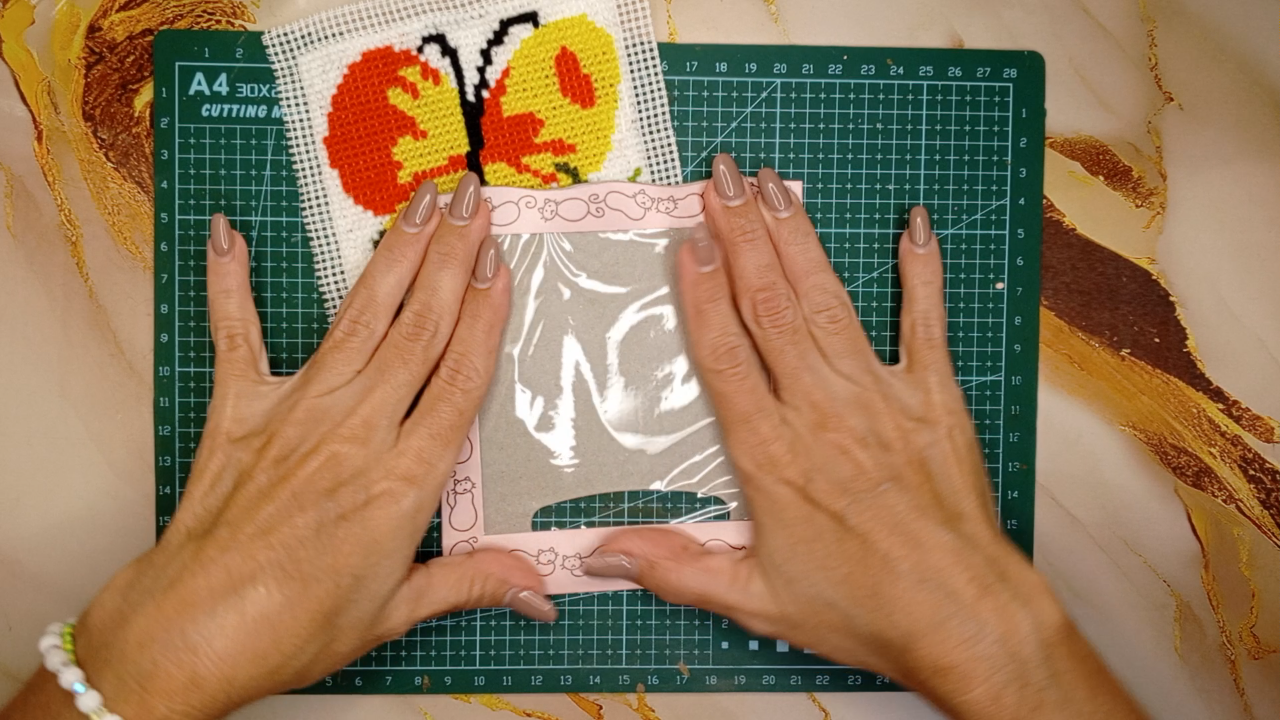
Coloca Pegamento en la parte interna y pega el lienzo a ella.
Pega el marco del cuadro por la parte del frente .
Esto fue un precioso proyecto que disfruté mucho.
Tardé dos días en terminarlo, espero les guste junto con el vídeo.
Nos vemos pronto.
>! [English version]
Trim the excess plastic.
Cut out the frame following the guide line.
Put glue on the inside and glue the canvas to it.
Glue the picture frame on the front side.
This was a beautiful project that I enjoyed very much.
It took me two days to finish it, I hope you like it and the video.
See you soon.


Créditos / Credits
Program: [MediBang Paint Pro.](https://medibangpaint.com/es/pc/) Tablet Huion model 420 [Translated by www.deepl.com/](https://www.deepl.com/) [Canva Editions](https://www.canva.com/)
https://www.youtube.com/watch?v=_82f3SLVimA
Mariposa bordada con estambre - fácil - Antes y después
 💜💜💜
det.jpg (https://files.peakd.com/file/peakd-hive/equipodelta/243Ba2KRec7ktBLCvfGk5YBTp4NwZfg7iykqP8h5EZYQ6ST1apJeJQYQzRMF6eKqm3C86.jpg)
💜💜💜
det.jpg (https://files.peakd.com/file/peakd-hive/equipodelta/243Ba2KRec7ktBLCvfGk5YBTp4NwZfg7iykqP8h5EZYQ6ST1apJeJQYQzRMF6eKqm3C86.jpg)
![]() 👉
👉  👉
👉 ![]() 👉
👉 ![]() 👉
👉  Here / Bríndame un café
EogNqo3HLWFsL96KTopGJUuGTVfL8CVradWxWtxxHmyqHKKM1GXYP9zDZD9jtBY3iBS.jpg (https://images.hive.blog/0x0/https://files.peakd.com/file/peakd-hive/equipodelta/EogNqo3HLWFsL96KTopGJUuGTVfL8CVradWxWtxxHmyqHKKM1GXYP9zDZD9jtBY3iBS.jpg)