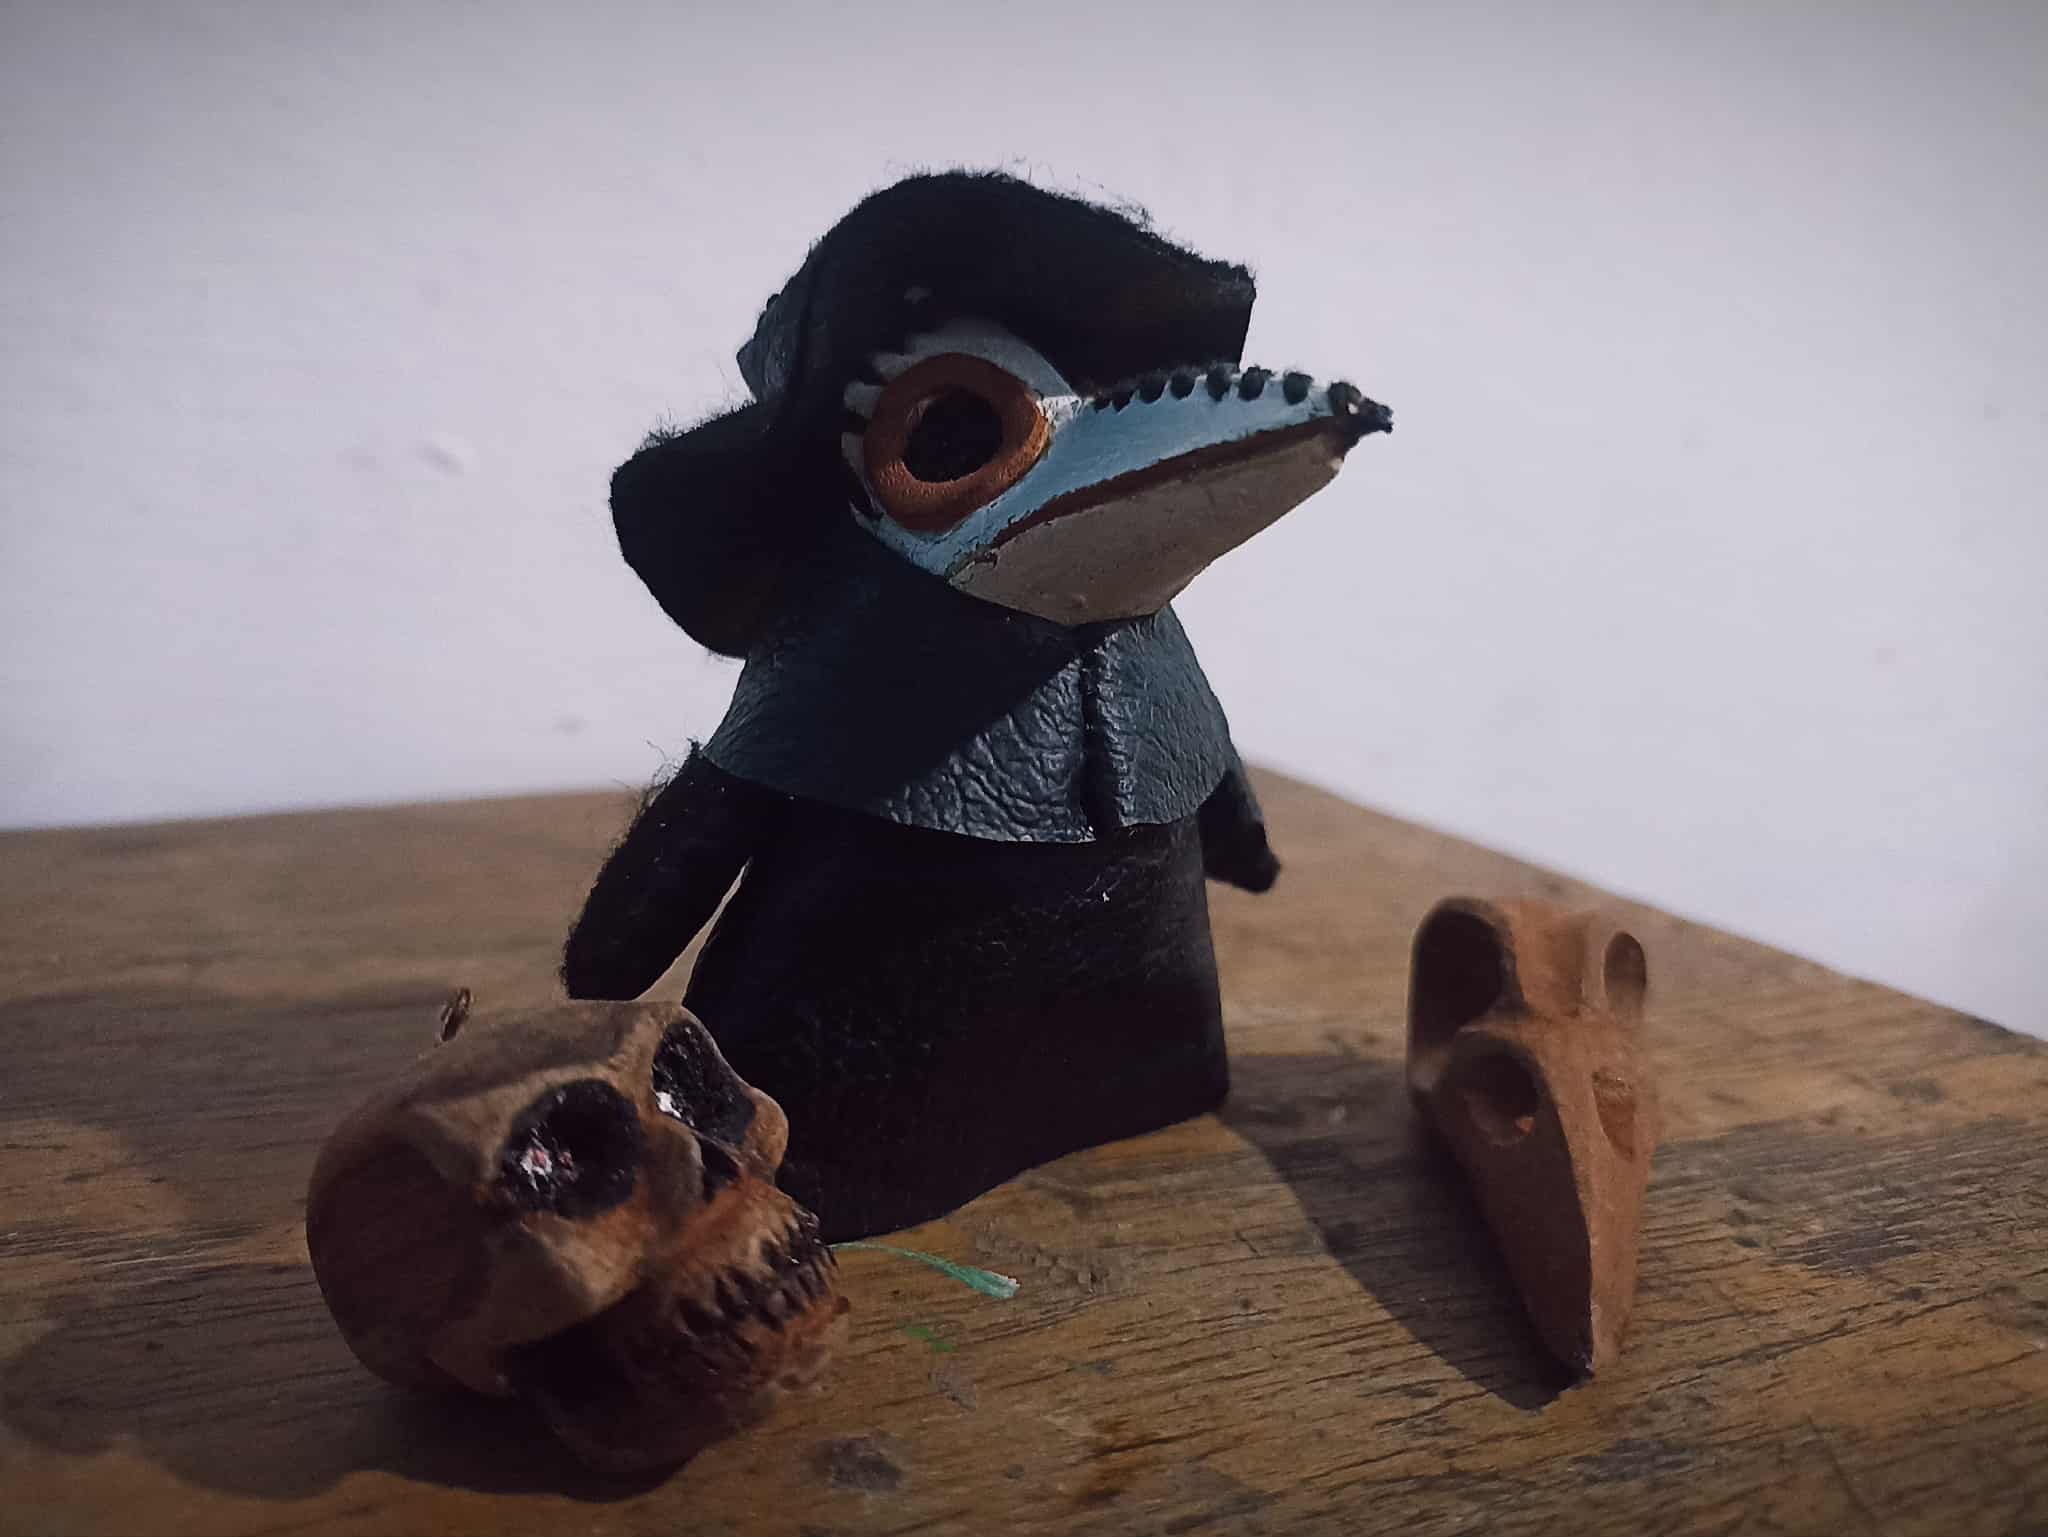
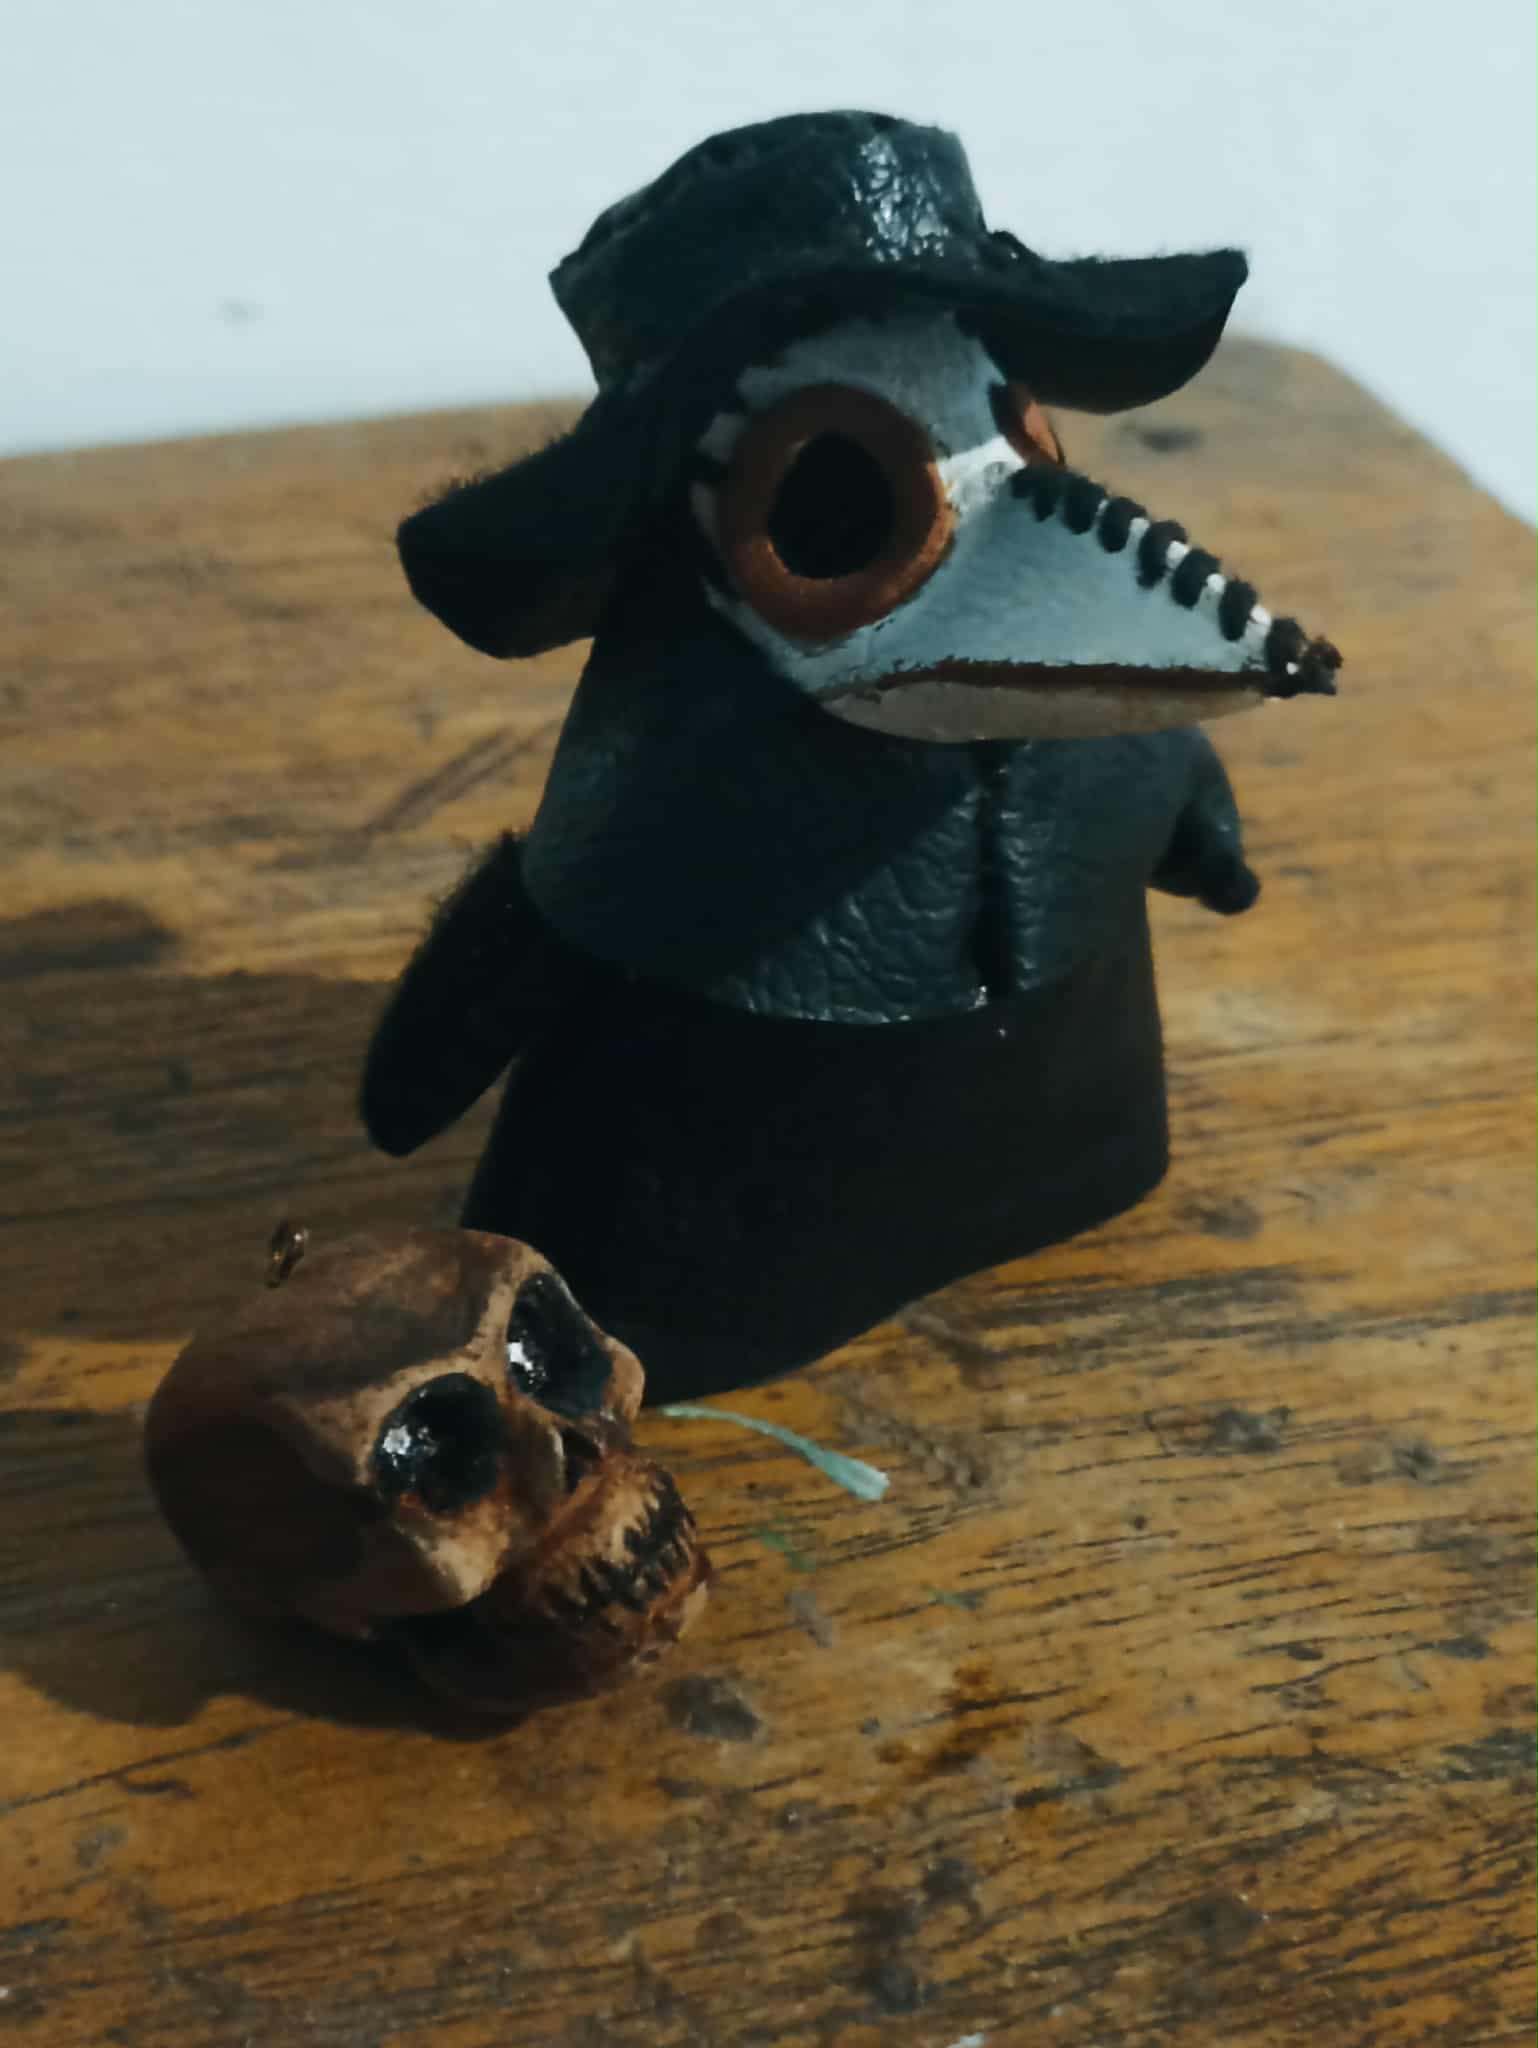
Hello dear friends of Hive DIY, I hope you are all doing well. Yesterday I tried to share my Halloween project with you, but it was impossible. I had power outages that lasted over six hours, and today was the same, but I was able to keep working even in the darkness. To celebrate this wonderful day, I wanted to share a small Plague Doctor figurine I made, one of my favorite characters. From the Middle Ages to today, he continues to be popular for his costumes. I made this figurine with the idea of turning it into a keychain, hence its small size. I made it with faux leather and some foam. Here I share this enjoyable experience I had making it; I hope you like it.
Hola queridos amigos de Hive Diy, espero que se encuentren muy bien, el día de ayer intente compartir con ustedes mi aporte para Halloween pero fue imposible, tuve apagones de luz que pasaban las 6 horas, y hoy también fue igual, pero en plena oscuridad pude seguir trabajando. Quiero compartir para celebrar este día tan genial, un pequeño muñeco que hice del Doctor Plaga, uno de mis personajes favoritos, salido desde la edad media hasta hoy sigue causando favor por sus vestimentas. Este Muñeco lo hice con la idea de transformarlo en un llavero, por eso su tamaño pequeño, lo hice con cuero sintético y algo de foami, aquí les comparto esta grata experiencia que tuve al hacerlo, espero les guste.

PROCESS
 |
 |
|
|---|---|---|
 |
 |
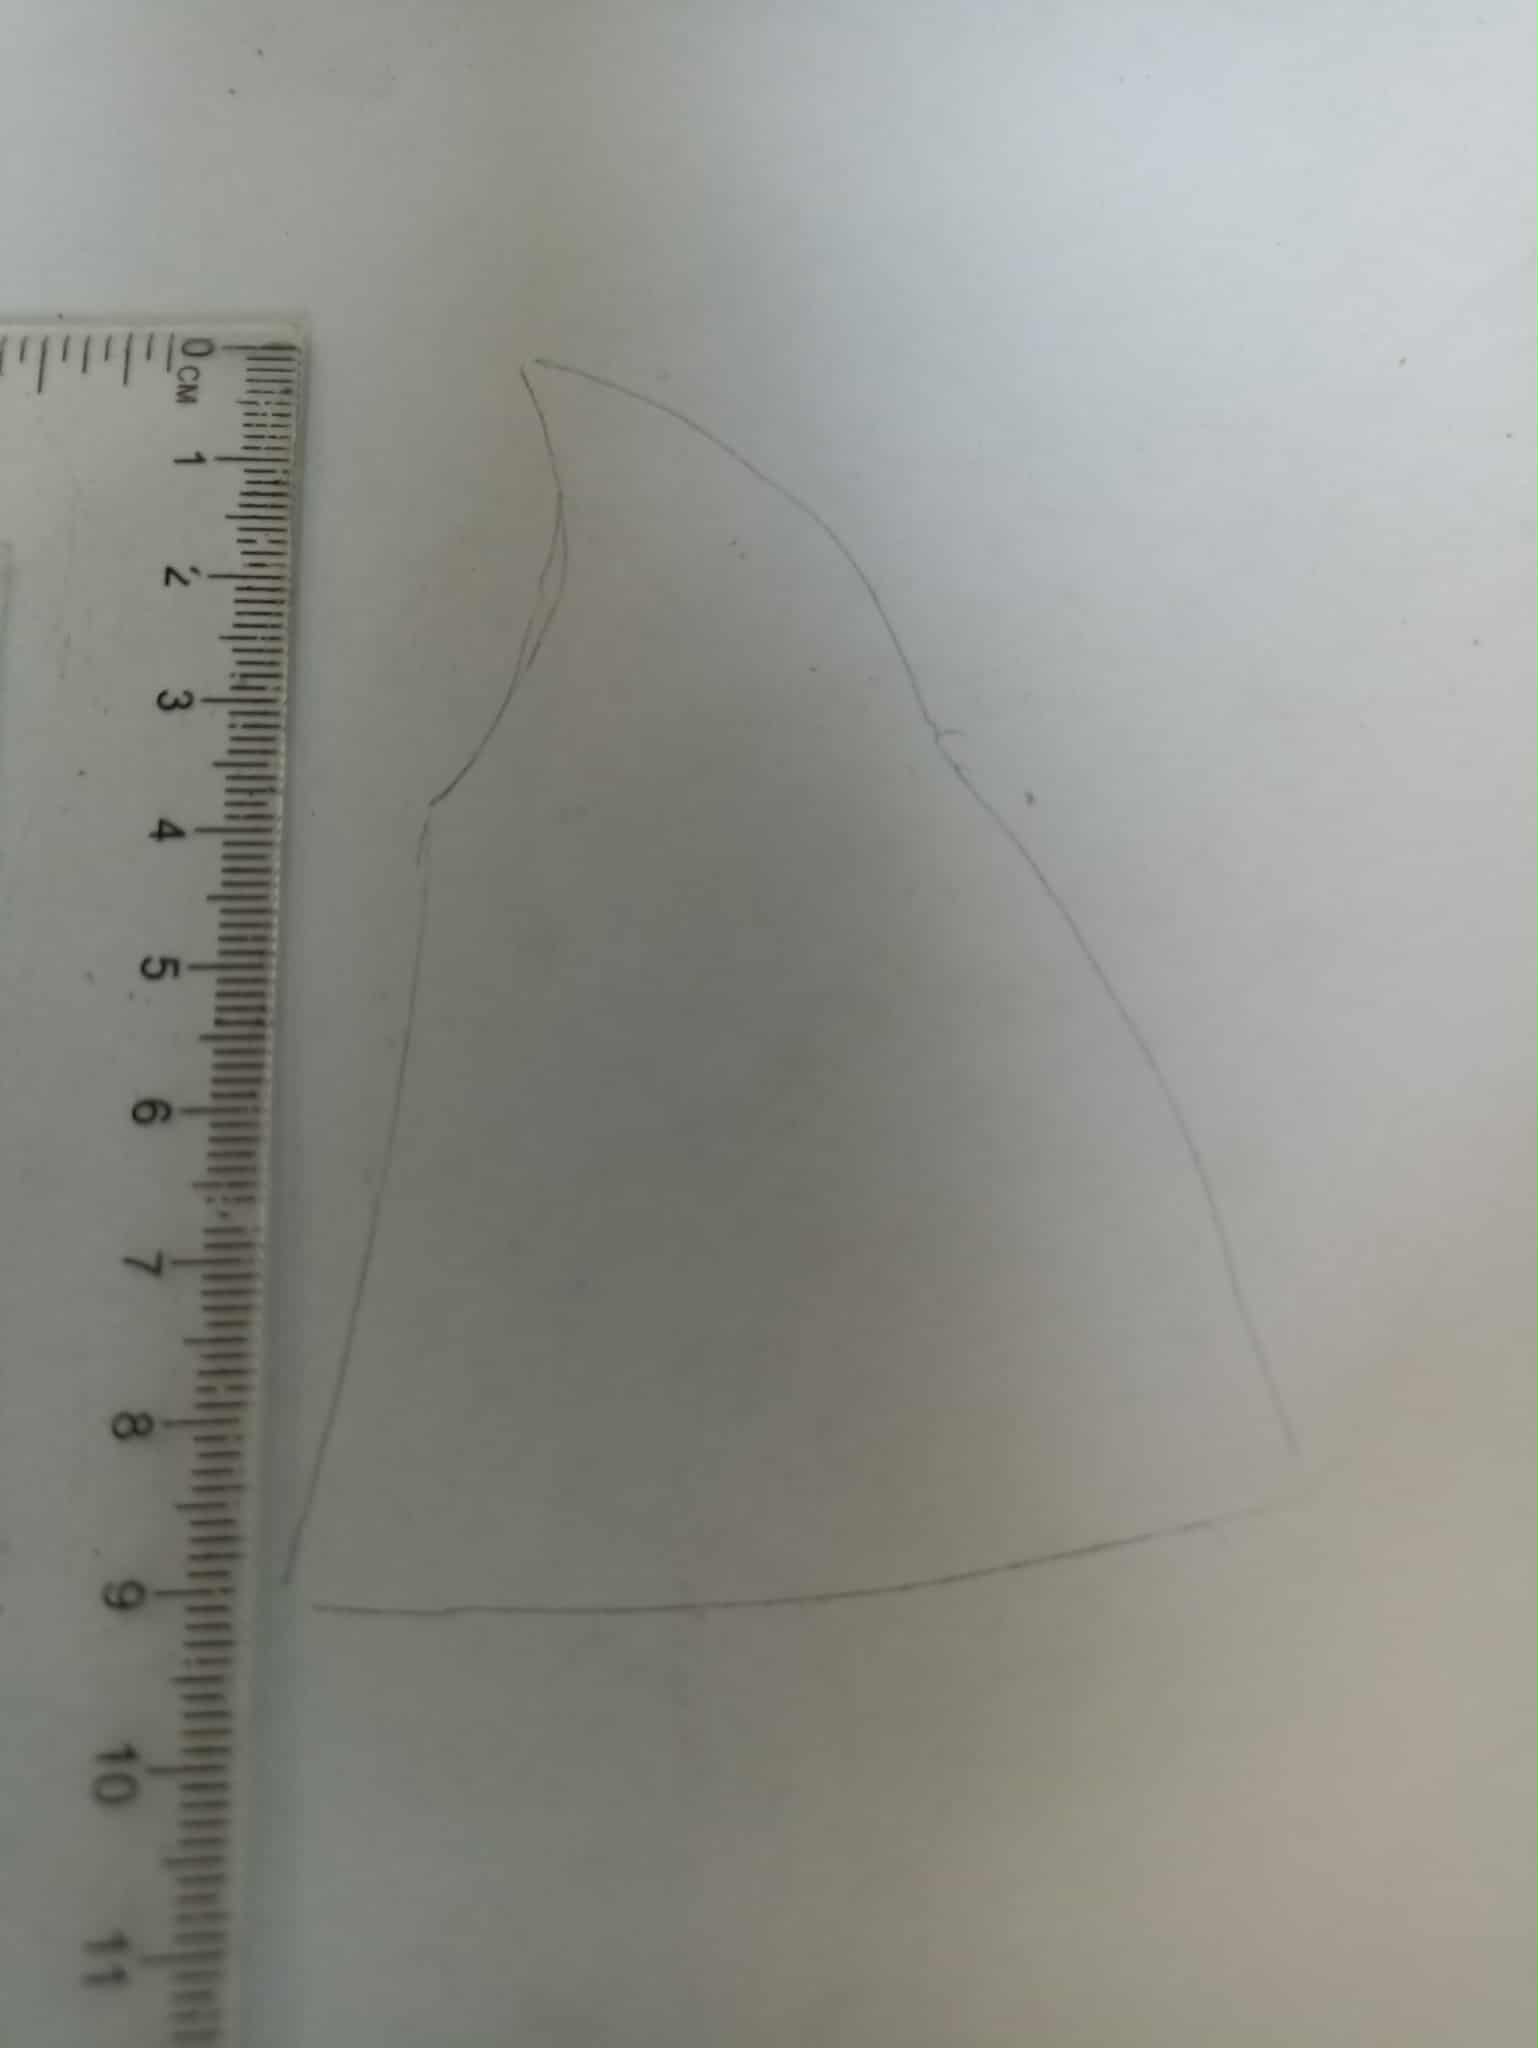
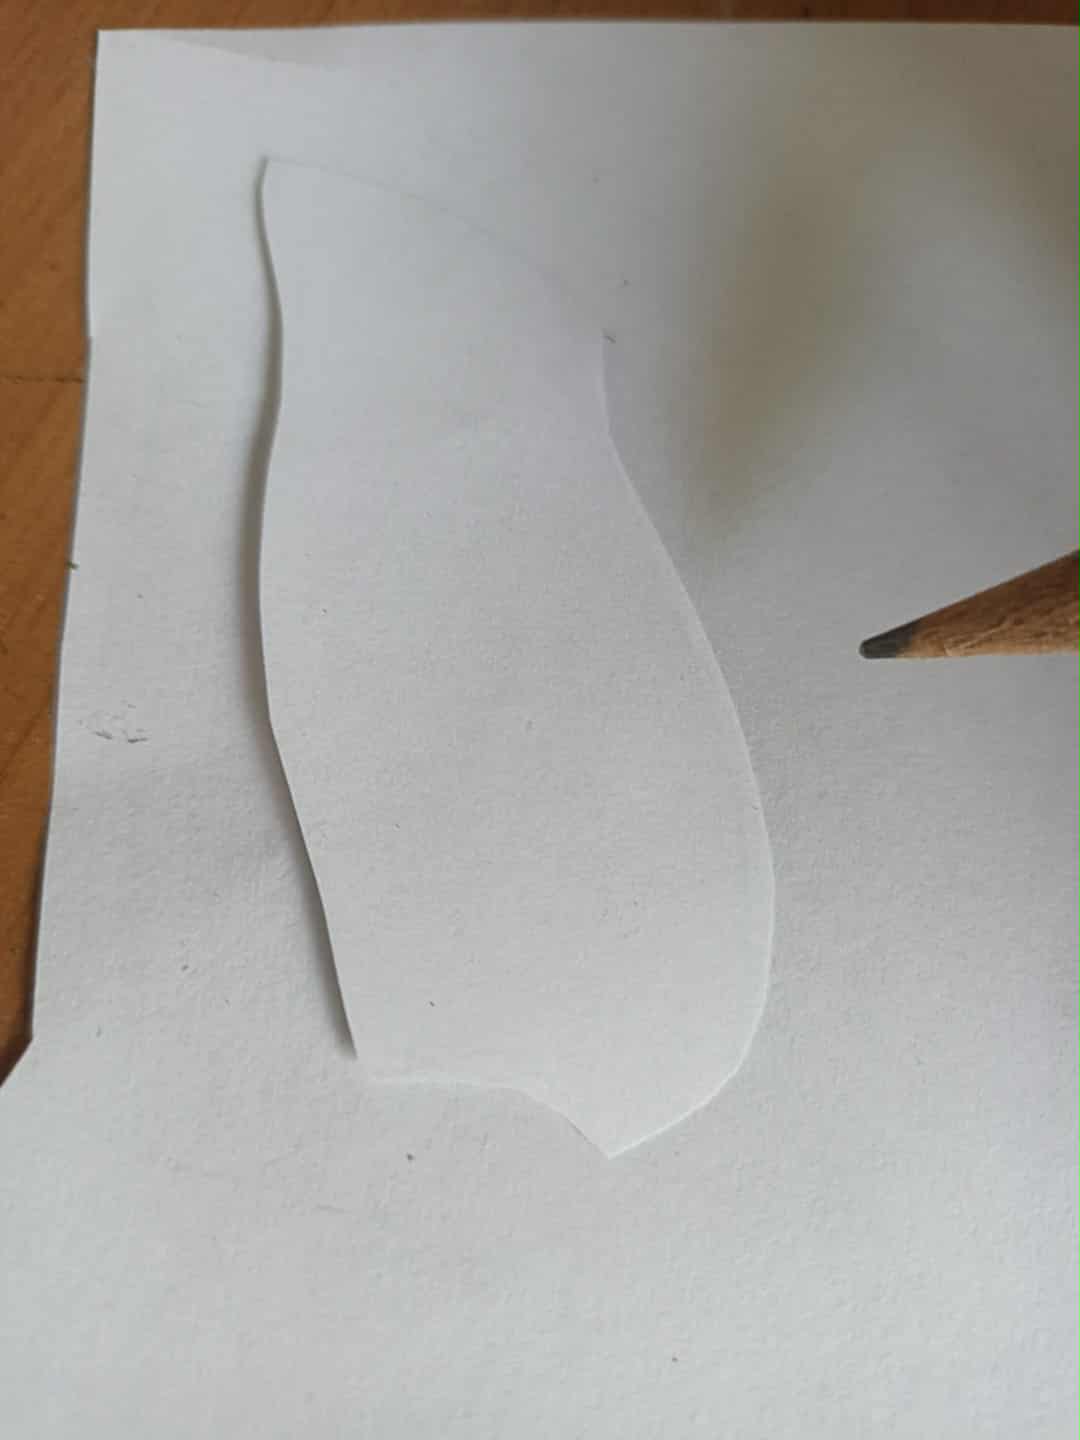
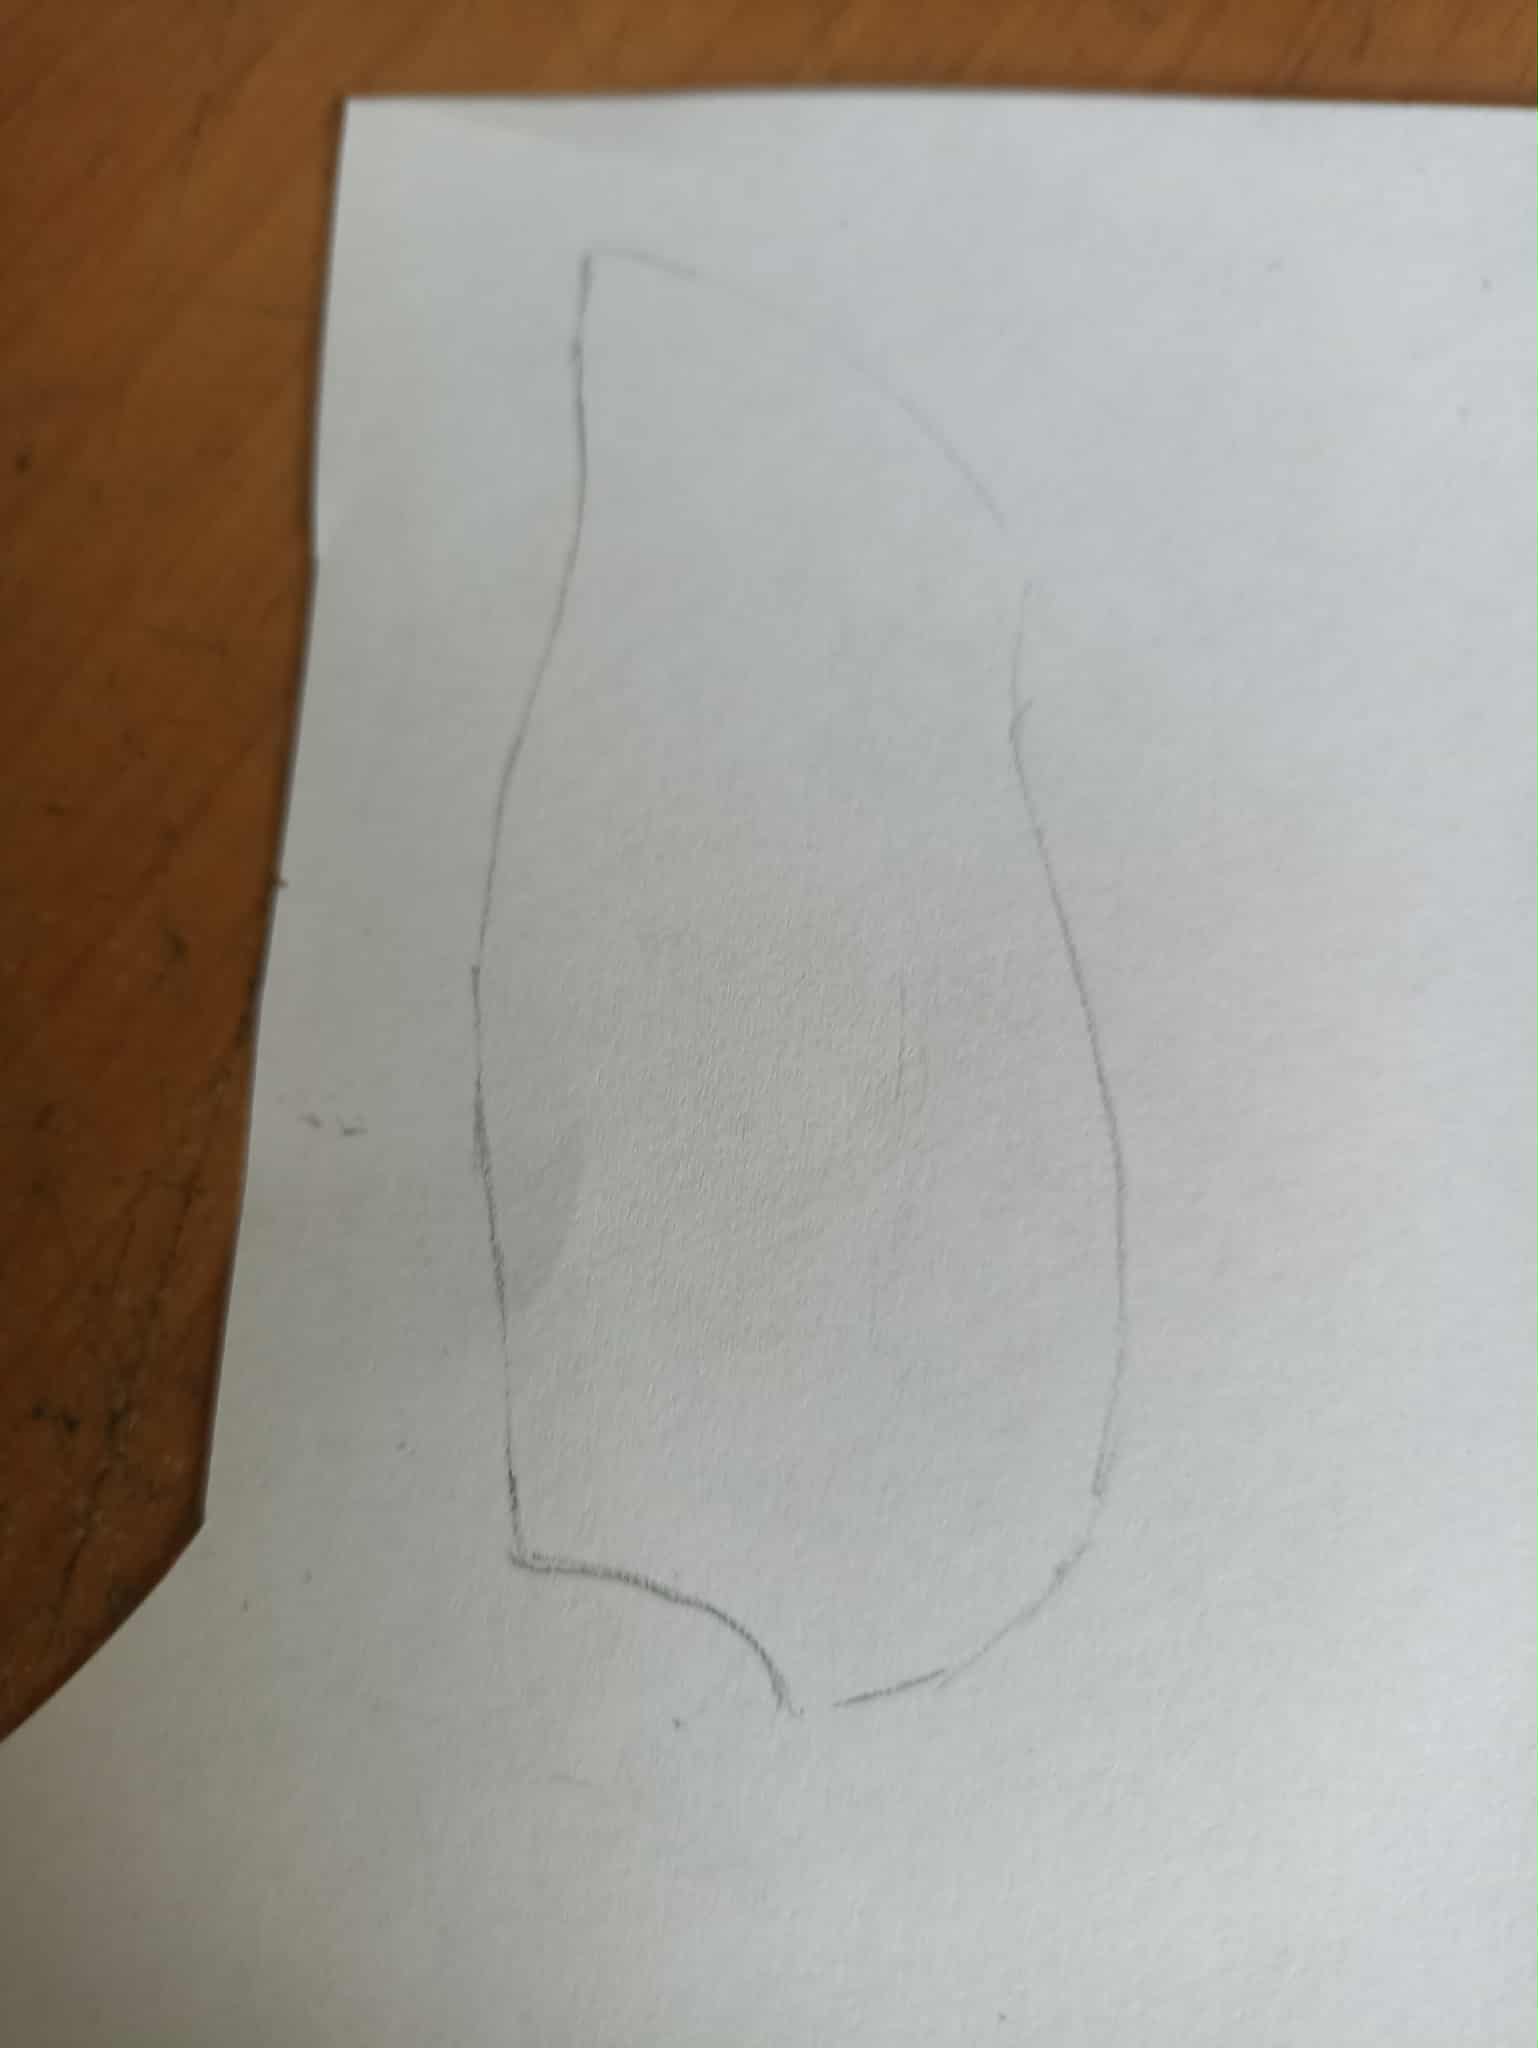
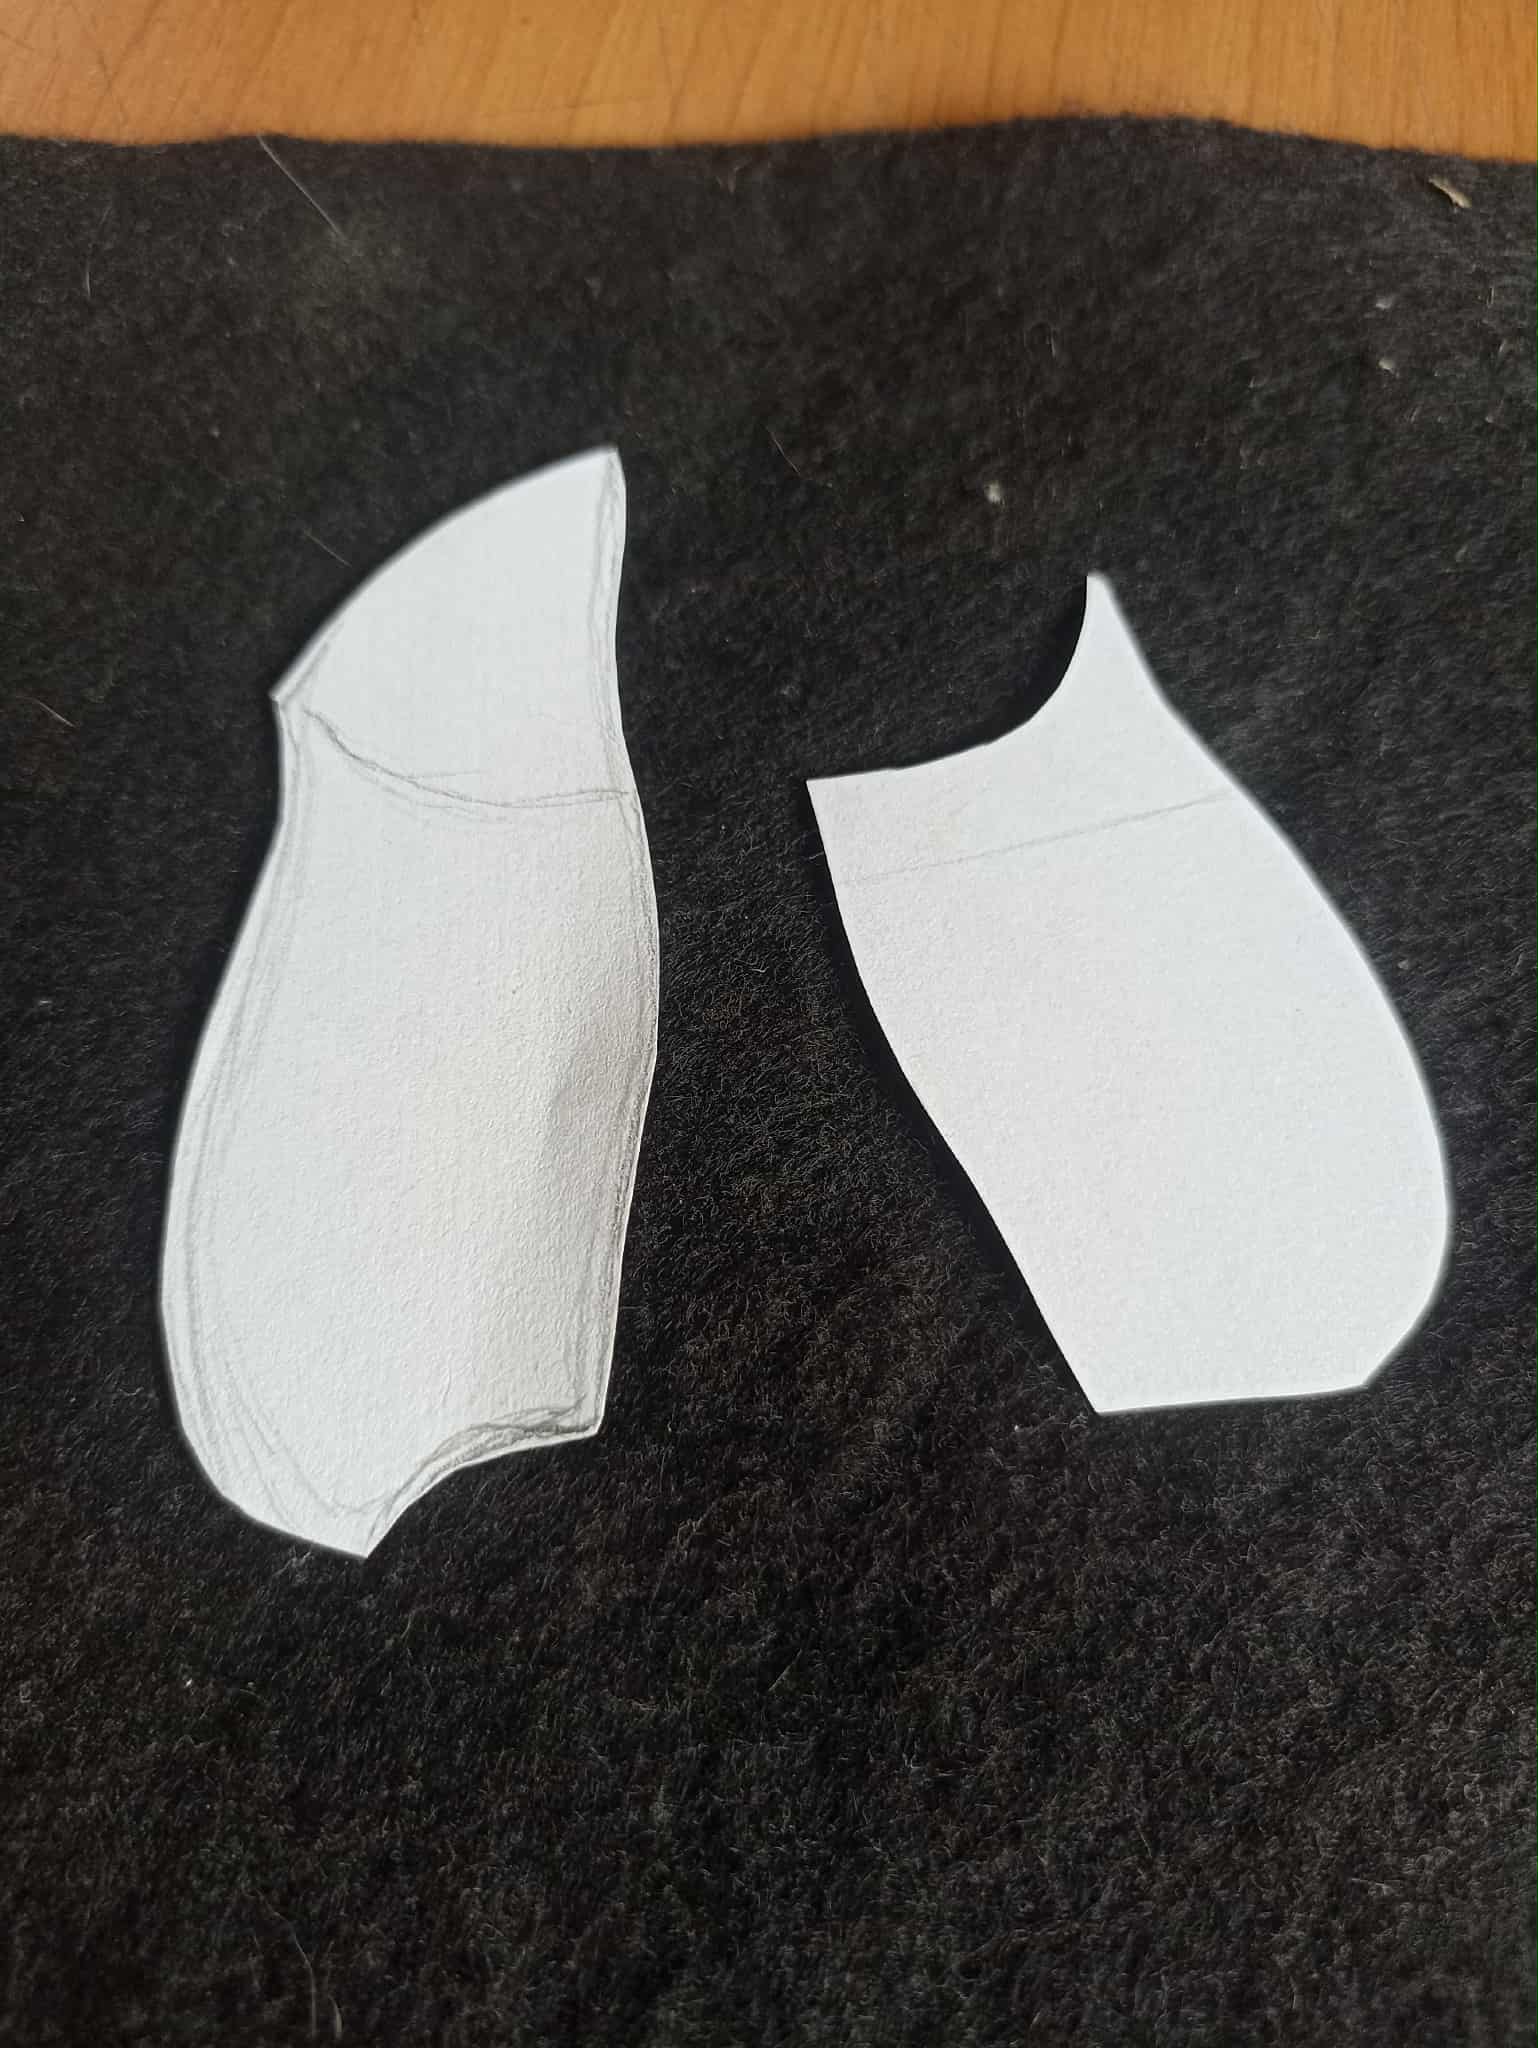
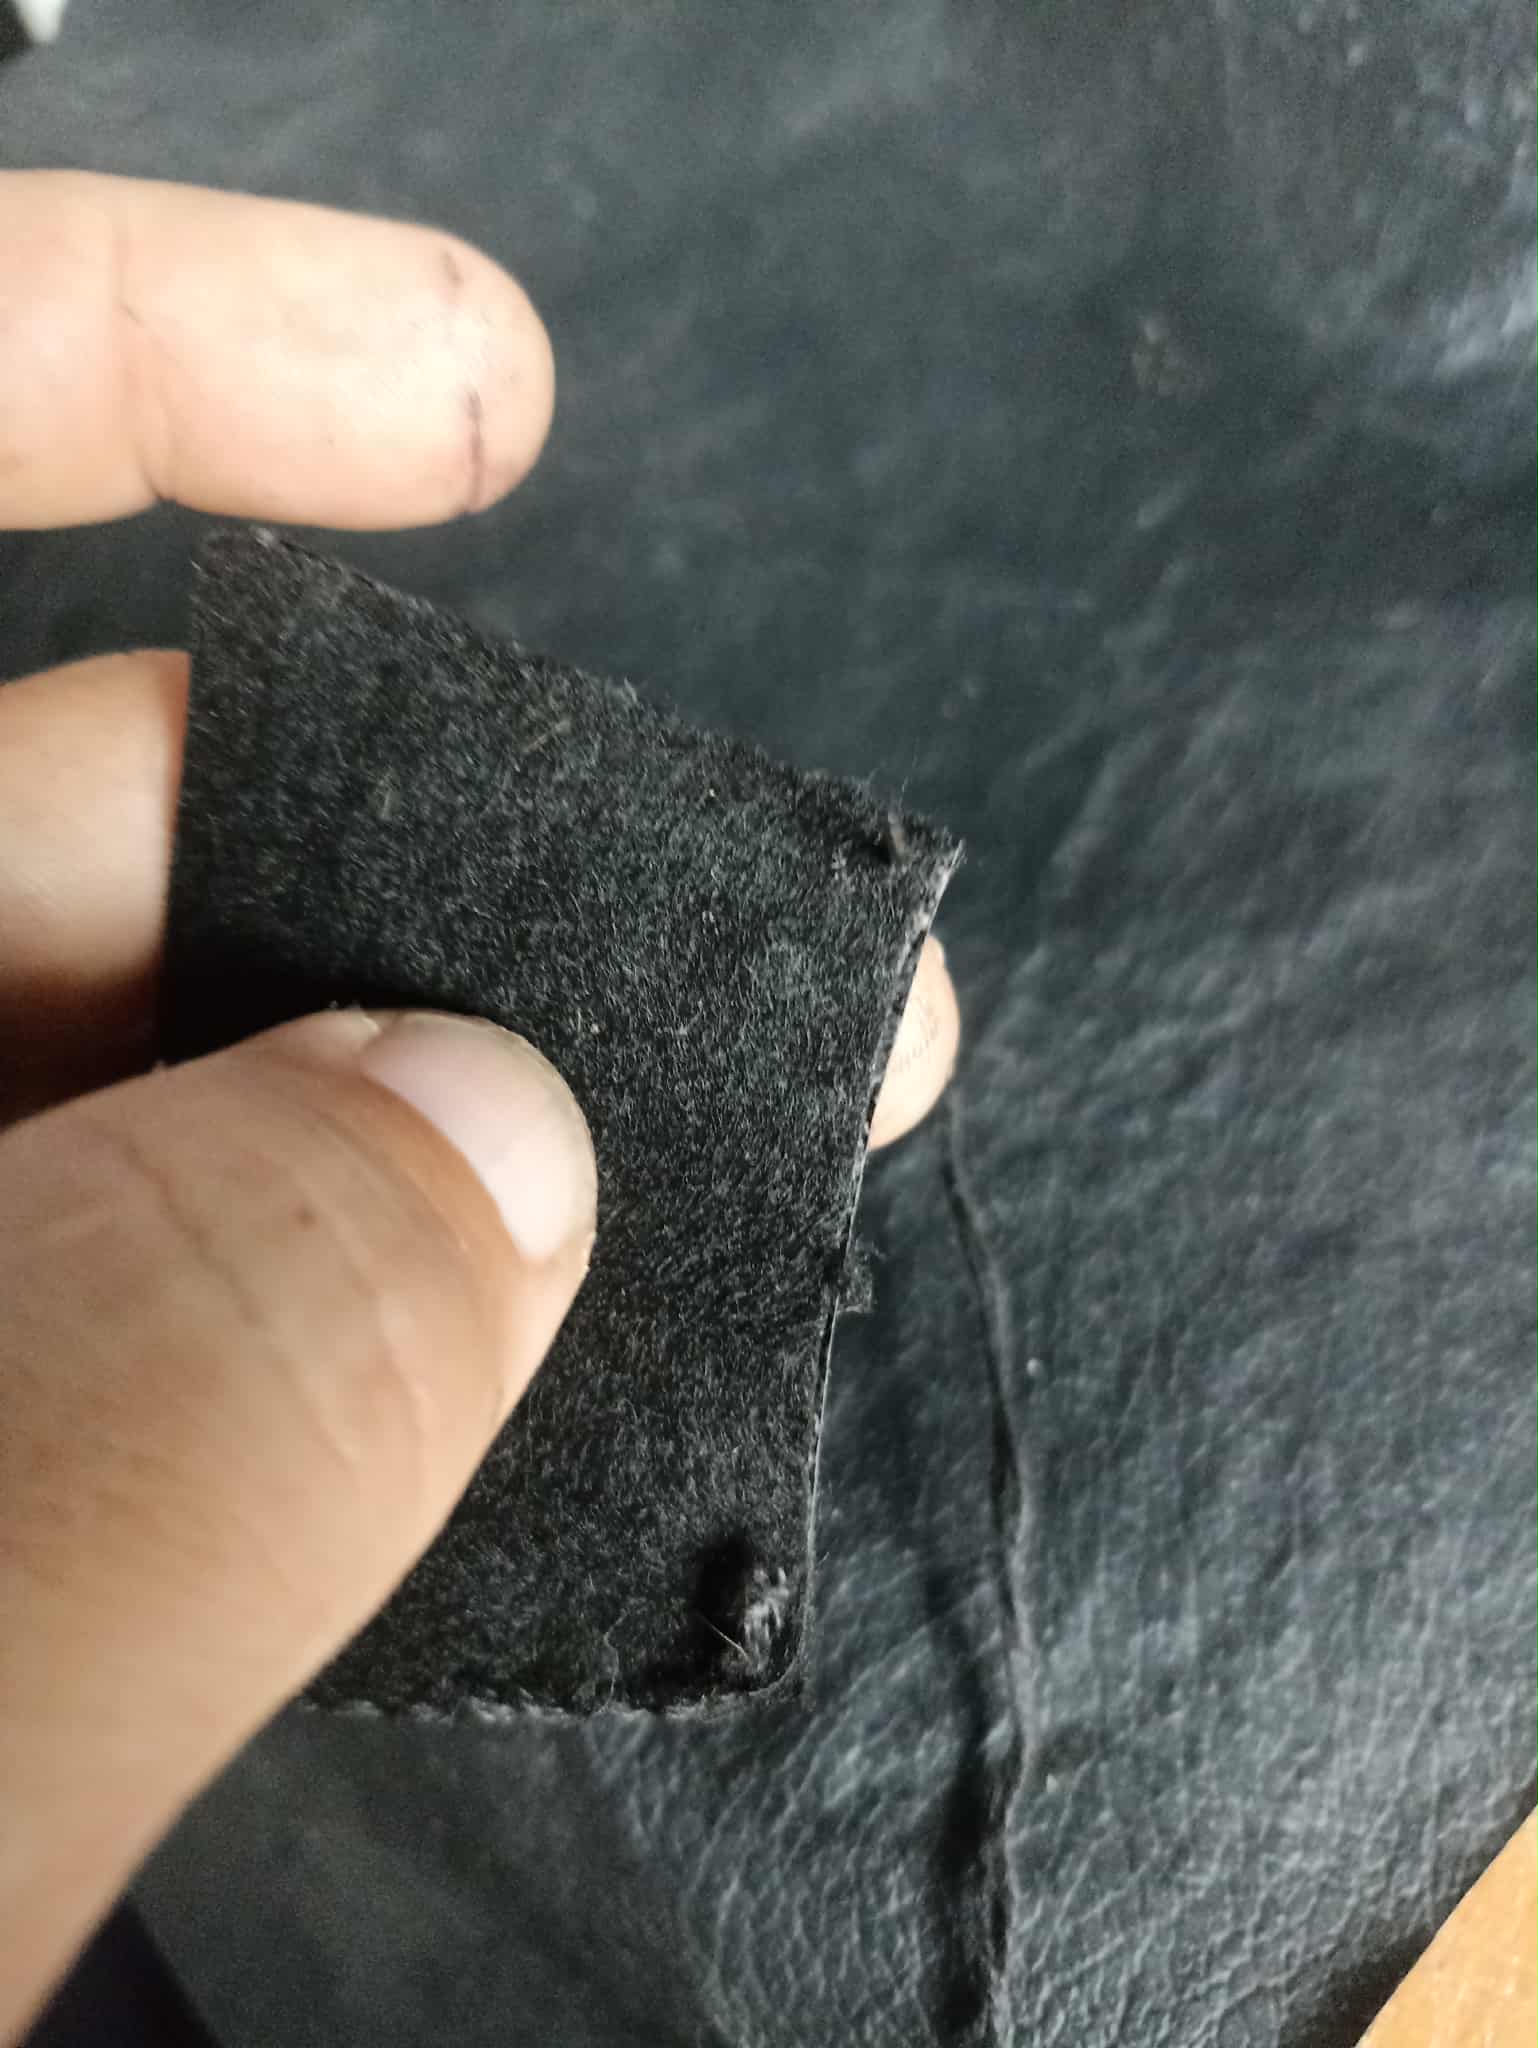
There aren't any free templates available for this type of doll; they exist, but you have to pay, up to $20, to get them. So I started drawing like crazy, using several models at once to come up with a more personalized version. I made the first templates on paper. The idea is to make the parts so the doll is hollow and can be filled in for more rigidity and stability. The parts I made are the body, the back, and the front.
Para esta clase de muñecos no hay plantilla gratis disponible, existen pero hay que pagar, hasta 20$ obtenerlas, así que me puse a dibujar como un desquiciado tomando varios modelos a la vez y así idear una versión más personalizado. Así que hice las primeras plantillas en papel, la idea es hacer las partes para que el muñeco quede hueco y así poder rellenarlo para que tenga más dureza y estabilidad. Las partes que hice venderían a ser las del cuerpo, la parte trasera y la parte delantera.
 |
 |
|
|---|---|---|
 |
 |
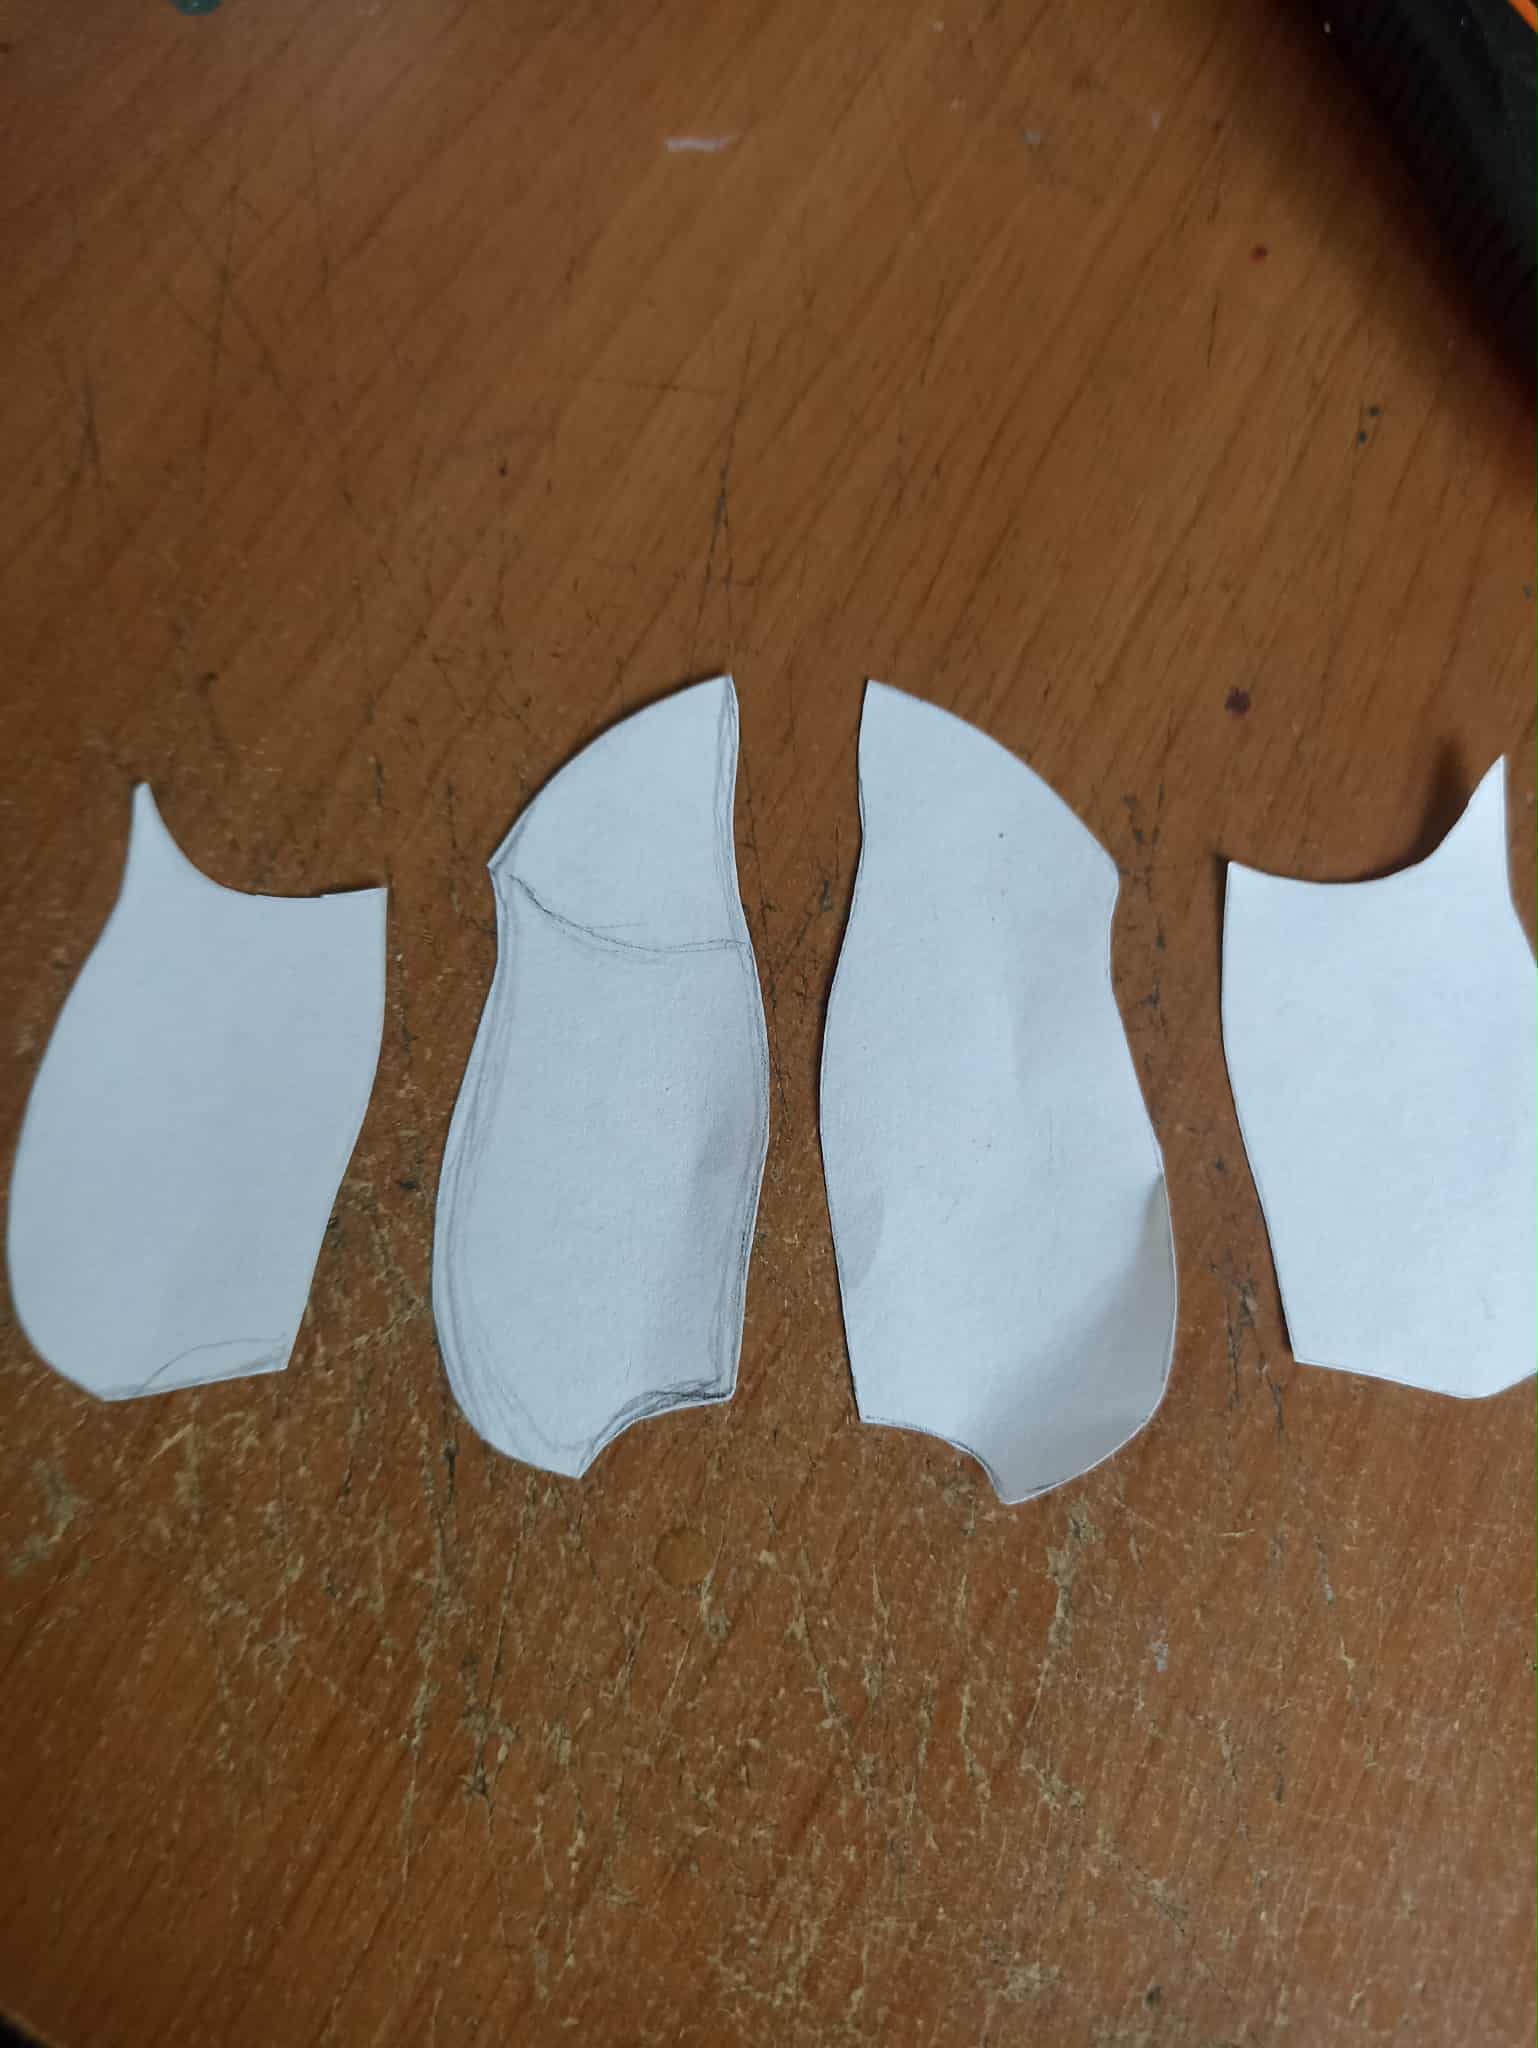
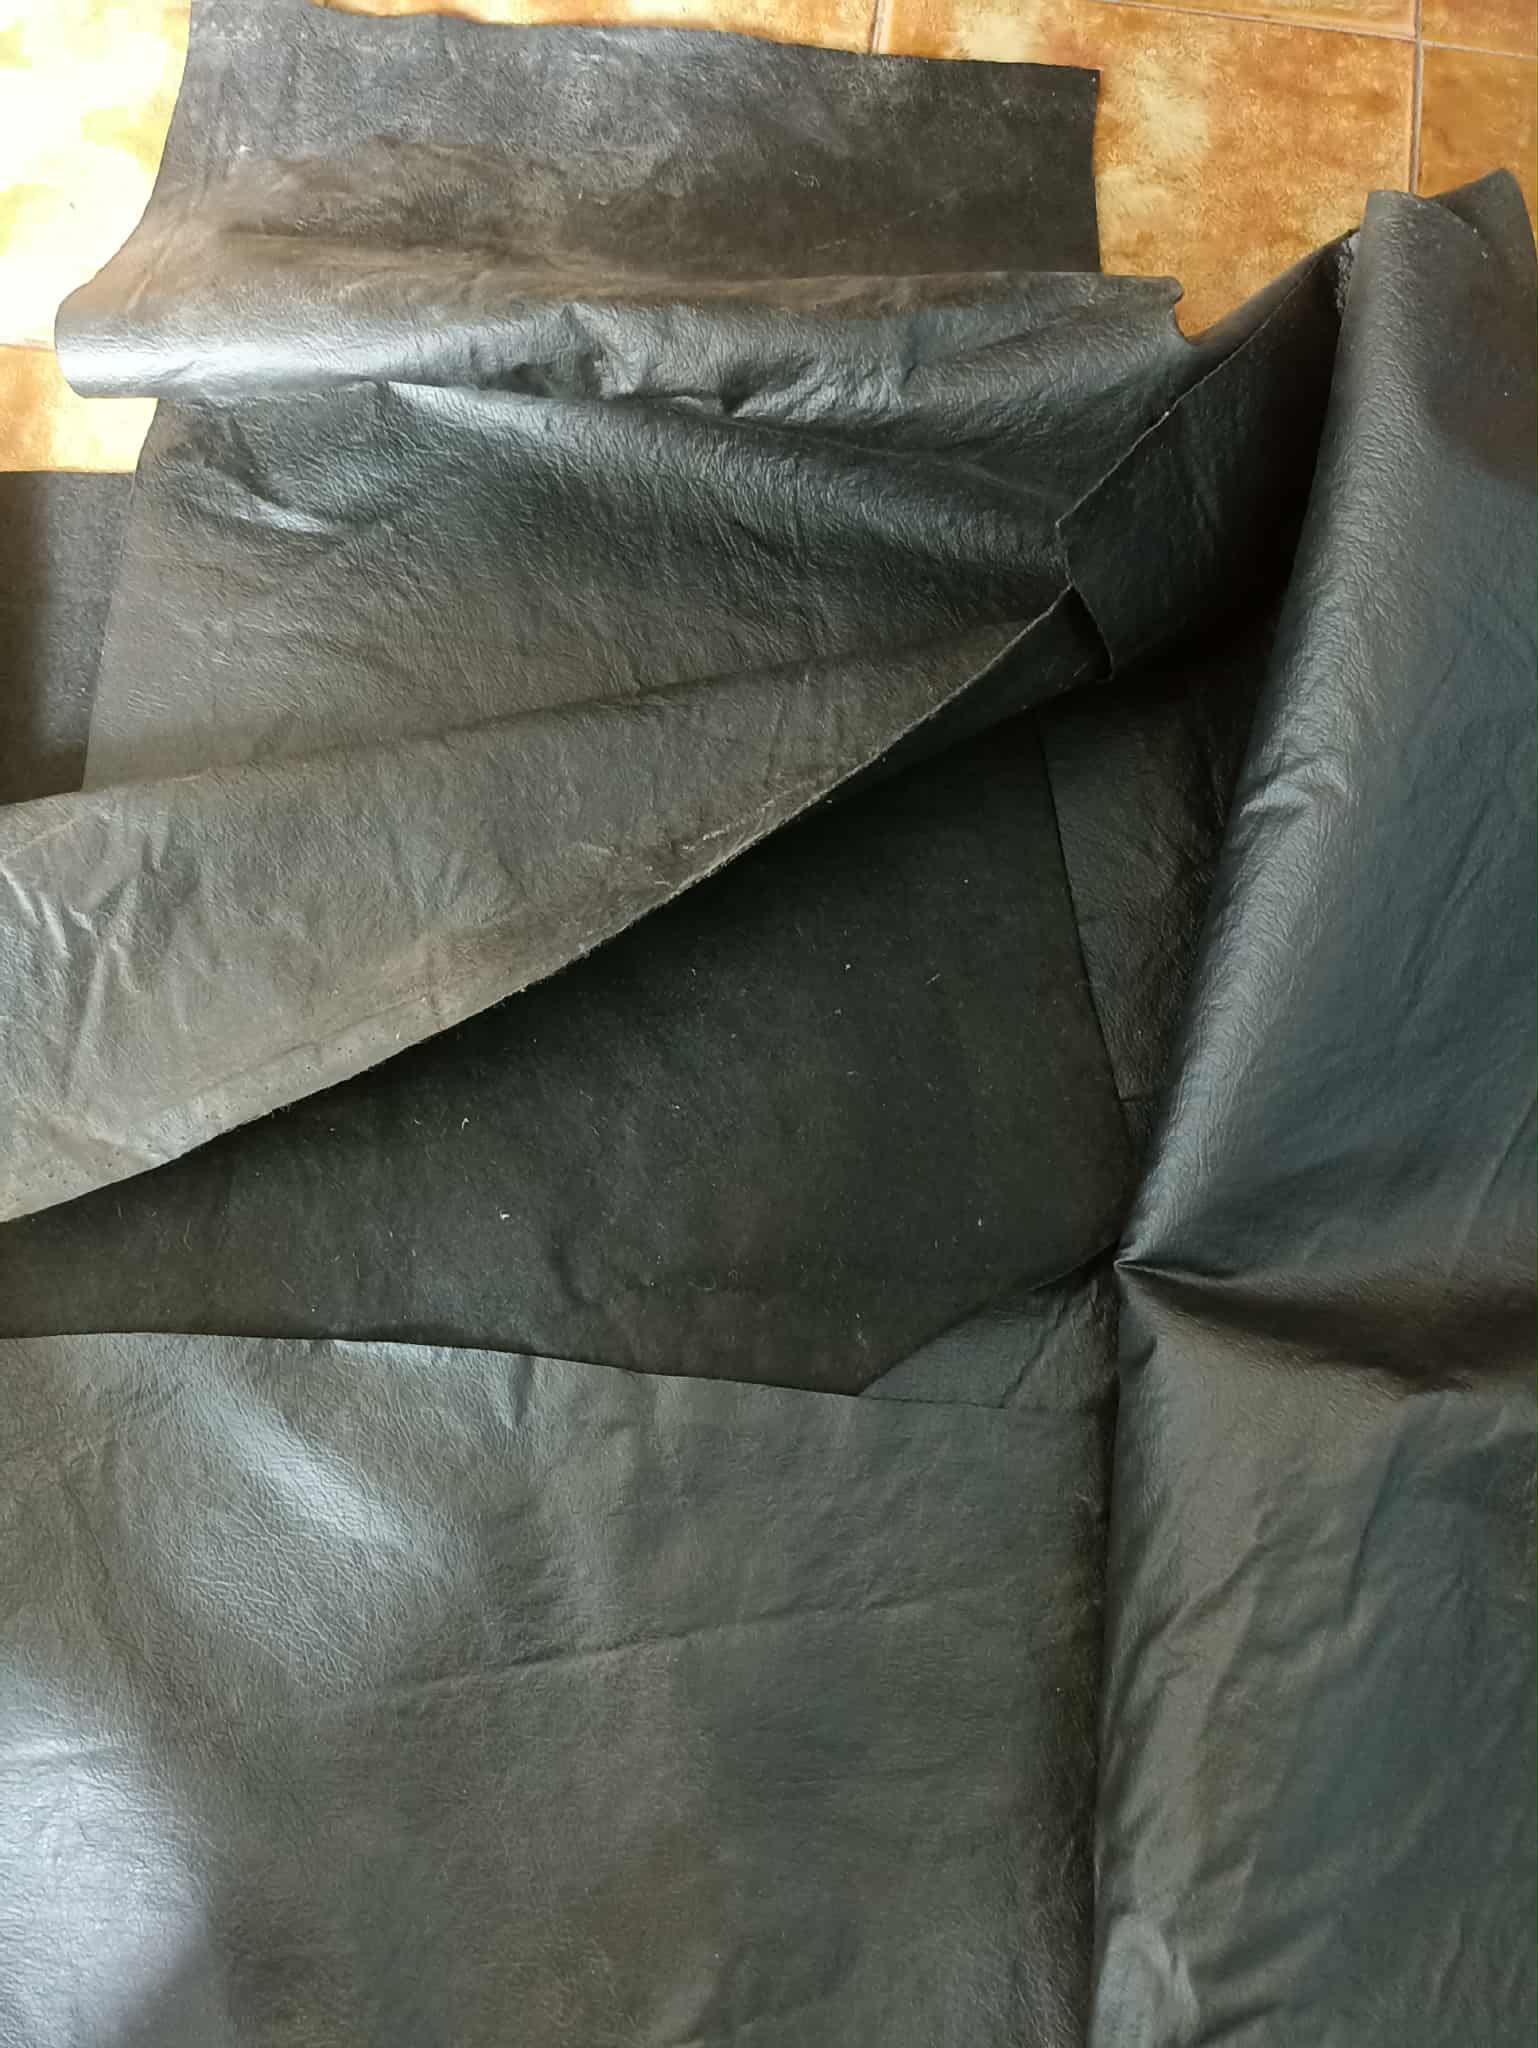
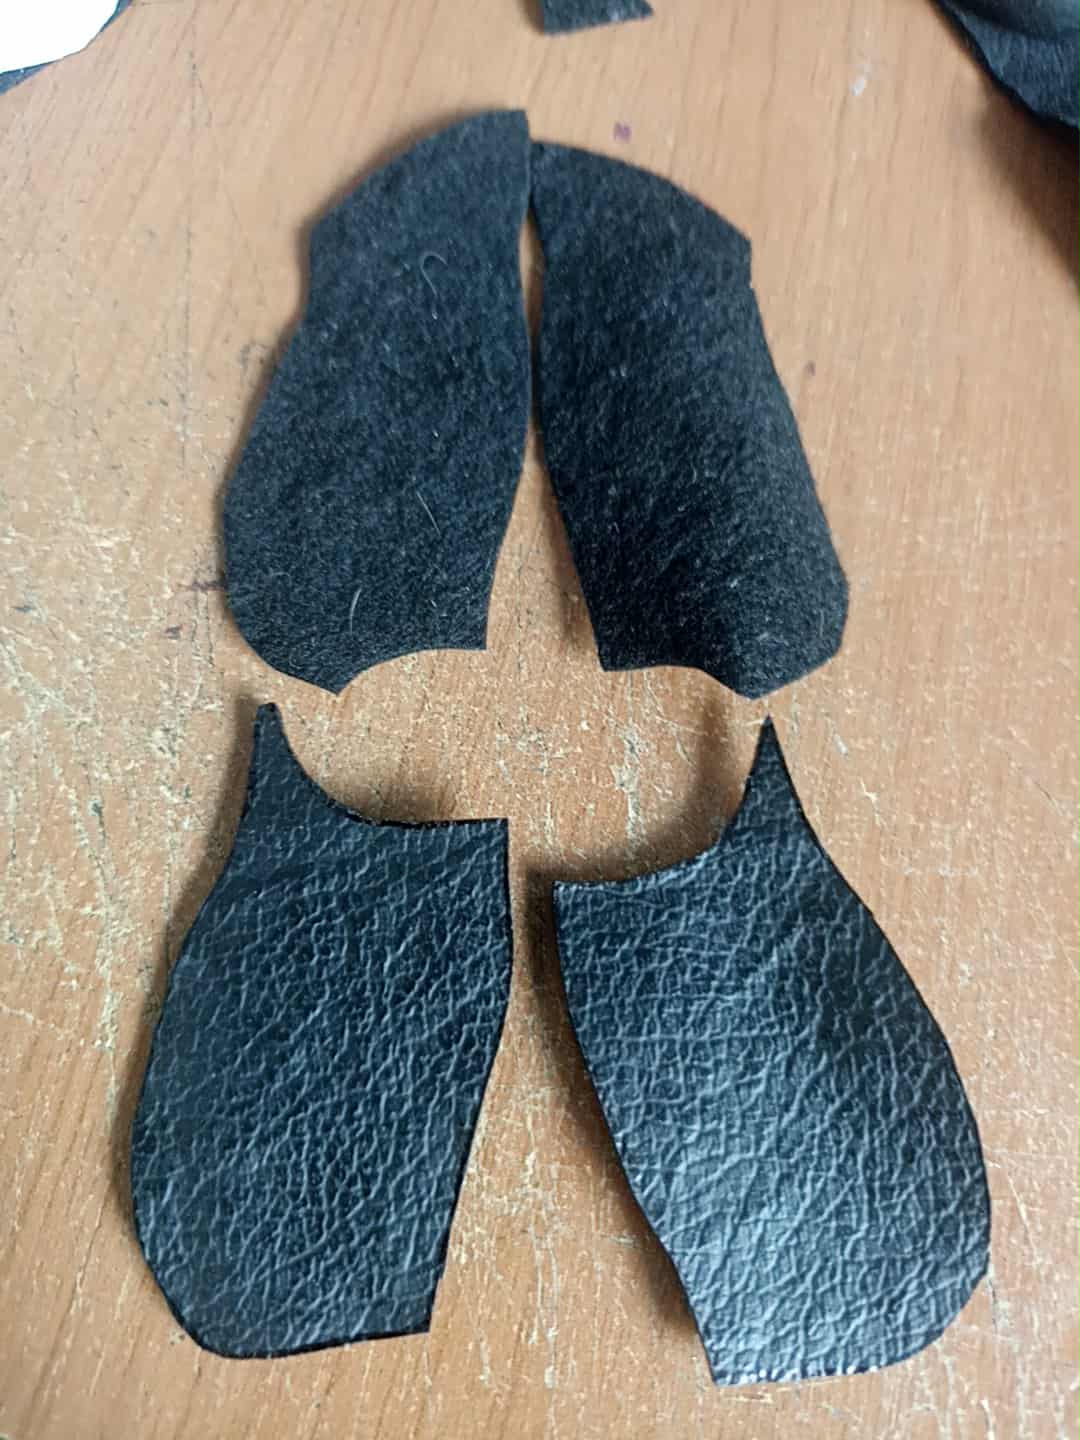
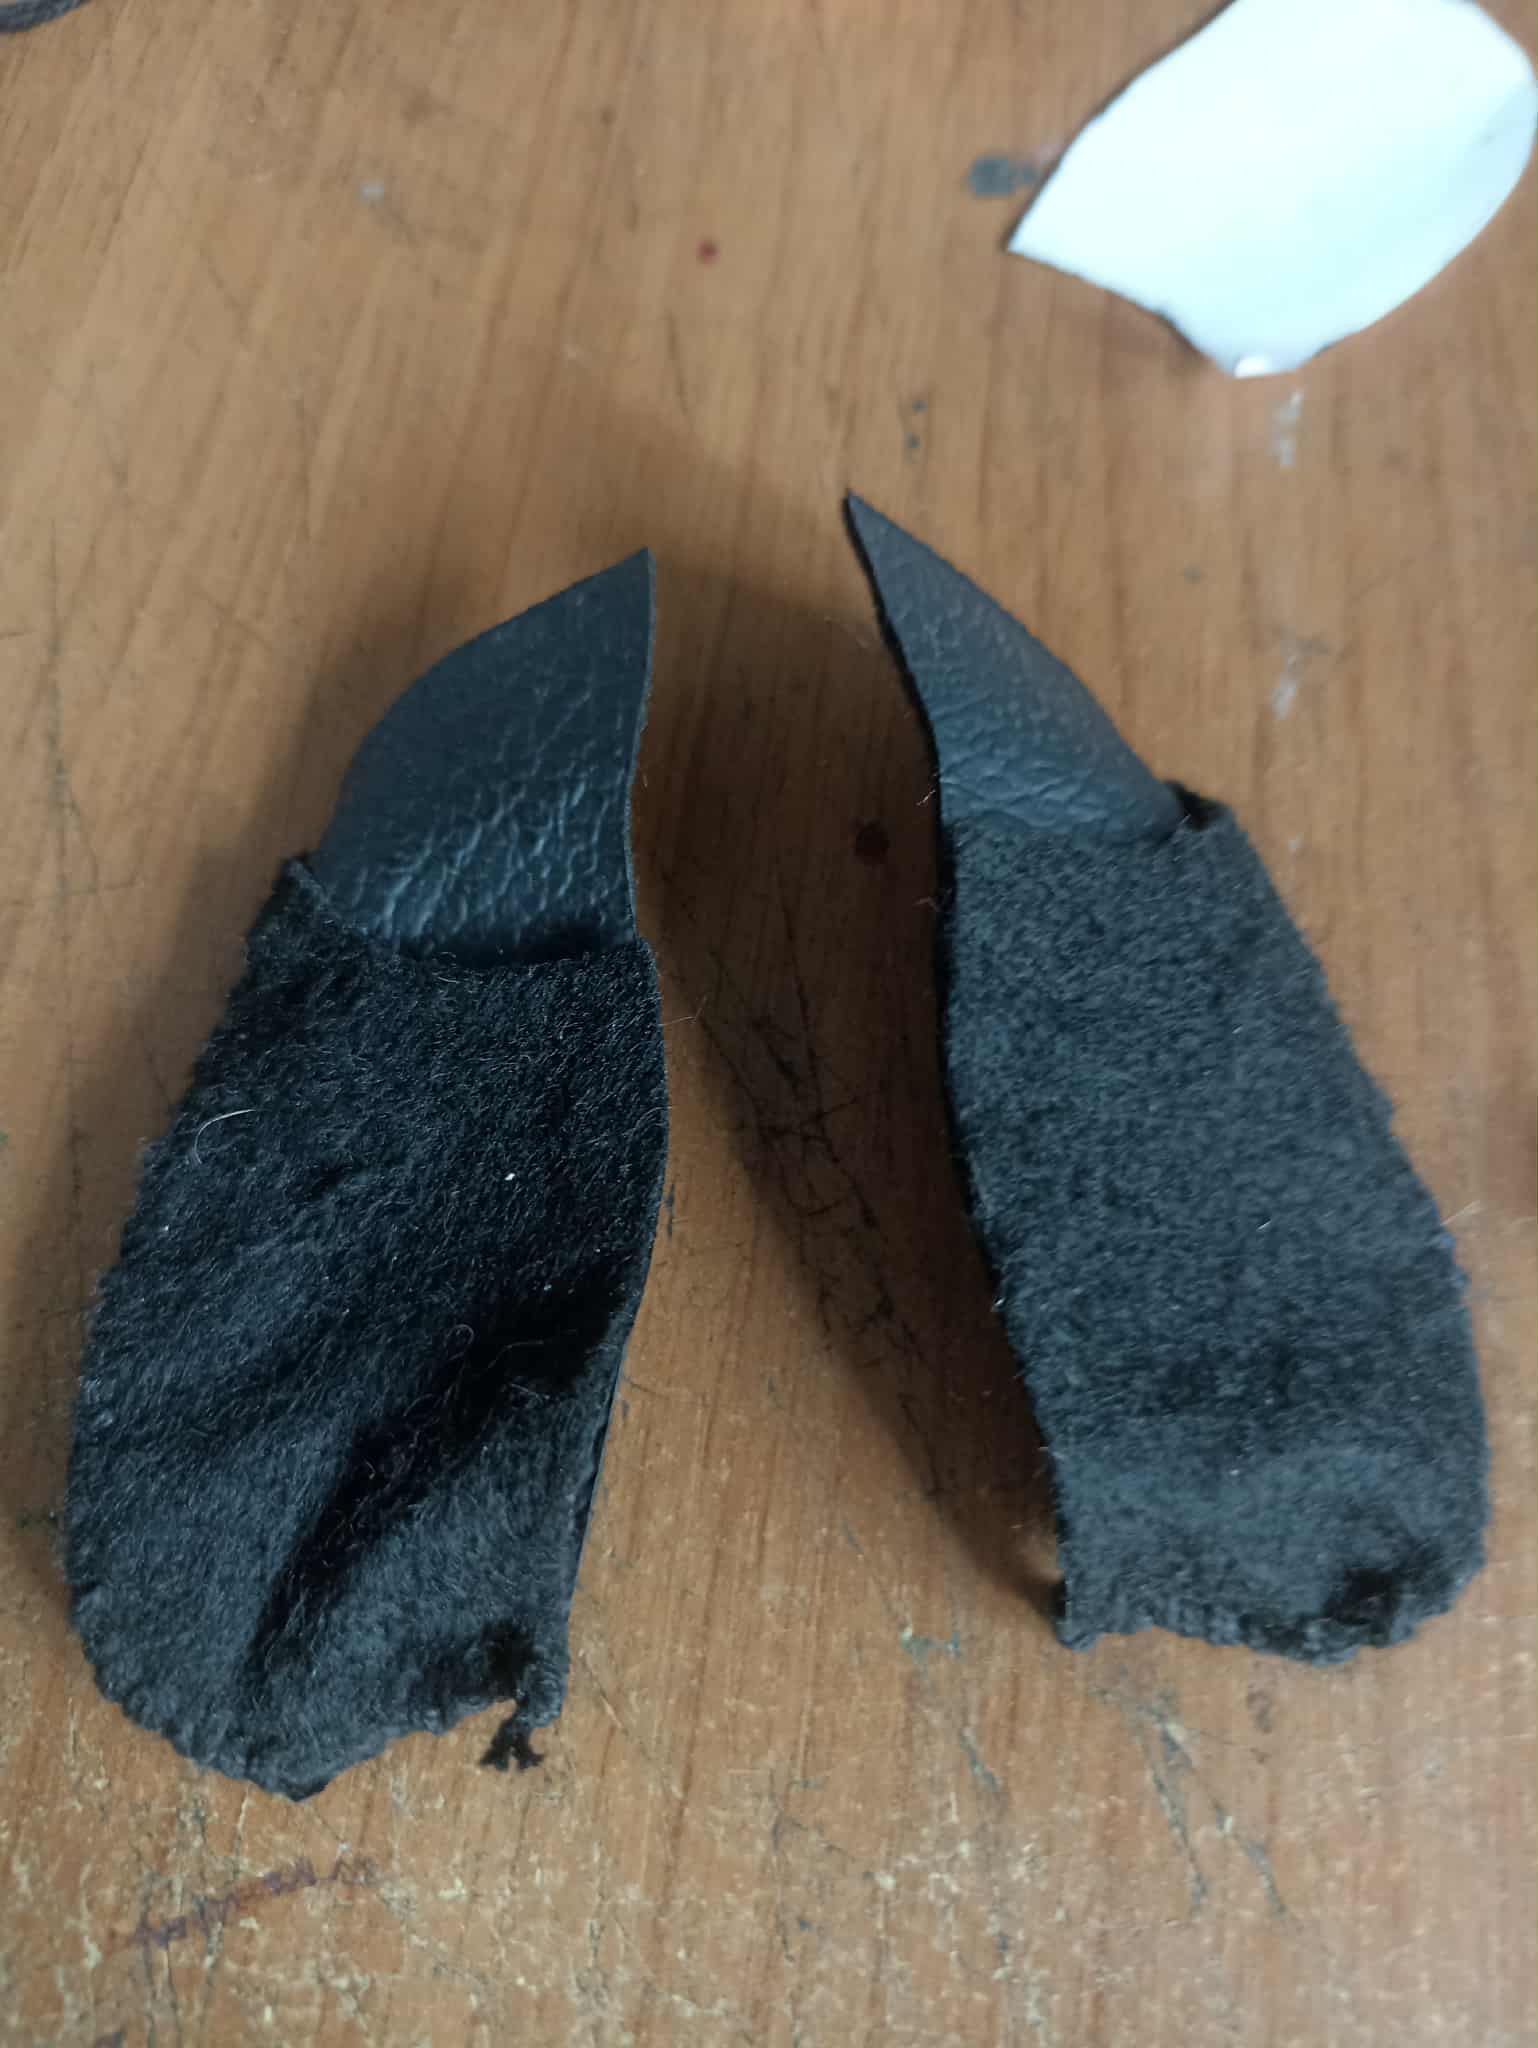
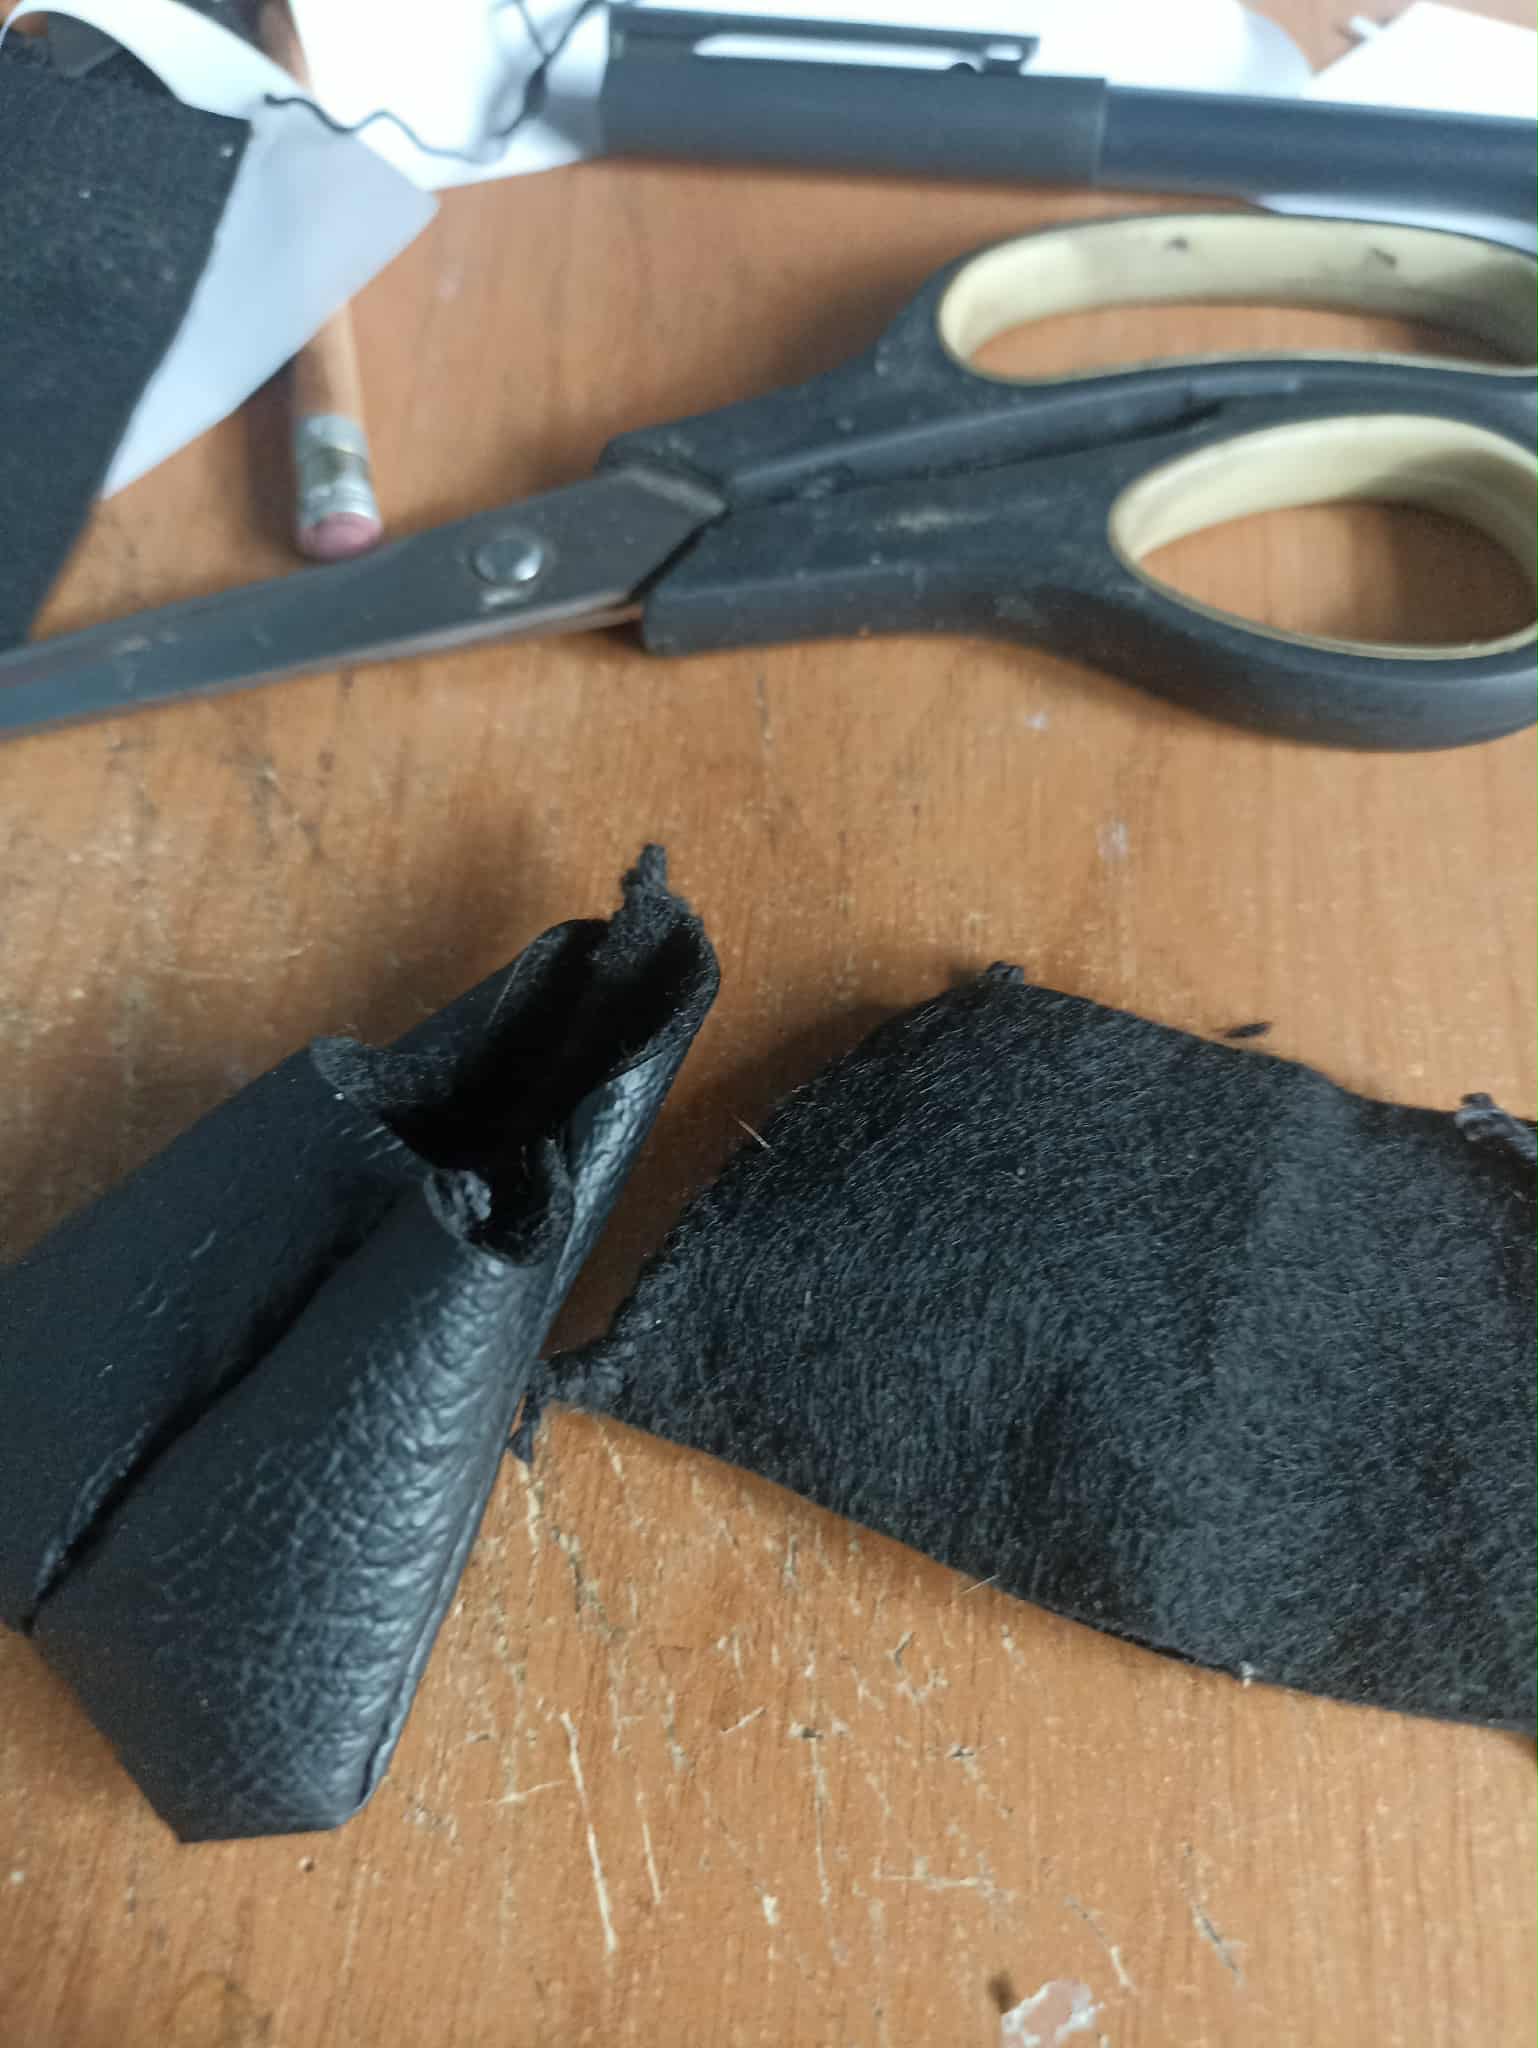
For all the body pieces, I used black synthetic leather. On top of it, I placed the templates, which I then precisely cut out with scissors. After that, I sewed them together along the sides. There are four pieces in total, which, when joined, will make two pieces, and then those two will also be joined in the middle.
Para toda las piezas del cuerpo utilicé cuero sintético e color negro, encima de él voy colocando las plantillas las cuales luego iré recortando con unas tijeras de manera exacta. Después de eso debo coserlas por las partes laterales hasta que se vayan uniendo. Son 4 piezas en total que al unirlas darán 2 piezas y luego esas dos a su vez también irán unidas por la mitad.
 |
 |
|
|---|---|---|
 |
 |
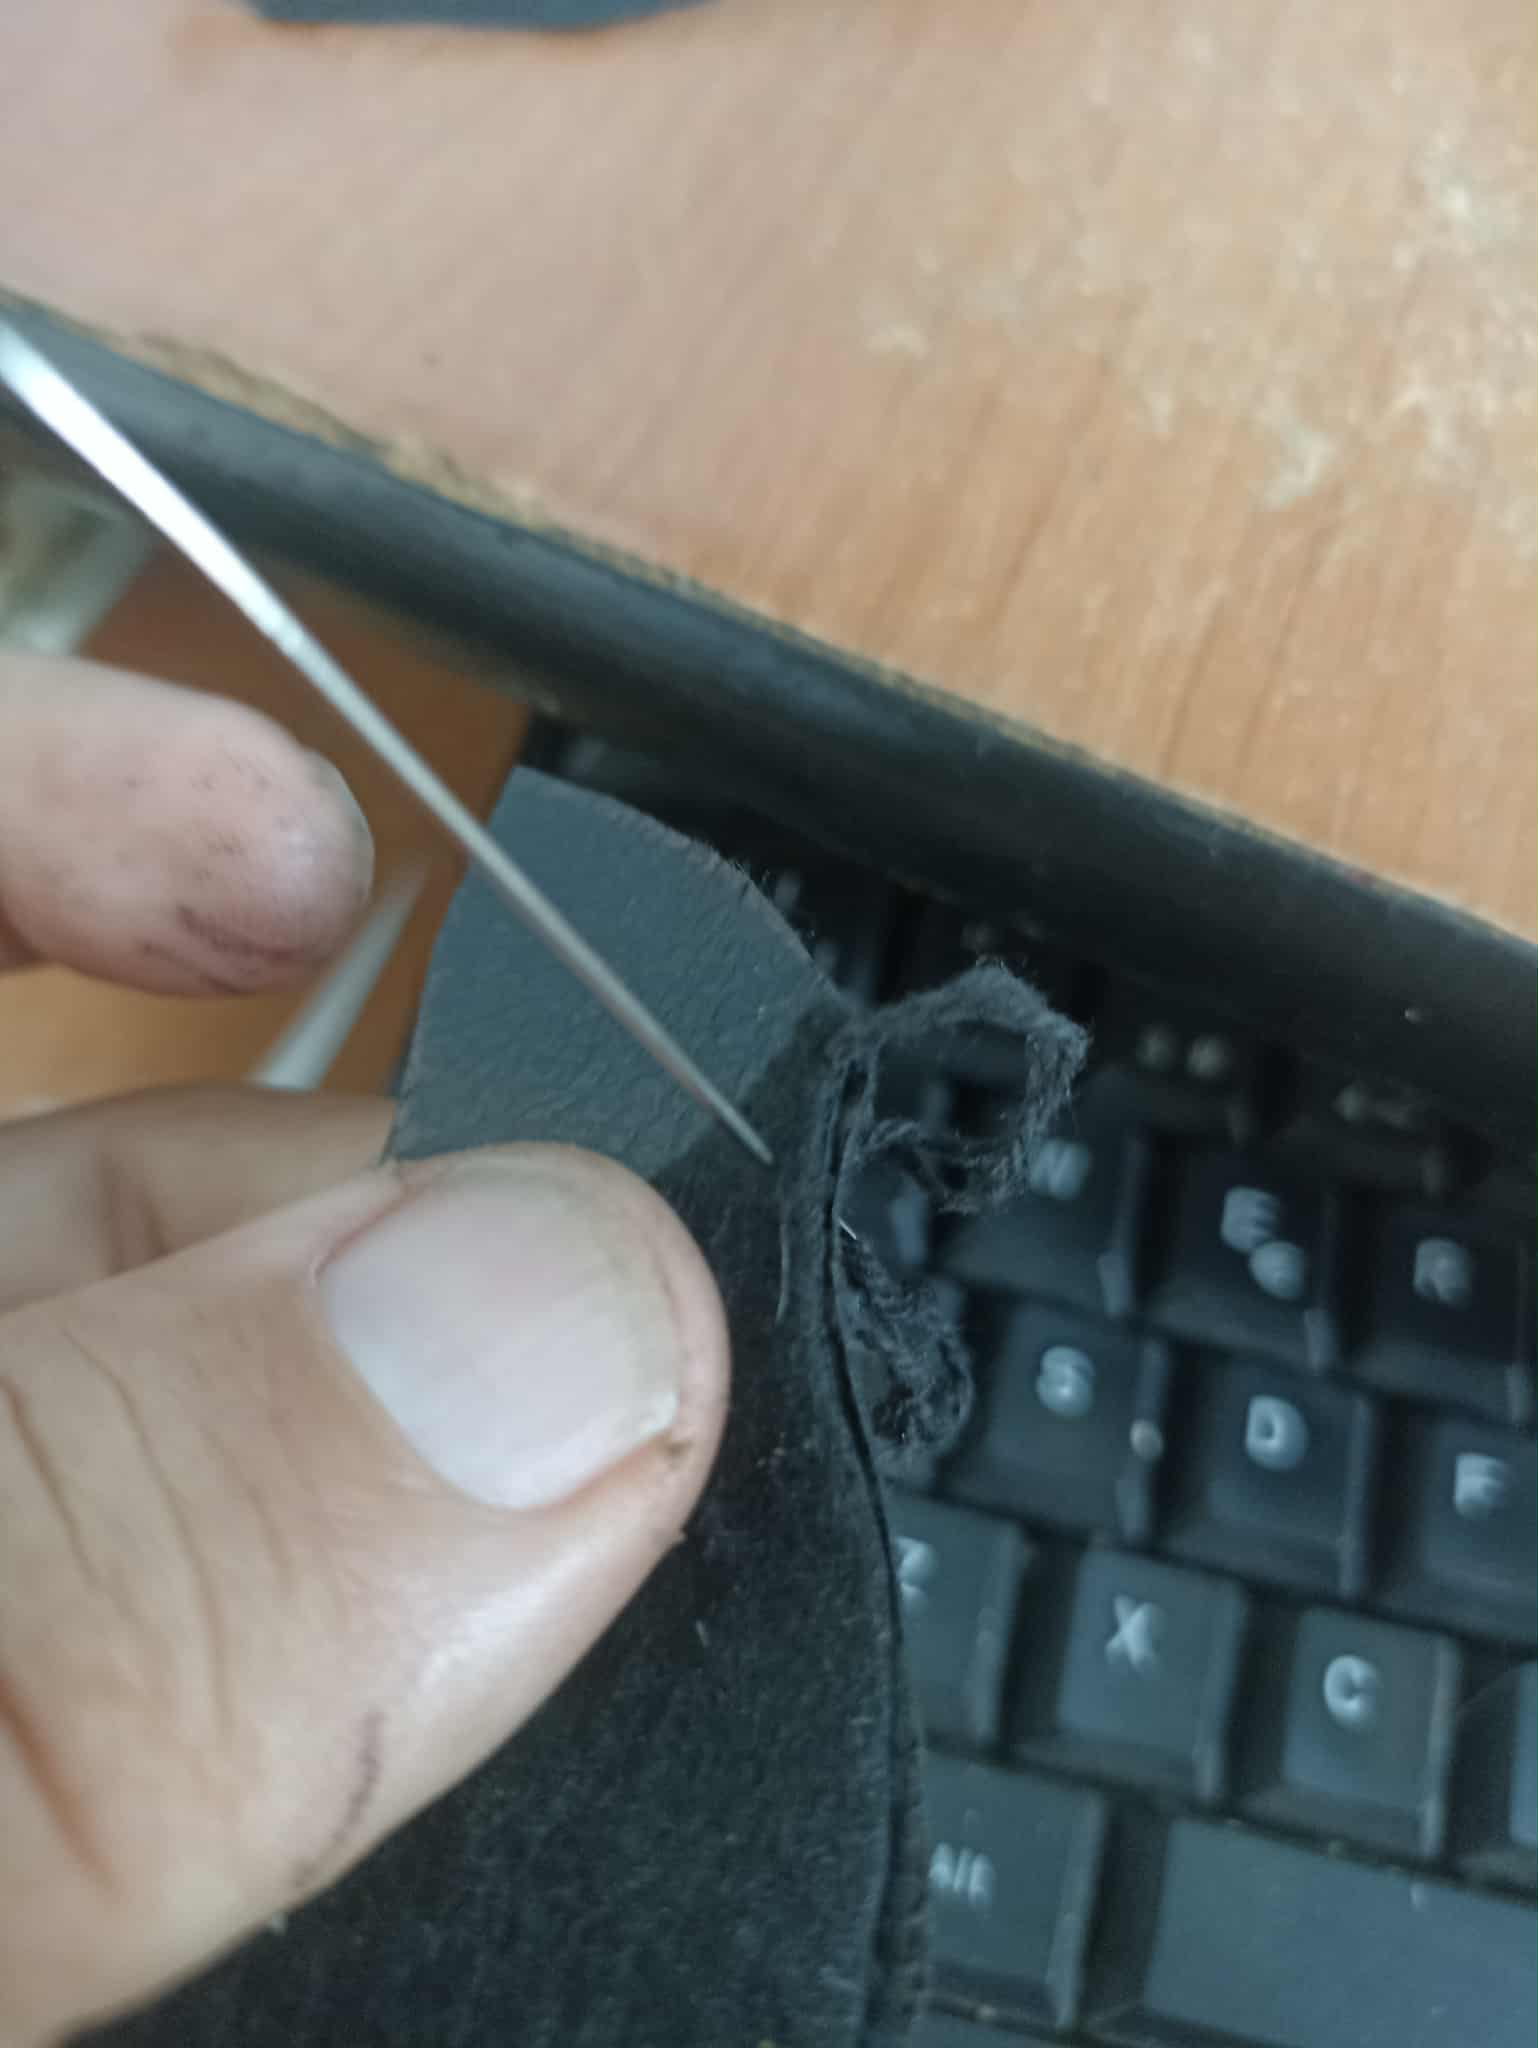
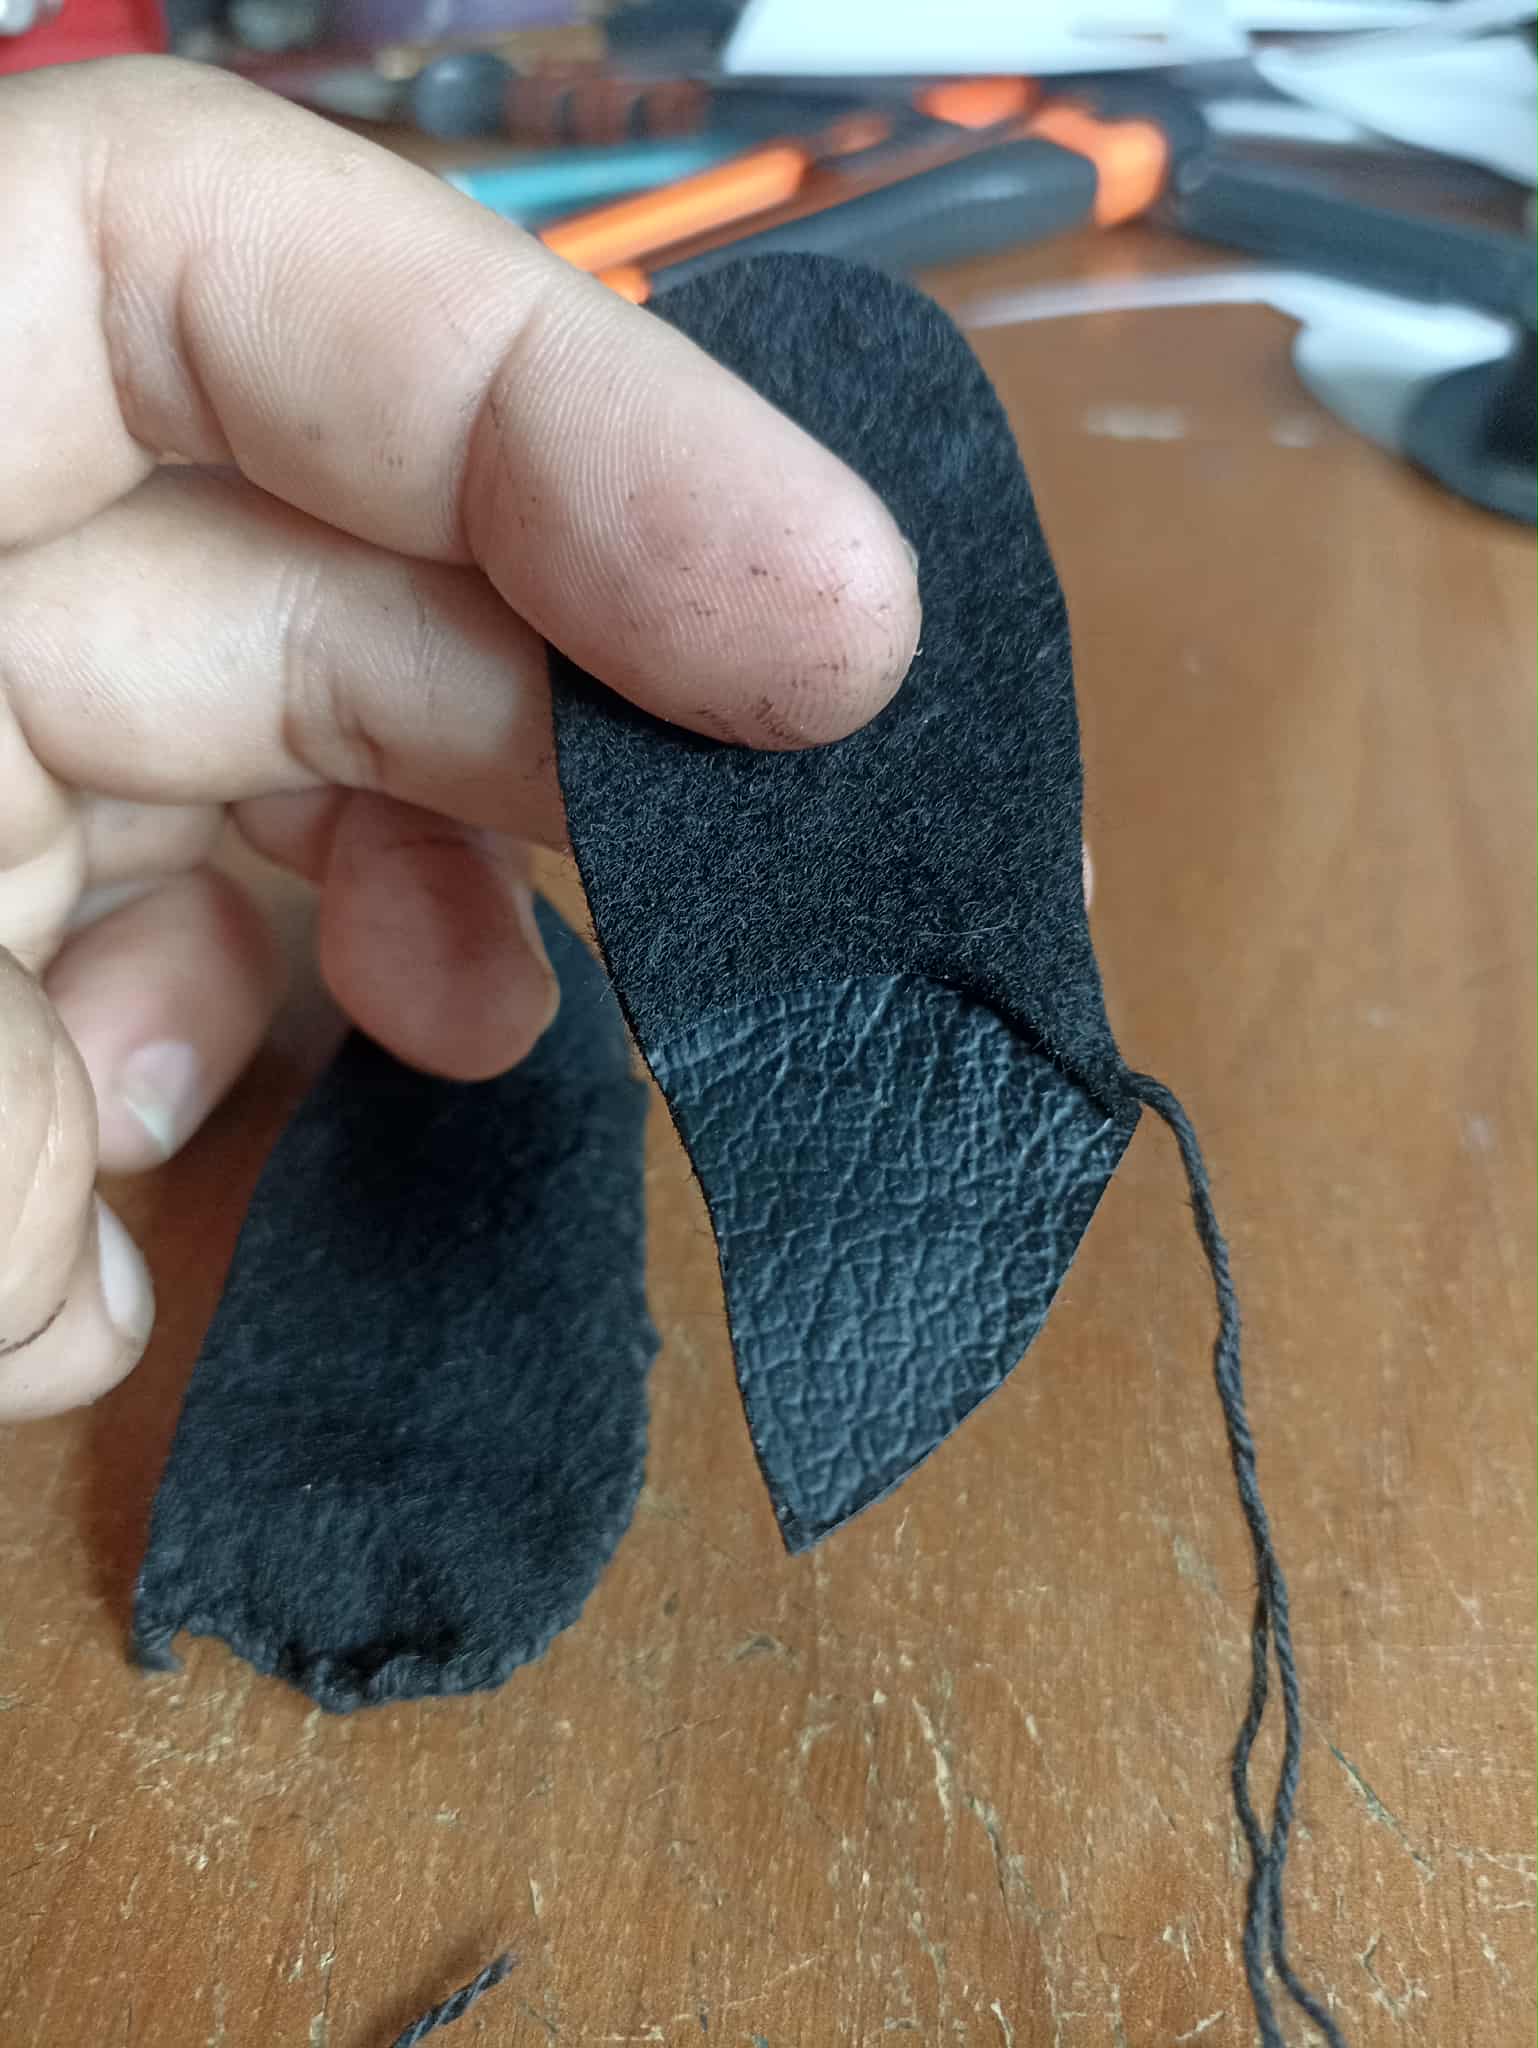
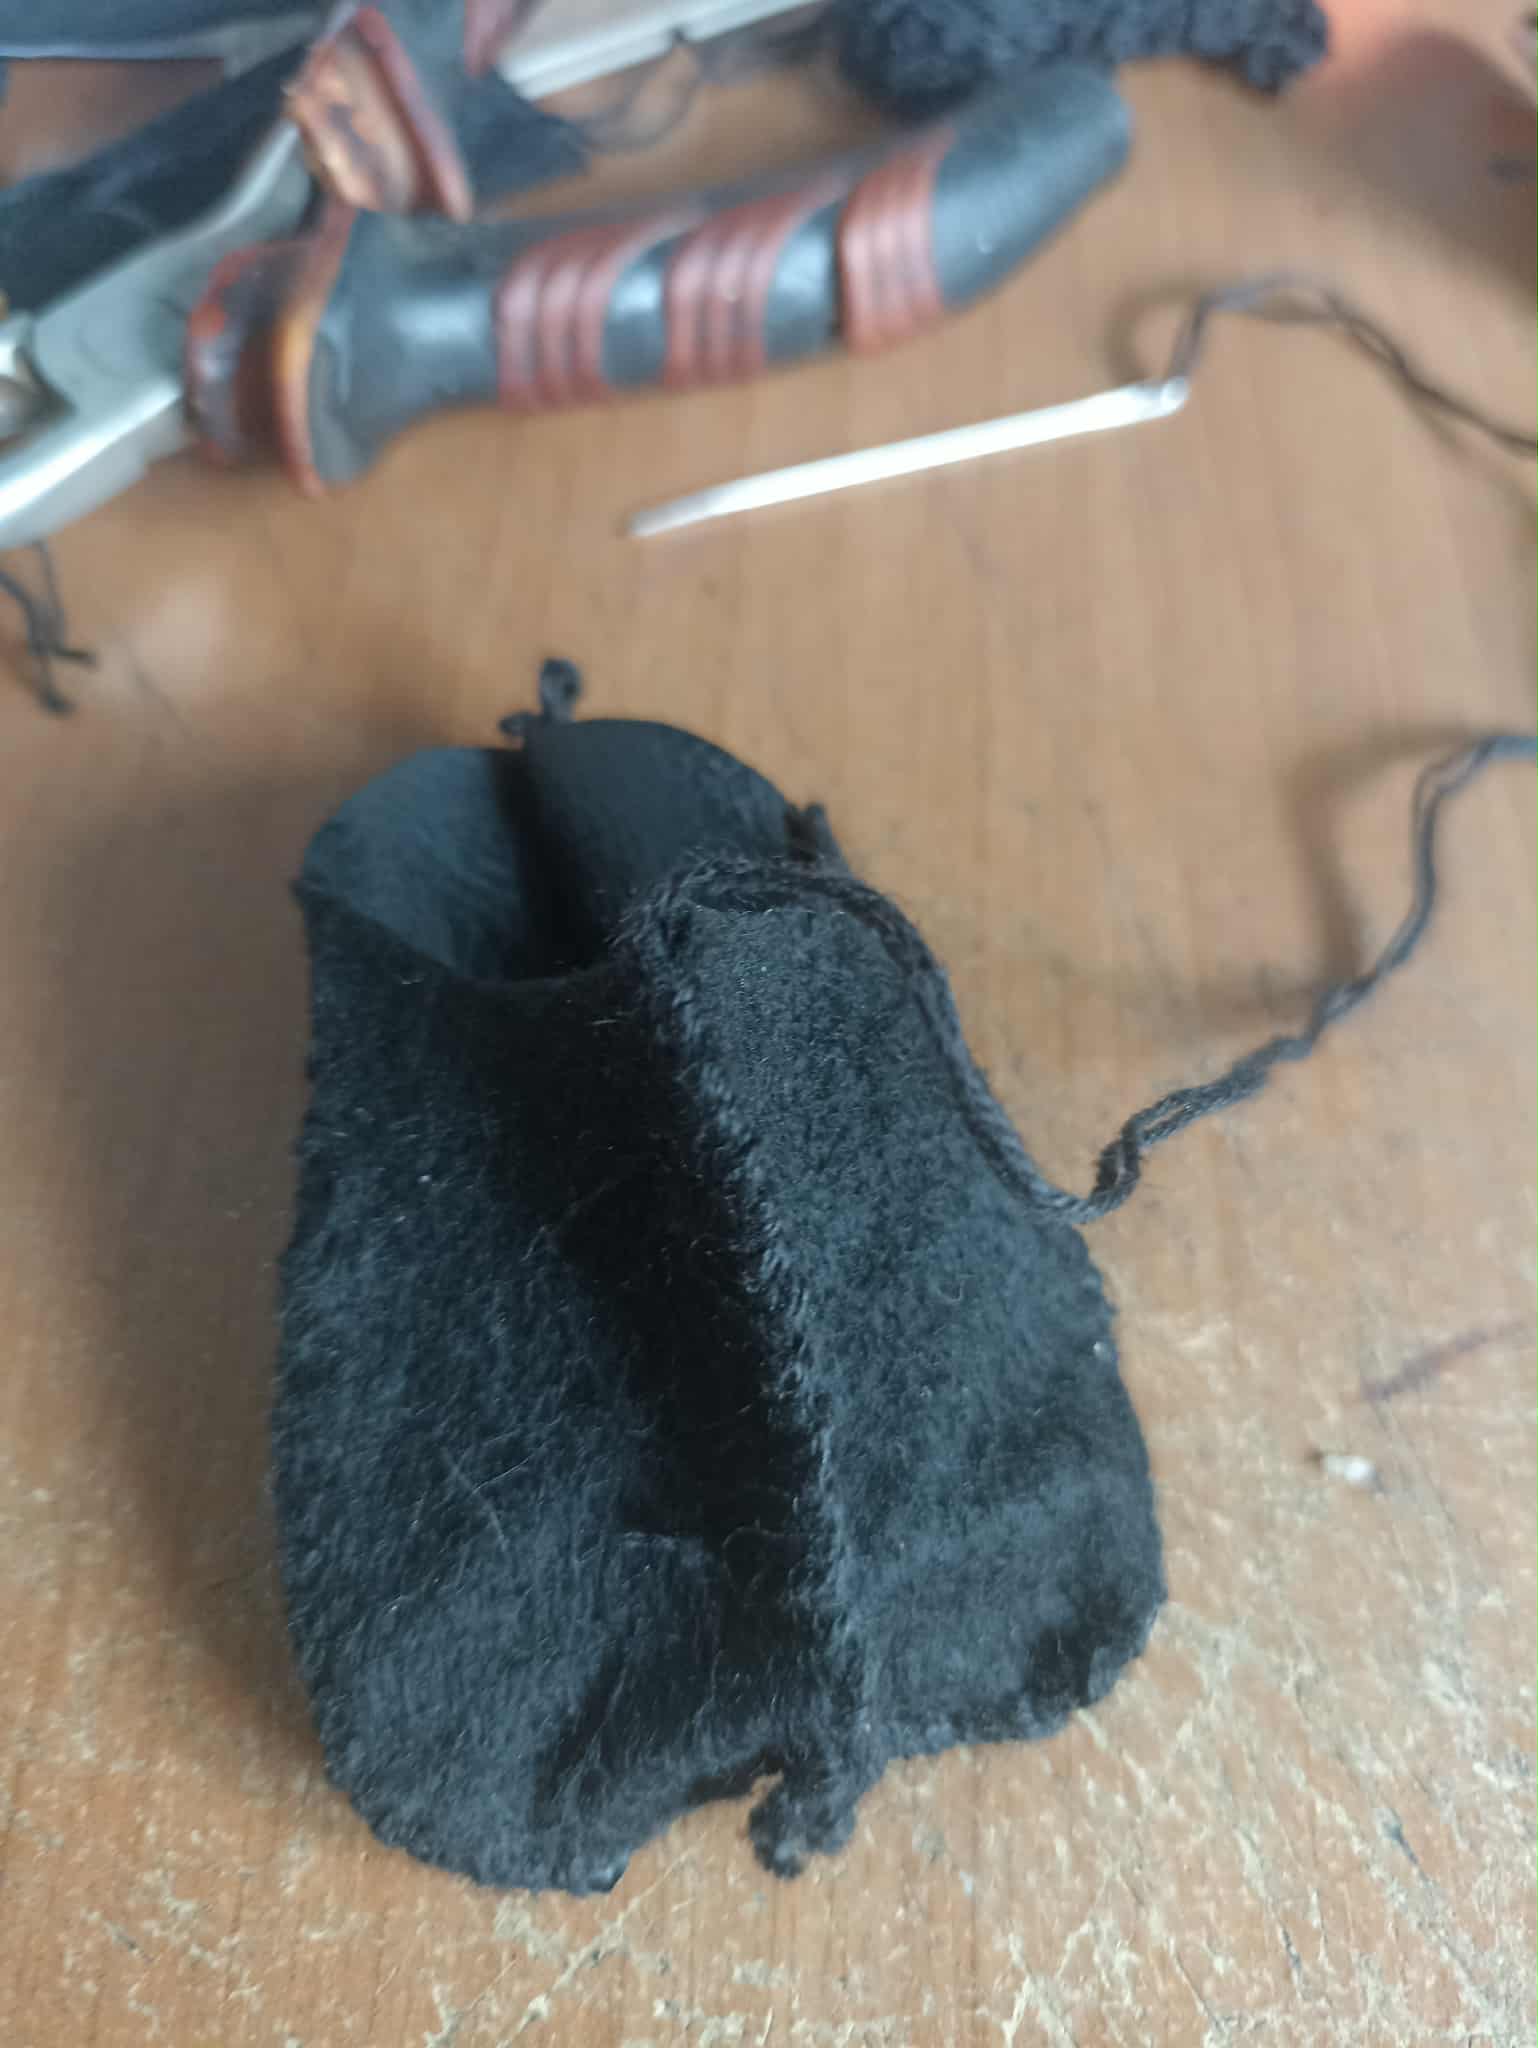
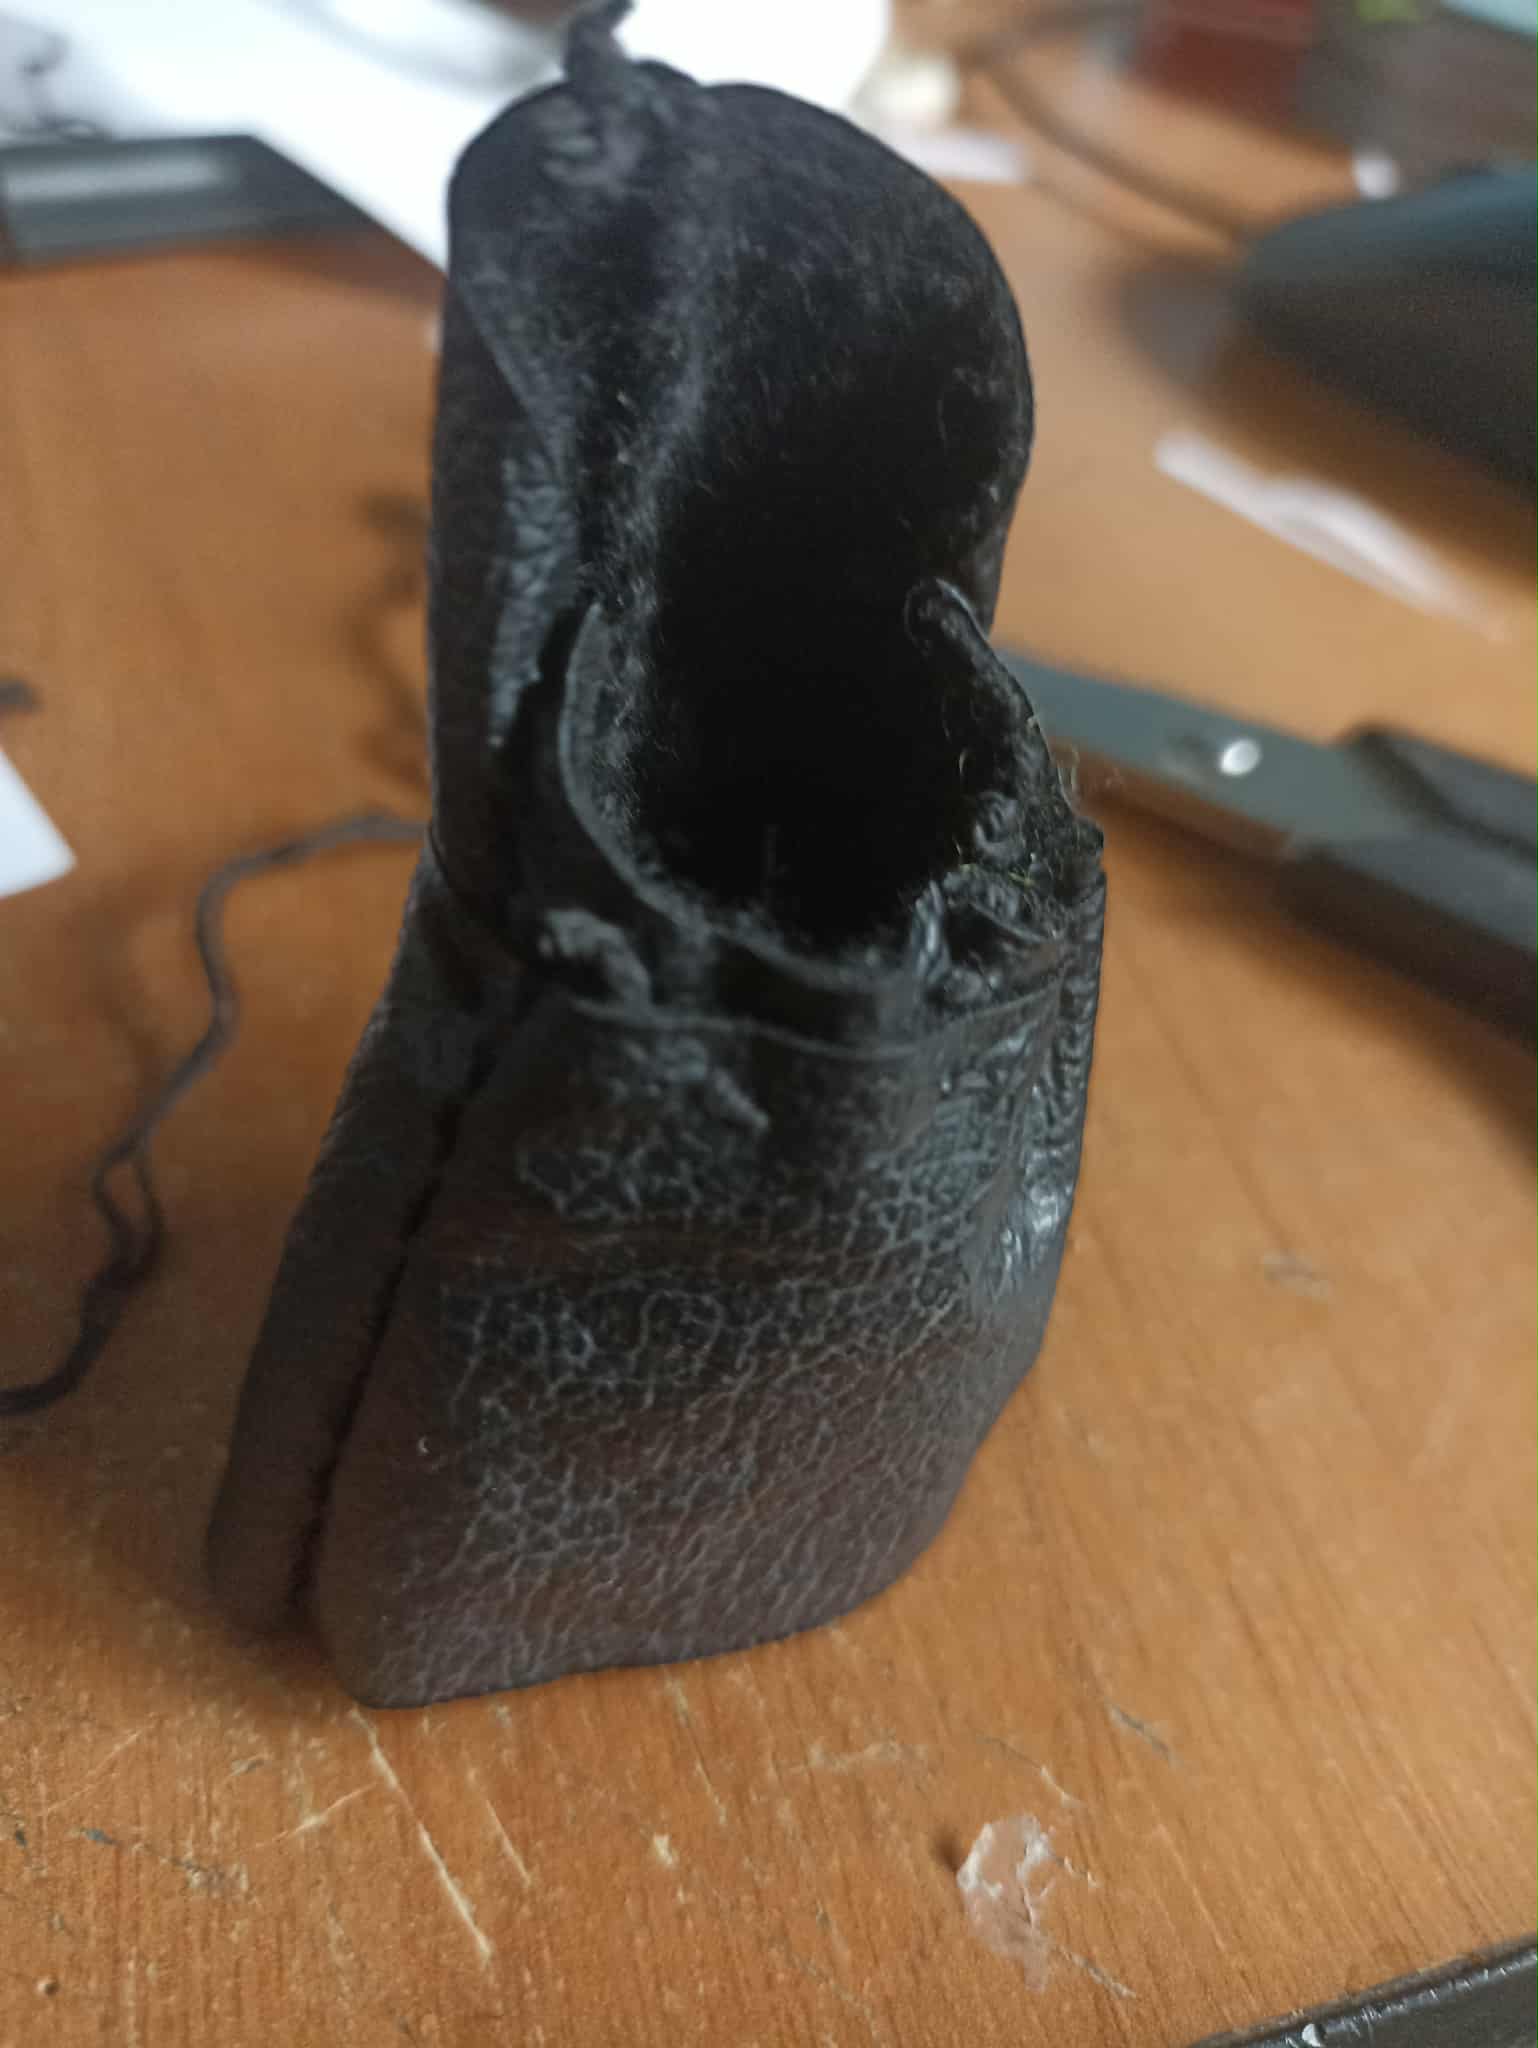
Here you can better appreciate what I mentioned earlier. First, the four pieces are joined separately with thread to form two identical pieces. Then, each of these pieces is joined in the middle, and that's how the body takes shape. After joining them with thread, we turn the entire piece inside out so that the synthetic leather part is visible. This part is hollow inside and will be stuffed later.
Aquí pueden apreciar mejor lo que comentaba anteriormente, en primer lugar las 4 piezas van unidas con hilo por separados hasta formar dos piezas iguales, luego cada una de esta piezas irán unidas por la mitad y así es como el cuerpo tomará forma. Luego de haberlas unido con hilo, volteamos toda la pieza para que la parte sintética del cuero quede visible, esta parte queda hueca por dentro y más adelante se le pondrá relleno.
 |
 |
|
|---|---|---|
 |
 |
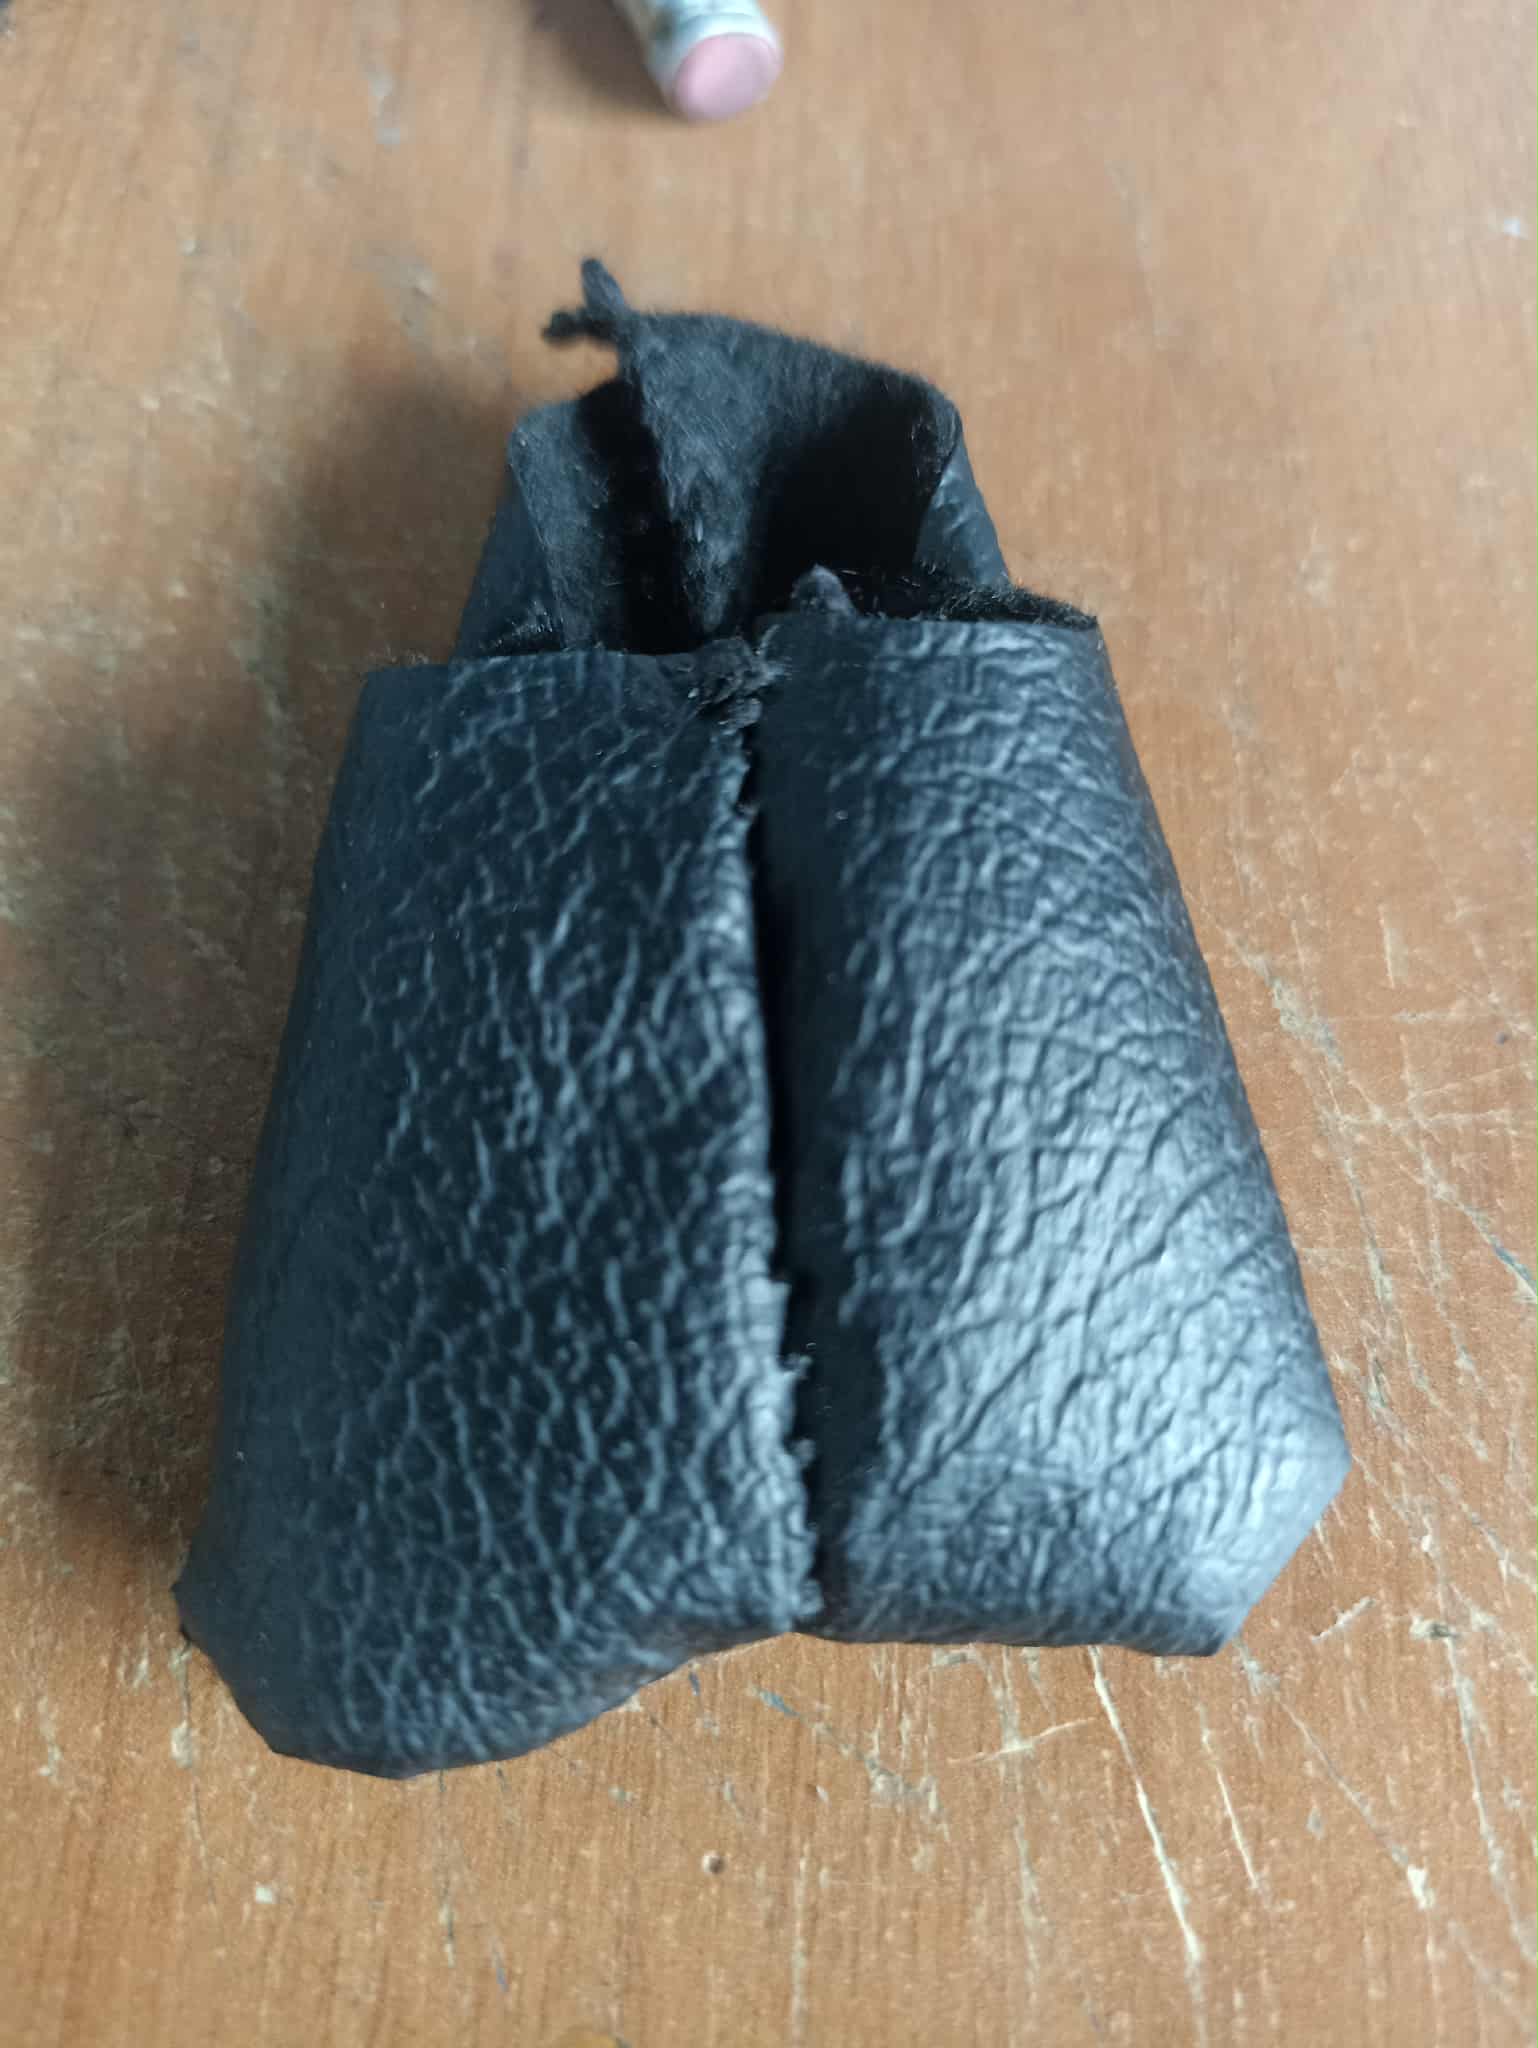
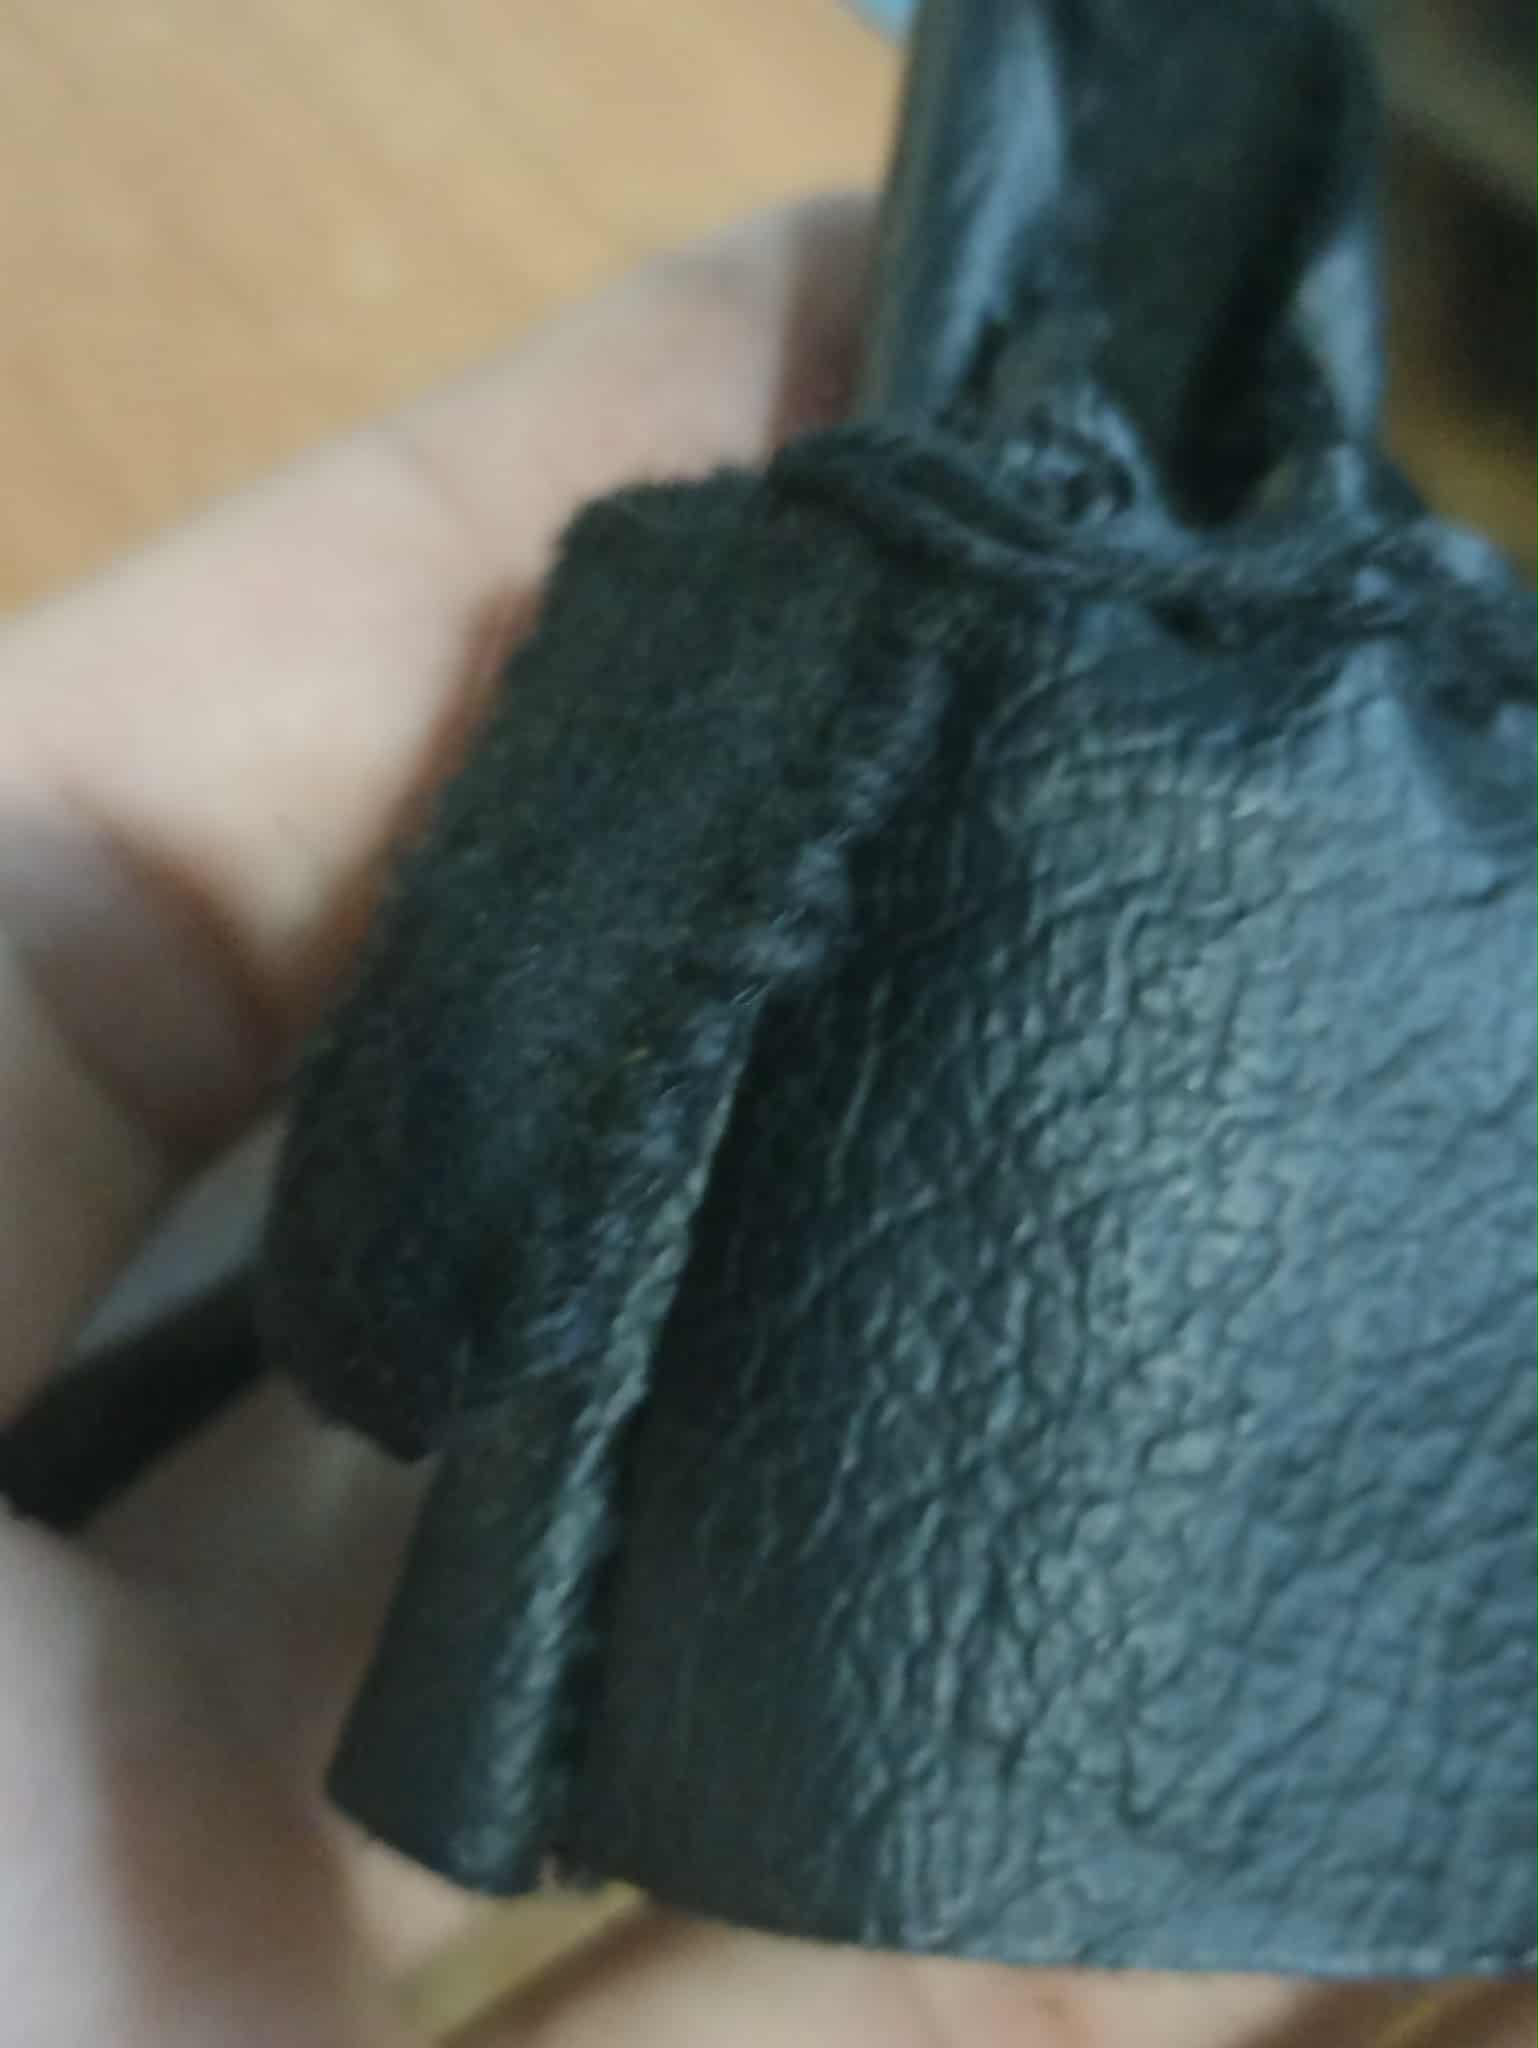
Next, I'll cut two trapezoidal pieces, which will then be joined at the edges to form a robe. After joining them with thread, we turn them inside out so that the synthetic leather side is visible again. We place this piece on top of the previous one and sew it together at the neckline with a needle and thread.
Luego cortaré dos piezas en forma geométrica de trapecio, las cual luego se unirán pór los bordes dando la forma de una bata. Luego de unirlas con hilo lo que hacemos es voltear para que una vez más la parte sintética del cuero quede a la vista. Ponemos encima de la pieza anterior y unimos a la altura del cuello con aguja e hilo.
 |
 |
|
|---|---|---|
 |
 |
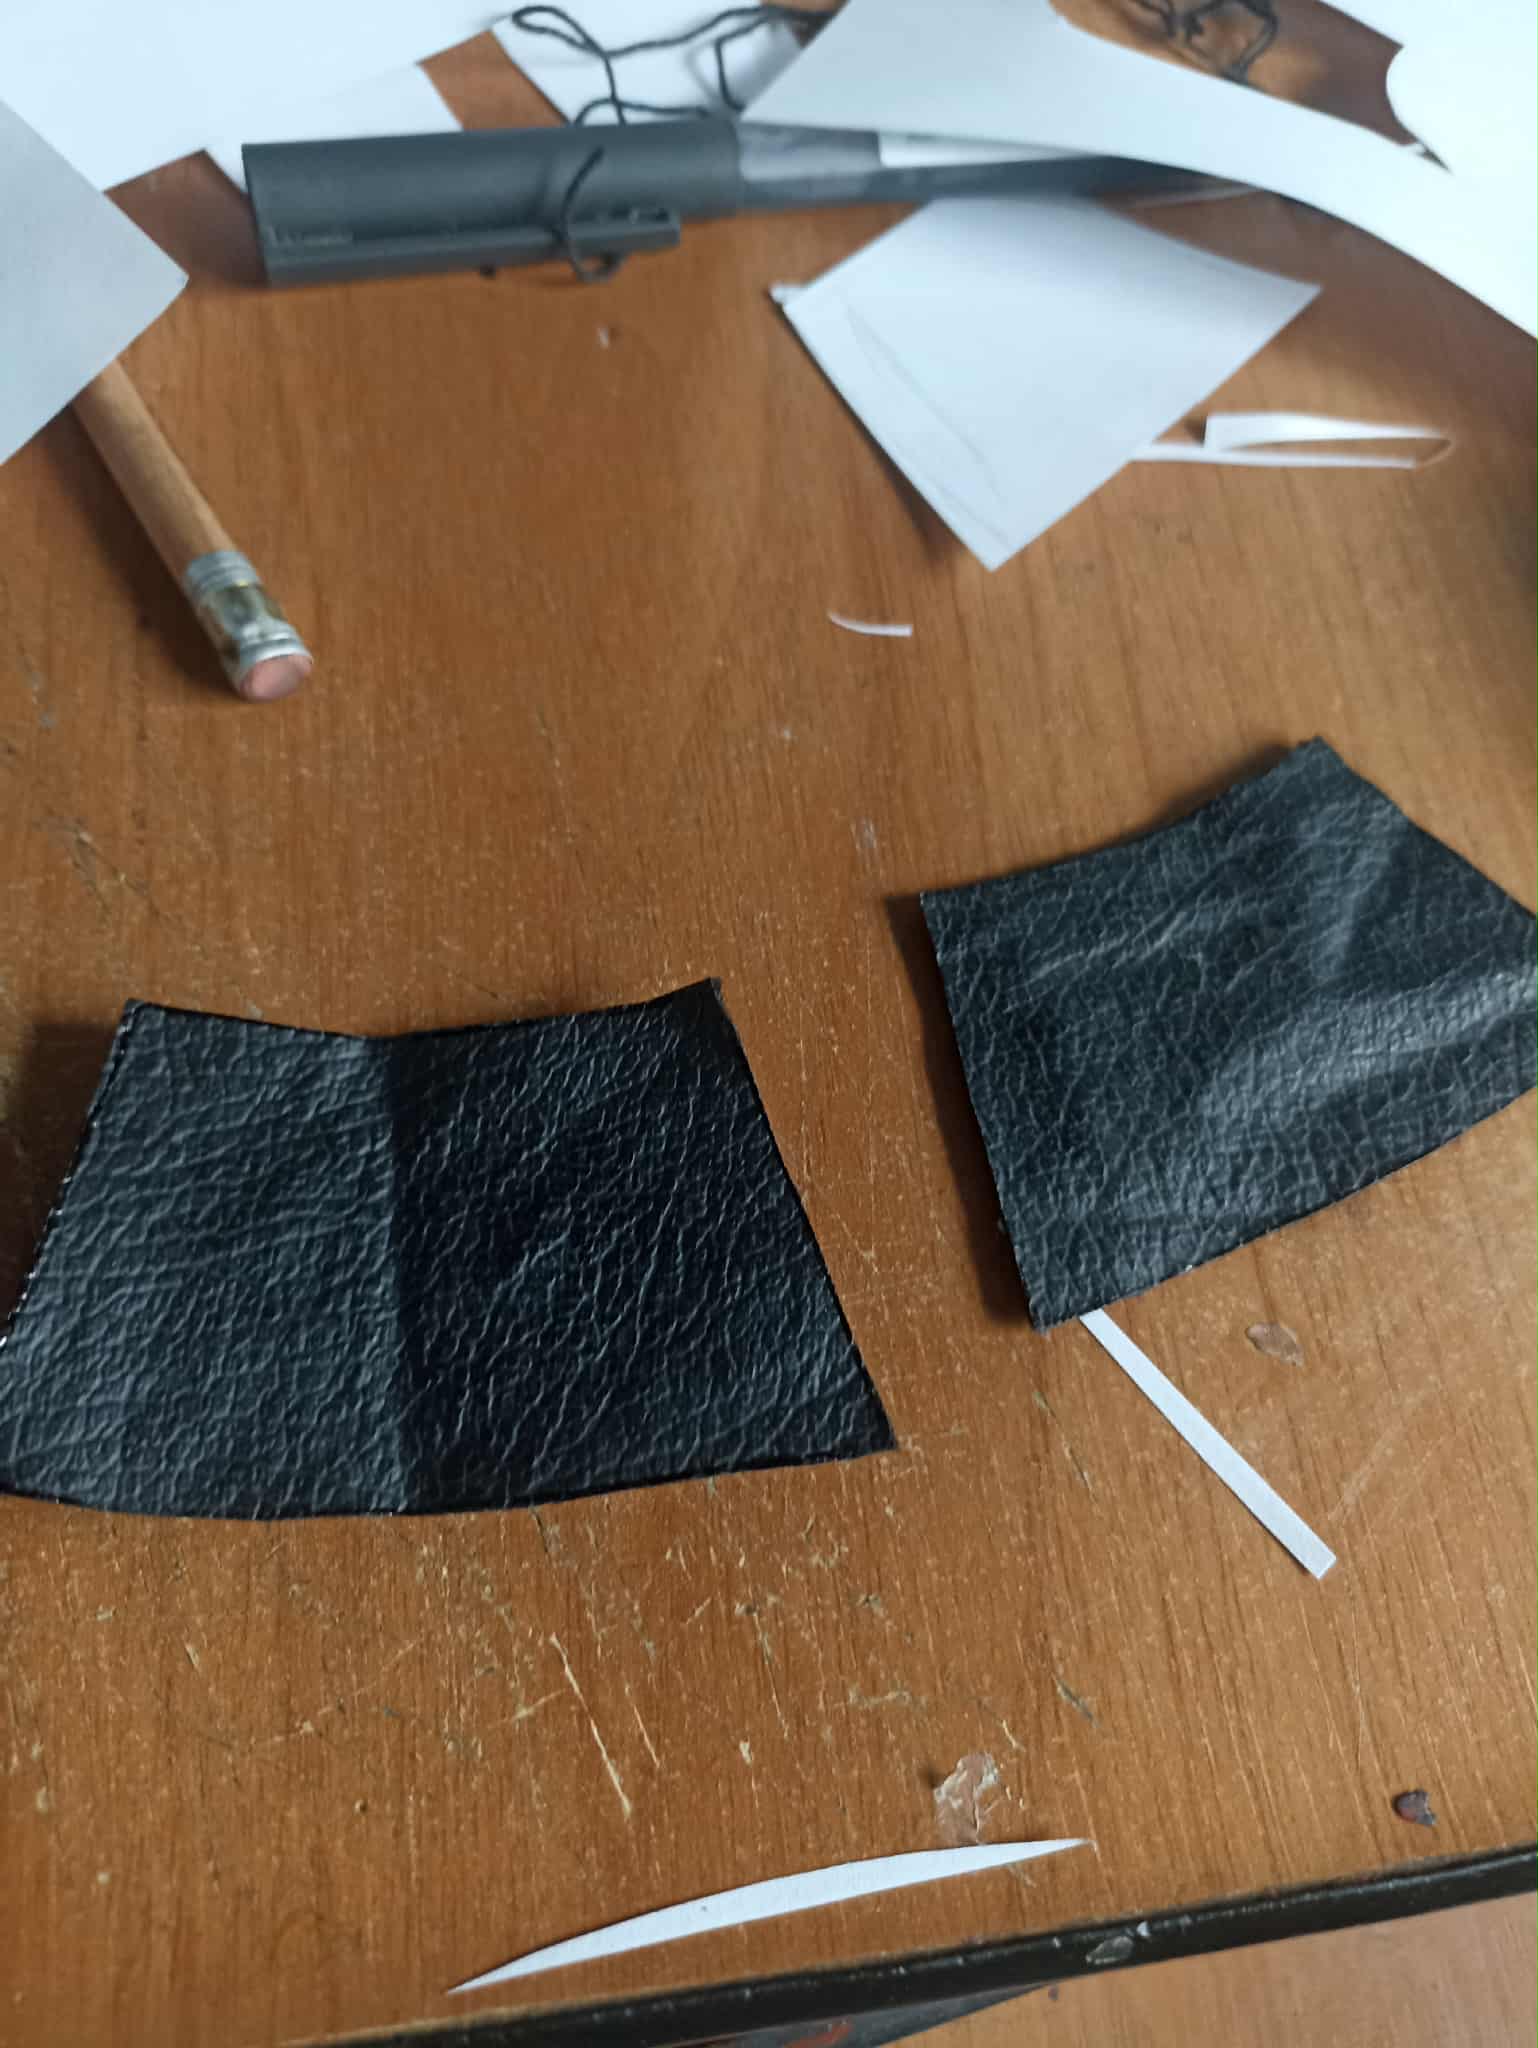
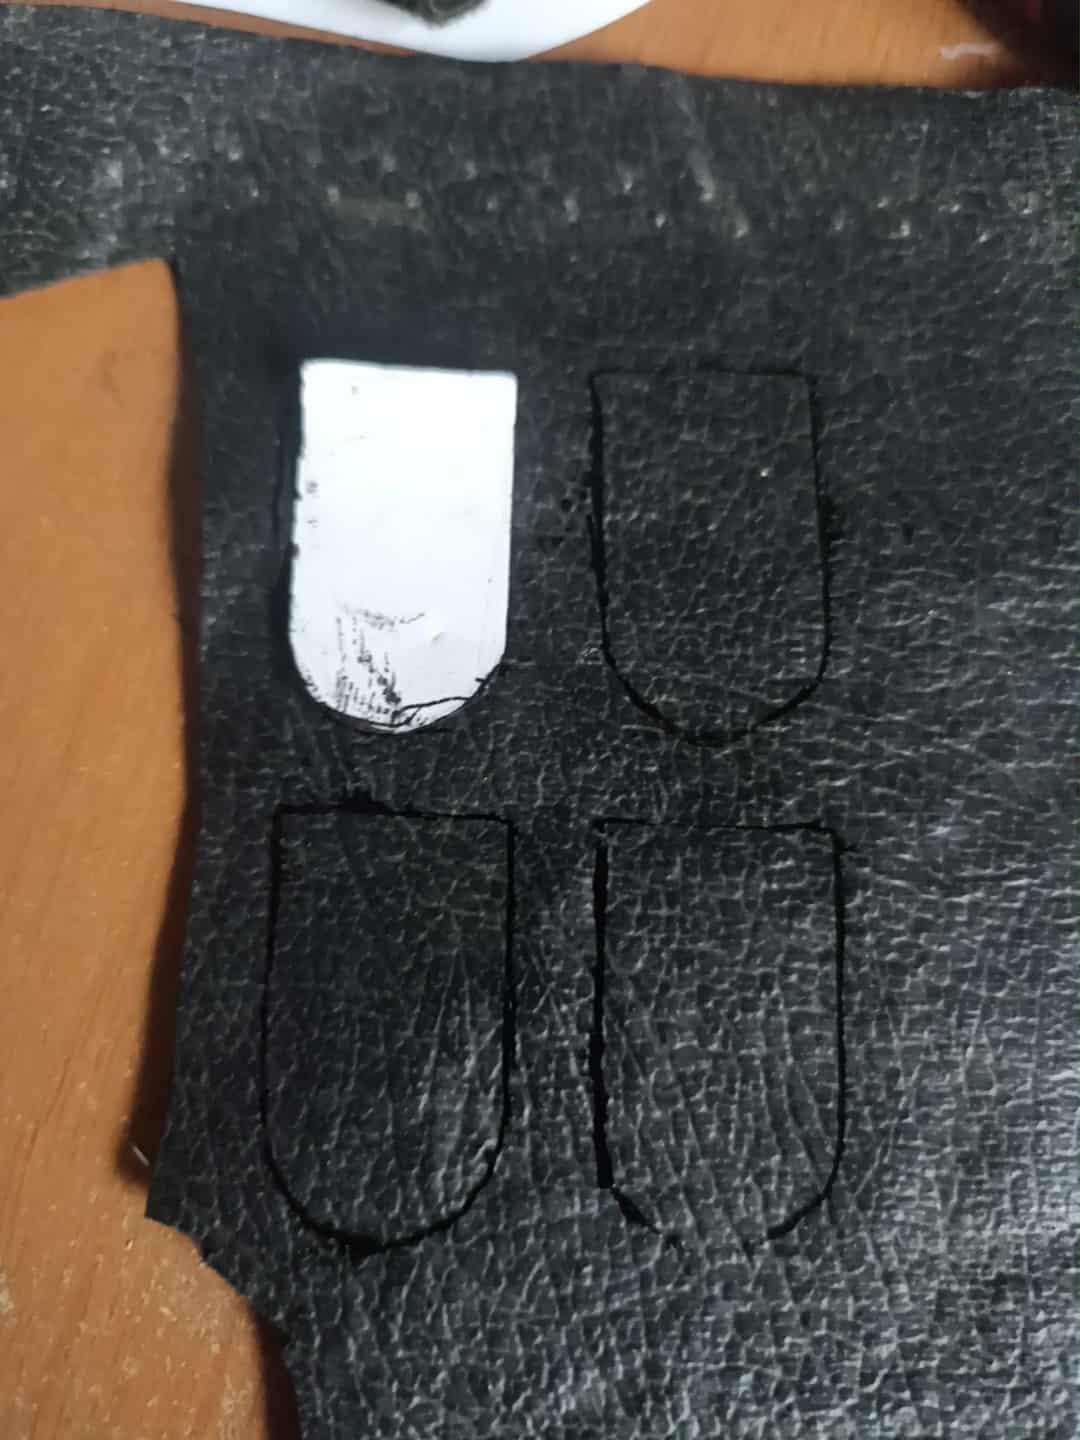
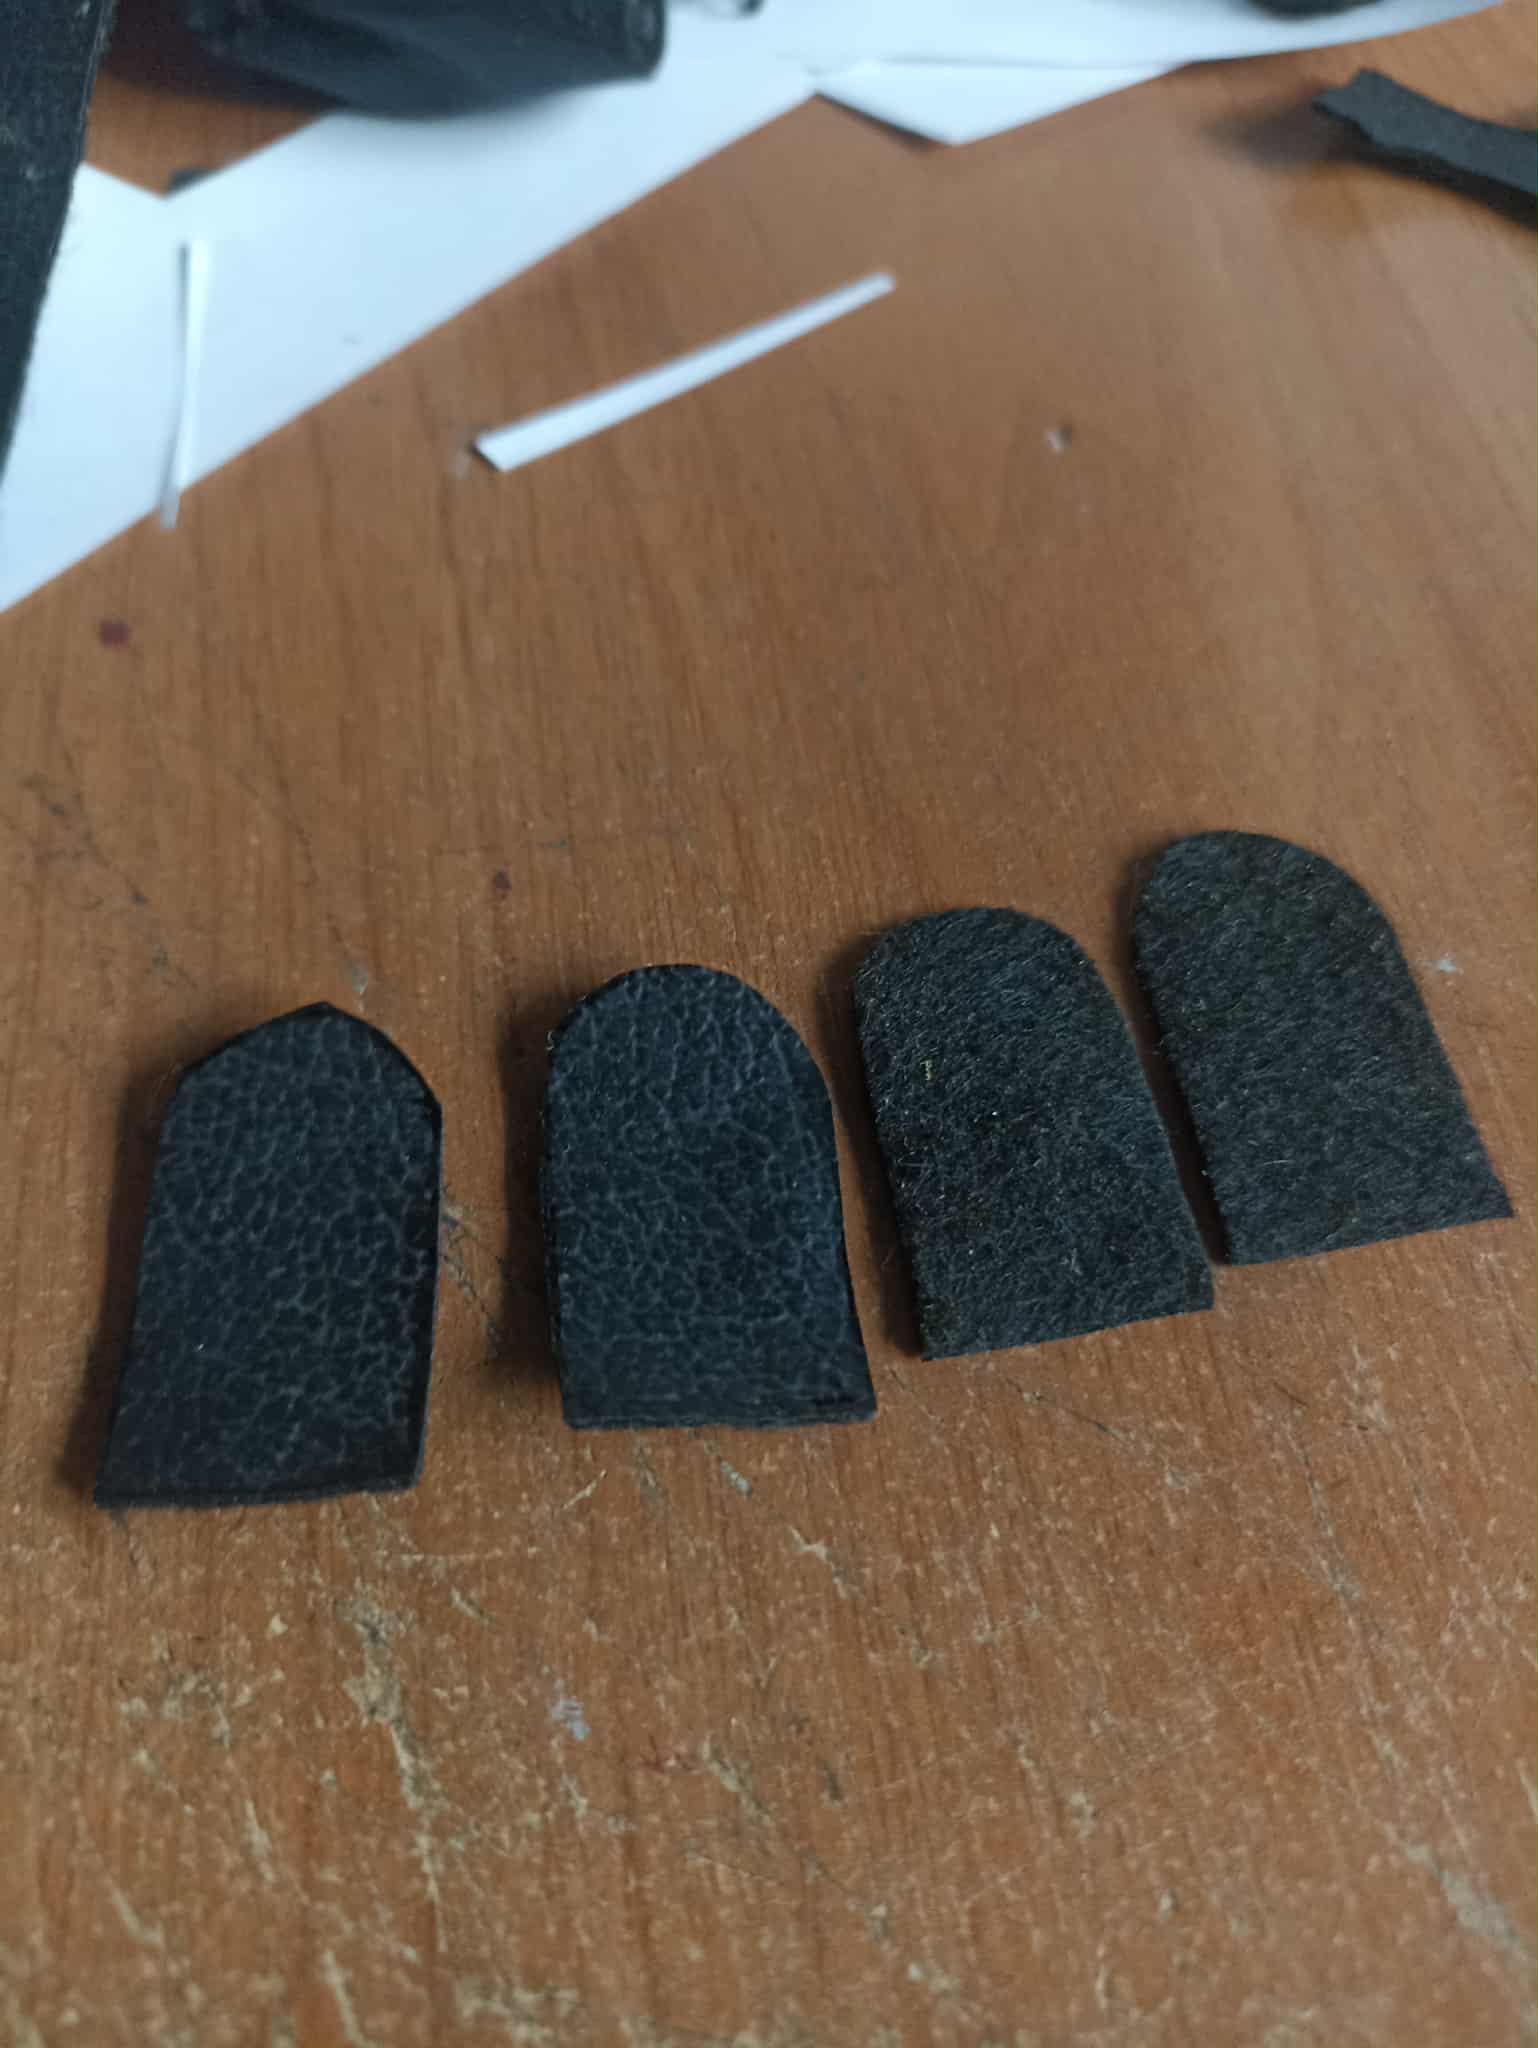
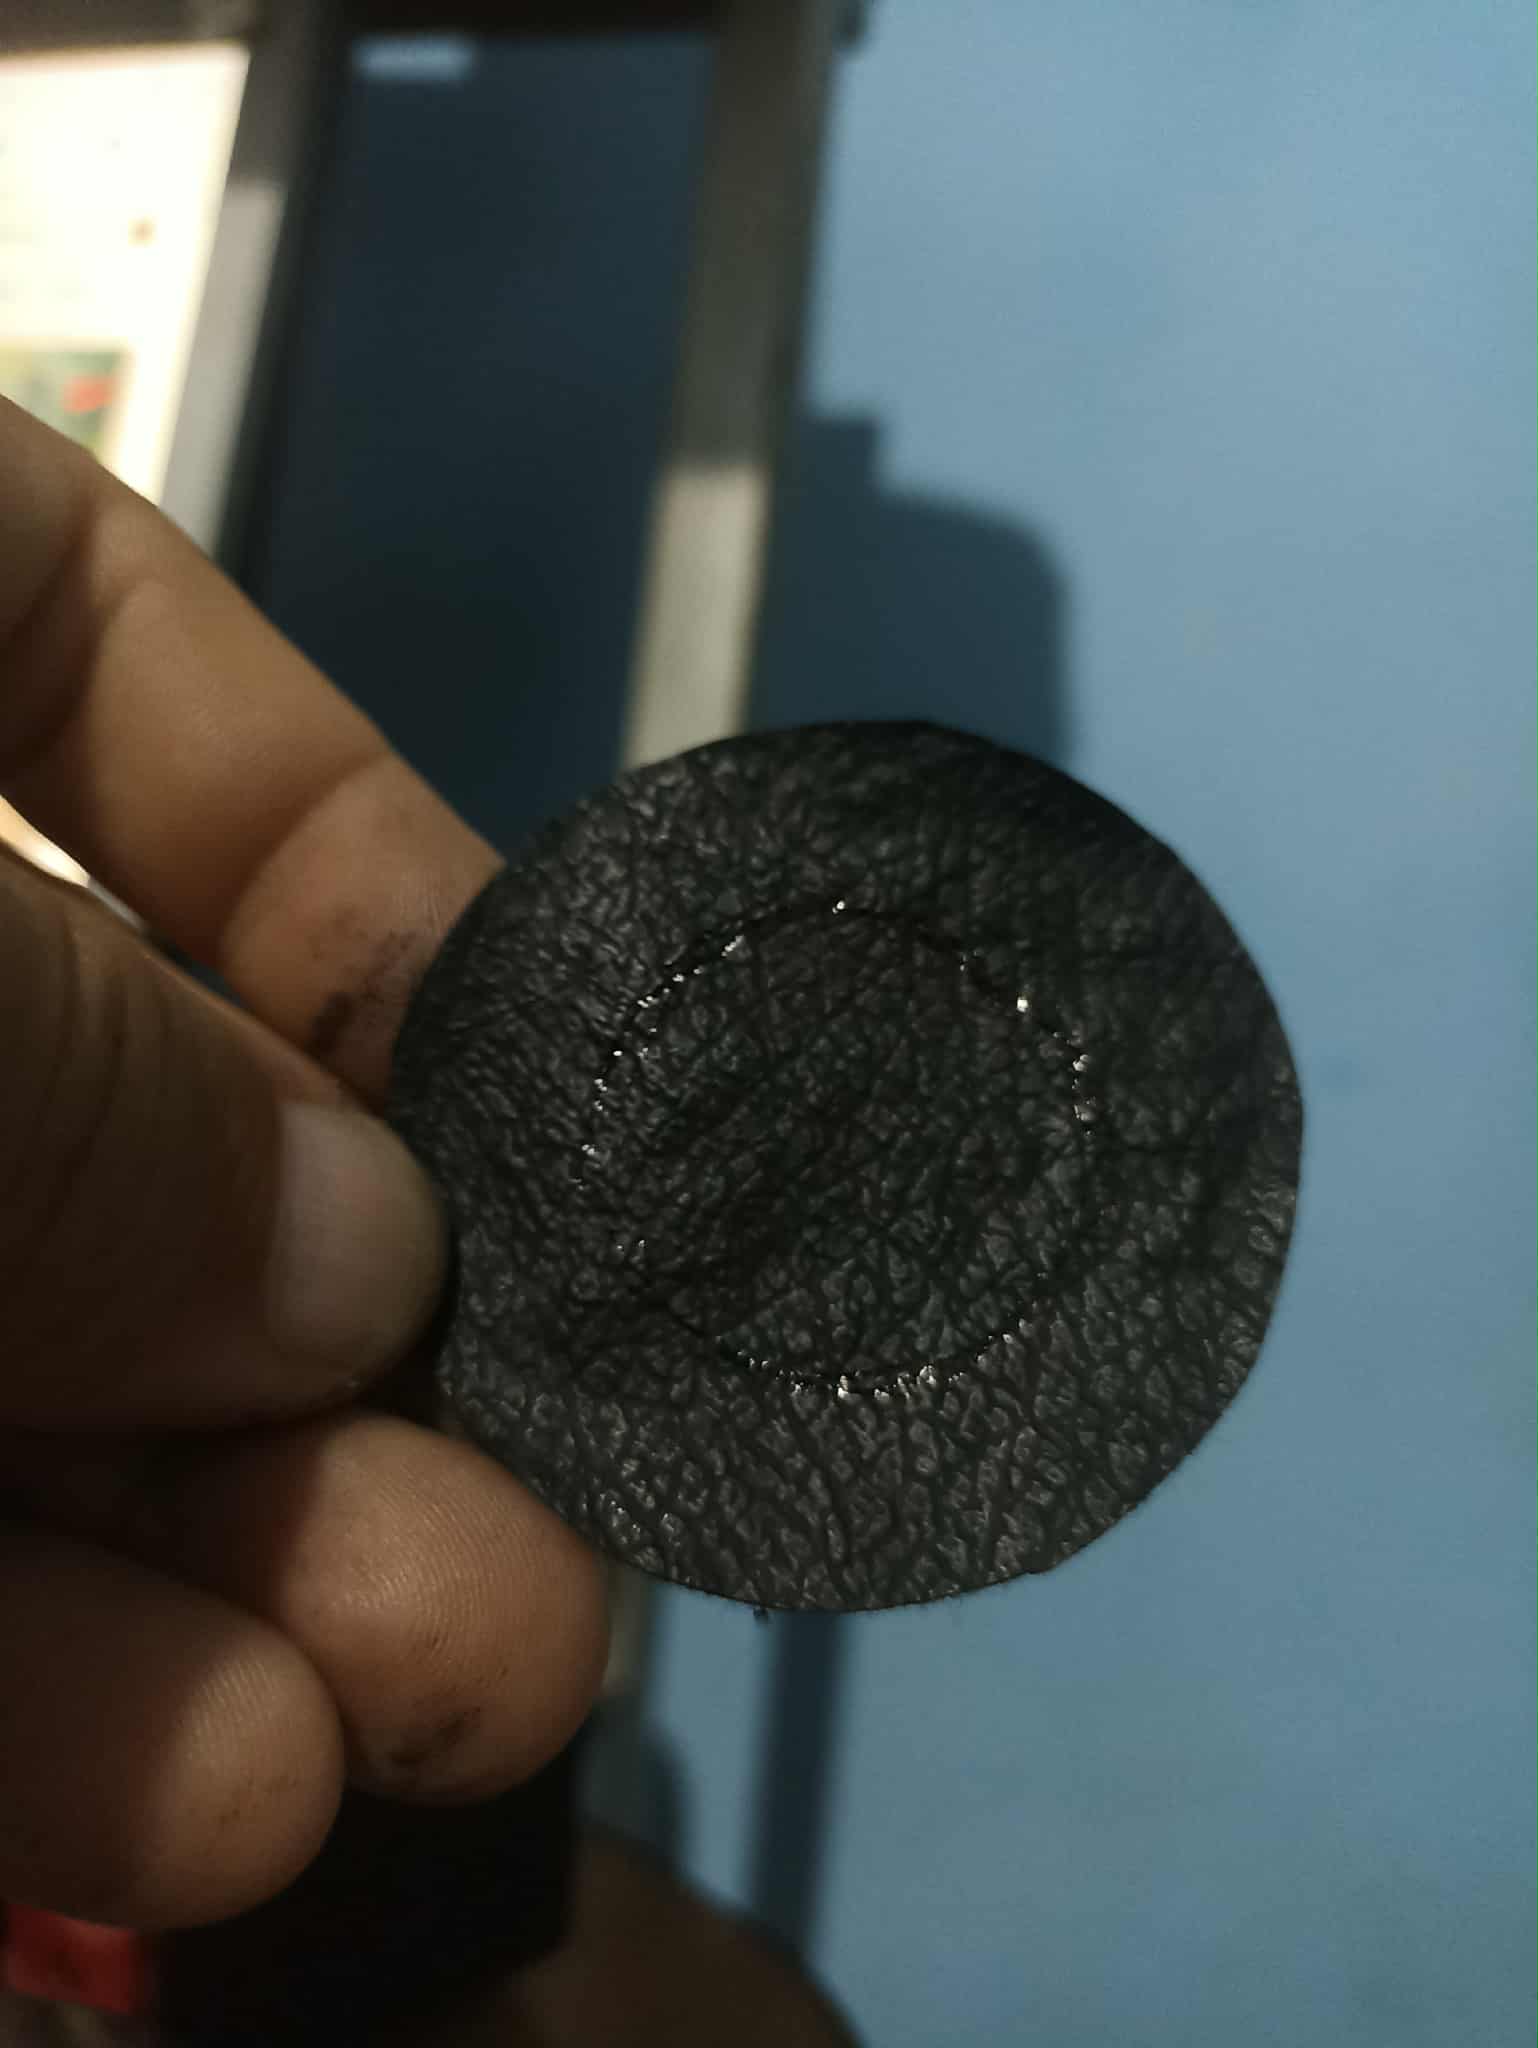
Now it's time to make the arms. I make these very easily; it doesn't require a complicated pattern, just four pieces. Then each piece will be joined to the other on one side to form two identical pieces that will be both arms. Before sewing each arm to the body, we must stuff it inside; we can use cotton or some other material.
Ahora ya es el turno de hacer los brazos, estos los hago muy fácil, no requiere de un modelo complicado, solamente debe hacerse 4 piezas. Luego cada una de las piezas irá unida a la otra por una cara hasta formar dos piezas iguales que serán ambos brazos, antes de coser cada brazo al cuerpo debemos llenarlo por dentro, podemos utilizar algodón o algún otro material.
 |
 |
|
|---|---|---|
 |
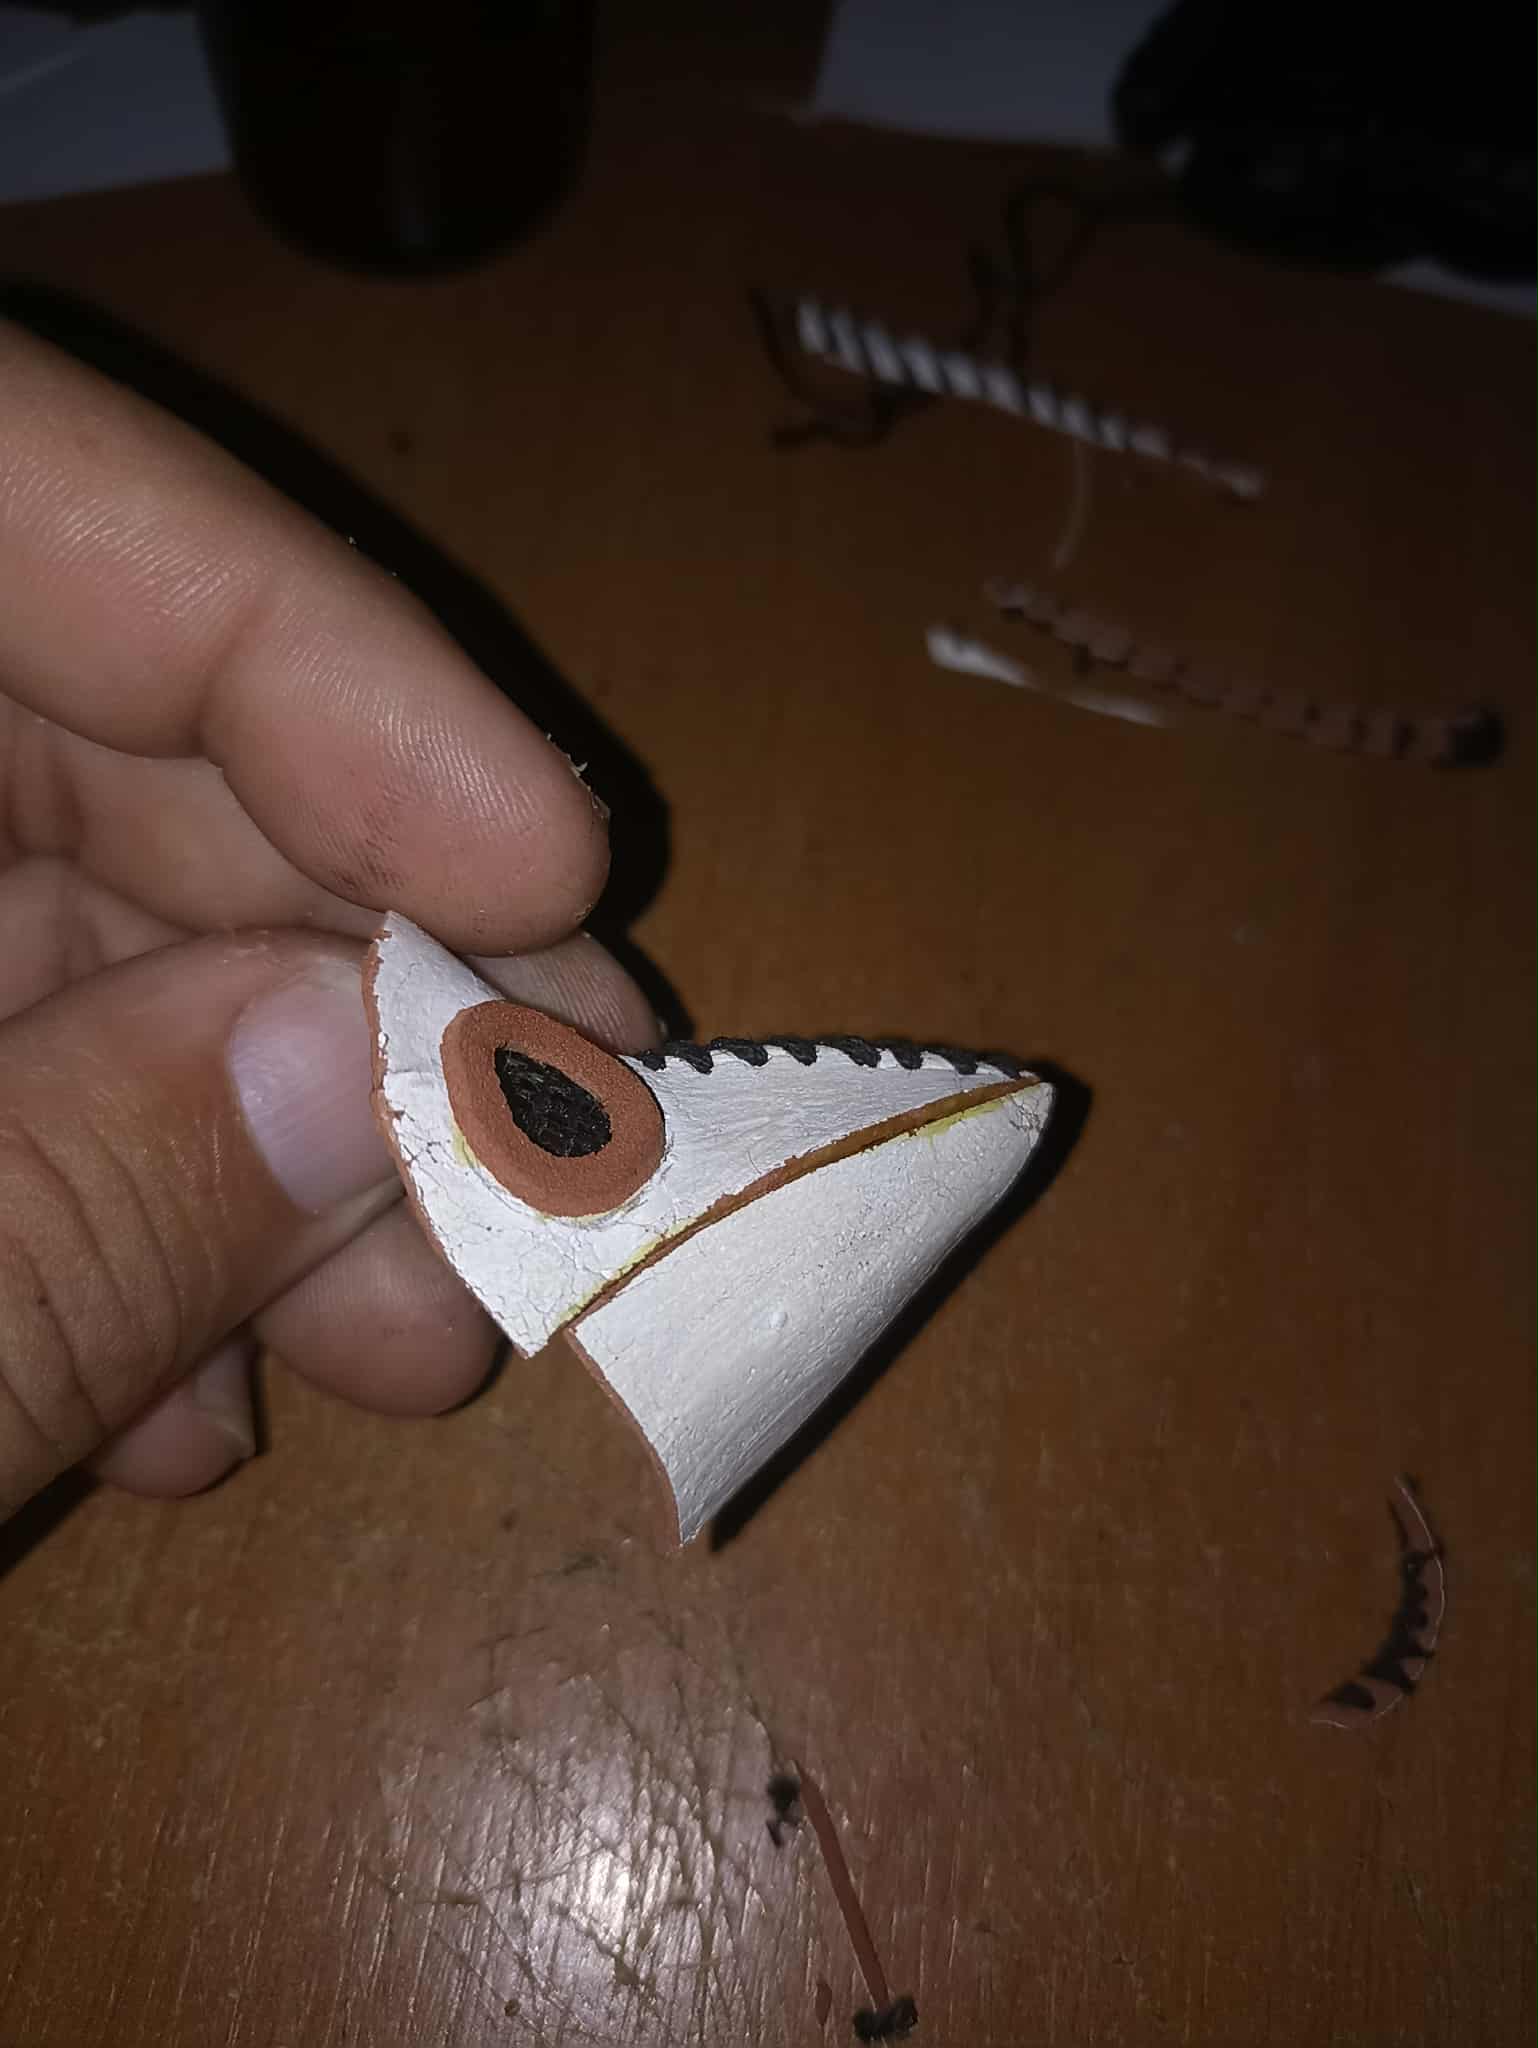 |
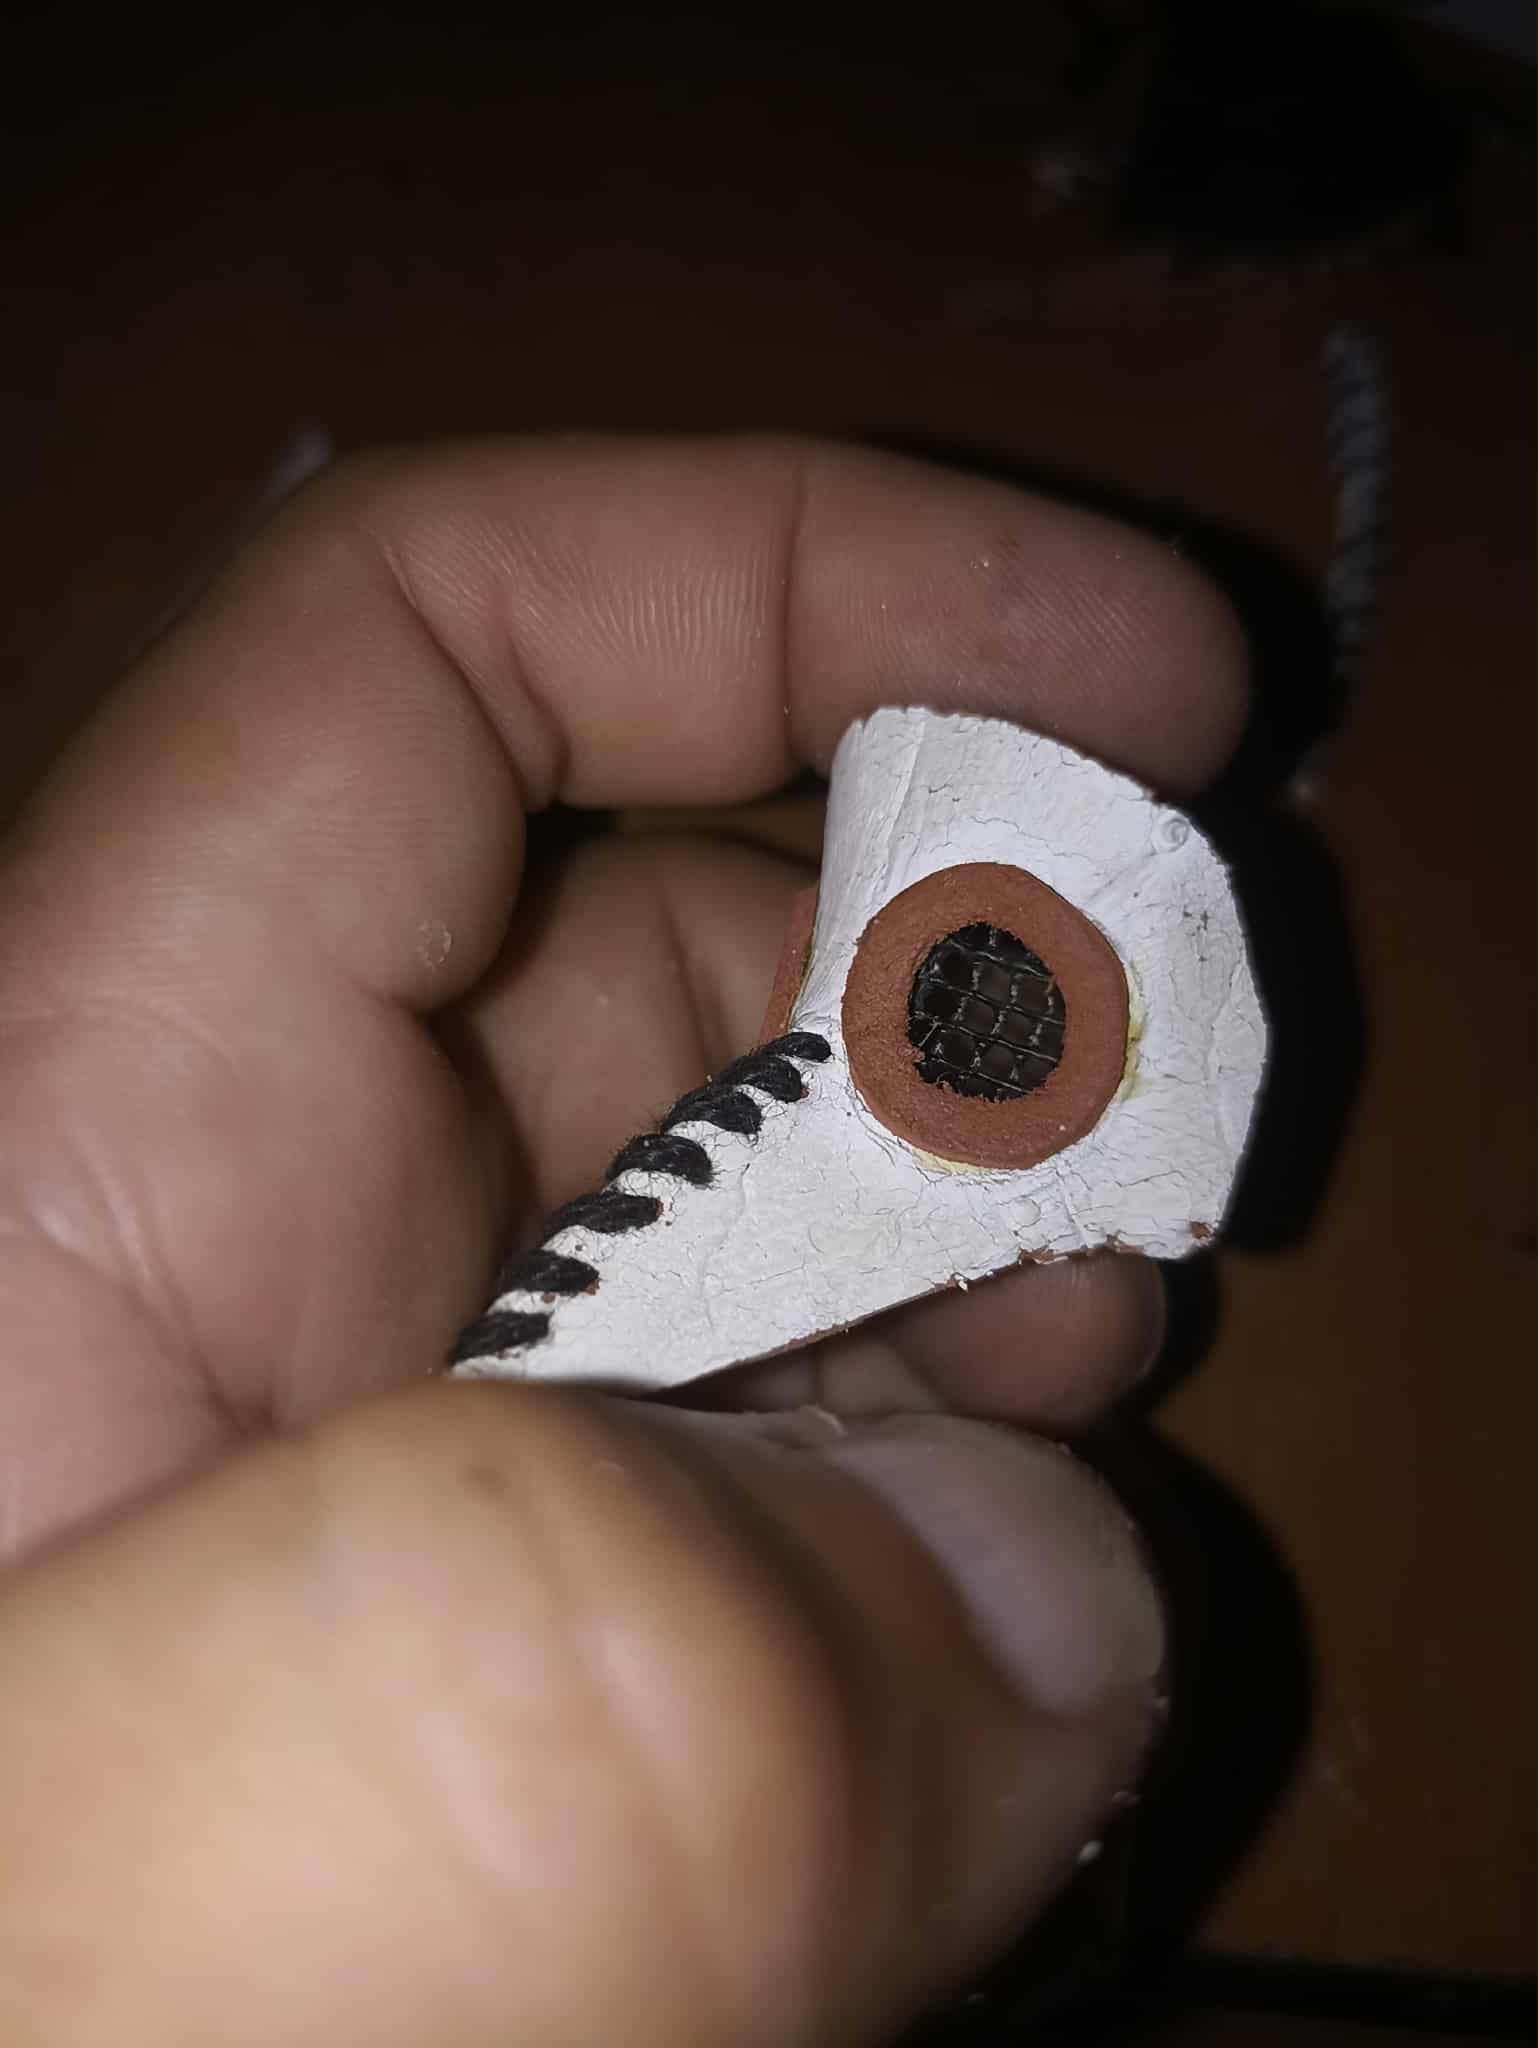
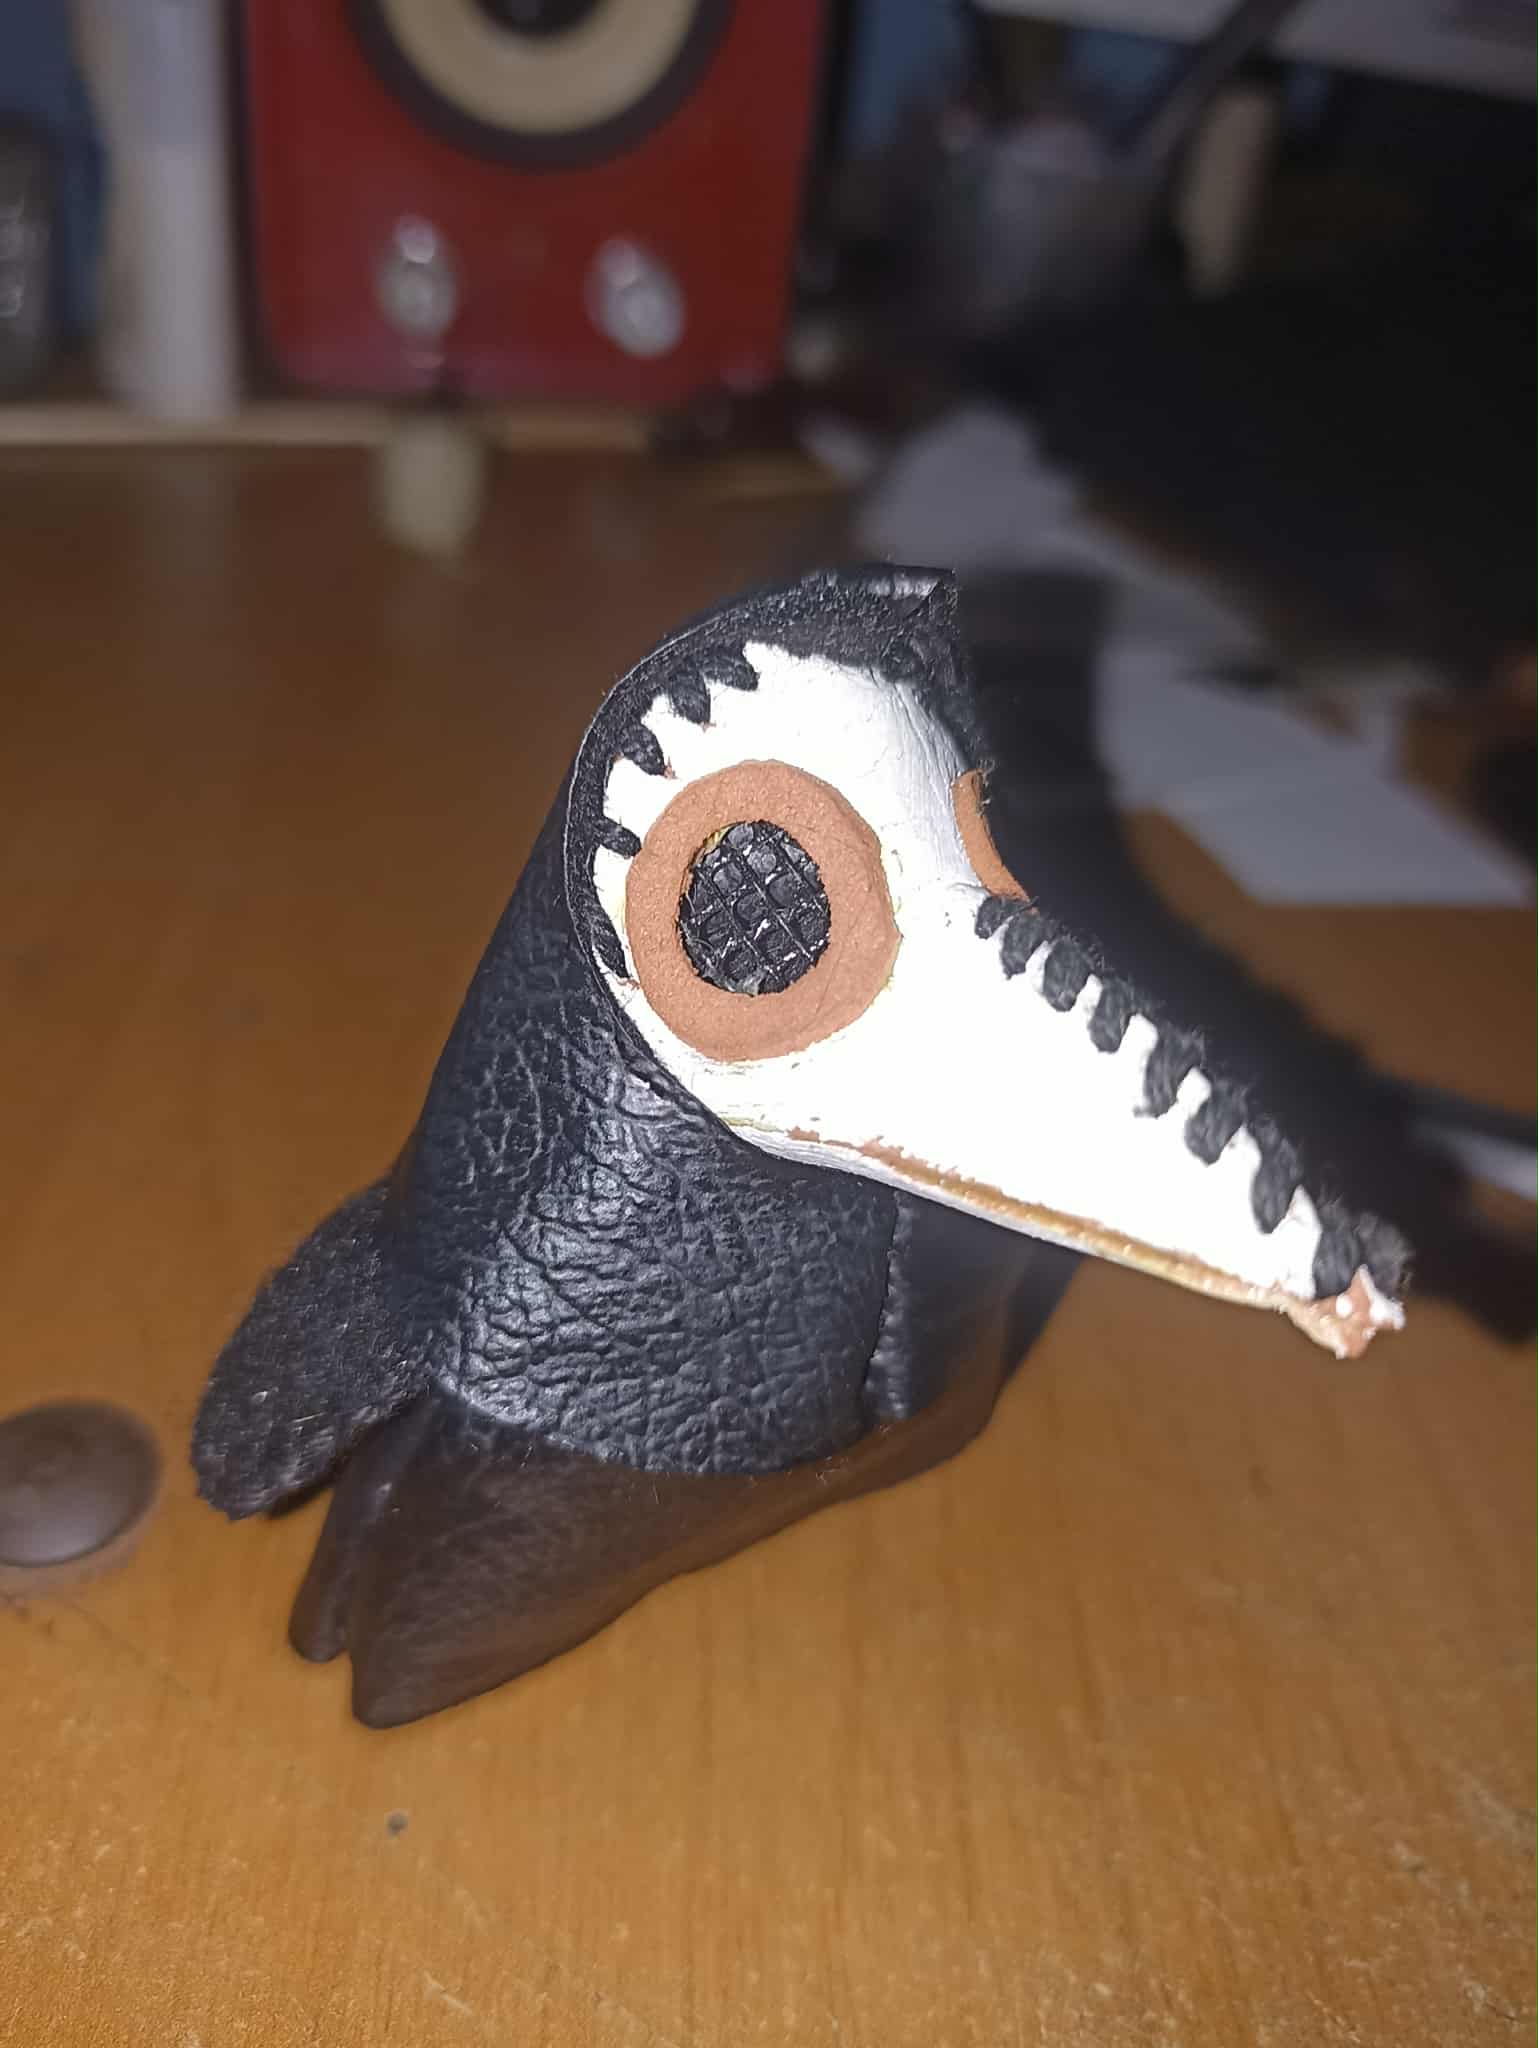
Next up is the mask. I make this with foam and then paint it white. In the eye area, I place a plastic mesh painted black, and in the middle, I make a thread stitch to make it look more handmade. The lower part of the mask is also painted white and is glued on until the mask is complete.
Luego es el turno de la máscara, esta la hago con foami y luego la pinto de blanco, en la parte de los ojos le coloco una malla de plástico pintada de negro y en la mitad le hago una costura d ehilo para que se vea más artesanal, la parte inferior de la máscara también es pintada de blanco y va unida con pegamento hasta completar la máscara.
 |
 |
|
|---|---|---|
 |
 |
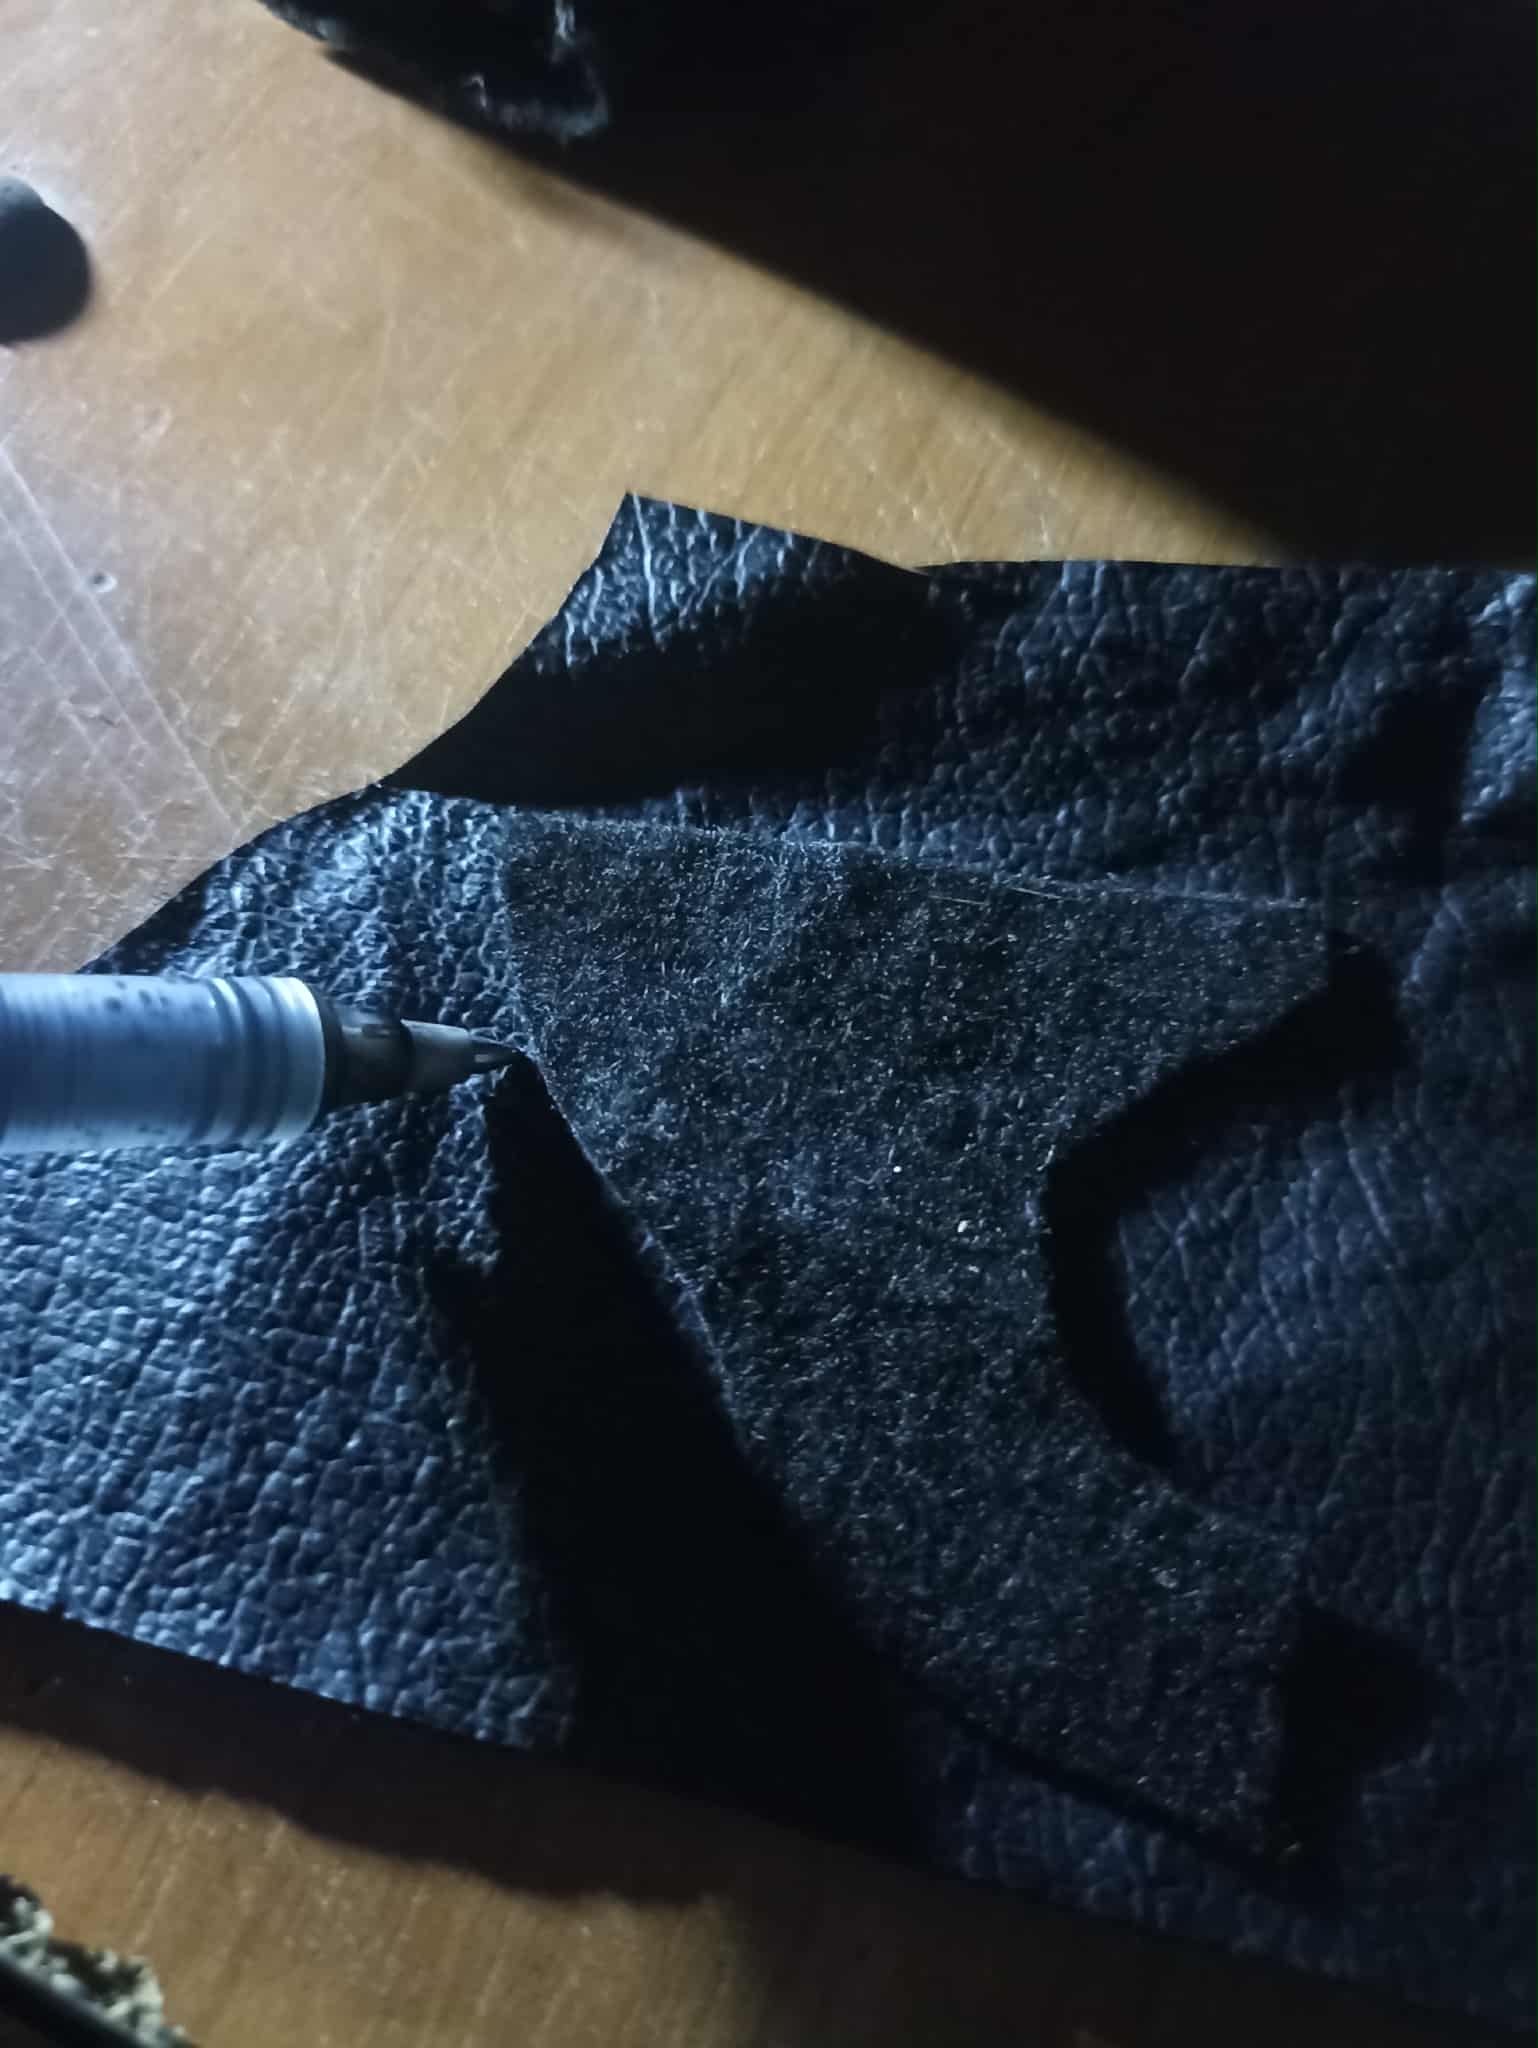
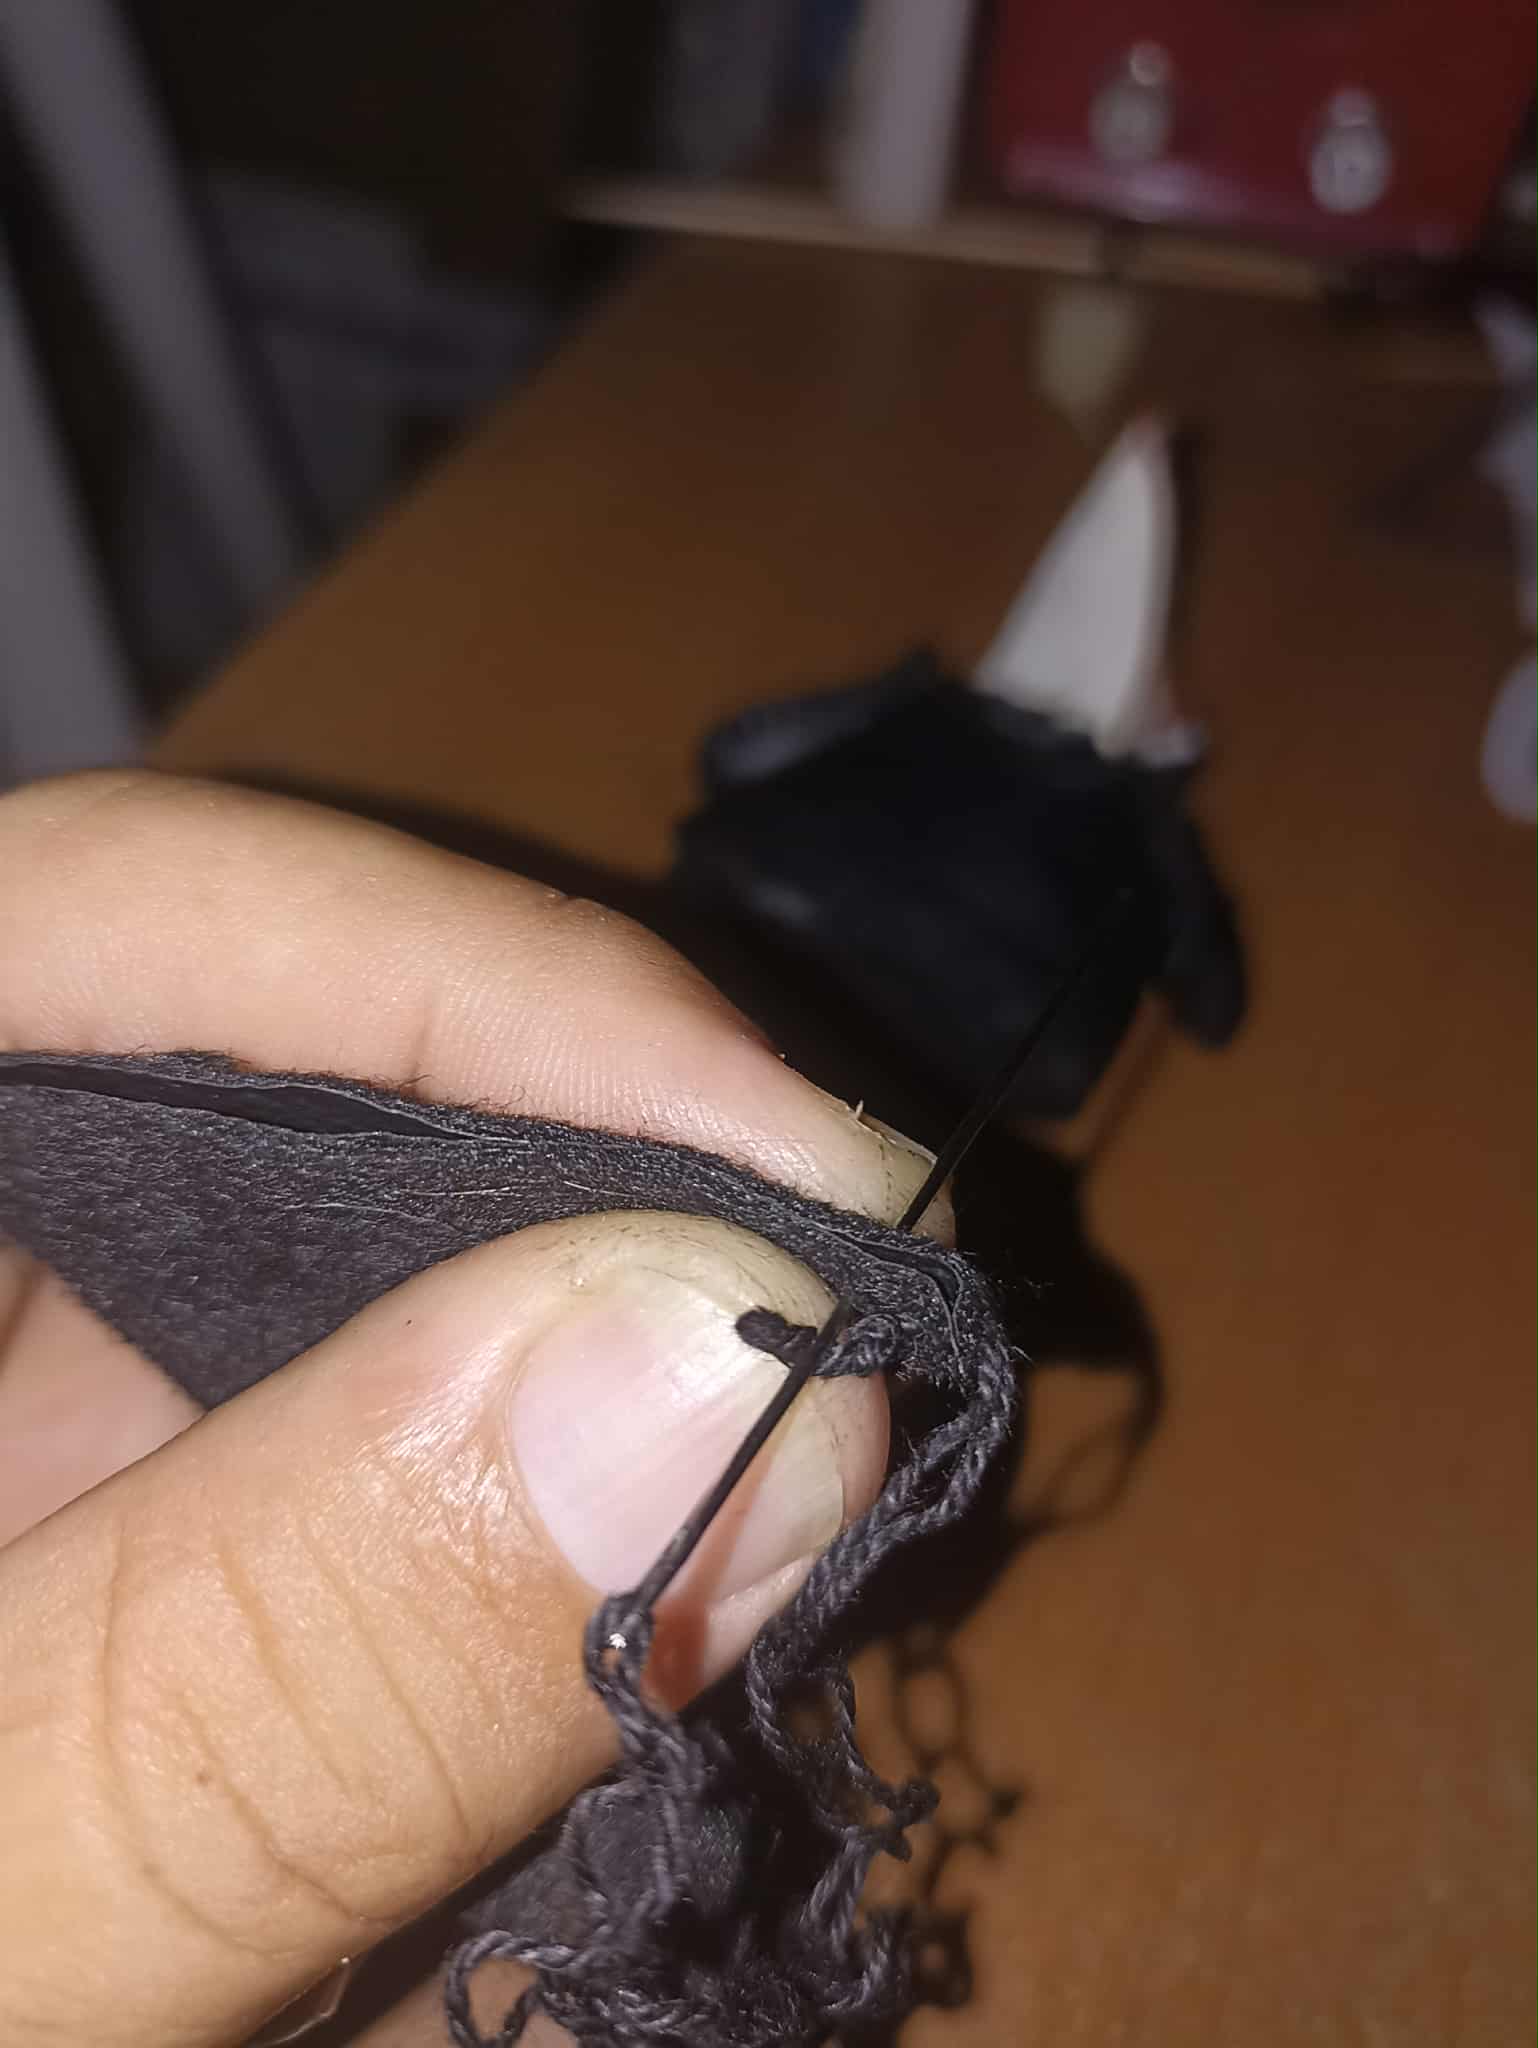
Next, I made the hood, which was essential for this costume. Like the rest of the pieces, it was improvised by me, using measurements of the figure. I was working in the darkness of a power outage, which is why the photos show the flash. After removing the pieces, I joined them together with thread. Before attaching it, I glued the foam mask to the rest of the body, again using a needle and thread. Only then did I place the hood on top.
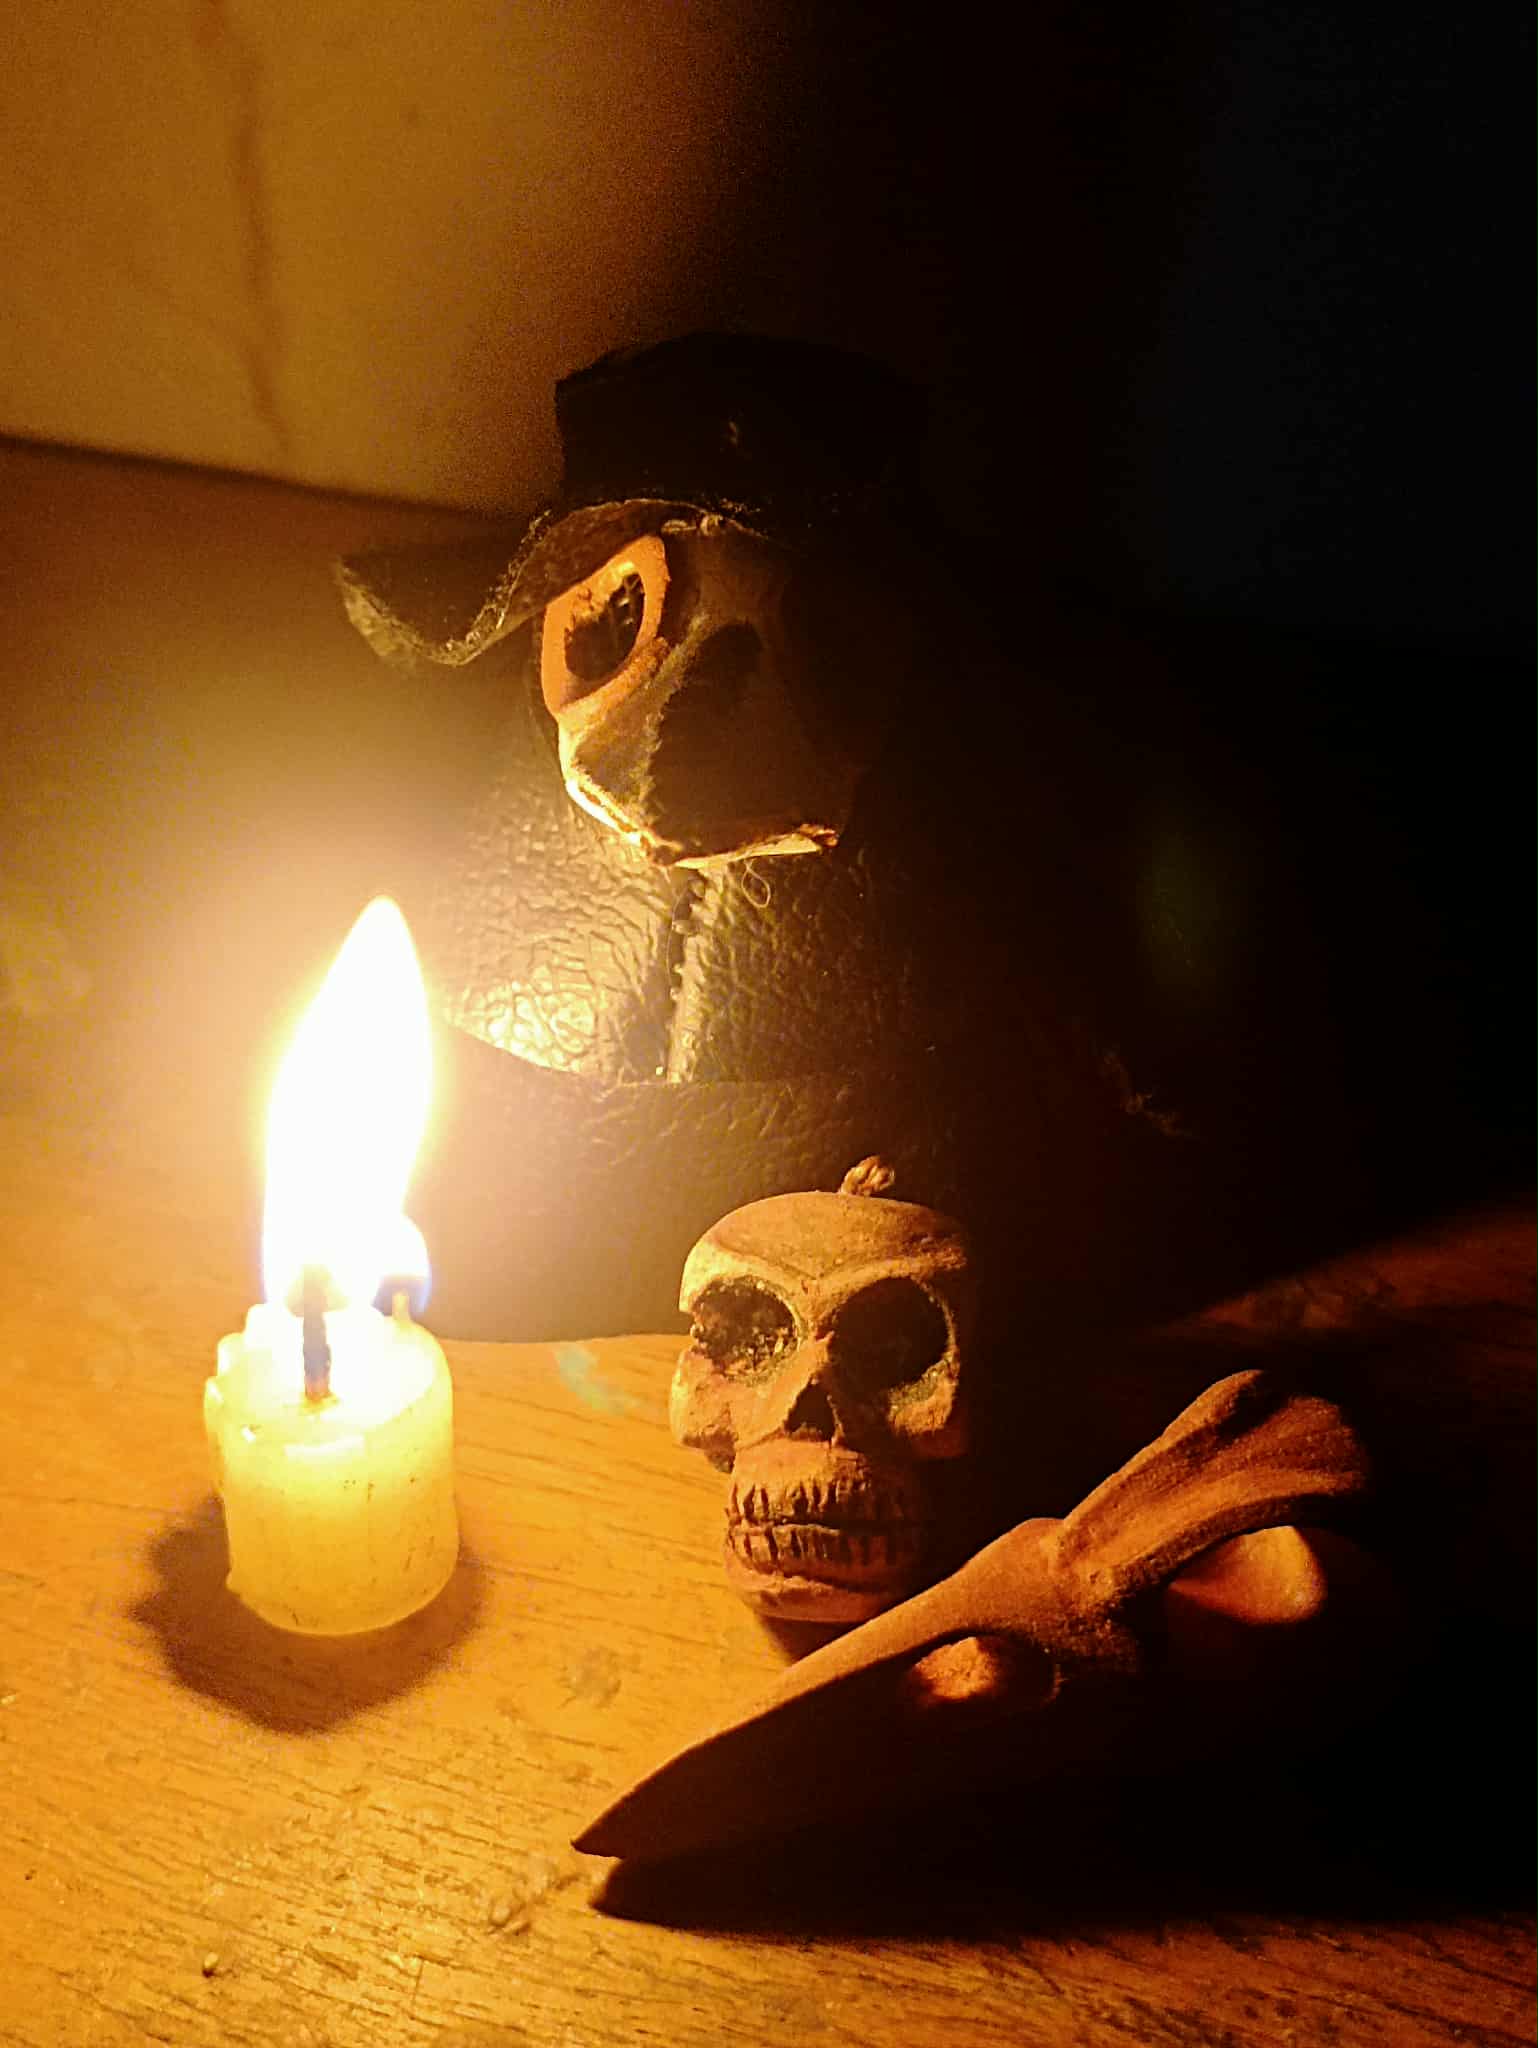
Seguidamente hice la capucha que no podía faltar en este traje, que al igual al resto d epiezas etsá improvisada por mi, la hice tomando unas medidas de como iba la figura. Aquí estaba trabajando en la oscuridad del apagón, por eos pueden ver que las fotos salen con flash. Luego de sacar las piezas las voy uniendo también con hilo, antes de instalarla debo pegar la máscara de foami al retso del cuerpo, esto lo hago una vez más con el hilo y la aguja, ya luego de eso si coloco encima la capucha.
 |
 |
|
|---|---|---|
 |
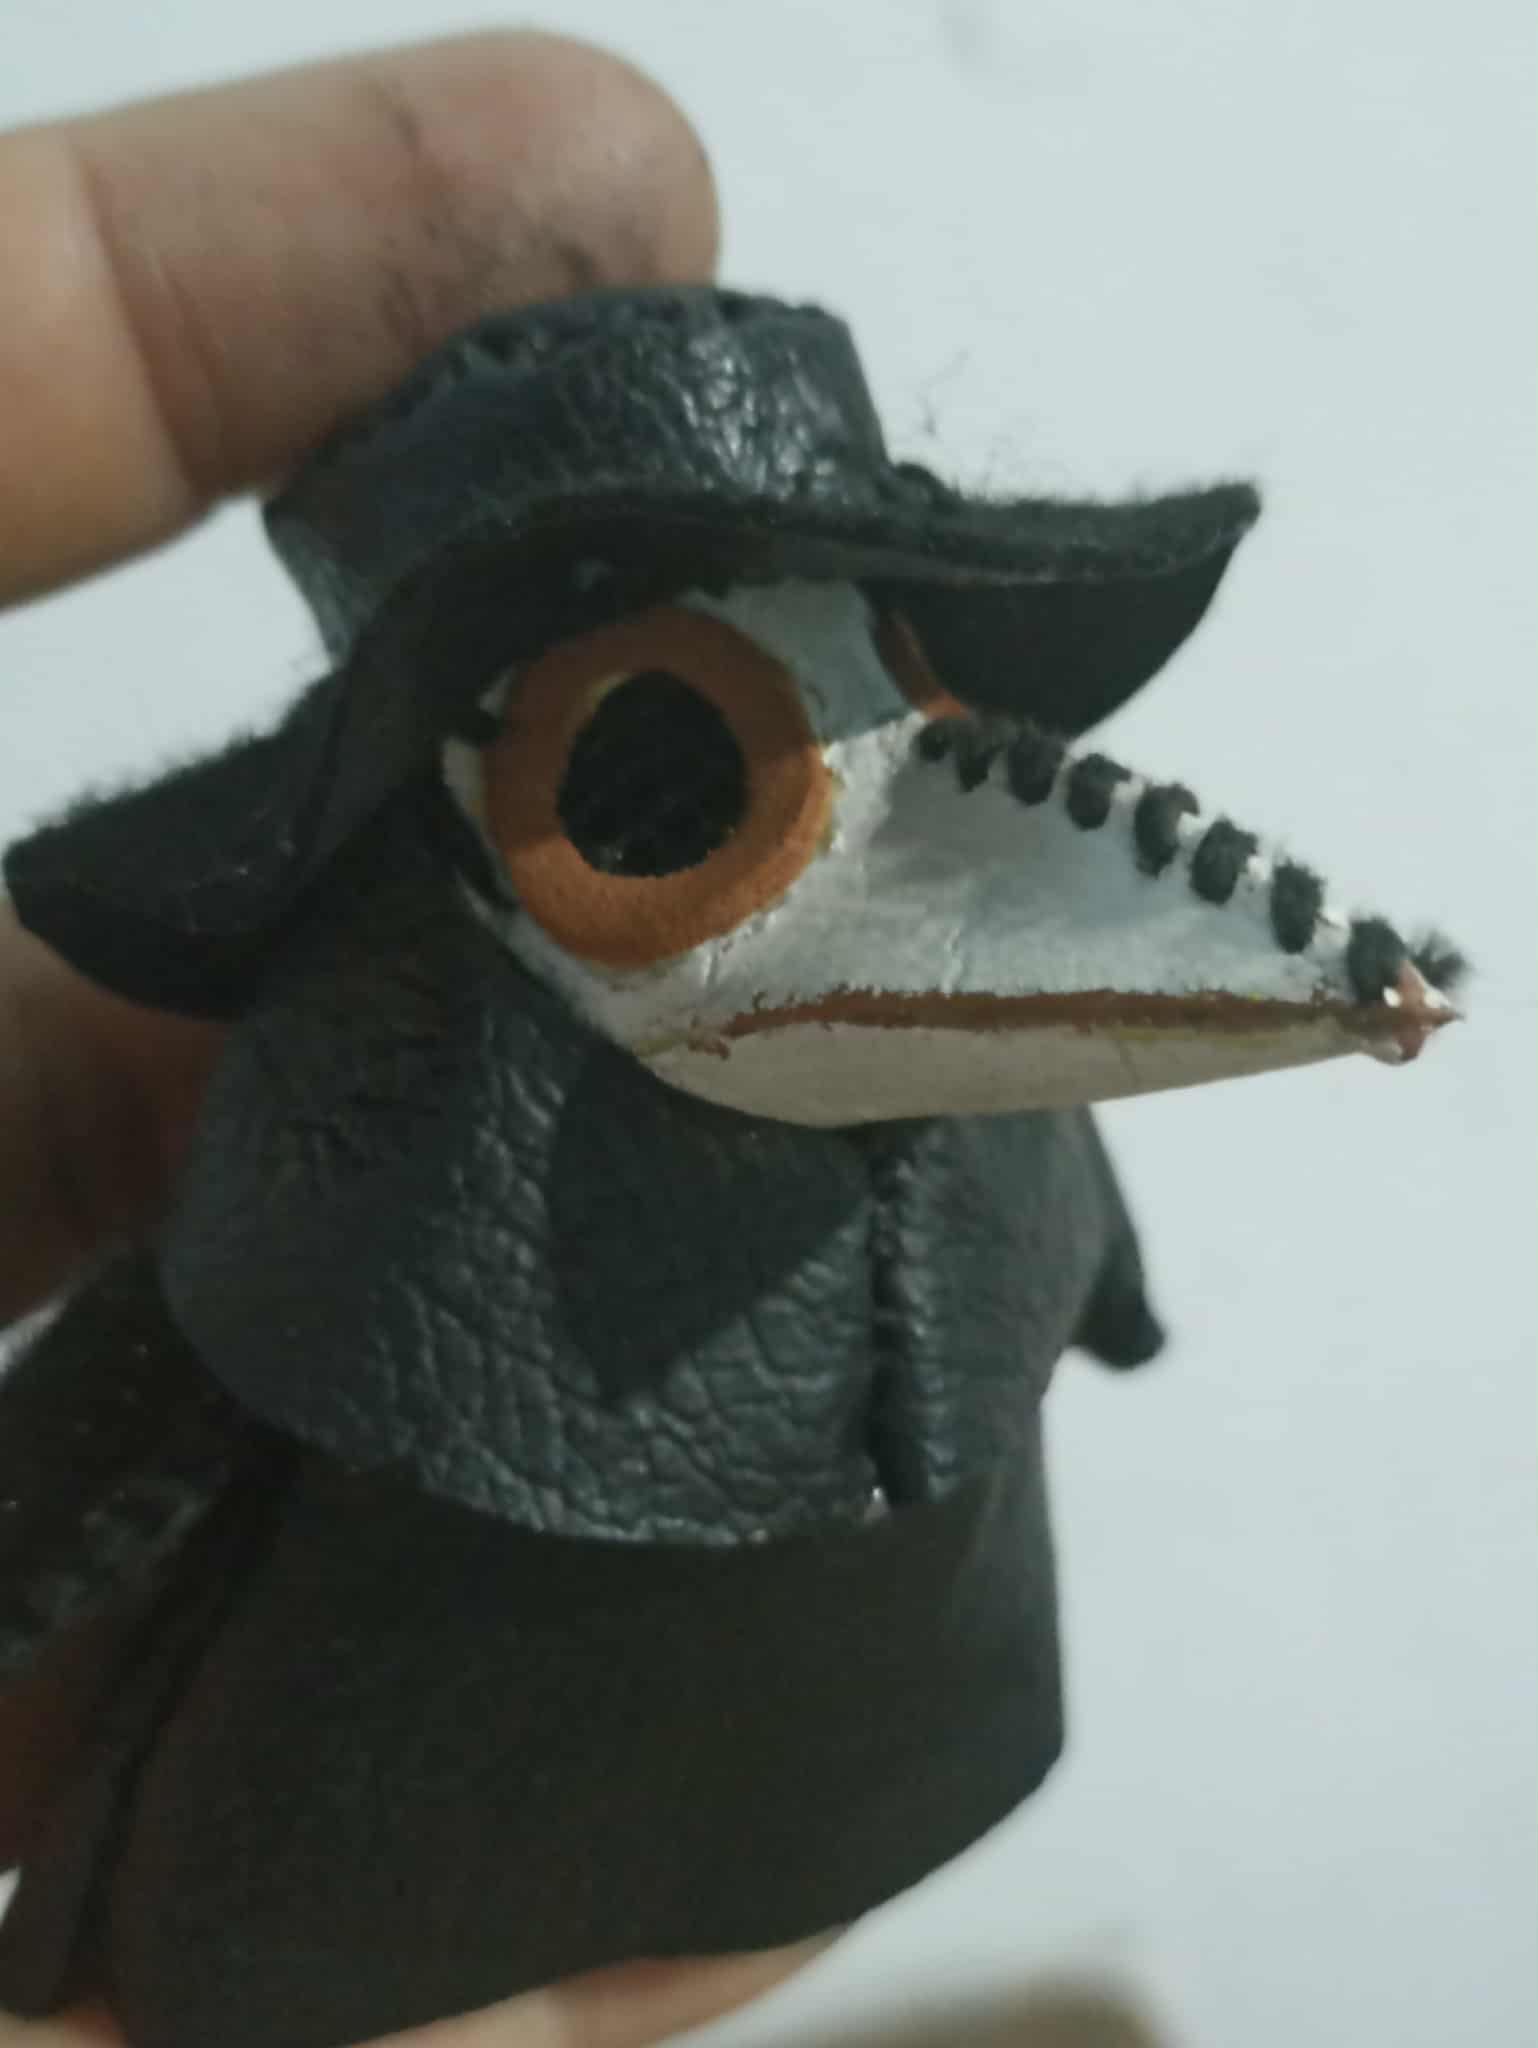 |
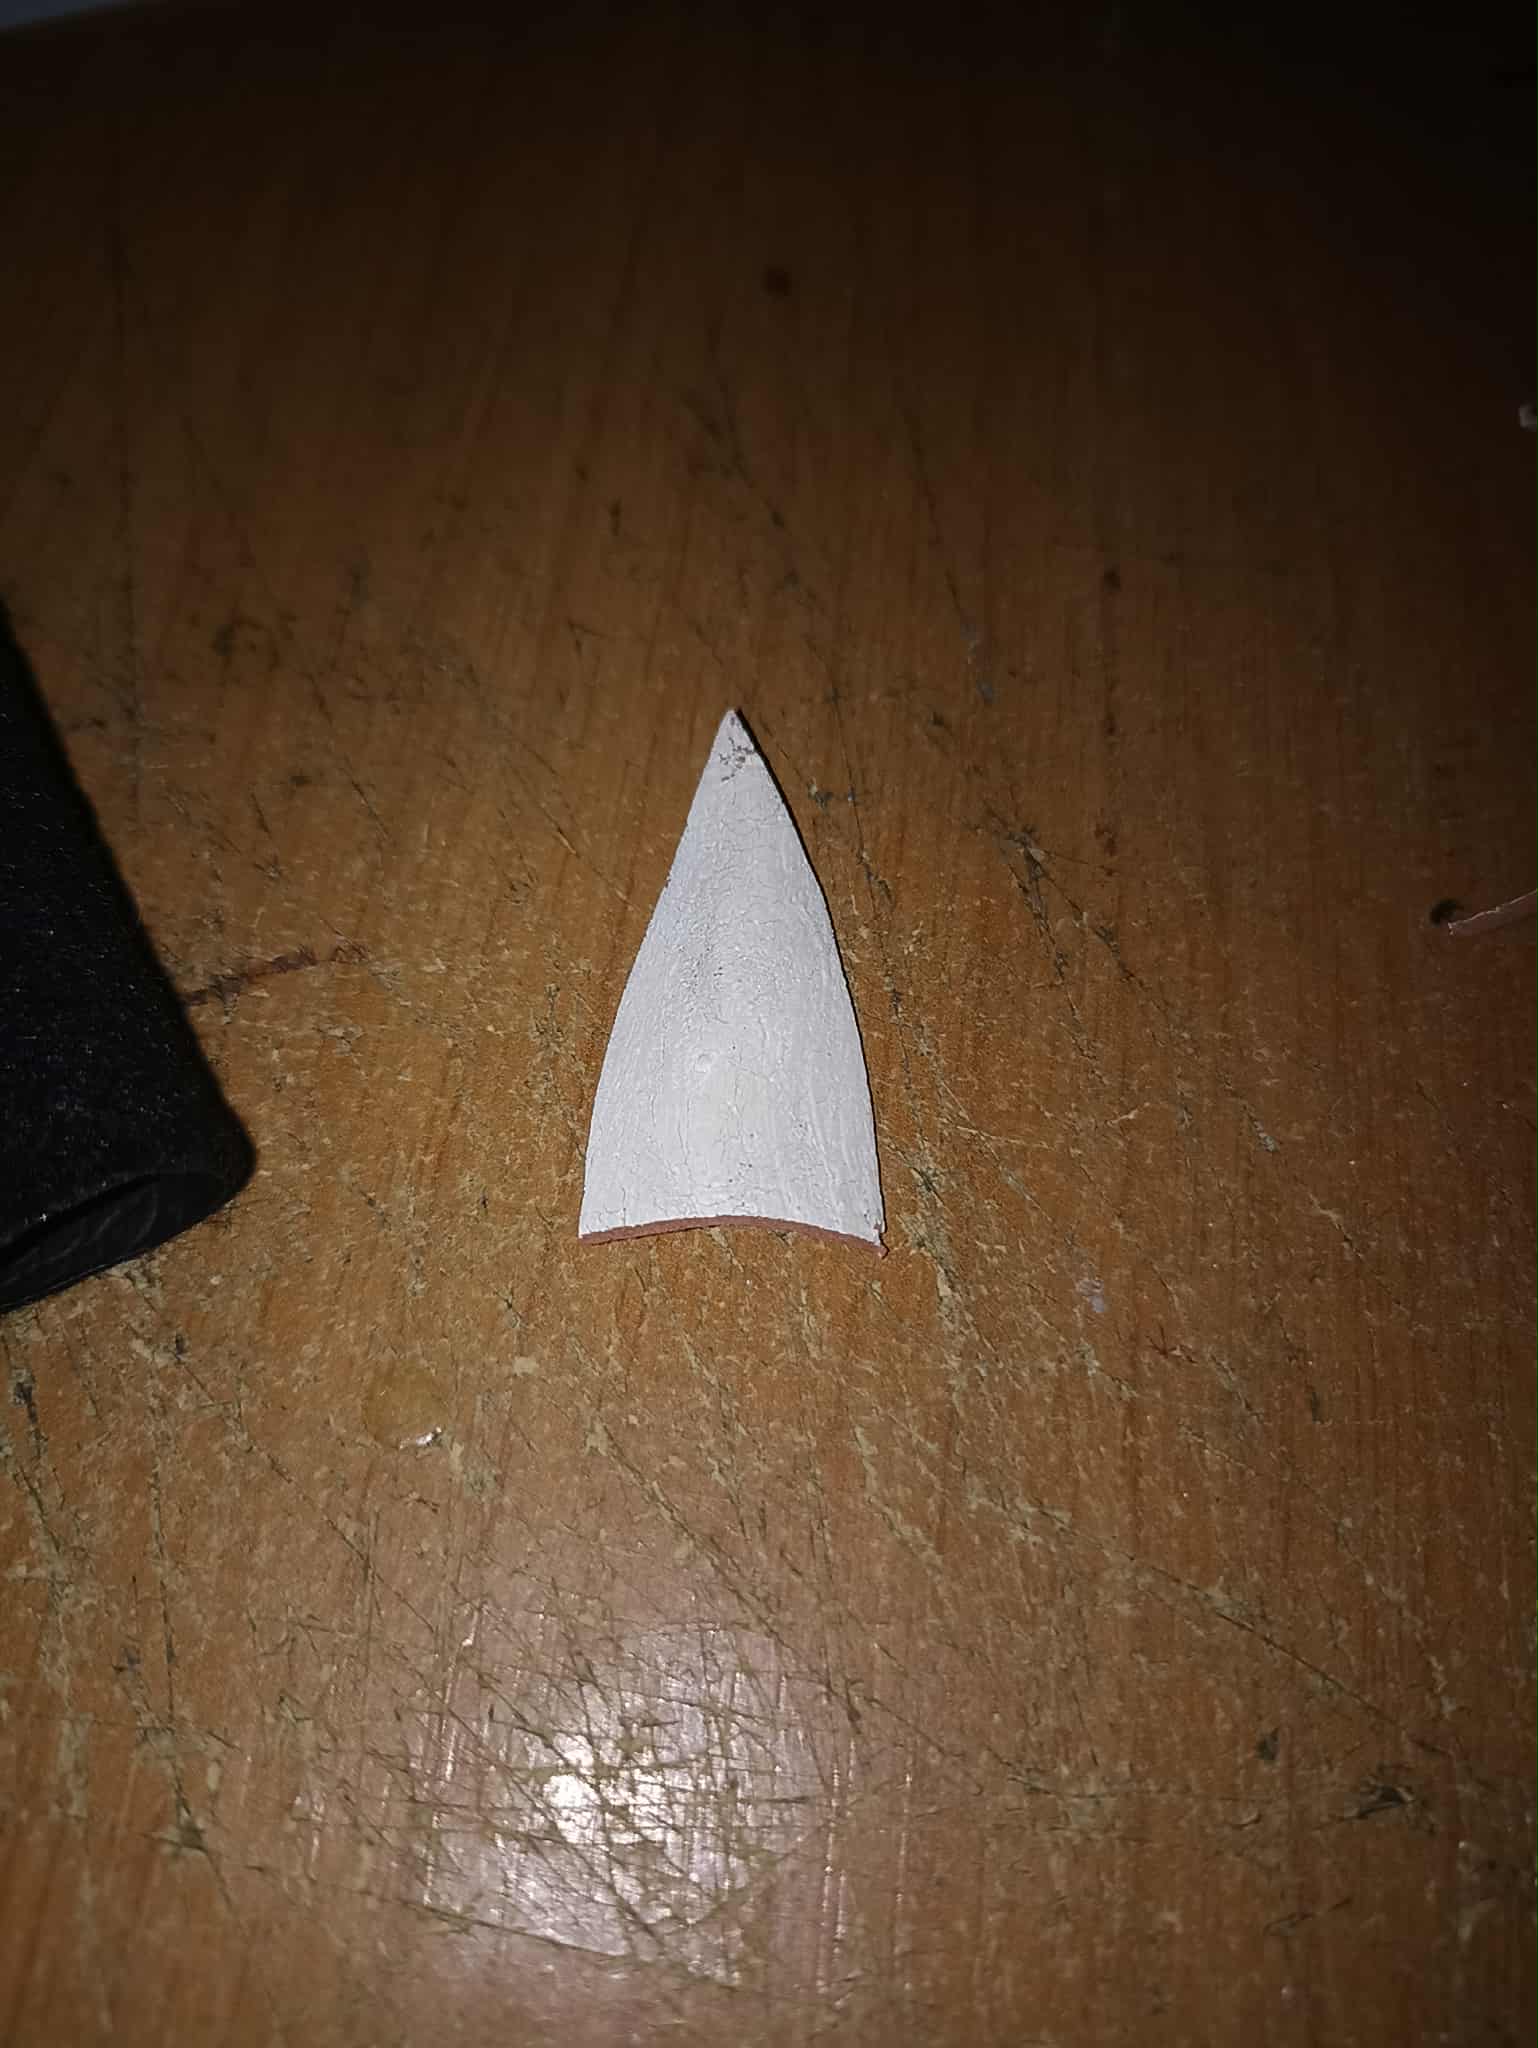
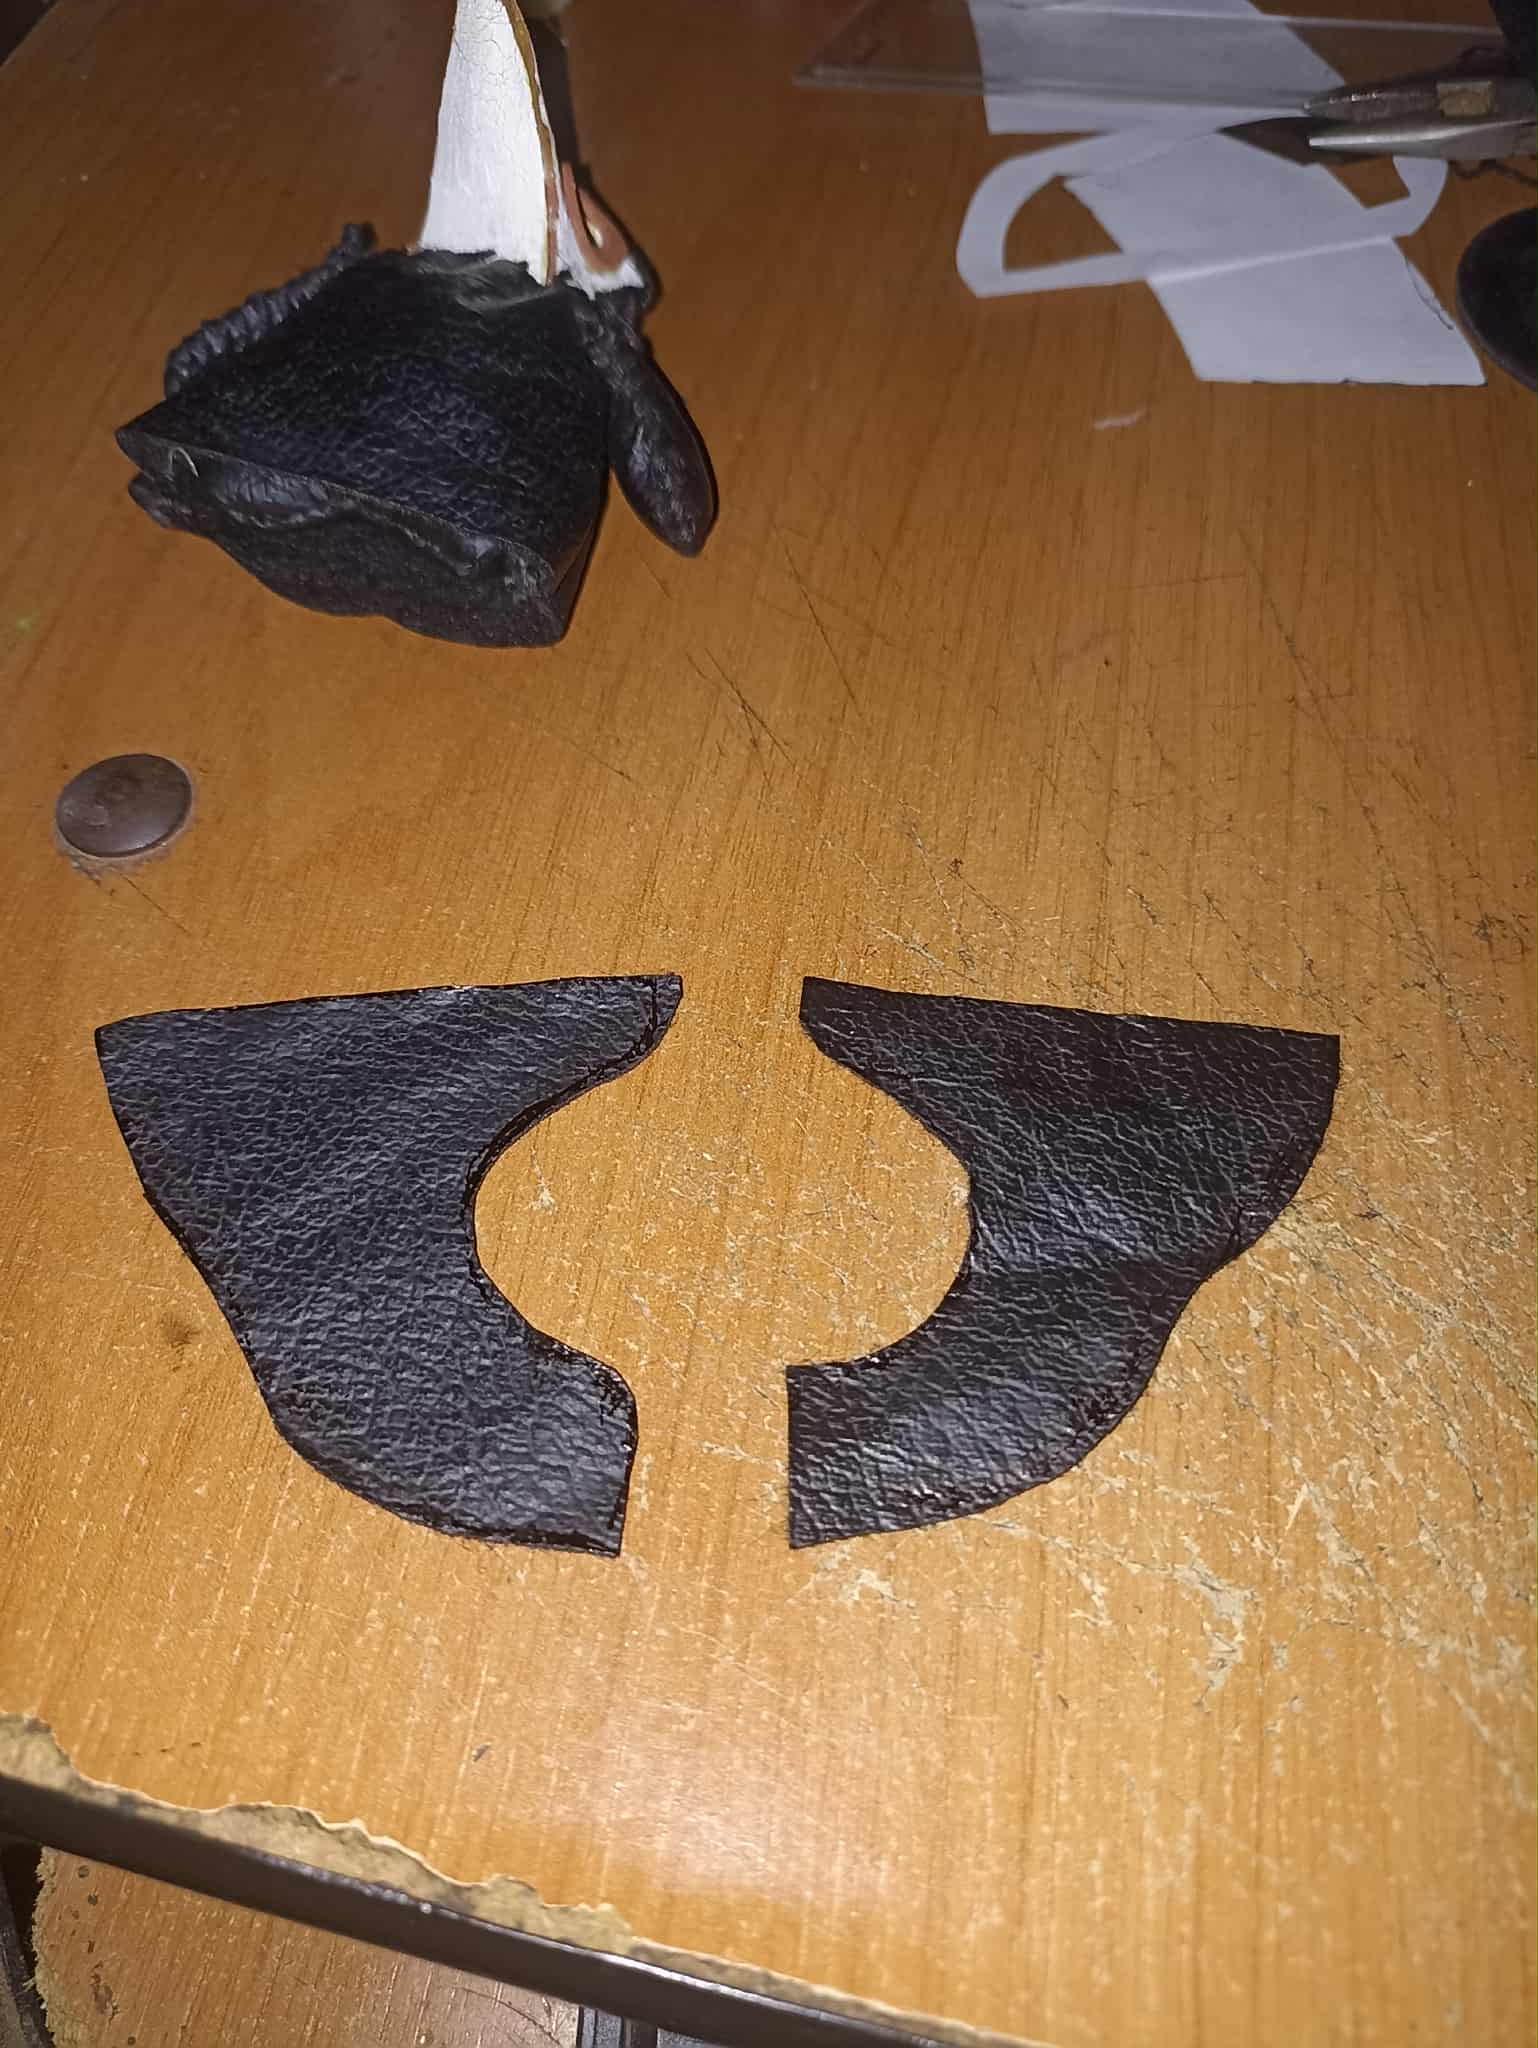
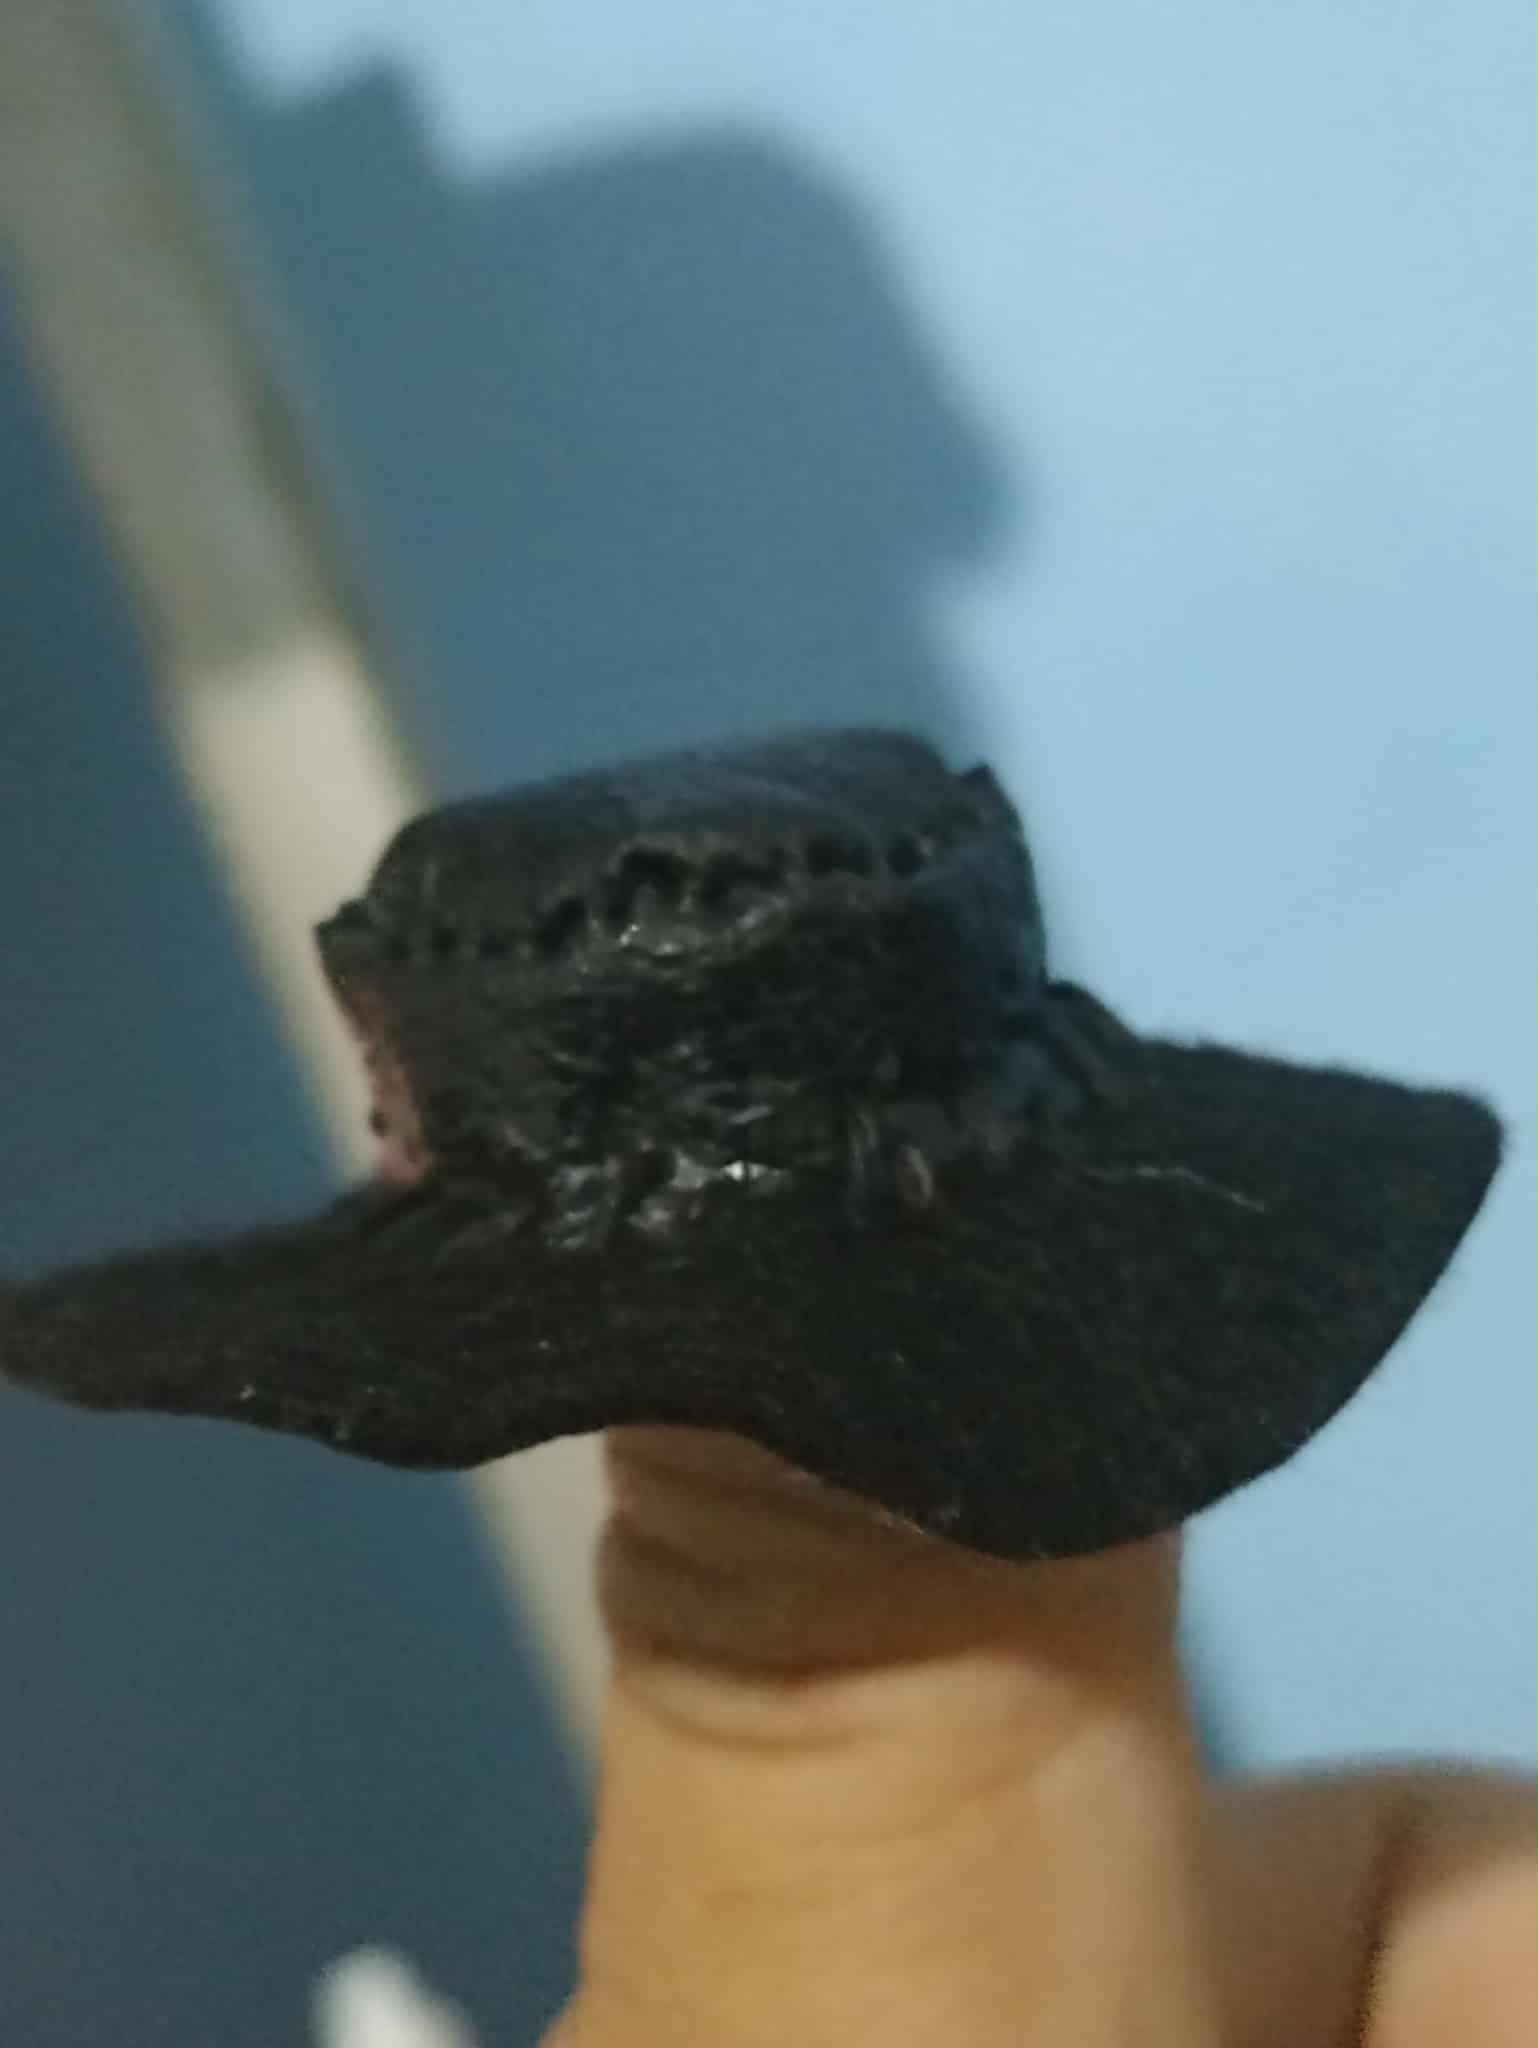
Finally, I had to make the hat. I made it with a classic design, but I tried to give it a slightly rustic look. So I simply drew a circle on the leather, then another smaller circle, then a strip of leather, and started sewing with a needle and thread. The top part of the hat is made from the piece I cut from the first circle.
Por último no podía faltar el sombrero, este lo hice con un diseño clásico pero traté de que la apariencia se viera algo accidentado. Así que solo dibujé un círculo en el cuero y a su vez otro círculo más pequeño, luego una cinta de cuero y comenzaría a coser con el hilo y la aguja. La aprte superior del sombrero está hecha con el trozo que saqué del círculo que corté en primer lugar.
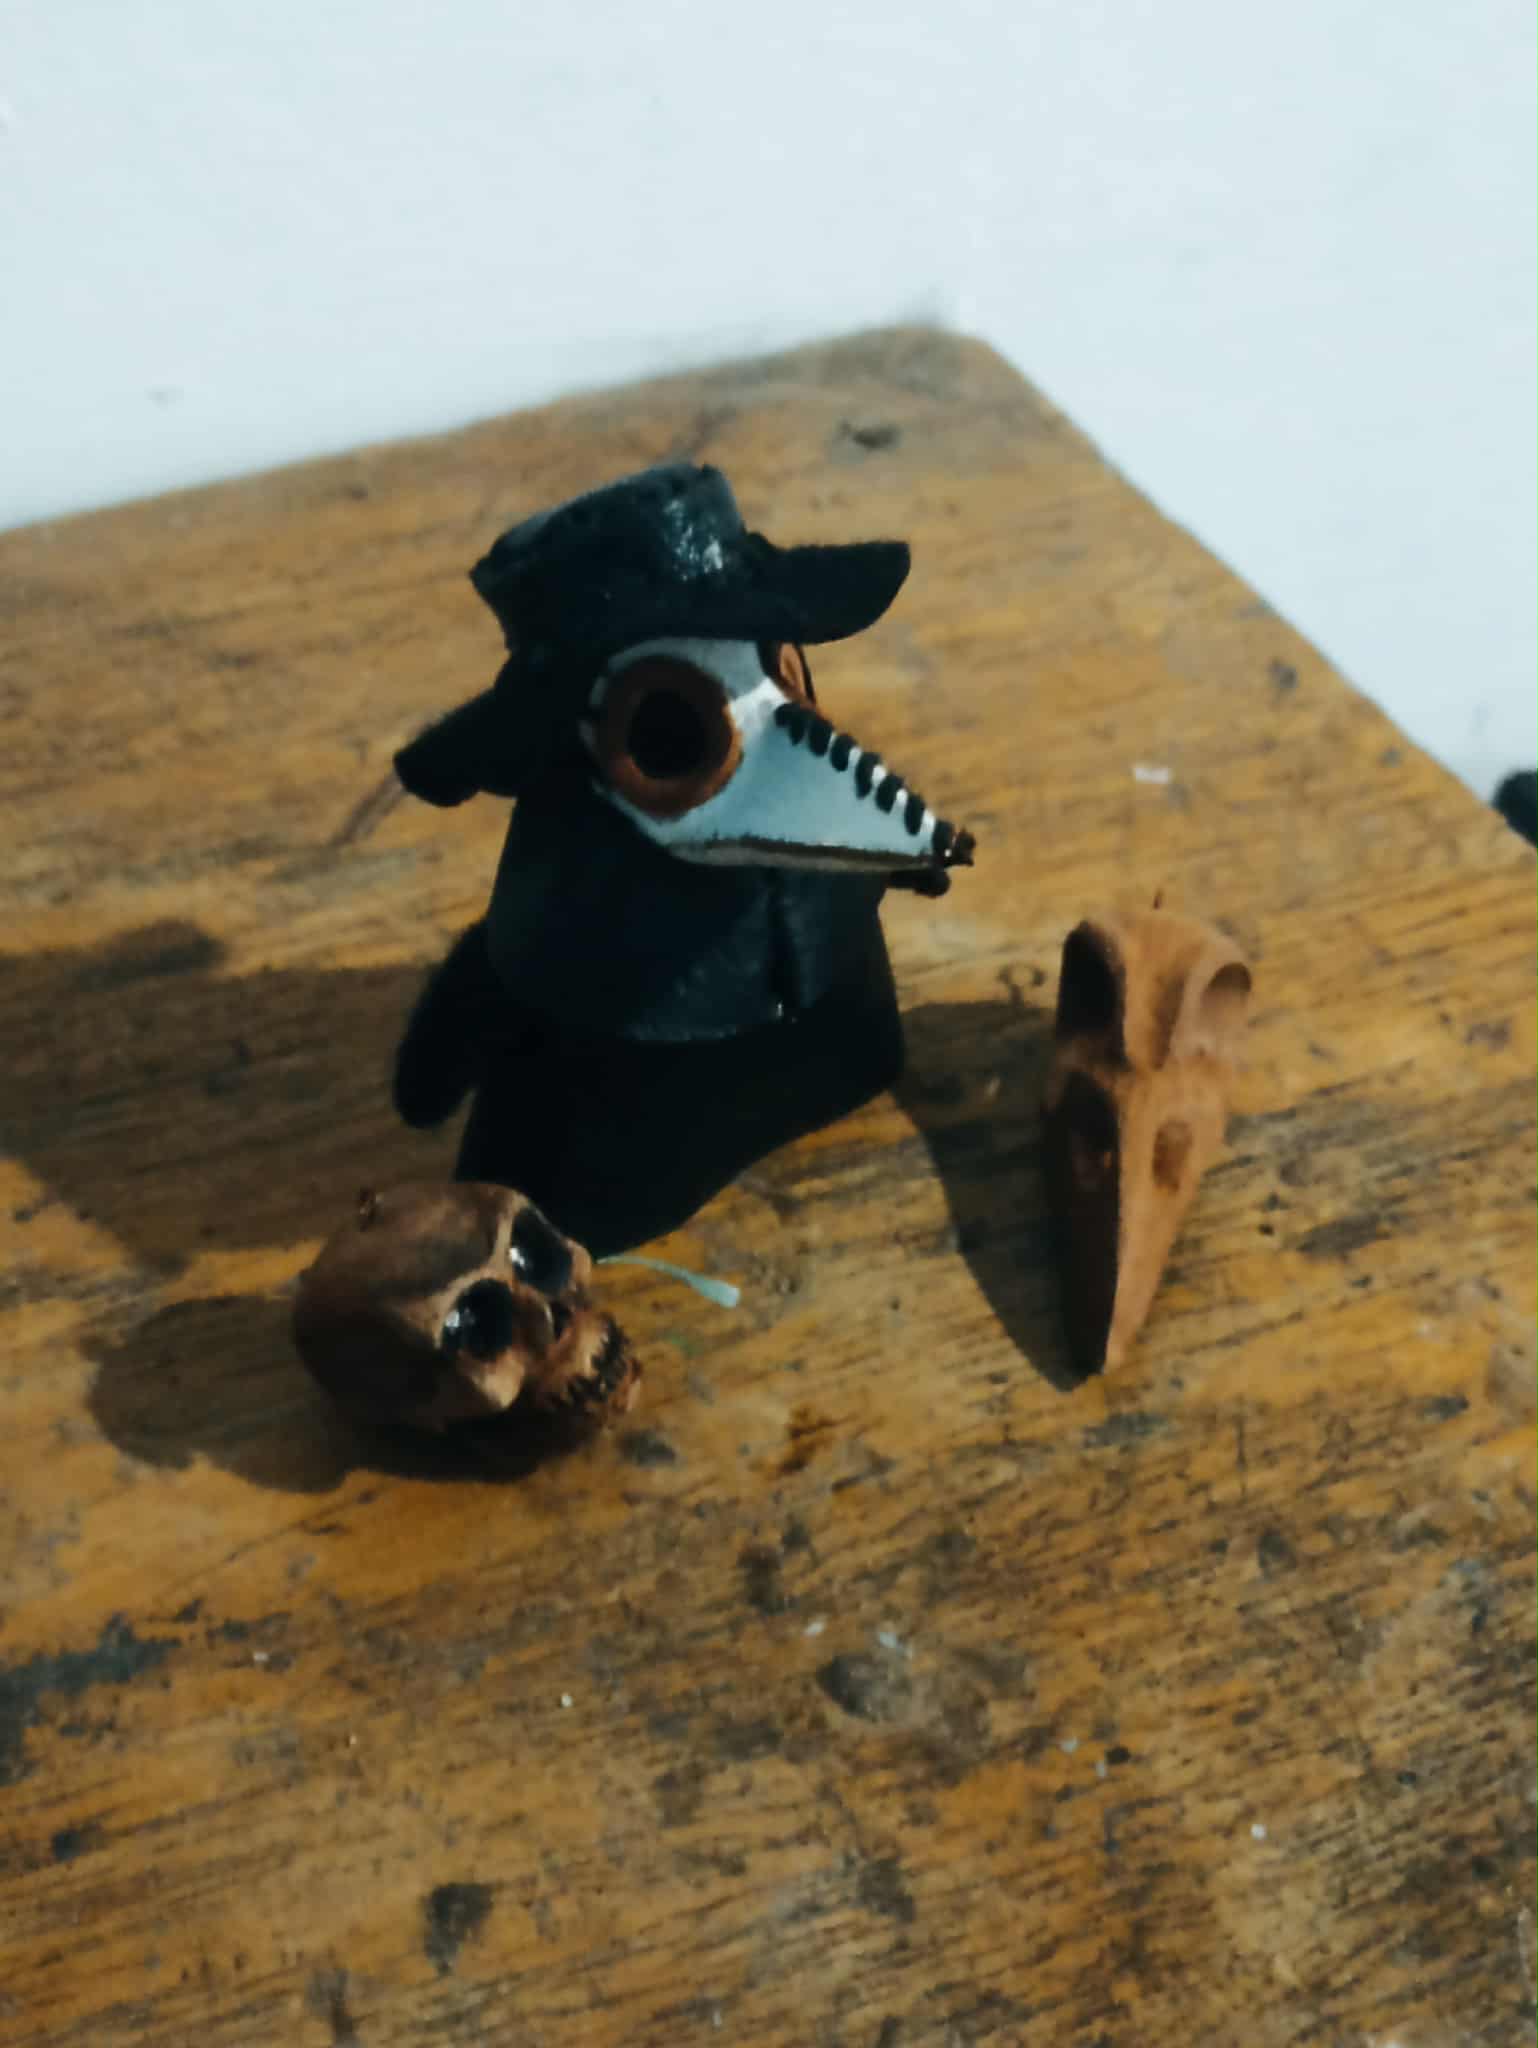
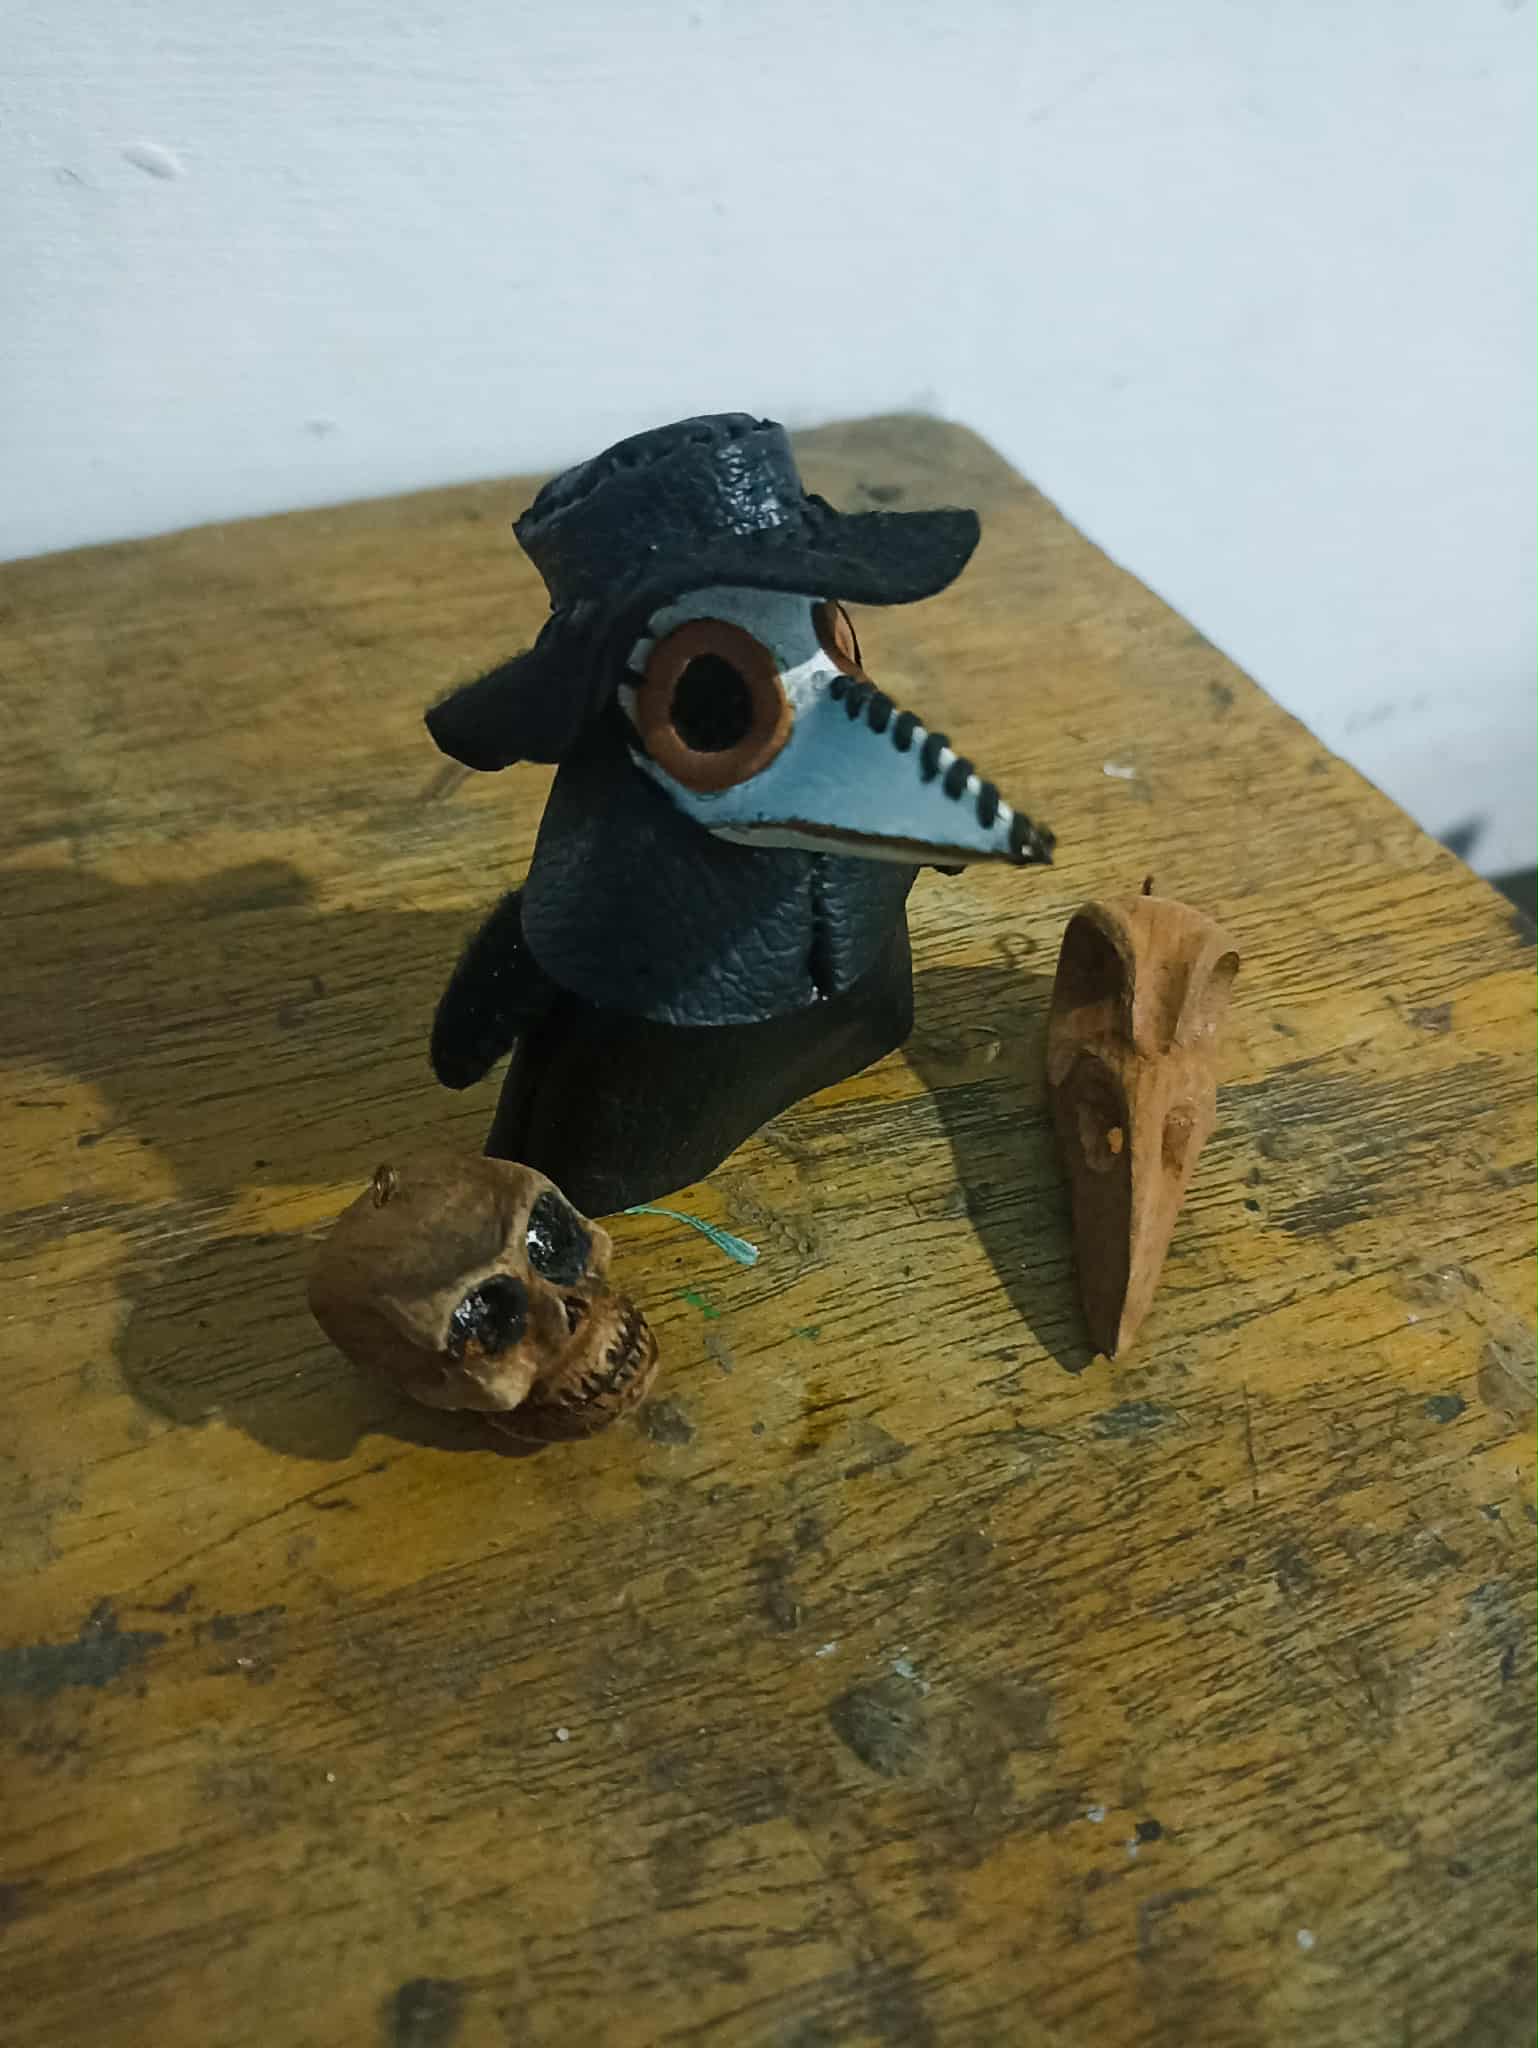
What do you think of the result? Despite the adverse circumstances, I was very focused on my work. Eventually, the light would return, although it's difficult to work by candlelight, haha. For the stuffing of the doll, I used leftover scraps of the original fabric, so I didn't need any extra material. It has been a great pleasure for me to be able to share something with you again, especially during this Halloween season when creativity is always abundant. For now, I'll say goodbye until next time.
¿Qué les ha paarecido el resultado? a pesar de las circusntancias tan adversas estuve muy concentrado trabajando, en algún momento la luz regresaría, aunque es dificil trabajar con la luz de las velas jeje. Para el relleno del muñeco utilicé retazos del cuerto utilizado que iban quedando, así que no tuve que utilizar algún material extra. Ha sido un inmenso placer par ami poder haber compartido algo de nuevo con ustedes, especialmente en estas fechas de halloween donde lo que siempre sobra es la creatividad, por ahora me despido hasta pronto y será hasta una nueva oportunidad.