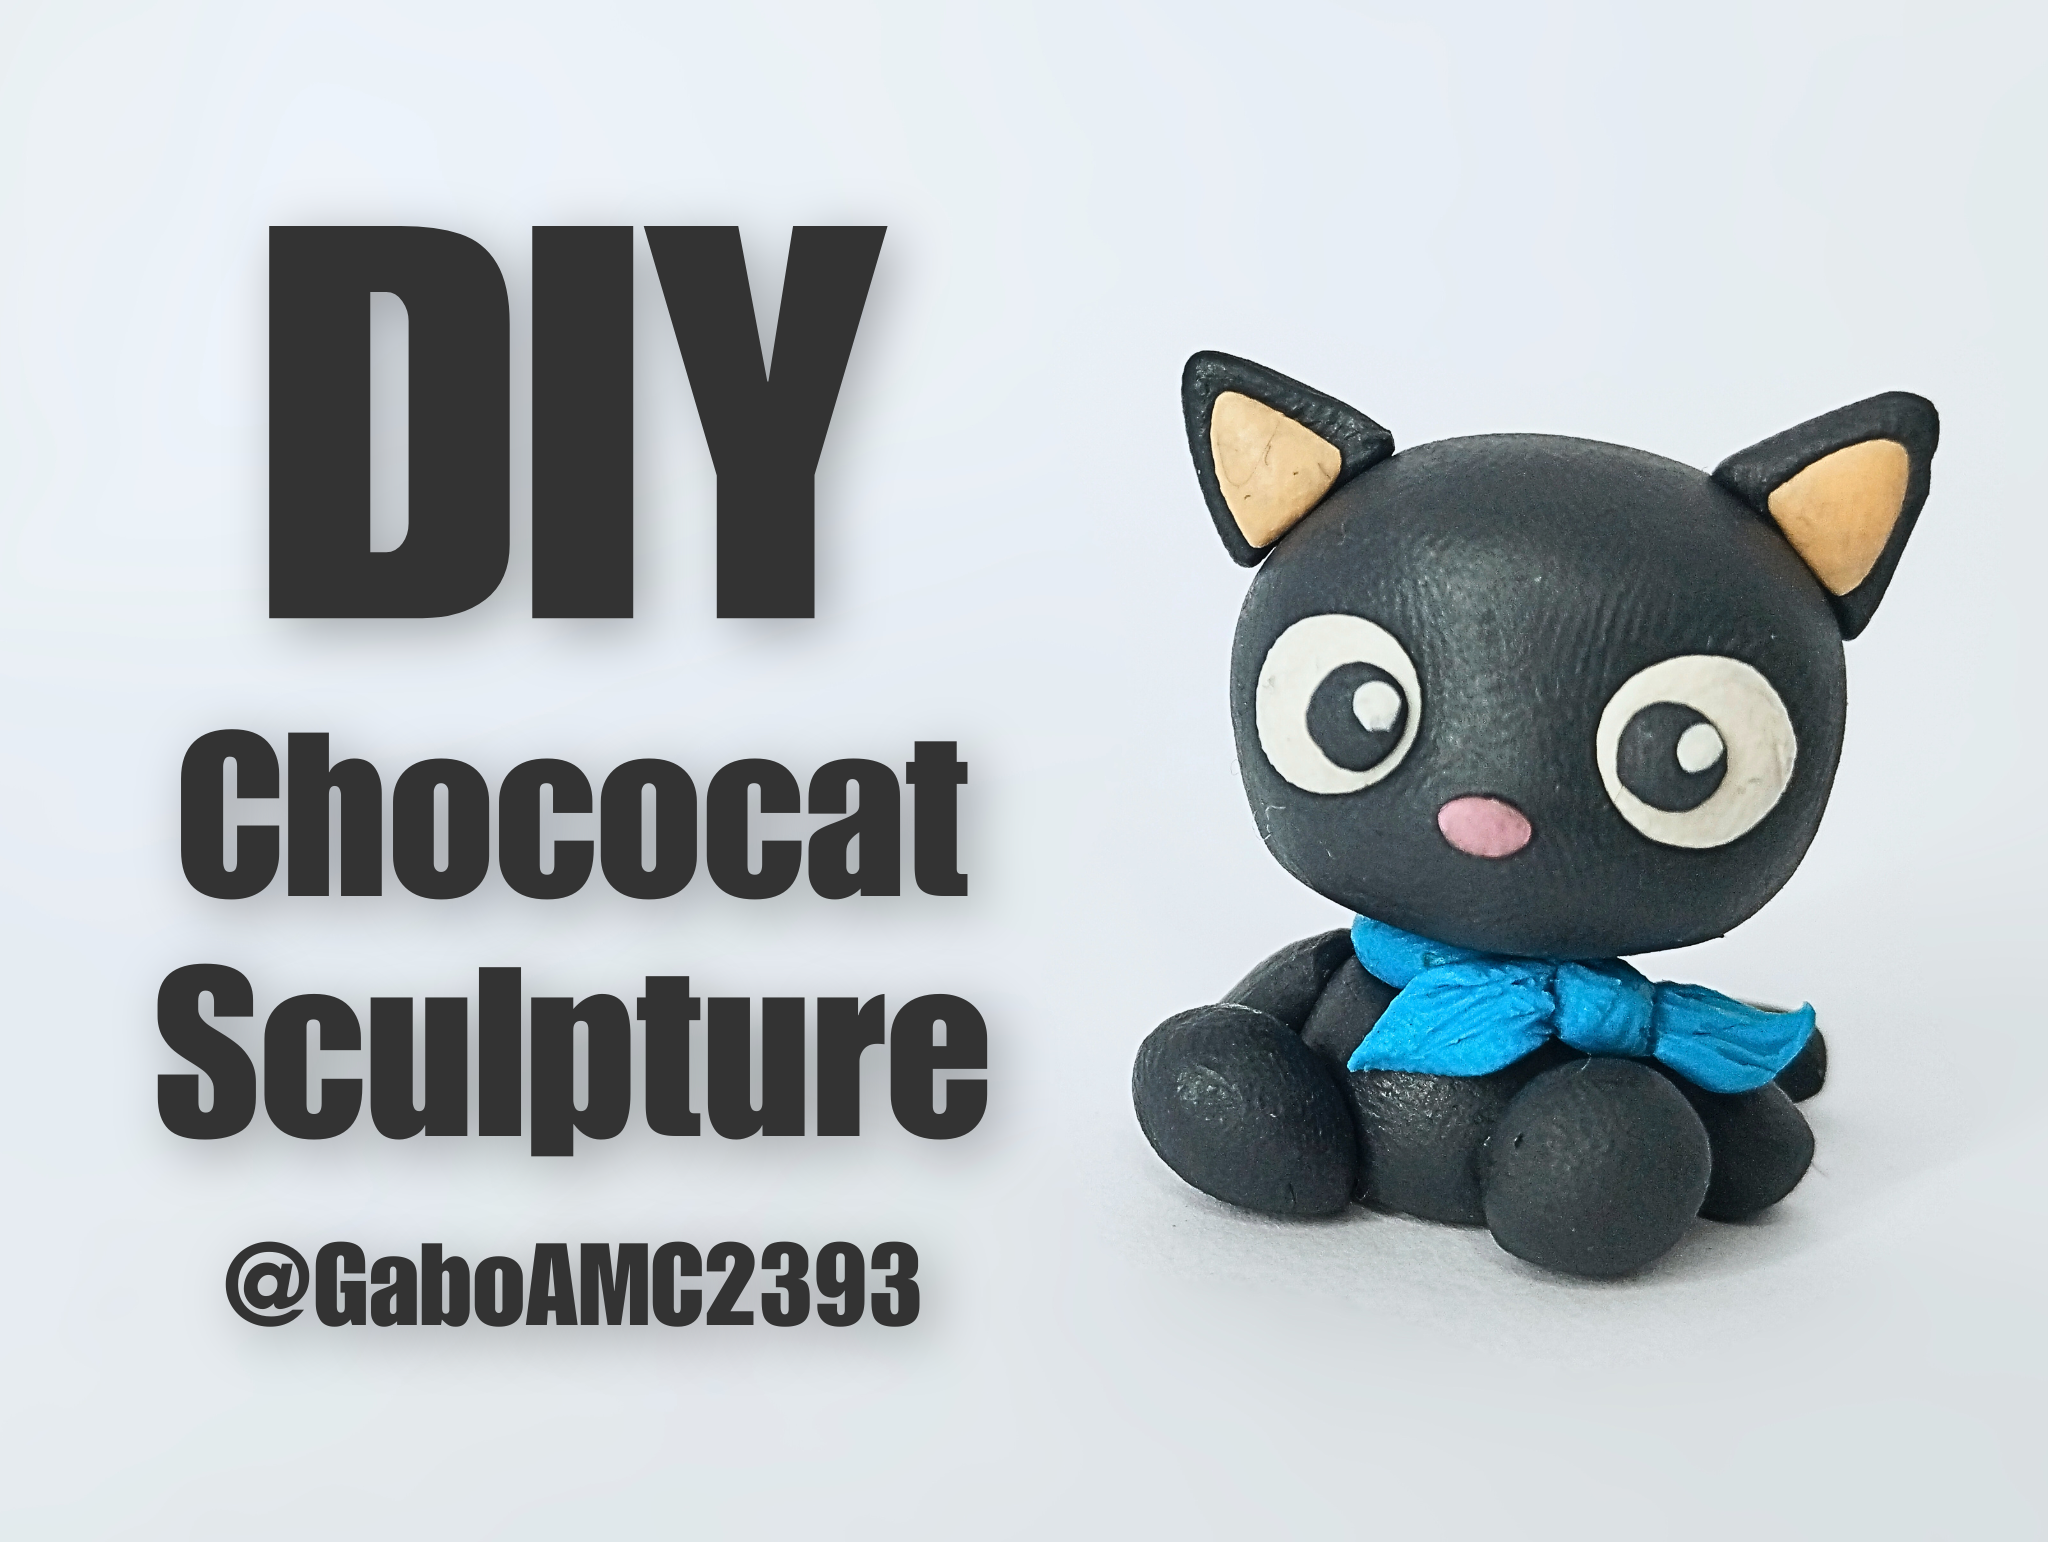
Greetings, friends. You may be aware that I am putting together a small collection of Sanrio character figurines. So far, I have only made two, Pompompurin and Cinnamoroll. Well, today I would like to share with you another one, a very well-known character called Chococat.
These Sanrio characters are very popular, and you may have your own favorite. In any case, I invite you to join me in the creative process of this charming Chococat.
>># Español
>>Saludos amigos. Tal vez estén enterados de que estoy armando una pequeña colección de figuritas de personajes de Sanrio. Hasta la fecha he hecho solamente dos, Pompompurin y Cinnamoroll. Pues bien, hoy me gustaría compartir con ustedes uno más, uno muy conocido llamado Chococat.
>>
>>Estos personajes de Sanrio son muy populares y tal vez tu tengas tu favorito. En cualquier caso, te invito a acompañarme en el proceso creativo de este encantador Chococat.
# Step by step
Before explaining the step-by-step process, here are the materials I used to make this figurine:
* Plasticine
* Glue
* Wire
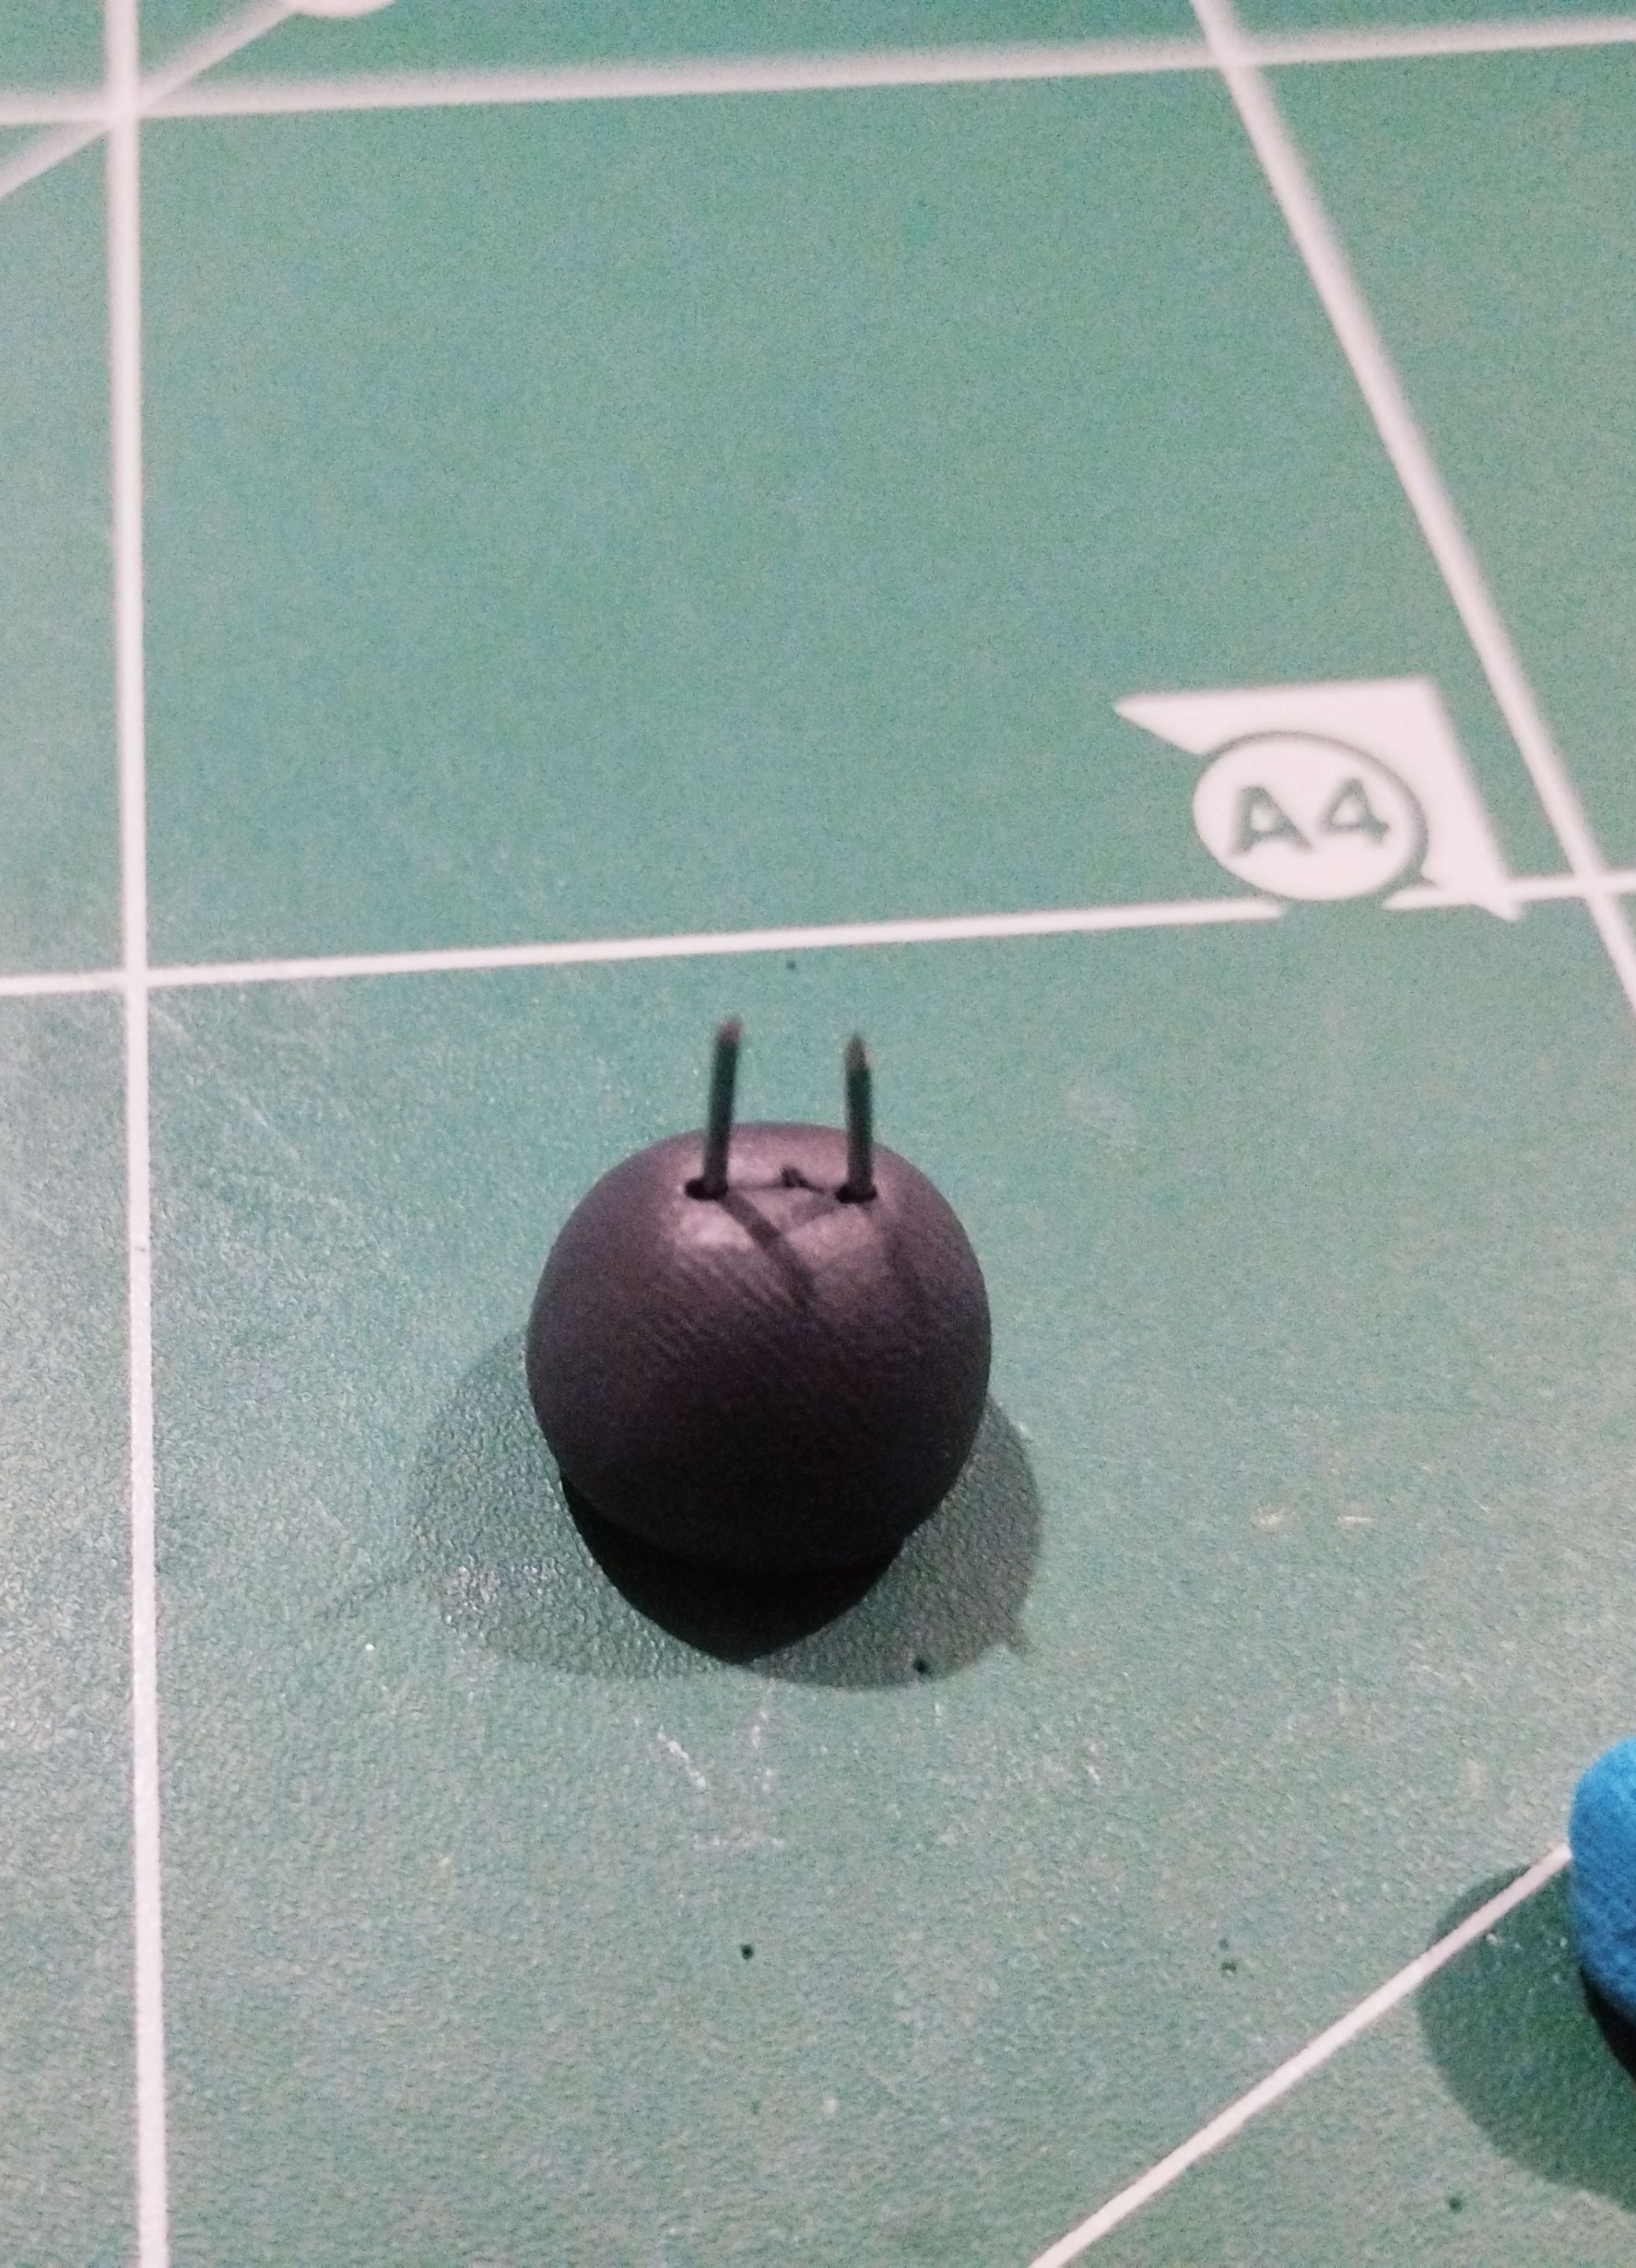
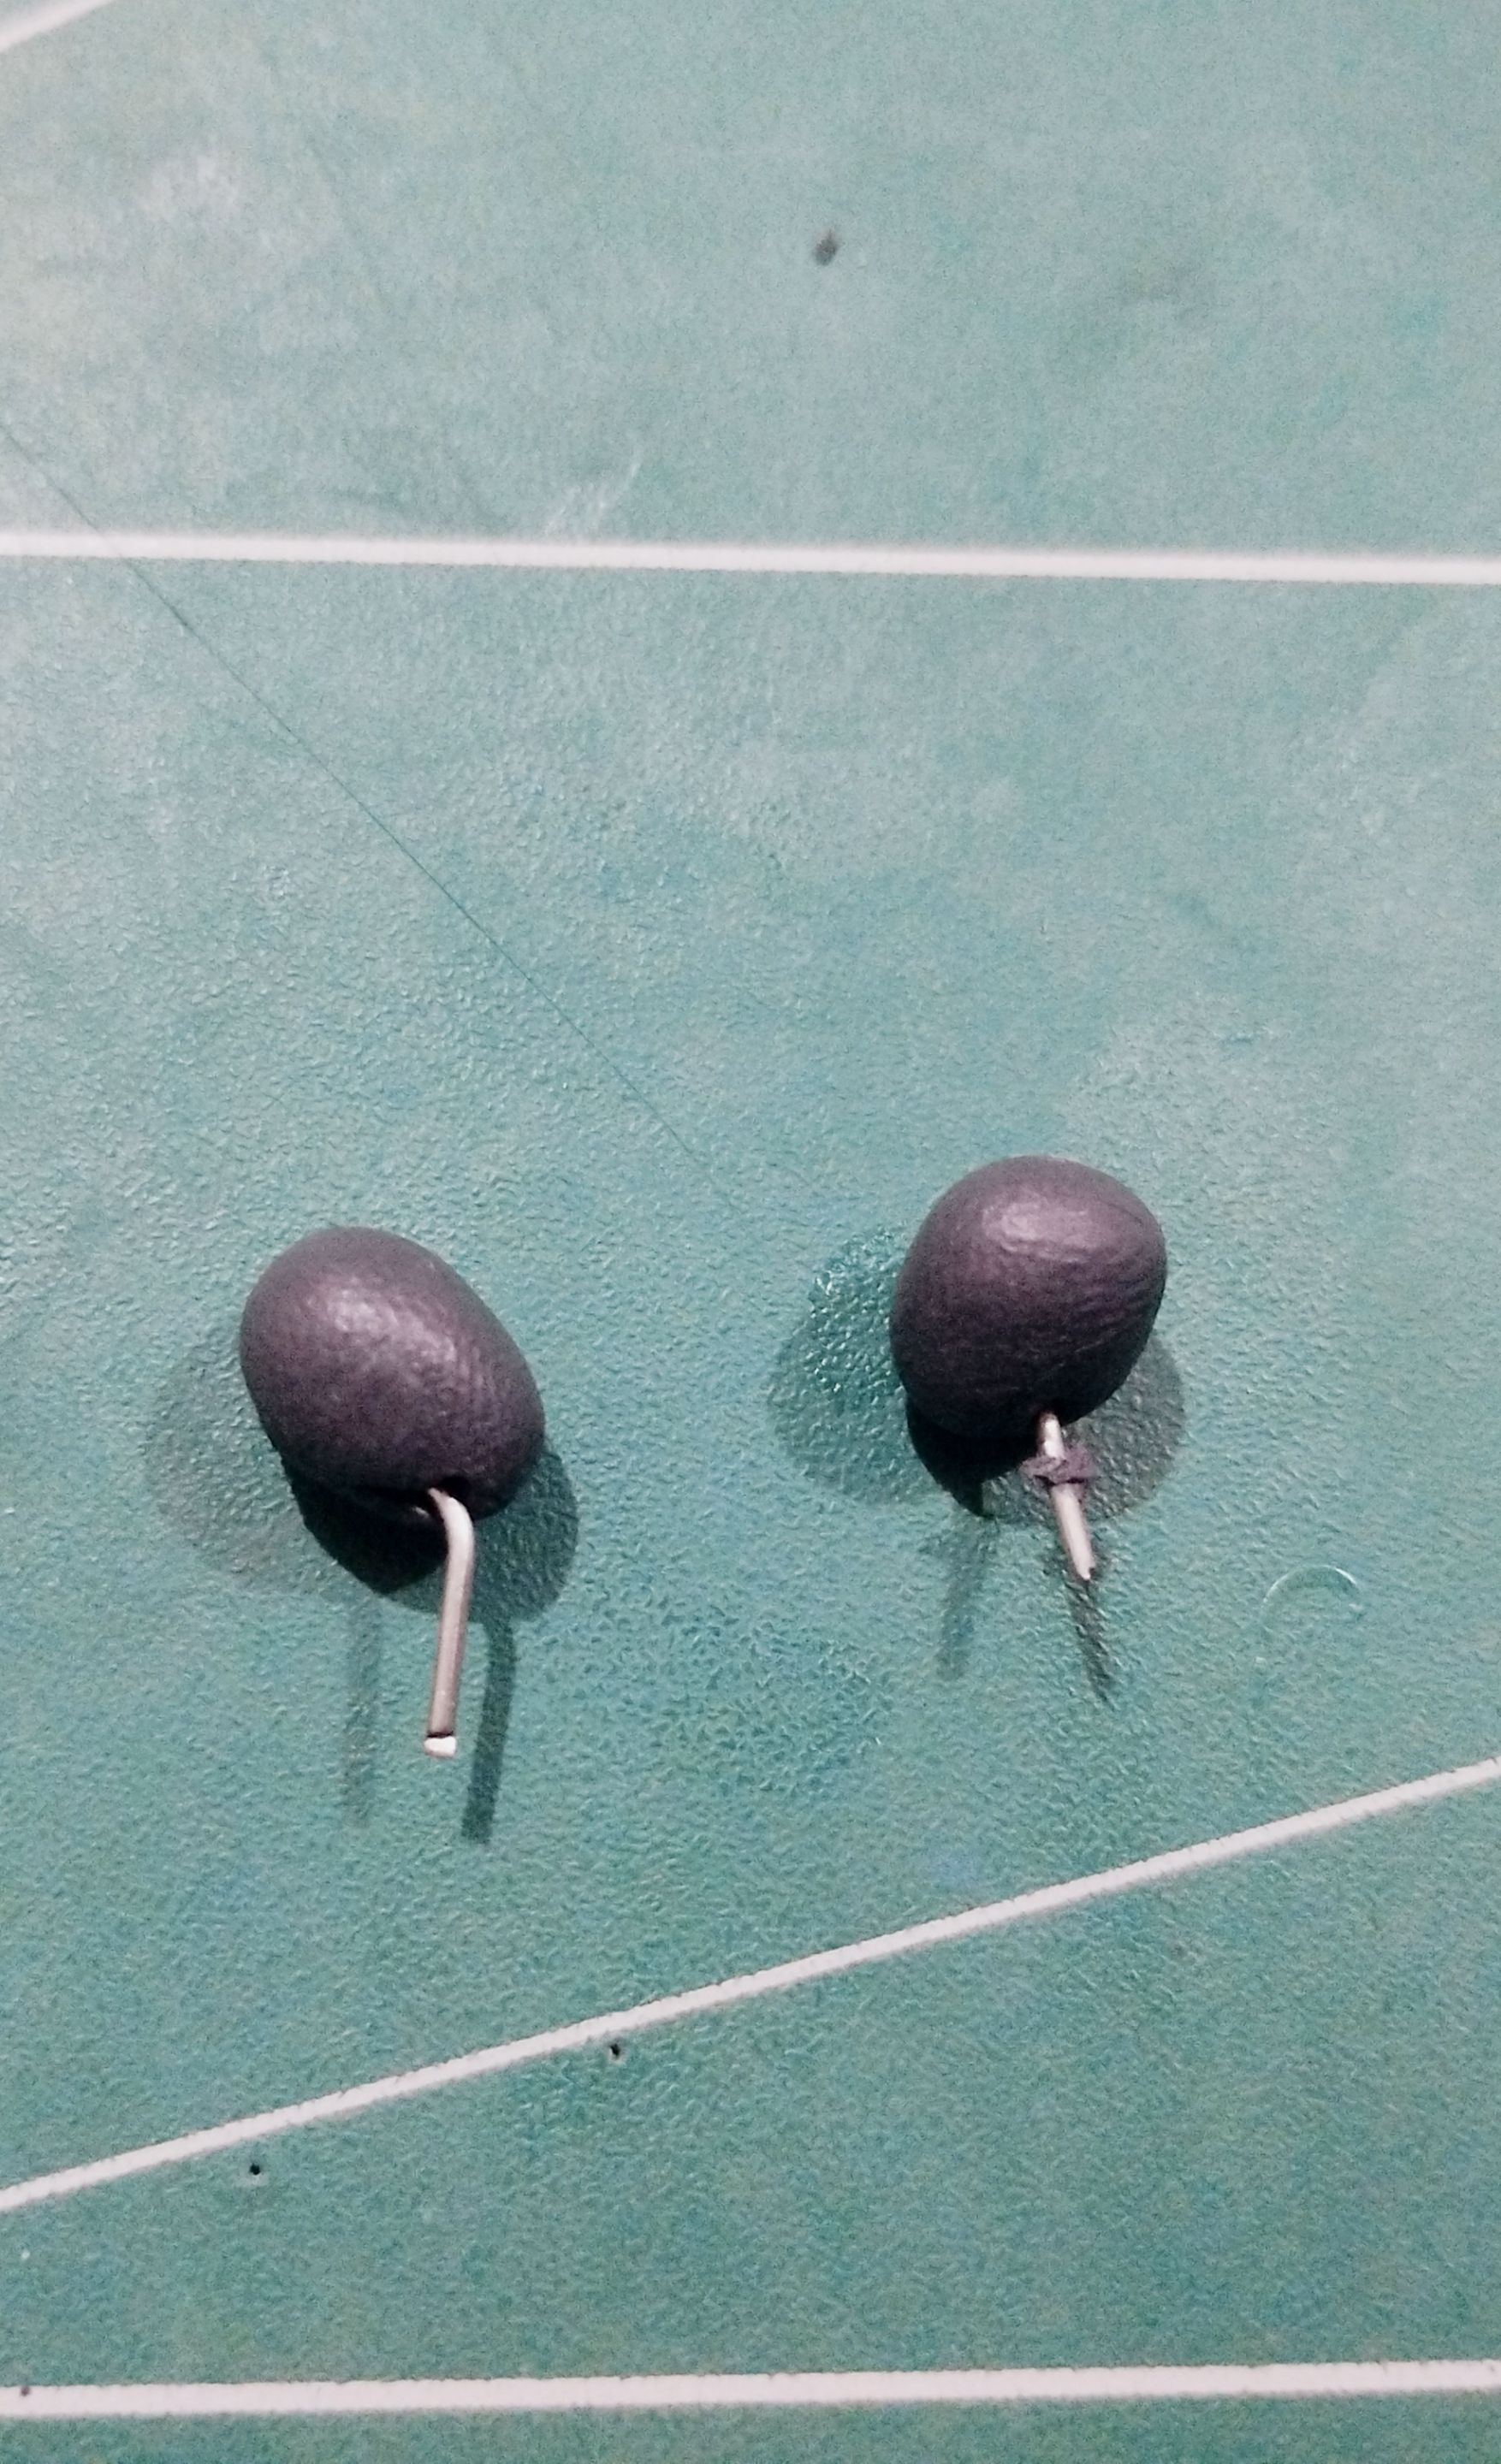
The colors of plasticine I used were black, white, pink, blue, and light skin tone. I used black to make a bell-like shape for the character's body.
I also used blue to create a circular plasticine plate, which I placed on top of the black bell. I held these two pieces together with two pieces of wire, as you can see in the images below.
>># Paso a paso
>>
>>Antes de comentarles el paso a paso, les indico los materiales que utilicé para esta figurita:
>>
>>* Plastilina
>>* Pegamento
>>* Alambre
>>
>>Los colores de plastilina que utilicé fueron el negro, blanco, rosado, azul y color piel clara. Precisamente usé el color negro para hacer una forma parecida a la de una campana para el cuerpecito del personaje.
>>
>>El azul también lo usé para crear una placa circular de plastilina, la cual coloqué en la parte superior de la campana de color negro. Estas dos piezas las sujeté con dos trocitos de alambre, tal como pueden ver en las imágenes de abajo.
|||
|-|-|
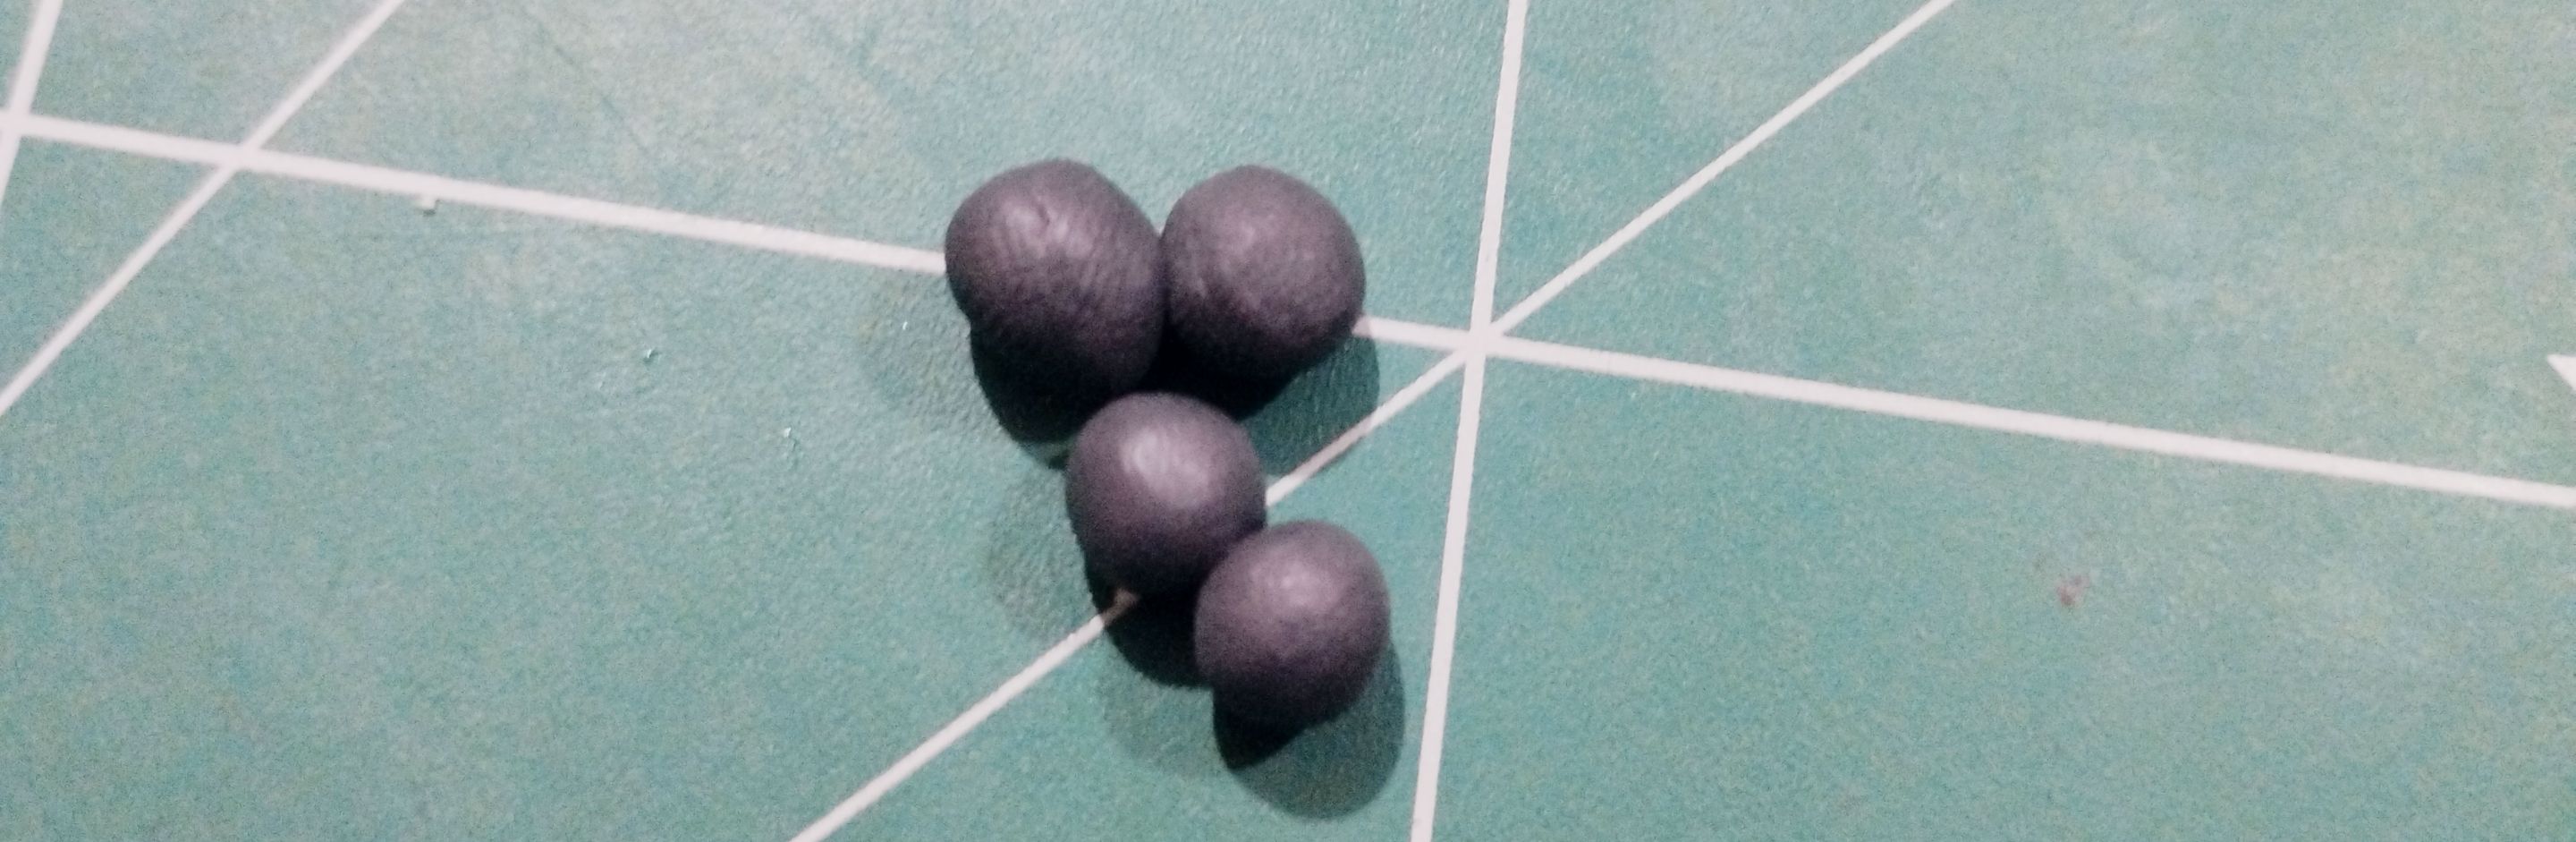
For the character's limbs and tail, I made small spheres like the ones you see in the image below, some larger than others, but all of similar sizes.
>>Para las extremidades y la cola del personaje hice pequeñas esferitas como las que ven en la imagen de abajo, algunas más grandes que otras, pero todas de tamaños similares.
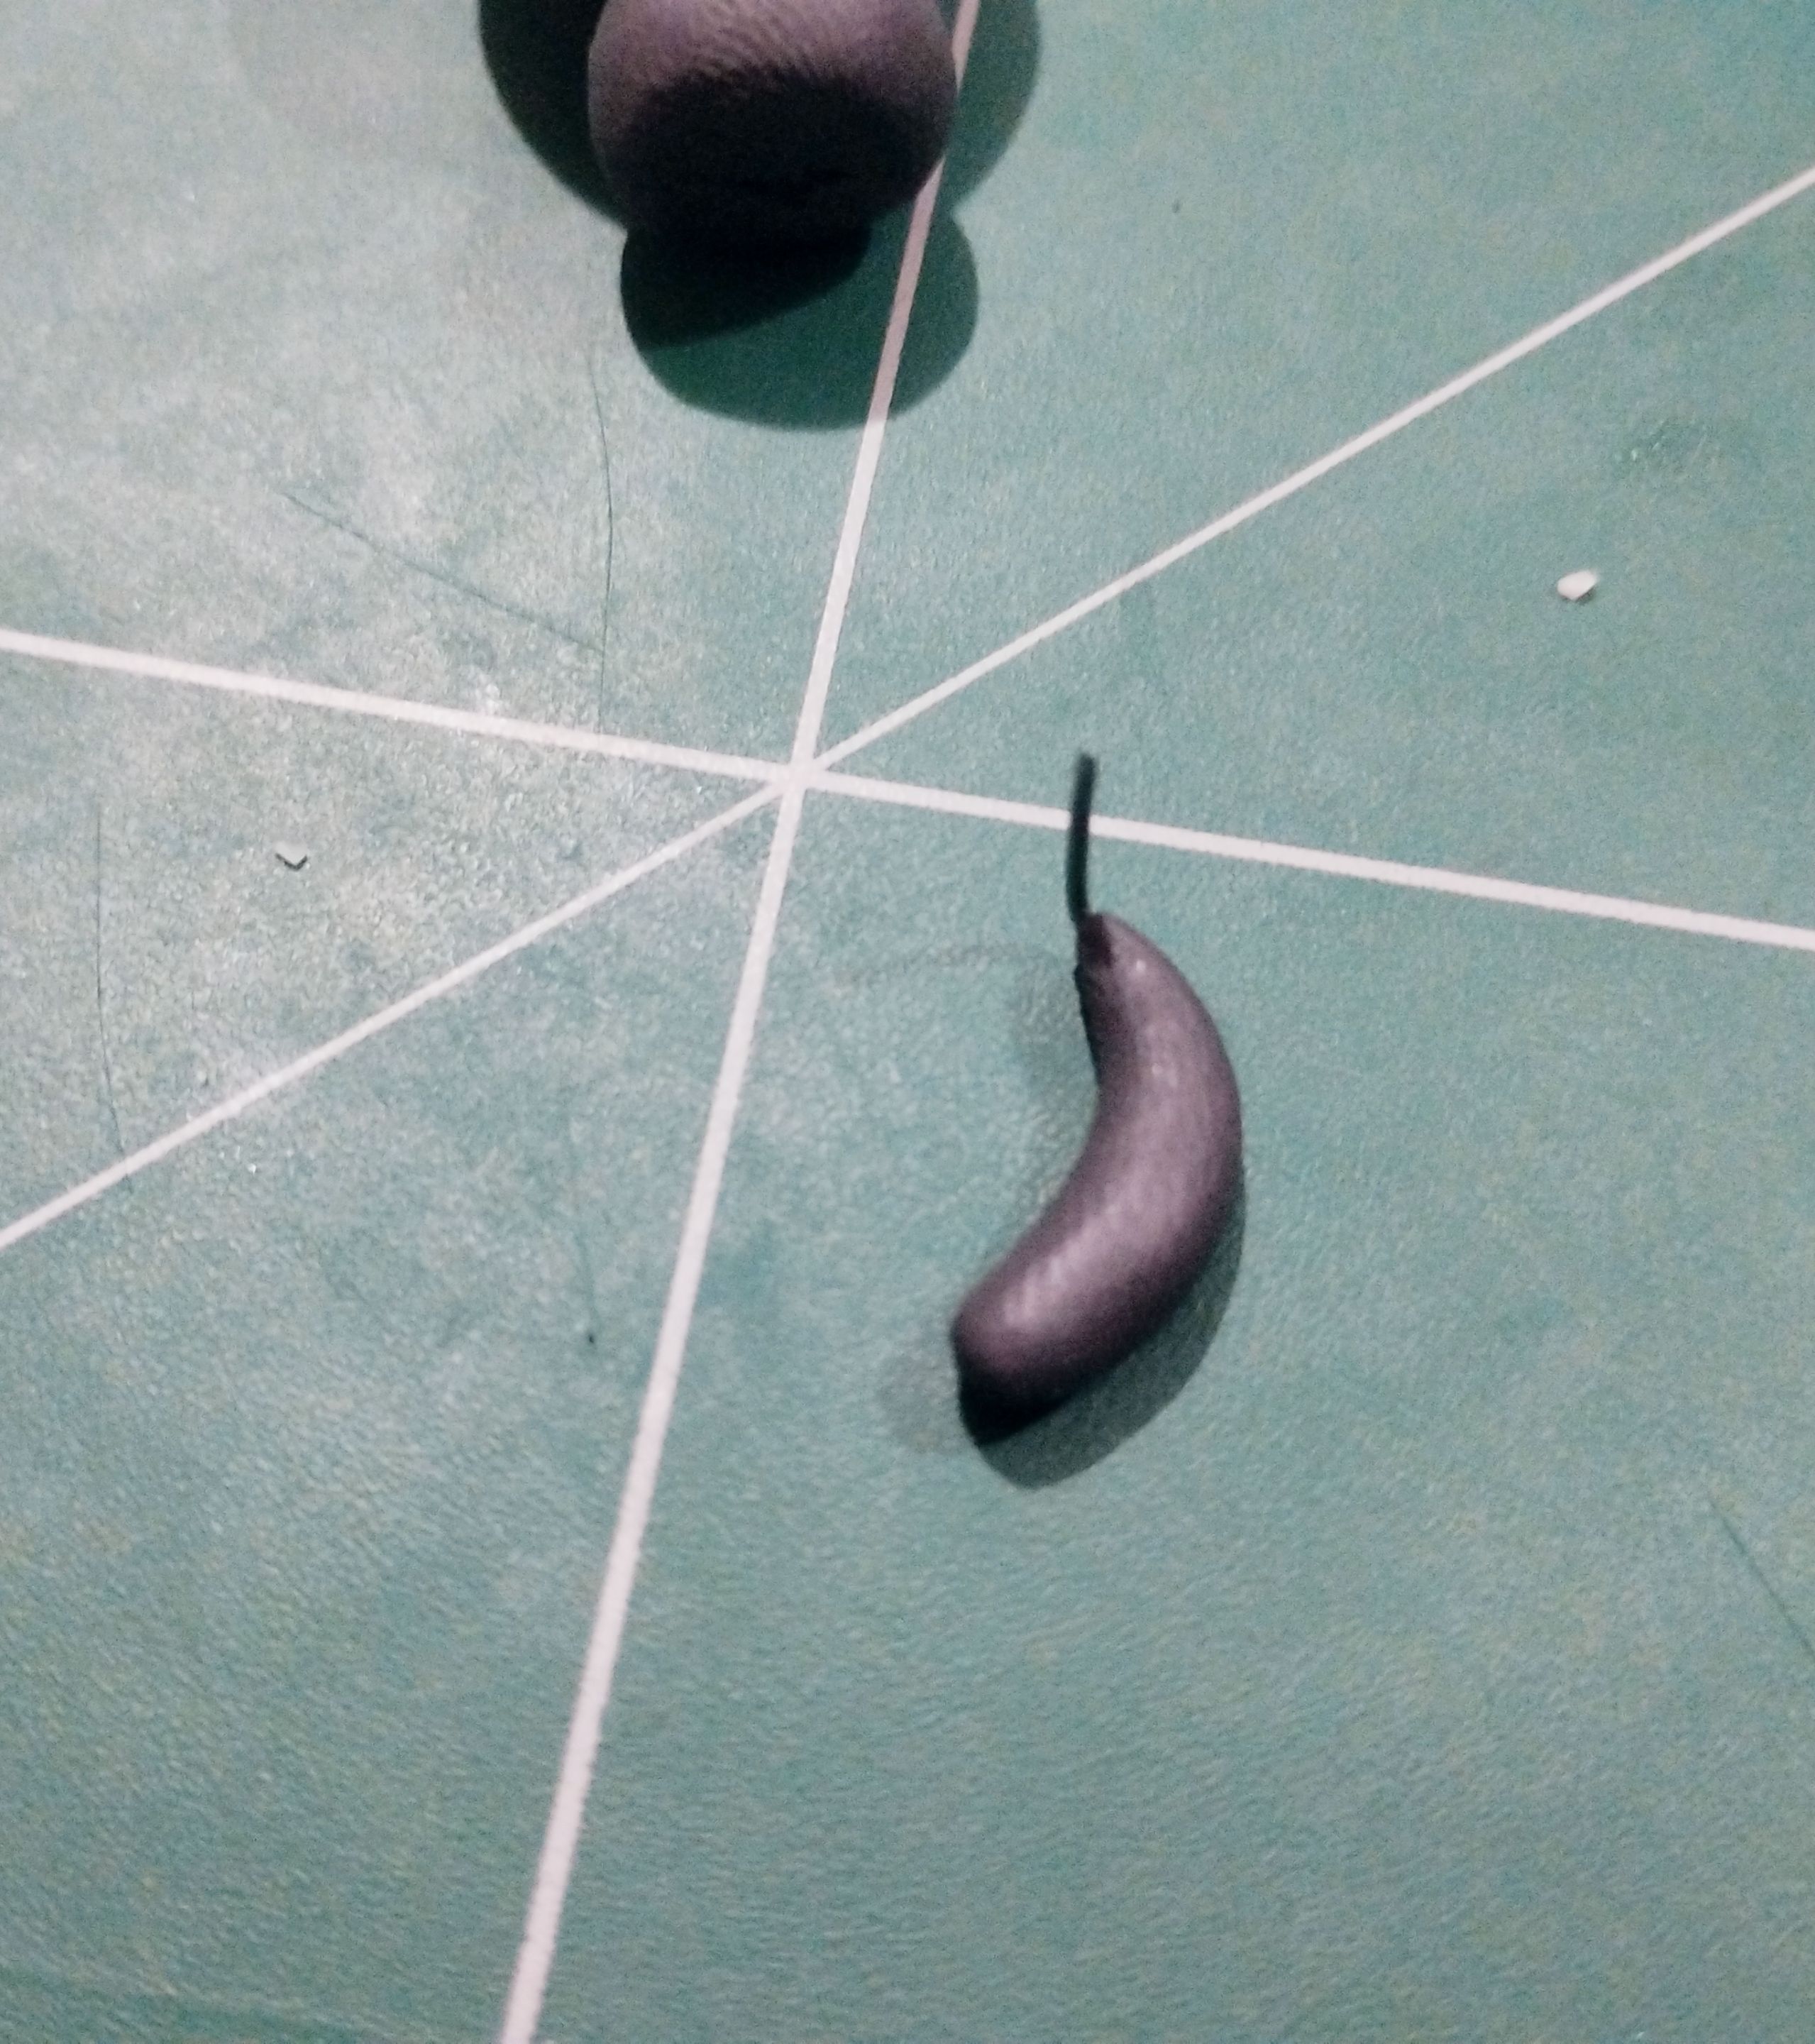
I made the lower legs as elongated spheres and attached a pair of wires to hold them to the body. I made the upper legs as two black sticks, to which I also attached wire.
The tail was similar to a boomerang, but more rounded. I also attached a small piece of wire to this piece to serve as a support so that it could be attached to the body I had made earlier.
>>Las patitas inferiores las hice como esferas alargadas y les coloqué un par de alambres para sujetarlas al cuerpo. Las patitas superiores las hice como dos bastoncitos negros en los que también le coloqué alambre.
>>
>>La cola fue algo parecido a un boomeran, pero más redondeado. A esta pieza le coloqué también un trocito de alambre para que sirviera de soporte y pudiera calvarse en el cuerpo que ya hice antes.
|||
|-|-|
I joined all these pieces together using glue, which gives greater strength to the pieces of wire I used to join all the parts together.
>>Todas estas piezas las uní en el cuerpo usando pegamento, el cual da mayor firmeza a los trocitos de alambre con los que uní todas las partes.
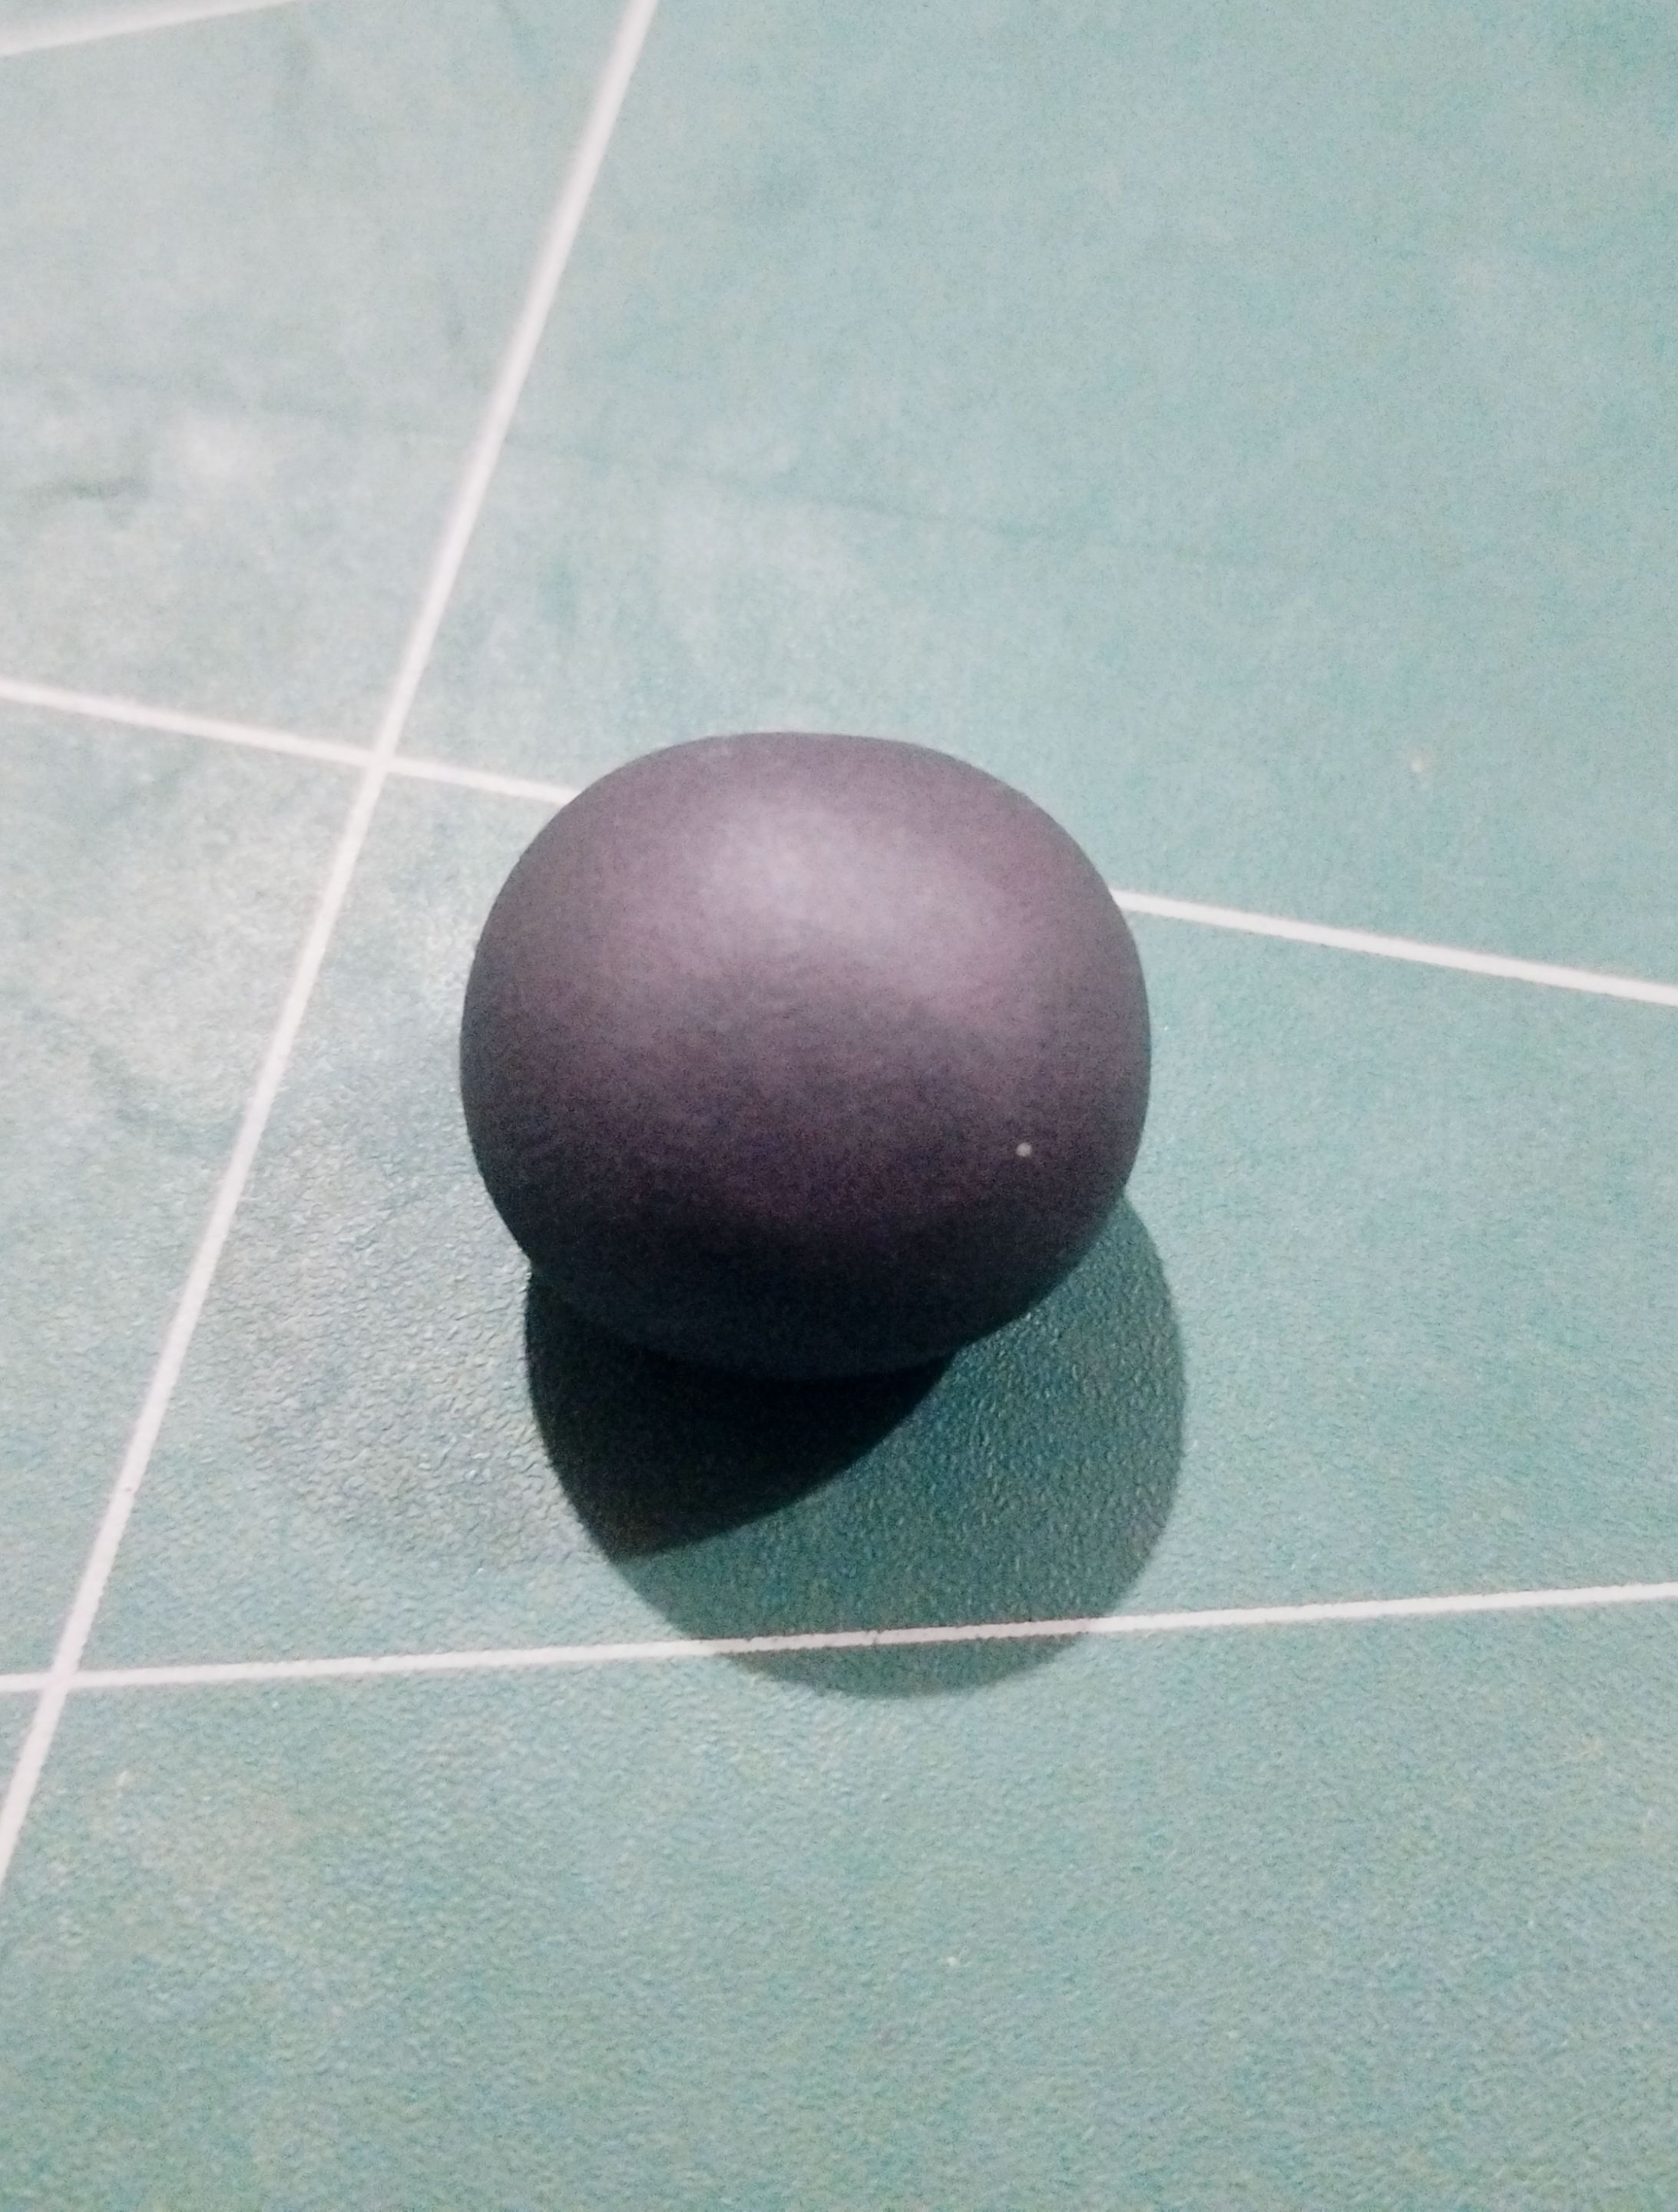
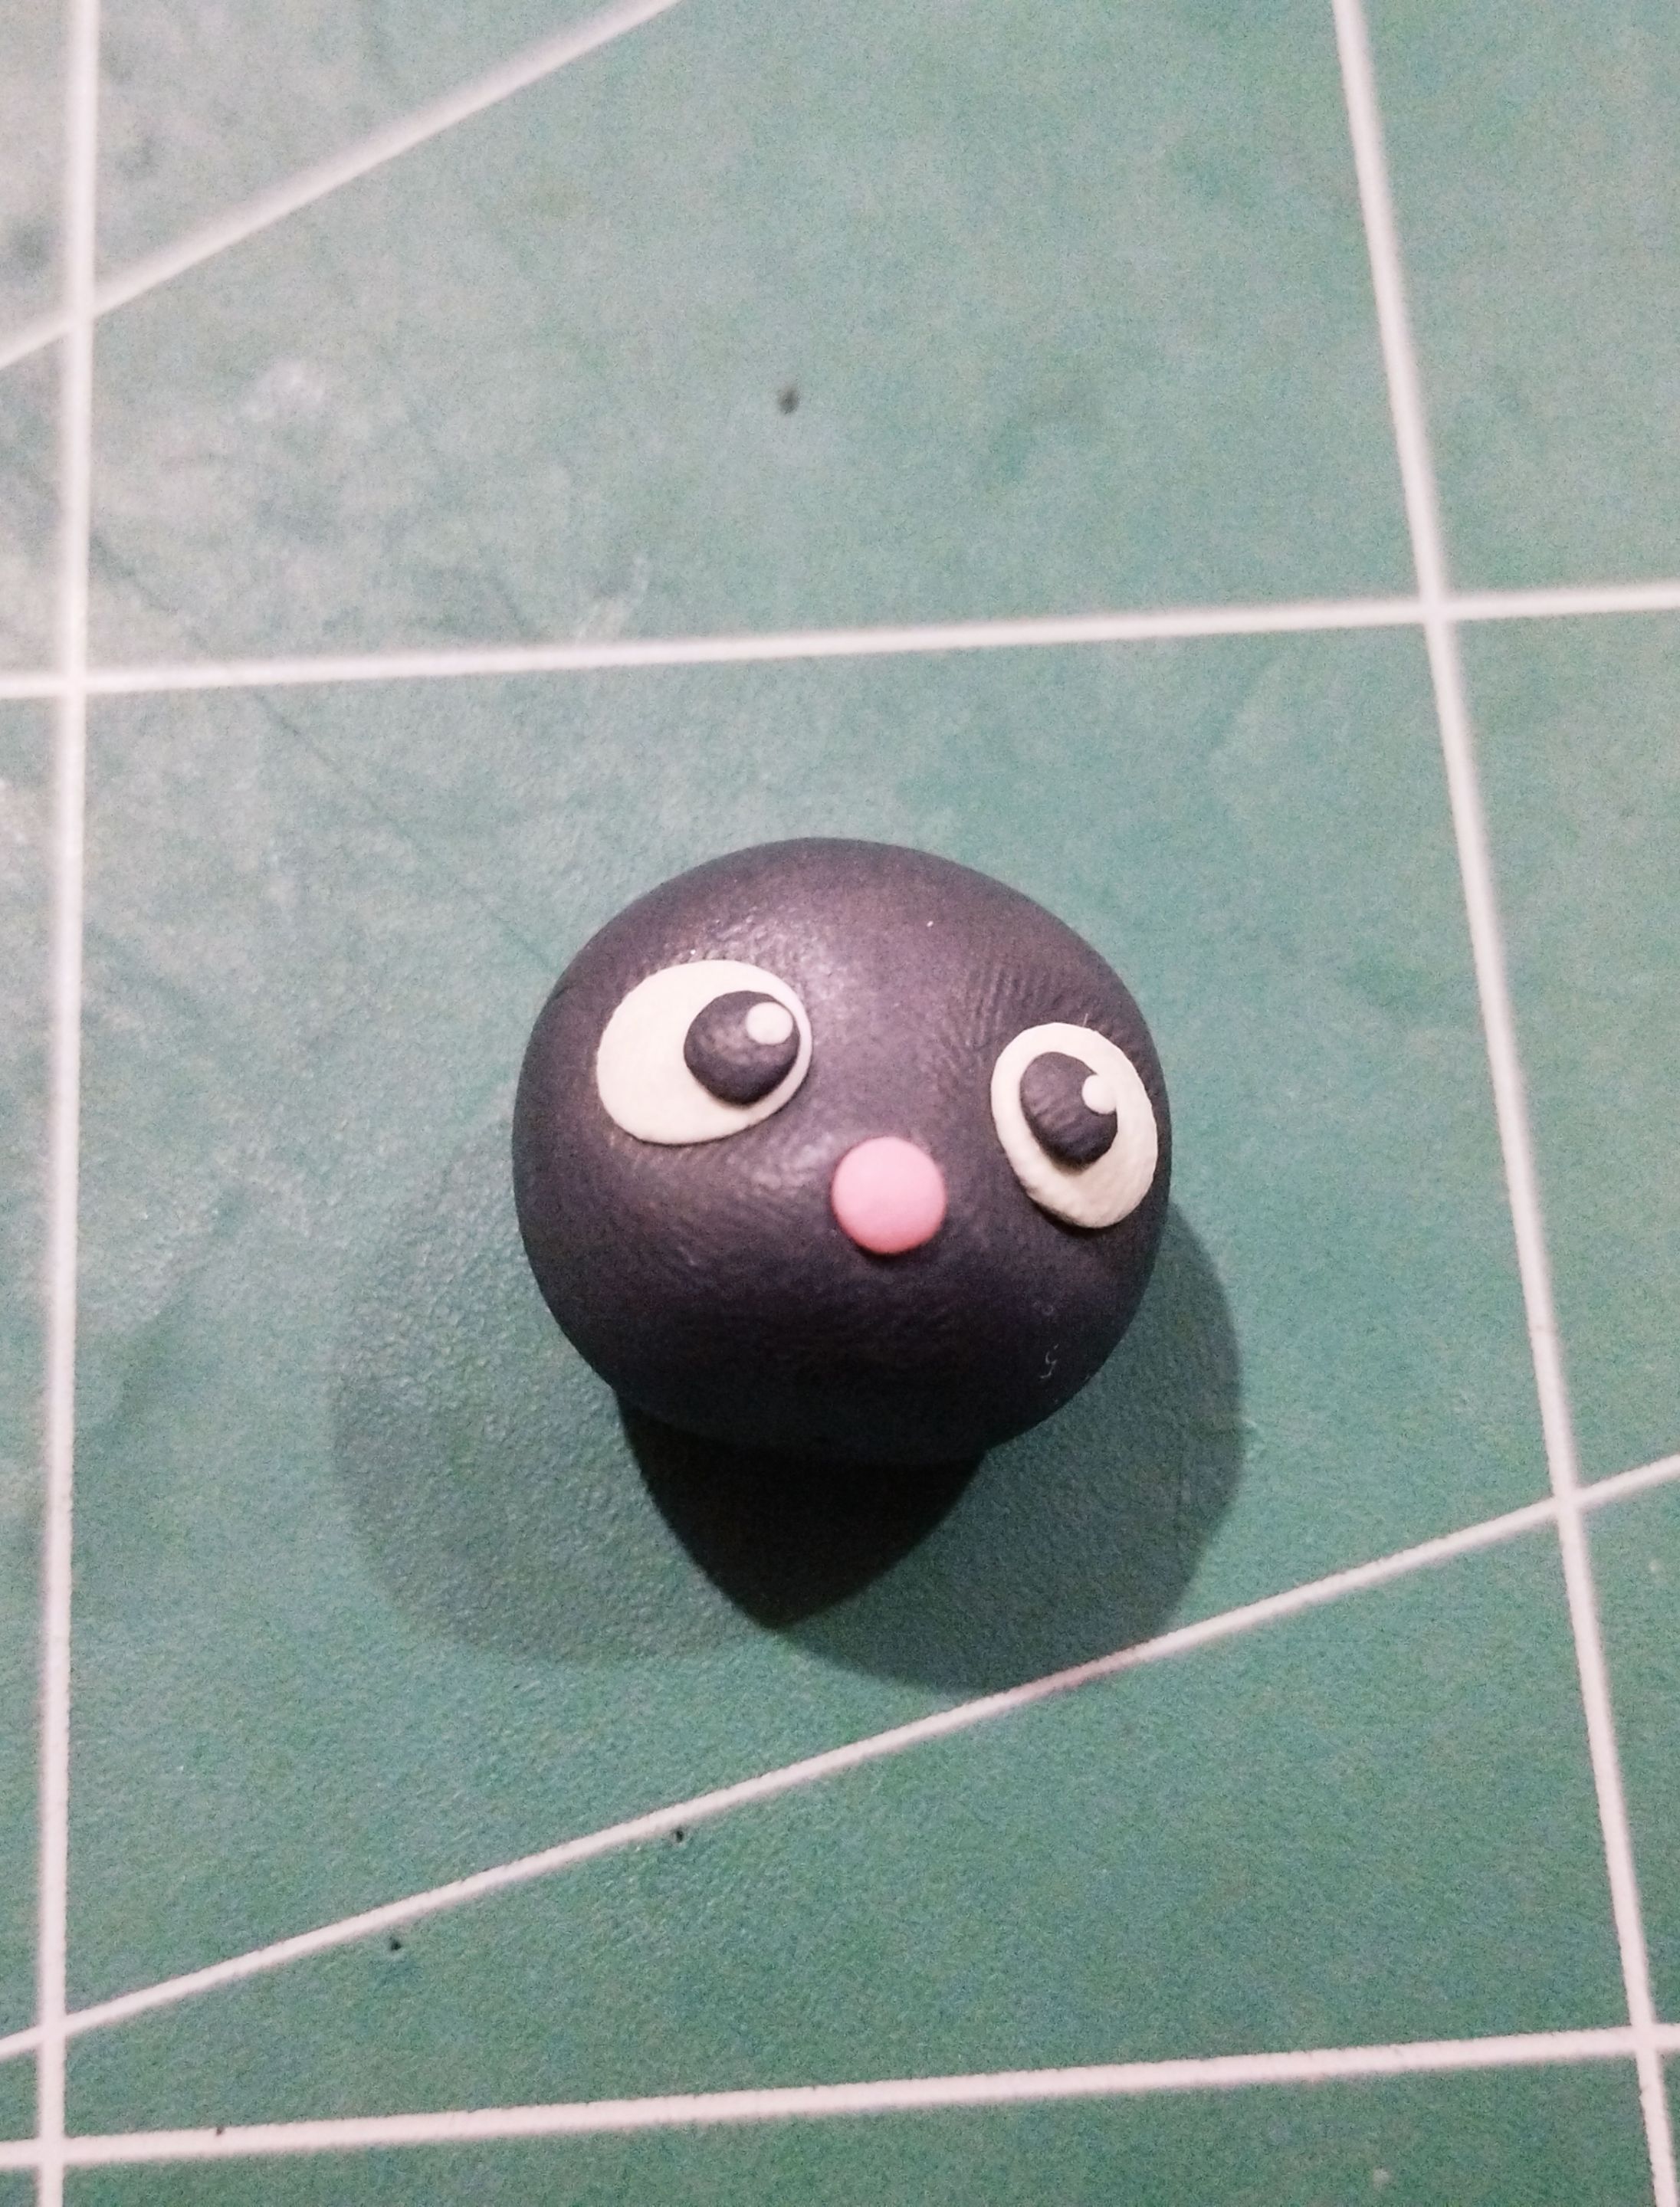
For the head, I made a sphere much larger than the body of the figurine, as that is how the character is. Once the sphere was ready, I added the nose, which is a small flattened pink circle.
The eyes are two white circles, also flattened, which I placed quite far apart from each other. On the inside of each eye, I placed a pair of black pupils, flattening two circles of white plasticine to simulate the brightness of the eyes.
>>Para la cabeza hice una esfera mucho más grande que el propio cuerpo de la figurita, pues así es el personaje. Luego de tener la esfera lista, le coloqué la nariz, la cual es un circulito aplastado de color rosado.
>>
>>Los ojos son dos círculos, también aplastados, de color blanco, los cuales hice bastante separados uno del otro. En el lado interno de cada ojo le coloqué un par de pupilas negras, aplastando dos círculos de plastilina blanca para simular el brillo de los ojos.
|||
|-|-|
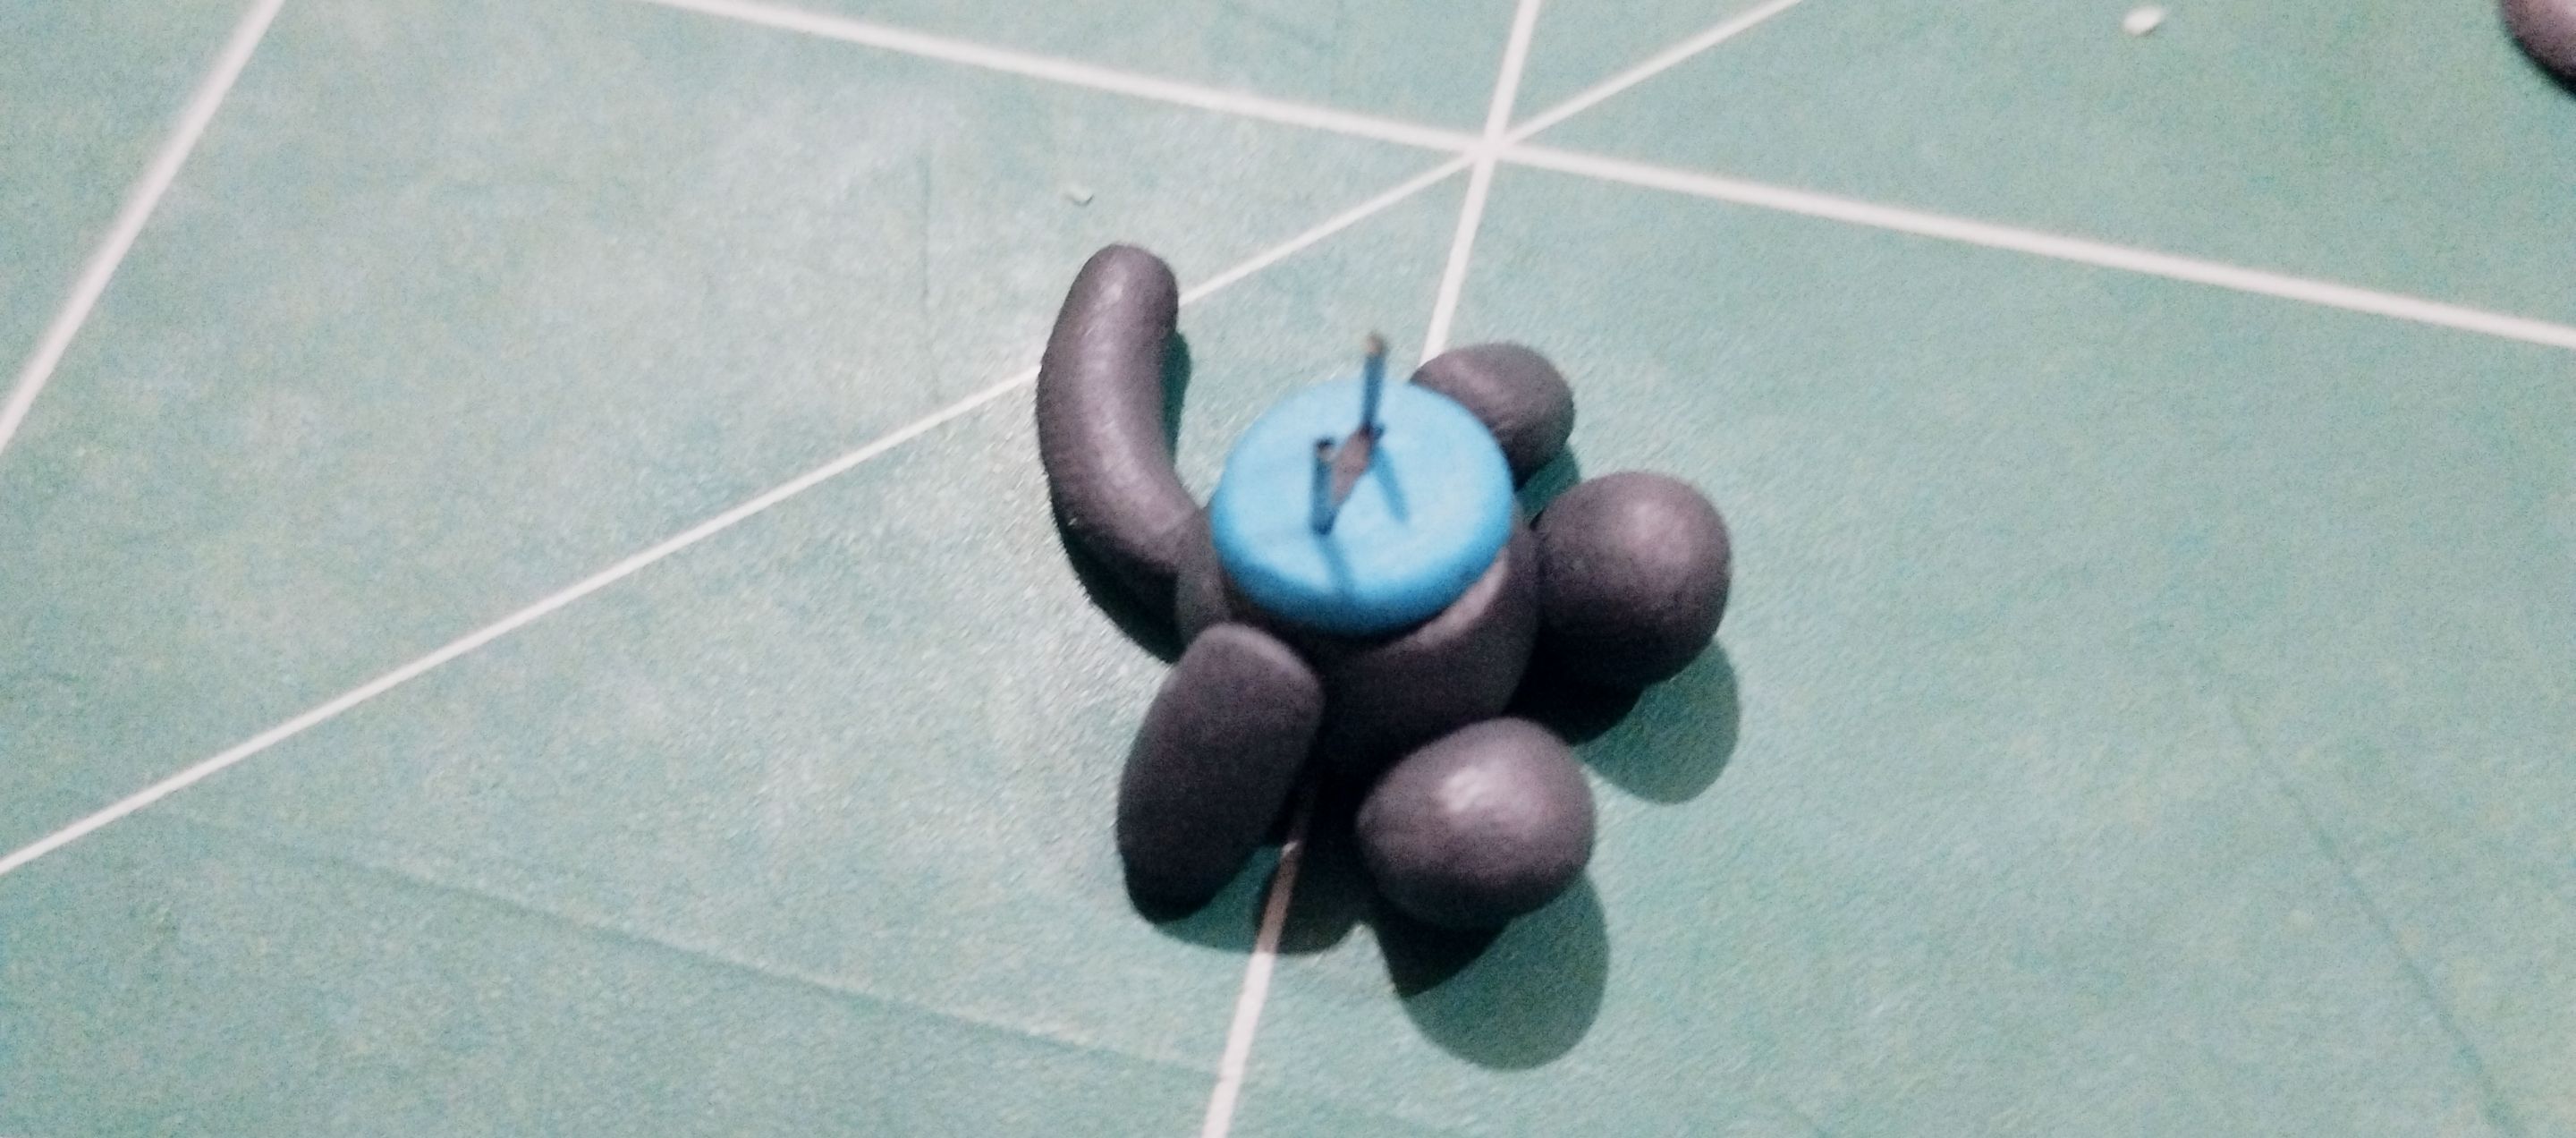
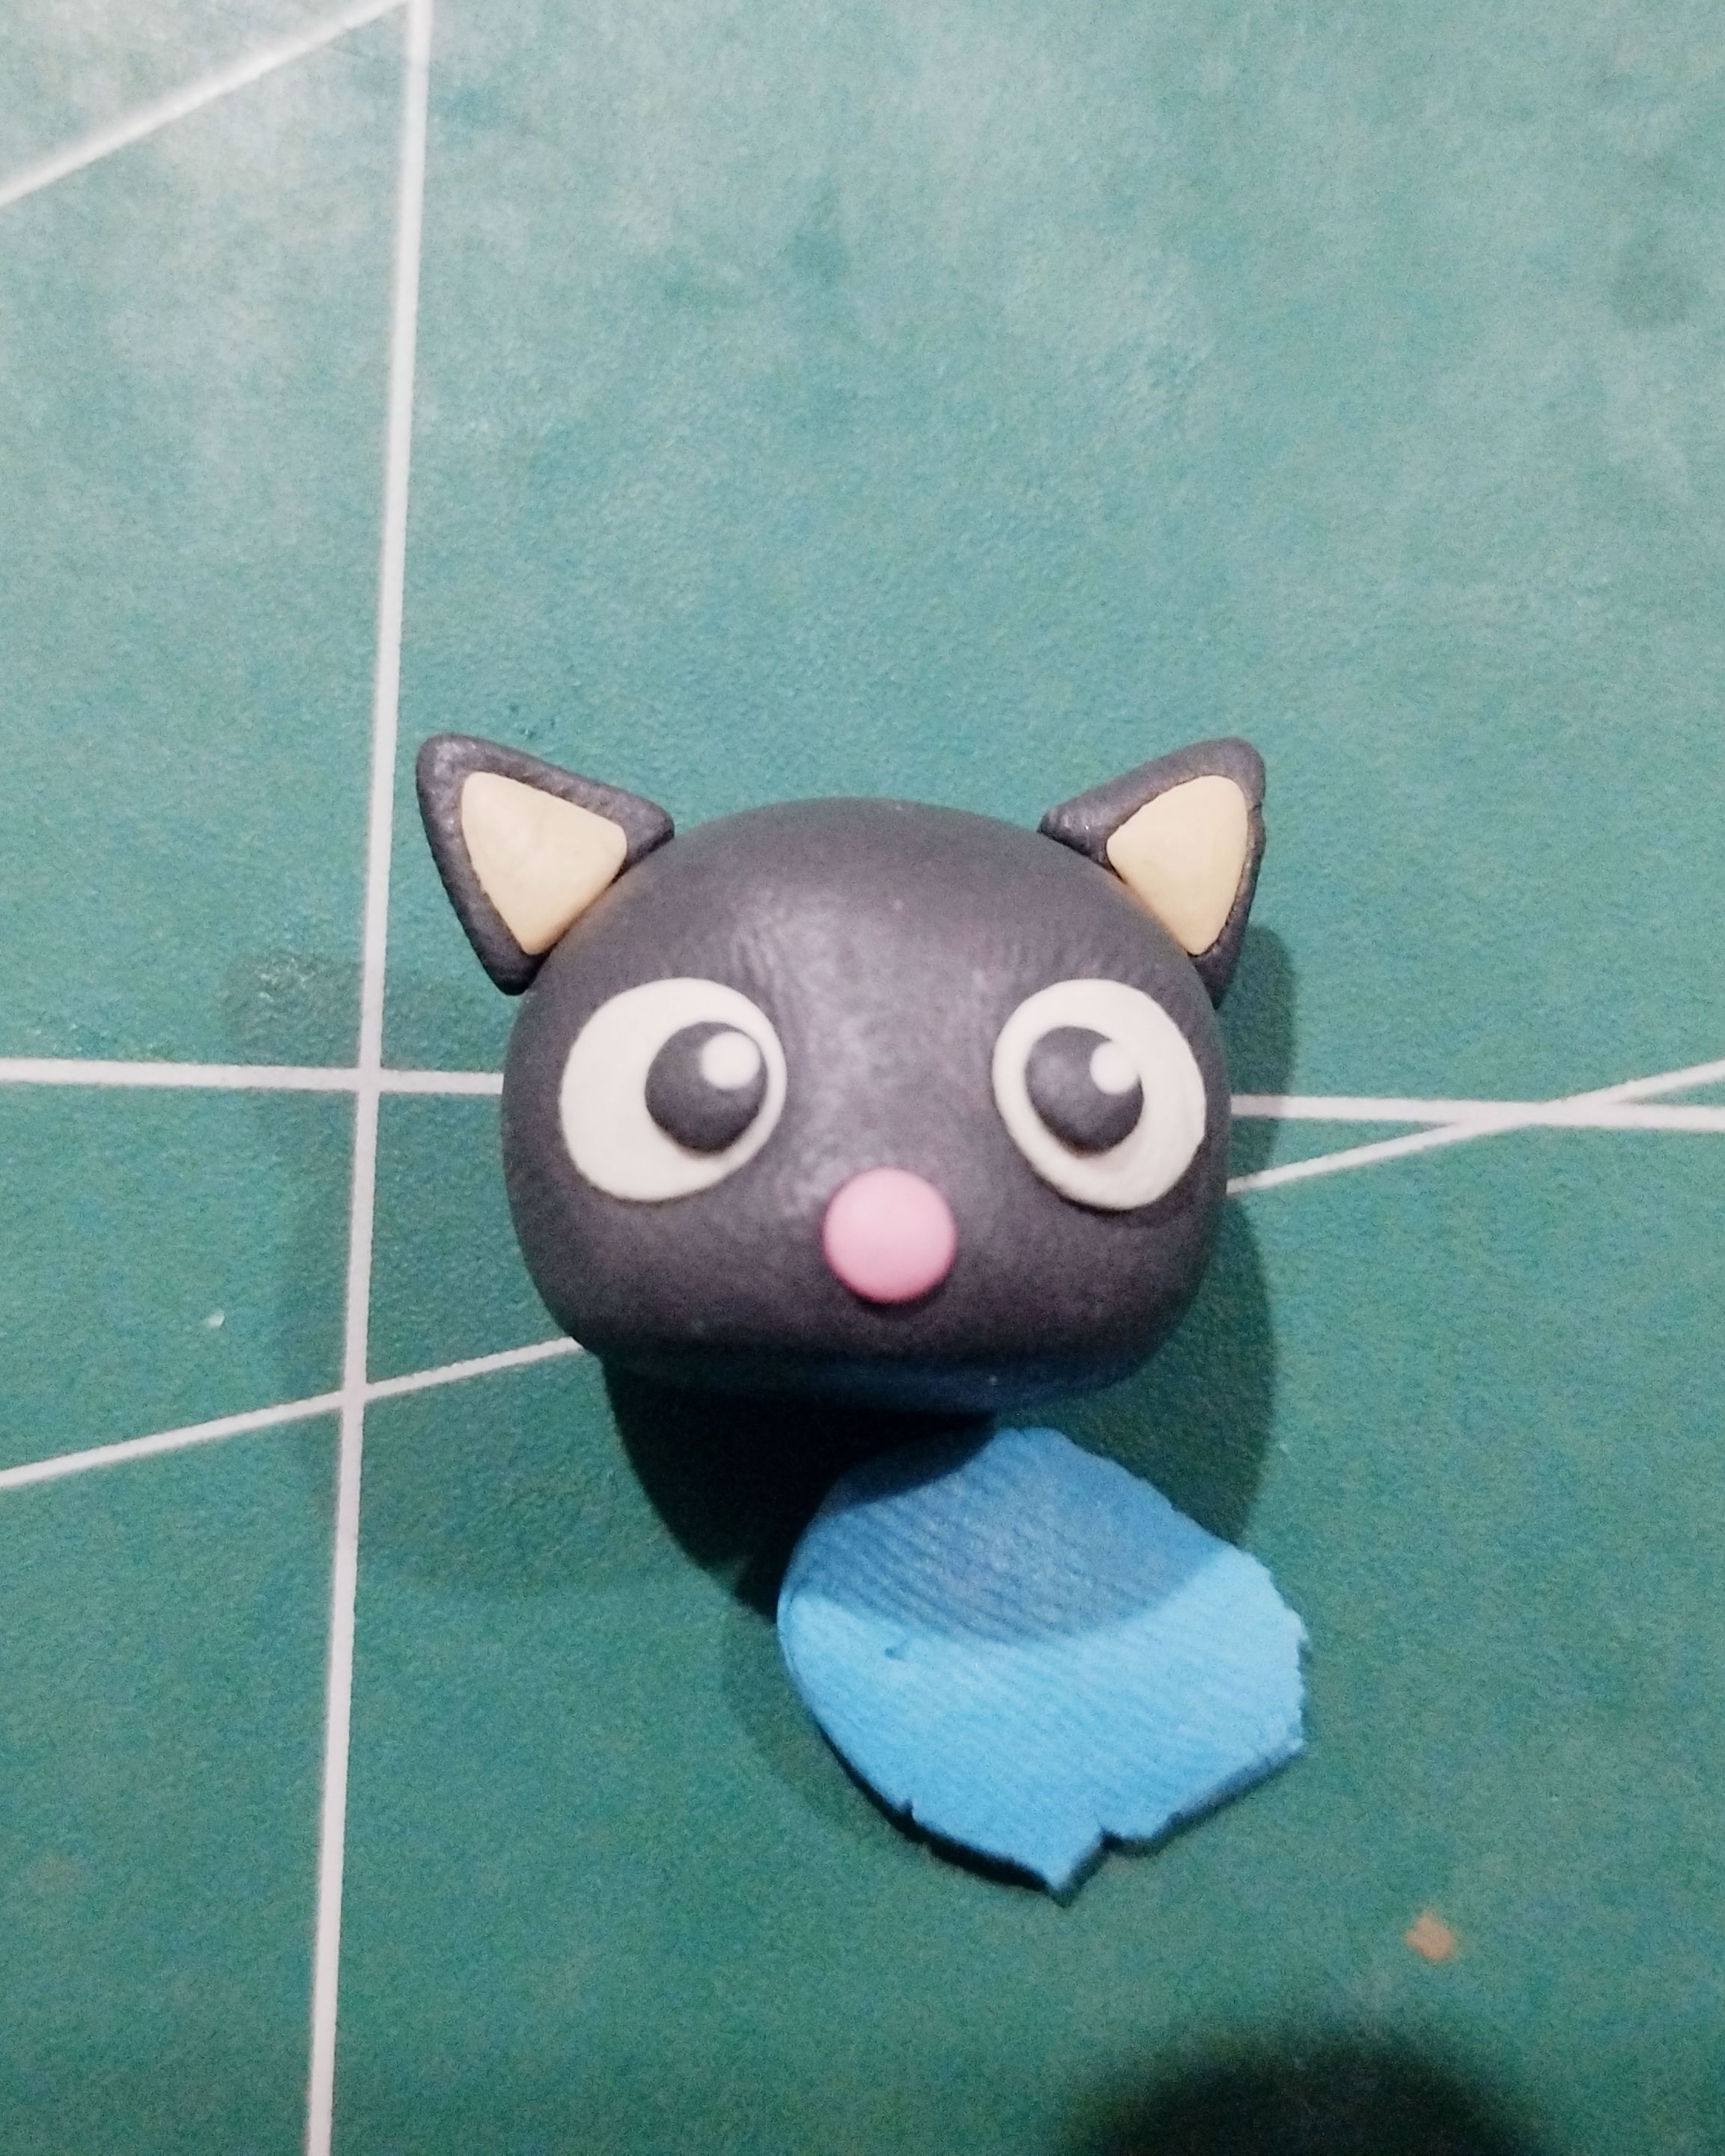
The last thing I did was attach the ears on each side and add a little extra detail: a small blue bow, which I attached to the collar of the same color that I had made earlier.
To finish, I attached the head to the body, using glue to strengthen the pieces of wire that hold the piece together.
>>Ya lo último que hice fue colocar las orejas en cada lado y un detallito adicional, un pequeño lazo de color azul el cual coloqué en el collar del mismo color que había hecho antes.
>>
>>Para terminar uní la cabeza con el cuerpo, usando pegamento para dar más firmeza a los trocitos de alambre que sujetan la pieza.
|||
|-|-|
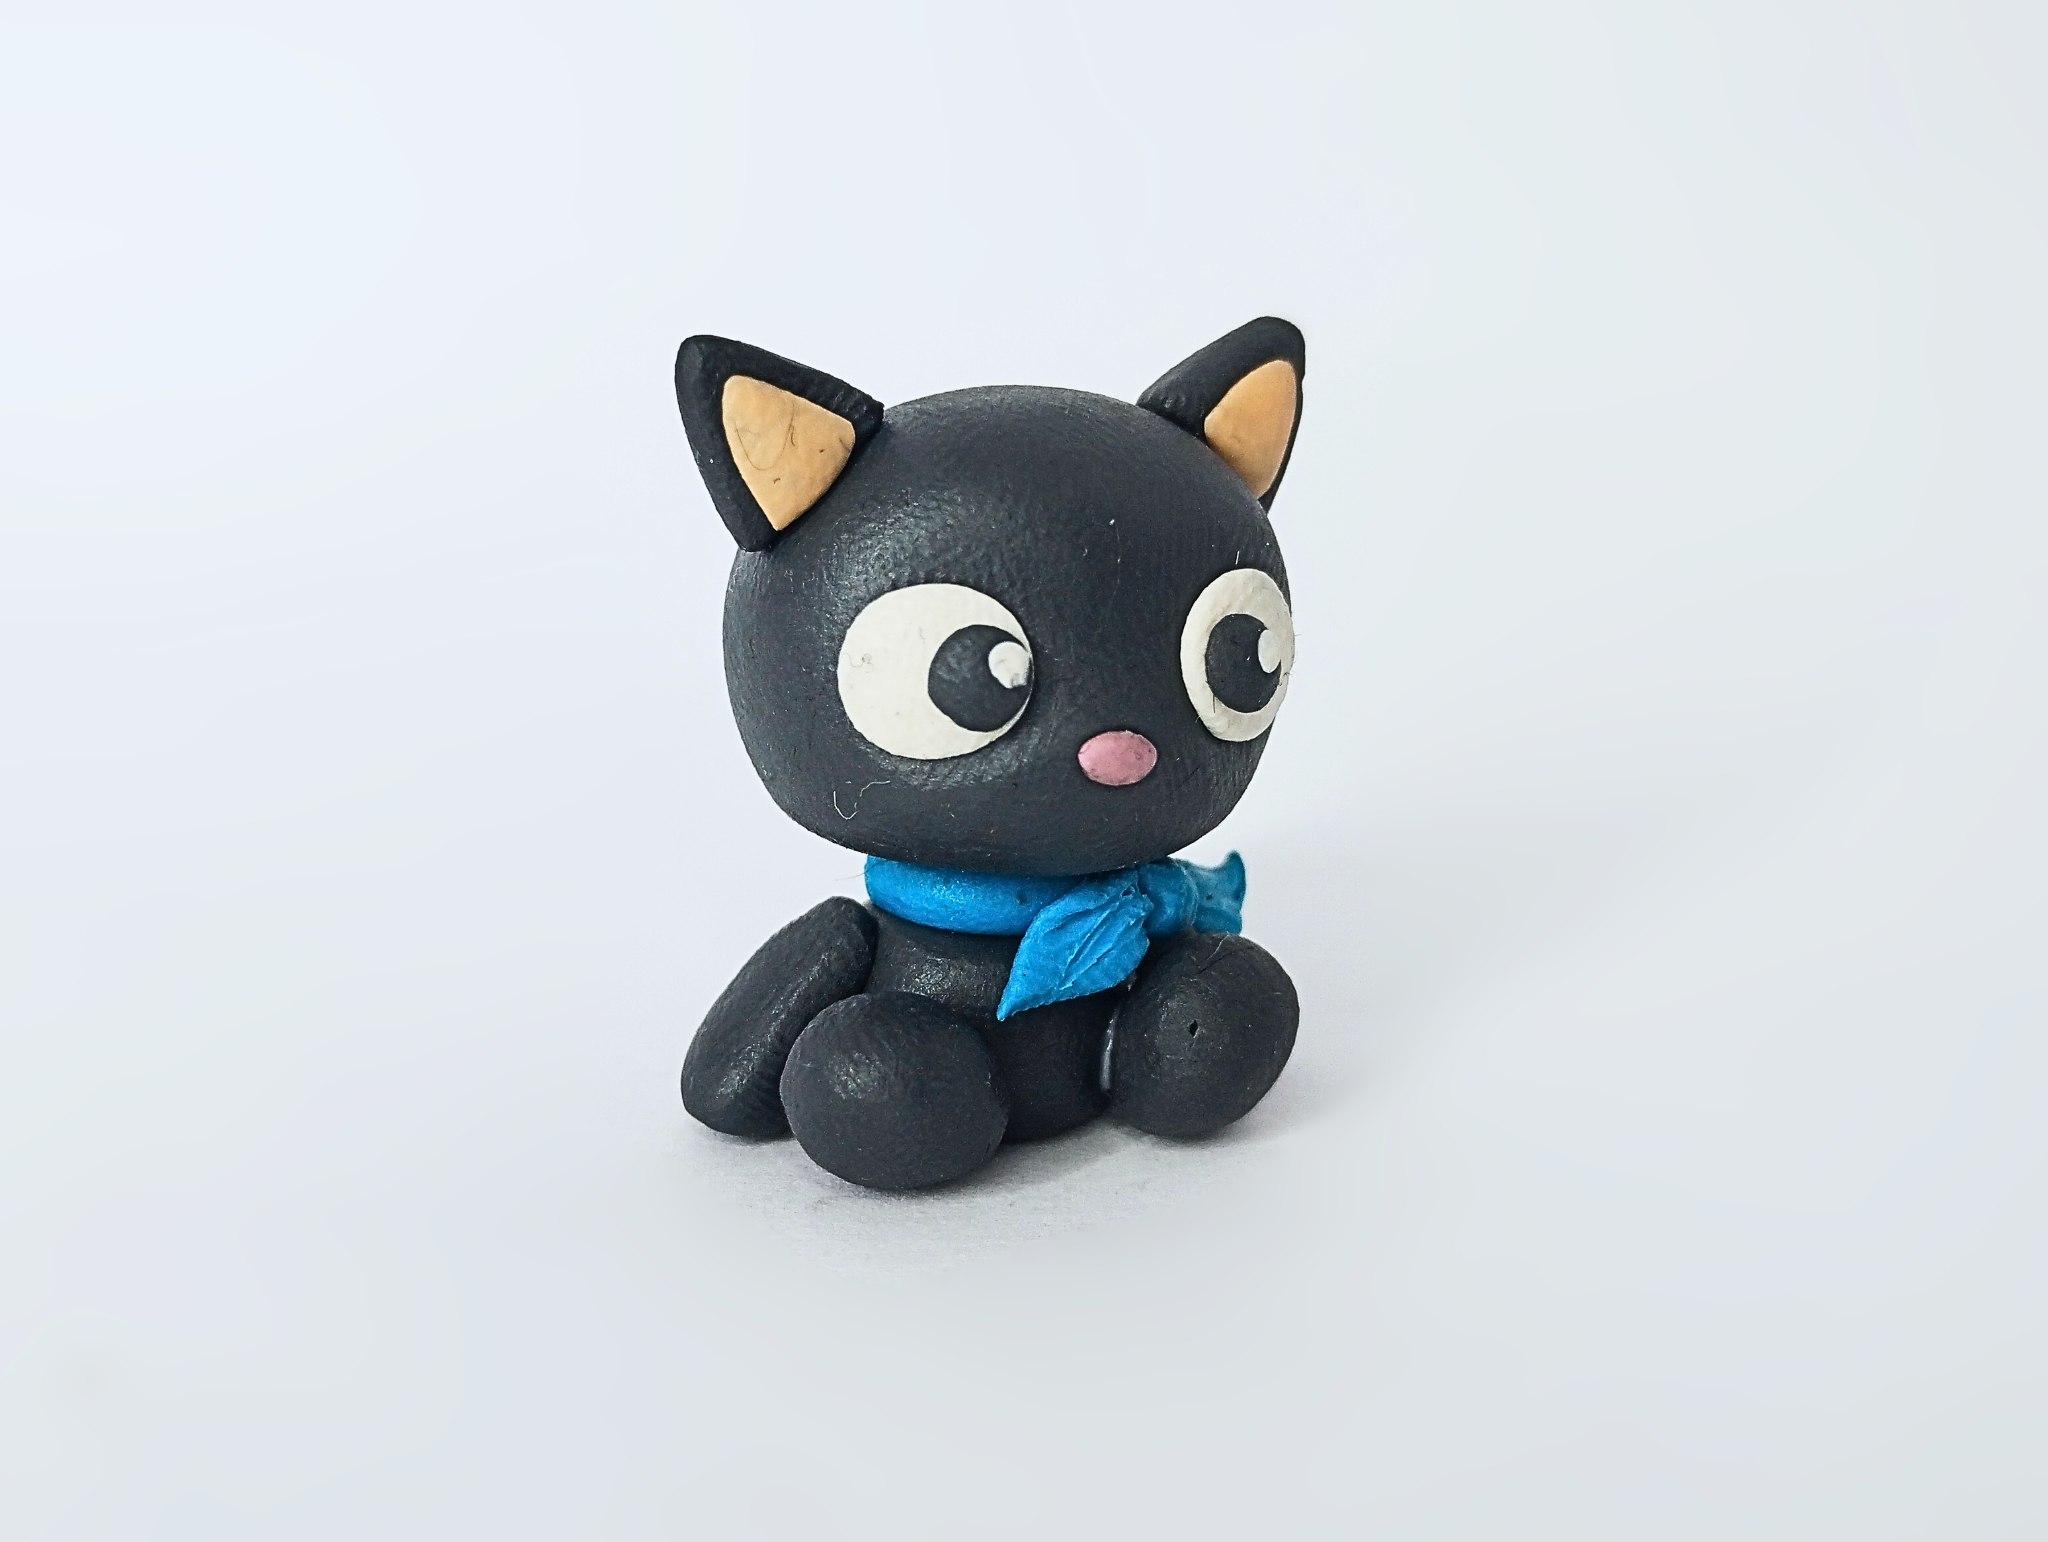
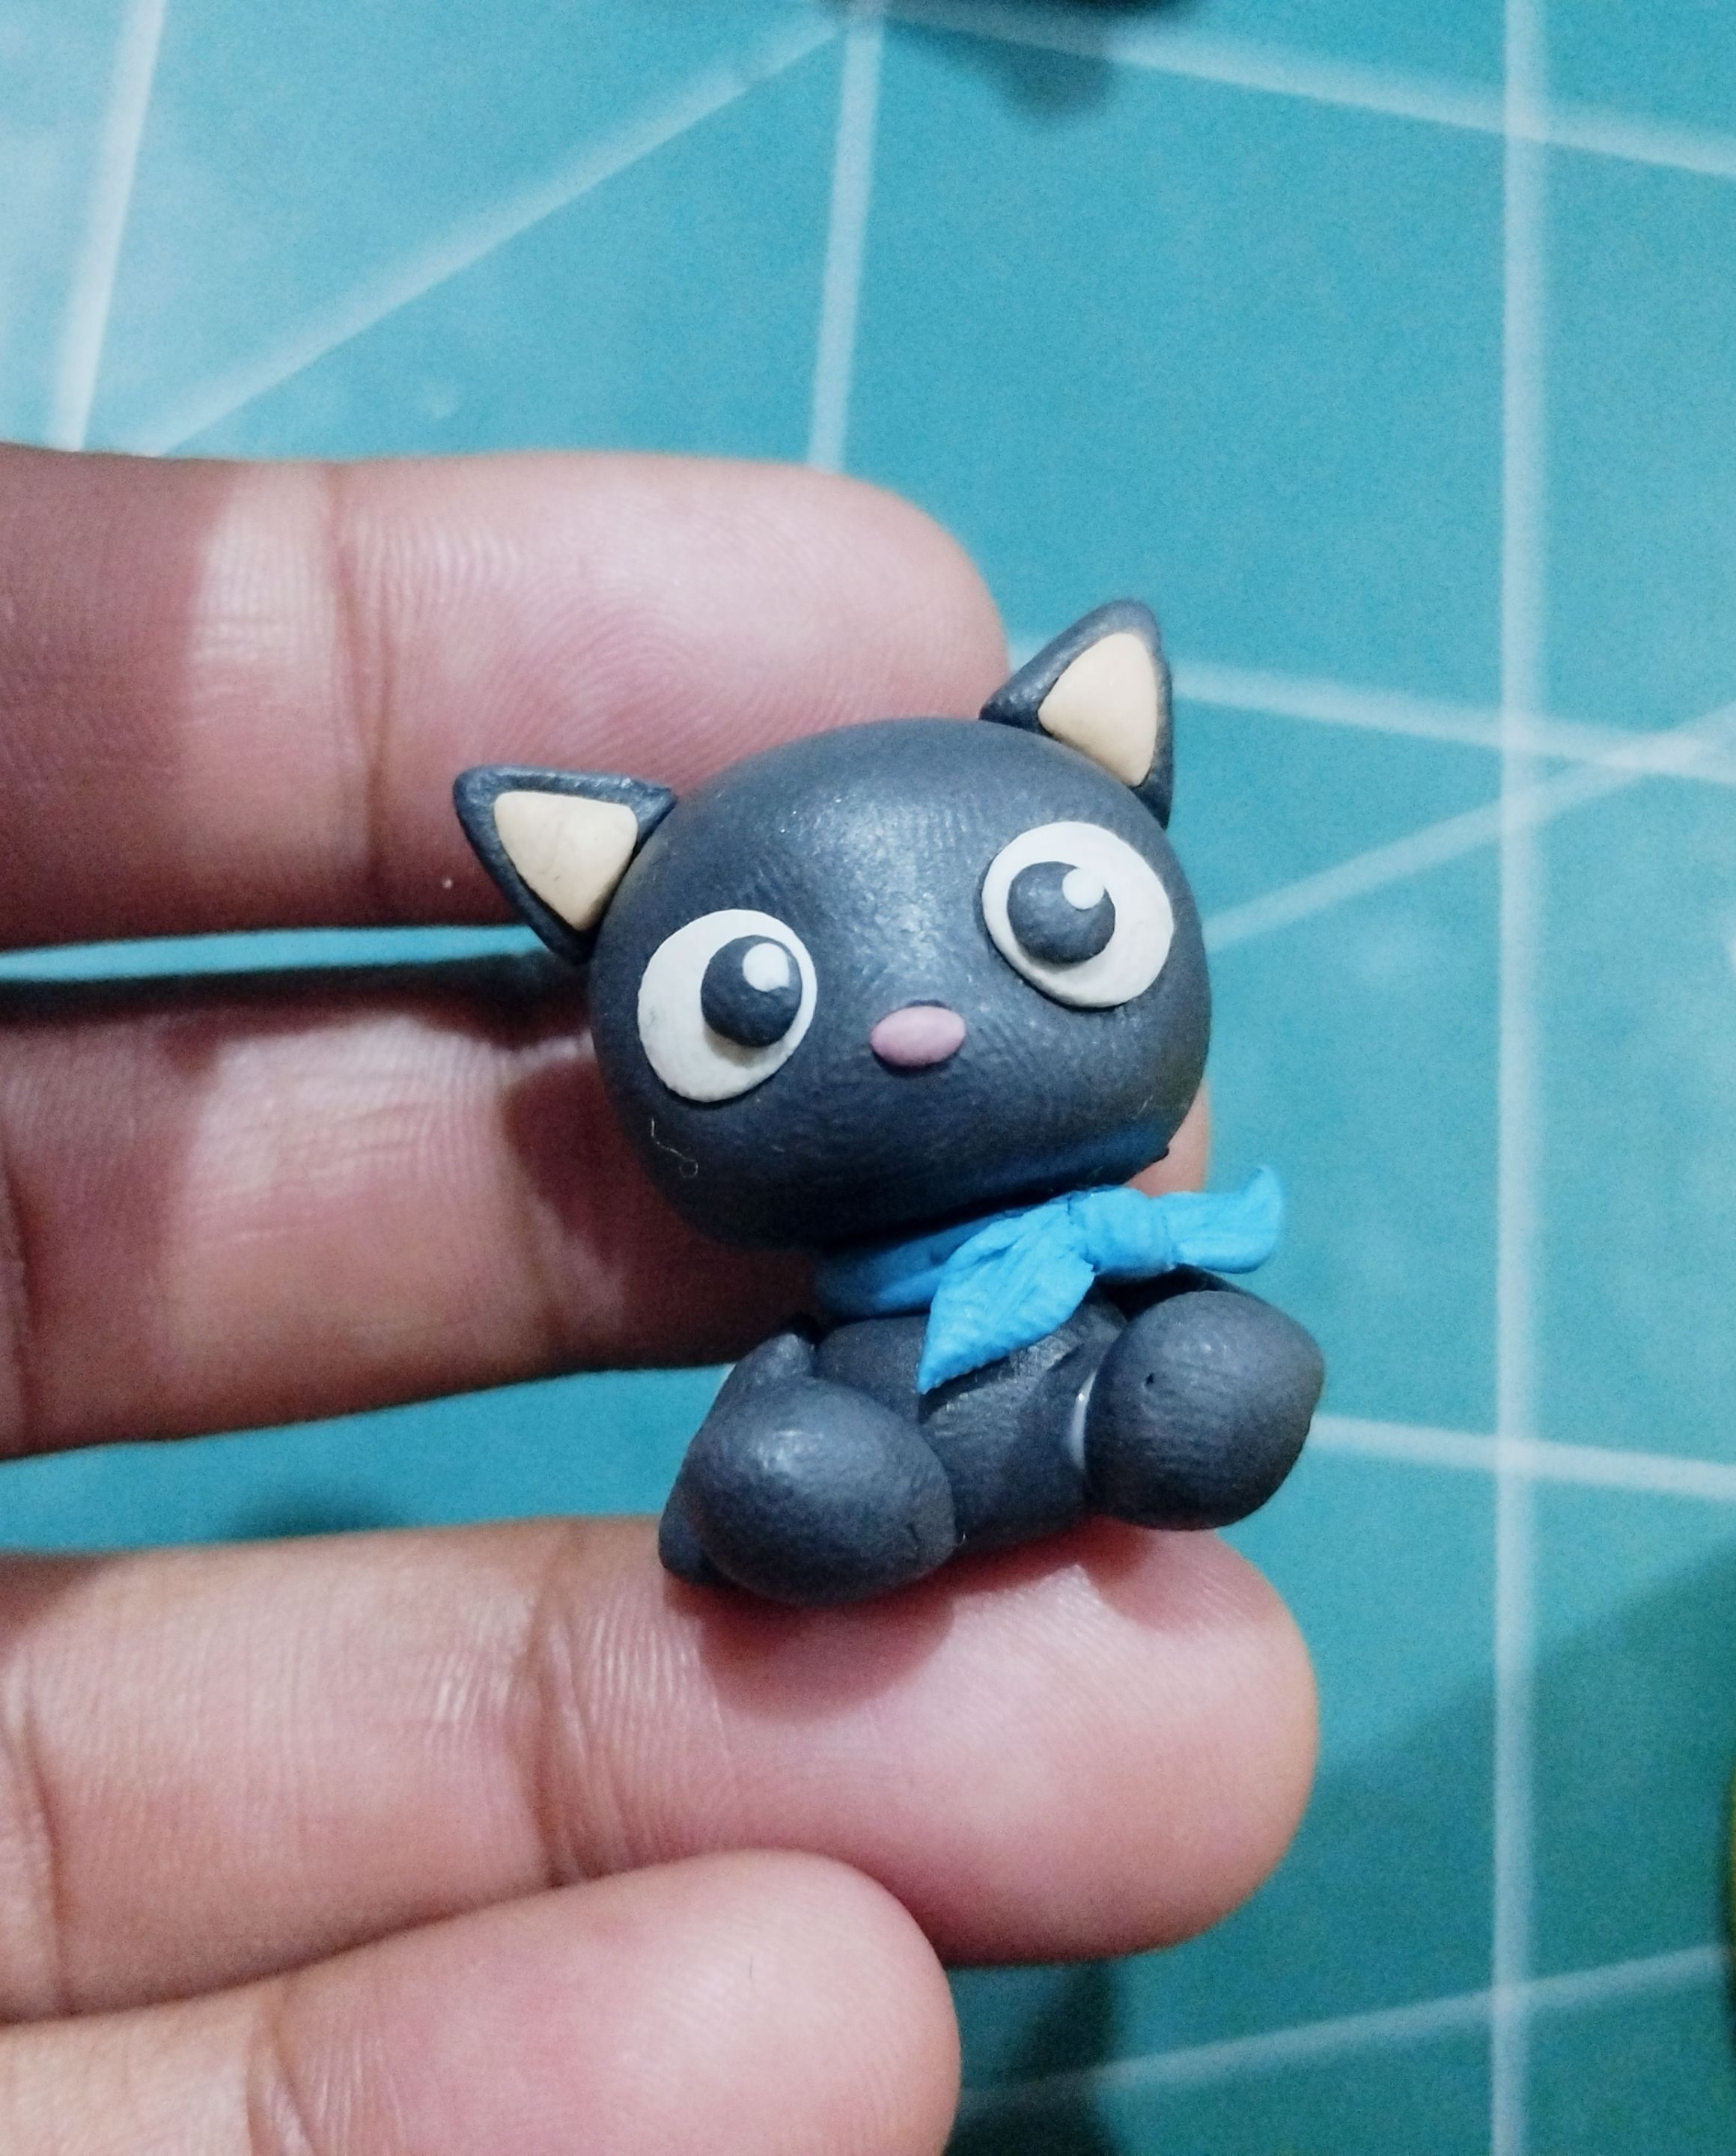
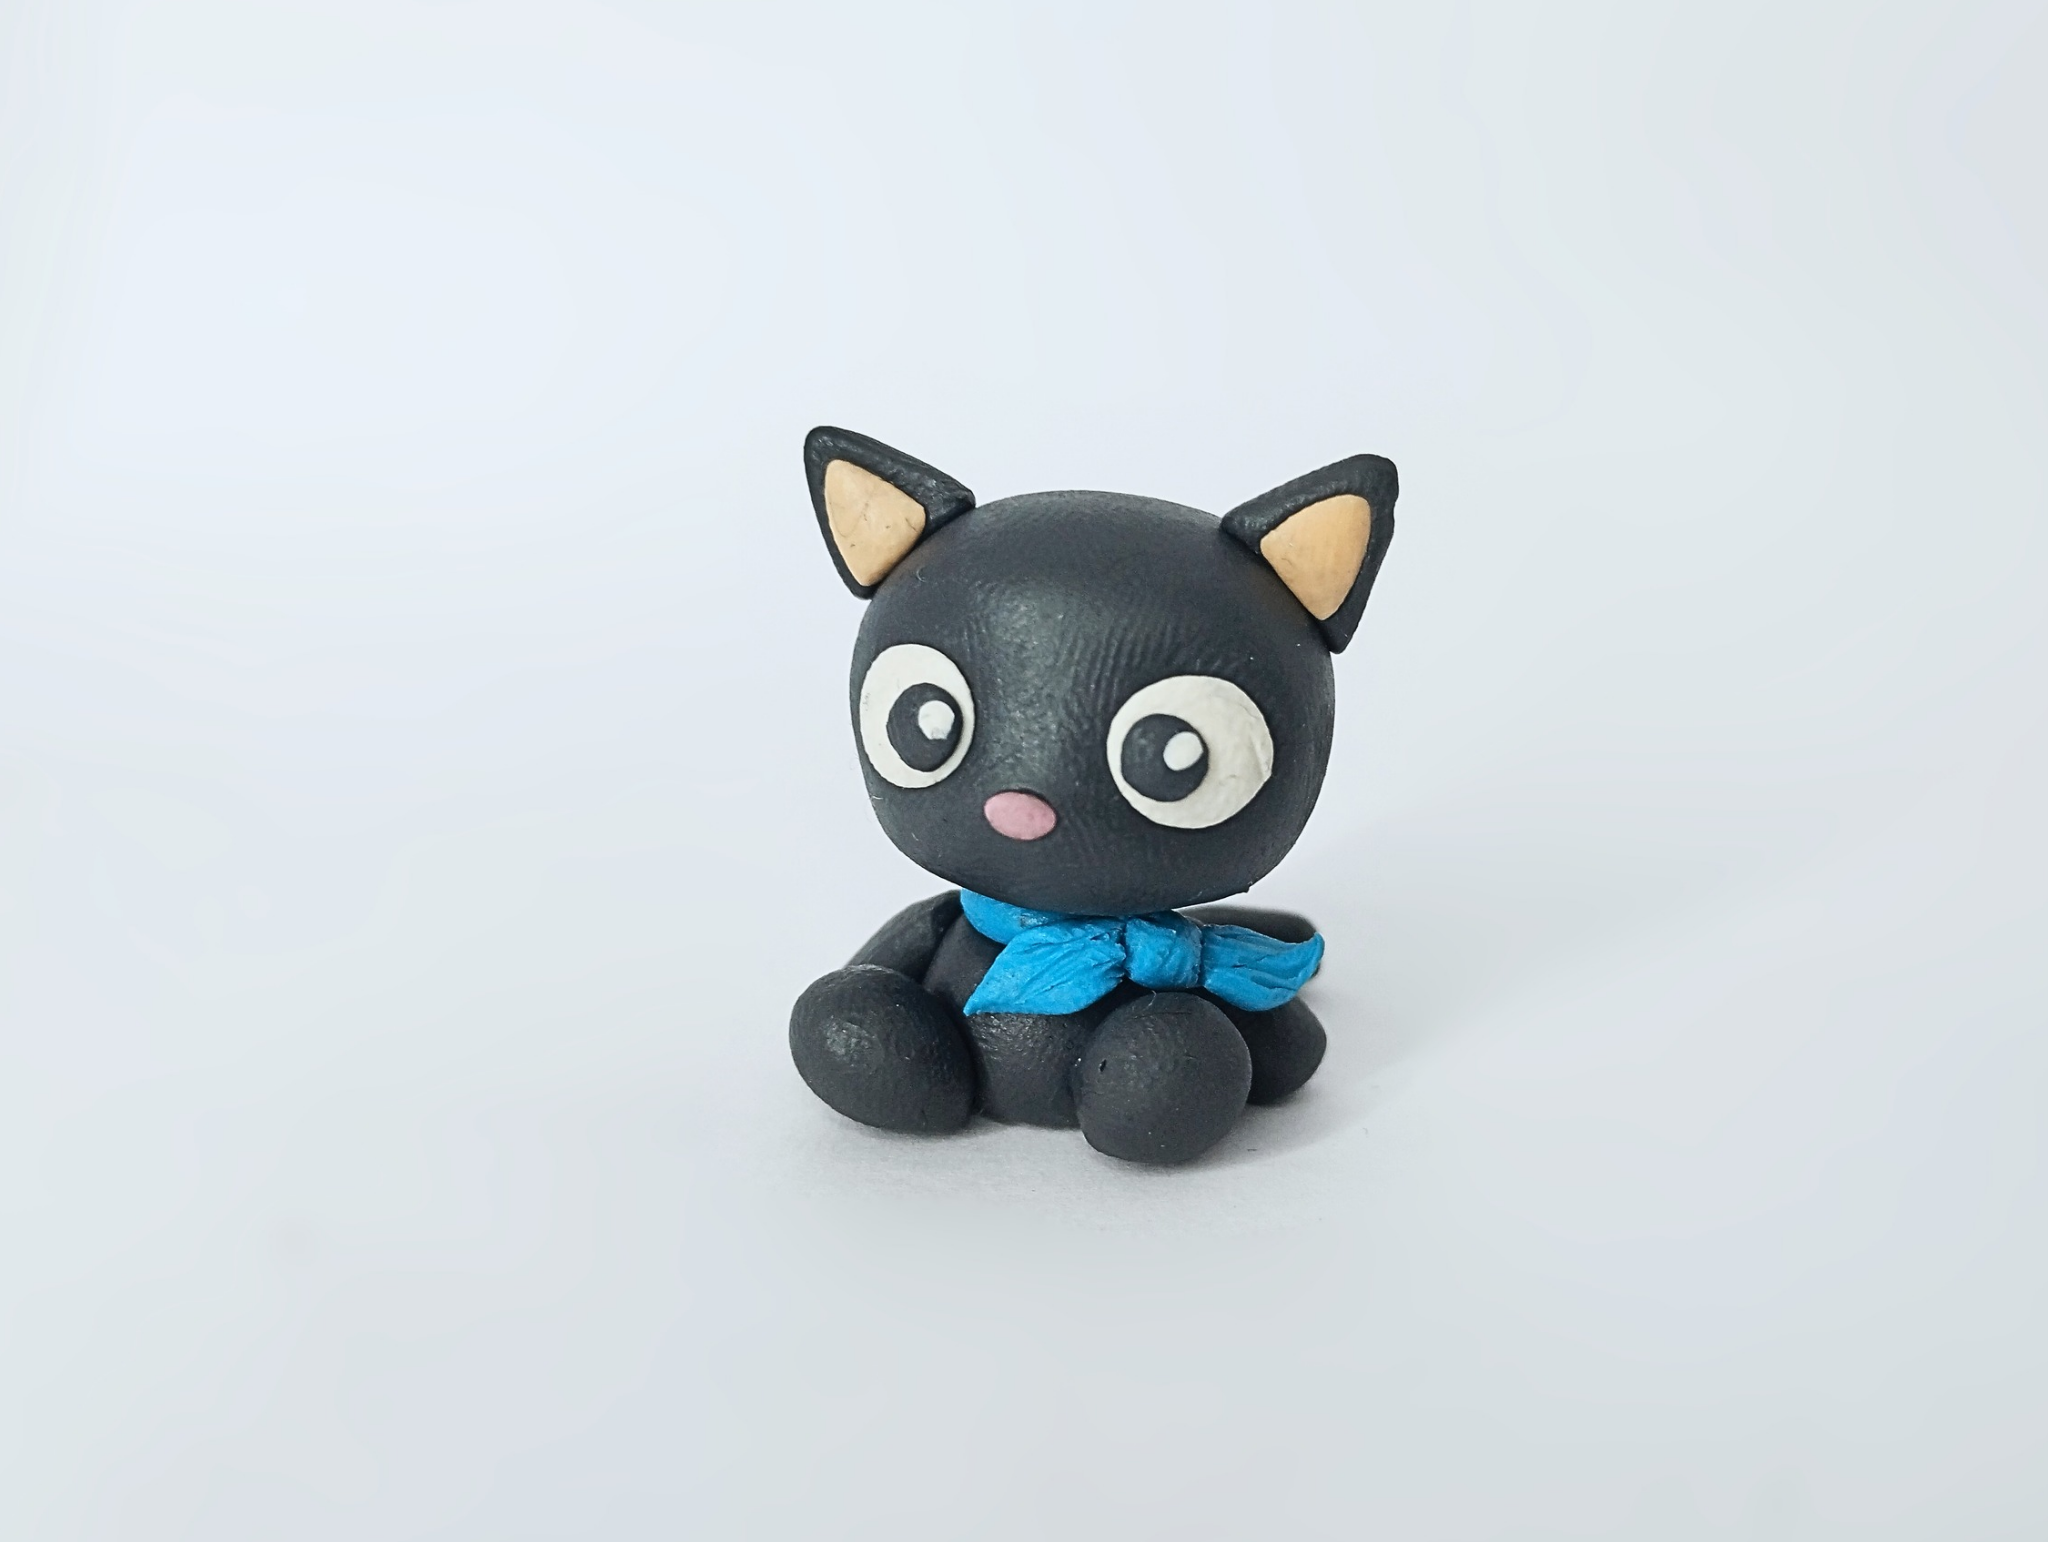
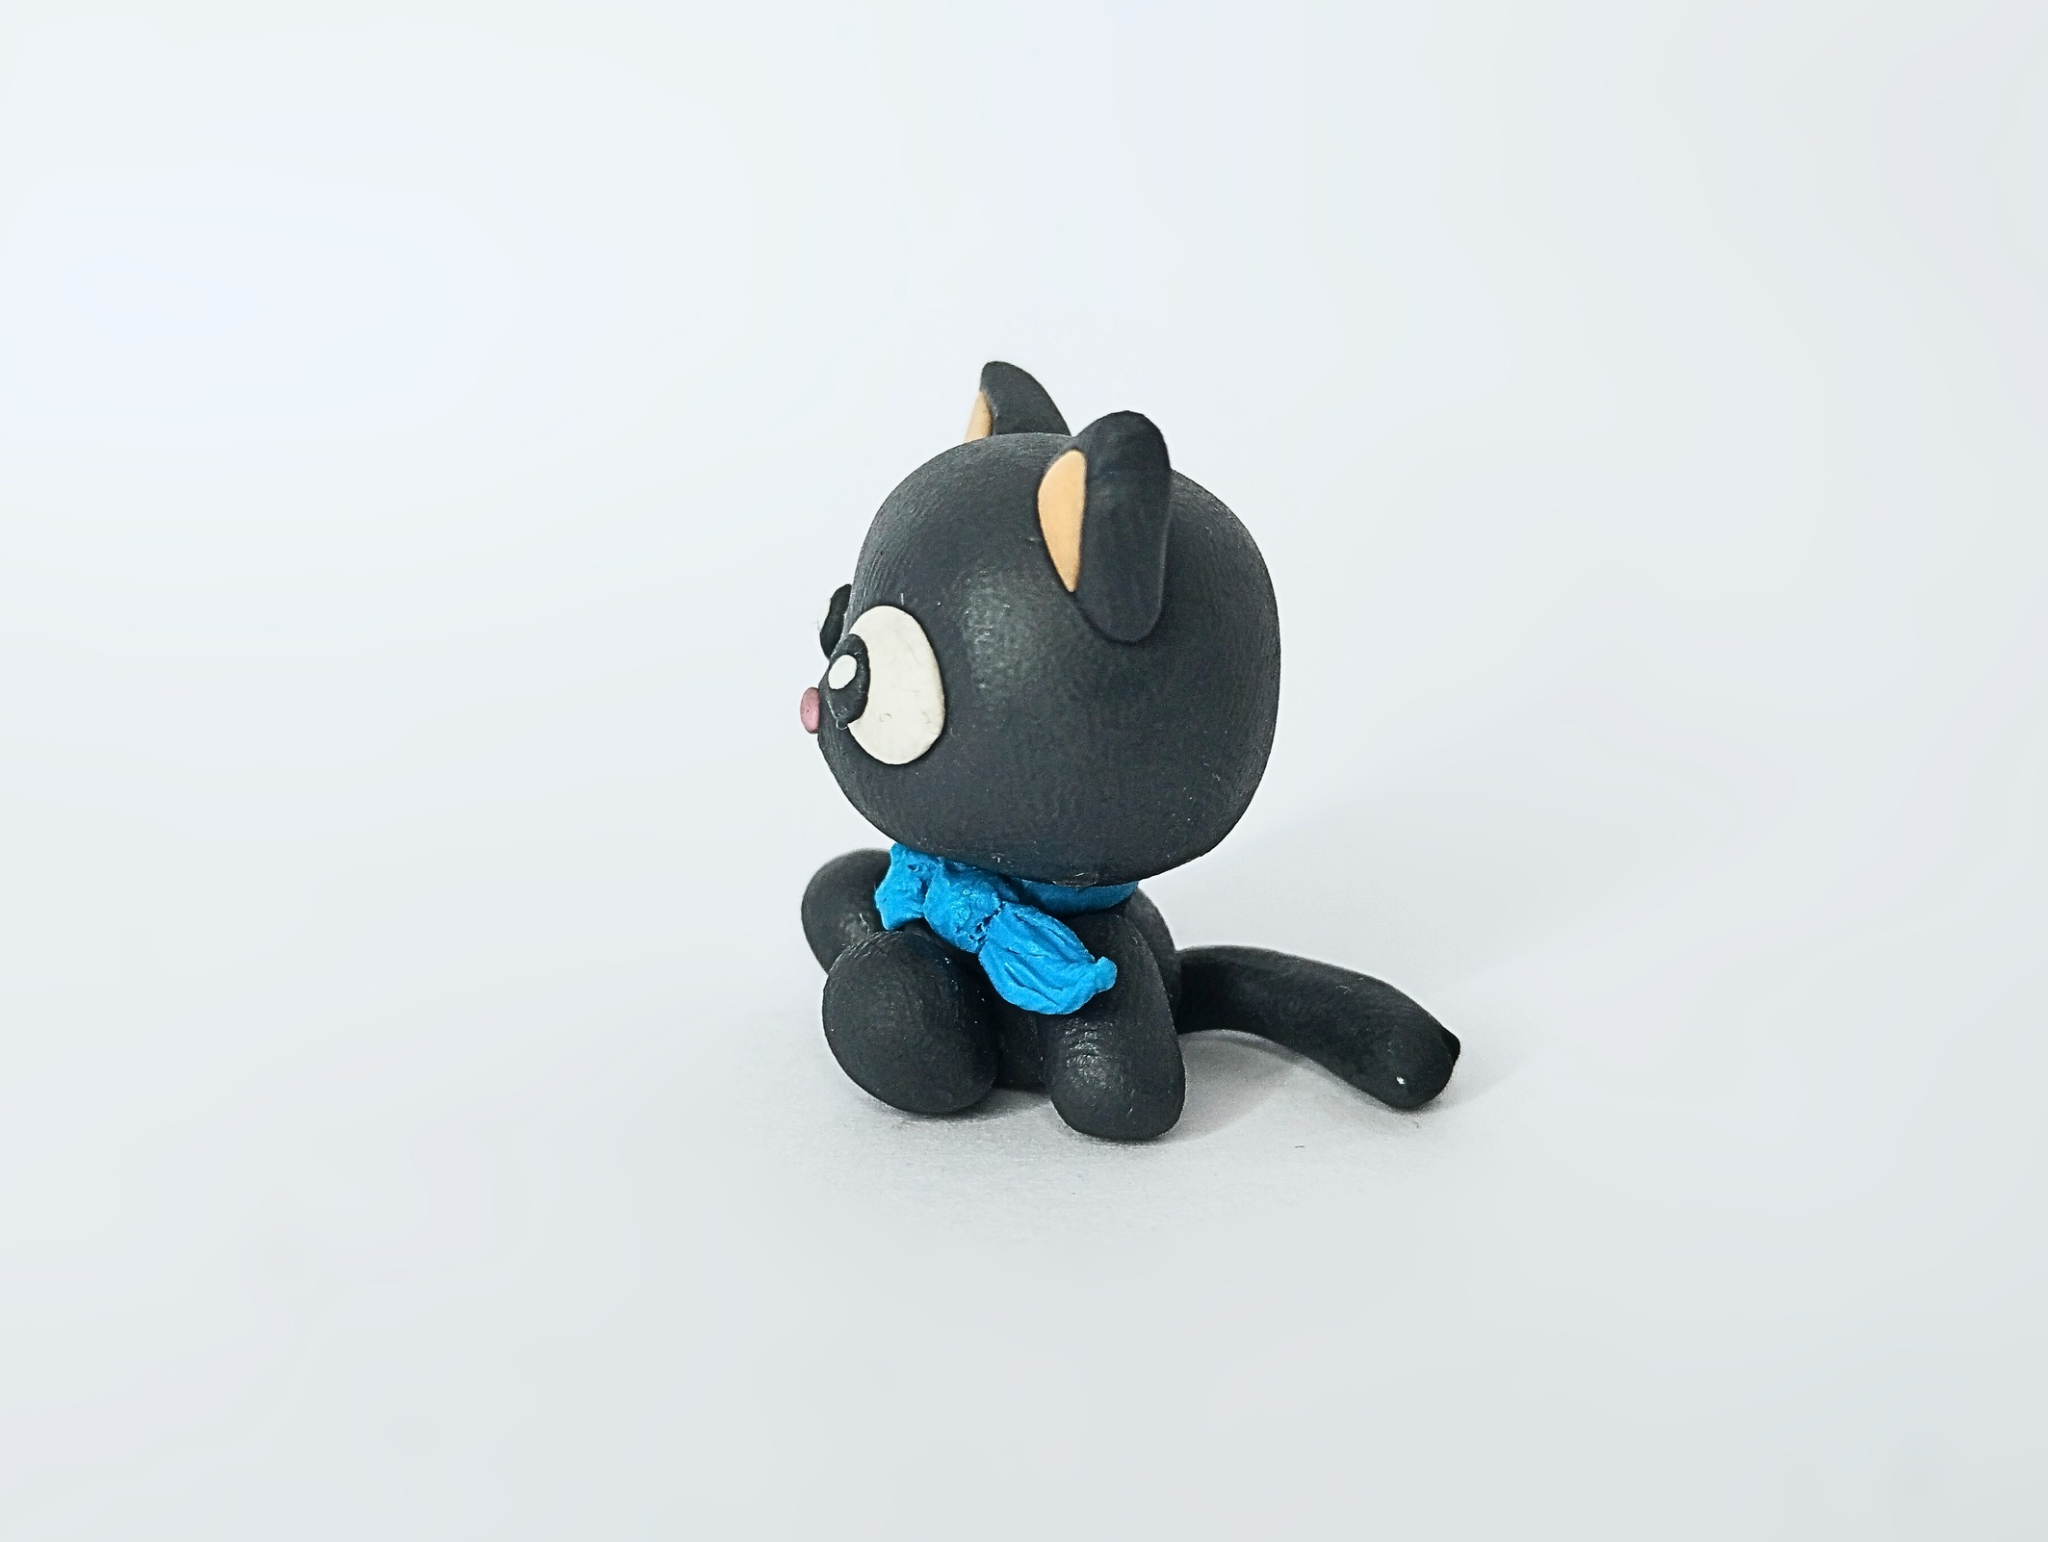
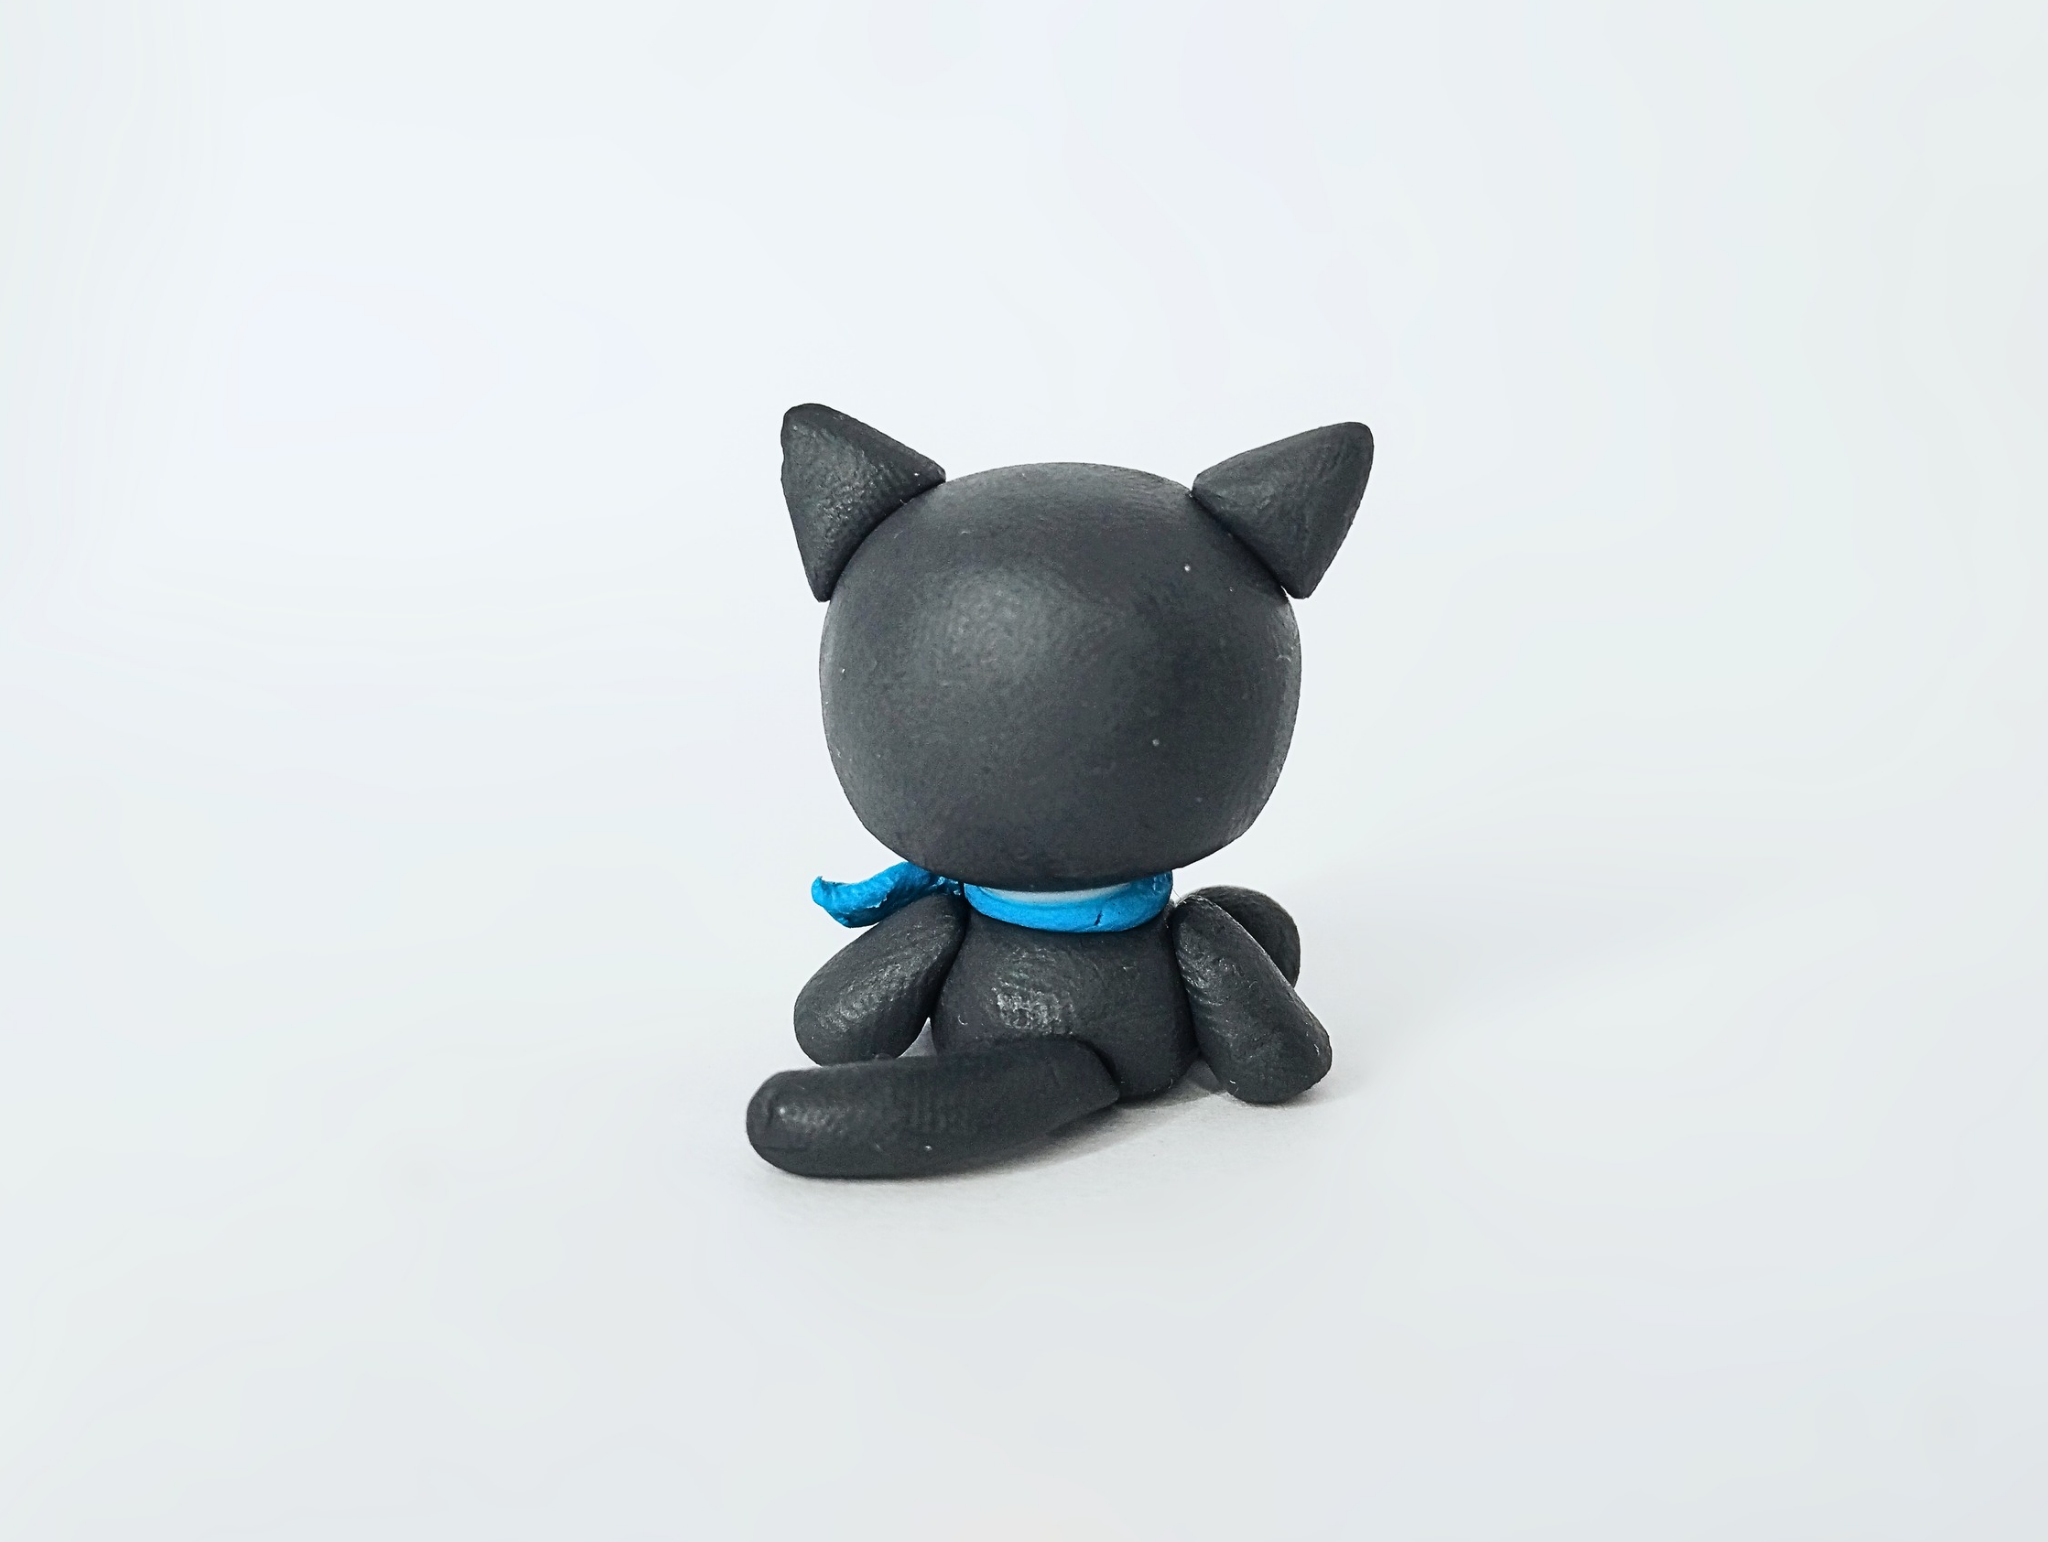
## And that's how the figurine was finished. Below you can see a series of photographs of the final result:
>>#### De esta manera la figurita quedó terminada. A continuación pueden ver una serie de fotografías del resultado final:

Well, friends, that's all for now. I hope you liked my third figurine from this Sanrio collection. Please leave your comments below; as always, I'll be happy to read them.
If you have any suggestions for the next character in the collection, please leave them below, and I'll take them into consideration. Without further ado, I bid you farewell...
DIY: Chococat Sculpture [ENG/SPA]
@gaboamc2393
· 2025-10-01 08:00
· hive-130560
#hive-130560
#diy
#art
#sanrio
#handmade
#spanish
#tutorial
#pimp
#waiv
#neoxian
Payout: 0.000 HBD
Votes: 420
More interactions (upvote, reblog, reply) coming soon.