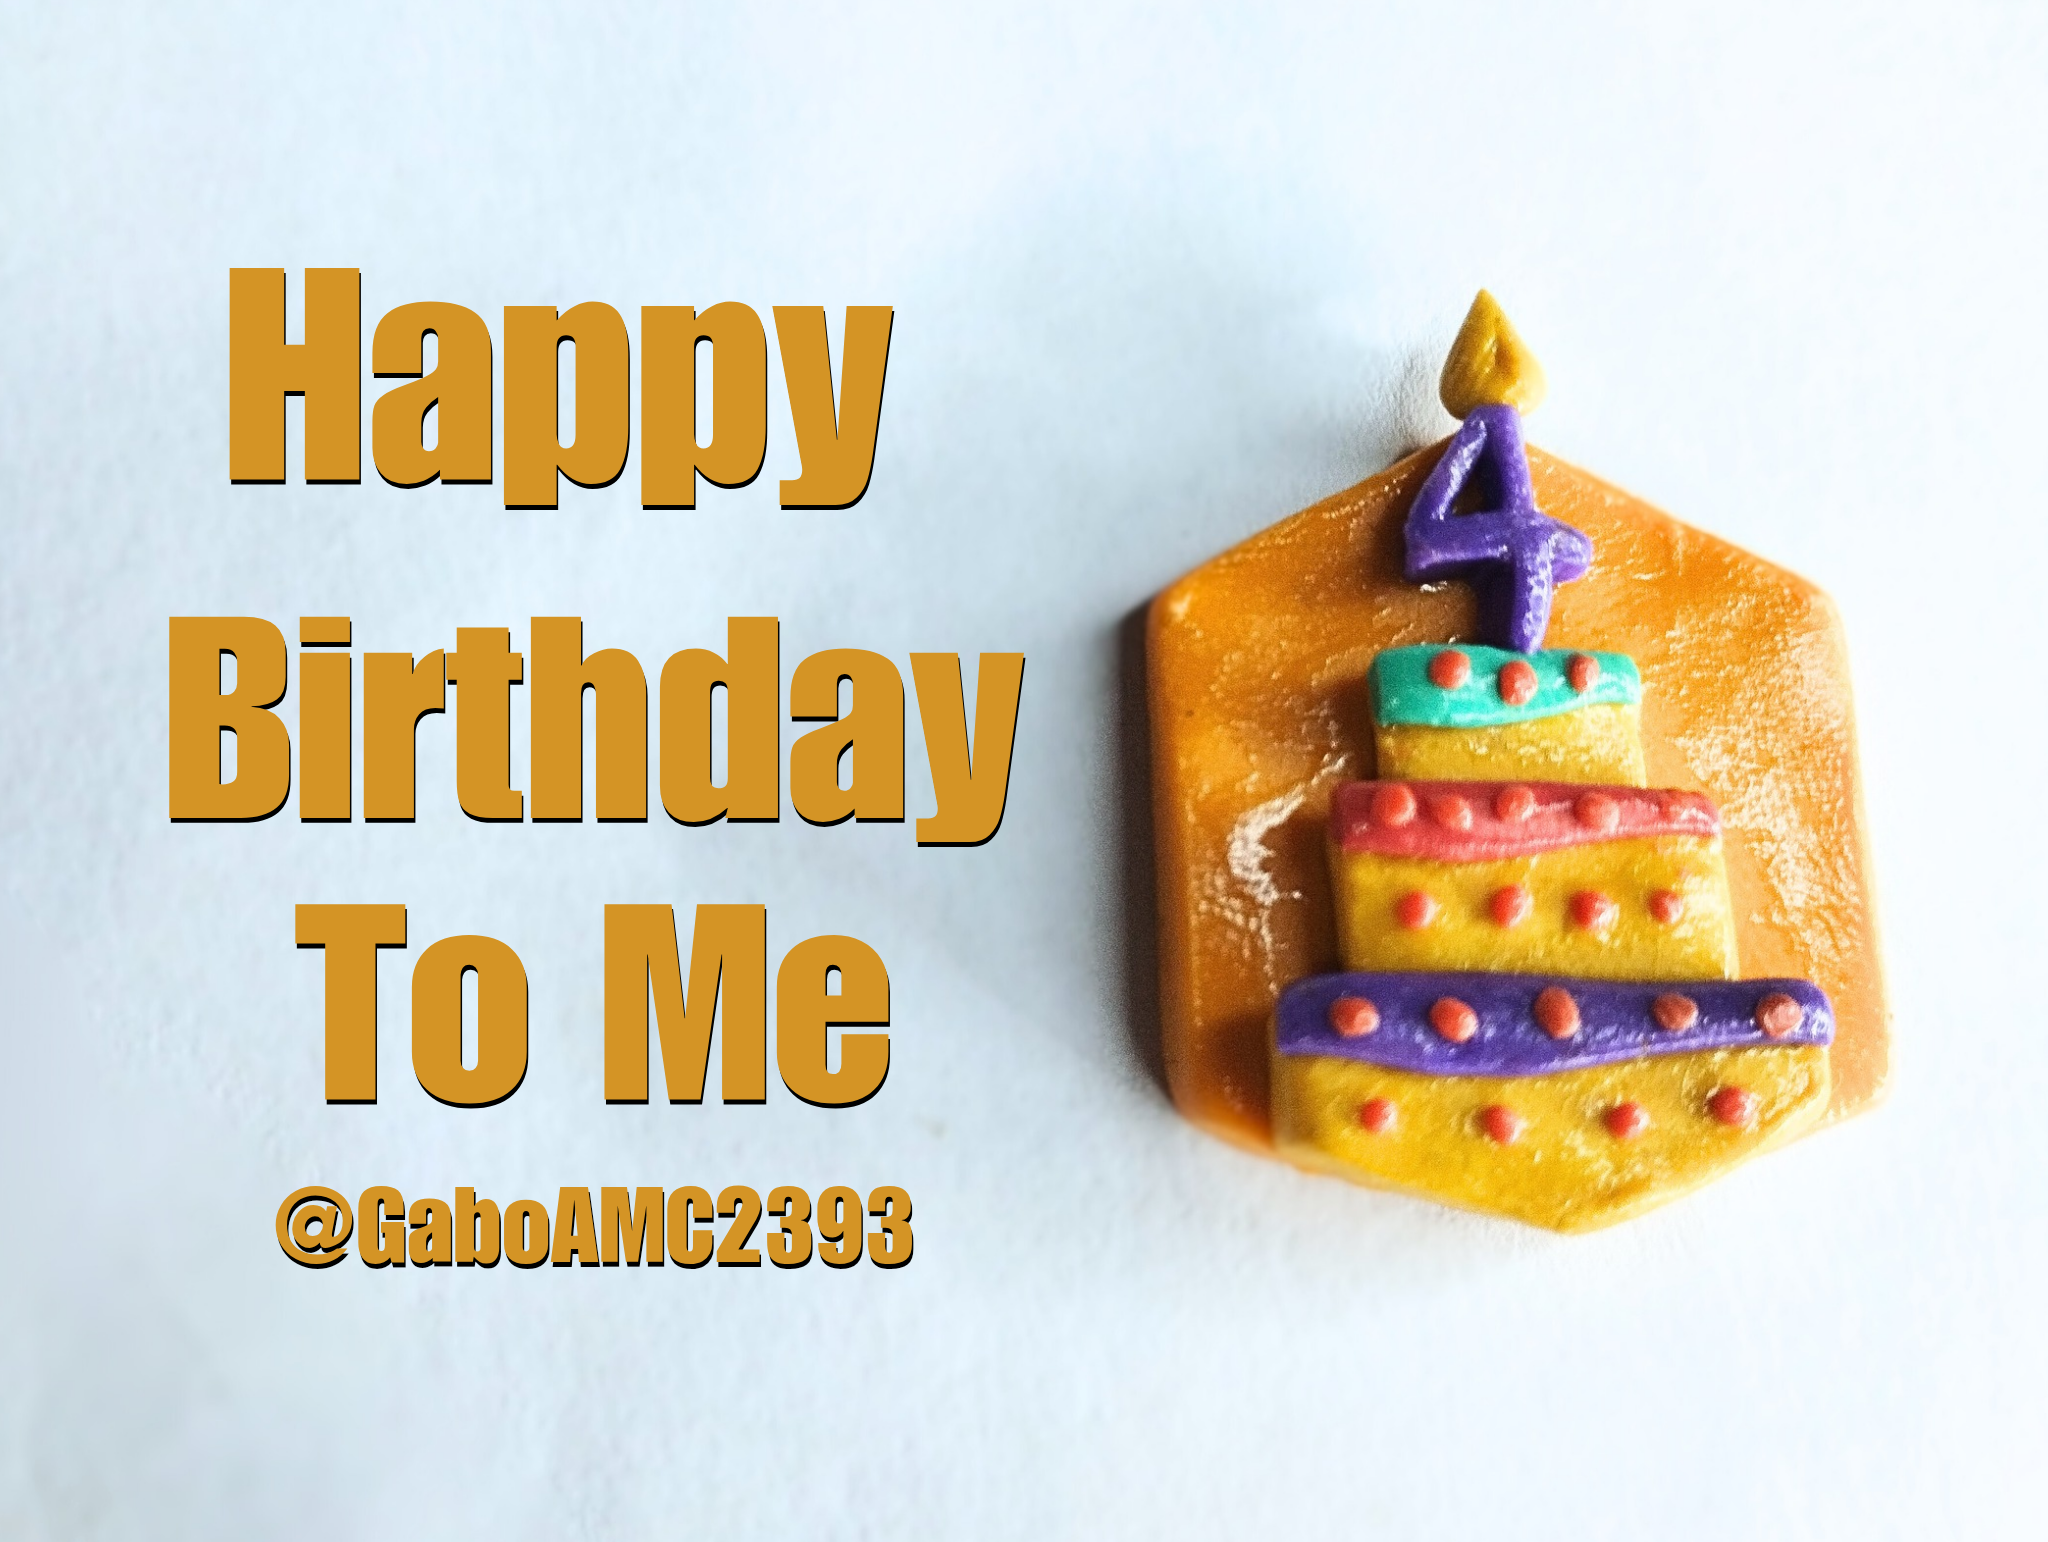
Greetings friends. The other day I received the nice news that I celebrated 4 years on the blockchain.
You can see @hivebuzz commentary by following this link:
https://peakd.com/hive-130560/@hivebuzz/notify-1745857312
As you can see, around the same time four years ago I was making my presentation post, with many doubts and concerns, but eager to share the little I knew how to do with all of you.
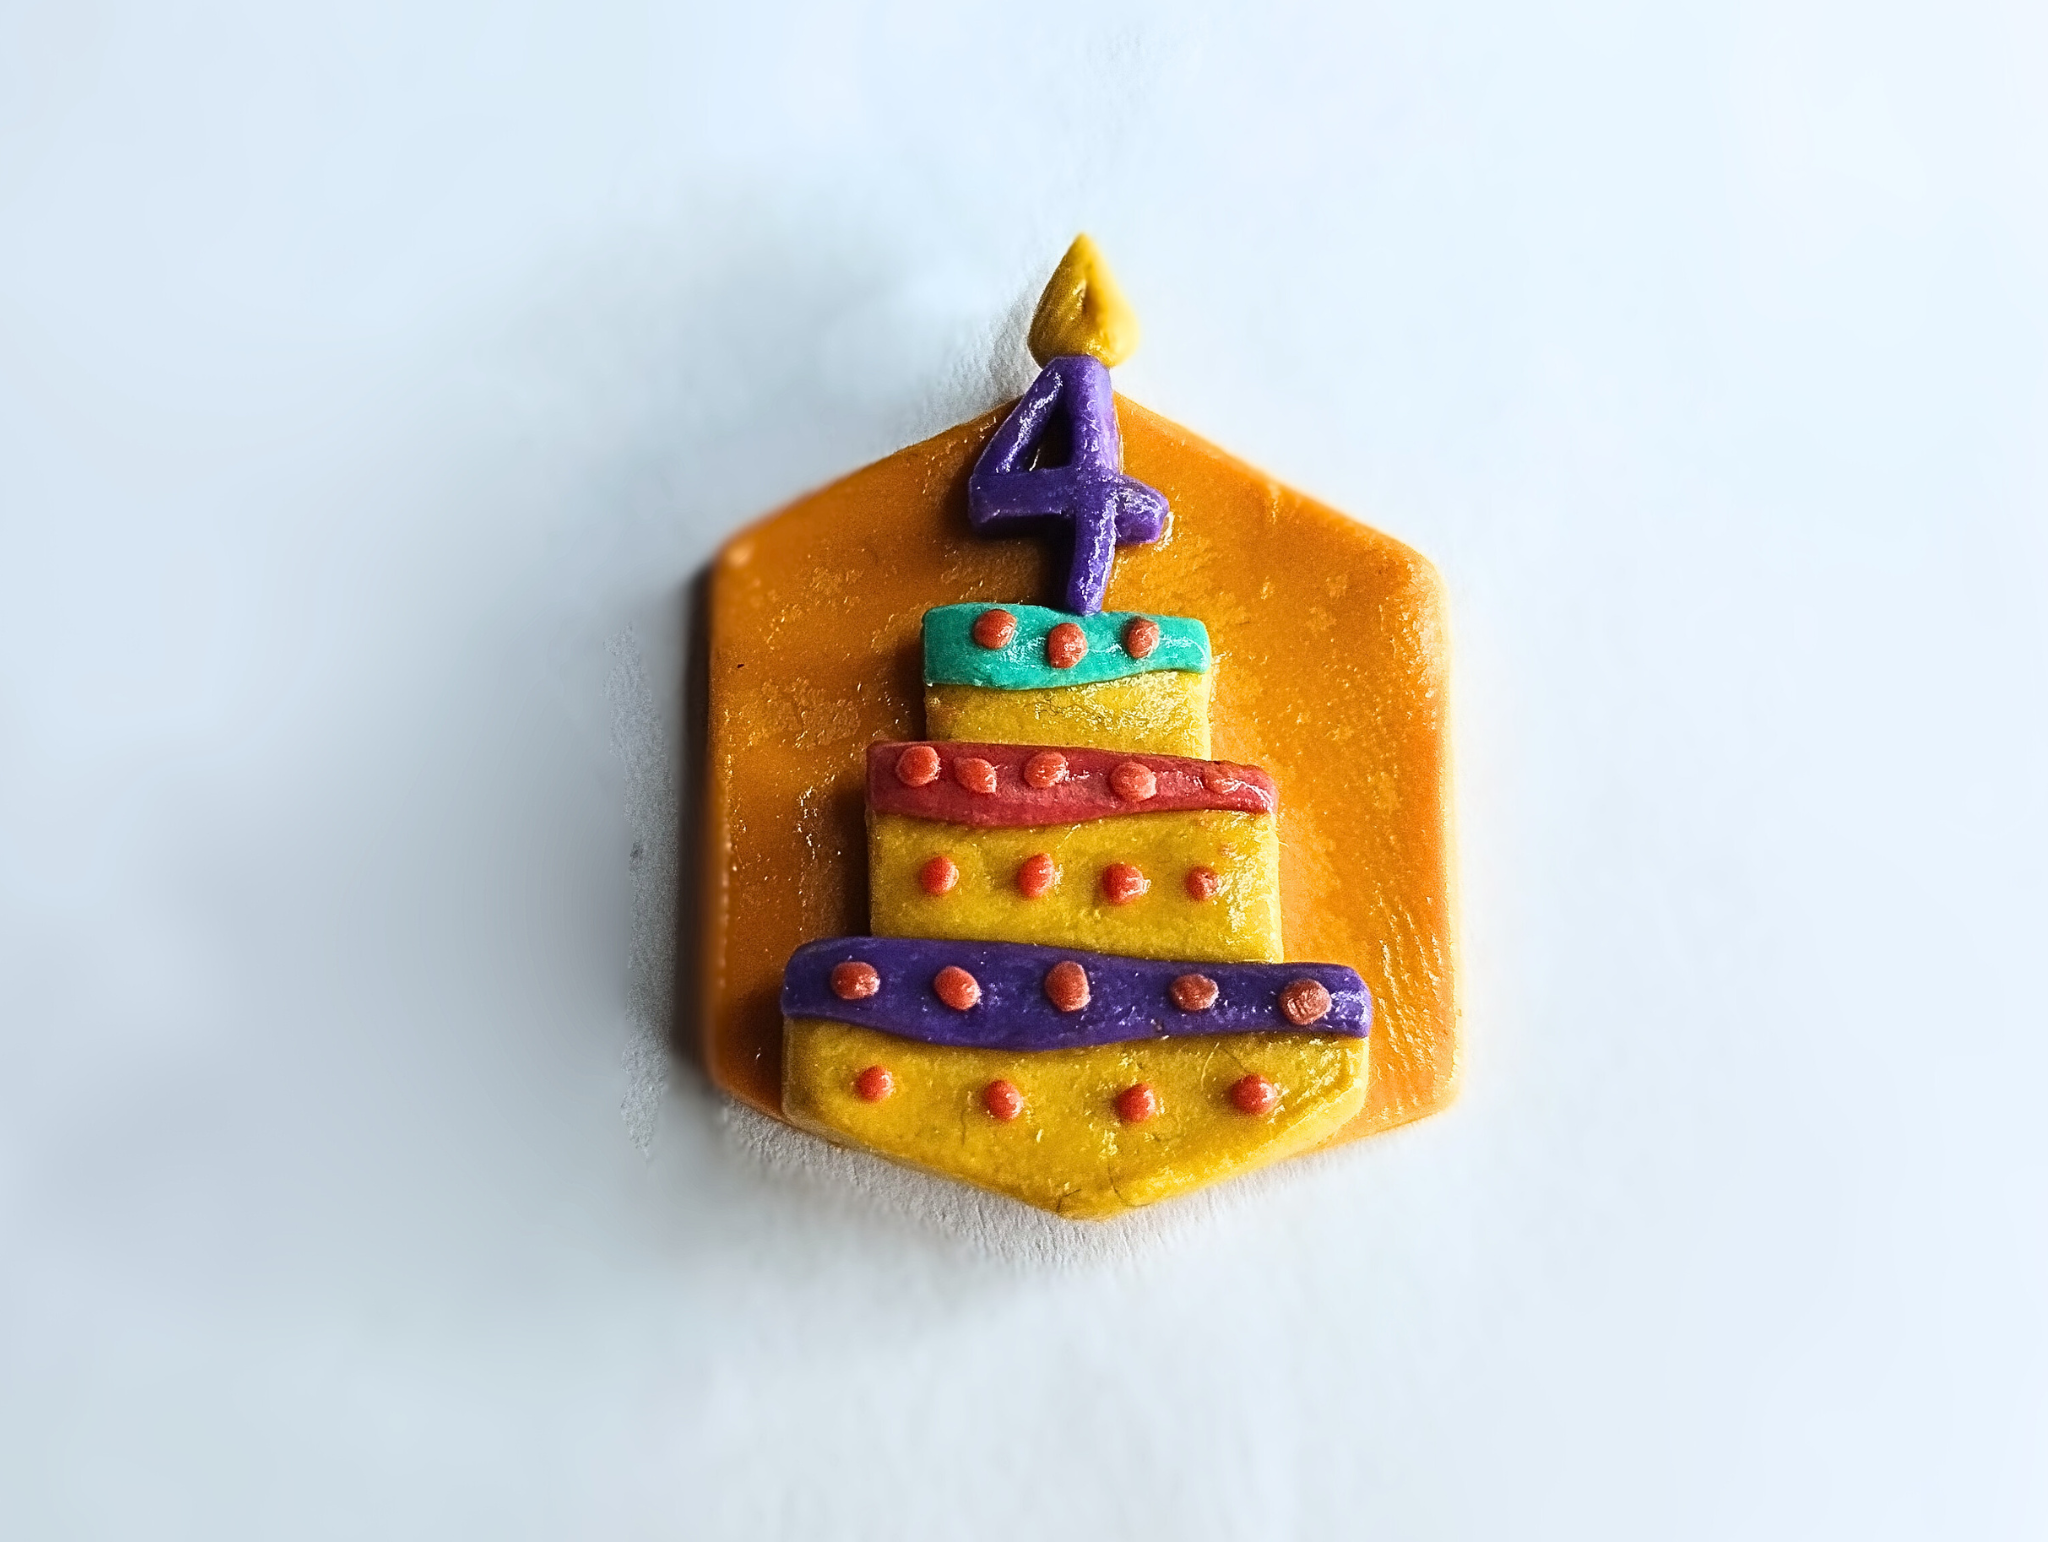
So, to celebrate in my style this fourth birthday in hive, I share with you this nice figurine representative of the badge I just received.
>># Español
>>Saludos amigos. El otro día recibí la bonita noticia de que cumplí 4 años en la blockchain.
>>
>>Pueden ver el comentario de @hivebuzz siguiendo este enlace:
>>
>>https://peakd.com/hive-130560/@hivebuzz/notify-1745857312
>>
>>Como ven, más o menos para estás mismas fechas hace cuatro años estaba haciendo mi post de presentación, con muchas dudas e inquietudes, pero con muchas ganas de compartir lo poco que sabía hacer con todos ustedes.
>>
>>Por eso, para celebrar a mi estilo este cuarto cumpleaños en hive, les comparto esta bonita figurita representativa de la insignia que acabo de recibir.
# Step by step
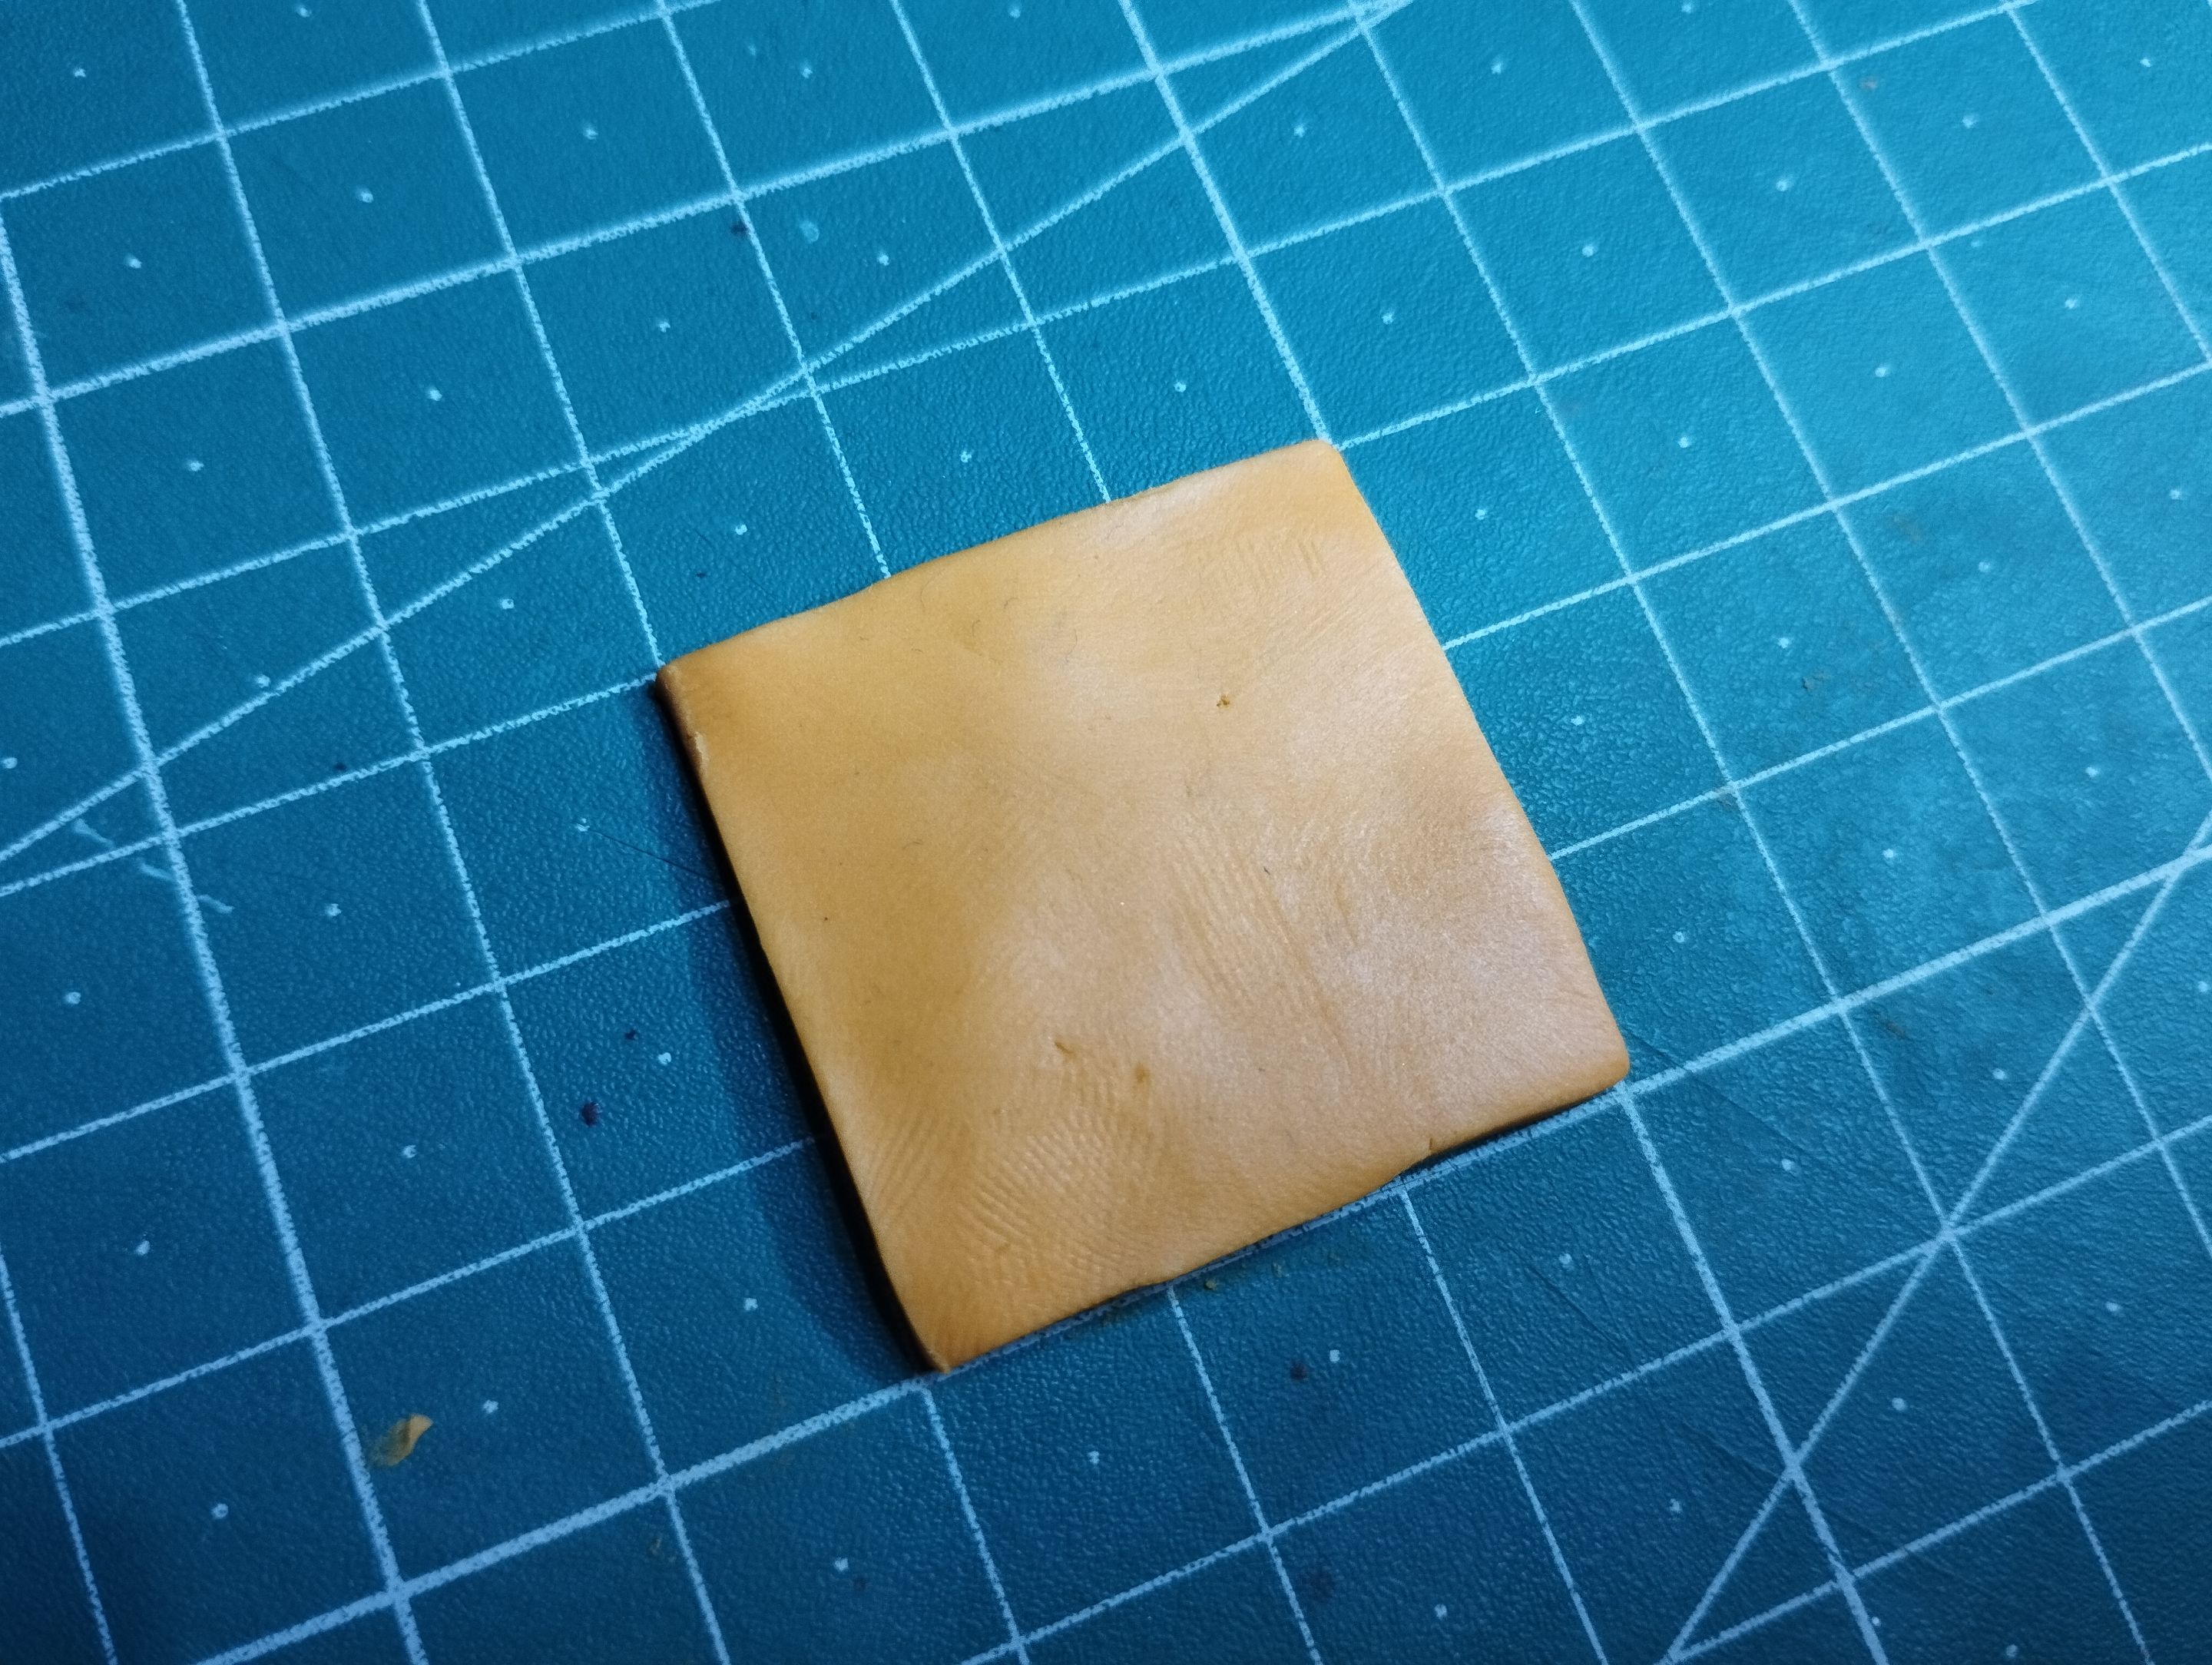
To start with this badge I made a not so thin sheet of plasticine. At first it had no shape, but I cut it into a square shape. If you look closely, it looks like a yellow cheese...
>> # Paso a paso
>>
>>Para comenzar con esta insignia hice una lámina no tan delgada de plastilina. En un inicio no tenía forma, pero la recorte con una forma cuadrada. Si lo miran bien, parece un queso amarillo...
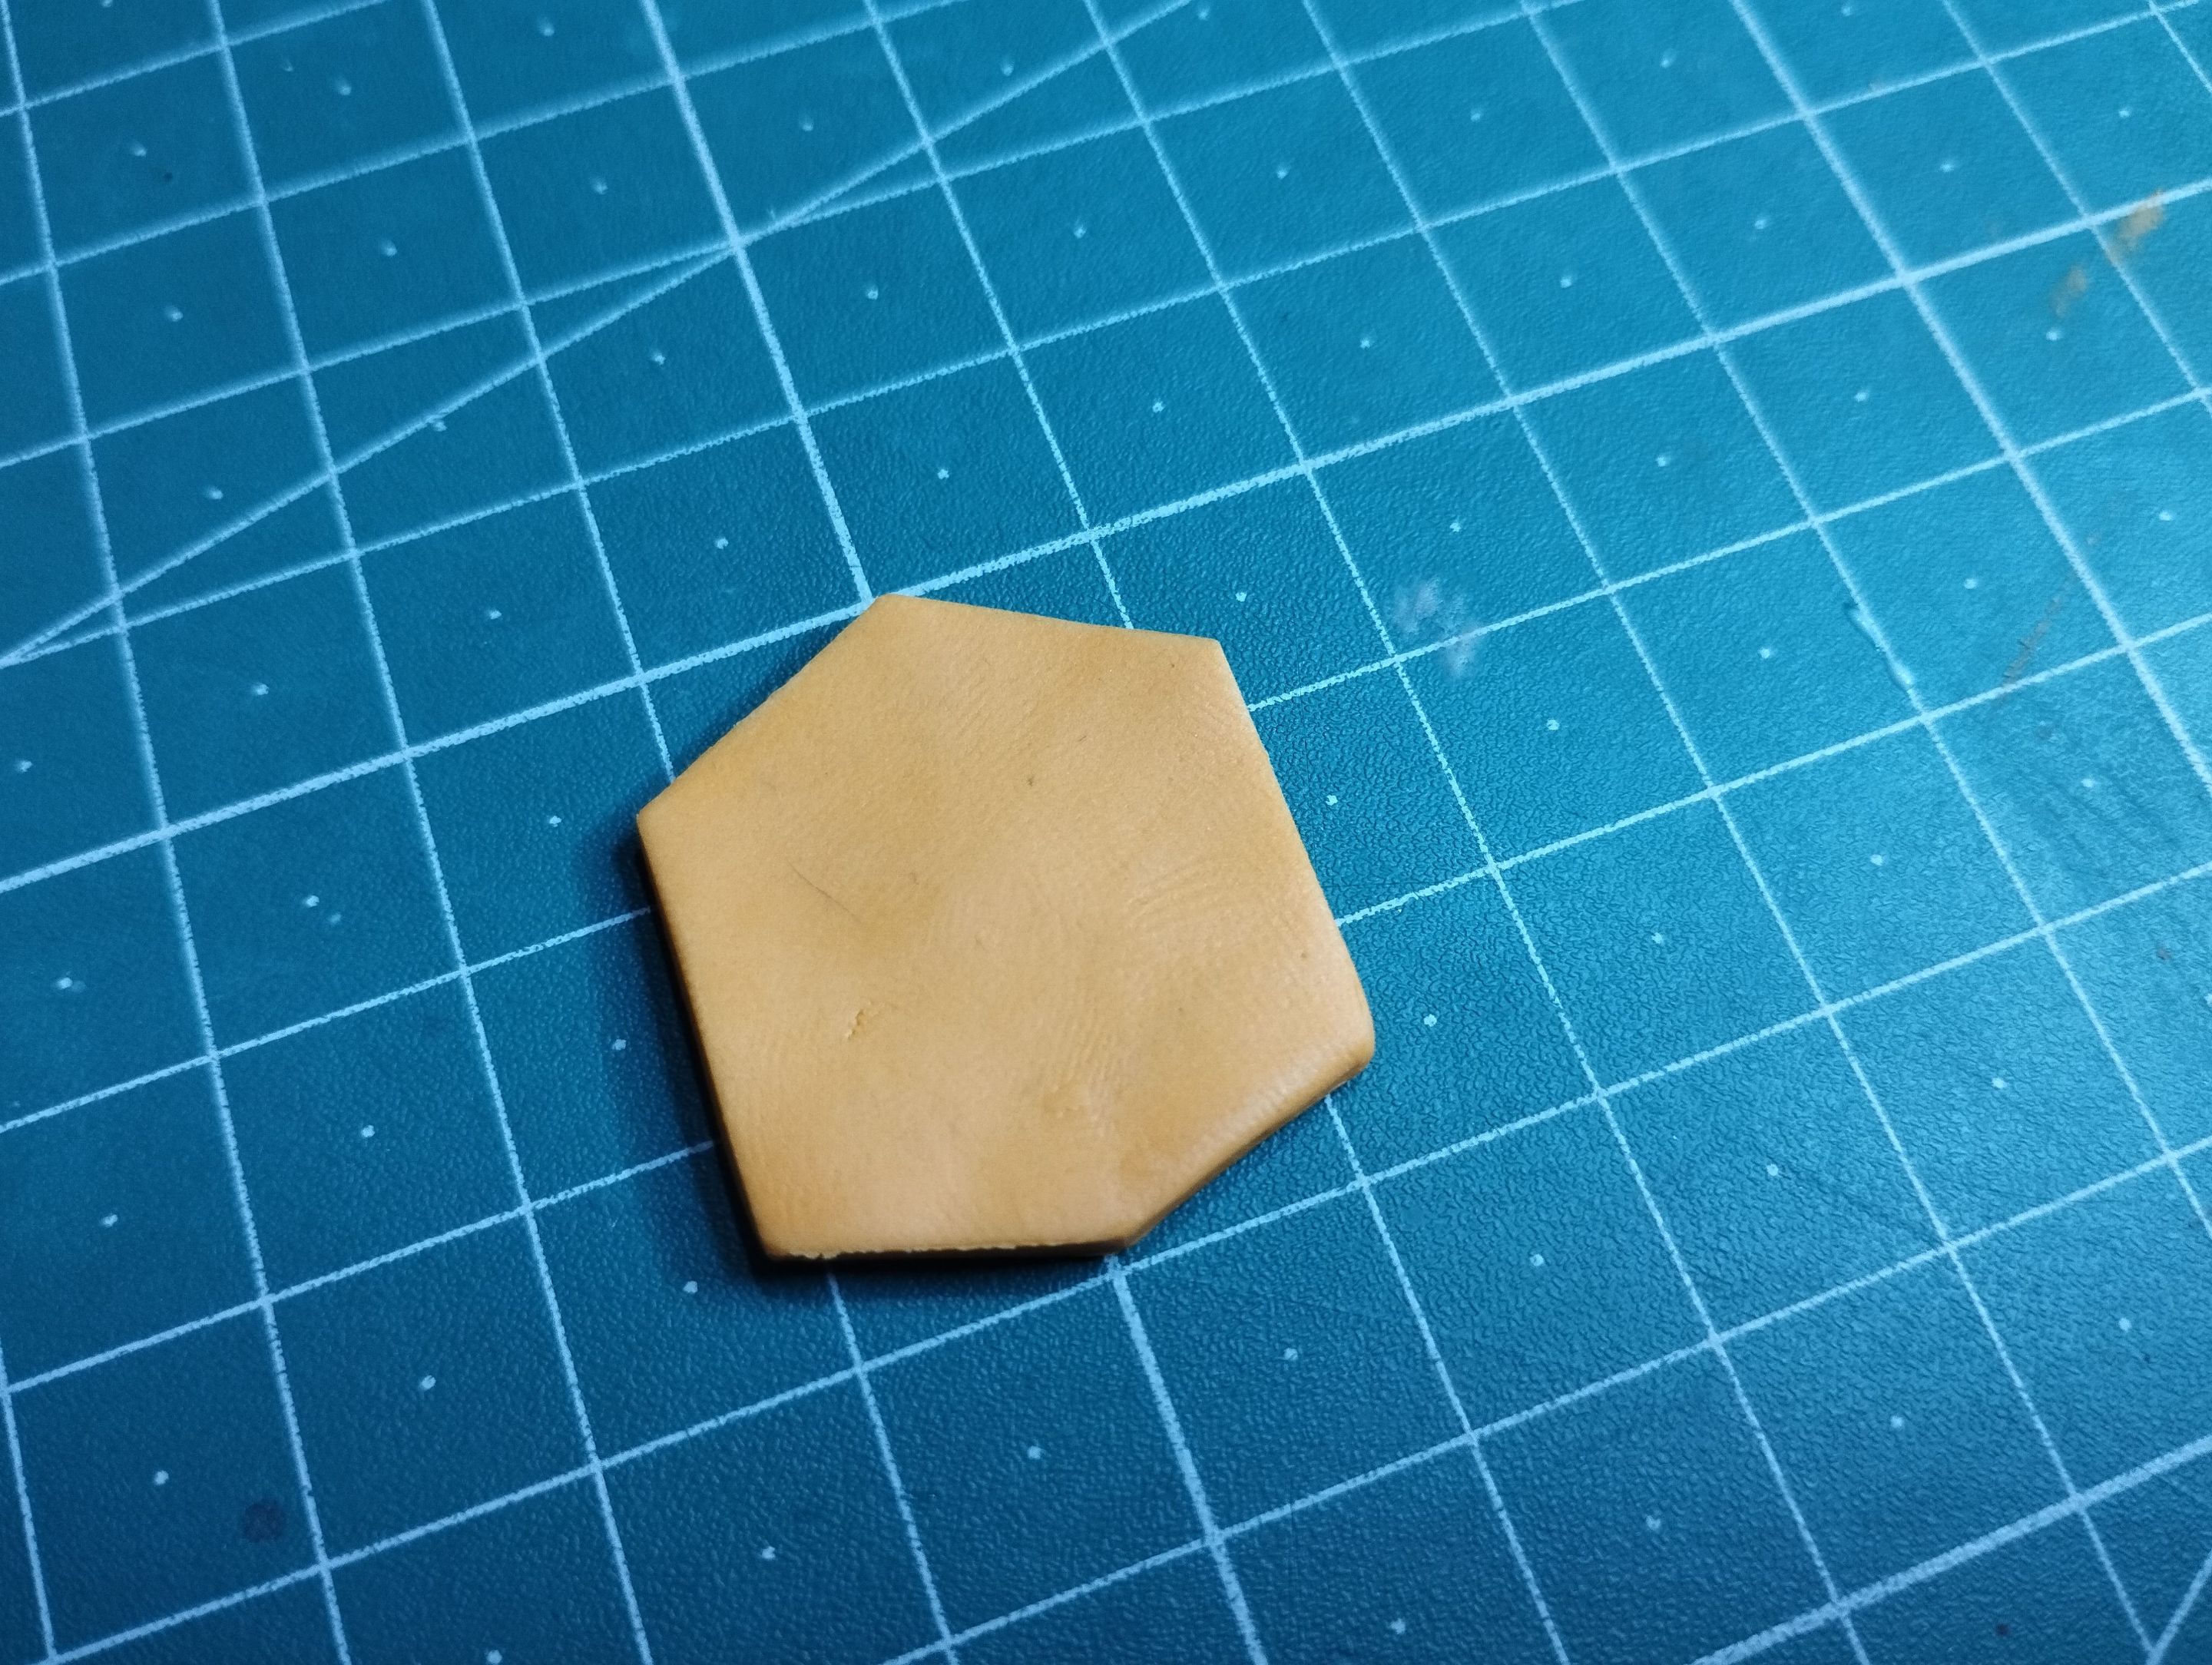
Well, to continue I continued cutting with the cutter this square shape to give it the hexagonal shape so characteristic of the badges.
I must say that it was not perfect, but at least it has the hexagonal shape I was looking for.
>>Bien, para continuar continúe recortando con el cutter esta forma cuadrada para darle la forma hexagonal tan característica de las insignias.
>>
>>Debo decir que no quedo perfecto, pero la menos tiene la forma hexagonal que buscaba.
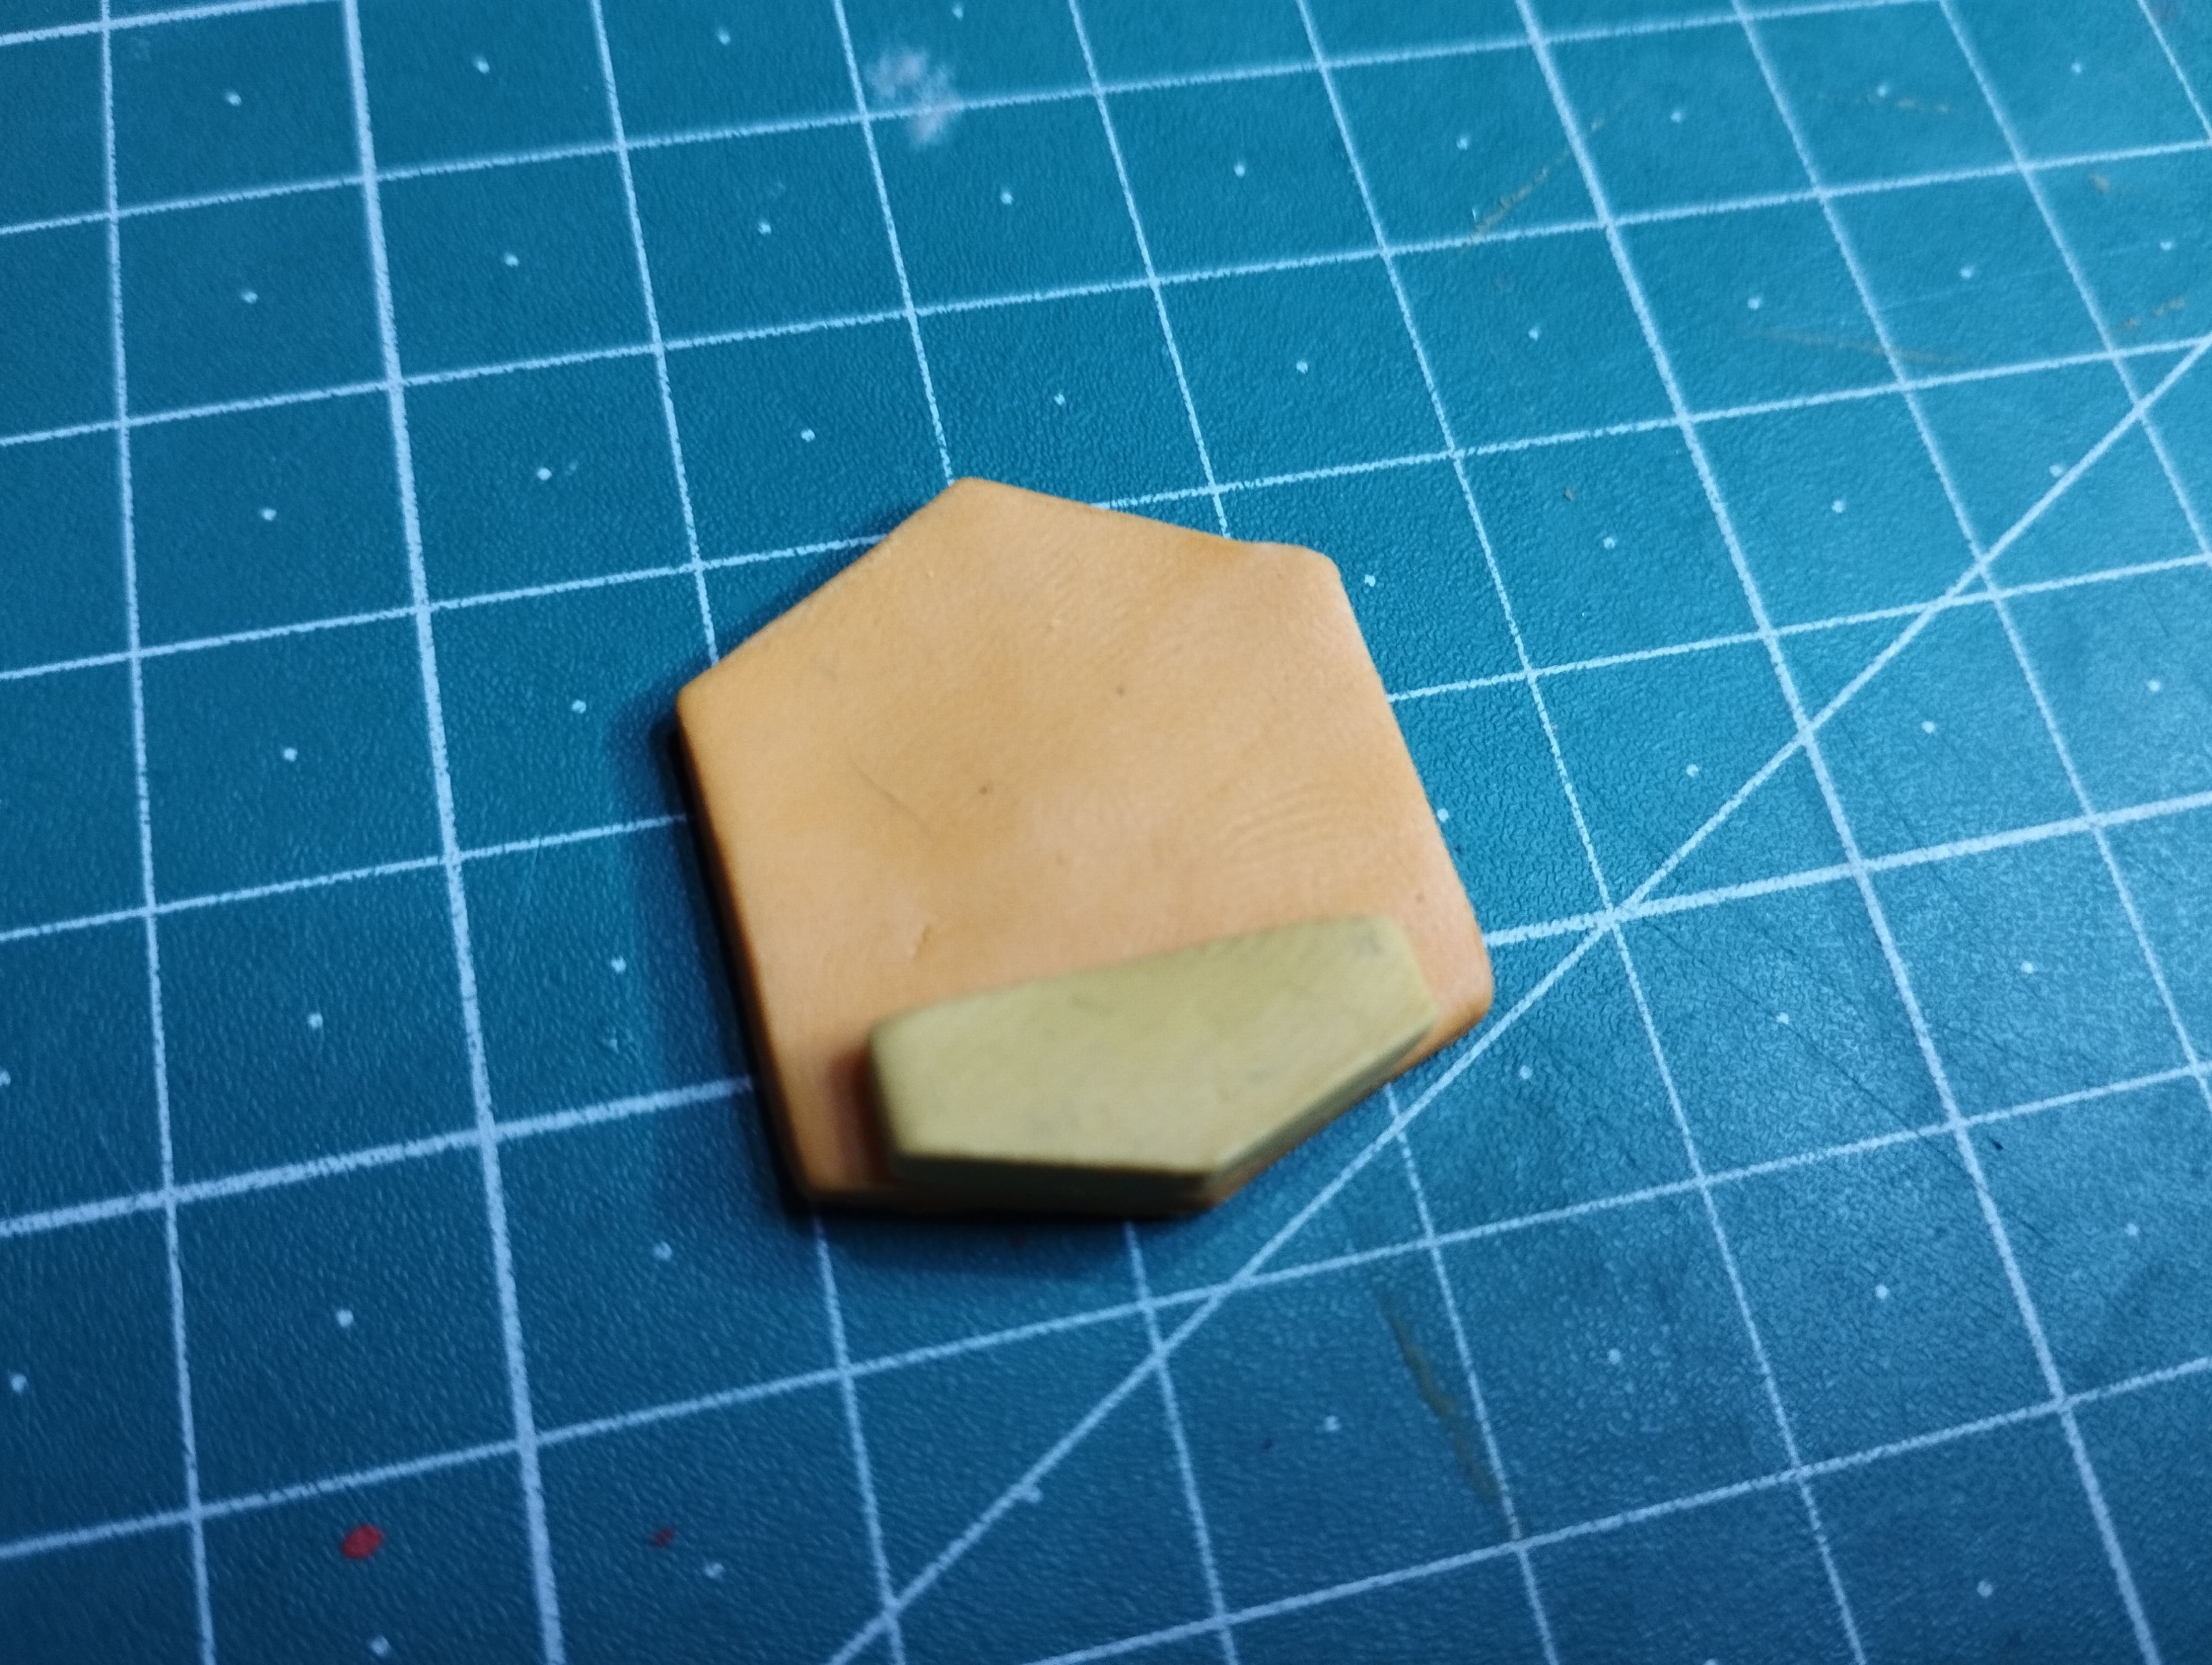
Already here I started to make the cake that goes inside the badge.
It's a three tier cake, so the first tier is the largest. I made this rectangle and cut the bottom part in such a way that it was the same as the pointed part of the hexagon of the badge.
Of course I made this rectangle in a different color than the hexagon, even though I made it with orange, I mixed it with a little yellow and white to give it that lighter color.
>>Ya aquí comencé a hacer la torta que va dentro de la insignia.
>>
>>Es una torta de tres pisos, así que el primer piso es el más grande. Hice este rectángulo y la parte inferior la corté de tal manera que quedase igual a esa parte puntiaguda del hexágono de la insignia.
>>
>>Por supuesto este rectángulo lo hice de un color distinto al hexágono, a pesar de que lo hice con naranja, este lo mezcle con un poco de amarillo y blanco para dar ese color más claro.
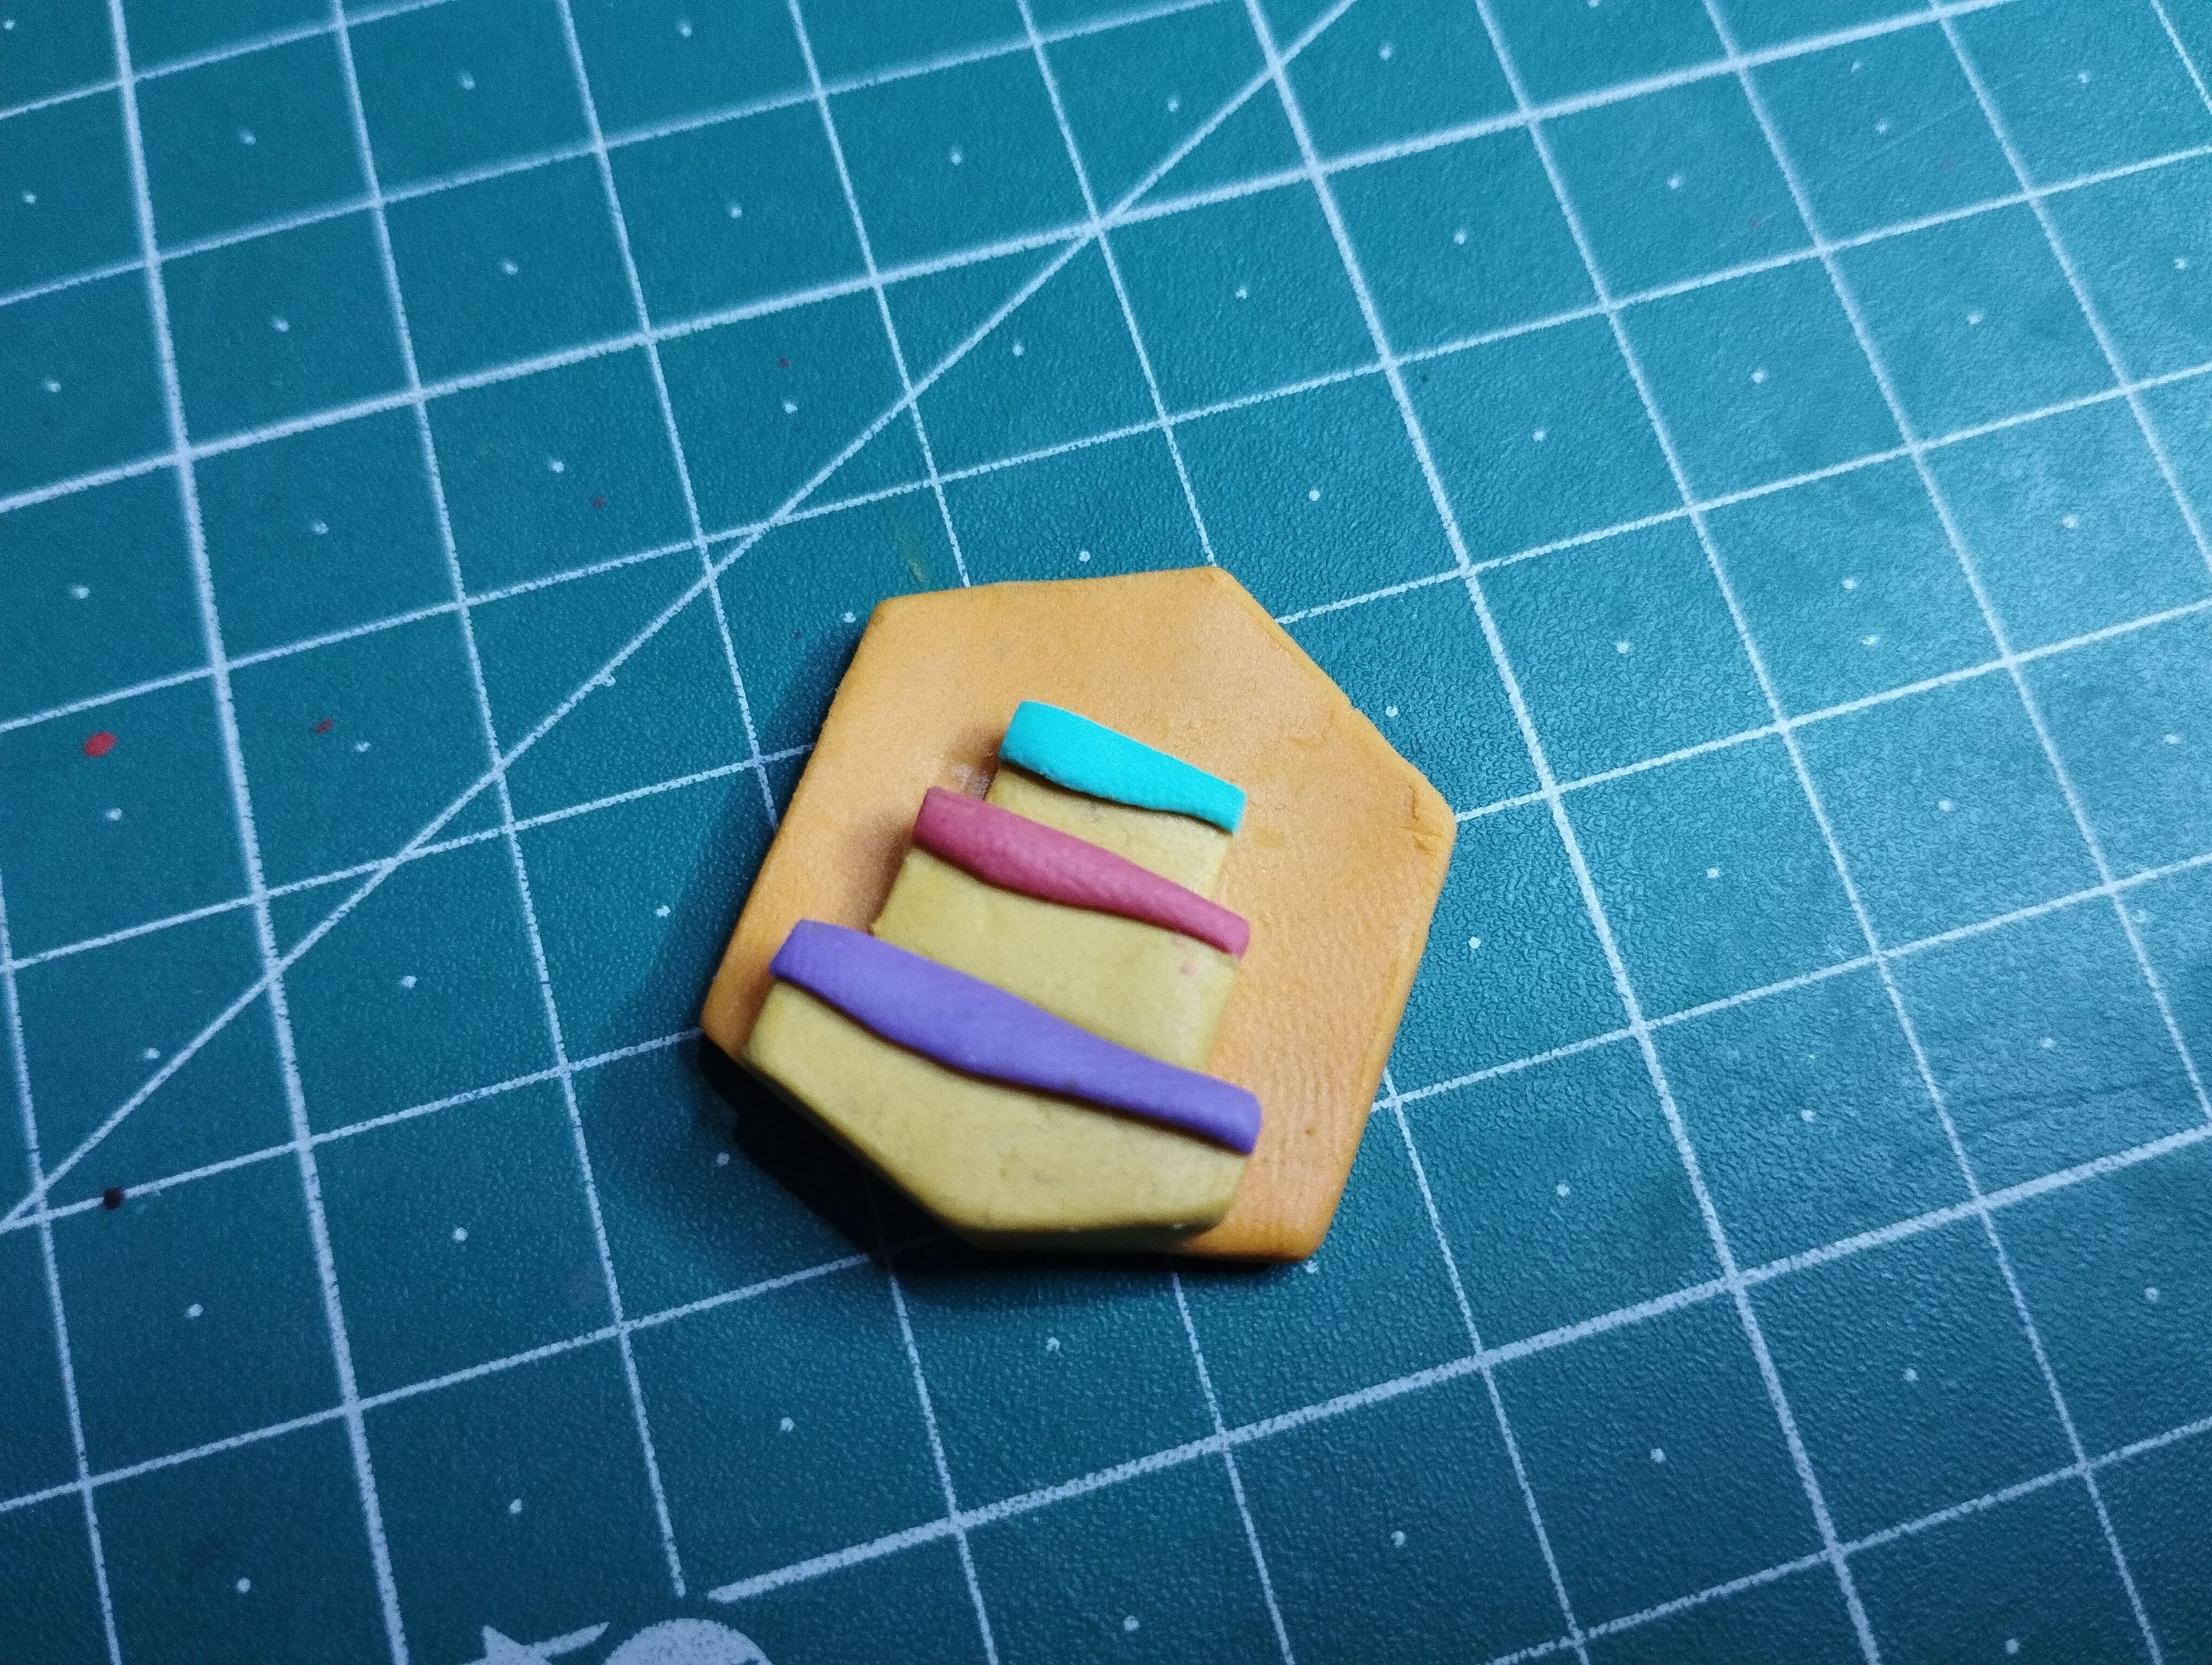
I made the following tiers in the same way, only smaller, in a staggered way, as if it were a common three-tiered cake.
On the lower tier I made a purple stripe. If you notice, the insignia has a frosting on each tier, so that purple stripe is the one on the first tier, for the second one I used a fuchsia stripe and for the third one a color similar to cyan. A different color for each floor.
>>Los siguientes pisos los hice de la misma manera, solo que más pequeños, de una forma escalonada, vamos como si fuese una torta común de tres pisos.
>>
>>En el piso inferior le hice una franja de color morado. Si se fijan, la insignia tiene como un glaseado en cada piso, así que esa franja morada es la del primer piso, para el segundo usé una franja fucsia y para el tercero un color parecido al cyan. Un color distinto para cada piso.
As decoration, I used numerous orange dots not only for the body of the cake but for the frosting as well, although in the end I decided to remove the ones on the top, as it looked too heavy and I thought it would look better these orange dots only in the frosting.
>>Como decoración, usé numerosos puntitos de color naranja no solo para el cuerpo de la torta sino para el glaseado también, aunque al final decidí quitar los de la parte superior, pues se veía muy cargada y pensé que quedarían mejor estos puntitos naranjas solo en el glaseado.

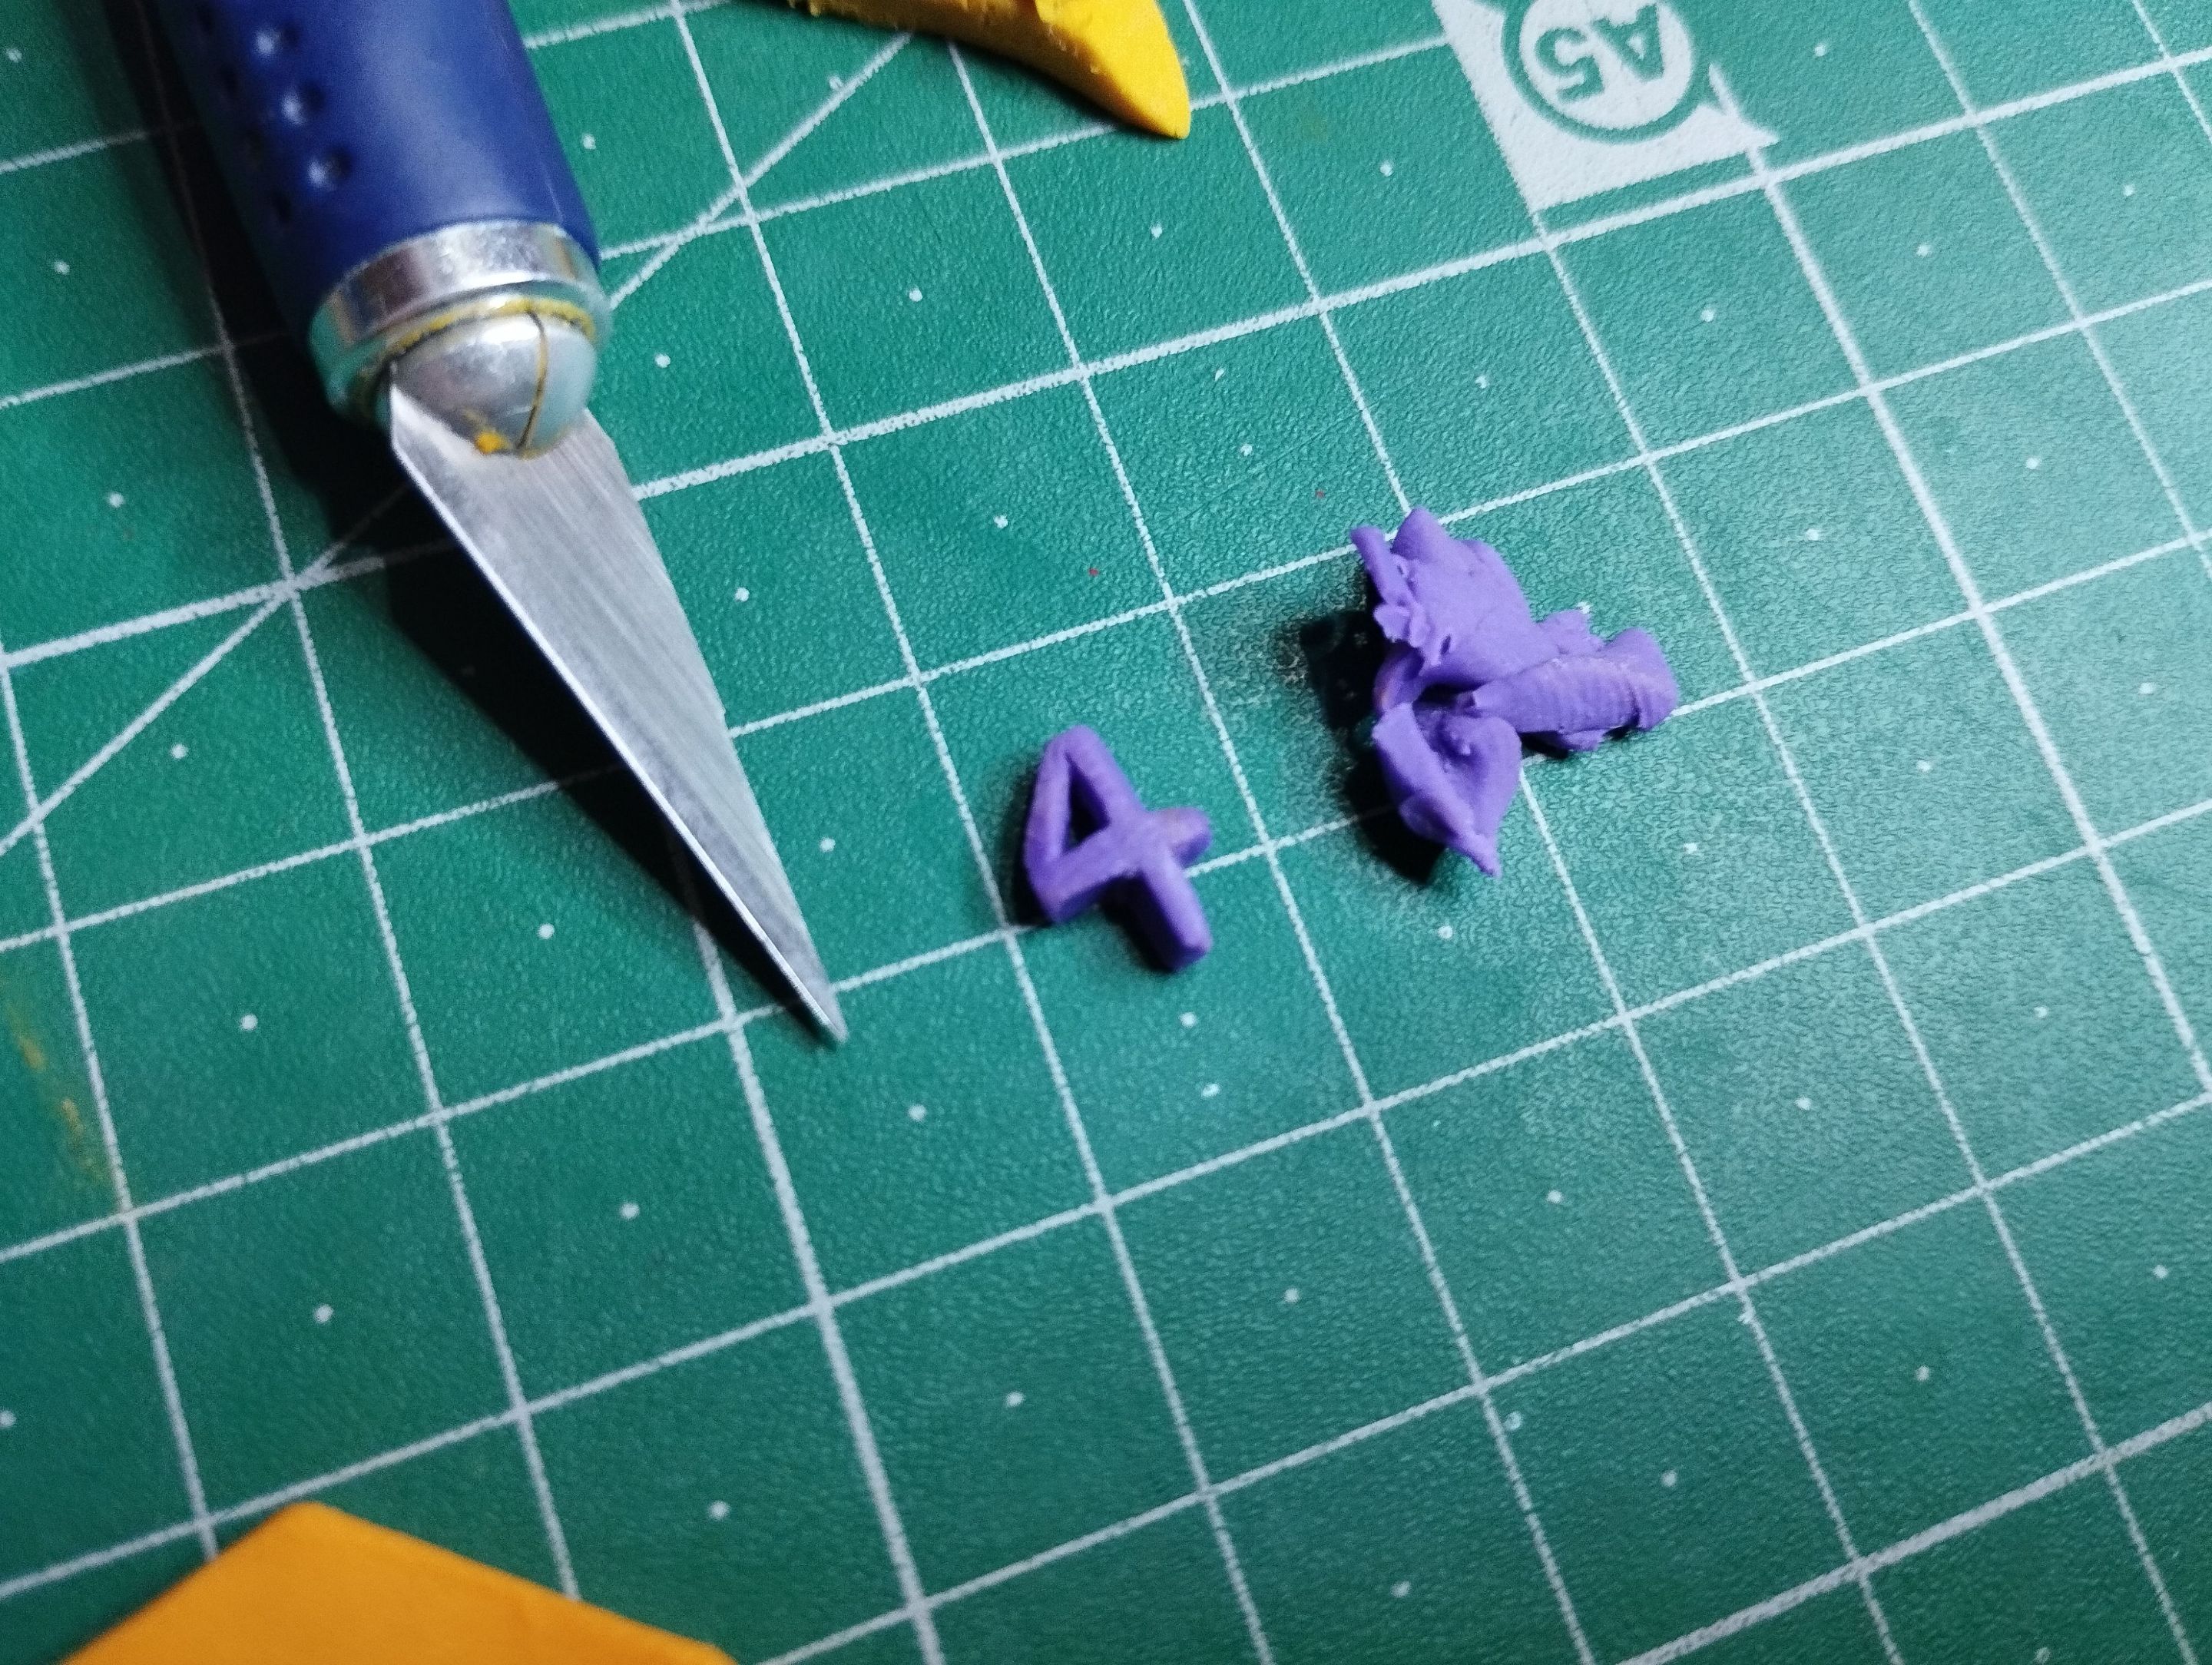
The last thing I had to do was the cake candle. In this specific case I used a small sheet of purple plasticine, which started as a little square that I slowly and carefully began to cut with the help of a sharp cutter.
>>Ya lo último que debía hacer era la vela dea torta. En este caso específico usé una pequeña lámina de plastilina púrpura, que inició como un cuadrito que lentamente y con cuidado comencé a cortar con ayuda de un afilado cutter.
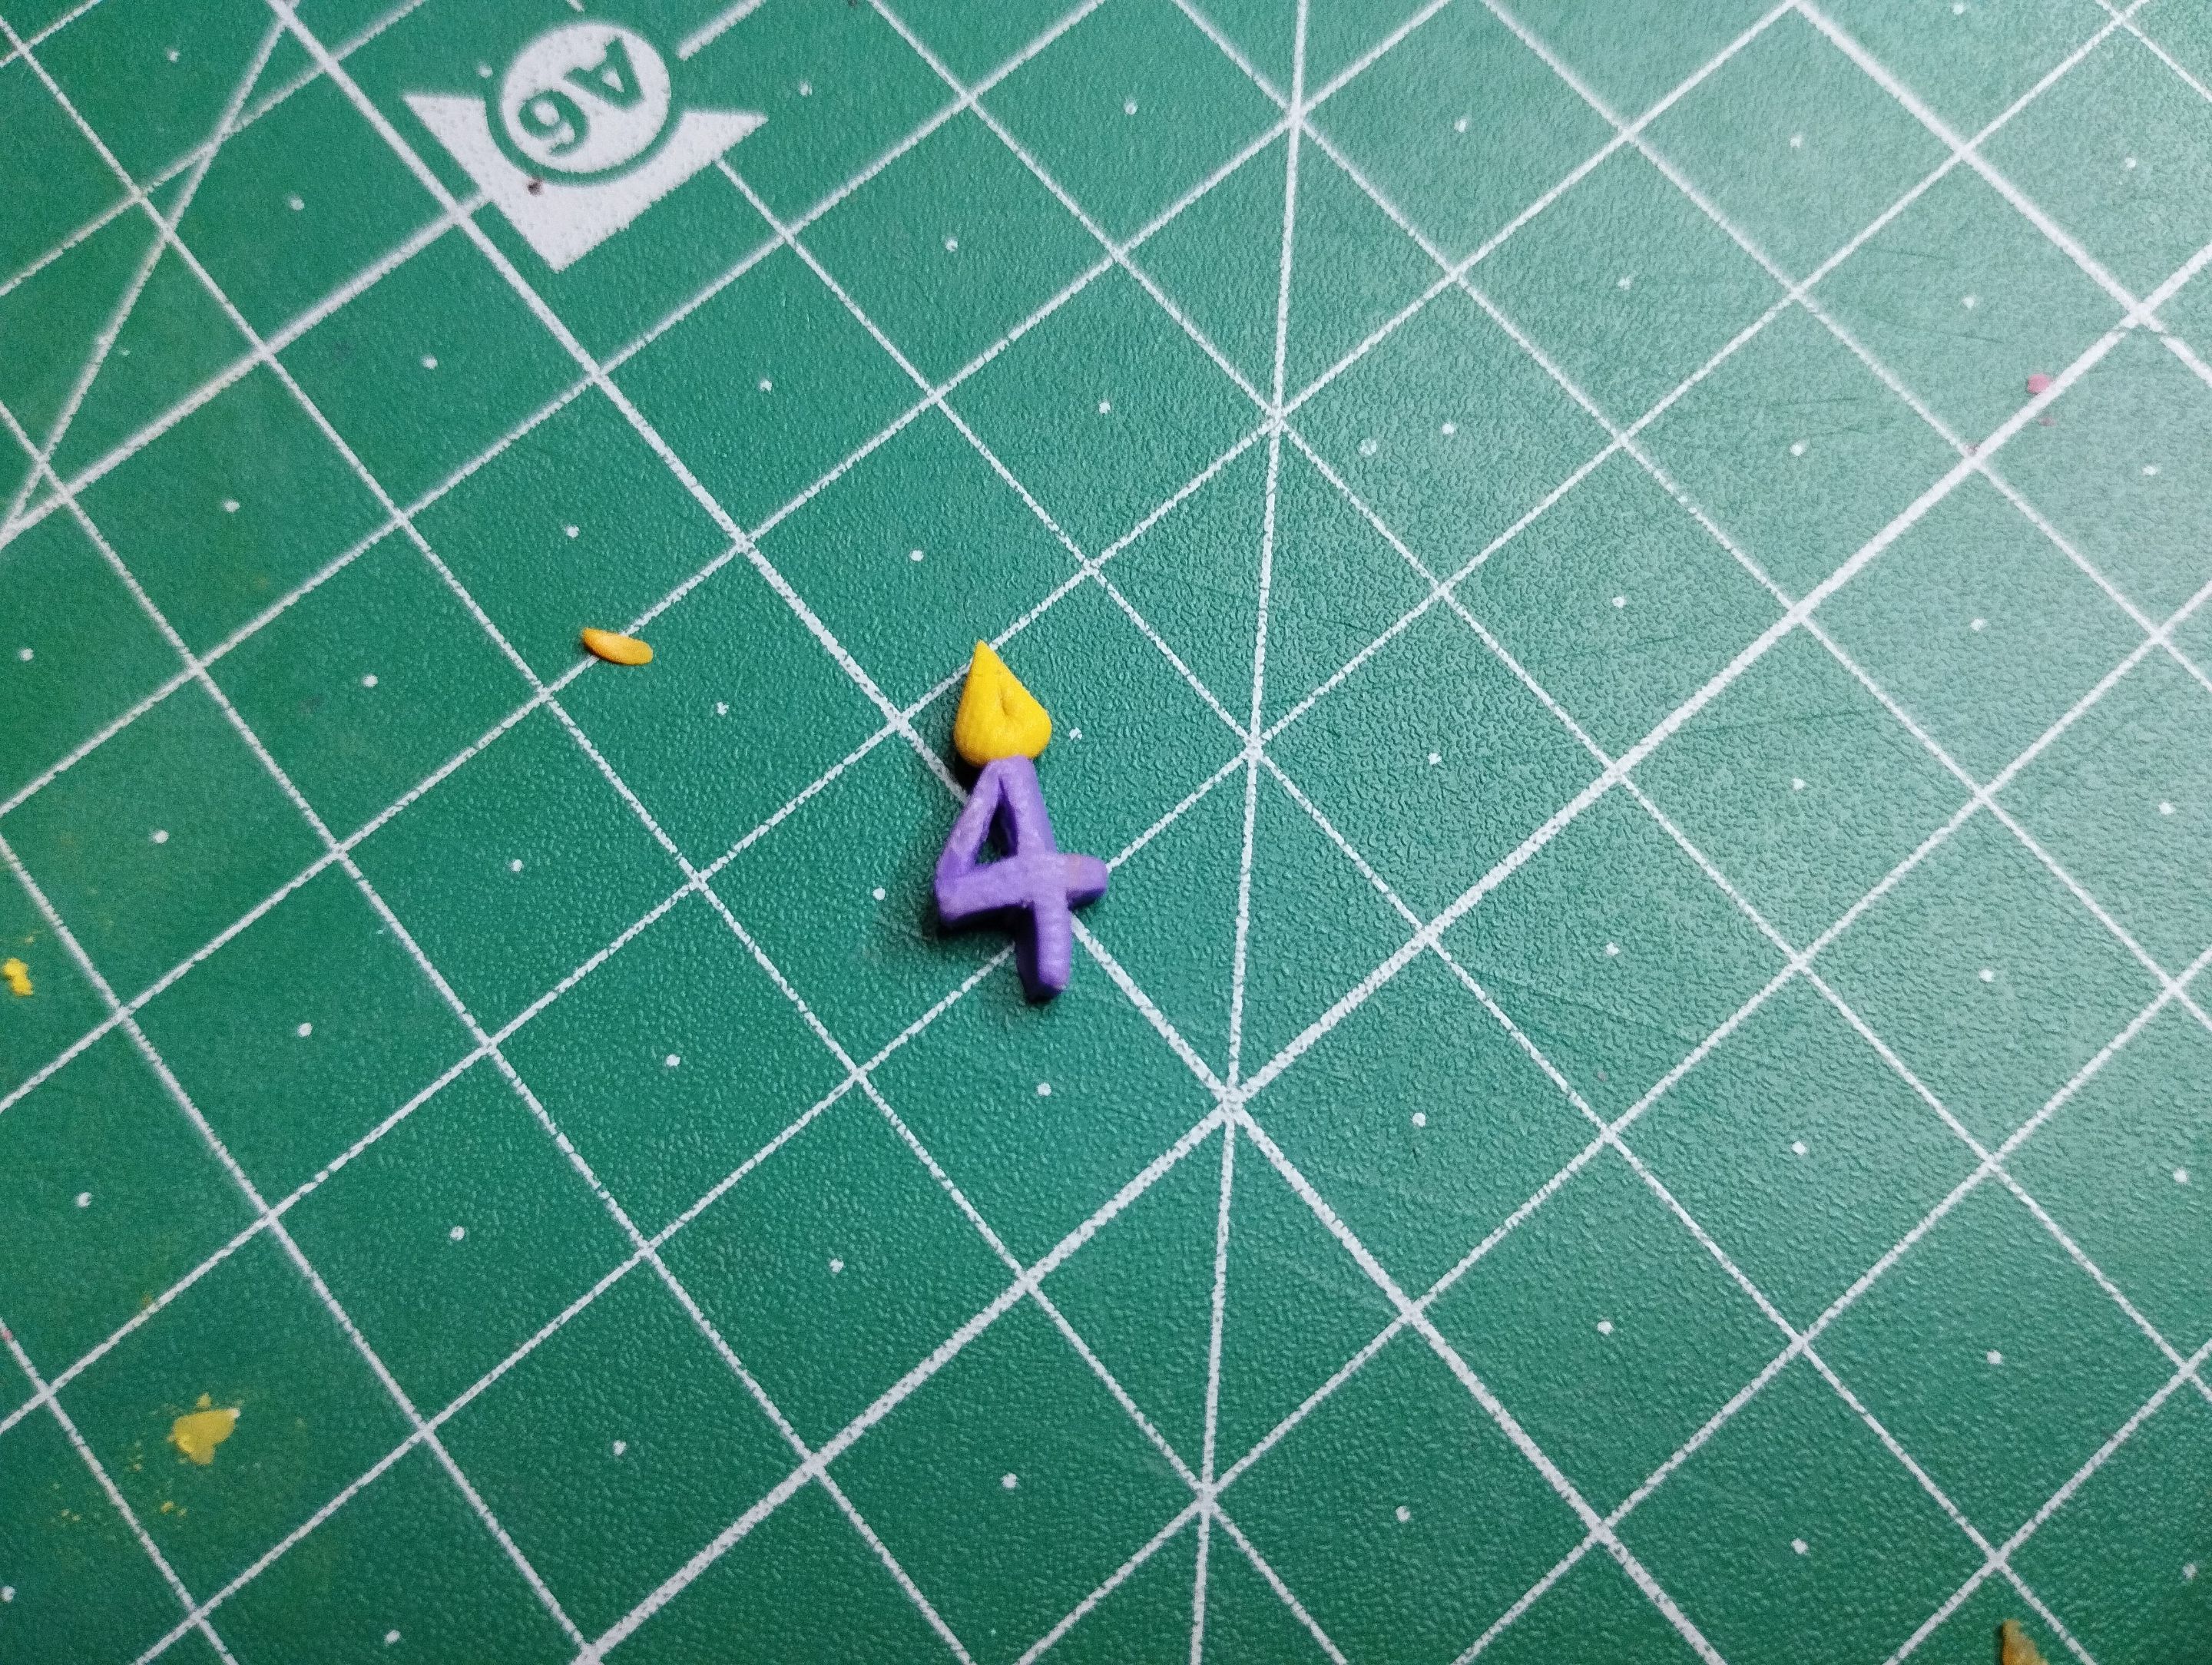
As a little detail, I placed the fire on the tip of the candle and that's how the figurine was finished.
To protect it, I used three layers of glue to make it last longer.
>>Como detallito, le coloqué el fuego en la punta de la vela y así quedó terminada la figurita.
>>
>>Ya para protegerla, usé unas tres capas de pegamento para que esta pudiera durar más en el tiempo.
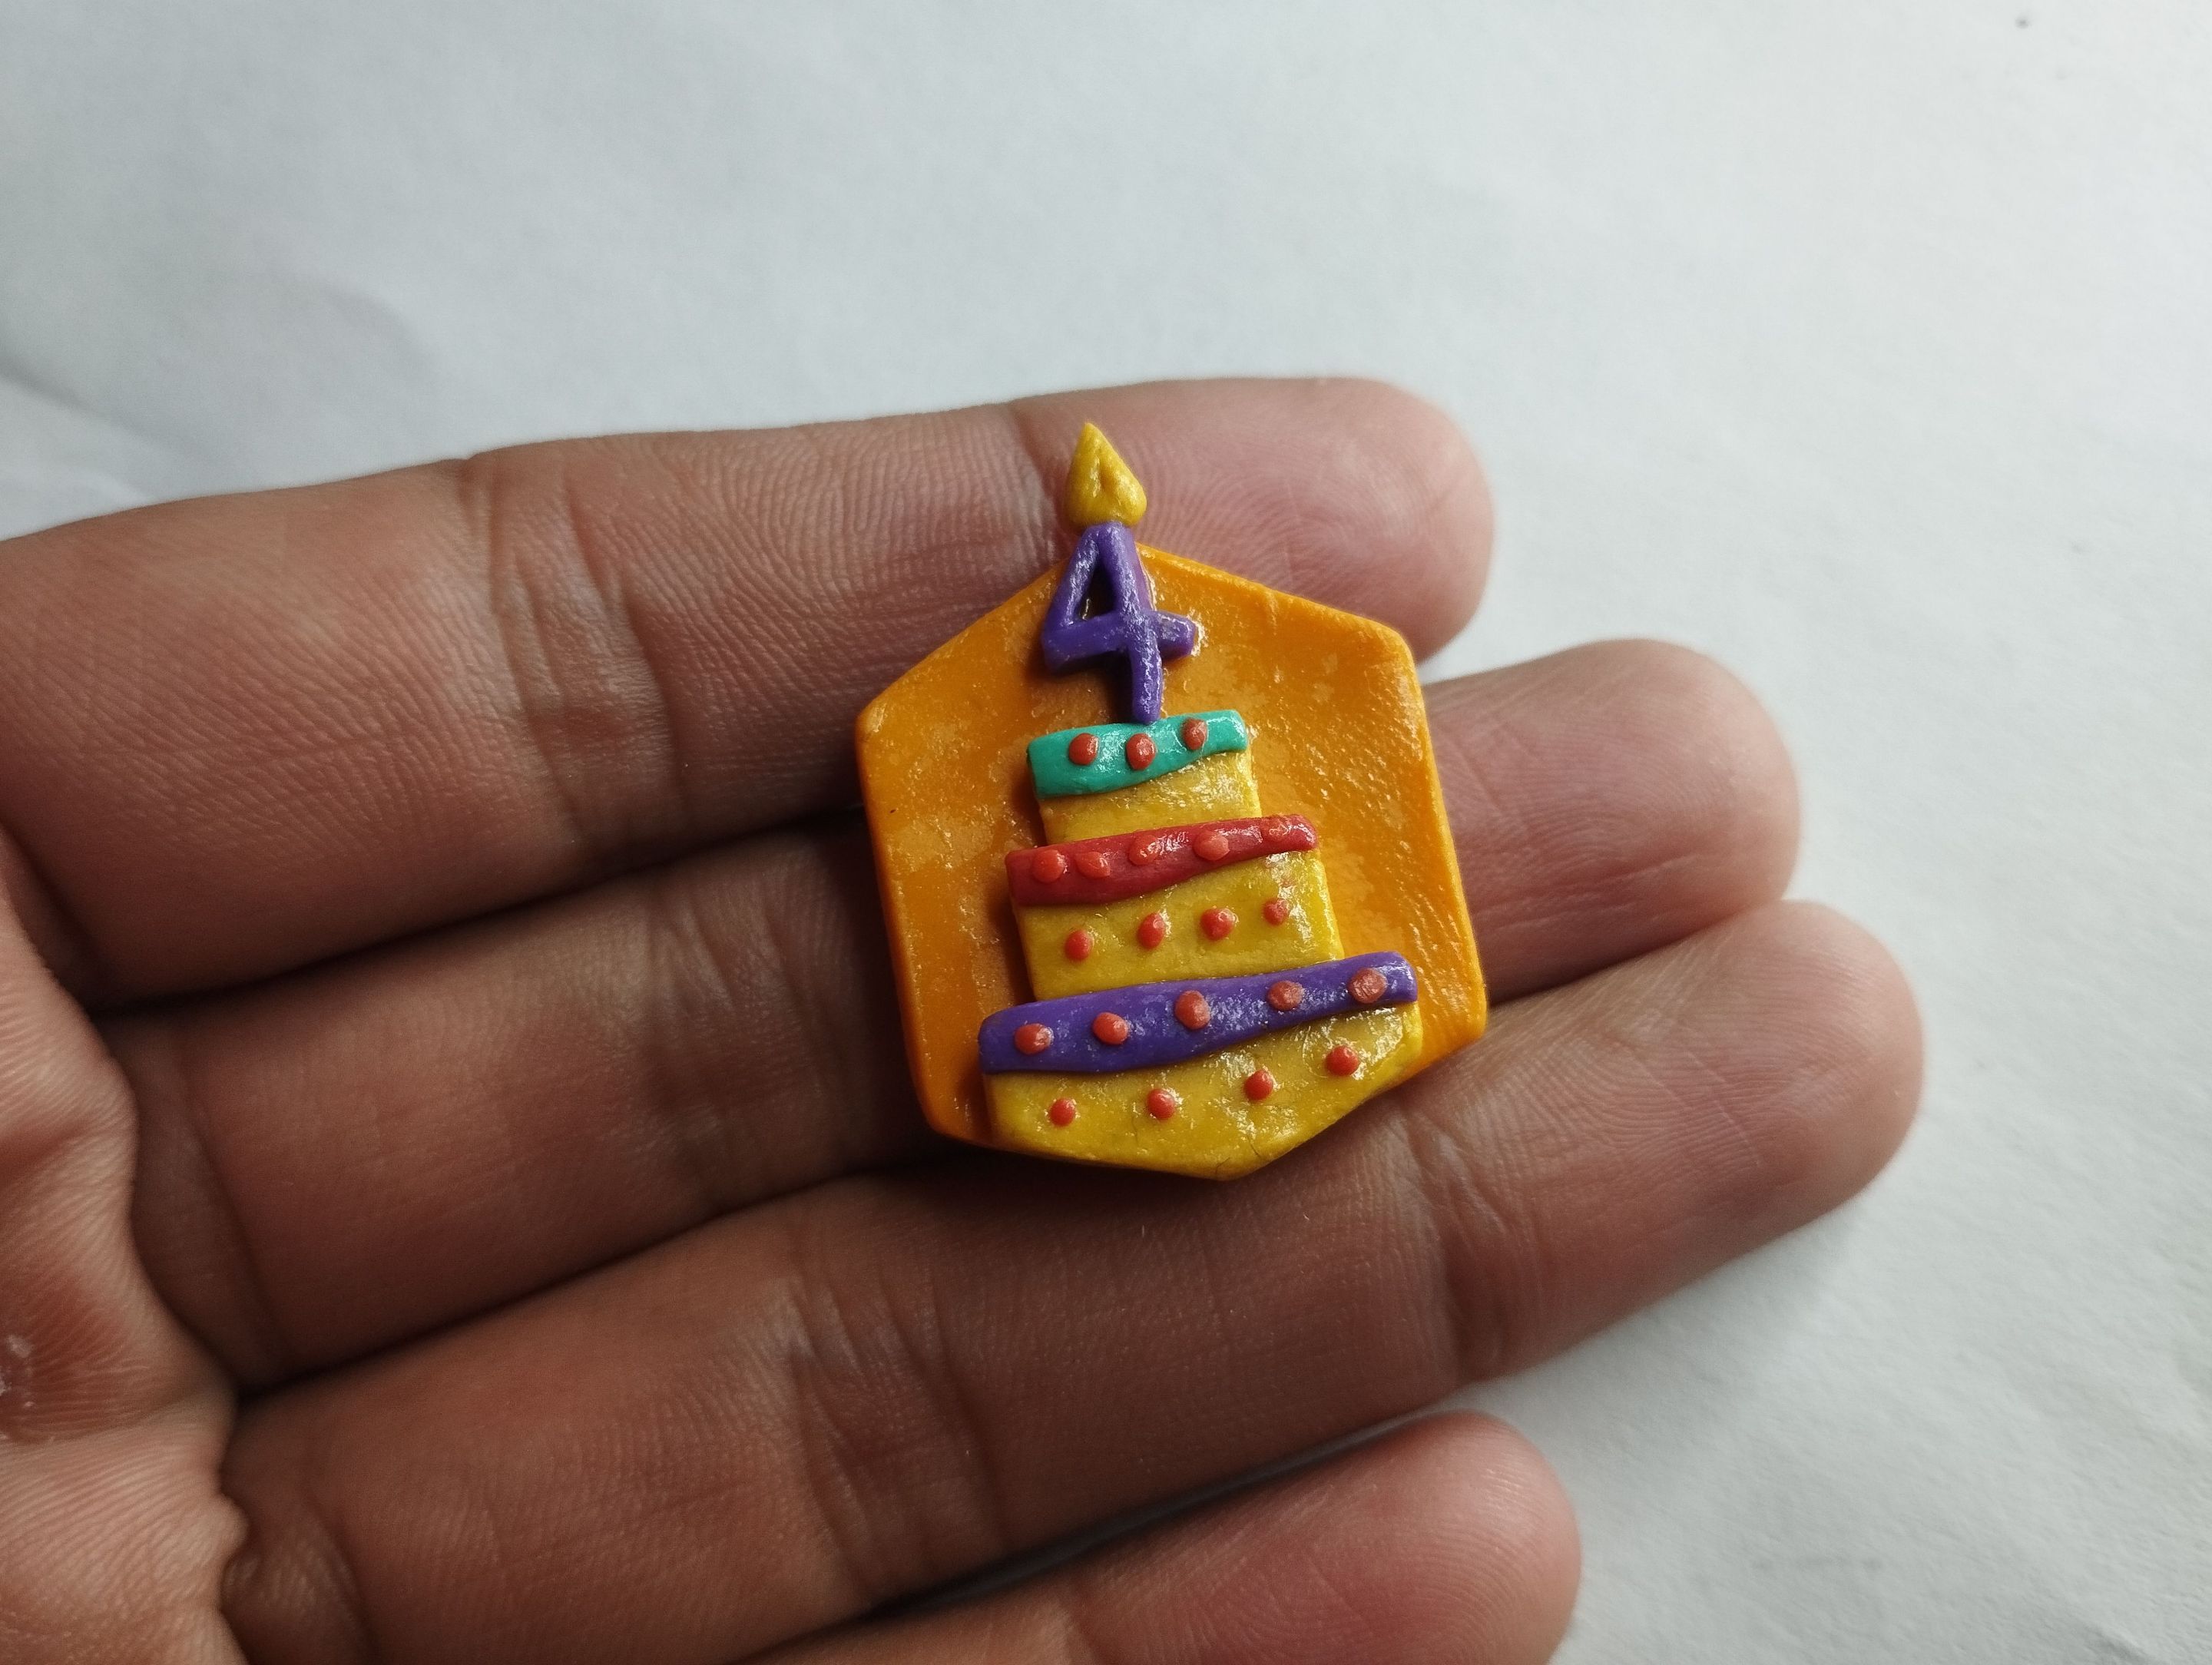
After the glue dried, the figurine was finished and ready for display.
Below you can see a couple of pictures of the final result:
>>Después de que el pegamento secó, la figurita quedó terminada y listo para exhibirla.
>>
>>A continuación pueden ver un par de fotos del resultado final:
Well friends, this has been all for now. It has been an interesting year in hive, a year where there are some nice things to remember, some things to forget, some new things and many more to come.
I'd like to know what you thought of my fourth birthday badge in hive. If you like you can leave your opinions below in the comments, as always I will be happy to read them.
With nothing more to add, I'll take my leave then...
DIY: Happy Birthday To Me [ENG/SPA]
@gaboamc2393
· 2025-05-01 03:28
· hive-130560
#hive-130560
#diy
#art
#crafts
#handmade
#spanish
#tutorial
#arte
#waiv
#neoxian
#ecency
Payout: 0.000 HBD
Votes: 299
More interactions (upvote, reblog, reply) coming soon.