Hola comunidad hermosa de Hive Diy 🤗,
Se acerca el día de San Valentín, una fecha especial donde celebramos el amor y la amistad de maneras únicas y creativas. Este año, he decidido darle un toque especial a mi celebración con un proyecto DIY que llevaba tiempo queriendo realizar: un corazón adornado con unas bellas alas. La idea puede parecer un poco fuera de lo común, pero algo en ella me llamó profundamente la atención. No estoy segura de qué fue exactamente, quizás la mezcla de fragilidad y fortaleza que simbolizan las alas, o tal vez la pureza y pasión del corazón. Sea lo que sea, estoy convencida de que será el complemento perfecto para un ramo de flores en este San Valentín.
Imagino este corazón alado como el centro de un arreglo floral, simbolizando no solo el amor romántico, sino también la libertad y la belleza de amar sin límites. Creo que será una manera maravillosa de expresar mis sentimientos, y estoy emocionada de compartir este proceso creativo con todos ustedes. Espero que este proyecto inspire a otros a explorar su creatividad y a añadir un toque personal a sus celebraciones de San Valentín.
>Hello beautiful Hive Diy community 🤗,
>Valentine's Day is approaching, a special day where we celebrate love and friendship in unique and creative ways. This year, I've decided to add a special touch to my celebration with a DIY project I've been wanting to undertake for some time: a heart adorned with beautiful wings. The idea might seem a bit out of the ordinary, but something about it deeply caught my attention. I'm not sure exactly what it was, perhaps the mix of fragility and strength symbolized by the wings, or maybe the purity and passion of the heart. Whatever it is, I'm convinced it will be the perfect addition to a bouquet of flowers for this Valentine's Day.
>I imagine this winged heart as the centerpiece of a floral arrangement, symbolizing not just romantic love, but also the freedom and beauty of loving without limits. I believe it will be a wonderful way to express my feelings, and I'm excited to share this creative process with all of you. I hope this project inspires others to explore their creativity and add a personal touch to their Valentine's Day celebrations.
---
#####
Materiales / Materials
#####
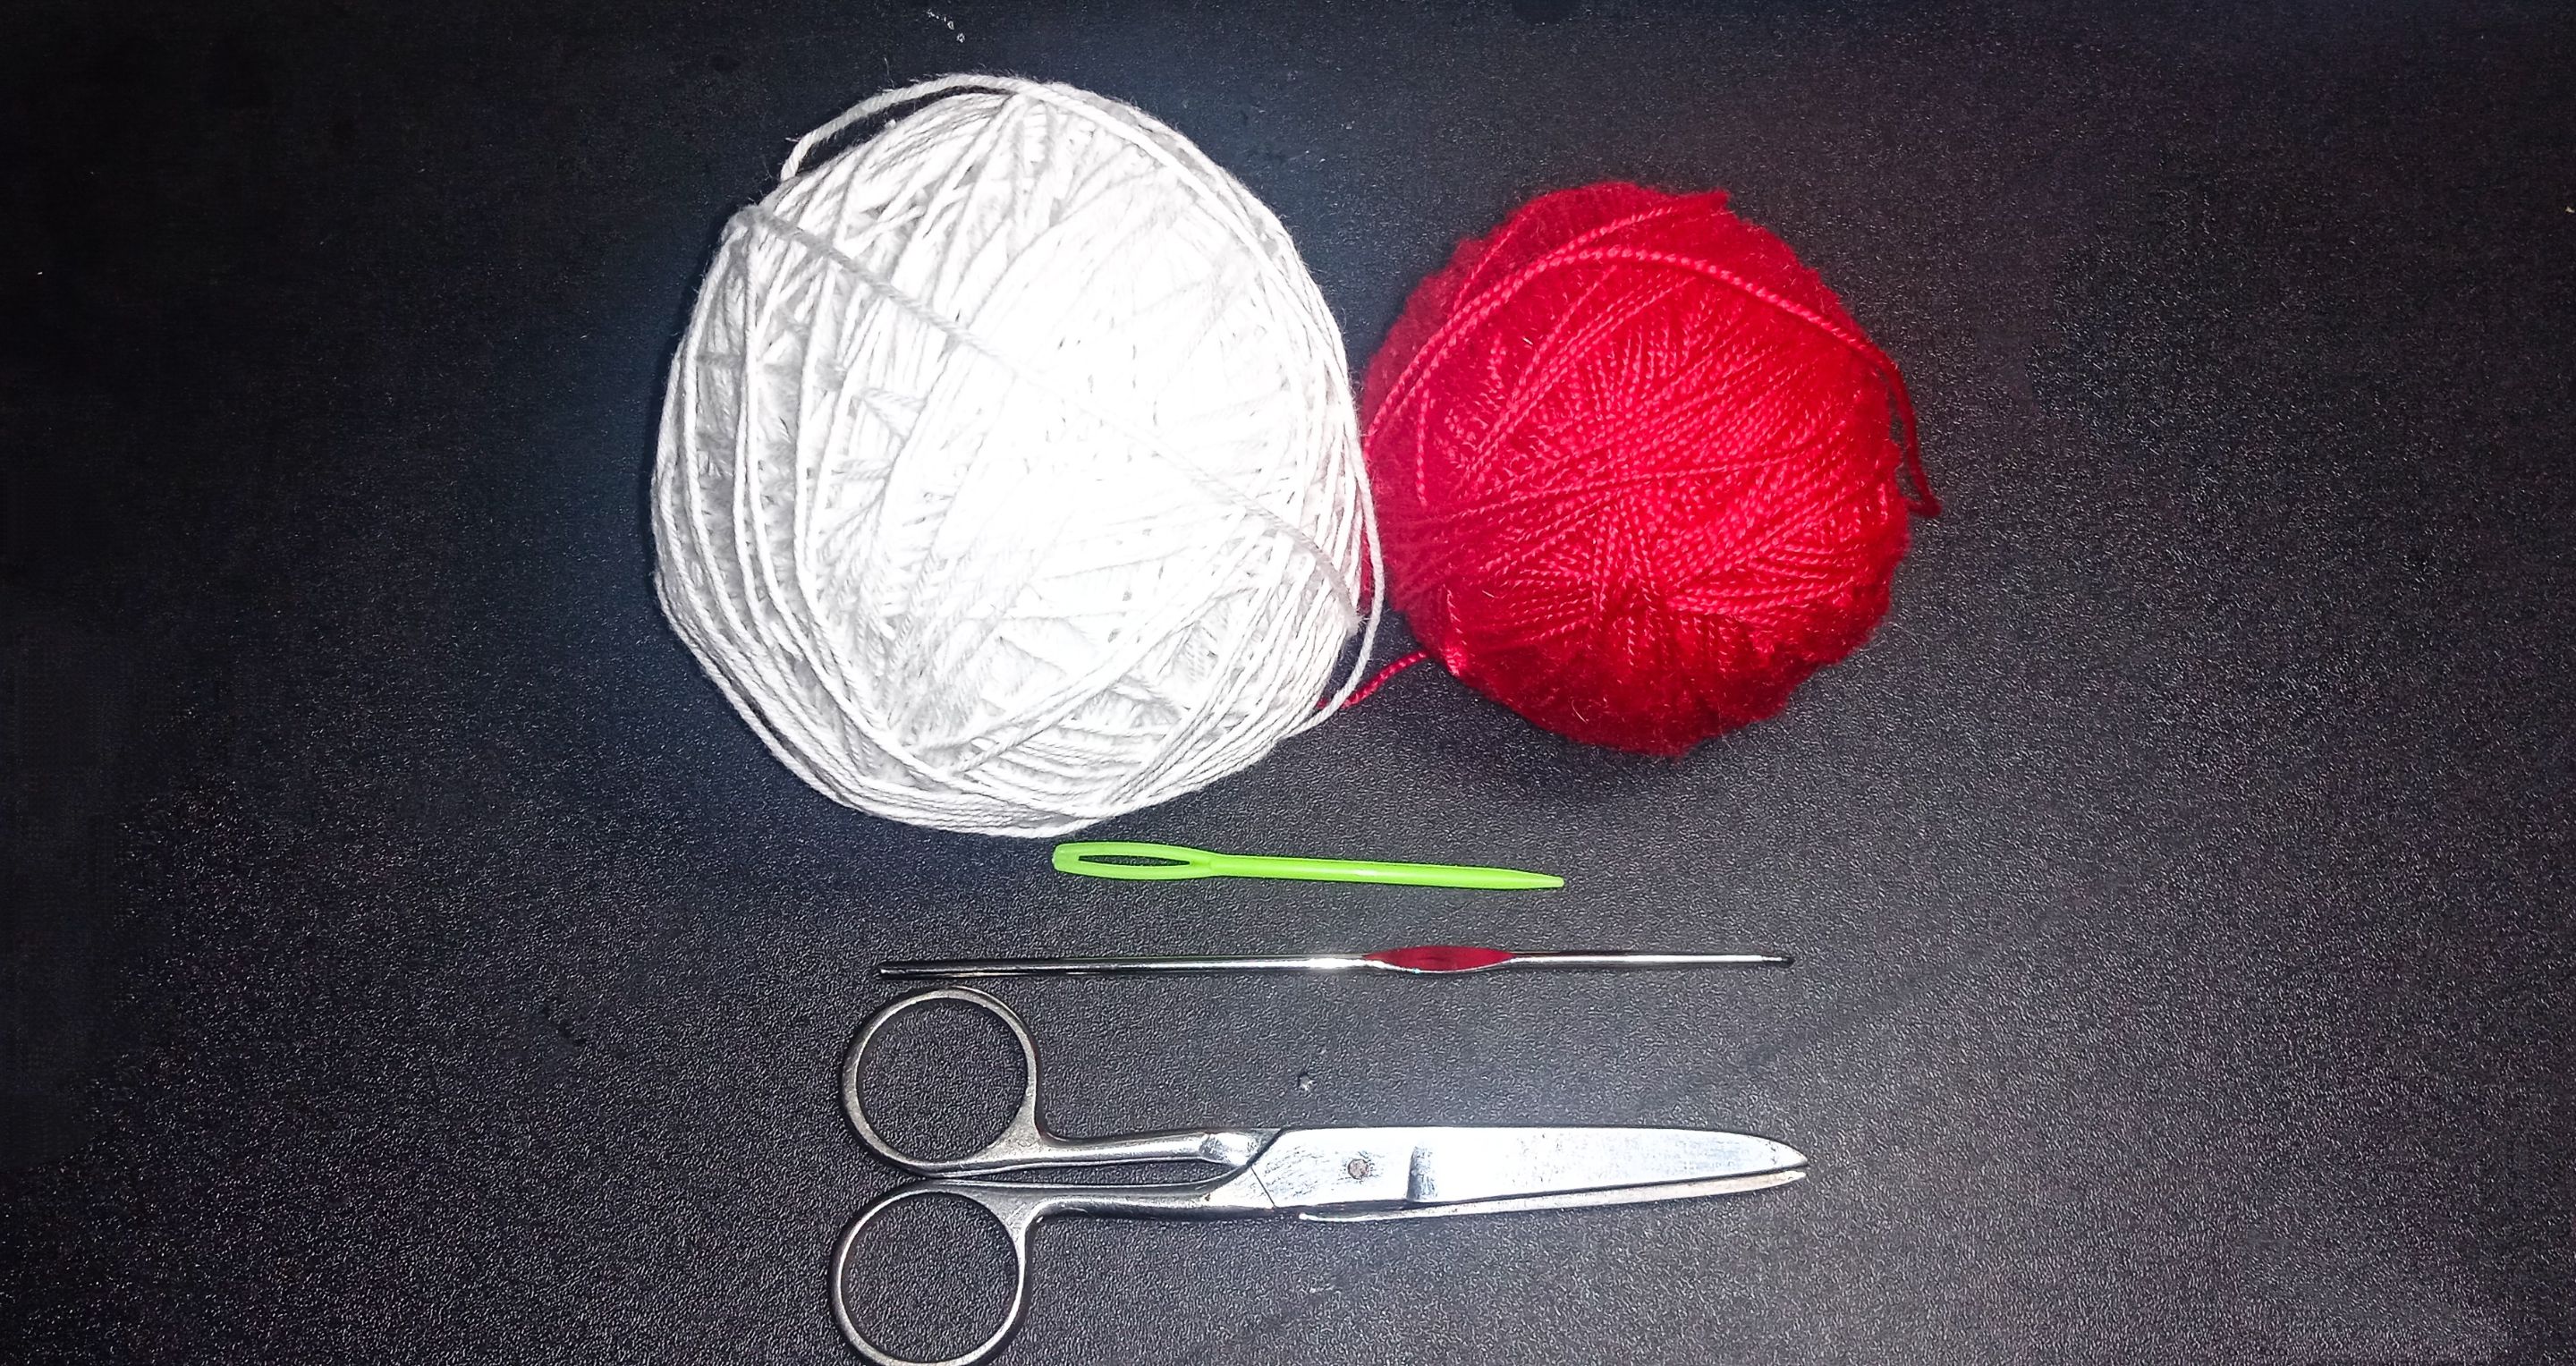
- Hilo color rojo y blanco
- Crochet de 2 mm
- algodón sintético
- Tijeras
- aguja
>- Red and white thread
>- 2 mm crochet hook
>- Synthetic cotton
>- Scissors
>- Needle
---
#####
Elaboración / Elaboration
#####
|
|
|
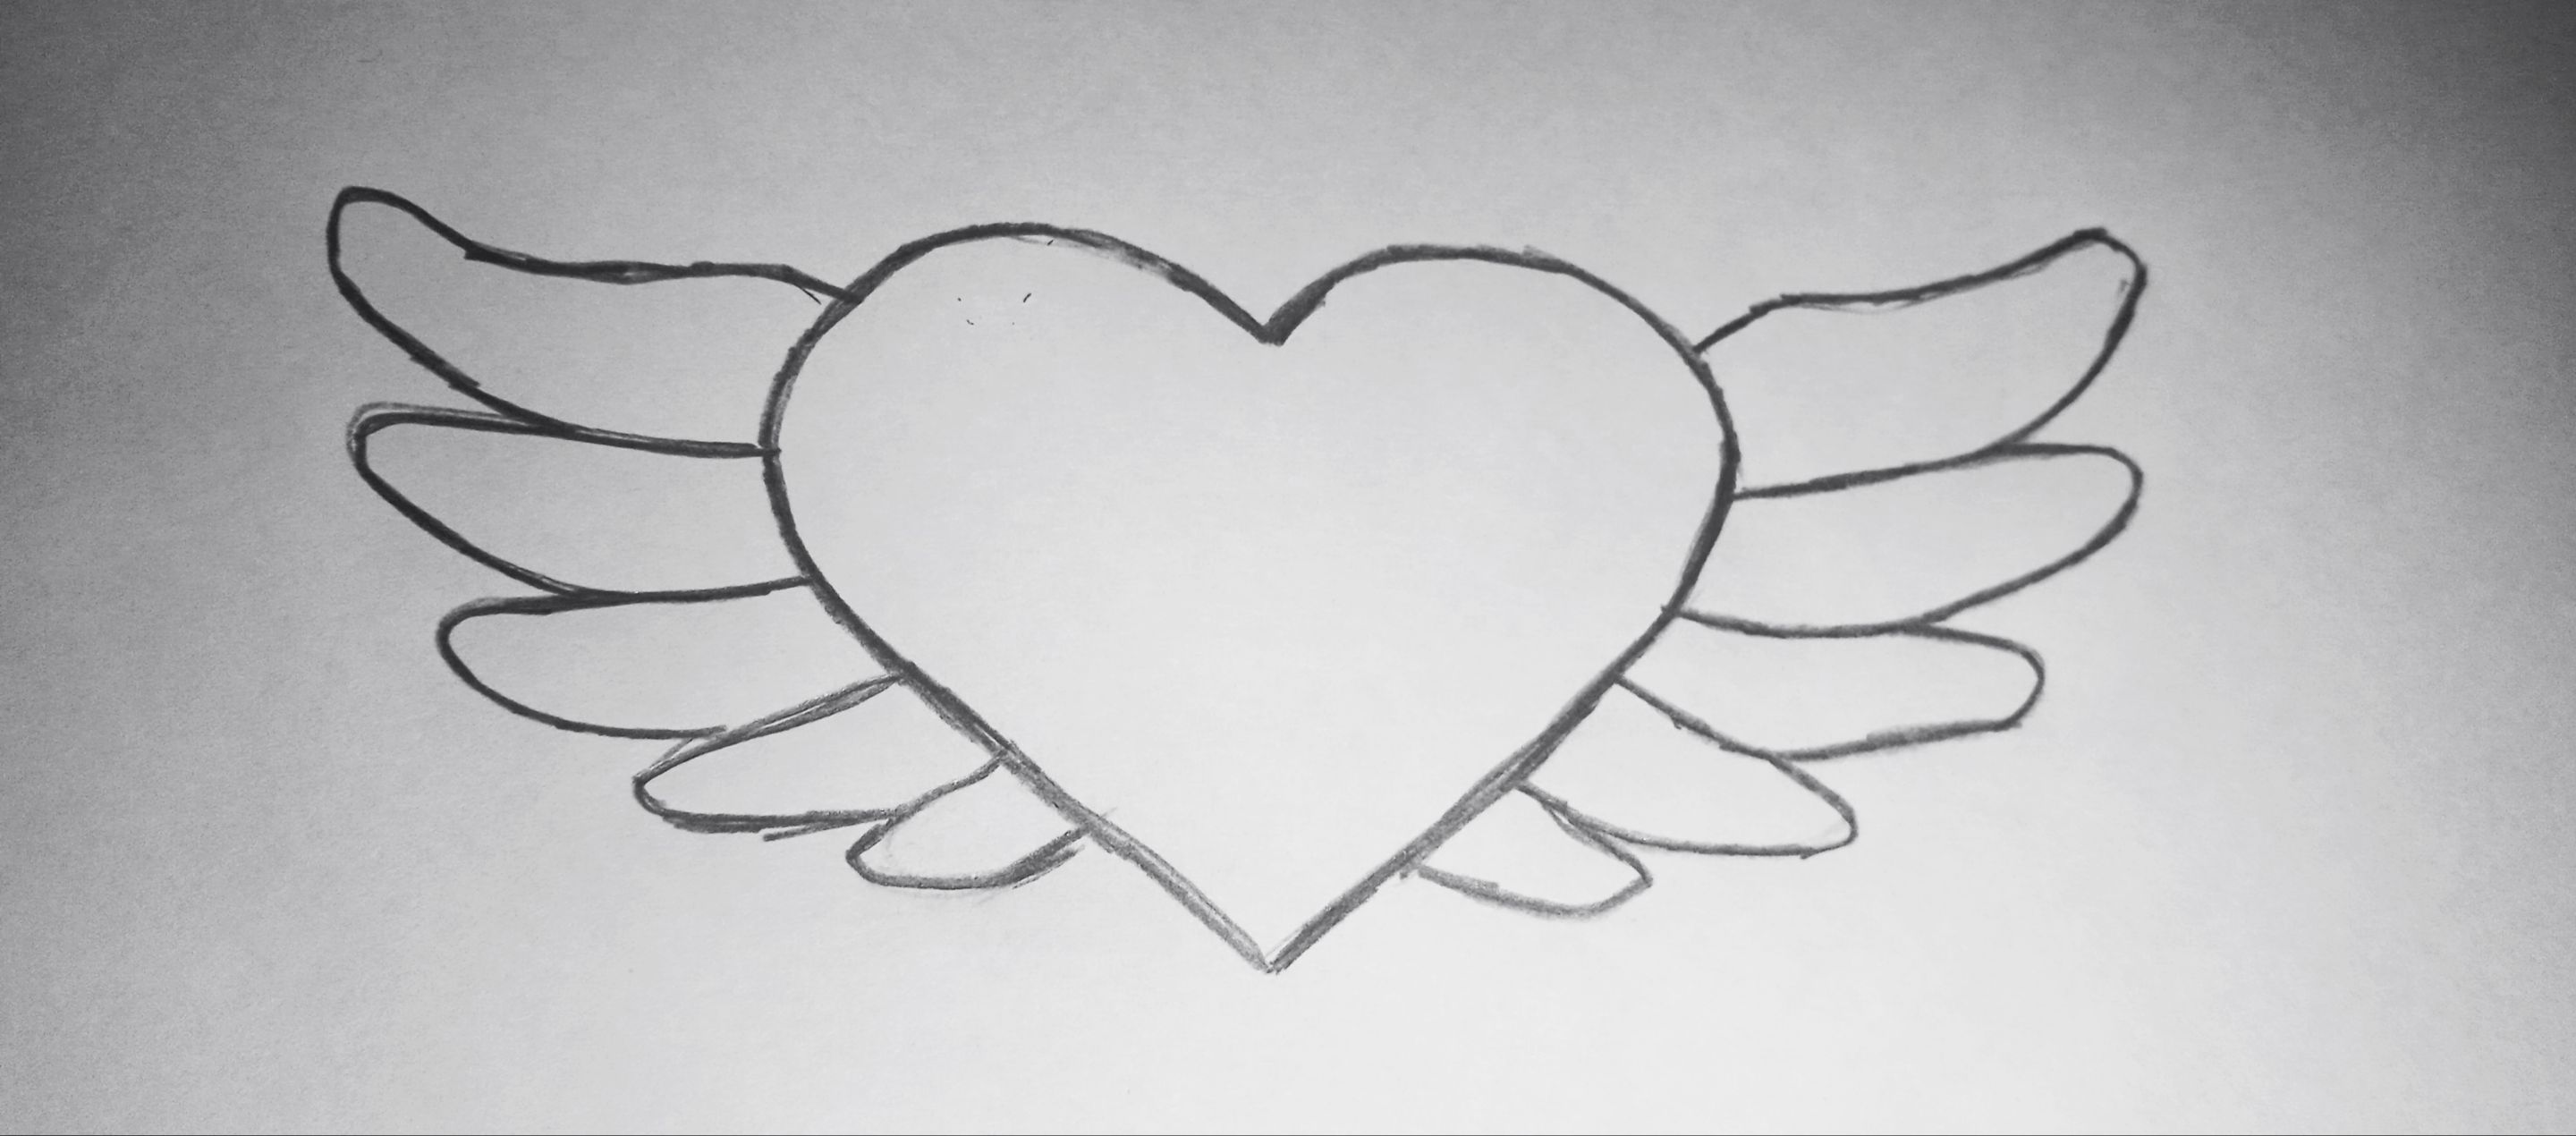
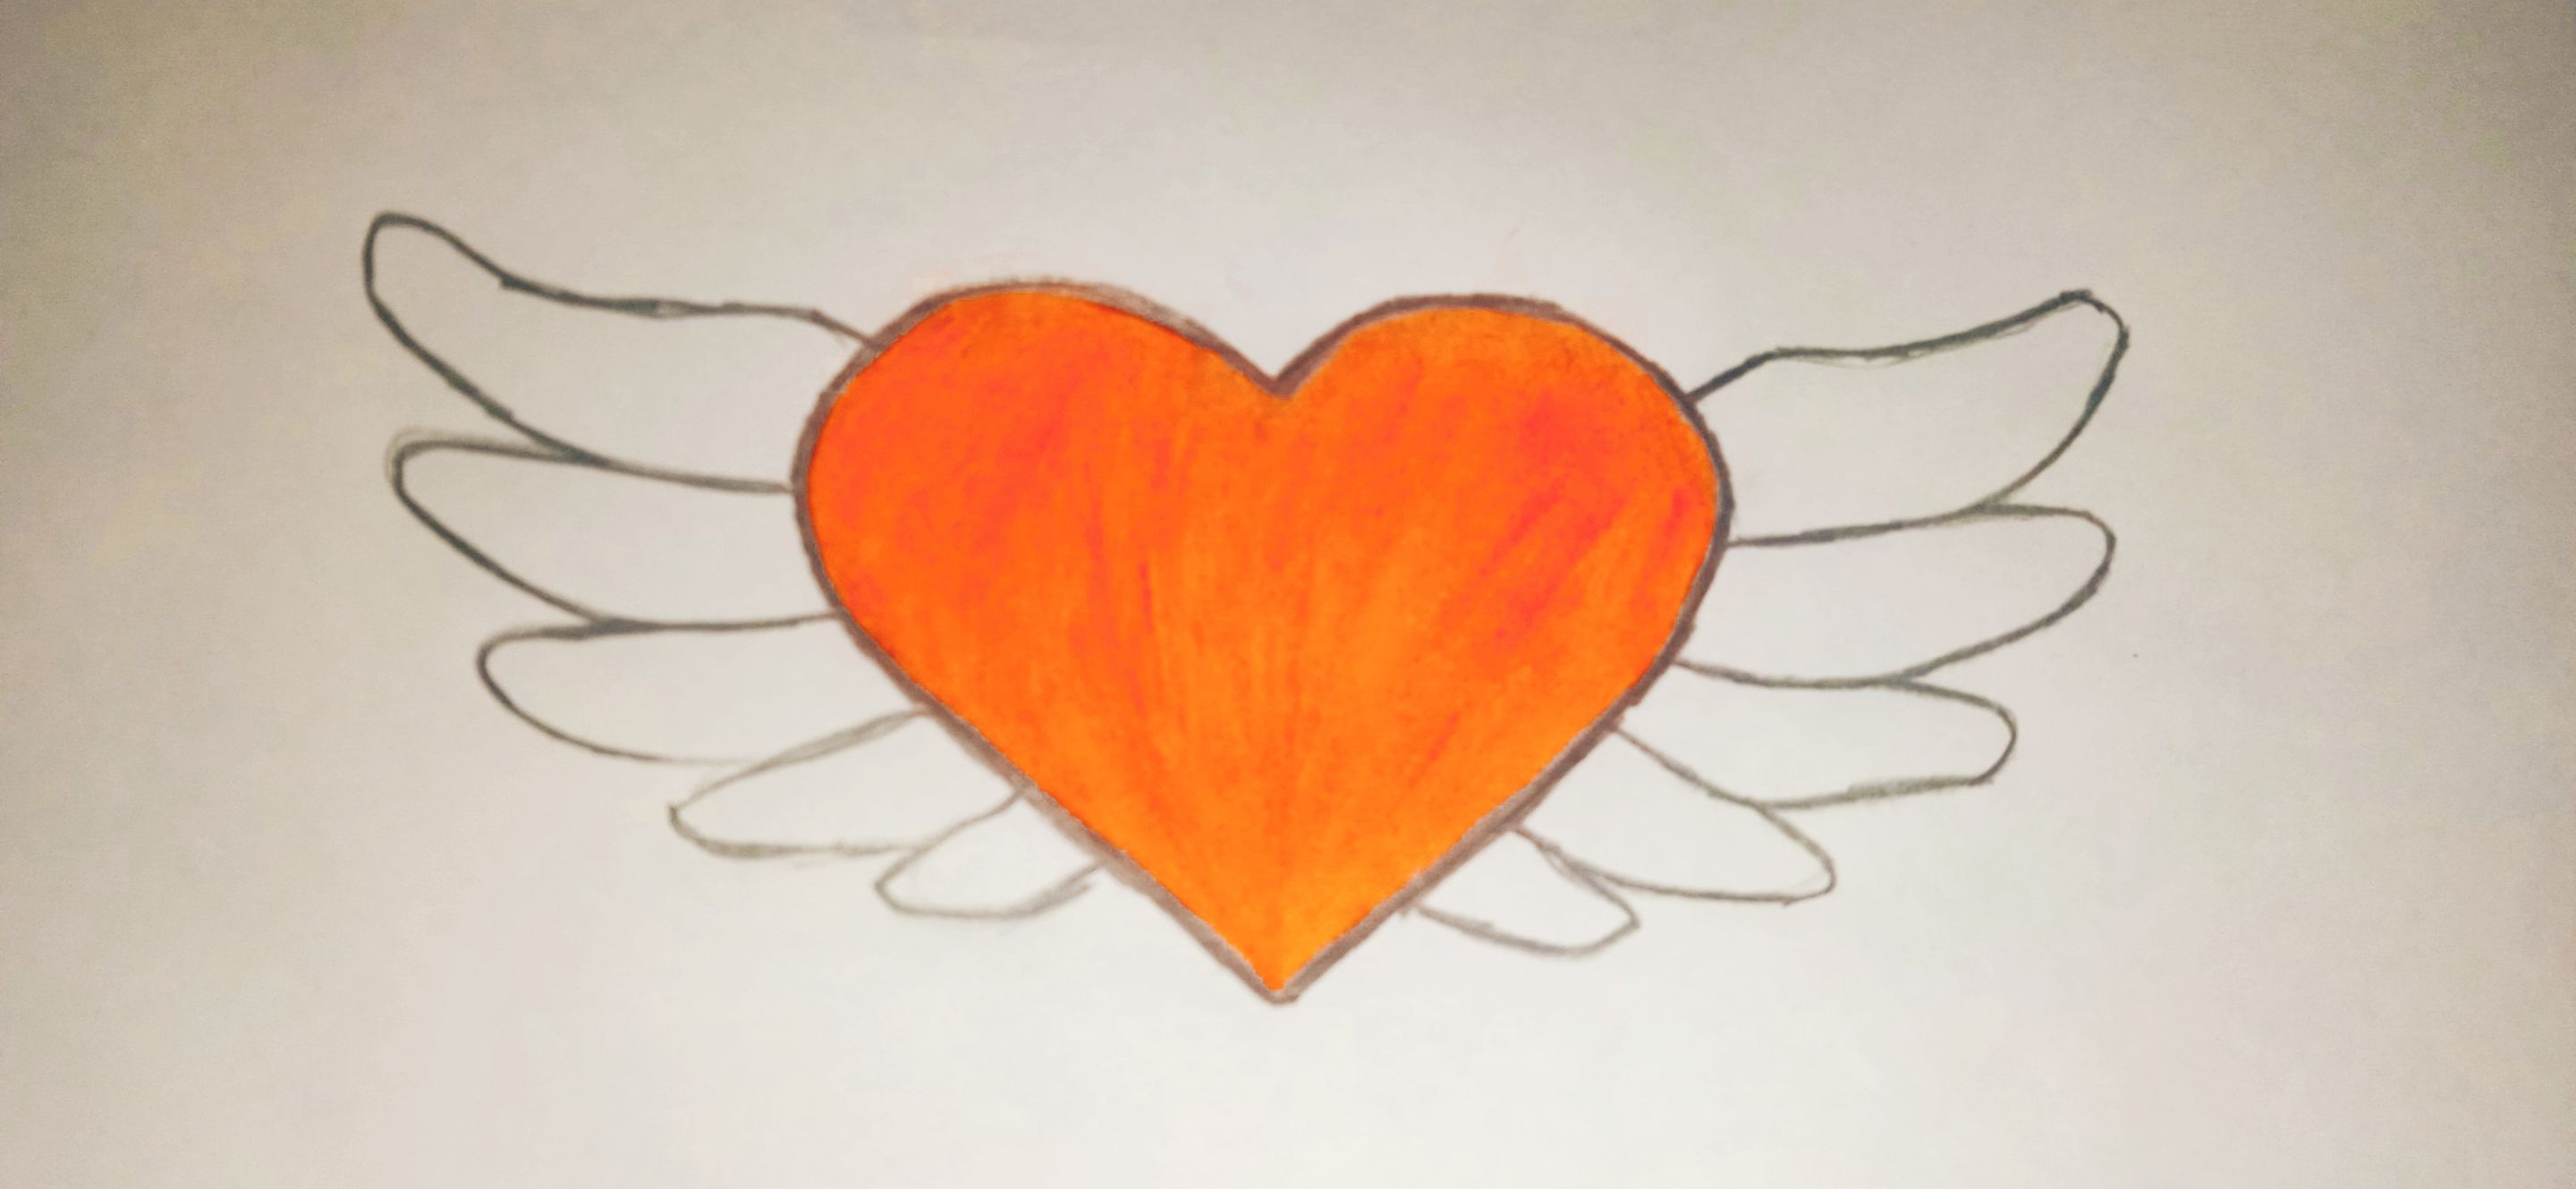
Lo primero que hice, fue crear un dibujo sencillo de como quería que se viera mi corazón con alas. Así que con un lápiz grafito y un papel hice el boceto. También le di un poco de color.
>The first thing I did was create a simple drawing of how I wanted my heart with wings to look. So, with a graphite pencil and a piece of paper, I made the sketch. I also added a bit of color to it.
---
|
|
|
|
|
|
El corazón lo elaboré siguiendo el siguiente patrón:
1- Un anillo mágico con 6 puntos bajos.
2- 6 aumentos. Total: 12 puntos.
3- 1 punto bajo, 1 aumento x6. Total: 18 puntos.
4- 4 puntos bajos, 1 aumento x3. Total: 21 puntos.
5 y 6- solo puntos bajos.
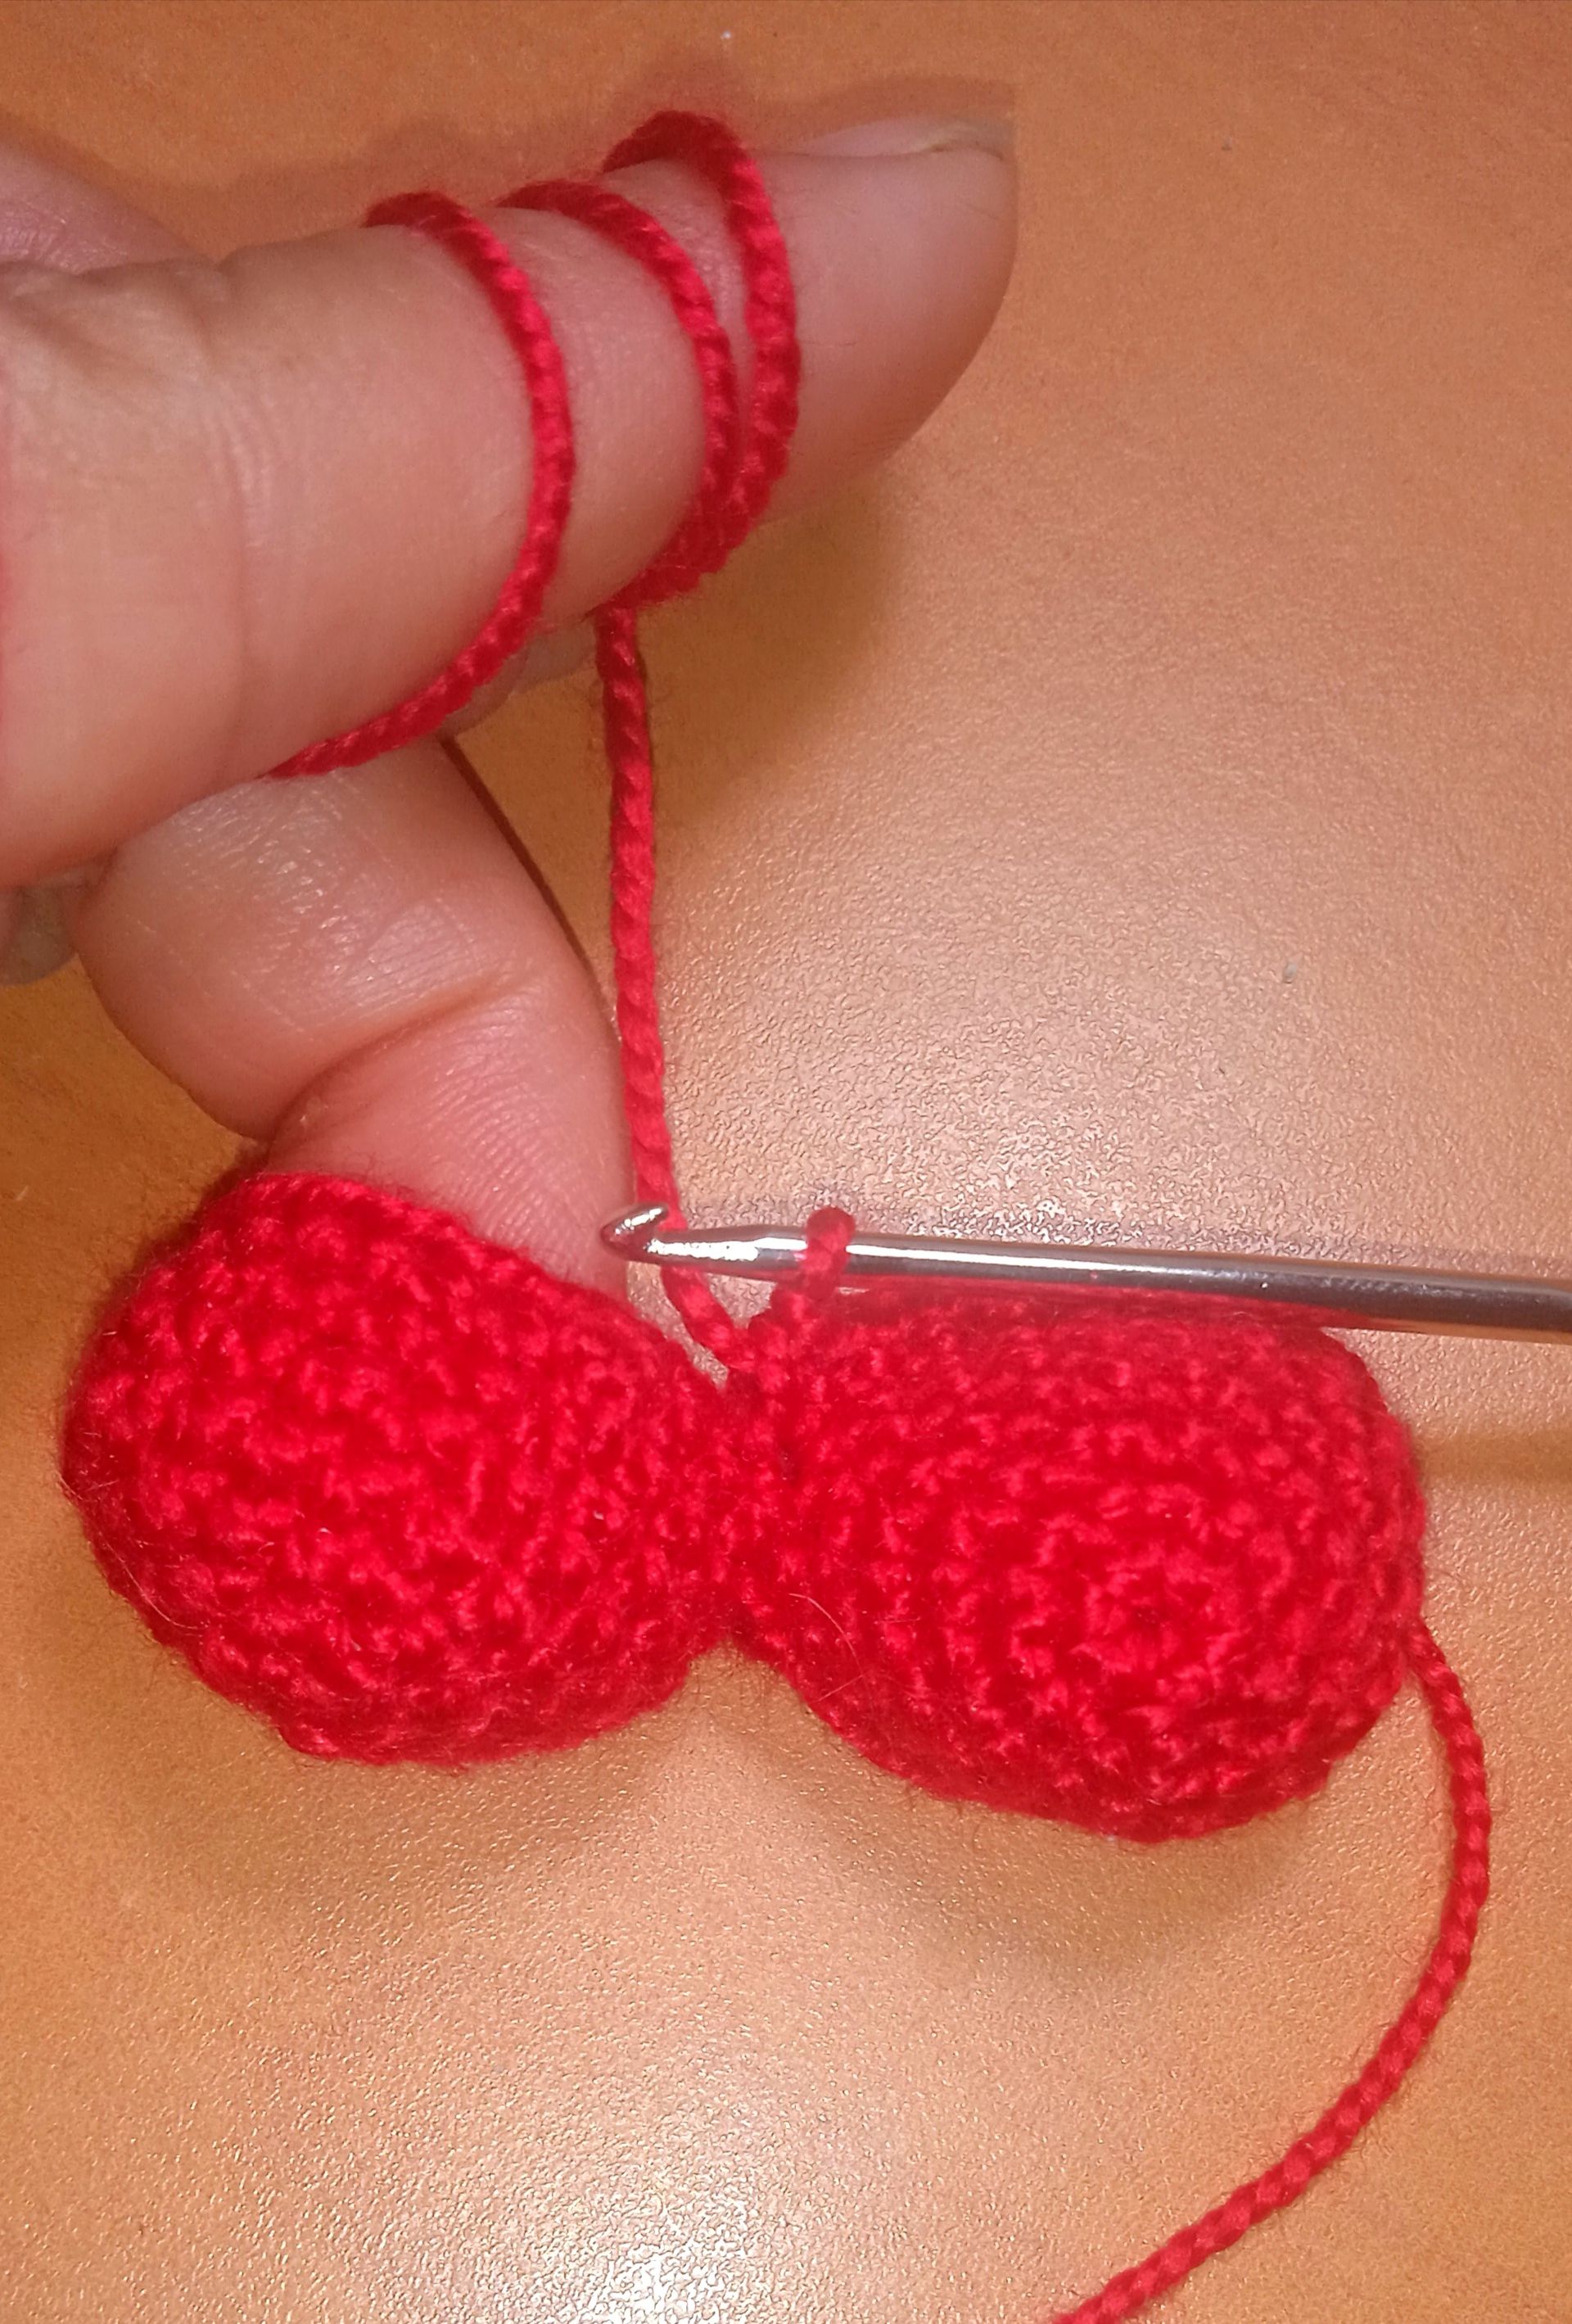
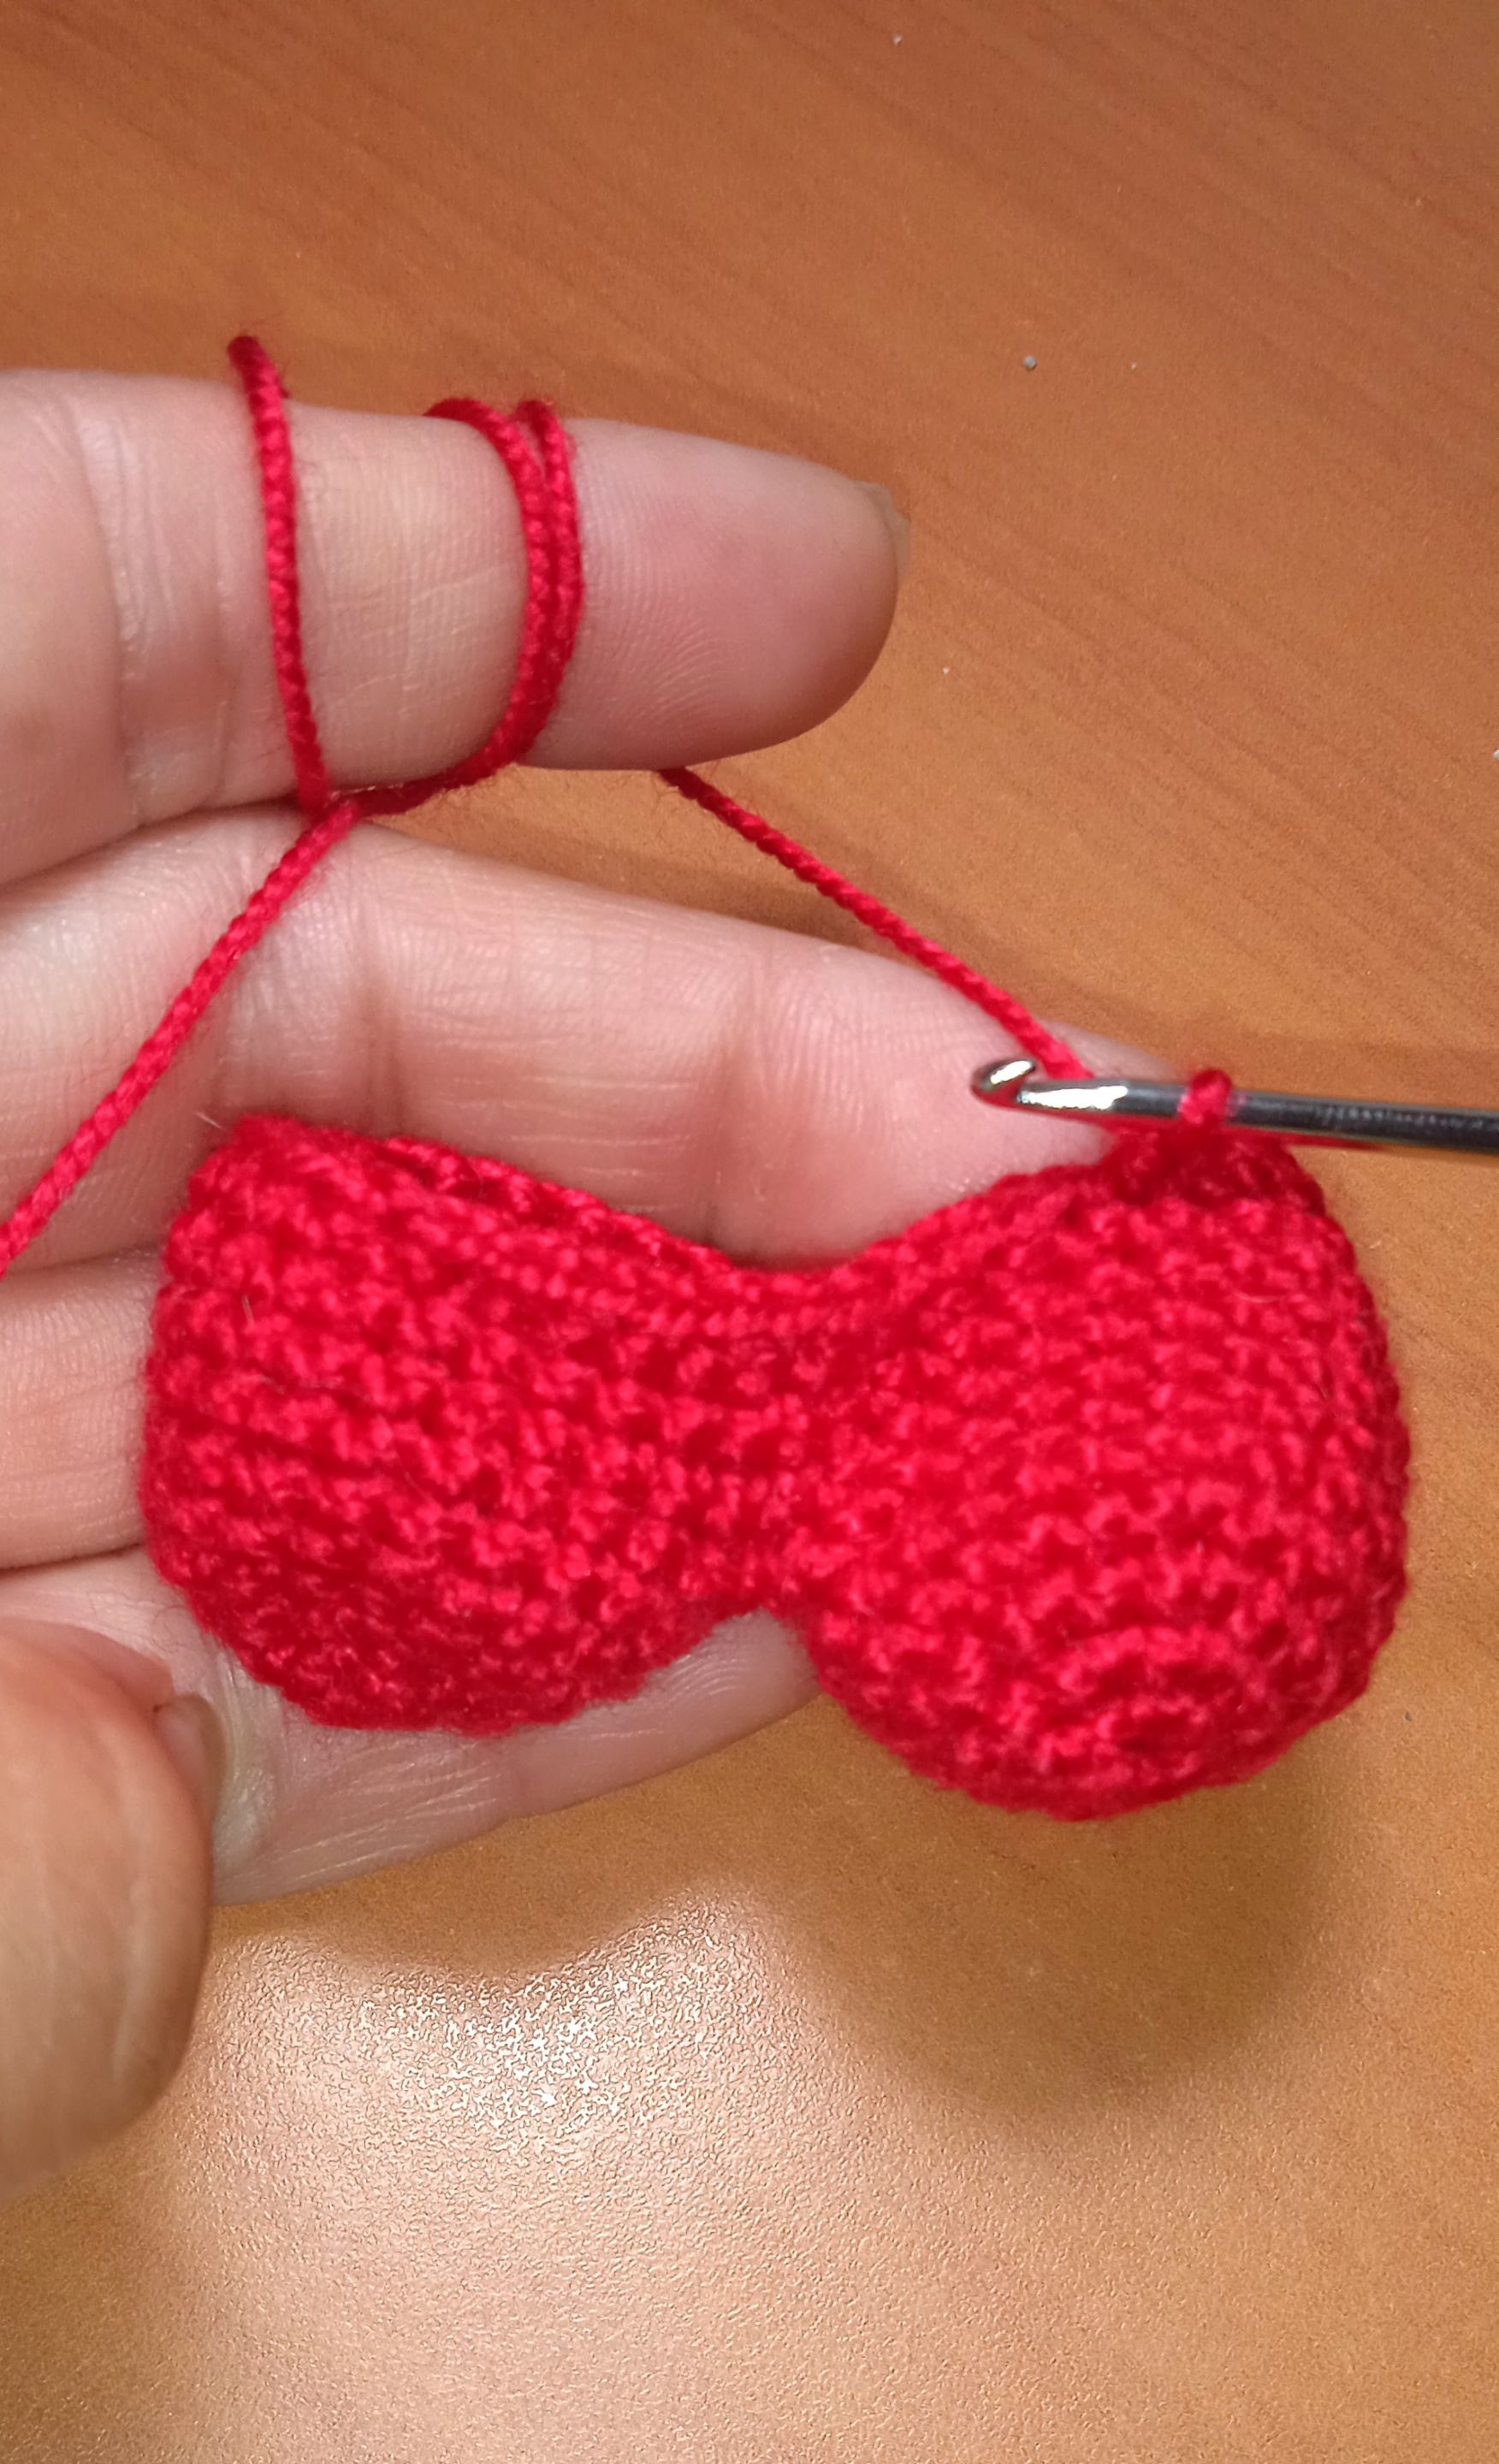
7- Enseguida, creé otra pieza, pero al finalizar no corté el hilo; con este uní las dos partes haciendo un punto bajo. Después fui tejiendo los puntos de ambas partes.
8 y 9- Solo puntos bajos.
10- 5 puntos bajos, 1 disminución. Total: 36 puntos.
11- Solo puntos bajos.
12- 4 puntos bajos, 1 disminución. Total: 30 puntos.
13- Solo puntos bajos.
14- 3 puntos bajos, 1 disminución. Total: 24 puntos.
15- Solo puntos bajos.
16- 2 puntos bajos, 1 disminución. Total: 18 puntos.
17- Solo puntos bajos.
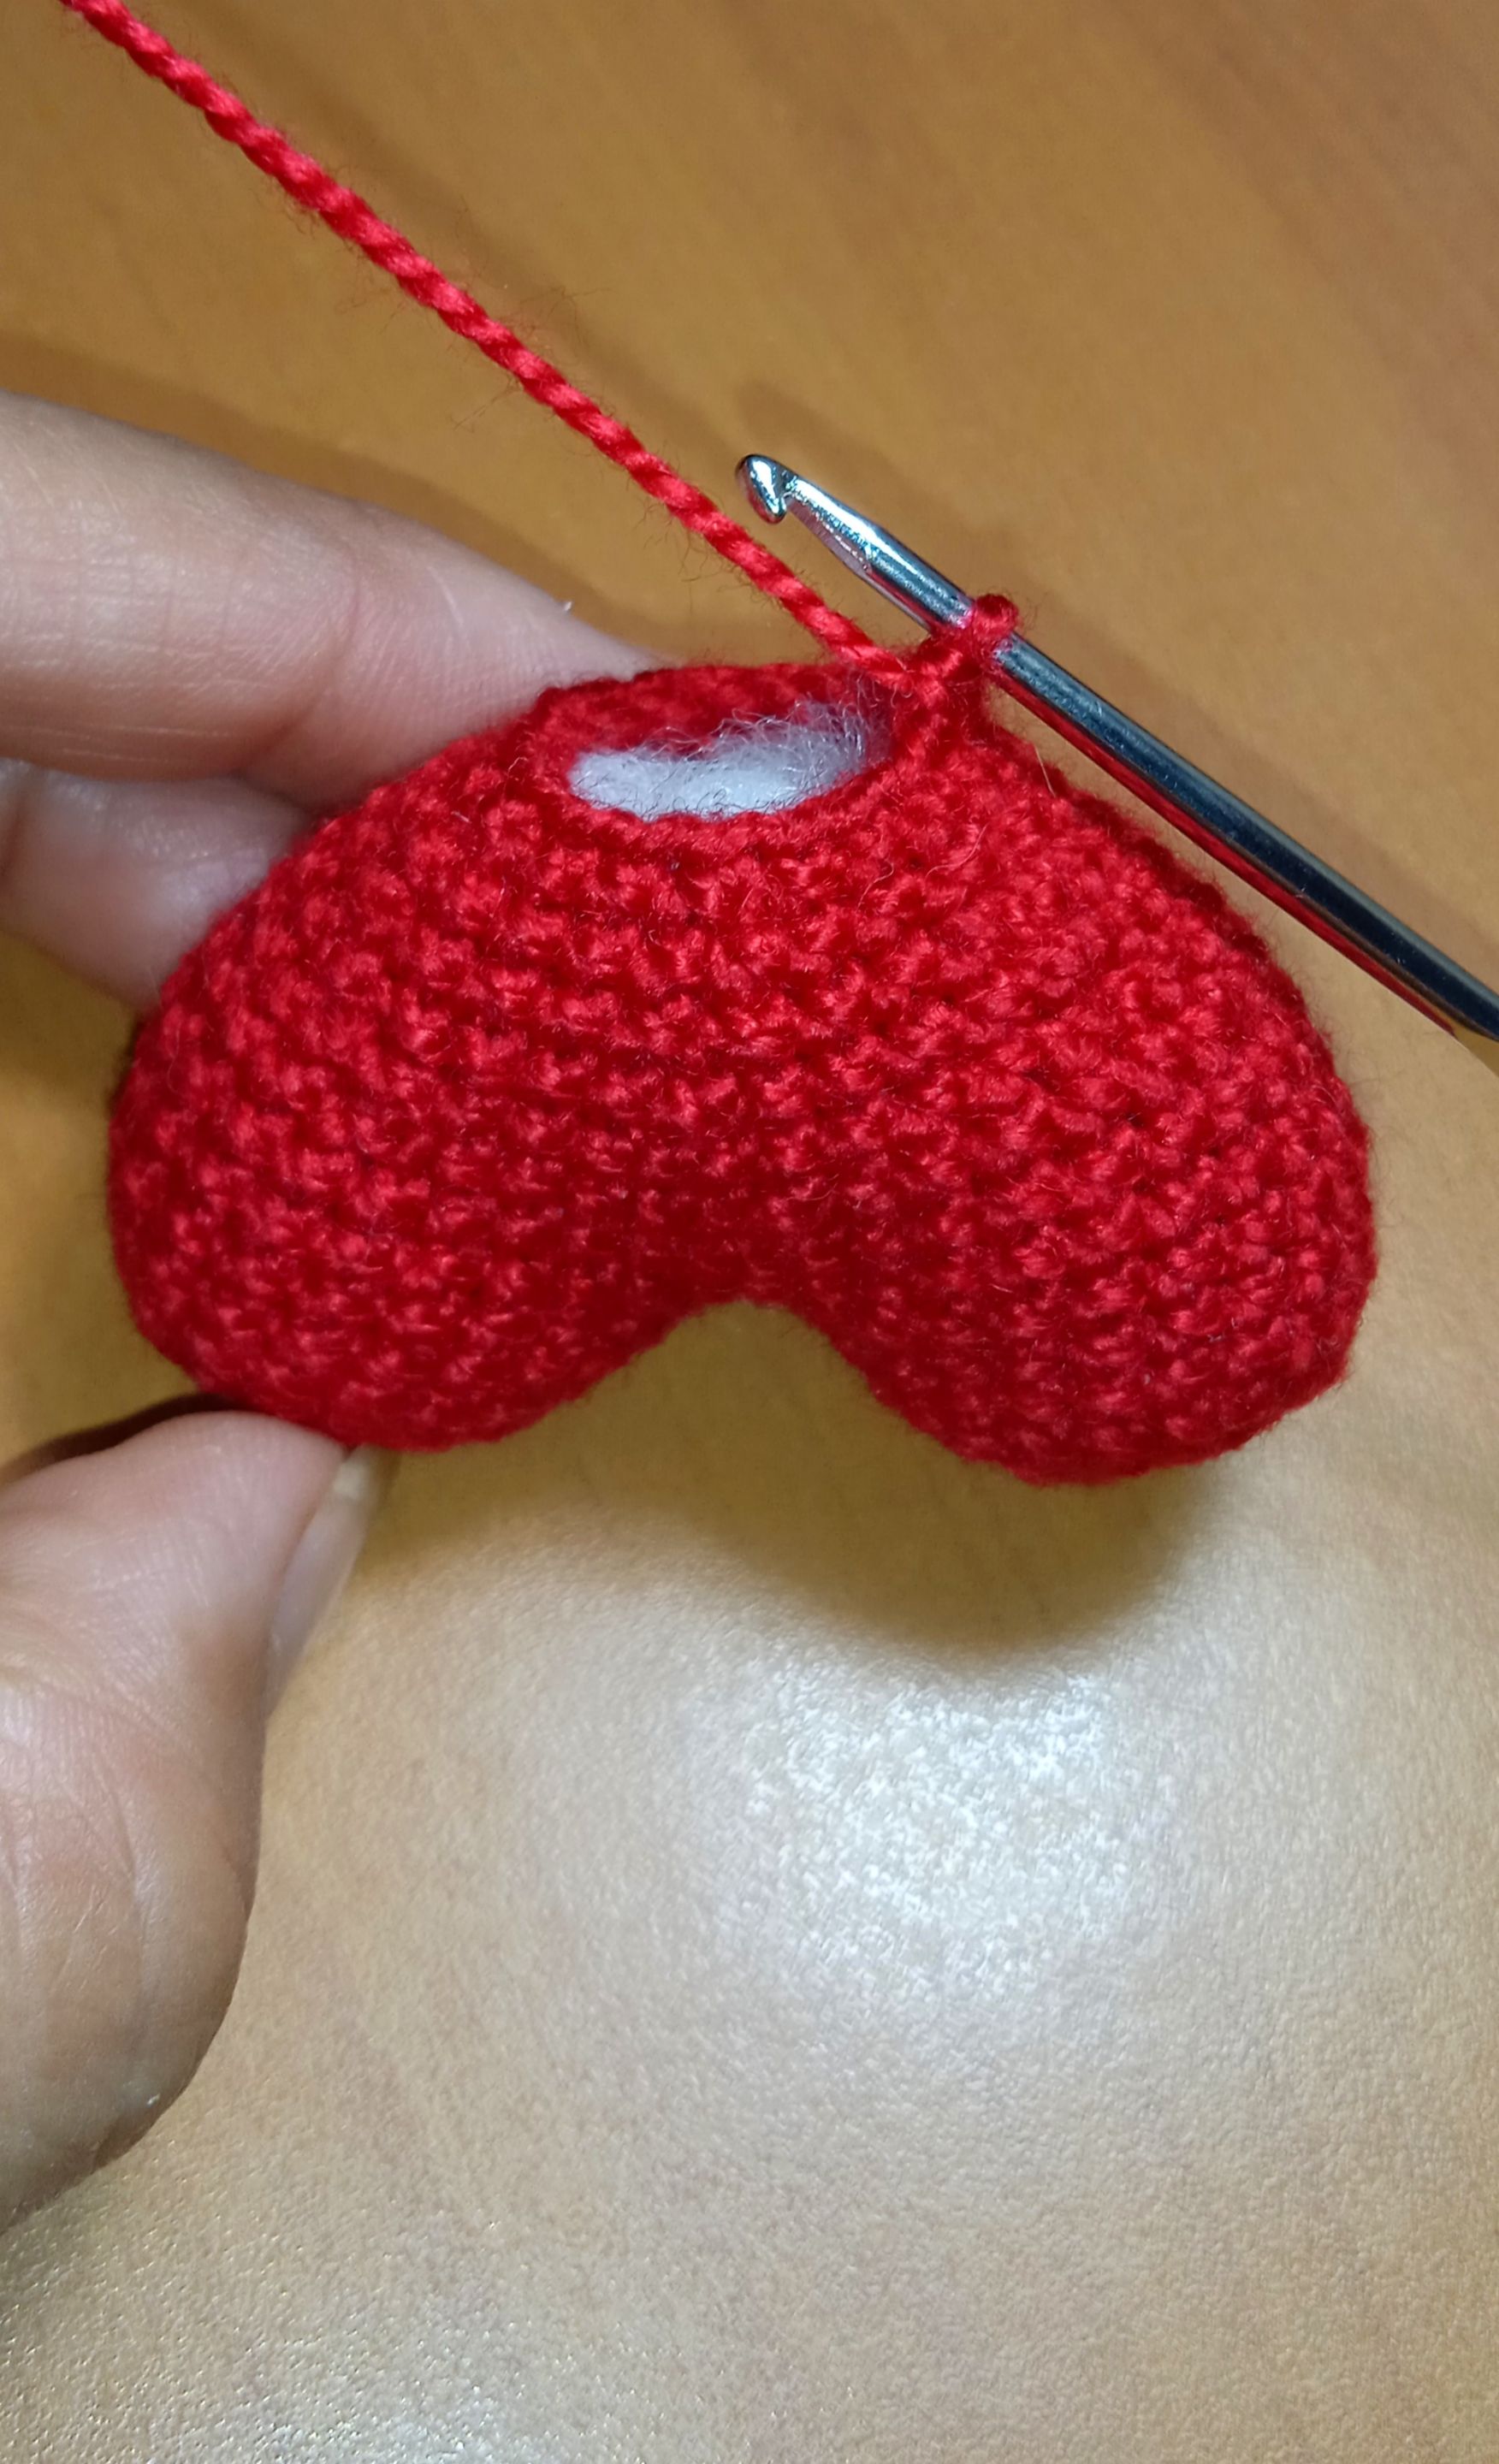
Fue en este momento cuando coloqué el relleno.
18- 1 punto bajo, 1 disminución. Total: 12 puntos.
19- 6 disminuciones seguidas.
Para finalizar, corté el hilo dejando una hebra larga para luego cerrar con una aguja. Lo hice tomando solo las 6 hebras delanteras y listo.
>I crafted the heart following this pattern:
>1- A magic ring with 6 single crochets.
2- 6 increases. Total: 12 stitches.
3- 1 single crochet, 1 increase x6. Total: 18 stitches.
4- 4 single crochets, 1 increase x3. Total: 21 stitches.
5 and 6- only single crochets.
>7- Then, I created another piece, but when I finished, I didn't cut the yarn; instead, I joined the two parts together with a single crochet. After that, I continued to crochet the stitches from both parts together.
>8 and 9- Only single crochets.
10- 5 single crochets, 1 decrease. Total: 36 stitches.
11- Only single crochets.
12- 4 single crochets, 1 decrease. Total: 30 stitches.
13- Only single crochets.
14- 3 single crochets, 1 decrease. Total: 24 stitches.
15- Only single crochets.
>16- 2 single crochets, 1 decrease. Total: 18 stitches.
17- Only single crochets.
>This was when I added the stuffing.
>18- 1 single crochet, 1 decrease. Total: 12 stitches.
19- 6 consecutive decreases.
>To finish, I cut the yarn leaving a long tail, then closed it with a needle. I did this by picking up only the 6 front loops, and that's it.
---
|
|
|
|
|
|
|
|
|
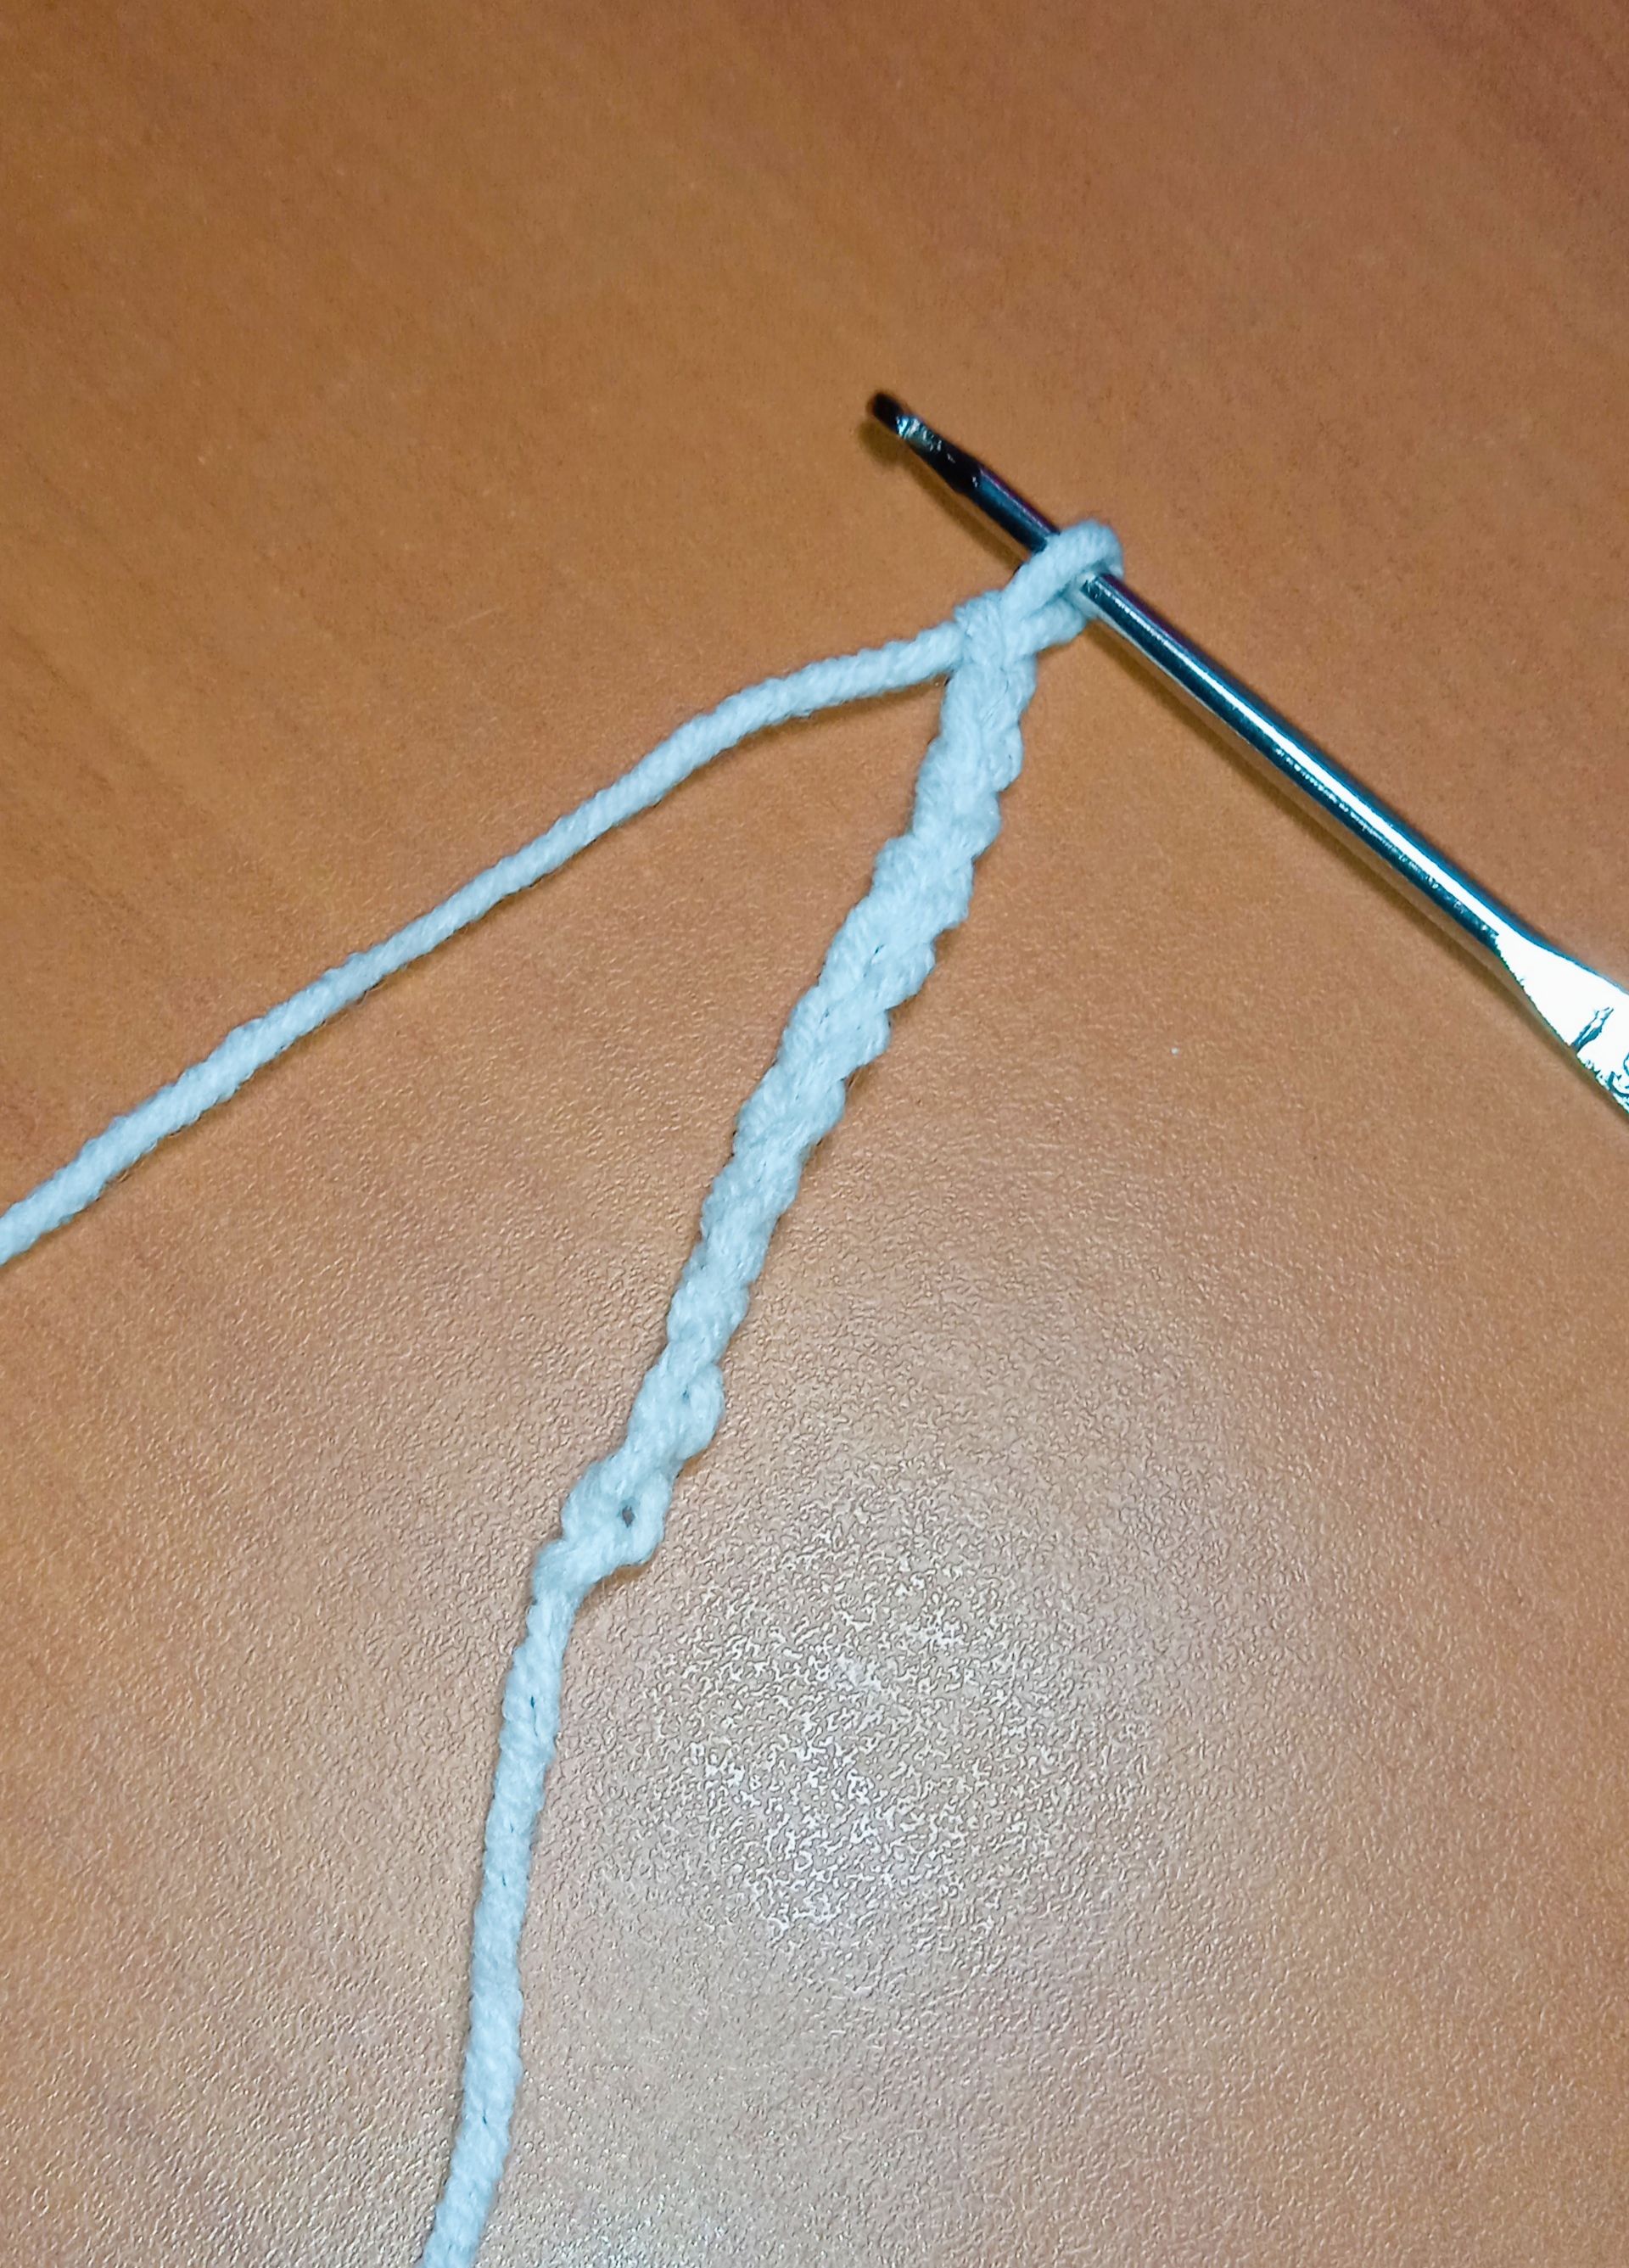
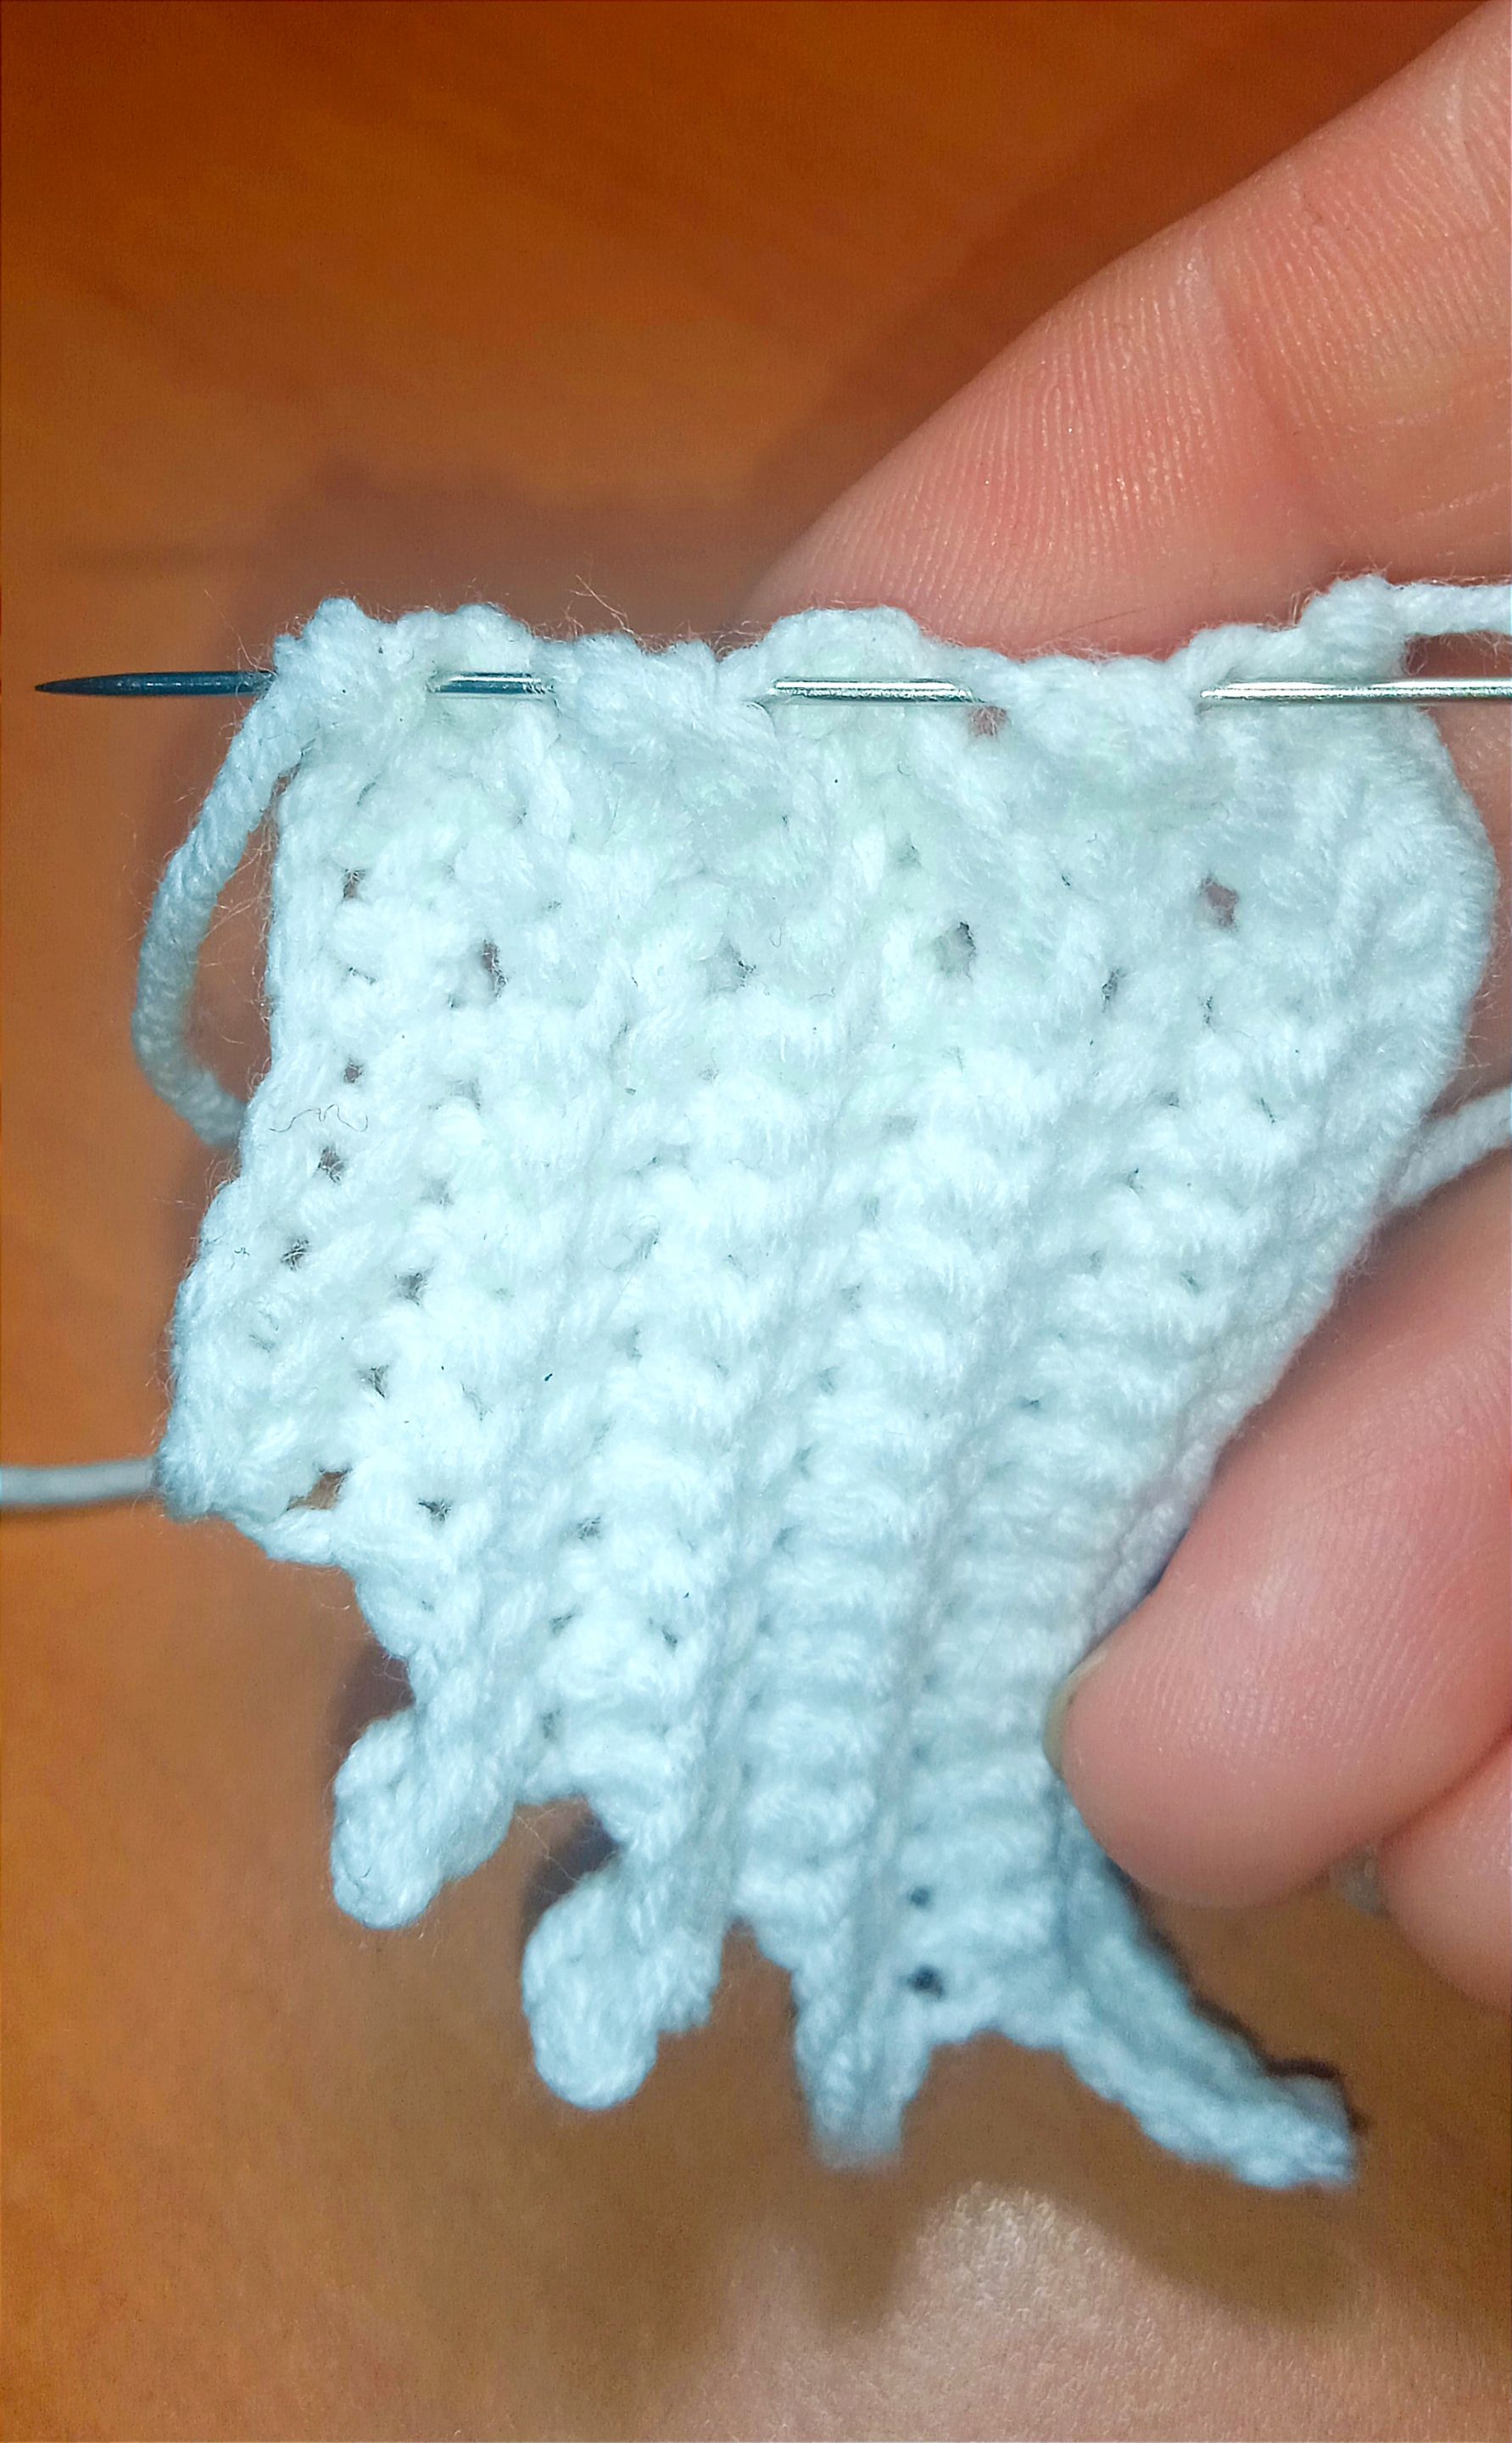
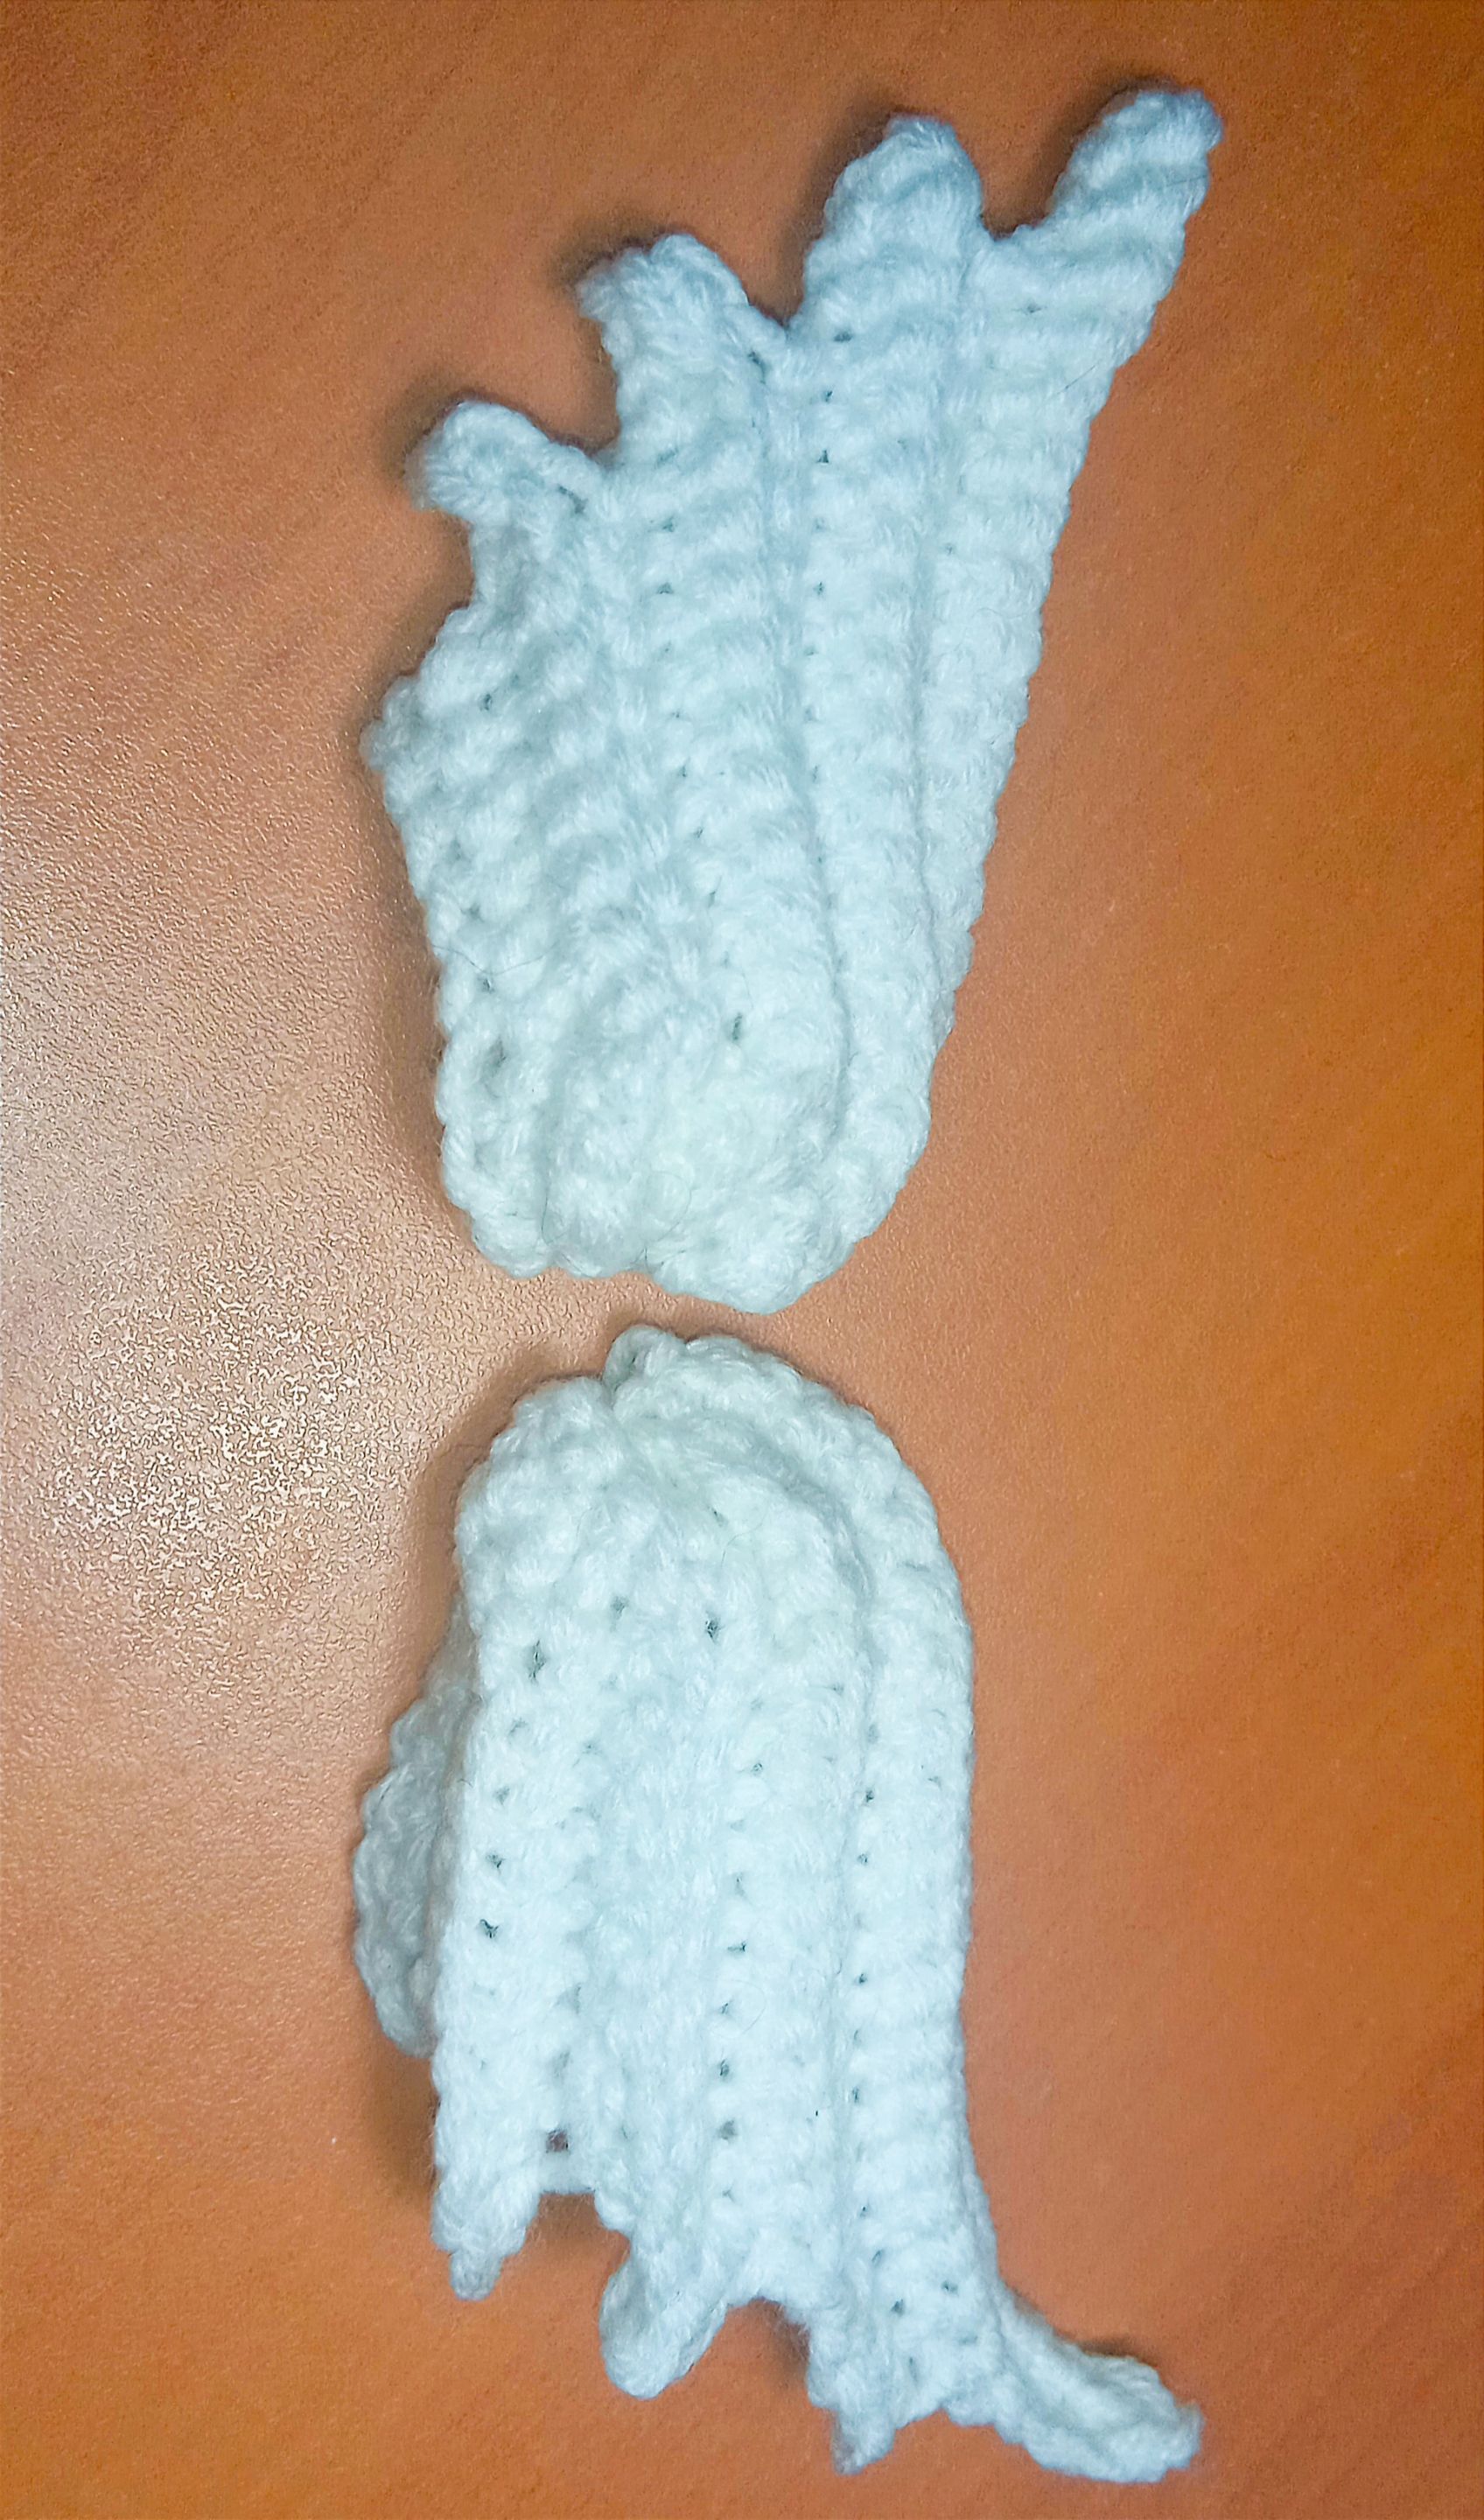
Para hacer las alas, seguí el siguiente patrón:
1- Comencé con 10 cadenas. Partiendo de la tercera cadena desde el ganchillo, hice un total de 8 puntos bajos a lo largo, terminando con un punto deslizado en la última cadena.
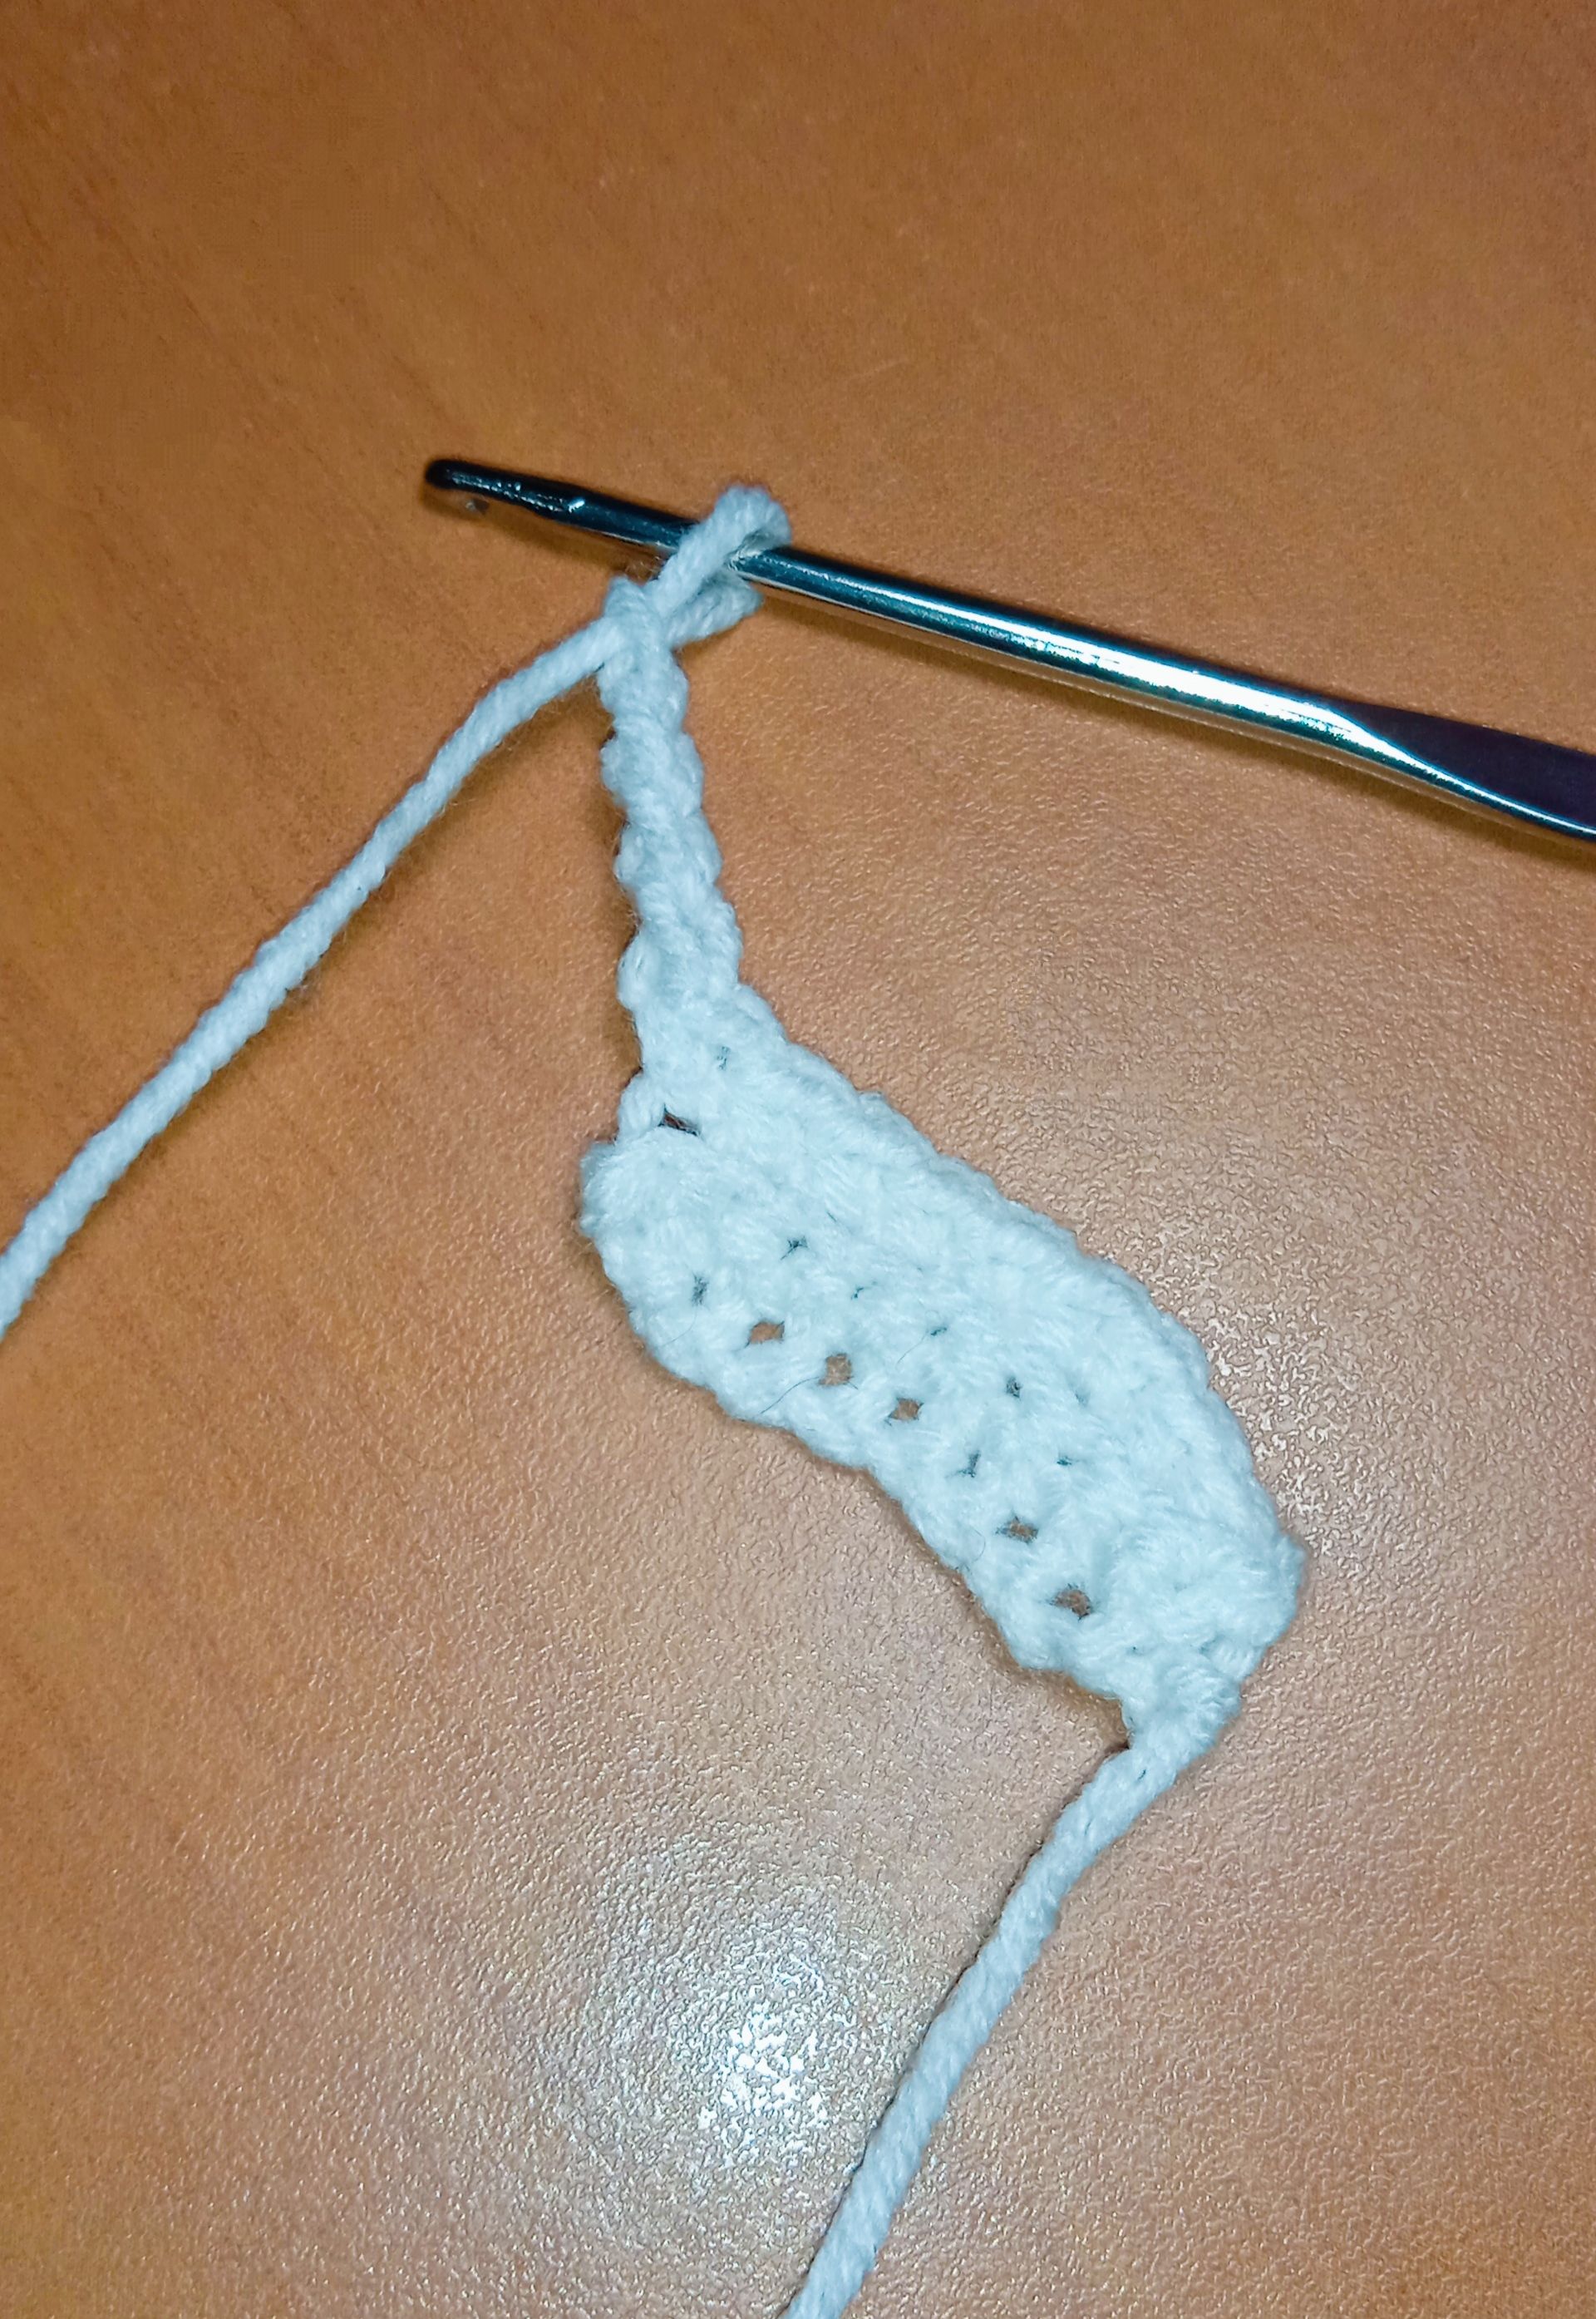
2- Subí con 1 cadena, salté 1 punto y continué con la secuencia trabajando solo en la hebra trasera, tejí 2 puntos bajos, seguido de 1 aumento, y luego 5 puntos bajos.
3- Hice 4 cadenas, luego realicé 3 puntos bajos, seguido por 2 puntos bajos en las siguientes cadenas, y terminé con un punto deslizado.
4- Subí 1 cadena, hice 2 puntos bajos, 1 aumento, y luego 8 puntos bajos.
5- Hice 4 cadenas, salté 1 punto, y seguí con 3 puntos bajos, luego 8 puntos bajos, 1 aumento, 2 puntos bajos, y terminé con un punto deslizado.
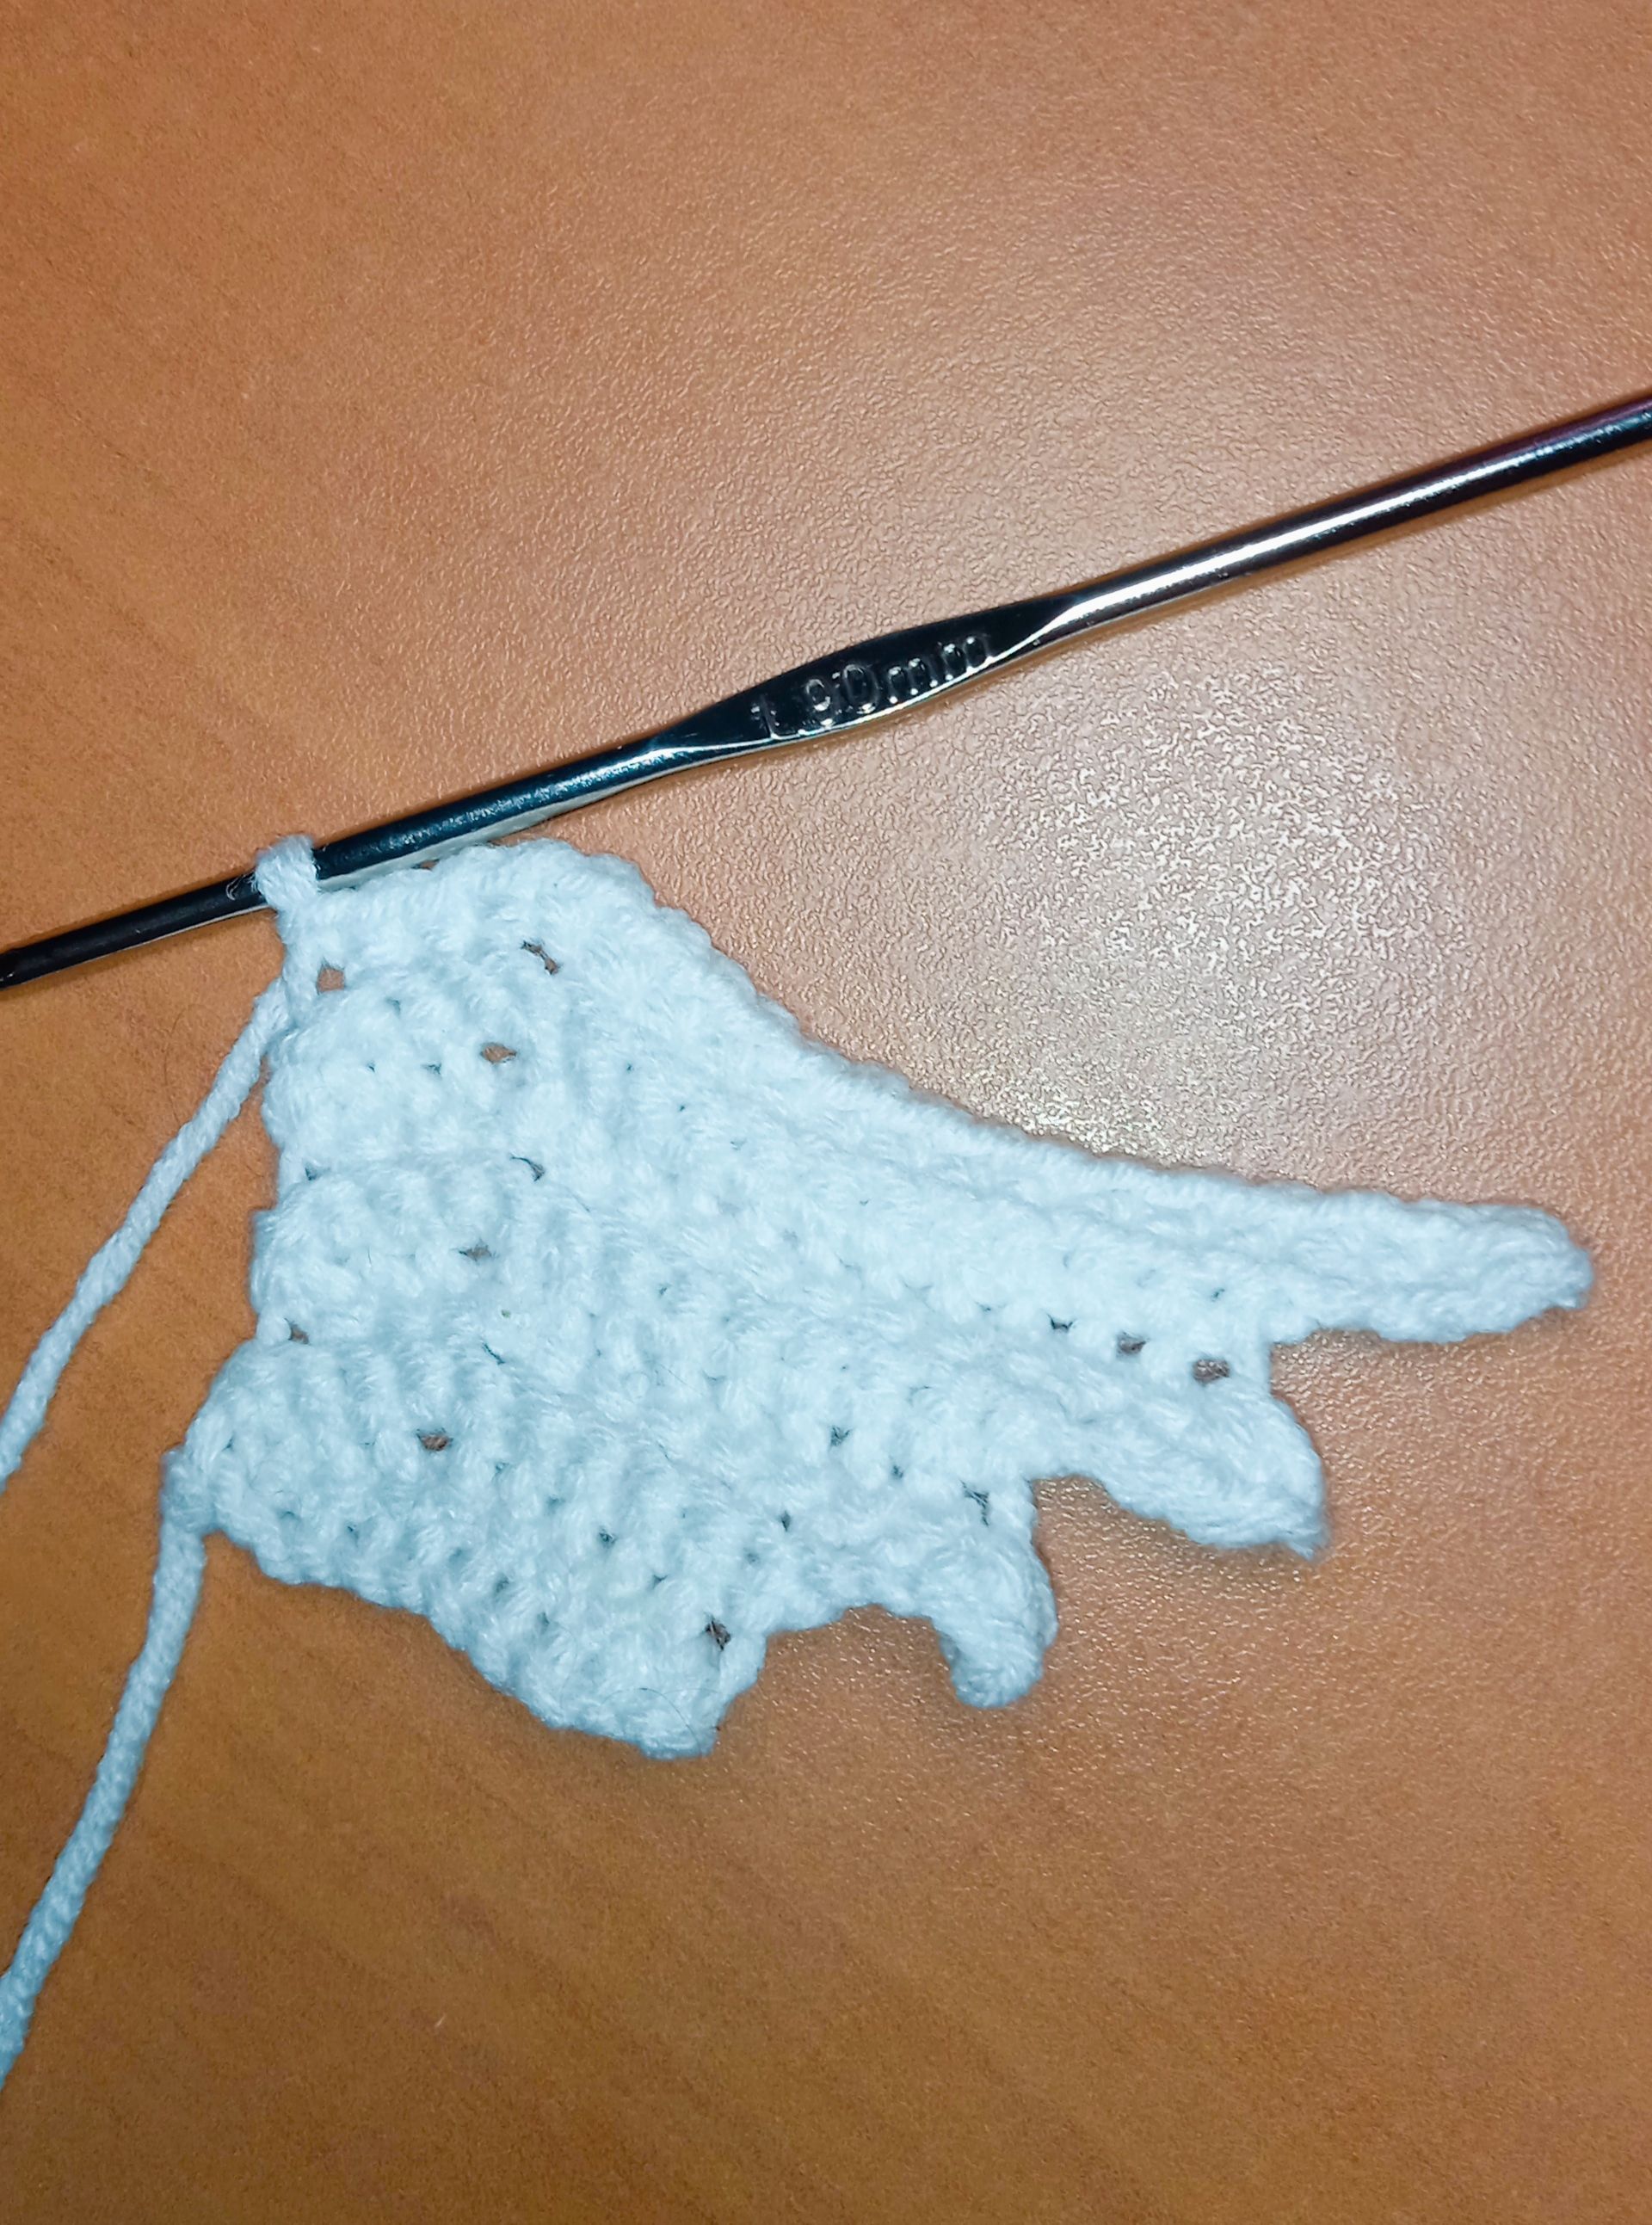
6- Subí 1 cadena, salté 1 punto, tejí 2 puntos bajos, 1 aumento, y seguí con 11 puntos bajos.
7- Hice 4 cadenas, salté 1 punto, continué con 11 puntos bajos, 1 aumento, 2 puntos bajos, y finalicé con un punto deslizado.
8- Subí 1 cadena, salté 1 punto, tejí 2 puntos bajos, 1 aumento, y luego 14 puntos bajos.
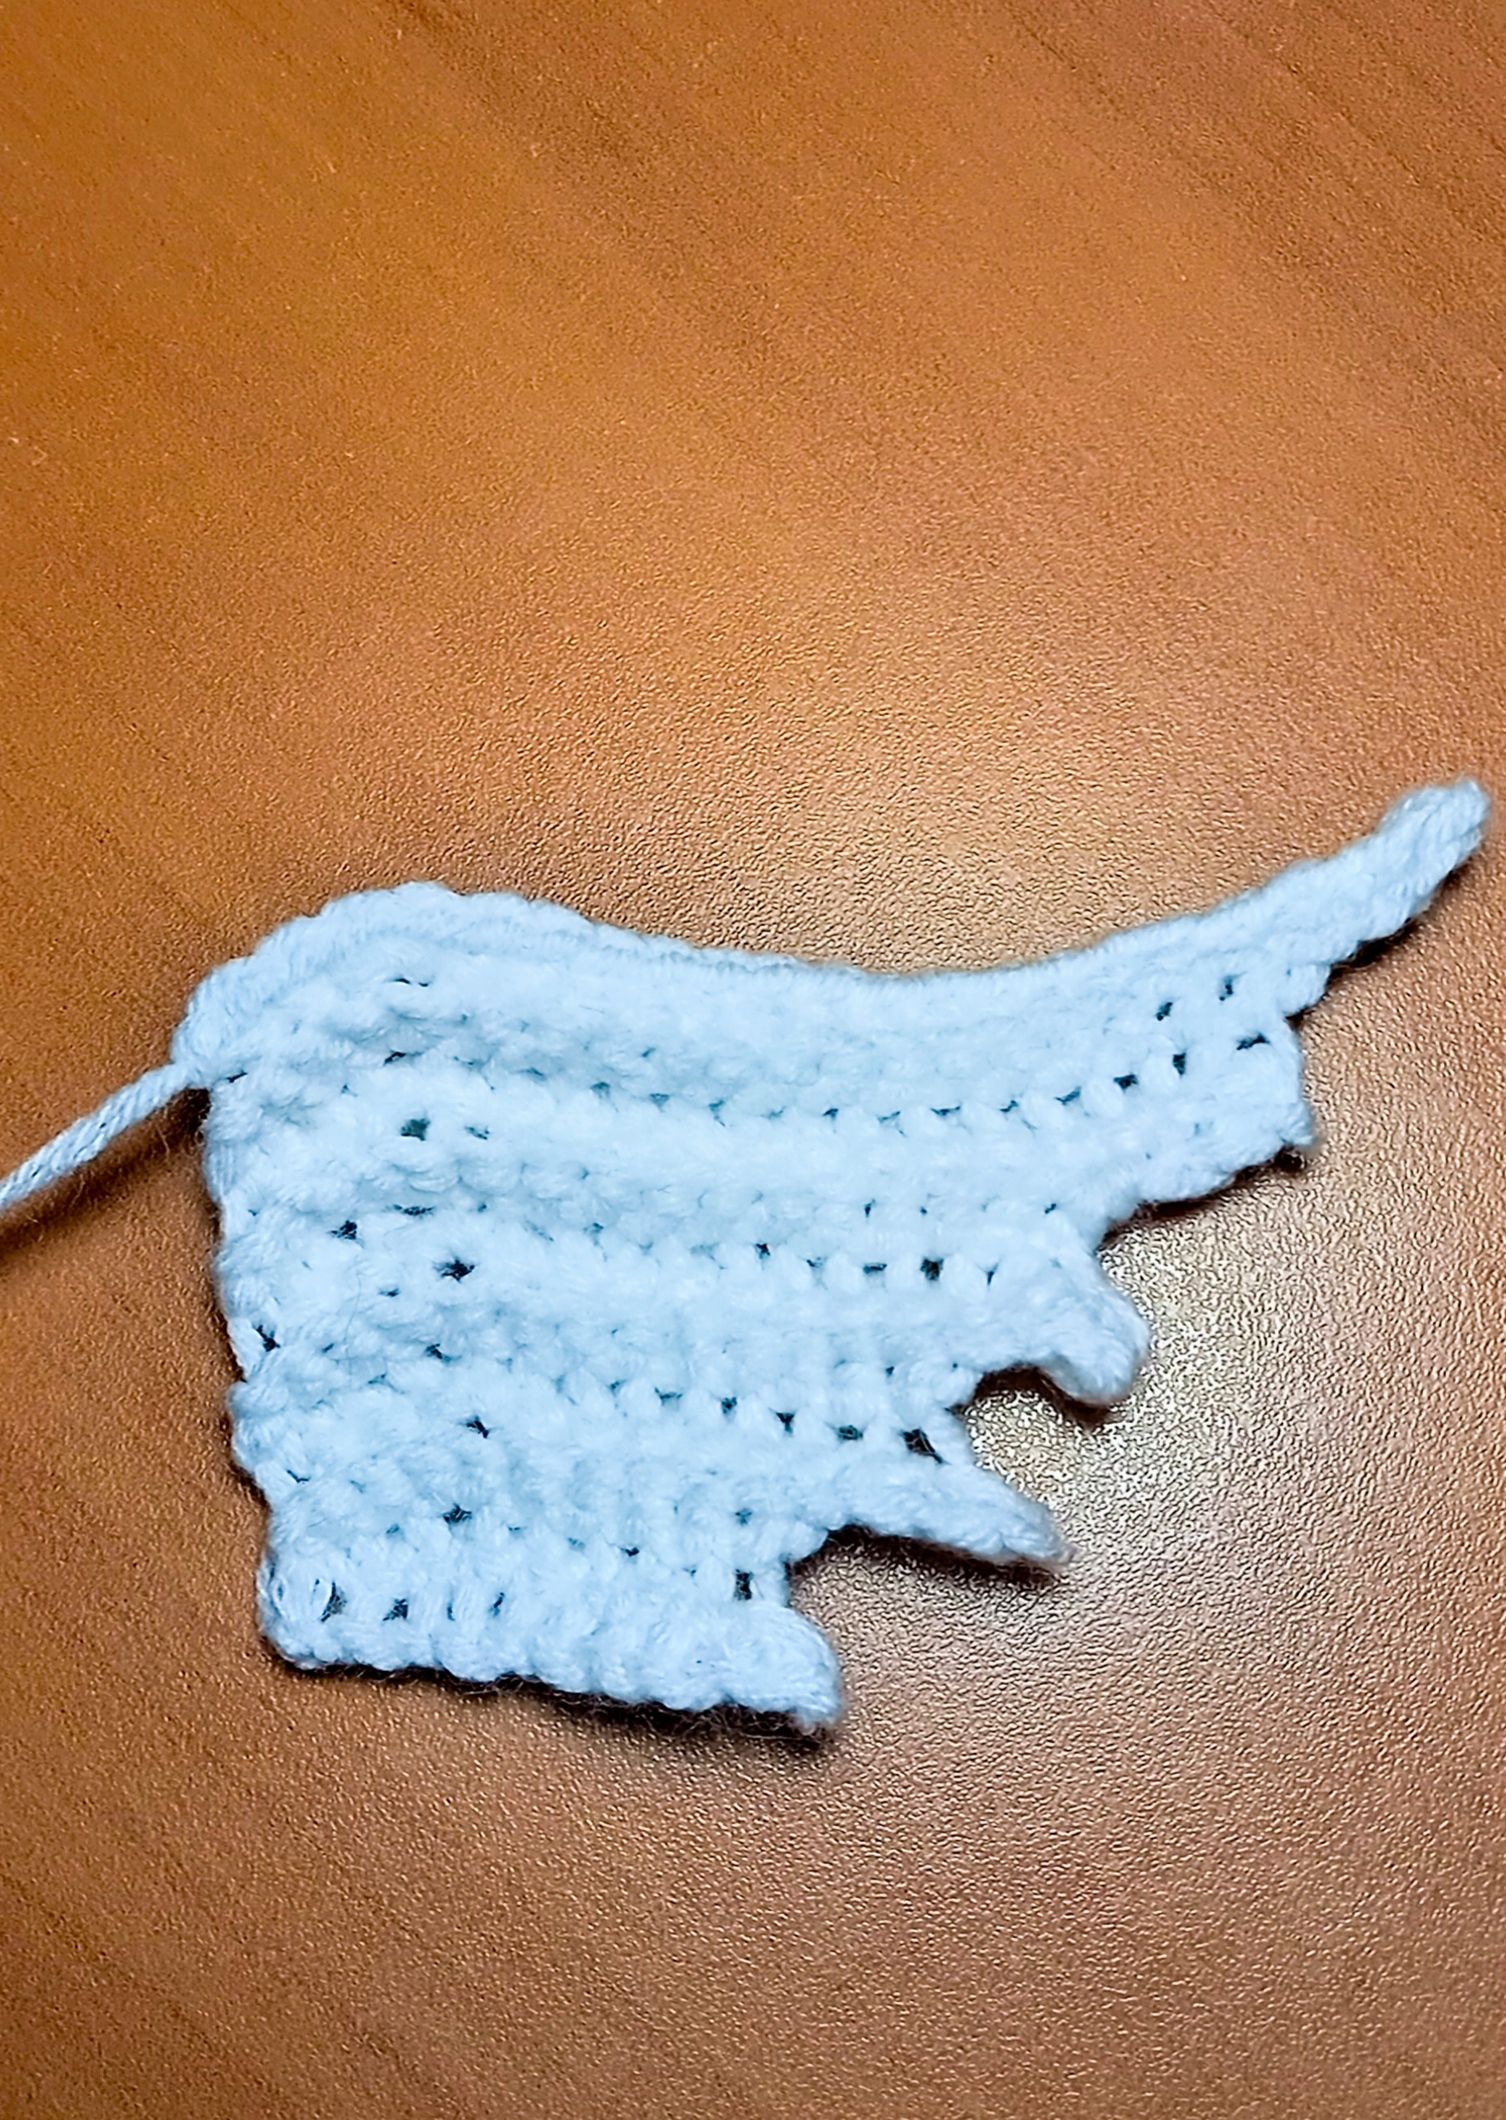
9- Para terminar, hice 4 cadenas, salté 1 punto, tejí 2 puntos bajos, 1 aumento, seguido de 14 puntos bajos, otro aumento, 2 puntos bajos, y finalicé con un punto deslizado.
Este patrón me ayudó a crear unas alas delicadas y detalladas, perfectas para complementar mi corazón con alas para el proyecto de San Valentín.
>To make the wings, I followed this pattern:
>1- I started with 10 chains. Beginning from the third chain from the hook, I made a total of 8 single crochets along, finishing with a slip stitch in the last chain.
>2- I chained 1, skipped 1 stitch, and continued with the sequence working only in the back loop, I crocheted 2 single crochets, followed by 1 increase, and then 5 single crochets.
>3- I made 4 chains, then performed 3 single crochets, followed by 2 single crochets in the next chains, and ended with a slip stitch.
>4- I chained 1, made 2 single crochets, 1 increase, and then 8 single crochets.
>5- I made 4 chains, skipped 1 stitch, and continued with 3 single crochets, then 8 single crochets, 1 increase, 2 single crochets, and finished with a slip stitch.
6- I chained 1, skipped 1 stitch, crocheted 2 single crochets, 1 increase, and continued with 11 single crochets.
7- I made 4 chains, skipped 1 stitch, continued with 11 single crochets, 1 increase, 2 single crochets, and finished with a slip stitch.
8- I chained 1, skipped 1 stitch, crocheted 2 single crochets, 1 increase, and then 14 single crochets.
9- To finish, I made 4 chains, skipped 1 stitch, crocheted 2 single crochets, 1 increase, followed by 14 single crochets, another increase, 2 single crochets, and finished with a slip stitch.
>This pattern helped me create delicate and detailed wings, perfect for complementing my heart with wings for the Valentine's Day project.
---
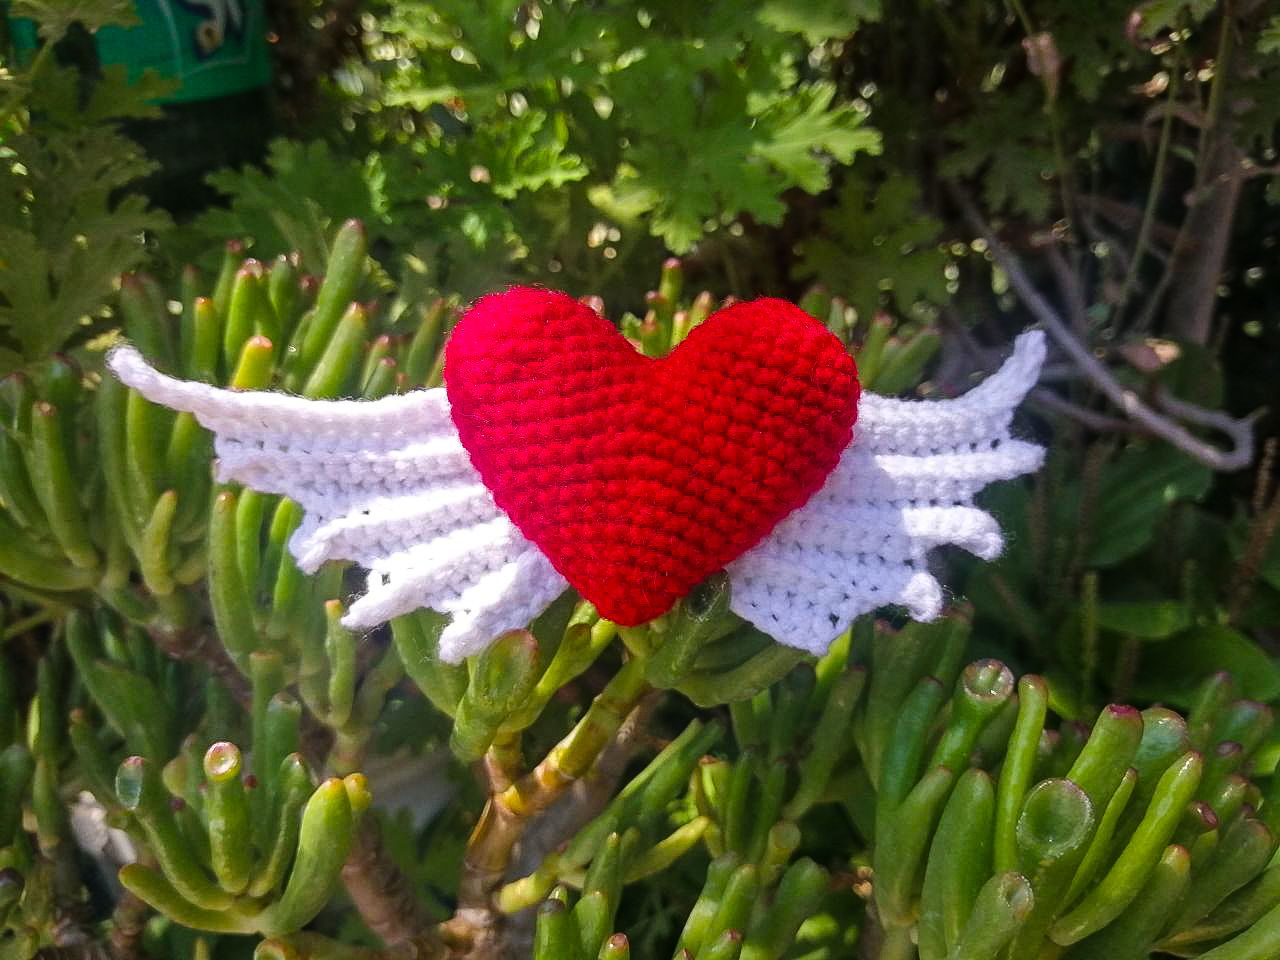
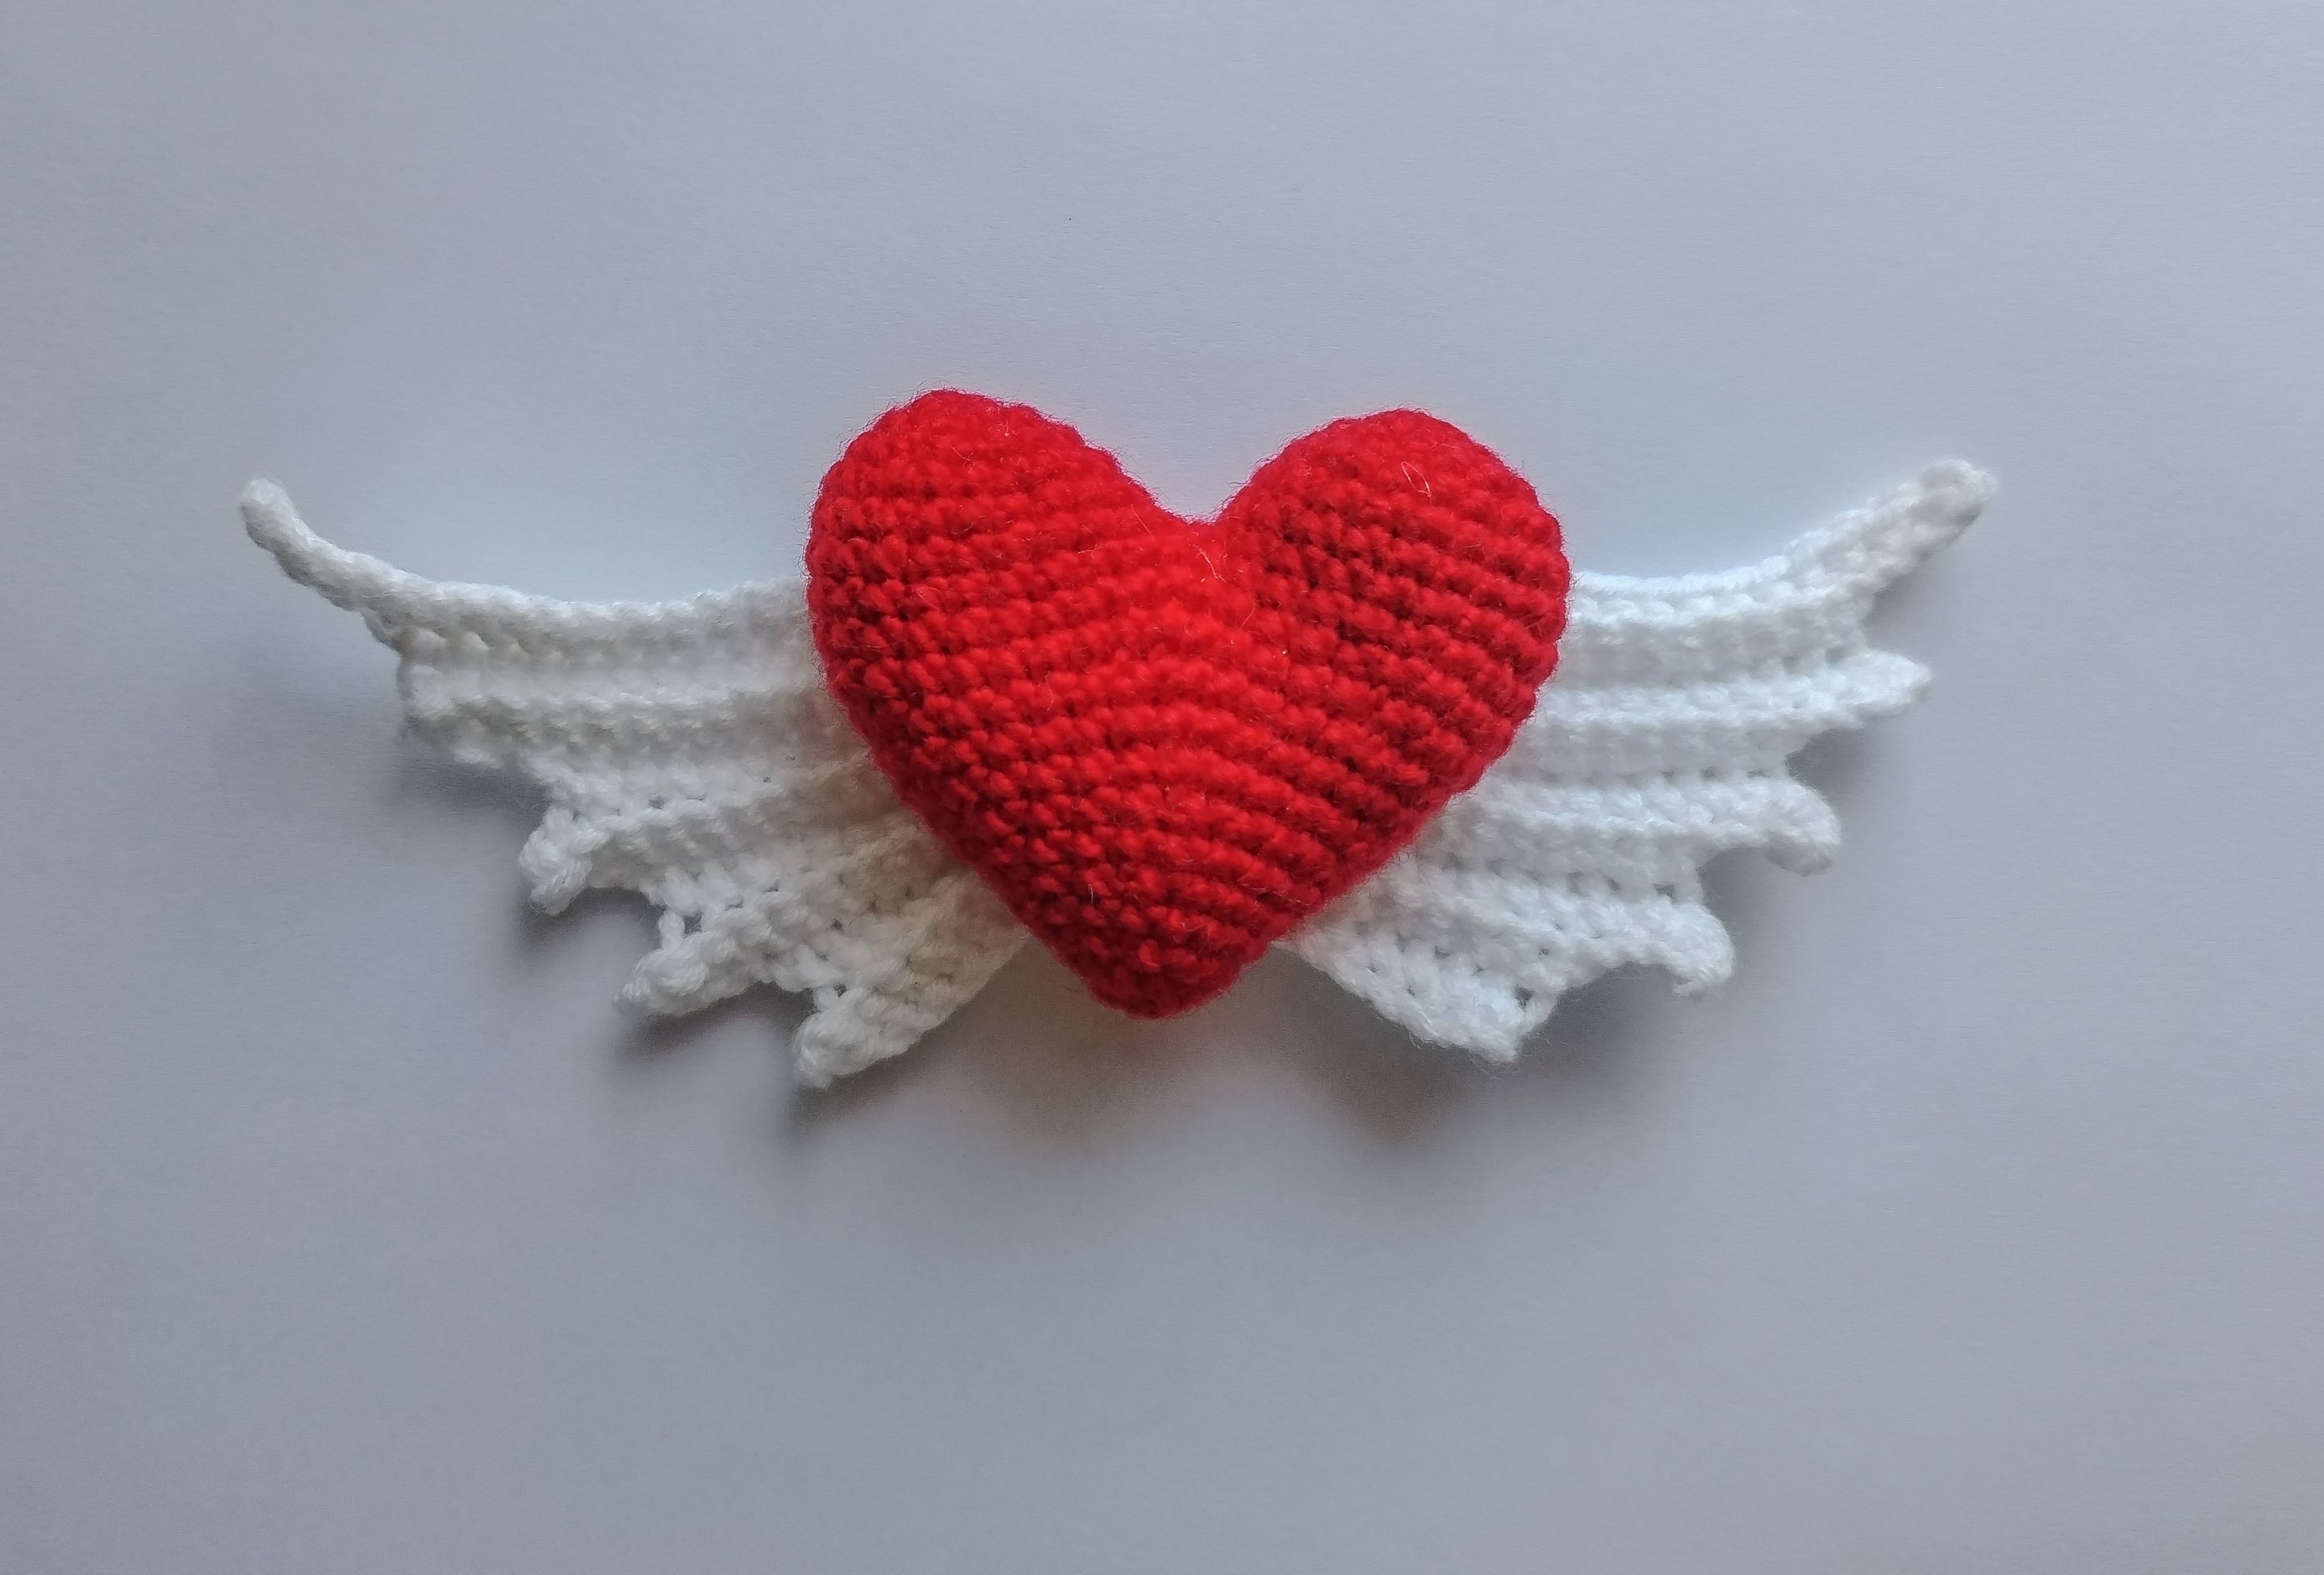
**Resultado/Result**
|
|
|
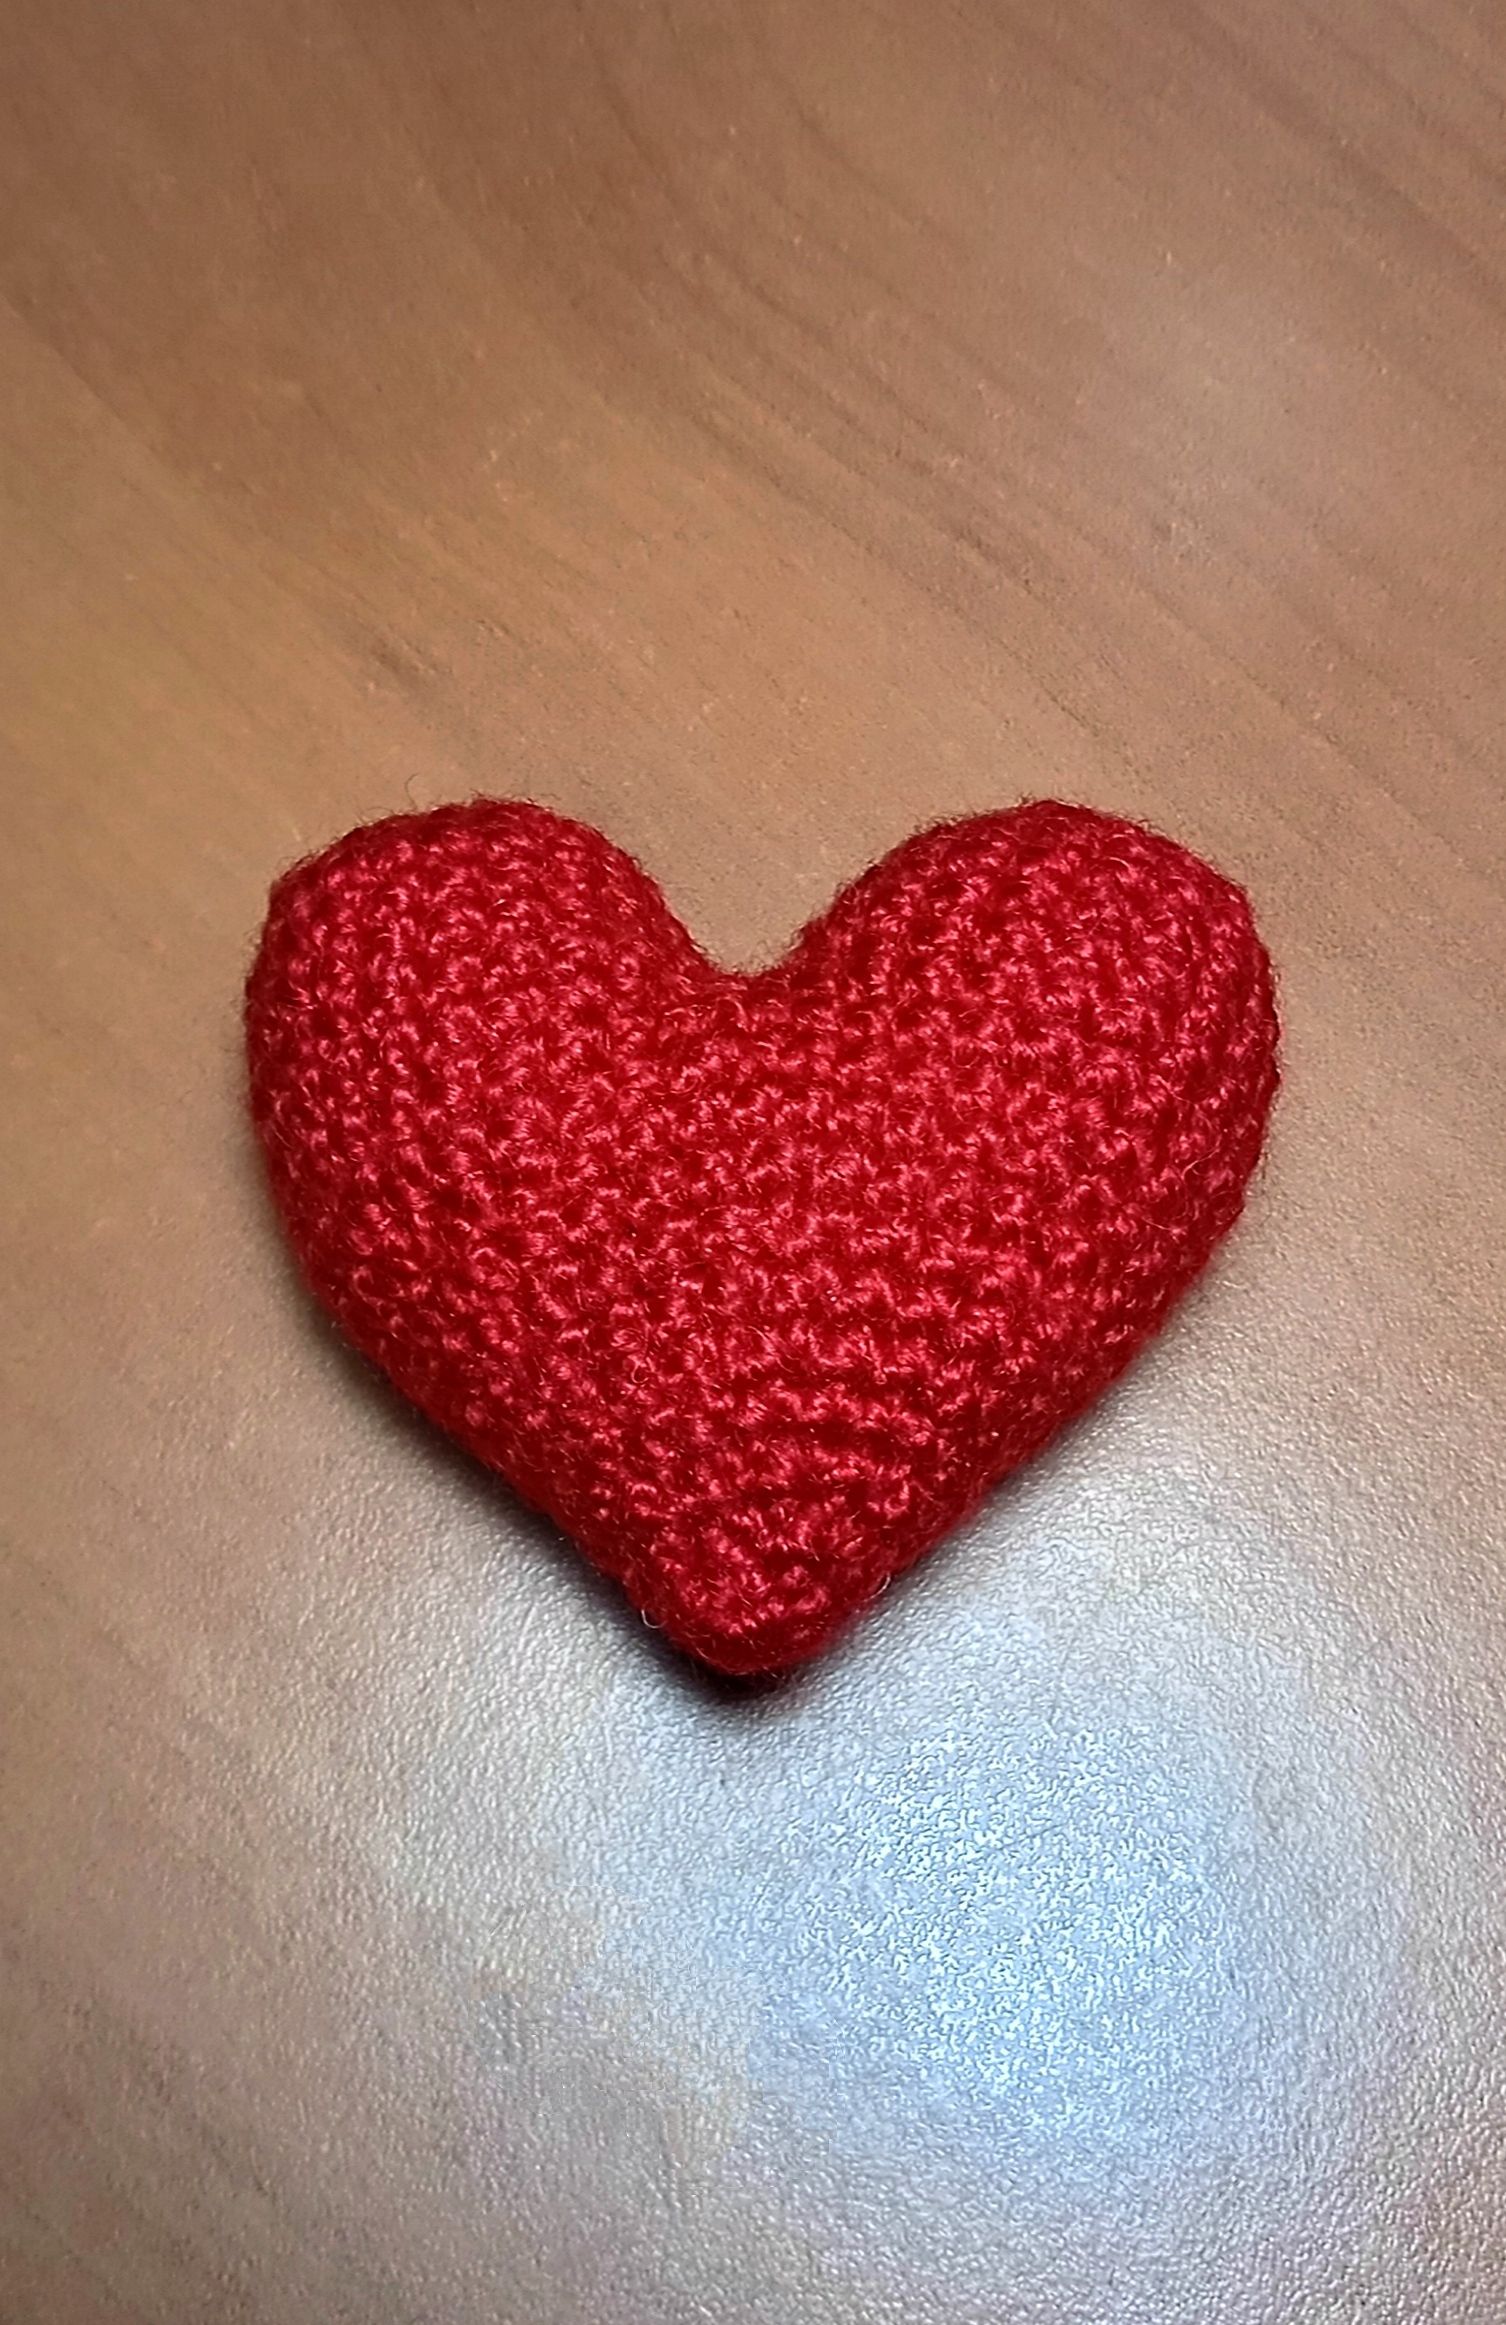
Aquí tienen el resultado, exactamente lo que quería. 🤗
>Here is the result, exactly what I wanted. 🤗