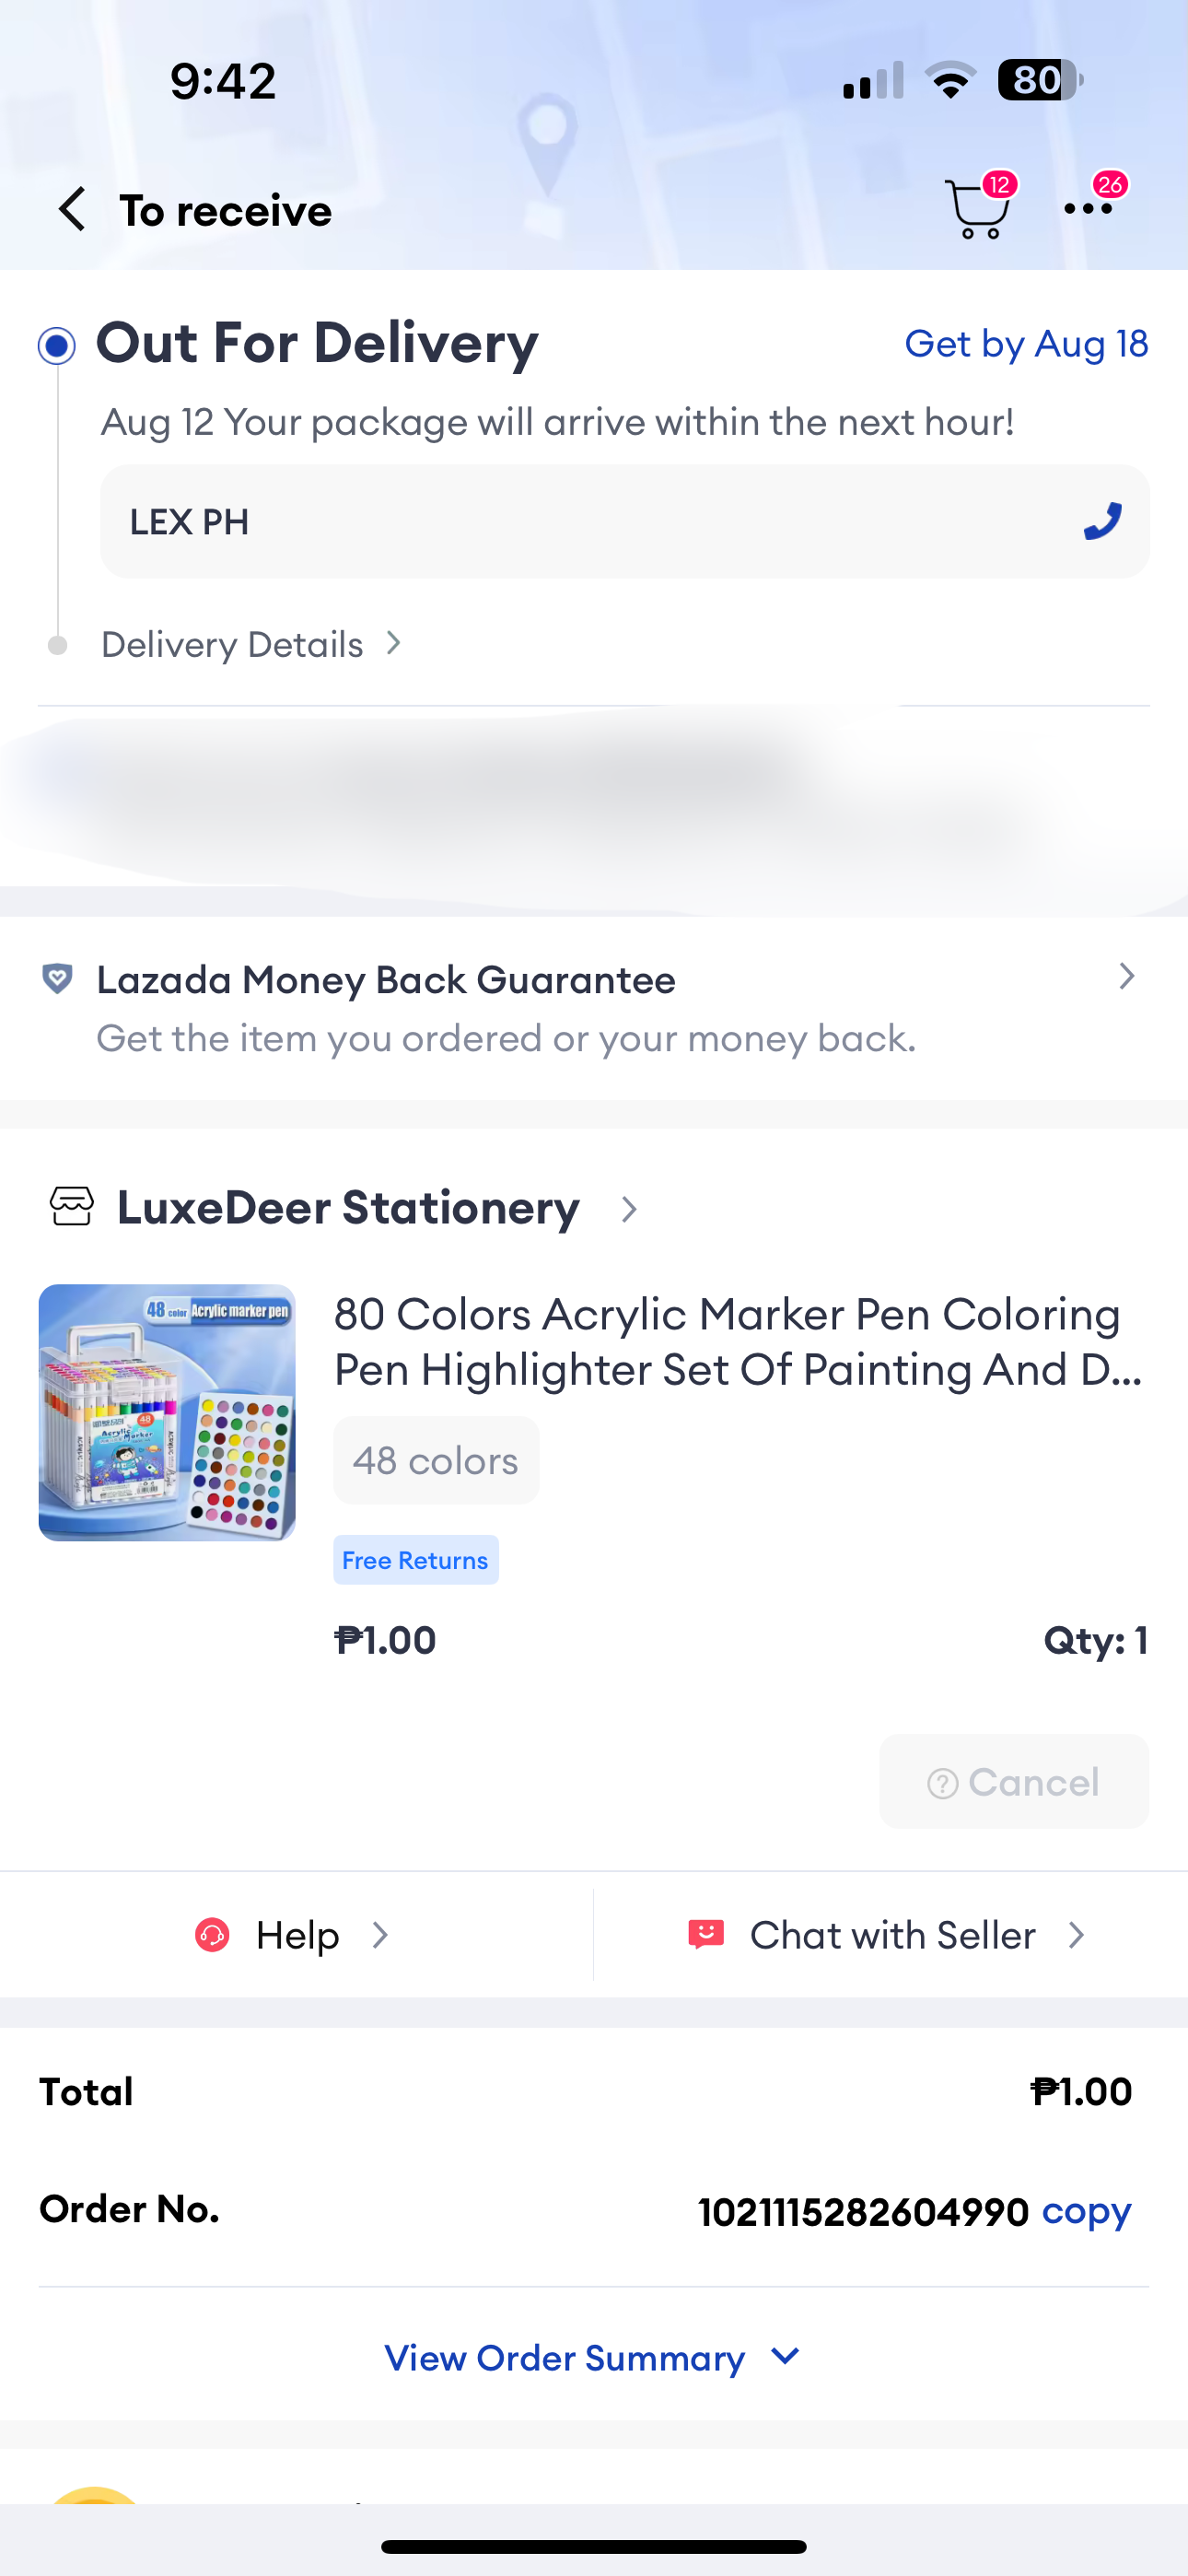
Last August 8, my cousin told me that online shopping platform is having sale for specific products price 18¢ or they just give it for free and at first I didn't believe him so he ask me to try and we only live once so I did it and yeah the news is true I pay only 18¢ for 48 piece Acrylic Marker I do the research and the original price of the marker is about $3.
I asked him maybe they're going to send me the damaged one, but they proved me wrong, so yesterday my order got delivered. Imagine I set the payment method to "Cash on Delivery" for only 18¢ LOL just to see what reaction the delivery man looks. But I am too shy to do that, so I pay it online.
-----
-----
---

Screenshot of My Order
Unboxing Time!
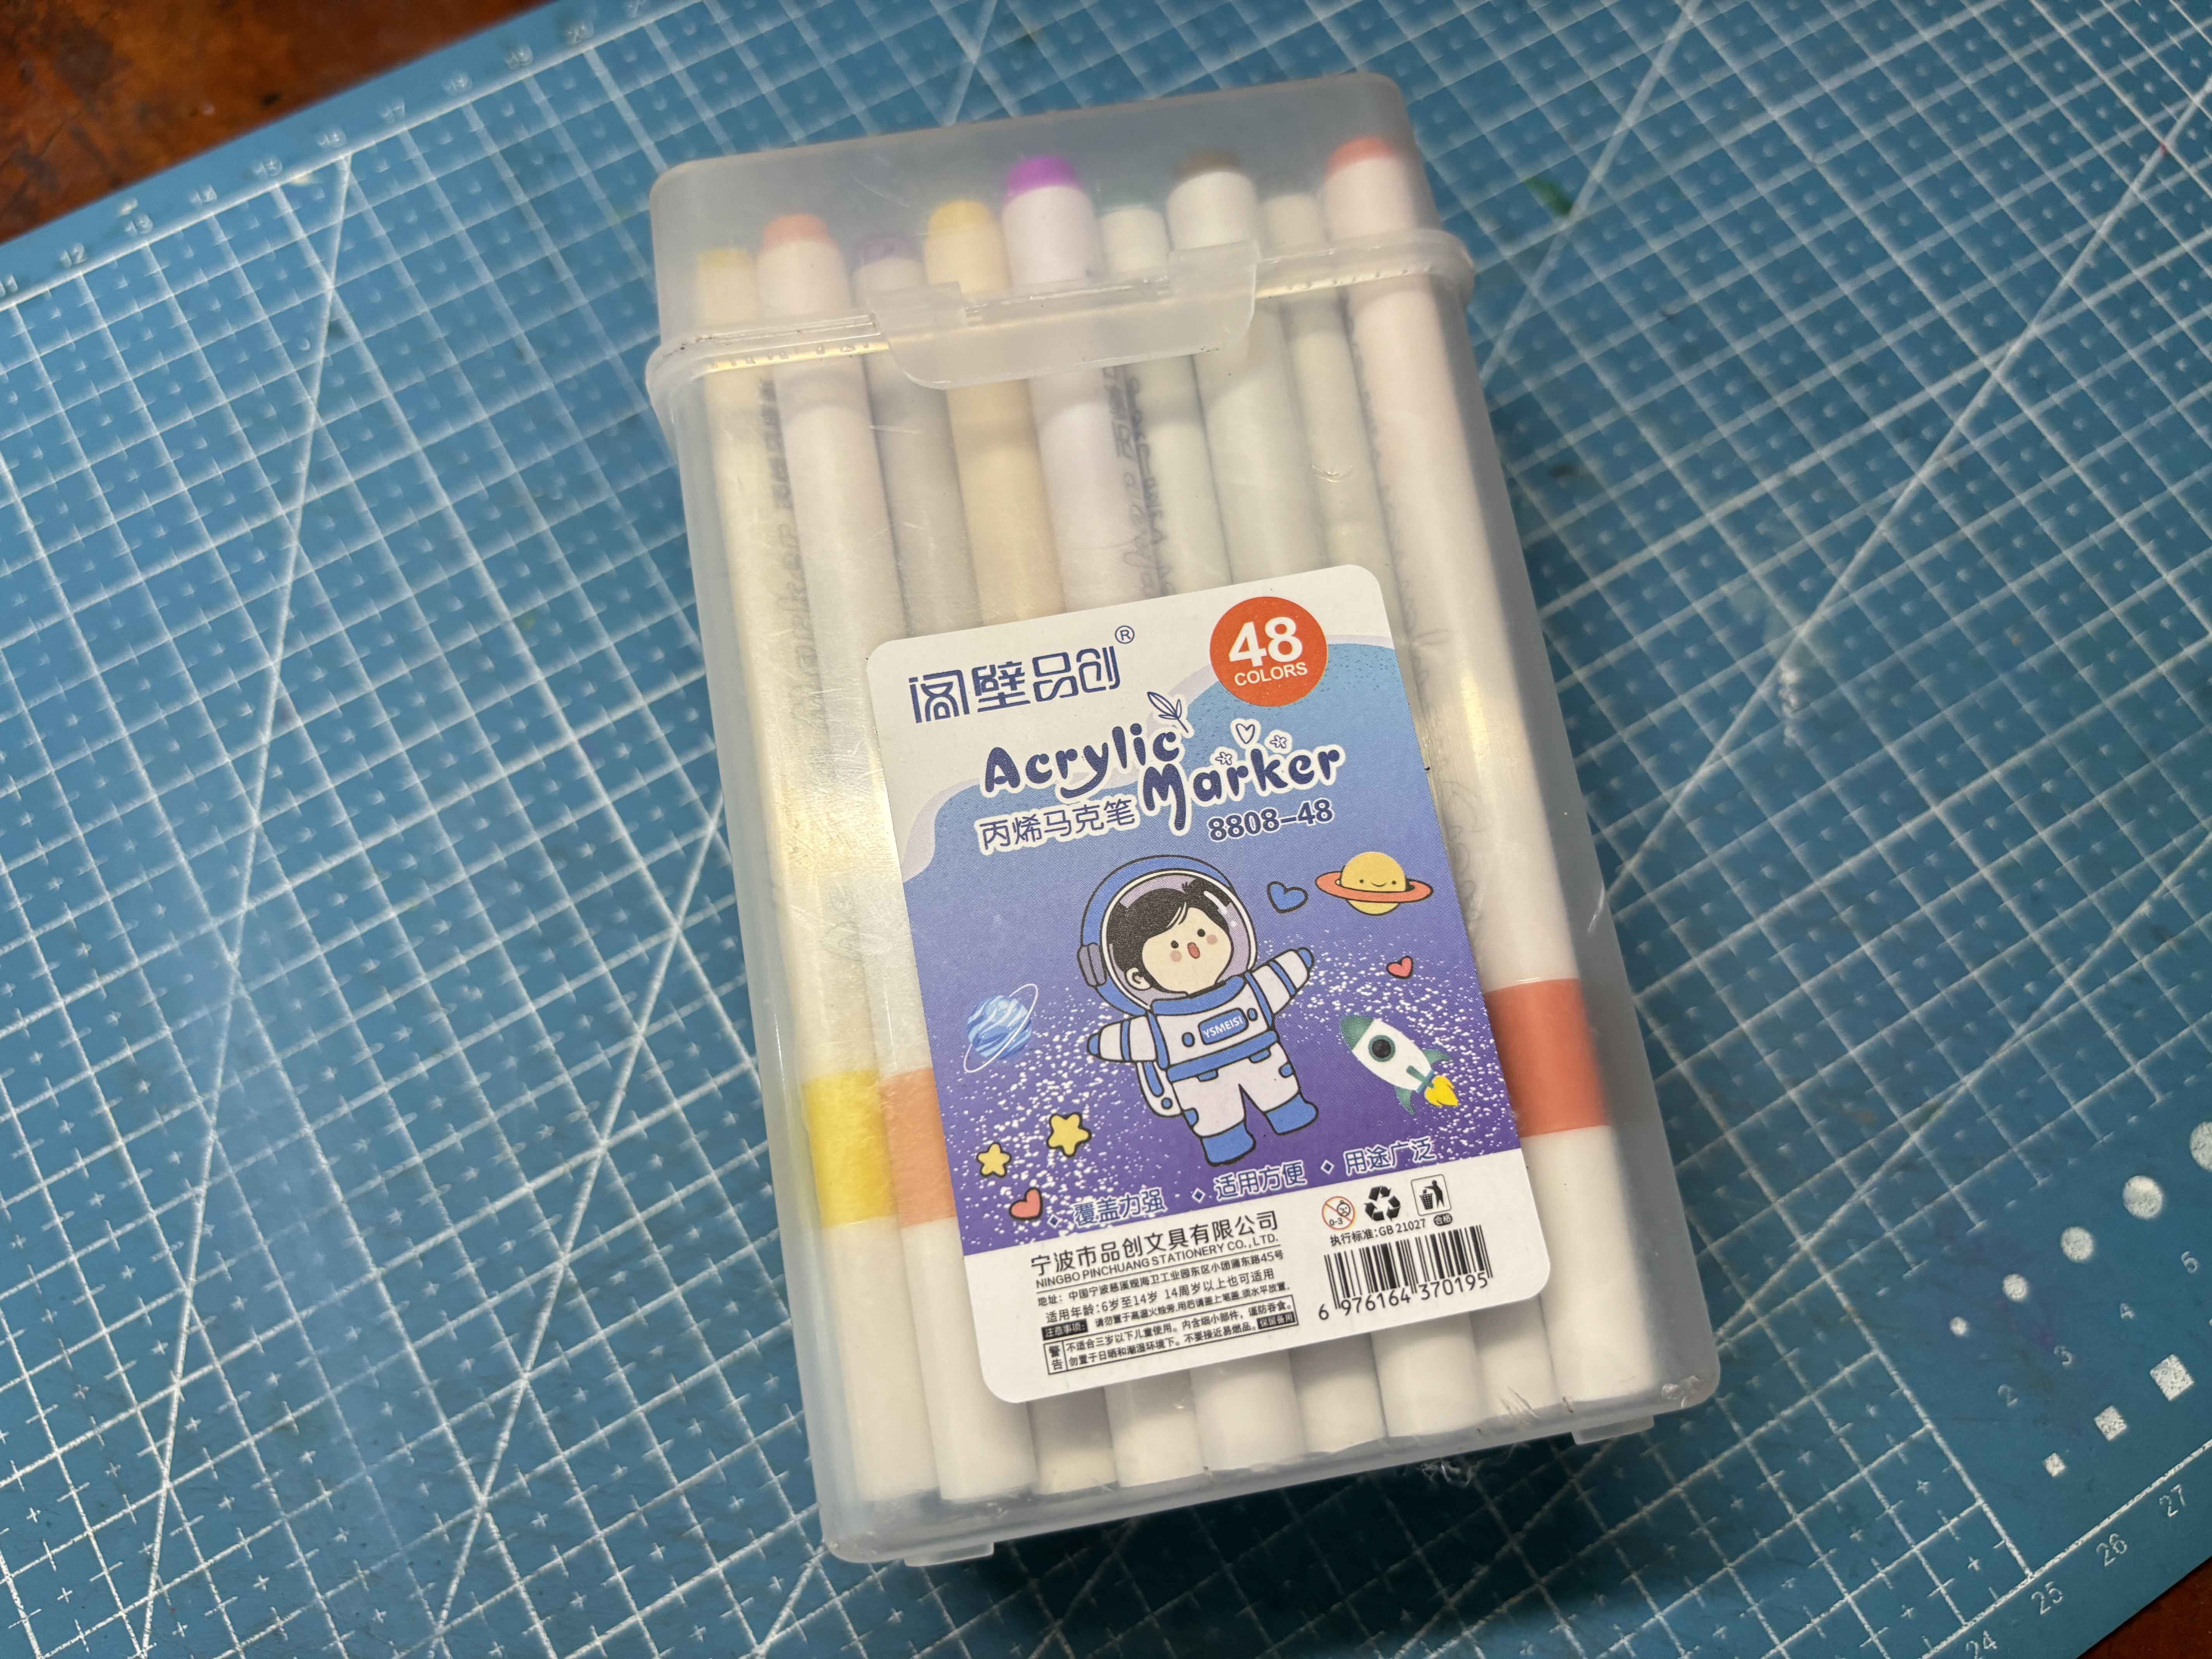
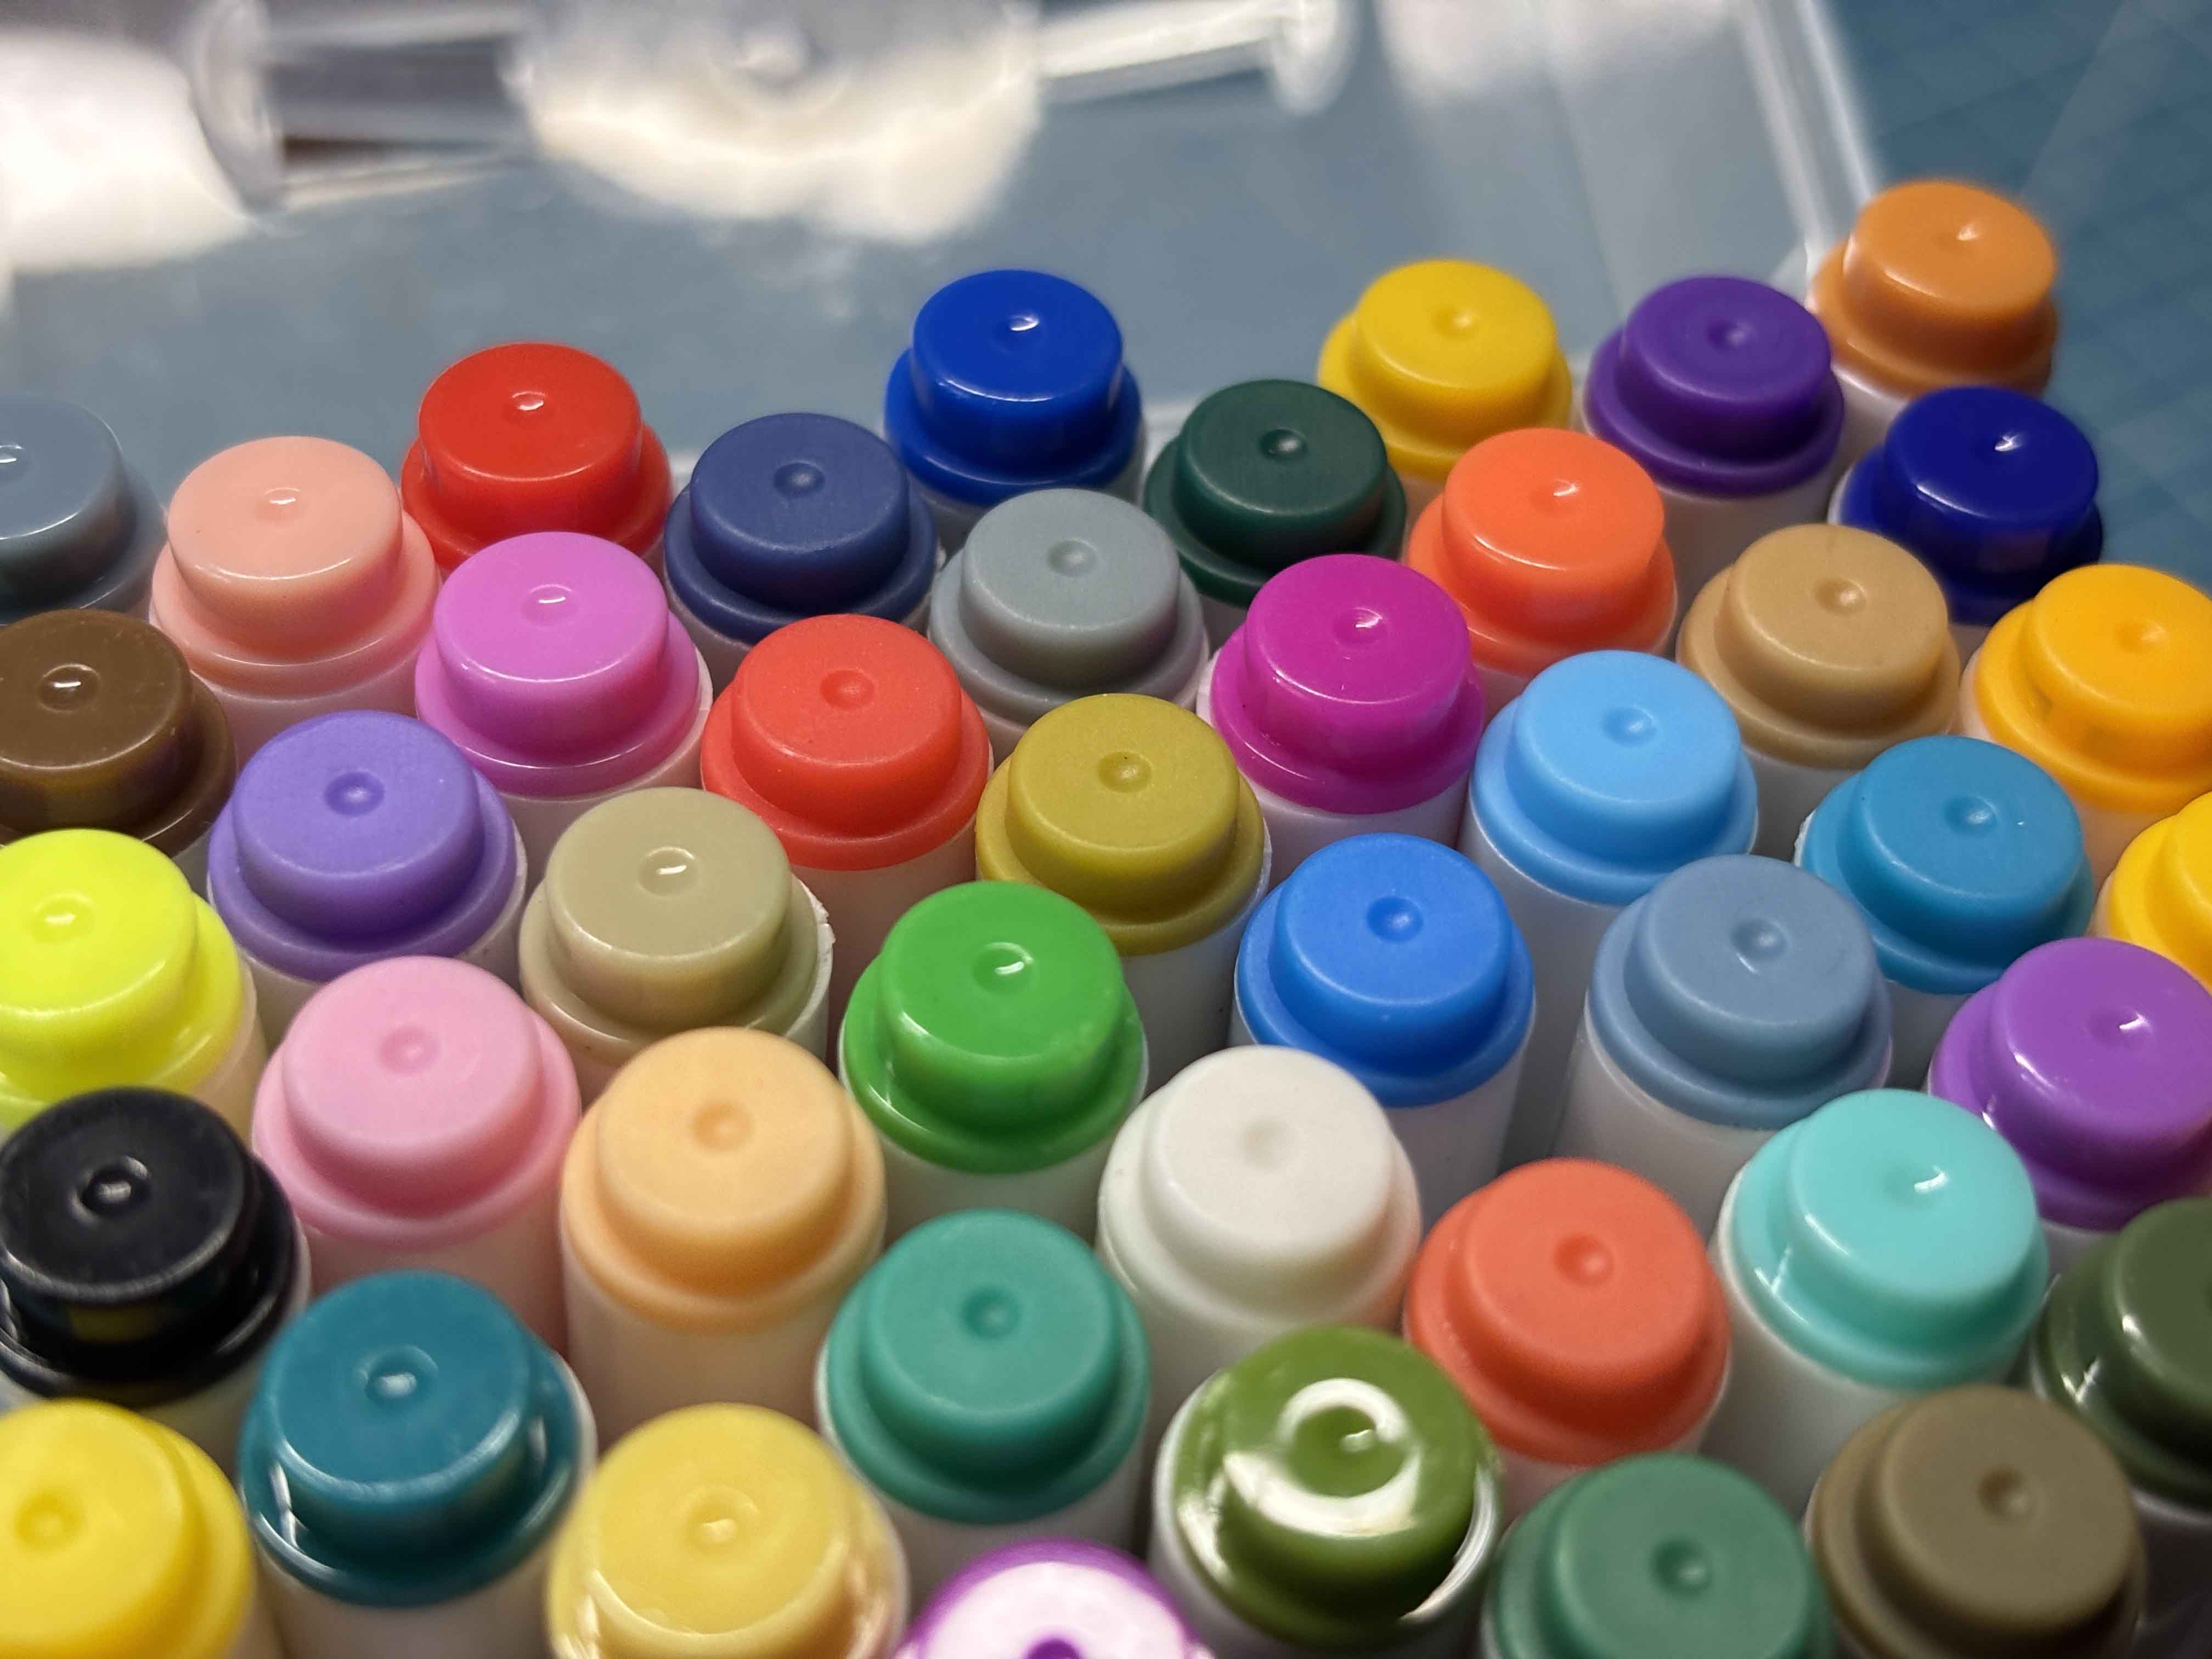
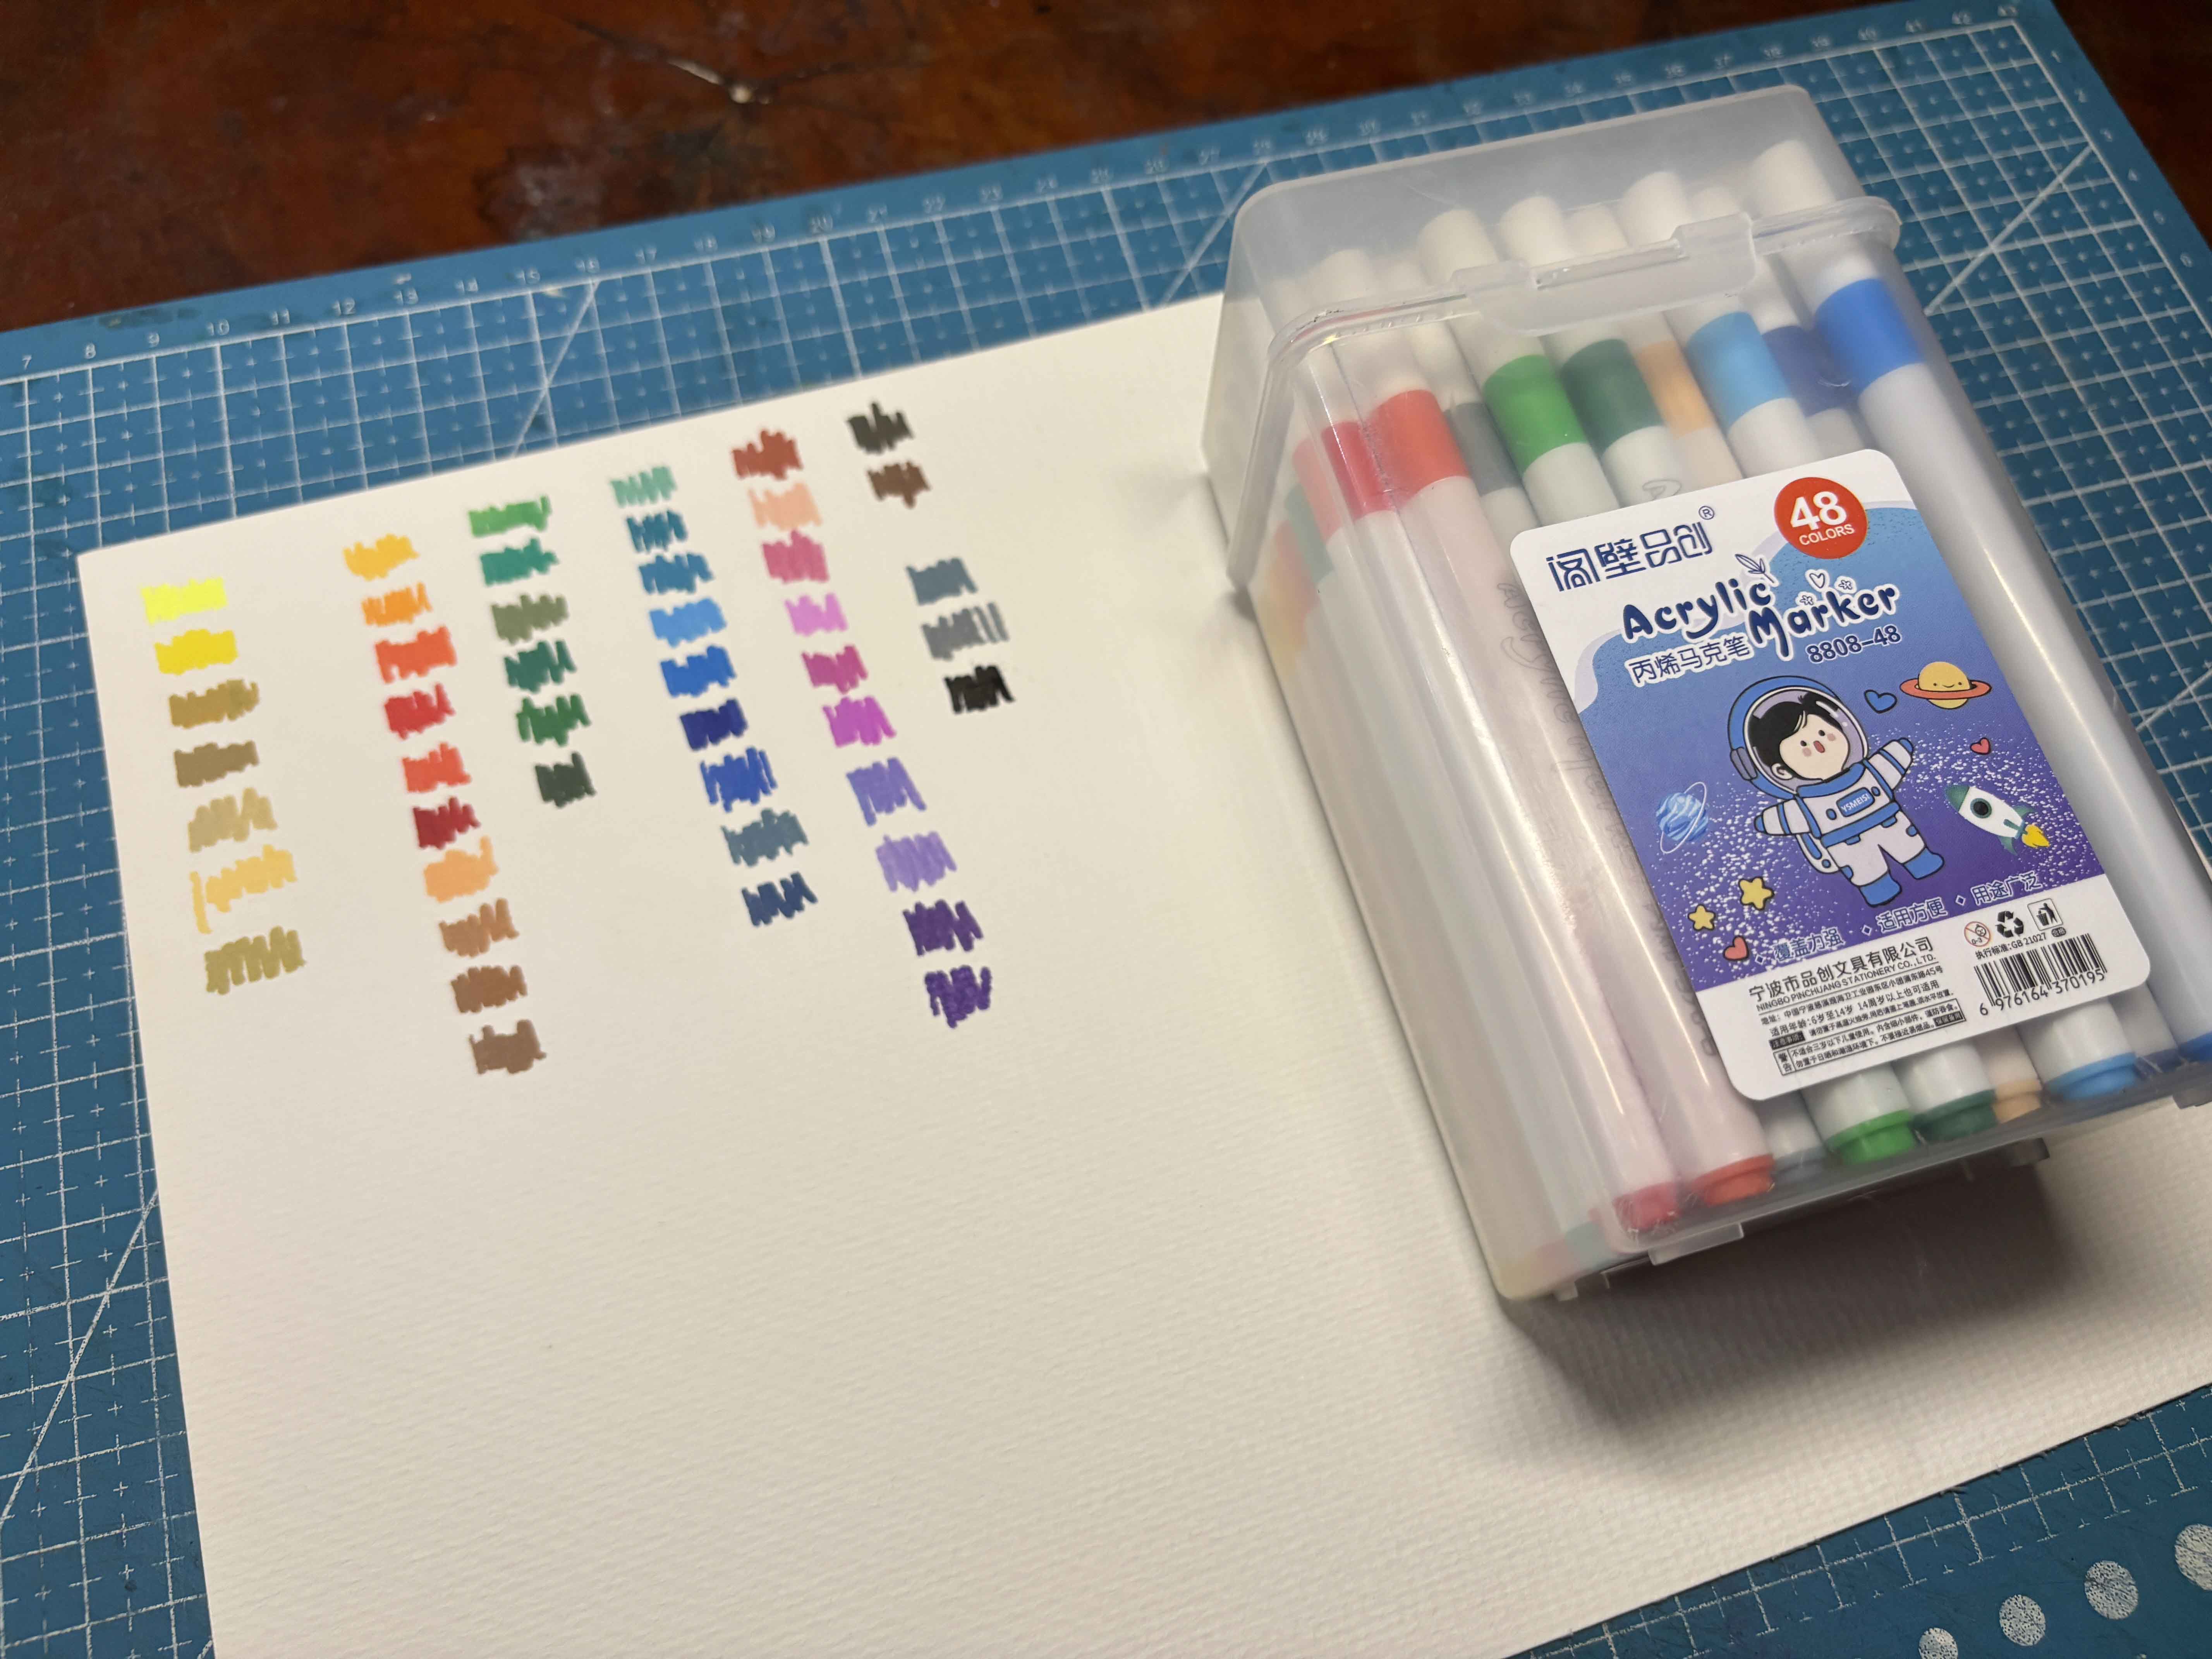
My order was delivered safely and the markers are thin and small, it what I expected. And I like the plastic case of it, the minimalistic look, and it has a lot of color. I am pretty confused LOL.
-----
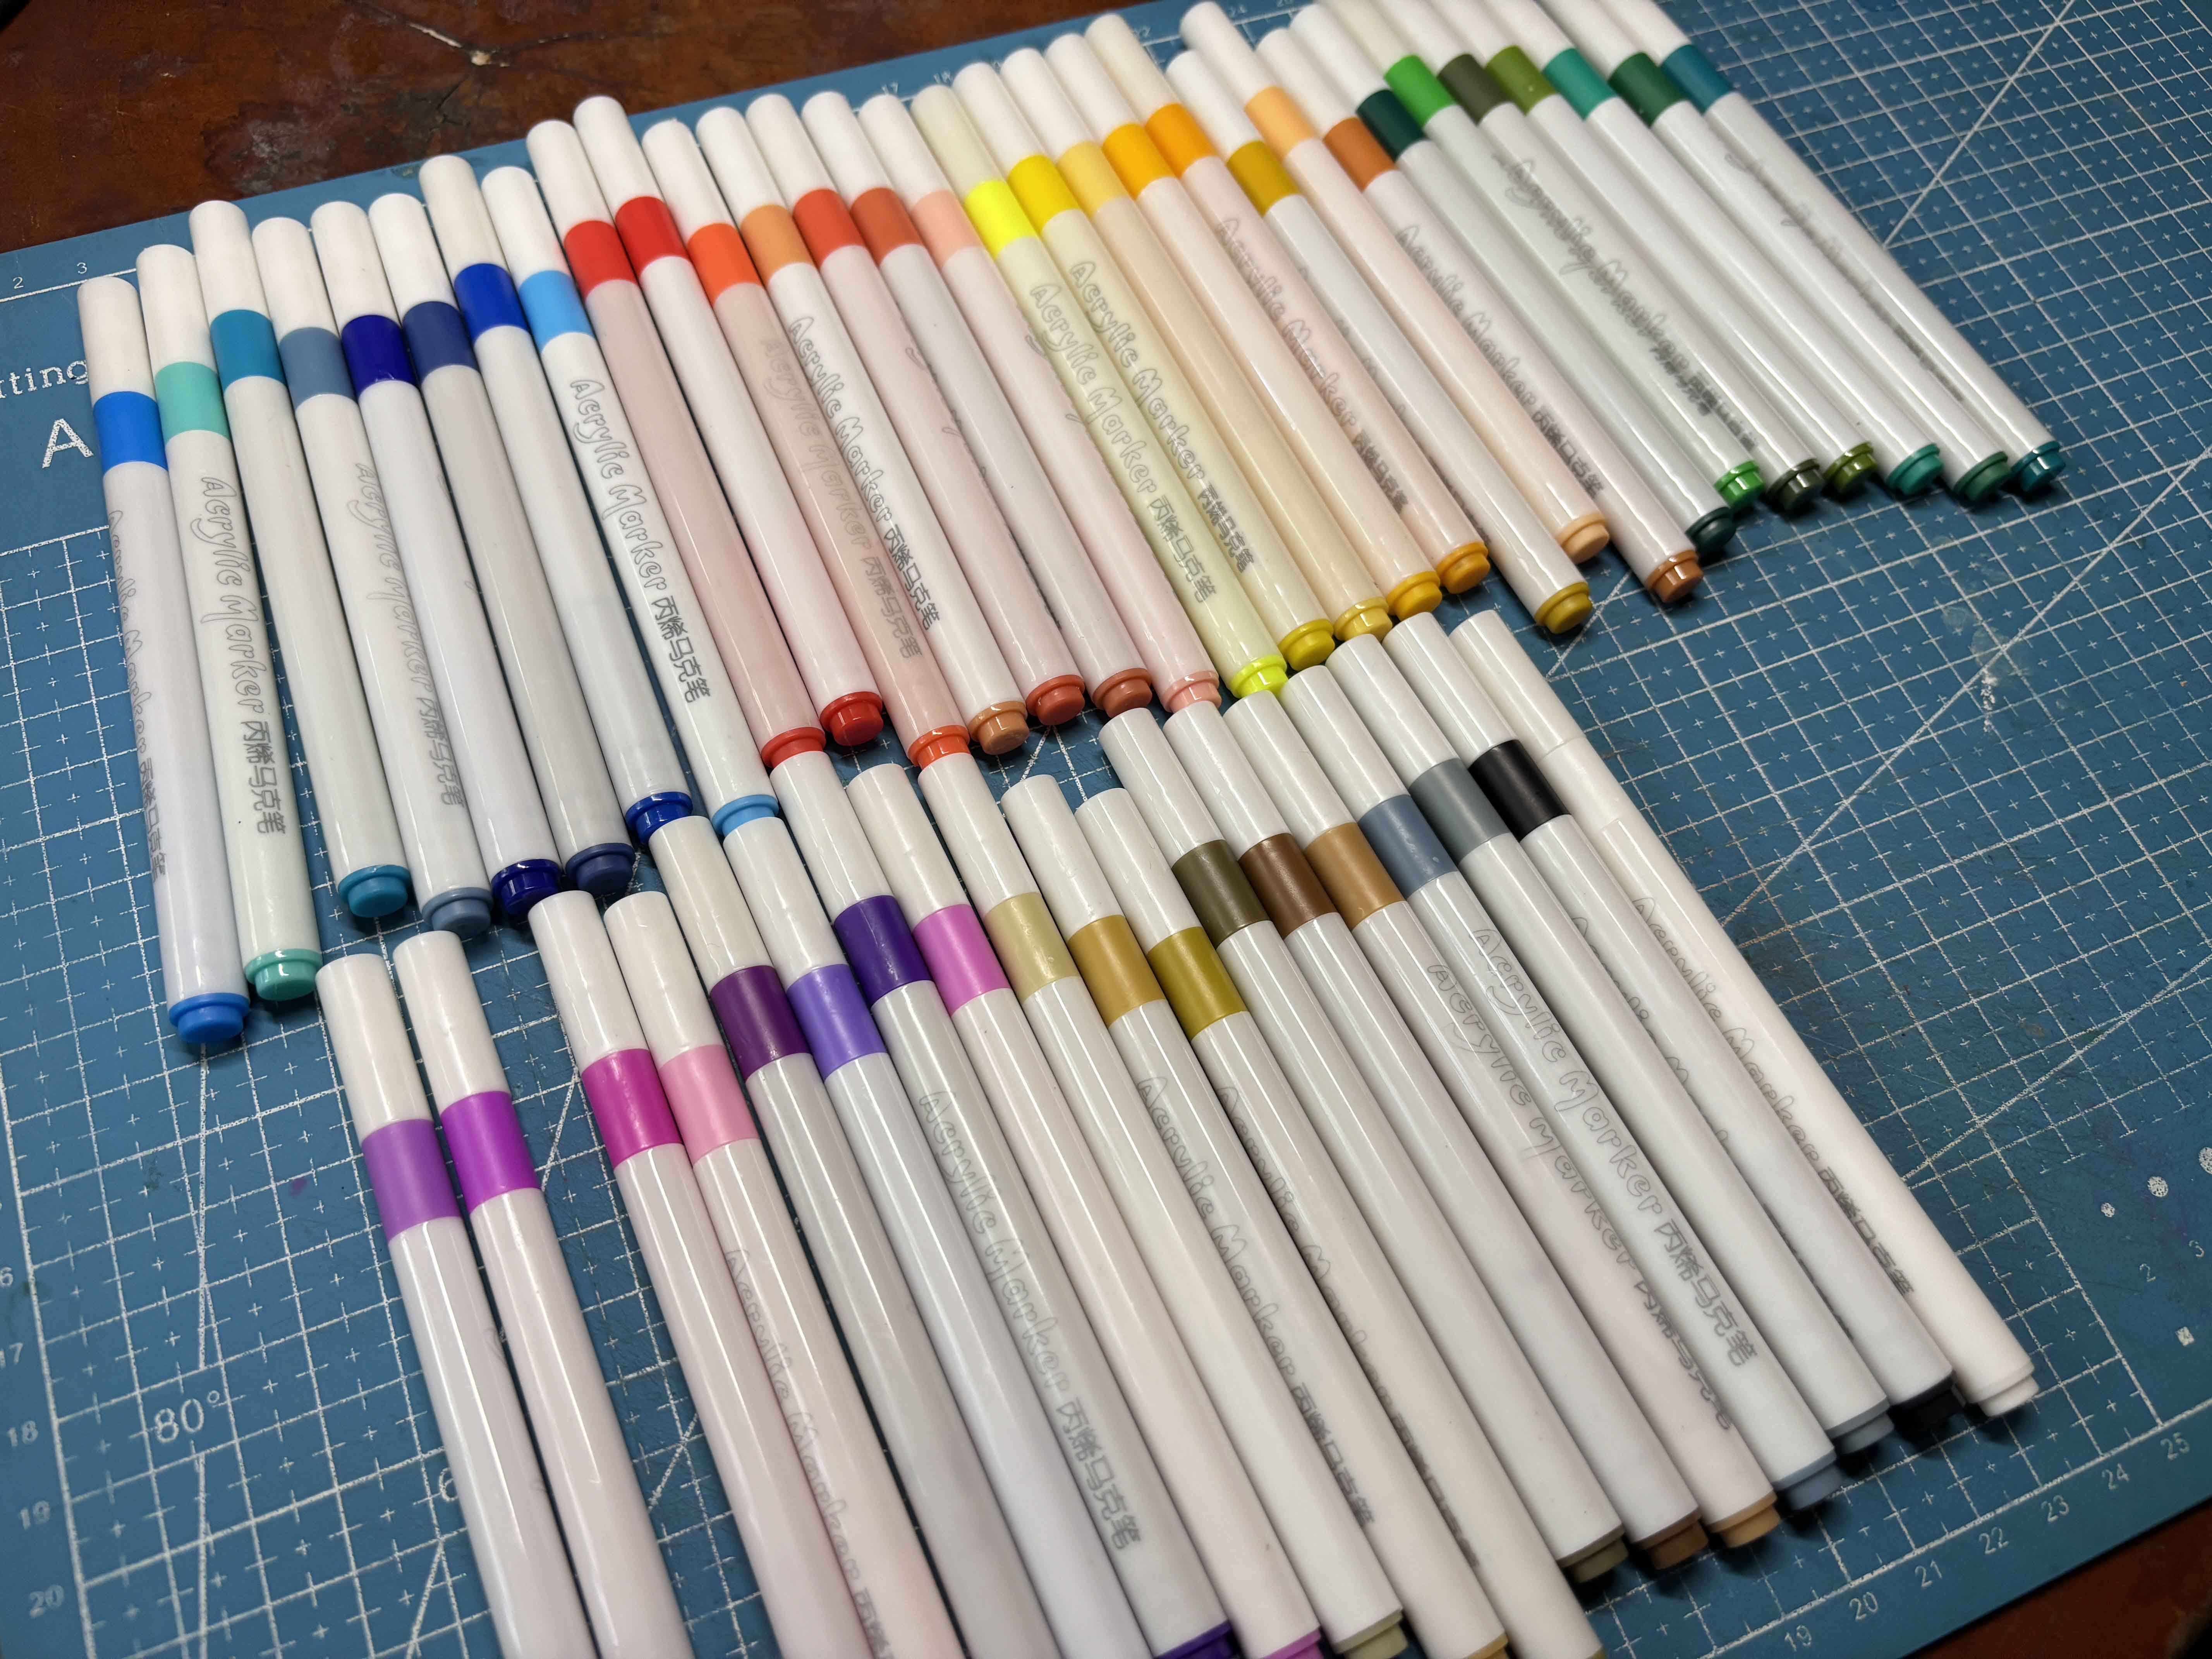
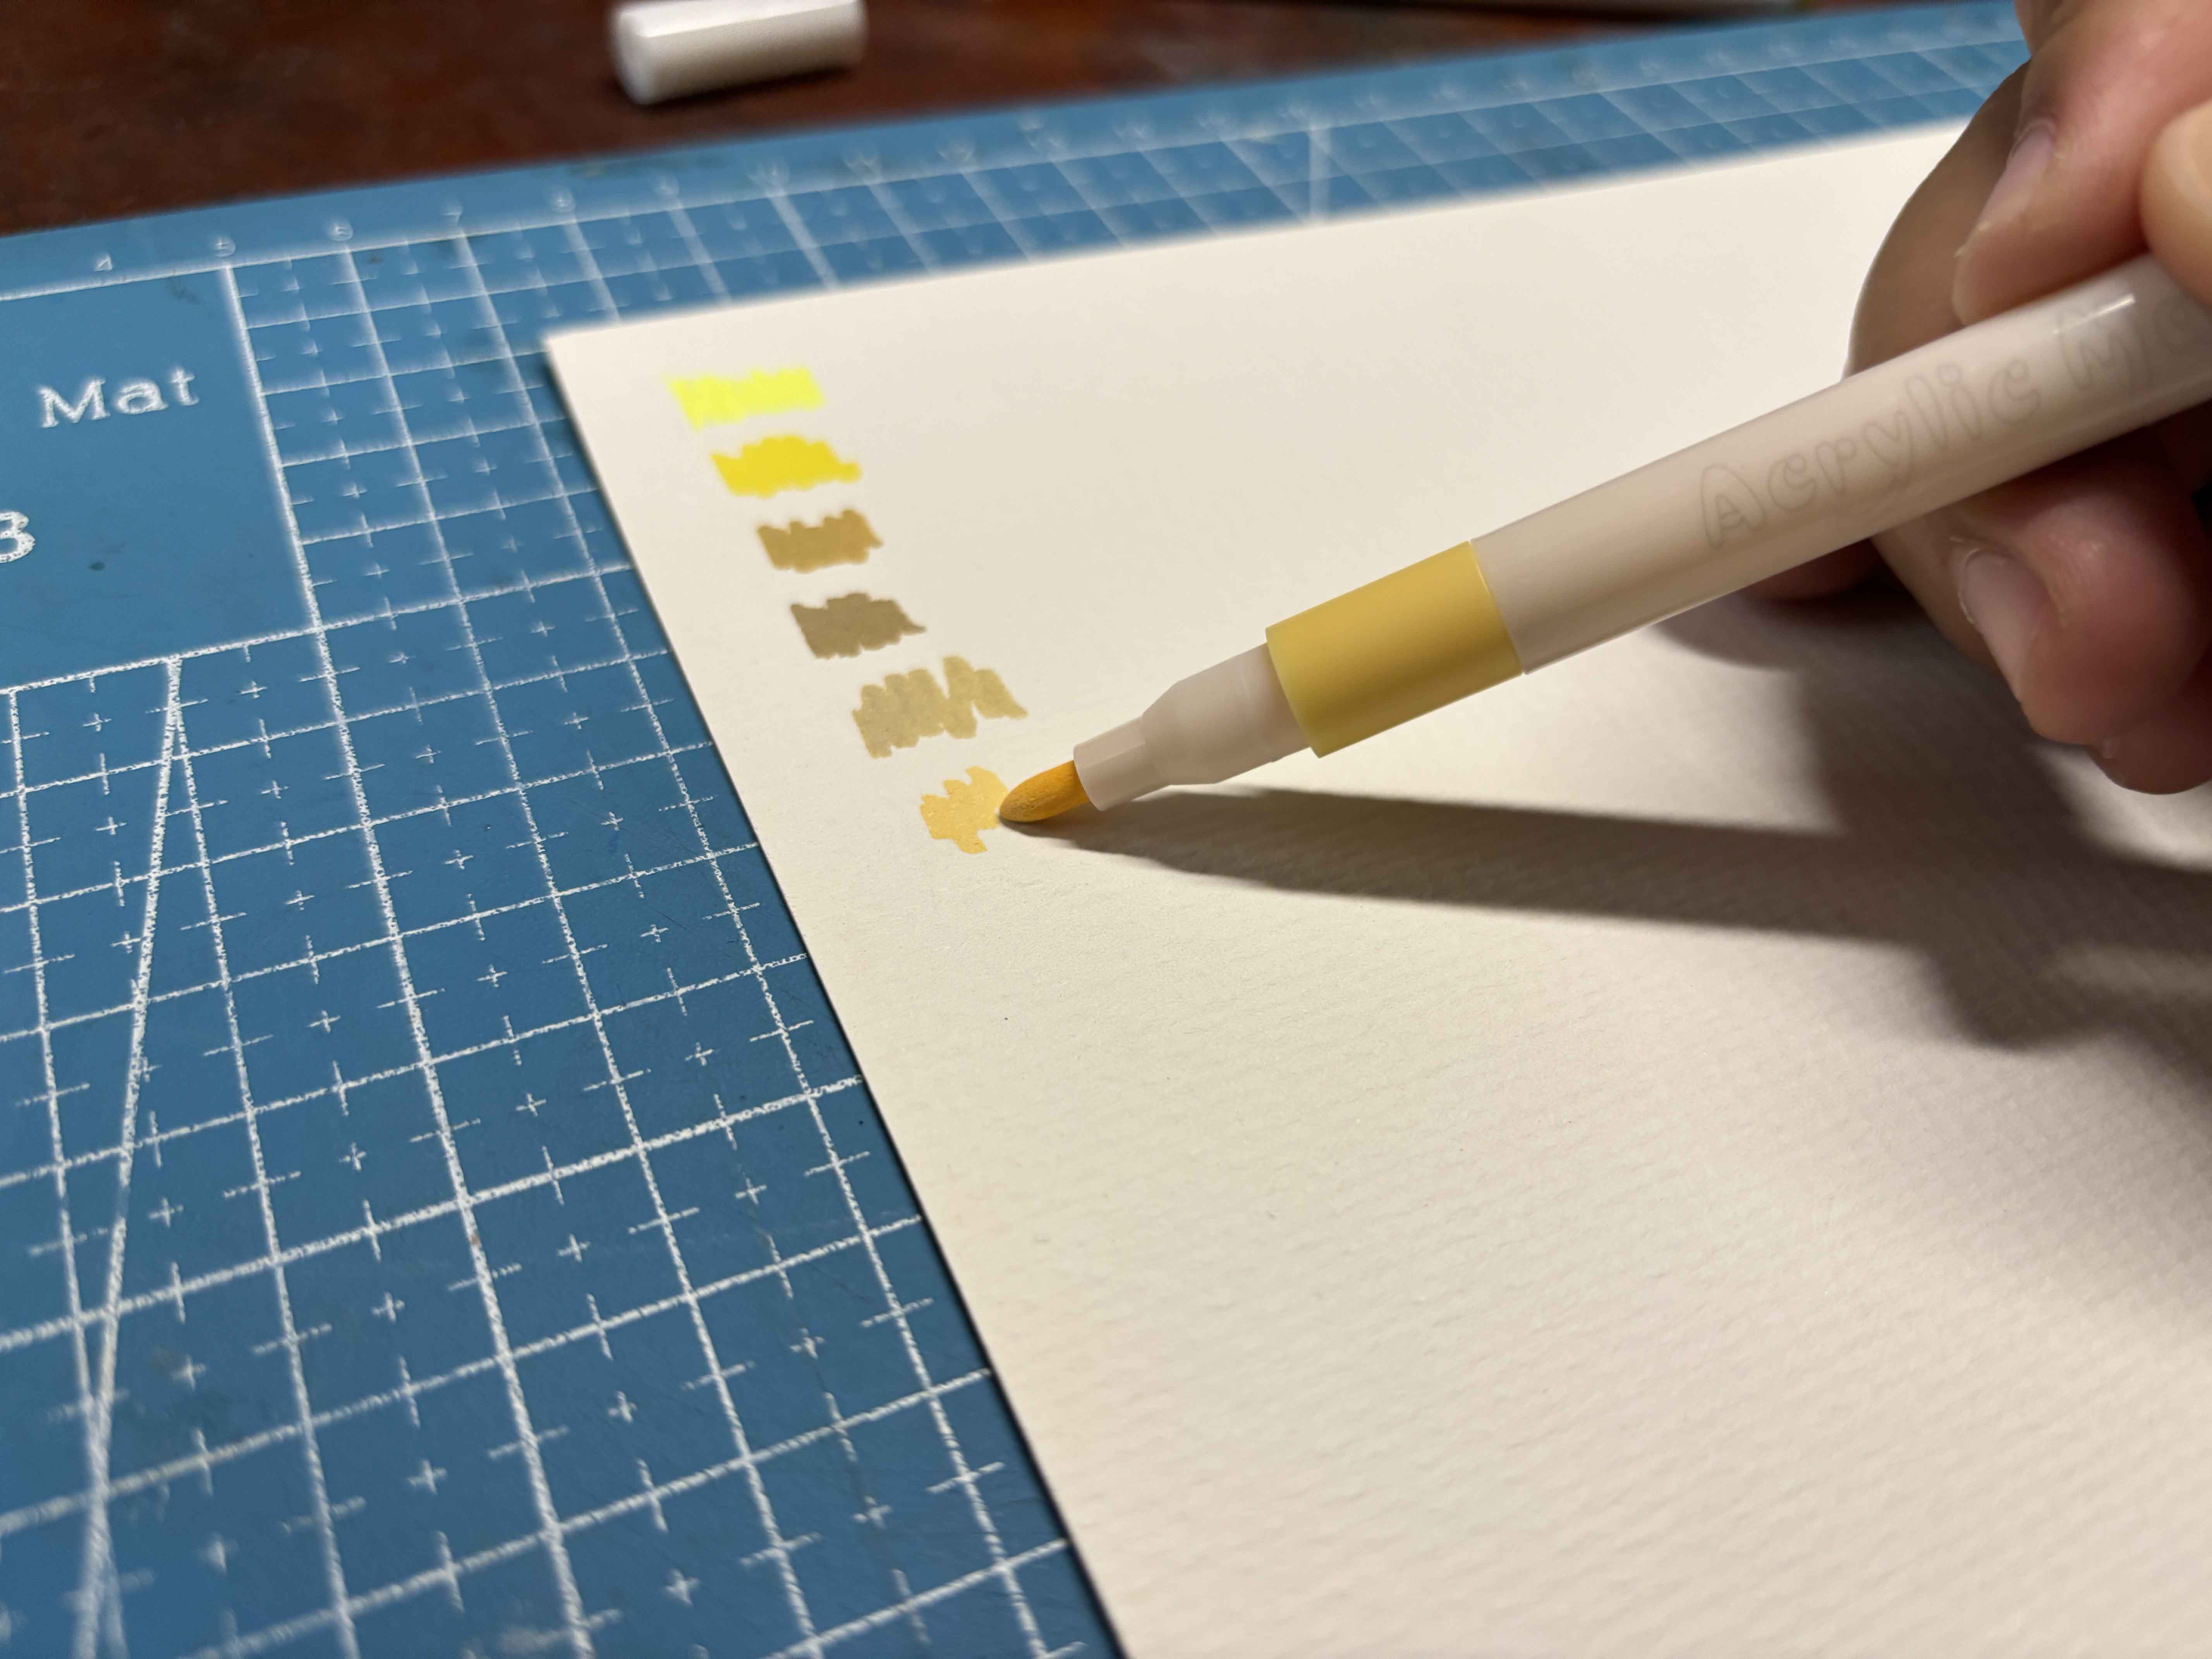
Swatching The Acrylic Marker
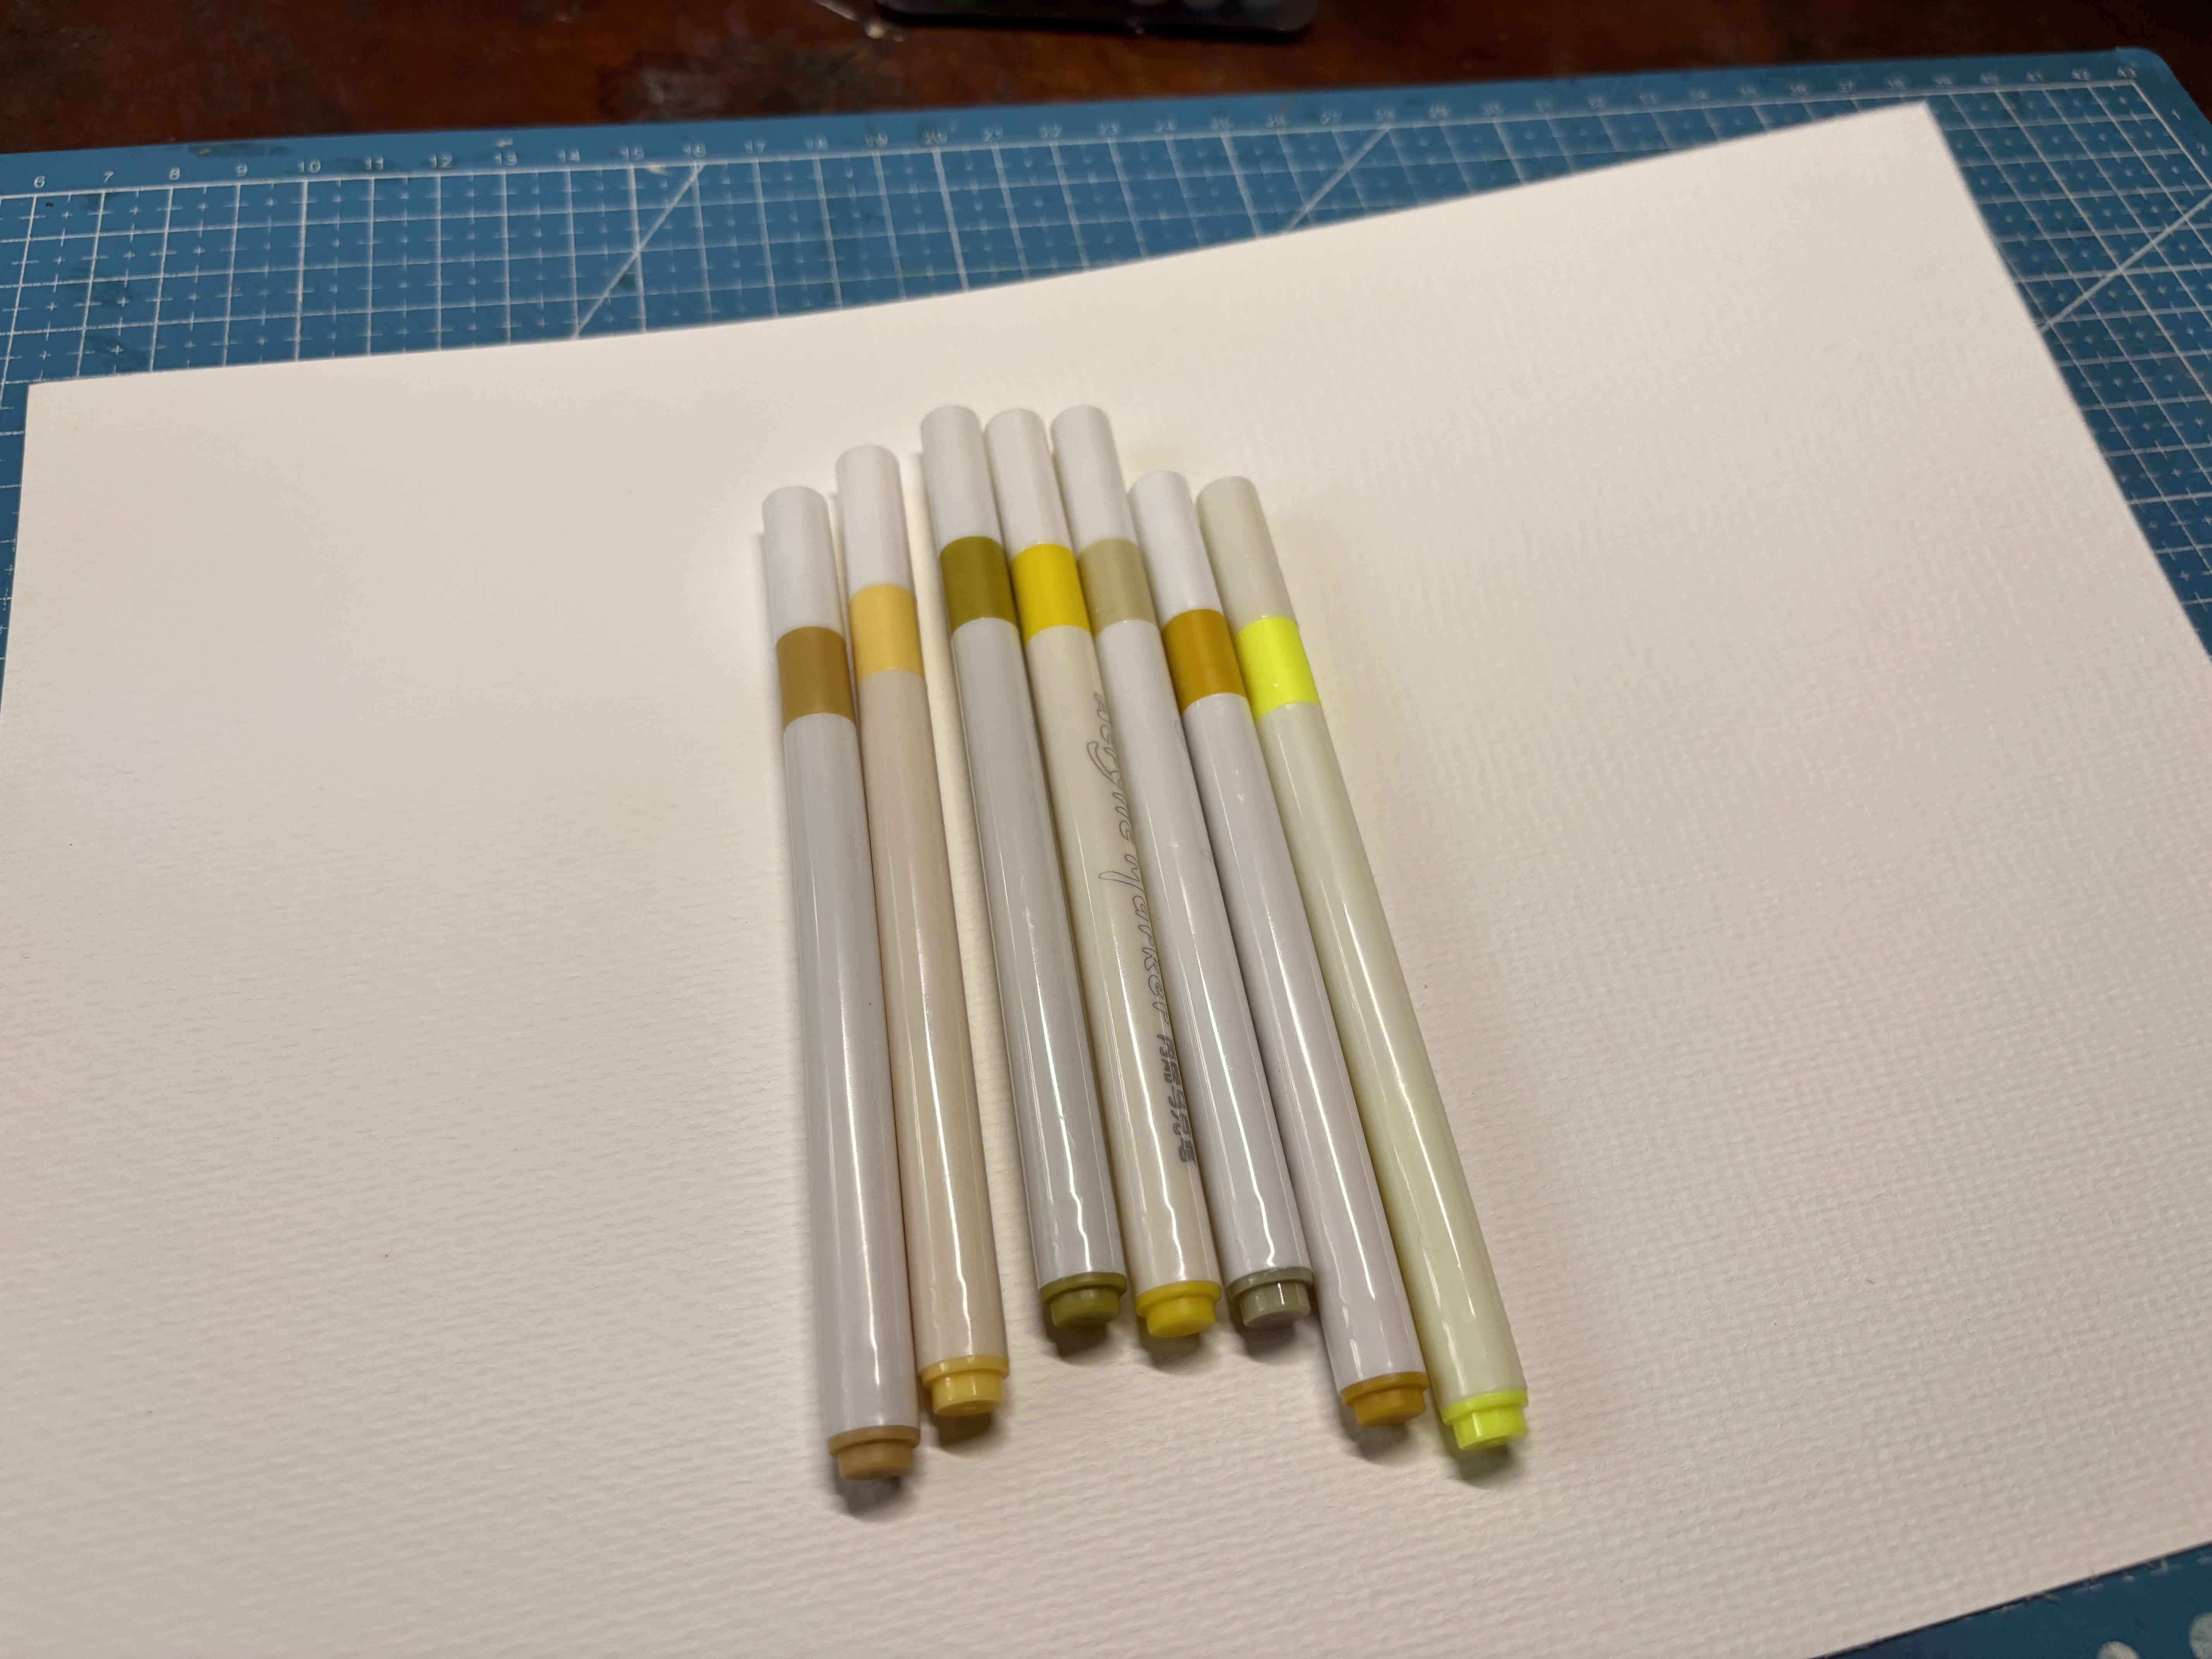
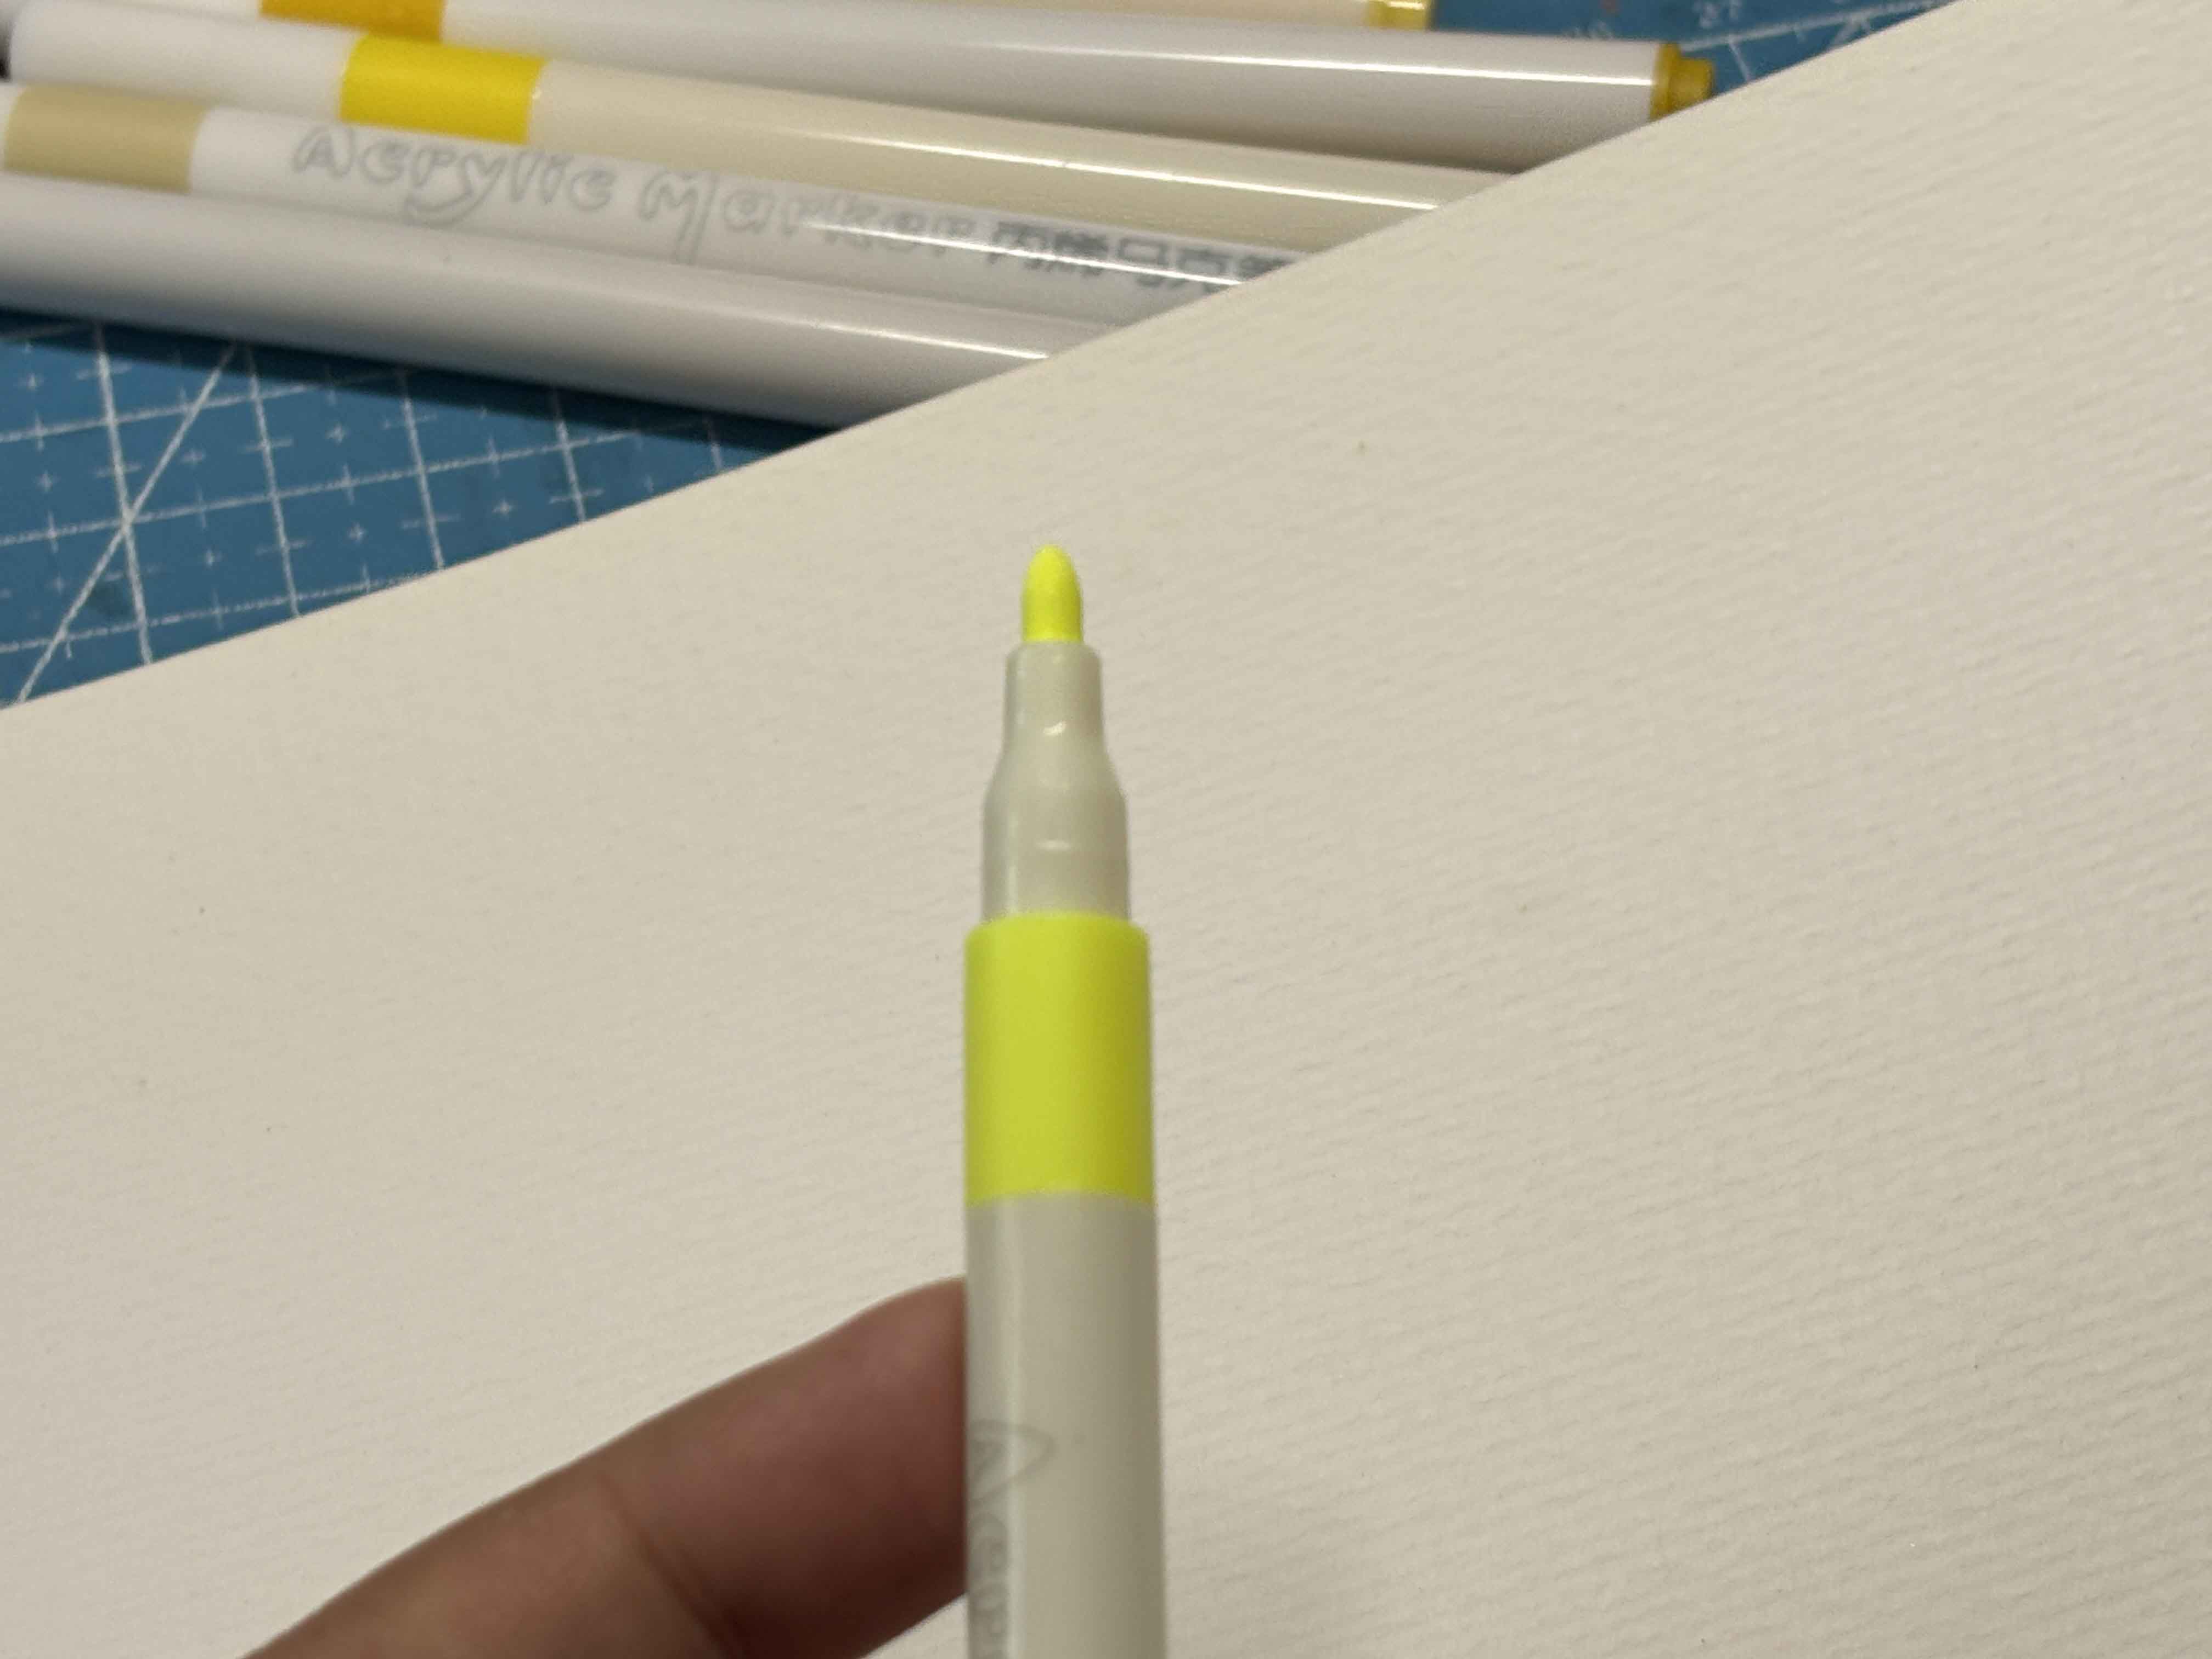
I started with yellow shades. I used one of my watercolor papers, and this is what the pen tip looks like. It reminds me of the usual marker that can be bought at a store.
------
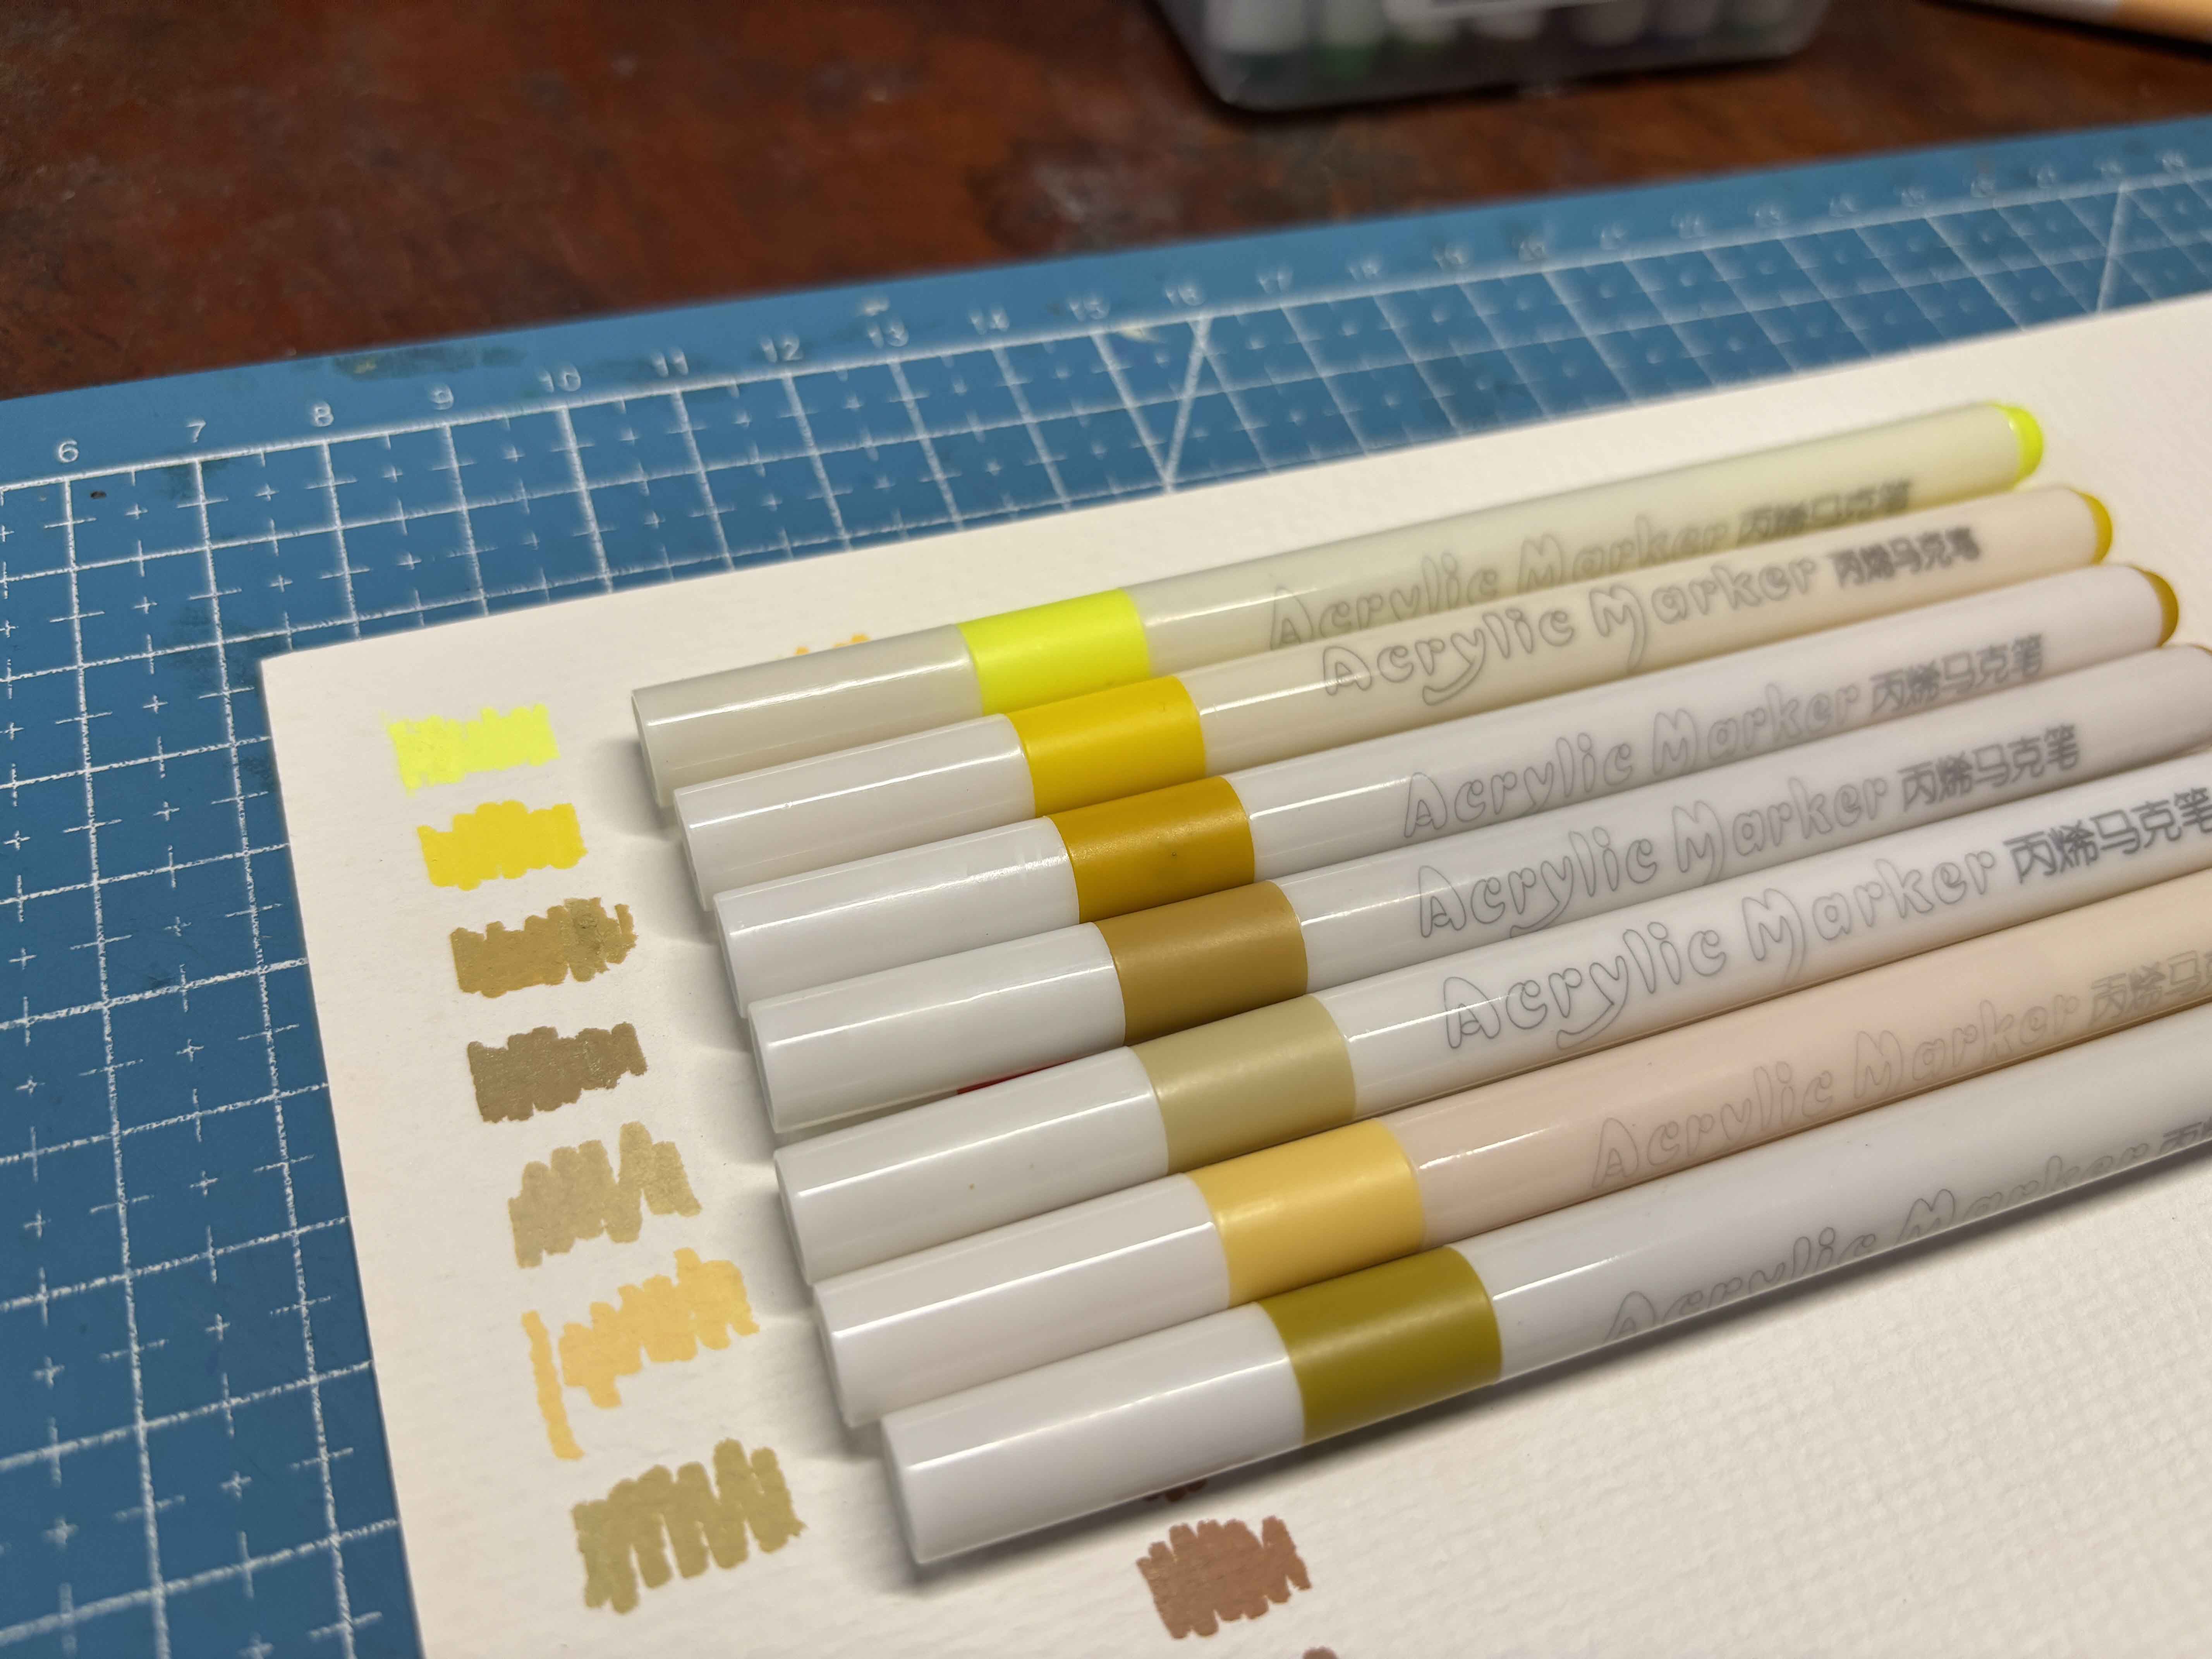
Some of the shades of the marker are pretty transparent when I swatch them, perfect for the first layer.
------
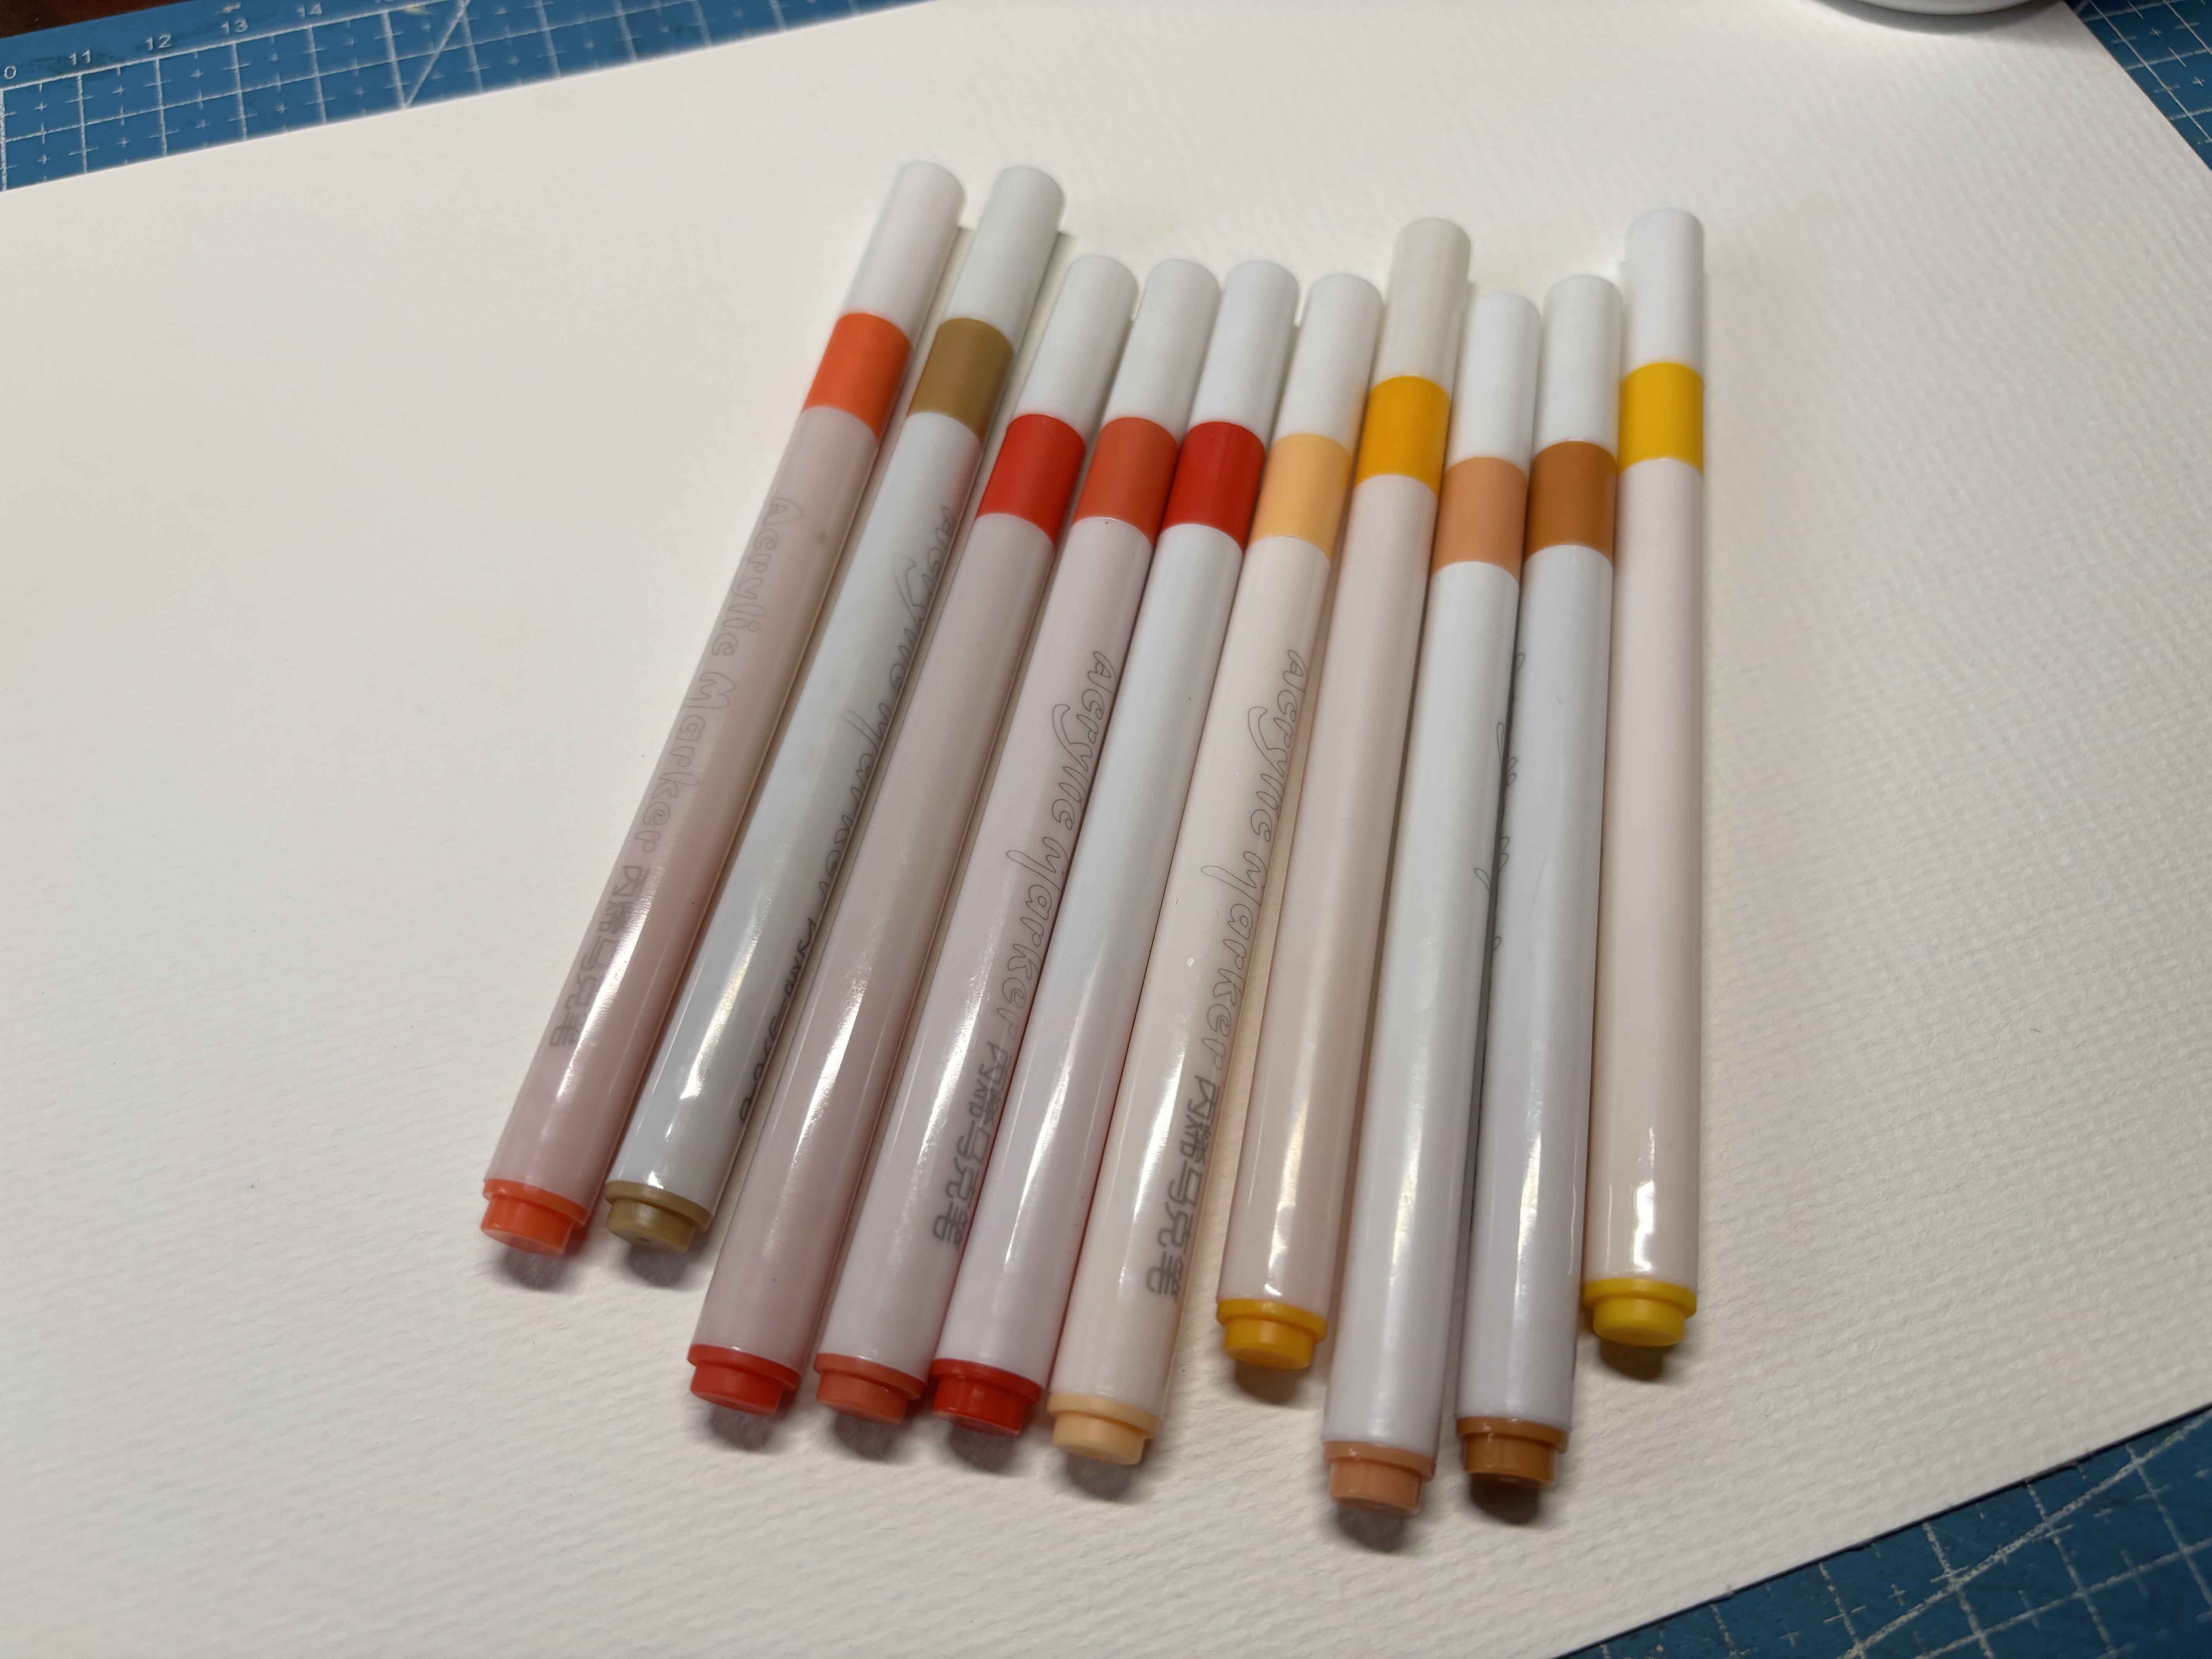
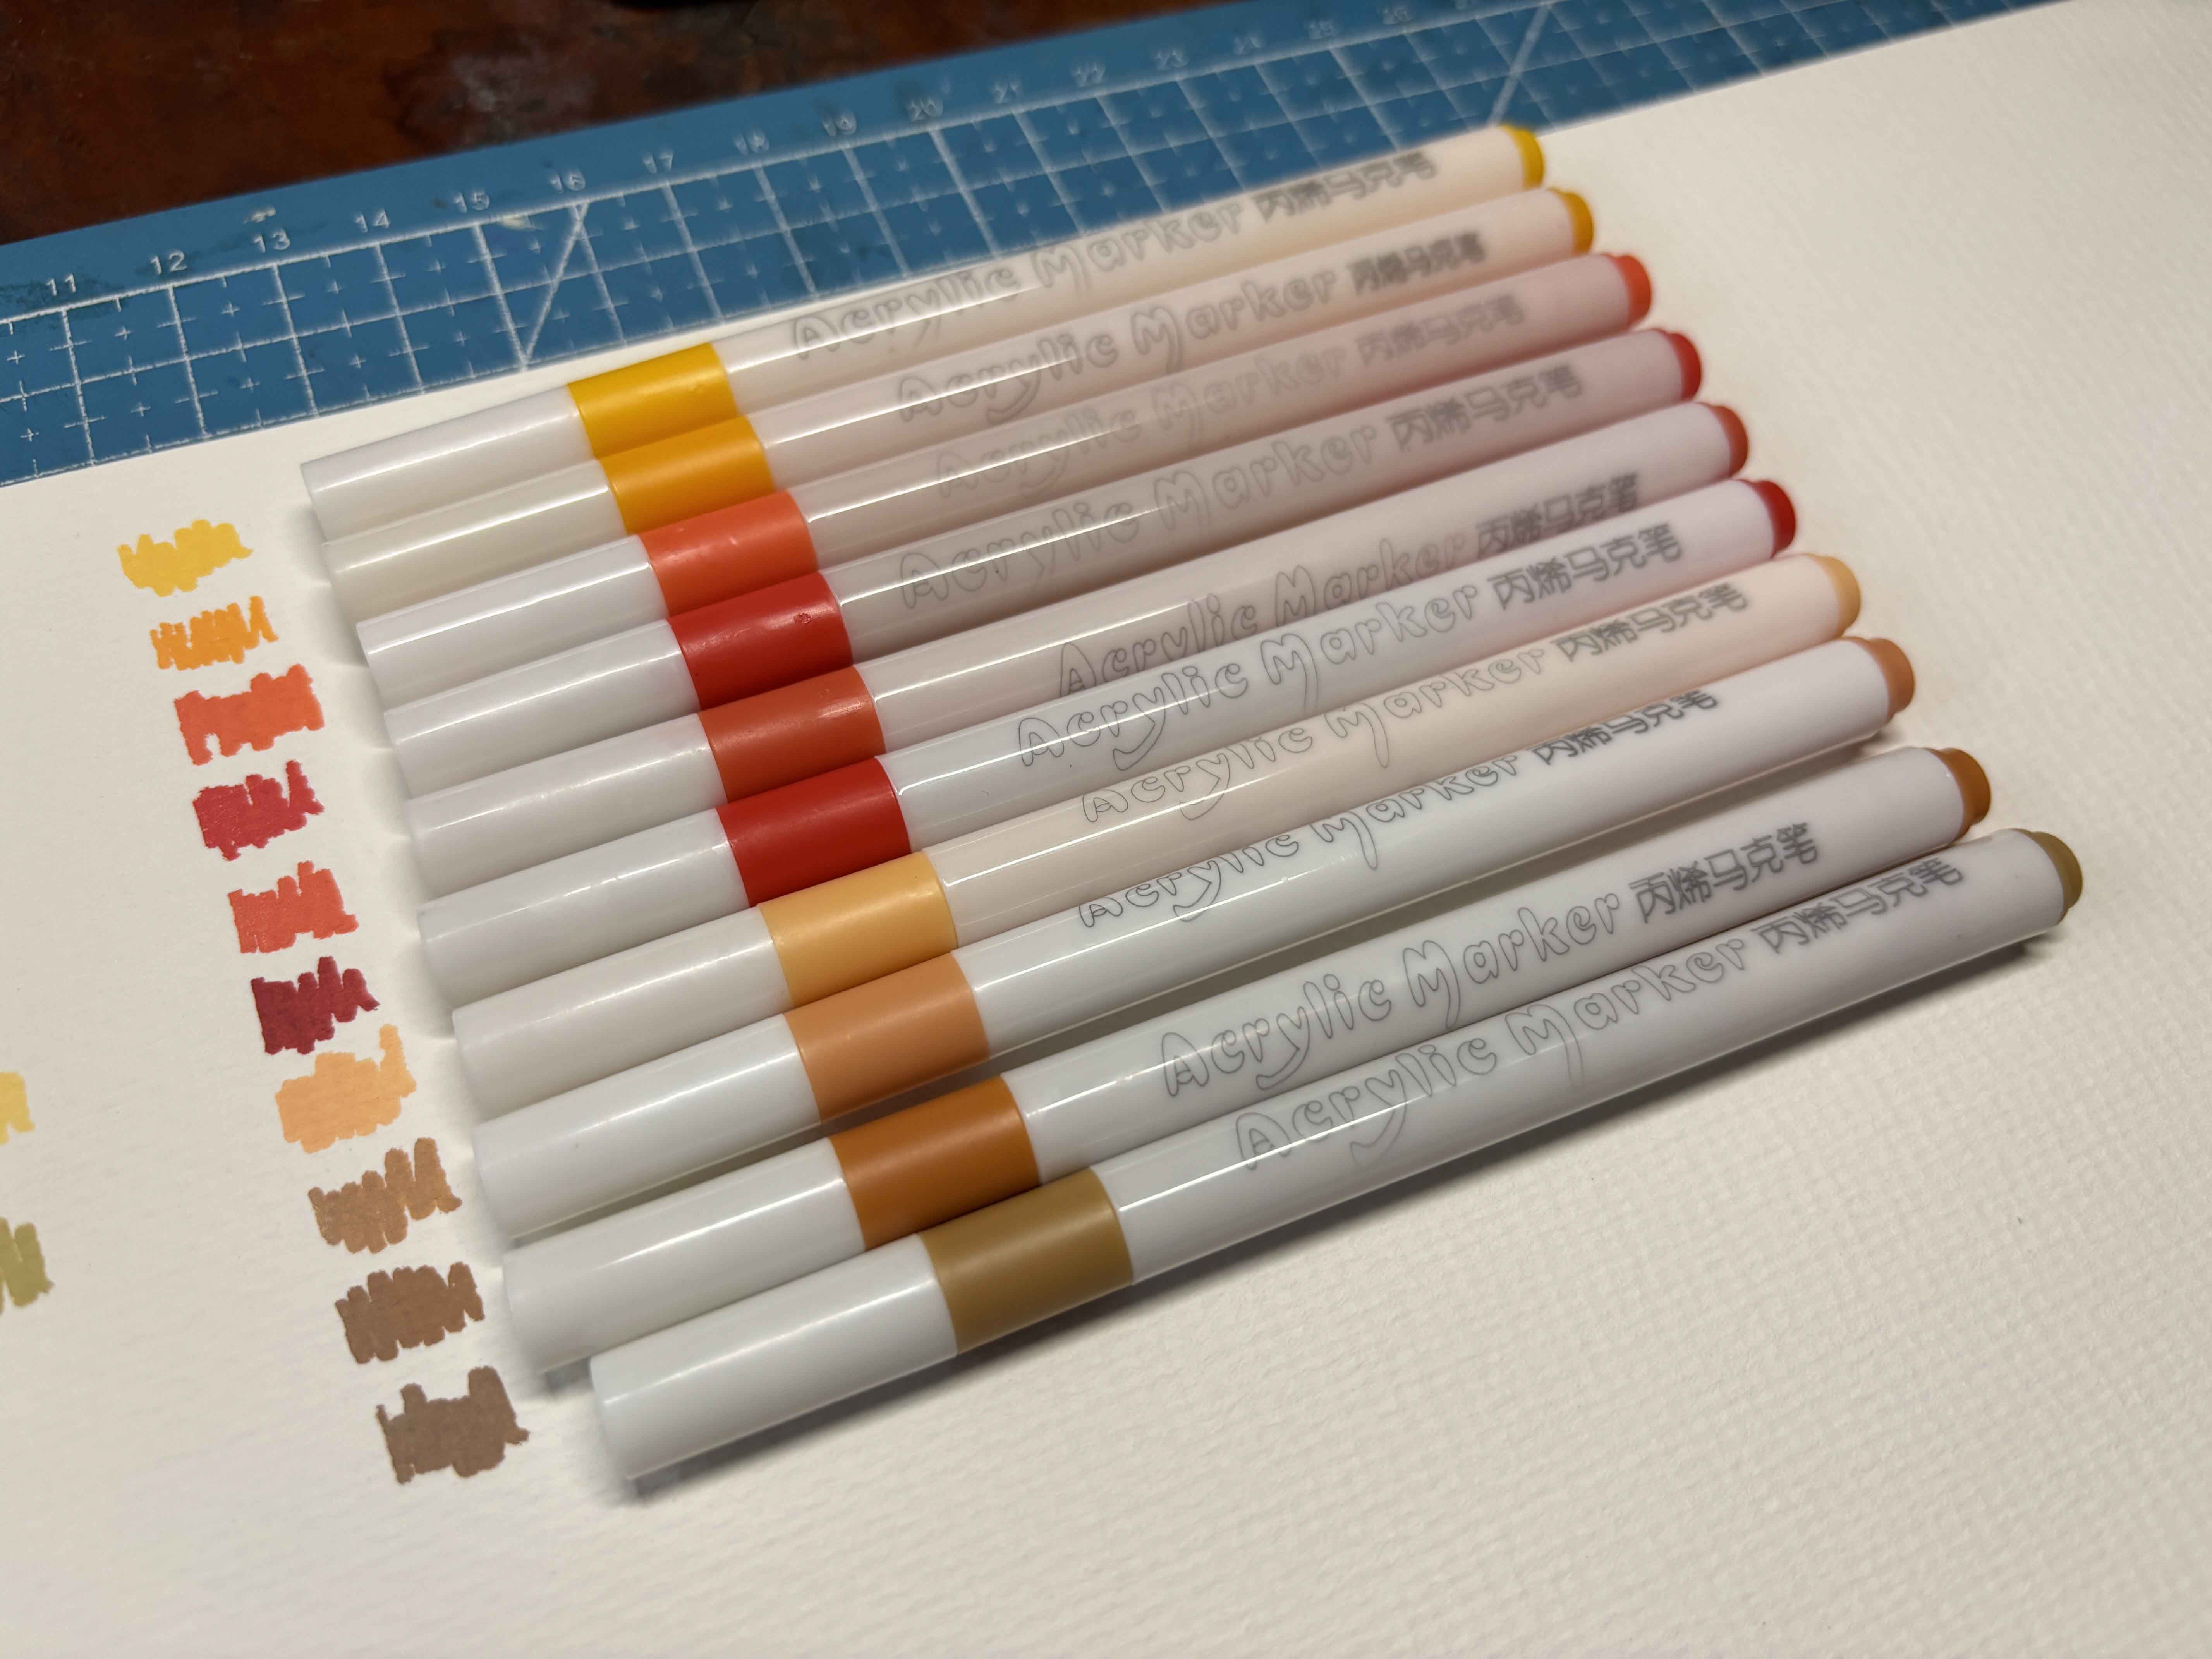
Next, I swatched the shades of orange, red, and brown. They're almost opaque when I swatched them.
-----
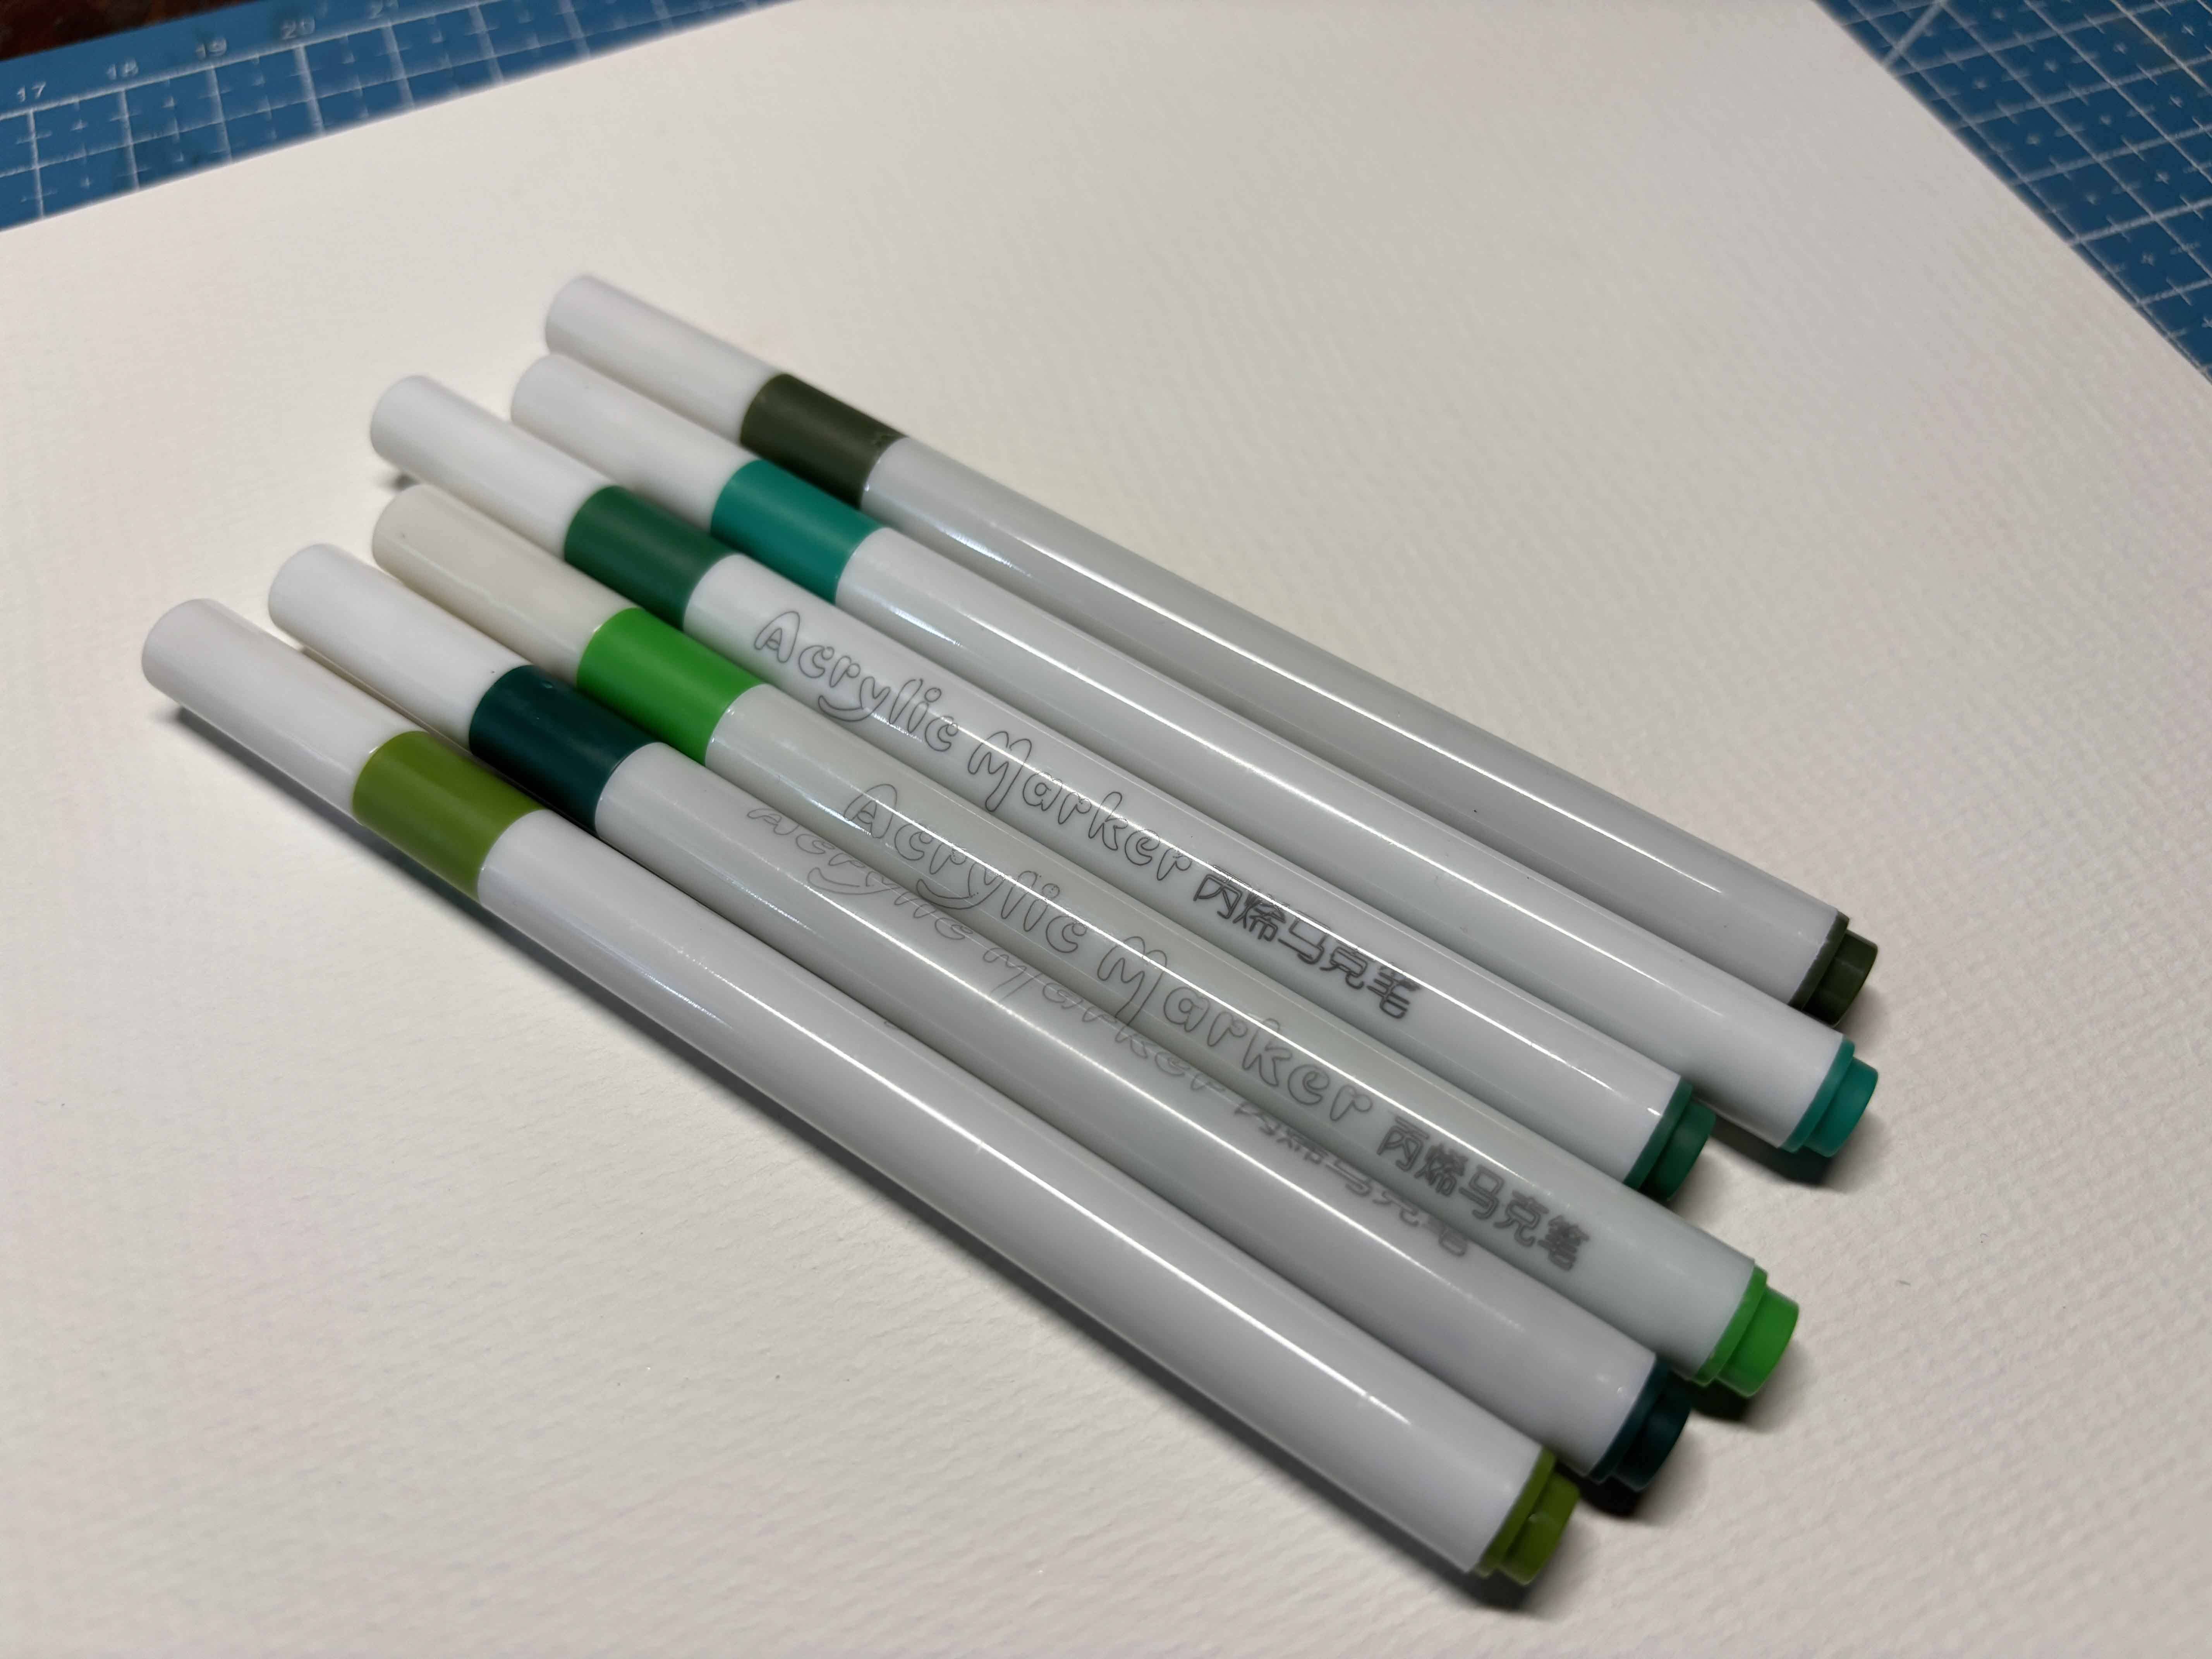
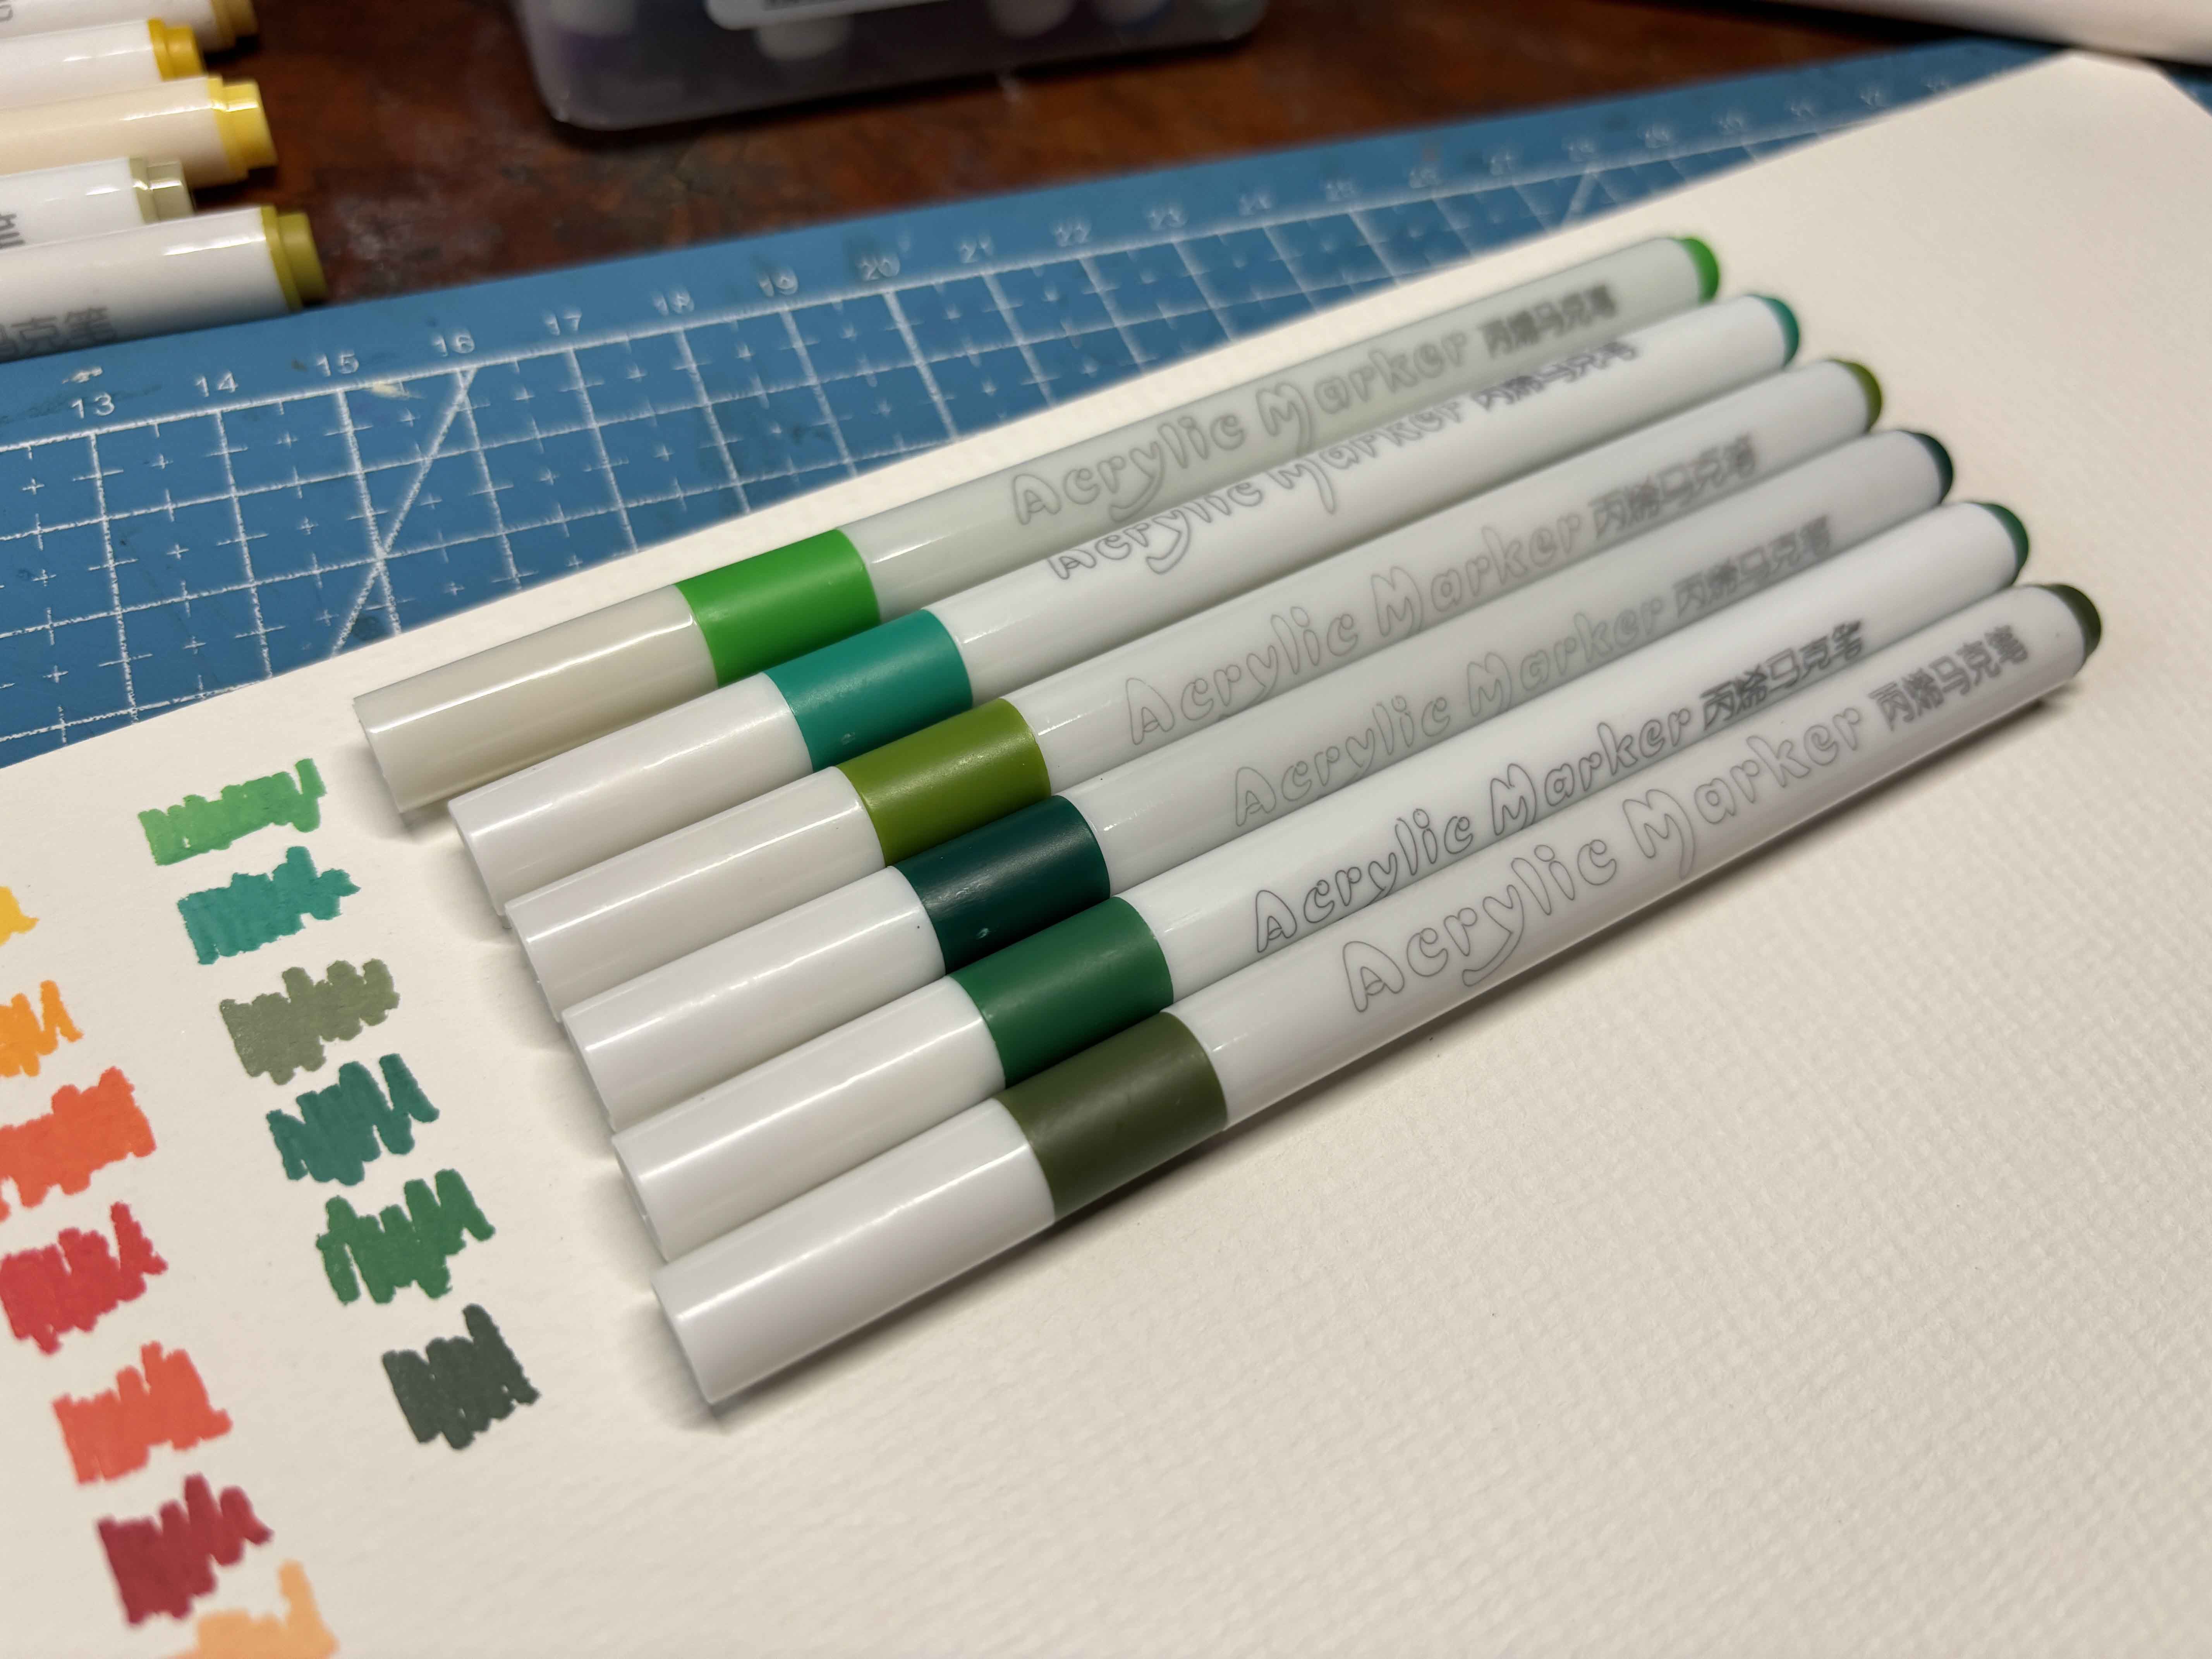
For the next swatch, I do the green shades. They're opaque too, which is great. I like the swatch of 3rd color.
------
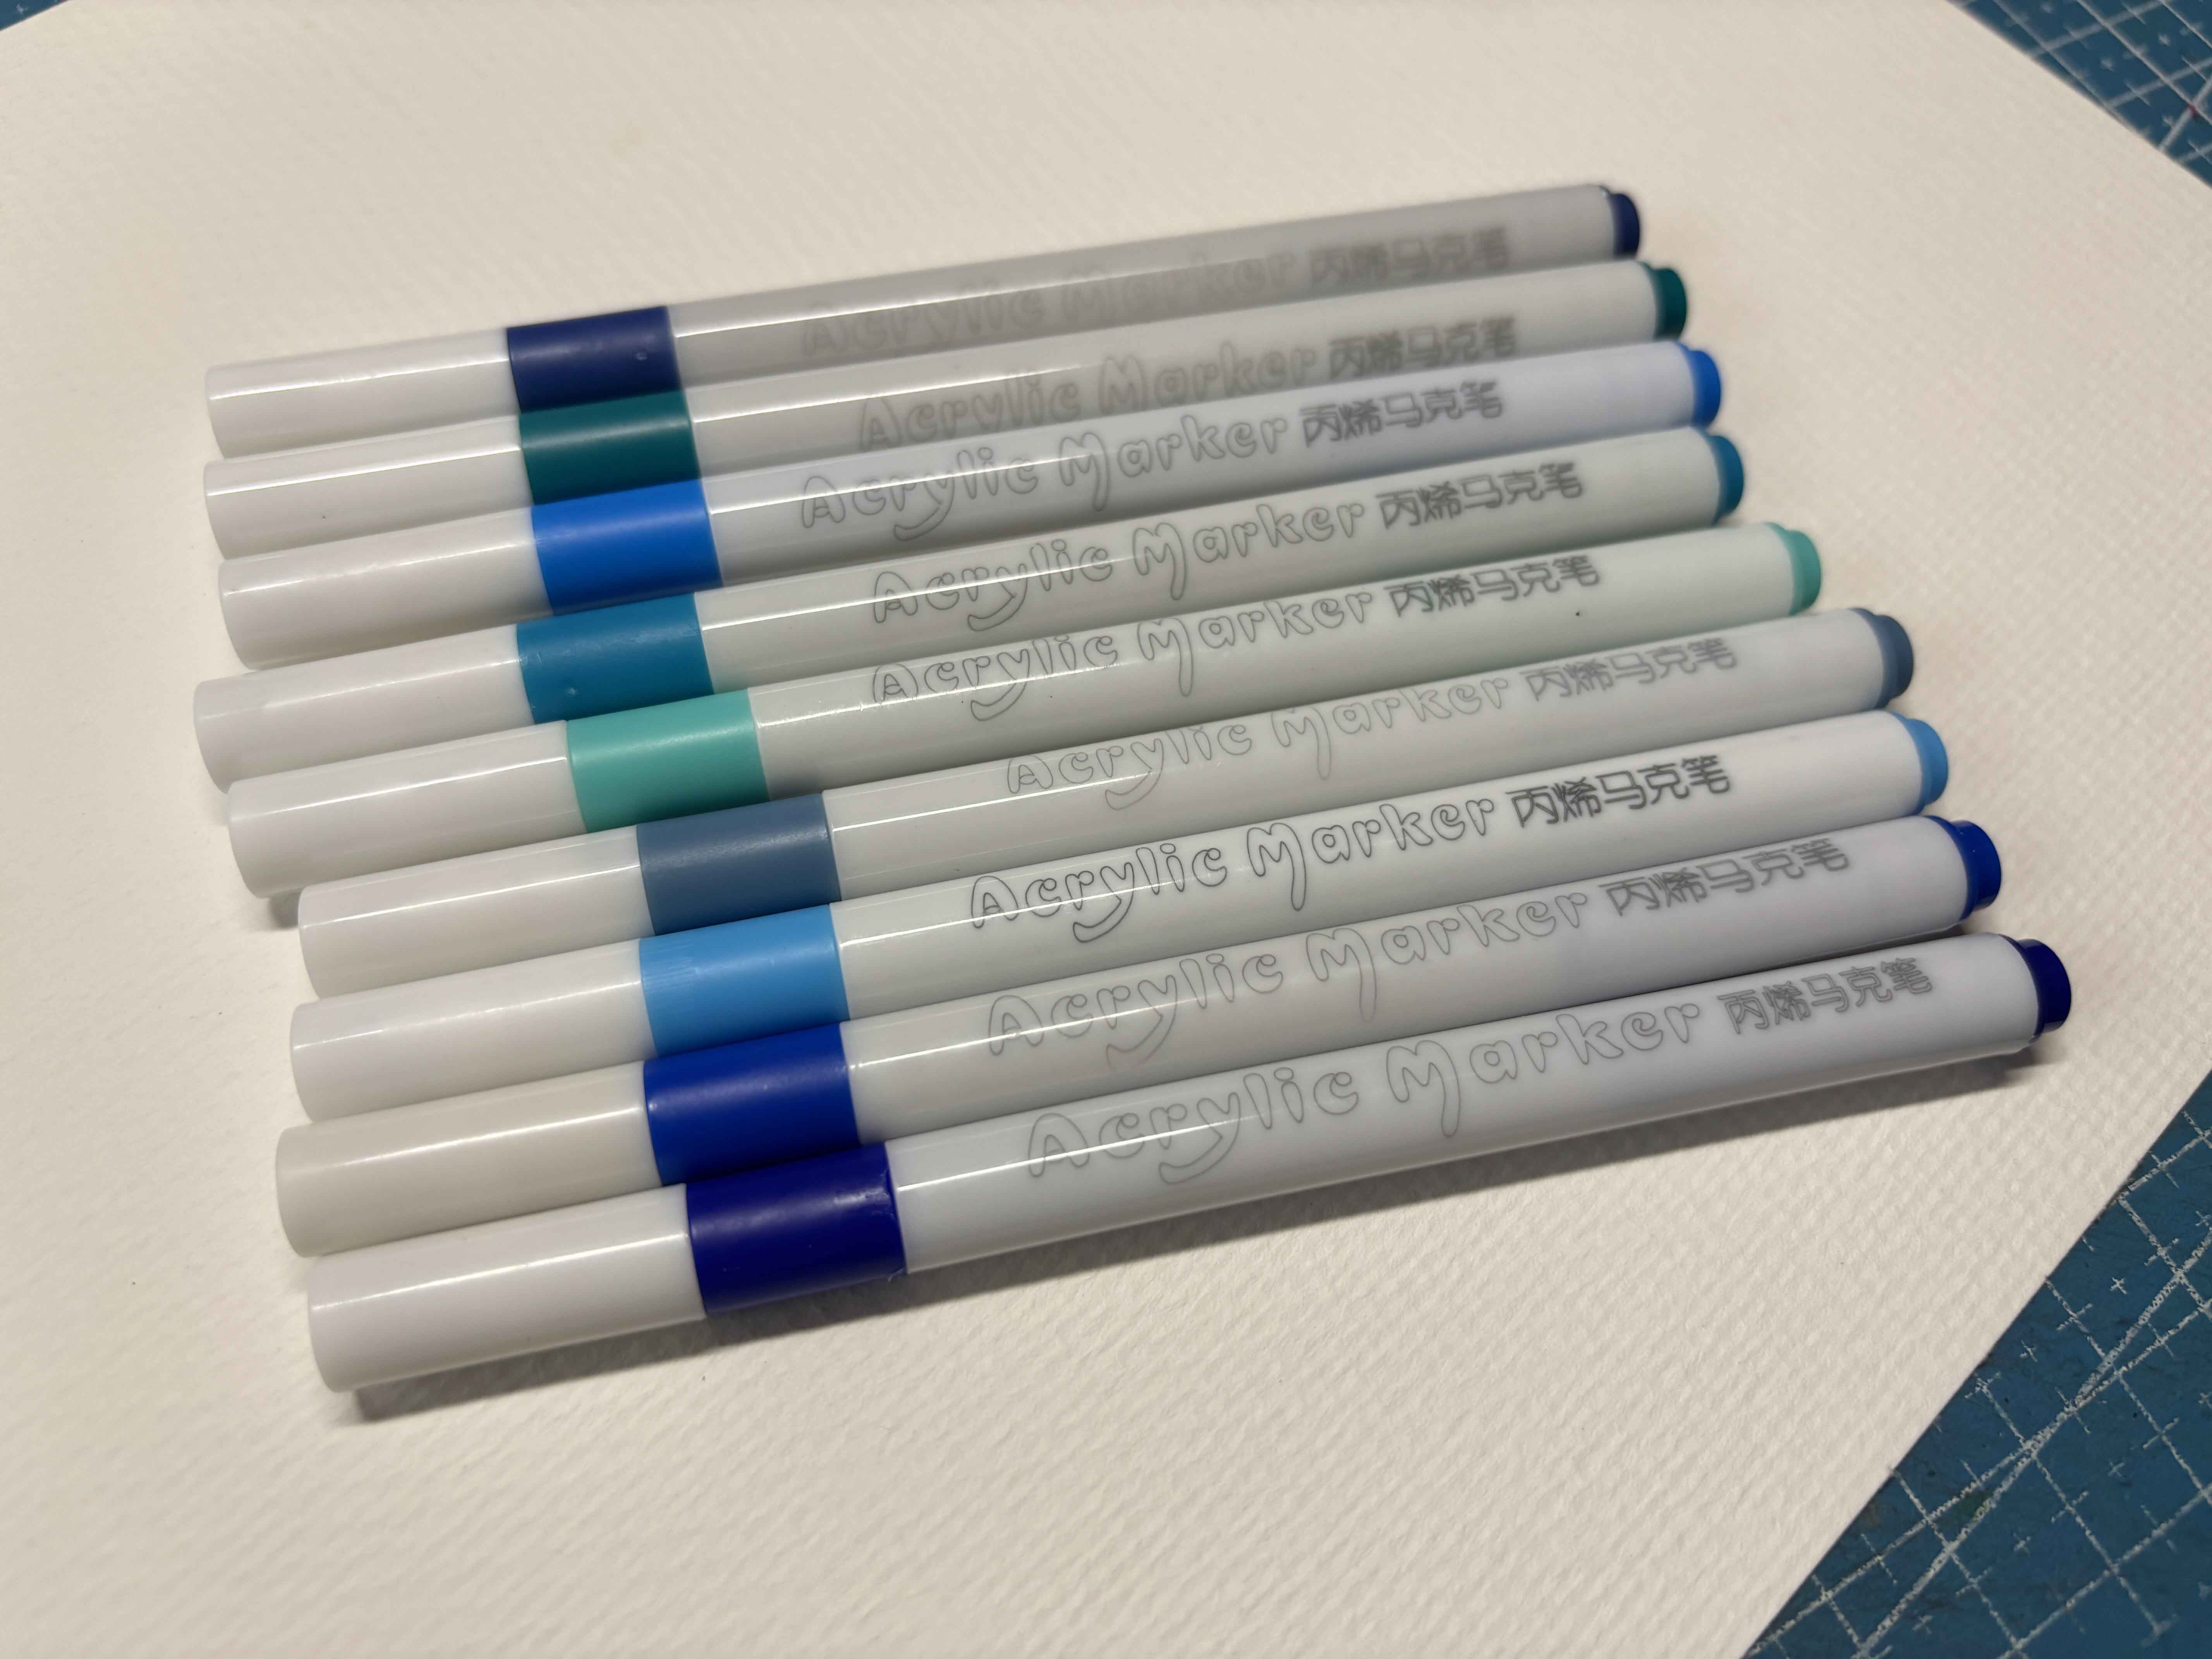
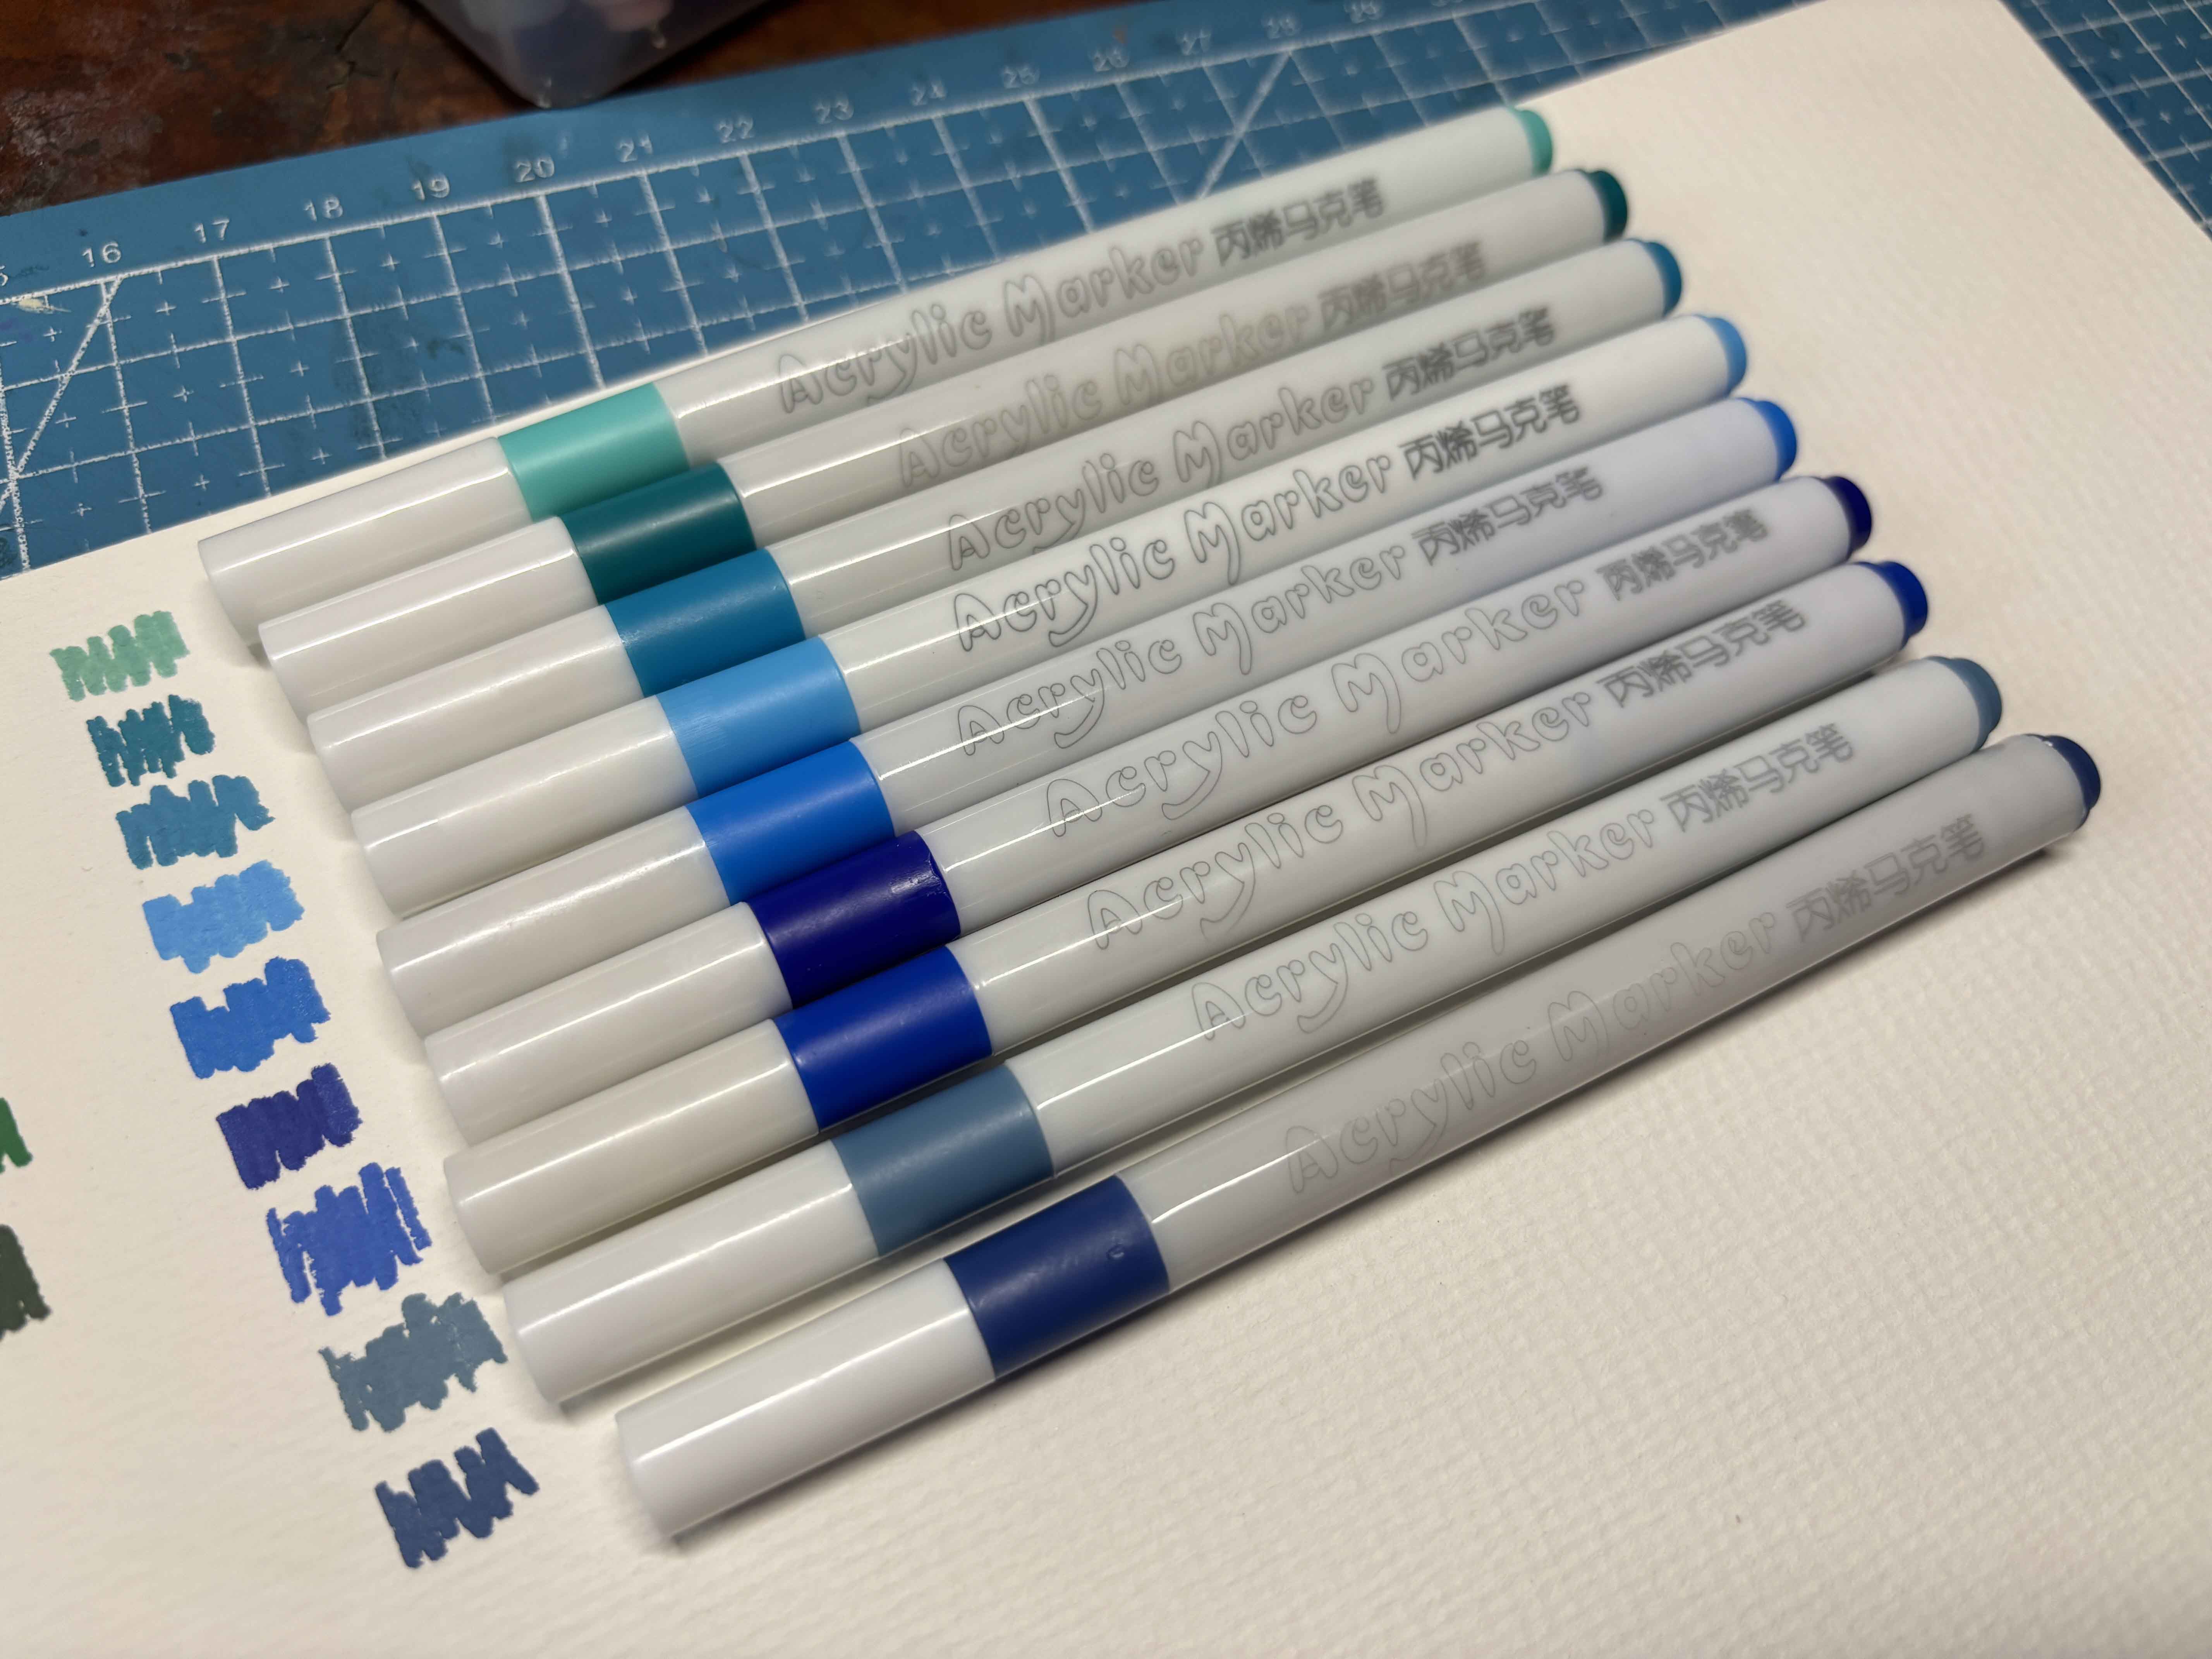
Next is I swatch the blue shades of the marker. My cousin saw my swatches and he liked the 6th shade of blue. They're pretty opaque, too. I like to use them for shadows.
-----
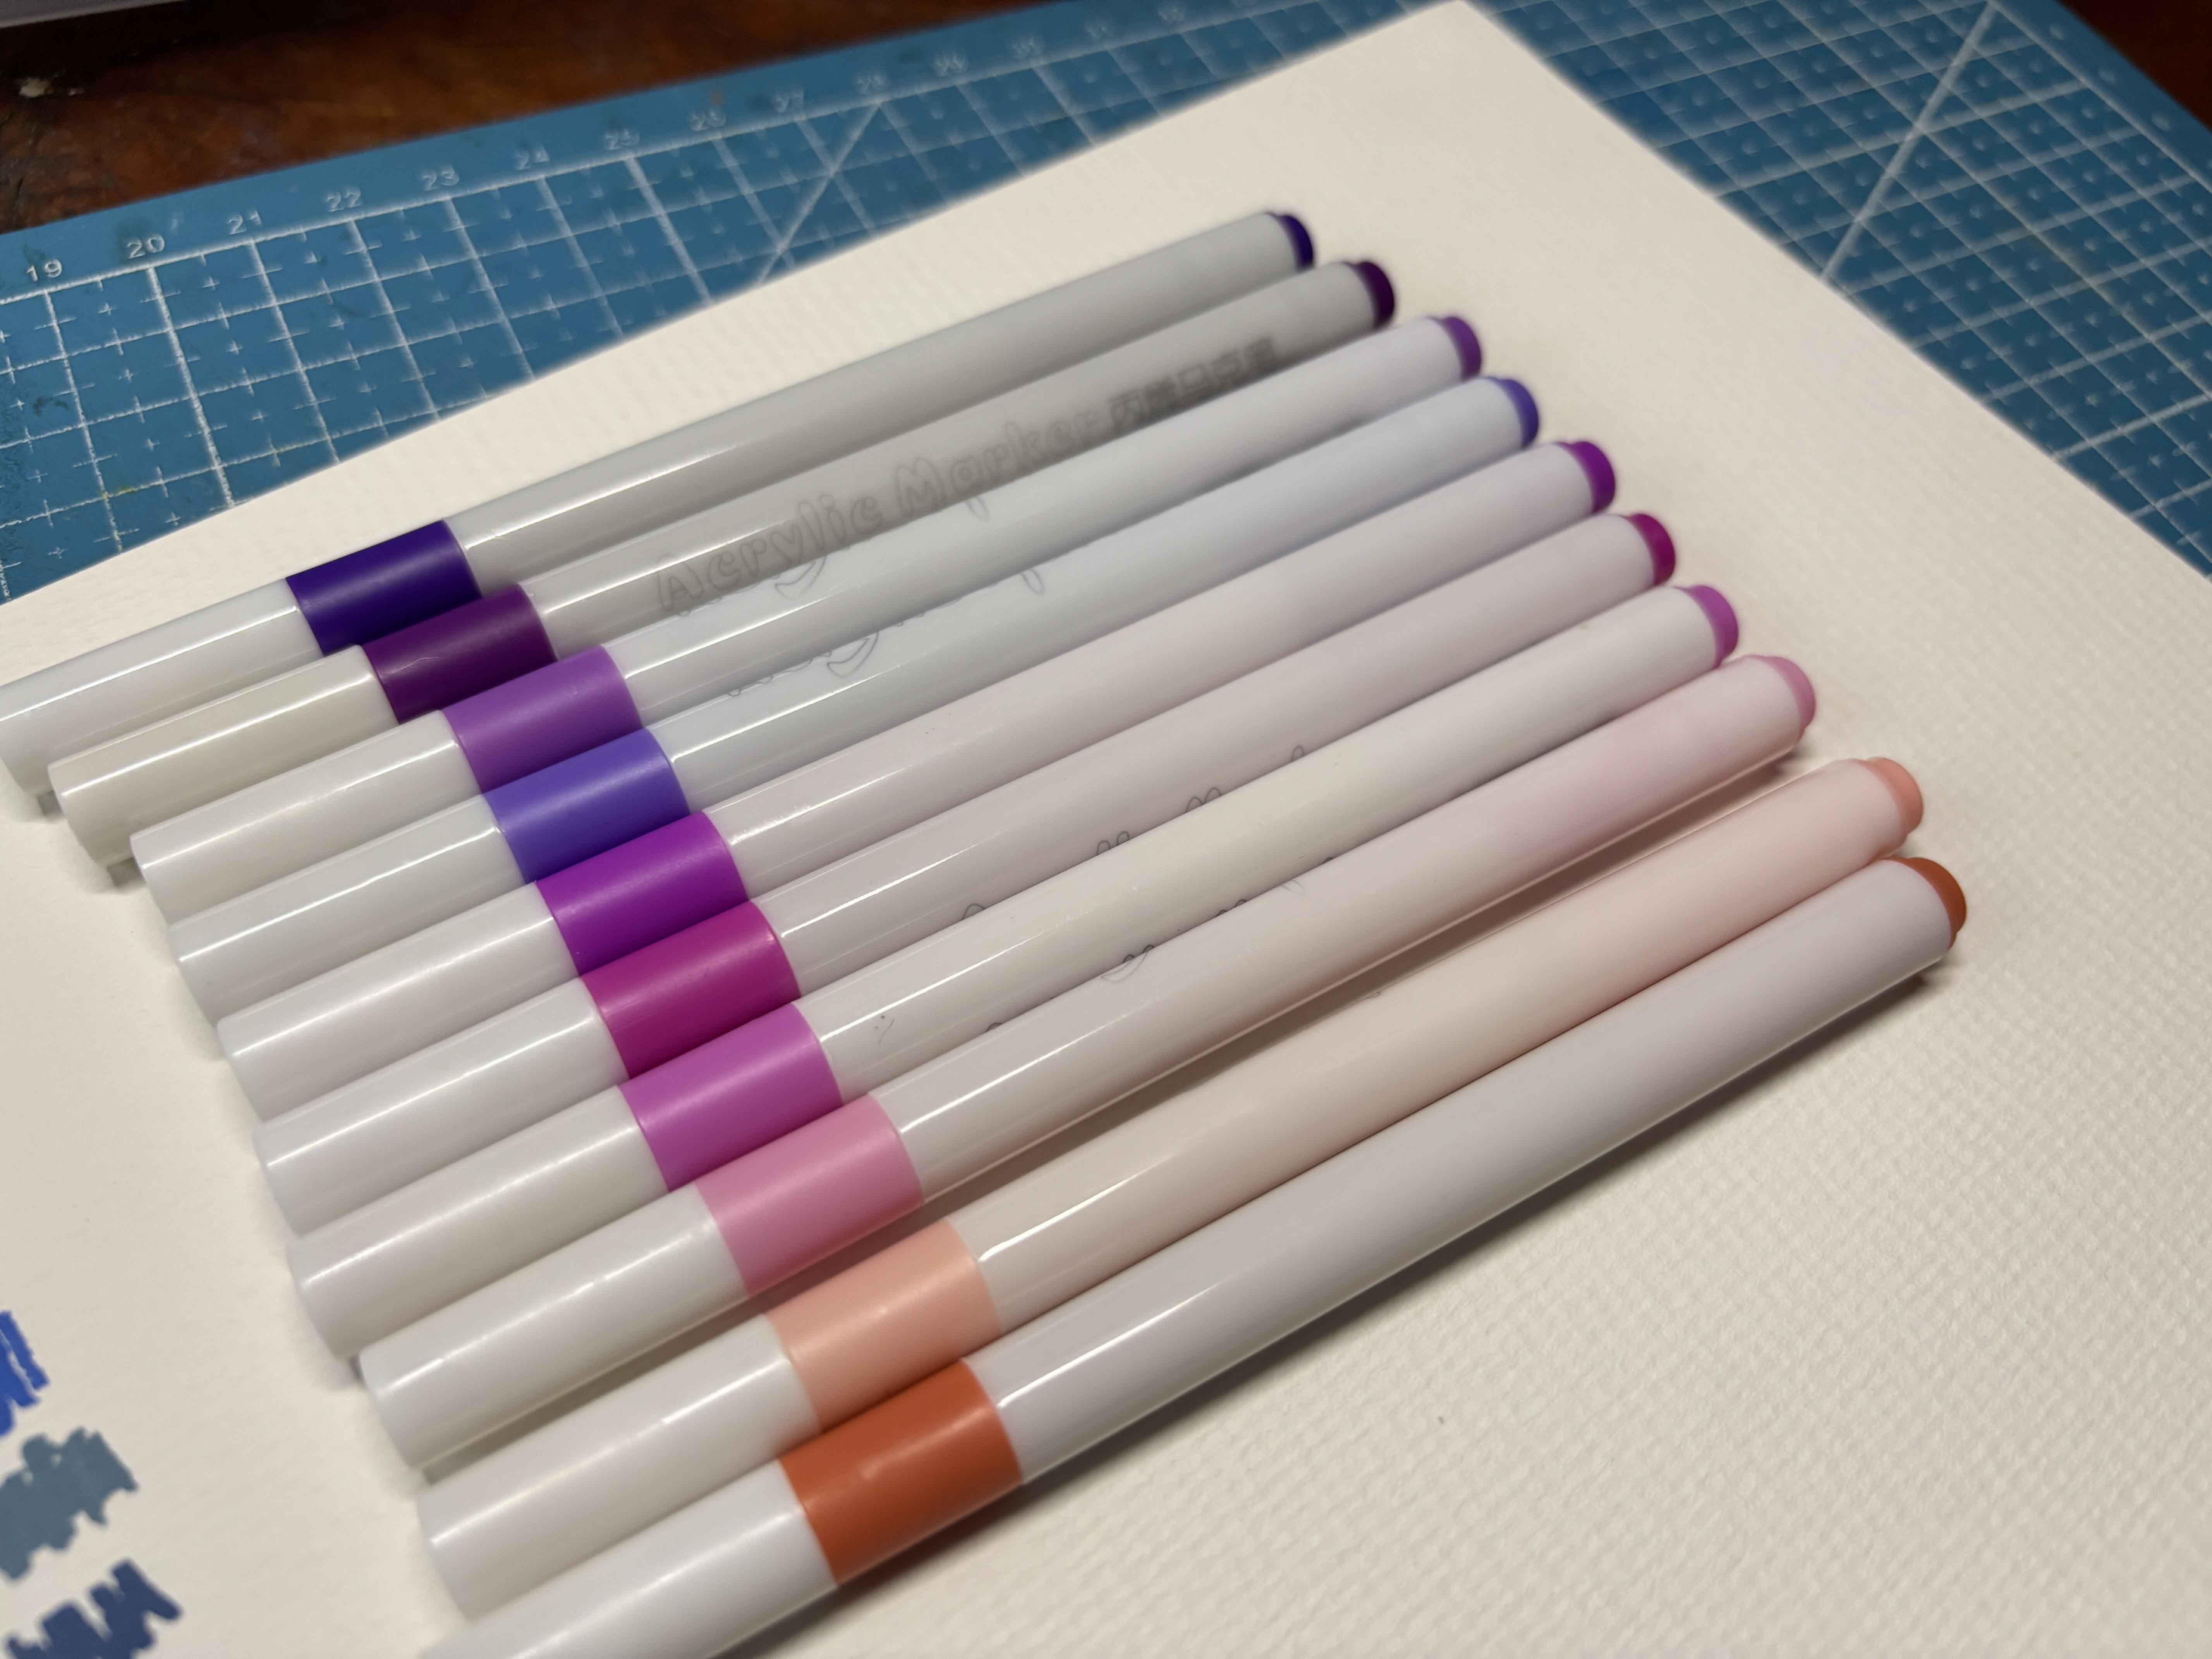
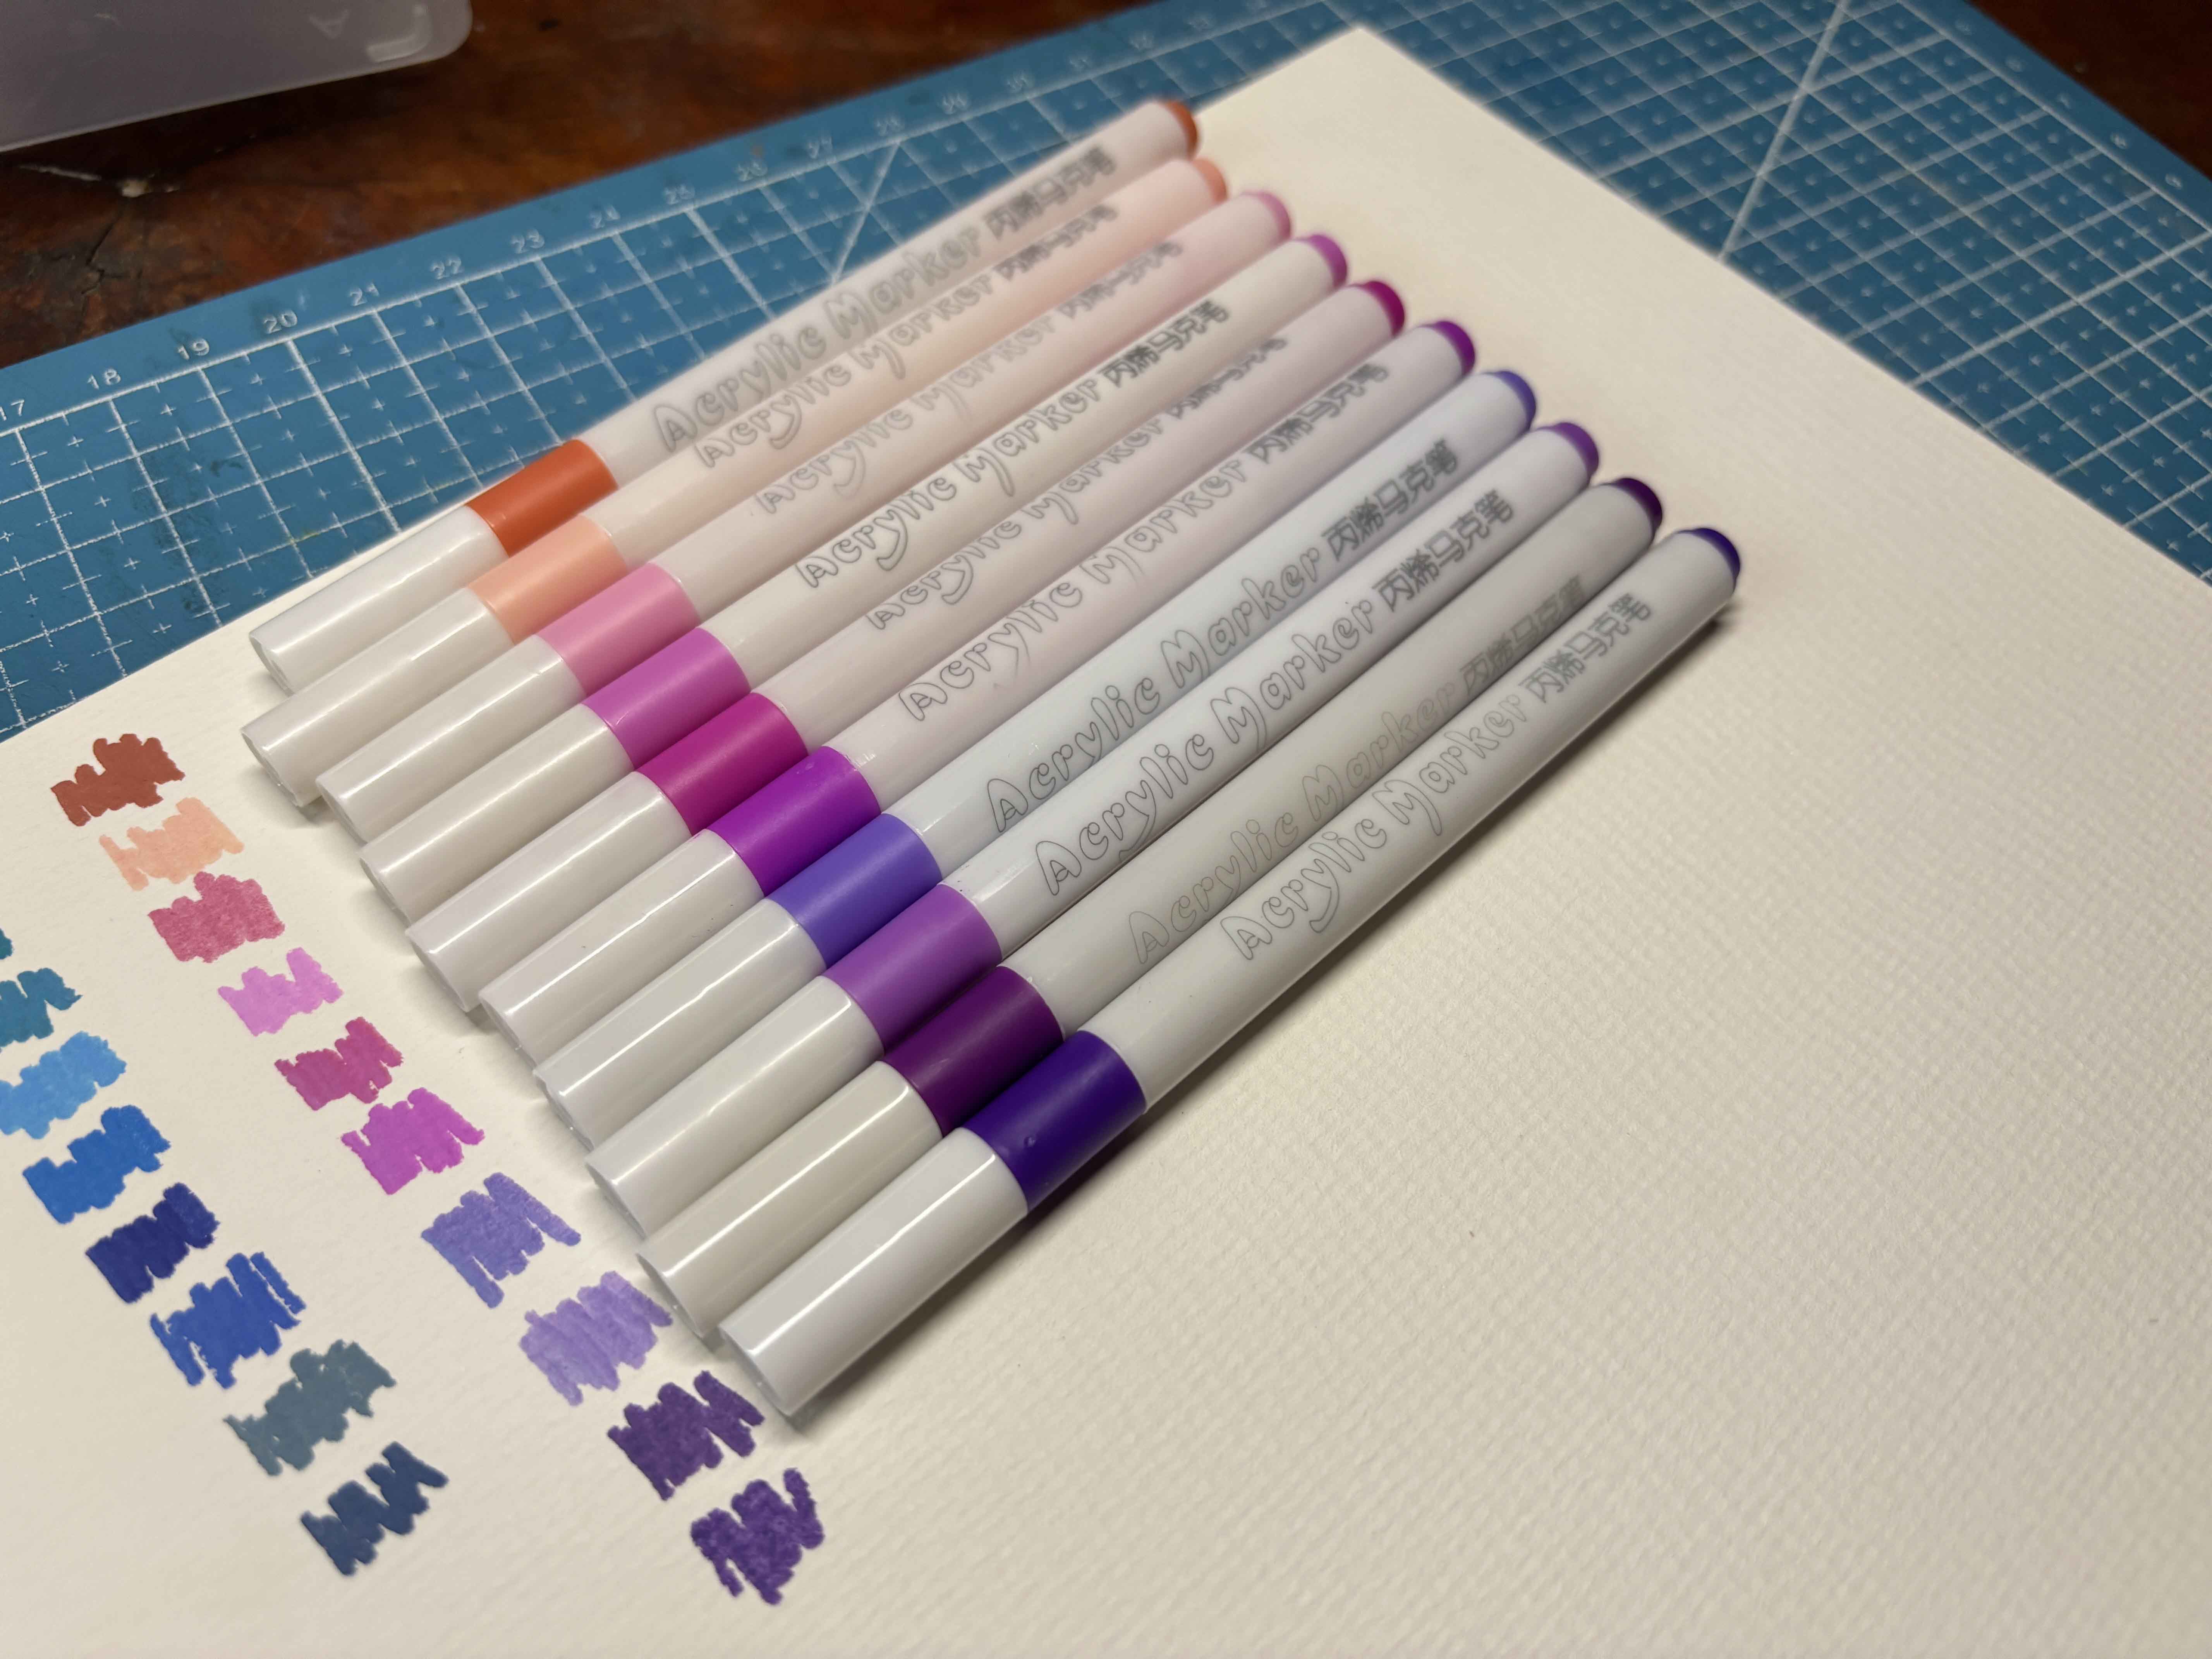
For this part, there are different kinds of shades that I missed adding to the right group of shades. Some of the shades are pink, purple ones, some of them are transparent, and some of them are opaque.
-----
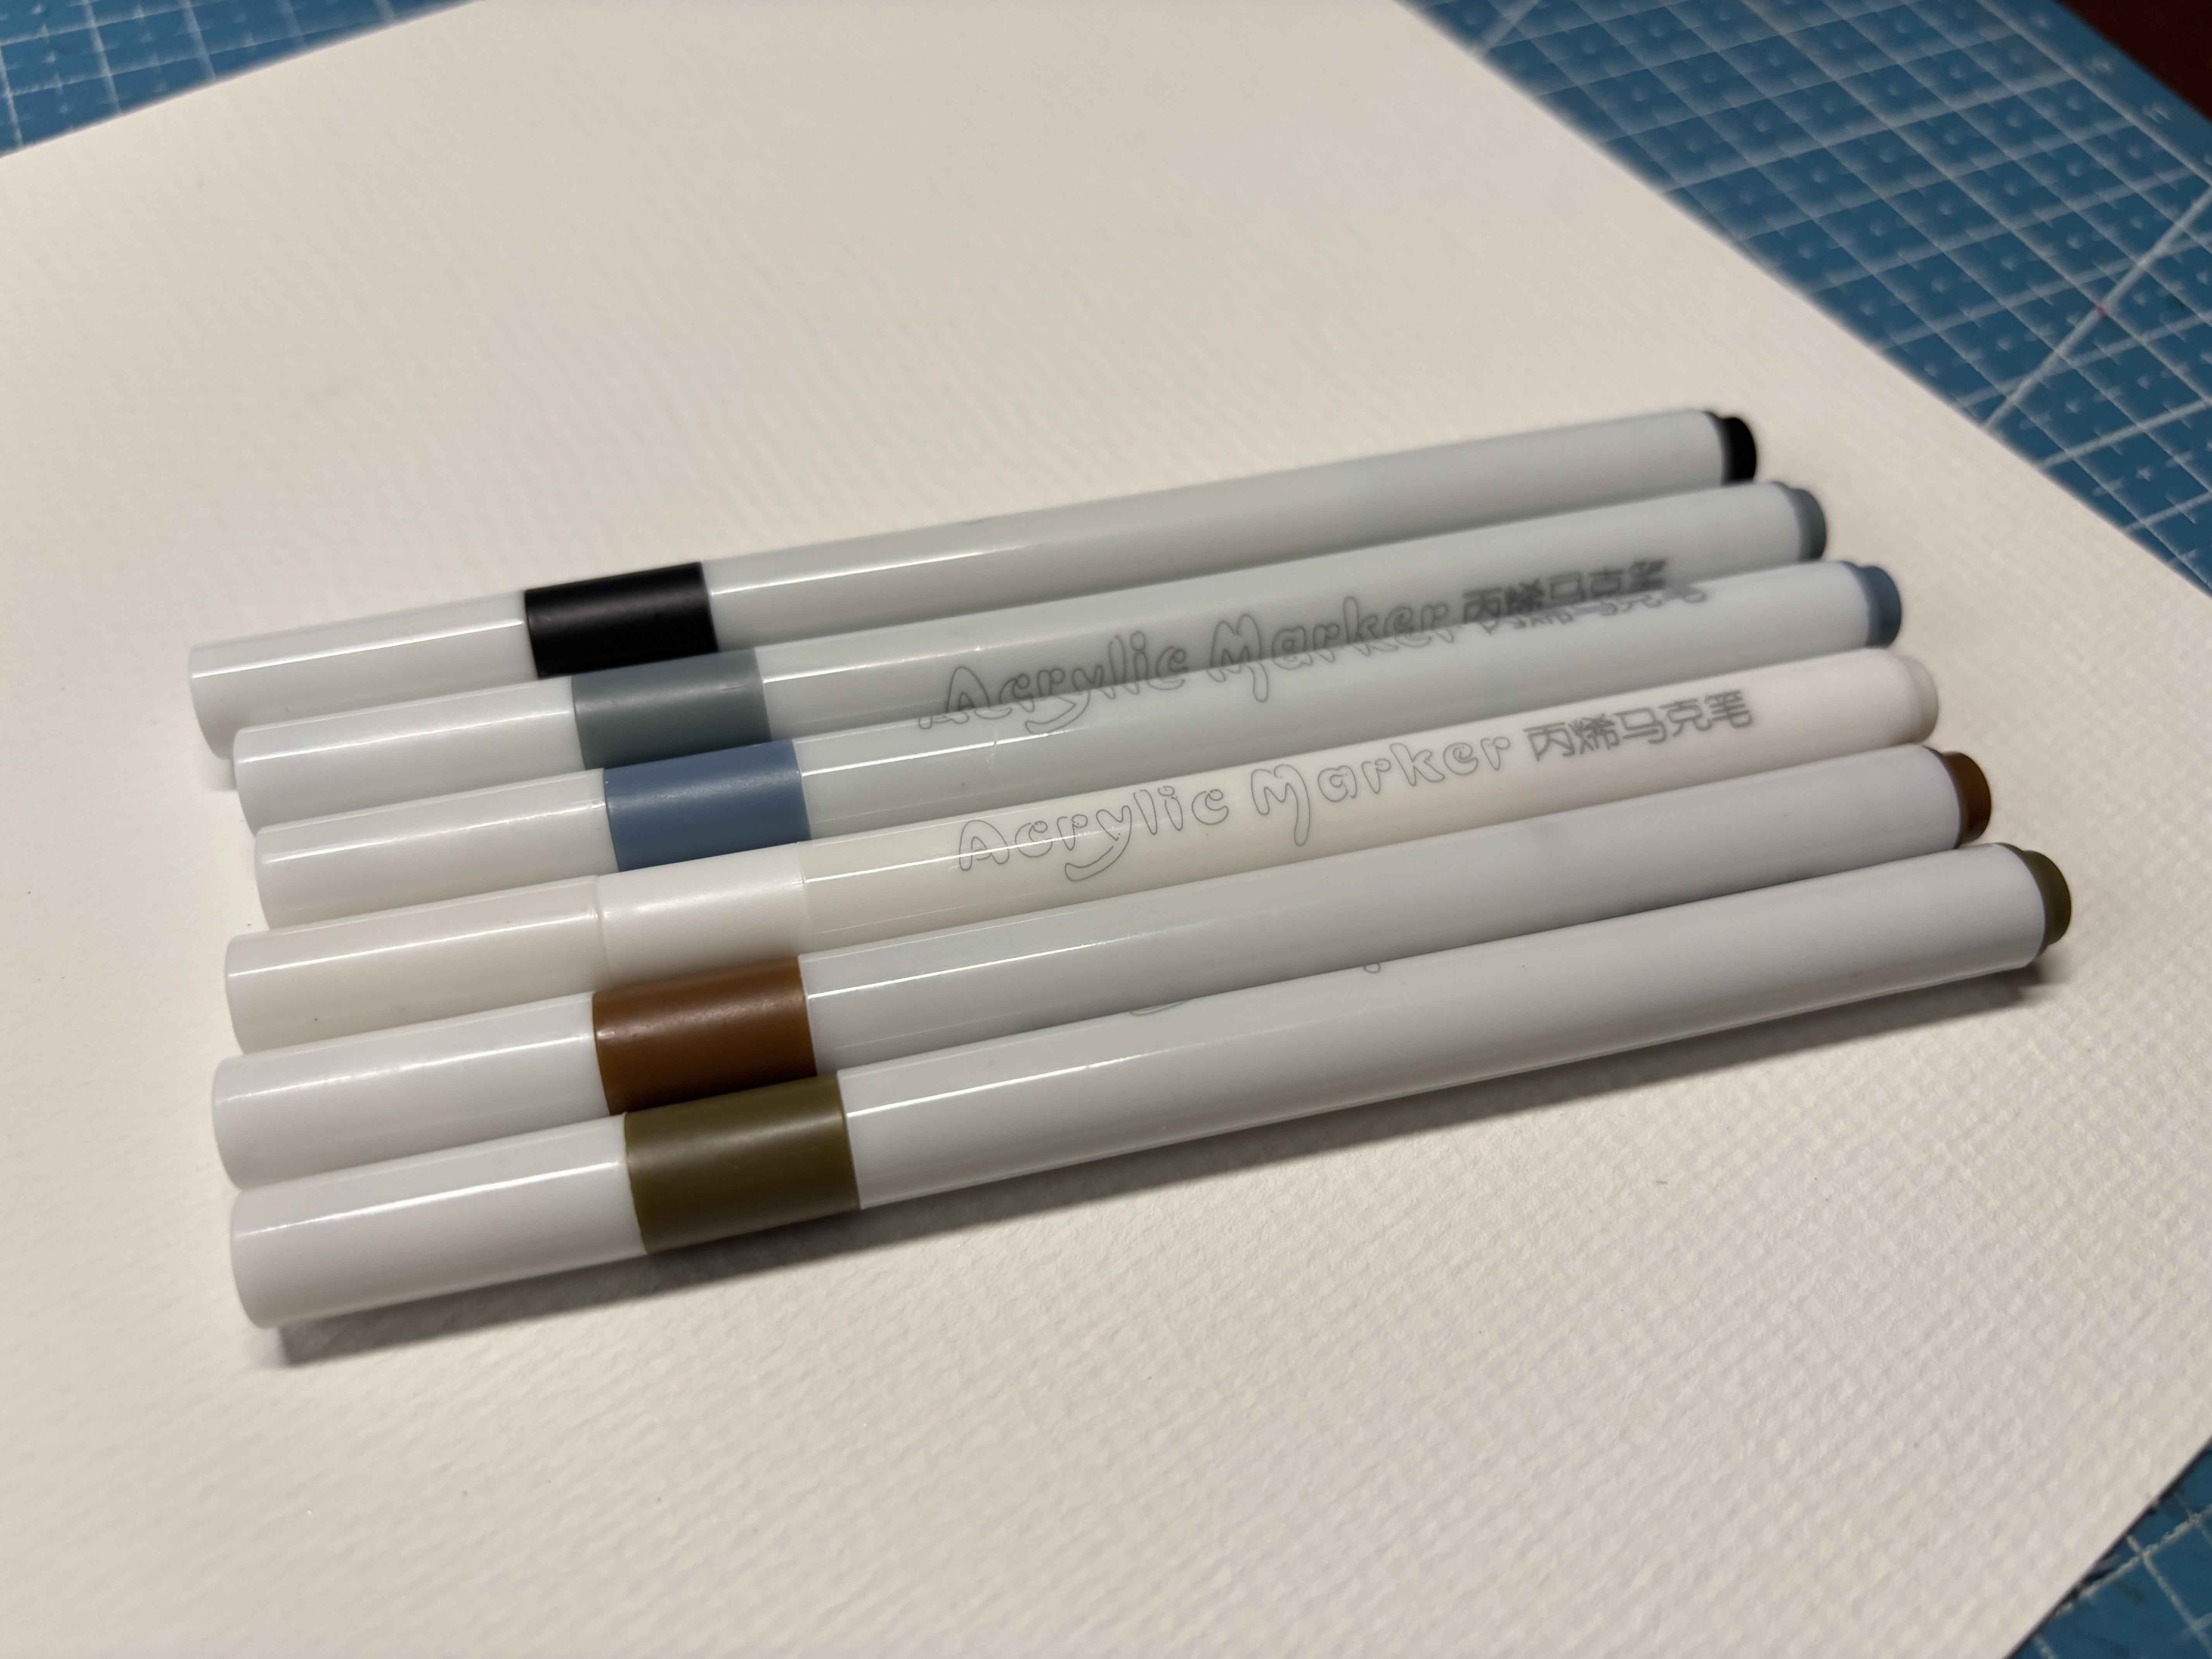
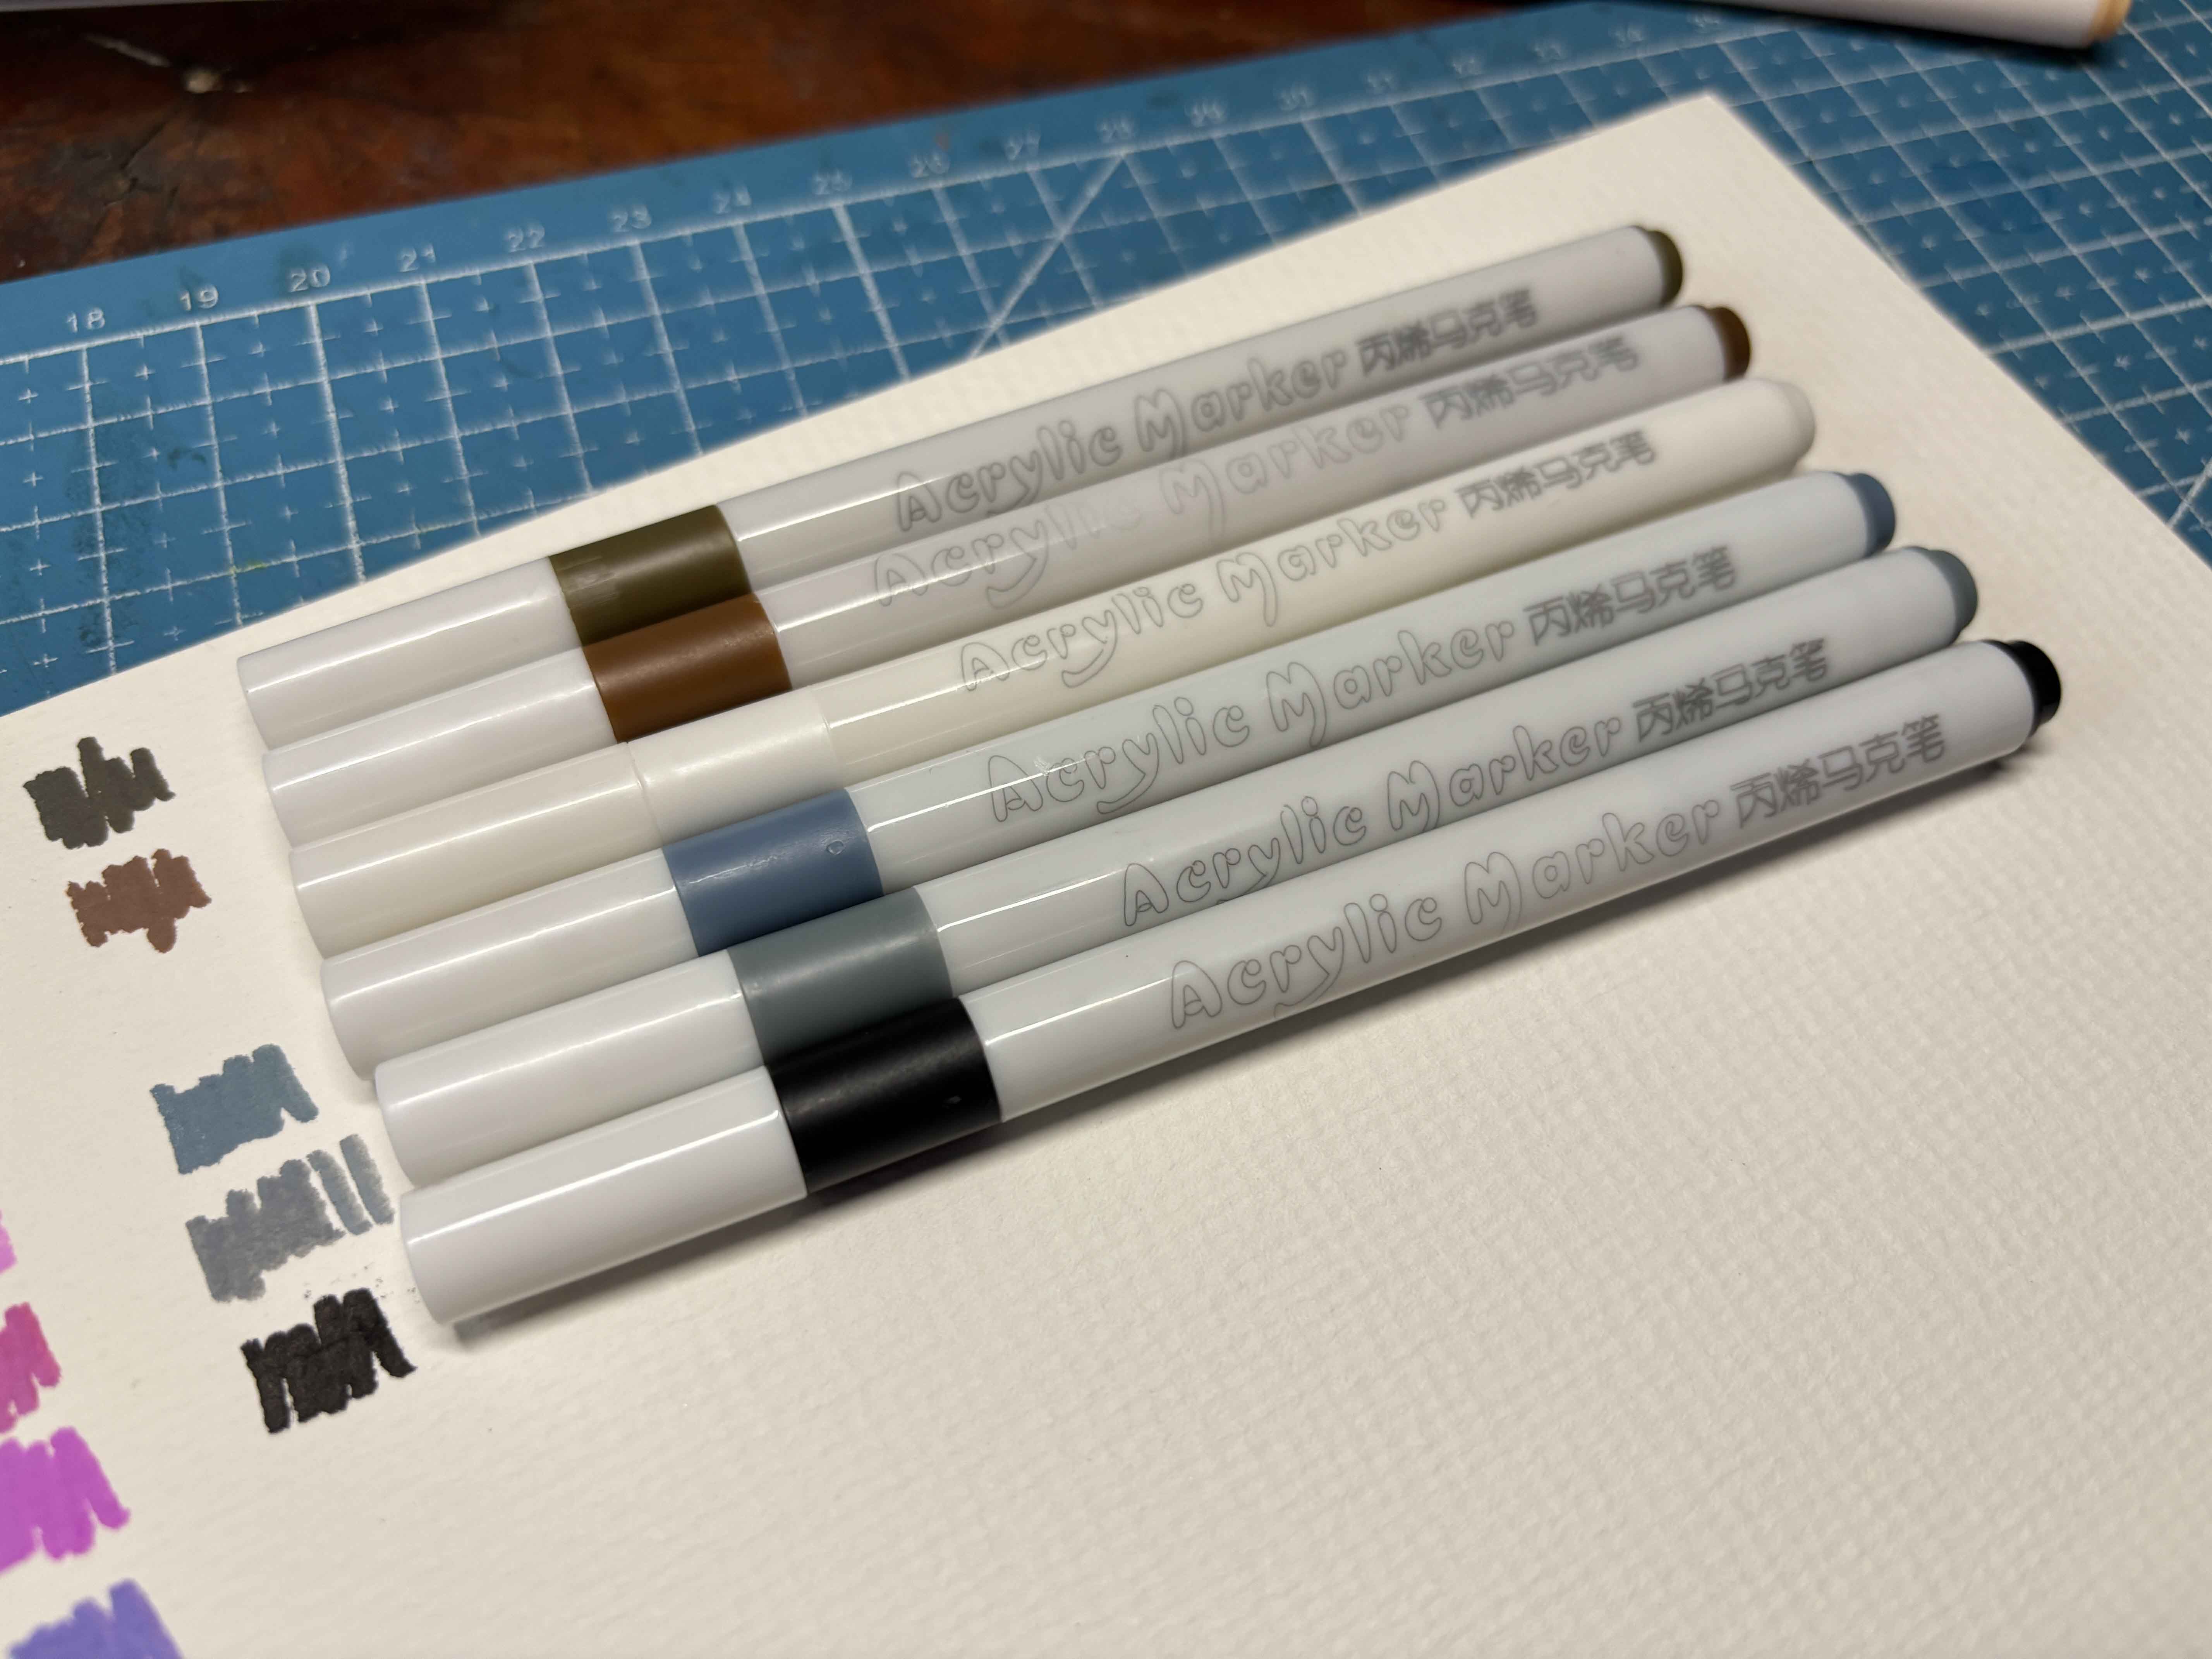
For the final swatch, there are shades of earth tones and black and white shades. I am expecting the white to be completely opaque, but I got a little bit disappointed. Overall all they're good.
-----
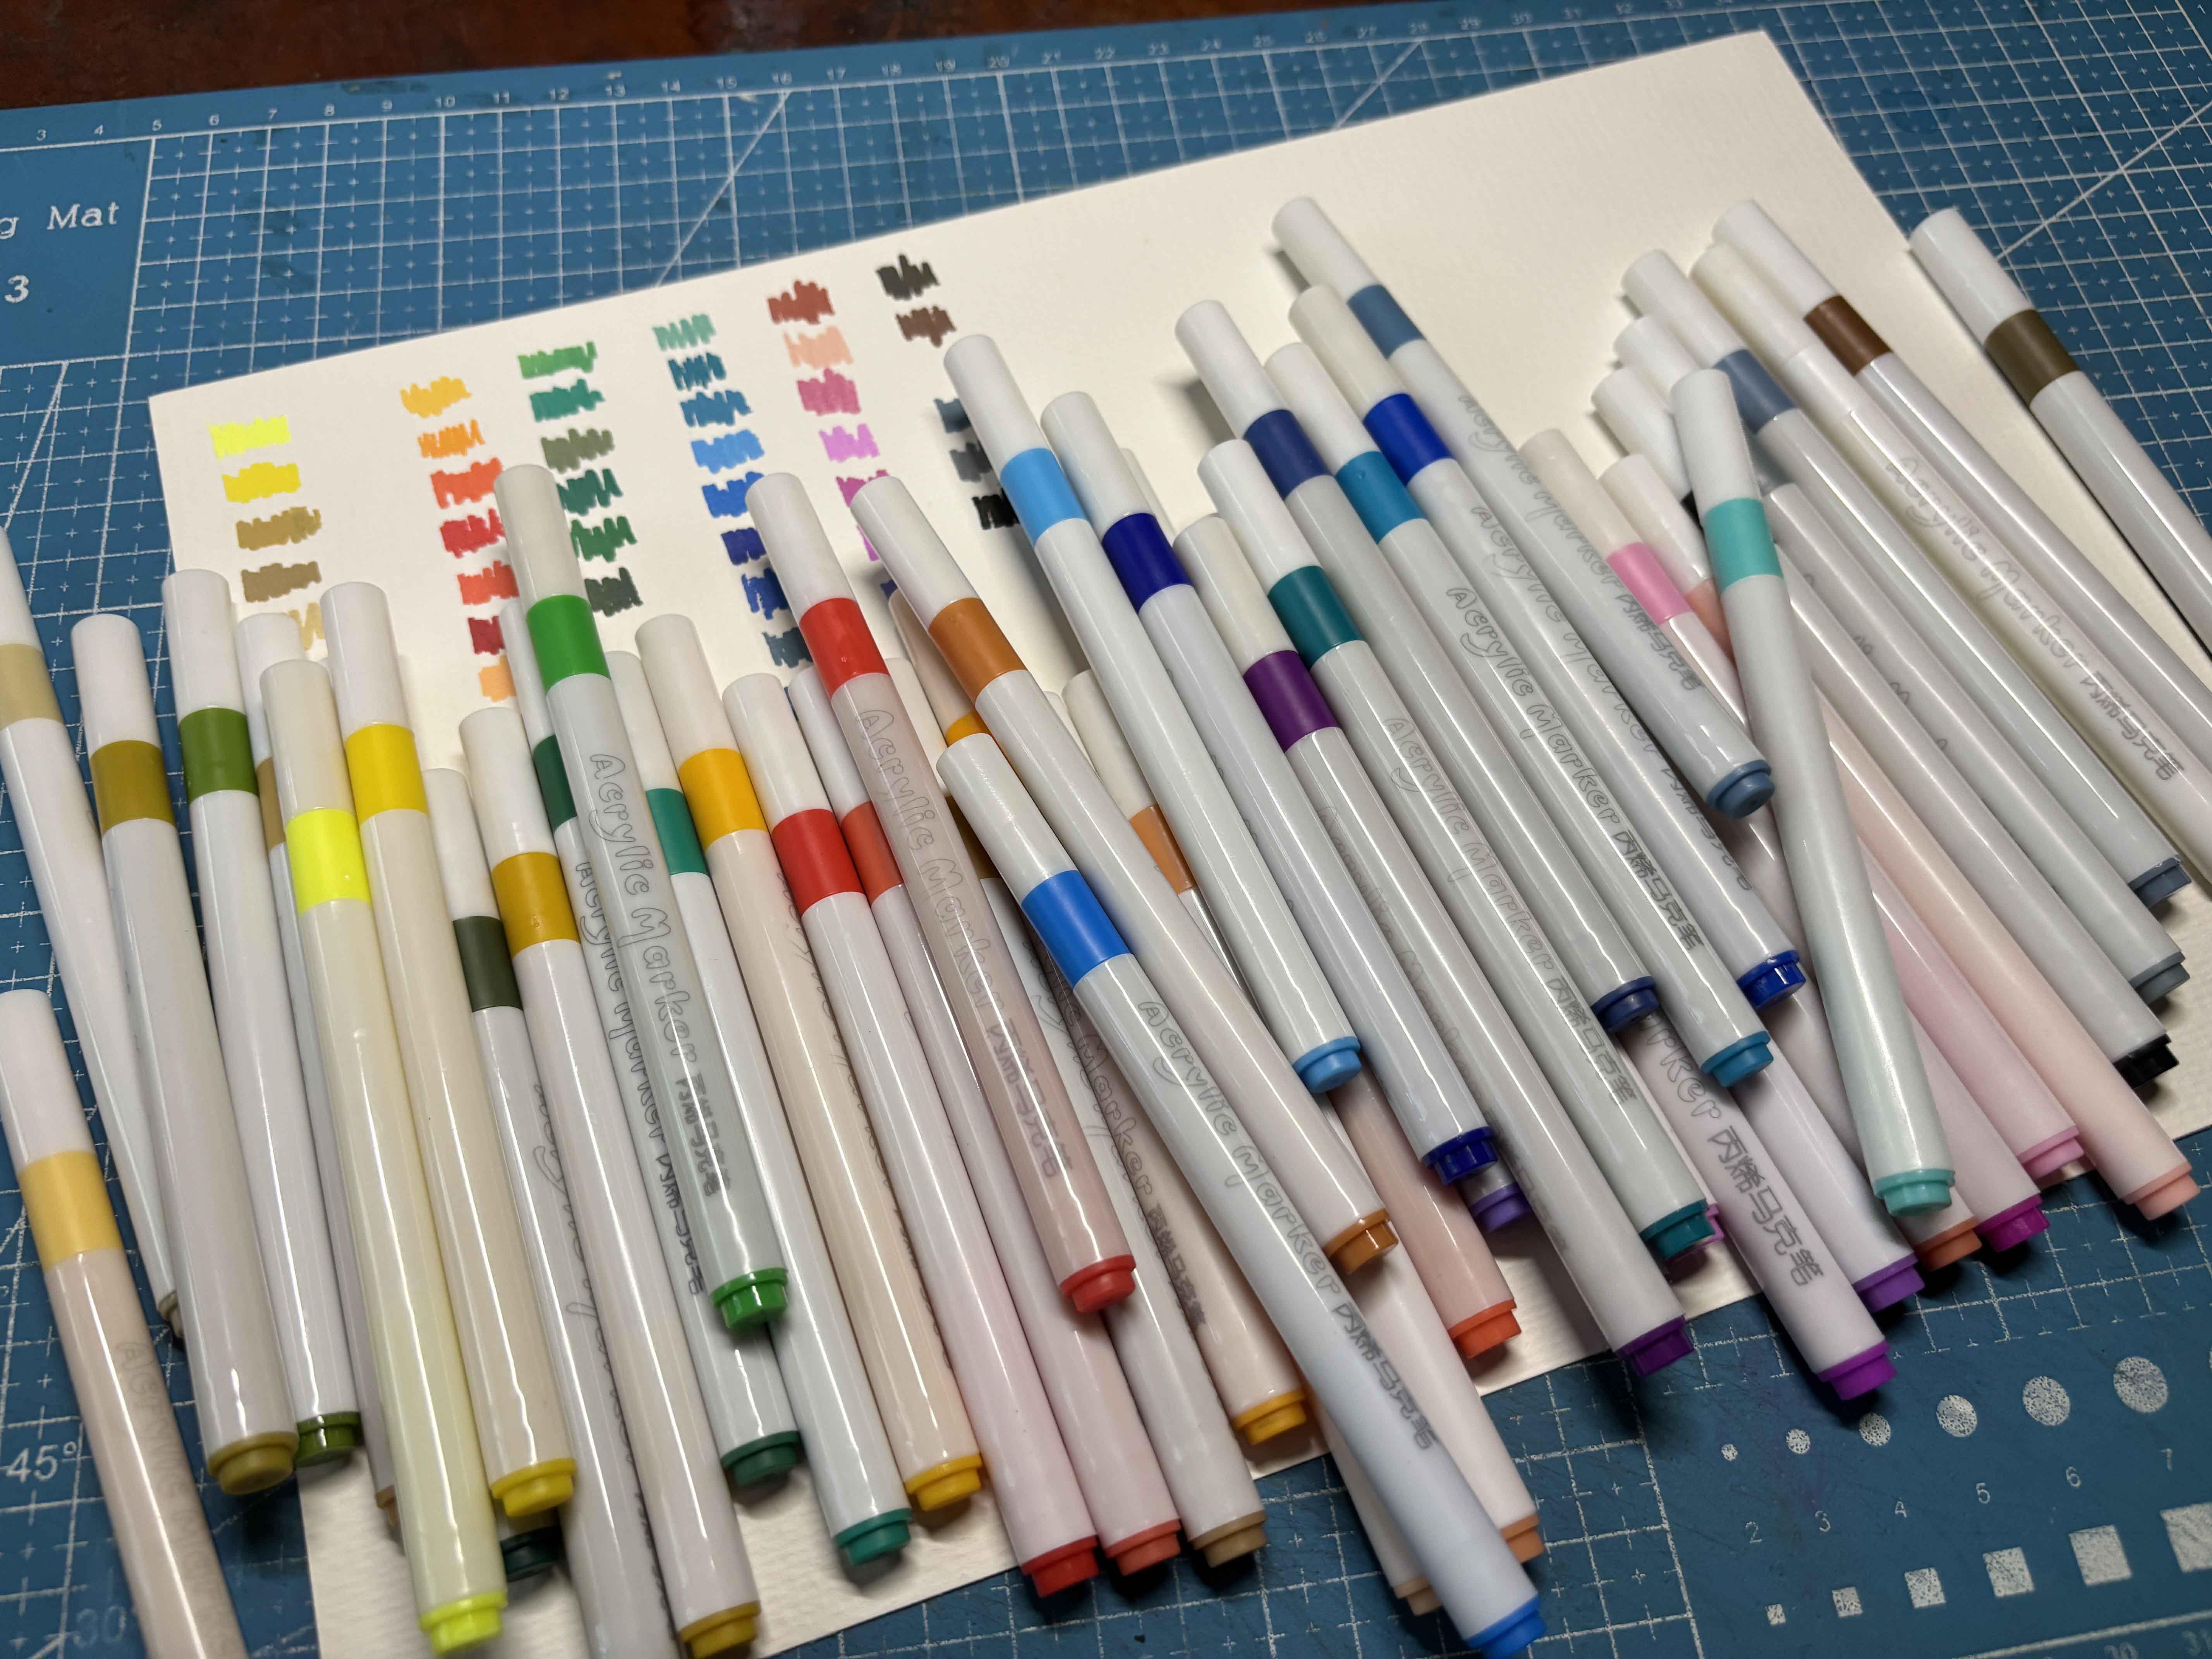
These are all the colors and the swatches of the markers. I was supposed to swatch it bigger, but I got scared that I would run out of it without trying it in real real-time situation.
-----
Let's Try The Acrylic Marker!
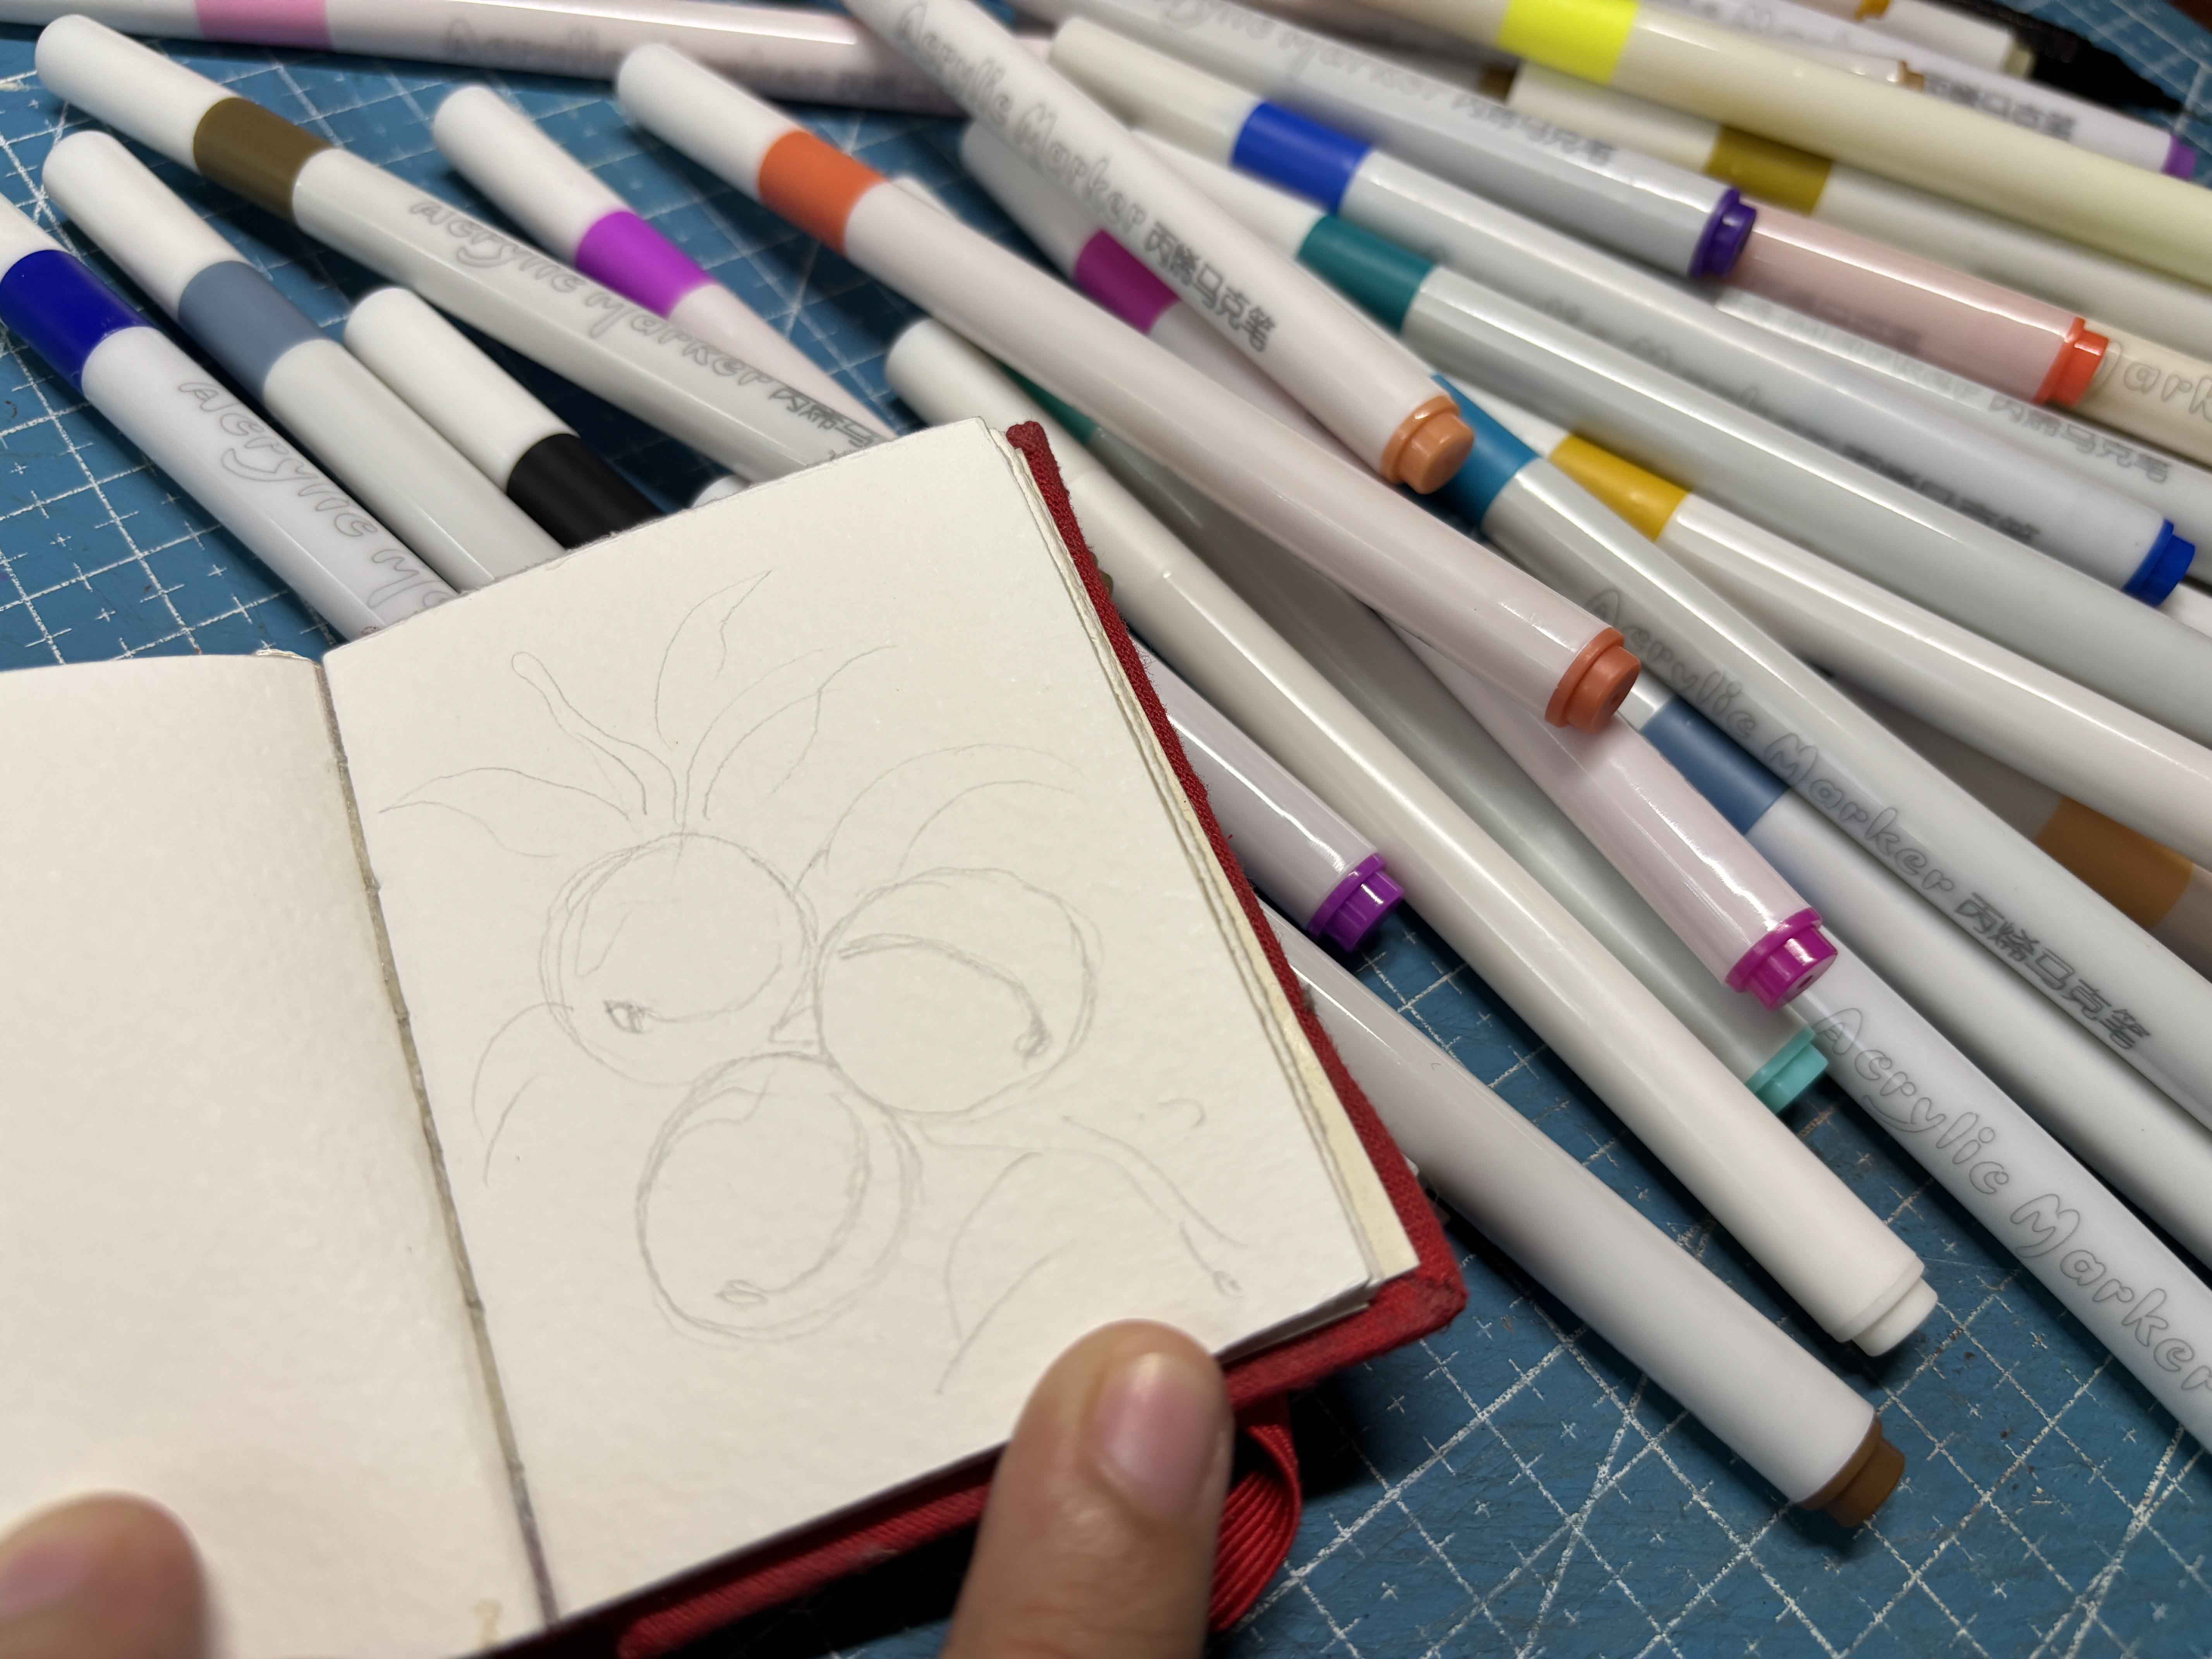
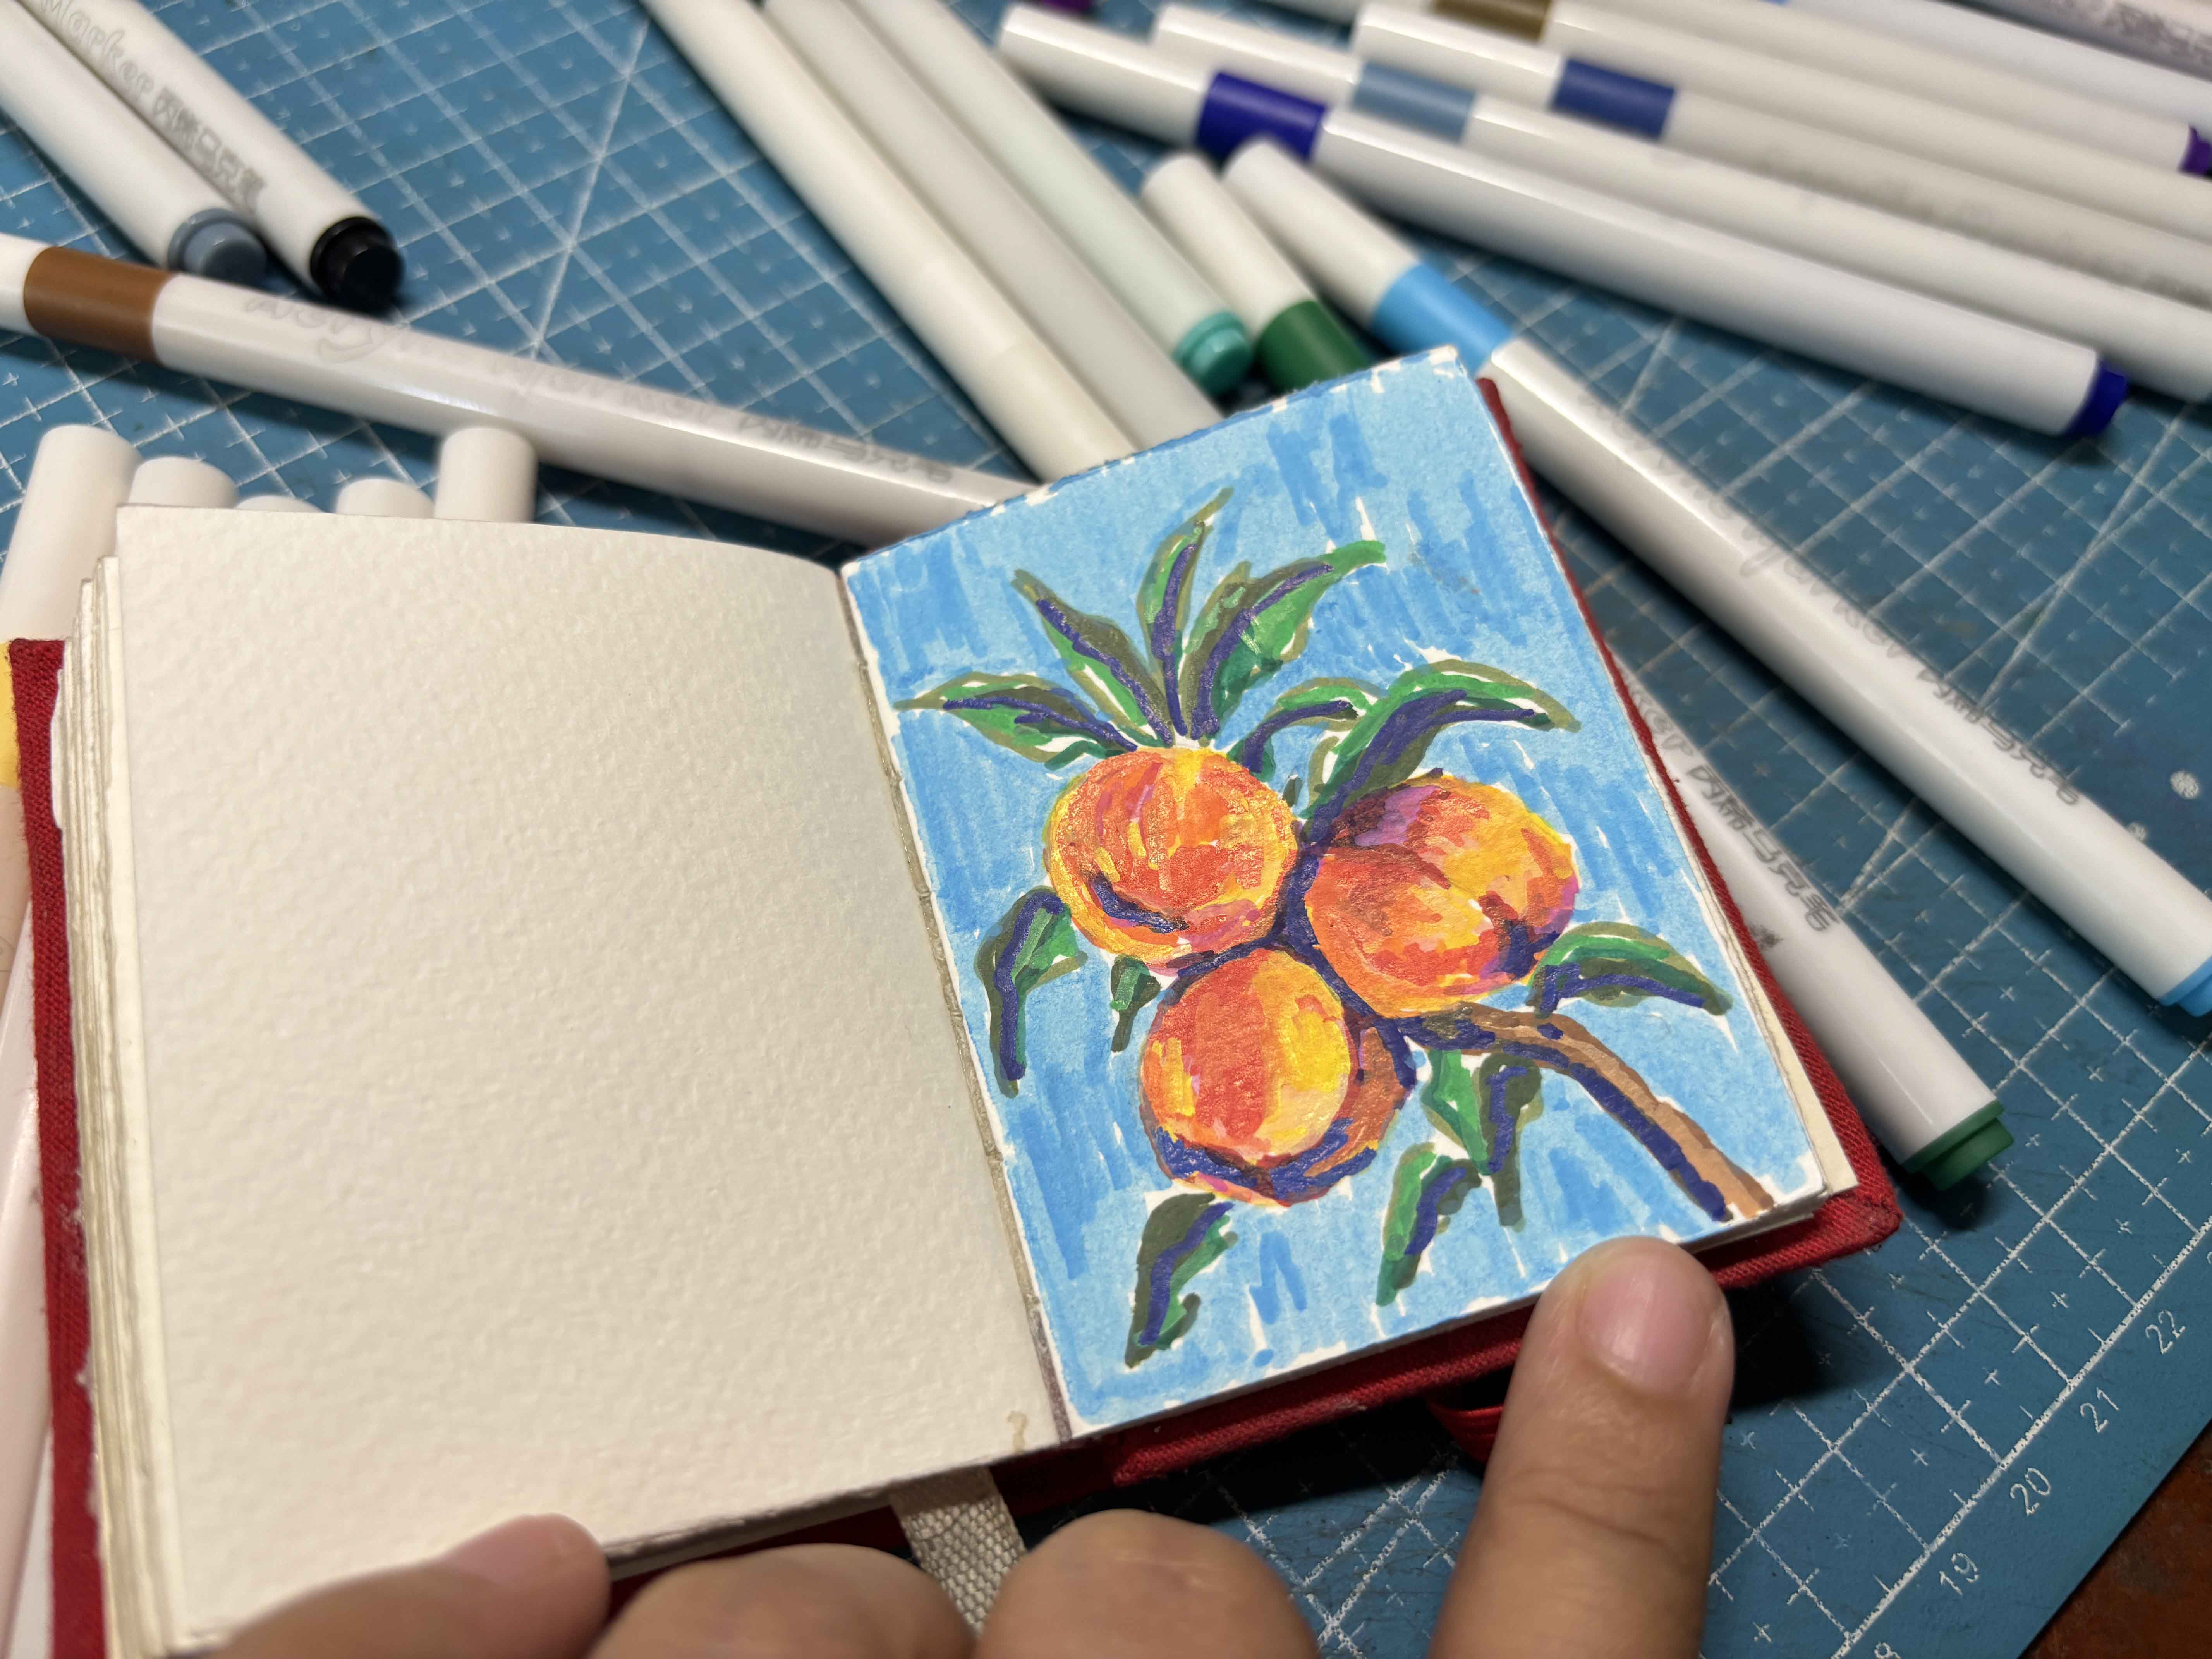
At first, I didn't know what to do, so I just tried it with my artist instinct, and I thought I would mess this drawing up, but I guess the ugly phase is just from the start. I just trust the process here. I drew the peach I saw on Pinterest.
-----
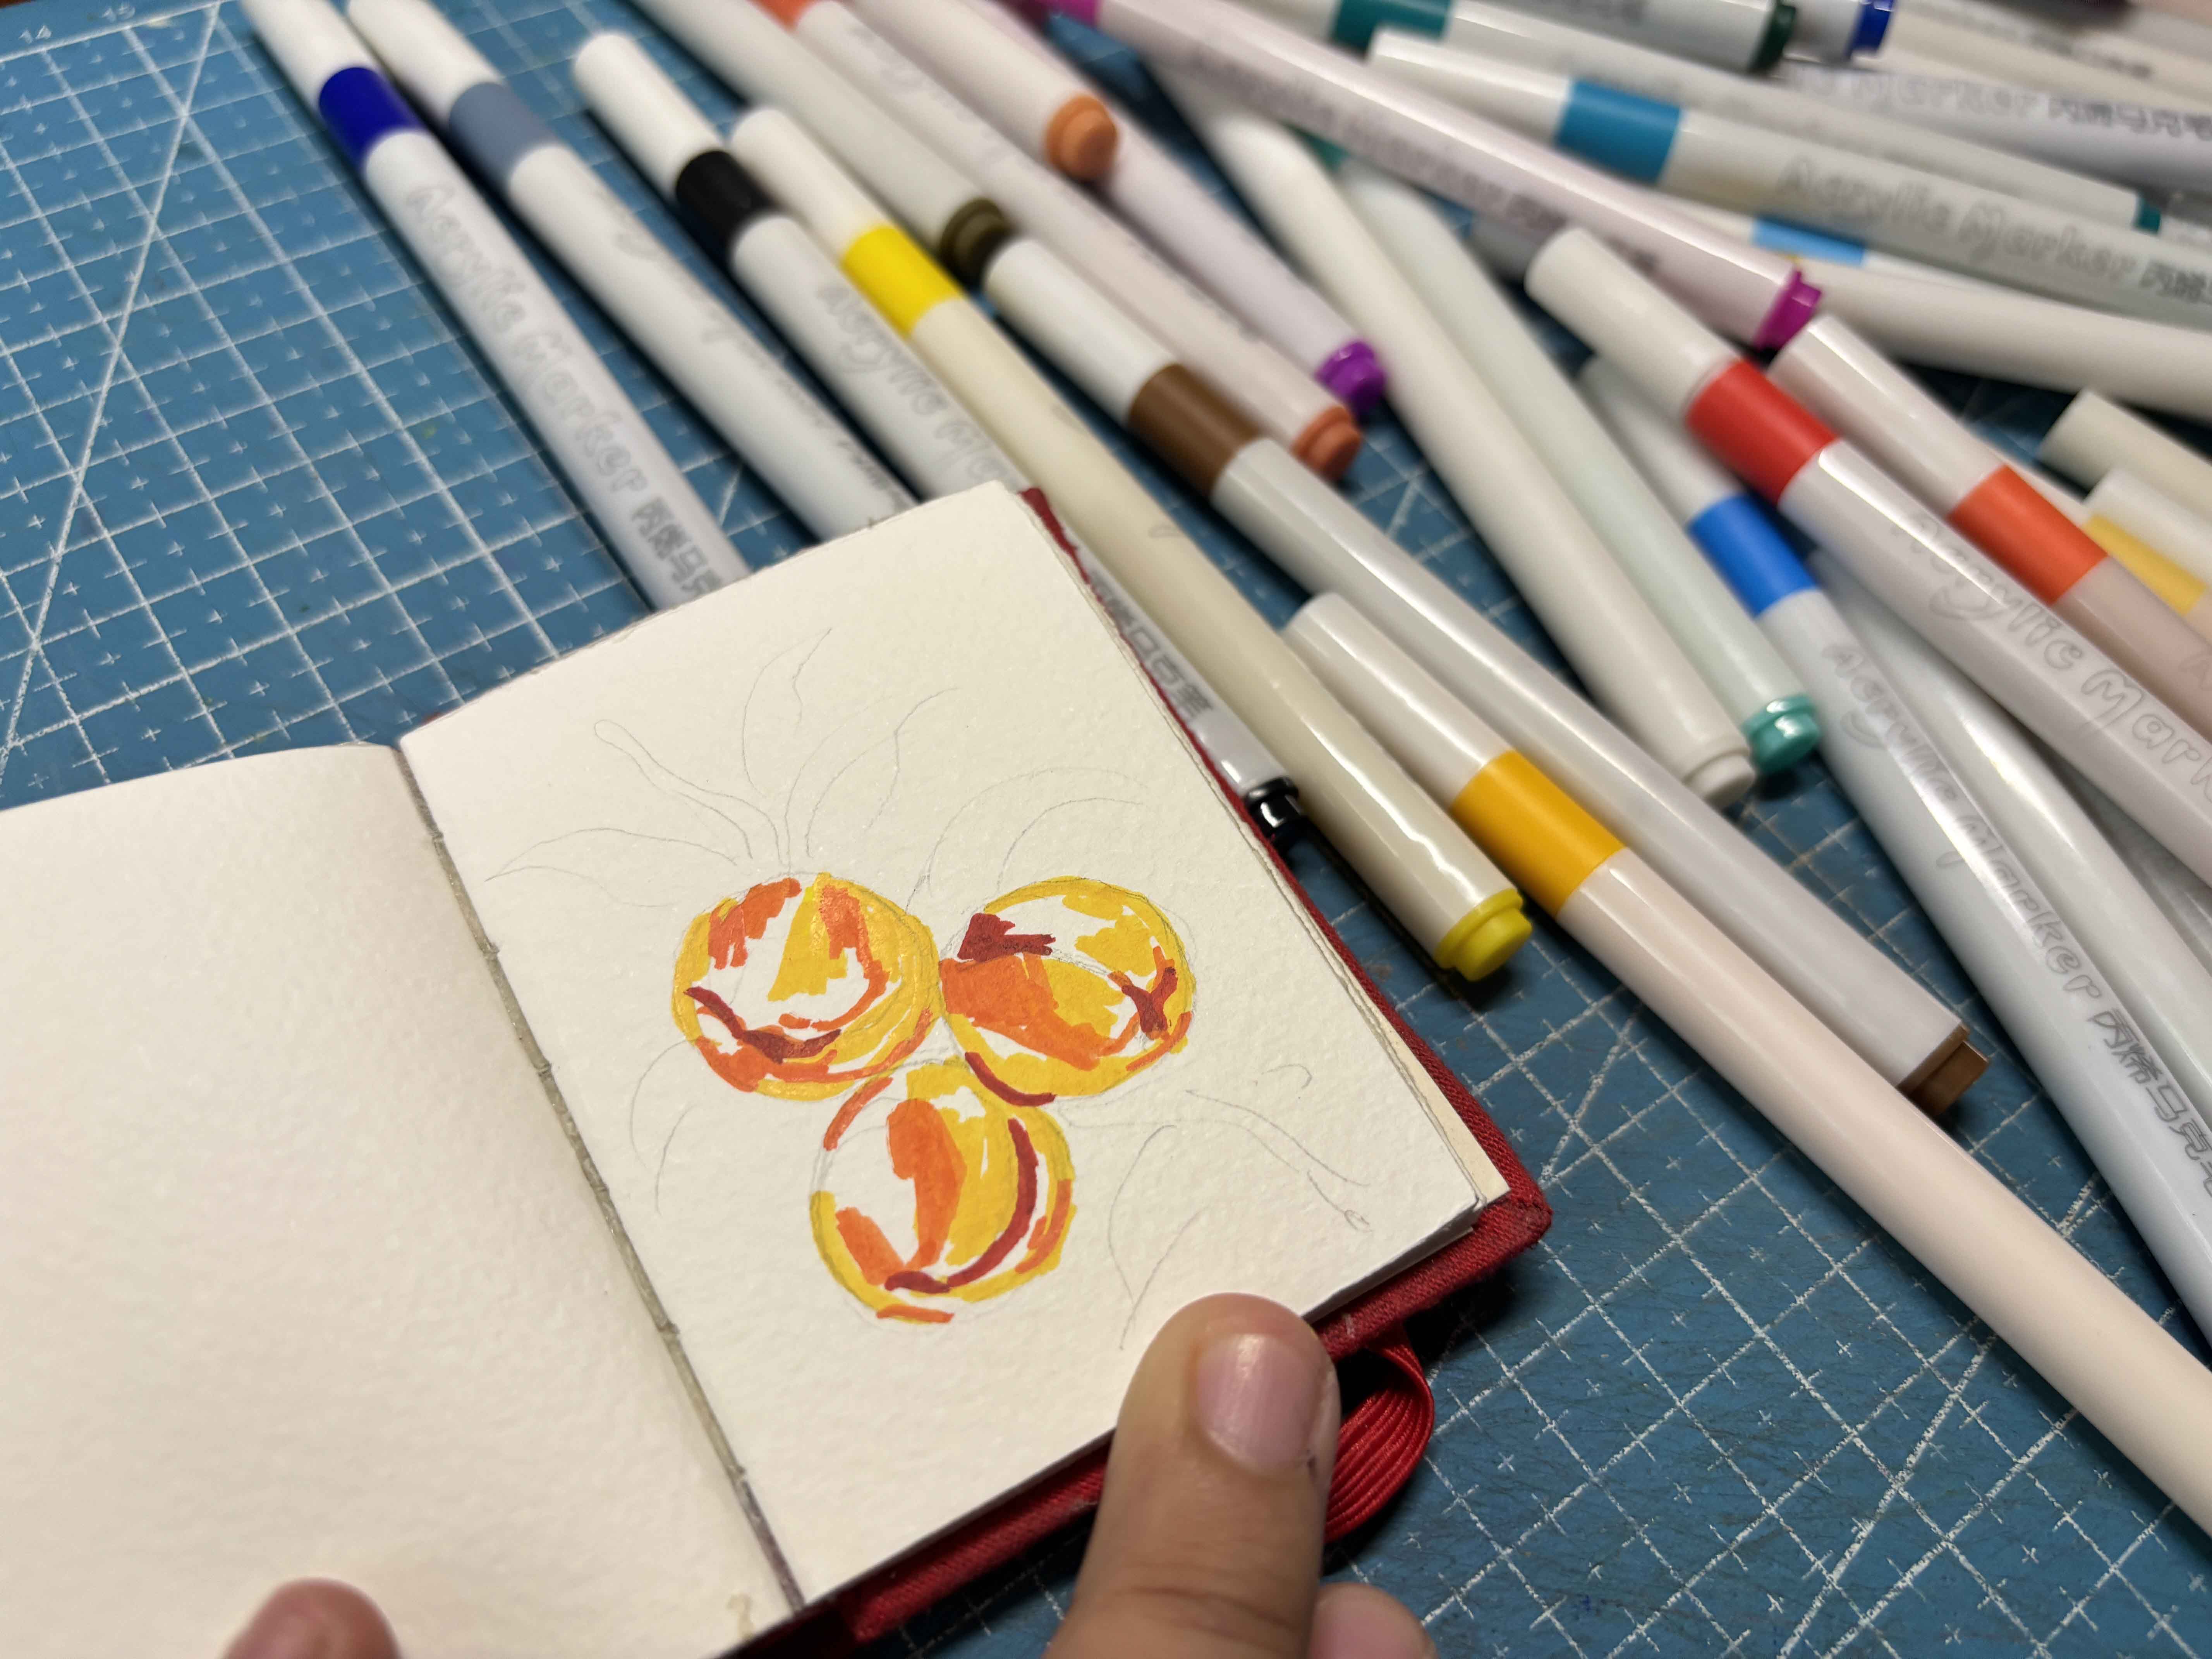
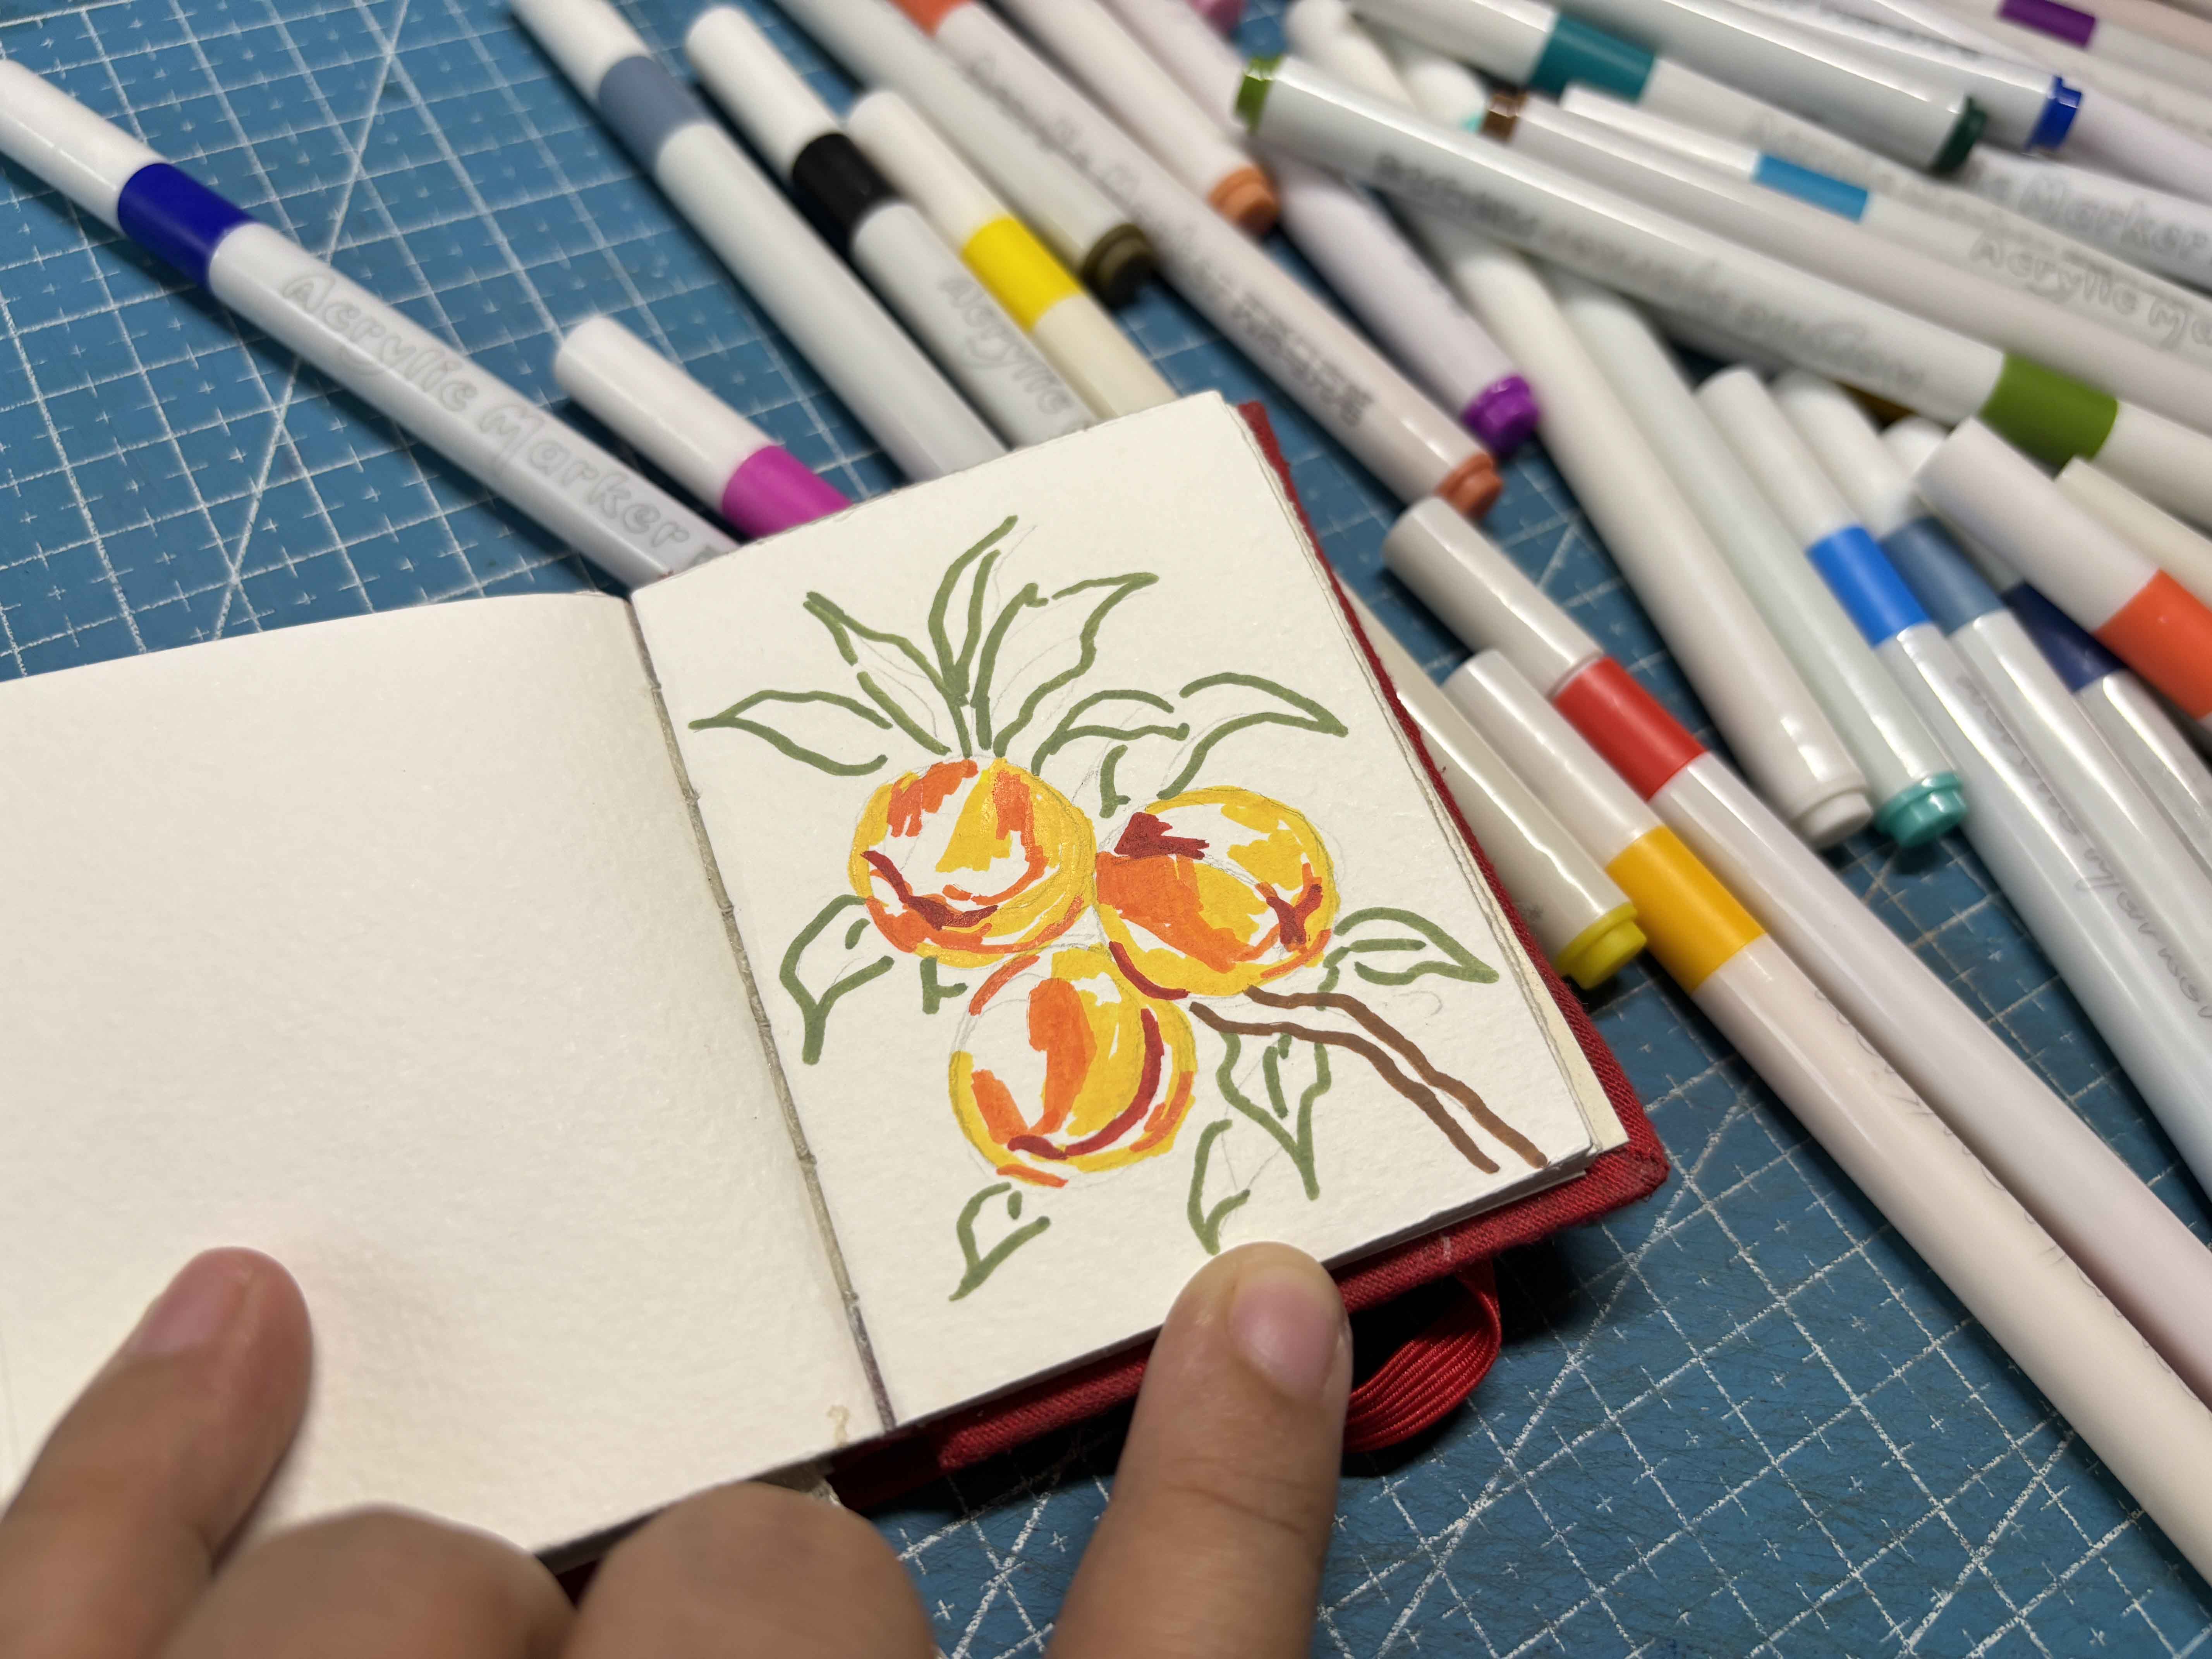
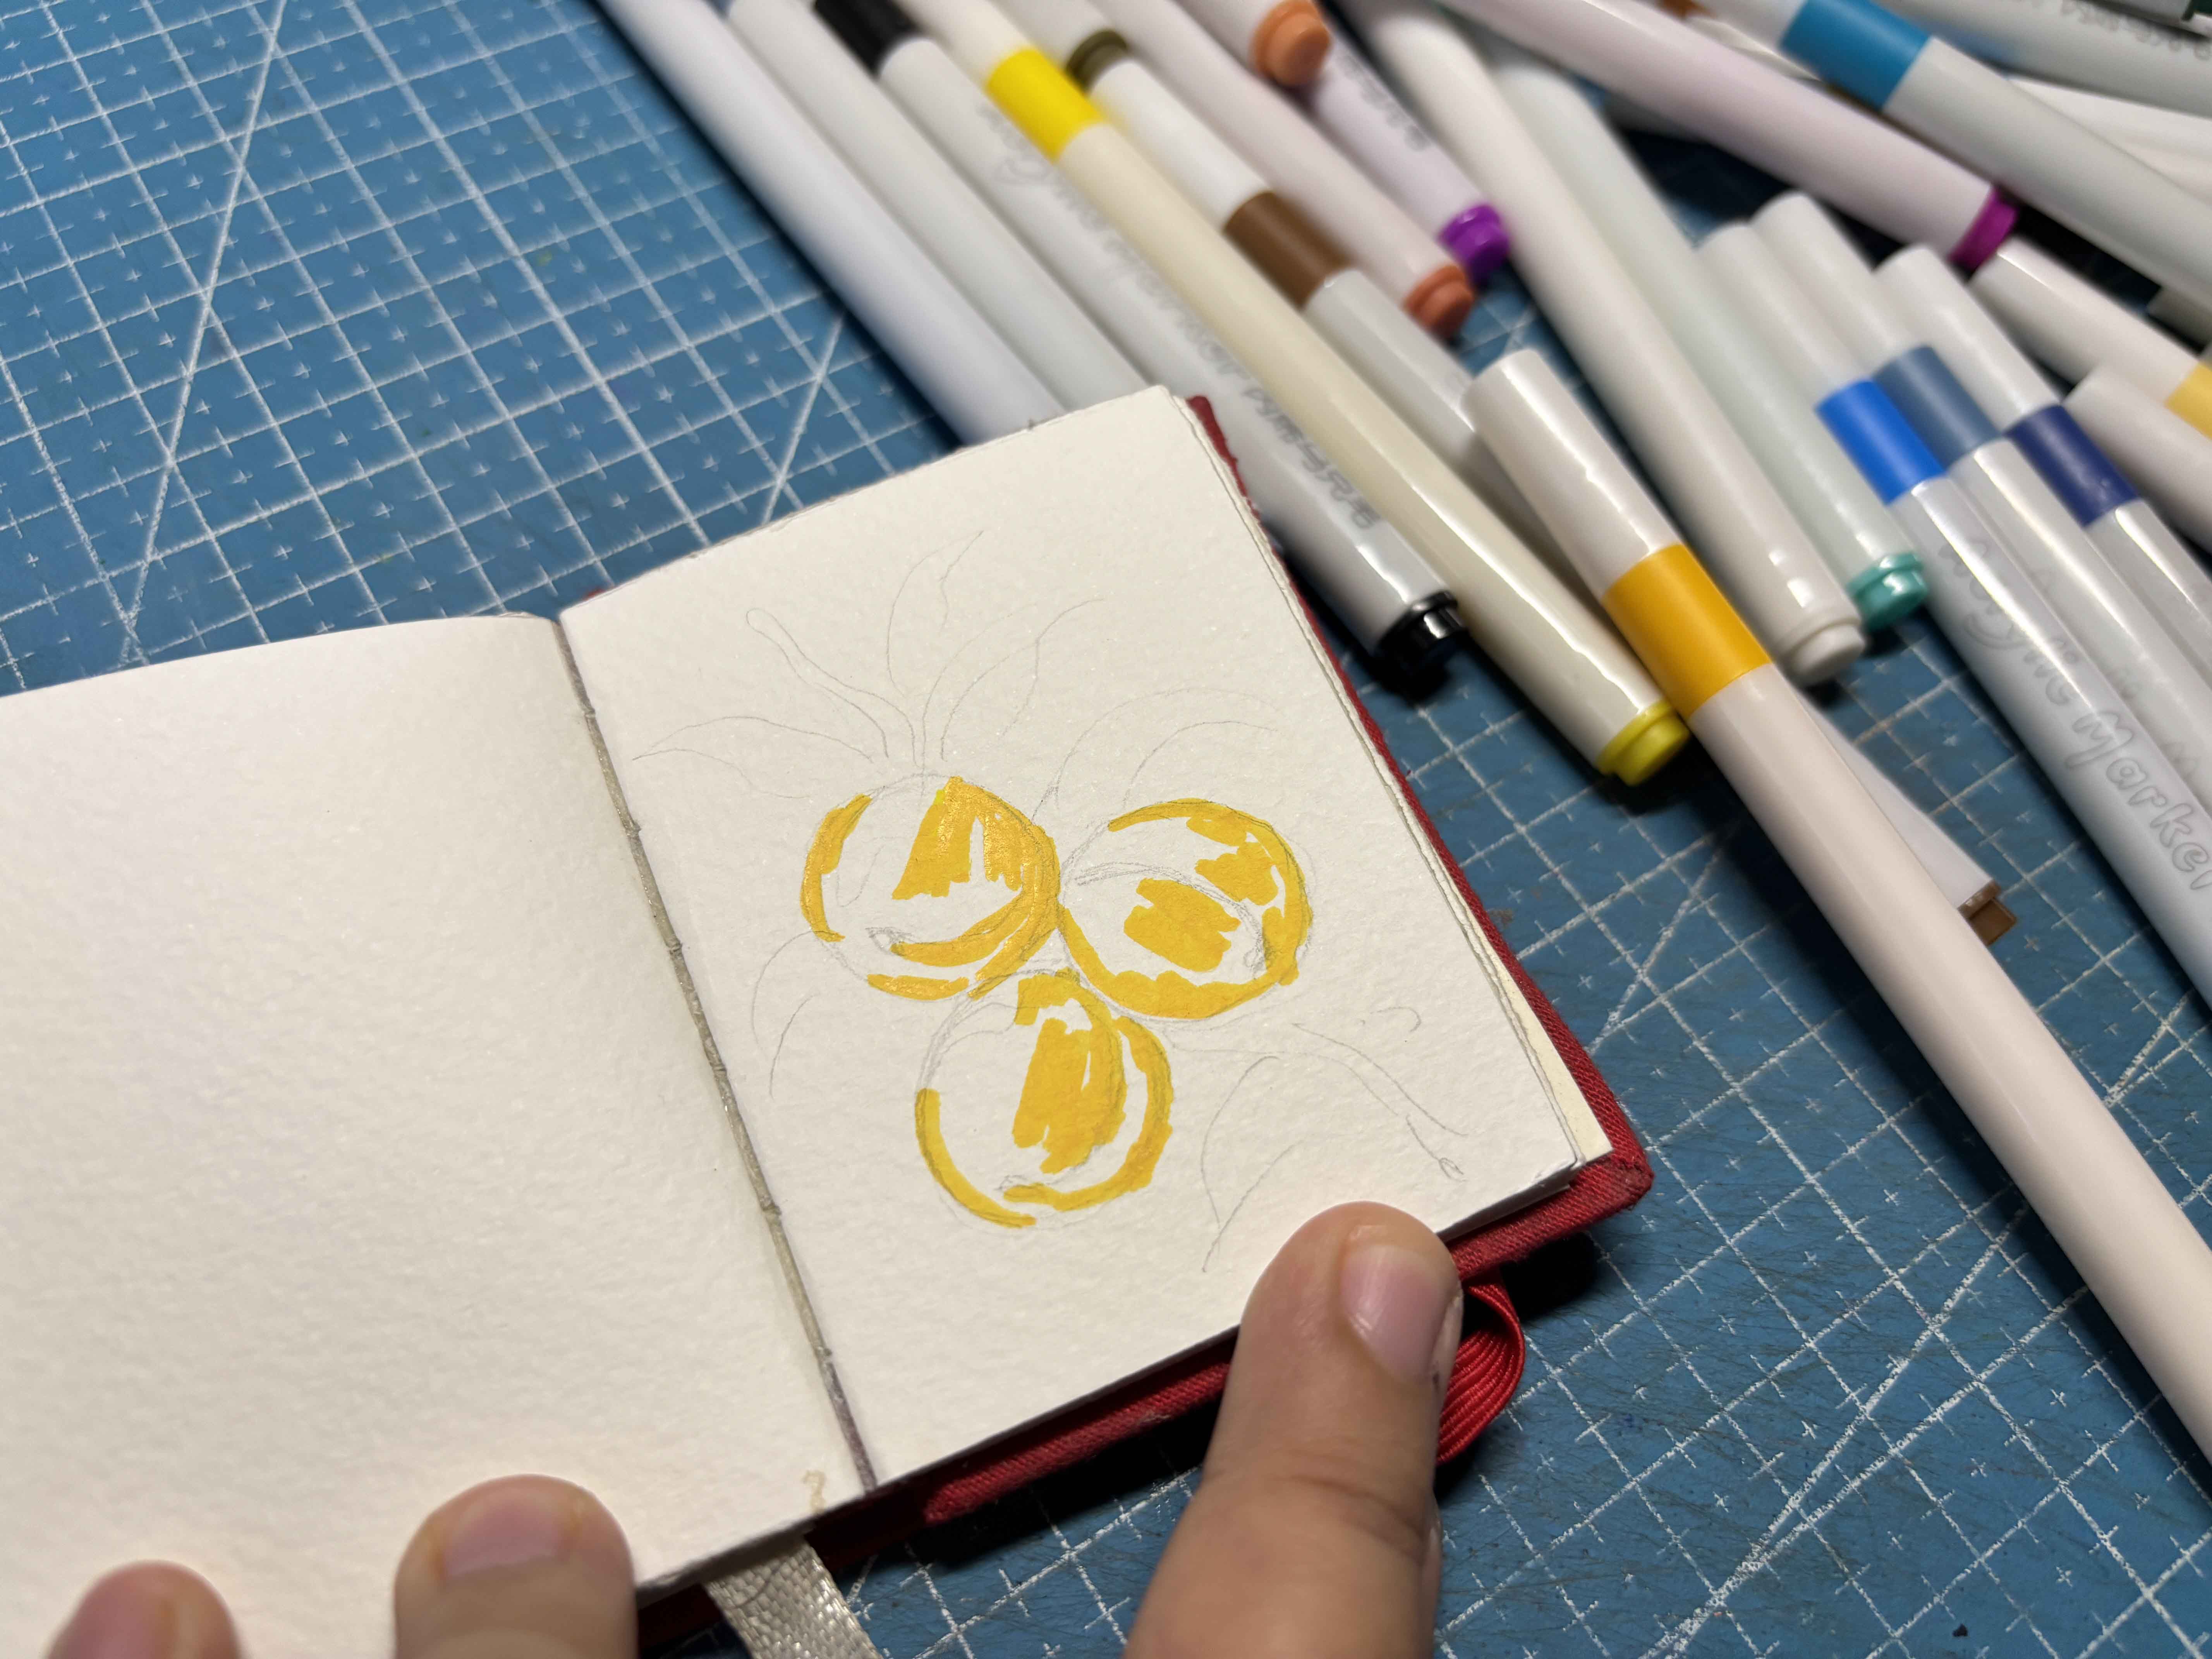
I just layer and layer each color every time. At first, I didn't know what the heck I was doing, as the progress I am getting used to it.
-----
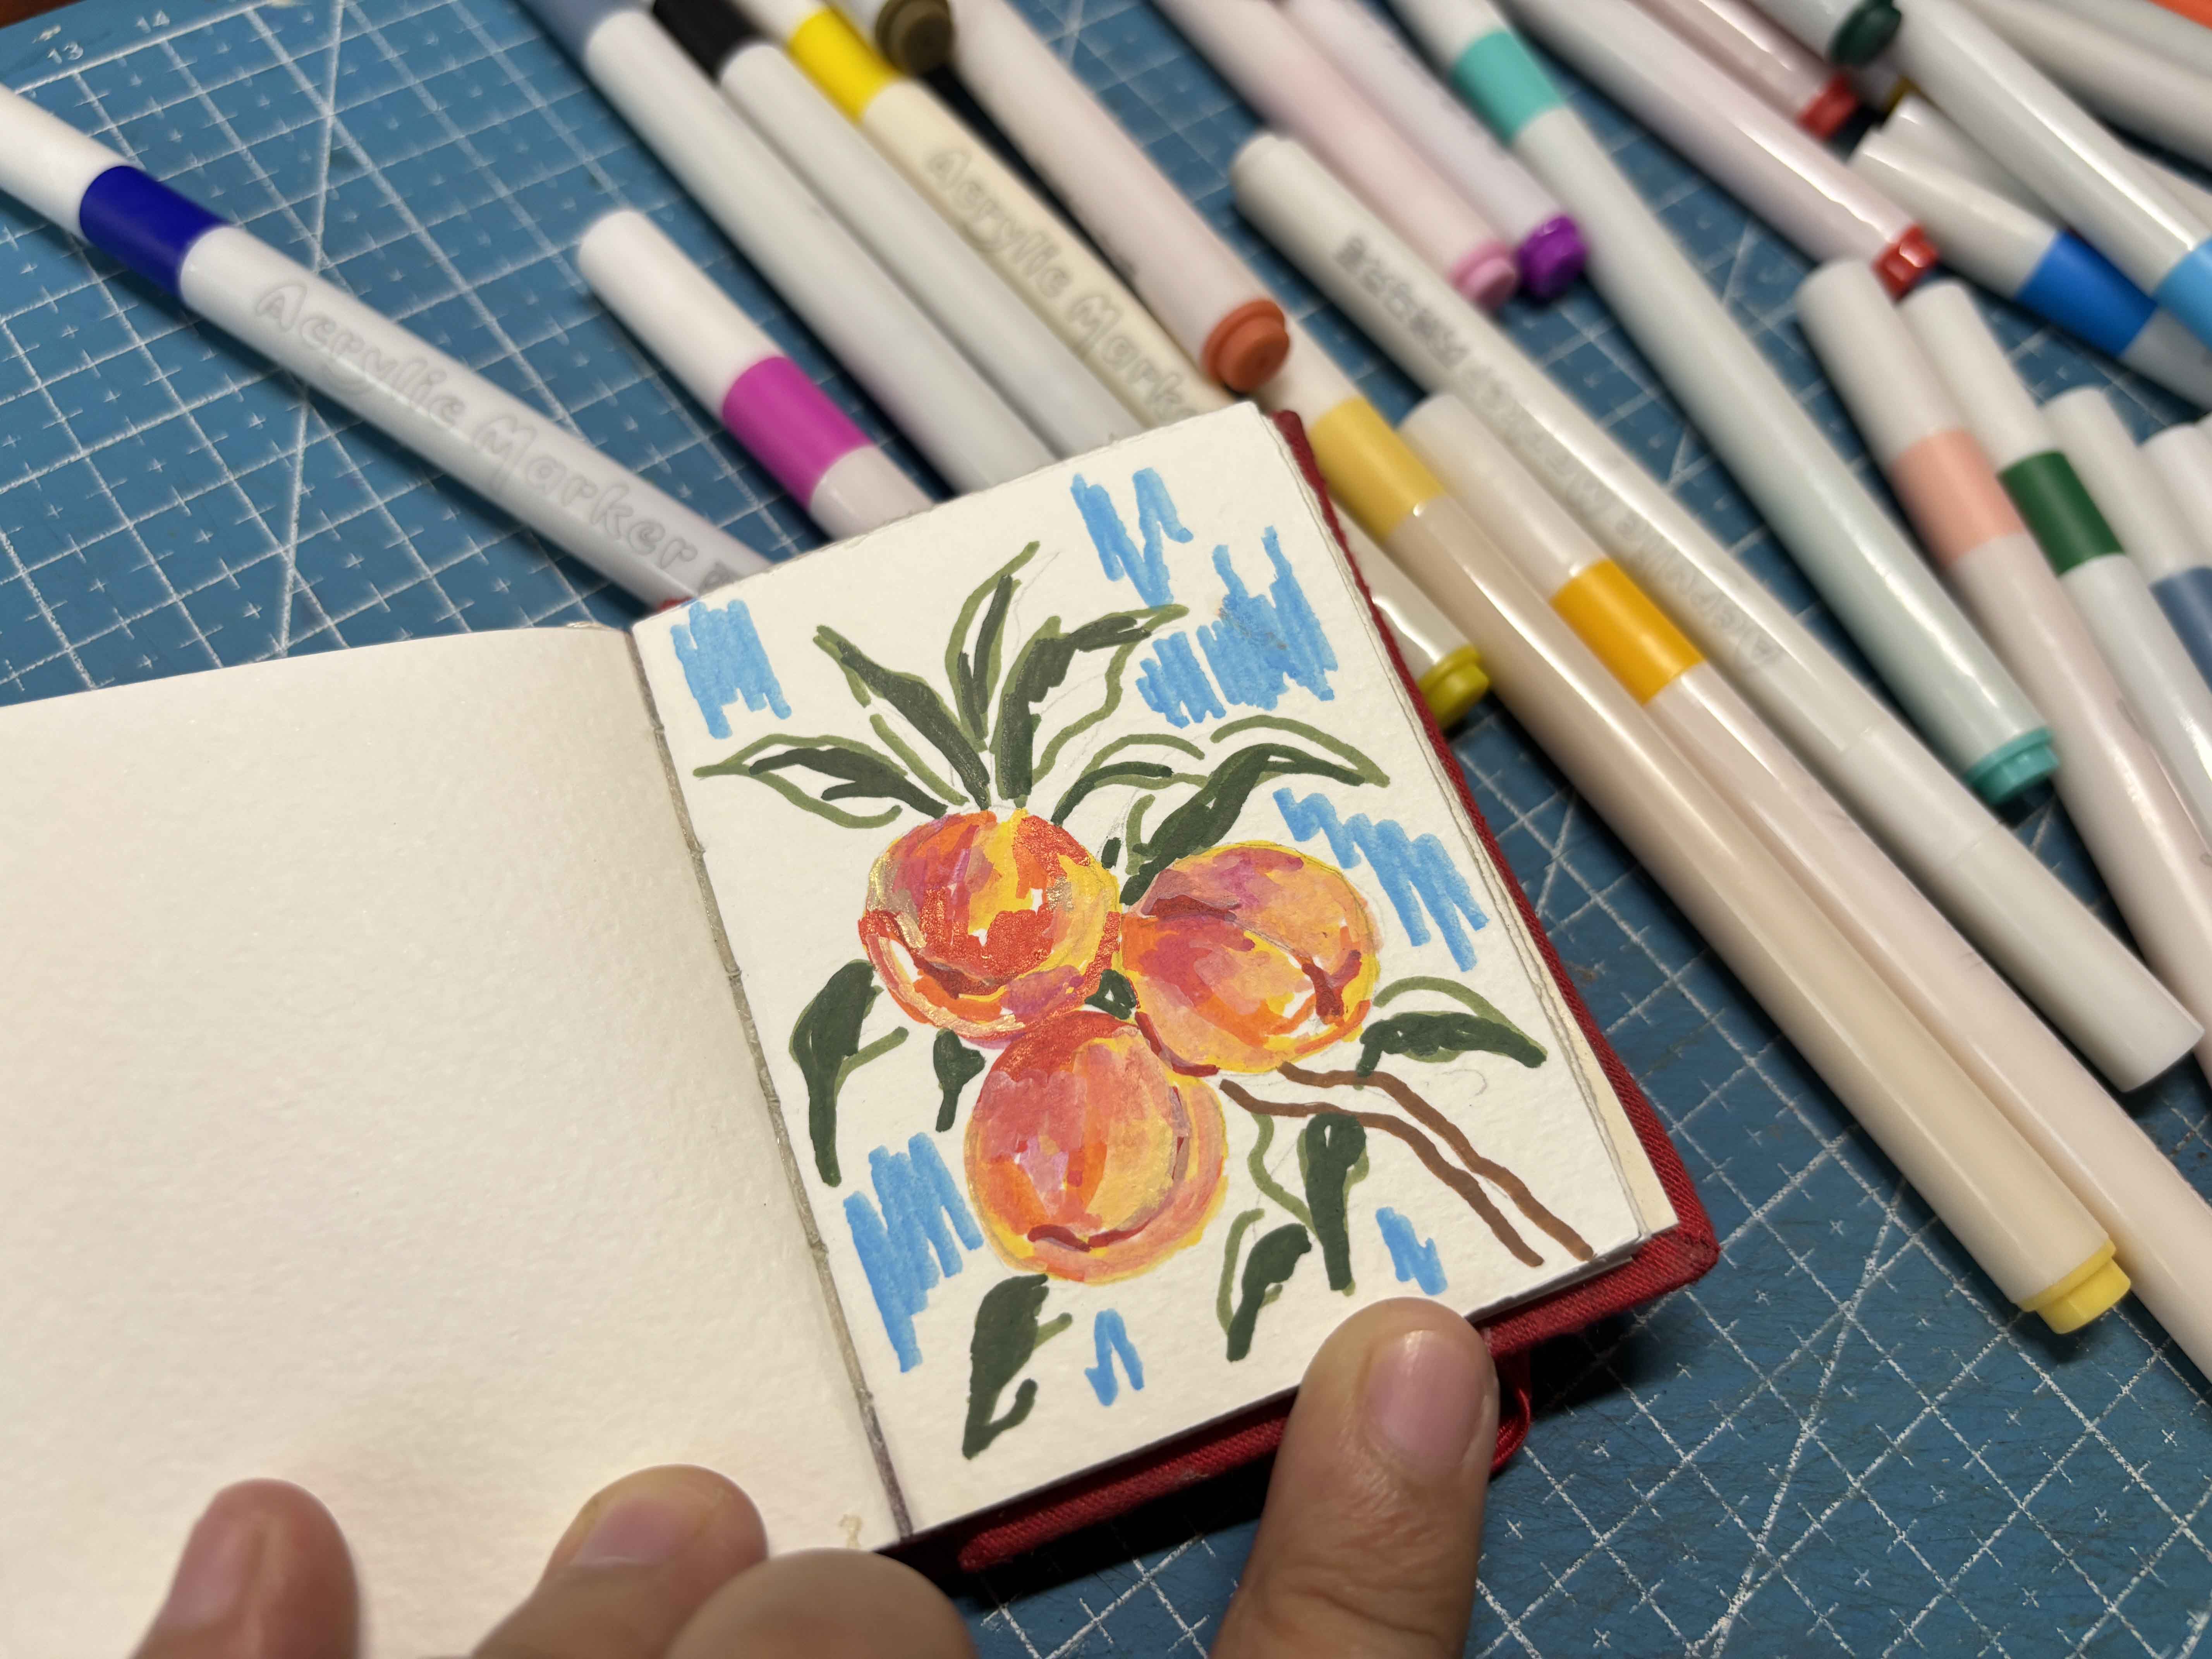
At this part, the drawing is pretty muddy, but as I add the shadow, which I use the shades of blue, I get better. And I swatch the blue color I am going to use for the background.
------
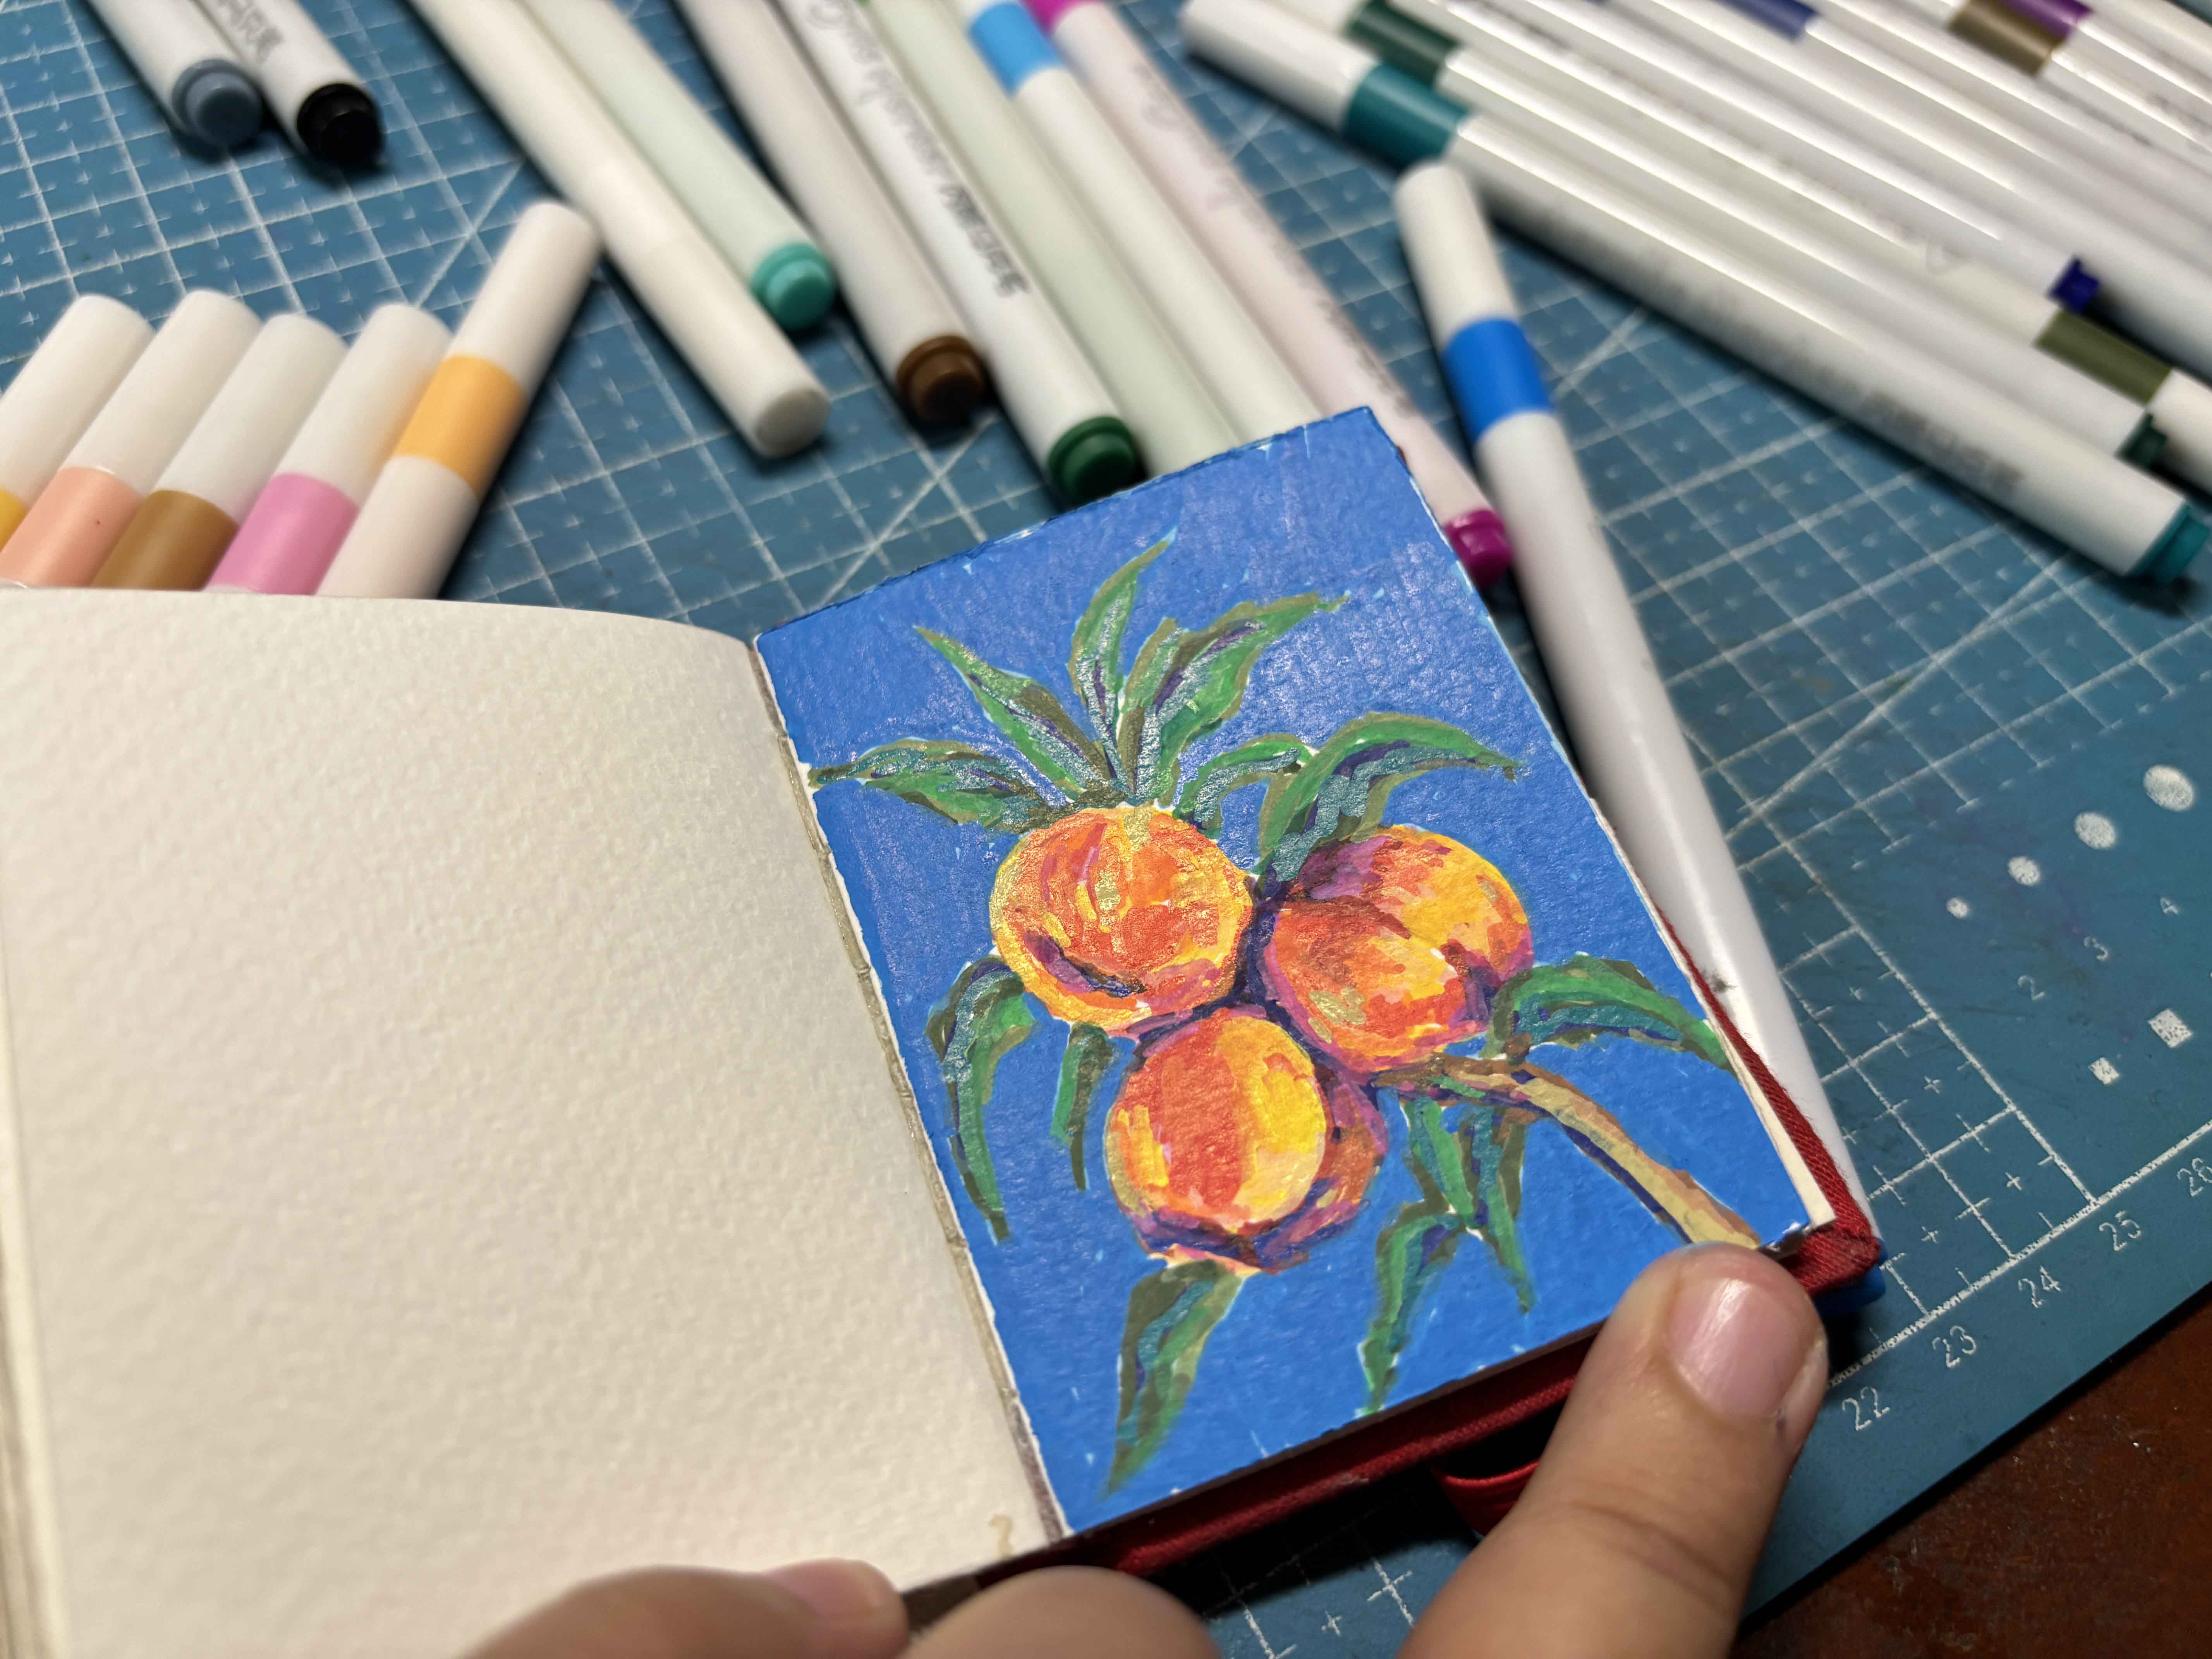
The time I fill the background with color, I can see the part that I needed to fix and add something to it.
-----
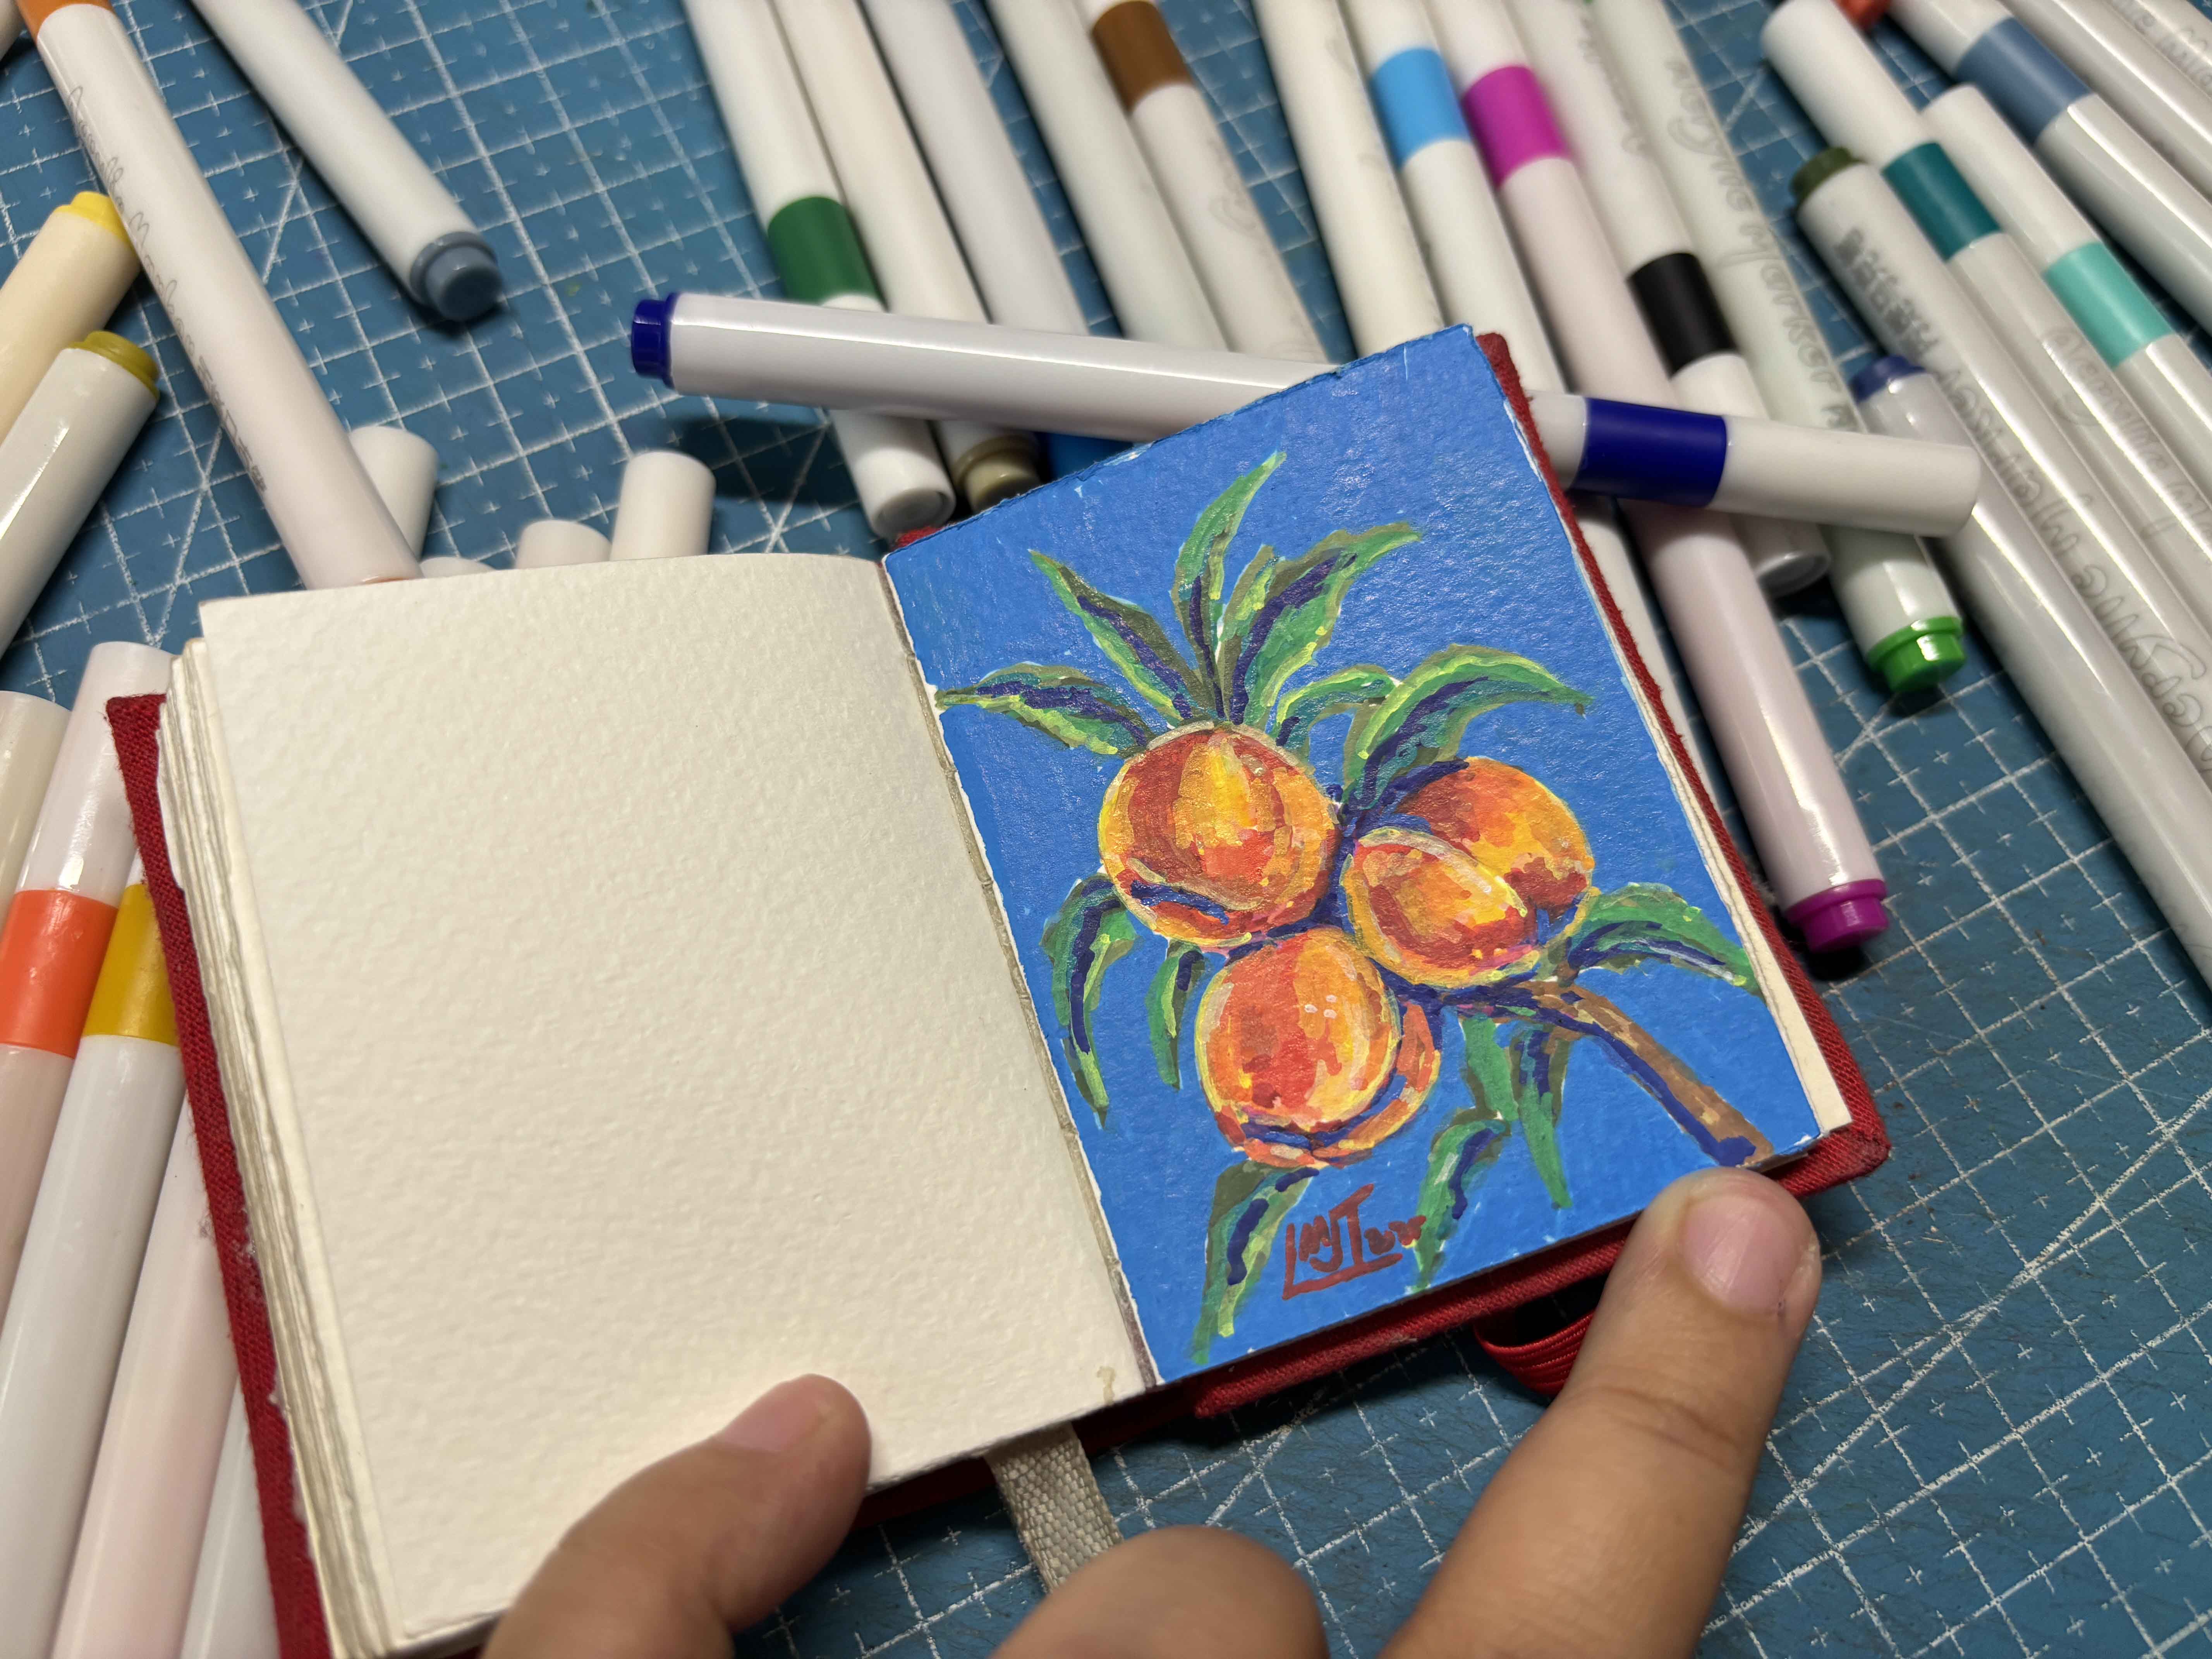
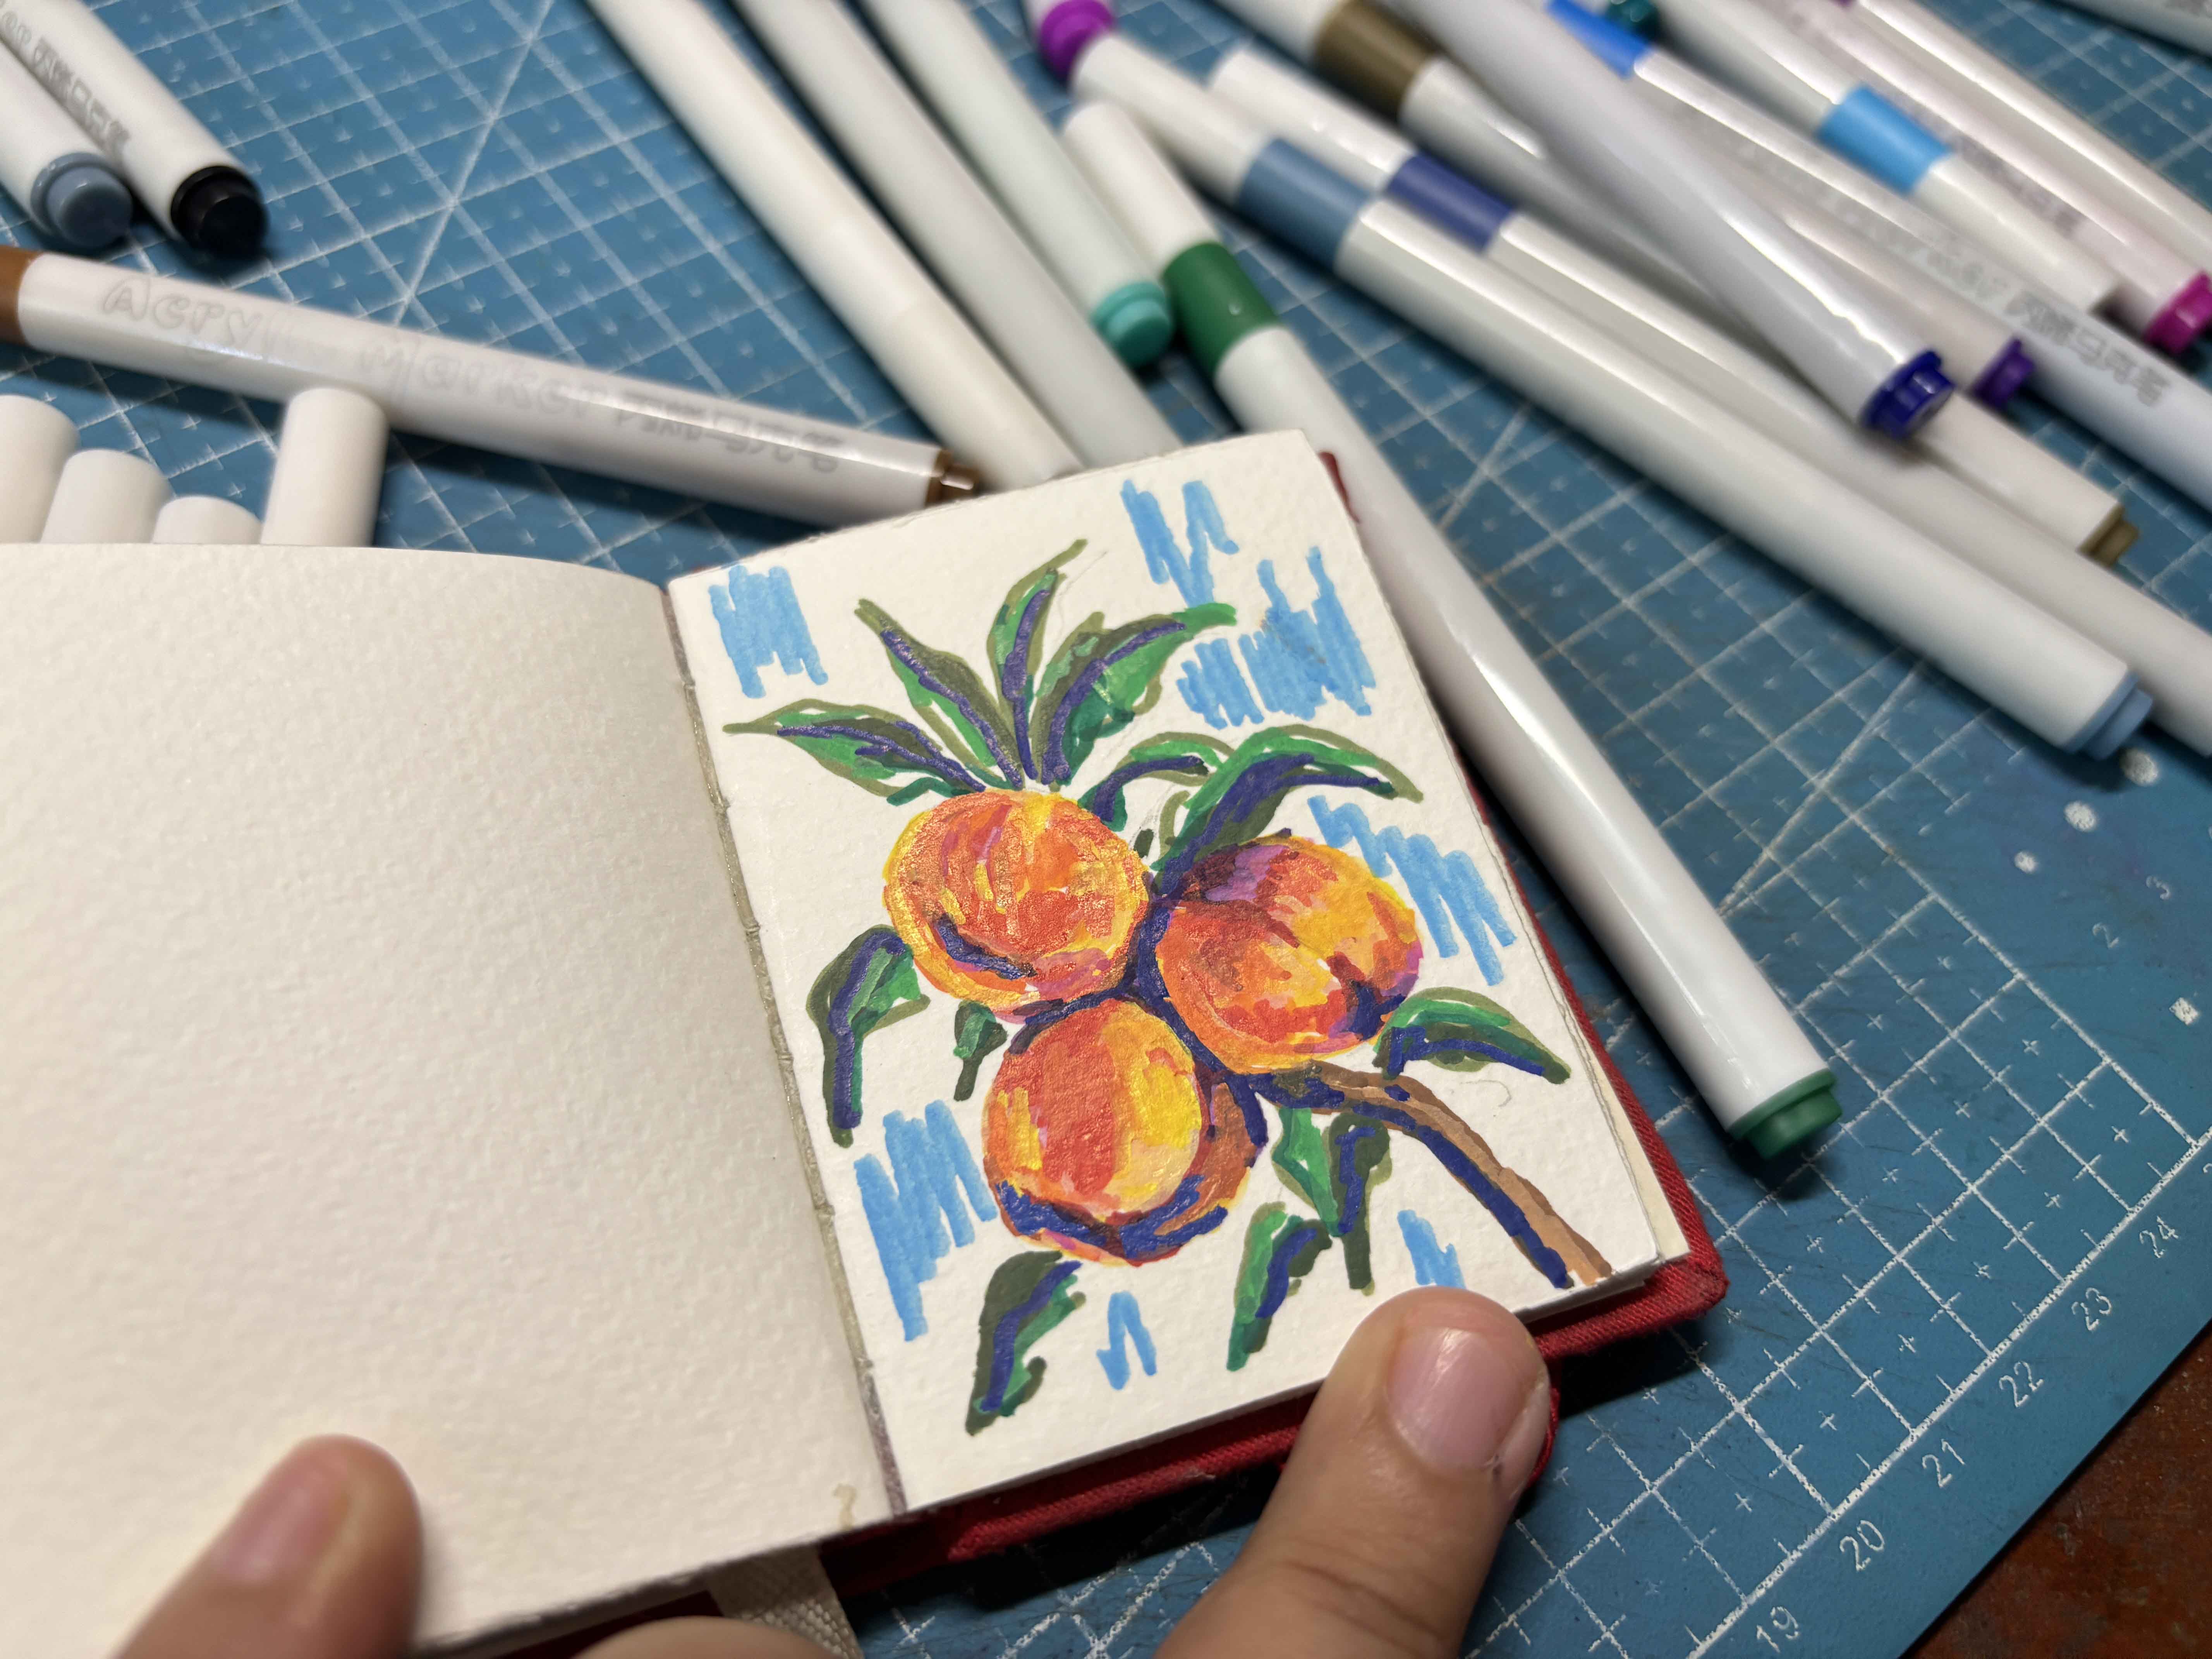
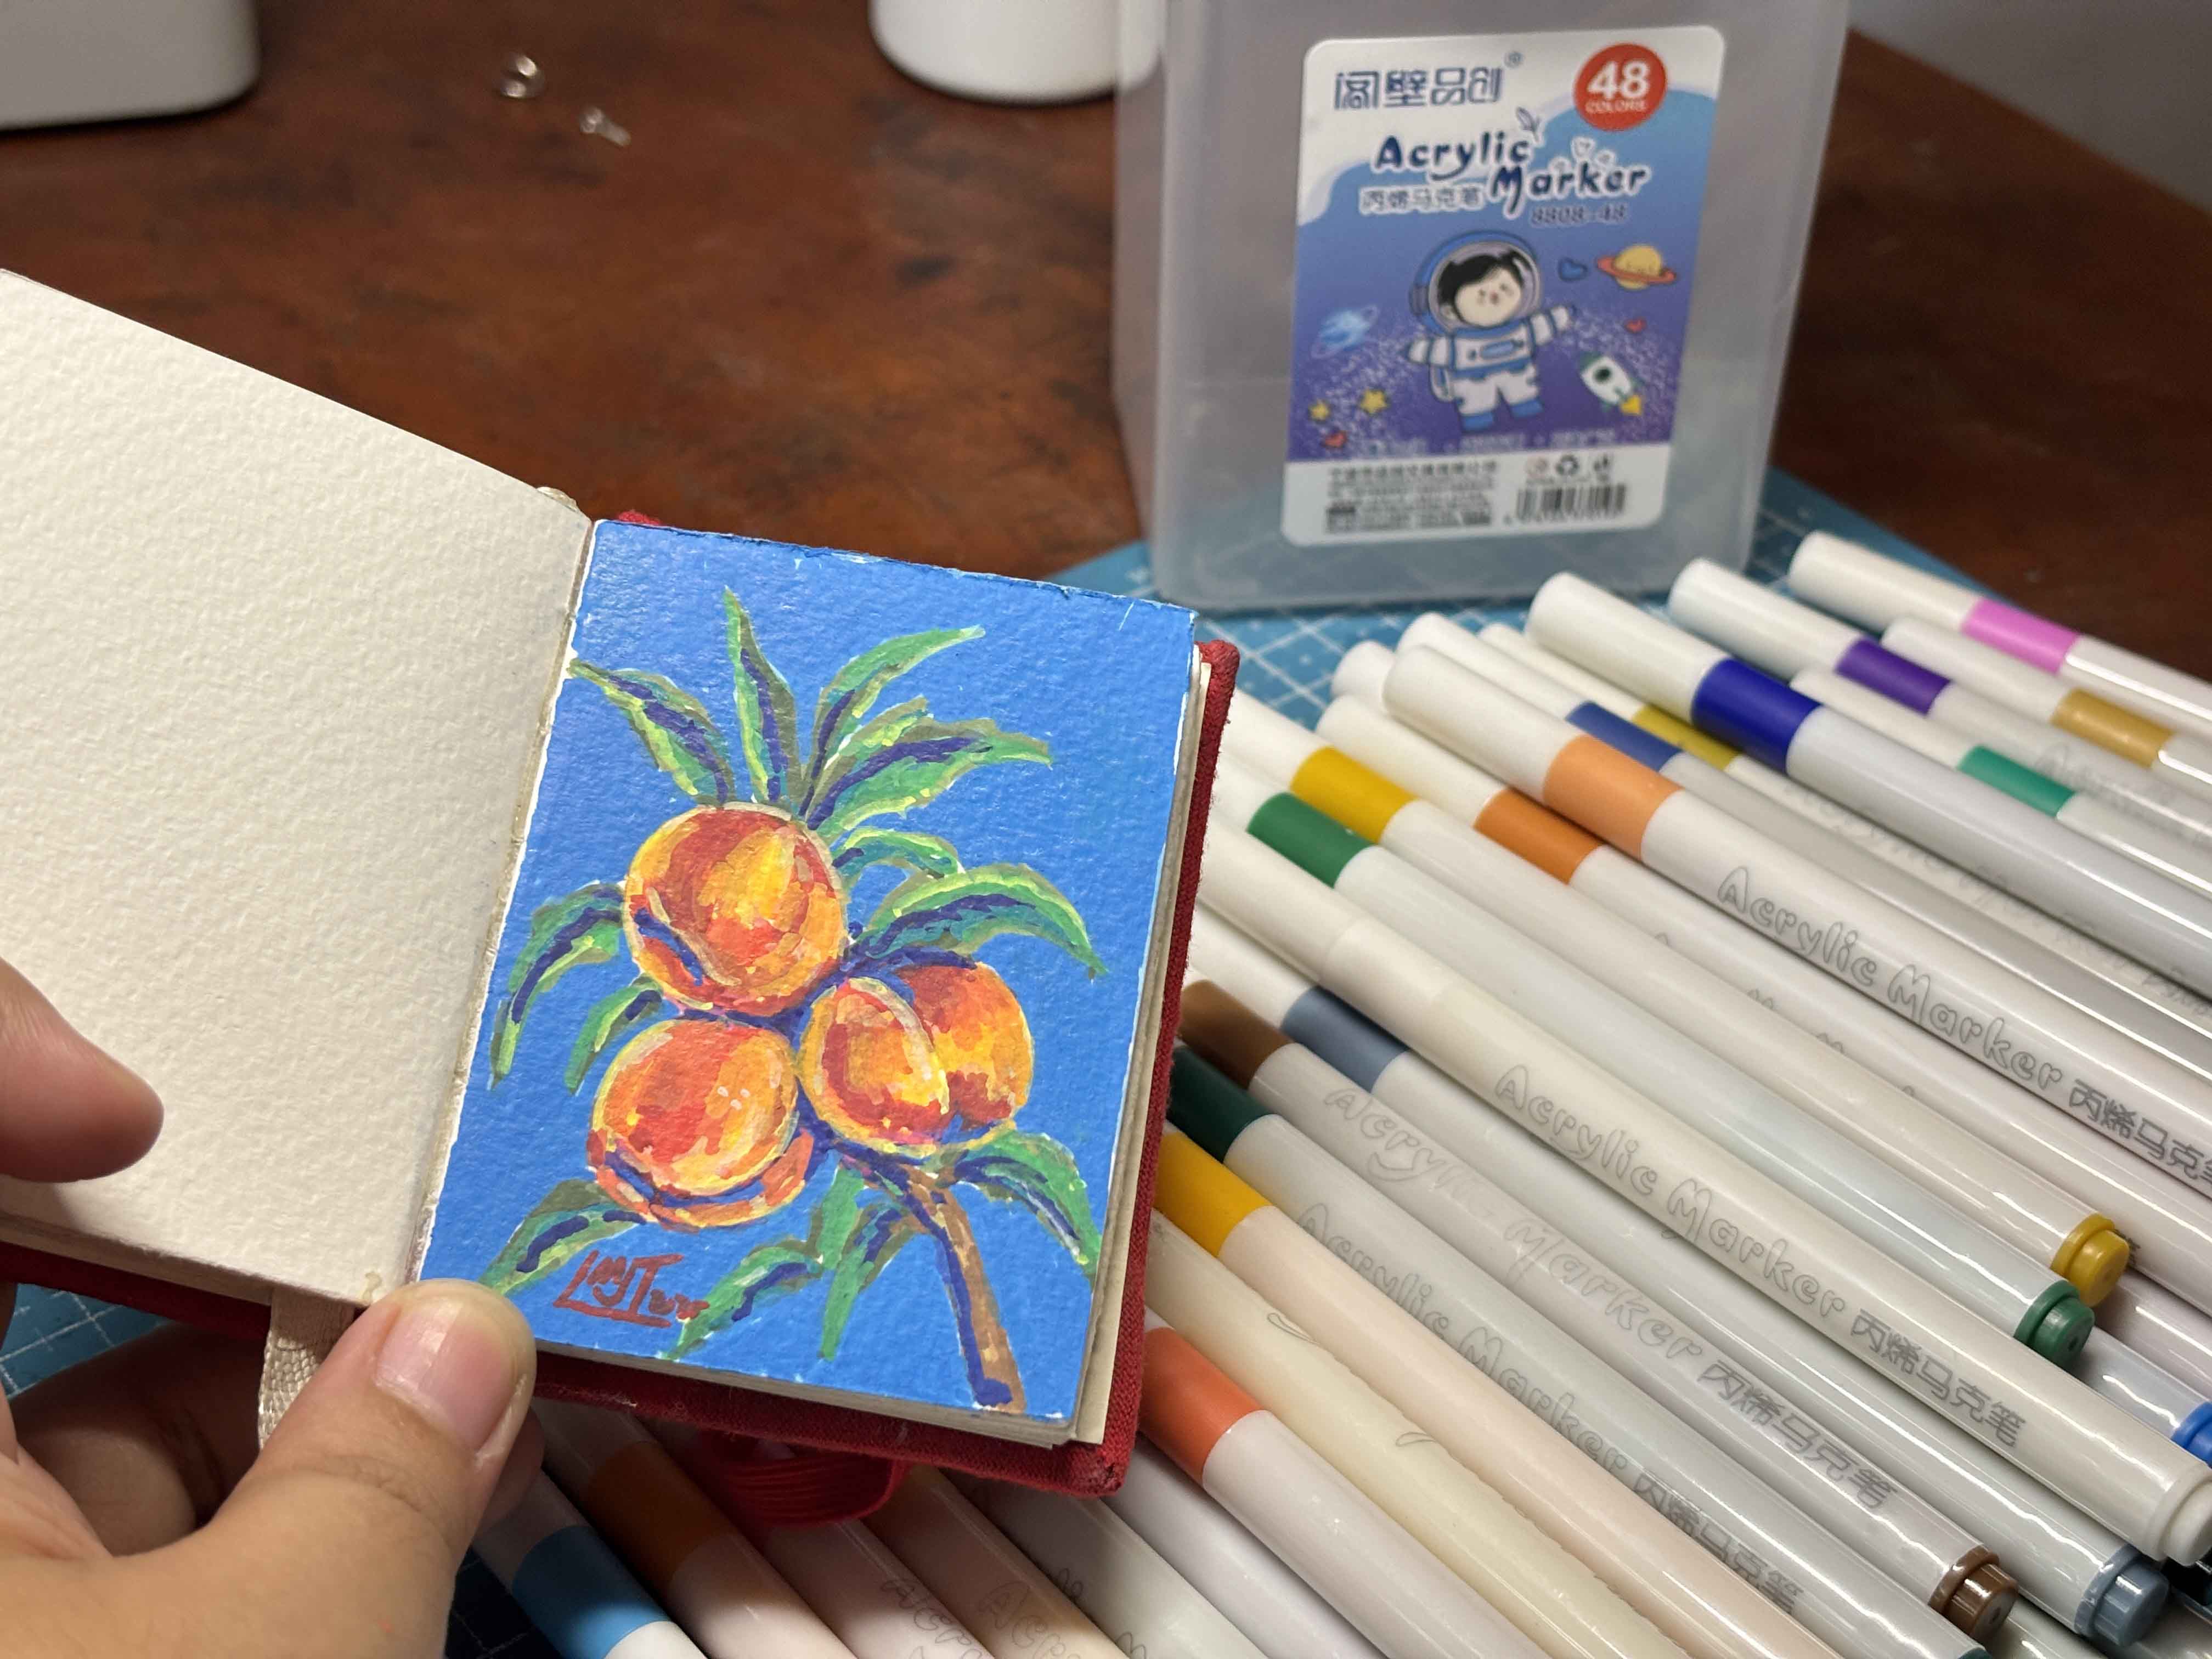
I am pretty stressed about the process, so I only took a photo when I remembered I needed to document it LOL, so yeah, this is the final art using the acrylic marker.
------
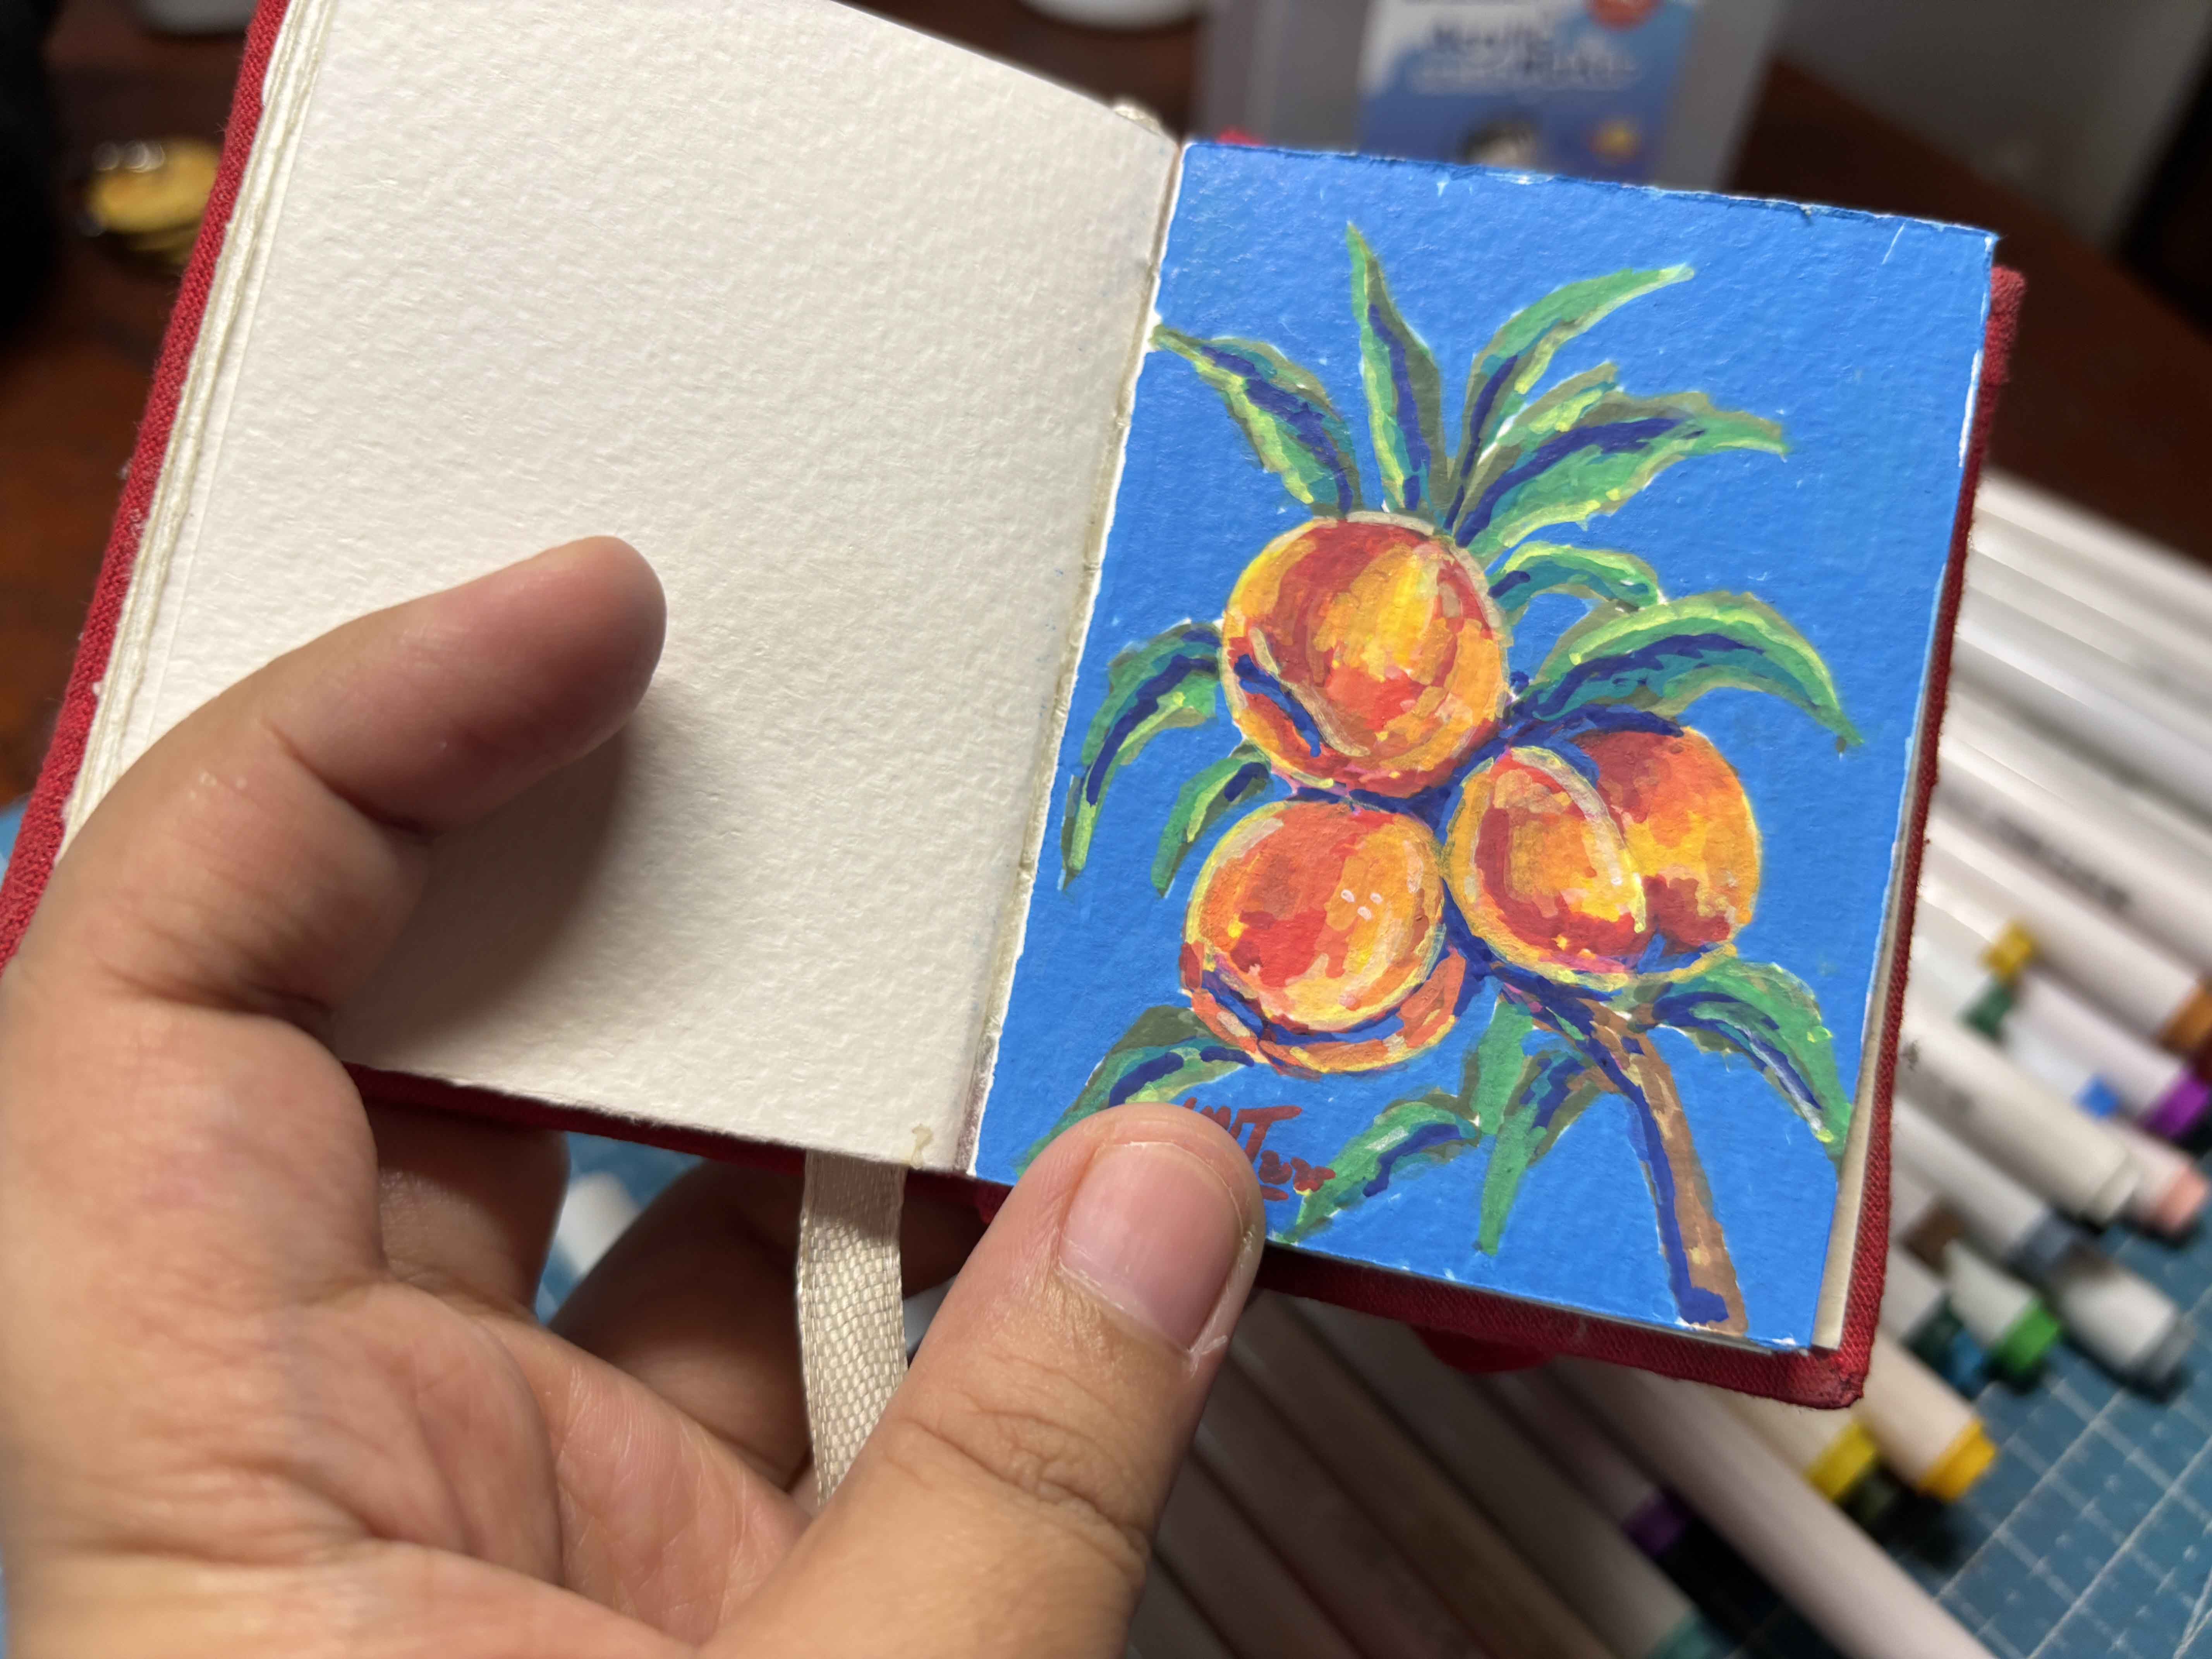
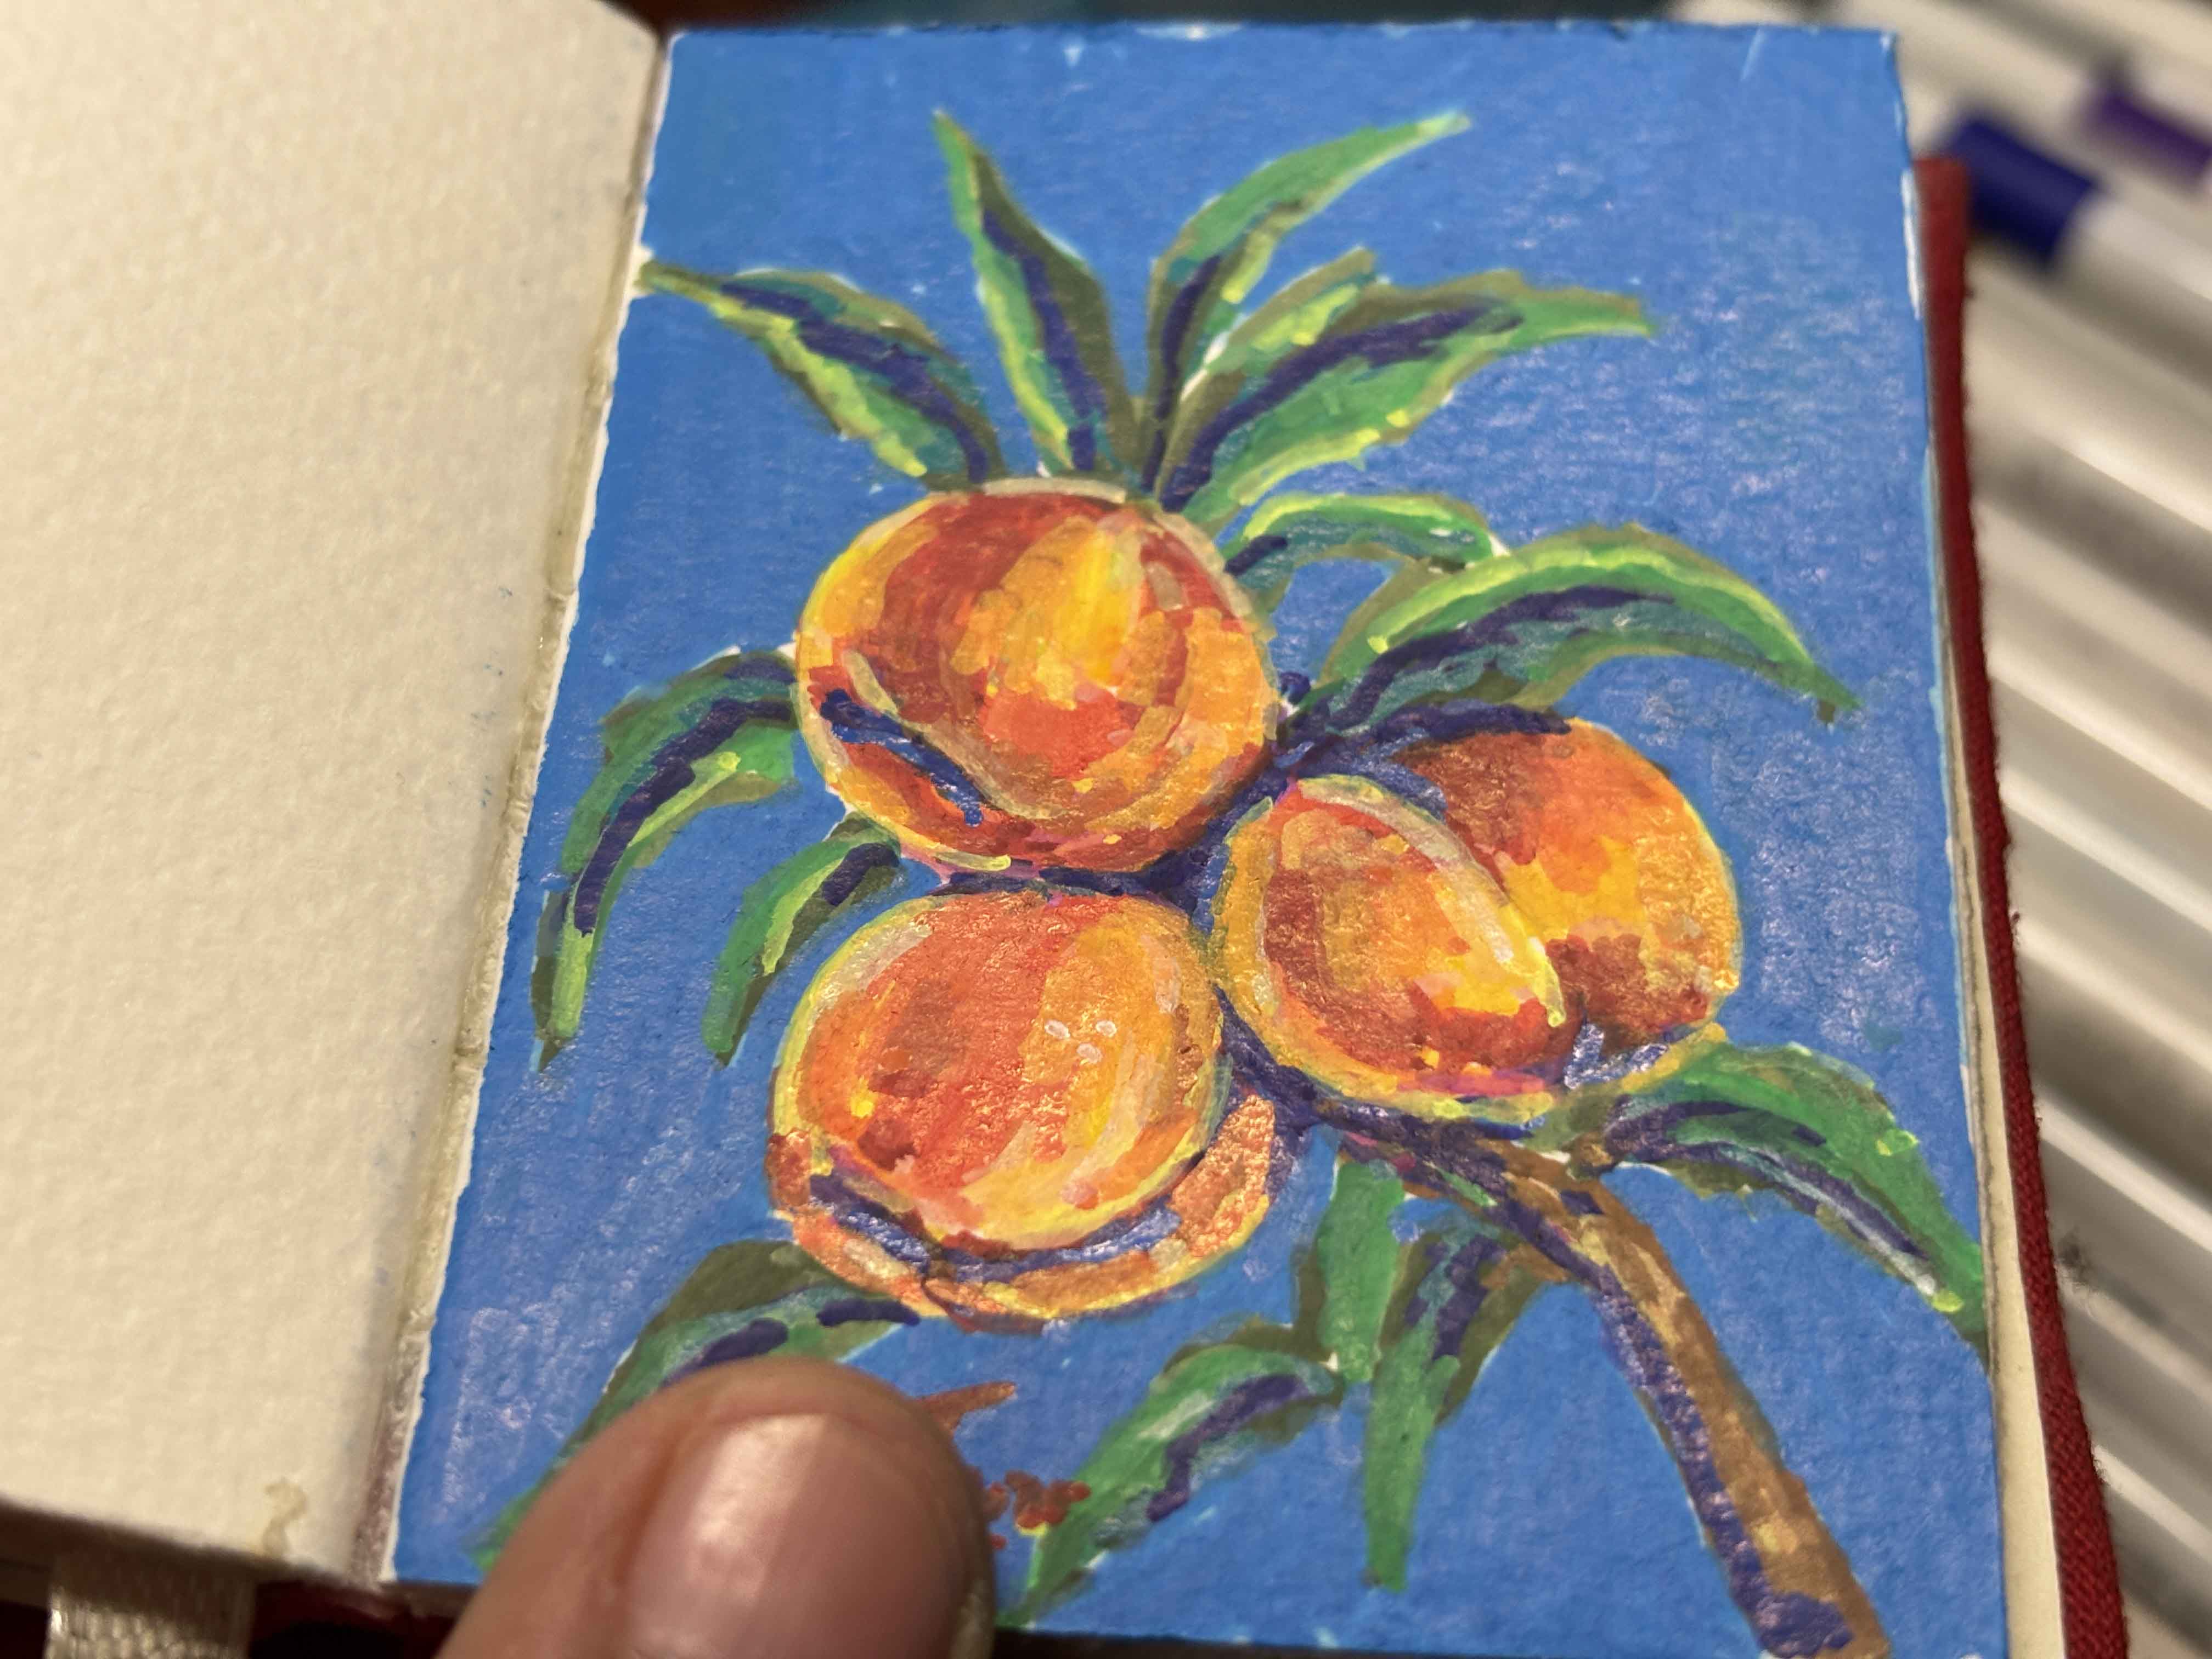
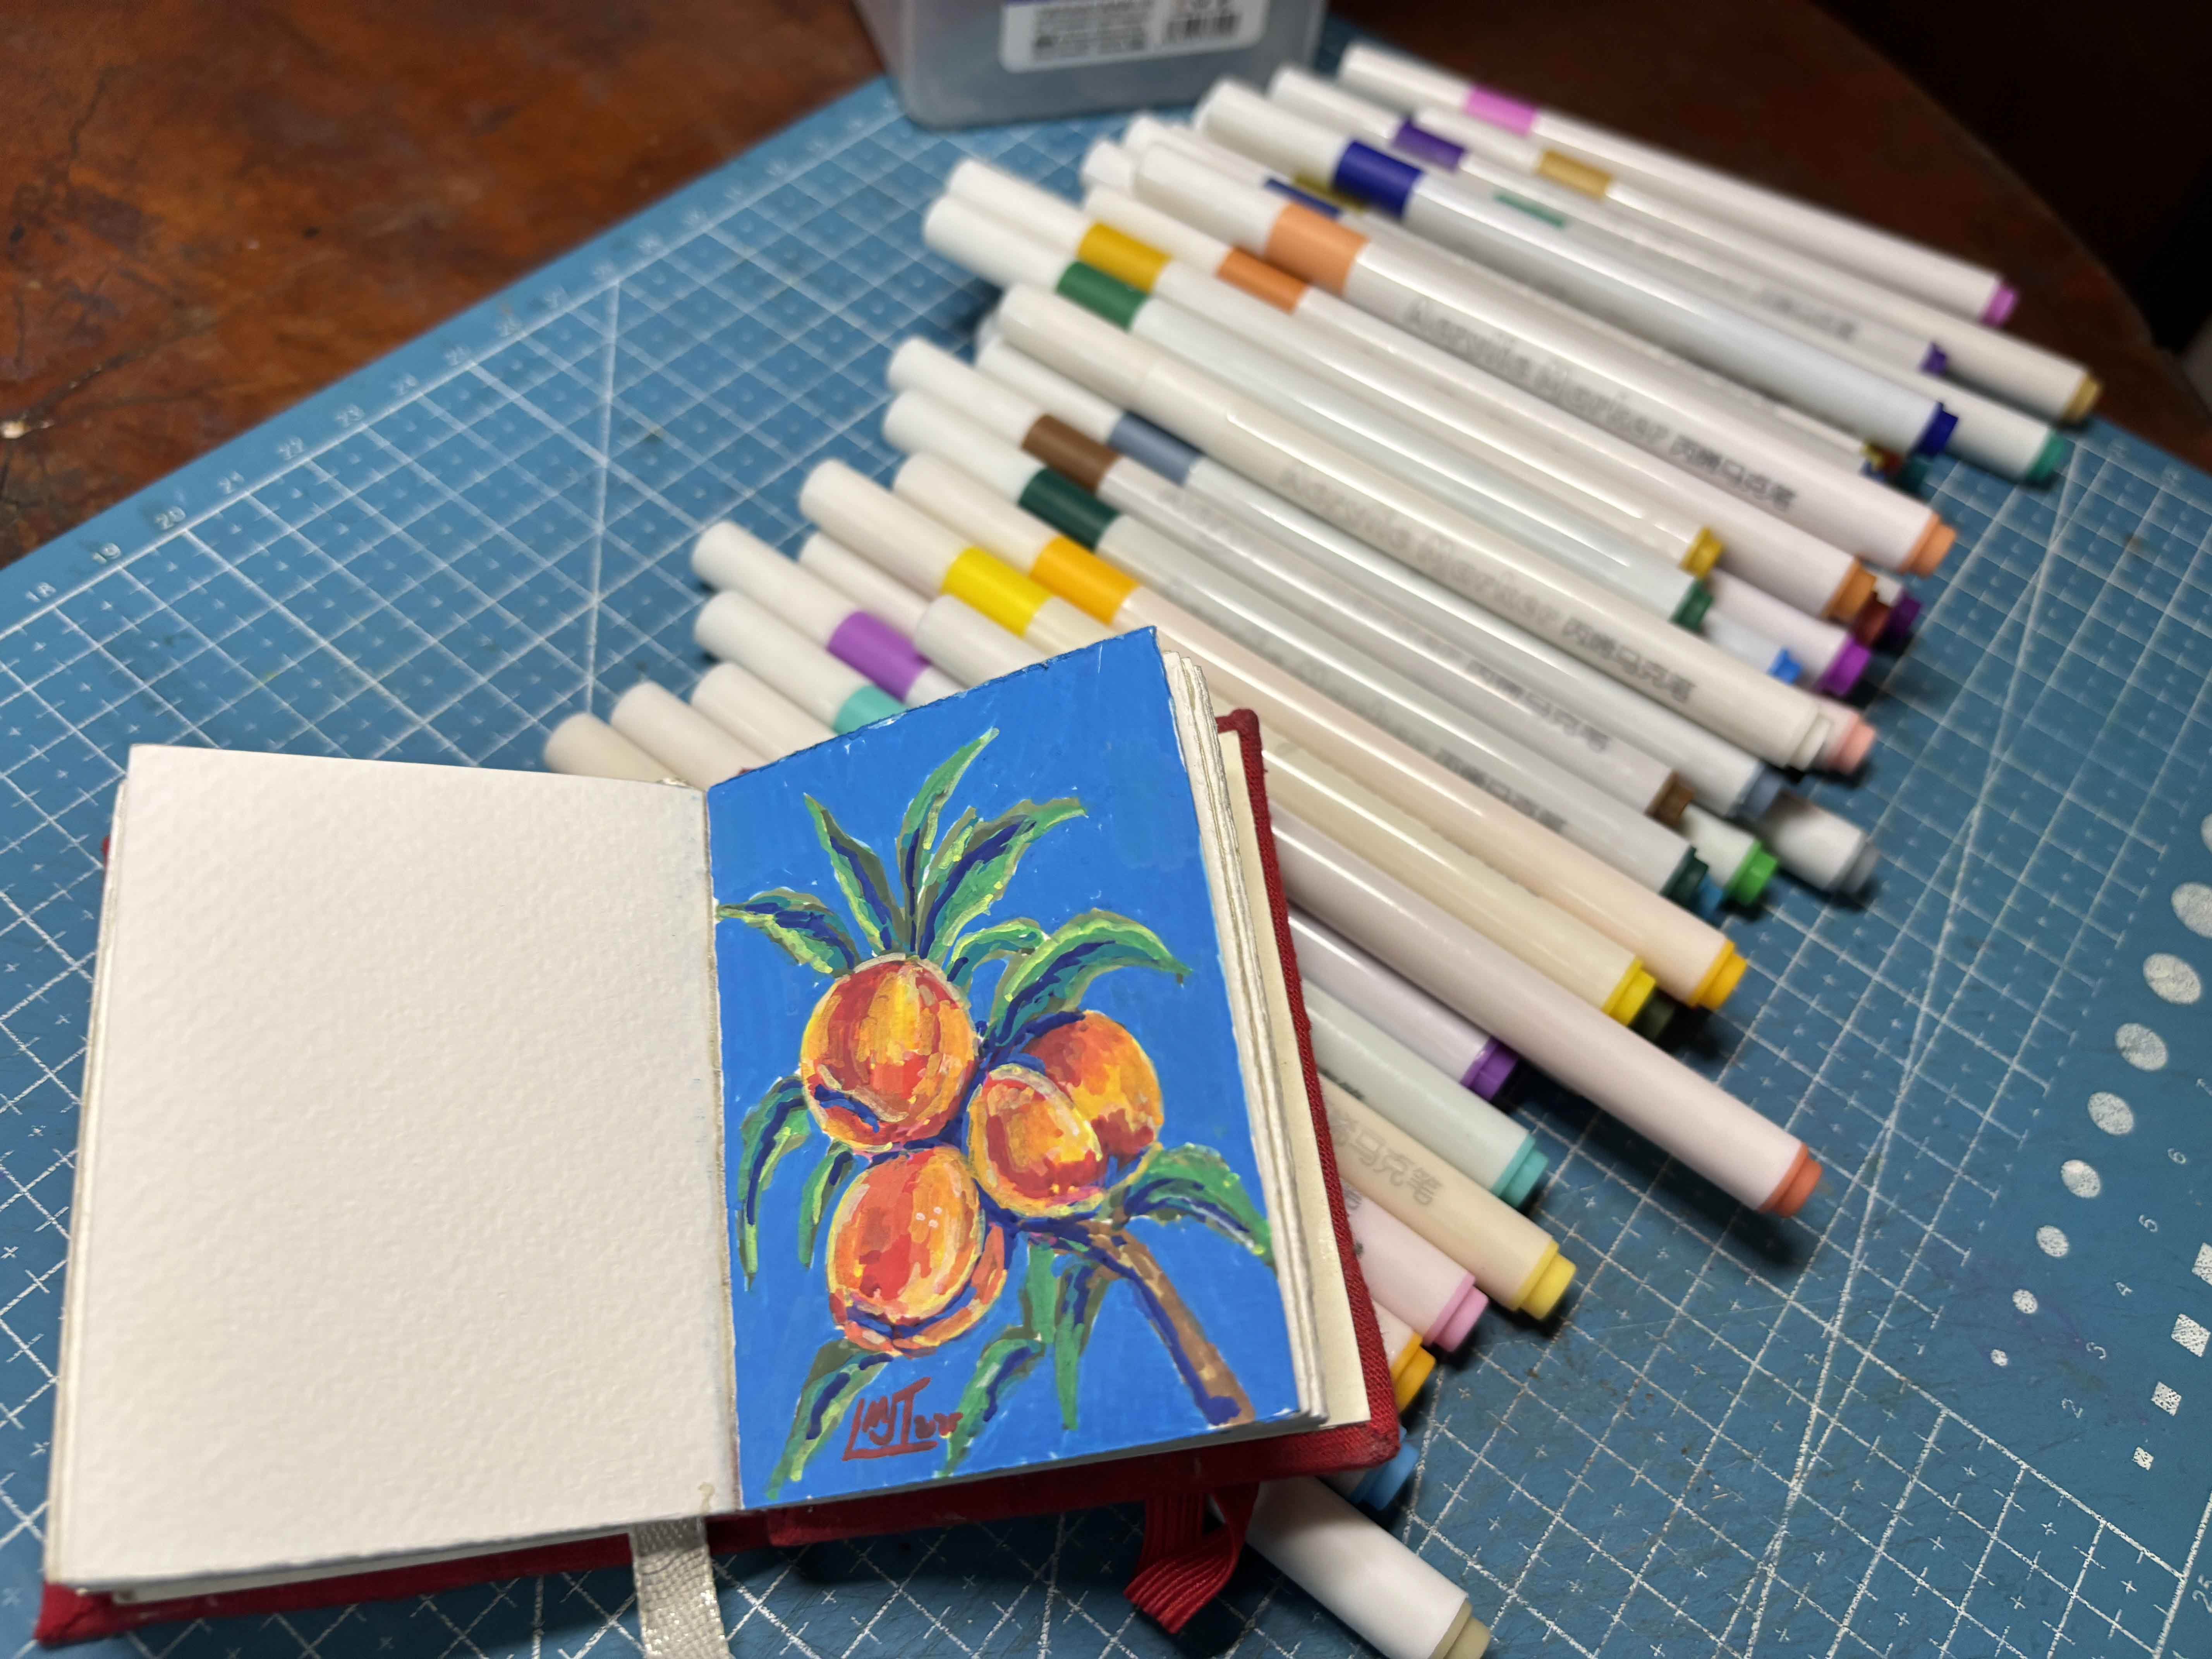
Close-up shot, I like the texture of the drawing, and the filling of the background makes it look better. I didn't add details to it because it is making me stress, LOL.
----
----
Thank you for visiting, see you on my next blog. :D
Please take care of your mental health as well.
I hope you are okay today :))
---