Hello, how are you? Every ber months, before our fiesta, vendors and rides tend to appear earlier than our municipality's fiesta. So one thing I love is the street food they sell. This one is the most classic one they sell.
Do you know hotcake? I thought in my whole life hot cake color is yellow, and I was wrong, the classic color of it is like pale brownish. Yellow hot cakes are one of my childhood go-to foods when going to a fiesta, and I always save up my money to buy one of them.
One of my grandmothers always comes with me, we walk, of course, because it's just 10 10-minute walk when I'm craving for one, and I always ask her LOL. I miss those times.
So I am thinking what clay keychain I am going to make, and I decided to make Hotcake from Fiesta.
-----
 -----
-----
---

Materials I Used:
- White Polymer Clay
- Portable Weighing Scale
- Soft Pastels
- X-Acto Knife
- Toothpick
- Alcohol
- Qtip
- Makeup Brush
- Eyepin
- Gum Container
- Oven
- Silicone Mat
- Uv Resin
- Face Shield/Facemask
- Disposable Gloves
- Uv Lamp
- Pliers
- Keychain
Craft Time!
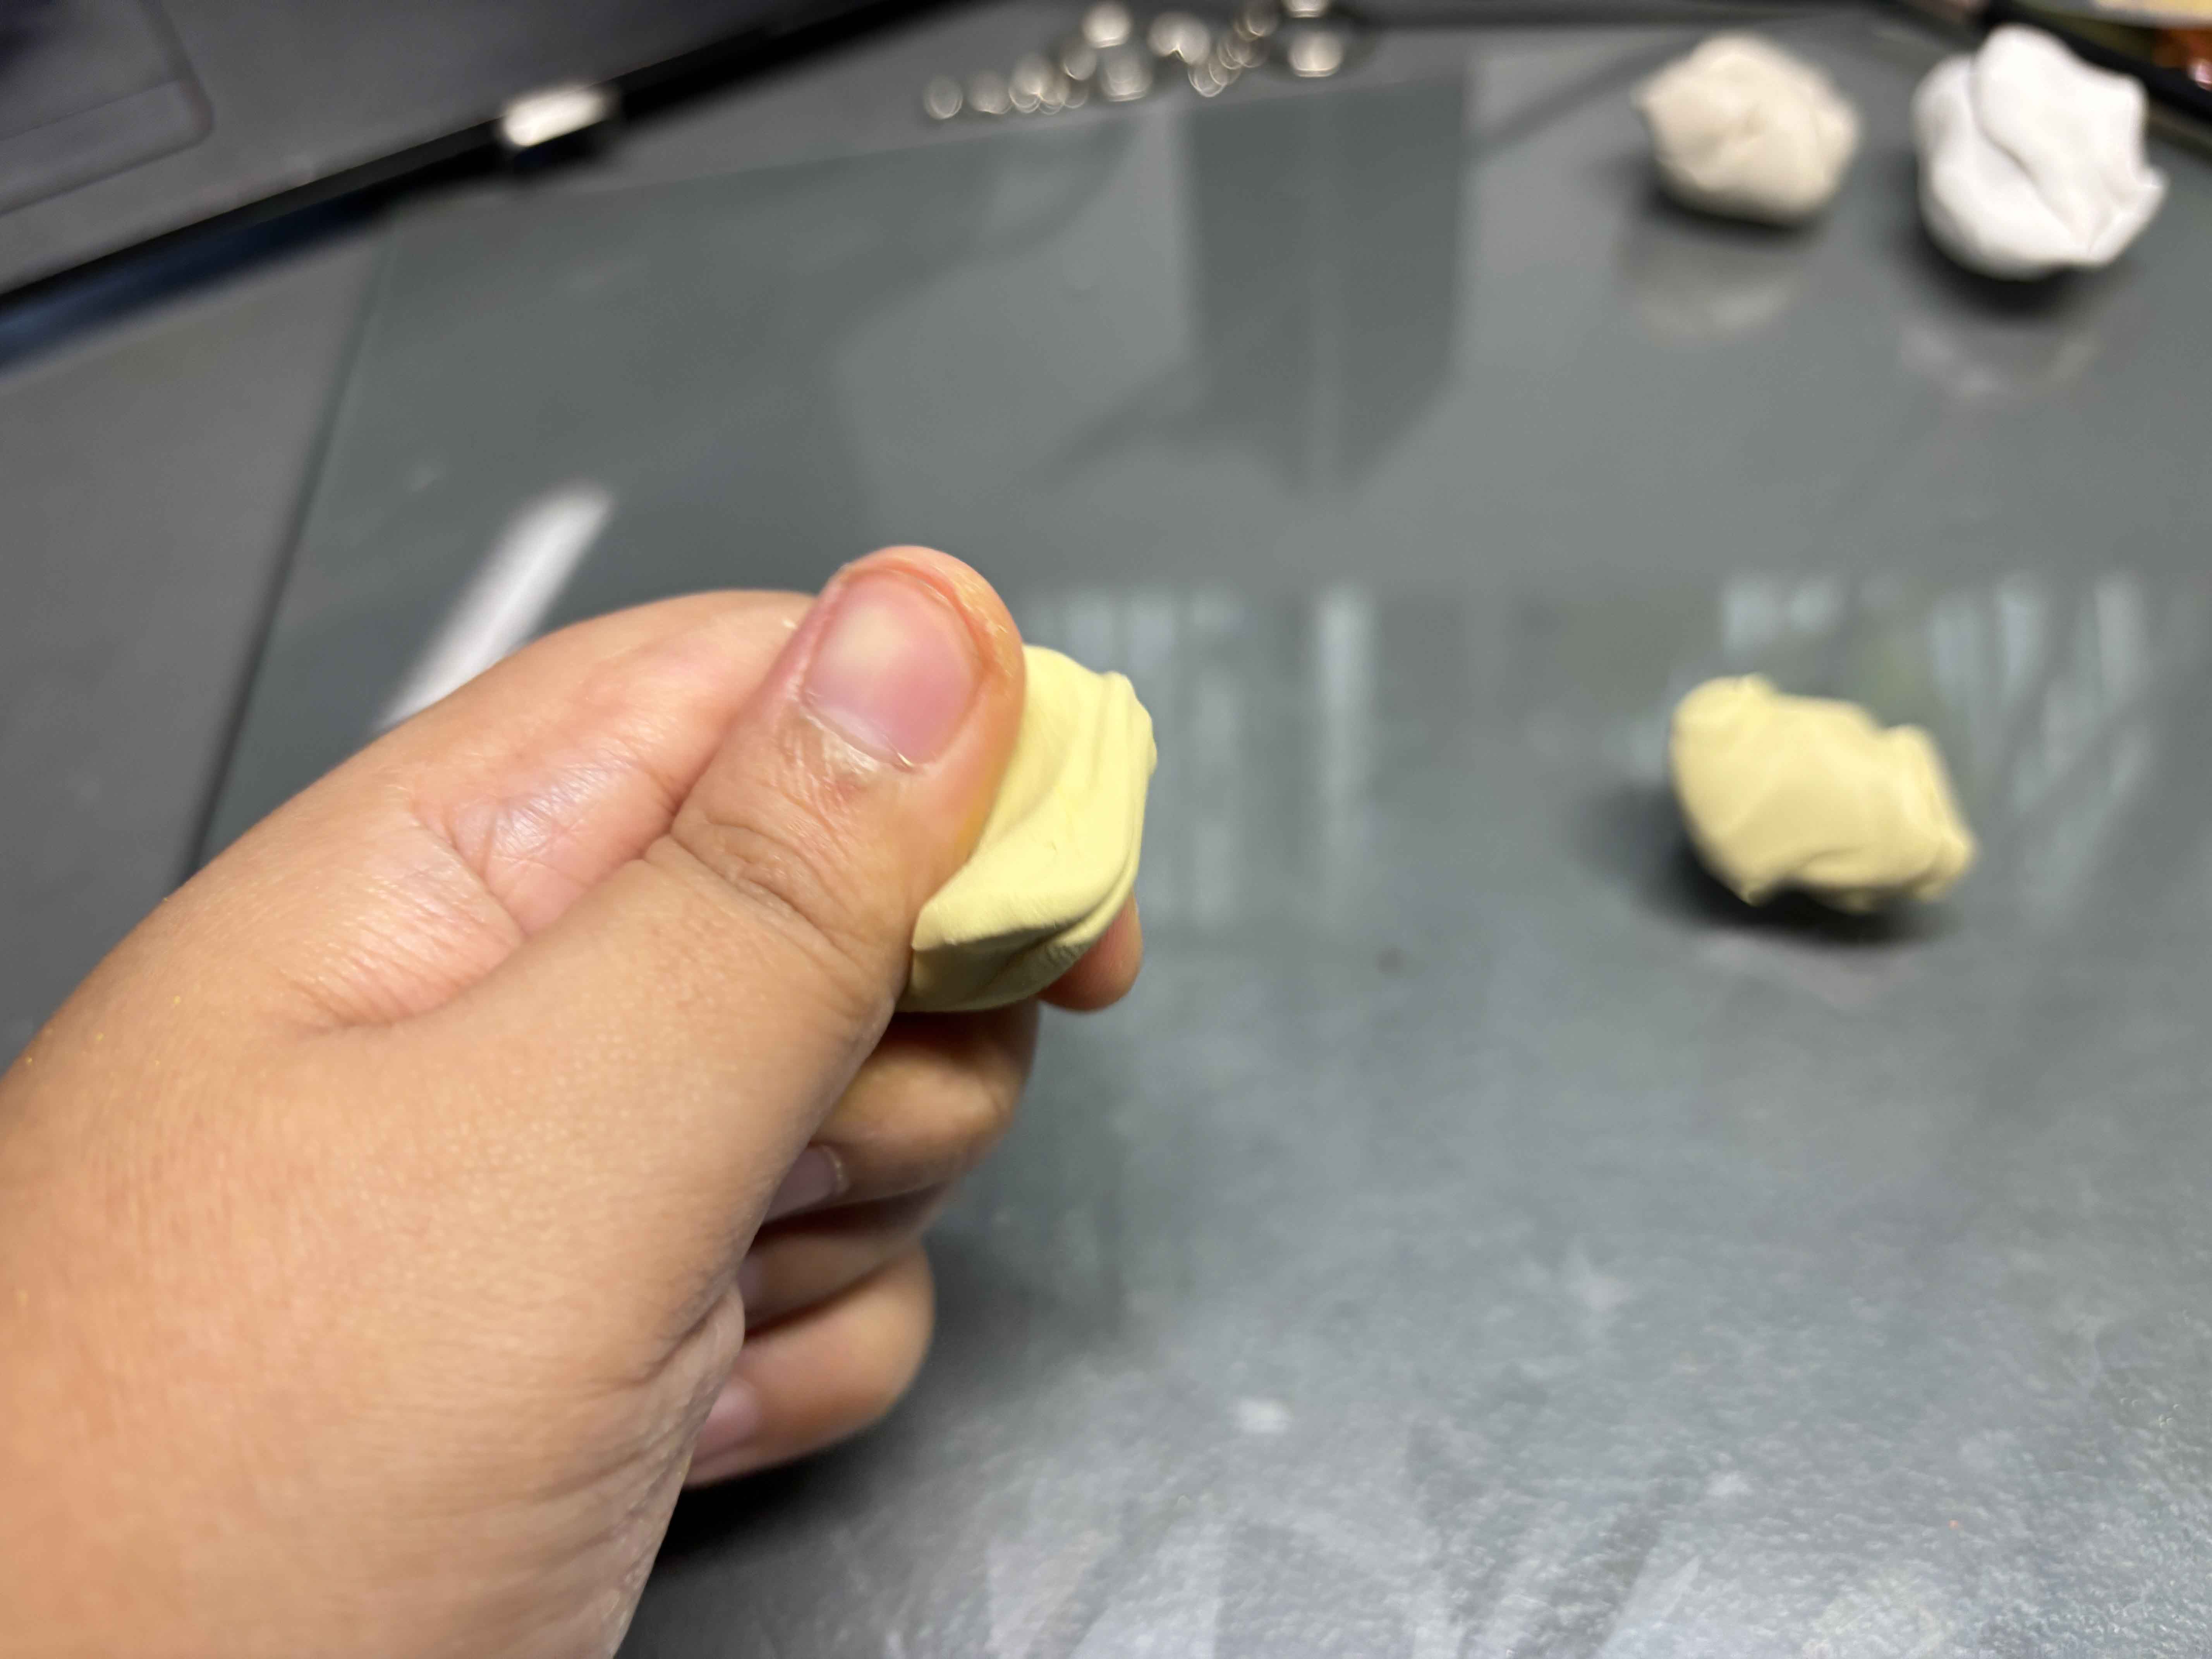
First, I am going to condition the polymer clay until soft. It is easier to condition when the weather is hot, so it is easier for me.
----
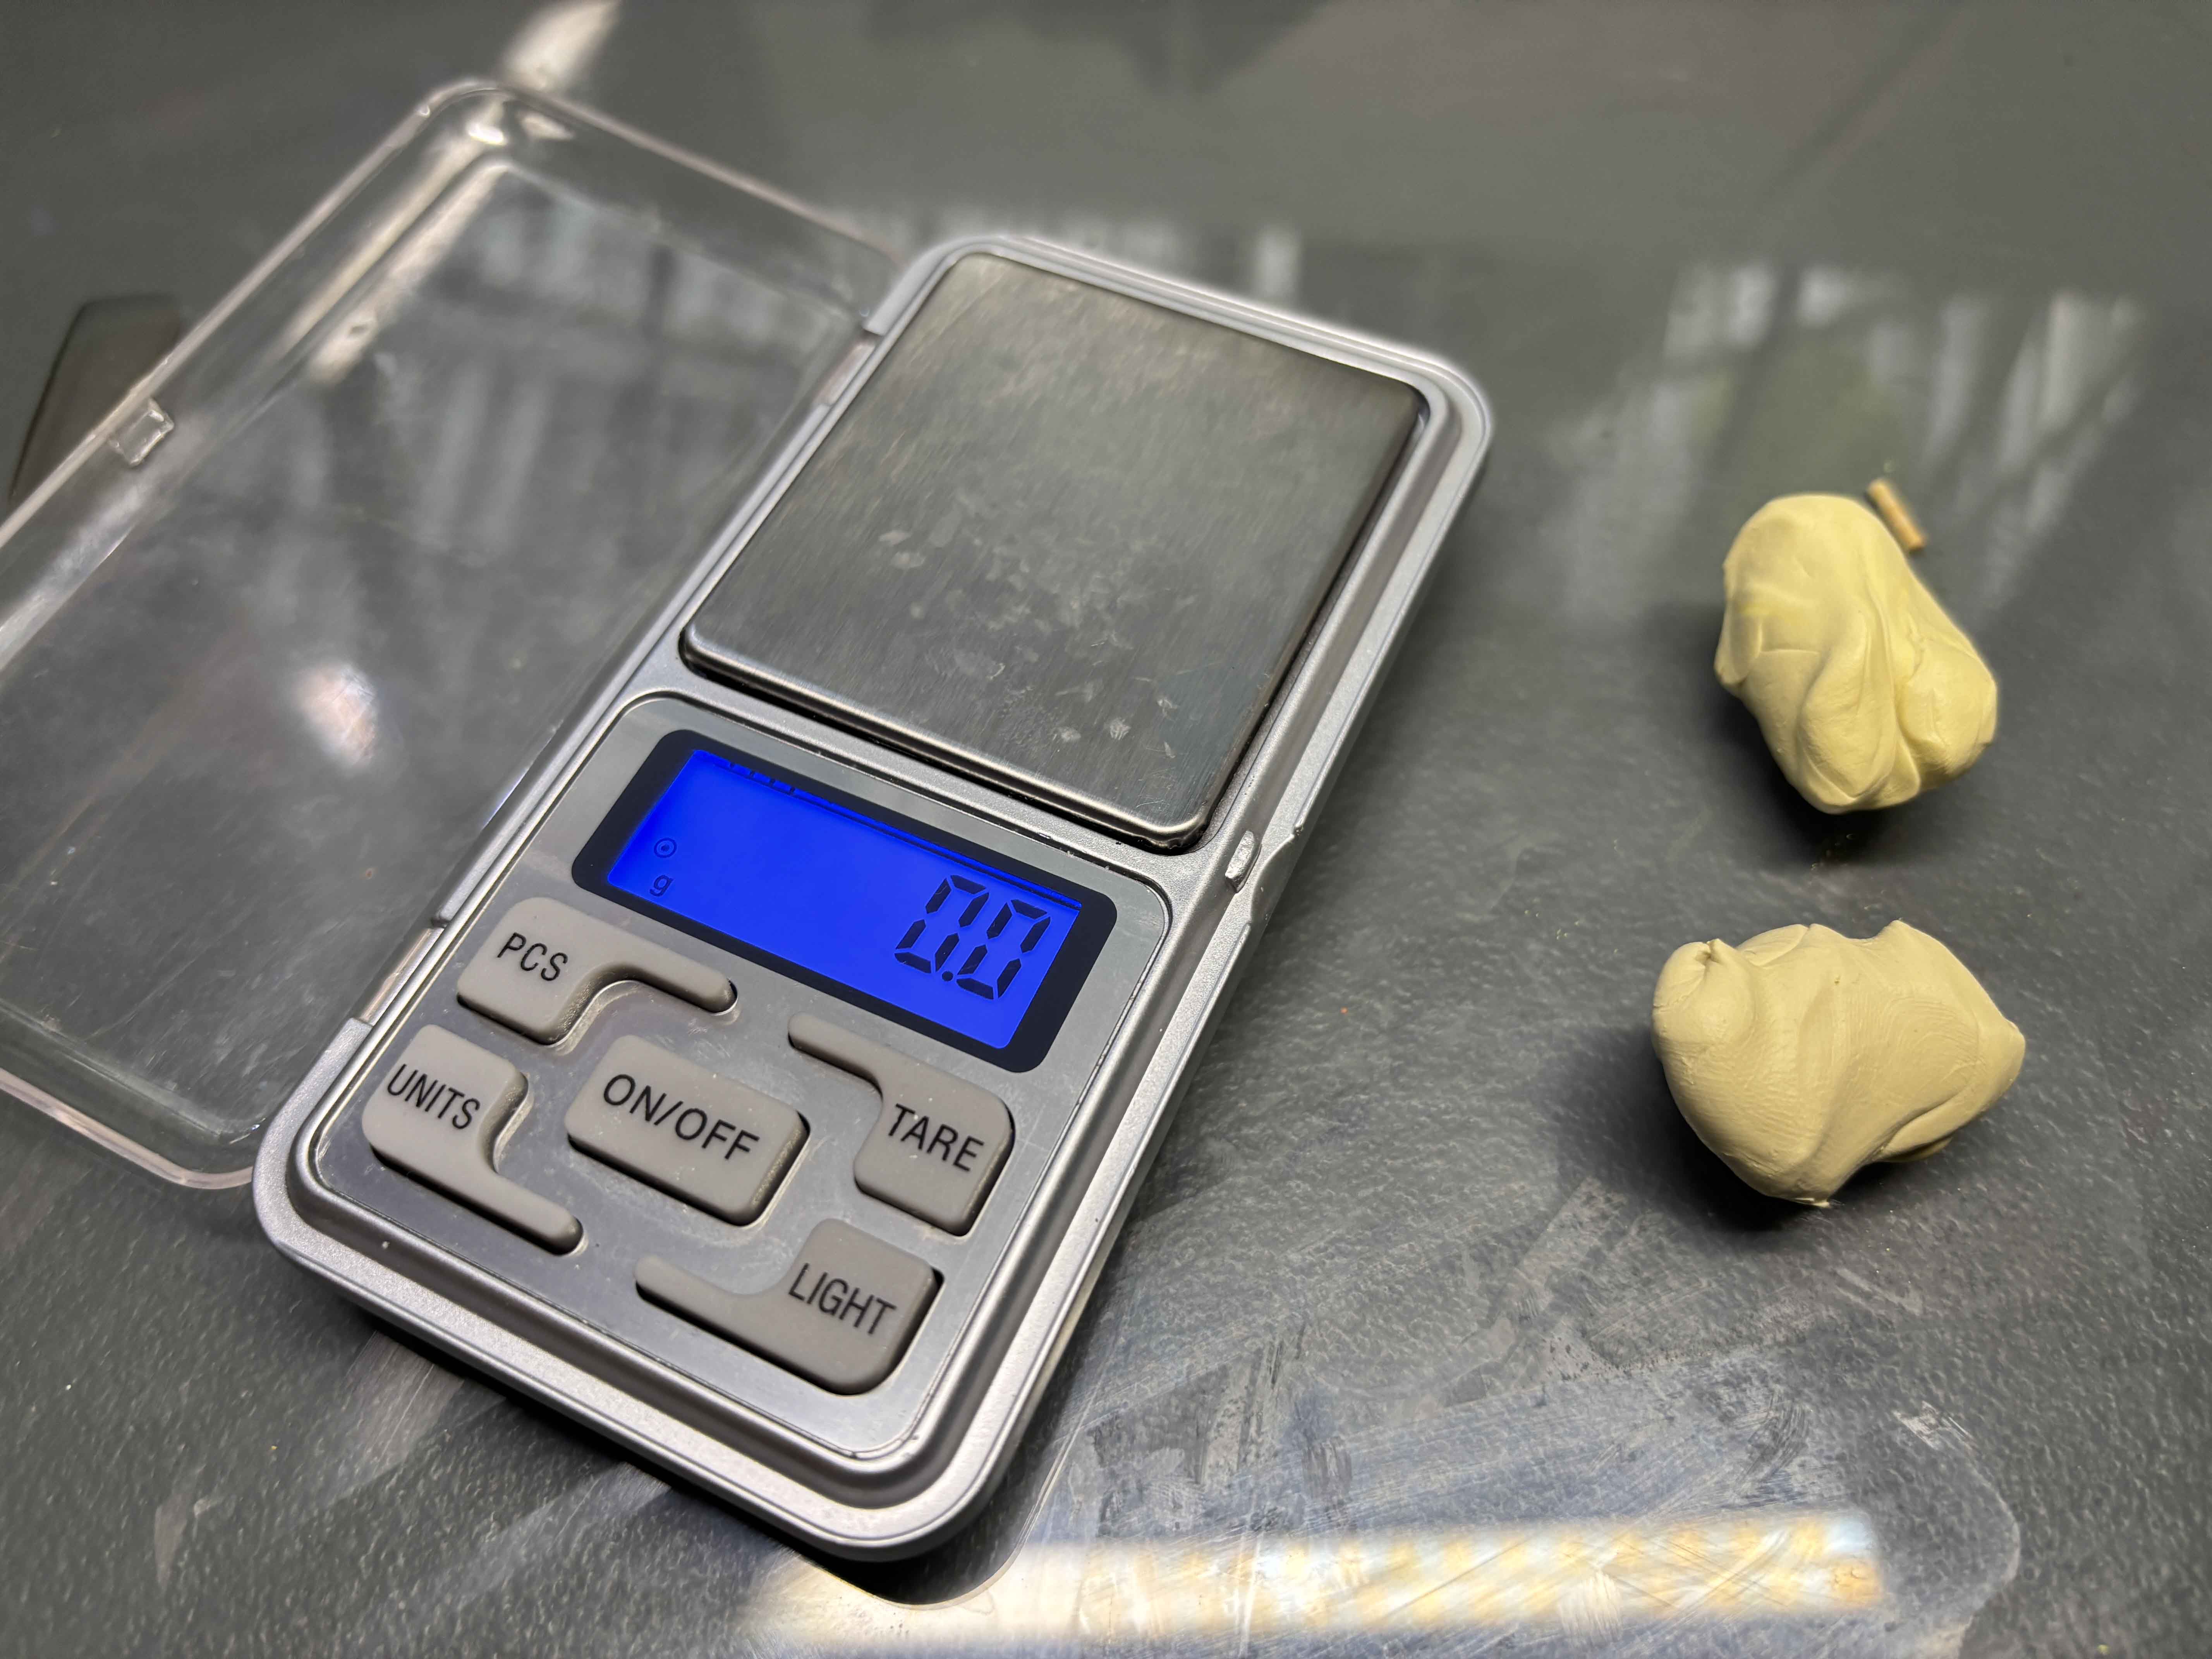
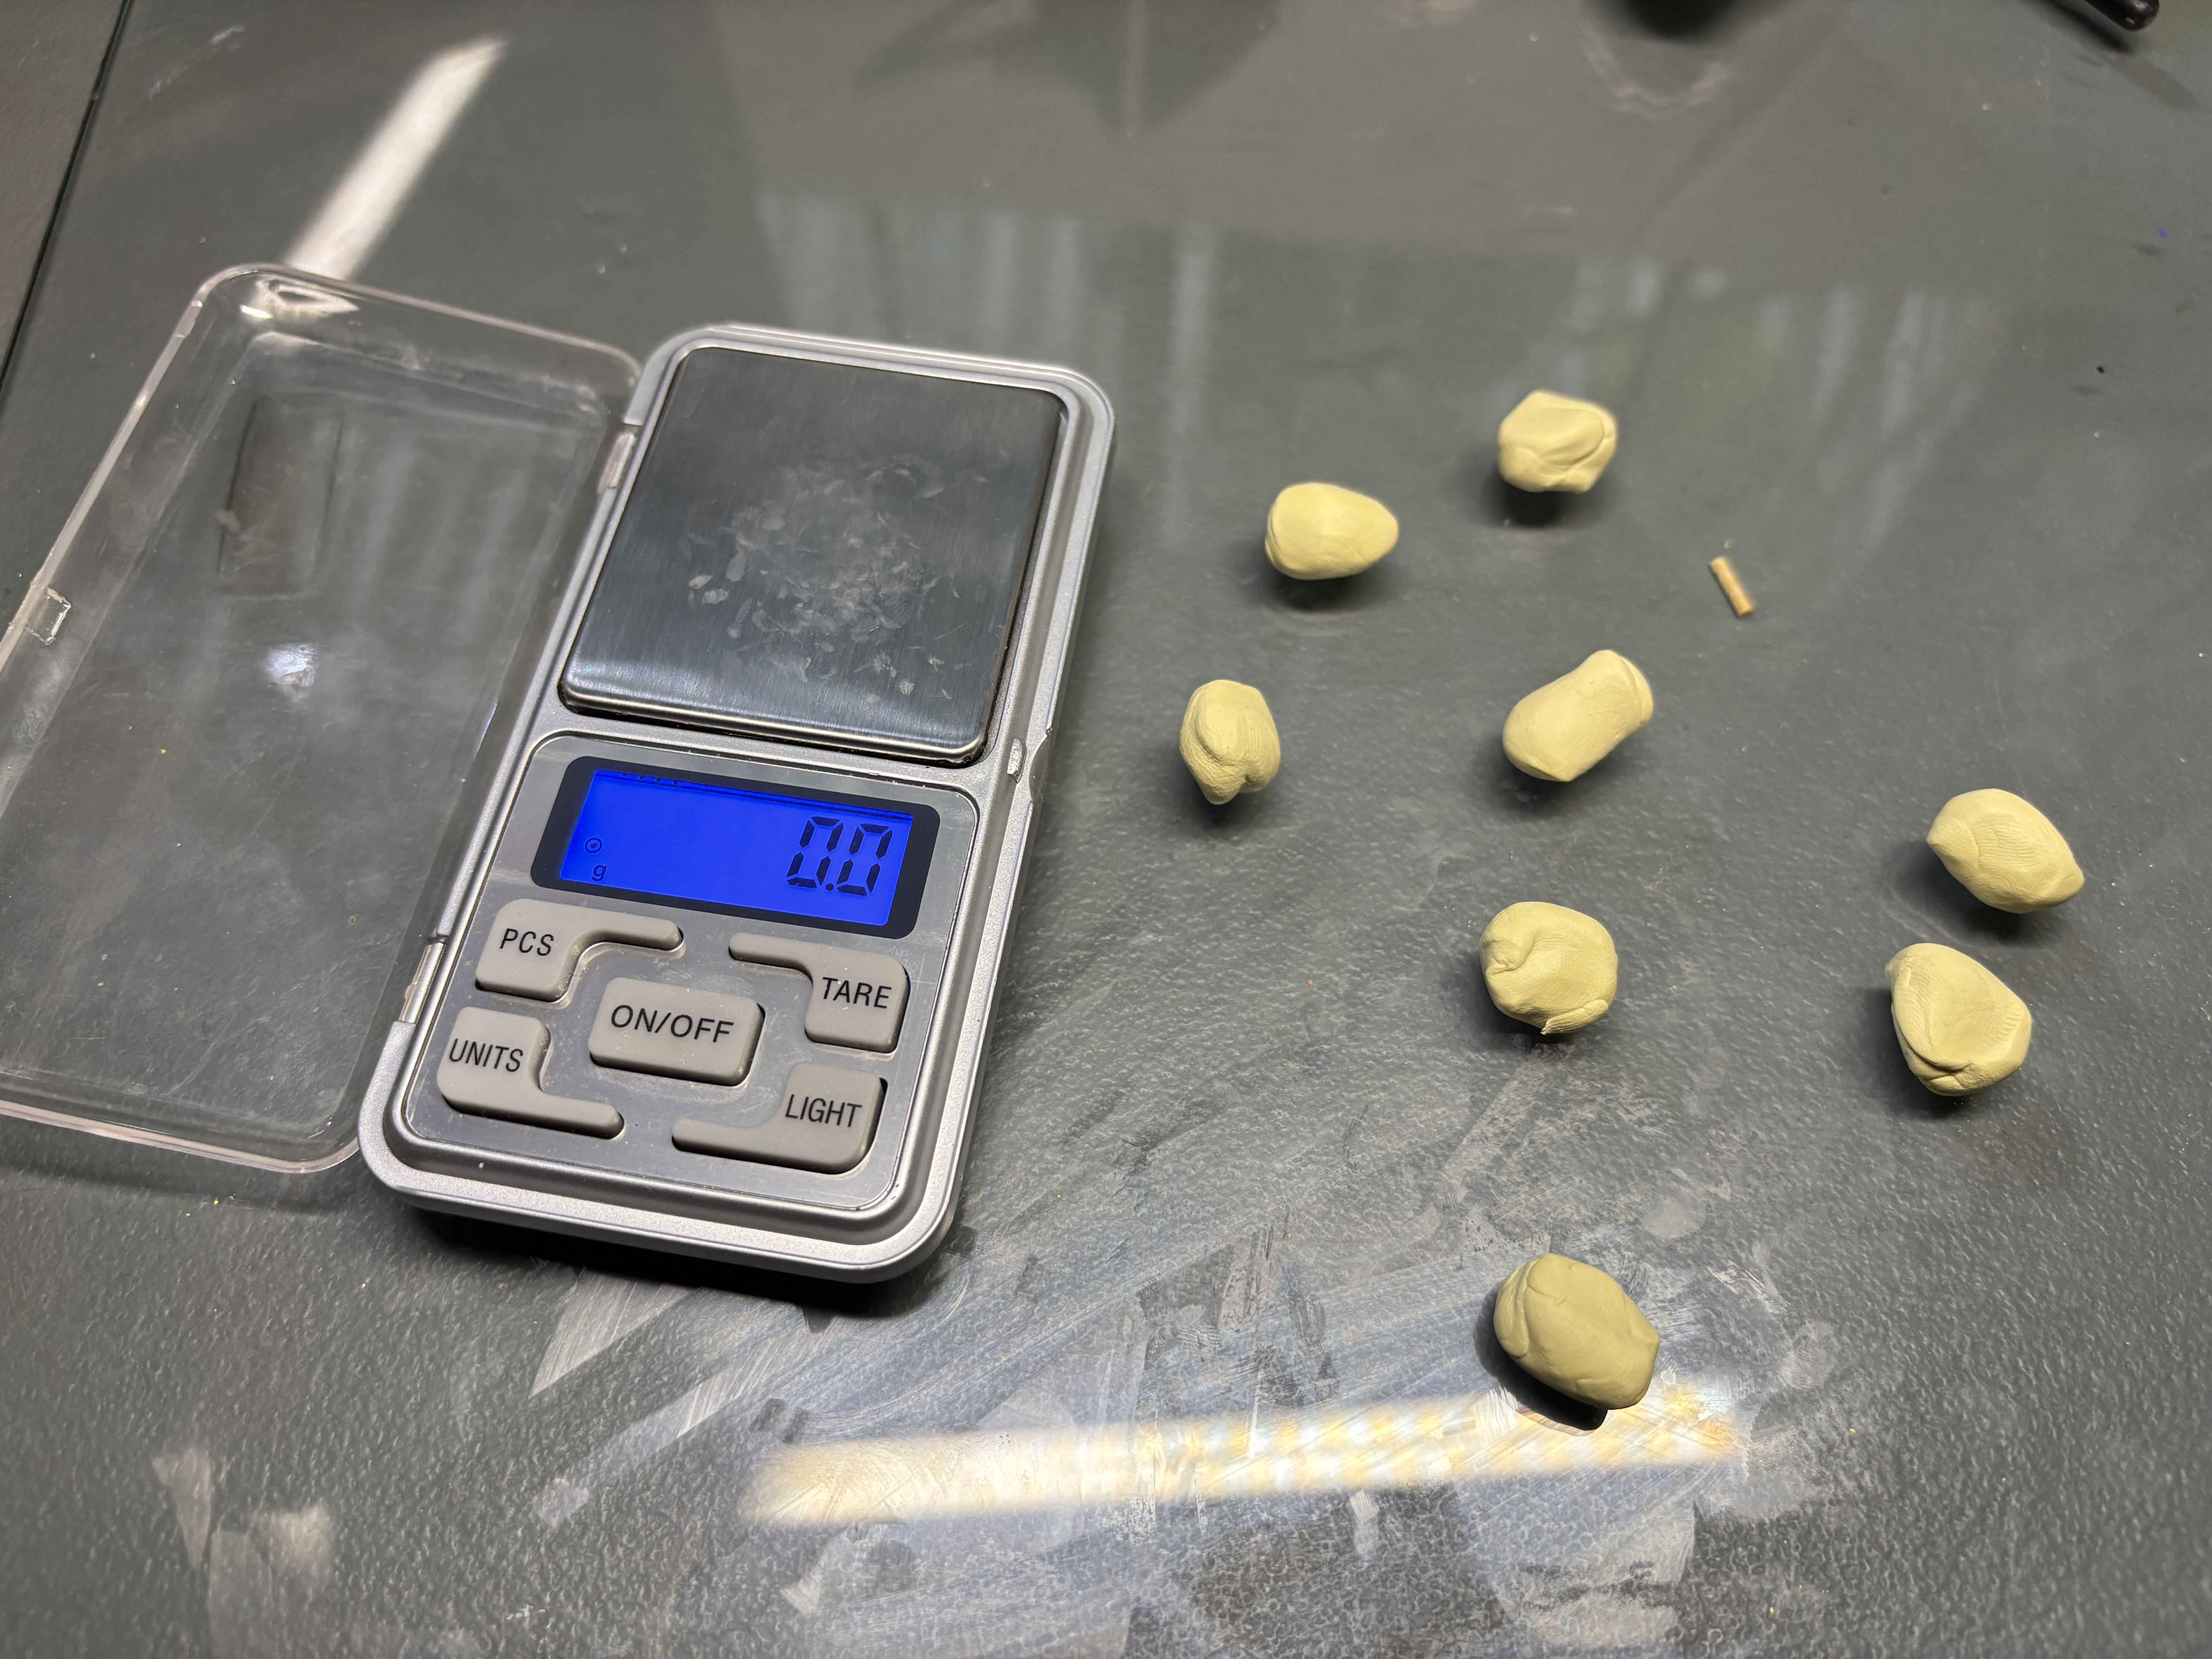
Then I like my clay equally in weight, so I weigh them using the Portable weighing scale. I decided to make 4 layers of hot cakes.
----
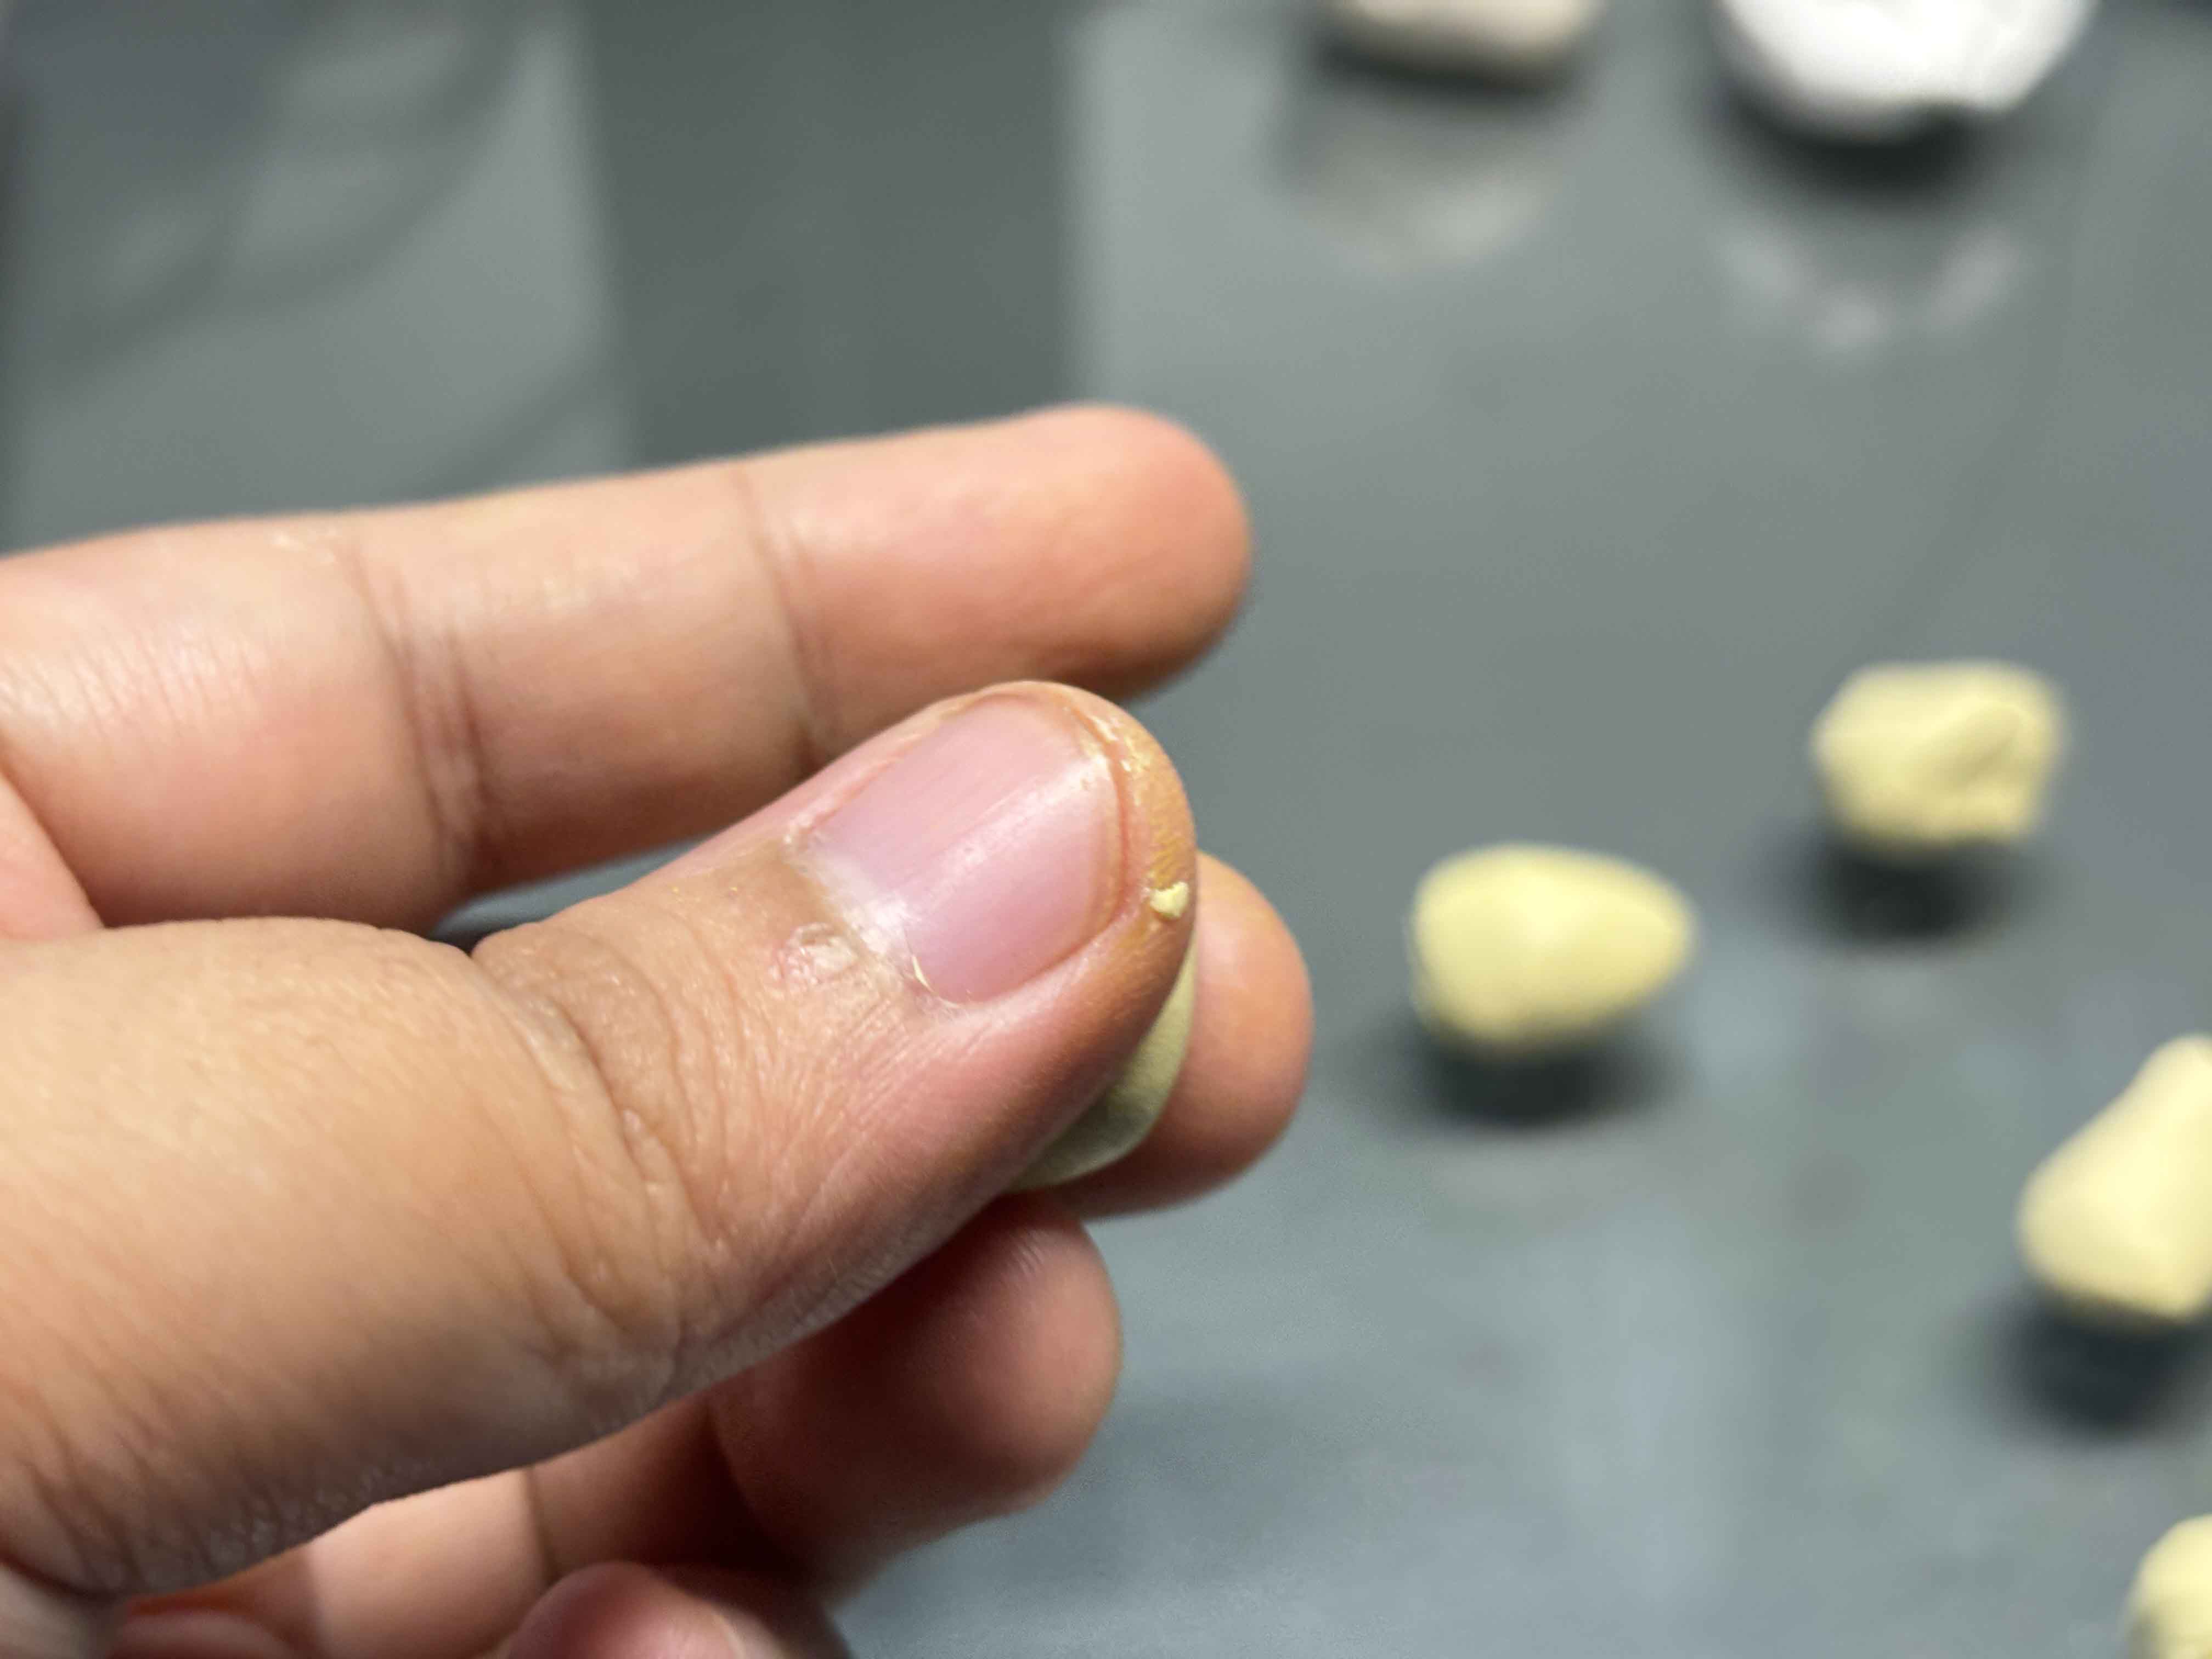
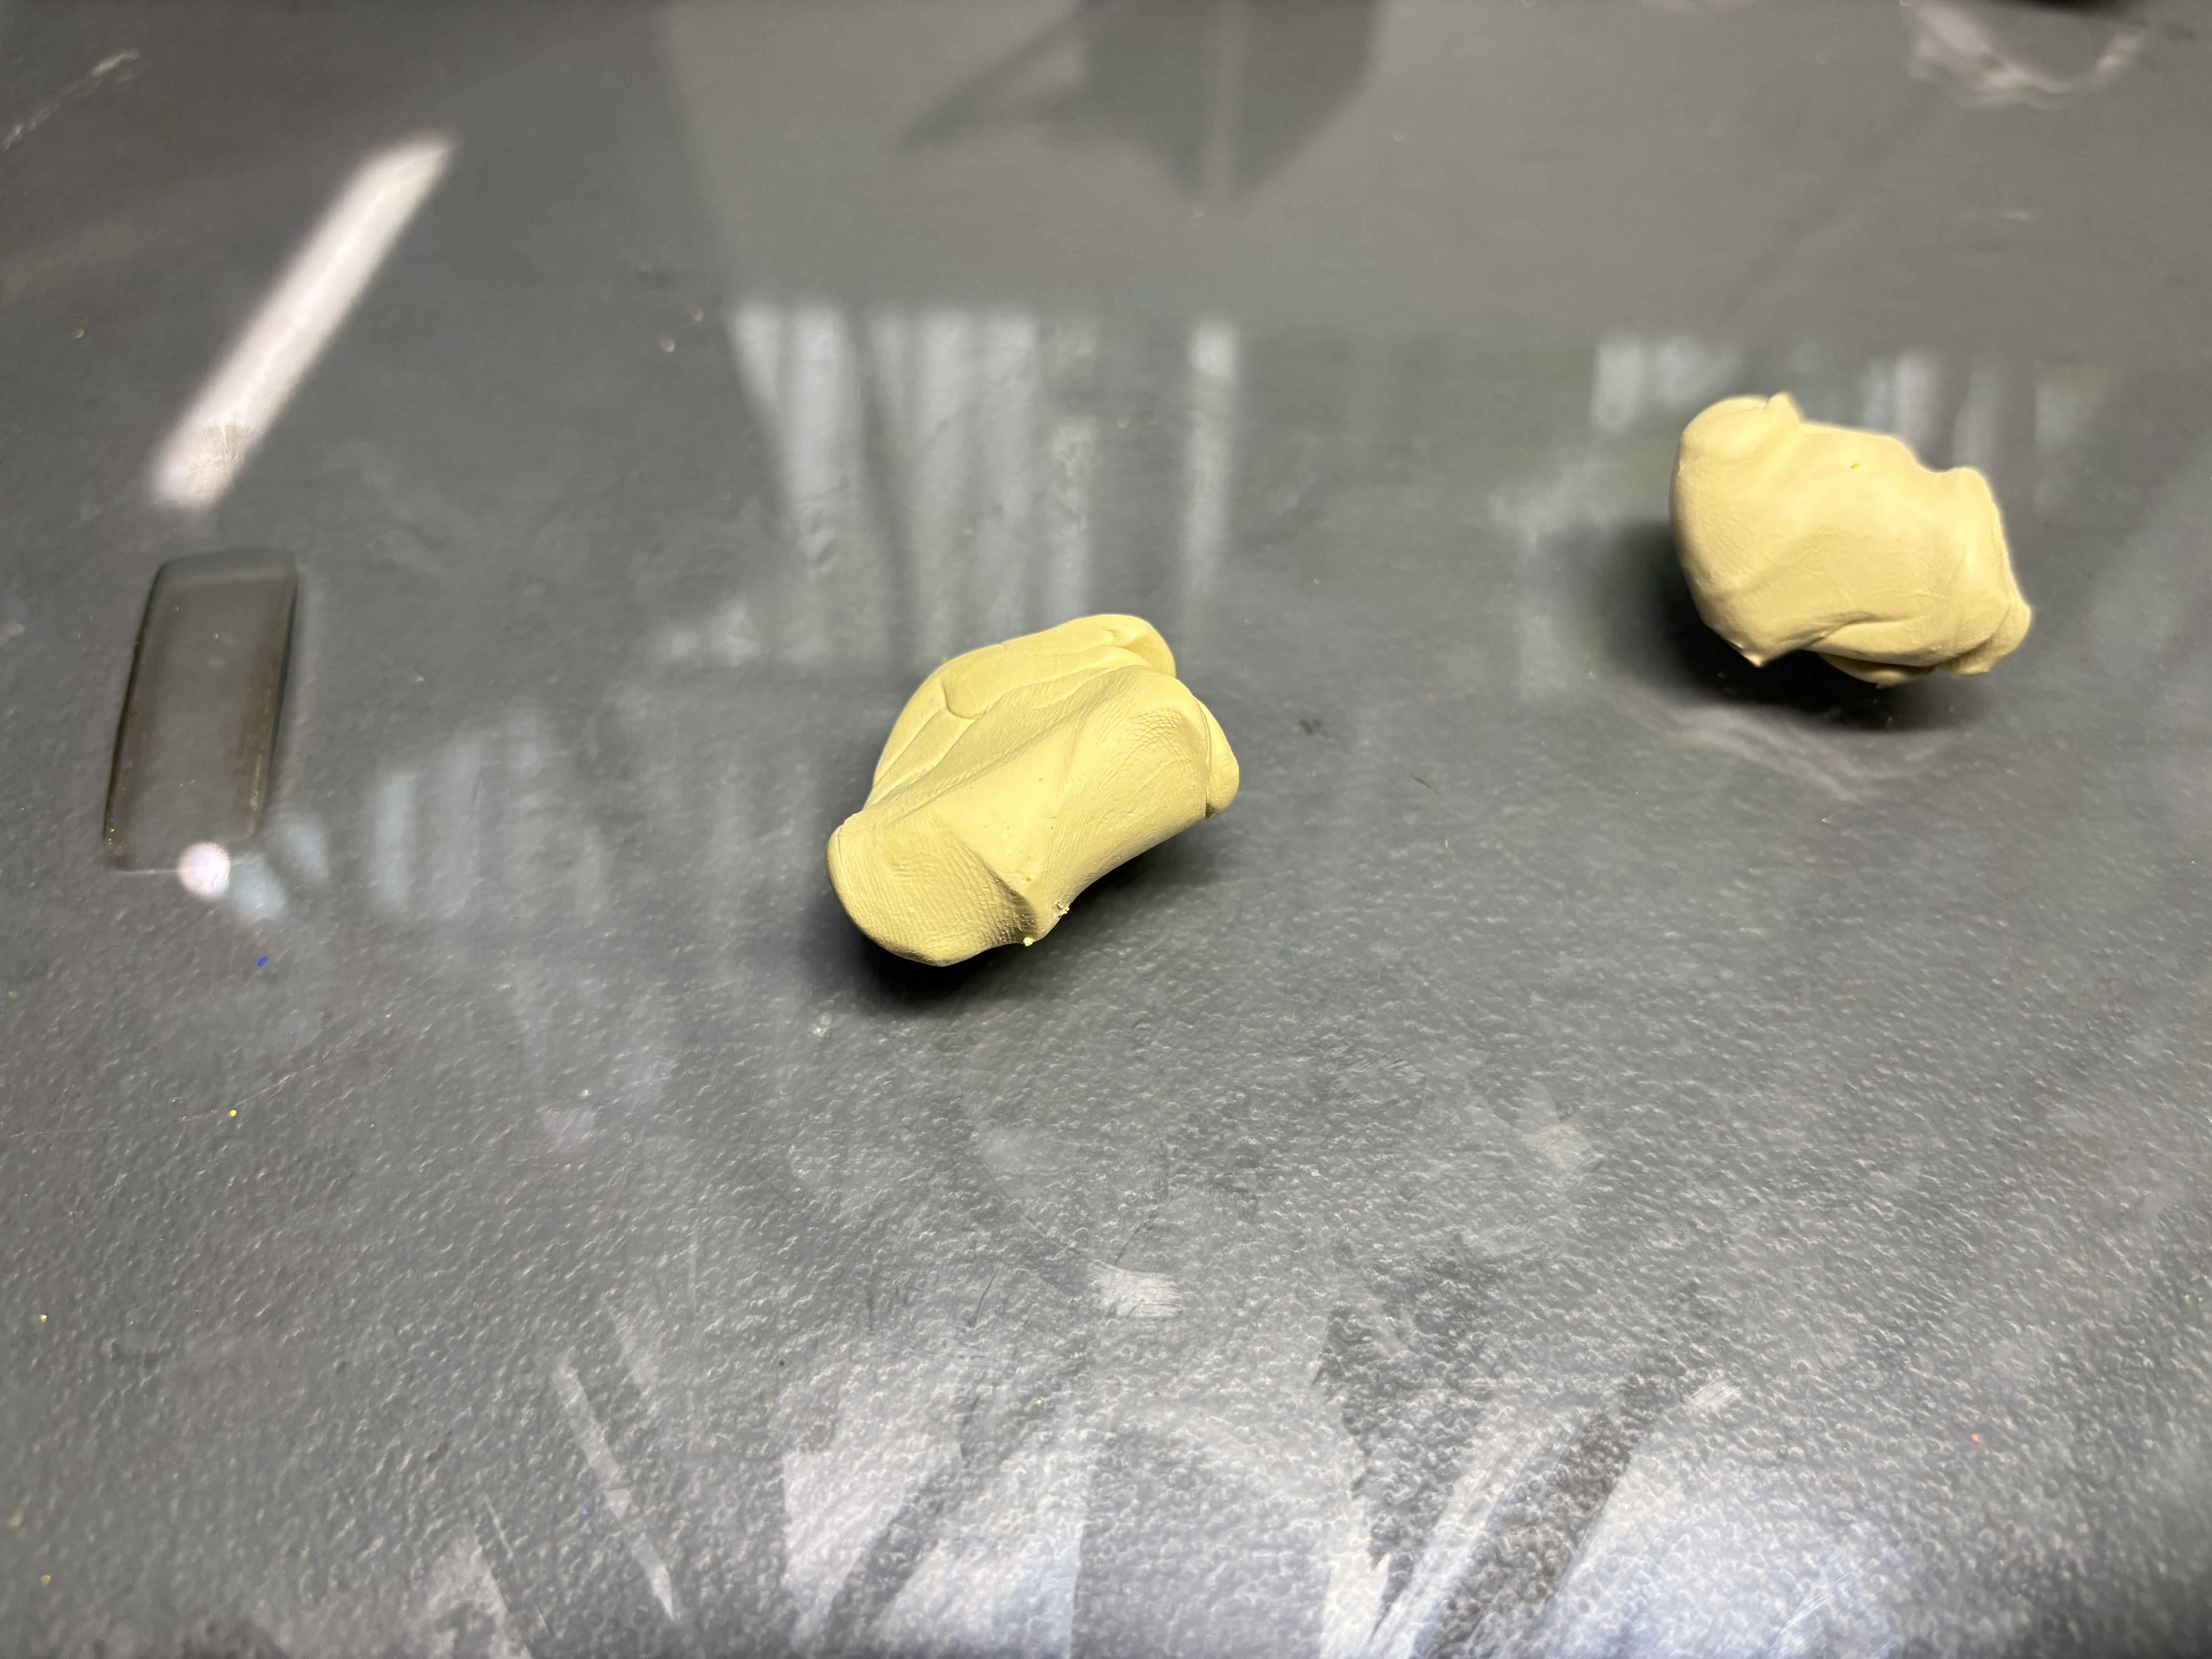
For the next process, I sculpt it like this shape.
----
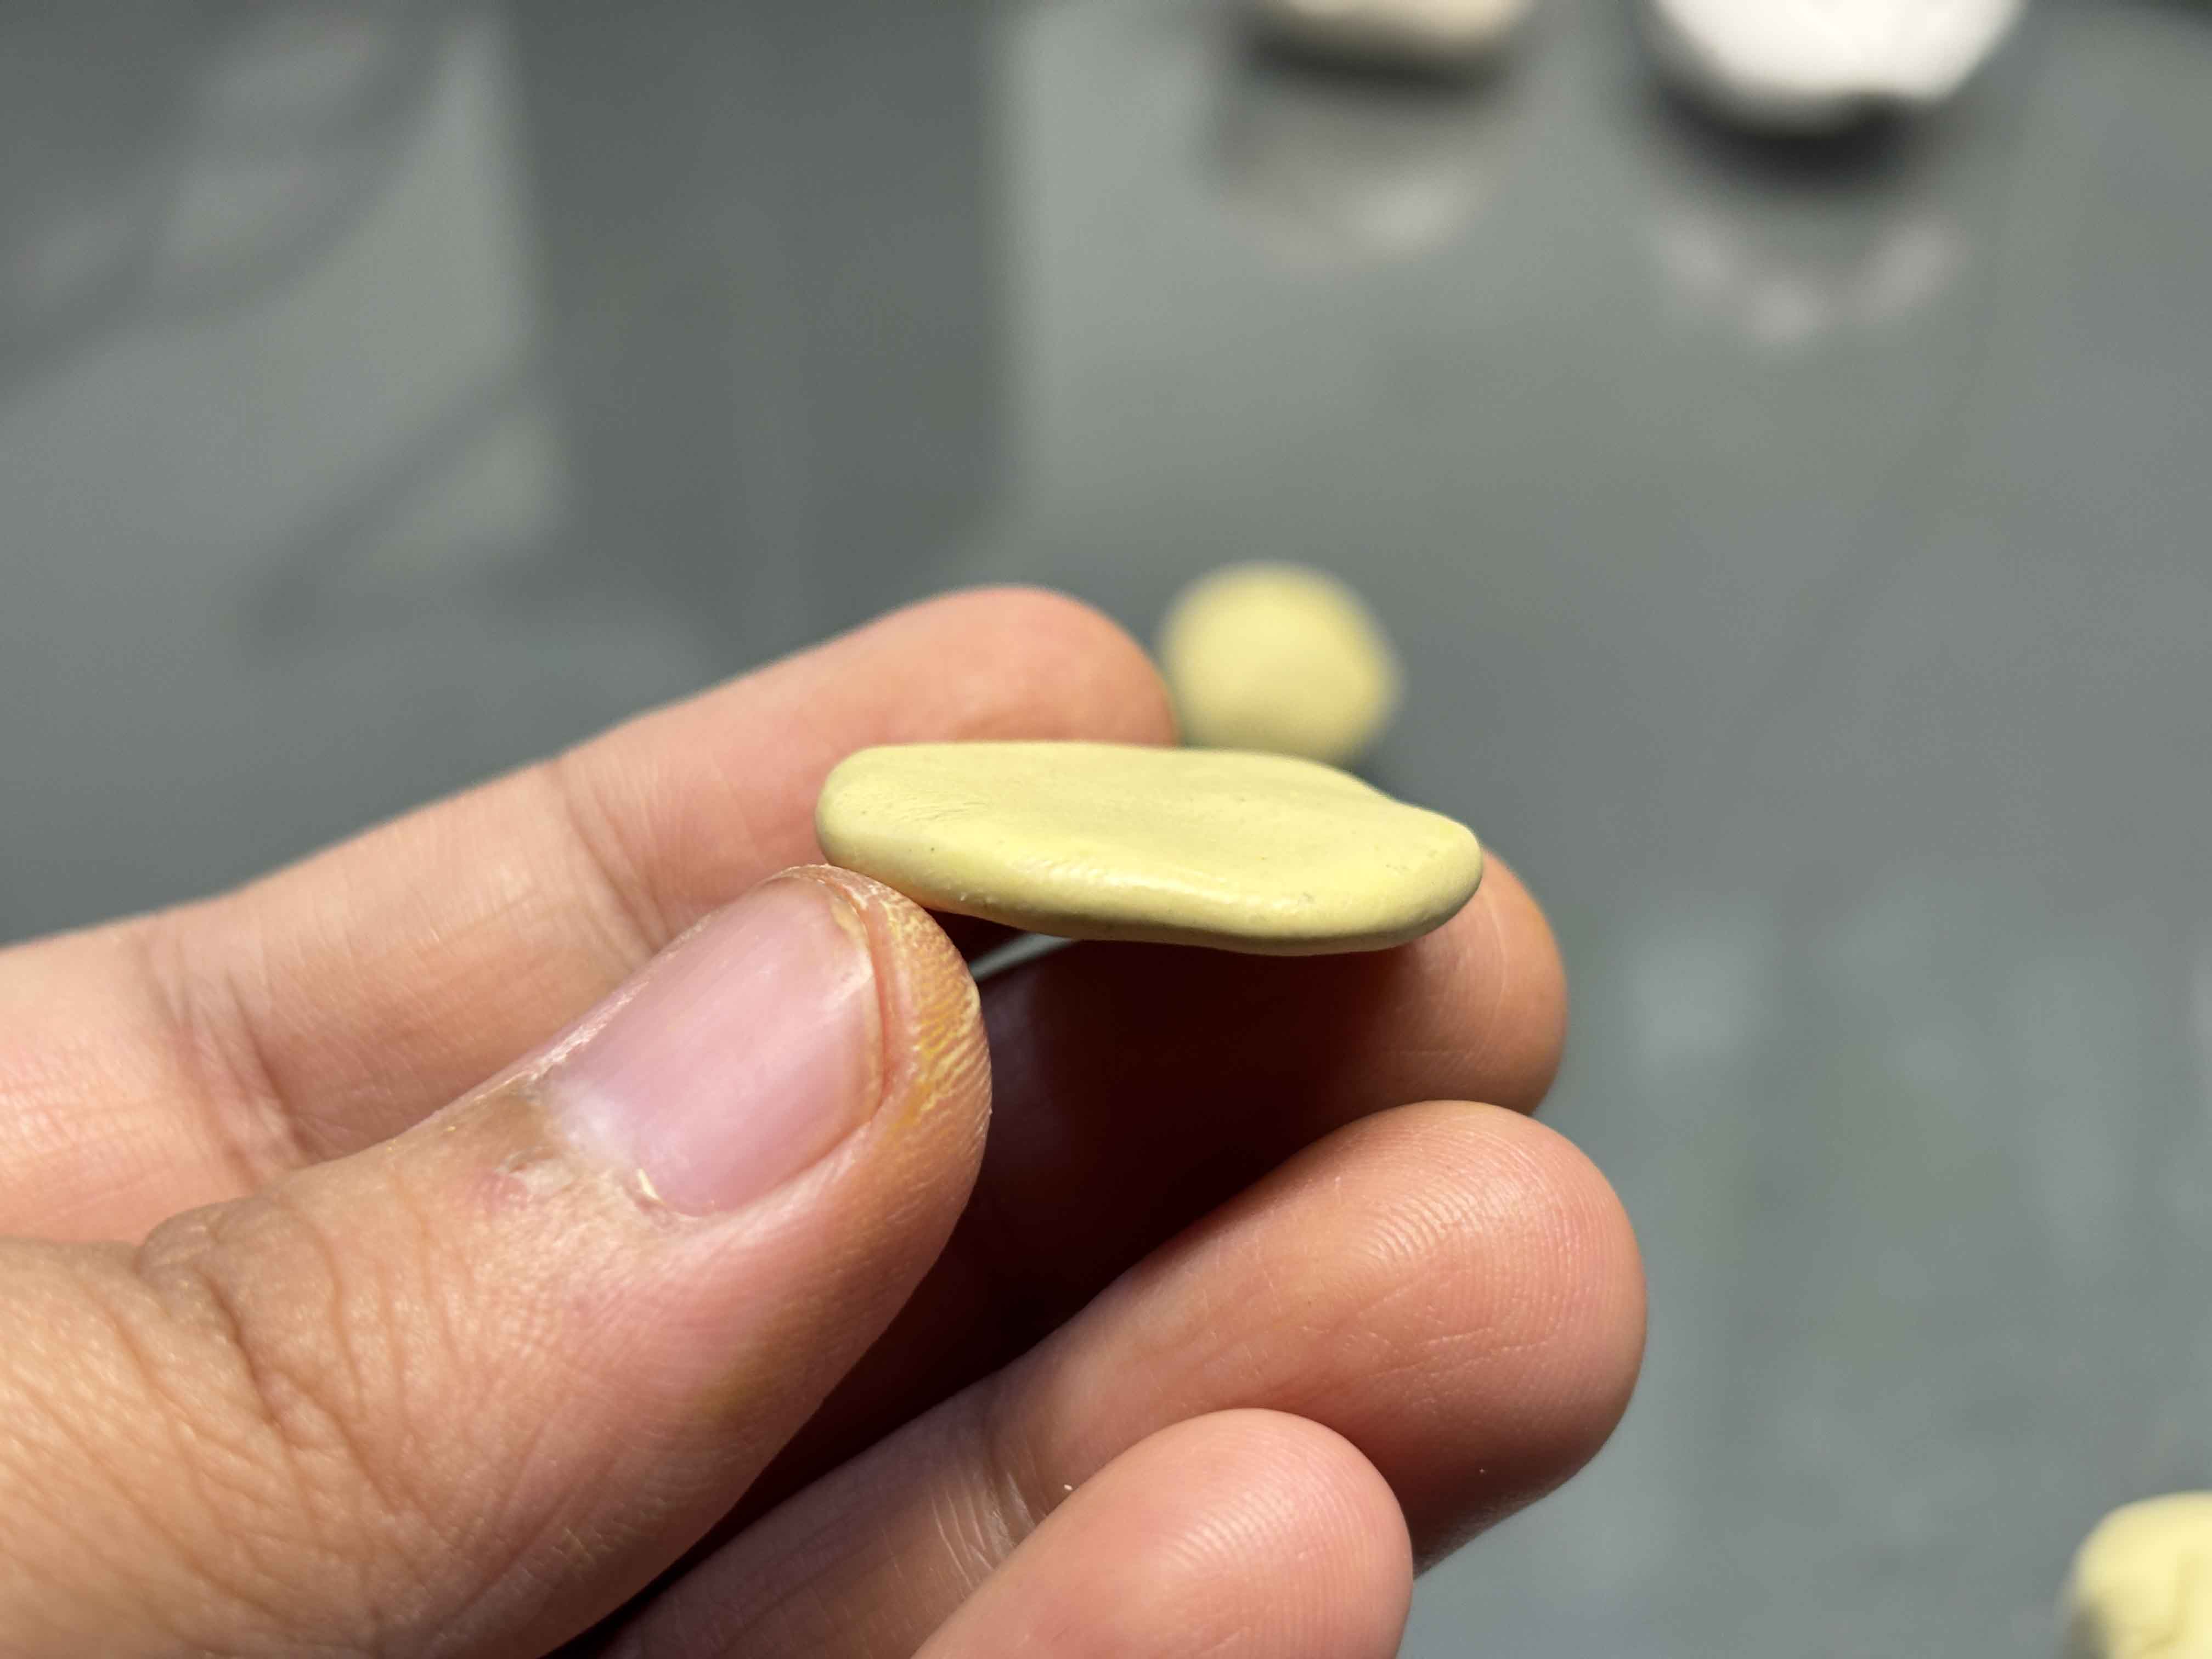
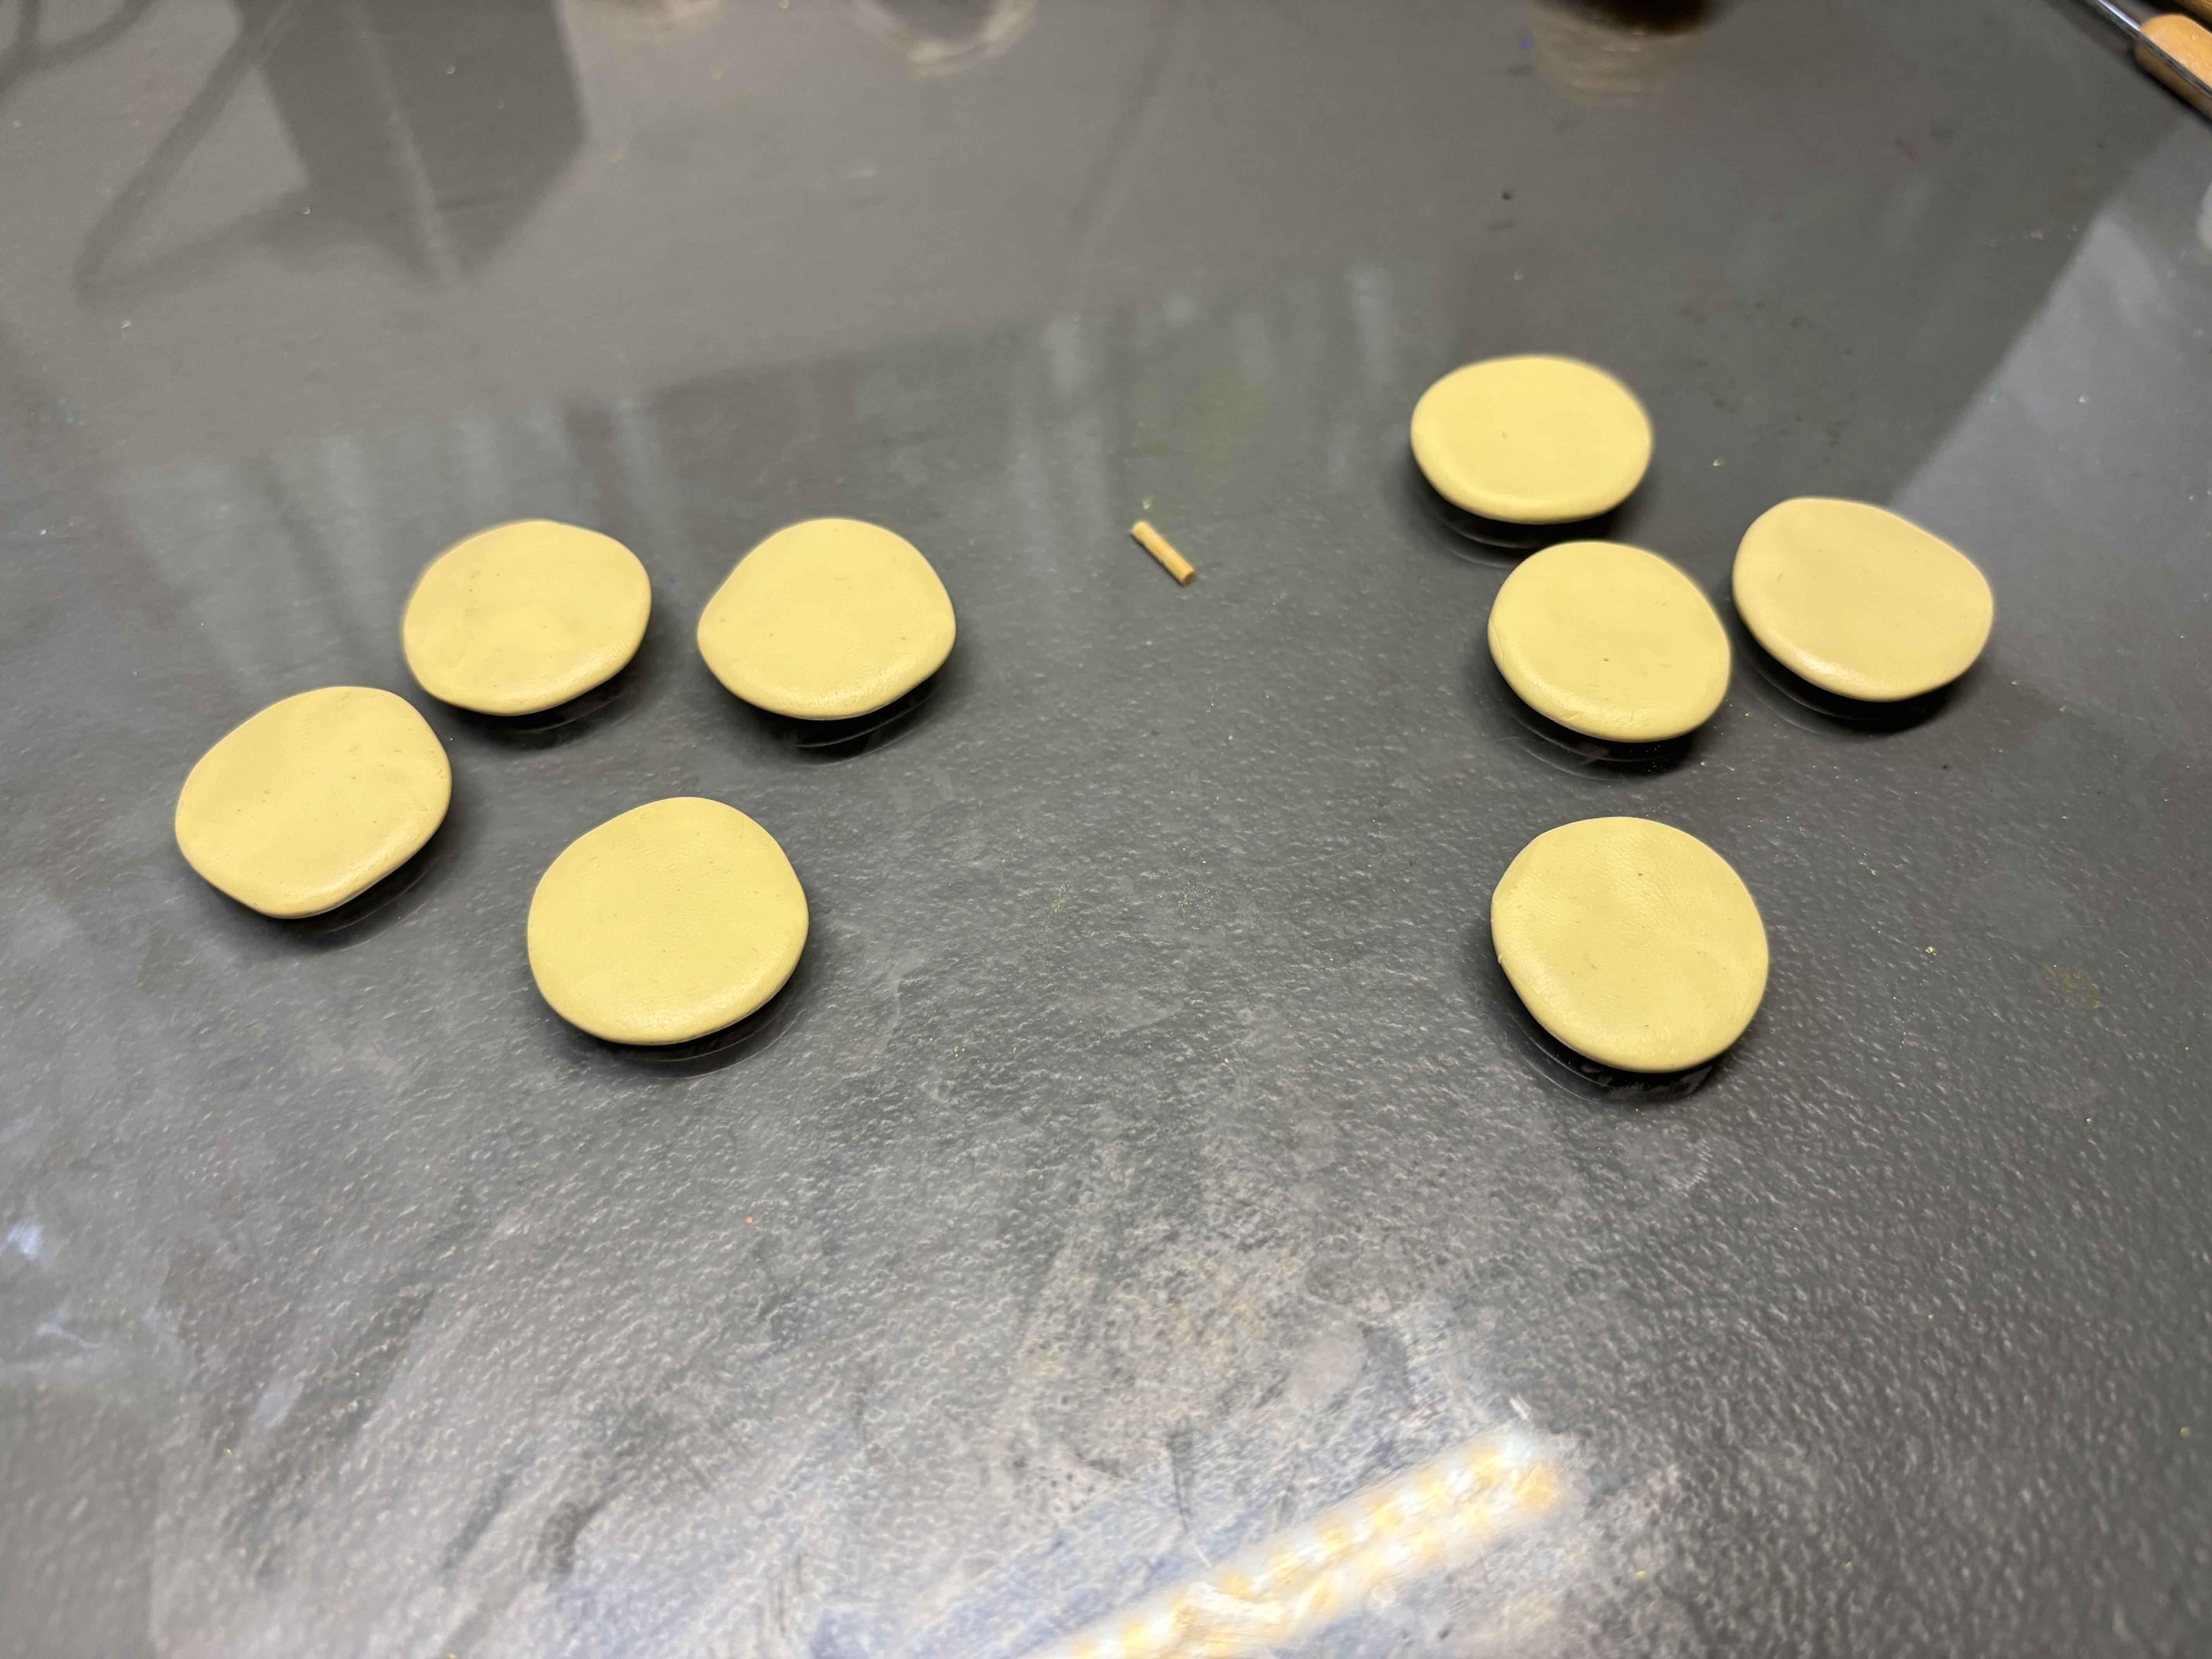
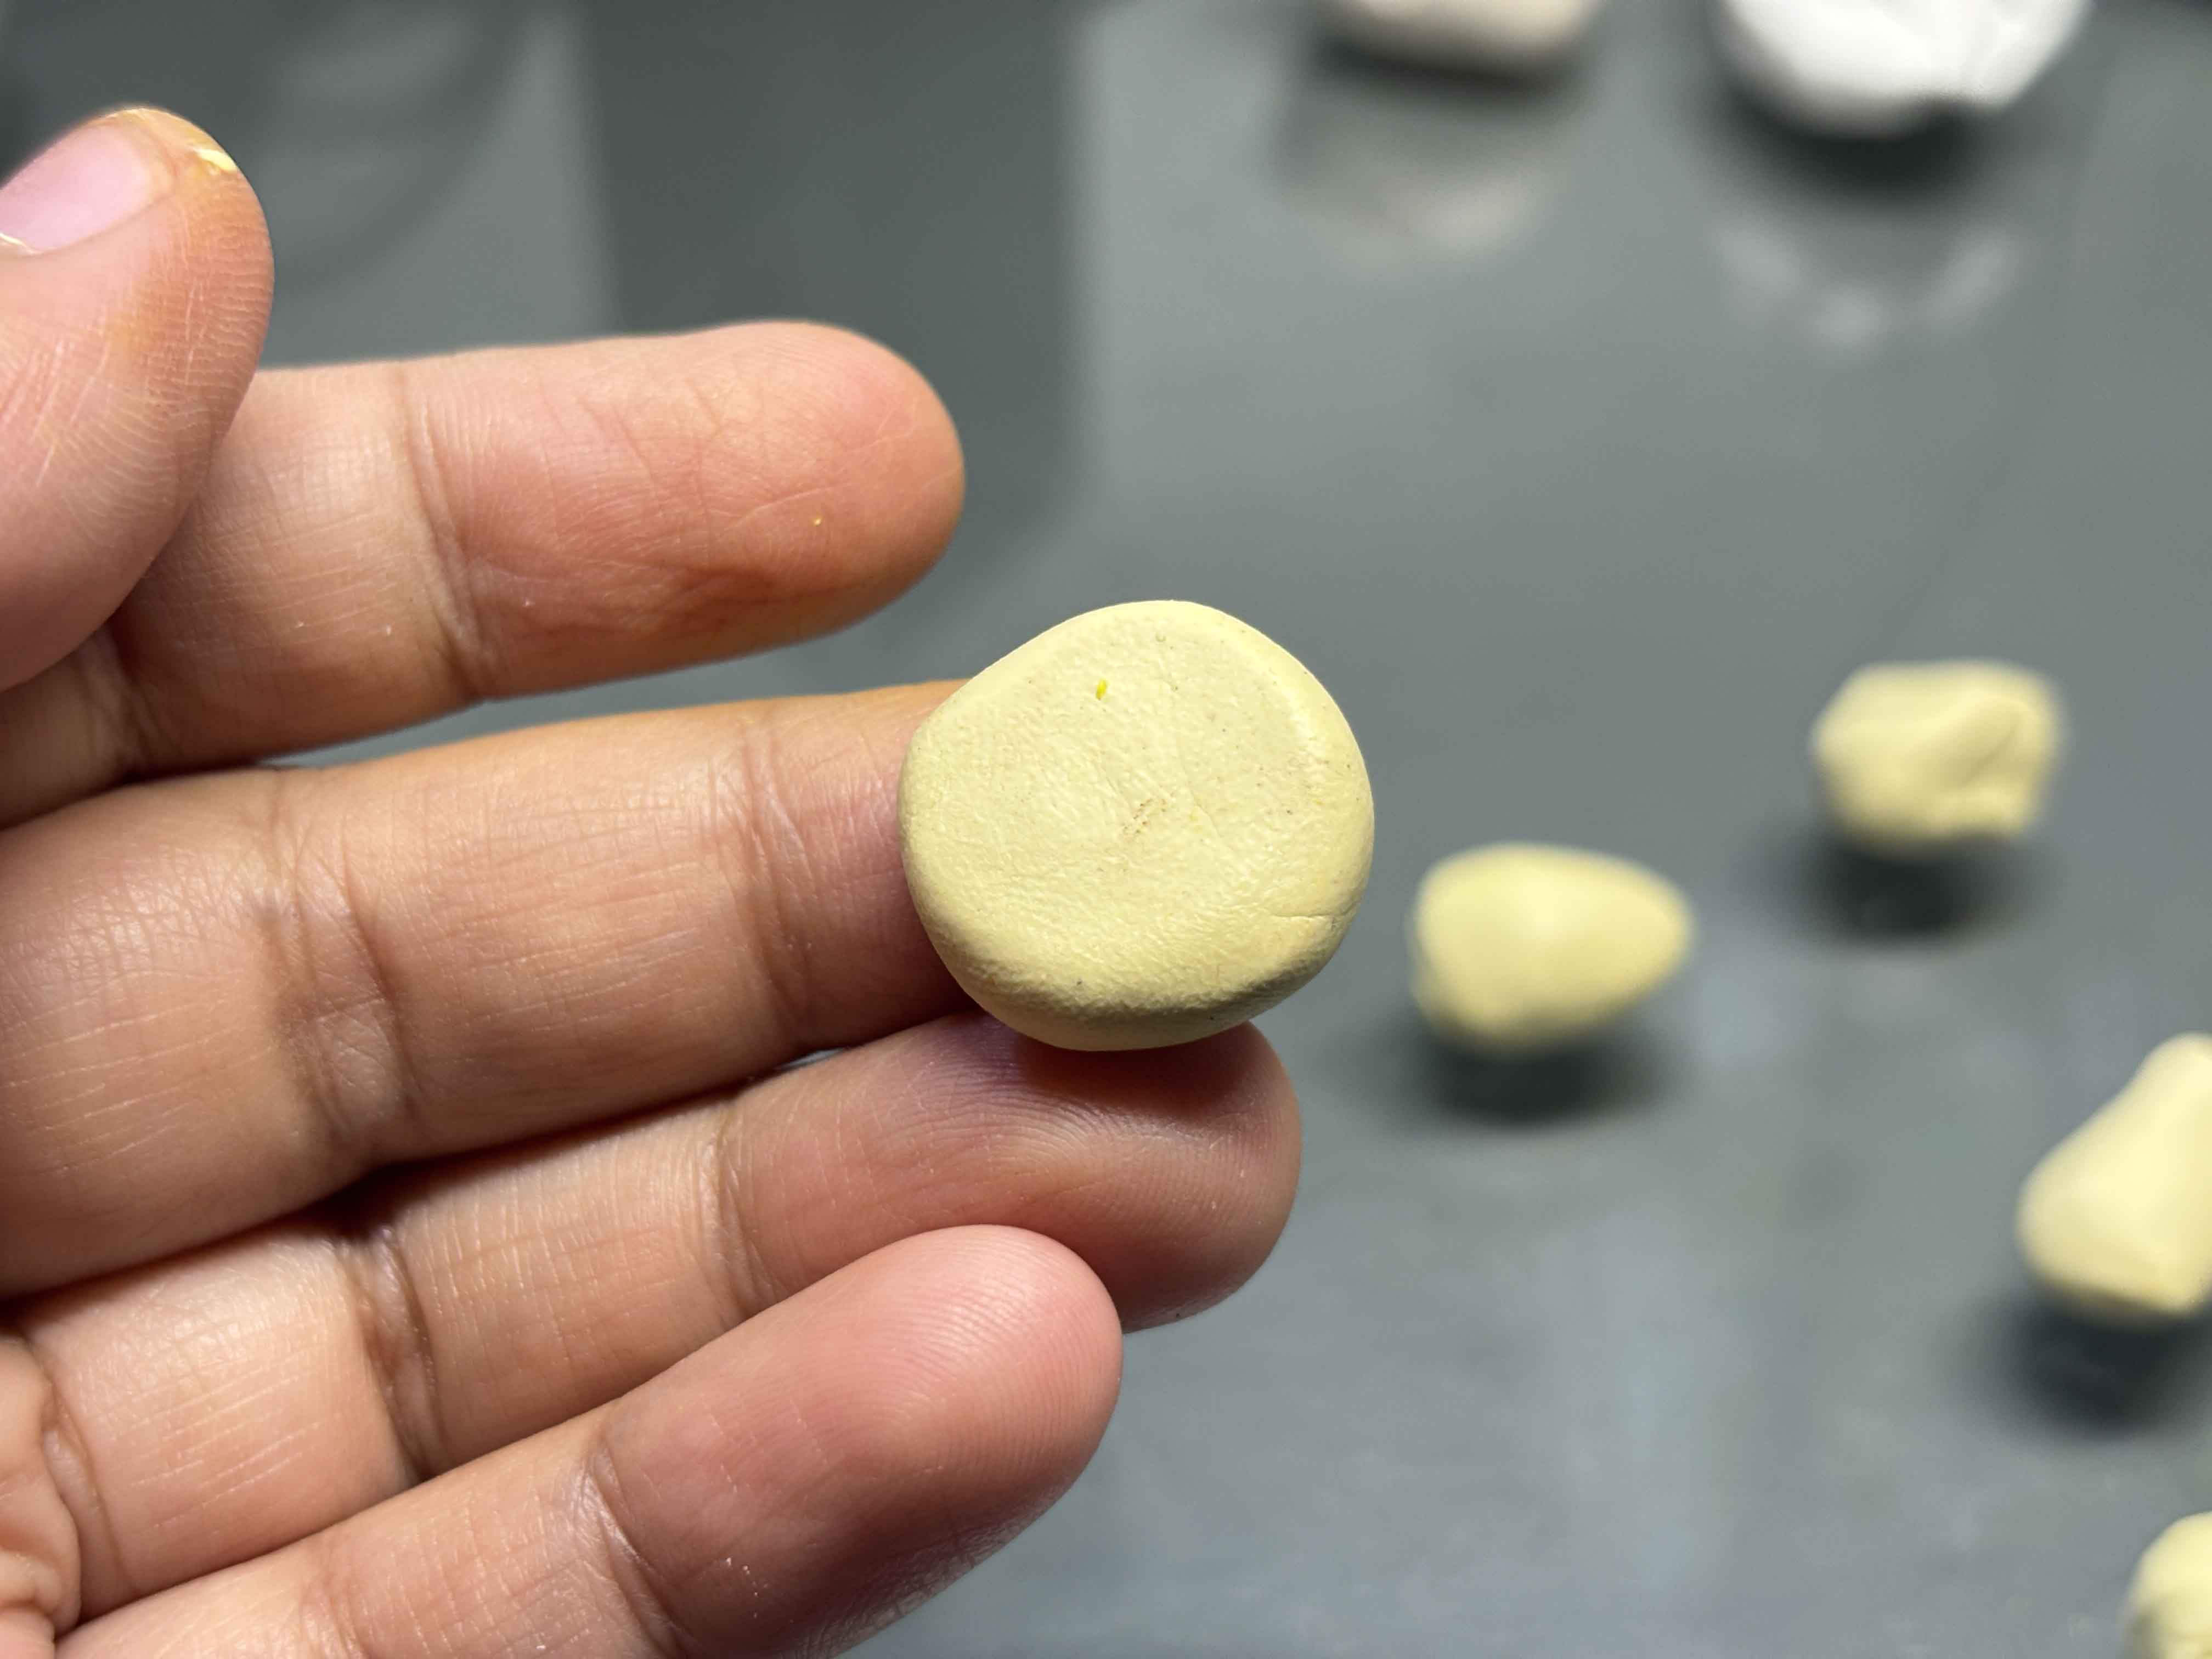
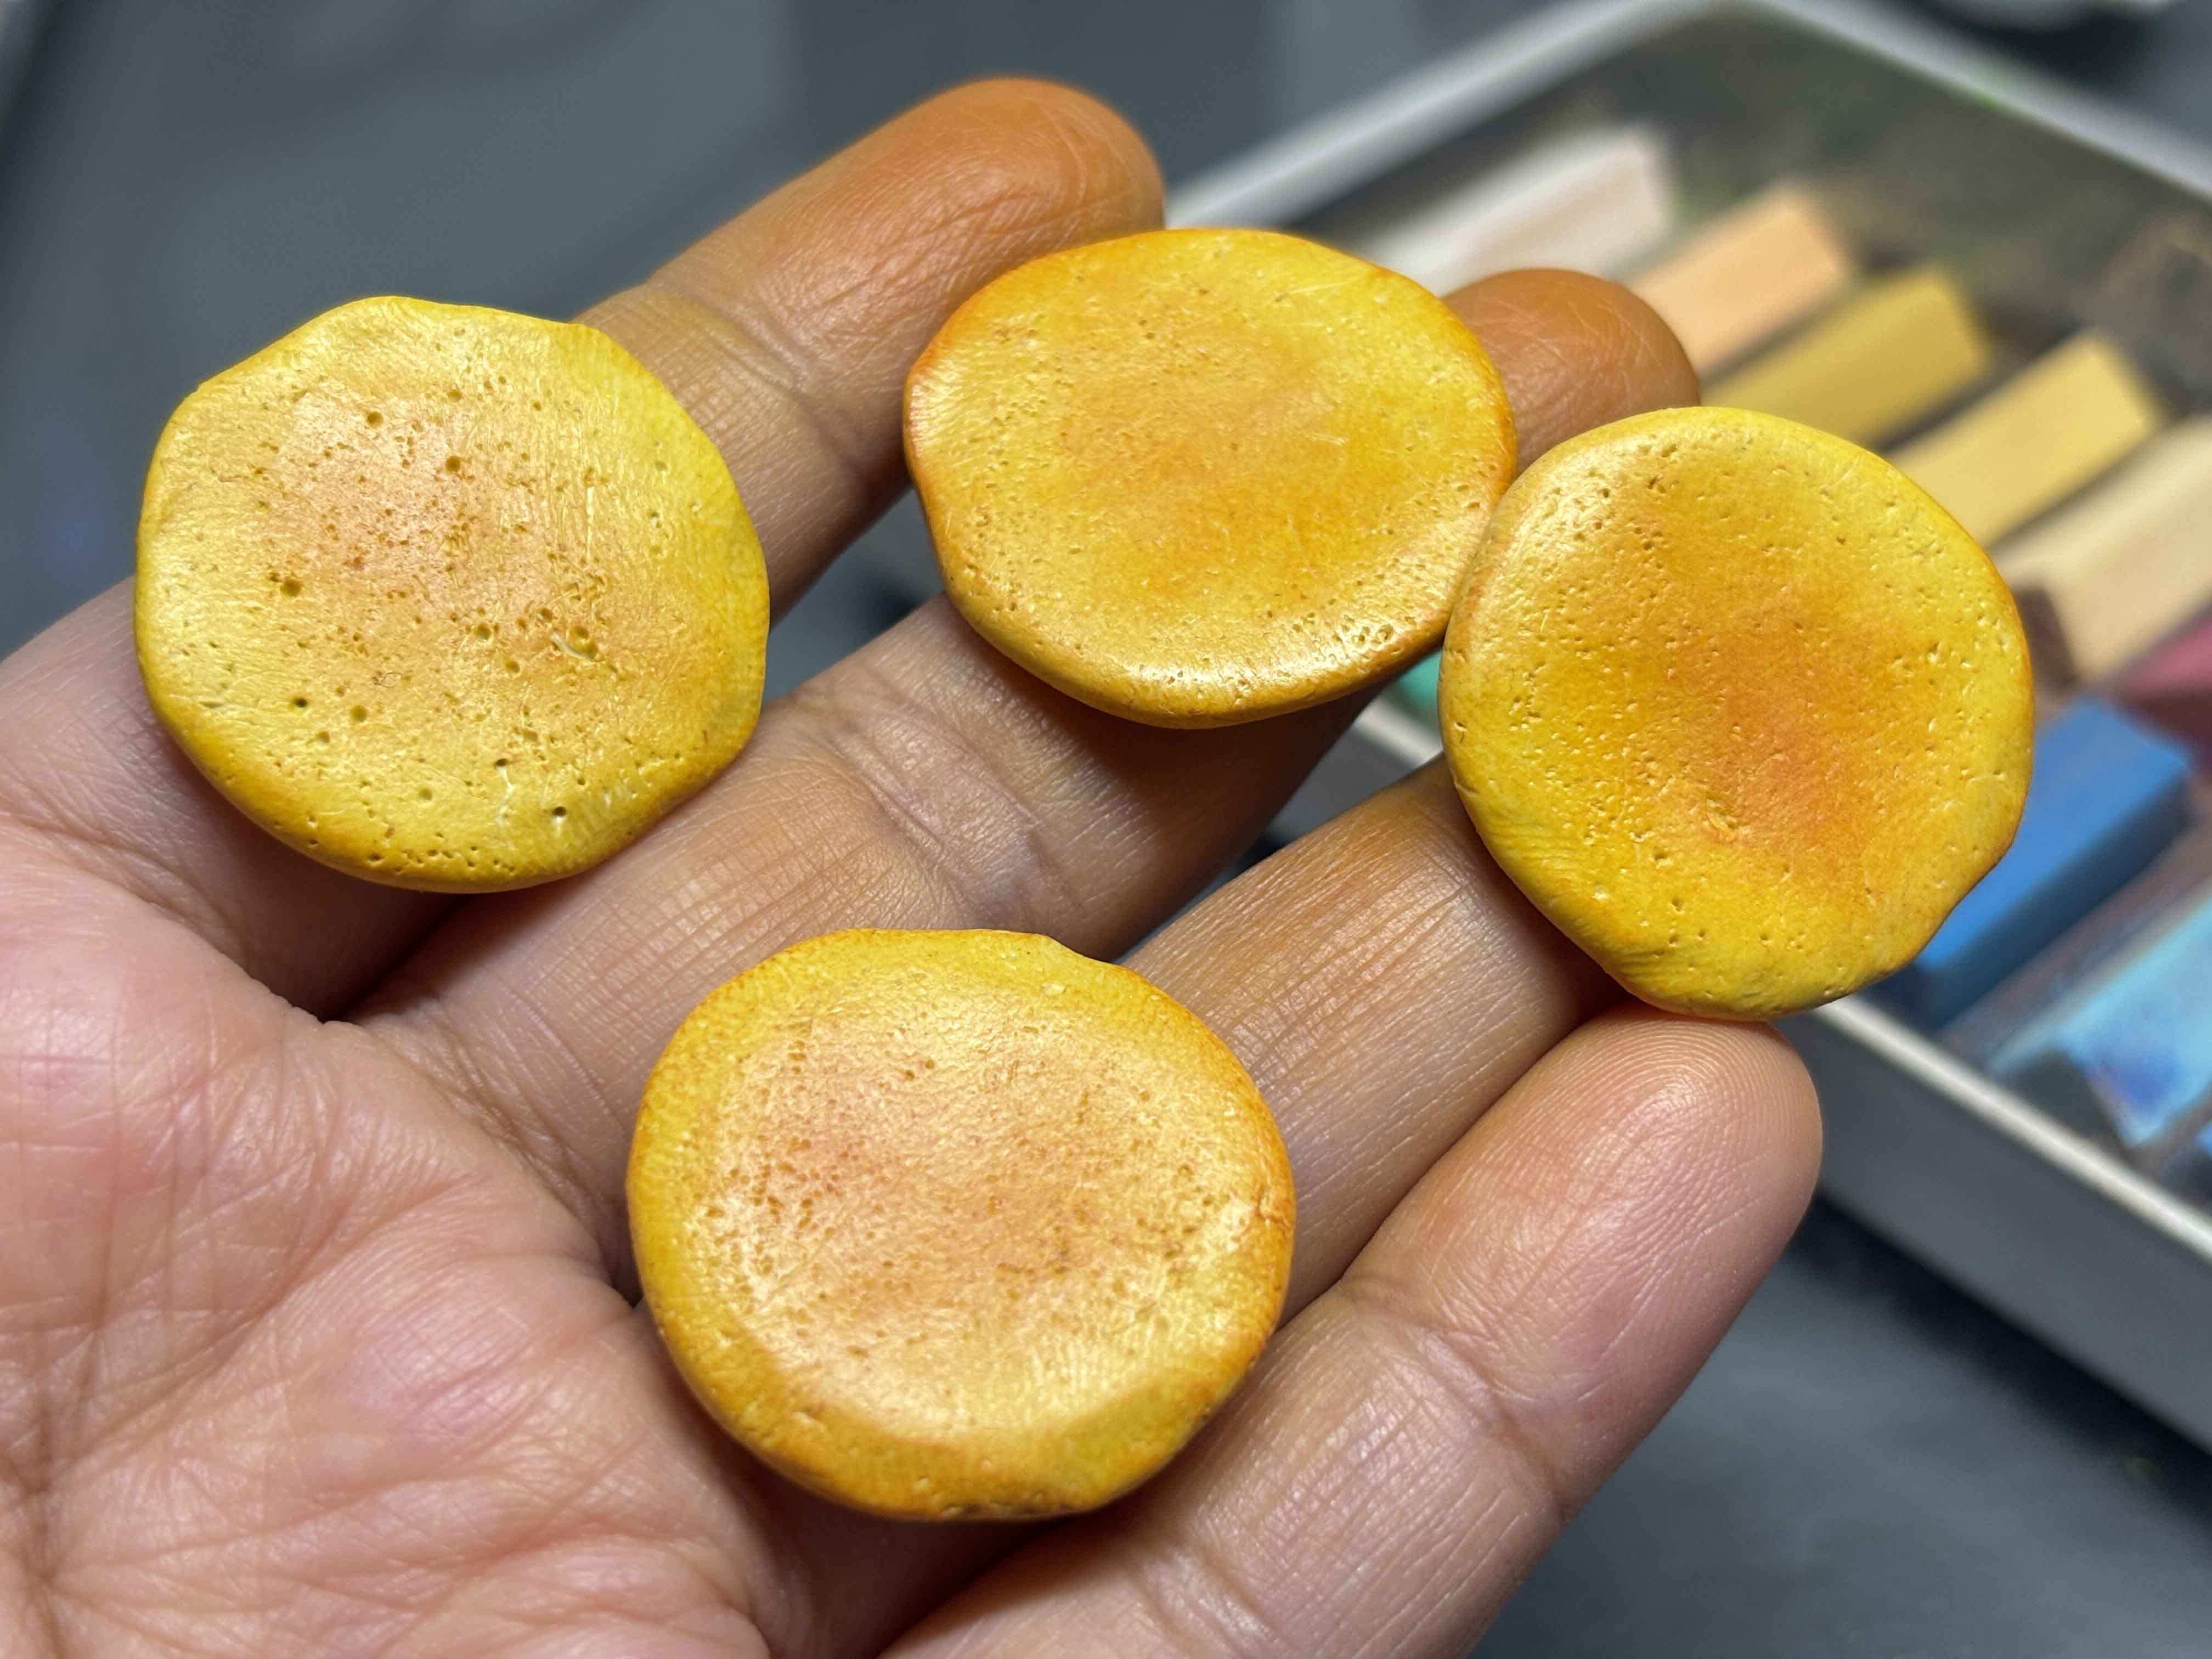
And then shape it into a shape like a hotcake, and then repeat it on the other clay. I decided to make three keychain hotcakes.
---
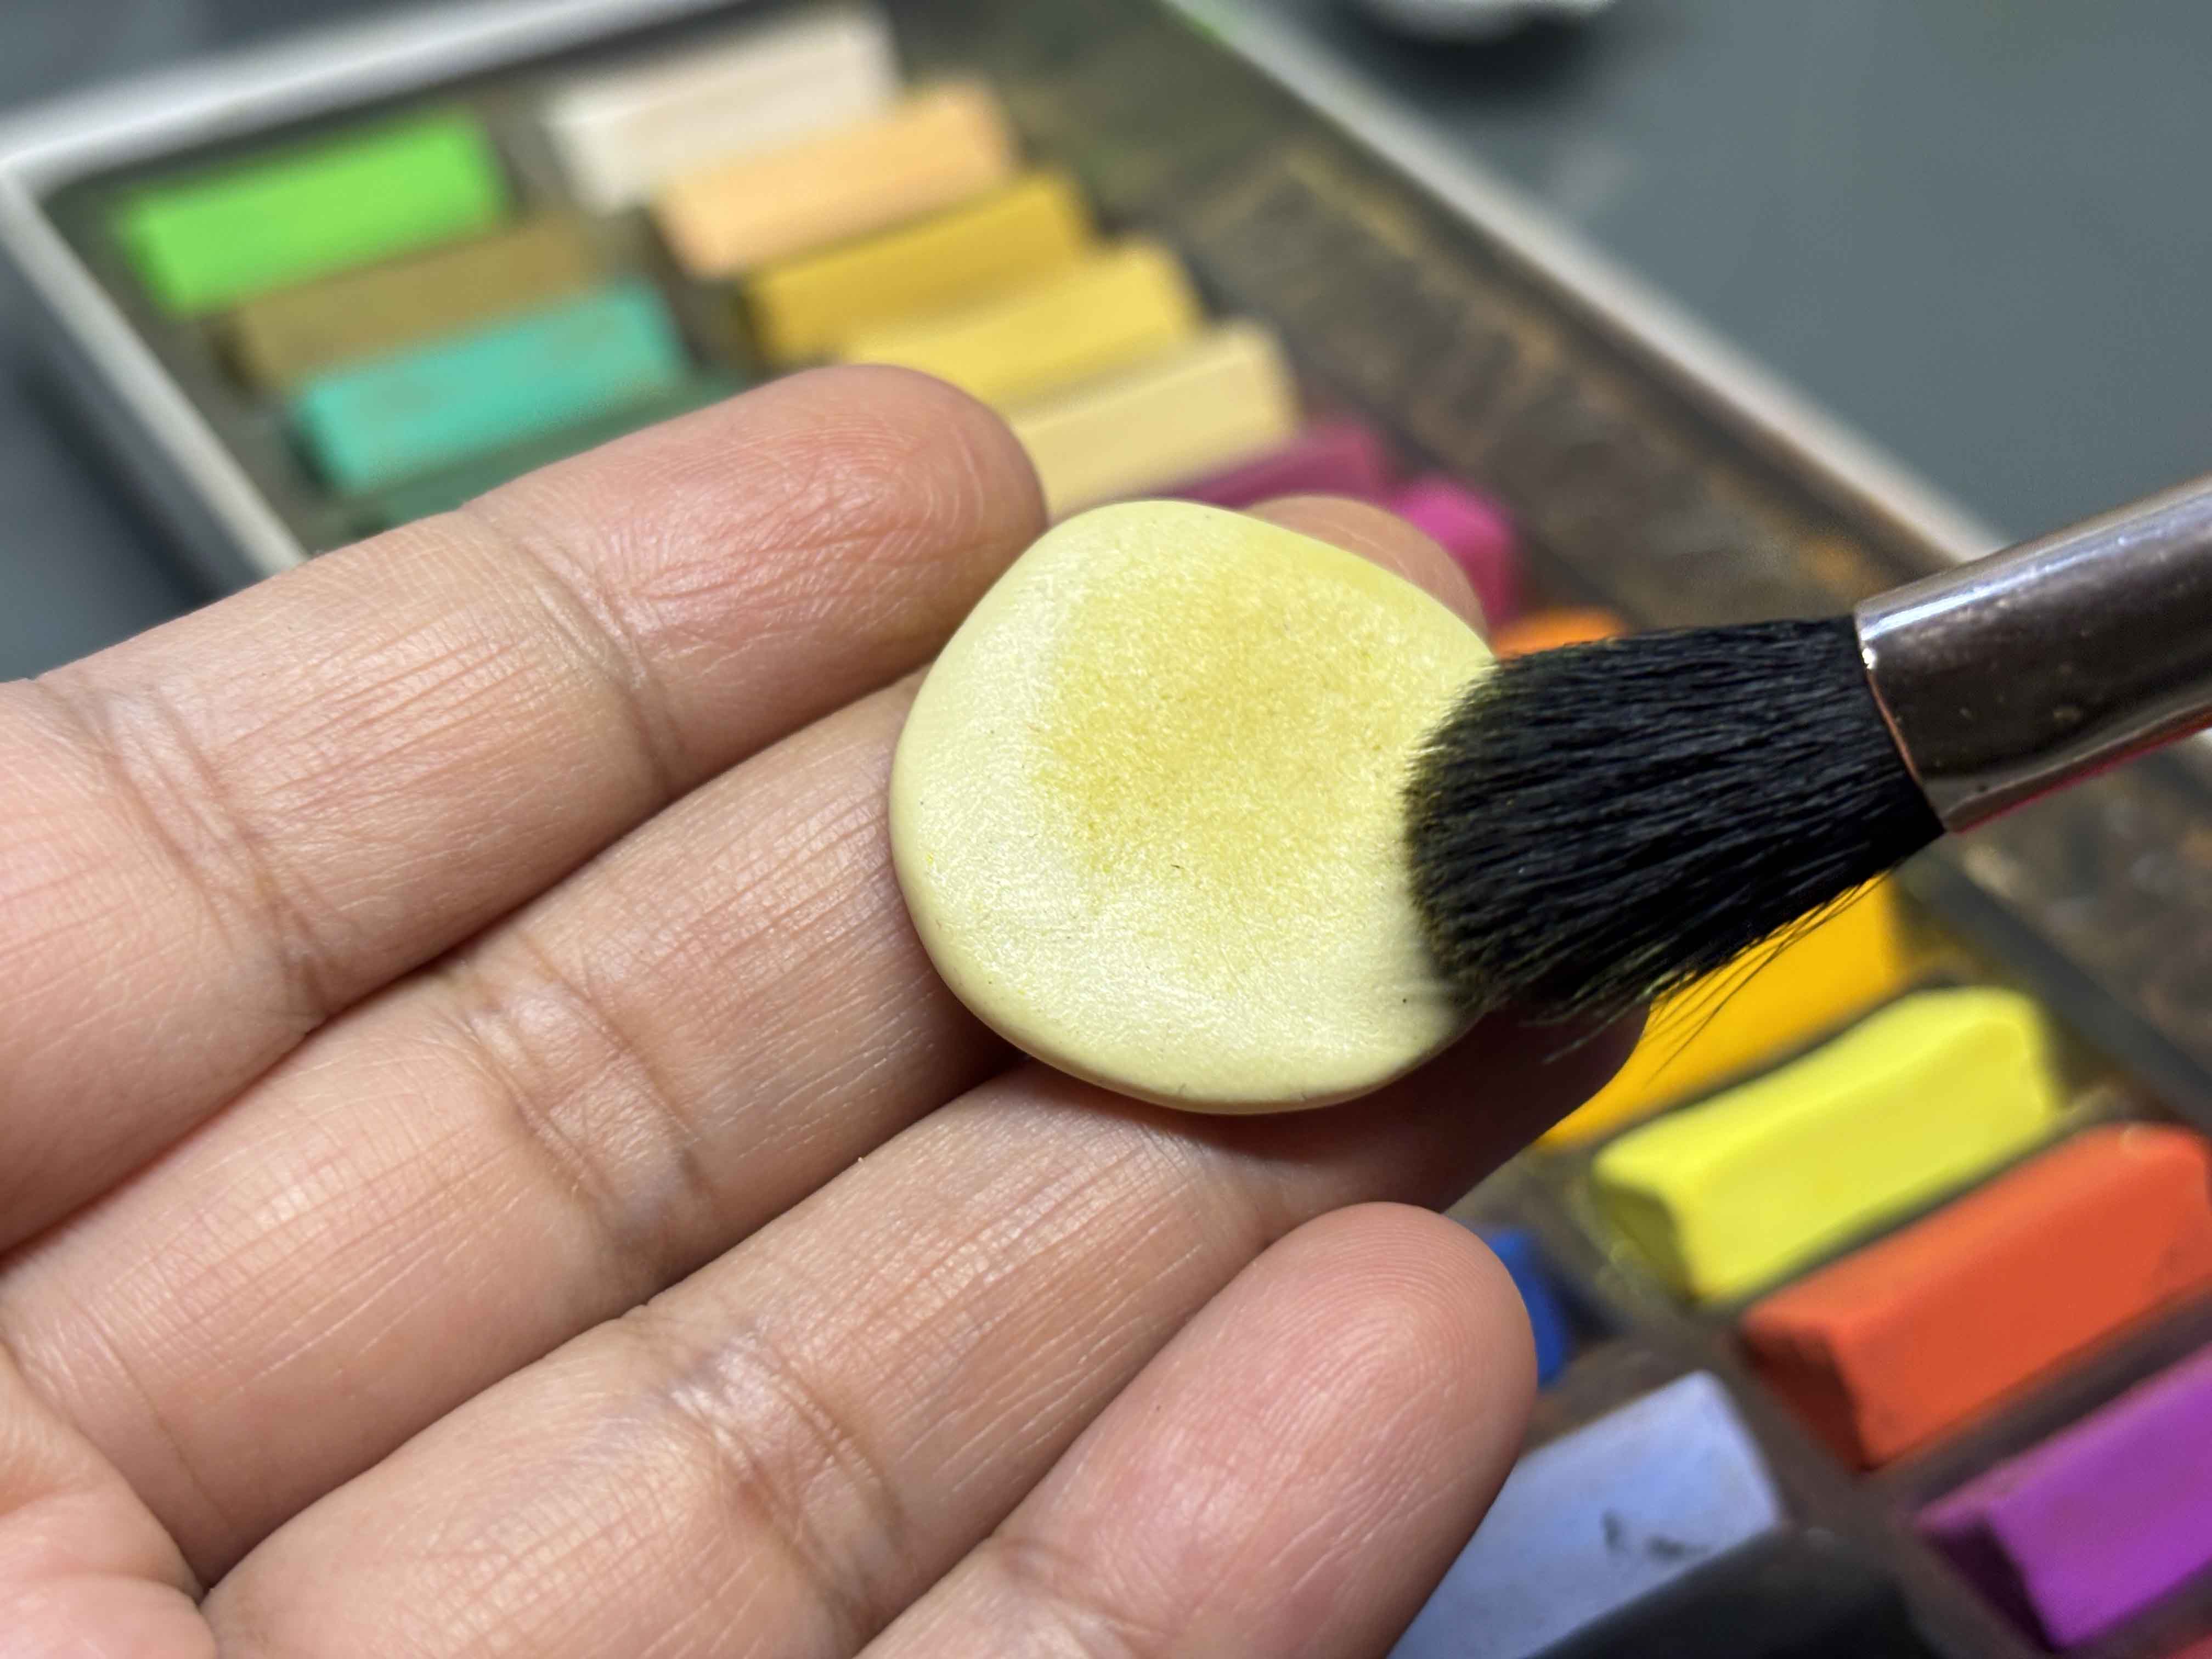
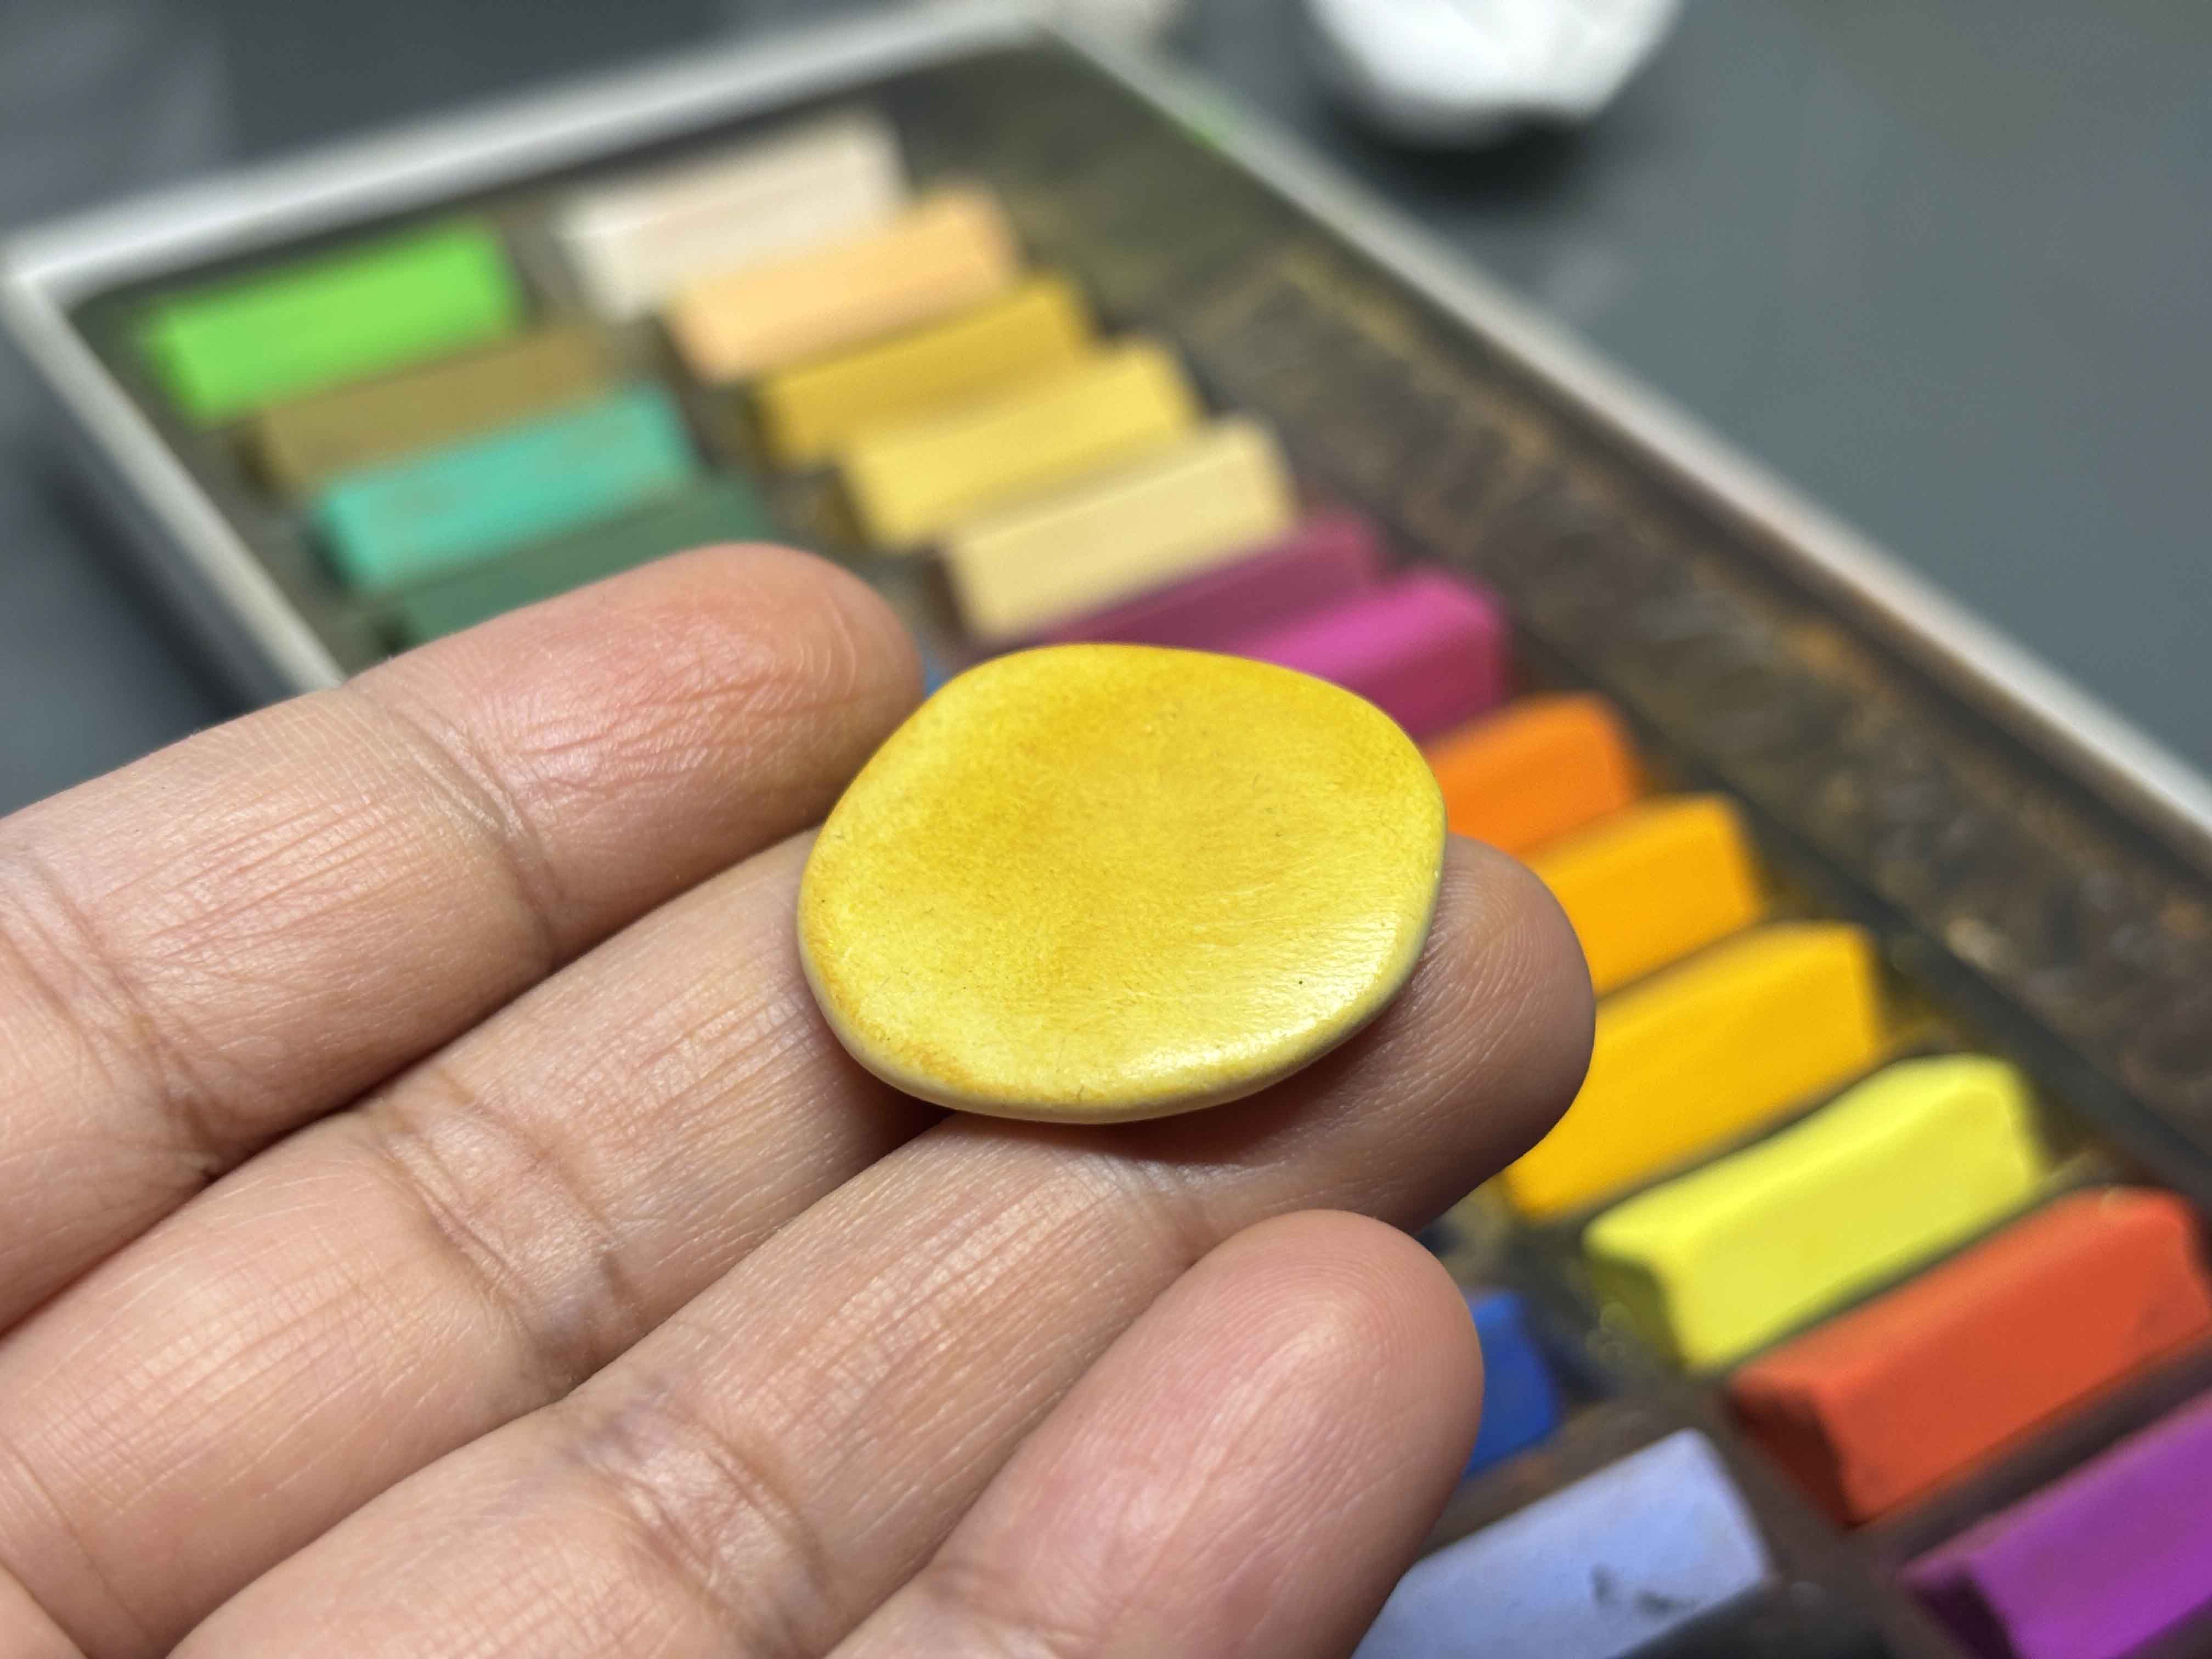
Because hotcakes are yellow, I shade them with soft pastel using this fluffy makeup brush. I start with a yellow shade, and then some parts begin to brown. I added it in the middle.
----
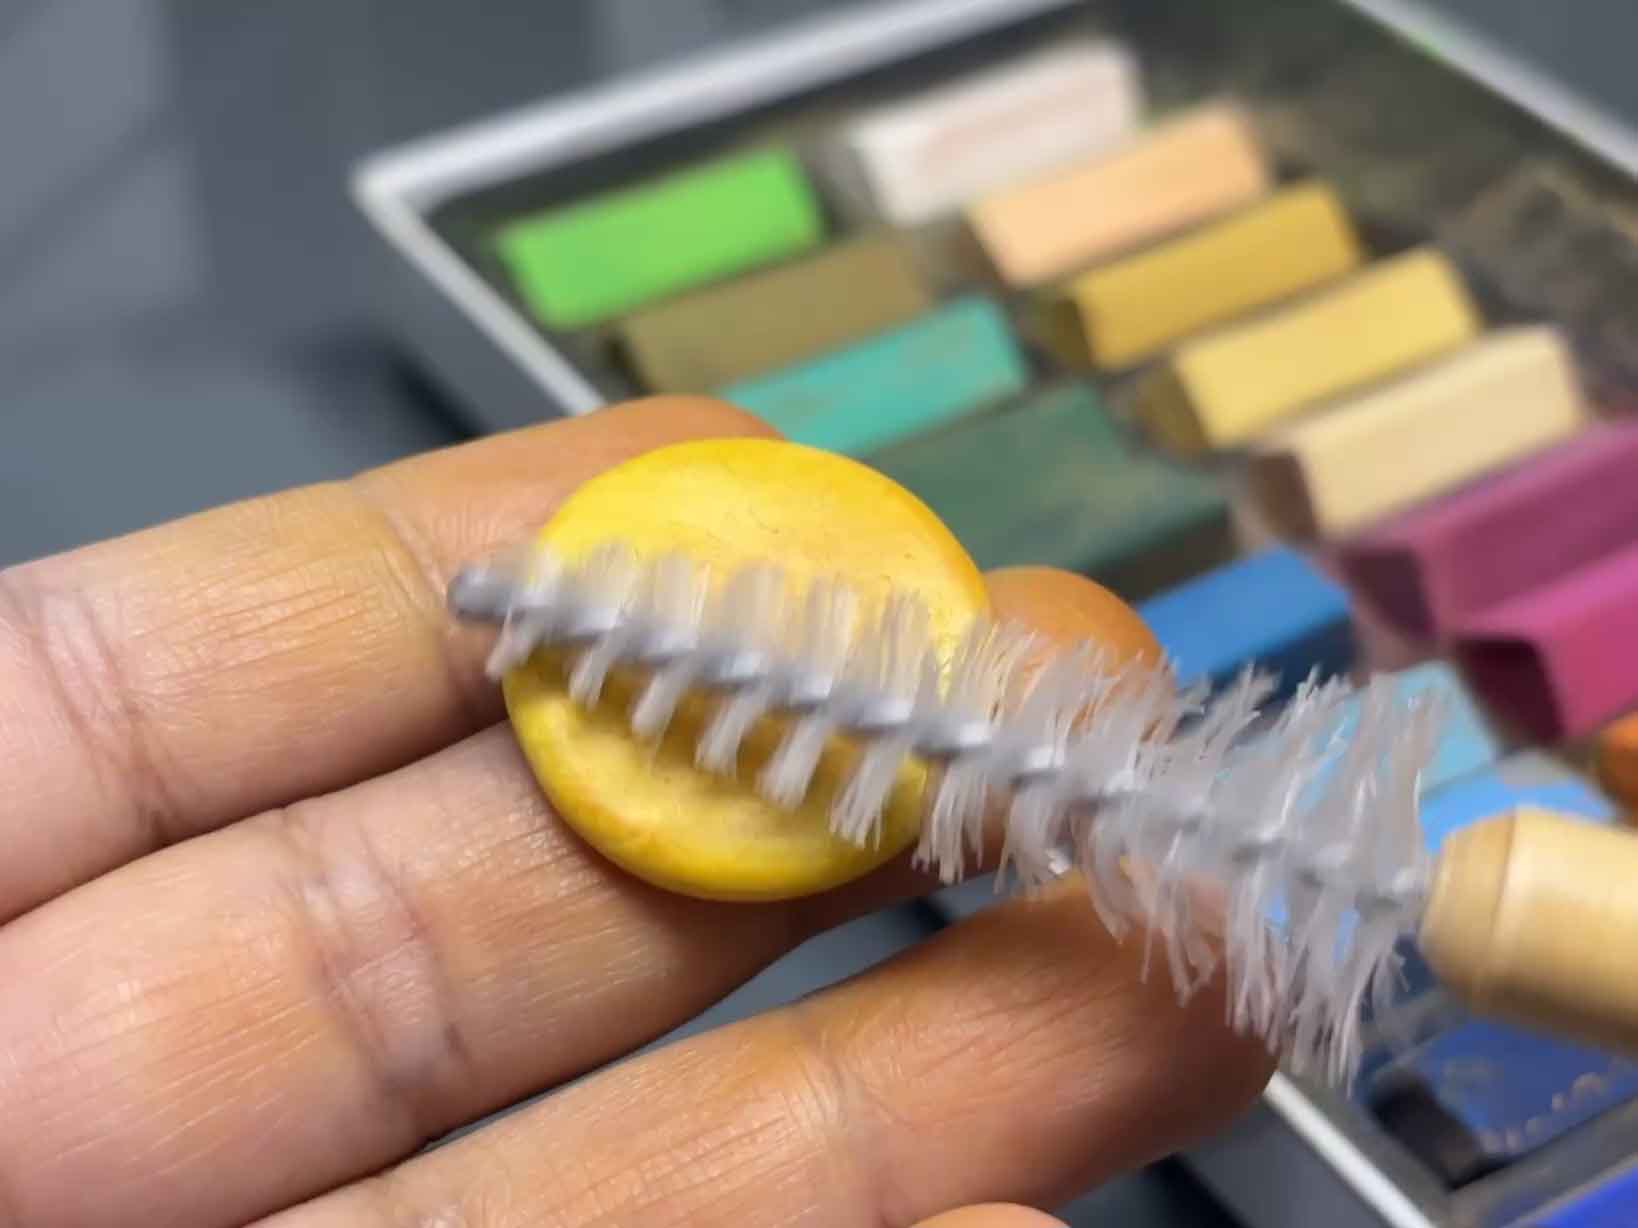
Then I use this tree brush tool to add texture to it. I do this to all the hotcakes clay I made.
----
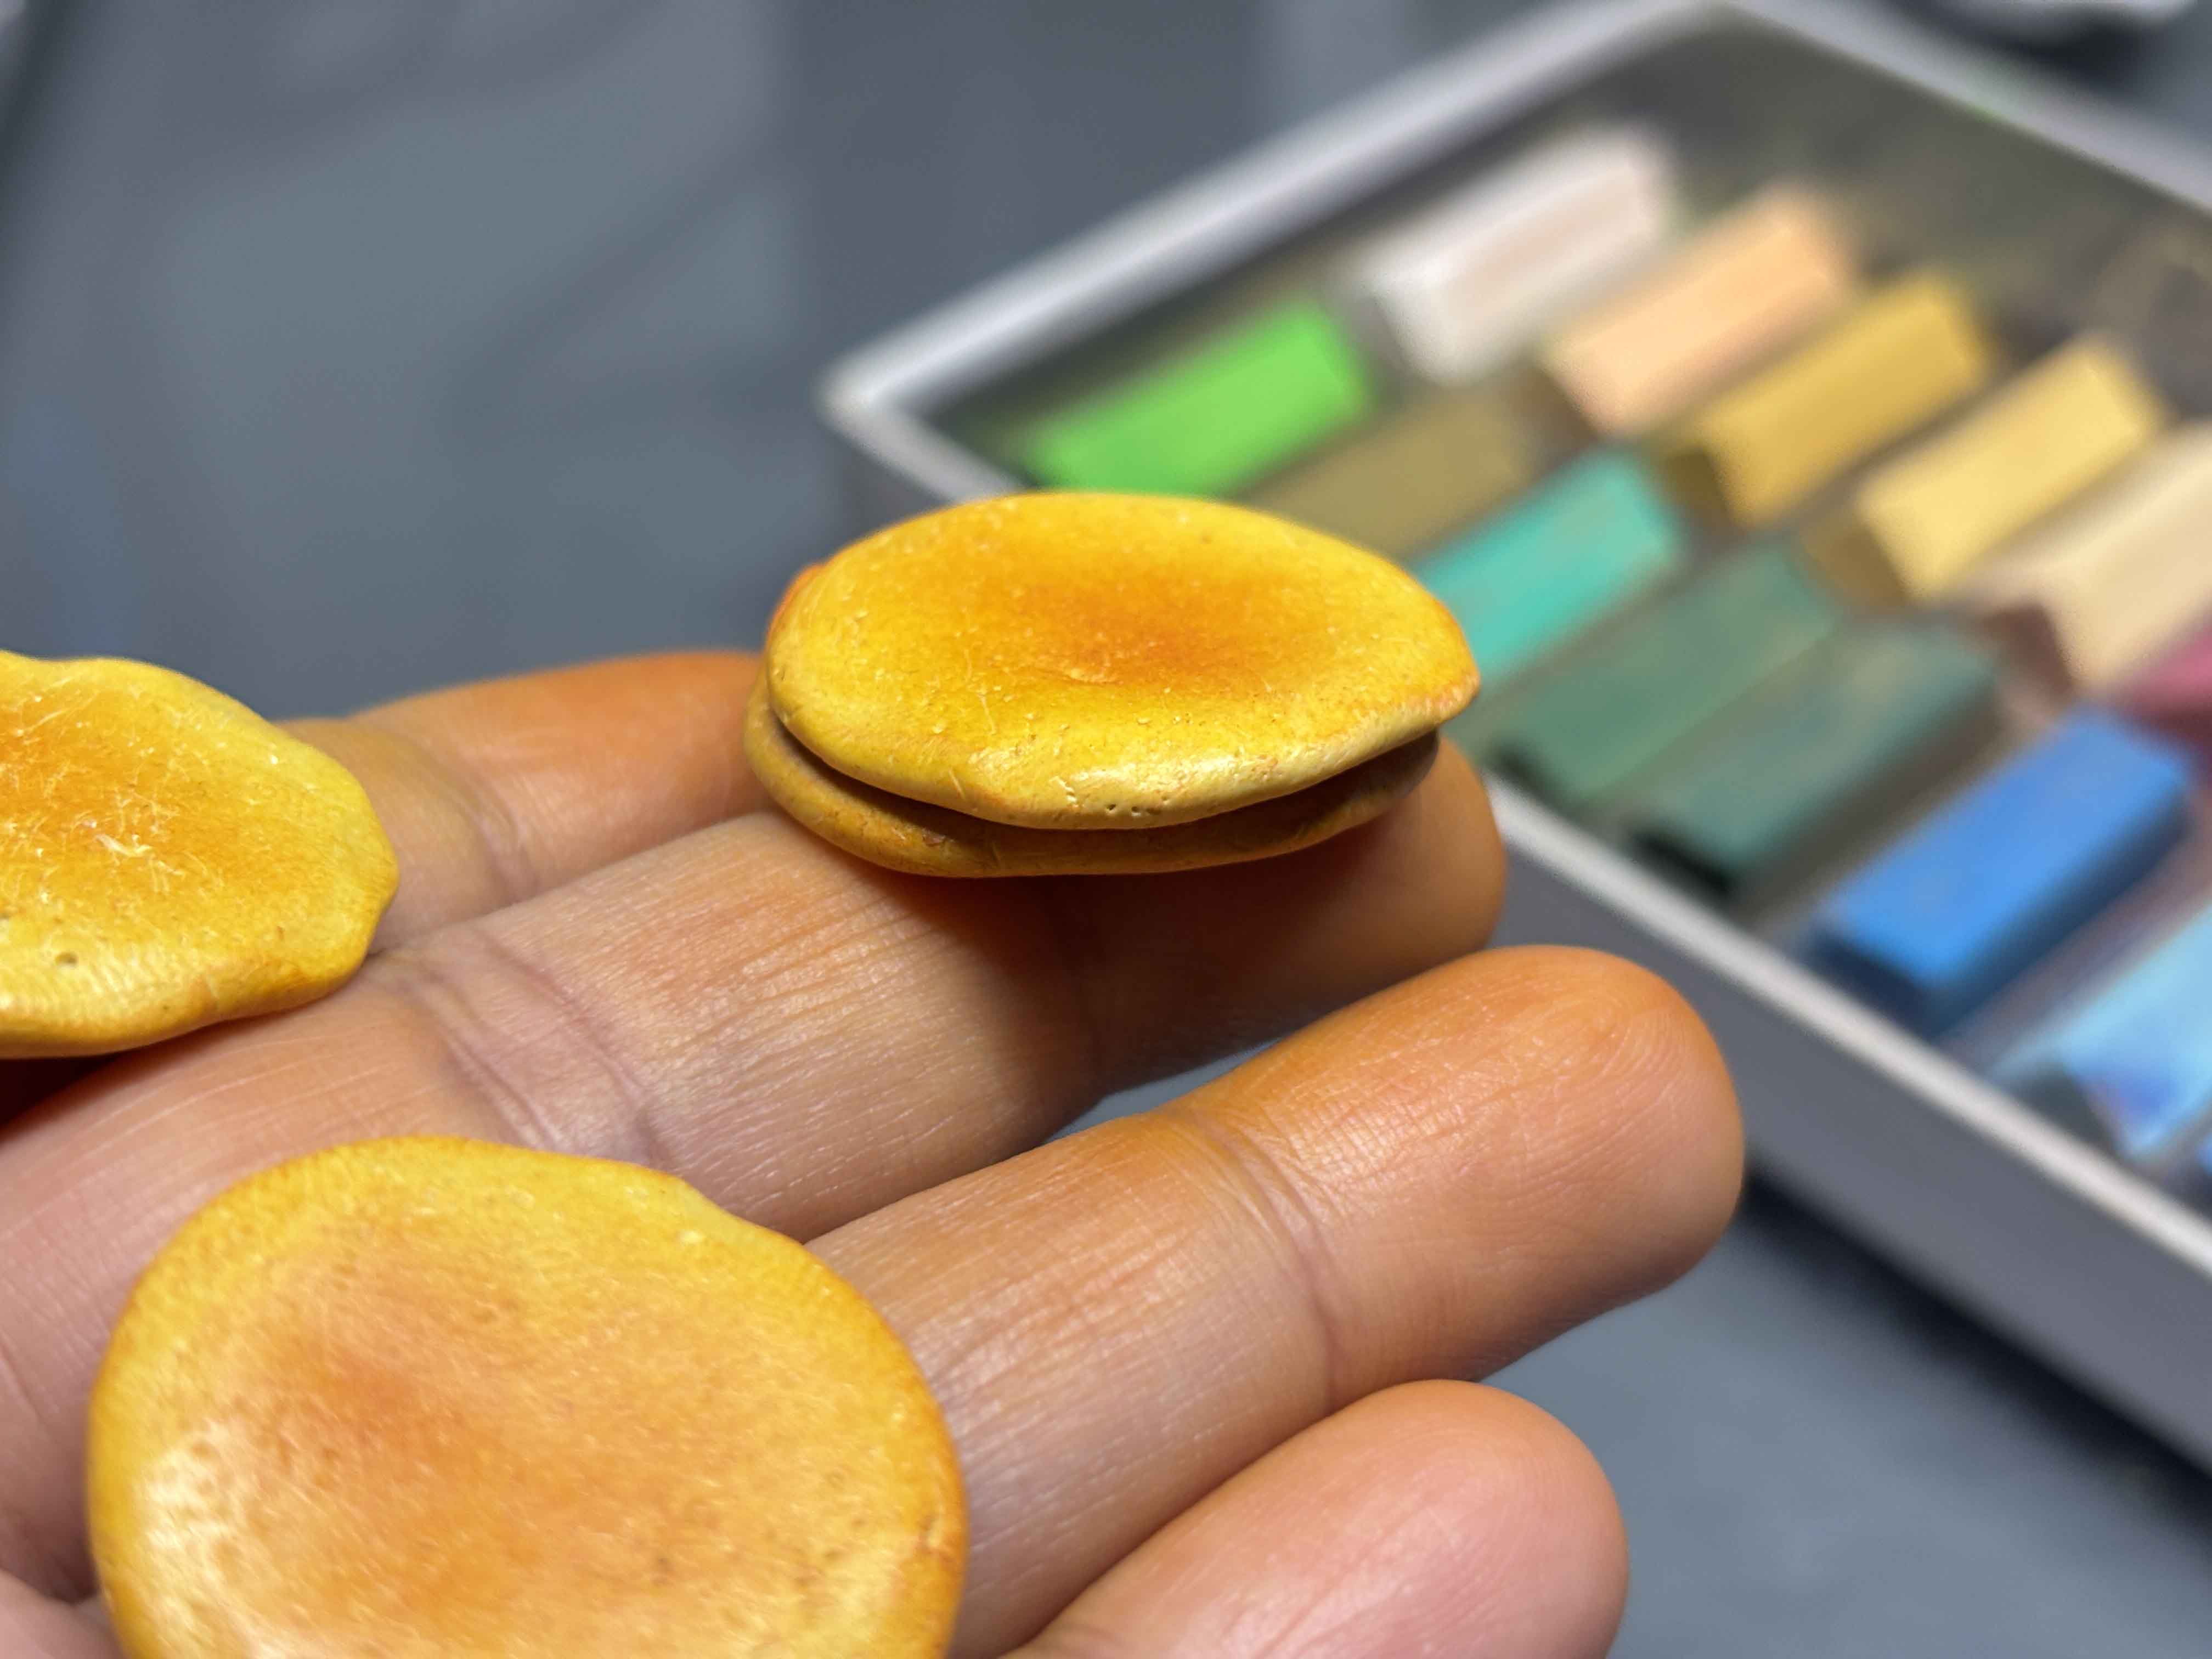
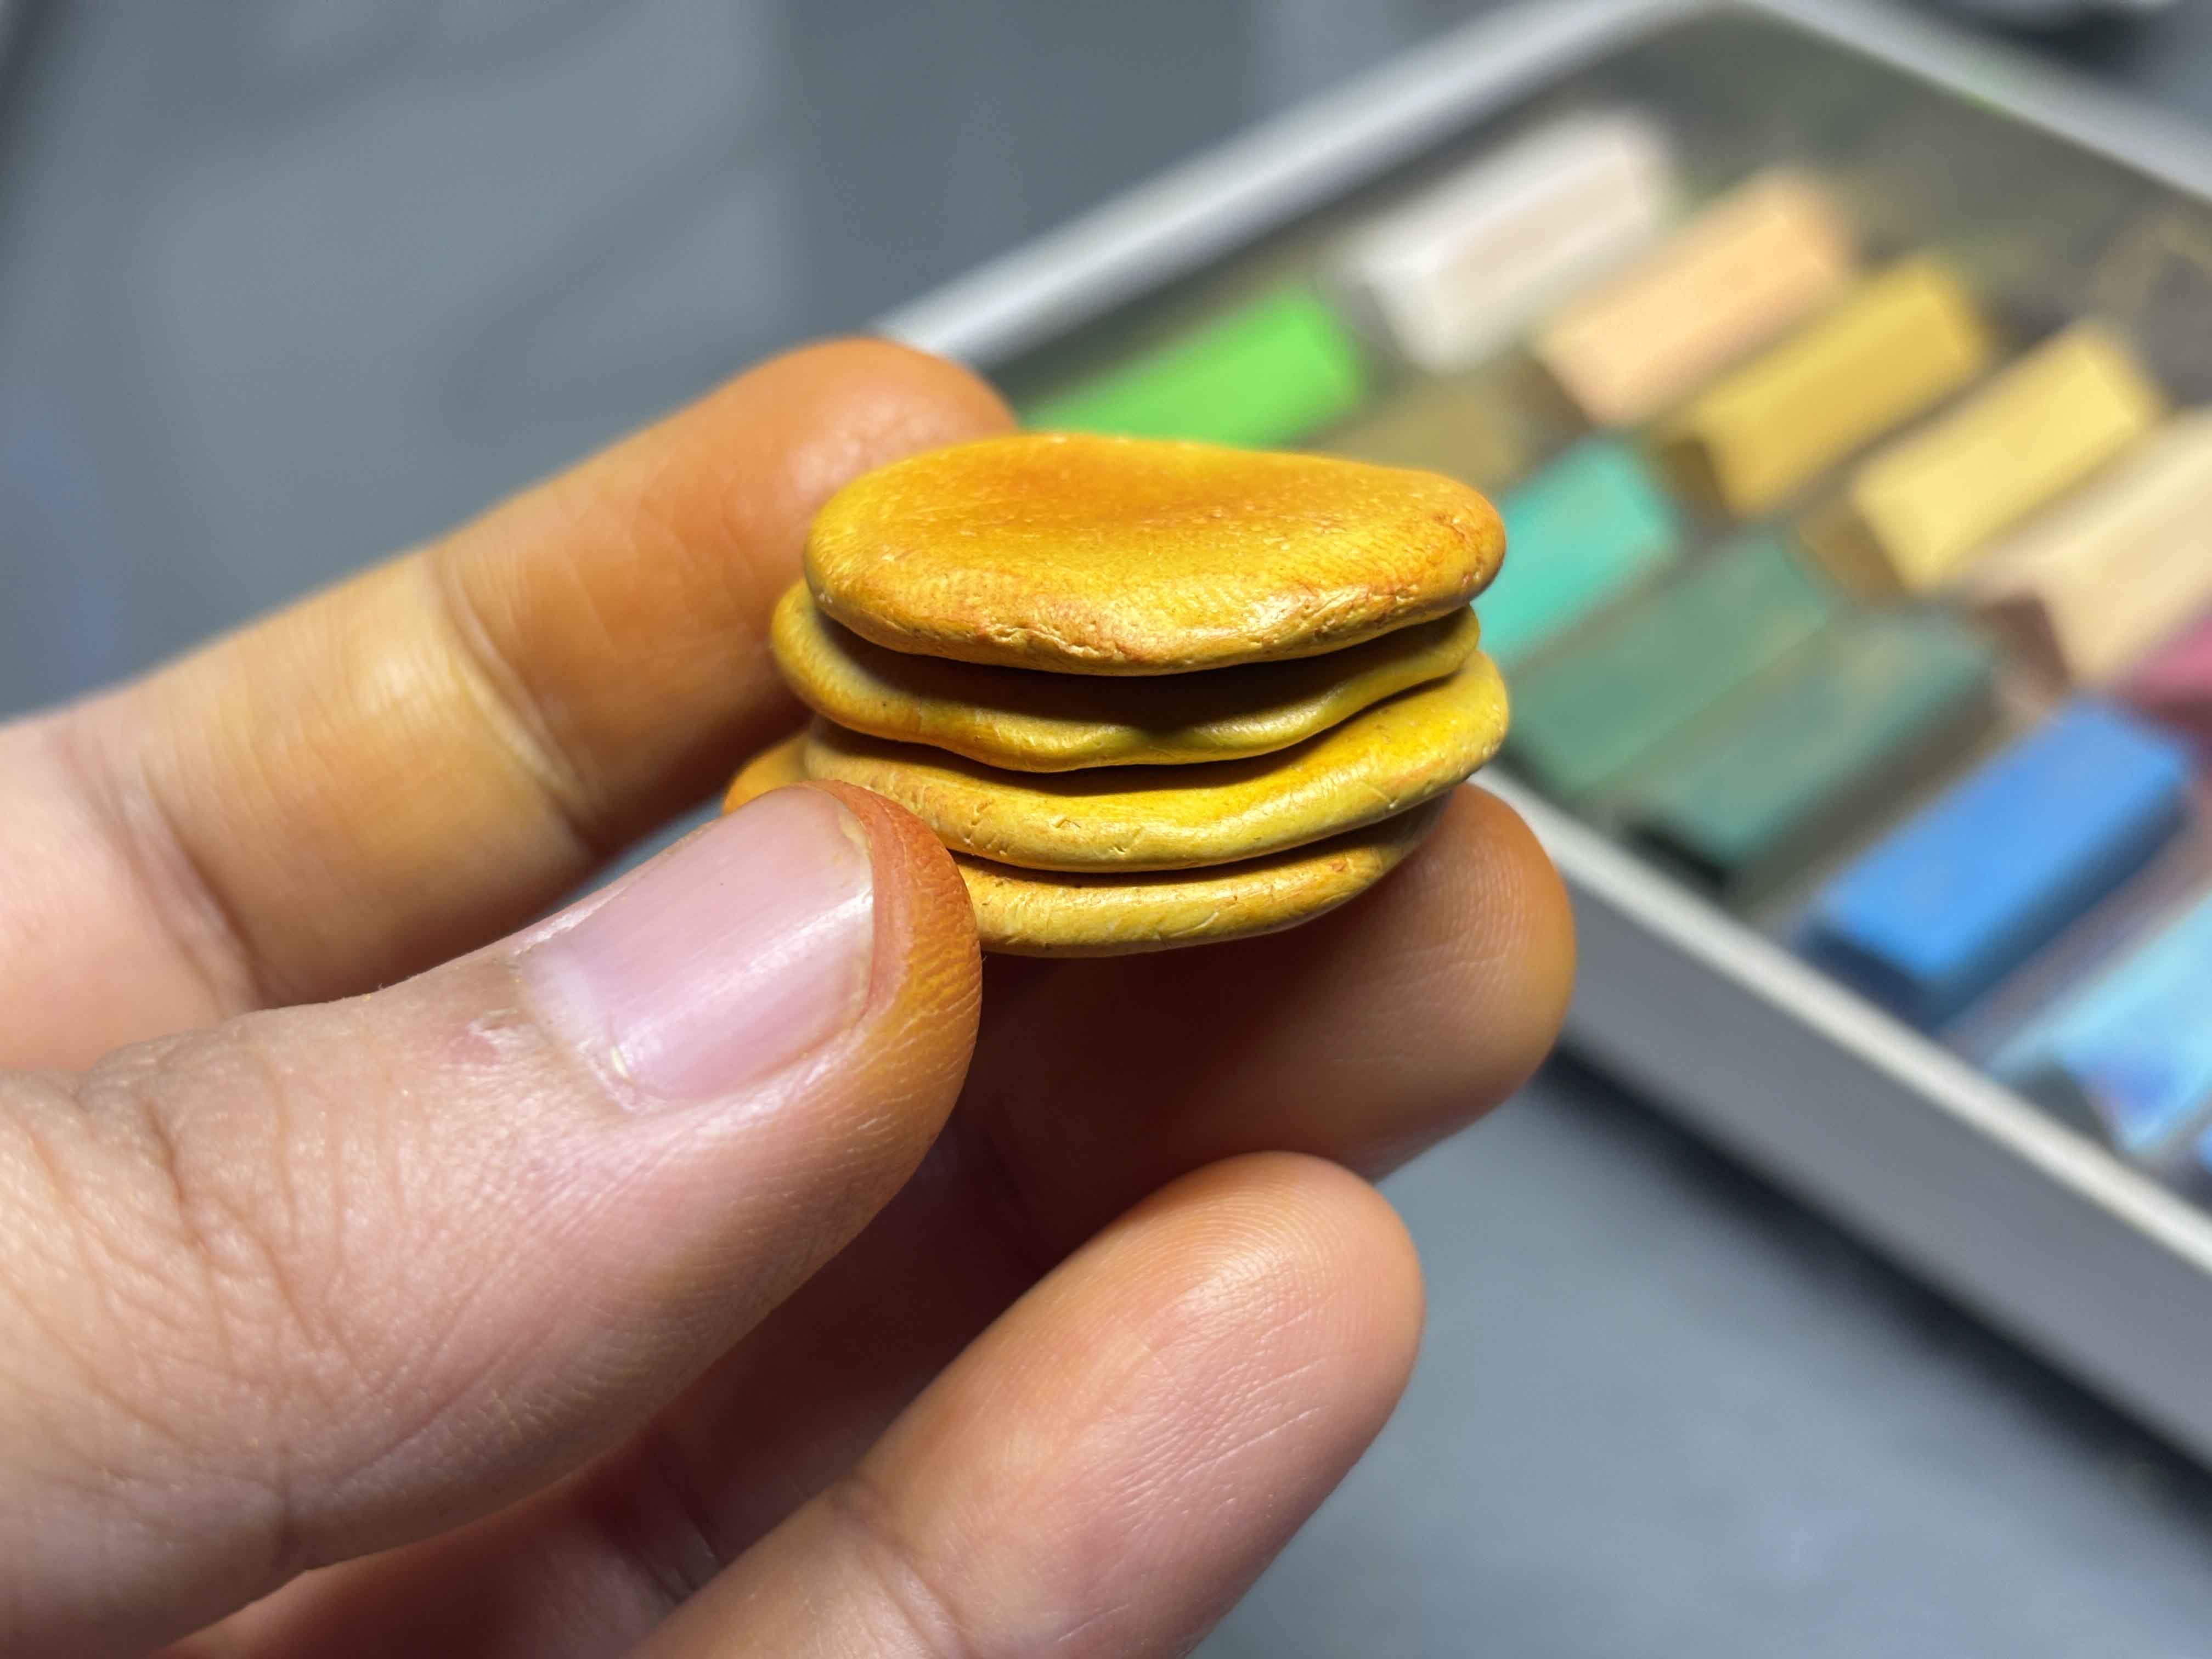
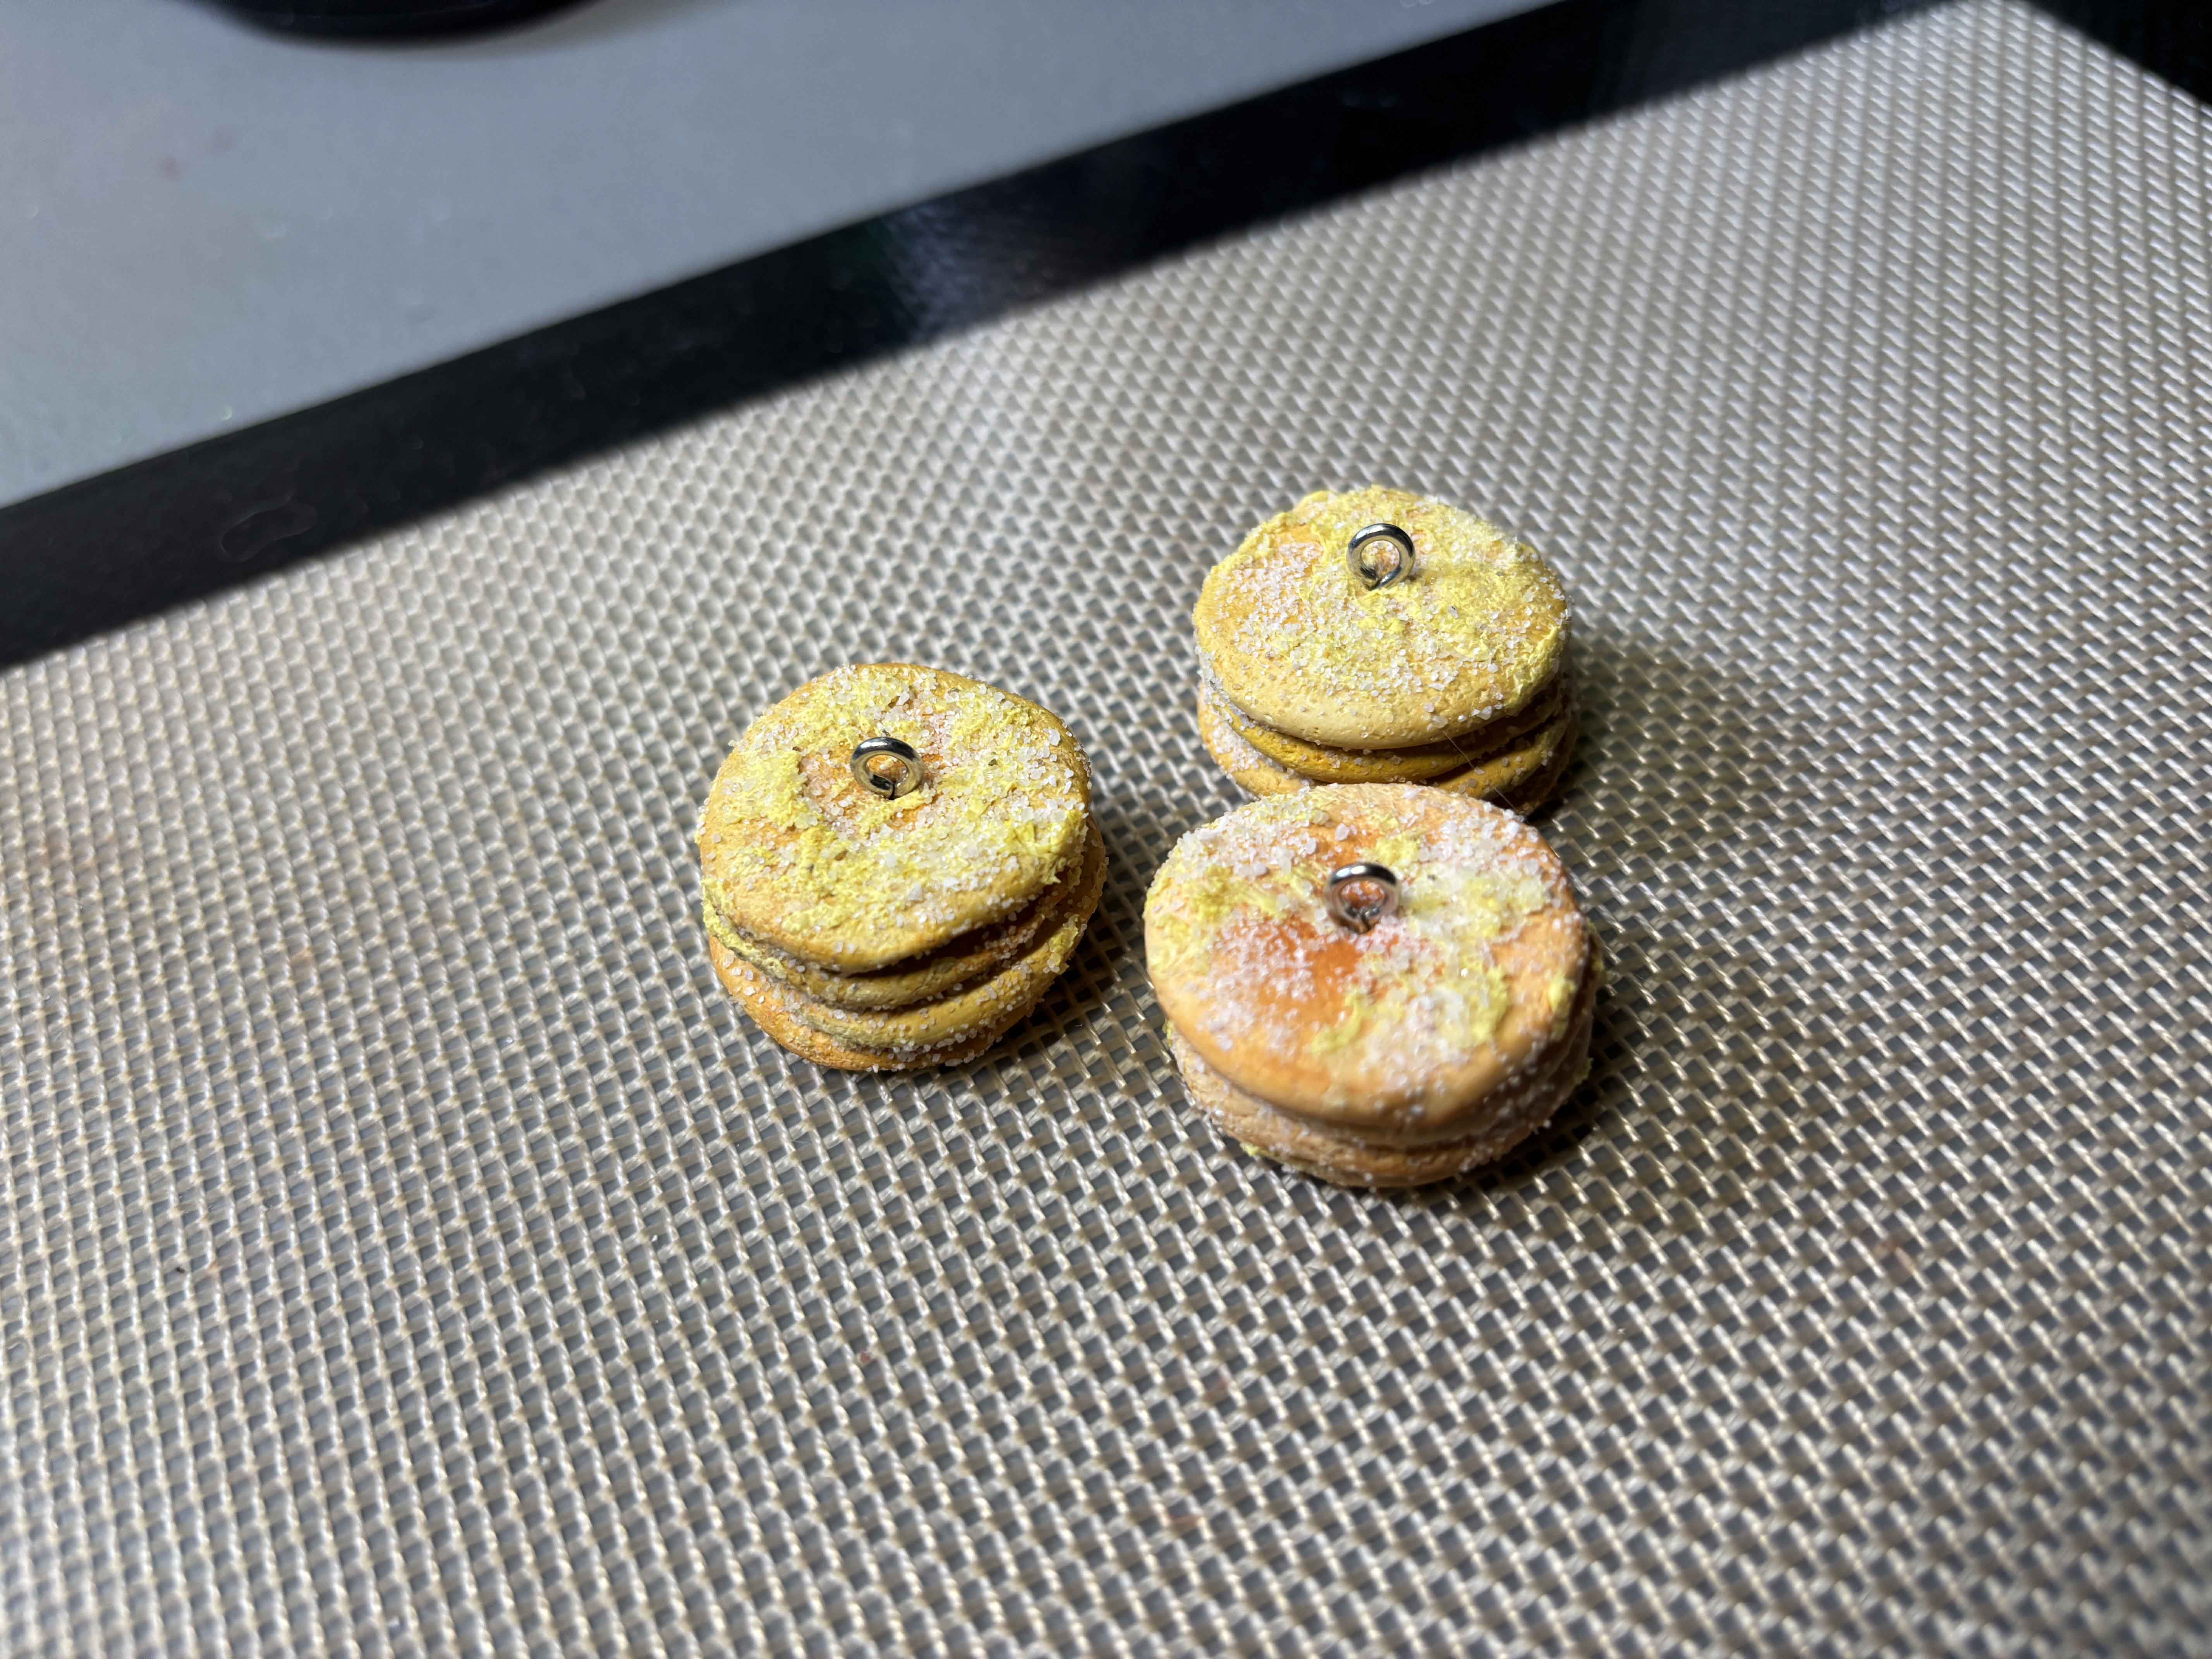
After that, I stack them one by one. I make sure not to stack them perfectly, unlike vendors who stack them. I just like doing it to make it more realistic.
----
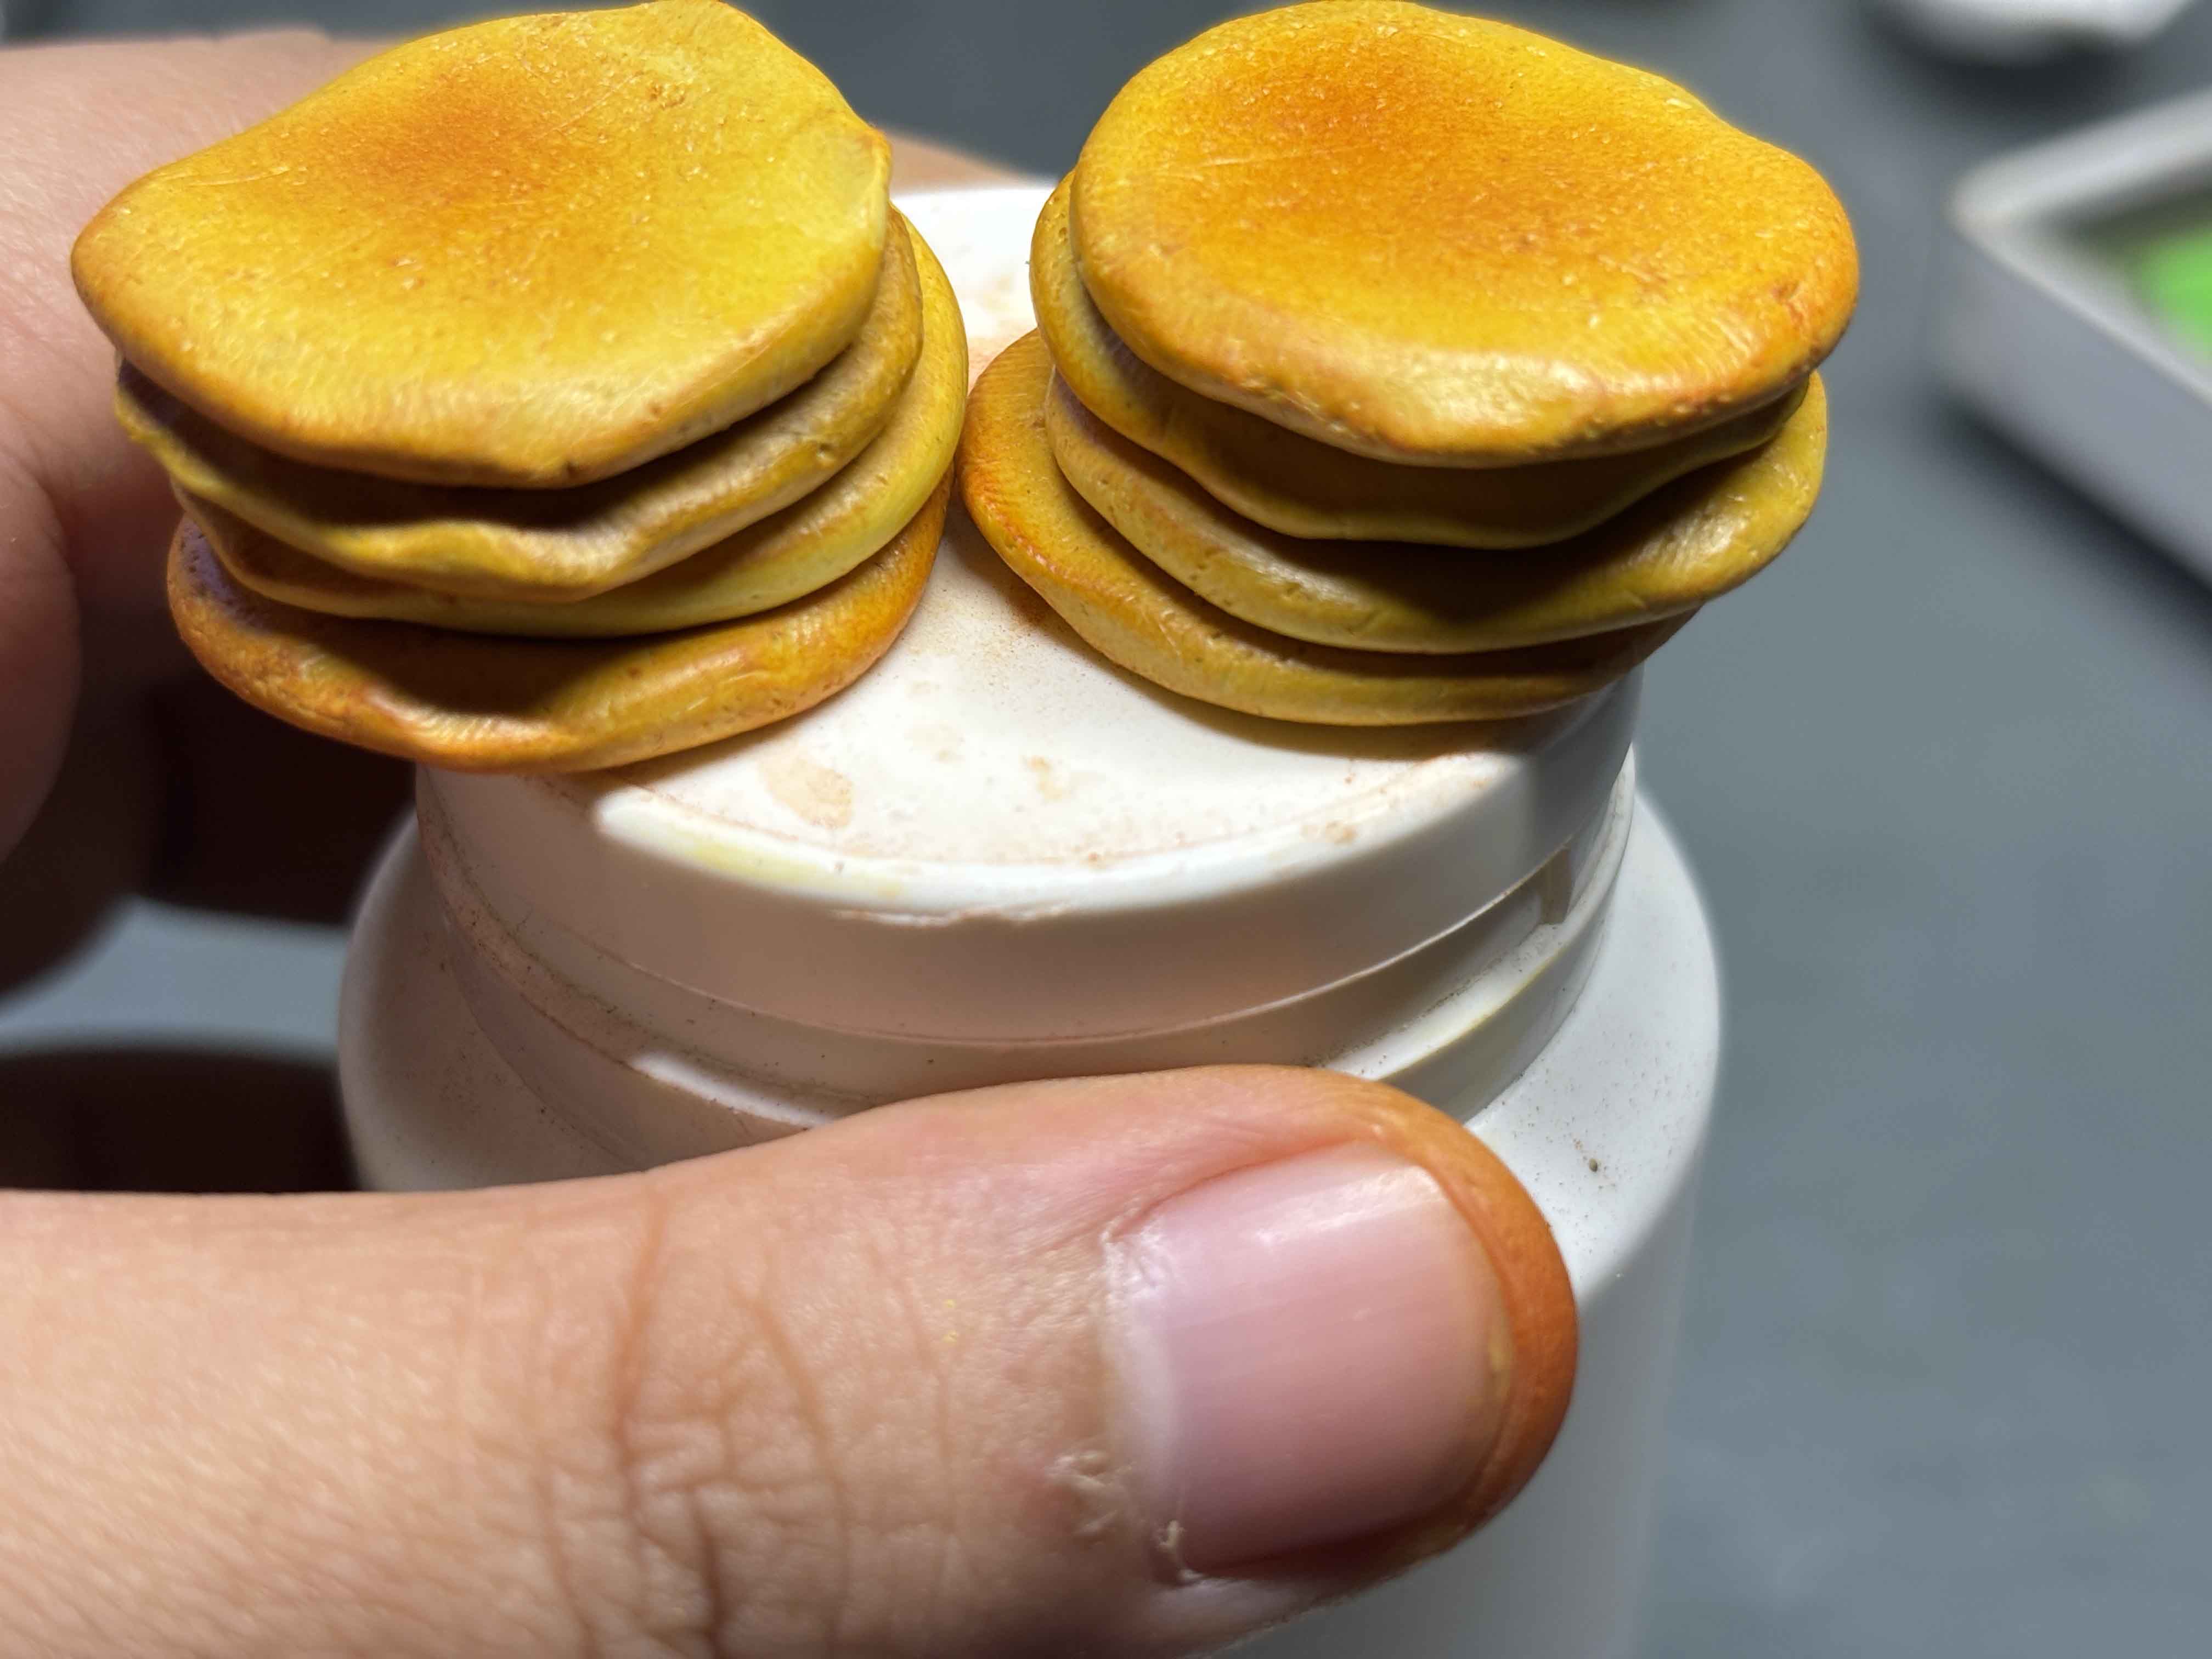
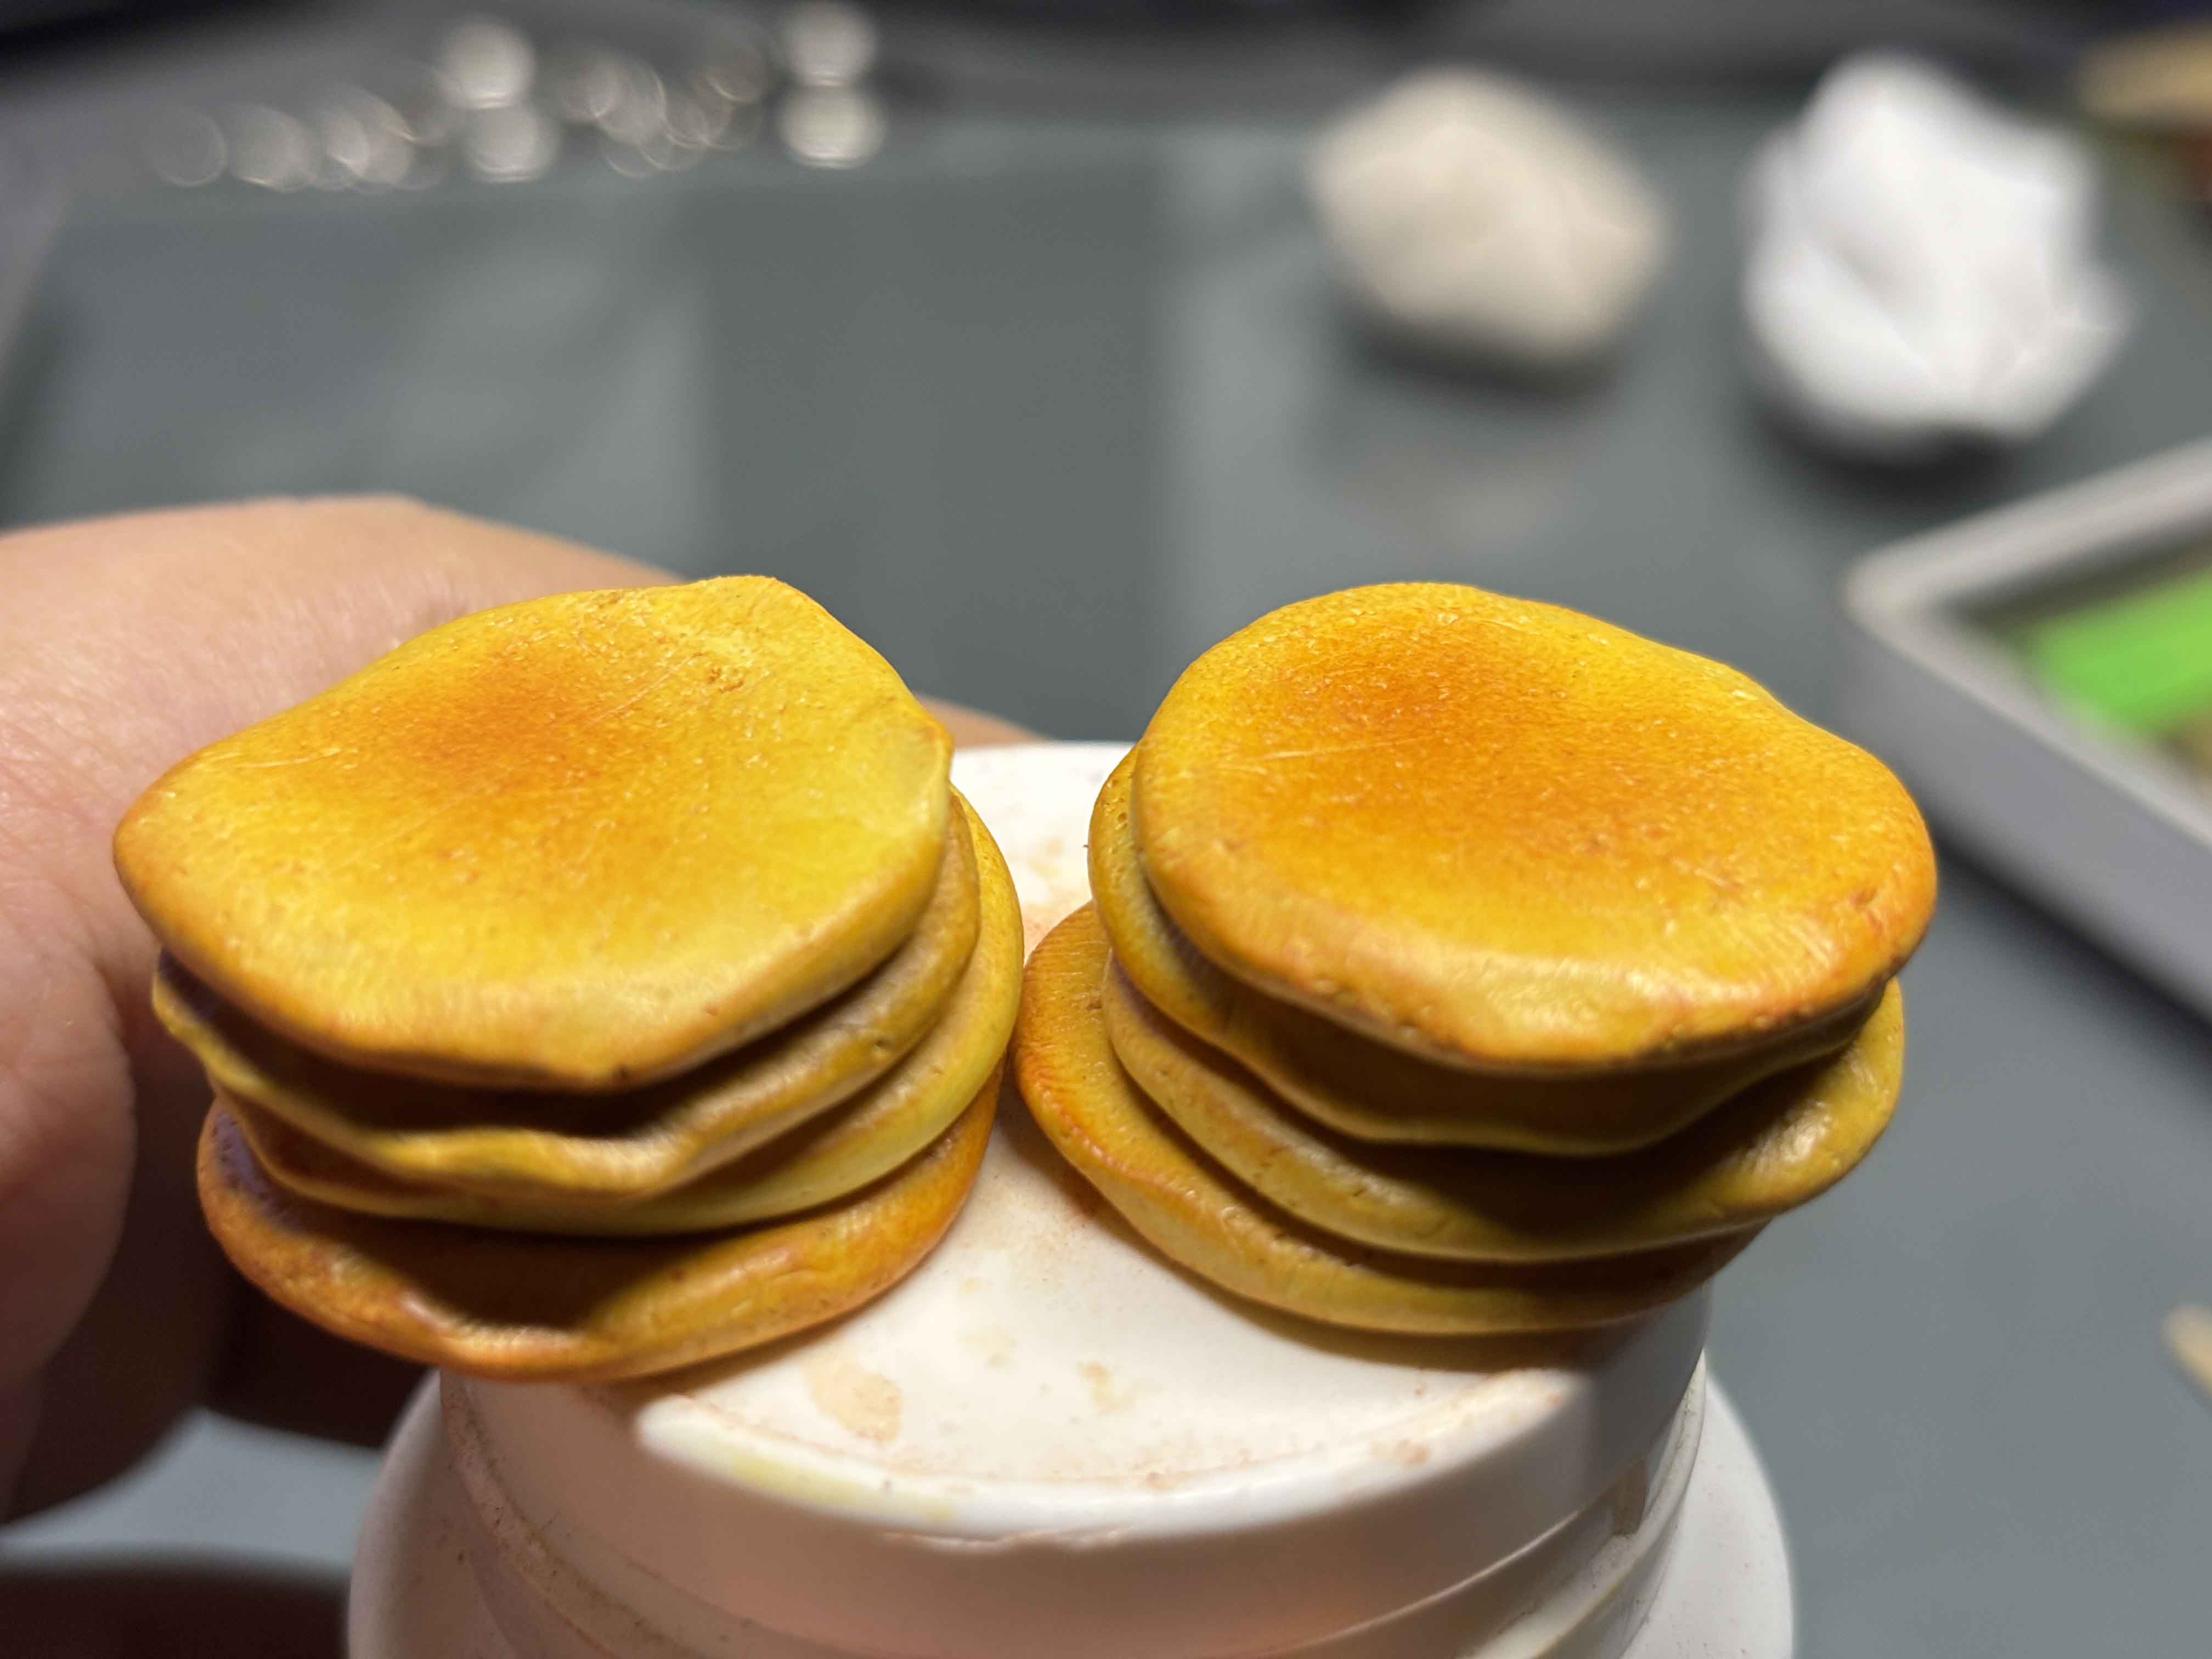
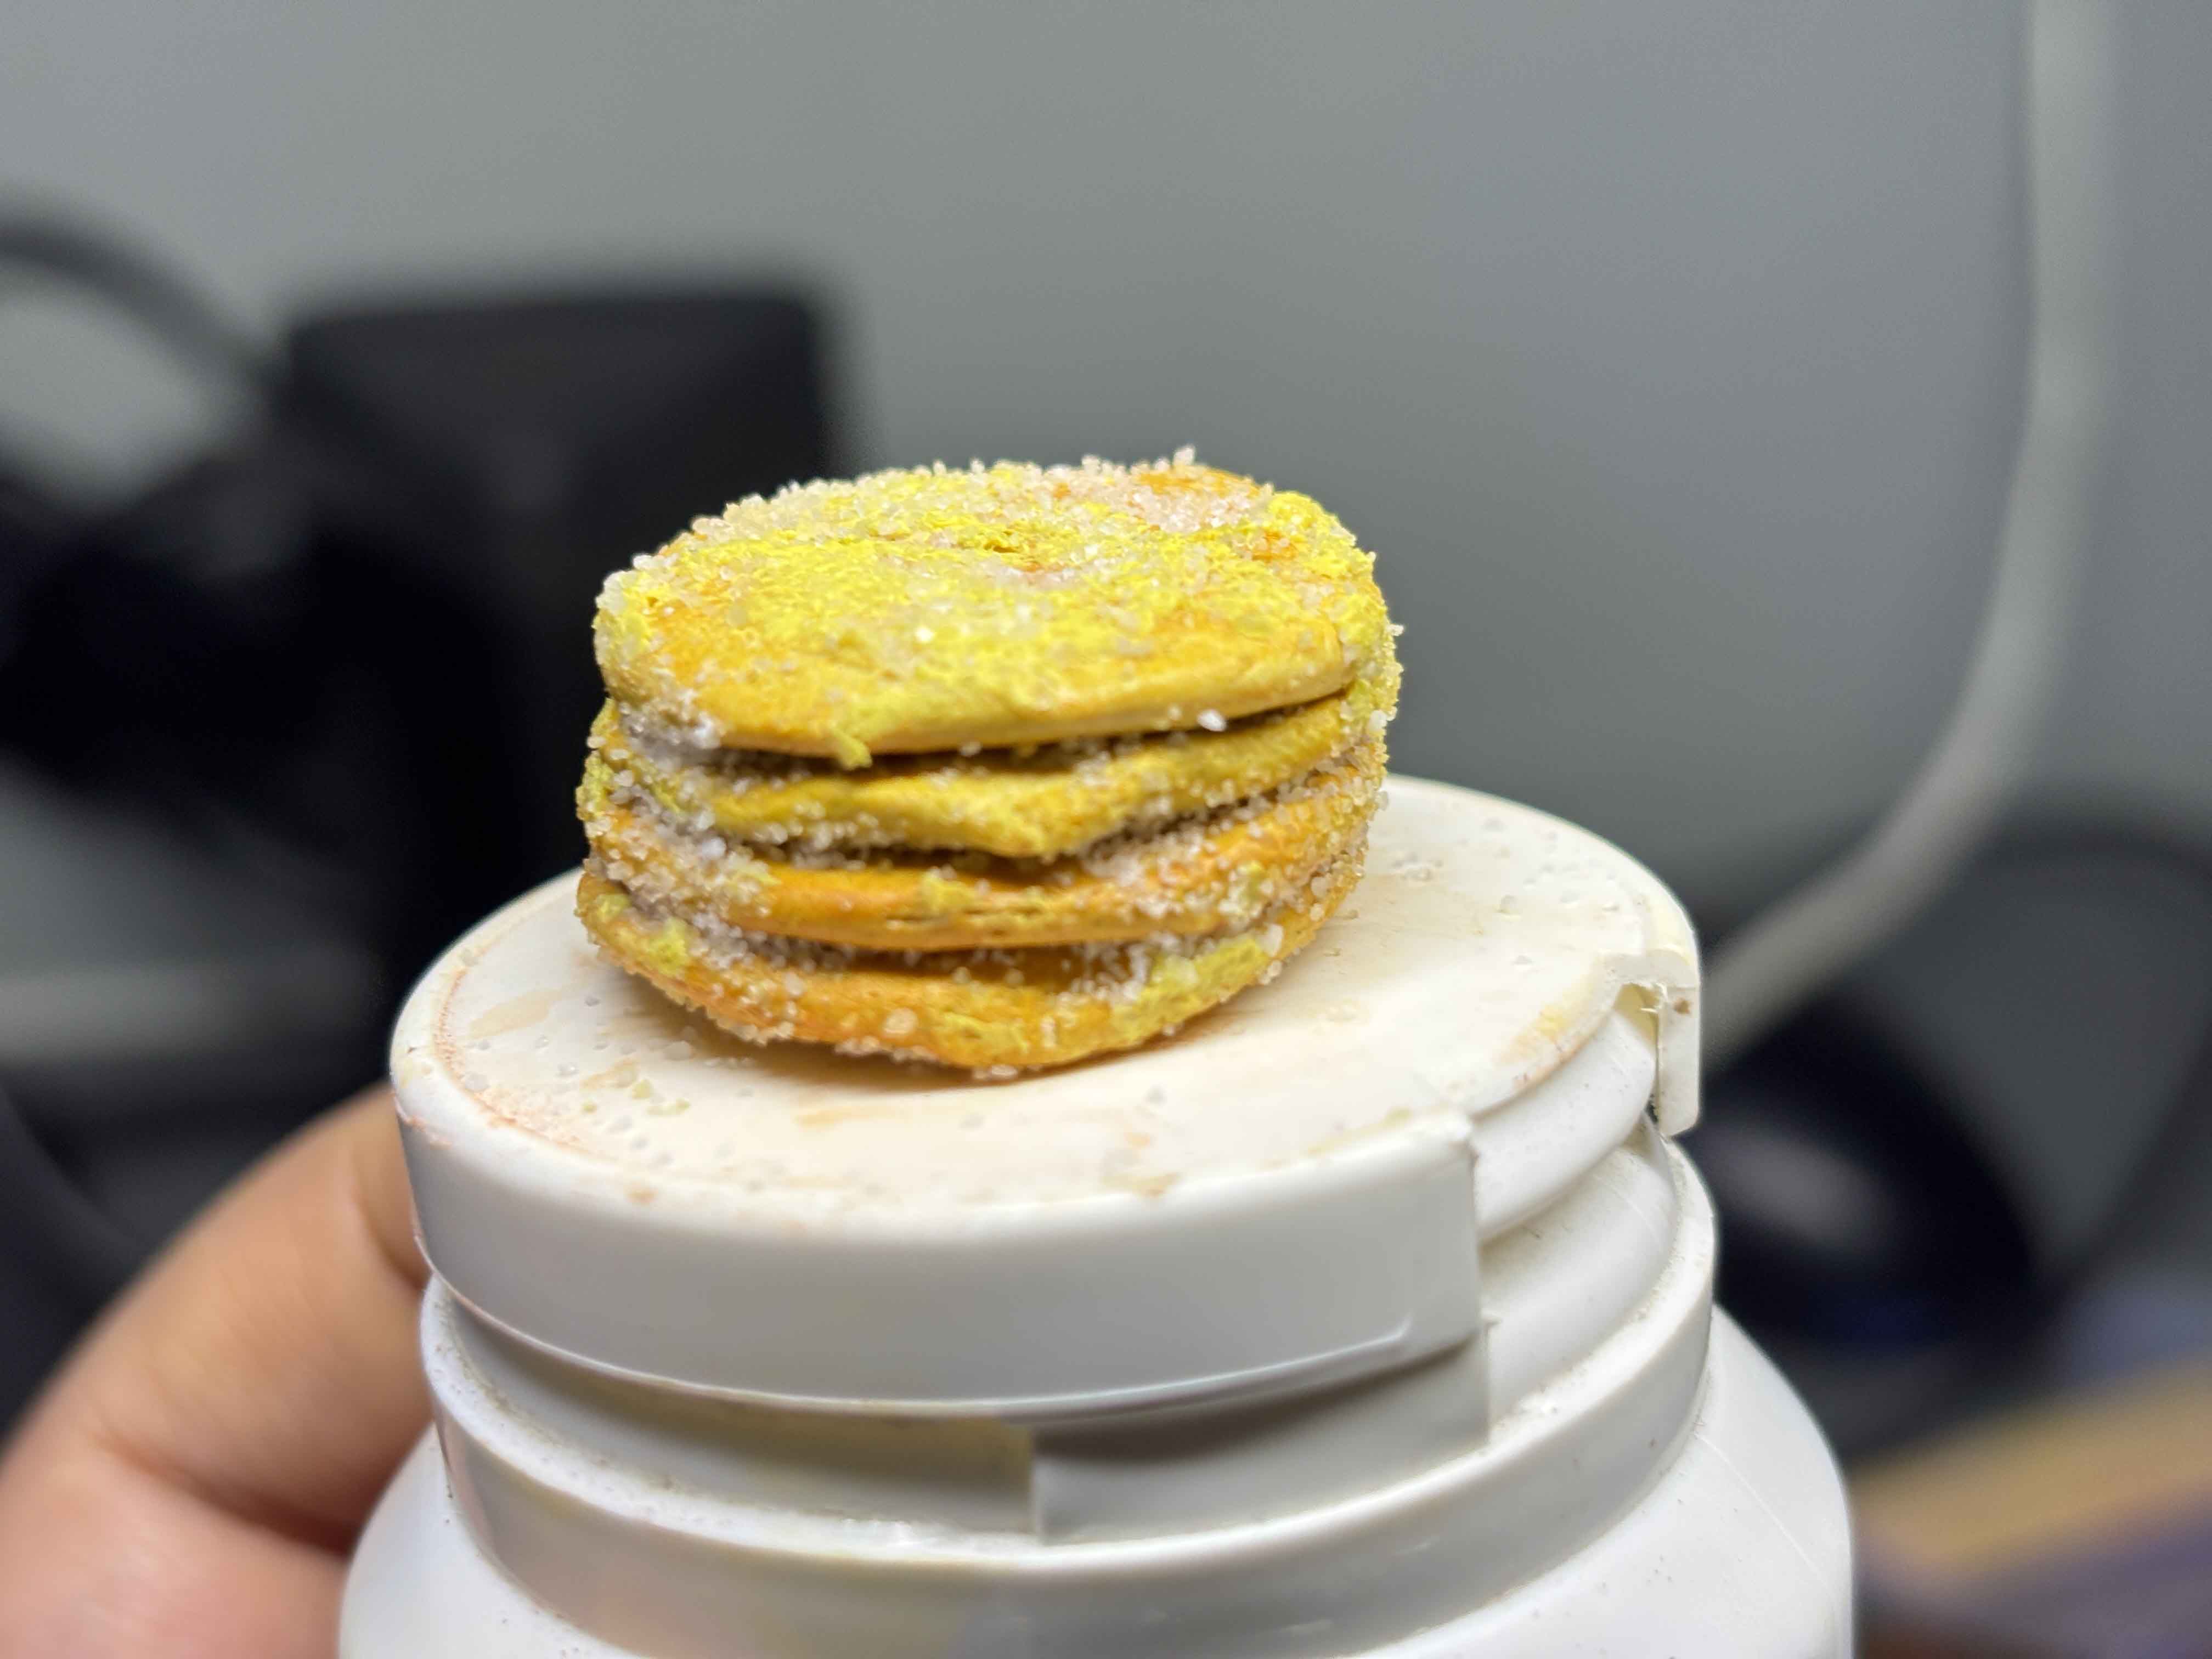
To make it easier to stack, I use this gum container to place the hotcakes clay, and this is what they look like.
----
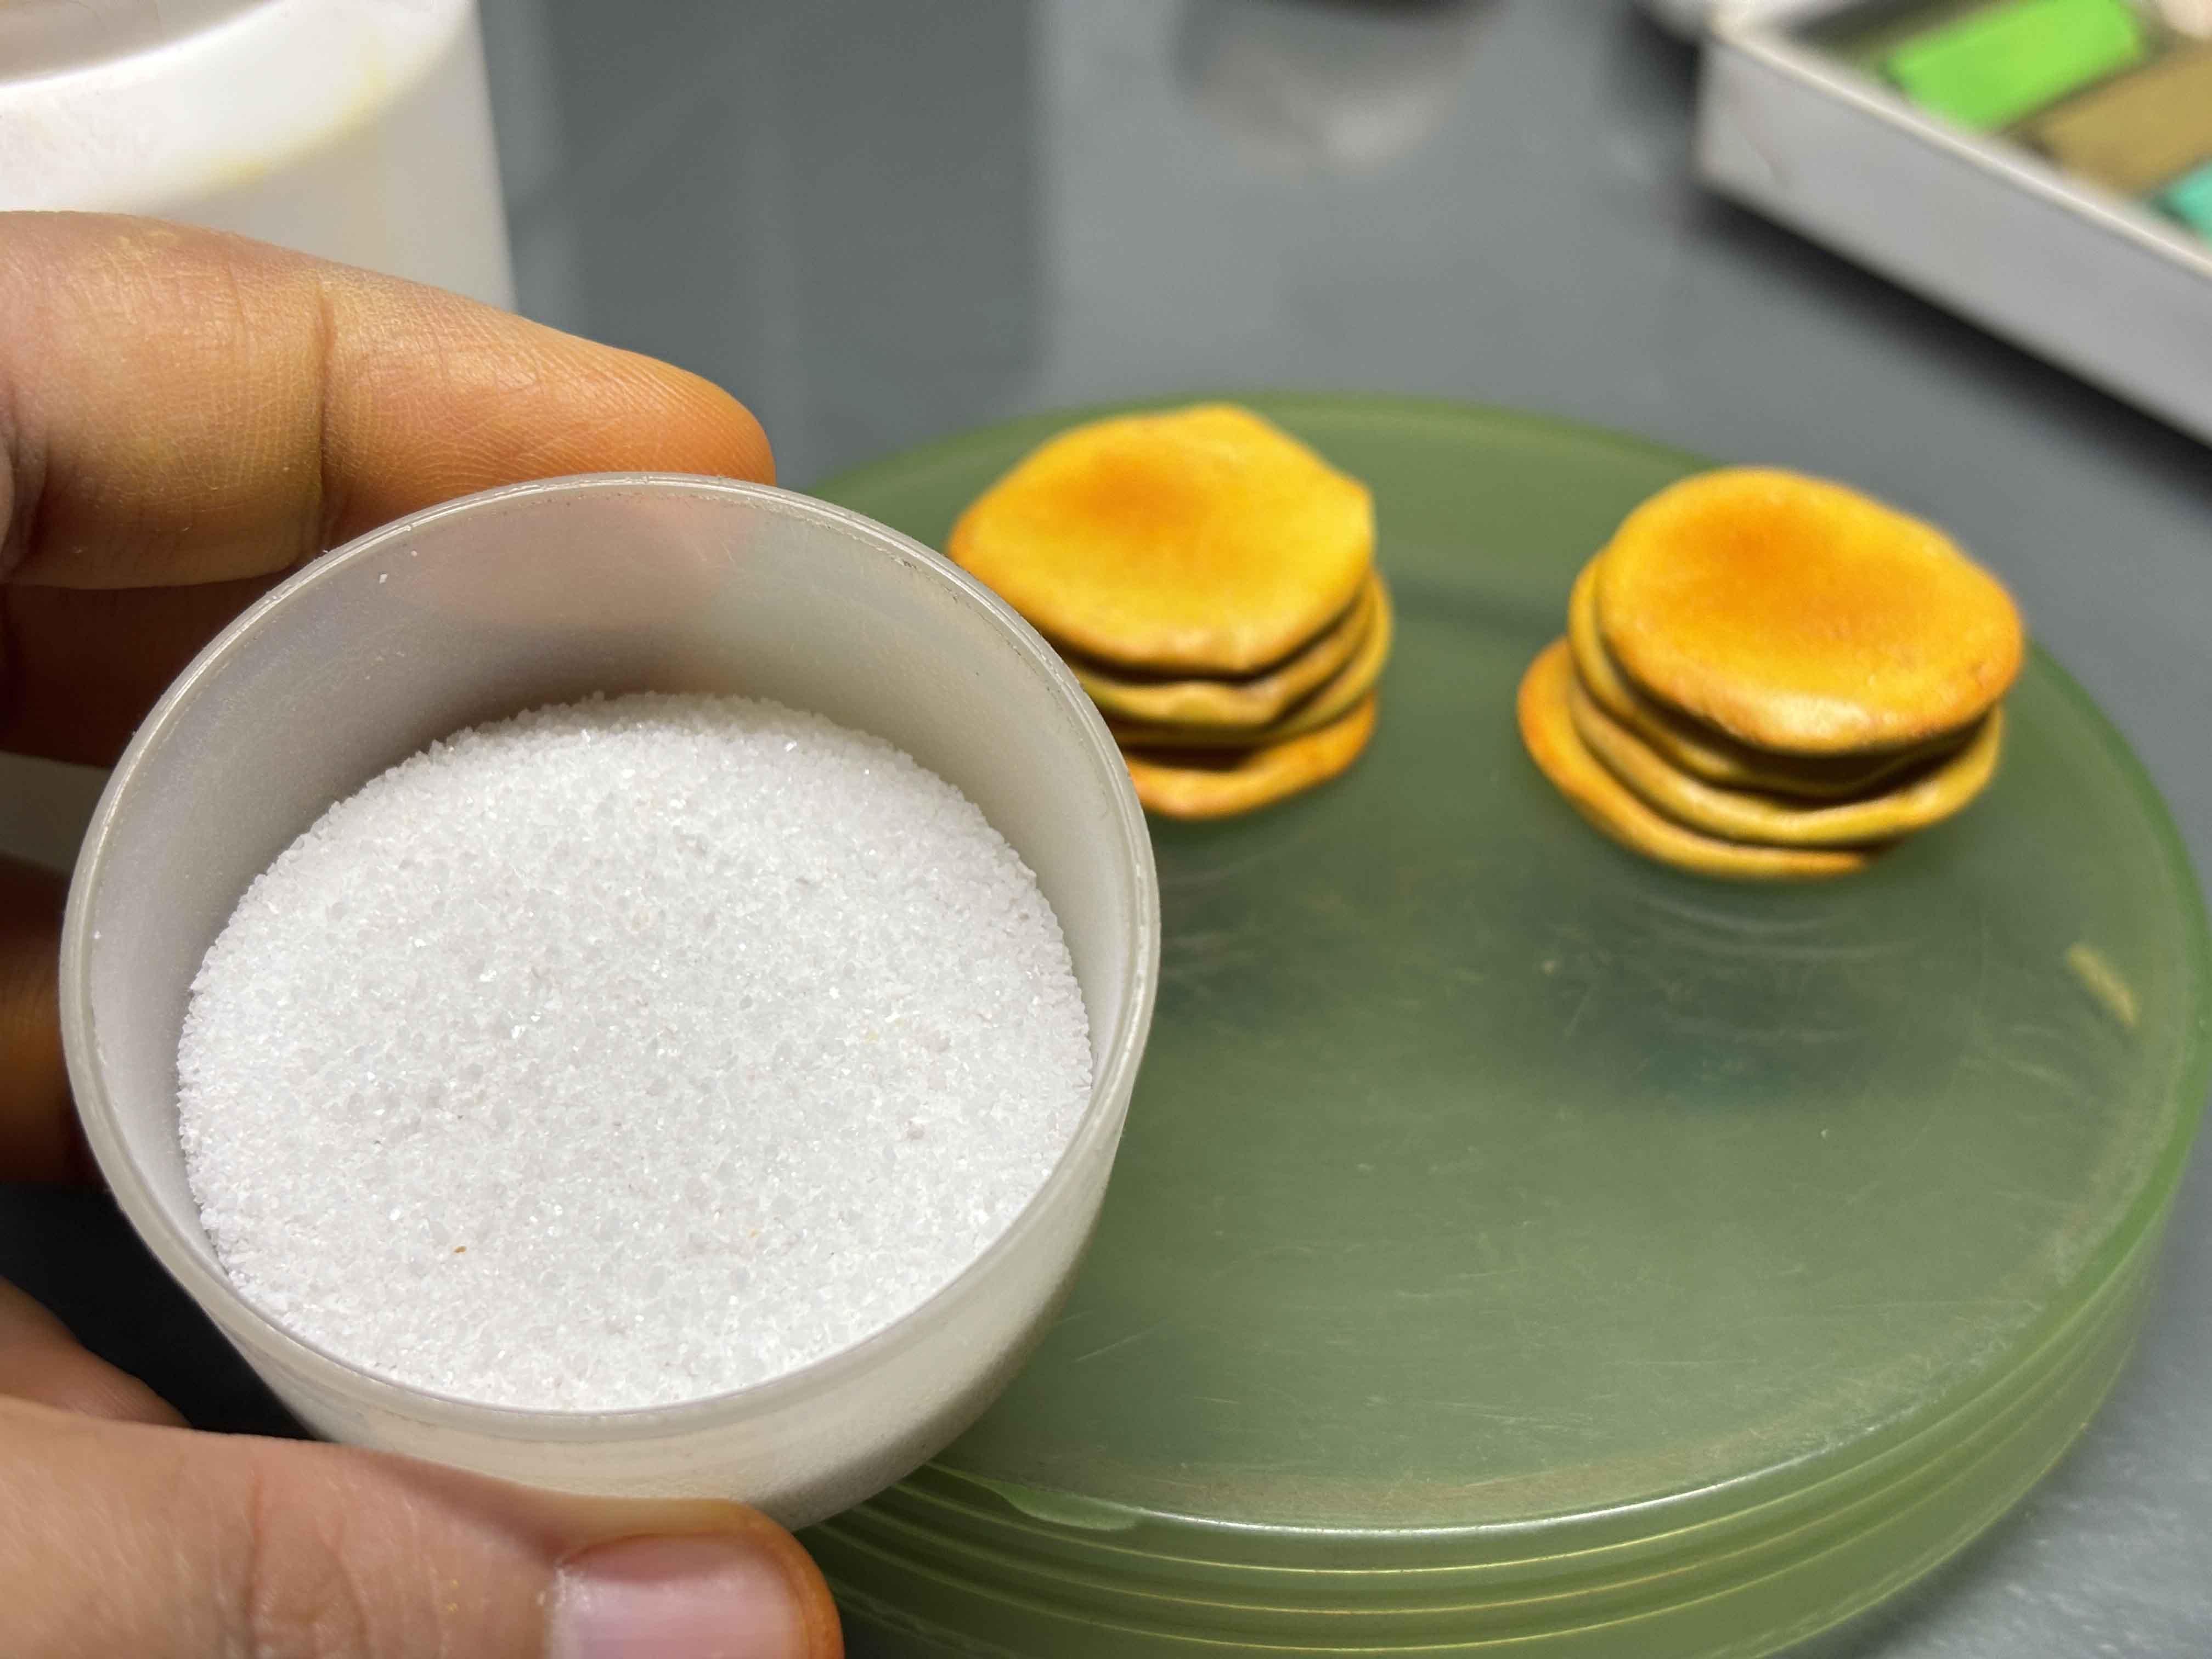
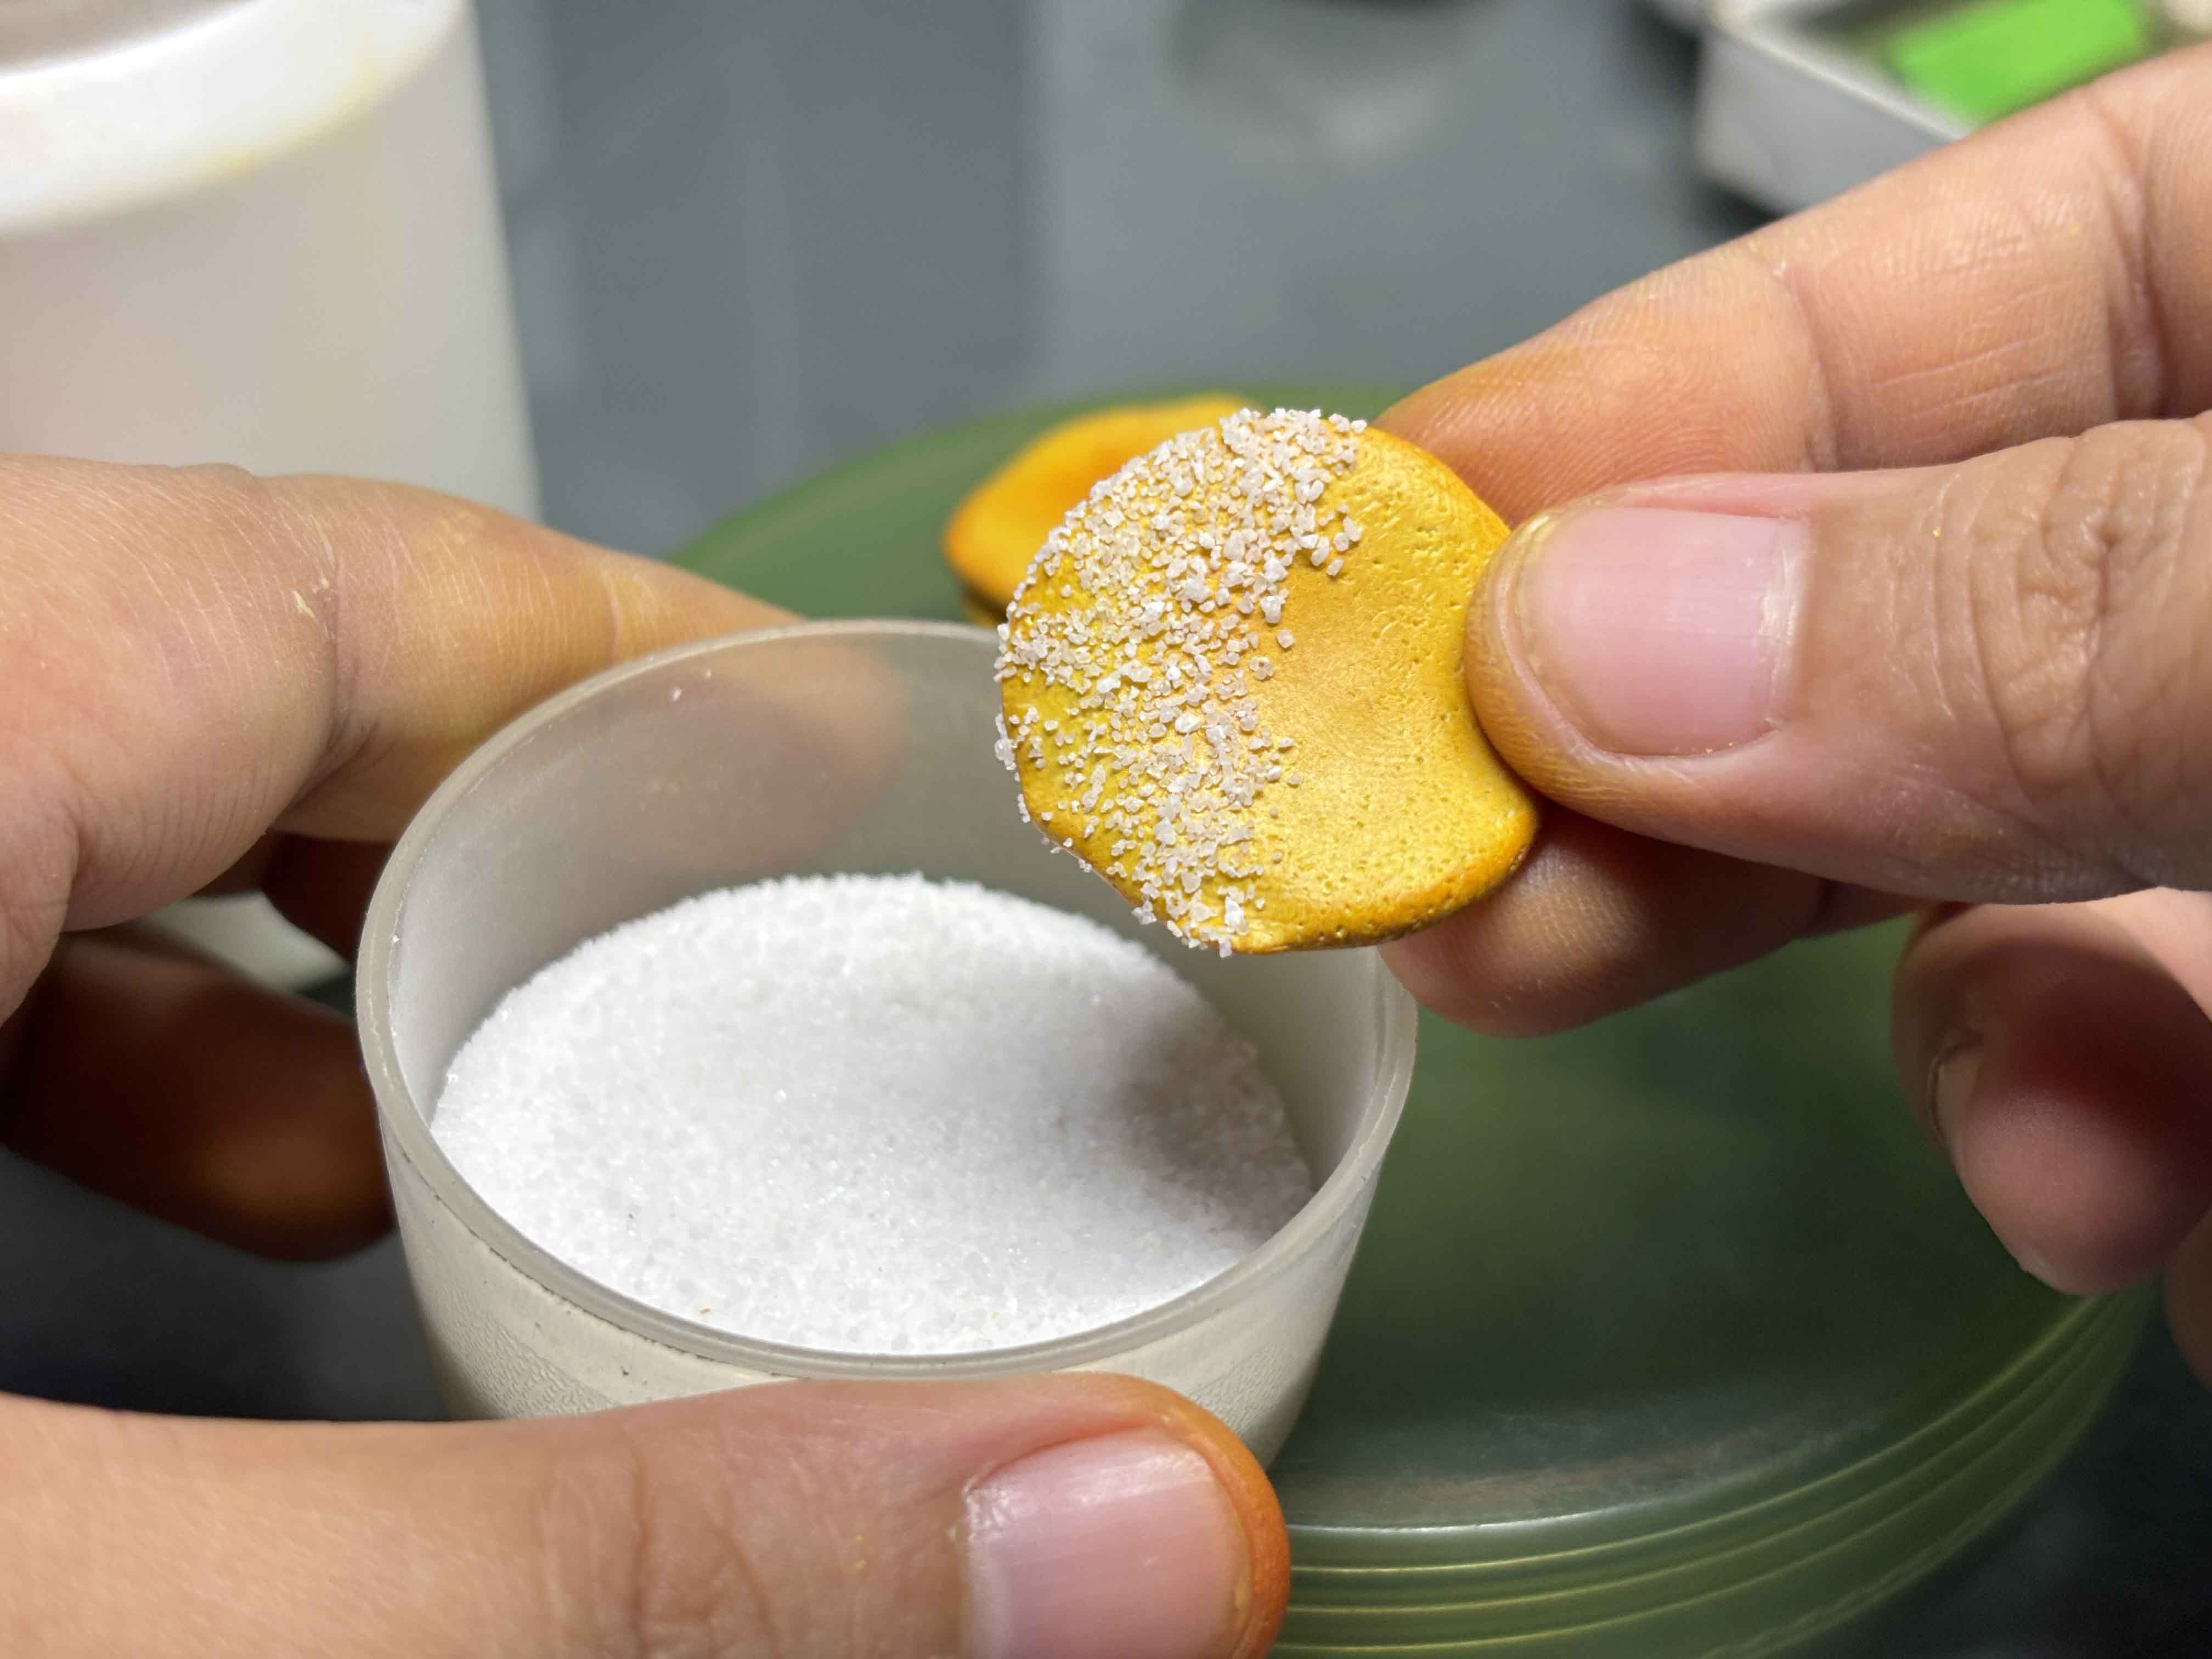
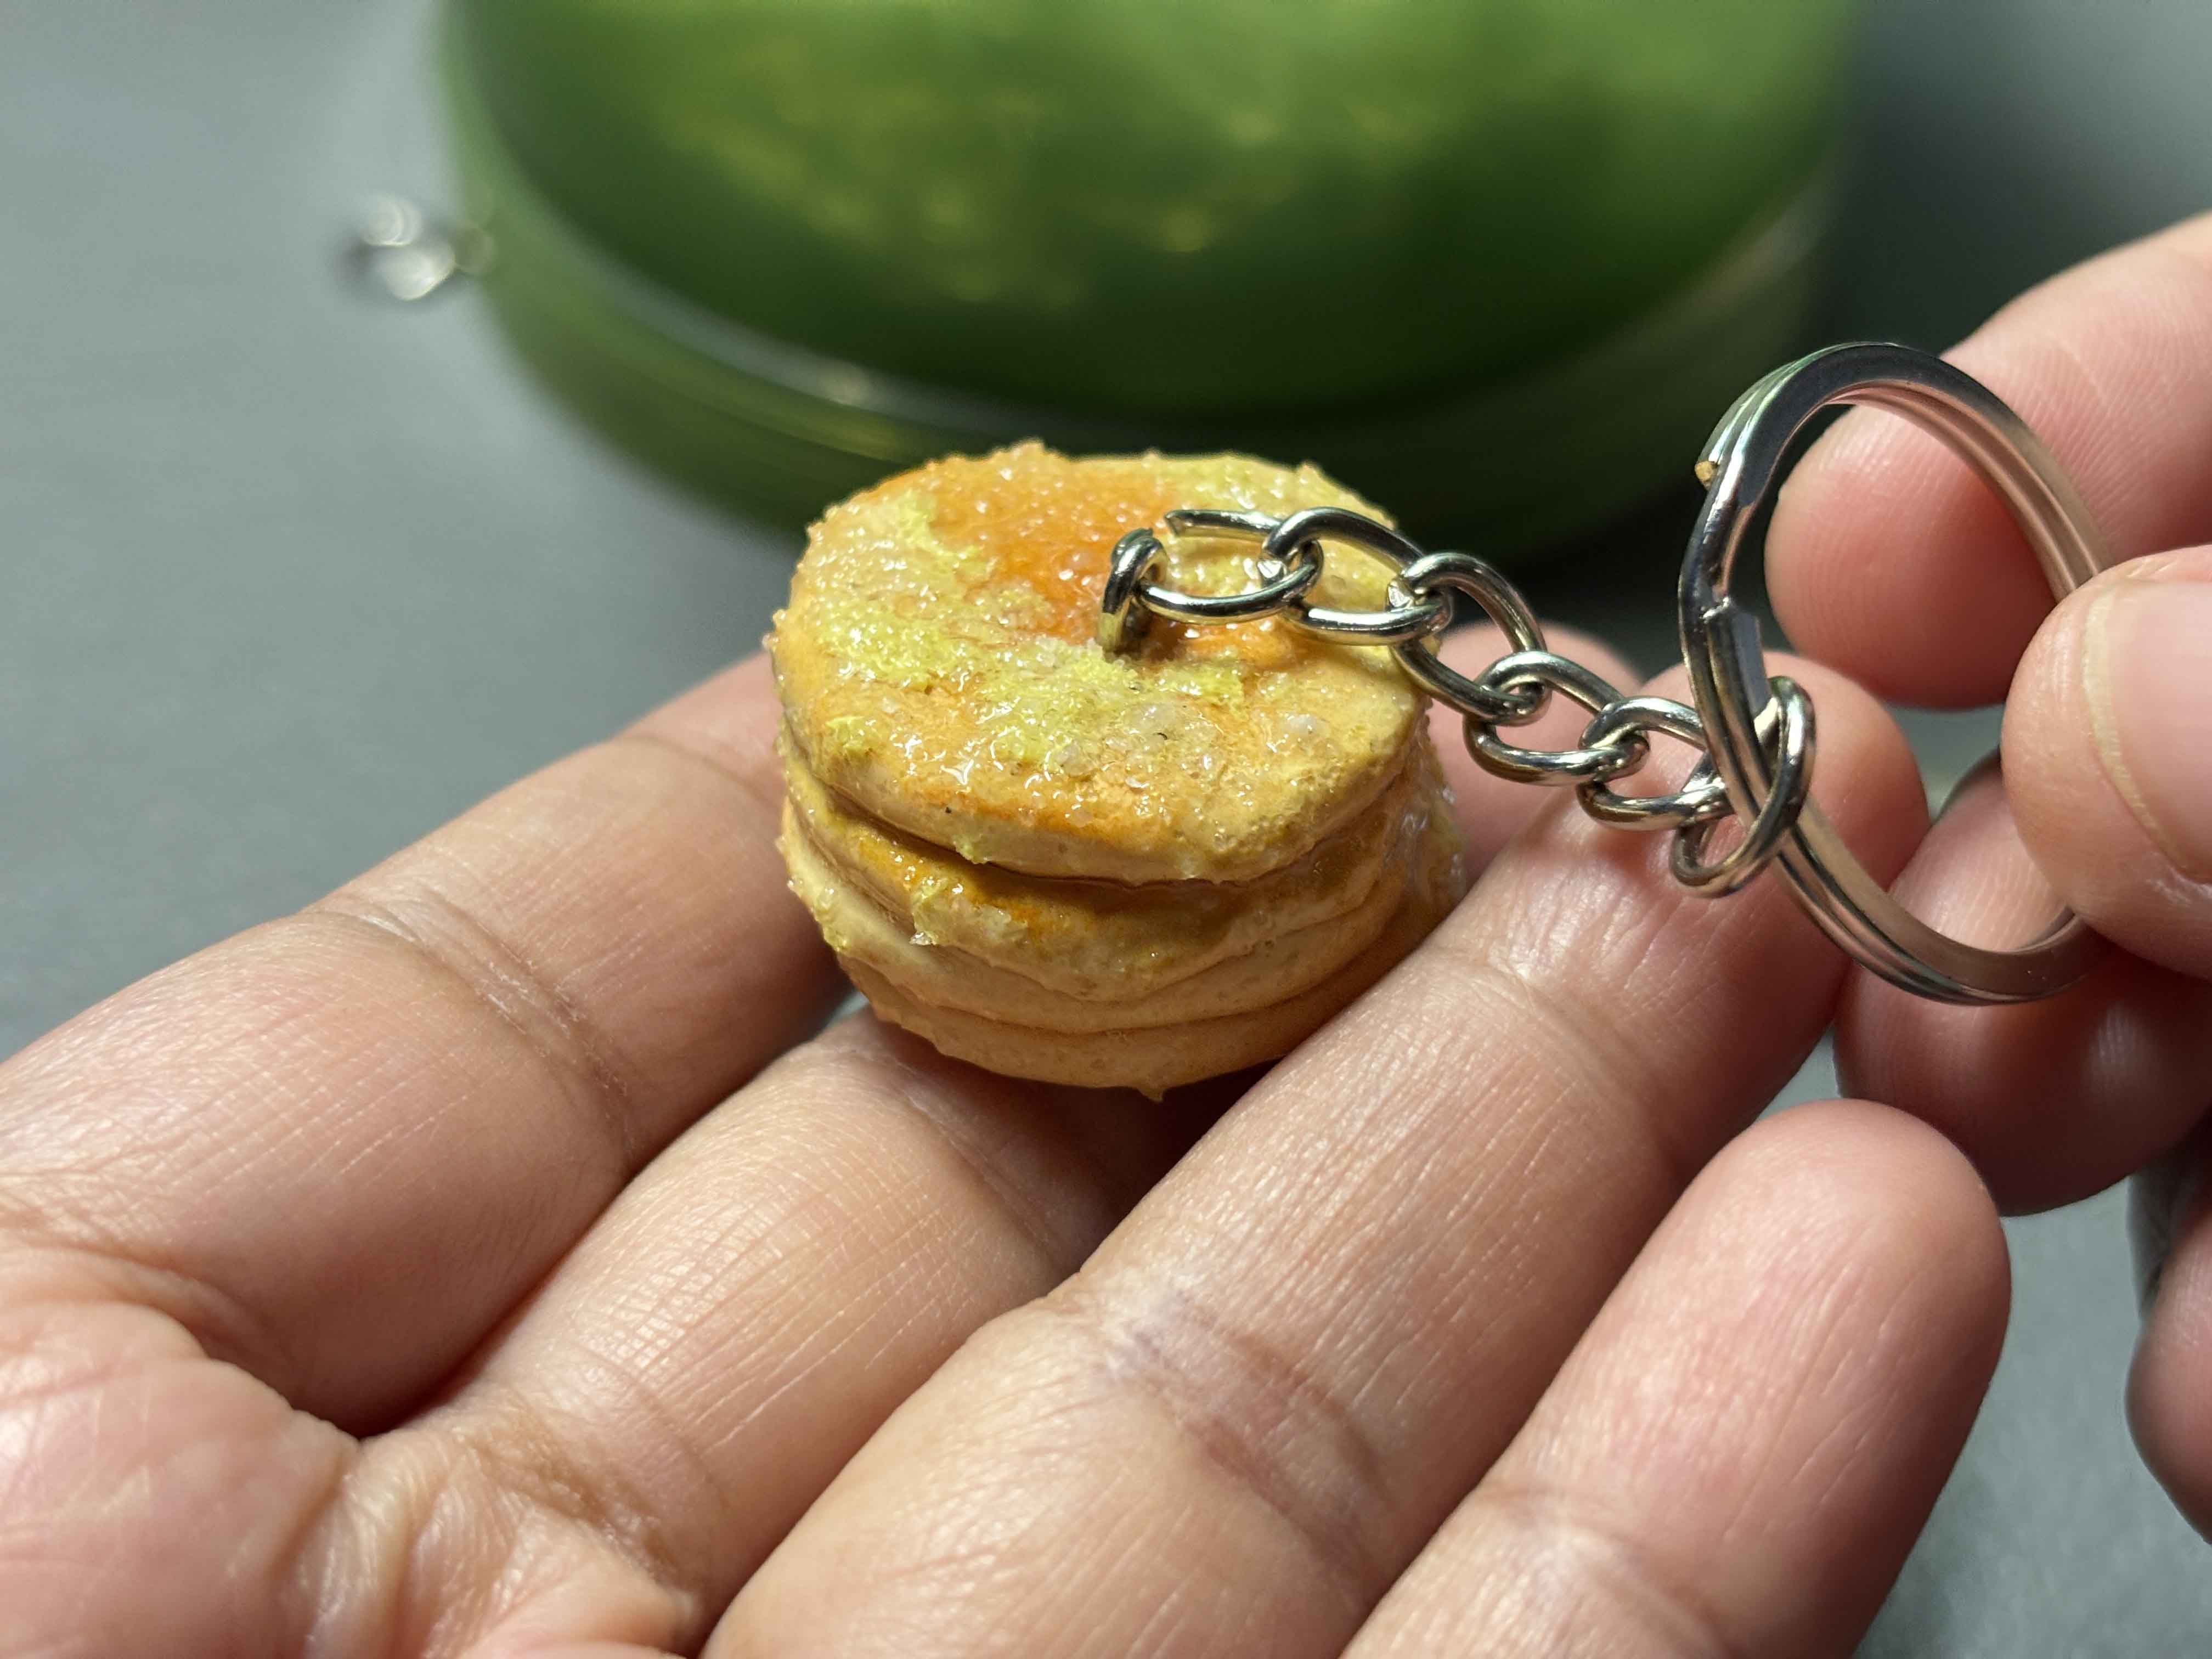
After that, what I do next is I use this white sand as sugar, so hotcakes here in the Philippines they put sugar on it, I do it only on the top hotcake.
-----
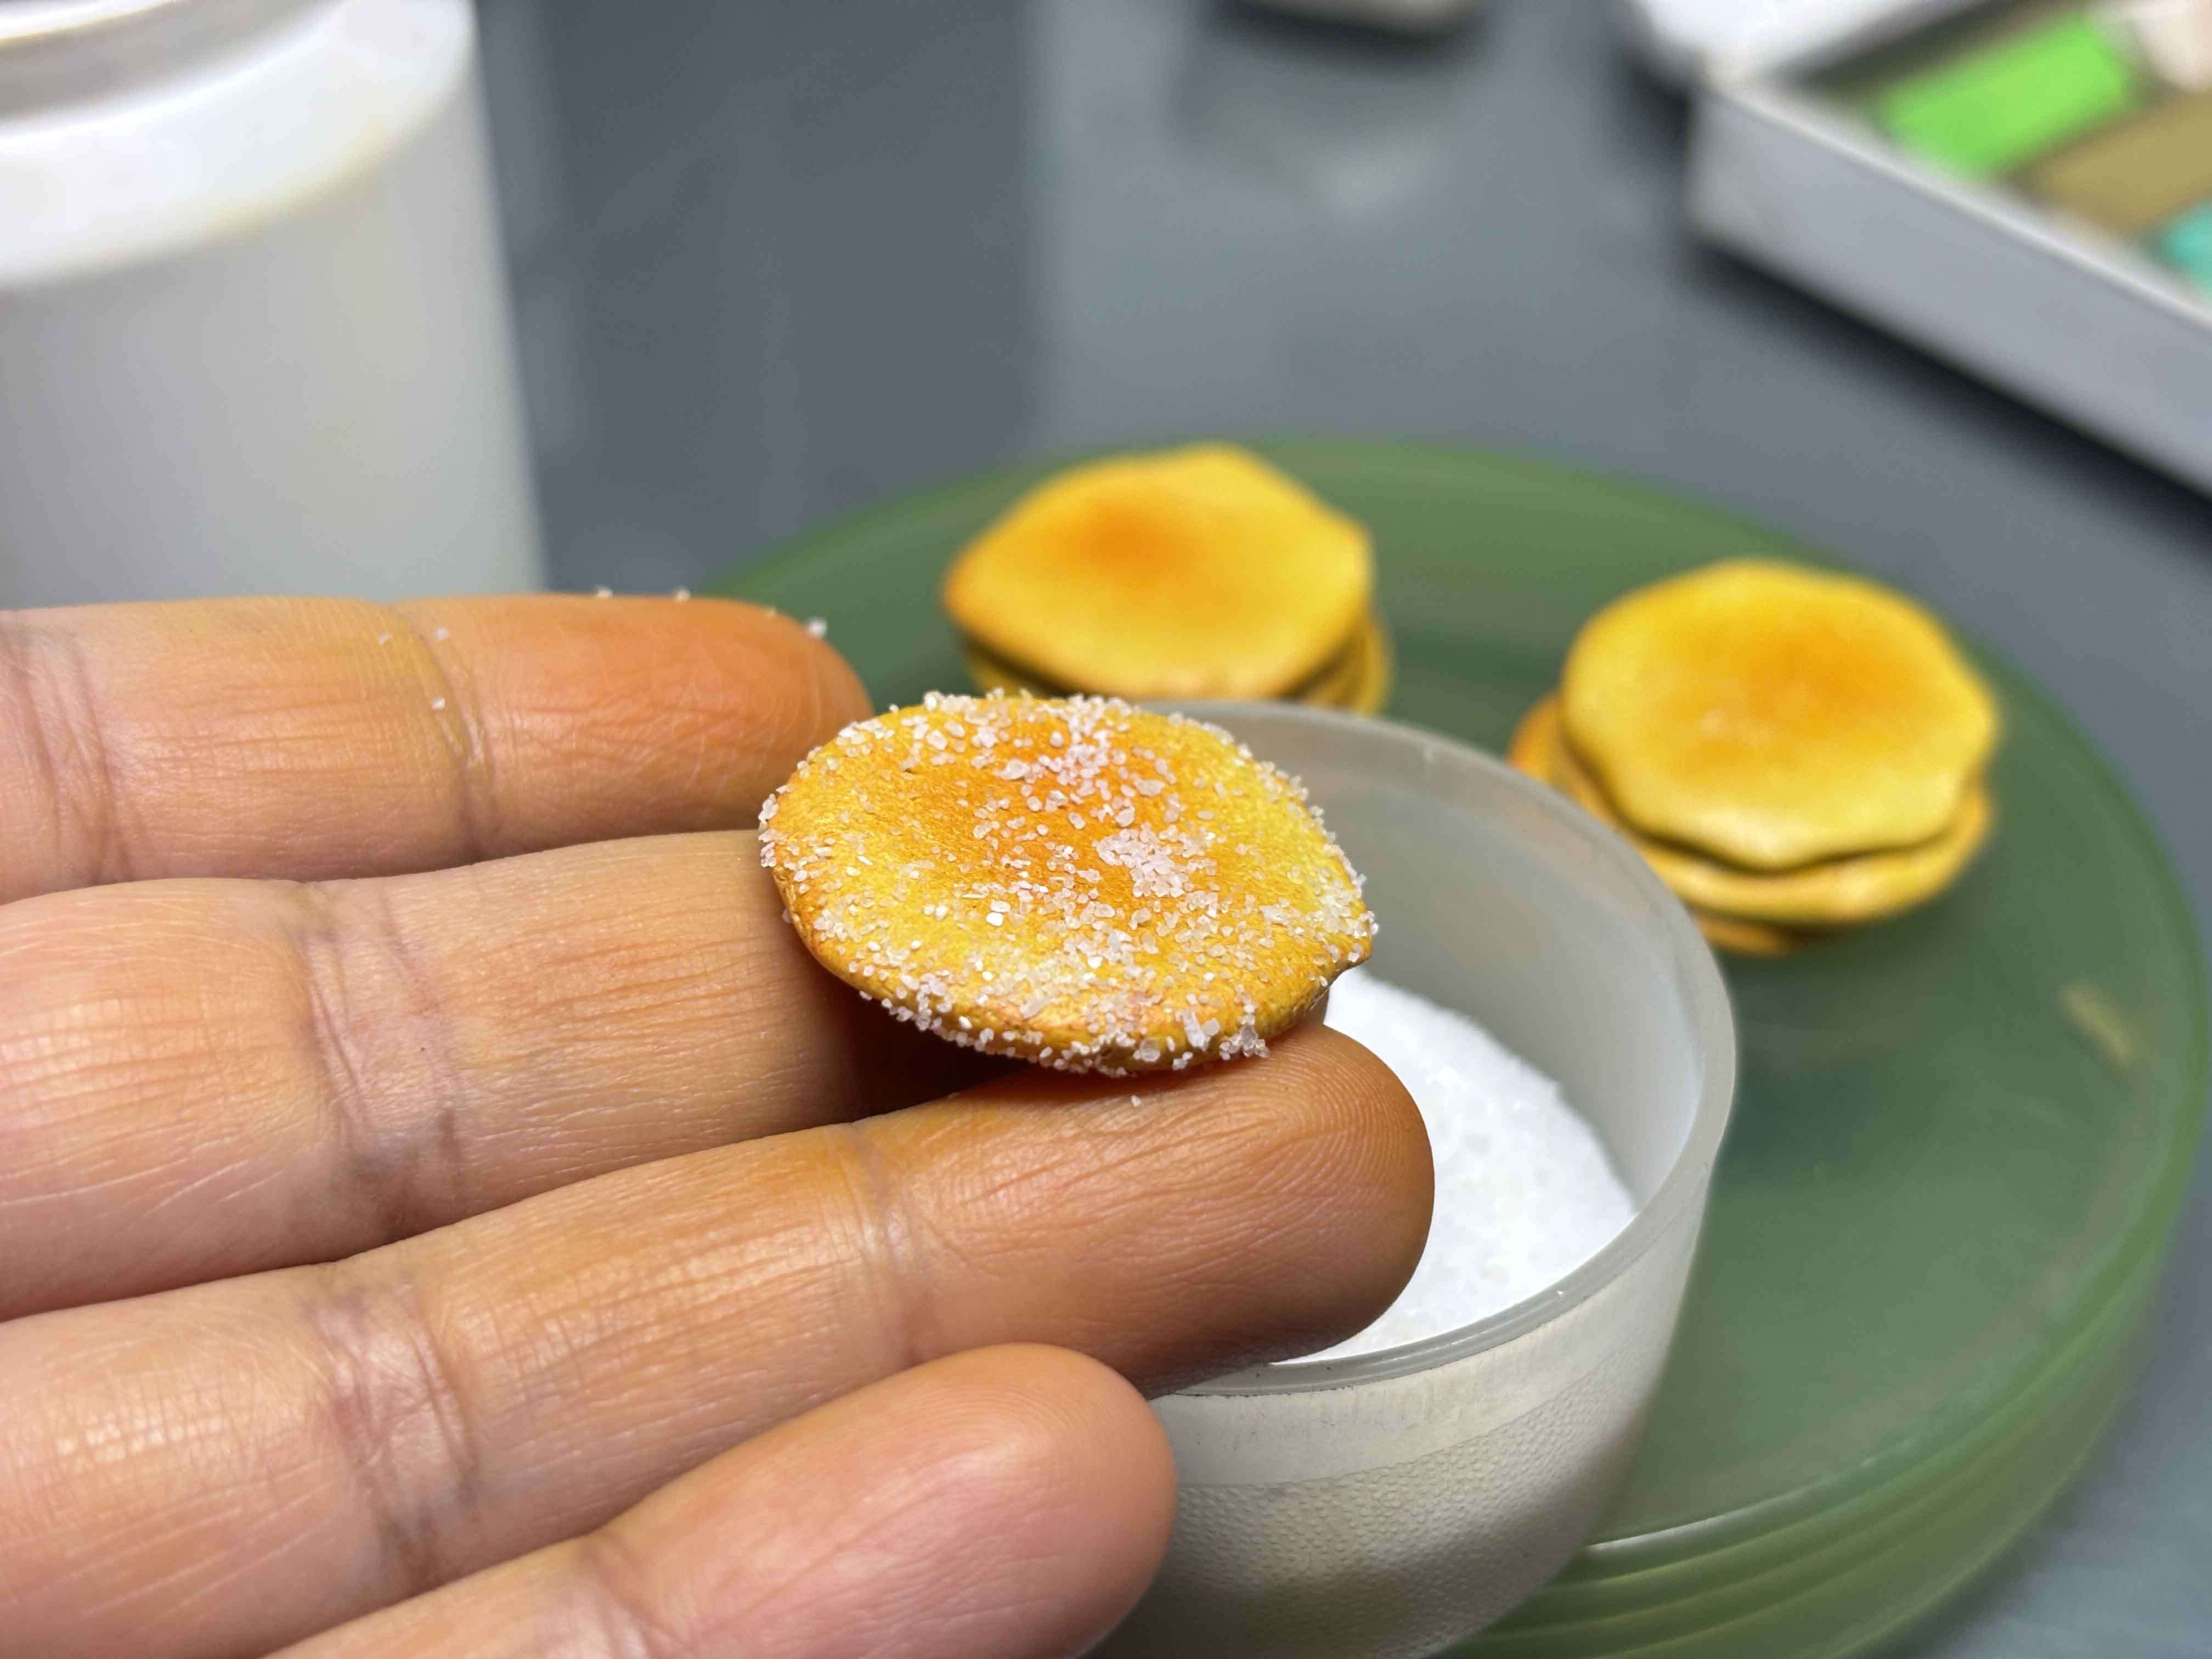
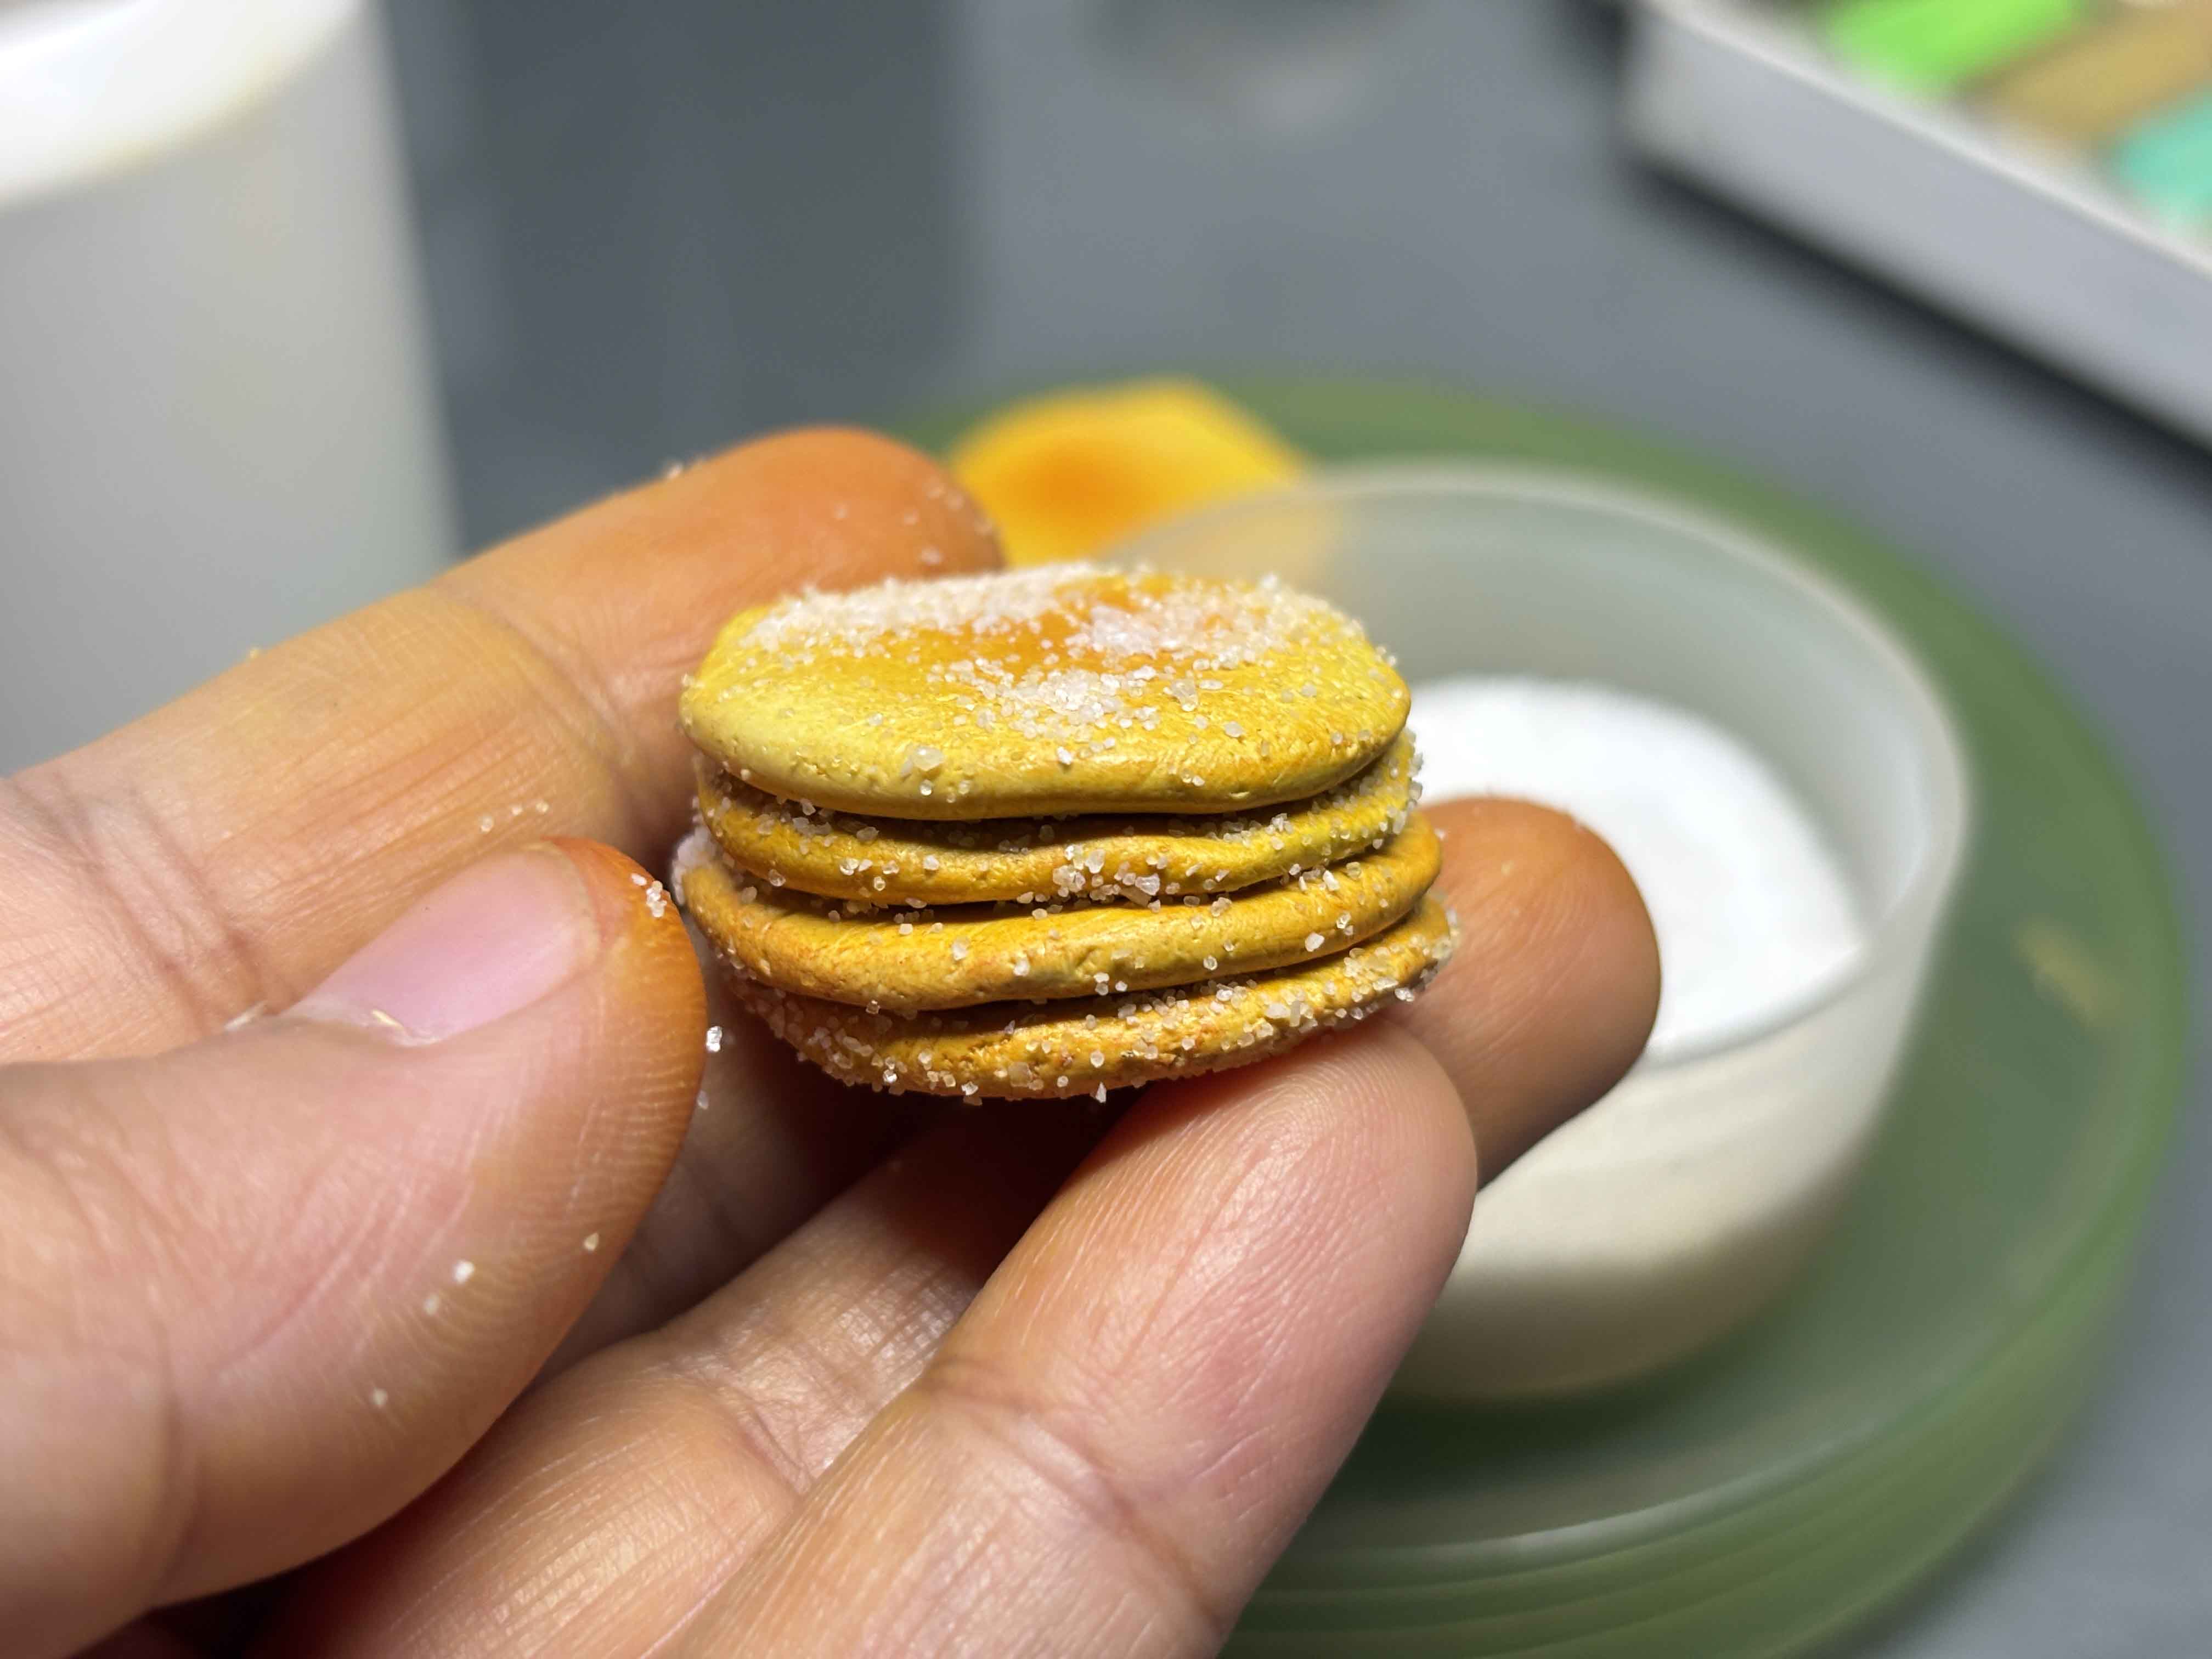
And then return that sugared hotcake clay to the 3-stack hotcake clay, and then I roll that 4 layers in sand just the side of it.
----
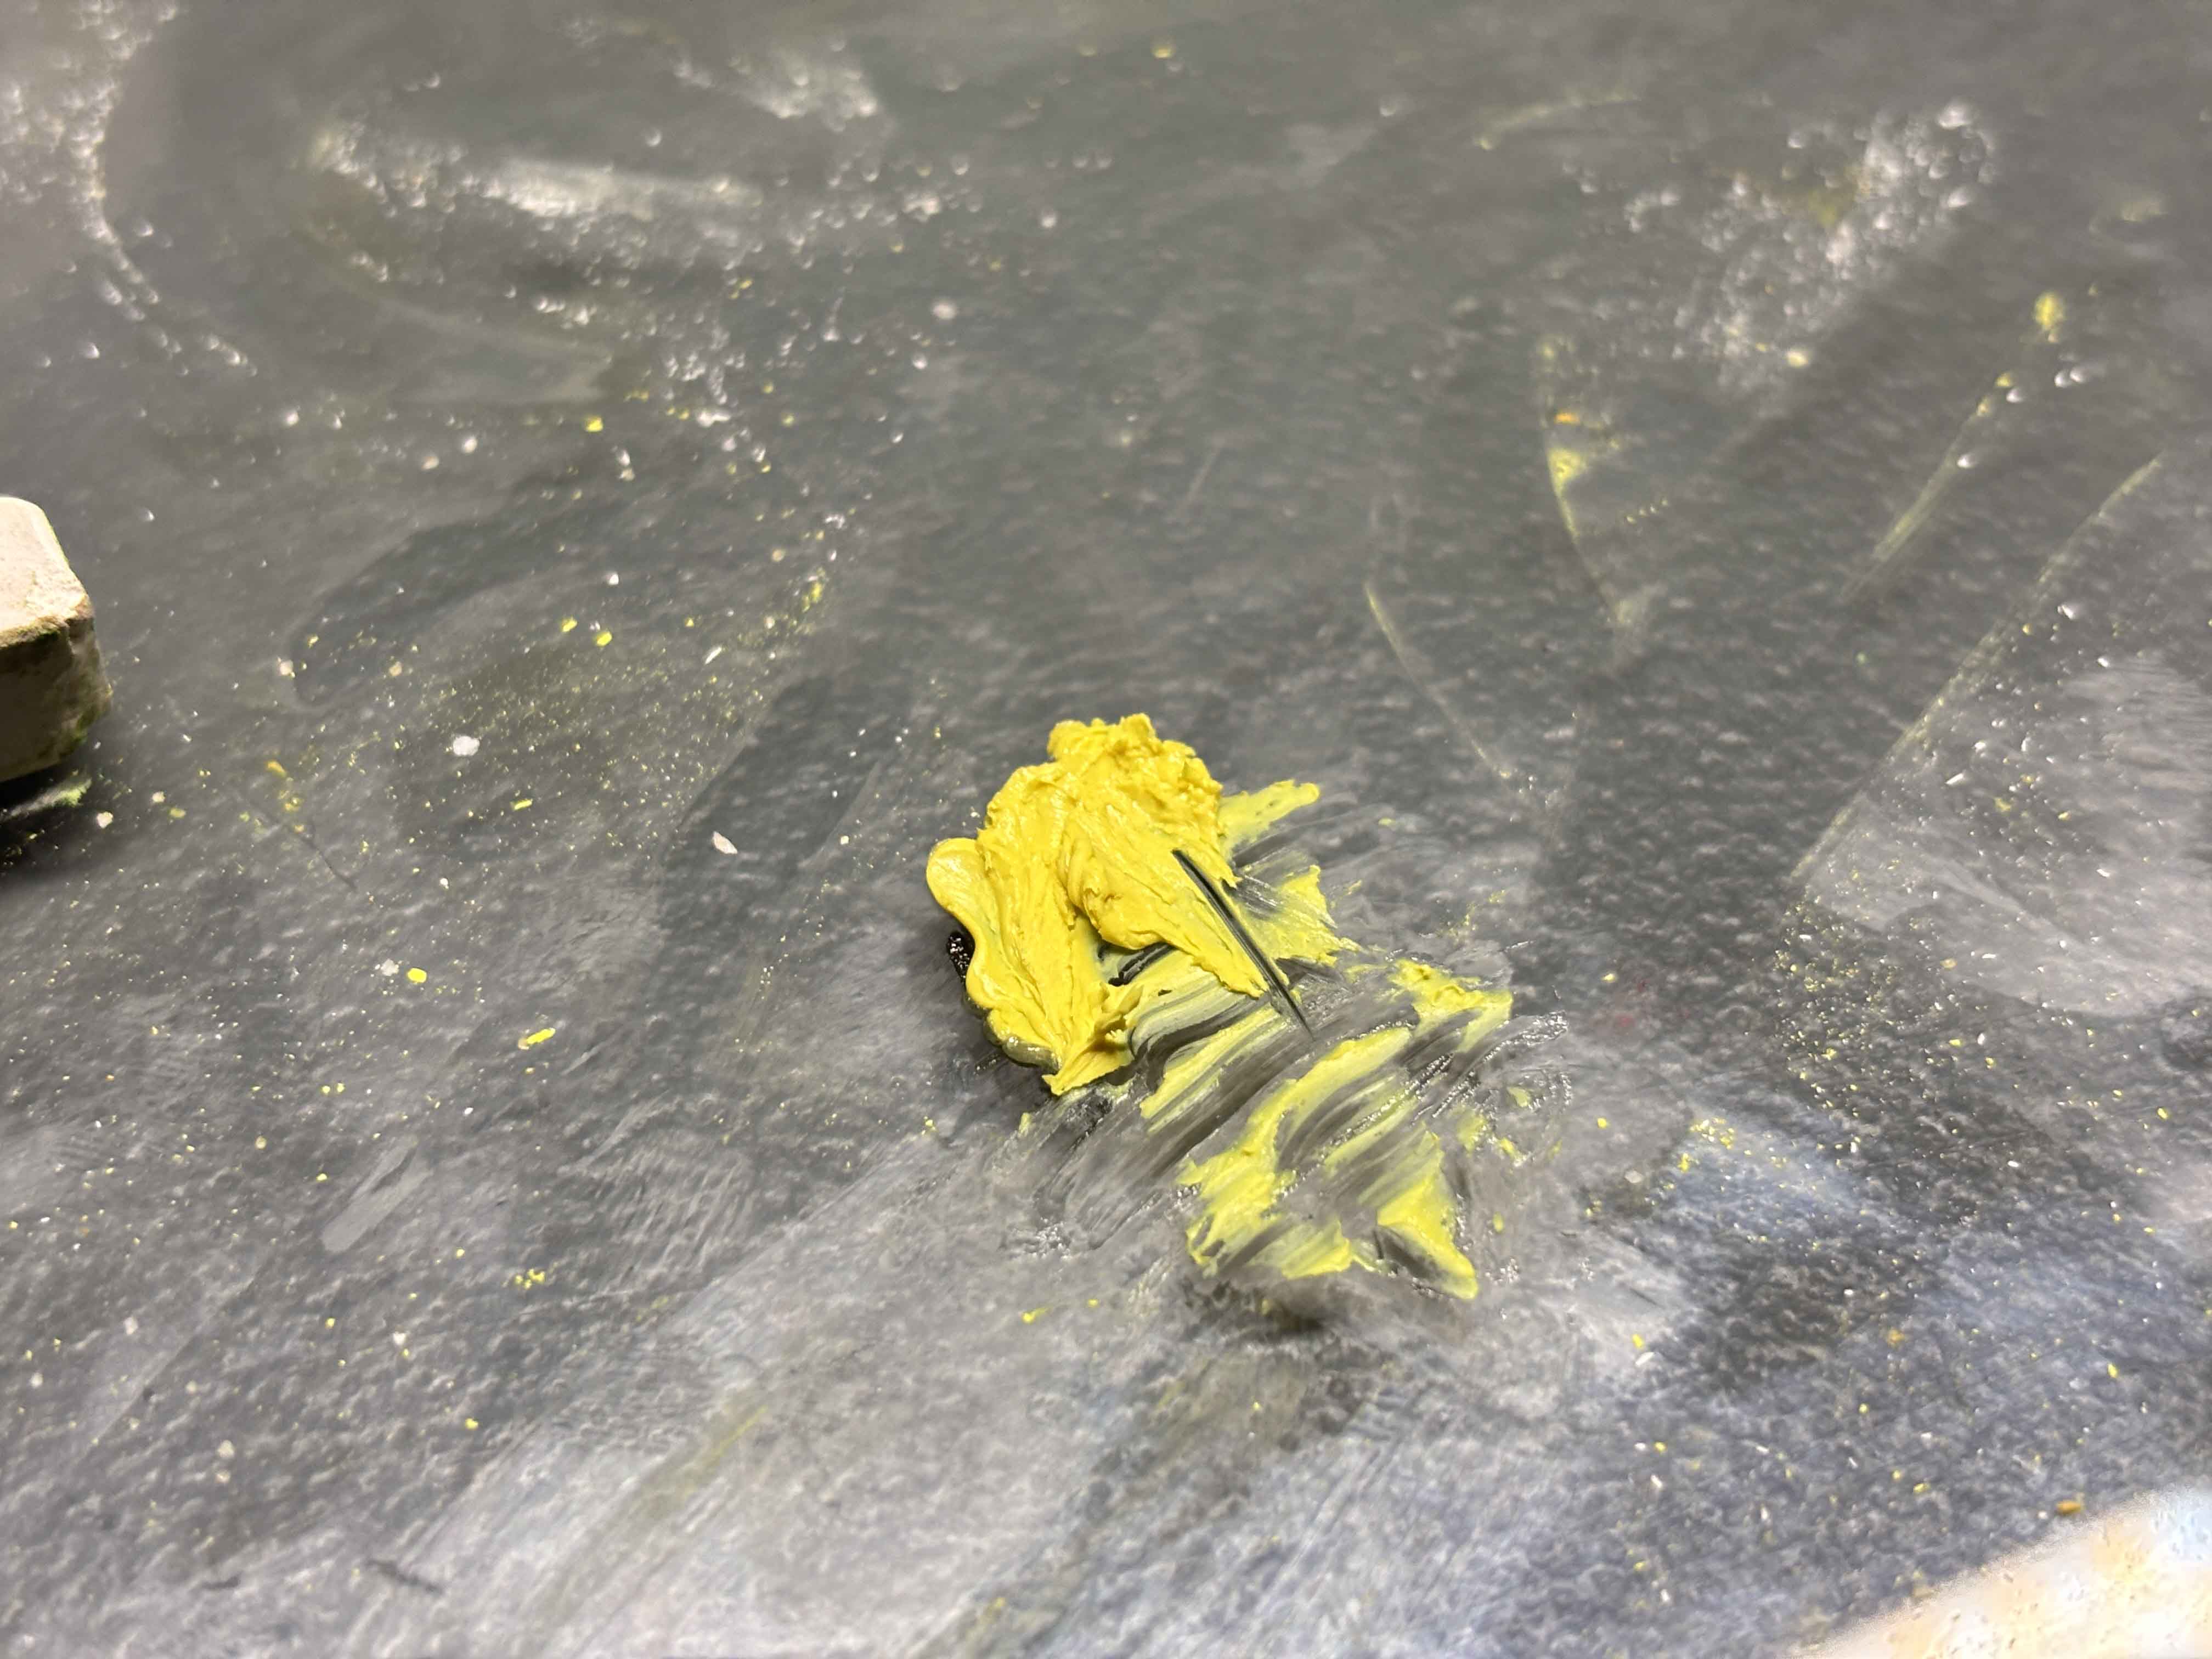
After that, they added margarine too, so what I do is I mix clay with petroleum jelly to soften the clay, and I add just a little bit of yellow soft pastel, and then put on the hotcake clay.
----
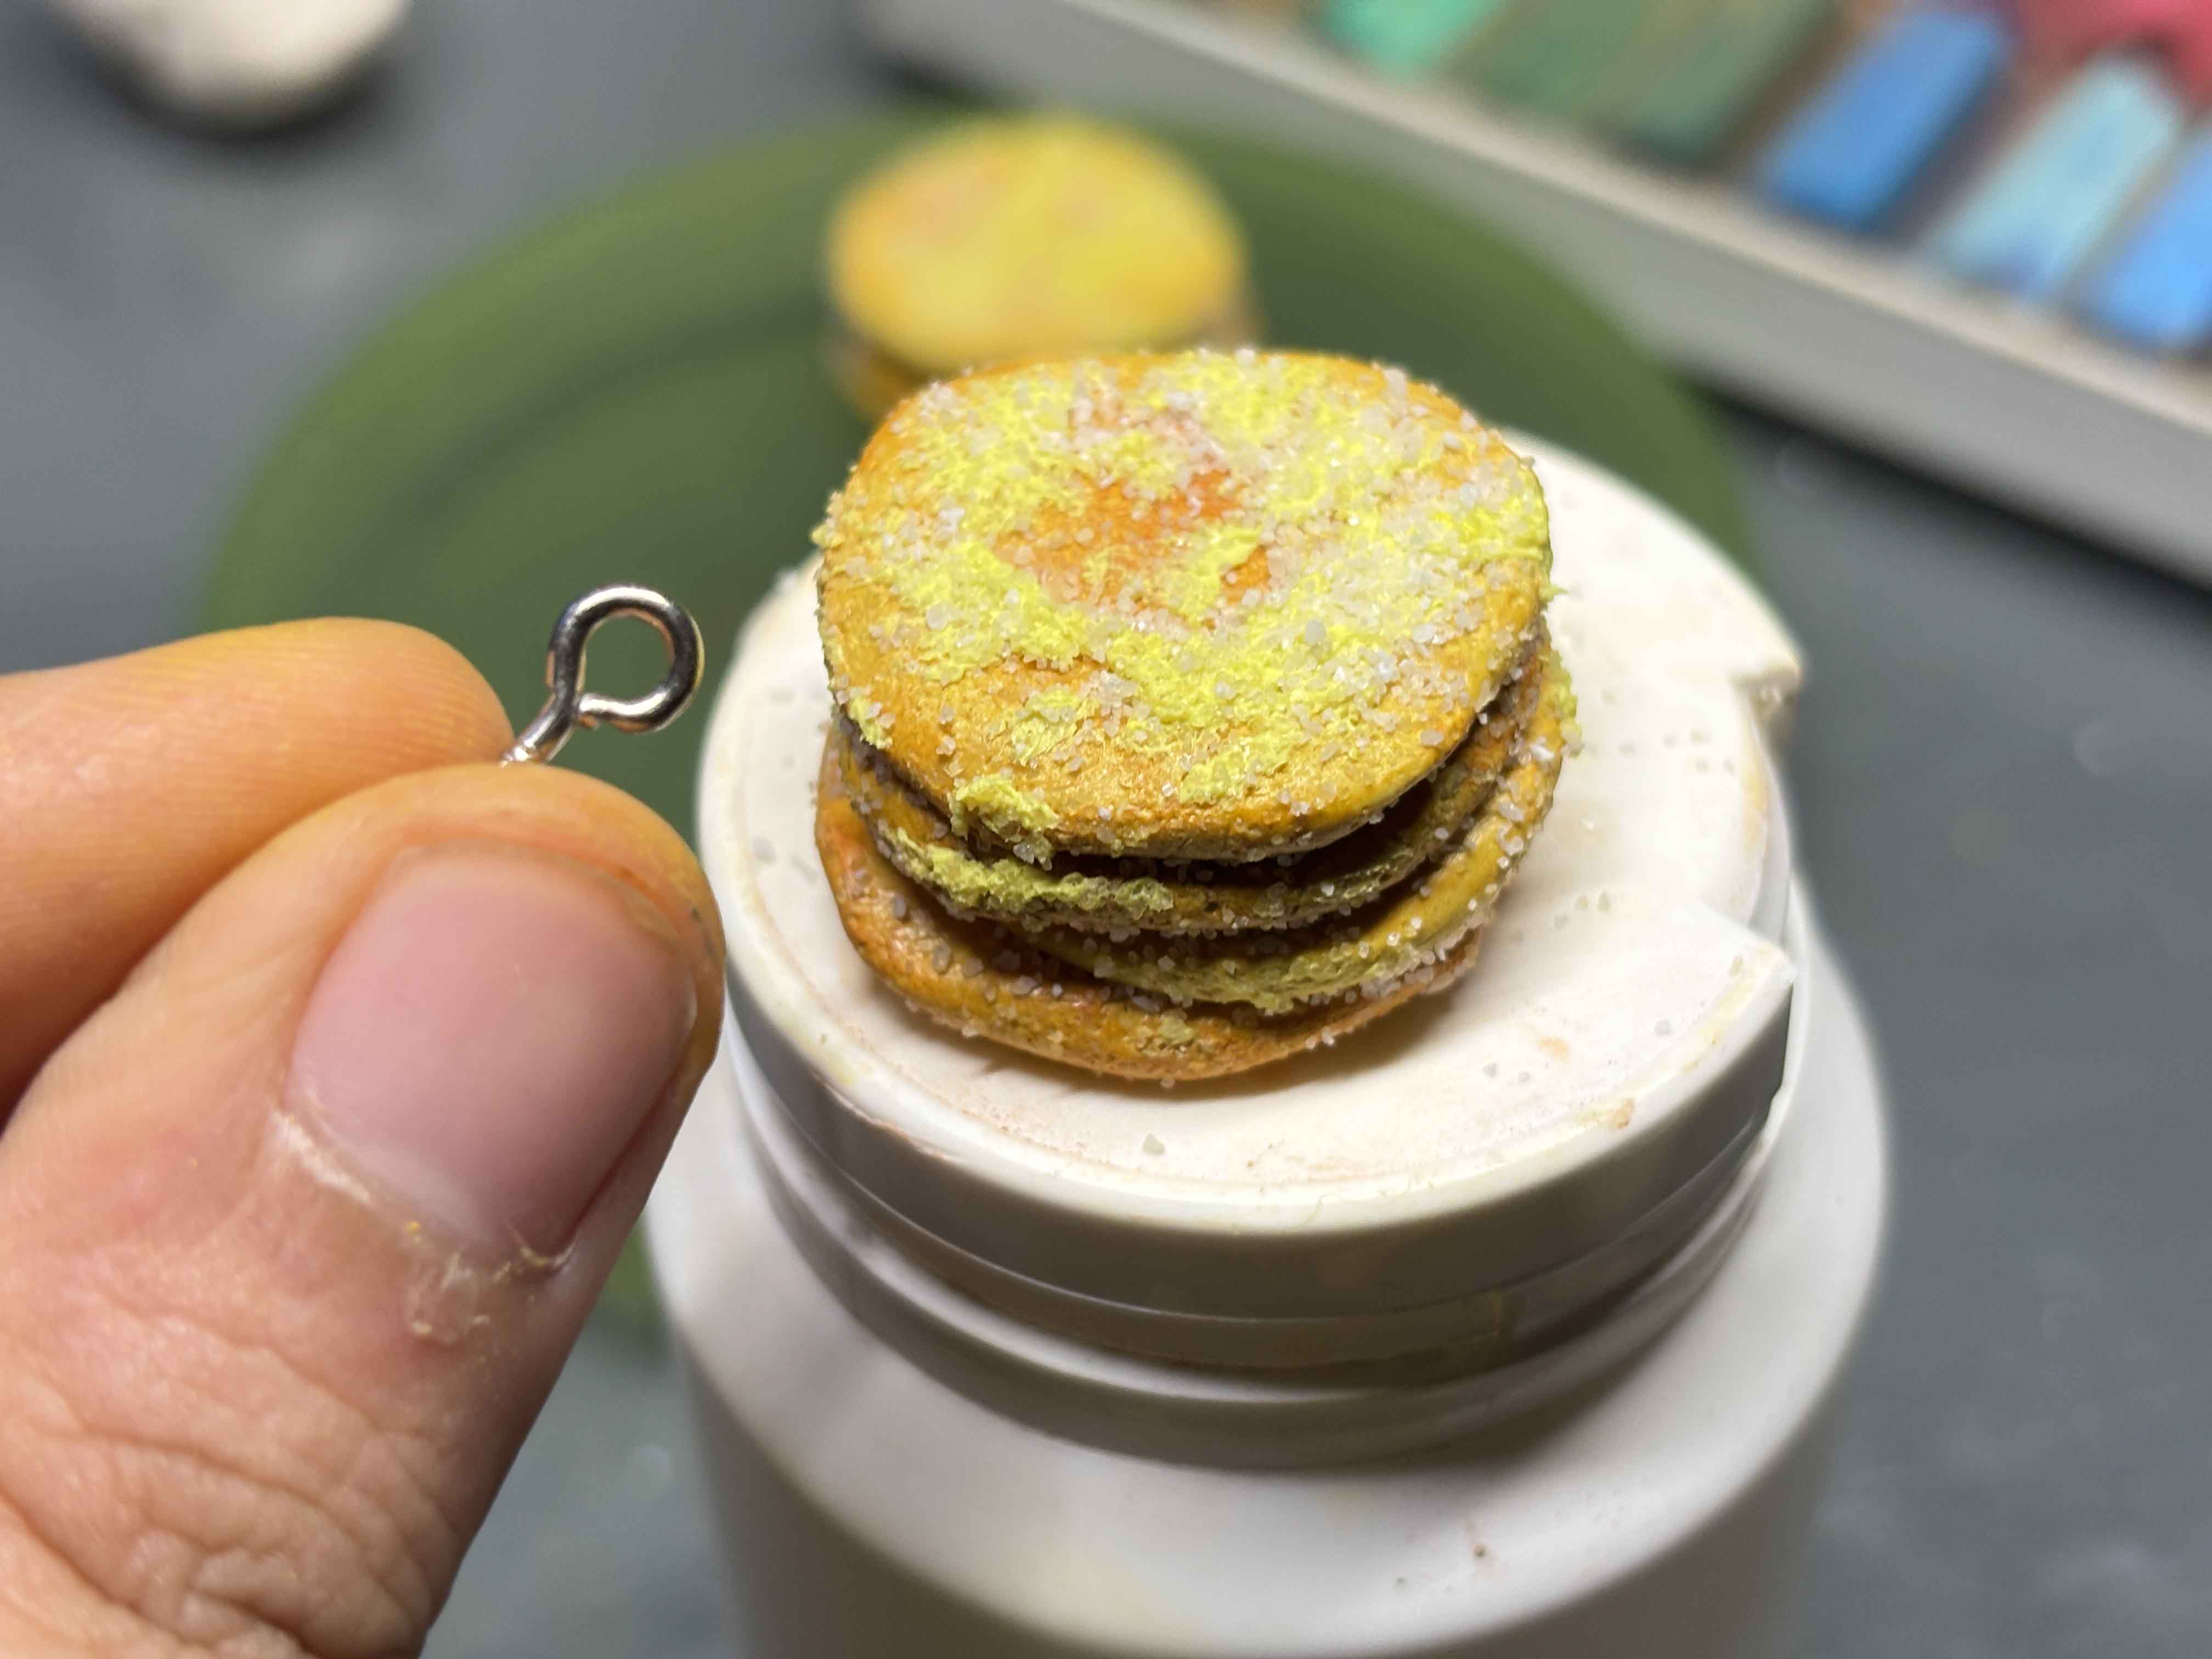
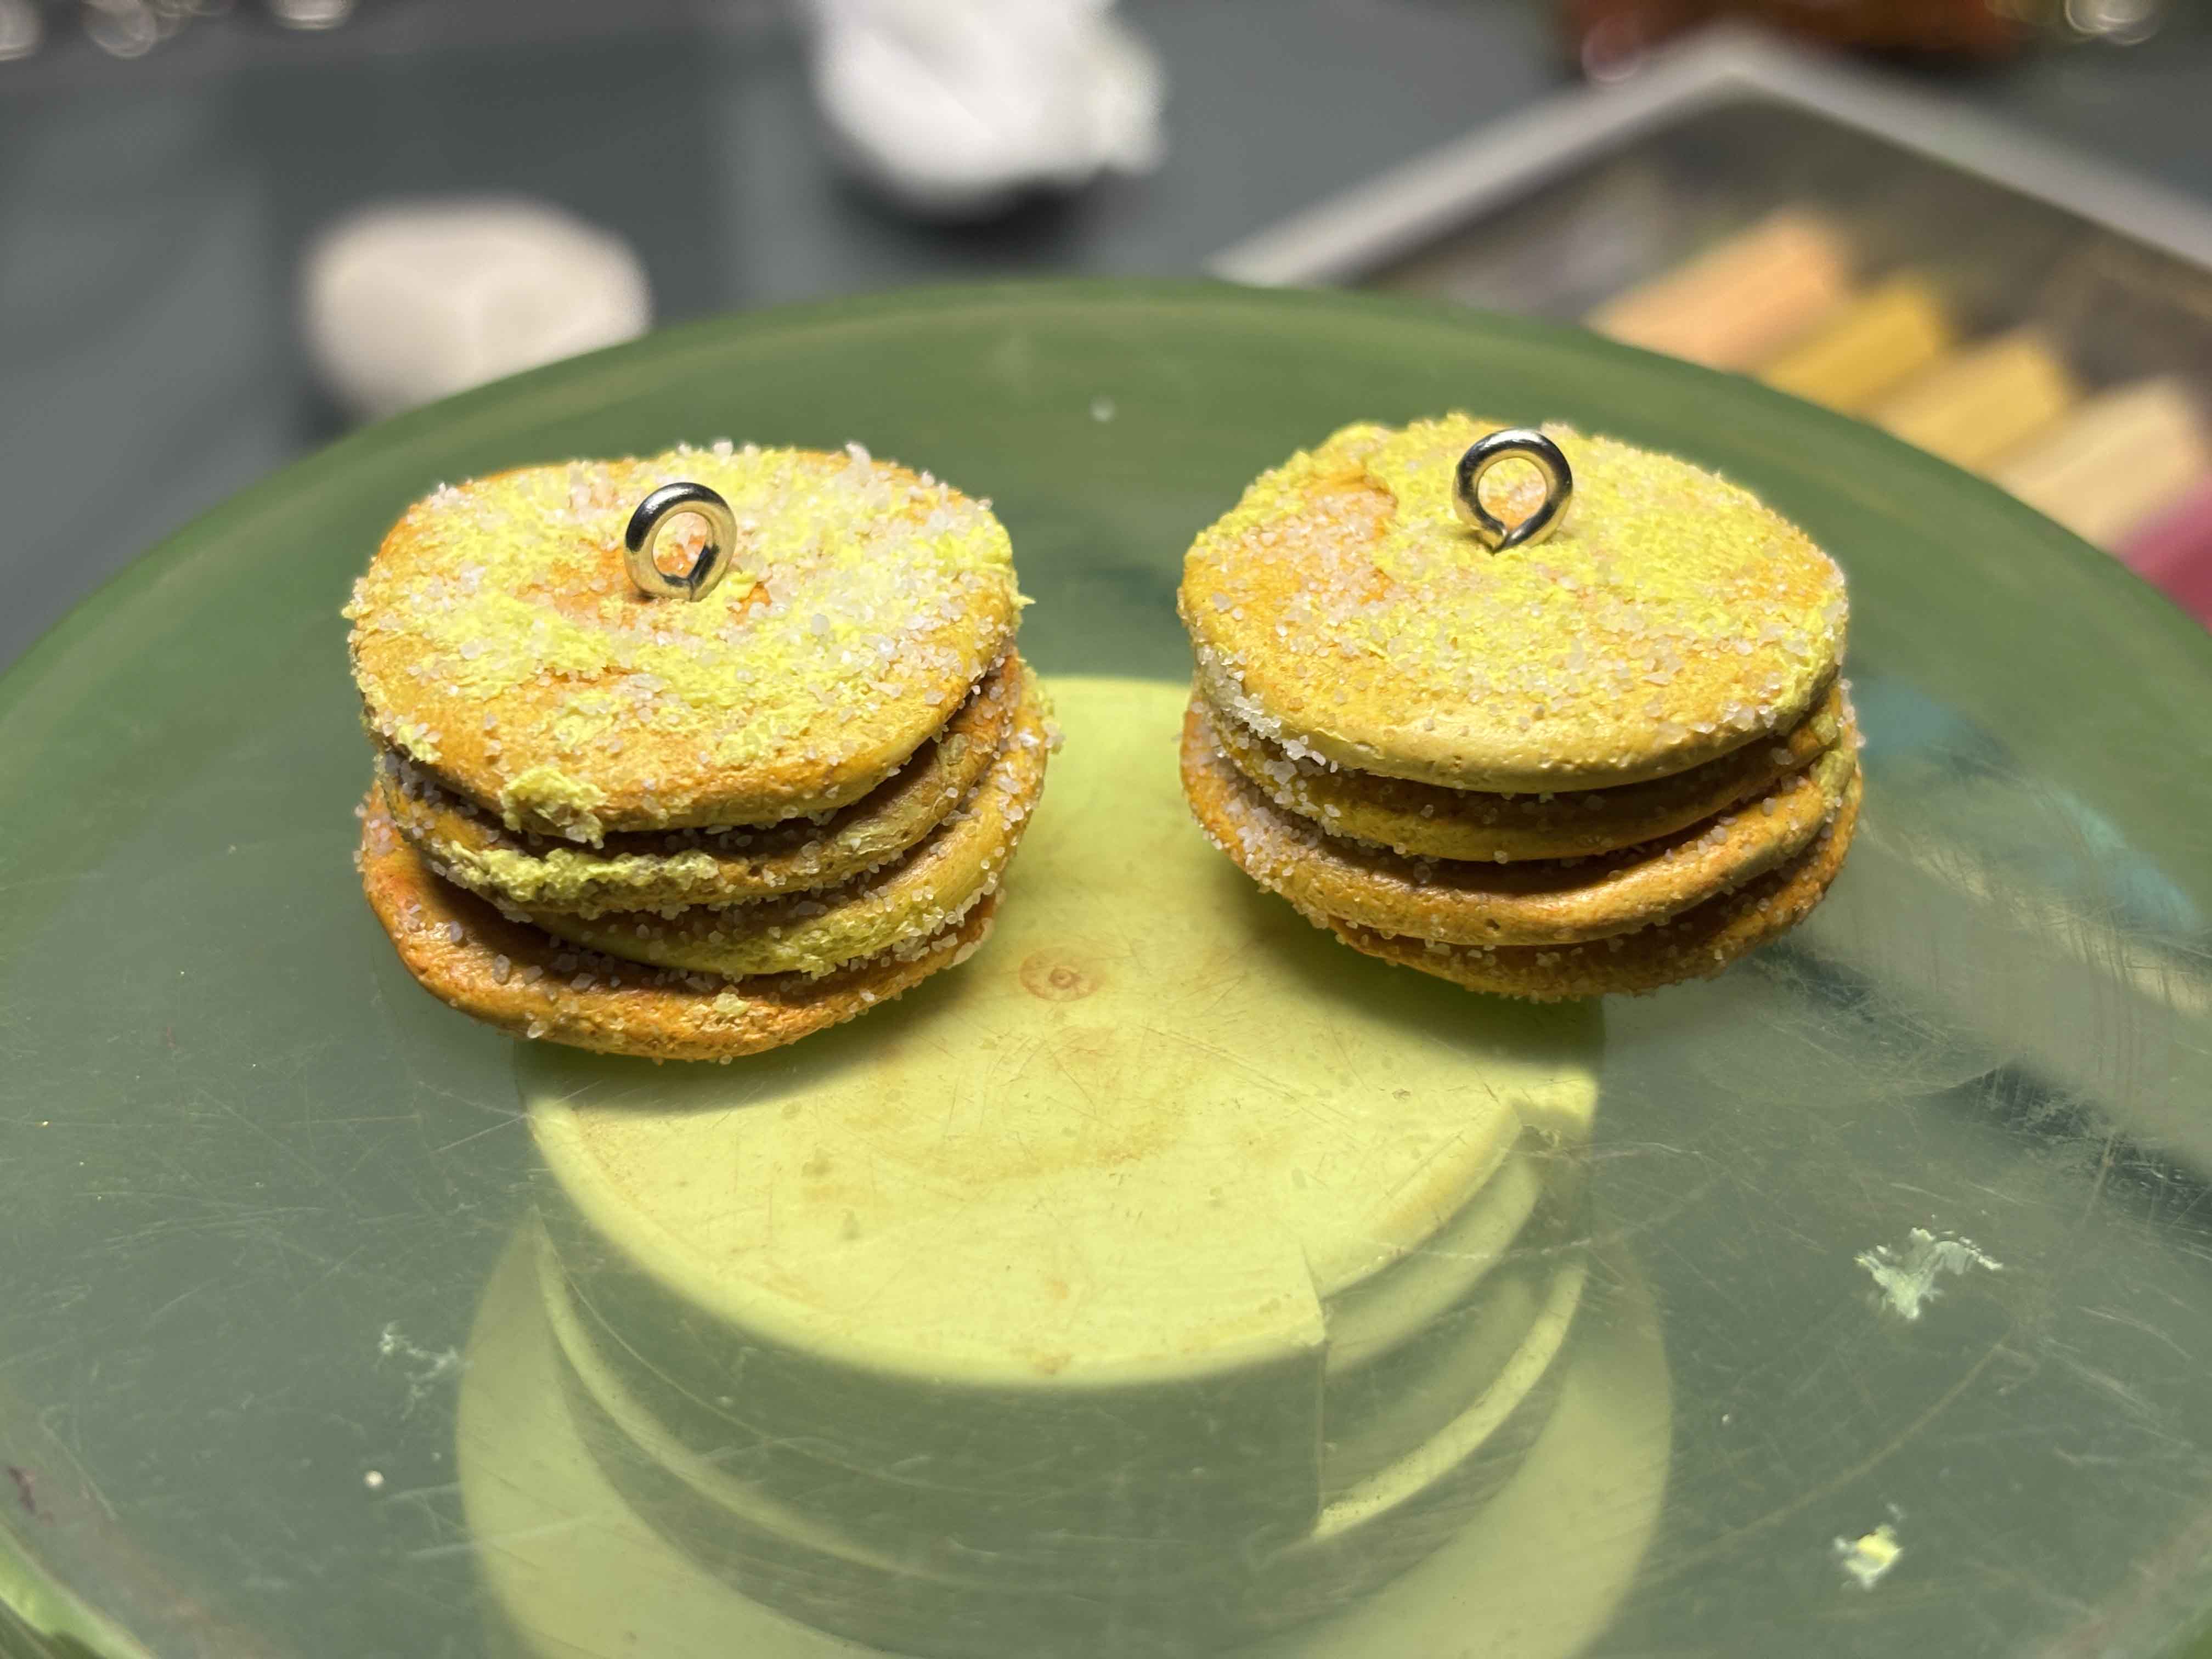
After that, I added the eyepin.
----
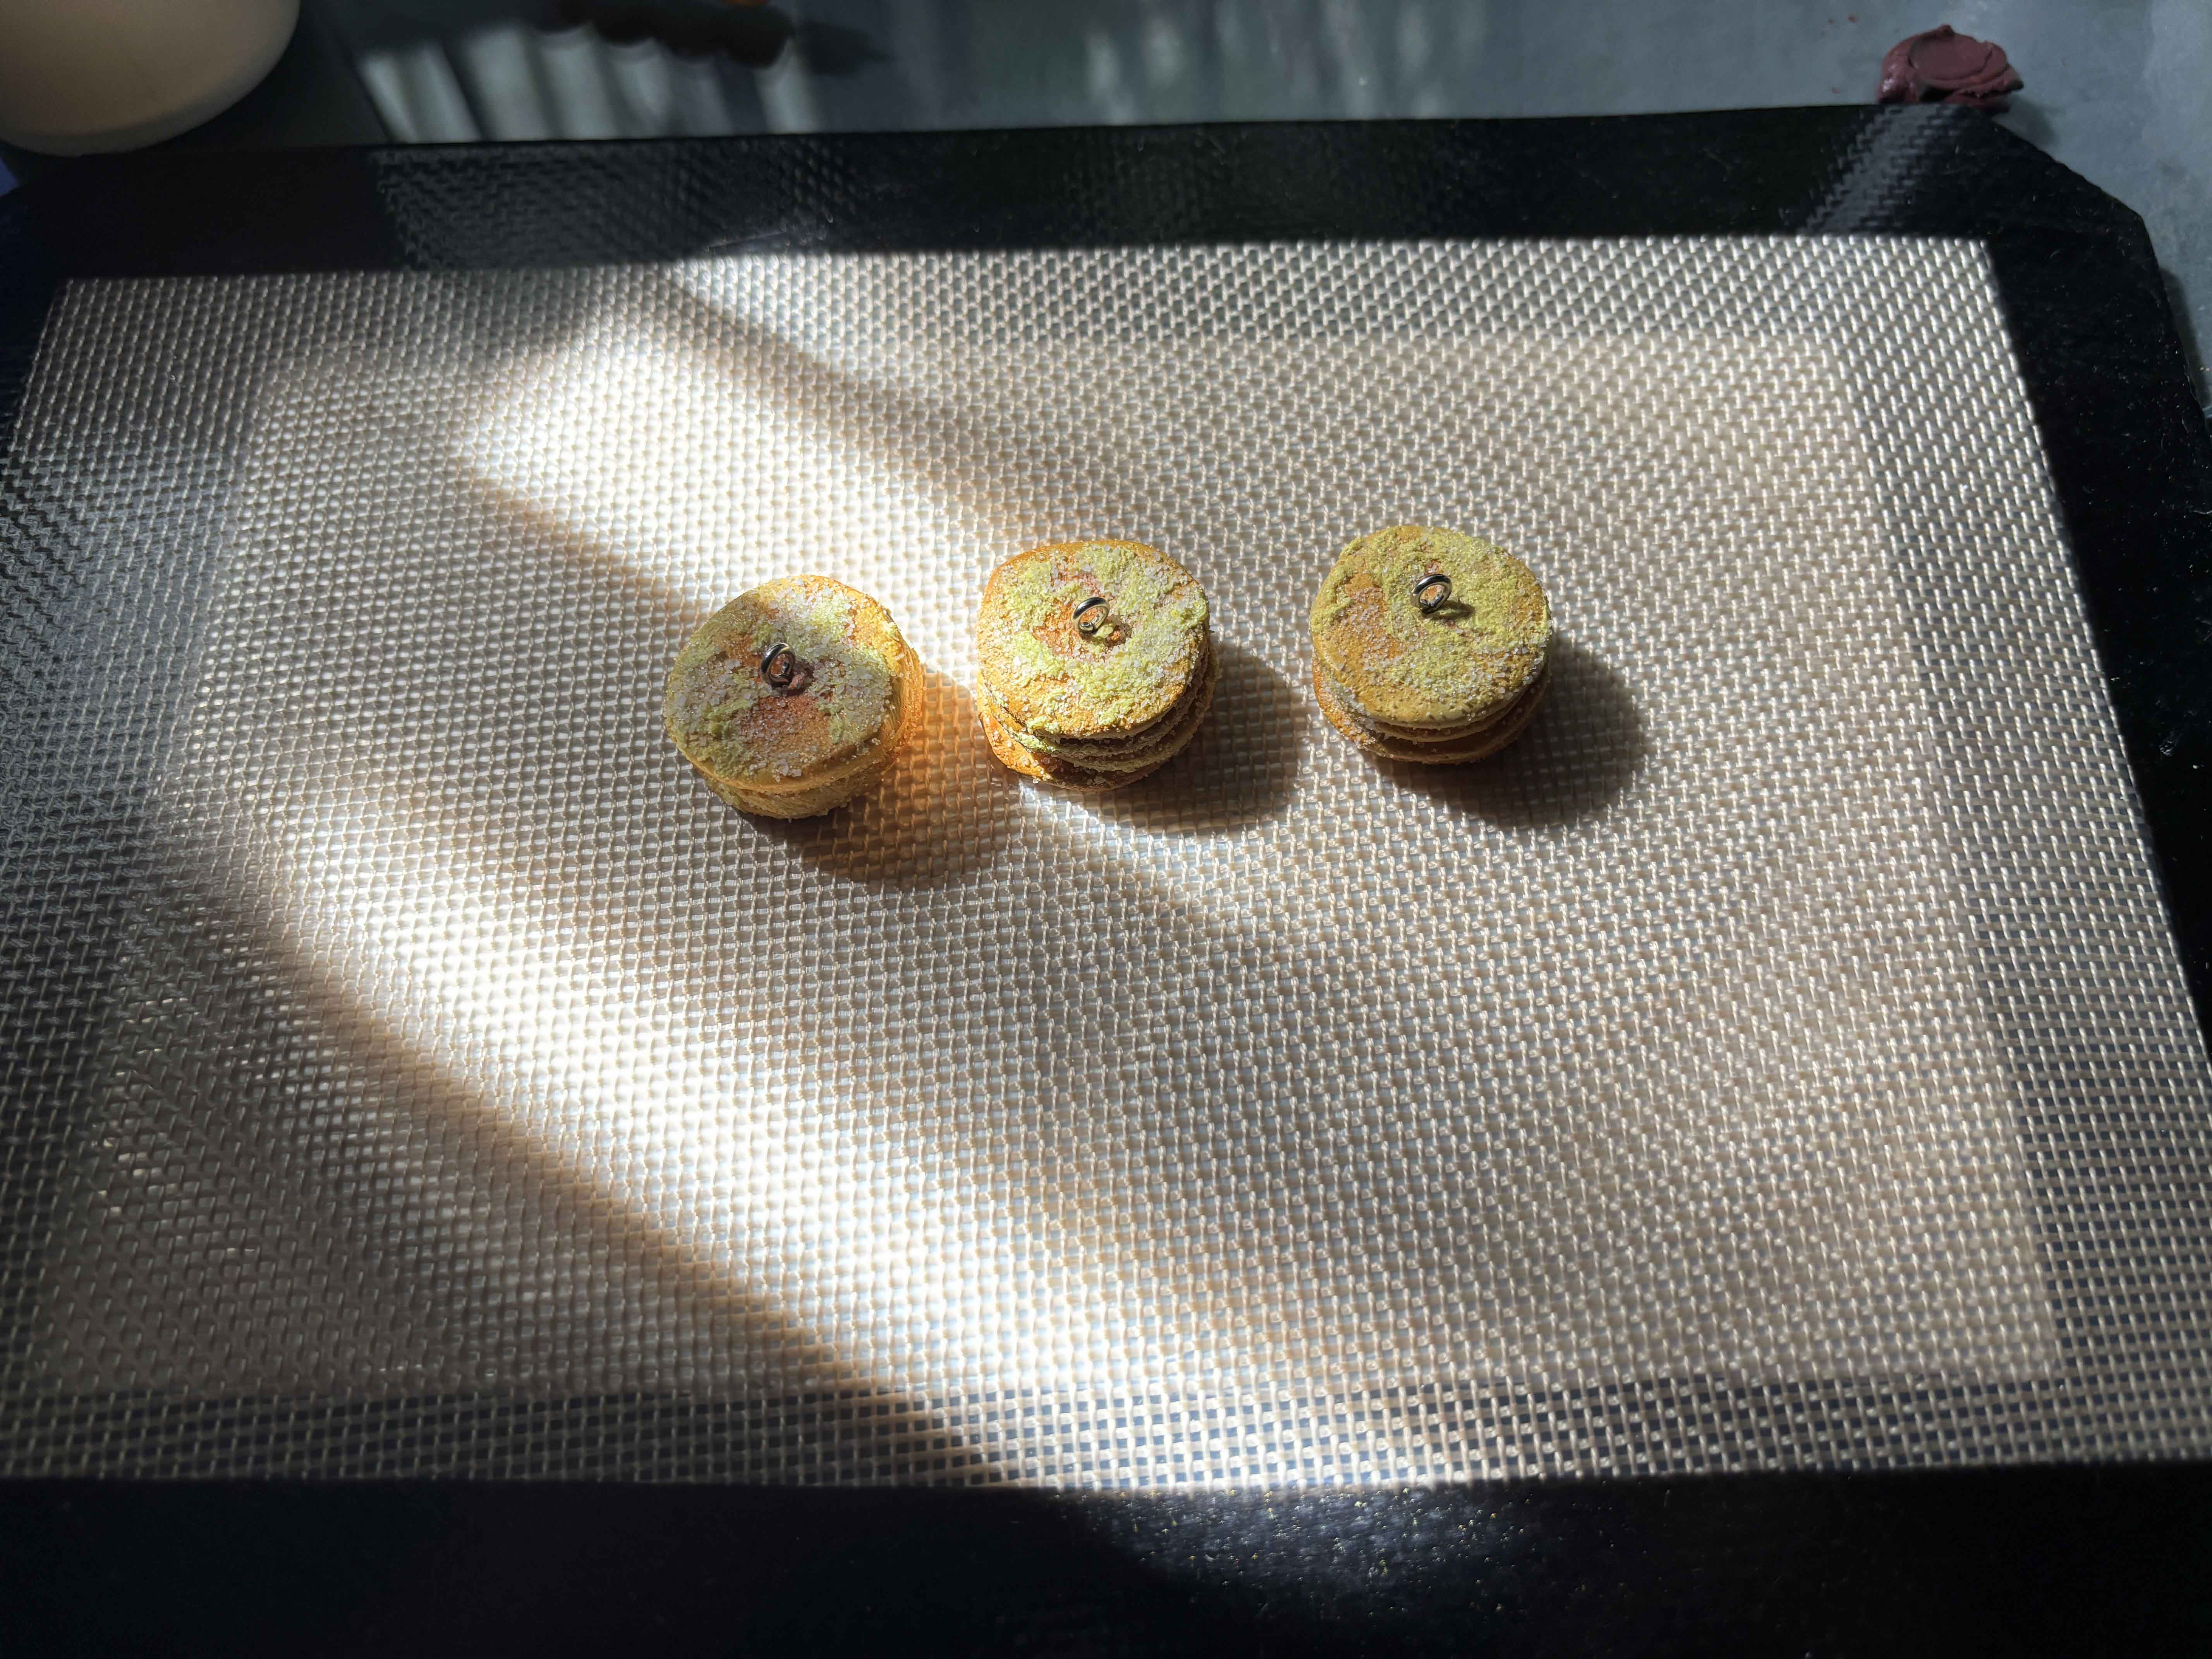
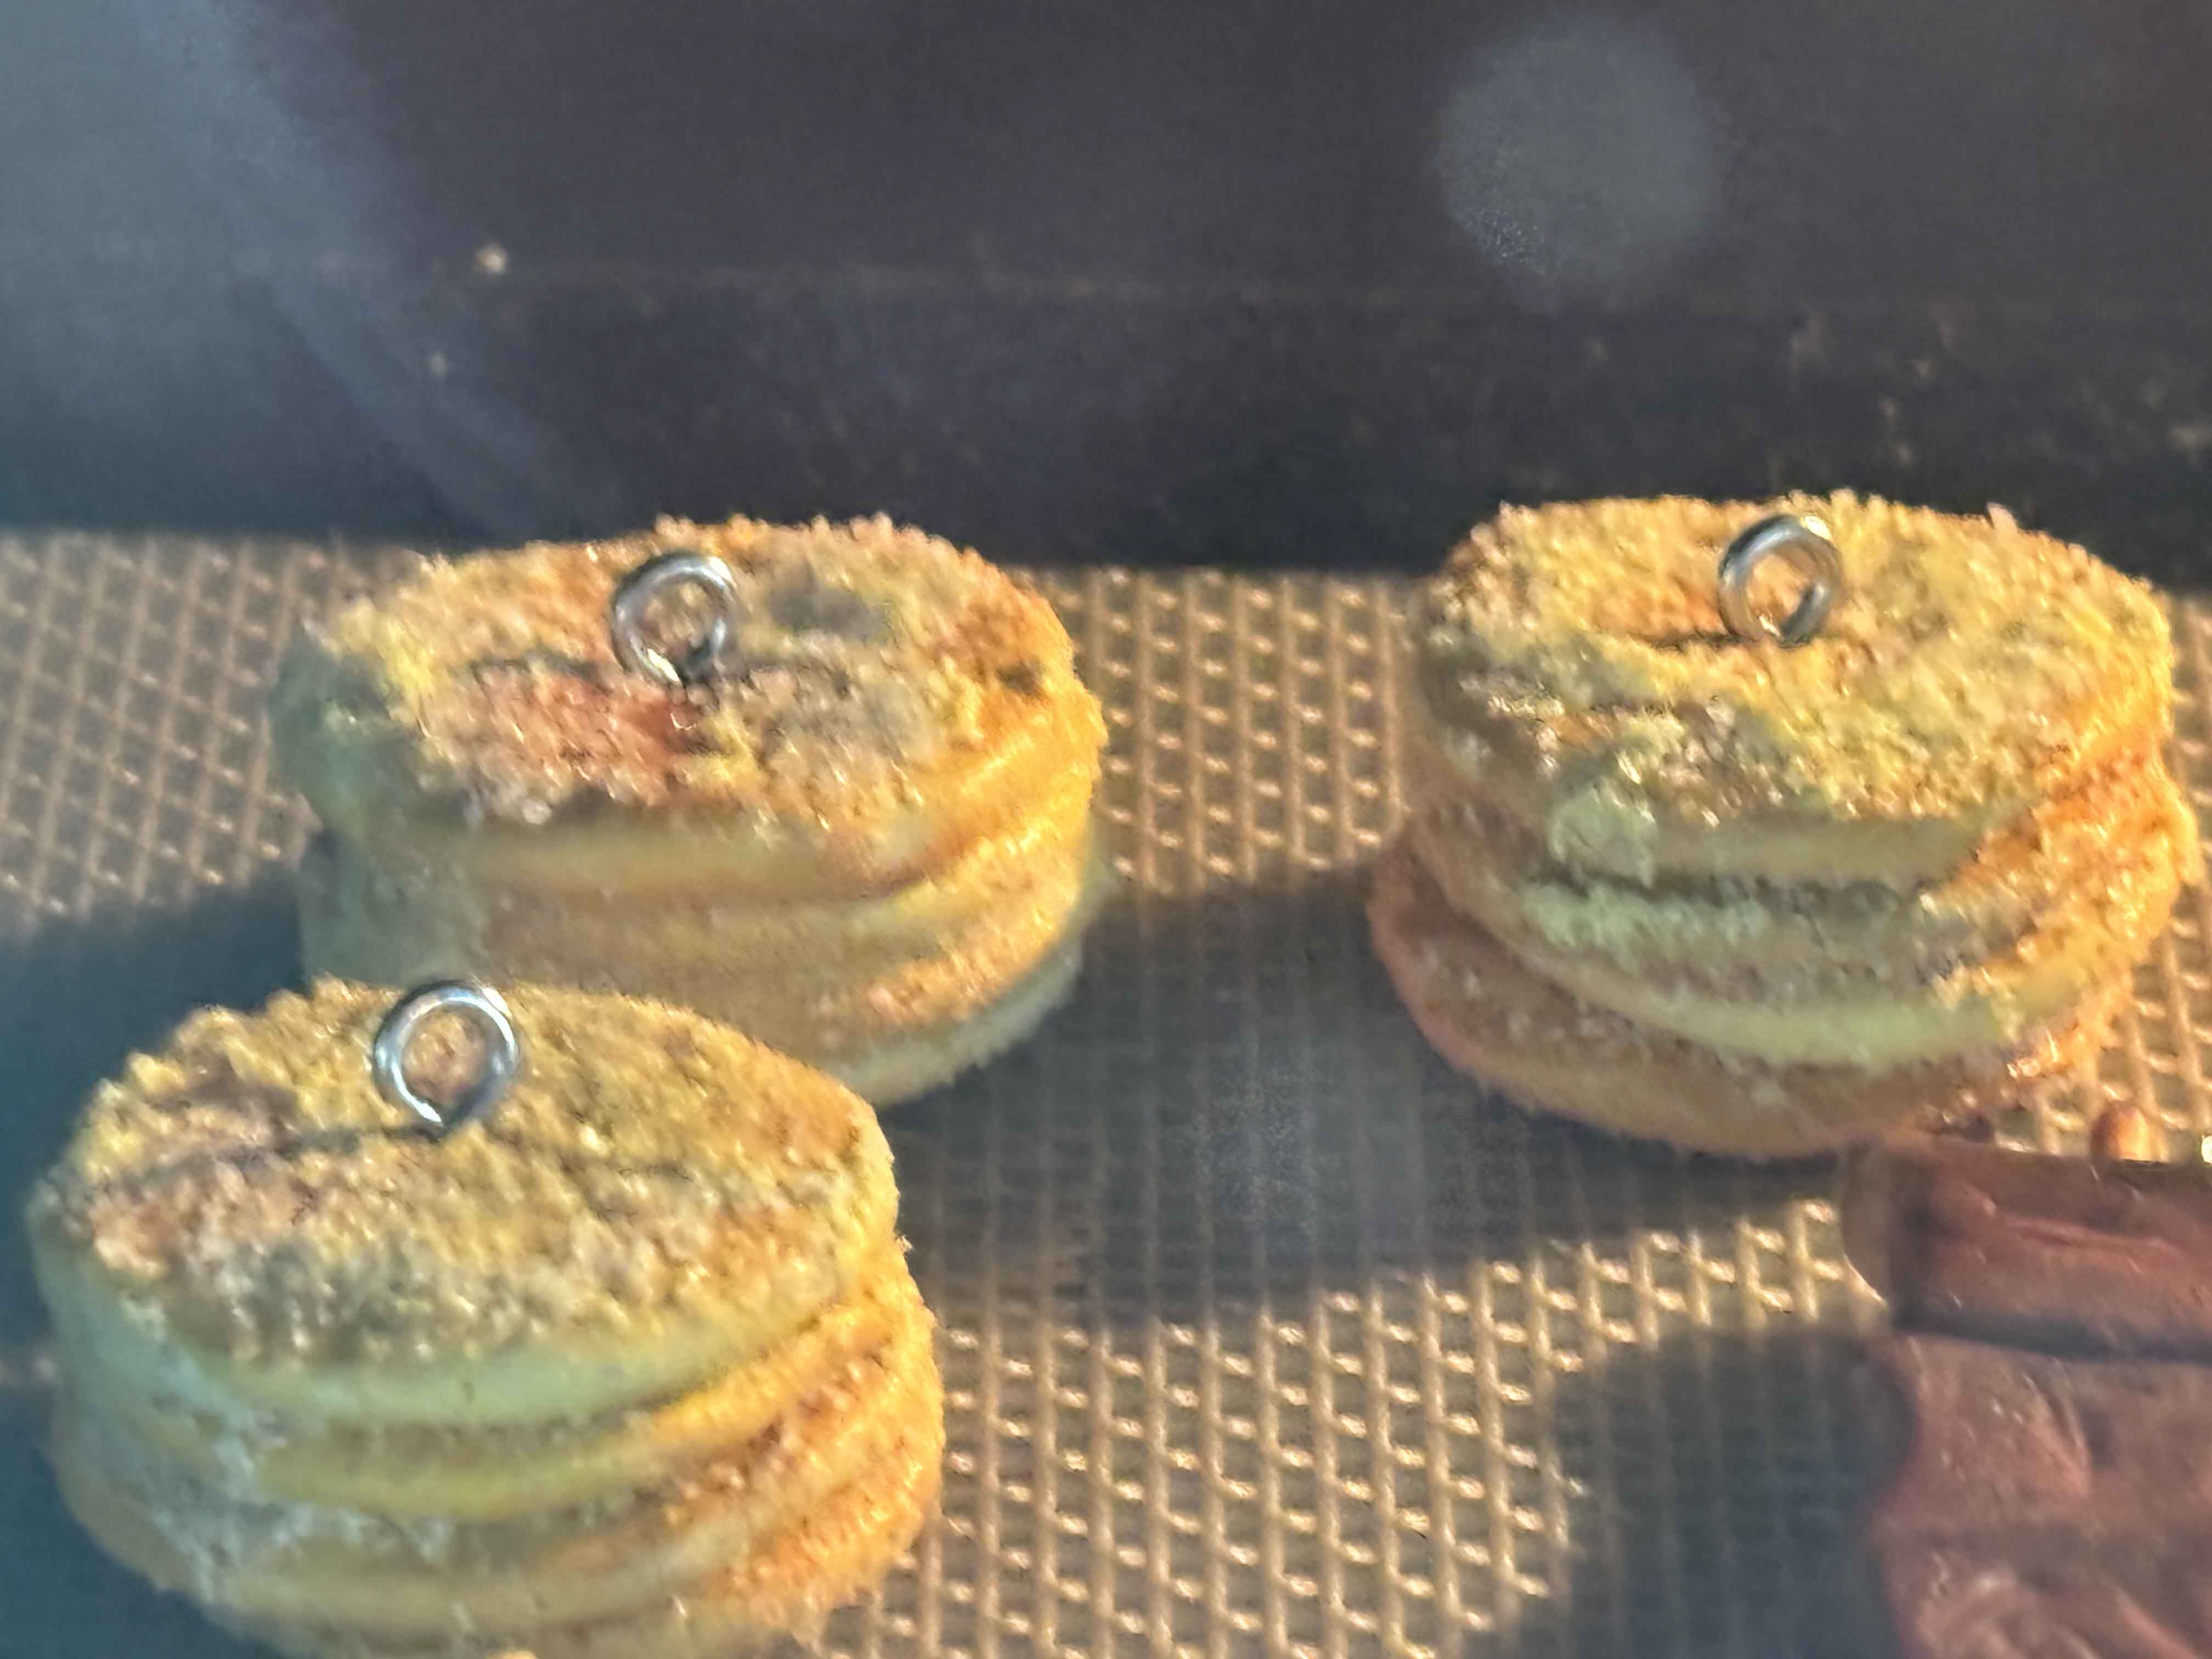
Then I place them into the silicone mat and then bake it in the oven at what temperature and time the instructed on the back of the packaging.
----
I let it cool down.
-----
Then I prepare the next materials.
----
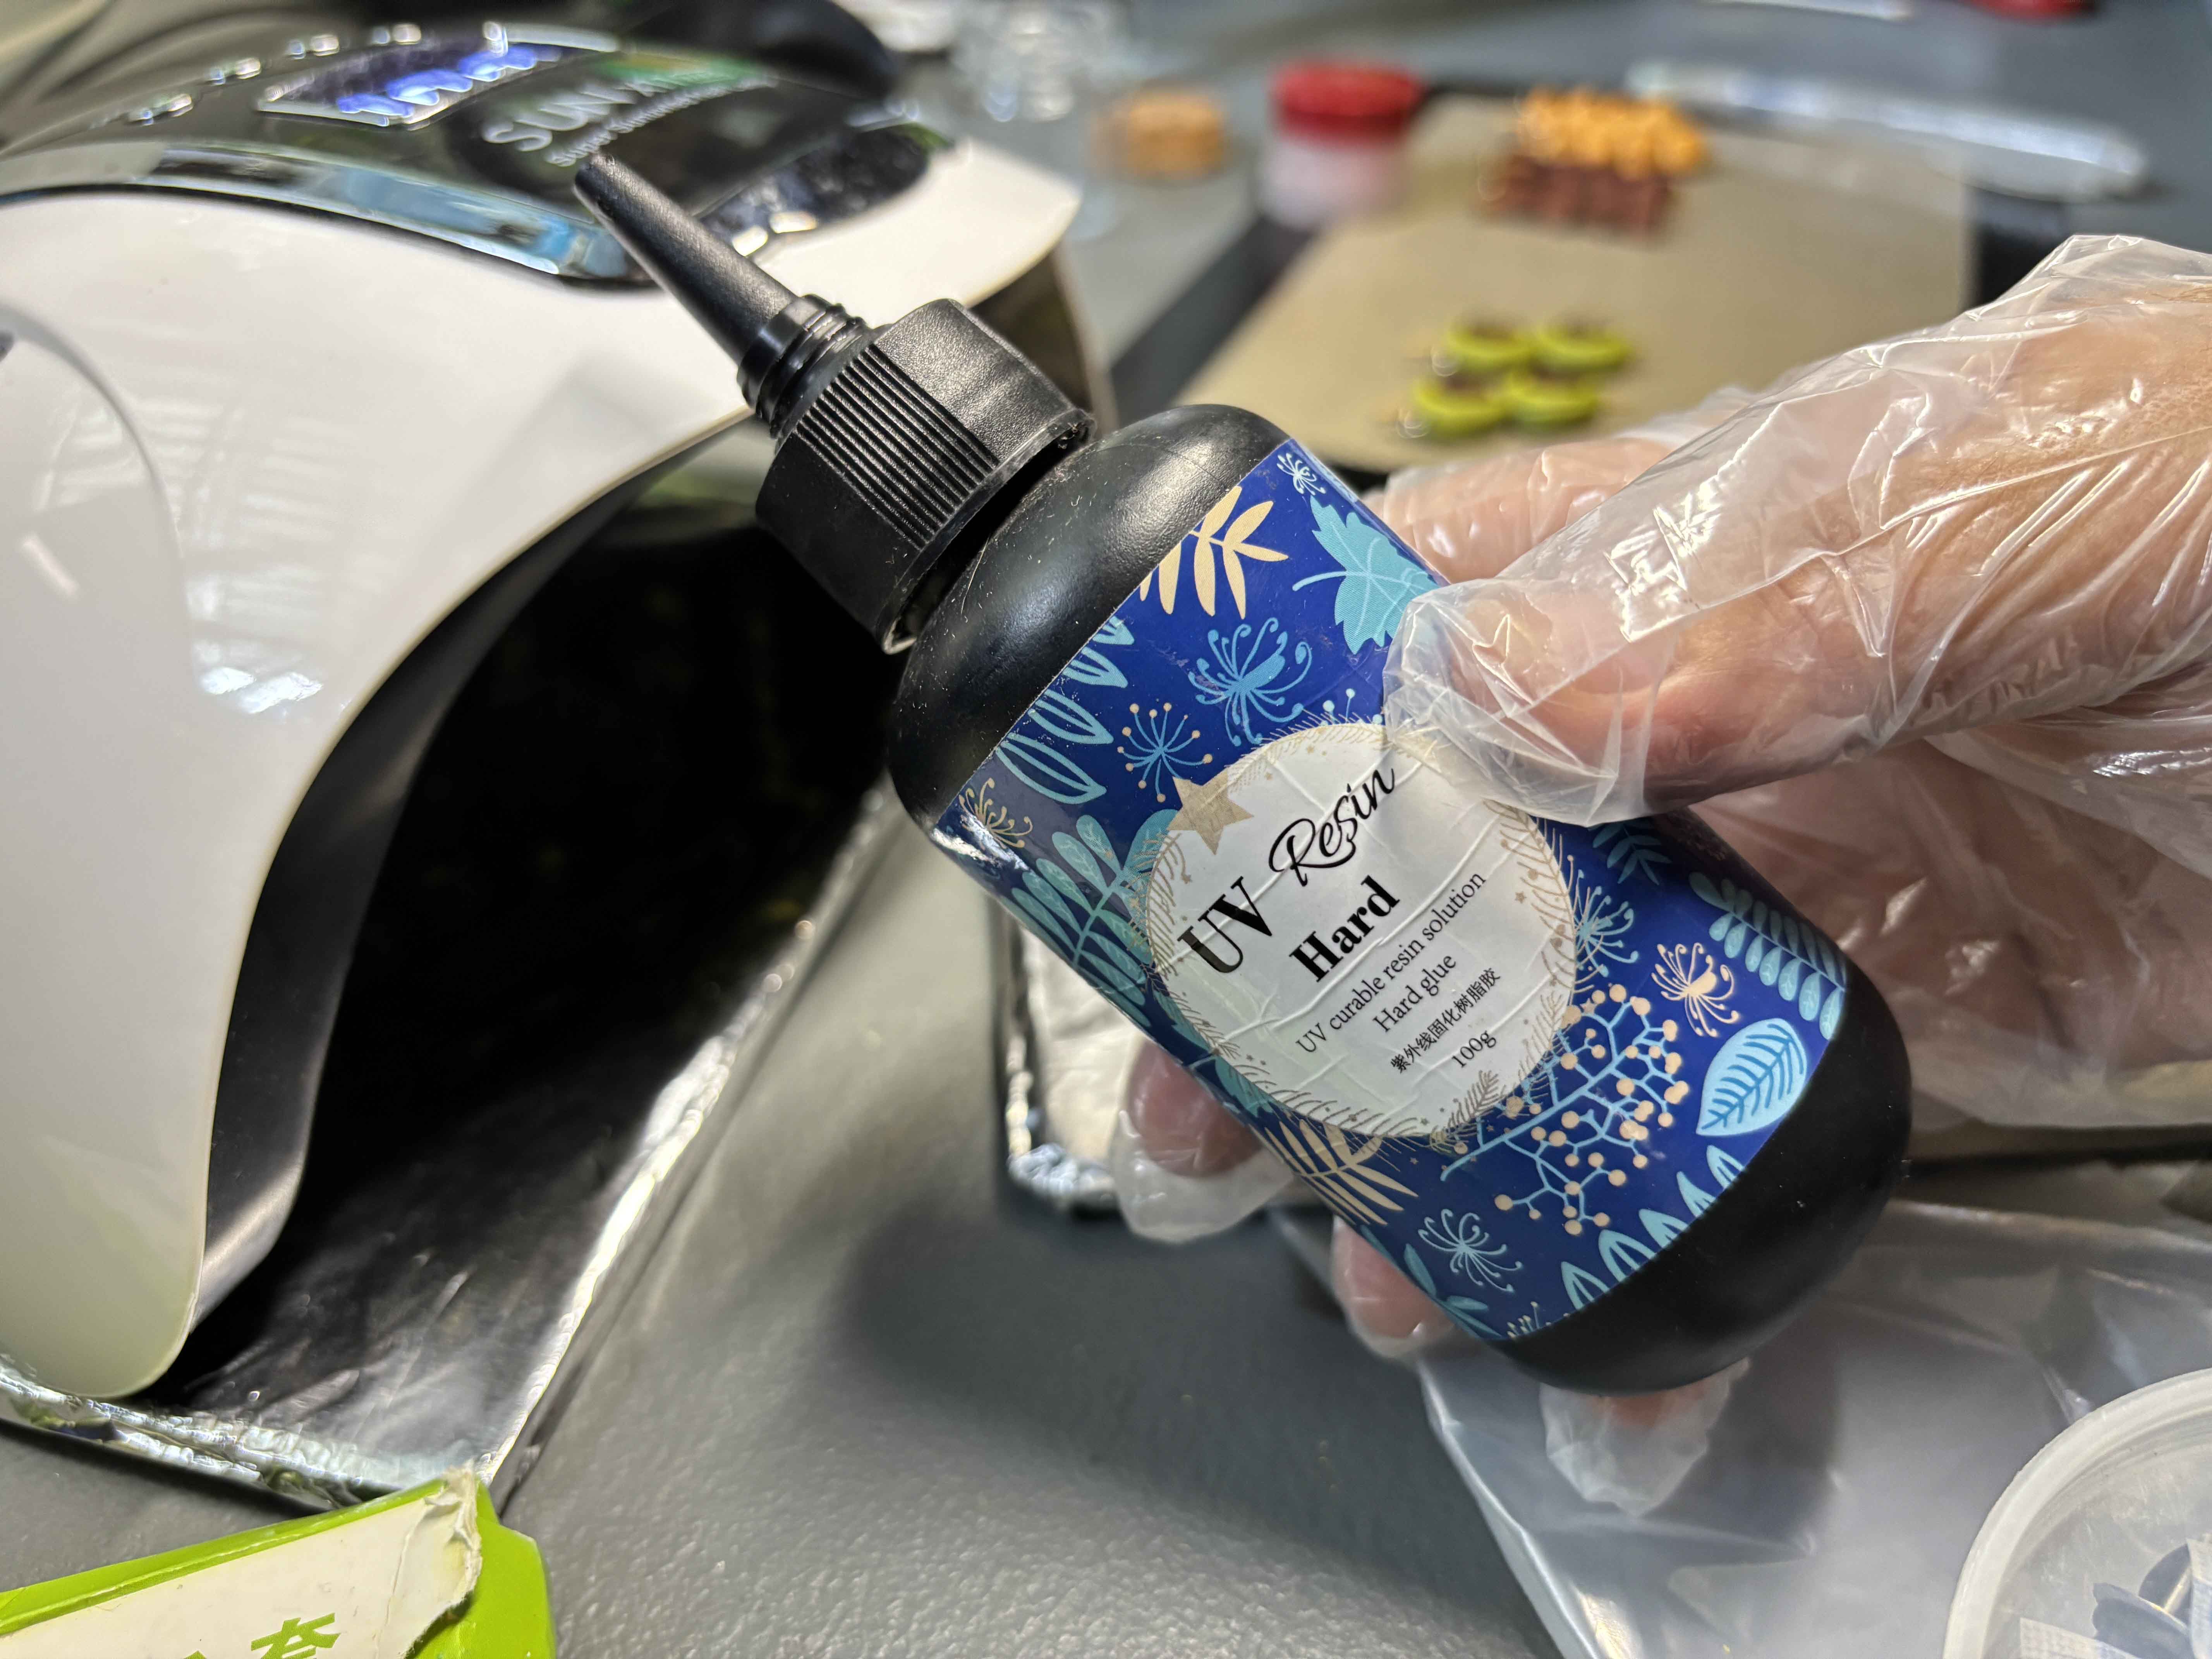
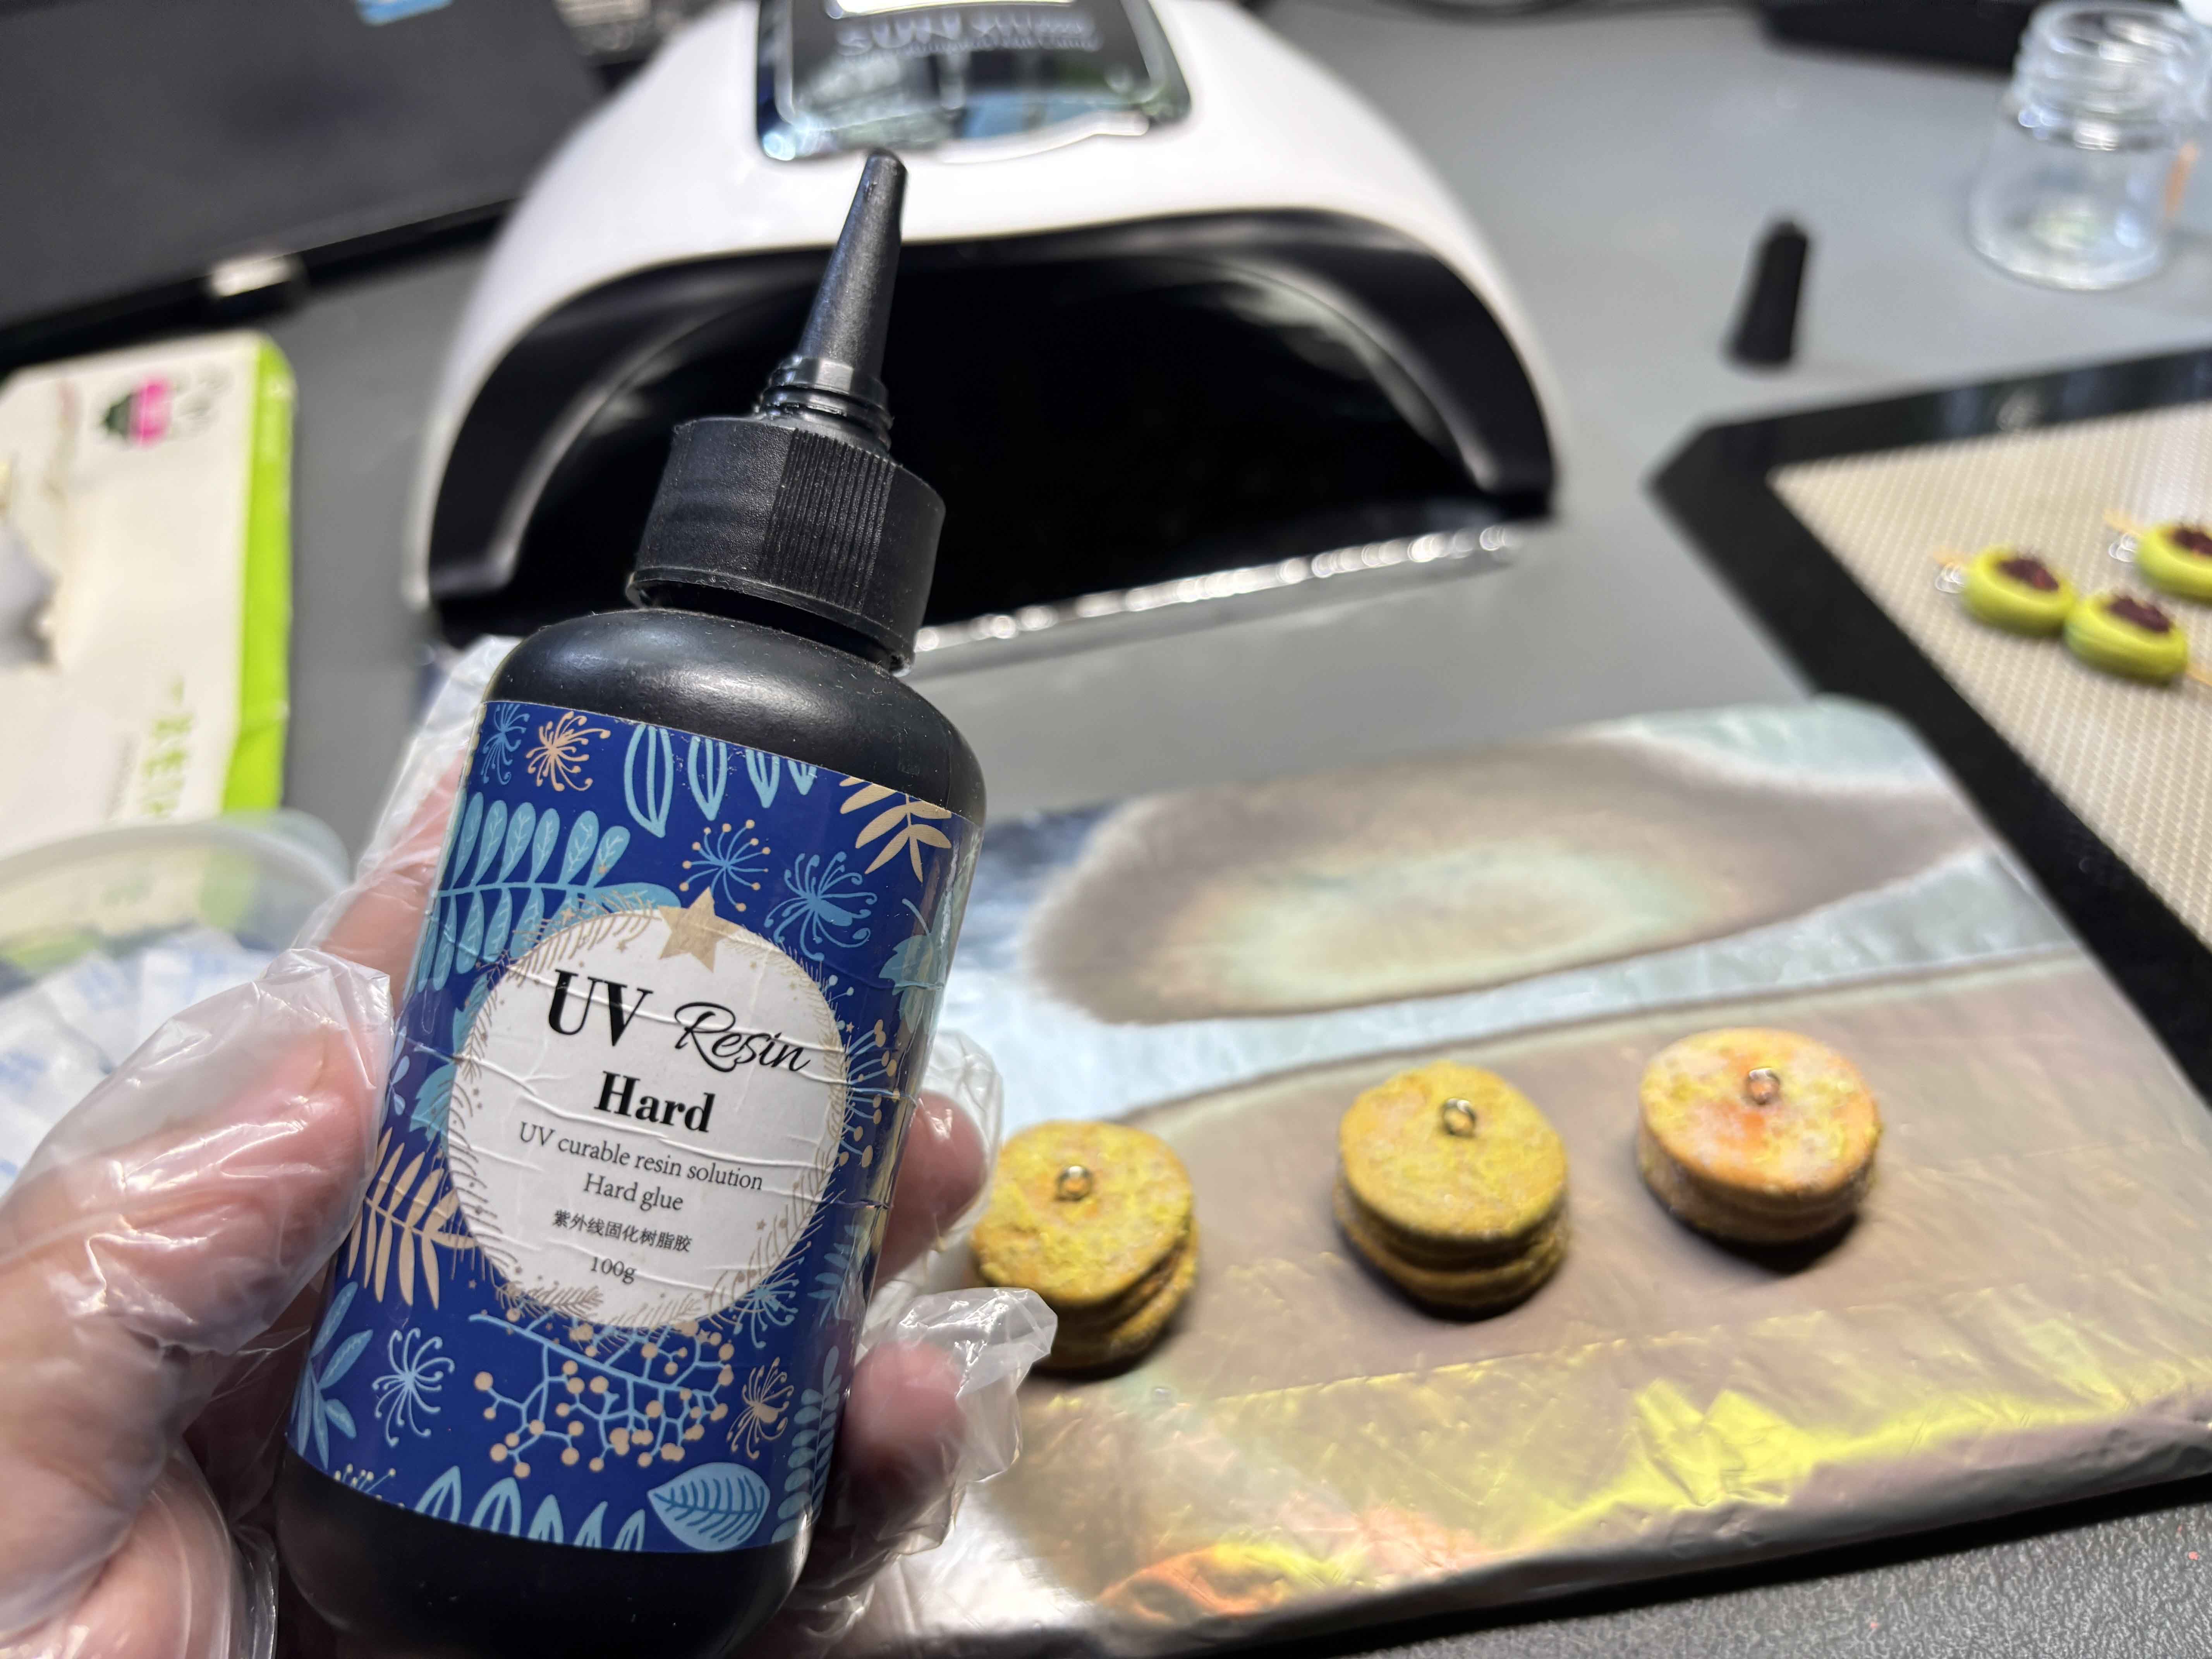
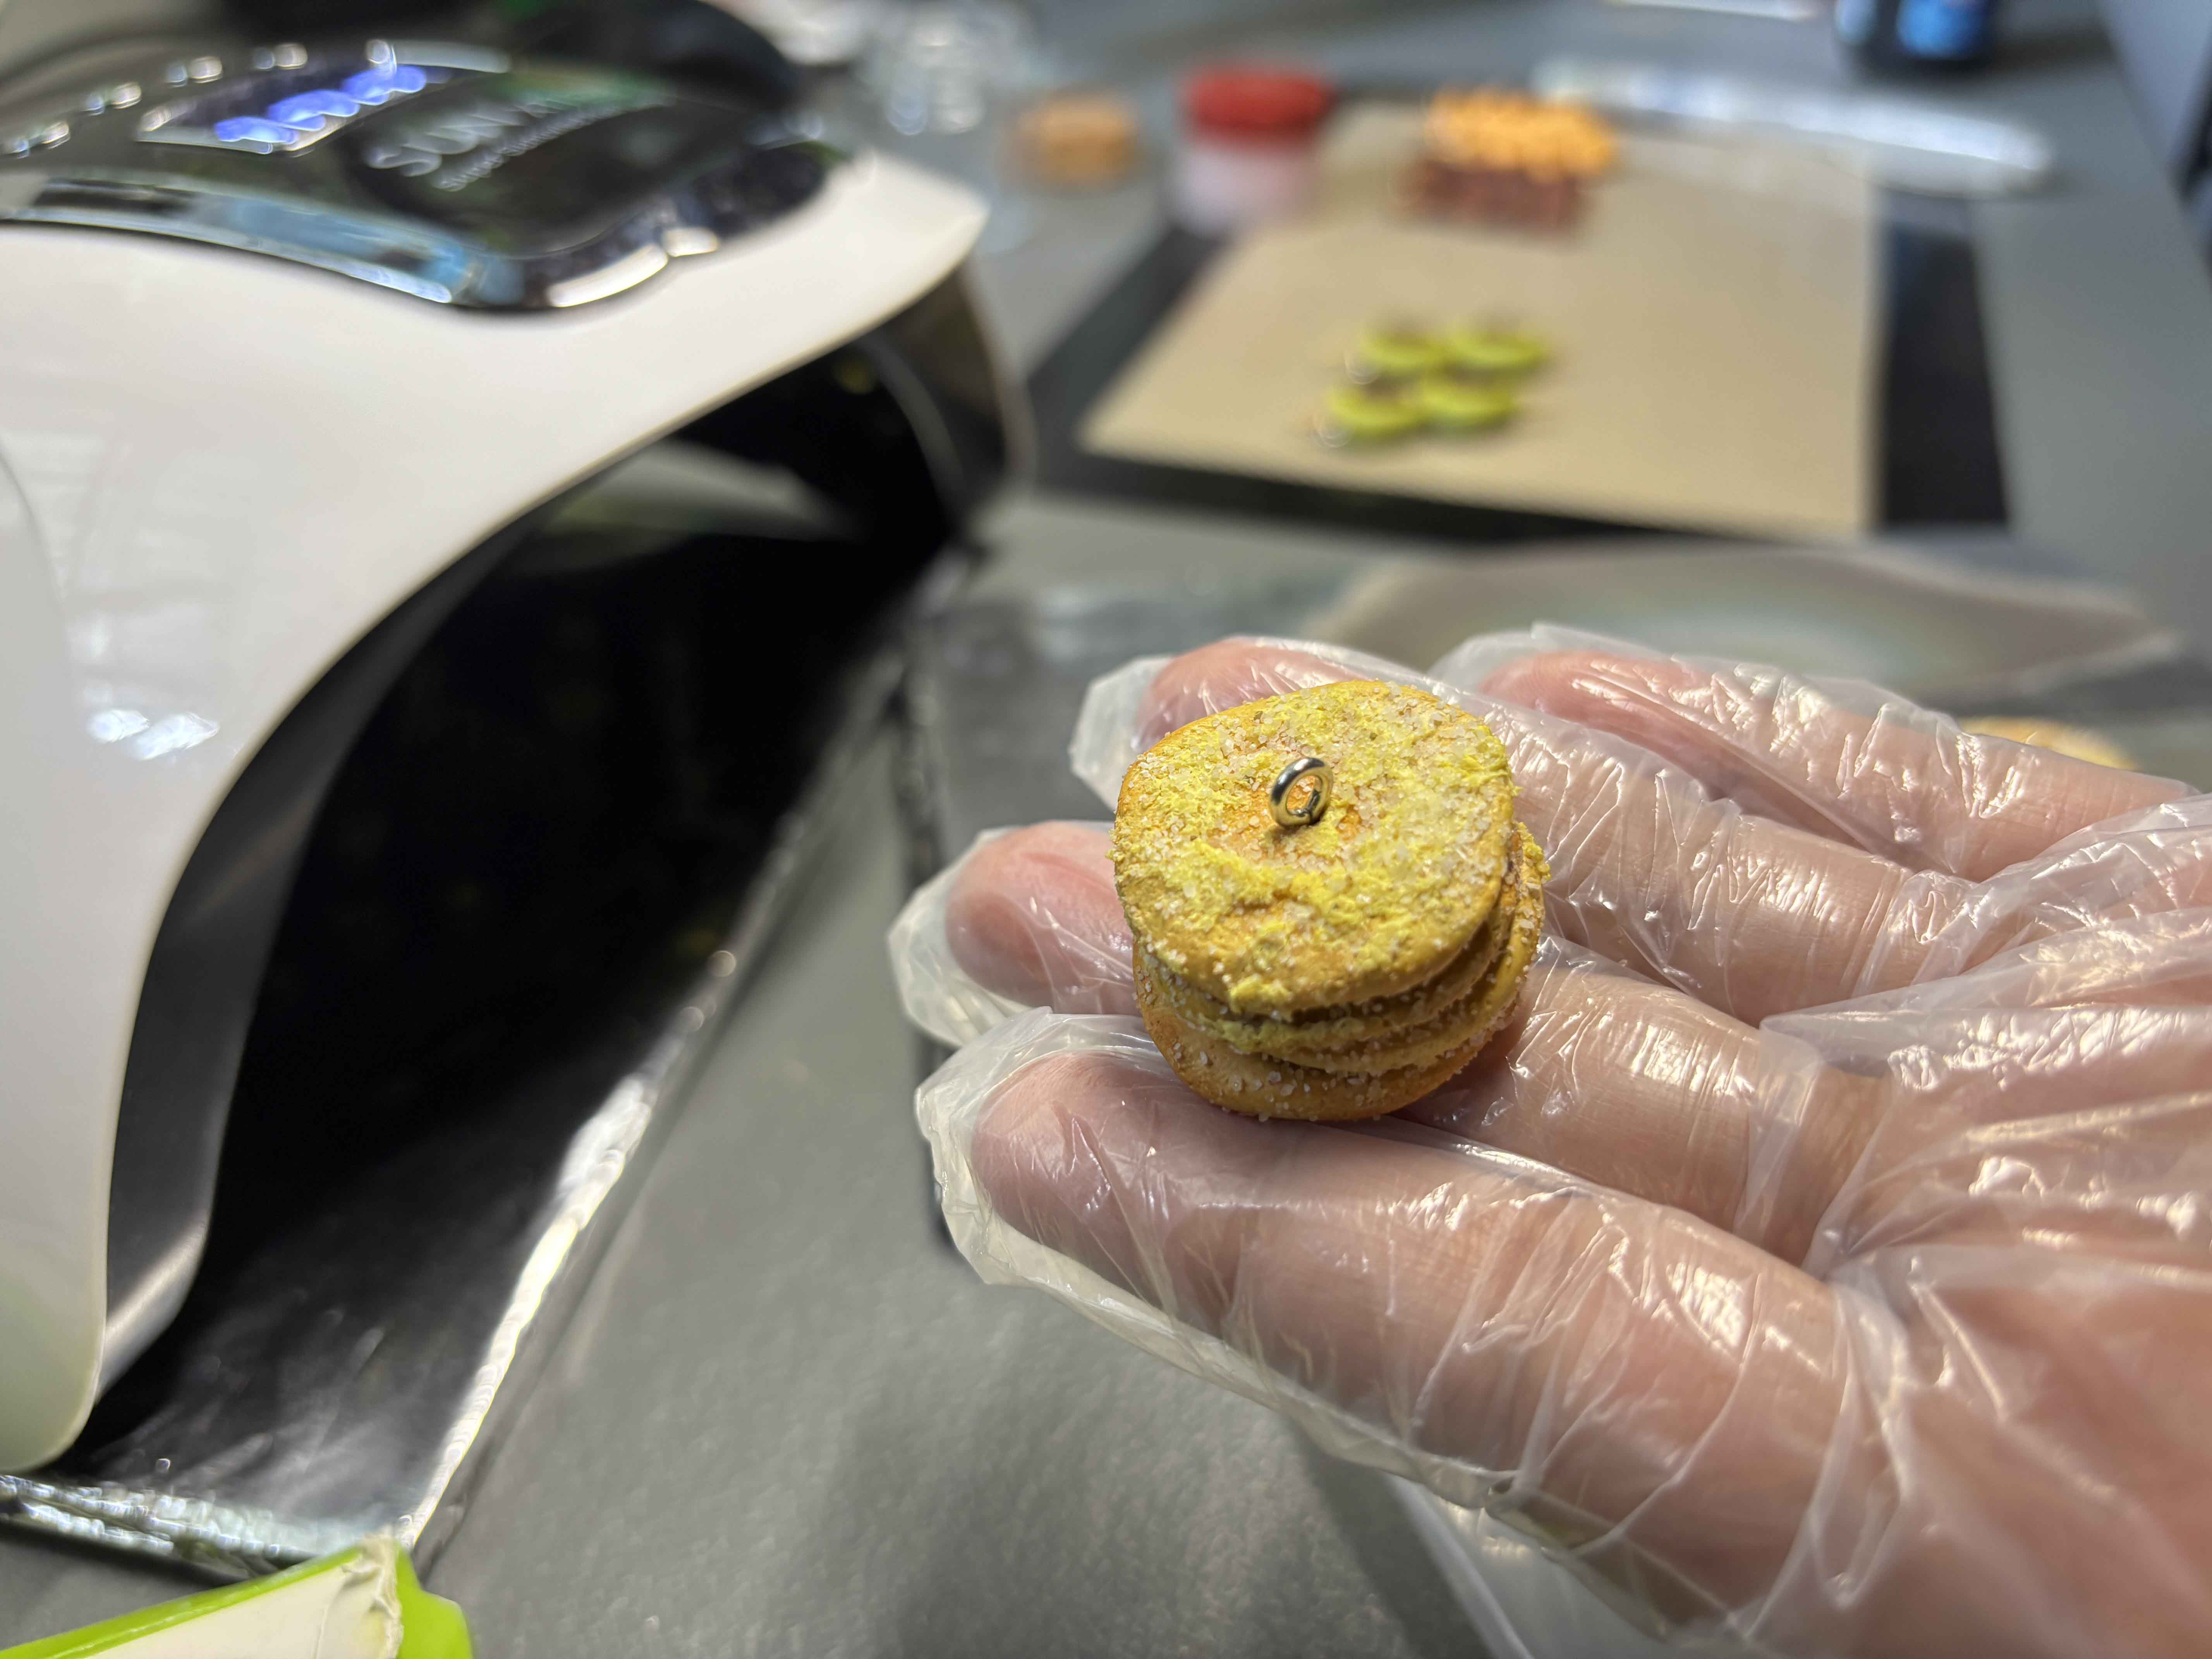
After that, I make sure to wear gloves, and then I am going to use this UV Resin and pour enough into the hotcake clay.
----
Then I use this brush to put the resin evenly, and then I cure it with the UV Lamp. And then after that, I clean the brush using alcohol and dry it with a paper towel.
----
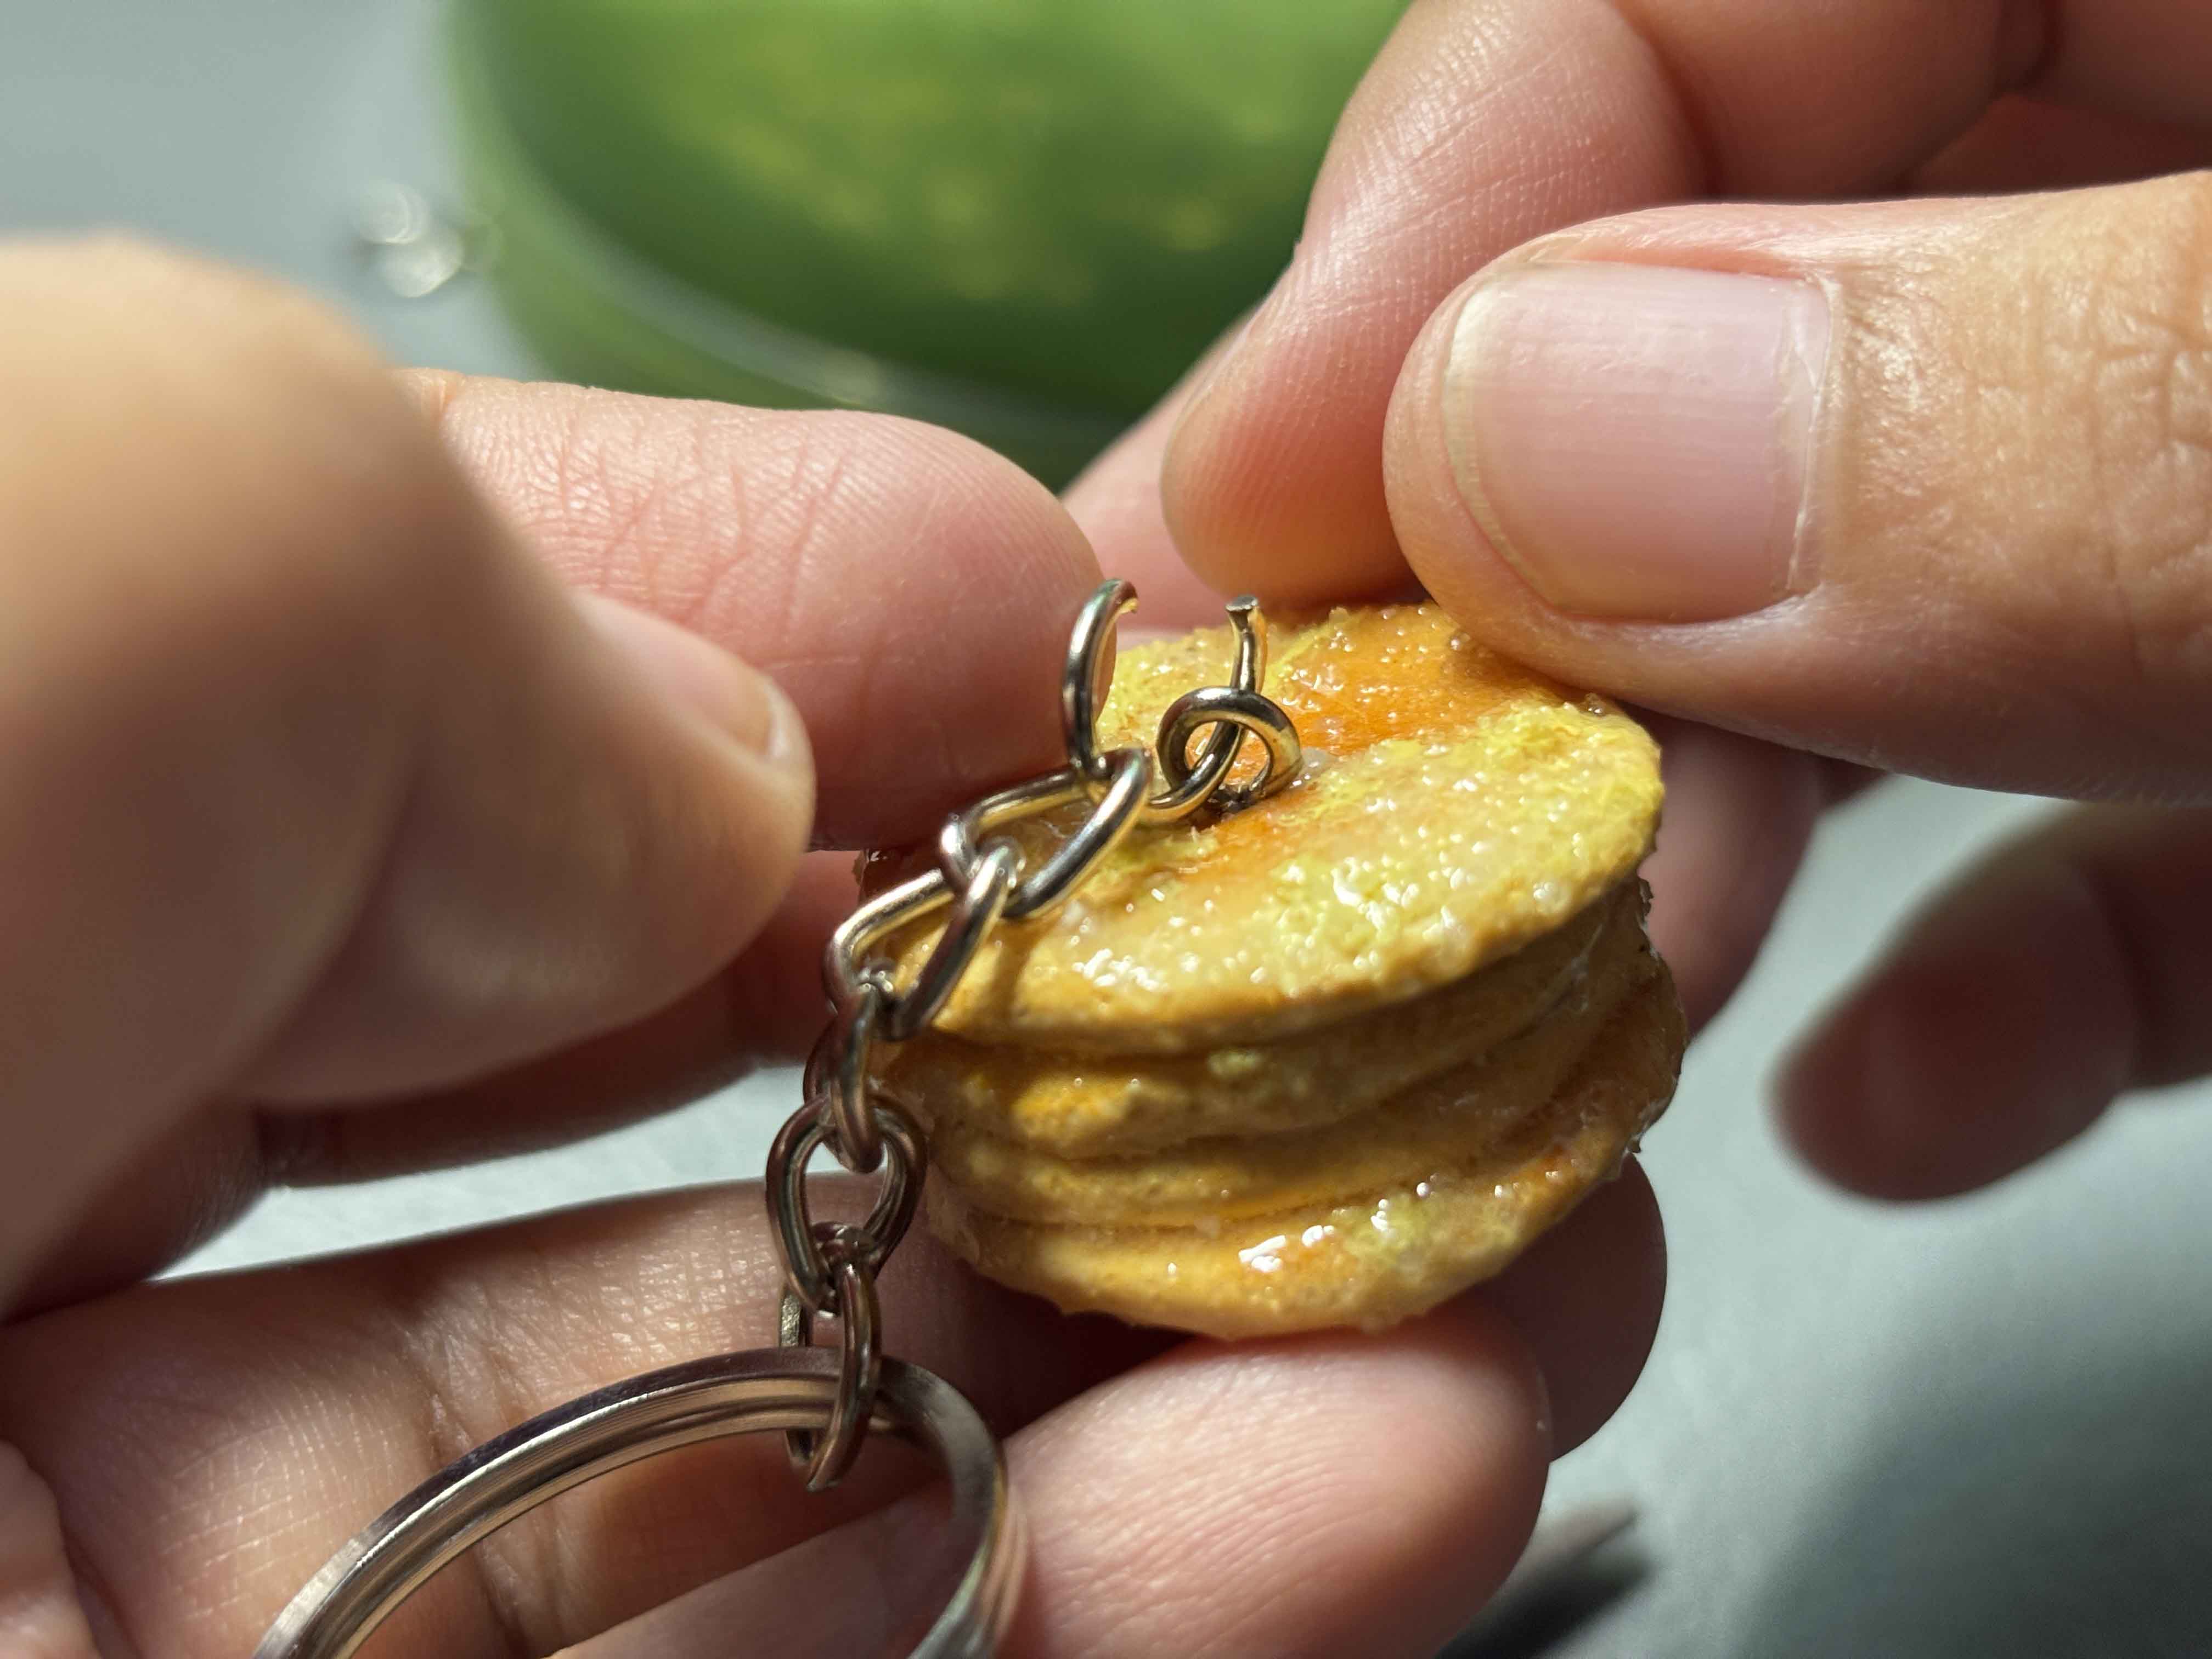
After that, I am going to put the jump ring with the keychain into the eyepin.
----
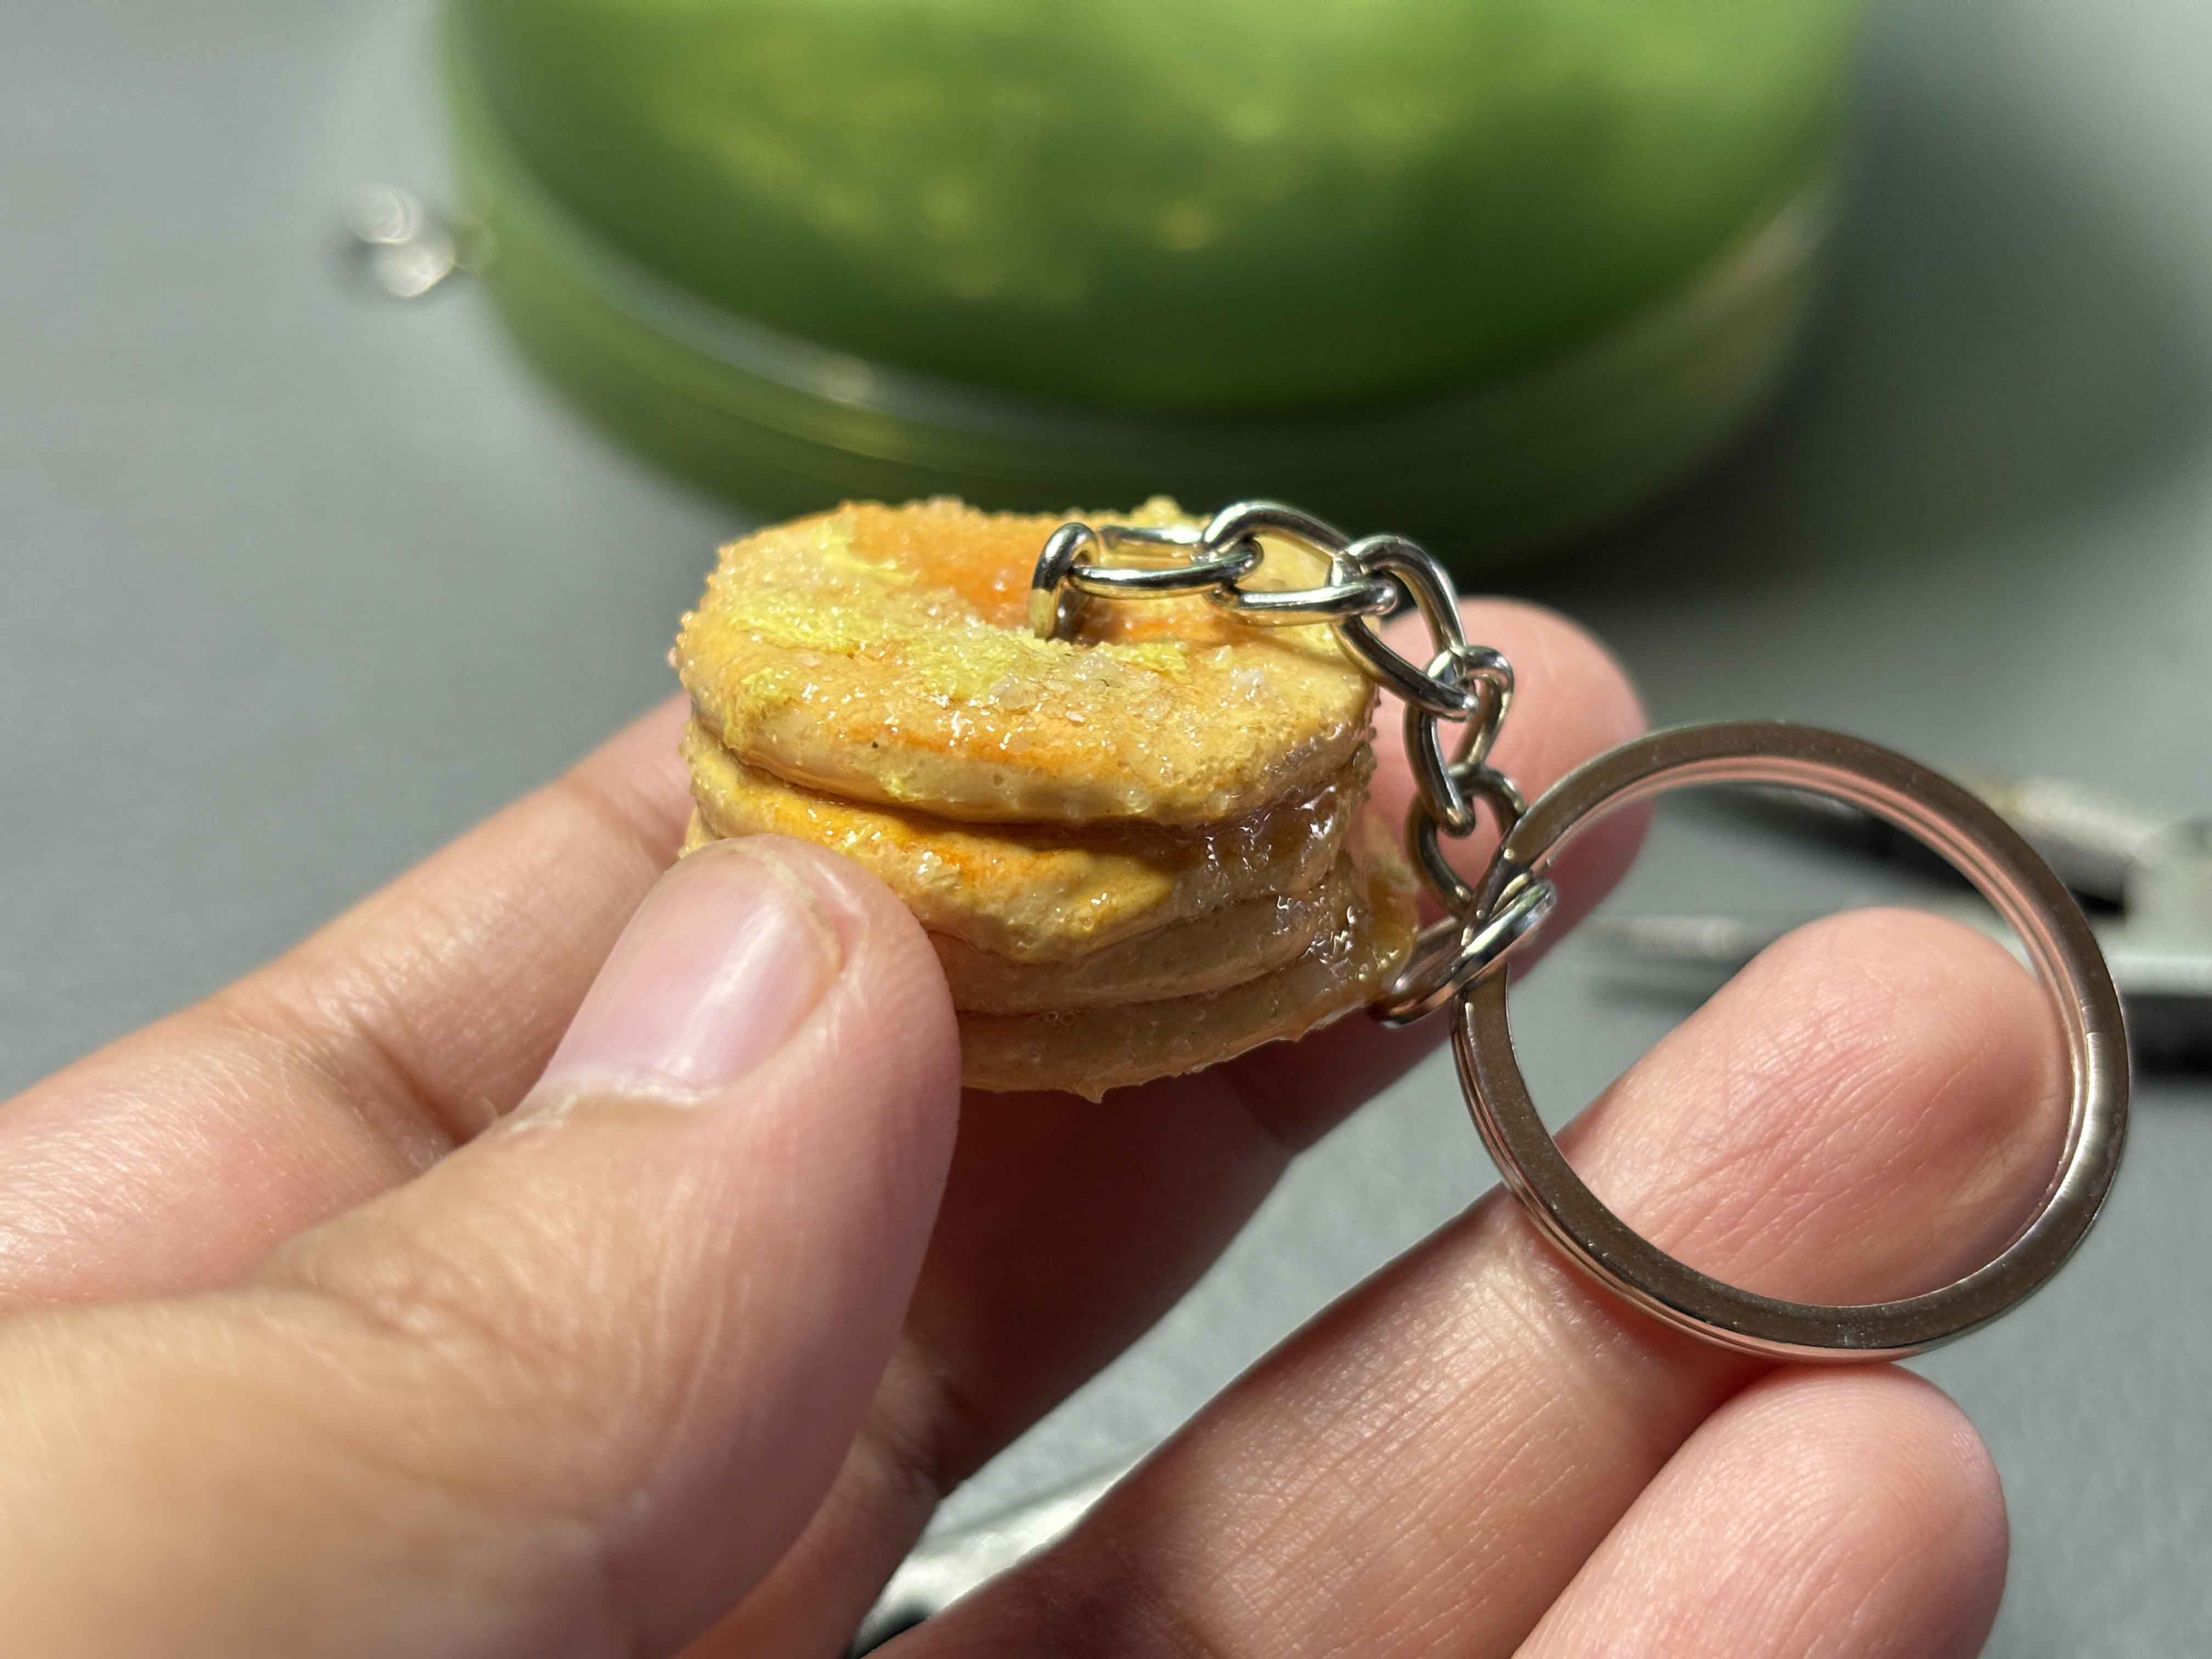
Then I lock it using the pliers.
----
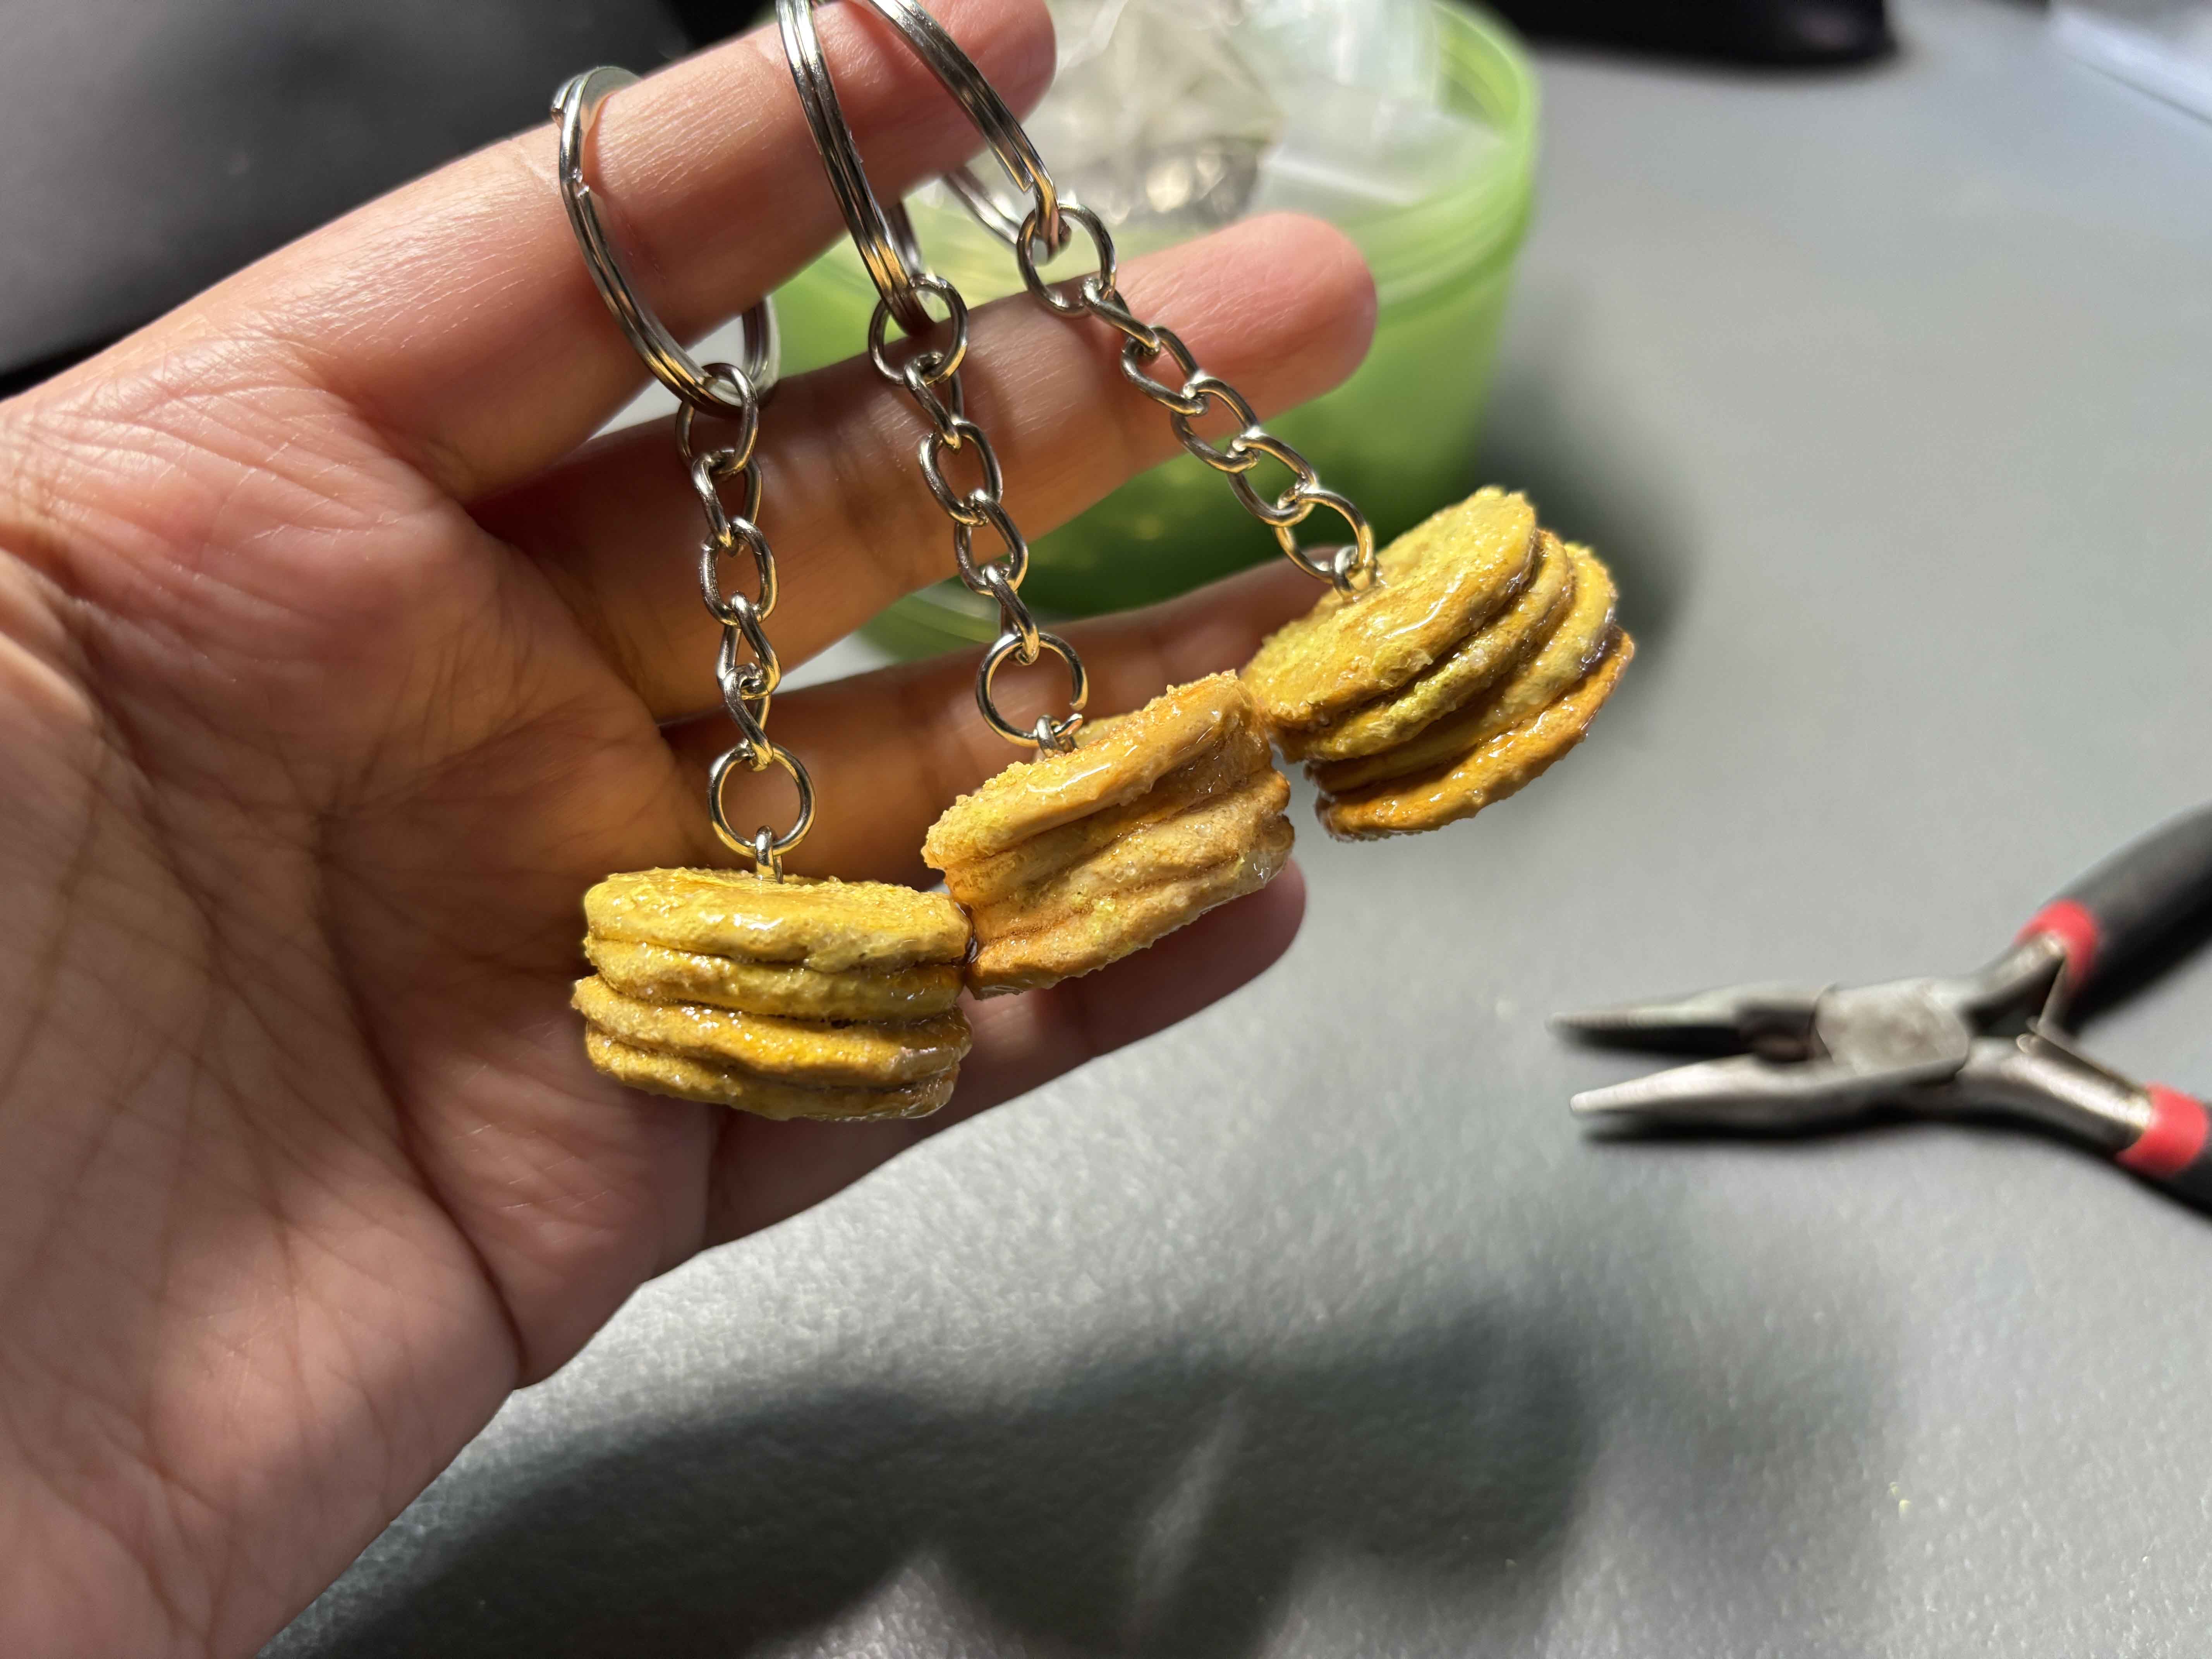
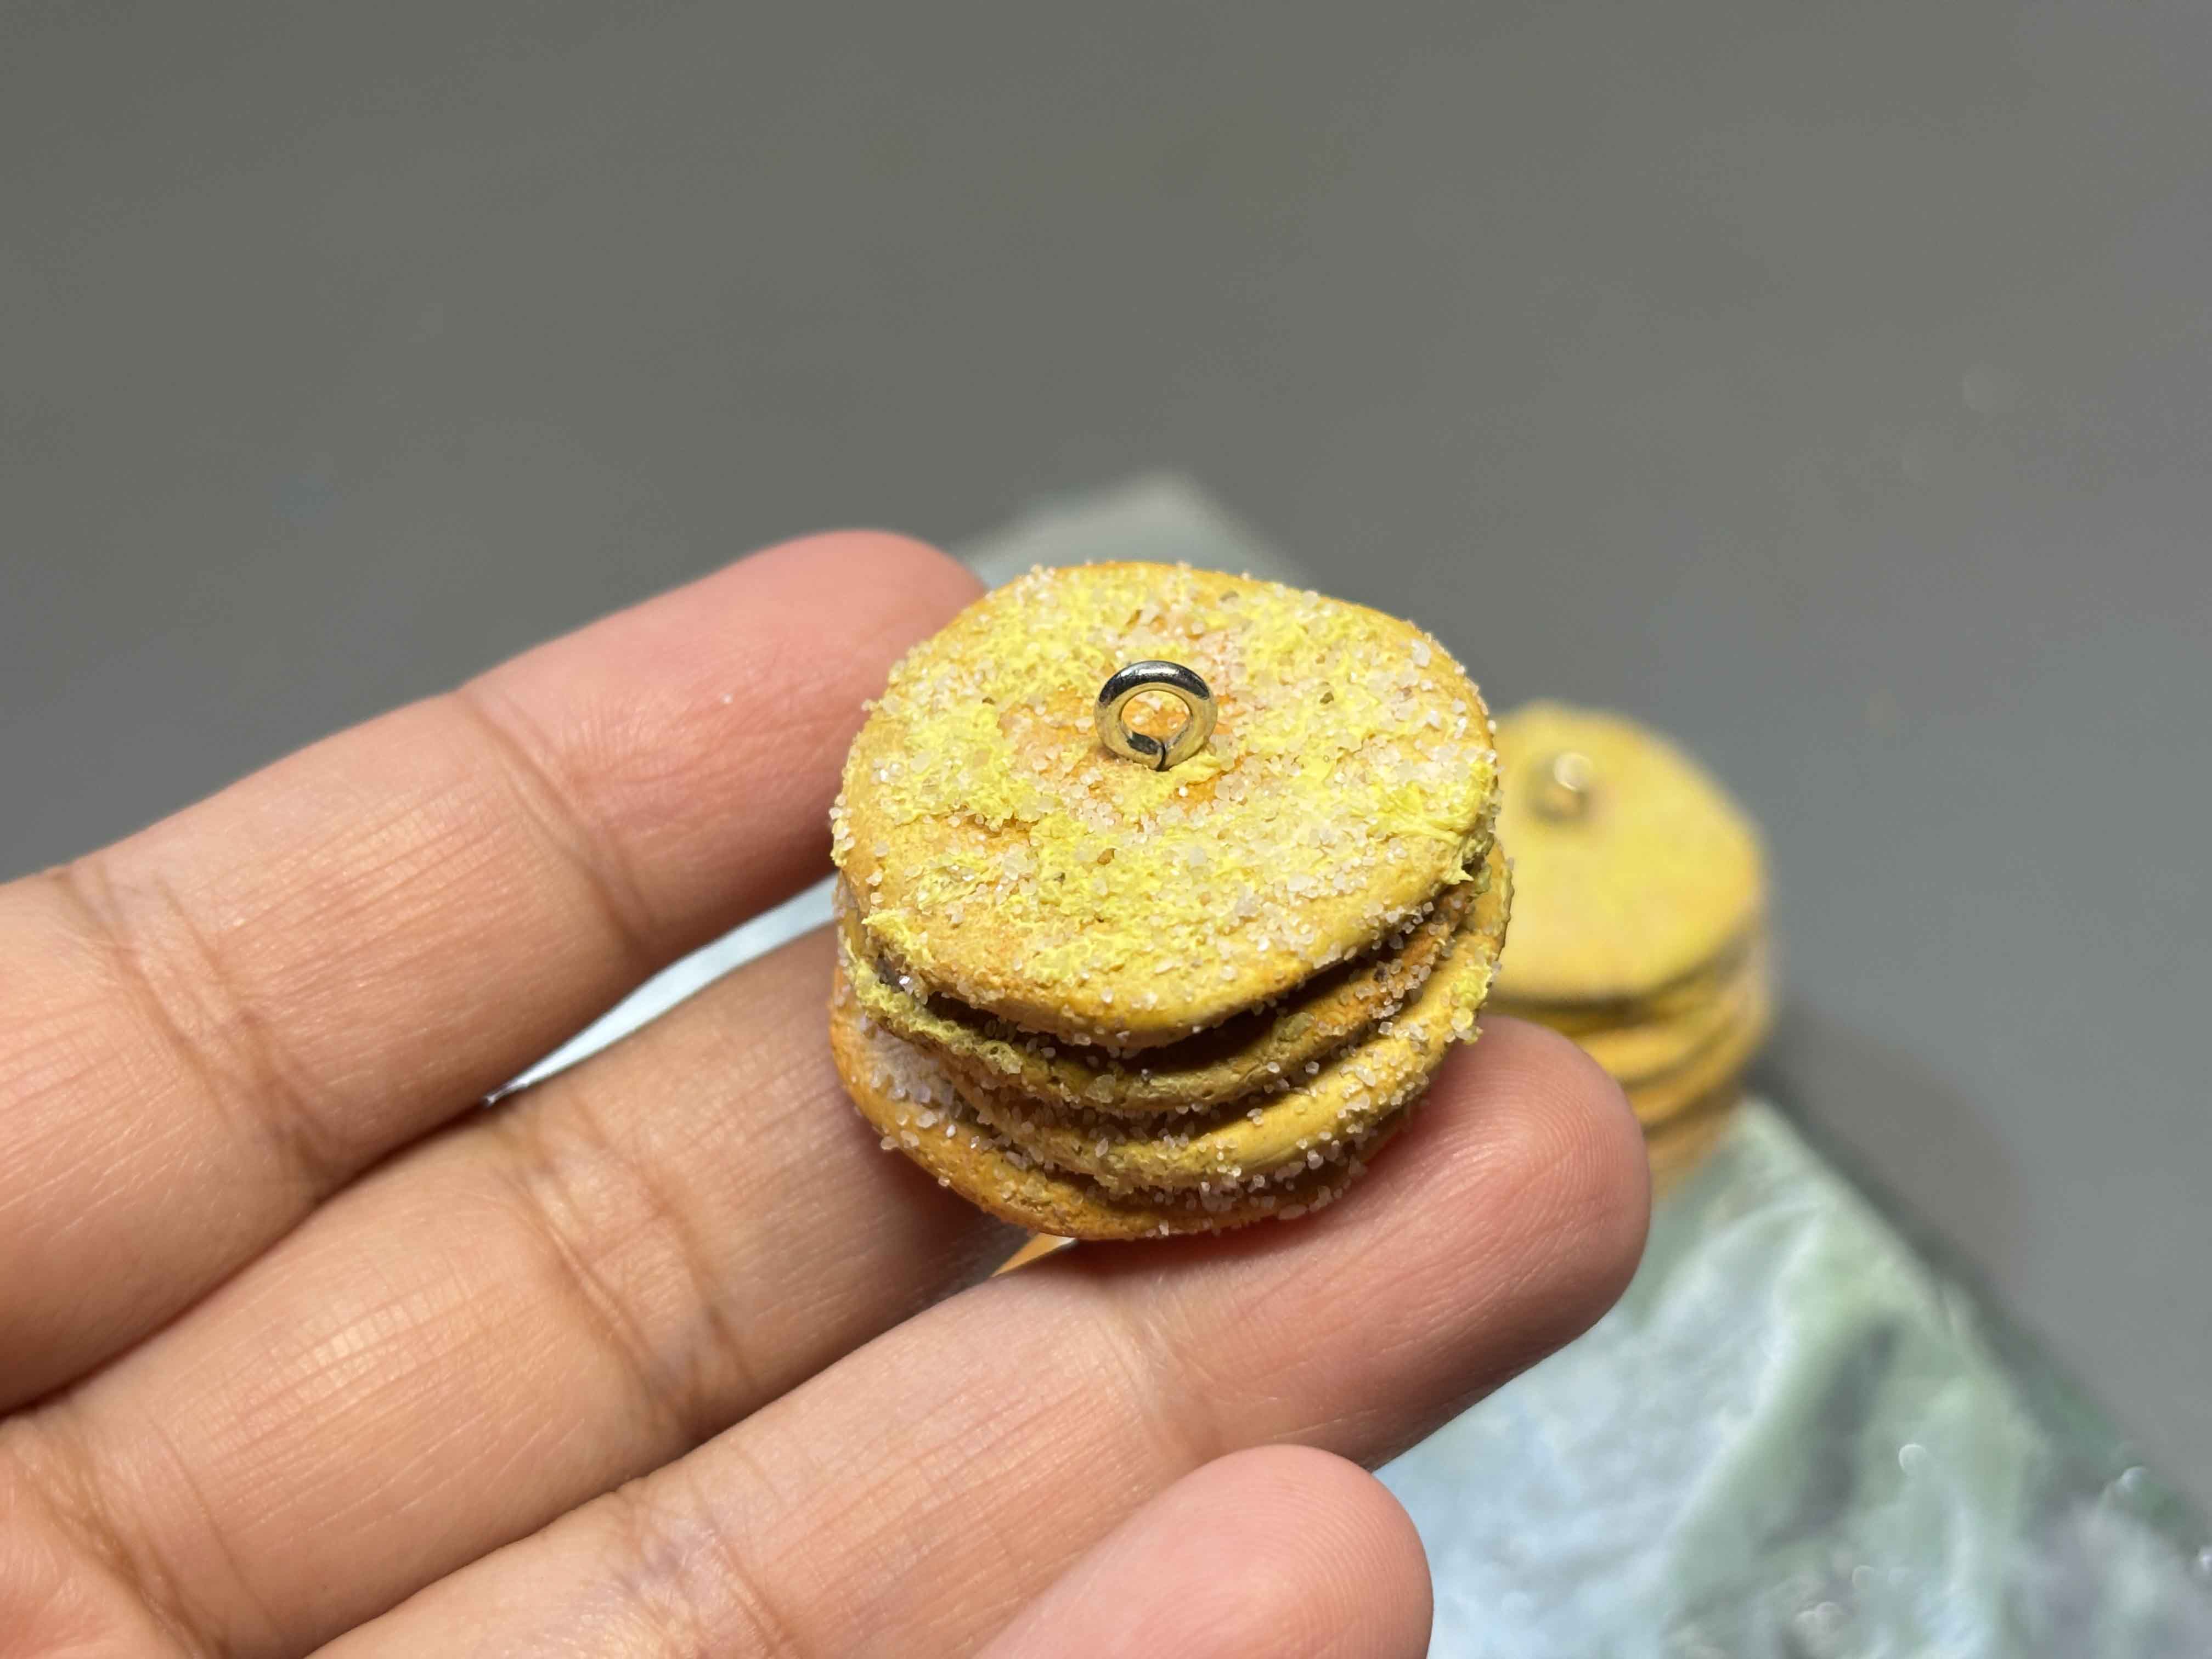
Hotcakes clay keychain.
----
Thank you for visiting, see you on my next blog. :D
Please take care of your mental health as well.
I hope you are okay today :))
---