Muy felíz martes queridos amigos de Hive Diy, un gusto saludarlos, deseo que su semana sea bendecida y nos traiga muchas cosas buenas, esta semana he estado ocupada en algunas actividades de la universidad lo que me ha consumido tiempo más sin embargo si alcancé a realizar unas lindas manualidades para mostrarles esta semana, a veces debemos ser más positivos y distribuir mejor el tiempo ya que no es imposible, trabajar, descansar, y realizar alguna actividad que nos guste.
Very happy Tuesday dear friends of Hive Diy, a pleasure to greet you, I hope your week is blessed and brings us many good things, this week I have been busy with some university activities which has taken up more of my time however I did manage to make some nice crafts to show you this week, sometimes we should be more positive and distribute our time better since it is not impossible, work, rest, and do some activity that we like.

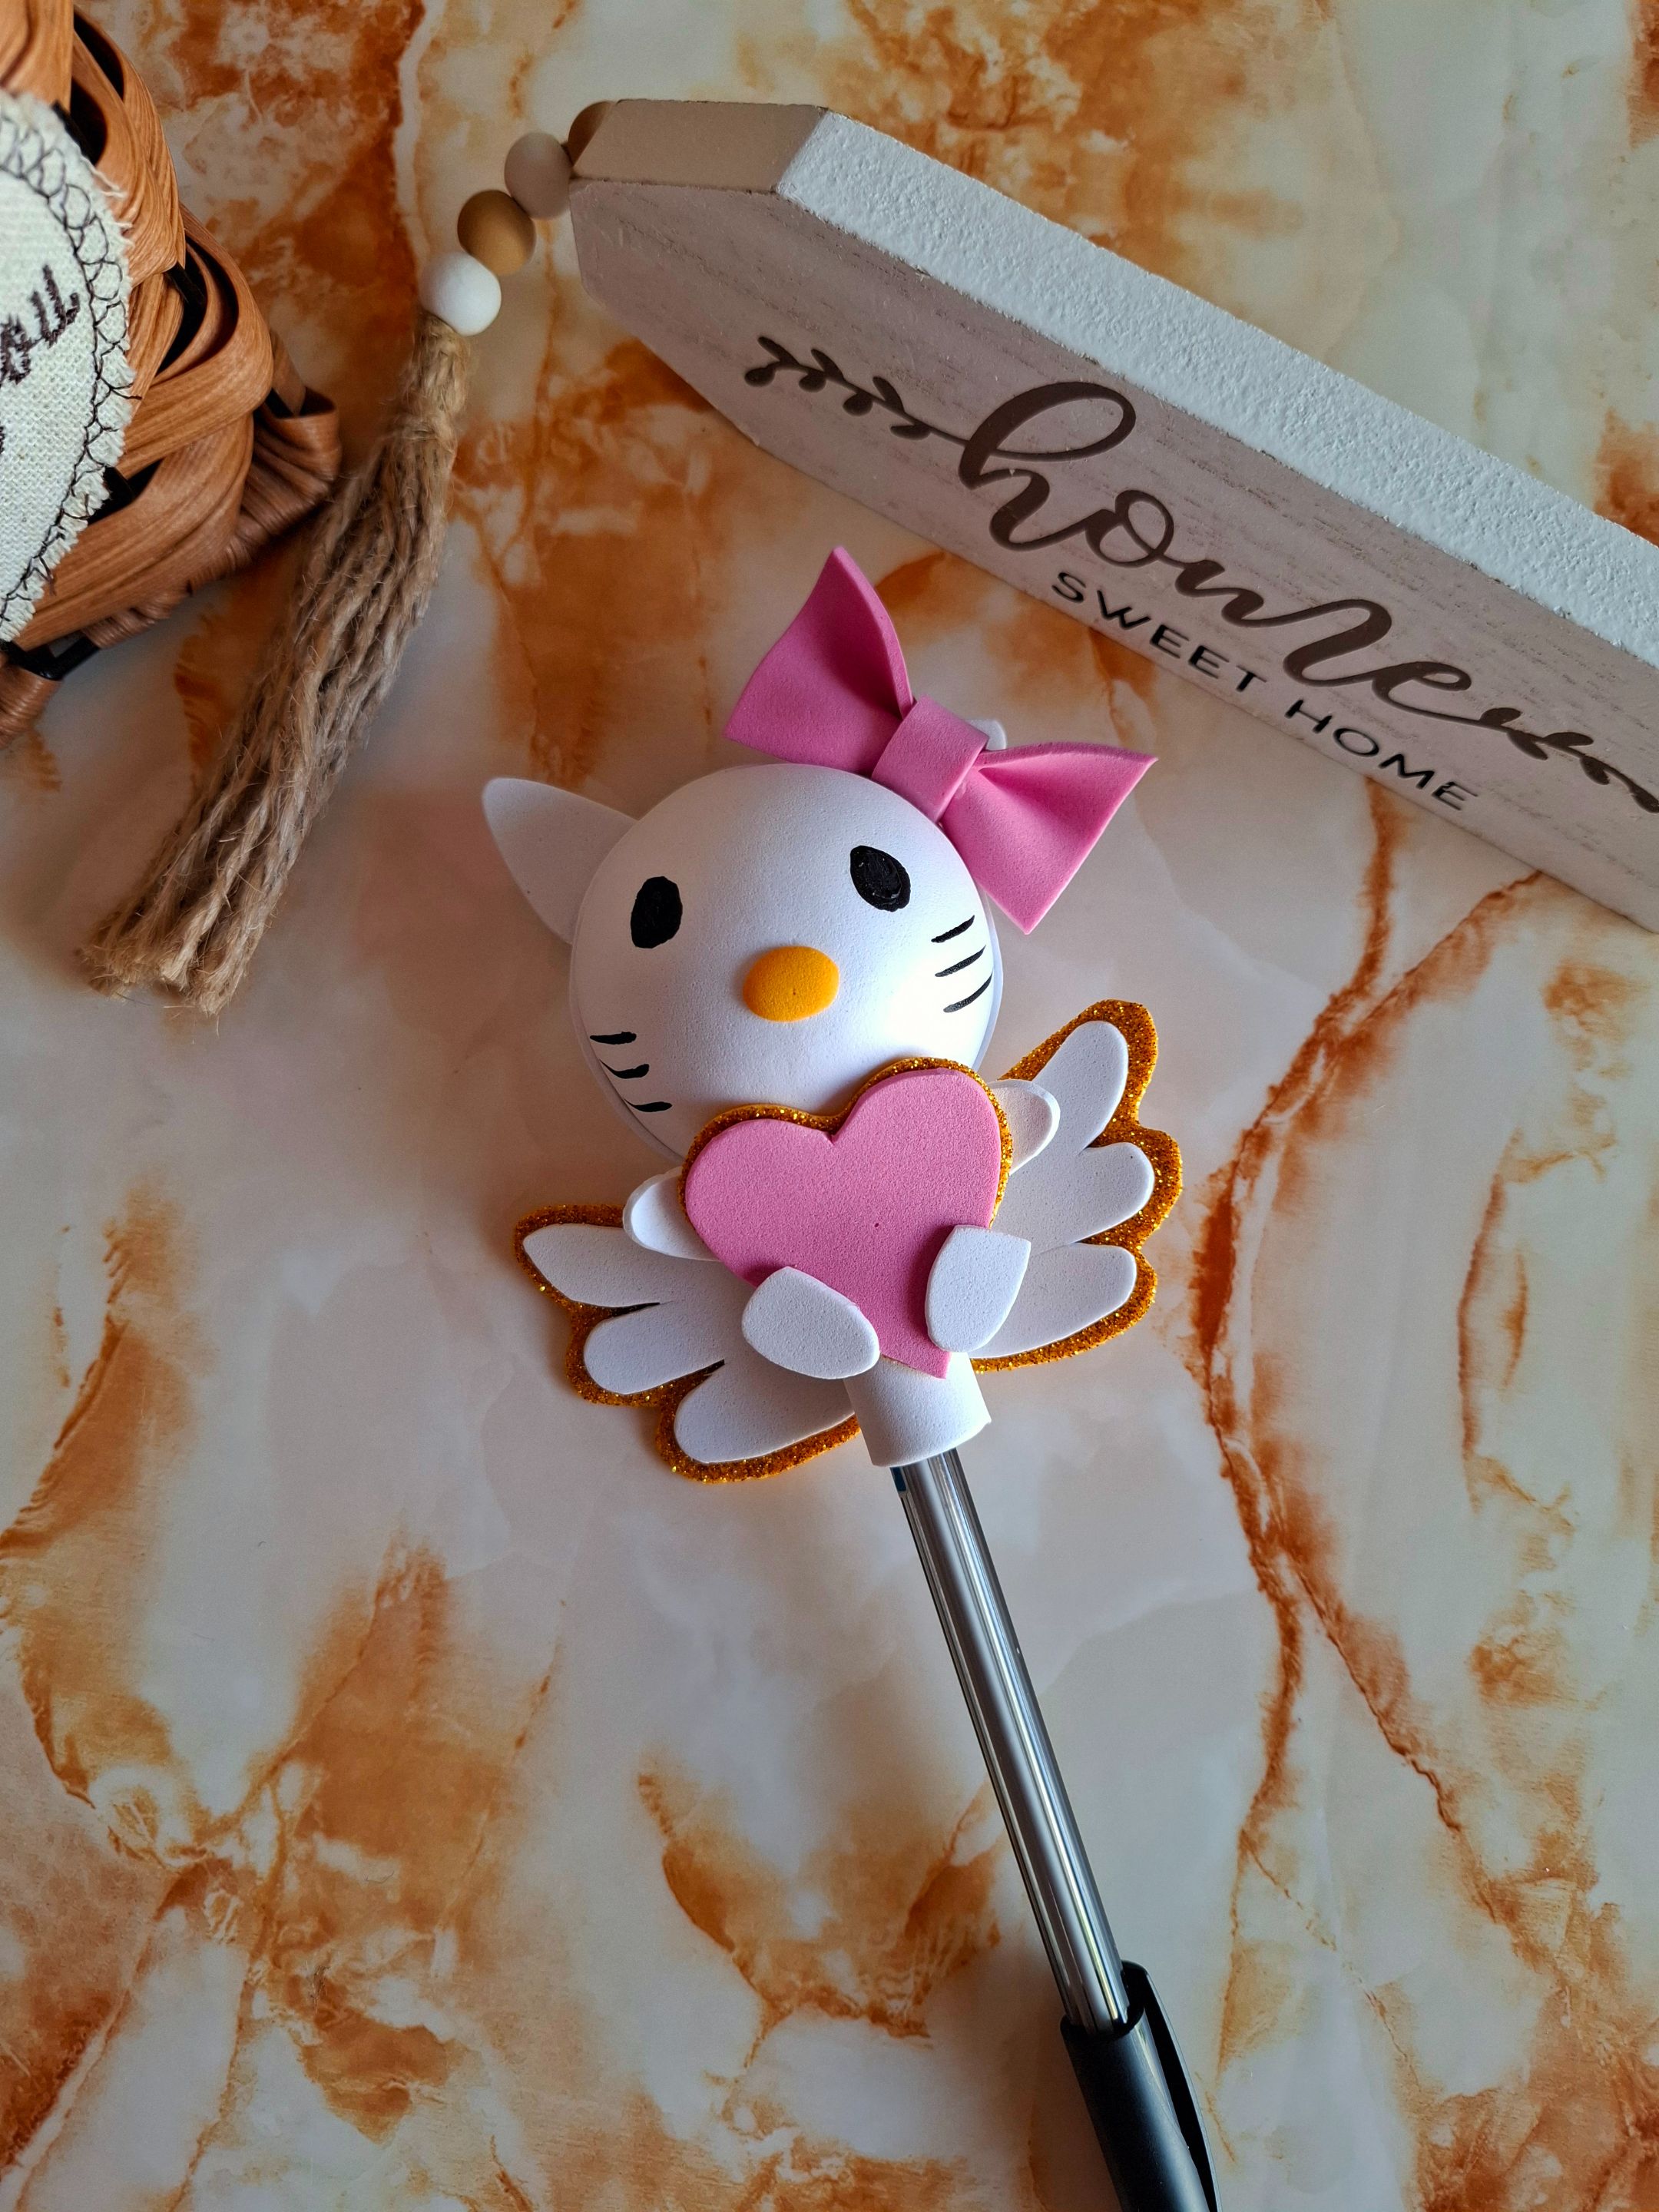
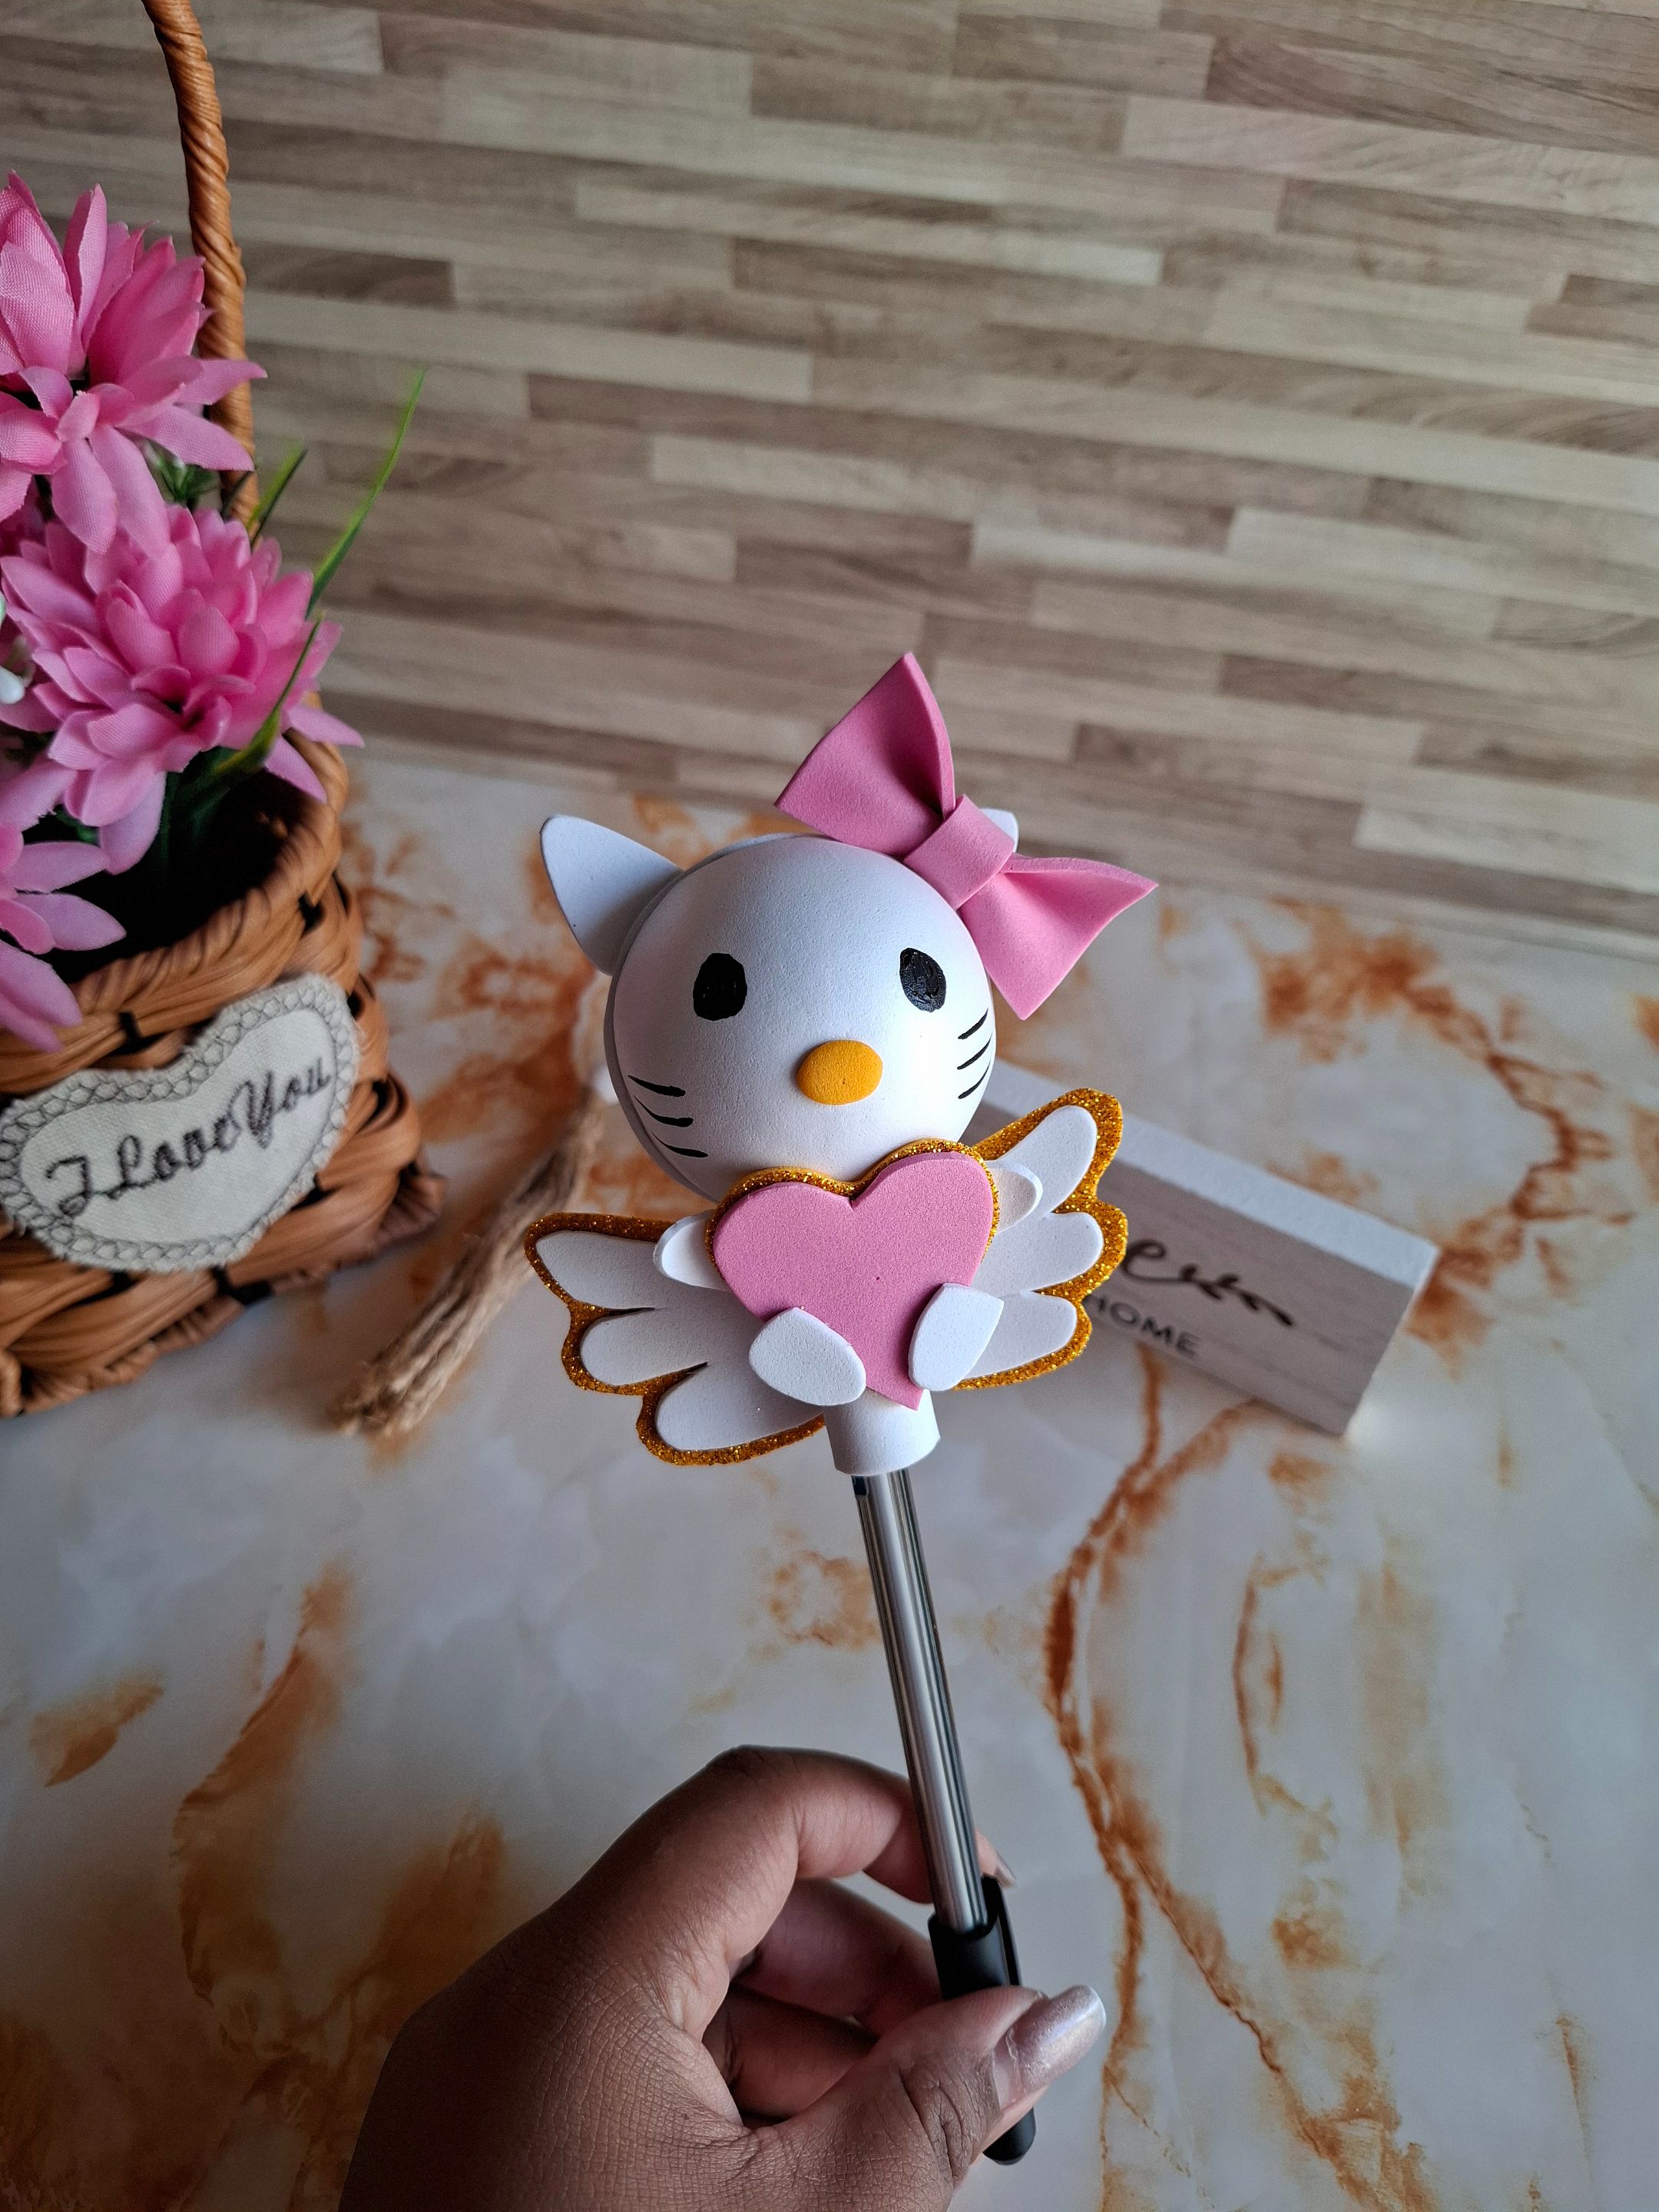
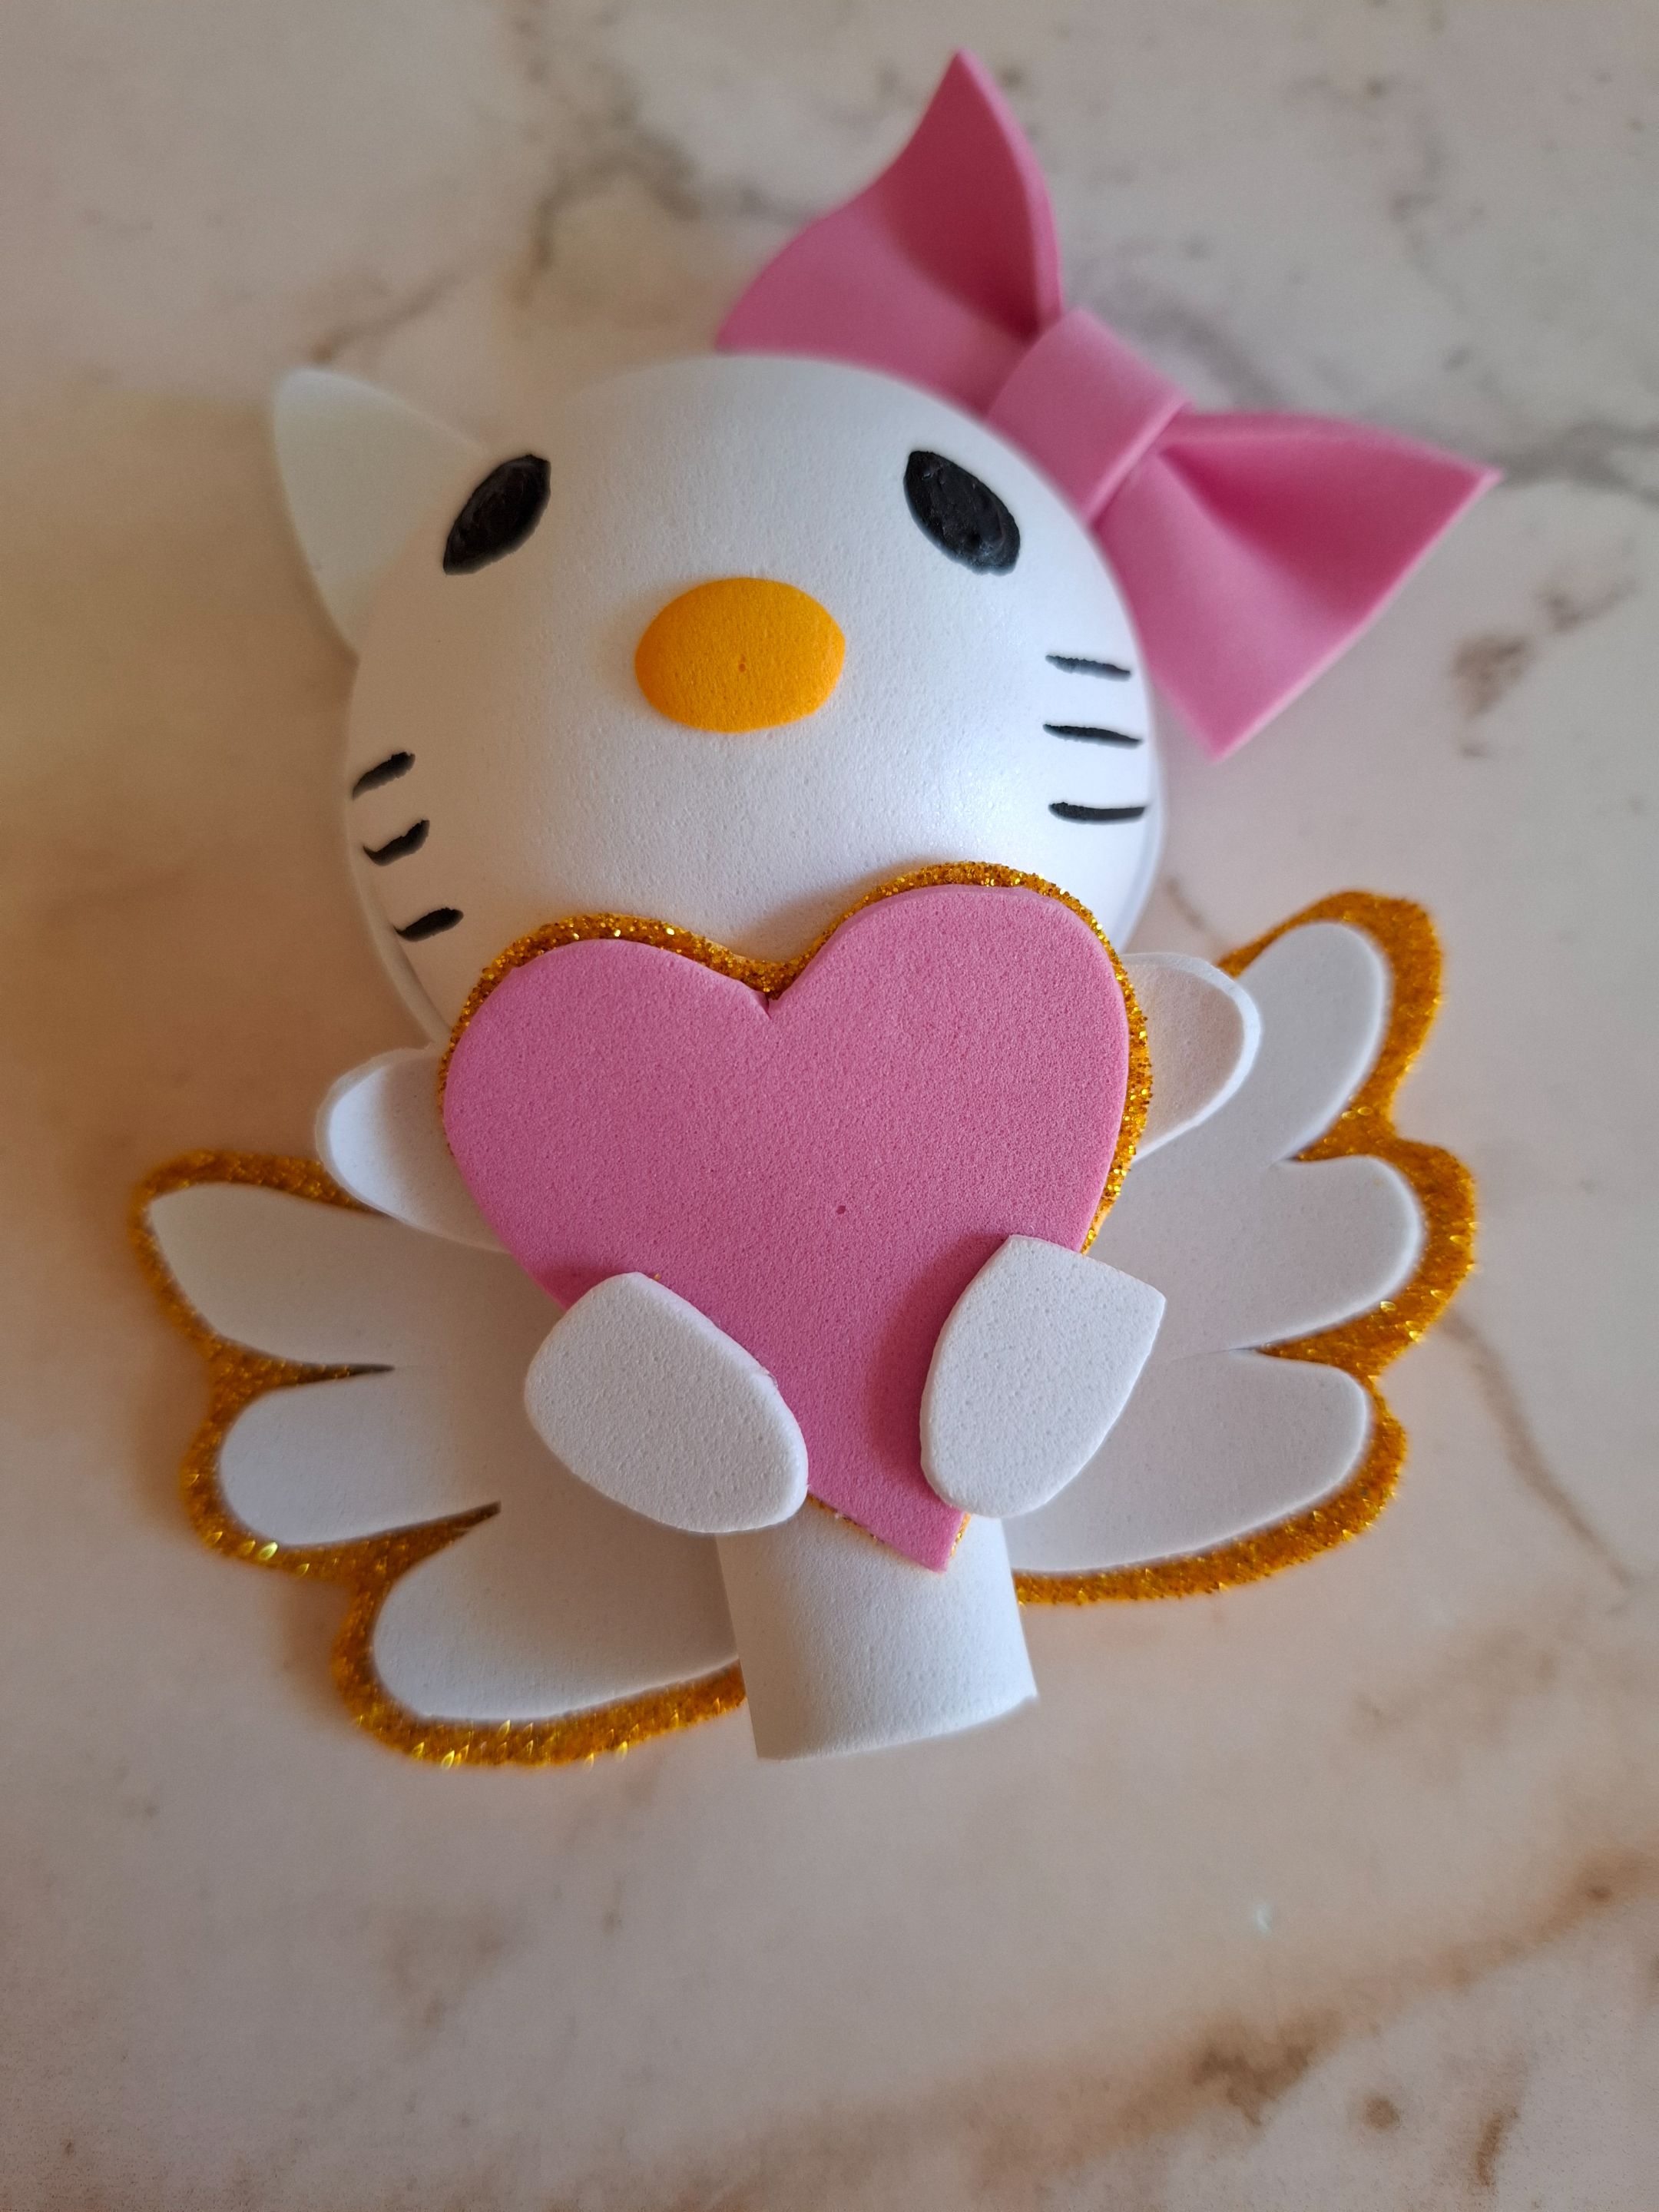
Para esta oportunidad realicé esta decoración que sirve tanto para bolígrafo como para lápiz, inspirada en la temática de Hello Kitty esta idea de Pinterest me gustó mucho así que decidí recrearla en foami utilizando una bolita de anime, es tierna con sus alas de angelito y el corazón que lleva abrazado, a continuación les muestro los materiales y el paso a paso.
For this occasion I made this decoration that works for both a pen and a pencil, inspired by the theme of Hello Kitty I really liked this idea from Pinterest so I decided to recreate it in foami using an anime ball, it is cute with its angel wings and the heart it is hugging, below I show you the materials and the step by step.
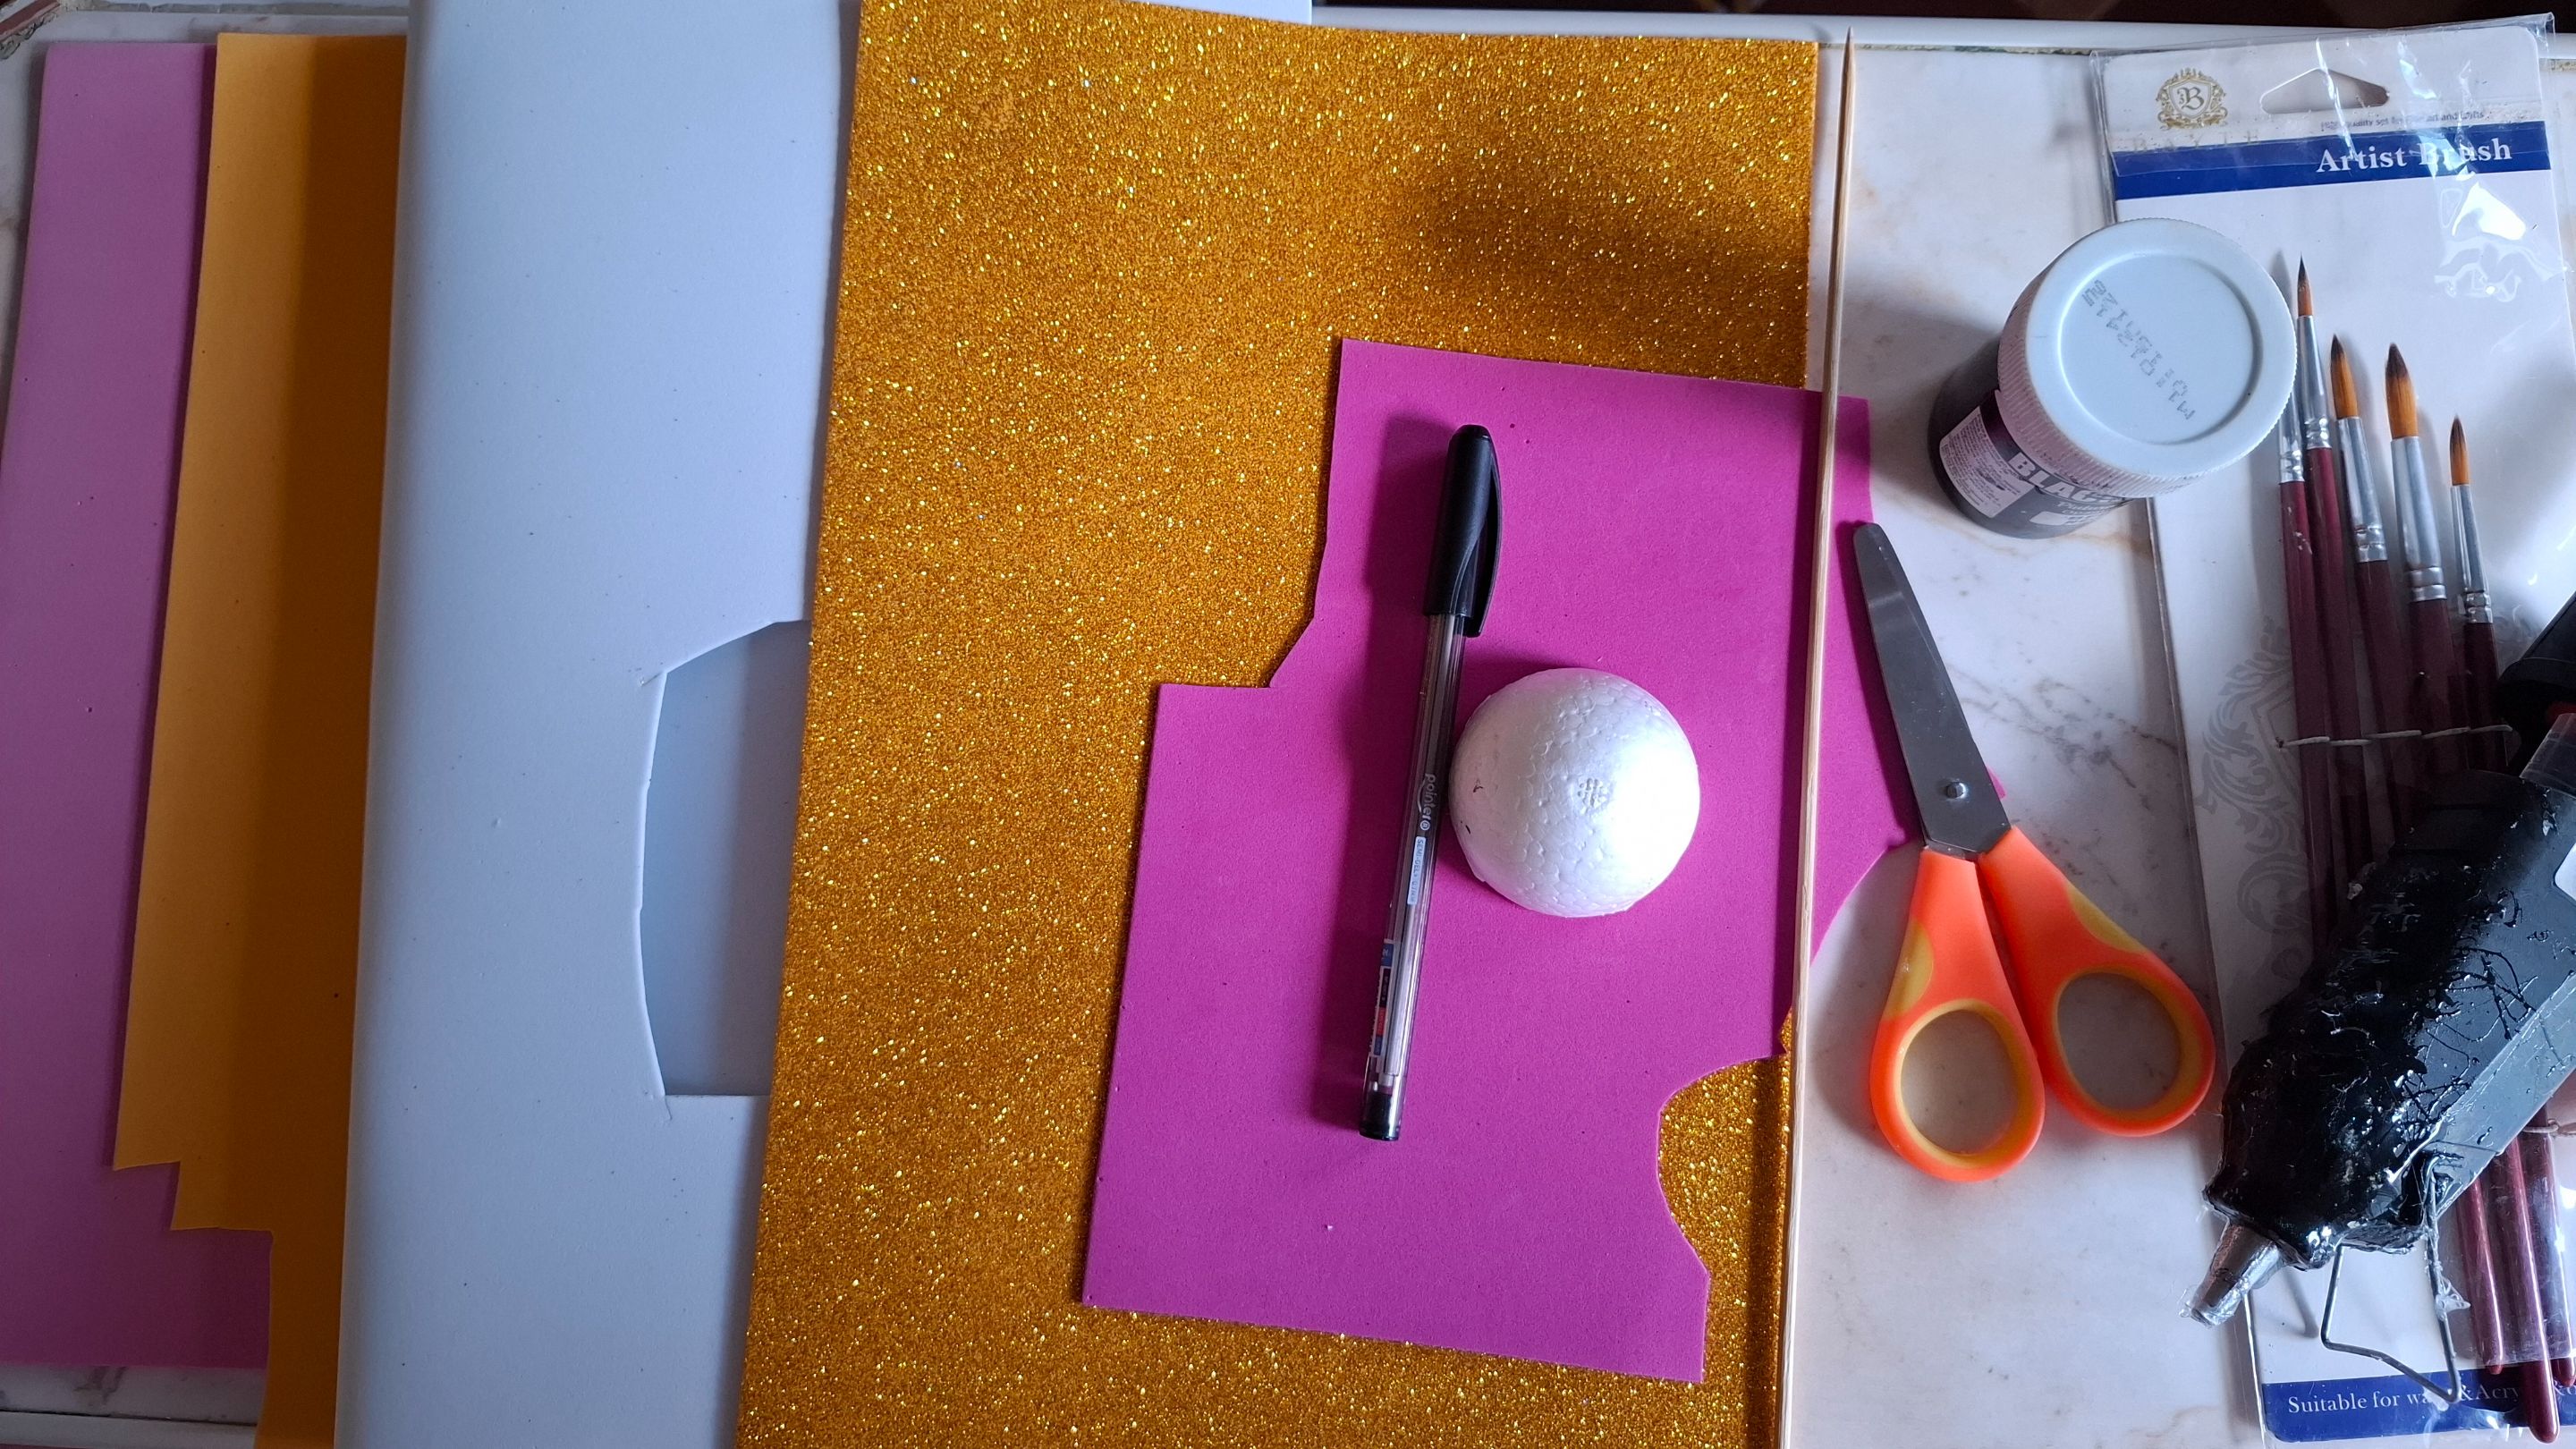
| Materiales | Materials |
|---|---|
| Foami blanco | White foam |
| Foami rosado | Pink foam |
| Foami dorado | Golden foam |
| Pintura negra | black paint |
| Foami amarillo | Yellow foam |
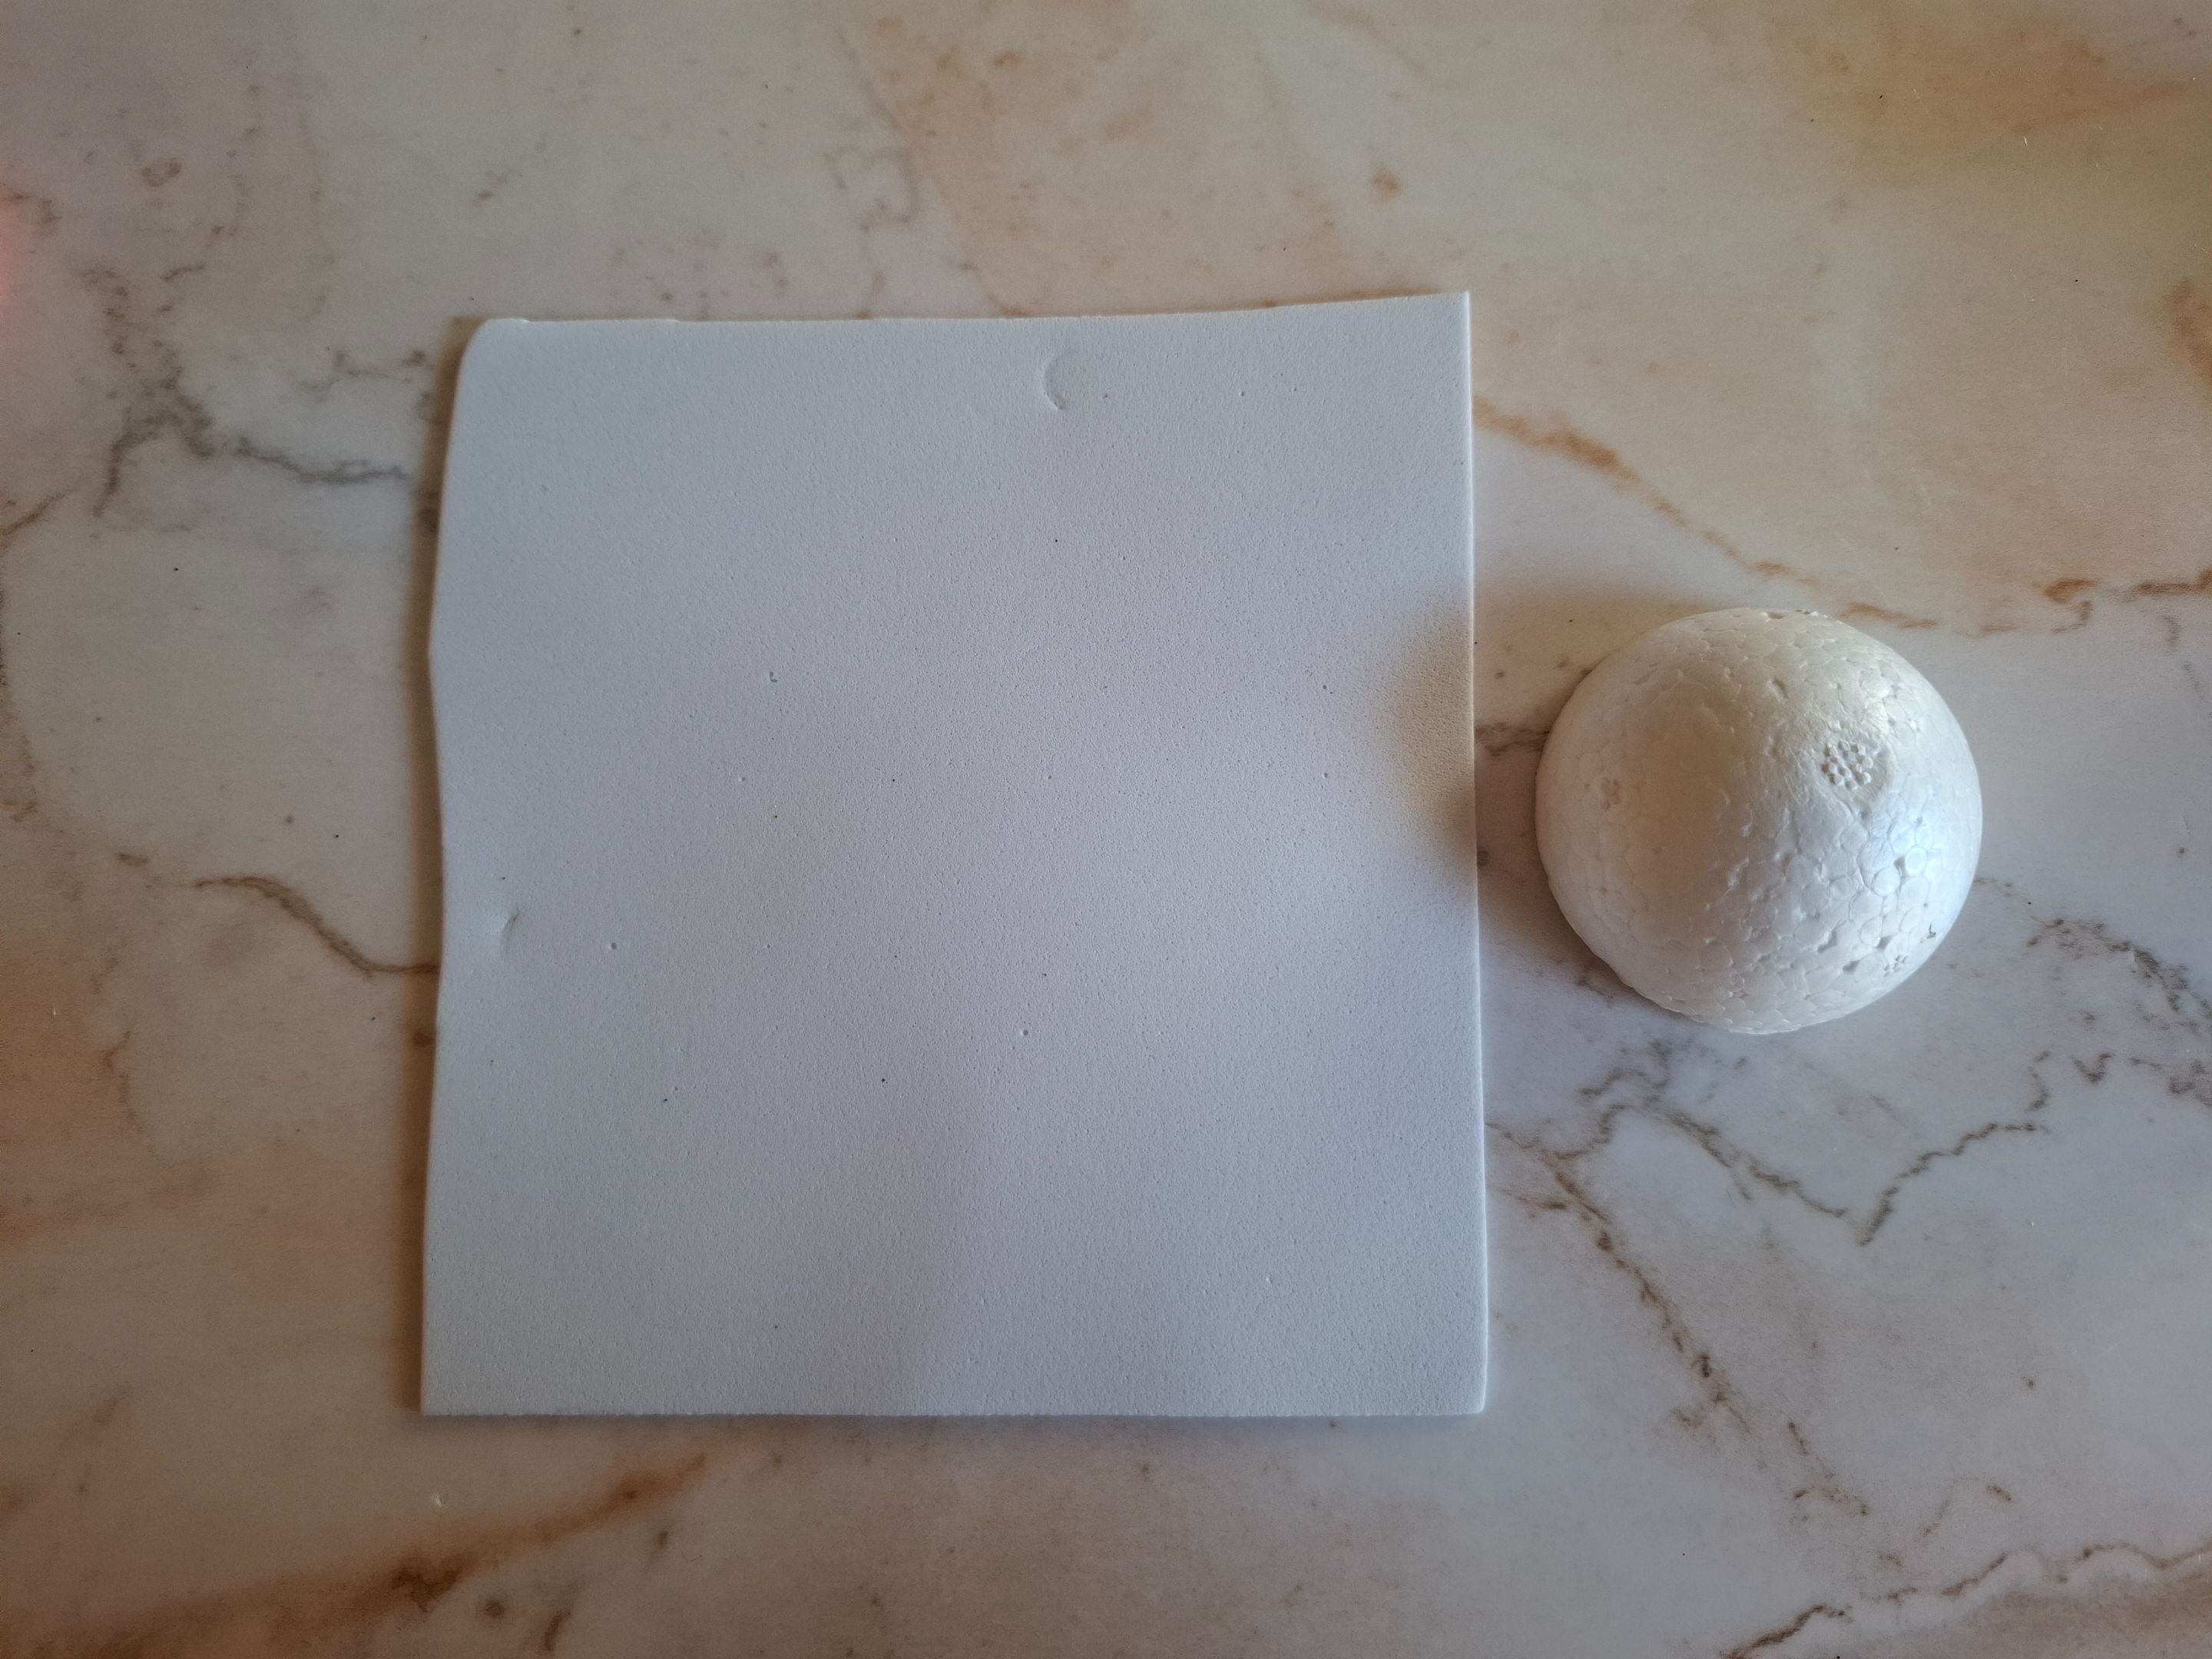
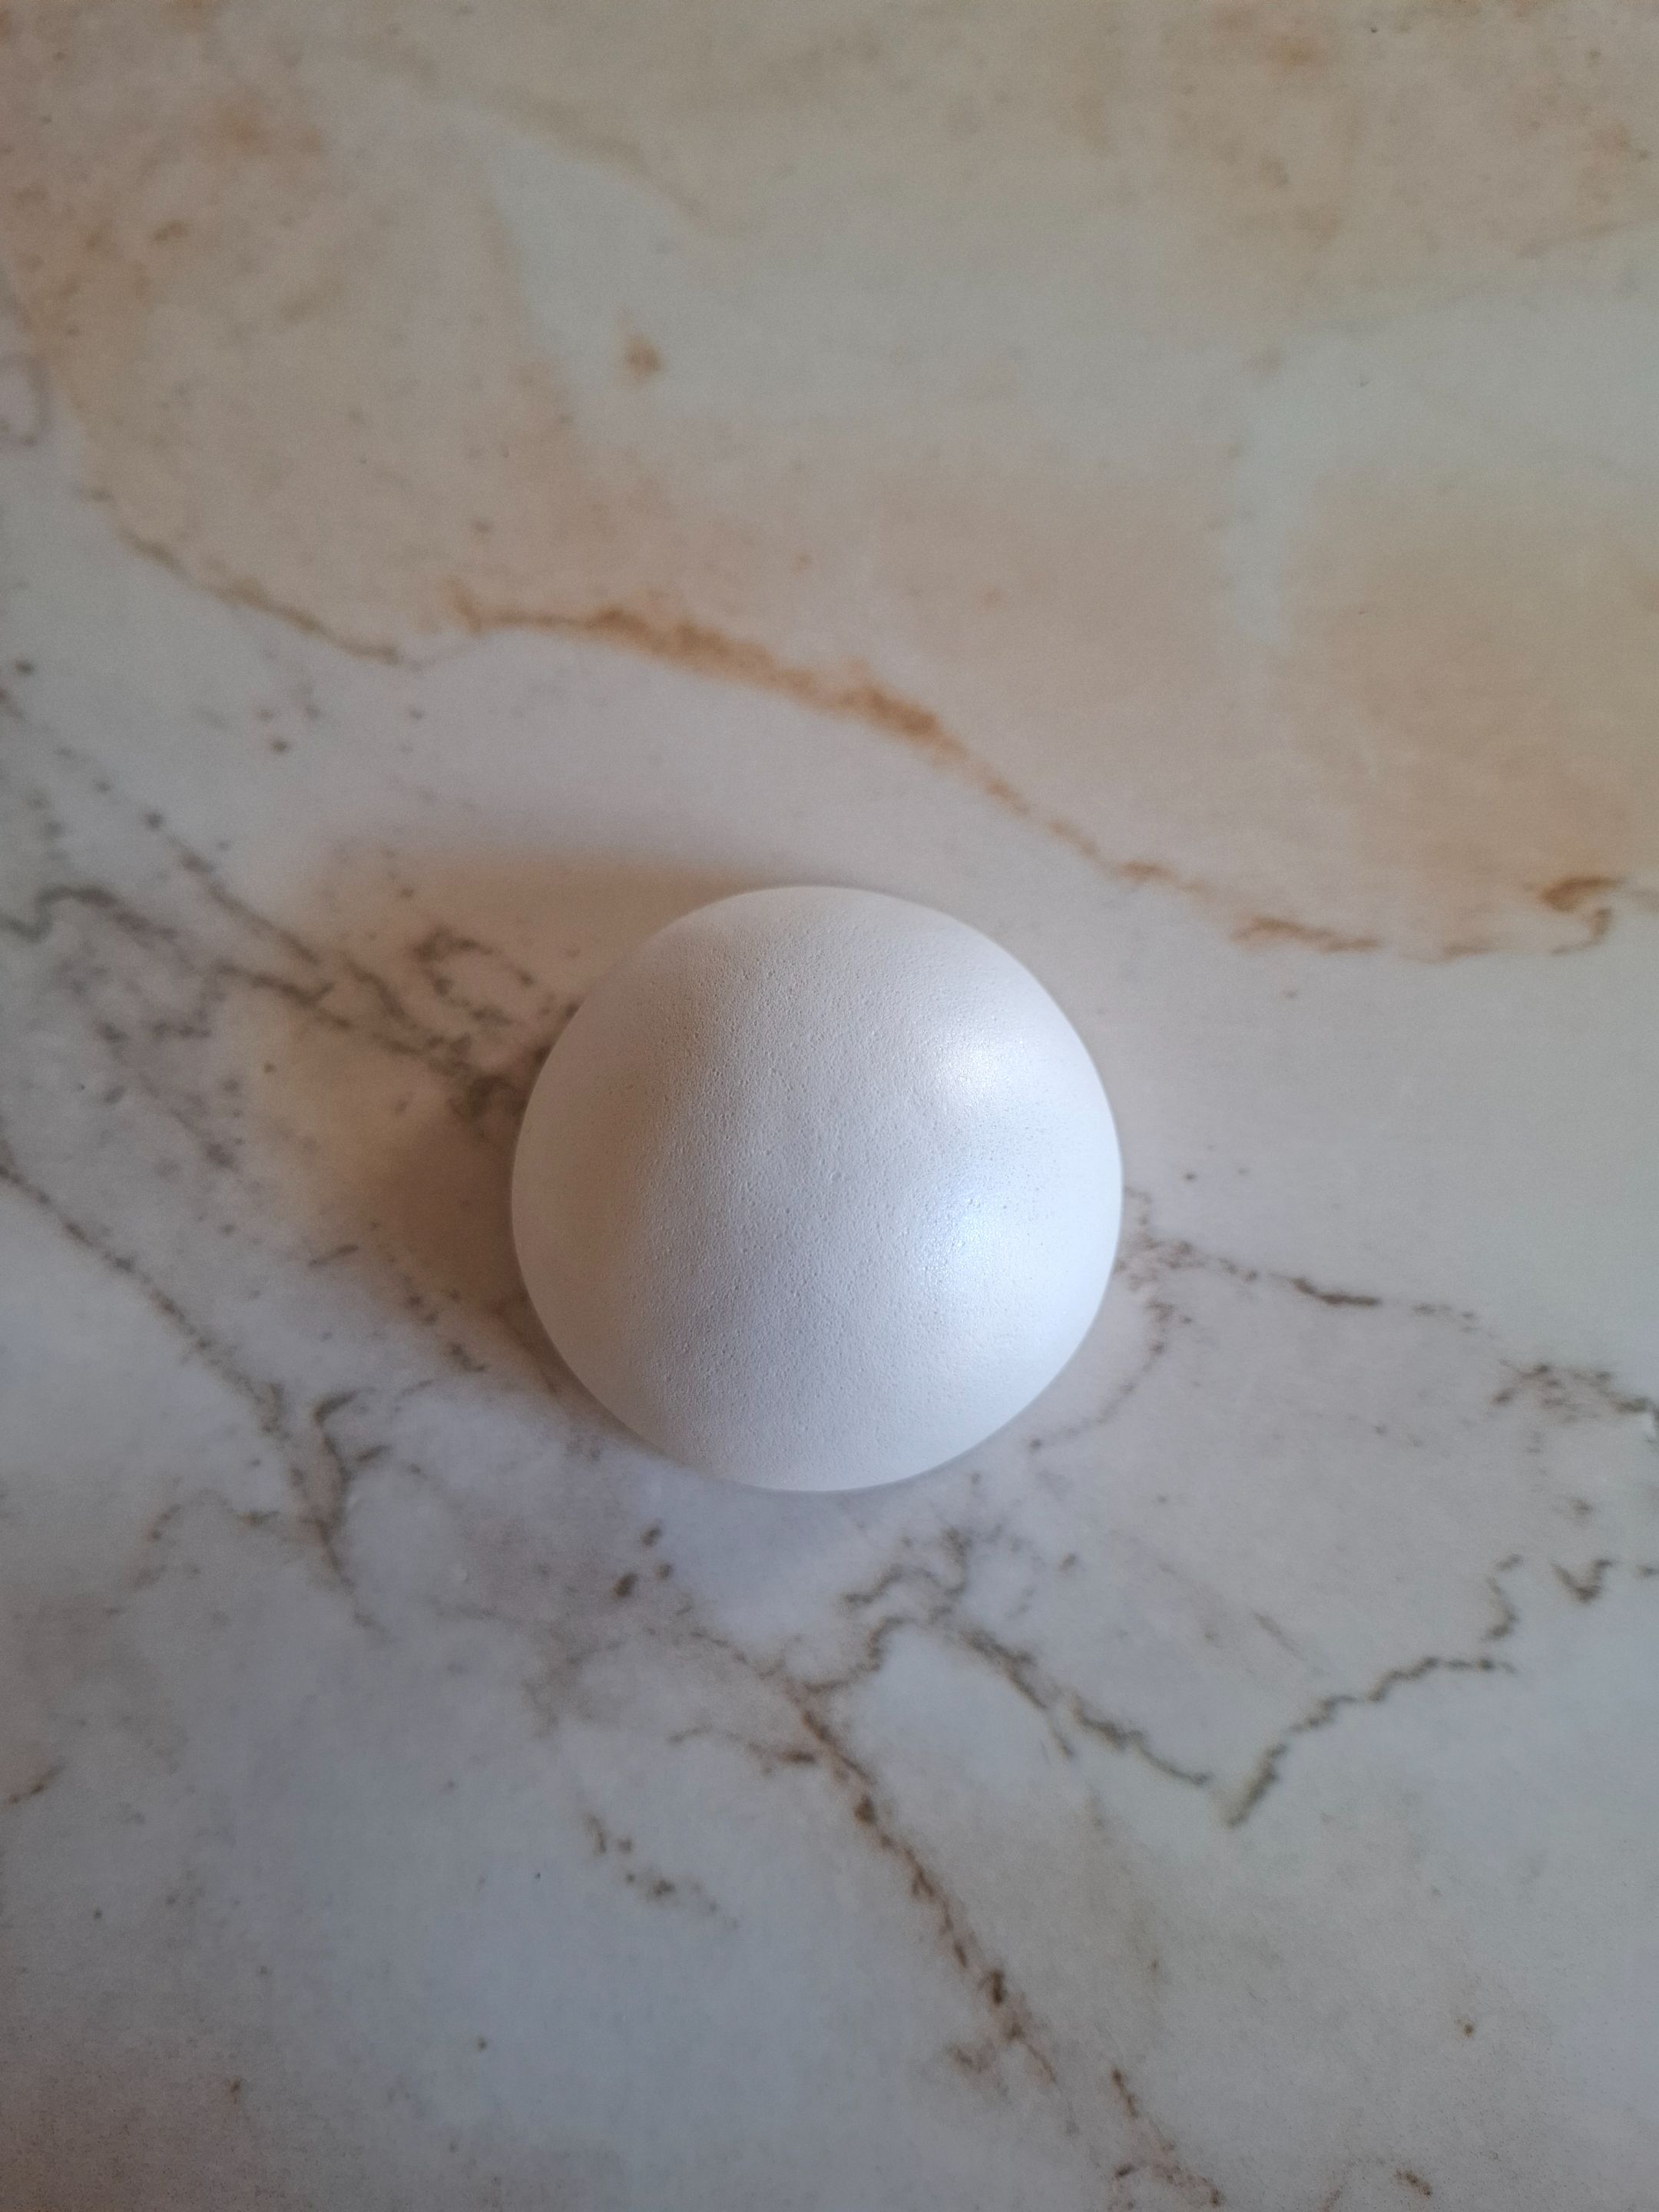
| Esfera de anime # 5 | Anime Sphere #5 |
| Tijera | Scissors |
| Silicón | Silicone |
| Plancha | Iron |
Paso a paso / Step by step
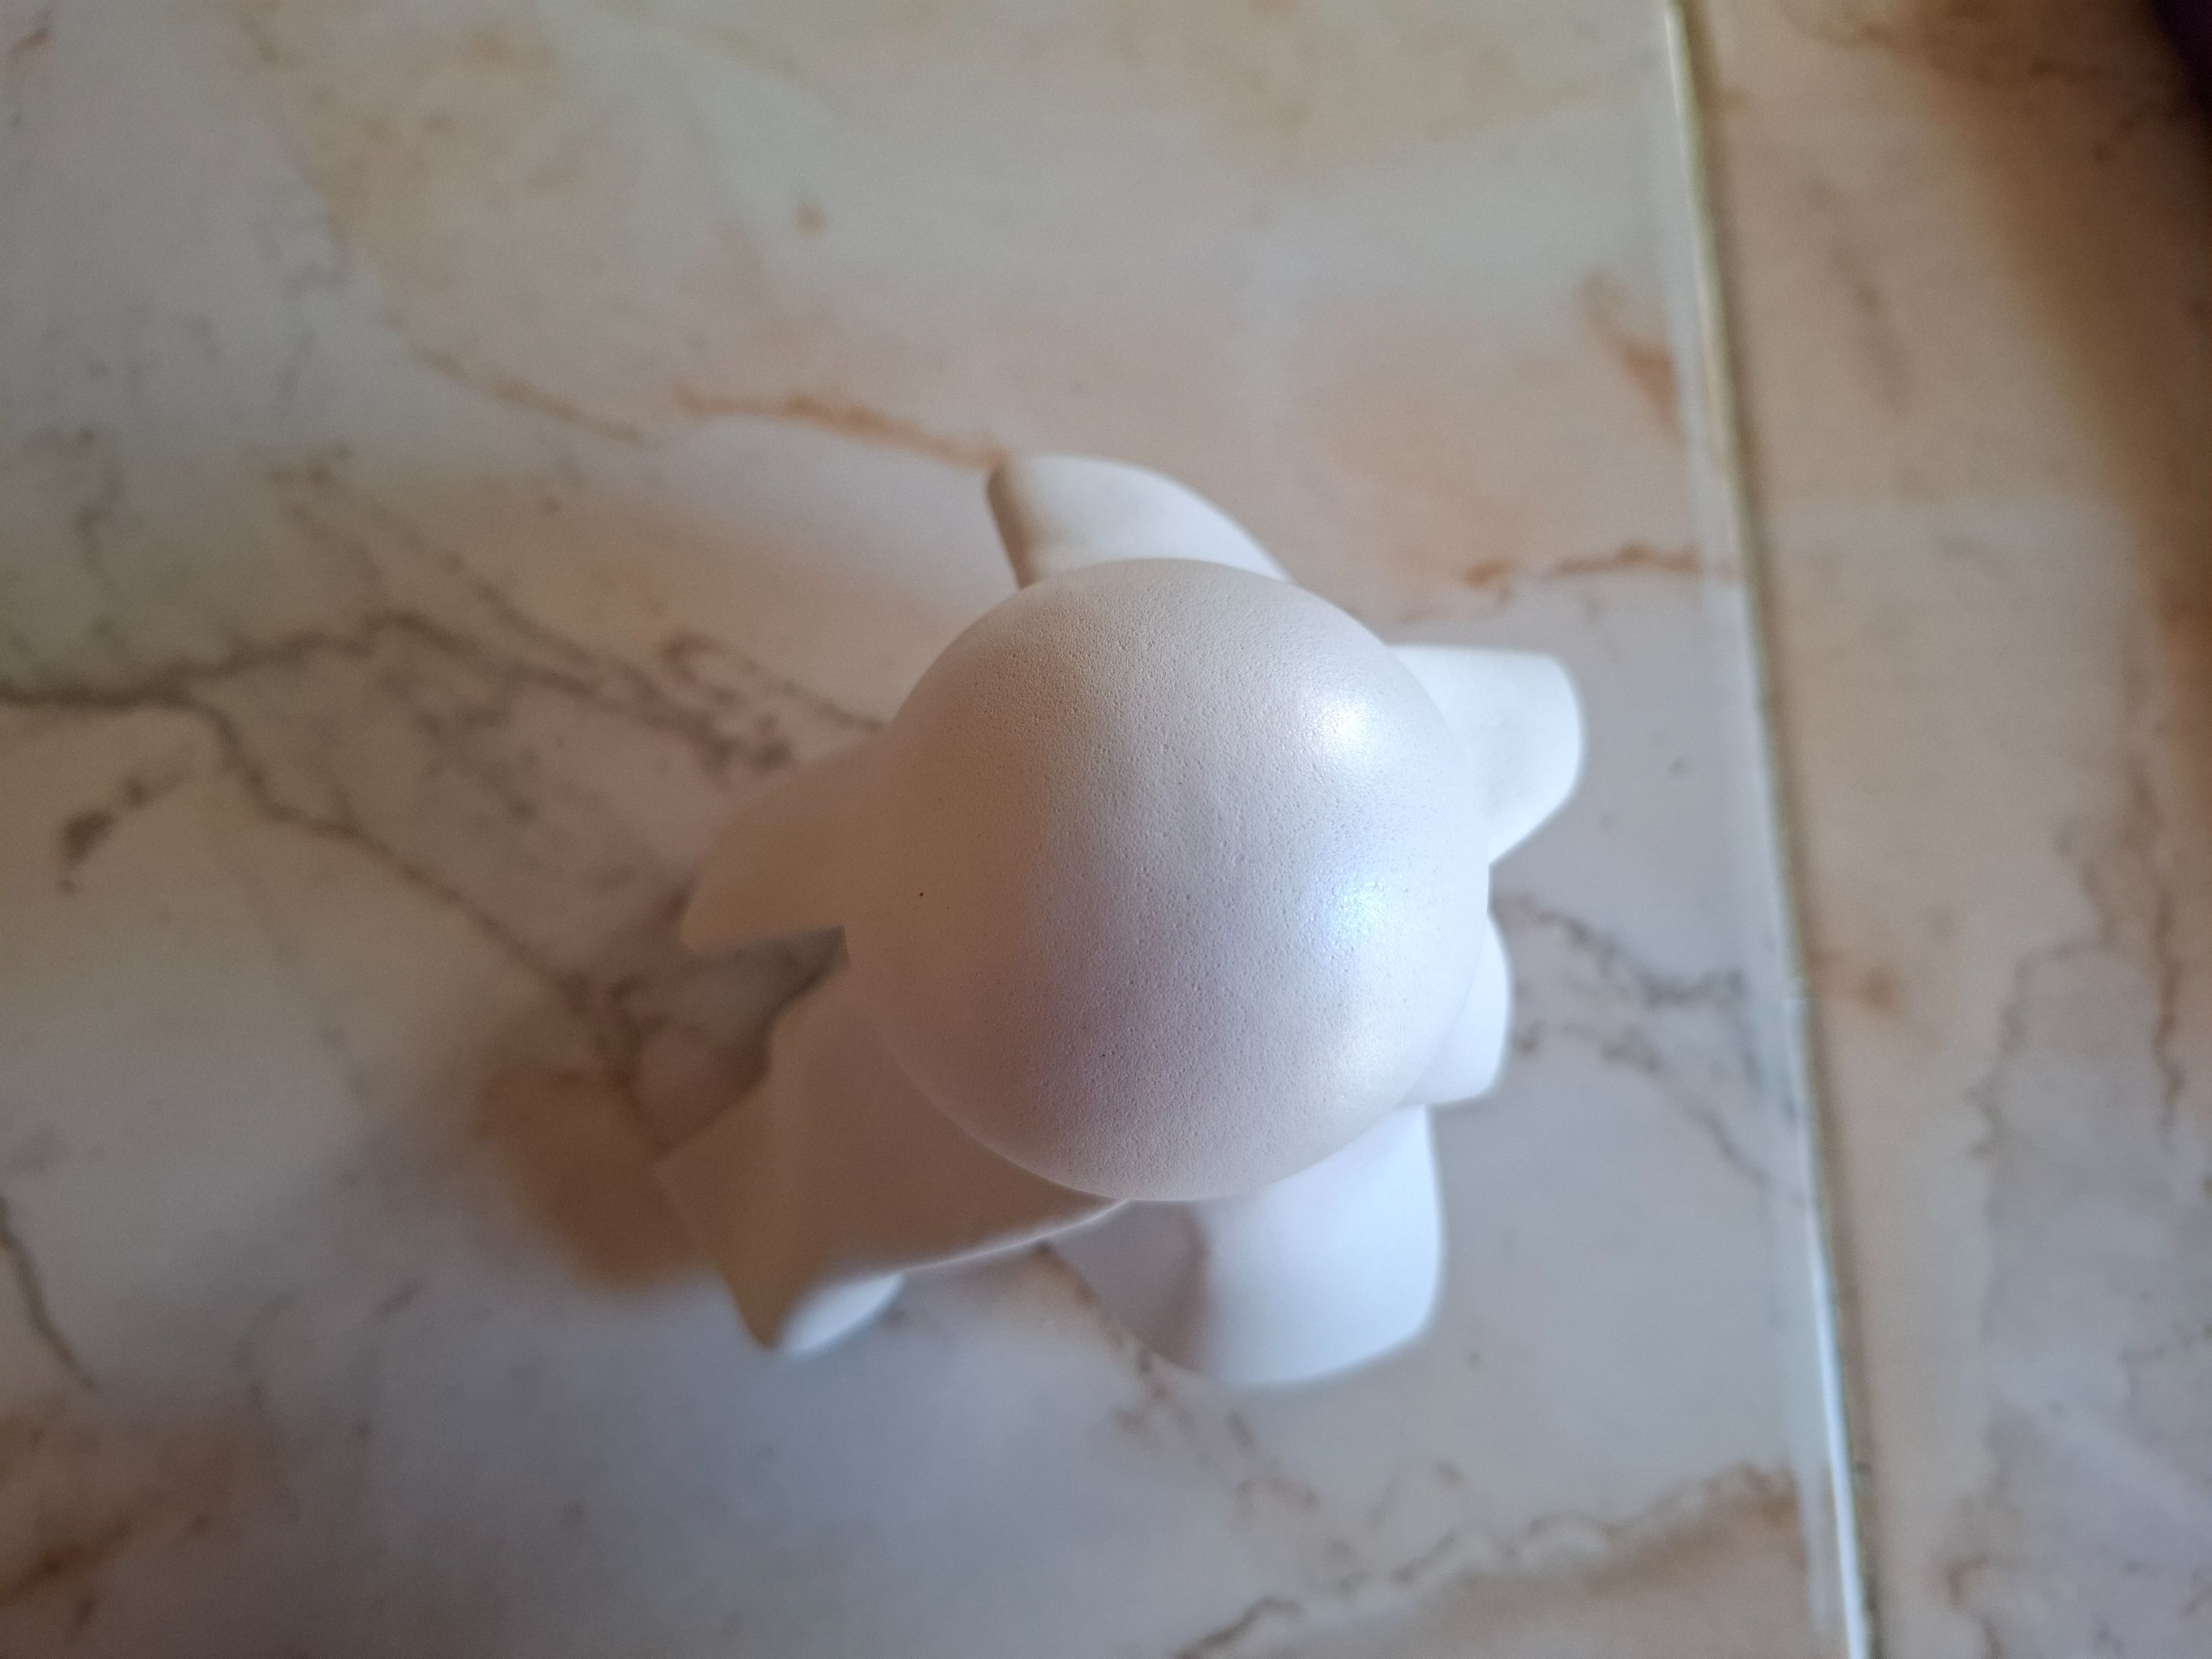
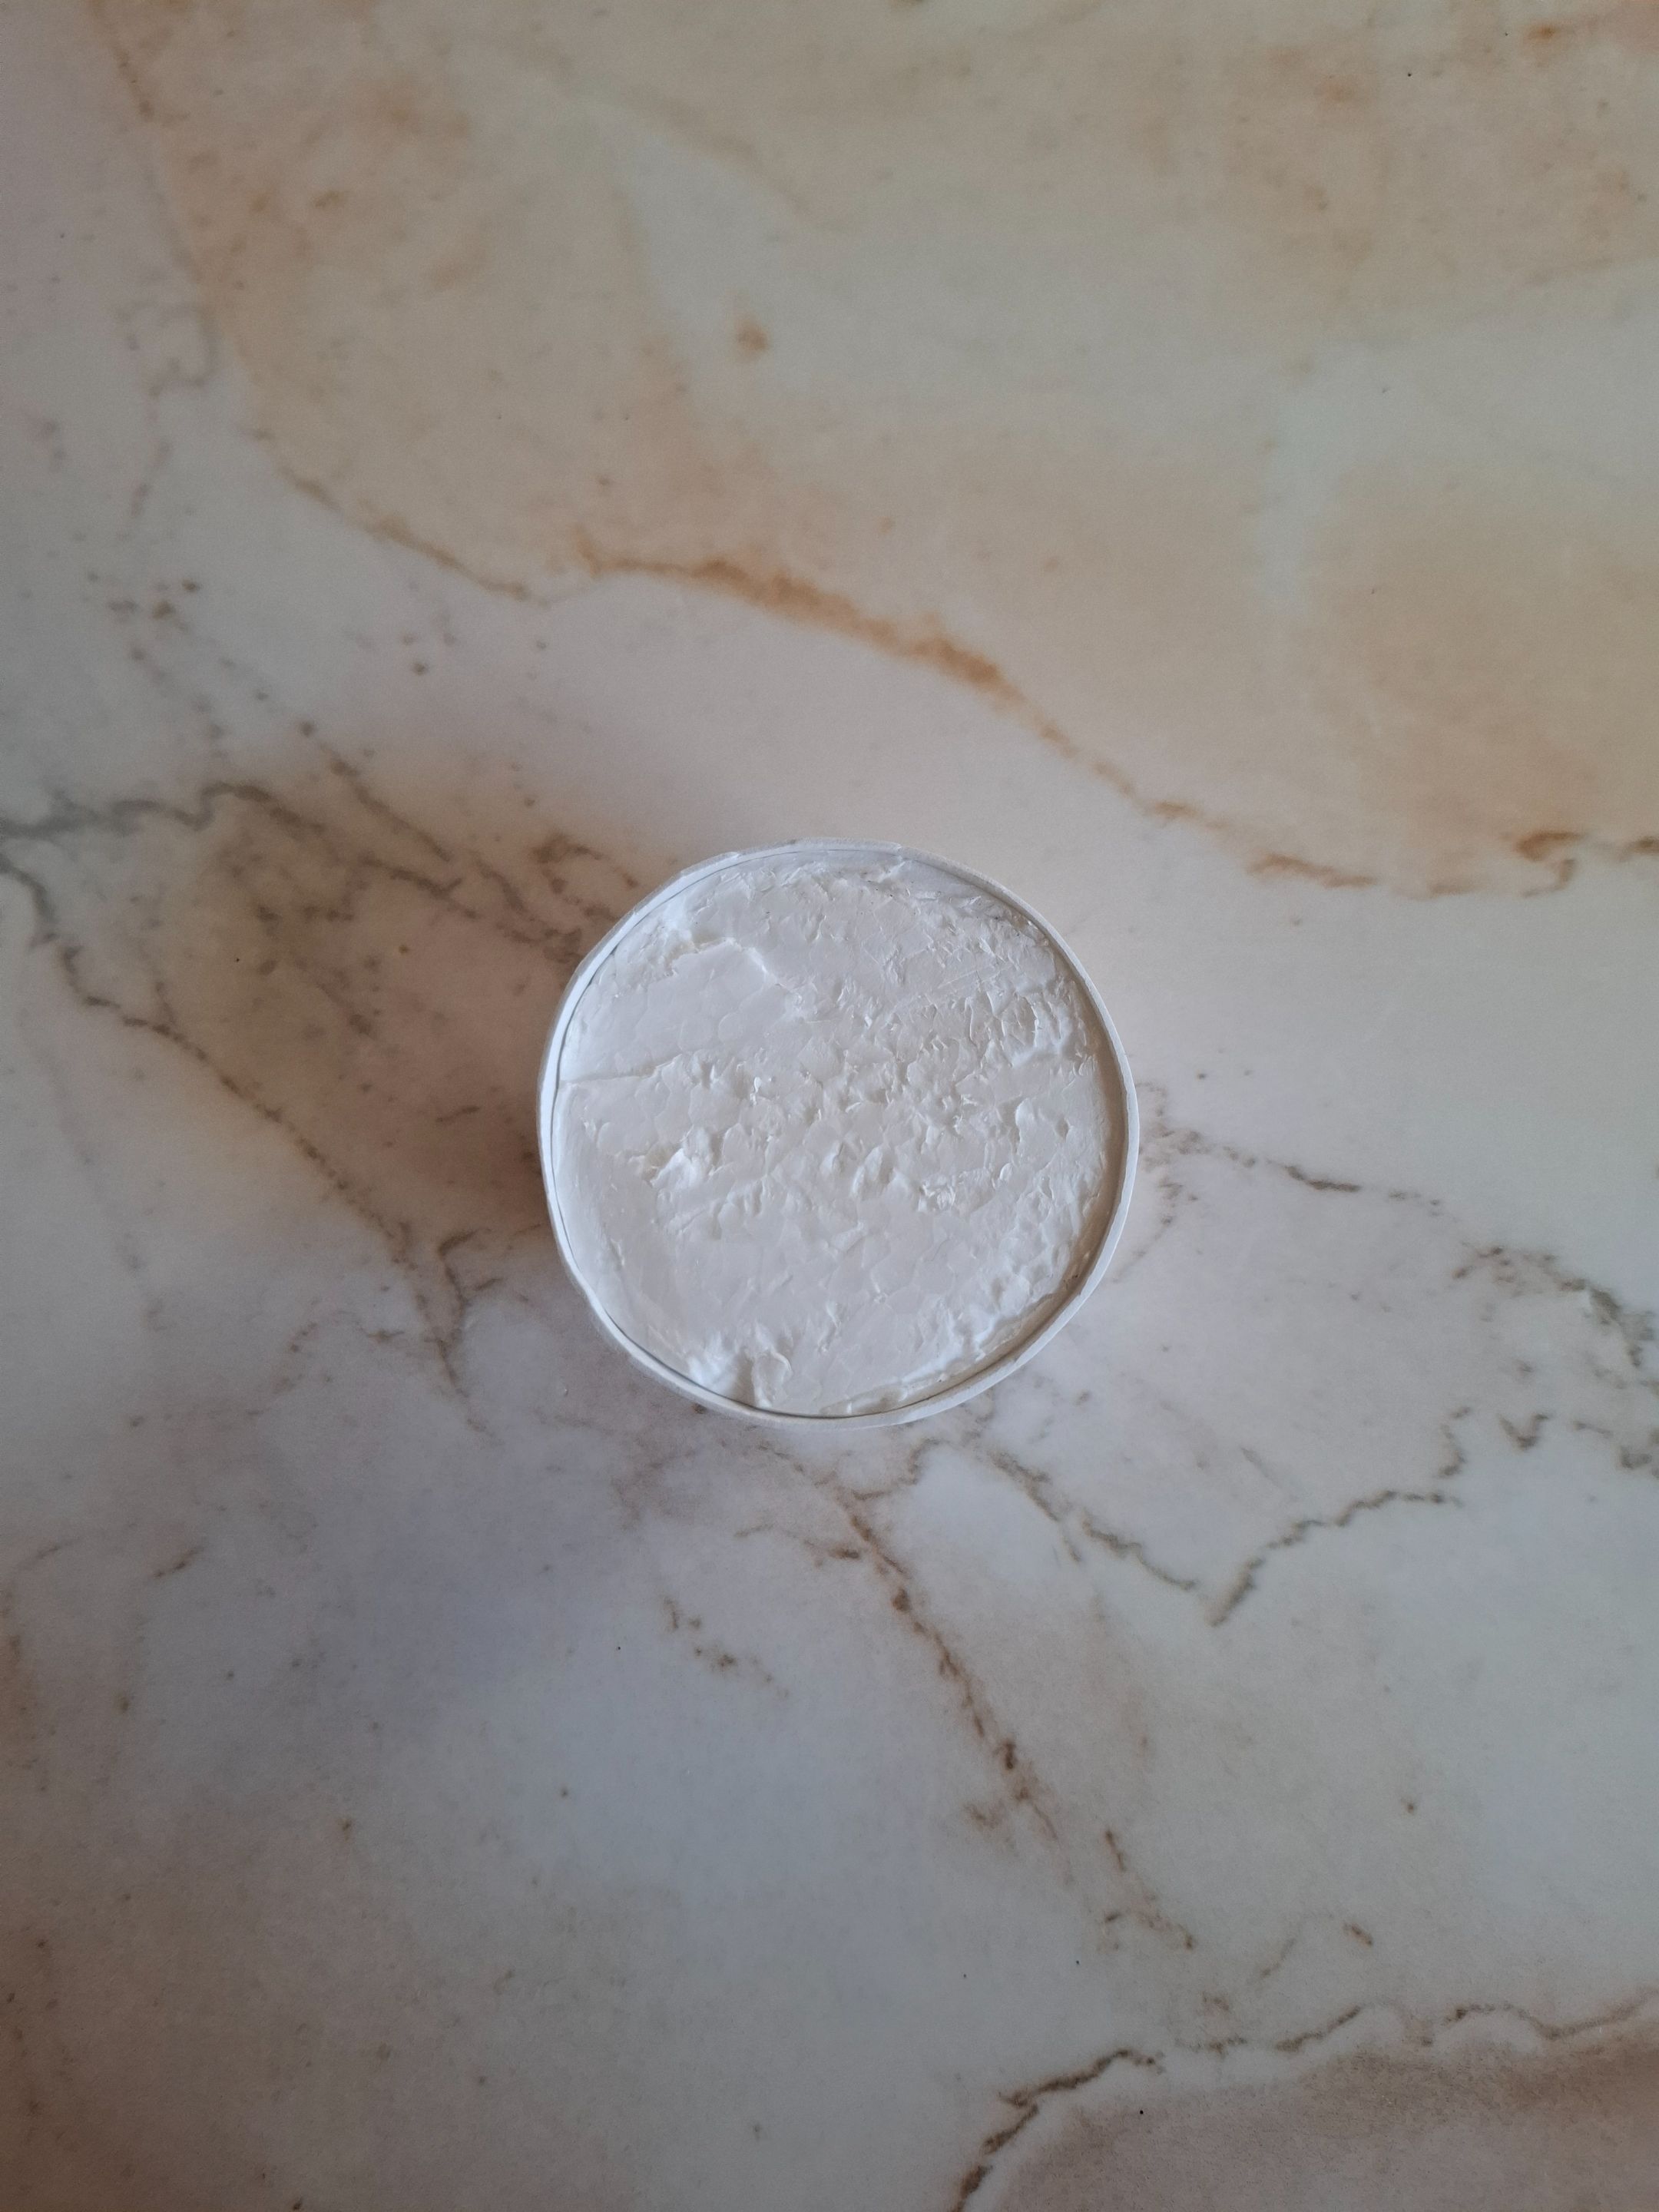
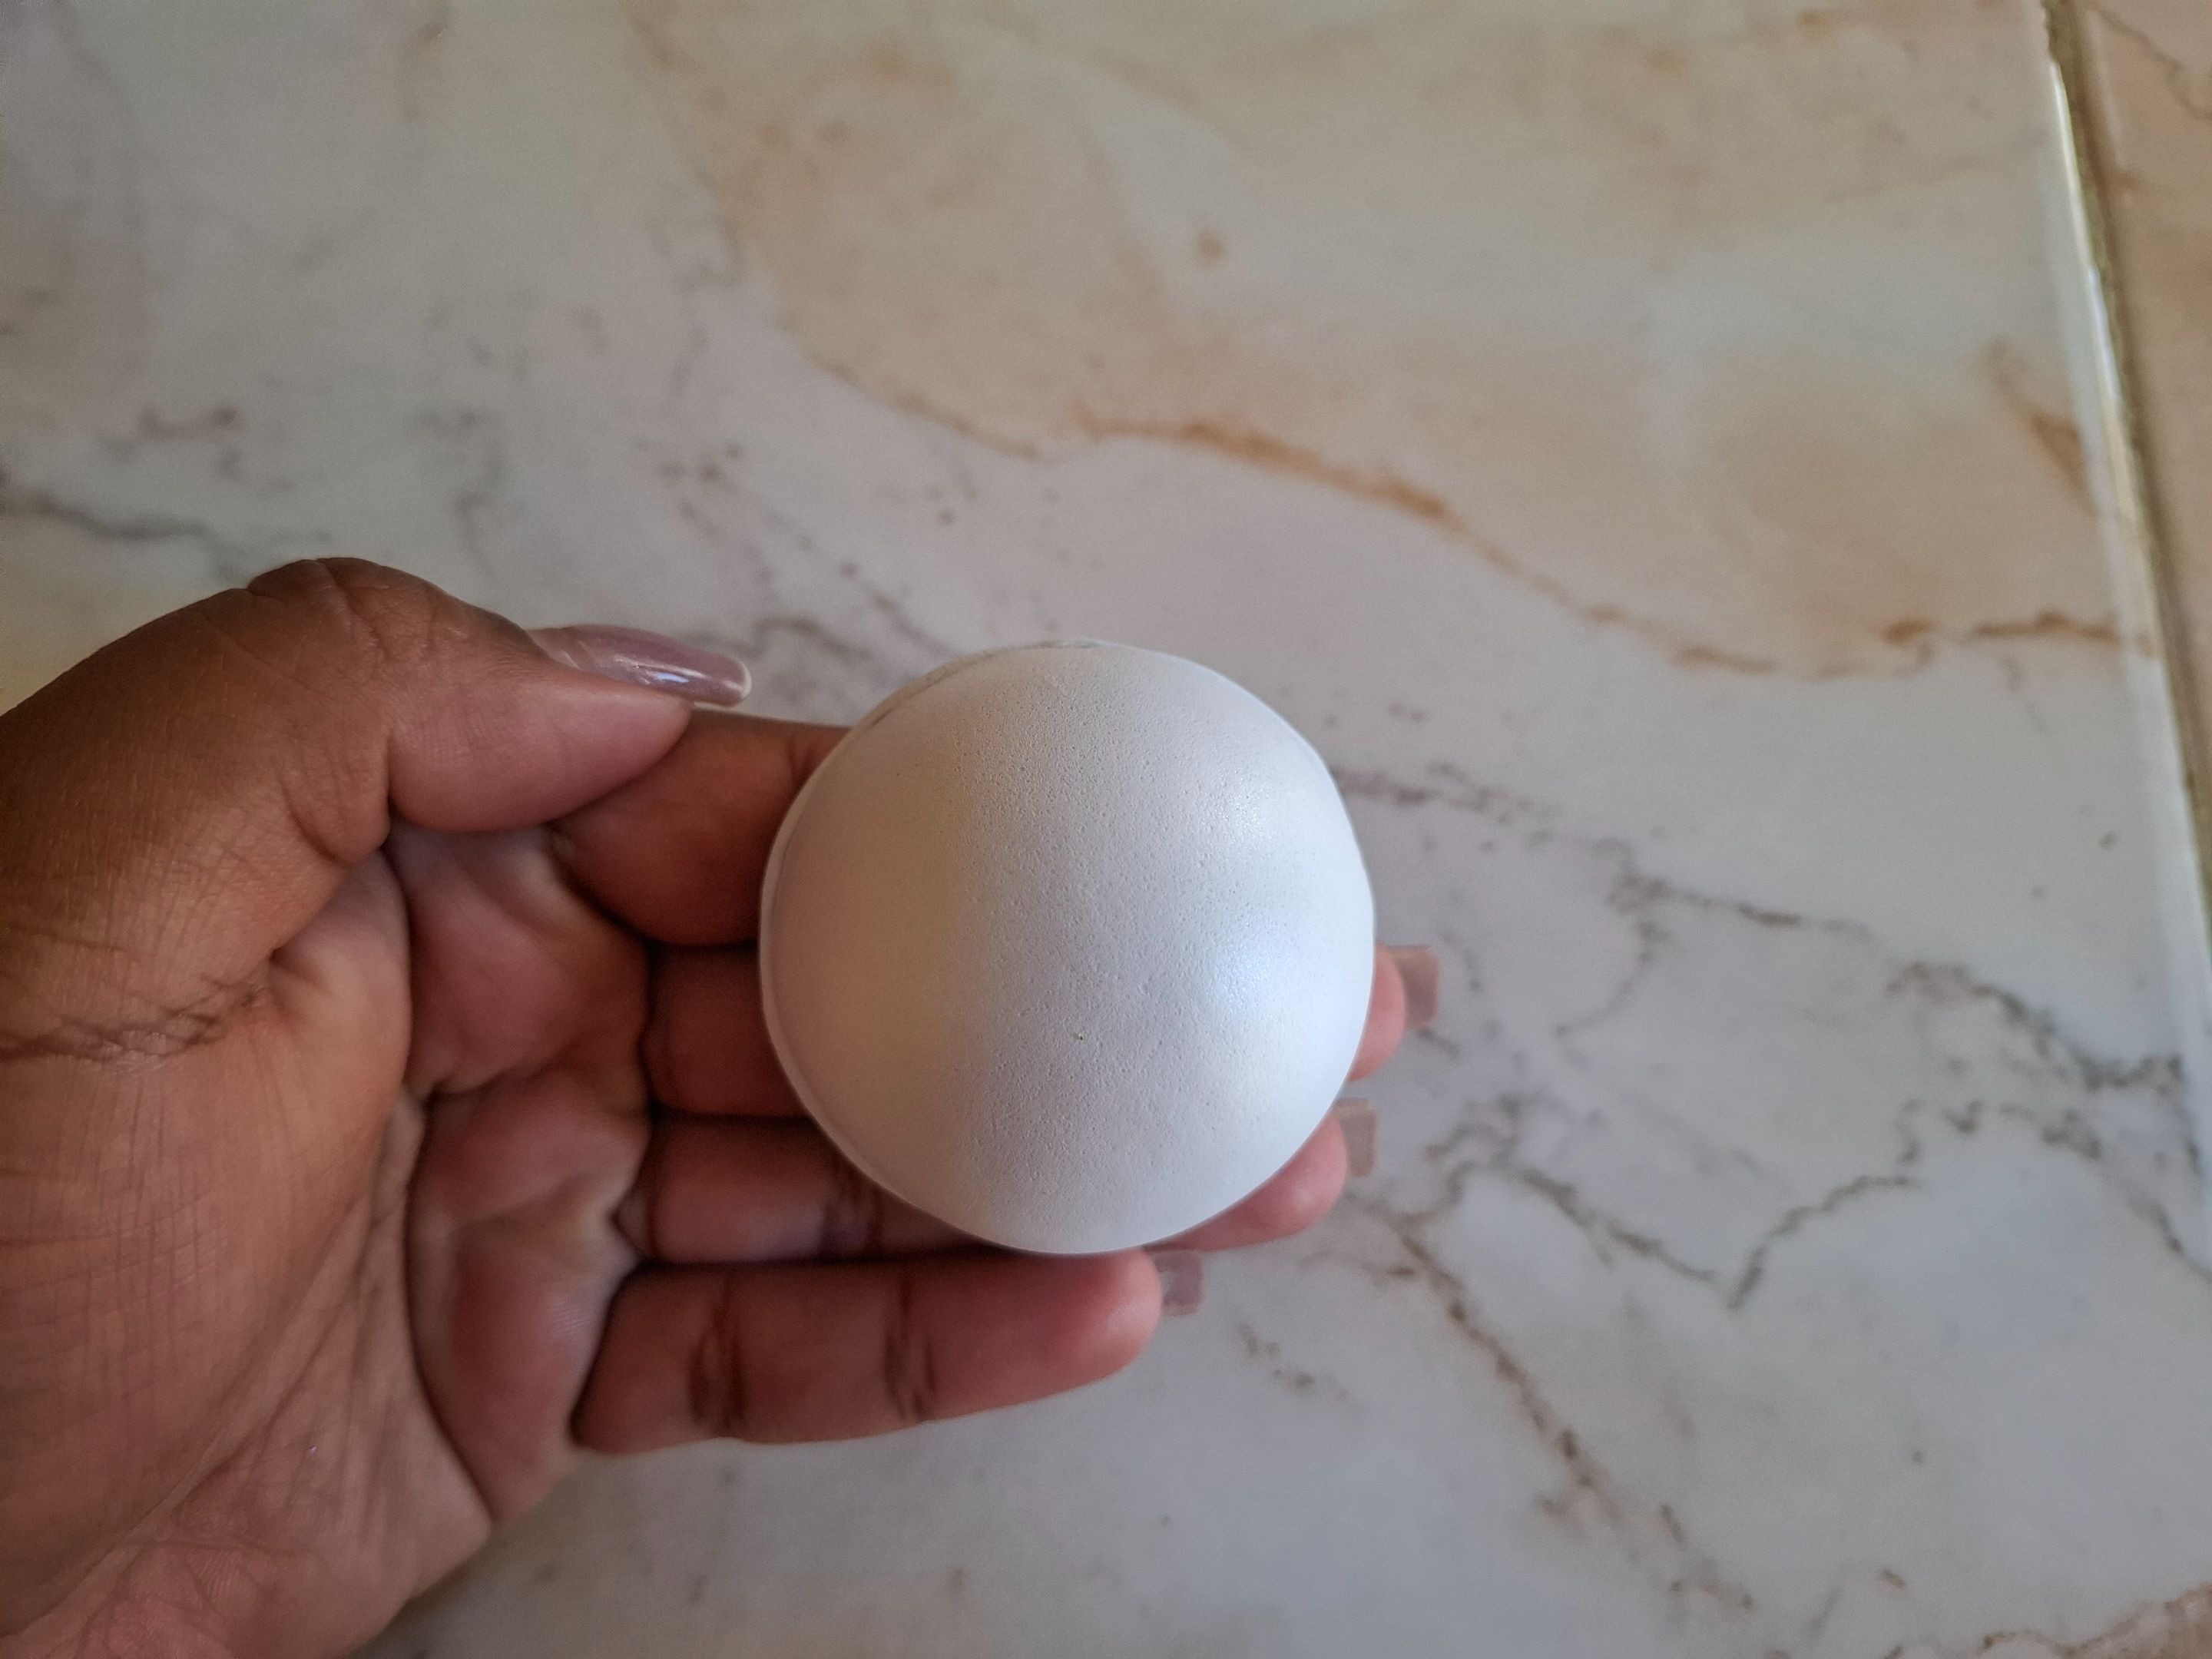
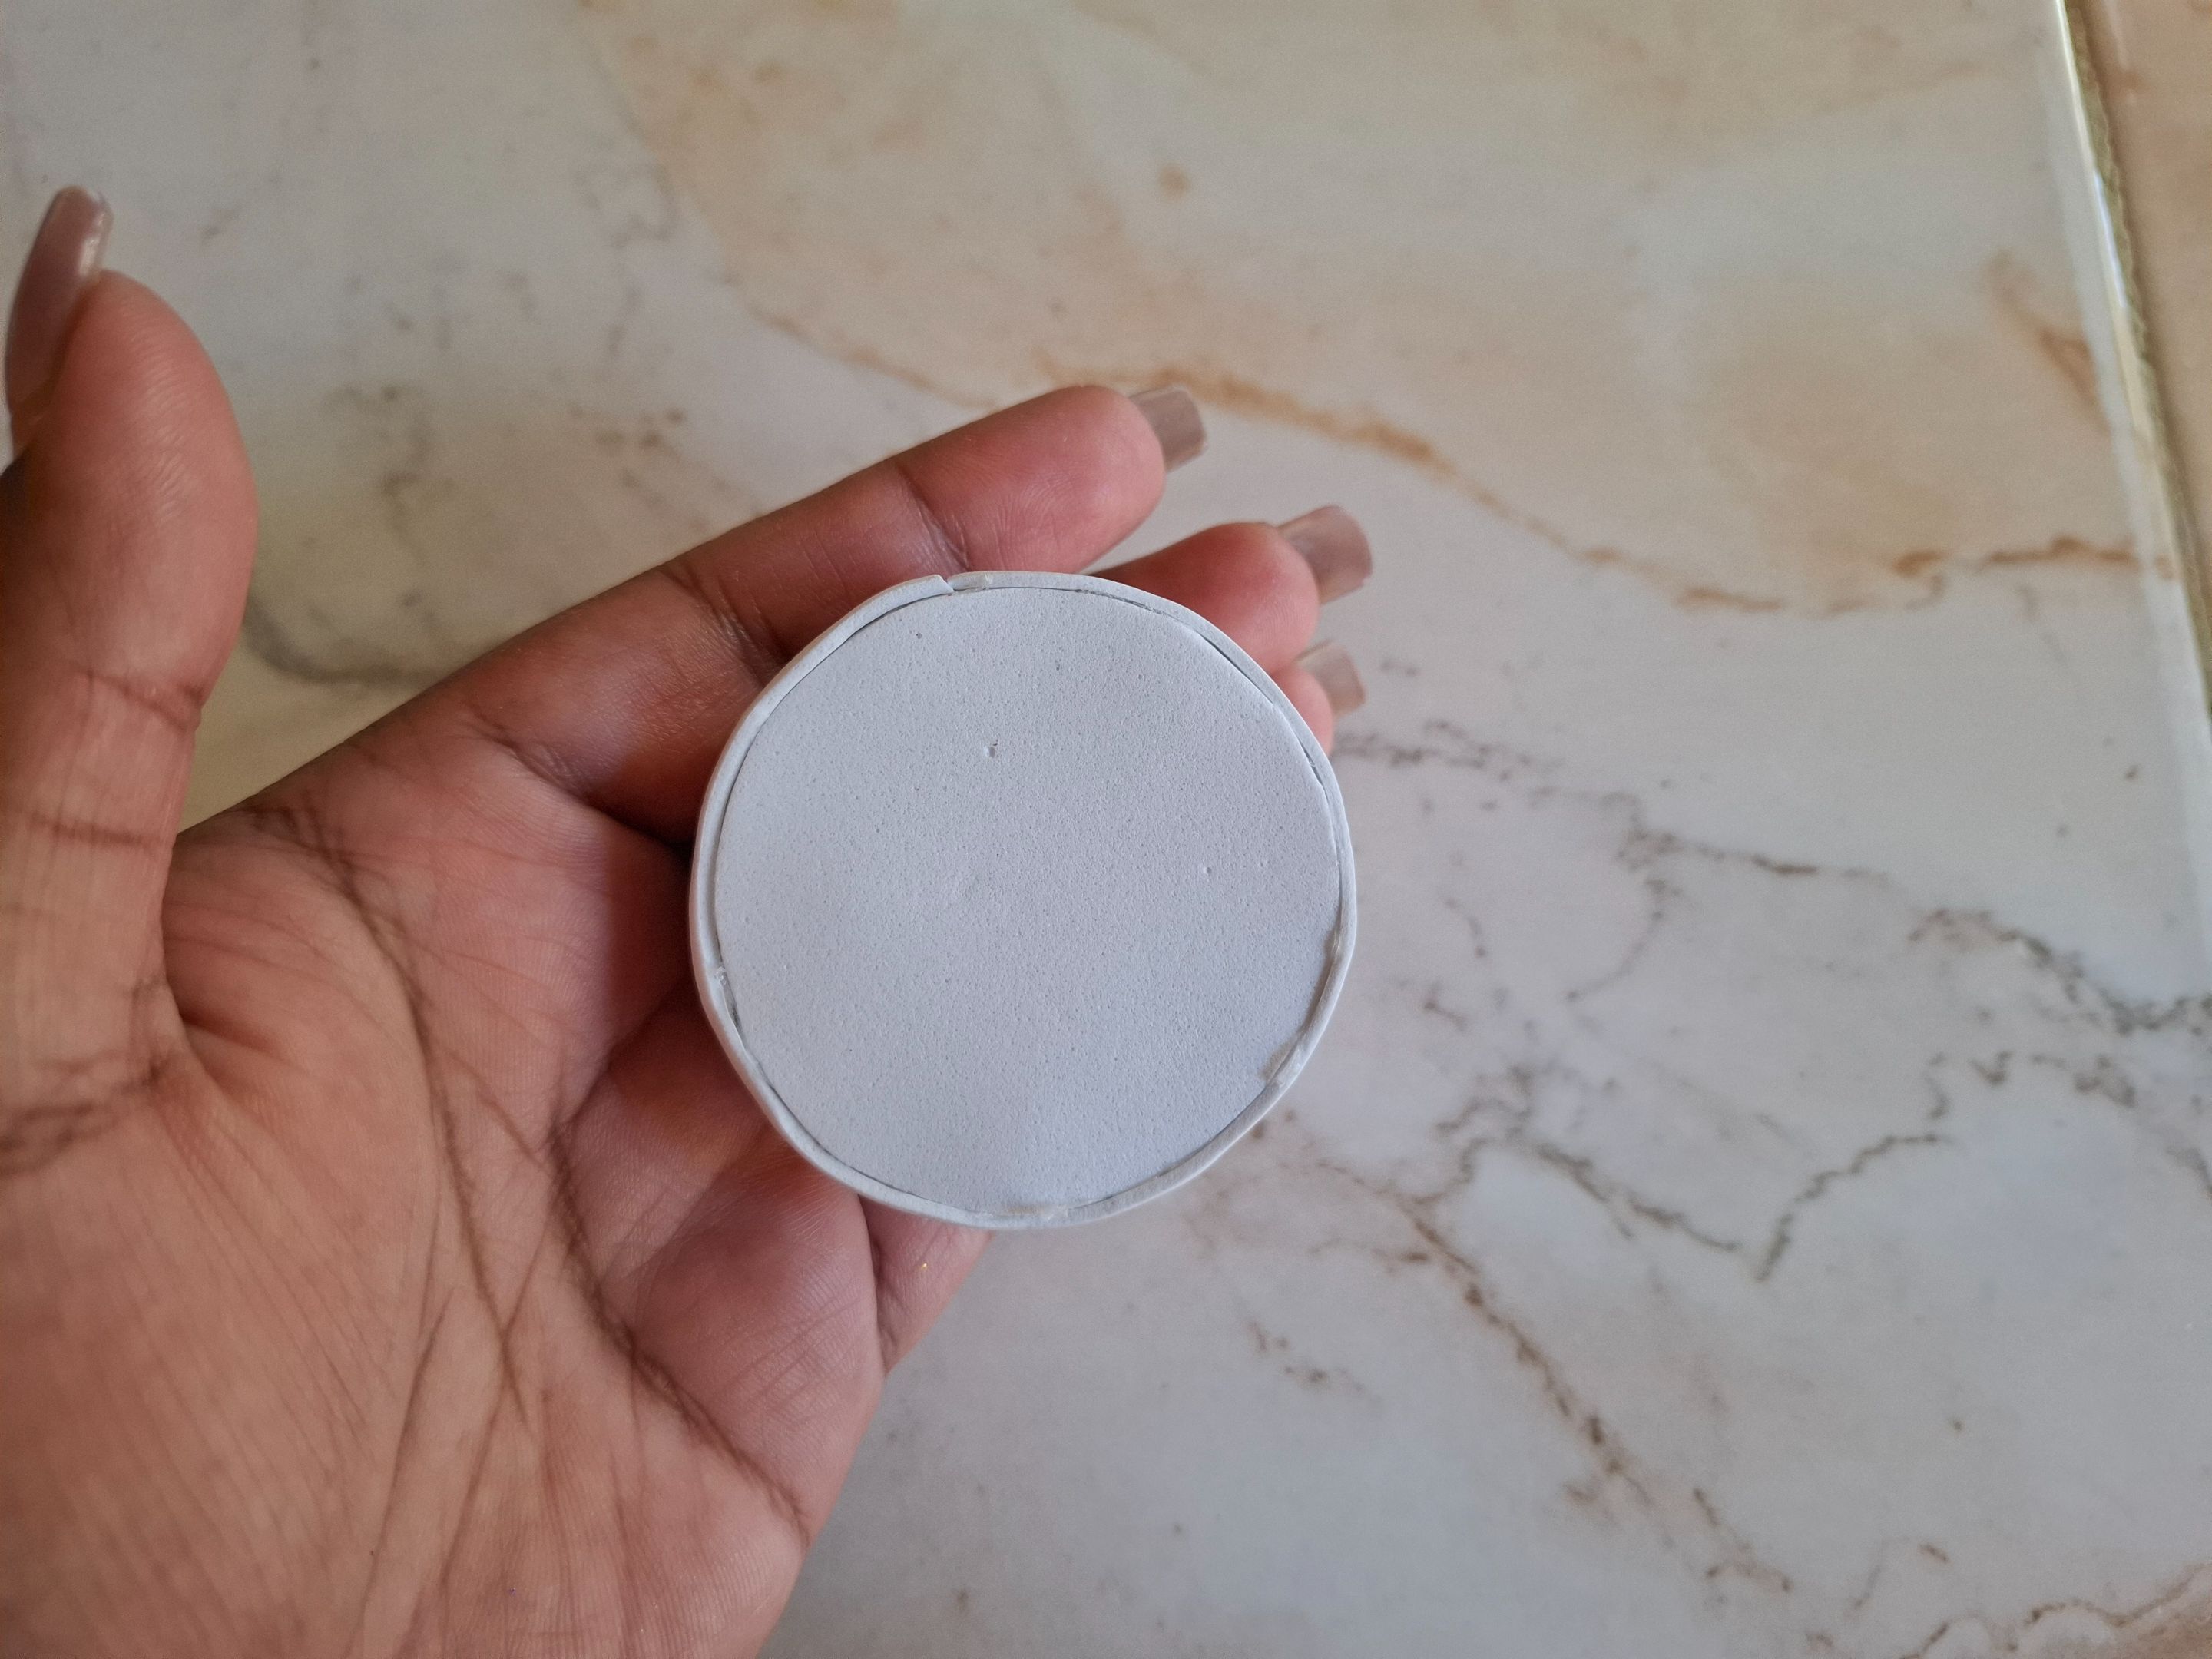
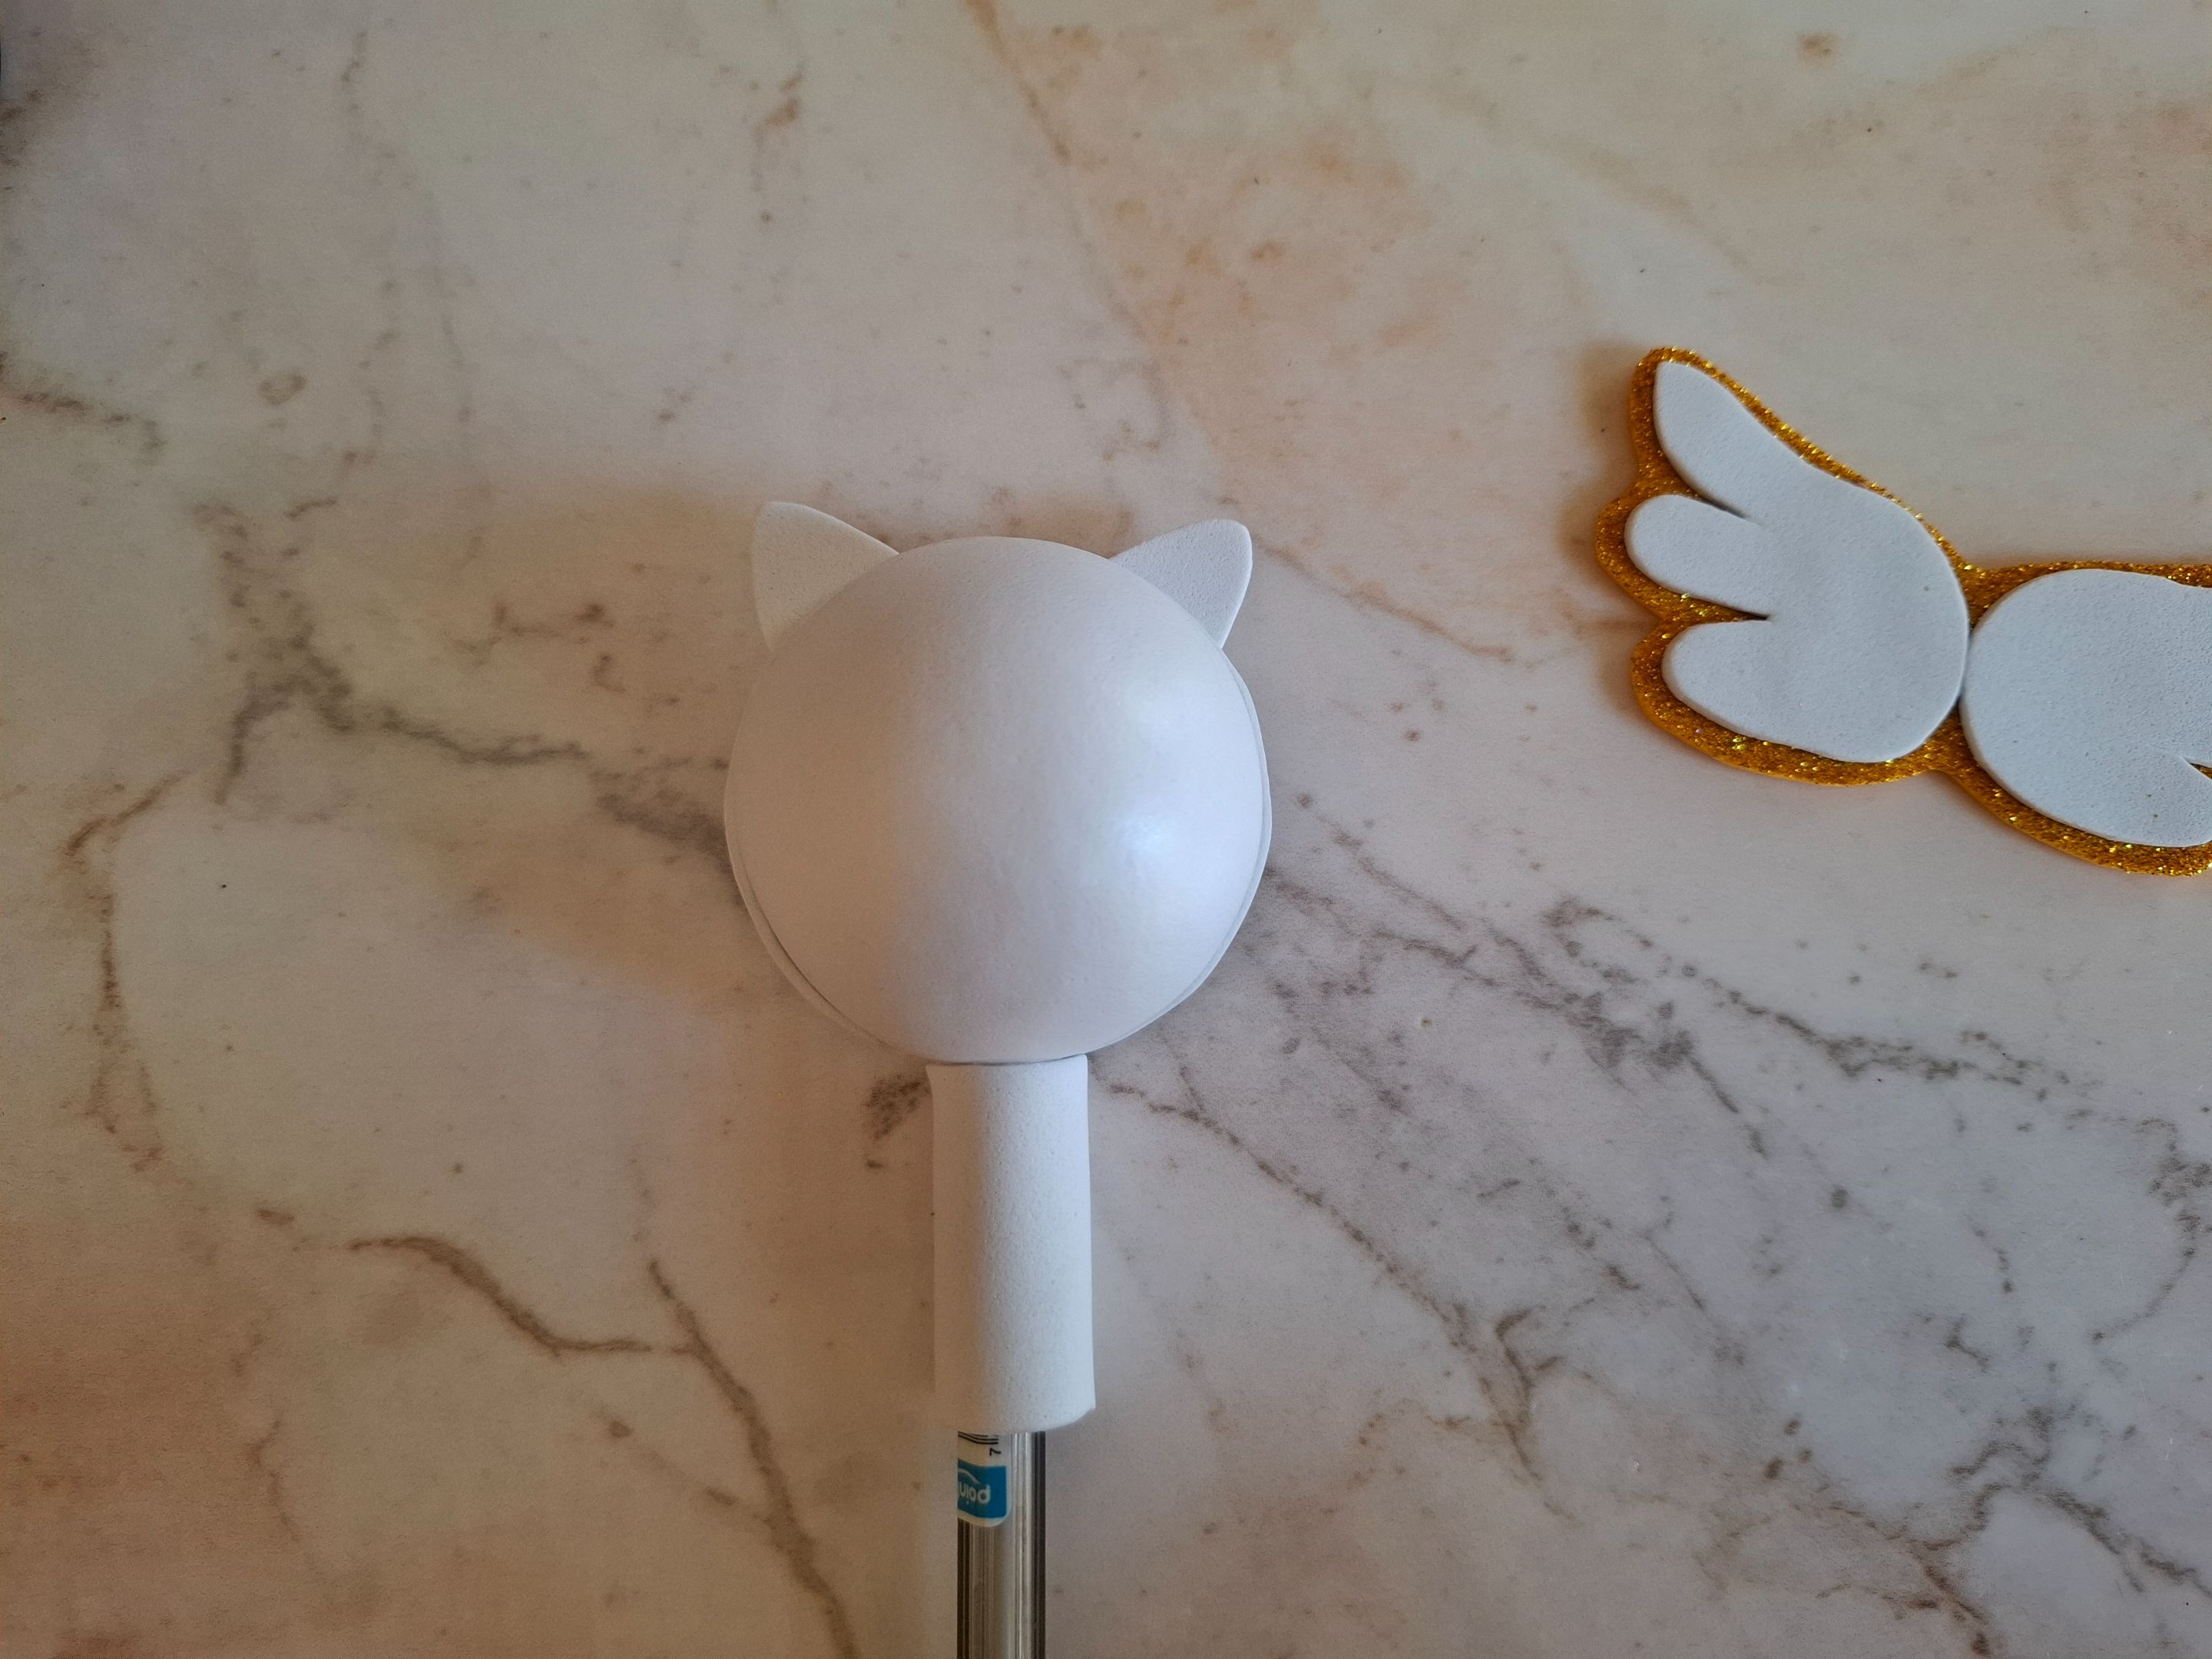
El primer paso que voy a realizar será cortar un cuadrito de foami blanco, ya tenía una mitad de la esfera de anime así que con ayuda de la plancha bien caliente voy a pasarla en el foami y rápidamente la ubicamos sobre el anime ejerciendo presión.
The first step I'm going to take is to cut a square of white foam. I already had half of the anime sphere, so with the help of a very hot iron I'm going to pass it over the foam and quickly place it on the anime, applying pressure.
 |
 |
 |
|---|---|---|
Una vez realizado este paso, con la tijera voy a cortar el sobrante de foami siguiendo la línea guía, en la parte trasera también voy a pegar un círculo de foami del mismo tamaño del anime.
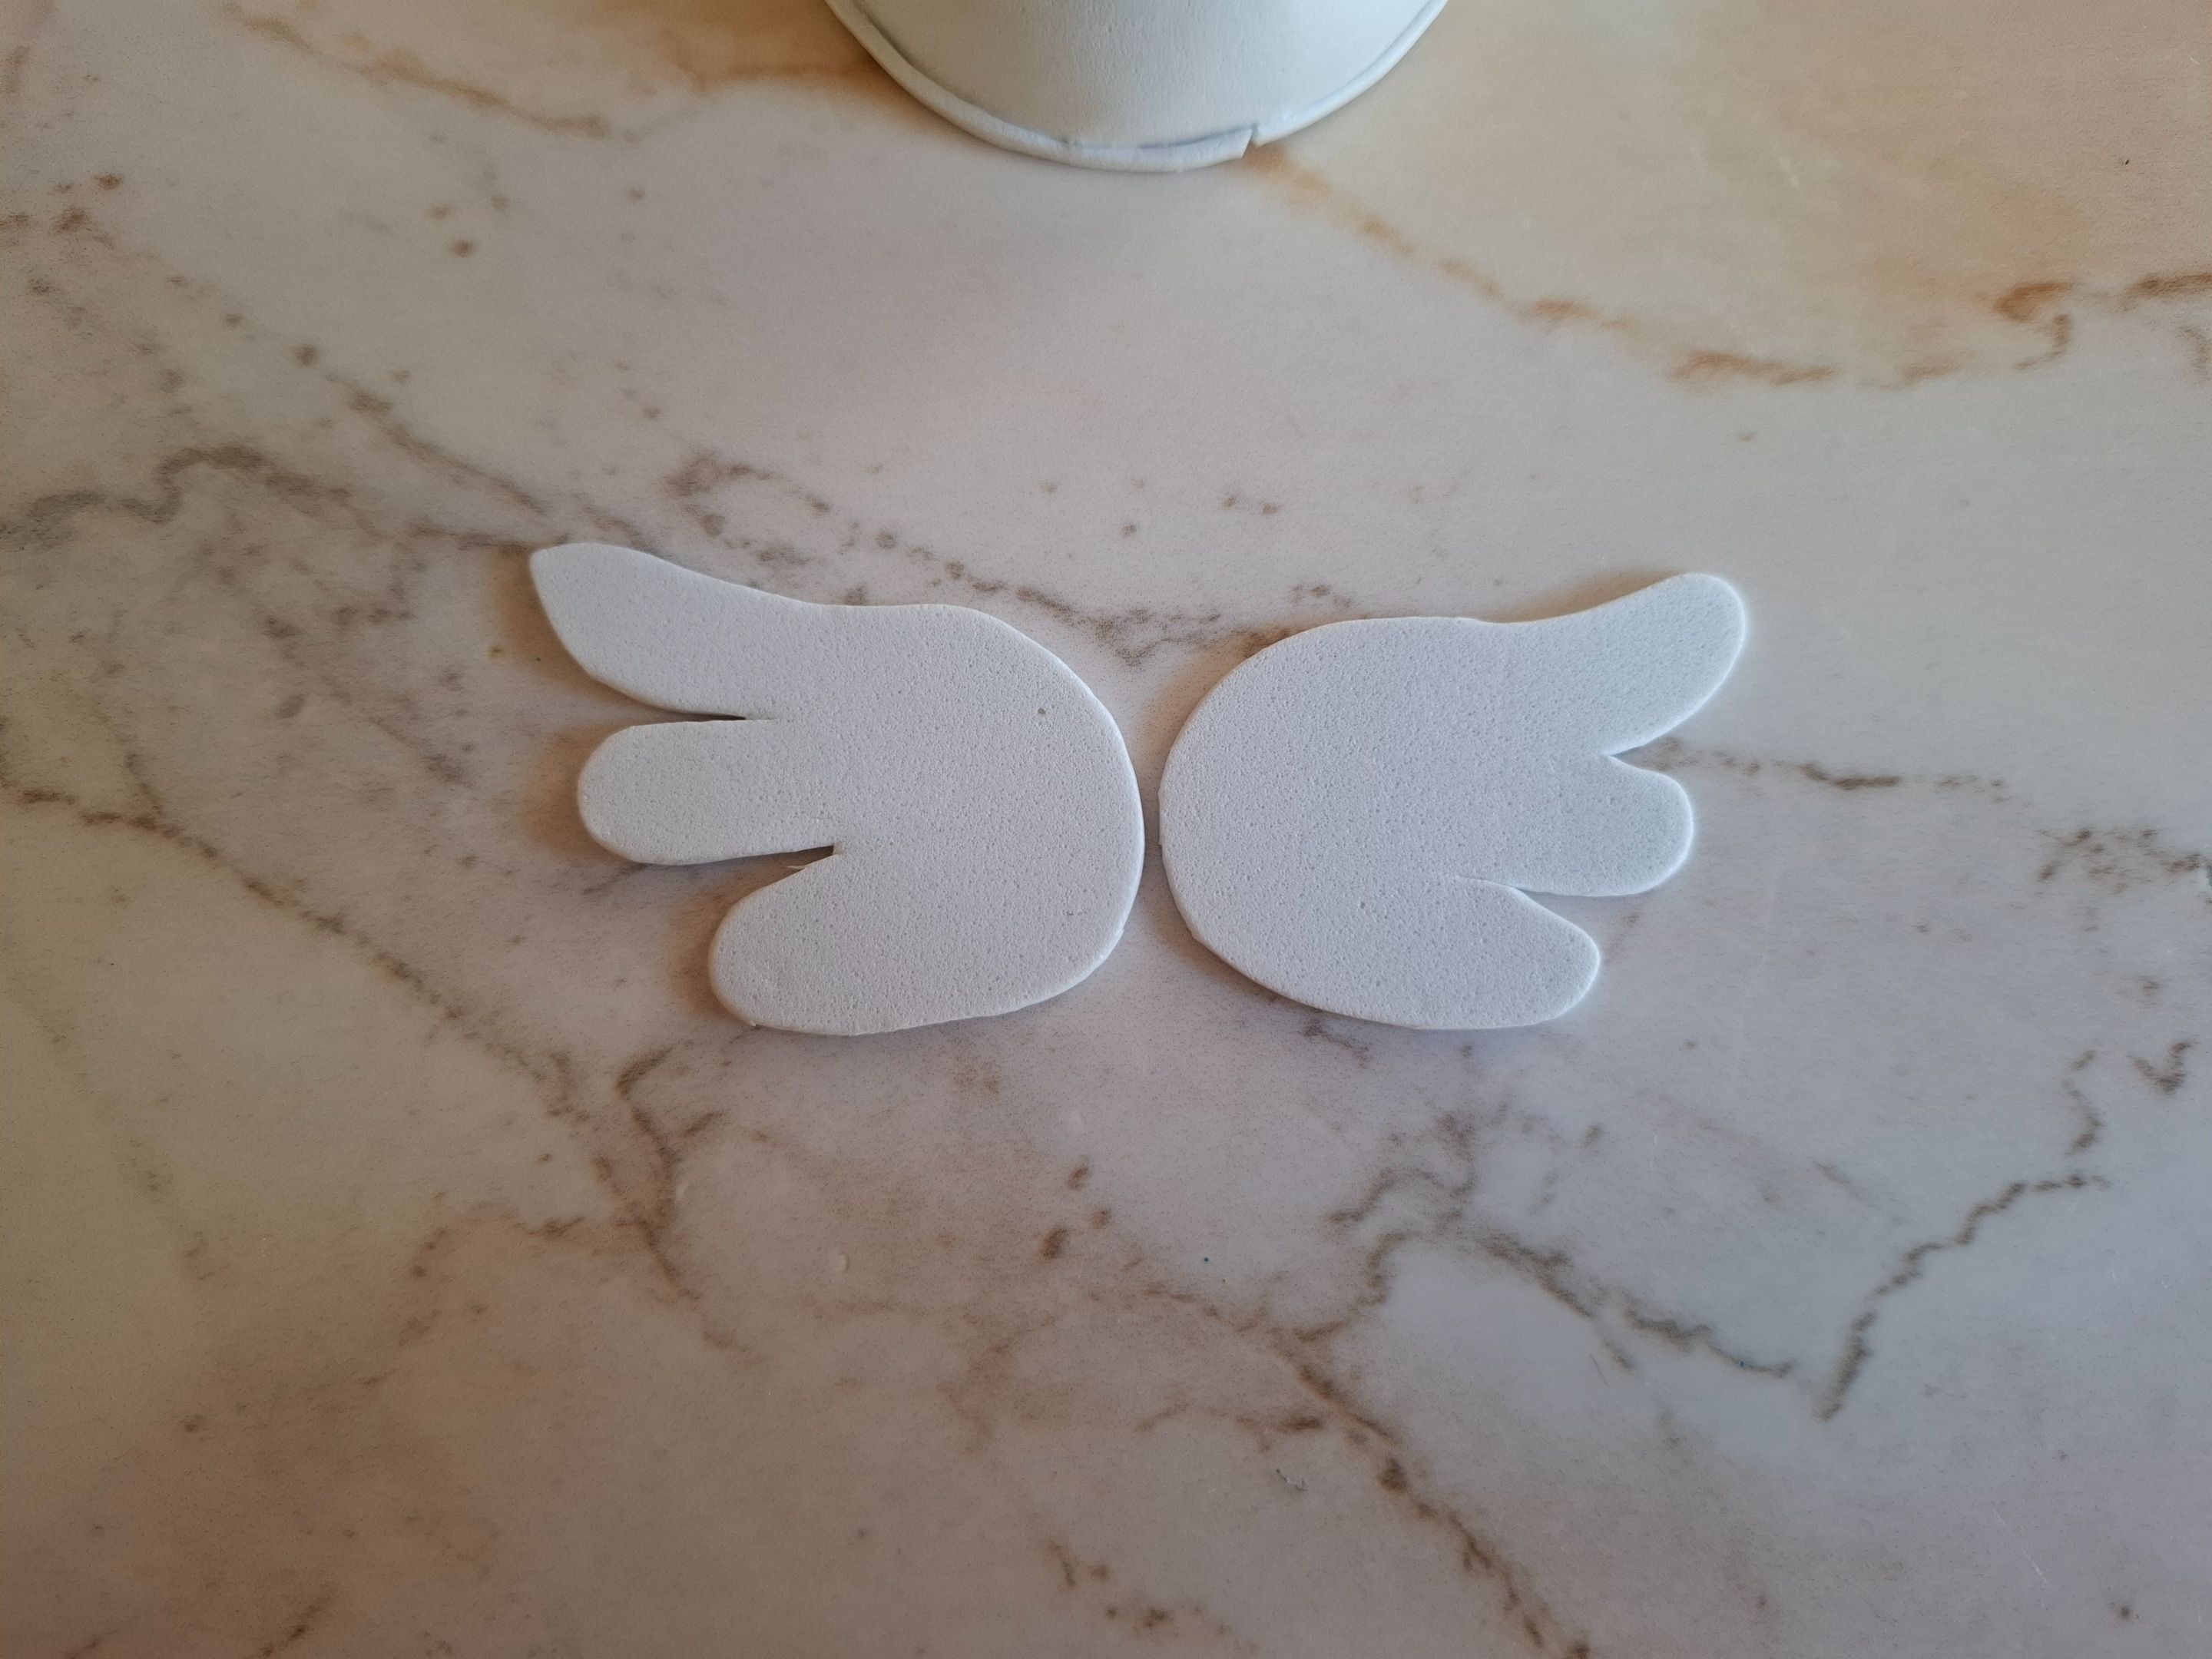
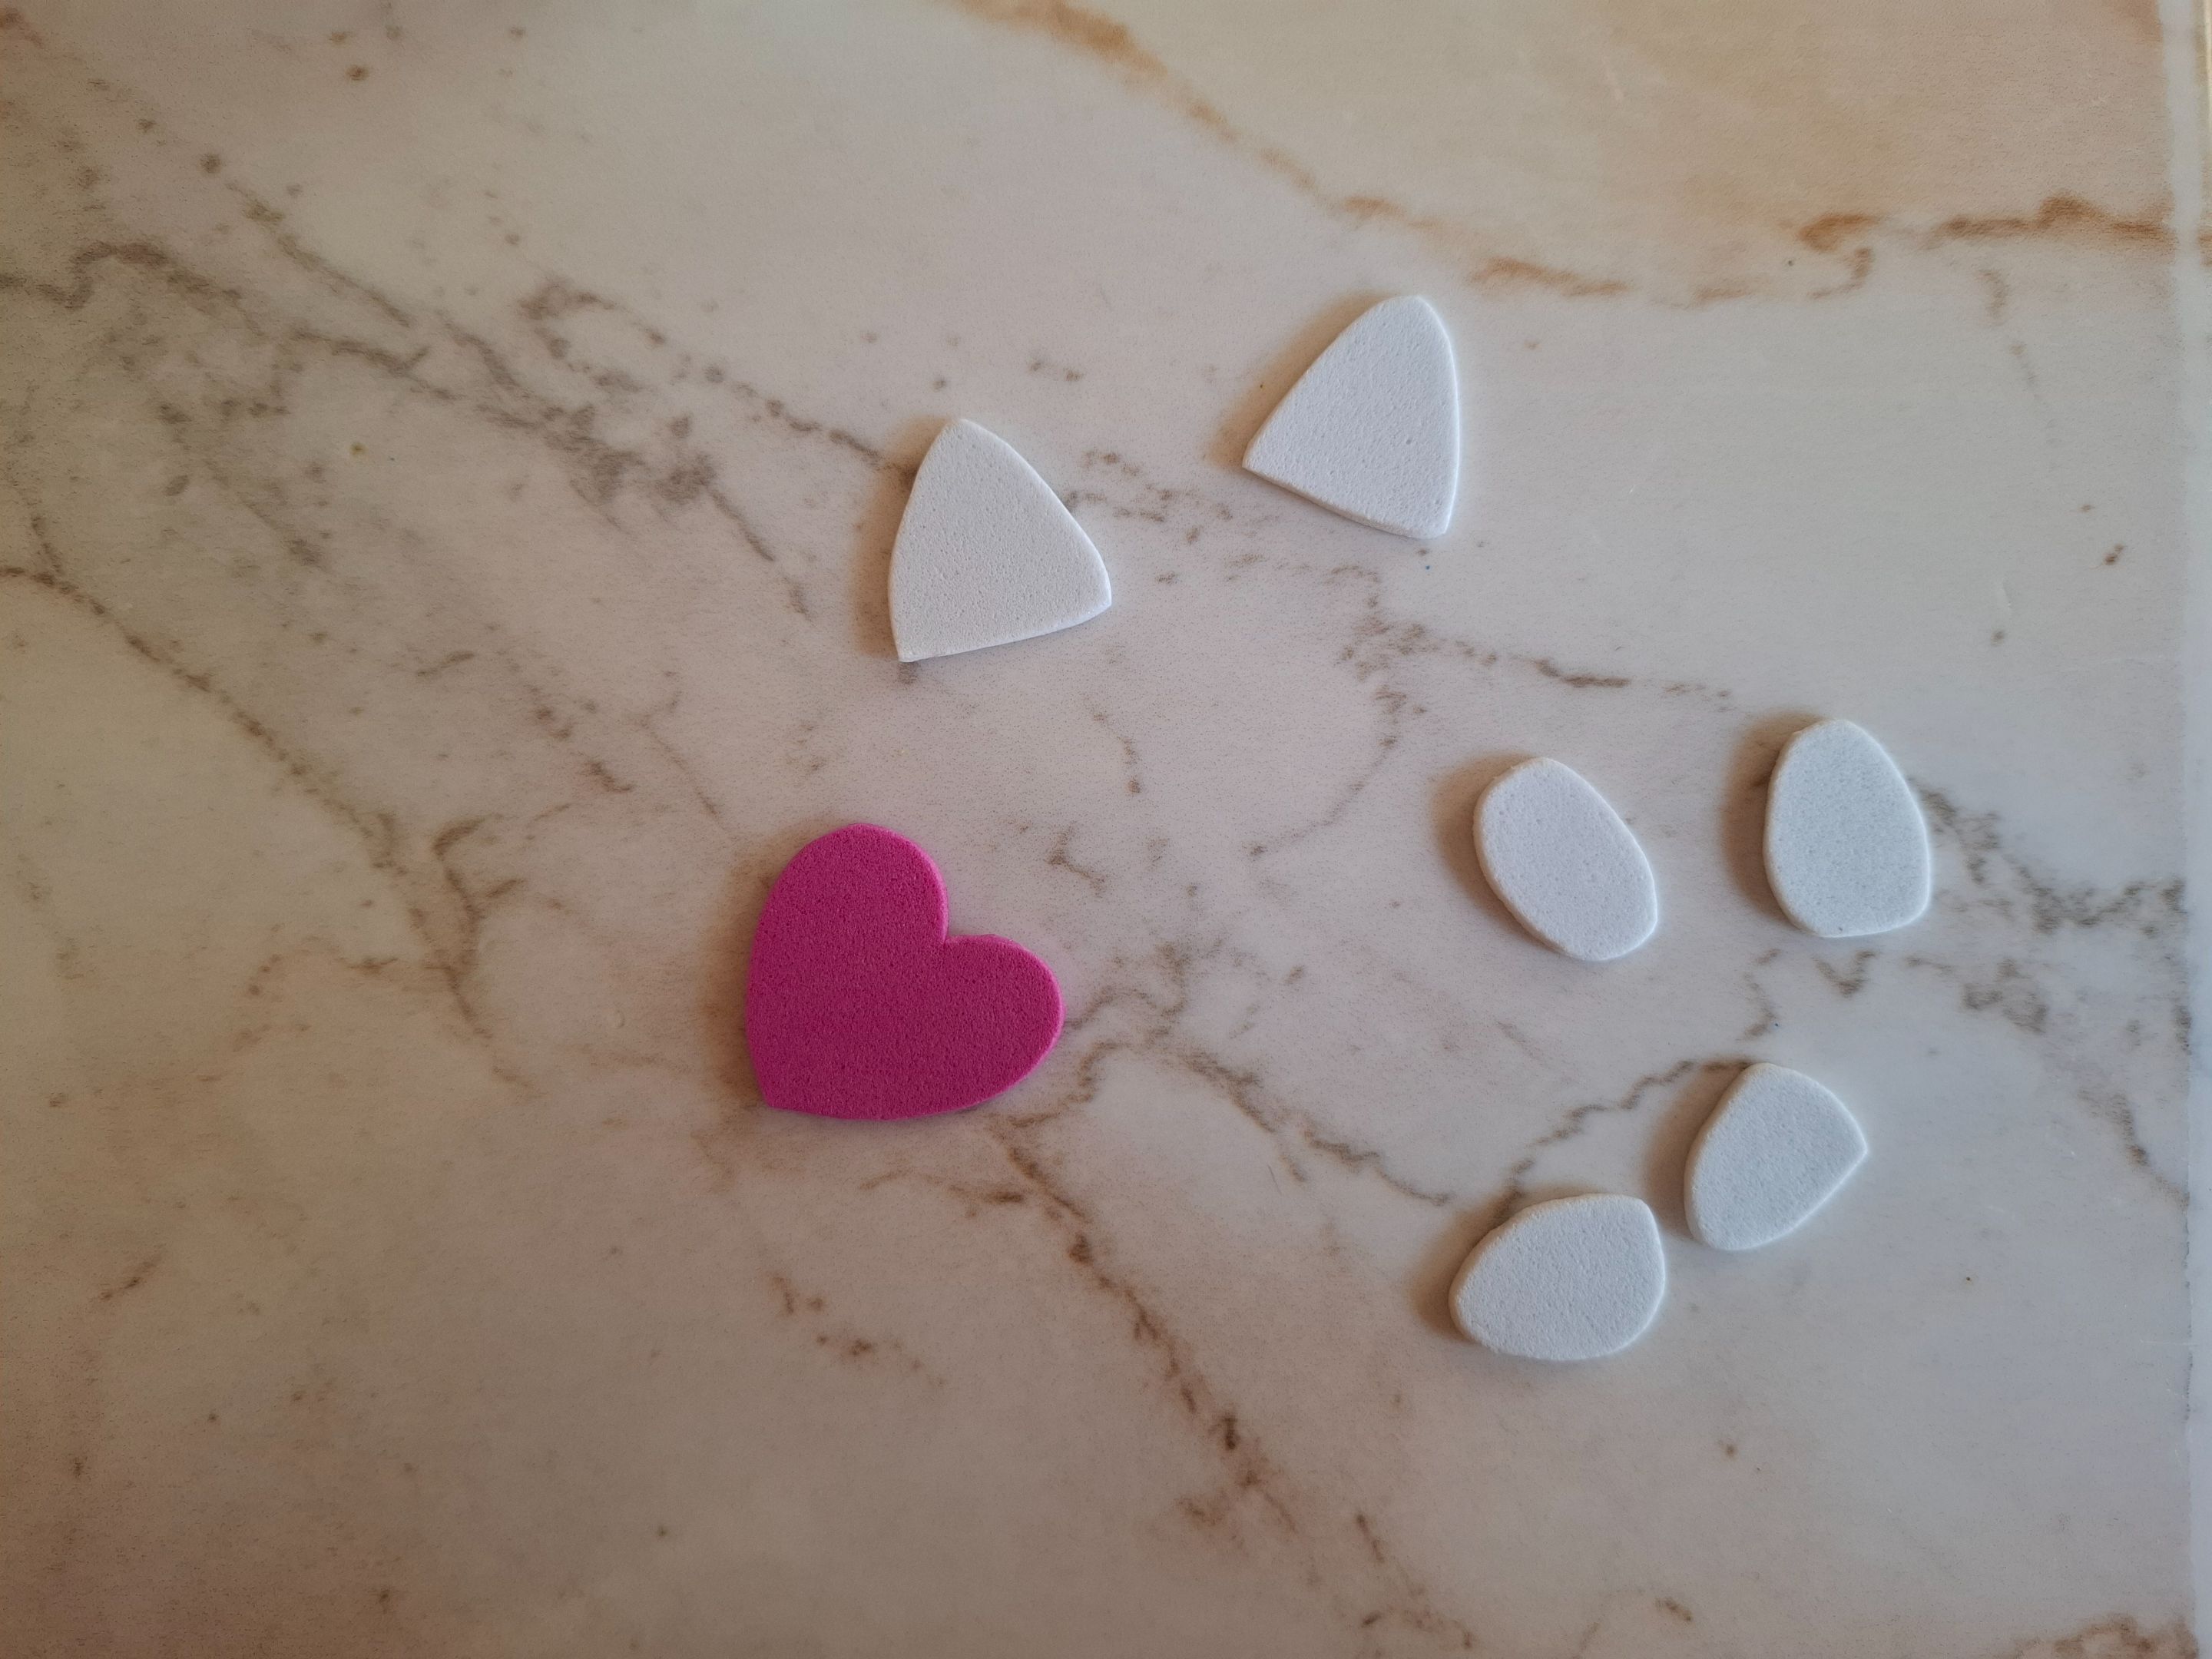
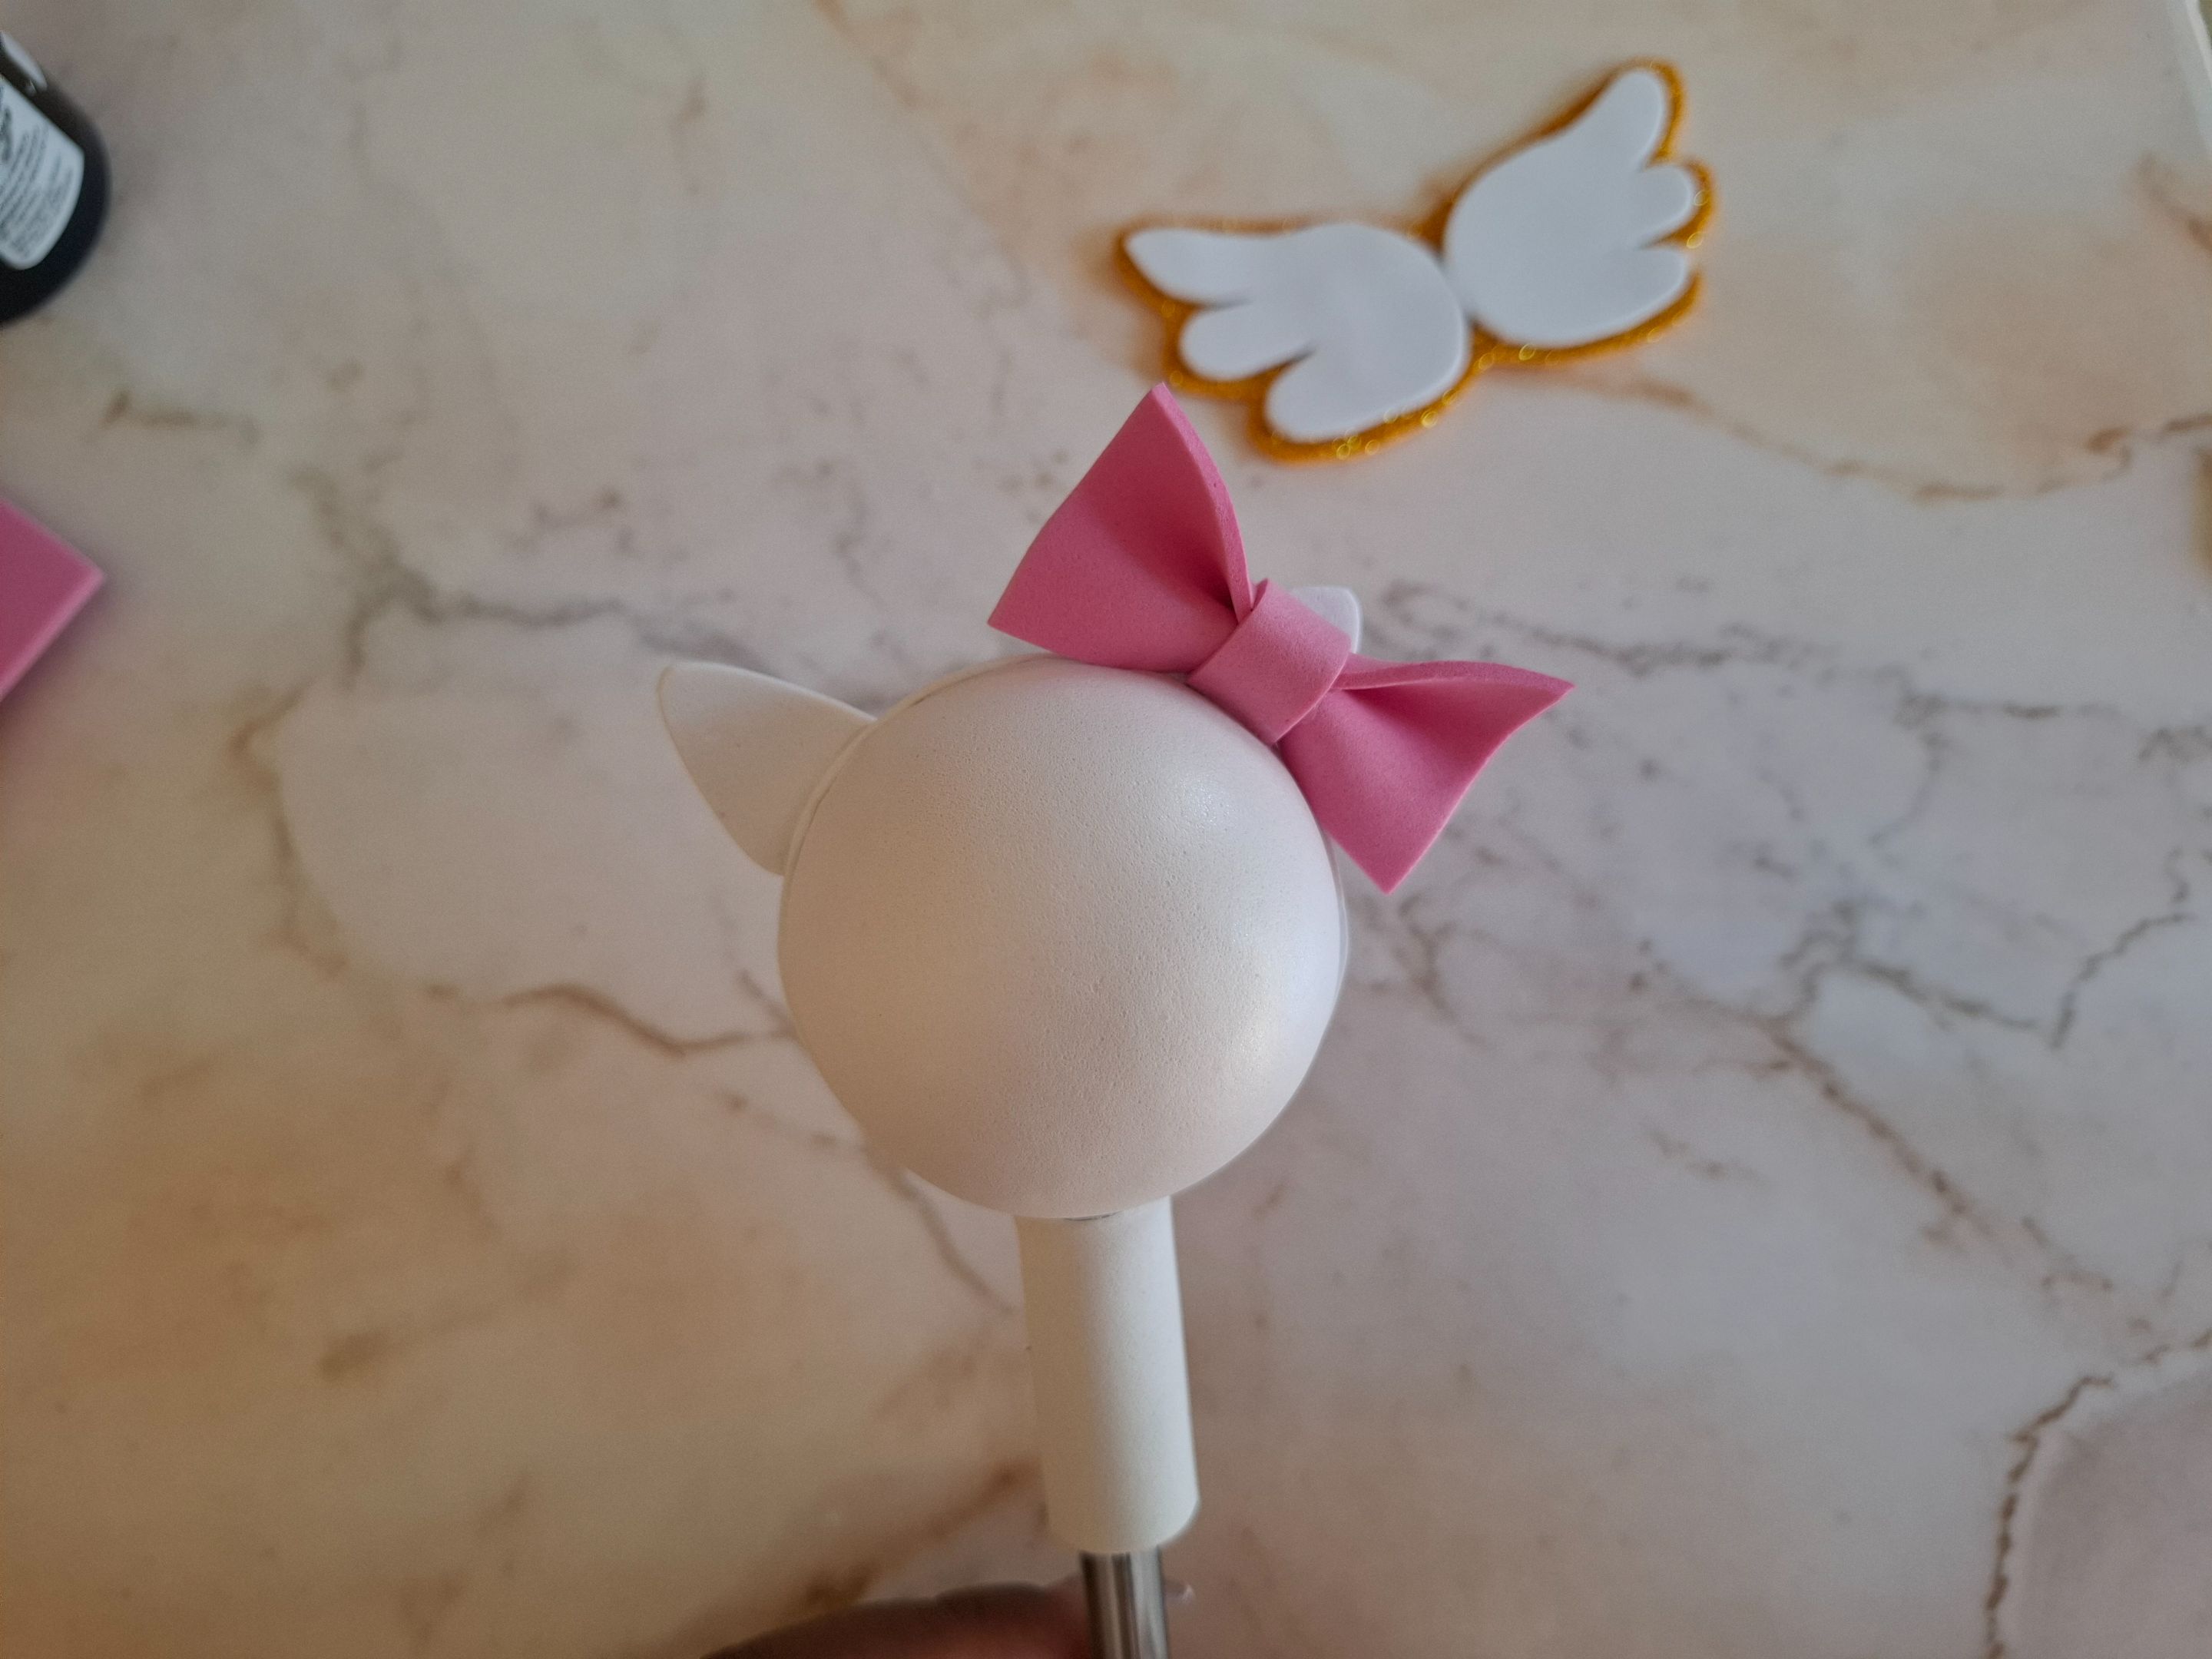
Seguido de esto en foami blanco voy a realizar las alas, orejas, patitas y manos, en este paso si les digo que deben calcular bien el tamaño del corazón, yo lo realicé muy pequeño y no me gustó como se veía así que volví hacerlo pero en foami color rosa claro.
Once this step is complete, I'll use scissors to cut the excess foam along the guide line. On the back, I'll also glue a foam circle the same size as the anime.
Following this, I'll make the wings, ears, legs, and hands using white foam. In this step, I'll tell you to carefully calculate the size of the heart. I made it too small and didn't like how it looked, so I remade it using light pink foam.
 |
 |
 |
|---|---|---|
 |
 |
|---|---|
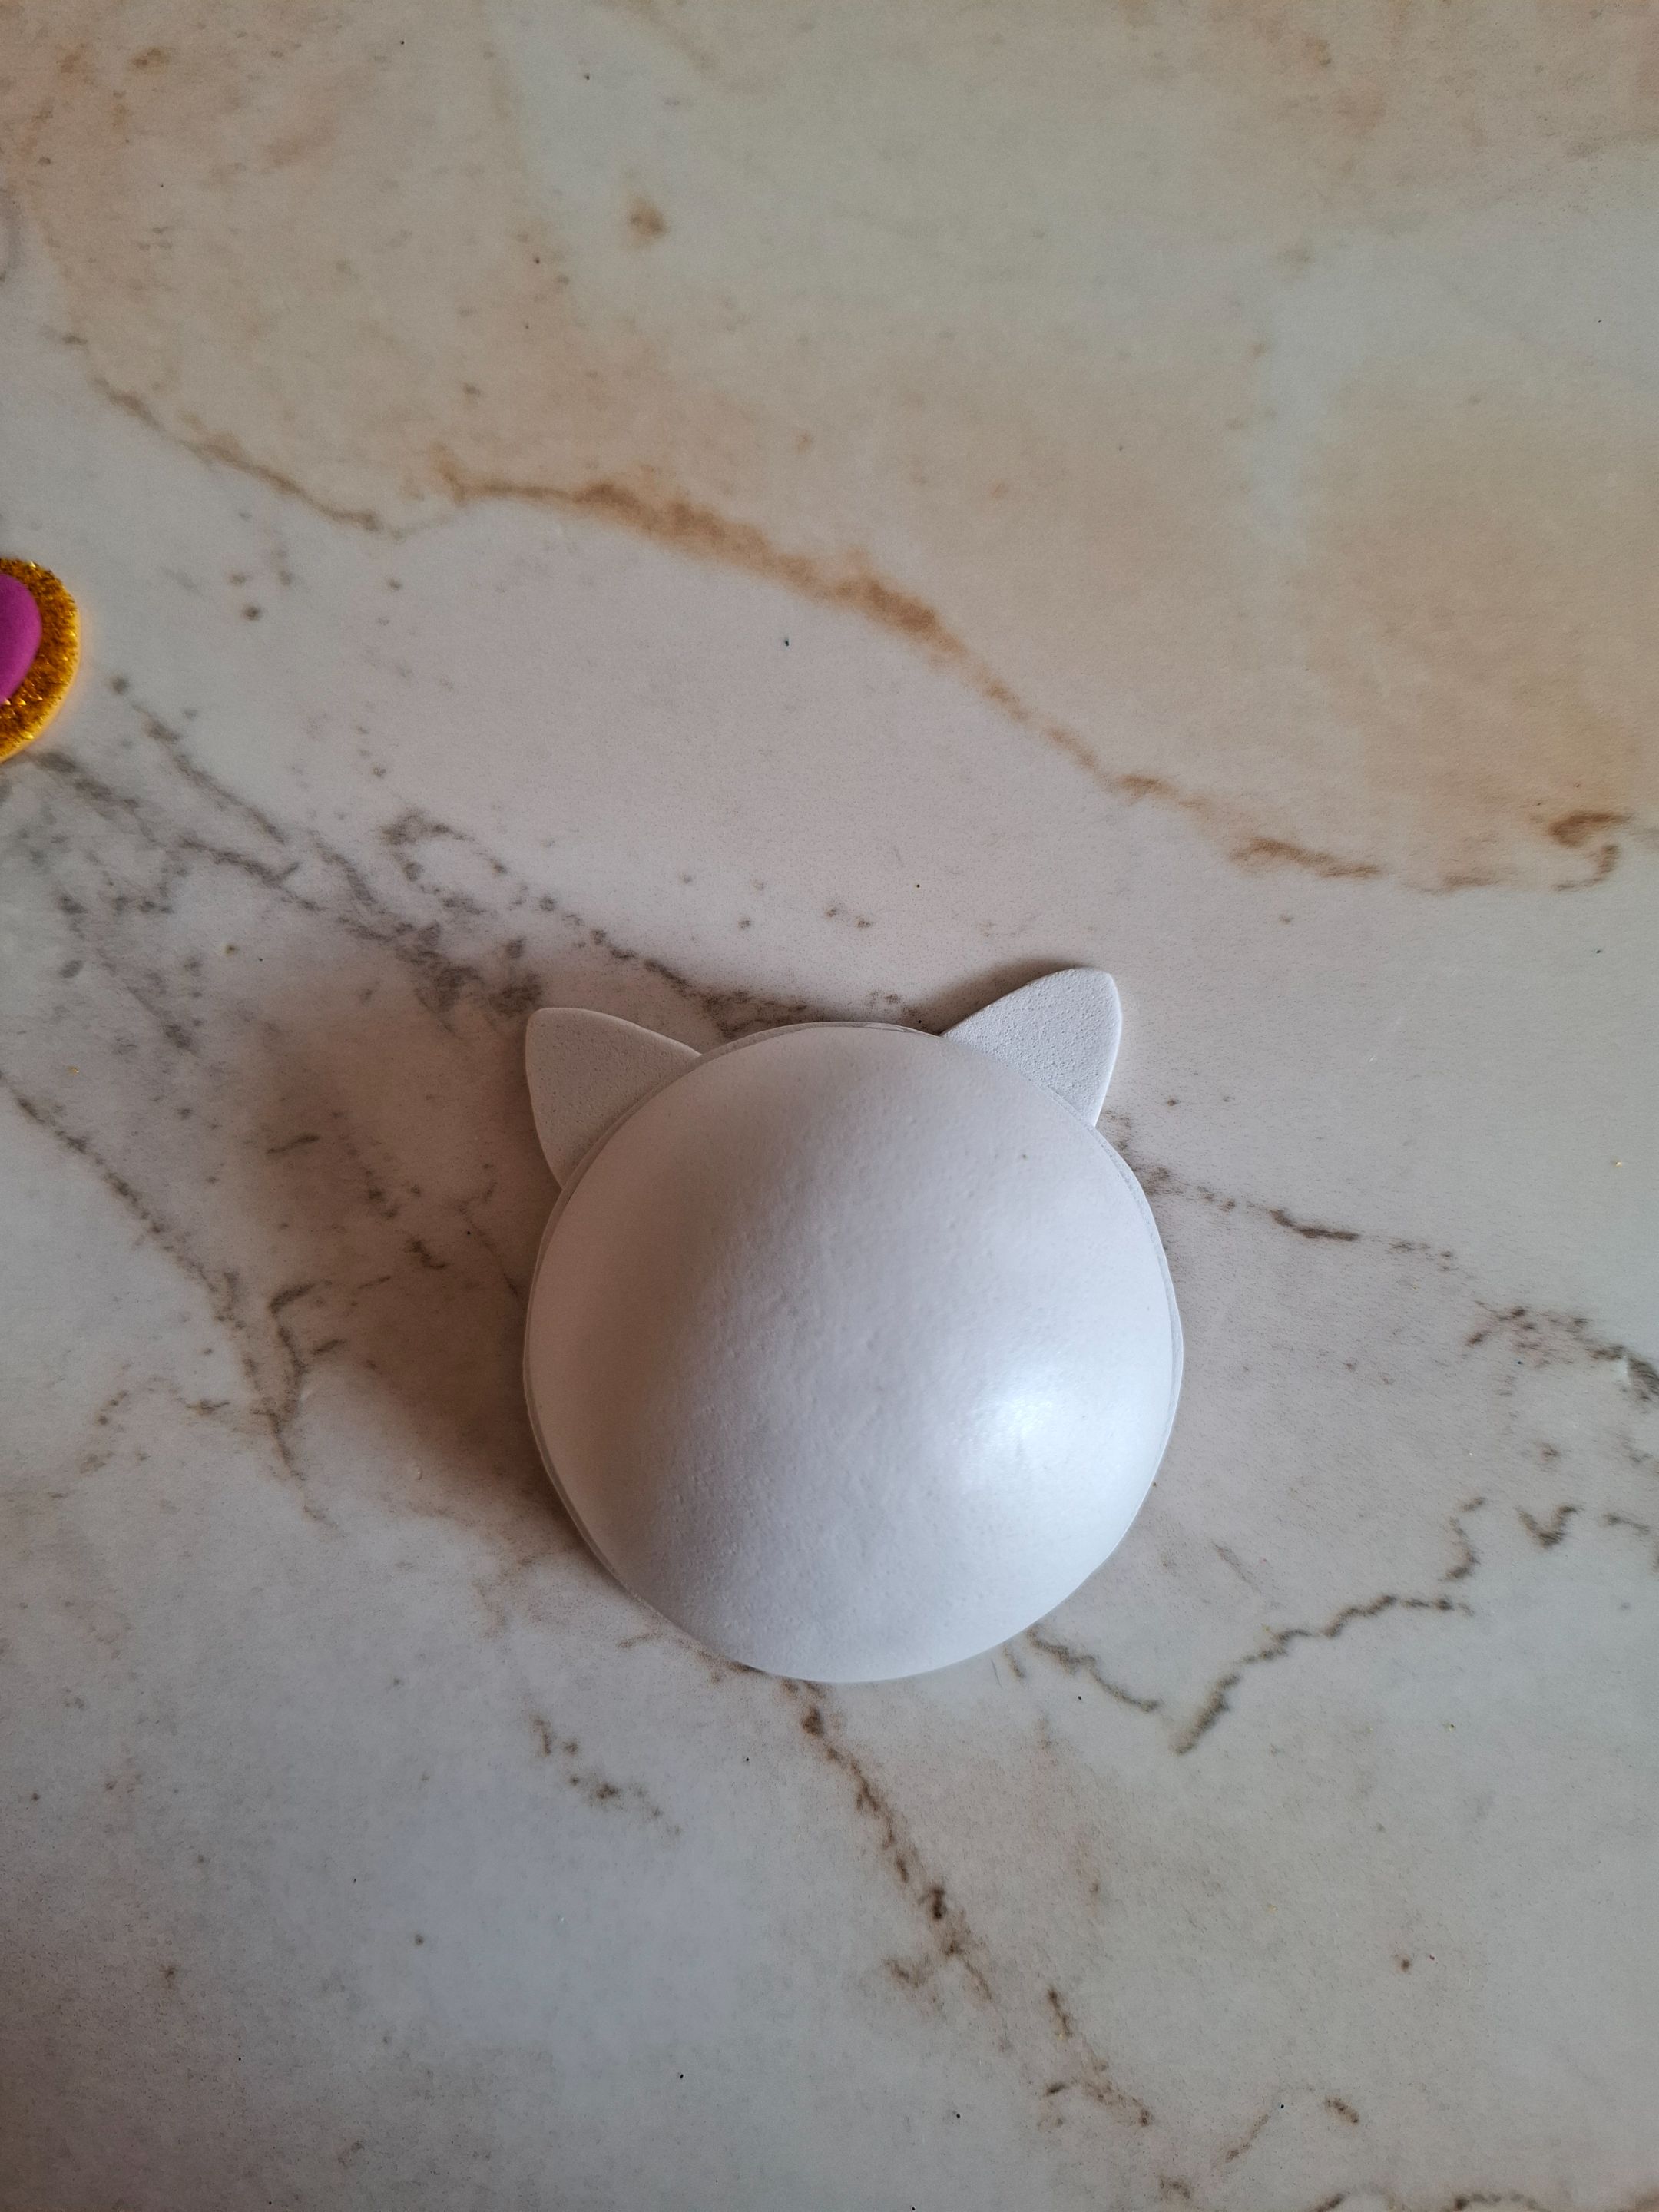
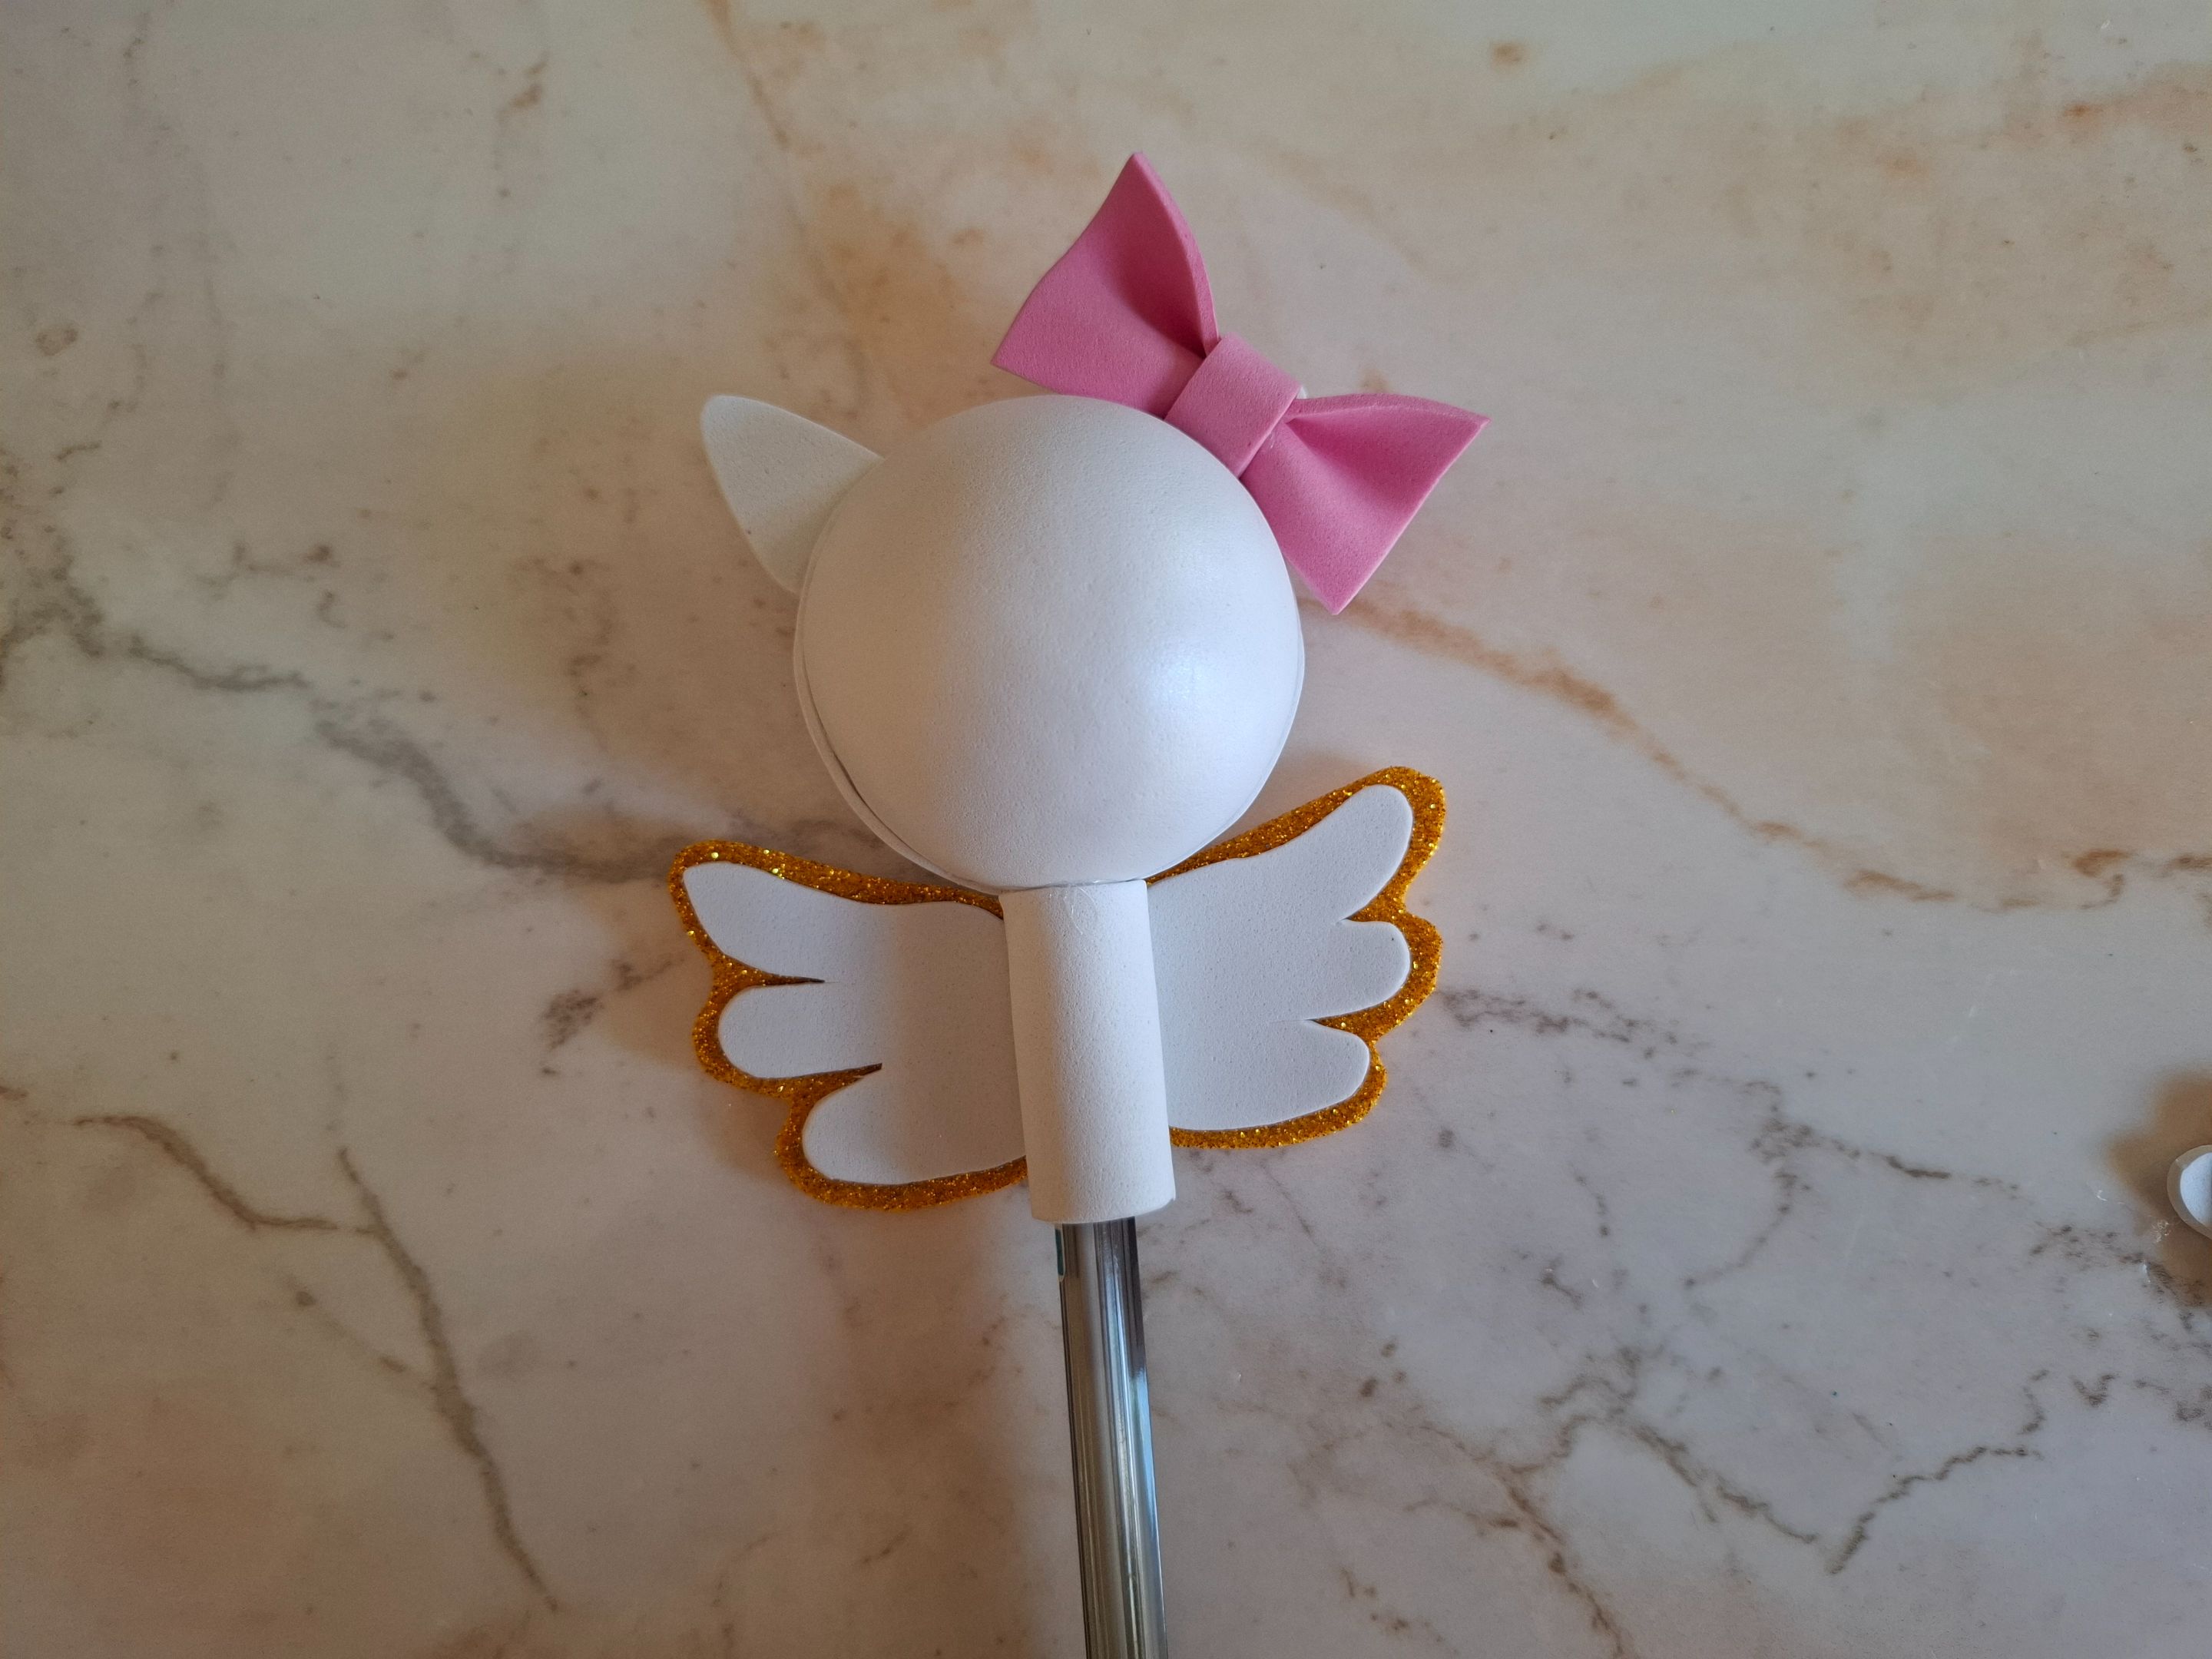
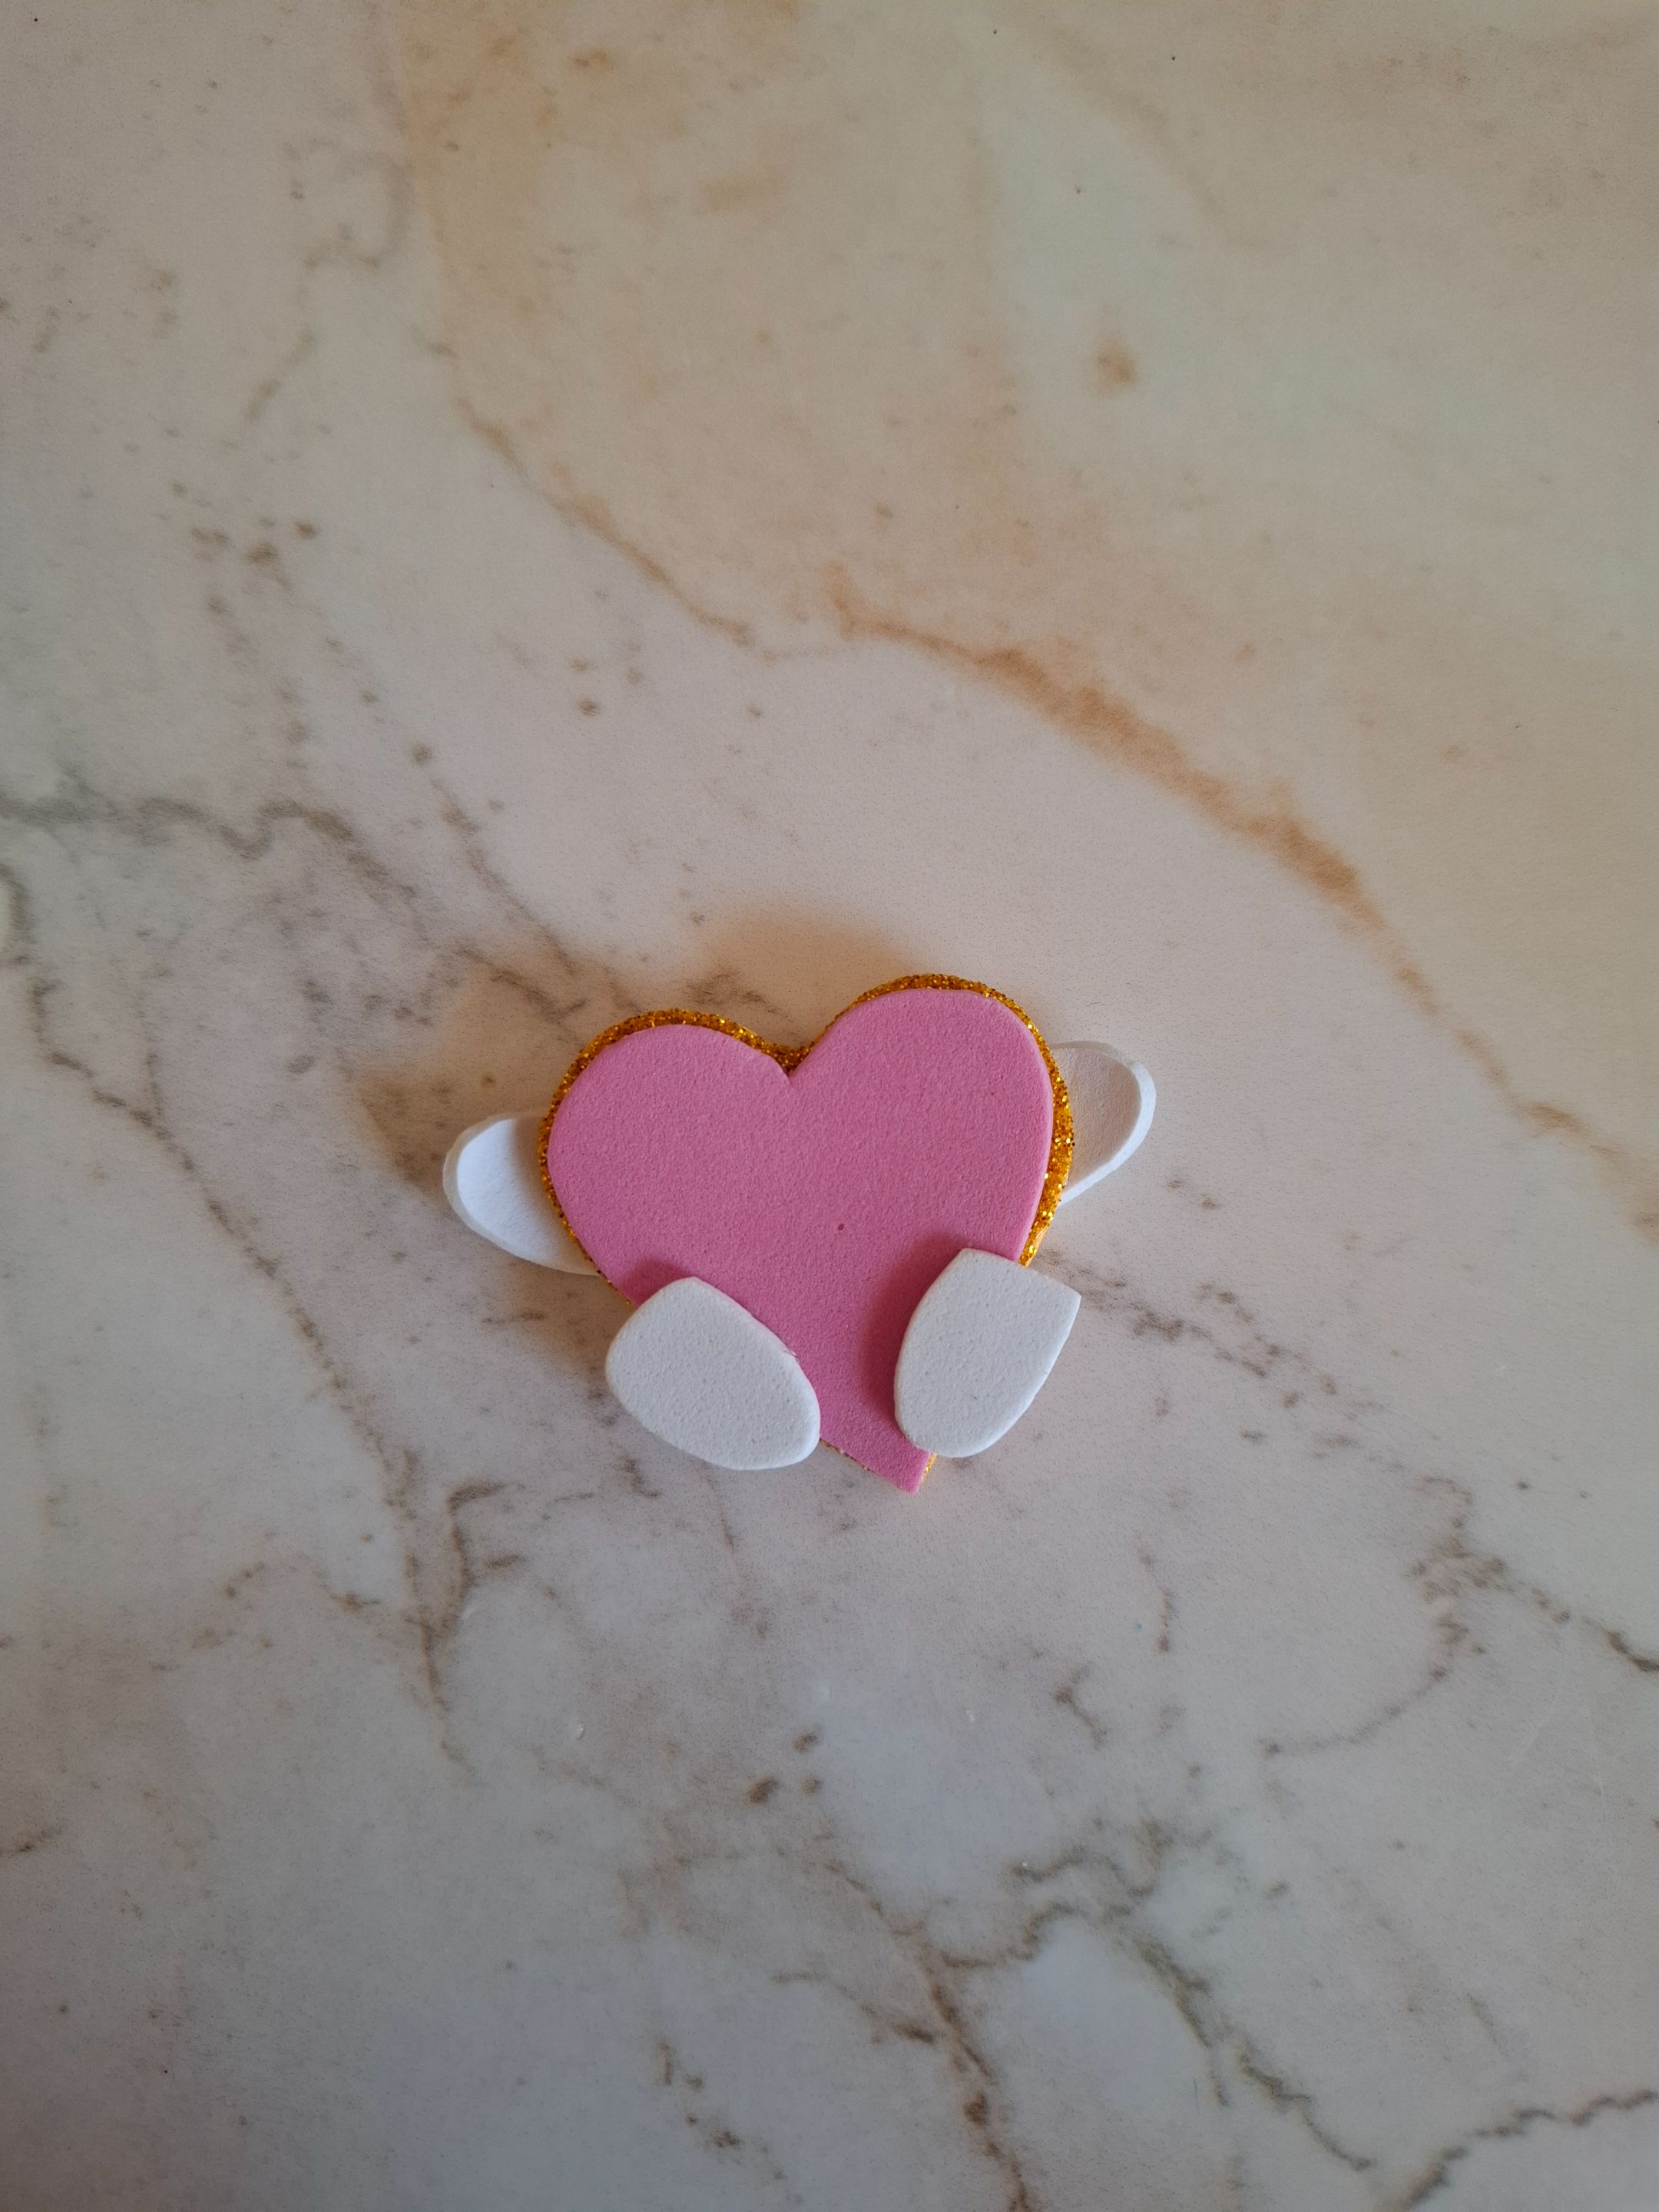
Pegamos las orejas, las alas y corazón las voy a ubicar sobre foami dorado para realizar la silueta, y cortamos. El corazón lo unimos a las patitas y manos.
Para colocar la figura en el bolígrafo realizamos una base con foami en forma de tubito largo, también realicé un lazo con foami color rosa y pegamos en la esquina de la oreja.
We glue the ears, wings, and heart onto gold foam to create the silhouette, and cut them out. We attach the heart to the paws and hands.
To attach the figure to the pen, we make a long, tube-shaped foam base. I also made a bow out of pink foam and glued it to the corner of the ear.
 |
 |
|---|---|
 |
 |
|---|---|
Por último pintamos su cara utilizando pintura negra y para la nariz foami amarillo, y de esta forma terminé a esta muñequita inspirada en Hello Kitty para sus que sus bolígrafos se vean creativos y coloridos. Por cierto el otro día una compañera de trabajo me preguntaba cómo realizaba estas decoraciones para bolígrafo lo que me hace pensar que voy por buen camino.
Finally, we painted her face using black paint and yellow foam for her nose. This is how I finished this Hello Kitty-inspired doll to make her pens look creative and colorful. Incidentally, the other day a coworker asked me how I made these pen decorations, which makes me think I'm on the right track.
 |
 |
|---|---|
Espero les haya gustado el resultado final, muchas gracias por visitar mi publicación nos vemos en una próxima oportunidad con más ideas creativas.
I hope you liked the final result. Thank you very much for visiting my post. See you next time with more creative ideas.