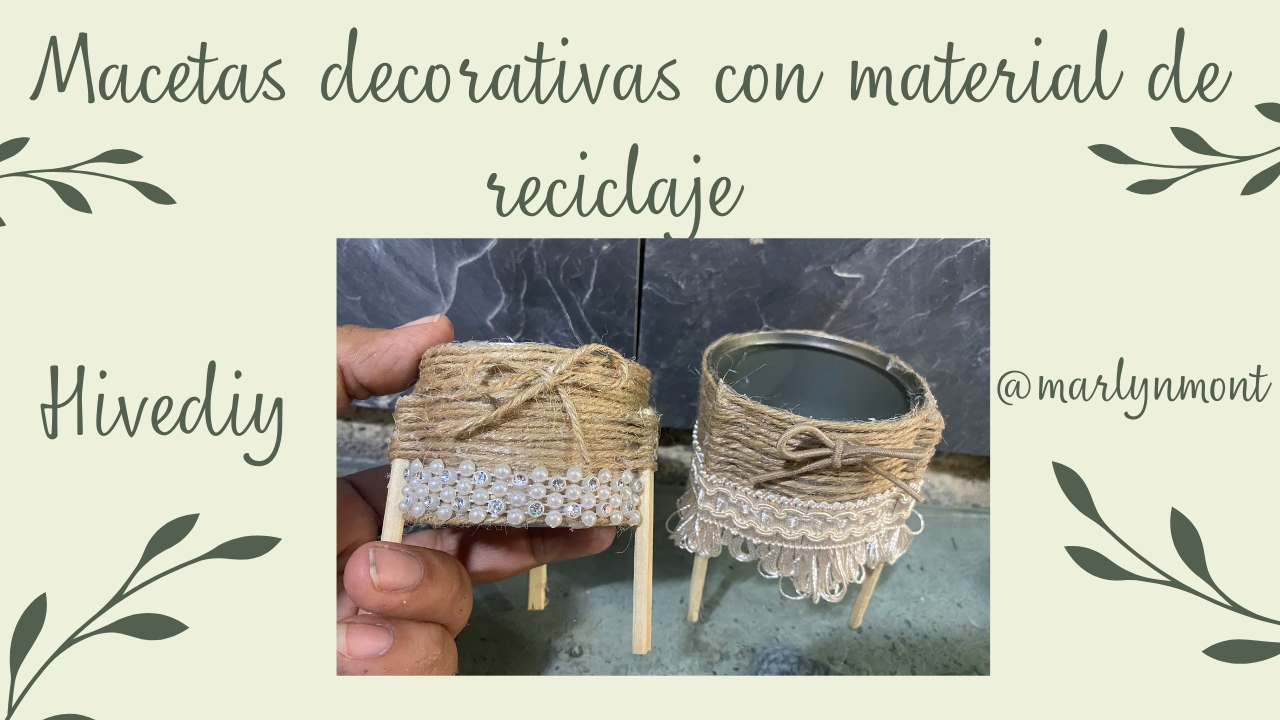
***Feliz y bendecido día queridos amigos de HIVE DIY*** 🪴❤️
Hoy quiero compartir una linda idea para hacer unas pequeñas macetas decorativas y lucirlas en el lugar favorito de nuestro hogar, este proyecto de manualidad lo vamos a hacer con latas pequeñas en las que vienen algunos alimentos y mecatillo, acompáñame y te comparto el paso a paso:
> Happy and blessed day, dear friends of HIVE DIY 🪴❤️
>
> Today I want to share a lovely idea for making some small decorative pots to display in your favorite spot in your home. We'll be making this craft project with small cans that hold some food and some string. Join me as I share the step-by-step instructions:
---
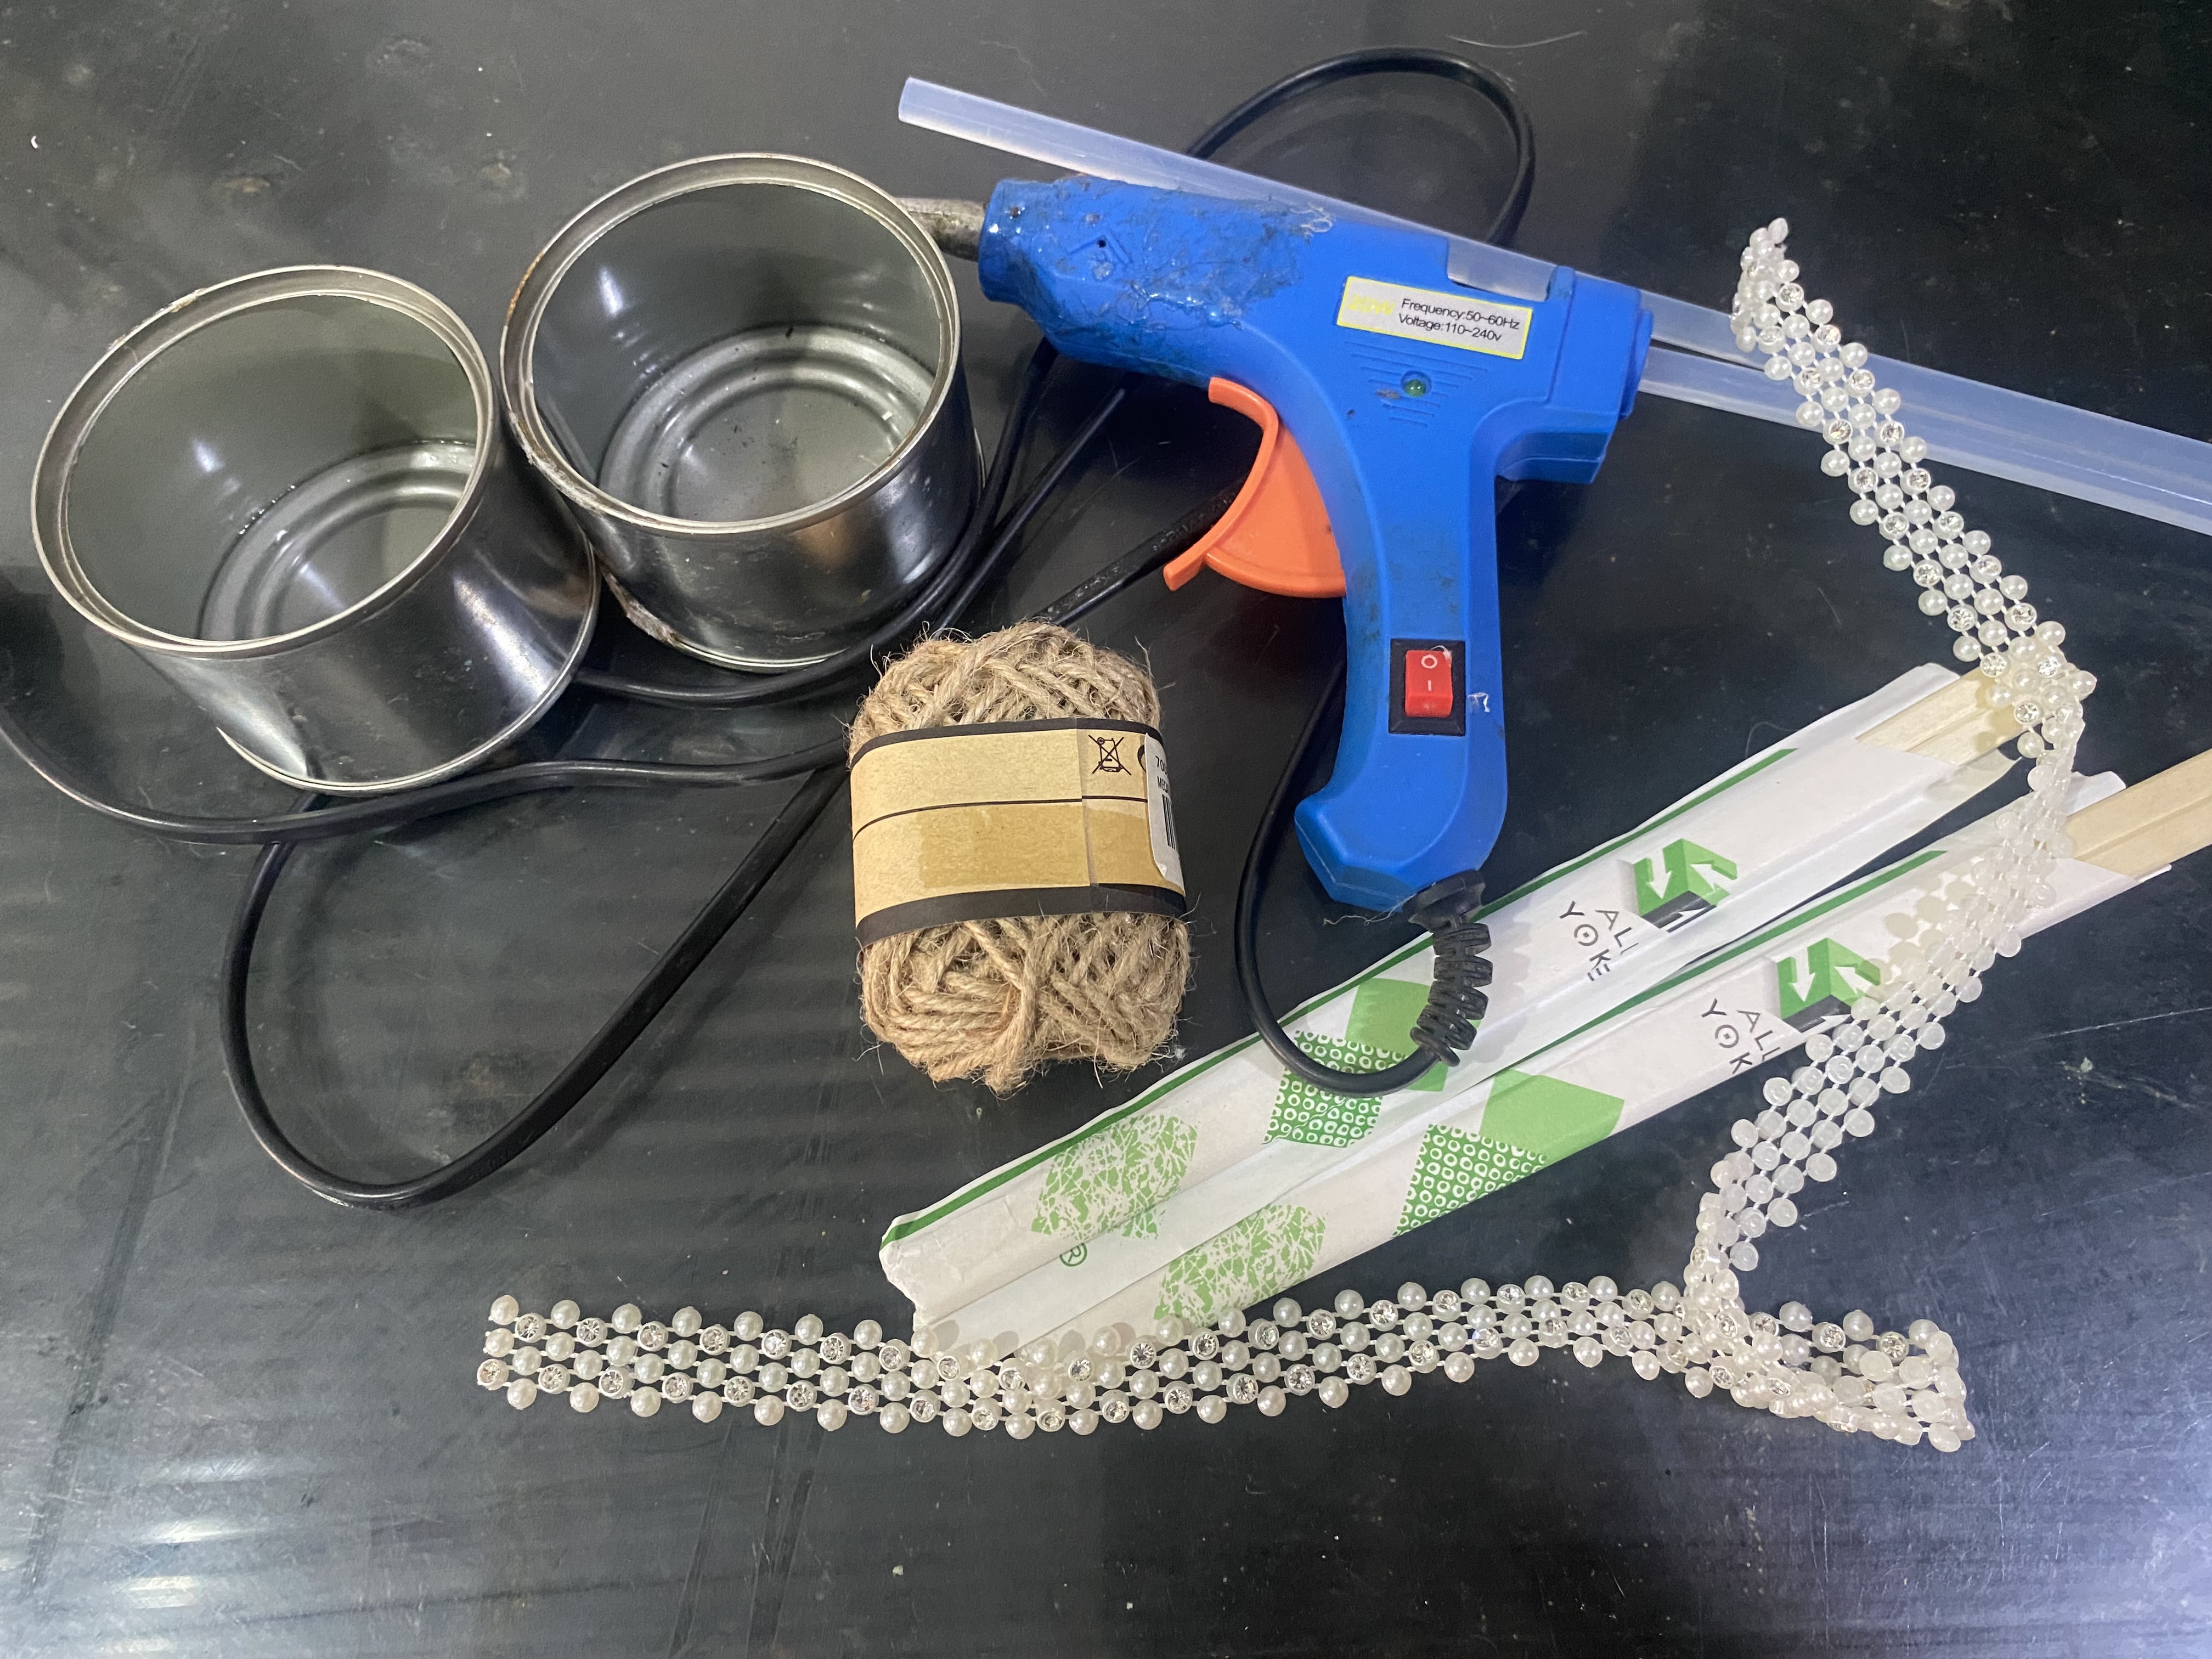
Hace poco estaba en la tienda de telas y observé que había un pequeño rollo de hilo tipo mecate del que usan mucho para manualidades, siempre había querido comprar este hilo pero hasta donde recuerdo era costoso, será porque era poca cantidad pero me sorprendió que costaba menos de un dólar así que decidí comprarlo, en casa tenía guardada dos latas pequeñas en las que viene el jamón endiablado, (cada vez que abro algún alimento de estos que vienen en lata inmediatamente pienso en guardarlas para ocuparlas en alguna manualidad), me gustan mucho las plantas y decorar con ellas, es por esto que seguí mi idea de hacer unas lindas macetas pequeñas para decorar, aquí les dejo la lista de materiales a utilizar:
- Latas pequeñas
- Hilo decorativo
- Palillos chinos o palitos de altura
- Silicon
- Tijeras
- decoraciones a su gusto
> I was recently at the fabric store and noticed a small roll of twine, the kind they use a lot for crafts. I'd always wanted to buy this thread, but as far as I remember, it was expensive. Maybe it was because it was in small quantities, but I was surprised it cost less than a dollar, so I decided to buy it. At home, I had two small cans that deviled ham comes in (every time I open one of these canned foods, I immediately think of saving them to use in some craft project). I really like plants and decorating with them, so I decided to make some cute little pots for decoration. Here's the list of materials you'll need:
>
> - Small cans
> - Decorative thread
> - Chopsticks or sticks
> - Silicone
> - Scissors
> - Decorations of your choice
___MATERIALES___
> MATERIALS
---
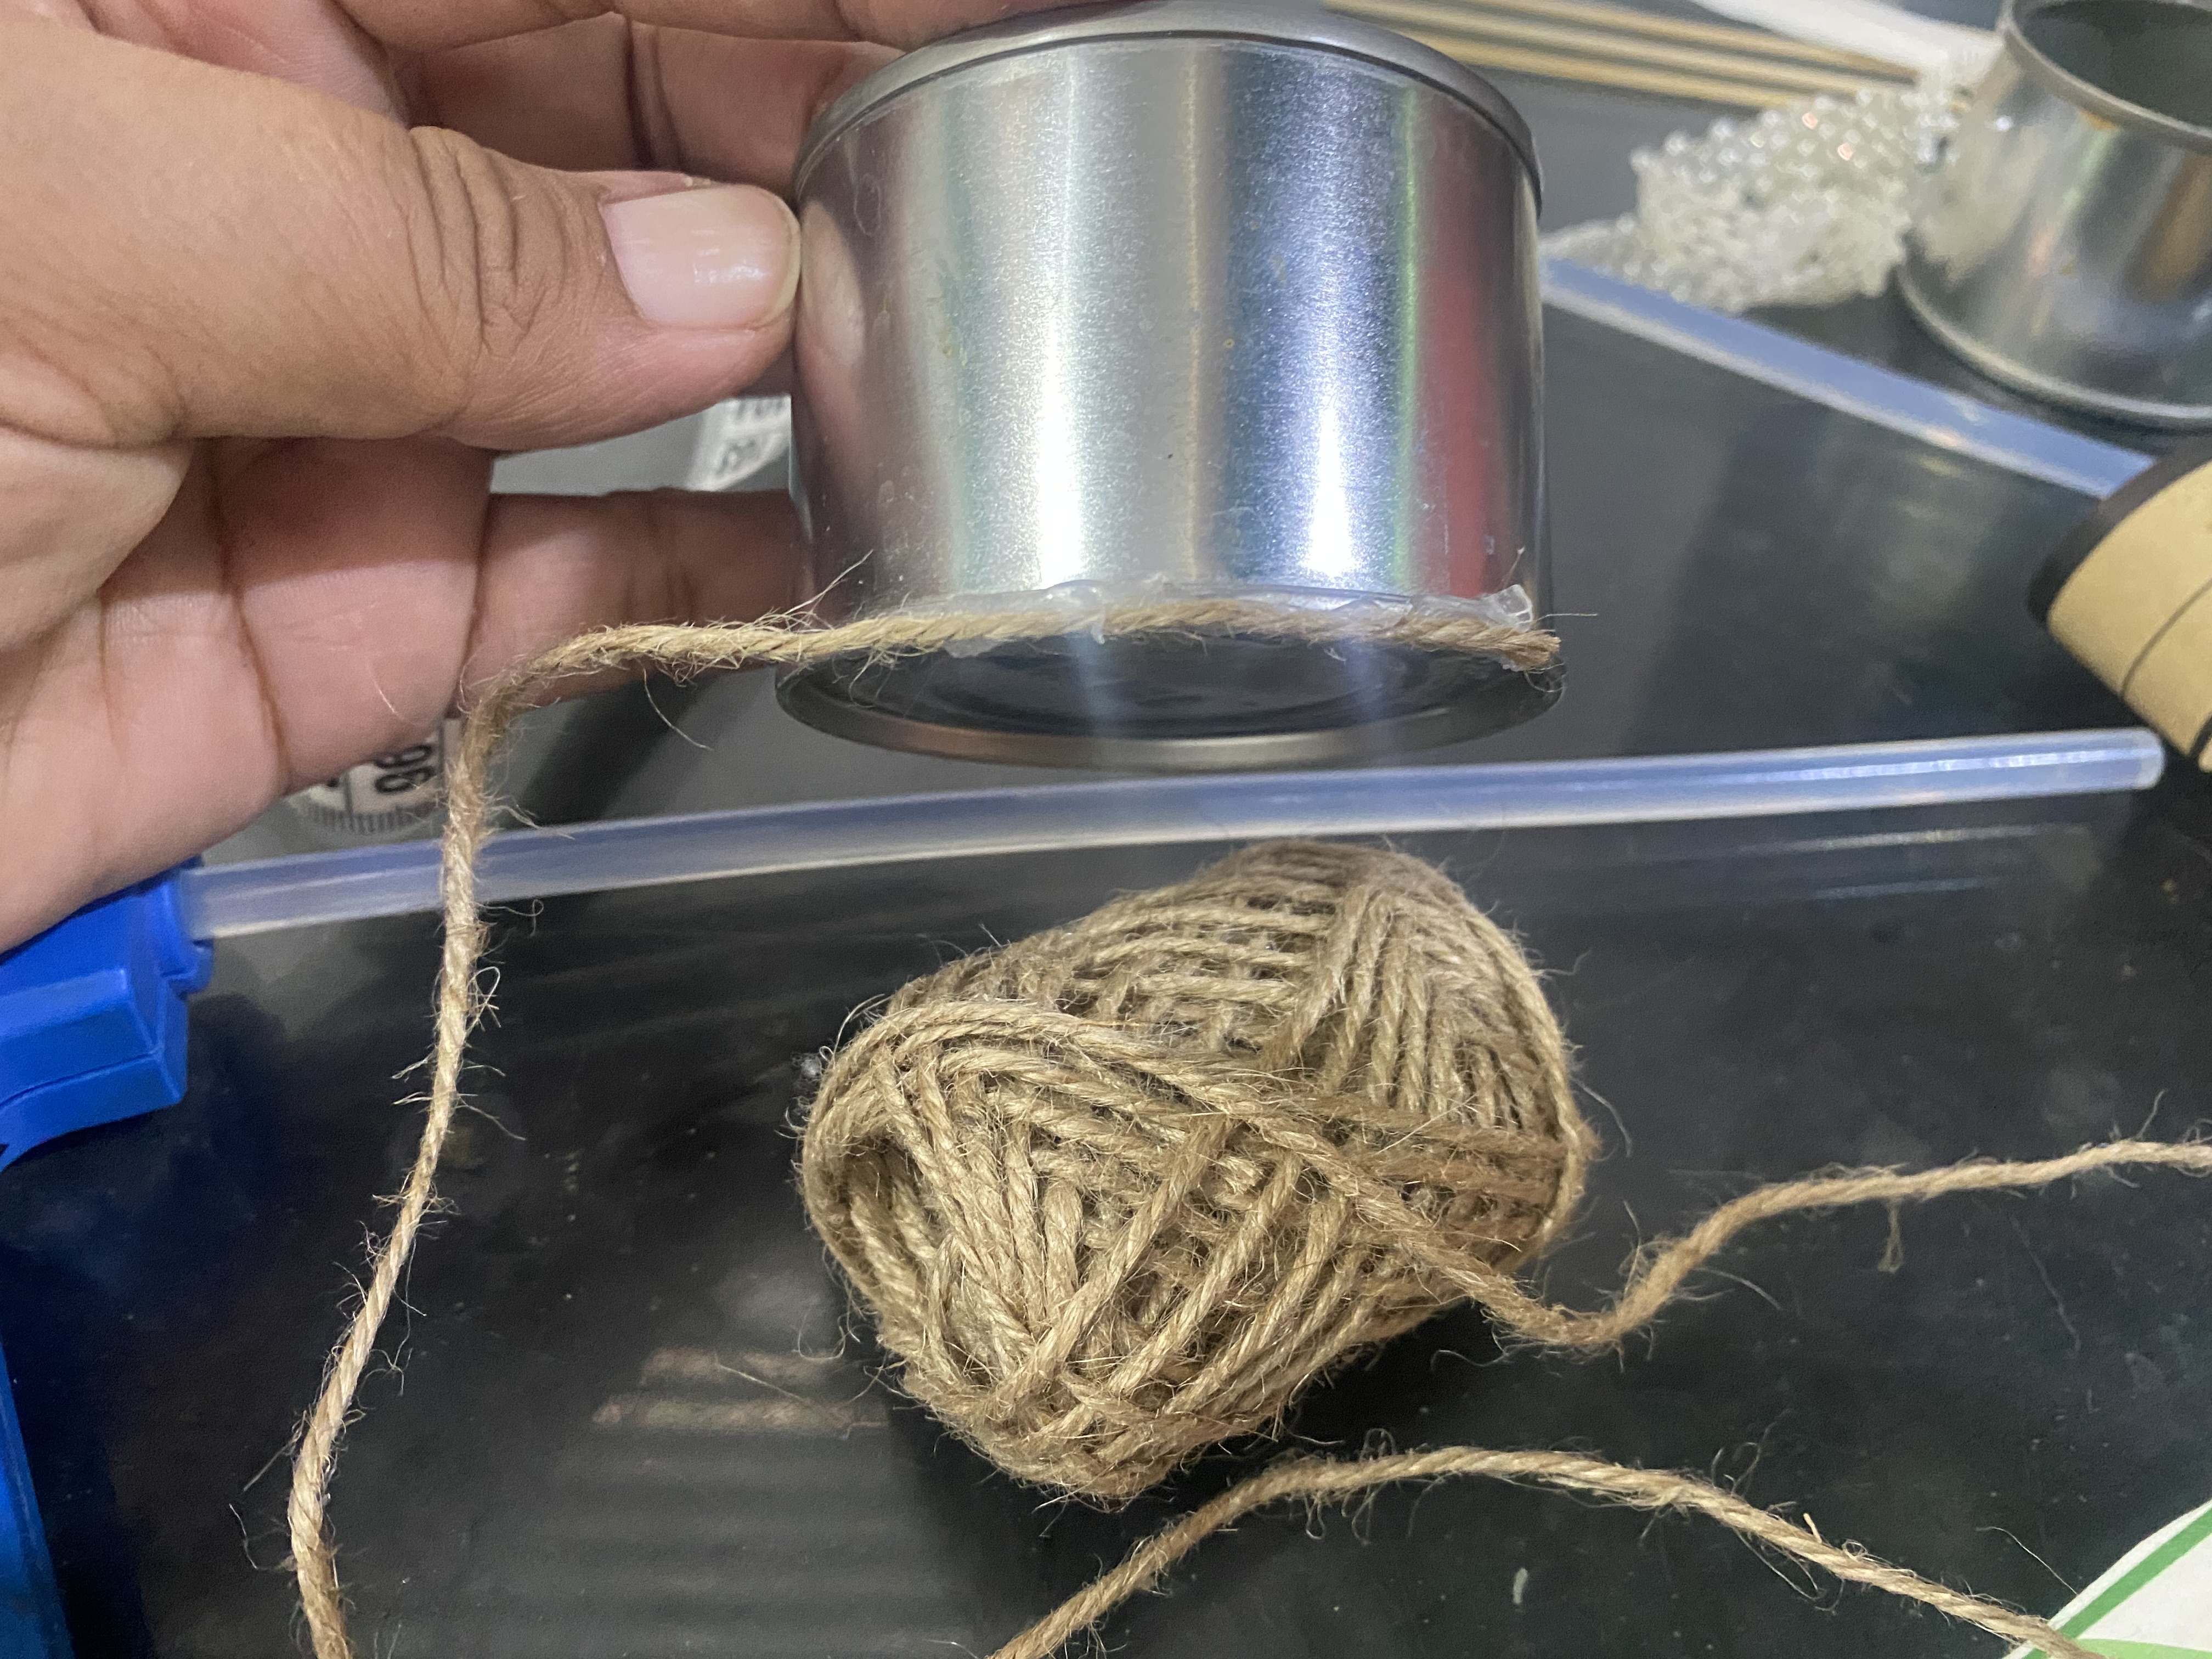
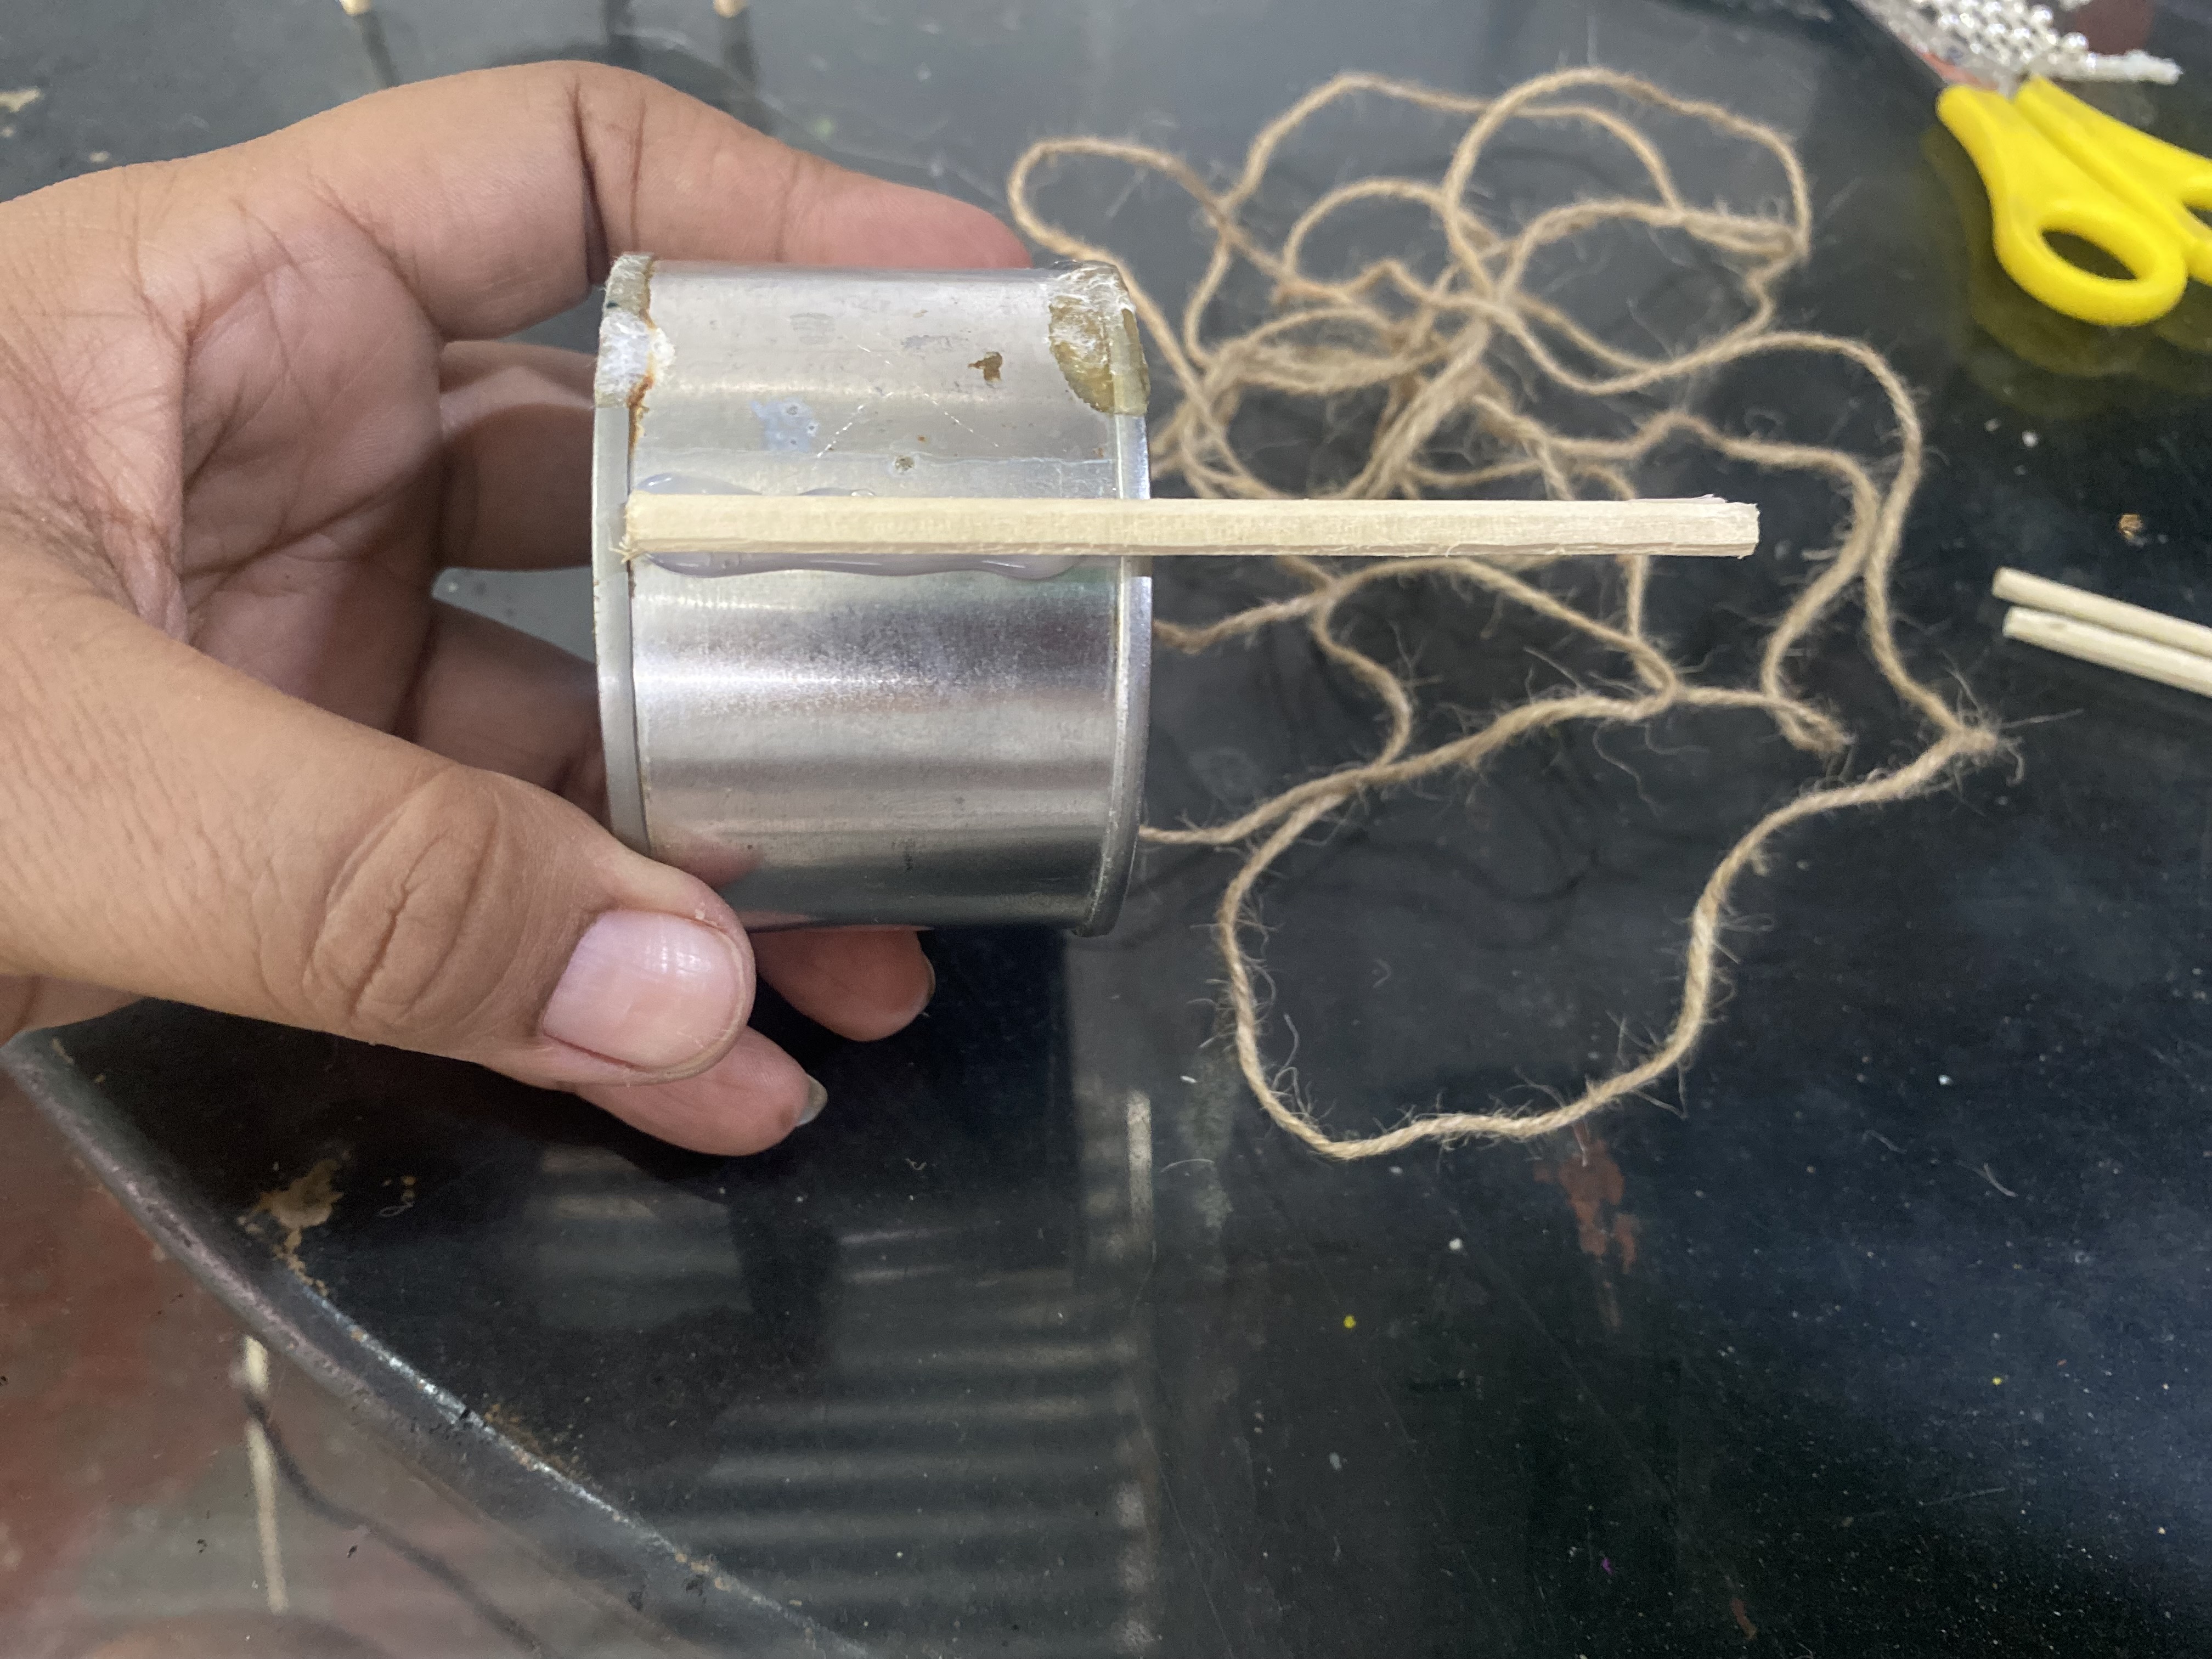
Vamos a comenzar pegando el mecatillo por todo el alrededor, encendemos nuestra pistola de silicon, retiramos las etiquetas o residuos que pueda tener la lata, para la primera lata vamos a comenzar pegándo el hilo desde la parte inferior, esta lata tiene una circunferencia de 21 cm, el pequeño rollo de hilo que compré dice que tiene 10 m, con esto voy a hacer la prueba para ver cuánto alcanza, vamos pegando cuidadosamente por todo el alrededor dándole vueltas hasta completar toda la lata.
Un pequeño consejo, mis macetas son decorativas para plantas artificiales, pero si las quieres hacer para plantas naturales les recomiendo hacerle pequeños orificios en el fondo de la lata para que el agua peda fluir.
> Let's start by gluing the twine all the way around. Turn on our hot glue gun and remove any labels or residue from the can. For the first can, we'll start gluing the twine from the bottom. This can has a circumference of 21 cm. The small roll of twine I bought says it has 10 m. I'll use this as a test to see how long it will last. We'll carefully glue it all the way around, twisting it until the entire can is covered.
>
> A little tip: my pots are decorative for artificial plants, but if you want to make them for real plants, I recommend making small holes in the bottom of the can so the water can flow through.
___PASO A PASO___
> STEP BY STEP
|||
|---|---|
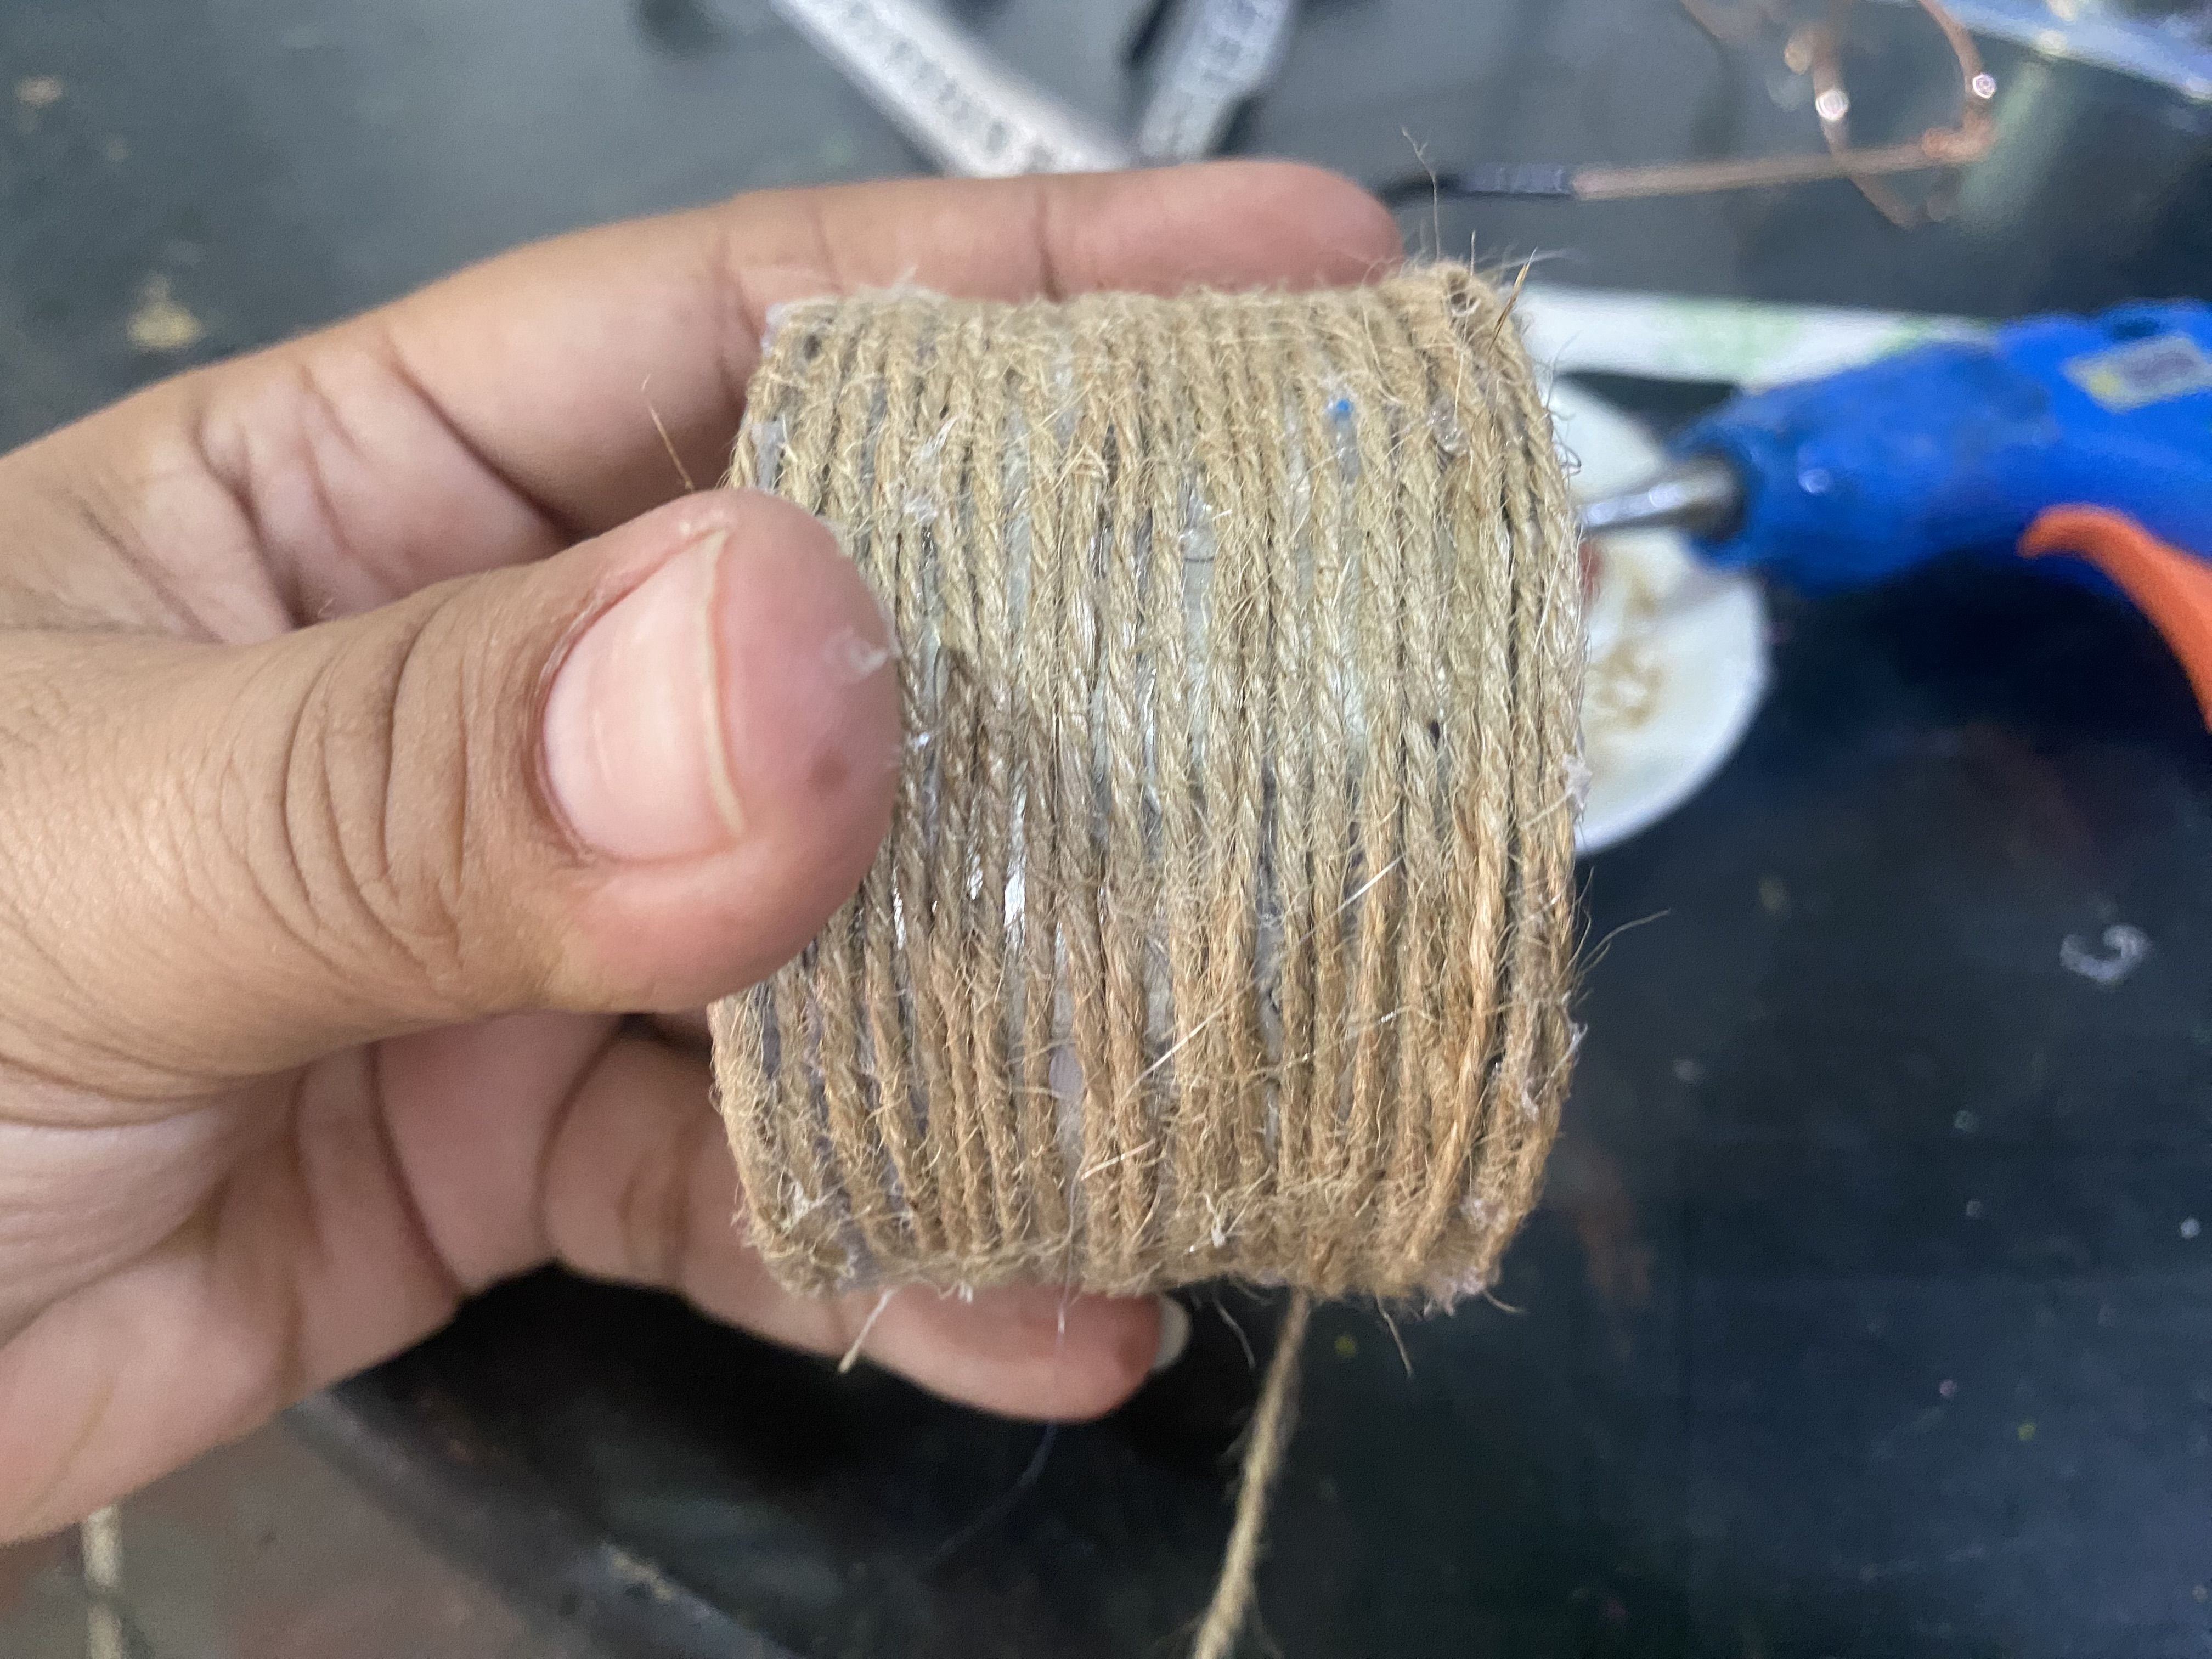
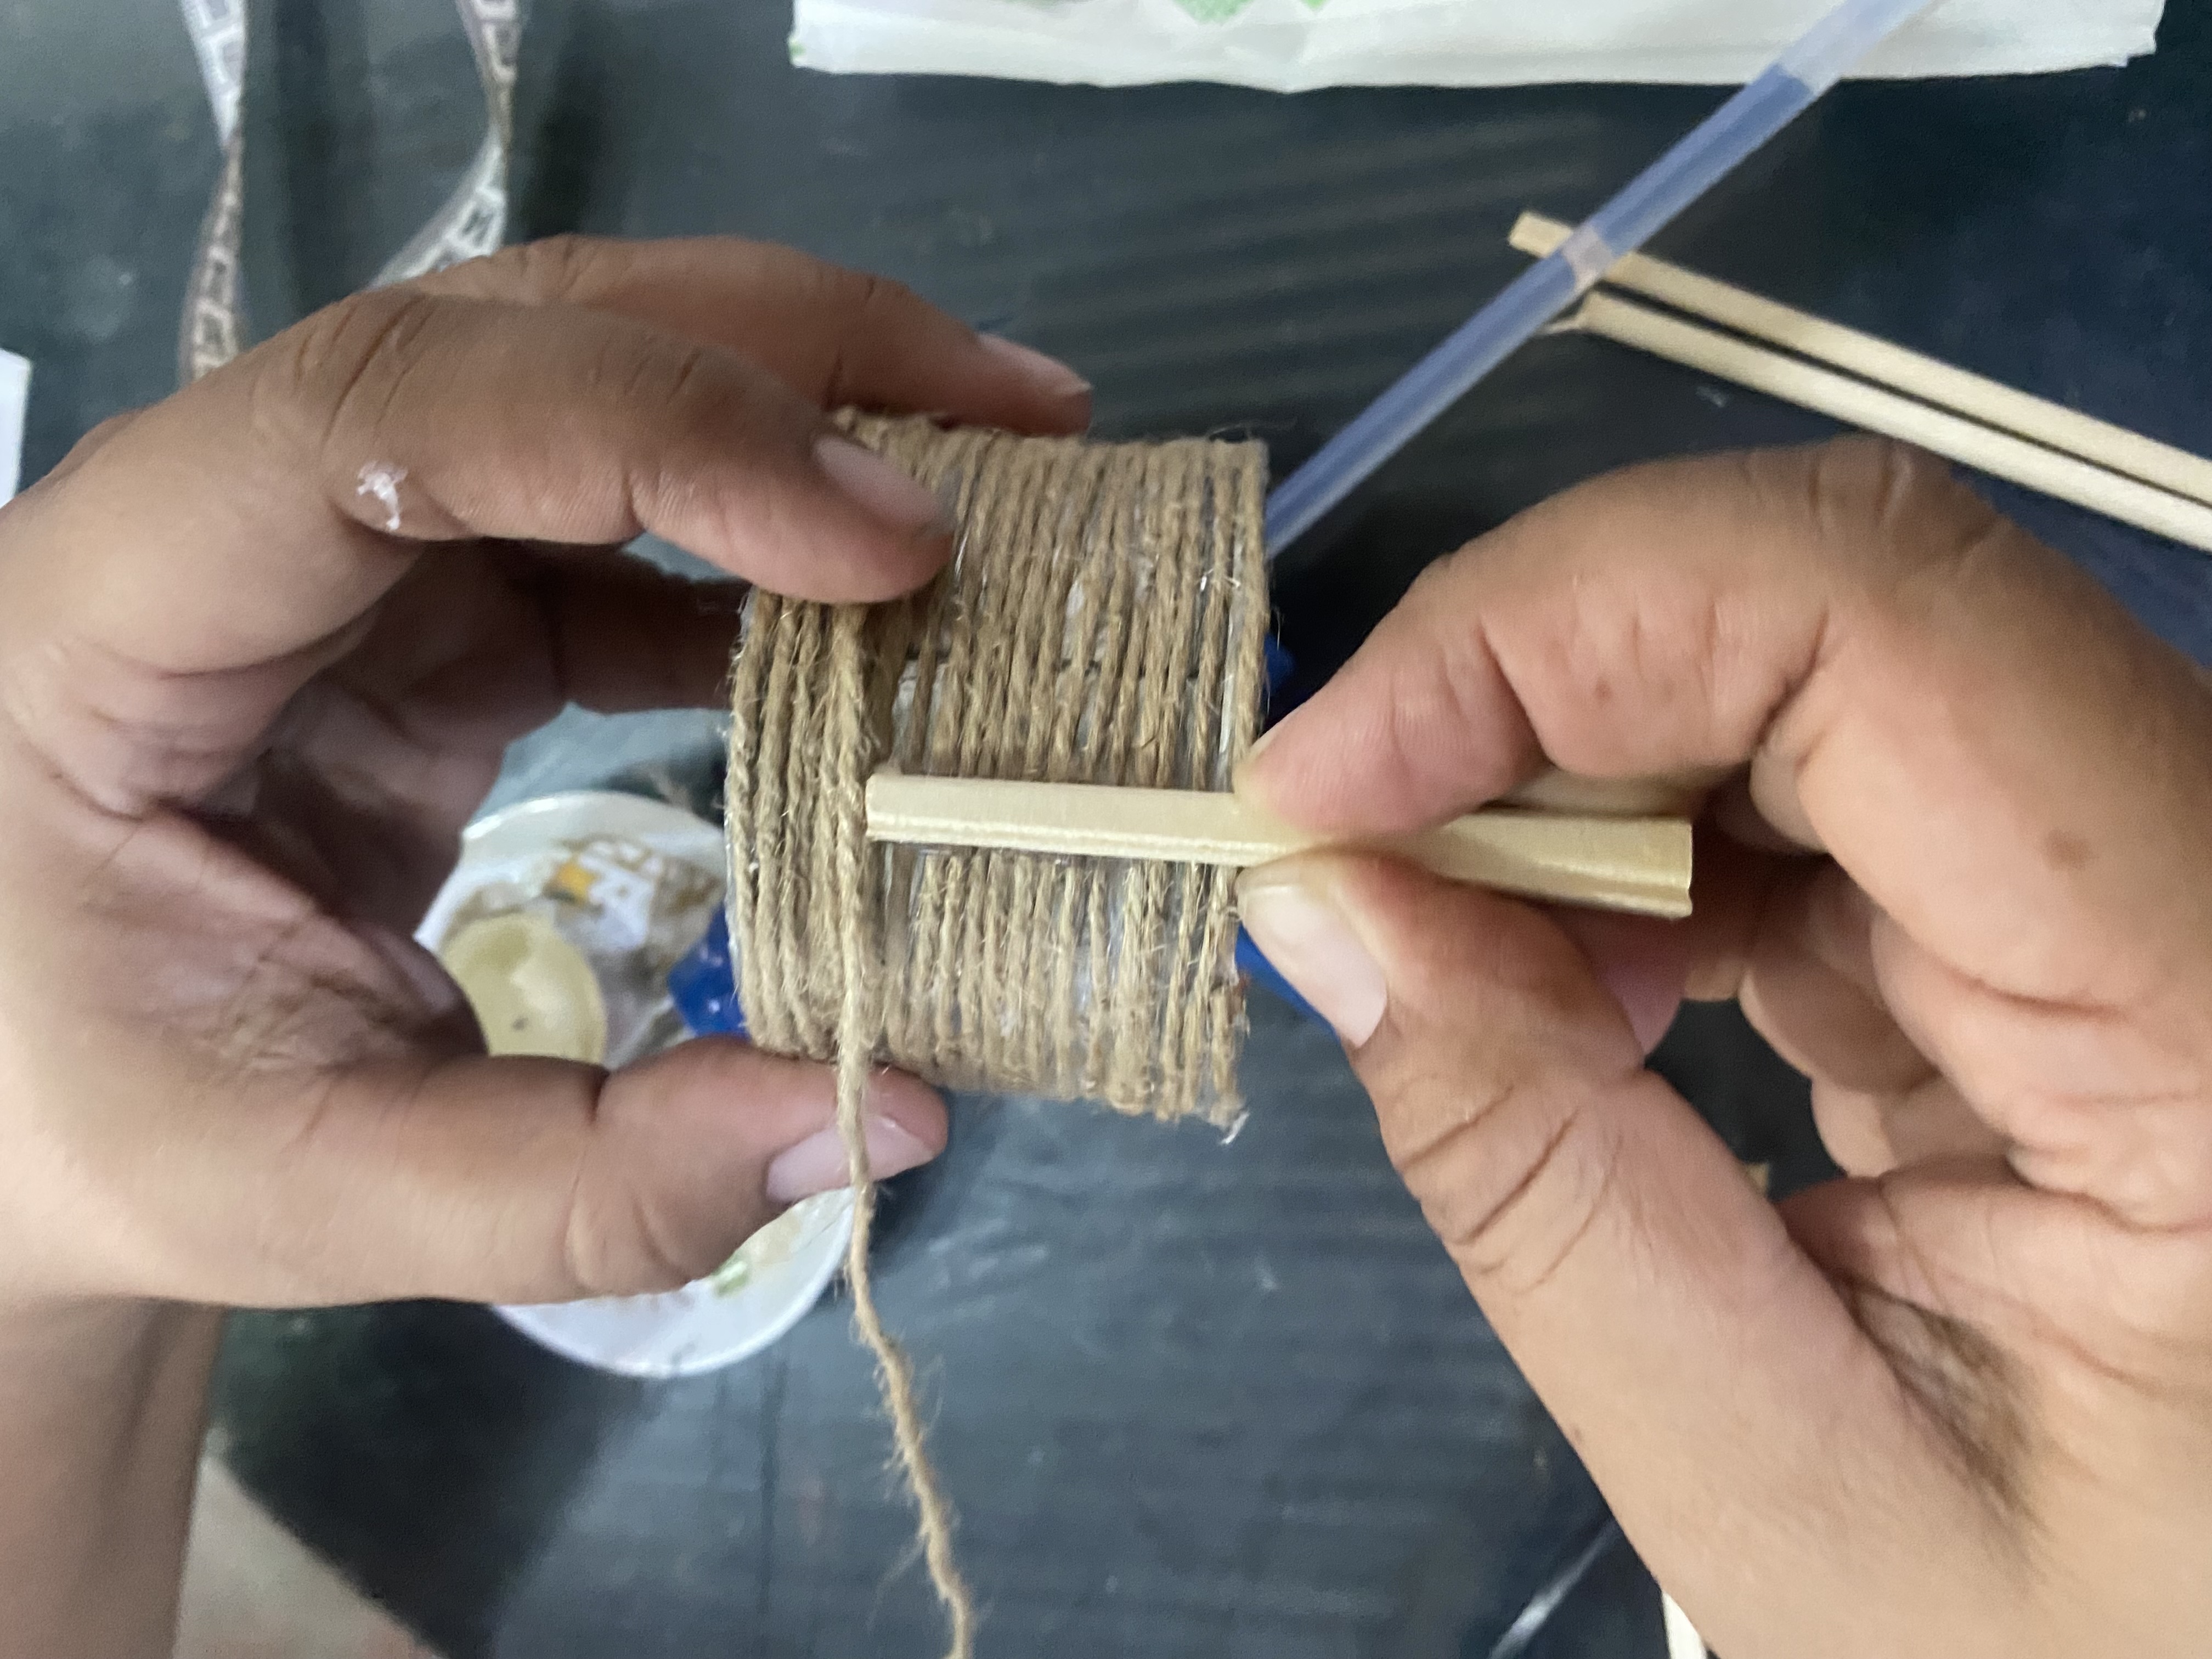
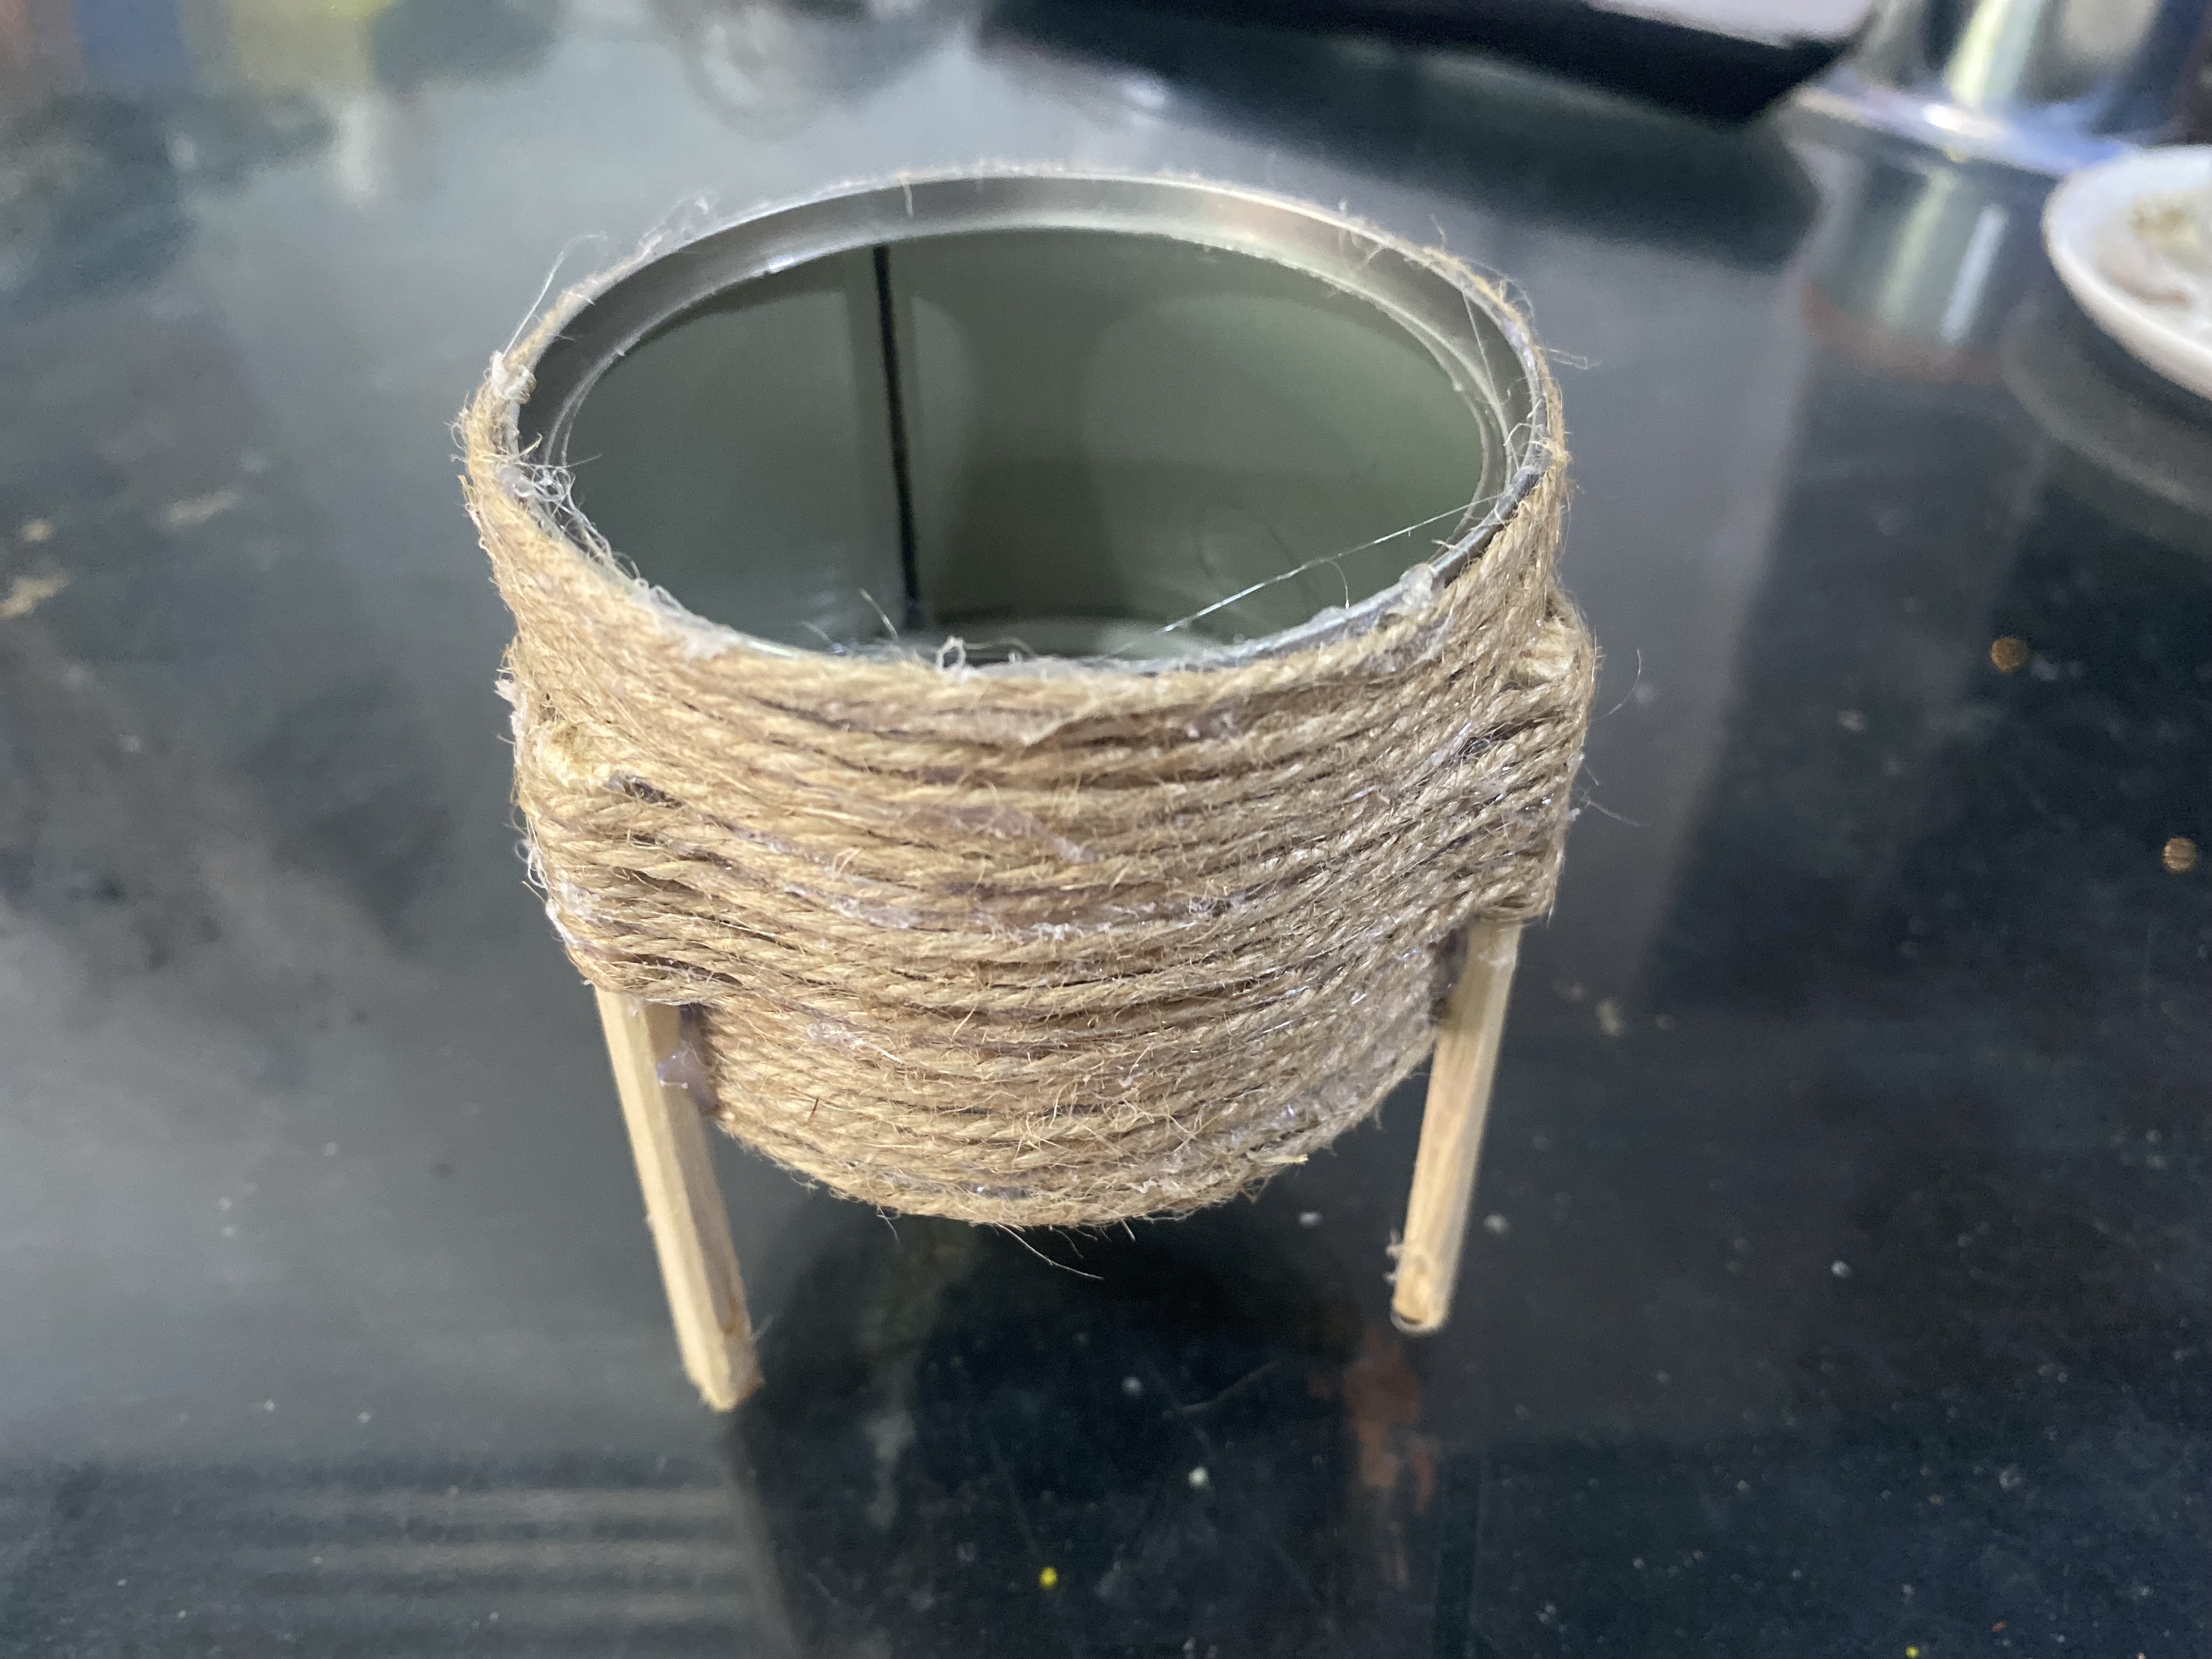
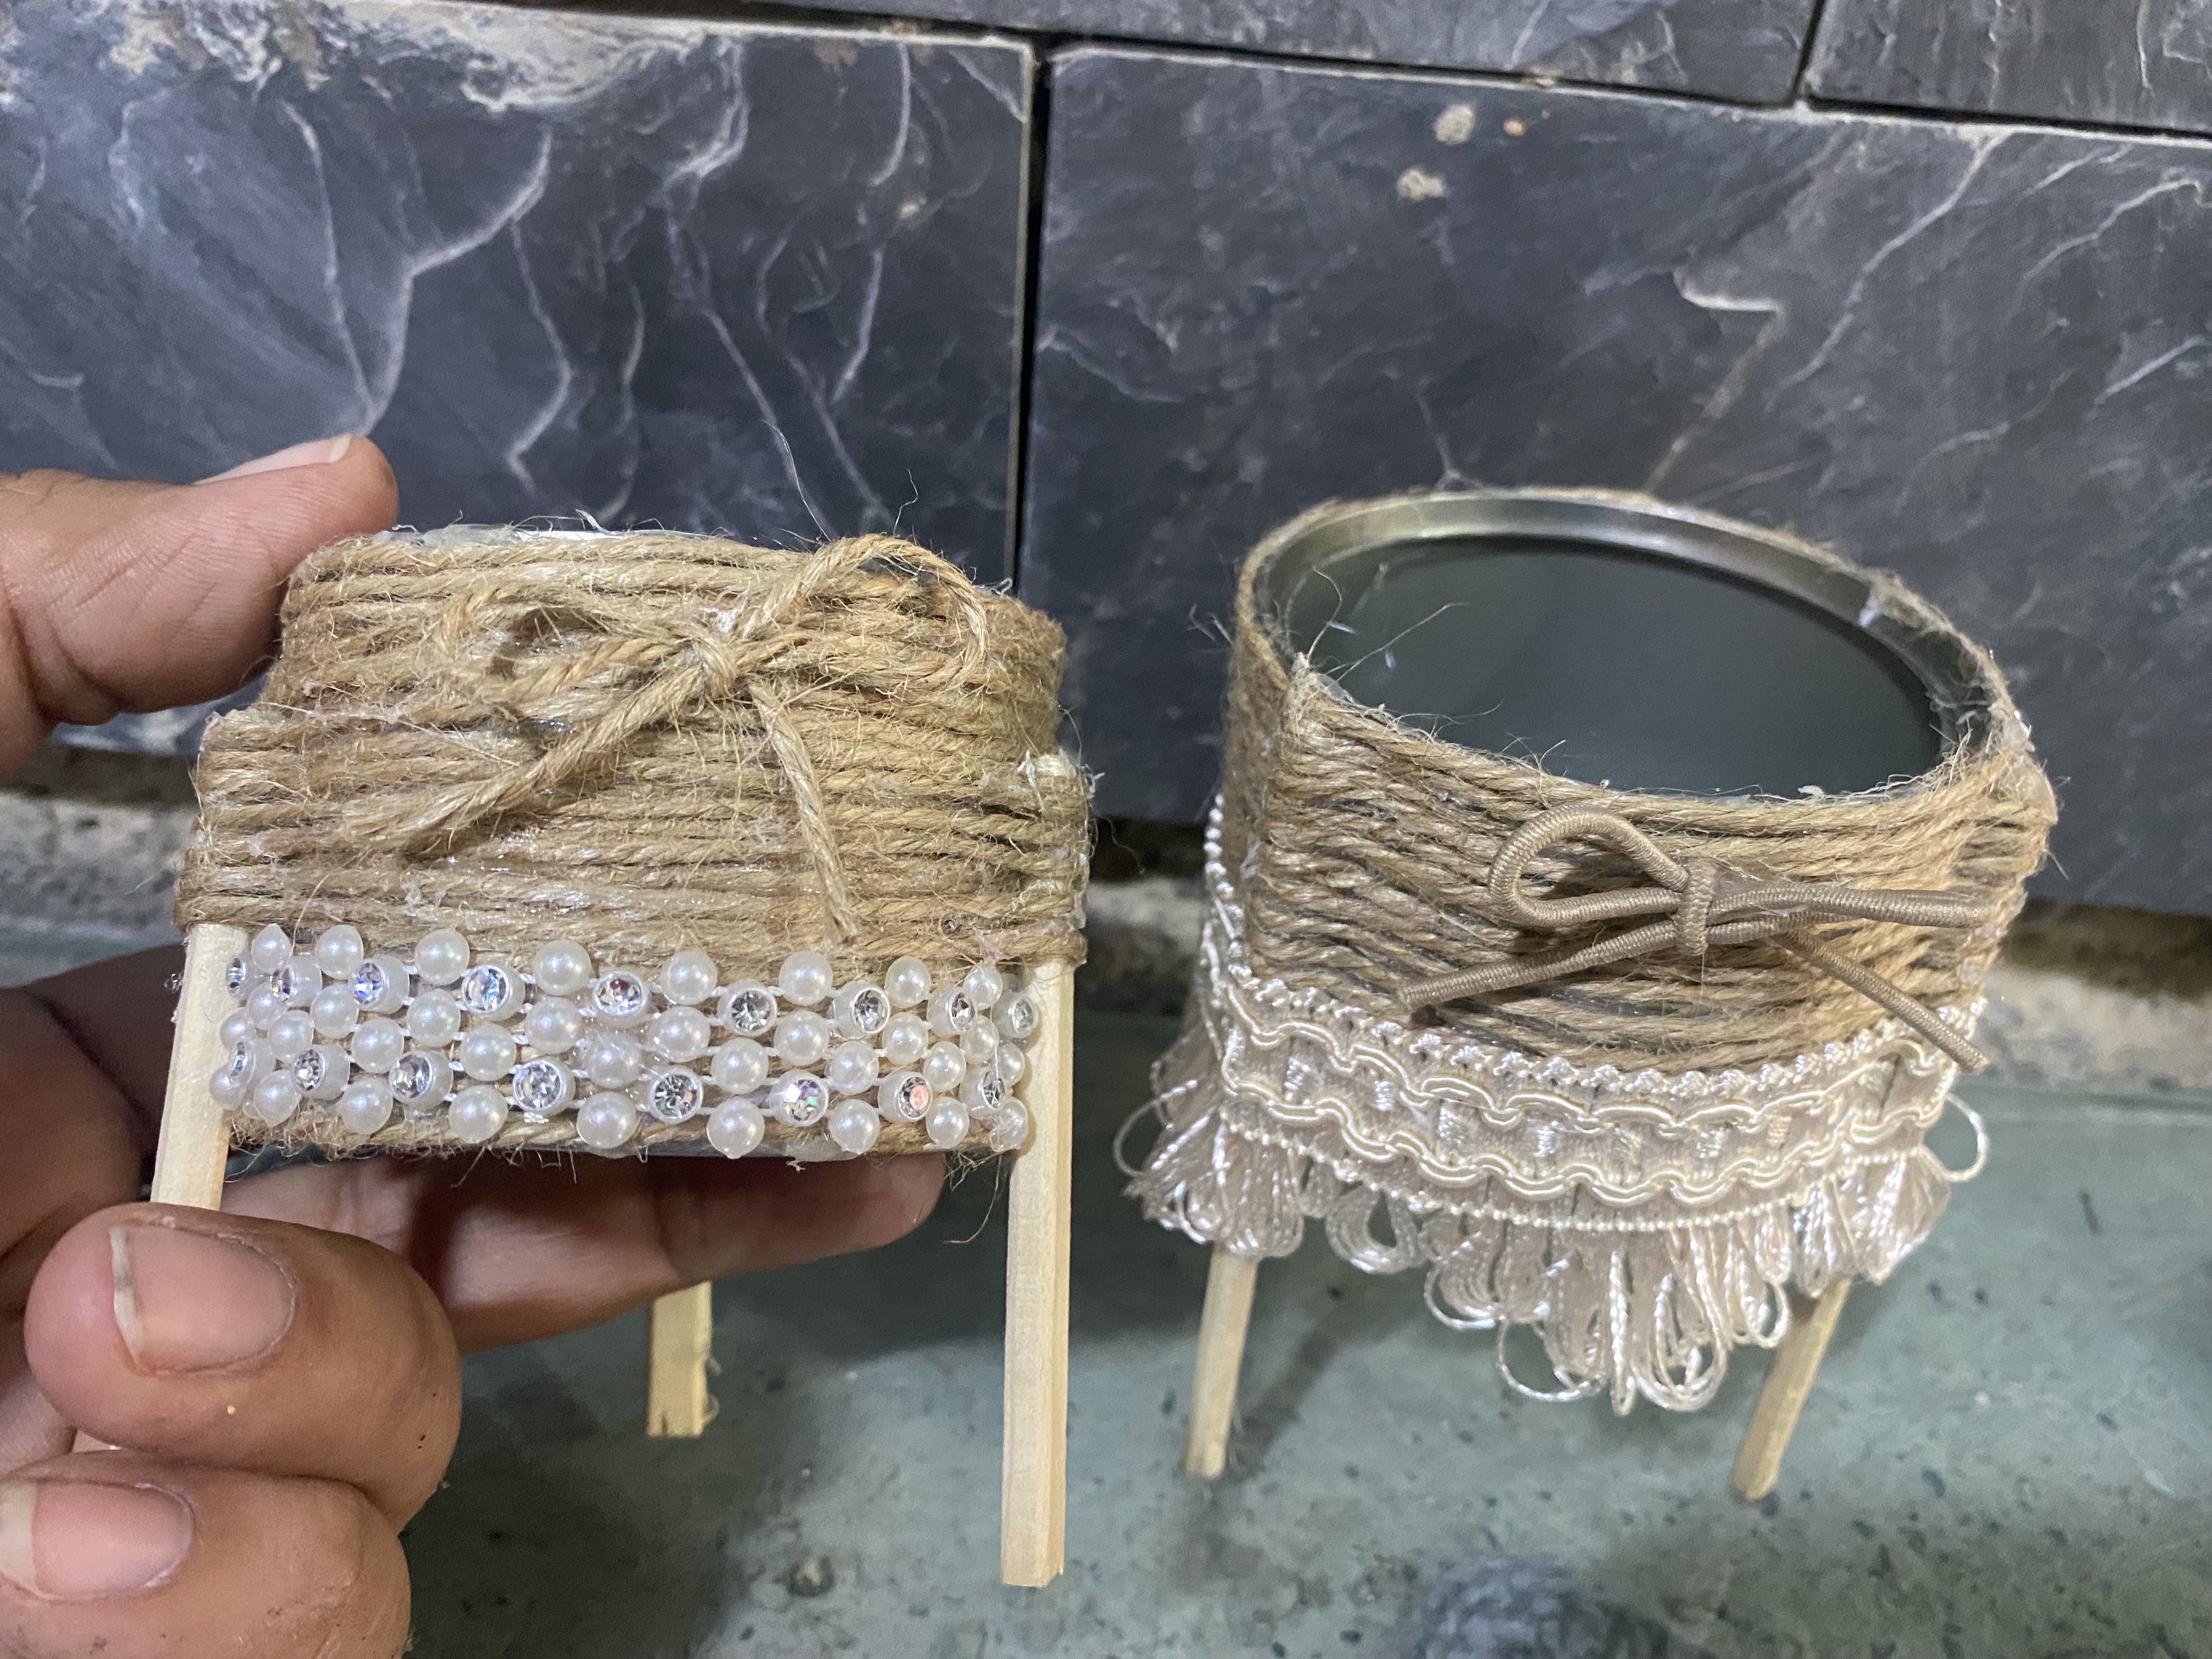
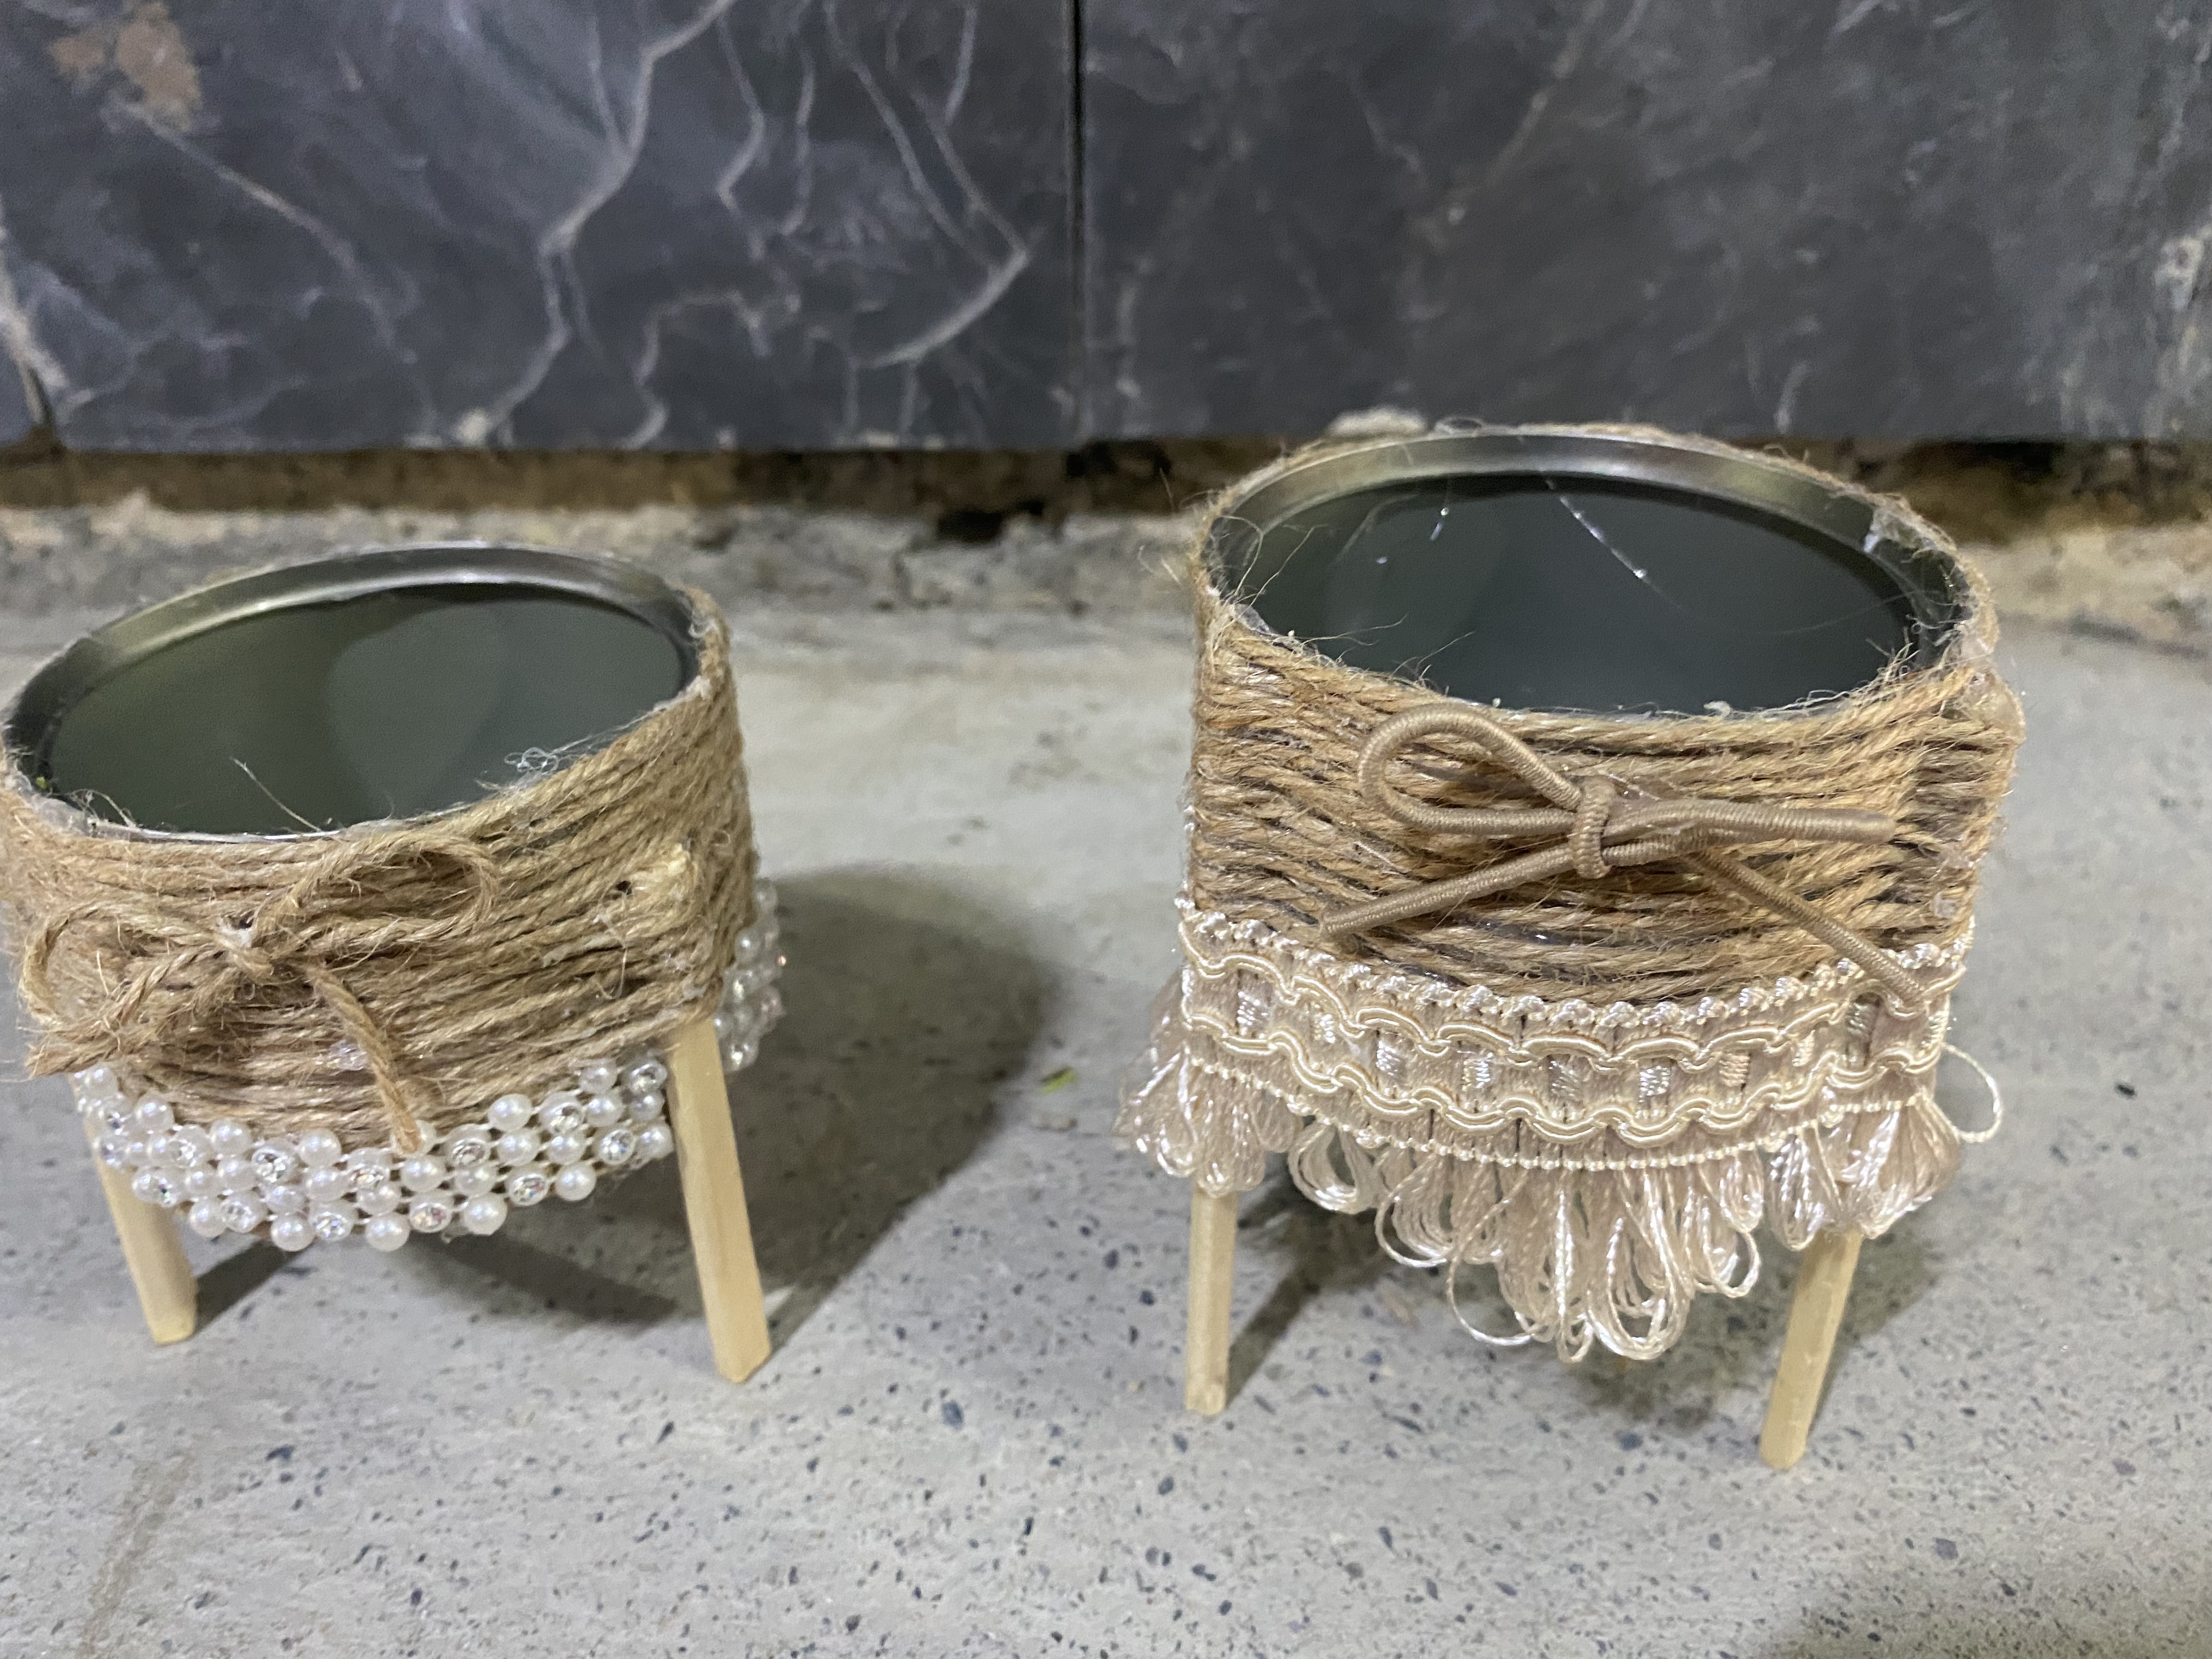
luego de terminar toda la lata vi que quedaban espacios y no me gustaba como se veía, este me castillo es muy fino y no logra cubrir bien el espacio, así que decidí darle una segunda vuelta, corté los palitos para colocarle tres patas, los pegué a un espacio de 1 cm y seguí cubriendo con el Mecatillo, al final dejé un espacio de 1 cm aproximadamente y le coloqué un lindo encaje de brillantes que tenía guardado, corté pequeños trozos y los coloqué entre cada pata de mi pequeña maceta, y así con esto ya tenemos la primera maceta lista.
> After finishing the whole can I saw that there were spaces left and I didn't like how it looked, this castle is very thin and doesn't cover the space well, so I decided to give it a second go, I cut the sticks to put three legs on it, I glued them at a space of 1 cm and continued covering with the Mecatillo, in the end I left a space of approximately 1 cm and I placed a nice lace of sparkles that I had saved, I cut small pieces and placed them between each leg of my little pot, and so with this we have the first pot ready.
|||
|---|---|
|||
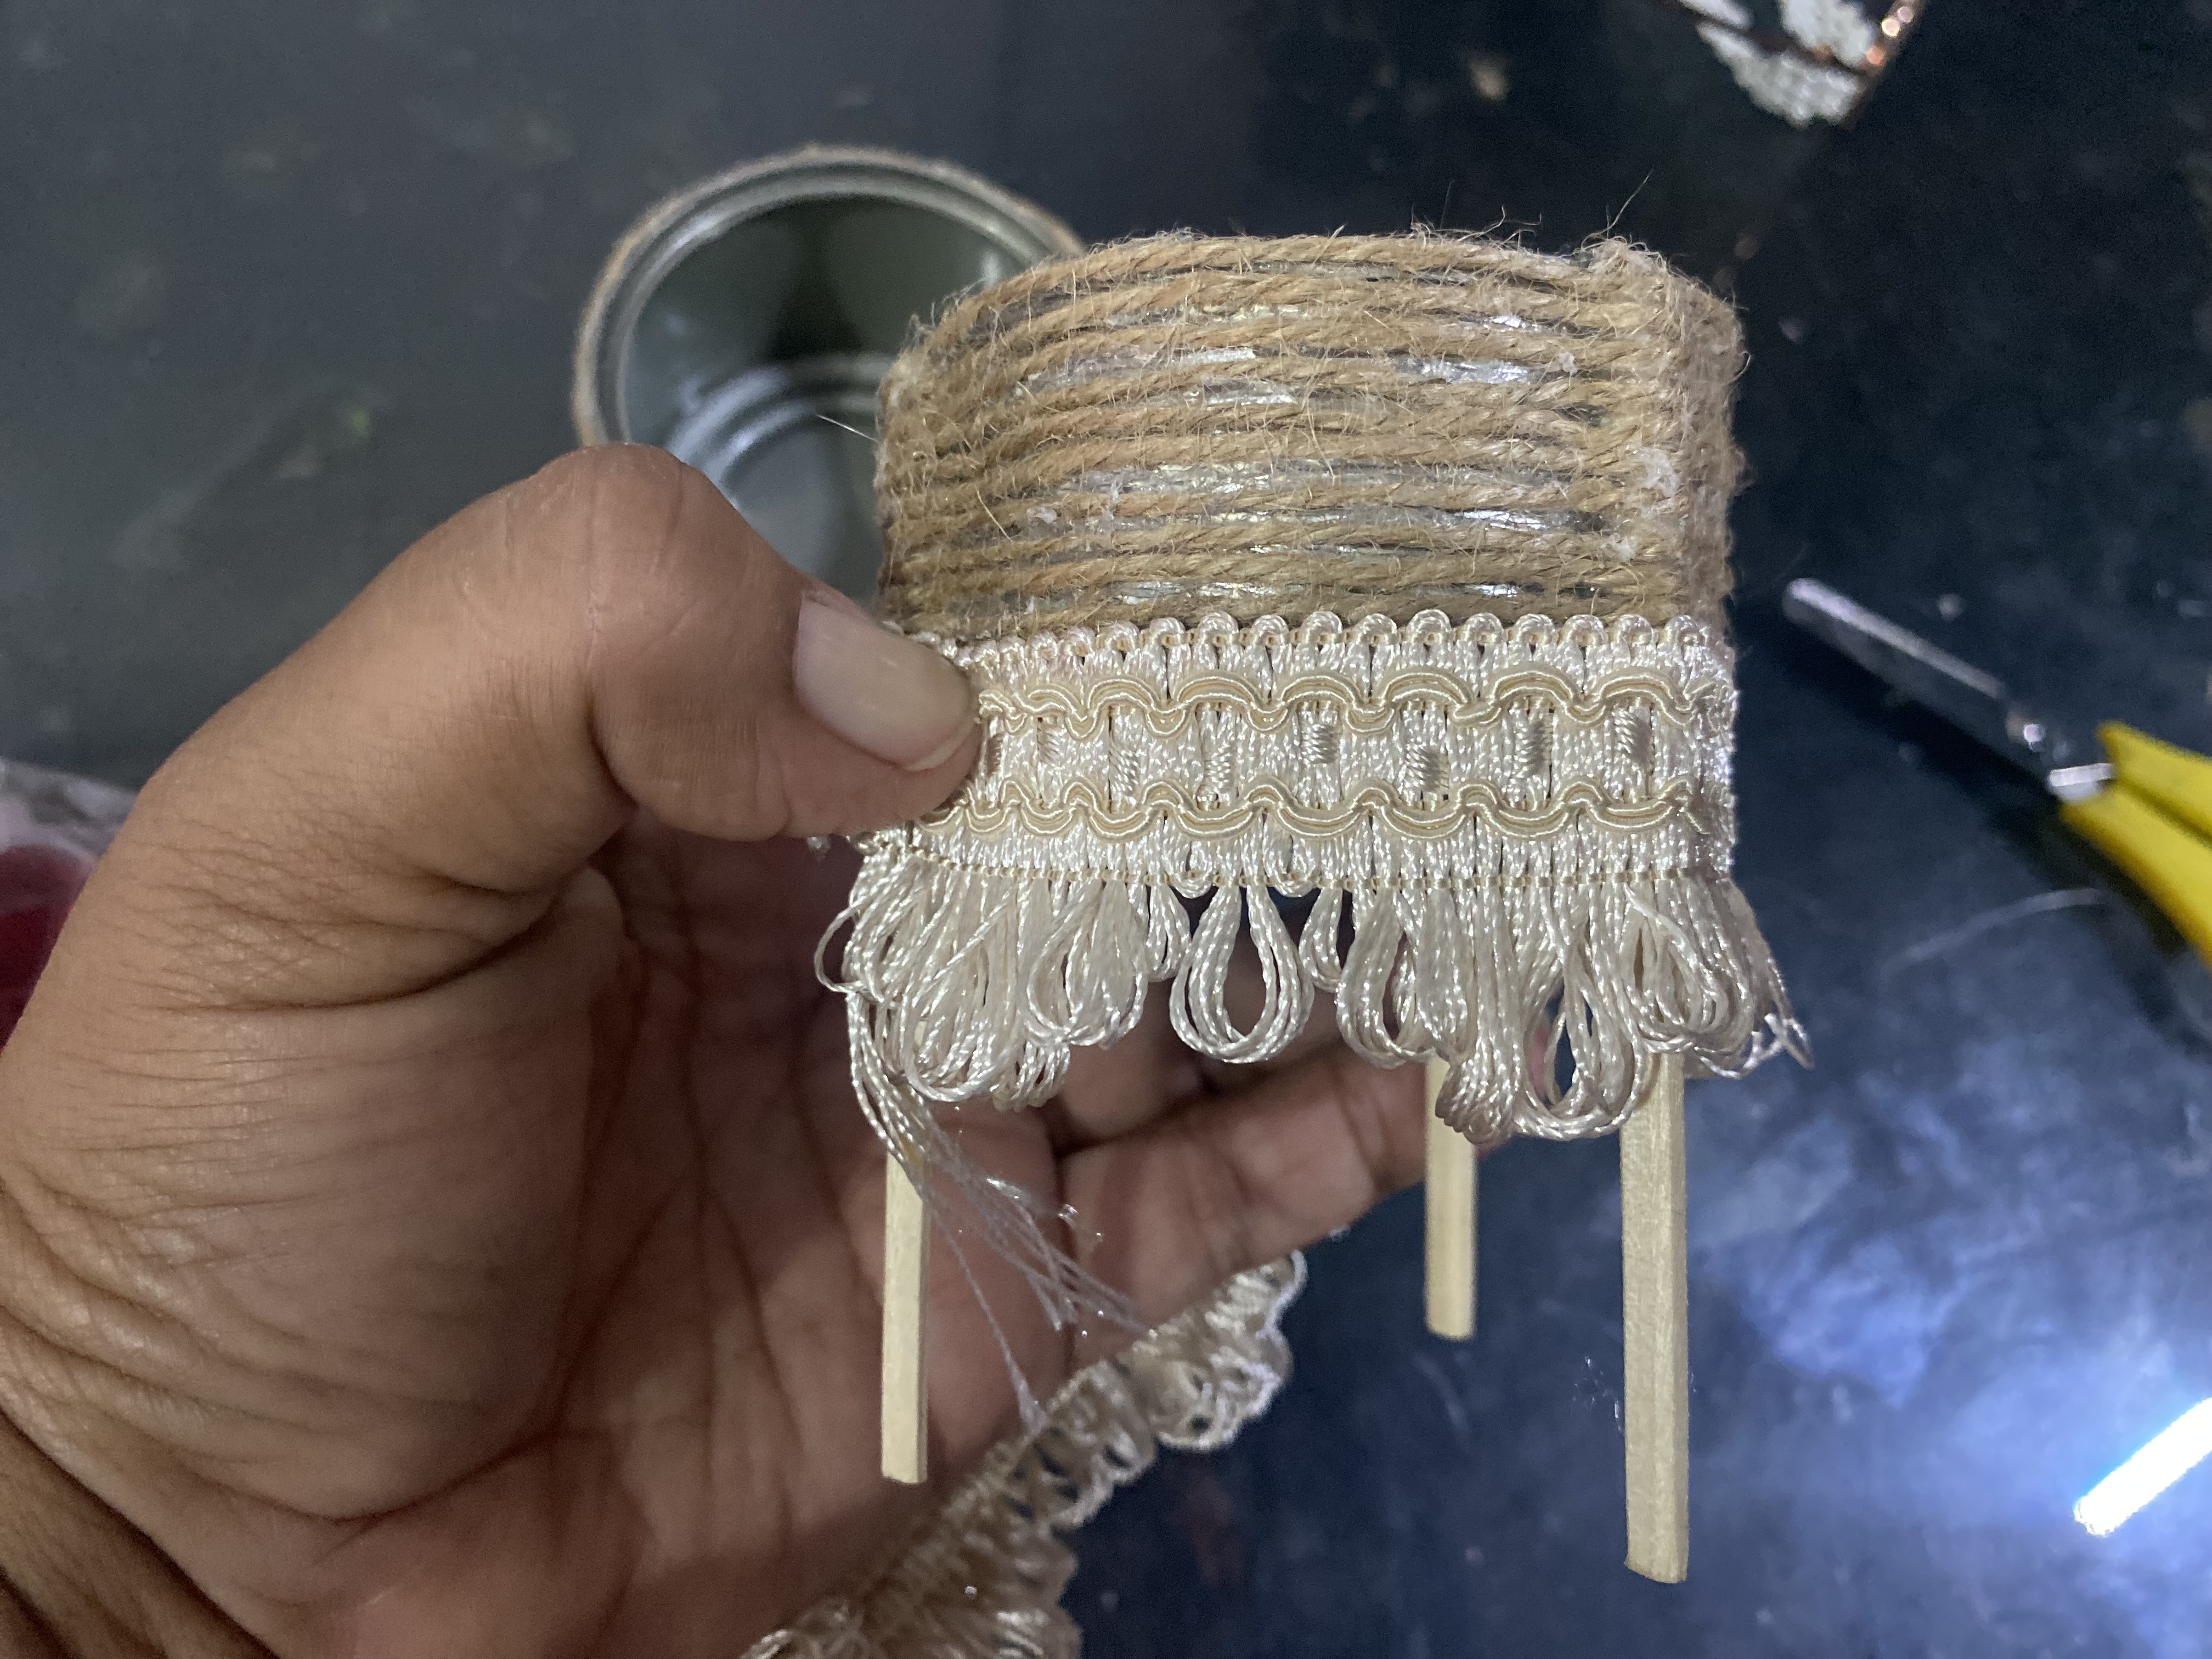
En este paso vamos a comenzar con la segunda maceta, comenzaré diferente el procedimiento, para esta corte los palitos un poquito más largos, los pegaré primero a la nata y luego comenzaré a enrollar y pegar el mecatillo por toda la orilla superior hasta donde me alcance, para esta me quedó un aproximado de 2, 5 m, así que es mucho más poquito que el que utilicé para la primera lata.
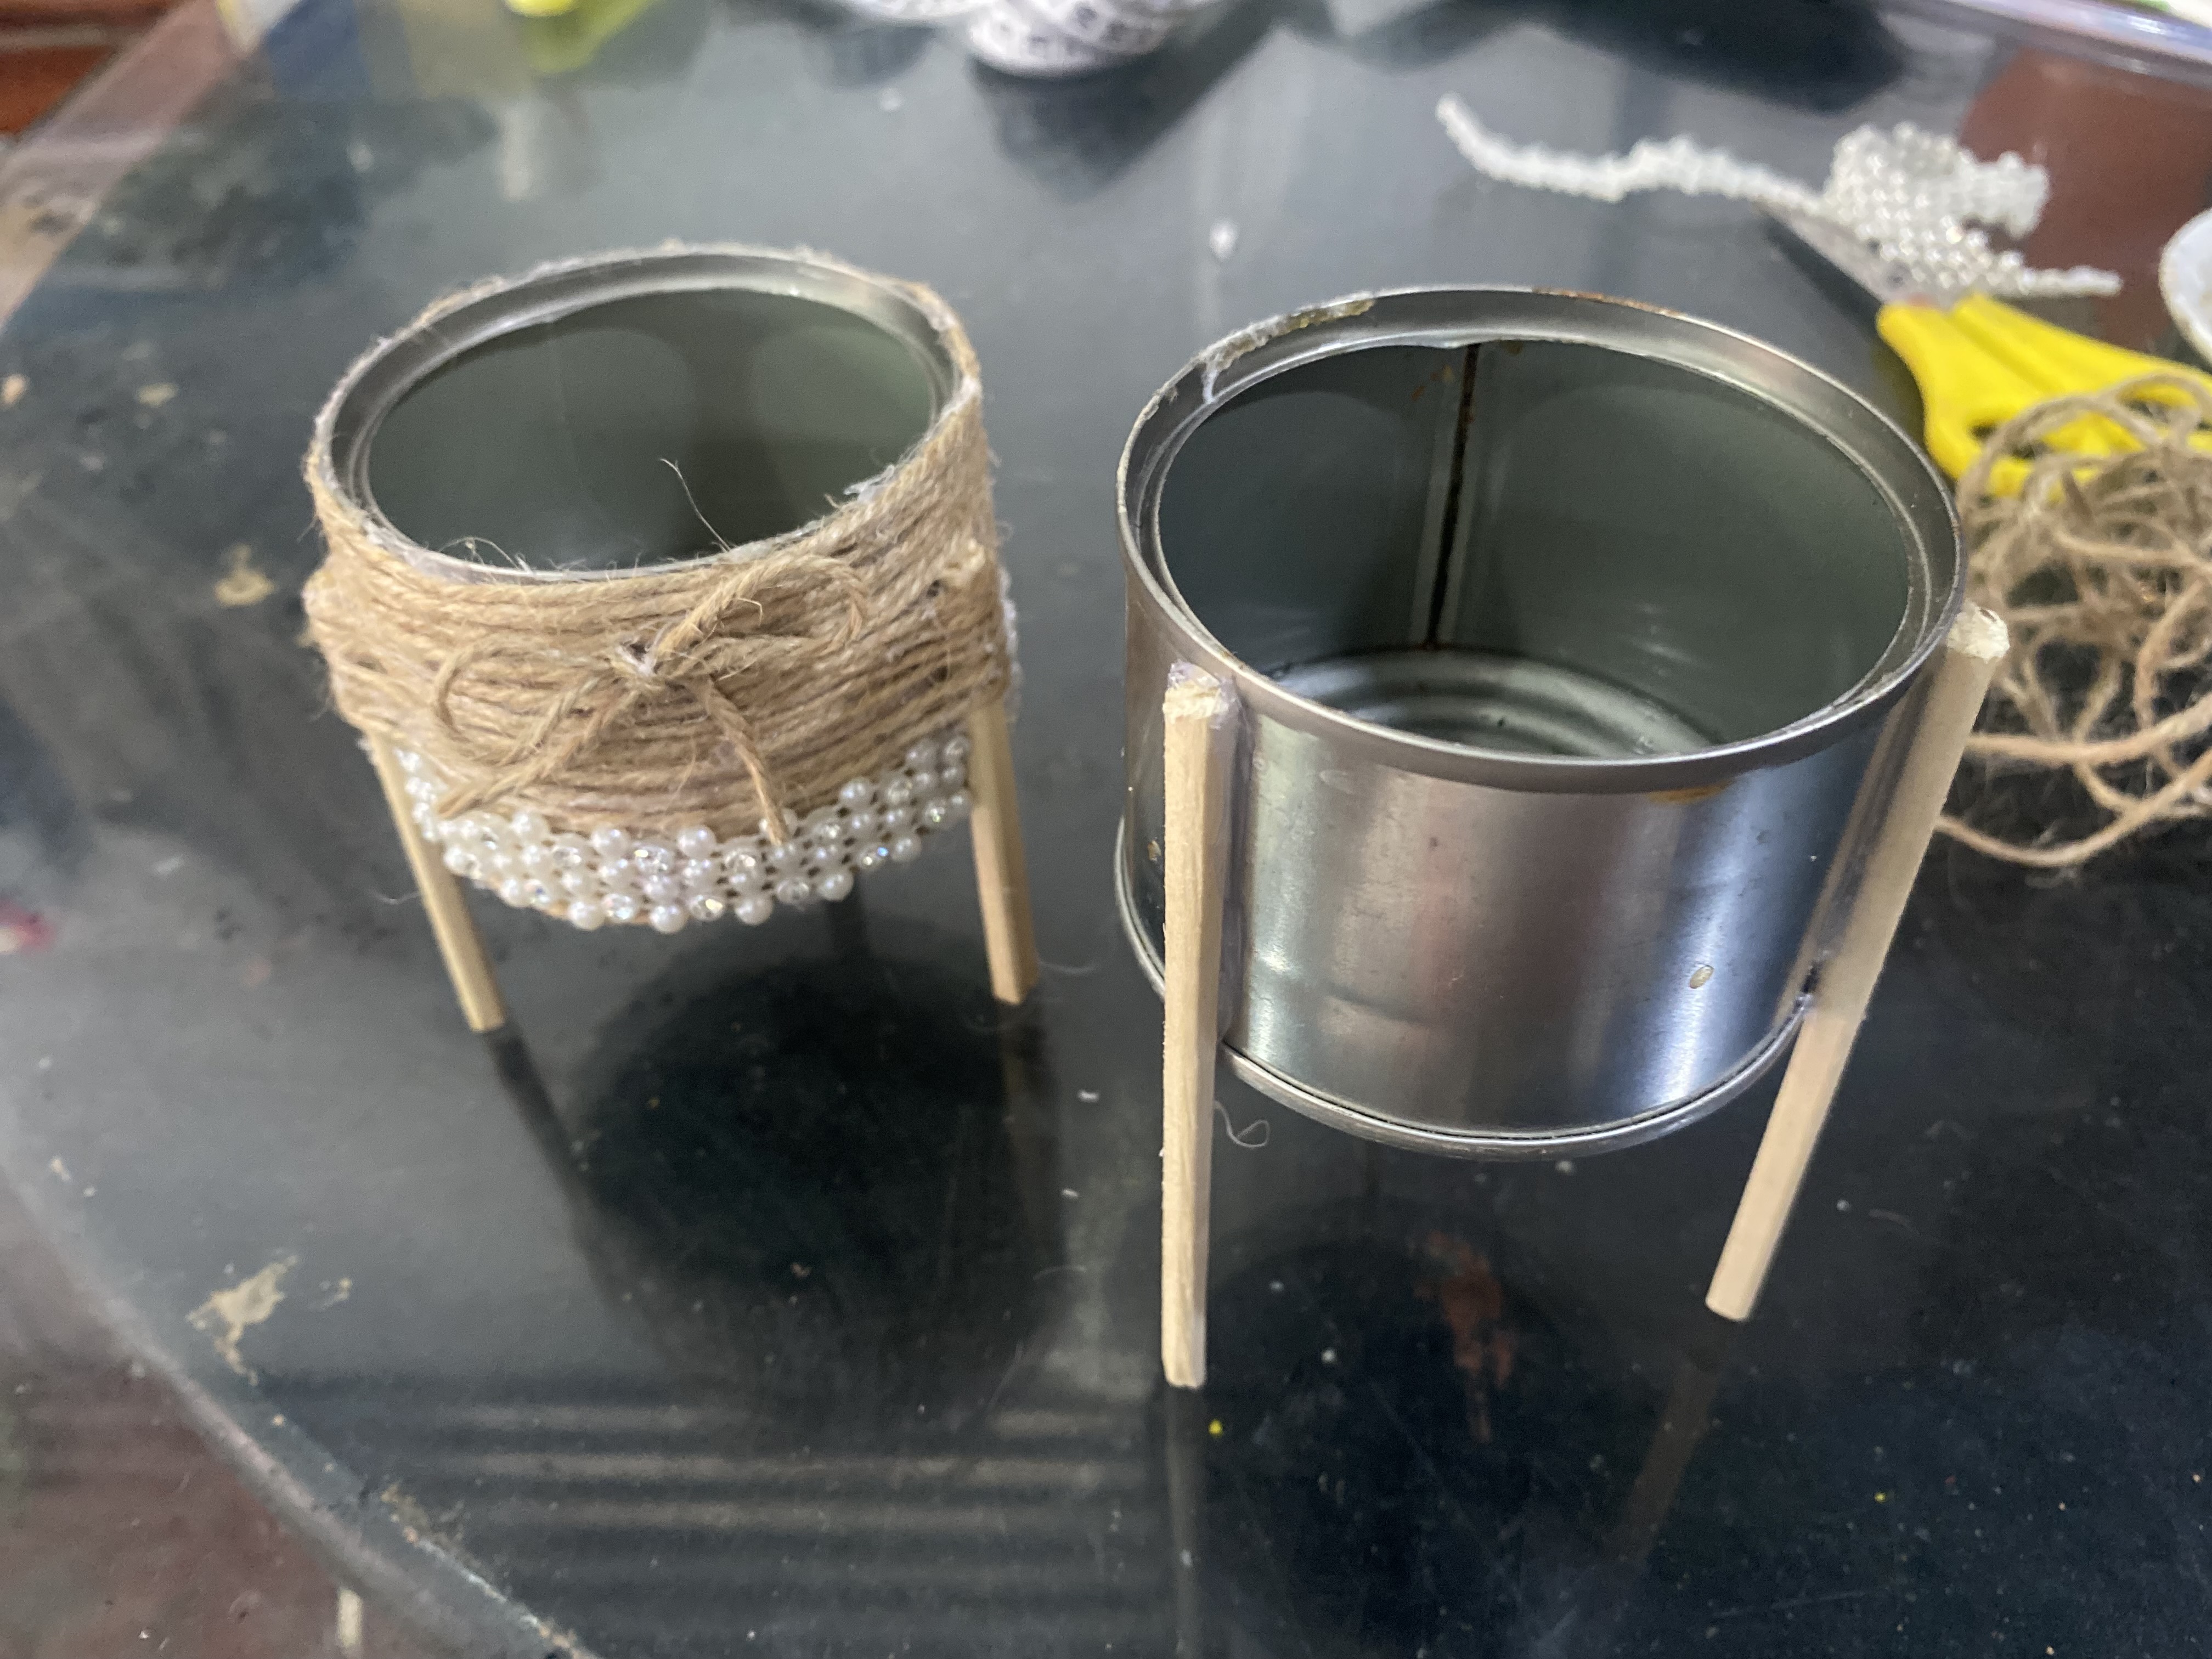
Al terminar de pegarlo me quedó un espacio de 1 cm aproximadamente busqué entre mis encajes y encontré uno que me quedó de otra manualidad, este es de color beige, me pareció perfecto para la tonalidad de colores que tienen estas macetas, lo pegué en la parte inferior de la lata y ya con esto está lista nuestra segunda maceta, me encantó el resultado, ahora tengo dos lindas macetas para decorar en mi hogar 😊
> In this step, we'll start with the second pot. I'll start the process differently. For this one, I'll cut the sticks a little longer. I'll glue them to the cream first, and then I'll start rolling and gluing the twine all the way around the top edge as far as I can. For this one, I ended up with approximately 2.5 m, so it's much shorter than the length I used for the first can.
>
> When I finished gluing it, I had about a 1 cm gap. I searched through my lace and found one I had left over from another craft. This one is beige. I thought it was perfect for the color tone of these pots. I glued it to the bottom of the can, and with that, our second pot is ready. I loved the result. Now I have two beautiful pots to decorate my home 😊
|||
|---|---|
|||
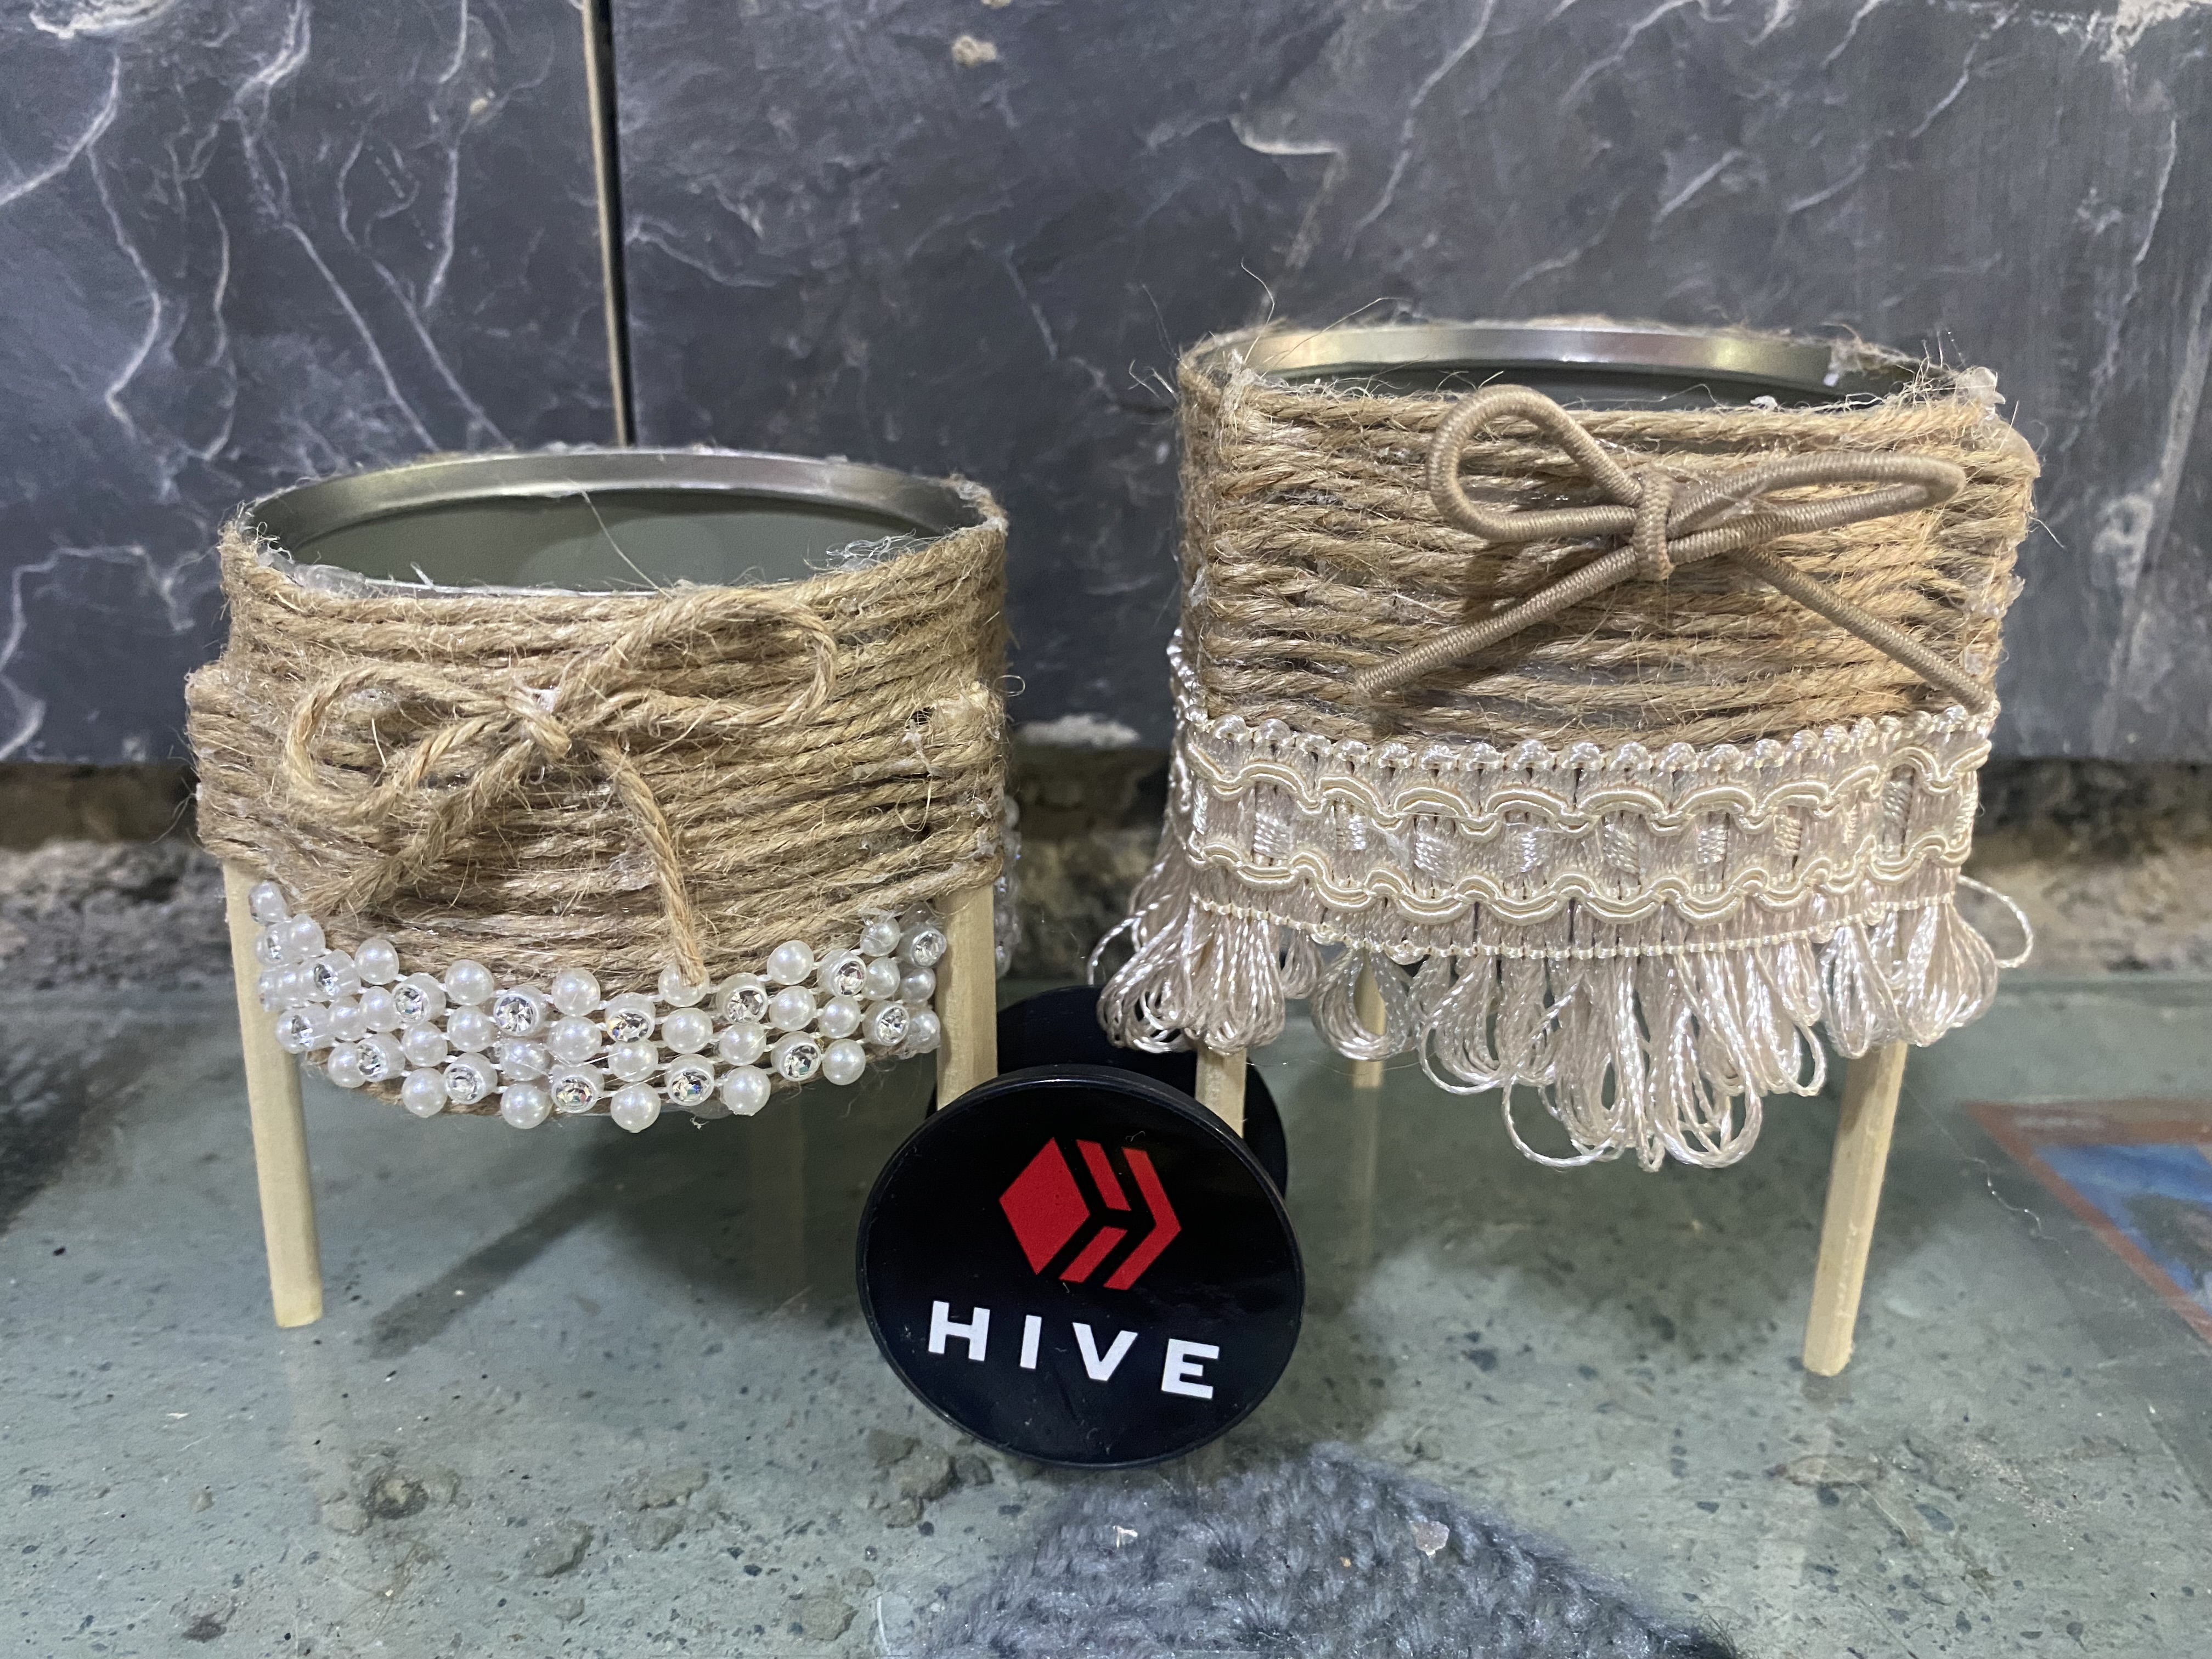
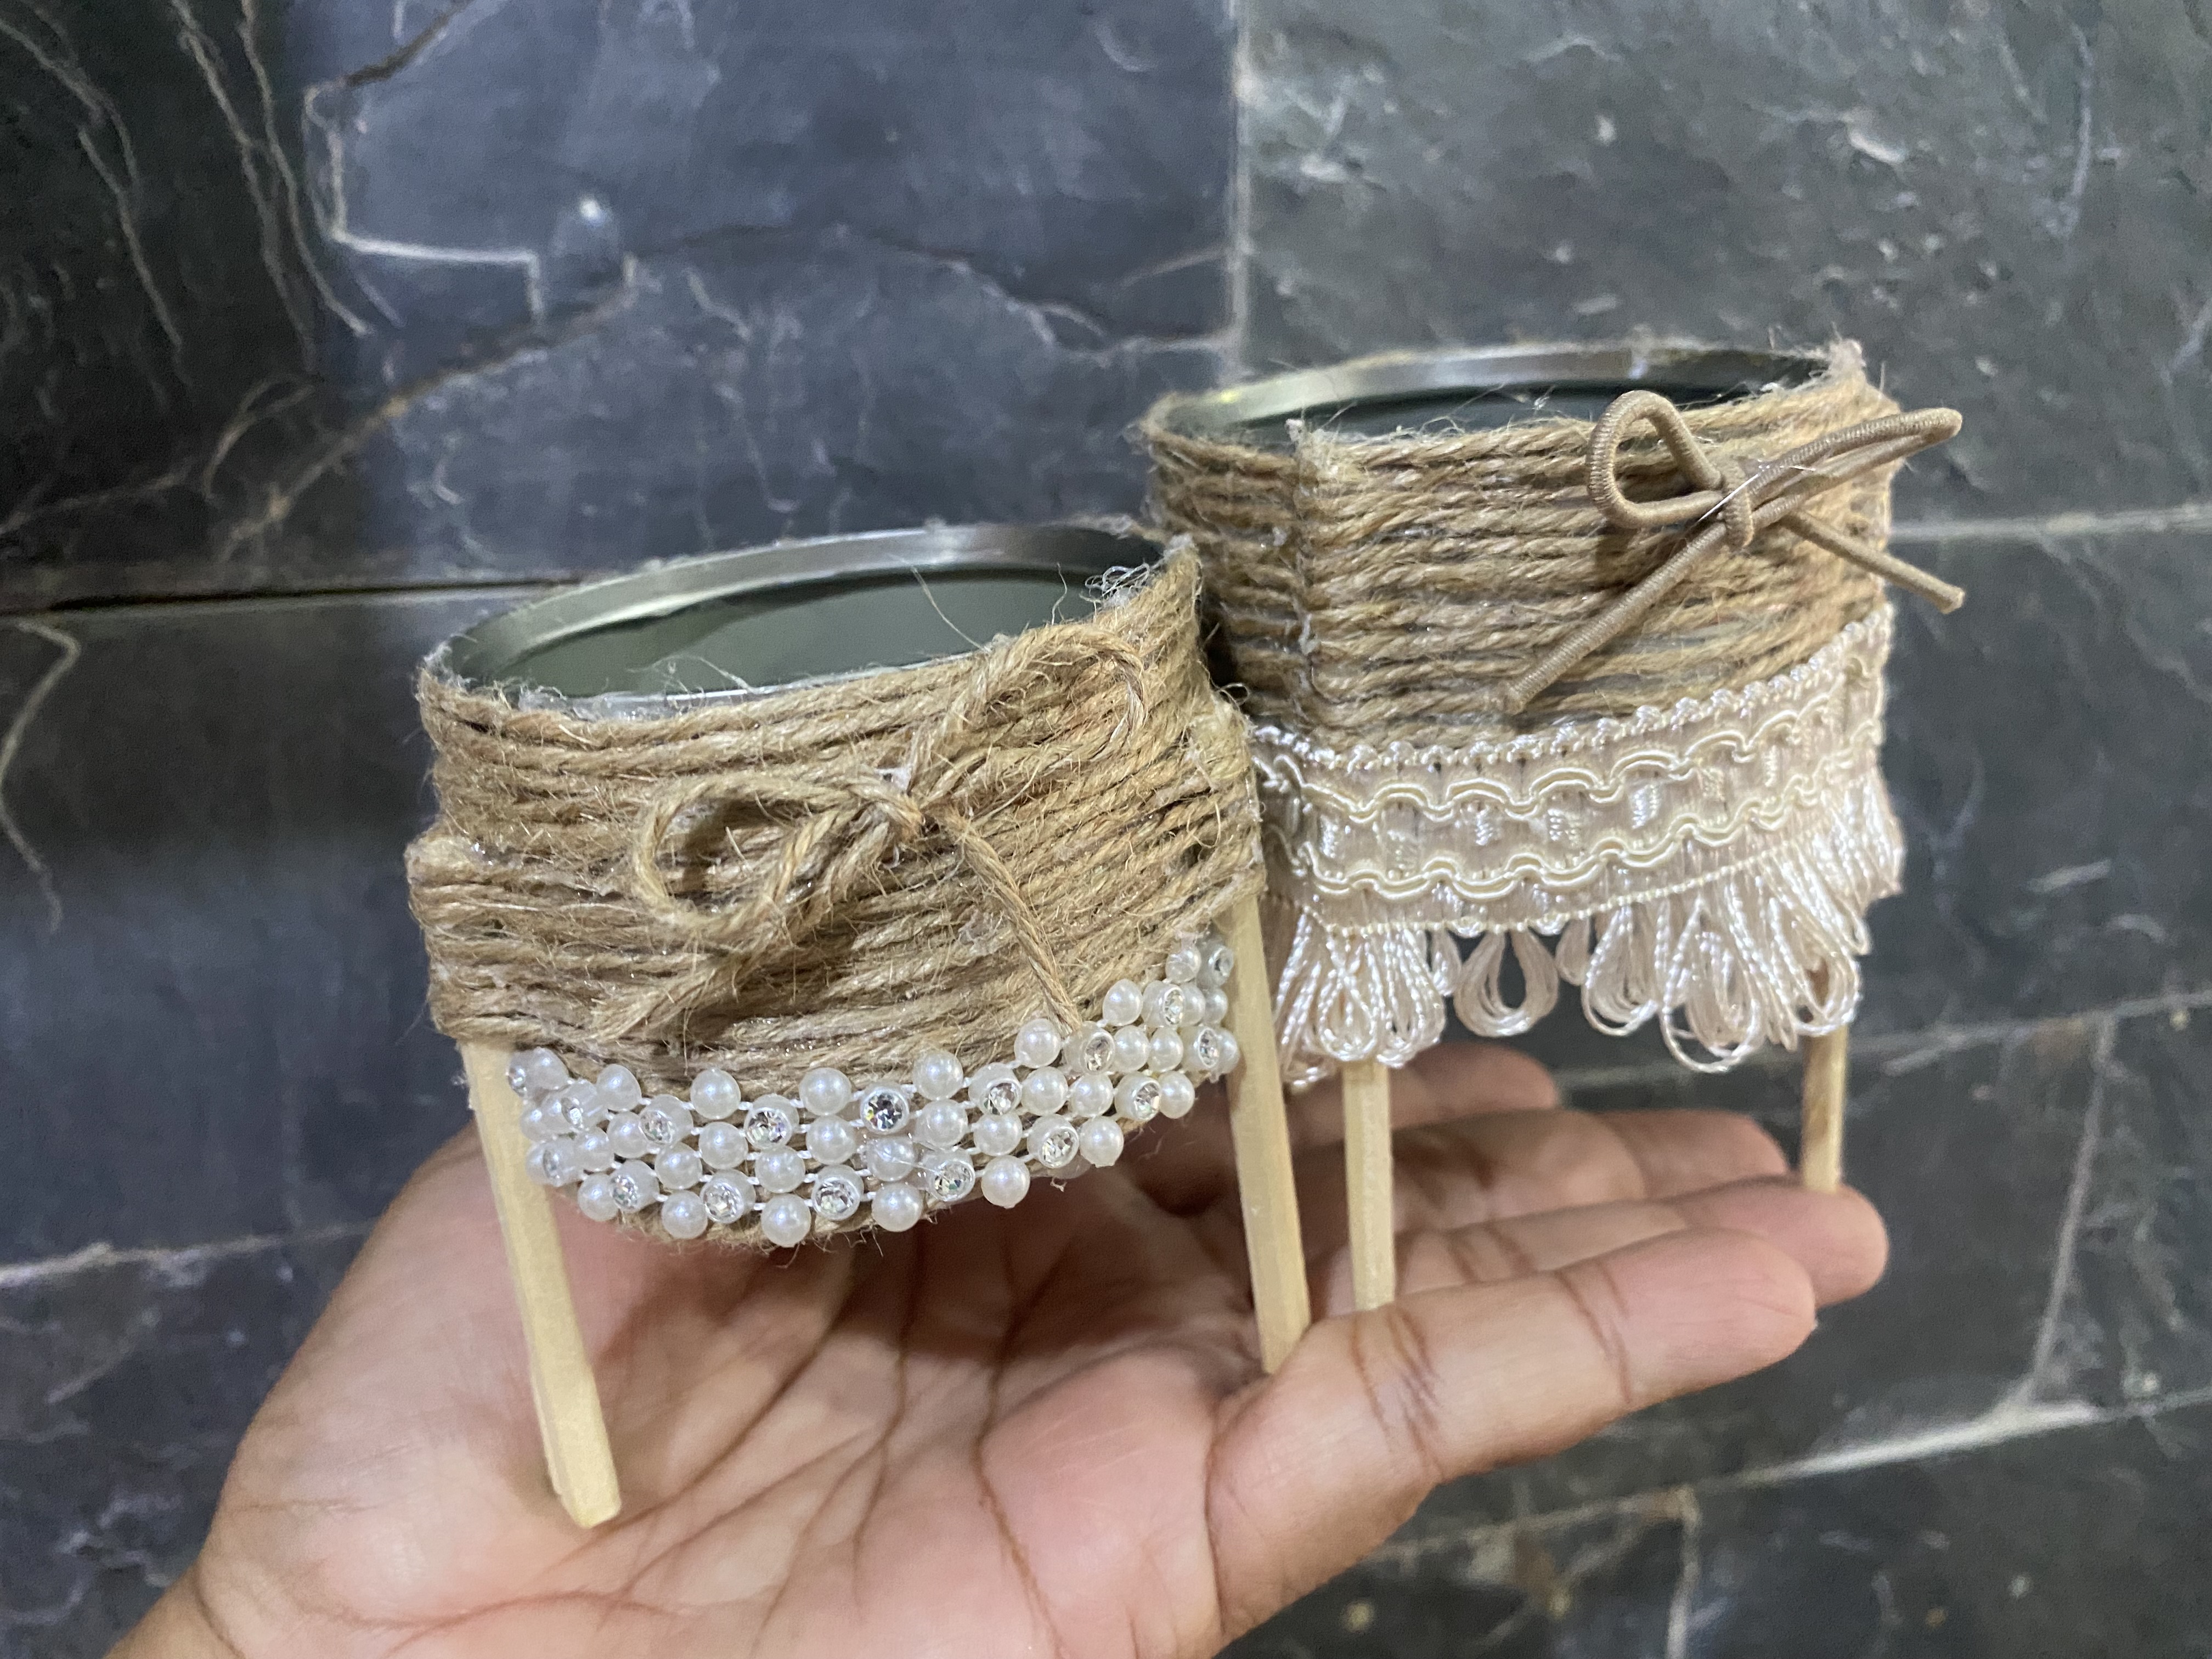
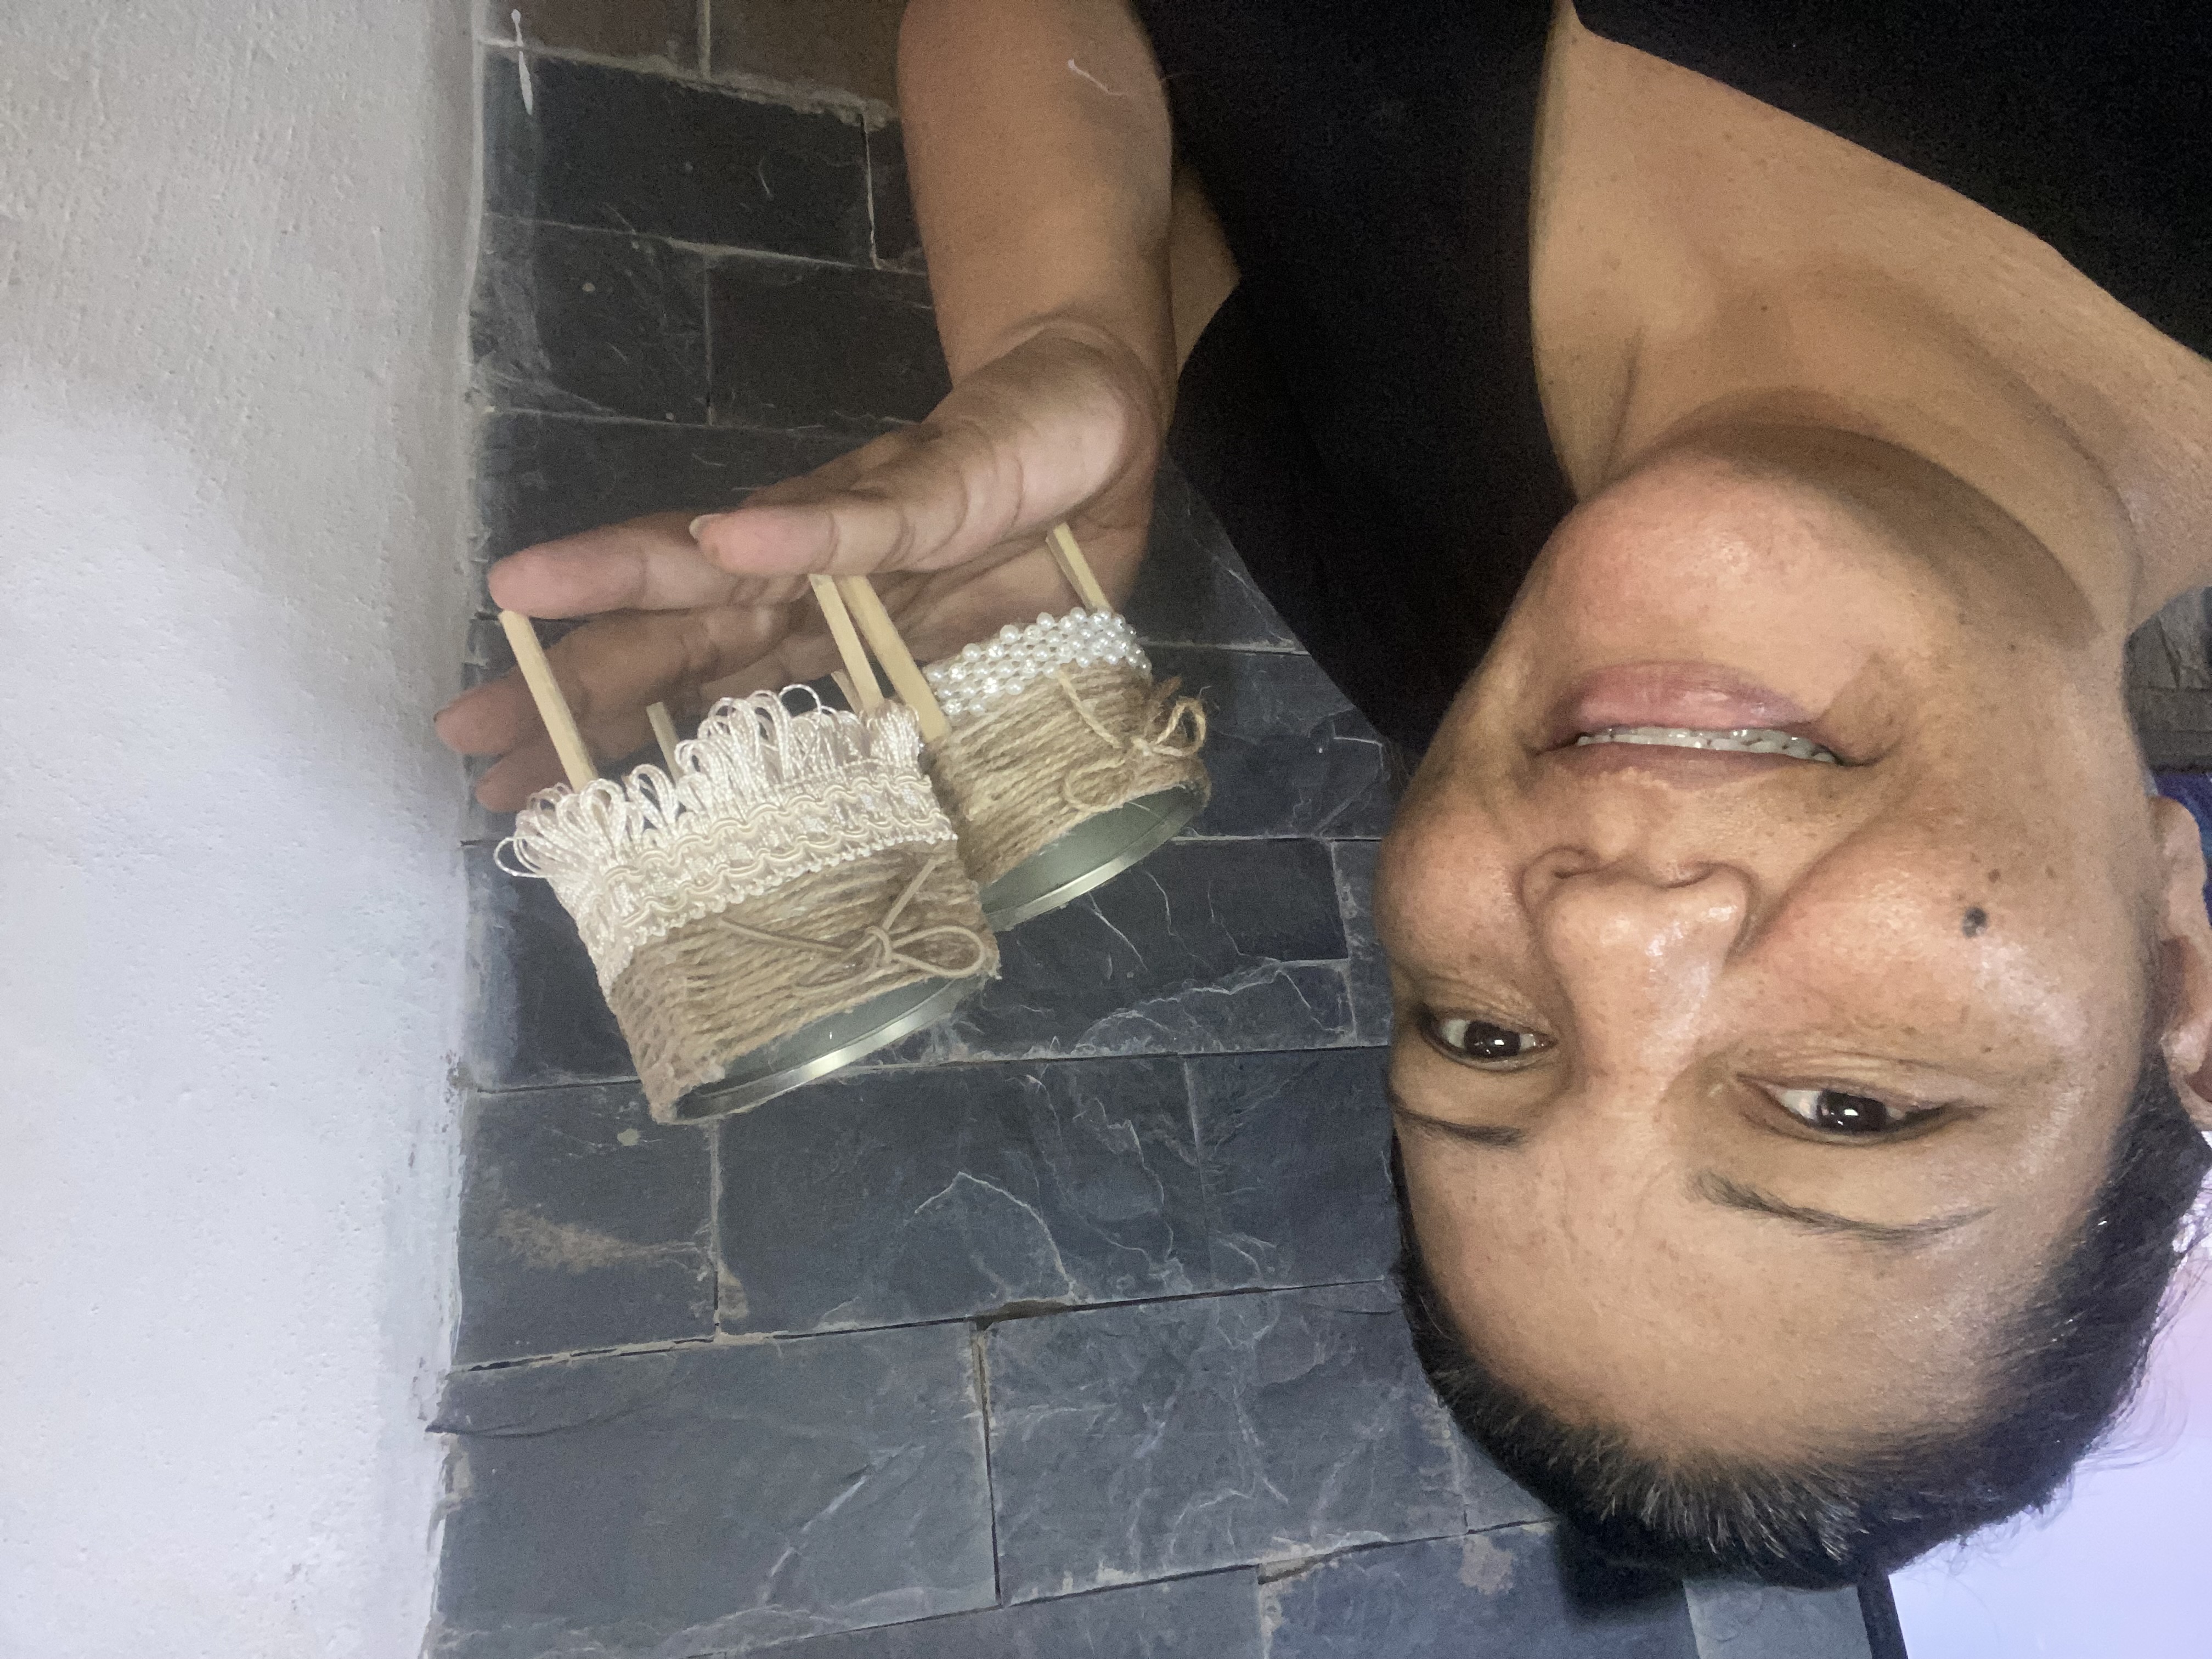
Desee mucho hacer este proyecto, me gustó mucho los colores combinados ya que se ven muy naturales, espero les haya gustado, de antemano estoy muy agradecida de qué haya visitado mi Publicación, me despido por hoy deseándole muchos éxitos y bendiciones, hasta otra oportunidad 🥰❤️
> I really wanted to do this project, I really liked the combined colors since they look very natural, I hope you liked it, in advance I am very grateful that you have visited my publication, I say goodbye for today wishing you much success and blessings, until another opportunity 🥰❤️
|||
|---|---|
|||
---

***las fotos aquí compartidas son de mi propiedad tomadas con mi teléfono iPhone 11, la edición fue hecha en Canva, para la traducción del inglés utilice el traductor de Google***