**ESPAÑOL **
Feliz martes amigos de esta grandiosa comunidad @hivediy, estoy agradecido de poder estar nuevamente por acá con ustedes; en esta oportunidad para compartirles un nuevo proyecto creativo.
En una entrega anterior les compartí el tutorial para elaborar una linda caja de regalo en forma triangular, que en lo particular me parece muy hermosa porque se sale de lo tradicional, rompe lo que es lo común .
En esta oportunidad les traigo un nuevo proyecto, pero ya para elaborar una bolsa de regalo lo que sería lo clásico, lo más común que conseguimos a la hora de realizar un obsequio, una linda bolsa; es un proyecto realmente bastante sencillo, solo se necesita la cartulina o el papel del color que quieras hacer la bolsa, ni siquiera necesitas pega ni silicón, como te dije solamente el papel .
Es una idea perfecta para ese momento de última hora en que tienes que hacer un regalo y no tienes dónde envolverlo, te aseguro que te va a gustar y te va ayudar a salir de esa situación apresurada que se te pueda presentar; te muestro el tutorial y espero que te sea de ayuda.
**ENGLISH **
Happy Tuesday friends of this great community @hivediy, I am grateful to be here with you again; this time to share with you a new creative project.
In a previous post I shared with you the tutorial to make a nice triangular shaped gift box, which in particular I think is very beautiful because it is out of the traditional, it breaks what is common.
This time I bring you a new project, but now to make a gift bag what would be the classic, the most common thing we get when making a gift, a nice bag; is a really quite simple project, you only need the cardboard or paper of the color you want to make the bag, you do not even need glue or silicone, as I said only the paper .
It is a perfect idea for that last minute moment when you have to make a gift and you have nowhere to wrap it, I assure you that you will like it and it will help you to get out of that rushed situation that may arise; I show you the tutorial and I hope you find it helpful.
**MATERIALES**
Cartulina plateada
Cinta decorativa azul
Perforador
**MATERIALS**
Silver cardboard
Blue decorative tape
Puncher
**PROCEDIMIENTO**
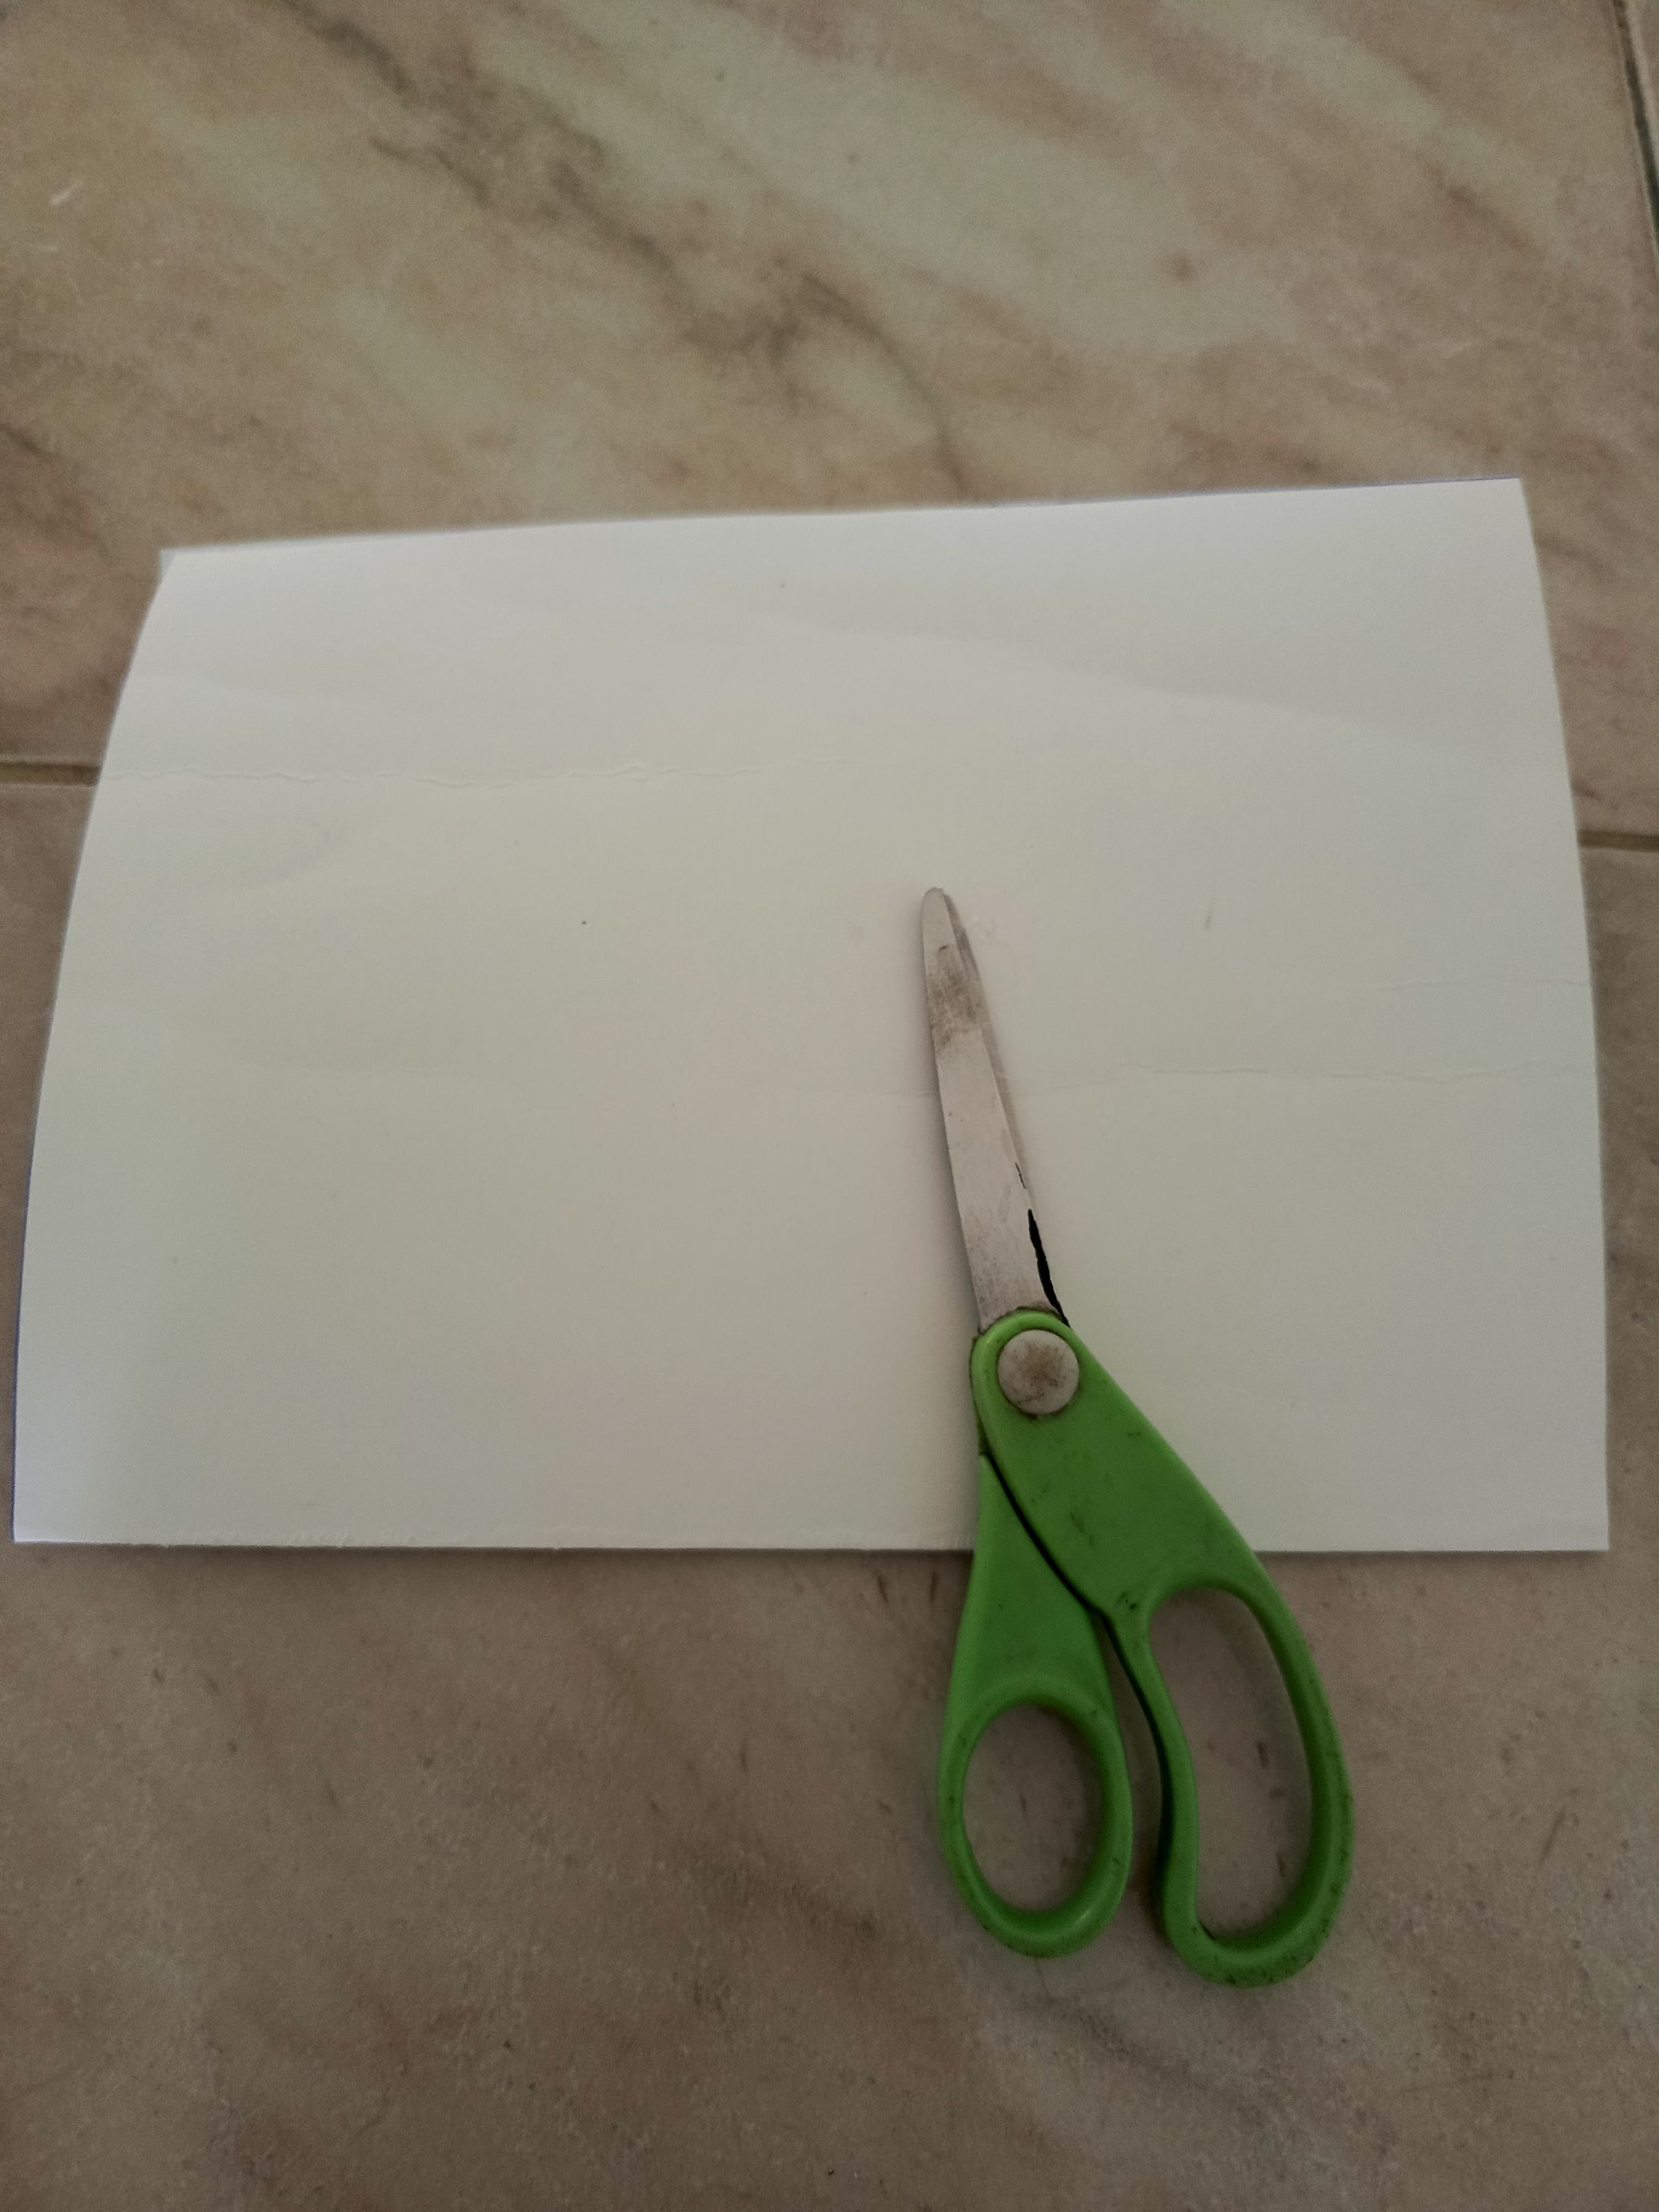
Lo primero que necesitamos hacer es cortar un rectángulo, dependiendo el tamaño de la bolsa que se desees; yo utilicé un rectángulo de 30 cm de largopor 20 cm de ancho y obtuve una bolsa de aproximadamente 10 cm de alto.
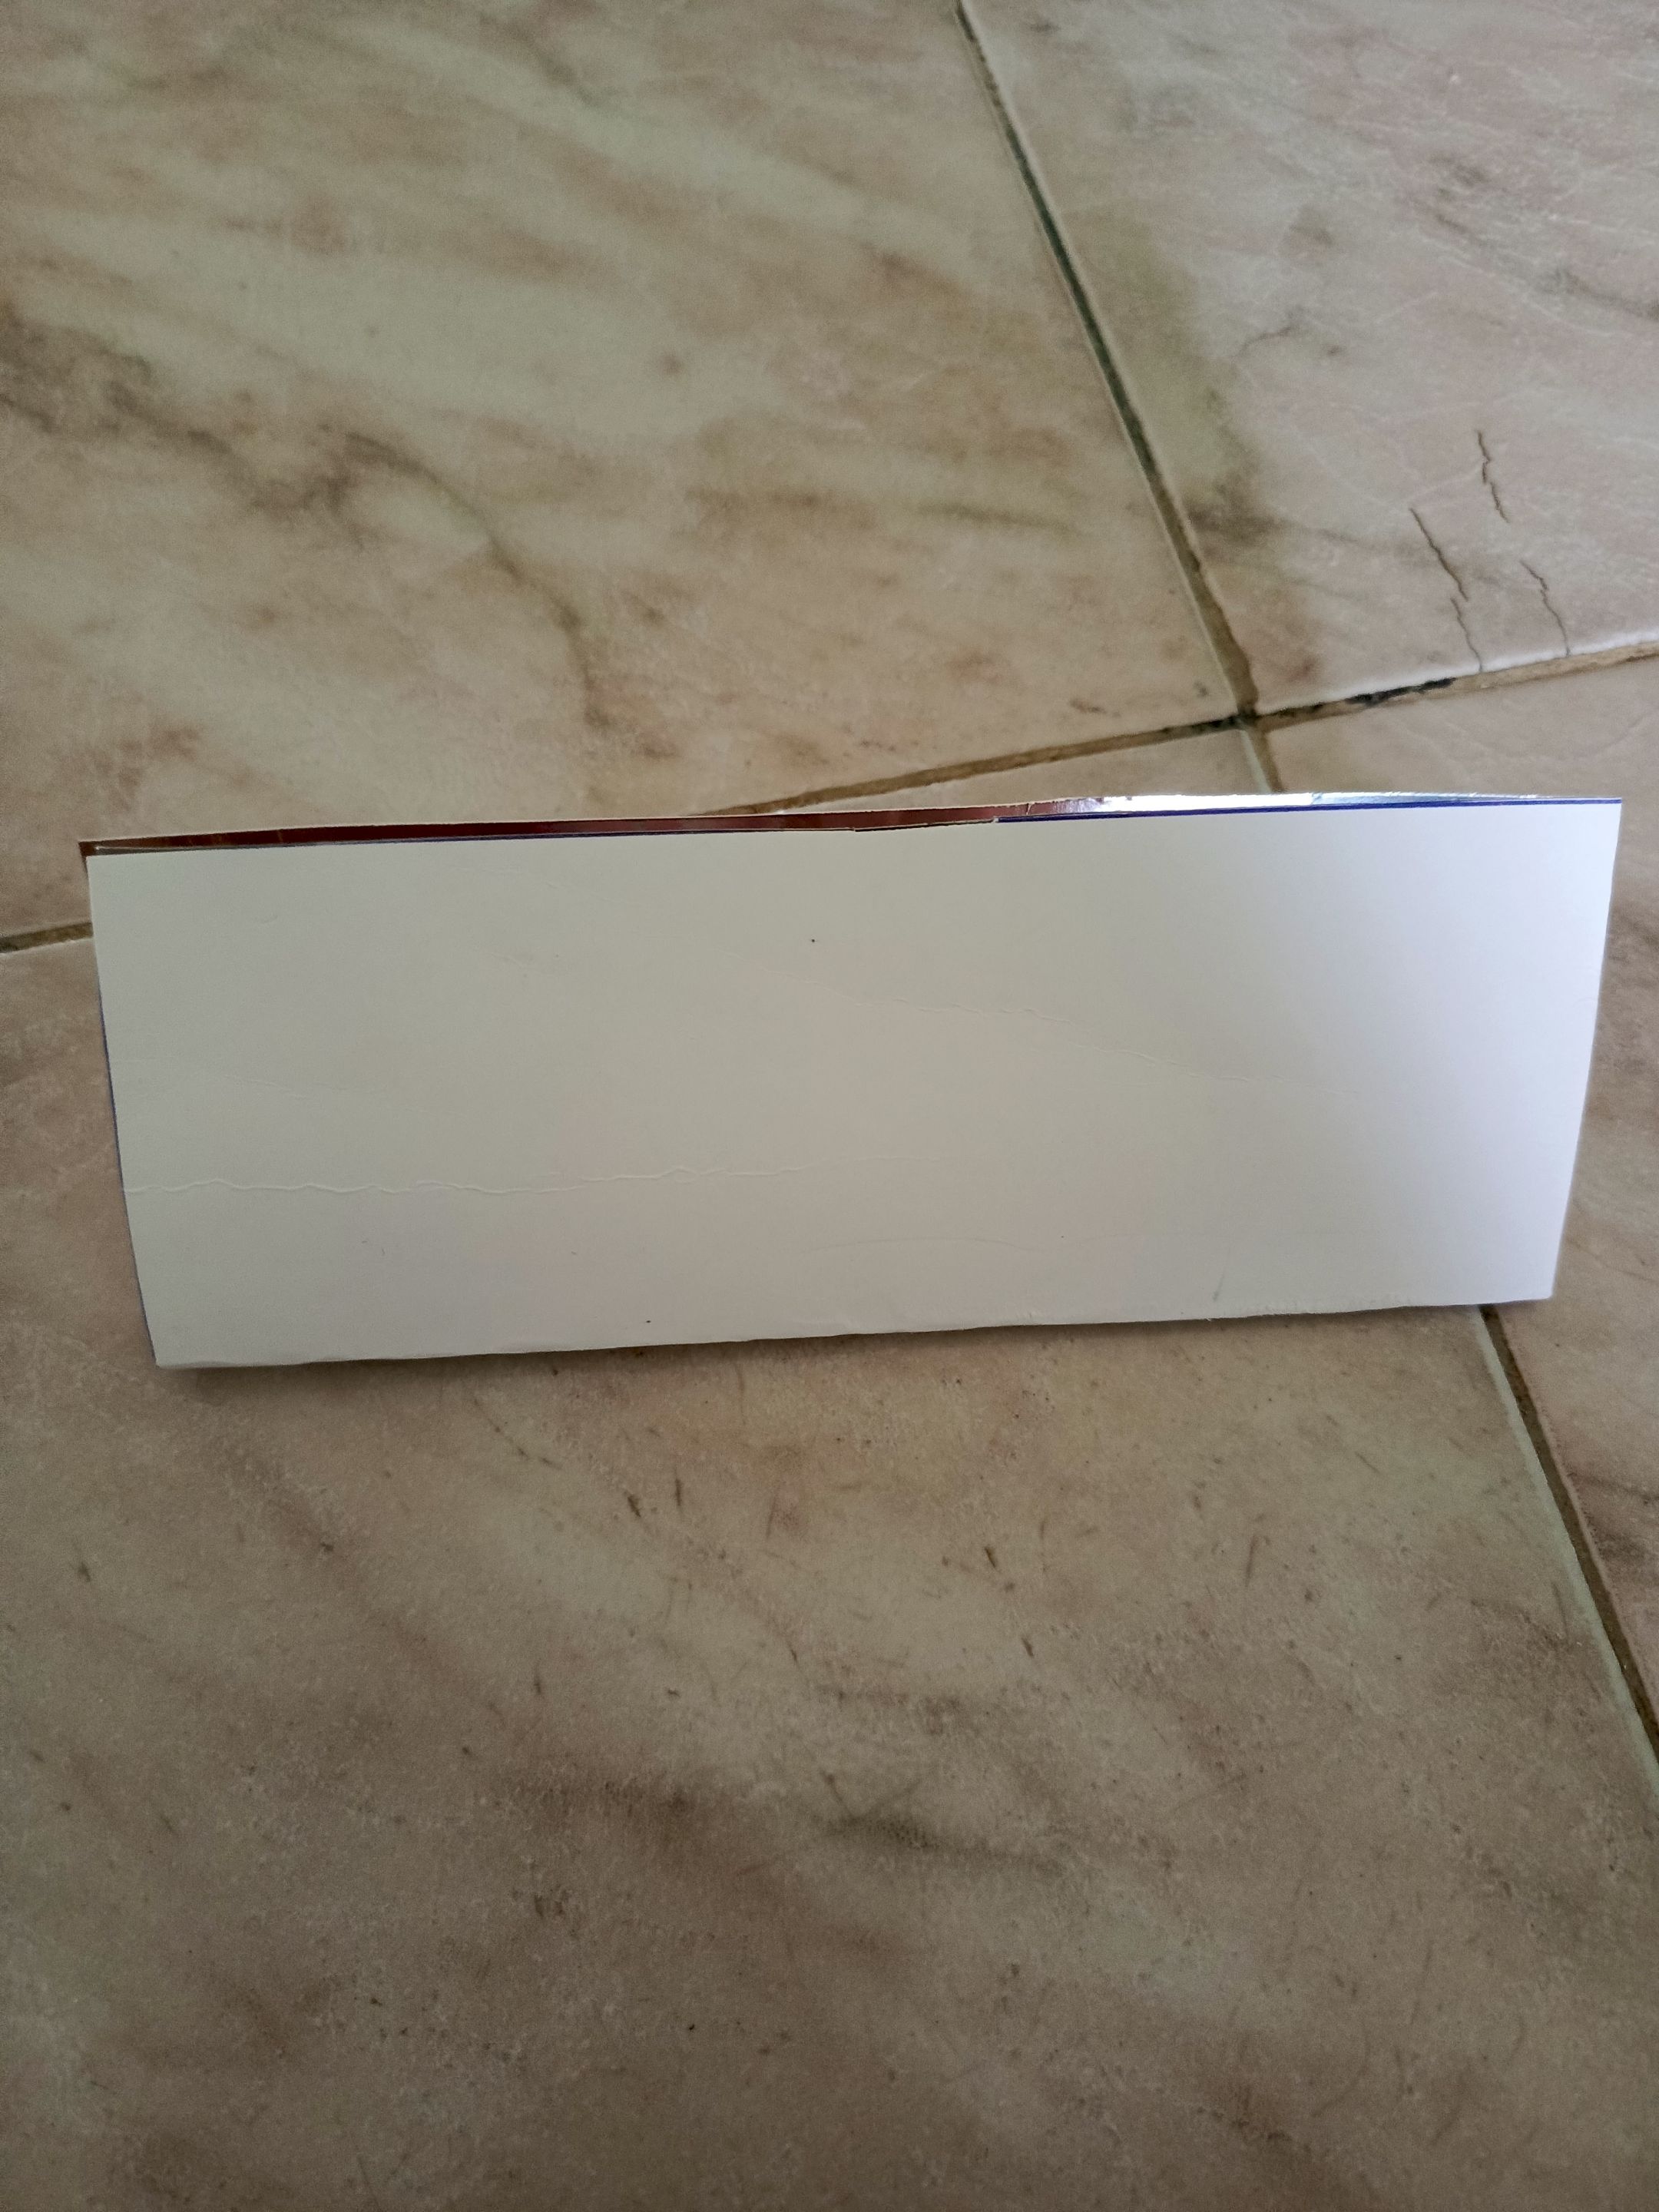
Una vez que tengamos nuestro rectángulo listo lo primero que hacemos es doblarlo a la mitad, marcamos el doblez, luego se hace un segundo doblez, y se desdobla.
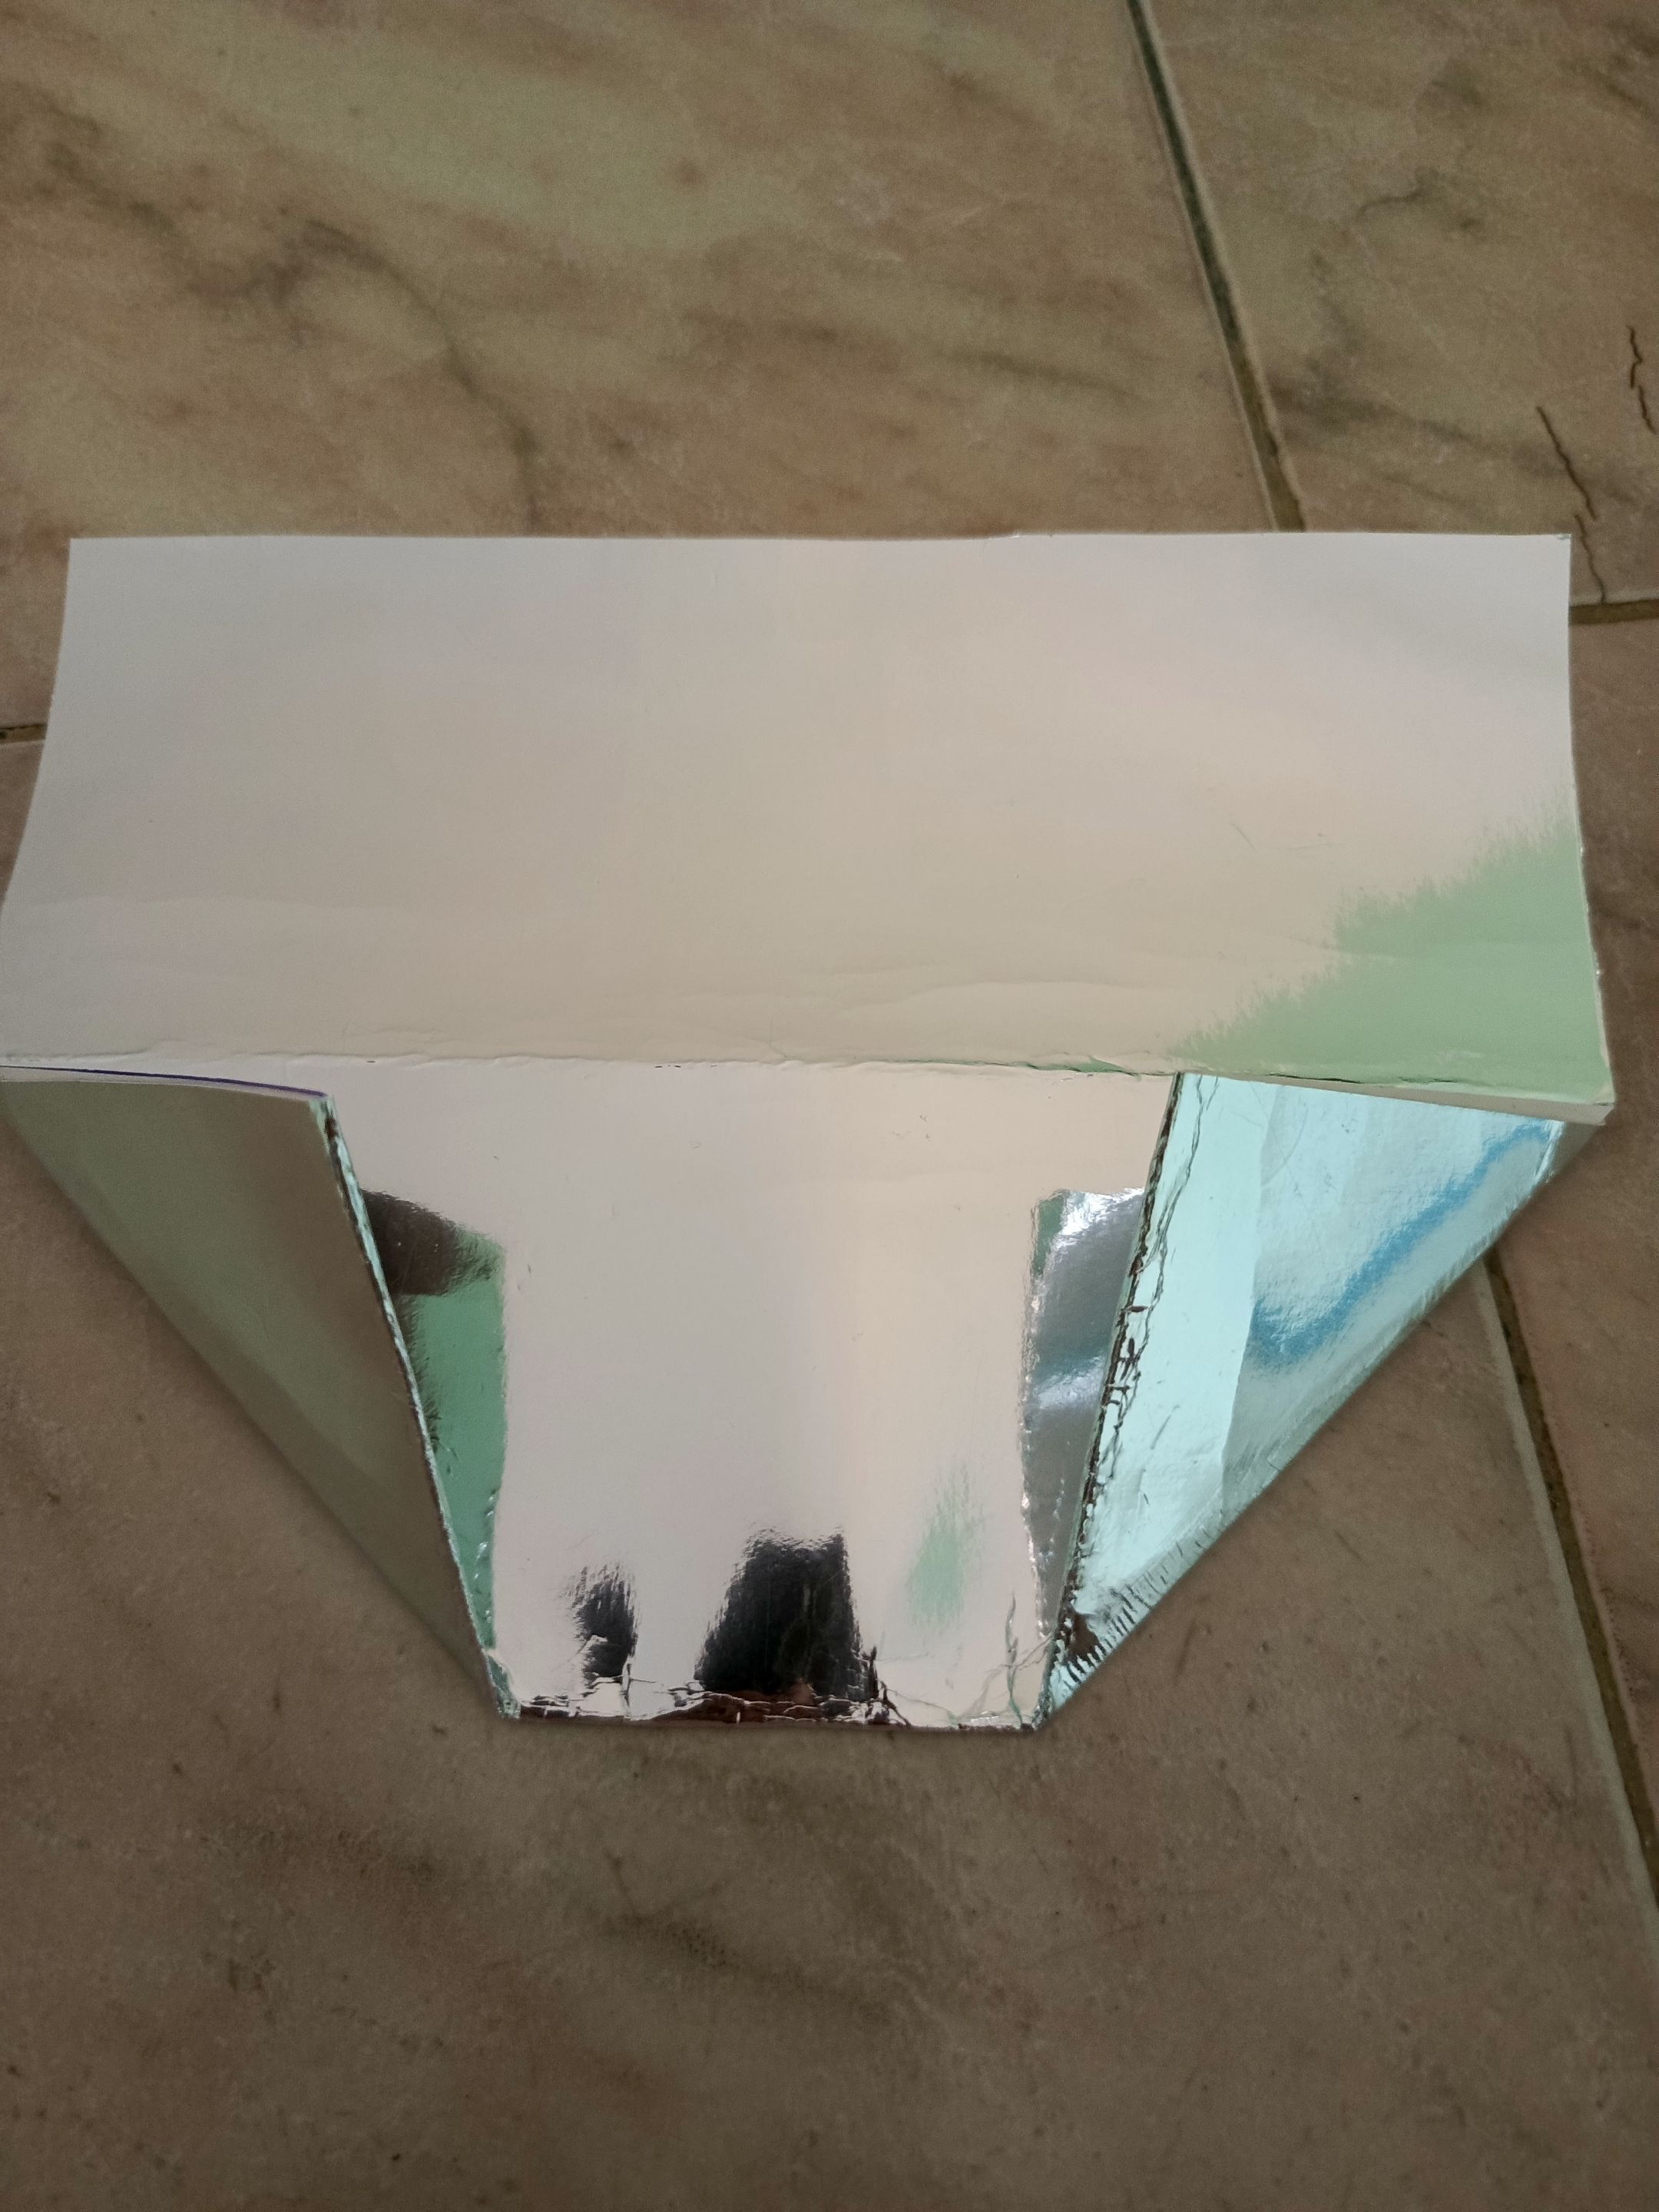
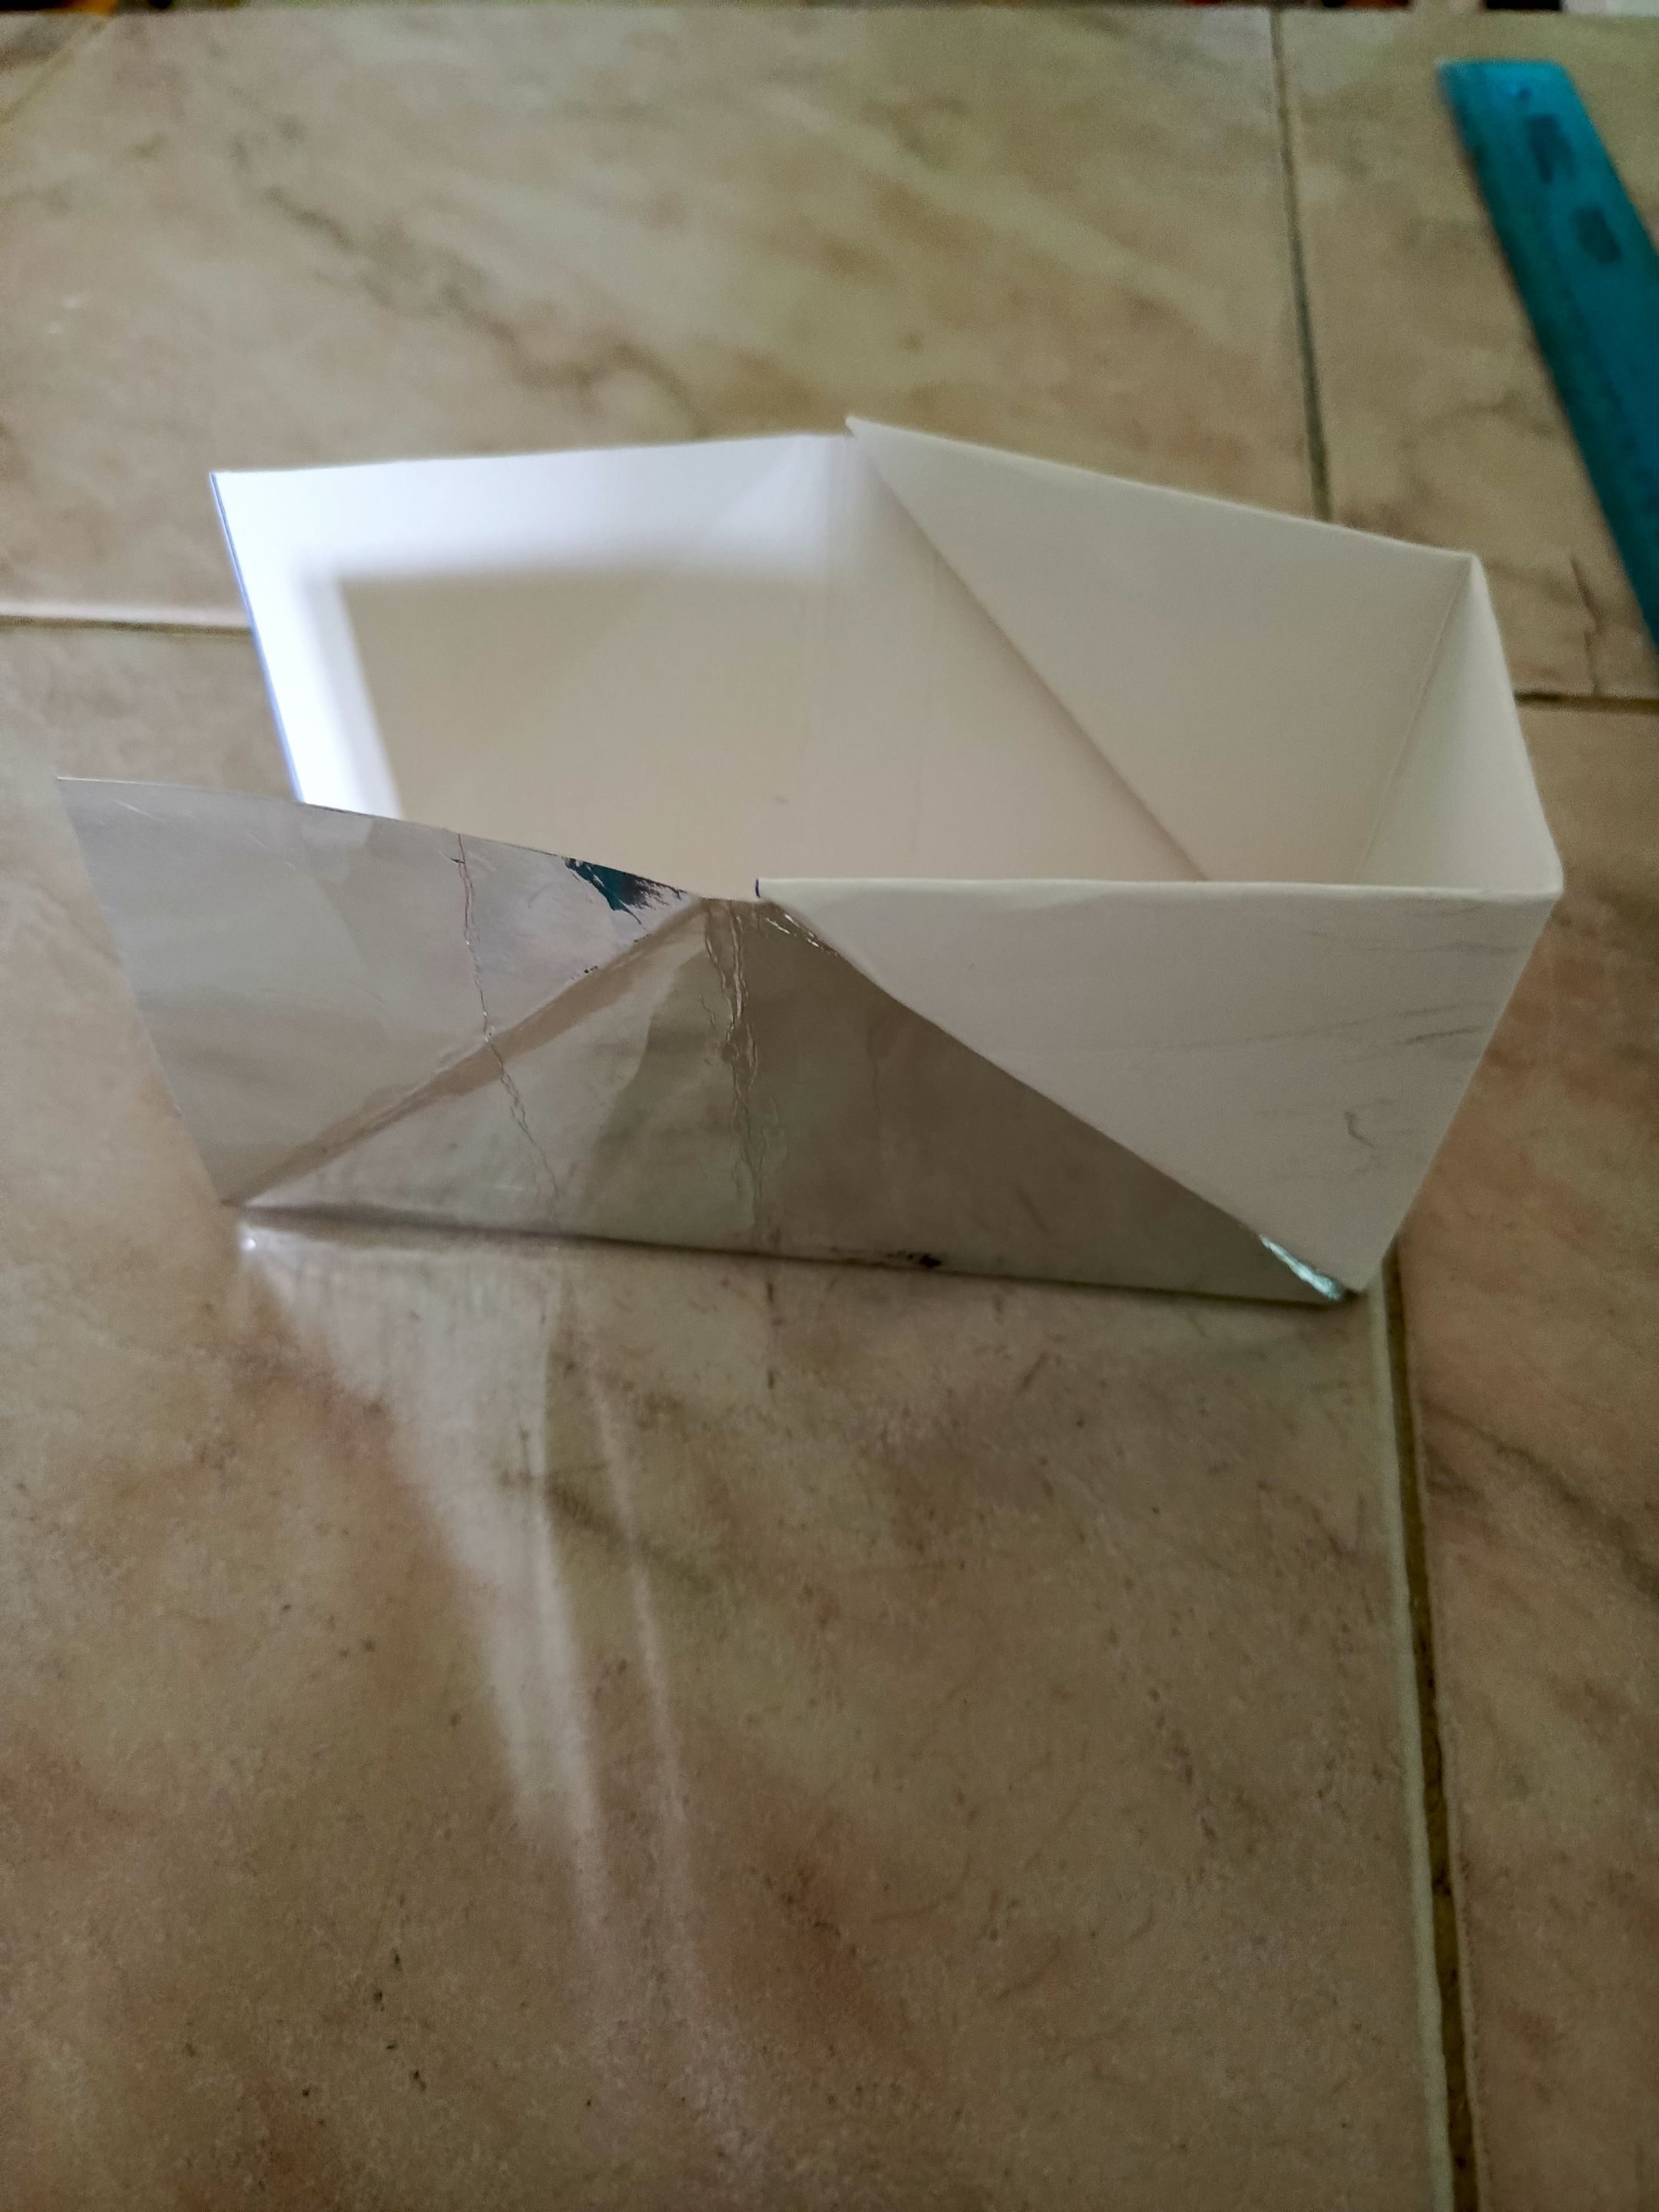
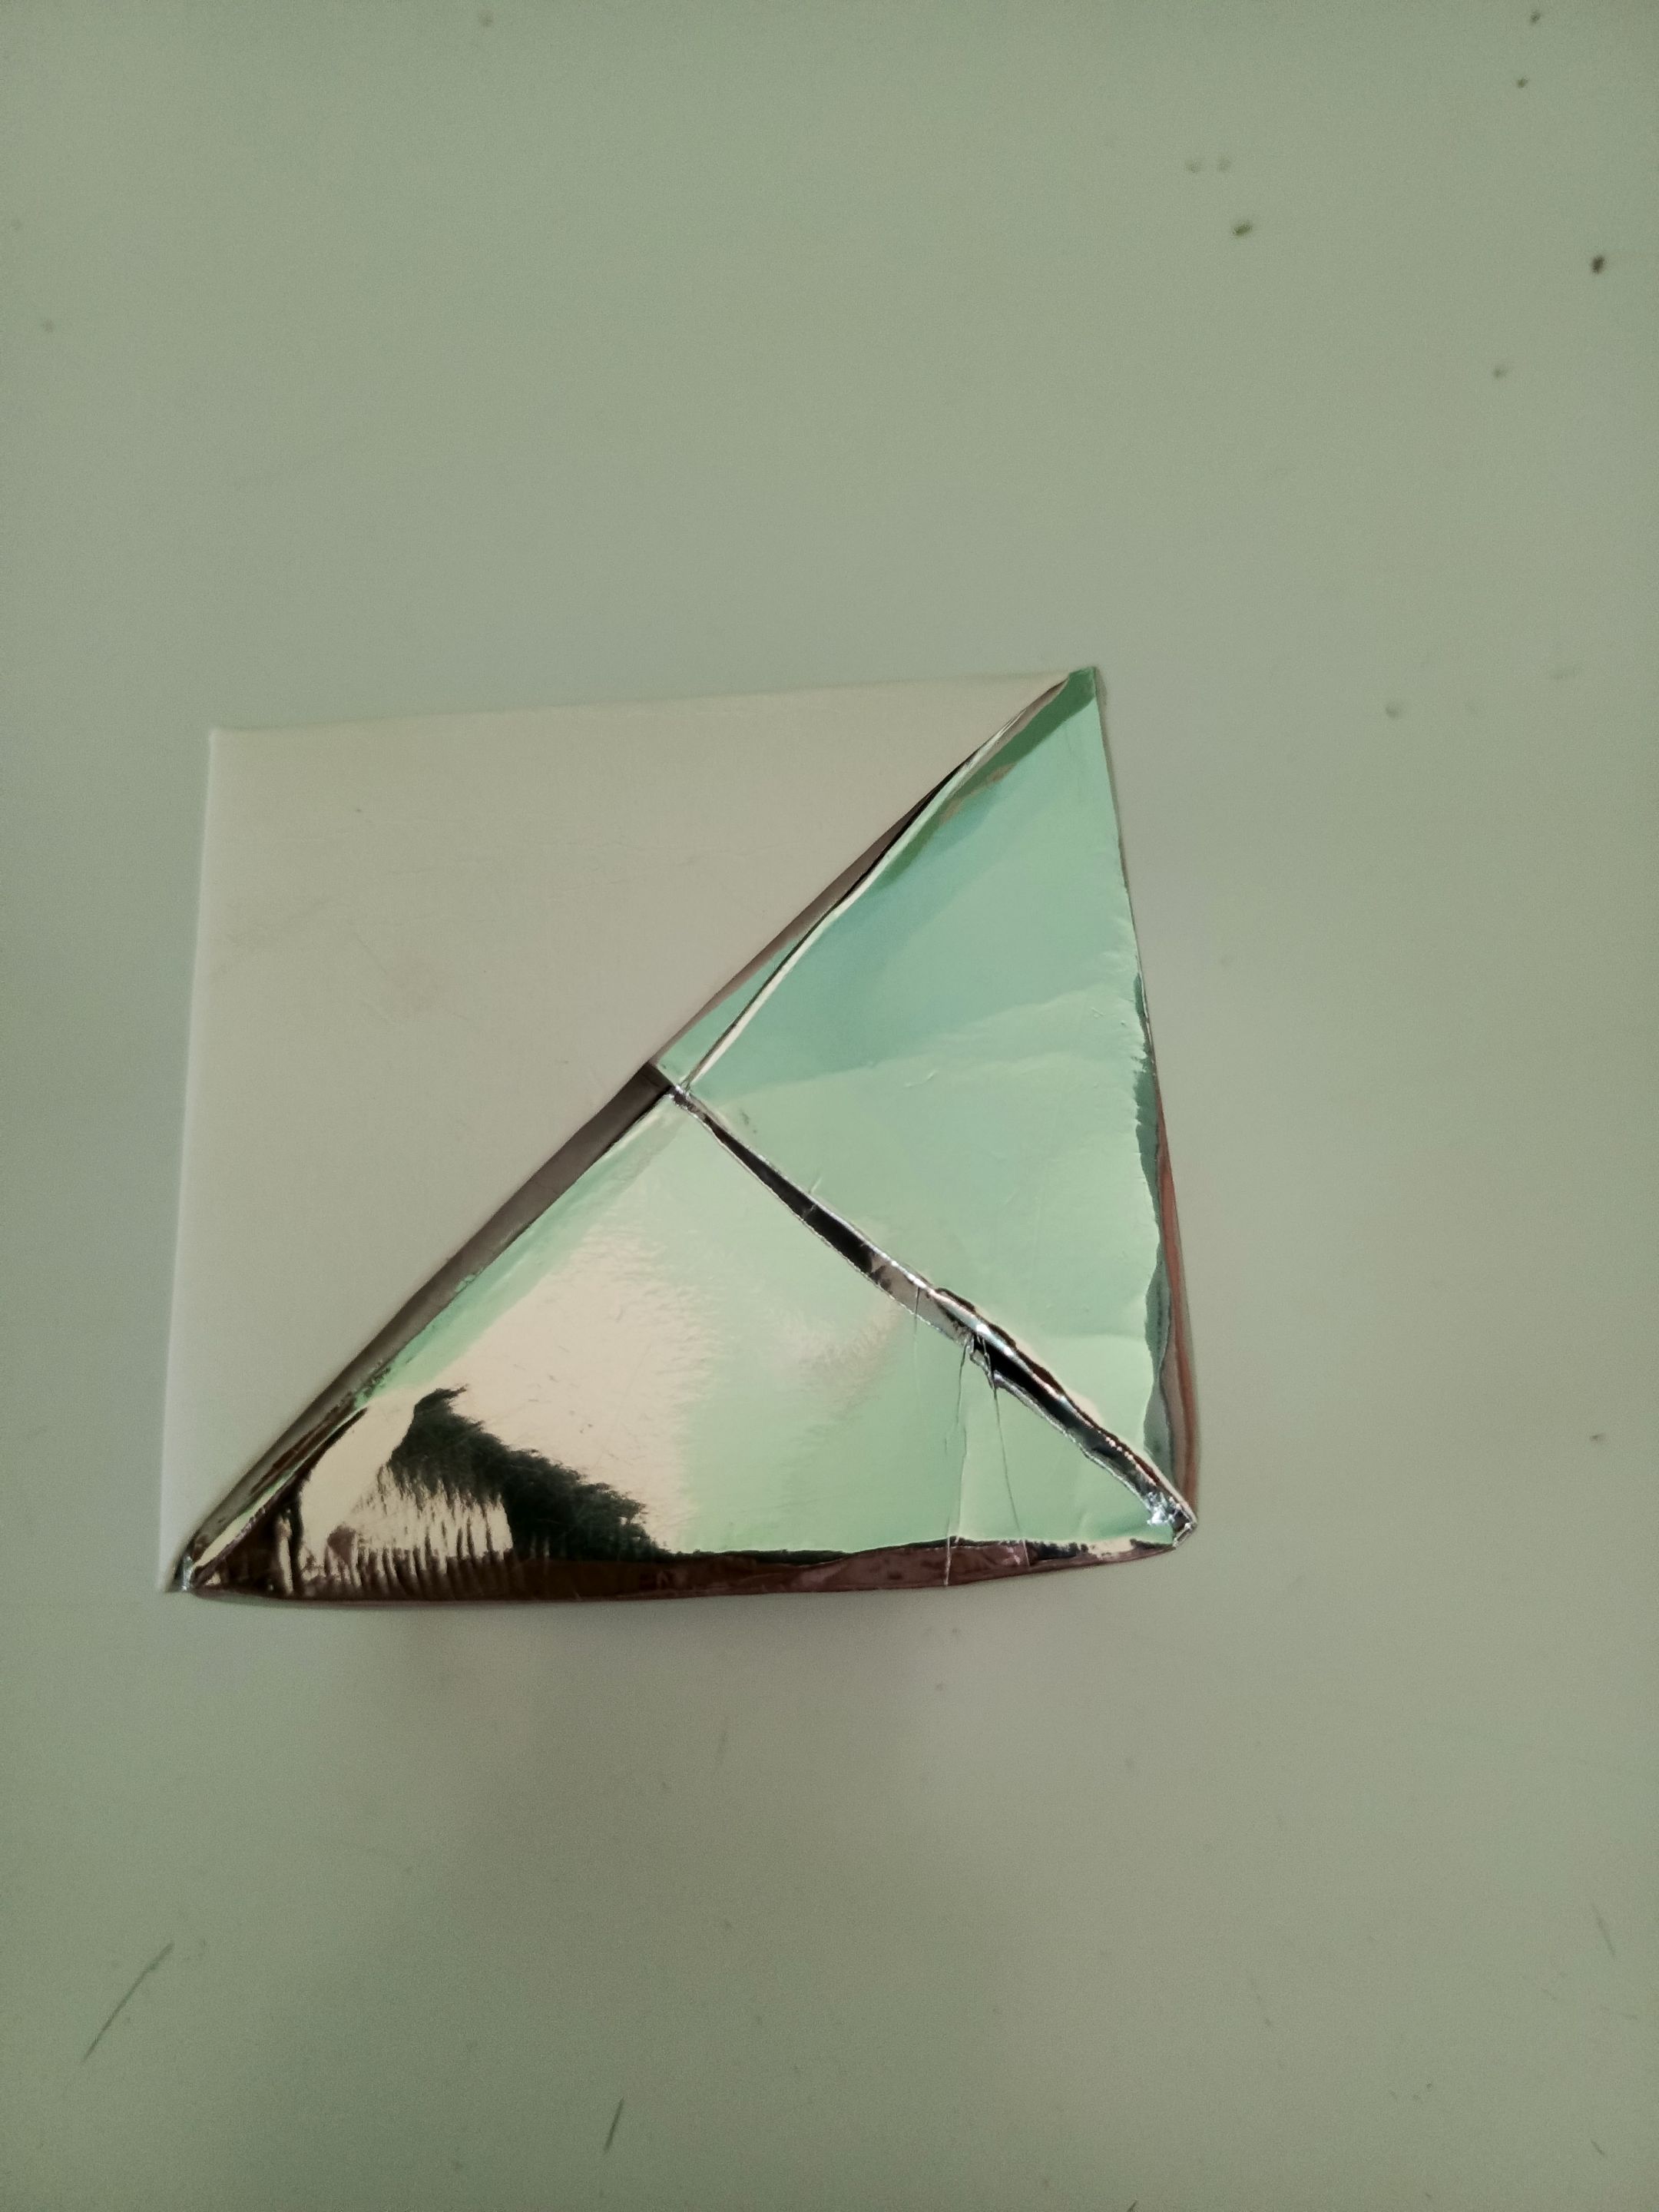
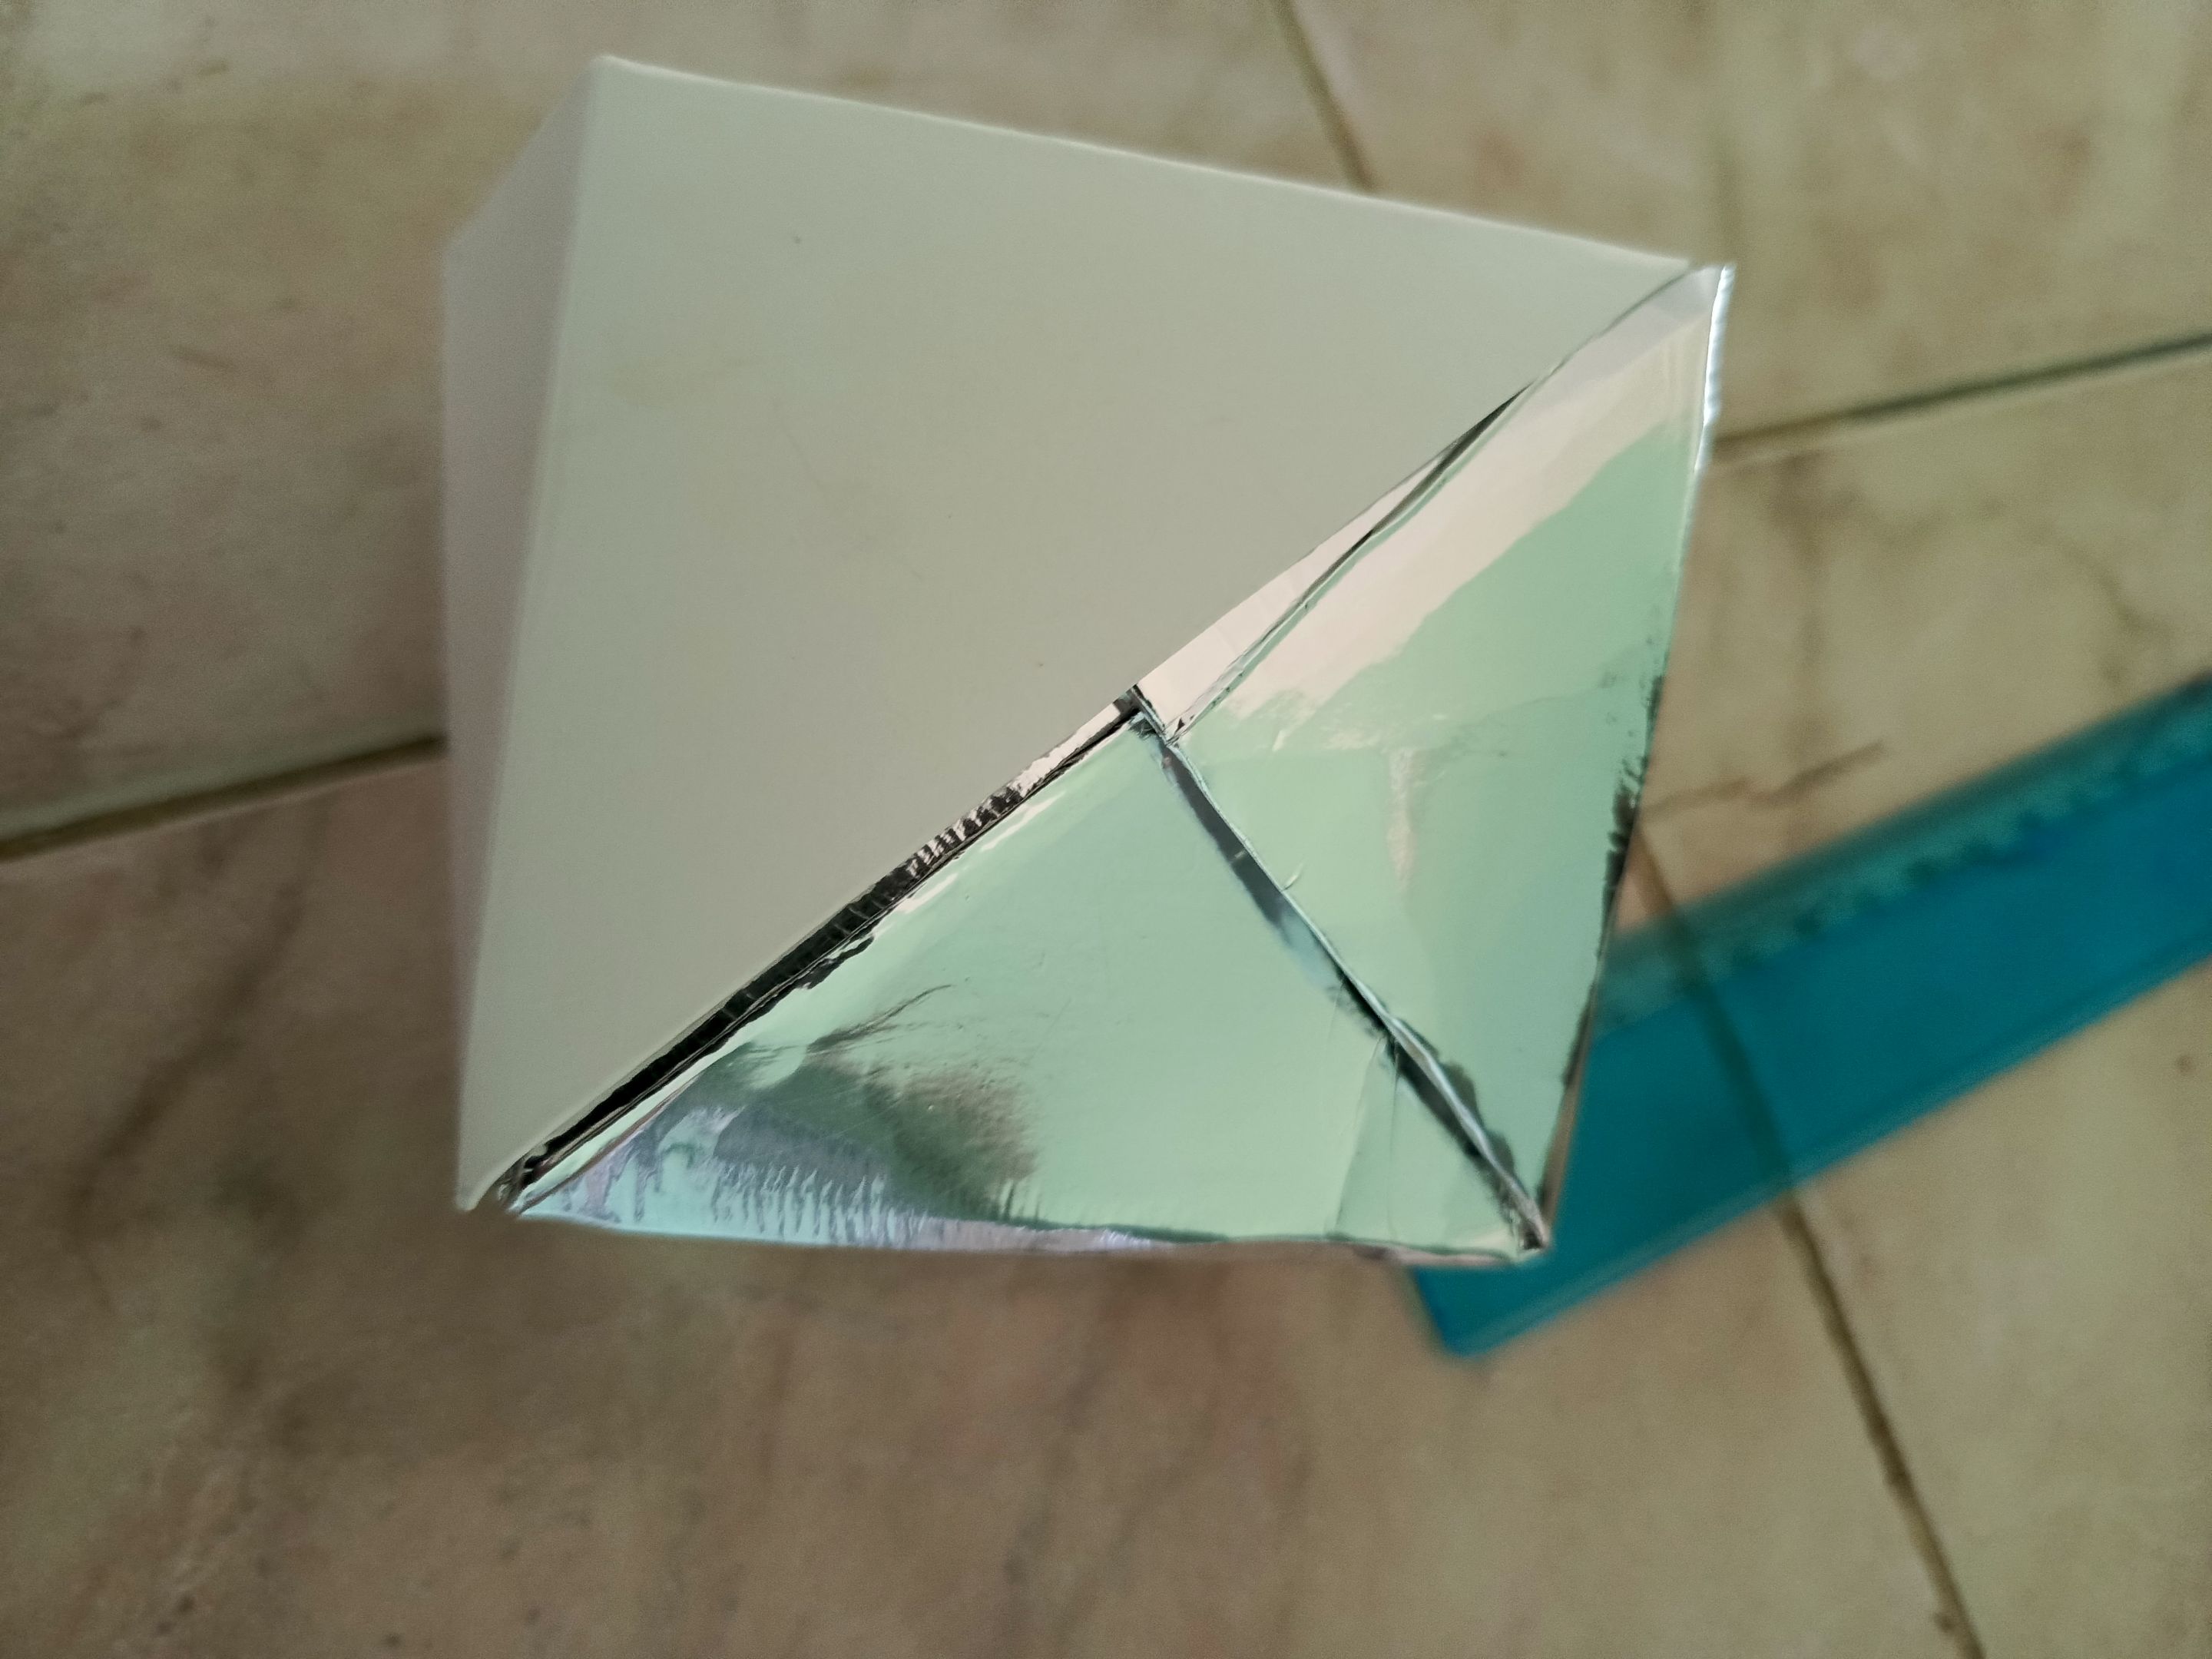
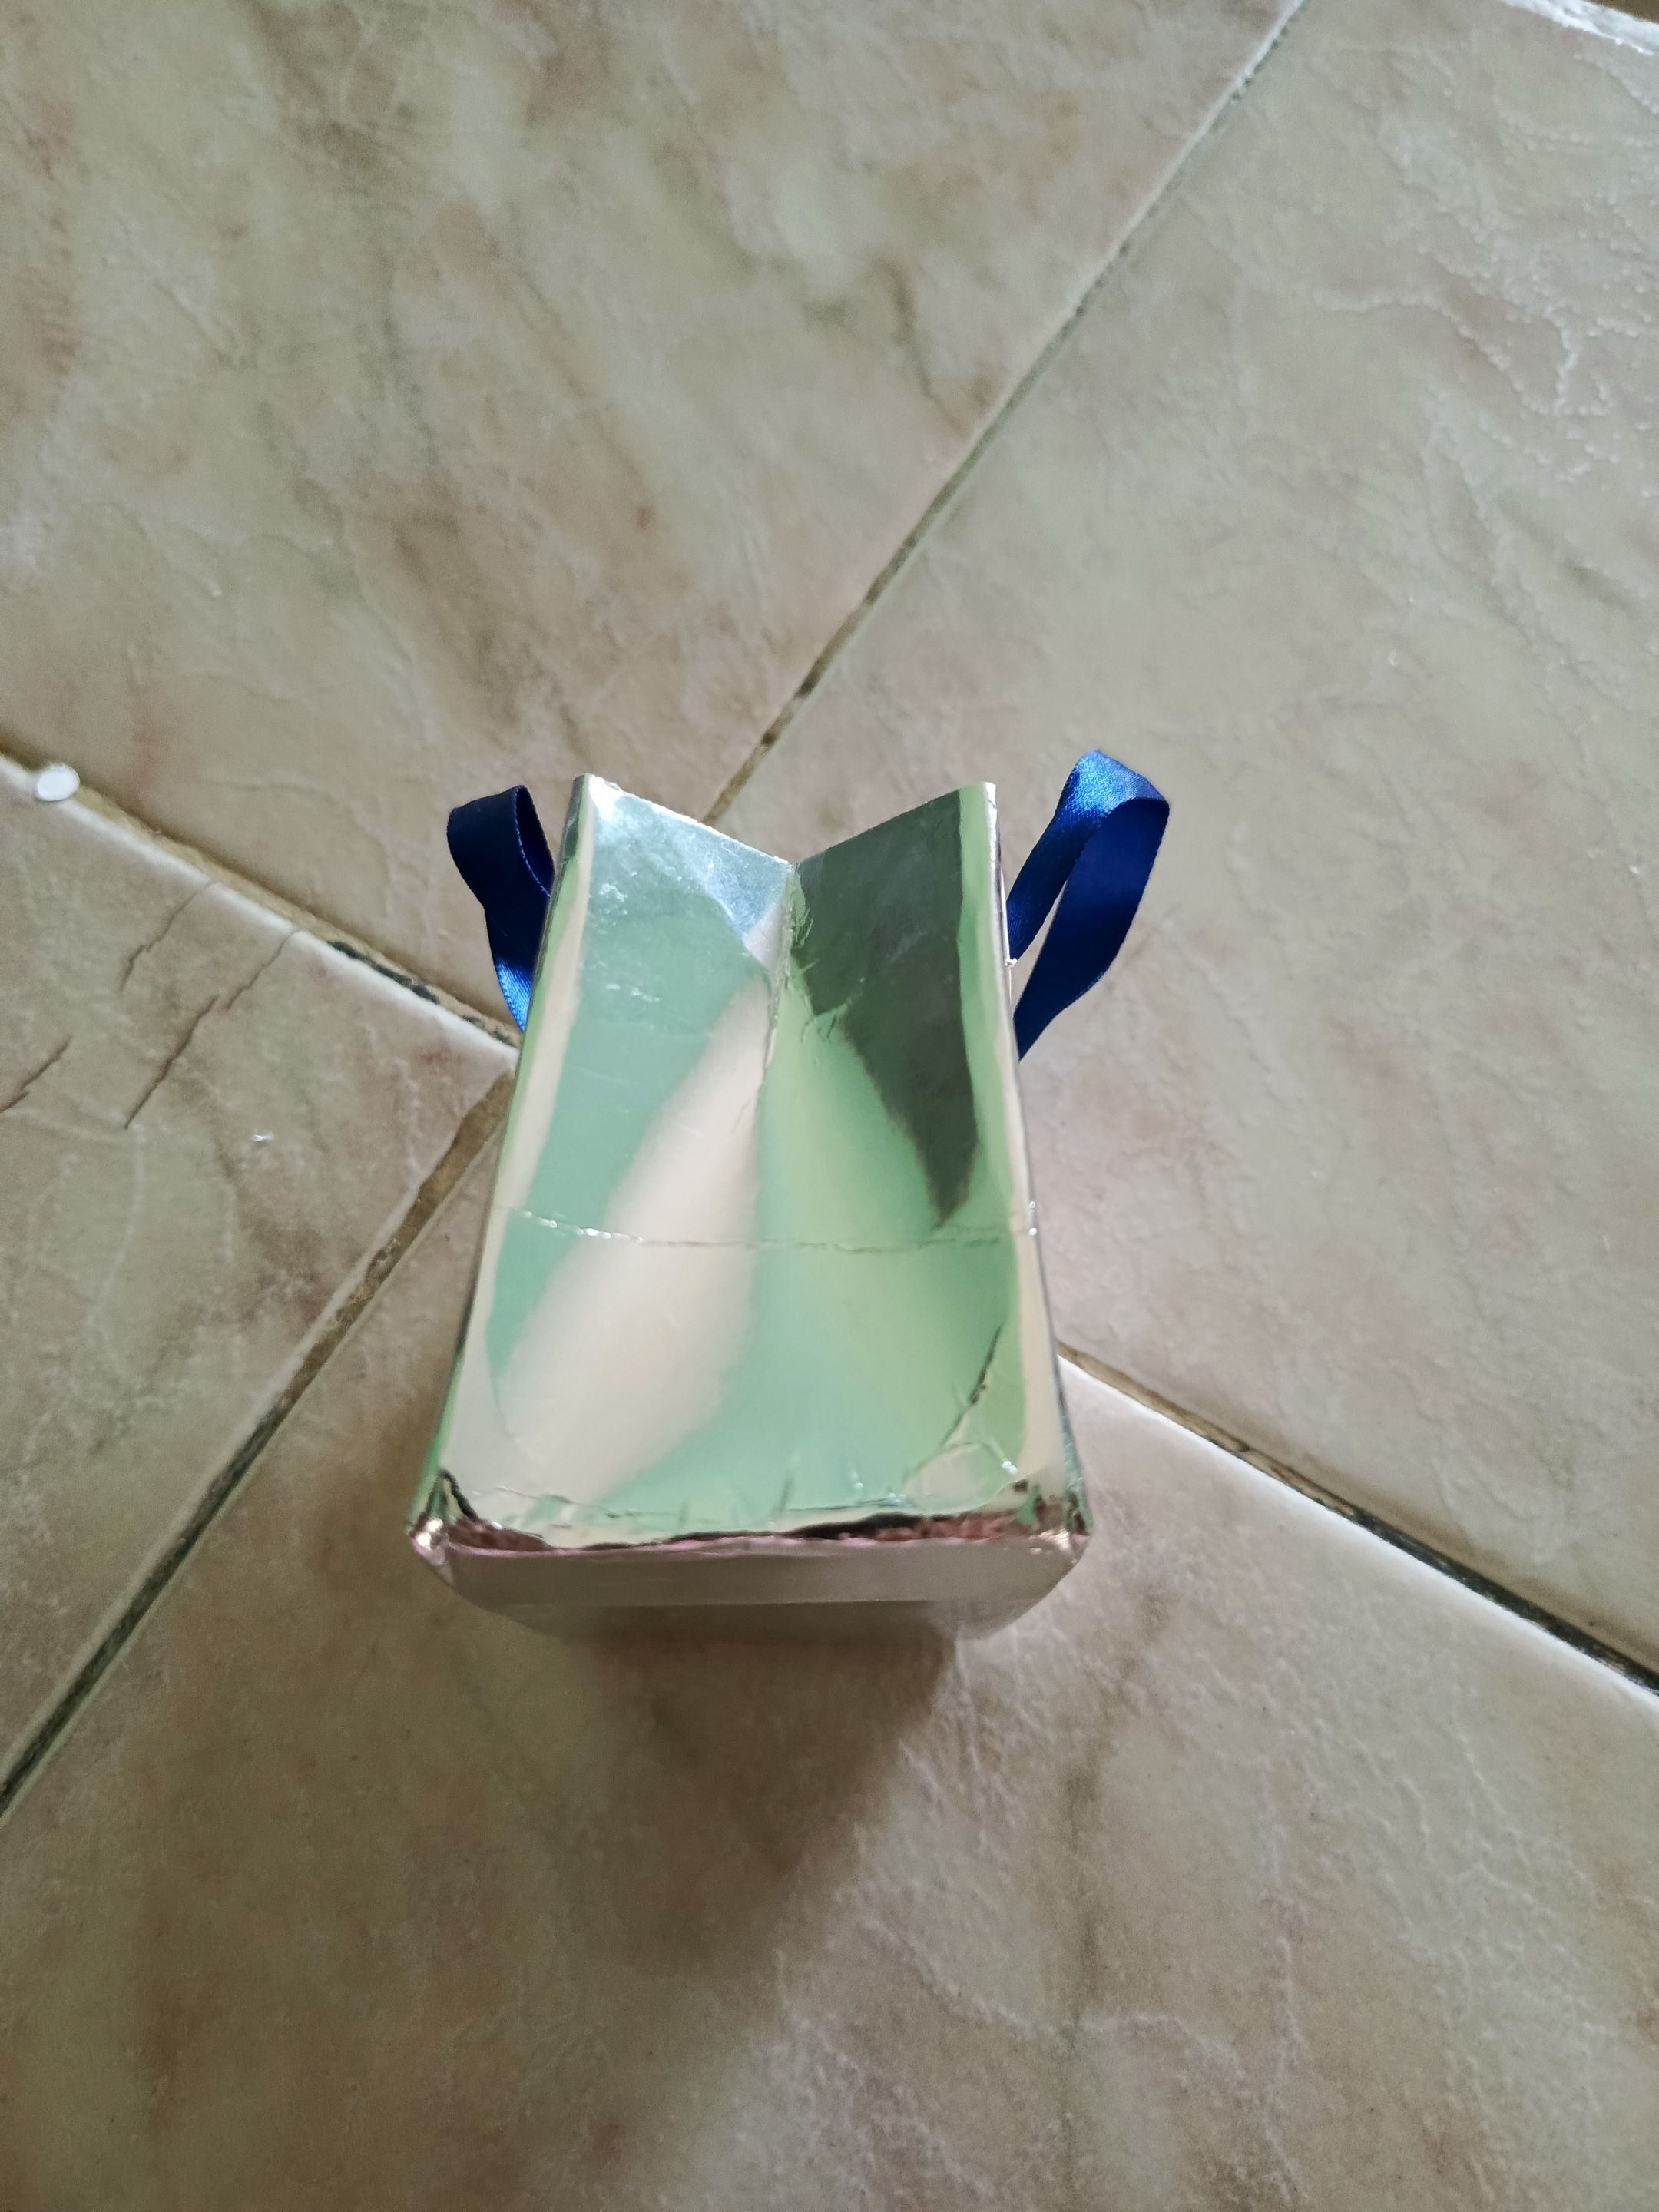
Seguidamente colocamos el rectángulo, que el doblez de la mitad quede por la parte de abajo, es decir, que por la parte de arriba queden los dos lados que estén abiertos; en la parte inferior marcamos dos triángulos así como se muestra en la imagen haciendo coincidir con la línea del segundo doblez, luego tomamos unas de los lados que están sueltos en la parte de arriba y marcamos también dos triángulos y esto va a formar dos cuadrados lo que será el tamaño de la caja.
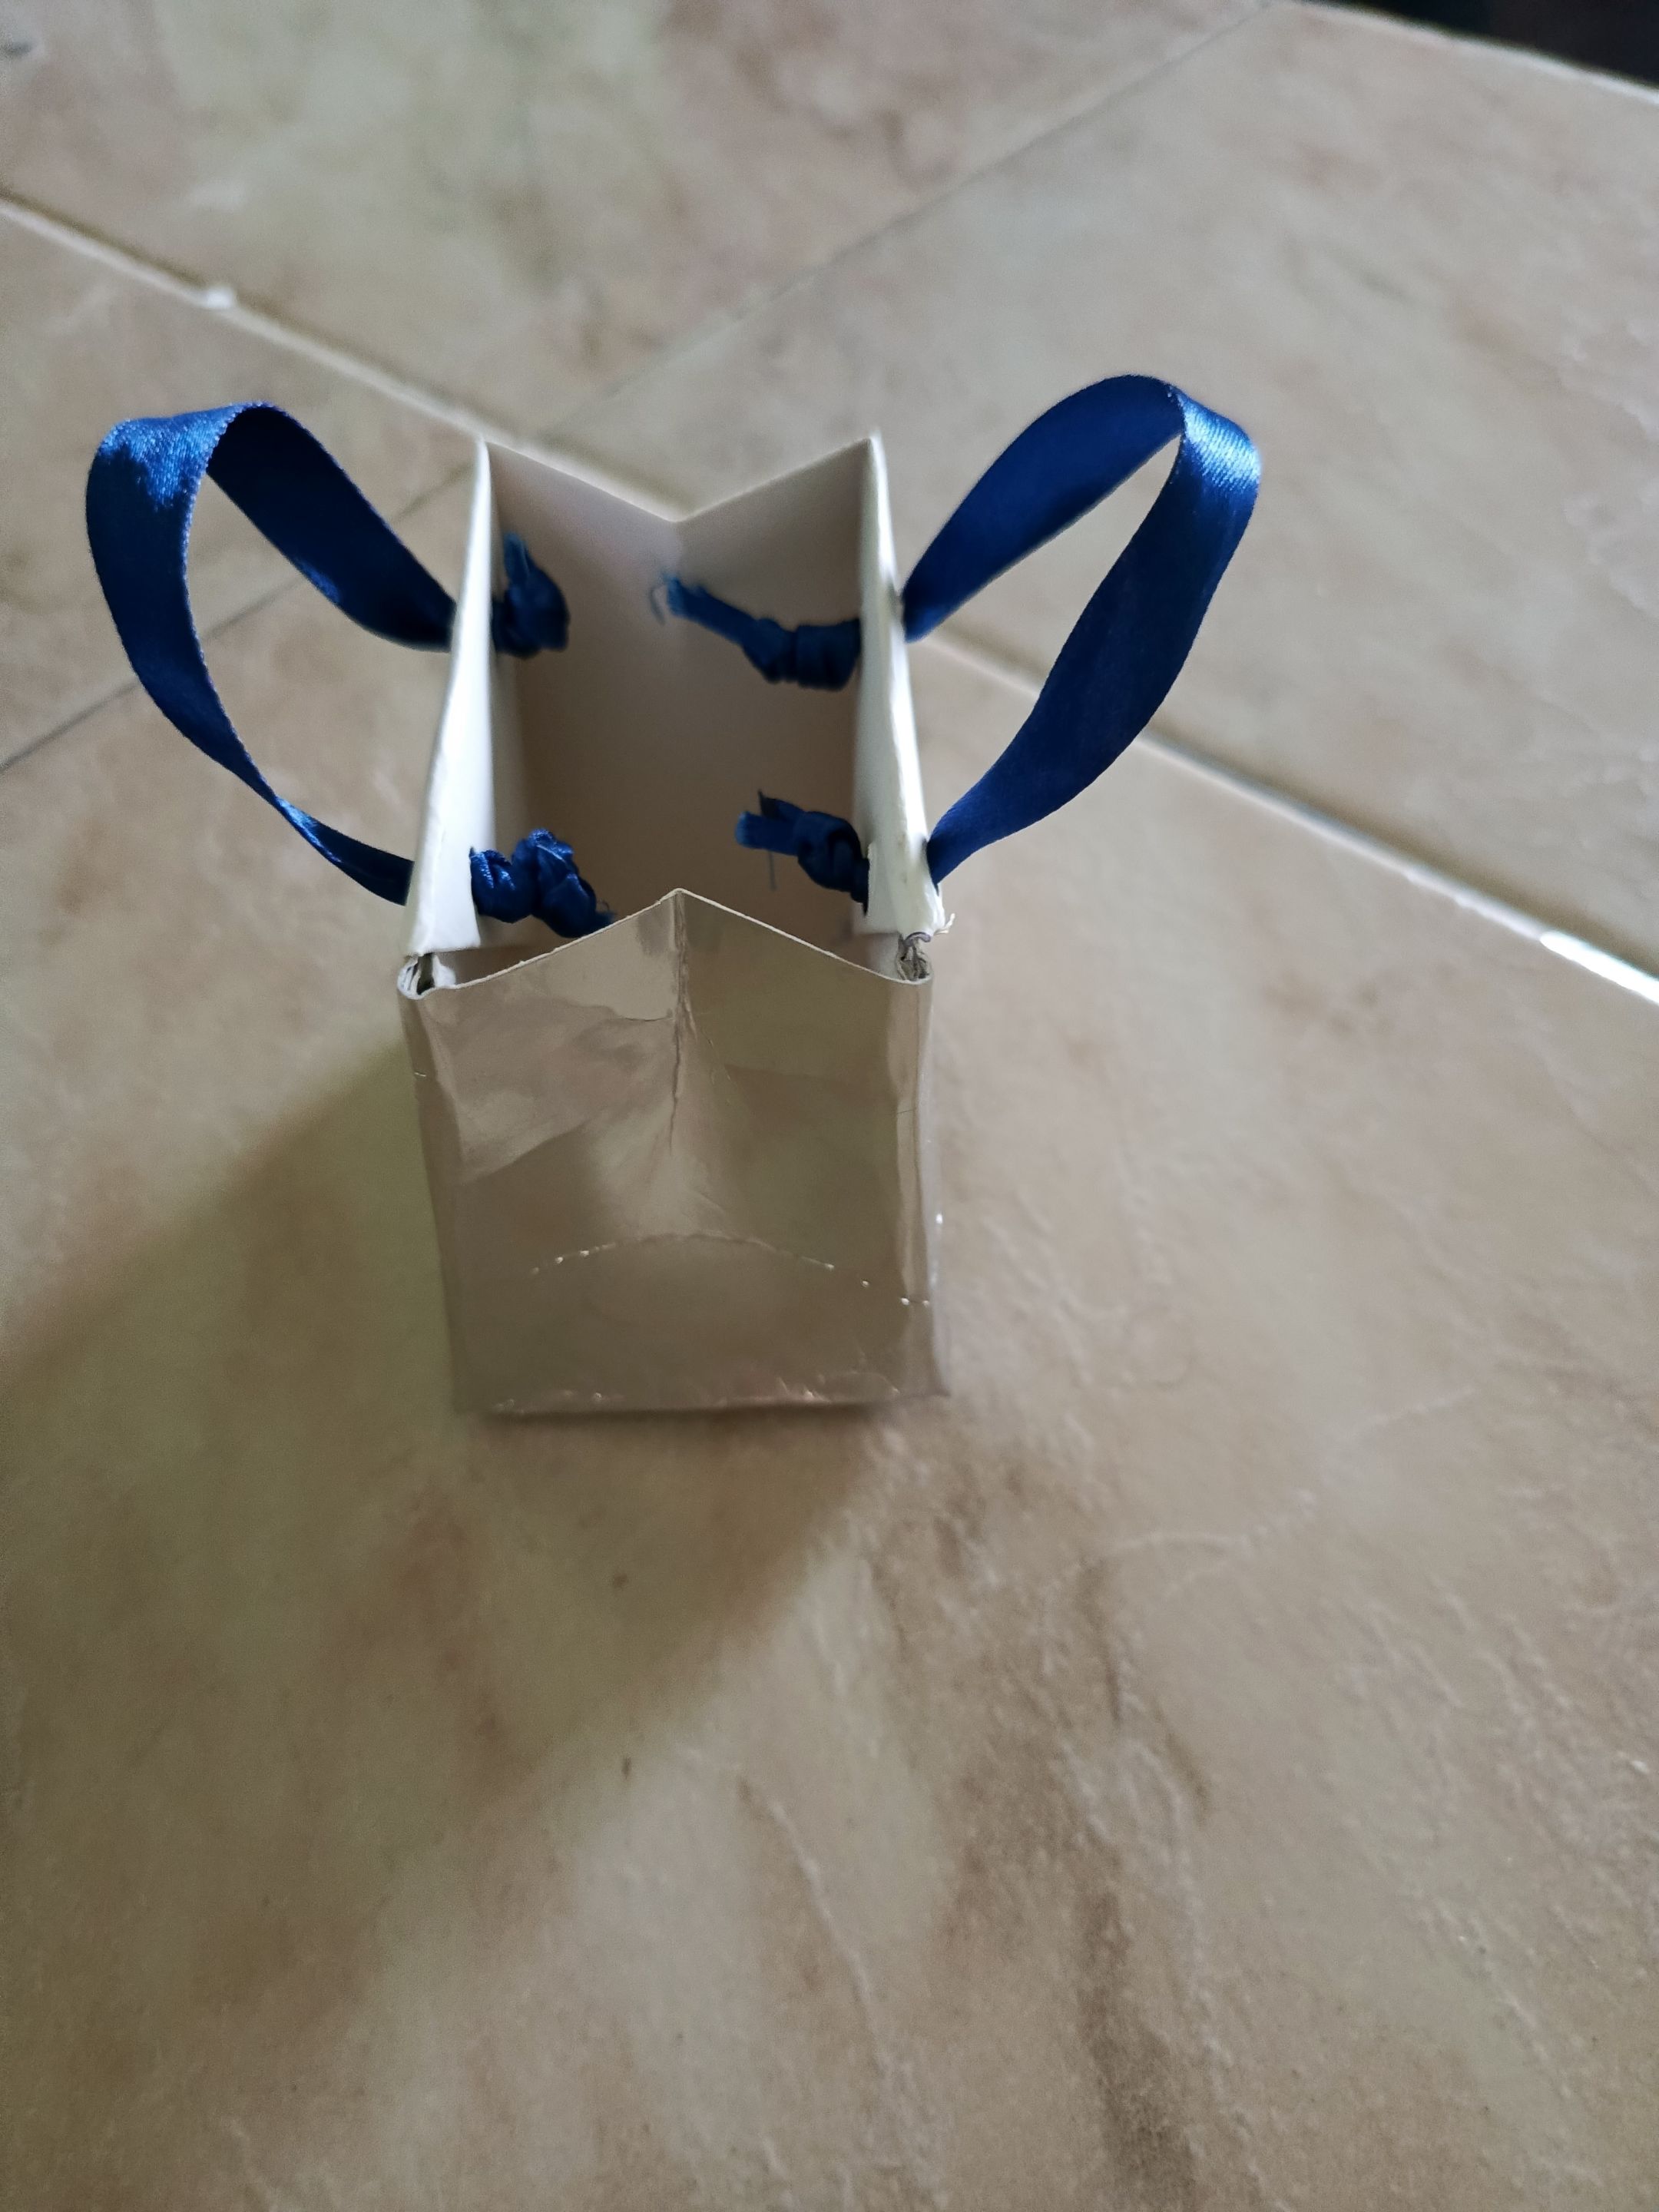
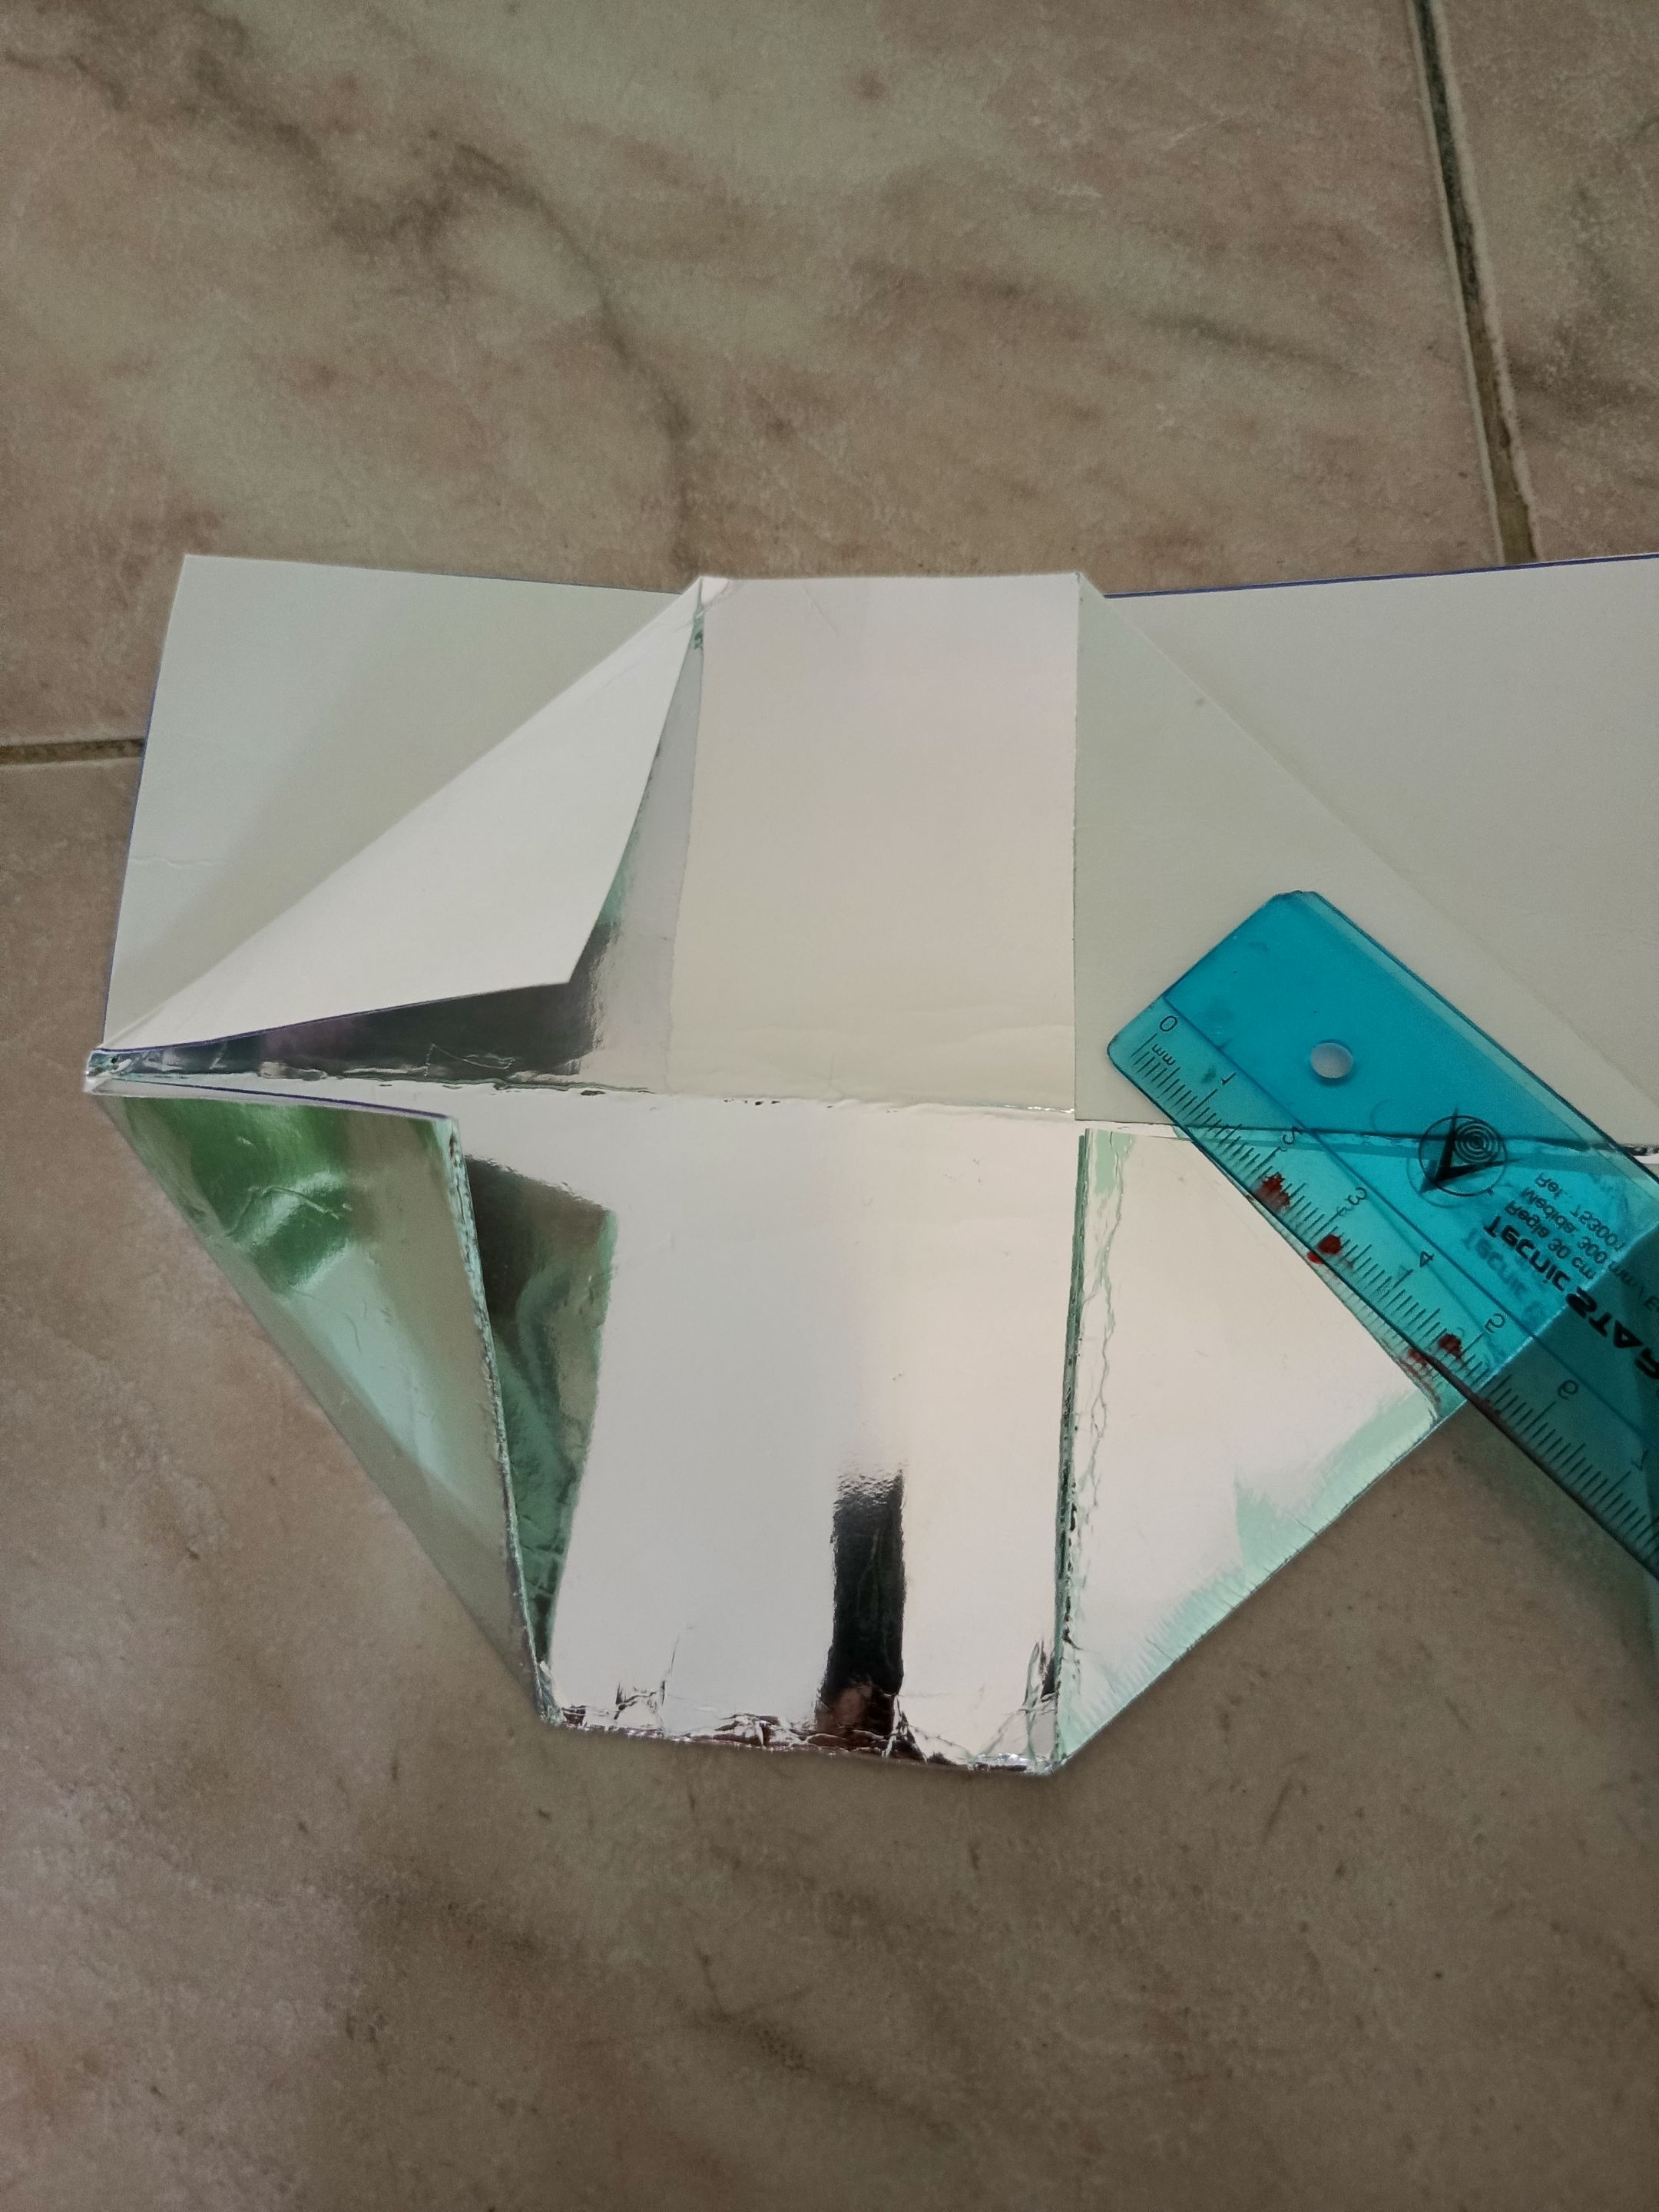
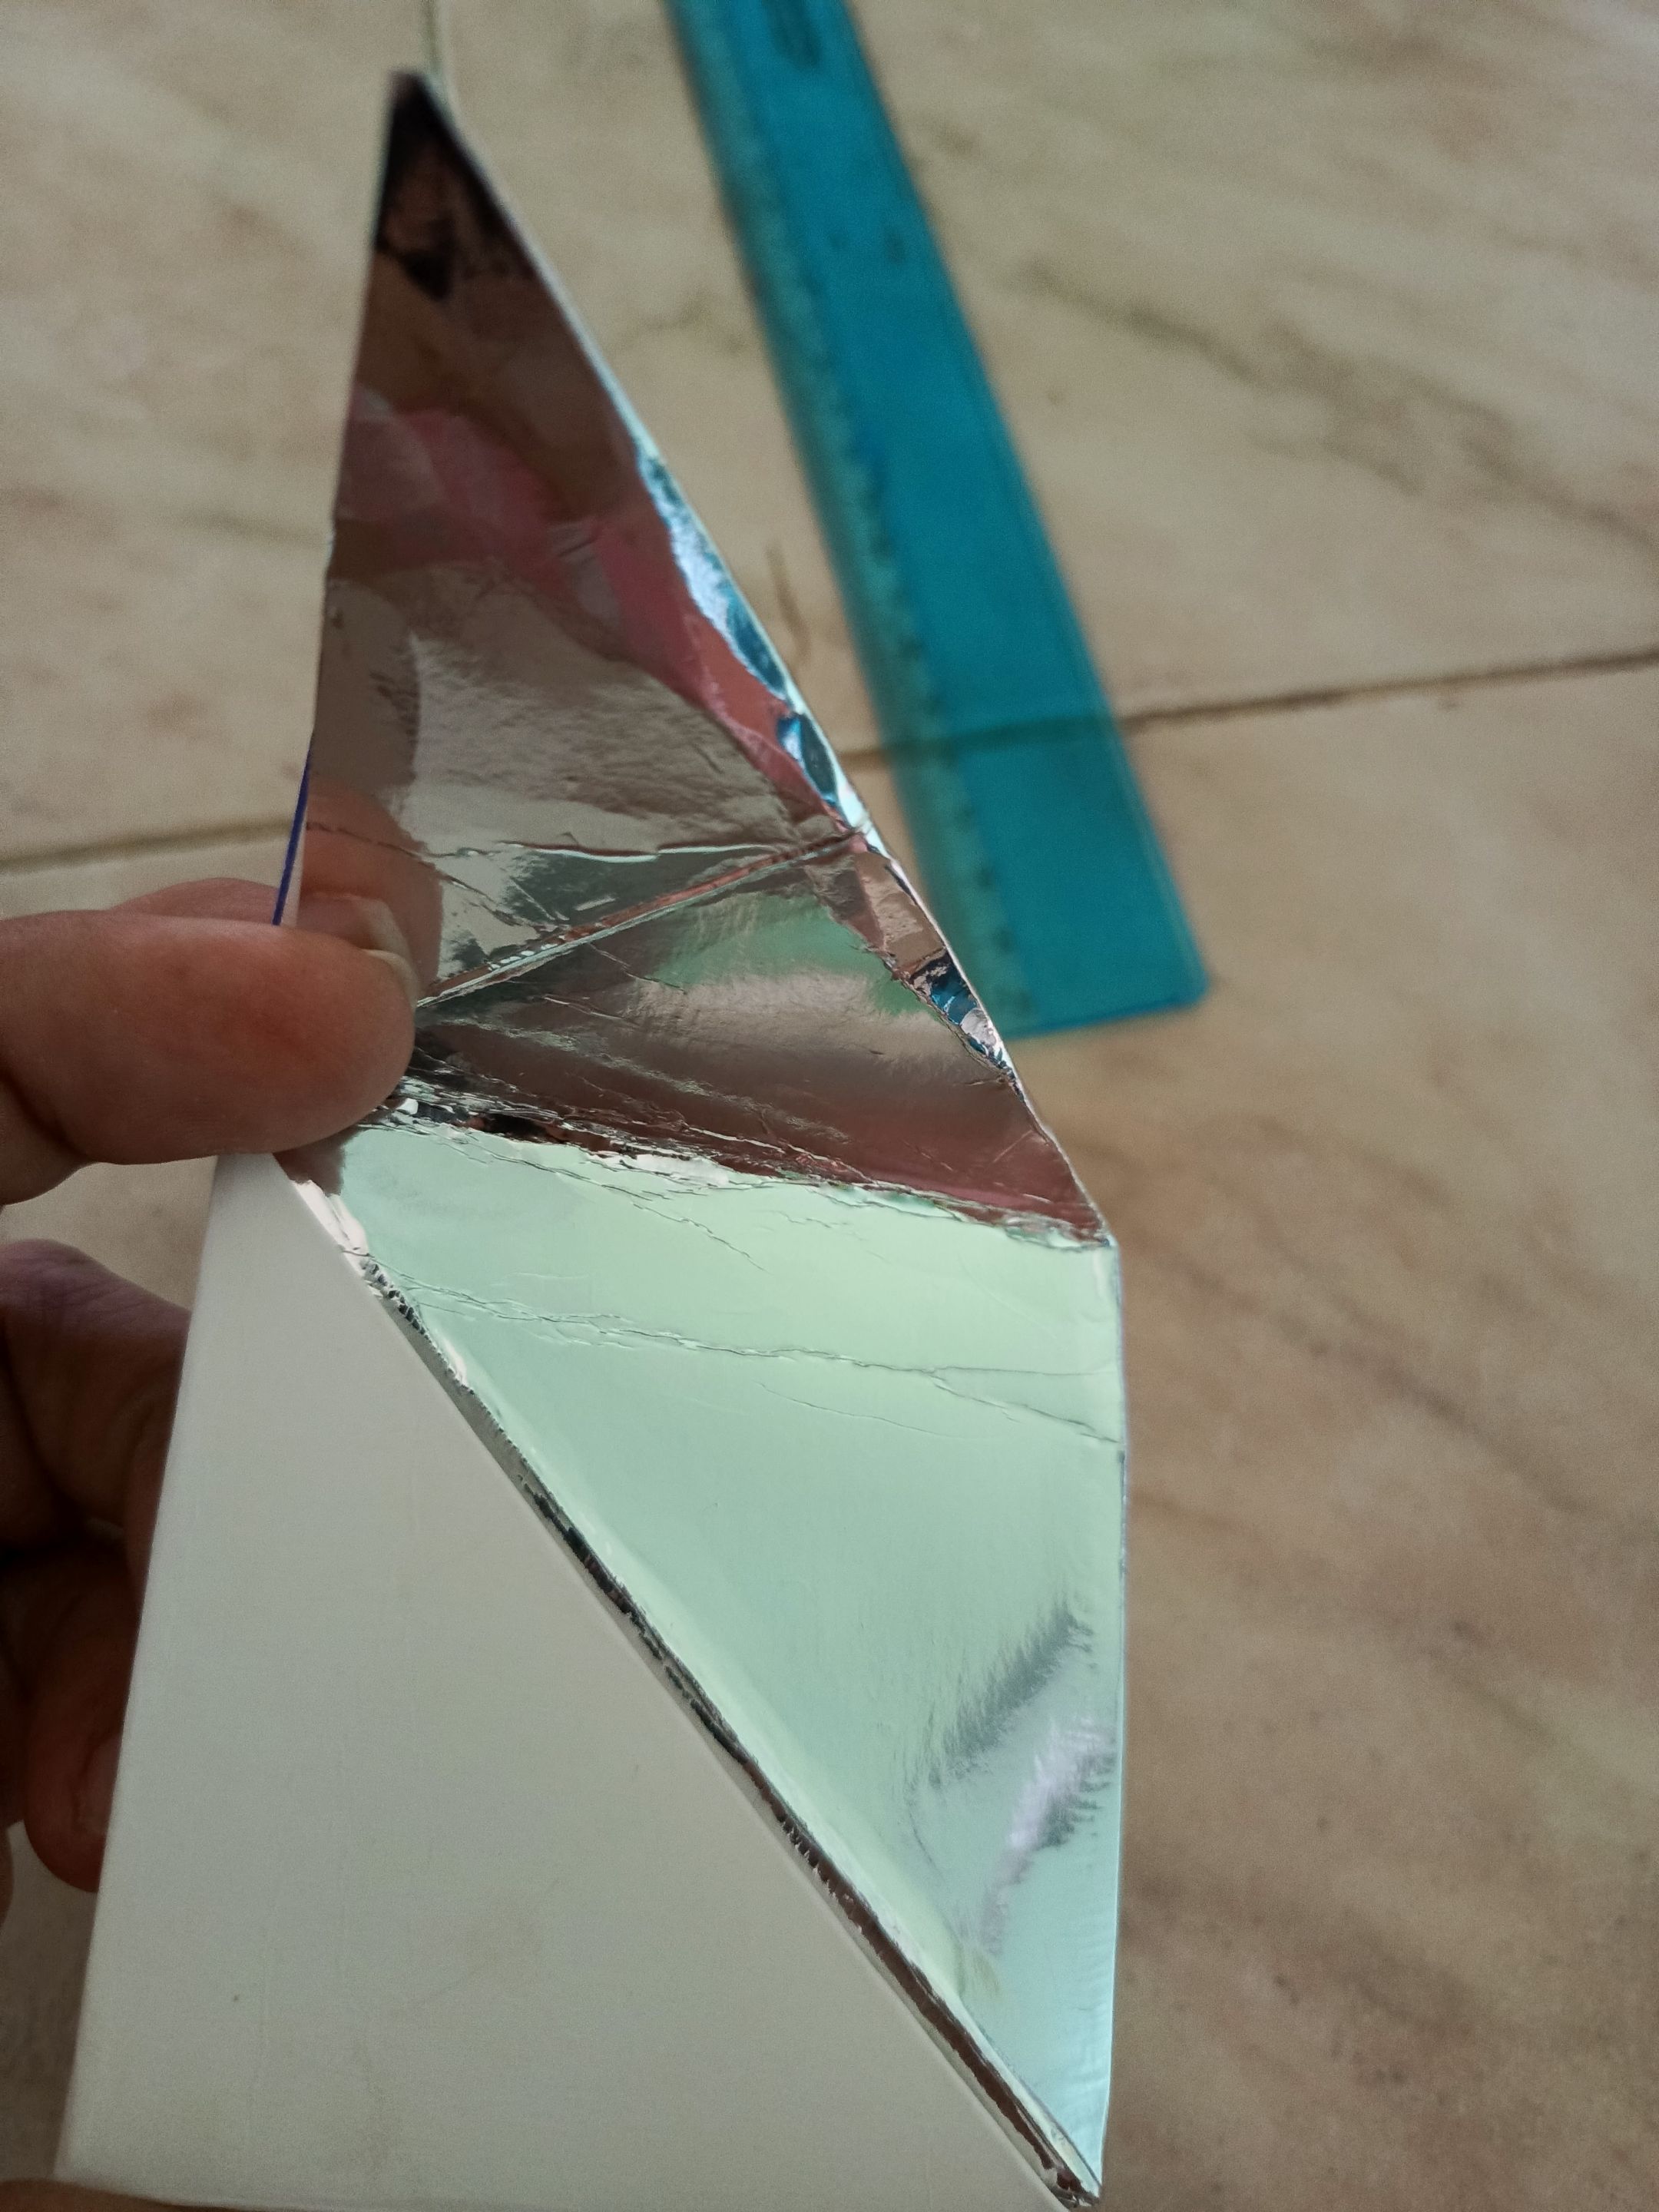
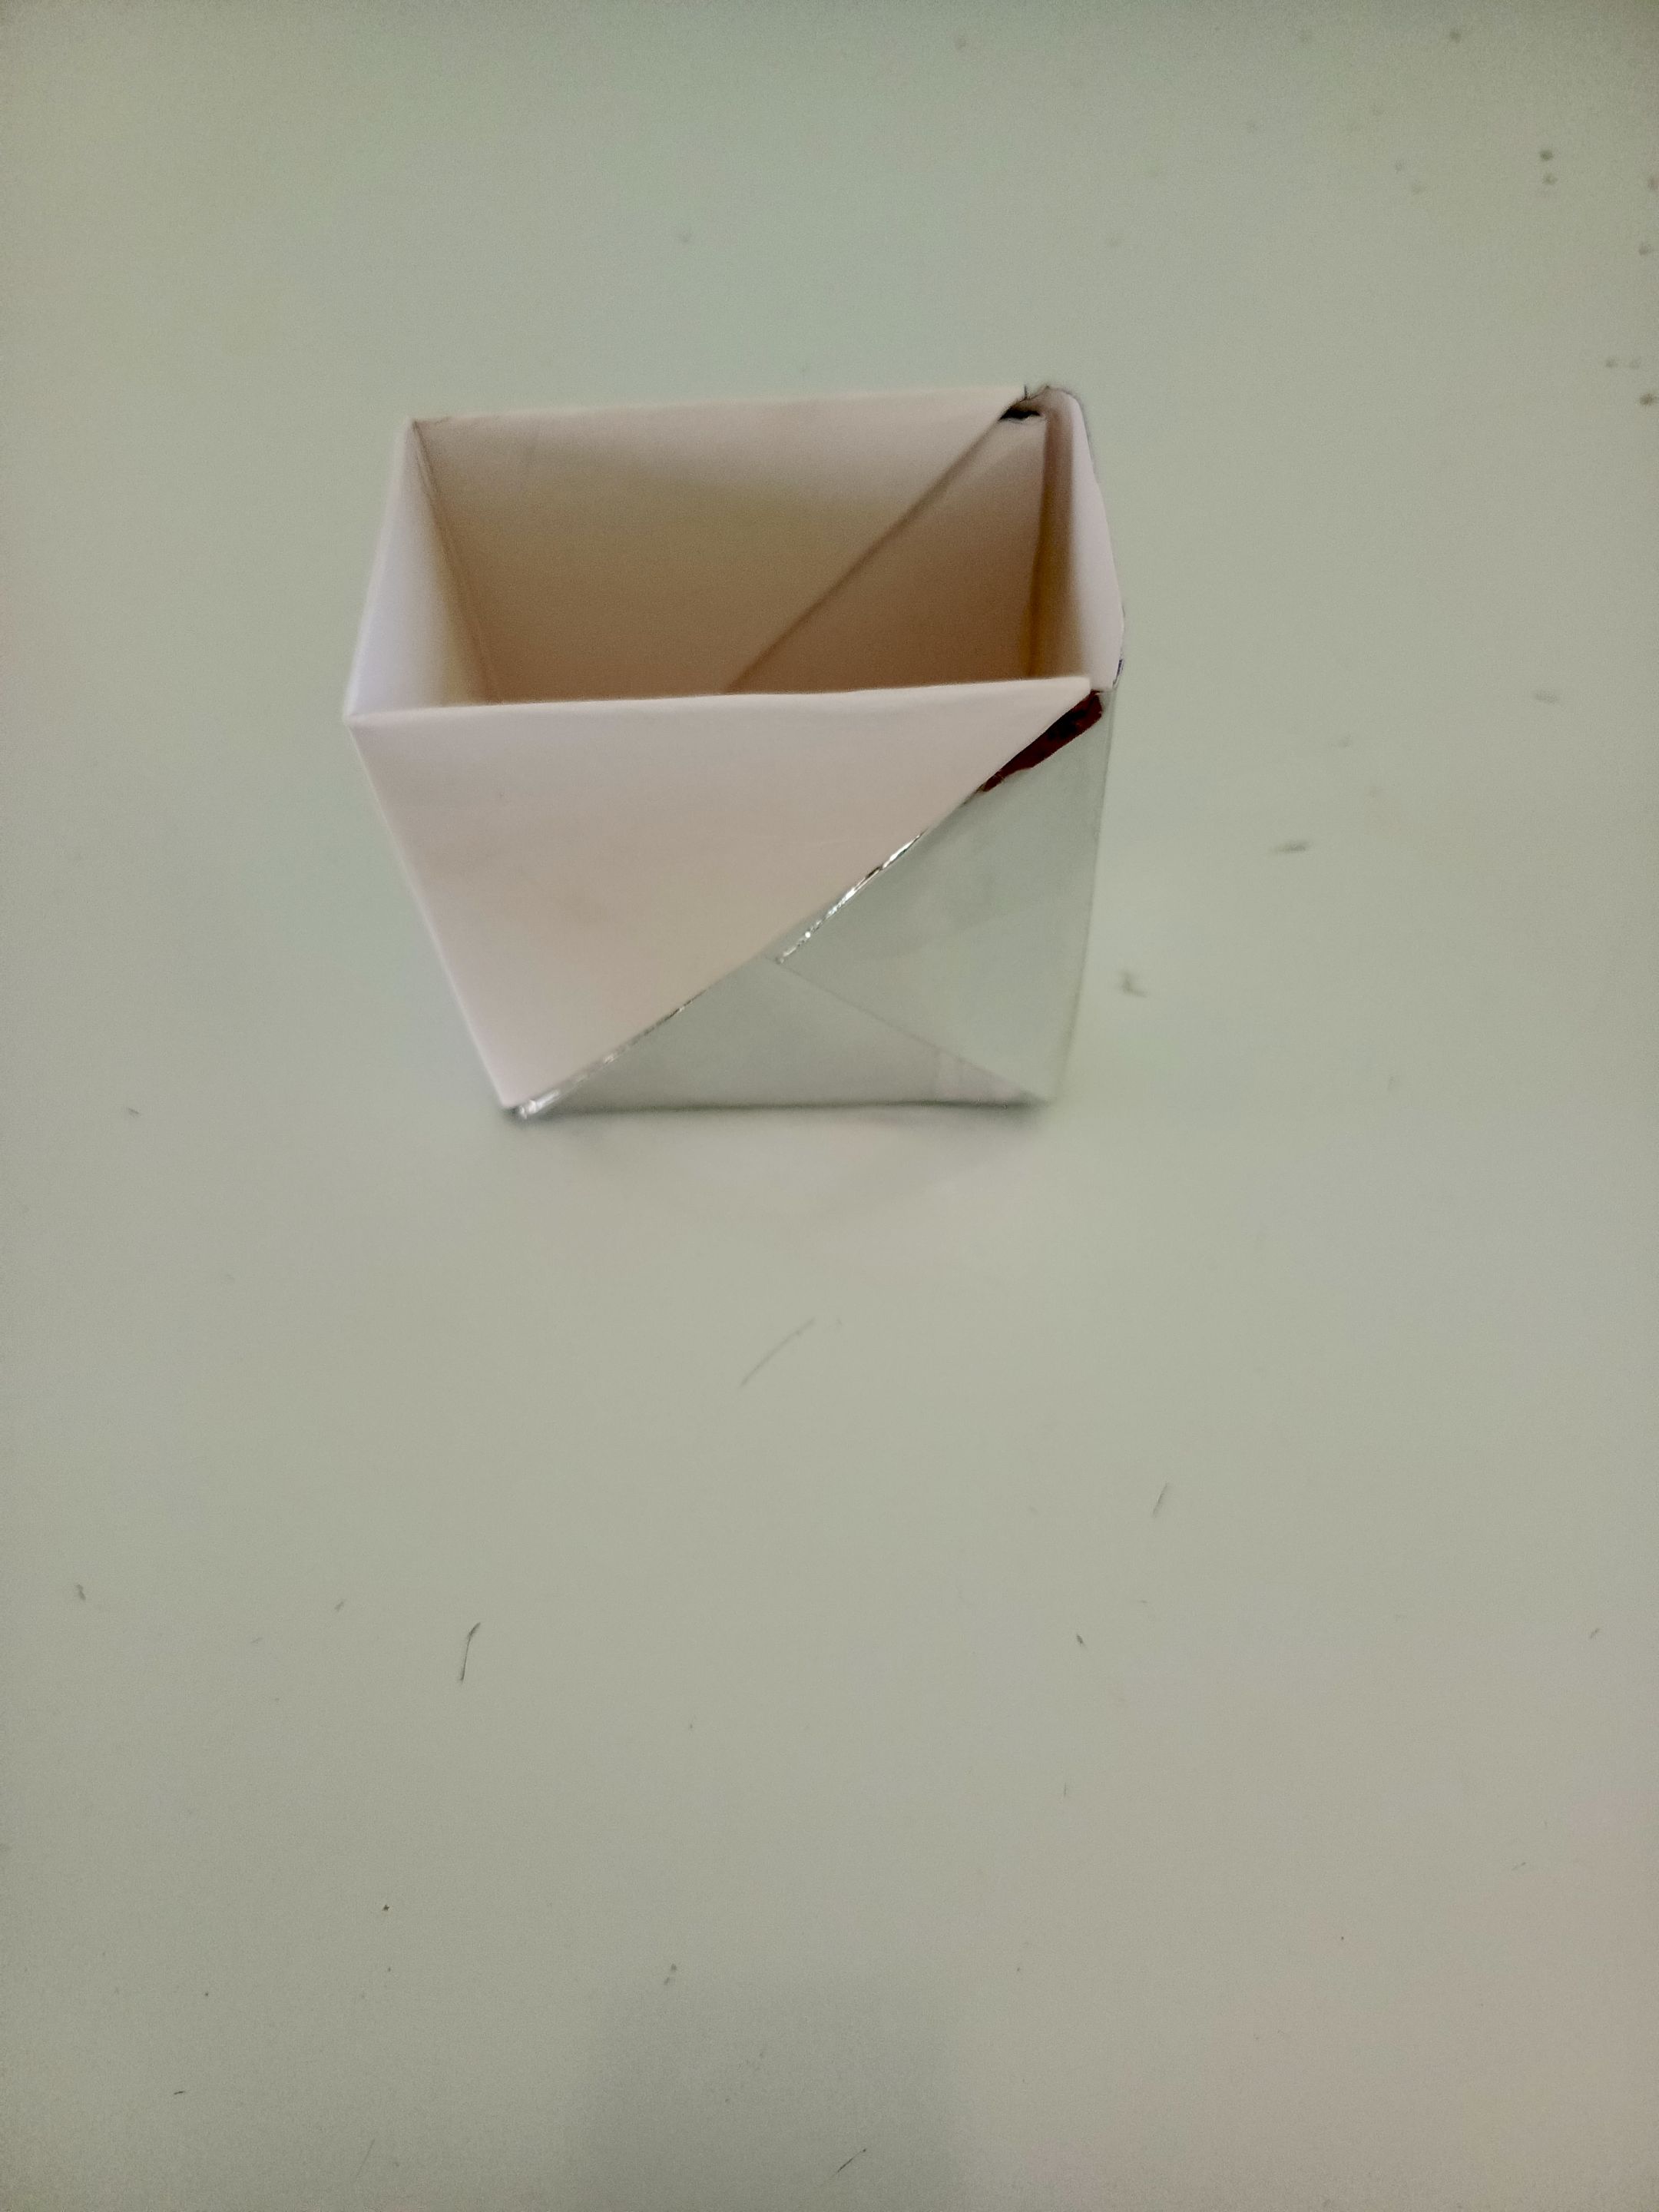
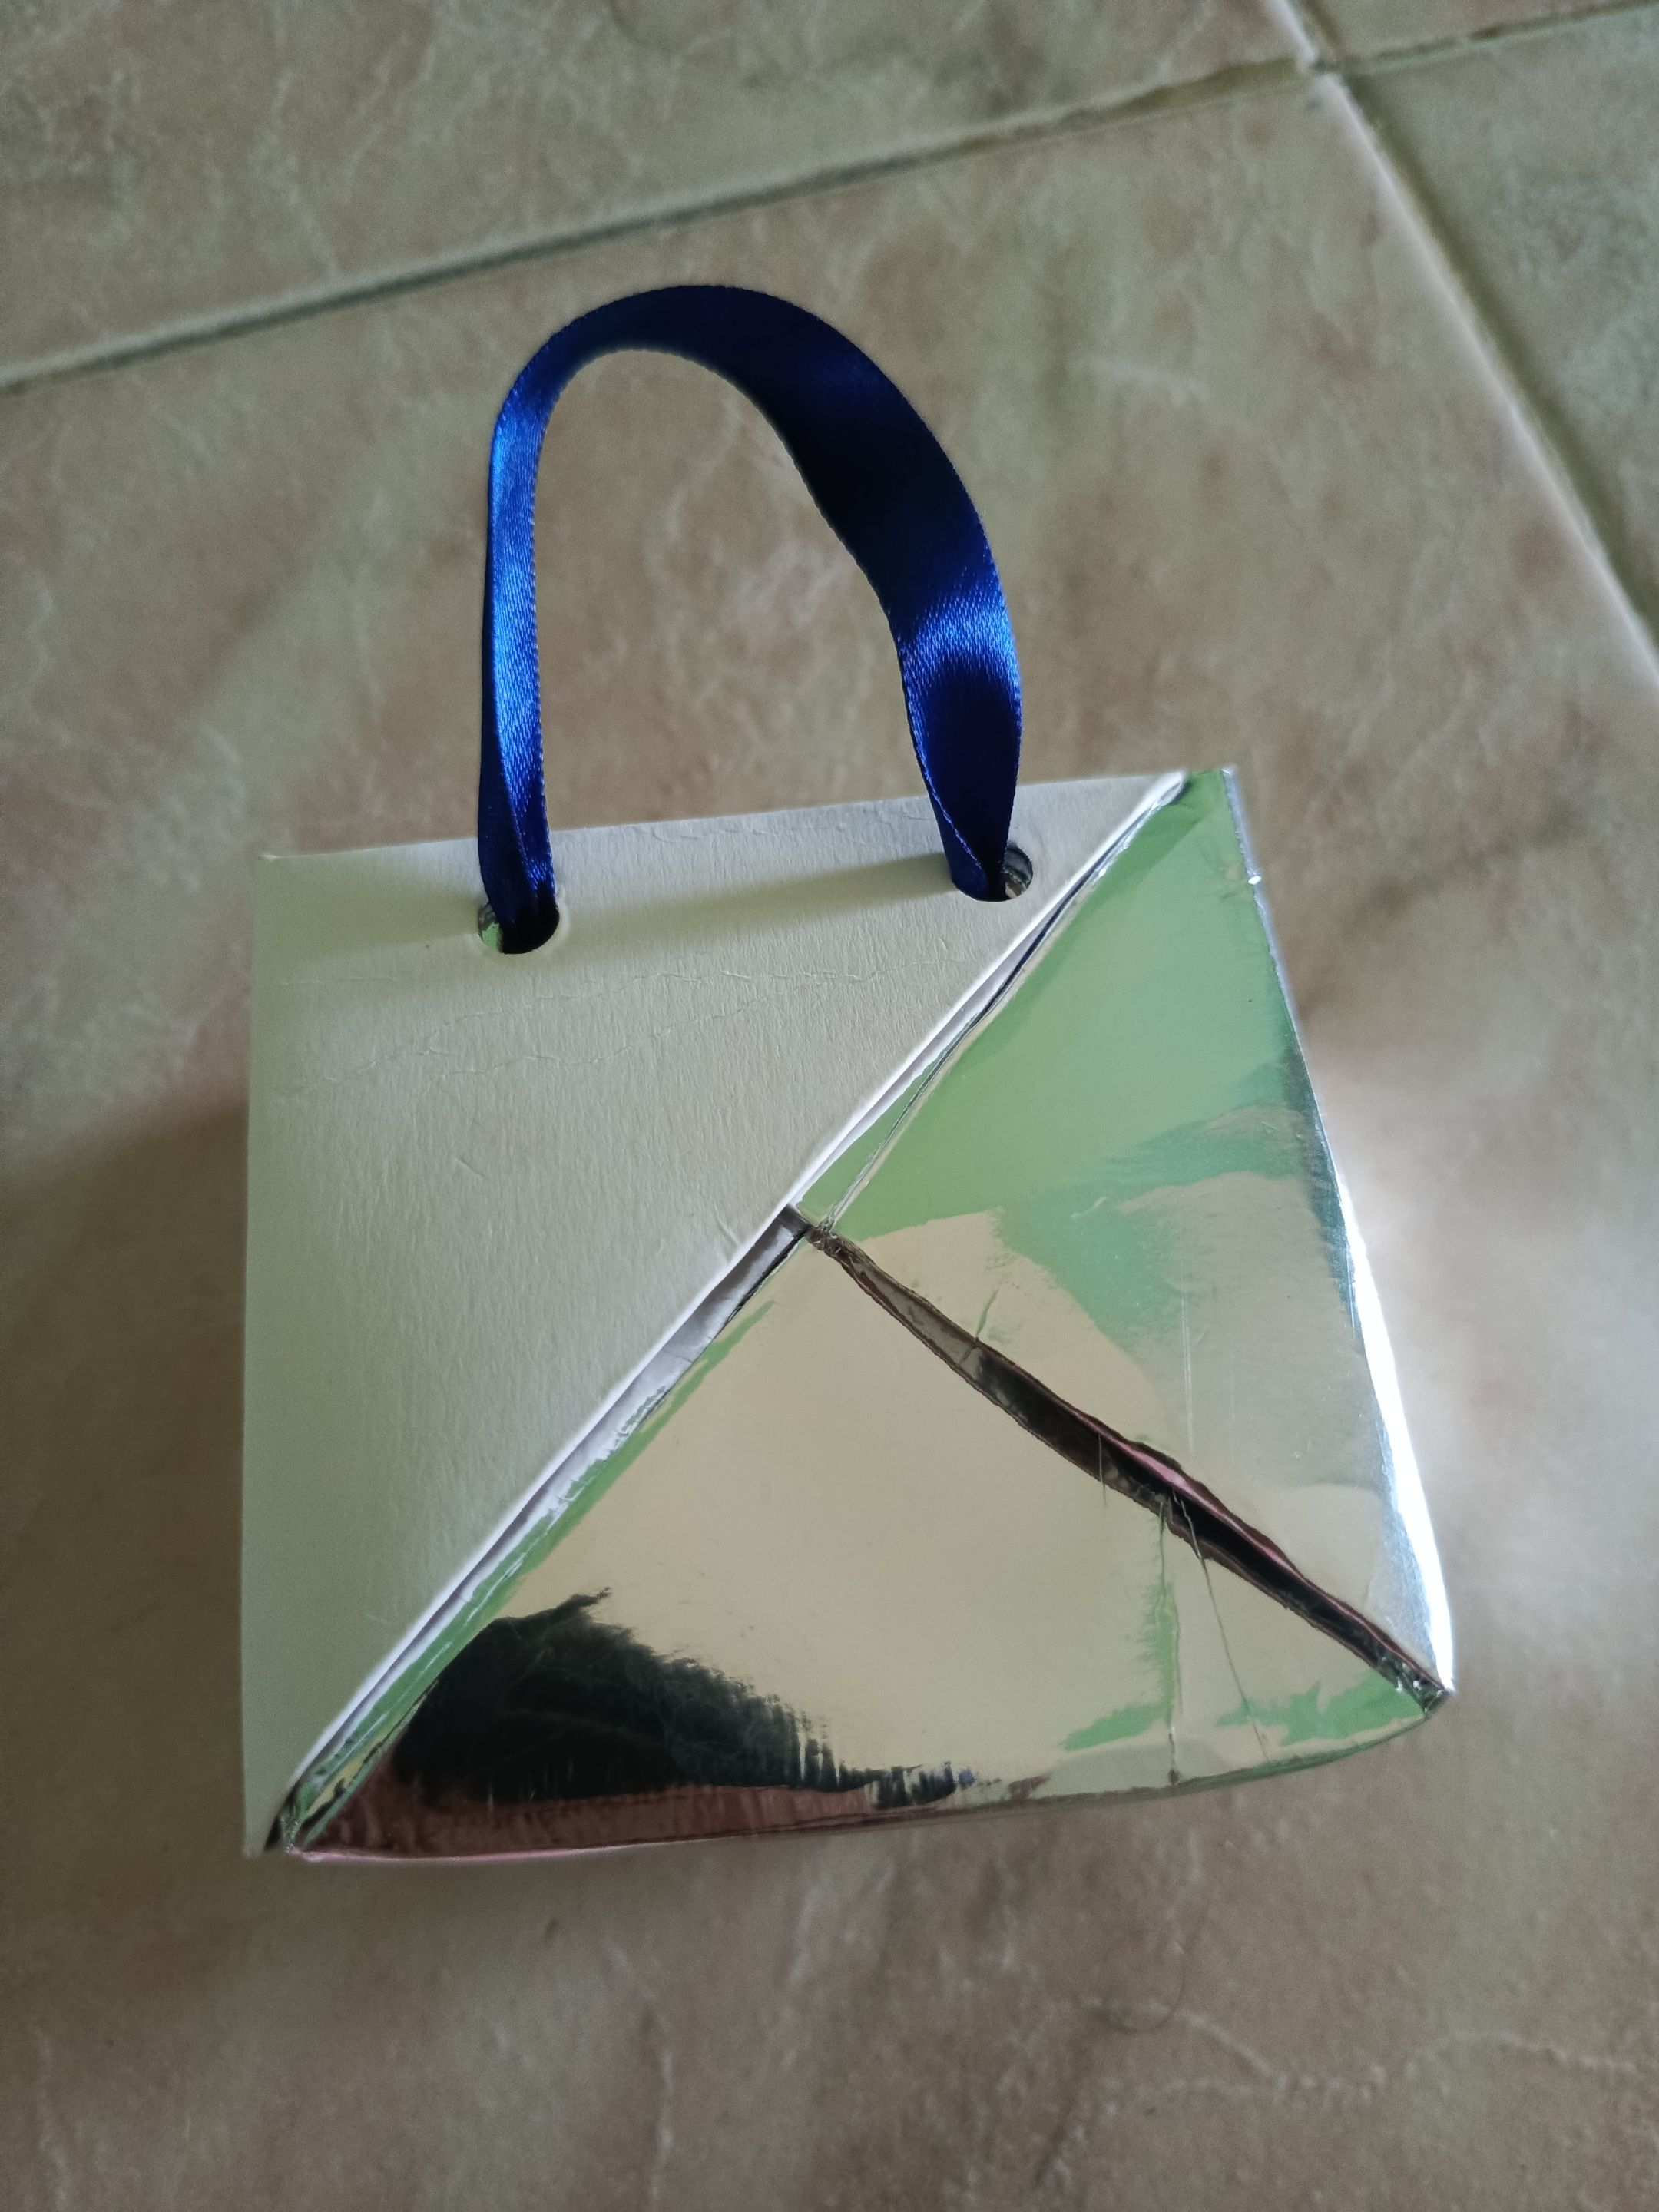
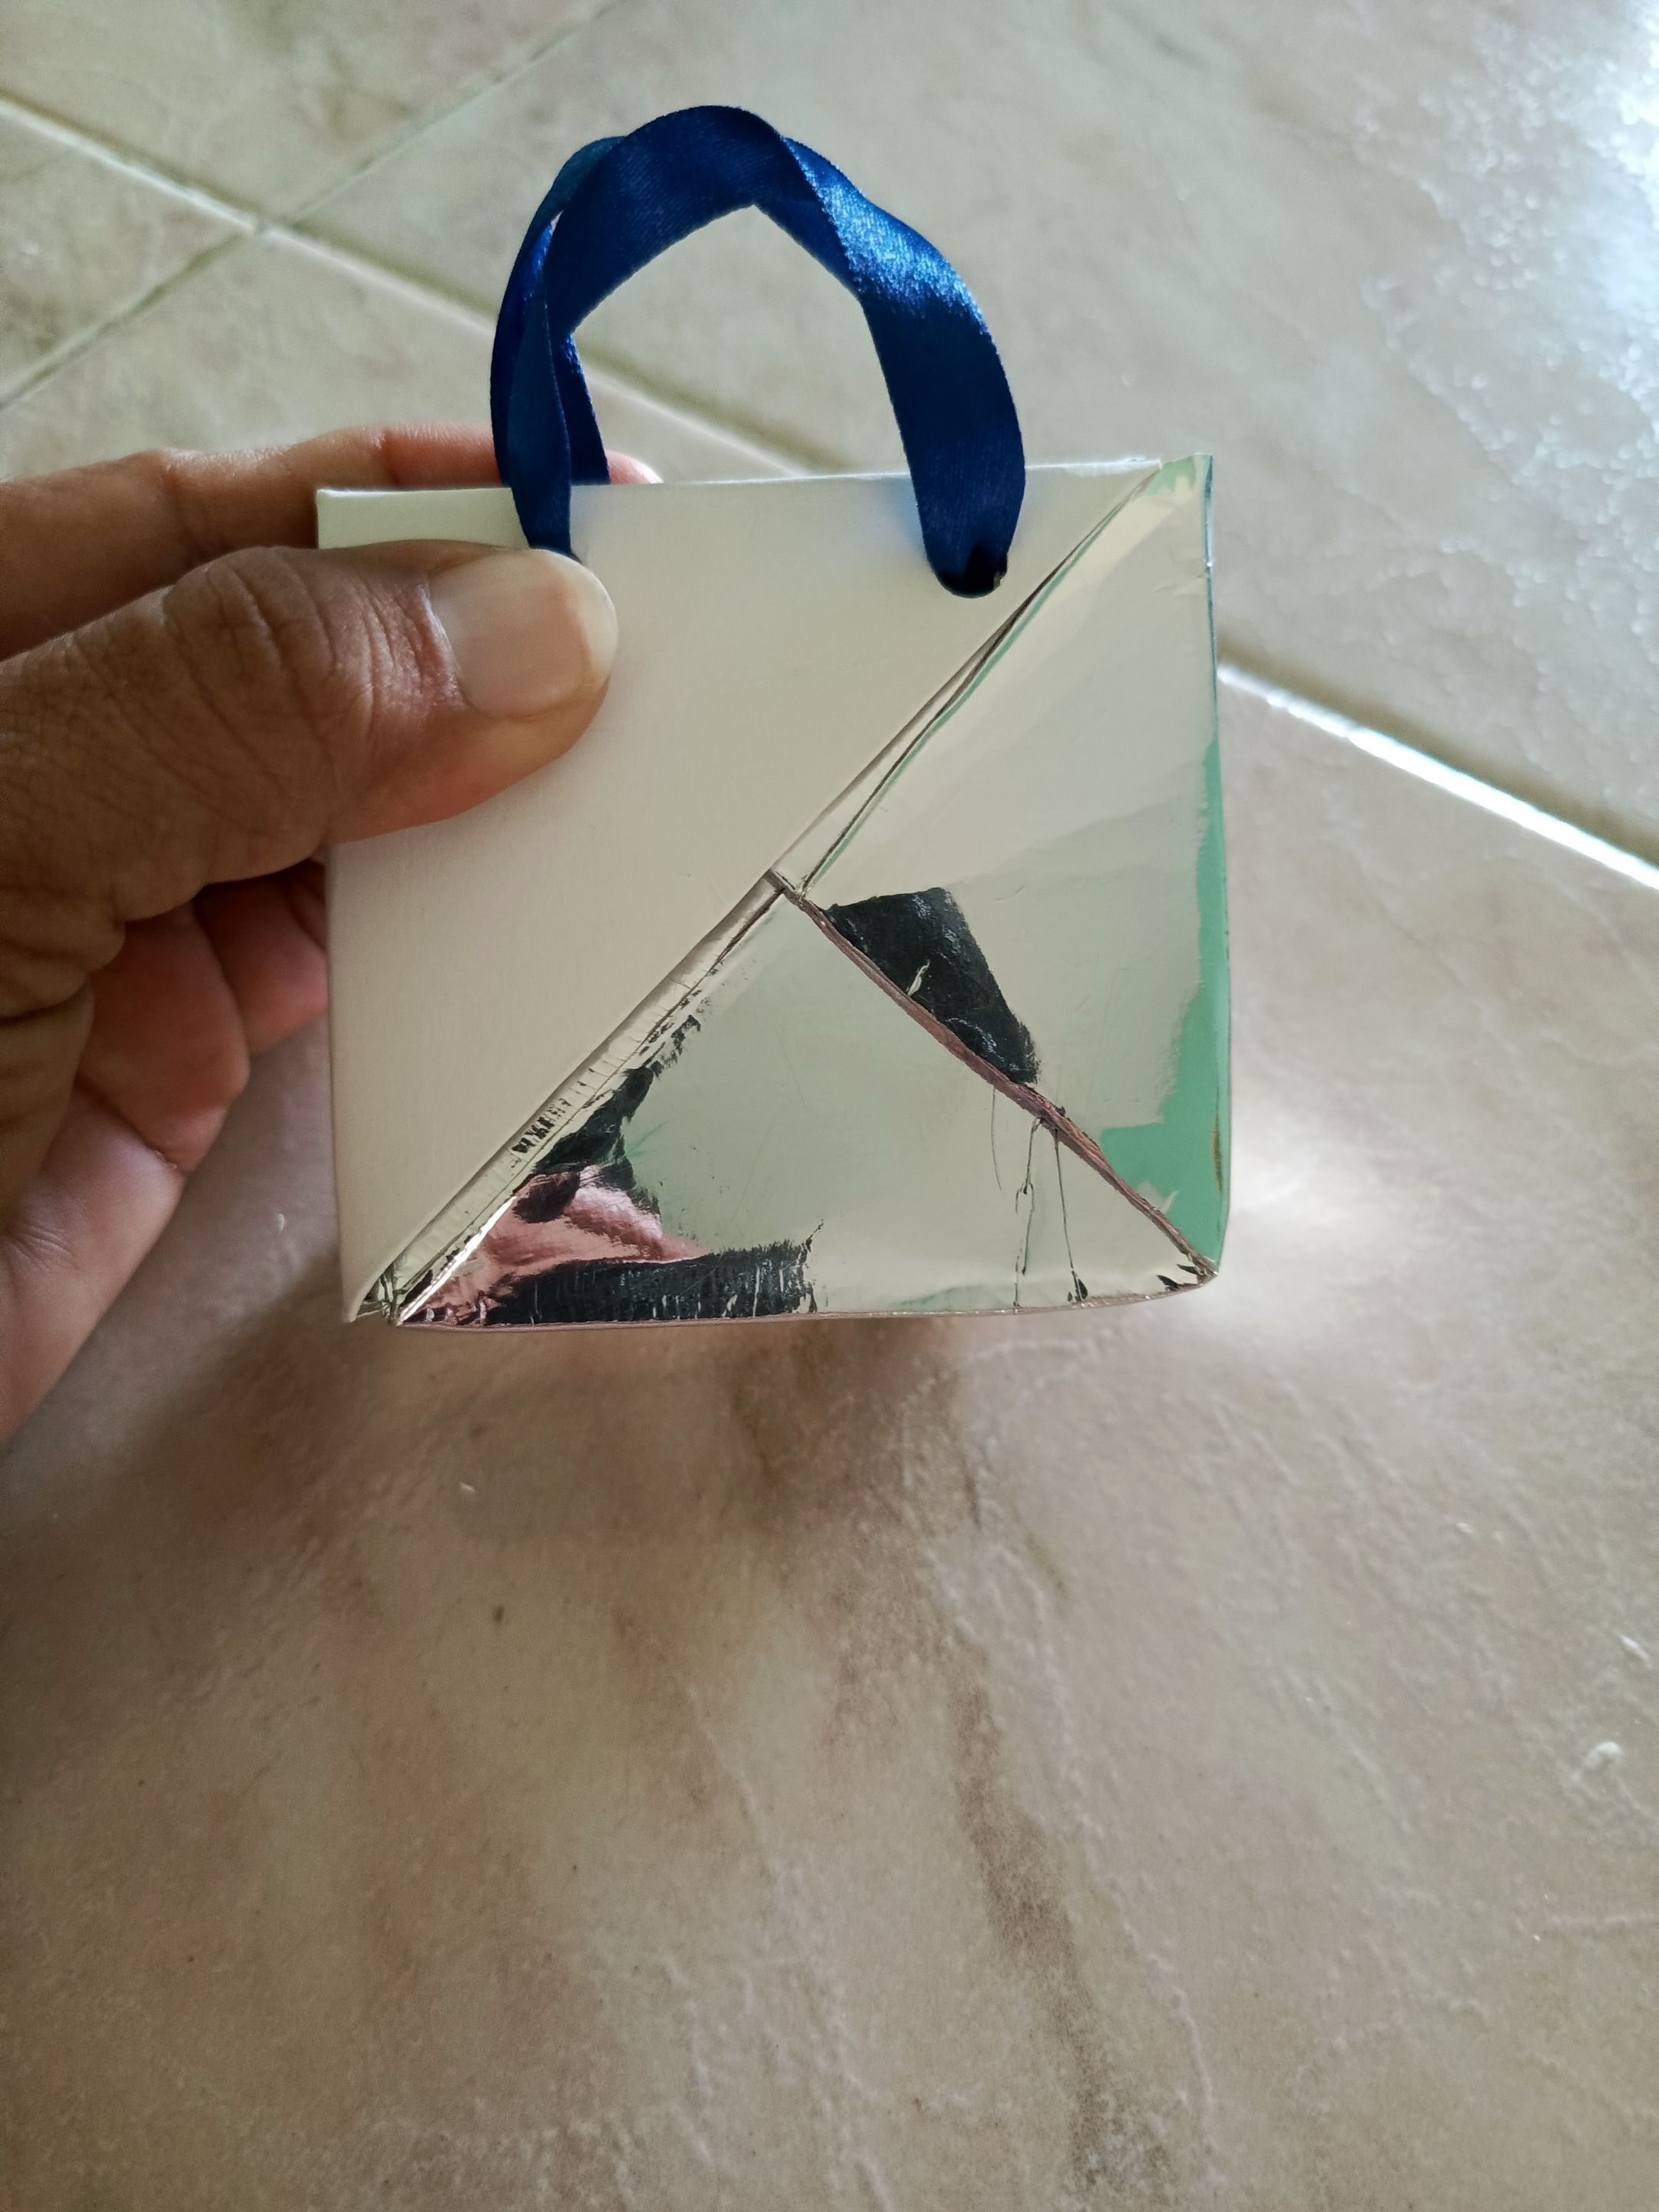
Seguidamente hacemos dos dobleces ,uno en cada lado siguiendo la misma línea del cuadro que se marcó anteriormente, esta será el tamaño de la caja ,luego vemos que se forman ya tres caras de la caja; va a quedar de cada lado la mitad del color exterior que es plateado y el interior del papel que es blanco; allí se forma como un pequeño bolsillo hacemos los doblez en la última cara e introducimos la pestaña que se forma, (allí se ve en la imagen) en el bolsillo formado y así queda lista nuestra bolsa.
**PROCEDURE**
The first thing we need to do is to cut a rectangle, depending on the size of the bag you want; I used a rectangle of 30 cm long by 20 cm wide and got a bag of approximately 10 cm high.
Once we have our rectangle ready, the first thing we do is fold it in half, mark the fold, then make a second fold, and unfold it.
Then we place the rectangle, so that the fold in the middle is on the bottom, that is, on the top are the two sides that are open; at the bottom we mark two triangles as shown in the image by matching the line of the second fold, then we take some of the sides that are loose at the top and also mark two triangles and this will form two squares which will be the size of the box.
Then we make two folds, one on each side following the same line of the box that was previously marked, this will be the size of the box, then we see that three sides of the box are already formed; it will be on each side half of the outer color that is silver and the inside of the paper that is white; there is formed as a small pocket we make the folds on the last side and introduce the tab that is formed, (there is seen in the image) in the pocket formed and thus our bag is ready.
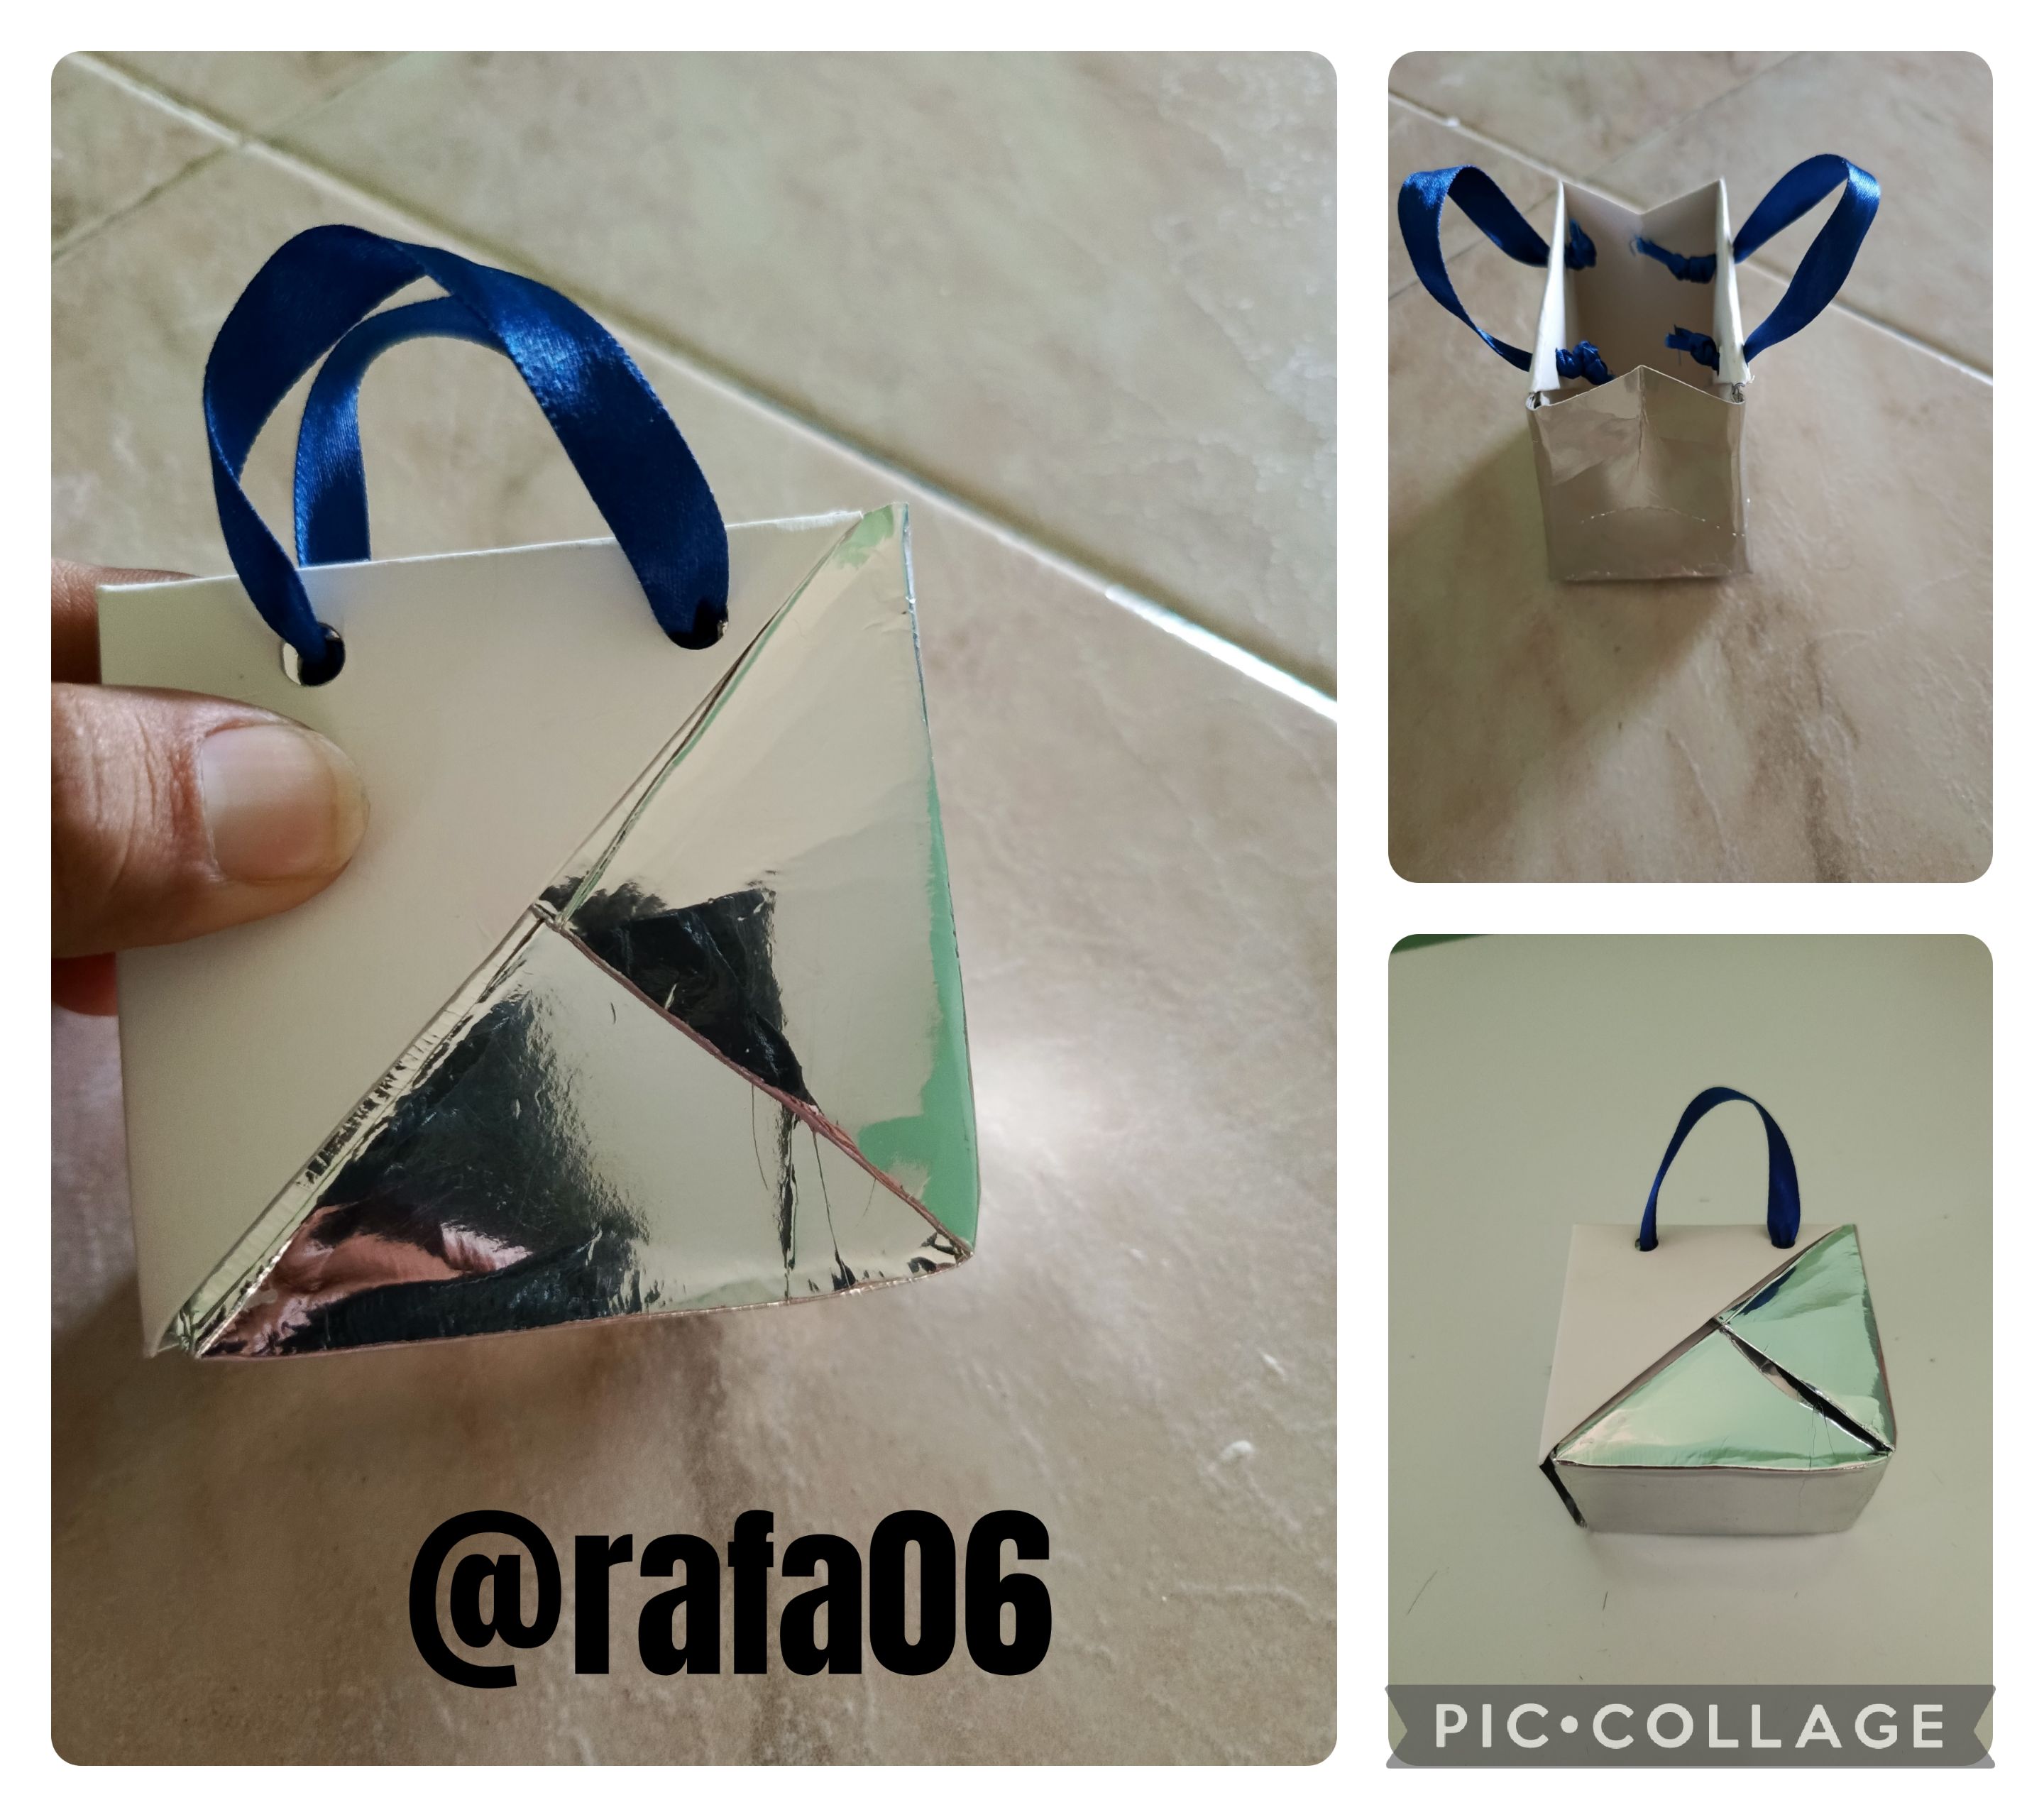
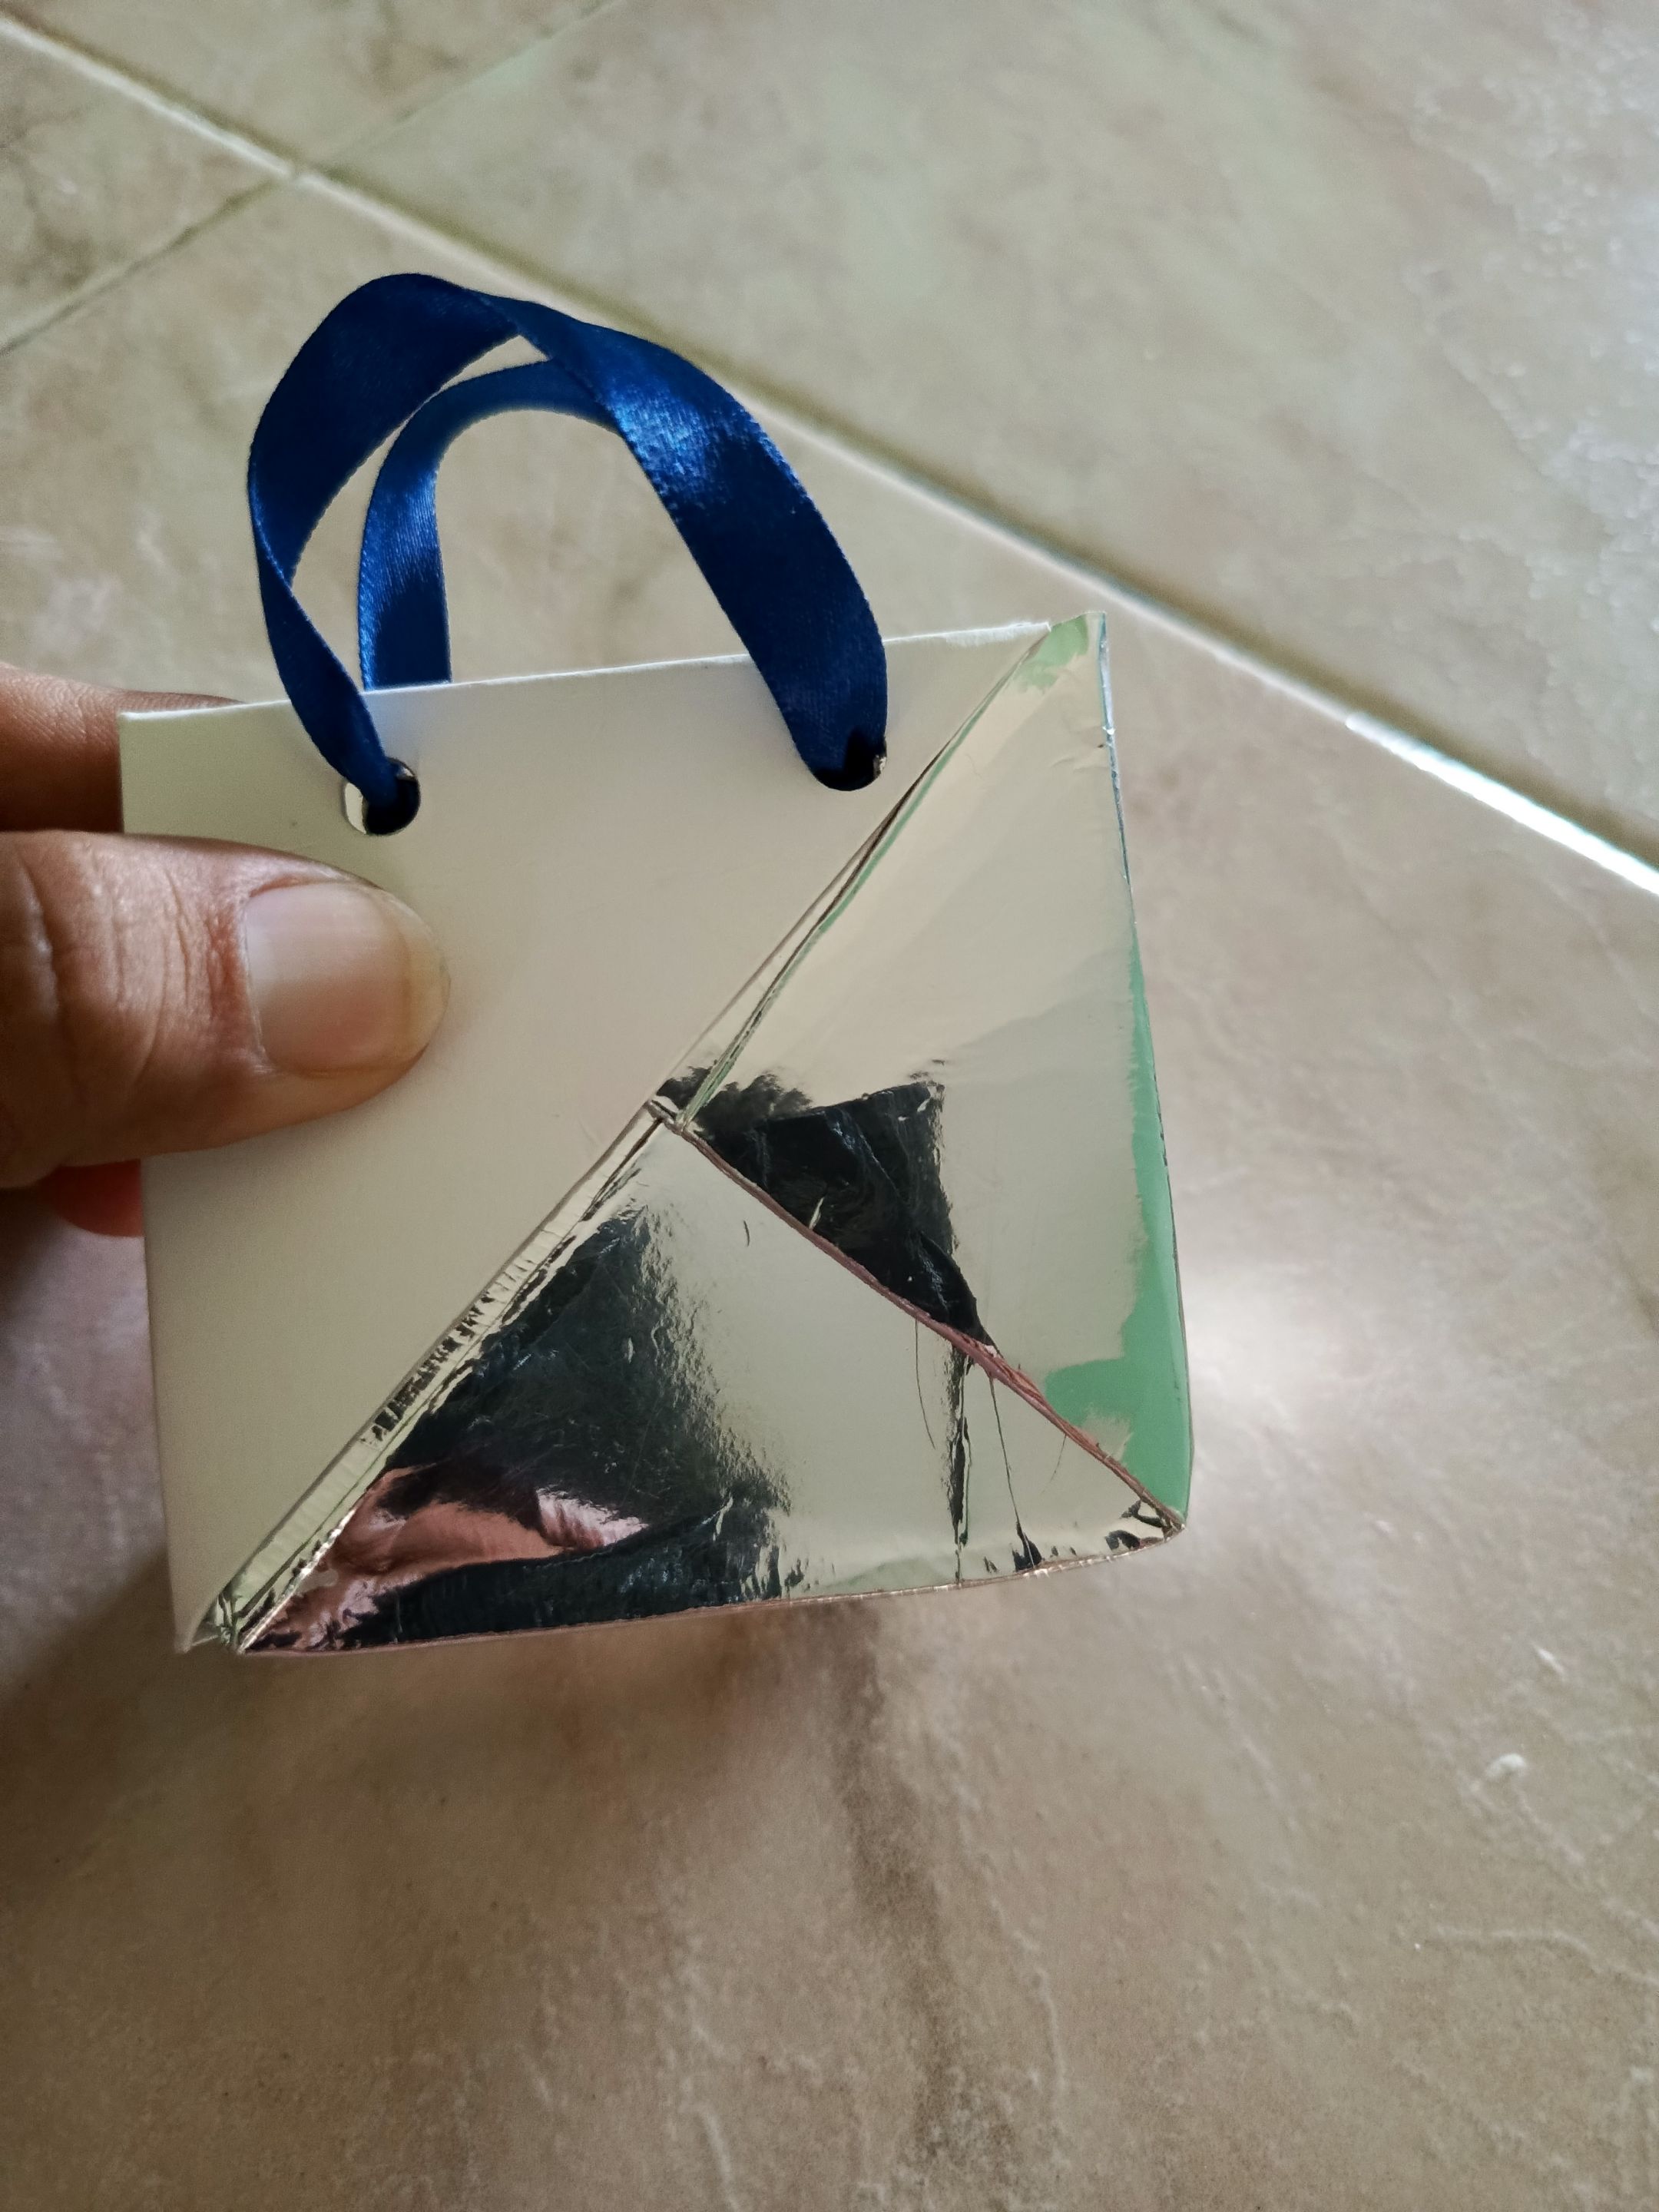
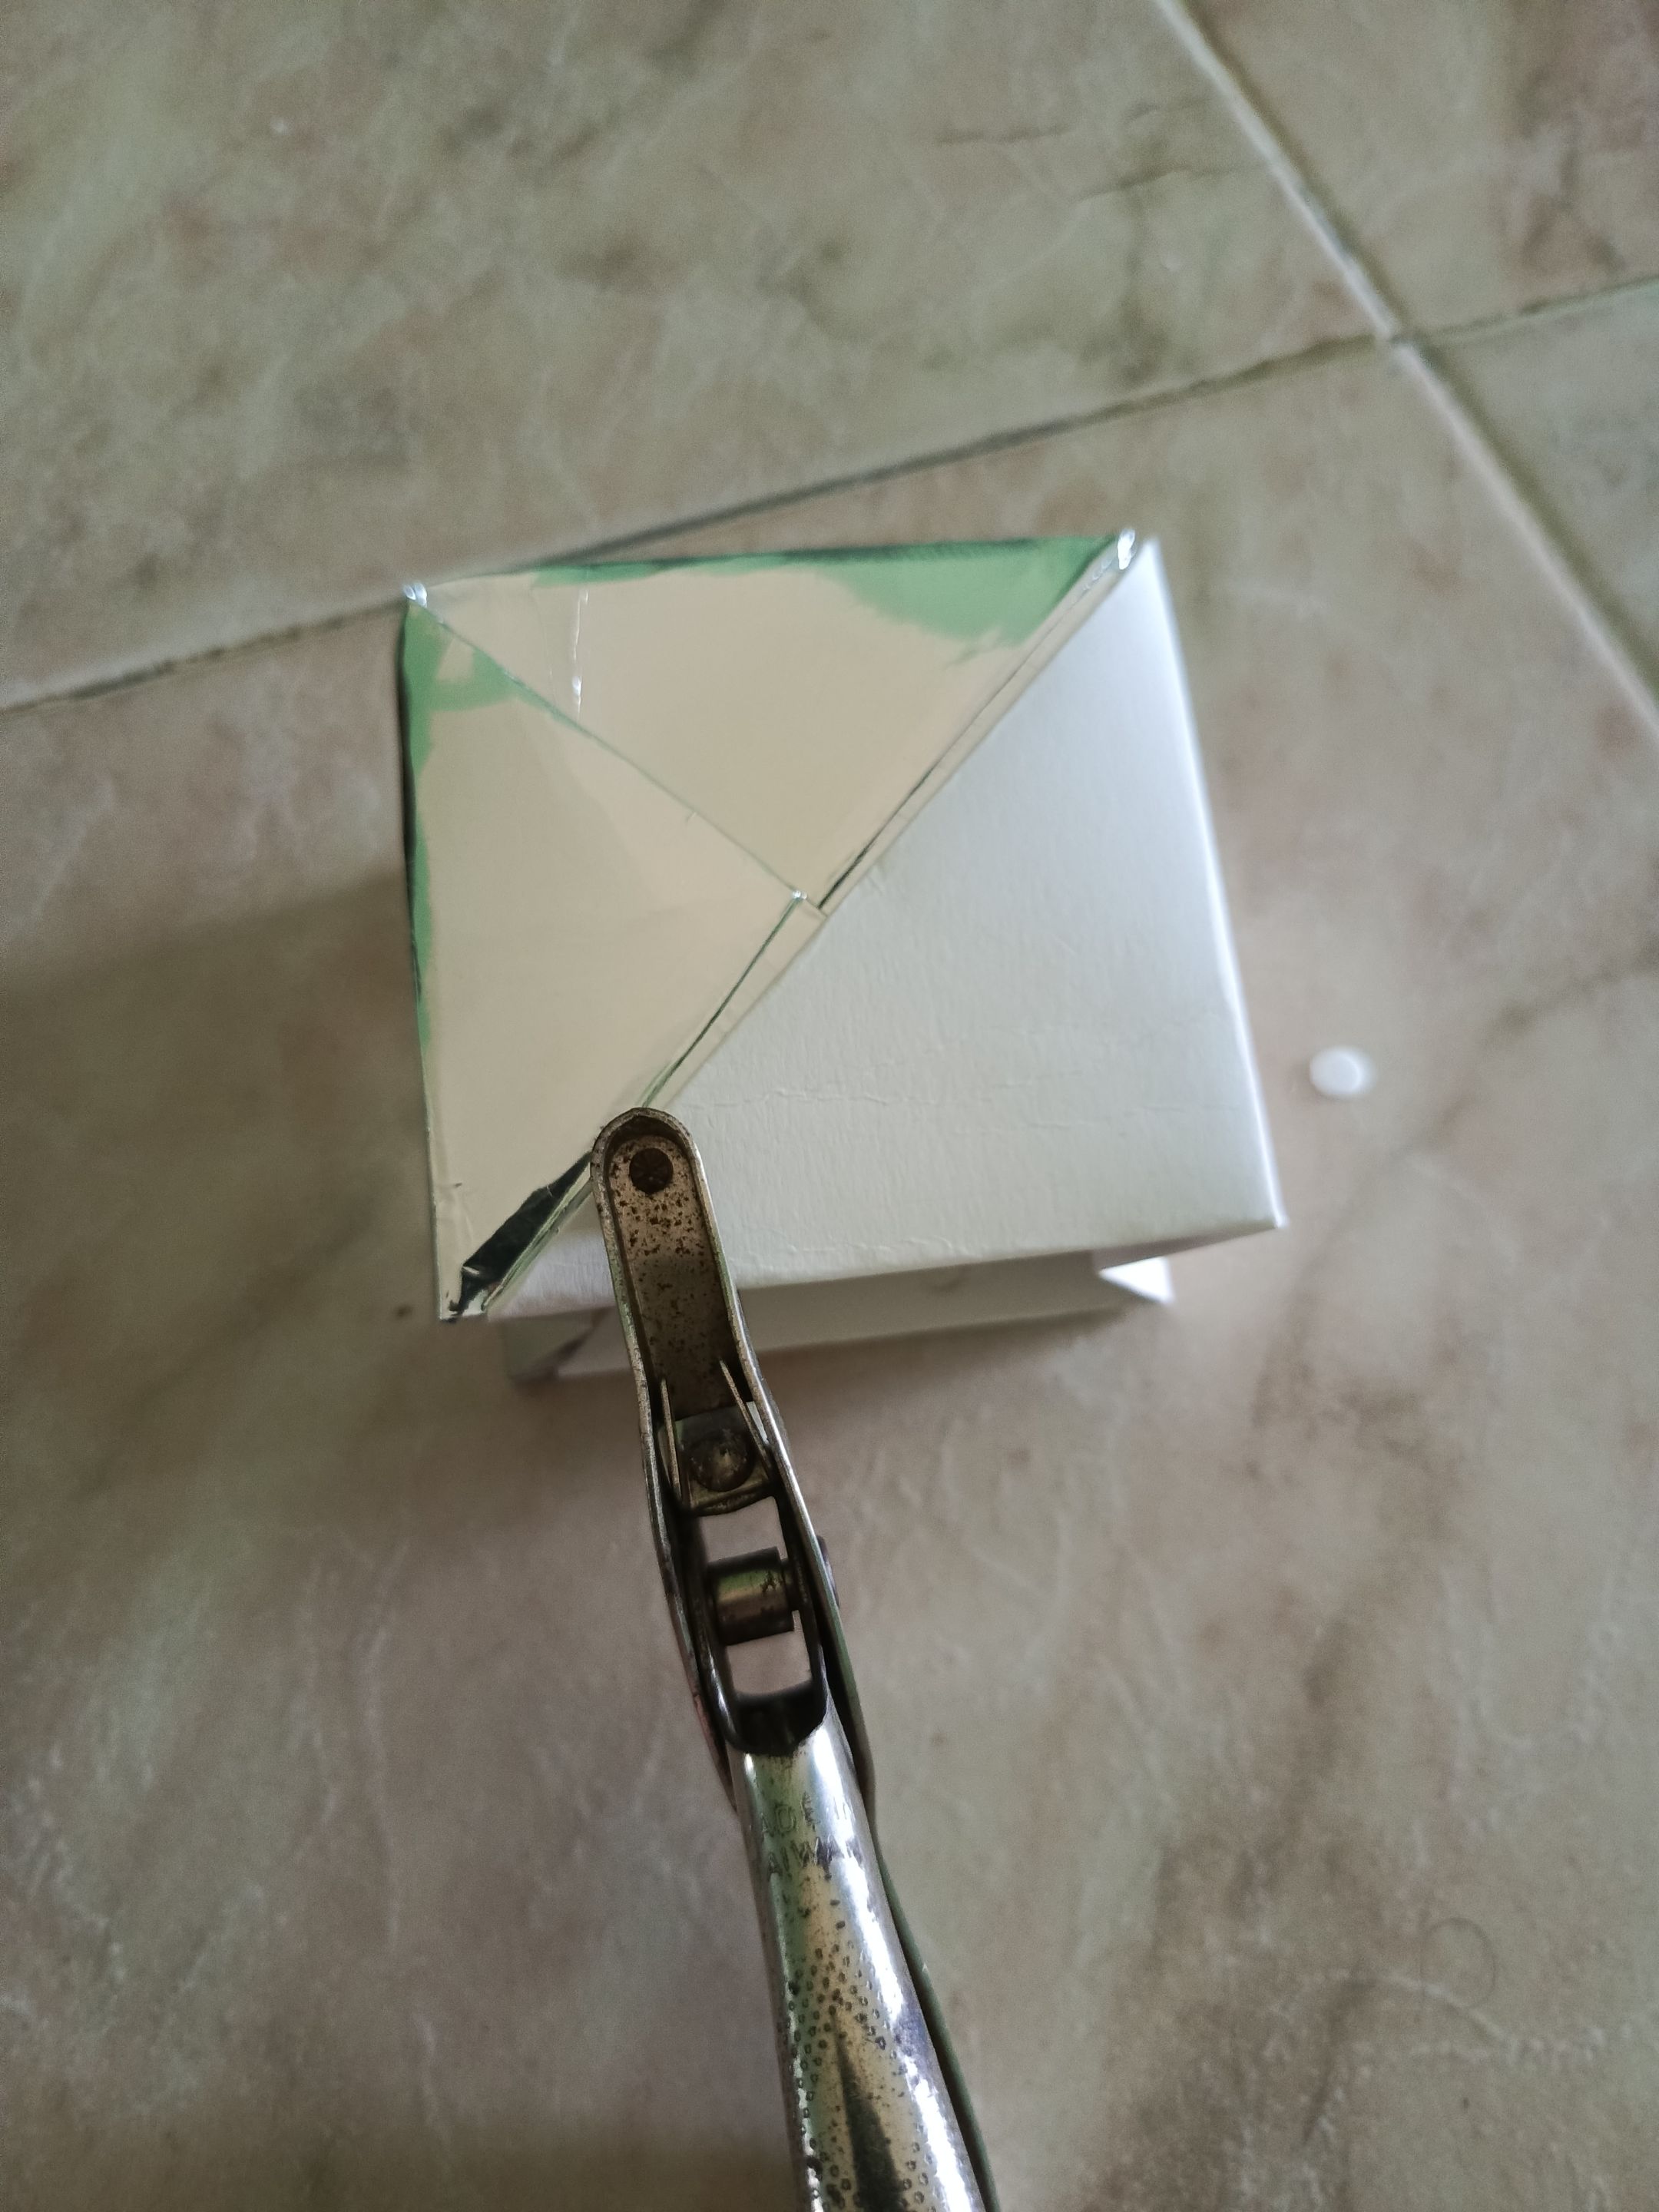
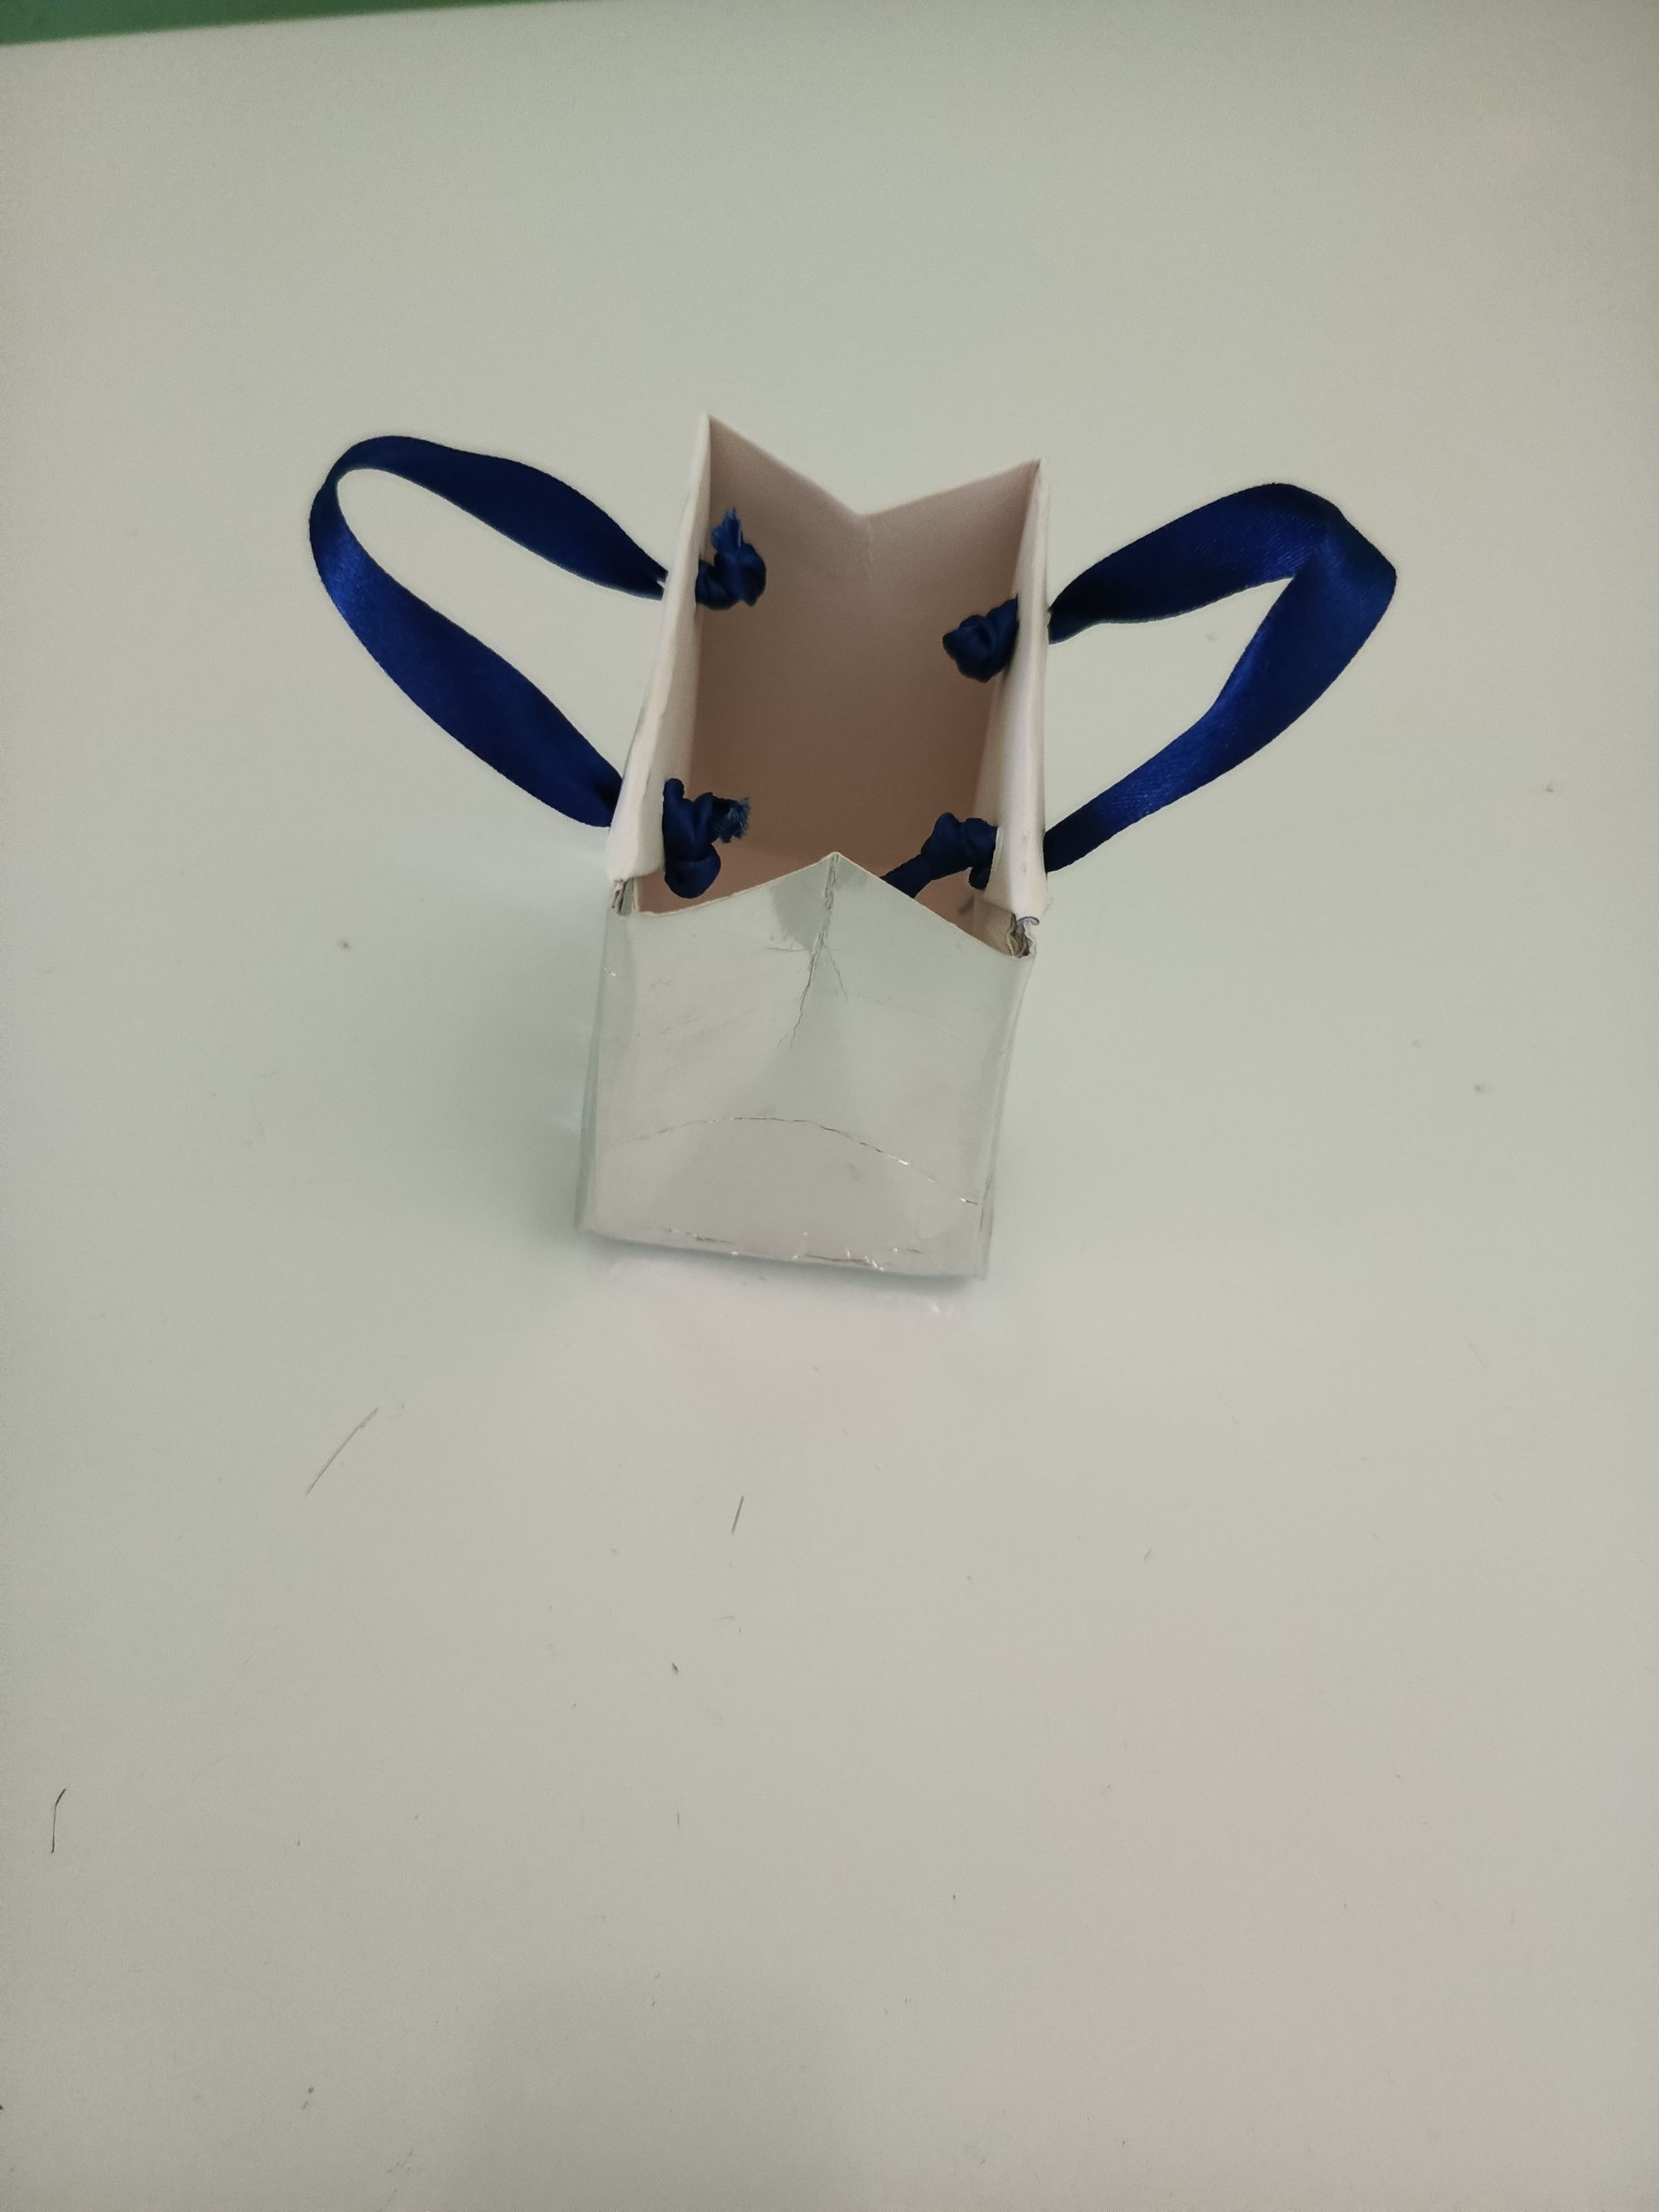
Finalmente utilizando un perforador marcamos el lugar donde van las cintas; yo utilicé una cinta de color azul y colocamos el colgadero de la bolsa haciendo un nudo en la parte interior.
Finally, using a hole punch, we mark the place where the ribbons will go; I used a blue ribbon and we place the hangers of the bag making a knot on the inside.
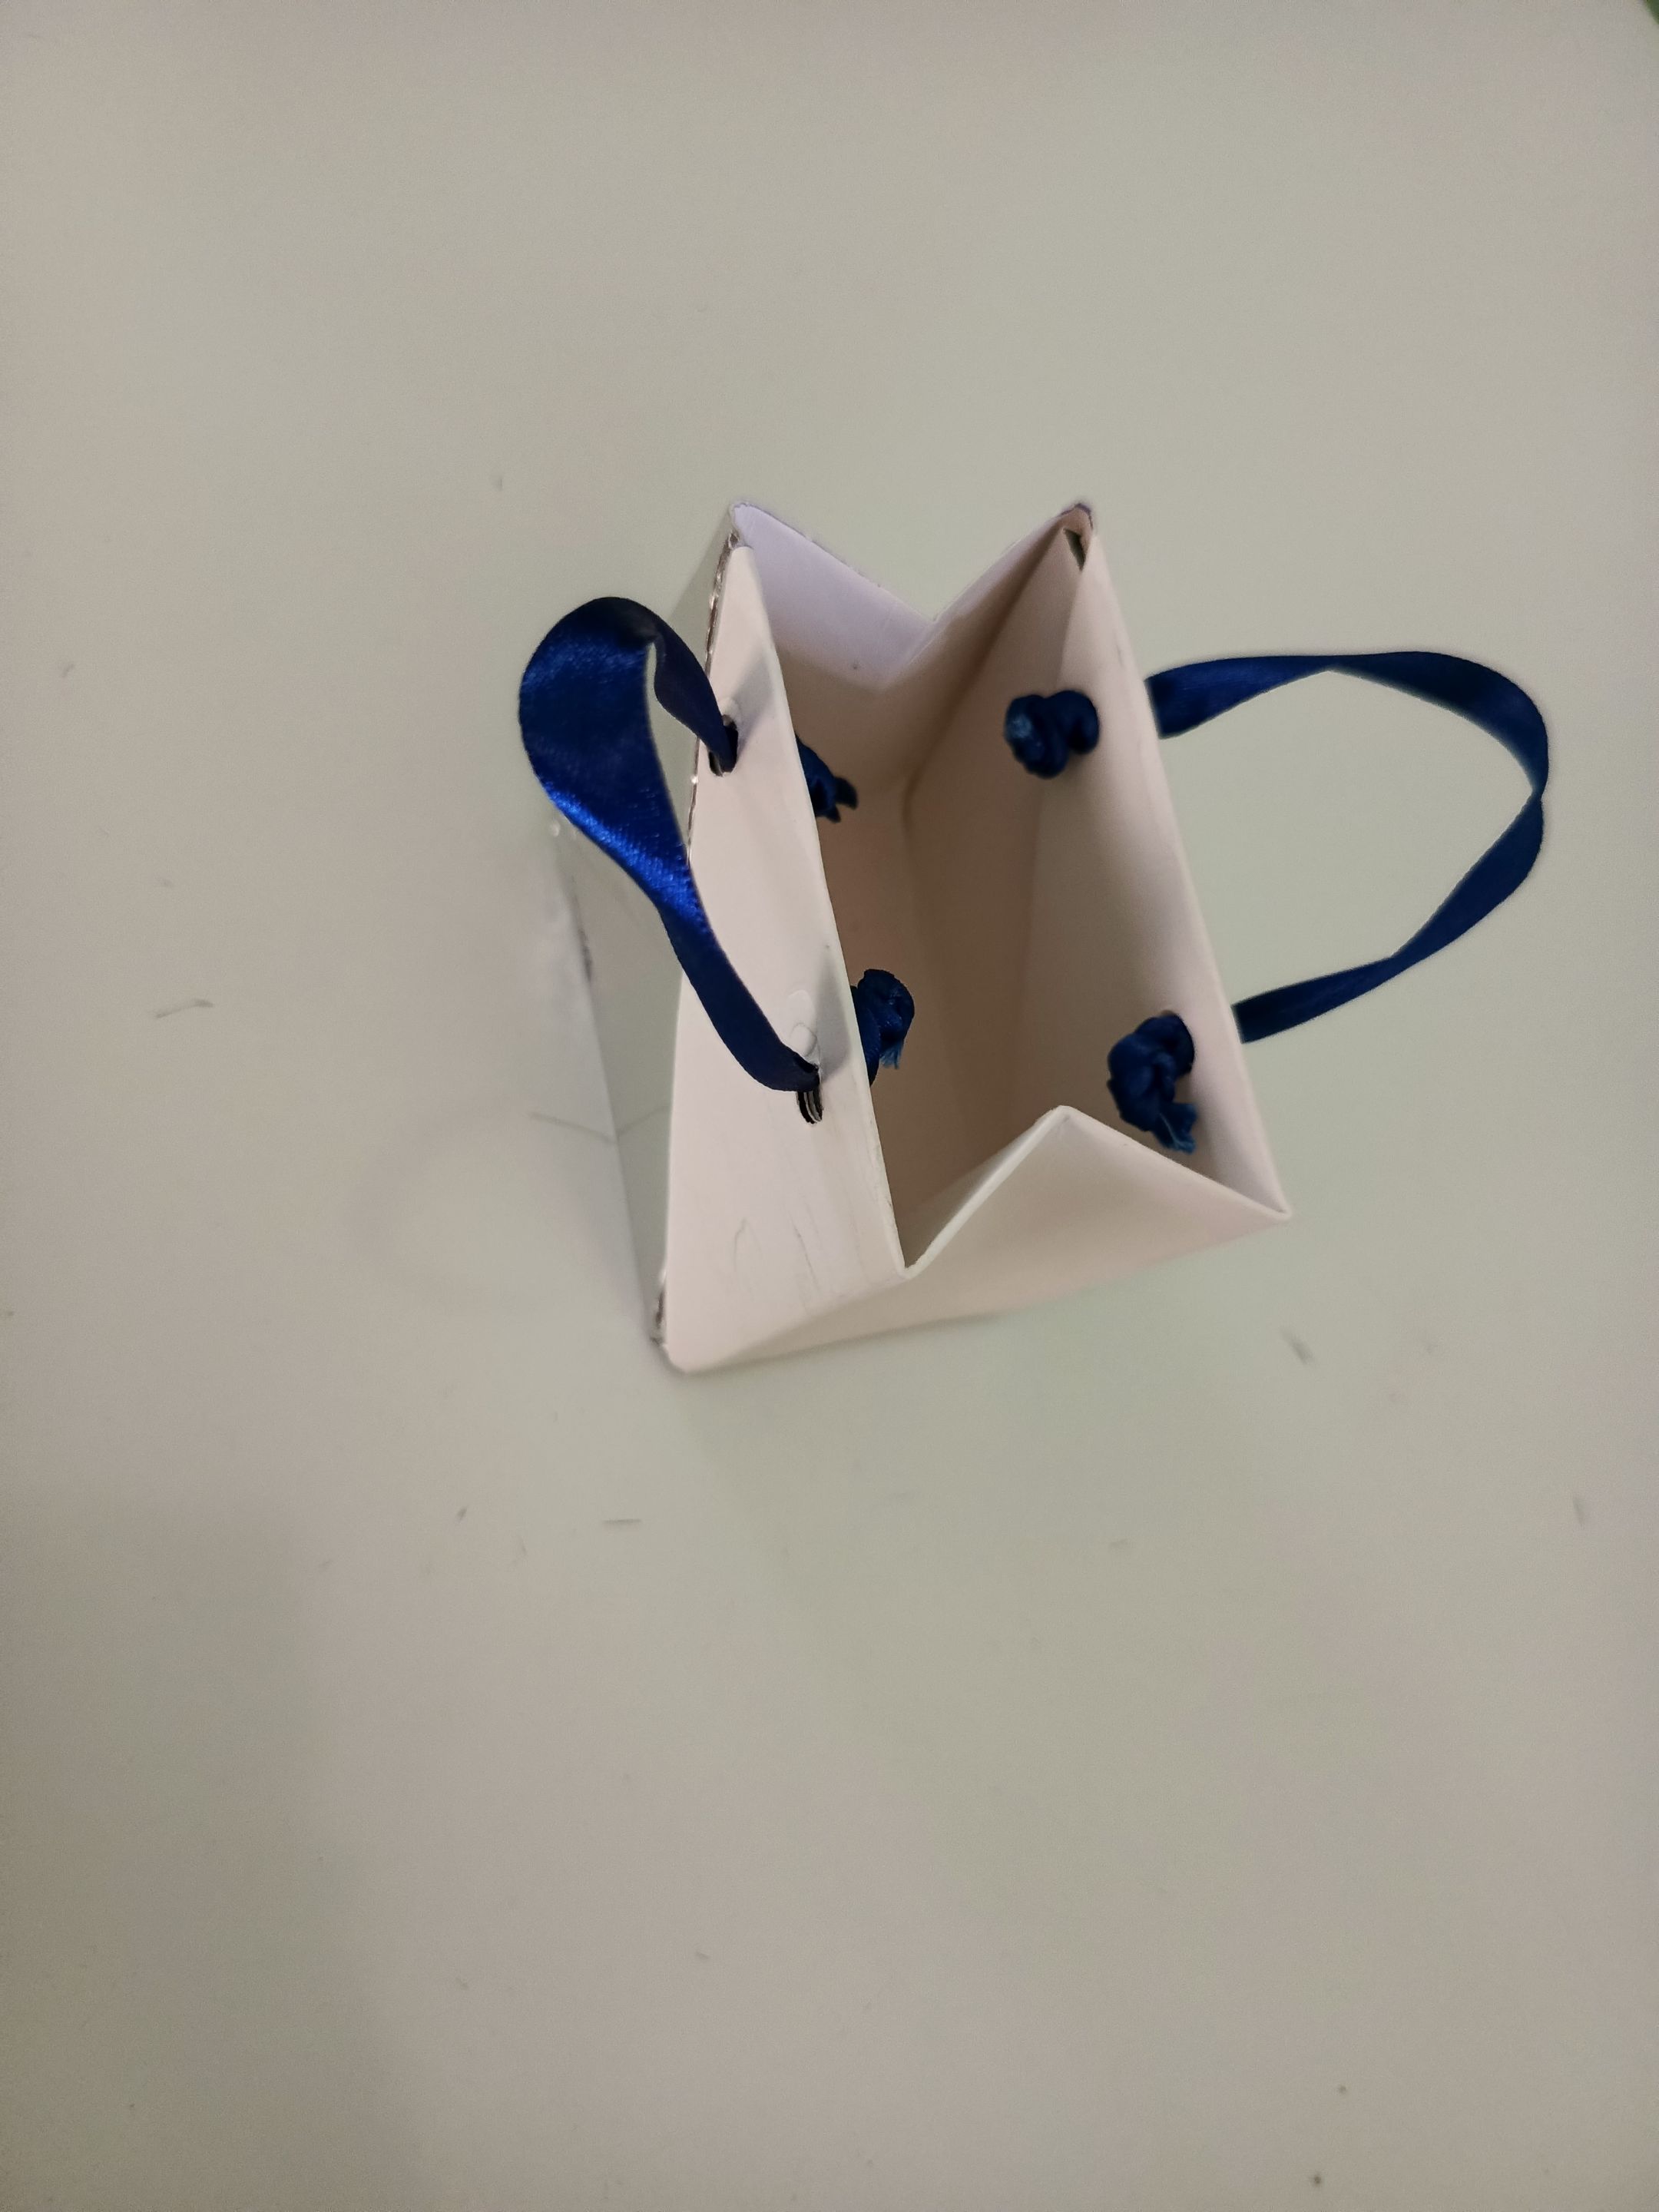
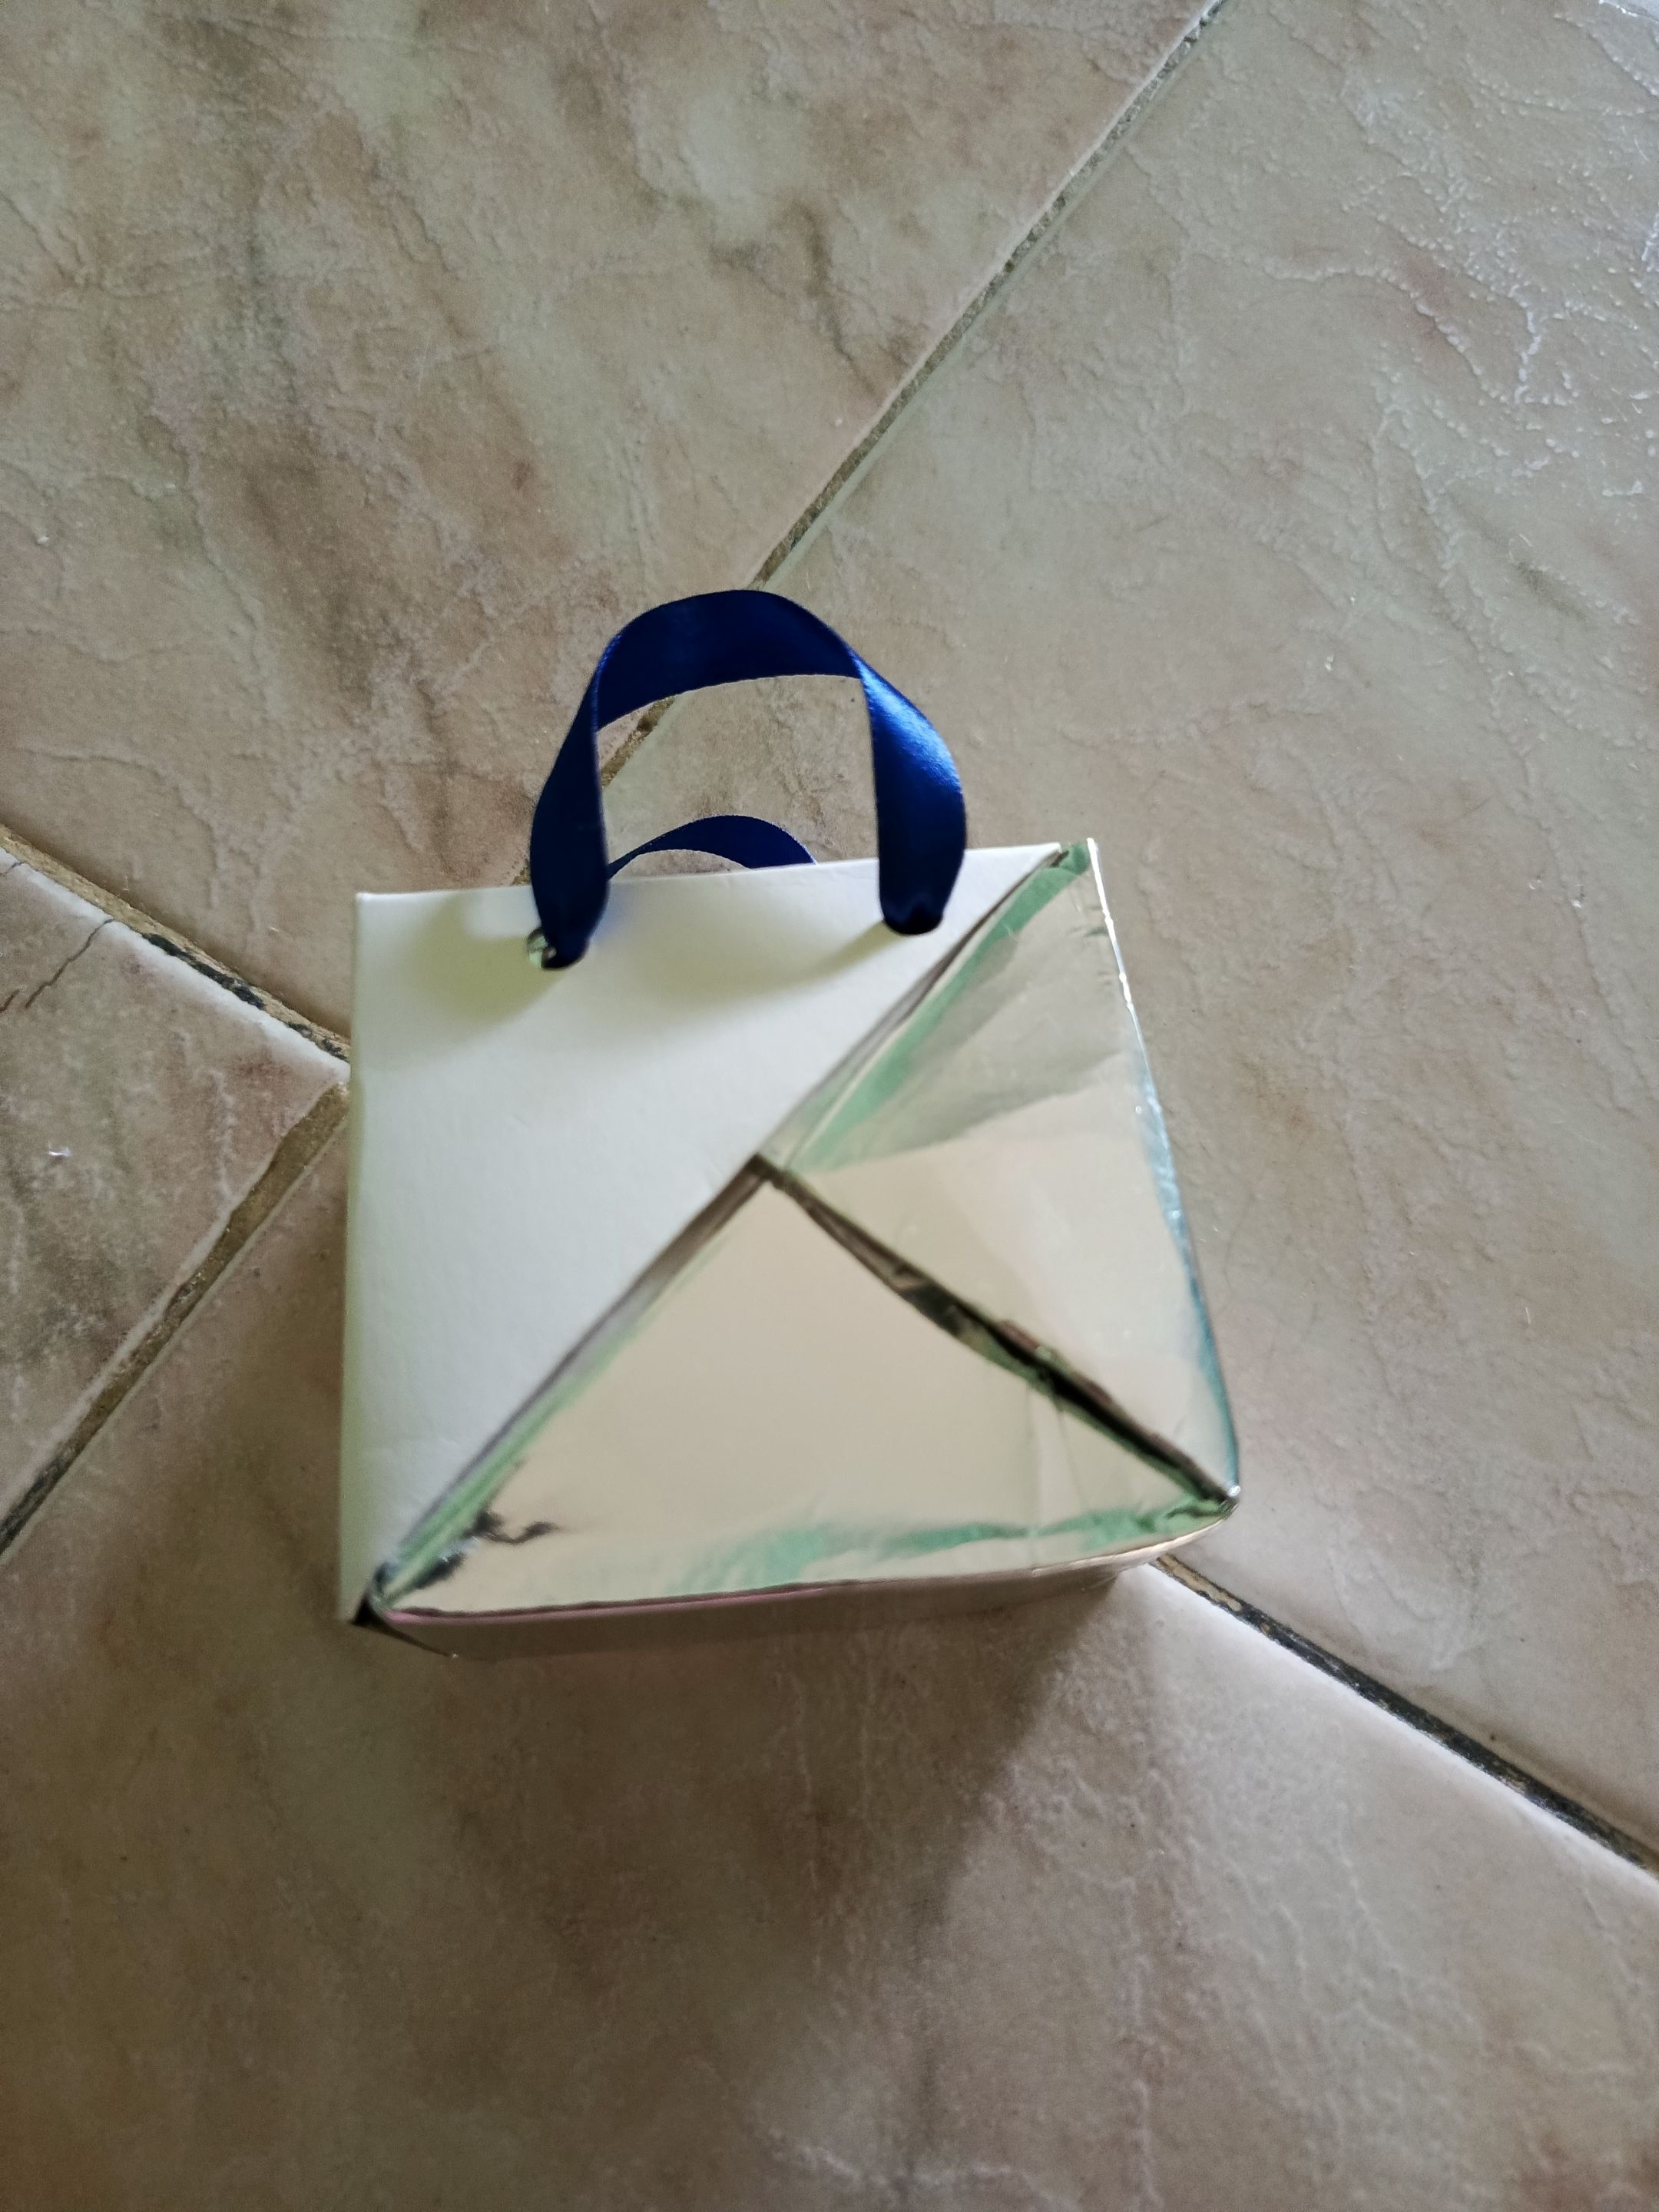
Y así queda lista esta nueva propuesta de bolsa de regalo 🎁 que de seguro en algún momento lo vamos a necesitar.
Espero te sea de gran ayuda, nos vemos en la próxima entrega!
And so is ready this new proposal of gift bag 🎁 that for sure at some point we will need it.
I hope it will be of great help, see you in the next installment!


Translated with https://www.deepl.com/translator Todas las imágenes son de mi autoría All images are my own
#hivediy
#handmade
#manualidades
#crafts
#tutorial
#neoxian
#creativecoin
#spanish
Payout: 7.157 HBD
Votes: 226
More interactions (upvote, reblog, reply) coming soon.