###### ✨¡Hola amigos amantes de la creatividad! Espero que estén todos bien.✨
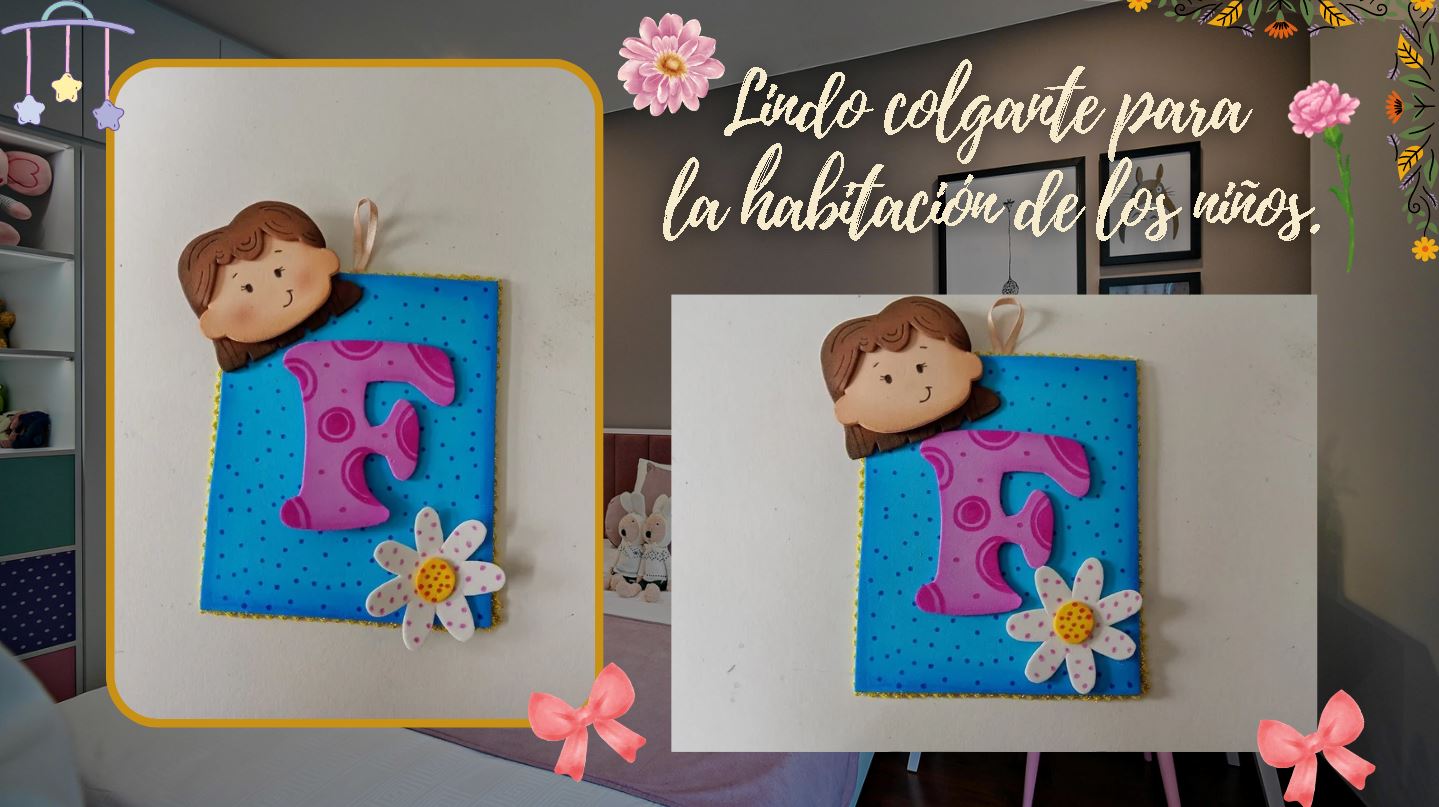
¡Buenas tardes, amigos! Espero que estén pasando una excelente semana. Por mi parte, estoy contenta de pasar por aquí para compartir una linda idea con ustedes. En esta ocasión, les comparto el paso a paso para elaborar un lindo colgante para la habitación de los niños. Primero, quiero comenzar comentando que estoy muy contenta con las manualidades que he estado elaborando; siento que he mejorado un montón gracias a los dibujos que he estado haciendo.
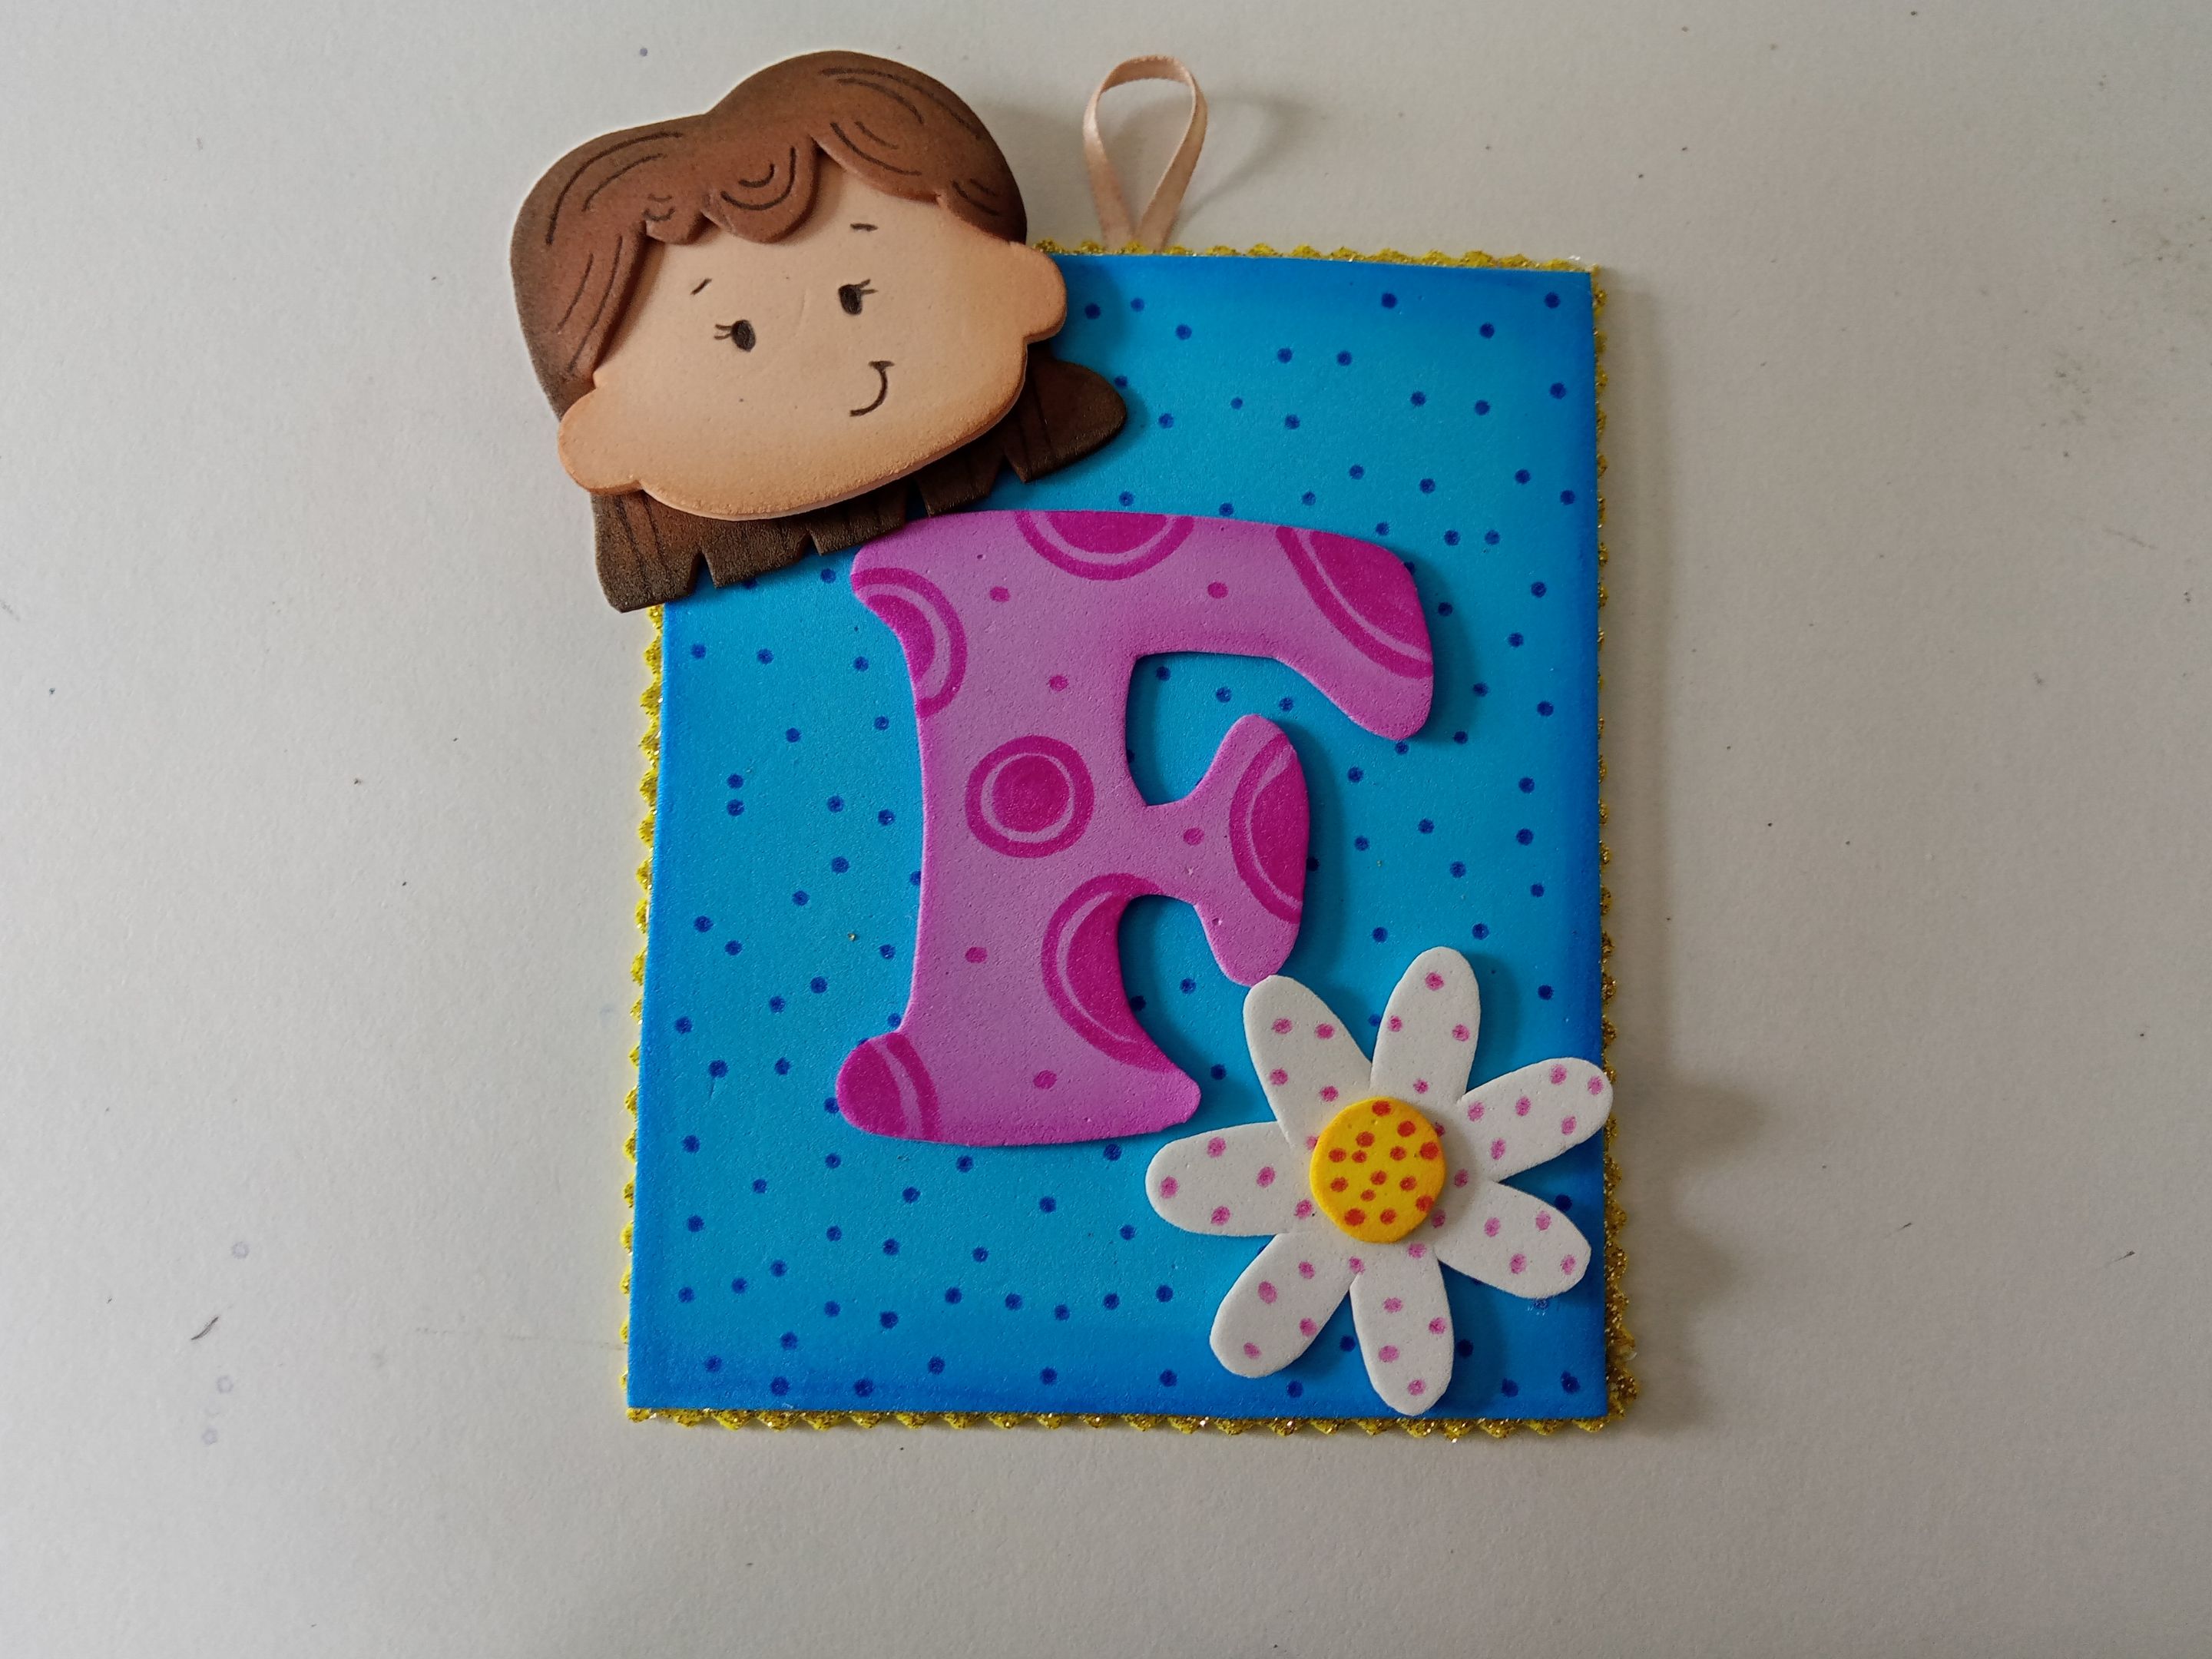
Pero bueno, sin desviarme mucho del tema, esta vez elaboré un lindo colgante, perfecto para los pequeños porque pueden agregar la inicial o iniciales y, a un lado, crear al niño en foami. De verdad que me pareció una idea muy bonita para decorar la habitación.
**🔸Sin más que añadir, a continuación los dejo con el paso a paso:**
> ###### ✨¡Hello friends who love creativity! I hope you are all well.✨
> Good afternoon, friends! I hope you're having a great week. For my part, I'm happy to stop by to share a lovely idea with you. This time, I'm sharing the step-by-step instructions for making a cute pendant for the children's room. First, I want to start by saying that I'm very happy with the crafts I've been making; I feel like I've improved a lot thanks to the drawings I've been doing.
> But anyway, without straying too far from the topic, this time I made a cute pendant, perfect for little ones because they can add their initial(s) and, on the side, create the child out of foam. I really thought it was a lovely idea for decorating the room.
> **🔸Without more to add, then I leave you with the step by step:**
---
---


|||
|-|-|


|||
|-|-|


|||
|-|-|


||||
|-|-|-|

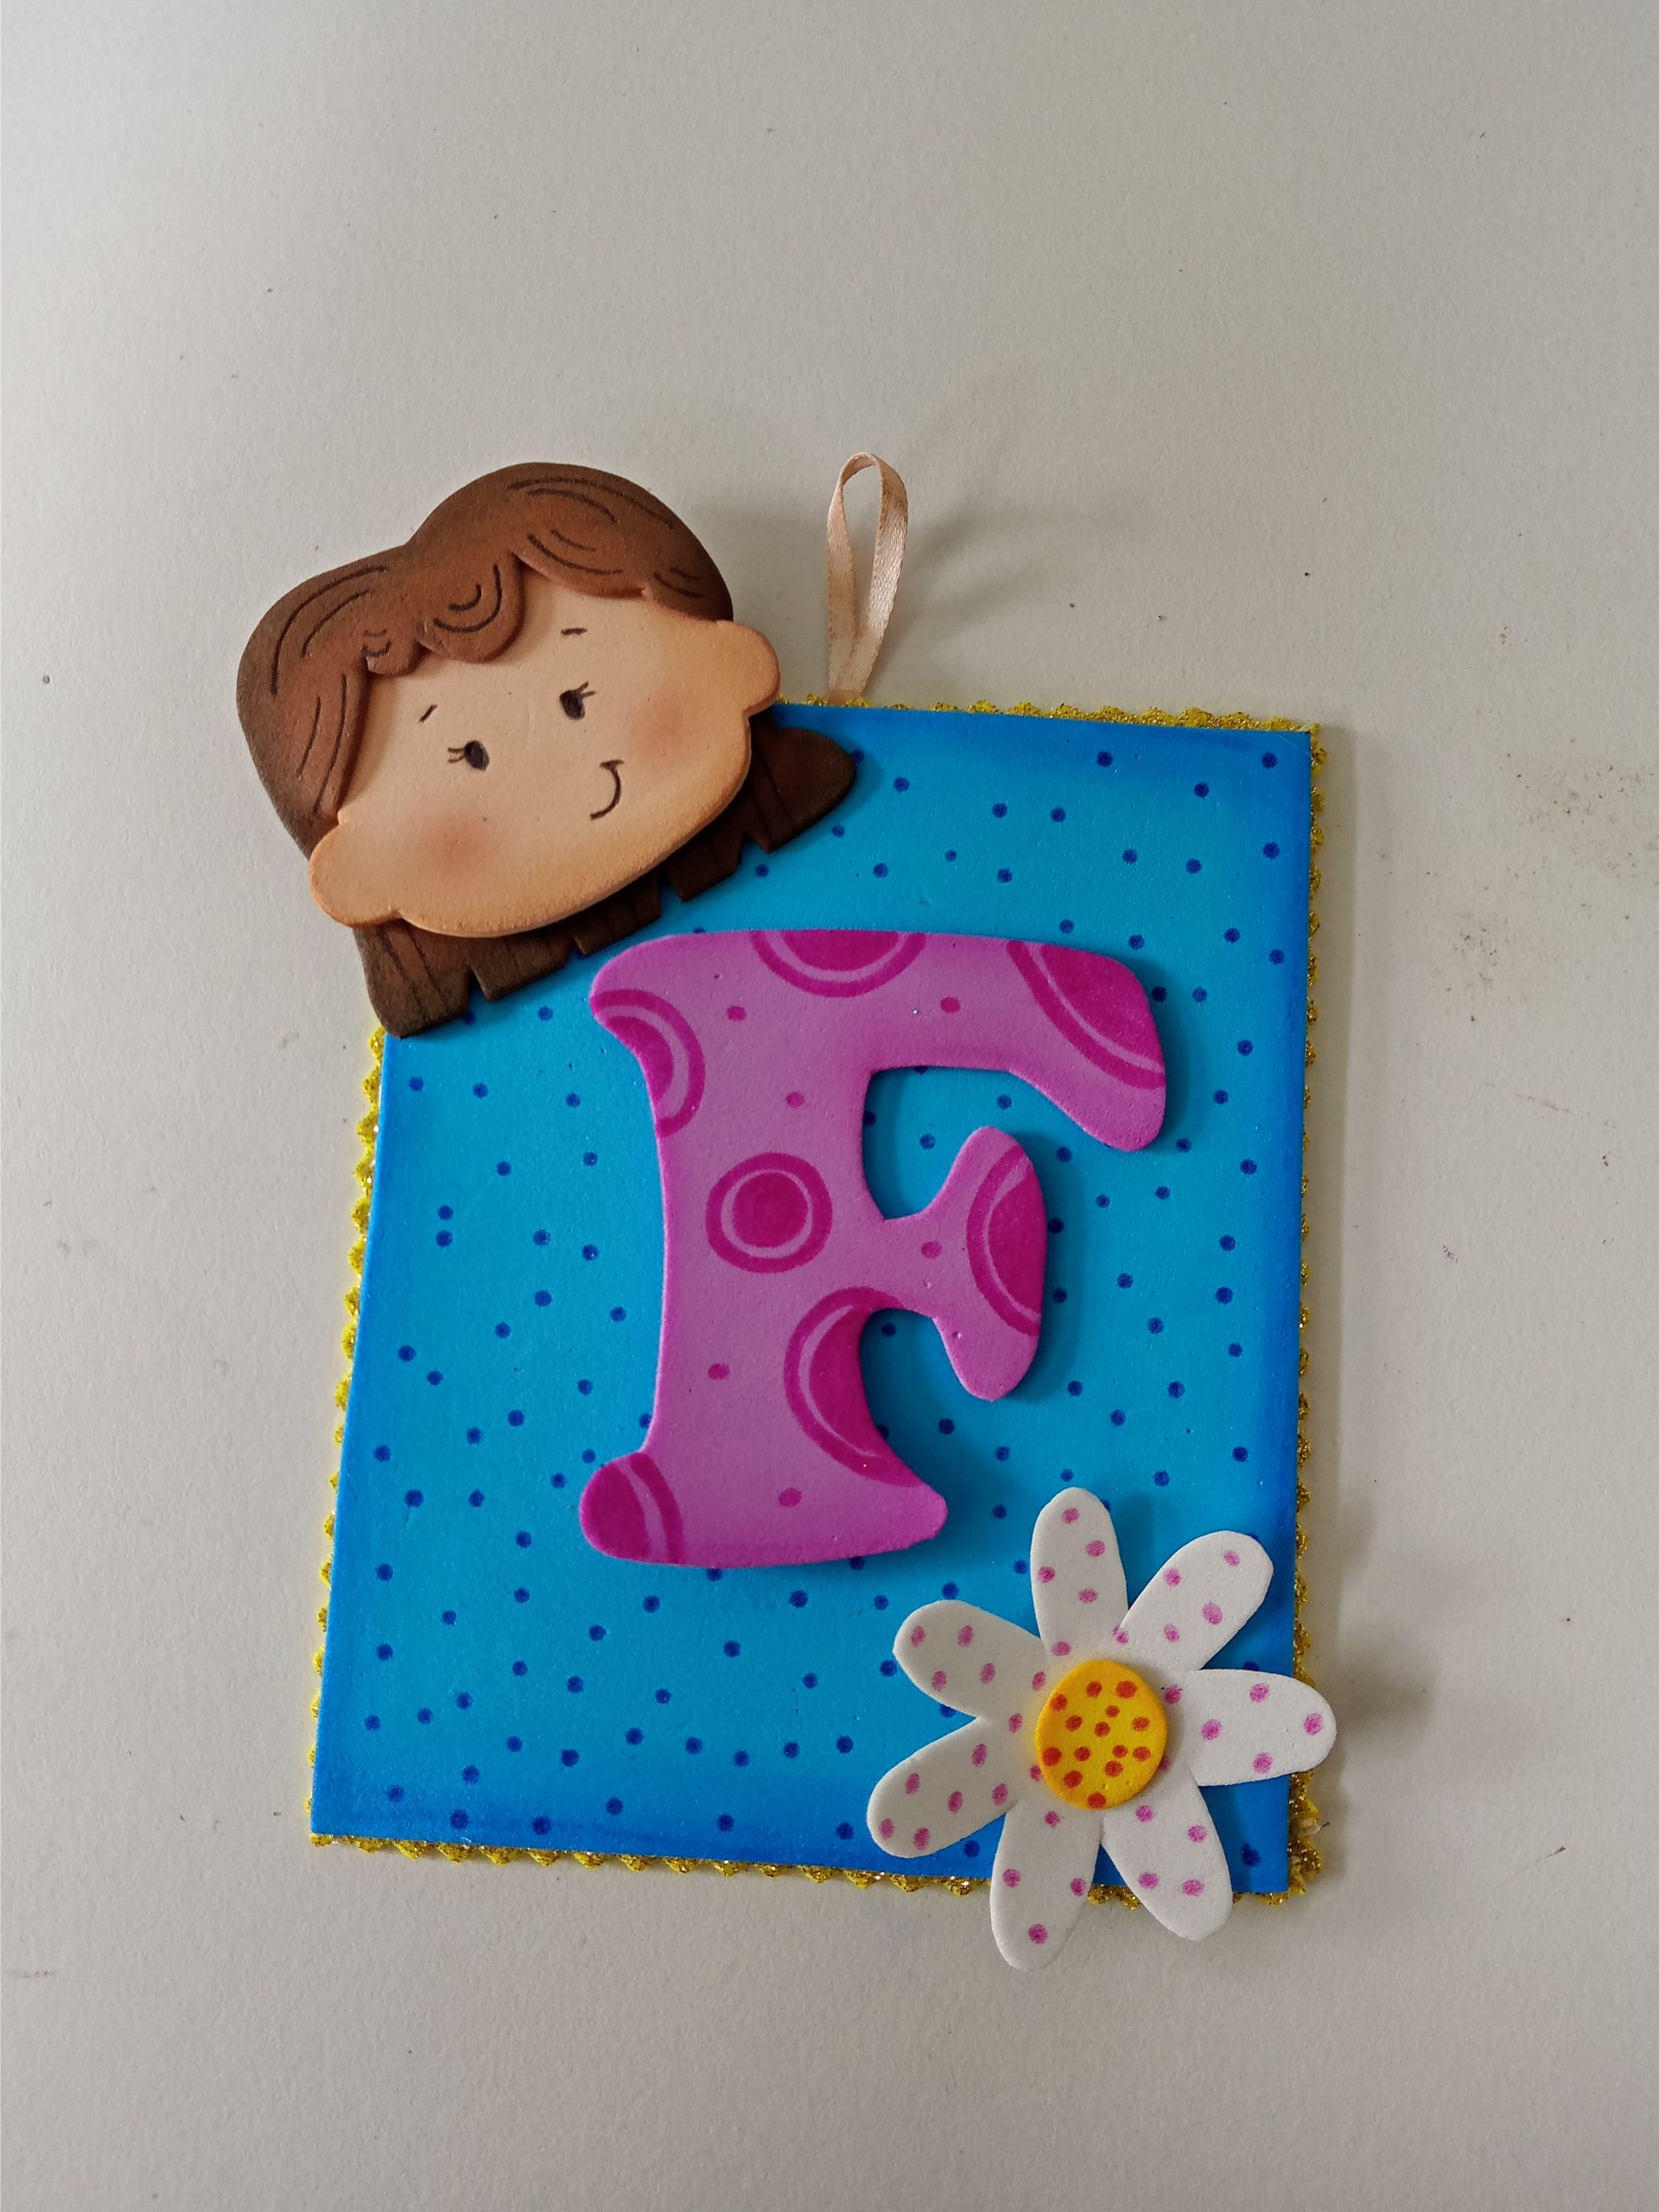
✨Así es como pueden elaborar sus lindas decoraciones para el cuarto de los pequeños. Además, con un lindo diseño personalizado, ya sea niño o niña. A mí me encantó como colgante para la puerta. Espero que les haya gustado el paso a paso y se animen a elaborarlo.
❤️Hasta la próxima publicación.
> ✨This is how you can make your own cute decorations for your little ones' rooms. They also come with a cute personalized design, whether it's for a boy or a girl. I loved it as a door hanger. I hope you enjoyed the step-by-step instructions and are inspired to try it out.
> ❤️Until the next post.


|||
|-|-|
---
https://img.inleo.io/DQmUT3hN2sUD6hkDacVDeWh6cxJbEXreWY9qypQ1qJJTLGT/gracias%20por%20leer.png
---
**!TE DESEO UN GRAN DÏA¡**
Todas las fotografías son de mi propiedad.
Separador y Fotos editadas en [Canva](https://www.canva.com/)
**!I WISH YOU A GOOD DAY**
All photographs are my property.
Photos edited in [Canva](https://www.canva.com/)
**♥️ESPERO QUE TE GUSTE,
¡Empecemos!**
**♥️I HOPE YOU LIKE IT,
Let's start!**
---
# ✂️ MATERIALES | ✂️ MATERIALS
- Foami escarchado dorado.
- Foami azul.
- Foami lila.
- Foami blanco.
- Foami amarillo.
- Foami marrón.
- Foami crema.
- Cinta delgada.
- Pinturas y marcadores.
- Pegamento.
- Tijeras.
- Regla.
- Hoja blanca.
- Lápiz.
- Gold frosted foam.
- Blue foam.
- Lilac foam.
- White foam.
- Yellow foam.
- Brown foam.
- Cream foam.
- Thin ribbon.
- Paints and markers.
- Glue.
- Scissors.
- Ruler.
- White paper.
- Pencil.
# 🌟 PROCEDIMIENTO | 🌟 PROCESS
###### ✨PASO 1:
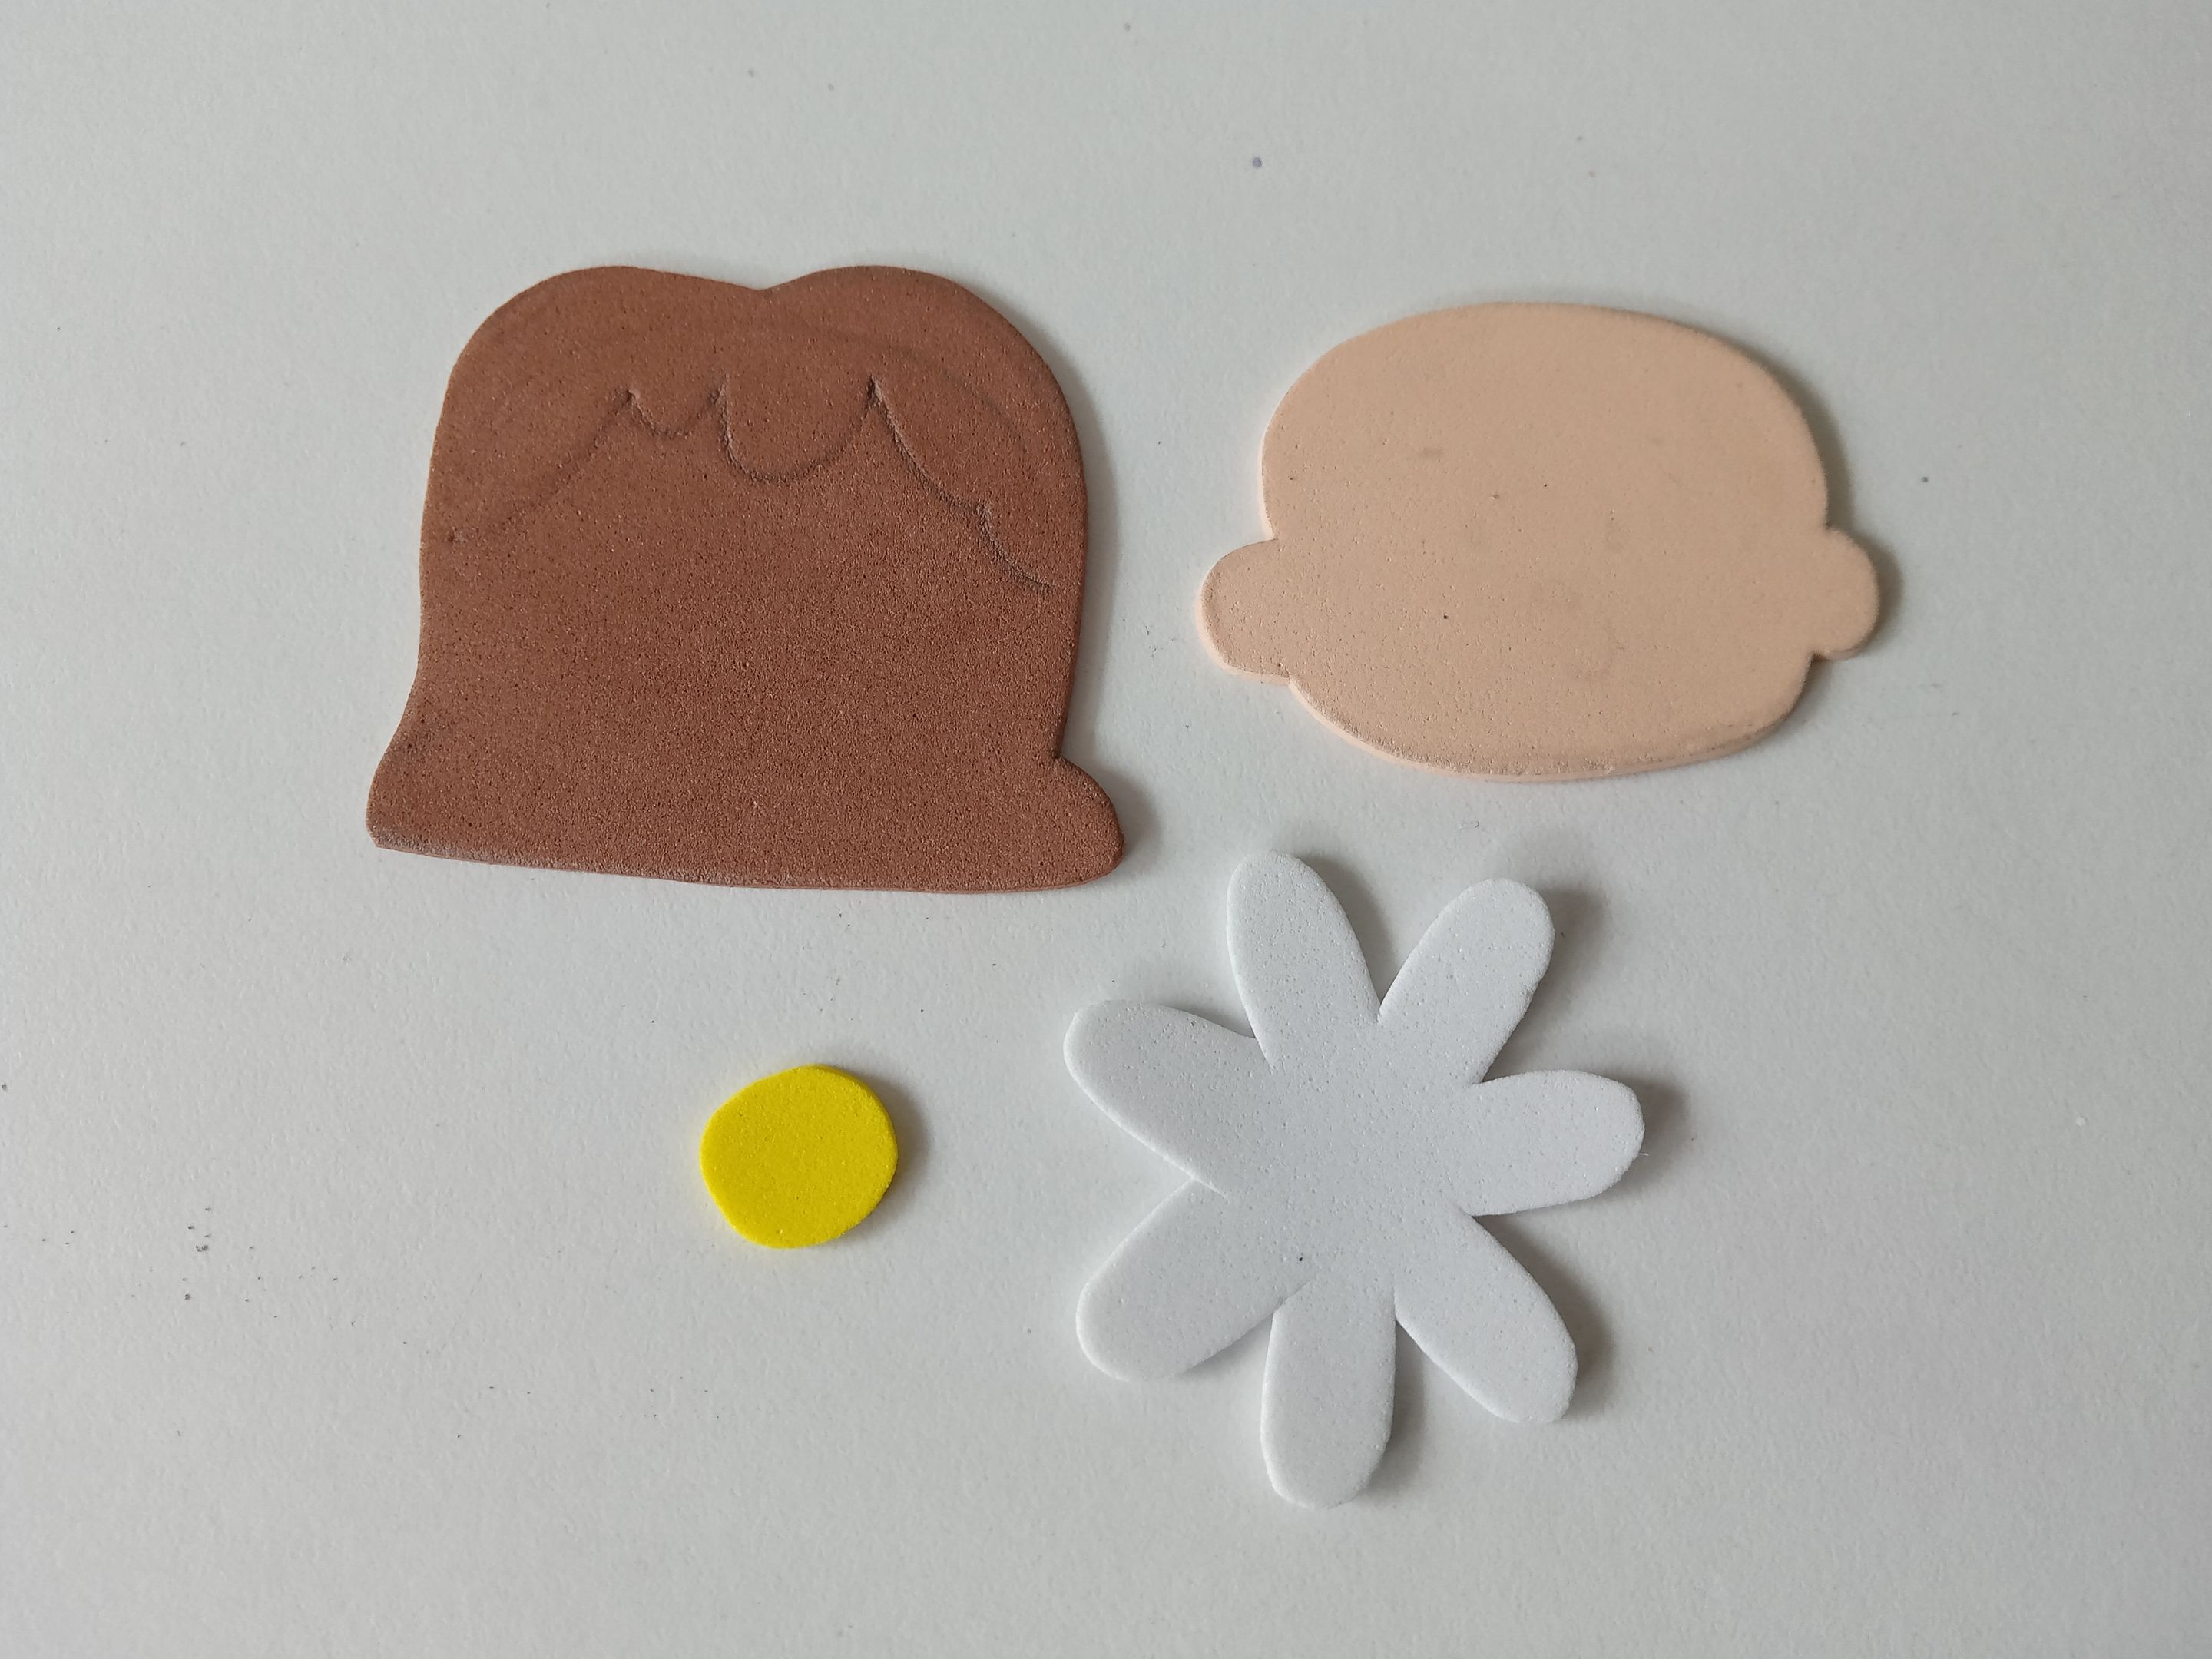
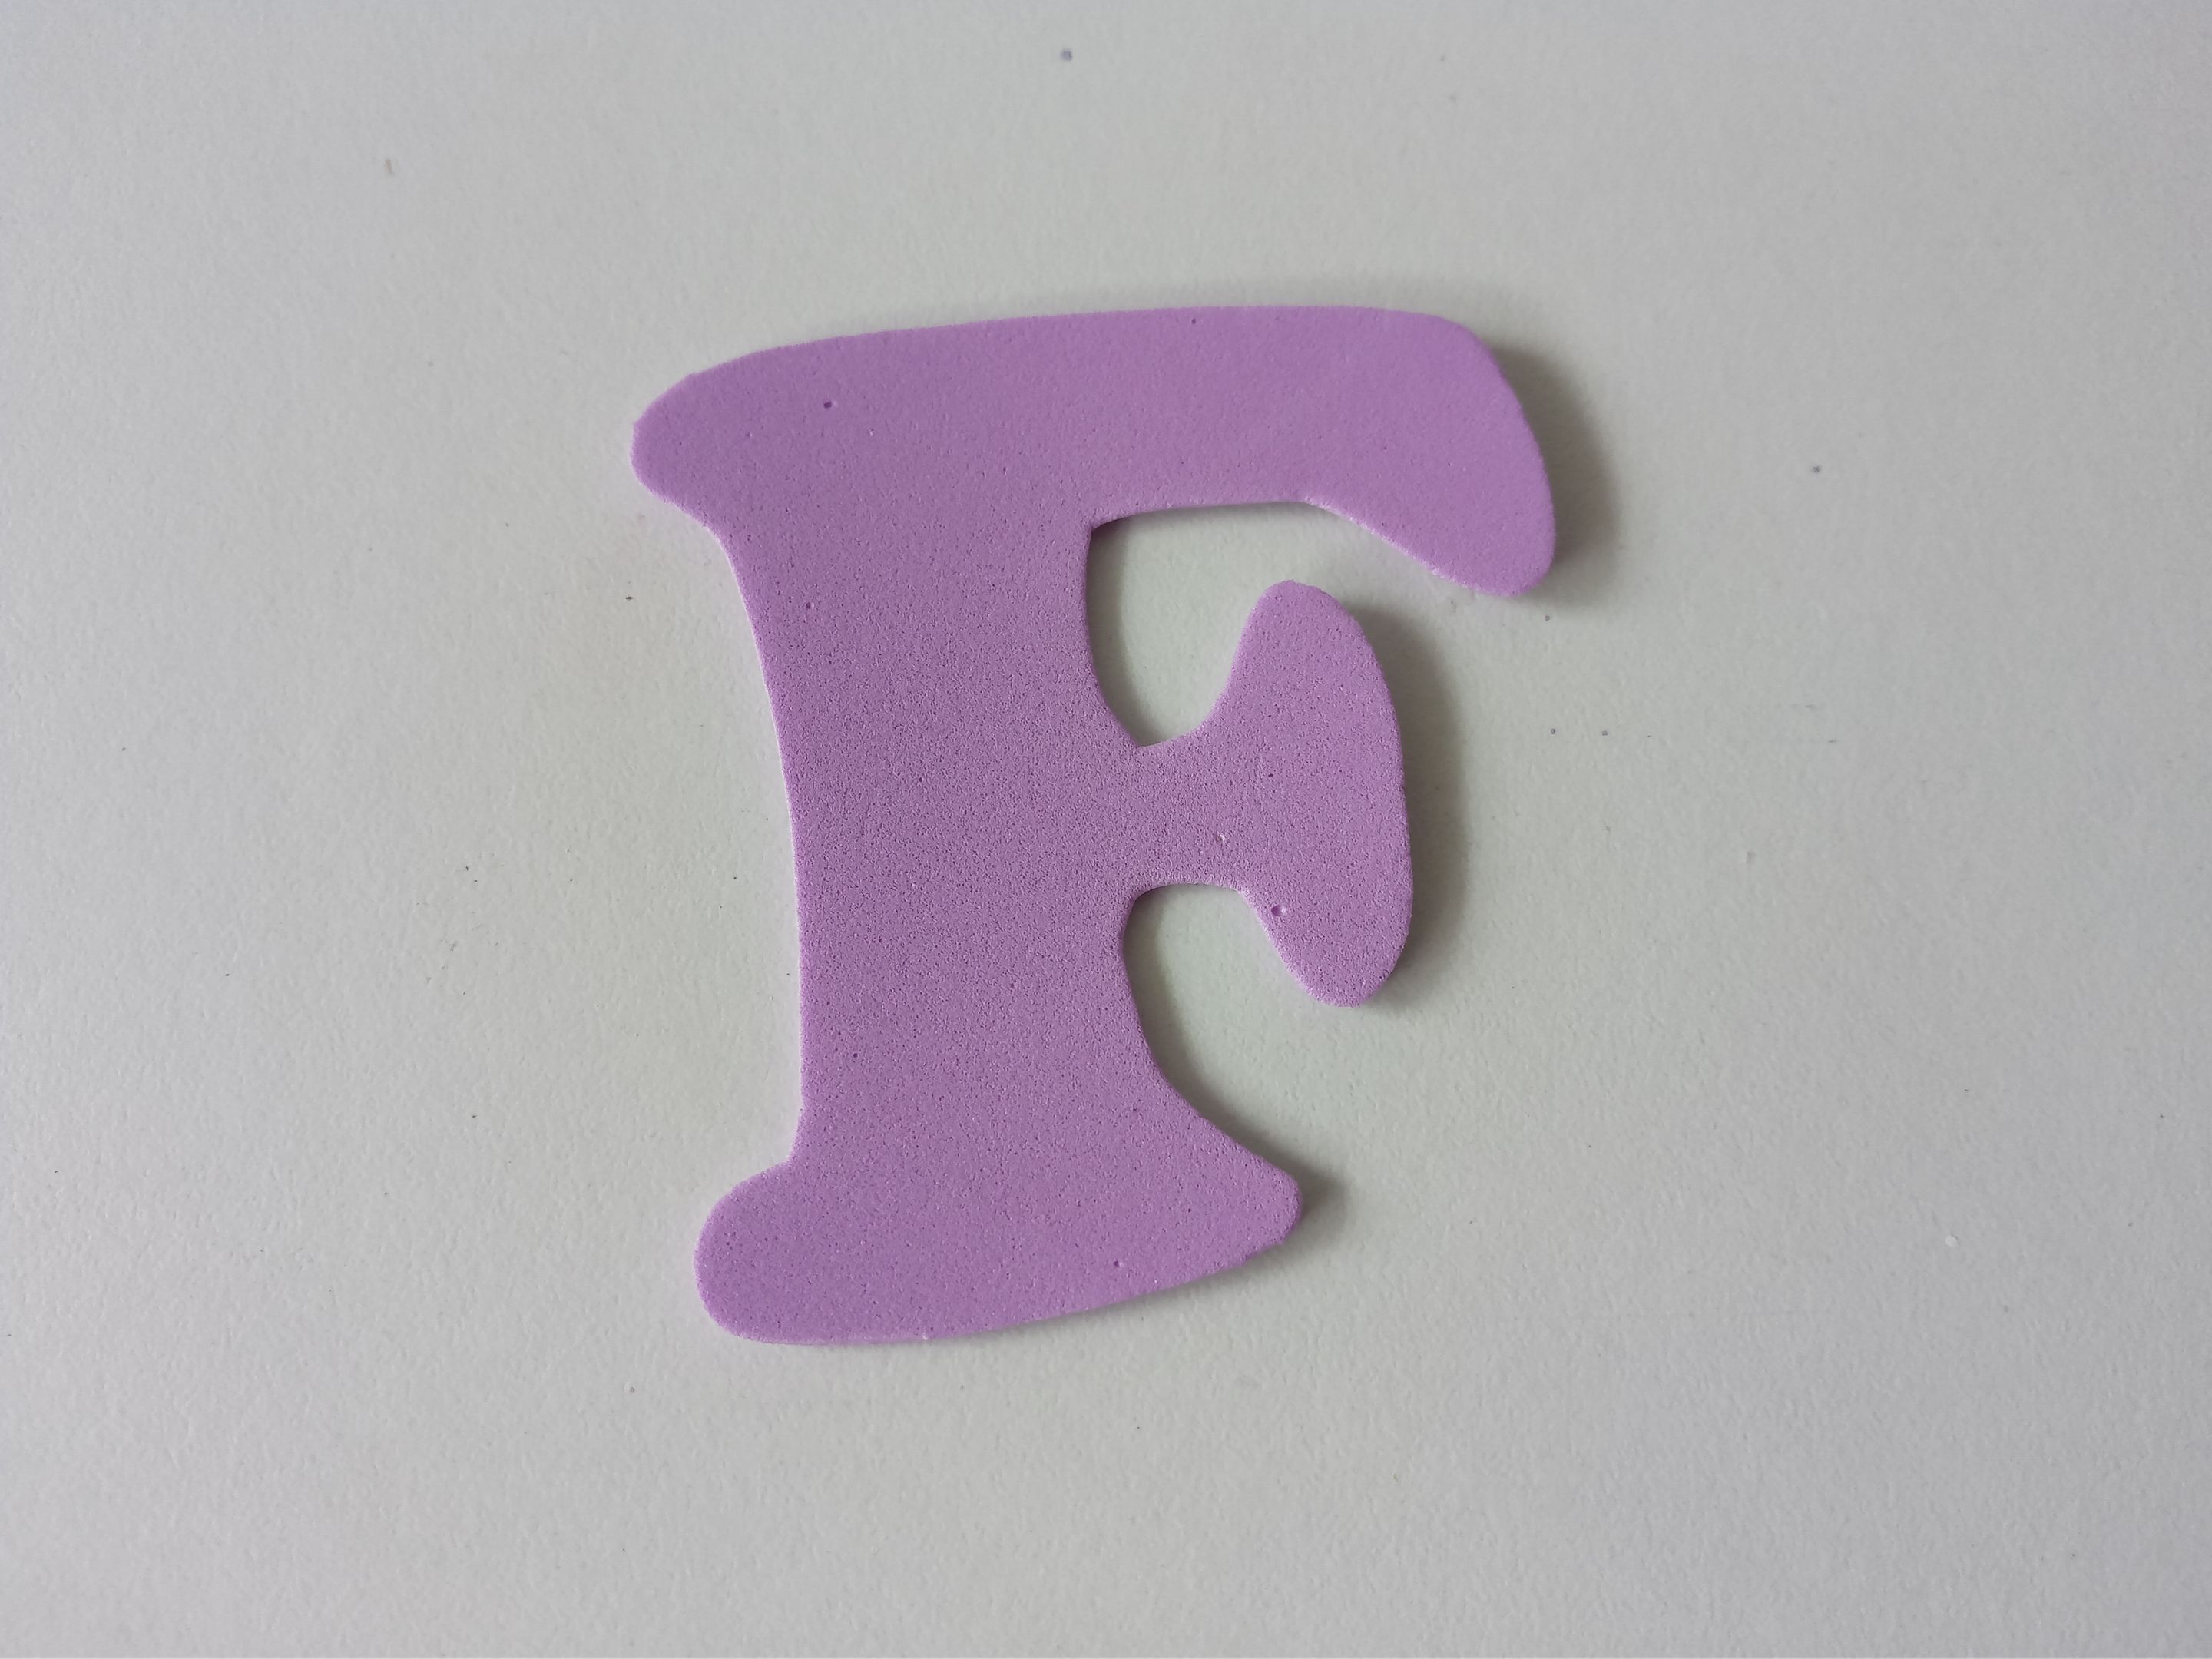
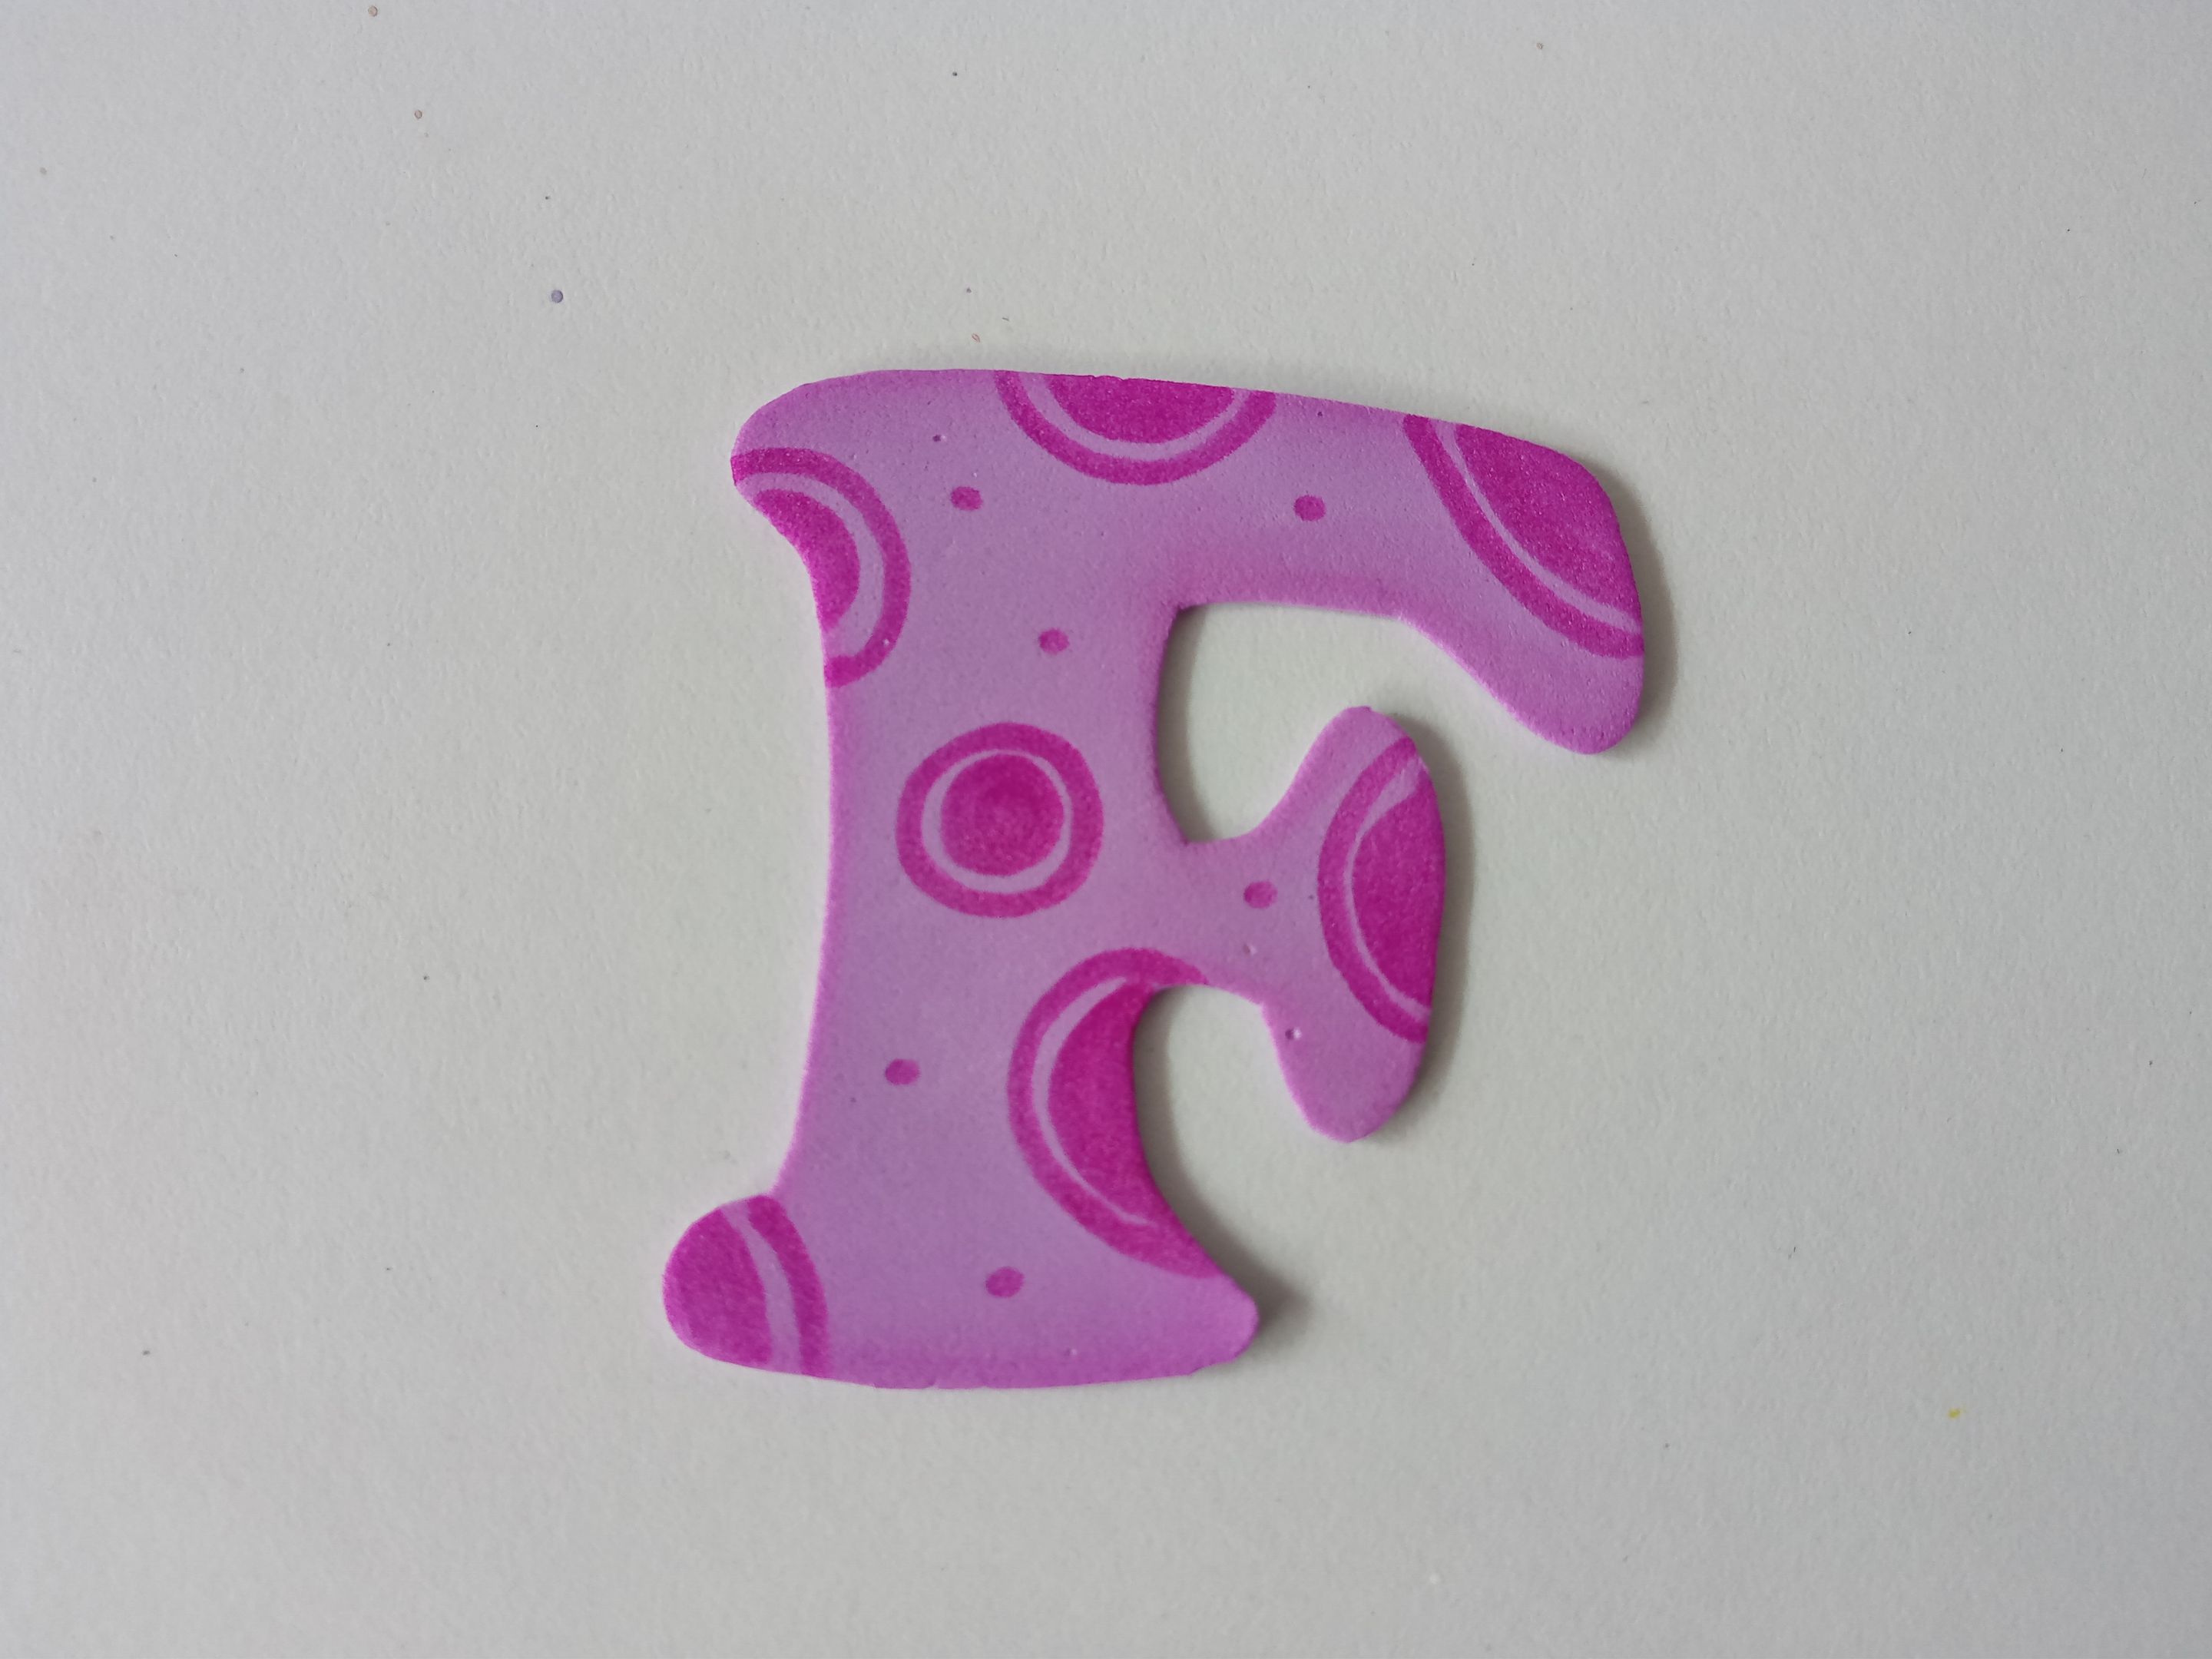
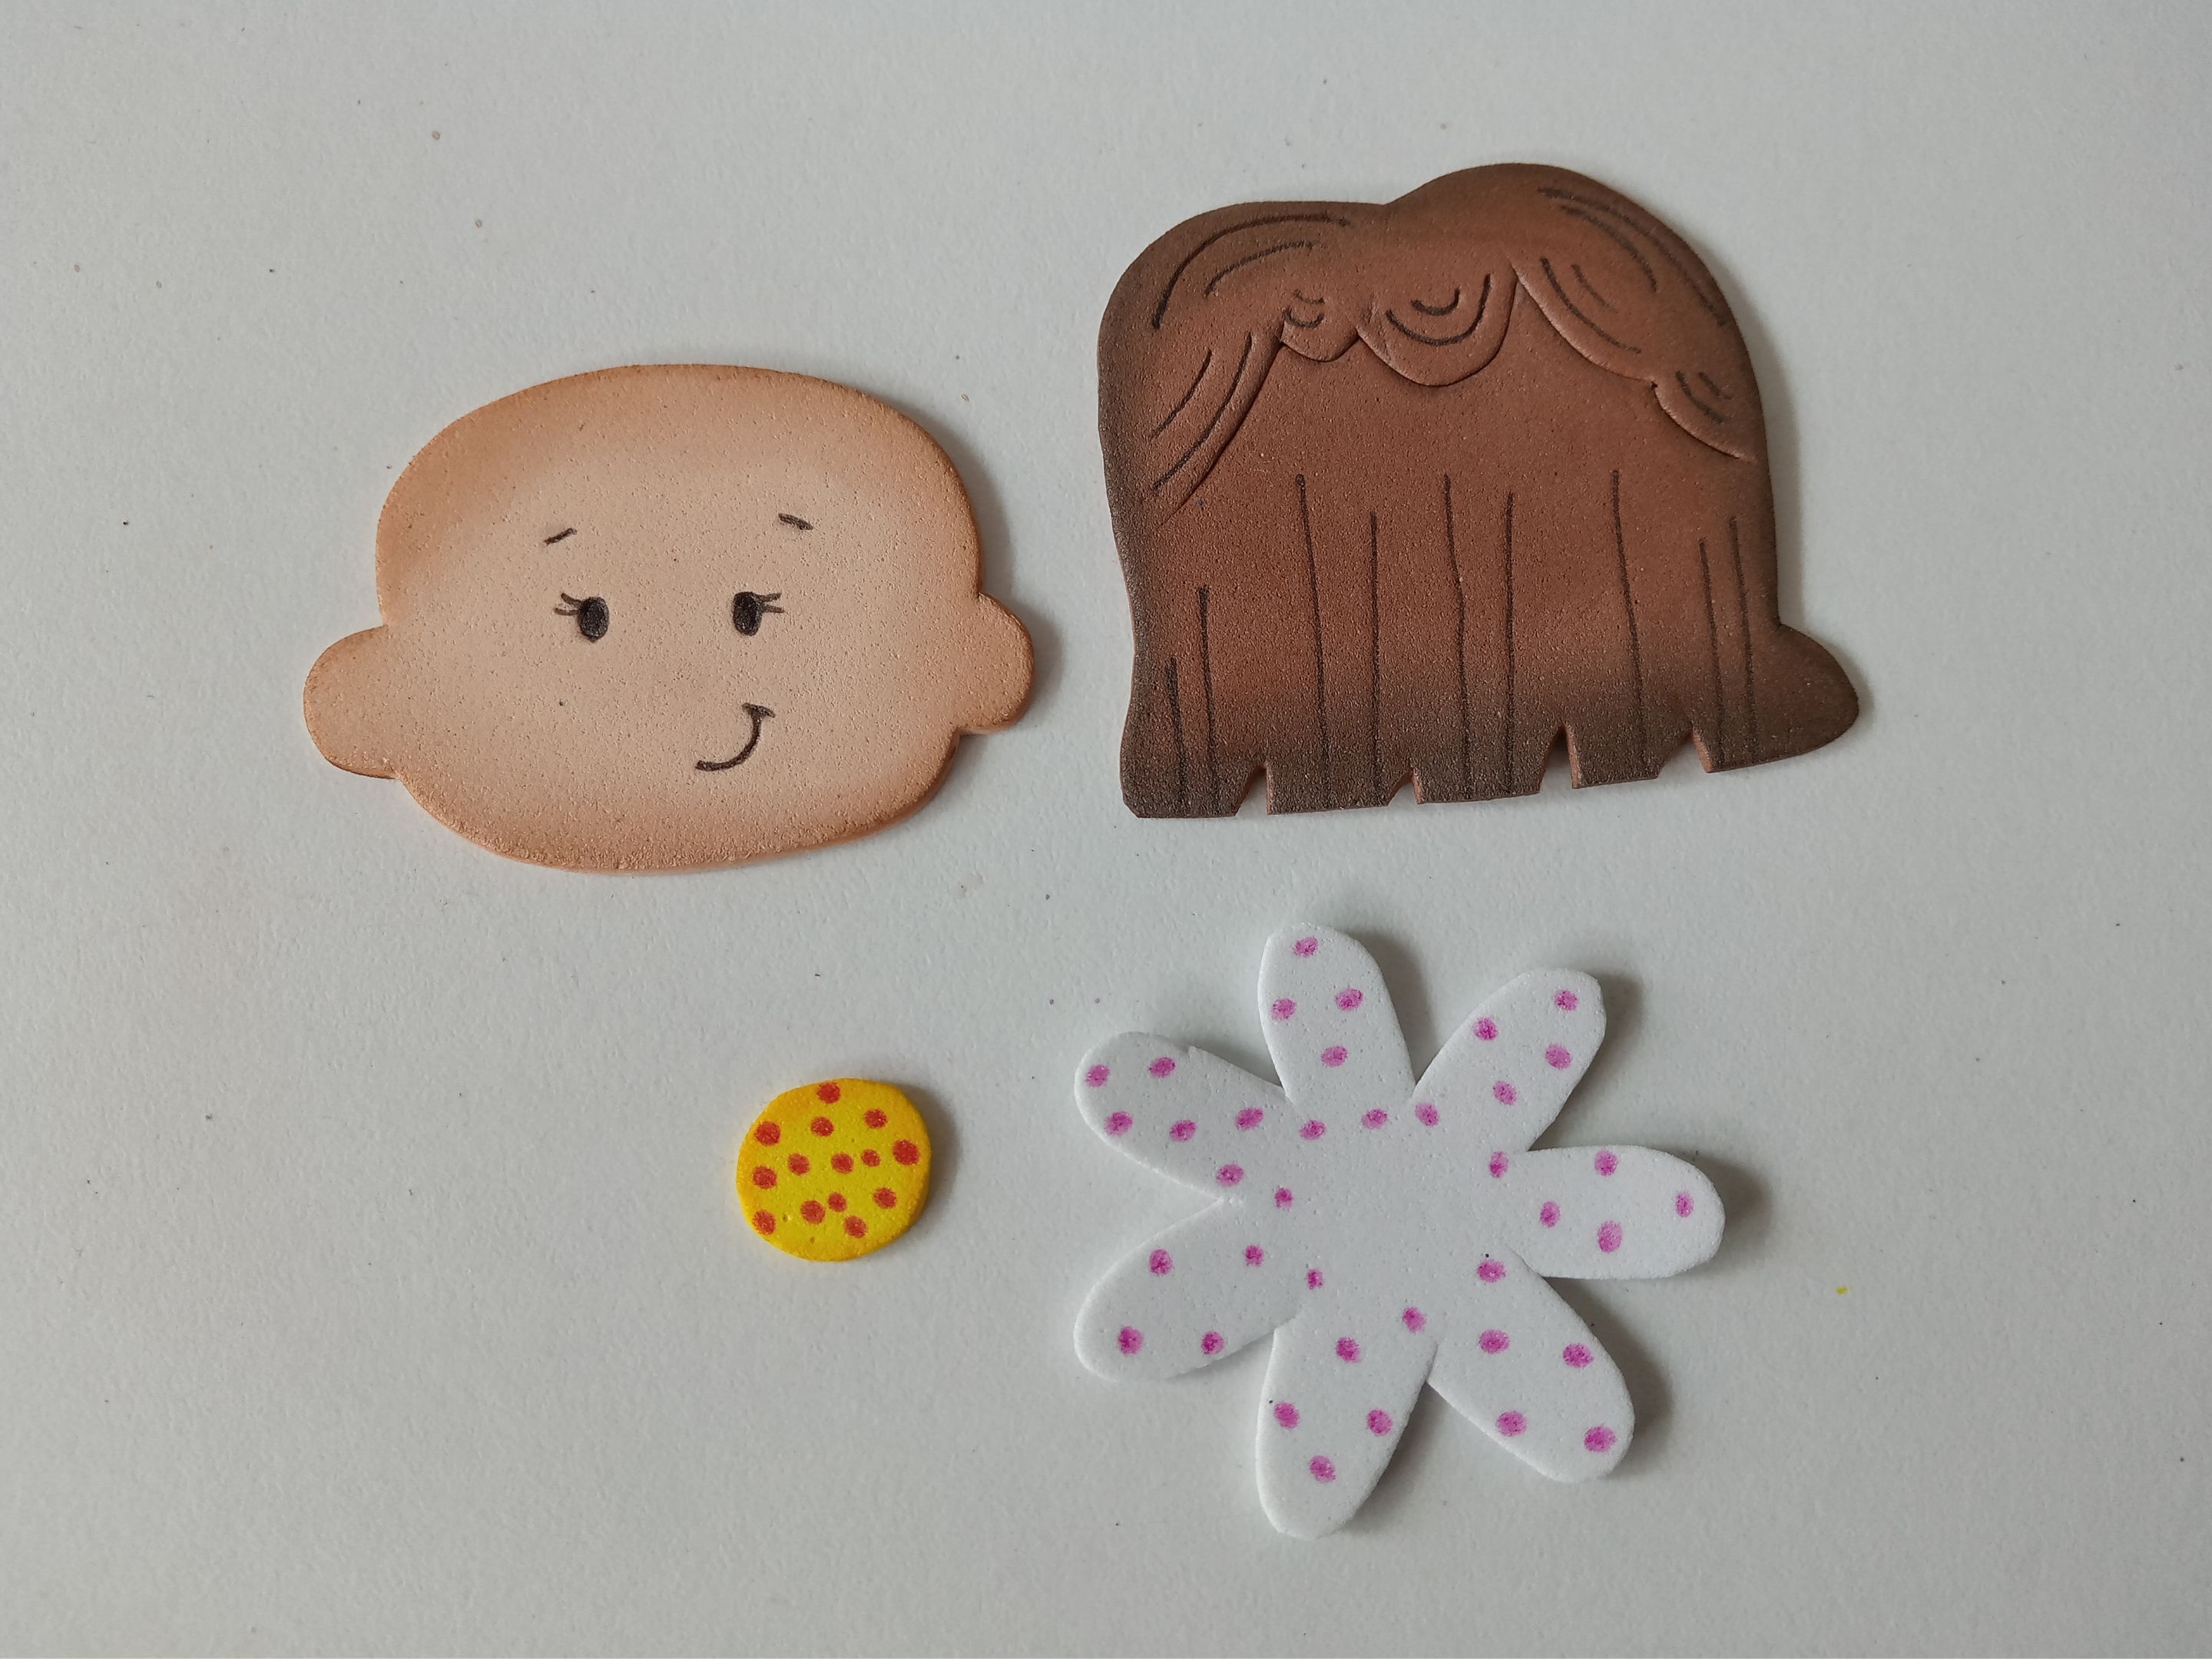
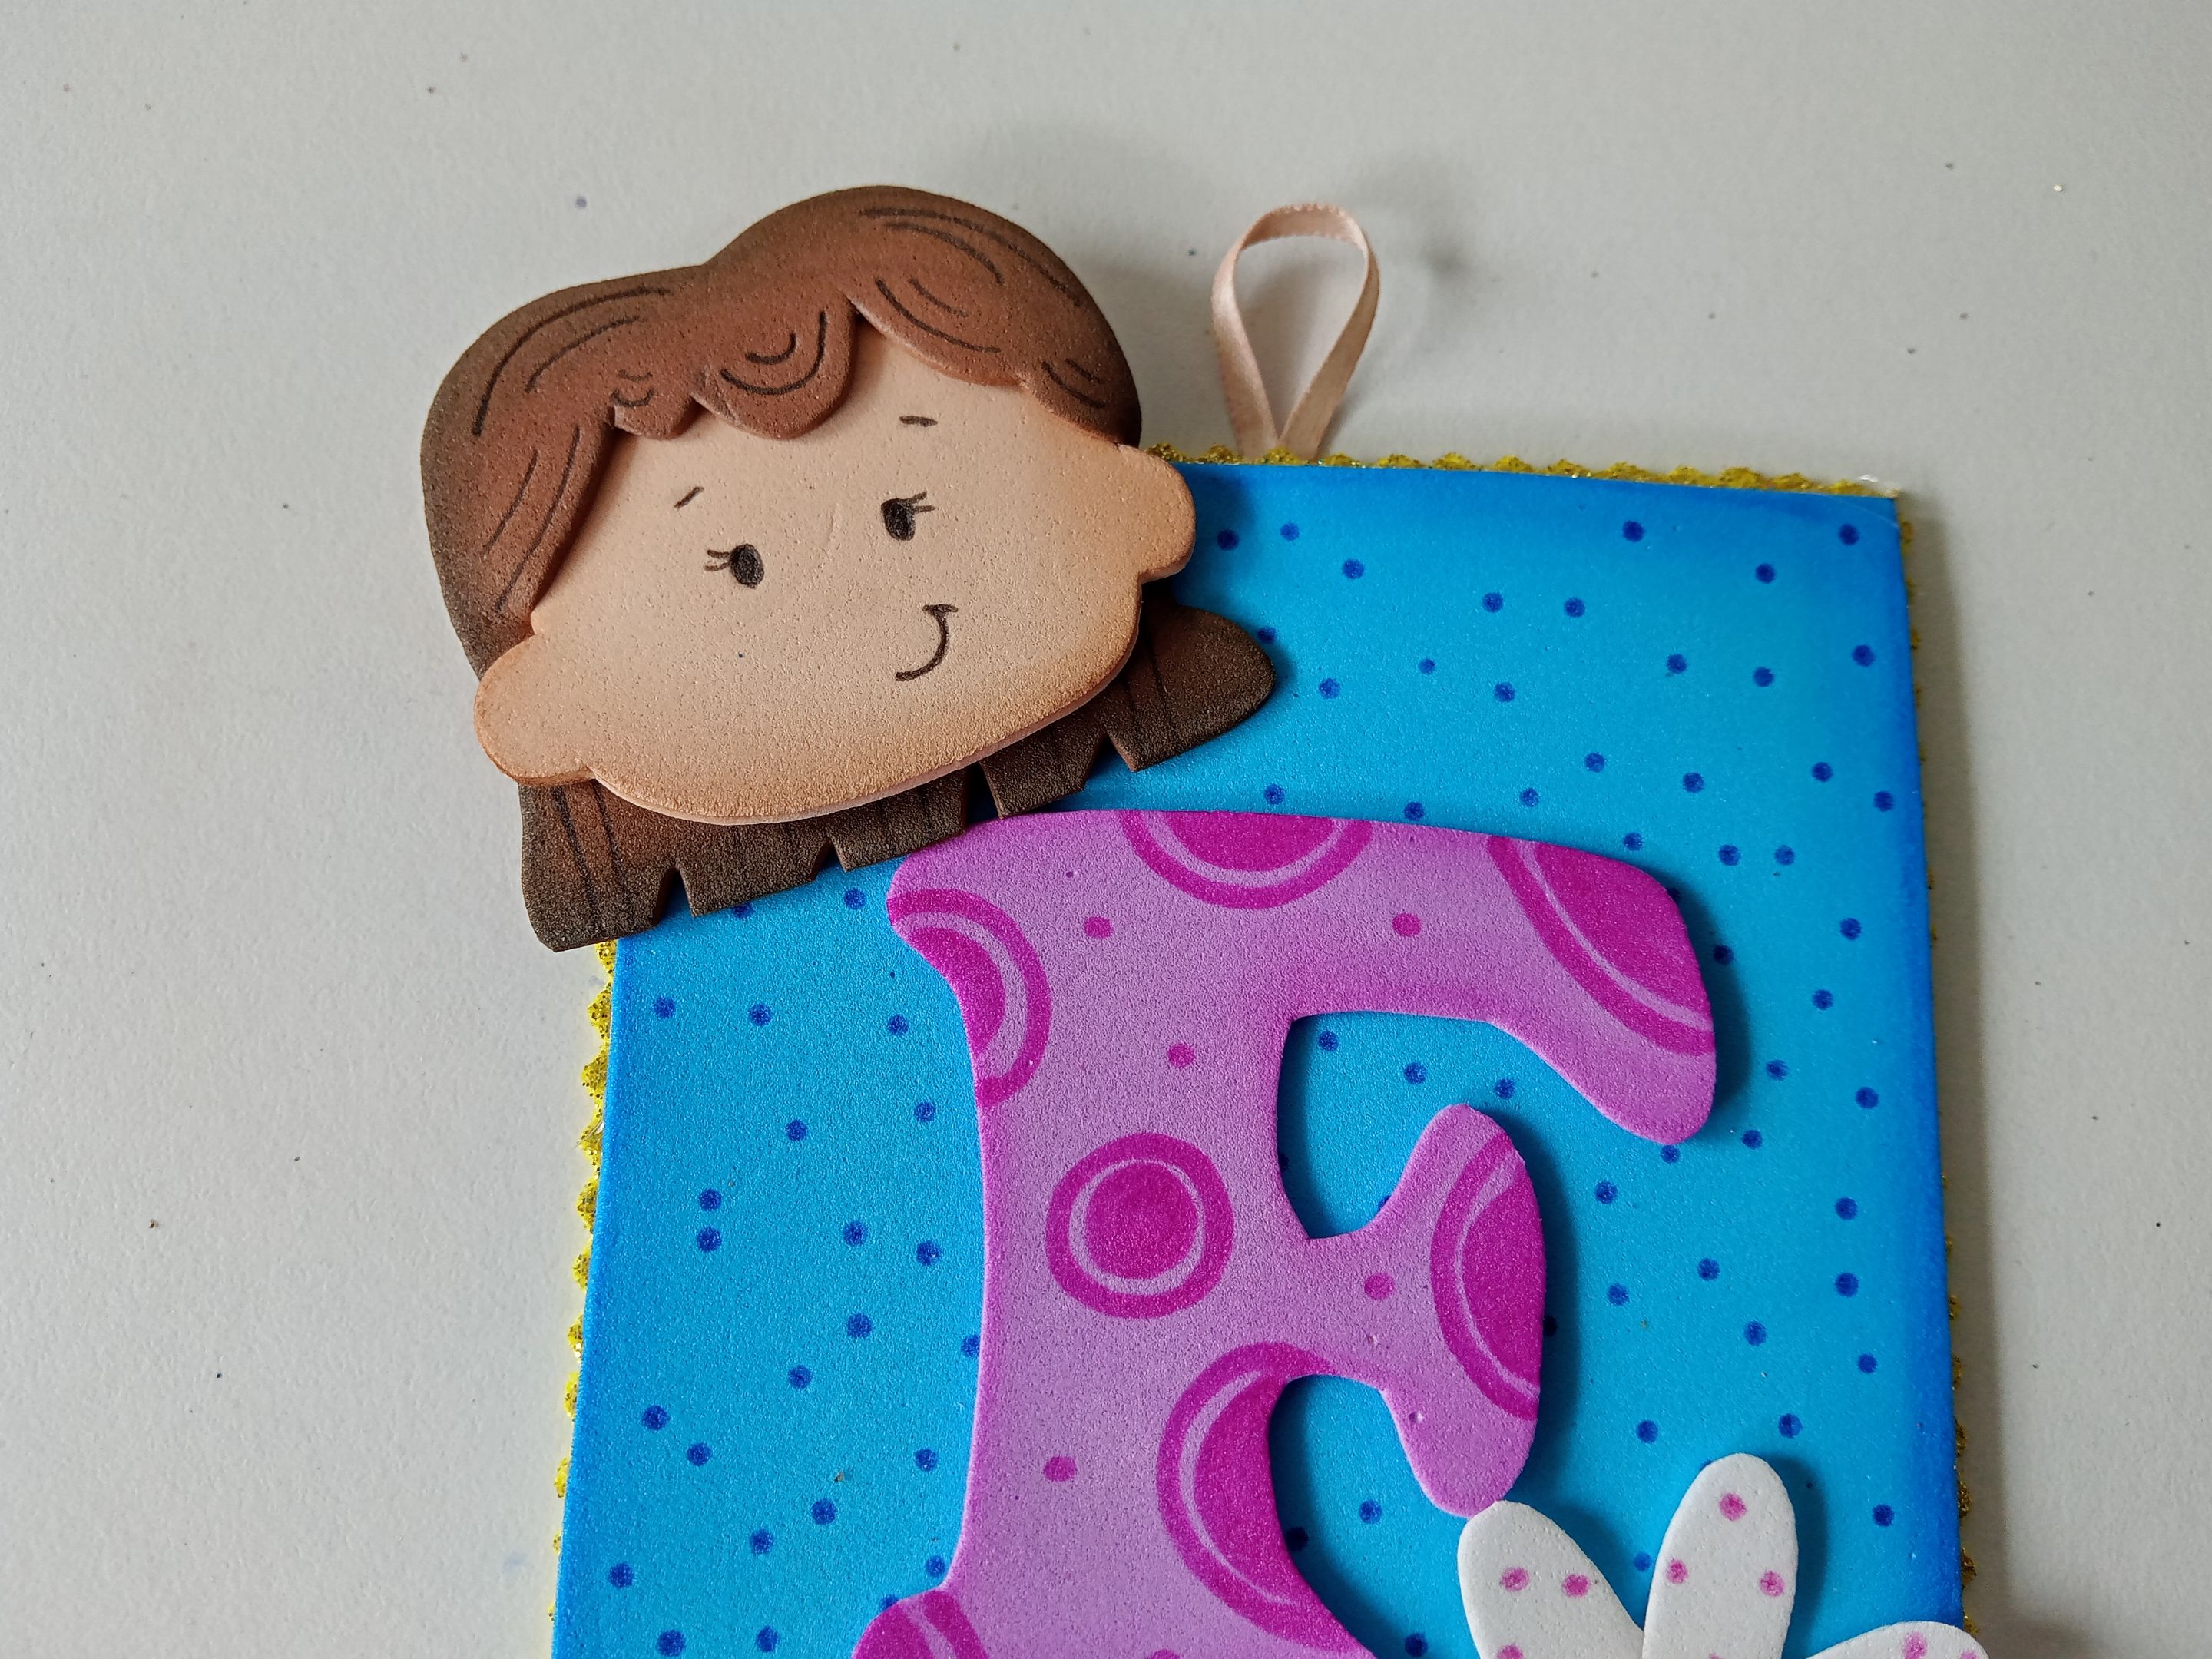
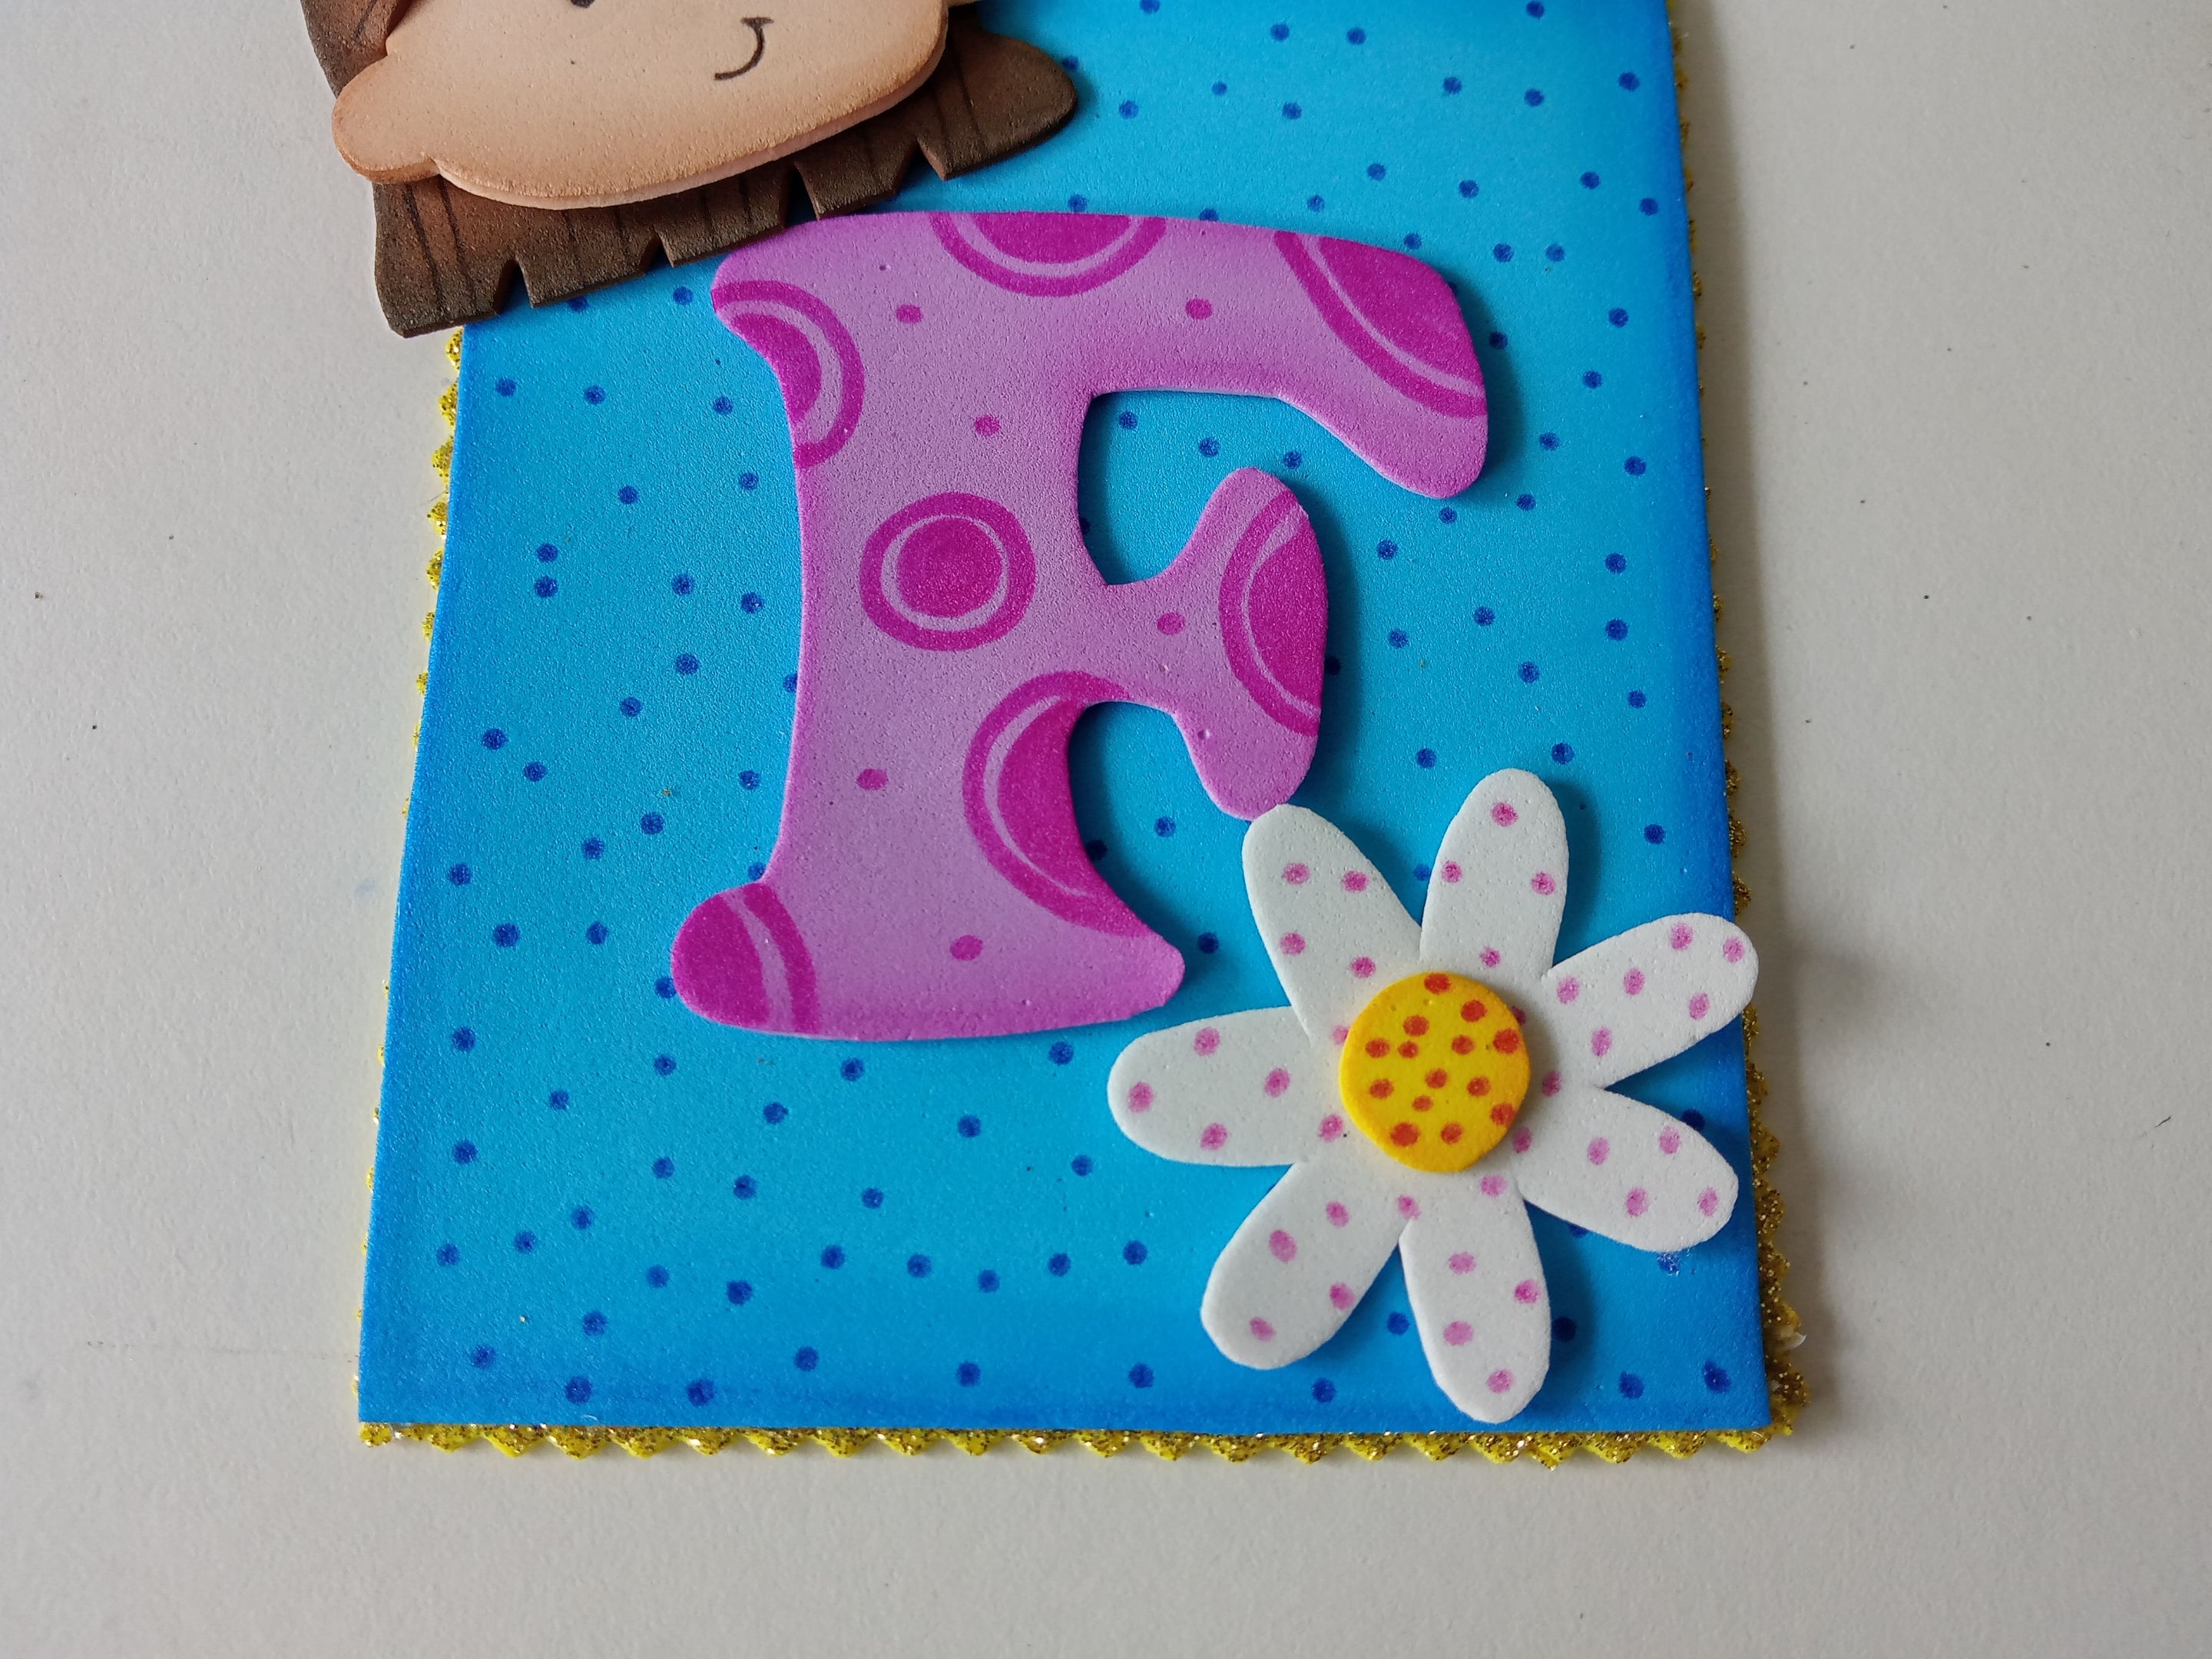
Lo primero que hice, como siempre, fue crear el diseño de las decoraciones que quería en una hoja blanca. Así que tomé la hoja, dibujé la inicial que quería, luego la flor y, por último, dibujé el diseño de la niña en fomi. Al tener los diseños listos, es momento de transferir a los colores correspondientes de foami, como explico a continuación:
✨Inicial: 7 cm x 6 cm en foami lila.
✨Cabello: 5 cm x 5.5 cm en foami marrón.
✨Cabeza: 6 cm x 4.5 cm en foami crema.
✨Flor: 5 cm x 5 cm en foami blanco.
✨Centro de la flor: 1.5 cm en foami amarillo.
###### ✨STEP 1:
The first thing I did, as always, was create the design for the decorations I wanted on a white sheet of paper. So I took the sheet, drew the initial I wanted, then the flower, and finally, I drew the girl's design on foam. Once I had the designs ready, it was time to transfer them to the corresponding colors of foam, as explained below:
✨Initial: 7 cm x 6 cm in lilac foam.
✨Hair: 5 cm x 5.5 cm in brown foam.
✨Head: 6 cm x 4.5 cm in cream foam.
✨Flower: 5 cm x 5 cm in white foam.
✨Flower center: 1.5 cm in yellow foam.
###### ✨PASO 2:
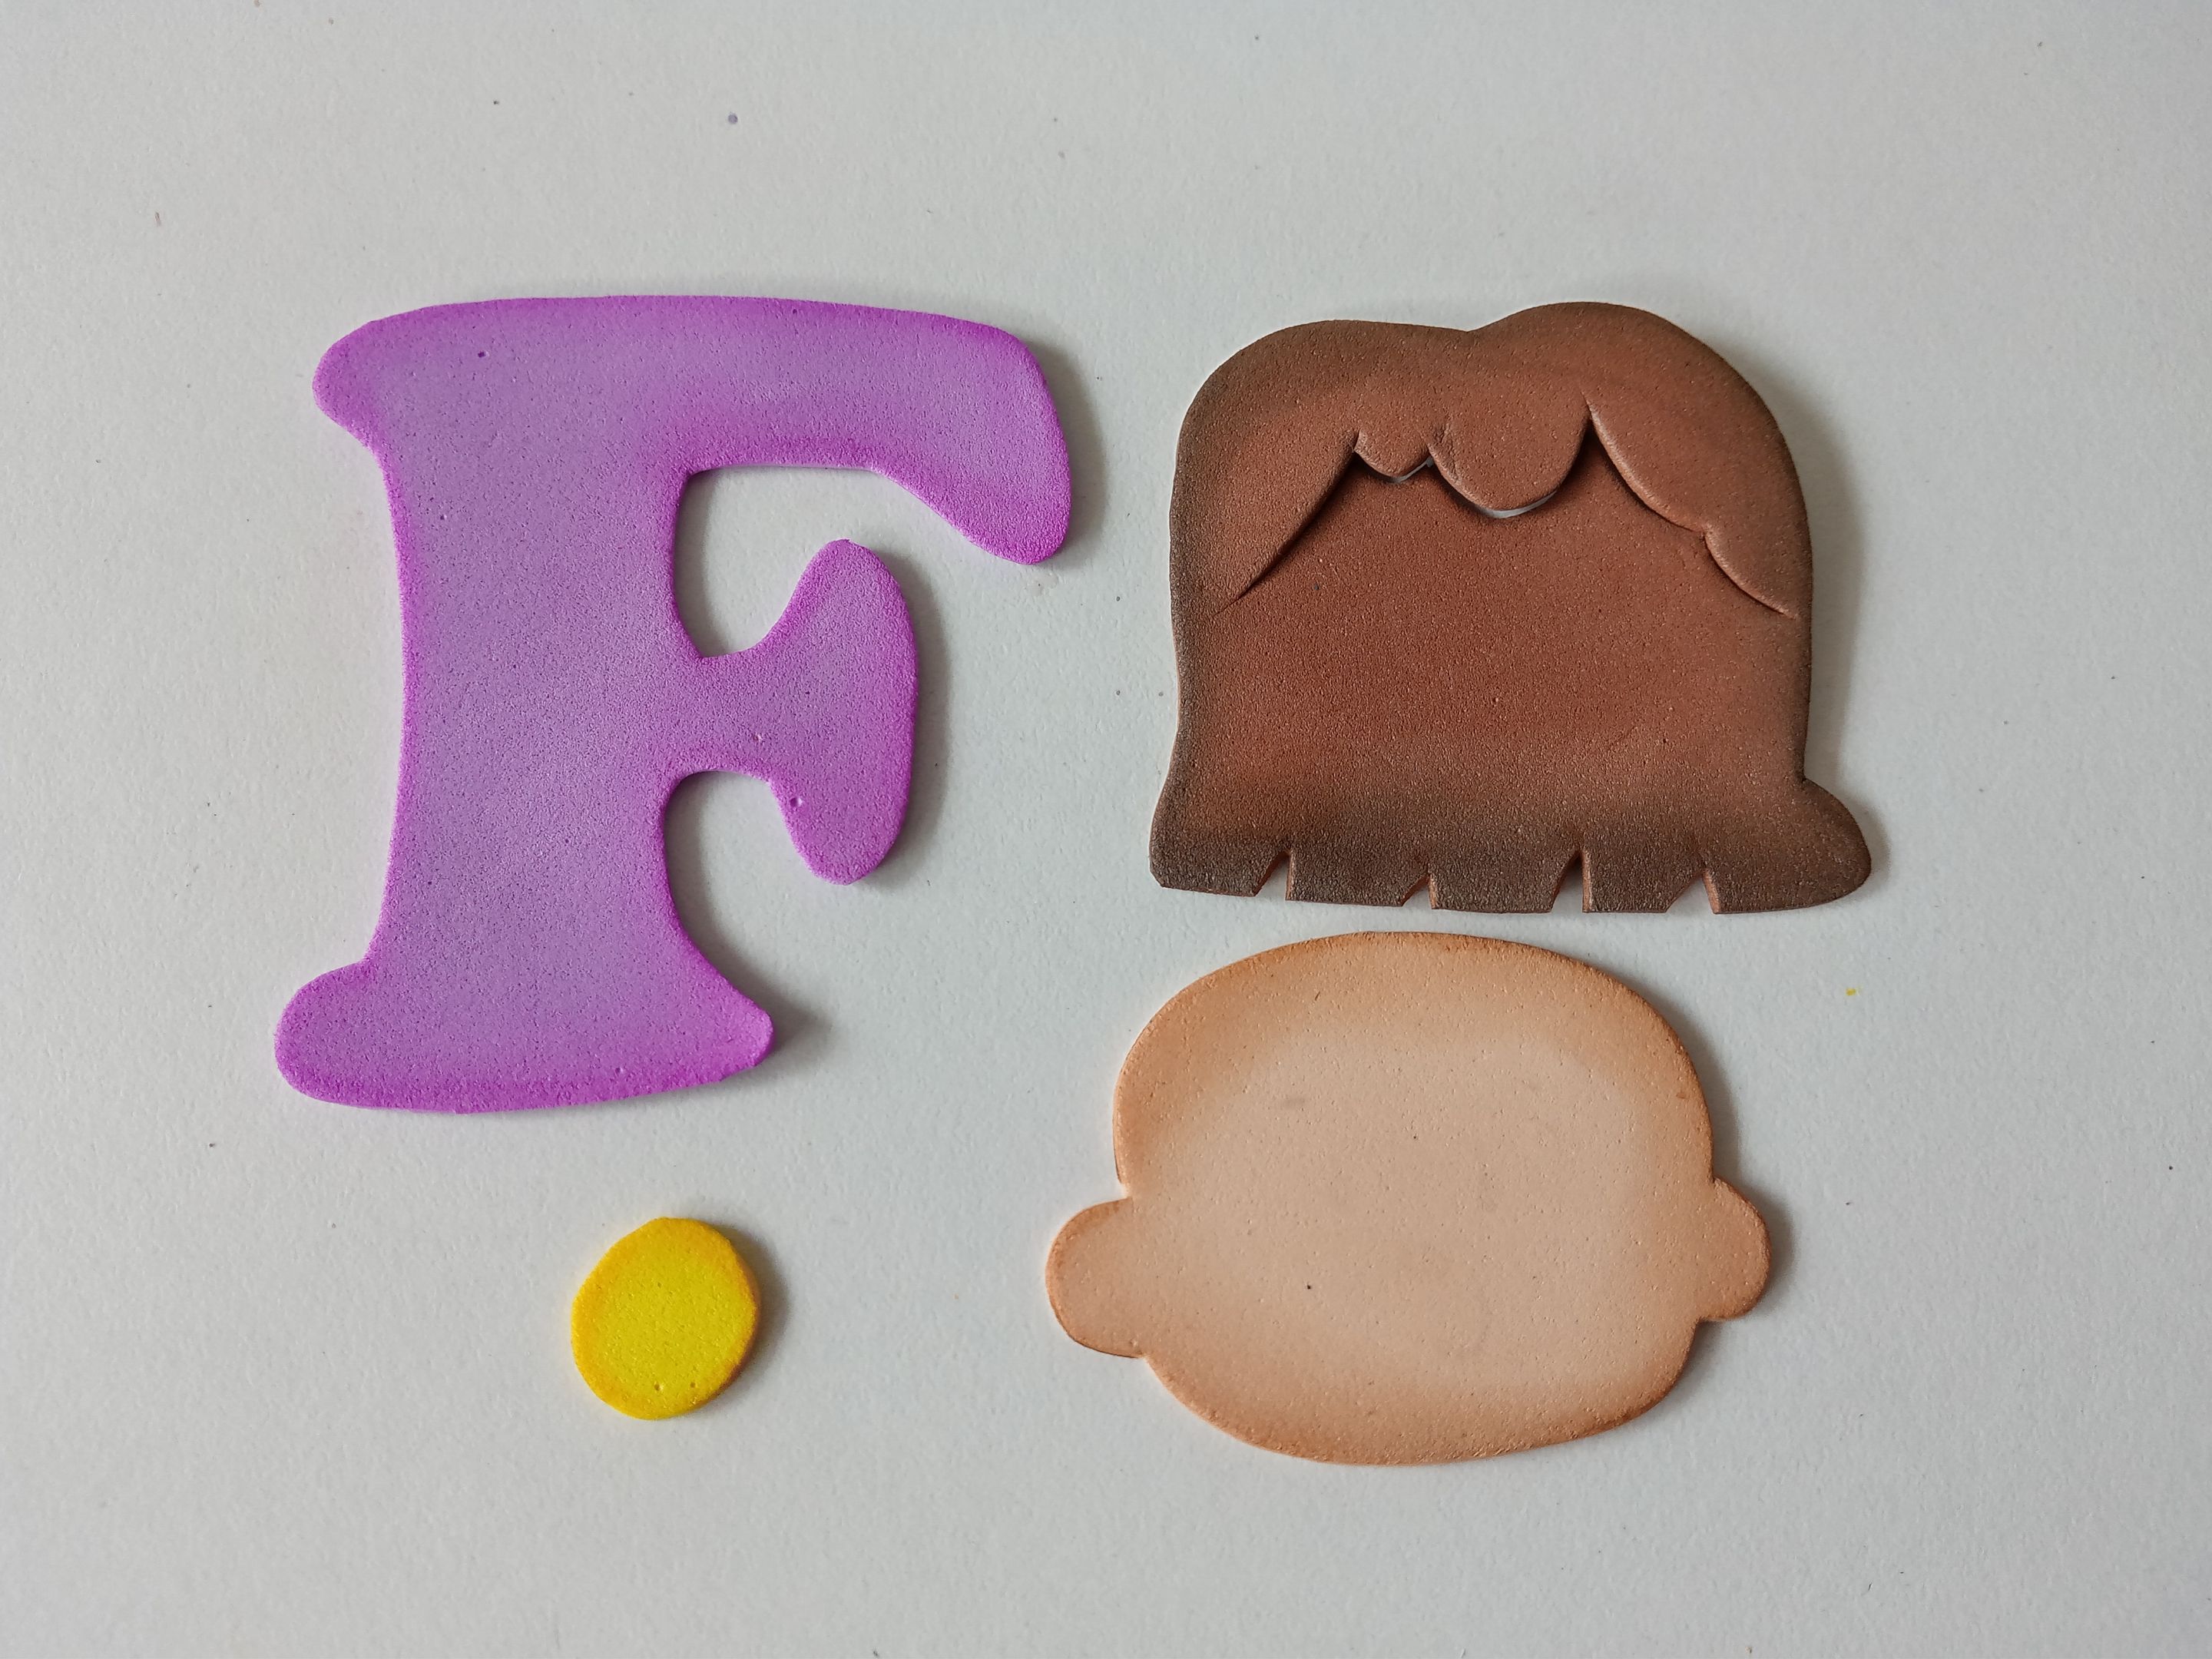
Al tener listas las piezas, es momento de dar color a los bordes con ayuda de pinturas o marcadores y un pañito para difuminar. En este caso hay que utilizar colores que hagan contraste, así que para la inicial utilicé un tono de pintura un poco más oscuro, para el cabello utilicé un tono negro, para la piel un tono marrón clarito y para el centro de la flor un amarillo más intenso.
###### ✨STEP 2:
Once the pieces were ready, it was time to color the edges with paints or markers and a smudge-proof cloth. In this case, we need contrasting colors, so for the initial I used a slightly darker shade of paint, for the hair I used black, for the skin a light brown, and for the center of the flower a more intense yellow.
###### ✨PASO 3:
Al estar secas las piezas, es momento de dar detalles más específicos, como serían las cejas, boca, ojos; detalles del cabello, un lindo diseño de círculos para la inicial y puntos para ambas piezas de la flor. Nuevamente, dejamos secar.
###### ✨STEP 3:
Once the pieces are dry, it's time to add more specific details, such as eyebrows, mouth, eyes, hair details, a cute circle design for the initial, and dots for both flower pieces. Let it dry again.
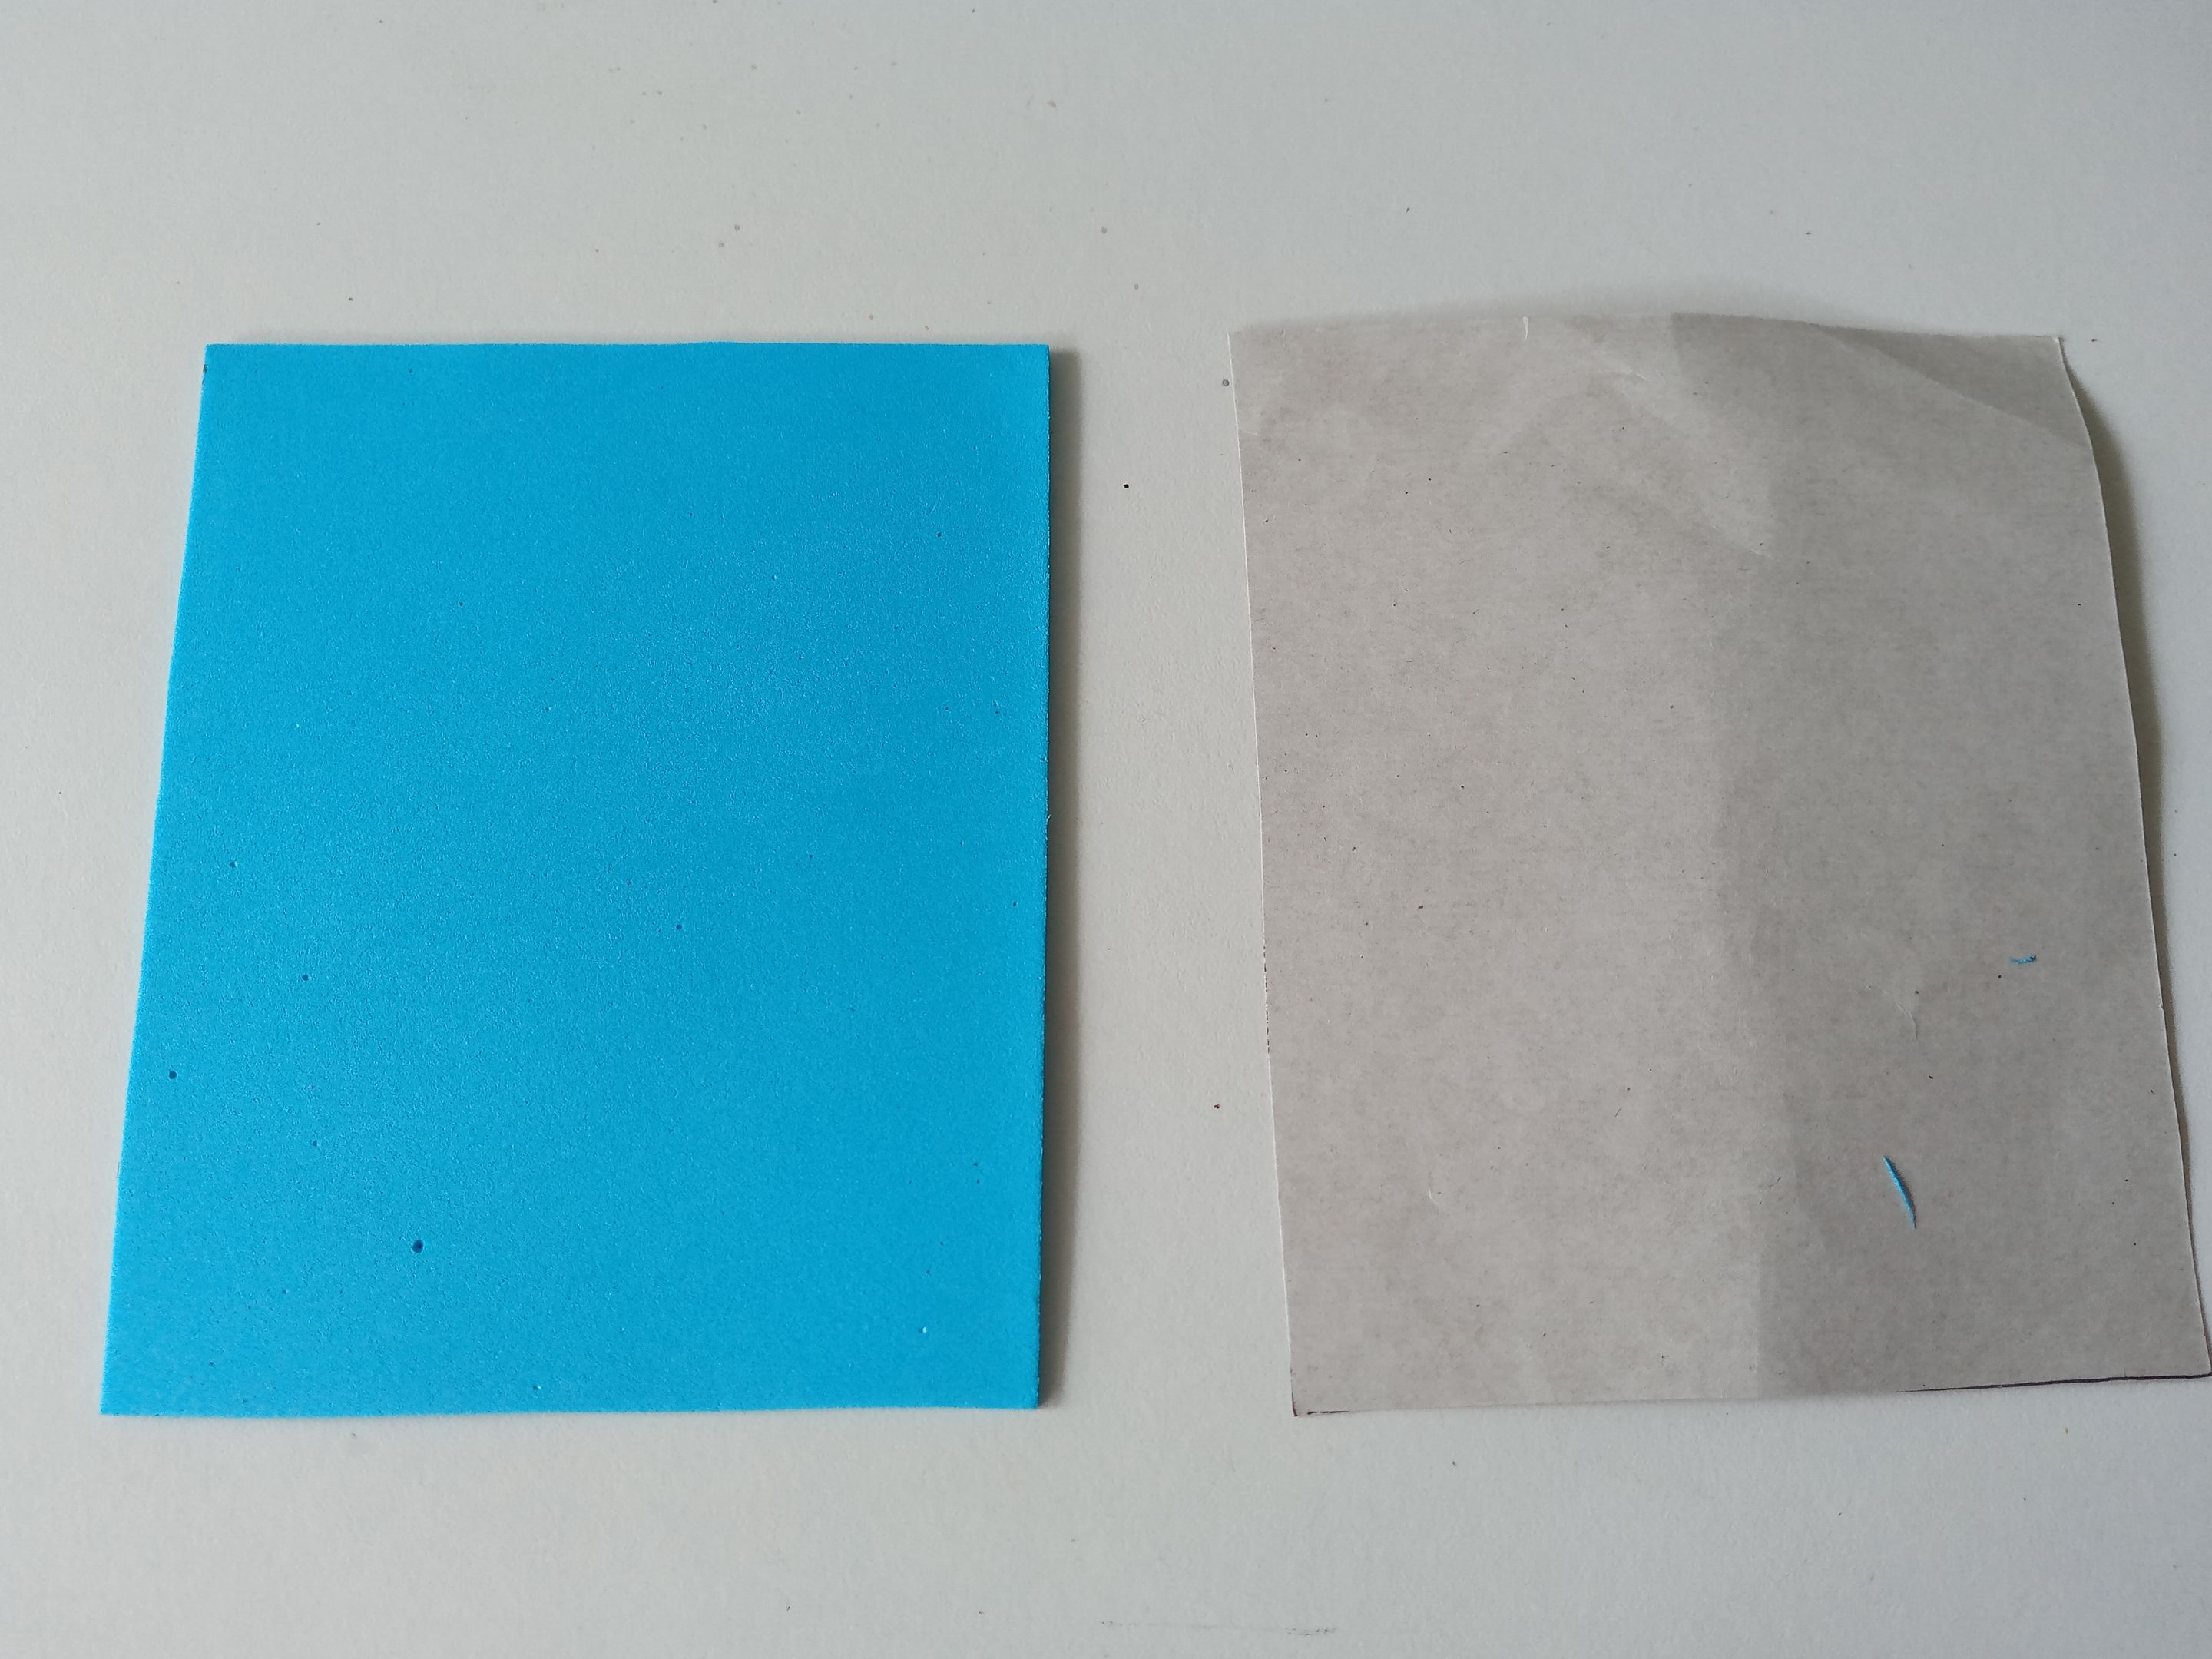
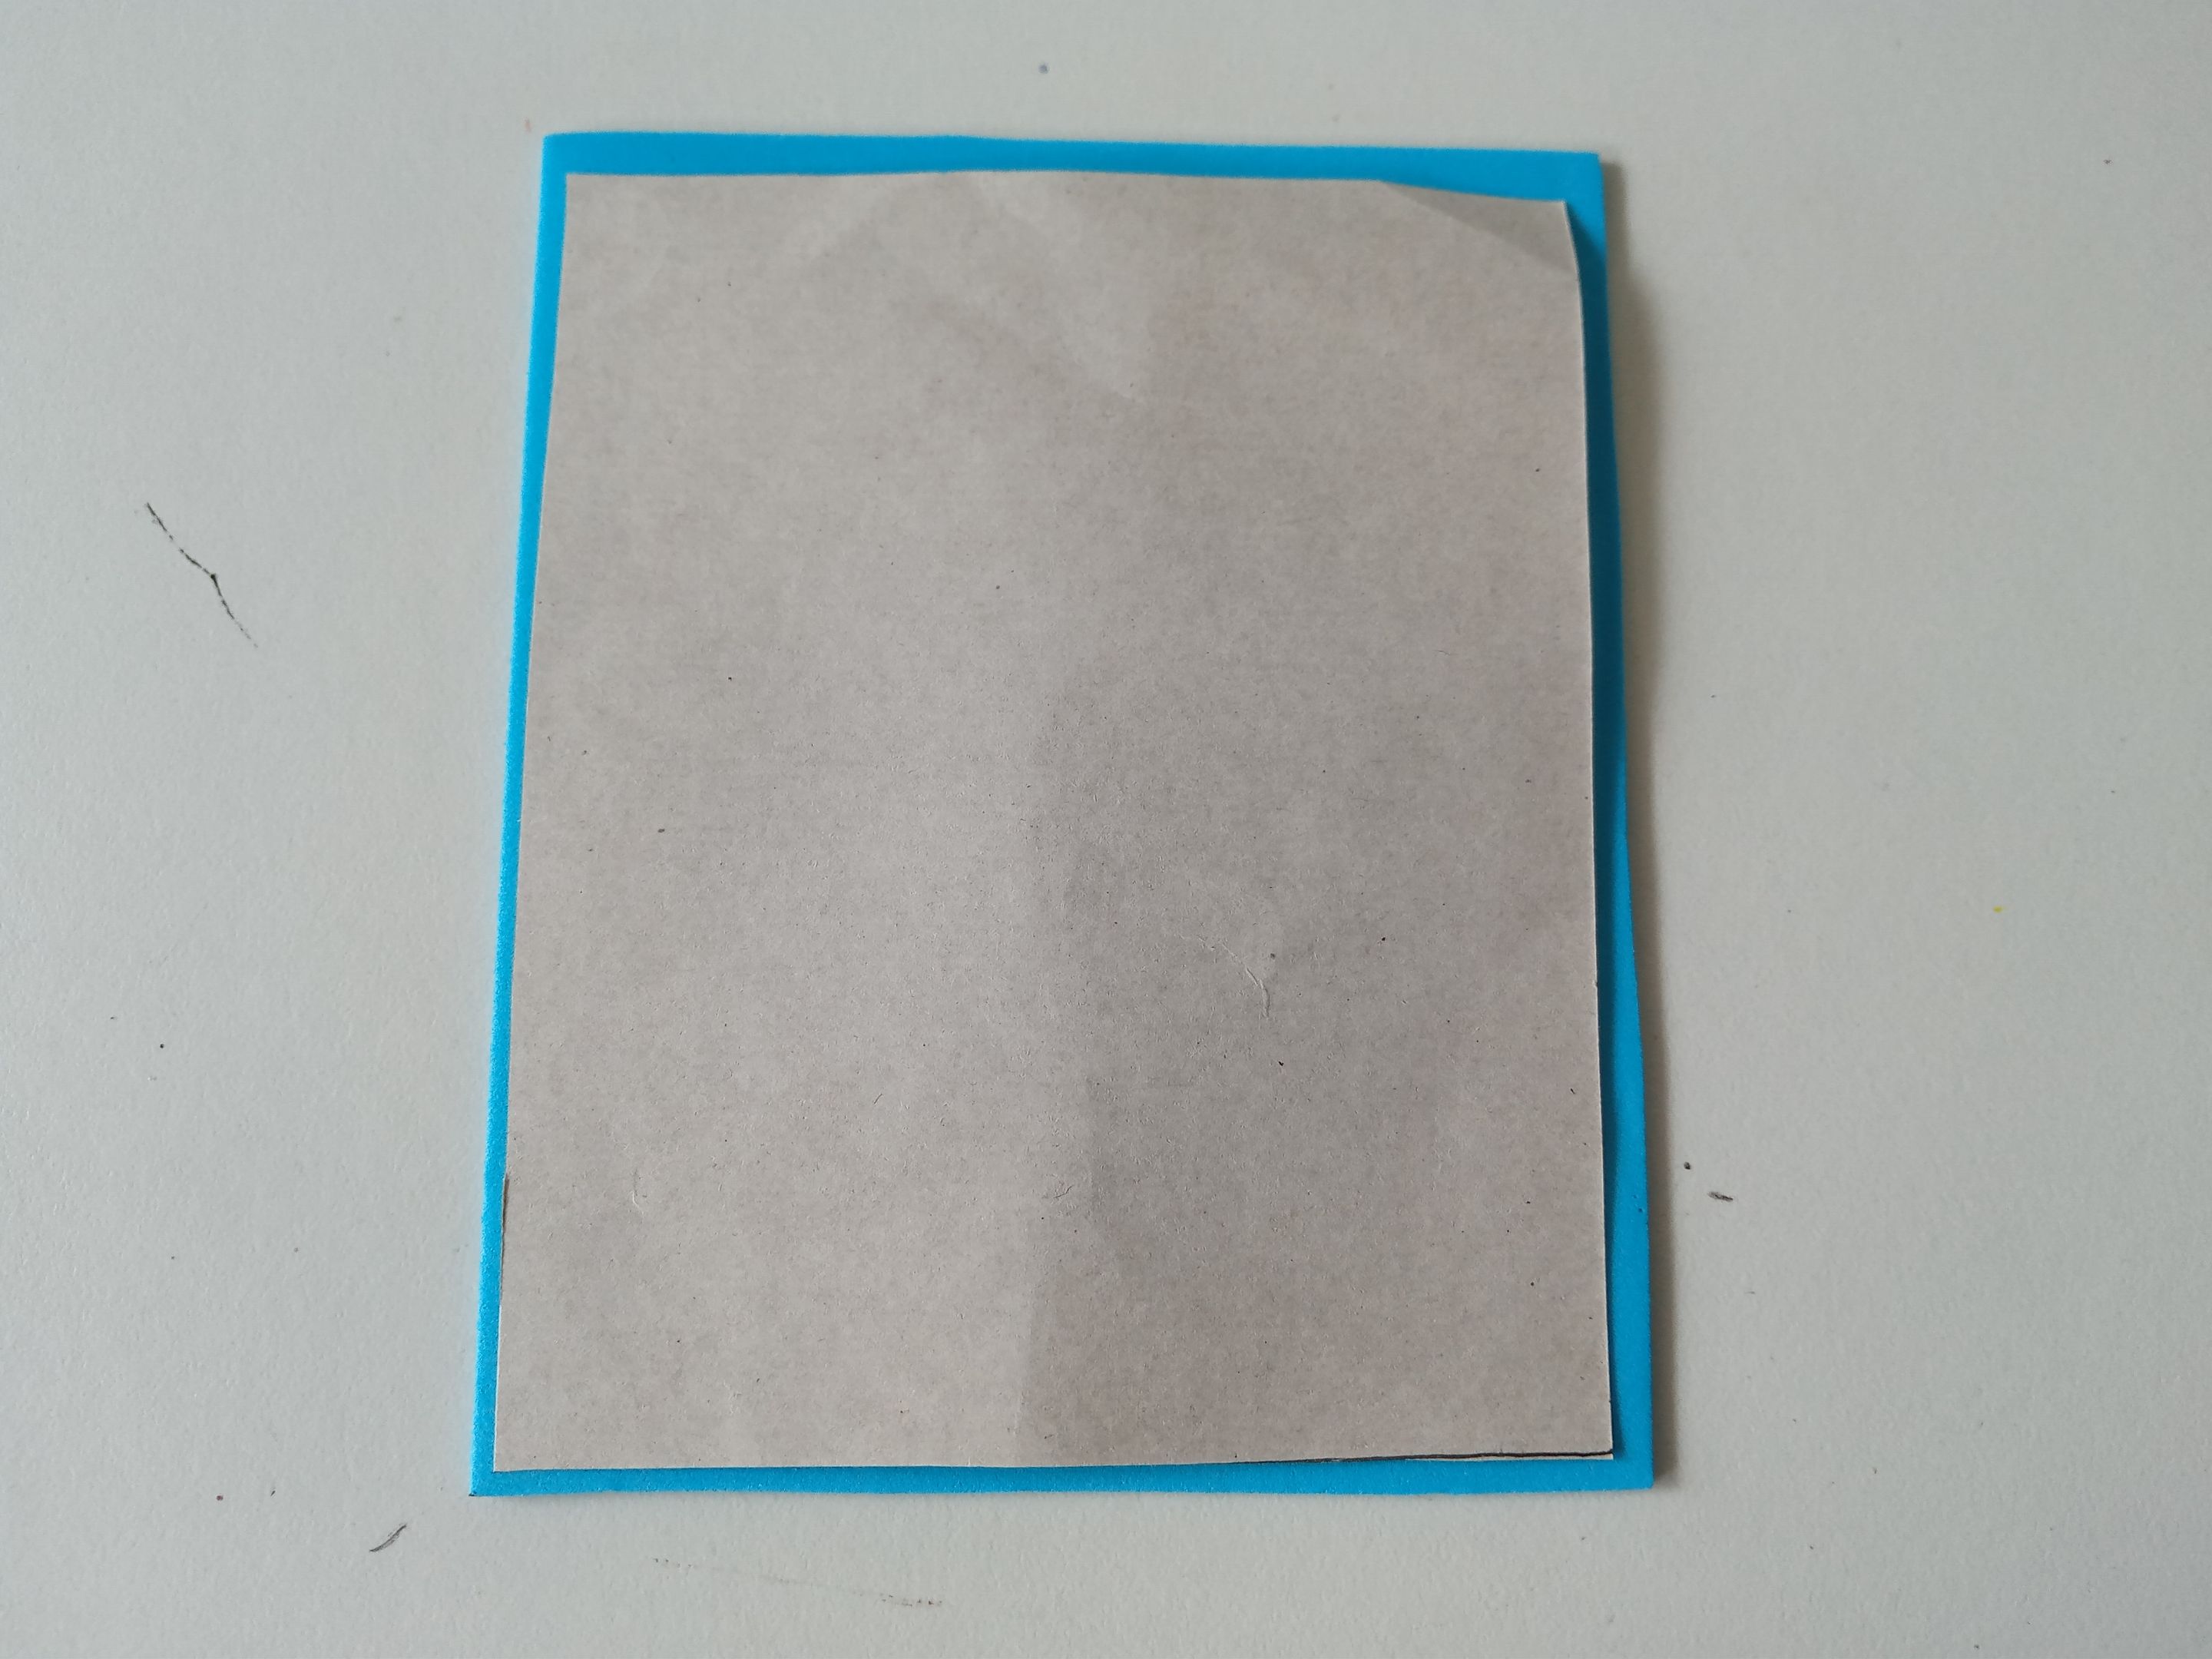
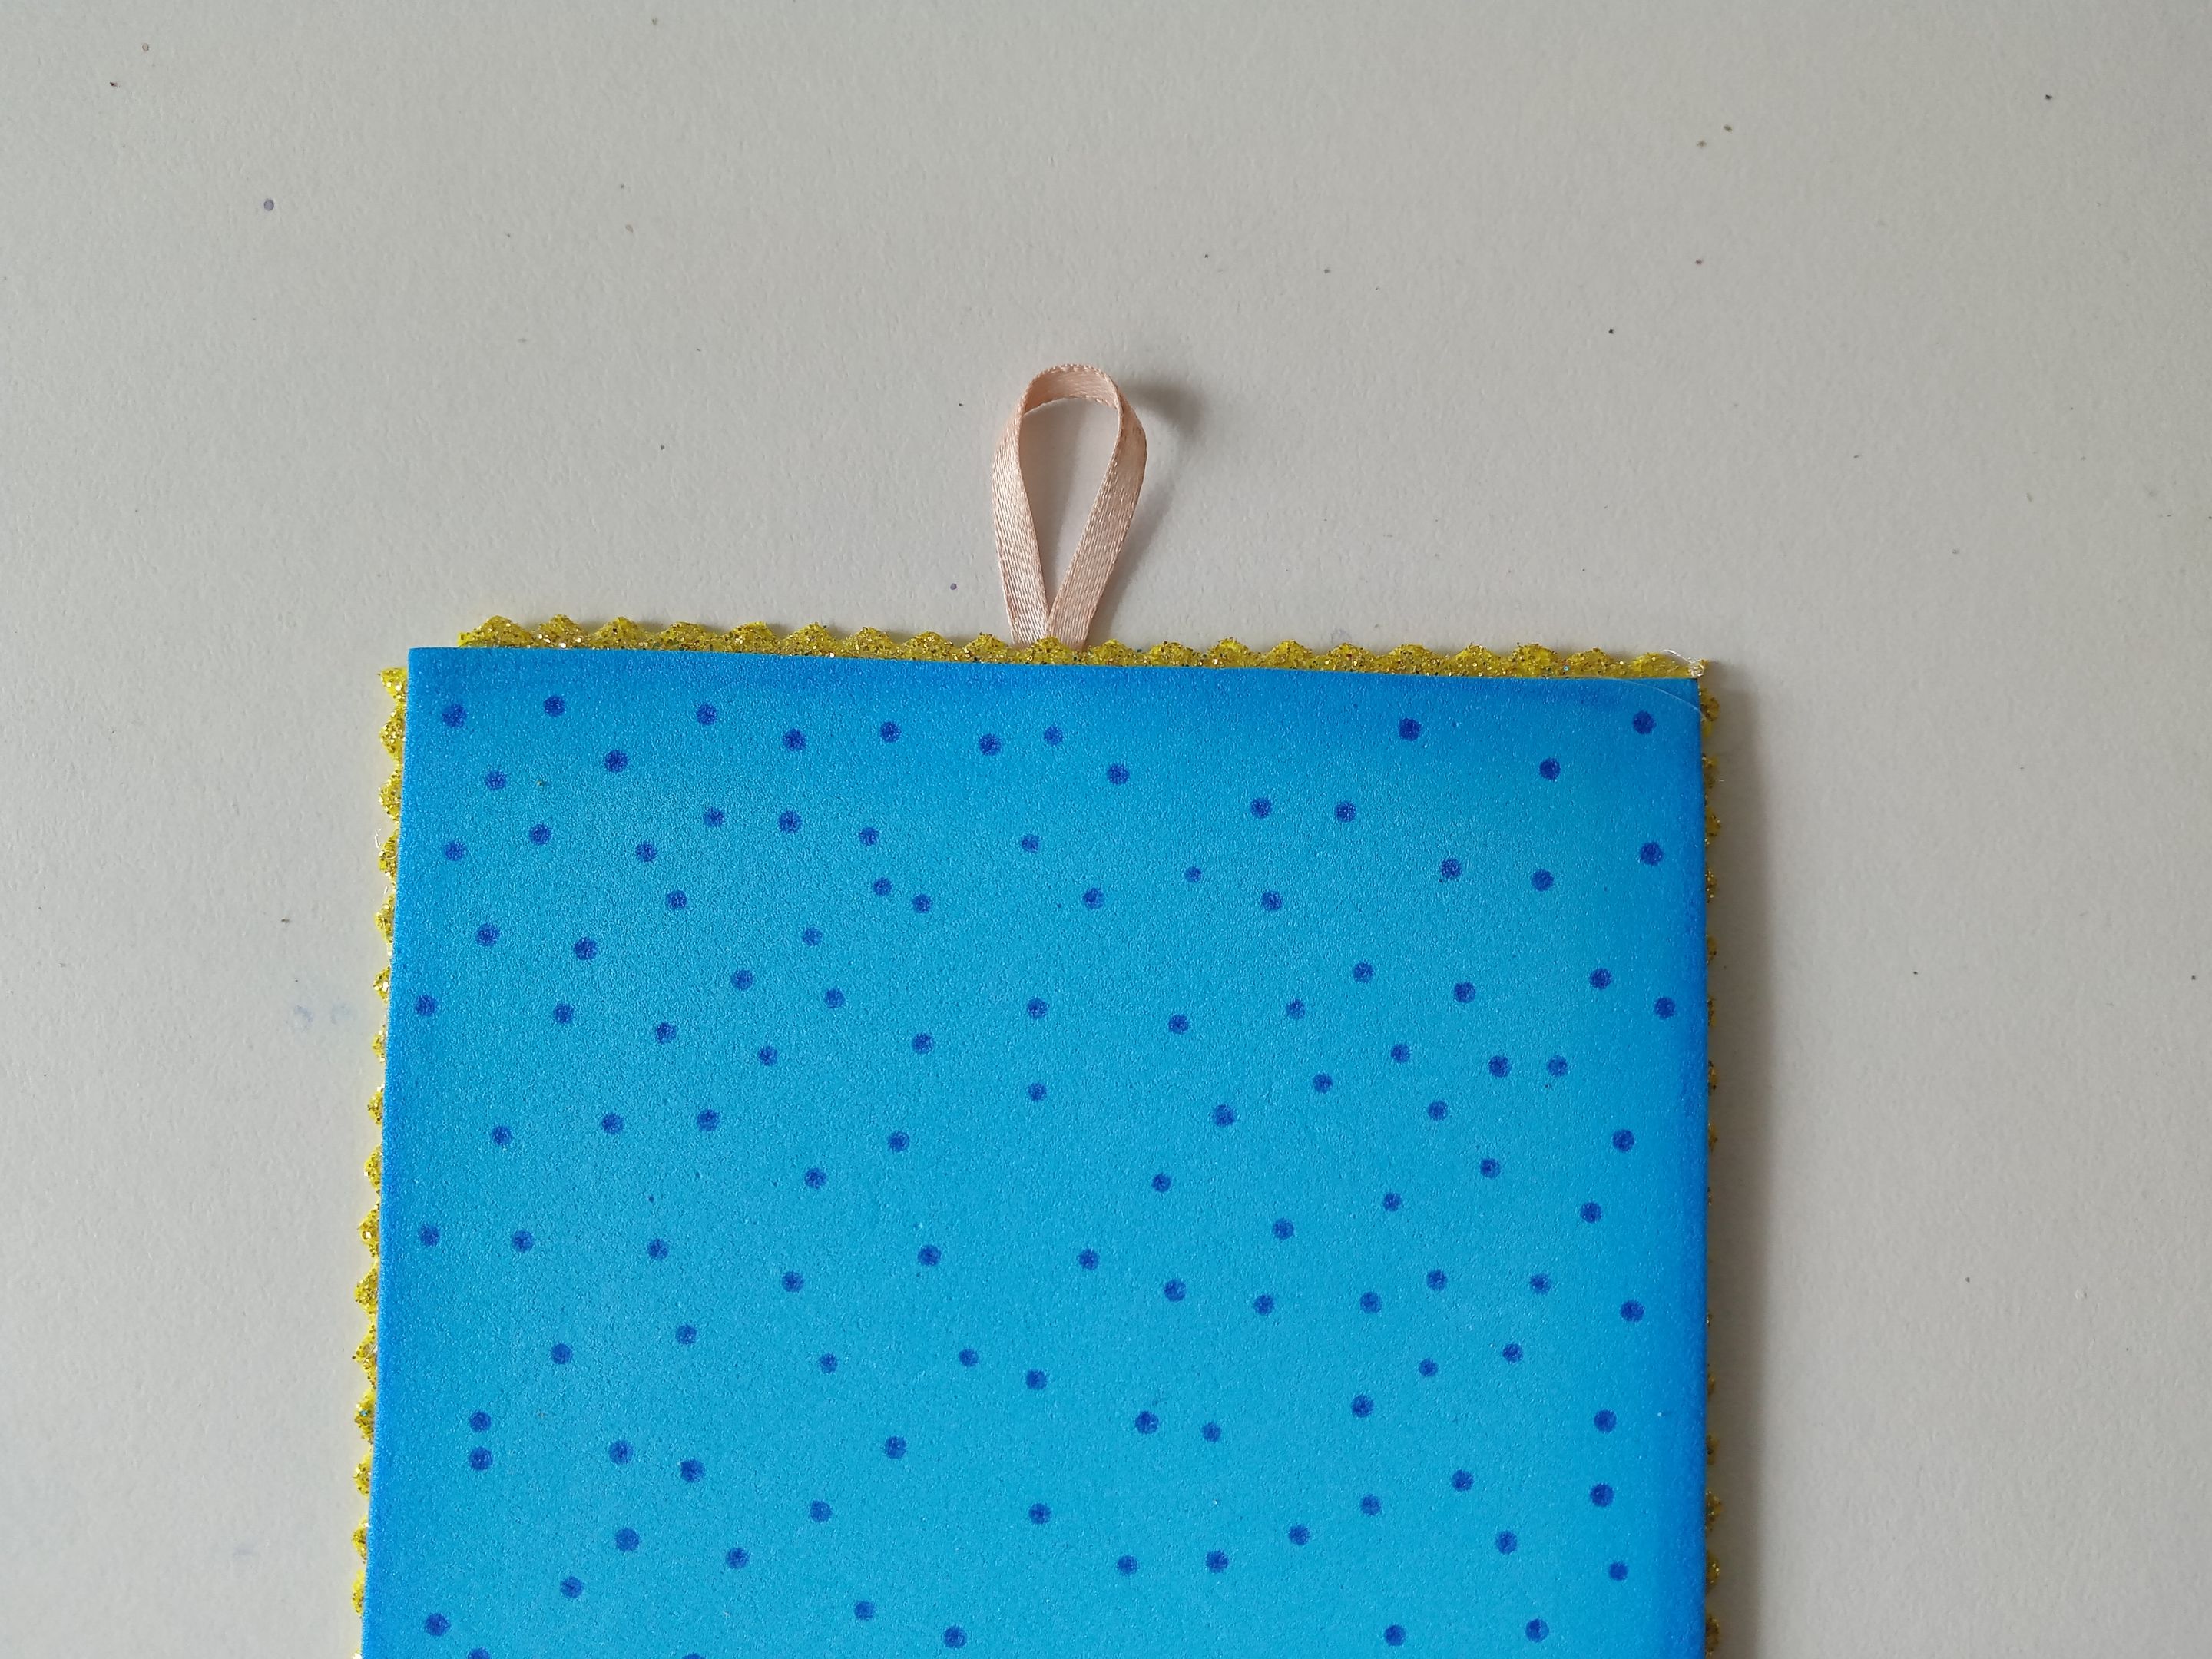
###### ✨PASO 4:
Mientras las piezas secan, fui elaborando la base del colgante en foami azul claro, para que diera una linda combinación en colores pastel junto a la inicial. Así que recorté una forma rectangular de 12.5 cm x 10.5 cm. Seguidamente, y totalmente a gusto, quise darle más resistencia a la base, así que recorté un cartón 1 cm más pequeño de cada lado que la base y pegué por detrás.
###### ✨STEP 4:
While the pieces dried, I made the base of the pendant out of light blue foam, to create a nice pastel color combination next to the initial. So I cut out a rectangular shape measuring 12.5 cm x 10.5 cm. Next, and completely to my liking, I wanted to give the base more strength, so I cut a piece of cardboard 1 cm smaller on each side than the base and glued it to the back.
###### ✨PASO 5:
Luego, di color a los bordes de la pieza, hice puntos por toda la pieza en color azul oscuro. Seguidamente, recorté tiras delgadas con tijeras de diseños y pegué por toda la orilla trasera, dejando ver solo el diseño por el frente. Pegué la tira para poder colgarla por detrás y, finalmente, pegué en el orden deseado la decoración, dejando la inicial en medio, a la niña en la esquina superior izquierda y la flor en la esquina interior derecha.
###### ✨STEP 5:
Then, I colored the edges of the piece, making dots all over the piece in dark blue. Next, I cut thin strips with patterned scissors and glued them all the way around the back edge, leaving only the design visible on the front. I glued the strip so I could hang it from the back, and finally, I glued the decorations in the desired order, leaving the initial in the middle, the girl in the upper left corner, and the flower in the inner right corner.
# ✨RESULTADO: | ✨RESULT: