Hi Everyone
https://www.youtube.com/watch?v=7TrhePOJeuc In this video I am playing through The Chapel and Dank Crypt areas of Baldur's Gate 3.
We also look at the mini camp system as one of the cooler mini camps is here in the chapel. While at this camp site I level all of the main characters up to level 3 and look at the spells available to each class.
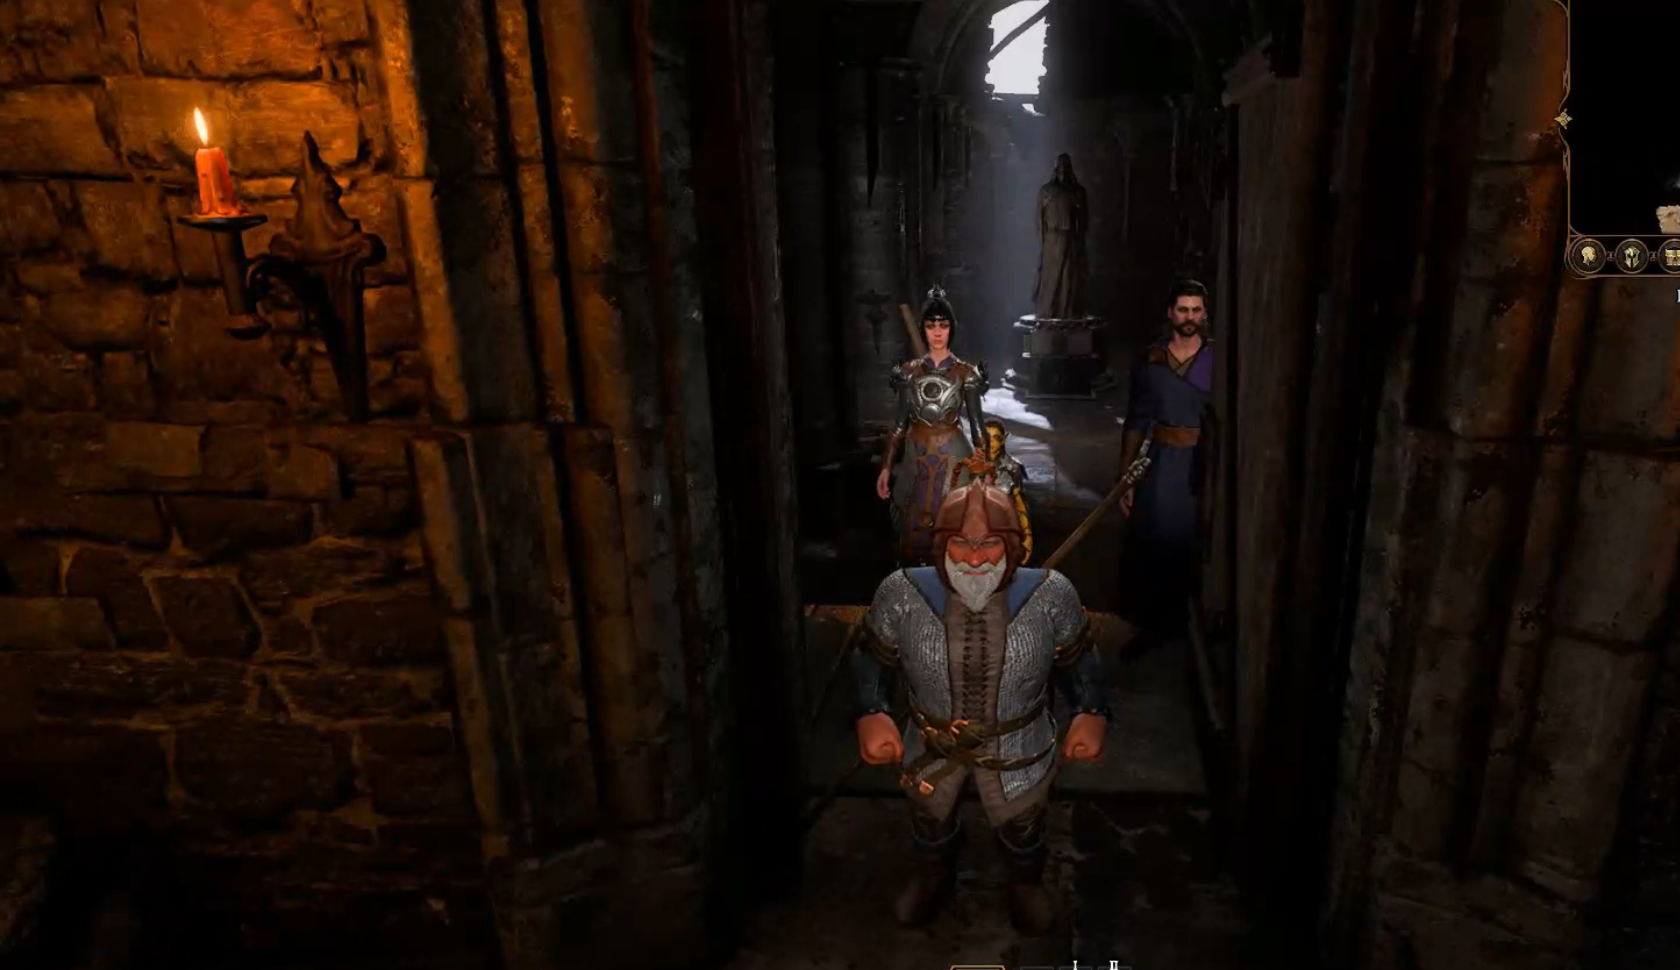
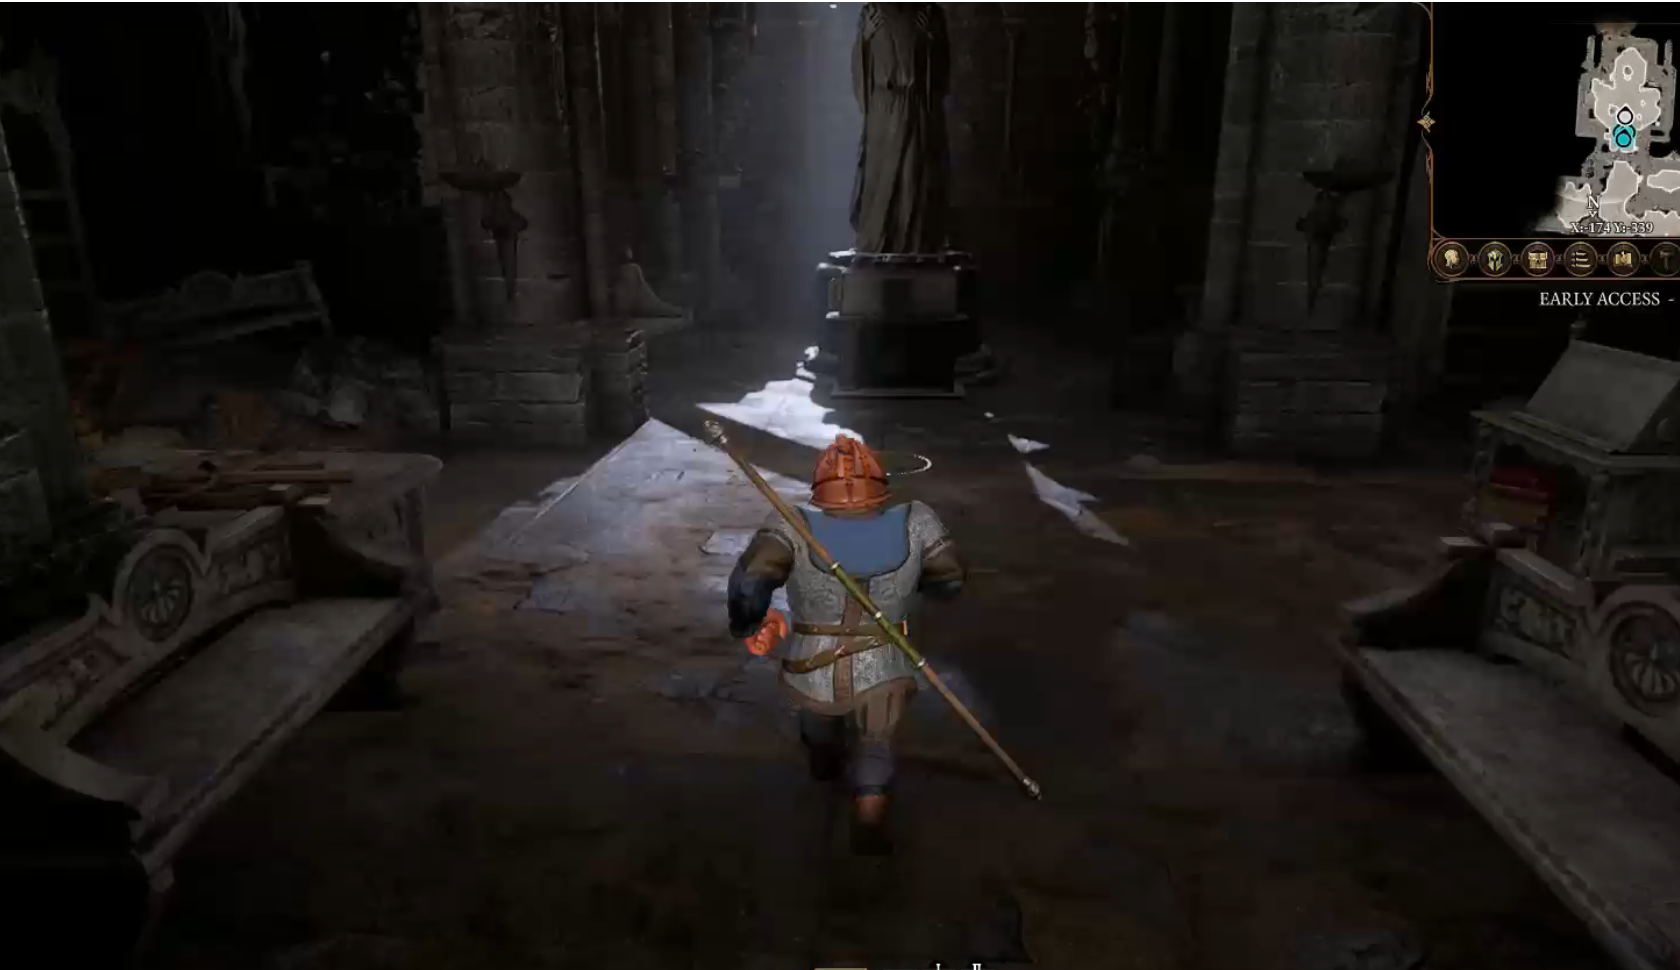
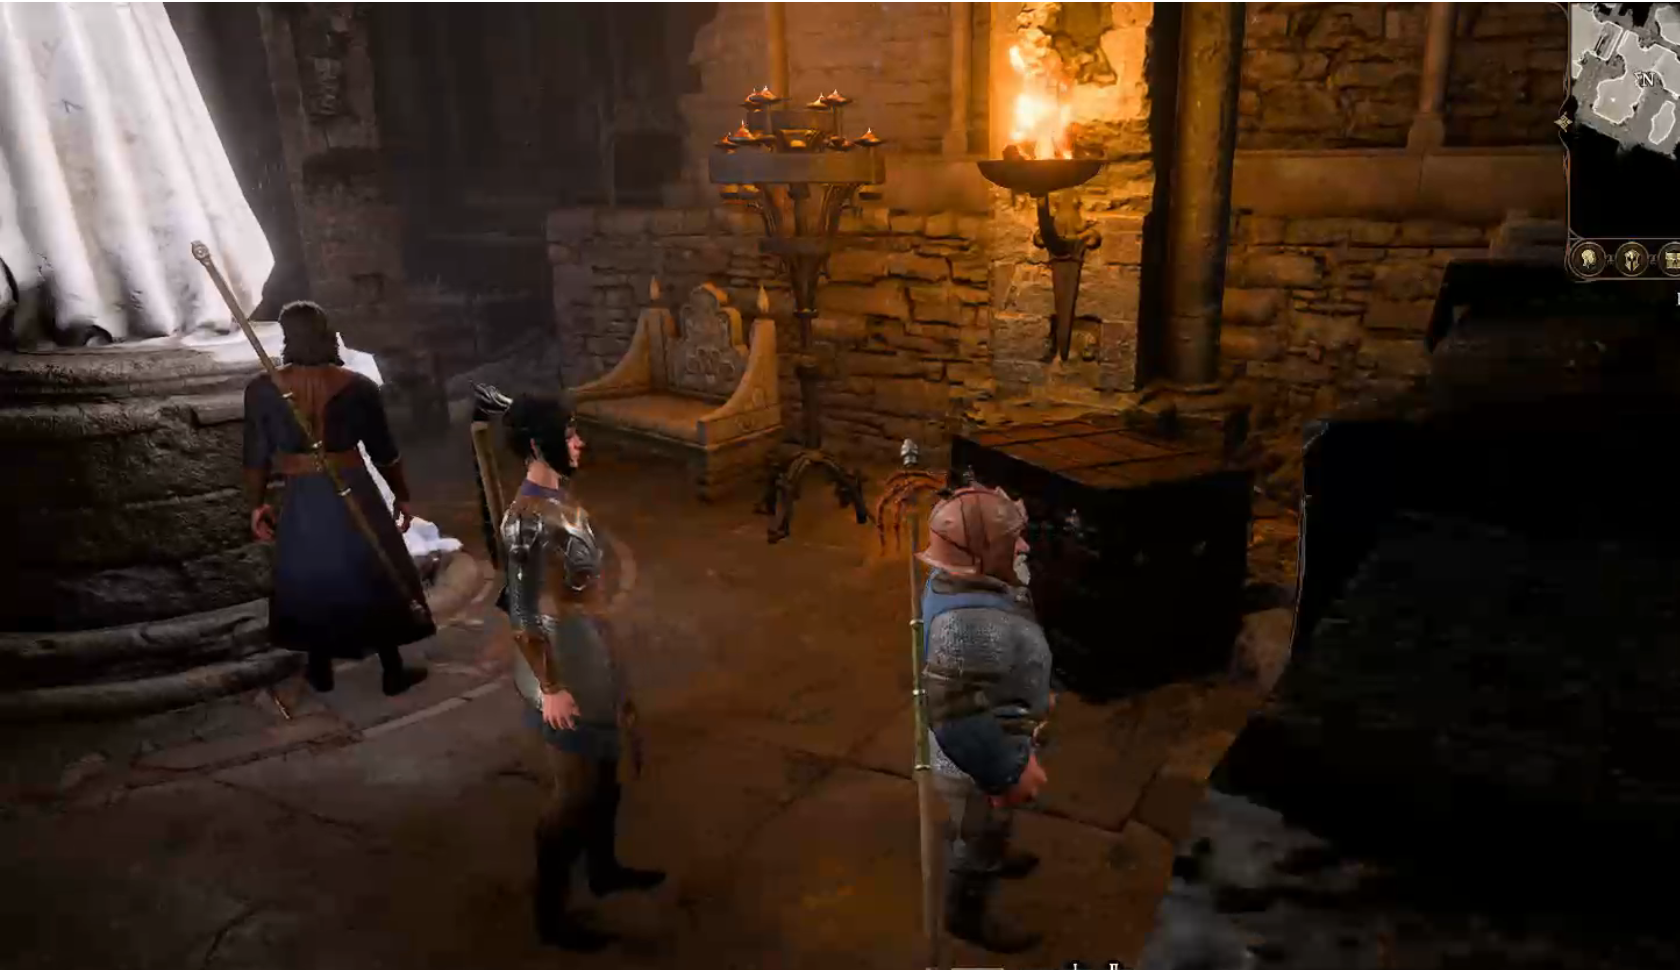
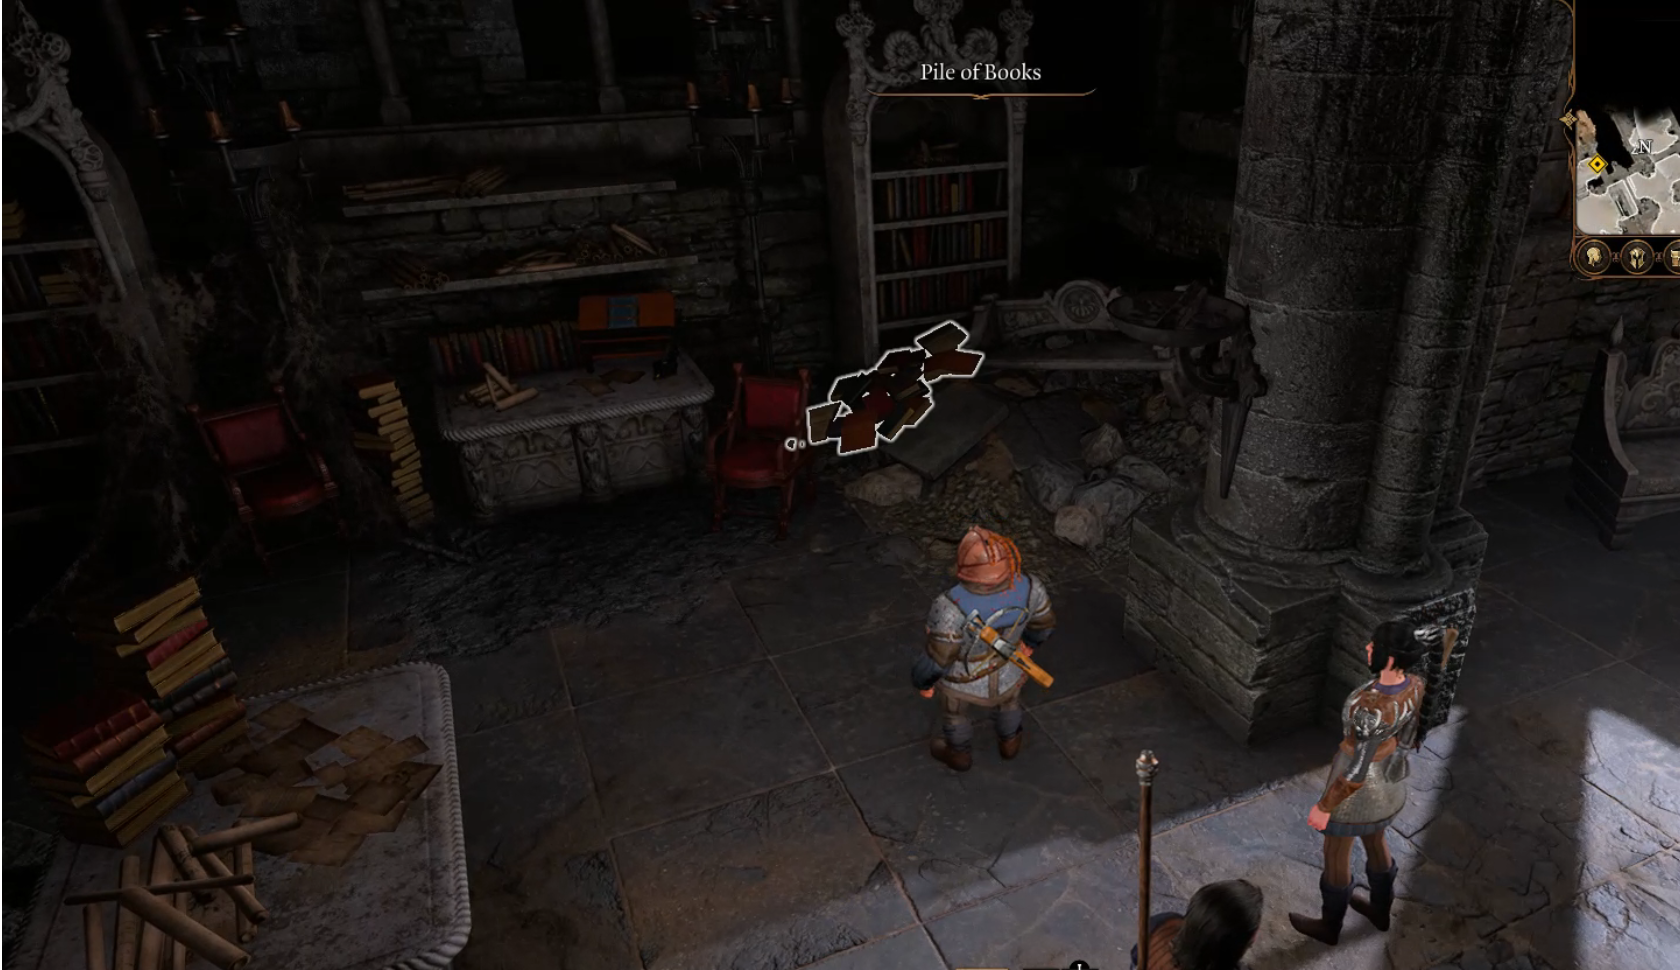
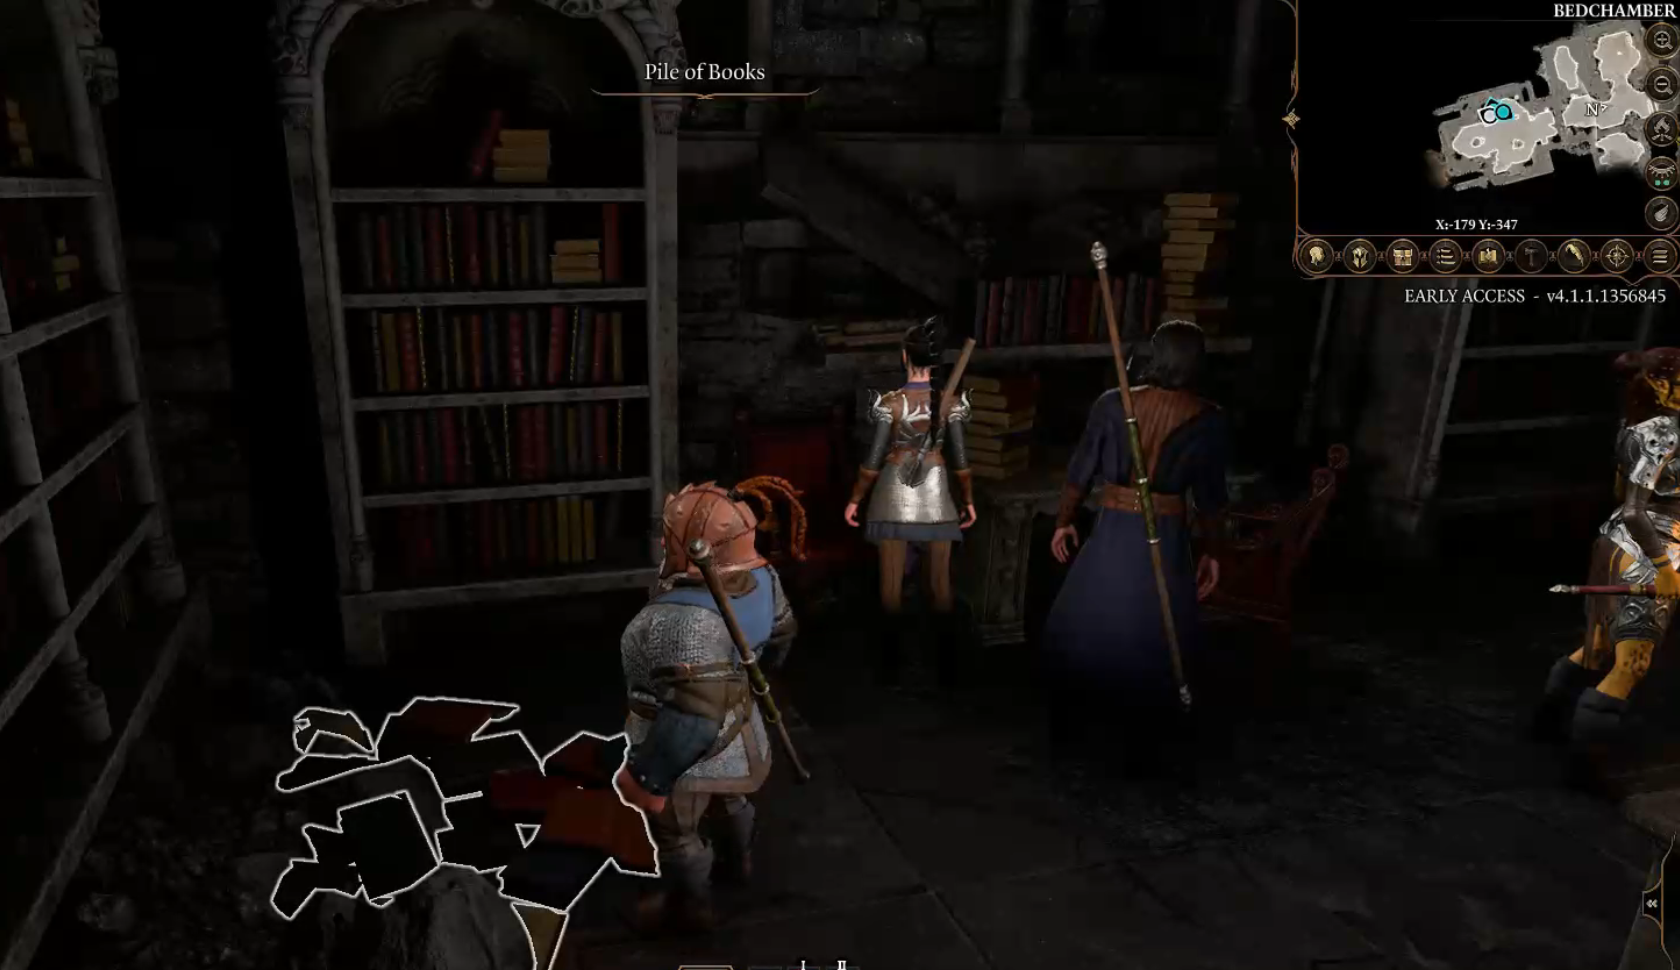
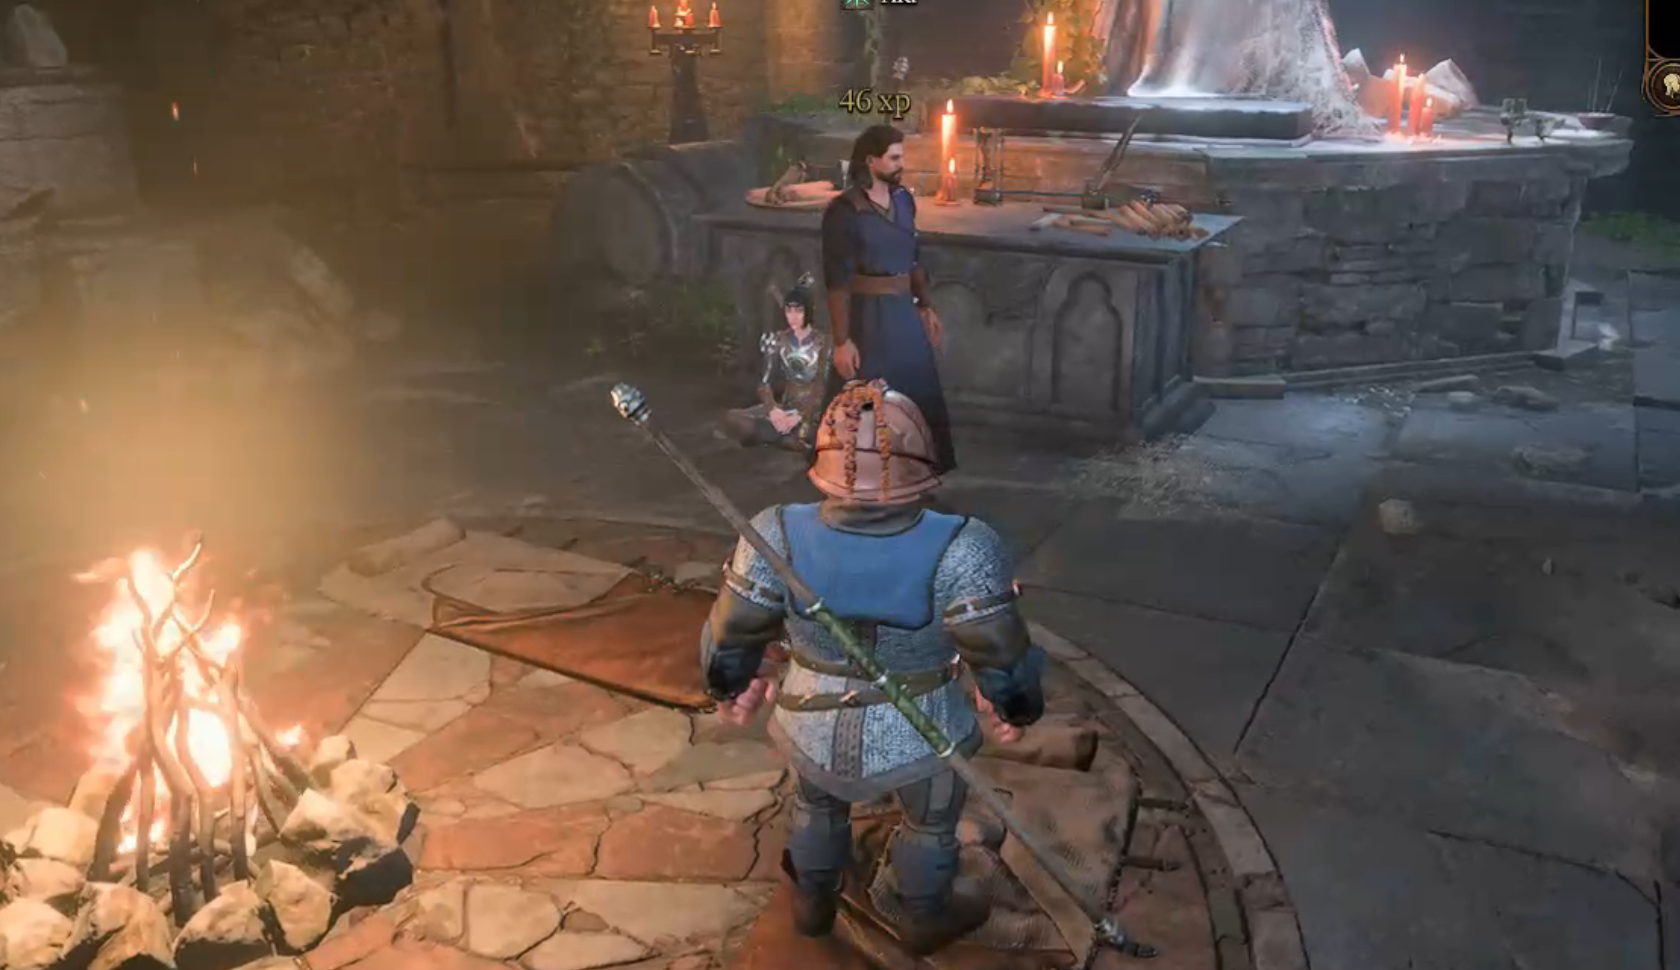
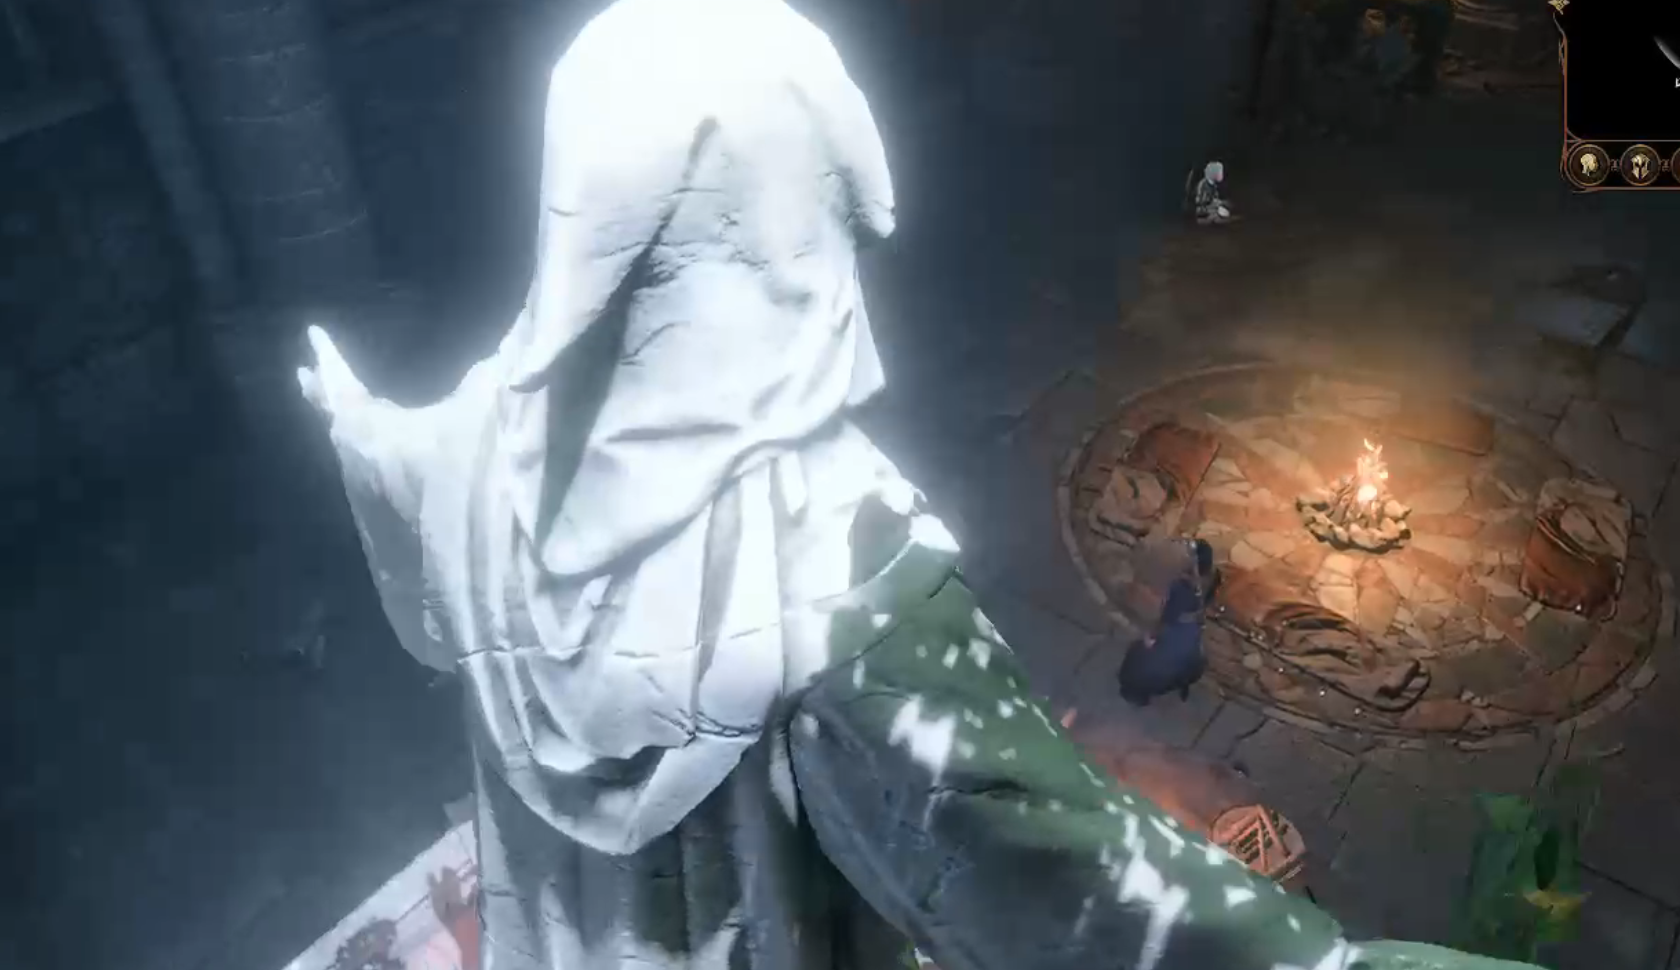
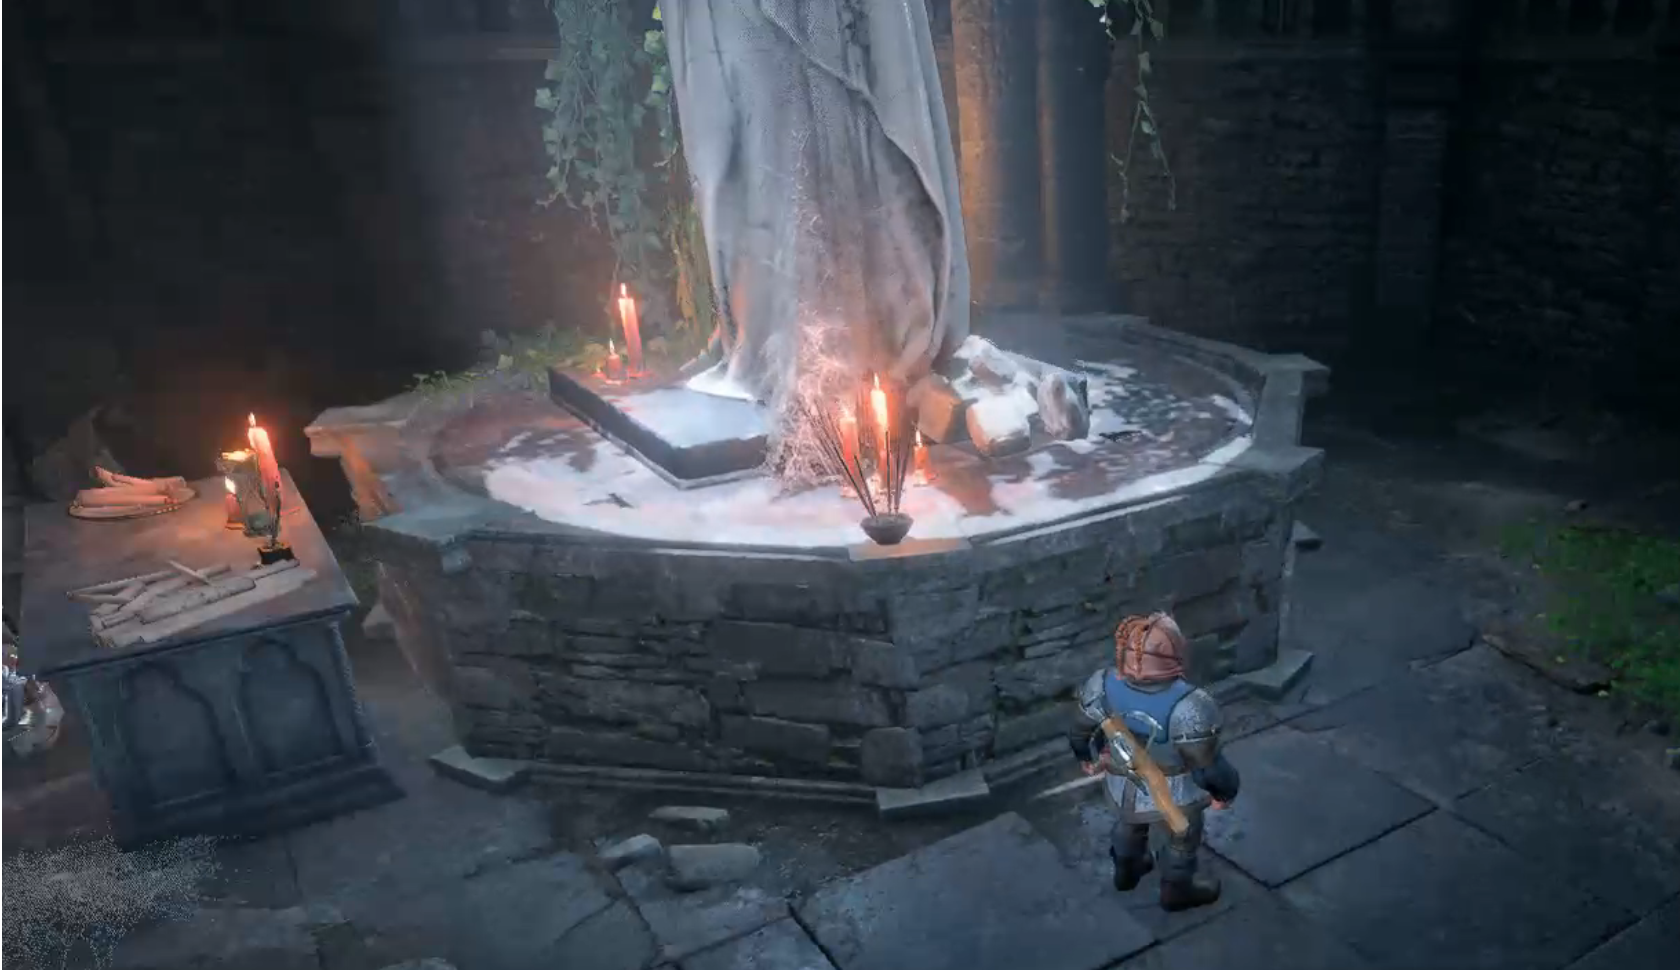
In my opinion this area is the most well designed I have seen so far in Baldur's Gate 3.This deserted underground chapel has statues and lore books scattered around.
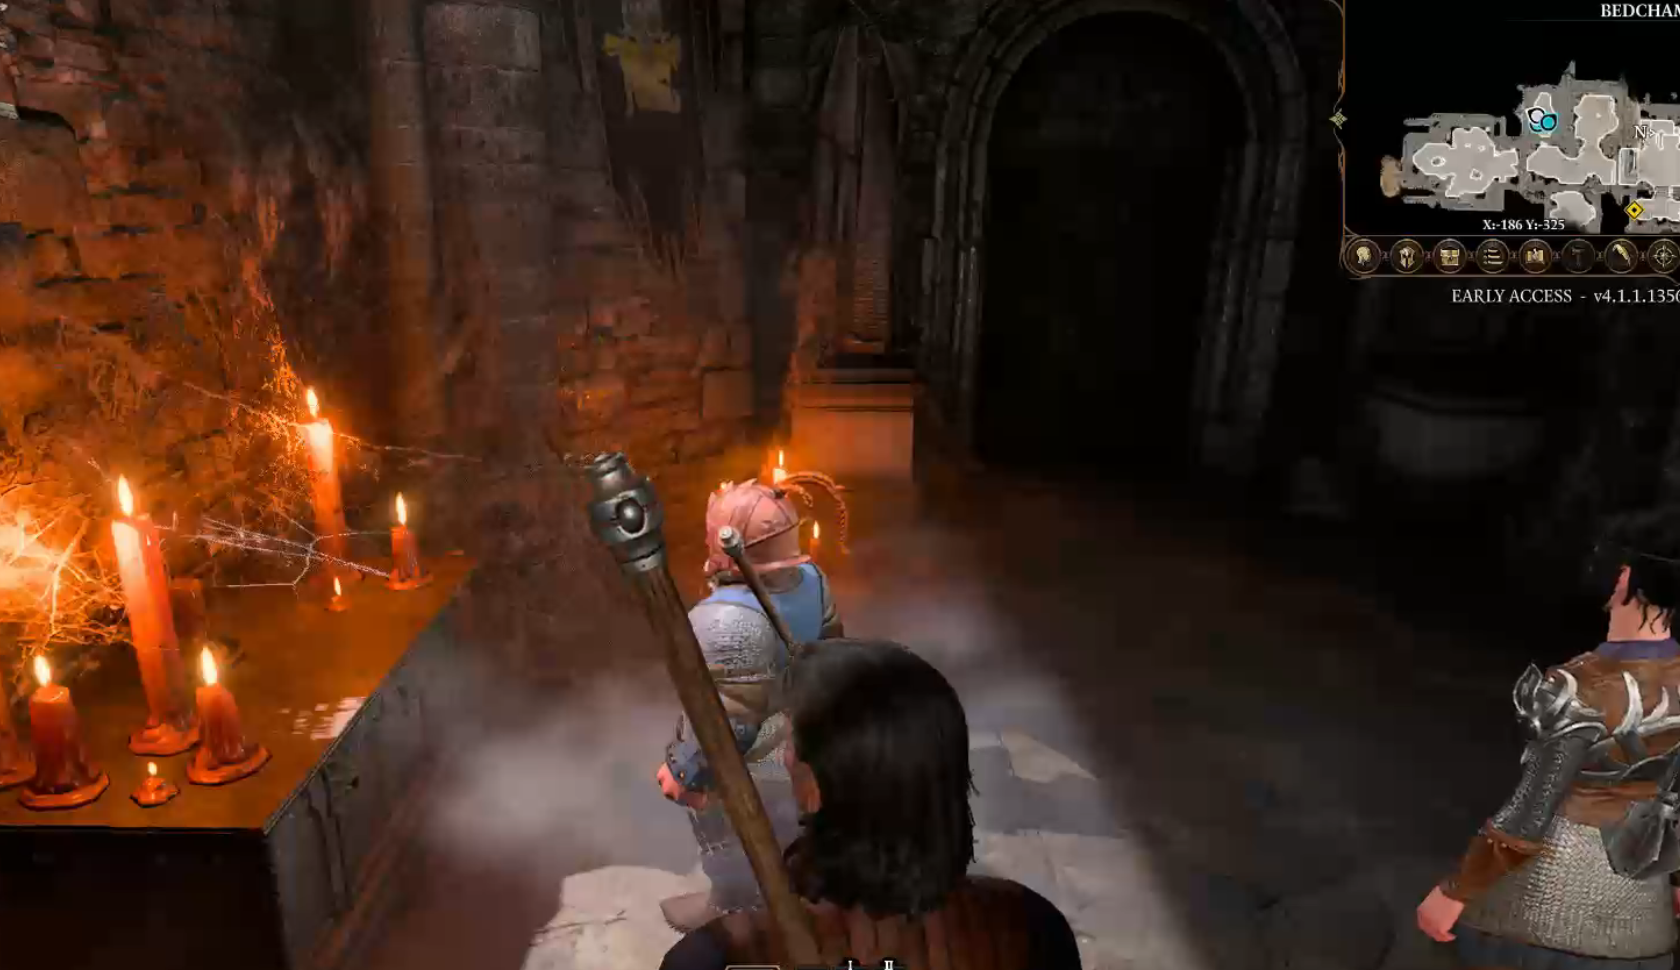
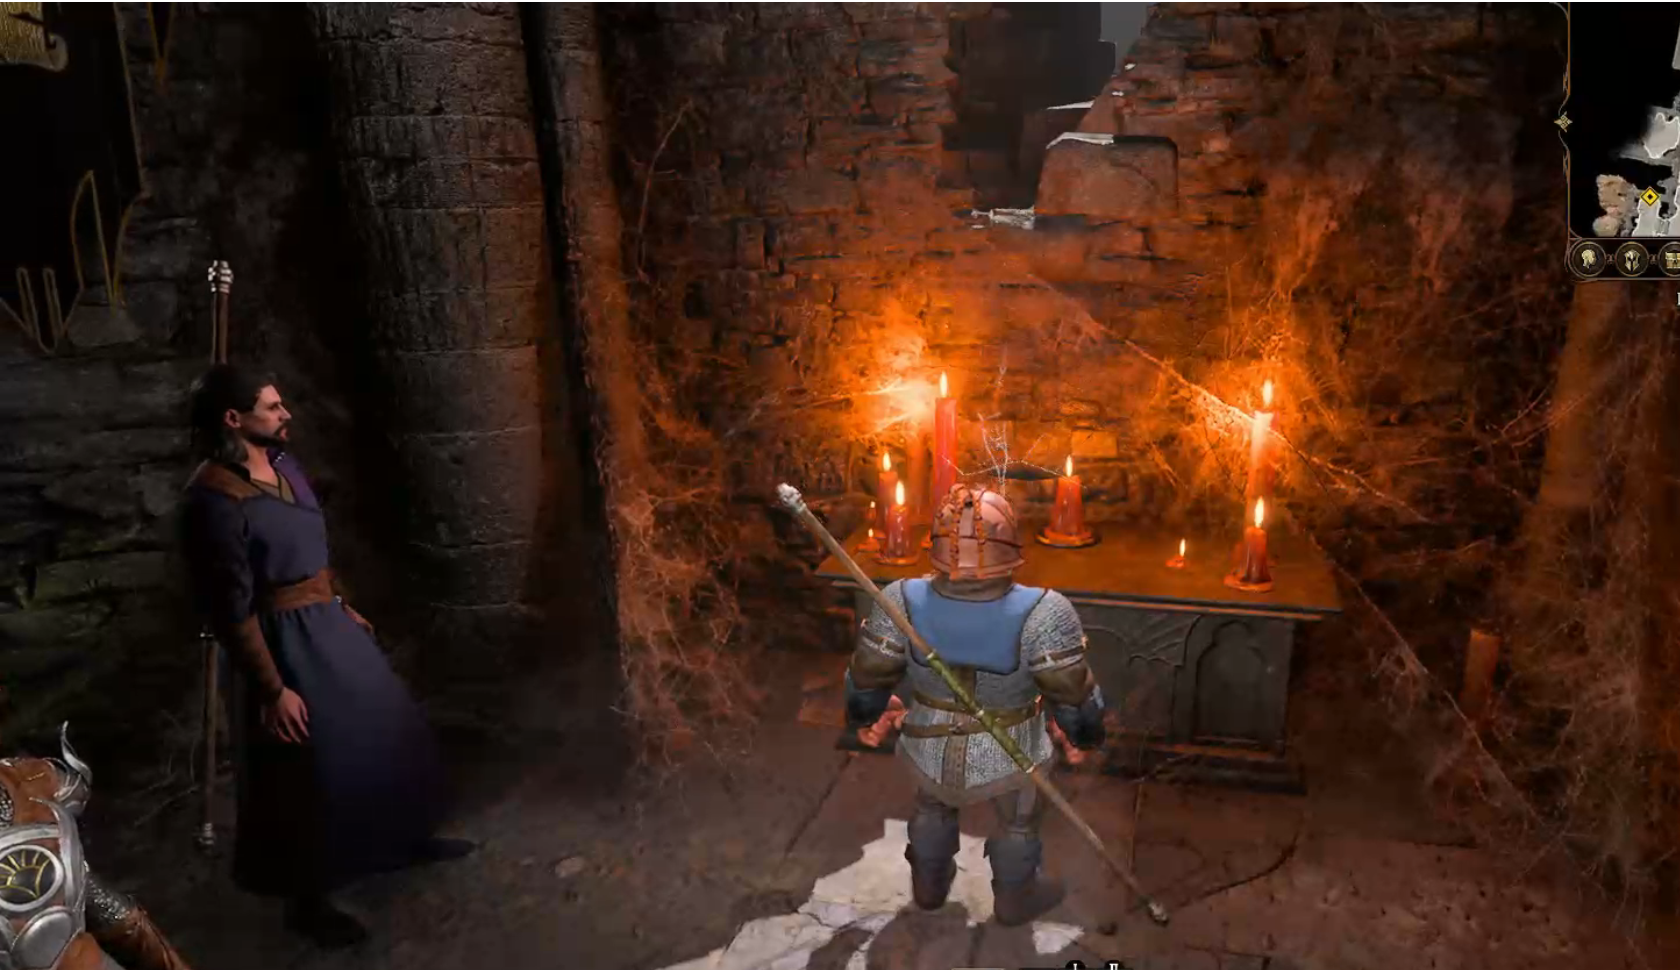
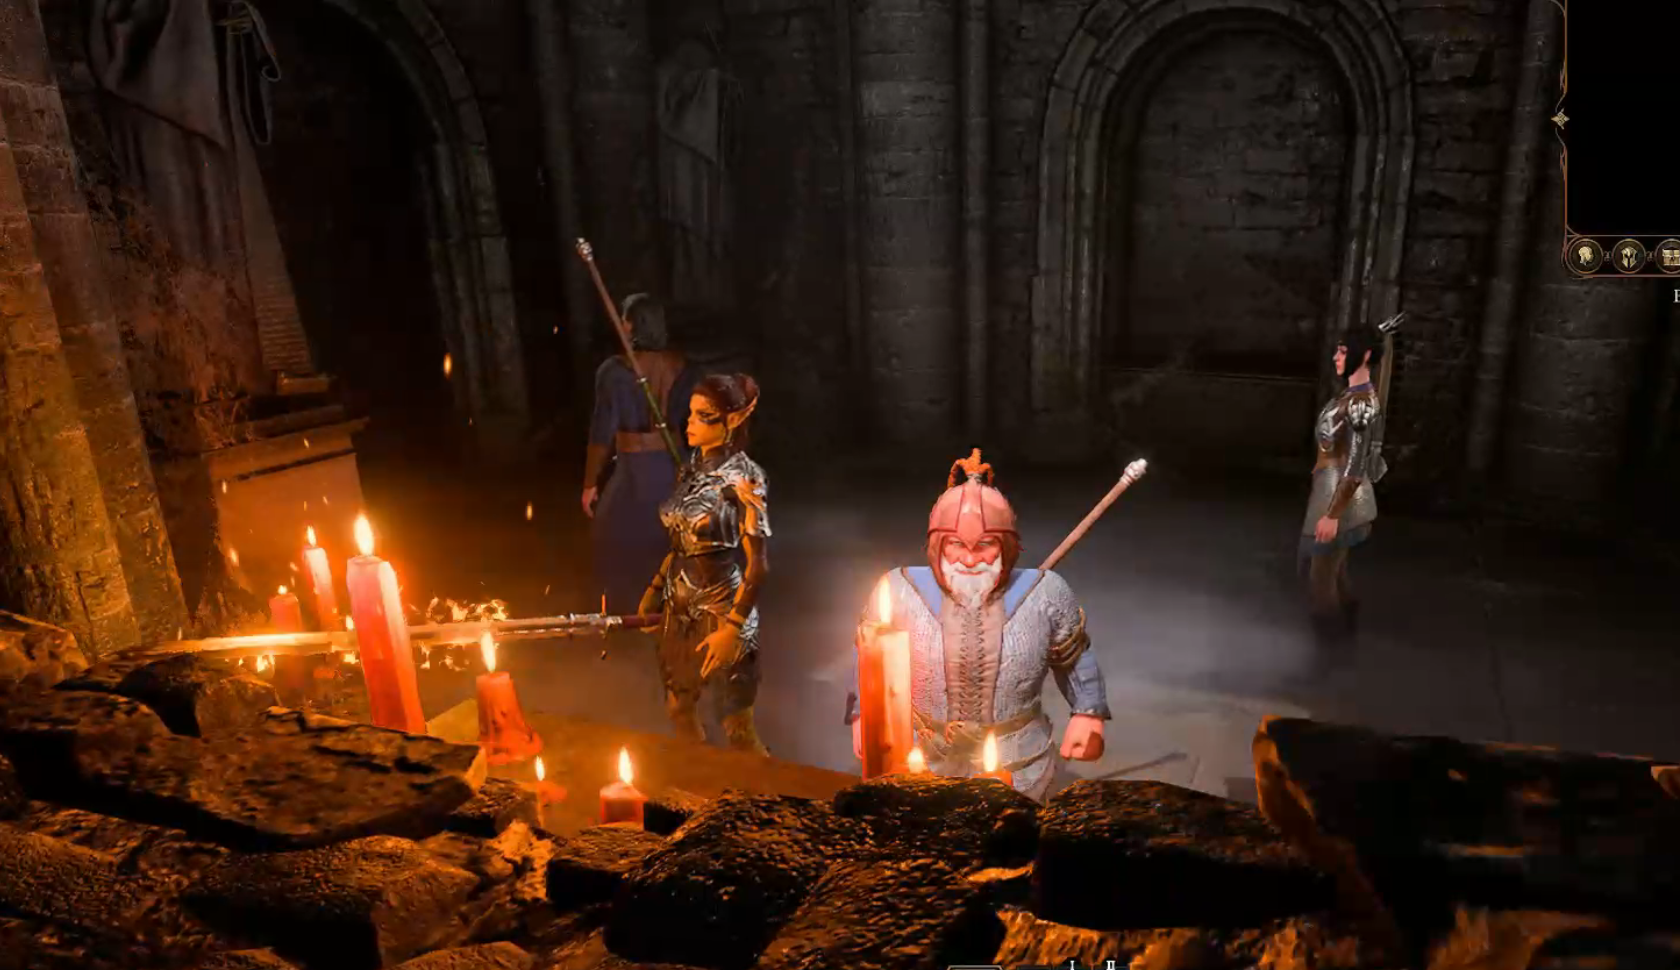
As we move through the dimly lit halls and corridors we can light candles to help us see, this really adds a lot of atmosphere to the area. I love the way fire looks in this game and you gotta love the way it illuminates these dank, foggy, spider web covered rooms.

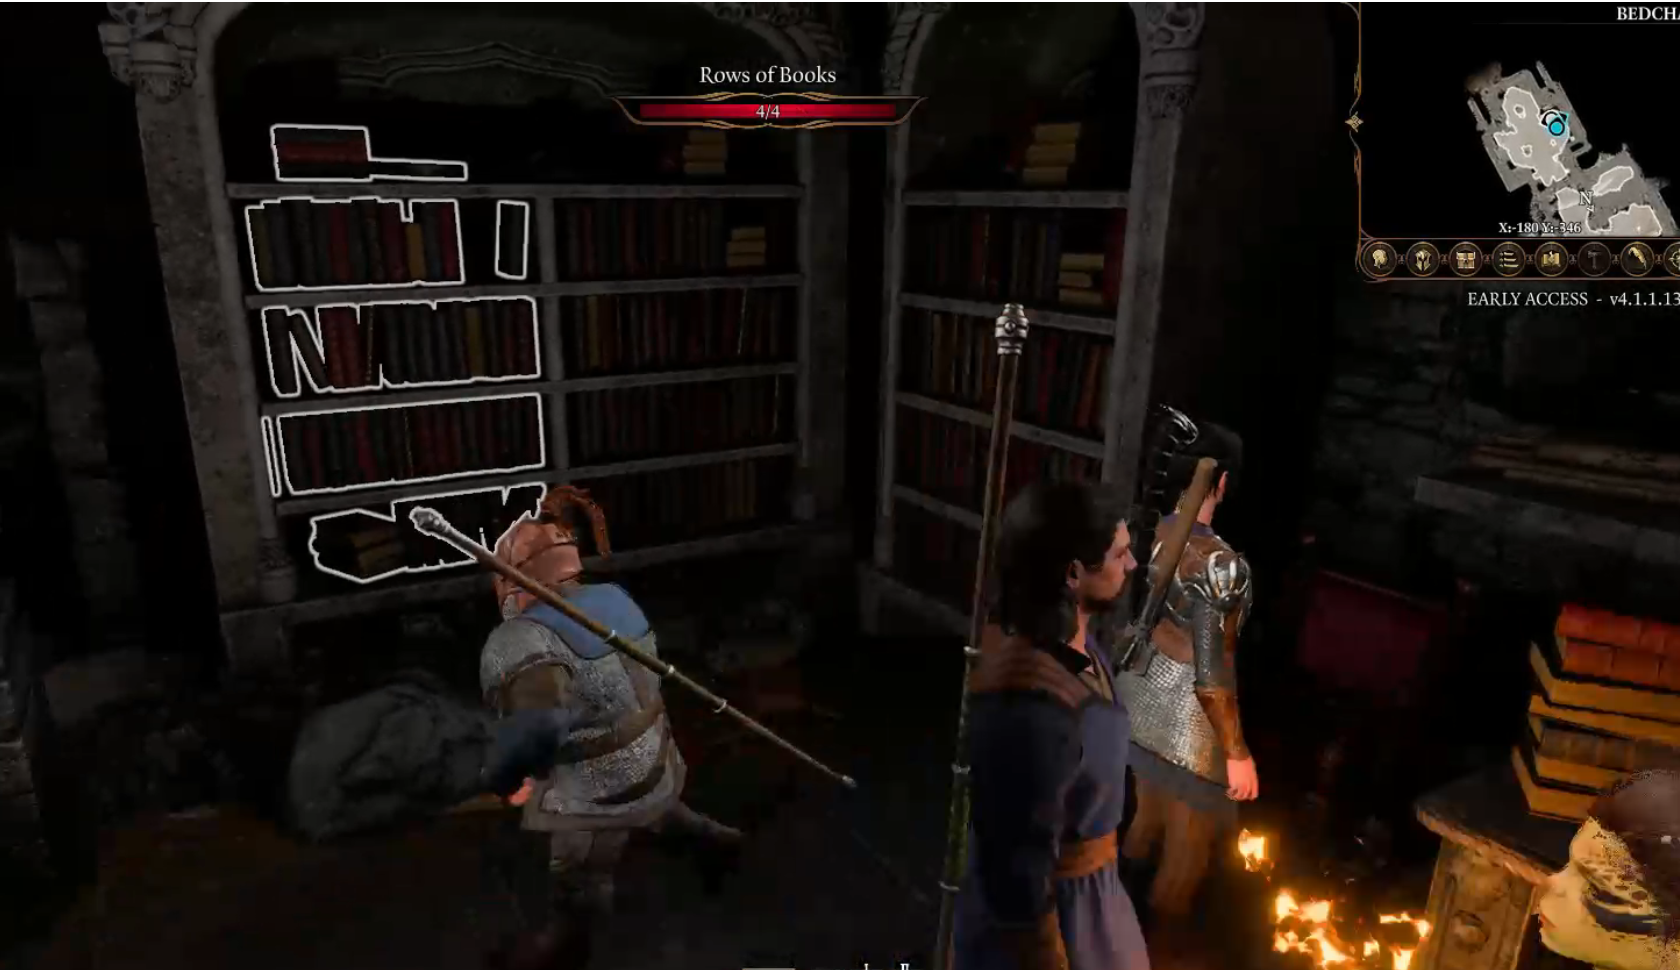
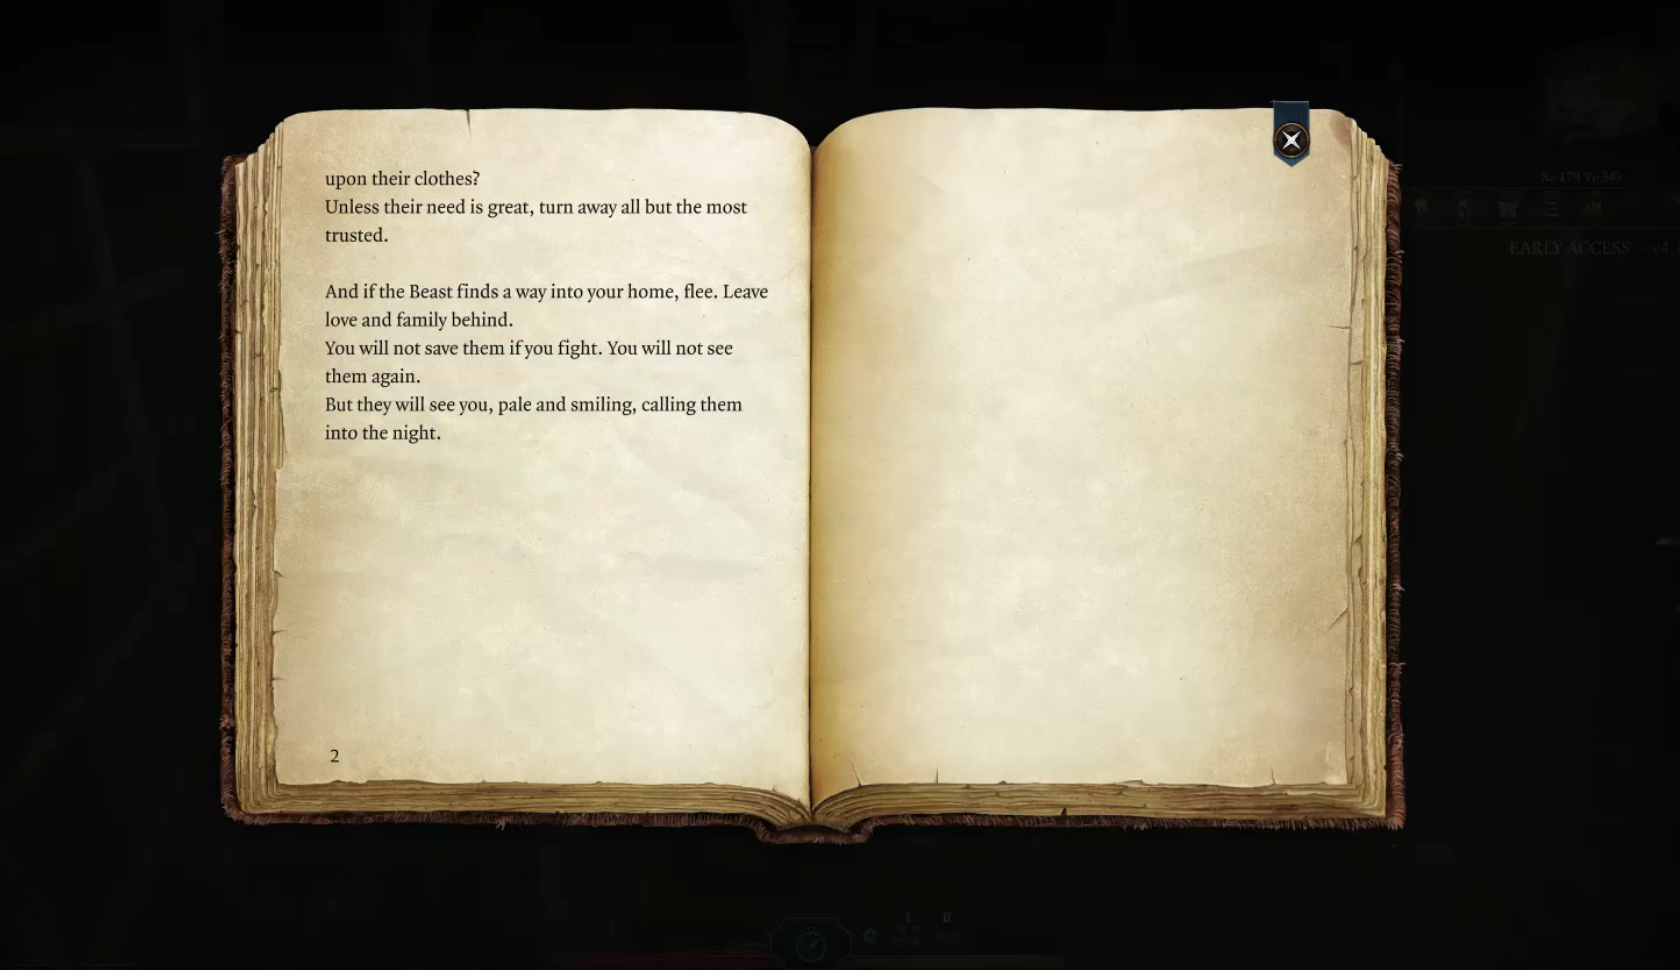
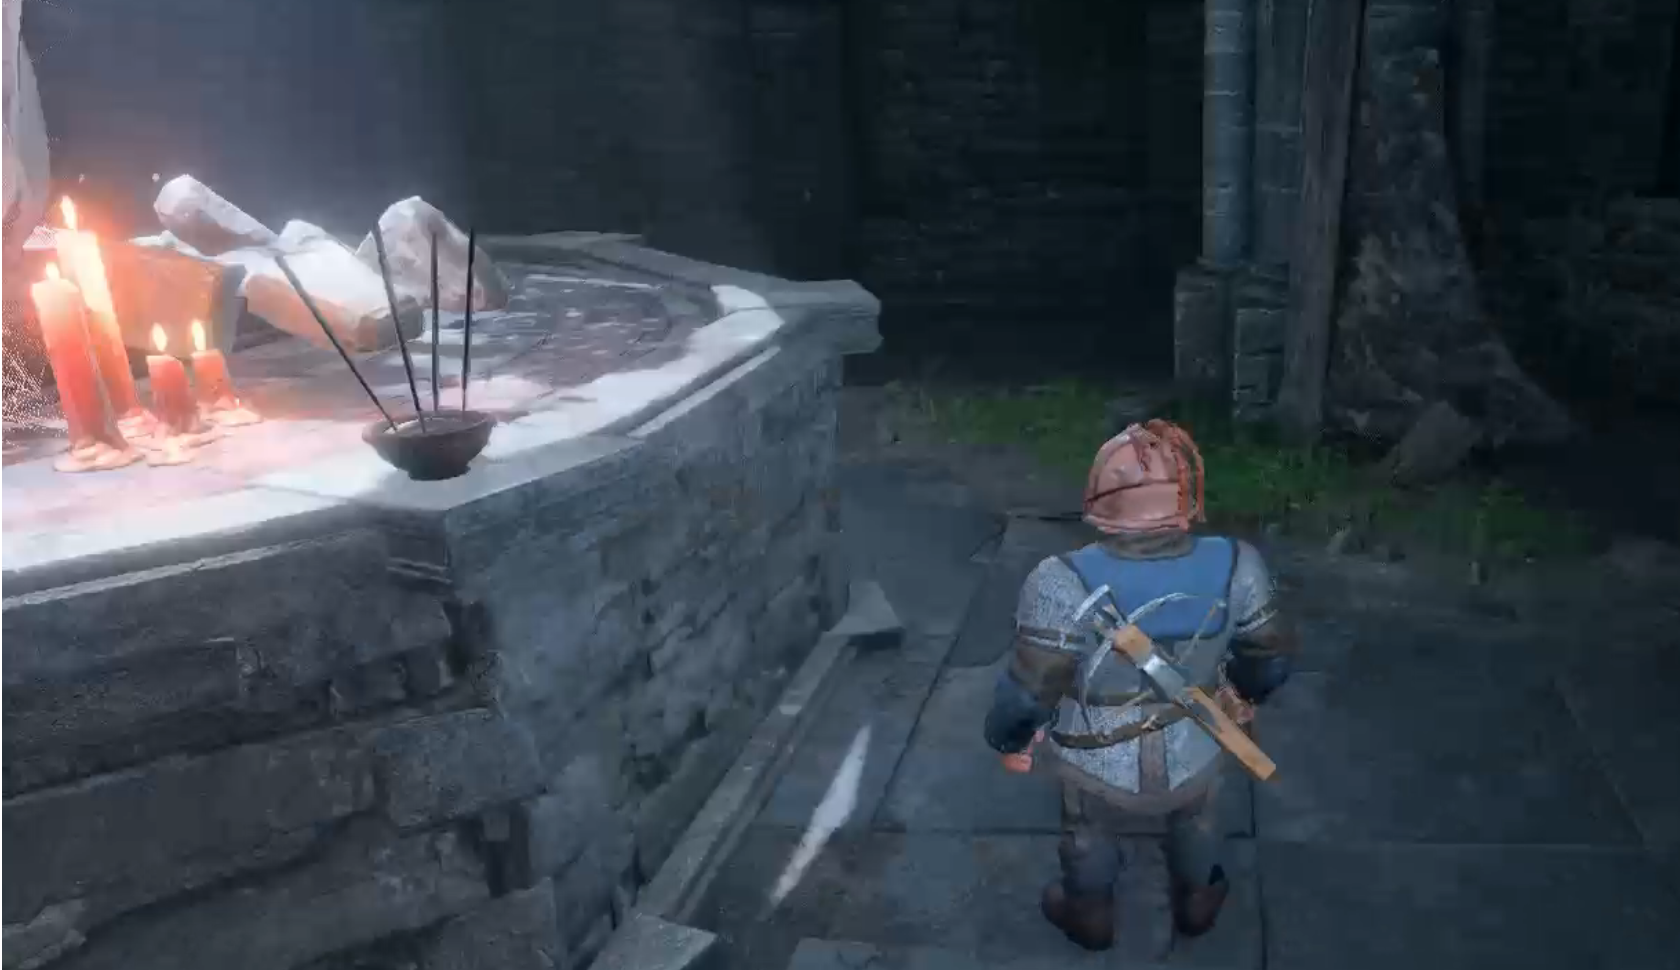
The chapels library has some interesting lore books for us to read...
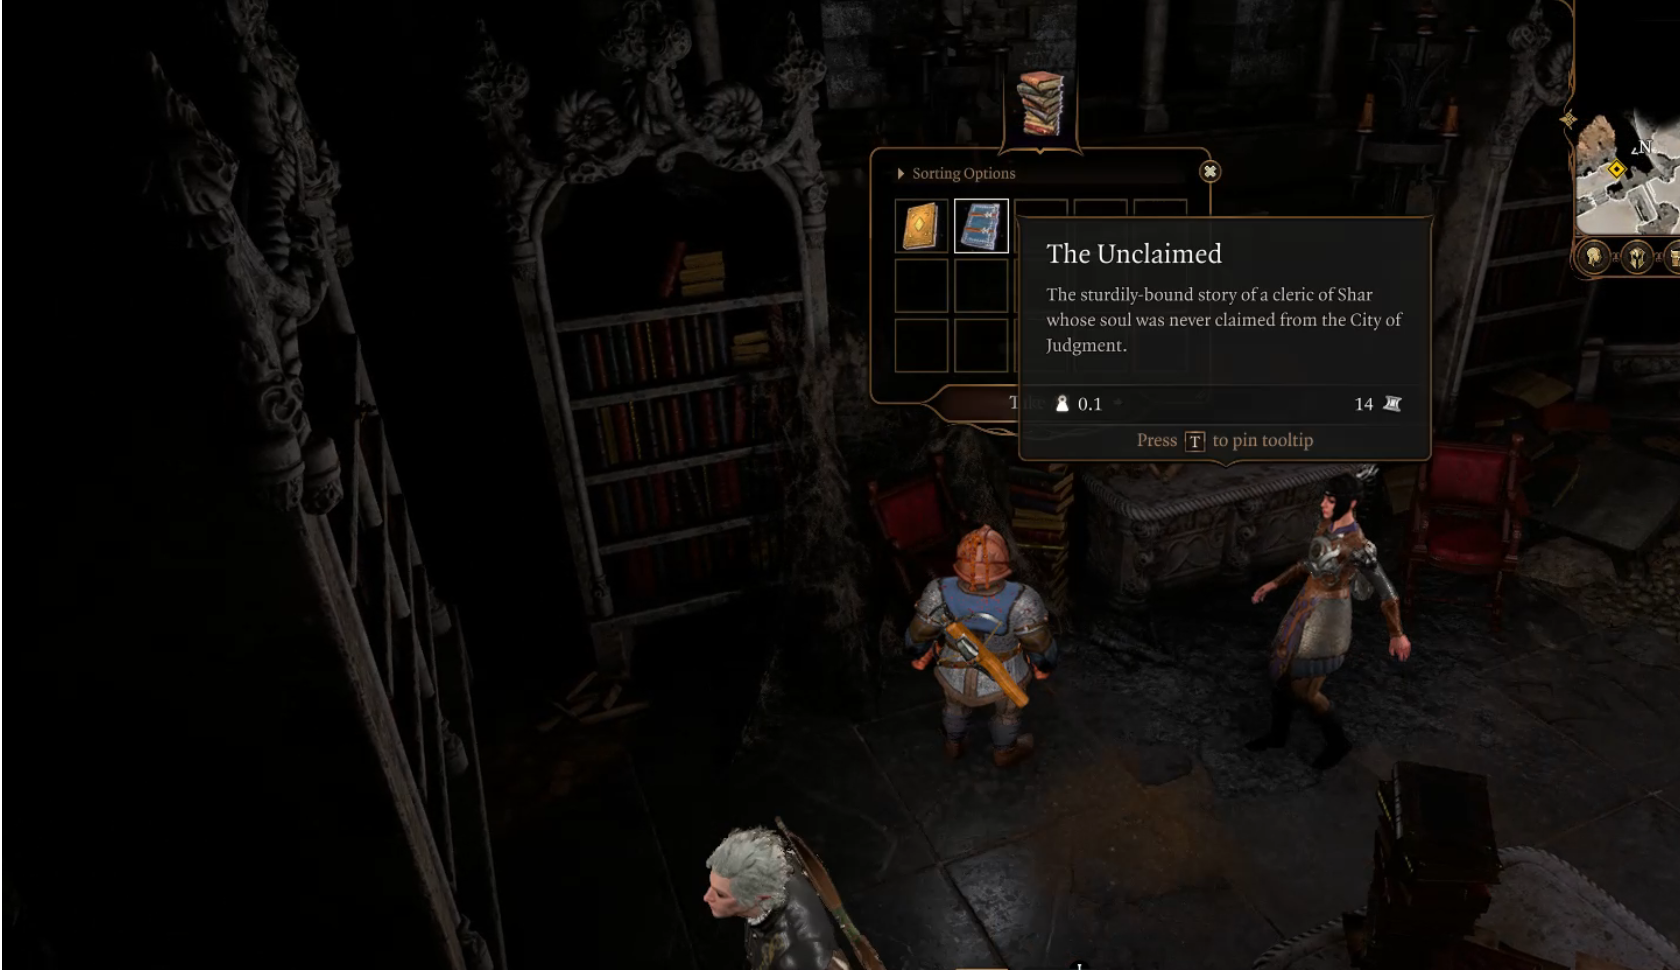
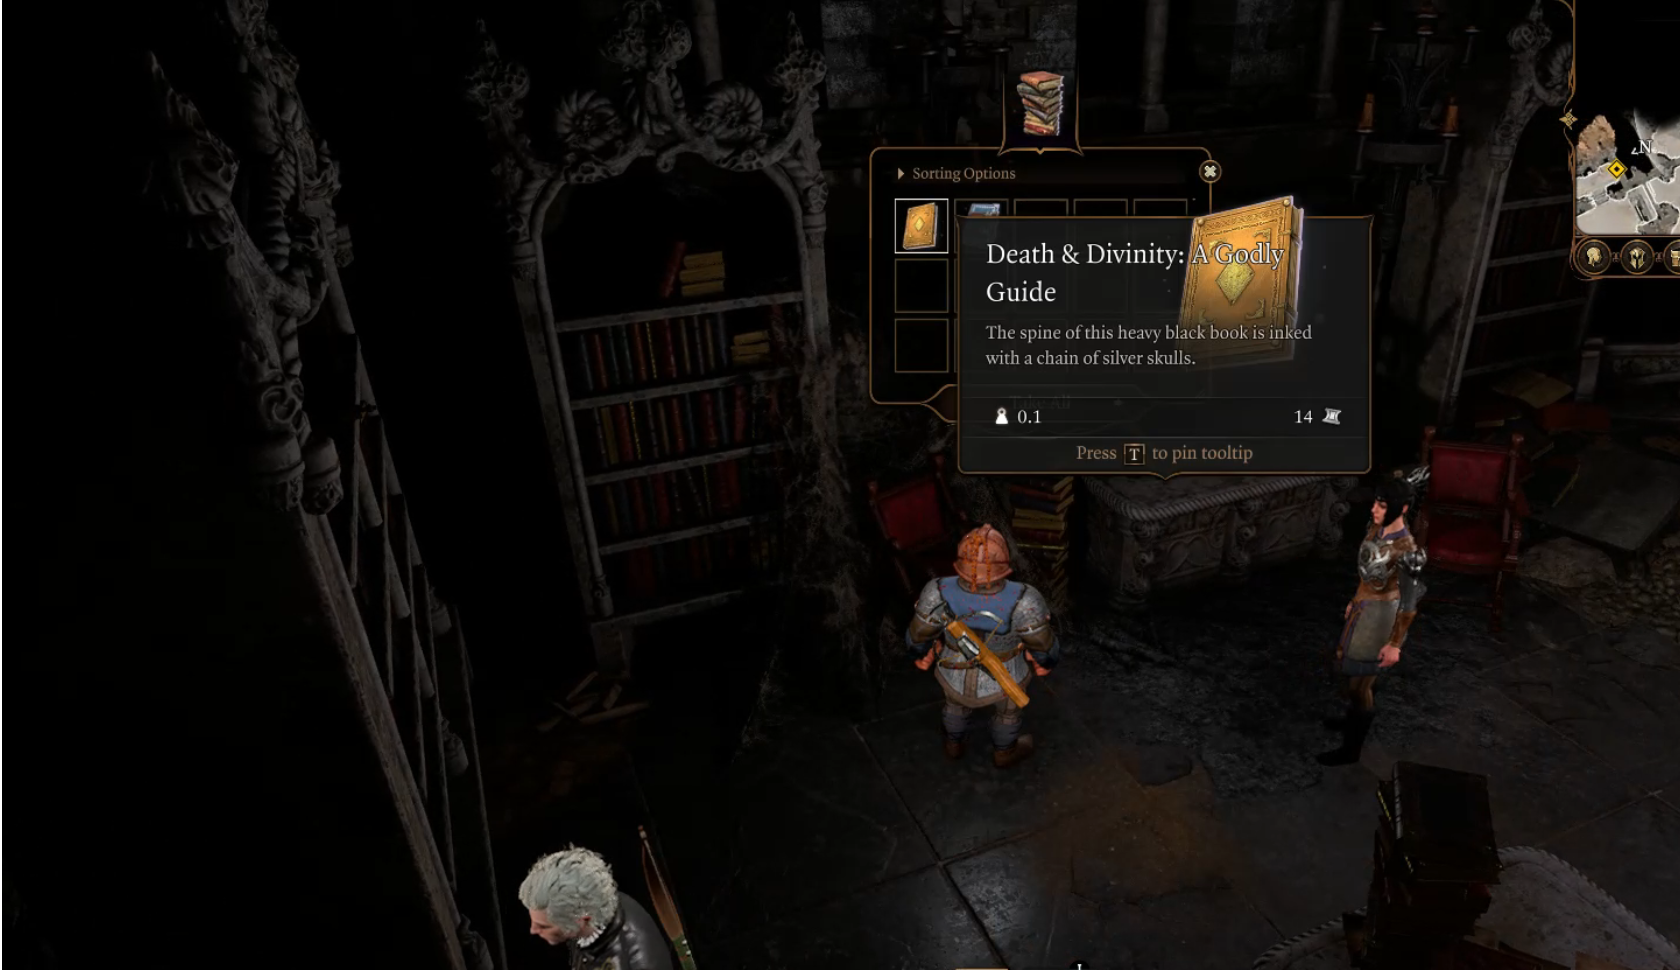
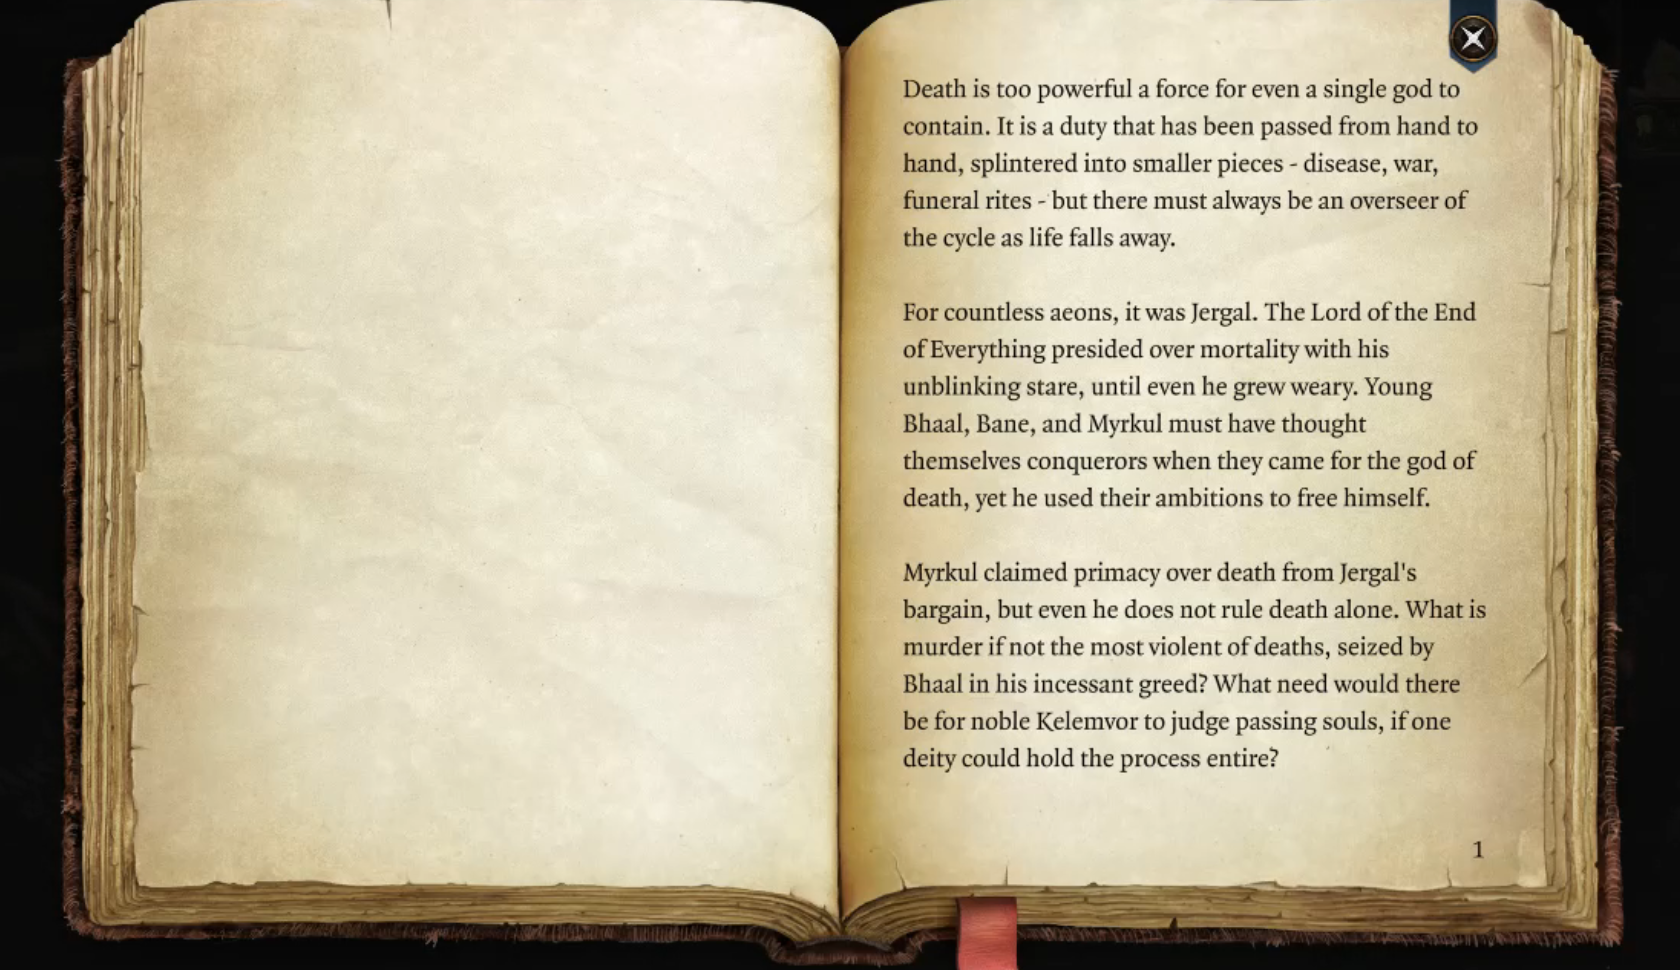
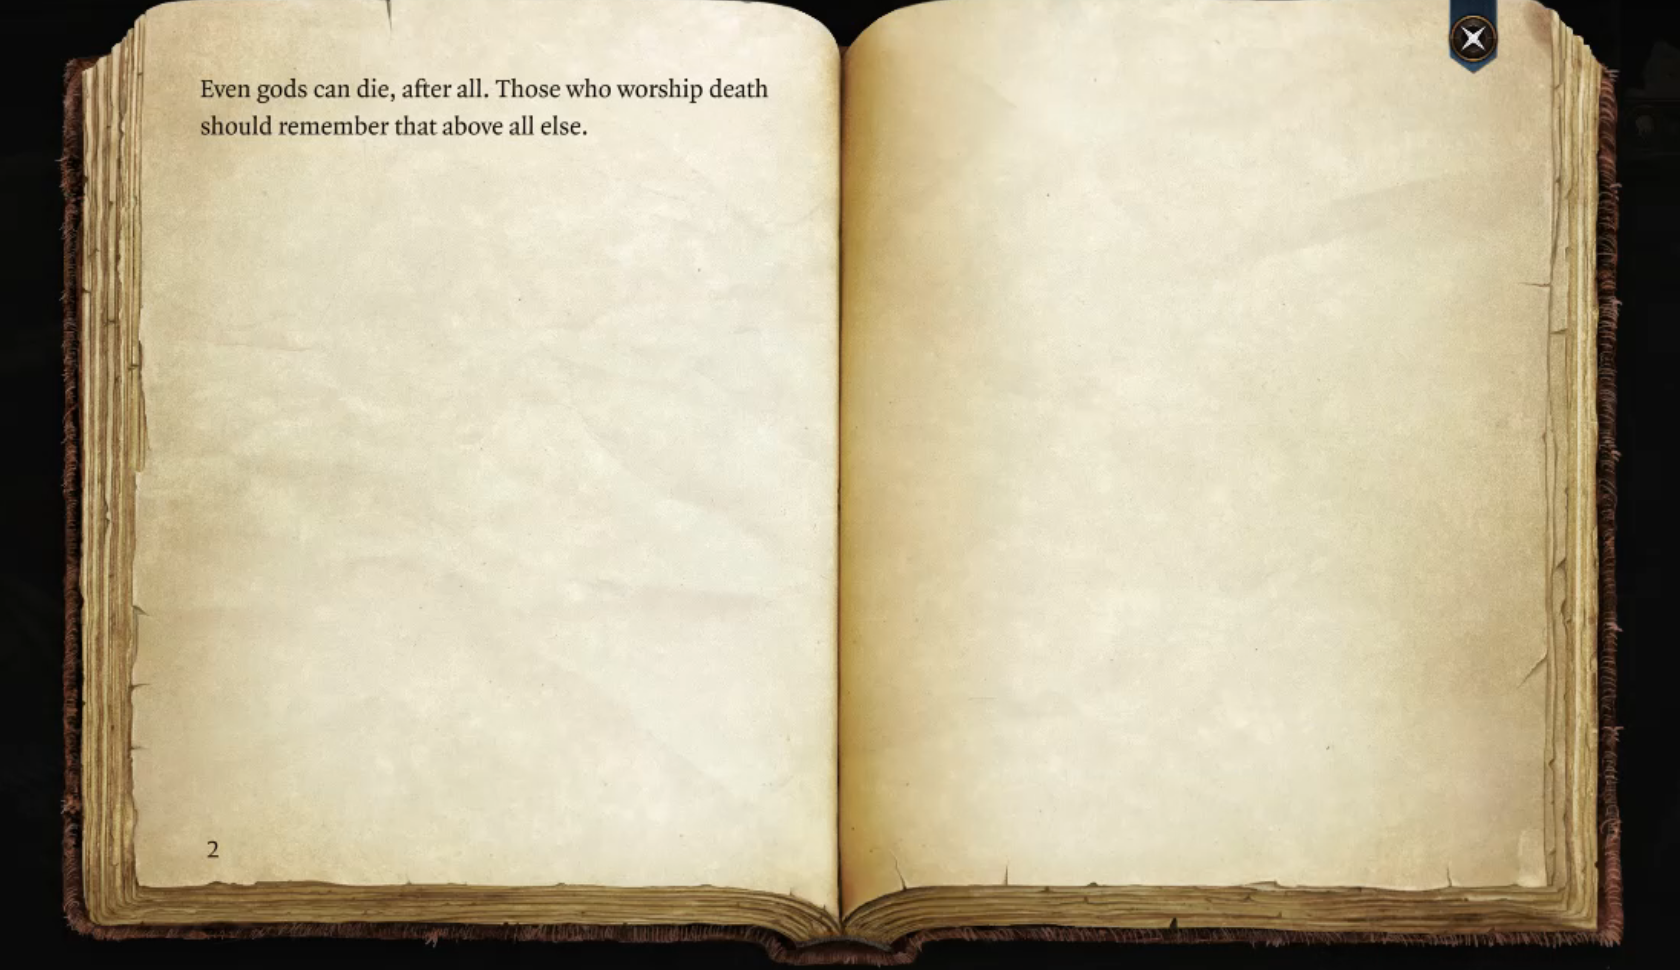
Lets take a seat for a moment and brush up on our lore of the Gods of Death...
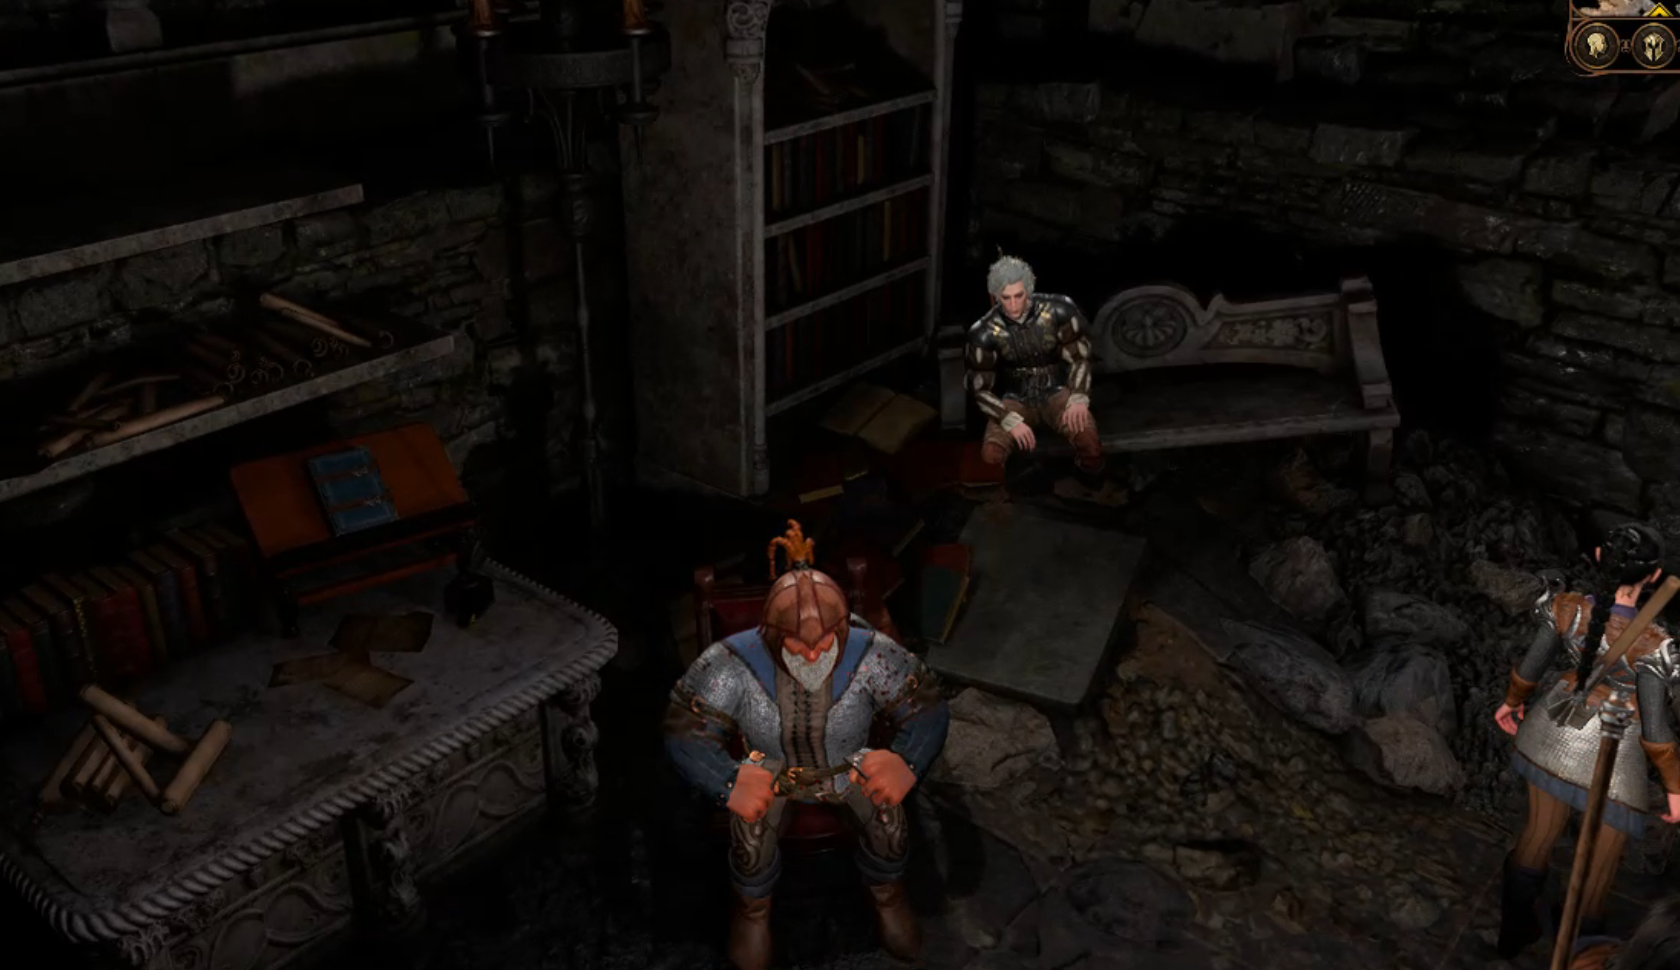
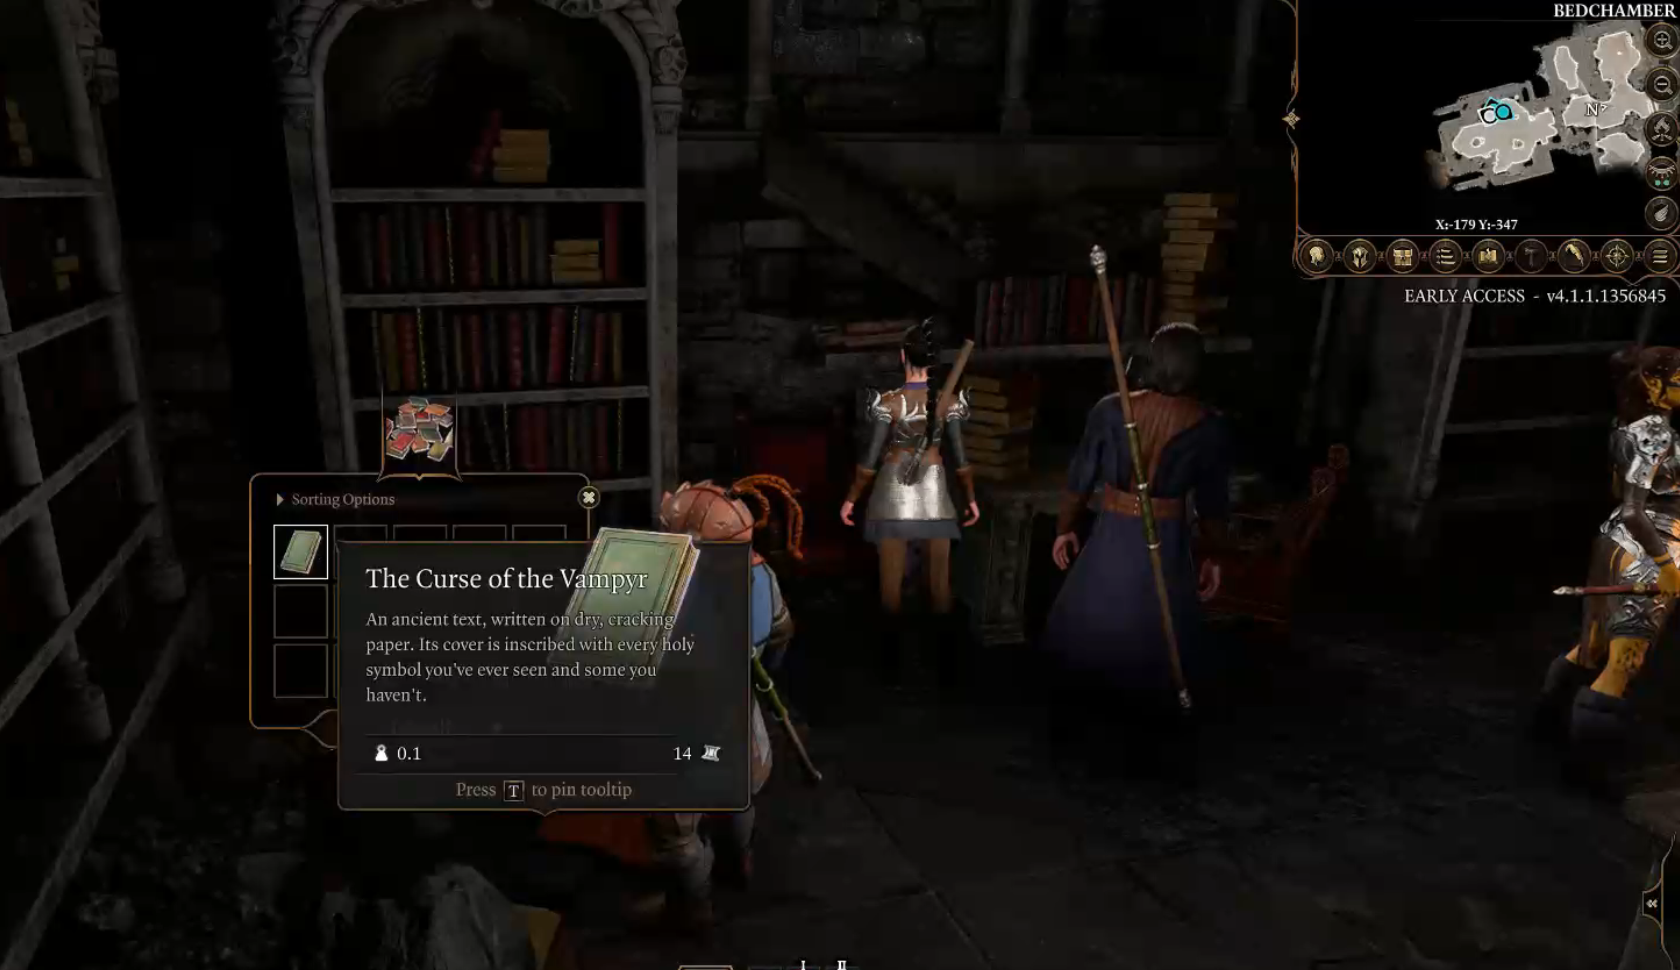
Continuing to rummage through the old book shelves I found a most interesting old tome called "The Vampyr"

As we entered the chapel we had a fight with a rather large group of bandits who were here hunting for treasure and lost relics. We couldn't reason with them and a battle was unavoidable.
The exp gained from this fight gave us enough to reach level 3 but has left our spell slots drained. To replenish ourselves we need to head to camp and end the day.
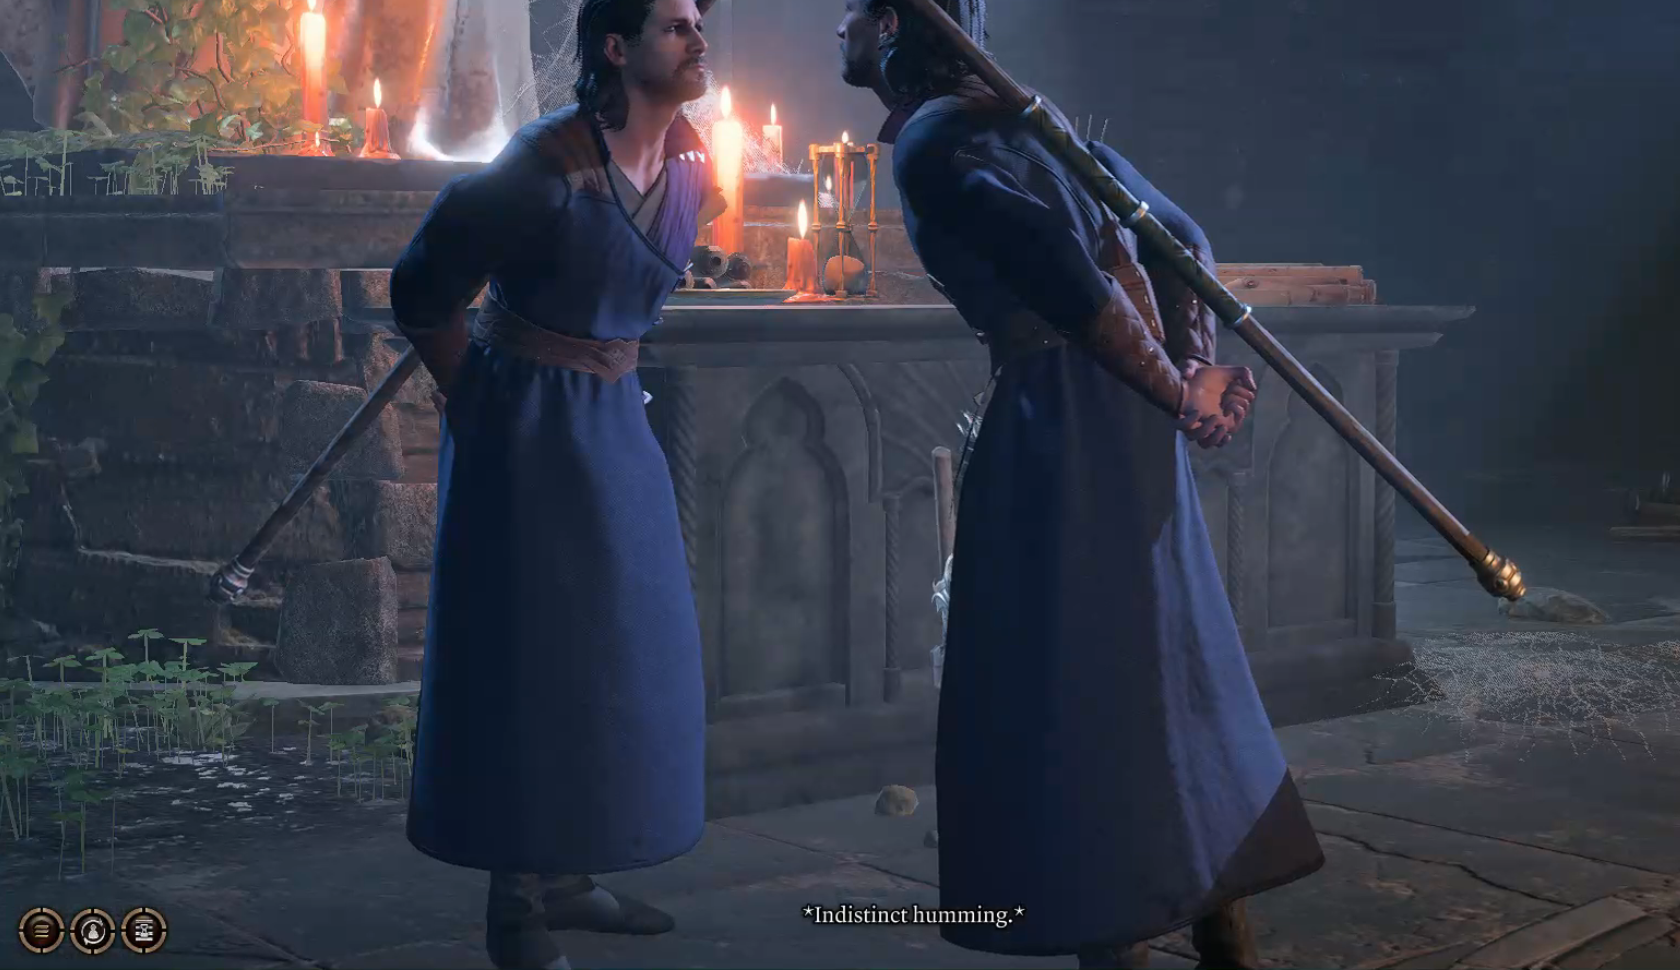
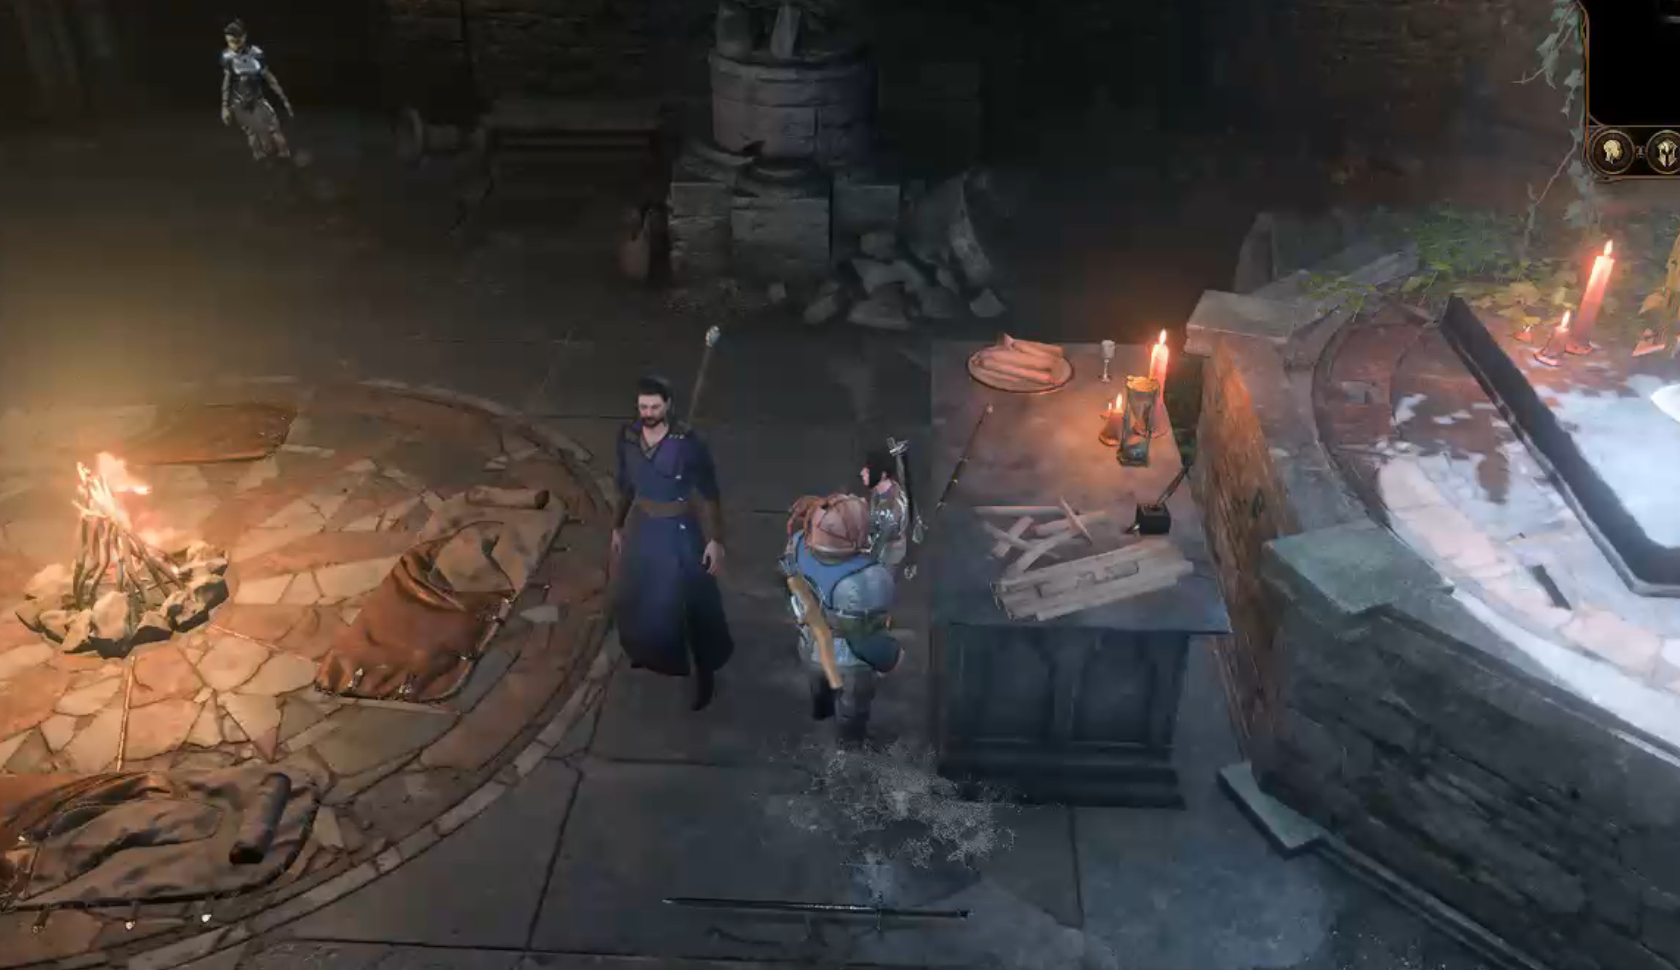
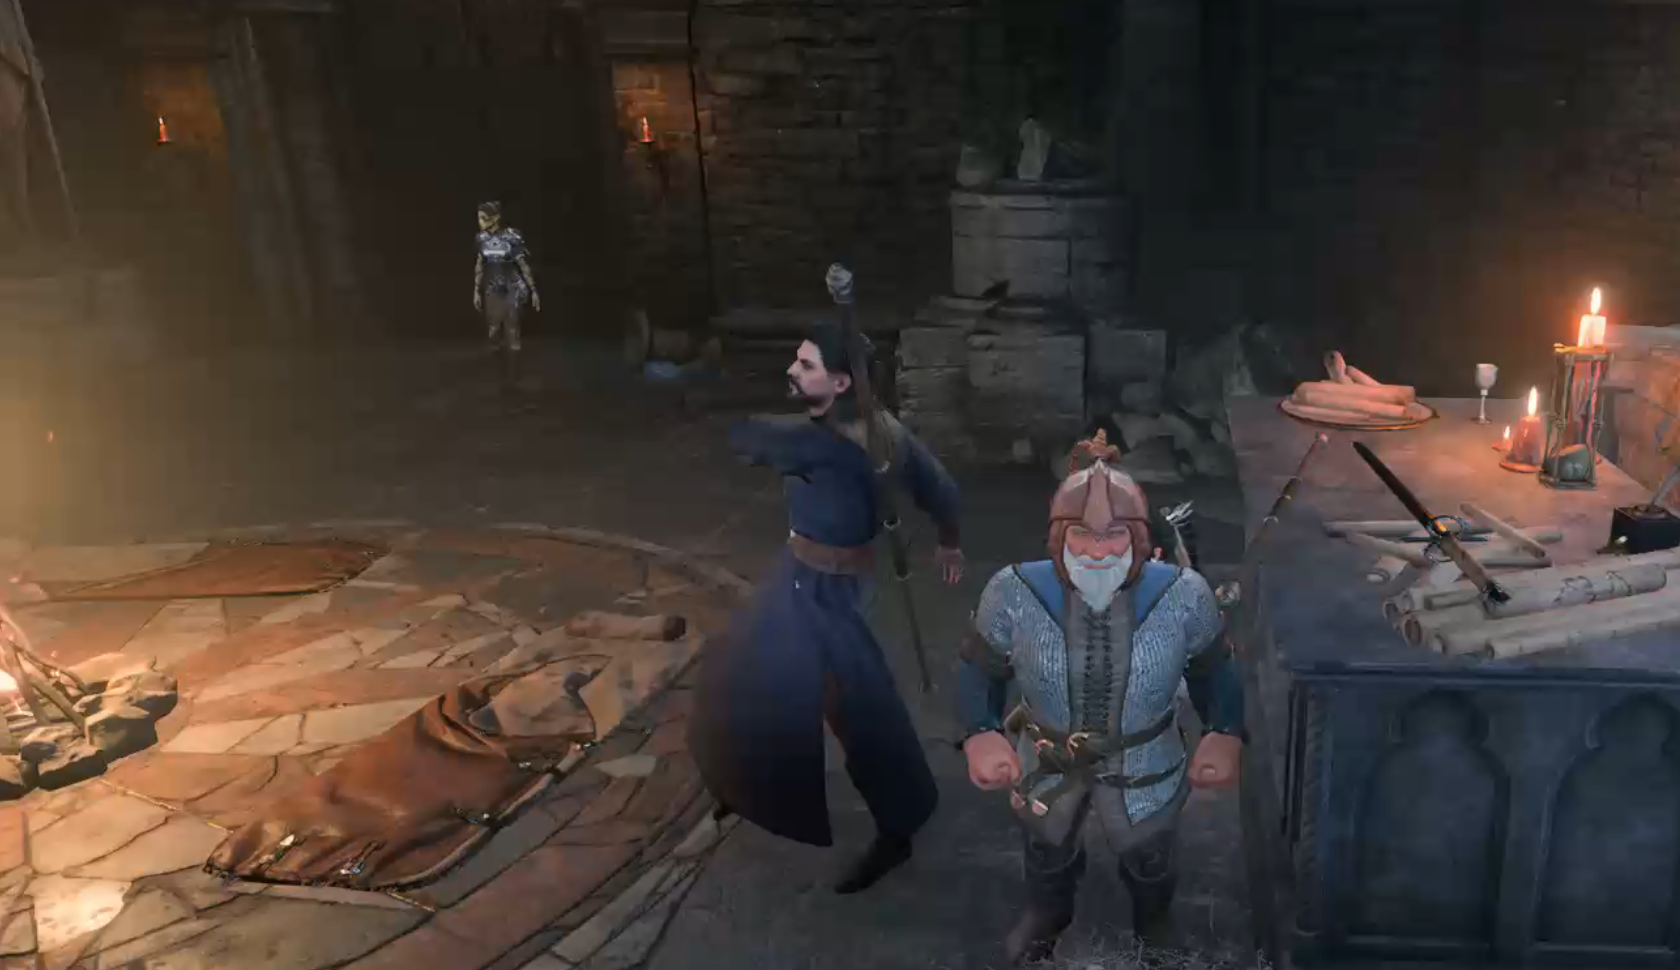
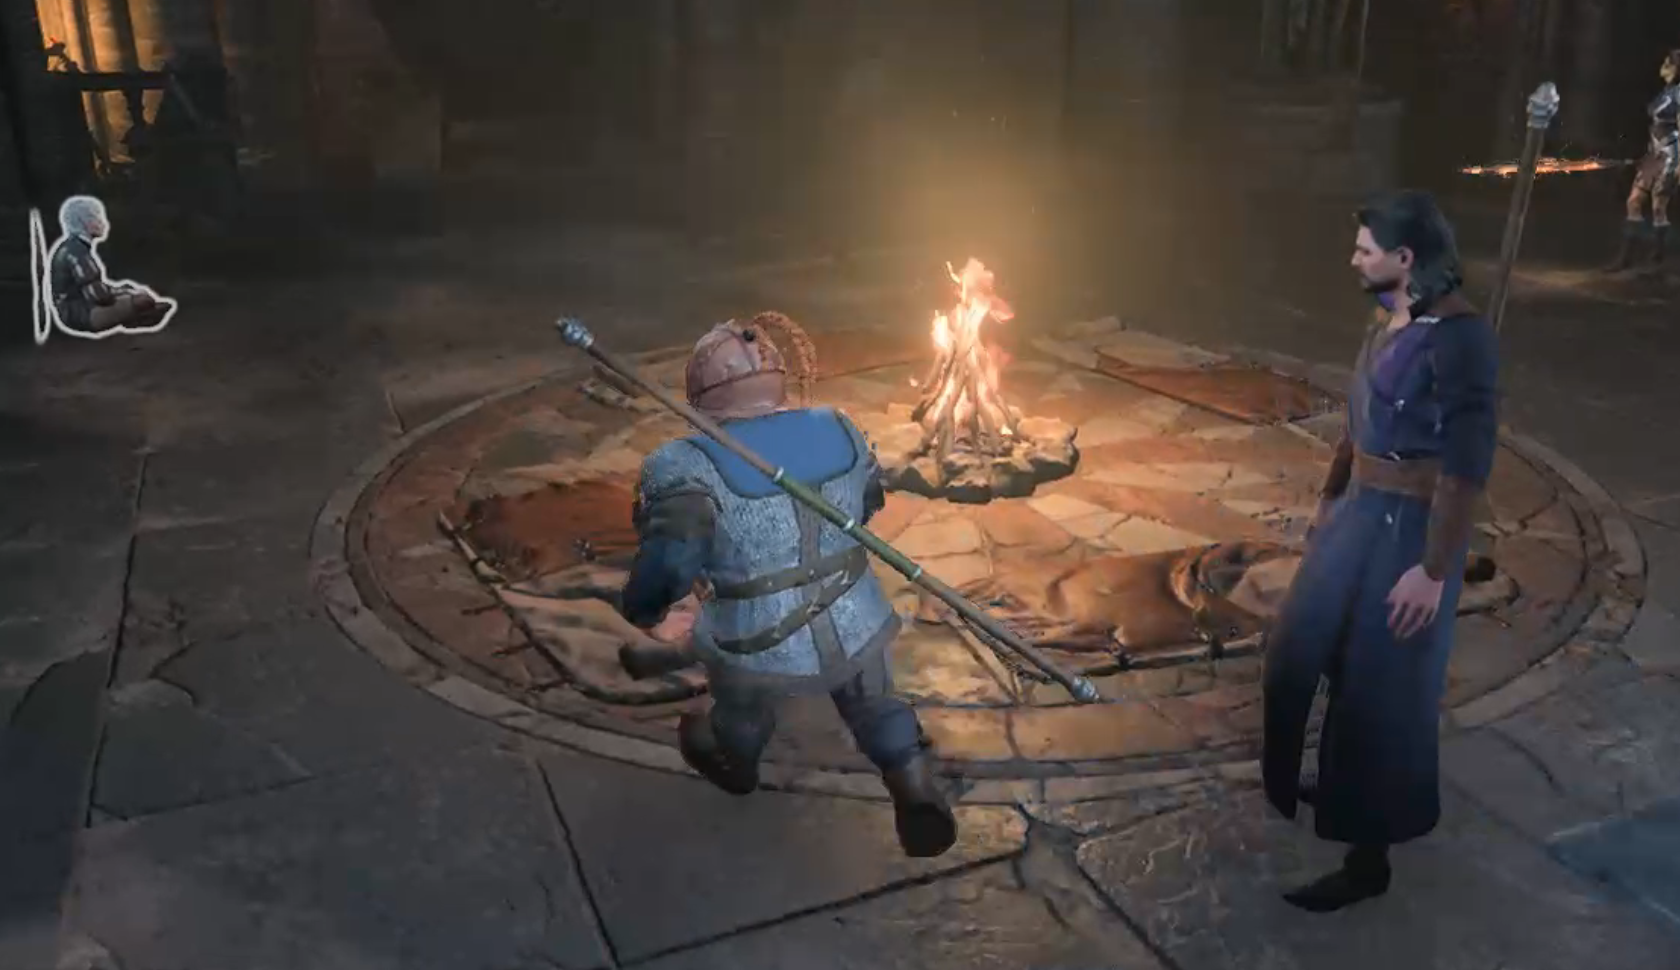
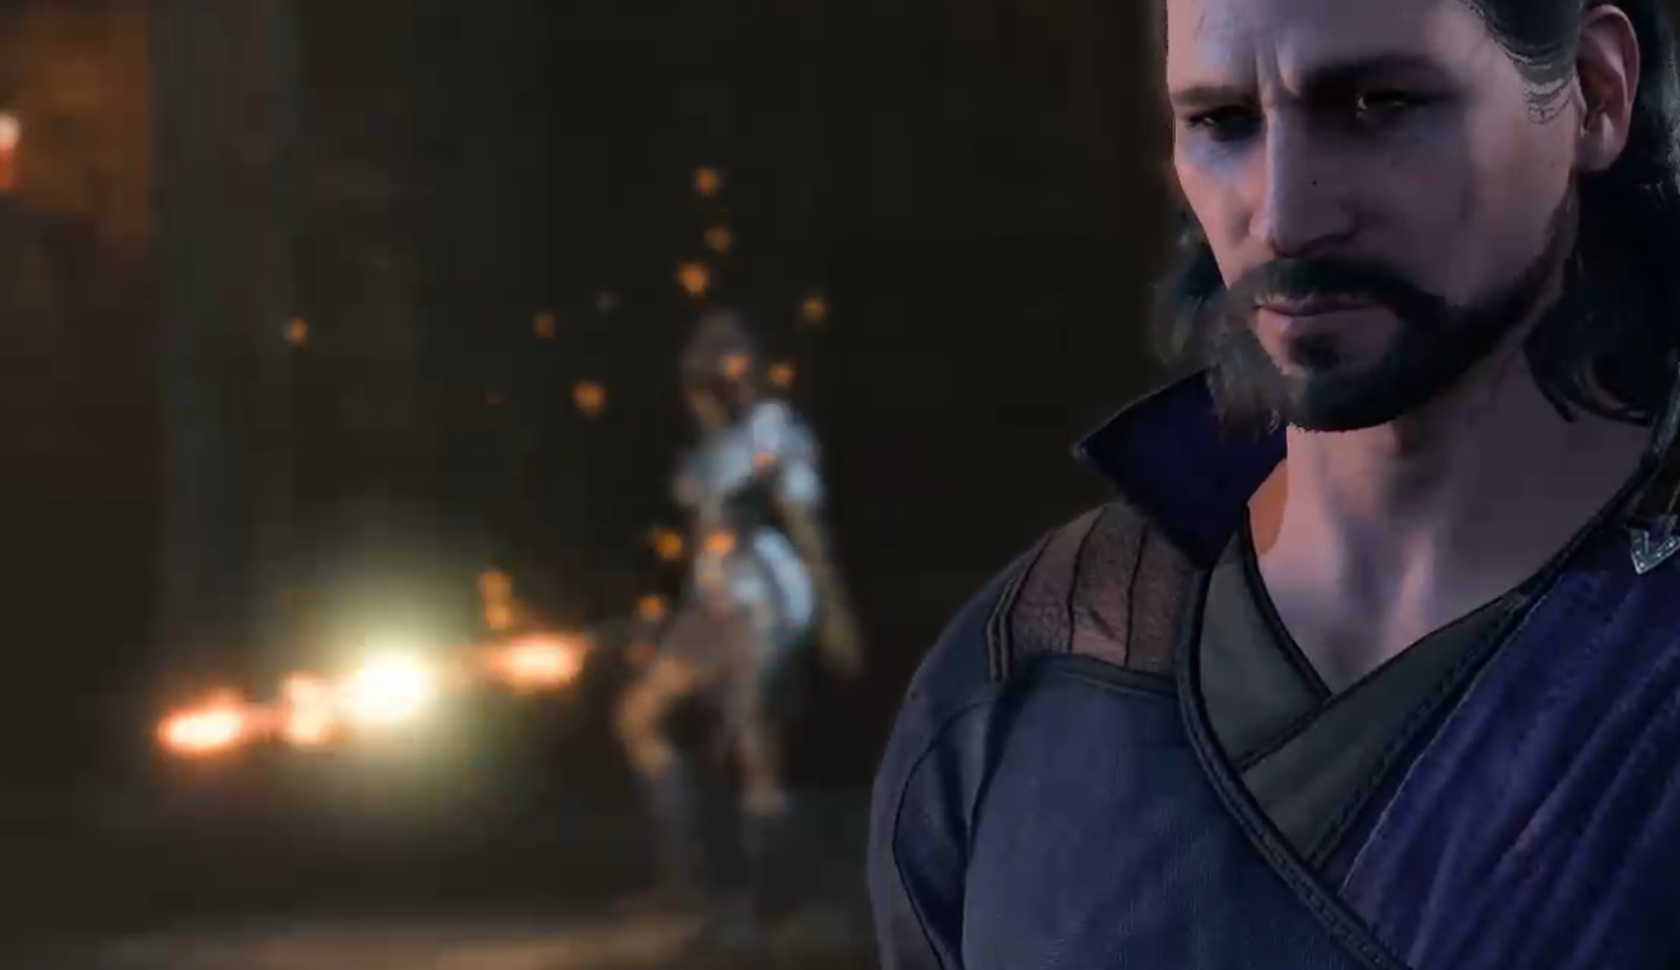
Returning to camp offers interesting interactions with the other characters. Here Gale is examining himself with a mirror illusion before giving us a lecture on ceremorhopsis.
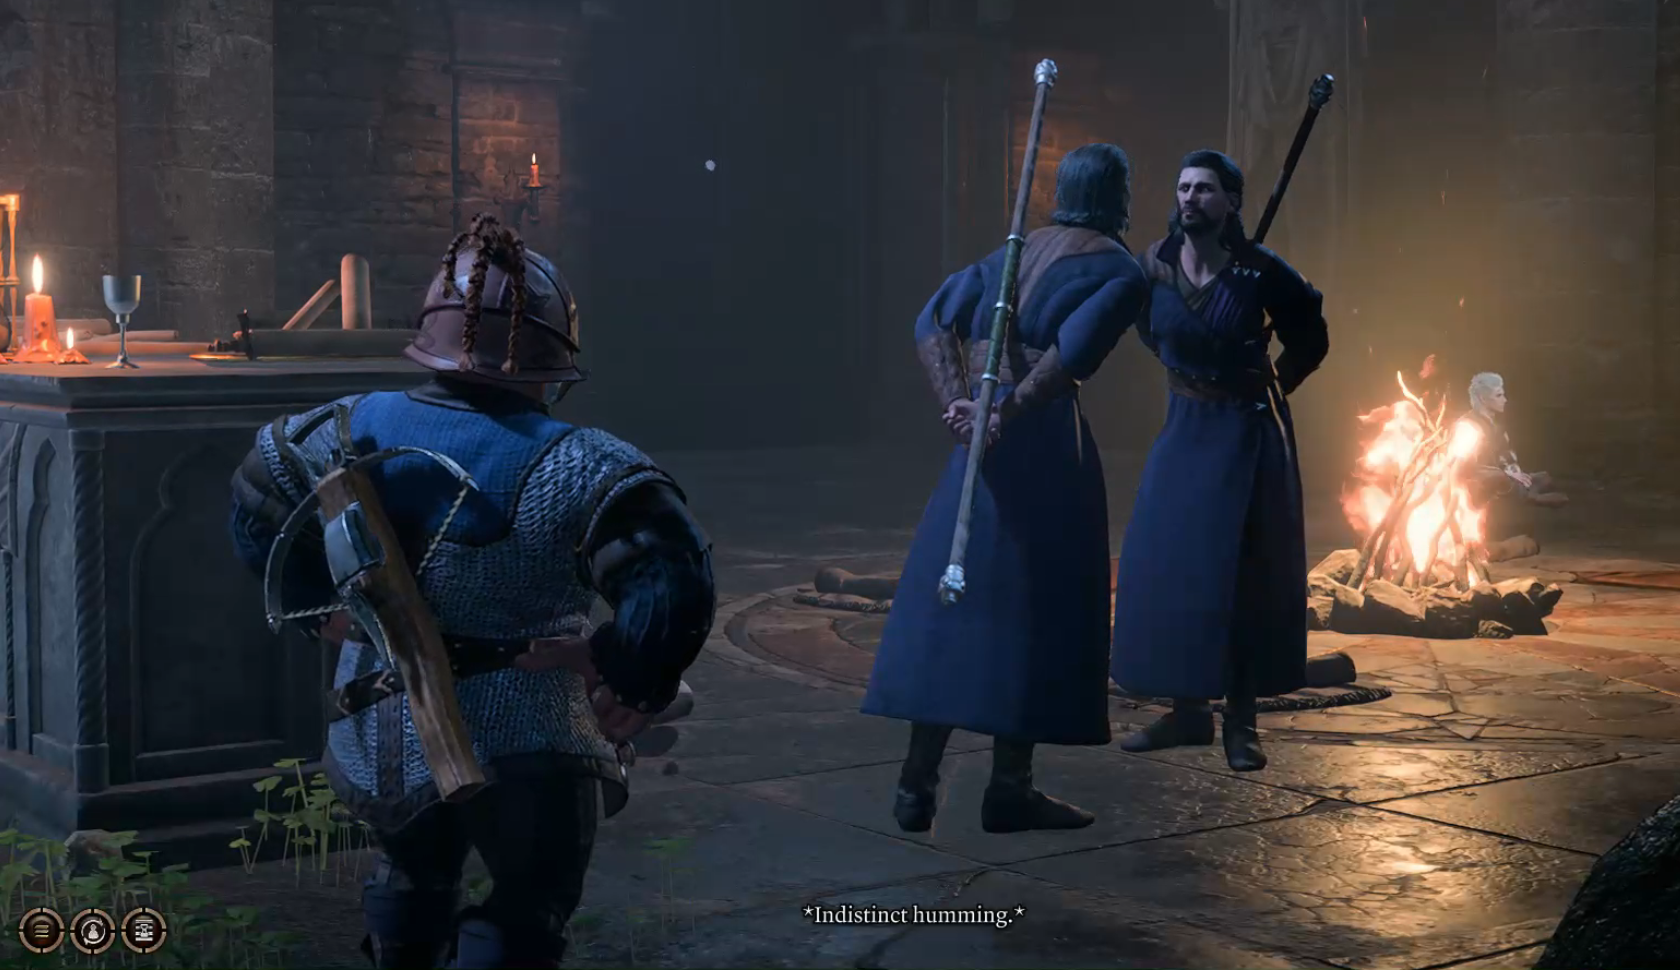 The main theme of act 1 is that all of our characters have had mindflayer tadpoles inserted into their brains. This should result into each of the tadpoles hosts turning into mindflayers. For some reason this doesn't seem to be happening to our cast of characters.
Gale is curious as to why we haven't showed signs of transformation yet. It is unclear at this time what is delaying the process.
Interactions like this back at camp help deepen the evolving story and our characters connection with the others.
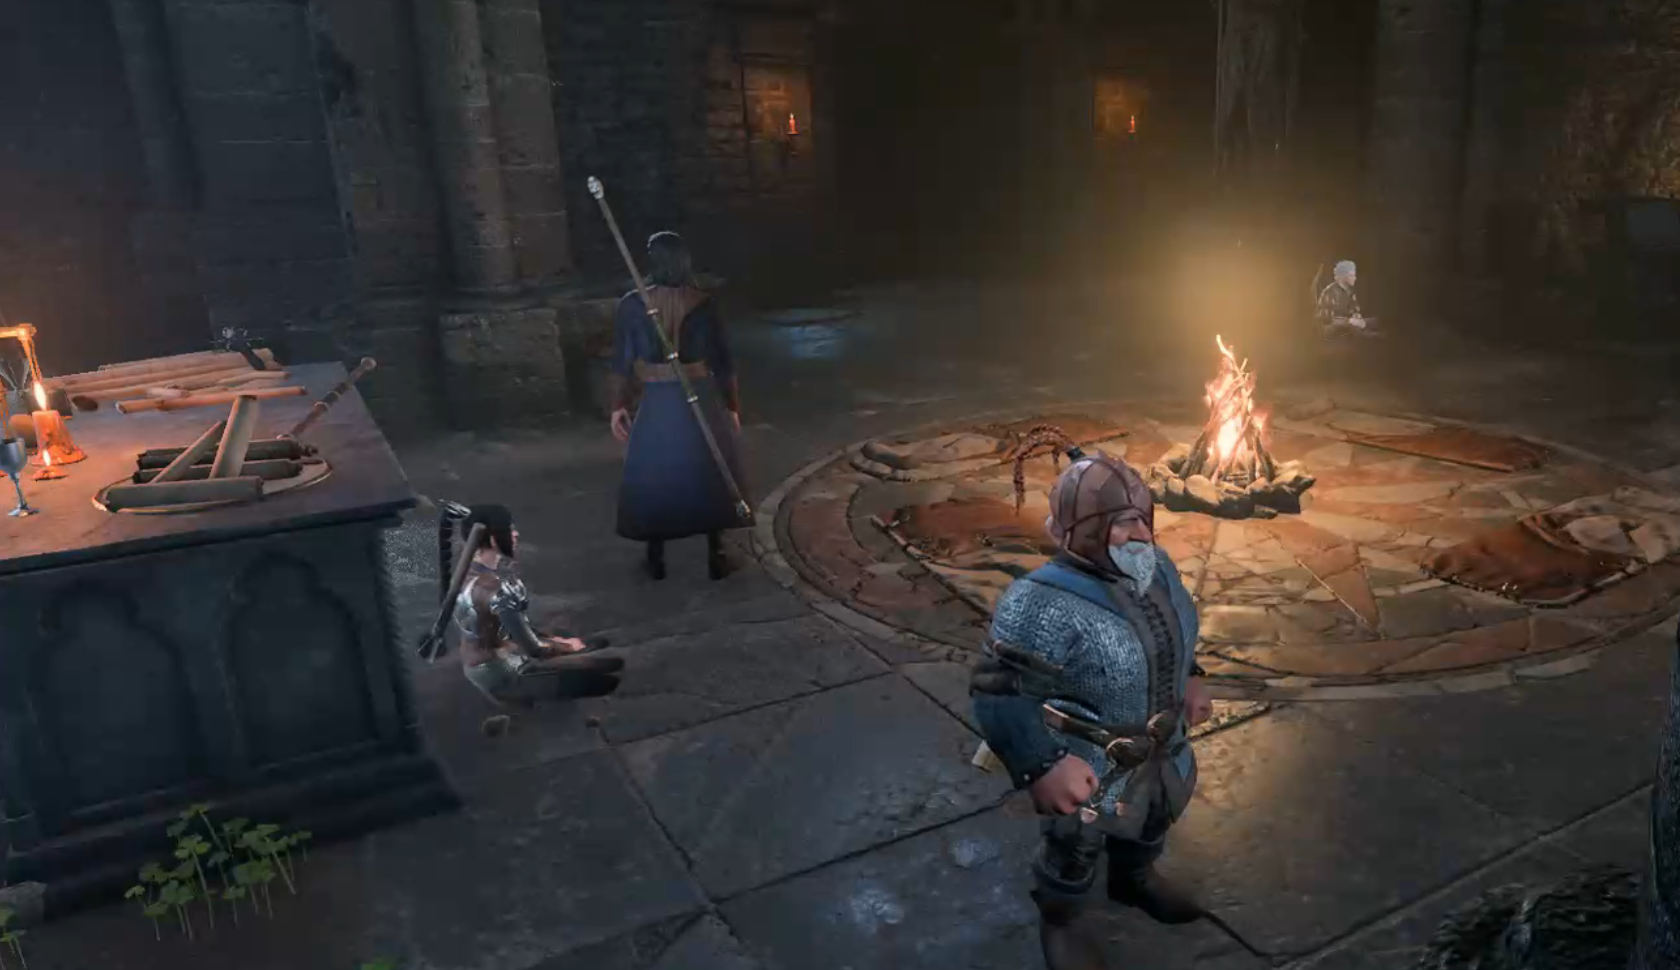
Before patch 6 every time we would return to camp it would be the same location out in the wilderness. This didn't make much sense from a roleplaying point of view and I am glad to see that now our camps location changes based on the zone we are in.
So far the Chapel camp is my favourite of these mini camps.
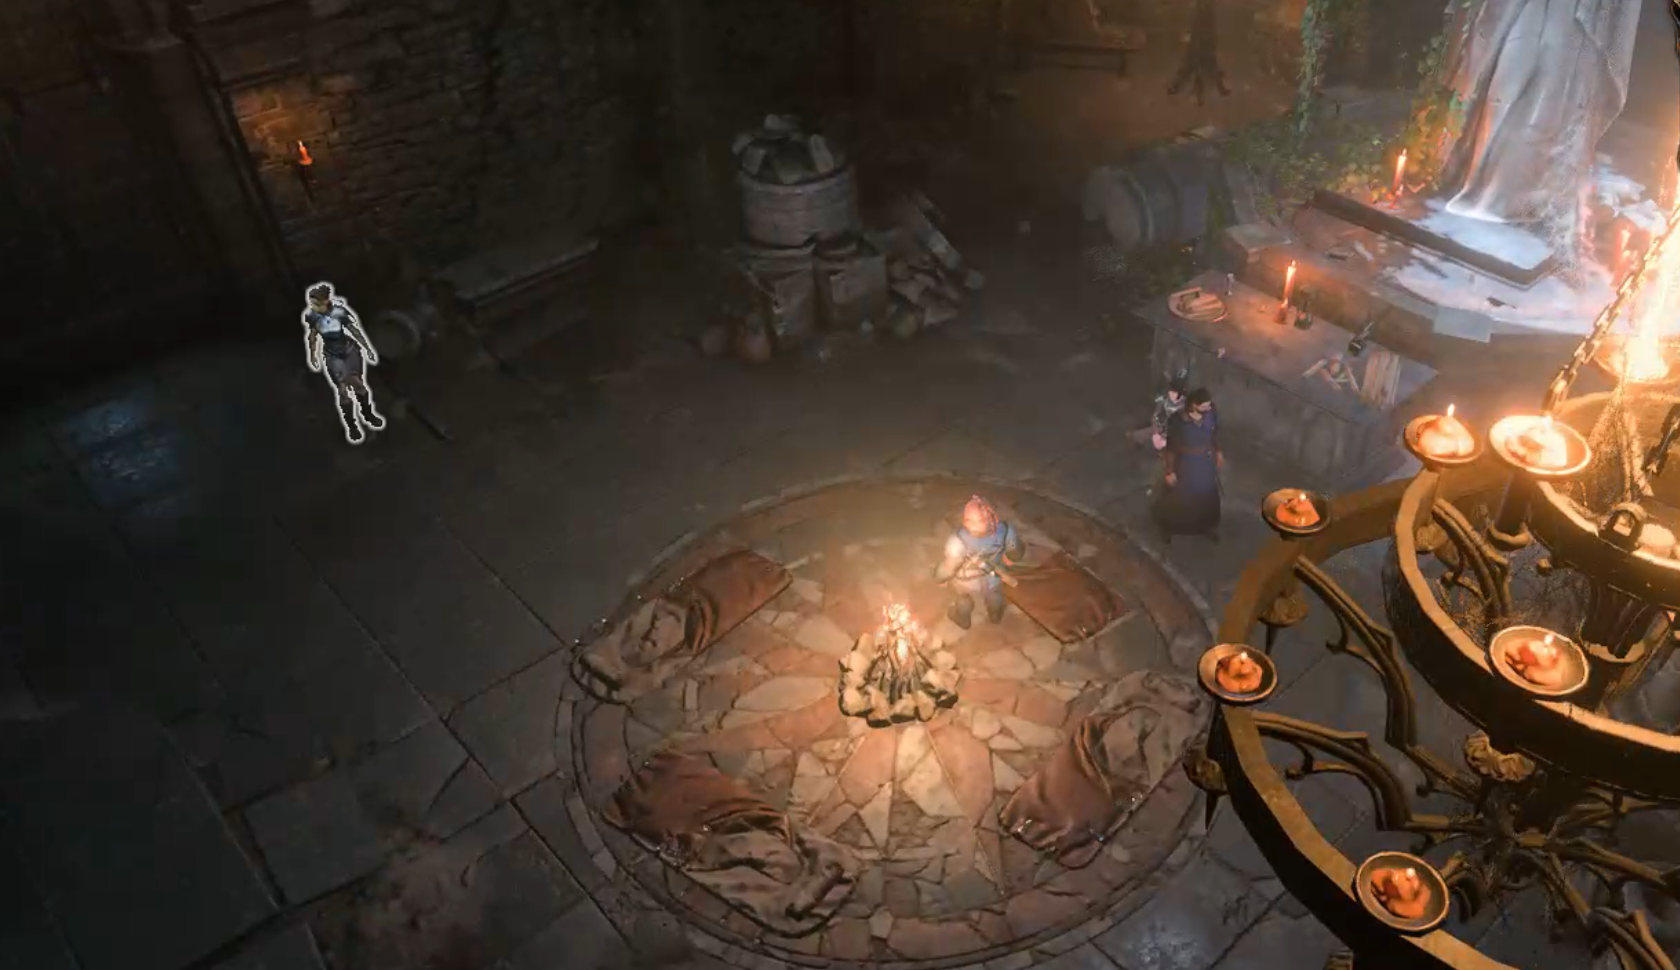
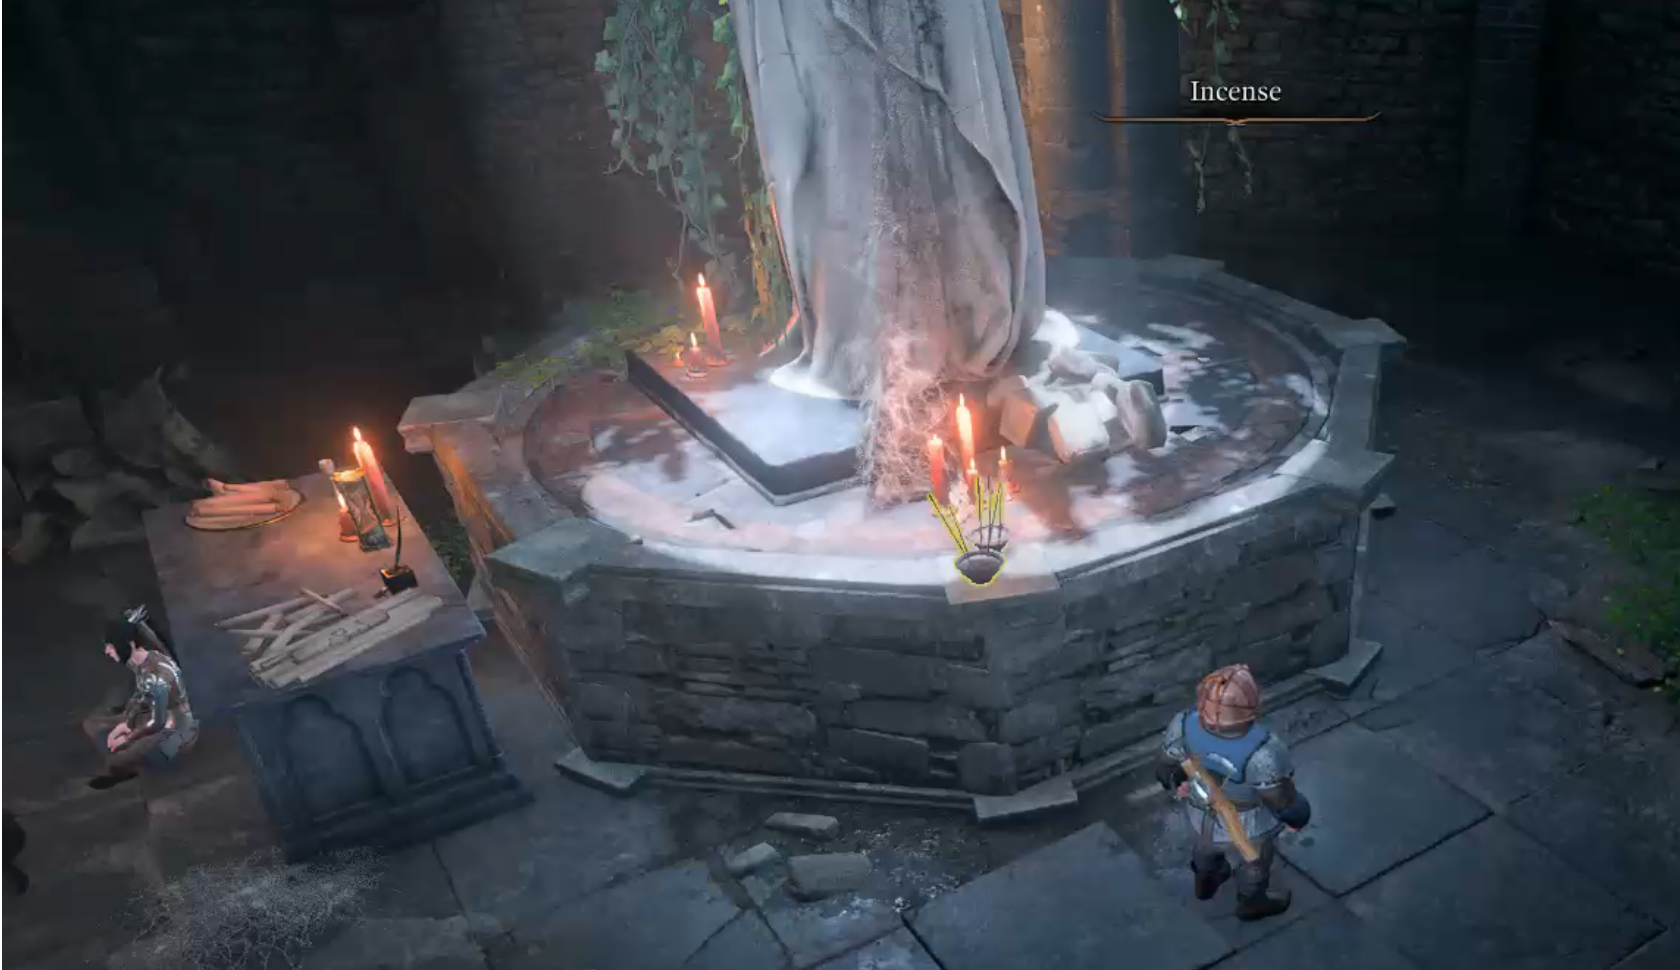
The camp can be decorated ,any item that is lying around can be moved and we can place items here such as the books we found earlier to give our camp our own personal decorative touch.
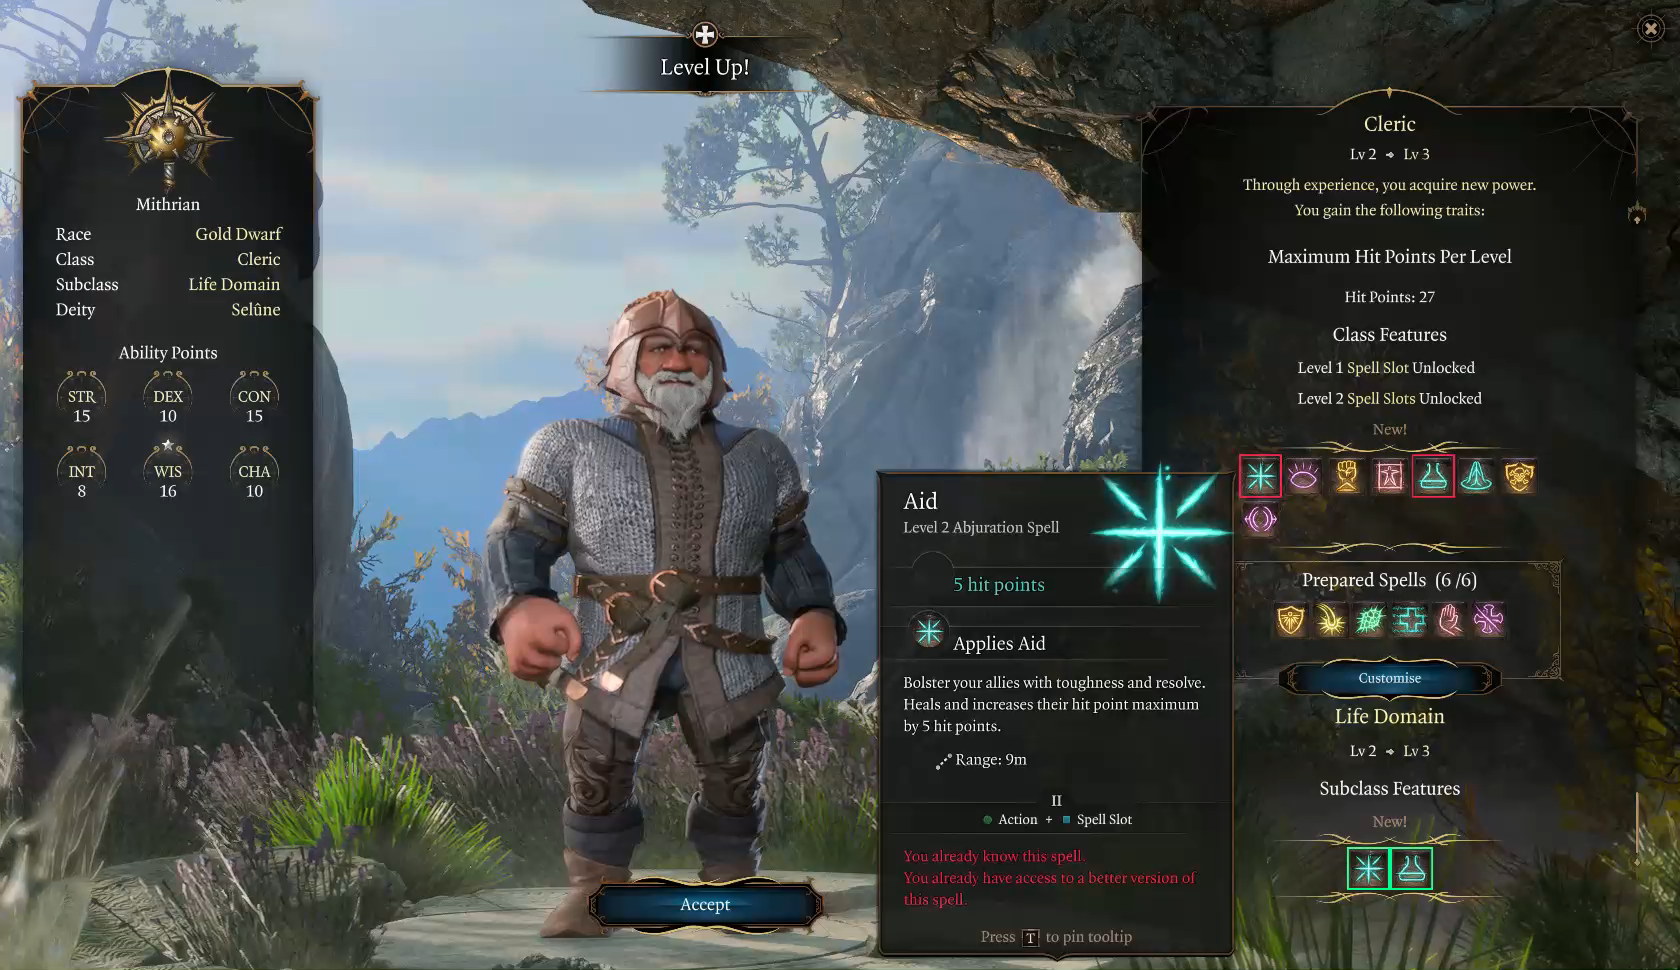
While we are here in the safety of our cosy little chapel camp I go through each character and pick their level 3 spells.
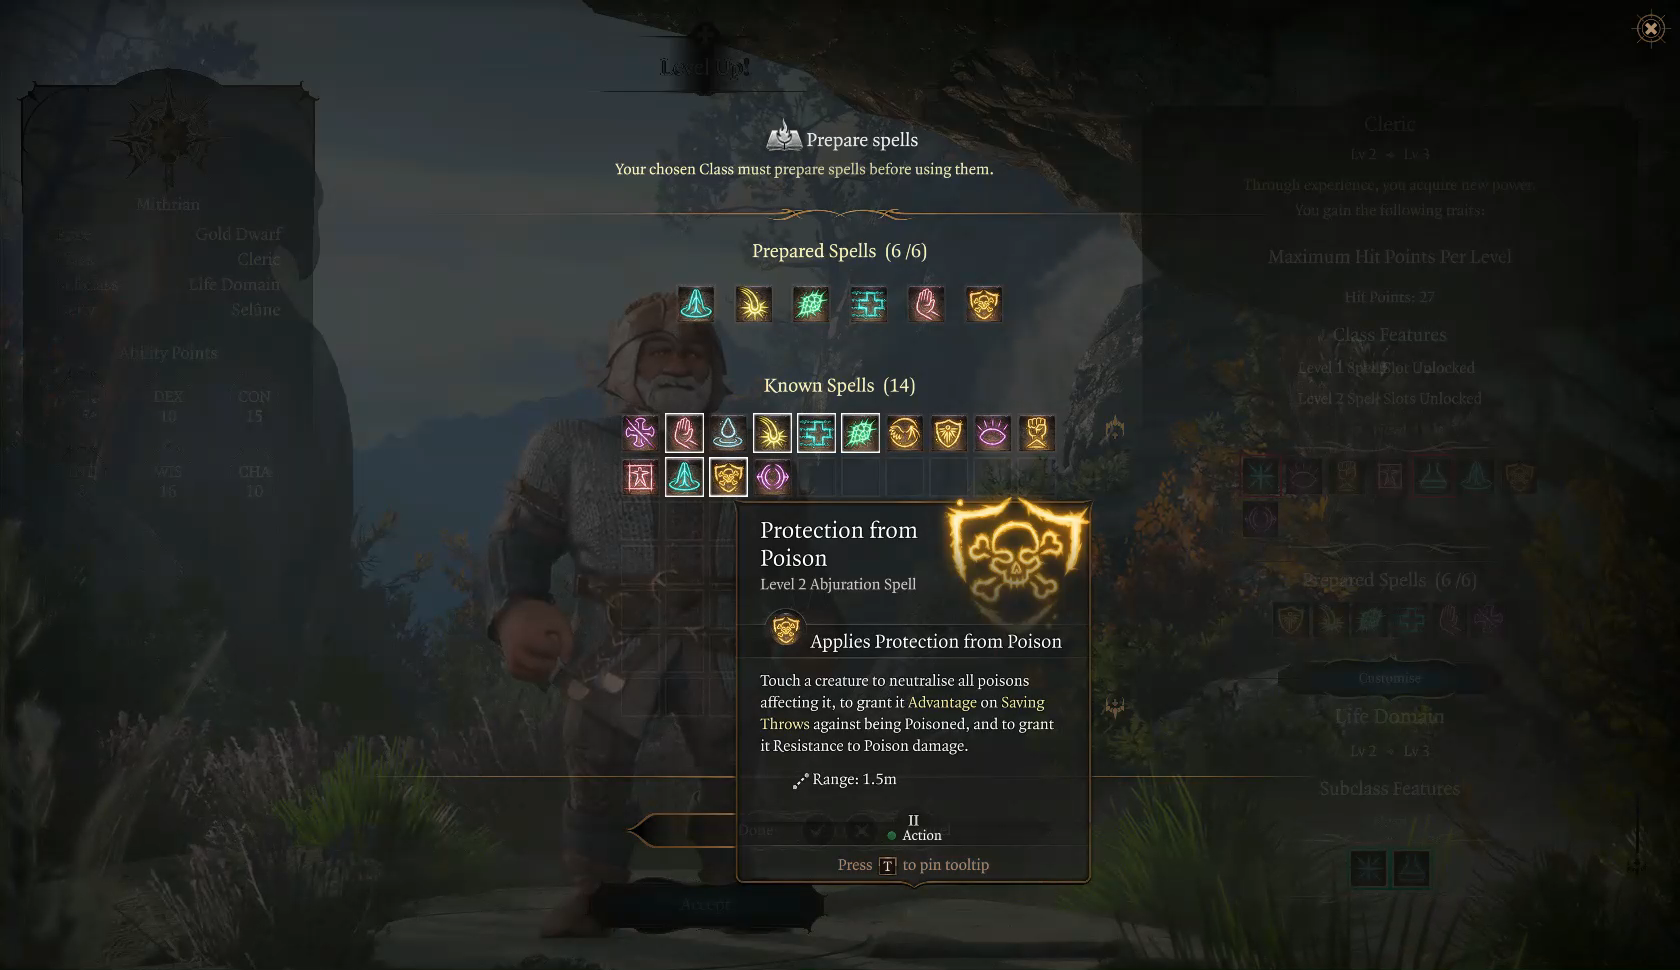
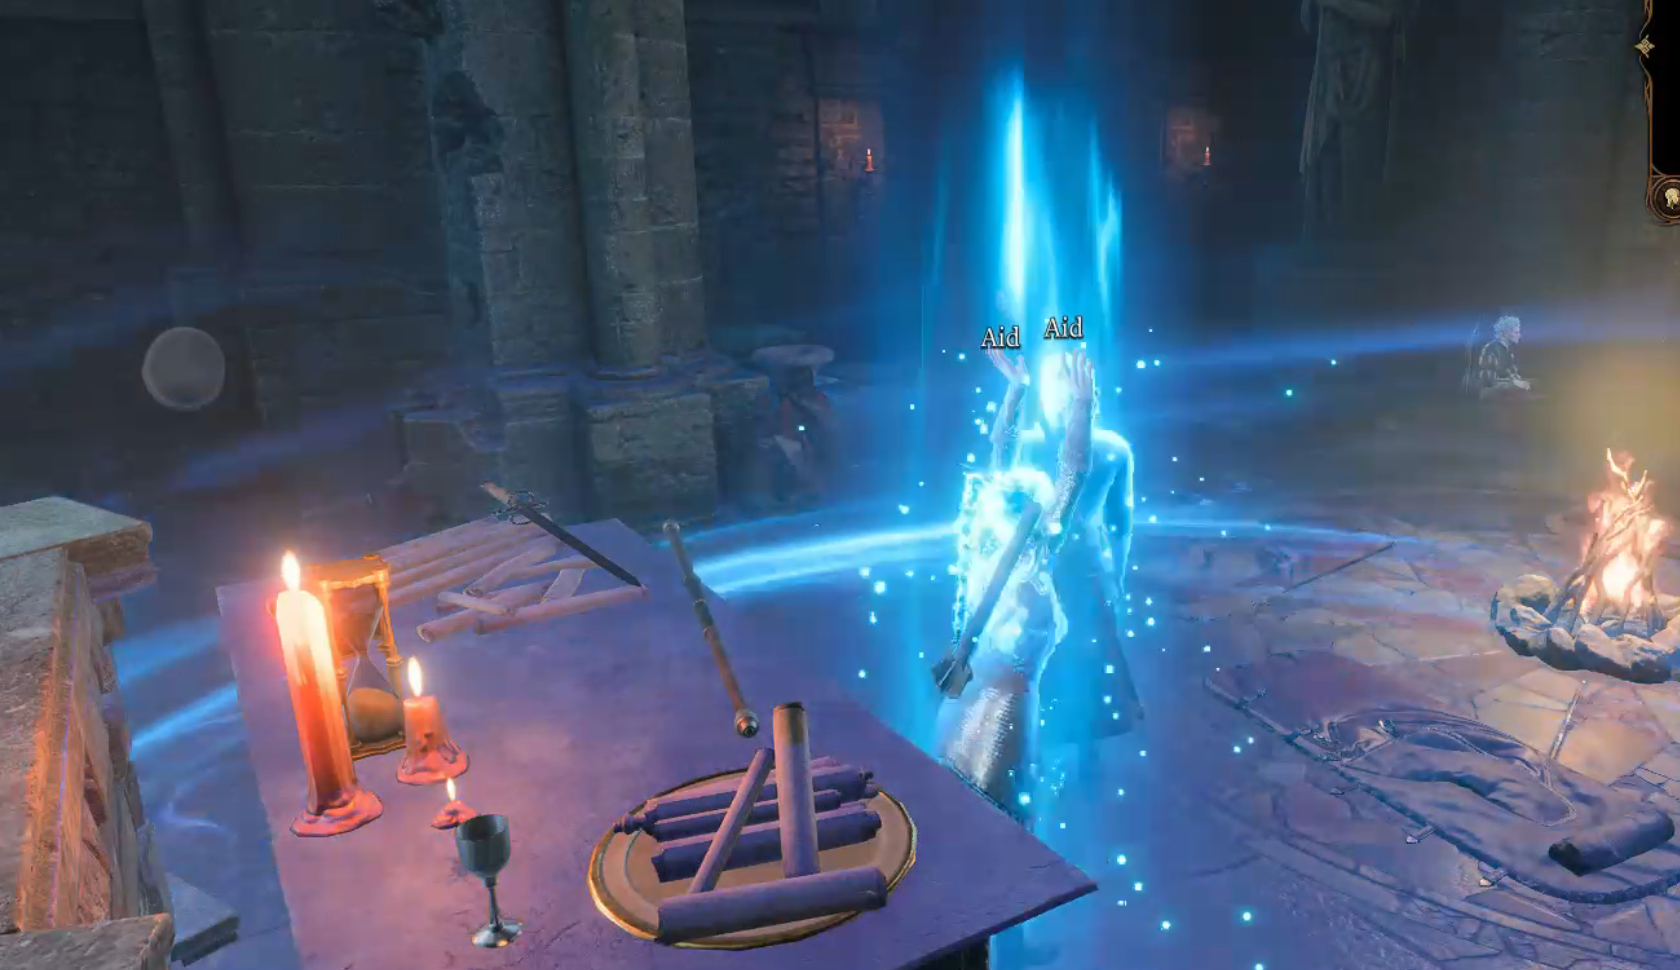
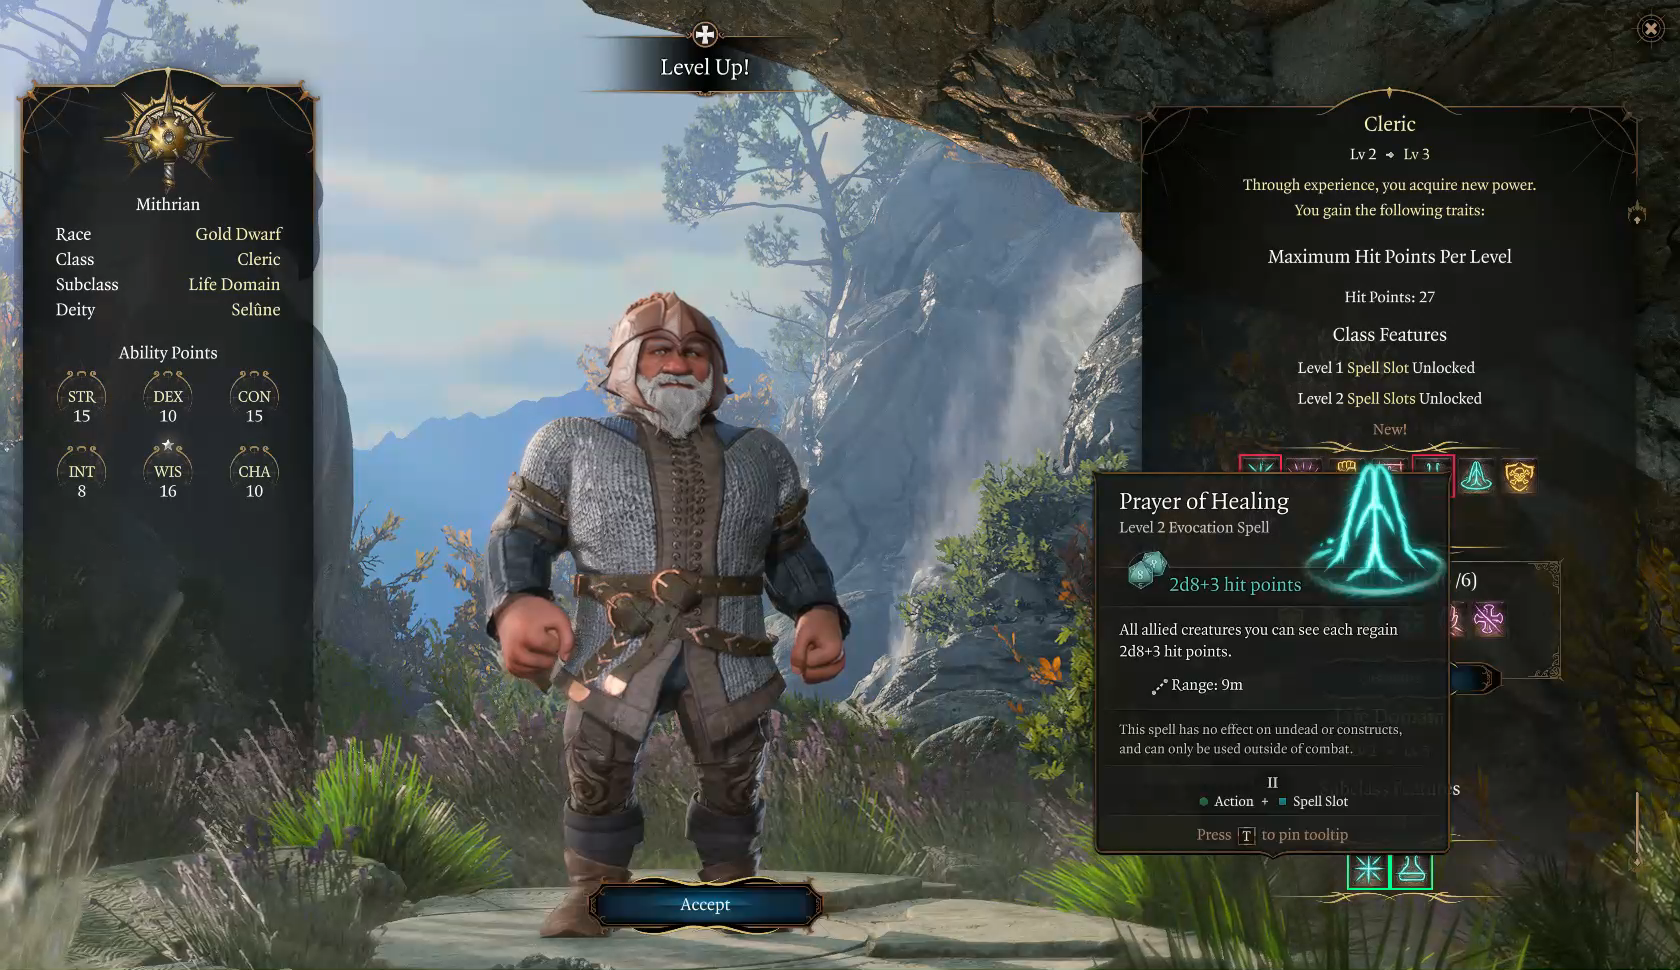 My main character is a light domain cleric. I pick prayer of healing and aid as his 2 new spells.
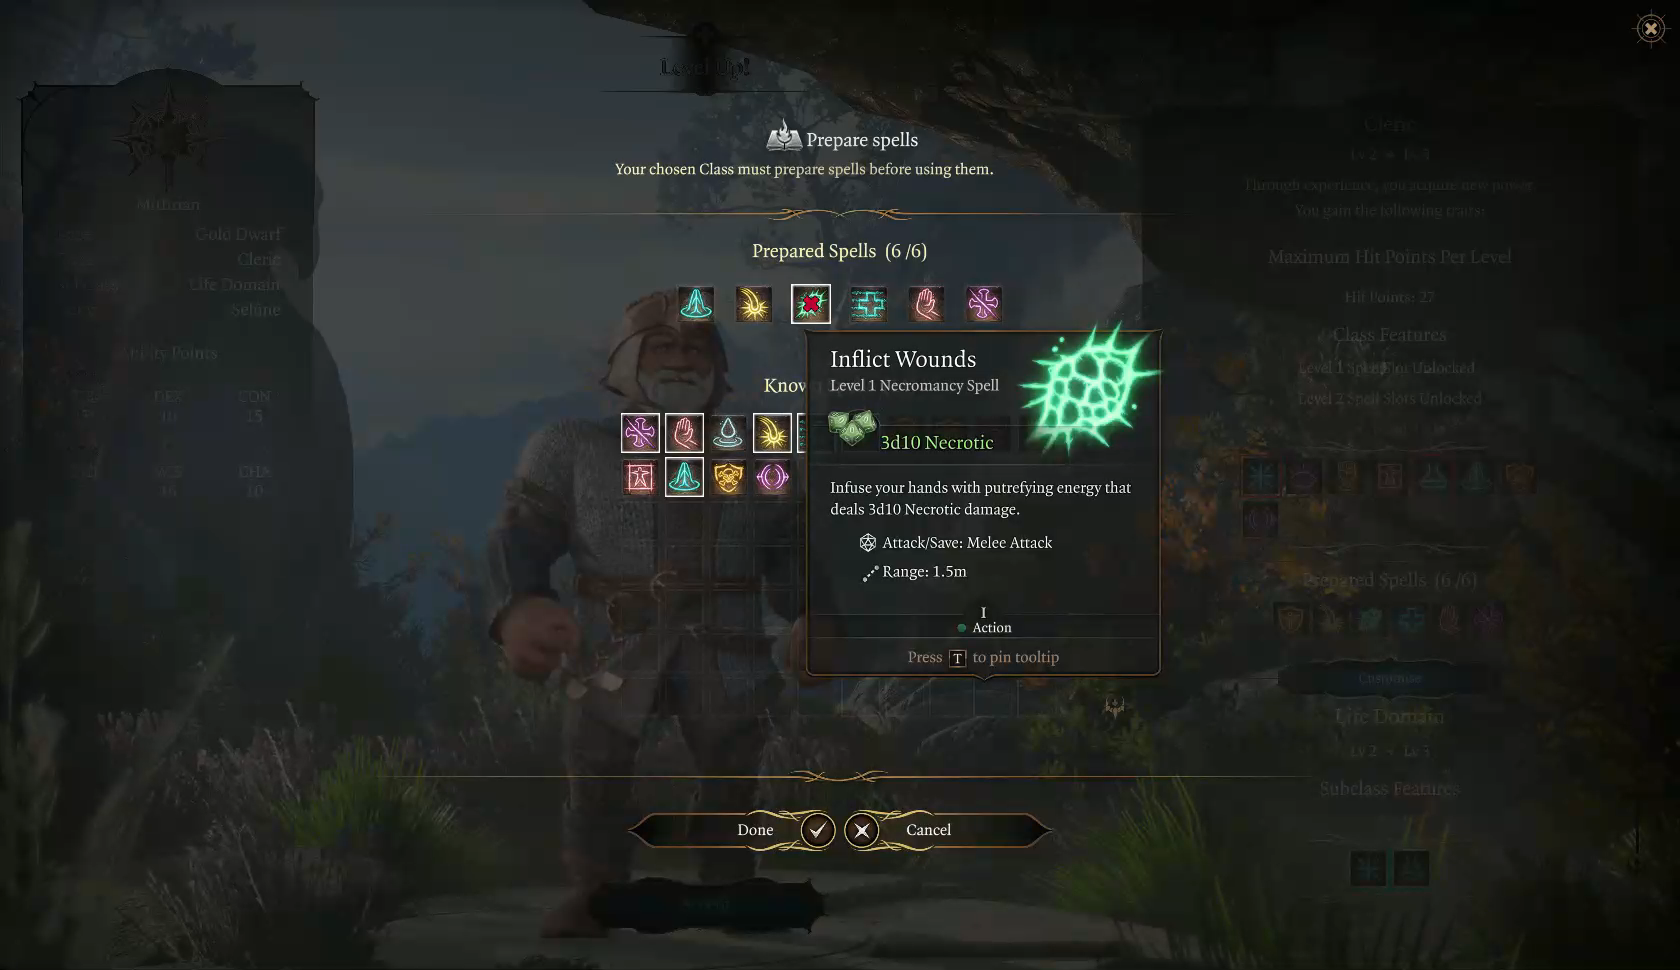
He also has inflict wounds...
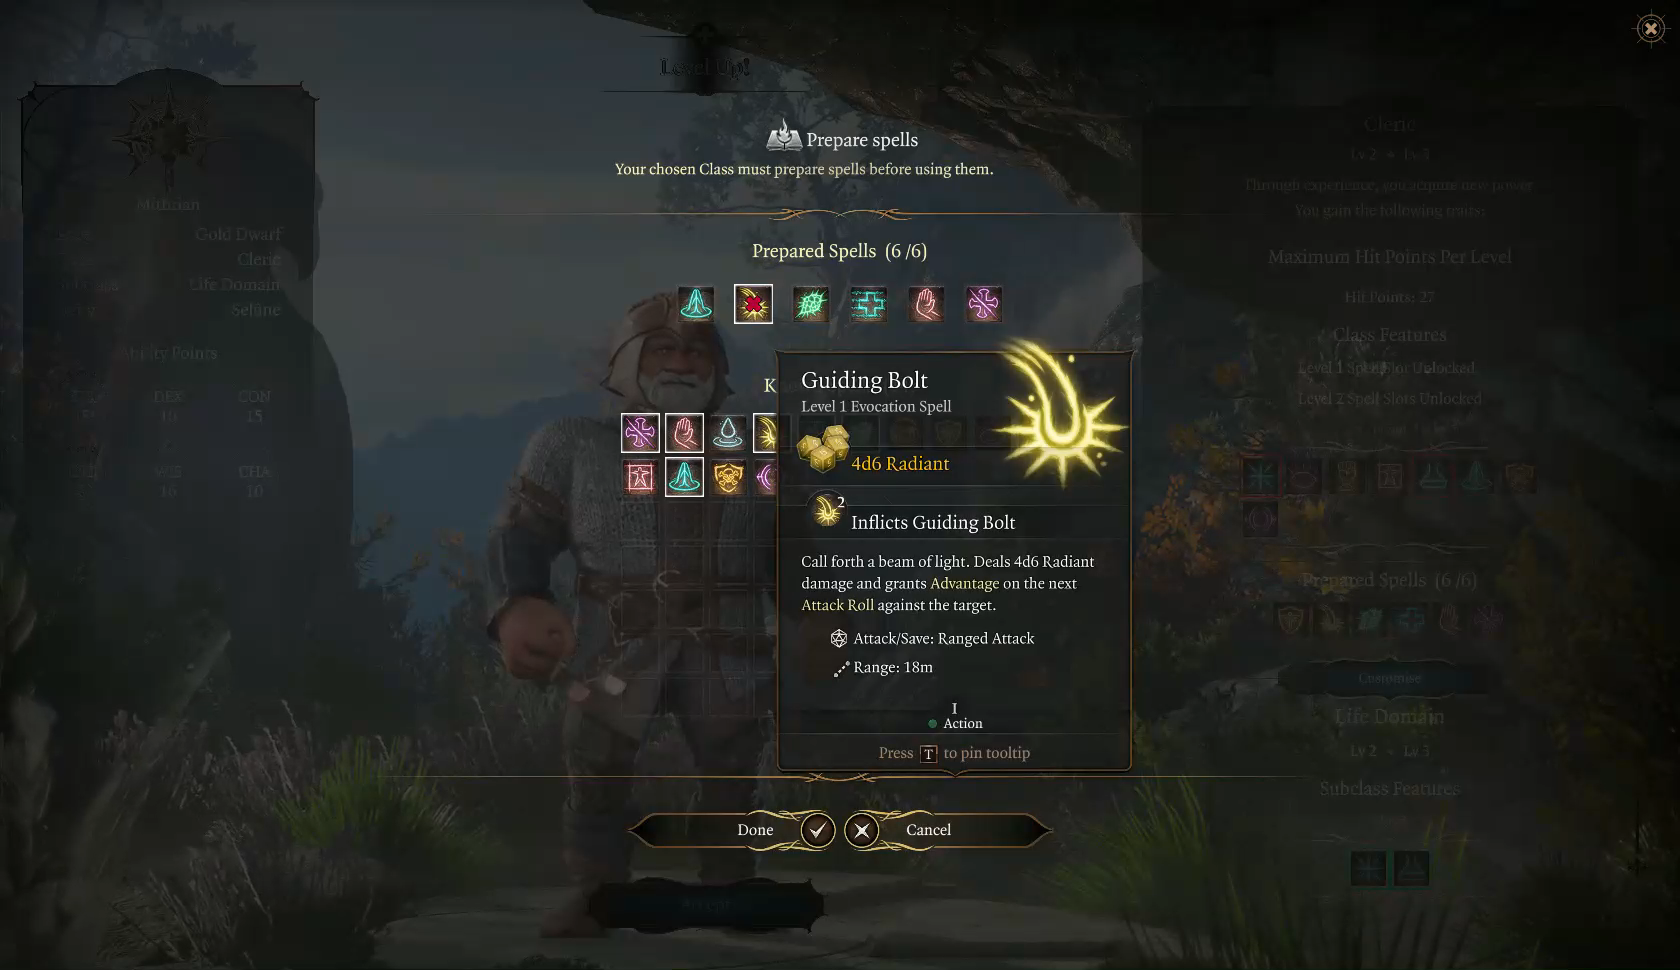
Guiding bolt...
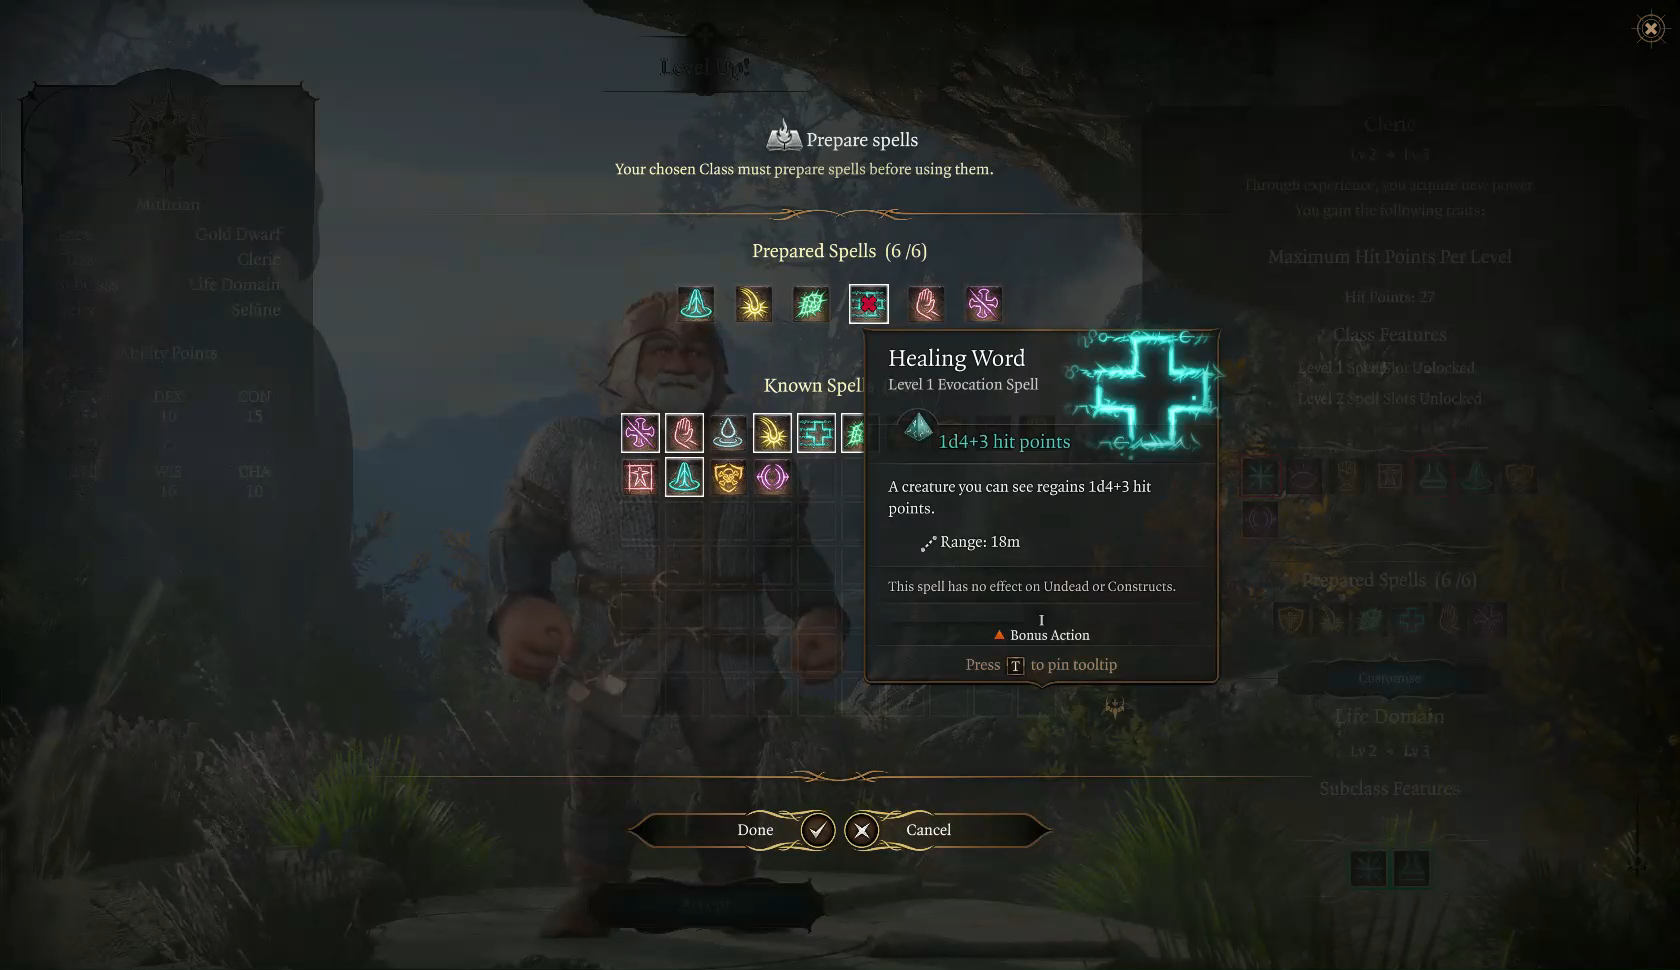
Healing word...
And protection from poison.
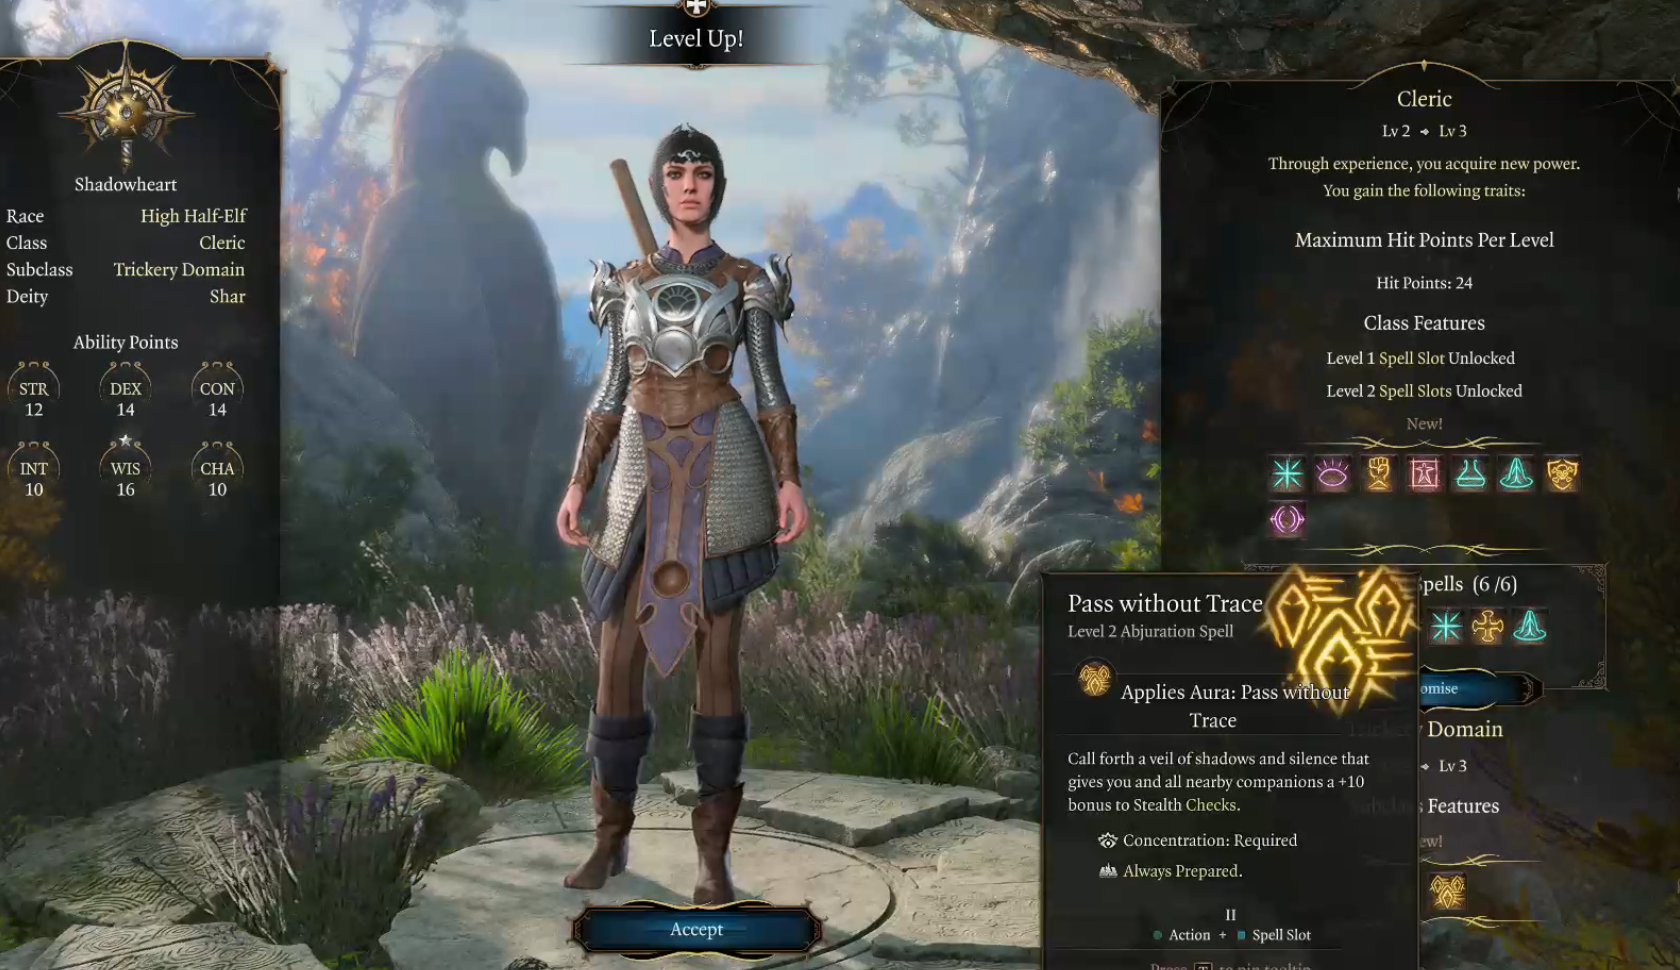
Shadowheart is also a Cleric but she is Trickery Domain rather than light domain.
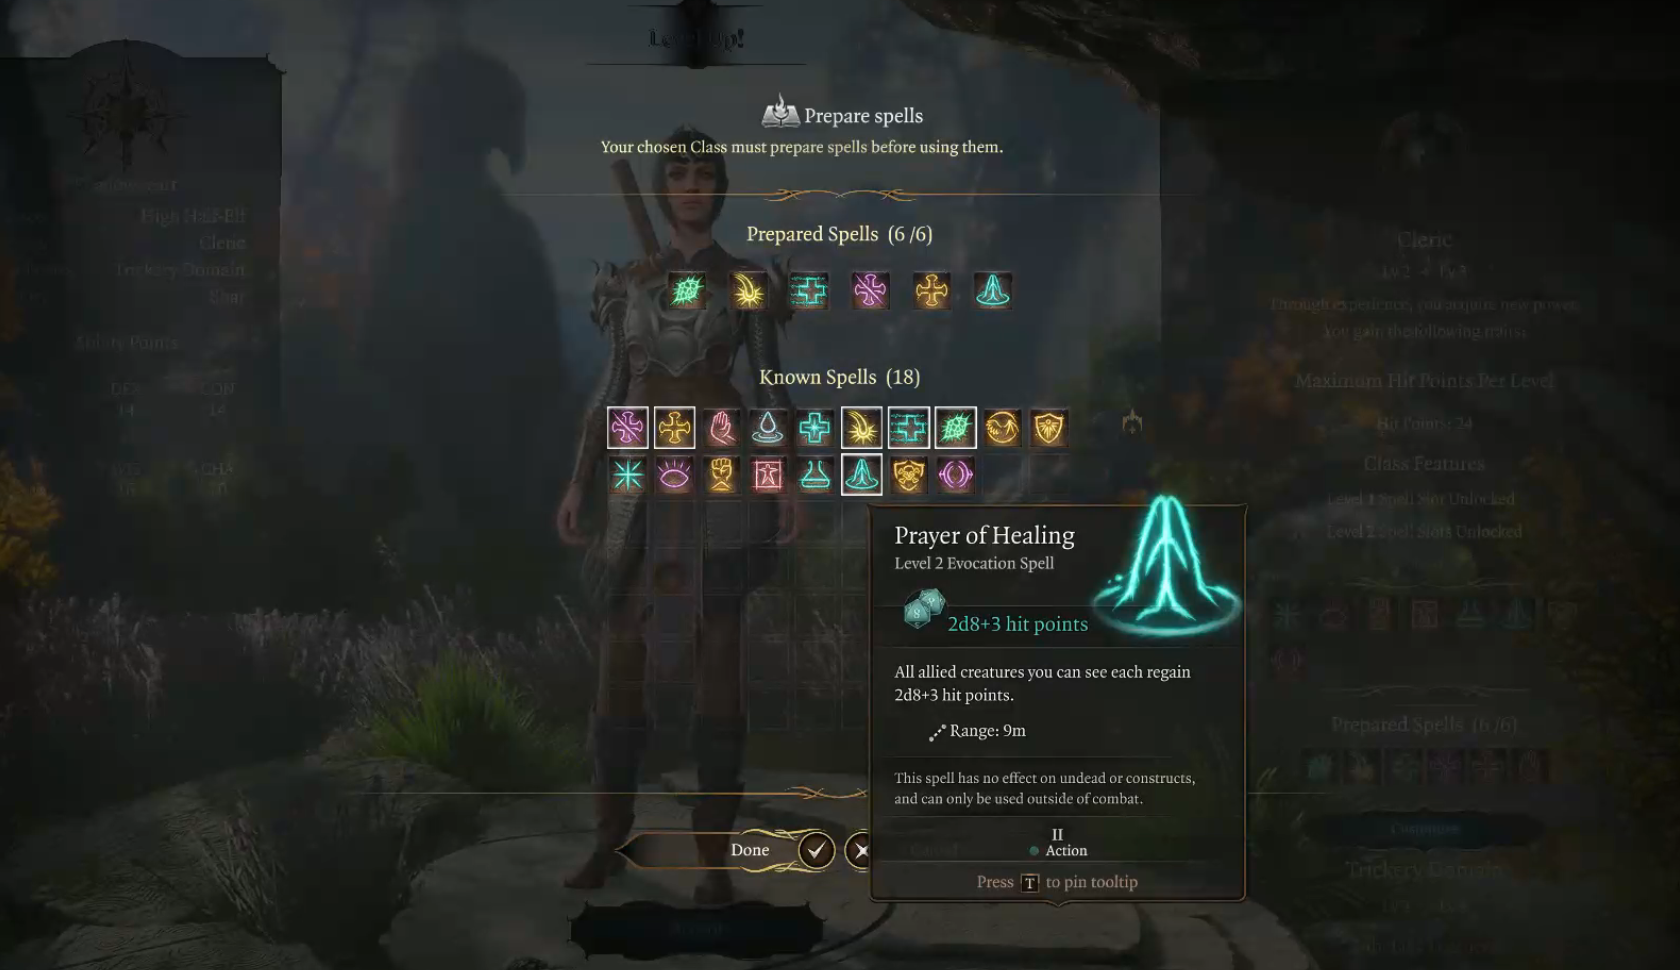
I give her prayer of healing , 2 clerics having this group heal is going to be very useful.
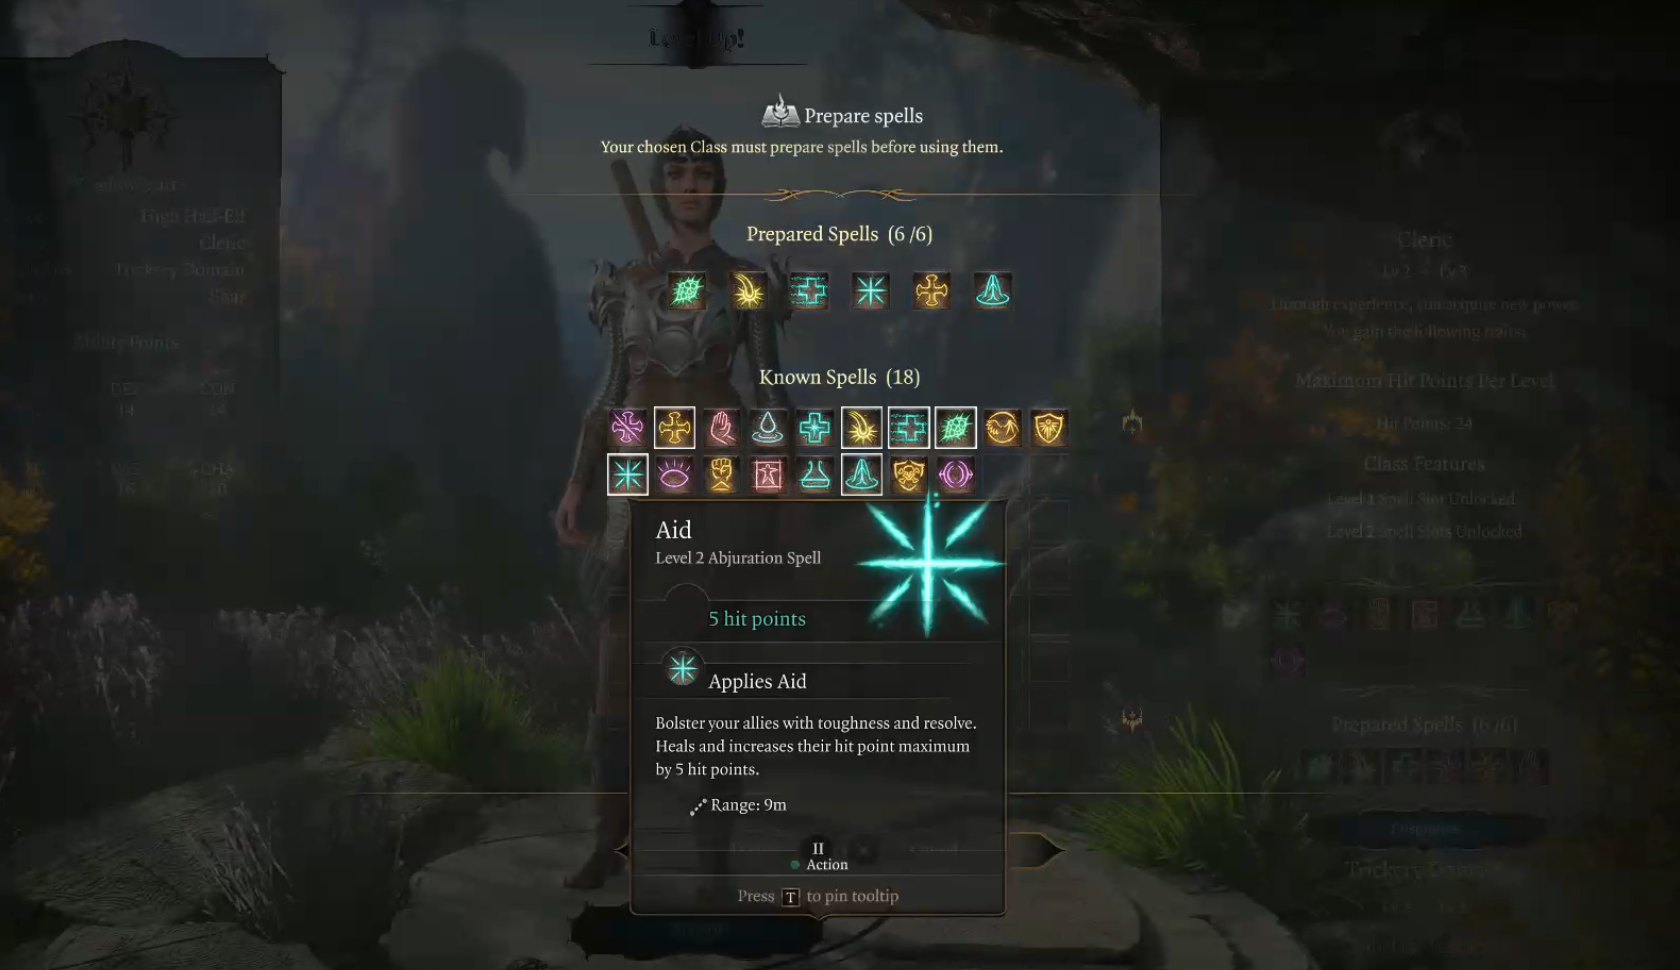
Both my clerics have the spell Aid which boosts all our party members hit points by 5 , I was curious if it could be stacked so I also gave this to Shadowheart.
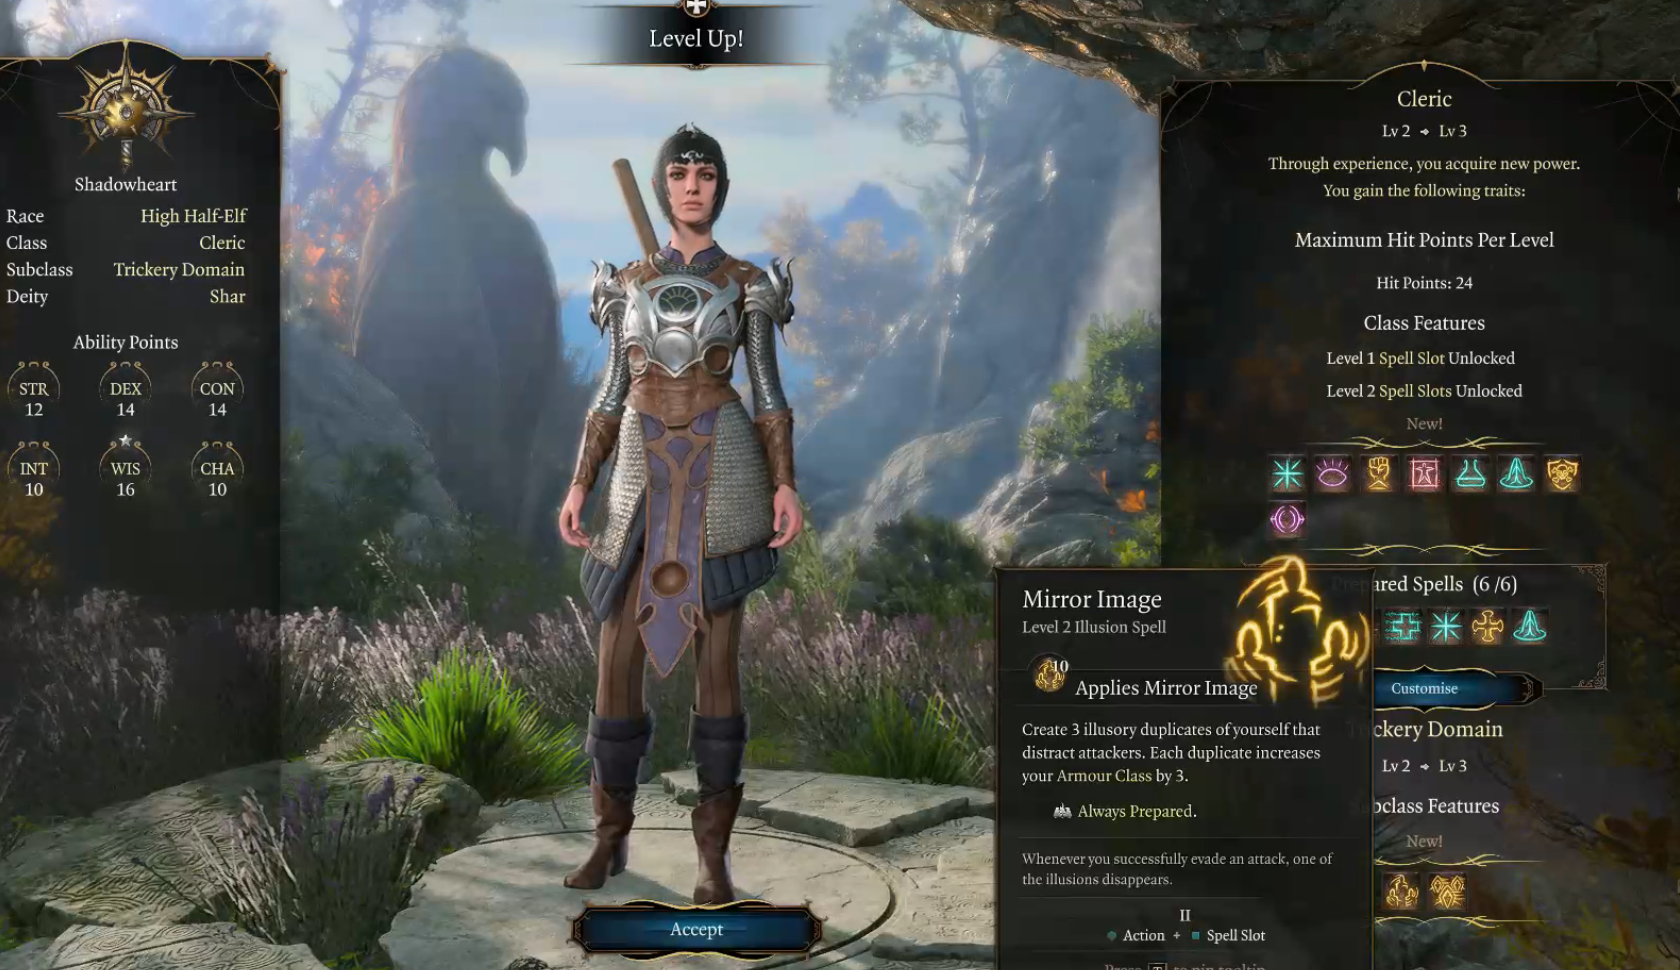 As a Trickery Cleric Shadowheart also gets Mirror Image and Pass Without trace.
After choosing Shadowhearts spells I cast Aid to see if it will stack with the main characters. Unfortunately it doesn't stack , it only really makes sense for one cleric to have this spell.
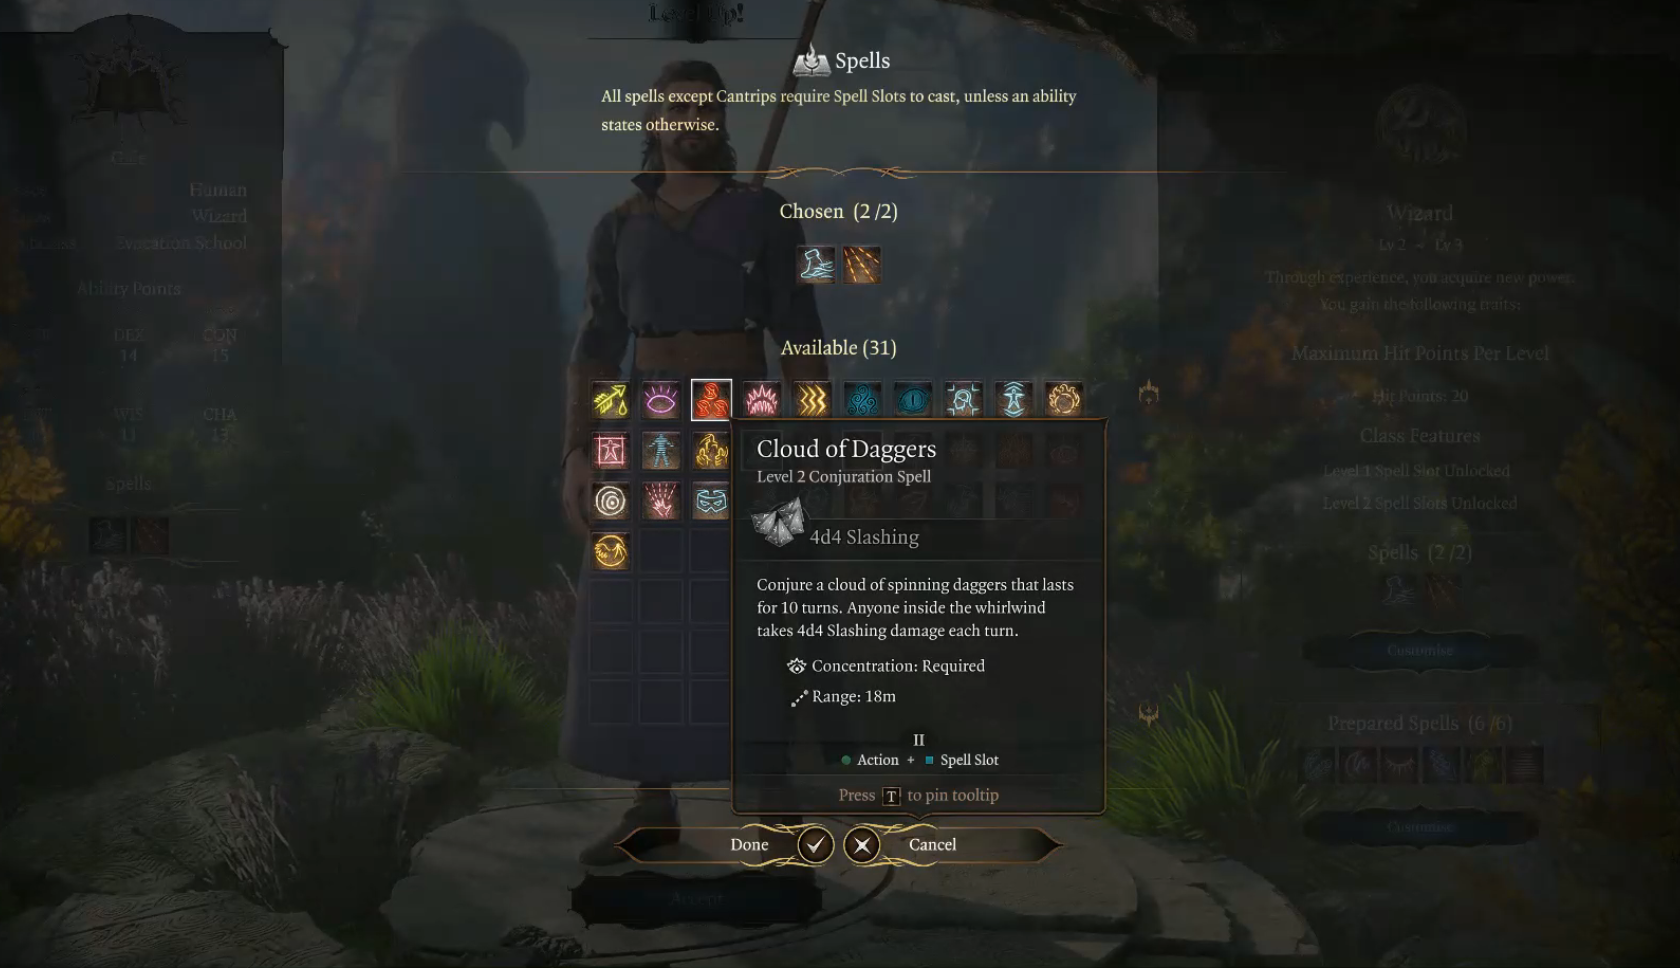
Our Evocation Wizard Gale is up next...
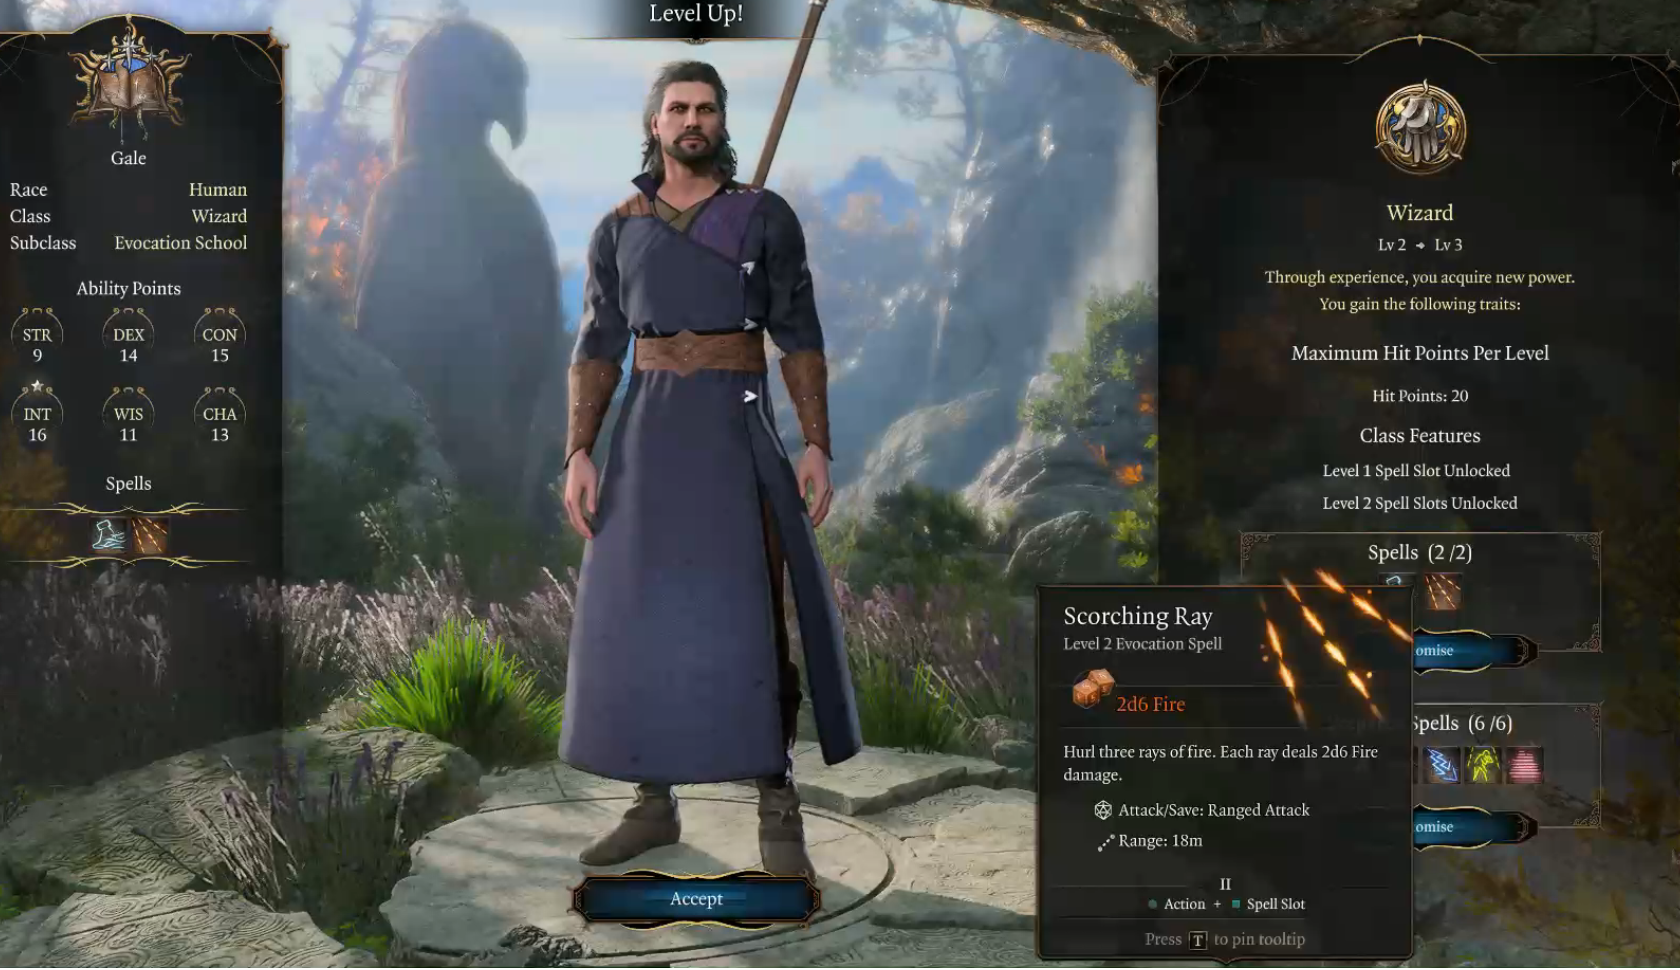 I give him Scorching Ray and Cloud of Daggers..
Astarion the Vampire Rouge can choose to be a Thief or Arcane Trickster.
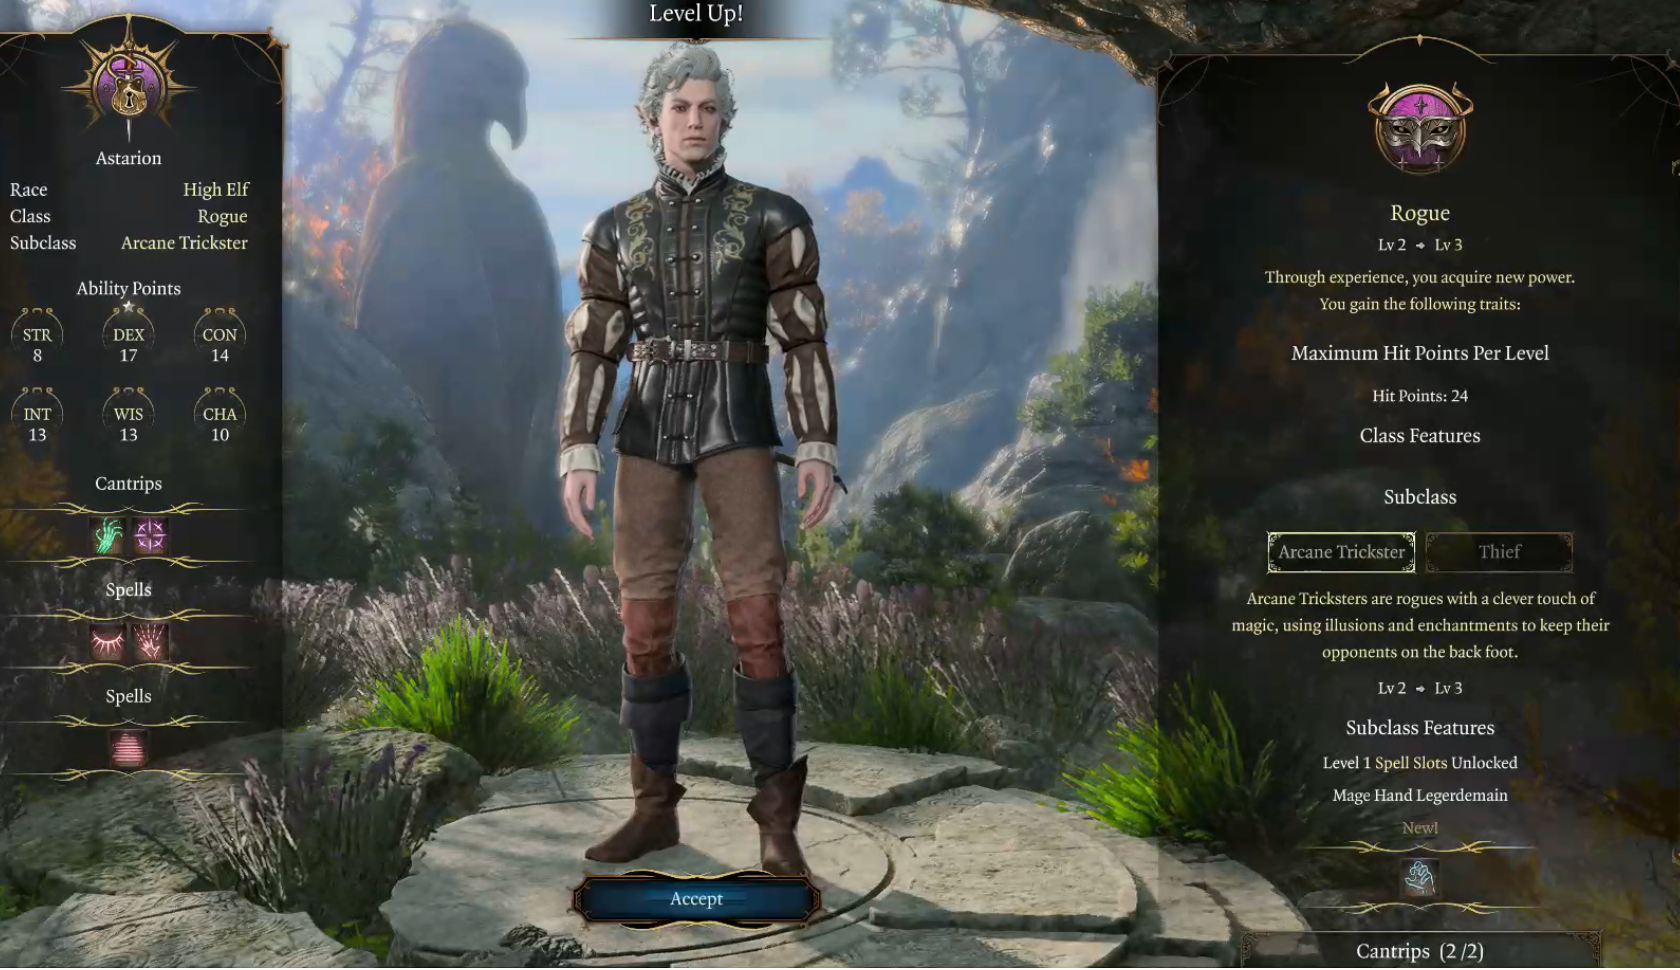
I think Arcane Trickster suits the Vampire best.His Intell is currently only 13 but we can get him a Headband of Intellect later in the game to increase his Intel to 17 giving him a higher chance of landing his spells.
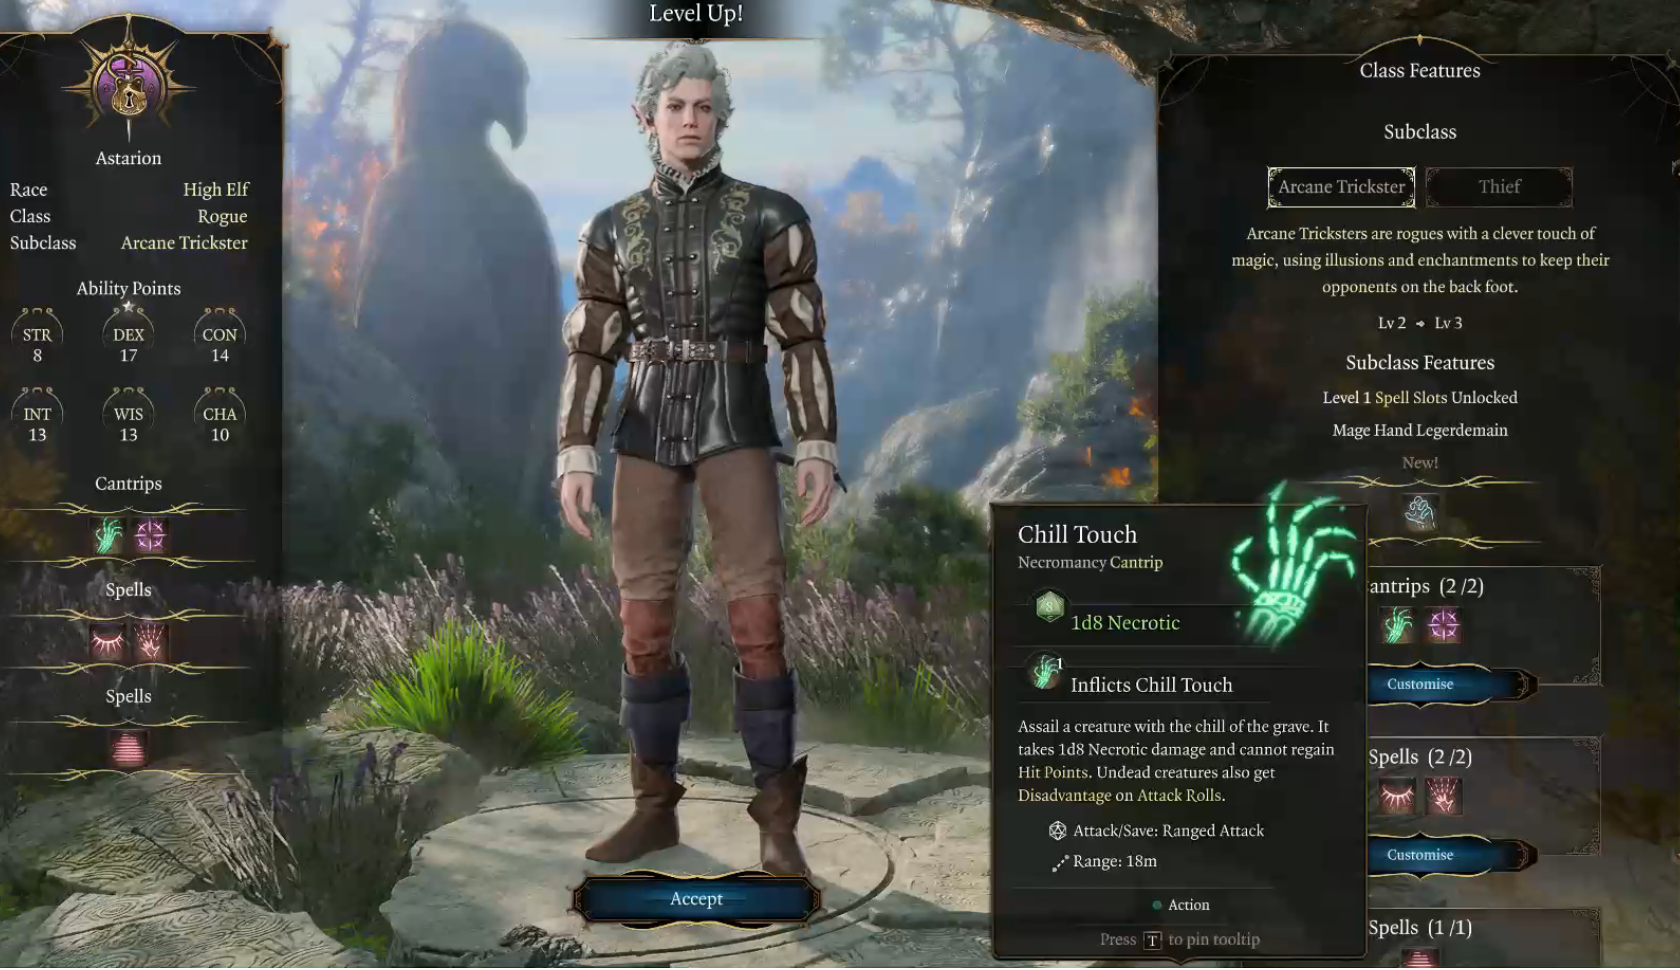
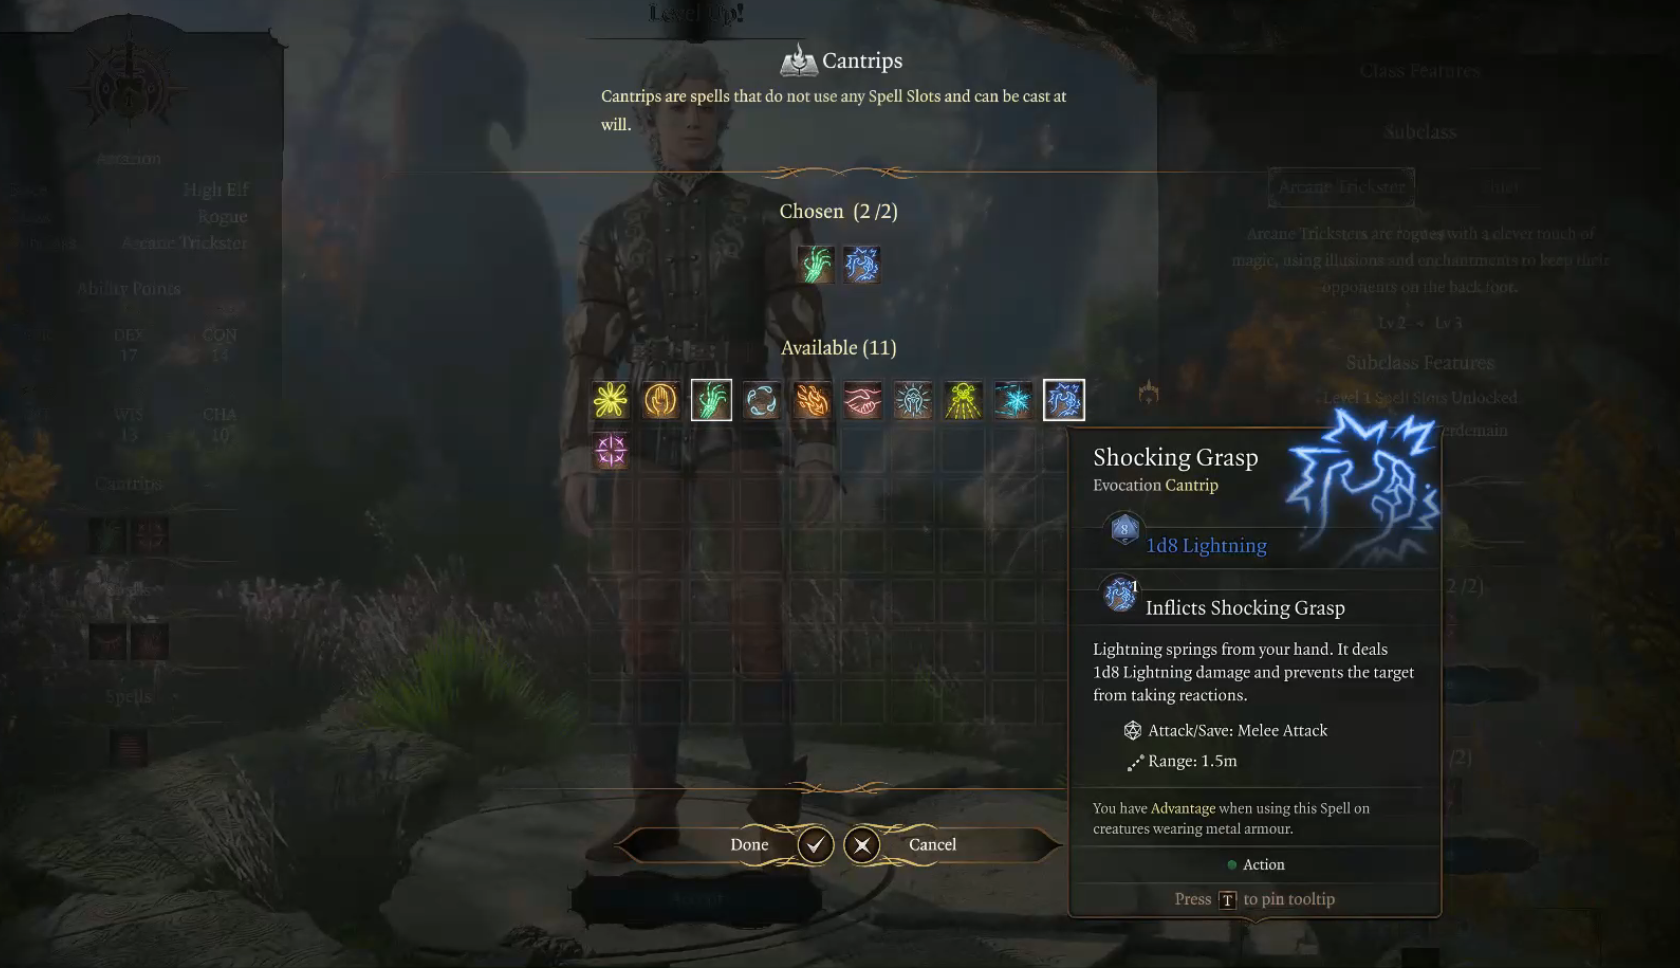
I choose Chill Touch and Shocking Grasp for his cantrips.
Tasha's Hideous Laughter seems like a spell that suits a Vampire..
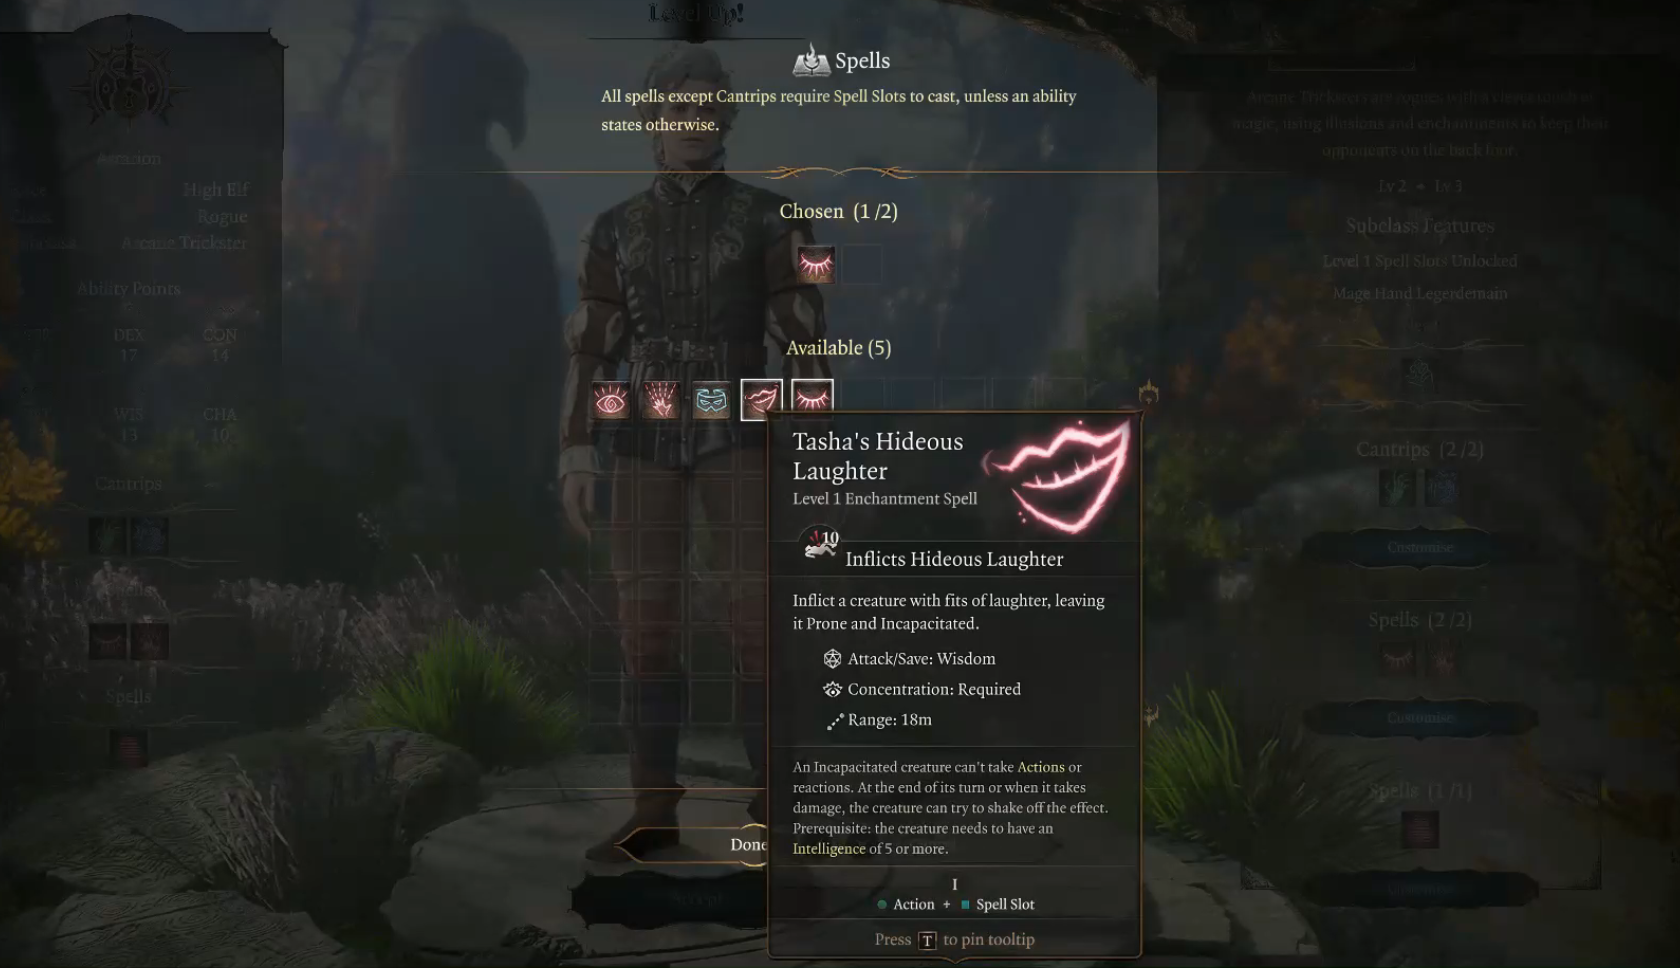
For his main spell I choose Magic Missiles. Snapshot_43.png (https://images.hive.blog/DQmcRtKUeGwtnqprXFHVFiEvmwAzj7cz7yJtGVSNup2hDhy/Snapshot_43.png)
Last up is our Fighter Lae'zel..
The fighter class can choose to specialise as a Battlemaster or Eldritch Knight. Snapshot_44.png (https://images.hive.blog/DQmVW9DN486ddHsWMoKuTKg6zRnRaSi9nhoC5t22HcCMEn3/Snapshot_44.png)
Lae'zels natural high strength makes her suited to the battle master class Snapshot_46.png (https://images.hive.blog/DQmREnXFWyqLRLLuiUUihjYPwxFxU1Wy4ttkgrDvJXQiZ4Q/Snapshot_46.png)
Her manacing attack and pushing attack are especially deadly if we give her the Everburning Blade we got at the start of the game for the extra D4 fire damage. Snapshot_47.png (https://images.hive.blog/DQmaDN6aUWWcneBWg5nLxxrNNSwXccq5LHfh2Hqrk914kRt/Snapshot_47.png)
I also choose to give her the rally ability so she can bolster a party members hp by 8. Snapshot_48.png (https://images.hive.blog/DQmWwee1K79a9fKsY9ug6gHVhYvv2rgNvoUBuBr59ypzefQ/Snapshot_48.png)
With our party levelled up its time to get some rest and continue exploring the Chapel and Crypt ruins. To take a long rest we need 40 camp supplies which are acquired as we adventure through the different zones.
Snapshot_52.png (https://images.hive.blog/DQmd38xPuJ3SQGTzjtecTyqbgZXCZ5MckTfcdishVZrbTB4/Snapshot_52.png)
Snapshot_53.png (https://images.hive.blog/DQmUqSXGGUdBt9MSAk3Lhj6uVybxTyF9fkid2pnsmKYkKhm/Snapshot_53.png)
Snapshot_54.png (https://images.hive.blog/DQmTPjUuNNKwuddNiHohLUPd7SnSpXgr6jX6q6qjnvxLsKF/Snapshot_54.png)
Snapshot_57.png (https://images.hive.blog/DQmSWyt8TNNoNTJkkGn11avhBcd7ceX7t1dynnUbeurRqB8/Snapshot_57.png)
Snapshot_56.png (https://images.hive.blog/DQmZRopu1x8vsXDoBERAupnw7Qqw6L5647EWTKb5VaJFHYV/Snapshot_56.png)
Snapshot_55.png (https://images.hive.blog/DQmZQuYxLcae5WmG5WiRpDaF9qgbGXNpwsD7GPT7PKXwDYt/Snapshot_55.png)
After taking a long rest back at camp our spell slots are fully replenished. At level 3 we can cast 4 level 1 spells and 2 level 2 spells before we need to rest again.
Snapshot_58.png (https://images.hive.blog/DQmNoMJmeMnv6pdw5bqYV3Ex7as1Zb2ayKAvowzgSYWPwUb/Snapshot_58.png)
With our party fully rested and replenished its time to explore some more. Snapshot_60.png (https://images.hive.blog/DQmatJLH6UP2DXqKKMKQoVDkrq84JBYEEUFUp3GKd9hkvKN/Snapshot_60.png)
These Heavy Oak Doors lead to the main hall of the Chapel. Snapshot_77.png (https://images.hive.blog/DQmZyWwEo88AubRTdU9gyrDp6J9QEo8rAPYamq2ZRN8PqT9/Snapshot_77.png)
There is a key in the opposite room but we can also try and pick the lock. Snapshot_78.png (https://images.hive.blog/DQmahn417DoB8y966Bf69WBYGeKckAa7TwB4YsqjWJ24maG/Snapshot_78.png)
Snapshot_79.png (https://images.hive.blog/DQmWynTQLGmA5VNncpcWfYiWXcaAmHWQEaiSgmLf3GSJZju/Snapshot_79.png)
The Dextrity skill check only needs 10 or higher to beat it.I got lucky on this roll and scored a 12. Snapshot_80.png (https://images.hive.blog/DQmWT3vjPEE4CnCMPhDK6wddfFrZR7BYE4cUUKmm6oZfELS/Snapshot_80.png)
Snapshot_81.png (https://images.hive.blog/DQmYCdw4wgkizgFaetqLrj5GS3noveRyvQLcZ3n1Trnvxyc/Snapshot_81.png)
Snapshot_82.png (https://images.hive.blog/DQmSExaFom8GpucWYsXqJyB9gYbmWK33meEWQAFFupaYEh1/Snapshot_82.png)
The only fight in here is with 4 of these Entombed Scribes and a more powerful Entombed Warrior. Snapshot_84.png (https://images.hive.blog/DQmZ9qf57oMfzAo4gENKSz5kKKm1jZ9XnX8RRAHcxv3h5NR/Snapshot_84.png)
Before we fight the undead lets head back and check out the other room. Snapshot_85.png (https://images.hive.blog/DQmREaFvEY8iXr9ykbQhBvGmwTqRqBj99UpHkgaSTHjnPnK/Snapshot_85.png)
Snapshot_86.png (https://images.hive.blog/DQmXy8o6ybg8pLoJHmT7yGn1K2zNVpQmtTmvF8v6t6NmfTx/Snapshot_86.png)
This room is where we would find the key to the main hall if we failed the lockpick check. Snapshot_87.png (https://images.hive.blog/DQmV8kZfYW3KEU5VaXybfXr5bpwidGd9fsnoMhrYCUMzA3z/Snapshot_87.png)
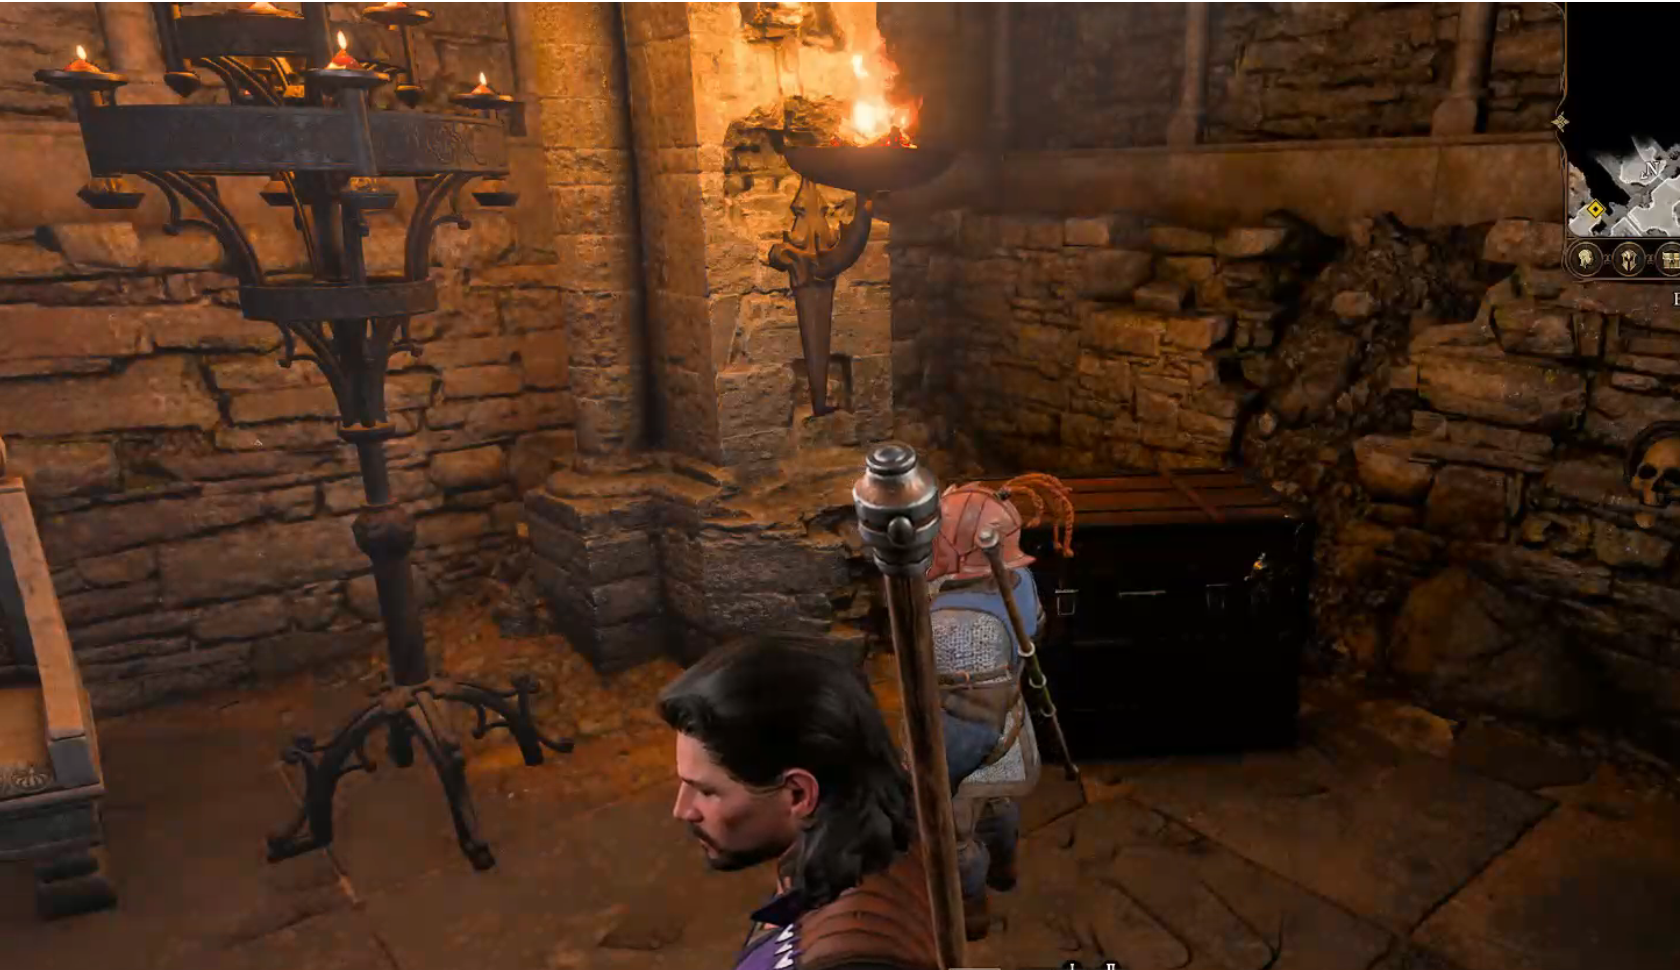
The sarcophaguses' around the outside all have basic weapons in them. The only thing that is worth grabbing is the Ring Mail Armour from this one. Snapshot_88.png (https://images.hive.blog/DQmadm6z2qkhVwgWKWr65PJGBbwMeh5Xcuf37grTxNVcXcd/Snapshot_88.png)
Snapshot_89.png (https://images.hive.blog/DQmXDK7E3trBpoMsPri6LyzF53ZDq6HH5zChP6YSzqQQWeR/Snapshot_89.png)
Our Dwarven hero trys on The Ring Mail , it has a lovely red look to it. Snapshot_90.png (https://images.hive.blog/DQmZpd1SuEGtKMahmRAPpkc3T83VSueF7635Ygf7dtFSdur/Snapshot_90.png)
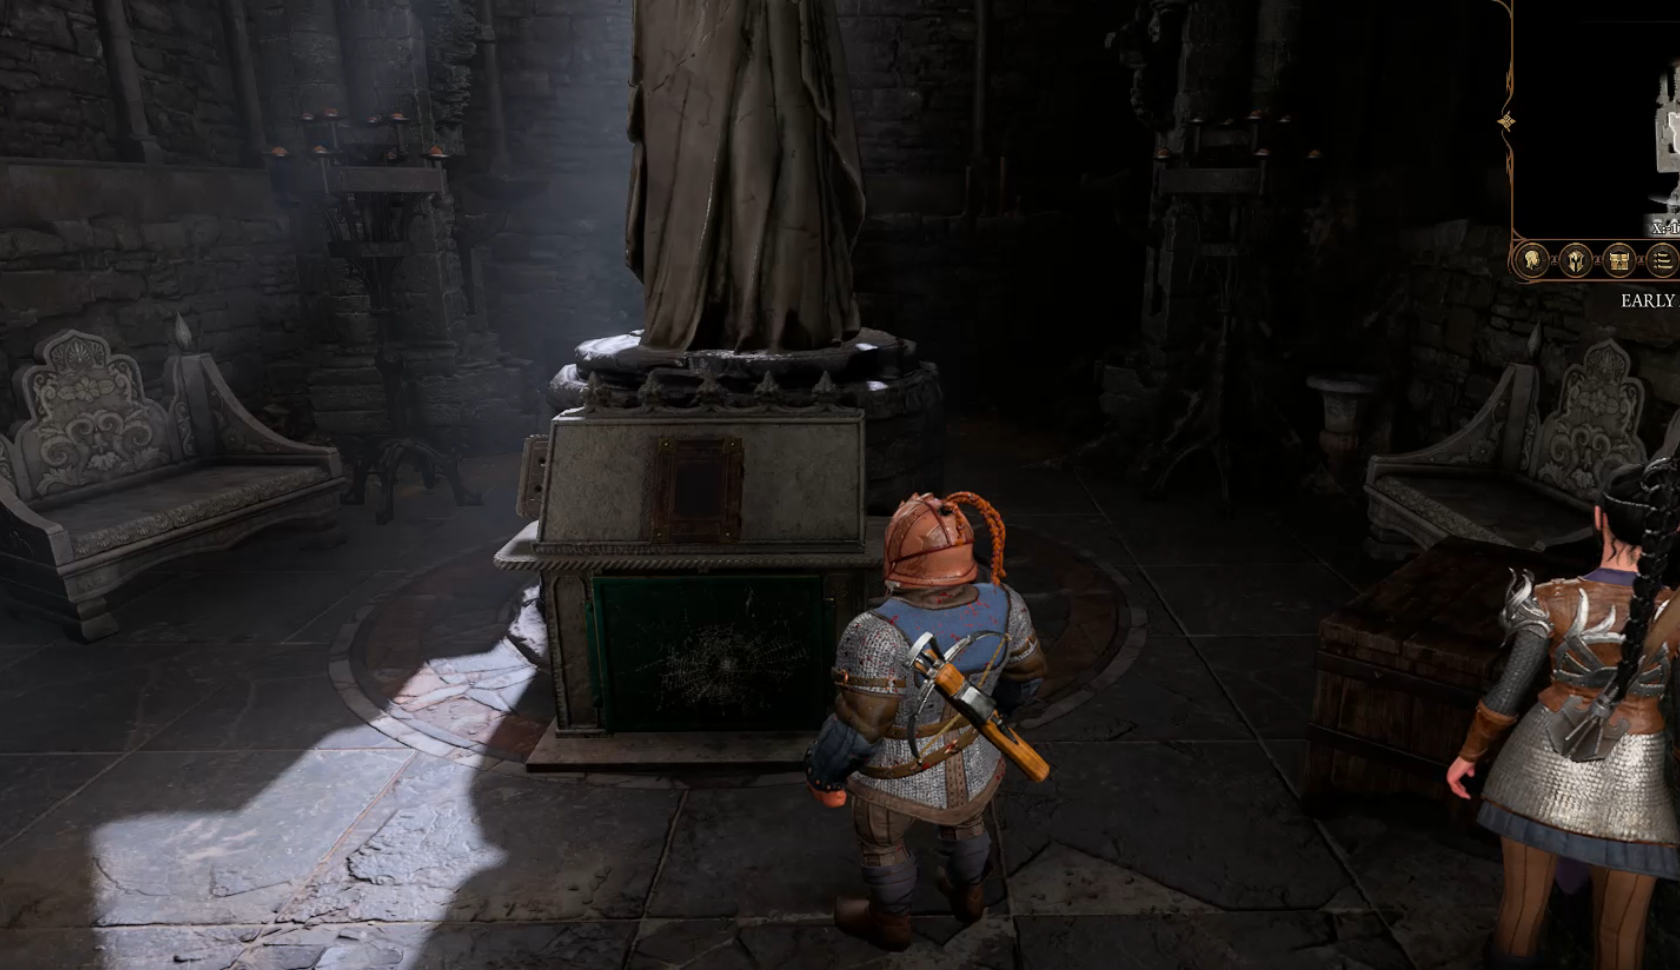
This sarcophagus in the middle has the Chapel Key and a rare weapon but its also booby trapped. Snapshot_91.png (https://images.hive.blog/DQmXCAksv6fyViwMYqzys8DYJuefhfupcRHrcABBpSUHLNQ/Snapshot_91.png)
As soon as we lift the sarcophagus lid grease will pour out of the vents on the floor and flaming arrows will ignite the grease.As soon as this happens we need to hit this button to disarm the trap. Snapshot_93.png (https://images.hive.blog/DQmYnsLVQhMDXXcdndzFRjuzePaqXDPLU3yEr7ZzWNrMsqP/Snapshot_93.png)
Snapshot_94.png (https://images.hive.blog/DQmbYvCPxAxHEaiPAorNGQhrxLNU8sLbR4uJ7zYg9EsiZYA/Snapshot_94.png) If you want you can also move these vase's over the floor vents to stop the grease but it isn't really necessary. Snapshot_96.png (https://images.hive.blog/DQmcpLu9r5ARjsGBynGjpykrwx52rbwZwX6UD9XpjBy6mxm/Snapshot_96.png)
Inside the main sarcophagus we find the Engraved key ... Snapshot_98.png (https://images.hive.blog/DQmaD2xwt77w5UCcZENNHXiXsF8p4BKu4Y9Q982bKCgDk5y/Snapshot_98.png)
And The Watchers Guide. Snapshot_99.png (https://images.hive.blog/DQmagEe6mNqdBNP7gb8huk14KtzFCStCmXyJVBqvfLfk6pn/Snapshot_99.png)
As soon as the lid is lifted grease pours out the vents and each character has to perform a skill check to avoid slipping in the grease. Snapshot_100.png (https://images.hive.blog/DQmduEE4Y9RyTKGBdU8vXw3E1CWaZy6WKm6MDz7LfMzWVmP/Snapshot_100.png)
You just have to reach the button without slipping to disarm the trap its fairly easy. Snapshot_101.png (https://images.hive.blog/DQmcegkTAyxhDra3meJPnUs5ChzBdM9vv7utxkAP6dJaP9H/Snapshot_101.png)
Now we have a new Ring Mail shirt and a new weapon lets go and fight the undead in the next room. Snapshot_103.png (https://images.hive.blog/DQmdhqPfVWsJJr5WNLcQTe7rgMaiSQpqgXVGApayfqtdUgE/Snapshot_103.png)
Snapshot_104.png (https://images.hive.blog/DQmUoftu9Gafray8V7nxomAHUsGtpuRSeDZUcSLFtLwzsae/Snapshot_104.png)
One stregie is to have one member of your party stand by each of the 4 scribes.Lae'zel stands gaurd over the first one while the rest of the party continue exploring. Snapshot_105.png (https://images.hive.blog/DQmRXUTbNeDT76q2sU7HDcFRc8wjxLHxuEA5DyP3B4DYnBz/Snapshot_105.png)
Snapshot_106.png (https://images.hive.blog/DQmRJh4jzq2TkPw5trXkacTaZdE1sjqje5PeDZop1hqiyHm/Snapshot_106.png)
Snapshot_107.png (https://images.hive.blog/DQmVCbzGmBAQwBrXQ4qBhDSCS9UjQYpHhVyHkuYDACsXMFa/Snapshot_107.png) One of the adjacent rooms contains The Book Of Dead Gods Snapshot_108.png (https://images.hive.blog/DQmRKTTYQYQ1wsj6vSazciUsEpRB4pibhKHG6muwcF99Nkg/Snapshot_108.png)
Snapshot_109.png (https://images.hive.blog/DQmdff3rcG6F4nAnUBUkwAeFGjL3cgCBApLa56p79pYtWqT/Snapshot_109.png)
This event rewards inspiration for our Cleric and Wizard.These inspiration events reward some exp and the option to reroll on some failed skill checks. Snapshot_110.png (https://images.hive.blog/DQma1i4qqUH1RqbRjUfo4gW1GjYhb47JVZ6rpJDf2zxbzJq/Snapshot_110.png)
Snapshot_111.png (https://images.hive.blog/DQmTsEjx5cUYX3rMGRzSMoqmQwzvamMC4oZbx9NcLvhH3Tk/Snapshot_111.png)
Snapshot_112.png (https://images.hive.blog/DQmYughyNciyAMspEkTGHovWfkzVh3PC9SJuY8eZFphC1CW/Snapshot_112.png) Here we can use the cleric option to try and break the books seal. Snapshot_113.png (https://images.hive.blog/DQmWNhNmLmvxiYsAnpBk2rTZXzN5FaHEW2N4MDXaaANJanC/Snapshot_113.png)
Snapshot_115.png (https://images.hive.blog/DQmbPkjrKdM4RpaDYphR6Cgn4LohDpNqGnqtH5cTVouoCRW/Snapshot_115.png) We roll and add our Cleric bonuses.. Snapshot_116.png (https://images.hive.blog/DQme6ZMcanqn9DuPp1C9VsJZ5xLDUPLMDrFLyjDnMkbV8gN/Snapshot_116.png)
Snapshot_117.png (https://images.hive.blog/DQmd2f7UhYRQCrvzaik7qQmgcZUXDppChKAUDFtYTFYcf72/Snapshot_117.png)
Snapshot_118.png (https://images.hive.blog/DQmdxntmcUcxSKZycdfLmoiSkAM21o45r2KM4pEC9axKzVC/Snapshot_118.png)
The book pops open... Snapshot_119.png (https://images.hive.blog/DQmZ4ckuA4TZFrbVCWmbafwD9xVseRnfCWdcQbPc45MRF88/Snapshot_119.png)
Snapshot_120.png (https://images.hive.blog/DQmYoVynd3BpJ6ZqG1fxJ1MfNPSyFdVxjSSR9DdqHWmePLi/Snapshot_120.png)
Snapshot_121.png (https://images.hive.blog/DQmS4V37xLr9n1mzmK1vS6gVzwXpo7Du4mfXs6Ln5krpcFM/Snapshot_121.png)
Snapshot_122.png (https://images.hive.blog/DQmWdiHEstfXEaWt2yQKKybyXduEUFWHNuEpbYrs8MHSRHa/Snapshot_122.png)
Snapshot_123.png (https://images.hive.blog/DQmRE7evHu5c8Bk8A33qF3f3XKboBHFjPRSQEXiZdKQLtRd/Snapshot_123.png)
Snapshot_124.png (https://images.hive.blog/DQmbaMAmYhP9VDw6xczCRa5M1FYsepj8jCCSFVuTrxh1sqR/Snapshot_124.png)
Snapshot_125.png (https://images.hive.blog/DQmUyR9WuMNXrhU1sTPQ87MFGrBm8VB2k3RU2HvG4dgT4vf/Snapshot_125.png)
Snapshot_126.png (https://images.hive.blog/DQmXGGiZKMgCmhvT1FG74CxUhu48shQGR58PjJNbtrE7rTV/Snapshot_126.png)
Snapshot_127.png (https://images.hive.blog/DQmNY5yywtV7NSBrbSbGH6M3QXCHStAgiPmuB7PgSk2azSb/Snapshot_127.png)
Snapshot_128.png (https://images.hive.blog/DQmRn5C4knoqF97mB9mVJiCudNGoCS6Jcb6R3G5cjhVey8S/Snapshot_128.png)
Snapshot_129.png (https://images.hive.blog/DQmVVKzutYiNHzuMvEMJx5YJs4oPPiwq8YeqJ2ZMBvS8Krk/Snapshot_129.png)
After reading the book we gain some experience, some inspiration and a scroll of enfeeblement.
Snapshot_130.png (https://images.hive.blog/DQmcj7WRP4MFYY5bmqJ4kpVWqyKboPxL33s1PRCYaDrw75N/Snapshot_130.png)
Snapshot_131.png (https://images.hive.blog/DQmdbhfBwb4tCoV6FhcT9NQ1HswaMzvXMAnwQCSkeqBM1ie/Snapshot_131.png)
Snapshot_132.png (https://images.hive.blog/DQmVm8ssueHswRa6ZKH88g98fqKkuLjuET51EzJUjq6akGx/Snapshot_132.png)
Snapshot_133.png (https://images.hive.blog/DQmWHMuoxYt6JXhyt7A1ajcVwJH554ZiwuoopGD4Dgxf6GH/Snapshot_133.png)
These inspiration events are pretty intriguing Snapshot_134.png (https://images.hive.blog/DQmVWDbzQMmdD73nHMhtpqLurg8Ksjbs7wtRinGgzU9LdJp/Snapshot_134.png)
Ok so lets deal with this group of undead... Snapshot_135.png (https://images.hive.blog/DQmdsHytofC78RiQrWeZsfyCjVDC4biJh4RQaKzGqMu7LVj/Snapshot_135.png)
![S