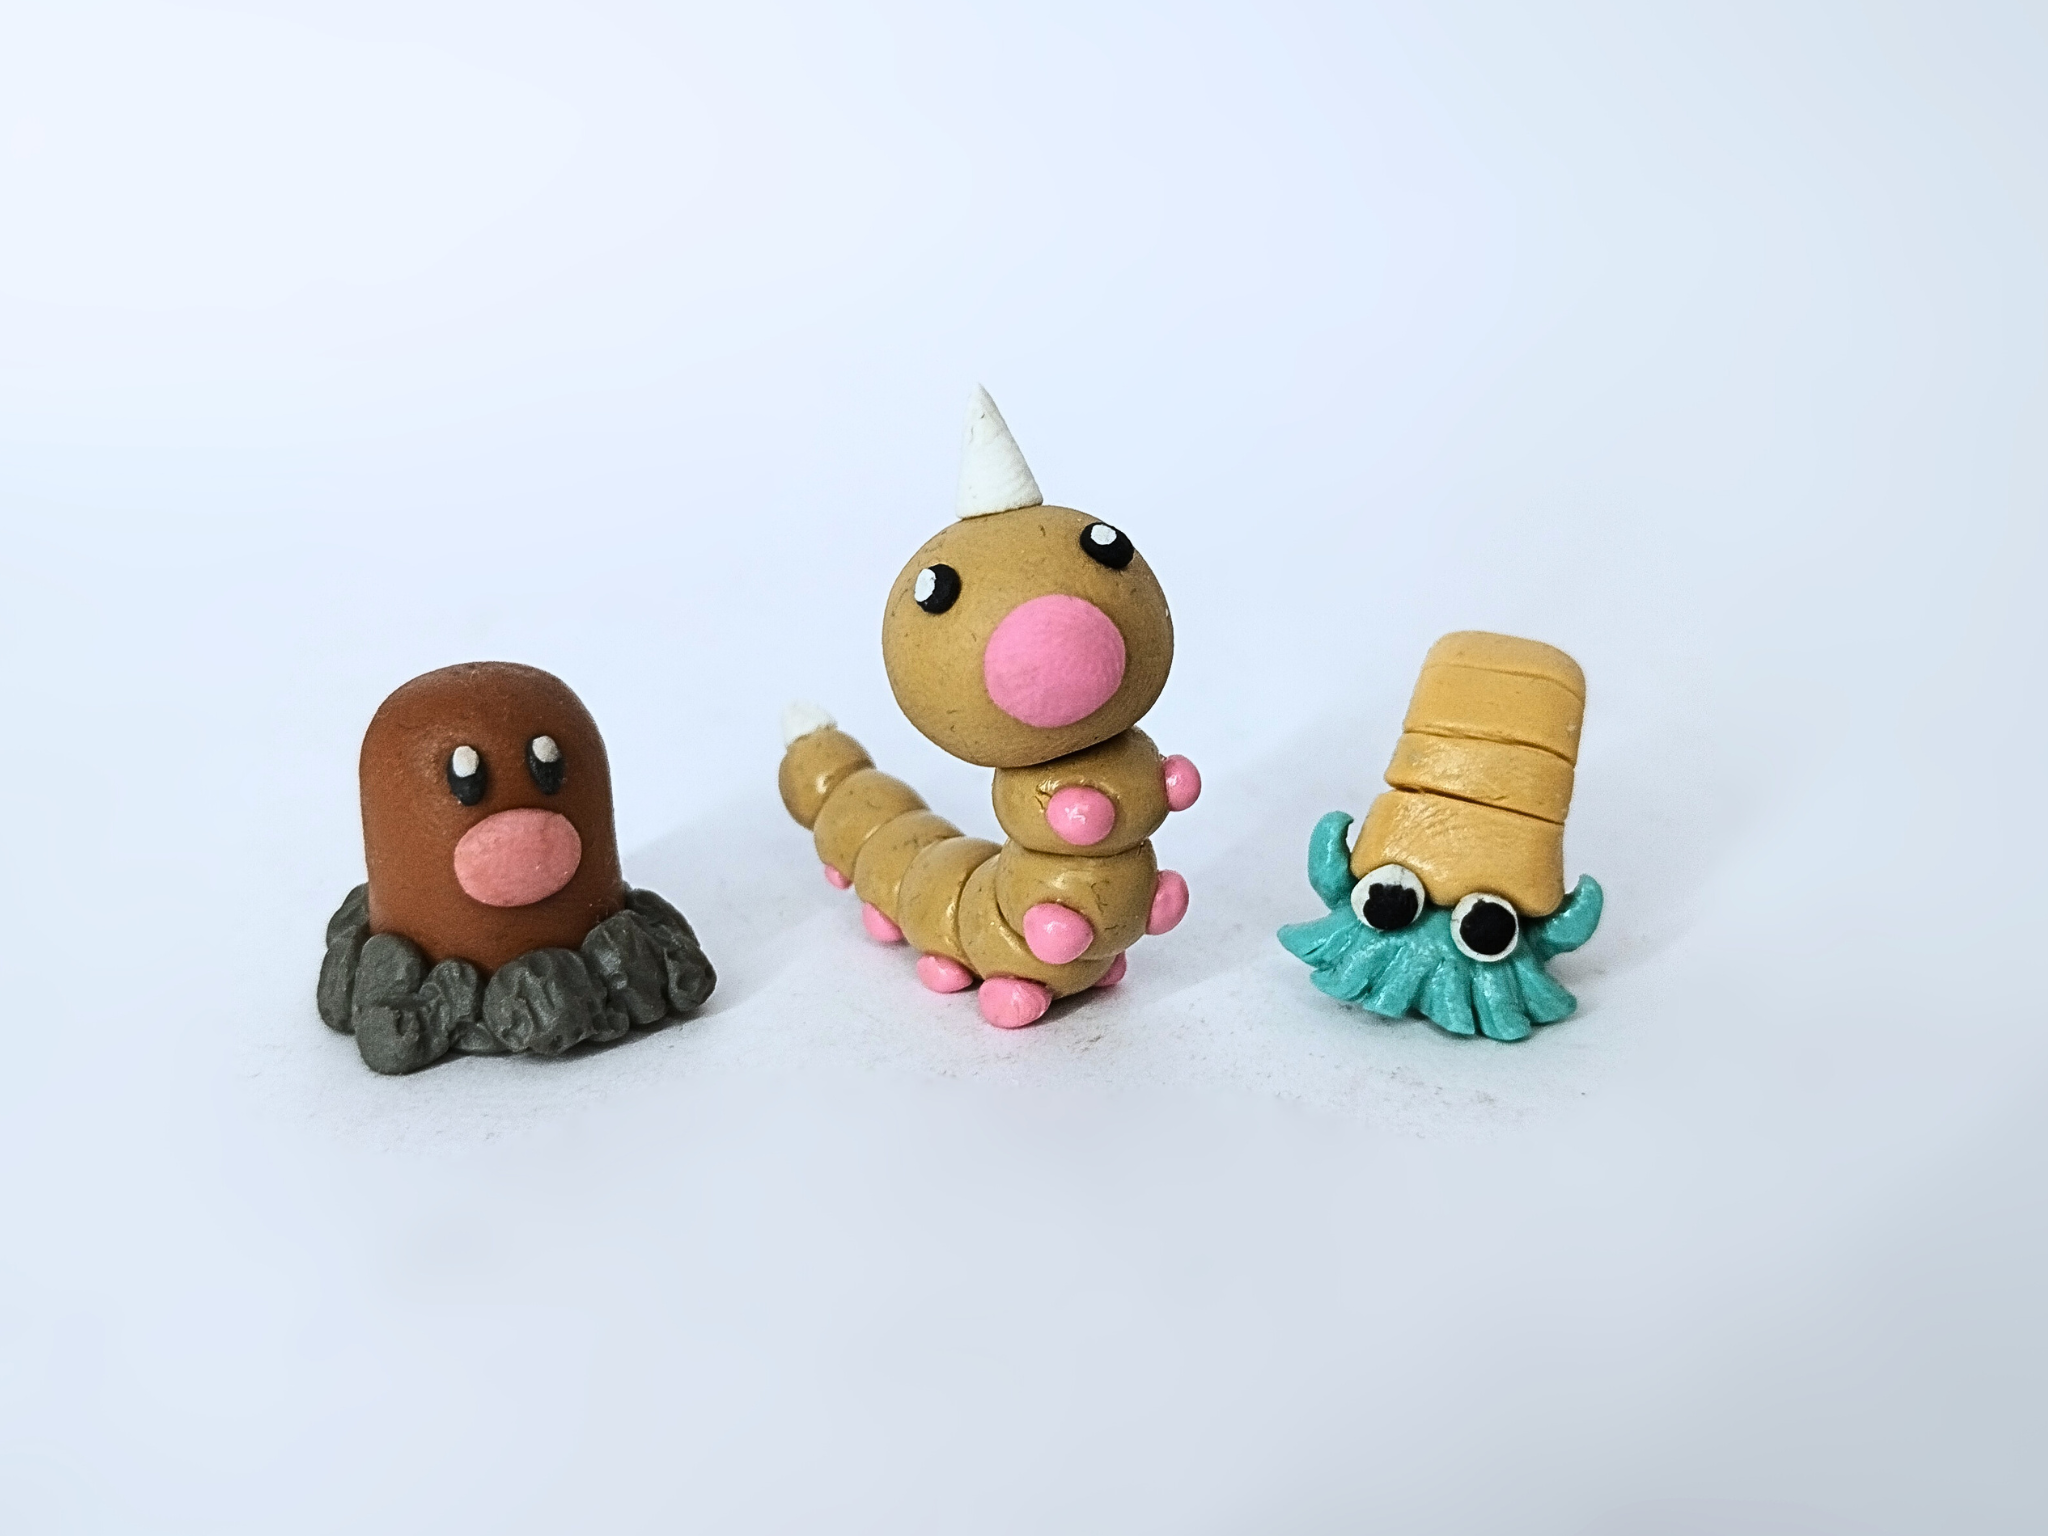
Greetings friends. It's been a while since I've posted for the community, because I hadn't made any pokémon from my first generation collection. The last one was Gengar, so today it's time to continue with these lovely characters.
I would like to share with you a series of posts where I will show how I made a Pokémon in all its stages, being the first stage the one I will talk about today, I mean Weedle. This is an insect-type Pokémon that is certainly very cute although simple in appearance, but then becomes really interesting in its later stages as Kakuna and then Beedrill.
Join me in this post, where I will briefly show you the creative process of this Pokémon.
>>Saludos amigos. Hace un buen tiempo que no publico por la comunidad, porque no había hecho ningún pokémon de mi colección de primera generación. El último fue Gengar, así que hoy es hora de continuar con estos encantadores personajes.
>>
>>Me gustaría compartir con ustedes una serie de post en donde mostraré cómo hice a un Pokémon en todas sus etapas, siendo la primera etapa de la que les hablaré hoy, me refiero a Weedle. Este es un Pokémon de tipo insecto que ciertamente es muy lindo aunque de apariencia sencilla, pero que luego se vuelve realmente interesante en sus etapas posteriores como Kakuna y luego Beedrill.
>>
>>Acompáñenme en esta publicación, donde les mostraré de manera breve el proceso creativo de este Pokémon.
# Step by step
The materials I used were entirely plasticine, wire and glue. I did not use extra materials such as flexible dough or paints, since the simple shape of the character does not require these materials.
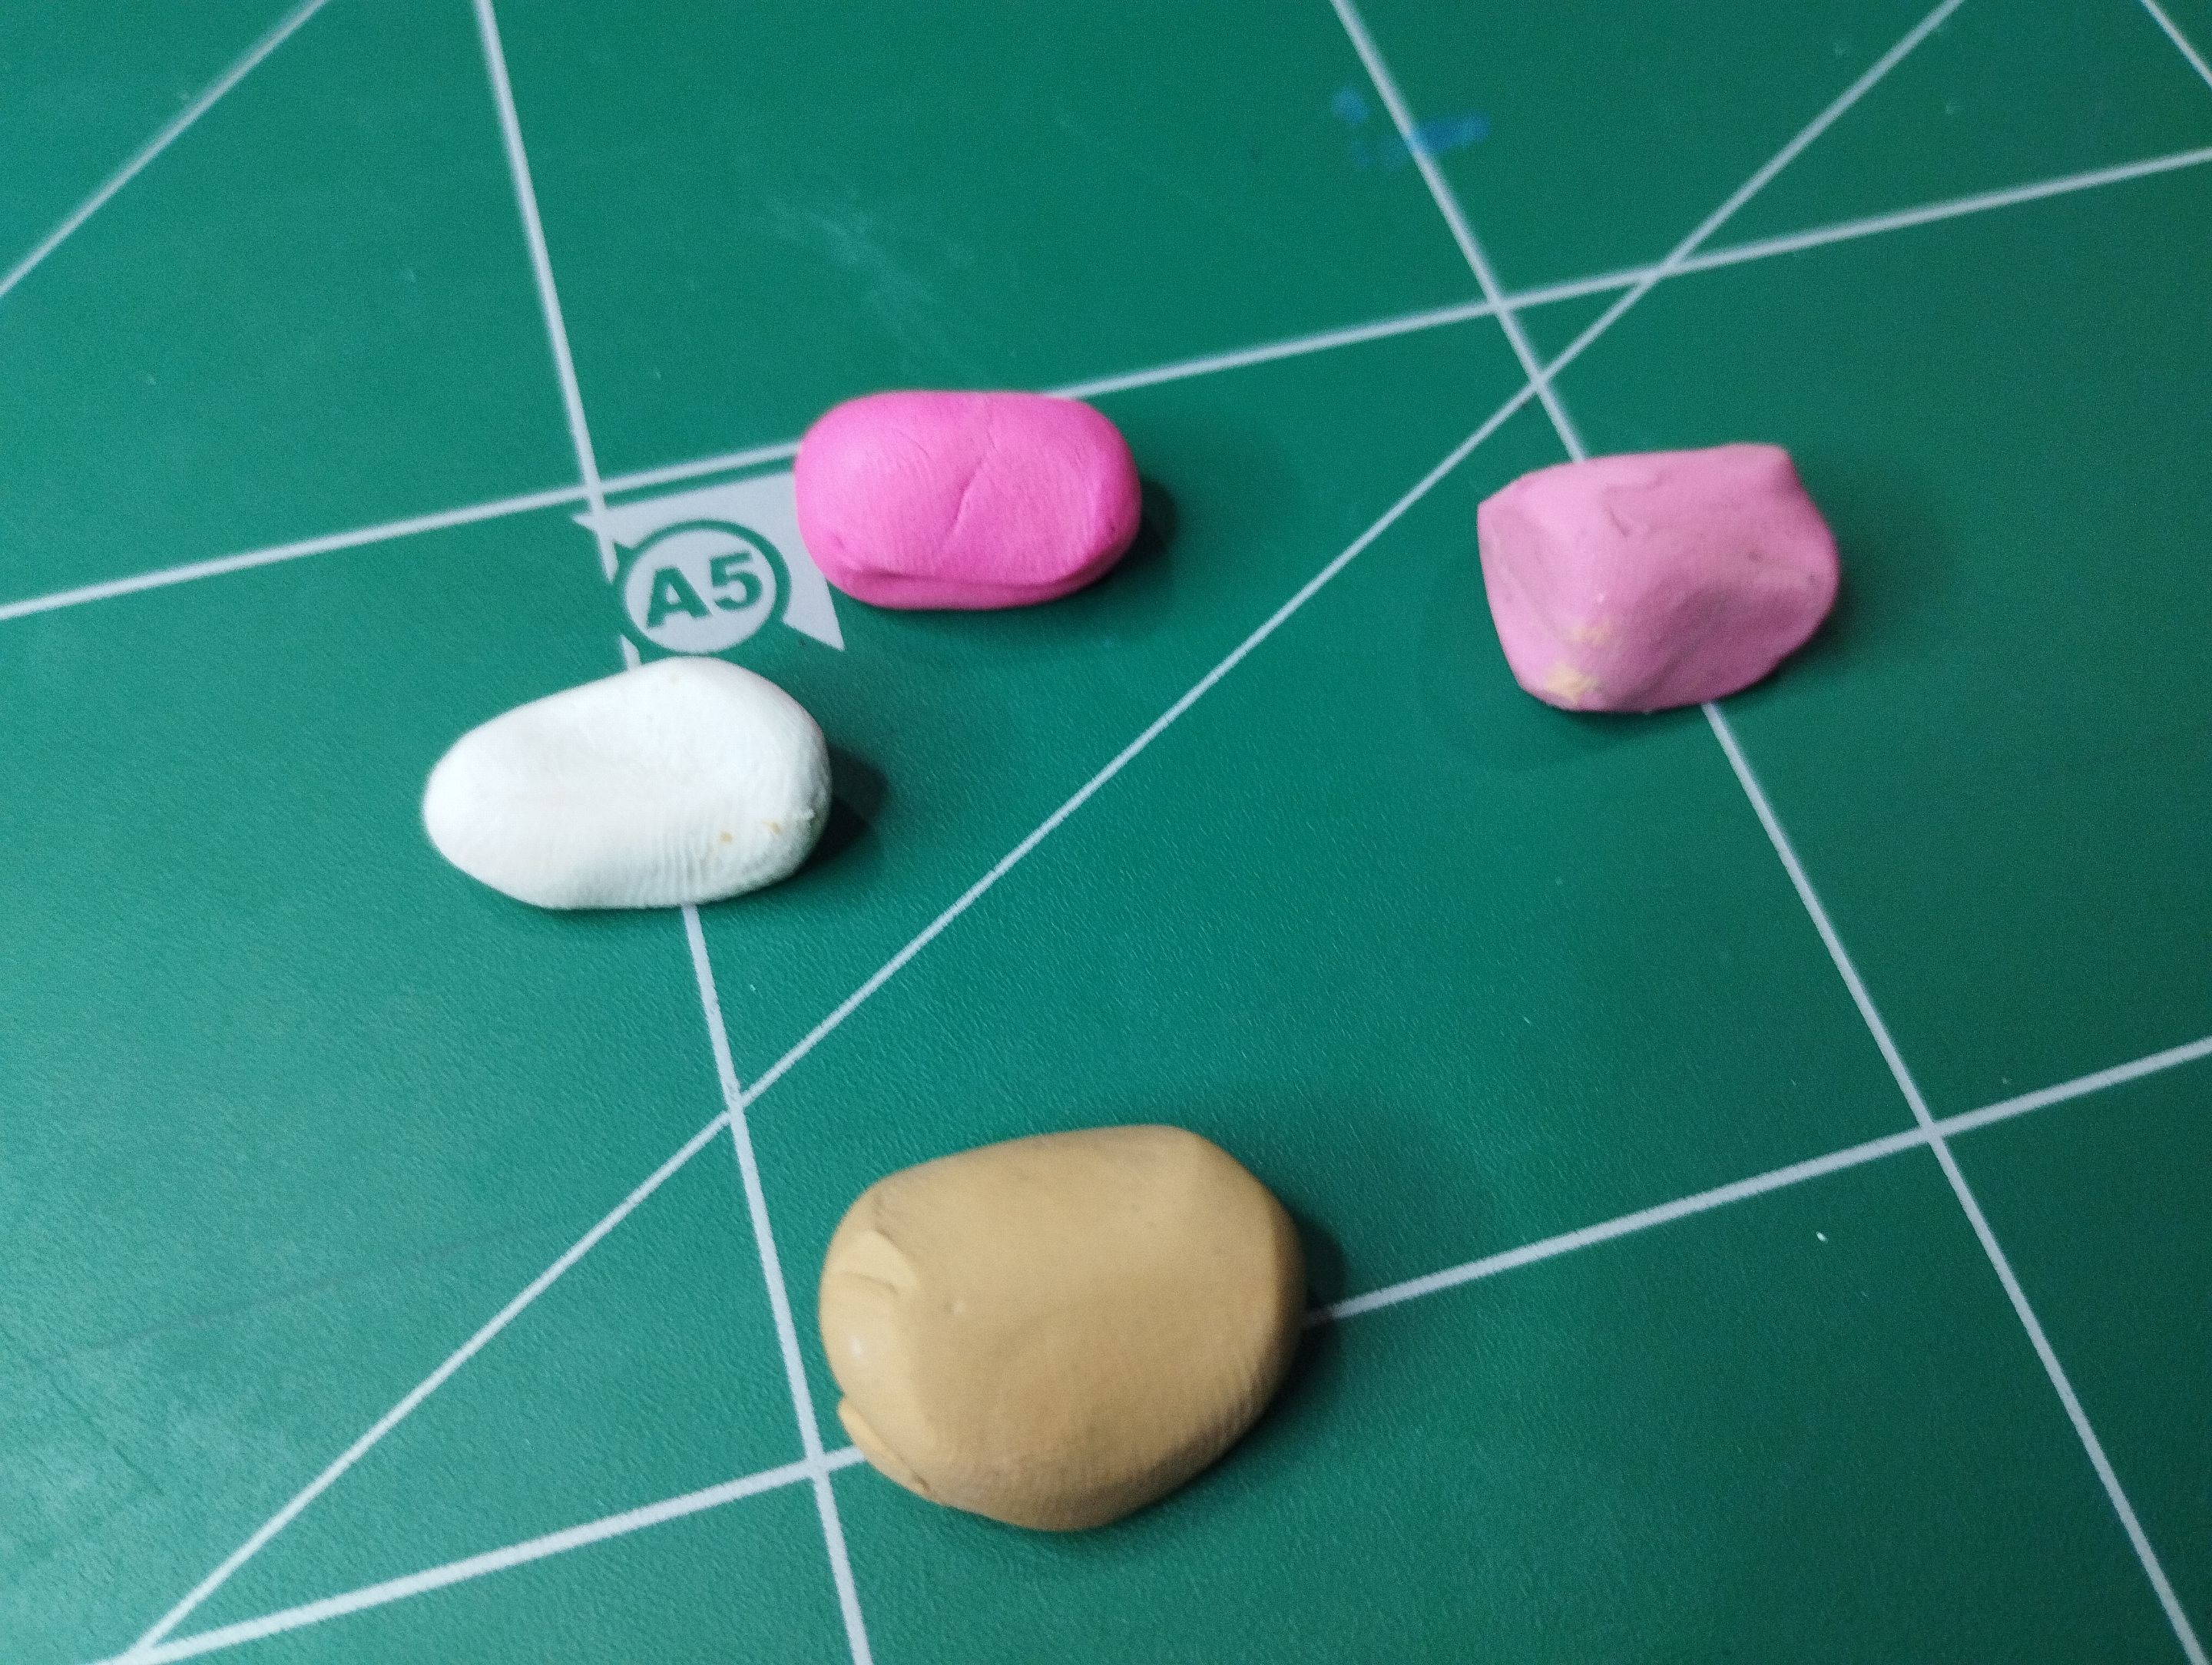
In the image below you can see the colors I used, being the two shades of pink the ones I used to make a mixture of pink more intense than the lighter color you can see, but not as much as the stronger one.
>># Paso a paso
>>
>>Los materiales que utilicé fueron en su totalidad plastilina, alambre y pegamento. No usé materiales extra como masa flexible o pinturas, ya que la forma tan sencilla del personaje no requiere estos materiales.
>>
>>En la imagen de abajo se puede apreciar los colores que utilicé, siendo las dos tonalidades de rosado las que utilicé para hacer una mezcla de rosado más intensa que el color más claro que se observa, pero no tanto como la más fuerte.
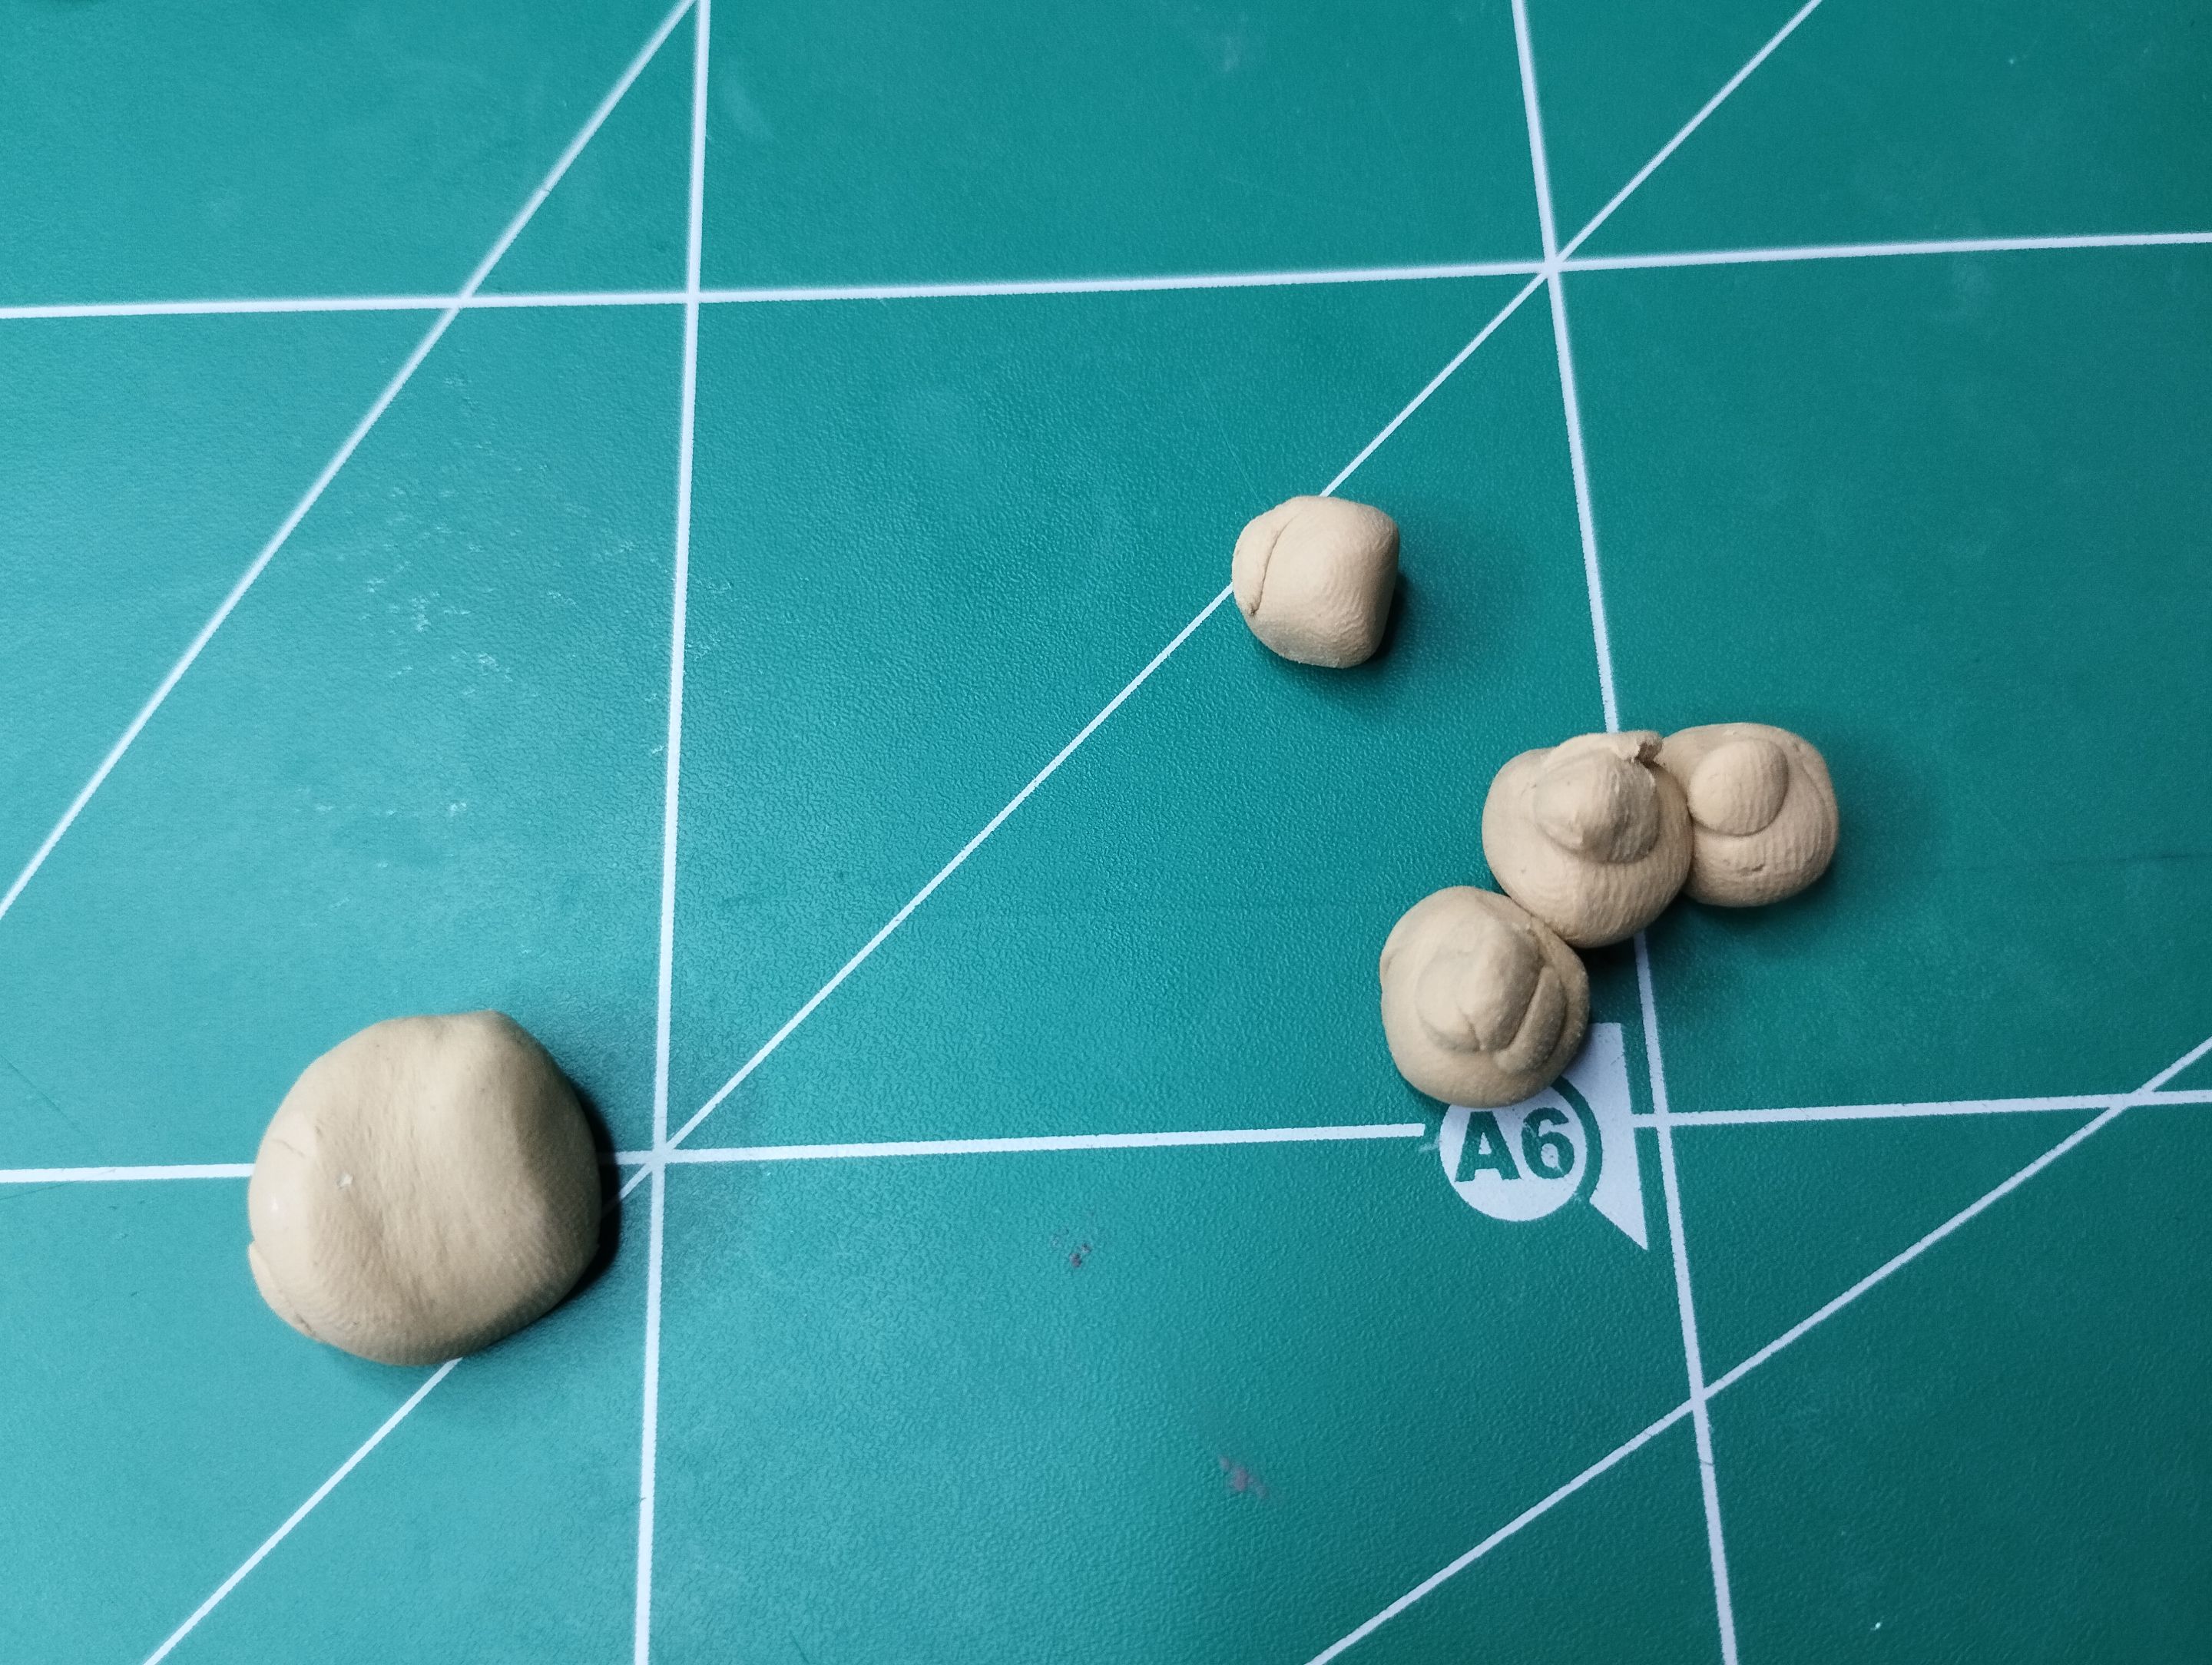
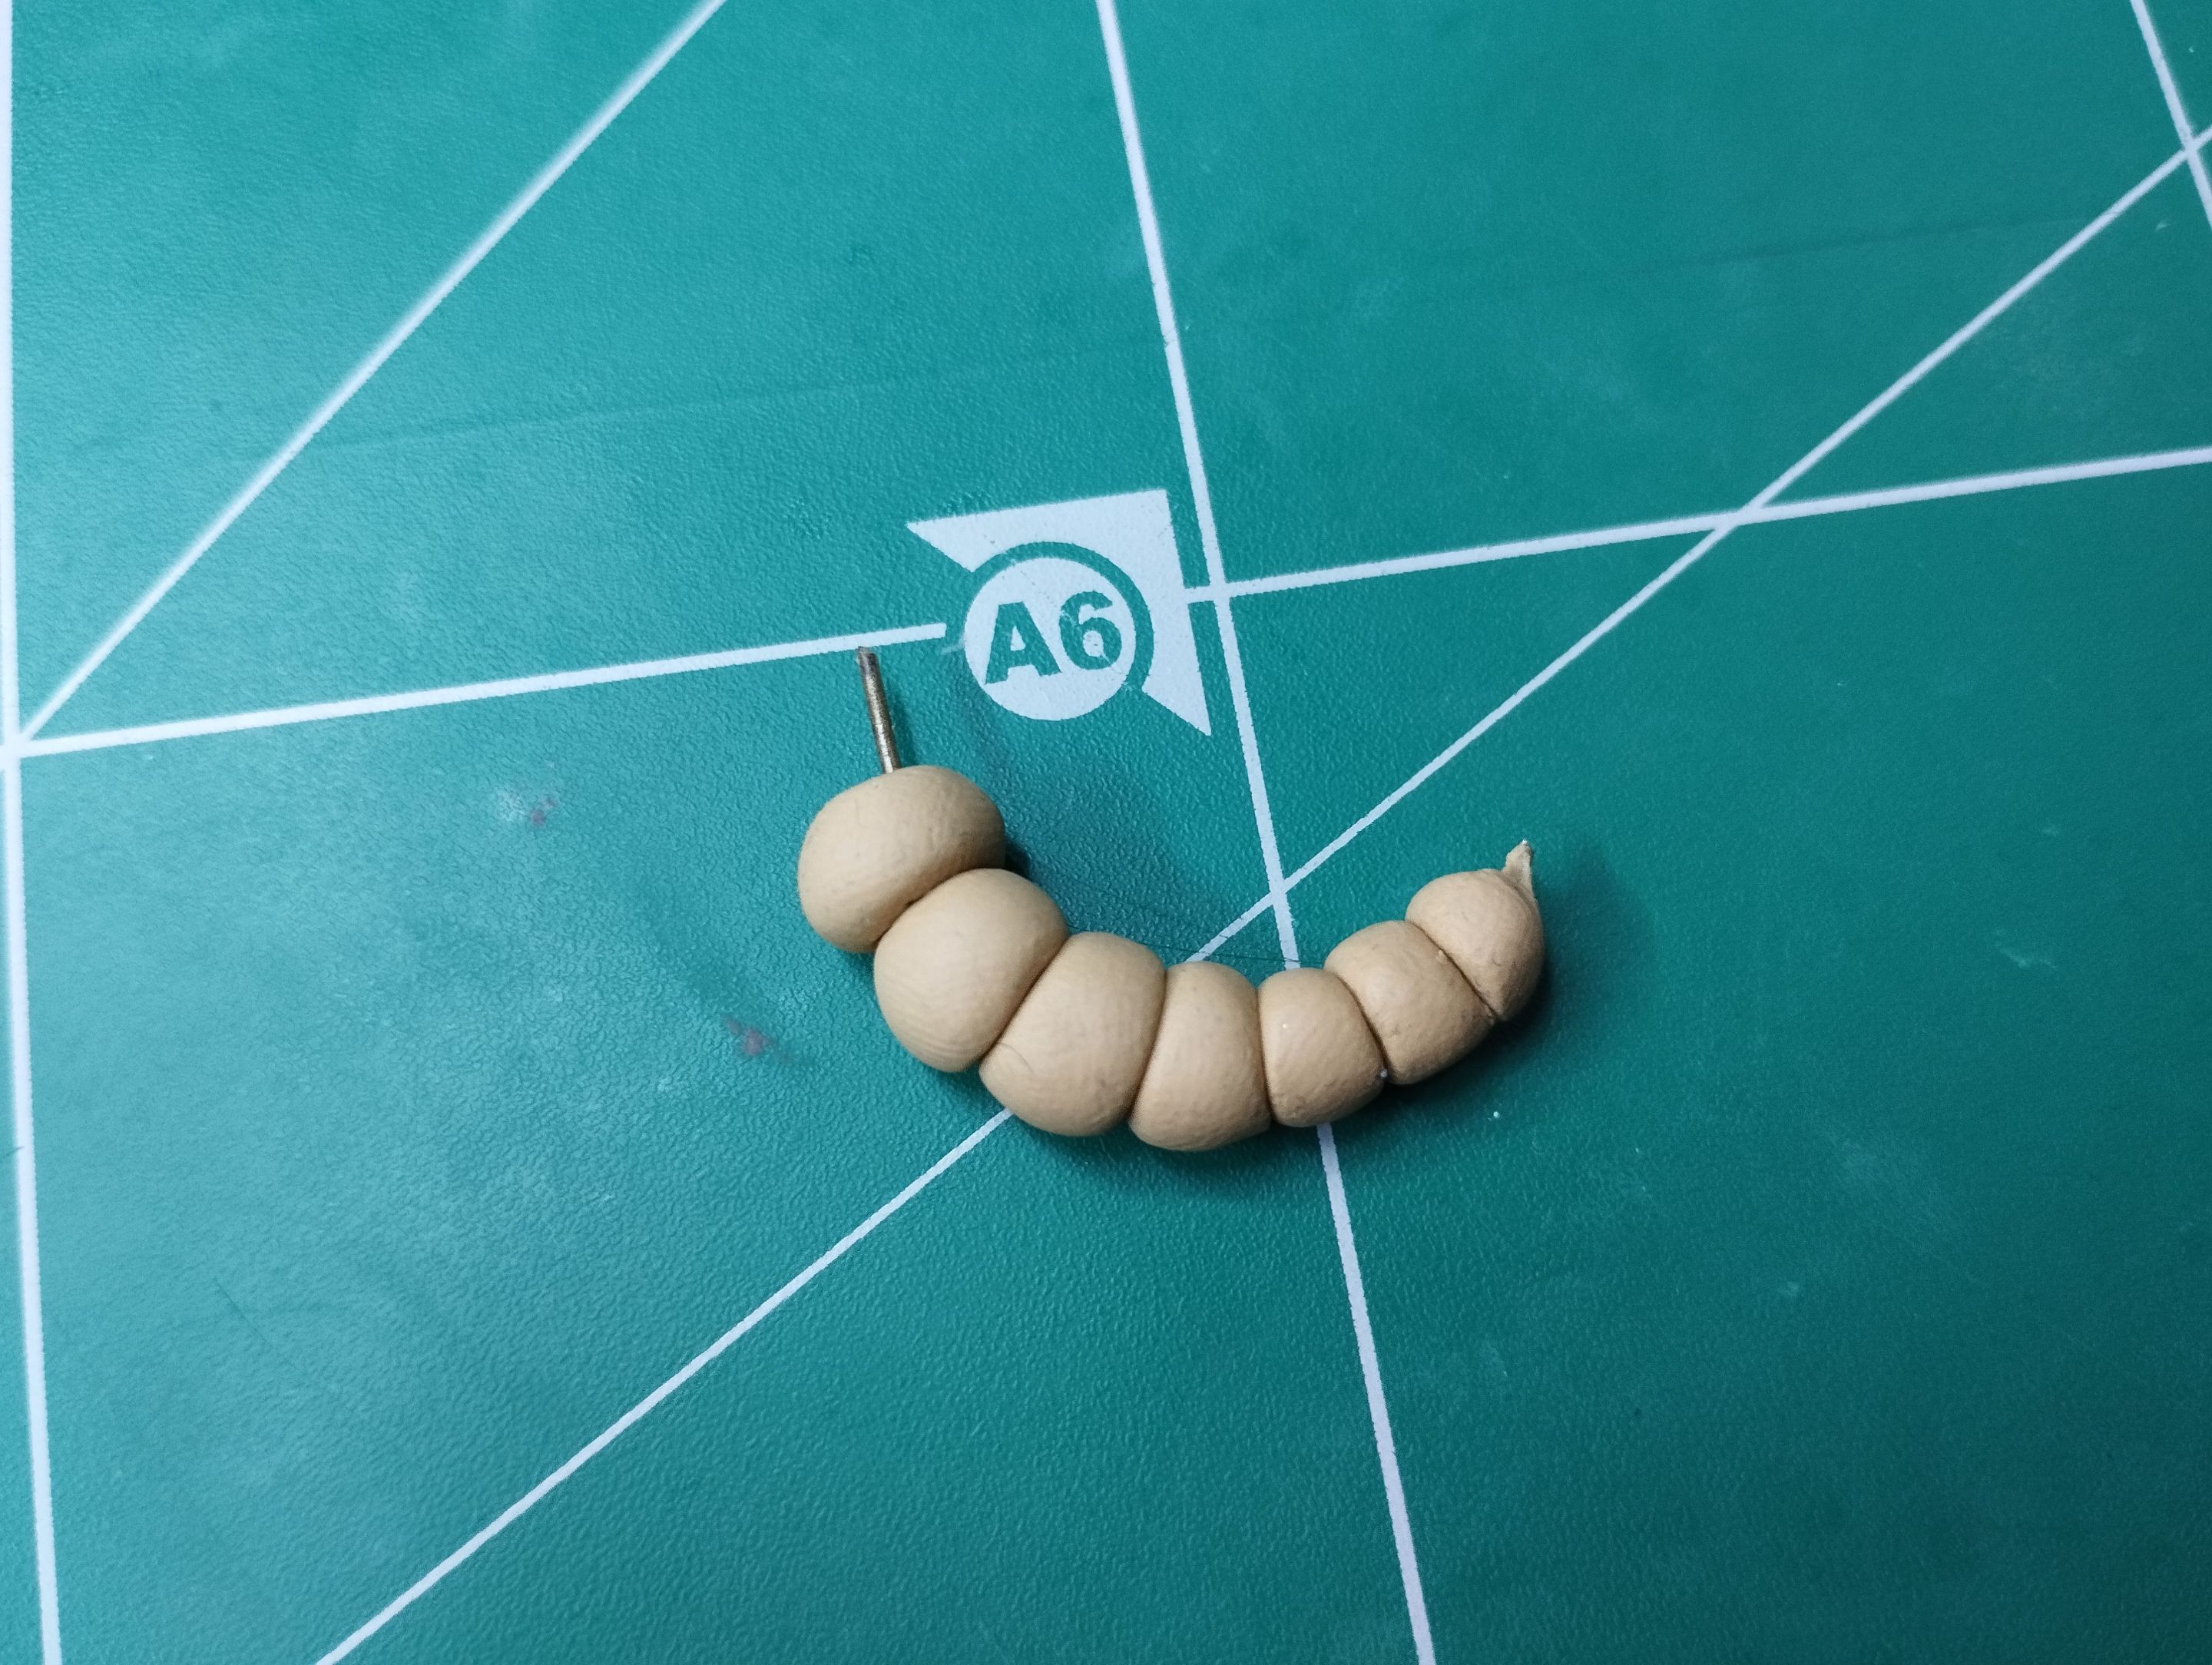
So, I began to make the small spheres that make up the body of the character. In total there are seven small spheres, which grow from the tail to the head, being the tail the smallest and the head a much larger sphere, although I must clarify that the sphere of the head would be number 8, being in total 8 pieces that make up the character.
>>Así pues, comencé a hacer las esferas pequeñas que conforman el cuerpo del personaje. En total son siete esferas pequeñas, que van creciendo desde la cola hacia la cabeza, siendo la cola la más pequeña y la cabeza una esfera mucho más grande, aunque debo aclarar que la esfera de la cabeza sería la número 8, siendo en total 8 piezas las que conforman al personaje.
|||
|-|-|
As you can see in the image above, the one on the right, you can see the wire that I used to fix all the little spheres of the body. This wire gives support and keeps the character in the desired shape.
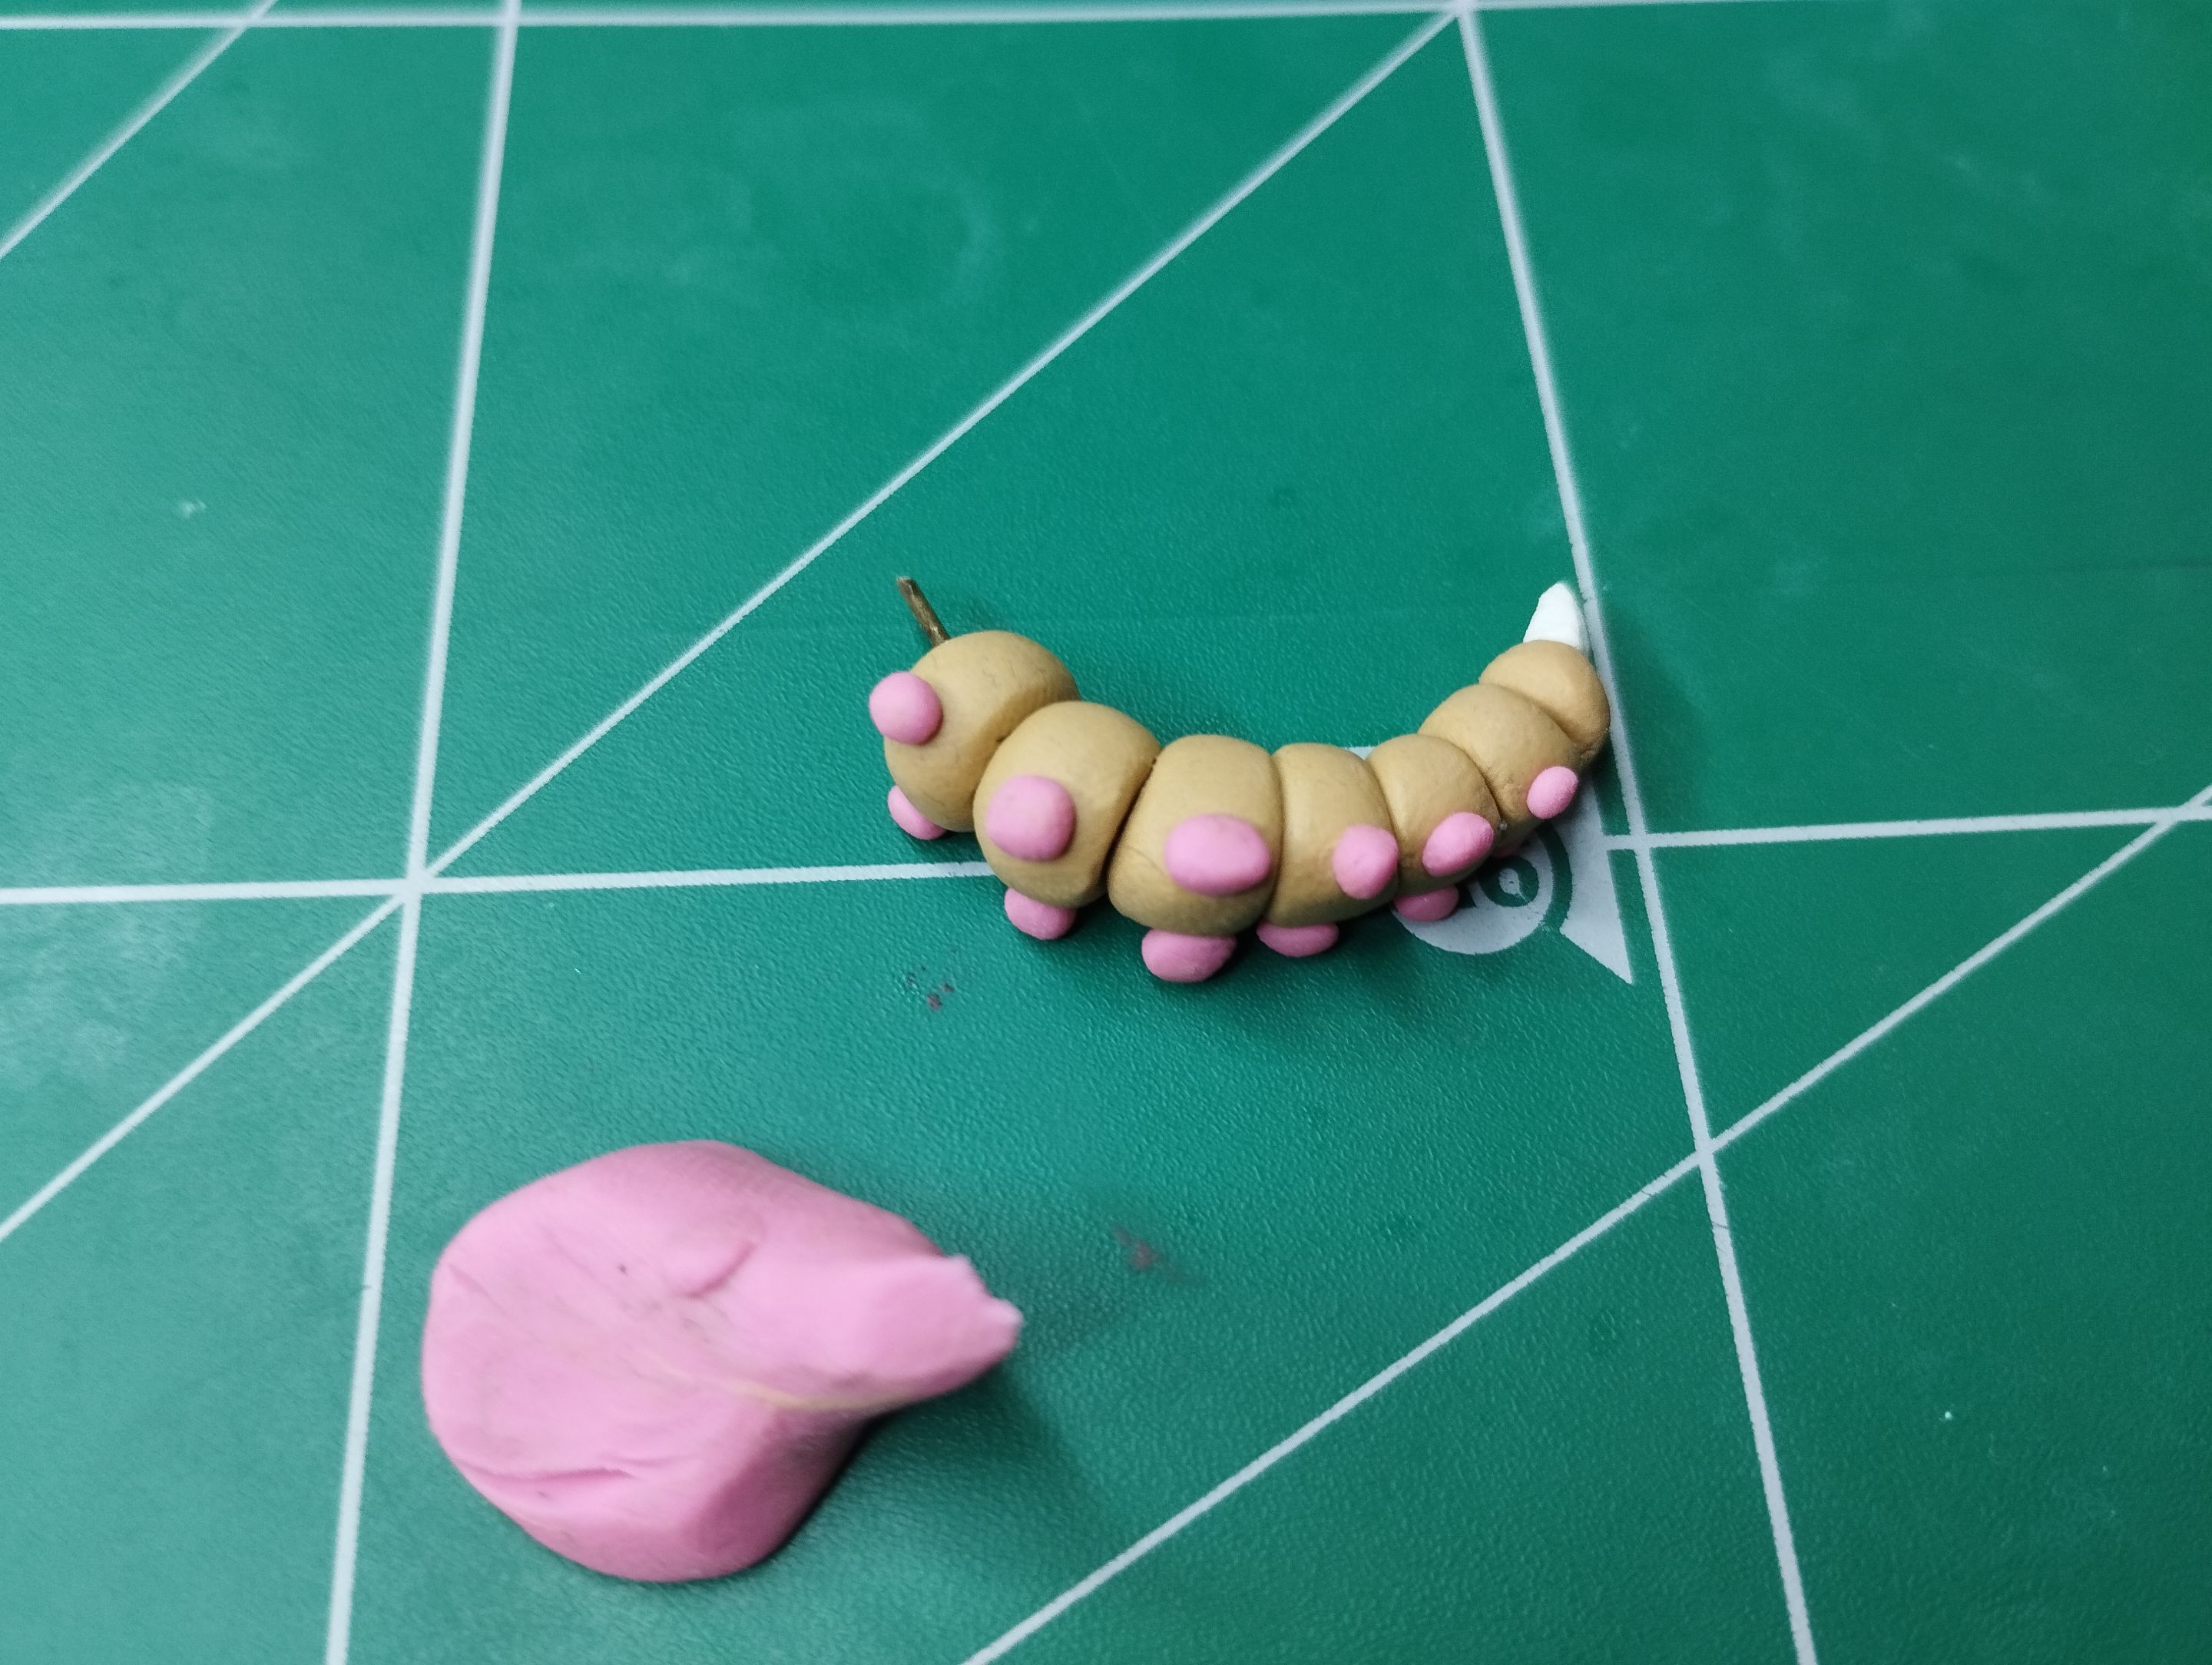
Now, in the image below you can see the next step, in which I used the pink plasticine to place the little legs. I placed six pairs of little legs, being the last sphere of the body where I did not place any sphere.
>>Como pueden ver en la imagen de arriba, la de la derecha, se aprecia el alambre que usé para fijar todas las esferitas del cuerpo. Este alambre da soporte y mantiene al personaje en la forma deseada.
>>
>>Ahora bien, en la imagen de abajo pueden ver el paso siguiente, en el cual utilicé la plastilina de color rosa para colocar las patitas. Coloqué seis pares de patitas, siendo la última esfera del cuerpo en donde no coloqué ninguna esfera.
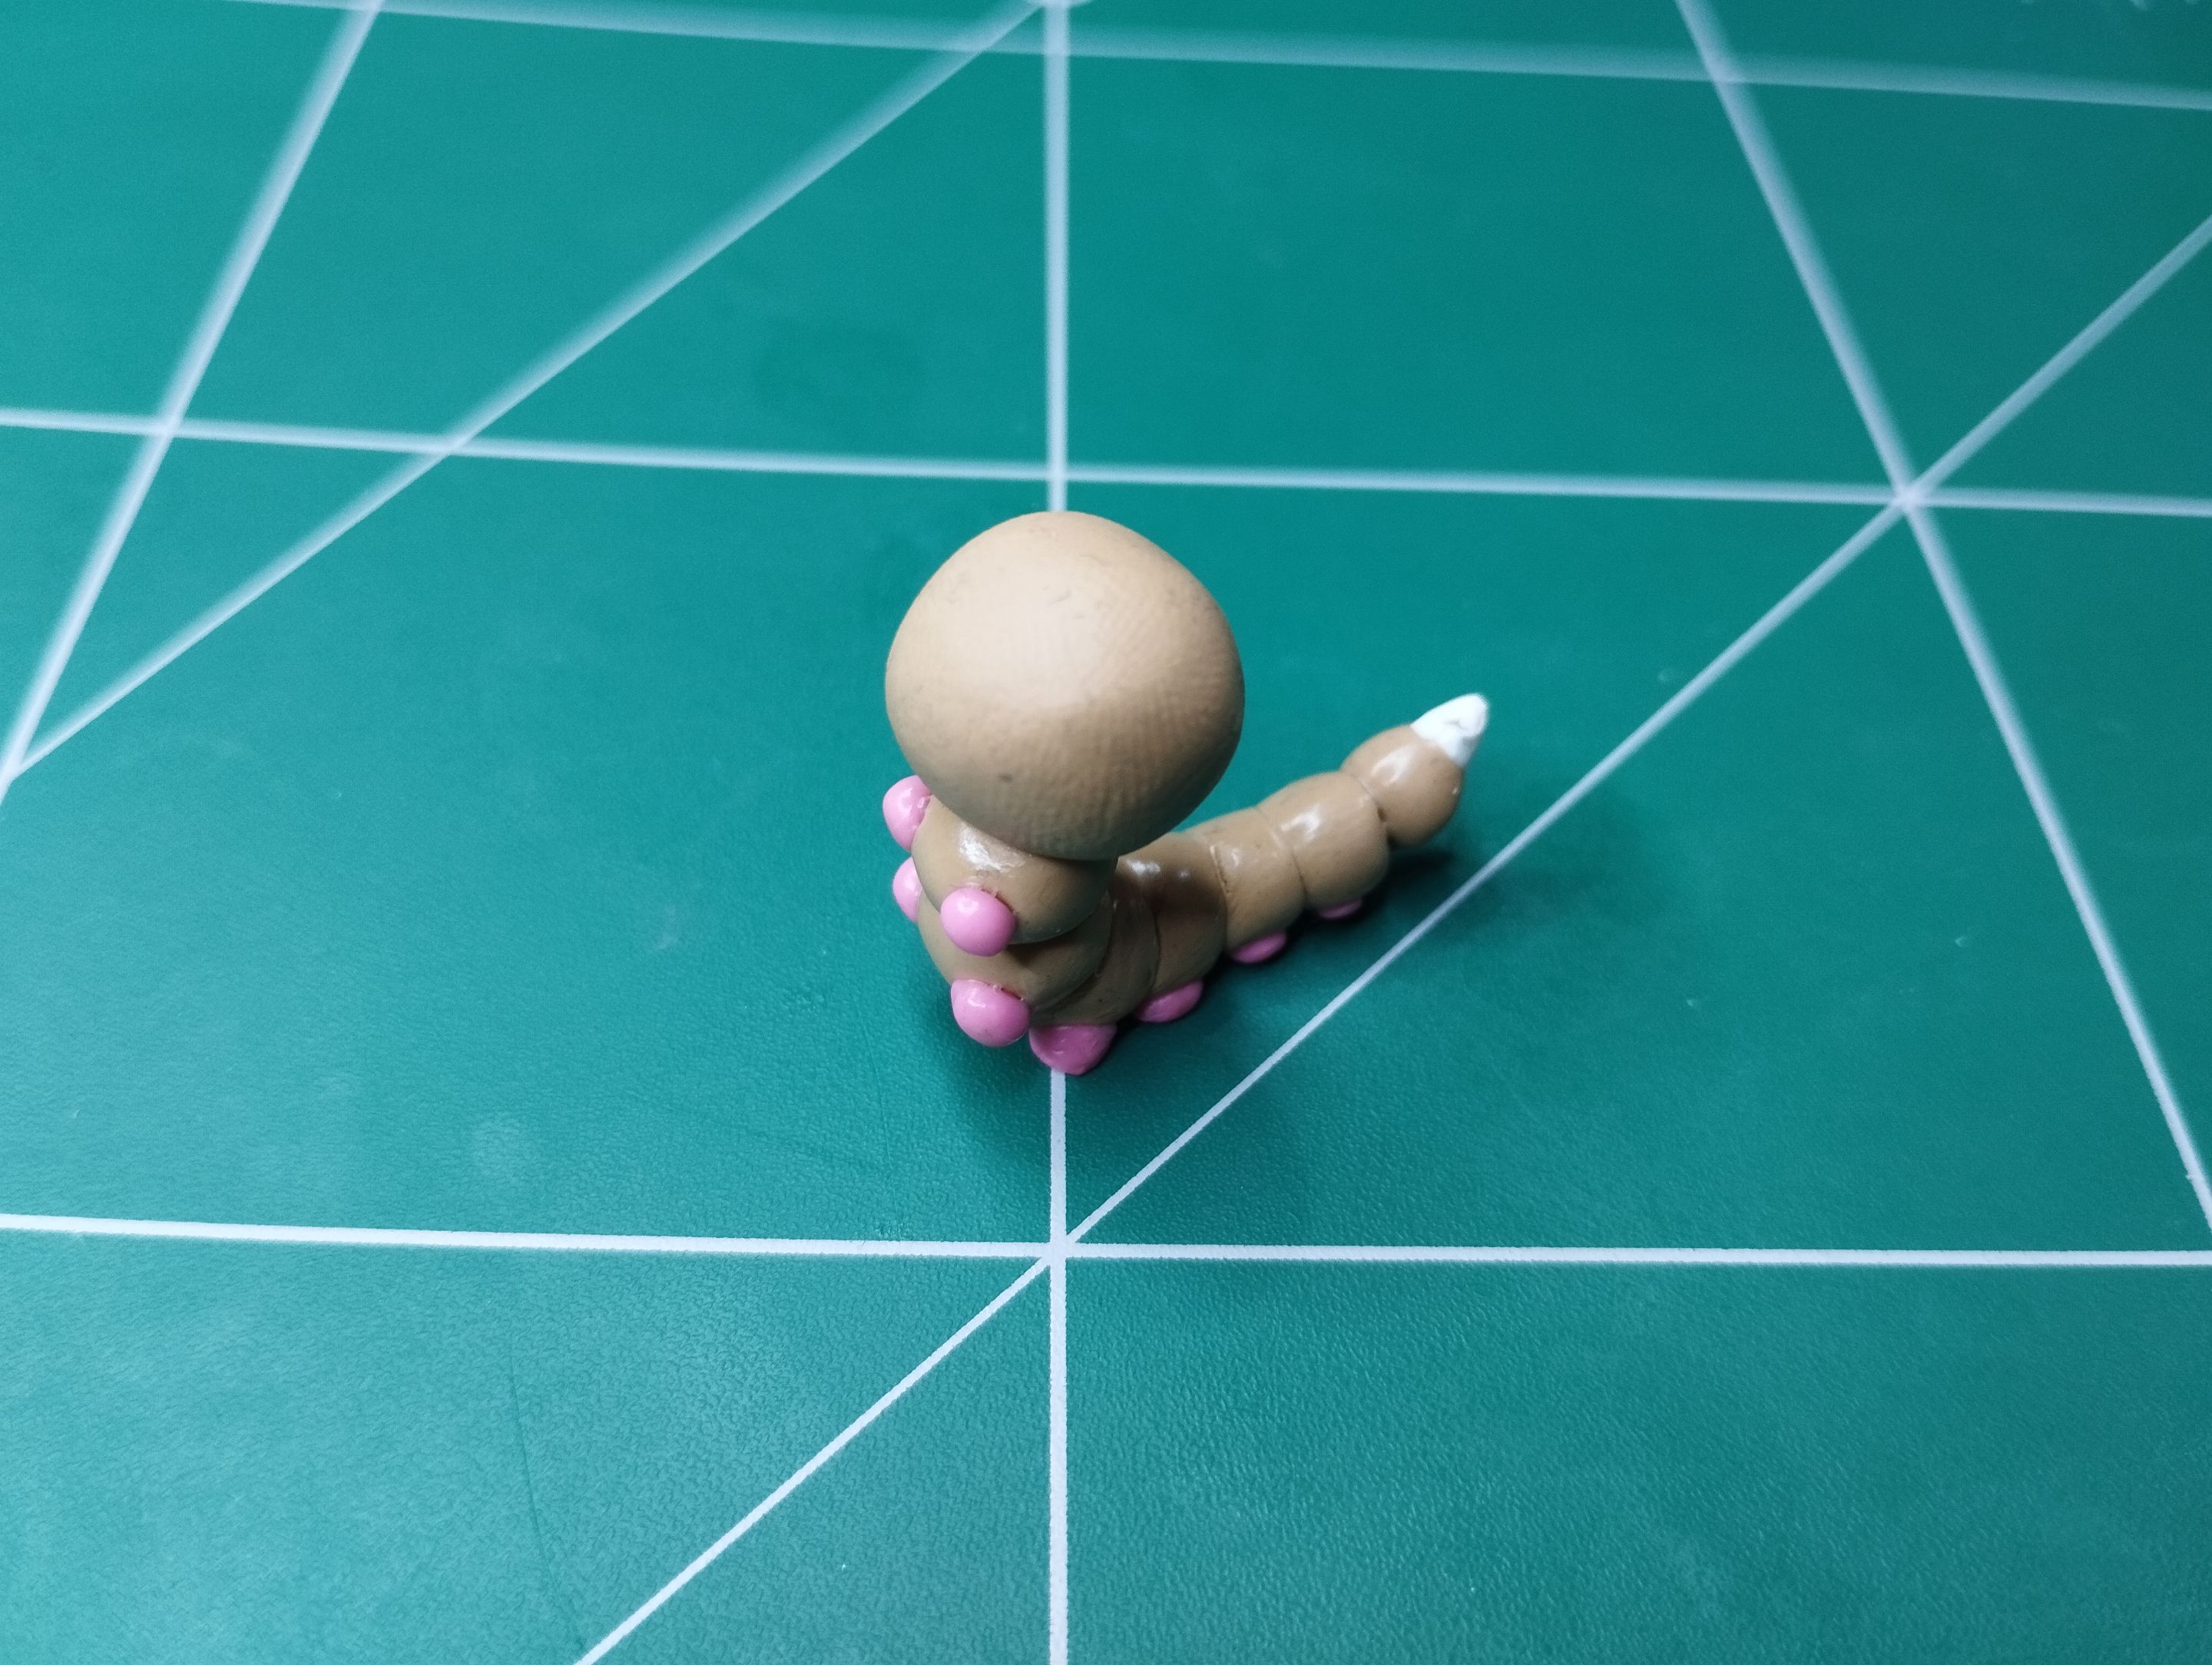
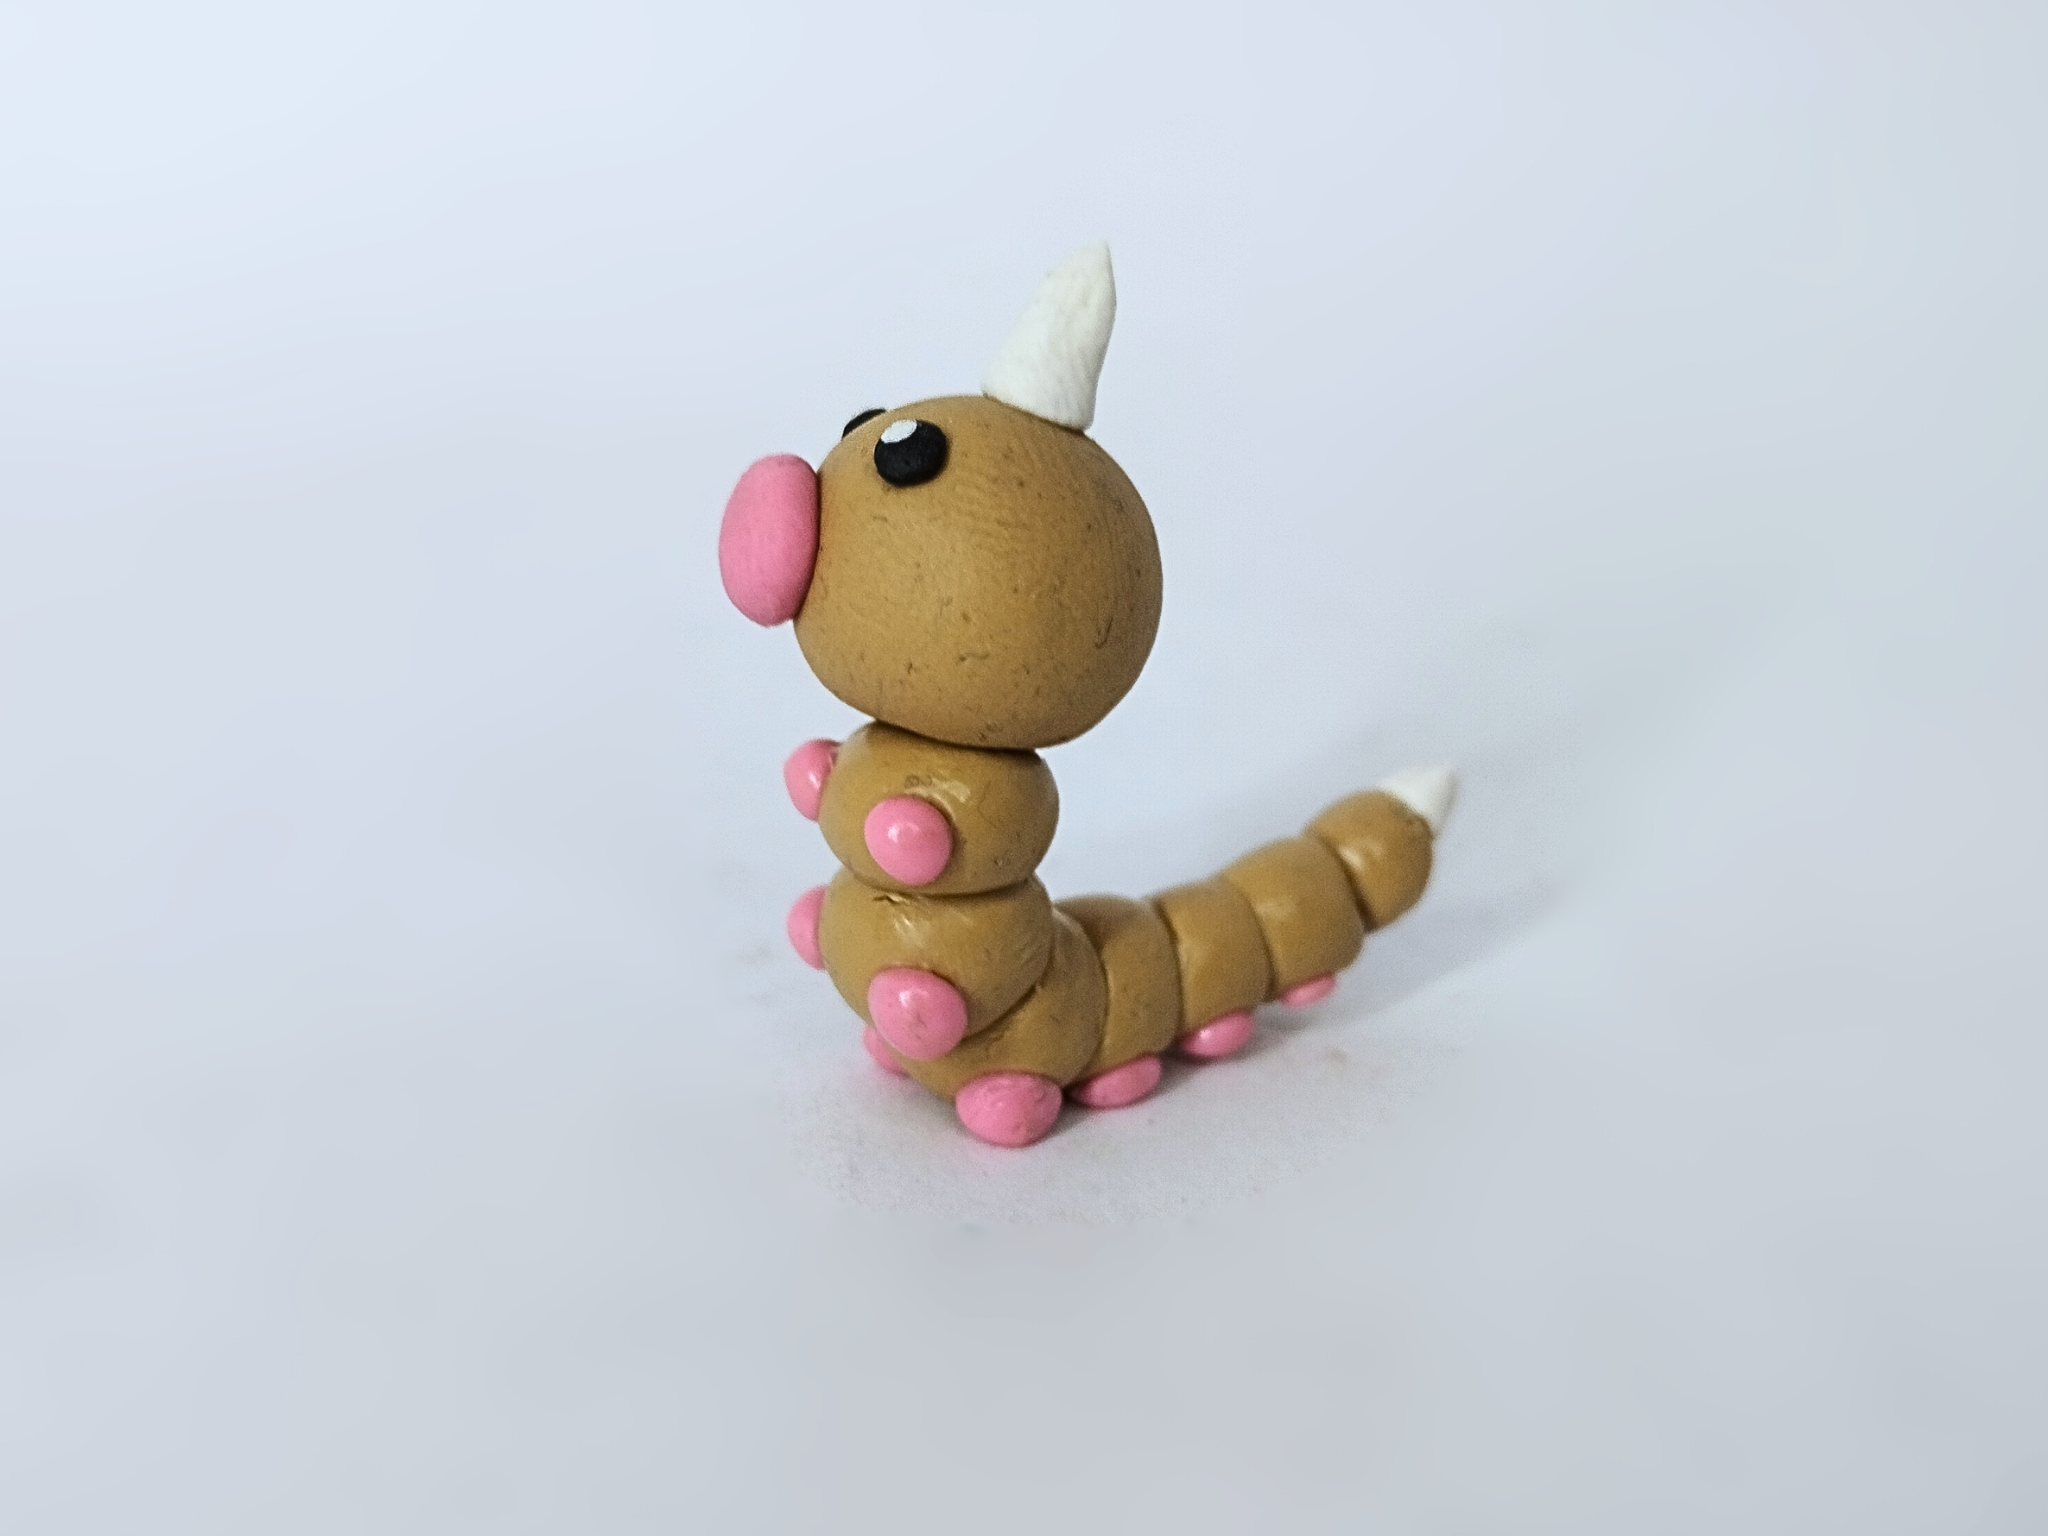
The last thing was to place sphere number 8, the one on the head. This is considerably much larger than the rest of the body pieces, so it stands out quite a bit.
In the image below, on the right, you can also see when I attached the nose, the eyes and a small horn that the character also has on the top of the head.
I must clarify at this point that I used small pints of glue along the wire of the support to give more strength to the piece...
>>Lo último fue colocar la esfera número 8, la de la cabeza. Esta es considerablemente mucho más grande que el resto de las piezas del cuerpo, así que resalta bastante.
>>
>>En la imagen de abajo, a la derecha, se aprecia también el momento en que fijé la nariz, los ojos y un pequeño cuerno que también tiene el personaje en la cima de la cabeza.
>>
>>Debo aclarar en este punto que usé pequeños pintos de pegamento a lo largo del alambre del soporte para dar mayor fuerza a la pieza...
|||
|-|-|
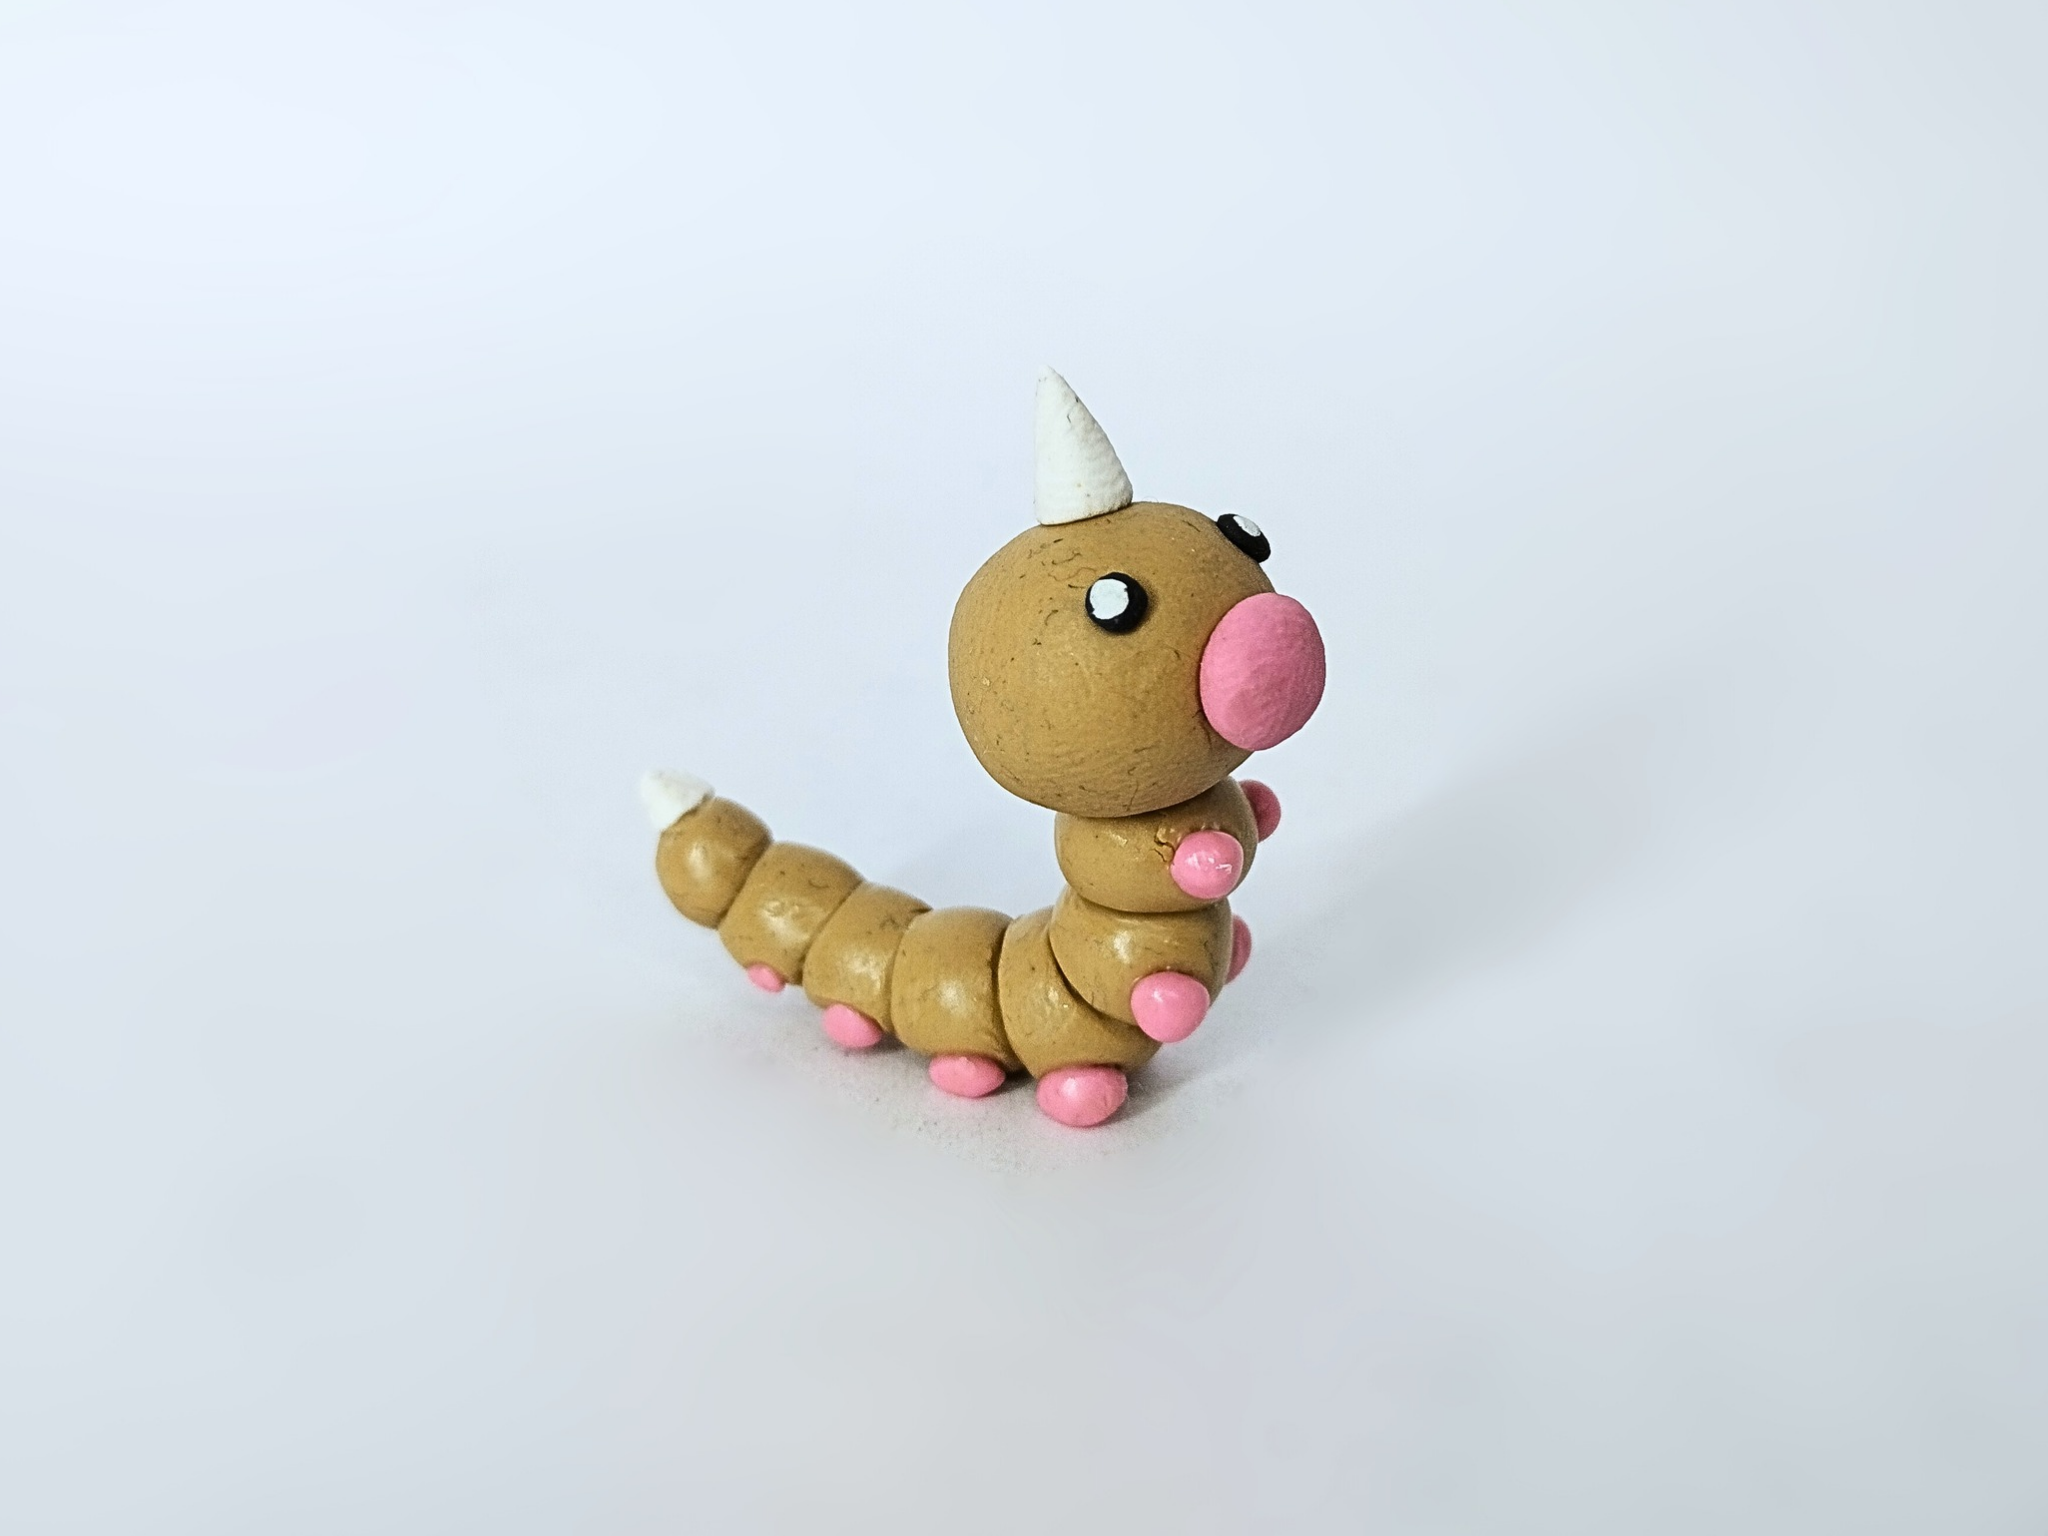
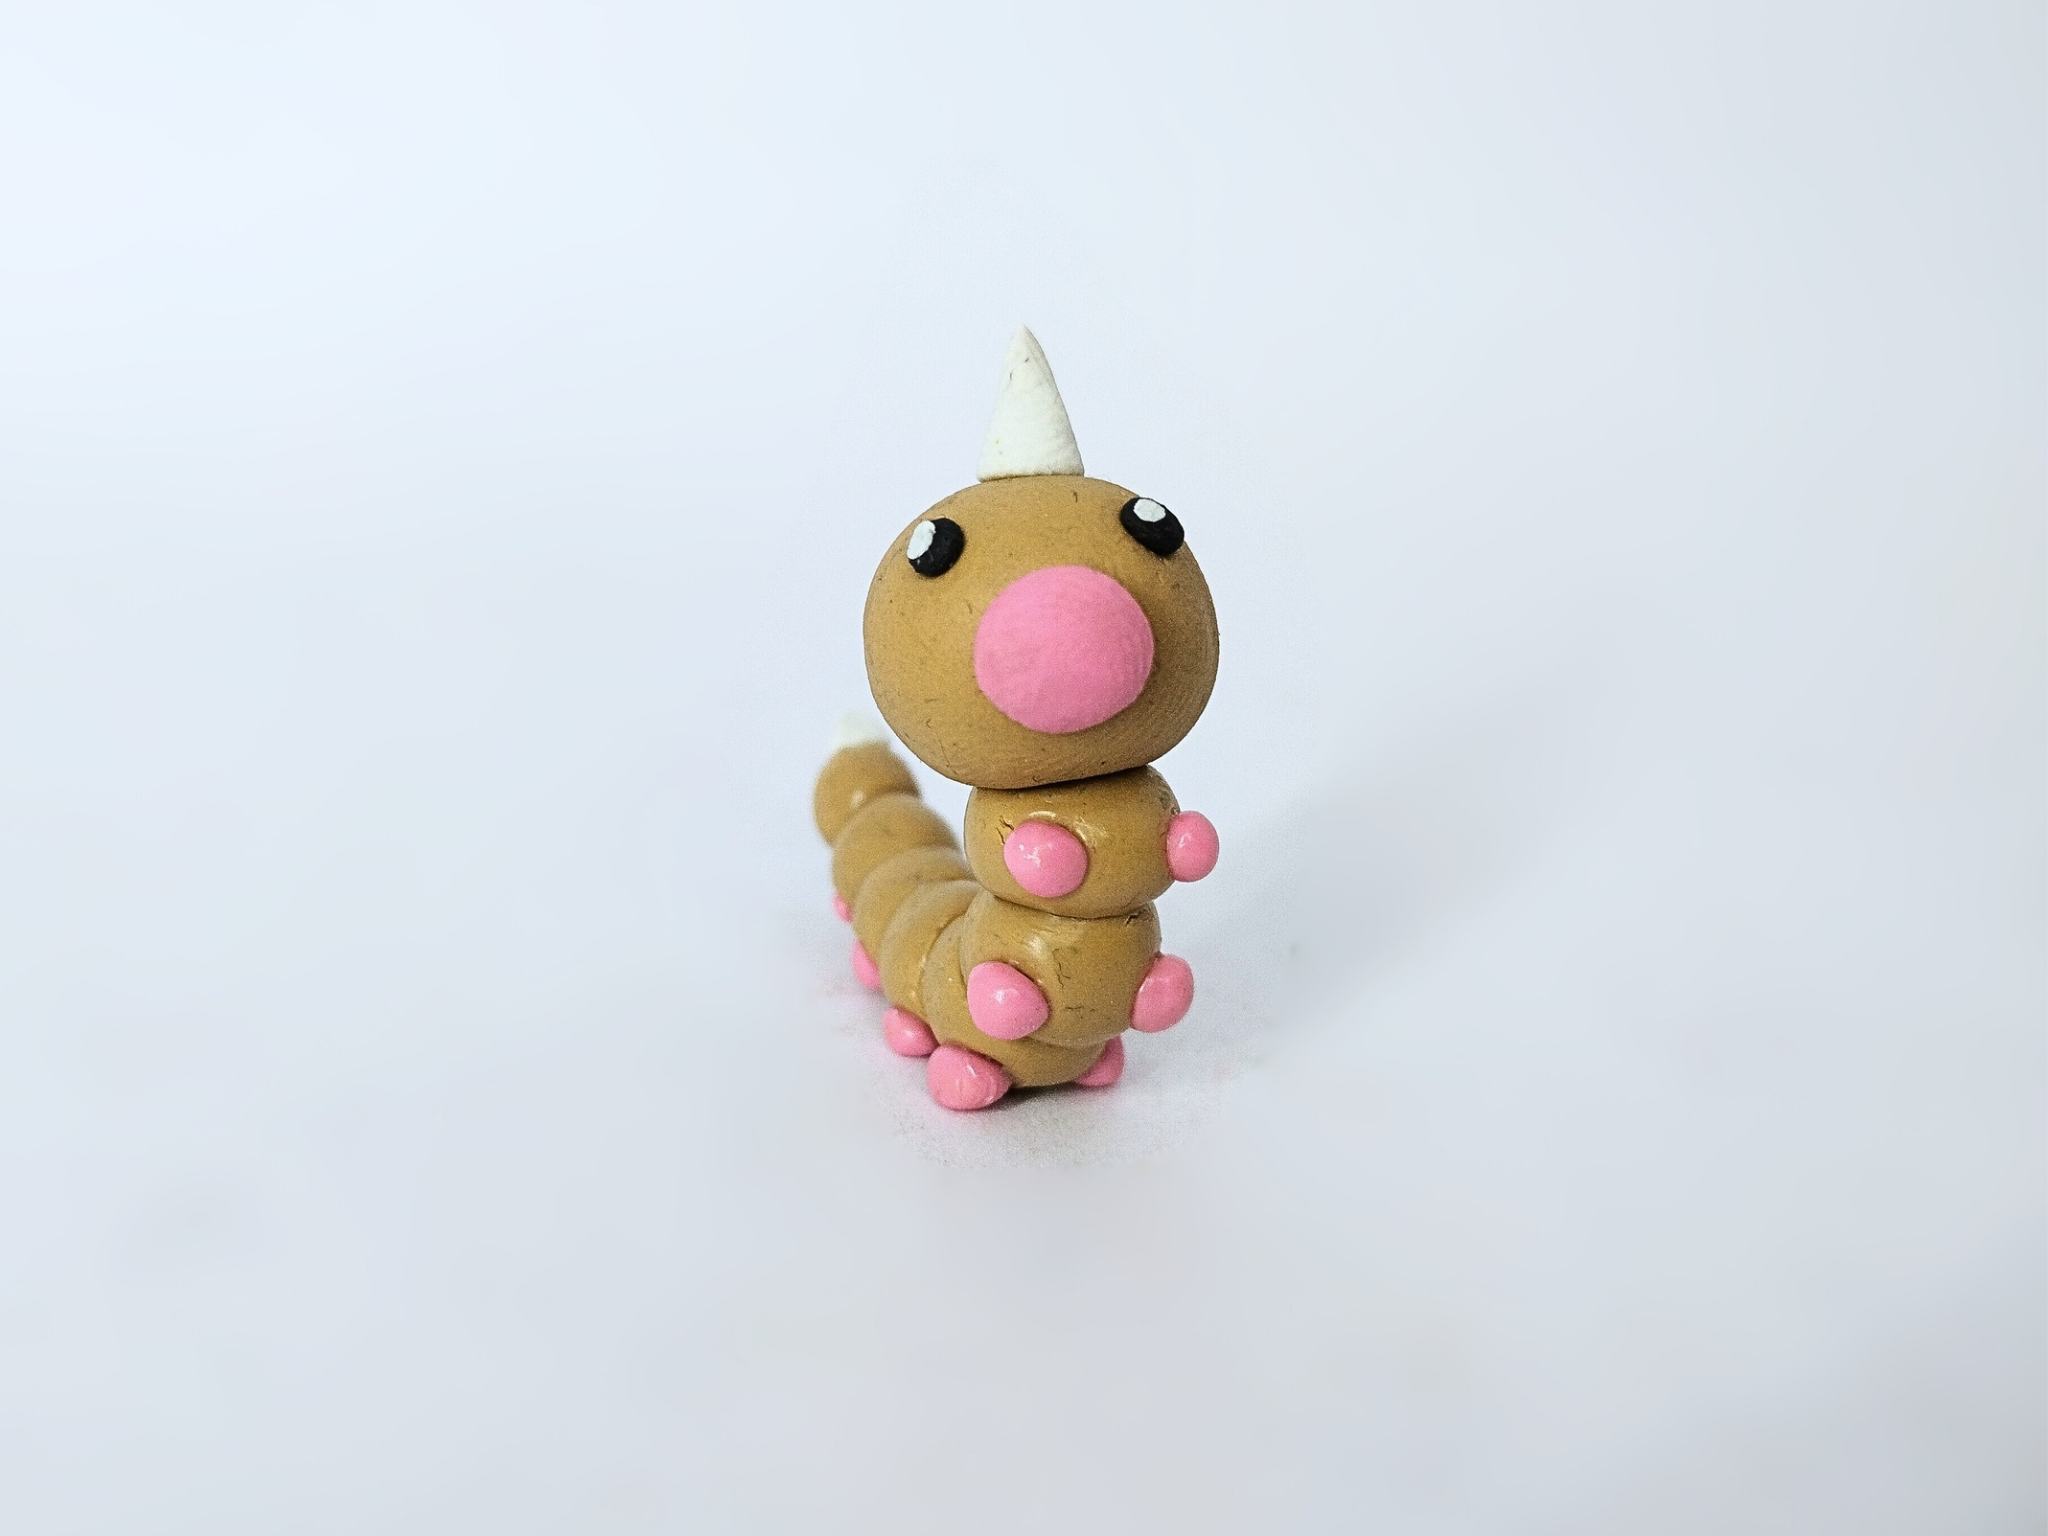
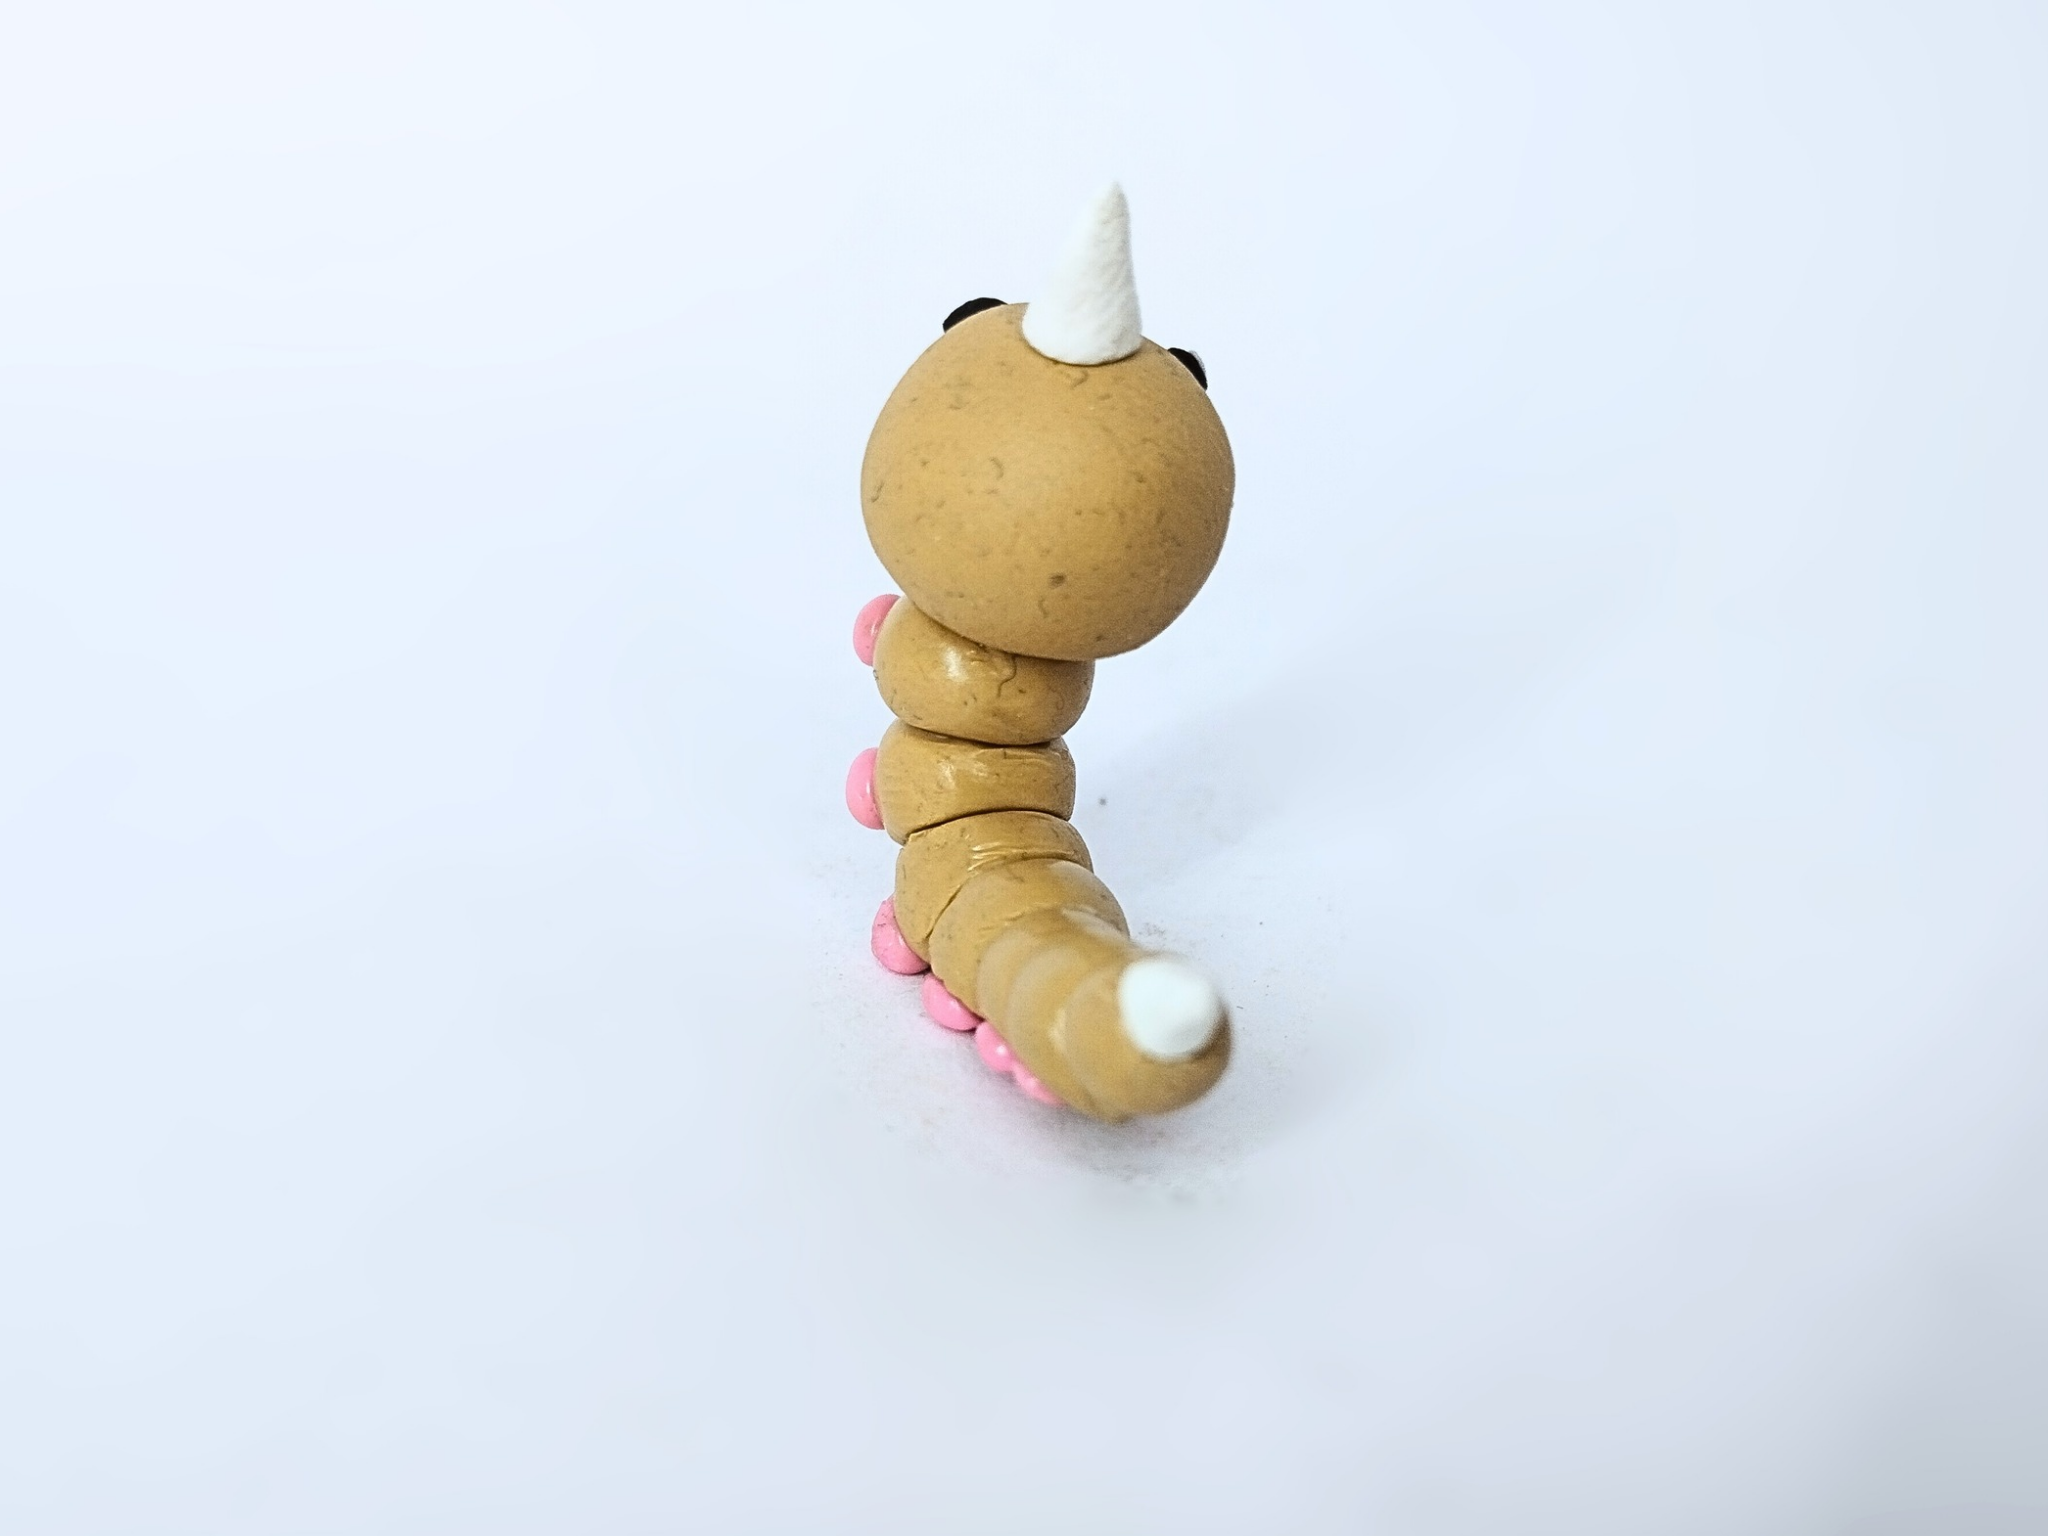
In this way the whole figurine was finished. The first stage of this Pokémon with two more stages. Below you can see a series of pictures of the final result:
>>De esta manera toda la figurita quedó terminada. La primera etapa de este Pokémon con dos etapas más. A continuación pueden ver una serie de fotografías del resultado final:
Well friends, that's all for now. I hope you liked this lovely Pokémon, because I thought it was one of the cutest Pokémon out there. I invite you to leave your opinions below in the comments, as always I'll be happy to read them. With nothing more to add, I'll say goodbye then...
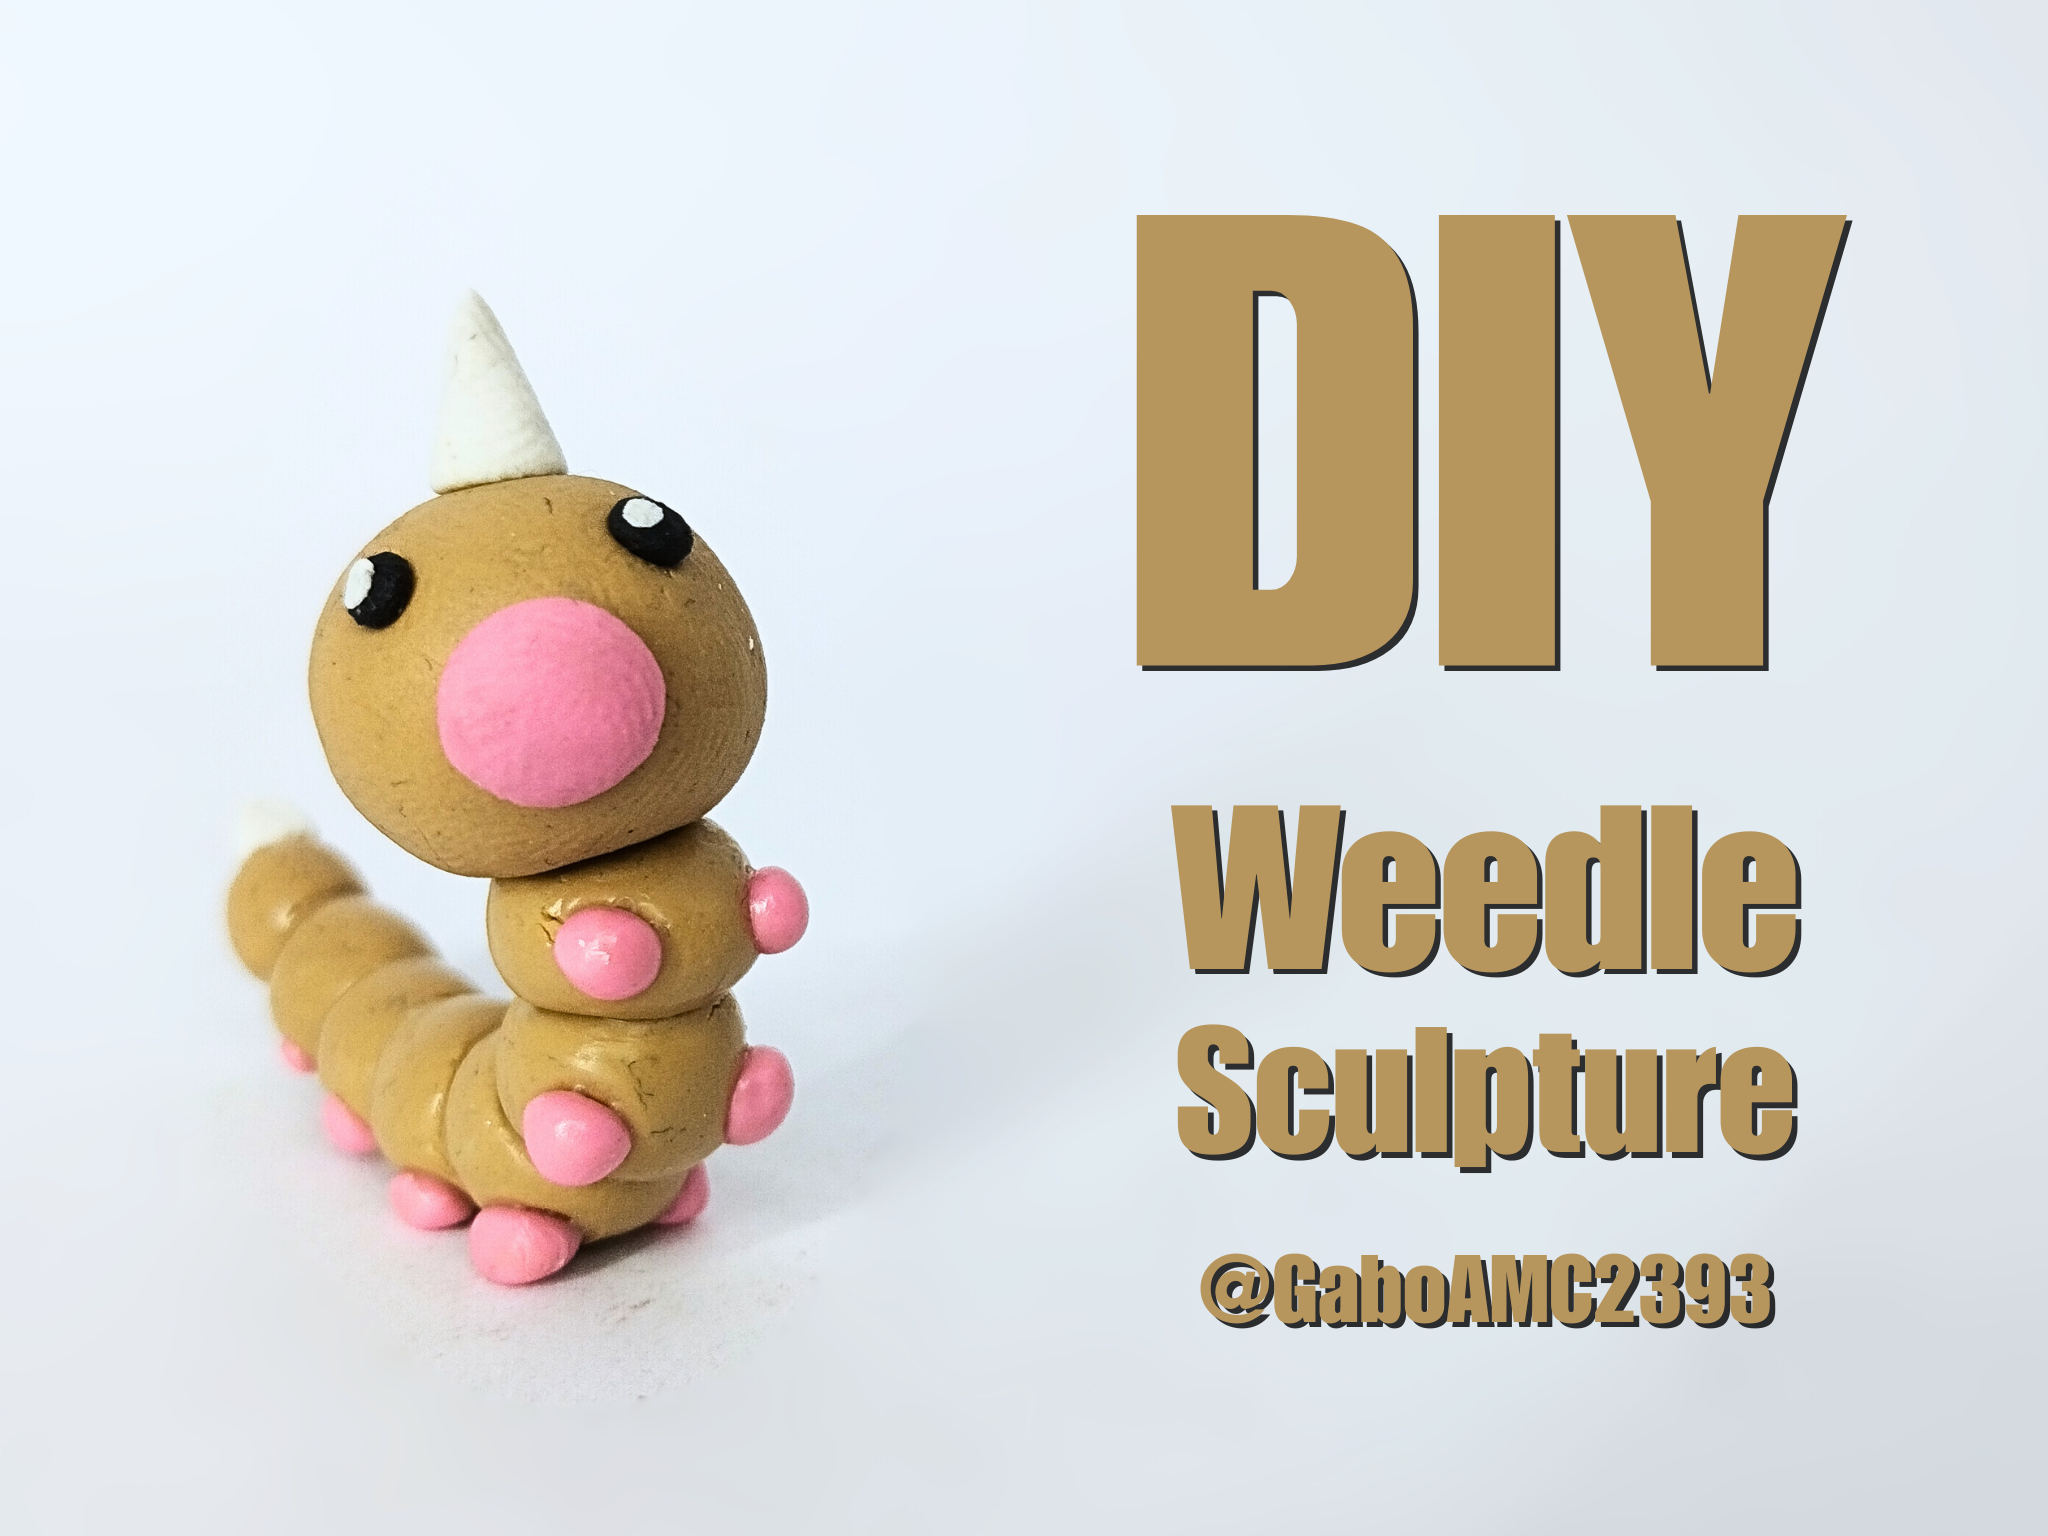
DIY: Weedle Sculpture [ENG/SPA]
@gaboamc2393
· 2025-07-25 05:55
· hive-158489
#hive-158489
#diy
#art
#handmade
#spanish
#tutorial
#pokemon
#anime
#neoxian
#waiv
Payout: 0.000 HBD
Votes: 493
More interactions (upvote, reblog, reply) coming soon.