Ciberpunk Machine

*Don't settle for living the present, start imagining the future. A future where what can only be imagined today takes shape, a future where man's only limit is his imagination, a future where the impossible becomes possible.*
This work began as an examination project, for which we were asked to produce a series of papers: two of which were produced through the professor's indications, and one completely free. As soon as we were informed of this, my mind immediately began to travel: I could finally use the knowledge I had acquired without any constraint.
The realization of this project took about a month of work, and was distributed in several phases, using several programs such as 4D cinema, illustrator and photoshop.
**STEP 1: Modeling**
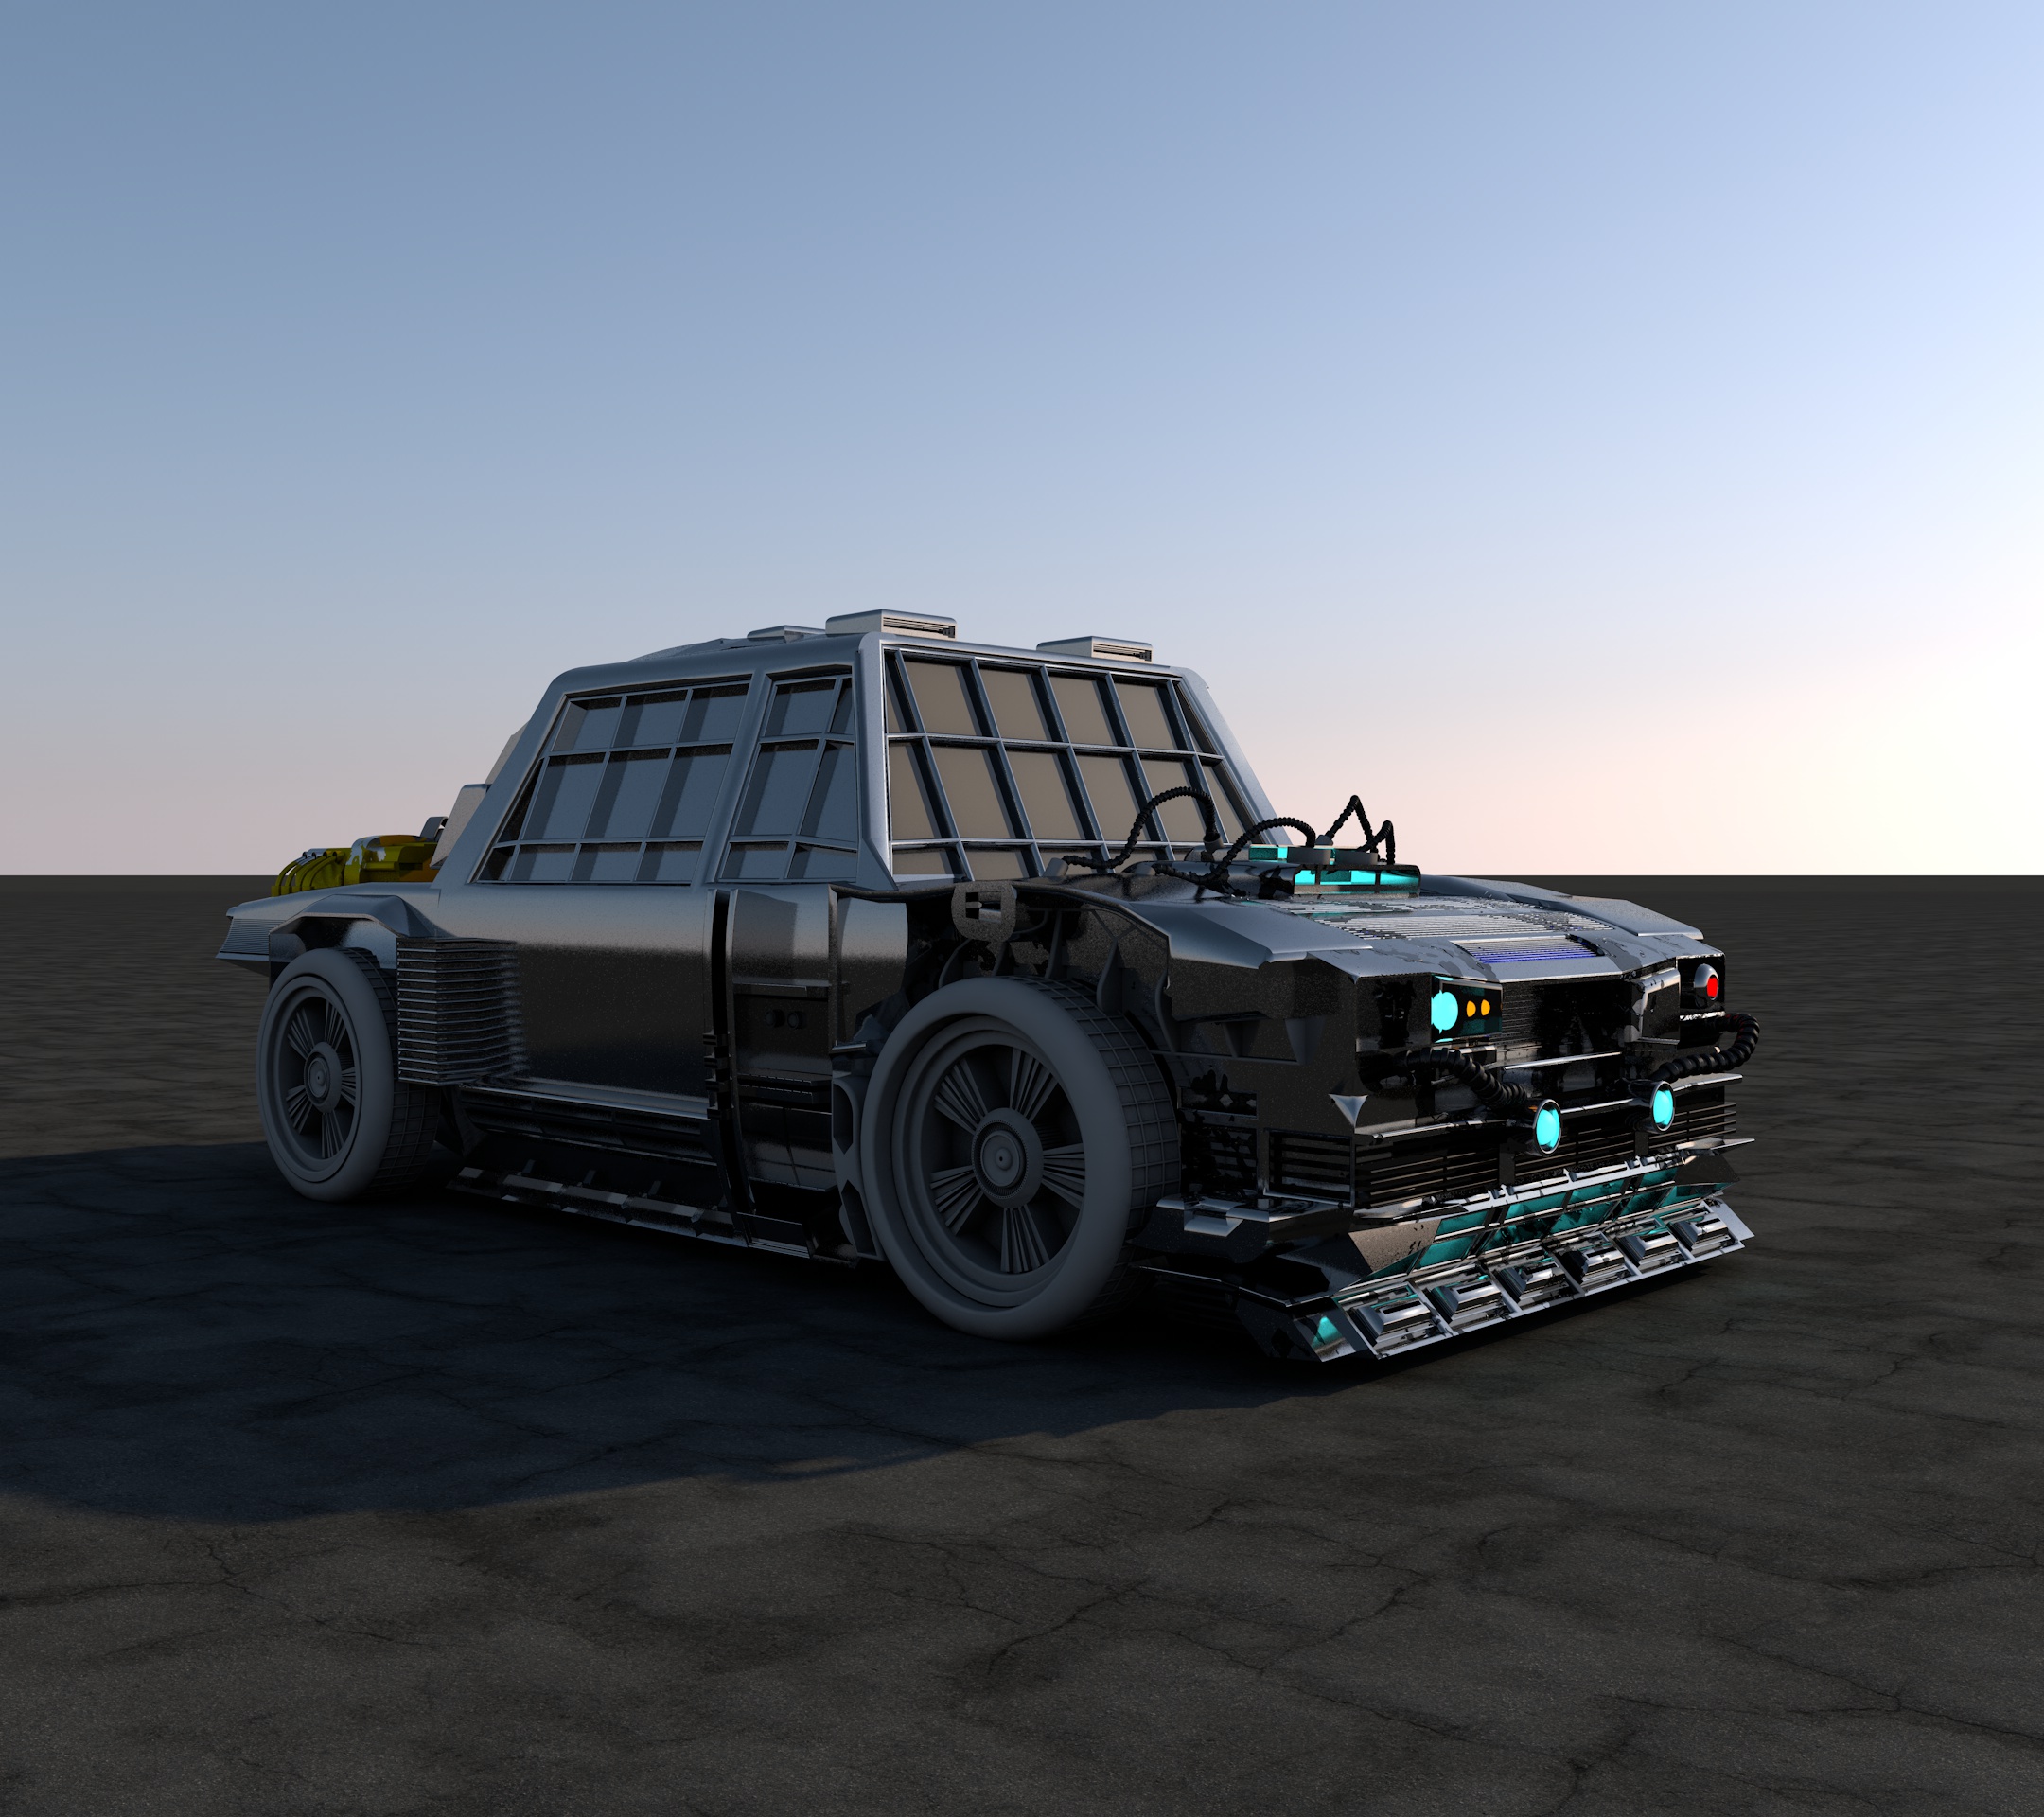
First of all, the first thing to do is to make the "skeleton", the basic shape of the object you want to create. This is both a matter of order and to facilitate the imagination.
In this particular project I created the skeleton starting from three basic shapes: one for the front, one for the middle and one for the back.
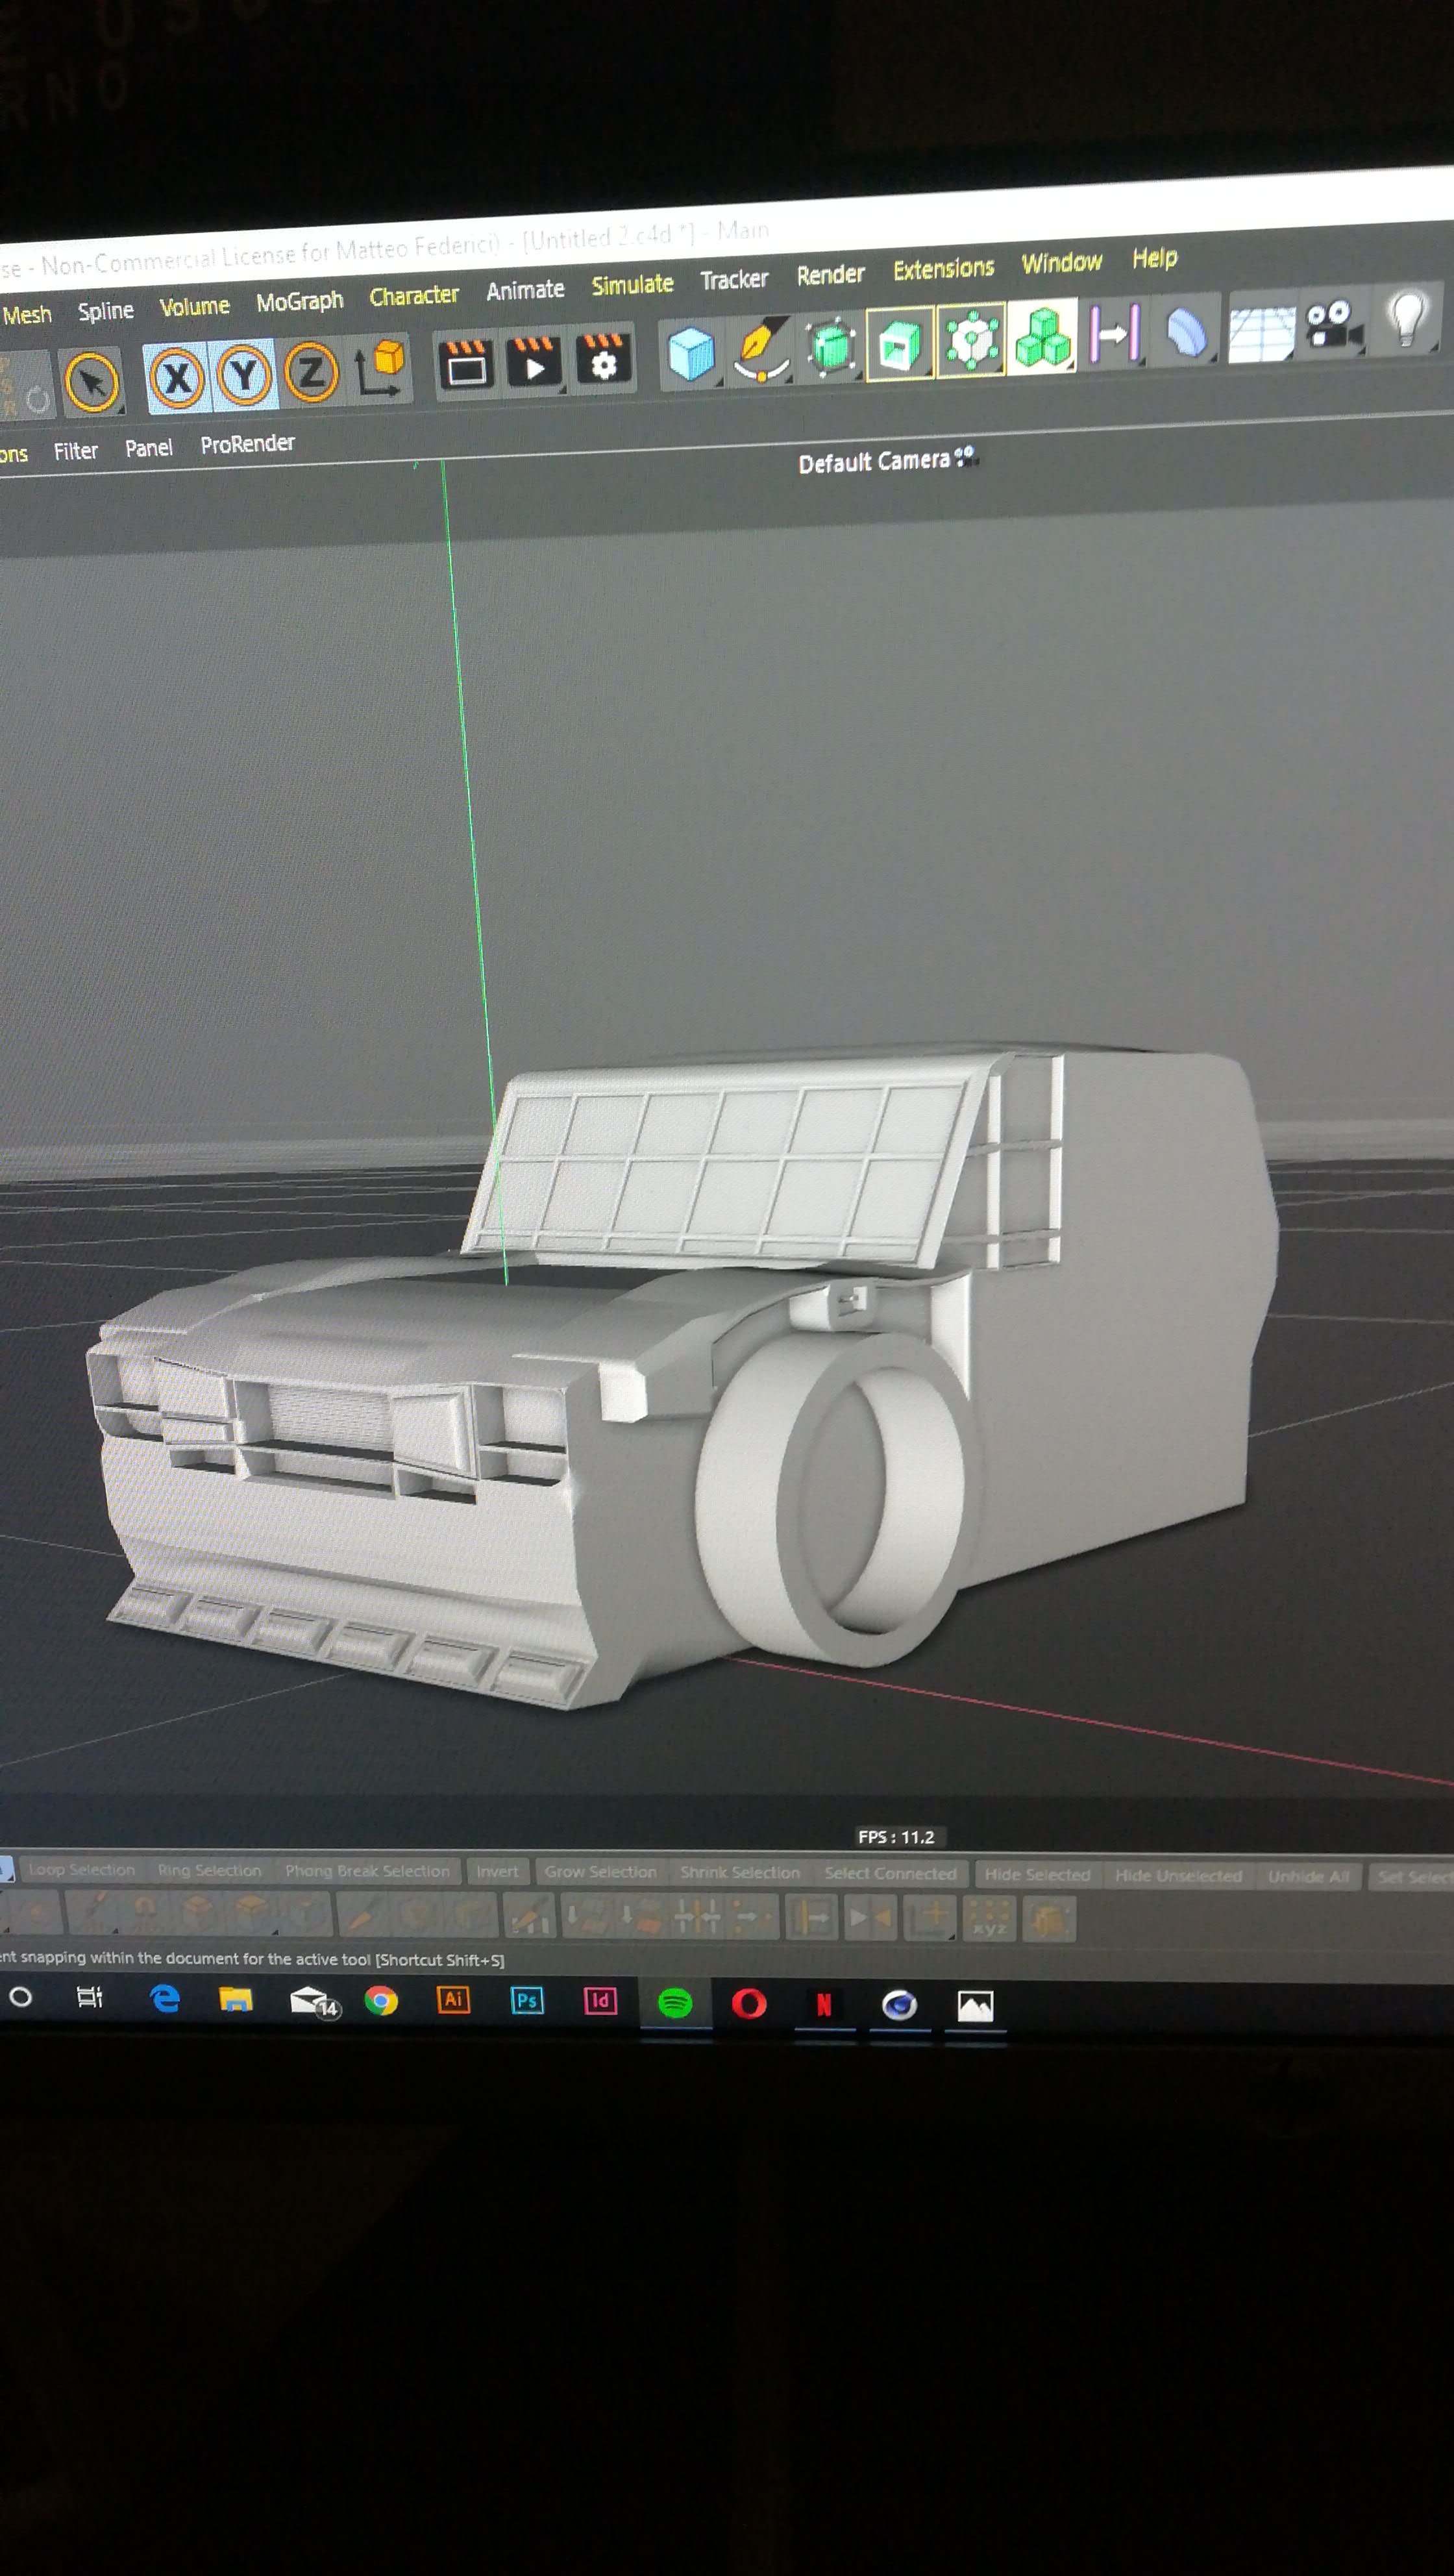
The front part was the first one I started modeling, using tools such as extrusion and chamfering and adding components created from other basic shapes, where the modeling tools could not act in the desired way (example: fenders).
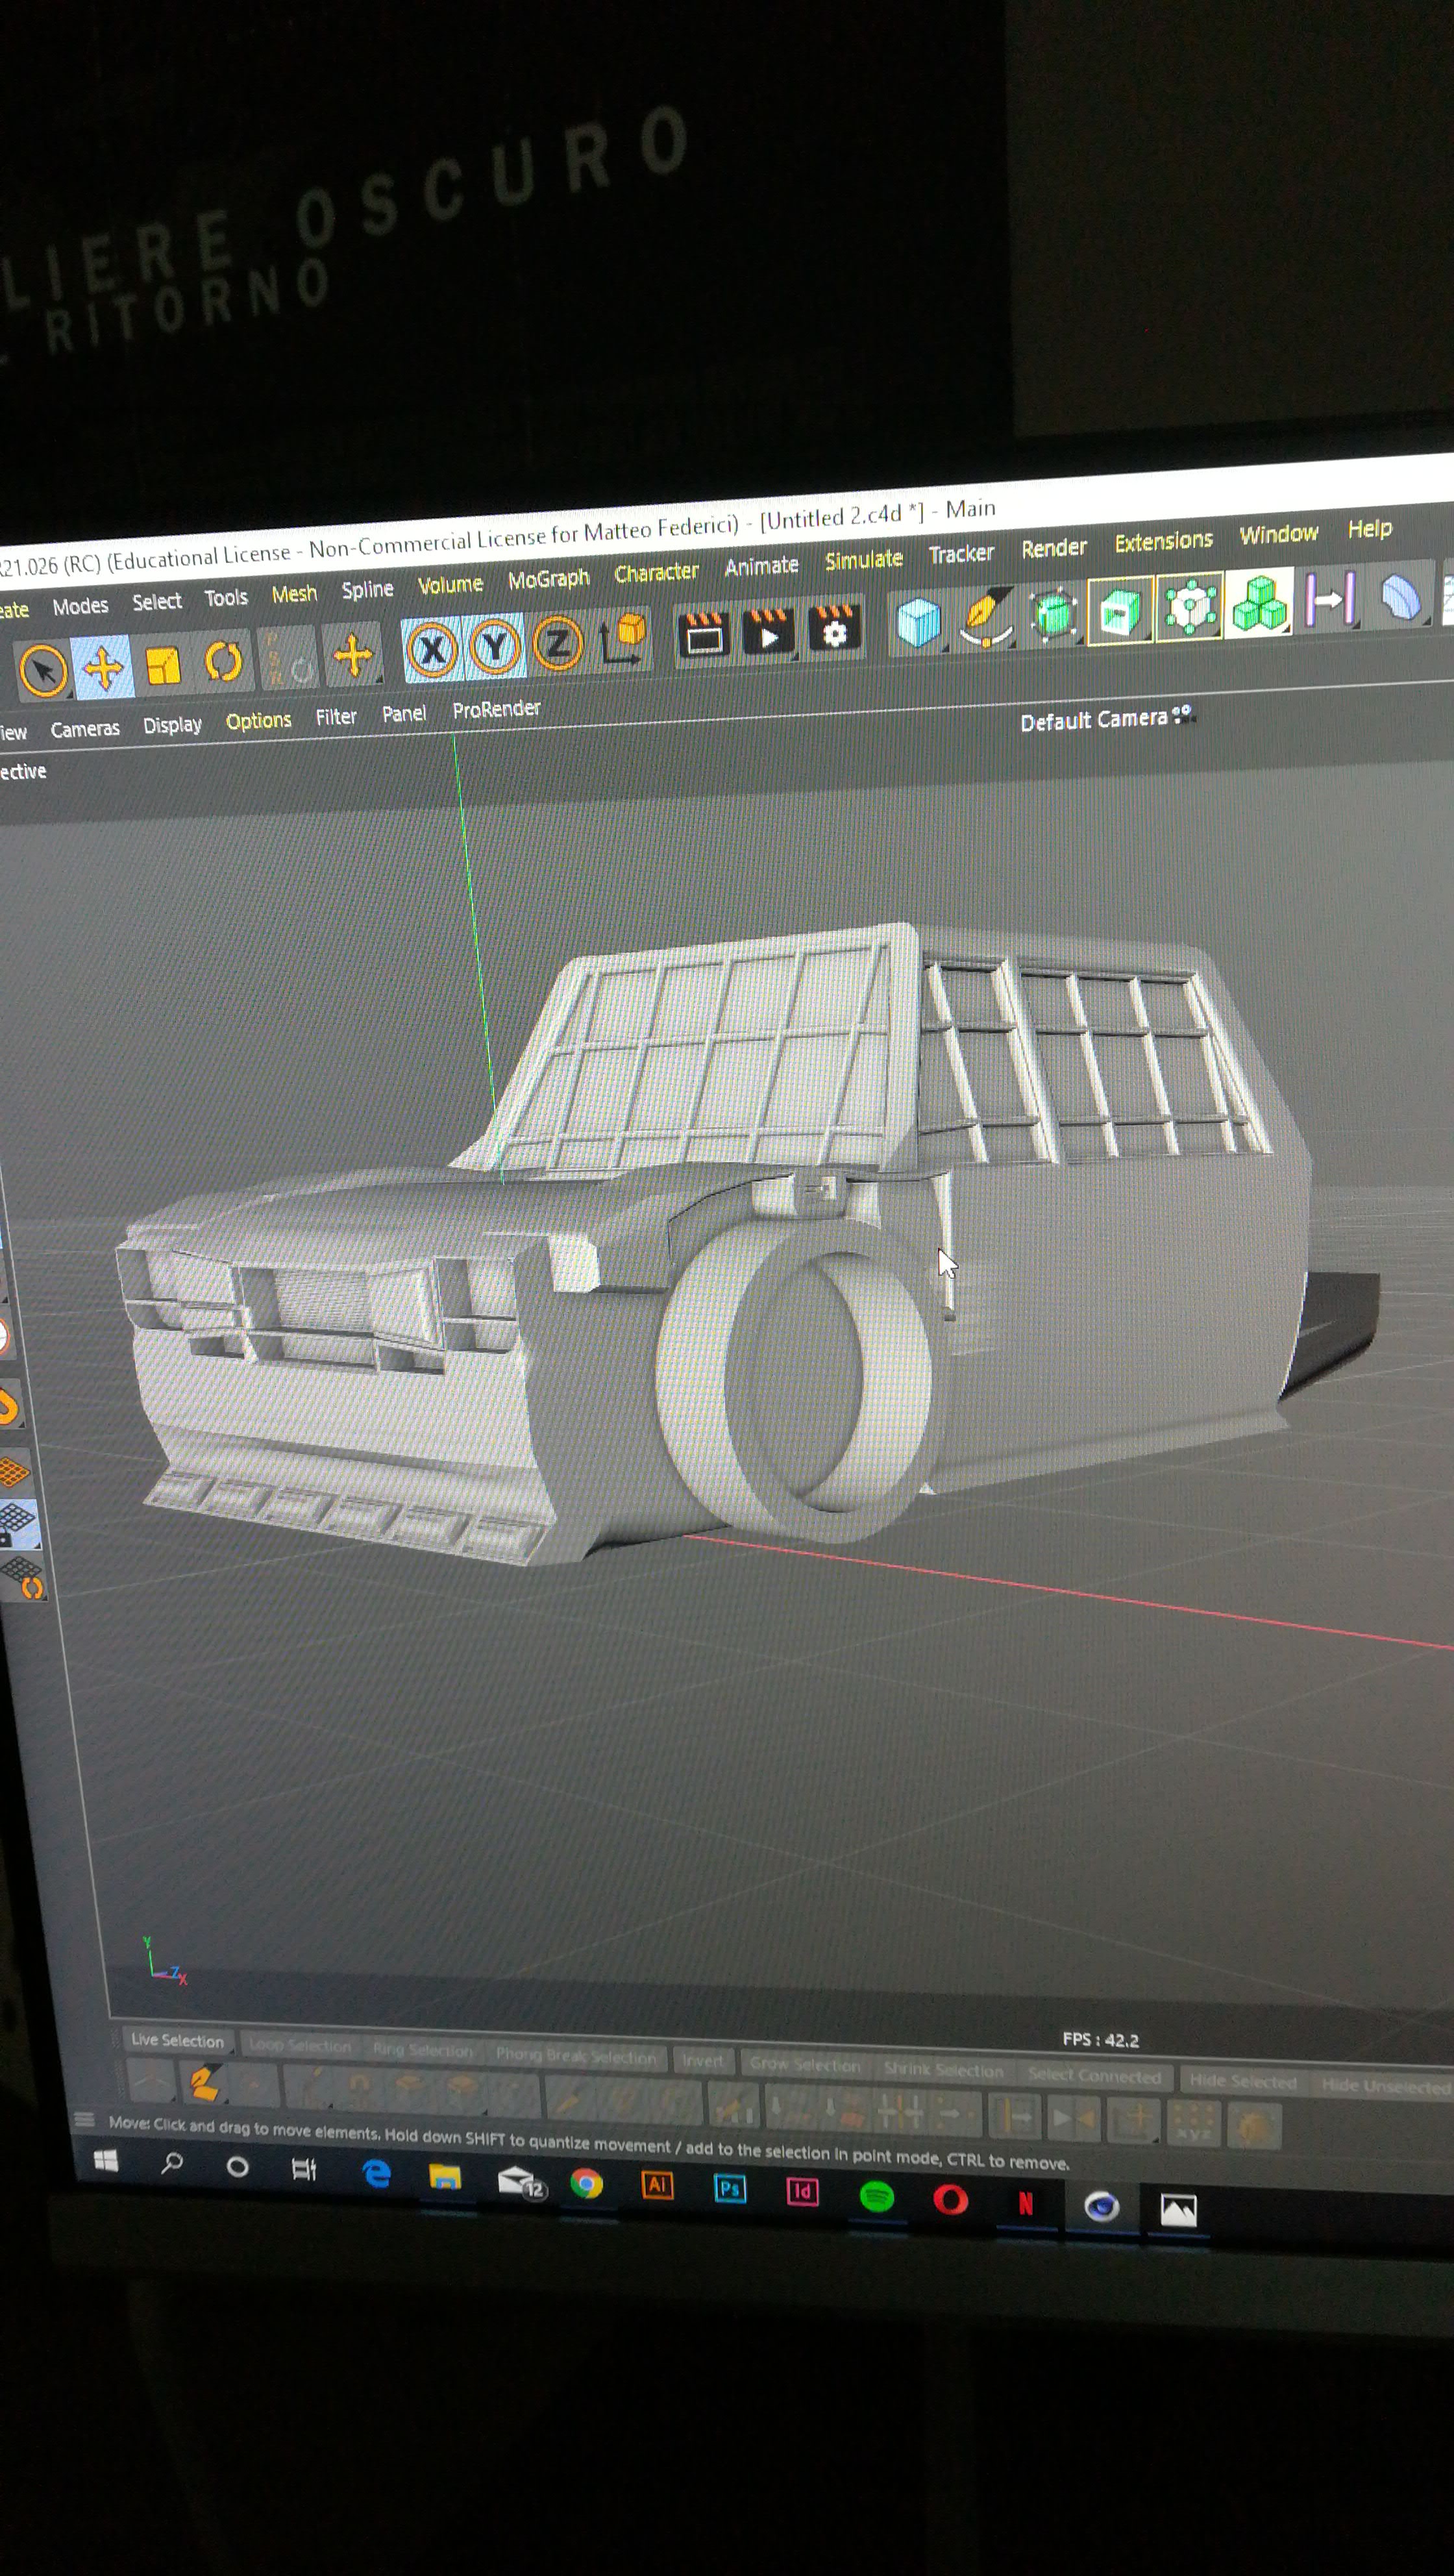
I then started modelling the cockpit, using the same method as above.
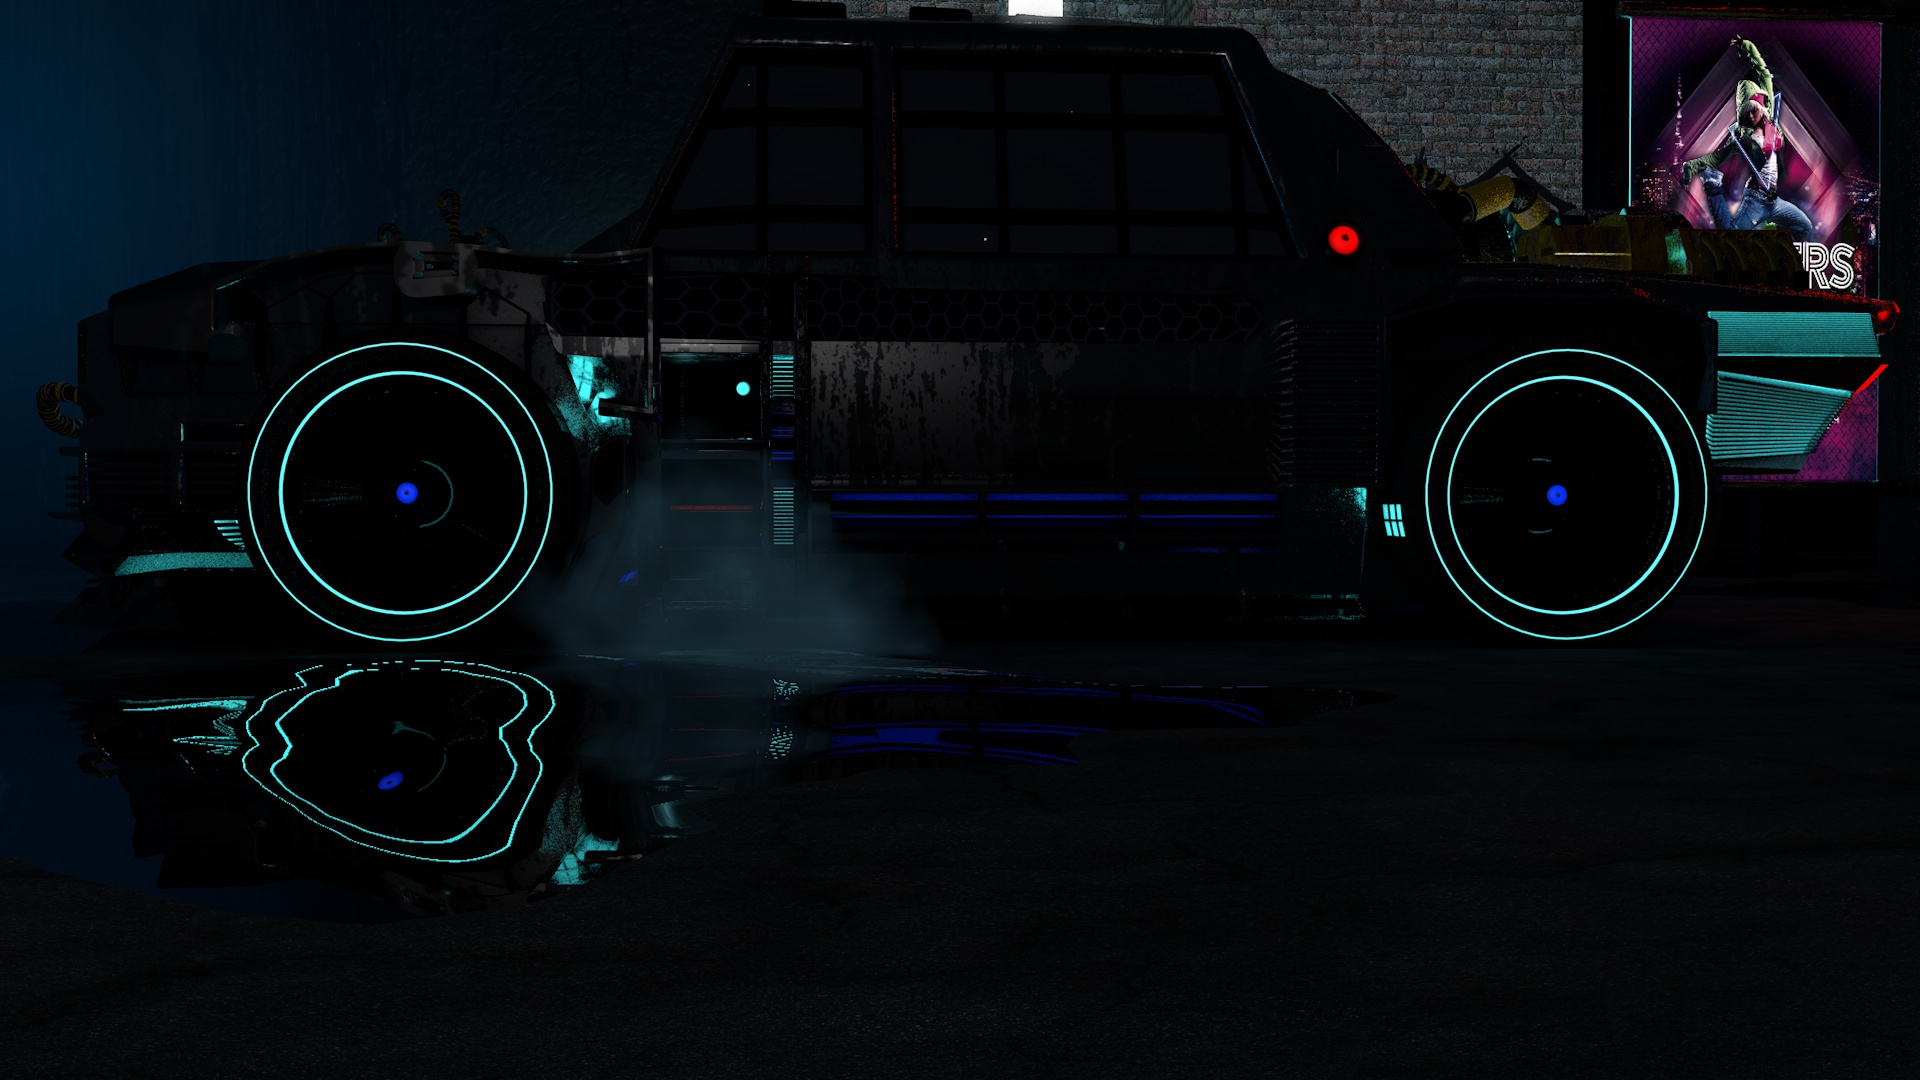
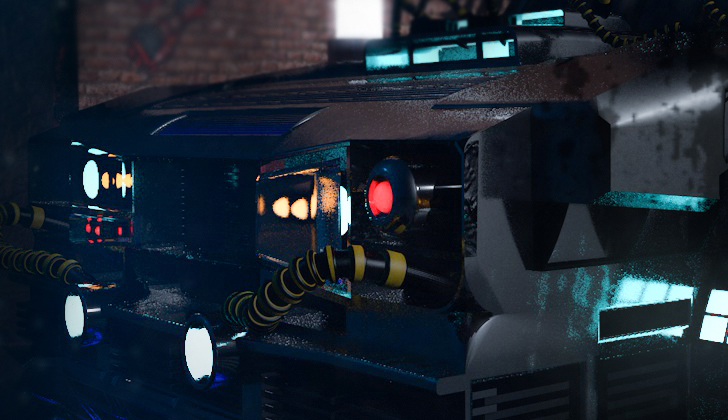
After finishing the basic structure I started to add the details, obviously on a cyberpunk style vehicle the amount of details is very important, in fact the more you insert the more the machine becomes particular and unique.
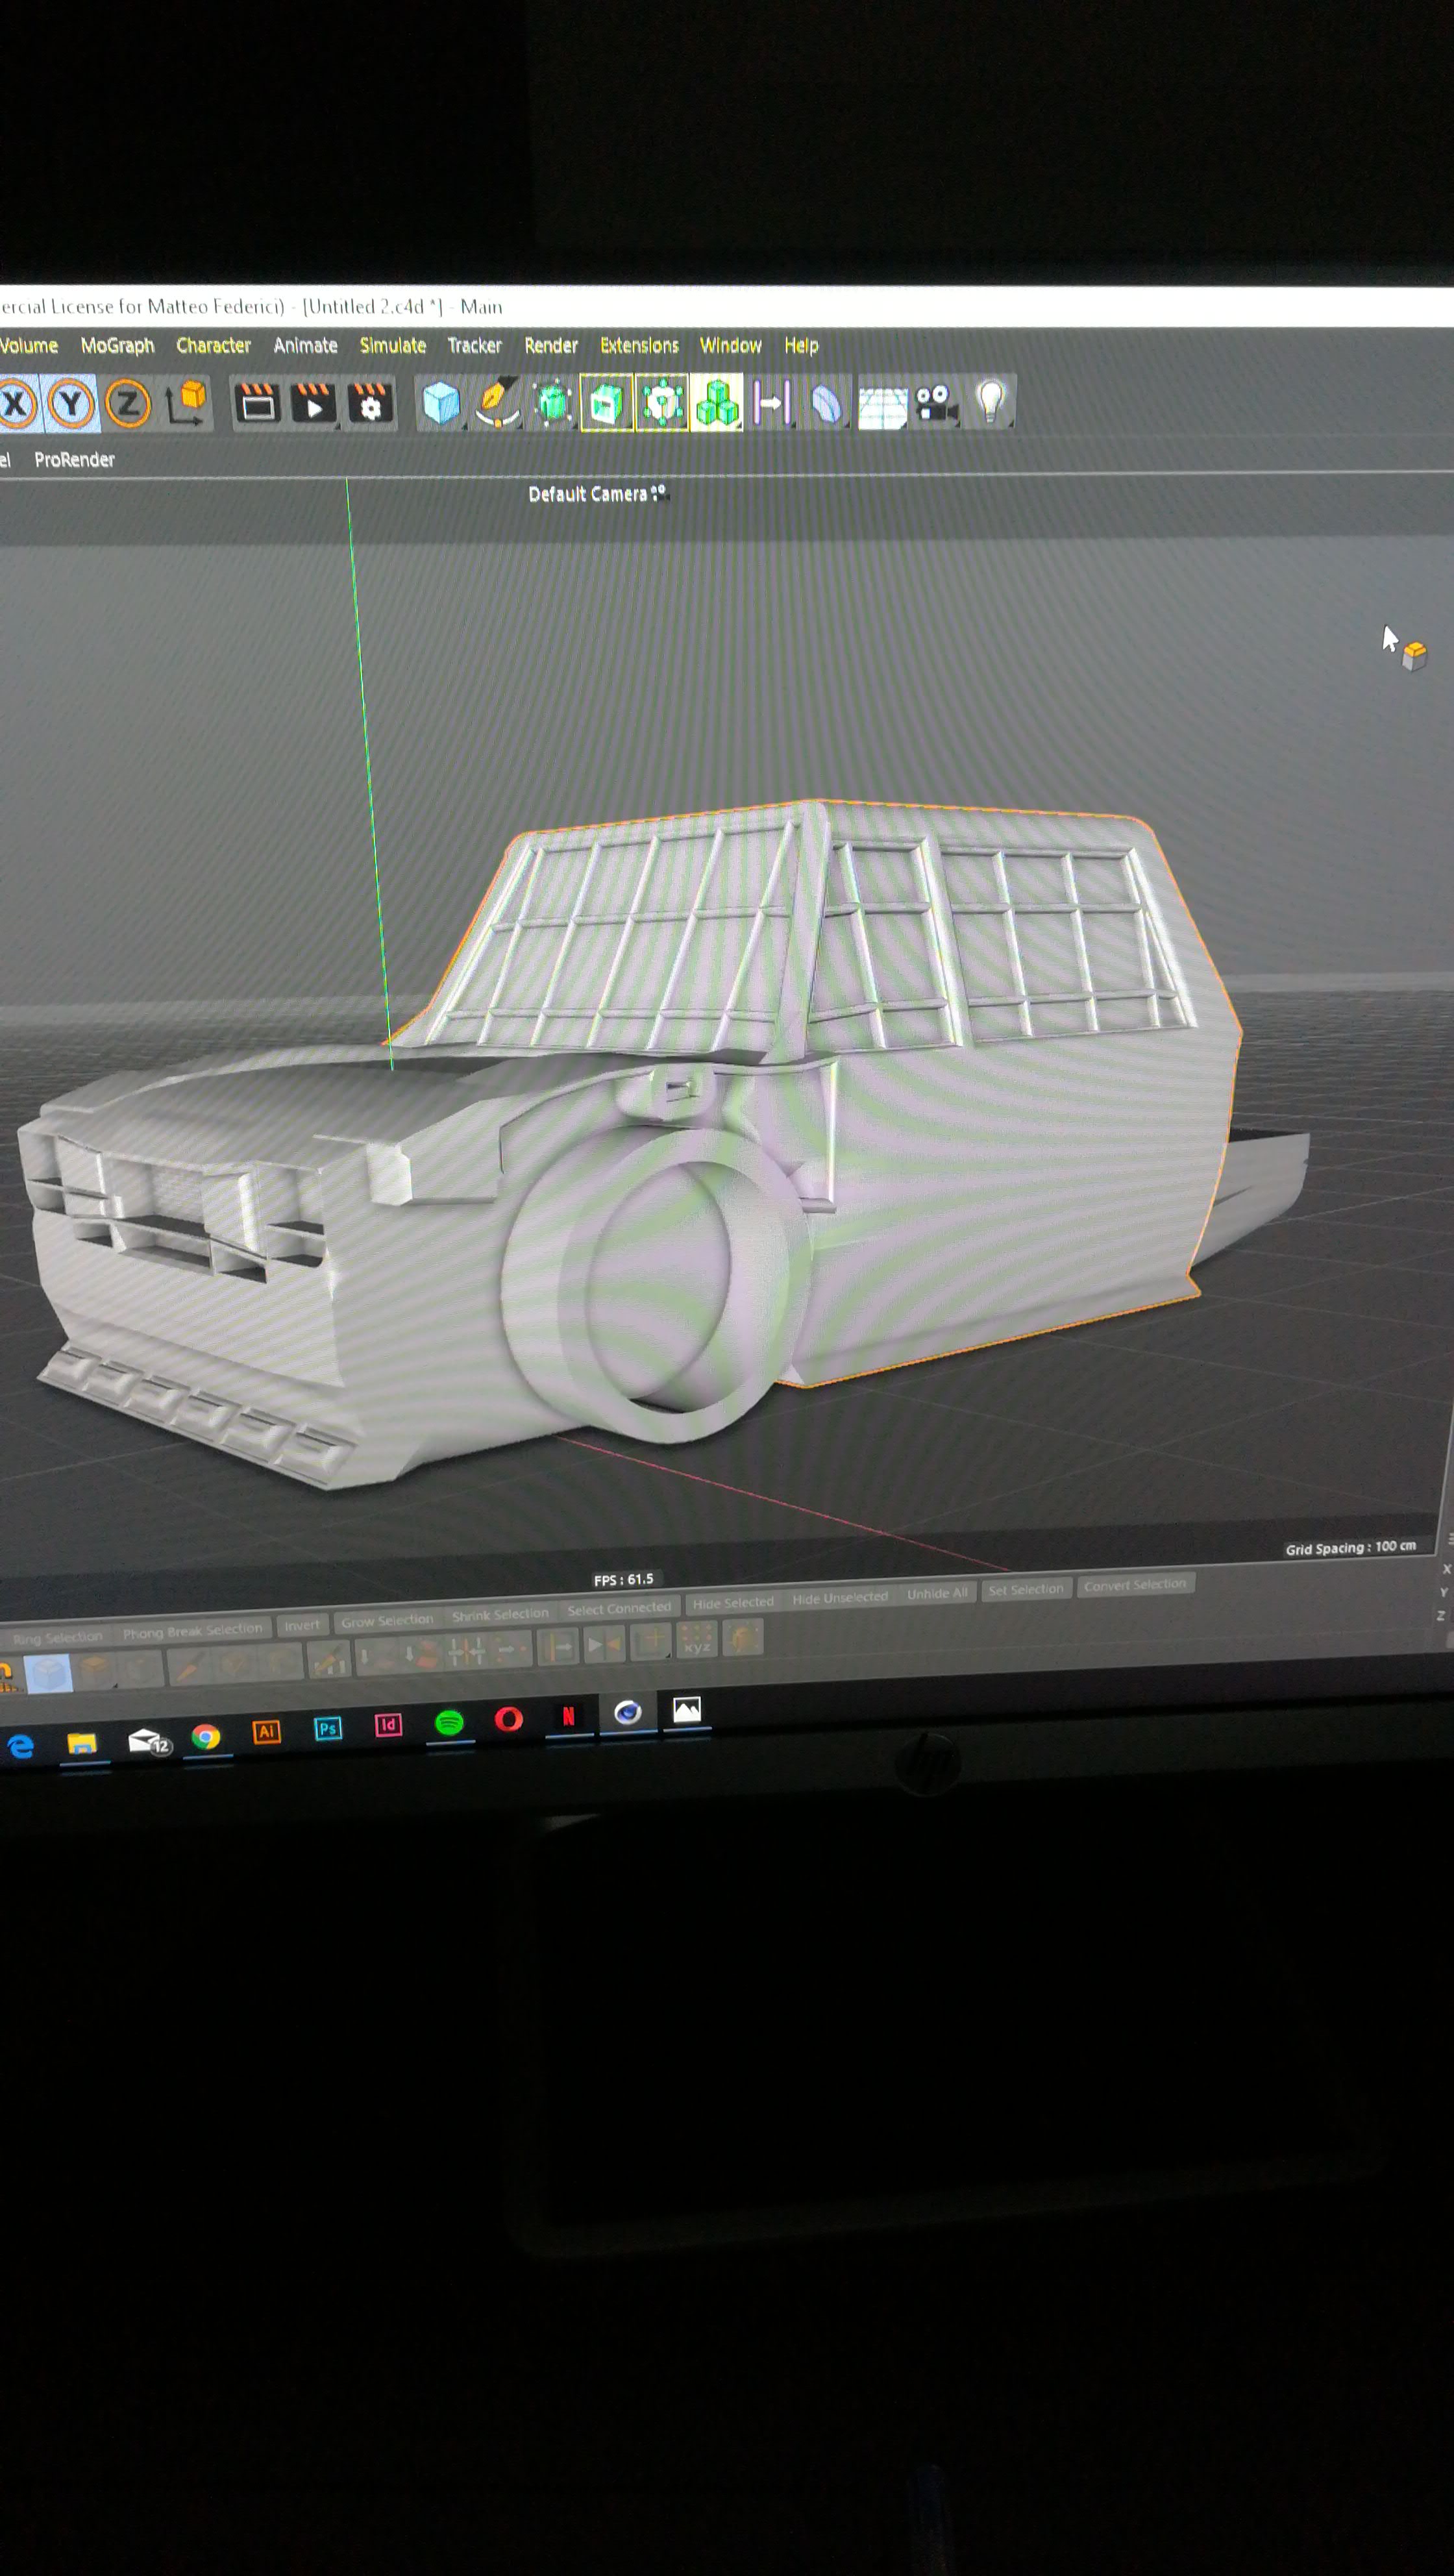
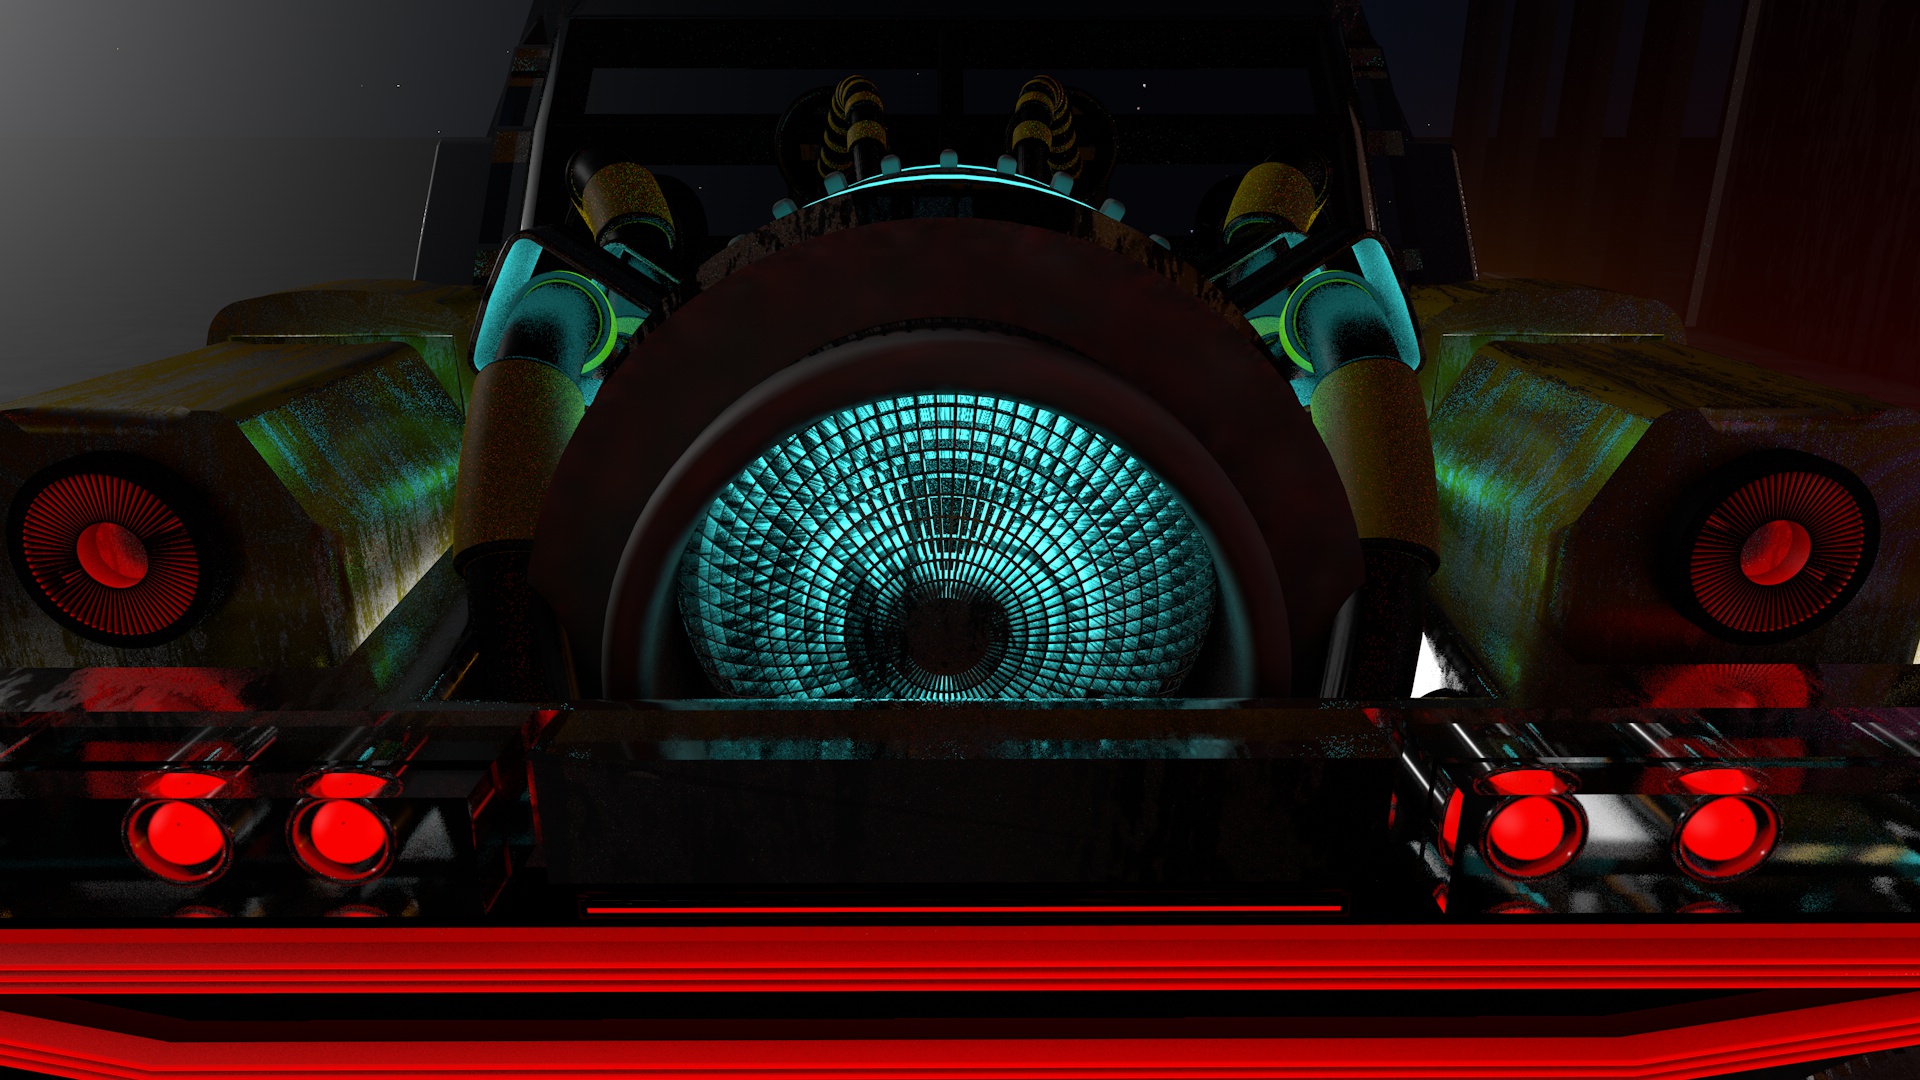
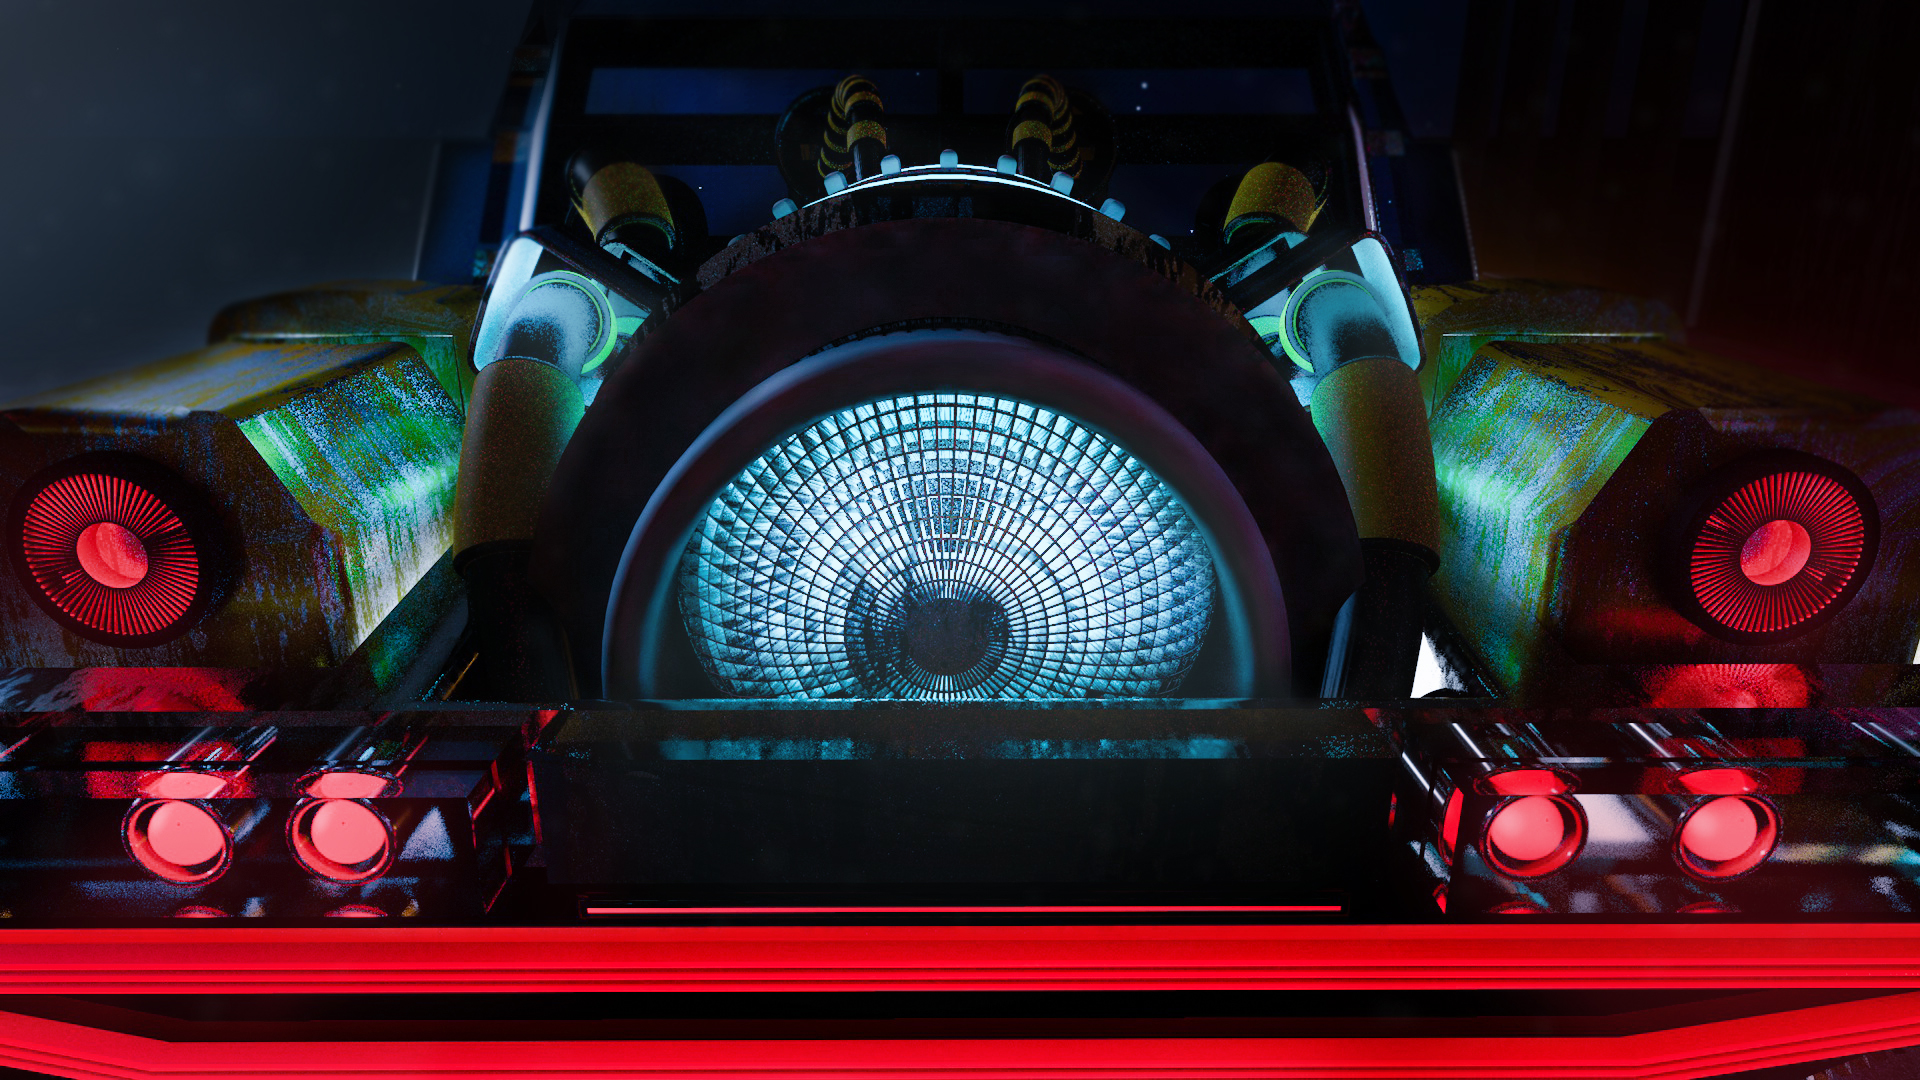
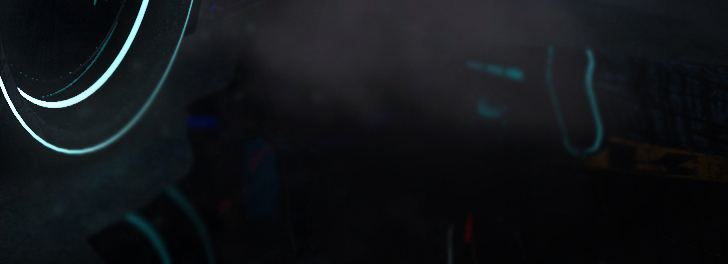
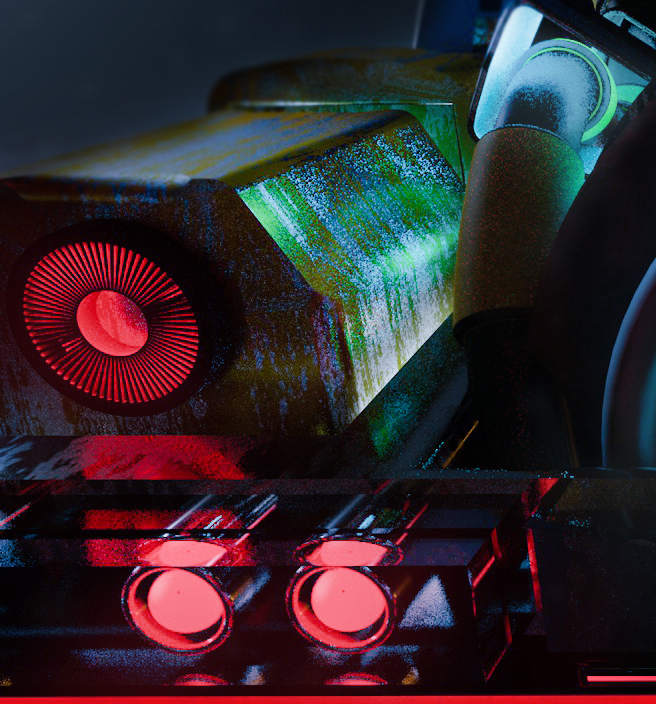
From the details on the bonnet to the details on the nose, the wheels, the doors and so on. The more I added the more I wanted to add. I put in lights, tubes, fenders and reinforced parts, spurs, neon, sensors, even a reactor at the rear.
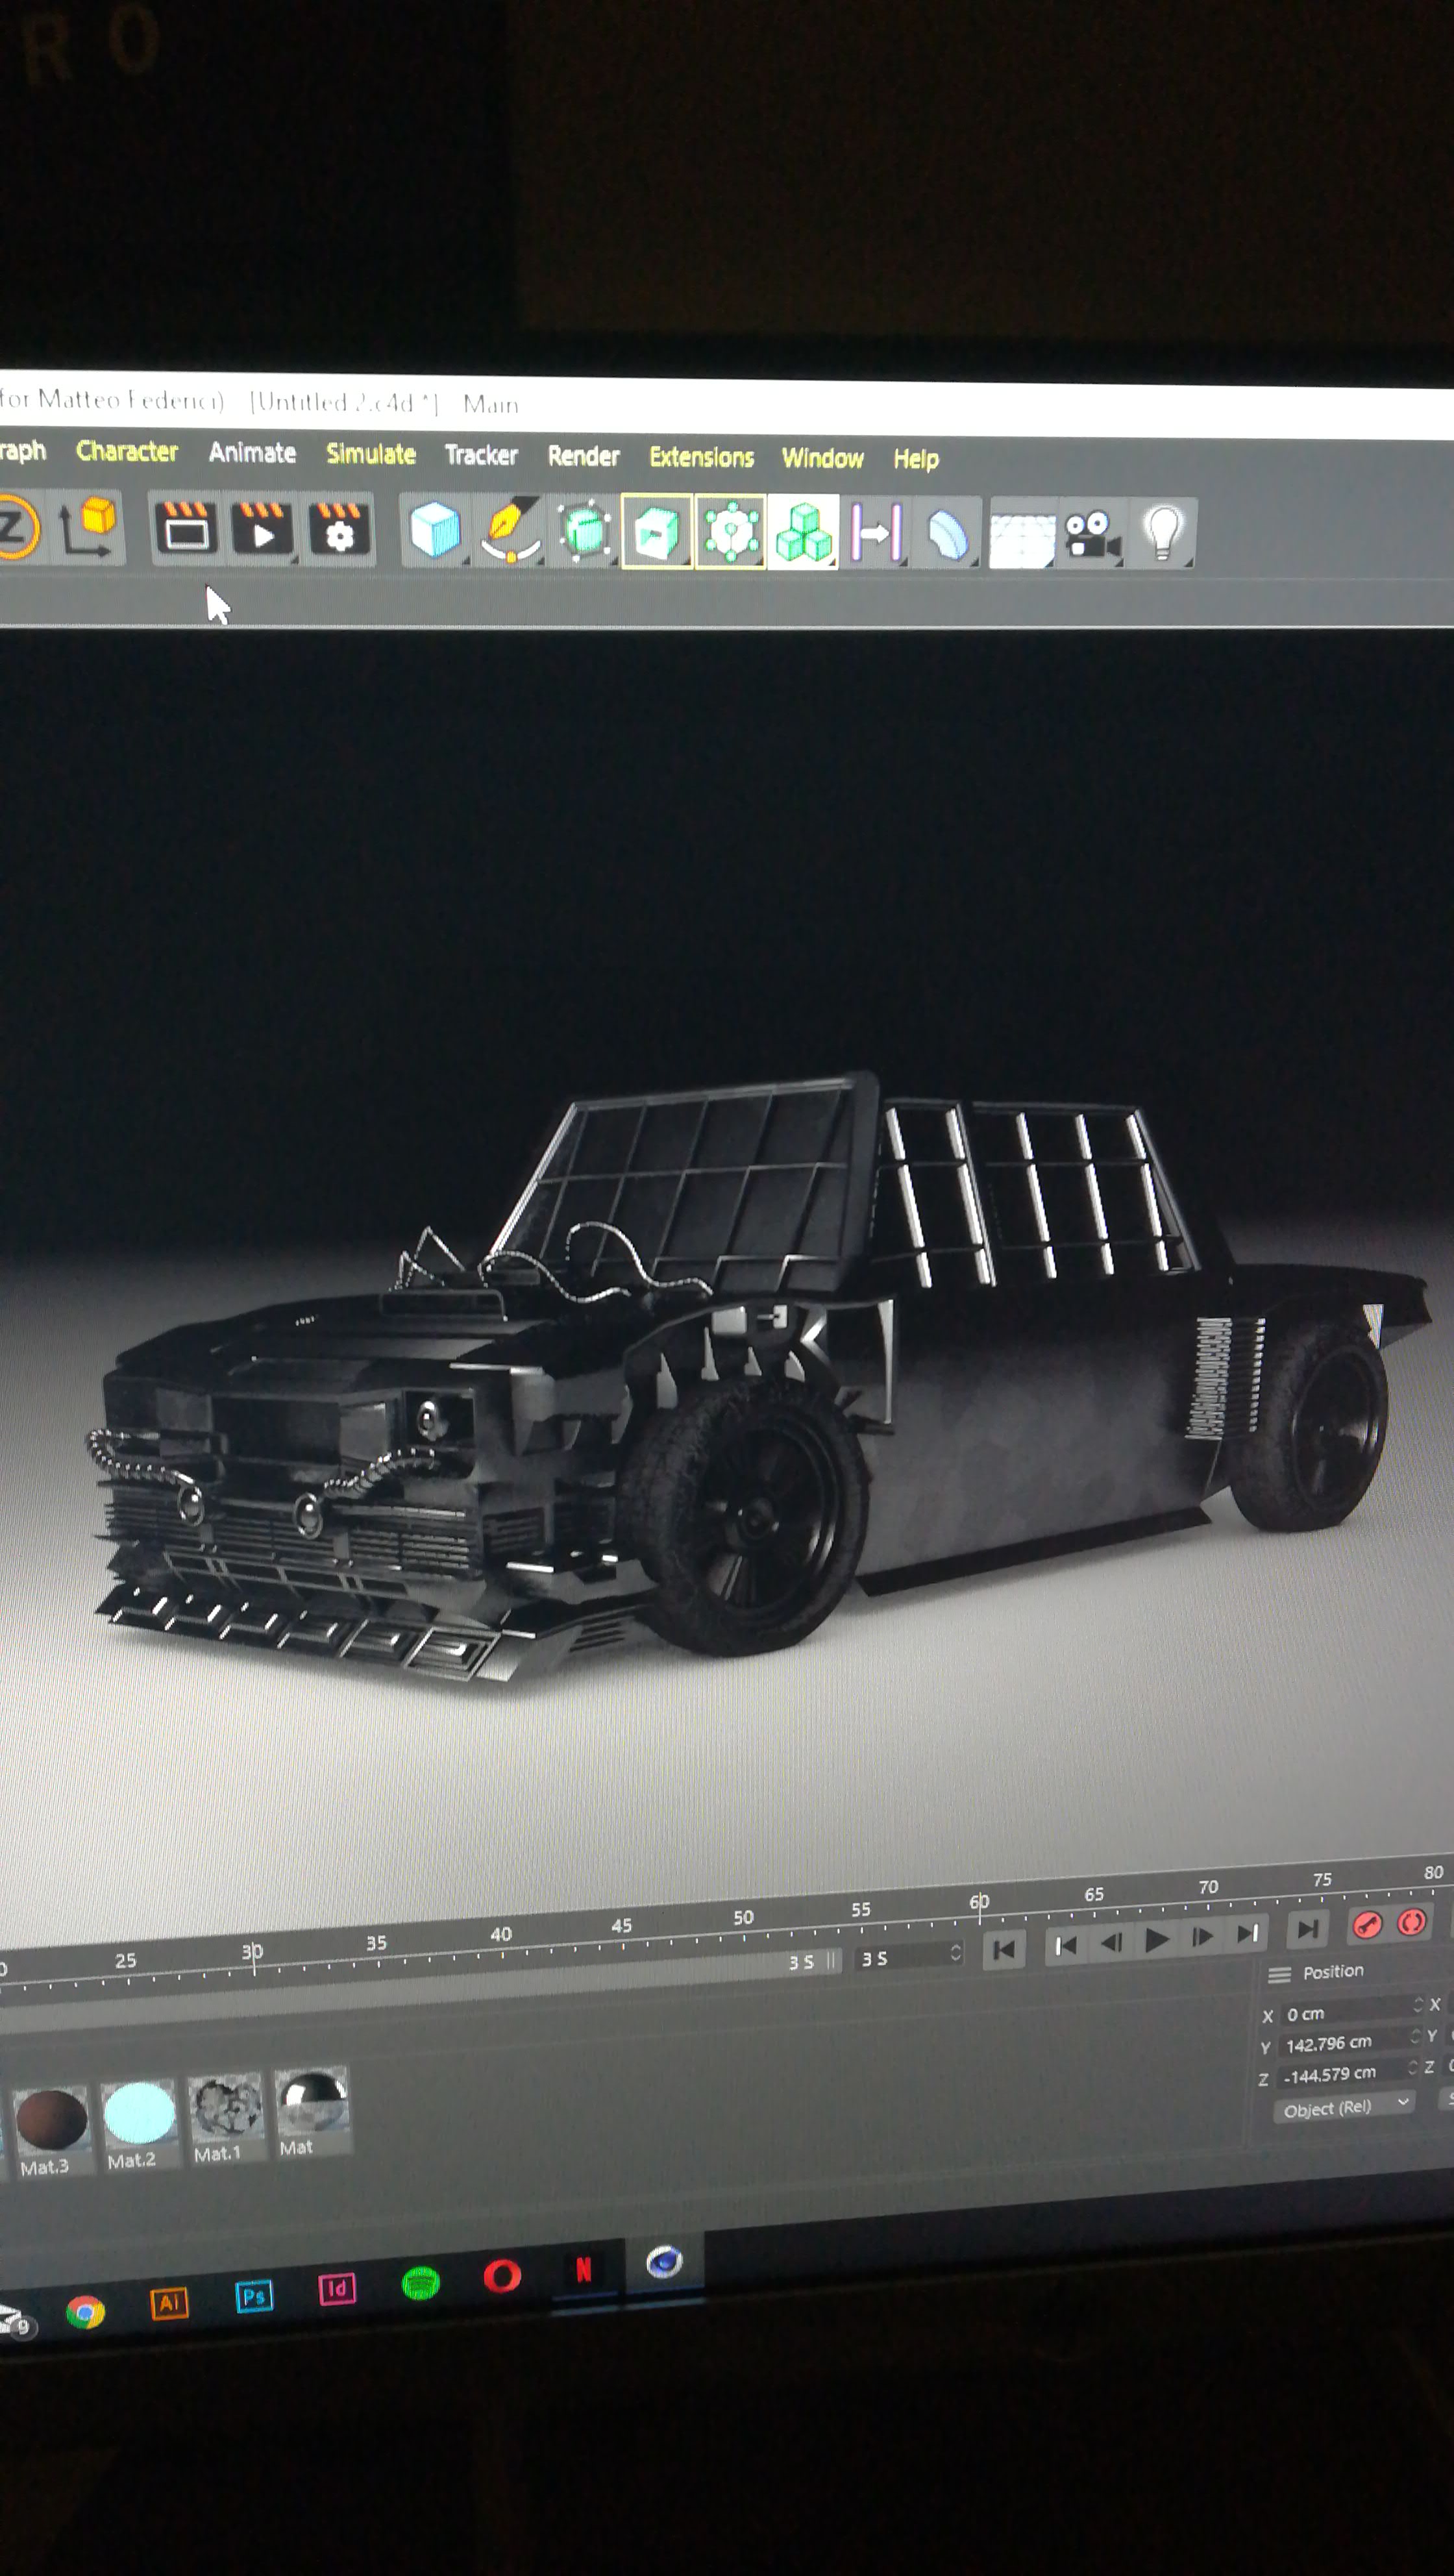
**STEP 2: Inserting the materials**
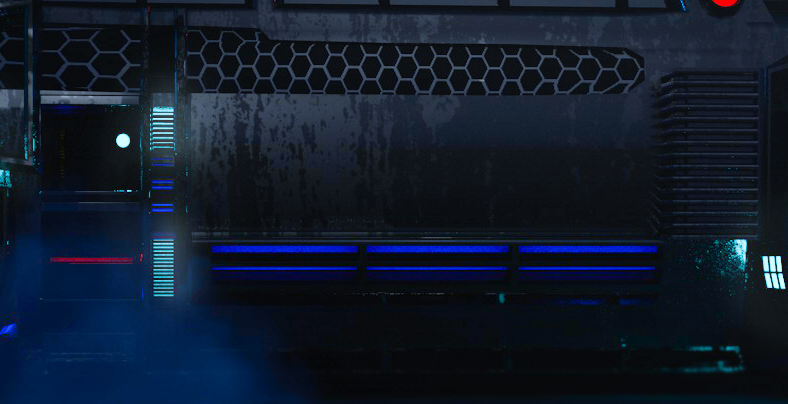
Once I finished the modeling I focused on the materials: I created many of them with many different characteristics, for each single material I tried and tried different solutions, always trying to get the most realistic effect possible.
I've inserted metals, rust effects, plastics, lights, neon, carbon grids, etc...
I kept trying until I was able to get what I imagined.
I used pre-set and then manually modified materials, but also textures taken from the internet or made through programs like Photoshop and Illustrator.
**STEP 3: Setting and rendering**
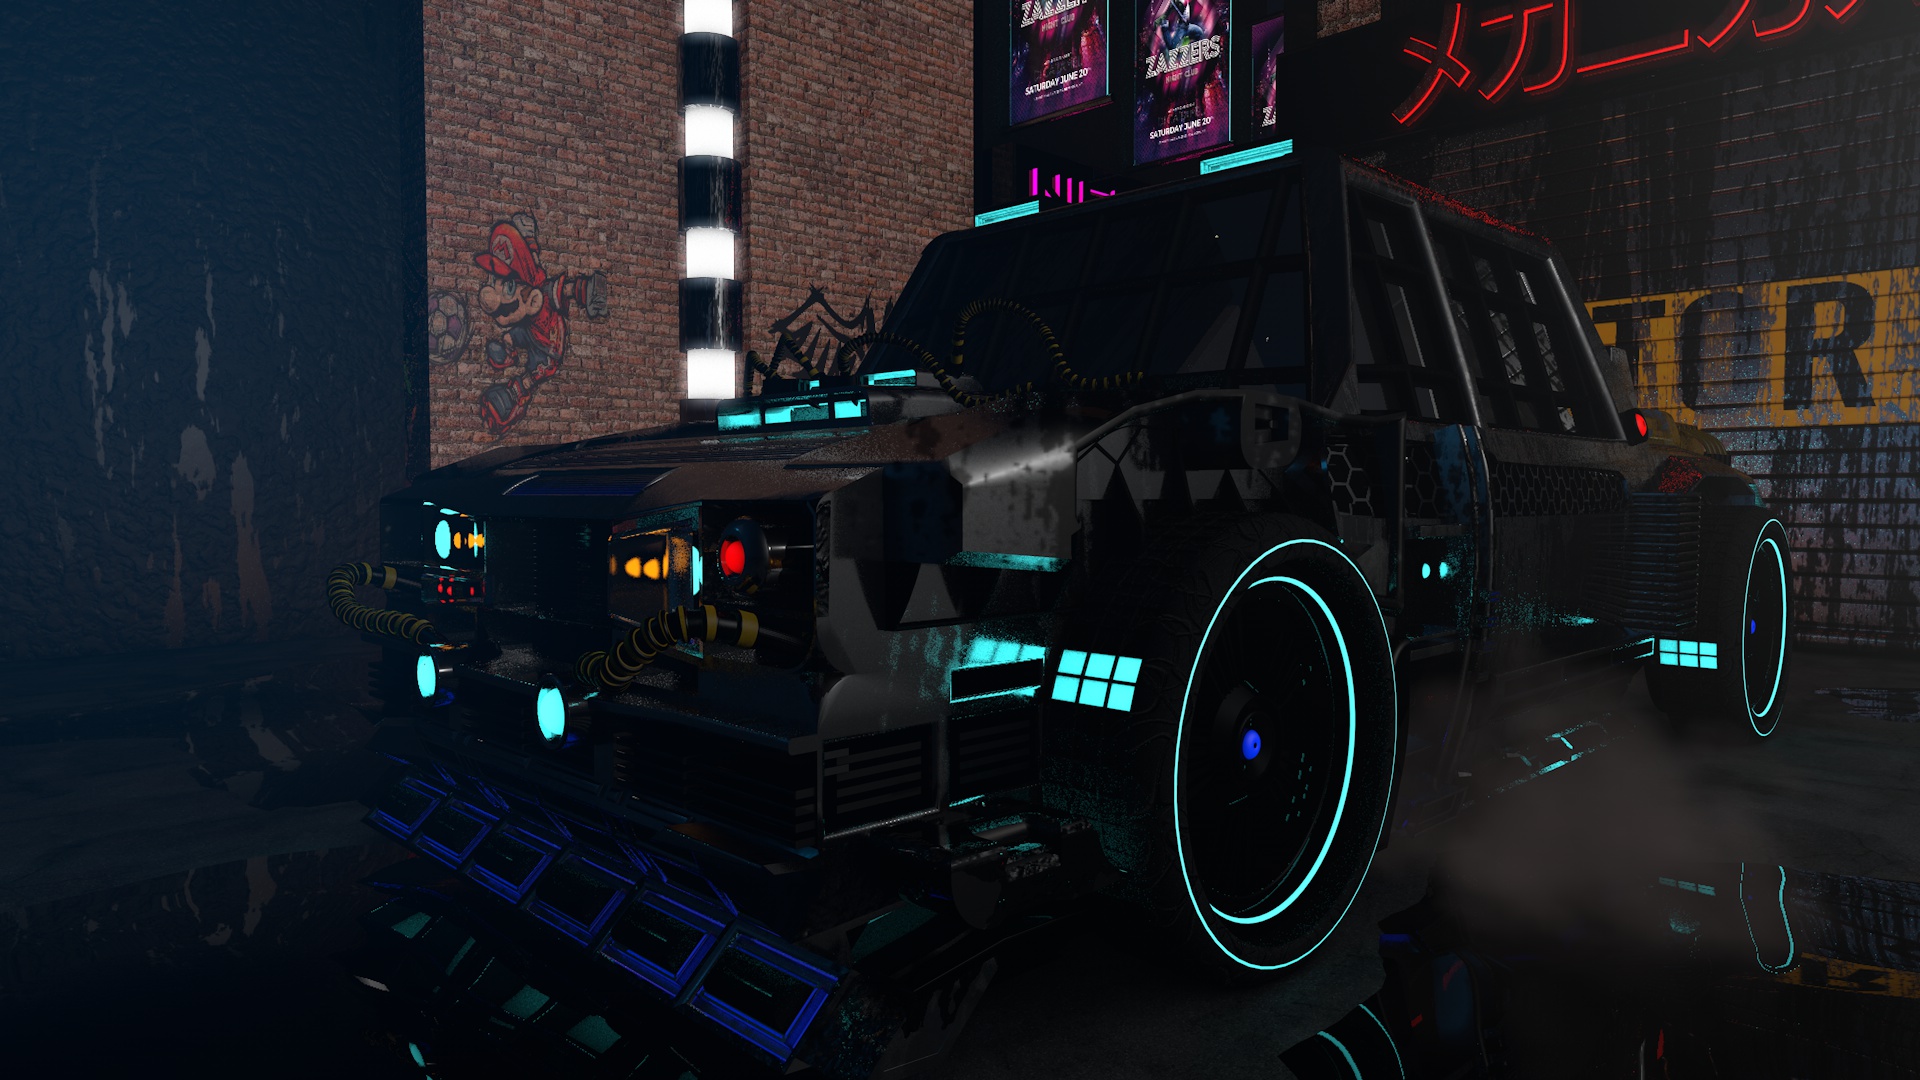
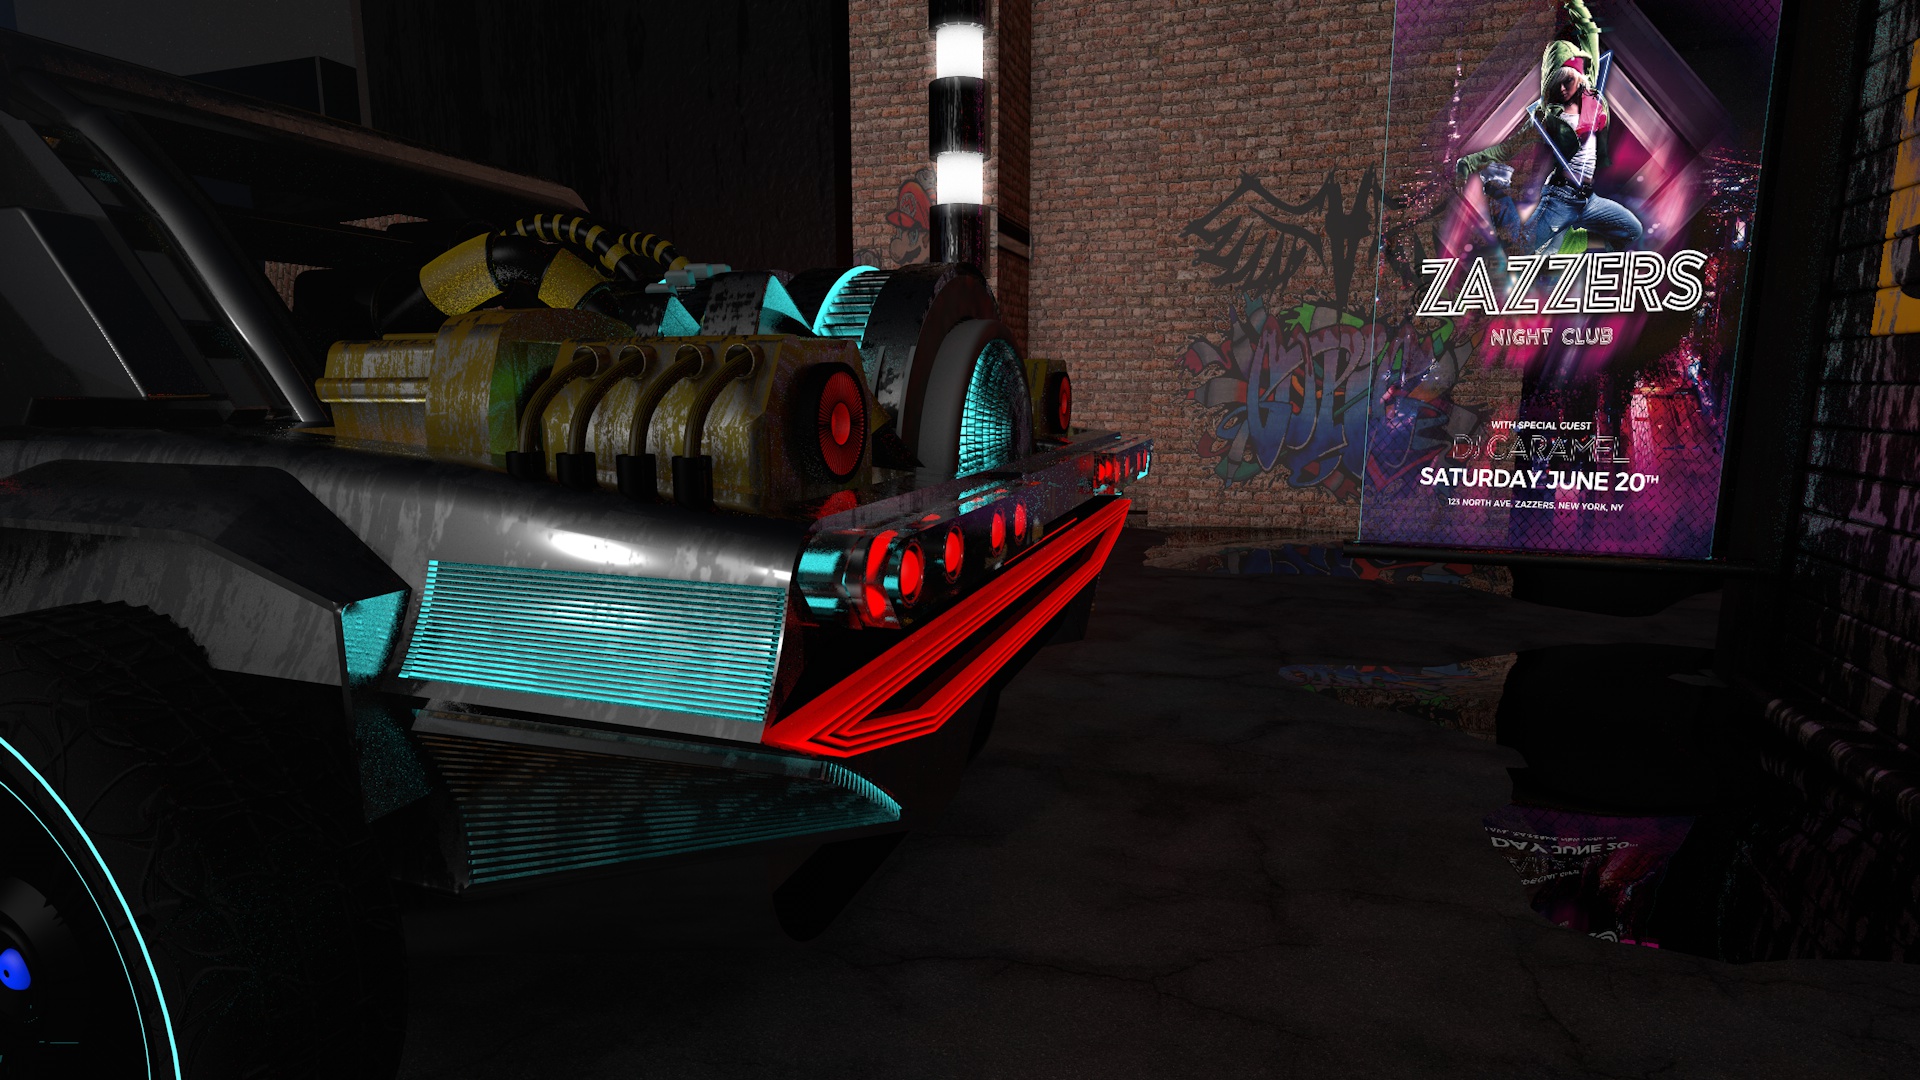
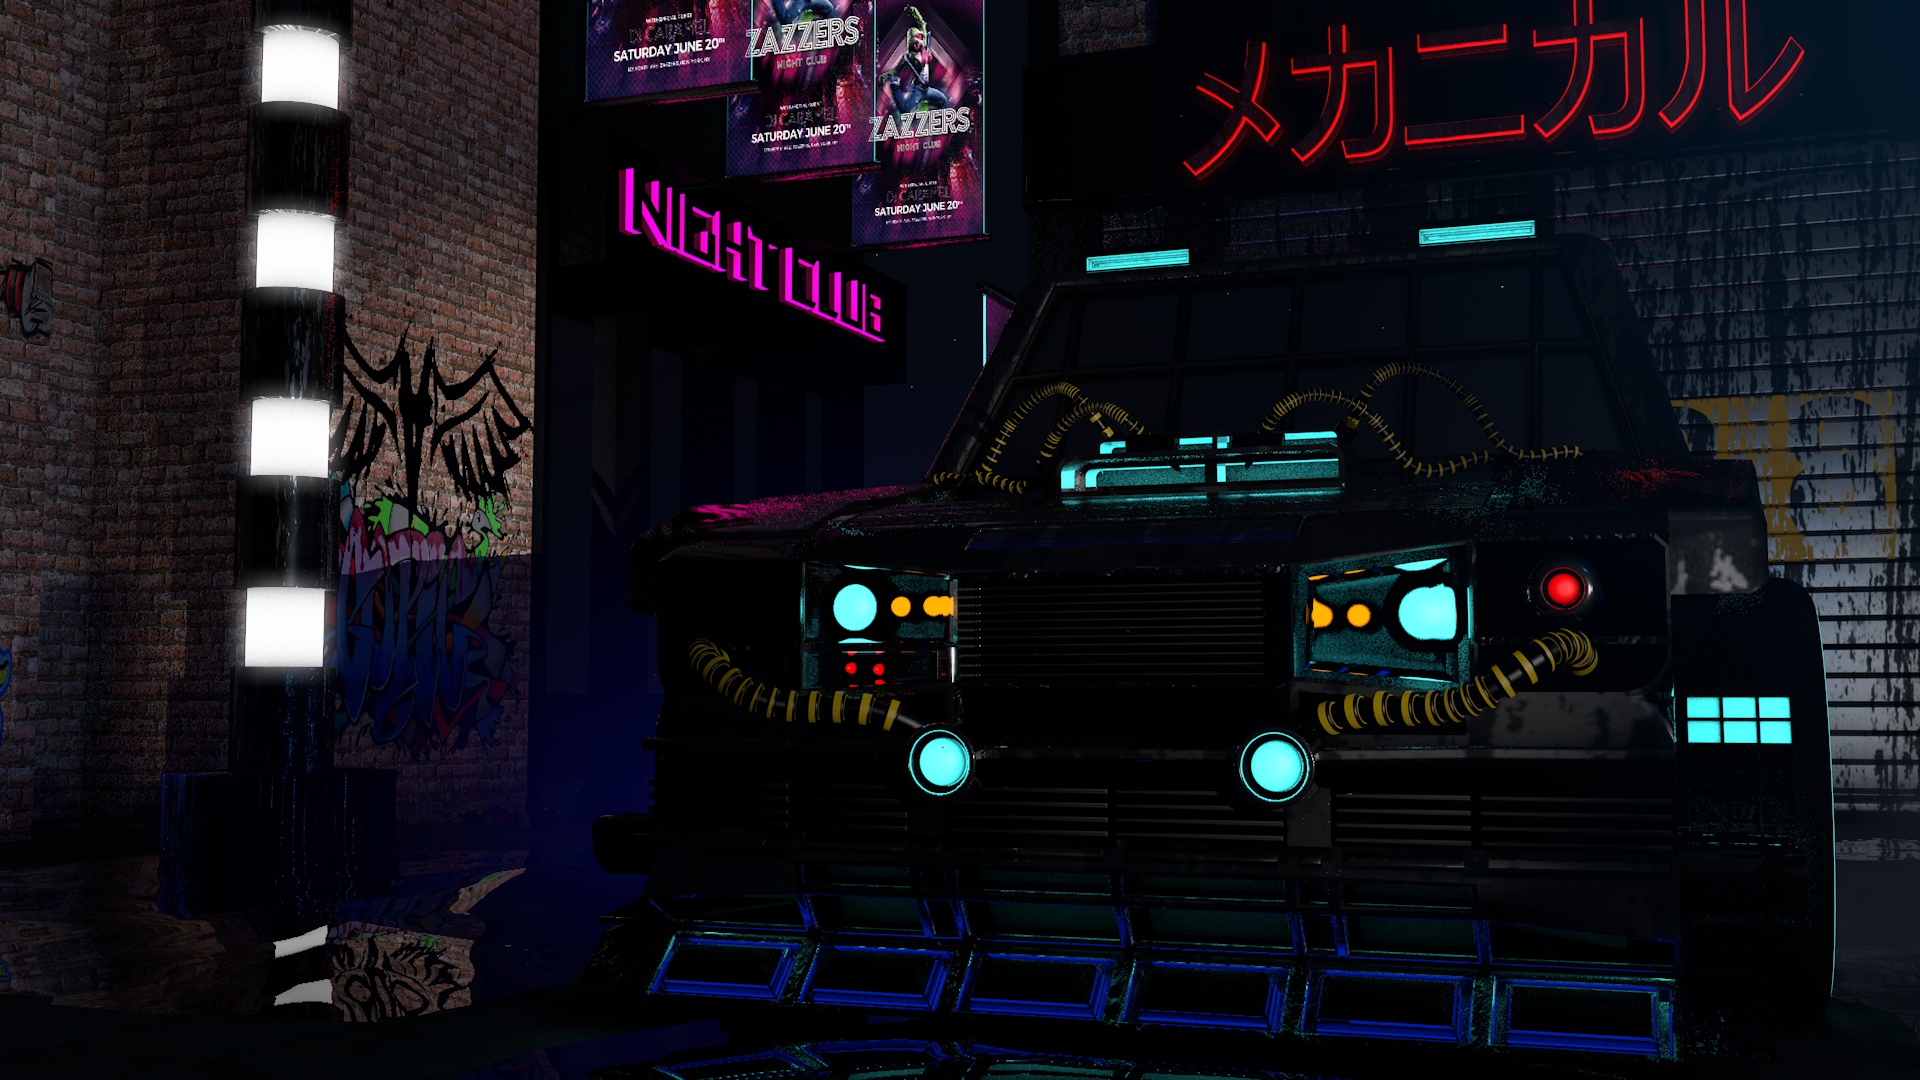
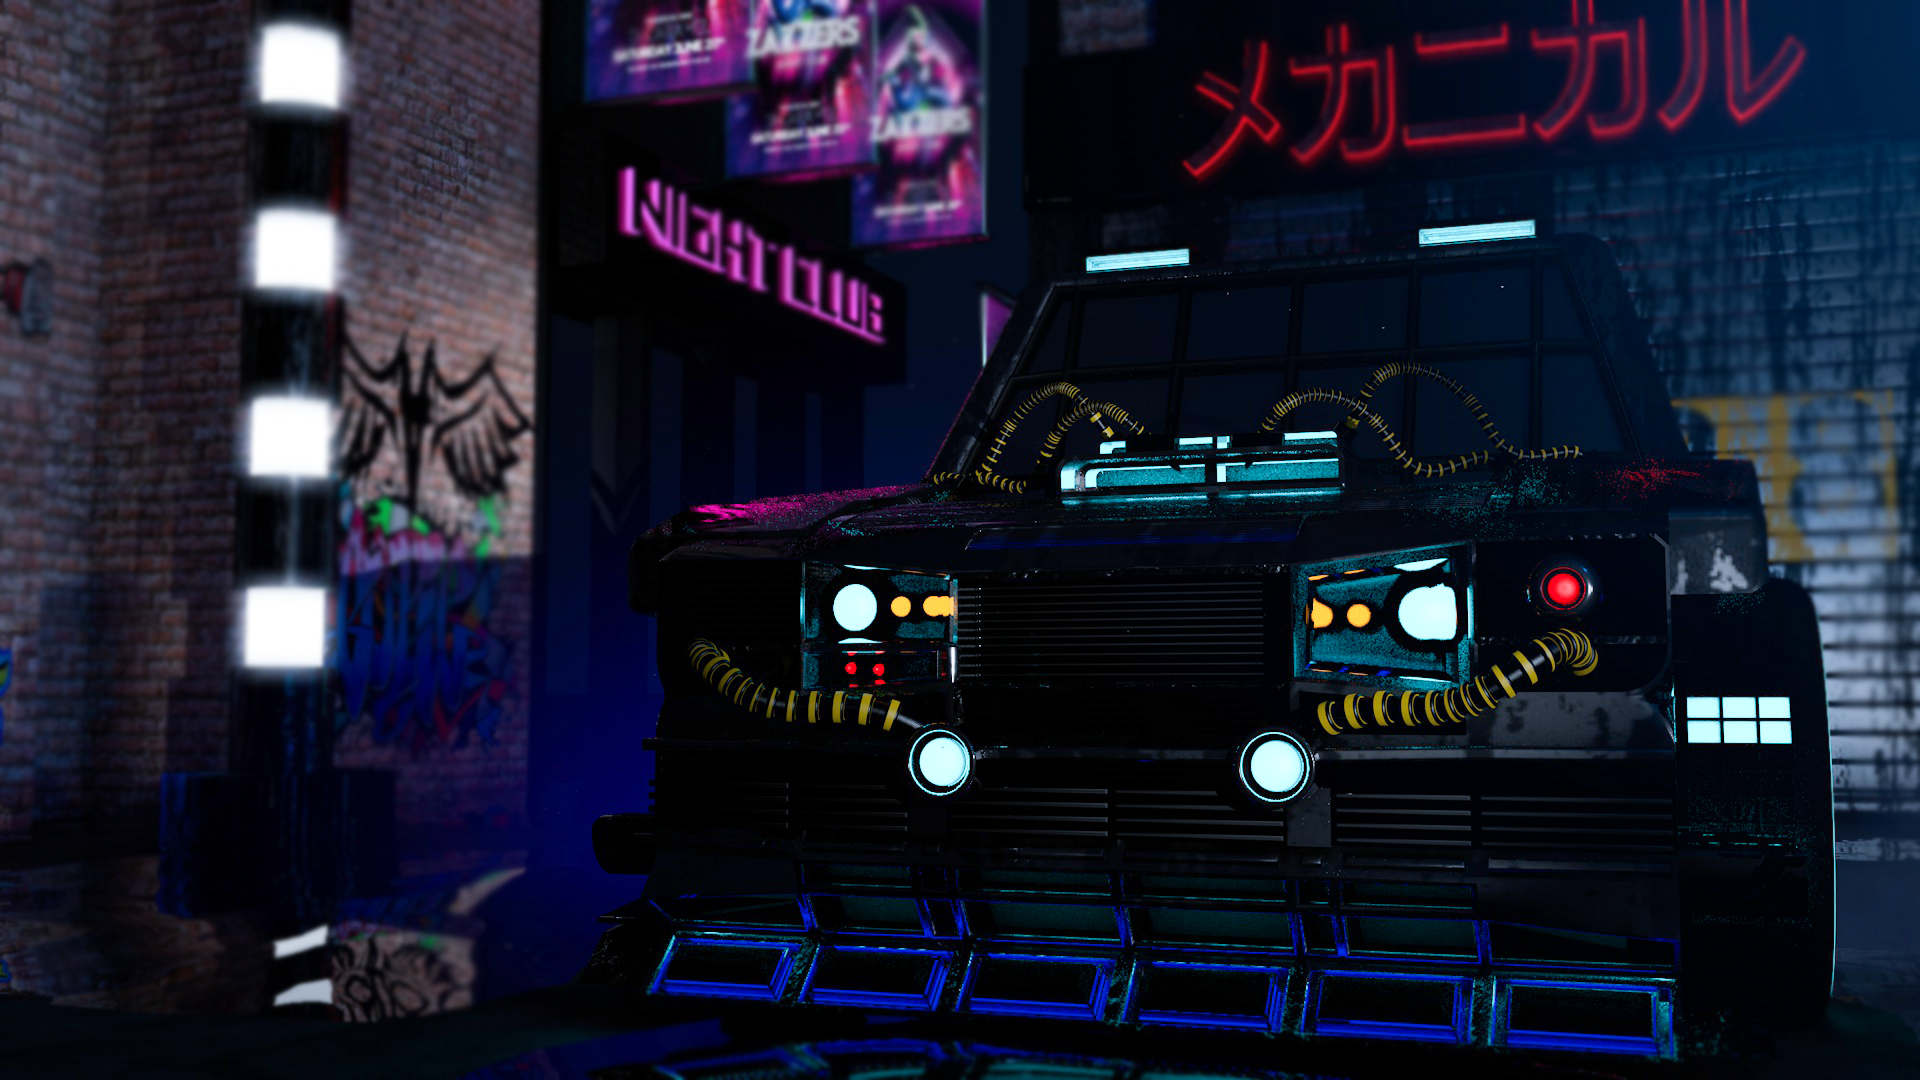
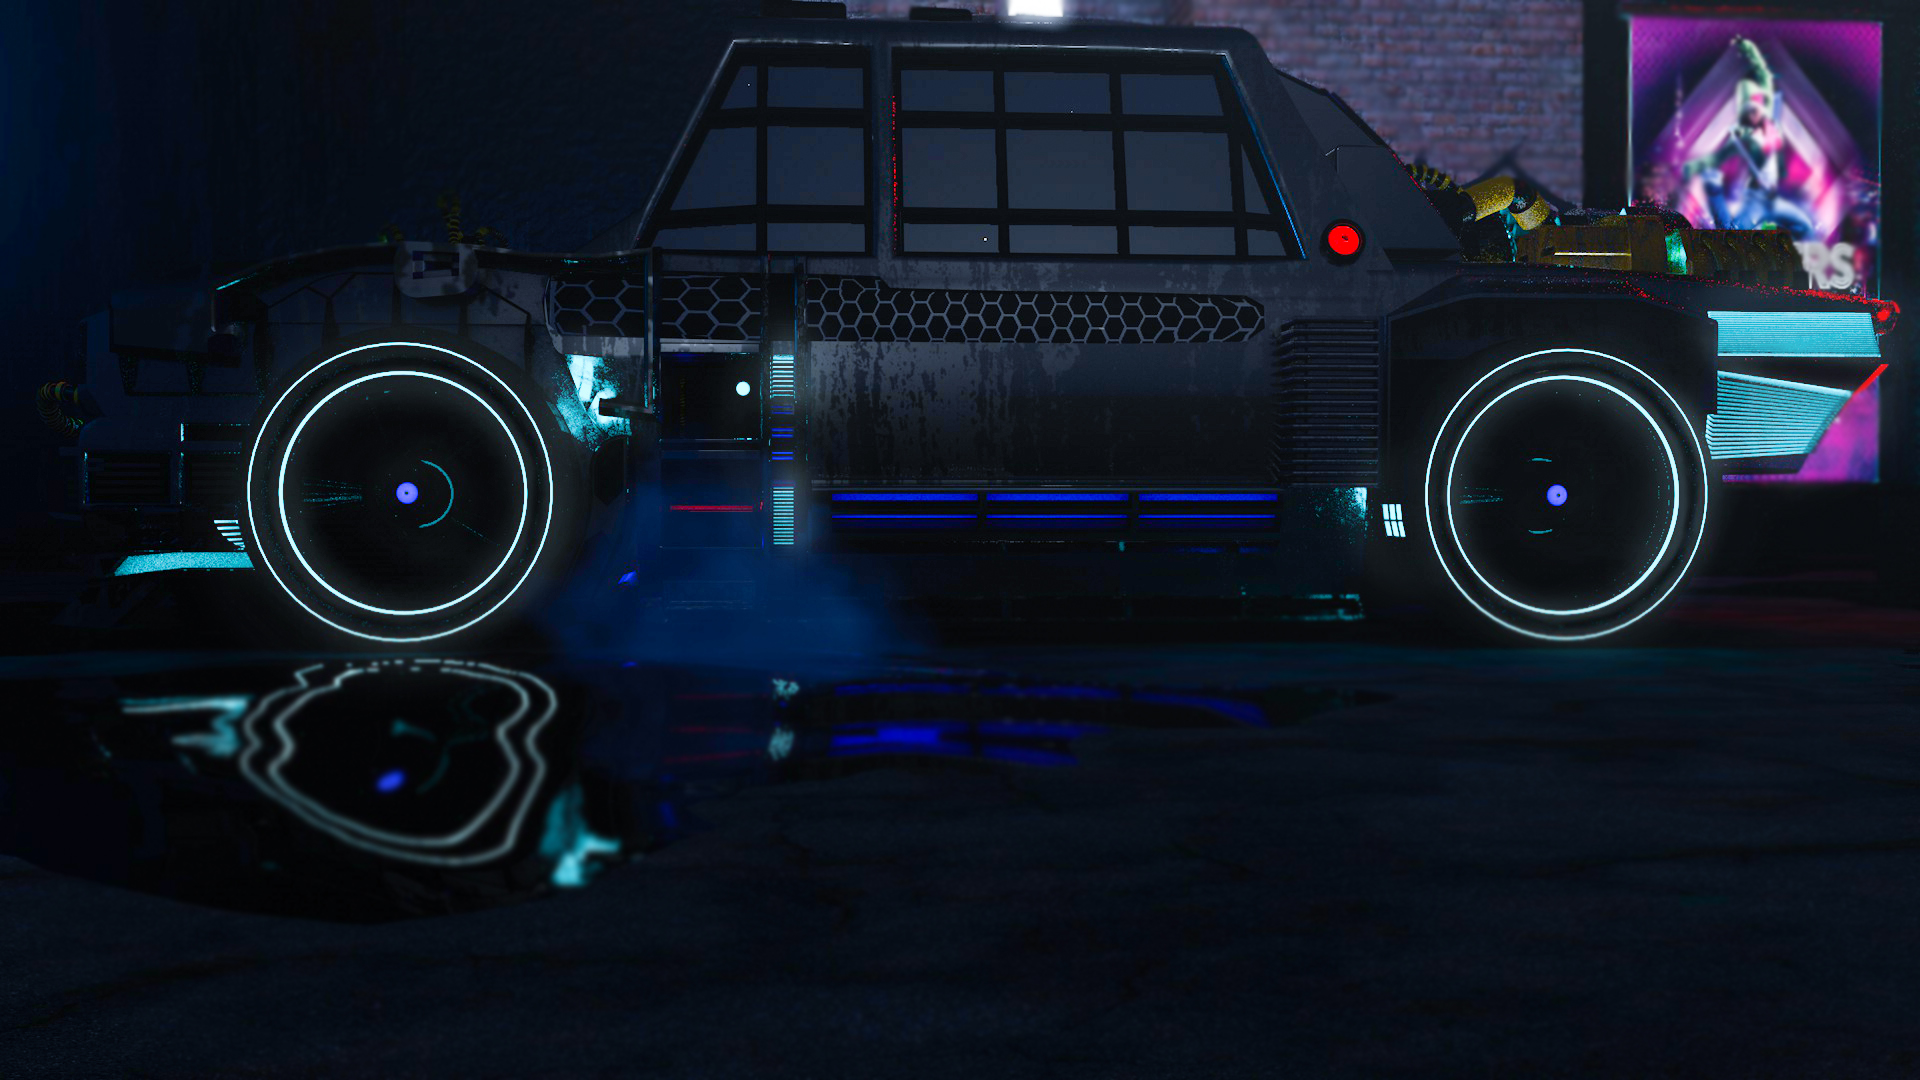
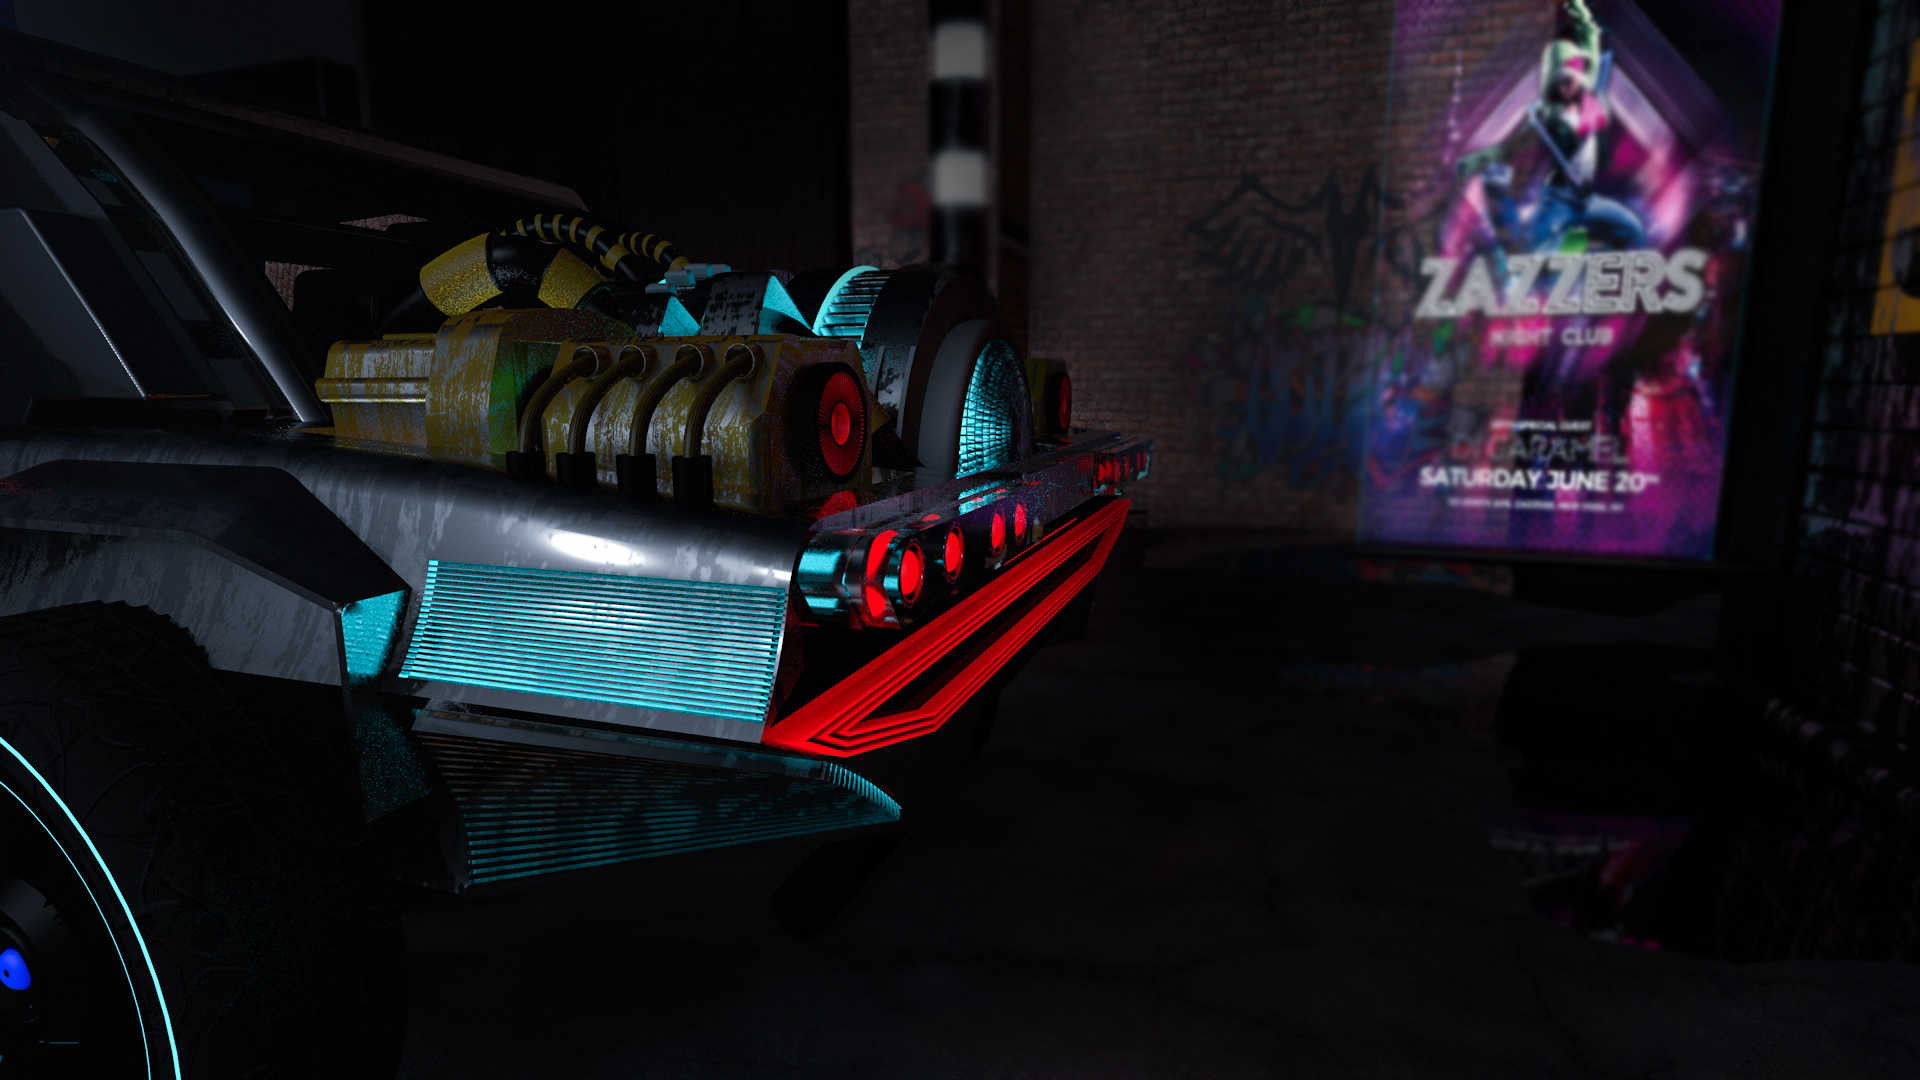
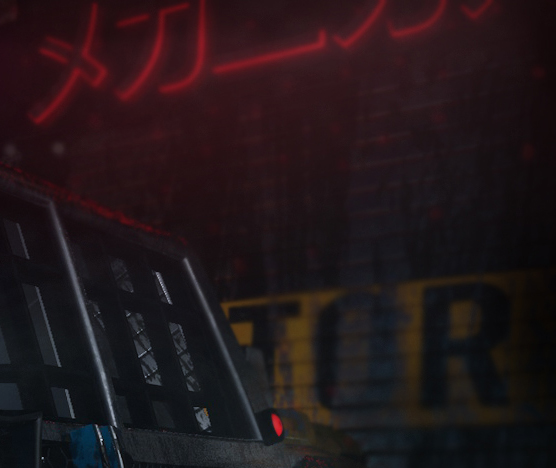
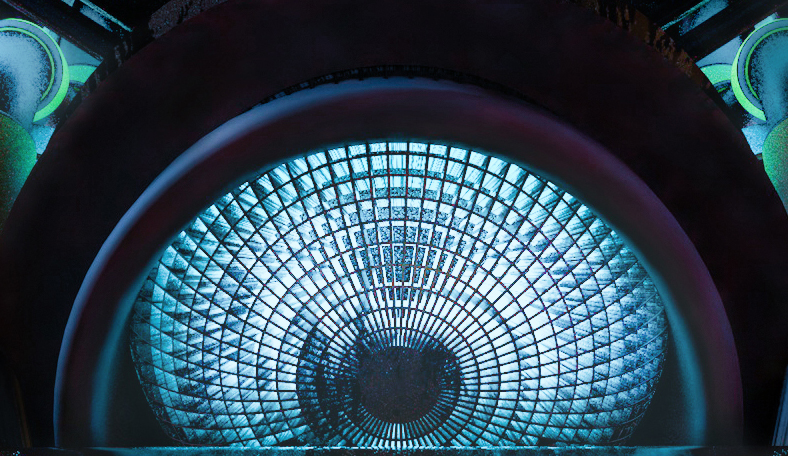
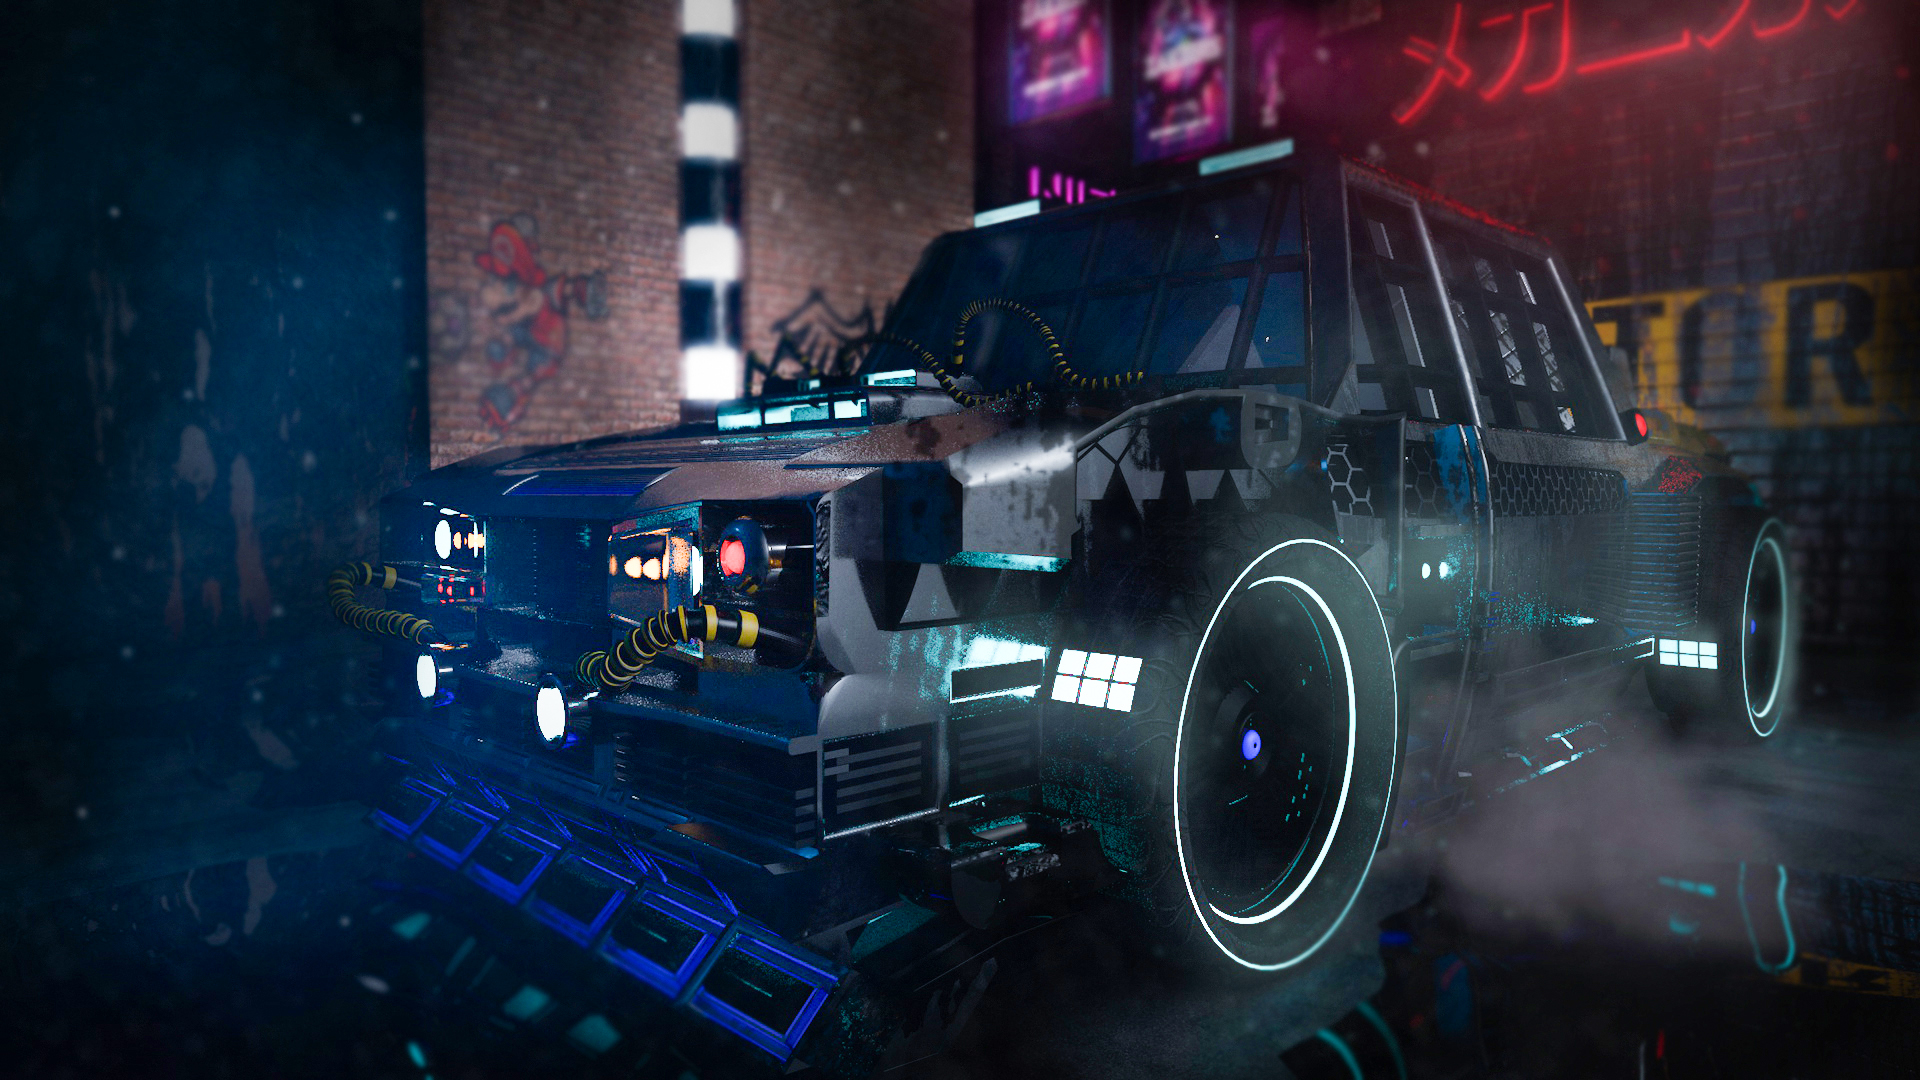
Once I had finished inserting the materials I created the setting, trying to recreate an alleyway that would blend in well with the type of vehicle created.
And after having inserted the materials also to the buildings and the luminous signs, adding also details like graffiti, stancils and puddles, I could finally start the renderings in high quality.
**STEP 4: Post-production.**
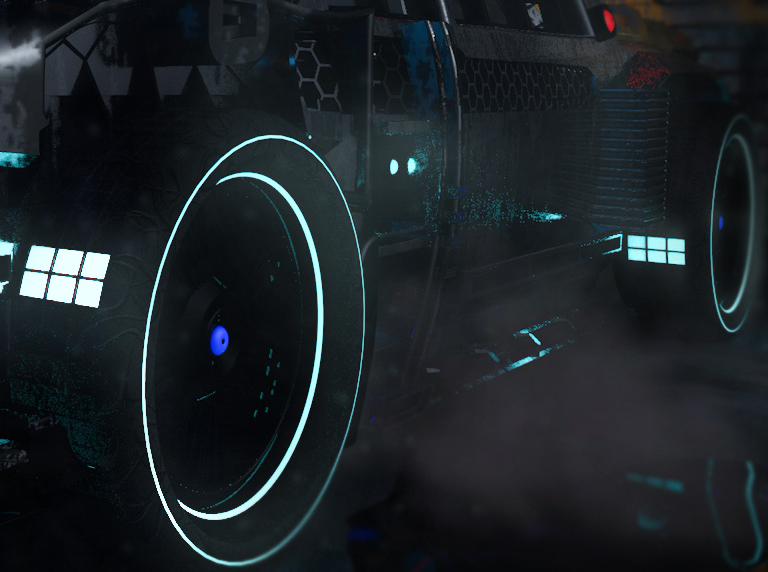
Obviously, as much as it is possible to manage the lights inside 4D cinemas, the basic result is not always as we imagined it, and this is where post production comes into play.
In fact I thought I could give the images an added value, inserting effects that with the modeling program can't be inserted: changes of colors, accentuation of tones and lights, addition of flashes and blurs.
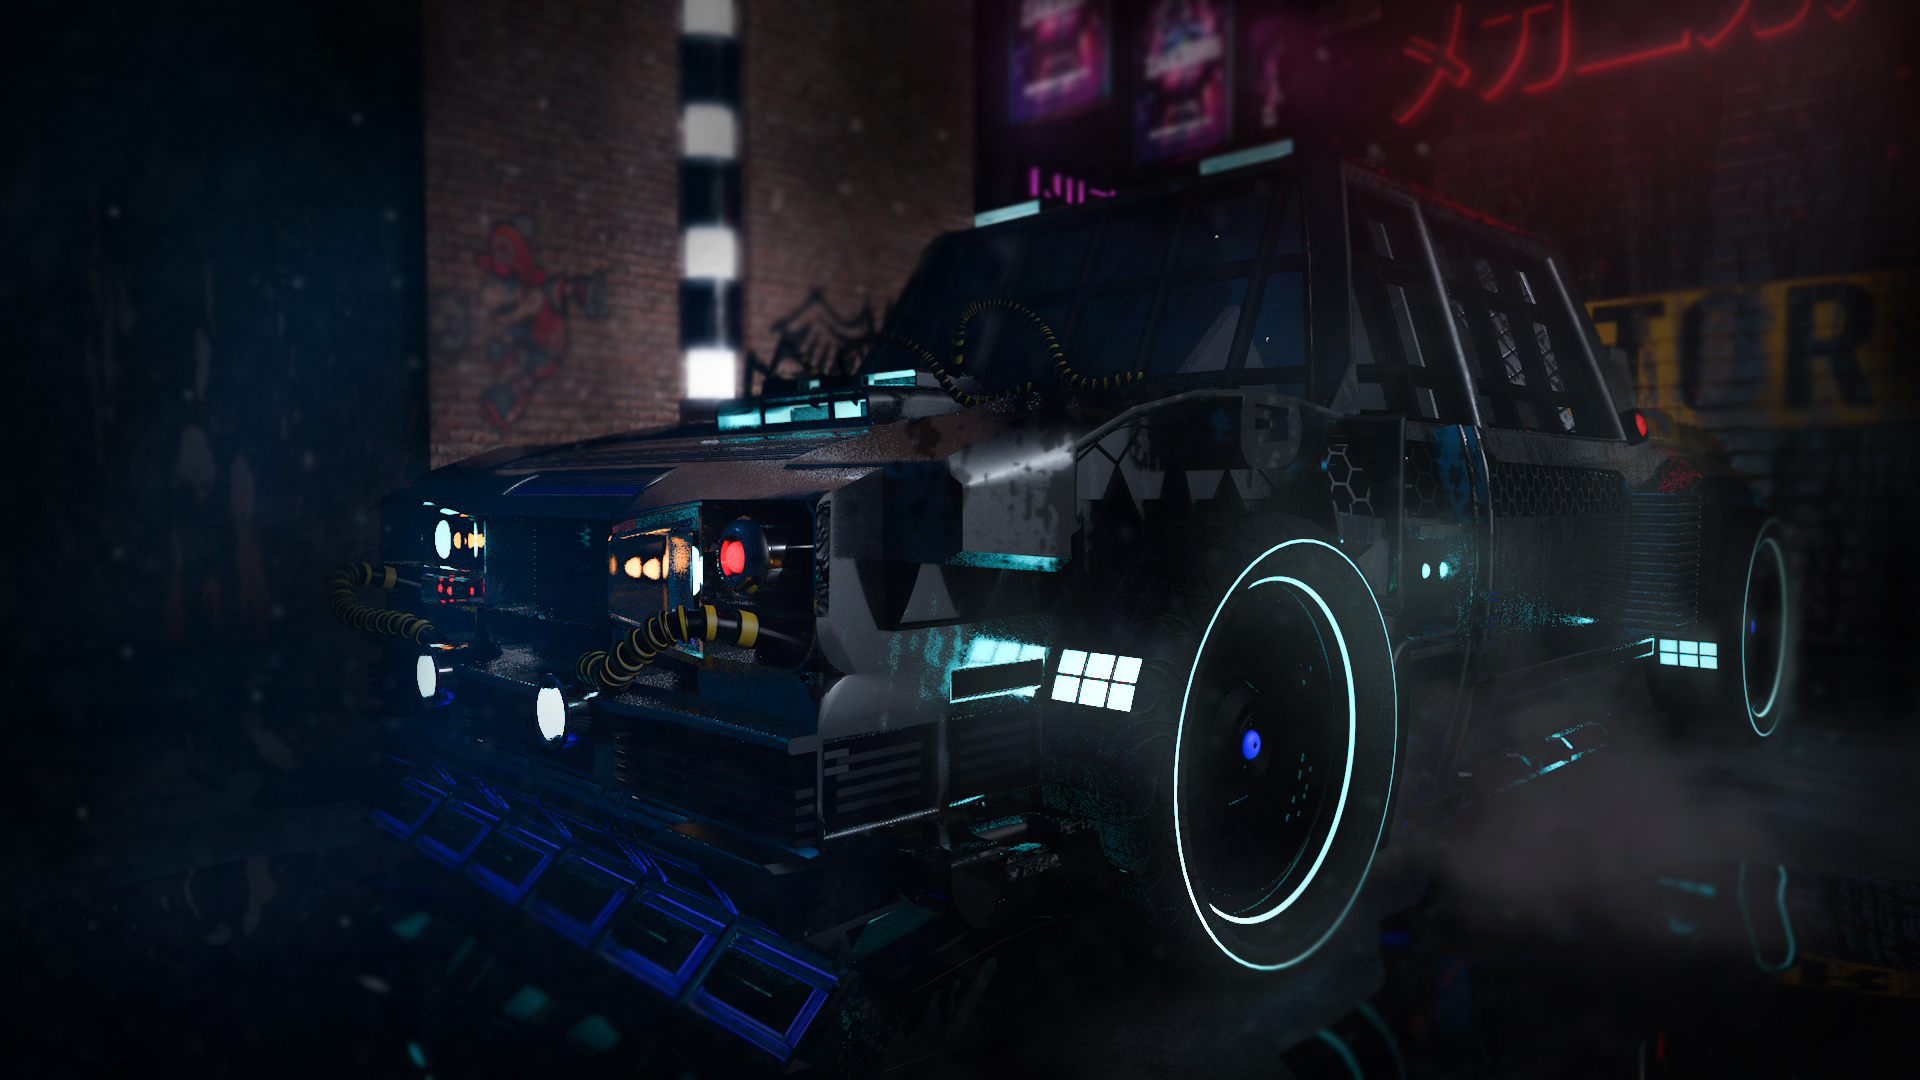
And here, after post-production, the scene acquires the maximum possible expressive force. It also becomes, in some cases, clearer and more readable.
---
# Macchina Ciberpunk
---
*Non accontentarti di vivere il presente, inizia ad immaginare il futuro. Un futuro dove ciò che oggi può solo essere immaginato prende forma, un futuro dove l'unico limite dell'uomo è la sua immaginazione, un futuro dove l'impossibile diventa possibile.*
Questo lavoro è nato come progetto d'esame, per il quale ci è stato richiesto di produrre una serie di elaborati: due dei quali realizzati attraverso le indicazione del professore, ed uno completamente libero. Non appena ci è stato comunicata tale notizia, la mia mente ha iniziato subito a viaggiare: potevo finalmente utilizzare le conoscienze che avevo acquisito senza alcun vincolo.
La realizzazione di questo progetto ha richiesto all'incirca un mese di lavoro, ed è stata distribuita in più fasi, utilizzando più programmi quali cinema 4D, illustrator e photoshop.
**FASE 1: modellazione**
Innanzi tutto la prima cosa da fare è realizzare lo "scheletro", ovvero la forma base dell'oggetto che si intende creare. Tutto ciò sia per una questione di ordine sia per facilitare l'immaginazione.
In questo particolare progetto ho creato lo scheletro partendo da tre forme di base: una per la parte anteriore, una per quella centrale e una per la parte posteriore.

La parte anteriore è stata la prima che ho iniziato a modellare, utilizzando strumenti quali l'estrusione e lo smusso ed aggiungendo componenti create a partire da altre forme di base, lì dove gli strumenti di modellazione non potevano agire nel modo desiderato ( esempio: i parafanghi).

Successivamente ho iniziato la modellazione dell'abitacolo, utilizzando lo stesso metodo riportato sopra.

Dopo aver terminato la struttura di base ho iniziato ad aggiungere i dettagli, ovviamente su un veicolo stile ciberpunk la quantità di particolari è molto importante, difatti più se ne inseriscono più la macchina diventa particolare ed unica.

Dai dettagli sul cofano a quelli sul muso, le ruote, le portelle e così via. Più cose aggiungevo più ne volevo aggiungere. Ho inserito luci, tubi, parafanghi e parti rinforzate, speroni, neon, sensori, perfino un reattore posizionato nella parte posteriore.
**FASE 2: l'inserimento dei materiali**
Una volta terminata la modellazione mi sono focalizzato sui materiali: ne ho creati tanti e con molte caratteristiche diverse tra loro, per ogni singolo materiale ho provato e riprovato diverse soluzioni, cercando sempre di ottenere l'effetto più realistico possibile.

Ho inserito metalli, effetti di ruggine, plastiche, luci, neon, griglie in carbonio ecc...
Ho continuato a provare finchè non sono riuscito ad ottenere ciò che immaginavo.
Ho utlizzato materiali pre-impostati e poi modificati manualmente, ma anche texture prese da internet o realizzate attraverso programmi quali Photoshop ed Illustrator.
**FASE 3: Ambientazione e render**
Una volta terminato l'inserimento dei materiali Ho realizzato l'ambientazione, cercando di ricreare un vicolo che si sposasse bene con il tipo di veicolo creato.
E dopo aver provveduto ad inserire i materiali anche ai palazzi ed alle insegne luminose, aggiungendo anche particolari come graffiti, stancil e pozzanghere, ho potuto finalmente iniziare i render in alta qualità.


**FASE 4: Post-produzione.**
Ovviamente per quanto sia possibile gestire le luci all'interno di cinema 4D, non sempre il risultato di base è come ce lo eravamo immaginato, ed è qui che entra in gioco la post produzione.
Ho infatti ritenuto di poter conferire alle immagini un valore aggiunto, inserendo effetti che con il programma di modellazione non possono essere inseriti: cambi di cromie, accentuazione dei toni e delle luci, aggiunta di bagliori e sfocature.


Ed ecco che, dopo la post-produzione, la scena acquista la massima forza espressiva possibile. Diventando anche, in alcuni casi, più chiara e leggibile.


