FULL ENGLISH VERSION
*** ***Este post está en Inglés y Español. Puedes ir a la versión en Español haciendo Clic [AQUI](#spanish)***
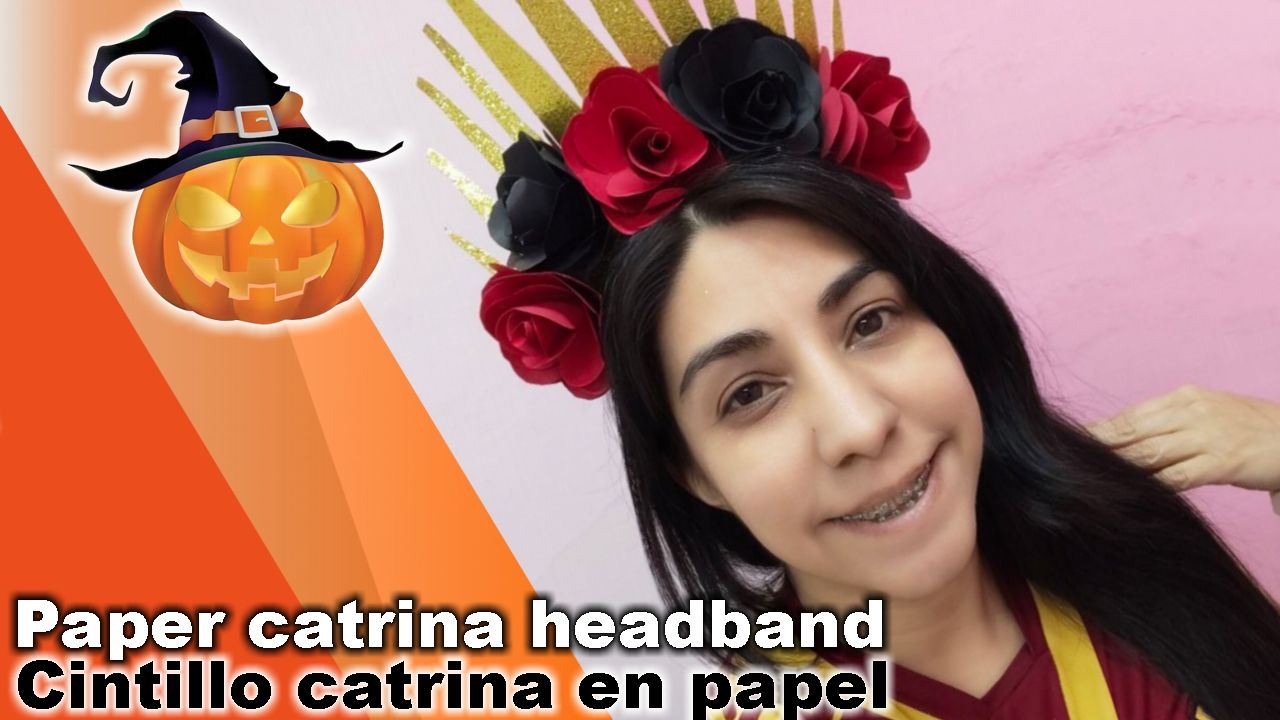
**Welcome to my blog, today I bring you a beautiful headband made with paper.**
***
Hello beautiful people of HIVE and this beautiful community of stationery art lovers, here I publish a small step by step of a Catrina style headband made with paper to join the halloween initiative #PaperCraftHalloween.
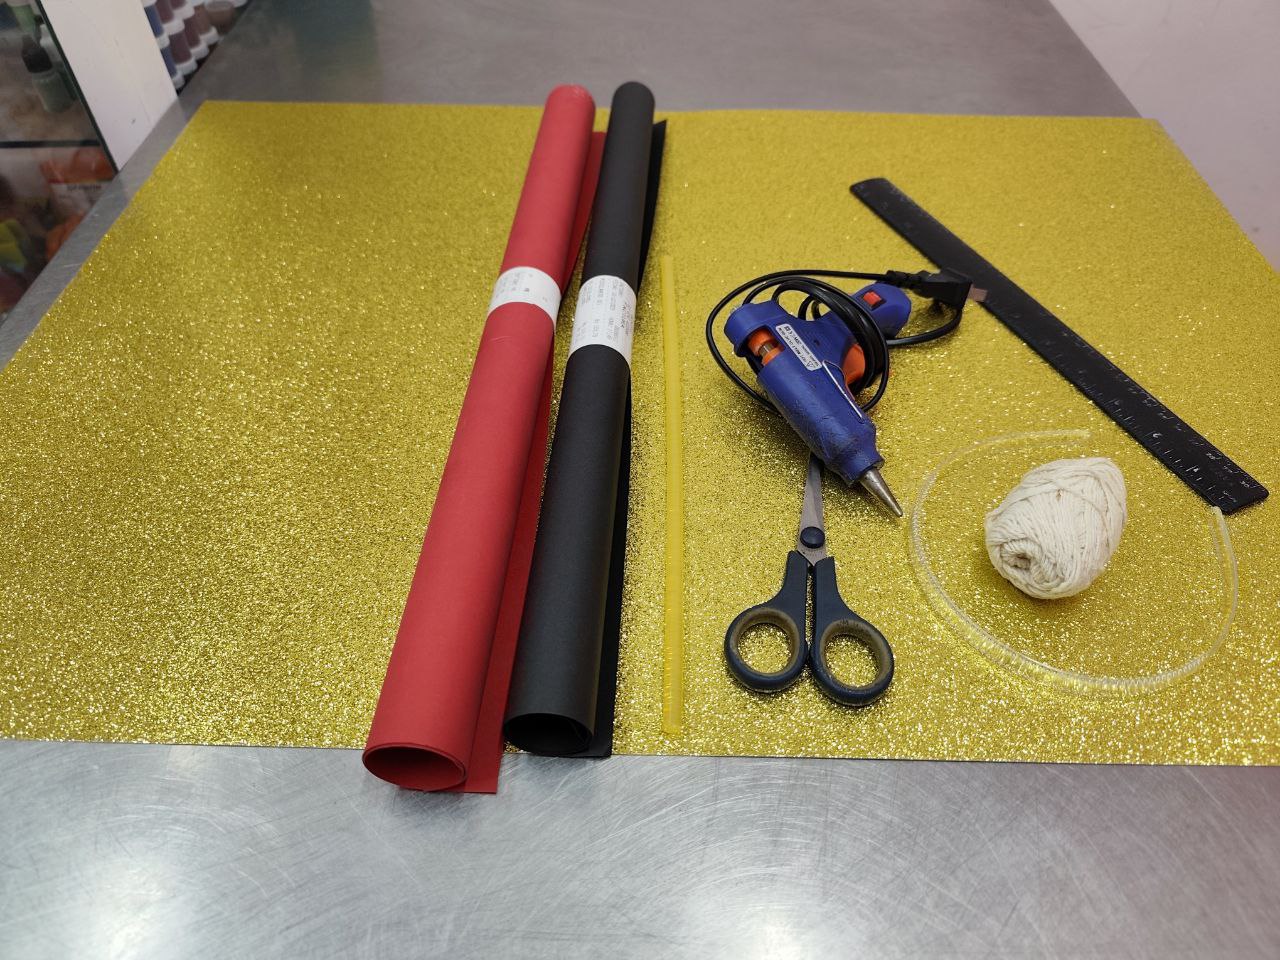
**The materials I used were:**
* red and black school cardboard.
* red and black school cardboard.
* Thick gold frosted cardboard.
* Scissors.
* Ruler.
* A ribbon (option: use thread or ribbon in case you don't have a ribbon).
* Silicone and silicone gun.
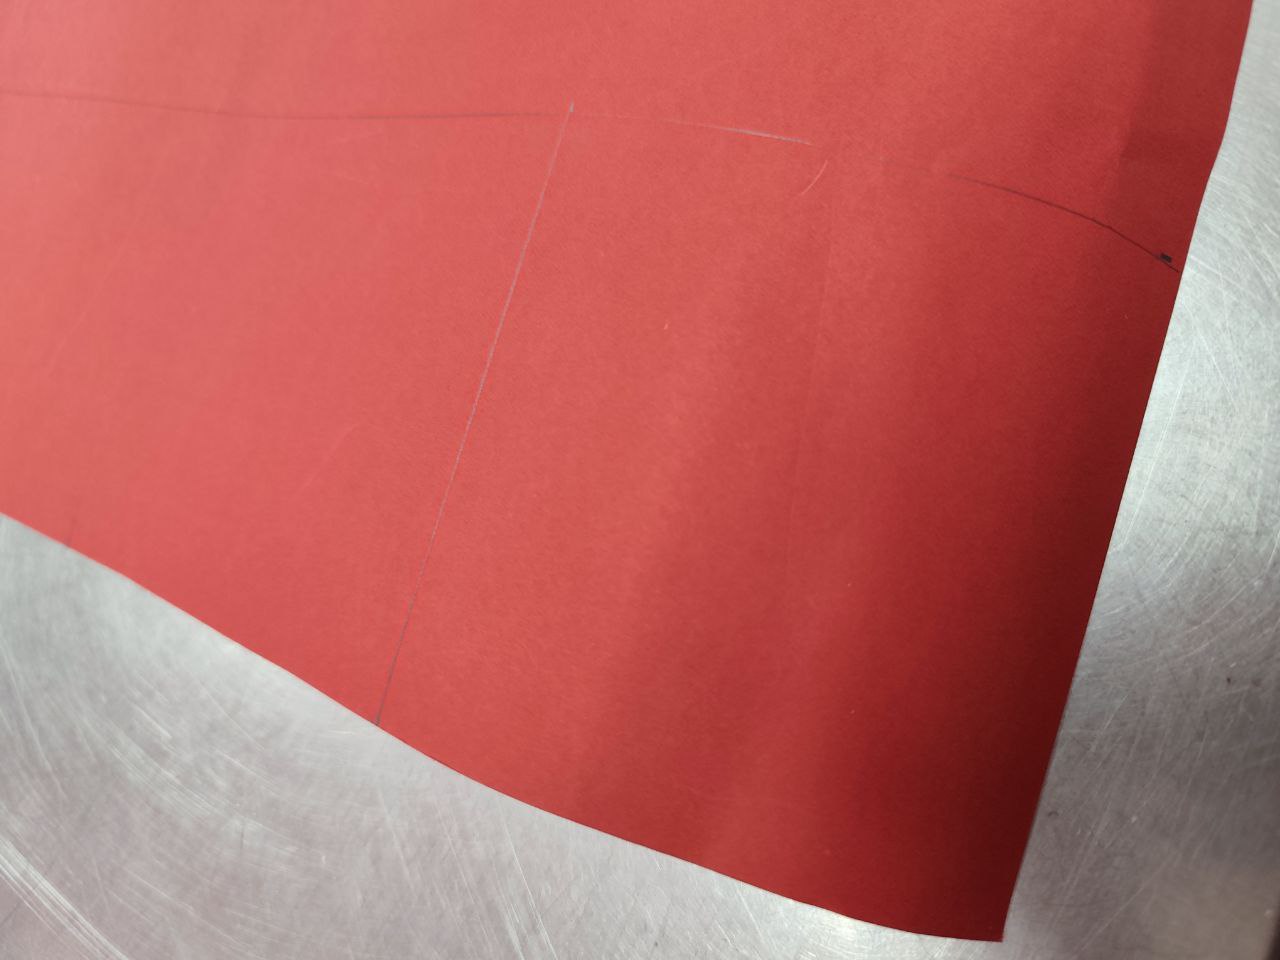
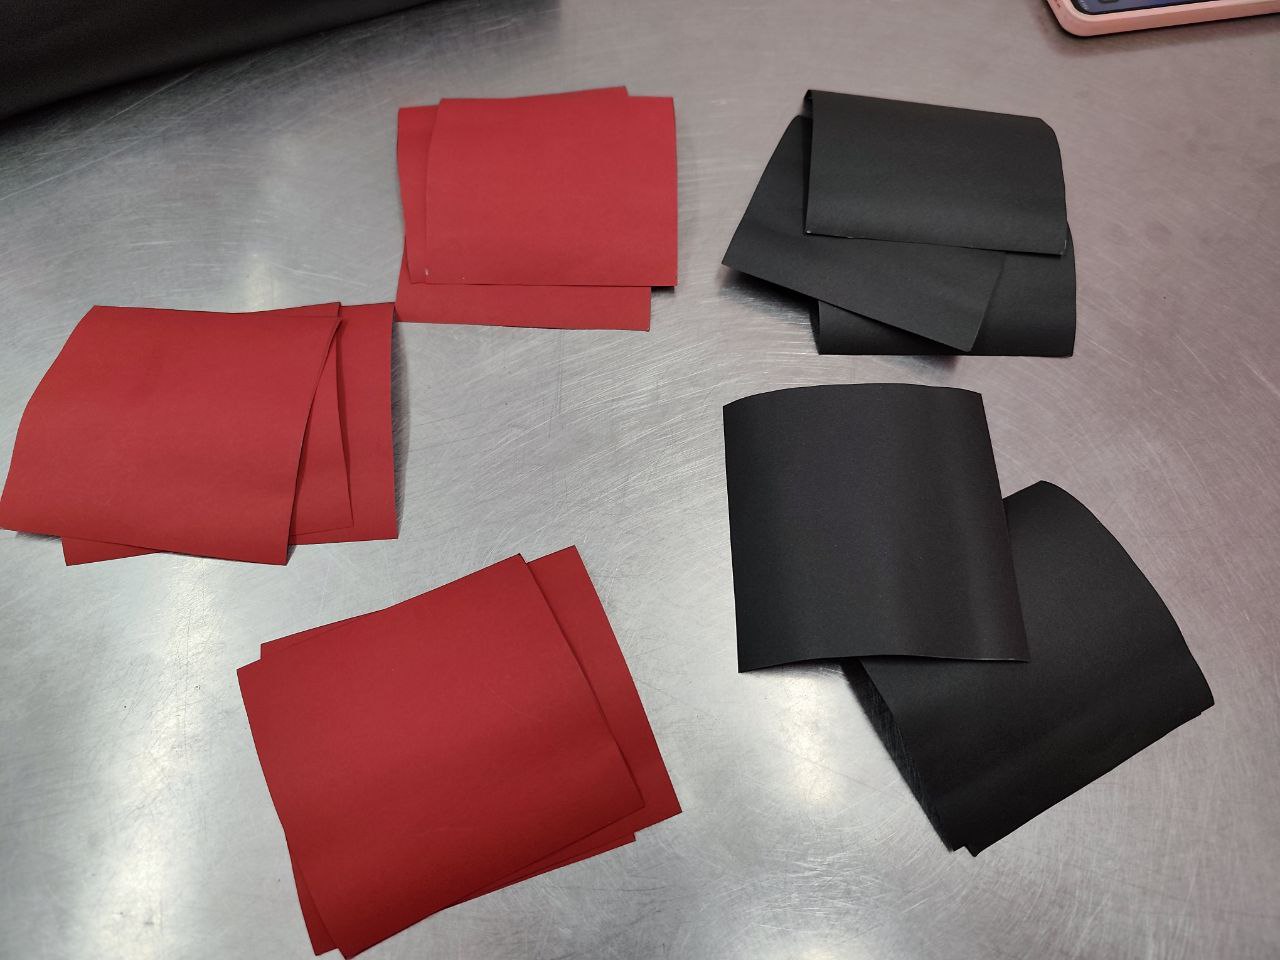
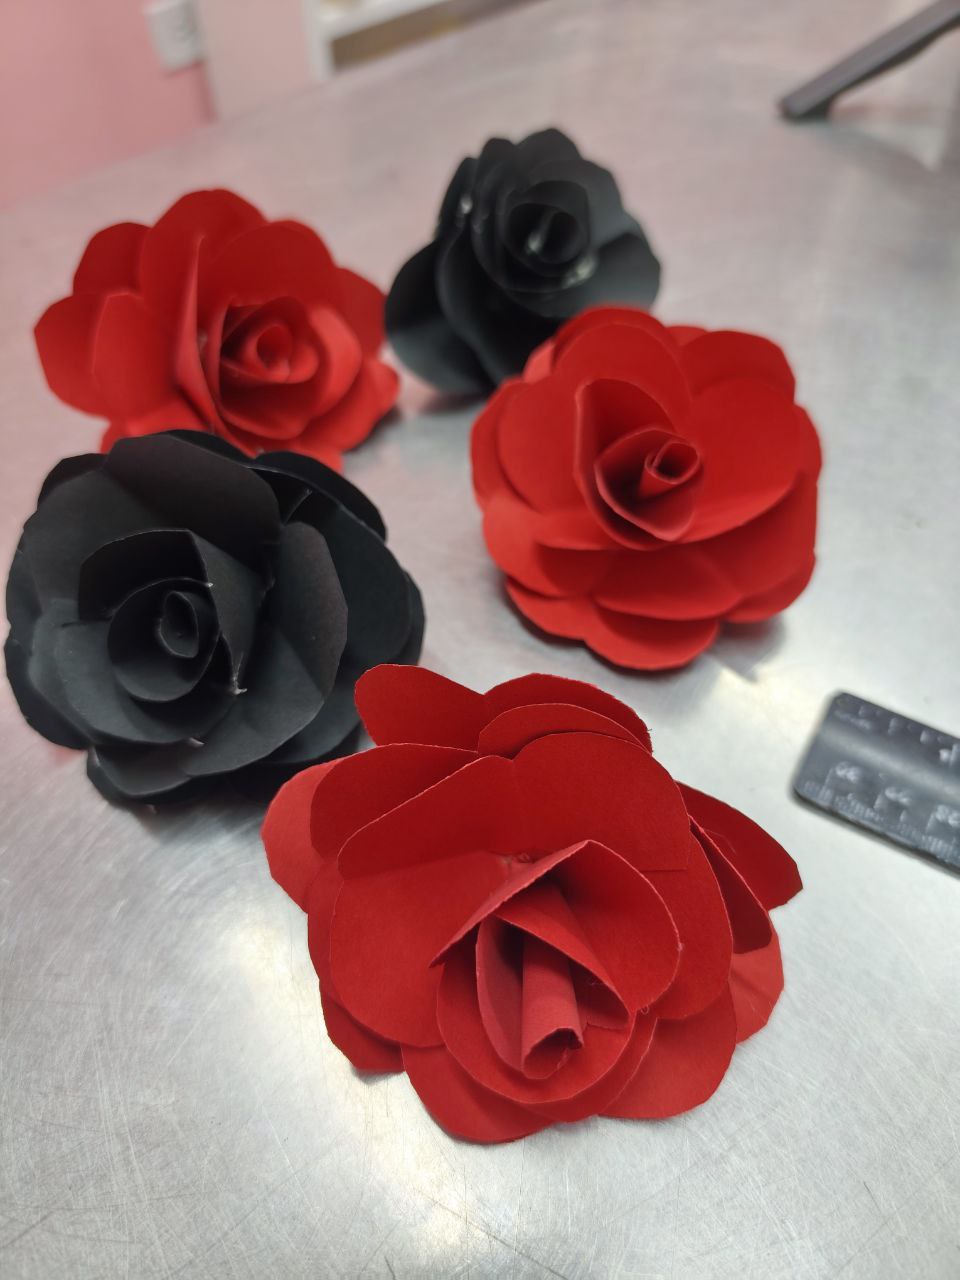
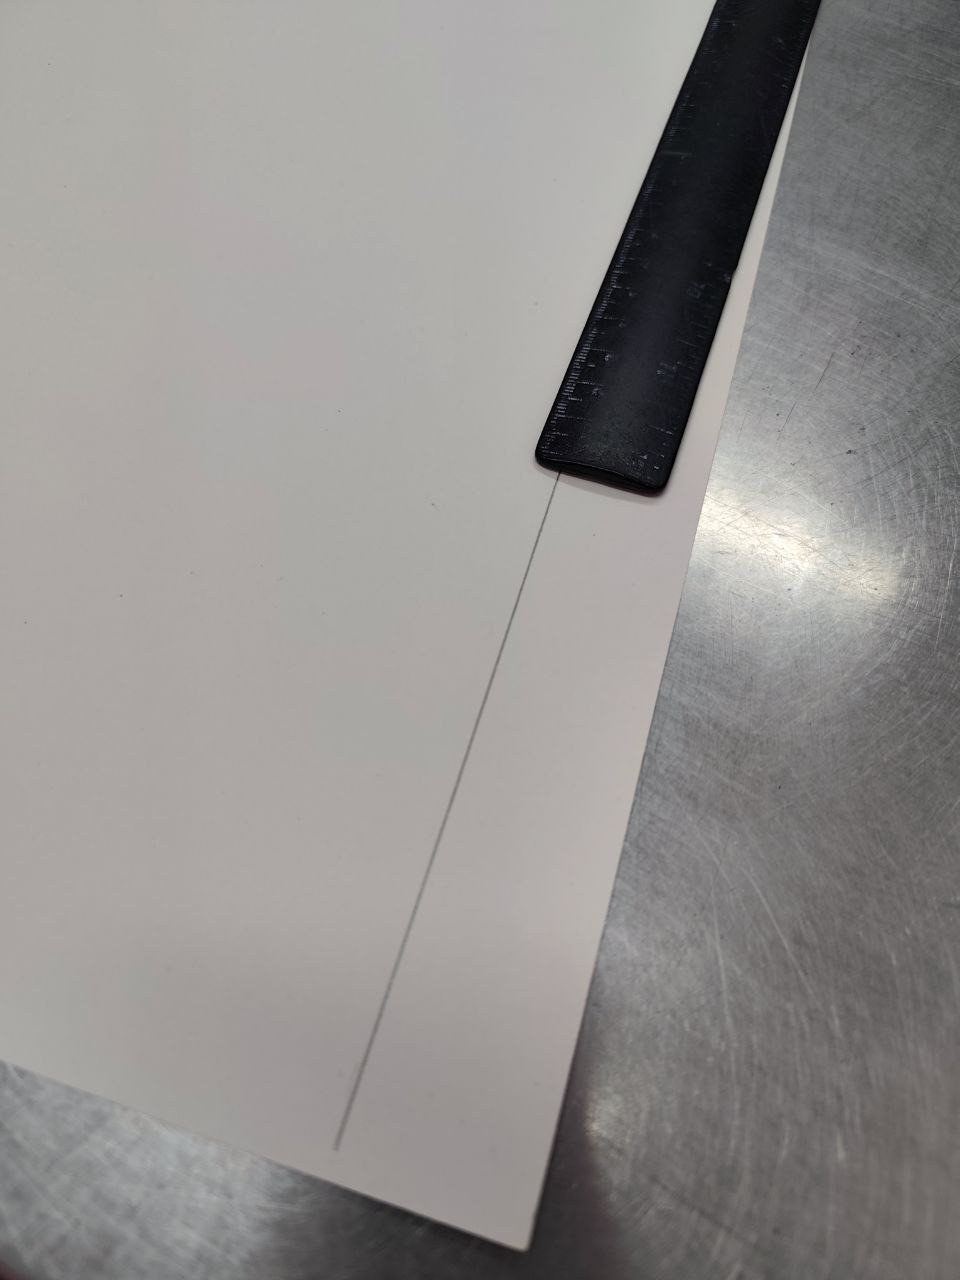
The first thing I did was to mark on the paper in squares of 10x10 cm. Then I cut out 3 squares for each flower I wanted to make, a total of 9 red squares and 6 black squares, so that I could make 5 flowers, 3 red and 2 black.
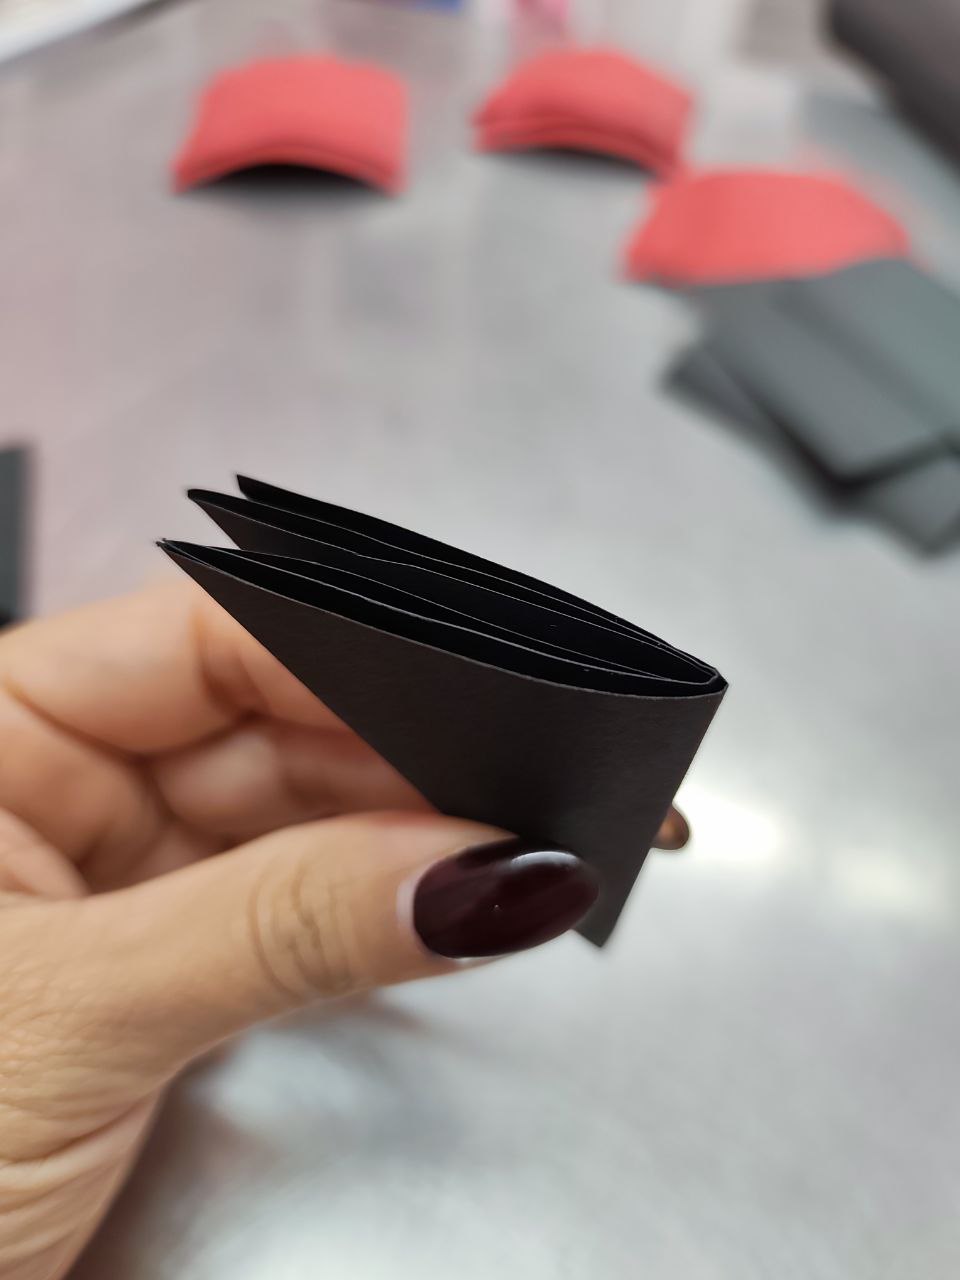
Then I folded 3 times in half in the shape of a triangle until I got a small triangle. As you can see in the following picture, first a triangle with half of the square, after that I folded it in half again and repeated a third time until I got a small triangle.

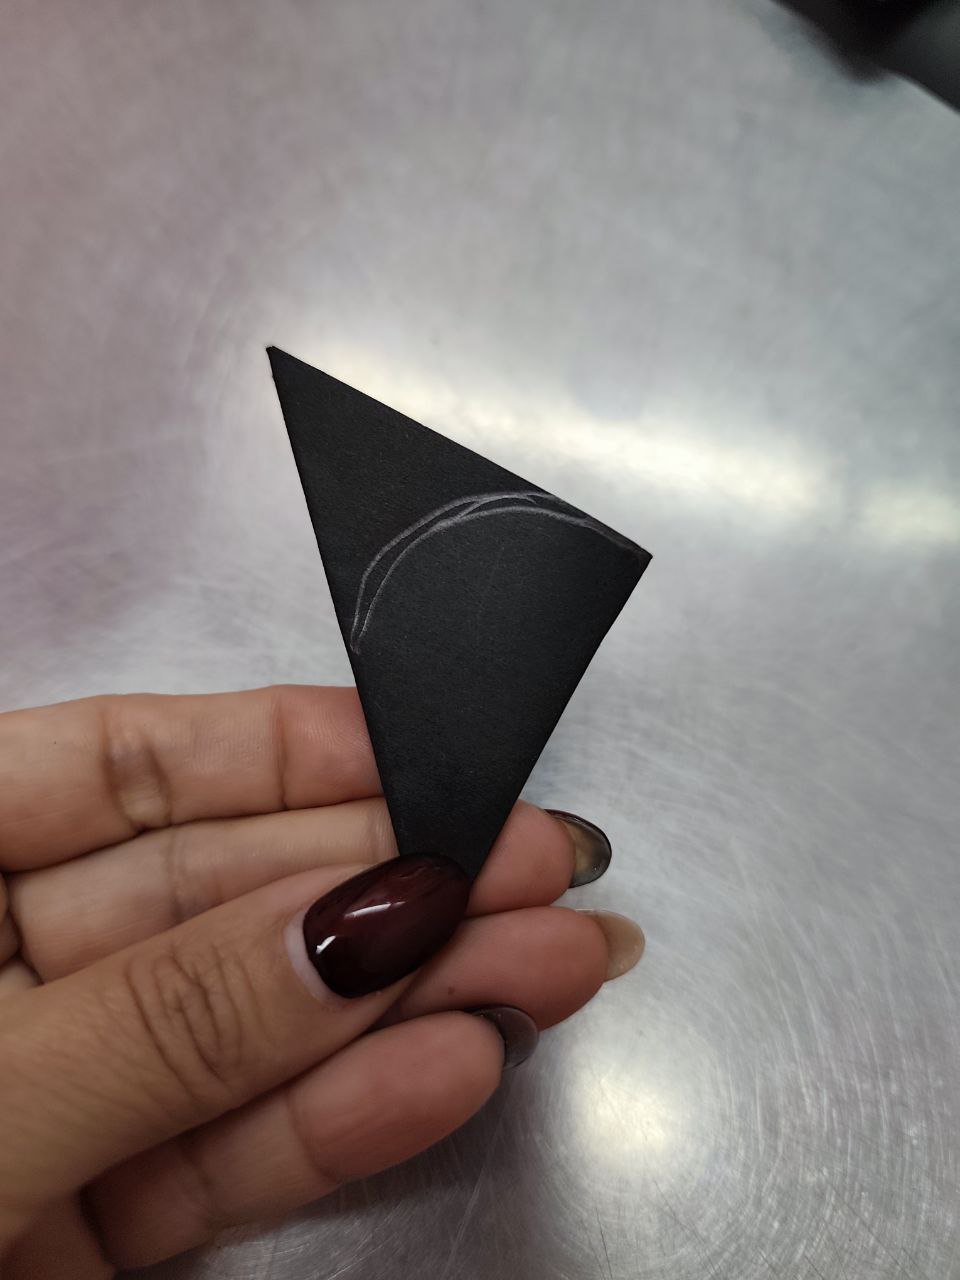
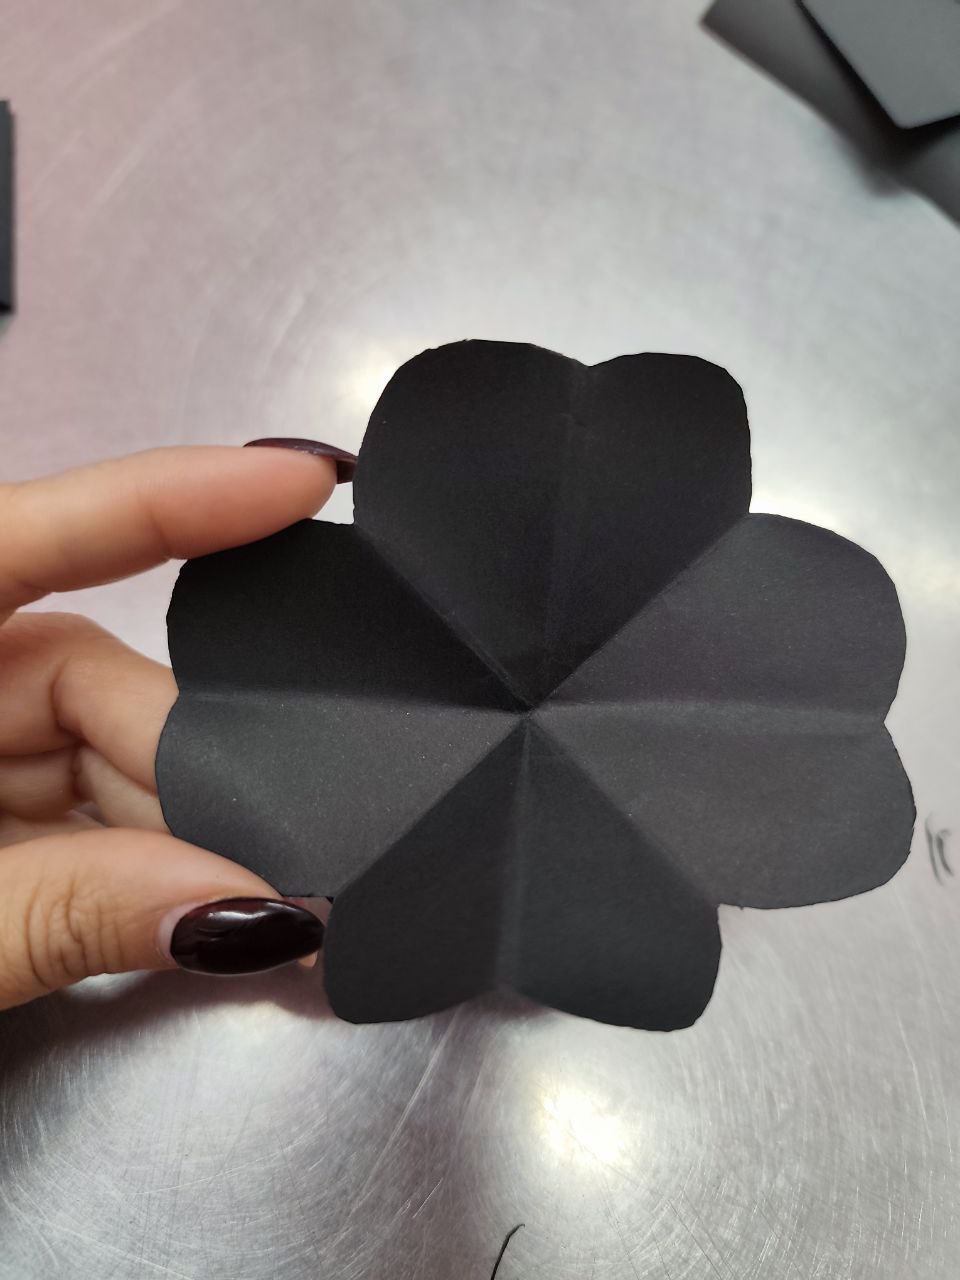
Once I had the small triangle I made a mark in the shape of a half moon and cut to give the shape to the petals, leaving me the following cut.
||||
|-|-|-|
|||
|-|-|
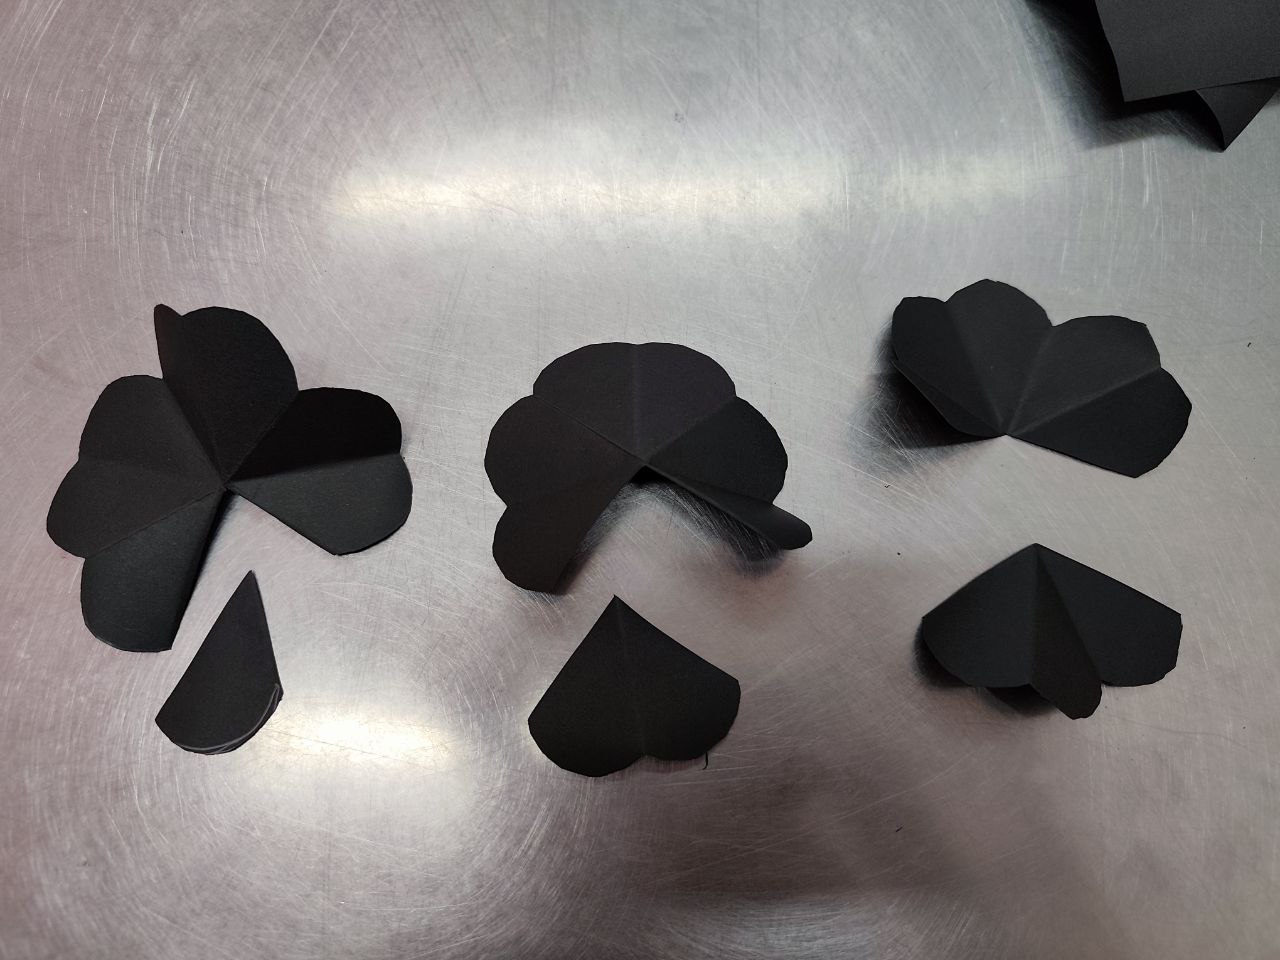
Then I cut out the 3 parts in the following way, in one I cut out one petal, in another two and in the third three, leaving the cuts as you can see in the following photo.
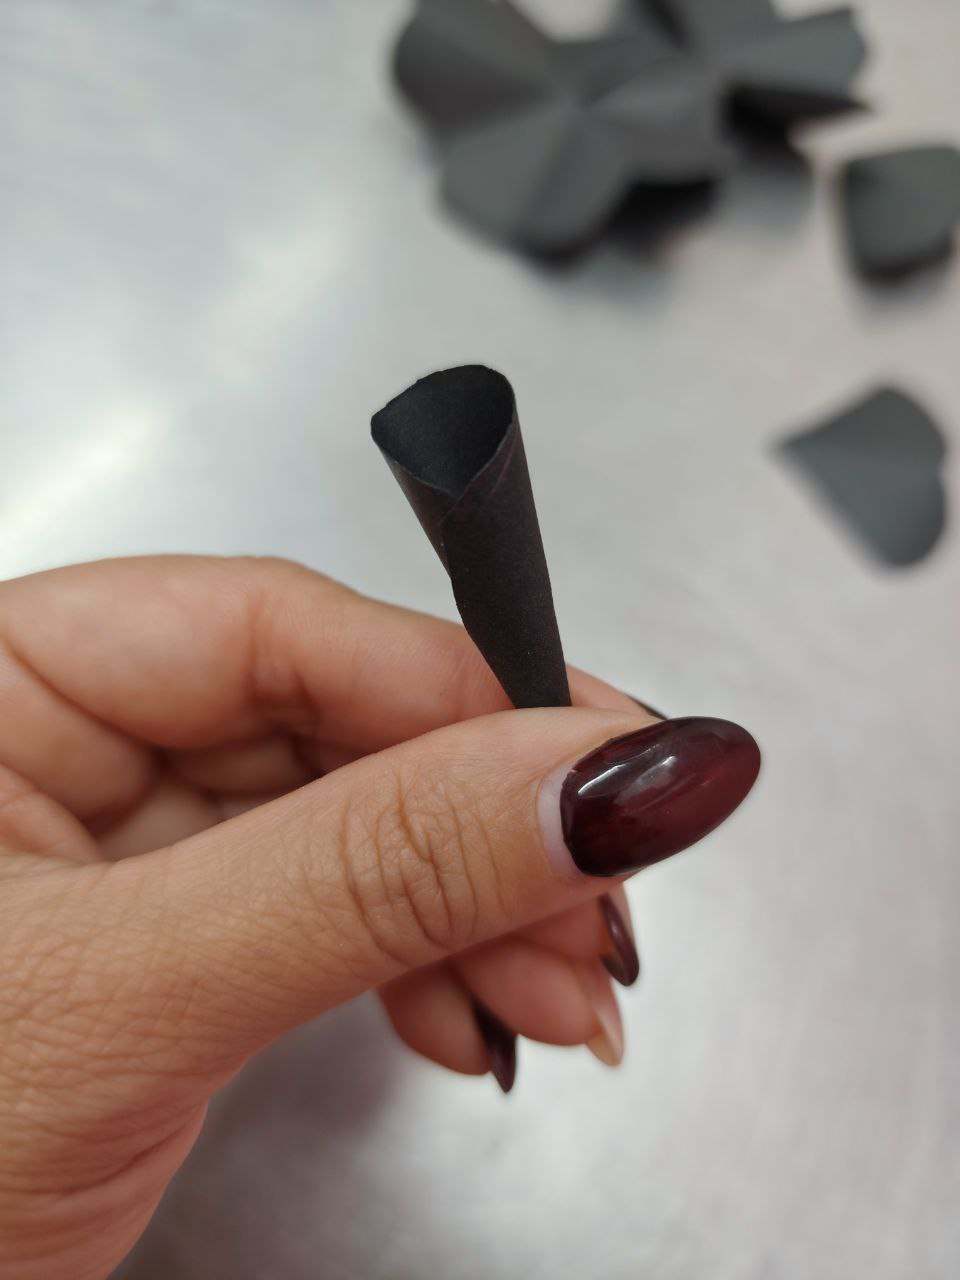
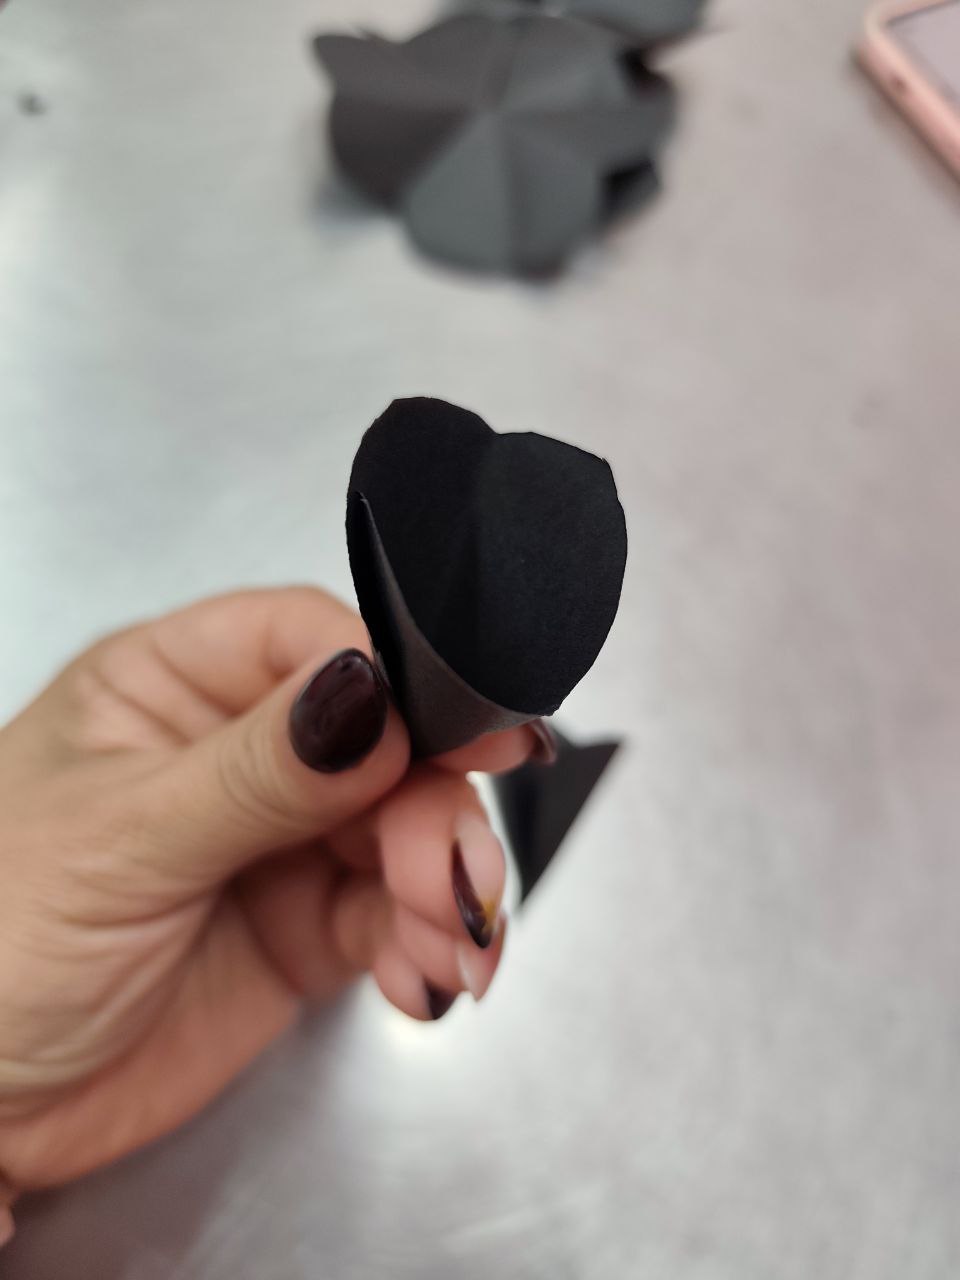
Then I proceeded to glue the petals. Each part is joined at each end by gluing along the edges.
||||
| - | - | - |
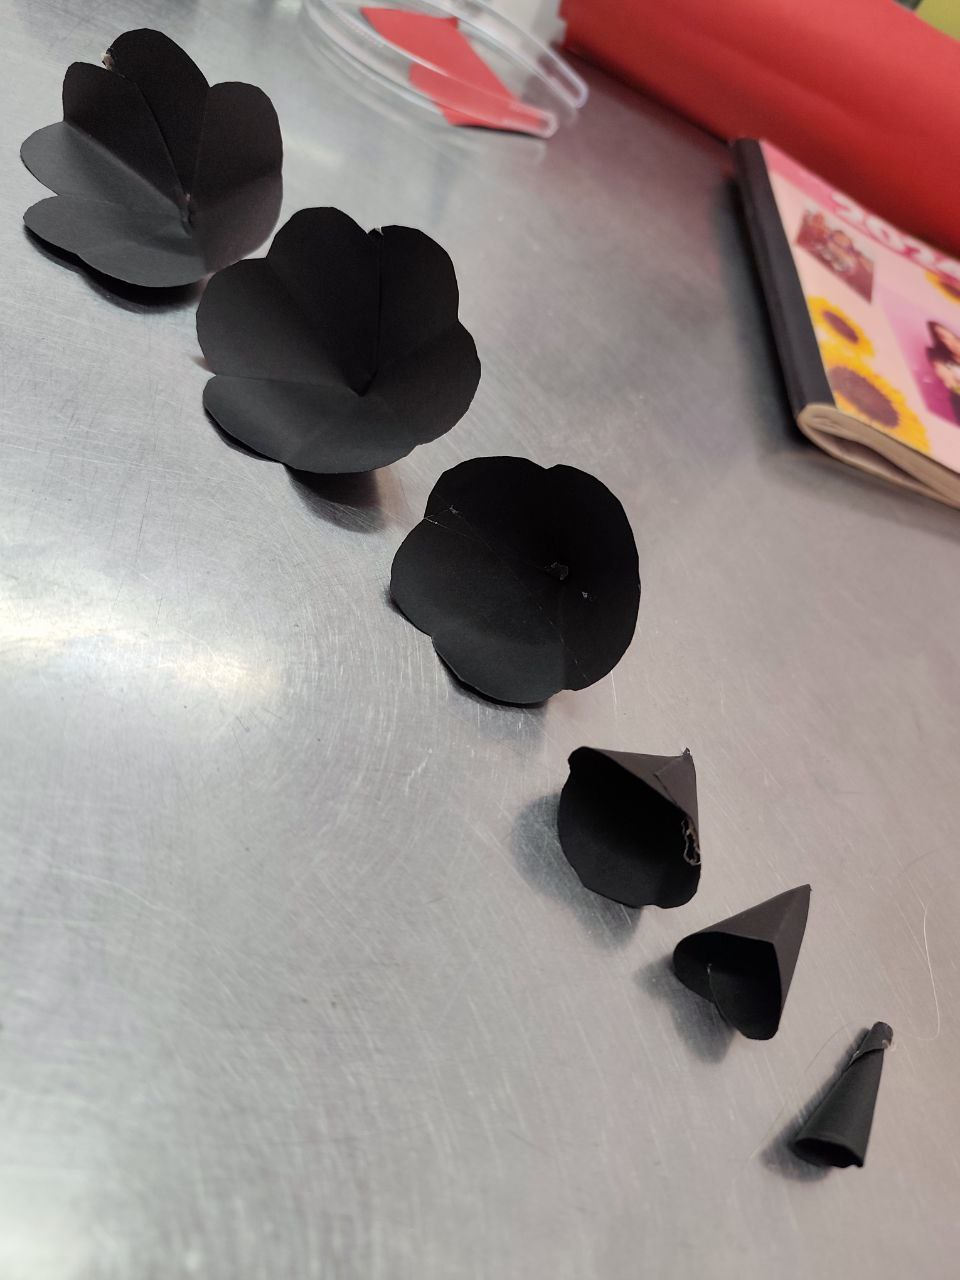
After gluing each round of petals, proceed to glue and form the flower. I repeated this with all the flowers and so they were left to be used later in the headband.
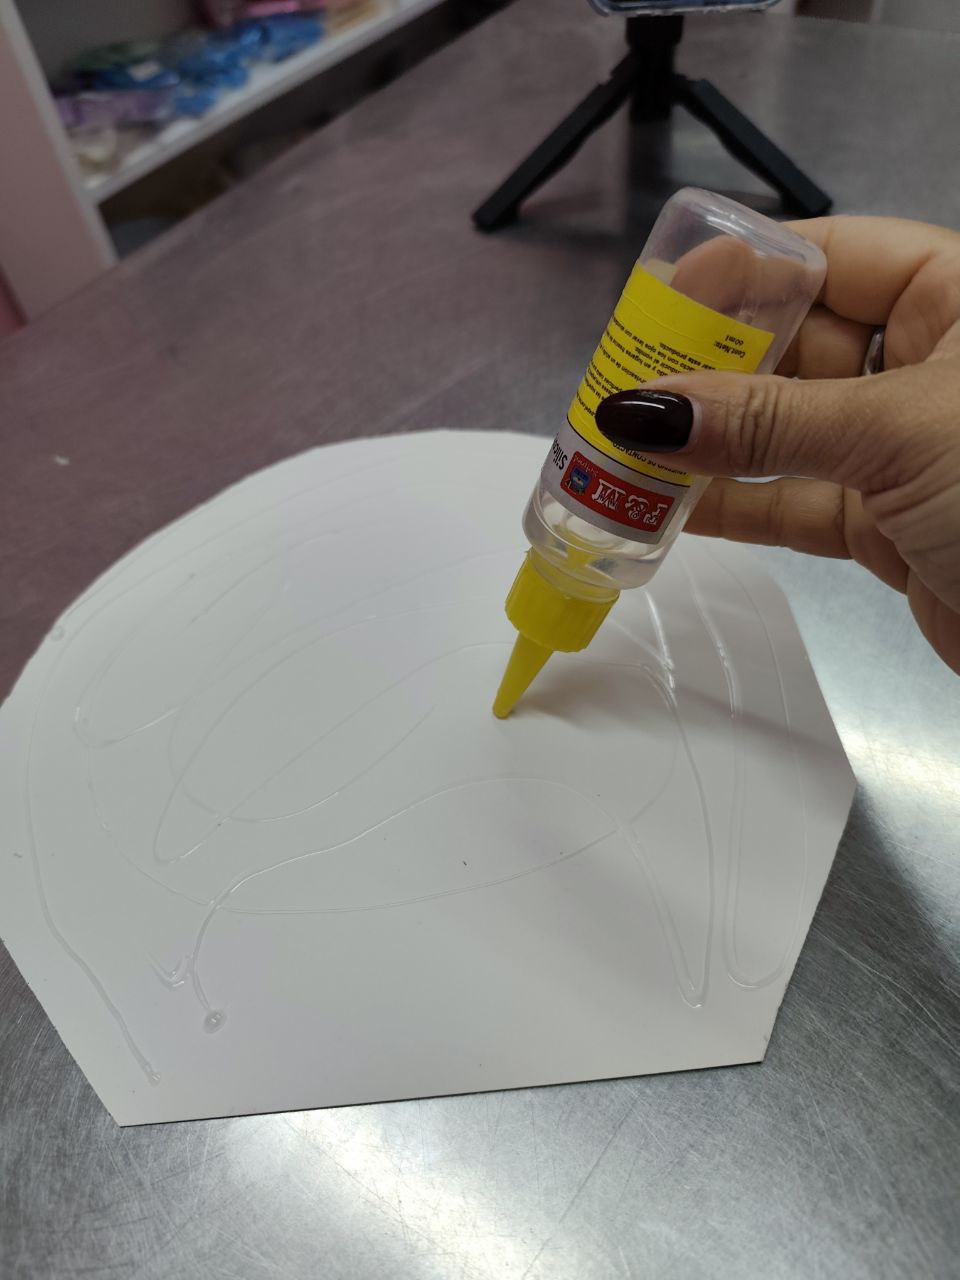
Then to start assembling the headband, with a ruler I marked the base where I was going to glue the flowers and proceeded to glue this with hot silicone on the headband, if you do not have a headband you can use a thread or ribbon to make bows and glue the paper on top of the base.
|||
| - | - |
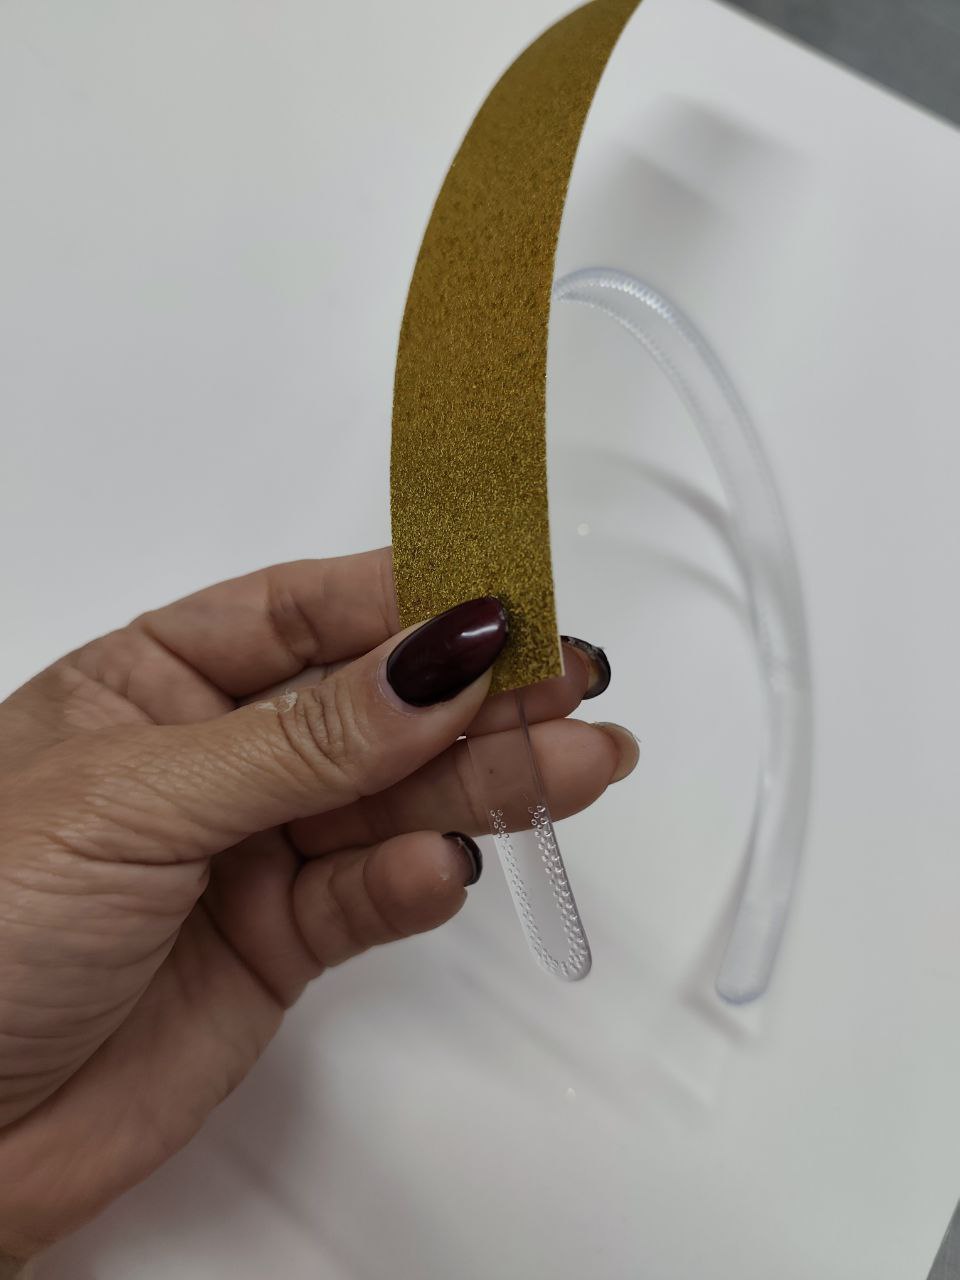
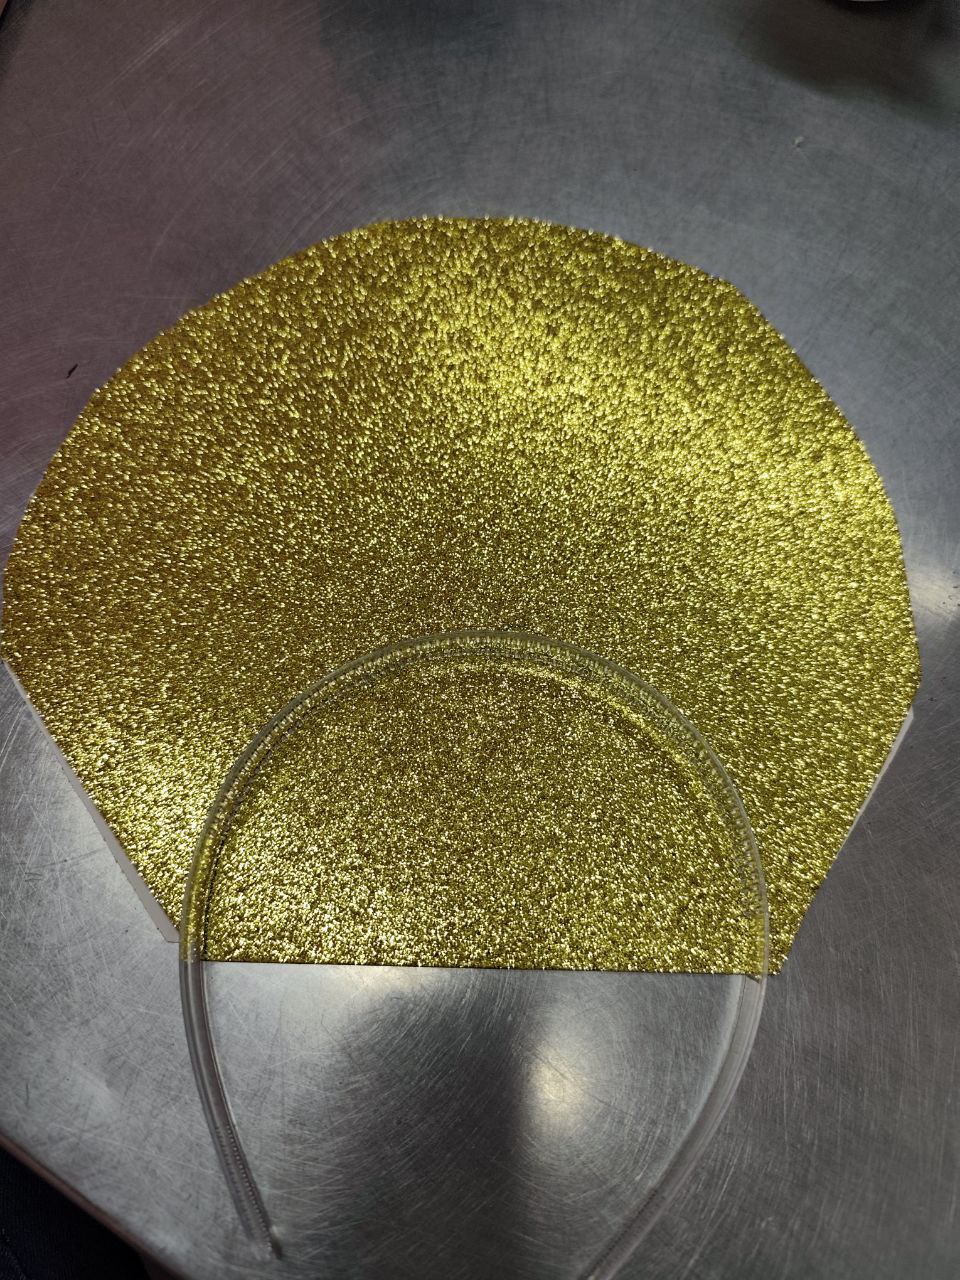
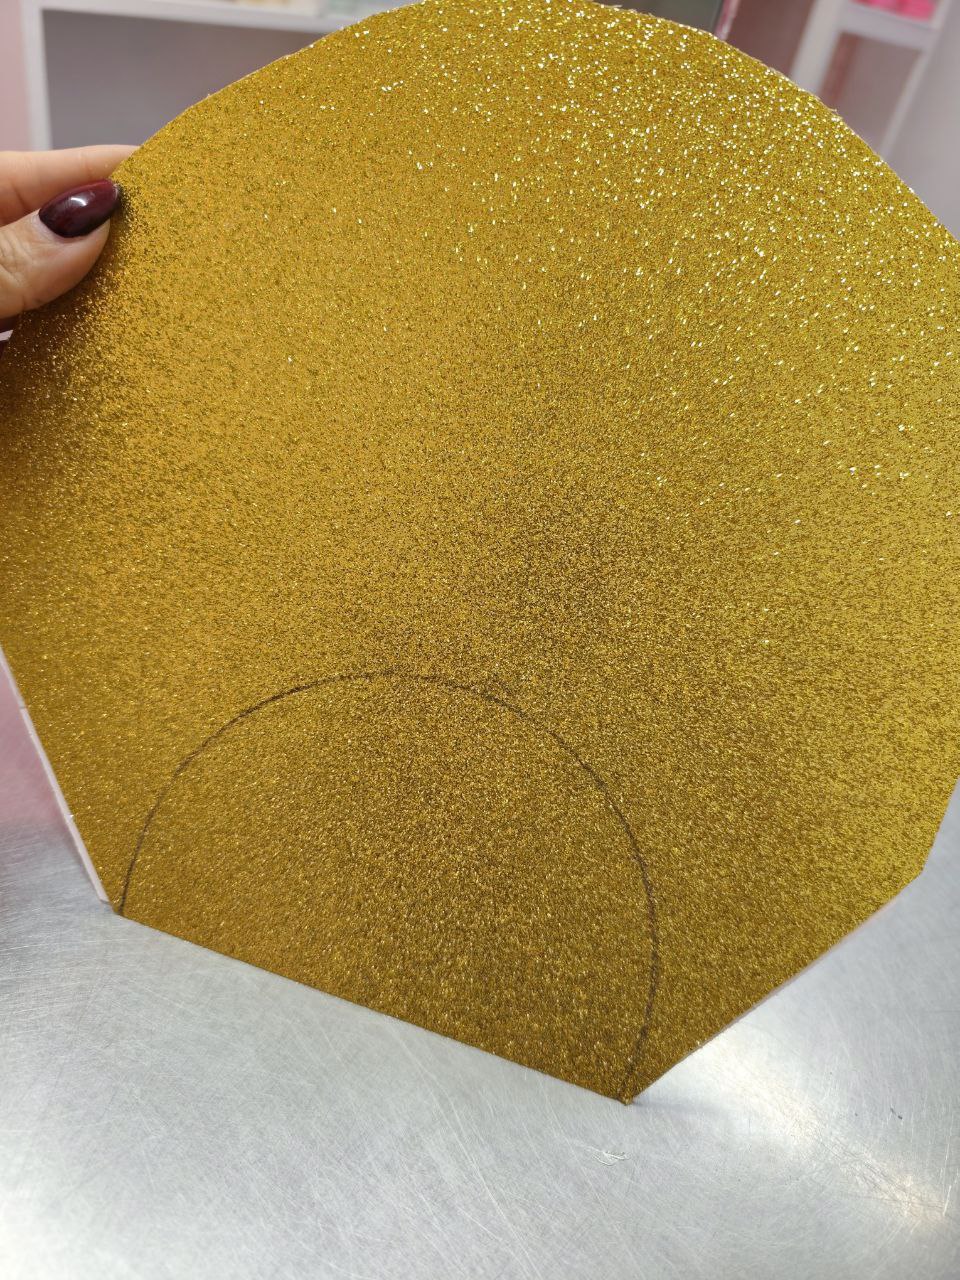
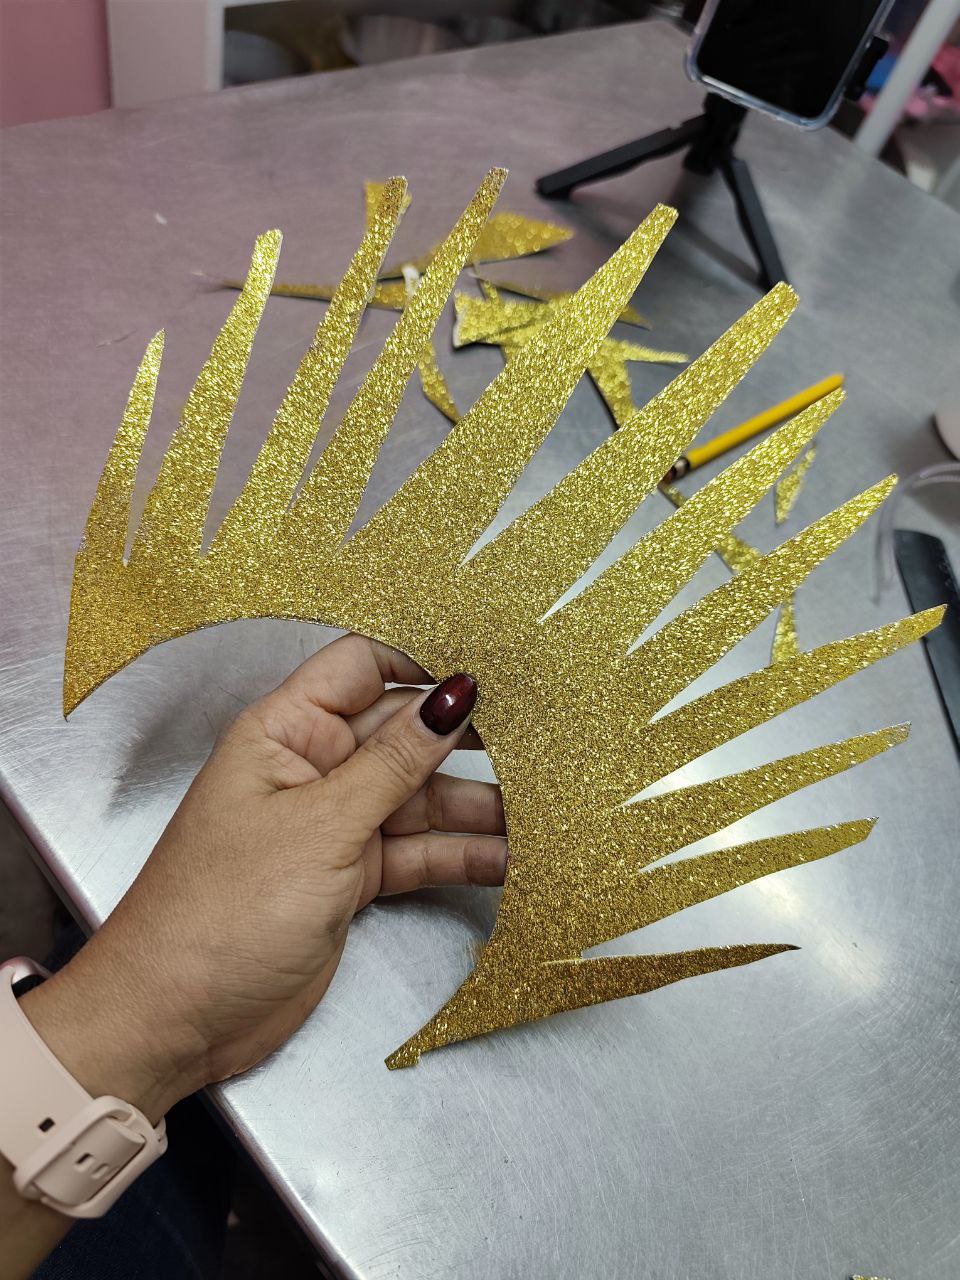
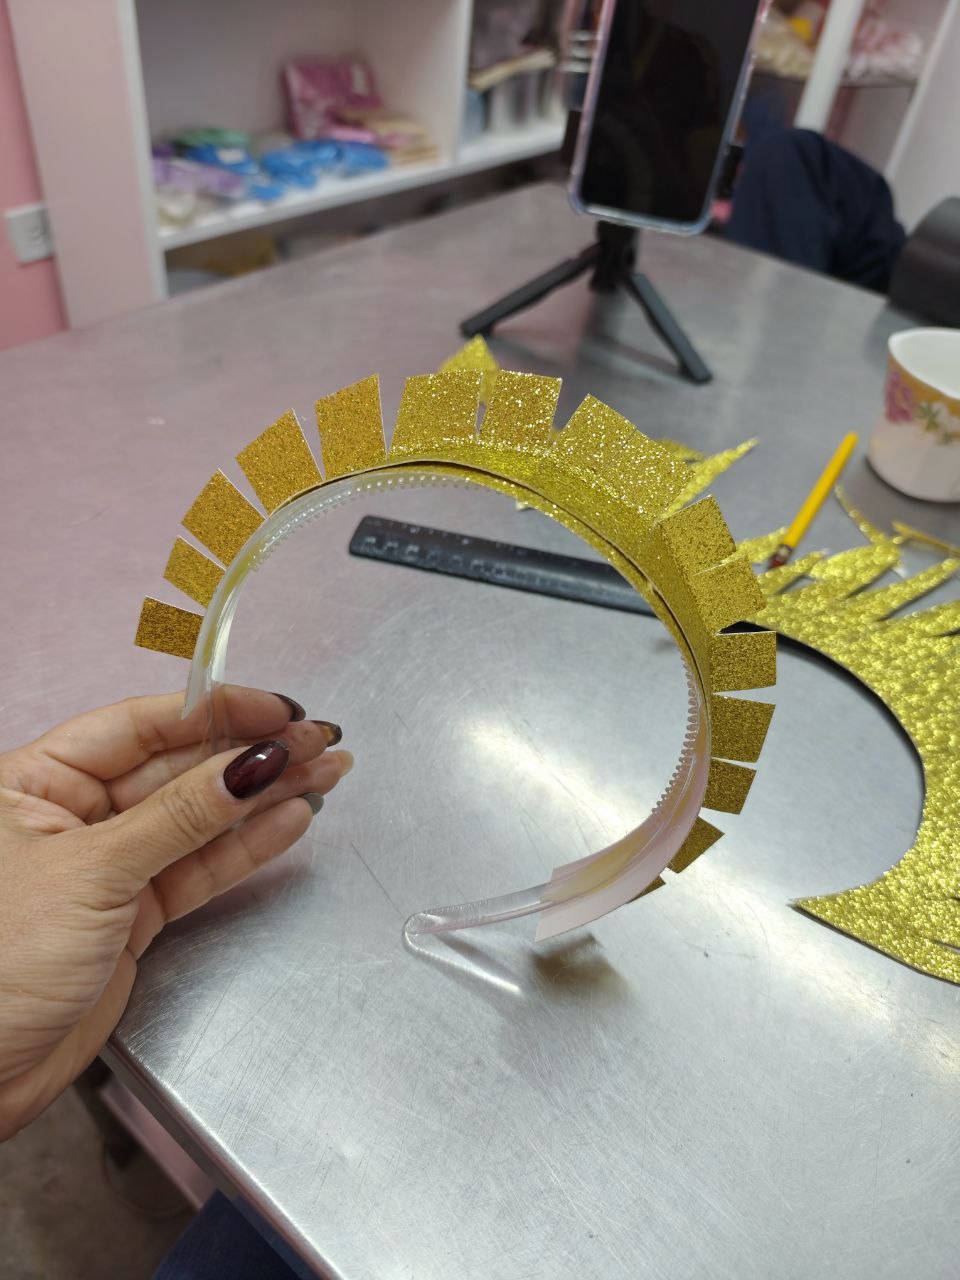
Then to make the back effect with gold cardboard, I cut out two equal parts in the shape of an arc, glued them together to reinforce and make it look gold on both sides, I marked the shape to be cut based on the size of the headband (for the stripes I used a ruler but I did not measure so symmetrically).
|||||
| - | - | - | - |
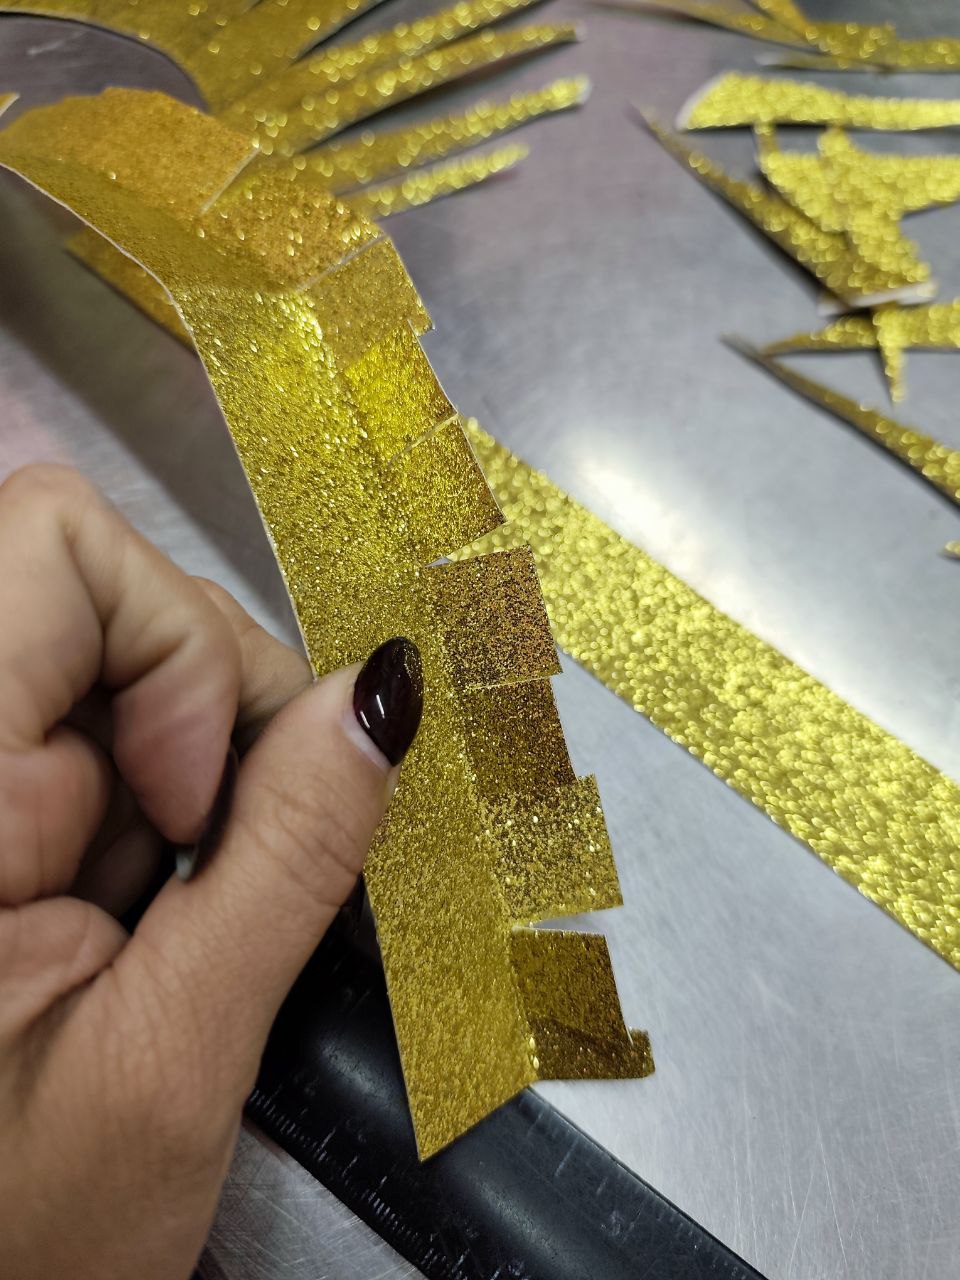
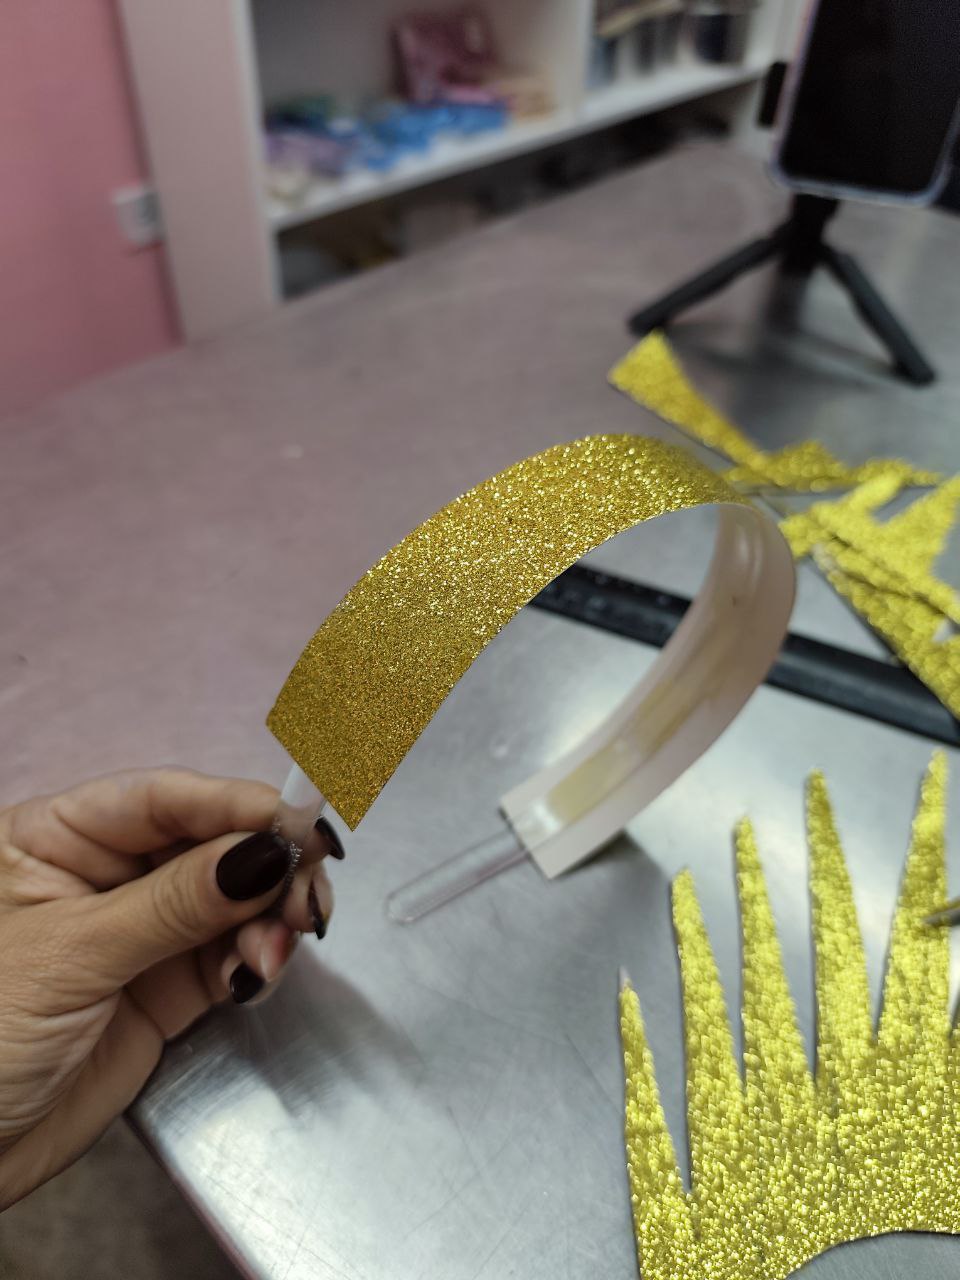
I also cut a strip a little thicker than the base where I could fold and give support to place the wreath style effect, I made some tabs to be able to fold easily and glue the back part there.
||||
| - | - | - |
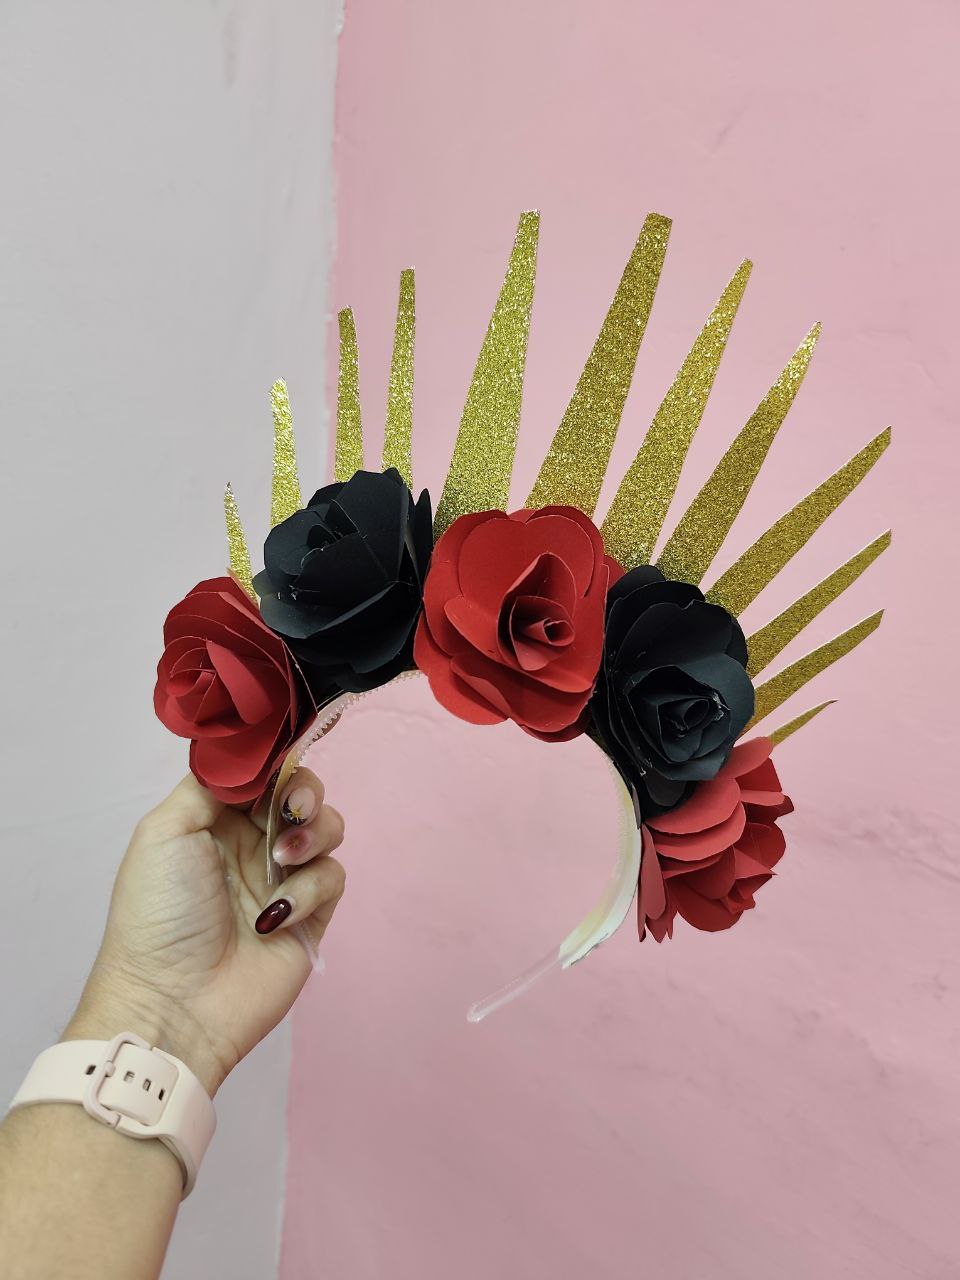
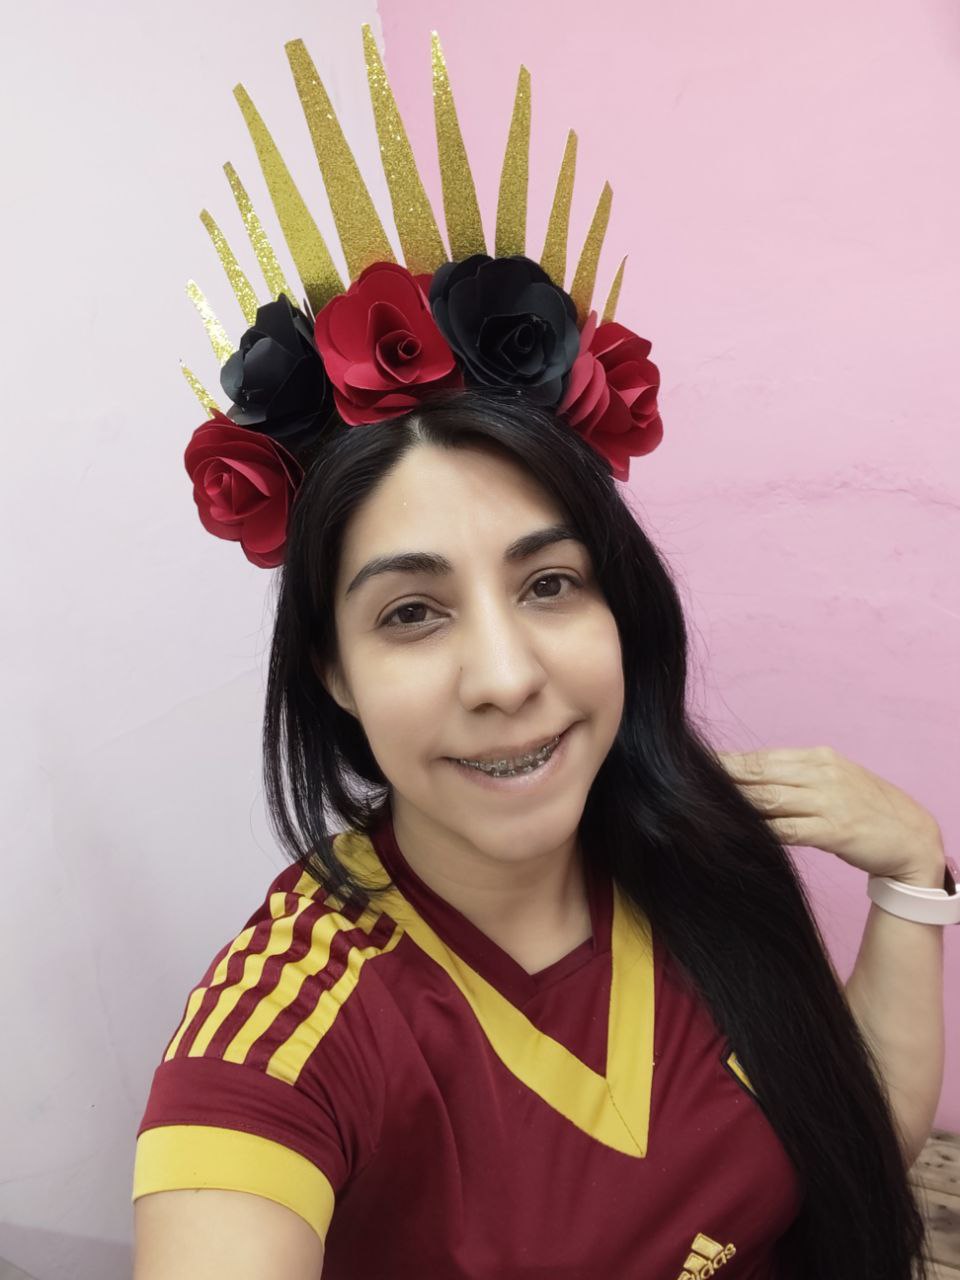
And then I glued the flowers and here the result, I owe you the makeup, I hope you liked it 💕 this headband I made it for an event I have tomorrow in the Streamers app I'm in.
|||
| - | - |
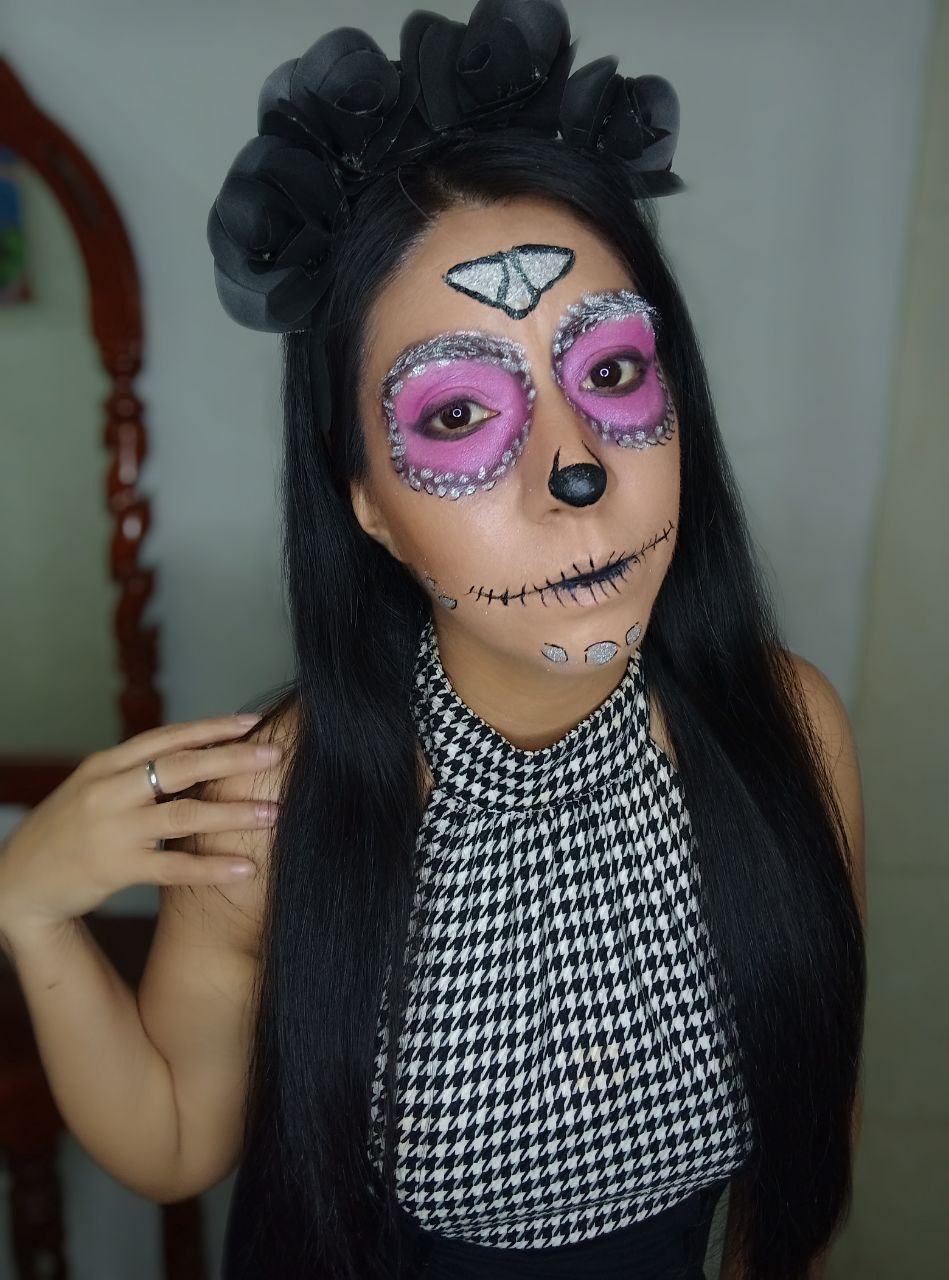
P.S.: here is a picture of a similar headband I made last year, for this one I did use yarn, because I didn't have a headband to decorate and I did use makeup. Happy halloween 🎃 until next post.
***
The Pictures used throughout my publication, **are my property**.
The photos used throughout the post were taken with my **REDMI NOTE 14PRO + phone**.
Banners & Signatures Made in *Corel Draw Photo-Paint*
Translation to English with *DeepL*
The gifs were made in **Capcut**
***