I am really fascinated by Korean food and I always have a jar of kimchi and other basic Korean ingredients on hand. When I have nothing to eat or am in rush time, I always make Kimchi Fried Rice or Kimchi Bokkeumbap in Korean words. This is a super easy meal that I can make with all matter of leftover vegetables in my fridge. It’s so quick to make and is ideal for speedy dinners or pre-cooked packed lunches.
As I already have homemade vegan Kimchi but Kimchi fried rice can be made as a plant-based or vegan dish. If you looking for store-bought Kimchi, the important thing you need to watch out for is the Kimchi itself, which can sometimes contain seafood products such as fermented shrimp or fish sauce, be careful to read the label in detail to ensure your success with vegan Kimchi that season with Ganjung, which is a kind of soy sauce.
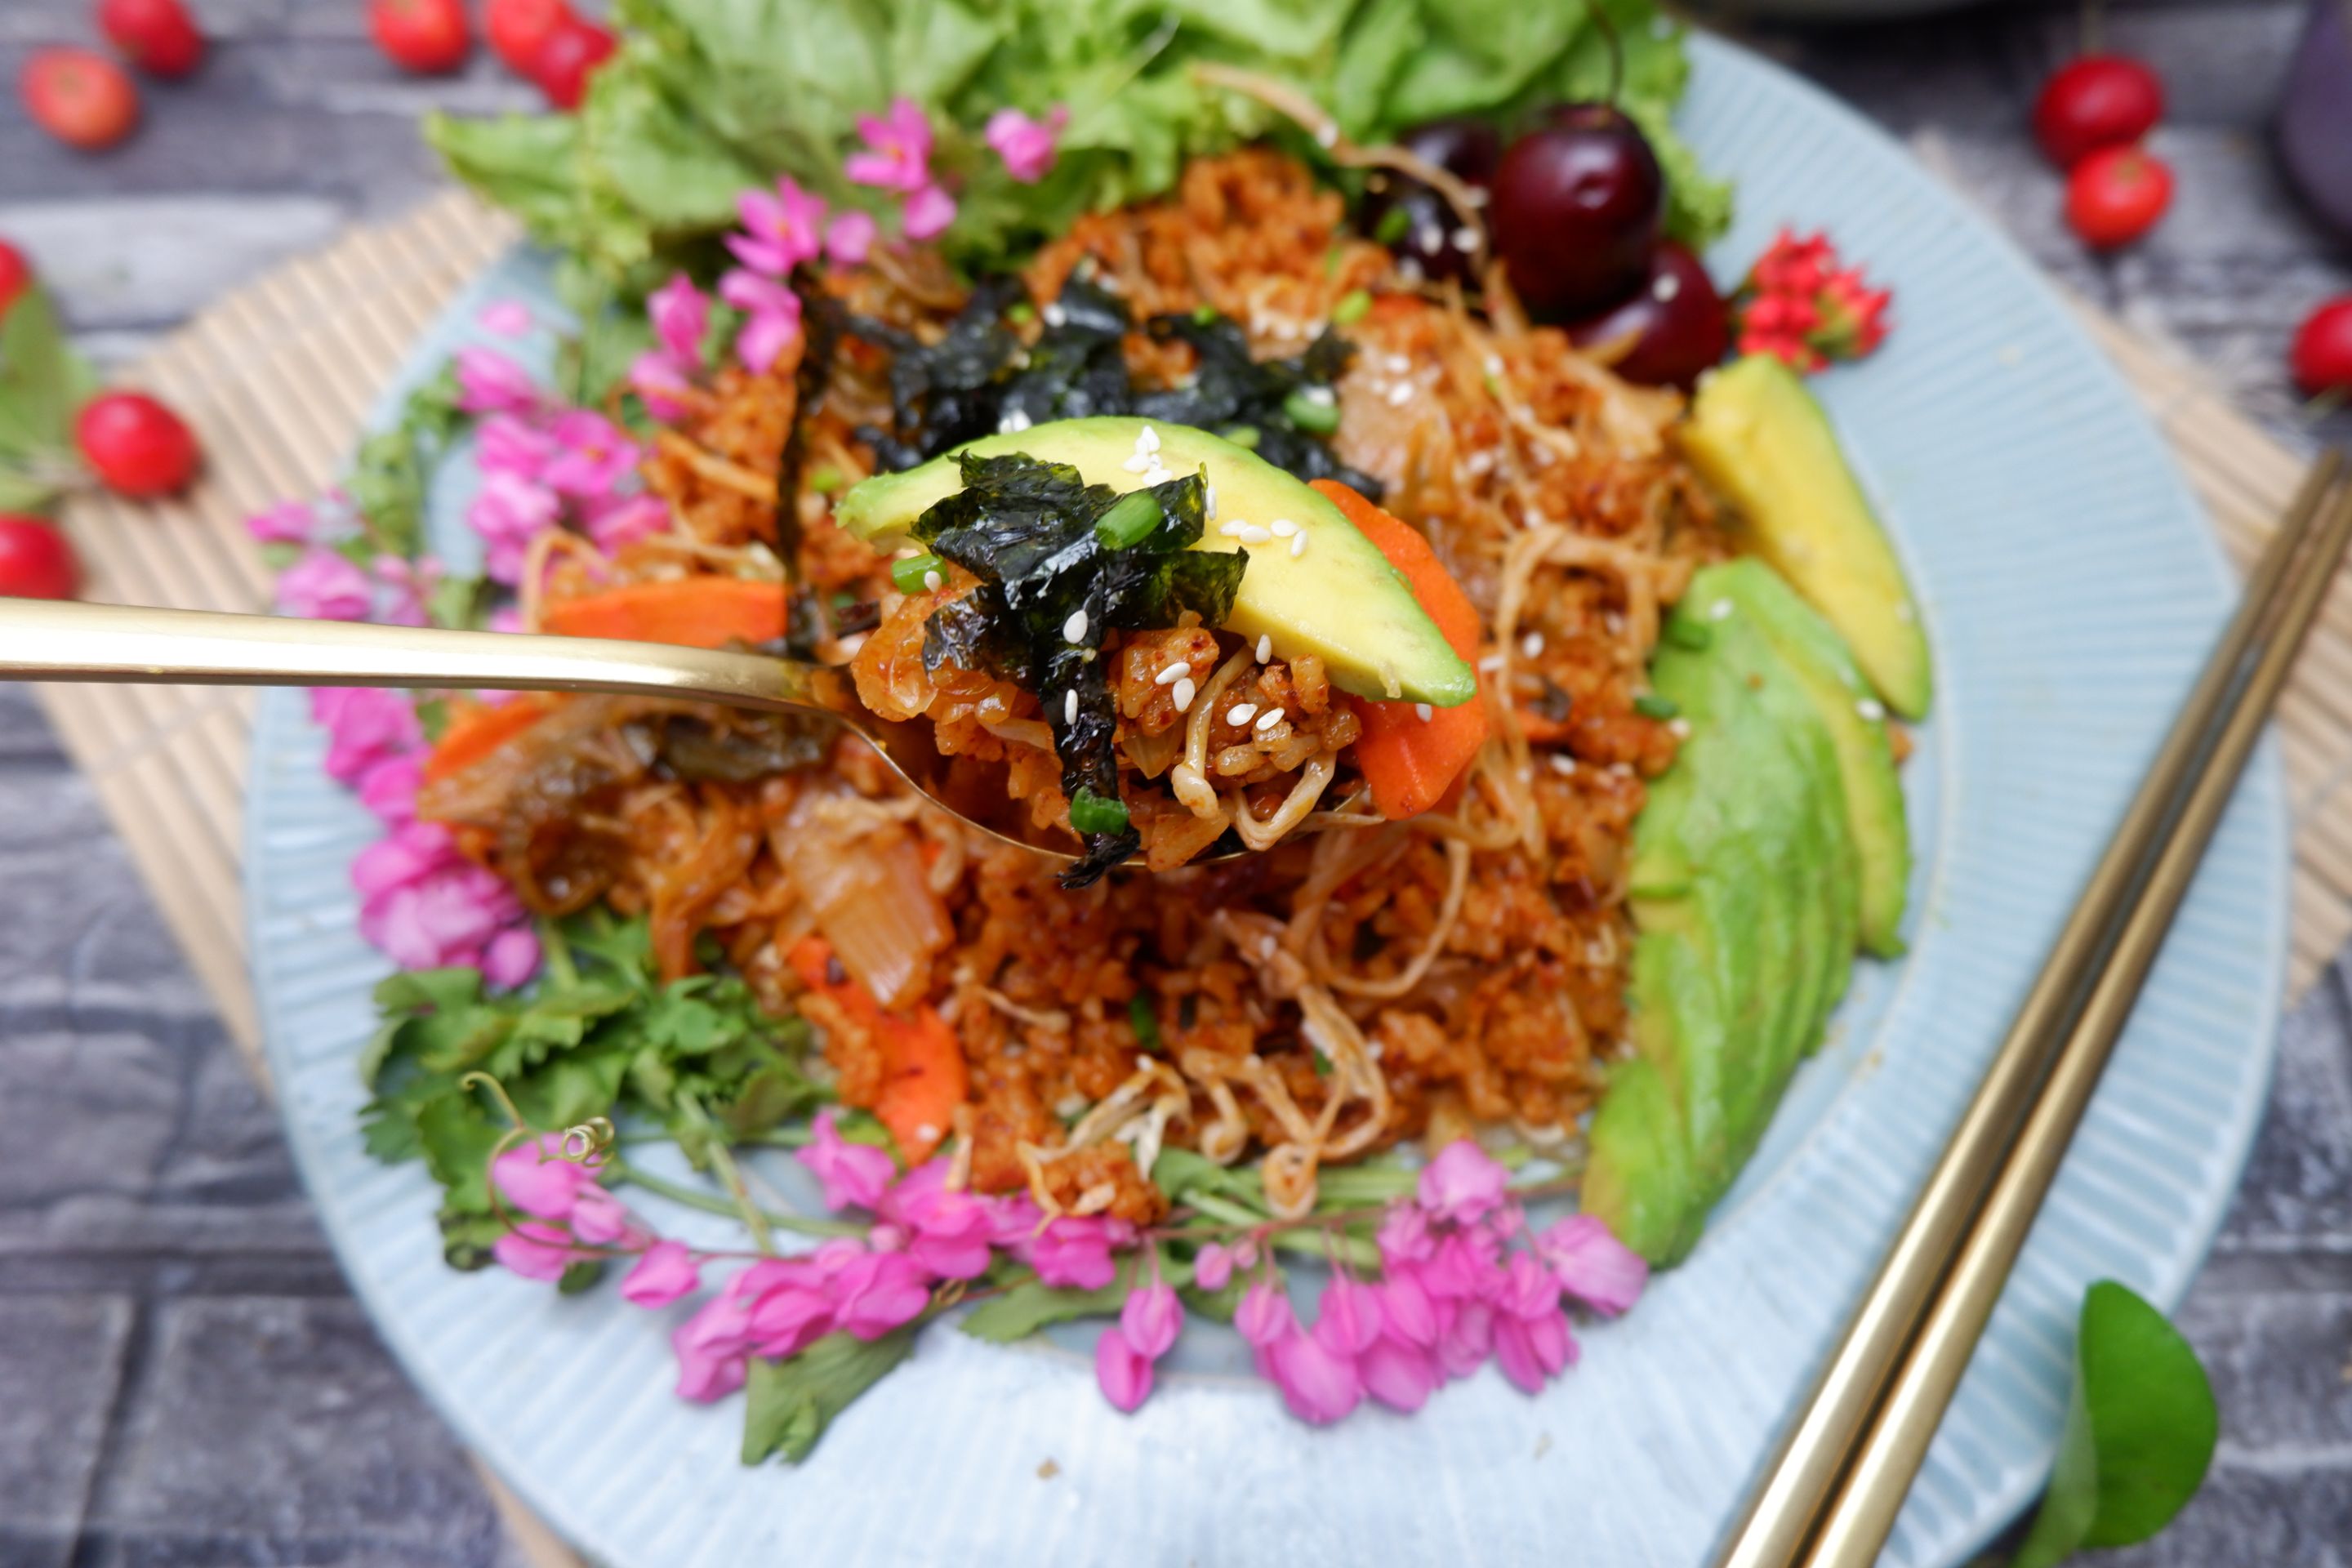
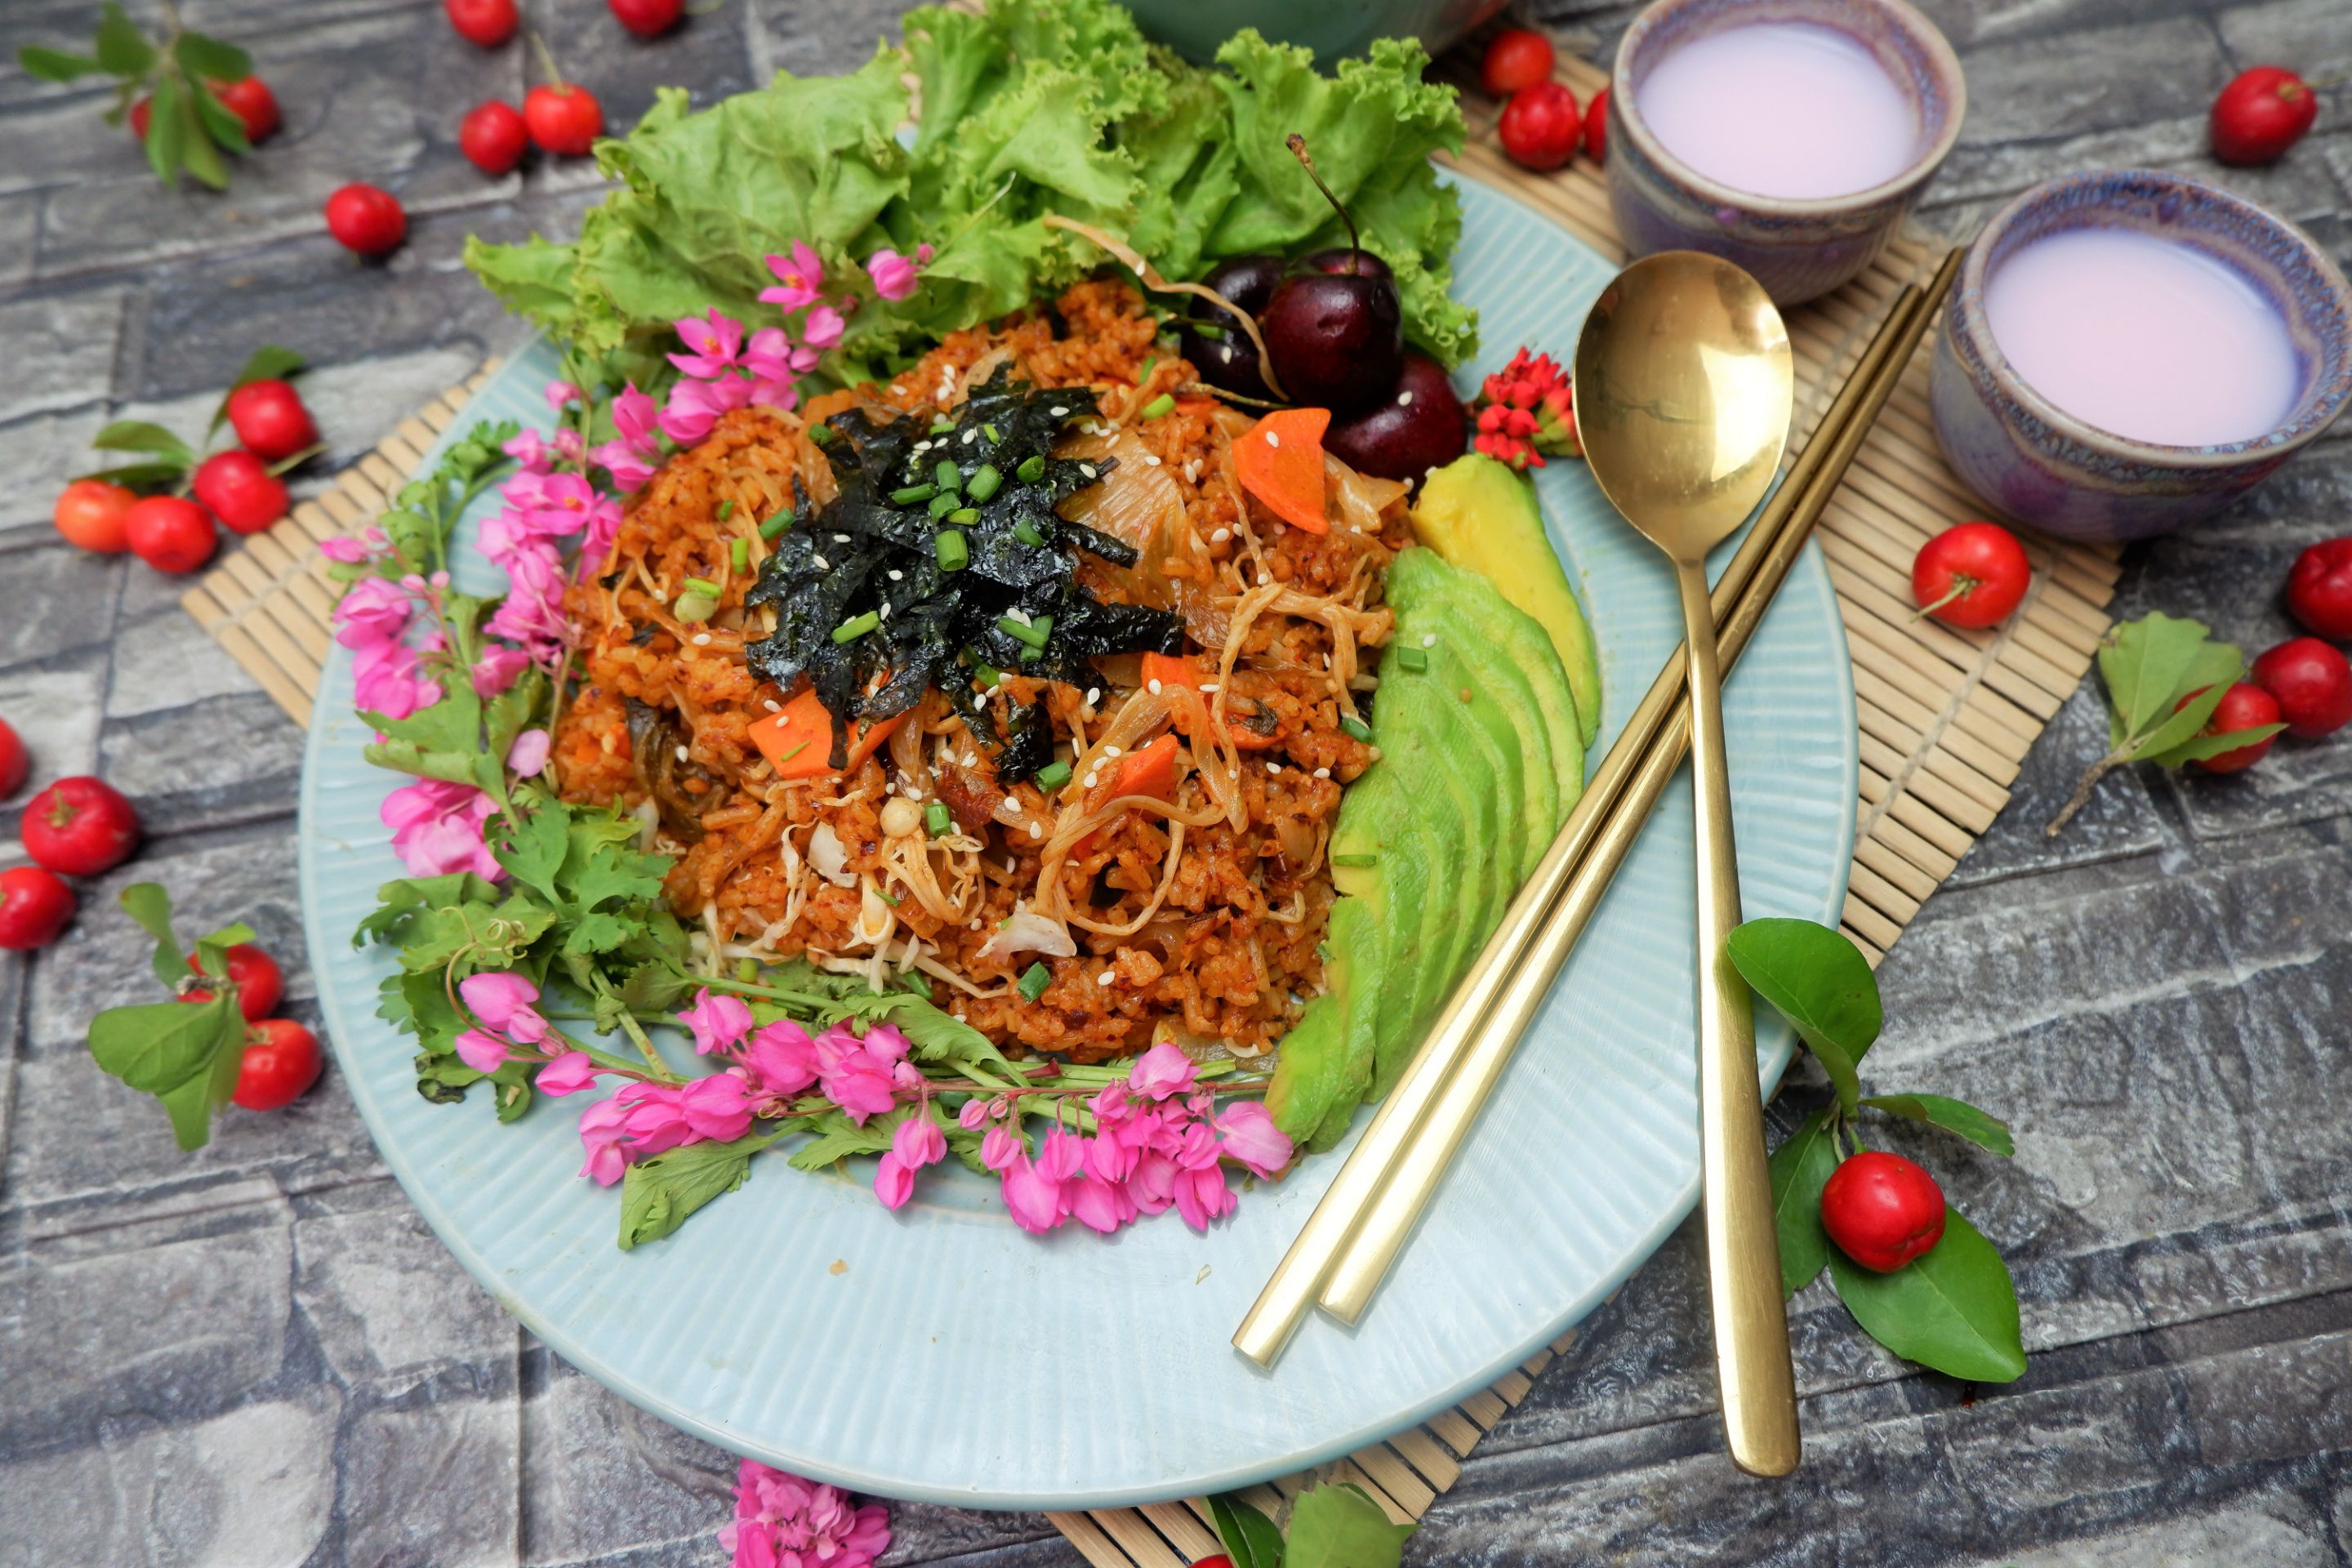
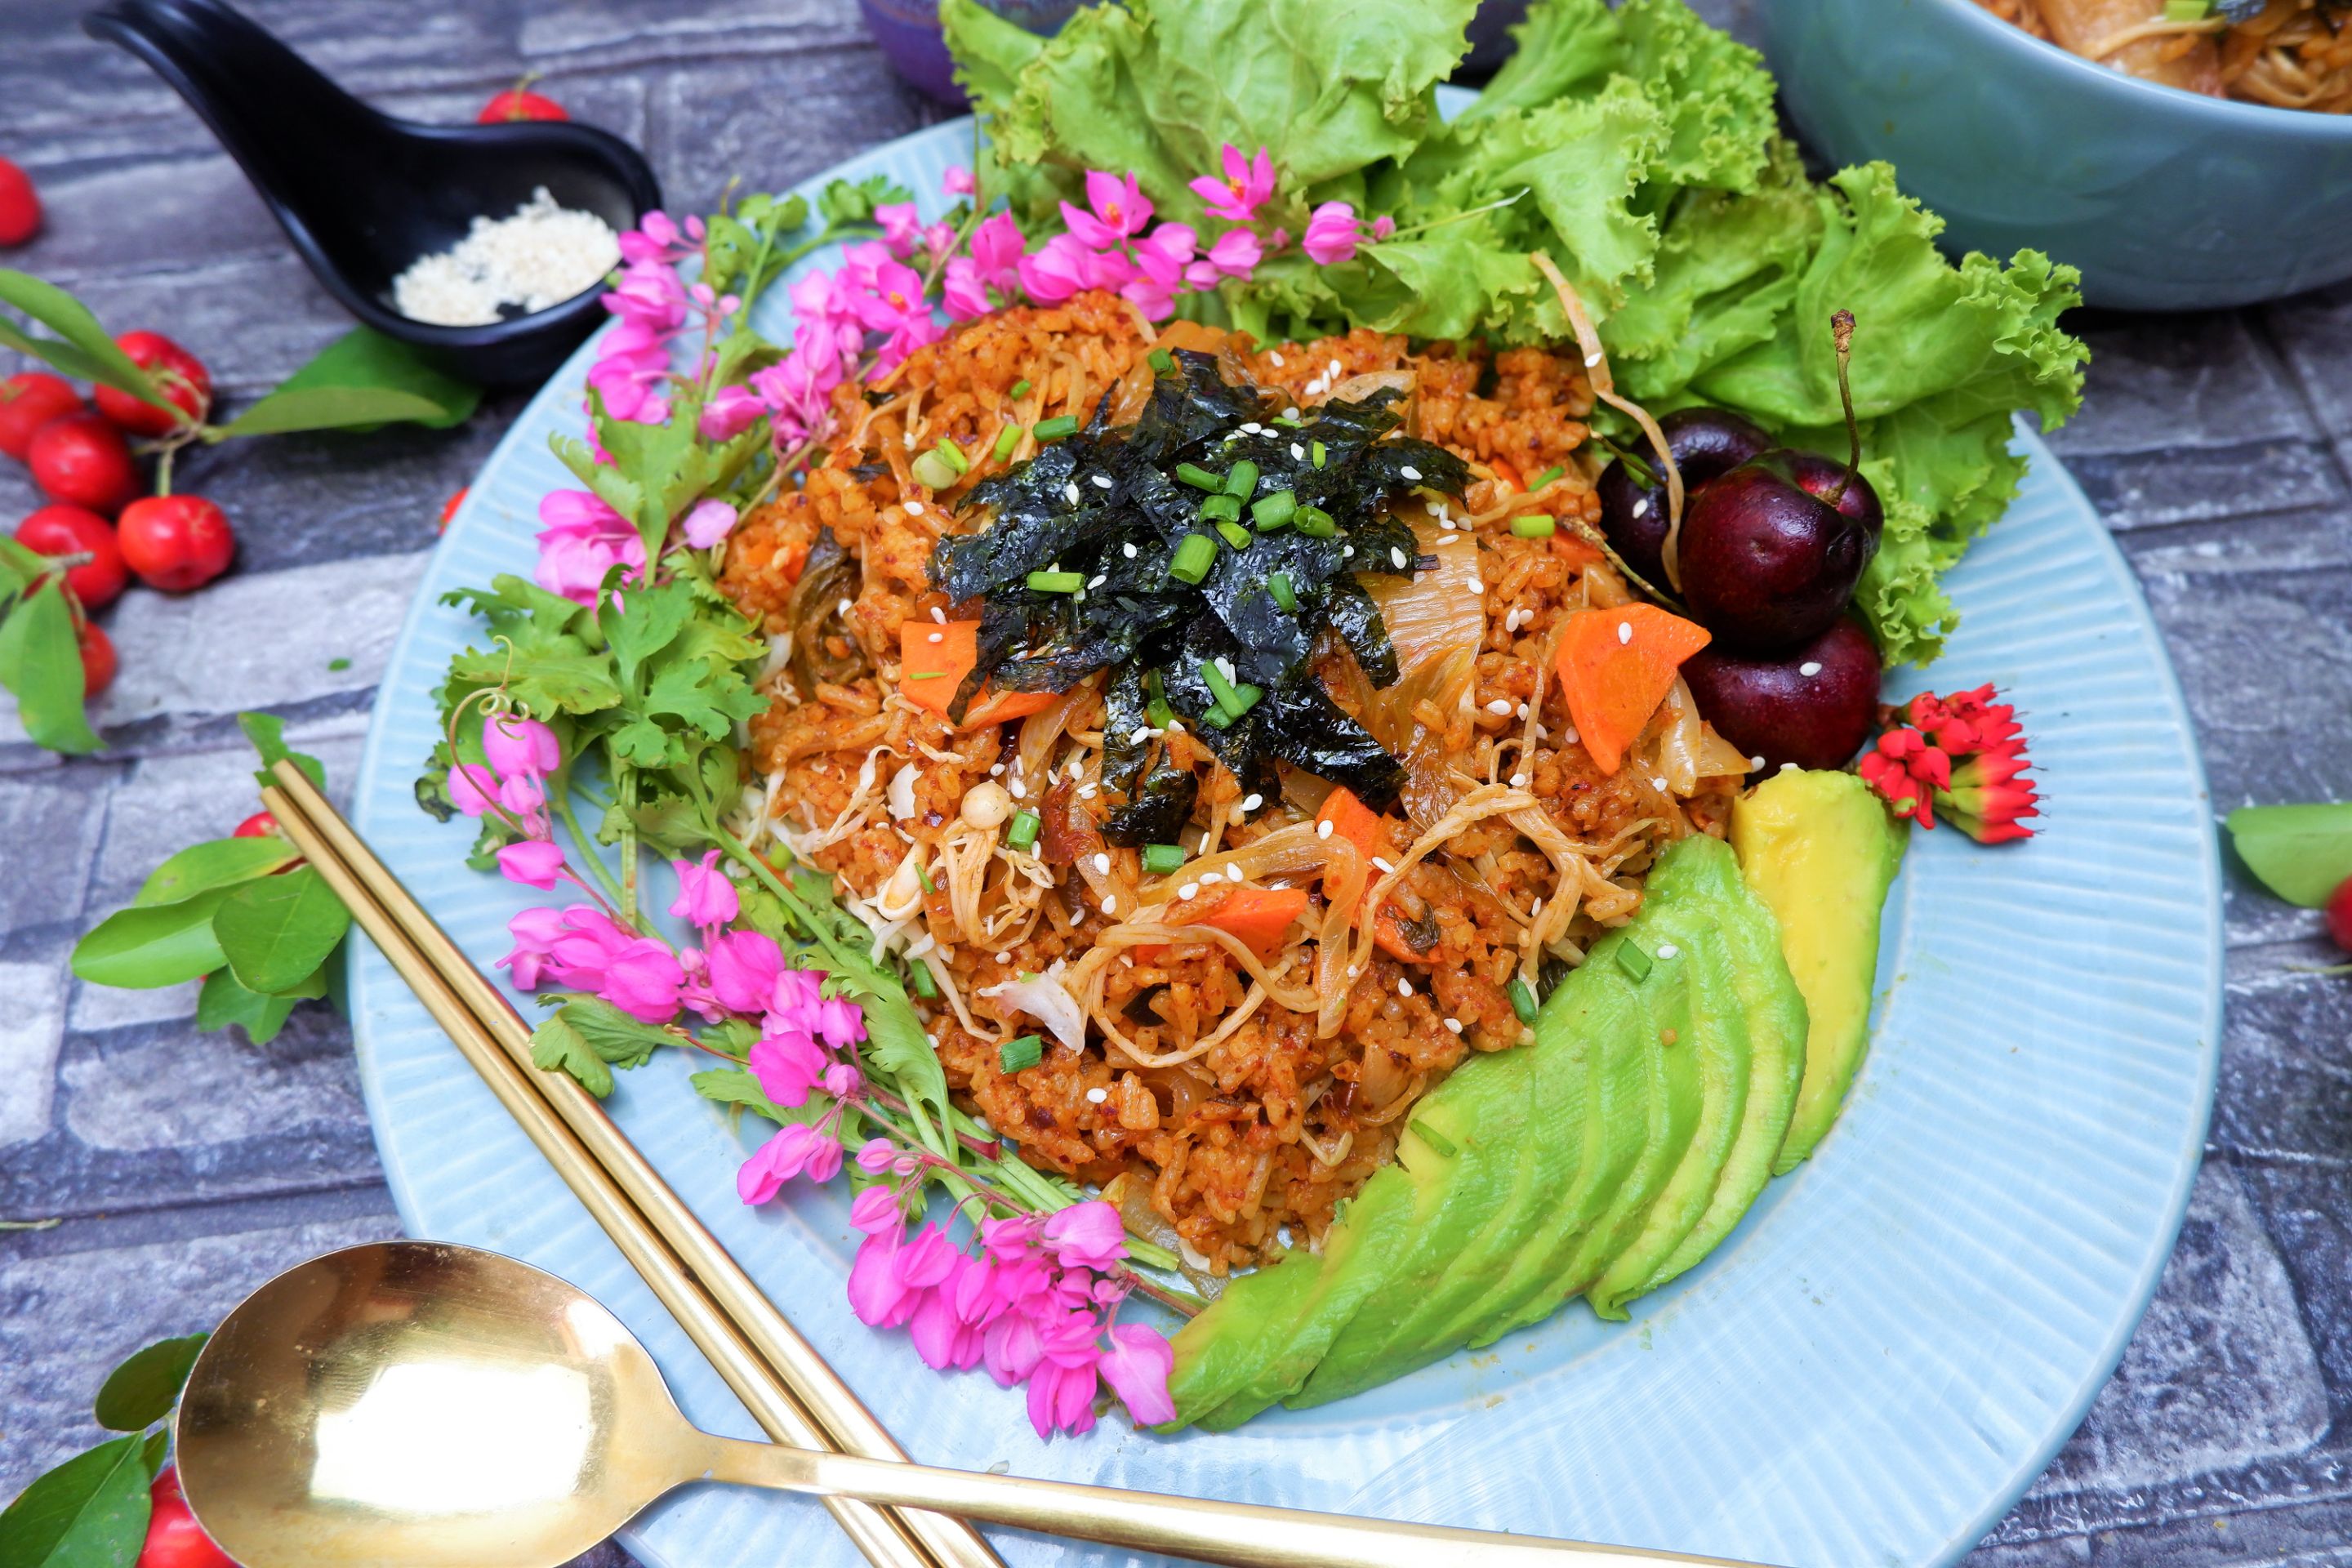
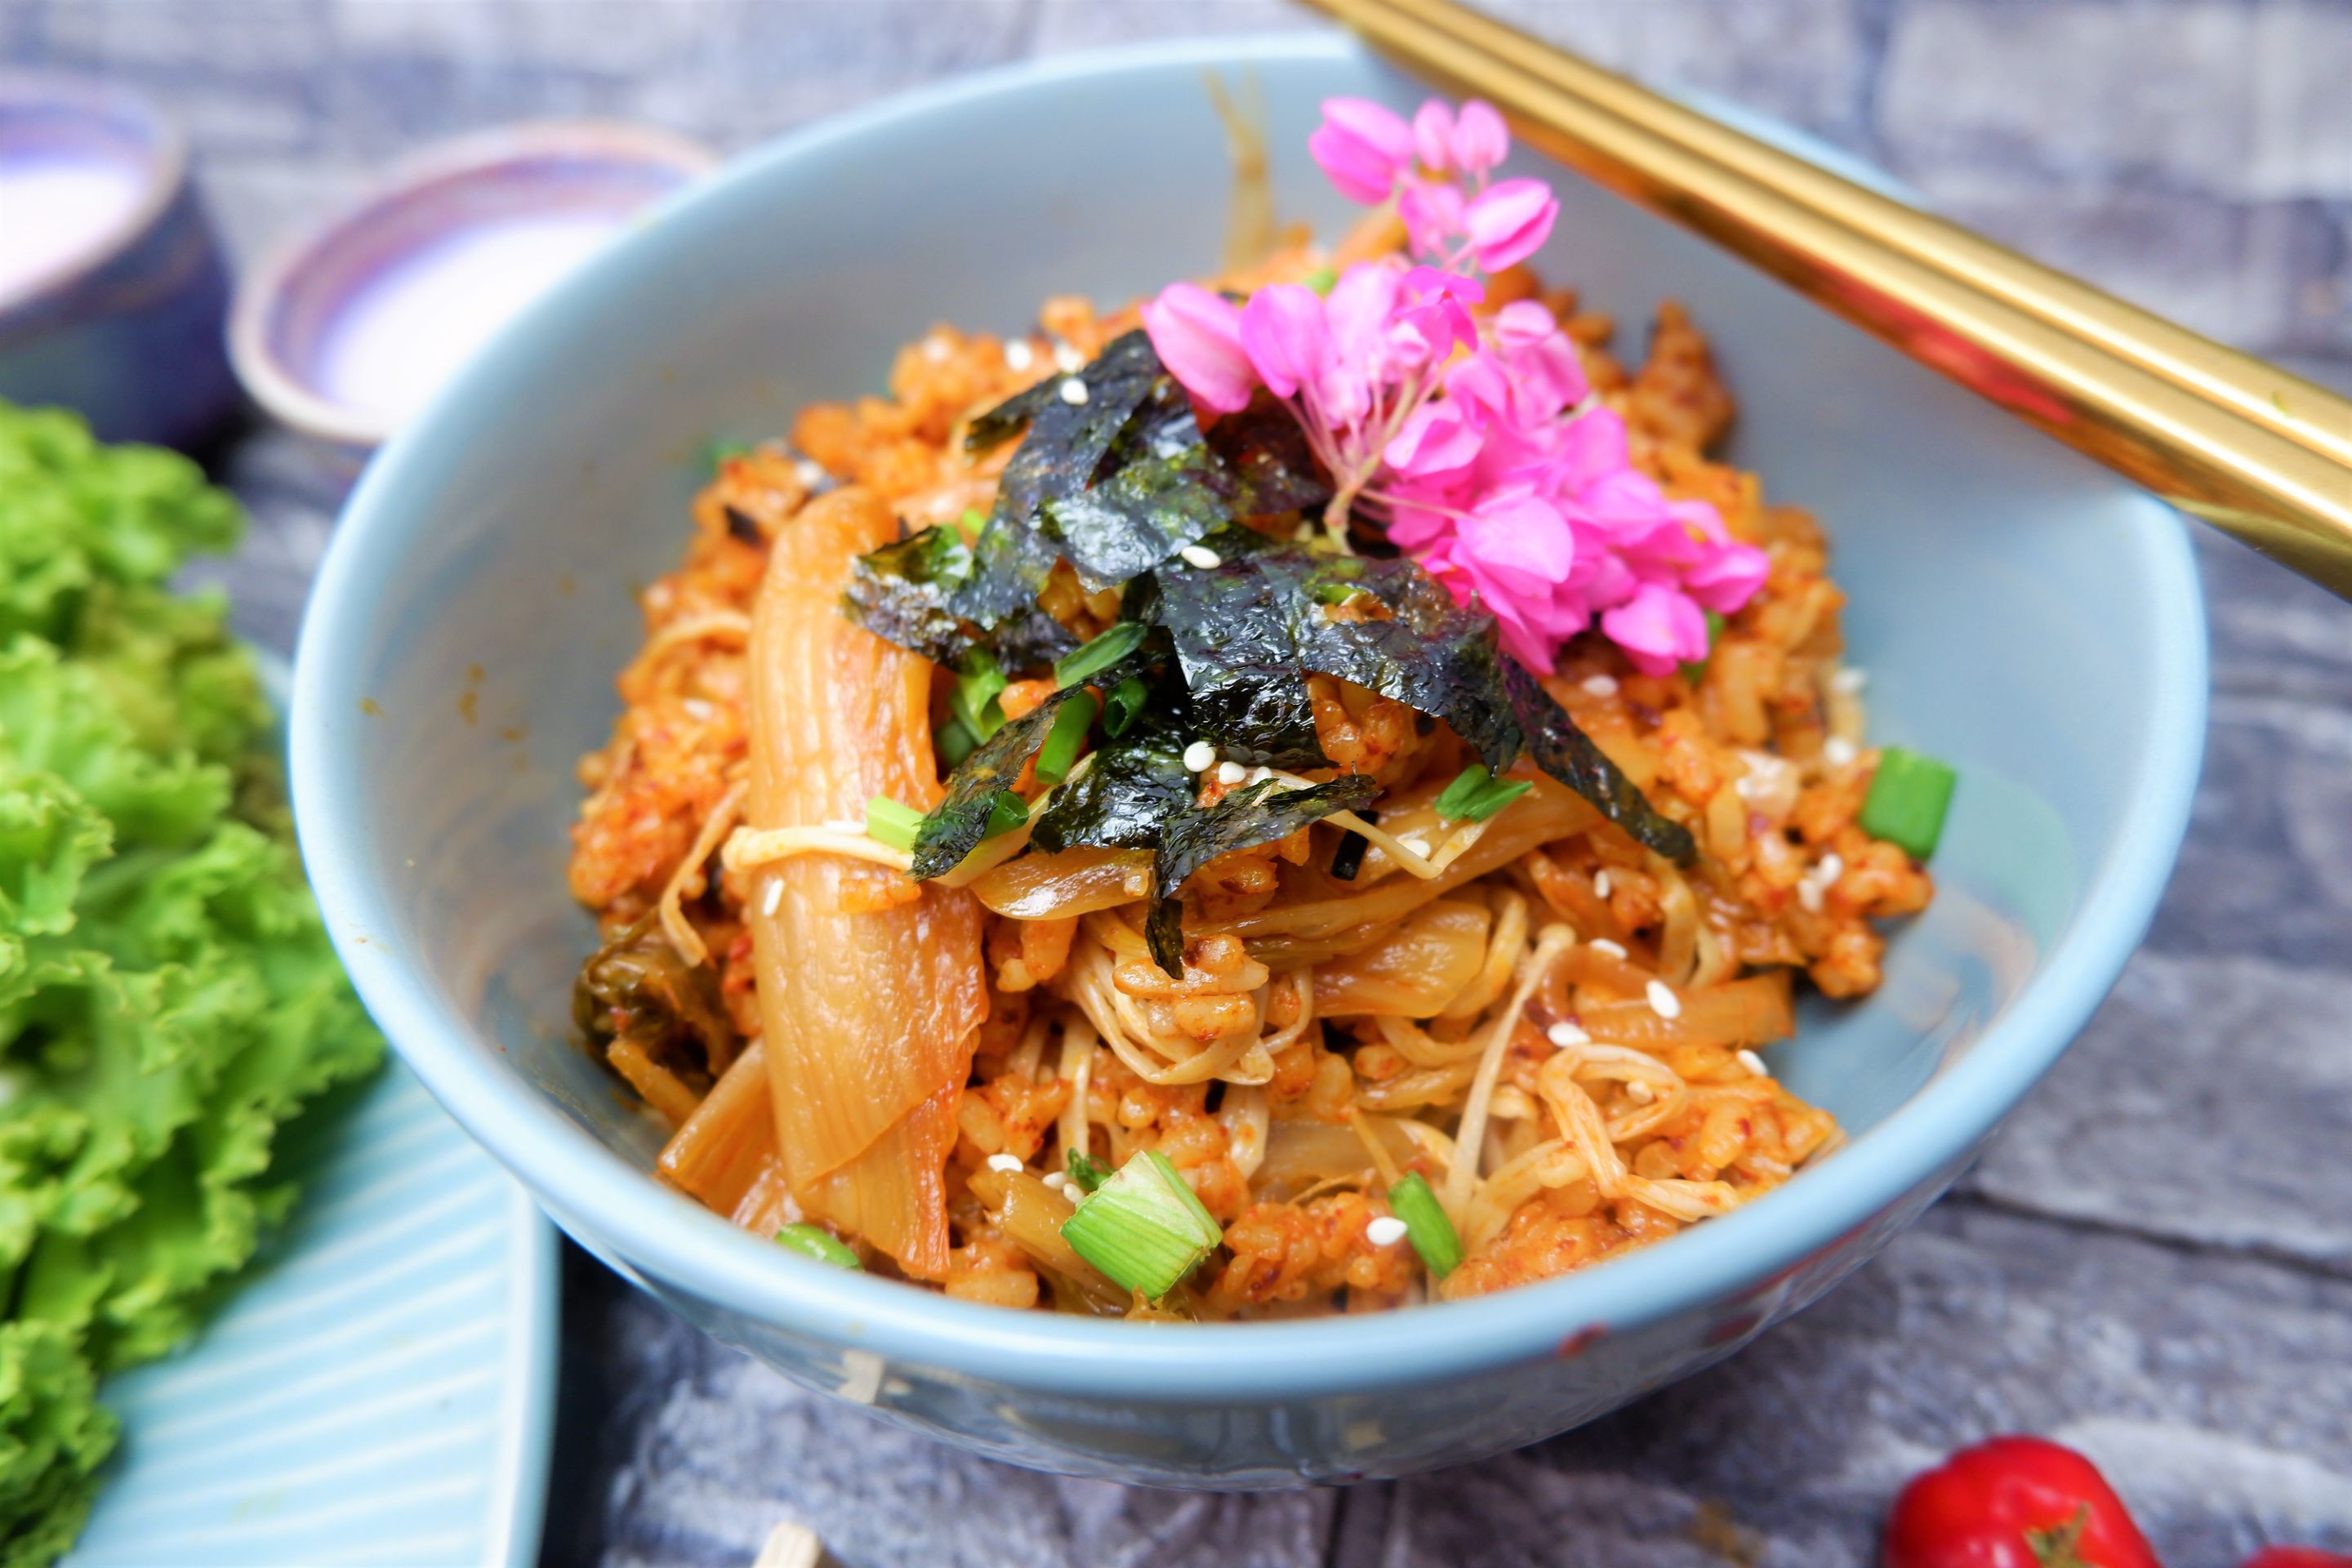
My version is nailed with an Authentic Korean recipe starting by sautéing the spring onion instead of garlic in the canola oil then immediately seasoning it with soy sauce and sugar and letting them develop a deep flavor. Then add the aged Kimchi and rice. Later heat the spicy by adding the Gochugaru - Korean chili flake and Gochujung (which is Korean fermented chili paste). Lastly, add the carrots and enoki mushrooms. Top it with the strips of Korean roasted Seaweed and sliced avocados seasoned with roasted sesame seeds and sesame oils. And finally, I got myself a sourly delicious pungent kimchi fried rice and satisfyingly filling dish that tastes like it is a dish much loved by Koreans.
All About Kimchi bokkeumbap - A Korean Kimchi Fried Rice
-
Using leftover rice is usually the best way to make fried rice. Because the slightly dried-out rice results in fried rice that is less sticky. The characteristic of Korean Kimchi Fried Rice is wet and moist but not too soggy. I personally prefer to use jasmine rice instead of short-grain rice because it's way cheaper and more available here in Thailand.
-
I typically use aged Baechu (Napa Cabbage) kimchi for at least three weeks of fermentation, which has had a chance to ripe and turn sour. This is going to give the fried rice the most flavor but if the kimchi is not sour enough, it's possible to add any type of vinegar to enhance the more sour taste.
-
To make it spicier, add Gochugaru, a kind of chili flake instead of more Gochujang, a kind of chili paste. Too much Gochujang will make the dish too salty and too soggy and turn the fried rice muddy.
-
Use low-medium heat to cook the kimchi fried rice, which is different from Thai and Chinese Fried rice that requires high heat with the wok.
-
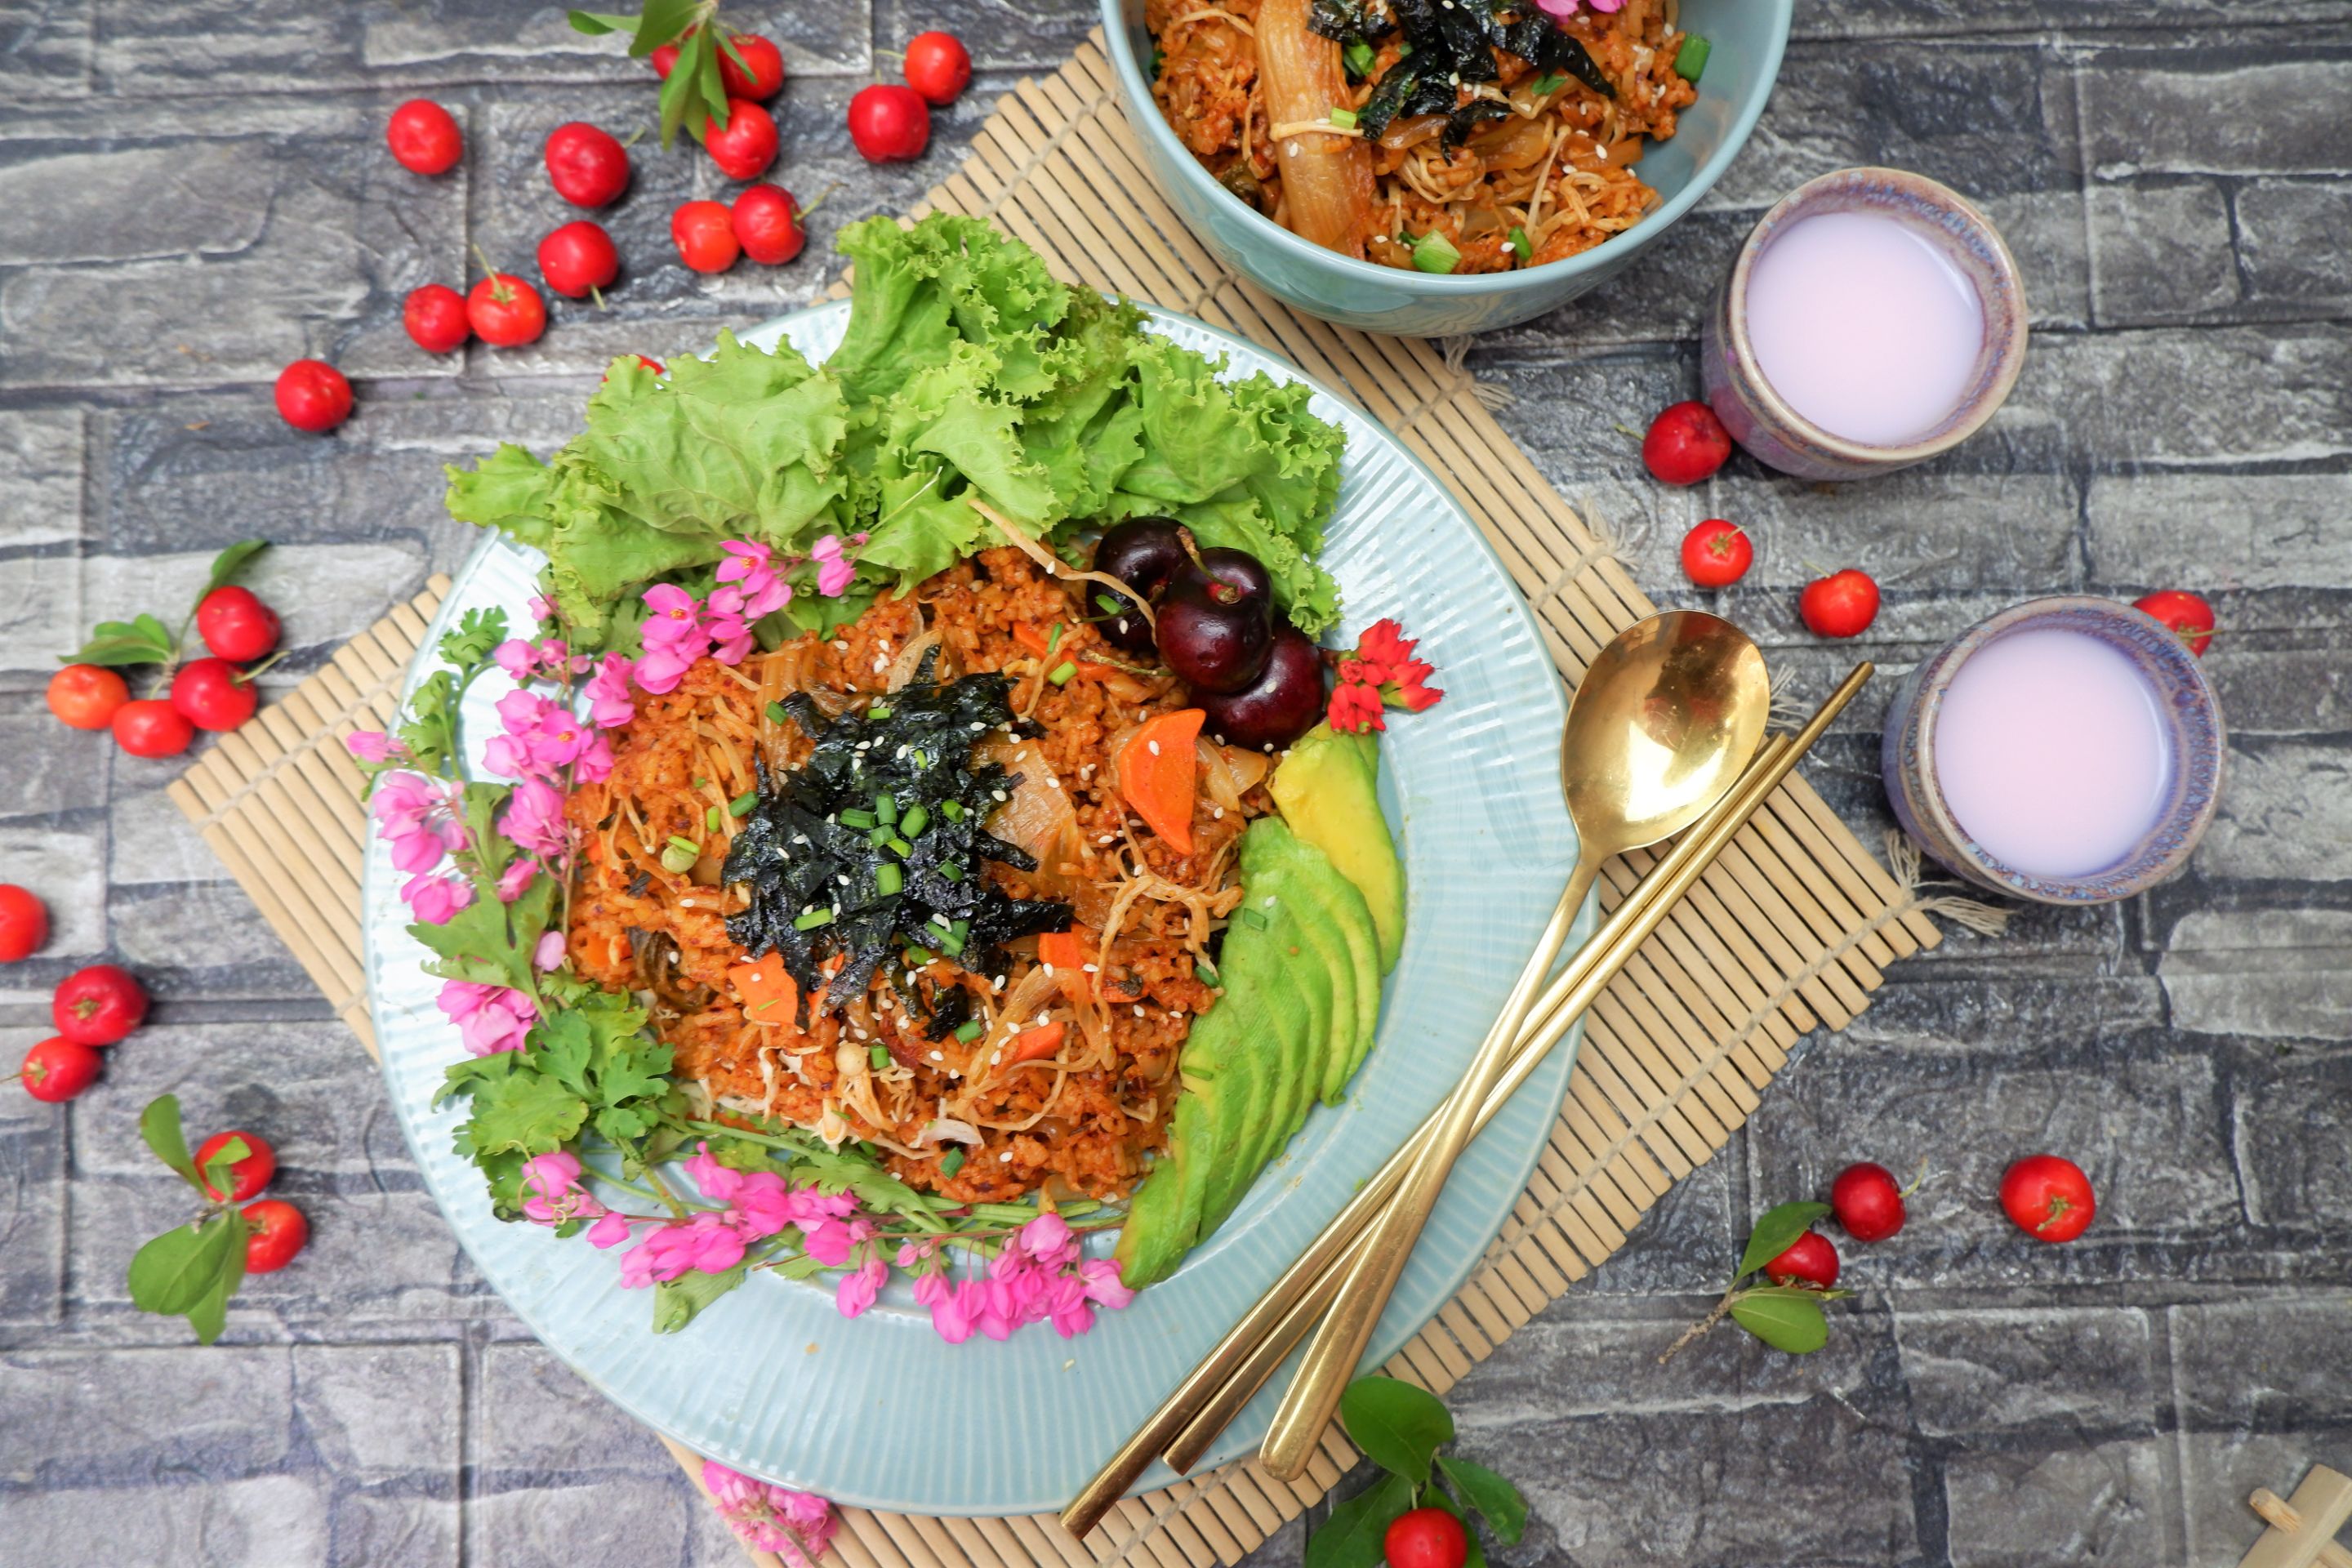
This pungent delicious Korean home-cooking fried rice is a classic pairing served with Makgeolli, traditional Korean Rice Wine.
-
Avocados will play an important part as a creamy yummy flavor.
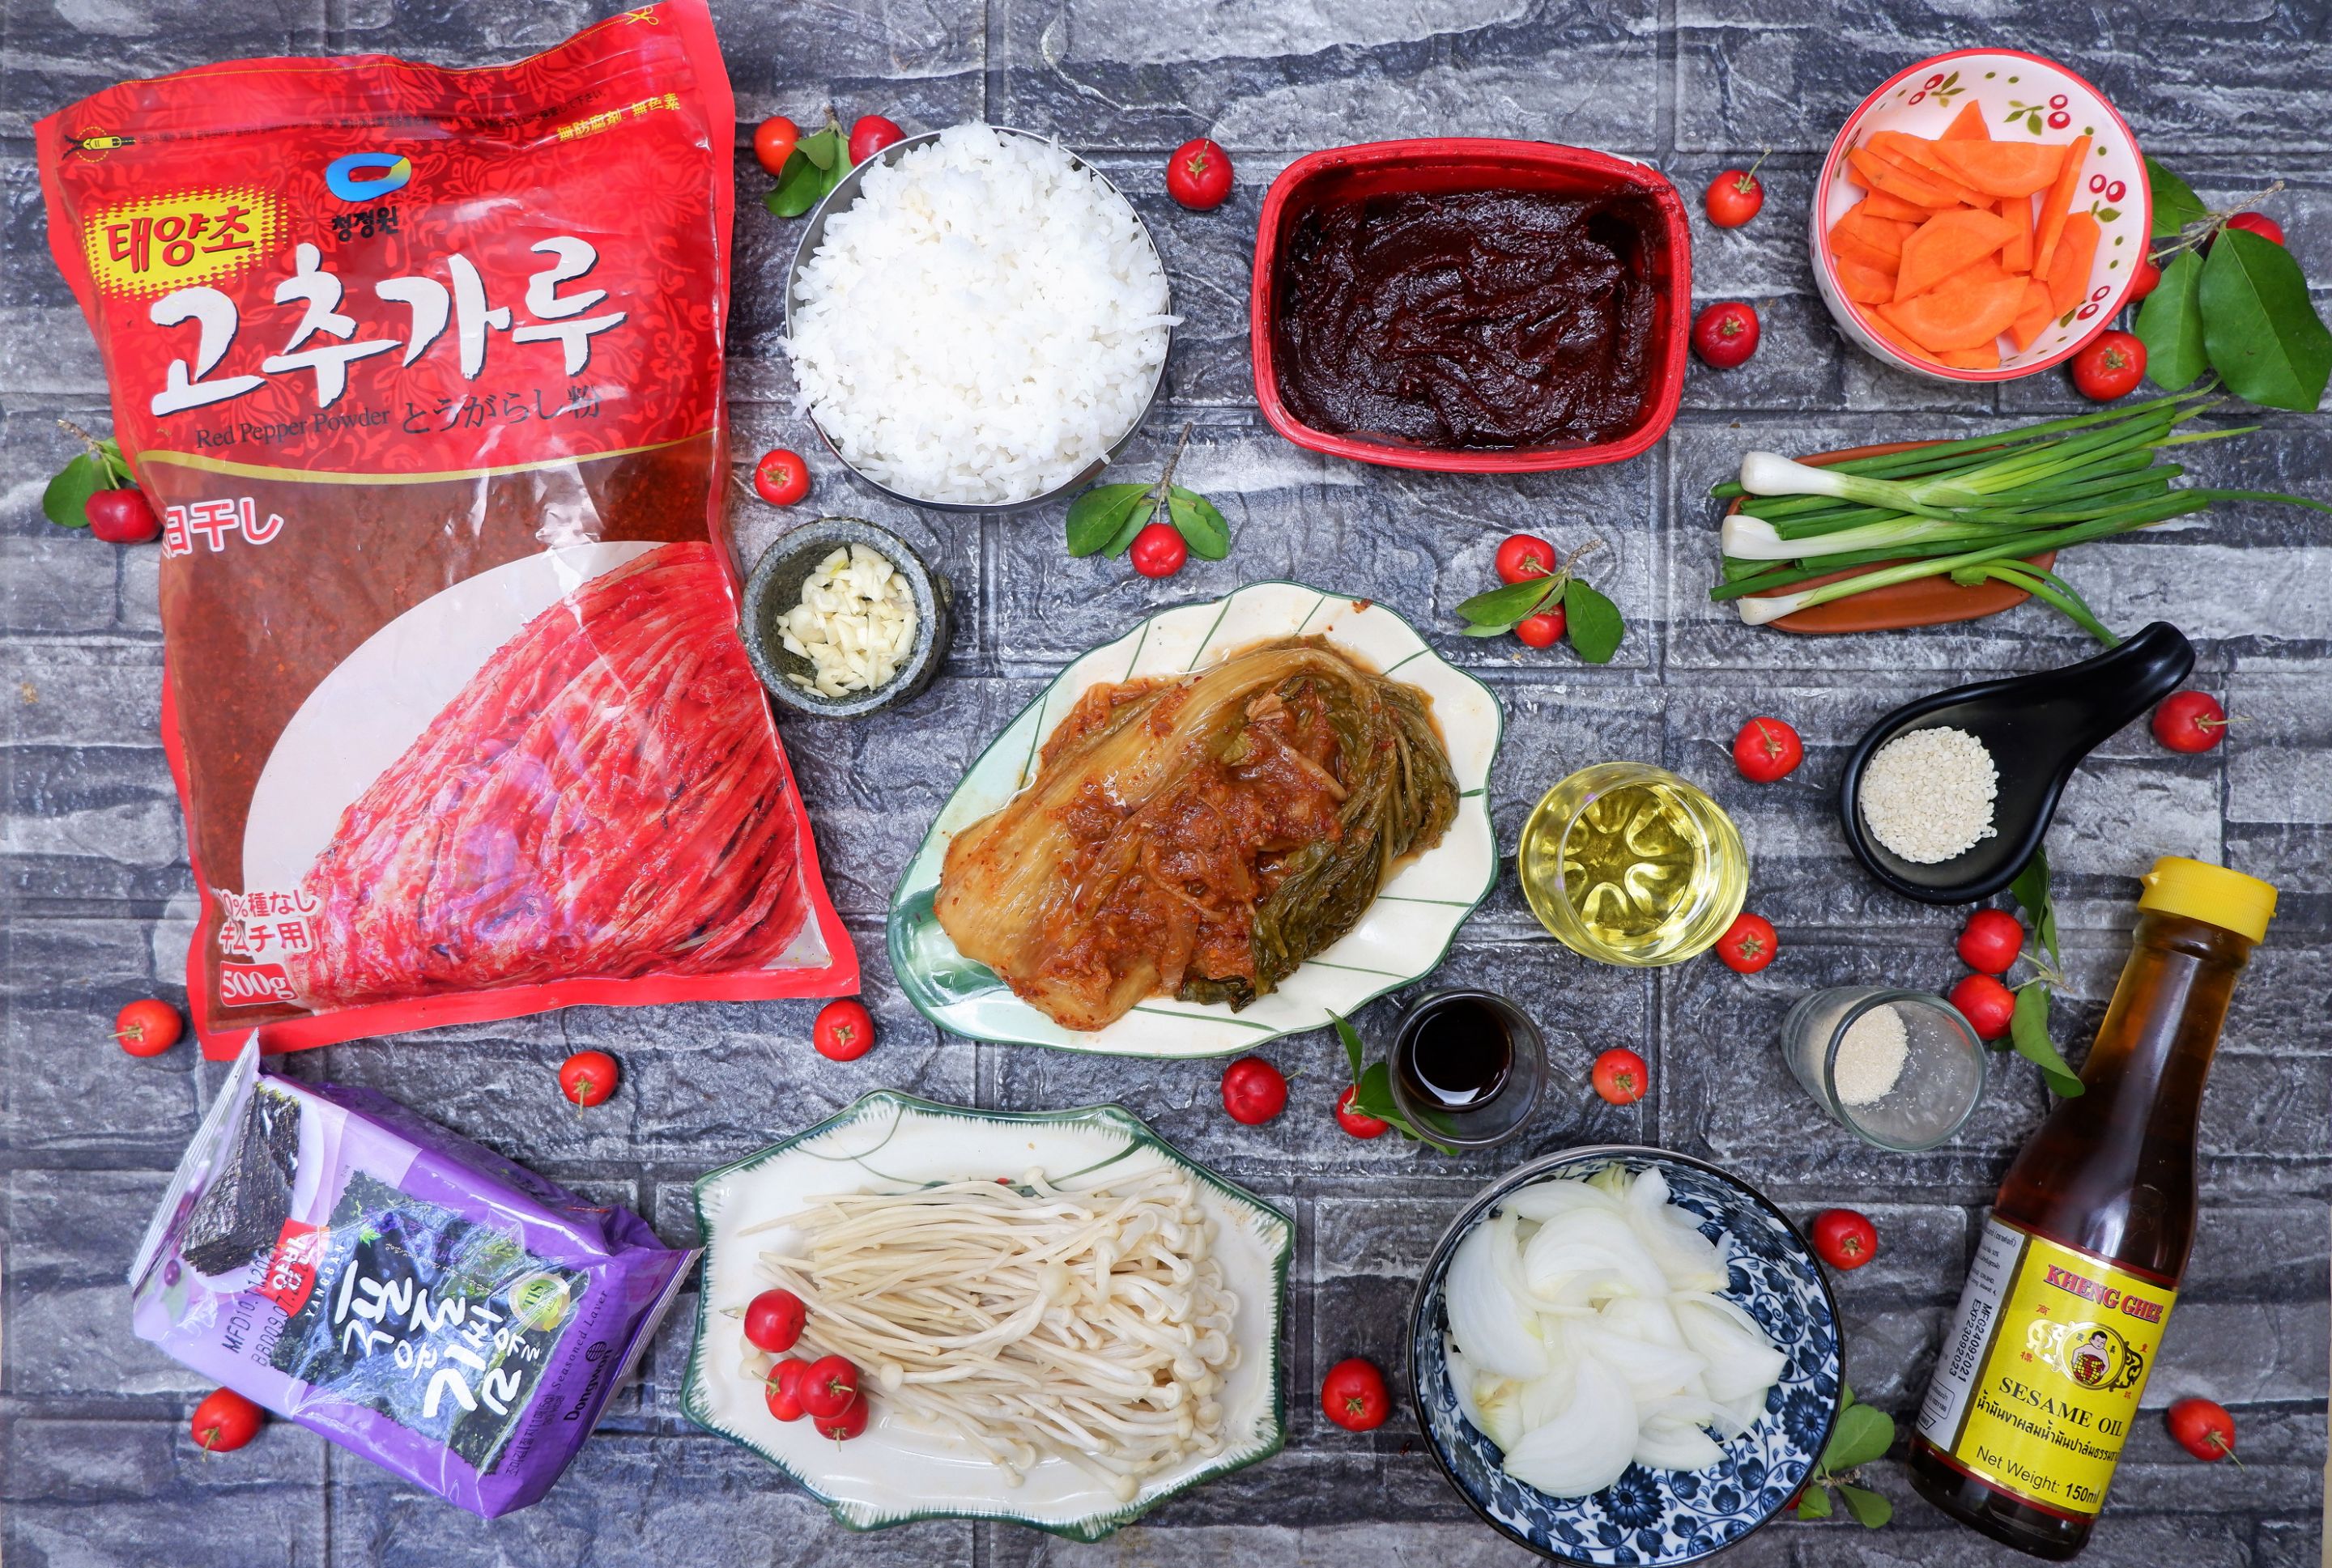
HERE ARE THE INGREDIENTS
- 2 Cup Jasmine Rice
- 1/2 Head Aged Napa Cabbage
- 1 Tablespoon Gachugaru (Korean Chili Flake)
- 1 Tablespoon Gochujang (Korean Chili Paste)
- 1 Pack Gim (Korean Roasted Seaweed)
- 3 Cloves Garlic
- 1 Medium Onion
- 1/2 Cup carrots
- 2 Spring Onion
- 50 Gram Enoki Mushrooms
- 1 Tablespoon Sesame Oil
- 1 Teaspoon Roasted Sesame
- 1/2 Tablespoon Ganjang (Korean Soy Sauce)
- 1/2 Tablespoon Sugar
- 2 Tablespoon Canola Oil
HOW TO MAKE VEGAN KIMCHI FRIED RICE
STEP 1 - Prepare the Veggies and Kimchi
-
Remove any outer layers of the spring onions that look bad or dirty. Using a sharp knife, chop off the root end and them half. Line up the spring onions and thinly slice them and set them aside.
-
Chop kimchi into small pieces and add it to a bowl. Alternatively as a Korean favorite chop by adding kimchi to a bowl and cutting it into small pieces using a scissor.
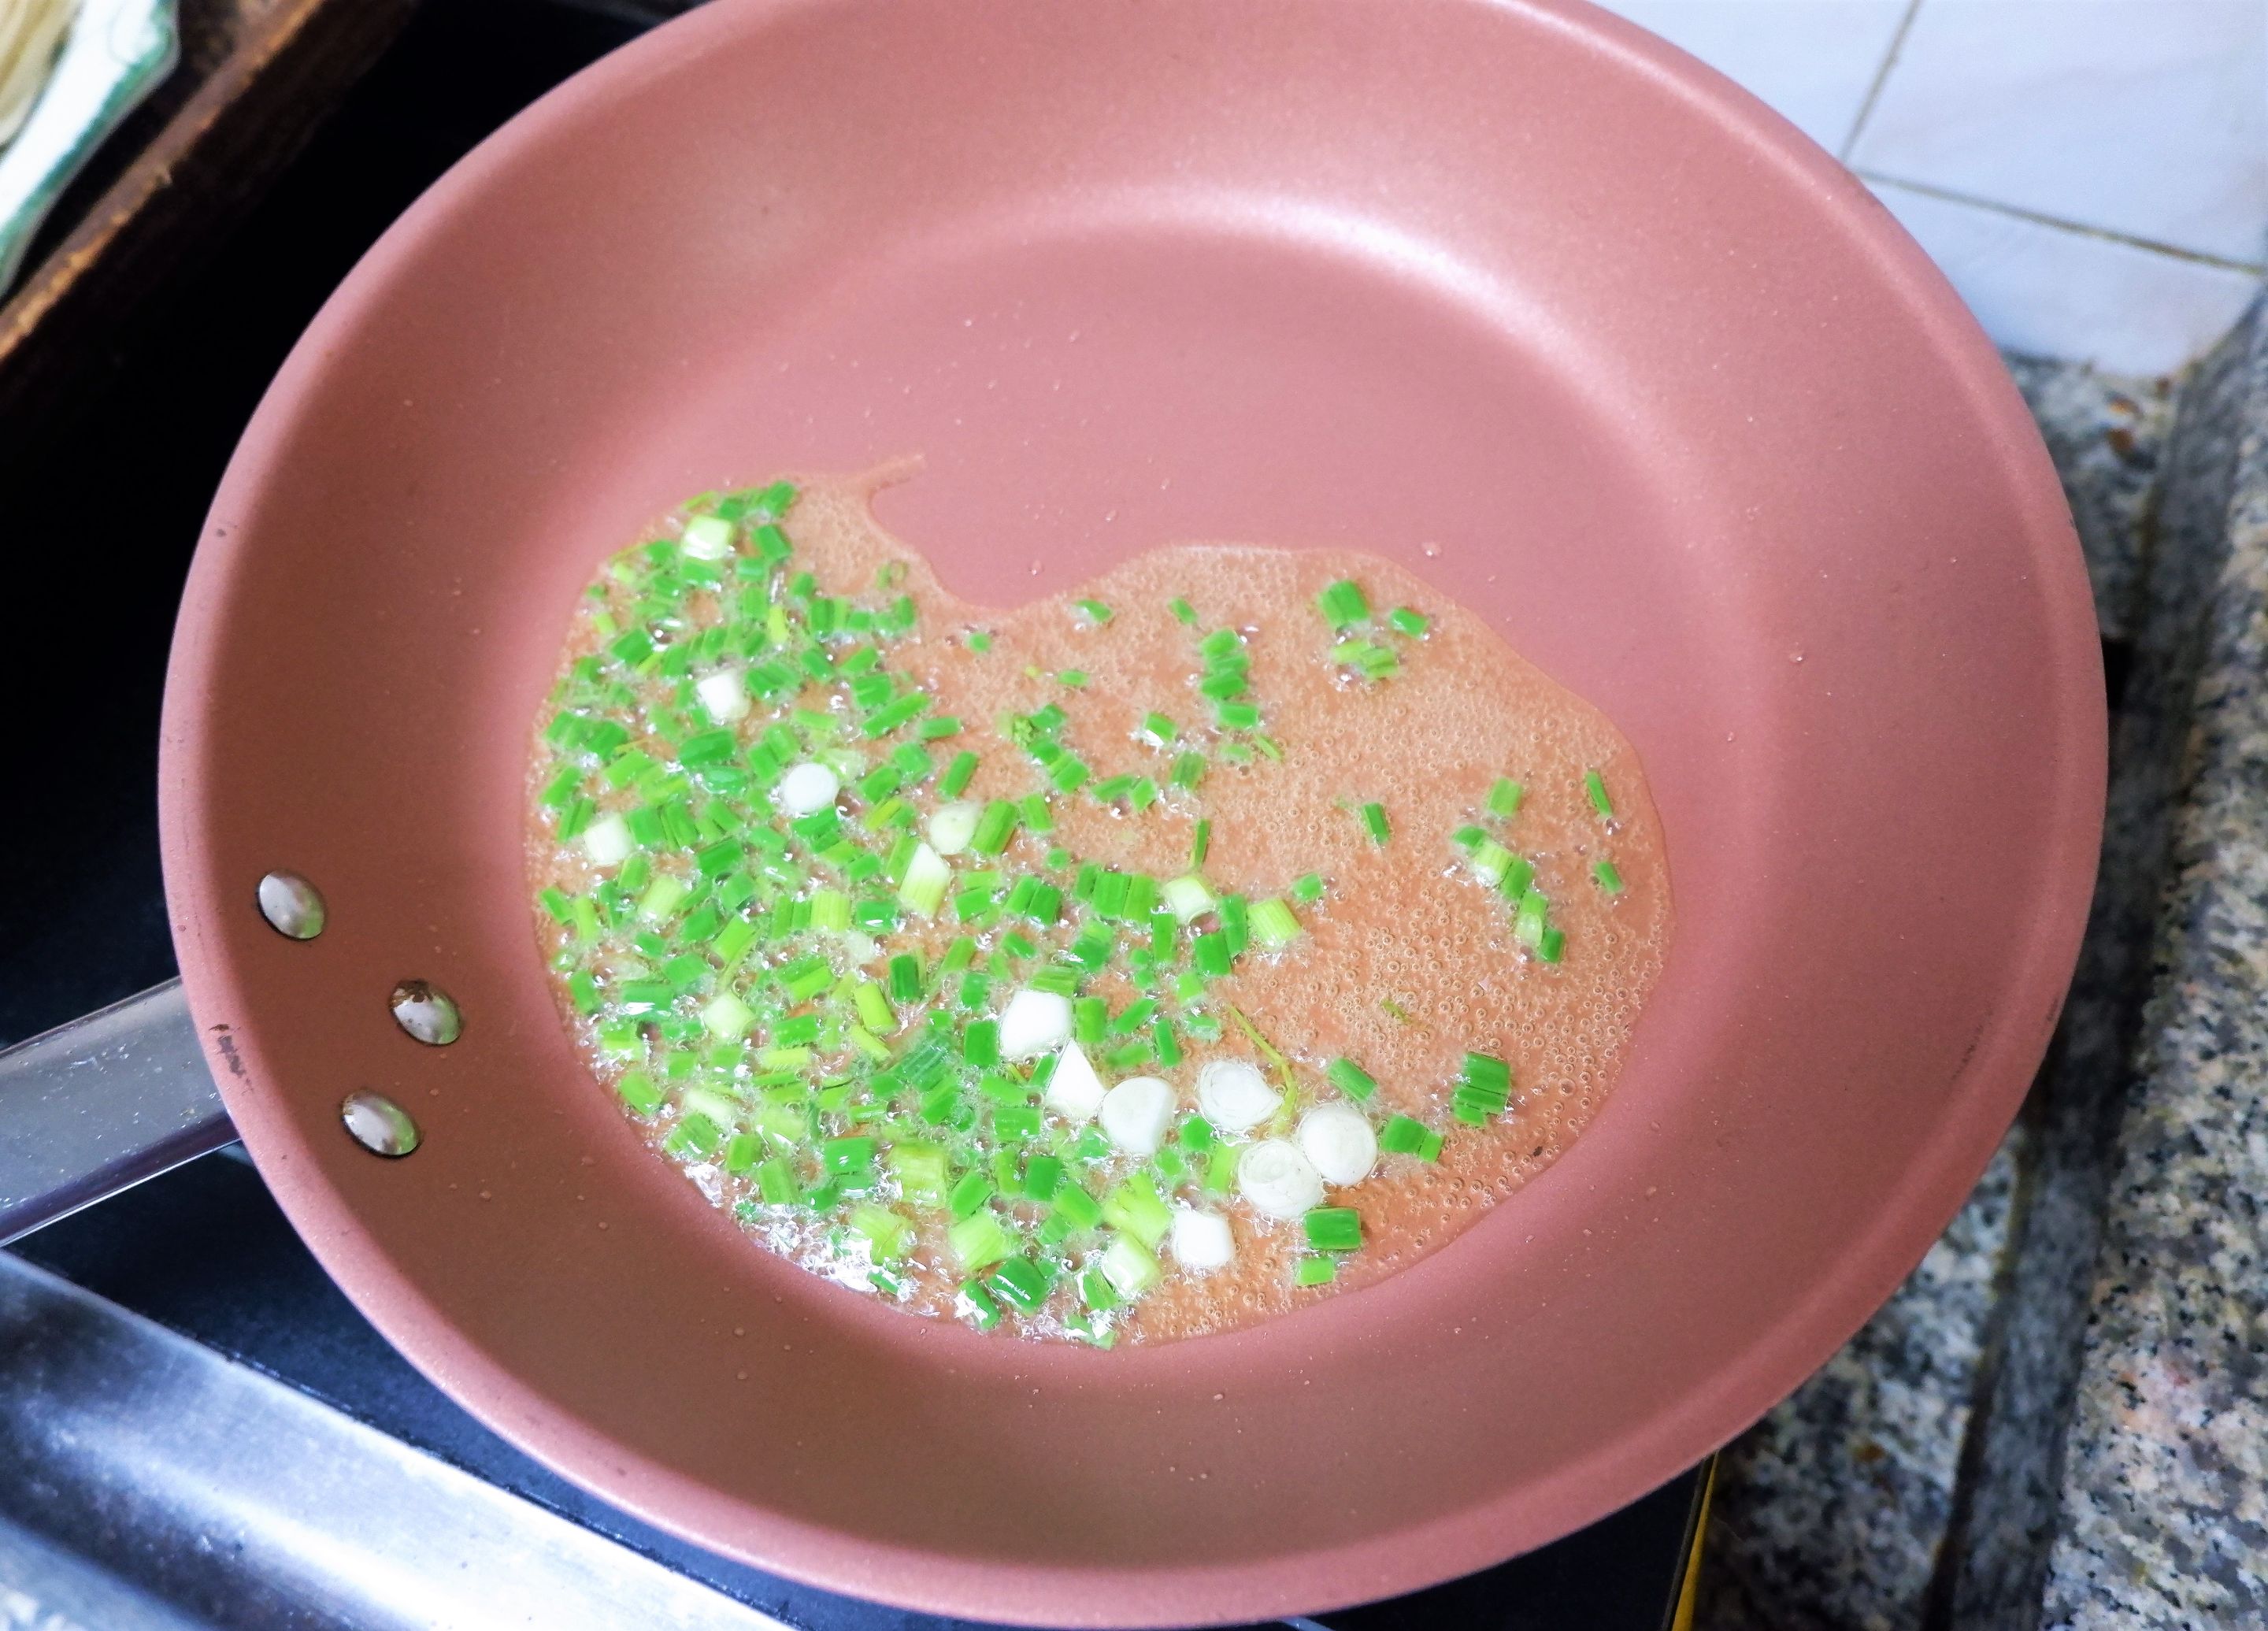
STEP 2 - Sauté the Spring Onion Oil
Start by sautéing the chopped spring onion in a large nonstick pot and save a few for garnish. Firstly, add a Canola oil to the pan over medium heat and let it warm up before adding the spring onion. If you don’t cook with oil, just add the spring onions and a splash of water about 2 tablespoons. Cook the spring onions for 2 minutes until the spring onions start dazzling and release the fragrance aroma.
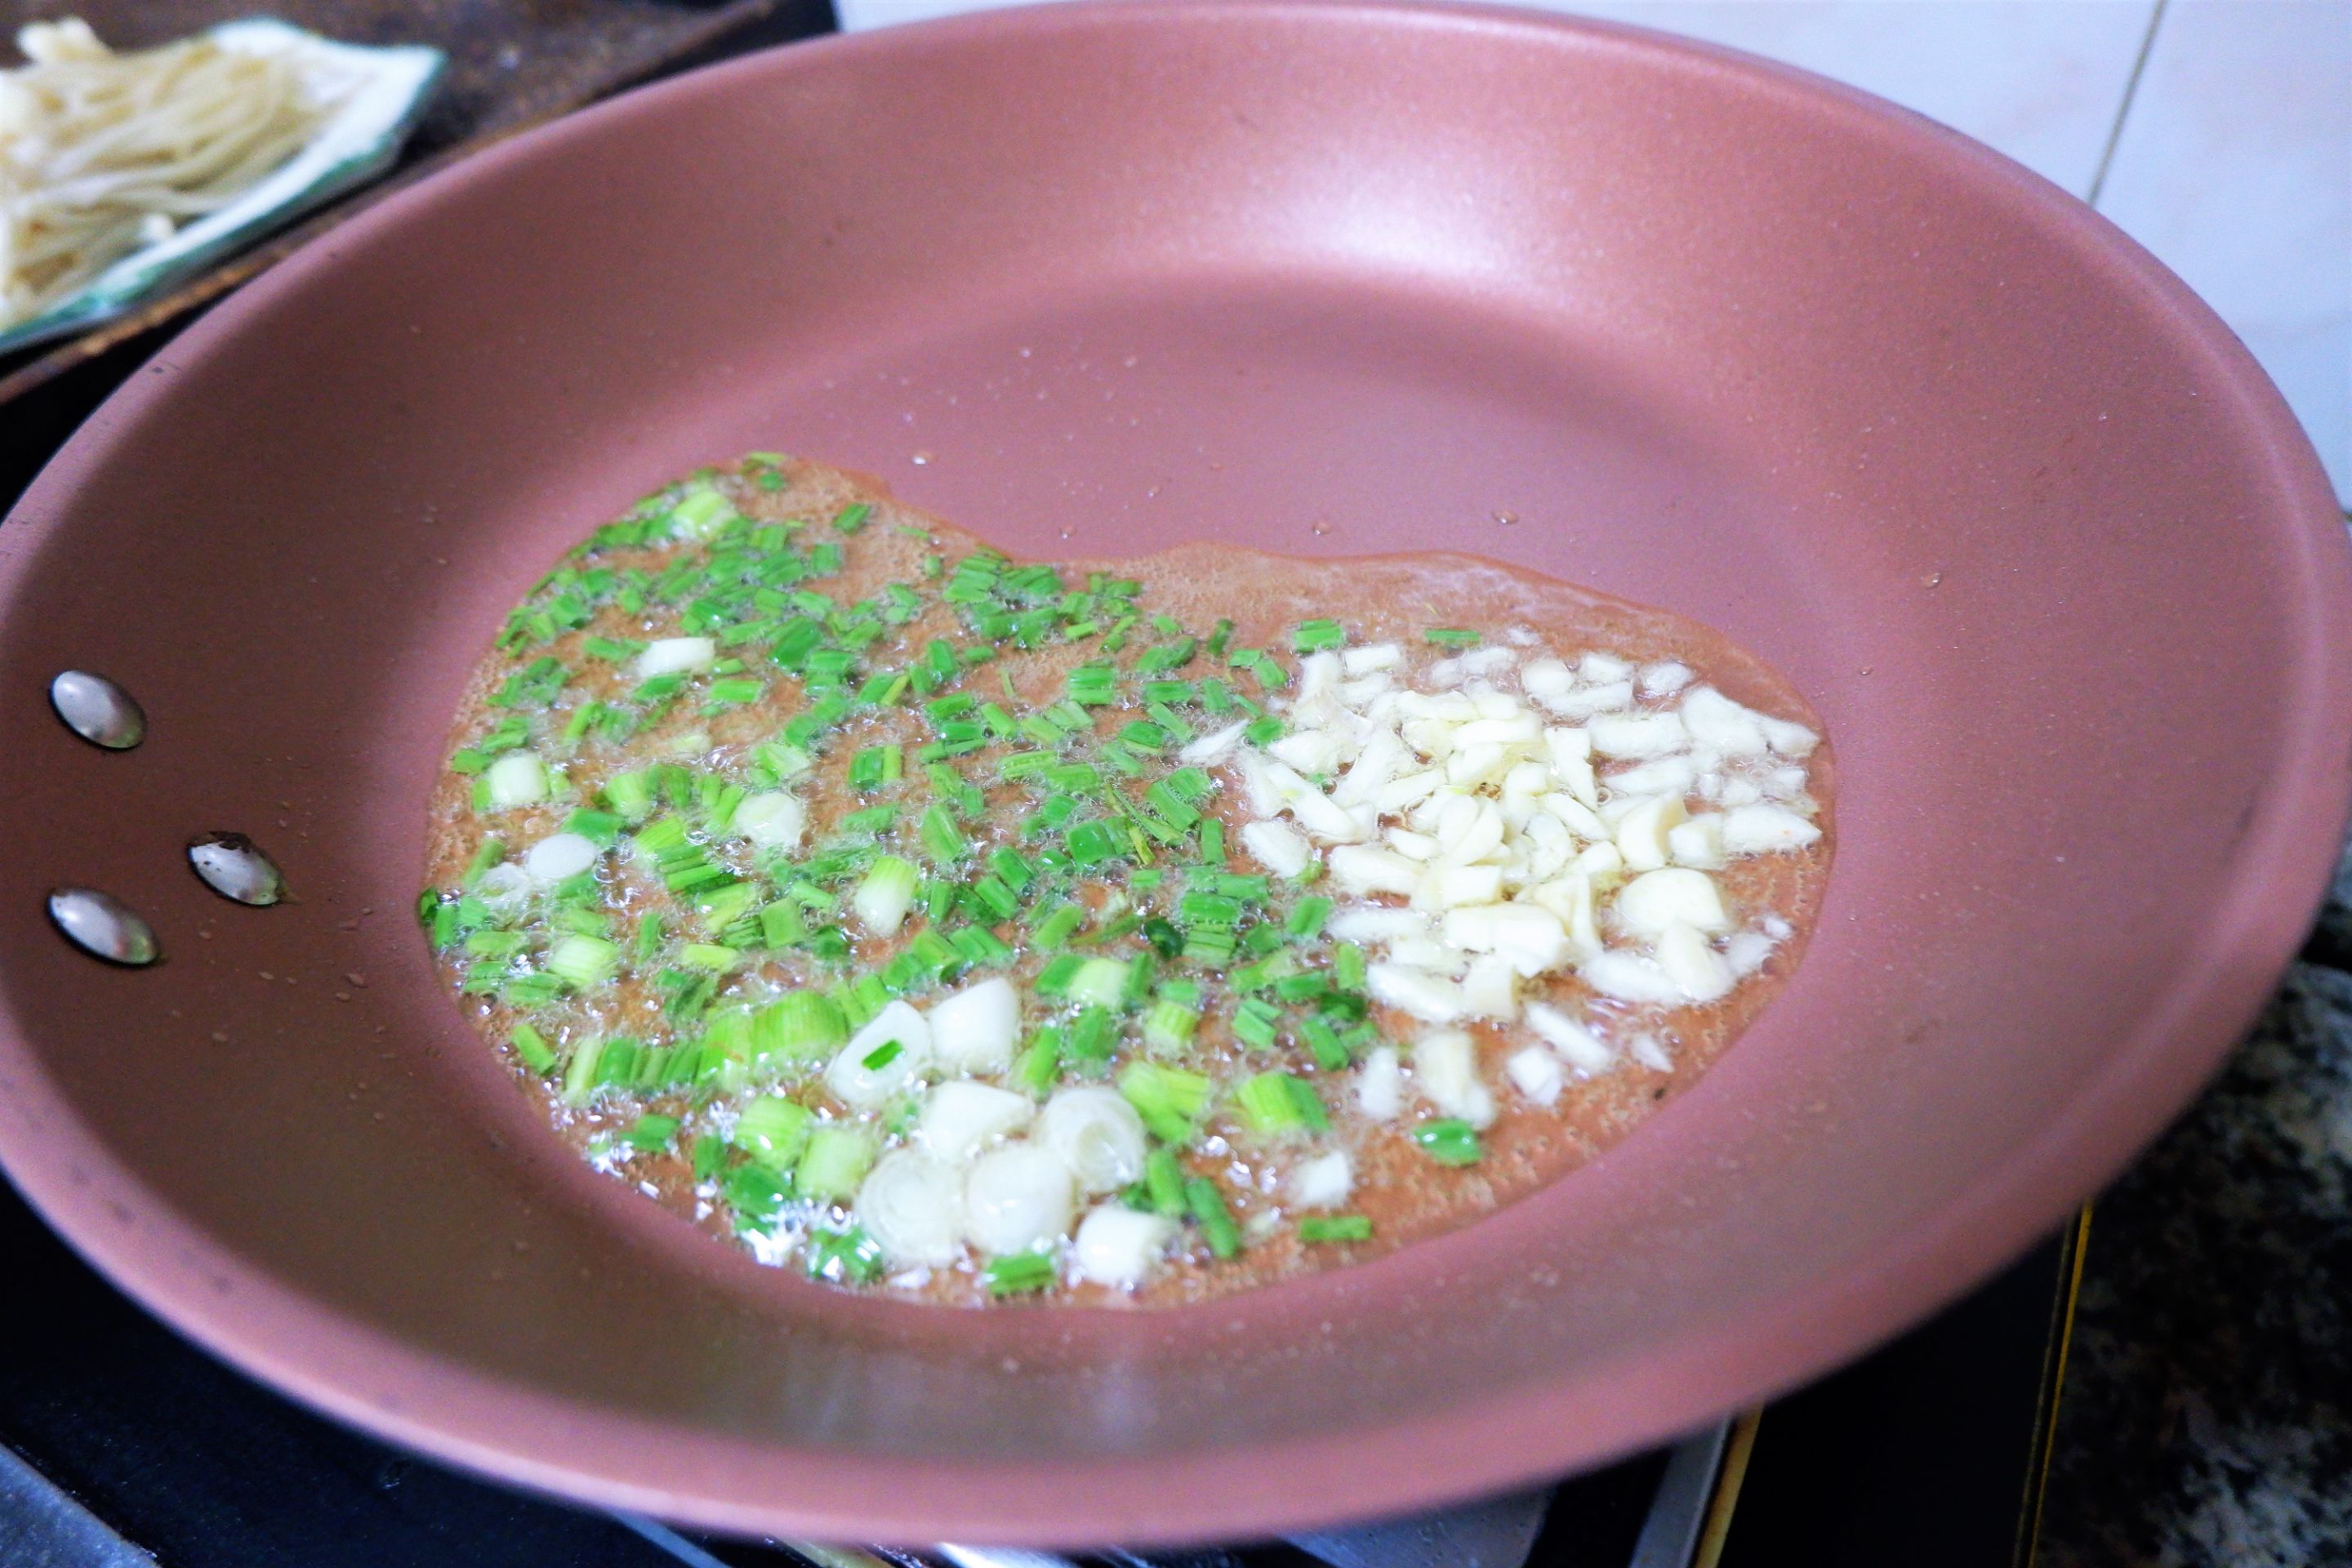
Add the minced garlic and stir well until golden and cook for an additional one more minute.
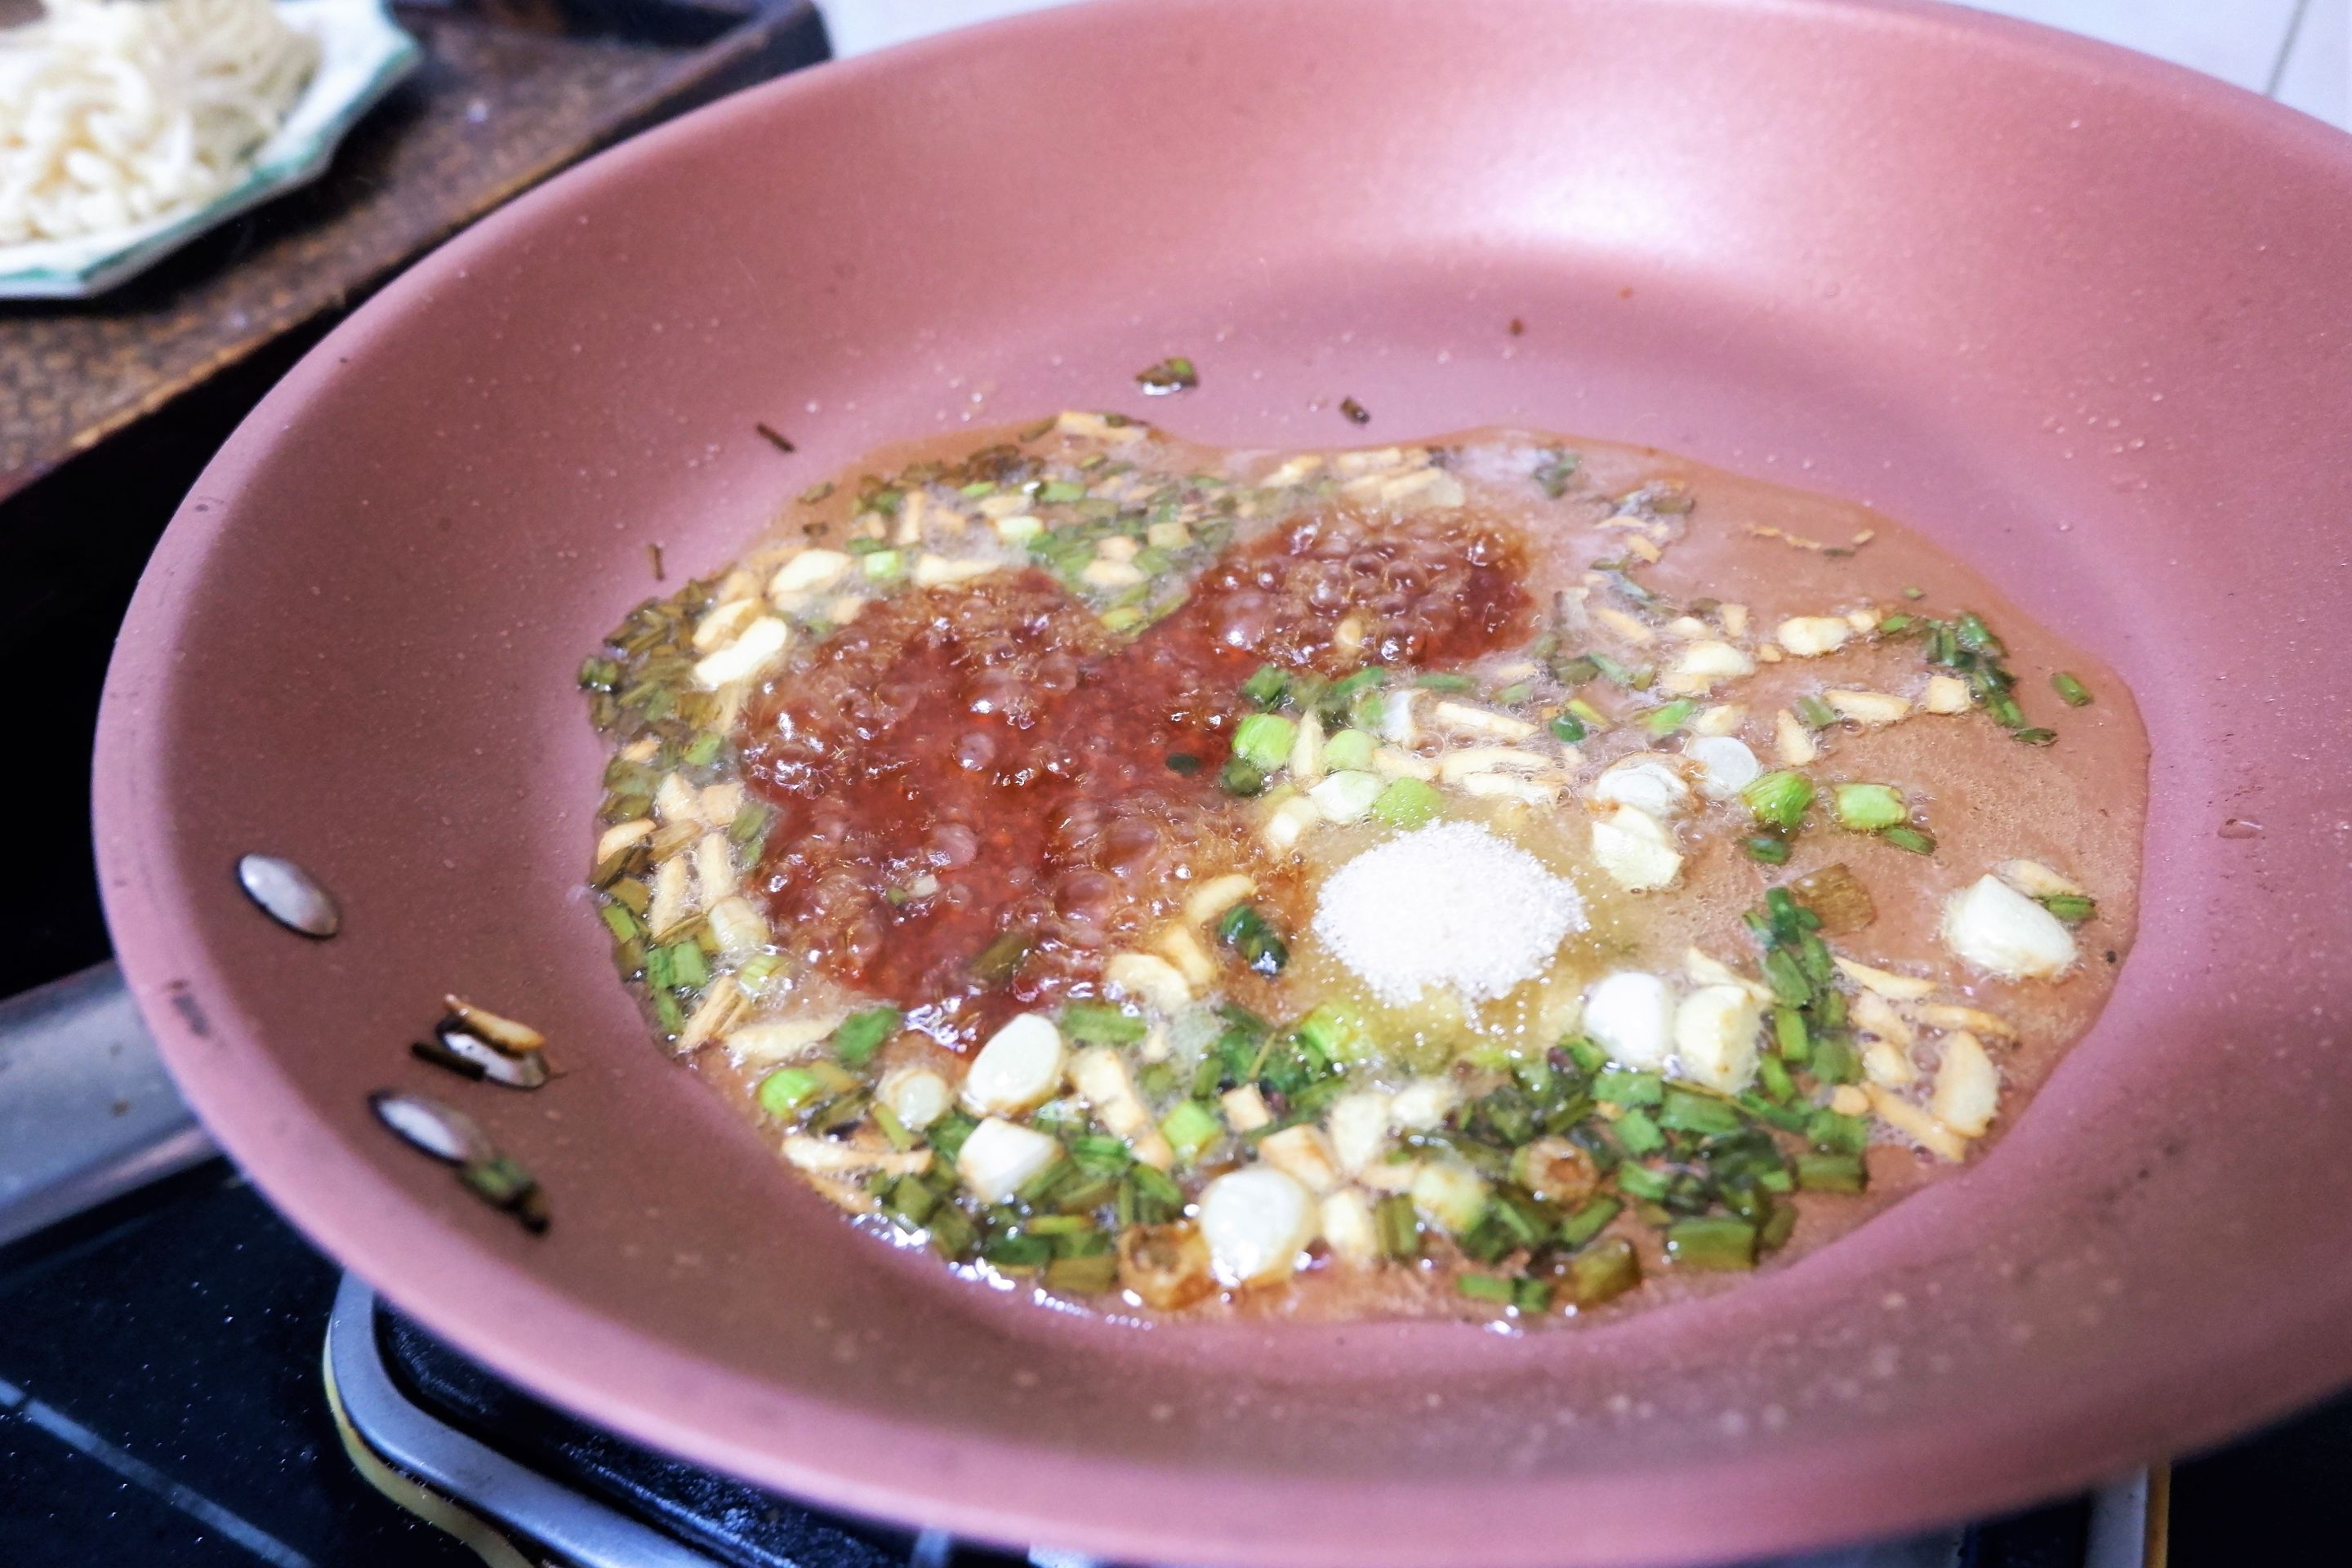
Add sugar and soy sauce is what I learn so far from Korean Chef and let stir until the sugar melts and caramelized all over the spring onion and garlic.
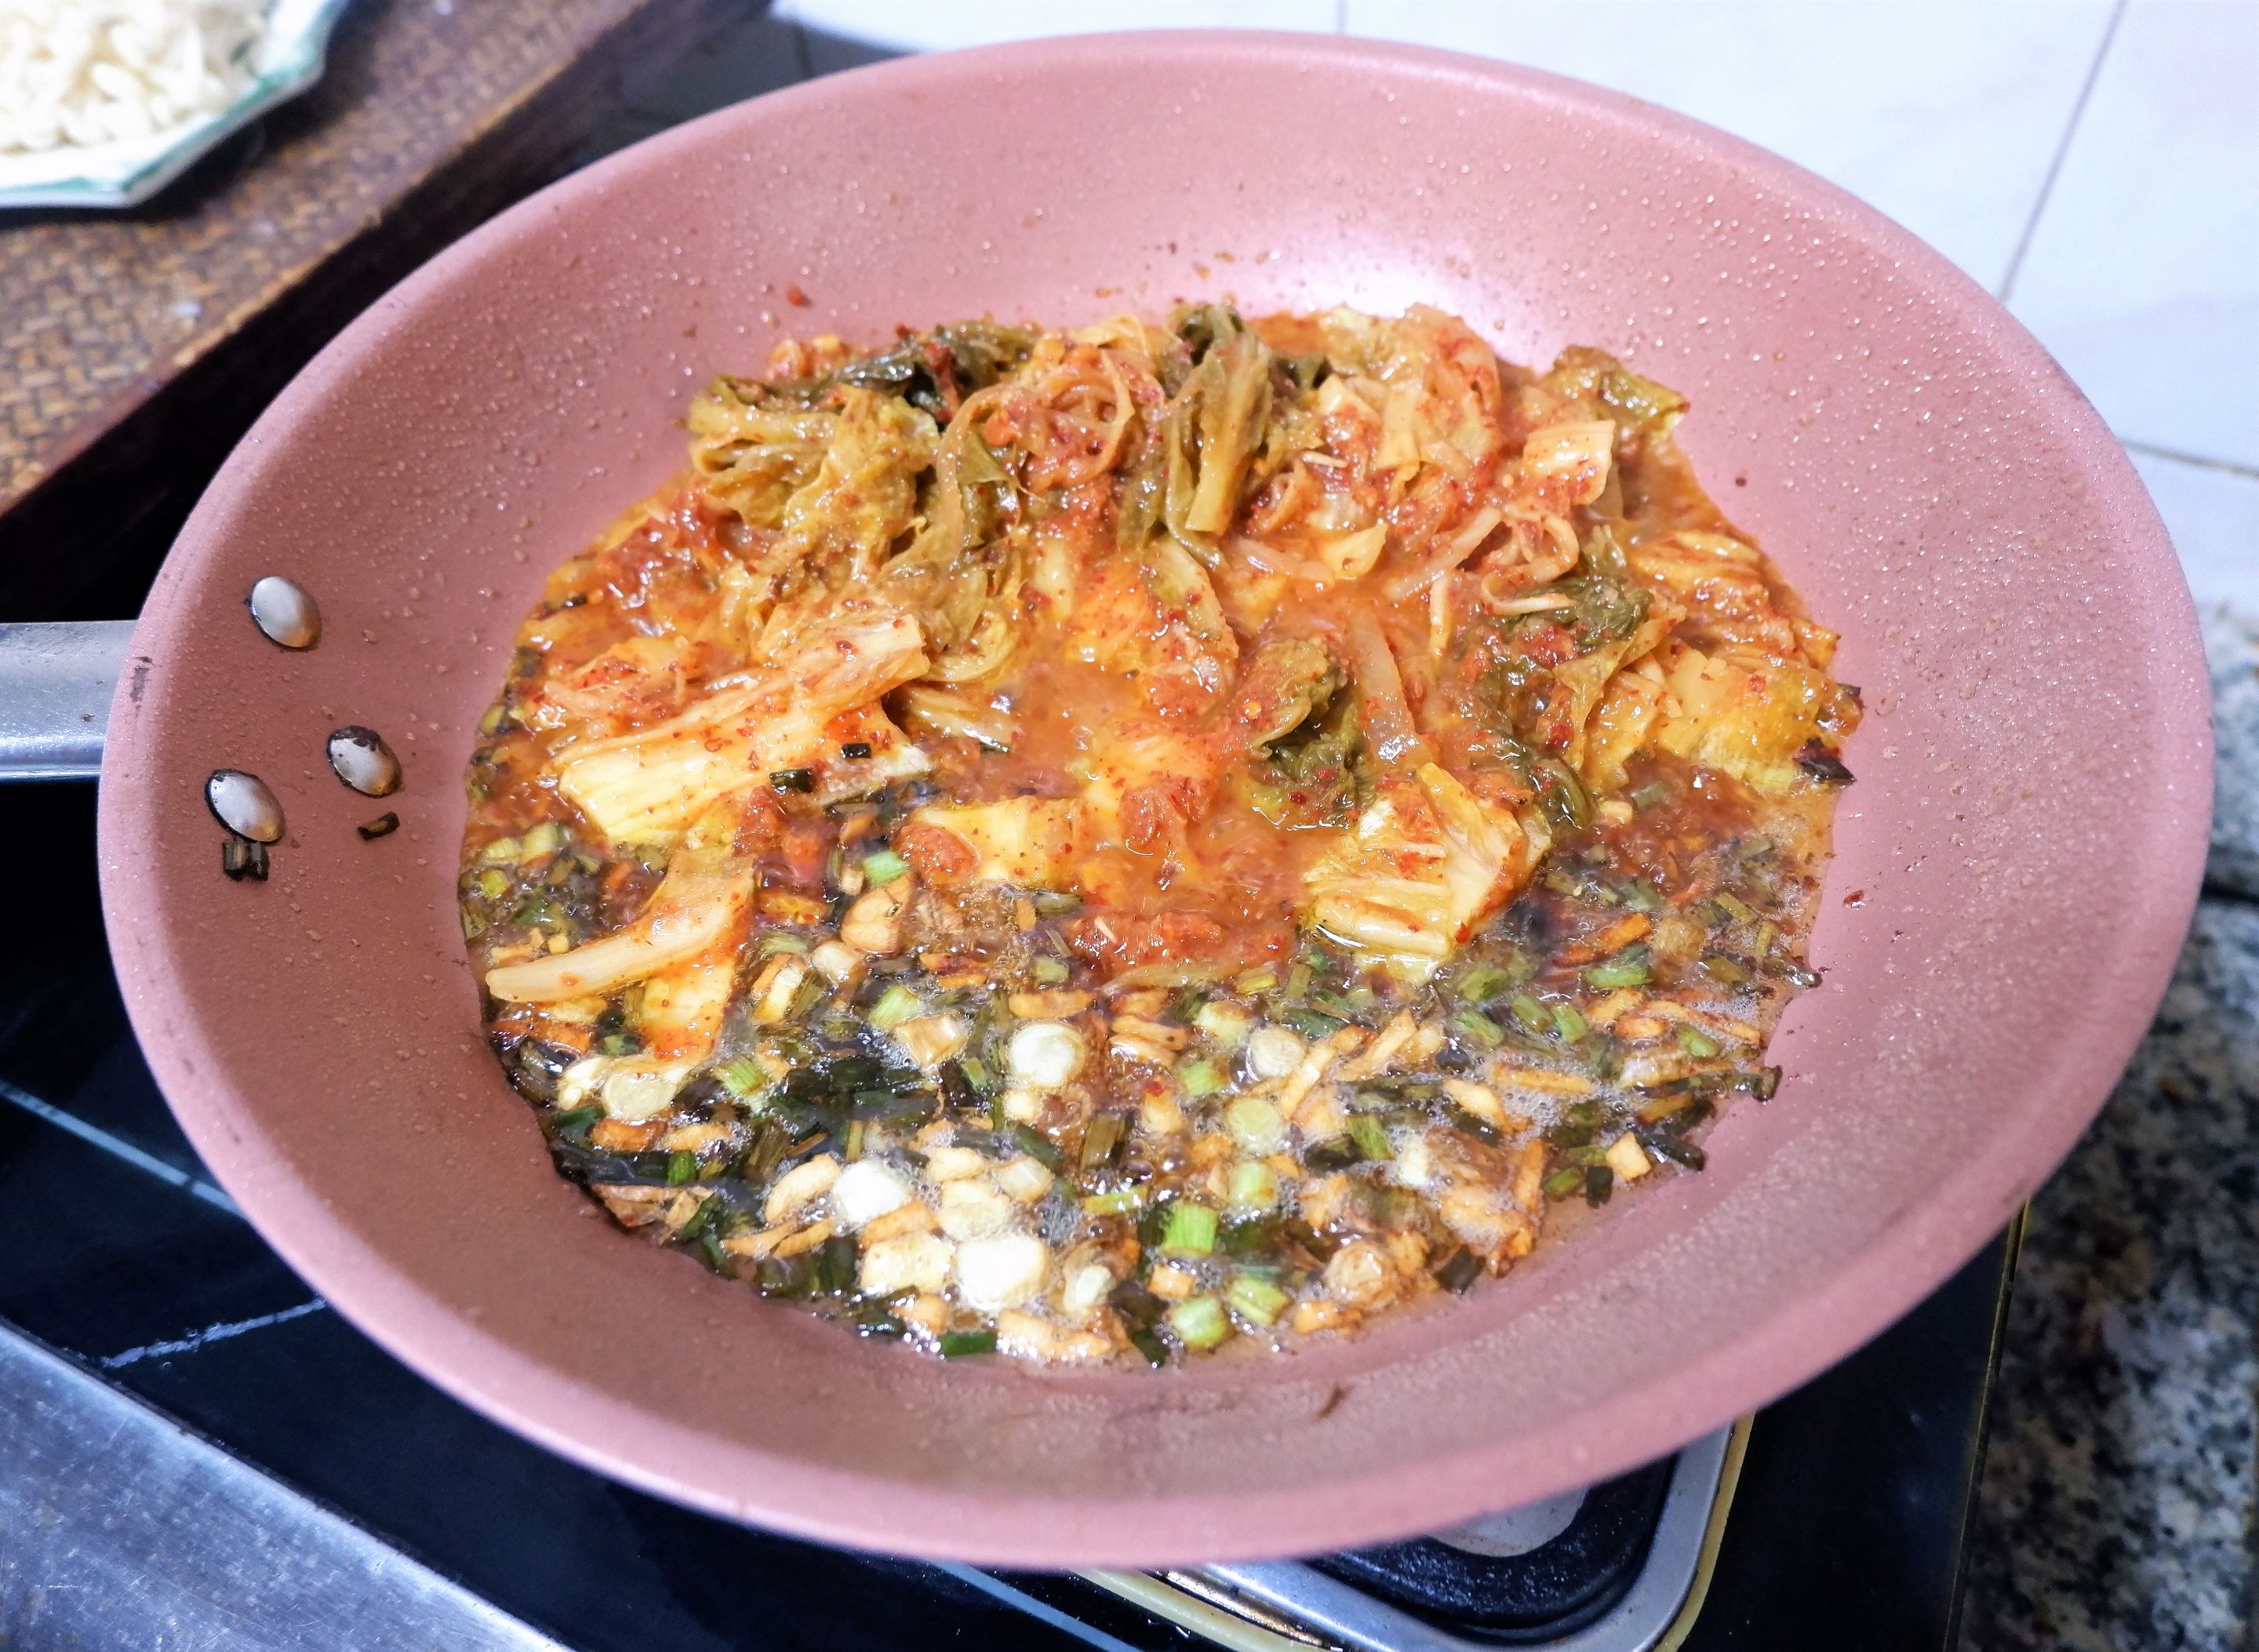
STEP 3 - Sauté the Kimchi
Add the chopped kimchi and stir until heated through for about 2 minutes. Then let the kimchi sit in the pan without stirring over low heat for about 3 minutes until they start to become fragrant.
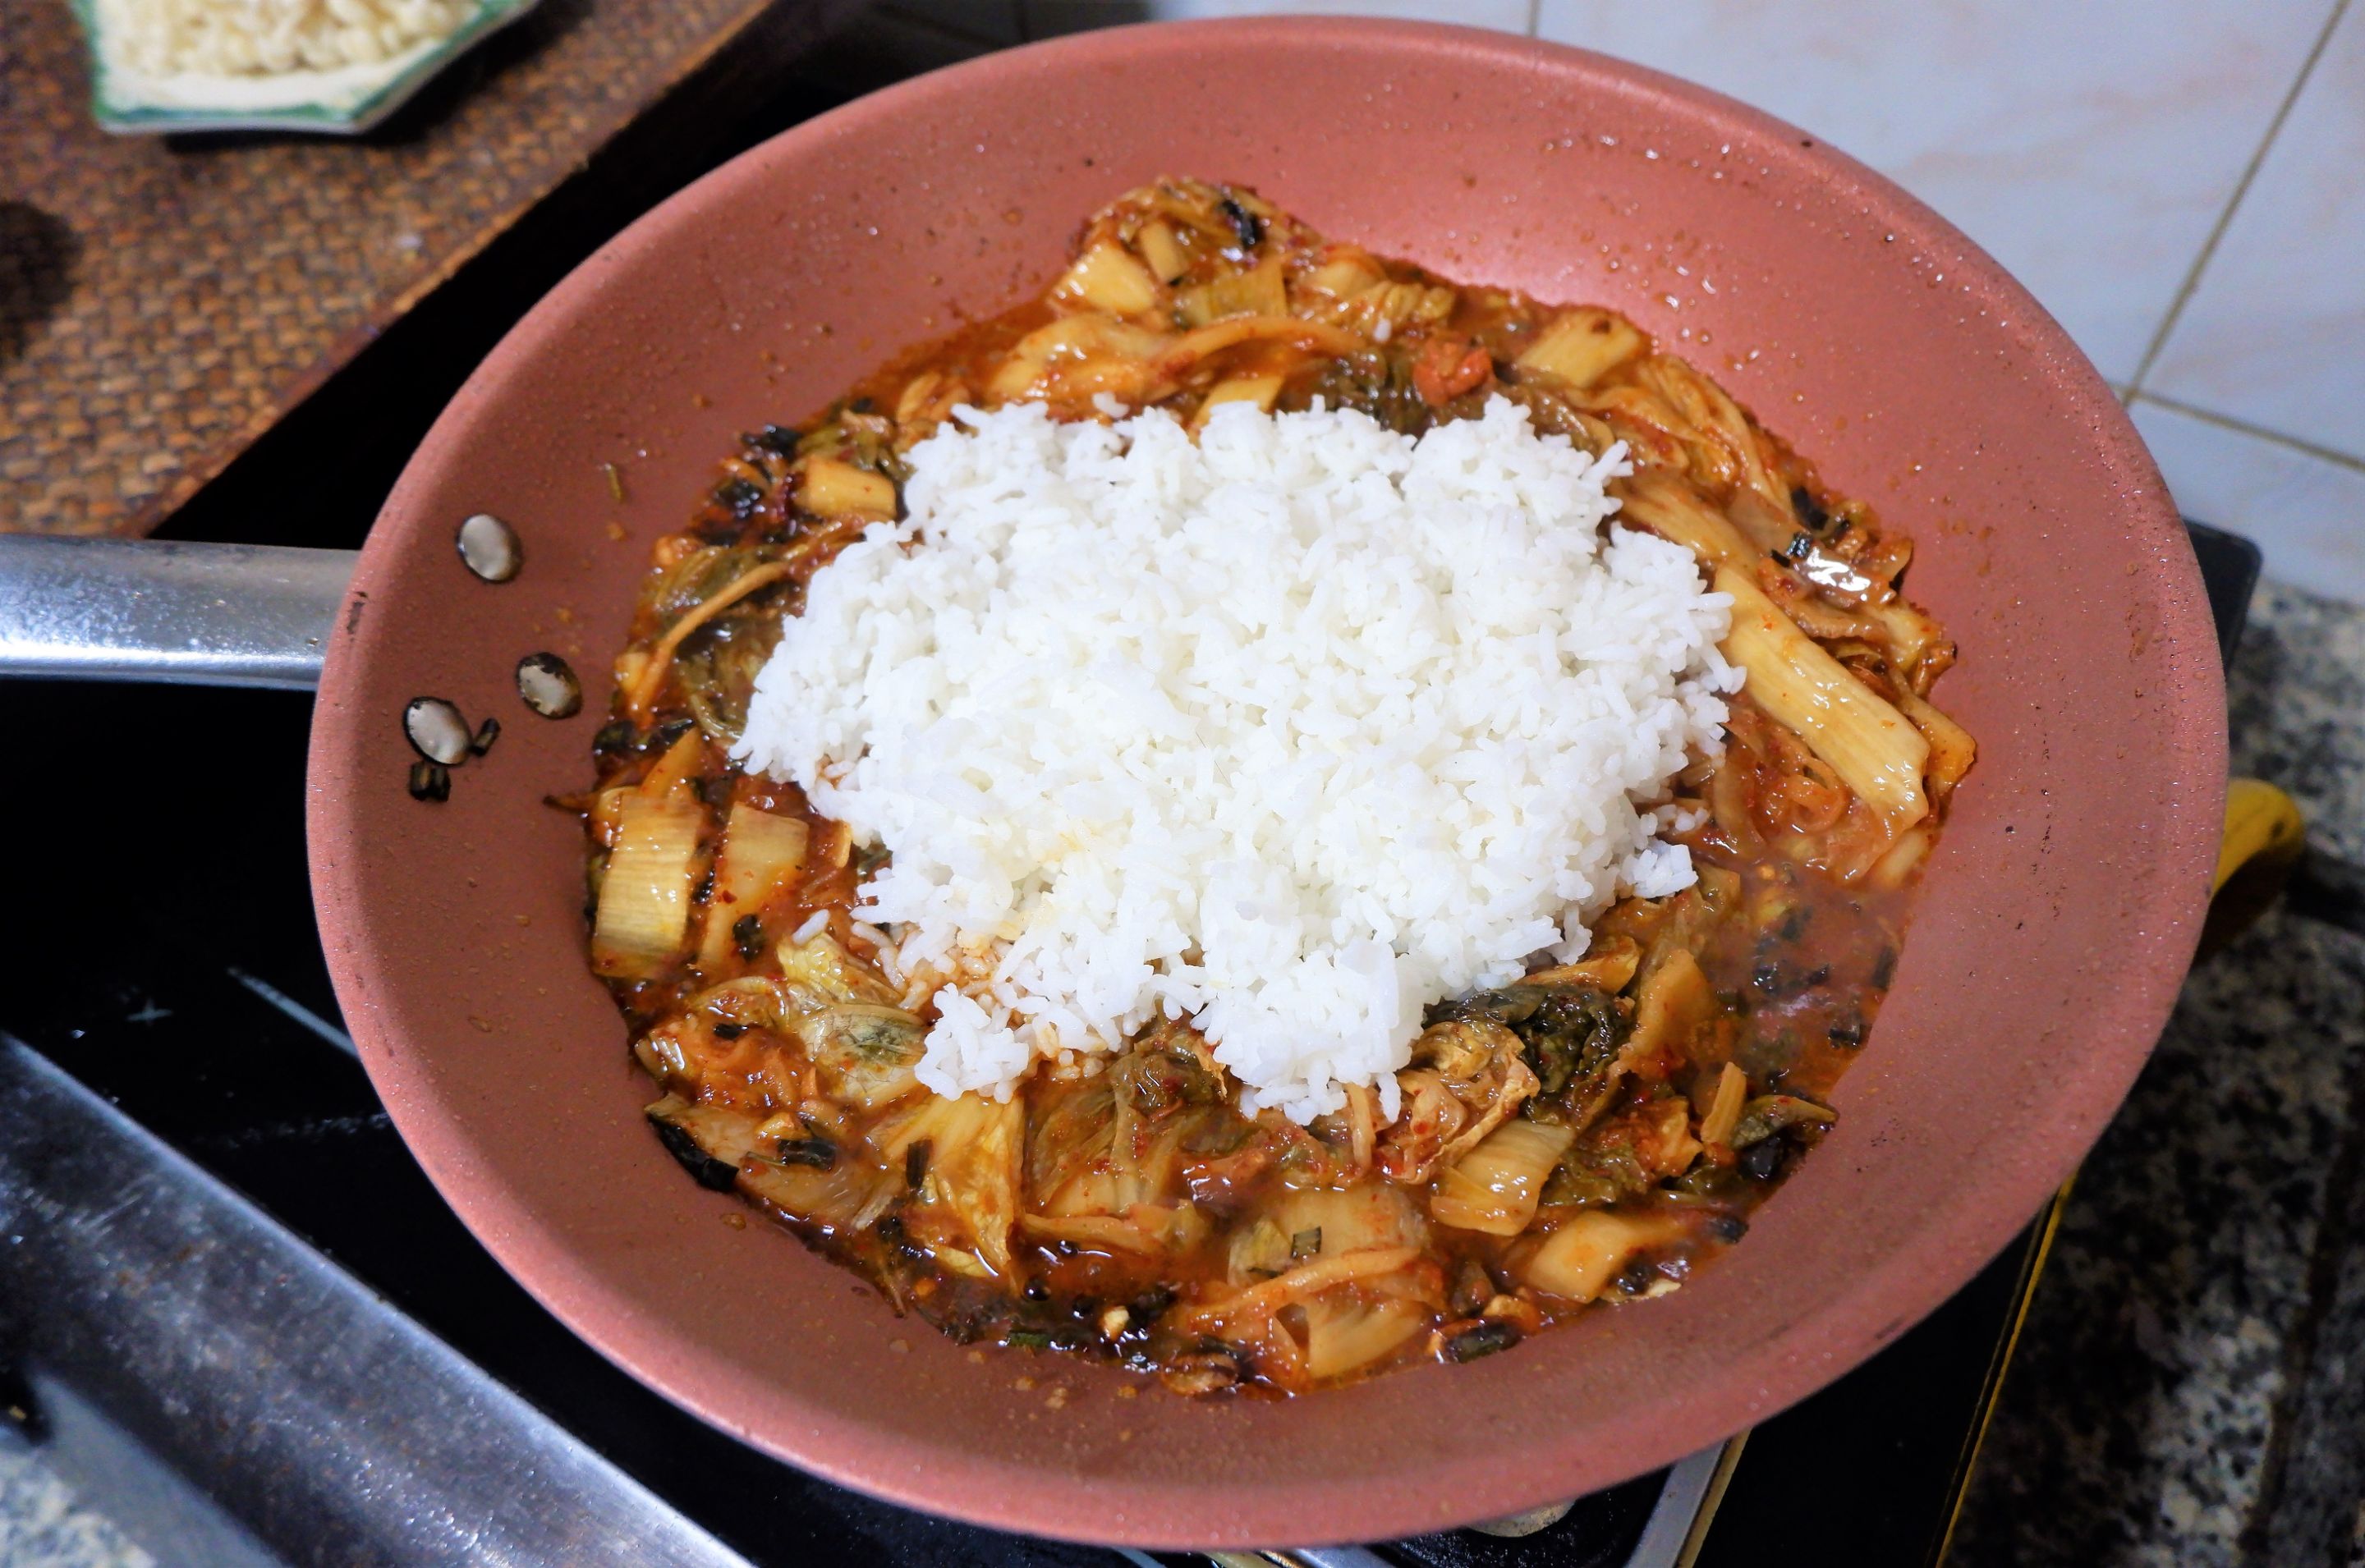
STEP 4 - Add the Rice
Add in the cooked rice. Break up any clumps with the cooking spoon. Stir well and let the rice absorb the juices from the kimchi.
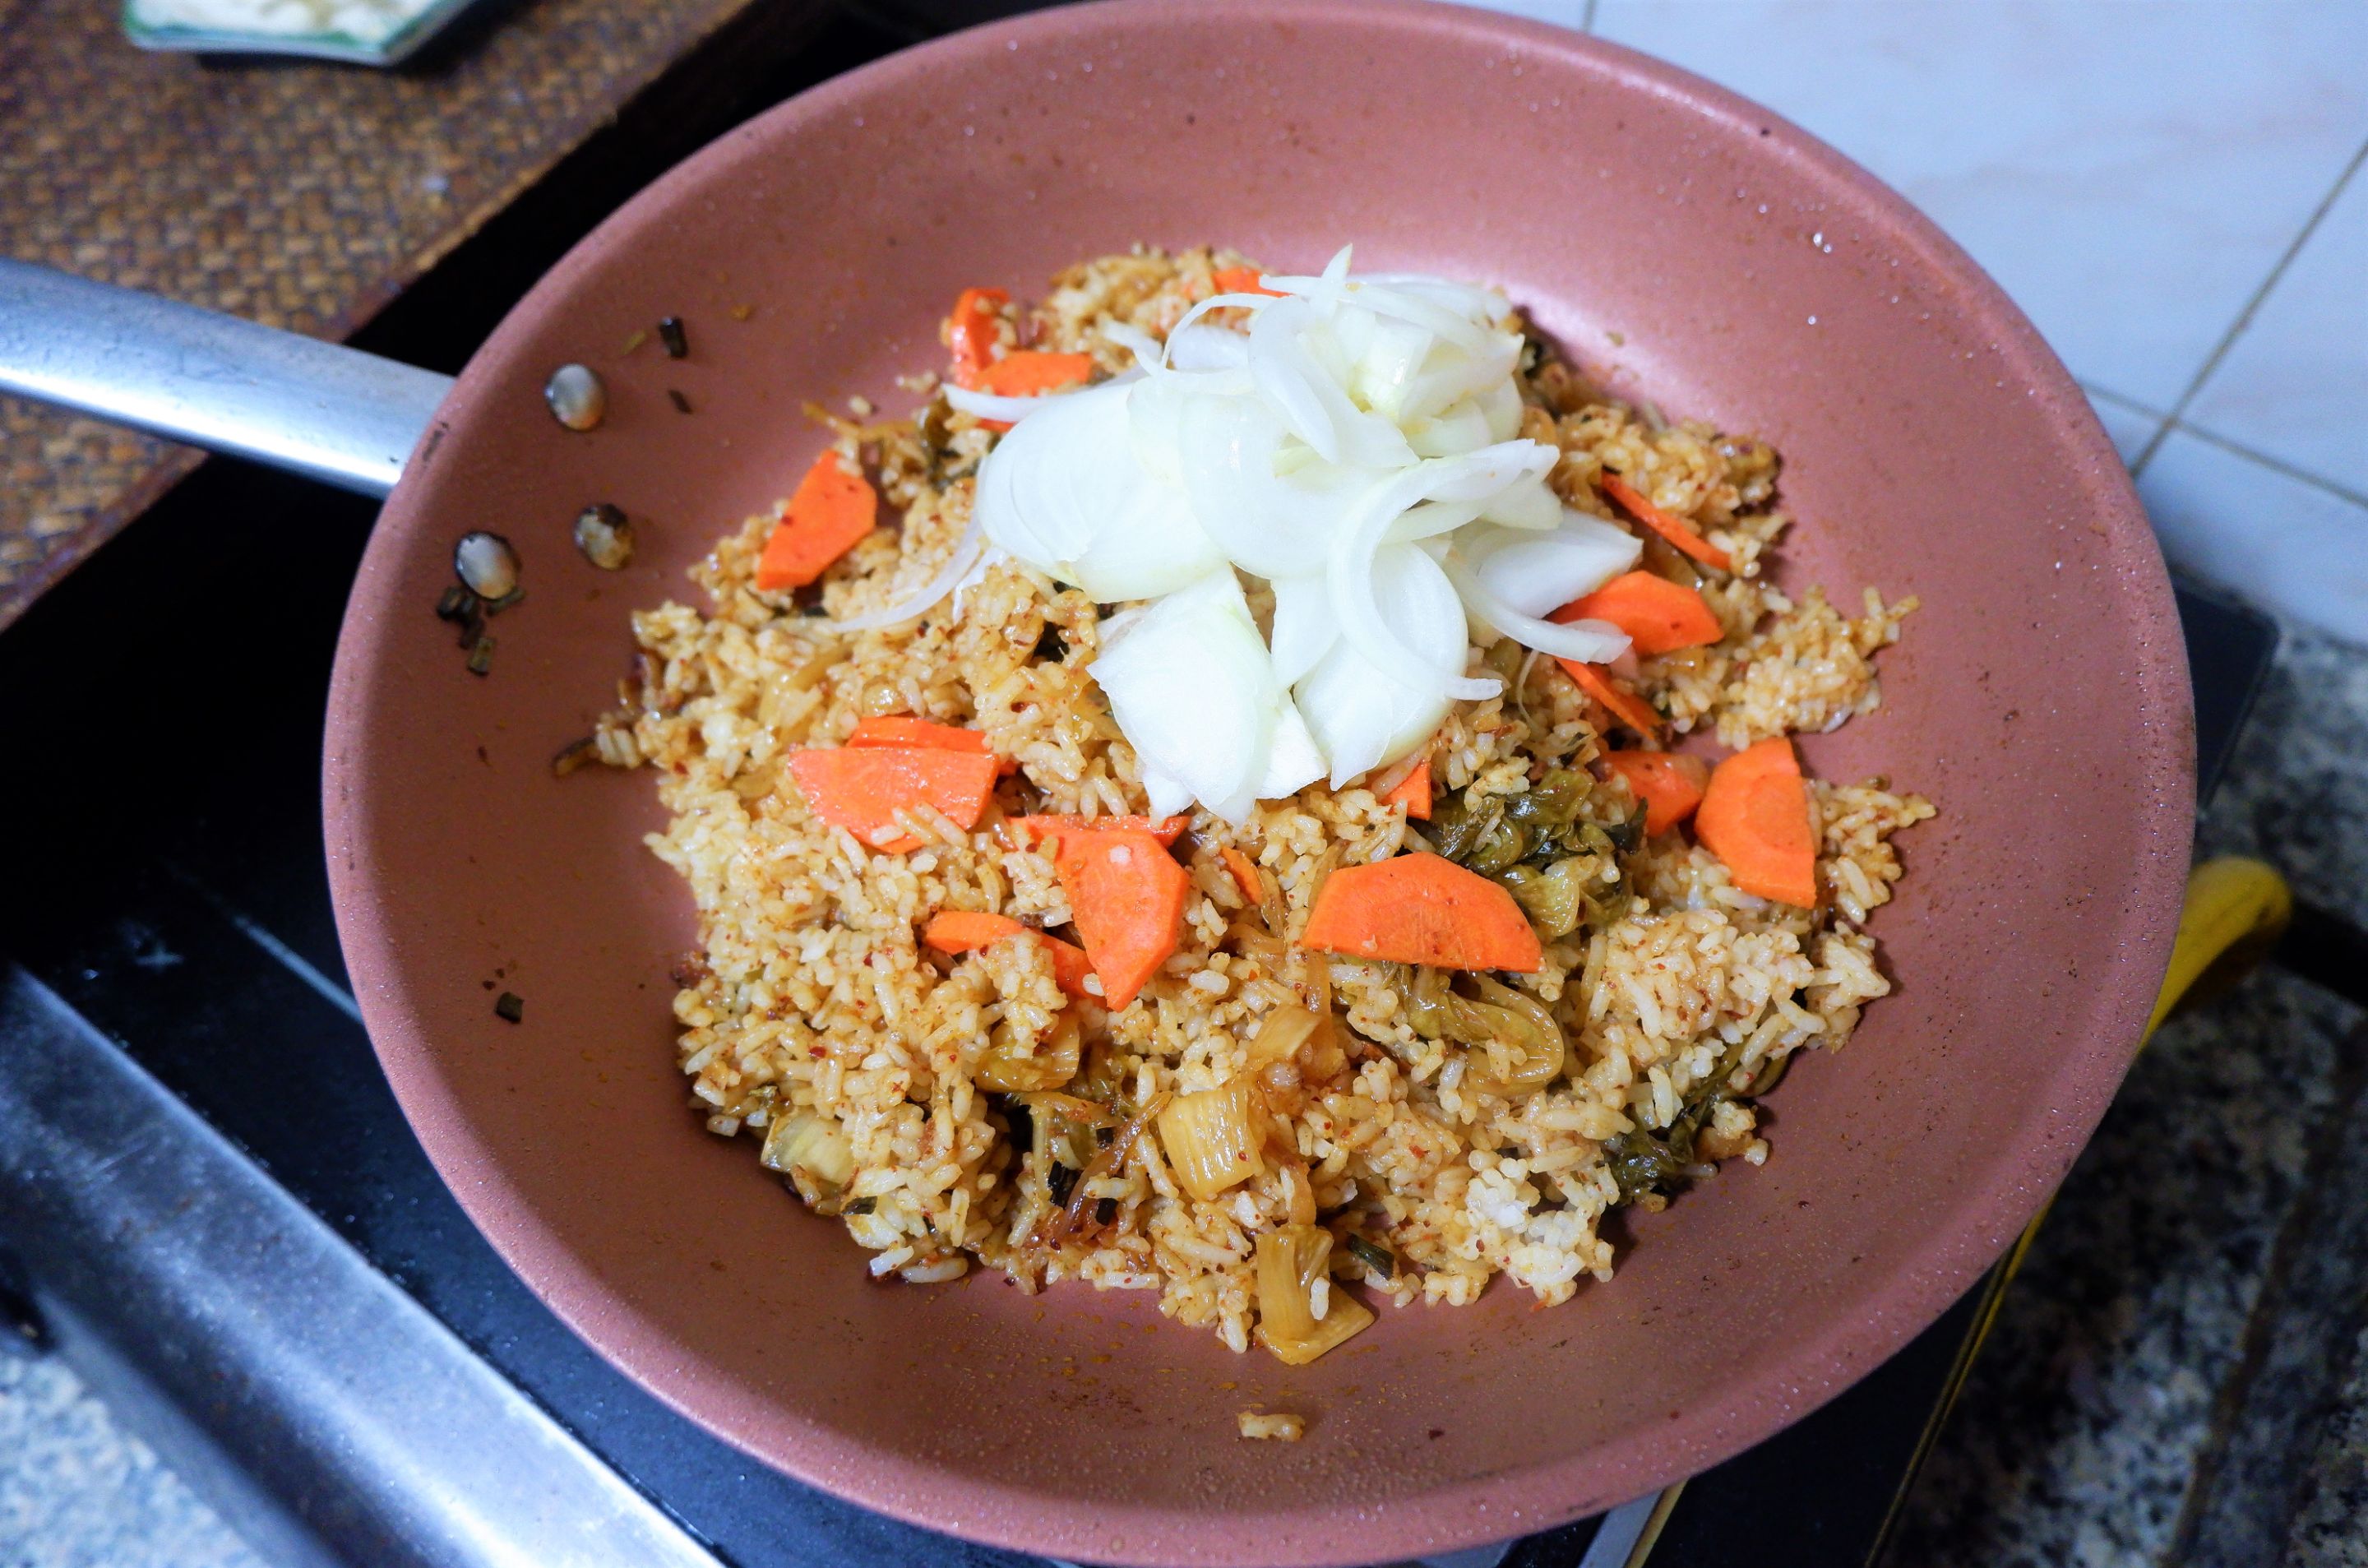
STEP 5 - Add on the Vegeatables
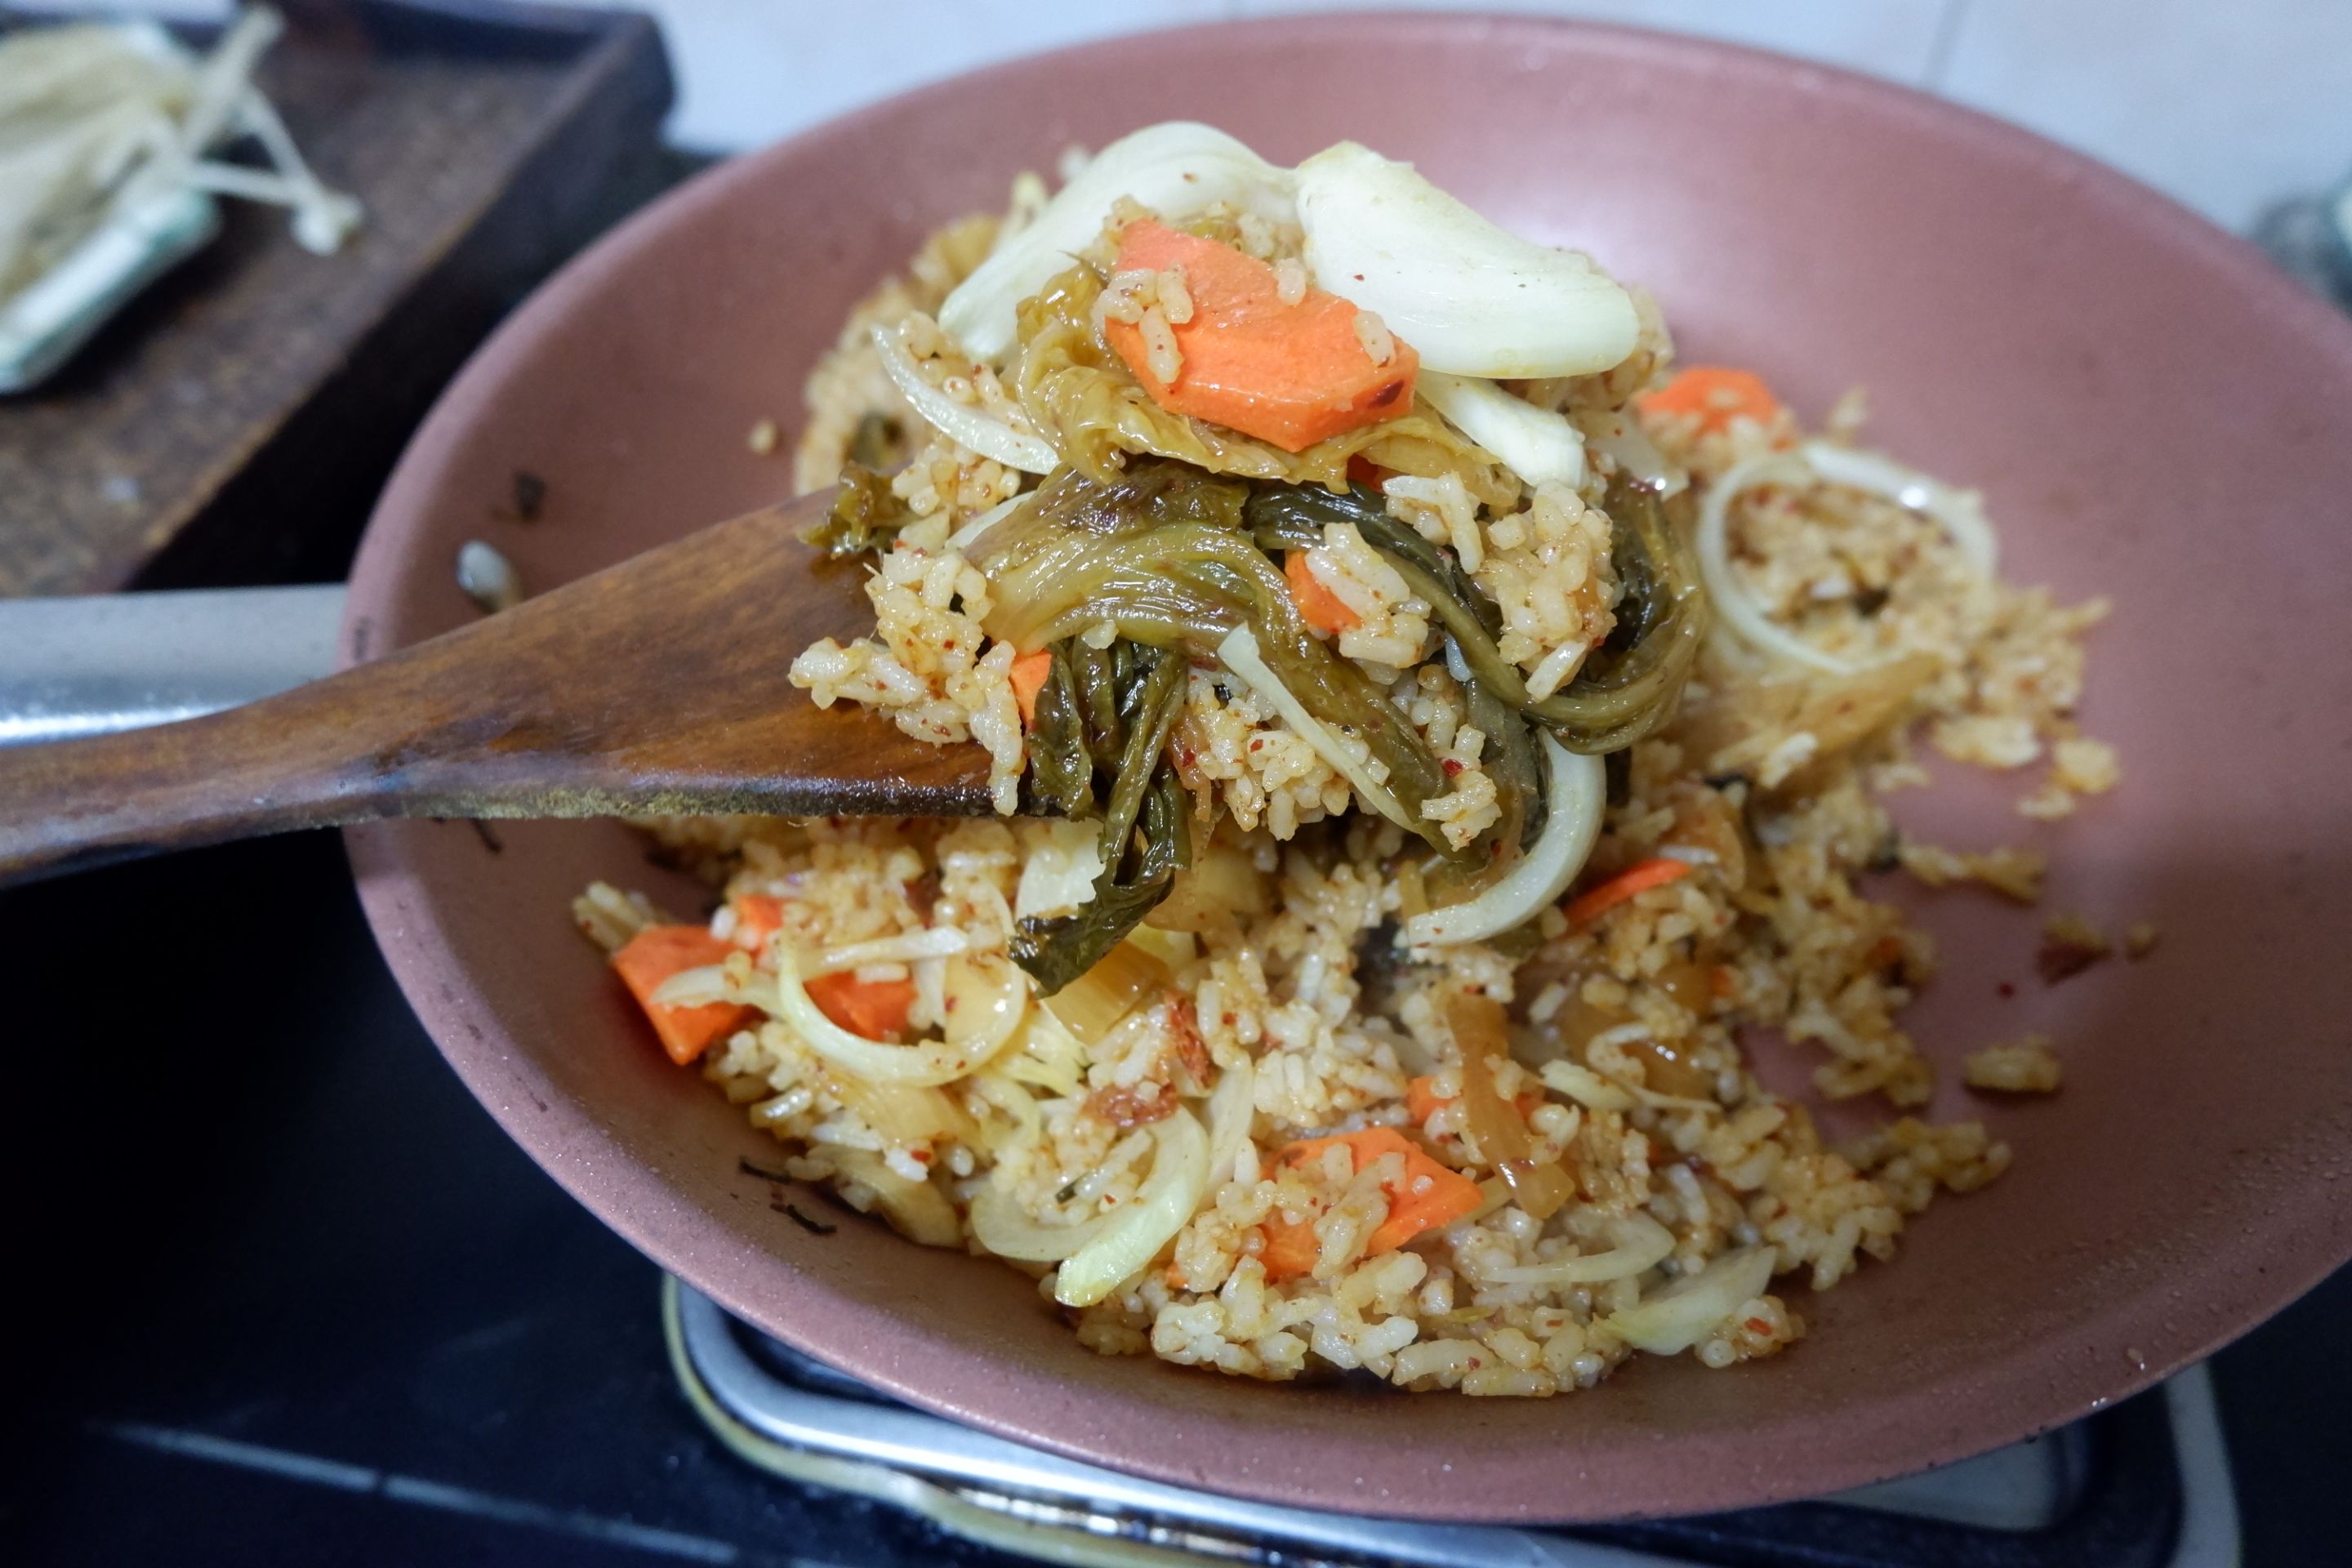
Add carrots and onions now. Stir very well and then allow the mixture to cook for 2-3 minutes. Press the rice with the pan, which will create a little crispiness at the bottom.
Keep stirring and once all the ingredients combine well, then press the rice into the pan, which will create a little crispiness at the bottom.
STEP 6 - Season with the Chili
Add the Gochugaru and stir until all the rice has been well coated with all the chili flake.
Add the Gochujang and gently stir until all the rice has been well coated with all the chili paste. Taste the rice. I want more spice, add another half or a full tablespoon of Gochugaru. Drizzle in a bit more soy sauce if the rice needs more salt.
STEP 7 - Turn Off the Heat
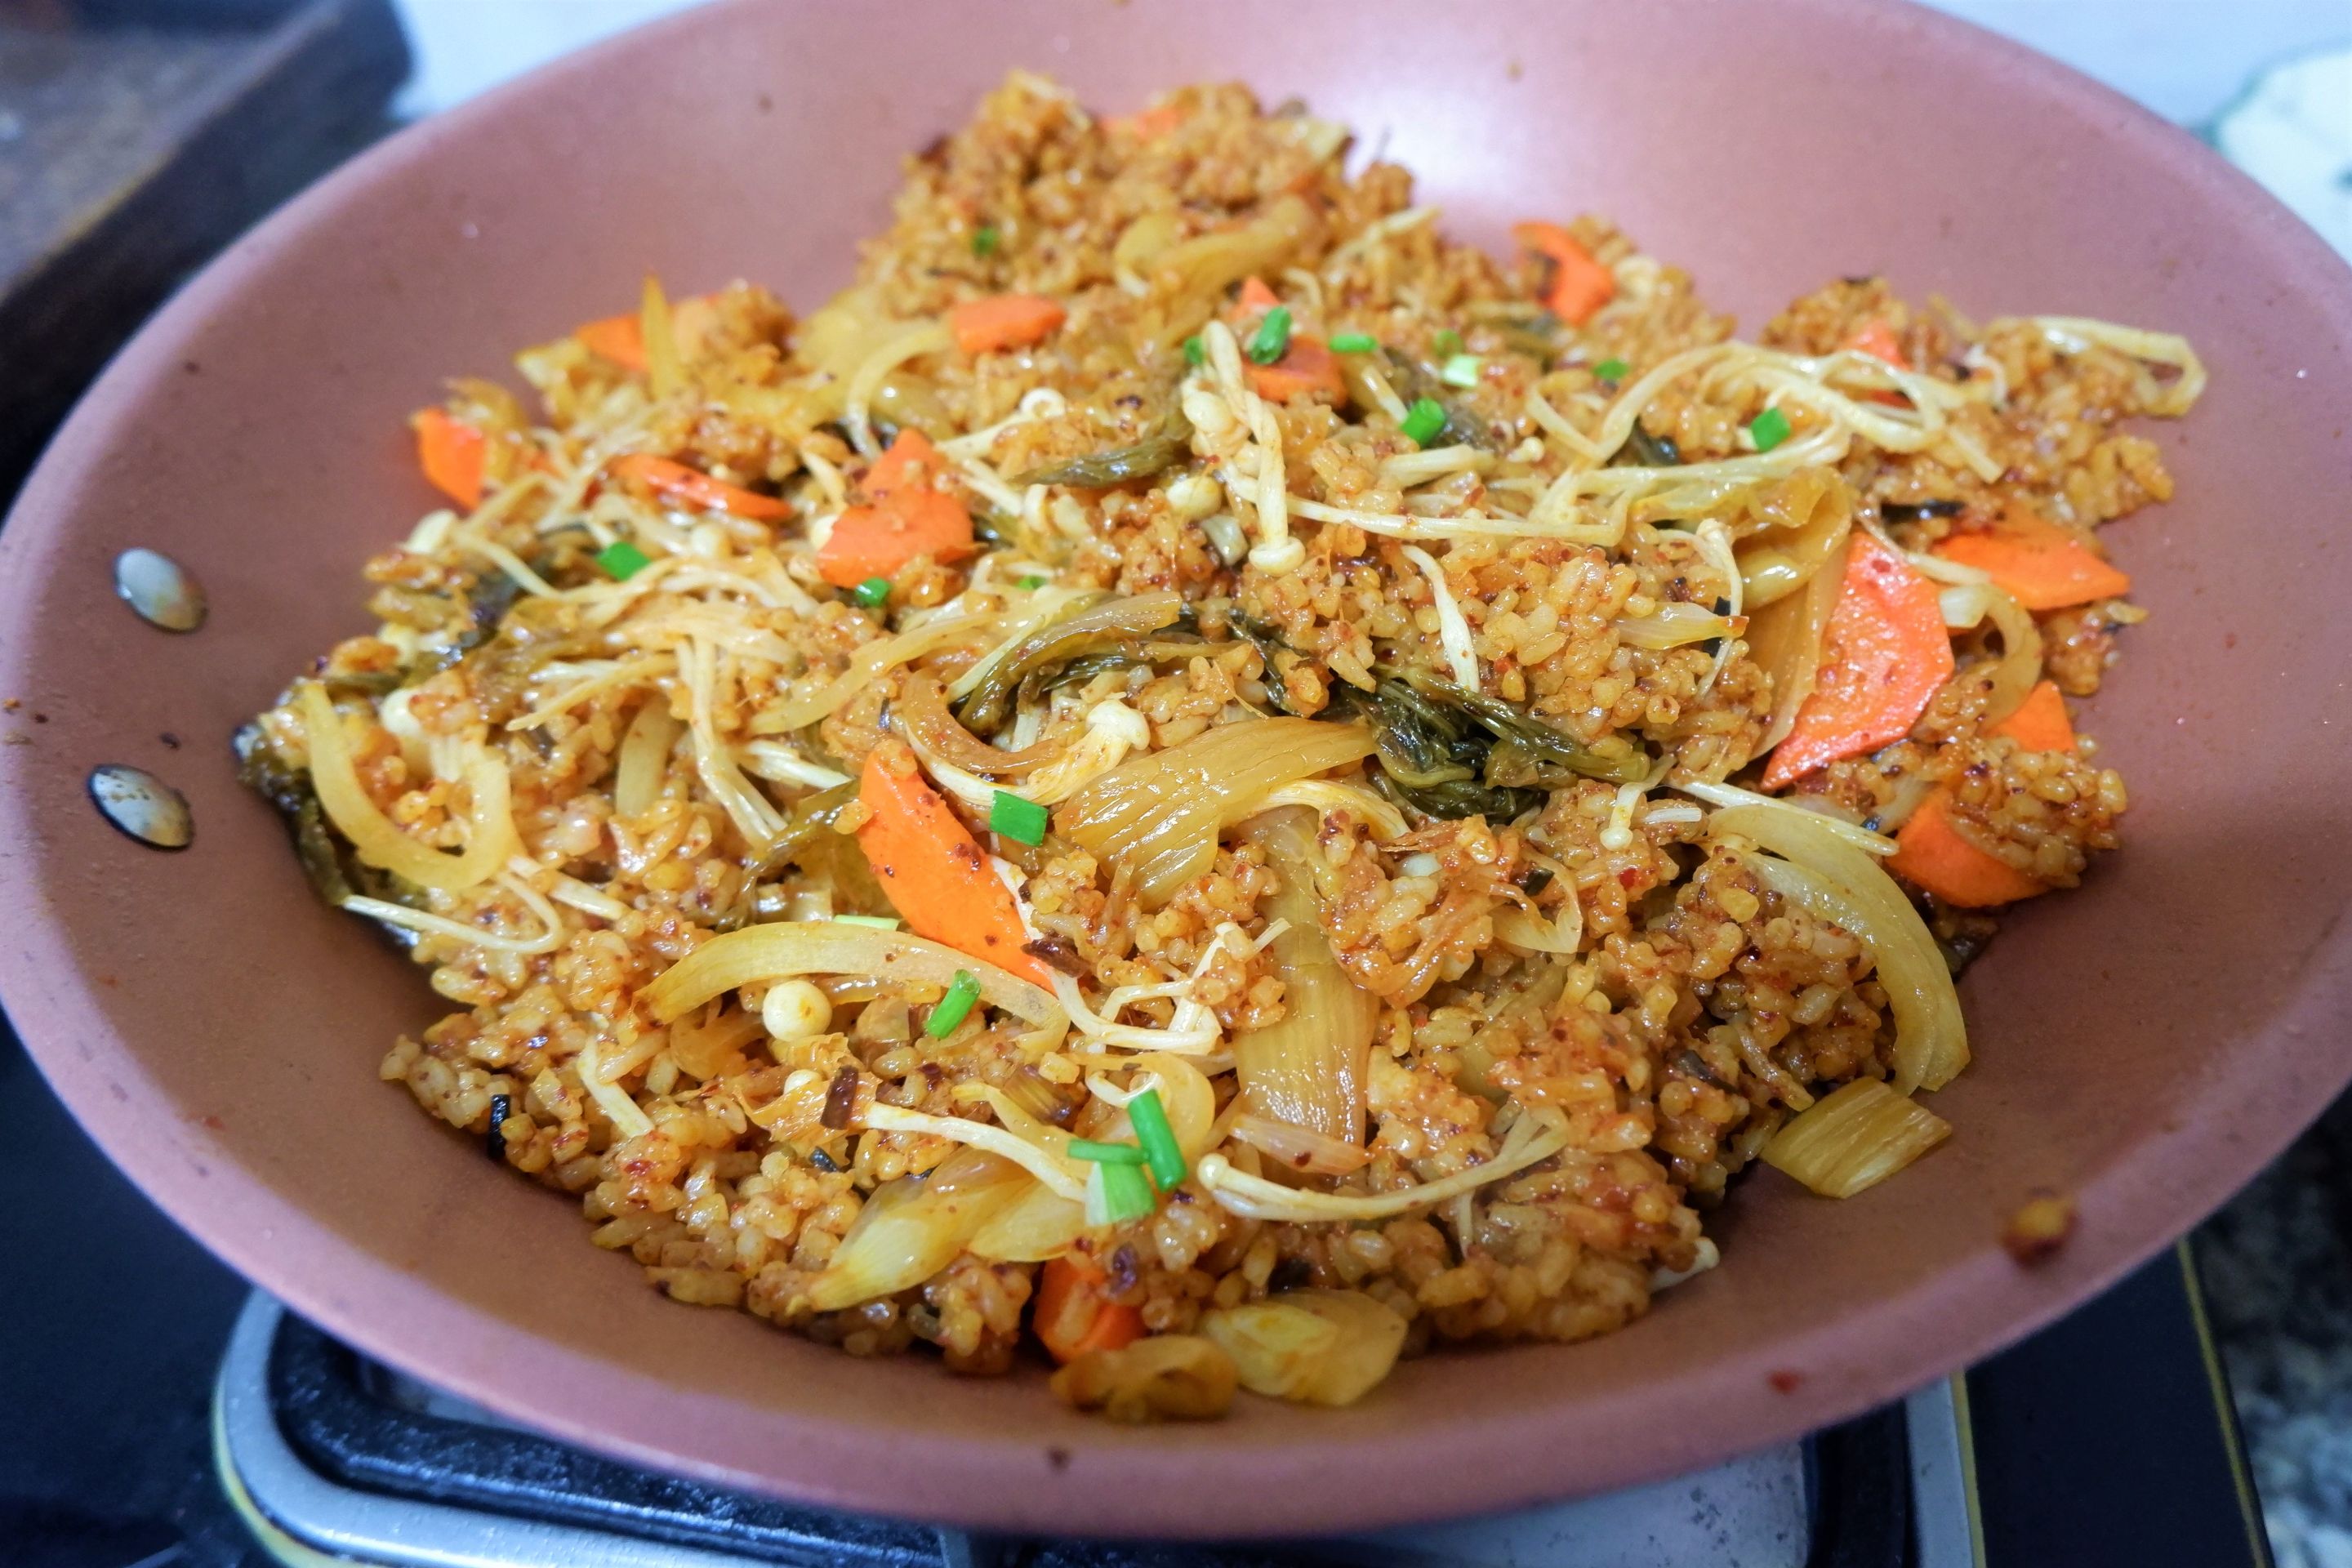
Add the enoki mushrooms and turn off the heat and gently stir to combine everything.
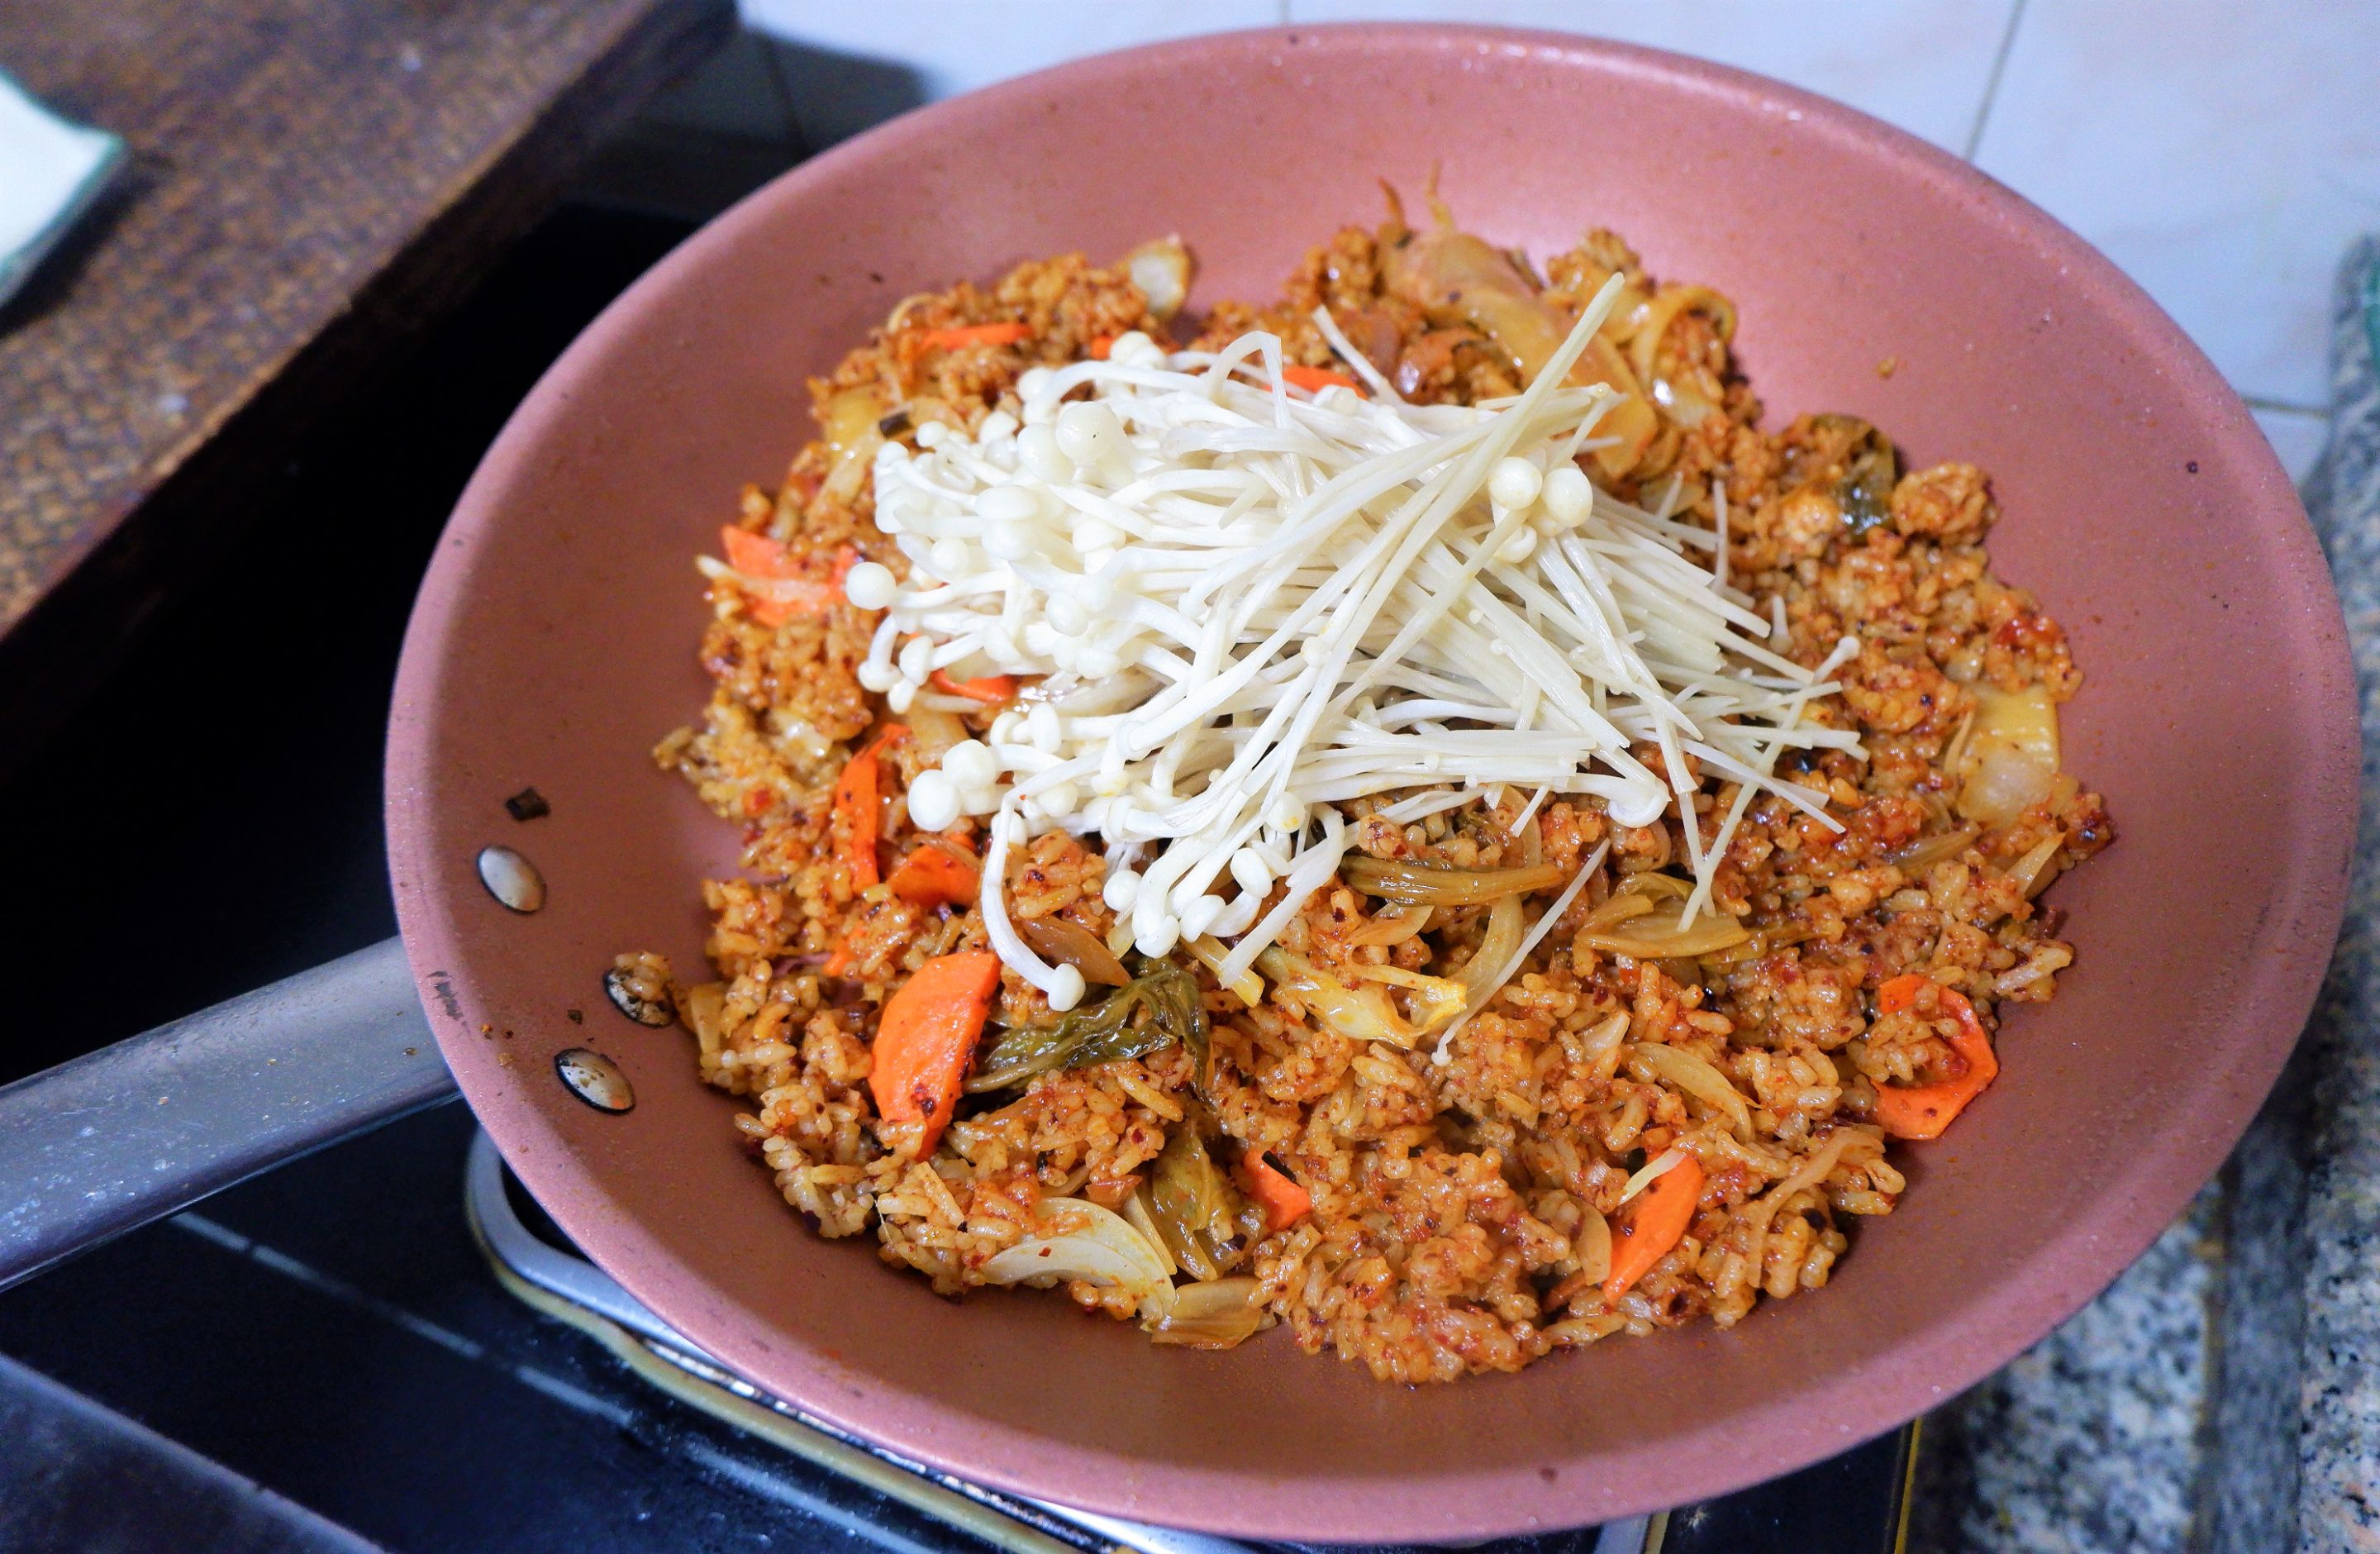
Once the enoki mushroom starts to translucent. Then drizzle with toasted sesame oil, and mix thoroughly.
STEP 9 - Platter
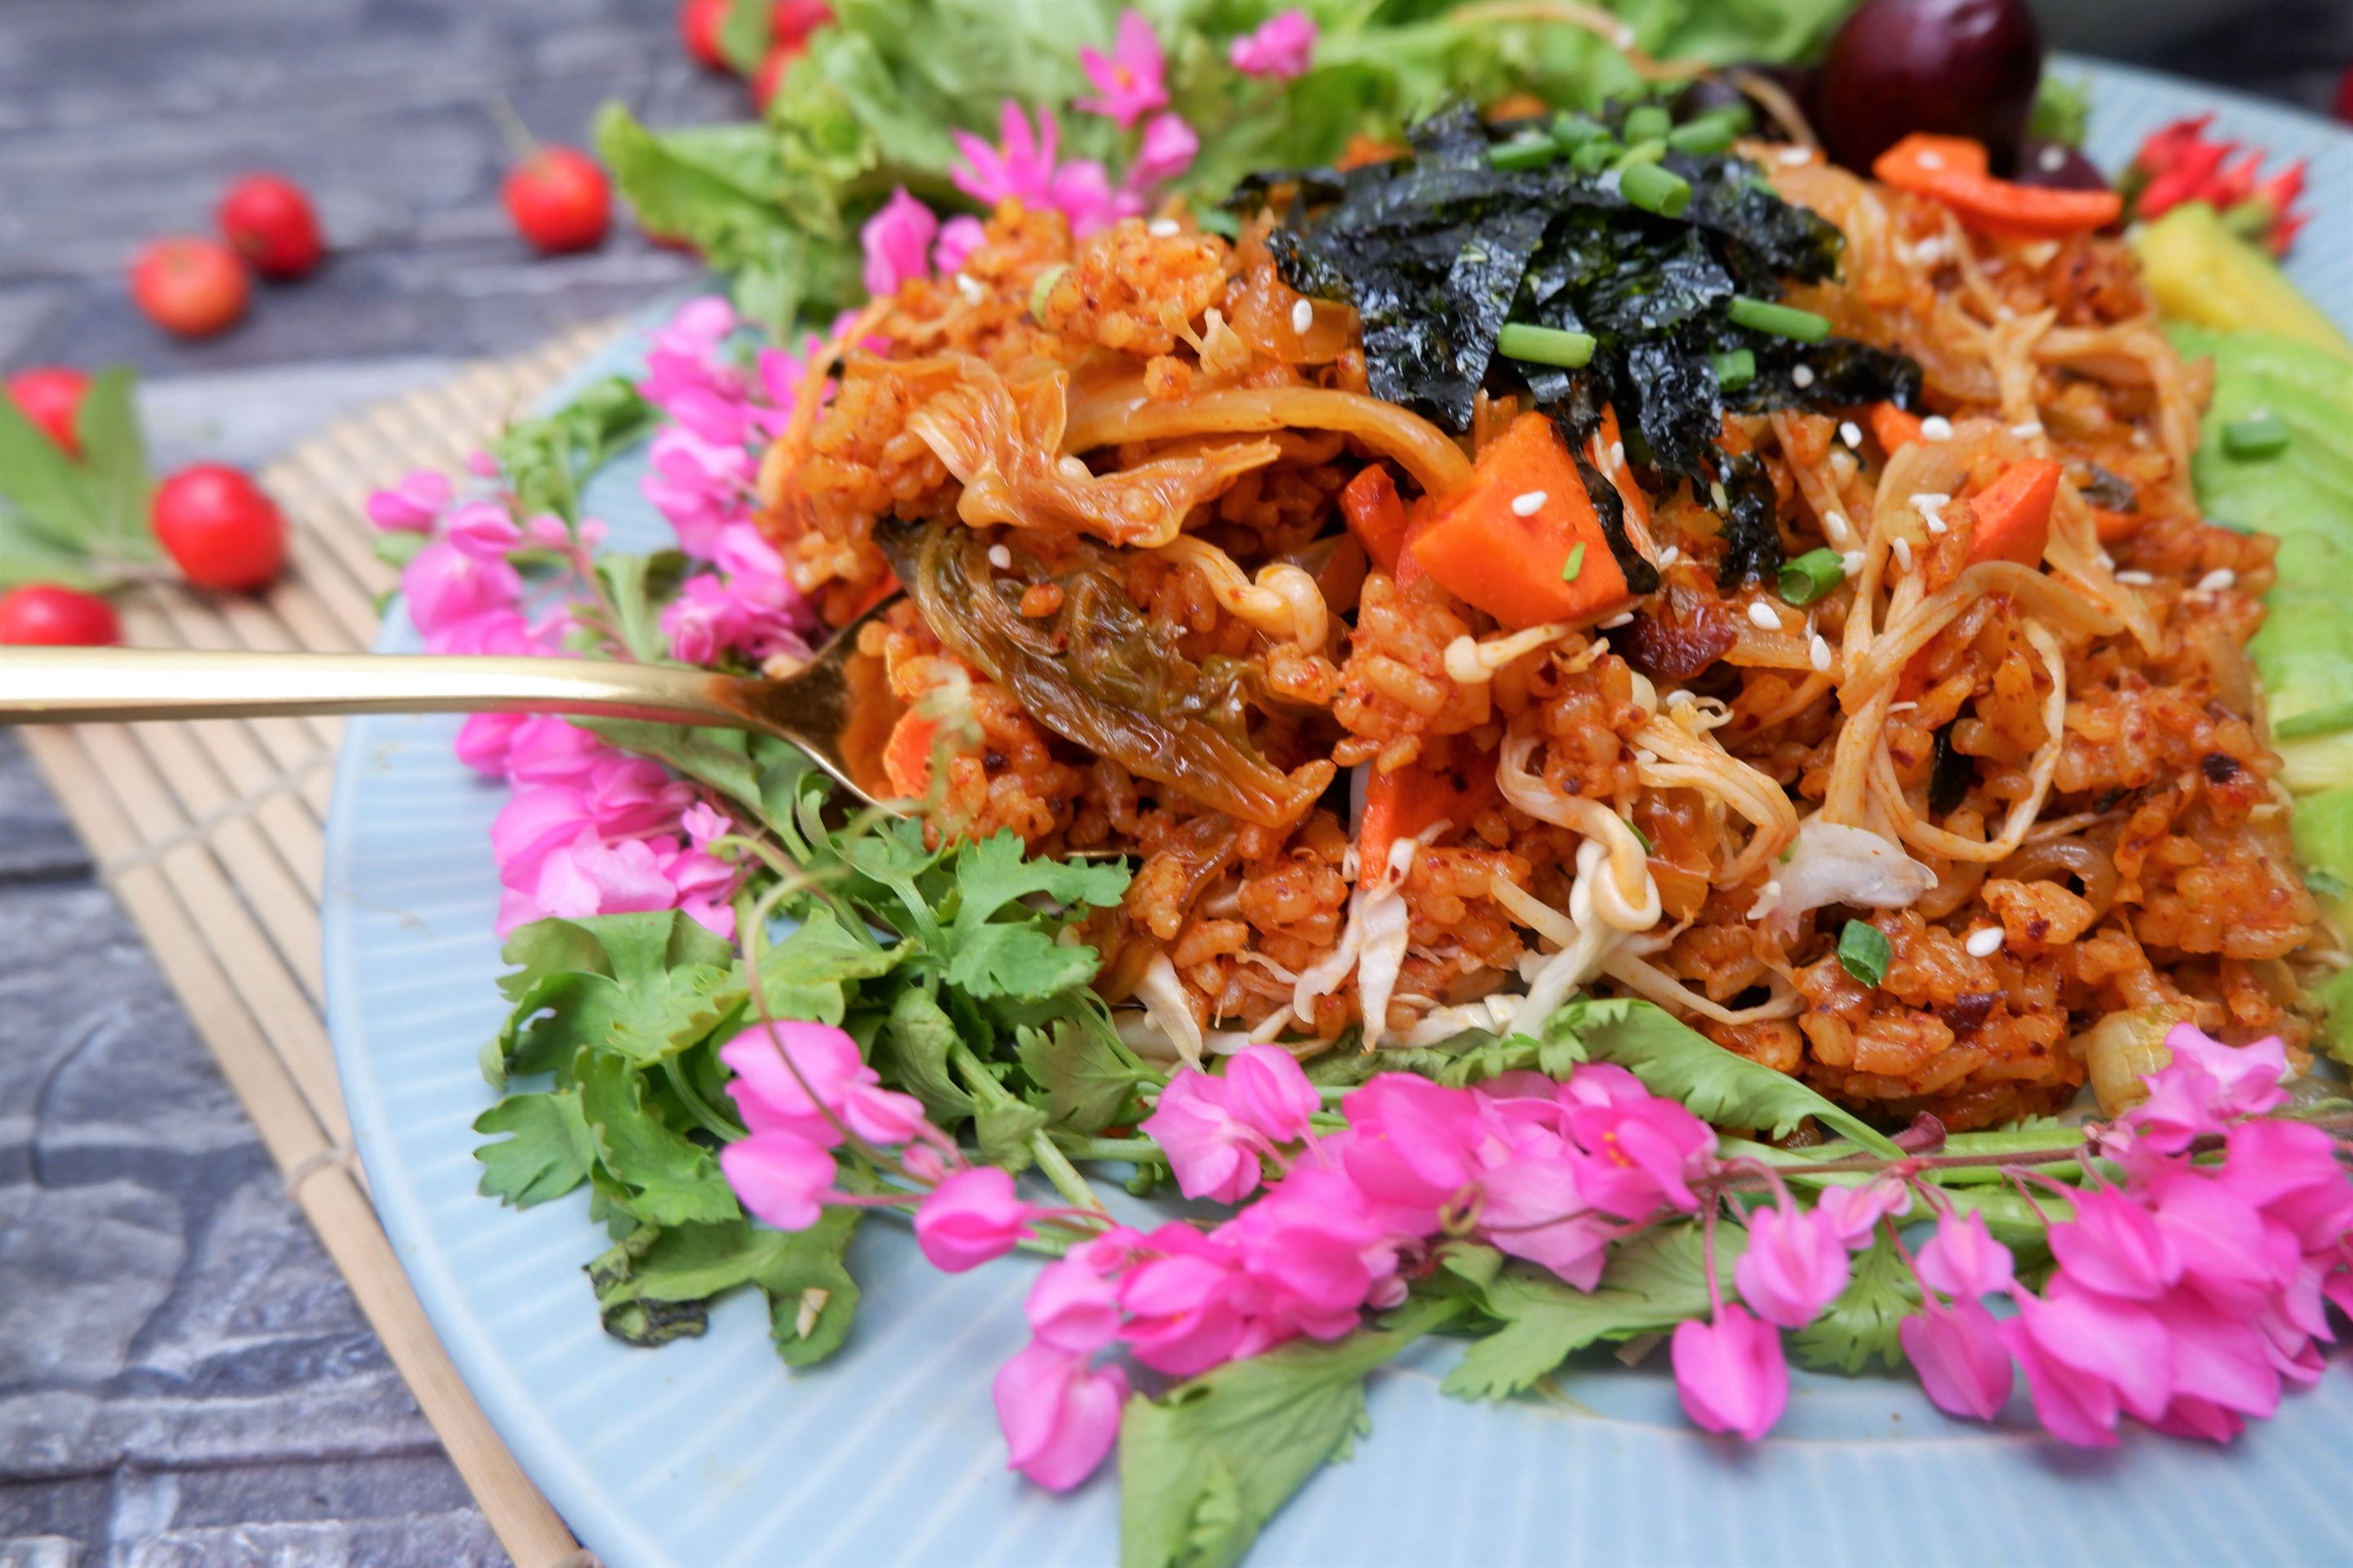
Transfer to the plate. I like to garnish my Kimchi Bokkeumbap with a scattering of chopped green onions and the stripe of roasted seaweed, which are both wonderful alternatives. In the Korean food culture, they are usually served with a long-handled spoon, although any spoon will do.
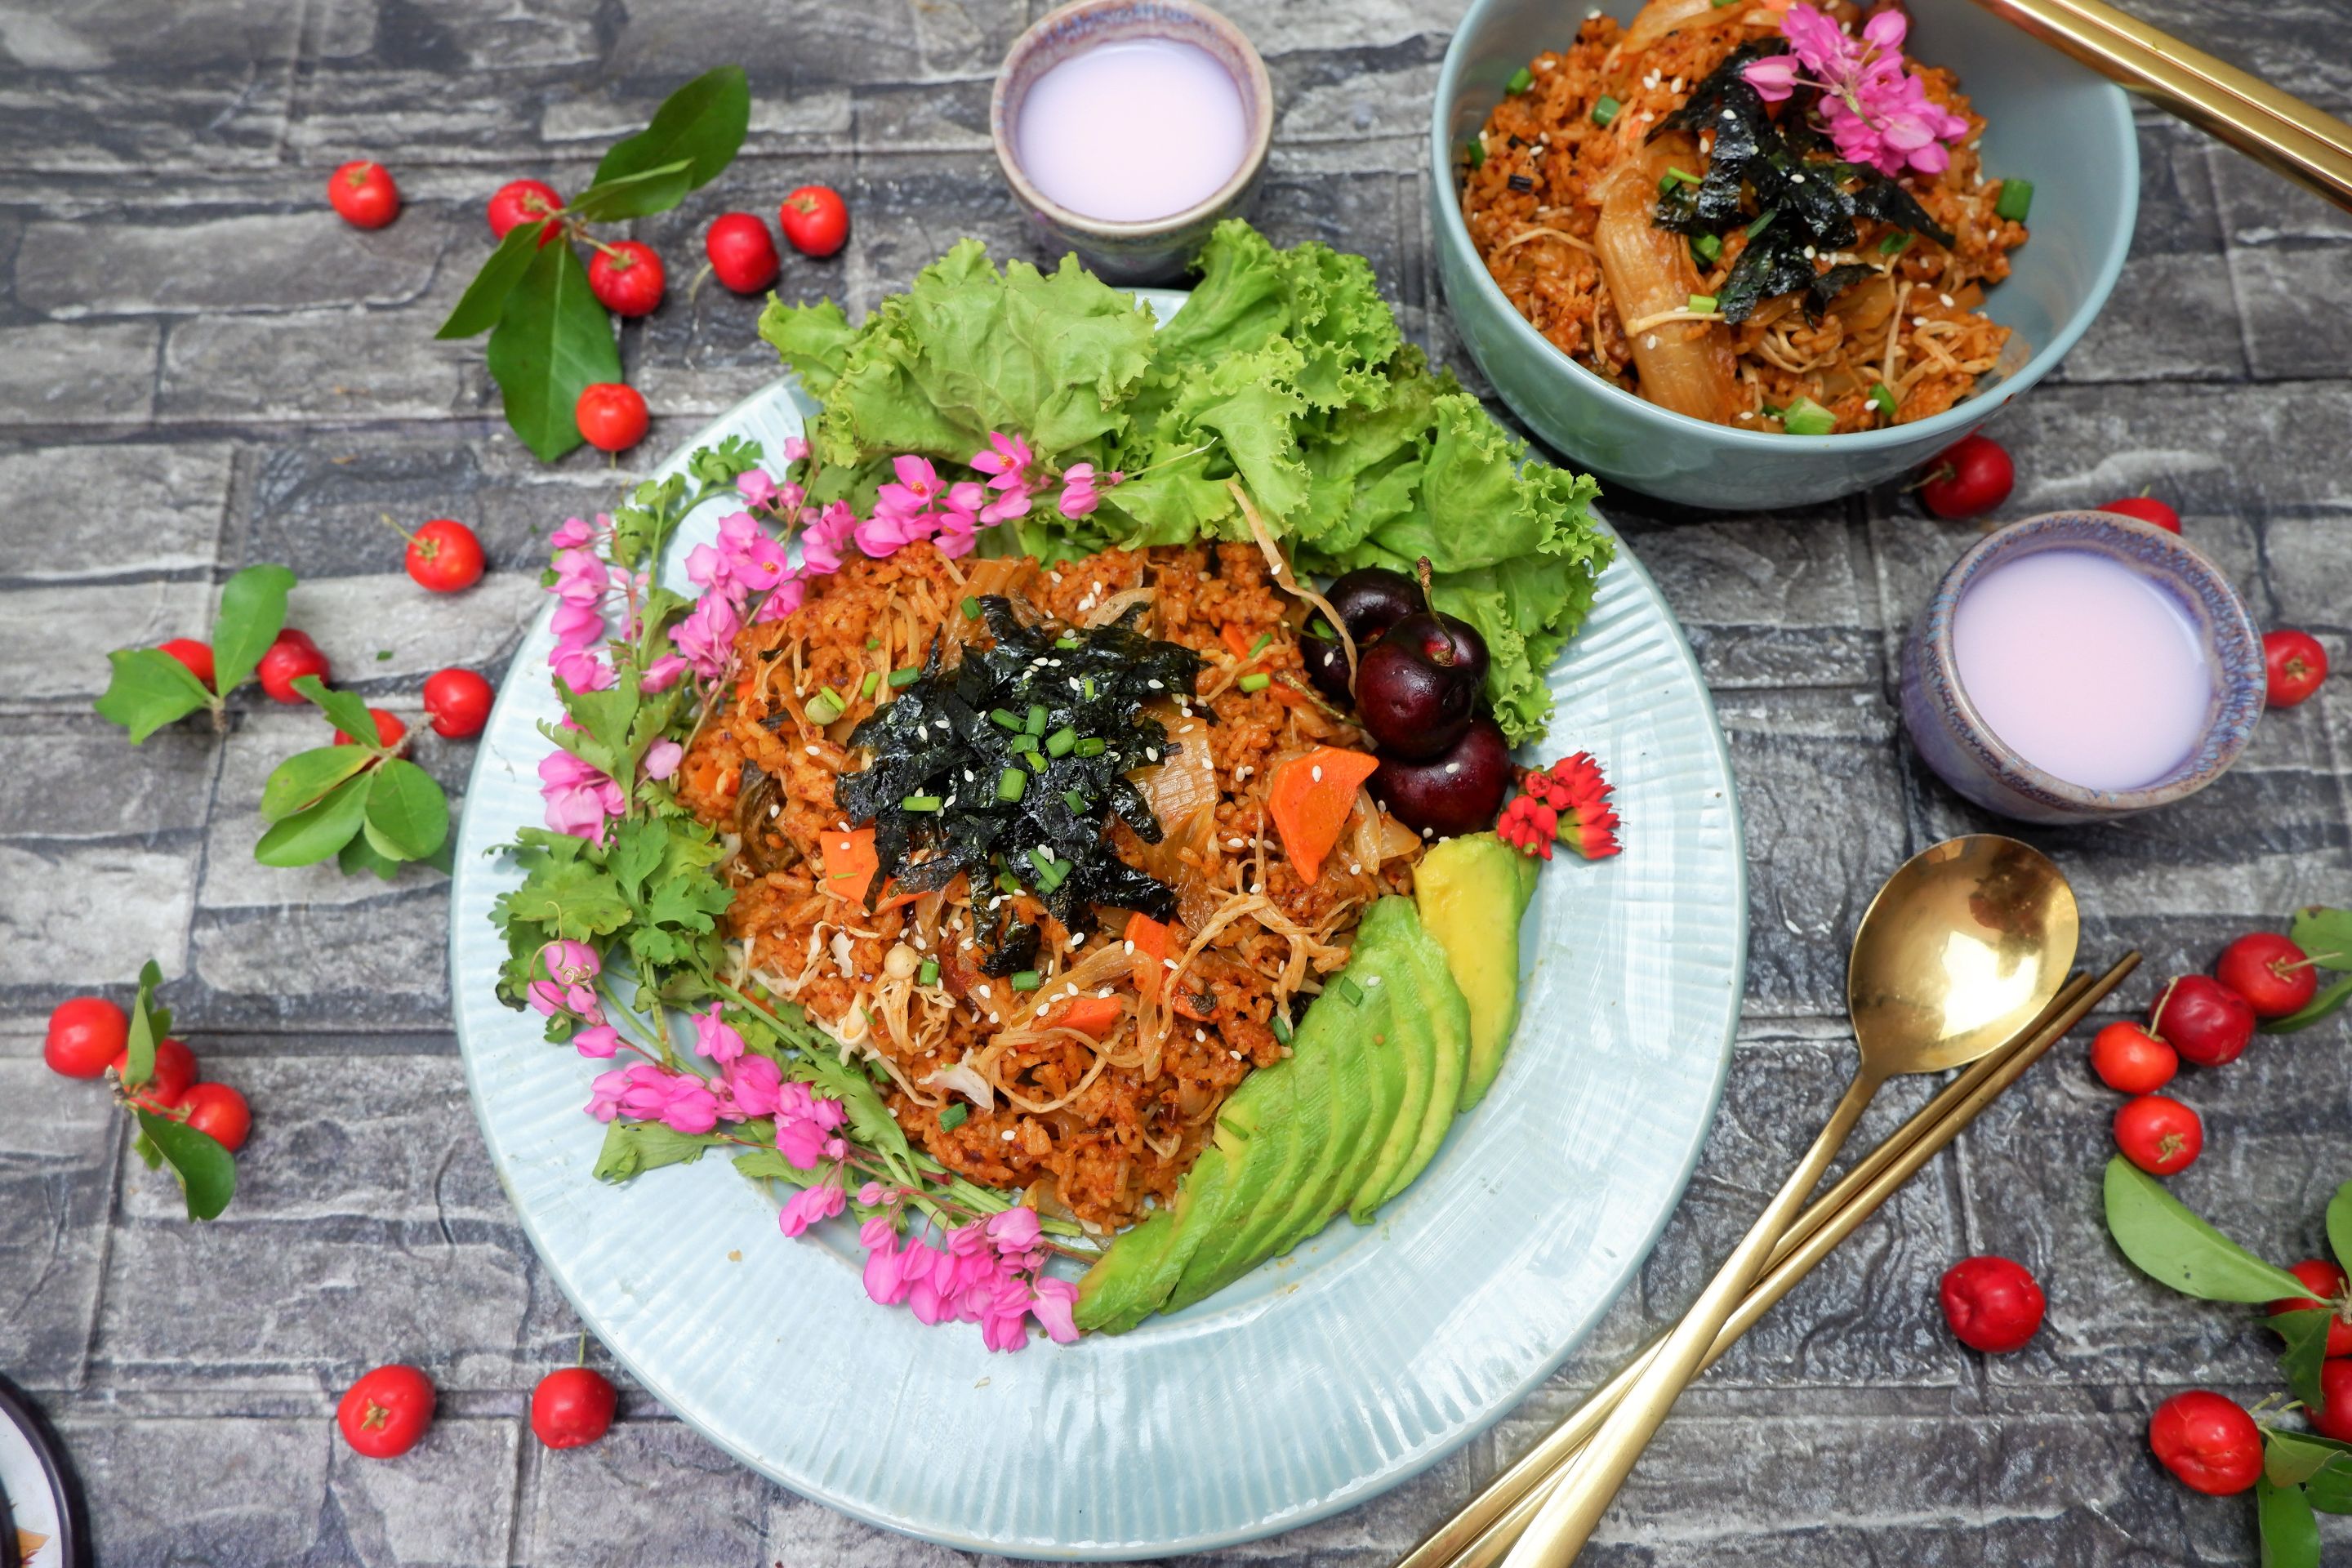
This Kimchi Bokkeumbap is so yummy. Every time I eat this, I'm feeling with joy because it really tastes just like Kimchi Fried Rice like I used to eat in Korea.
Refrigerate leftovers in an airtight container for up to 4 days and possibly reheat by microwave or stir-fried again over low heat. I hope you enjoy my recipe and give them a try.
Thanks for reading my blog and wishing you a great weekend ahead!