This is going to be a LONG post and I apologize in advance. Hopefully it is worth it. Use the Table of Contents to the left to skip to sections if you don't want to read the entire thing.

Background Info
I don't know what to say. I am honestly speechless, I have finally cracked the code on something I have been trying to figure out for the last 2-3 months. I have dabbled in 3D modelling for years but I suck at it. I think I really started messing with Blender in 2020 when I wanted to model things to turn into NFT's on the WAX Blockchain. Then I put Blender down for 2 years.
Well I bought a 3D printer this year and obviously I needed to pick Blender back up and sharpen my skills which I have been trying to do for the last 2 months. I still suck at Blender.
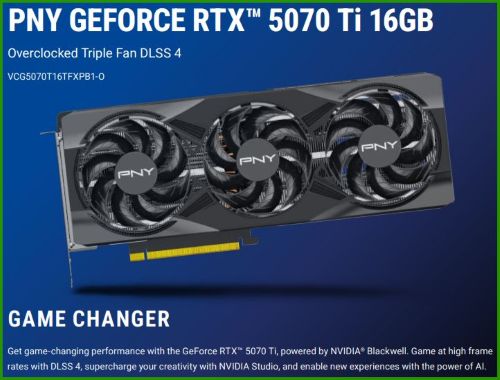
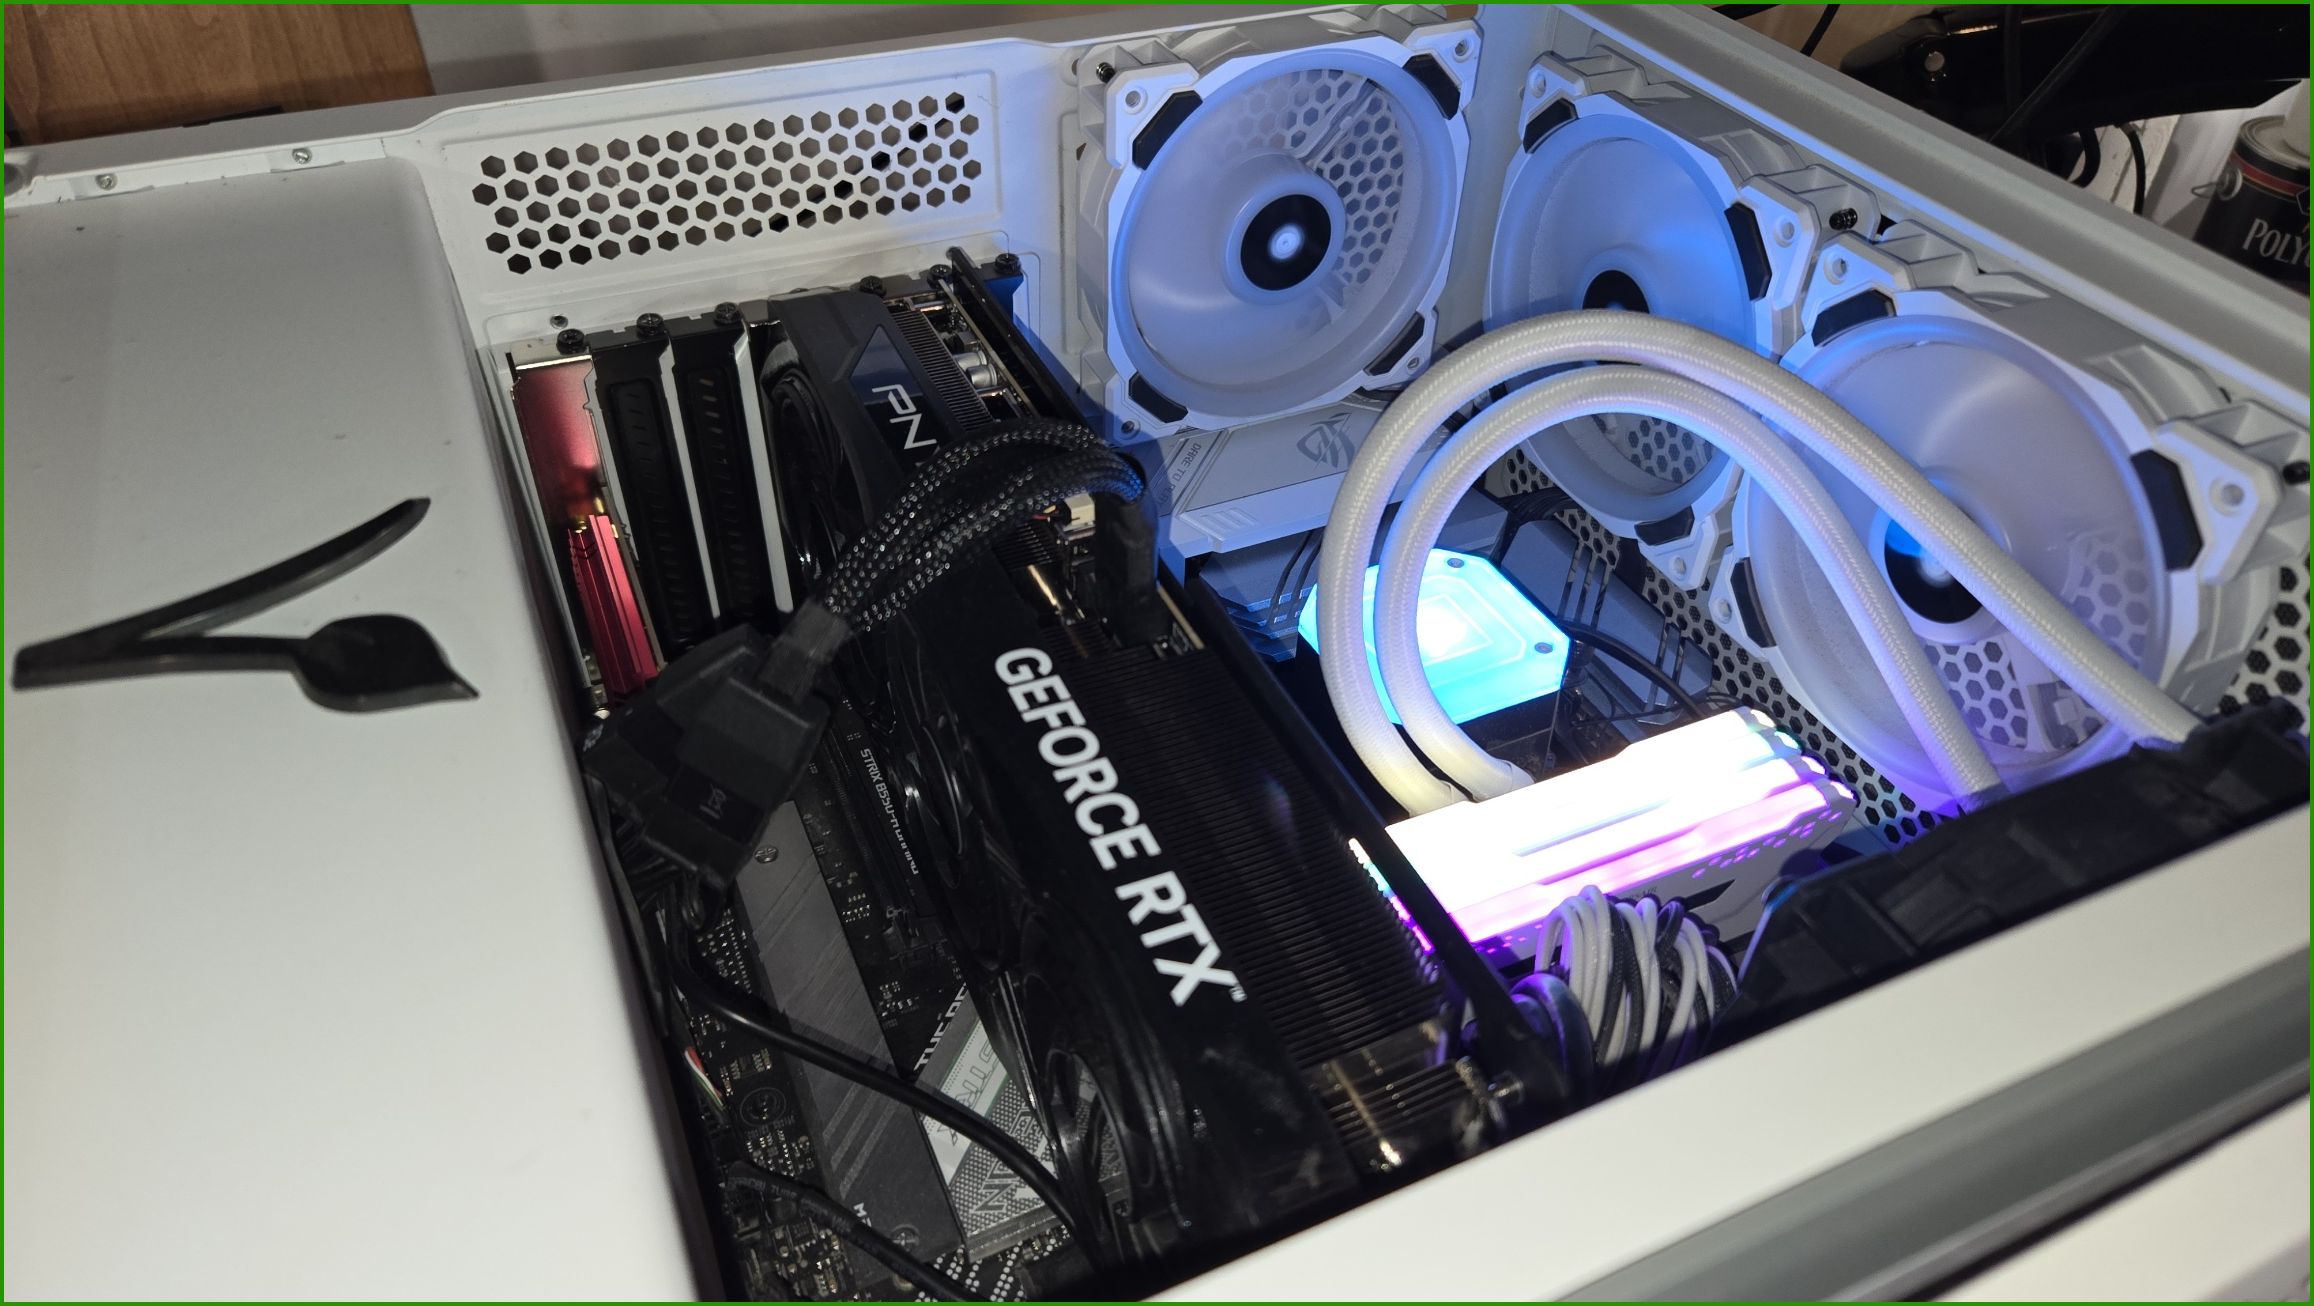
Fast Forward to Sunday September 27th 2025 and my new GPU arrived at my house. I bought a Nvidia RTC 5070TI OC! This one to be exact!
I only had enough time to install it in my computer and setup my Crypto Mining software before I had to get ready and leave for a 4 day work trip.
And then by the time I got back I was exhausted and had a bunch of work shit to catch up on all last week. Well this weekend happened and yesterday I decided enough was enough! I was going to start downloading some Models and playing around with local AI instances on my PC.
The reason I got THIS graphics card was for a few reasons:
- 70% to run local AI and test work AI things
- 15% to play PC games in 1440p on high settings (once I get a nice UltraWide 1440p monitor)
- 15% to be able to Render videos I edit for some YouTube channels (nothing fancy or that pays haha)
*Disclaimer: I work for a massive American IT / PC Hardware company and I just joined their AI team. So my work now is 100% focused on everything AI and I am learning the software side of it. I have been involved in the physical hardware side for the last 2 years. Let's just say I am intimately familiar with Nvidia's DGX servers...

Not actually me but basically what I do haha

Well yesterday I did a bunch of data gathering and research and I installed a few things.
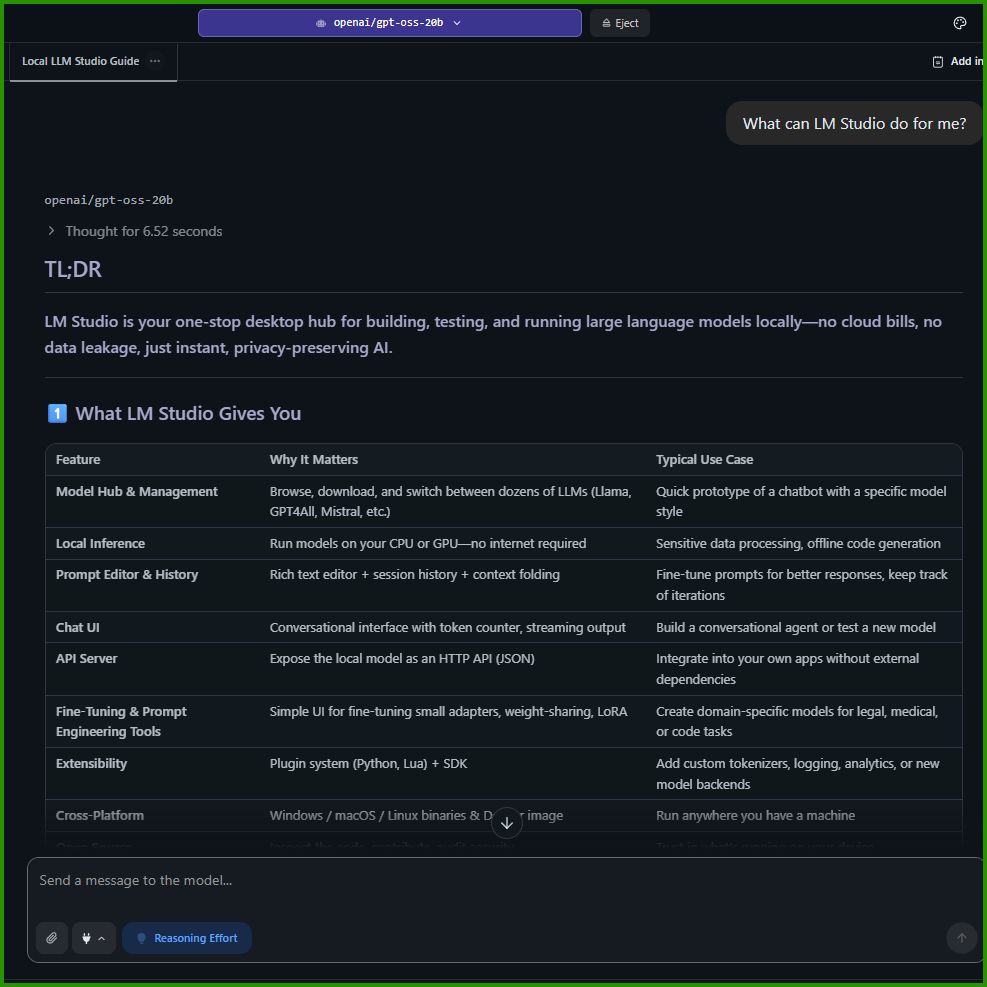
ComfyUI and LM Studio were the 2 most important pieces of software that I installed. I immediately started to mess with LM Studio and was having a blast. LM Studio is basically a local LLM (think ChatGPT, Google Gemini, Microsoft CoPilot, Perplexity, etc) but it only have text capabilities. So you type in your question or what not and it will respond with text.
And I know what you are thinking.. why not just use ChatGPT or a similar one since they are free and like 40 times faster then mine! And the reason is that I want to control my data. I am able to give my local AI Studio software access to ALL my computer files and images for searching or such and I can use it to mess around with personal photos without having Big Tech use my face for nefarious reasons... 😜
I did mess around with generating images with ComfyUI last night but it needs a lot of configuration. But then this morning I woke up early and wanted to check out what other Models that I could use with ComfyUI when I came across these....
And that is when the ADHD that was starting to kick in, completely shut off and shit got real...
The Point of this Article
This article is going to be a step by step guide on how to take a 2D image and use local AI to convert it into a 3D model. And yes there are plenty of options out there on the interwebs to convert images to 3D models but all the "free" ones I have tried suck really badly. And then the ones that look good all require subscriptions and honestly I am not doing that. Which is what led me down this path.
You do NOT have to follow this guide step for step and command for command. And honestly you shouldn't because you are going to have different computer components then me. Maybe you can run better Models or fine tune things better for your RAM etc. So this is more a "Read this guide and just reference it while you work through setting it on your pc for yourself".
My Hardware
I am running my Gaming PC that I purchased a couple years ago. Well I purchased all the parts and then built it myself. The fun thing is that 100% of my PC (well probably like 97% because of a external Wifi/Bluetooth PCI card I bought with FIAT) I bought with Crypto.
I used a website called Shopping.io that let's you pay with crypto to buy items from online websites. As of last week though I am having trouble with Shopping.io and I am not sure if they are not in service anymore or what is going on.
I have upgraded some parts over time since I originally built it but still all with Crypto. I upgraded my CPU, GPU and I bought a secondary nvme drive since I originally built it.
Here are my Computer Specs so you can compare if you want. (I am planning on starting to buy parts slowly to build a Zen6 based DDR5 PC though but that is still a little ways off.
| Part Type | My PC Part/Model/Version |
|---|---|
| CPU | AMD Ryzen 9 5950X, 16-core, 3.4 Ghz |
| RAM | Corsair Vengeance RGB 32GB kit (4x8GB) 3200MHz |
| Motherboard | Asus ROG Strix B550-A Gaming |
| Cooler | It's a 240mm Corsair AIO that I forget the exact model |
| GPU | PNY GeForce RTX 5070 TI 16GB Overclocked |
| SSD #1 | Sabrent SB-Rocket 2TB nvme |
| SSD #2 | Samsung 970 EVO Plus 1TB nvme |
| Power Supply | Corsair RM 650, 80+ Bronze |
| Displays | 2 Dell 27" curved 1080p, Model# S2721HGF |
| Internet | Fiber 200Mb Upload & 200Mb download (3ms ping) |
I know, I know.. a 650 Watt Power Supply? Yeah well it works perfectly sooo why upgrade? Also my bottleneck right now is my RAM for sure. I need to upgrade to 64GB of RAM ASAP but I am torn between buying a $200 DDR4 RAM upgrade for this PC or save it and buy a $300 DDR5 64GB kit for the next PC... decisions to be made later.
Software/Hardware Needed
I will walk through the steps to setup the initial software here.
Pre-Requisite
If you are running Windows you are going to need a Nvidia GPU in order to use ComfyUI.
ComfyUI
You will need the ComfyUI software. You can download the installer from their website: https://www.comfy.org/download
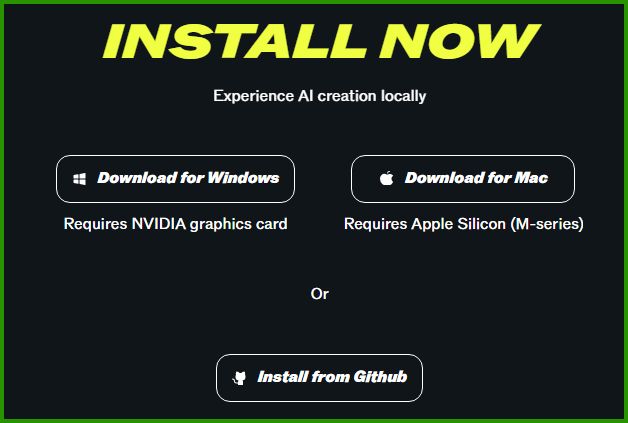
I am running Windows so I downloaded that one. At the time of writing this article the latest version it downloads is v 0.5.1. And the exe file is 113MB.
Double click that exe file to start the install process. I am not going to uninstall it to get screenshots but it's a simple process and you can leave everything as the defaults.
After ComfyUI is installed it takes up about 500MB of space. This does NOT include the Models you need to download later!

Blender
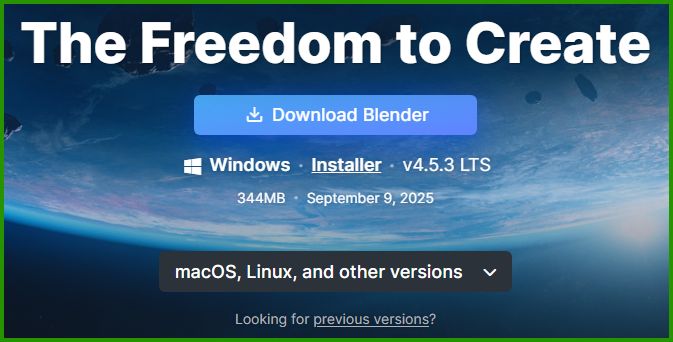
Blender is a MASSIVE Open-Source 3D modelling software that has been KING for years. You can download it for free here: https://www.blender.org/download/
If I walked through how to click "next" and then "next" we would be here forever. I am sure you can figure out how to install a file on your Operating System.
Once installed Blender takes up about 850MB of space.

Blender will be used to convert the file we get from ComfyUI and also allow us to clean up the 3D Model before printing. Technically you don't need this persay but I highly highly recommend it!
3D Slicer
This is only needed if you are going to actually 3D print your 3D Model. Even if you don't own a 3D printer though you can input your 3D Model and see how much filament it will take and how long it would take and then you could send it to a online 3D printing farm and have them print it for you... There are options!
BE CAREFUL
There a lot of spam websites for the Orca Slicer software because some people online are assholes!
If you are even in doubt head to their GitHub page here: https://github.com/SoftFever/OrcaSlicer
Then scroll down to the "Official Download Links" section.

You can click on the URL there, which will take you here and you can download the software from there.
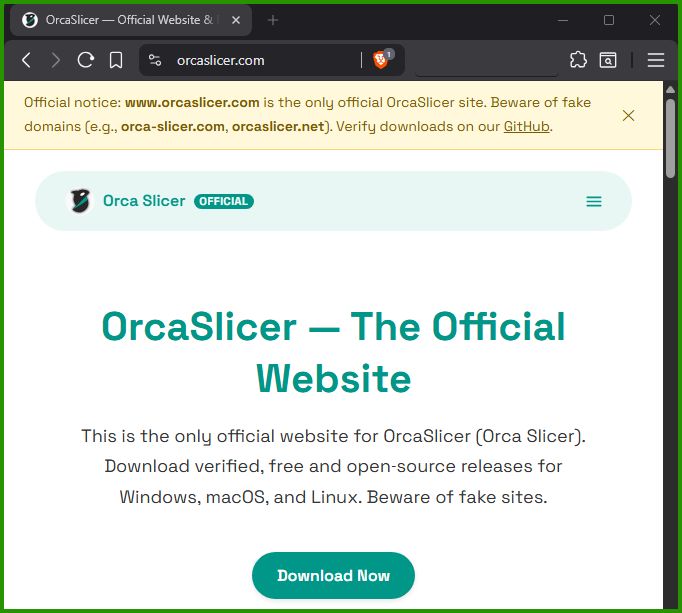
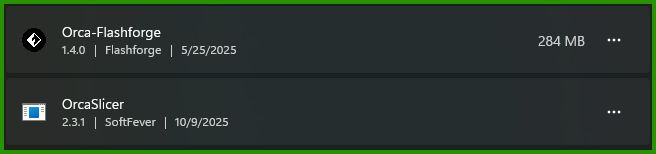
It's not a big piece of software. The "Orca-FlashForge" is just a rebranded version from my 3D printer manufacturer.
Optional Software = GIMP
I am a firm believe in Open-Source software and GIMP has been my PhotoShop replacement for the last decade. It does it all and I swear by it. However this software may not be needed depending on the image you are starting with. Basically I use GIMP to remove the background from a Image and clean it up before converting it to a 3D model.
I won't get too much into this but you can download GIMP from here: https://www.gimp.org/
It takes up about 820MB of space.

Prep-Work
Here are the steps that you will most likely need to do. I know this article is long and a lot but it should be worth it! I hope 🤣
Obtaining proper Image for 3D Model converting
Now that we have everything installed let's get into it! The first thing we need is a image we want to convert to a 3D model. If you are not familiar with file formats and such... "PNG" files are better than "JPG".
A .png file can save a image without a background (Alpha Channel) which is what we want!
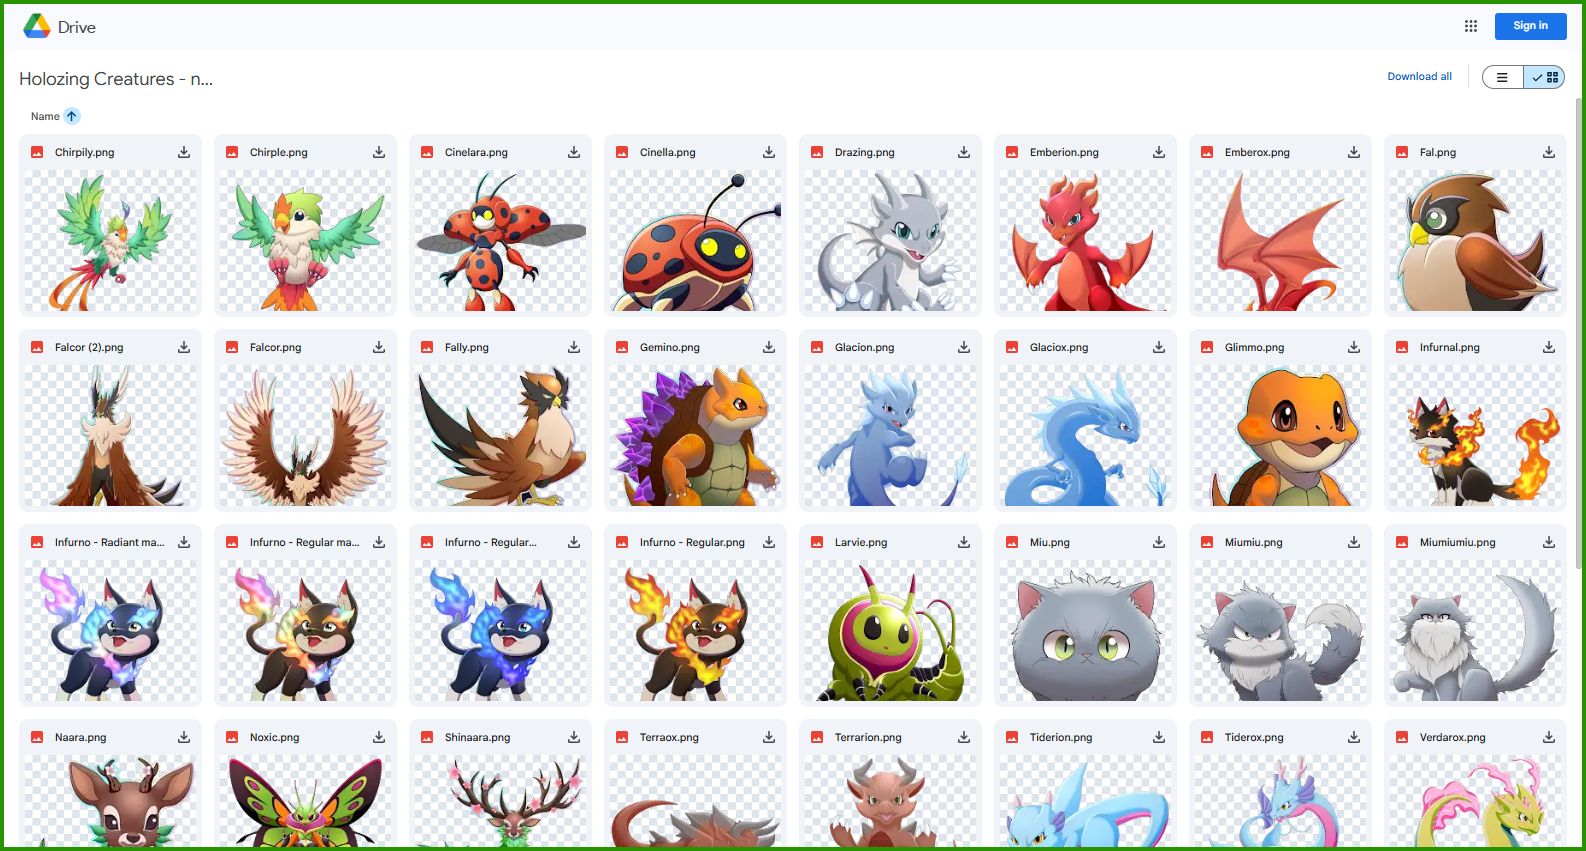
Because I am such a G.O.A.T. and I spend way too much time scraping websites for data and content I have downloaded each Holozing creature image as a .png file and they all do NOT have backgrounds so are already setup for this process! I even uploaded them all into a Google Drive and you can download them all here: Holozing Google Drive Link
Which should look like this:
And I didn't stop there. I started to download all the LORE images for recent Splinterlands characters and I put them in the same Google Drive which you can download here: Splinterlands Character Google Drive Link
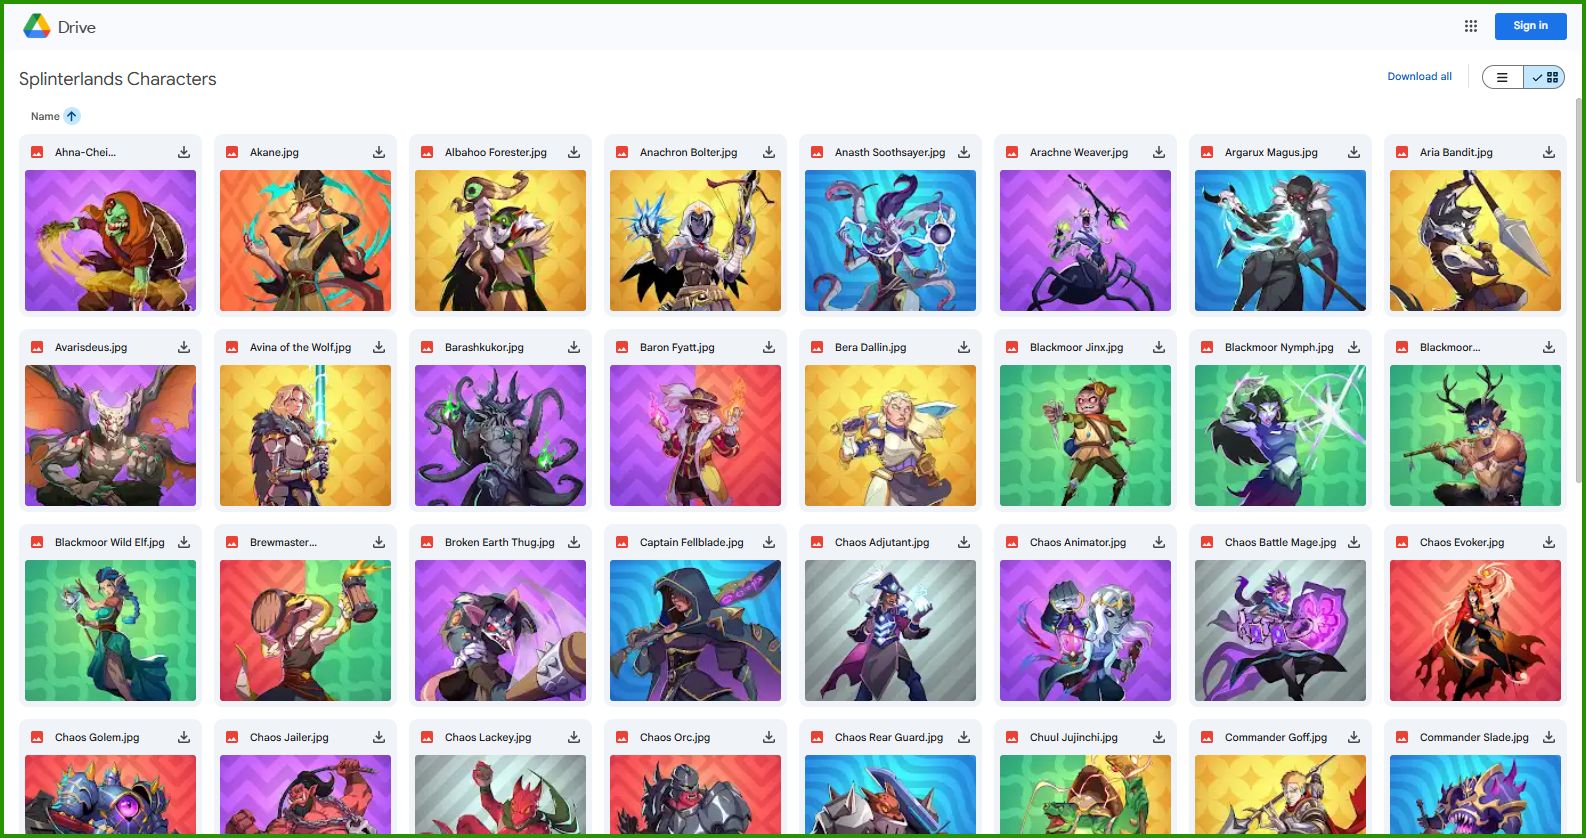
Now keep in mind that the Splinterland Lore Images have a background and you should really really really really (is that enough?) remove the background before converting to 3D Model. I am not going to get into that here but should be easy enough.
Download the ComfyUI Model(s)
So now that you have a image you want to convert into a 3D Model, next you need to setup ComfyUI. And luckily for you, it is really easy to do.
Open the ComfyUI software that you previously installed. It will take a minute to fully start up so just wait.
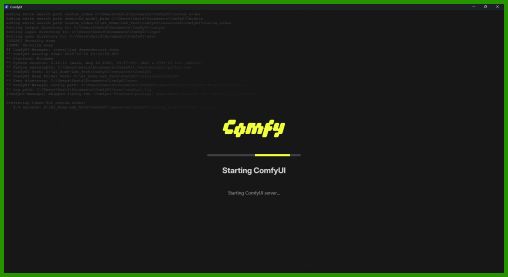
When it starts up it will either look like this:
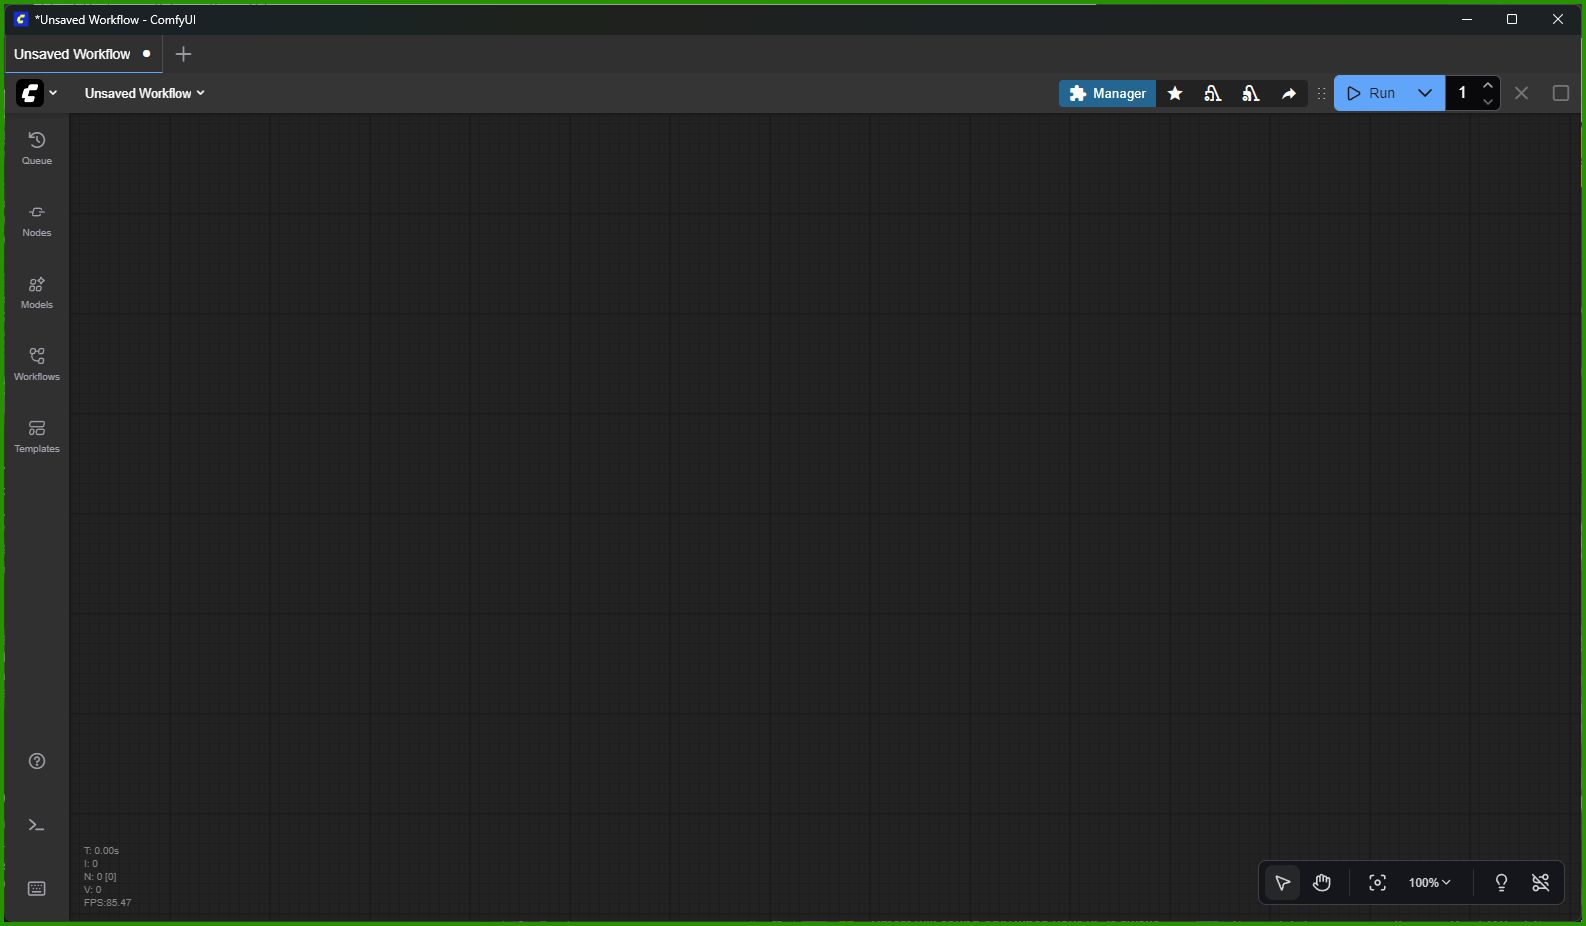
That is the blank window, and if yours looks like this you can click on "Templates" on the far left menu bar to bring up the Template screen.
It should however open up at first with the Template window already open which looks like this:
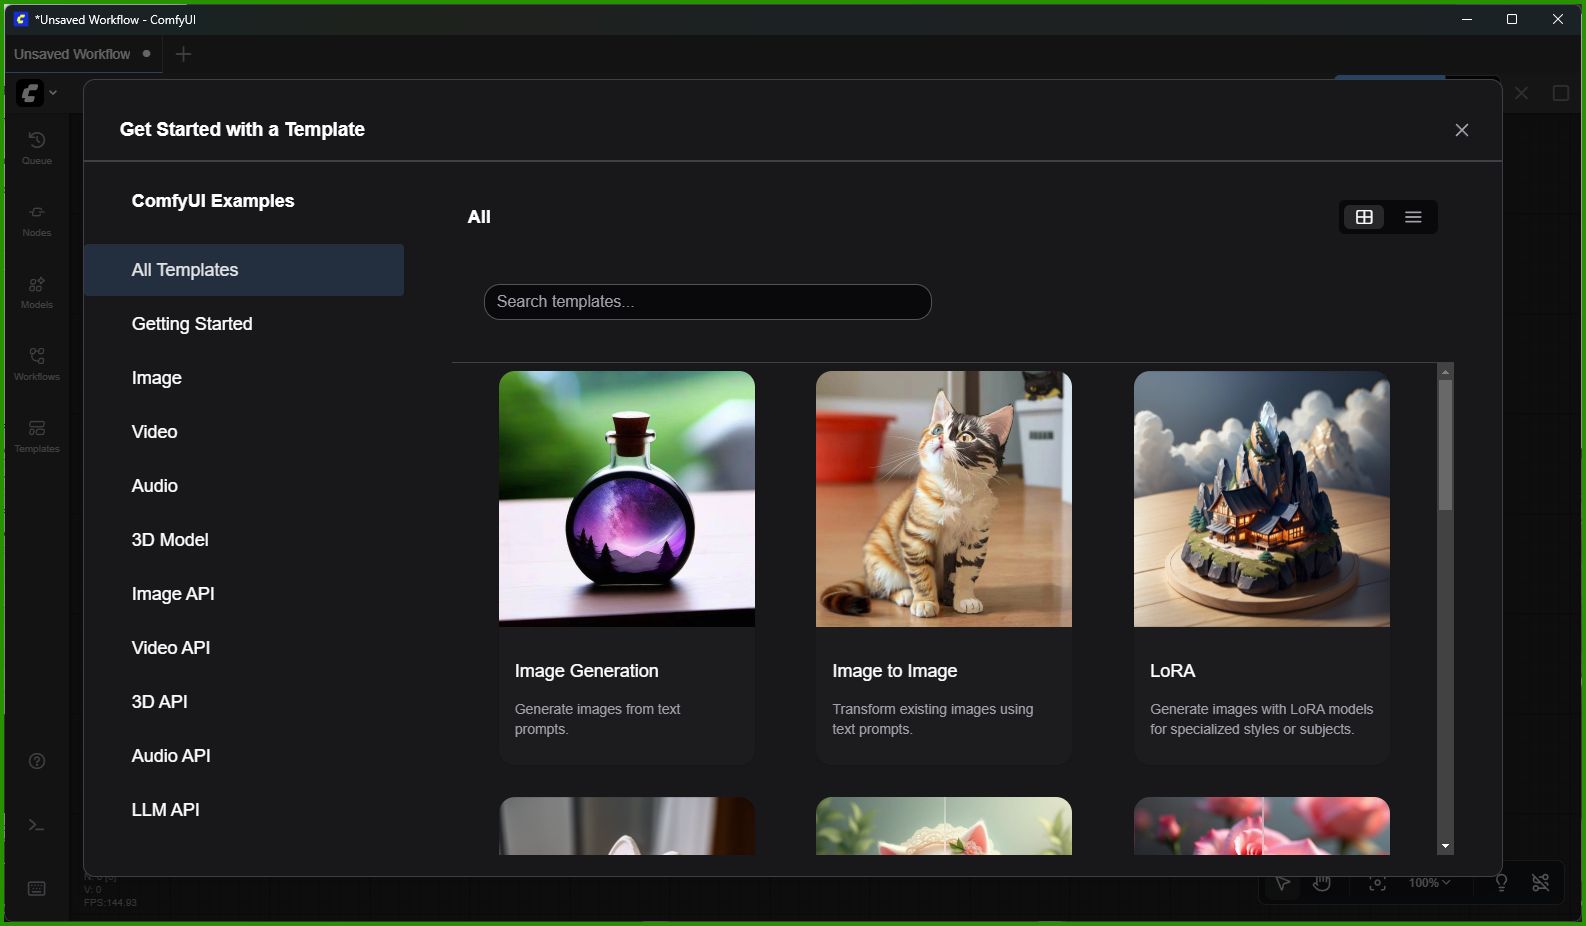
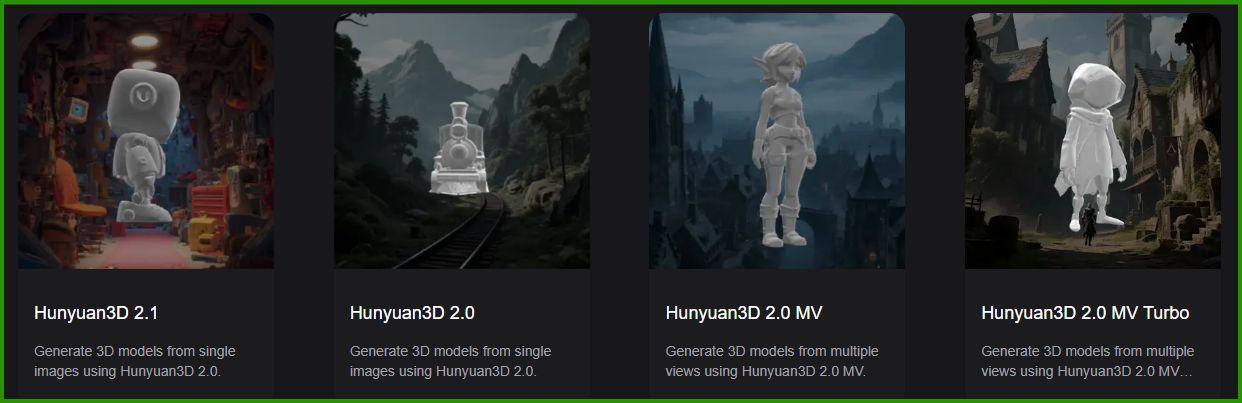
You should take a minute and poke around at the various Models that are available to download/use. Once done poking around click on "3D Model" in the left hand menu.
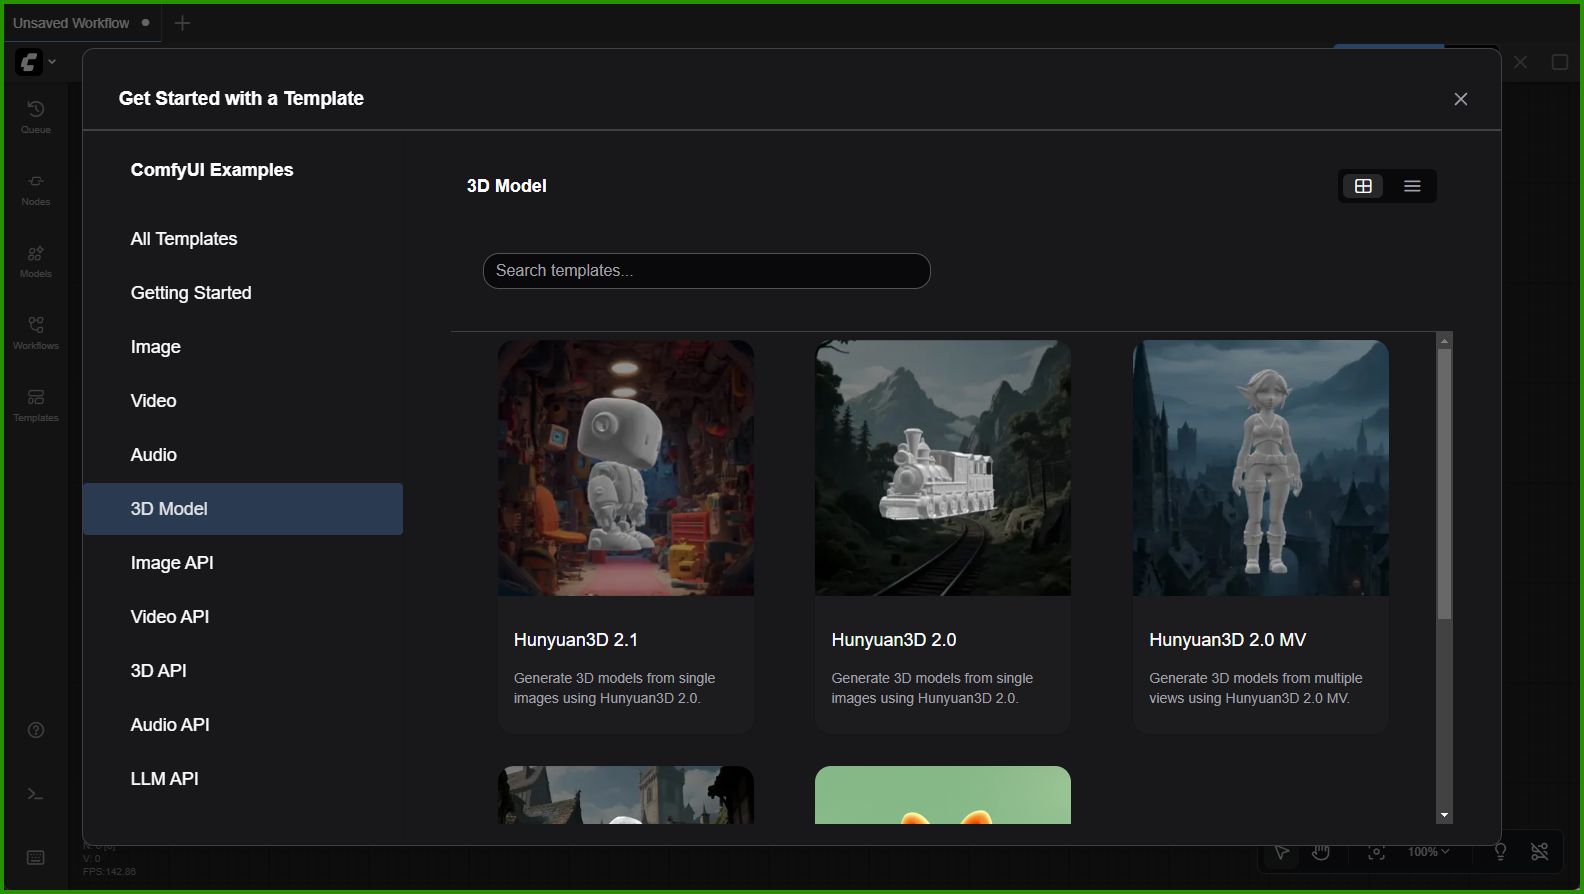
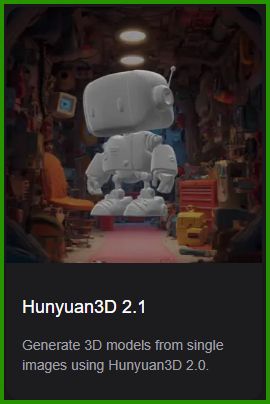
You can choose which one works for you but I am using the "Hunyuan3D 2.1" Model. So click on that image!
If this is the first time you are opening this Template it will bring a popup asking you to download the Model that the Template(s) uses.
Please note that this screenshot is for a different 3D Model because I already downloaded the Model and I don't want to delete and redownload it haha.
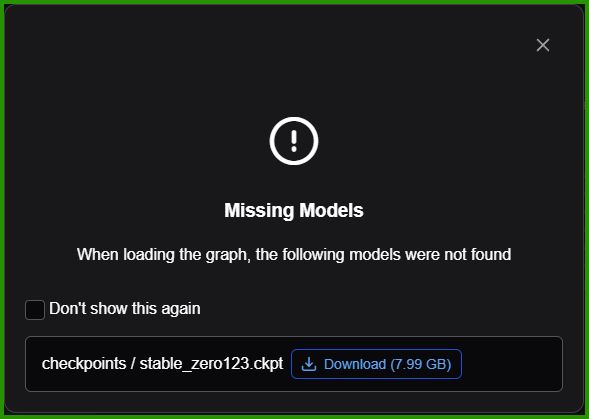
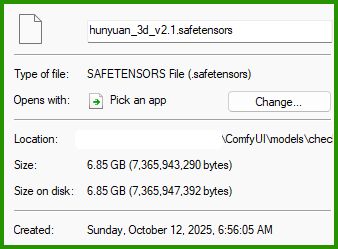
But the "Hunyuan3D 2.1" Model is 6.85GB in size.
After it download close the download popup window if it doesn't automatically and it will bring you to main workflow screen as shown below. If it doesn't or you want to get back to this screen say tomorrow, just follow the same steps by click Templates and clicking on the Model again.
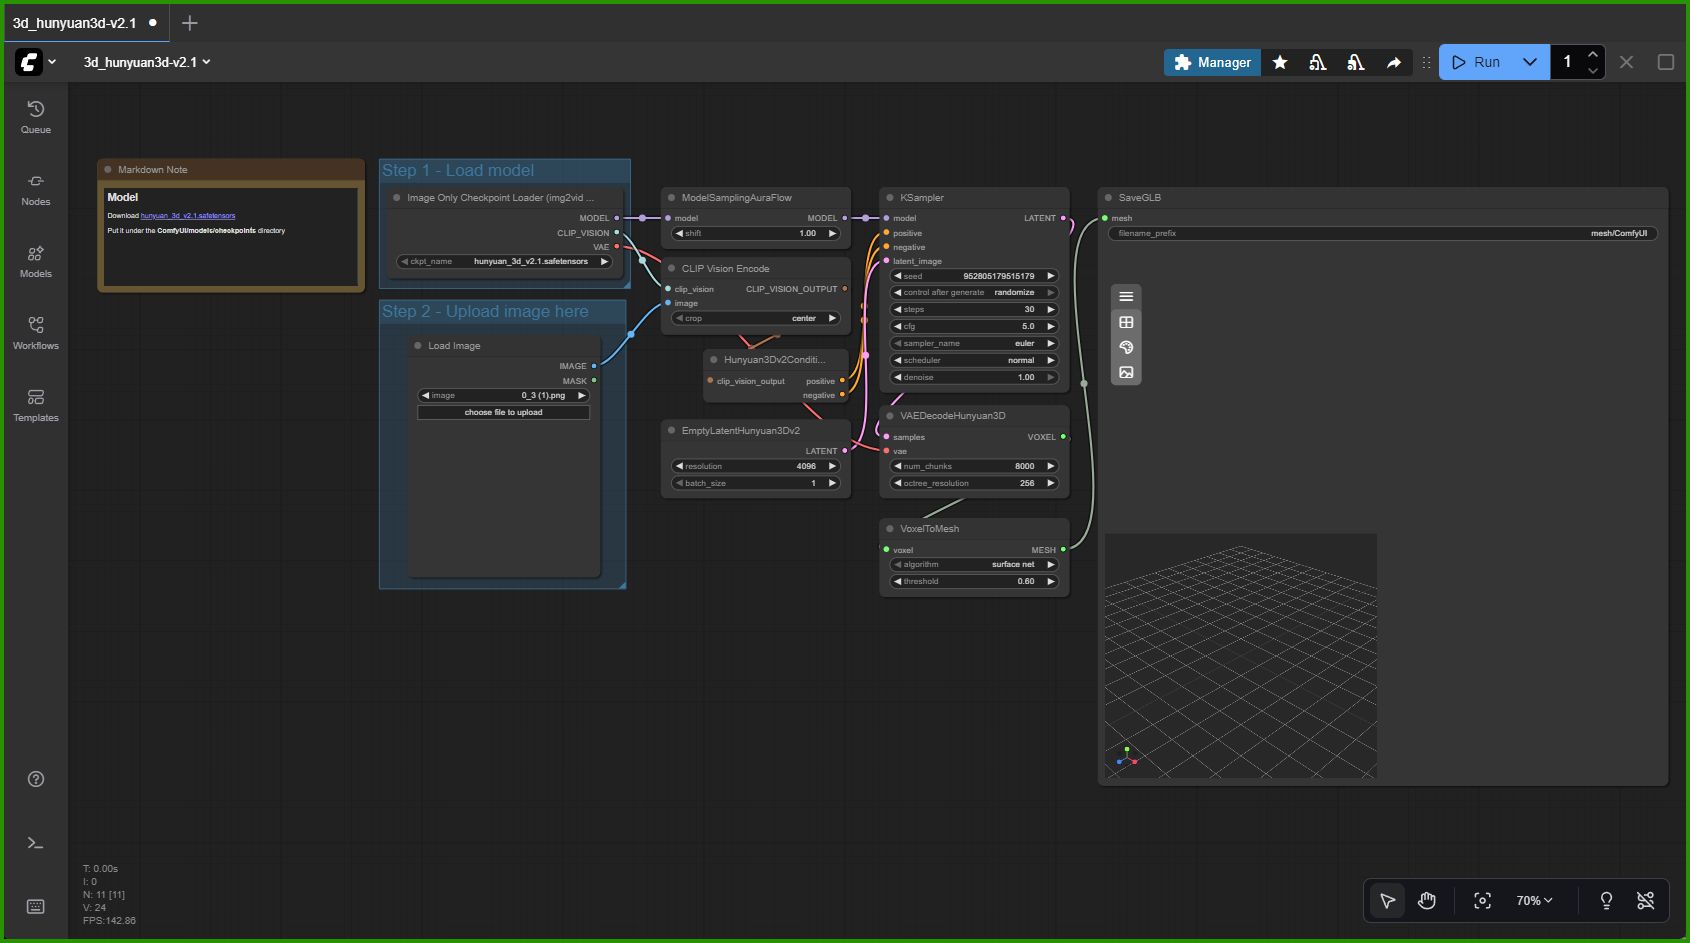
I am going to reference back to this screenshot a few times so remember that this is THE screenshot I am referring to with my close up screenshots further down.
Save The Workflow
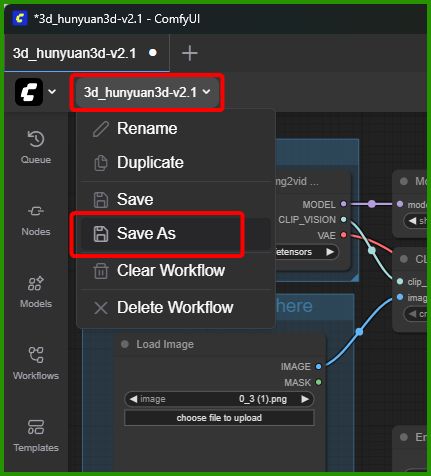
I highly recommend you saving this Workflow before continuing just in case.. and also once you make change and fine tune the Model/Workflow make sure to save the changes. You can save it but click on the drop-down menu on the Model and click on "Save As" and then naming it!
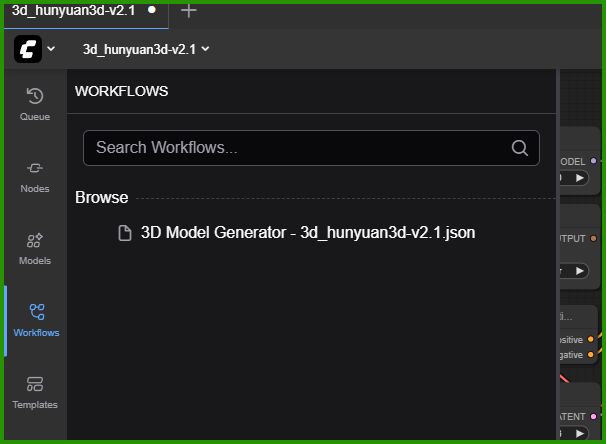
Once you save it you can access it from the "Workflows" Menu on the left hand column when you reopen the software! This is mine I edited and then saved.
Intermission
I know this post is super long and I apologize. I write documentation for my professional job and I learned that I need to break down each step and document it very clearly so EVERYONE will be able to follow along. And then you add in some ADHD and I just tend to type away!
But I swear we are about 85% done with this entire process so just hang in there!

Convert the Image to a 3D Model
So back in ComfyUI, you have the Image-2-3DModel Model downloaded and the Workflow is up on your screen. There are 3 areas to pay attention to for beginners (which I am still a beginner too so no shame).
Upload your .png File
In the Blue boxes there is a Step 1 and Step 2. Step 1 is to change the Model you are using. So if you download a few different Model to convert images to 3D models you can switch them out here but if you just downloaded 1 from the template like above you will only have 1 option.
Step 2 is where you upload the image you want to convert. So choose the image carefully!!!

Because @acidyo is a fucking LEGEND, I am going to pick a Holozing creature to turn into a 3D model!
If you saw my SNAP earlier this morning then you know I already converted Glimmo into a 3D model.
https://peakd.com/hive-124838/@cherokee4life/re-peaksnaps-t40o02
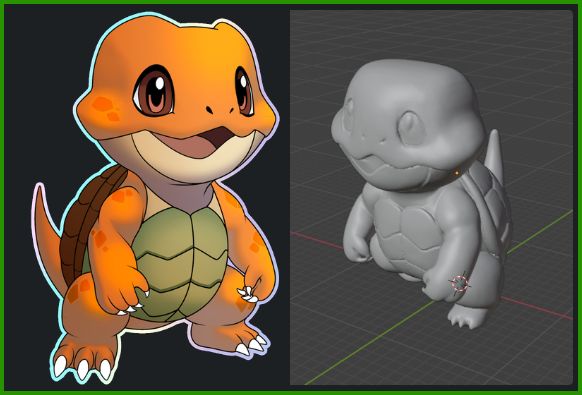
So I am going to now convert Gemino from a static 2D image into a 3D Model!
So in the Step 2 blue box click on "choose file to upload".
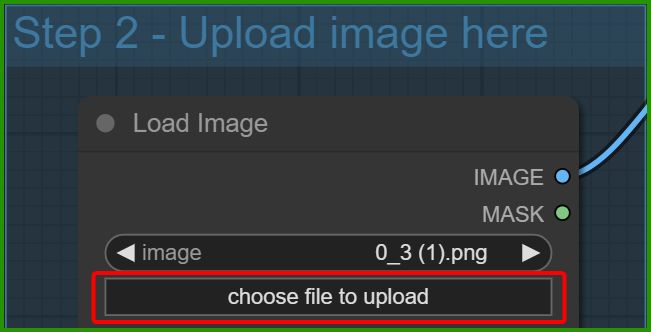
Then pick your image.
https://files.peakd.com/file/peakd-hive/cheroke