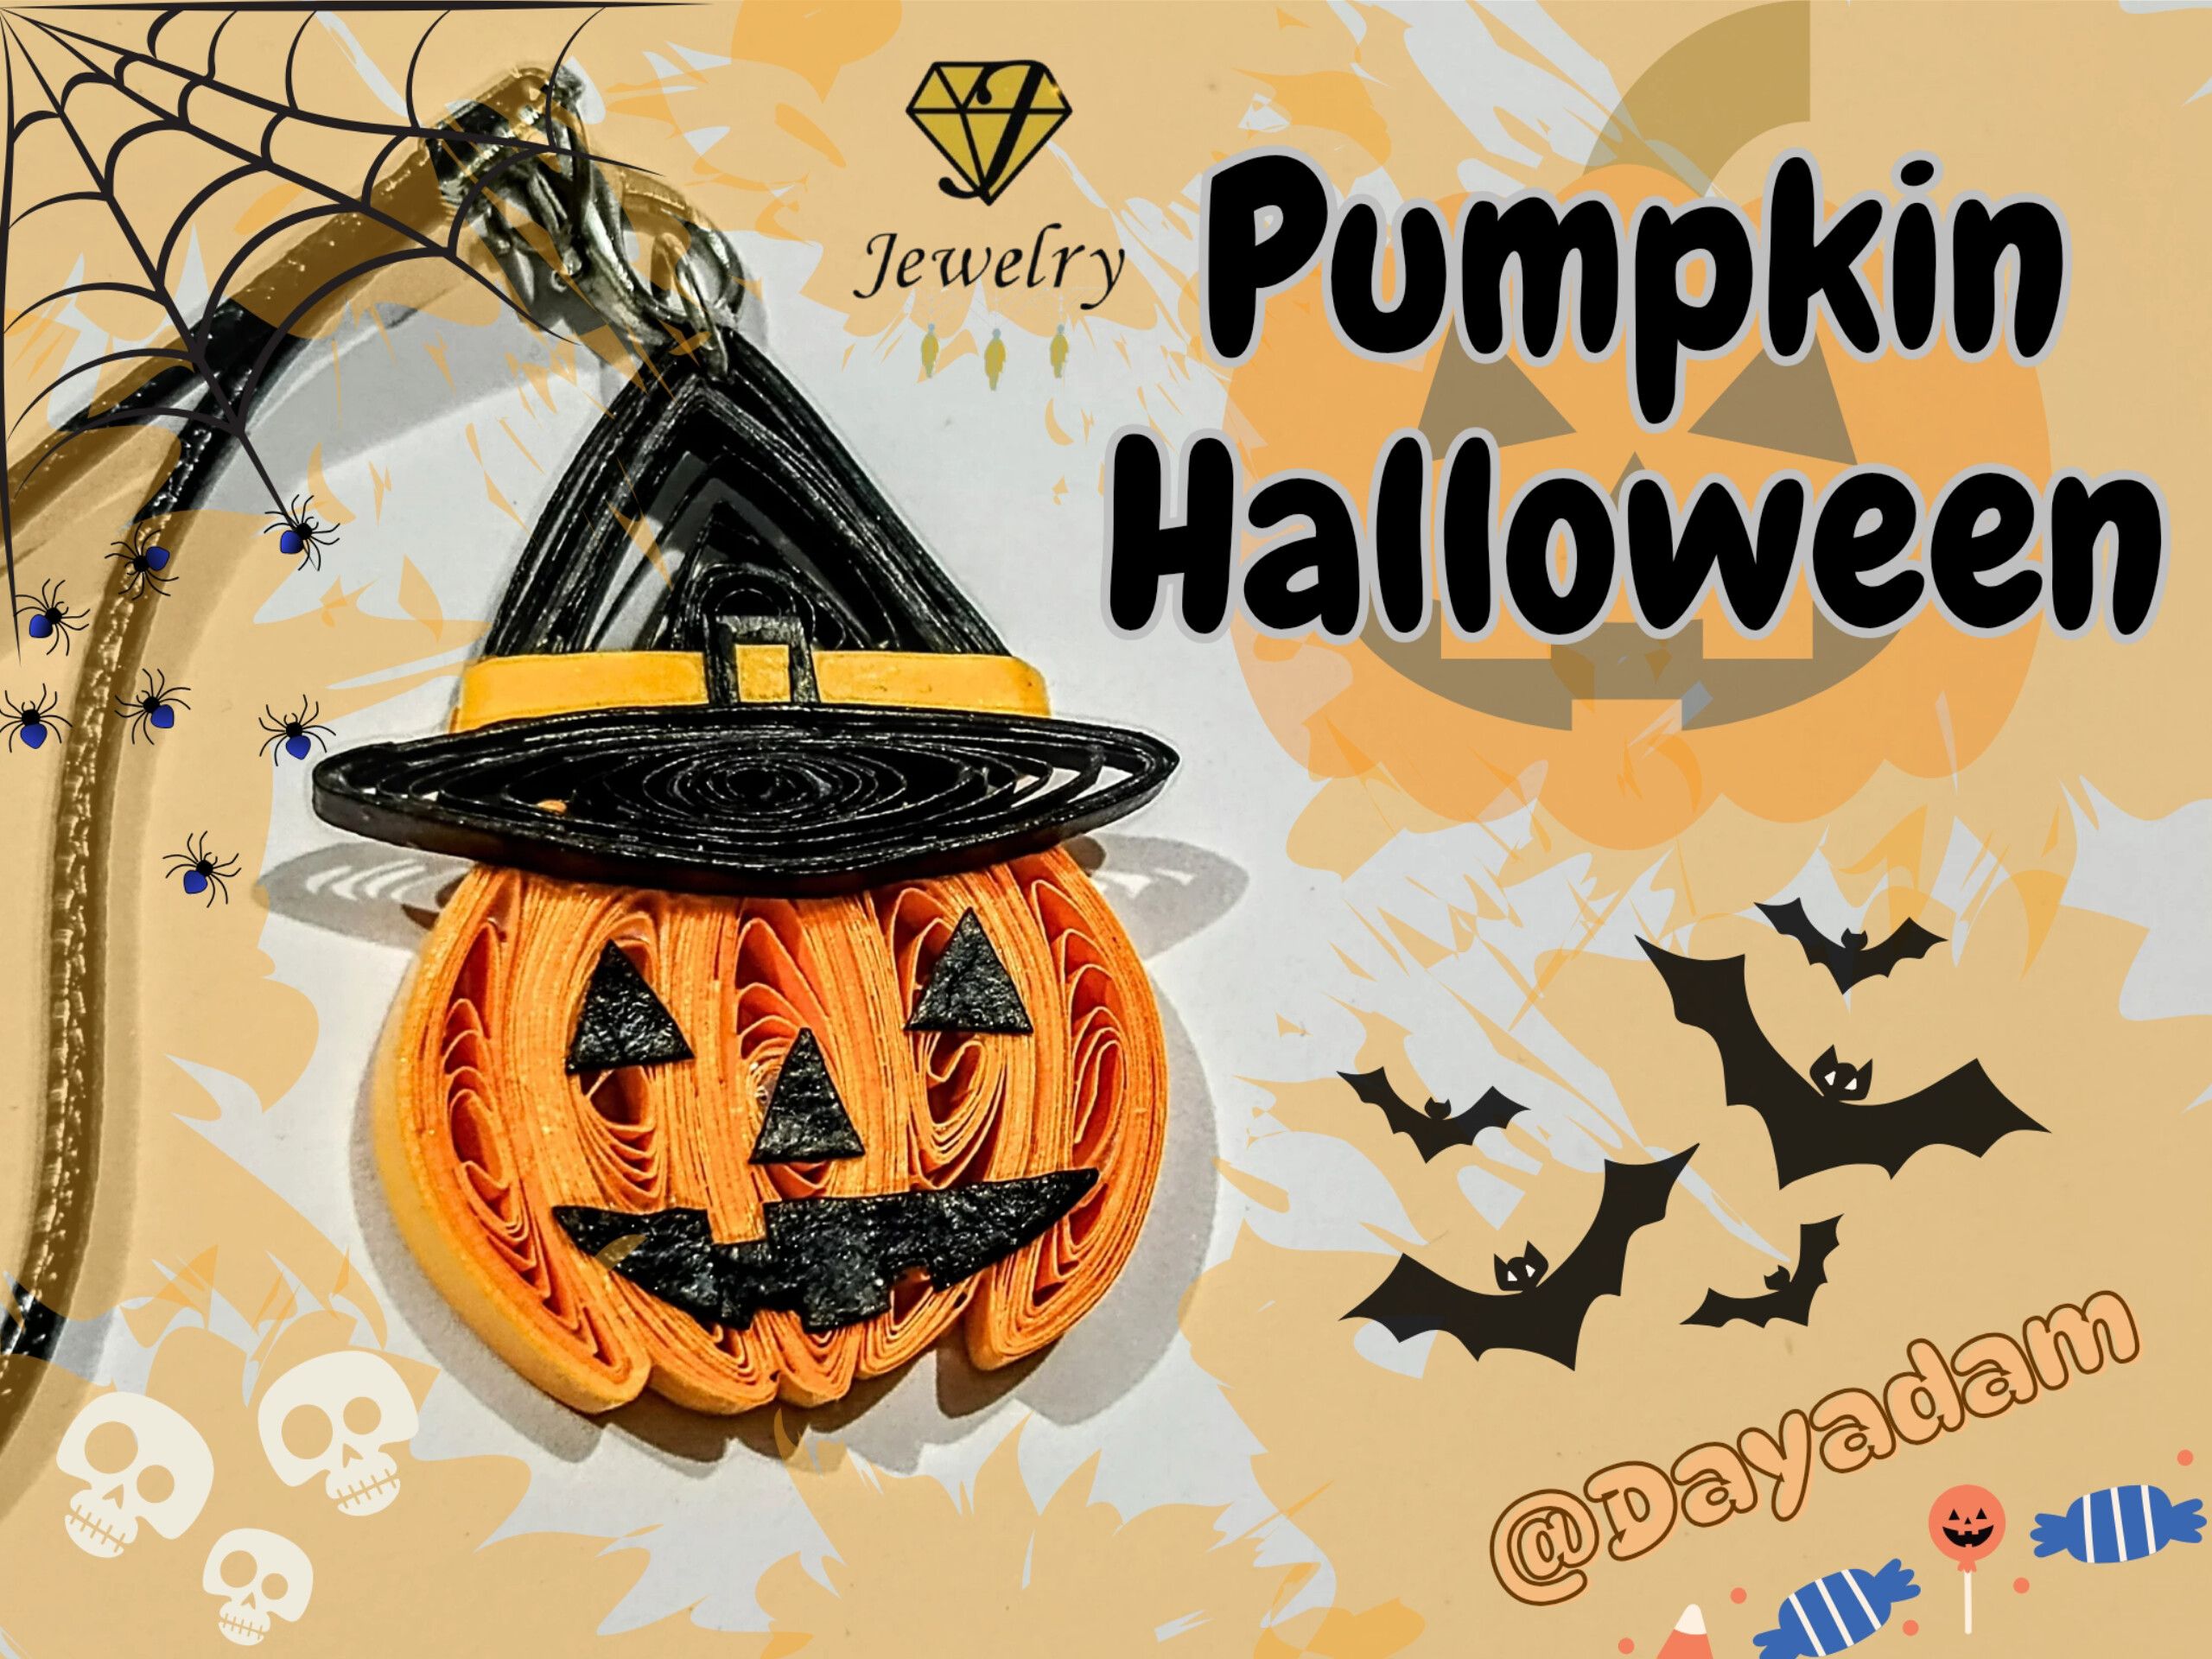
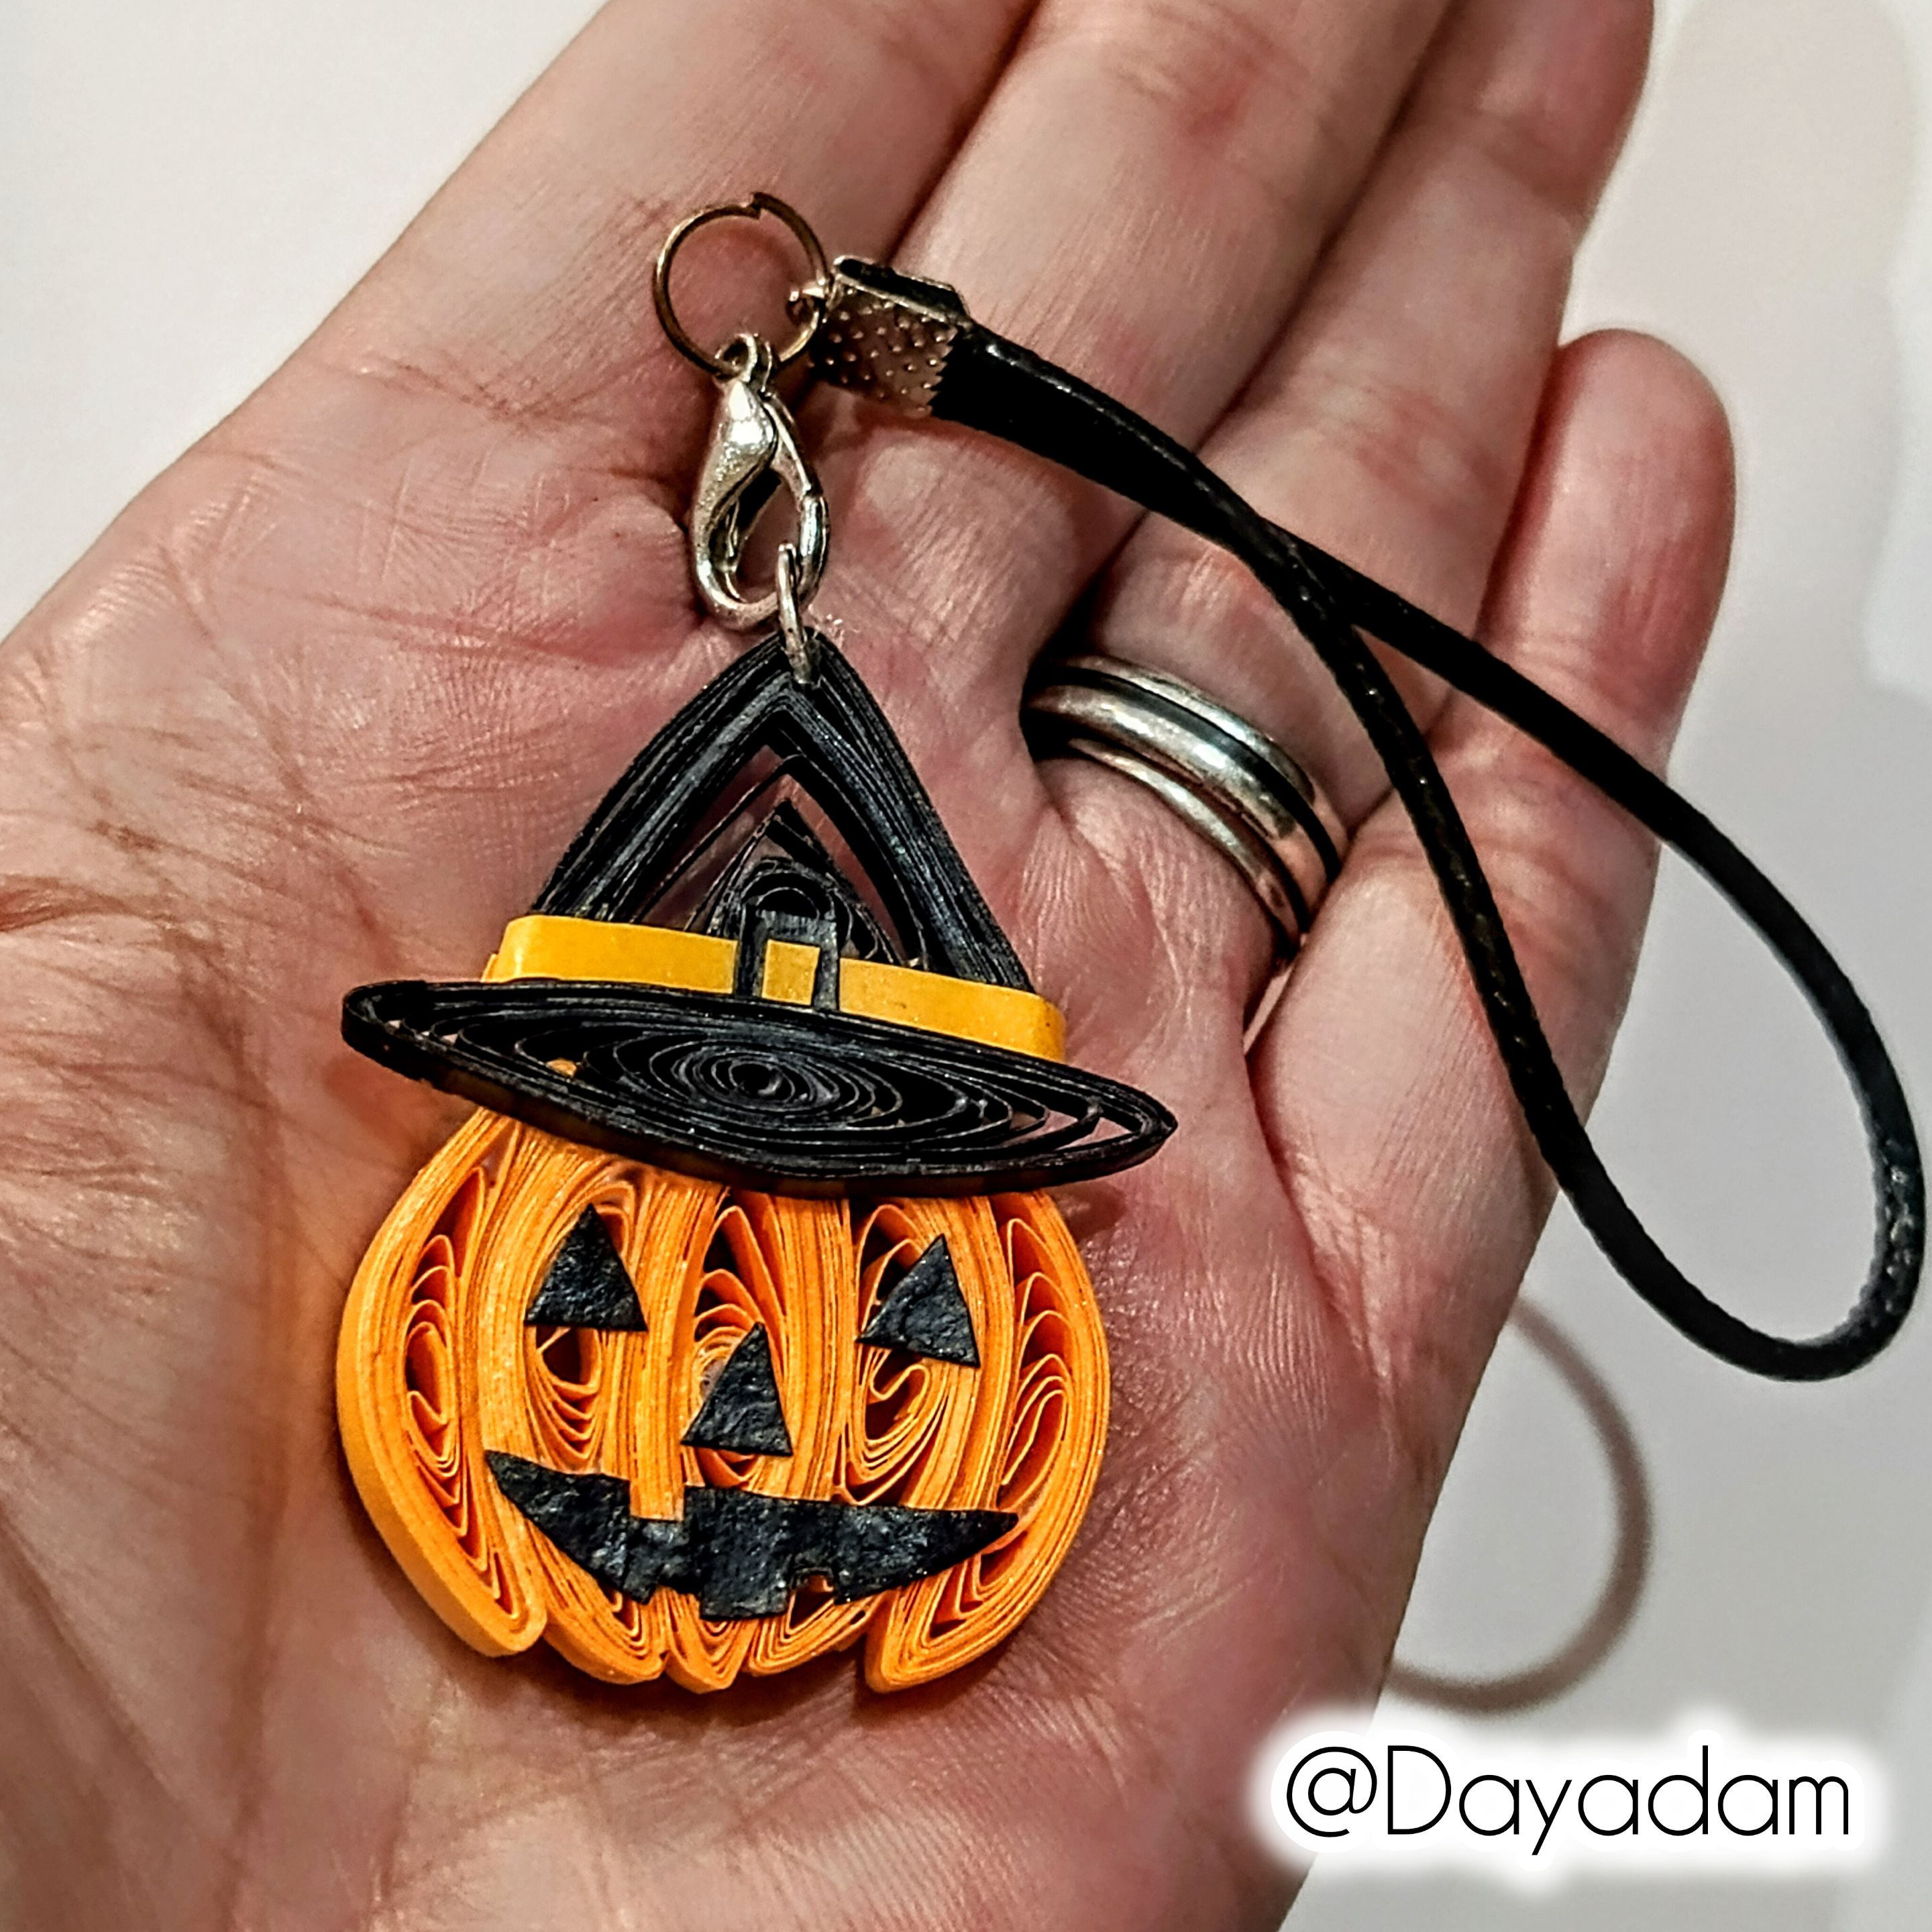
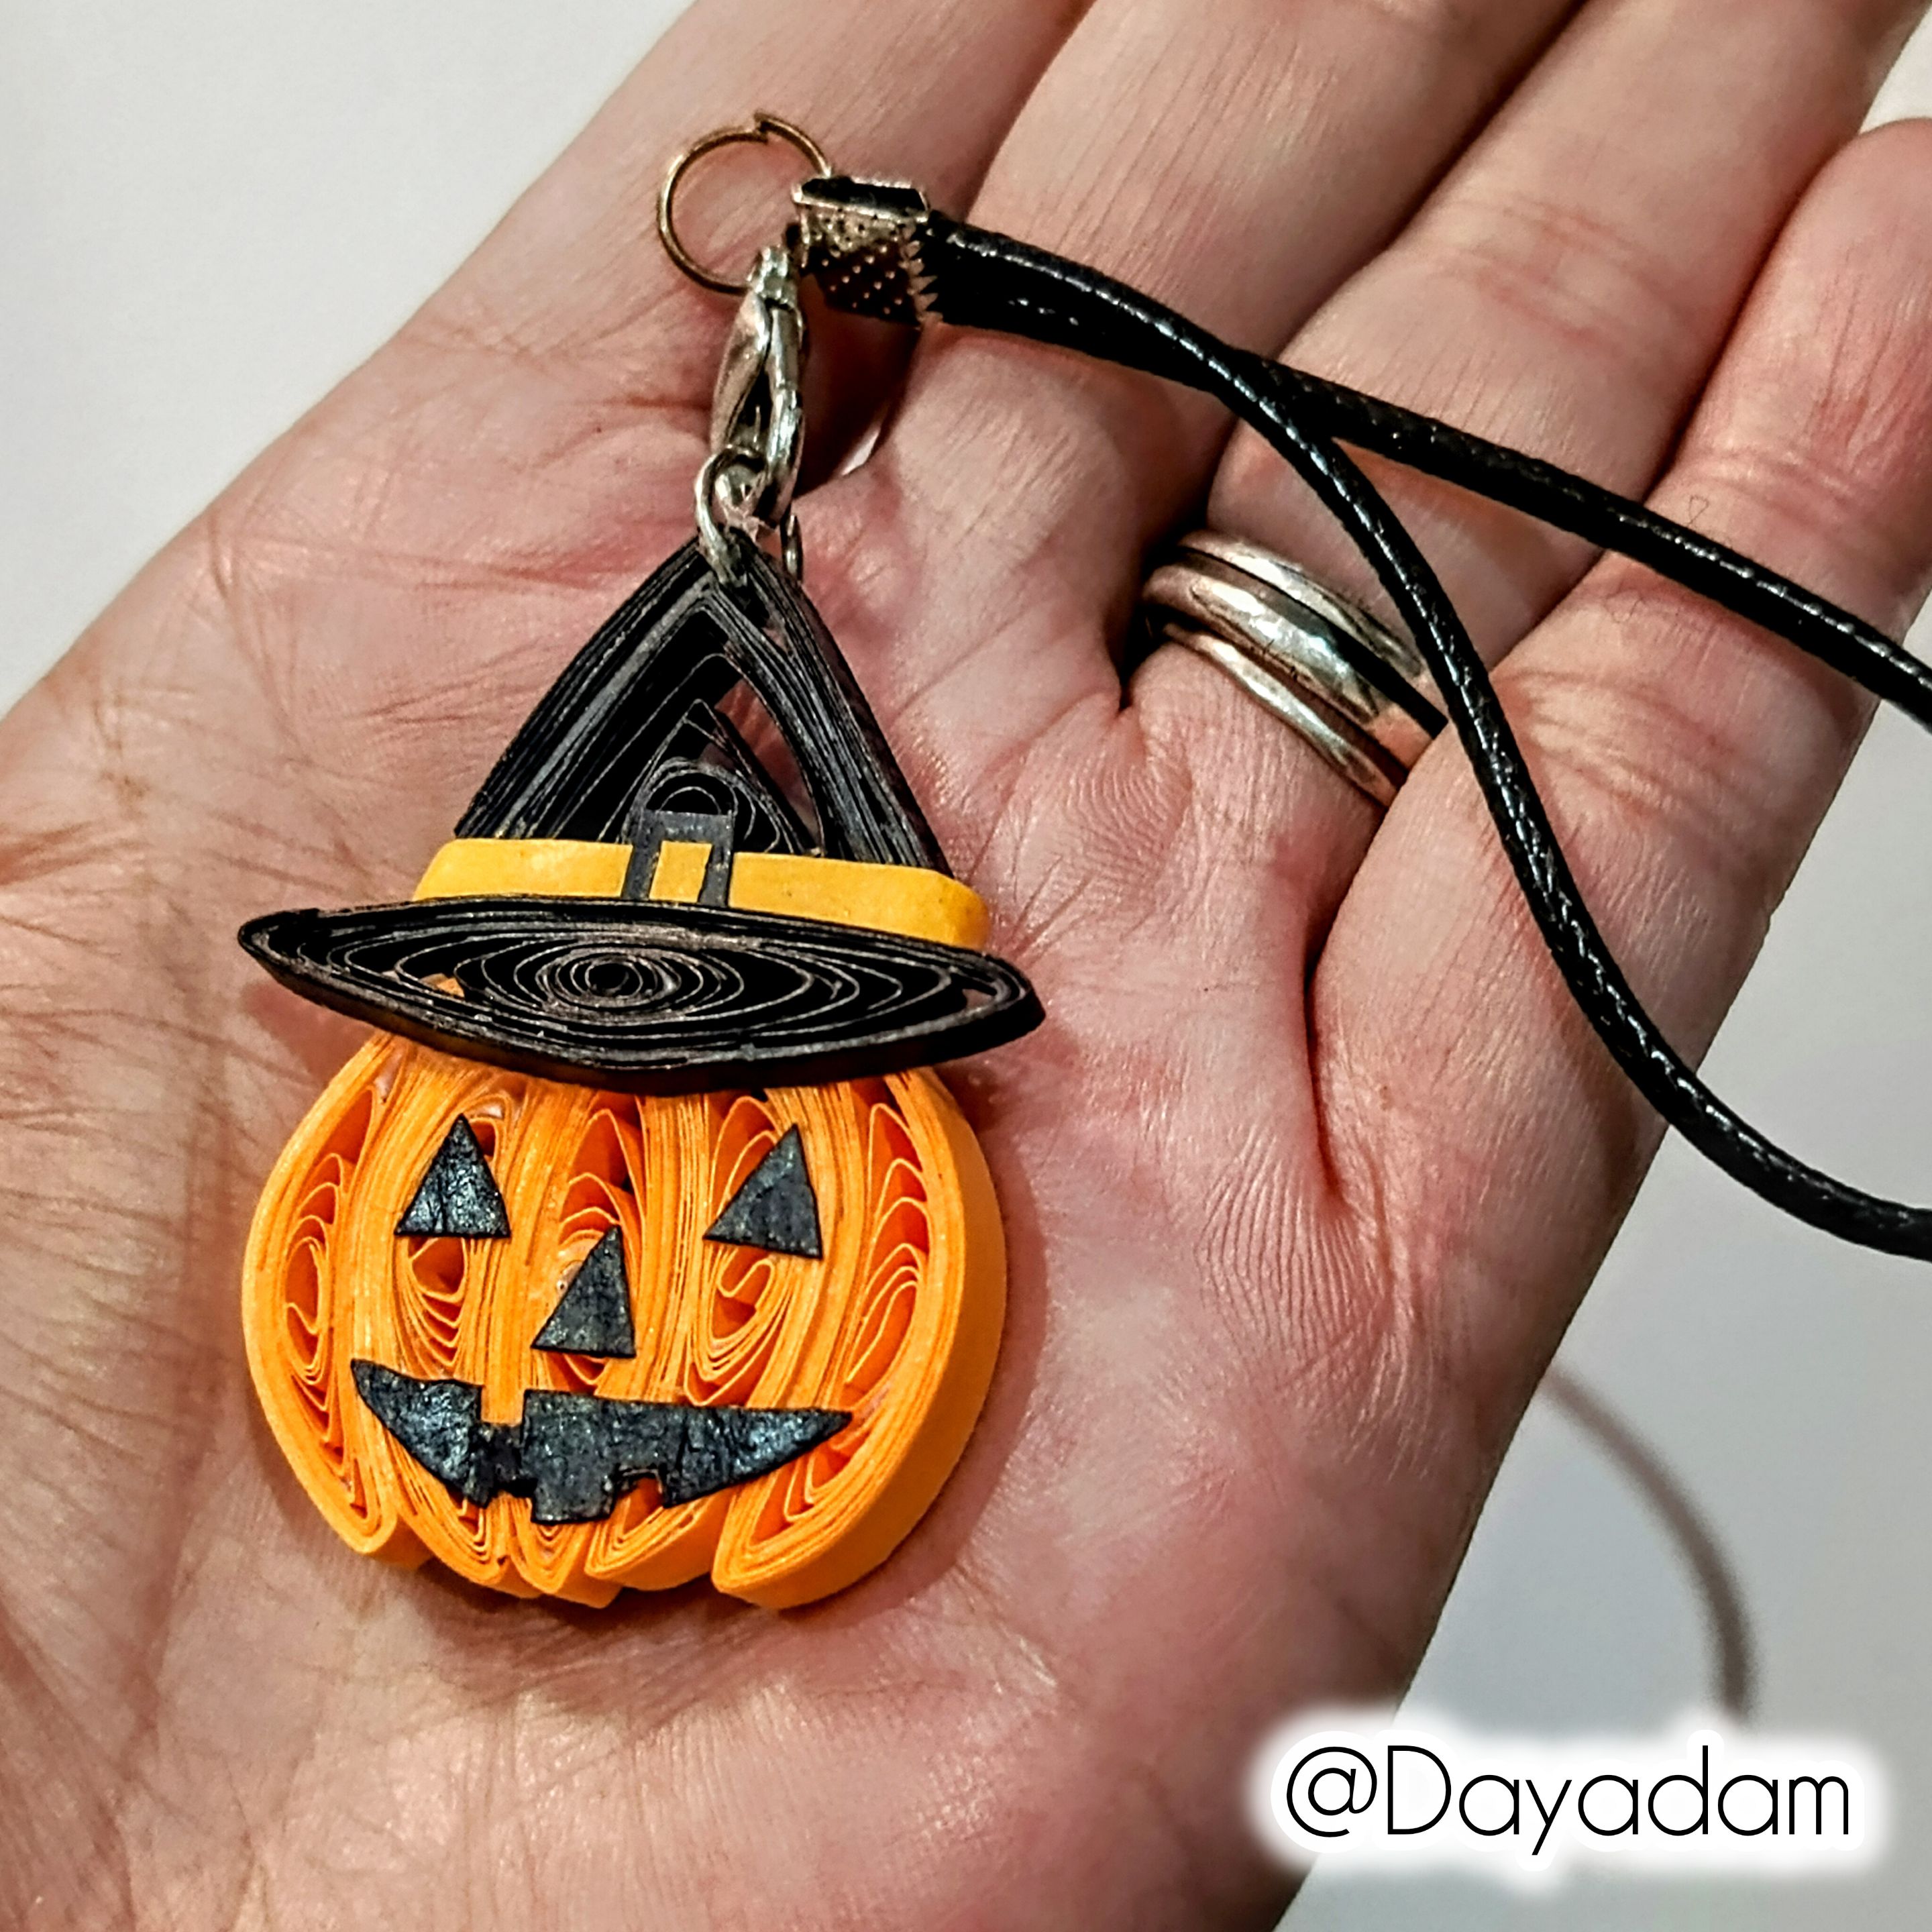
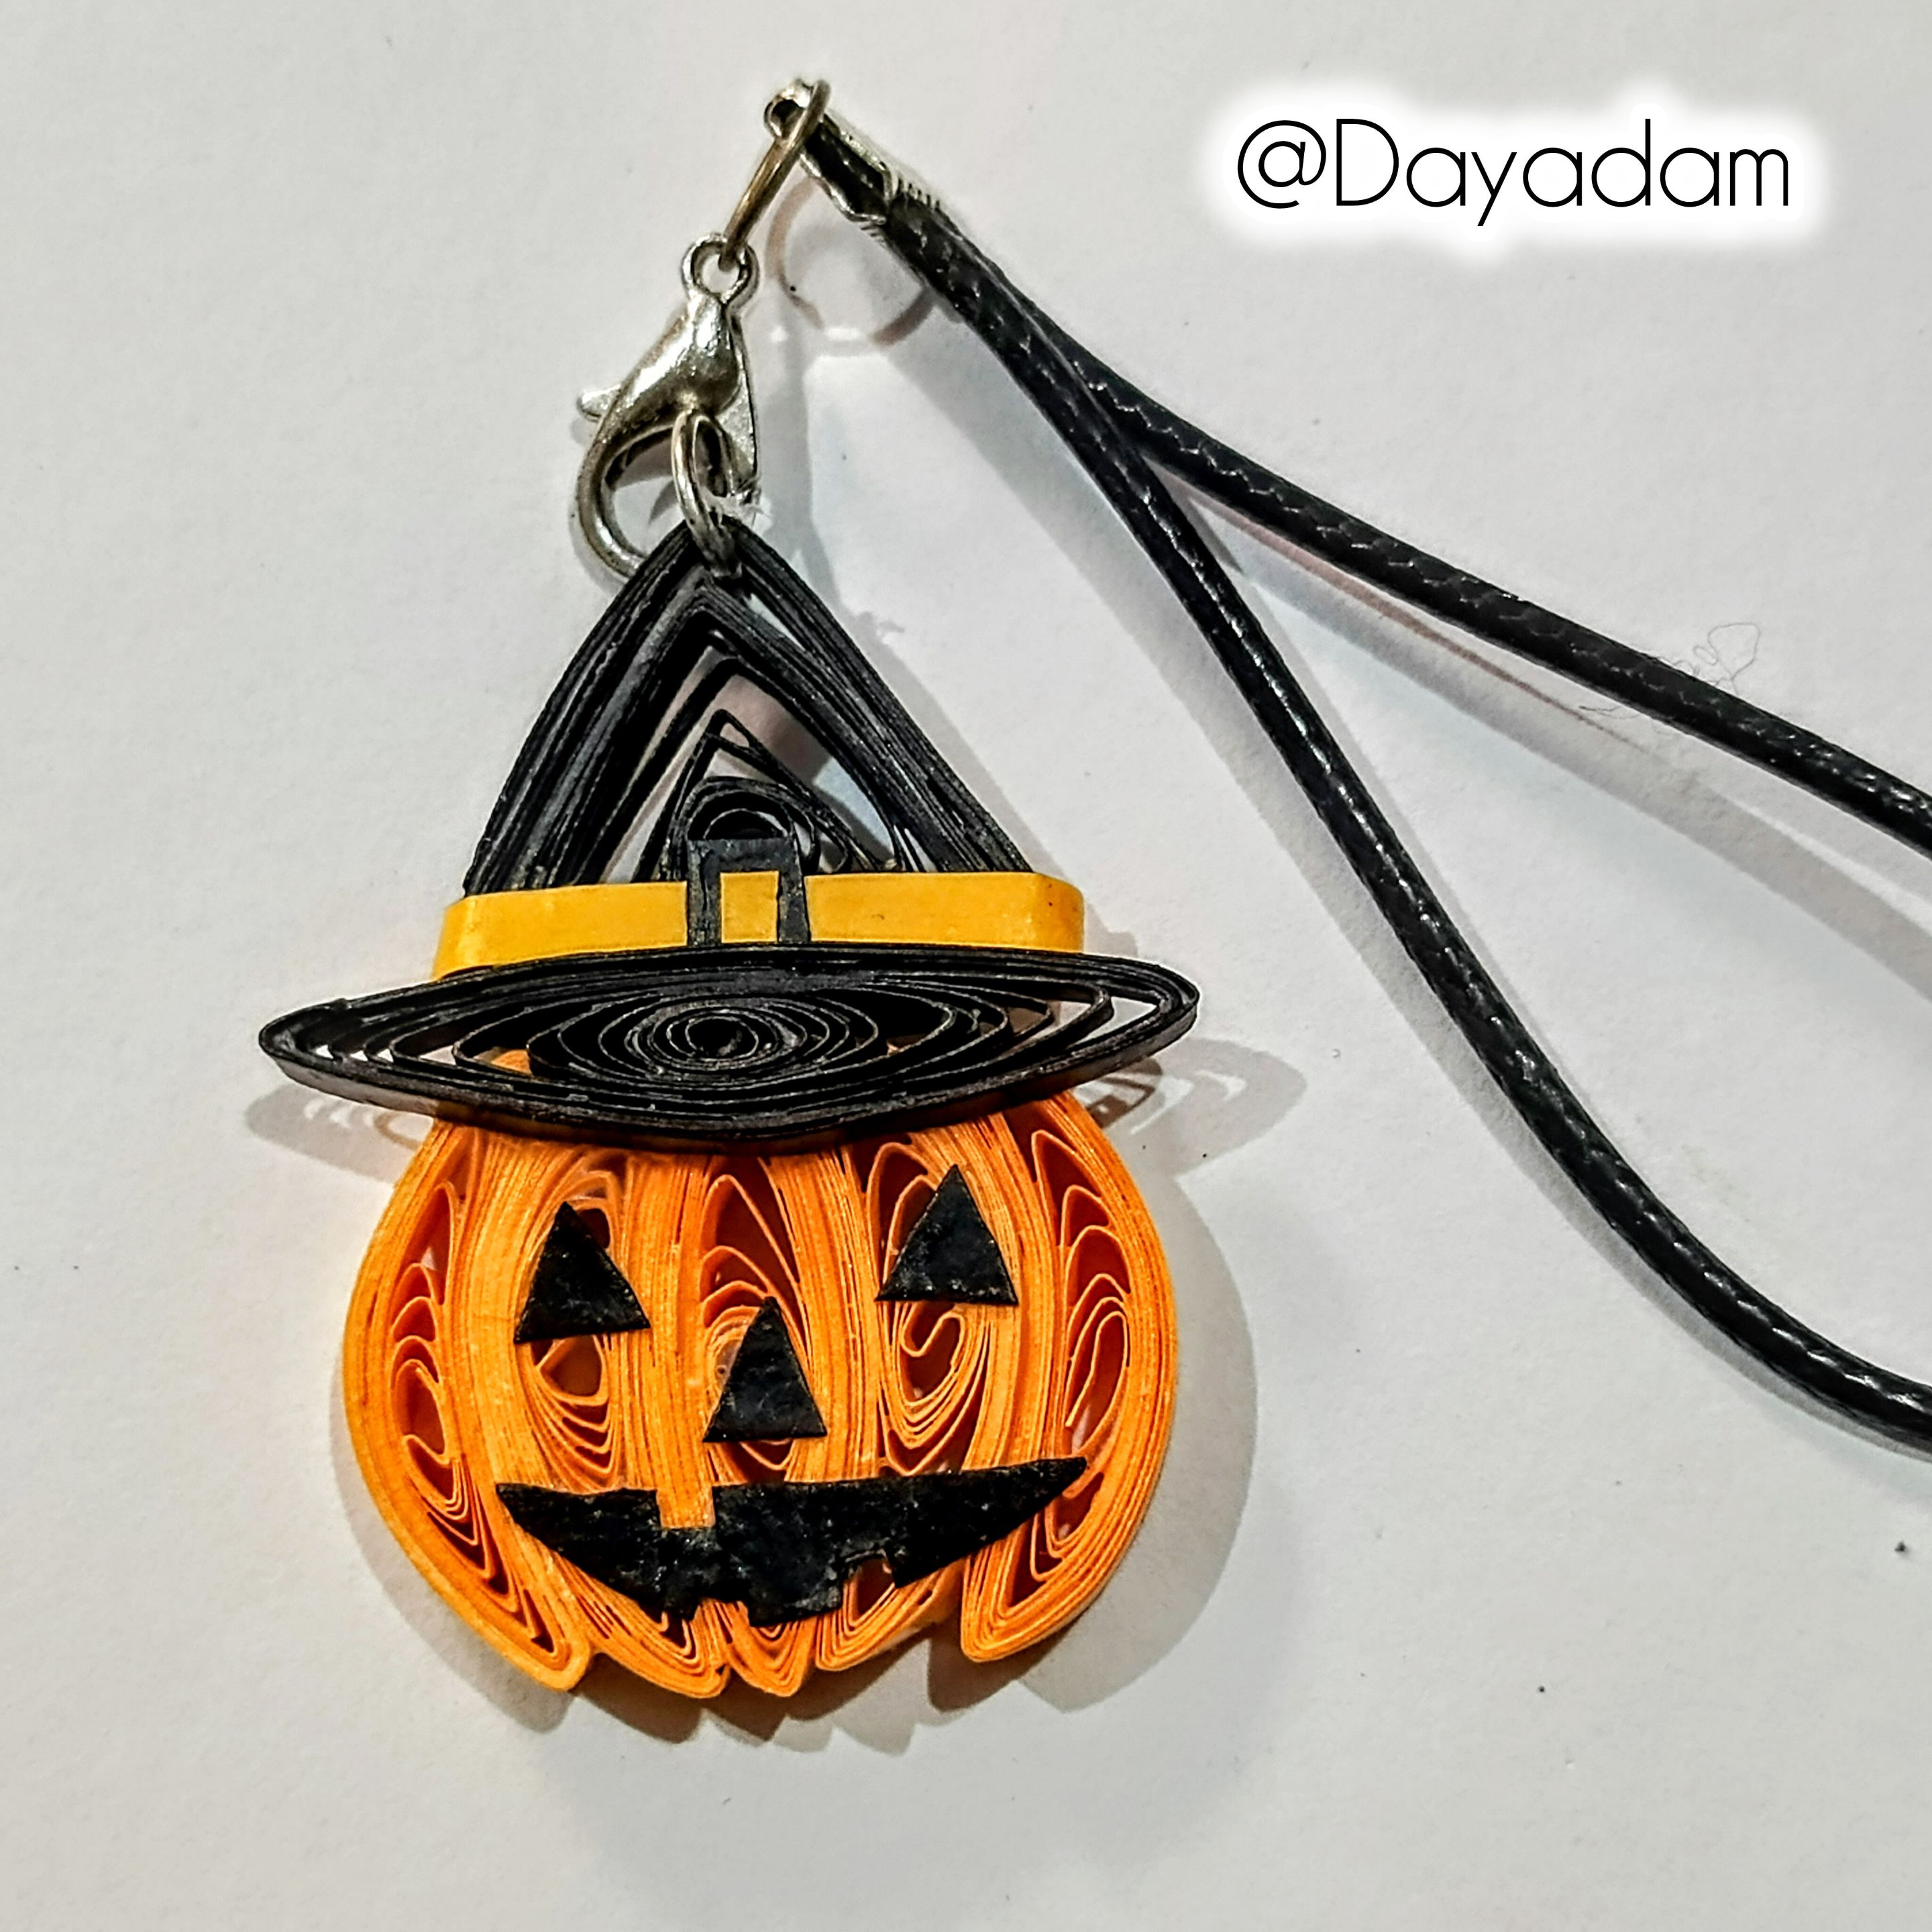
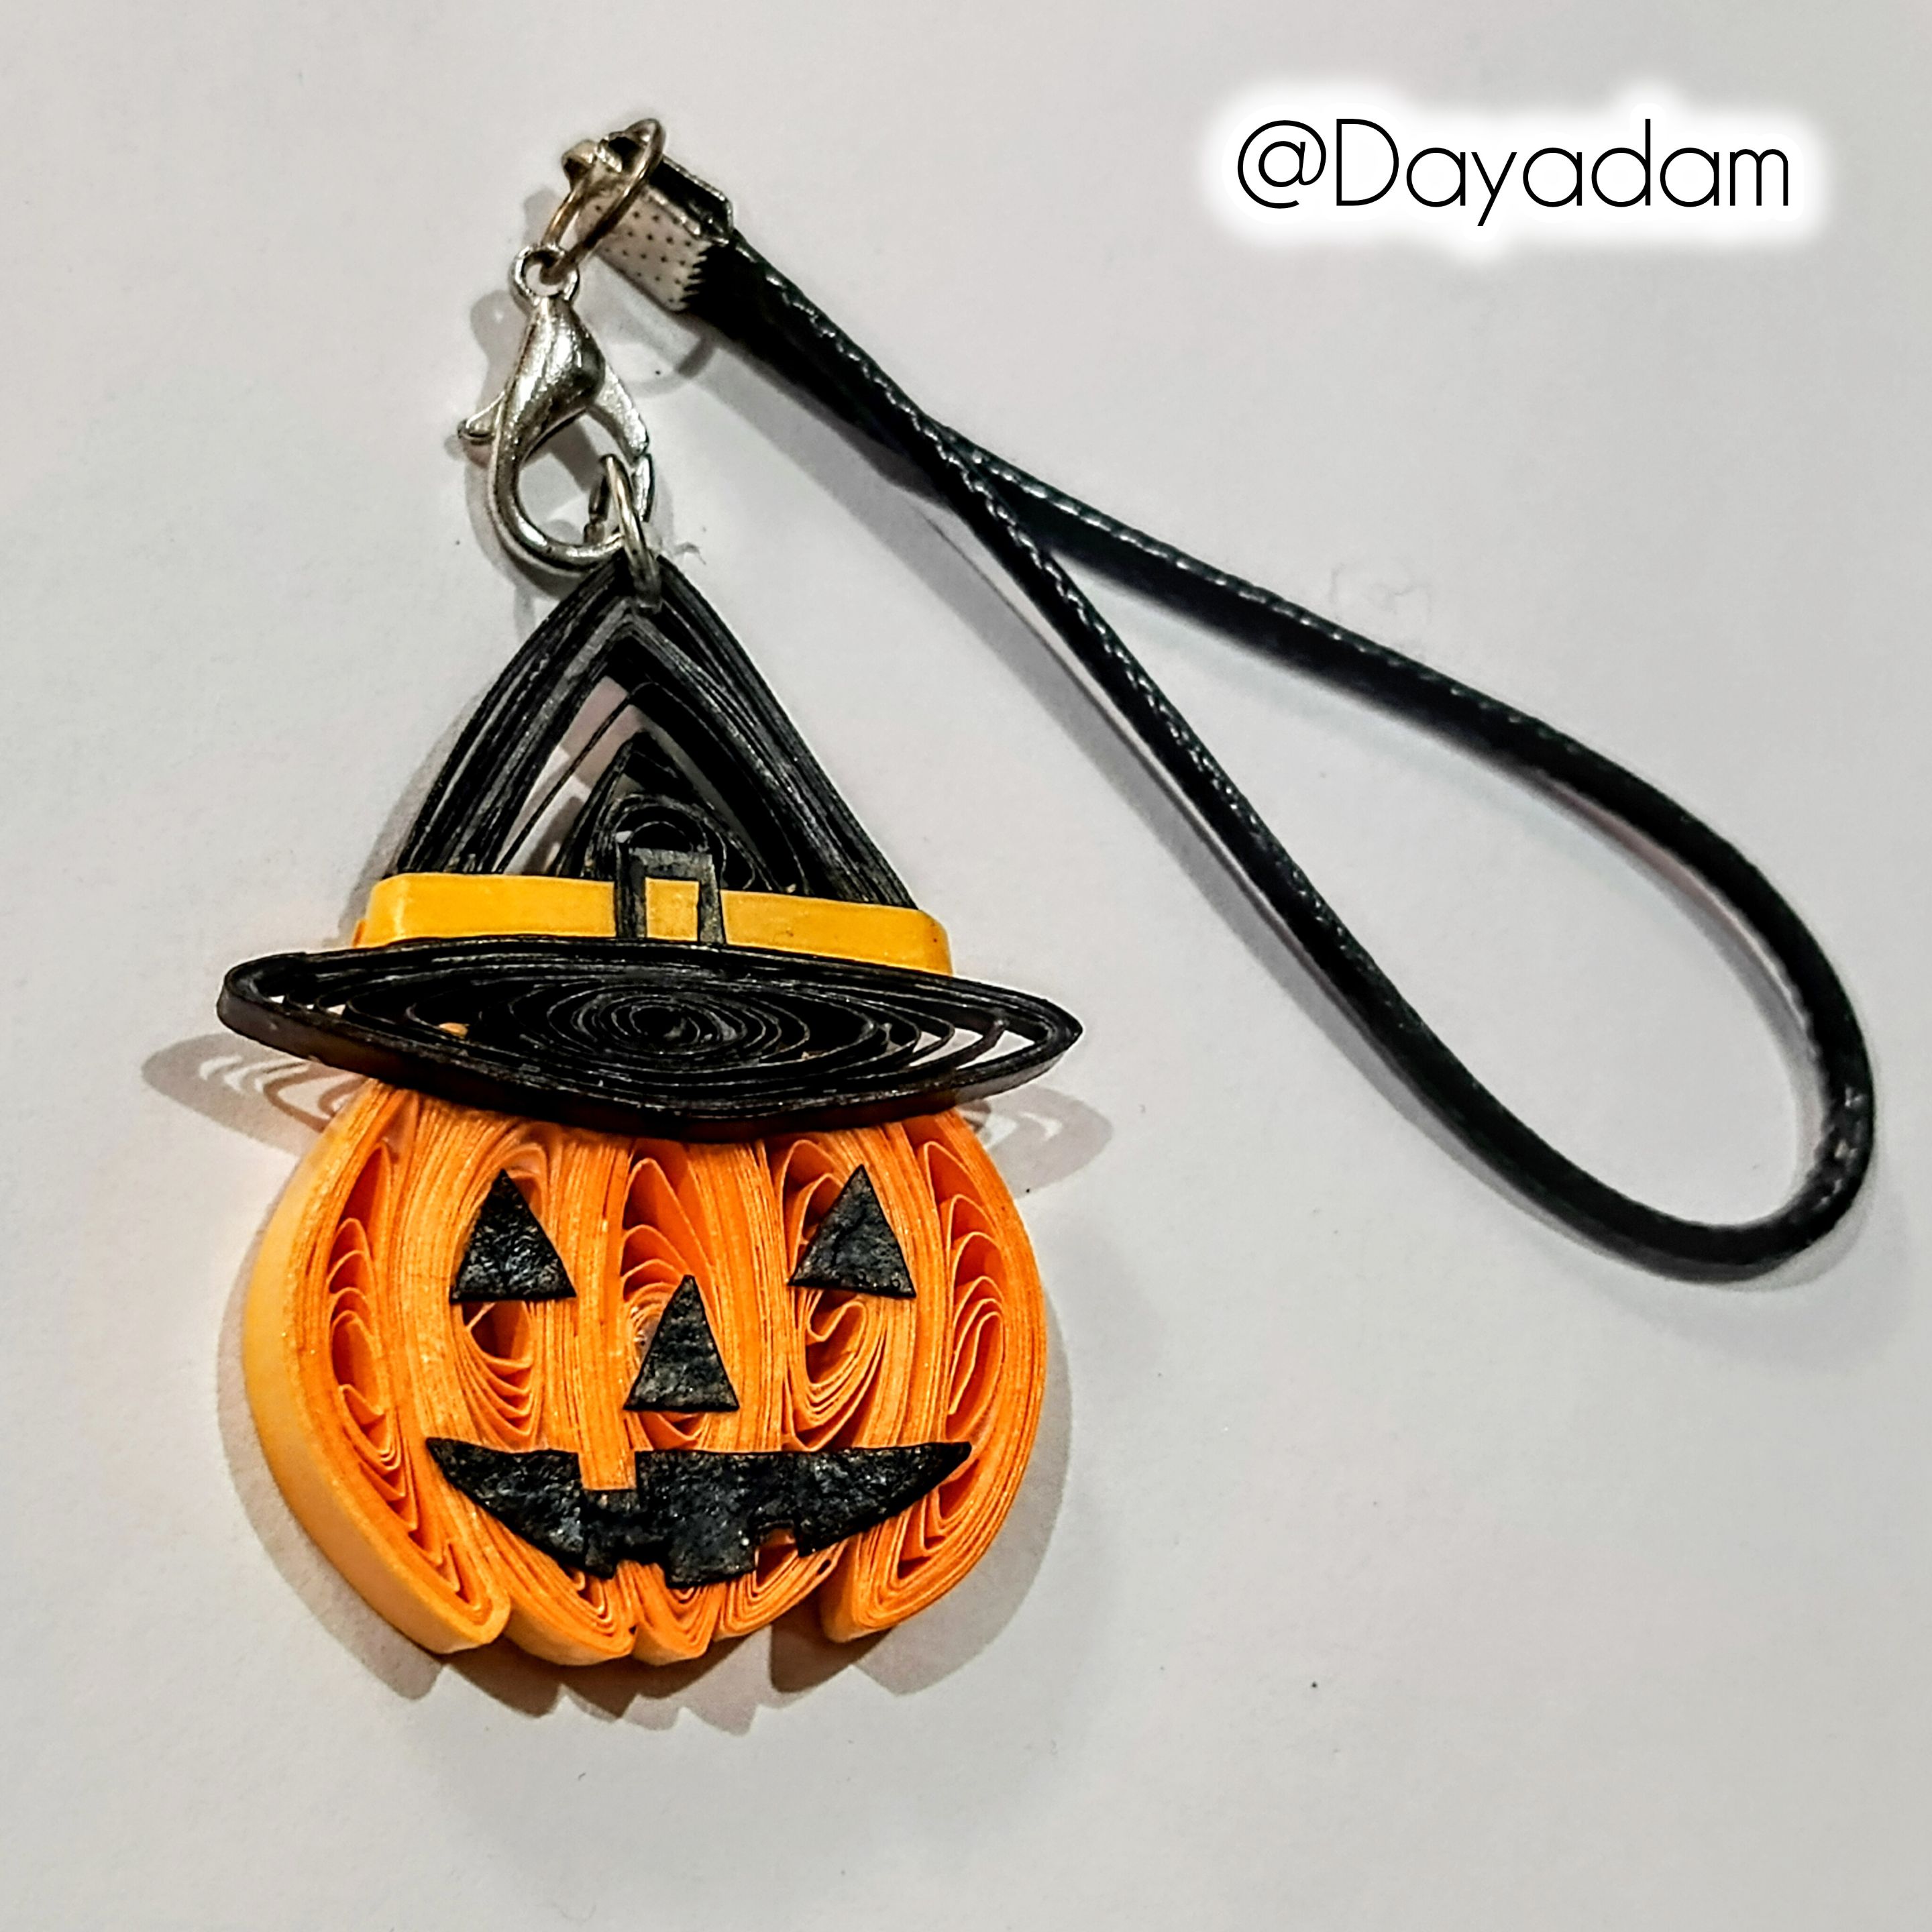
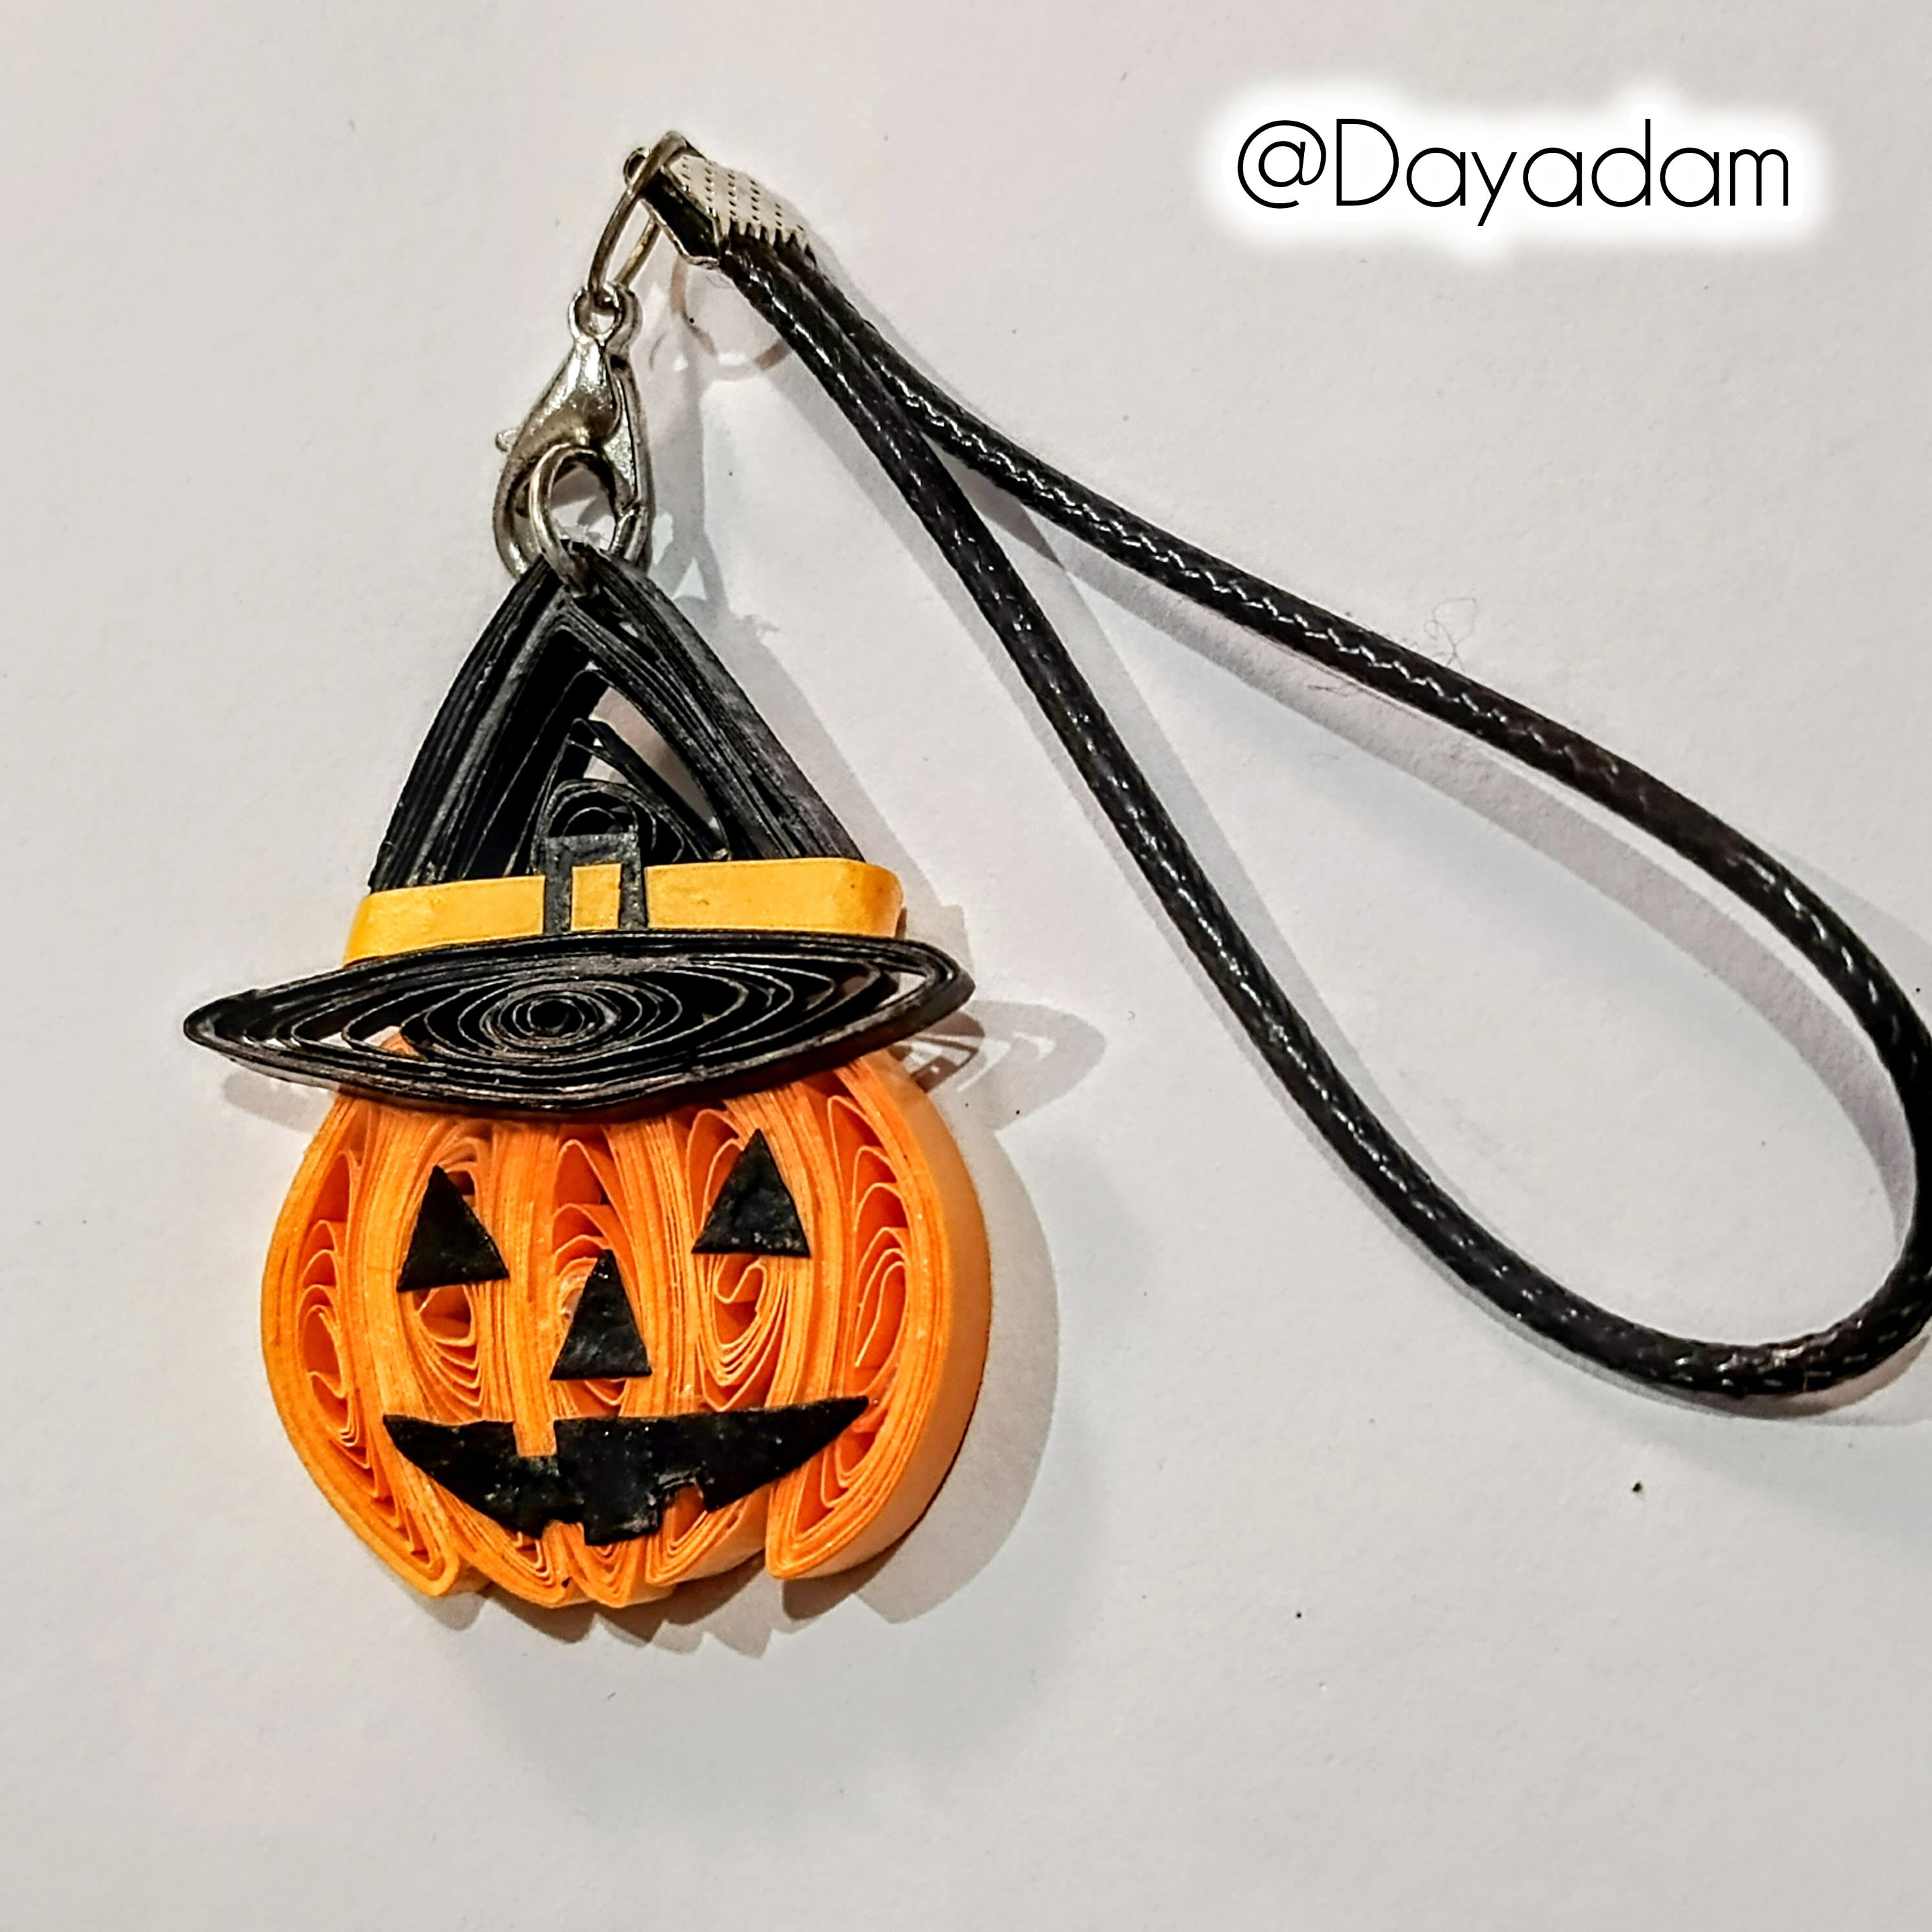
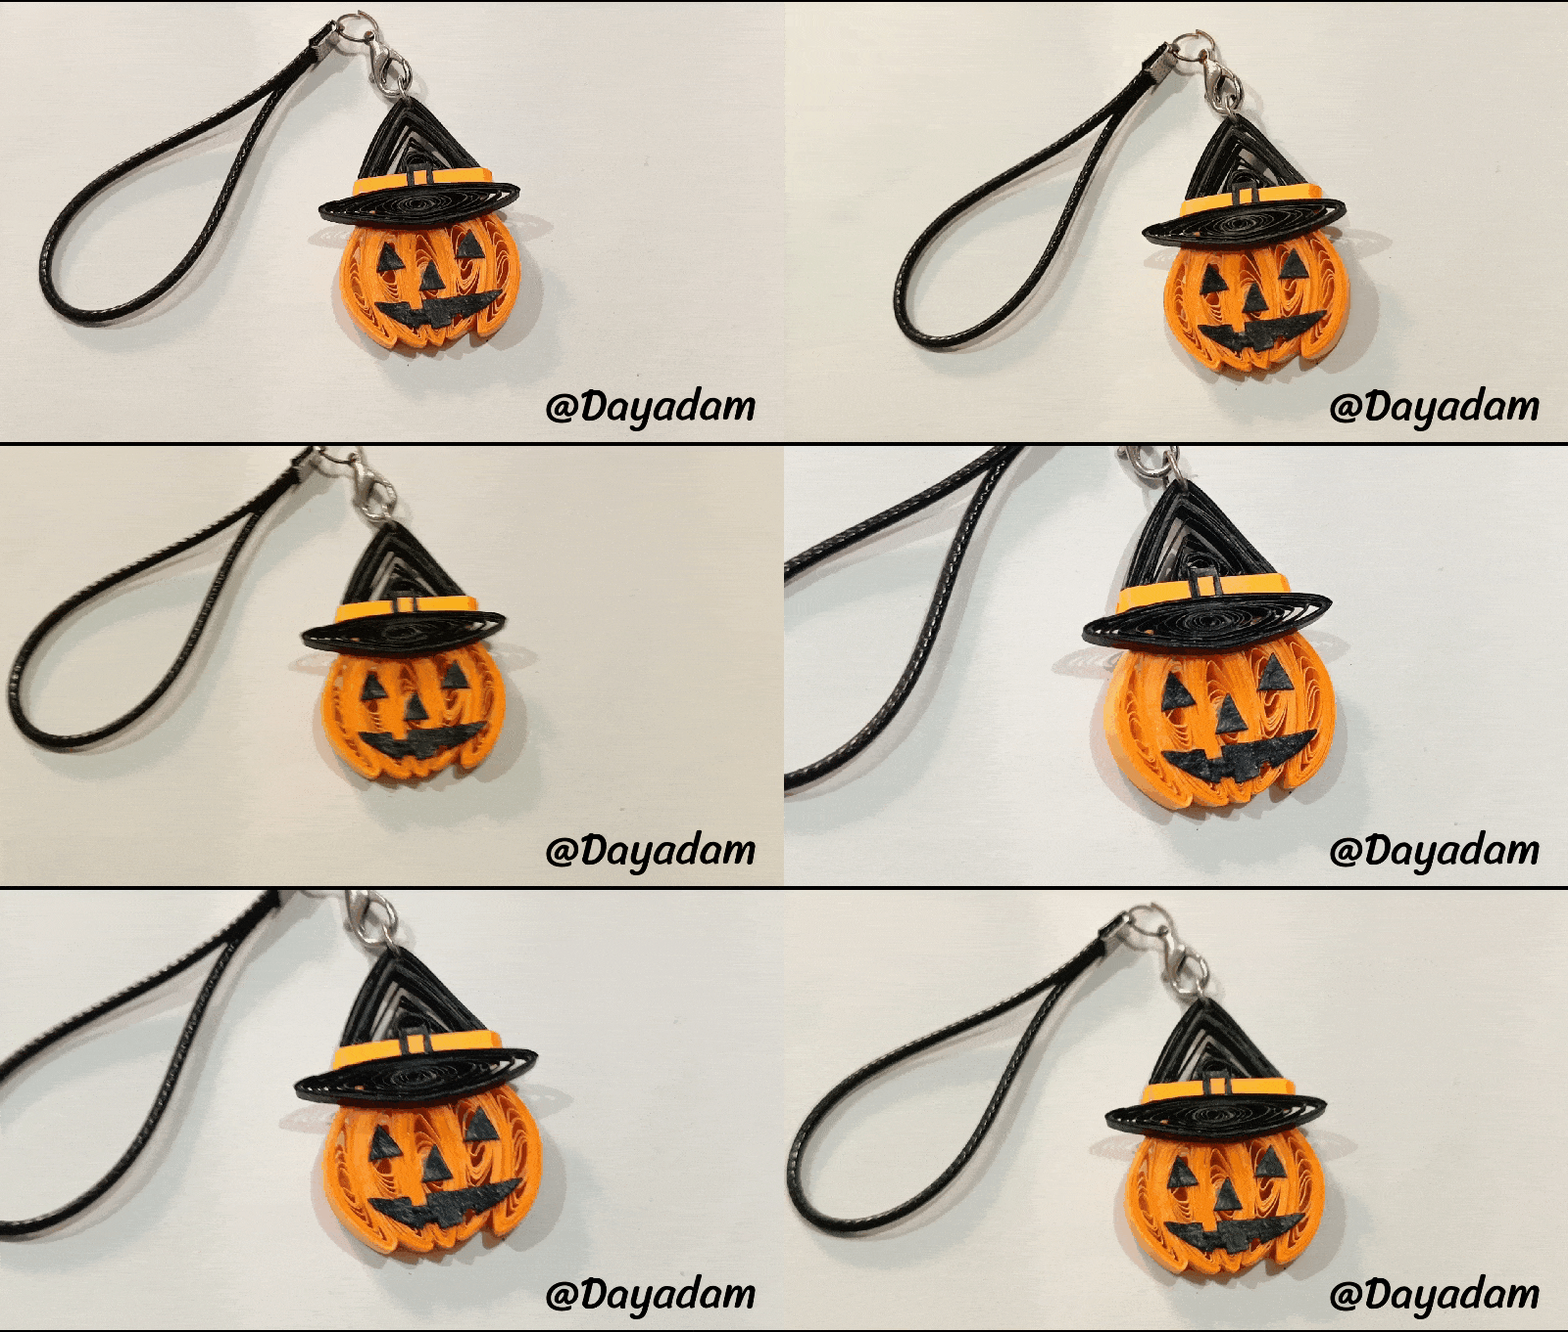
As we are in the final days of Halloween and I hadn't done anything related to the theme, I decided to make a pretty decorative pendant of a haunted pumpkin in 2D using the quilling technique.
Hoping you like it, I leave you my creative process:
Let's get started:😃

Hola a toda mi gente de Hive... 🐱
Cómo estamos en estos últimos días de Halloween y no había hecho nada con respecto a la temática, se me ocurrio para hoy elaborar un bonito colgante decorativo de una calabacita embrujada en 2D en la técnica de quilling.
Esperando que sea de su agrado, les dejo mi proceso creativo:
Comencemos:😃
 |
 |
|


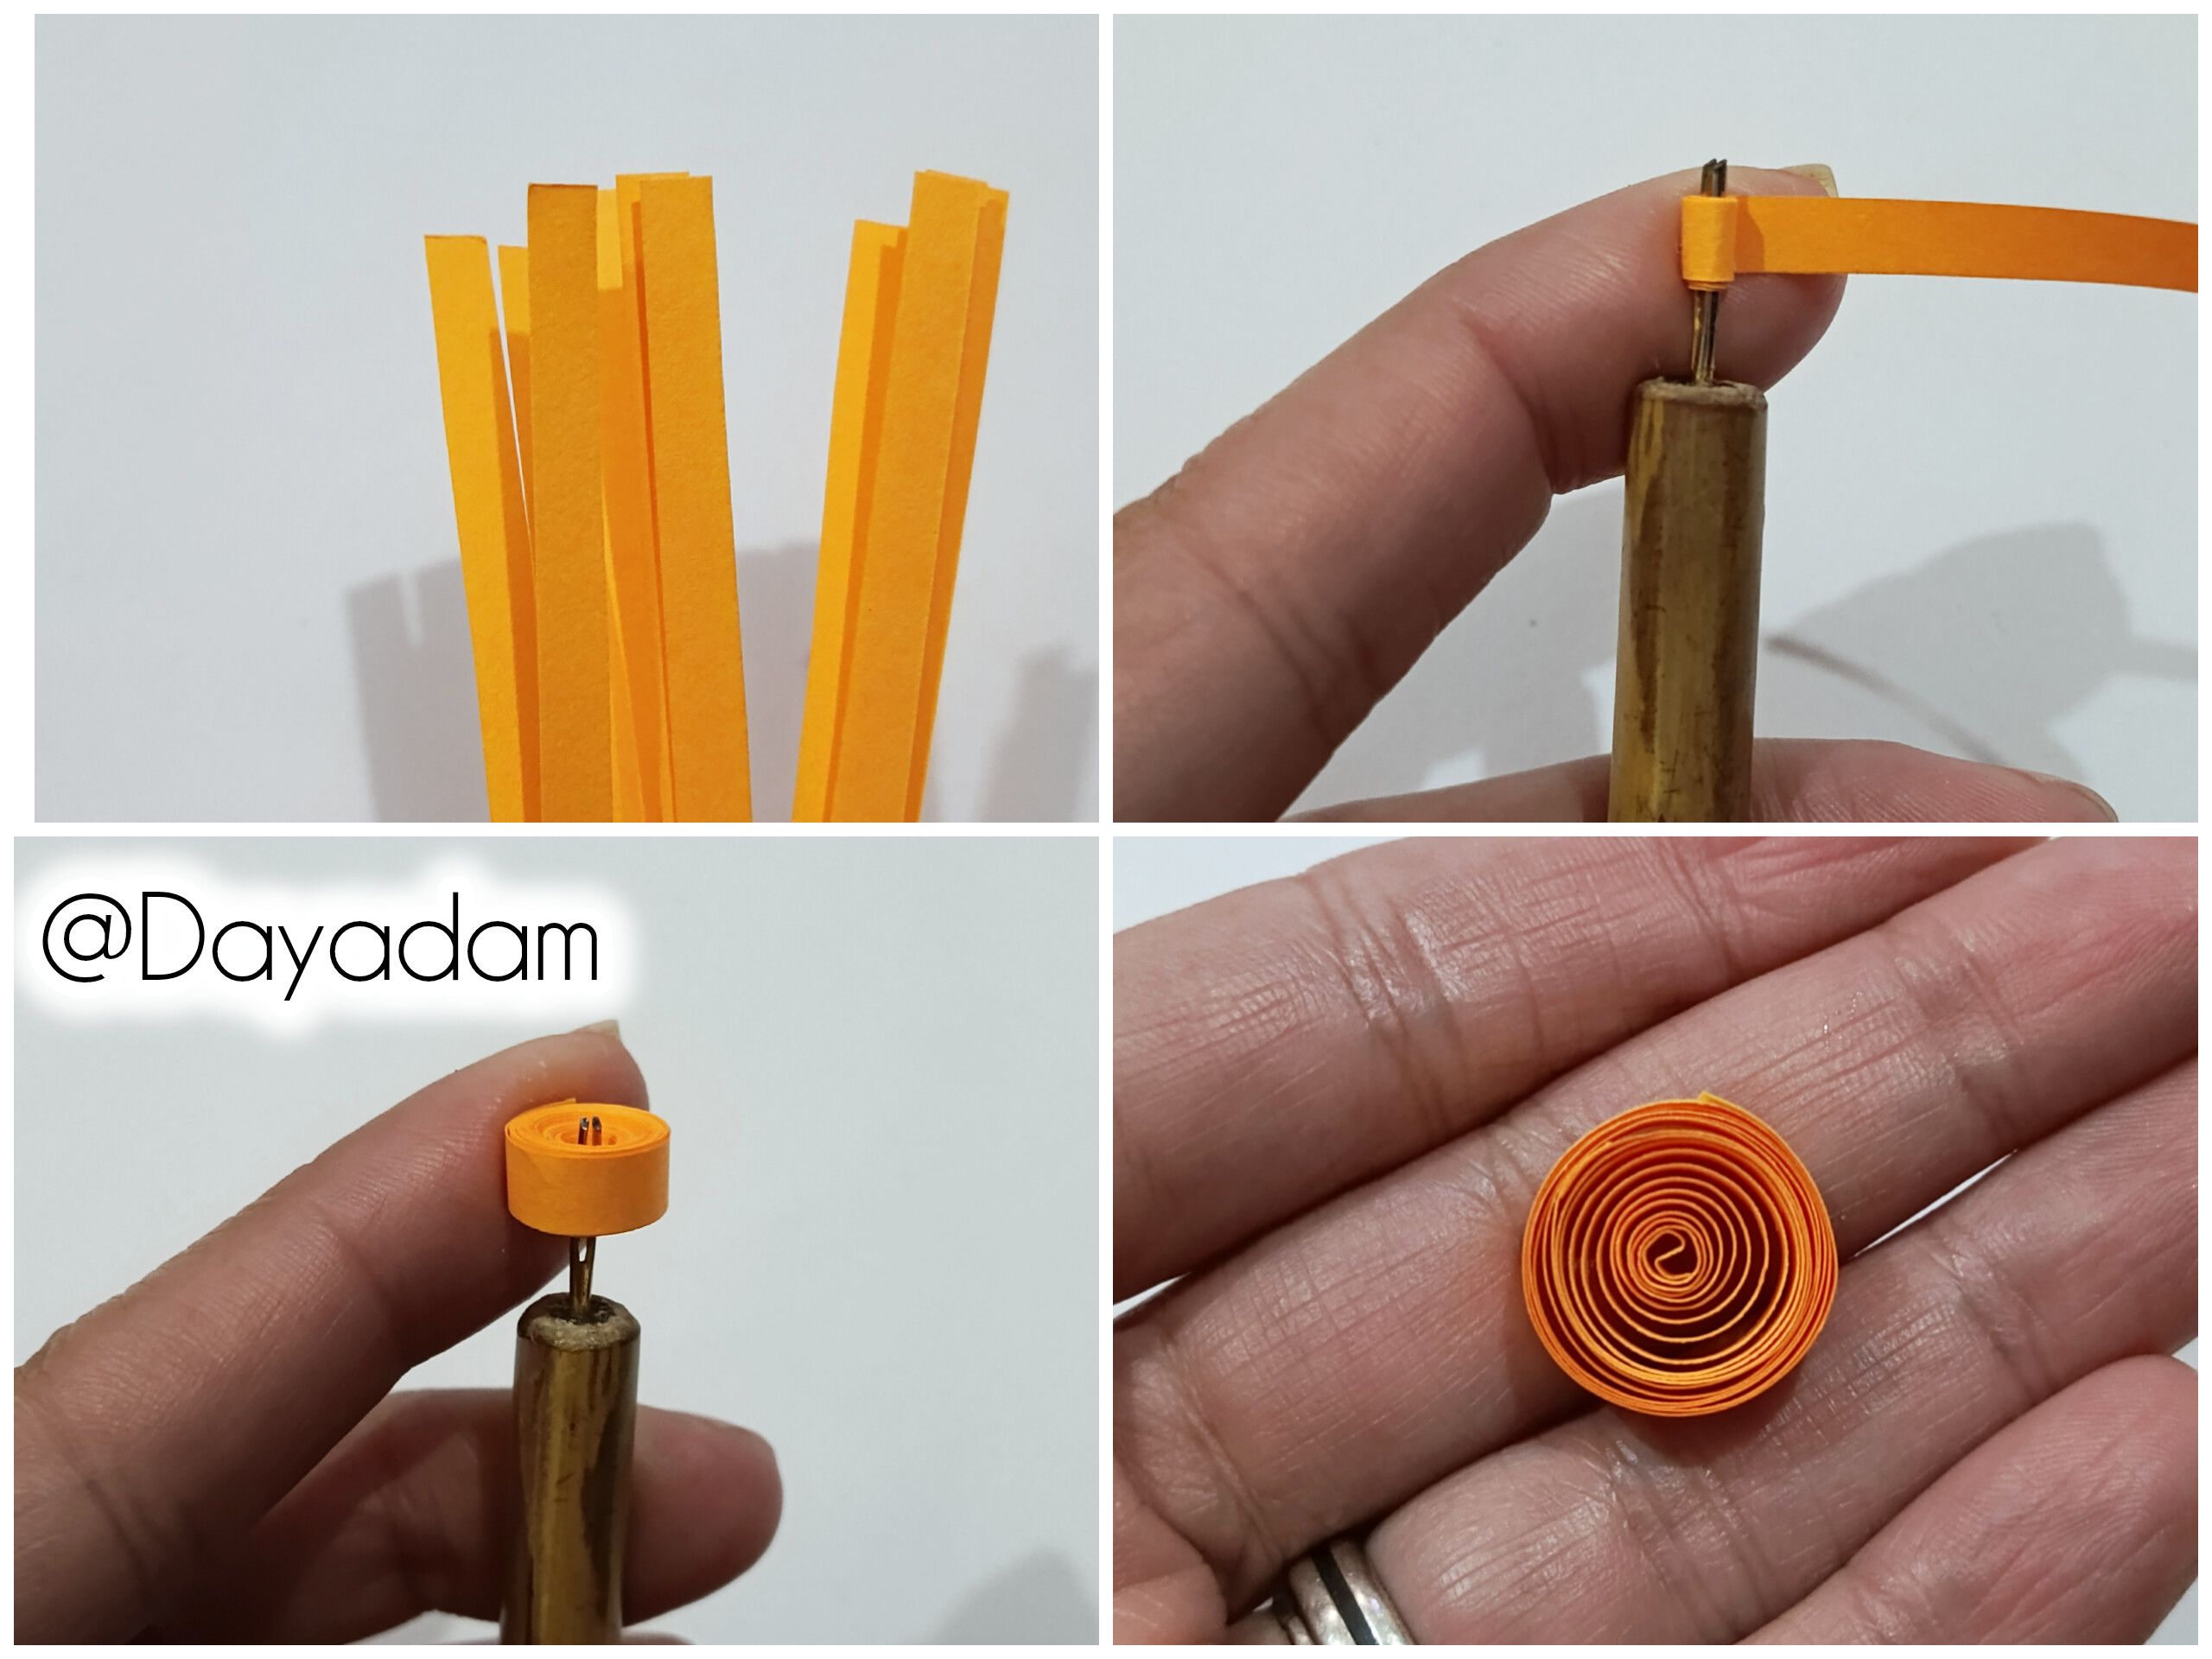
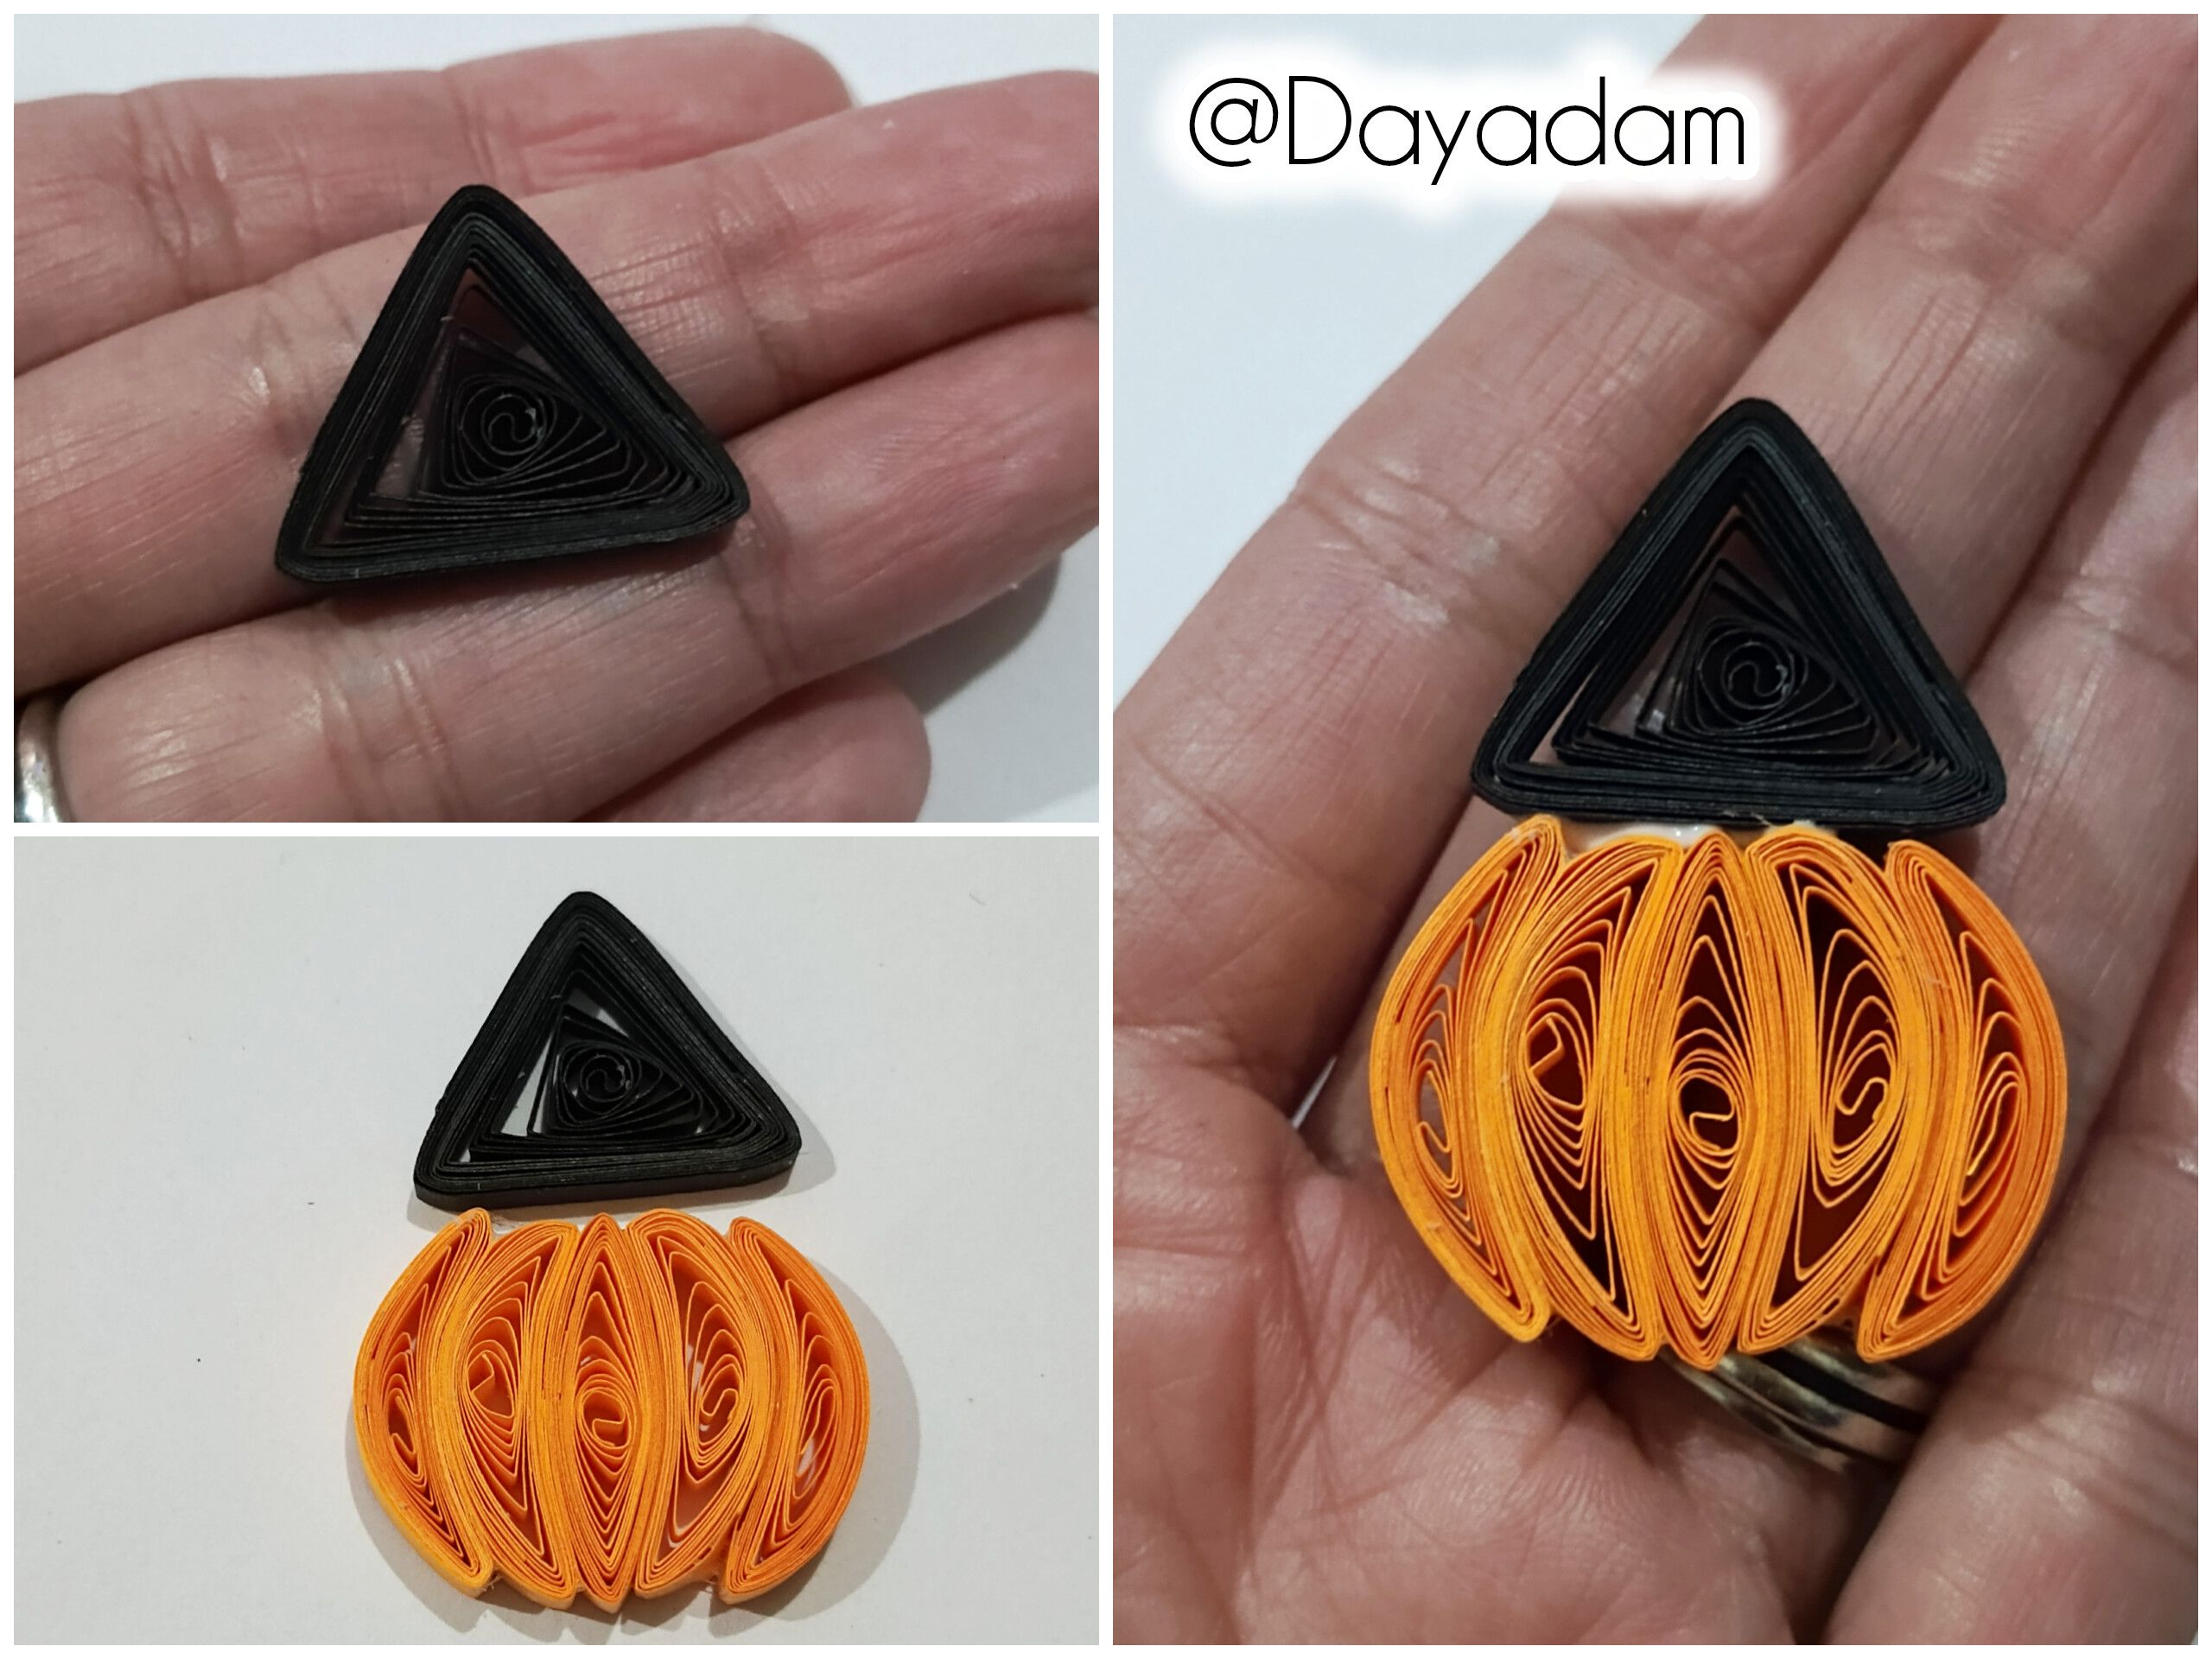
• I started by taking orange quilling tape 4 mm wide. Using the quilling needle, I rolled up the entire tape until I reached the end. I removed it from the needle, loosened it a little, and sealed it with extra-strong white glue to make an open circle. To make the base of the pendant, we need five open circles of the same size.
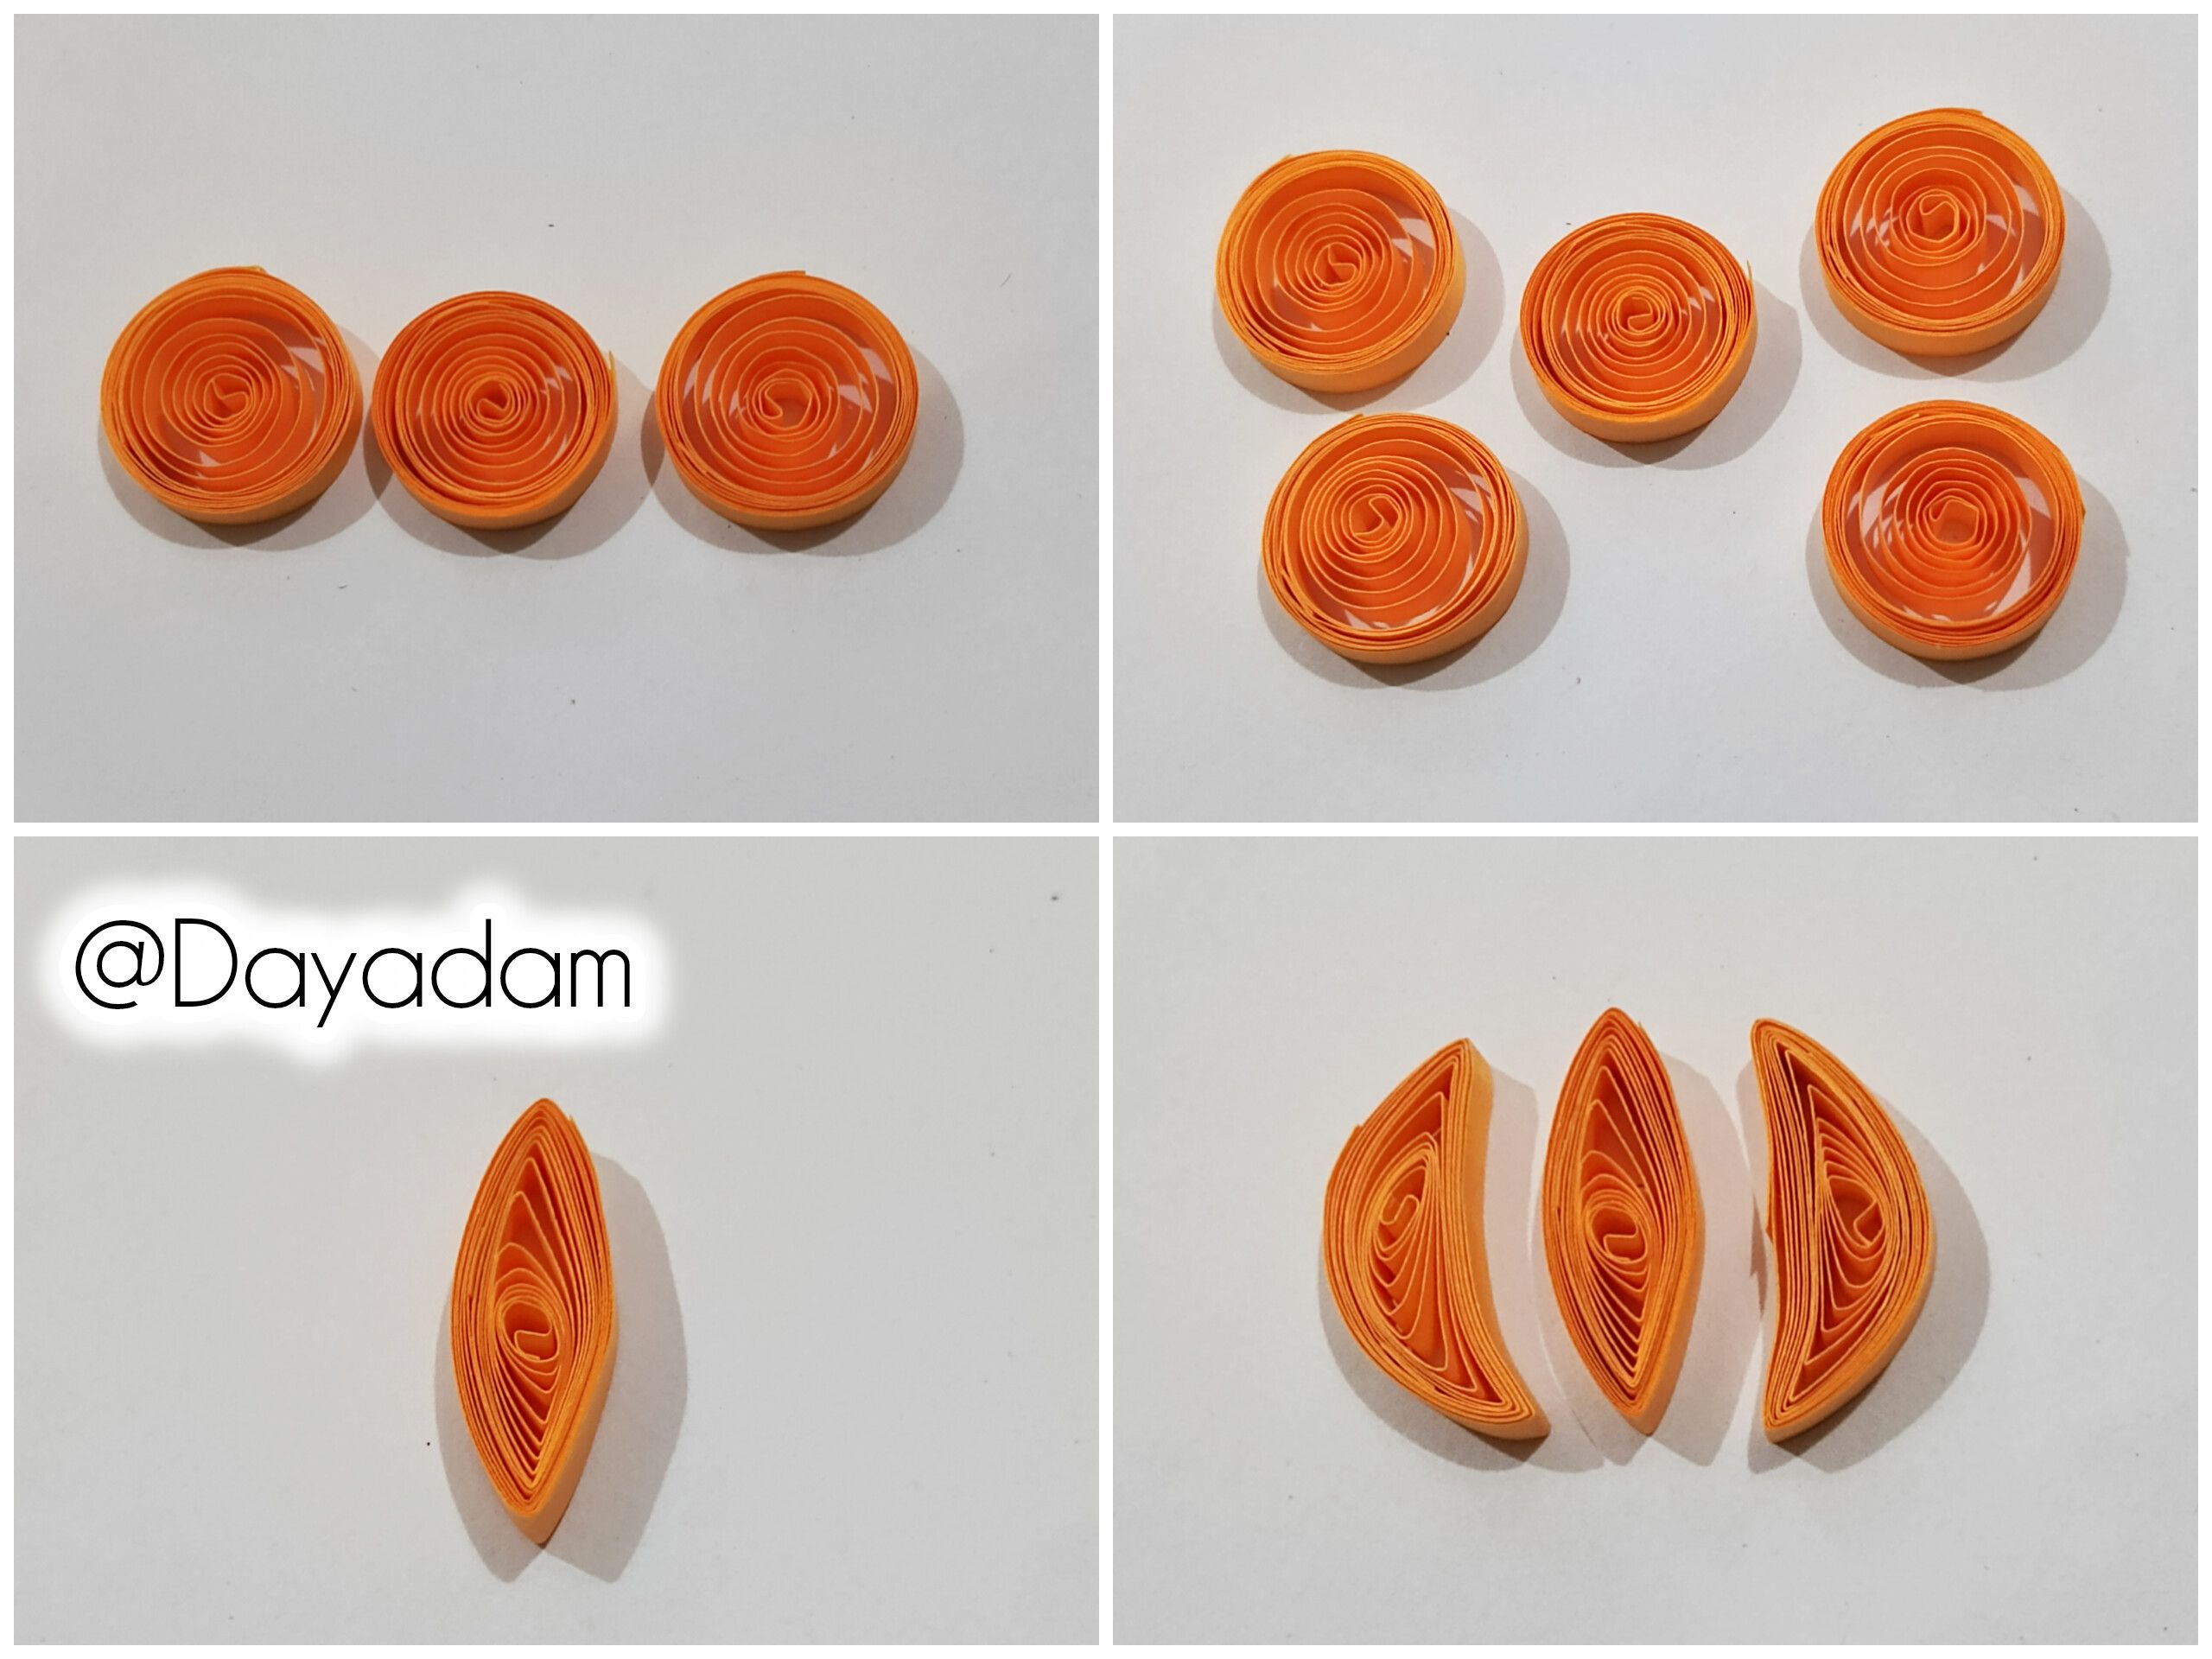
• I proceeded to shape the circles. I shaped the one in the middle into a leaf shape and the other four into a crescent shape. You can use the images as a guide.
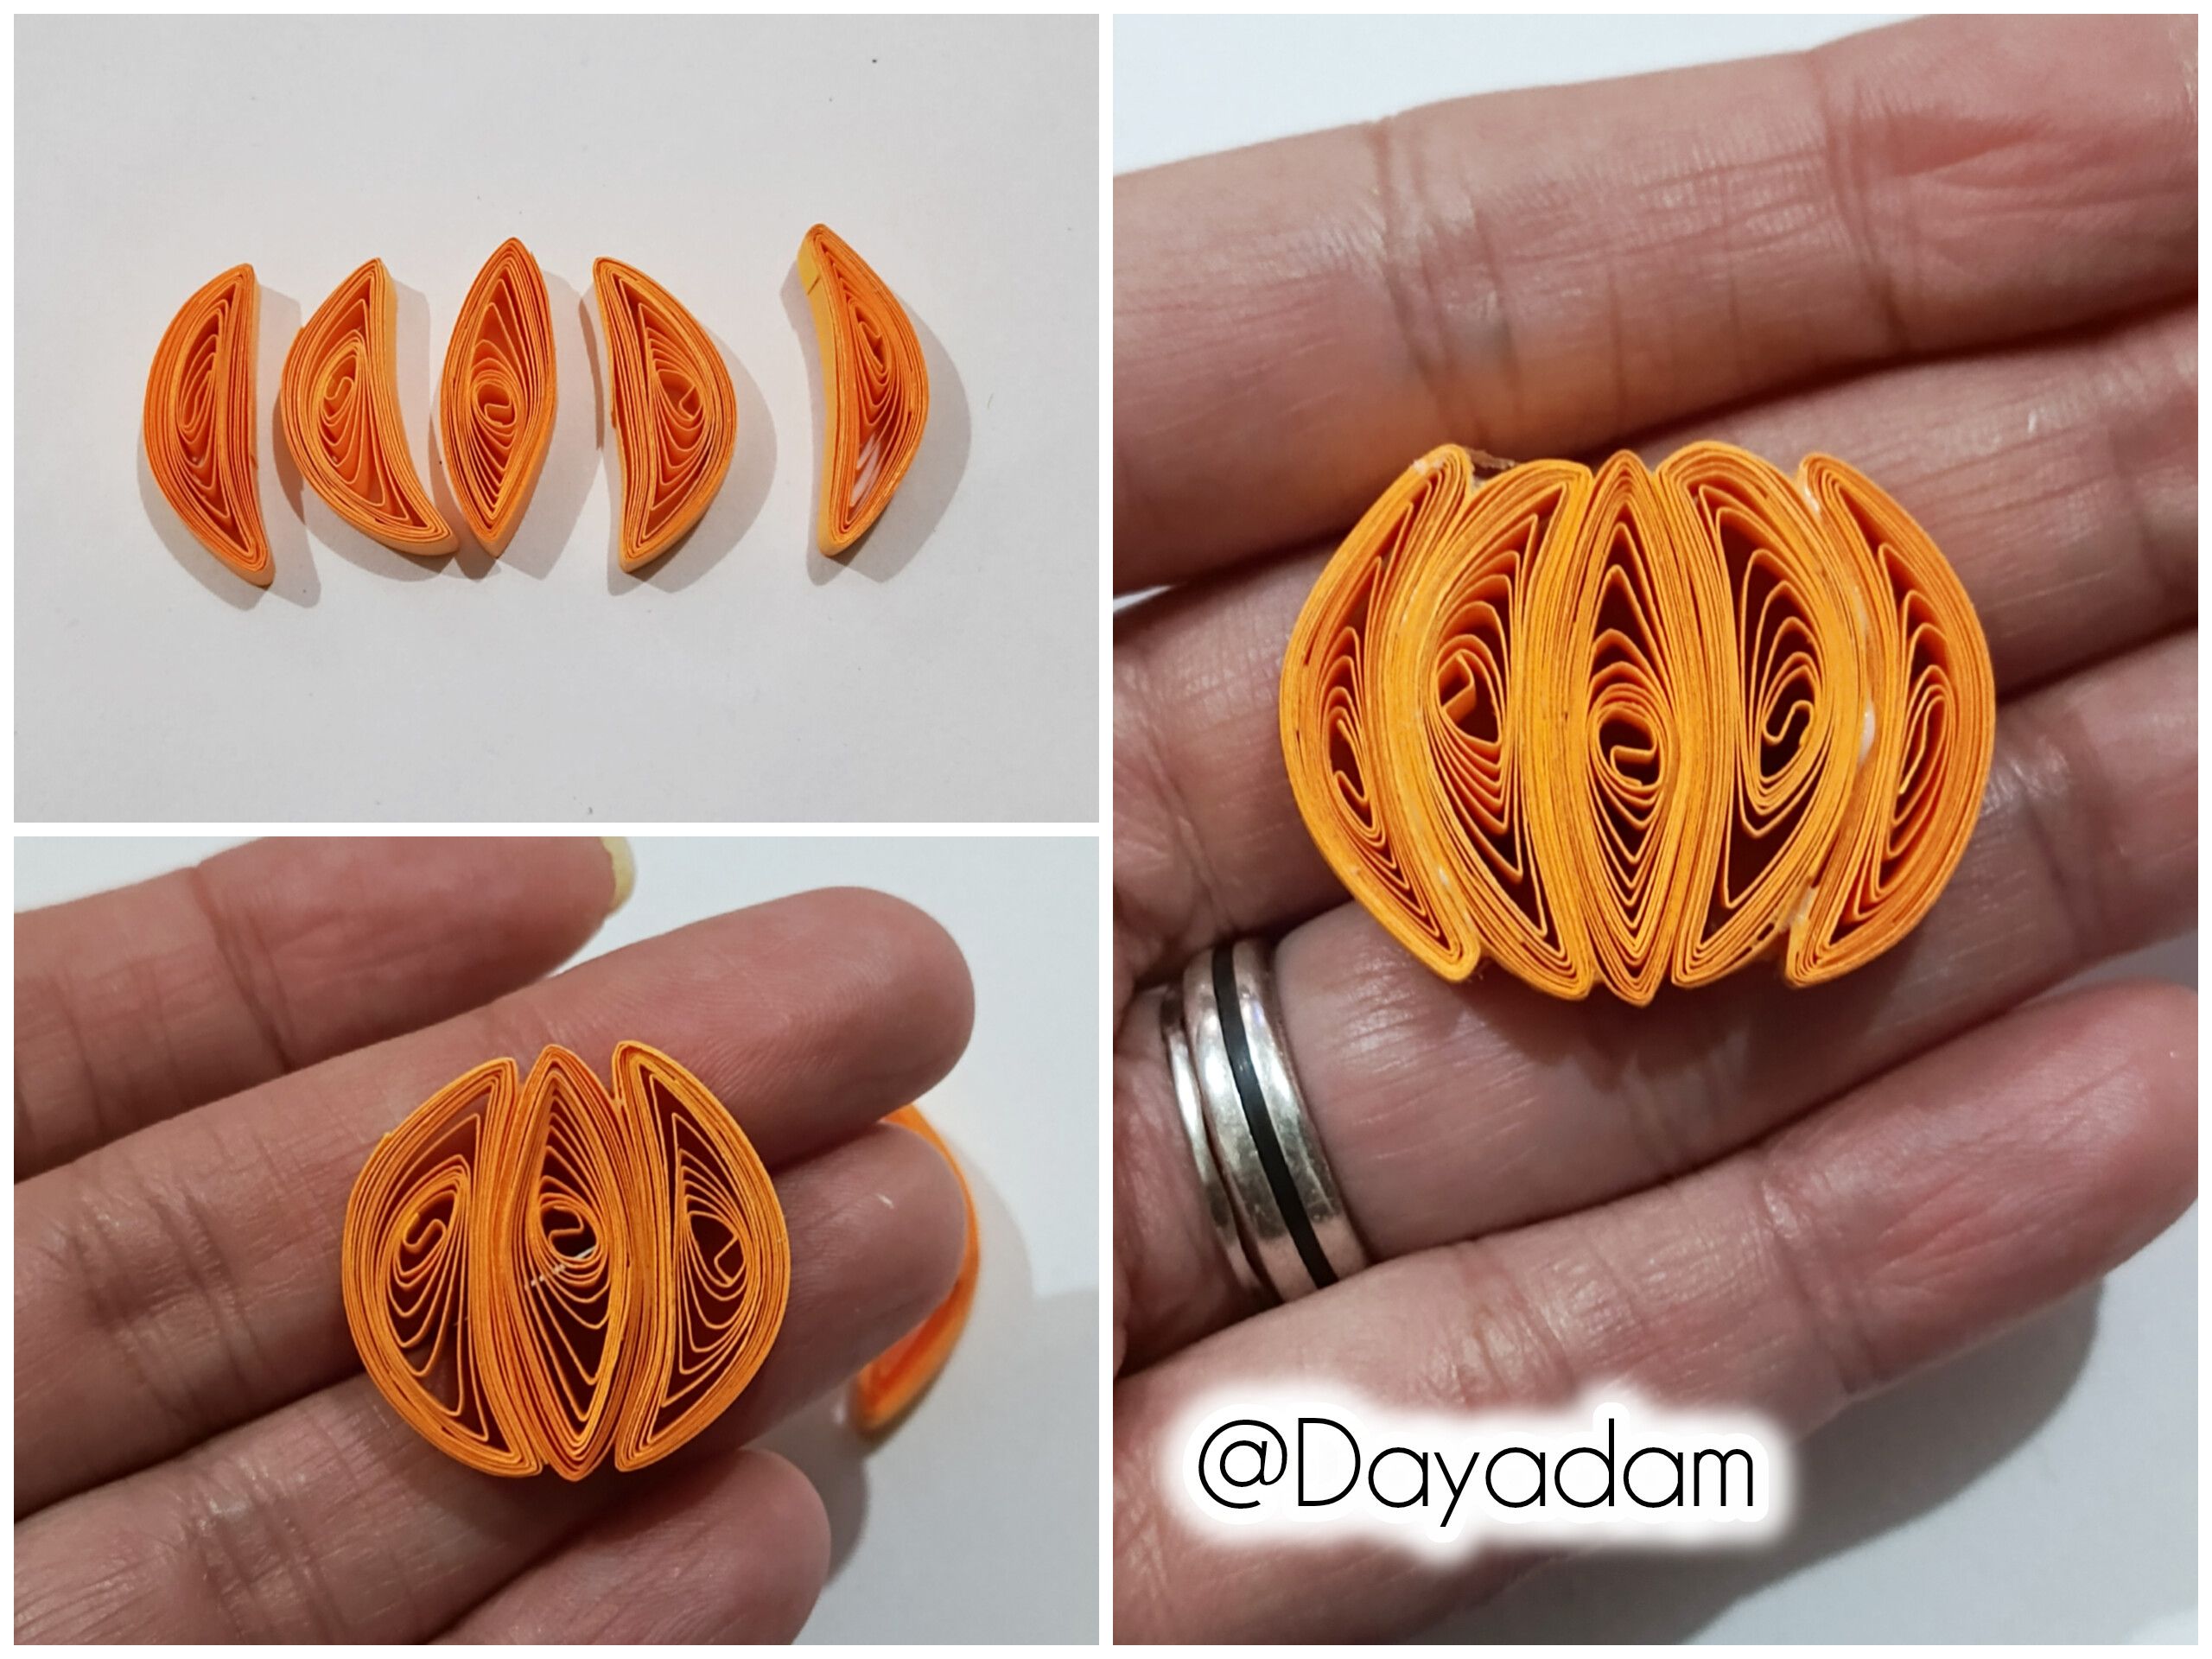
• To form the base of the pendant, which will be the pumpkin, we joined the five pieces together harmoniously with extra-strong white glue, pressed them with our fingers, and let them dry thoroughly.
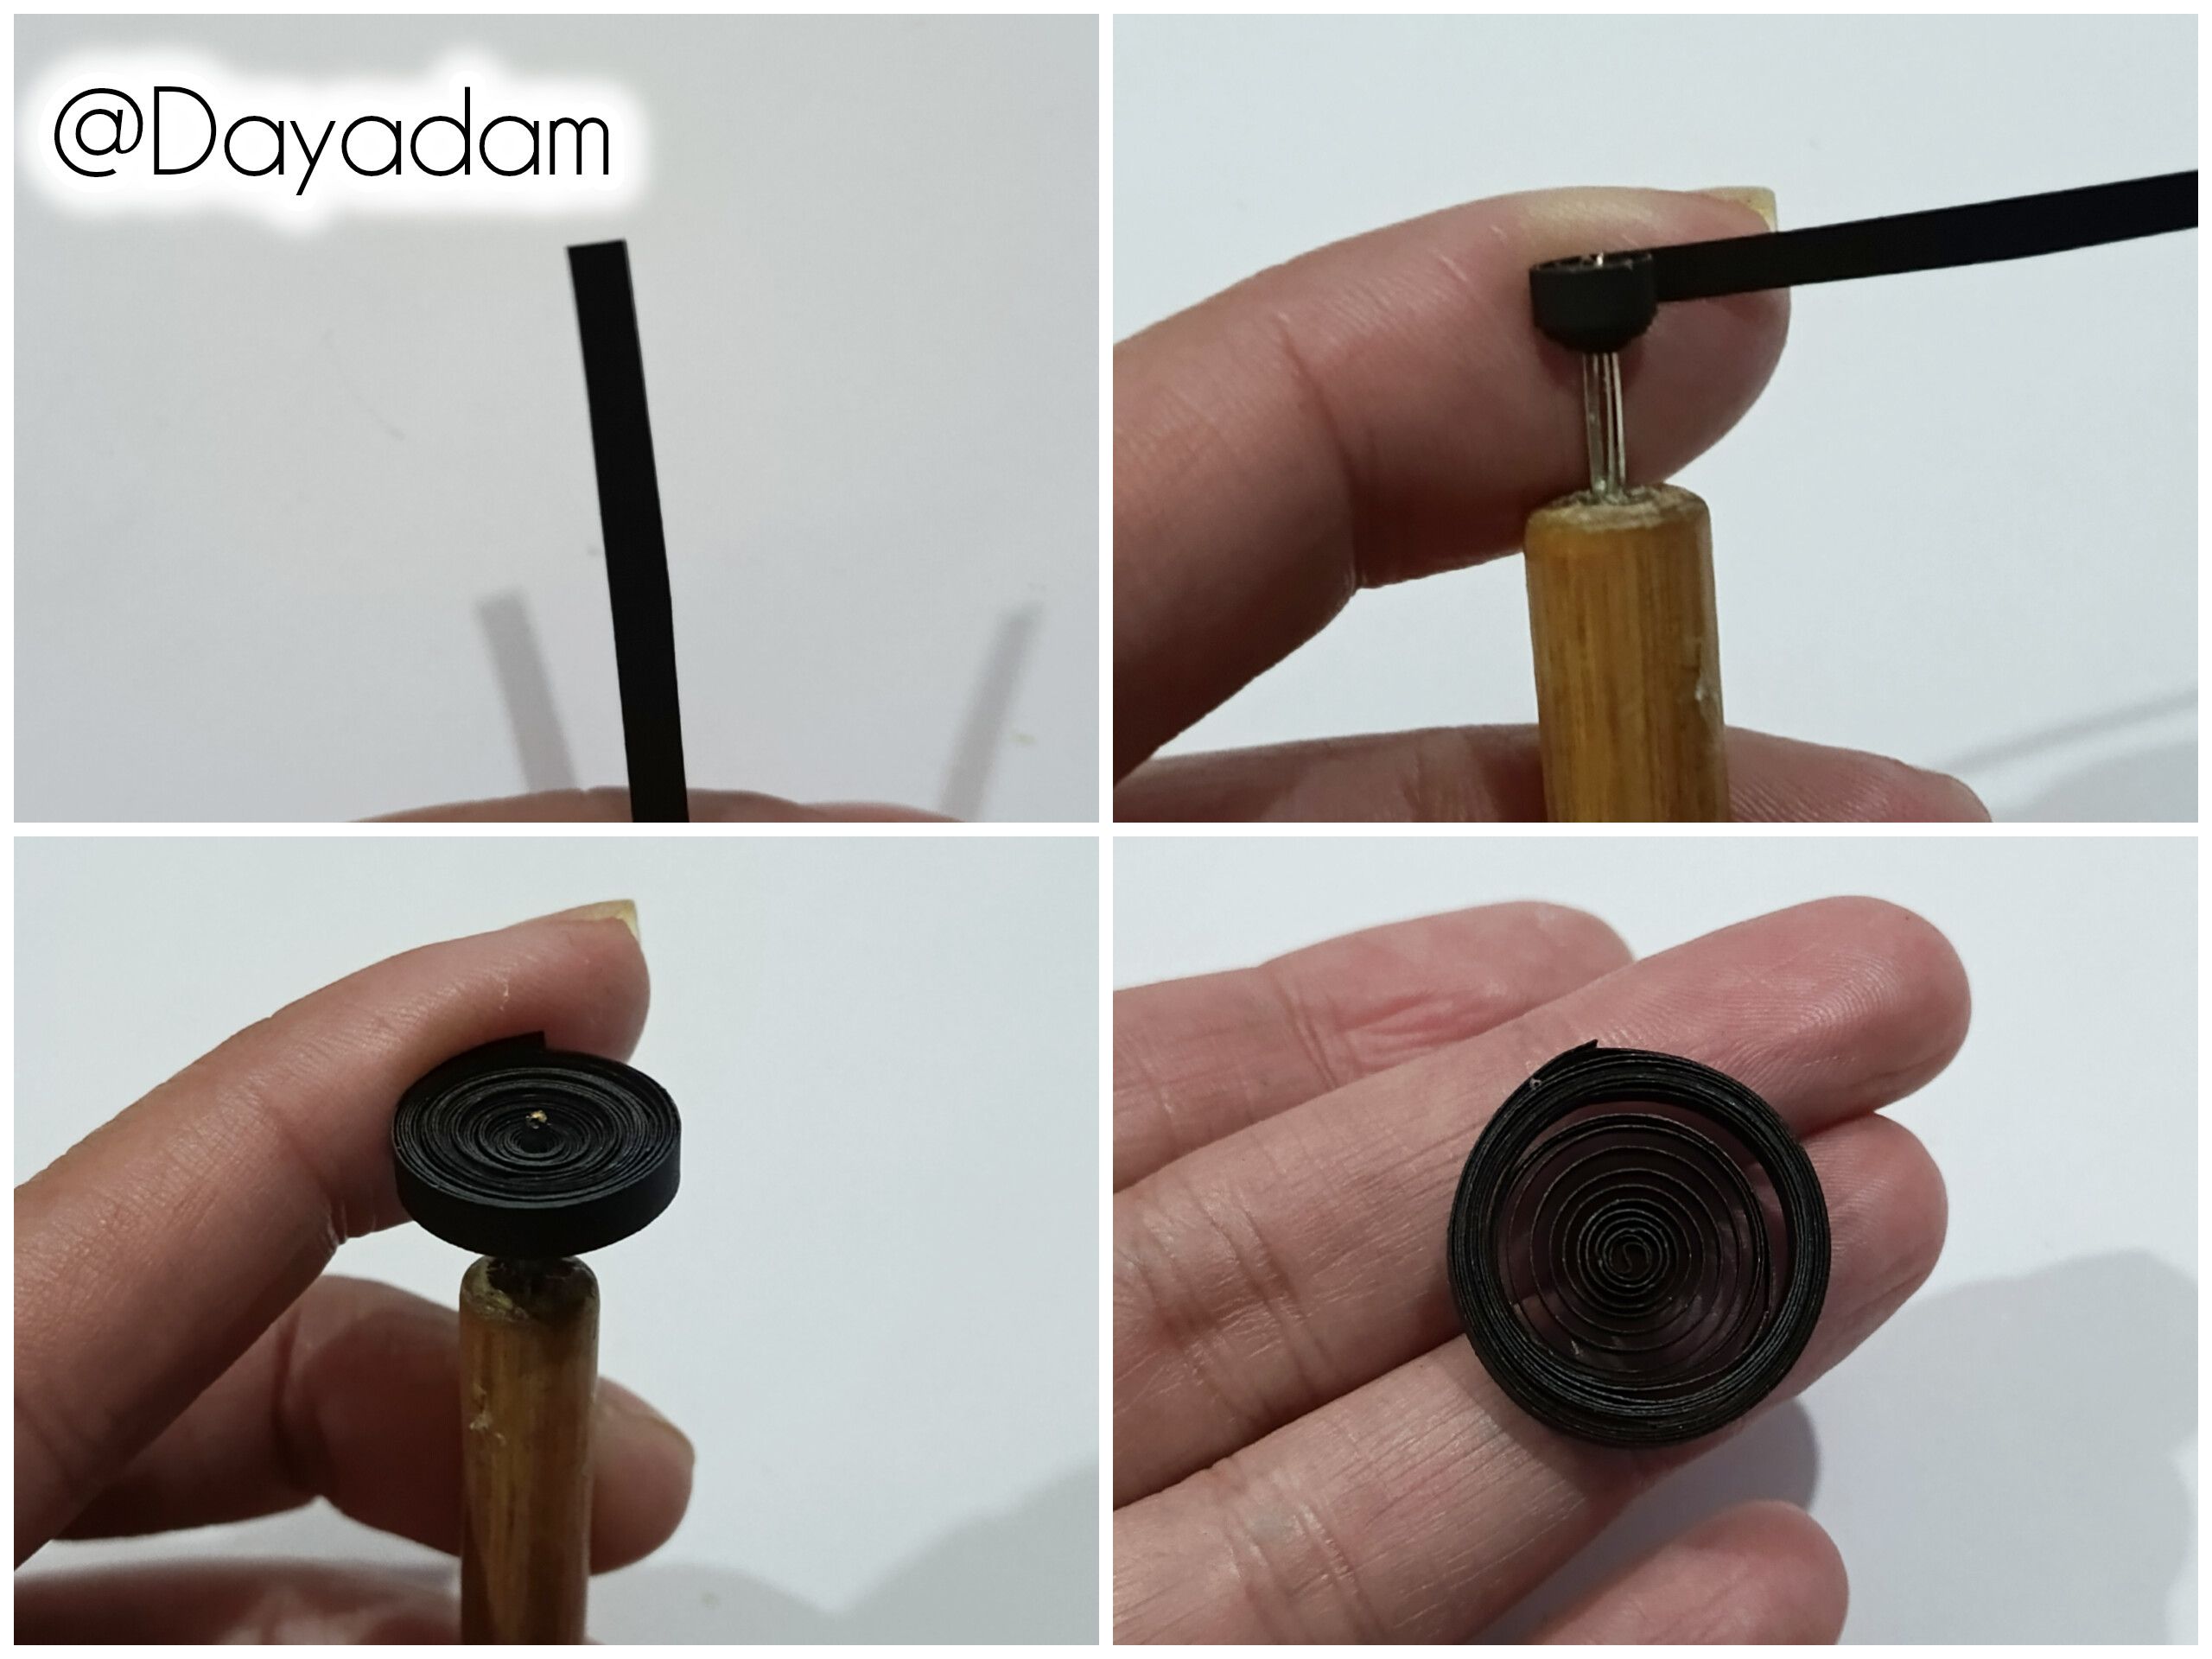
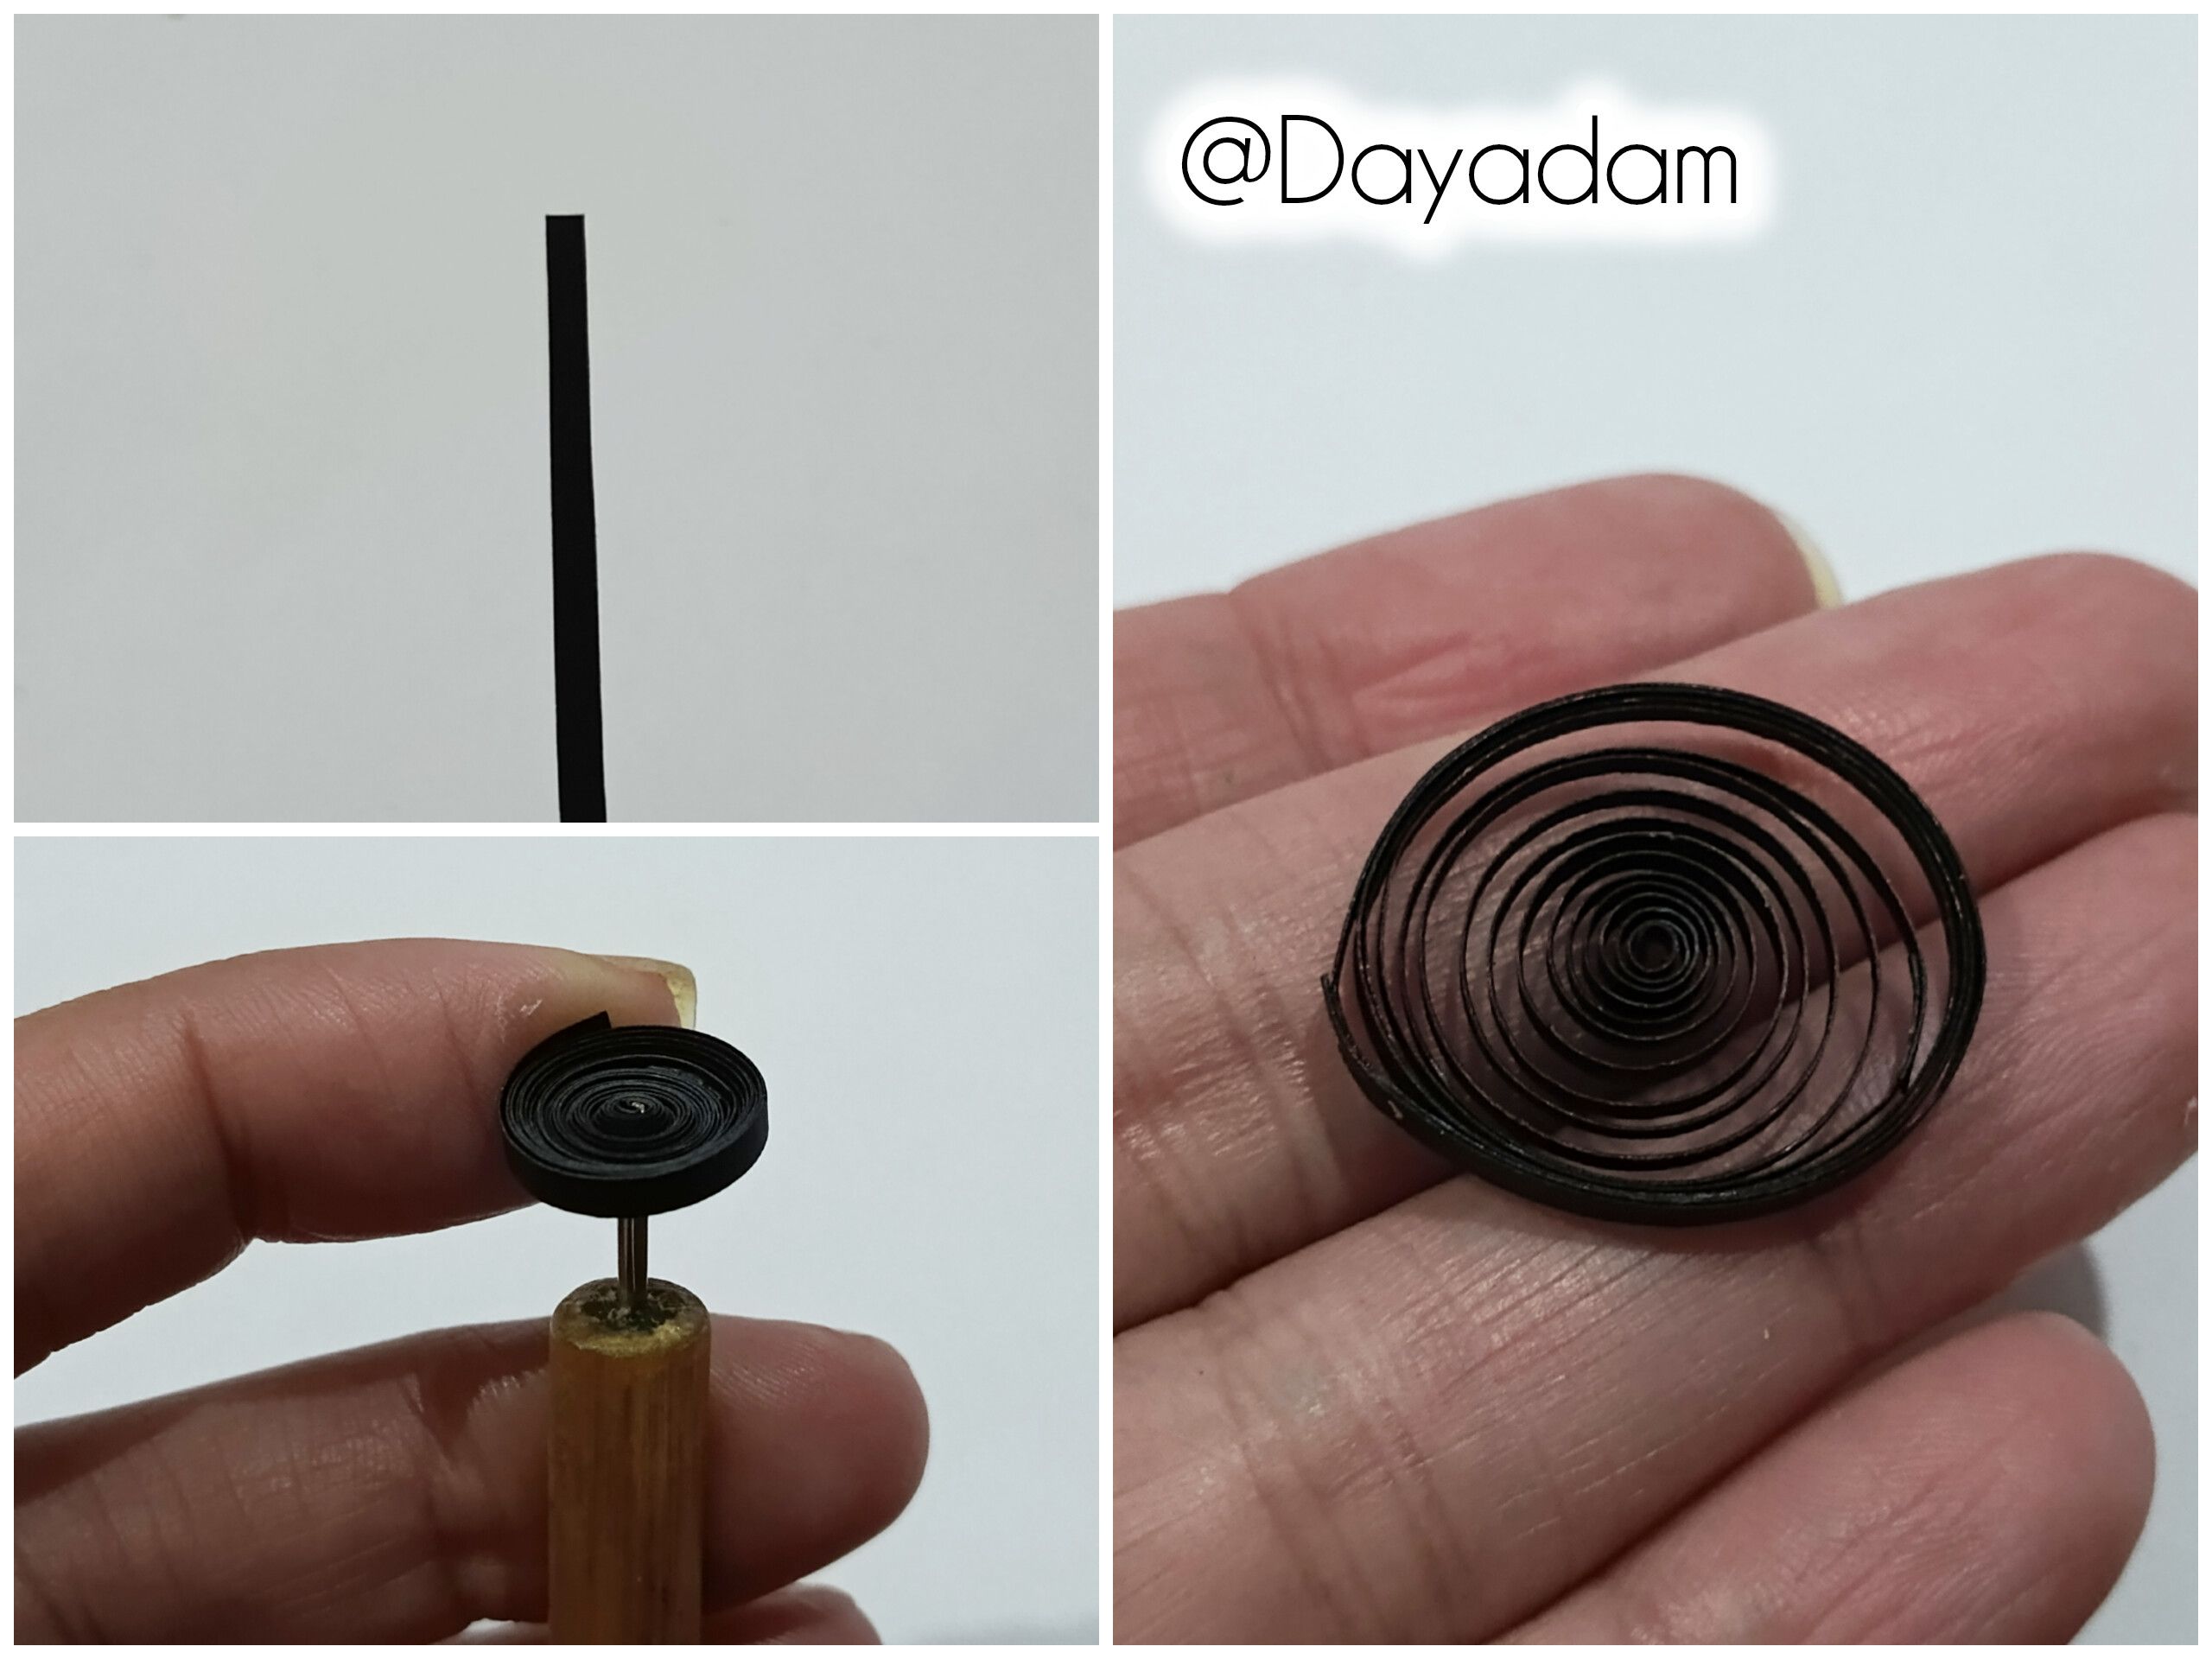
• To make the witch's hat, we started by taking a 4mm wide black ribbon and making an open circle.

• Comencé tomando cinta para quilling de color naranja de 4mm de ancho, con la aguja para quilling enrollé toda la cinta hasta llegar al final de la misma, saqué de la aguja solté un poco y sellé con pega blanca extra fuerte, para conseguir un círculo abierto. Para elaborar la base del dije necesitamos 5 círculos abiertos del mismo tamaño.
• Procedí a moldear los círculos, el que va en el medio lo moldee en forma de hoja, los otros 4 los moldee en forma de media luna, pueden guiarse observando las imágenes.
• Para formar la base del colgante que será la calabaza, uniremos las 5 piezas de manera armónica con pega blanca extra fuerte, presionamos con los dedos y dejamos secar muy bien.
• Para hacerle el sombrerito de bruja, iniciamos tomando cinta de color negro de 4mm de ancho, realizaremos un círculo abierto.
 |
 |
 |
 |
• Once our open circle is ready, we will shape it into a triangle.
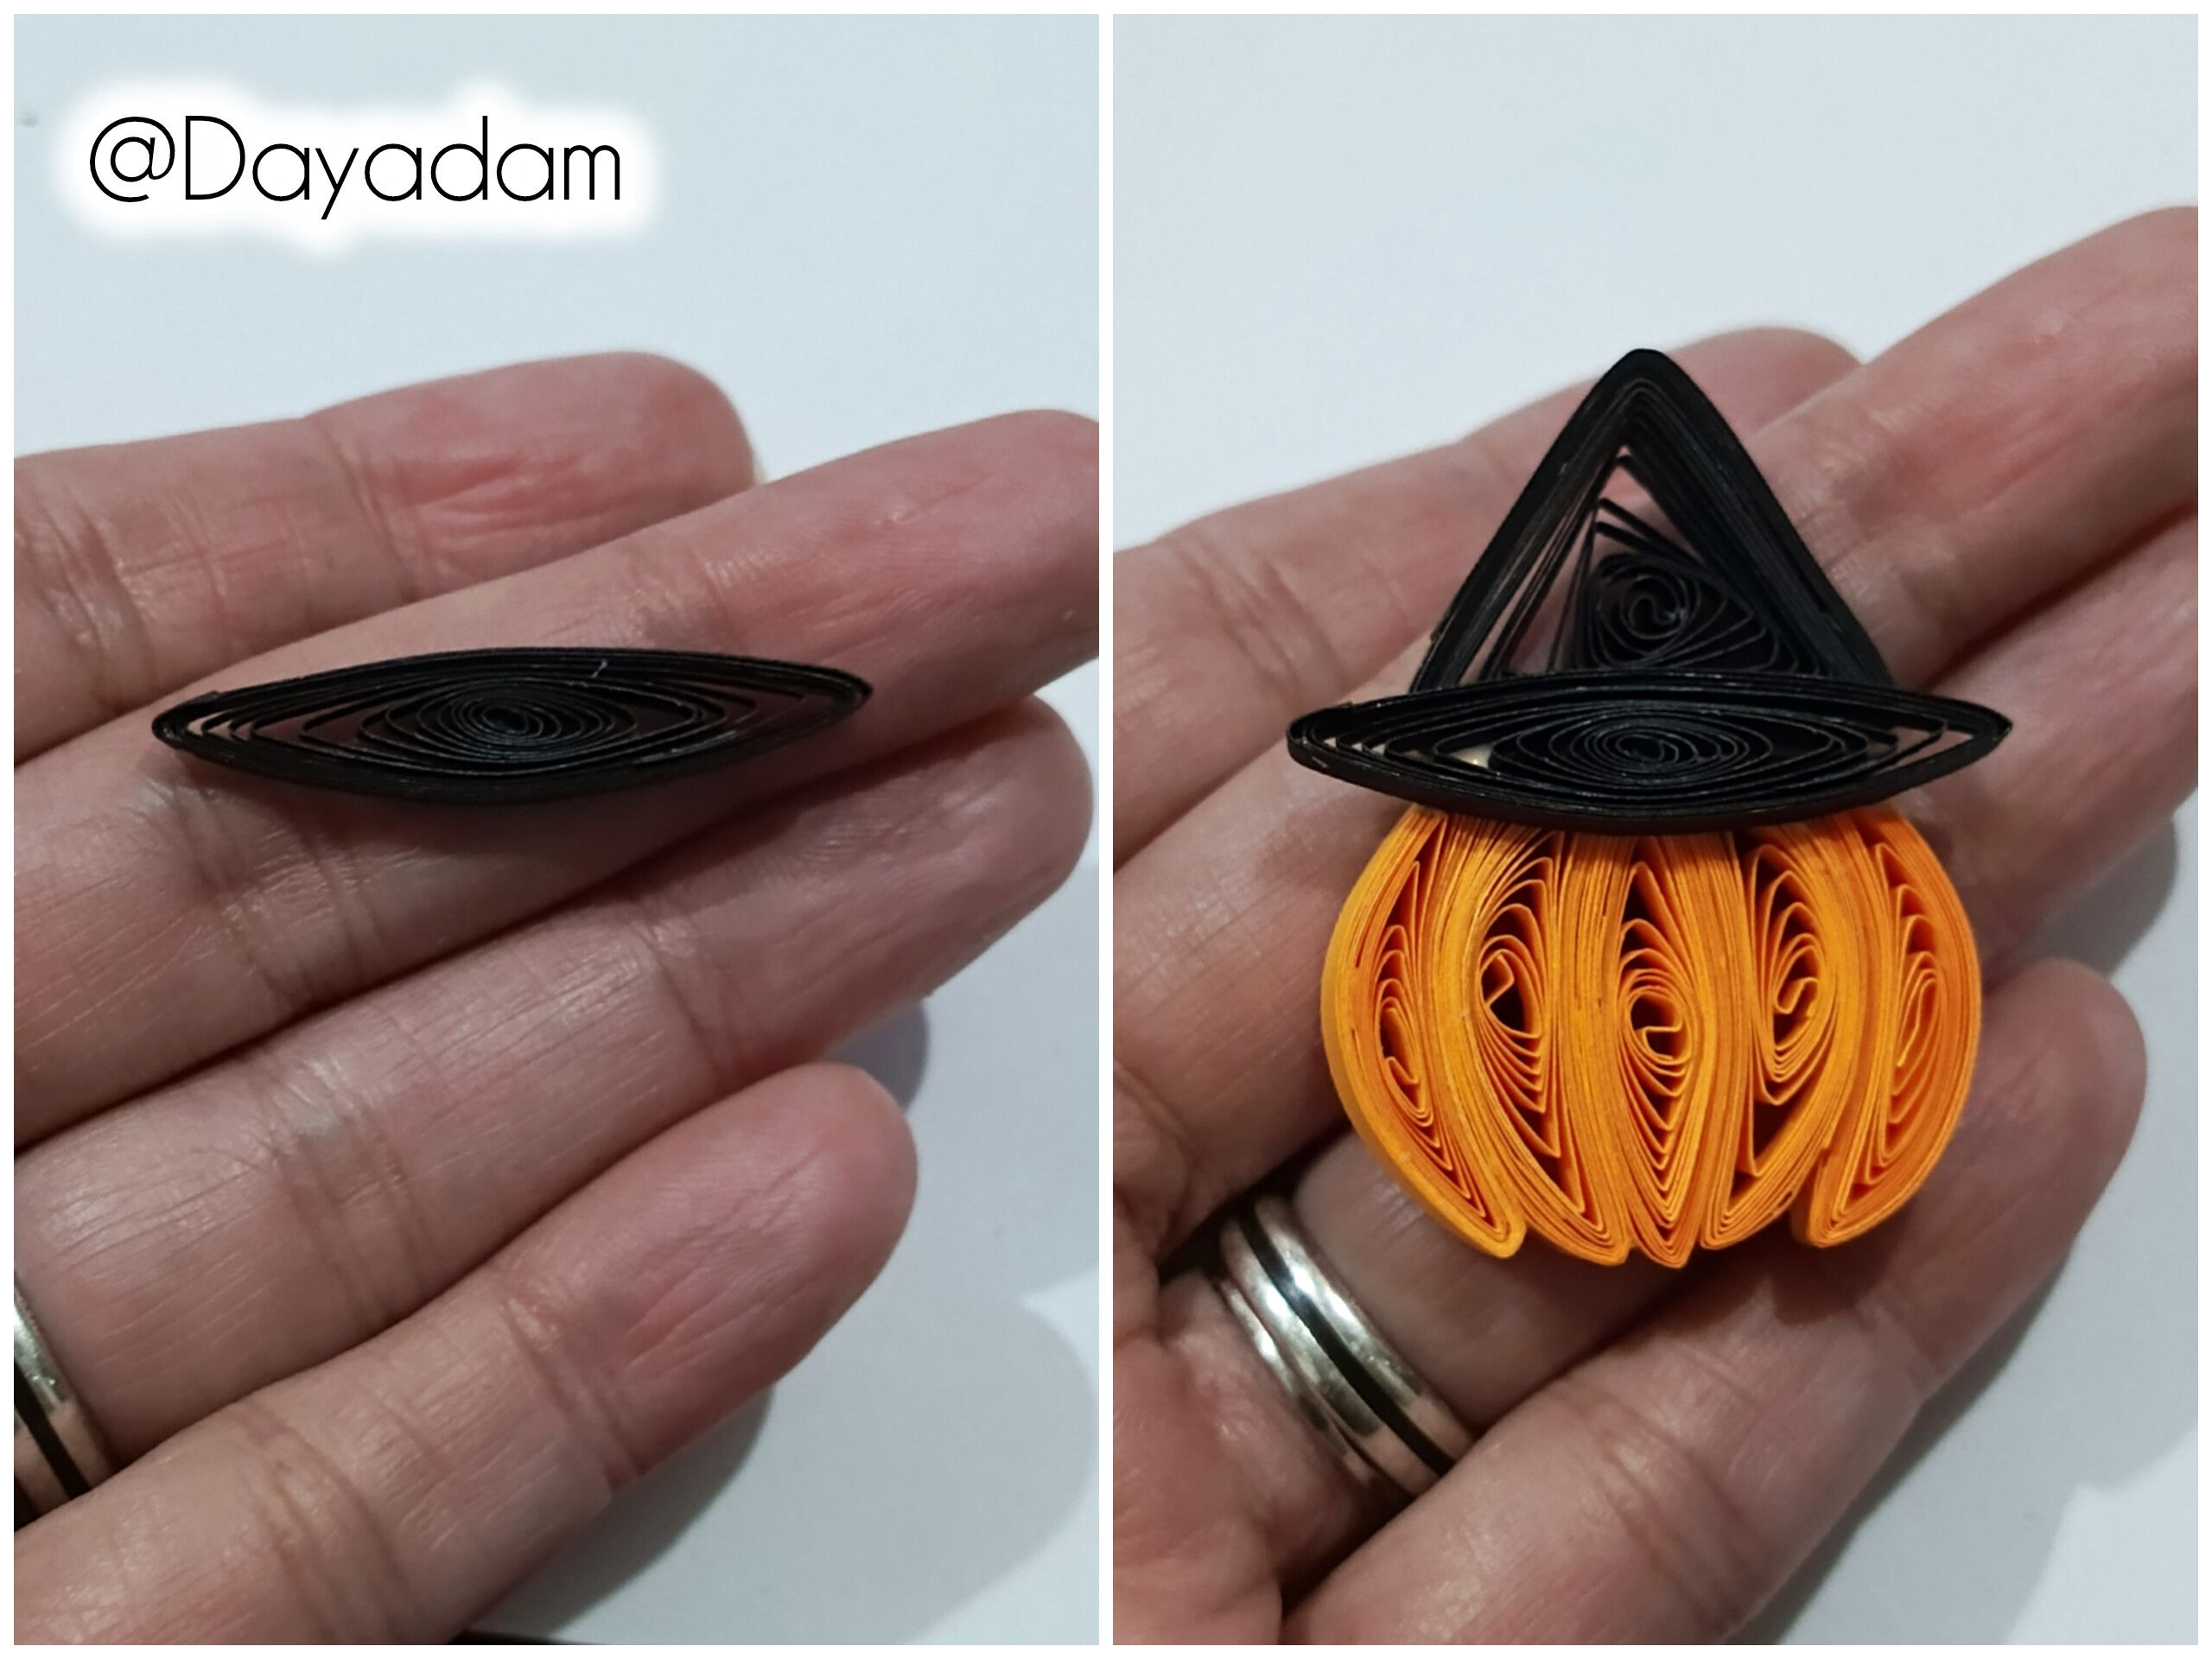
• Using 2mm wide black tape, we will make another open circle, which we will flatten so that there are two points at each end.
• Glue the hat in place, placing the triangle on top of the pumpkin and the other flattened piece at the front.
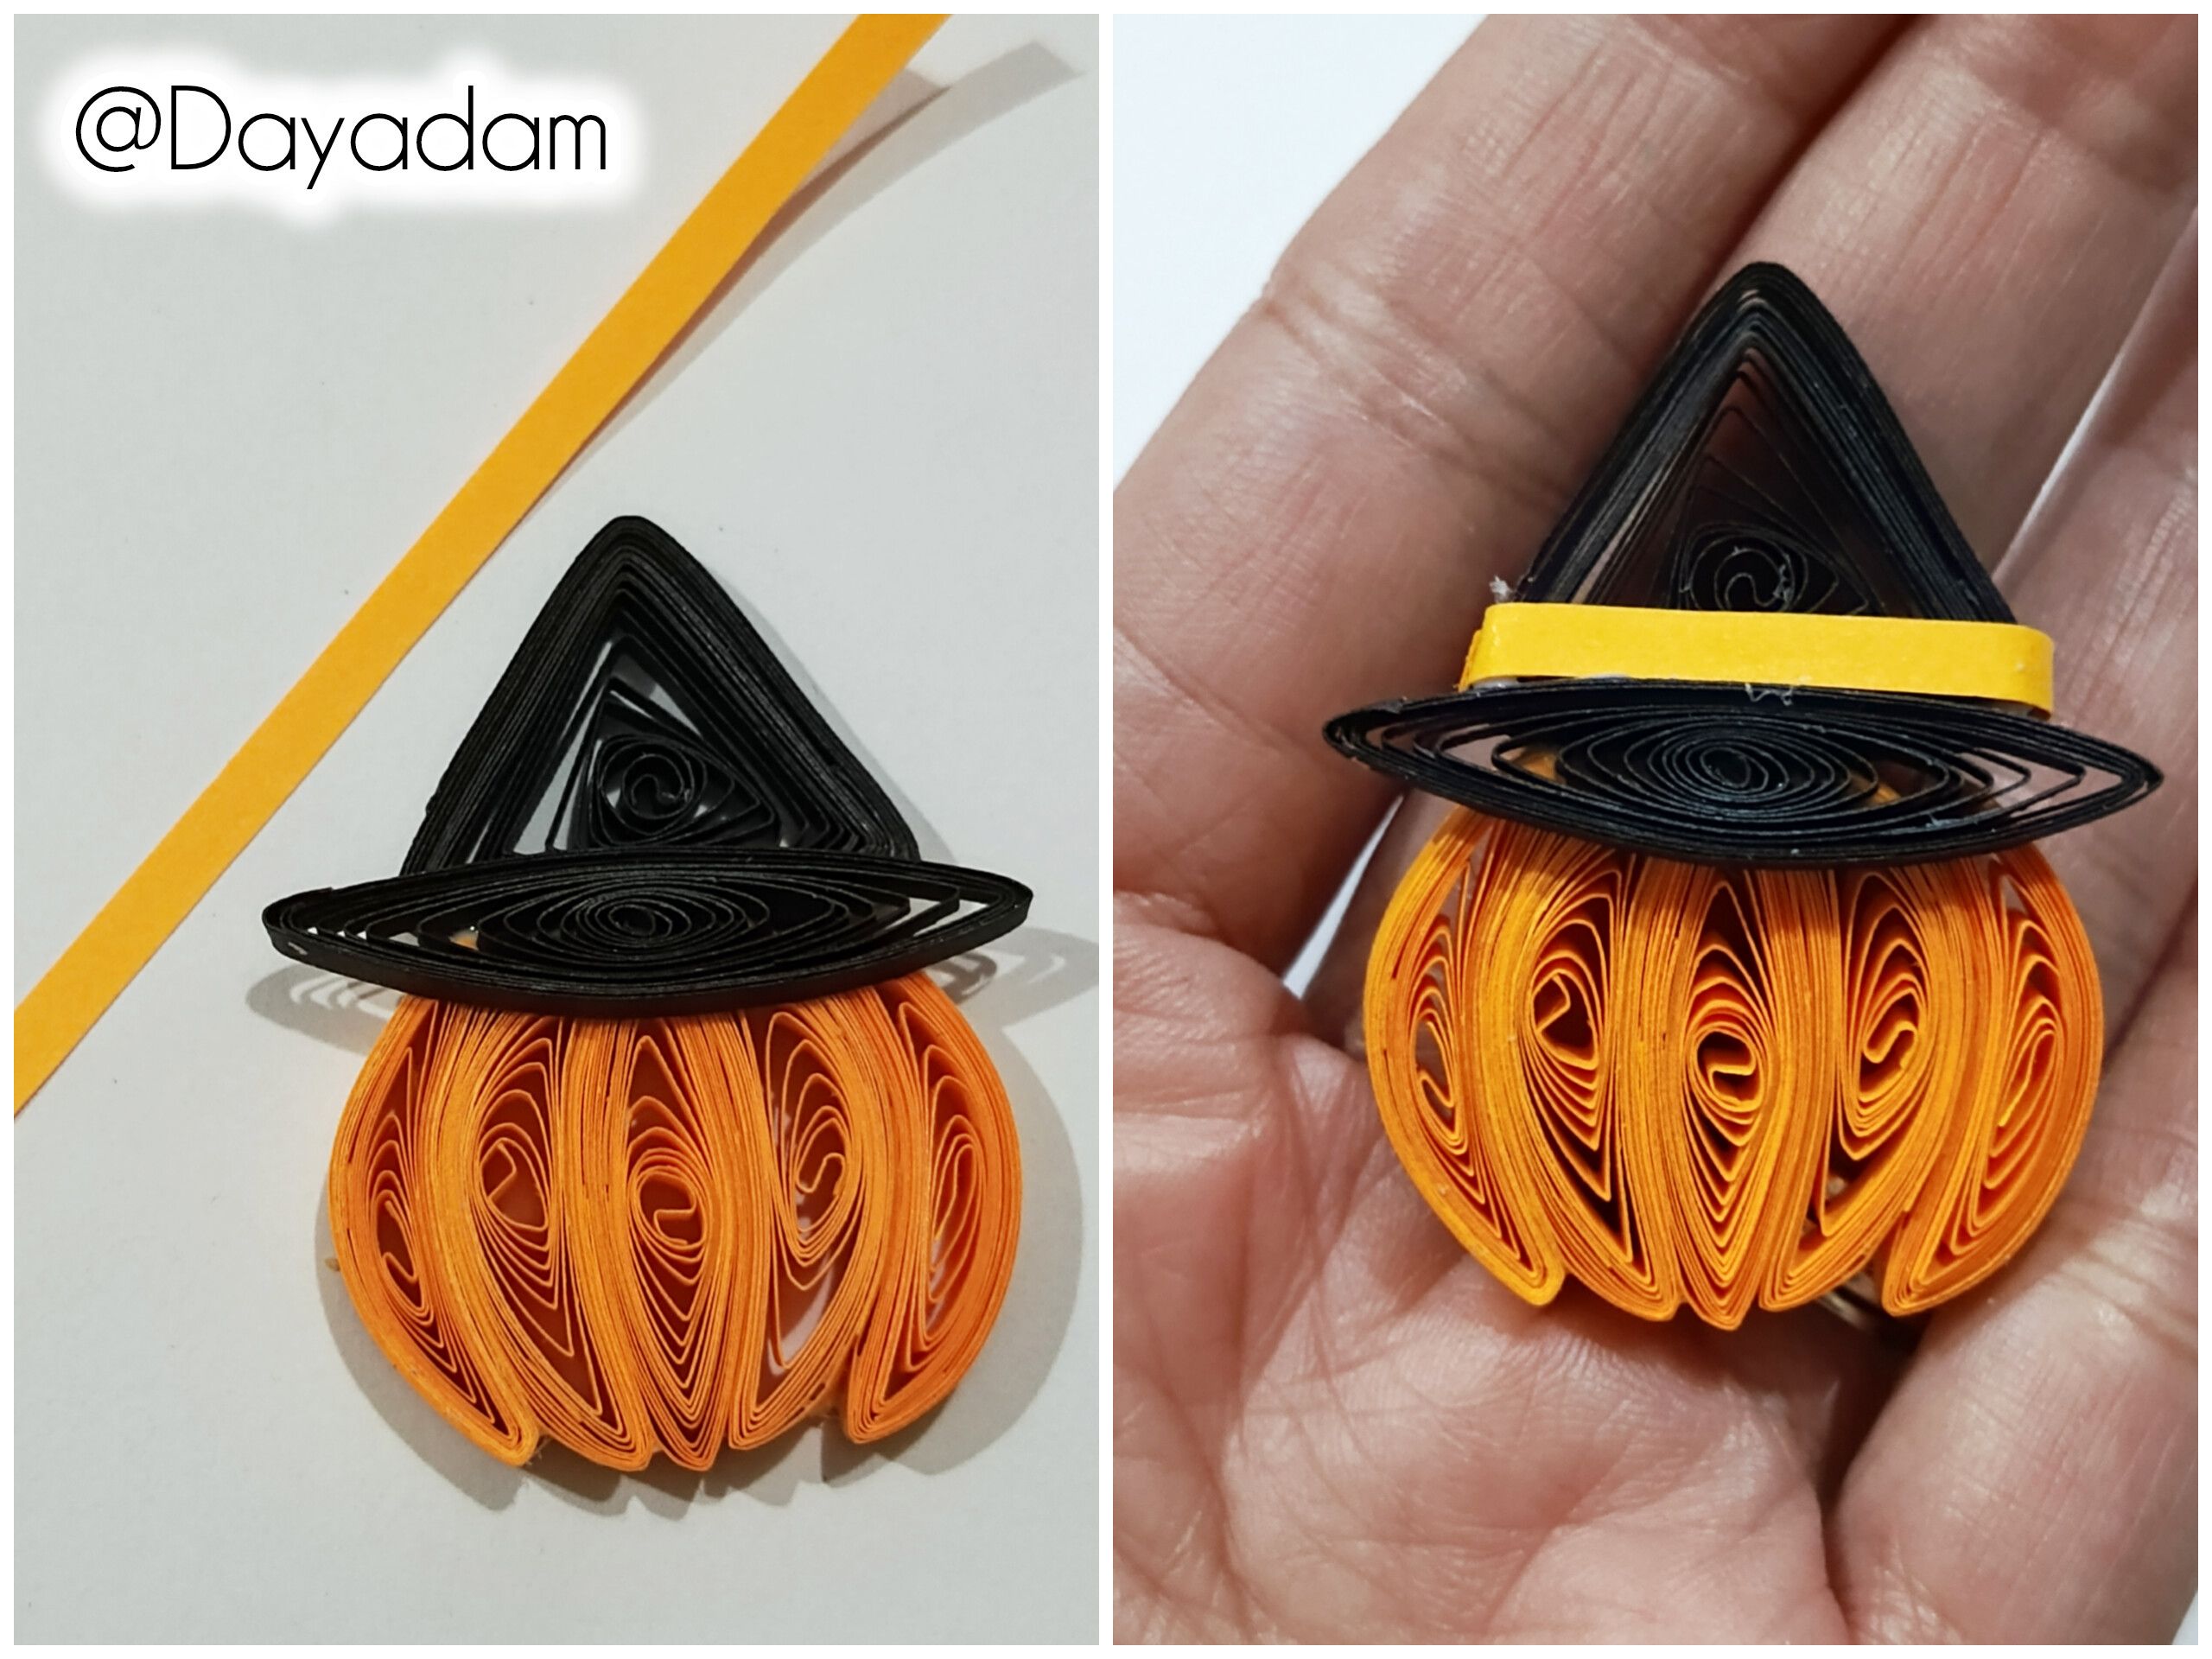
• Take a 3mm wide orange ribbon and wrap it around the hat.

• Listo nuestro círculo abierto lo moldearemos en forma de triángulo.
• Con cinta negra de 2mm de ancho realizaremos otro círculo abierto, este lo aplanaremos habiendo dos picos en cada punta.
• Pegaremos el sombrero colocando en triángulo en la parte de arriba de la calabaza y la otra pieza aplanada al frente.
• Tomaremos una cinta naranja de 3mm de ancho y la pasaremos alrededor del sombrero.
 |
 |
 |
 |
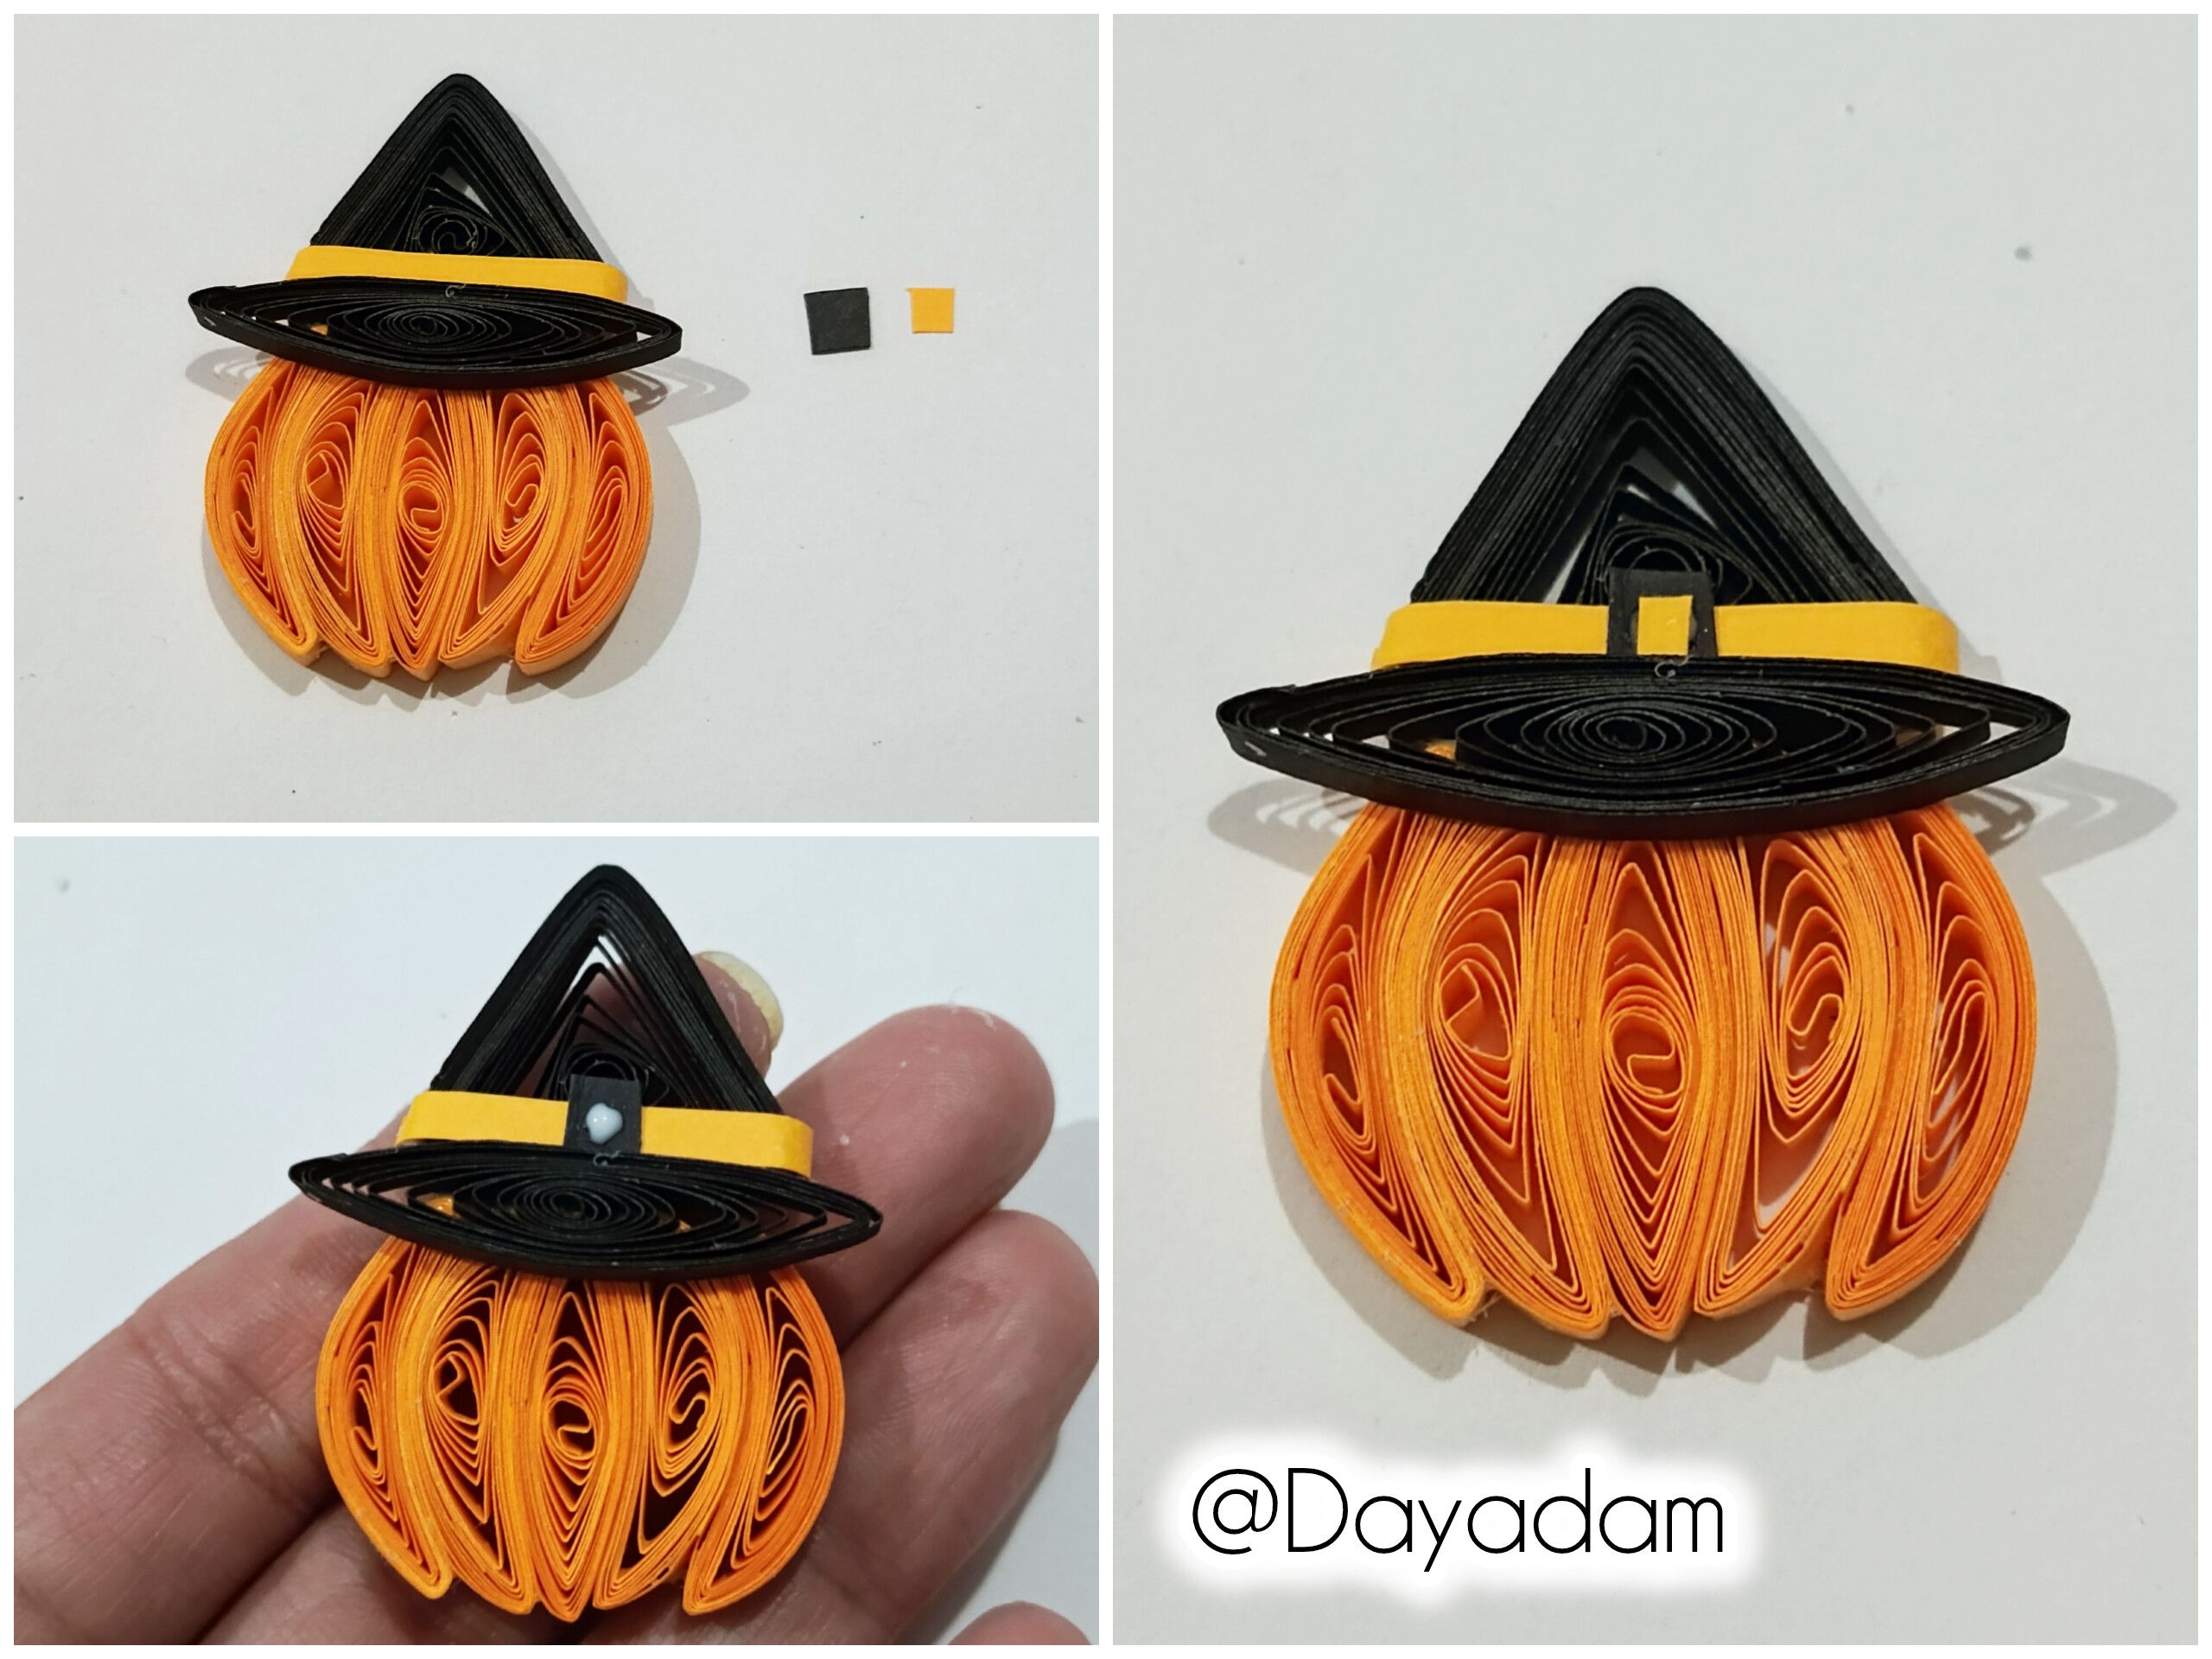
• To finish decorating the hat, cut out two squares of black and orange cardstock and glue them in the middle.
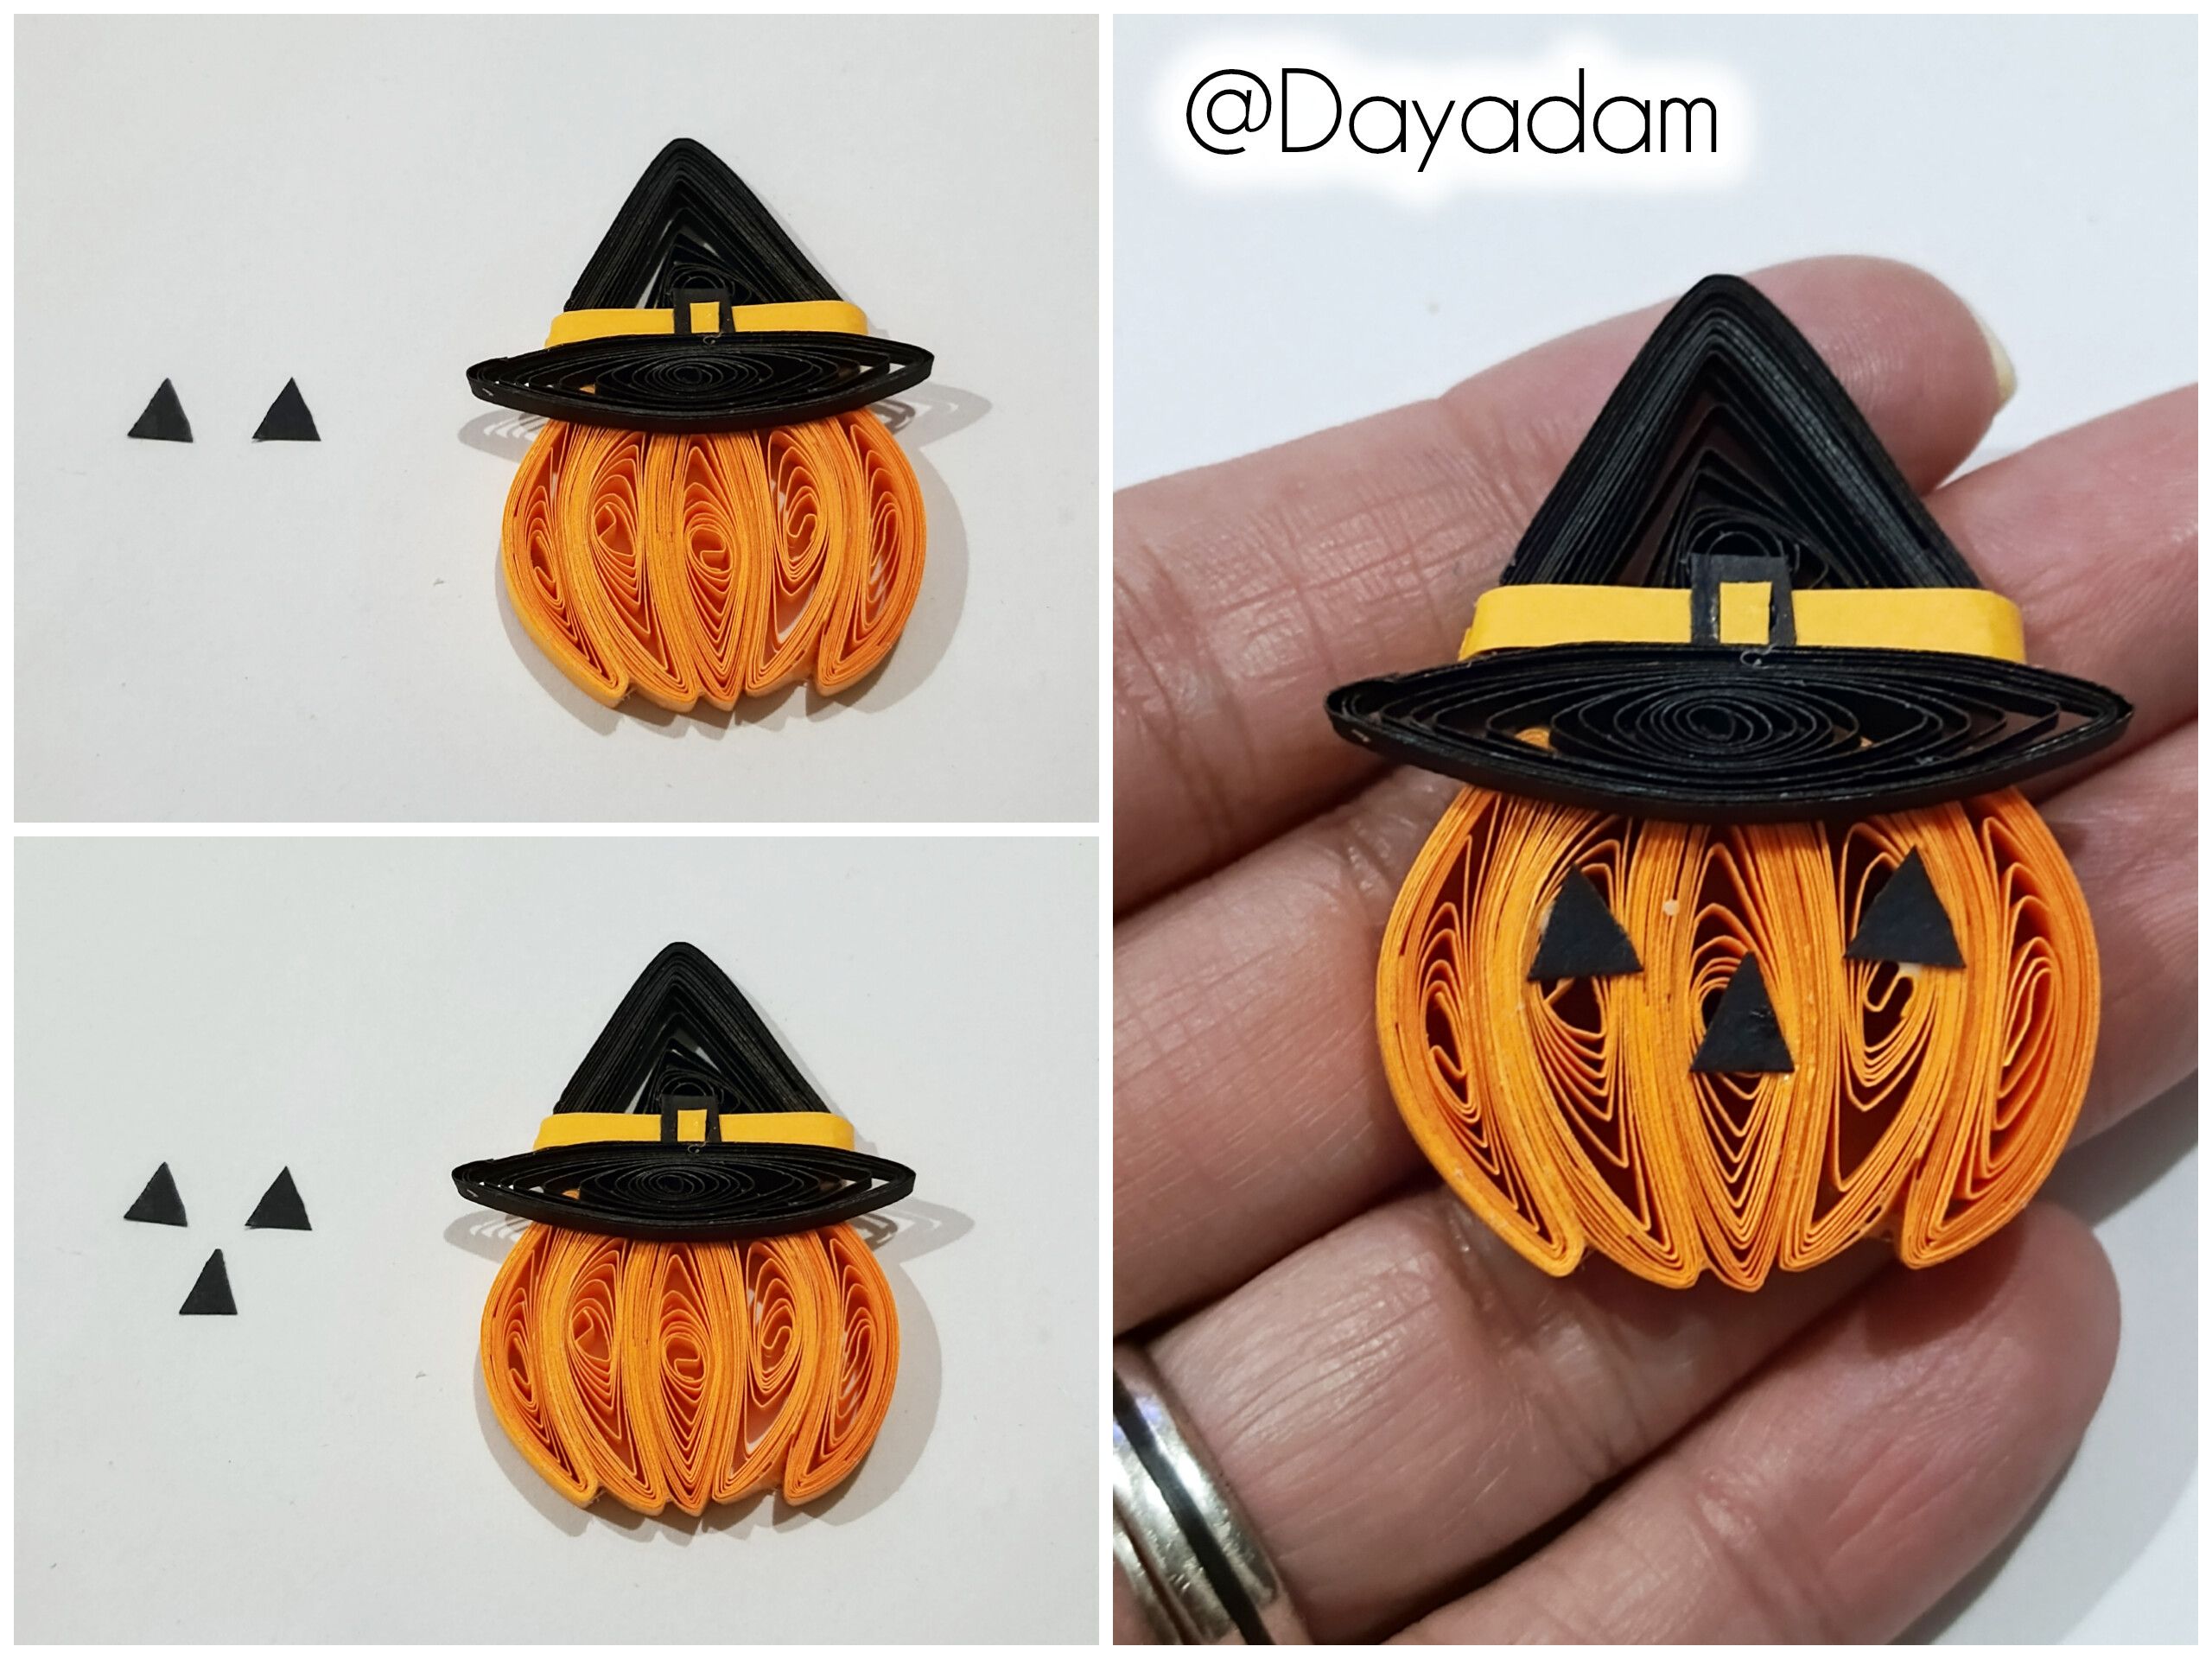
• Make the eyes and nose by cutting out three small triangles and gluing them in the appropriate places on the face.
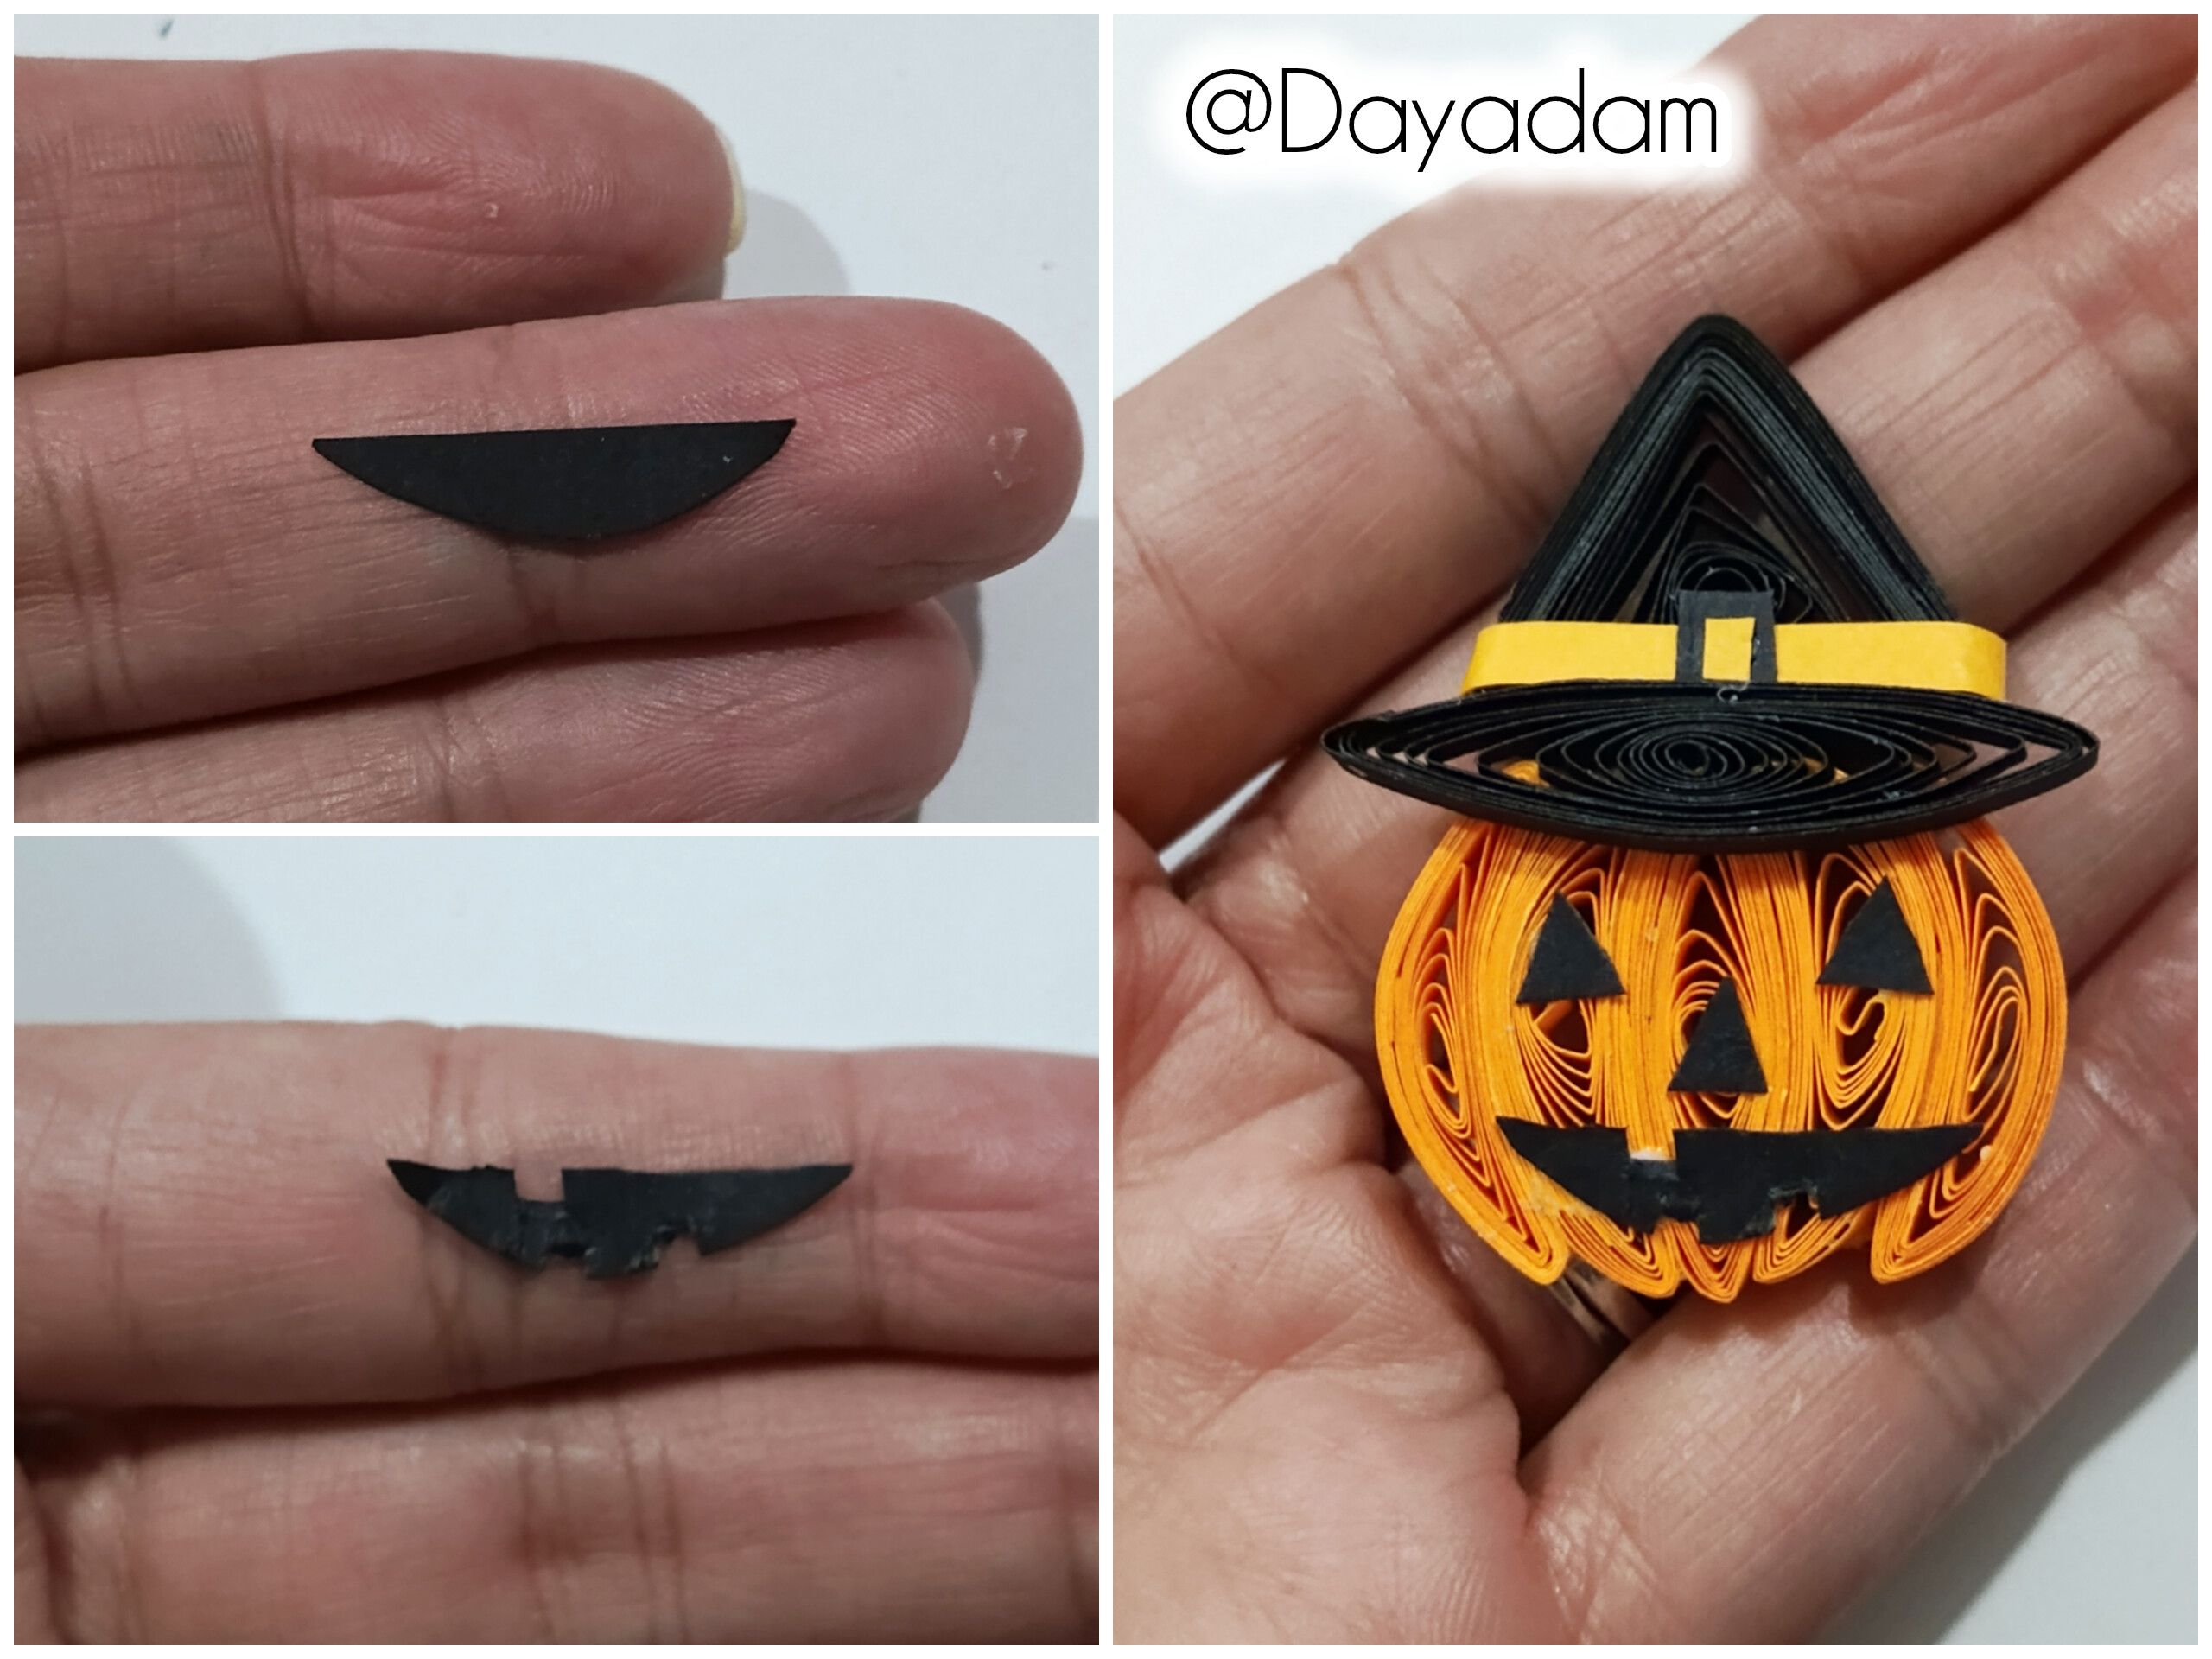
• For the mouth, cut out a piece of black cardstock.
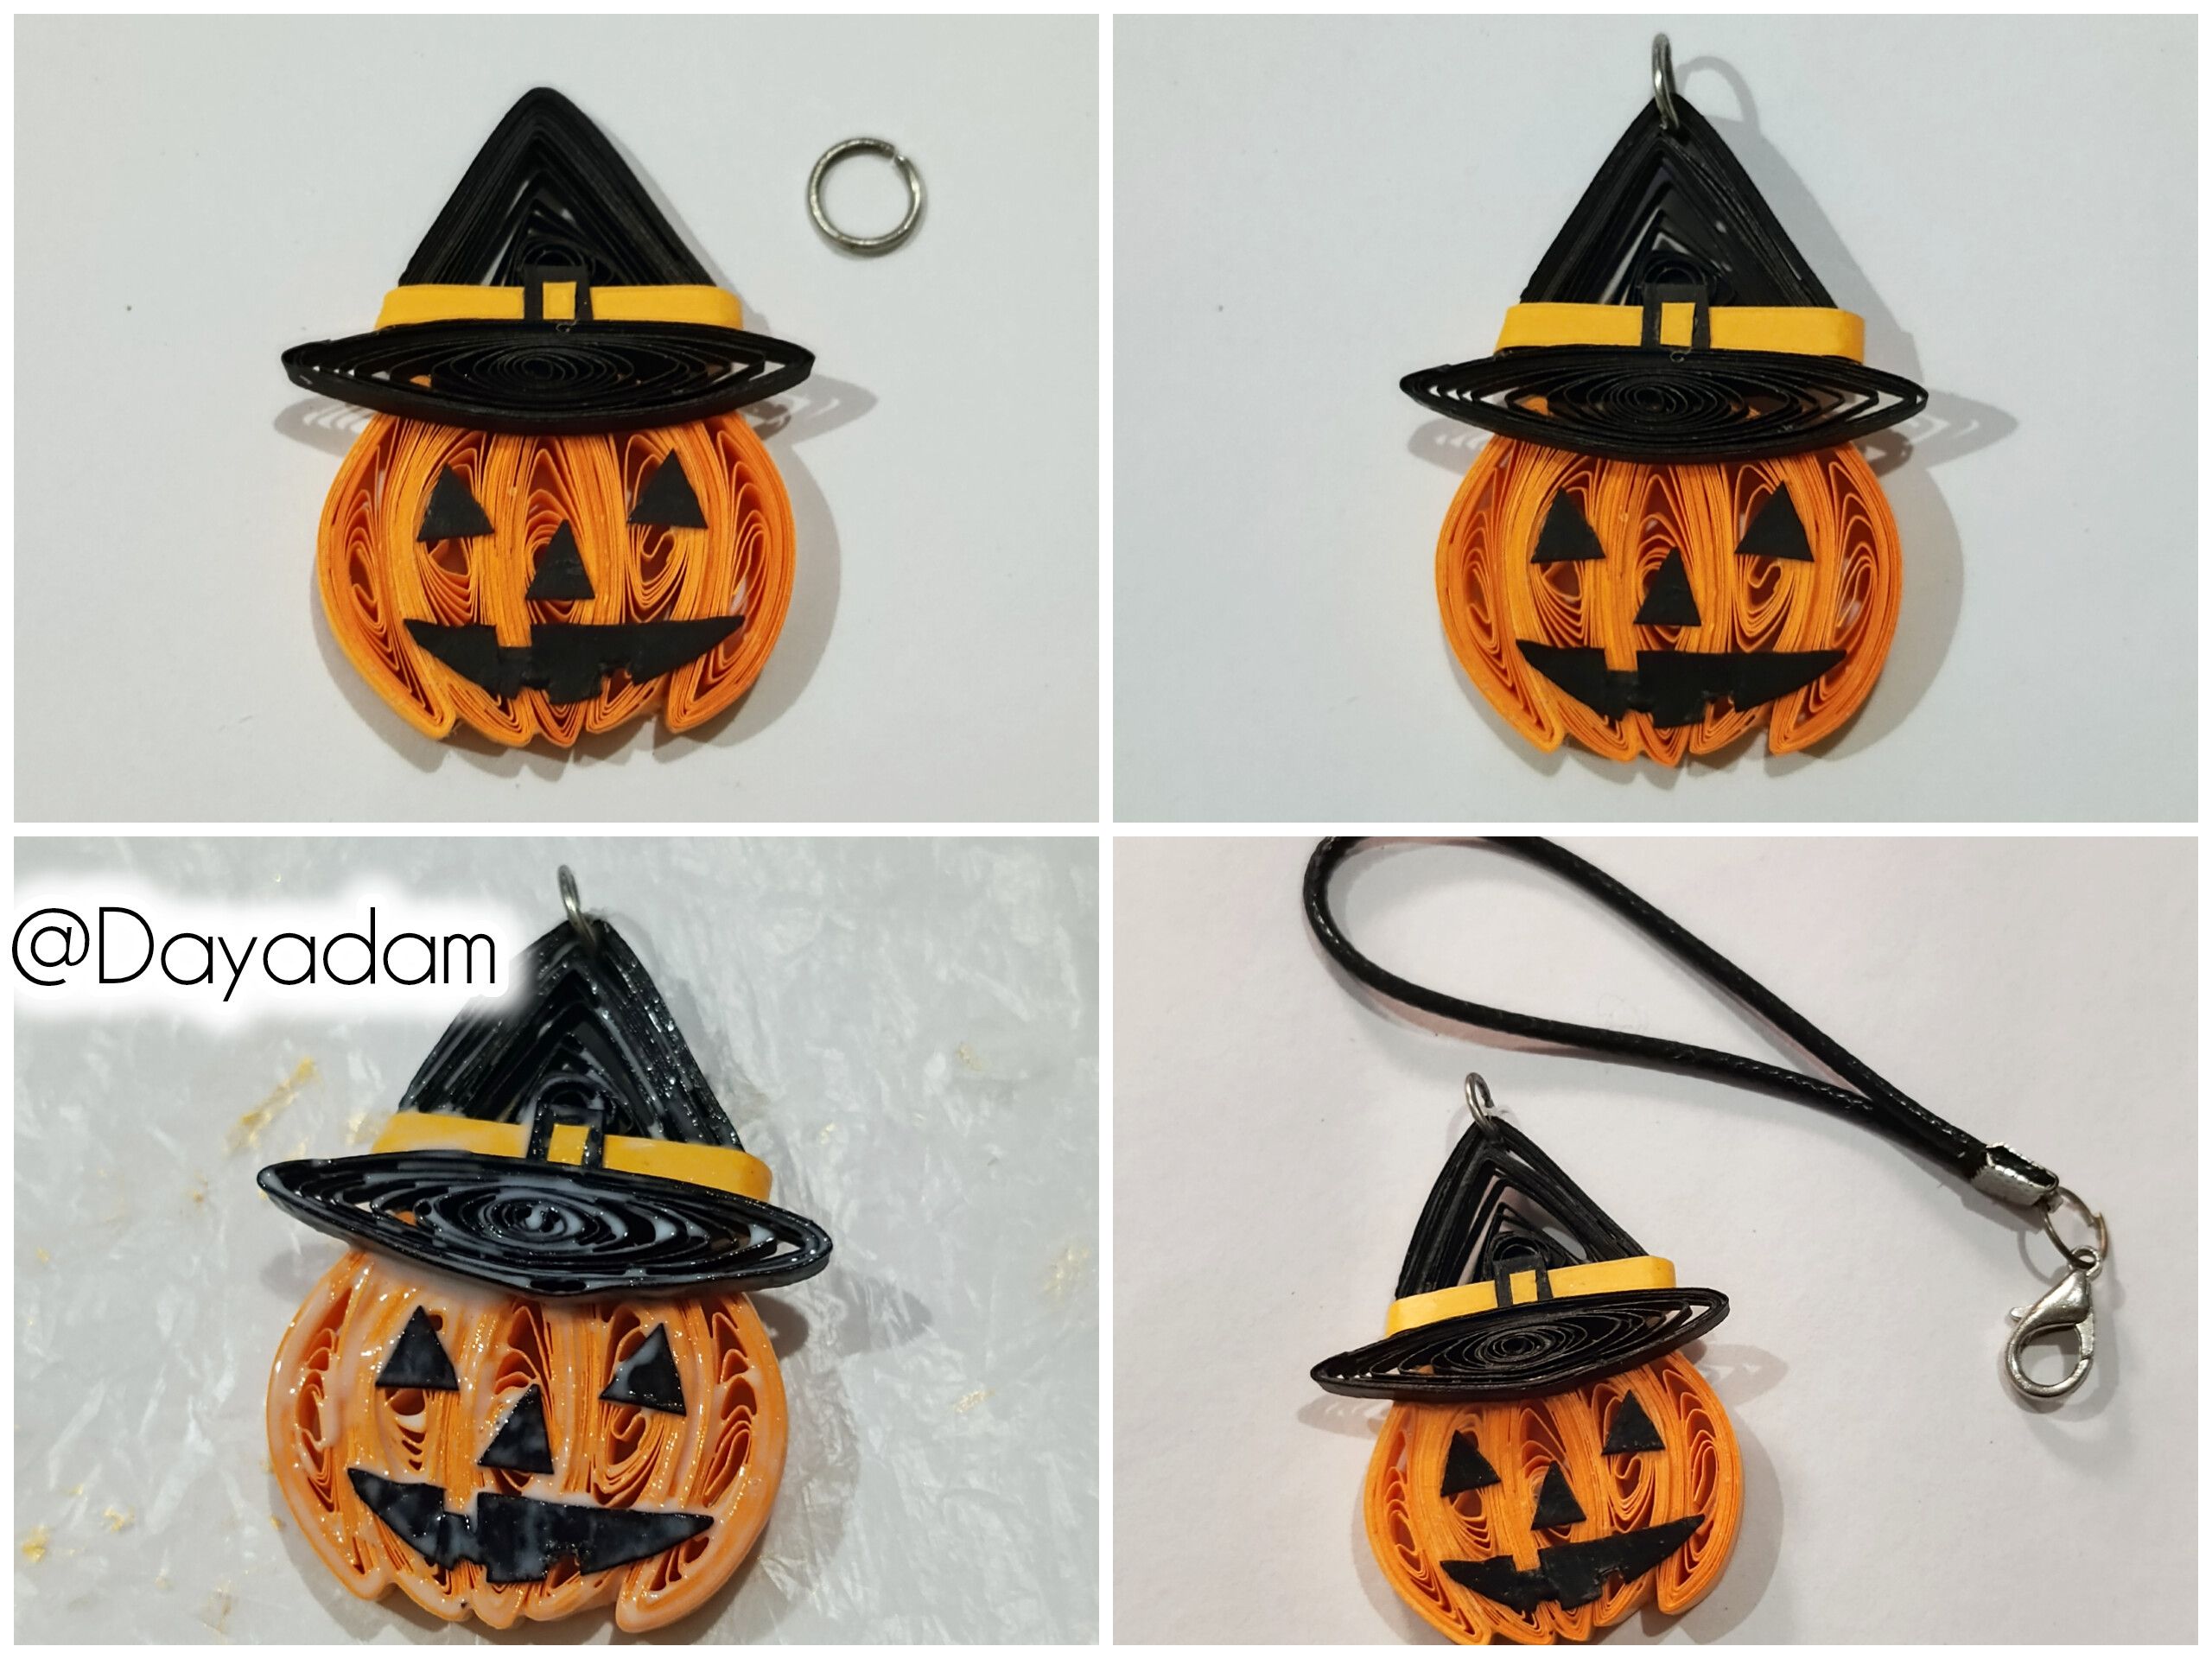
• I placed a jewelry ring on top of the hat.
• To protect the pumpkin, give it shine, and harden it completely, I applied several layers of extra-strong white glue, letting it dry between each layer.
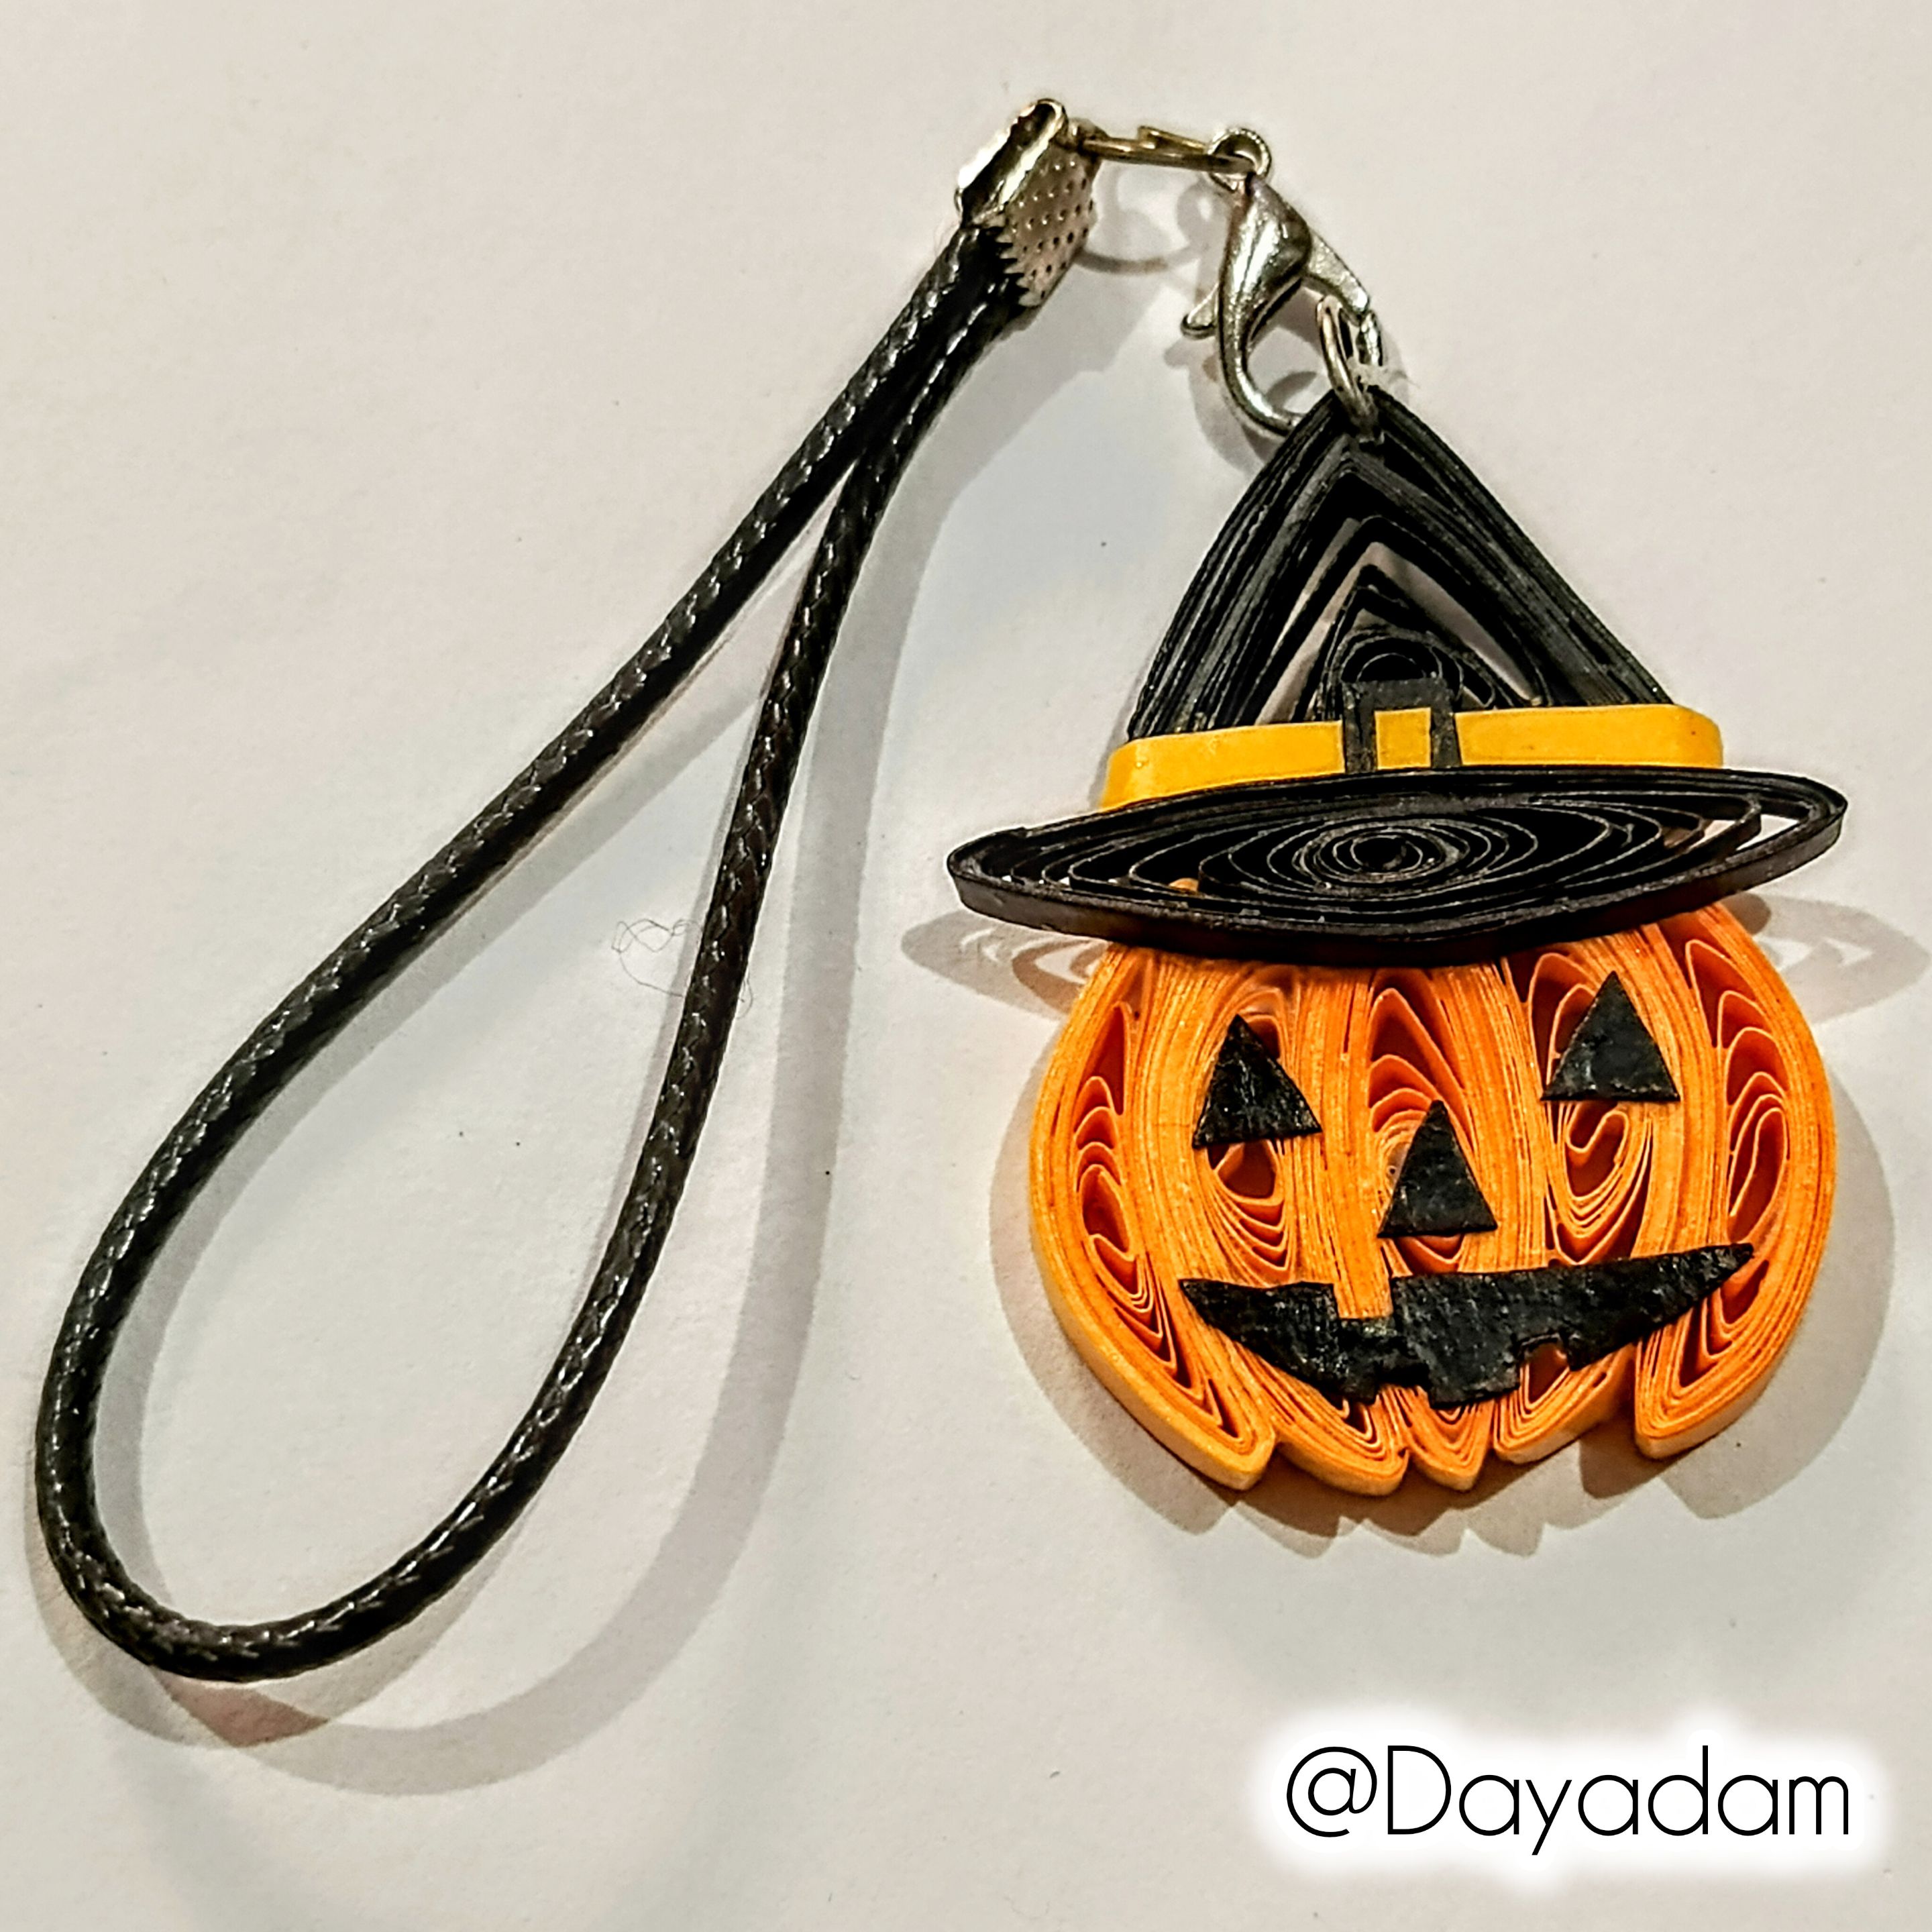
• To finish, I attached a black snakeskin thread pendant.
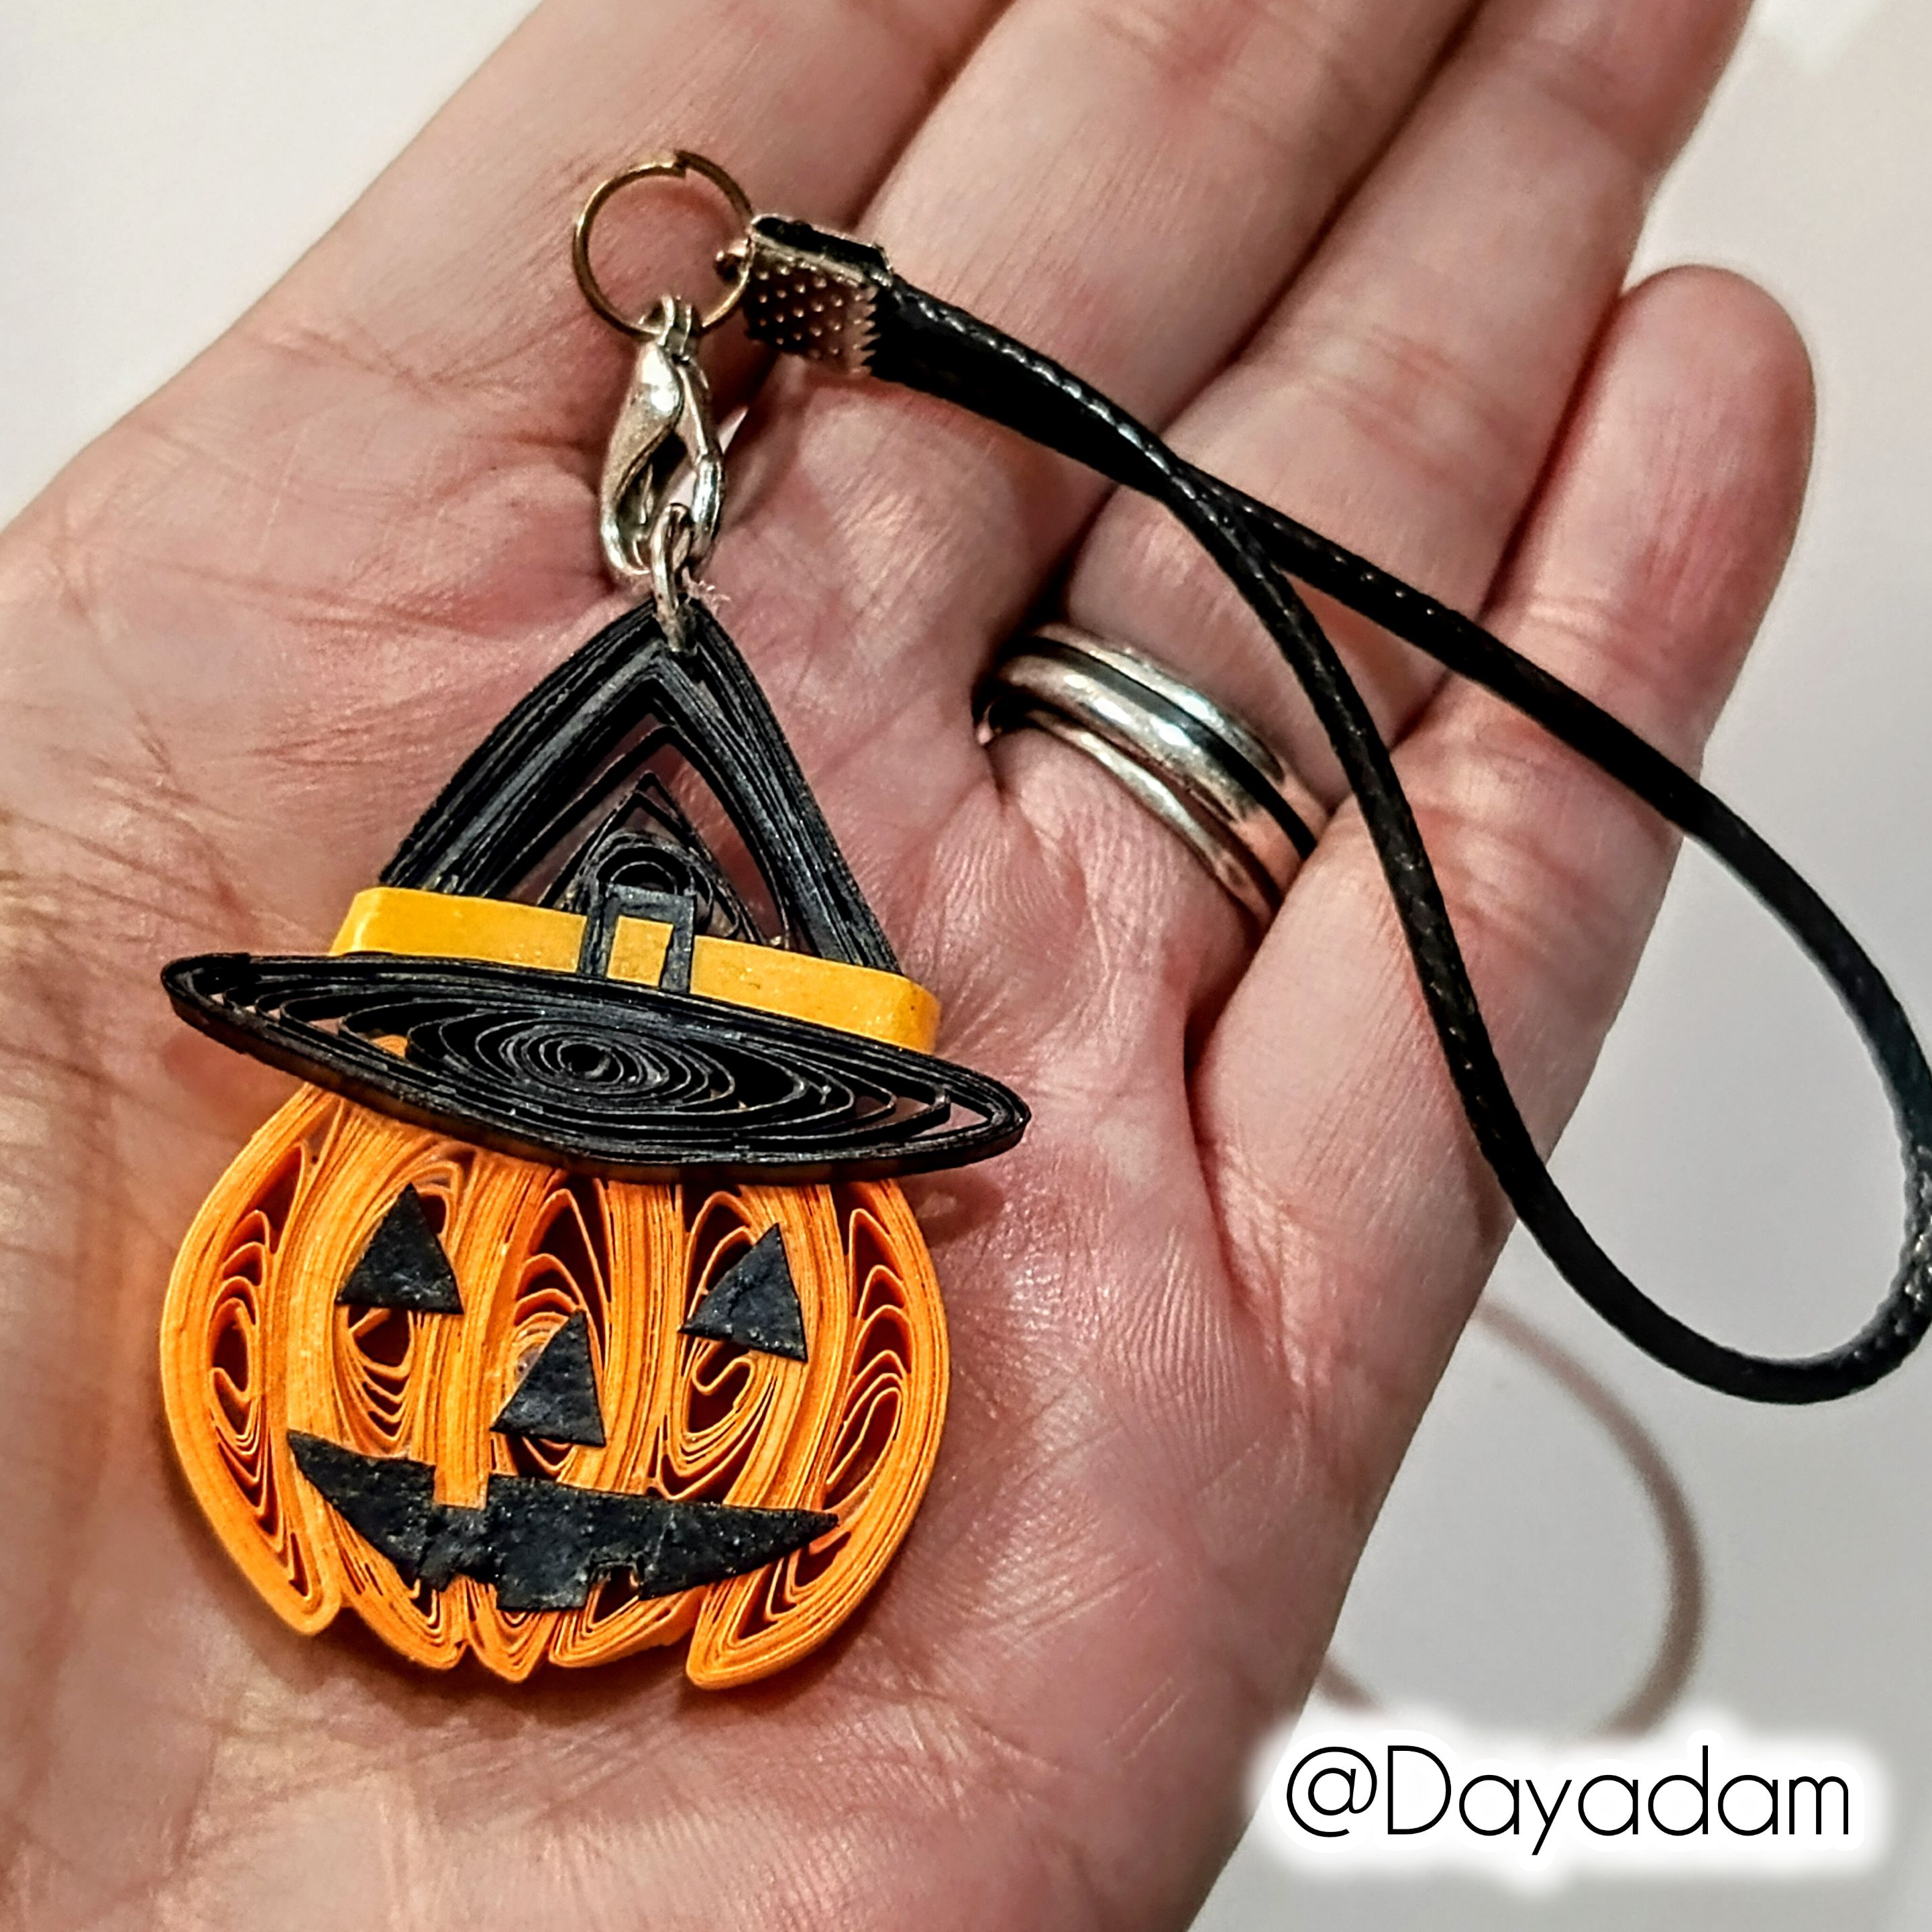
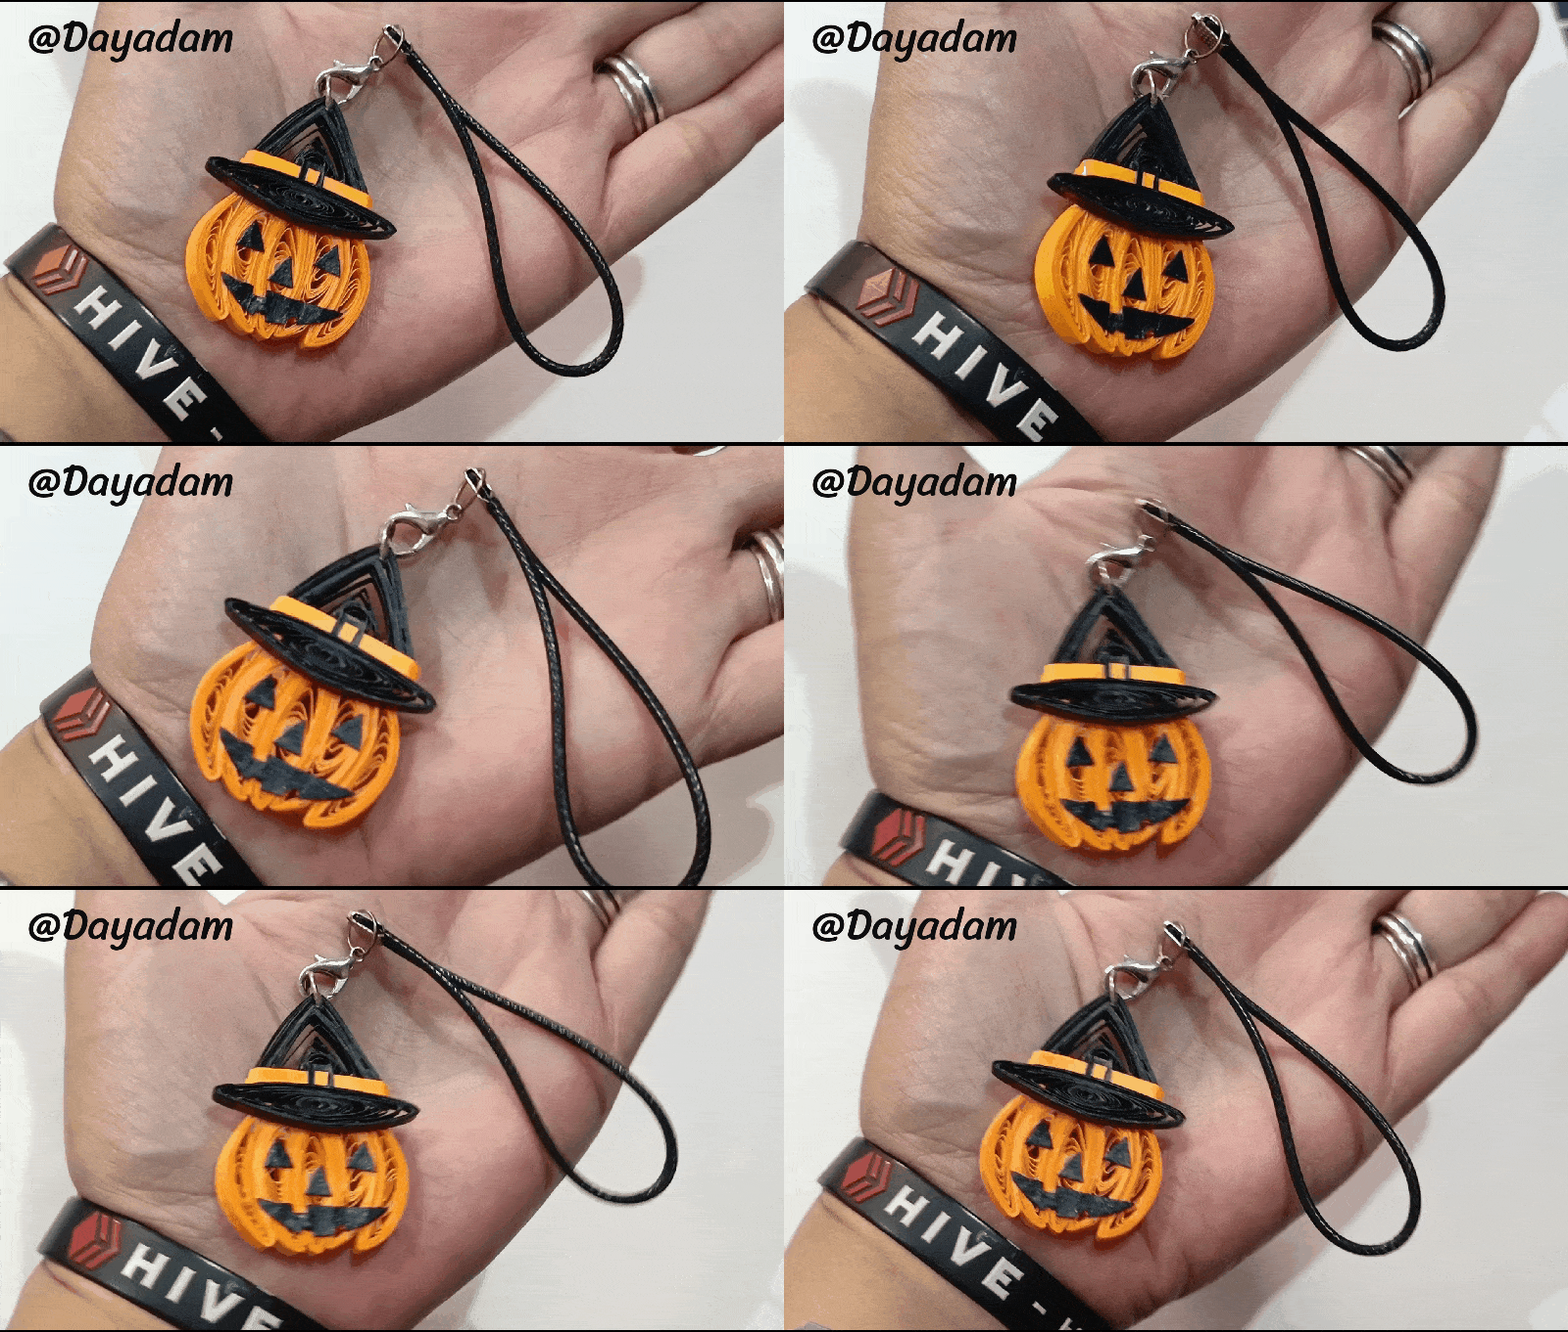
This completes this decorative pendant of a haunted pumpkin, made using the 2D quilling technique.

• Para terminar de decorar el sombrero recorte dos cuadrados de cartulina negra y naranja, los pegué en el medio.
• Realicé los ojos y la nariz, recortando 3 pequeños triángulos los cuales pegué en los sitios indicados de la cara.
• Para la boca también recorte un trozo de cartulina negra.
• Coloque una argolla de bisutería en la parte de arriba del sombrero.
• Para proteger, darle brillo a la calabaza y endurecerla totalmente apliqué varias capas d pega blanca extra fuerte dejando secar entre una capa y otra.
• Para finalizar enganche un colgante de hilo piel de serpiente de color negro.
De esta manera finalice este colgante Decorativo de esta calabaza embrujada, en 2D de técnica de quilling.
 |
 |
 |
 |

 |
 |
 |
 |
 |
 |
|
What did you think, did you like it?
I hope you did, I hope you liked my explanation, procedure and photos, I made them with love for you.
"Let out that muse that inspires you, and let your imagination fly".
Thank you all, see you next time ✨.

¿Que les pareció, les gustó?
Espero que sí, que les haya gustado mi explicación, procedimiento y fotos, los hice con mucho cariño por y para ustedes."Deja salir esa musa que te inspira, y deja volar tu imaginación".
Gracias a todos, nos vemos en la próxima✨
All photos used in this post are of my authorship and have been taken on my personal cell phone a Infinity Hot 40pro, edited in InShot and Canva
Banner and separator made by me in Canva
Translated with the help of DeepL

Todas las fotos usadas en este post son de mi autoría y han sido sacadas en mi celular personal un Infinity Hot 40pro, editadas en InShot y Canva
Banner y separador hecho por mí en Canva
Traducido con la ayuda de DeepL
