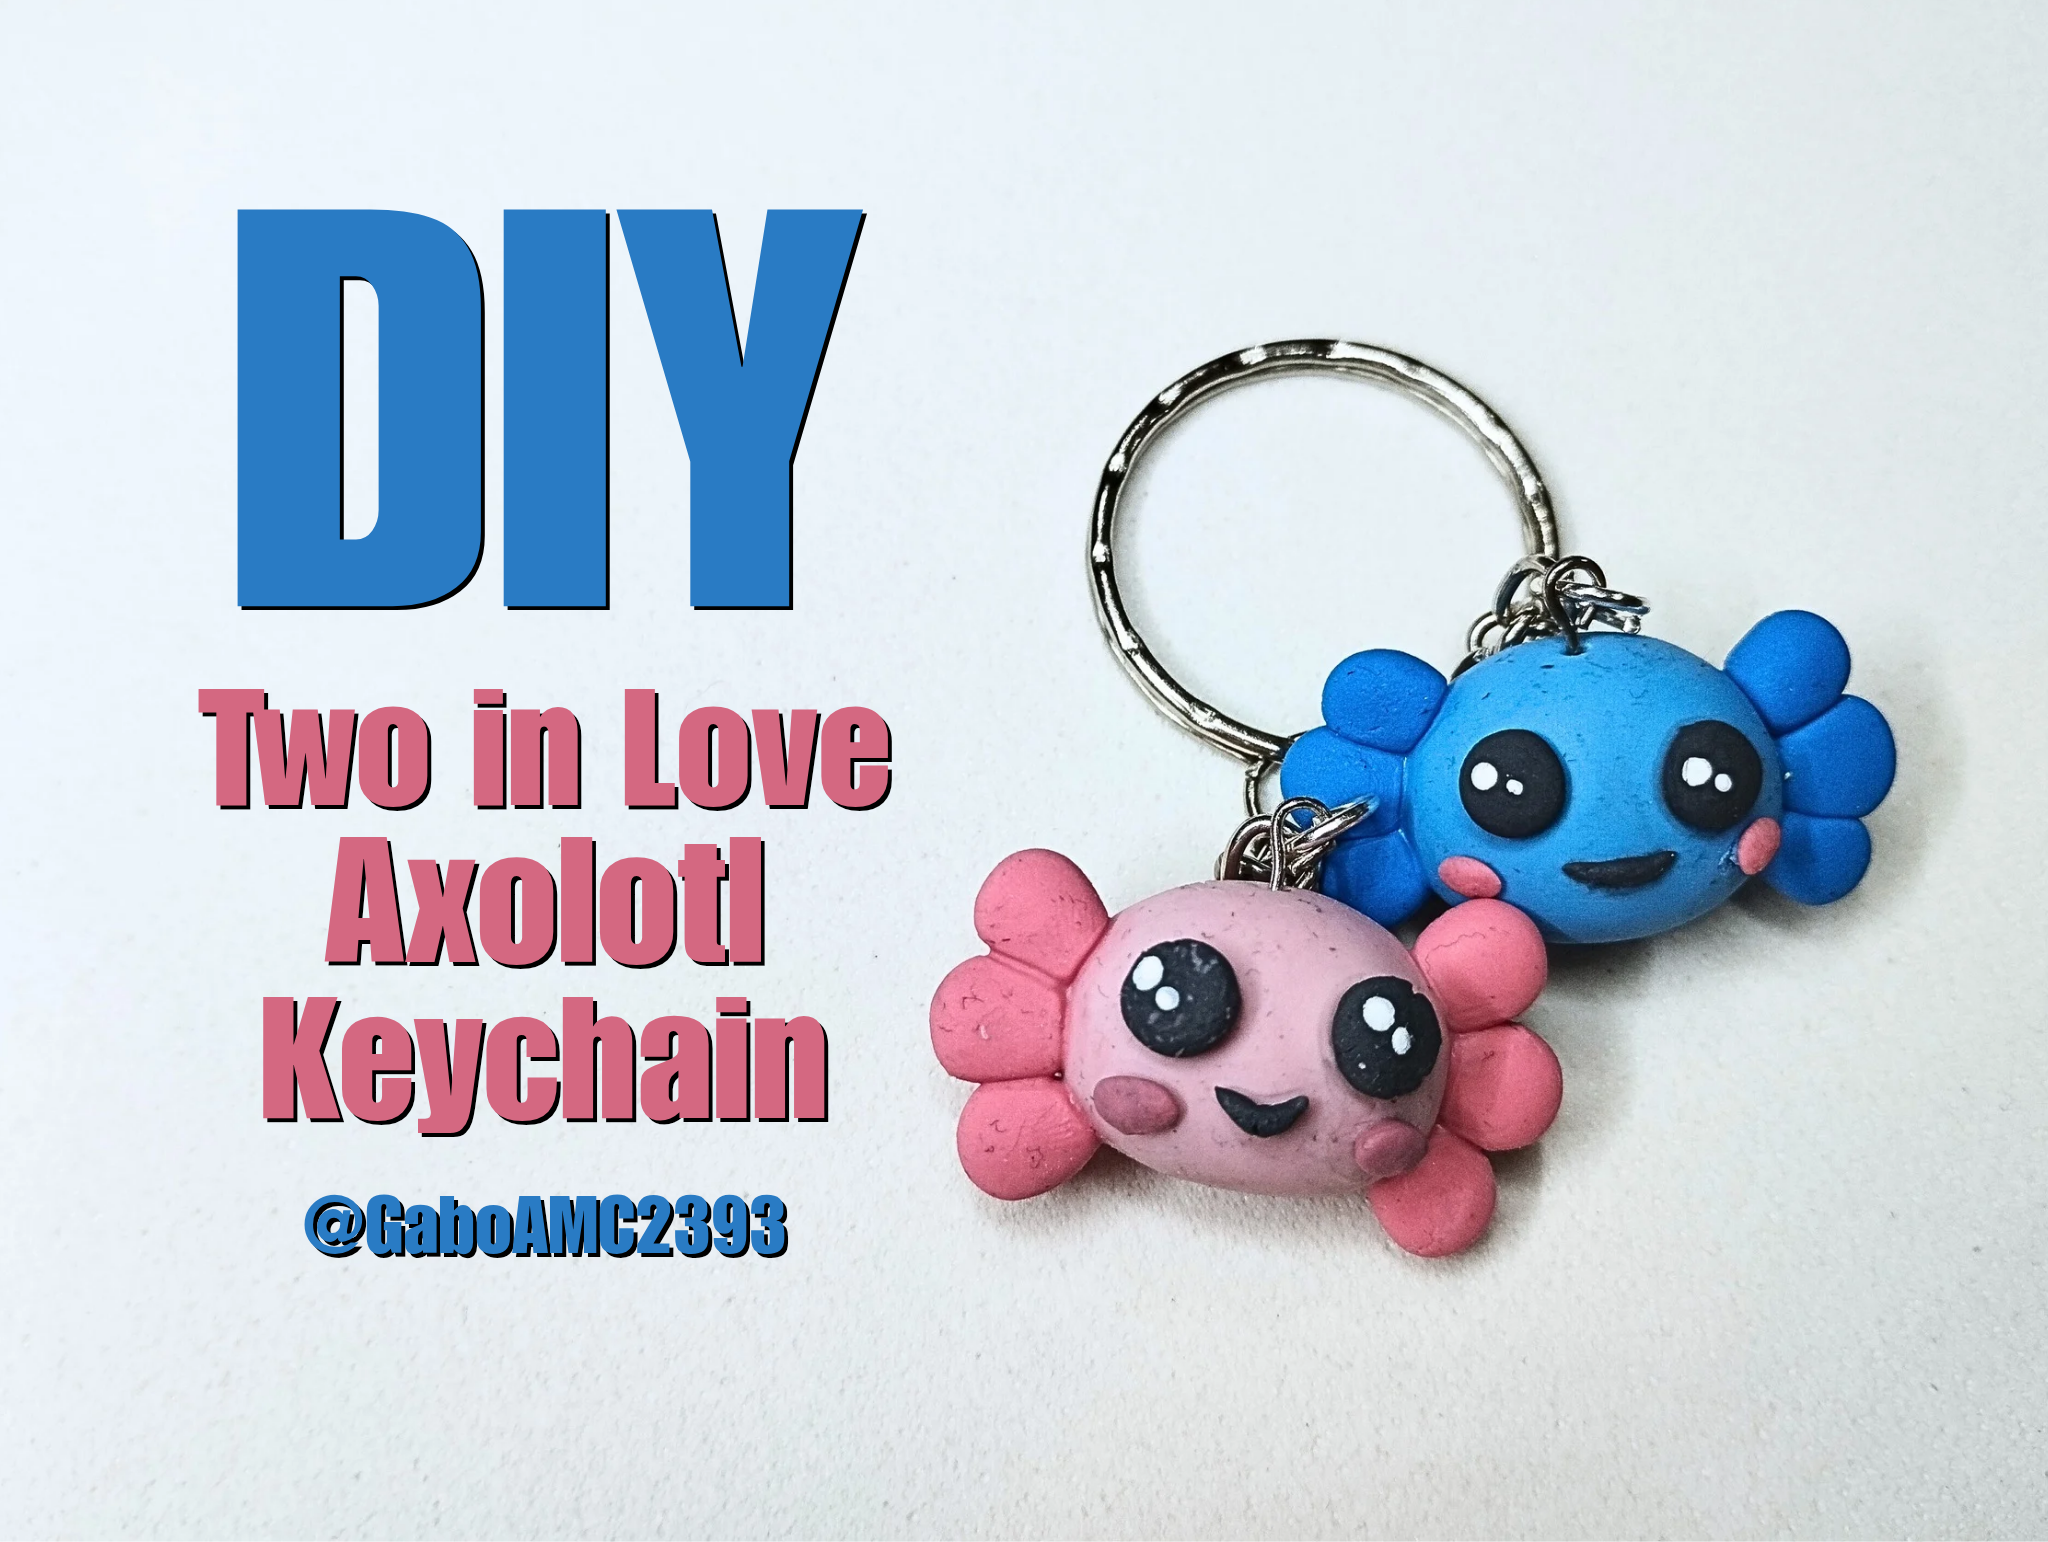
Hello, friends. The other day I was thinking about a gift or idea to give to your partner. I thought I could make something double, that is, a keyring with two pieces on the same ring.
I already had the idea, now I had to think about what to make. Well, axolotls are very cute creatures that are perfect for creating this type of gift, so I got to work and this is what came out of this moment of creativity.
Join me in the step-by-step process of making this keyring of axolotls in love.
>># Español
>>Saludos amigos. El otro día estuve pensando en un obsequio o idea para regalar a tu pareja. Pensé que podría hacer algo doble, es decir, un llavero con dos piezas en la misma argolla.
>>
>>Ya tenía la idea, ahora tenía que pensar en el qué. Pues bien, los ajolotes son criaturas muy lindas que bien se pueden hacer para crear este tipo de detalles, así que puse manos a la obra y esto fue lo que salió de este momento de creatividad.
>>
>>Acompáñenme en el paso a paso de este llavero de Ajolotes enamorados.
# Step by step
The materials I used for this piece were as follows:
* Flexible clay / Cold ceramic
* Paint
* Keyring ring and chain
* Jewelry wire
* Glue
* Tools such as a cutter and tweezers.
Although the flexible clay is white, I used paint to mix it and obtain these pastel colors.
>># Paso a paso
>>Los materiales que utilicé para esta pieza fueron los siguientes:
>>
>>* Masa flexible / Cerámica Fría
>>* Pintura
>>* Argolla y cadena para llavero
>>* Alambre de bisutería
>>* Pegamento
>>* Herramientas como cutter y pinzas.
>>
>>Aunque la masa flexible es de color blanca, usé la pintura para mezclarla y obtener estos colores pasteles.
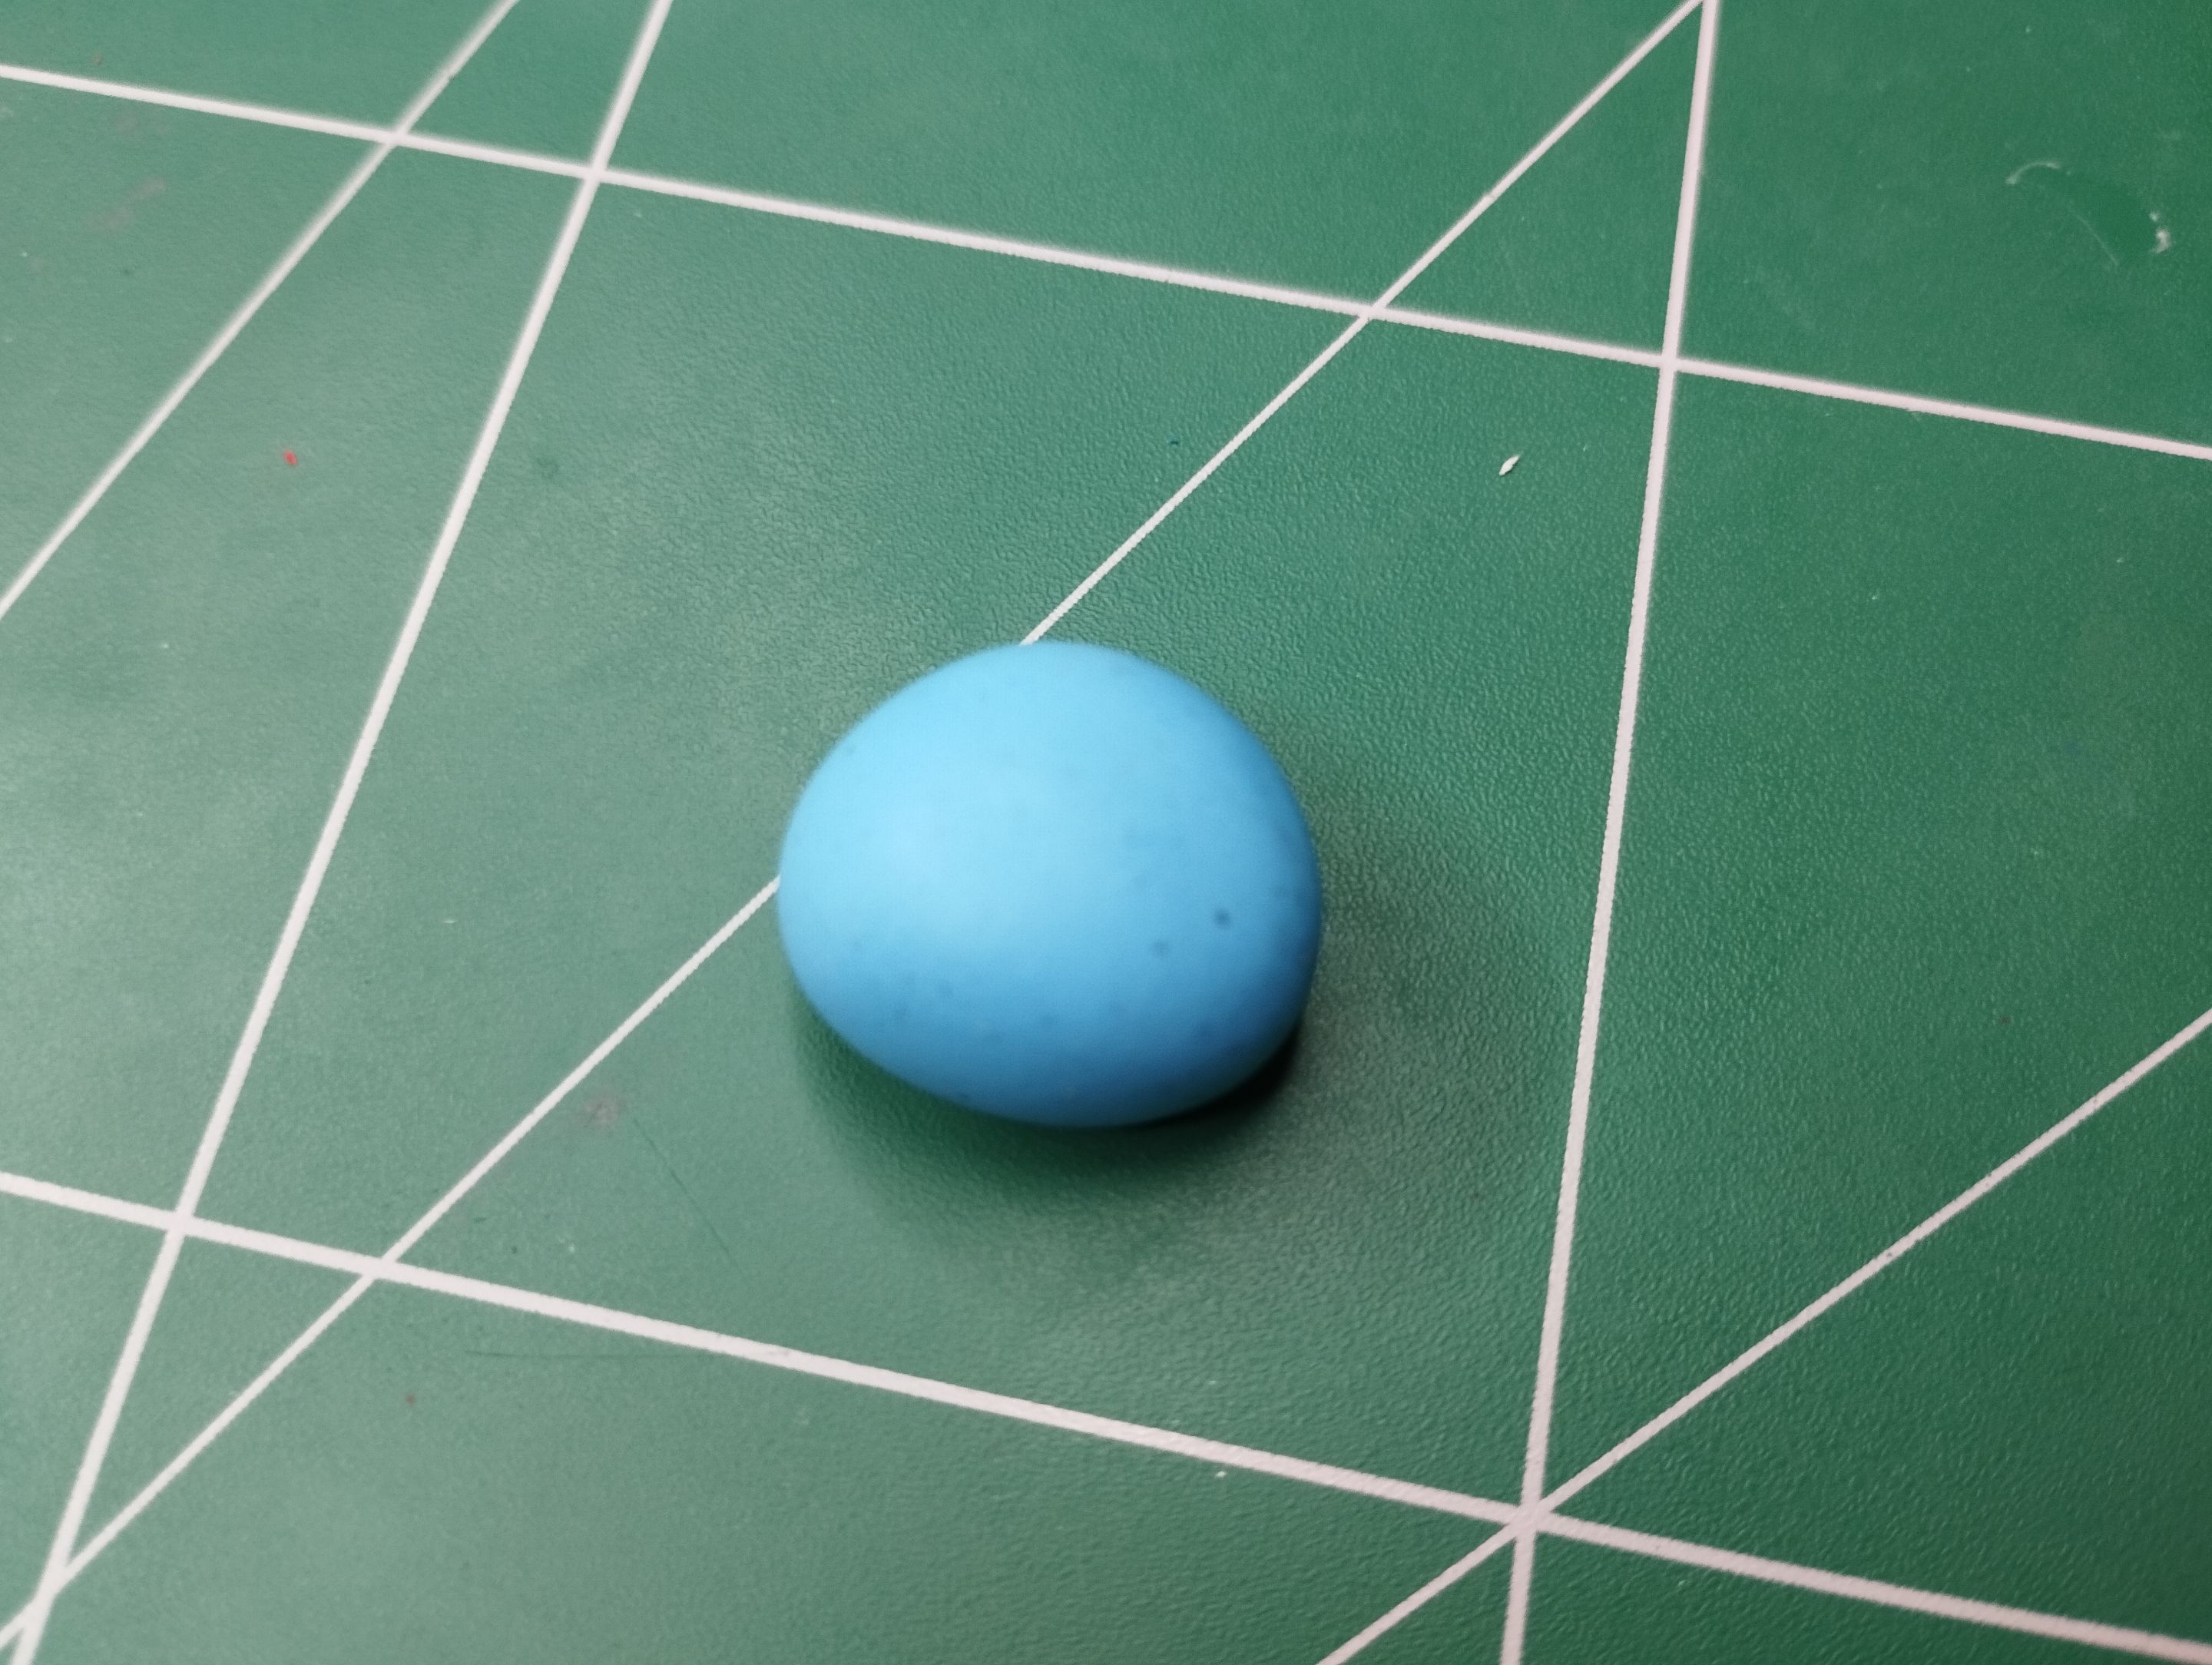
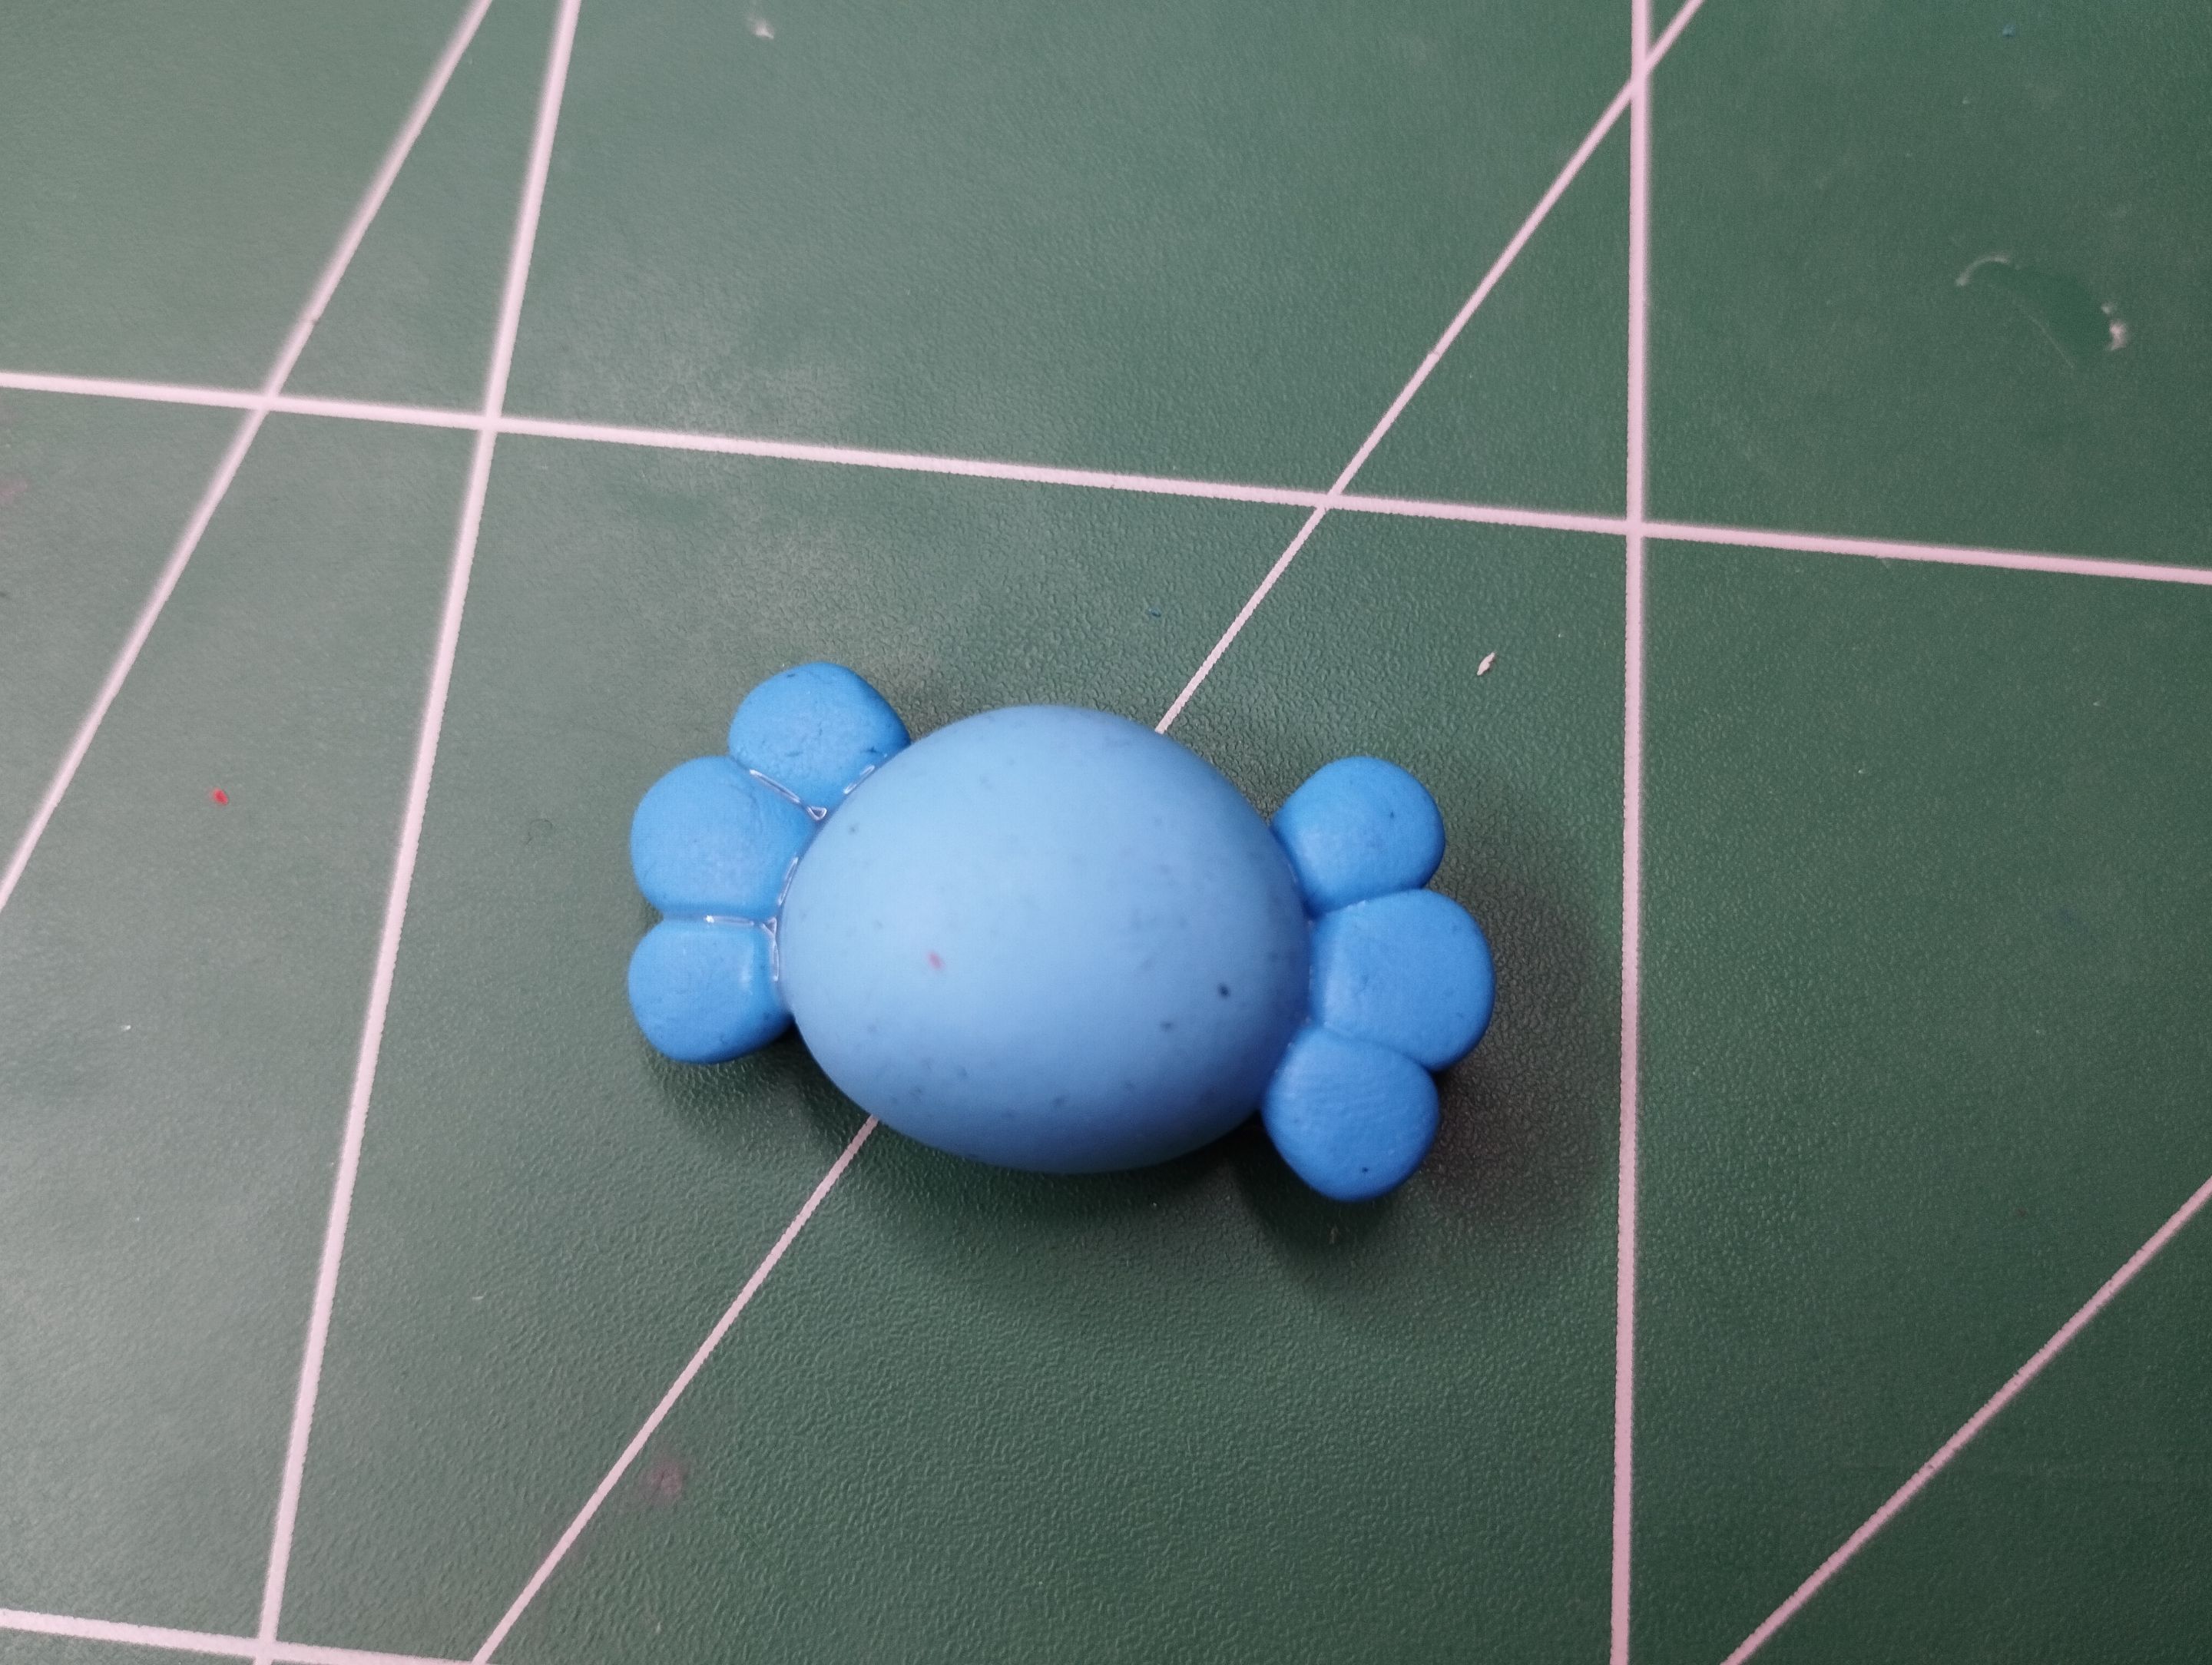
The first thing I did was make a sphere. I didn't make the entire axolotl, just the head. In the image below, you can see the initial shape I made. This shape works not only for blue, but also for pink.
>>Lo primero que hice fue una esfera. No hice al Ajolote completo, sino a la cabeza solamente. En la imagen de abajo pueden ver la forma inicial que hice. Esta forma sirve no solo para el azul, sino para el rosado.
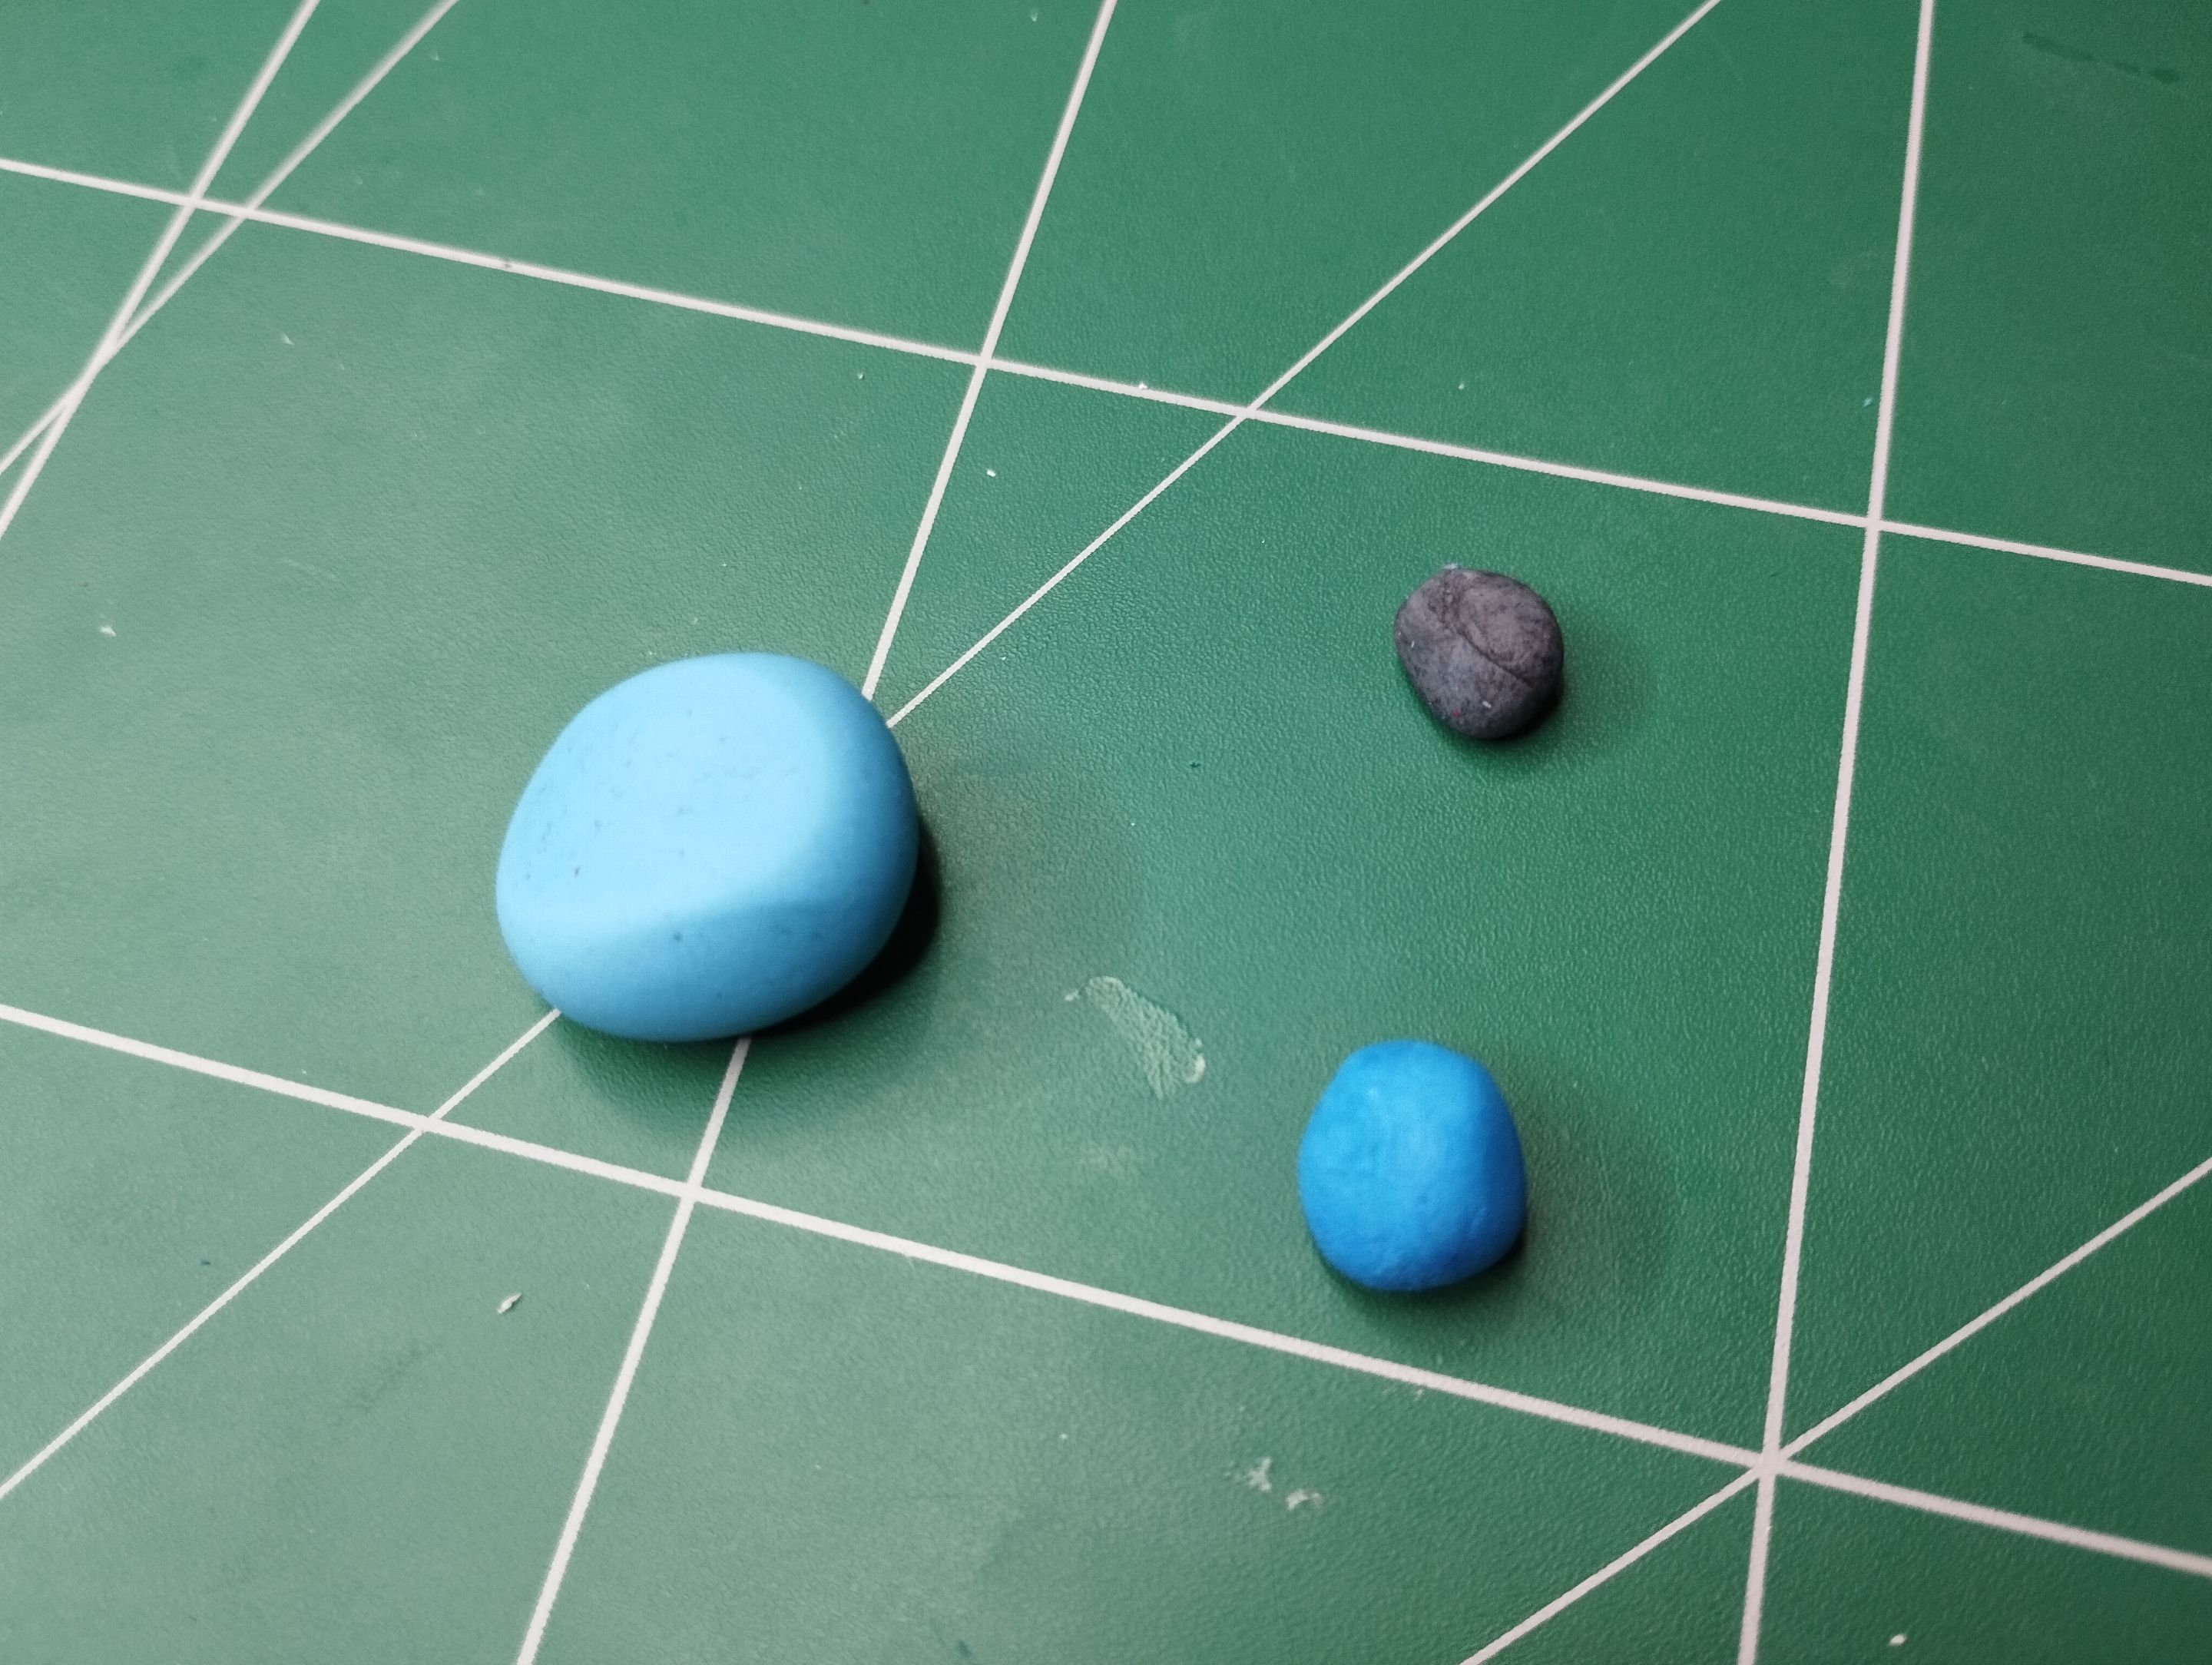
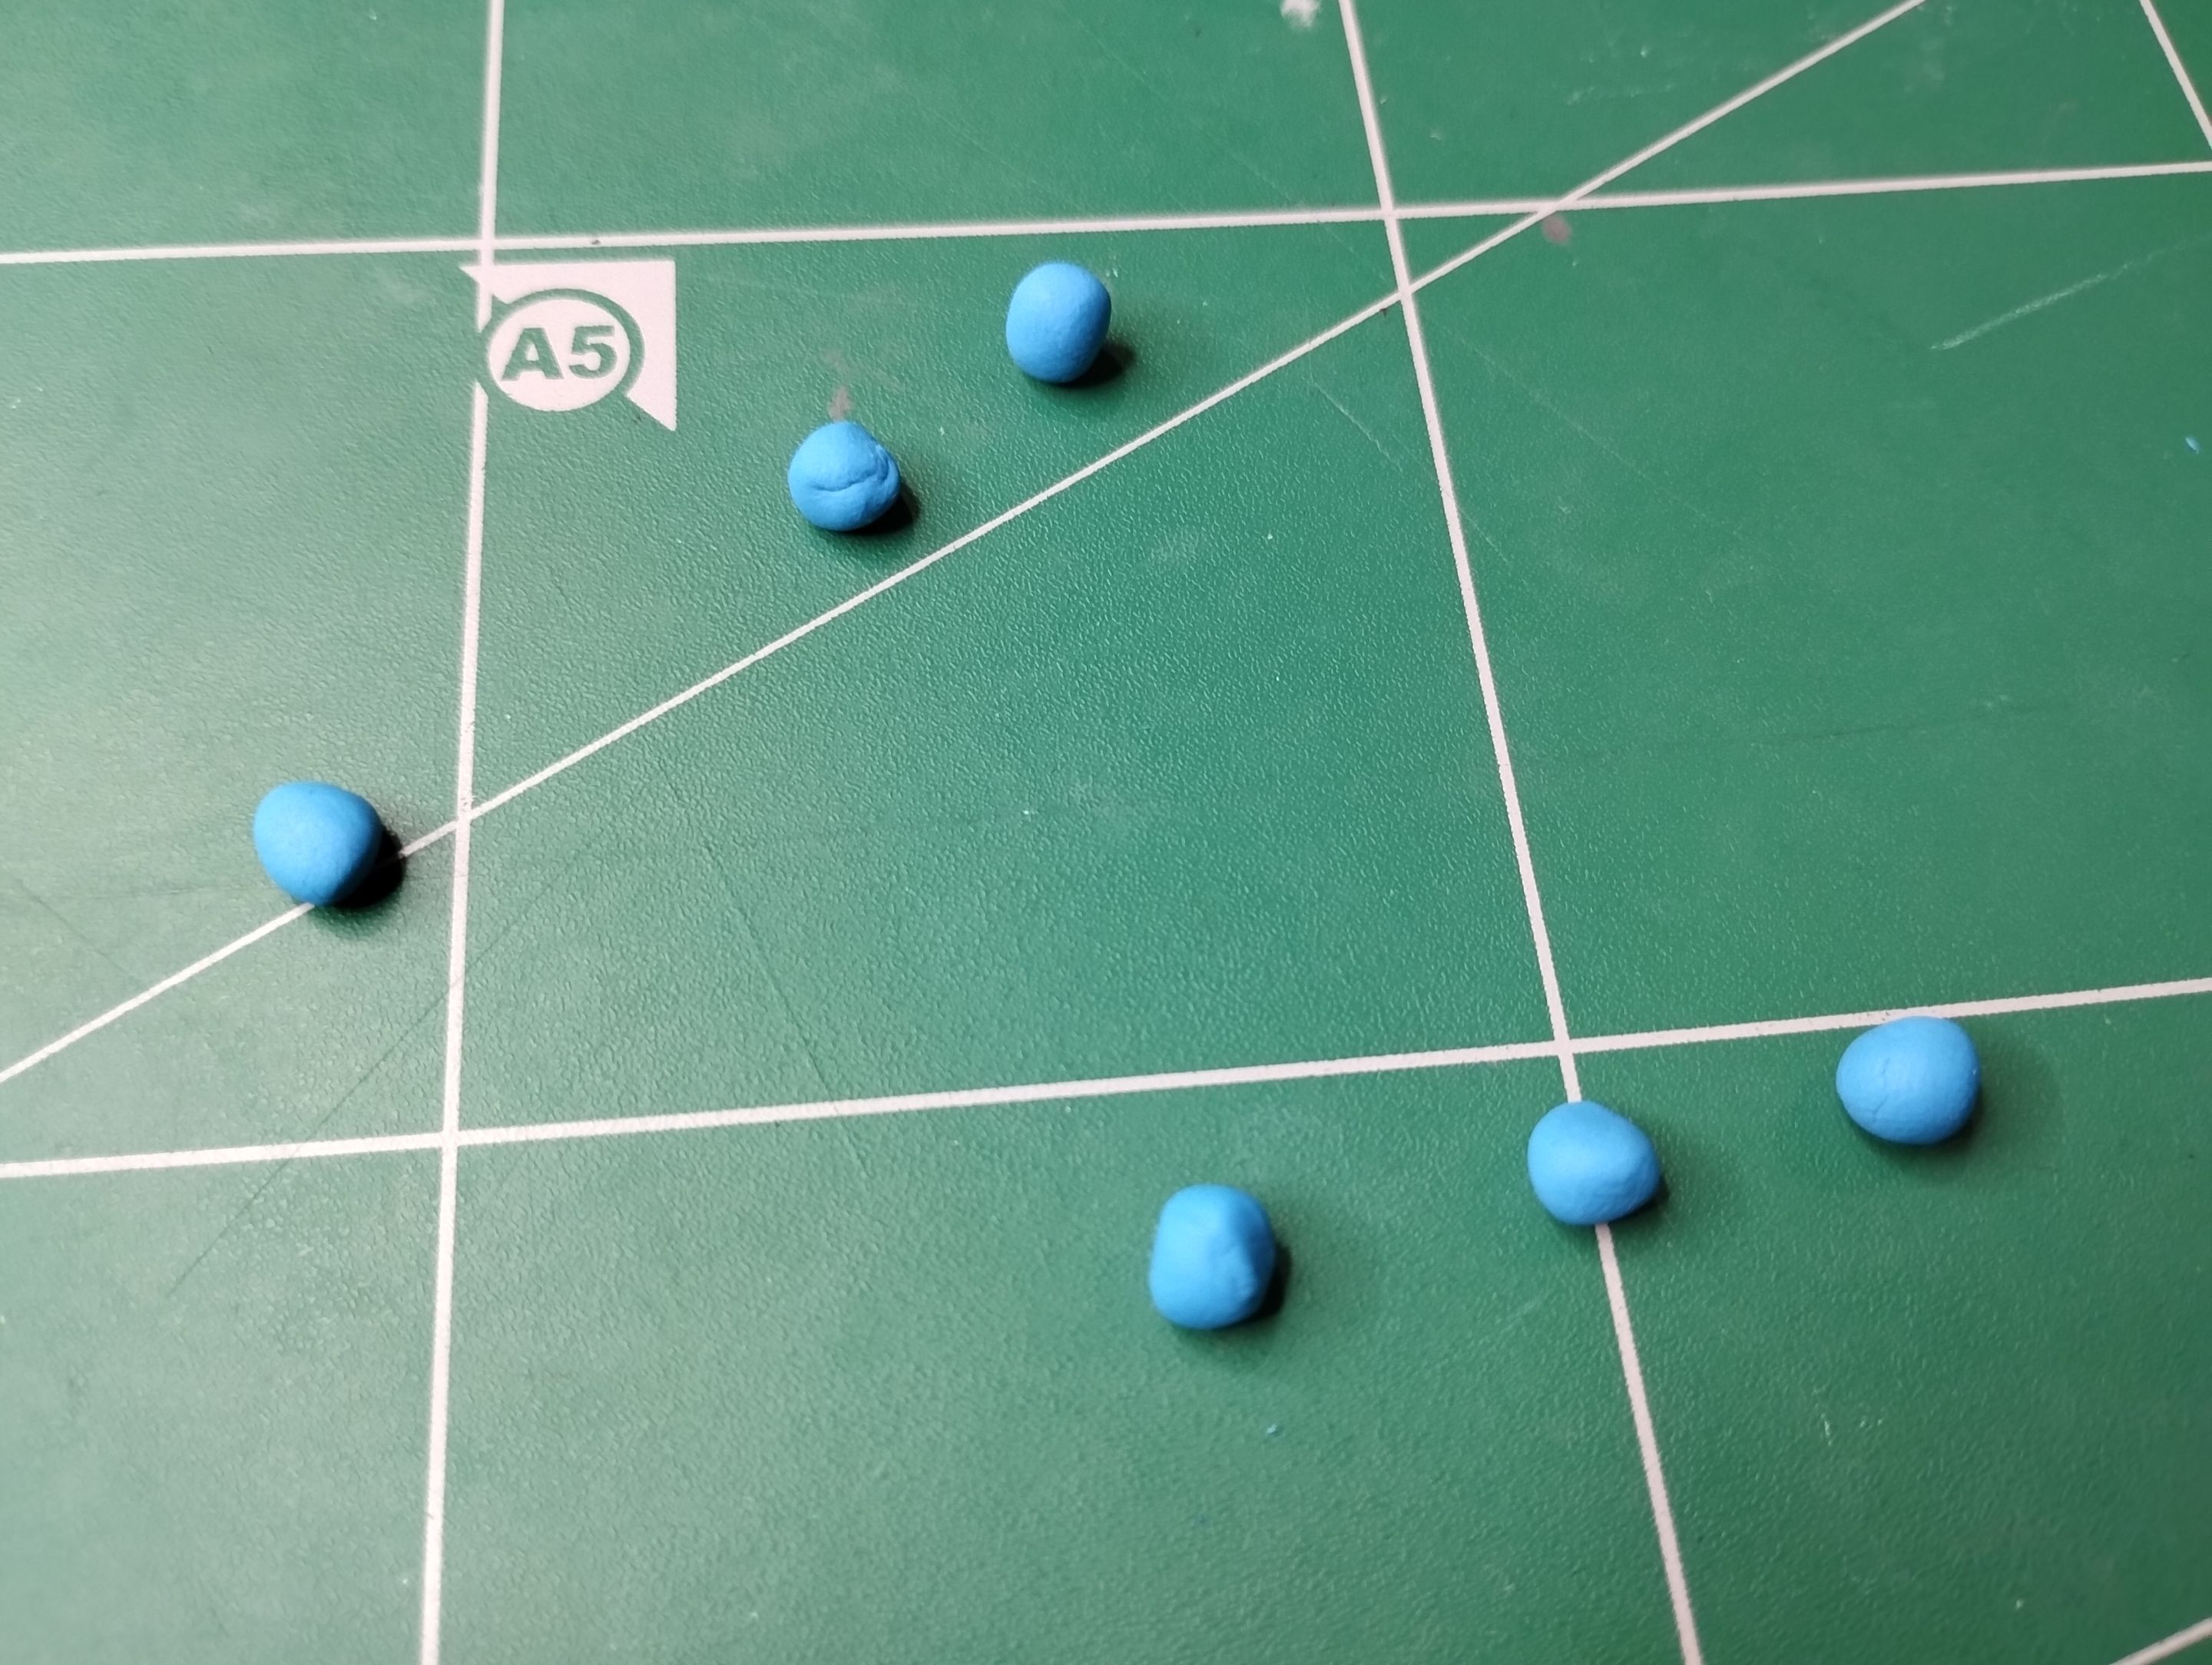
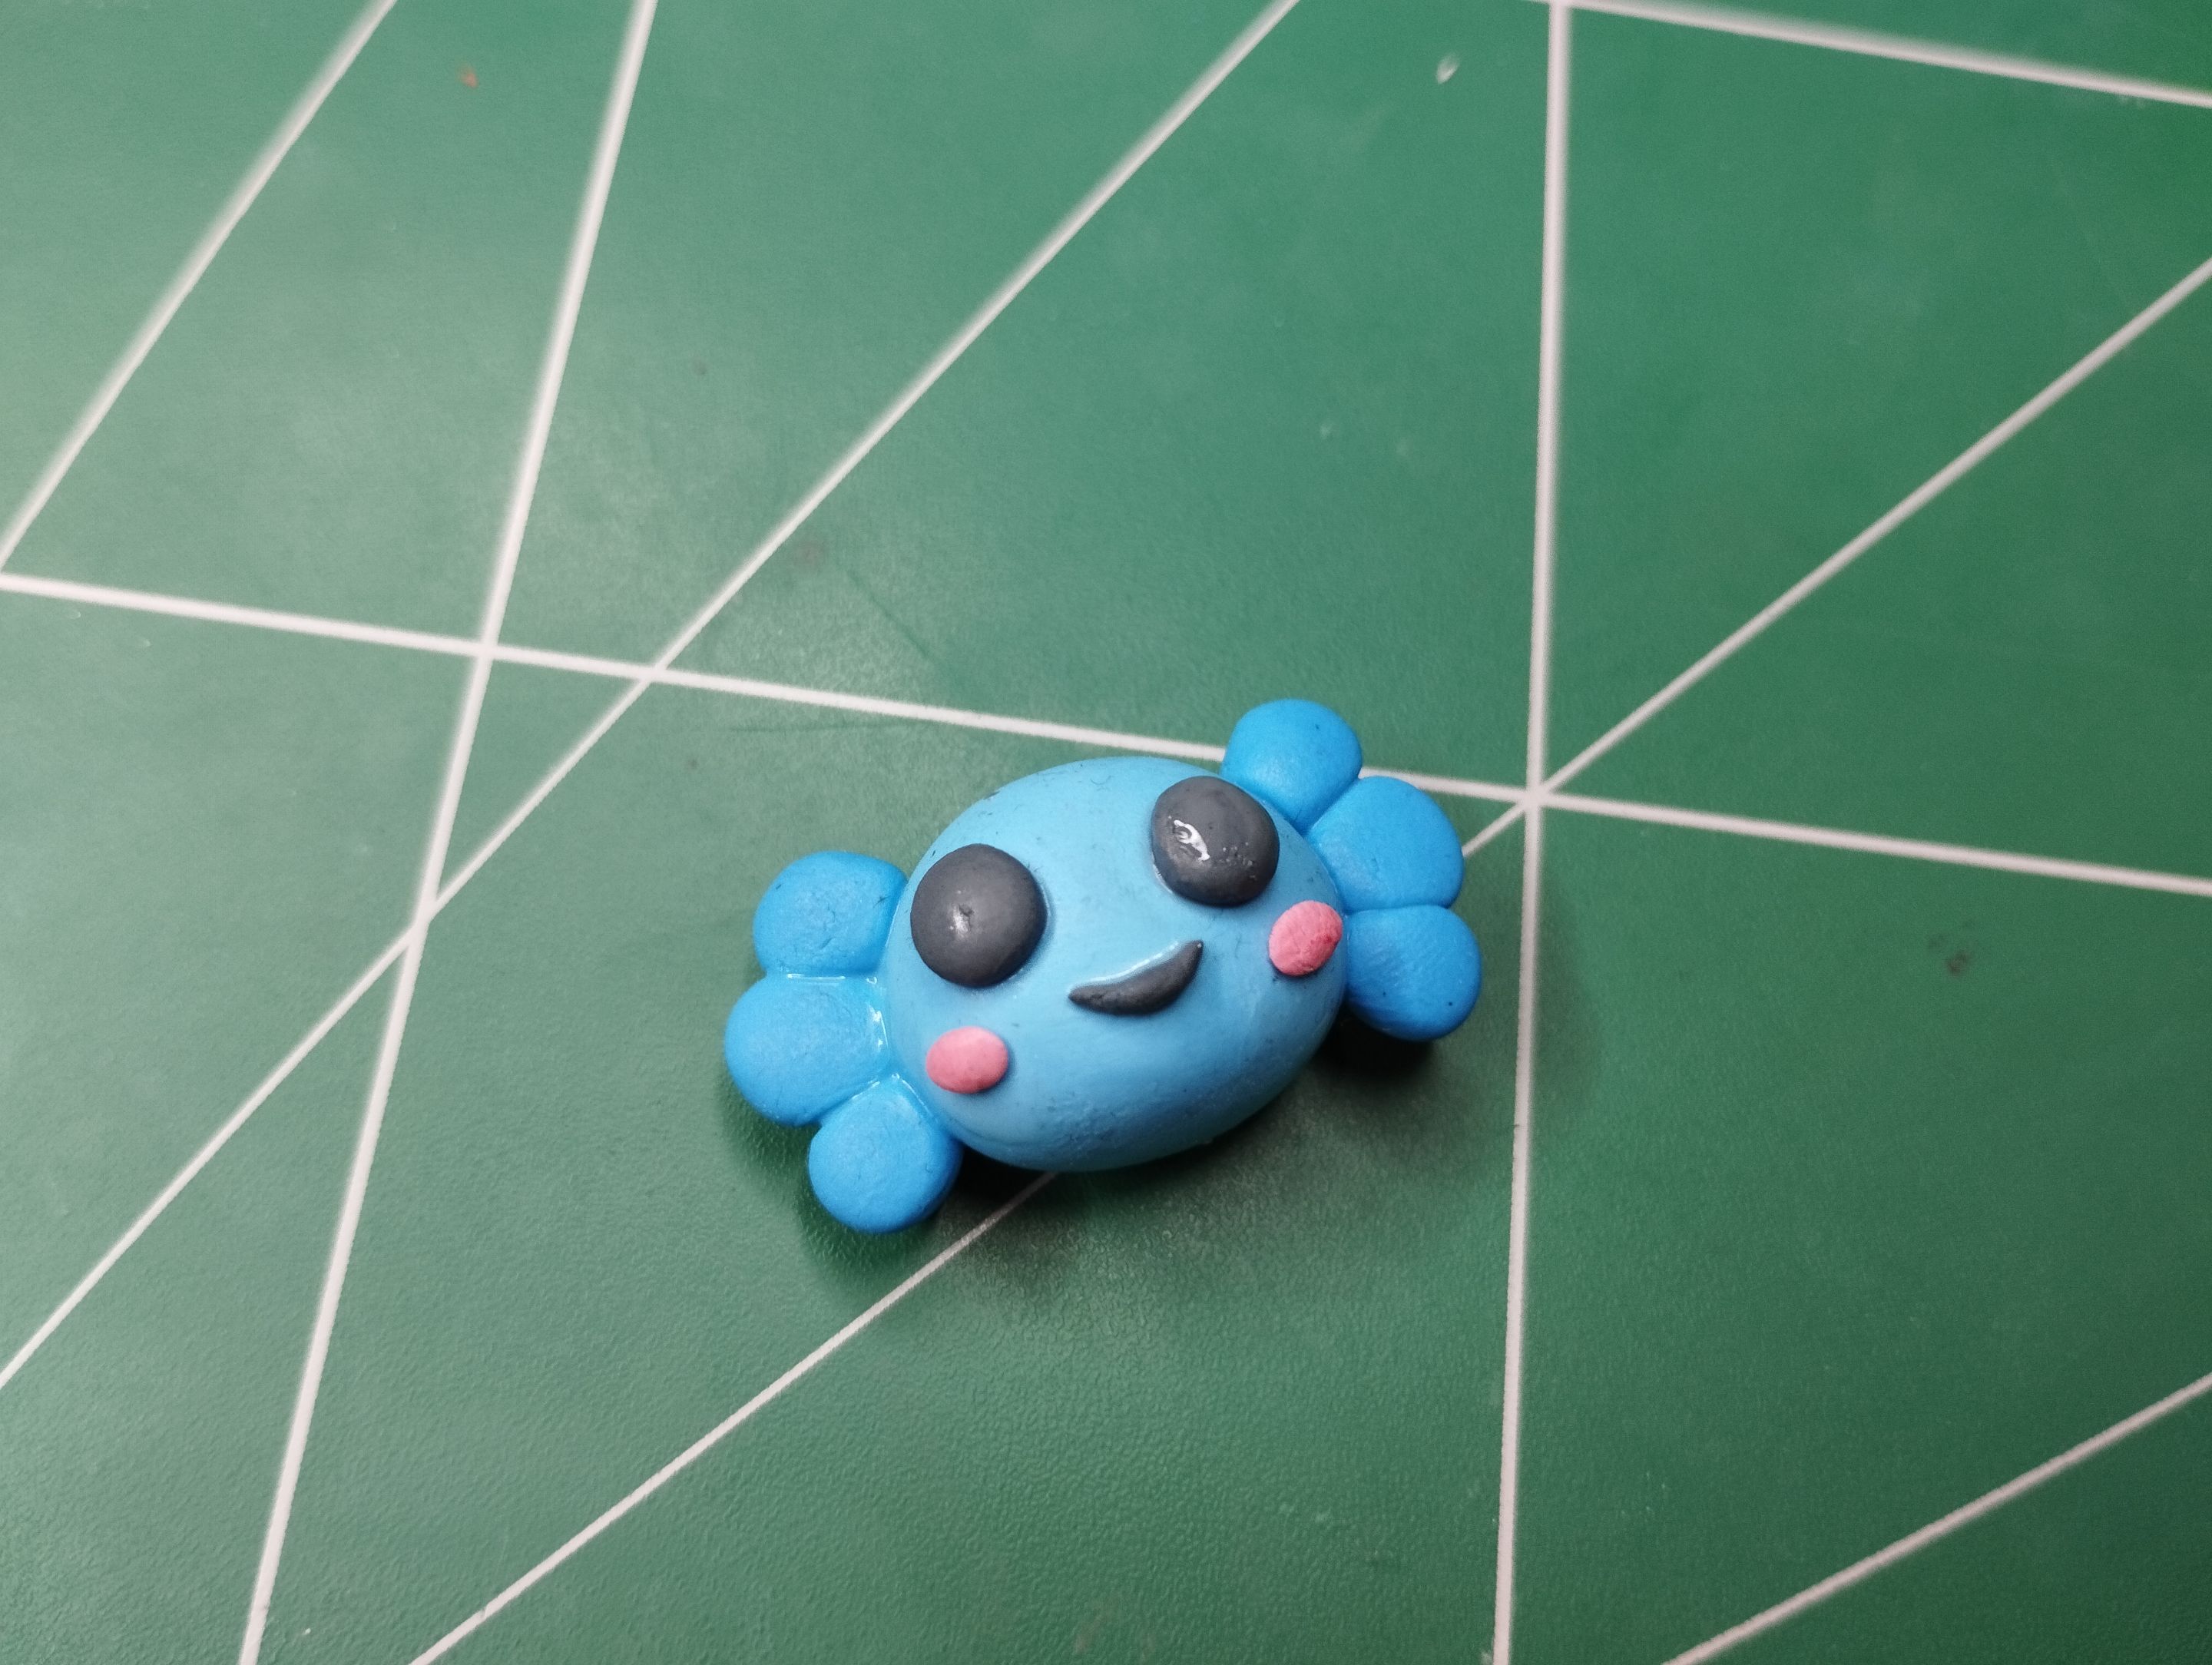
For the small fins on either side of the axolotl's head, I used a darker color of modeling clay; that is, I mixed a little more blue paint into the modeling clay to obtain a darker color.
I placed three on each side, in a rounded shape, sticking them to the head with water and glue to “weld” the pieces together.
>>Para las pequeñas aletitas que tiene el ajolote a cada lado de la cabeza, usé la masa flexible de un color más oscuro; es decir, mezclé un poco más de pintura azul con la masa flexible, obteniendo un color más oscuro.
>>
>>Le coloqué tres a cada lado, con forma redondeada, pegándola en la cabeza con agua y pegamento, para "soldar" las piezas.
|||
|-|-|
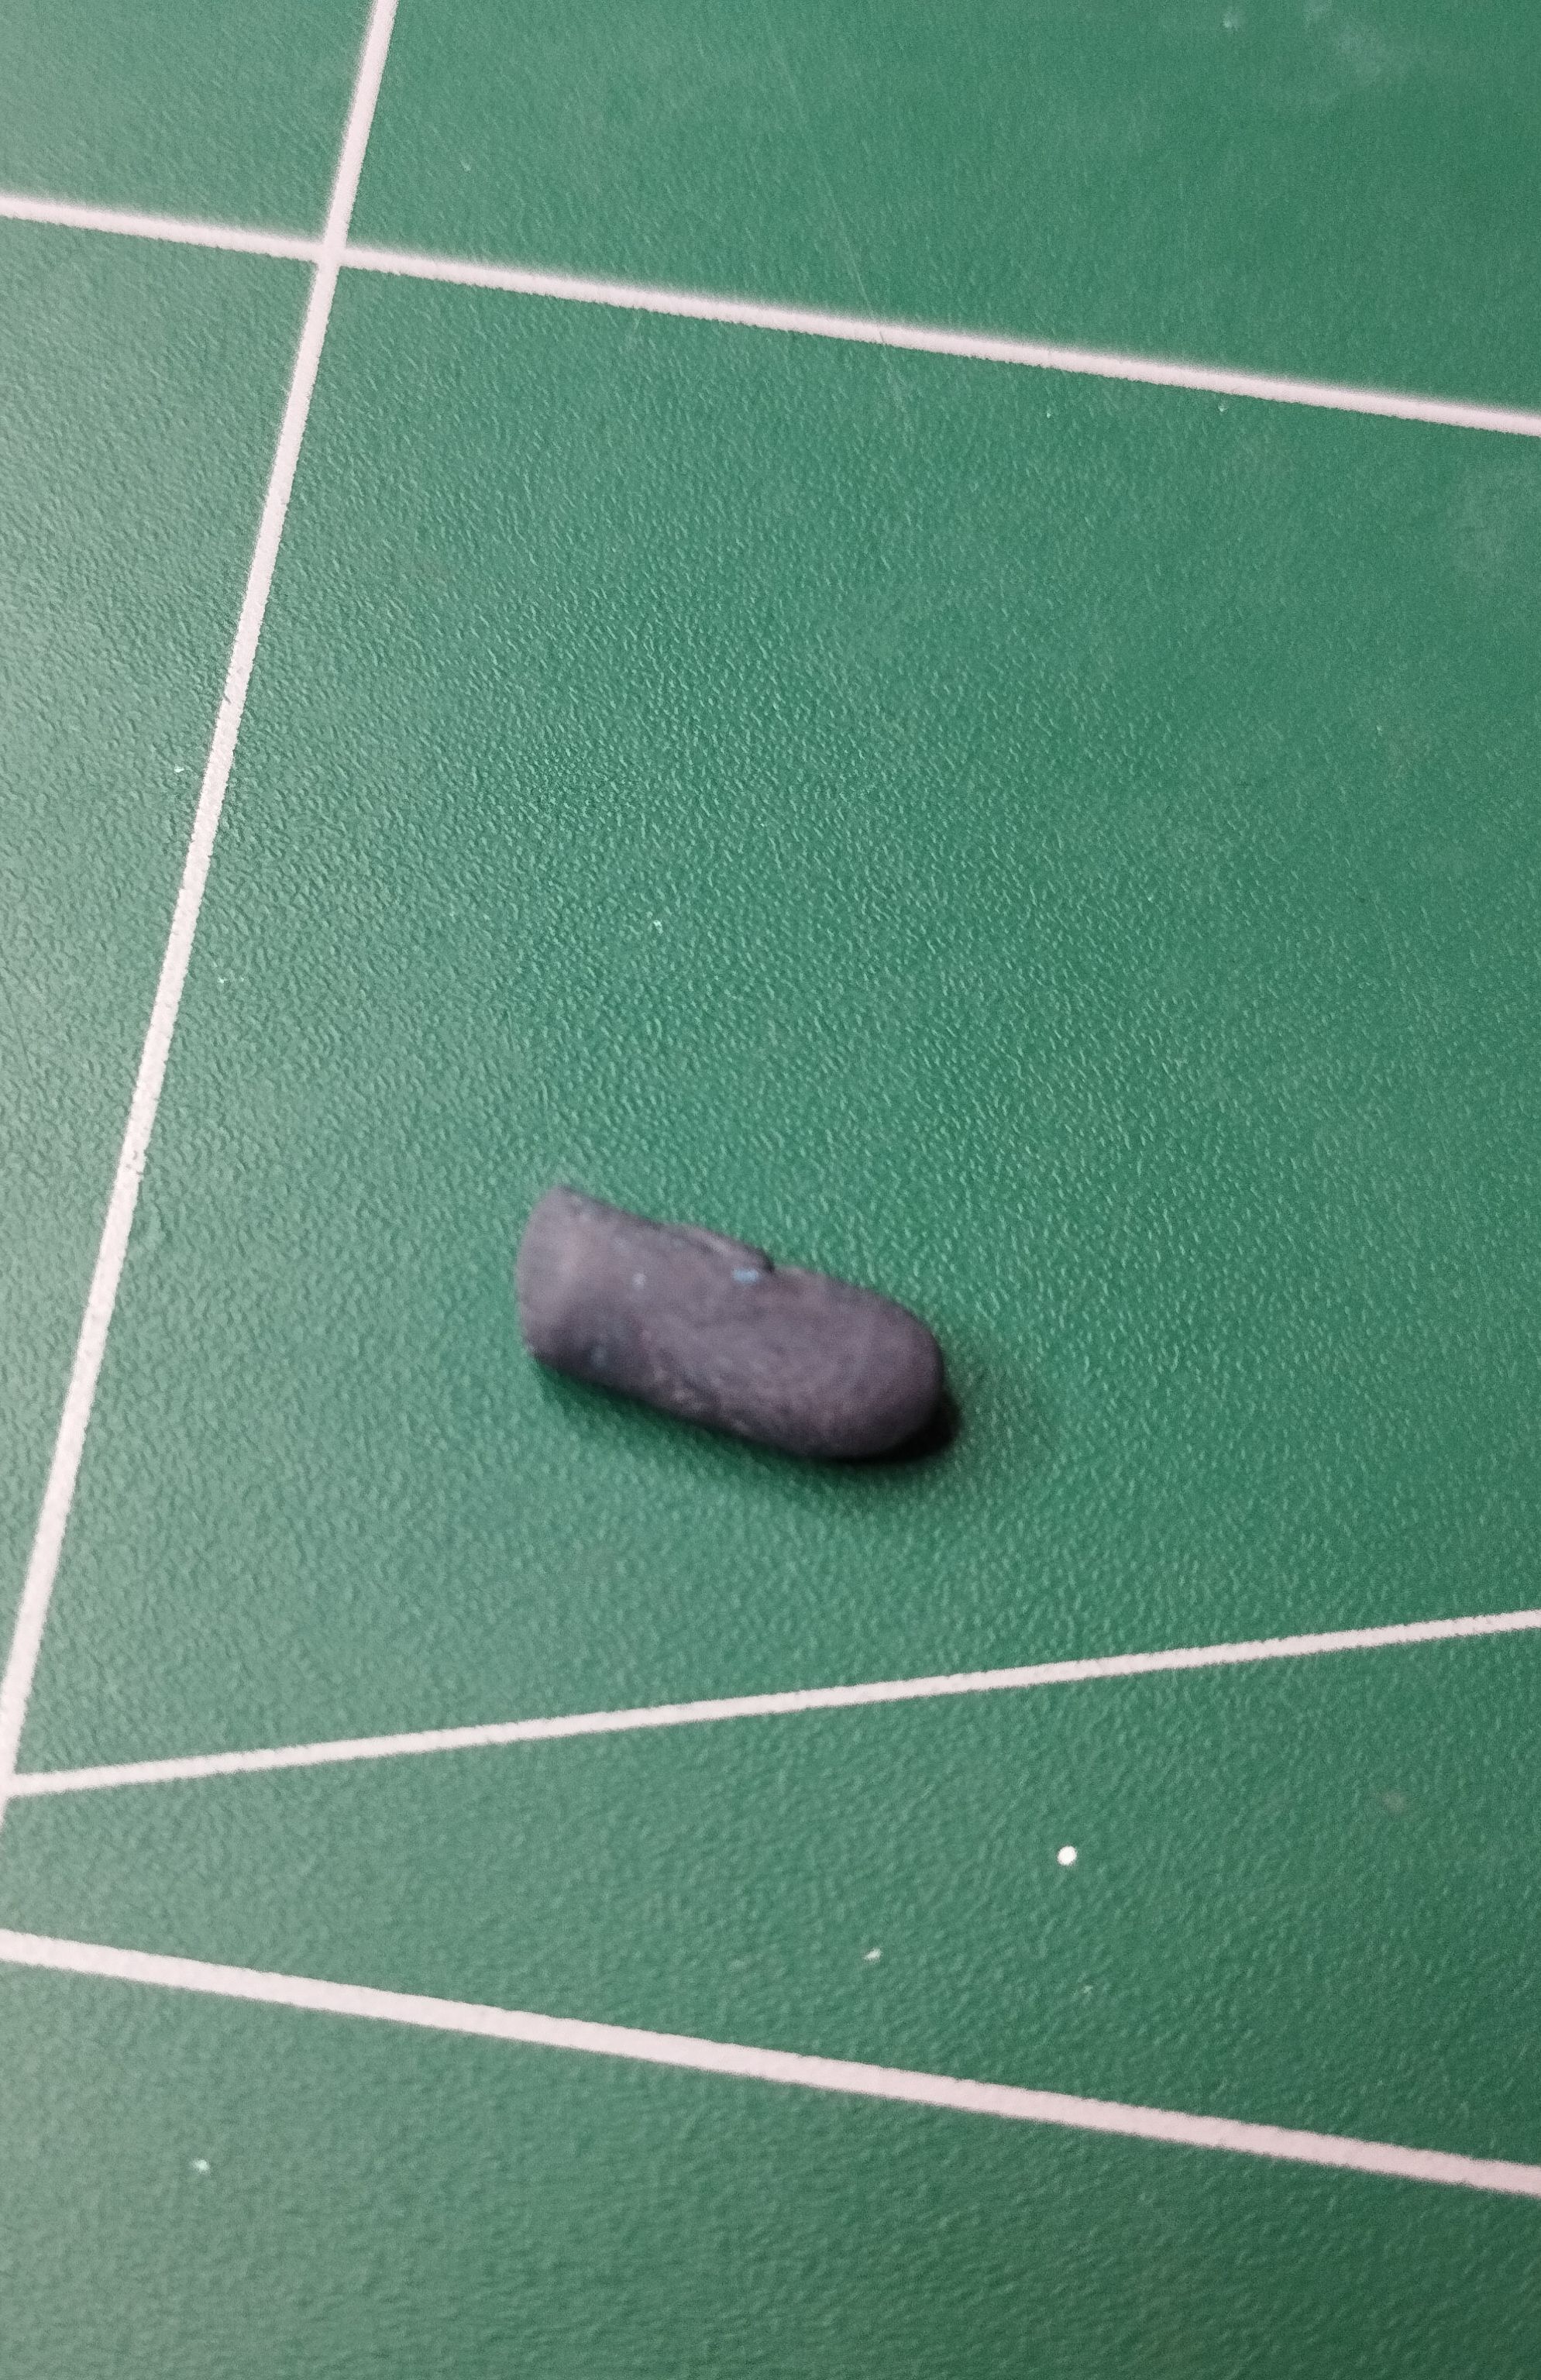
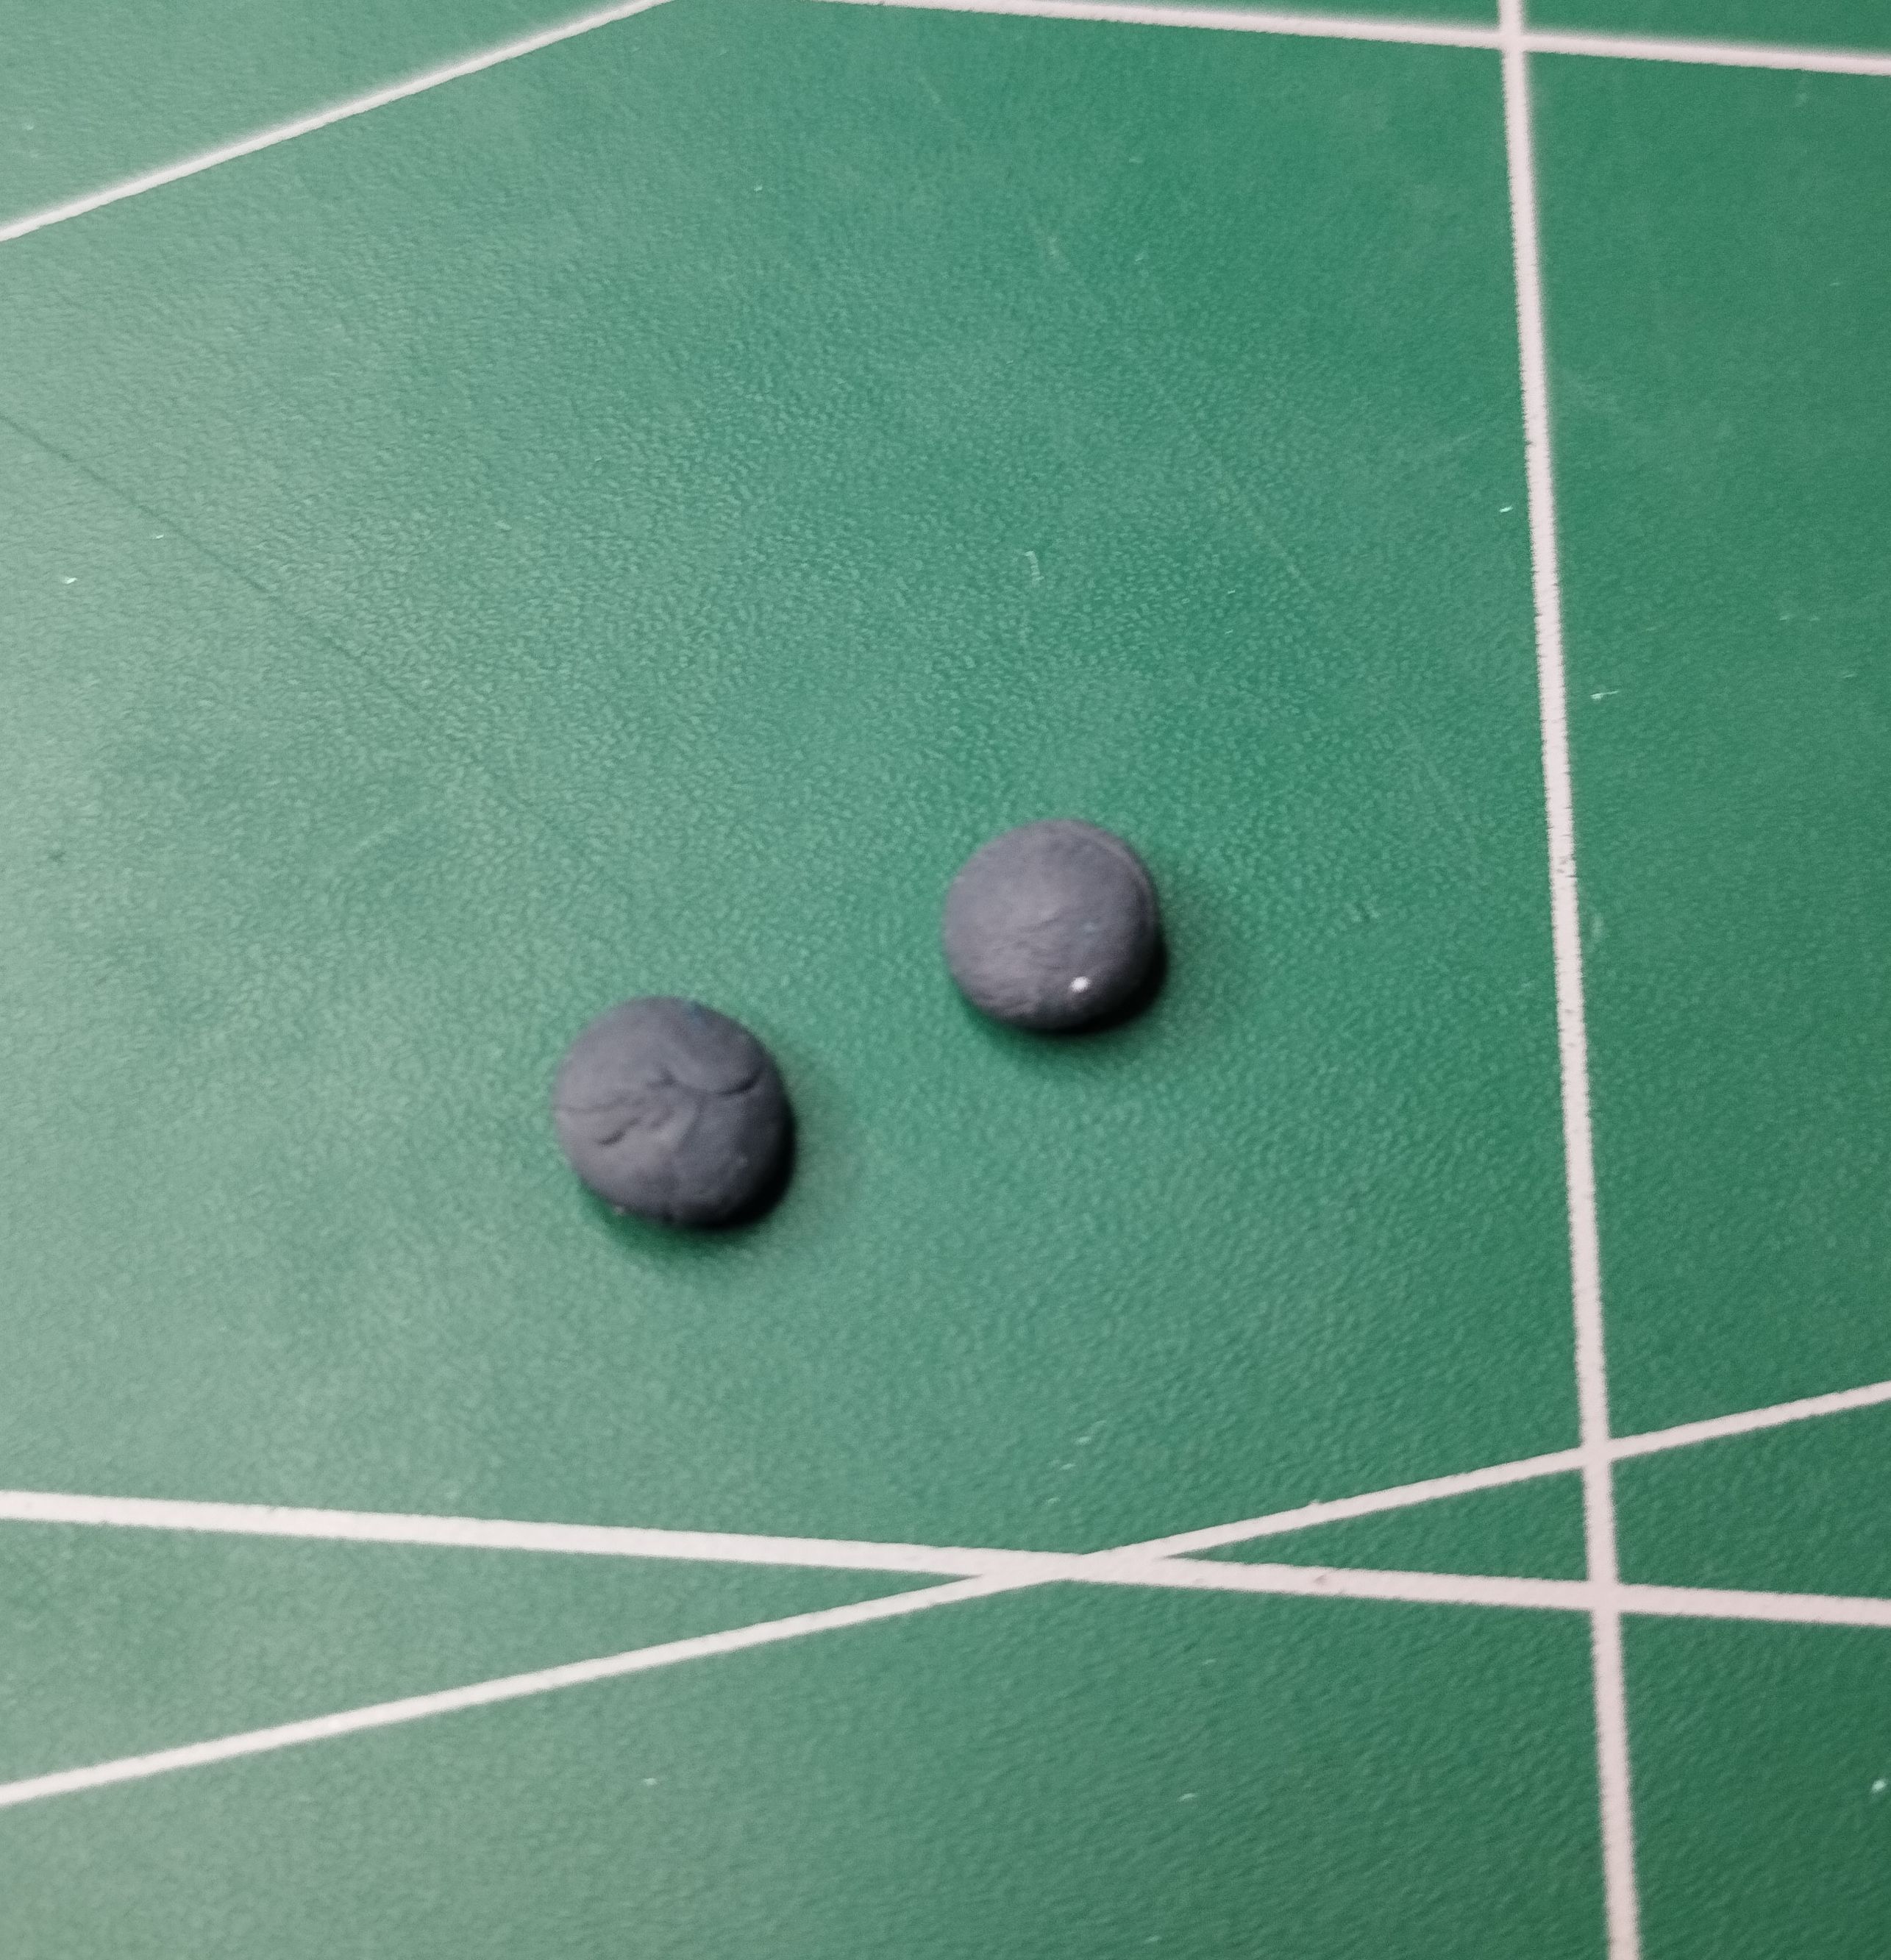
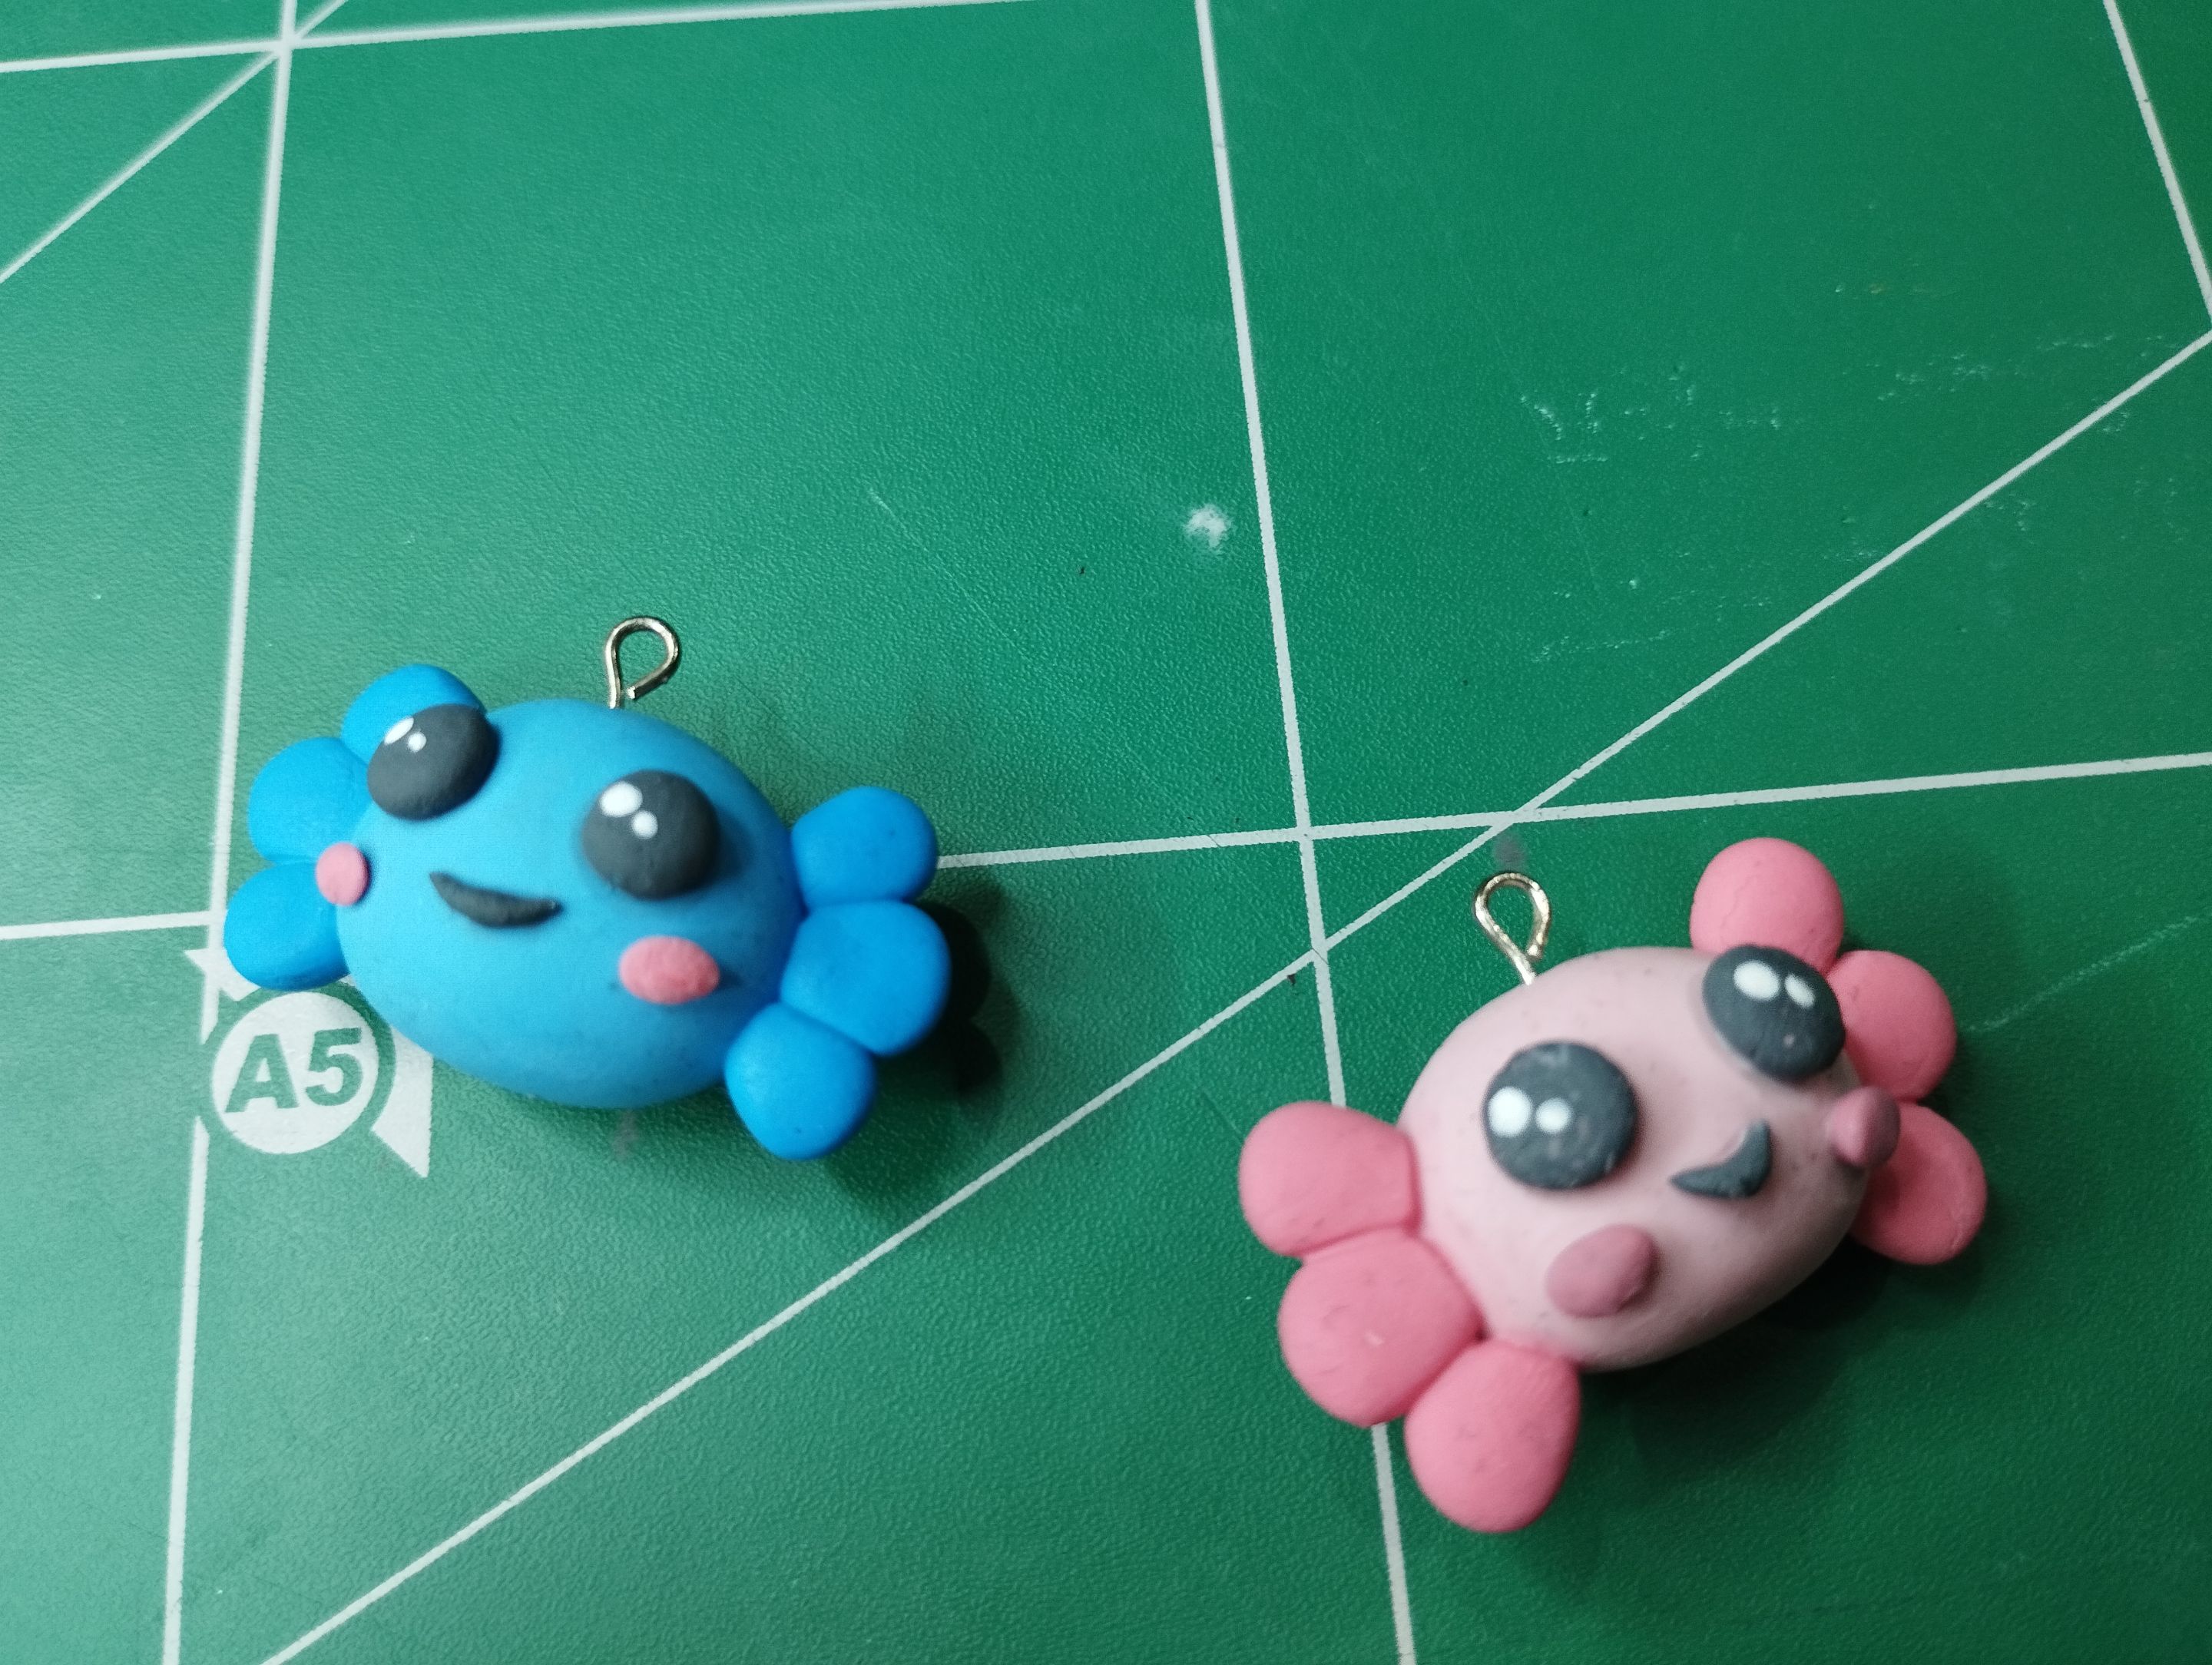
The body is basically ready, but the details still need to be added. Black is a very invasive color, so you don't need to mix too much color into the flexible dough; just a little bit will give you the black color you can see in the image below.
An important point is to work quickly with the material, because if you let it dry too much, it can crack, as happened to me. In the image on the right, in the left circle, you can see some cracks, so now you know that this can happen if you don't work quickly with the flexible dough.
>>Básicamente está listo el cuerpo, pero hace falta agregar los detalles. El color negro es muy invasivo, así que no es necesario mezclar demasiado color con la masa flexible, con un poco se obtiene el color negro que pueden ver en la imagen de abajo.
>>
>>Un punto importante es trabajar rápido con el material, porque si se deja secar mucho, se puede cuartear como me sucedió a mi. En la imagen de la derecha, en el círculo izquierdo, pueden ver unas grietas, así que ya saben que esto puede suceder si no trabajan rápido con la masa flexible.
|||
|-|-|
With the face pieces ready, I glued all the pieces in place, the eyes separately and the mouth in the middle of the eyes at a higher point. The little pink dots are details of blush to give the face a little more tenderness.
>>Ya con las piezas del rostro listo, pegué todas las piezas en su sitio, los ojos separados y la boca en medio de los ojos en un punto elevado. Los puntitos rosados son detallitos de rubor para darle un poco más de ternura en la cara.
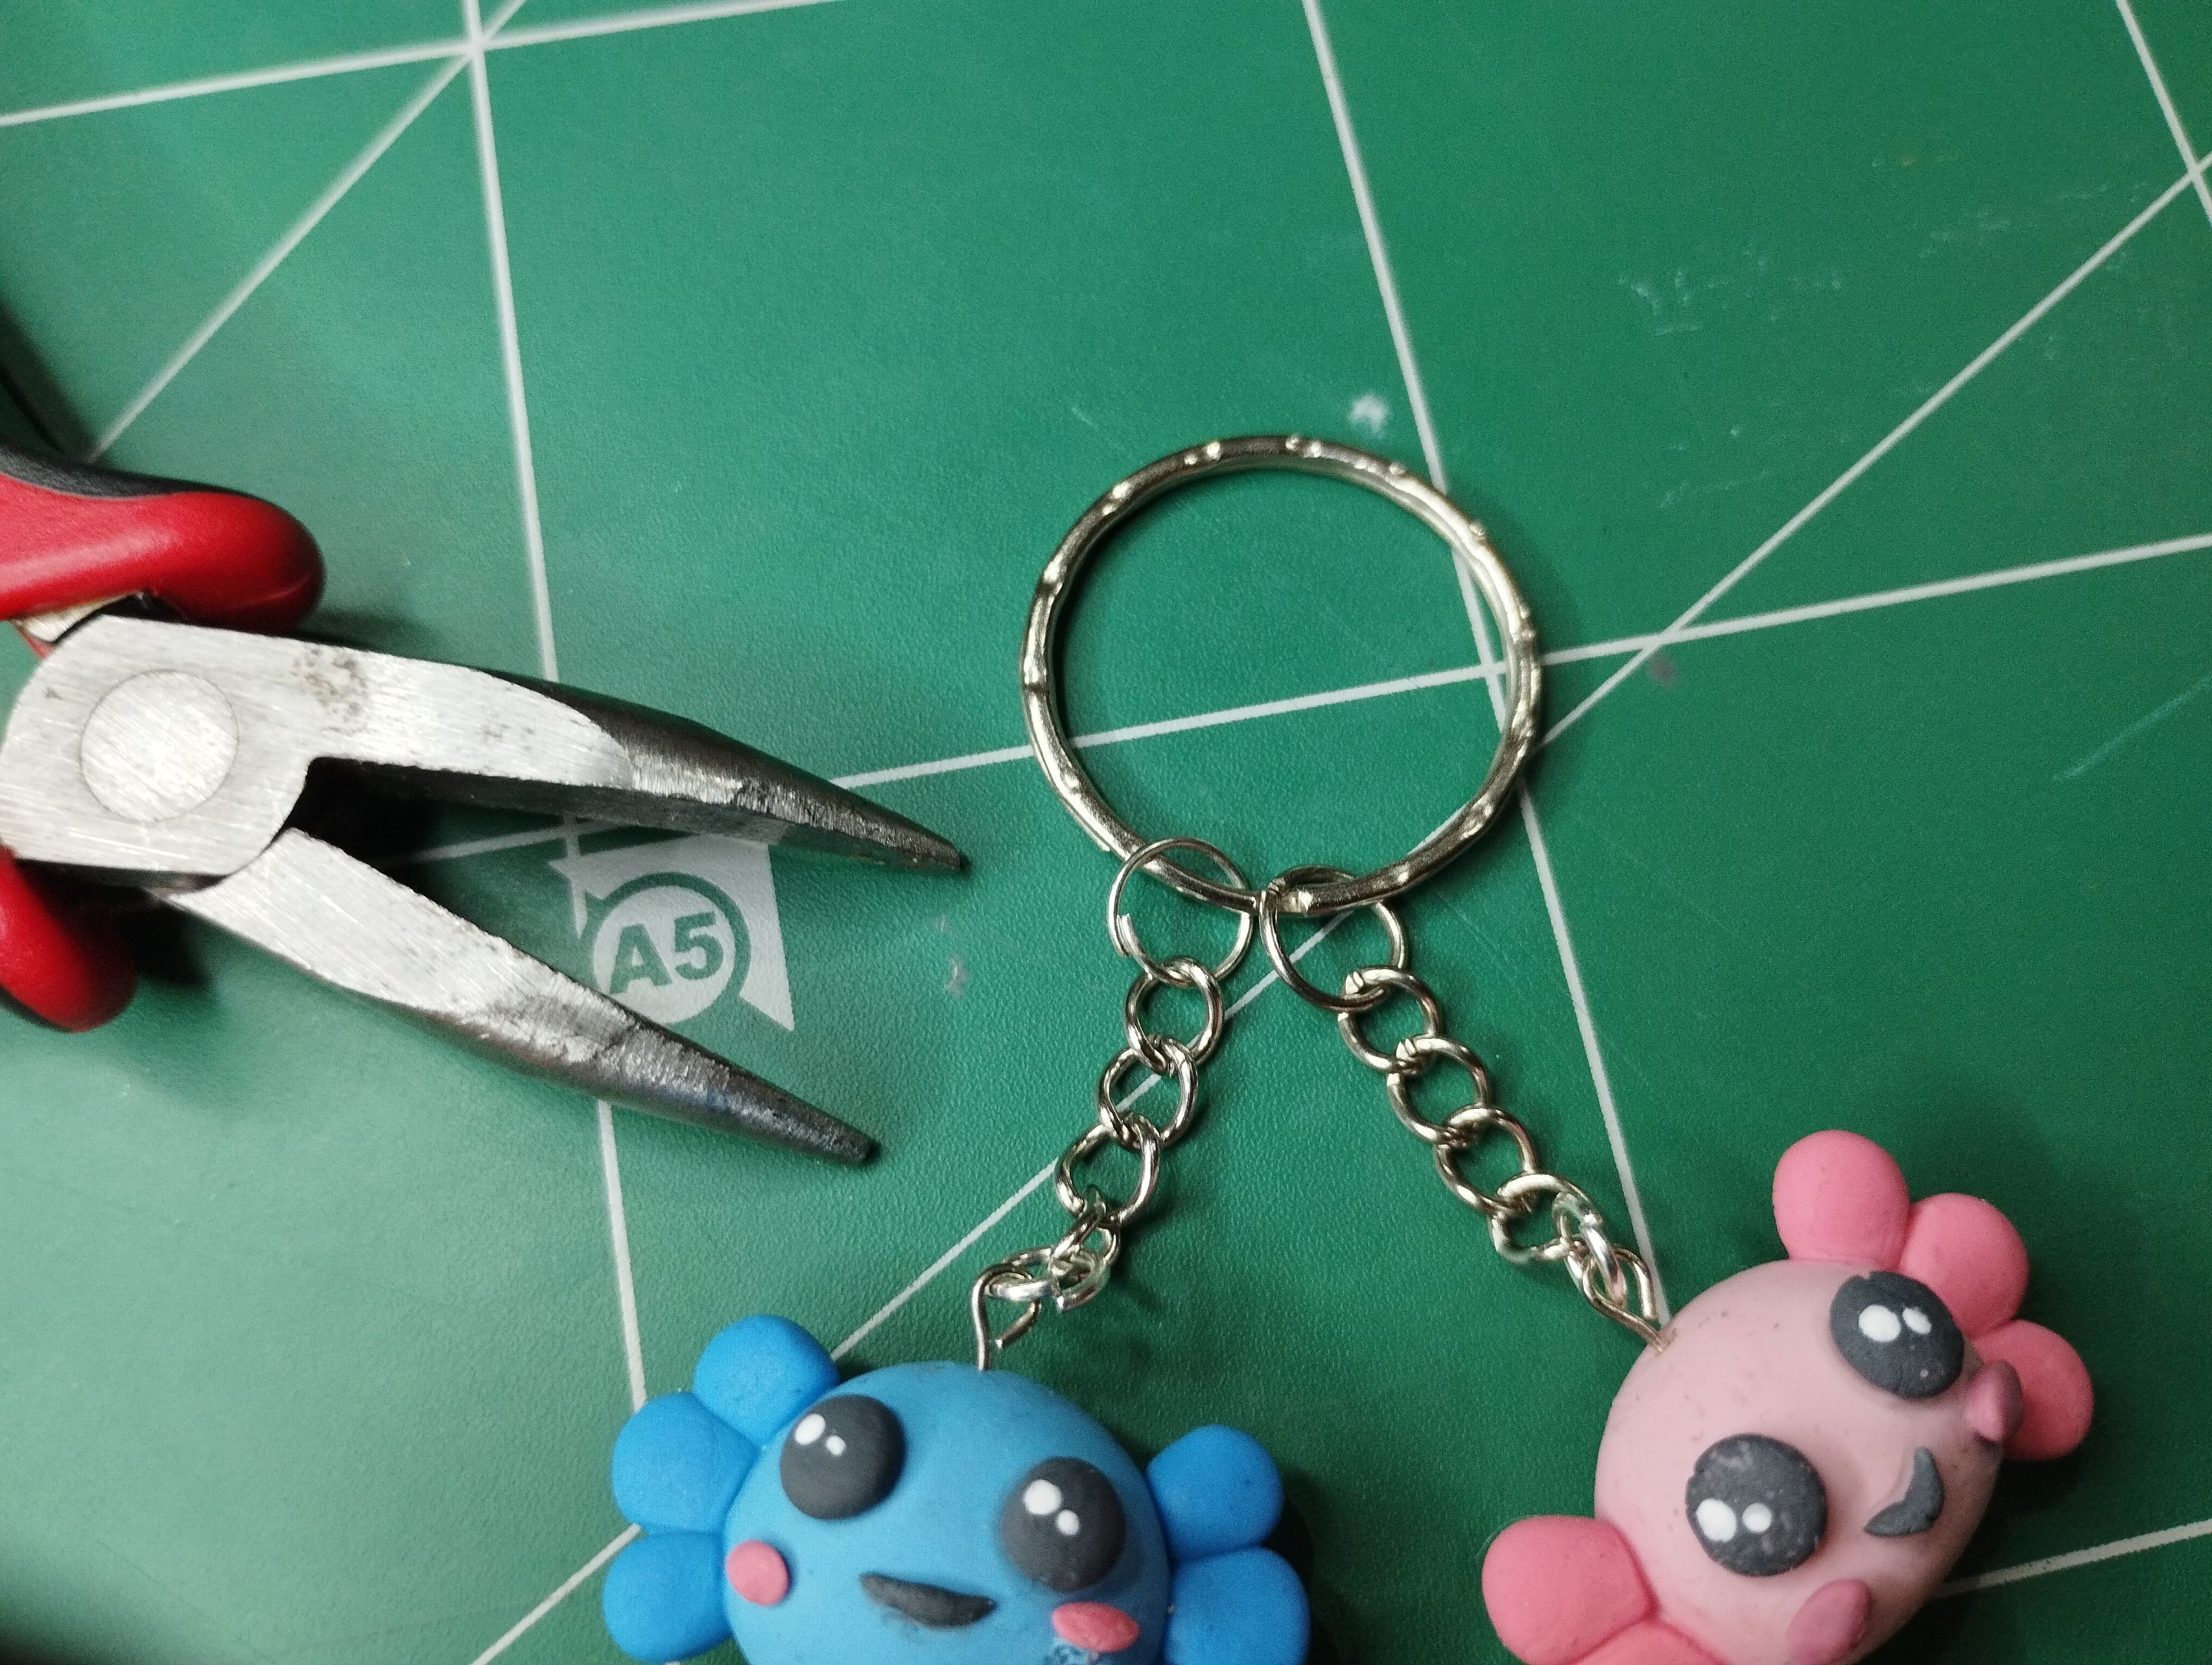
The last thing I did was attach the necessary wires so that the key ring could be used as a key ring. The small rings on the pieces and the chains. To do all this, I used the type of pliers you can see in the image on the right.
>>Ya lo último que hice fue colocar los alambres necesarios para que el llavero fuese llavero. Las argollitas en las piezas y las cadenitas. Para hacer todo esto usé el tipo de pinzas que pueden ver en la imagen de al derecha.
|||
|-|-|
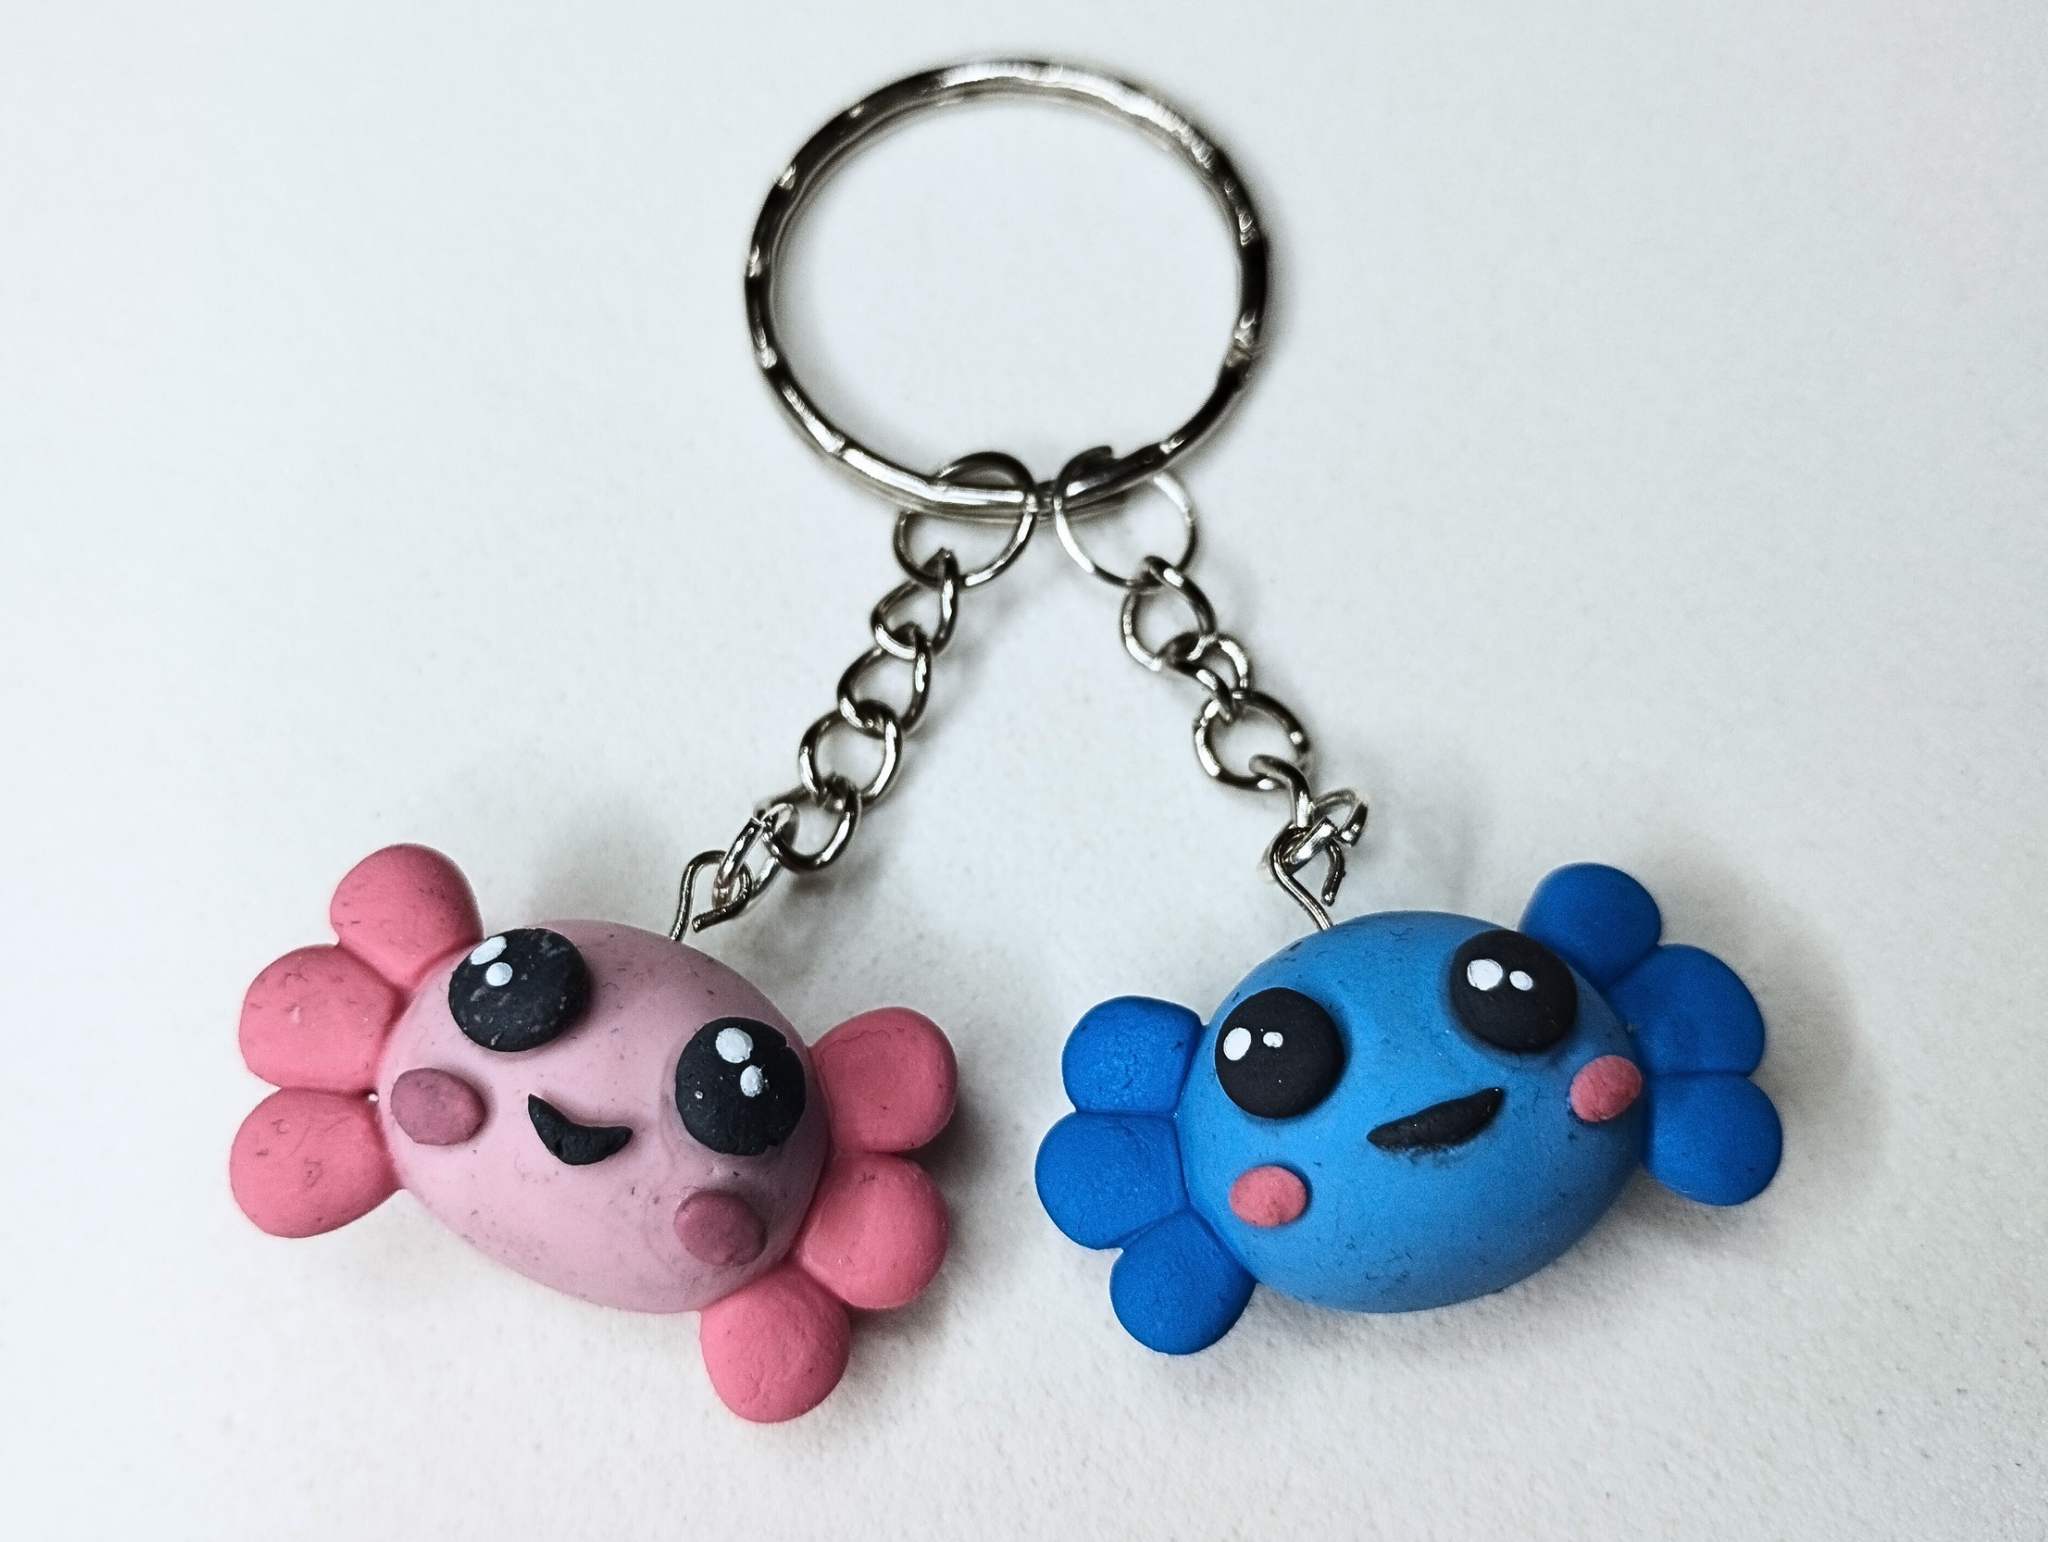
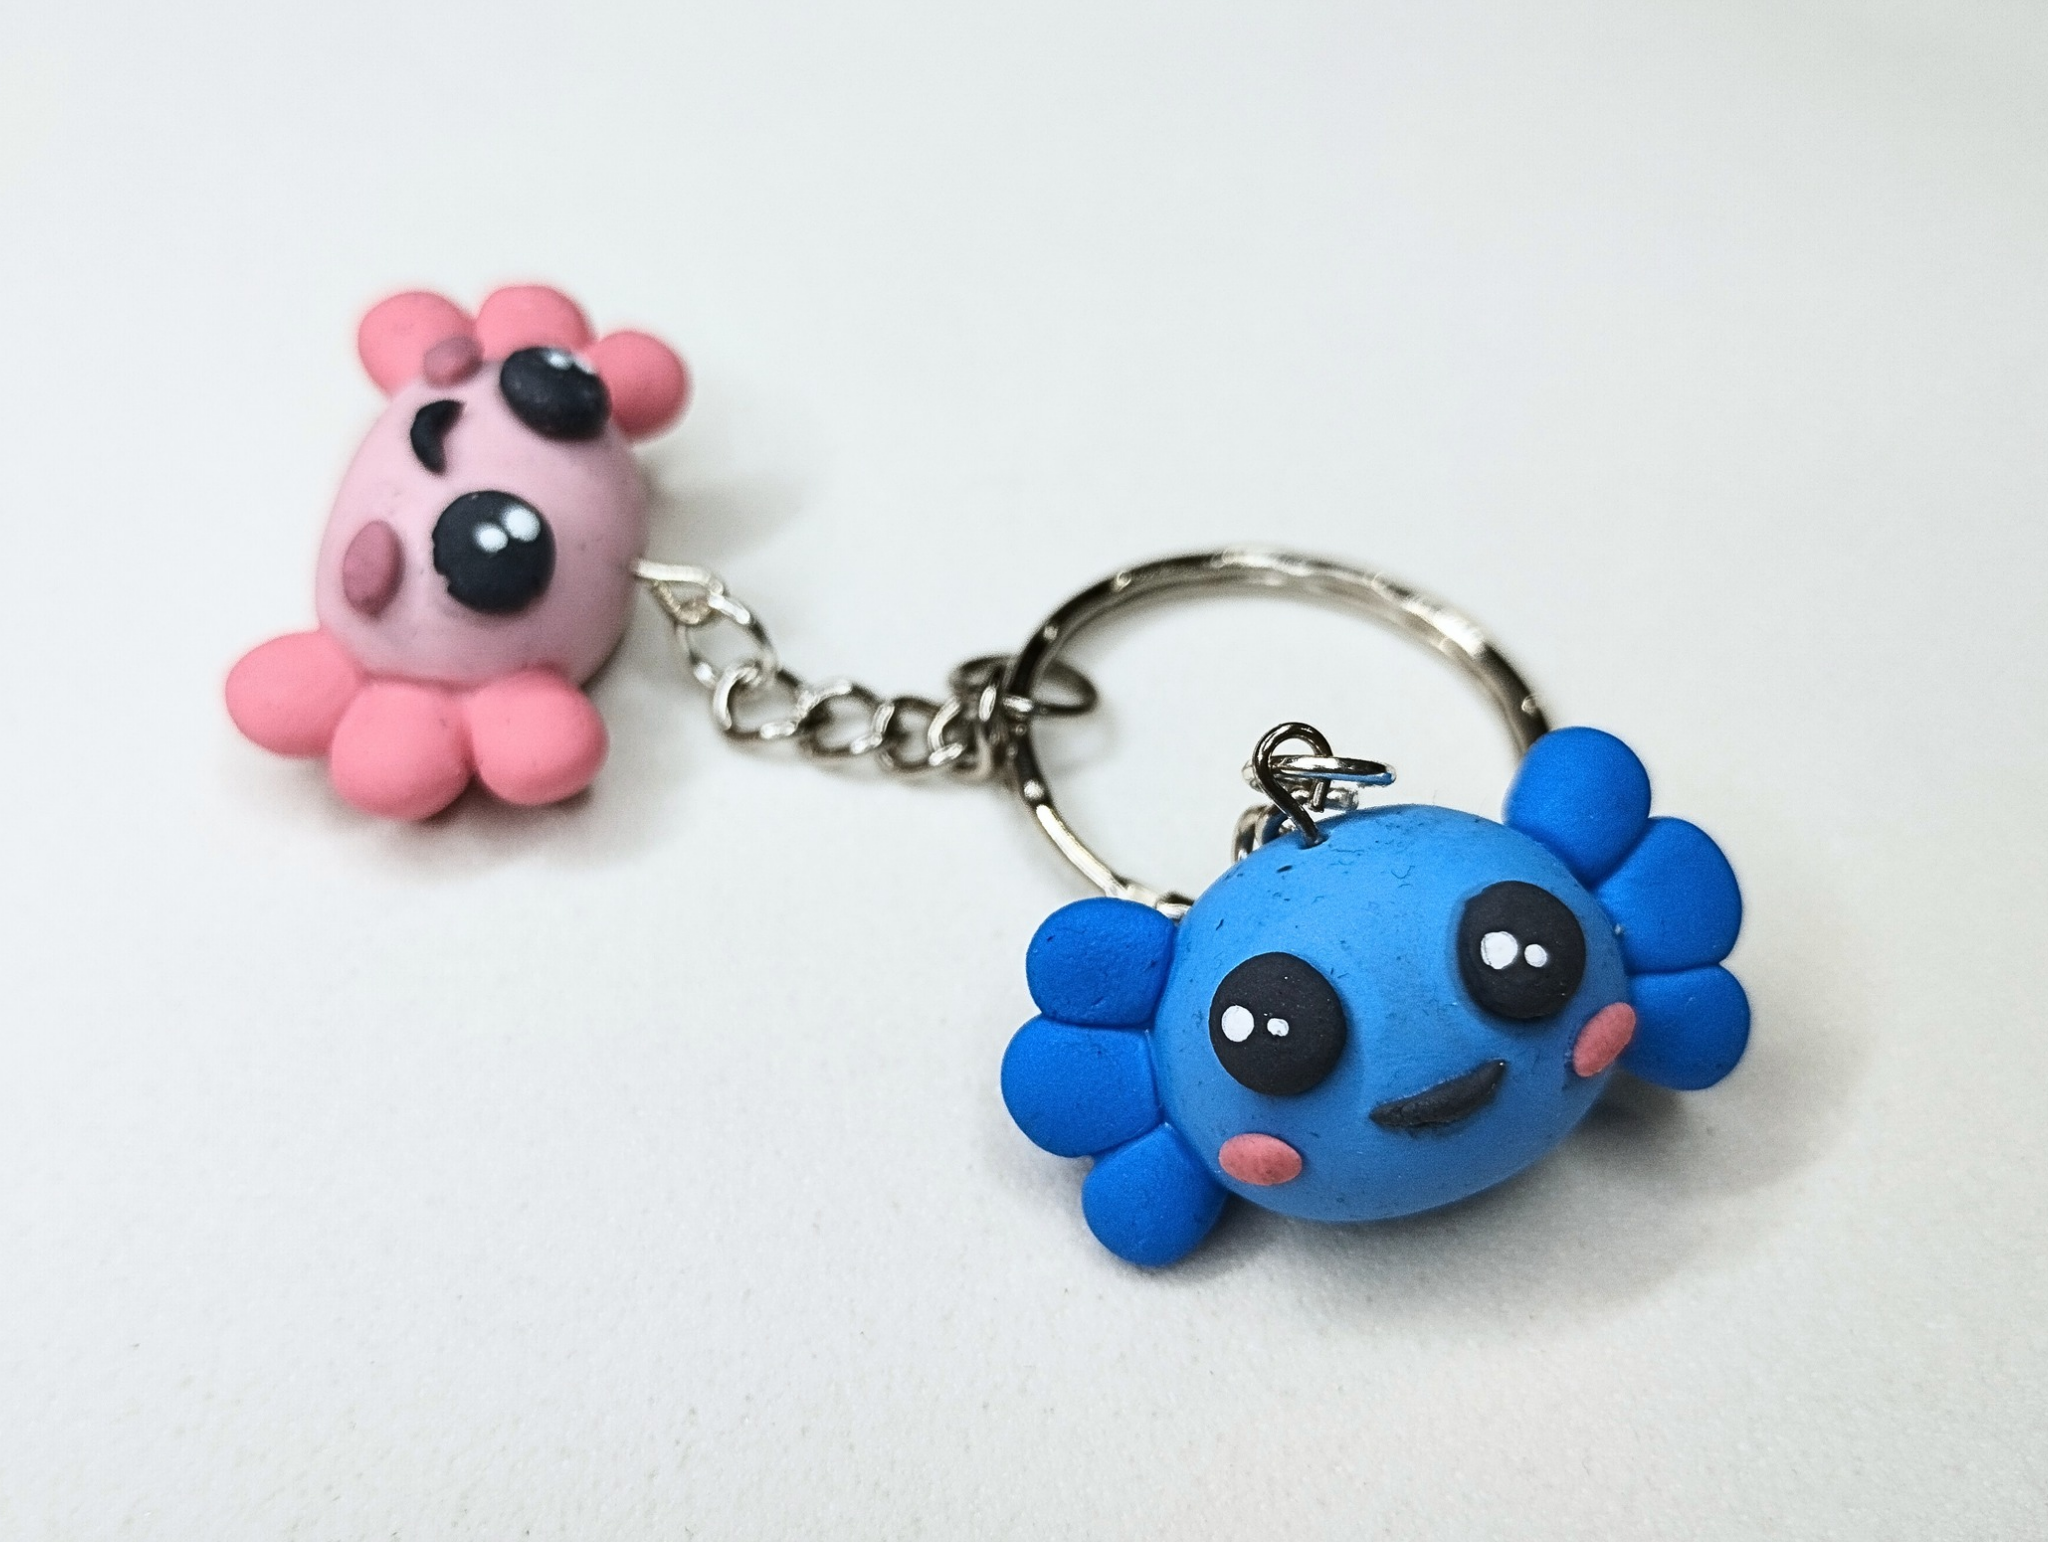
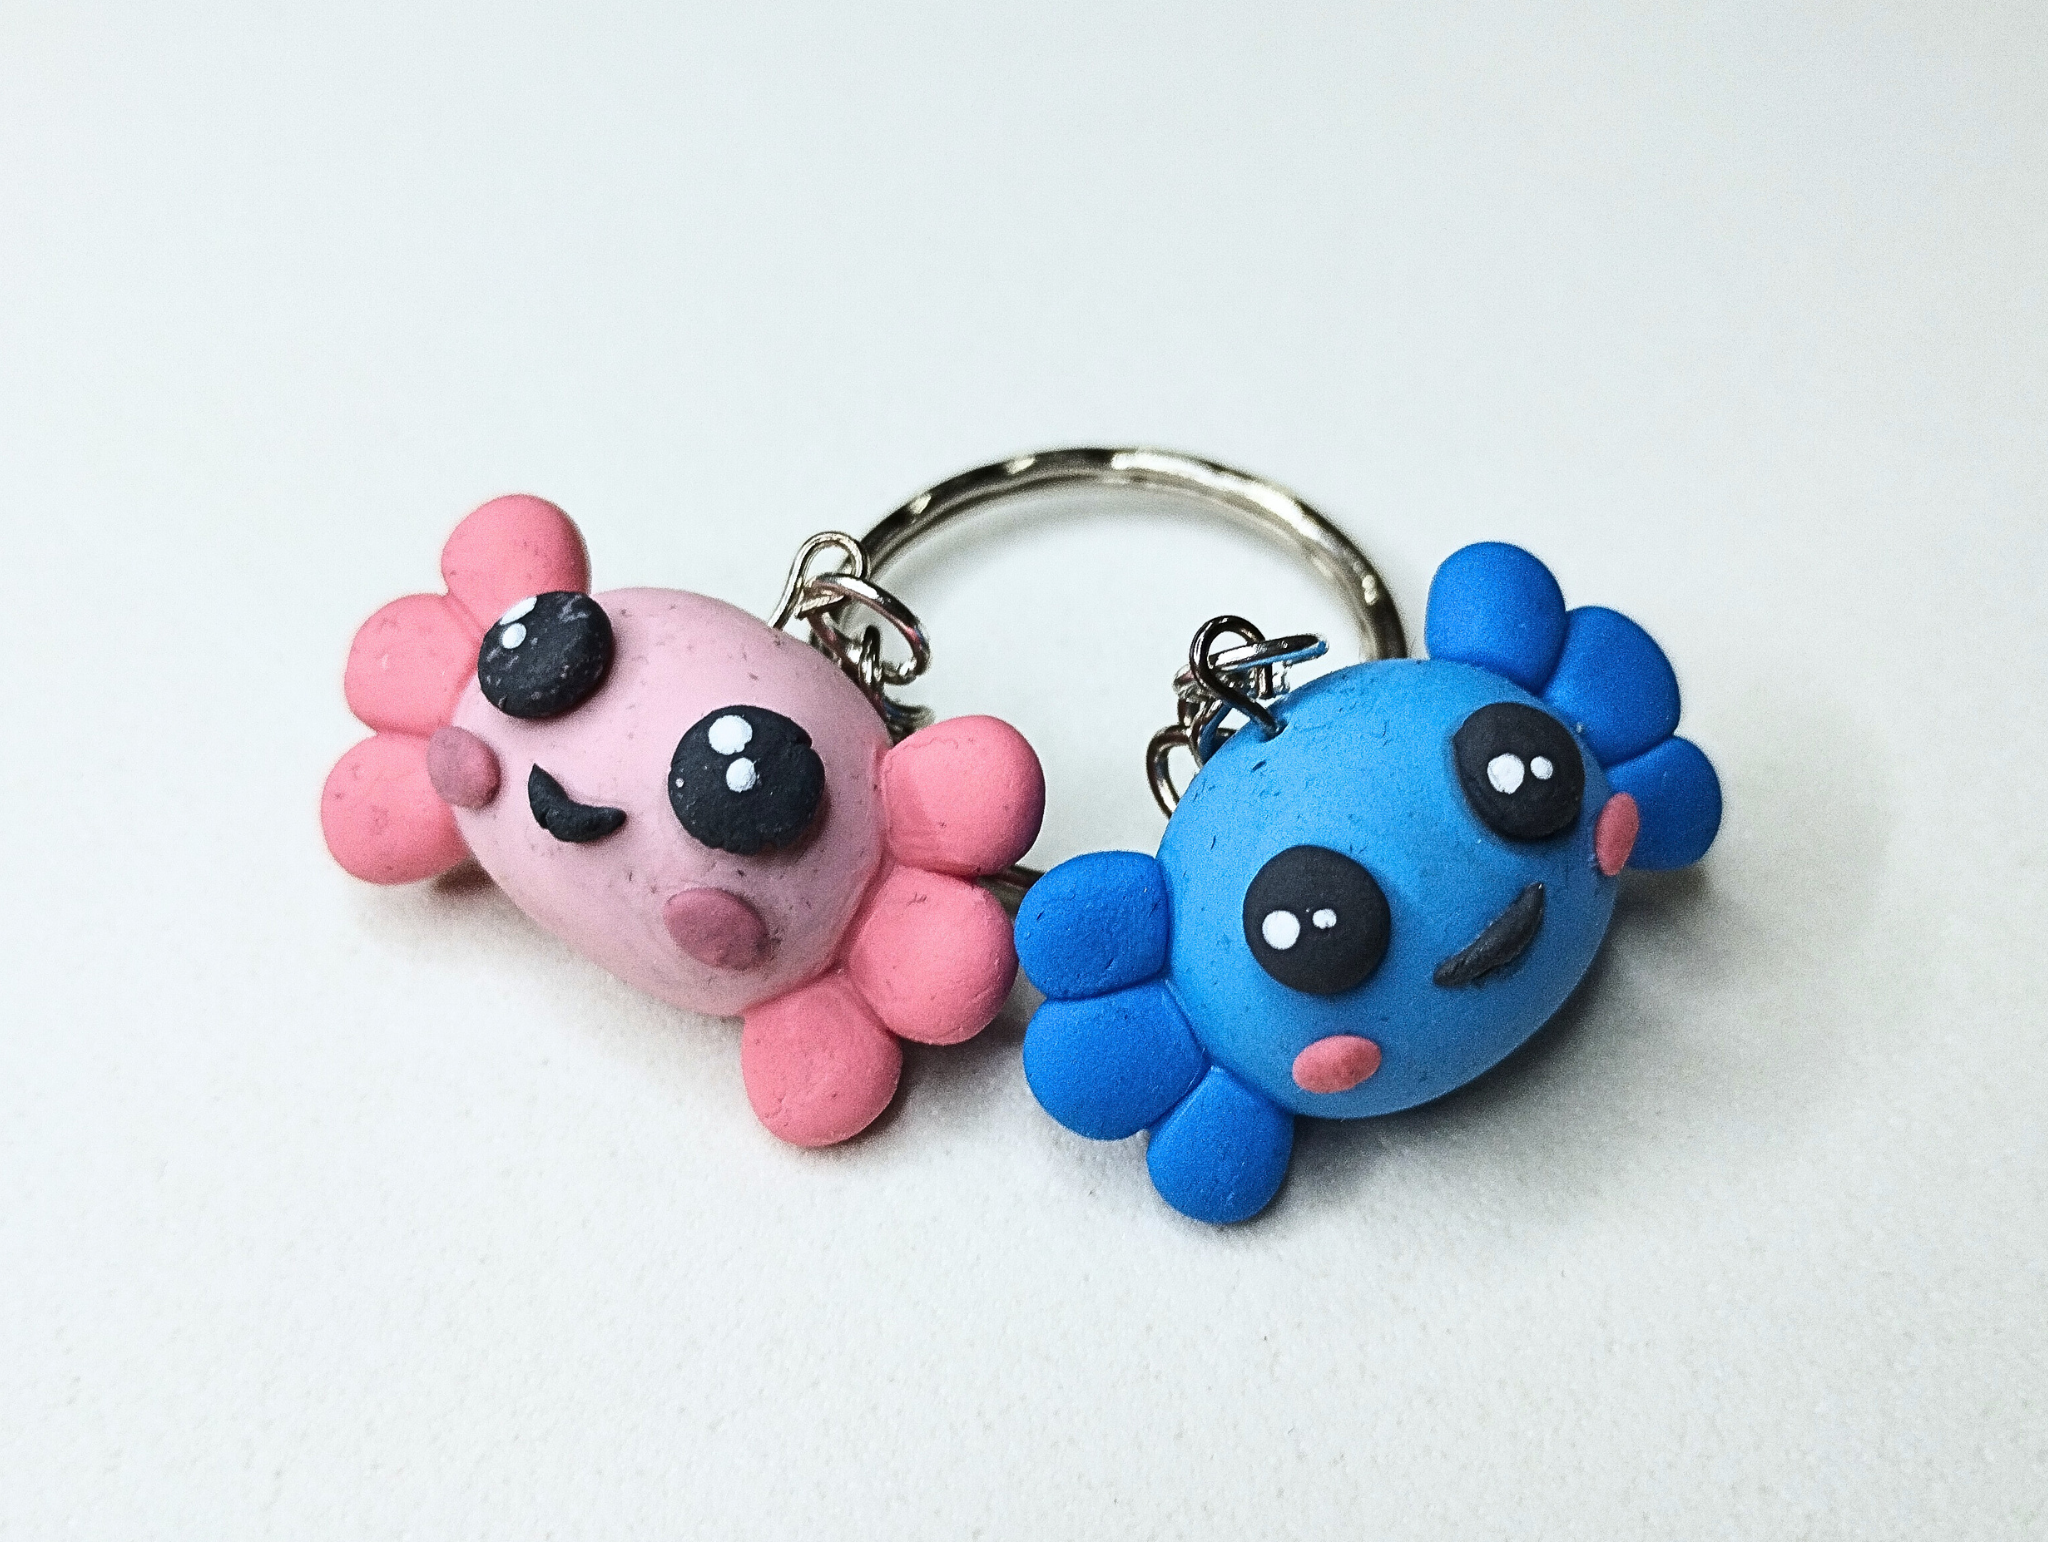
This completes the keyring. Below you can see a series of photographs of the final result:
>>De esta manera el llavero quedó terminado. A continuación pueden ver una serie de fotografías del resultado final:
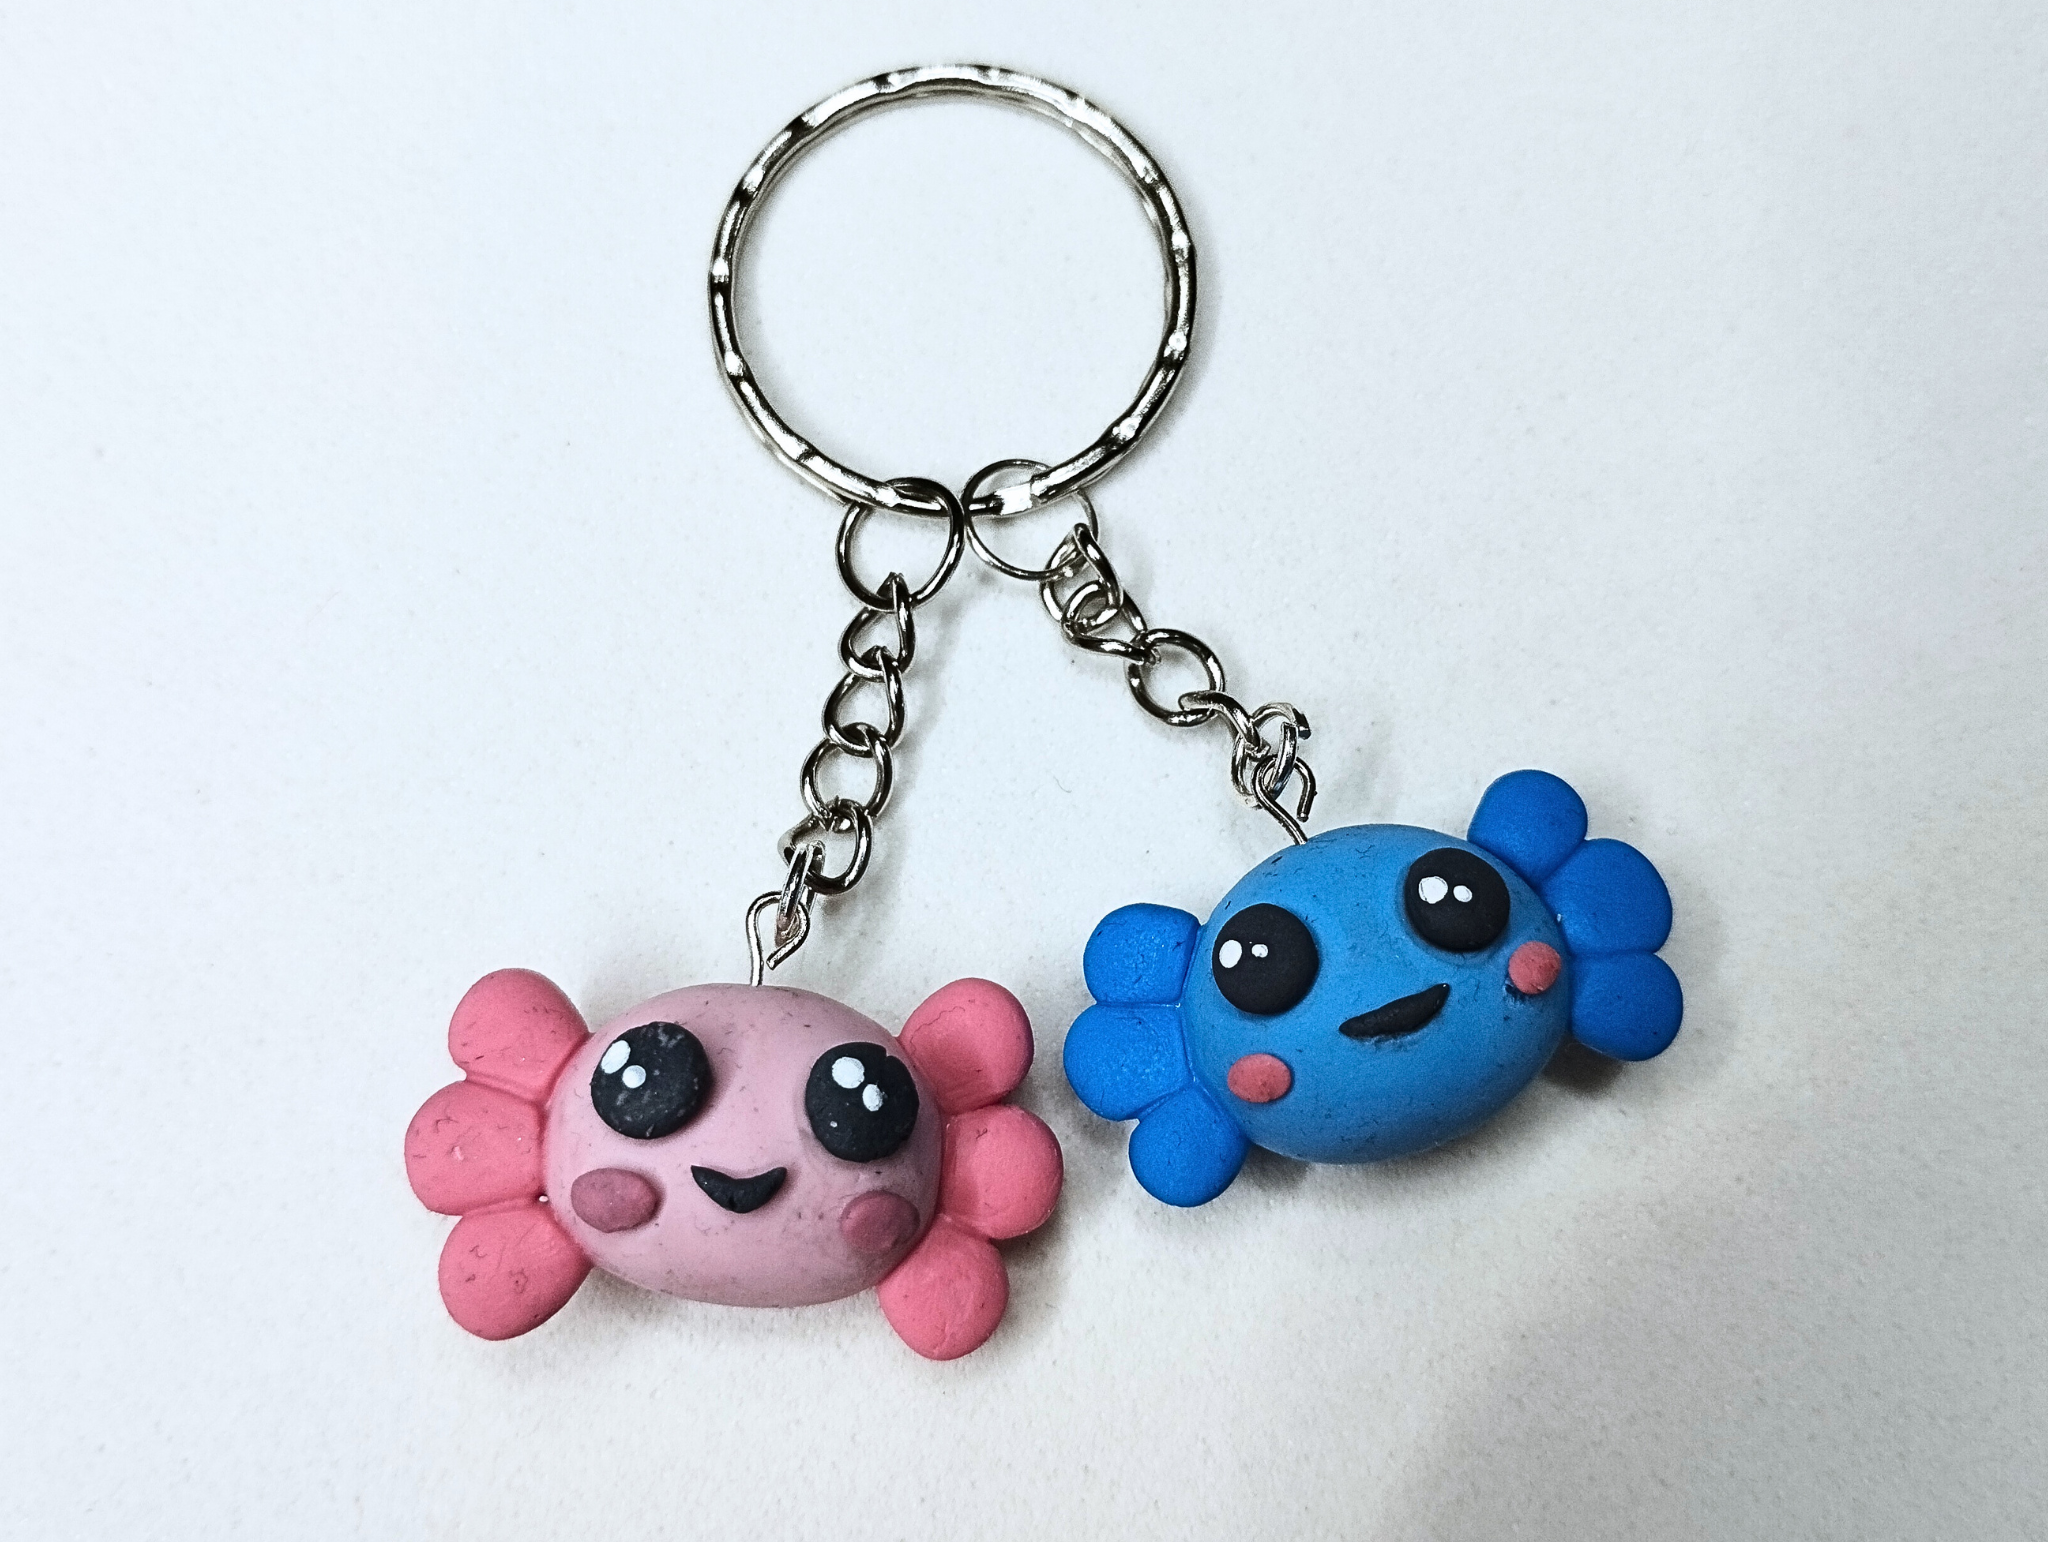
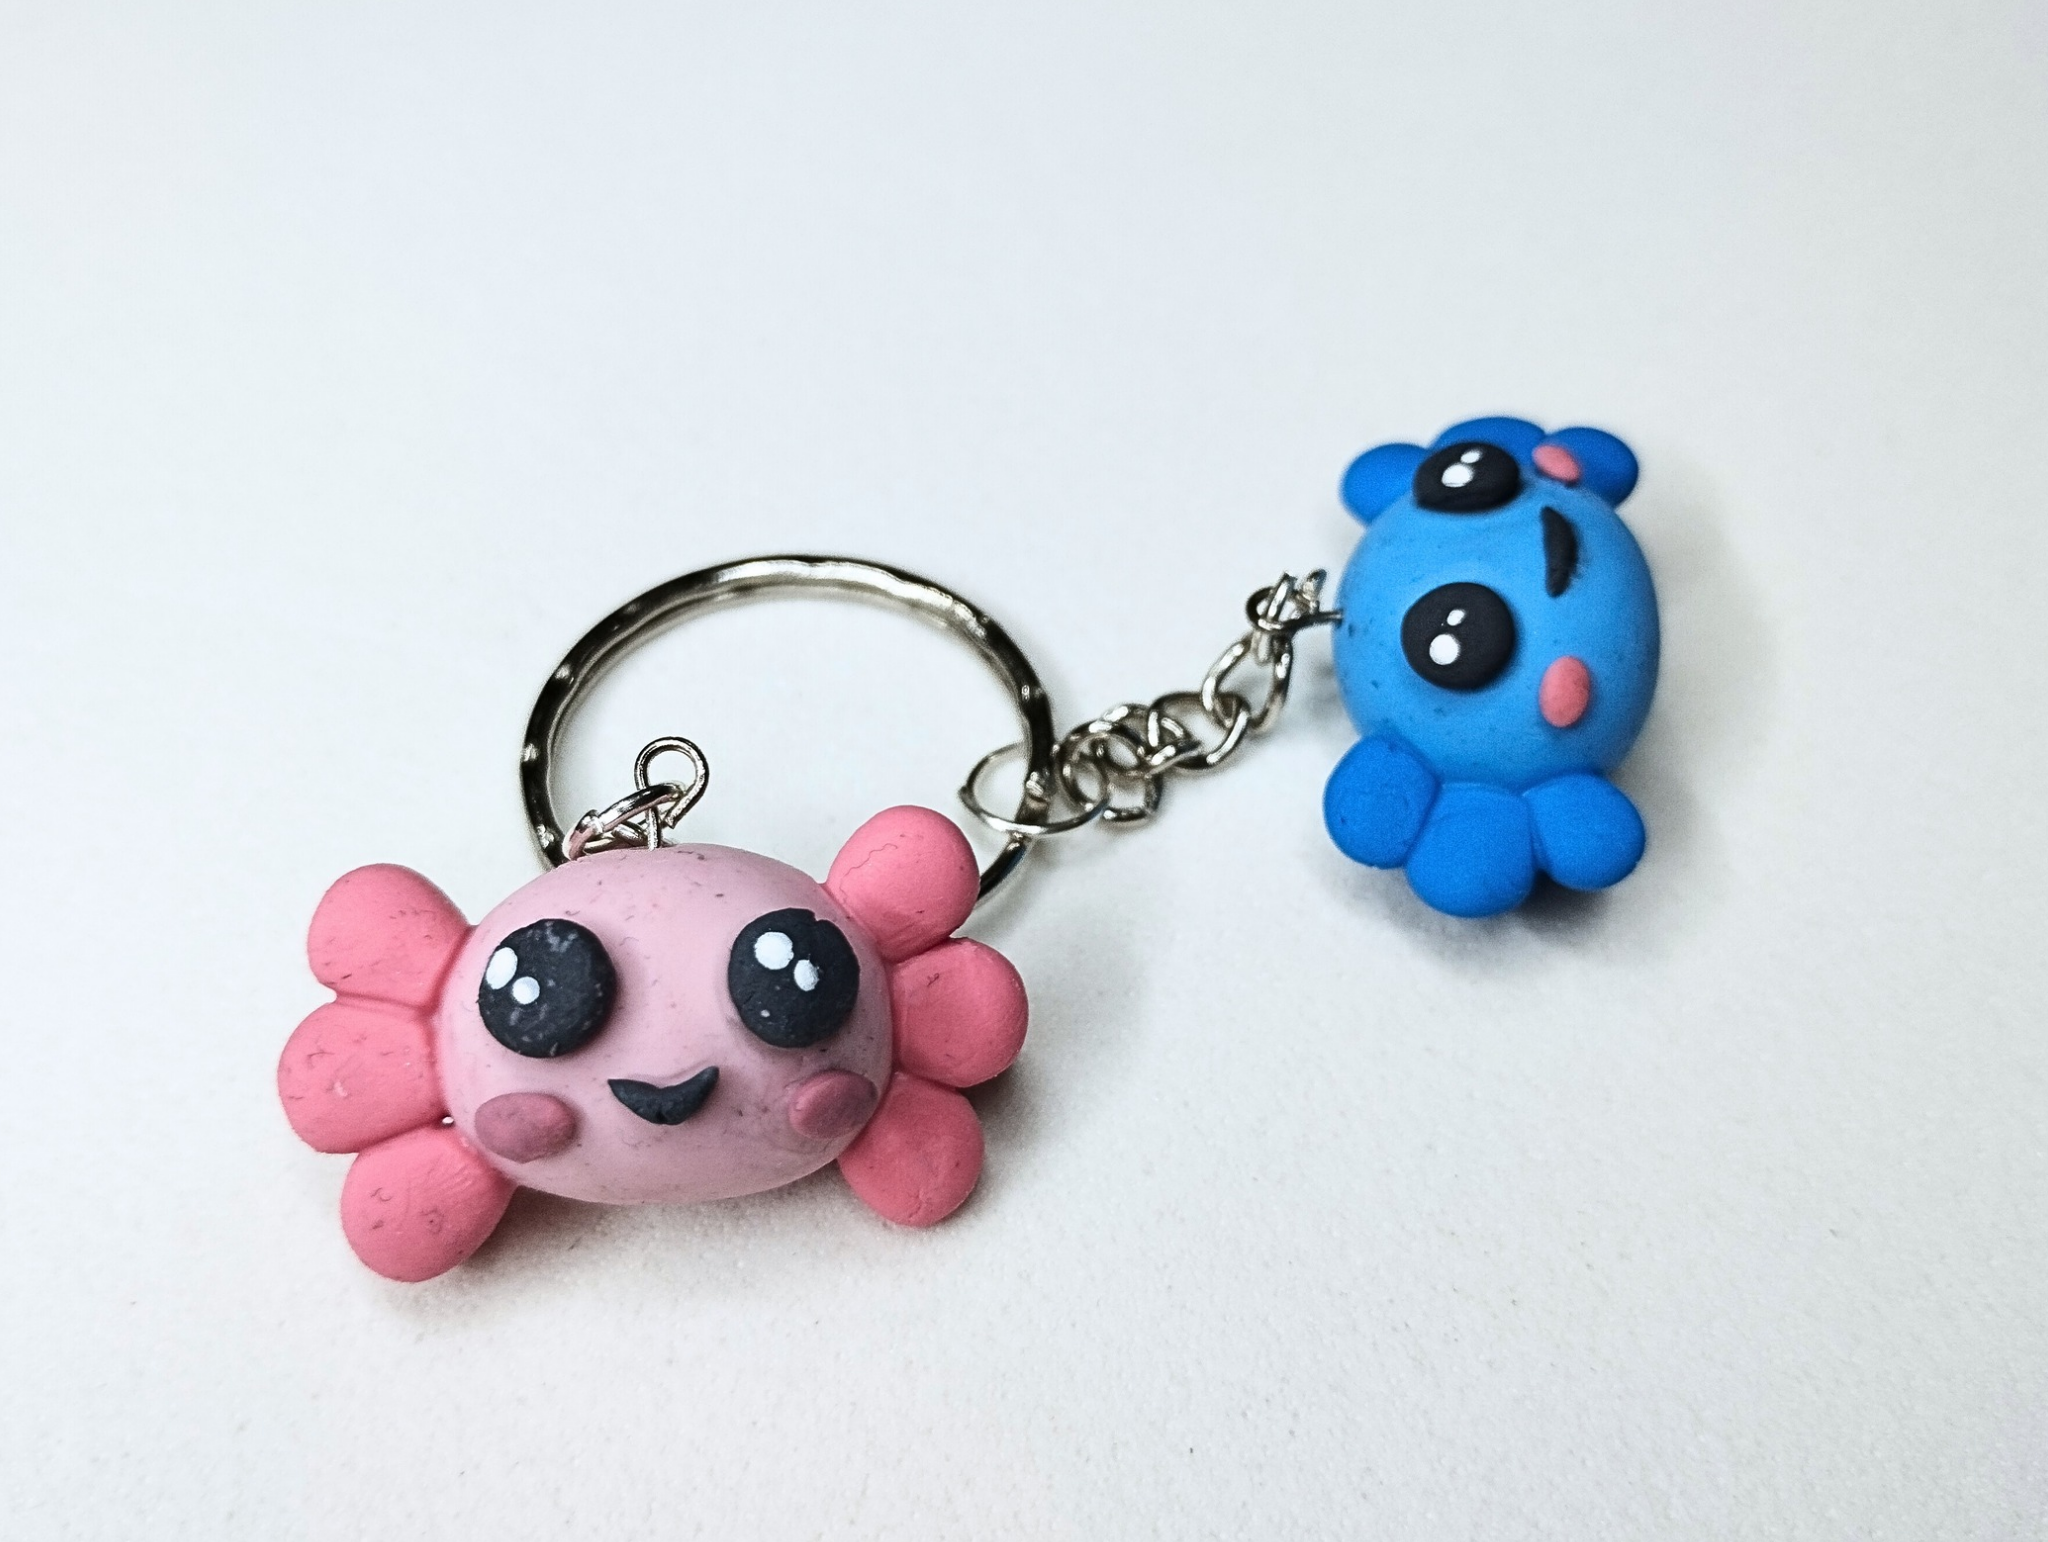
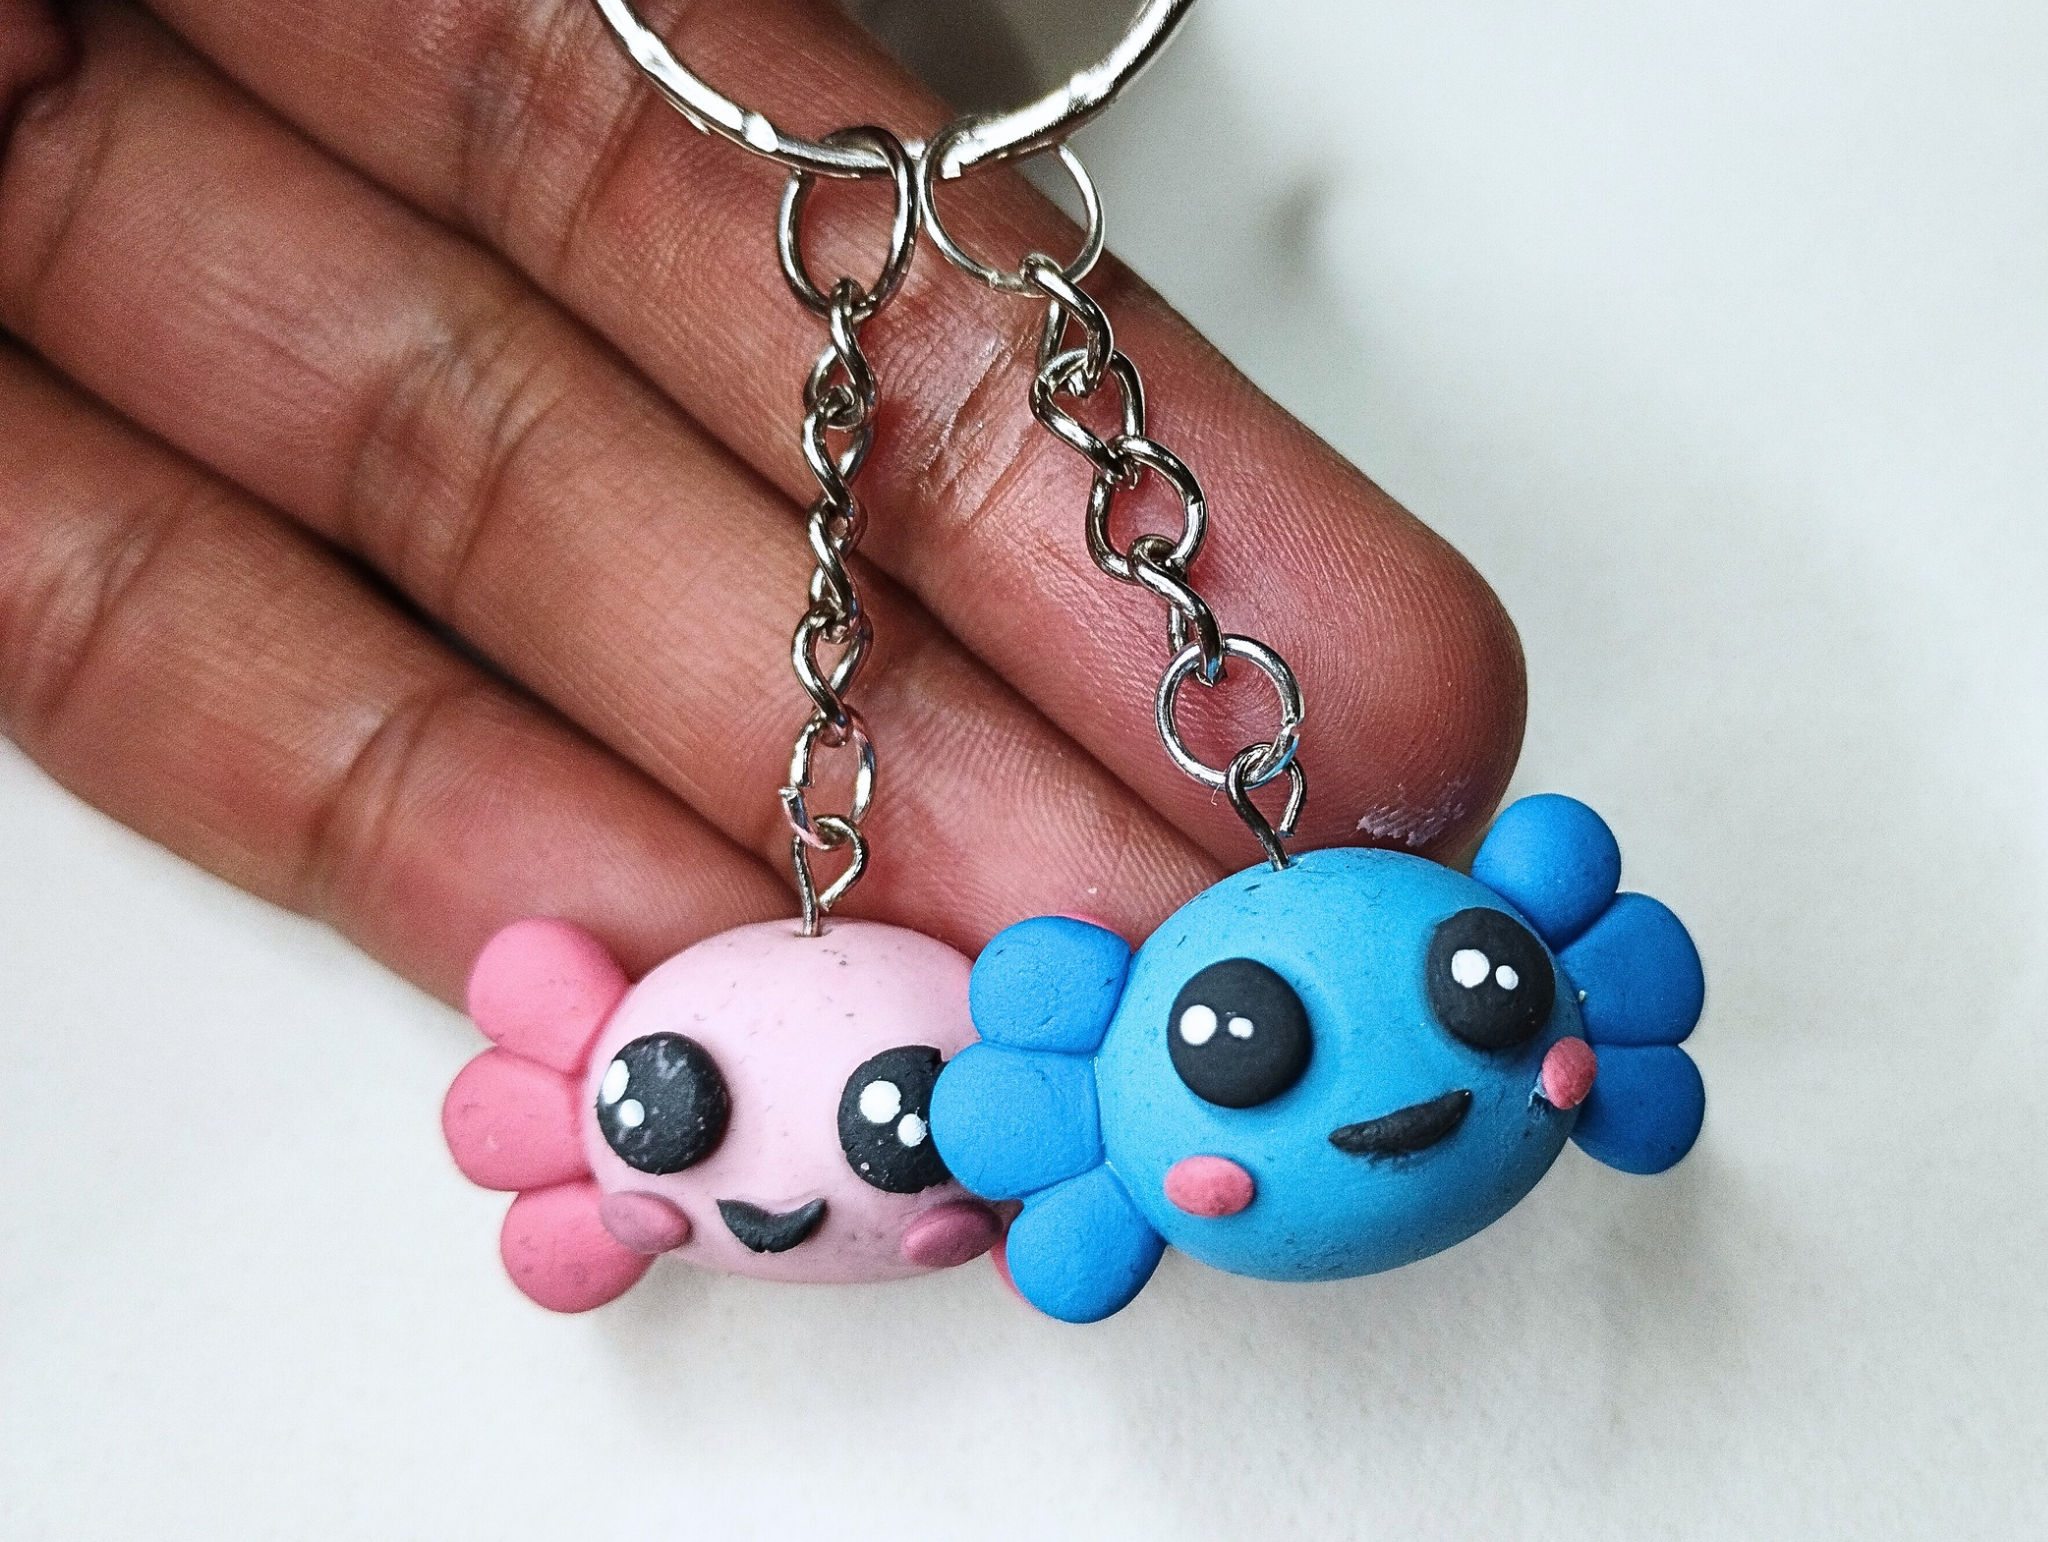
Well, friends, that's all for now. I hope you liked my keychain with the lovestruck axolotls, because they're very cute and make great gifts for your partner or even for your closest friends.
I invite you to leave your opinions below in the comments, as always, I will be happy to read them. Without further ado, I bid you farewell...
DIY: Two In Love Axolotl Keychain [ENG/SPA]
@gaboamc2393
· 2025-08-15 17:10
· hive-189504
#diy
#art
#handmade
#crafts
#spanish
#tutorial
#vyb
#pimp
#waiv
#hive-189504
Payout: 10.618 HBD
Votes: 474
More interactions (upvote, reblog, reply) coming soon.