Hello to my dear Hivers and the dear community of artists Diyhub, as always very pleased and excited to be here again, showing you my work made with love and especially for you.
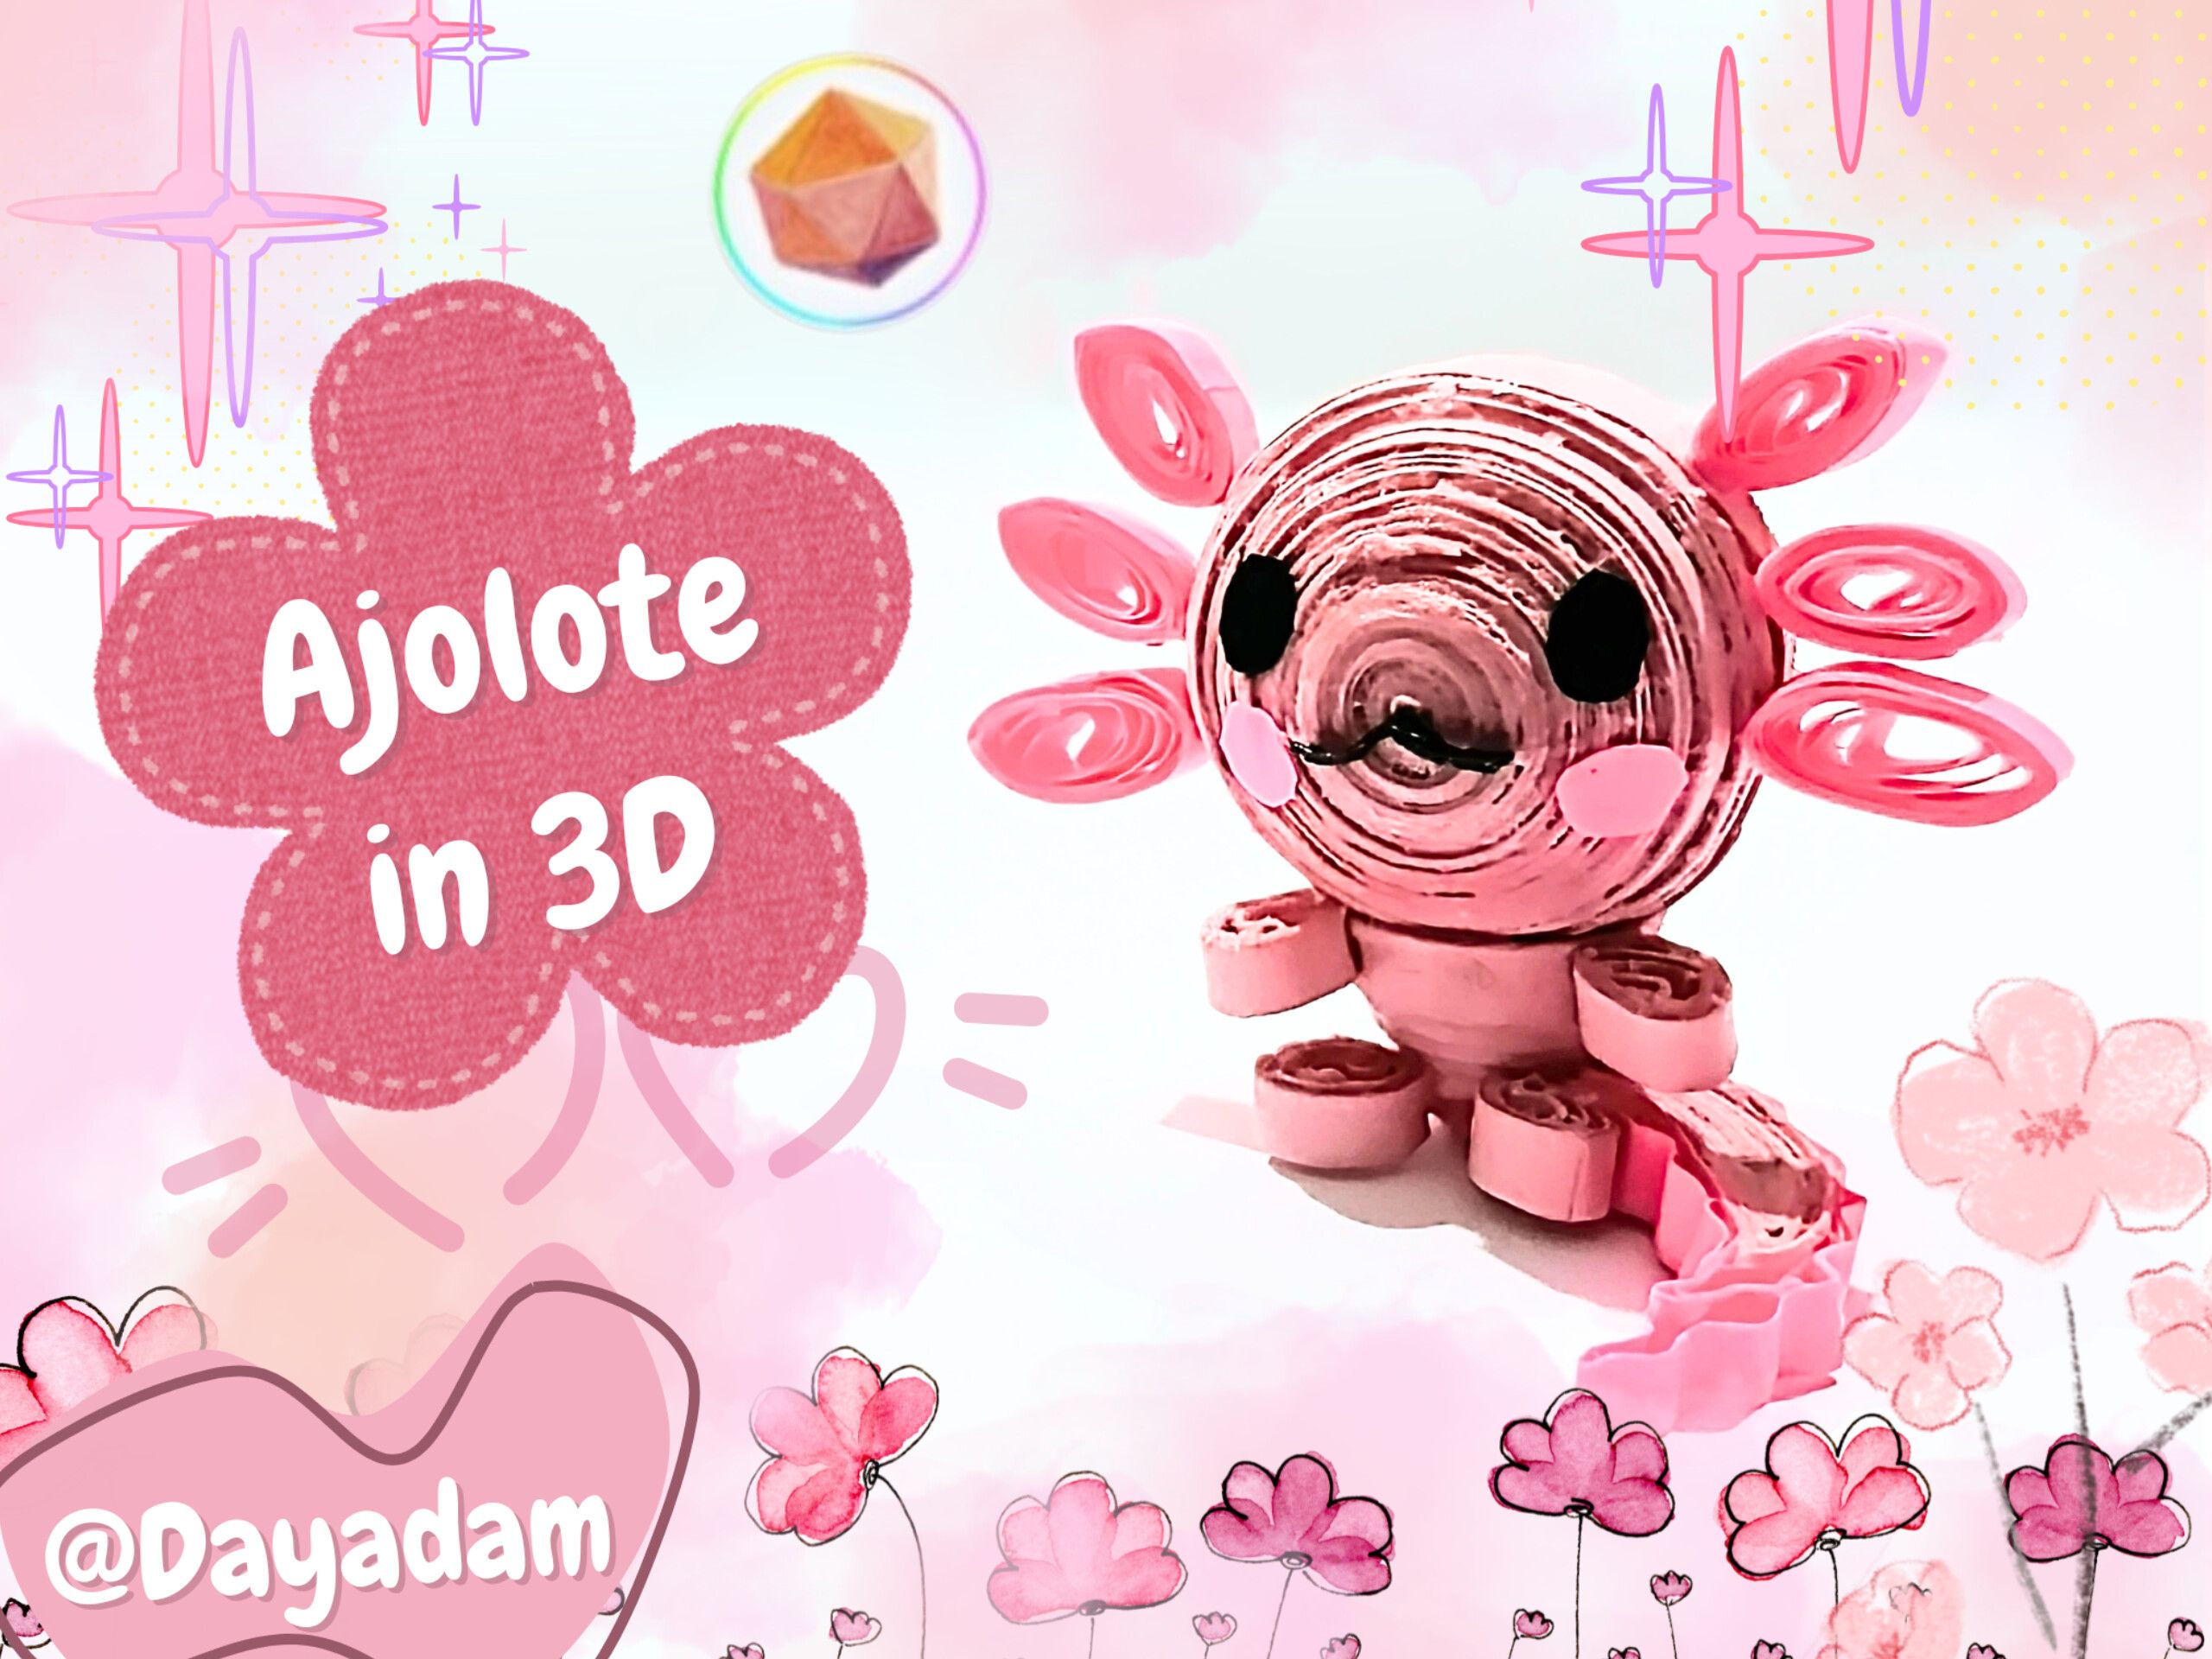
Today I bring you a rather cute project. I've wanted to make this amphibian for a long time because I think they're very cute due to their color and shape. While chatting with some friends recently and looking for ideas to work on, they mentioned the one I had in mind, and we decided to make an axolotl, each using our own style and technique. In my case, I'll present it to you in a 3D Chibi version, using the quilling technique.
Hoping you like it, I leave you my creative process:
Let's get started:😃

Hola a Todos...✨
Hola a mis queridos Hivers y a la querida comunidad de artistas Diyhub, como siempre muy complacida y emocionada de encontrarme por acá, mostrándole mi trabajo hecho con mucho amor y especialmente para ustedes.
Para hoy les traigo un trabajo bastante tierno, desde hace mucho tiempo quería hacer este anfibio ya que me parecen muy cute por su color y forma, conversando con unos amigos en estos días y buscando ideas para ejecutar justo mencionaron este que tenía en mente y decidimos hacer un Ajolote, cada quien a su estilo y técnica, en mi caso se los presentaré en una versión Chibi en 3D, en la técnica de quilling.
Esperando que sea de su agrado, les dejo mi proceso creativo:
Comencemos:😃
 |
 |
|


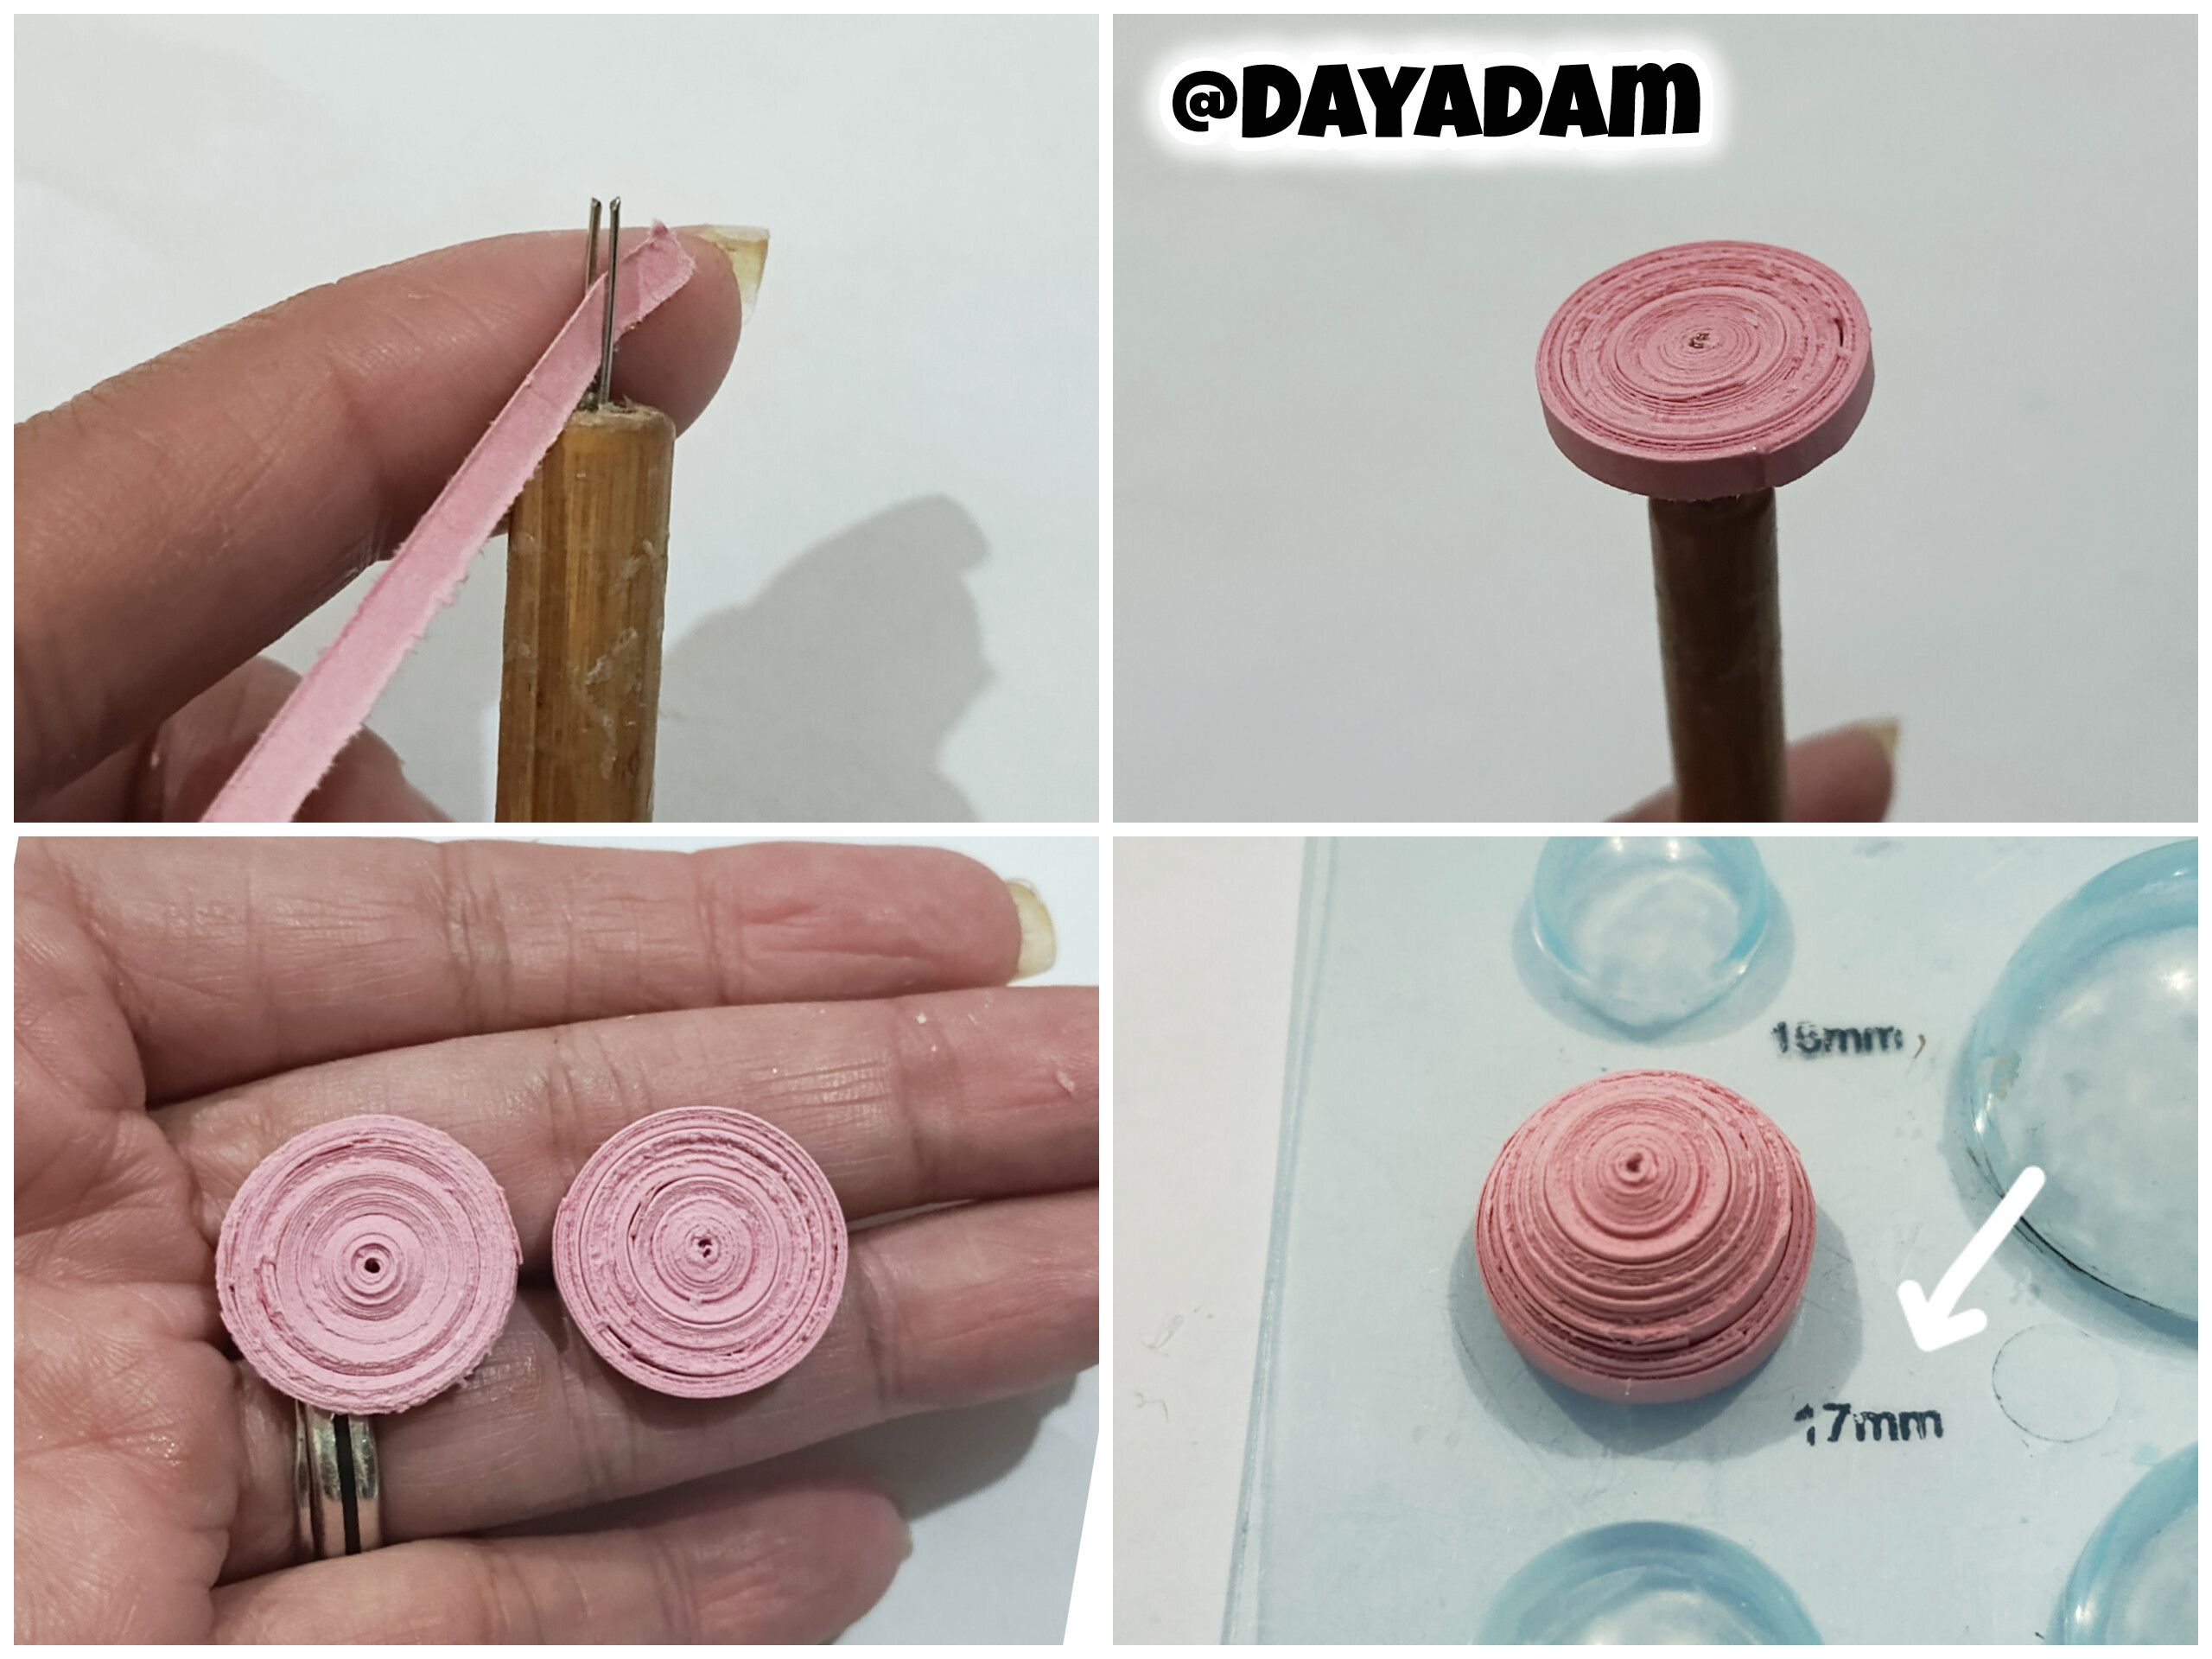
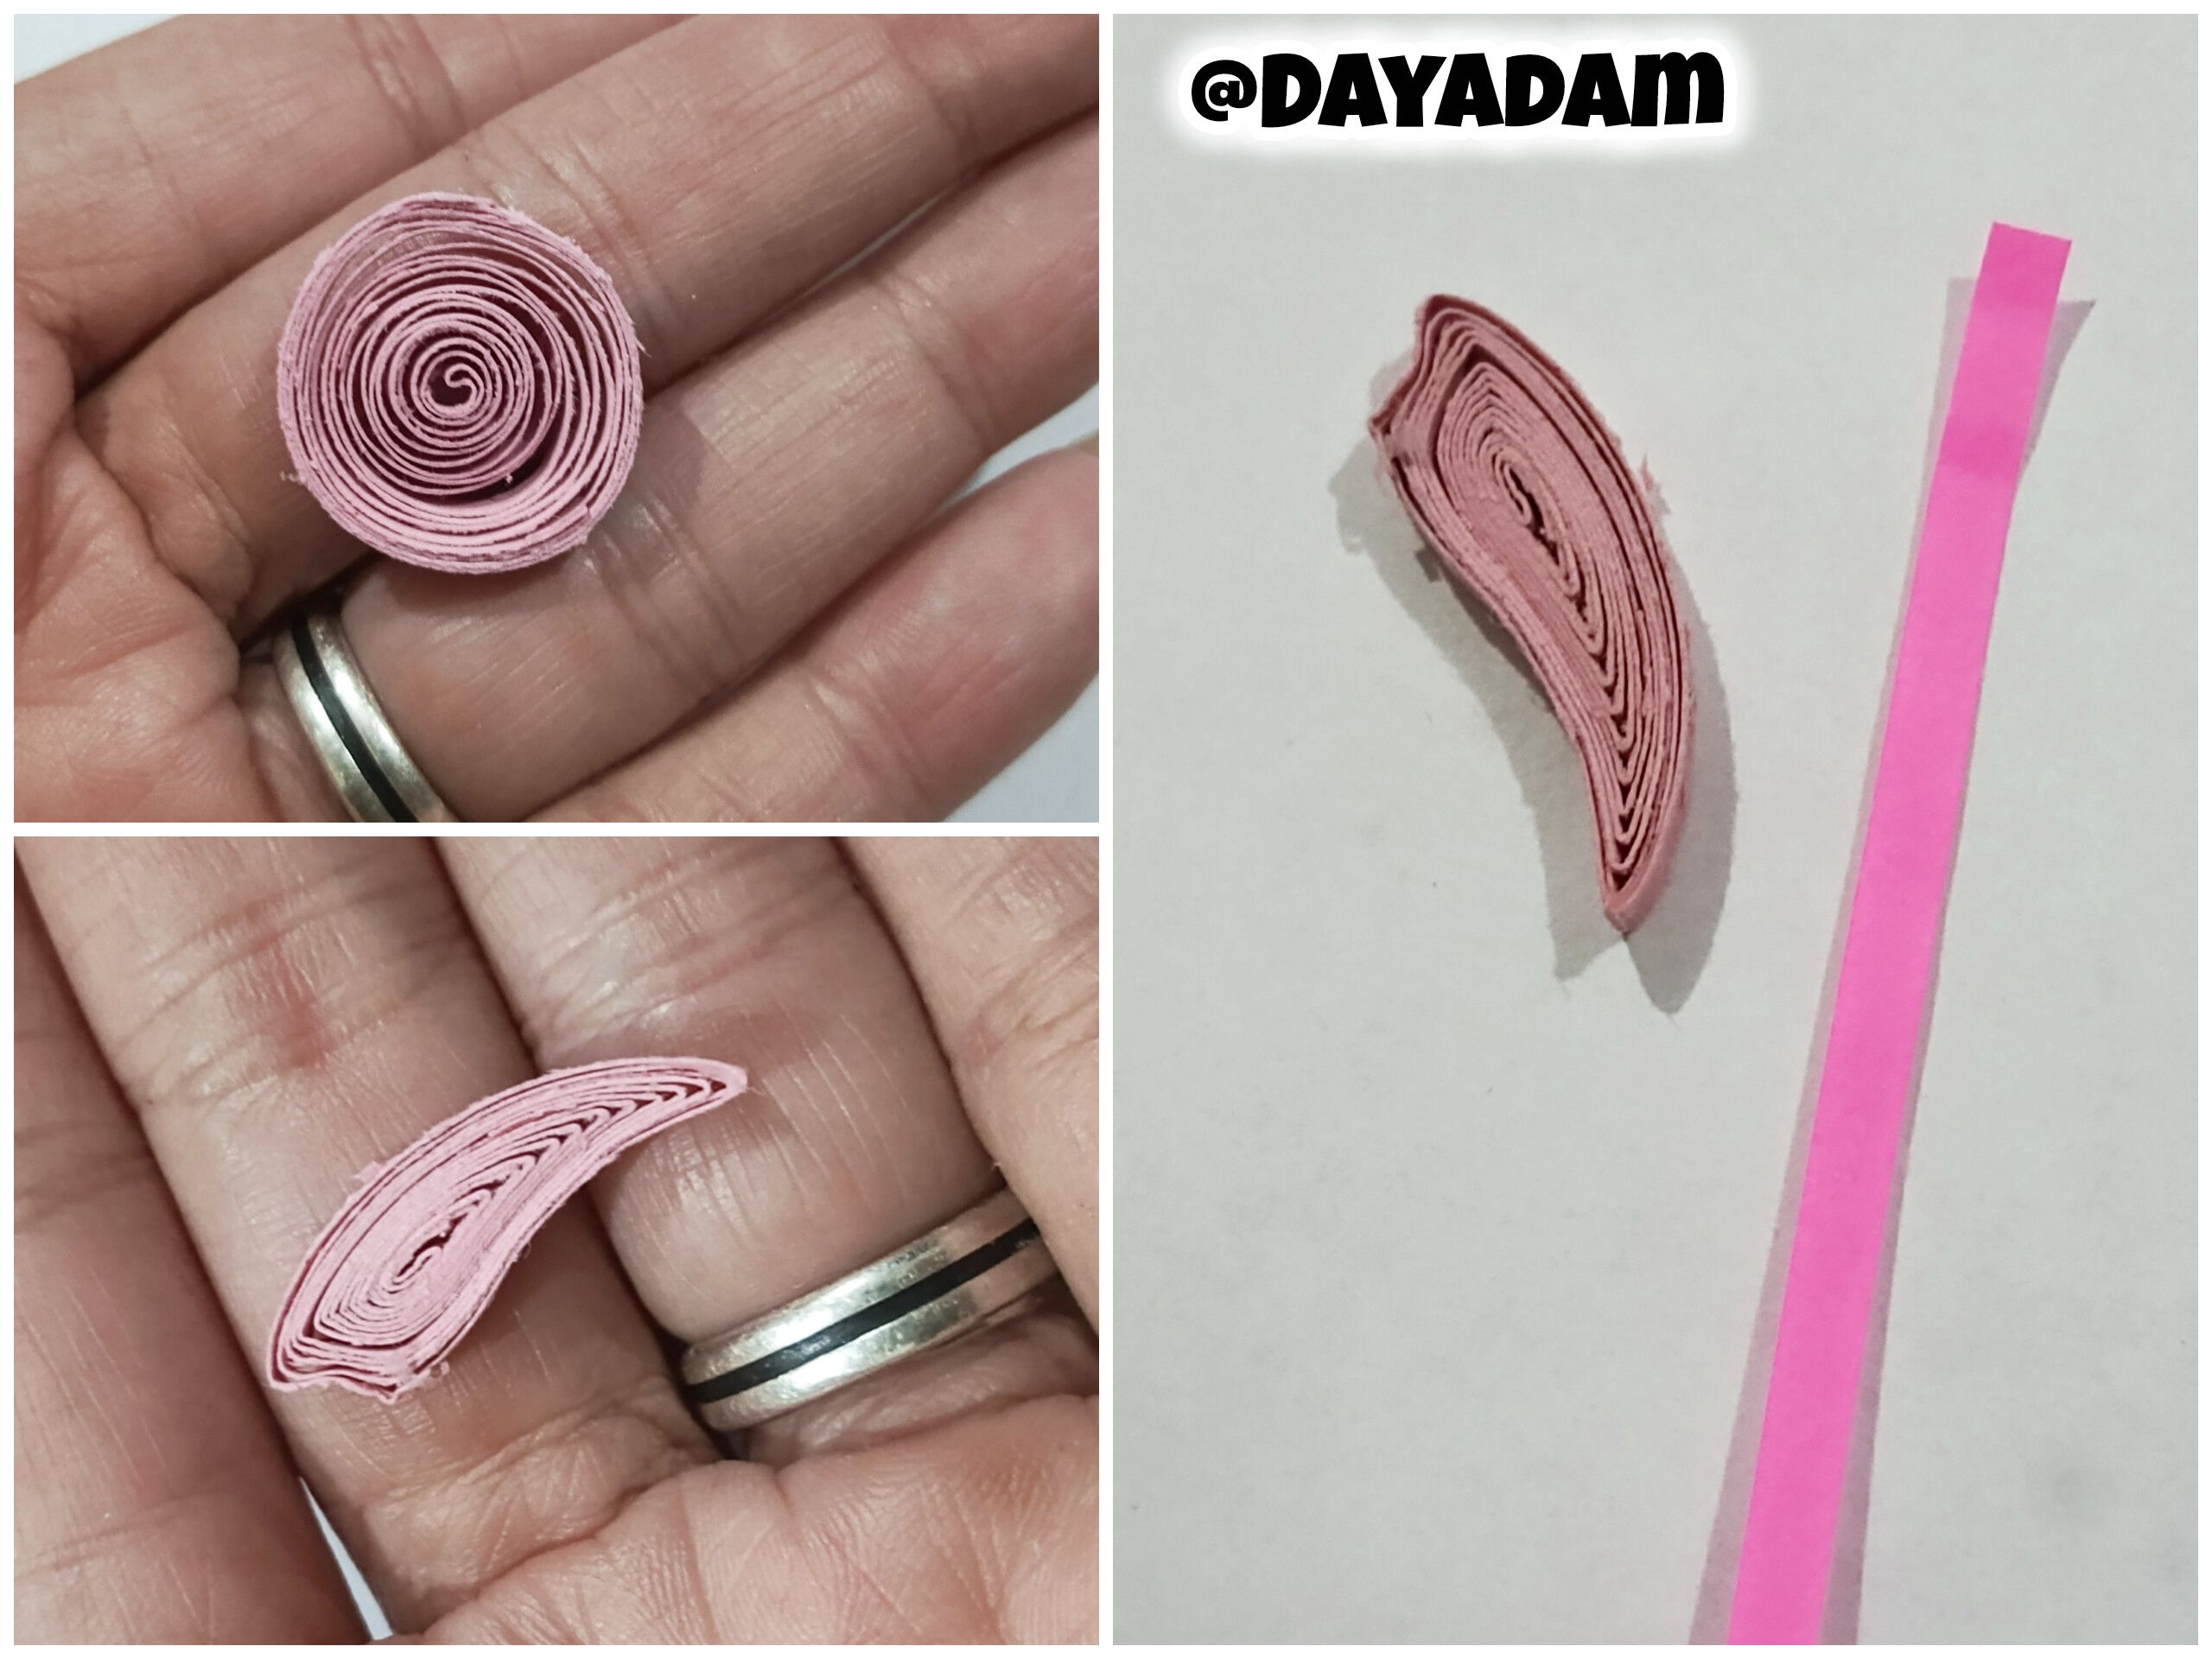
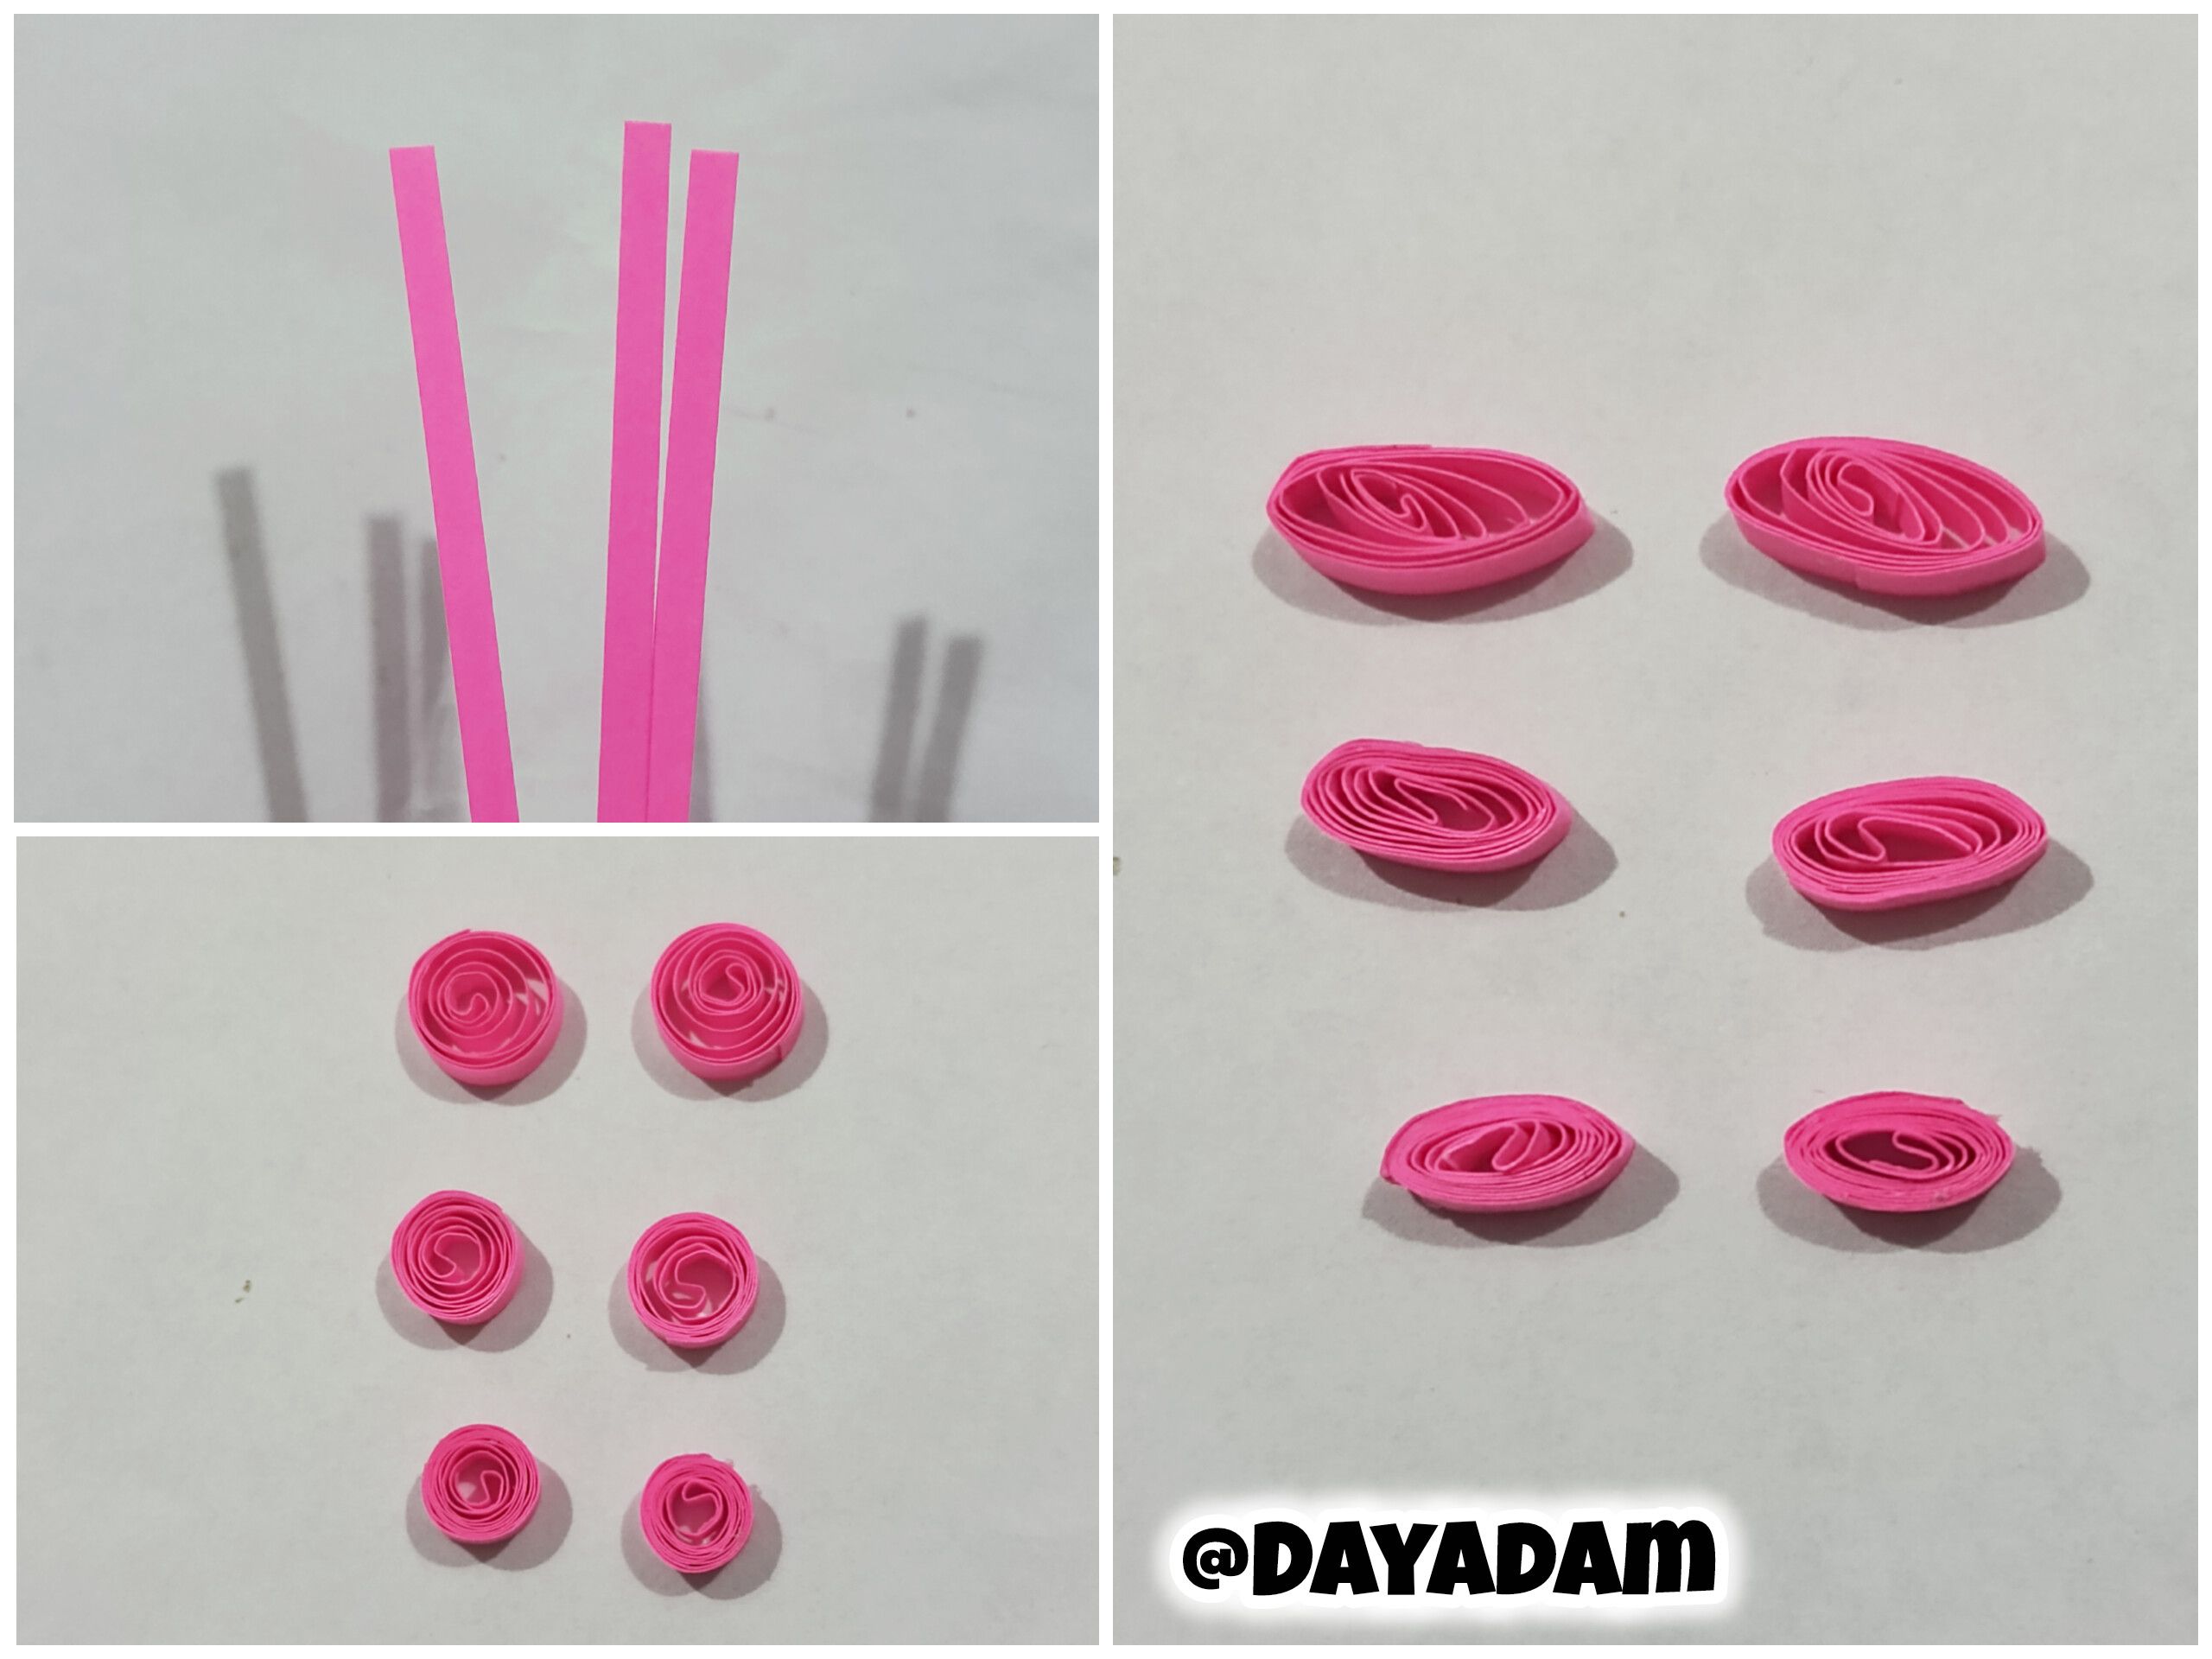
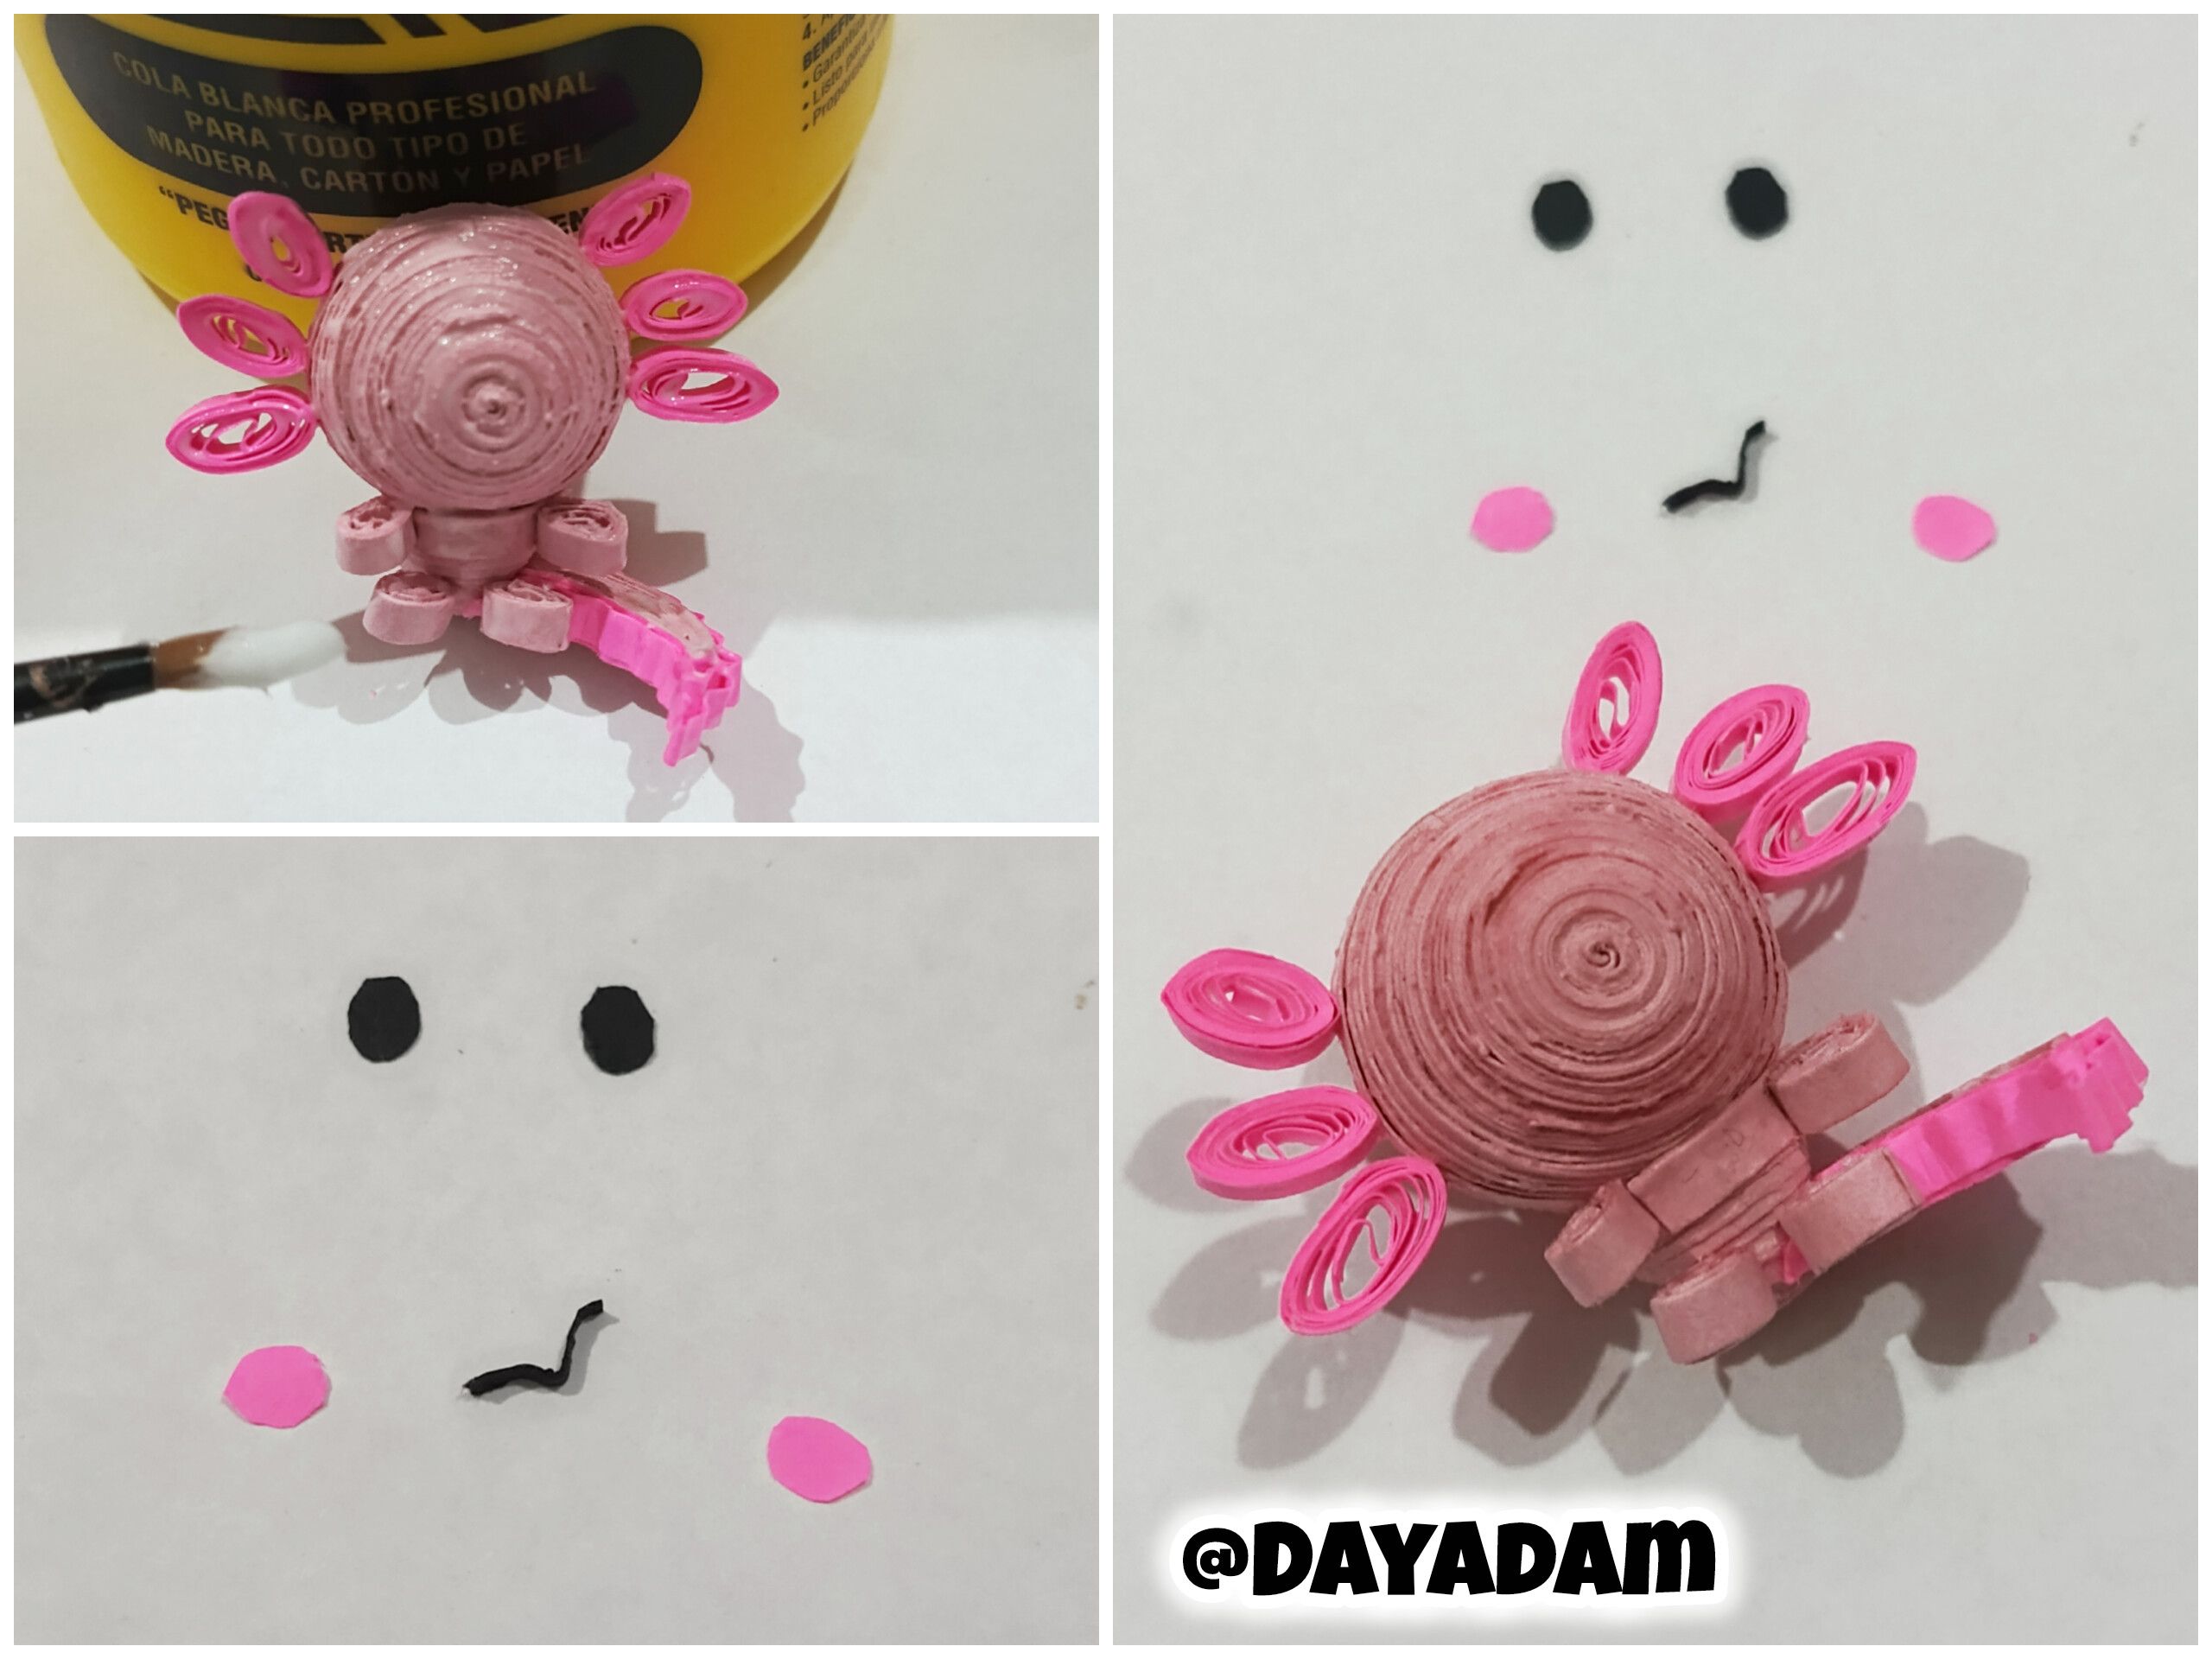
• Take a 3 mm wide pink ribbon and use the needle to make two closed circles of the same size.
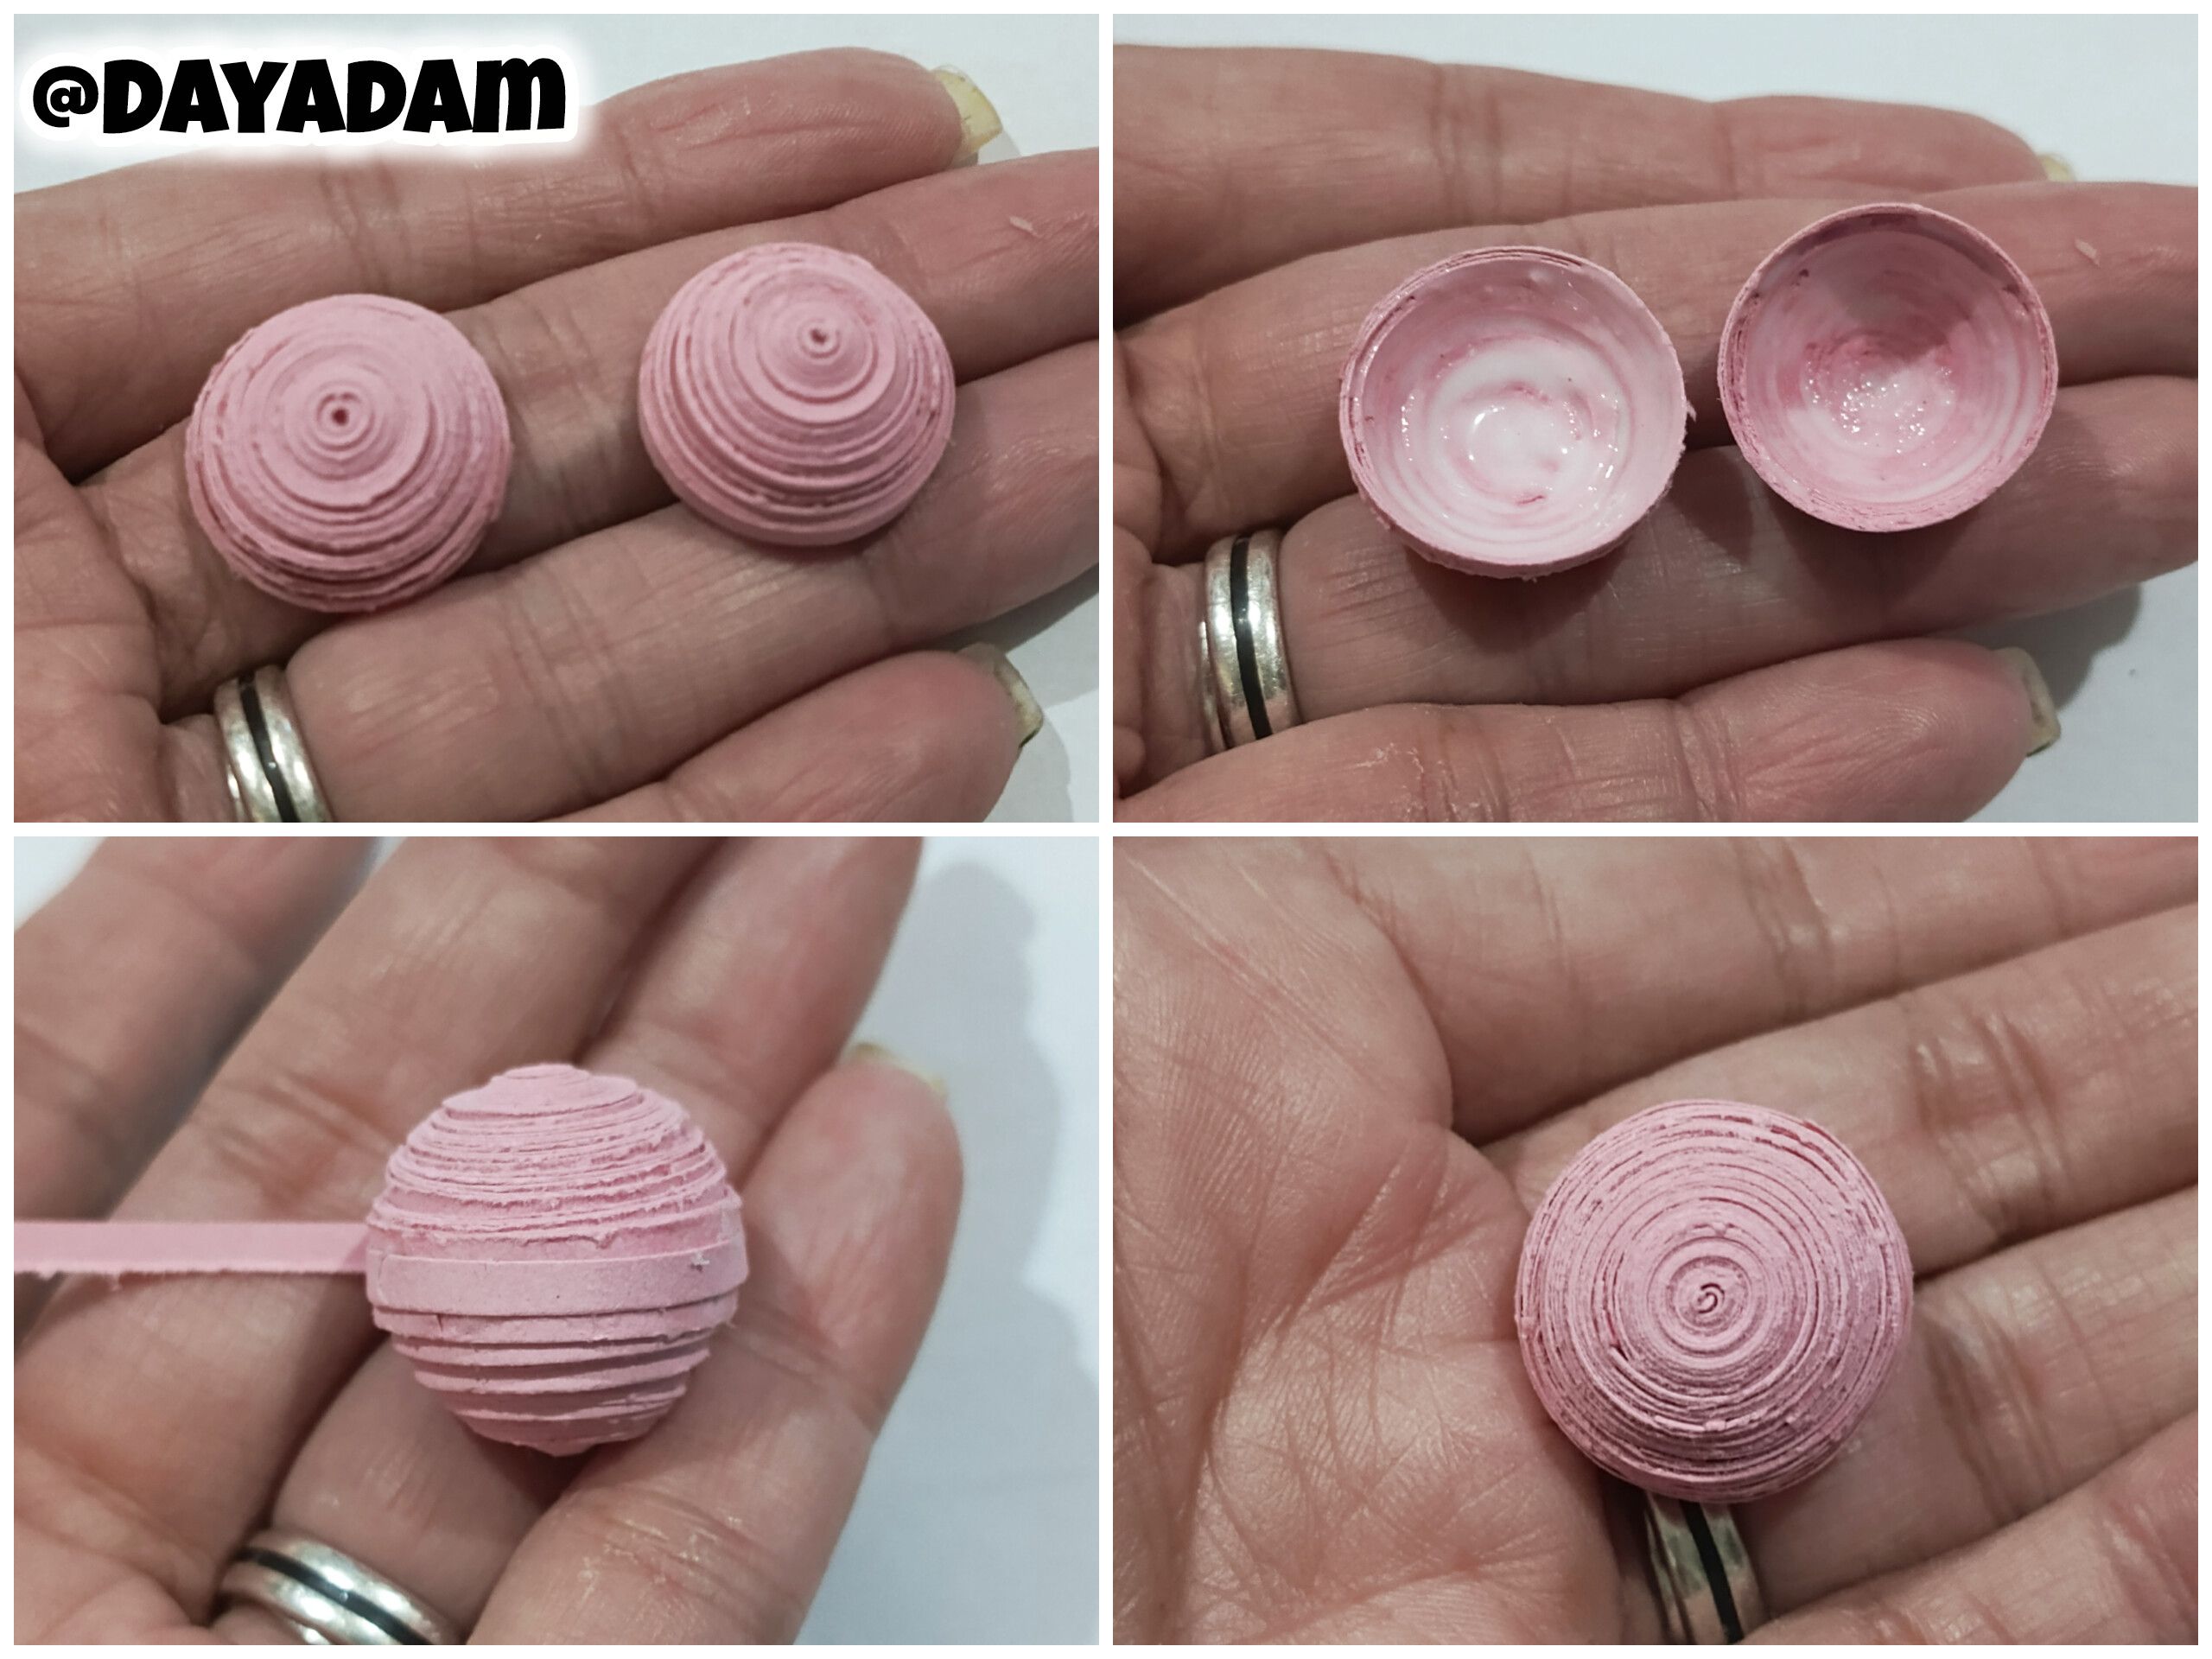
• We will mold these circles using a 17 mm circle template, then apply white glue to the inside to prevent them from moving or deforming. To finish, we will join both semicircles by passing a ribbon through the middle; this will be the head.
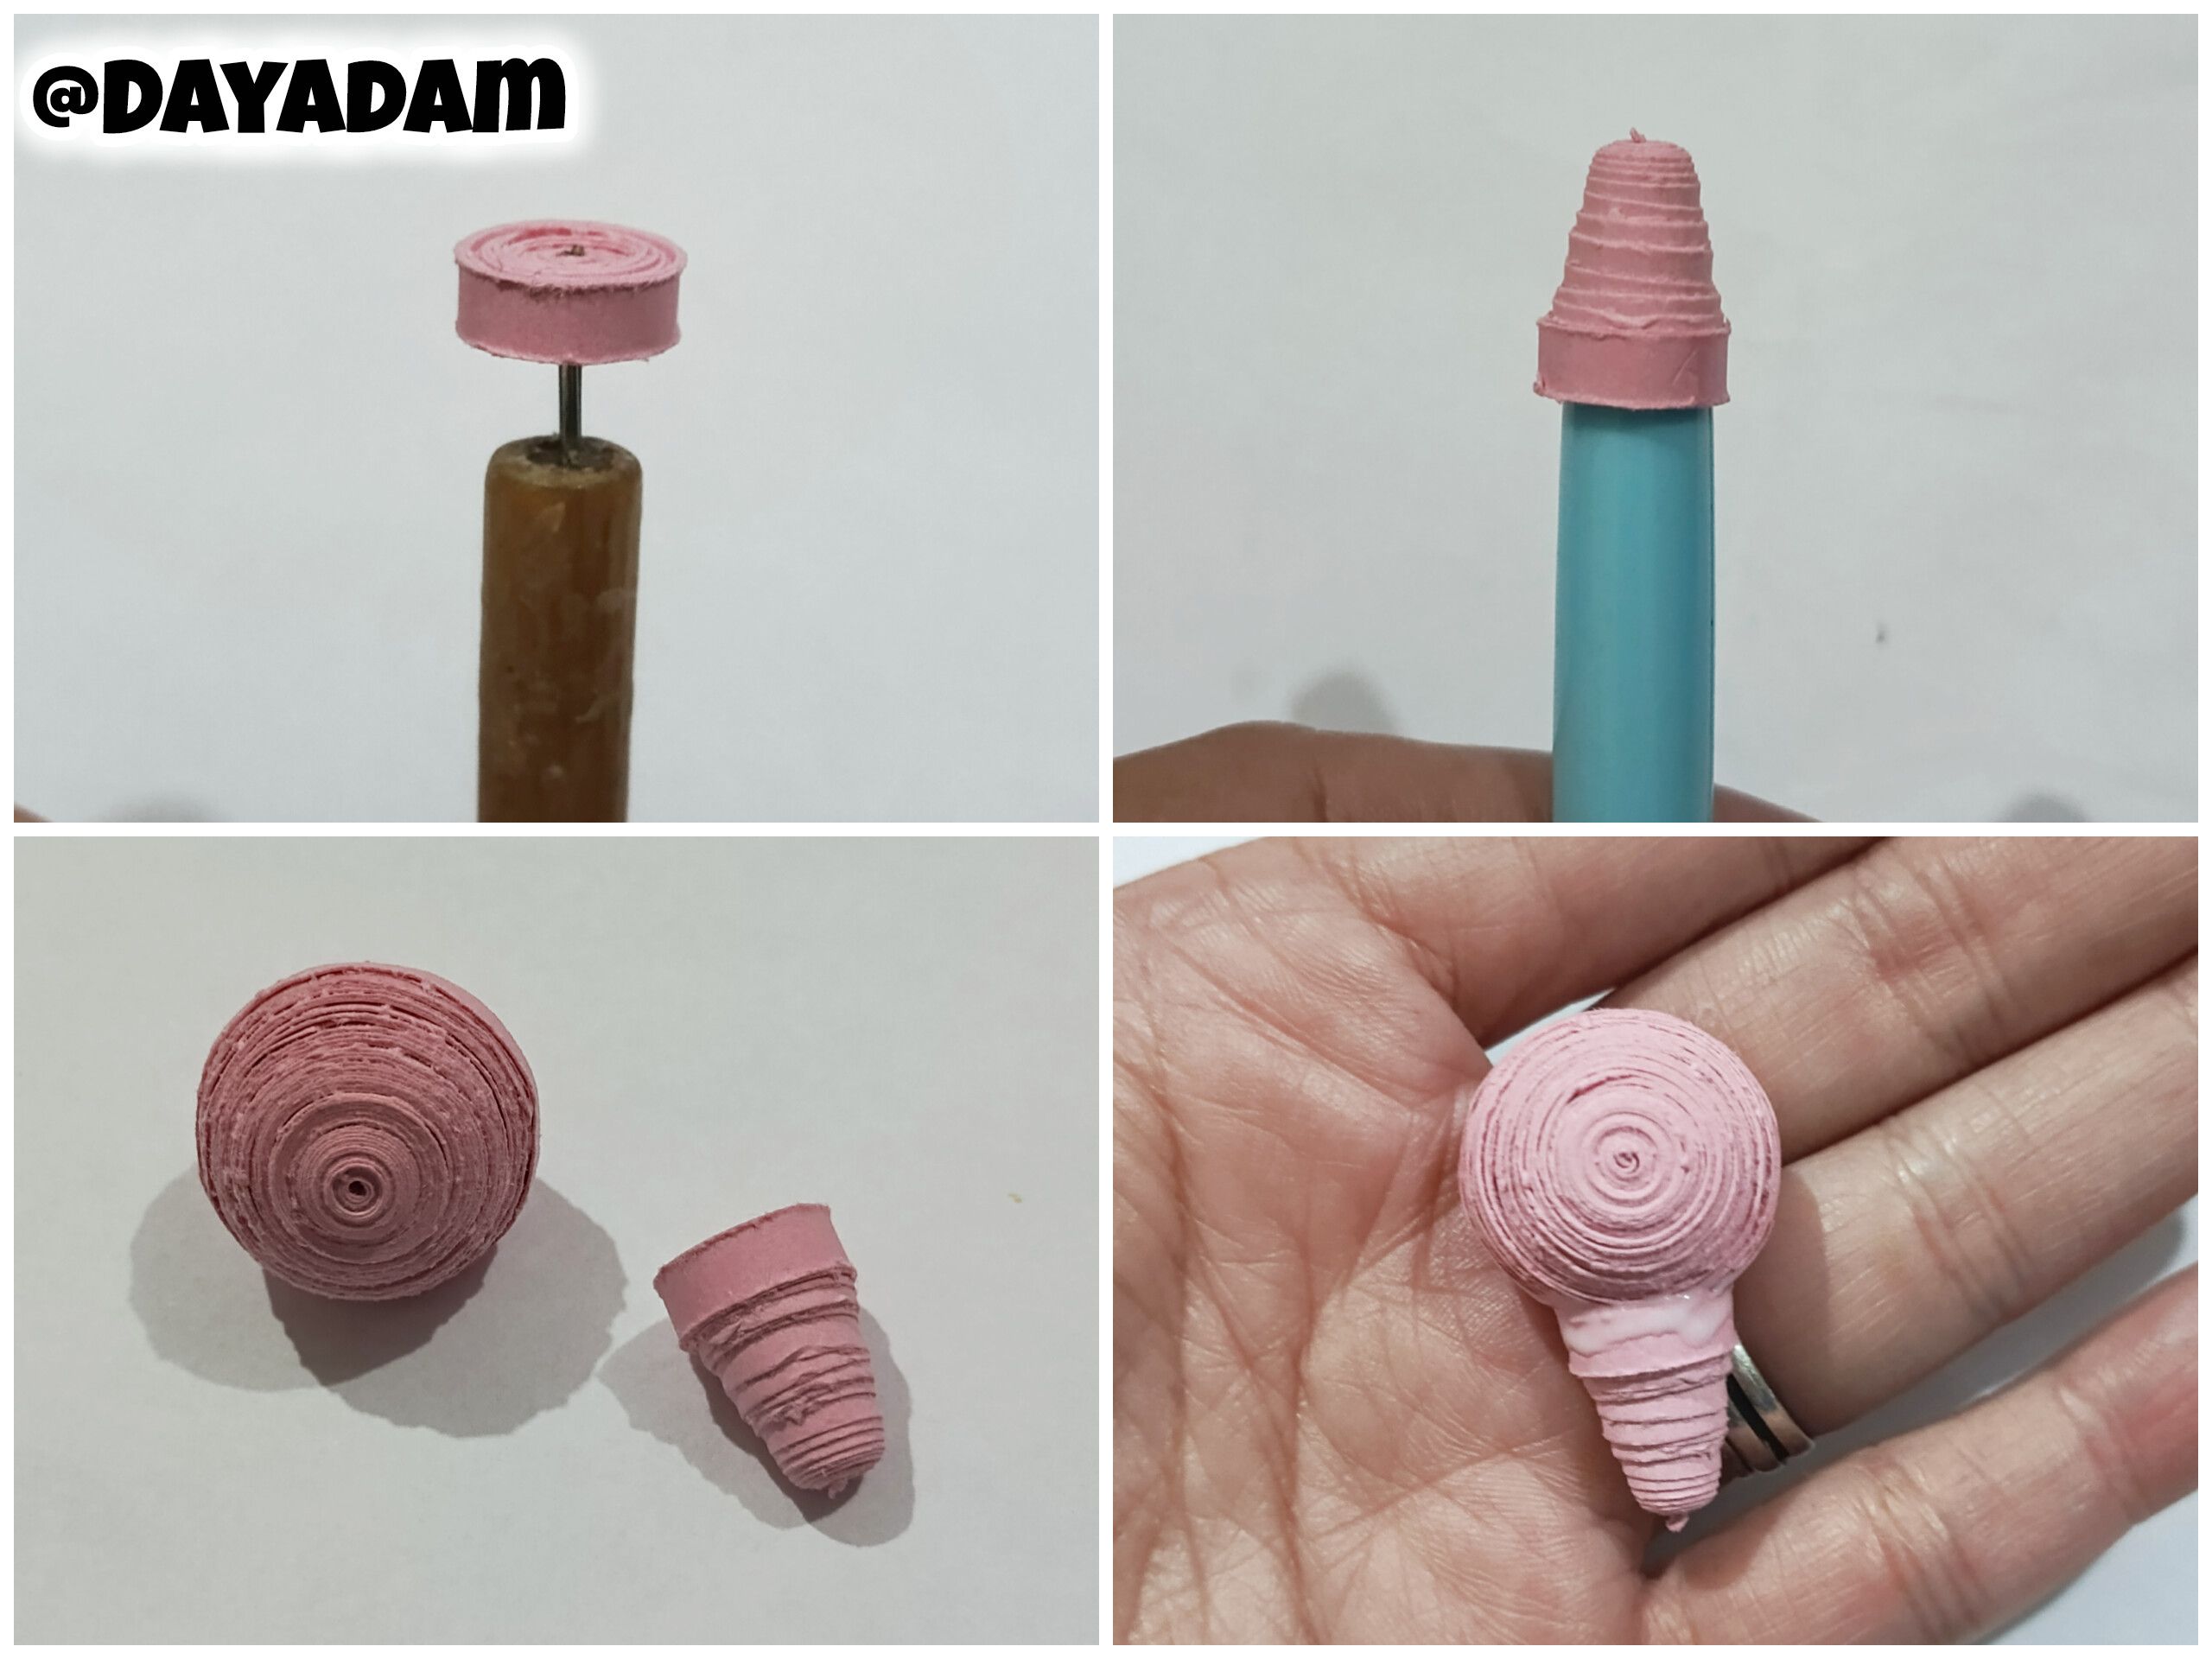
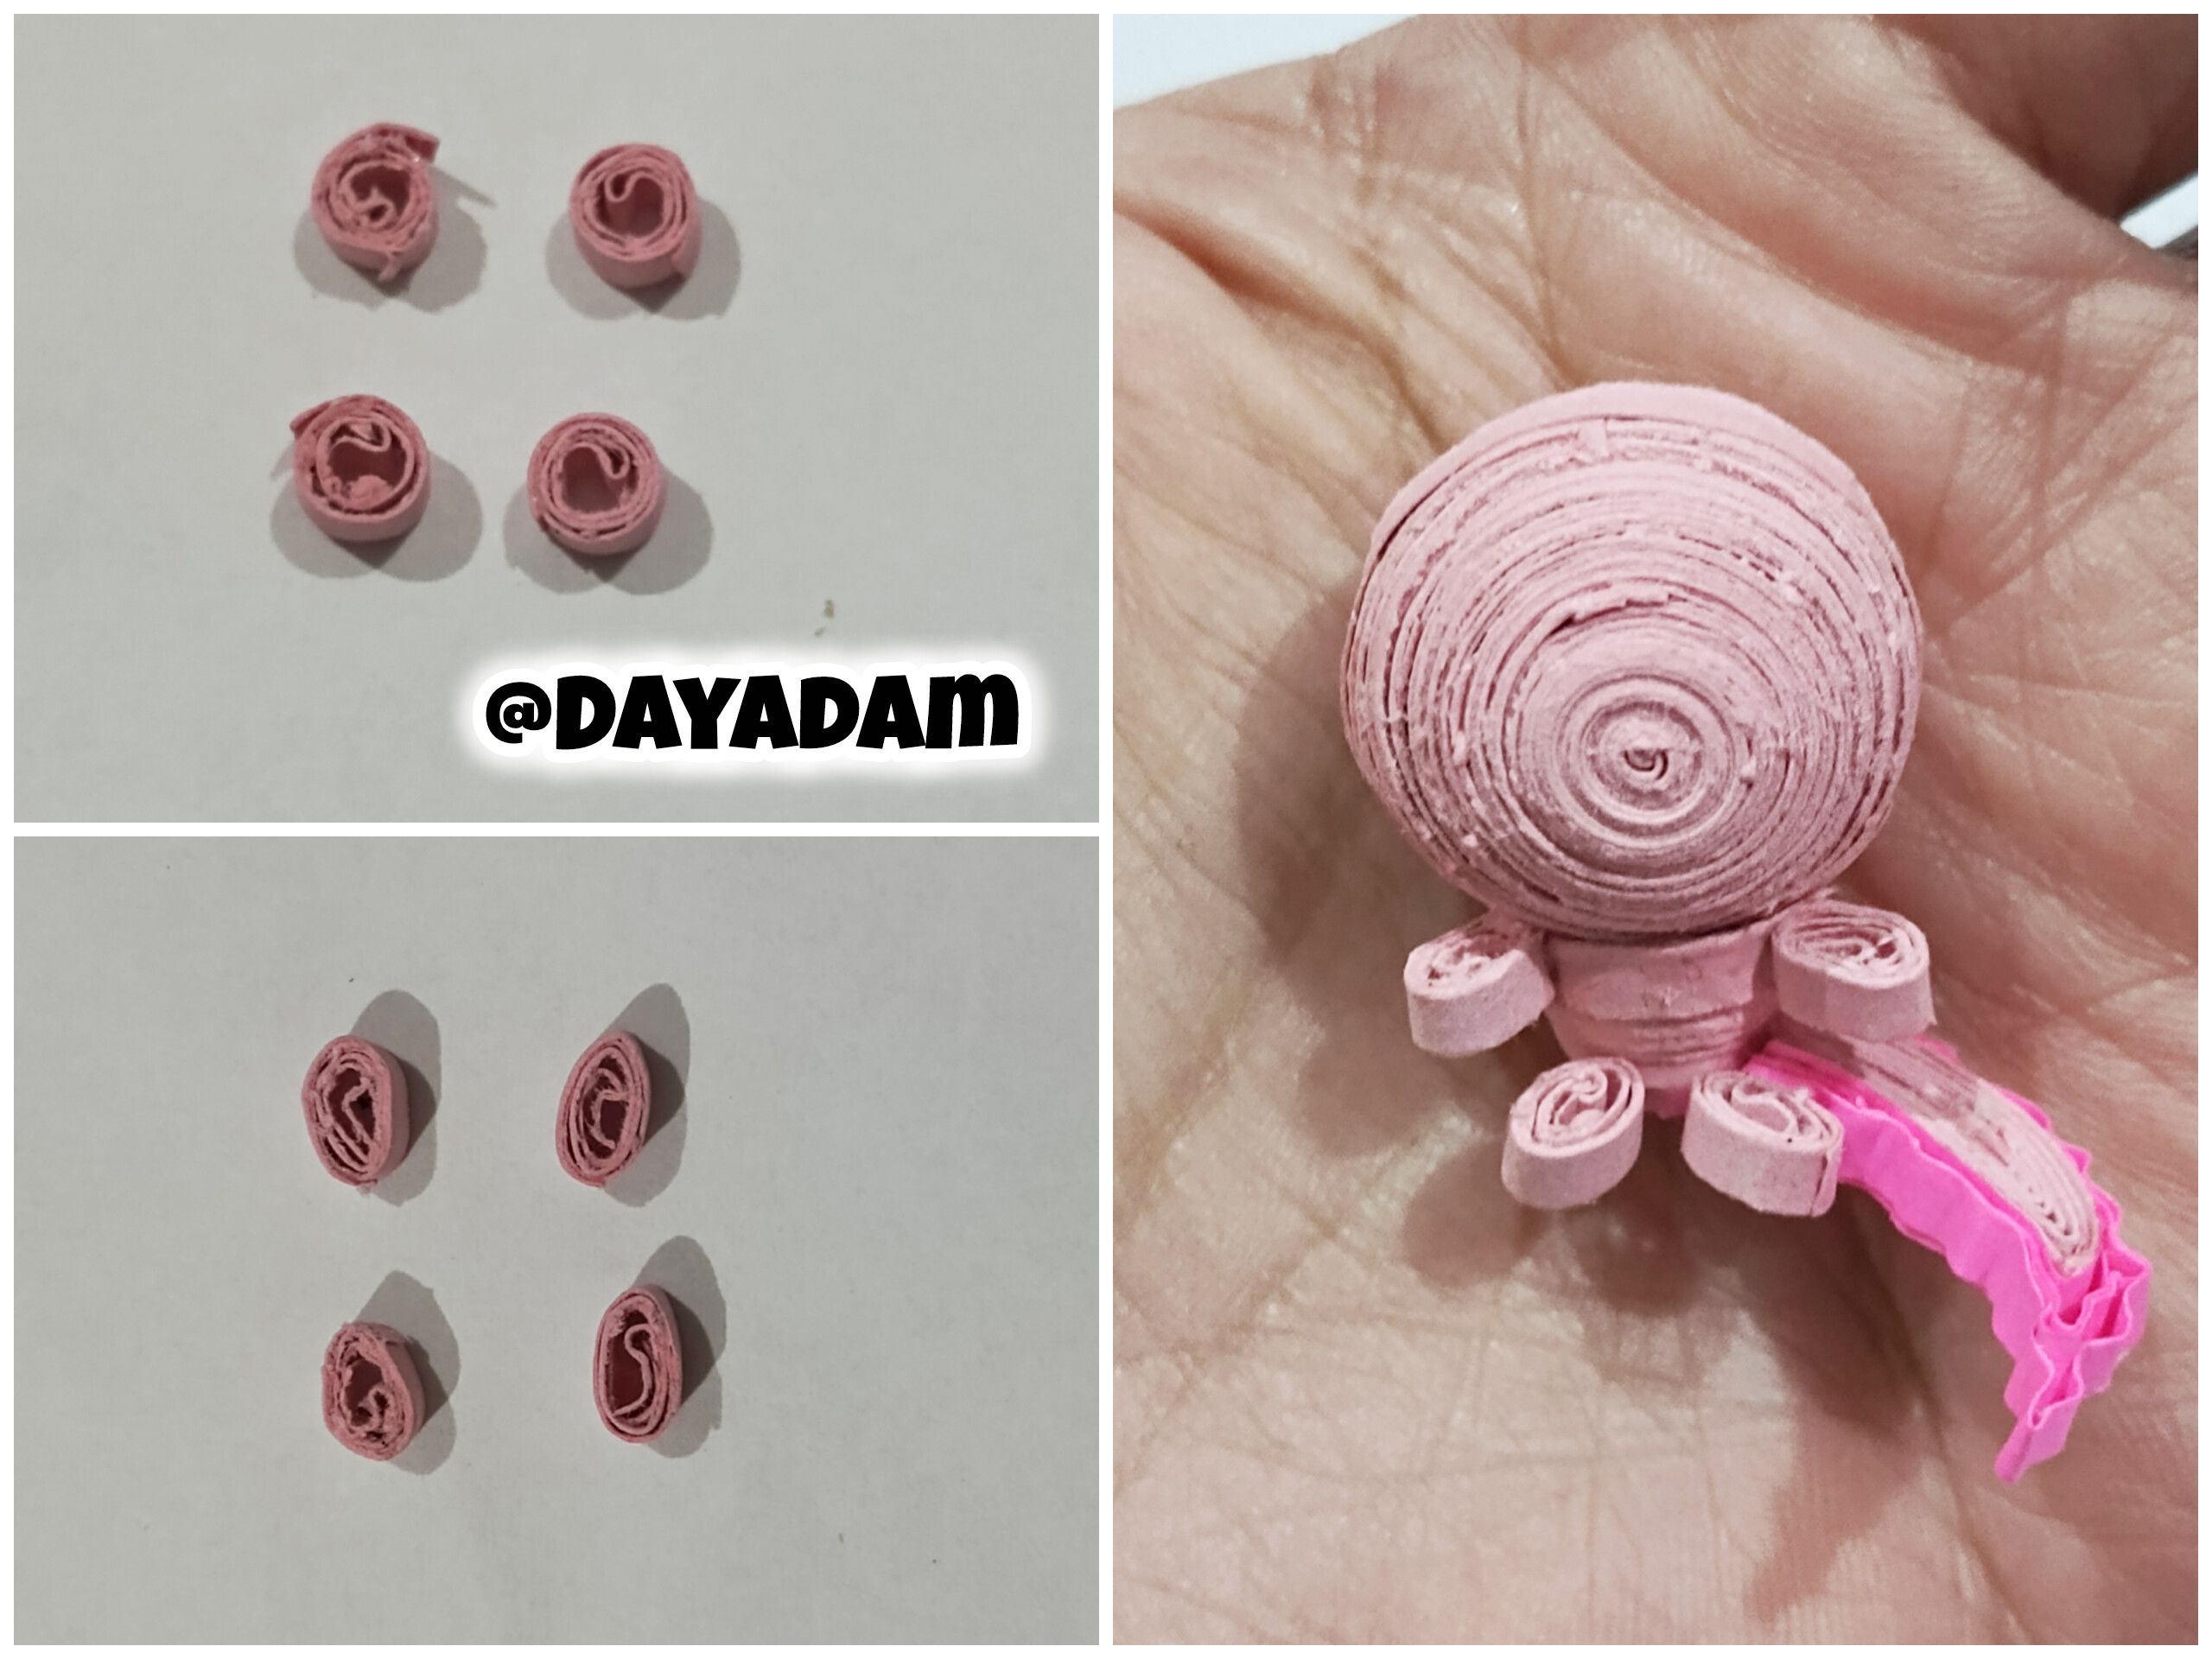
• To make the body, we will make a closed pink circle with 5 mm wide ribbon. We will mold it into a cone shape and attach the head to the body, as you can see in the image.
• For the tail, we will make an open circle with 3 mm wide pink ribbon and mold it into the required shape.

• Tomamos cinta de color rosado de 3 mm de ancho, y procedemos con la aguja a realizar dos círculos cerrados del mismo tamaño.
• Estos círculos los moldearemos en una plantilla para moldear círculos en la medida número 17 mm, luego aplicamos pega blanca en su parte interna para evitar que los mismos se muevan o se deformen. Para finalizar uniremos ambos semi círculos pasando una cinta por el medio, esta será la cabeza.
• Para realizar el cuerpo haremos un círculo cerrado de color rosado con cinta de 5 mm de ancho, este lo moldearemos realizando una especie de cono, uniremos la cabeza y al cuerpo sale como pueden ver en la imagen.
• Para la cola realizamos un círculo abierto con cinta rosada de 3 mm de ancho, moldeamos según la forma requerida.
 |
 |
 |
 |
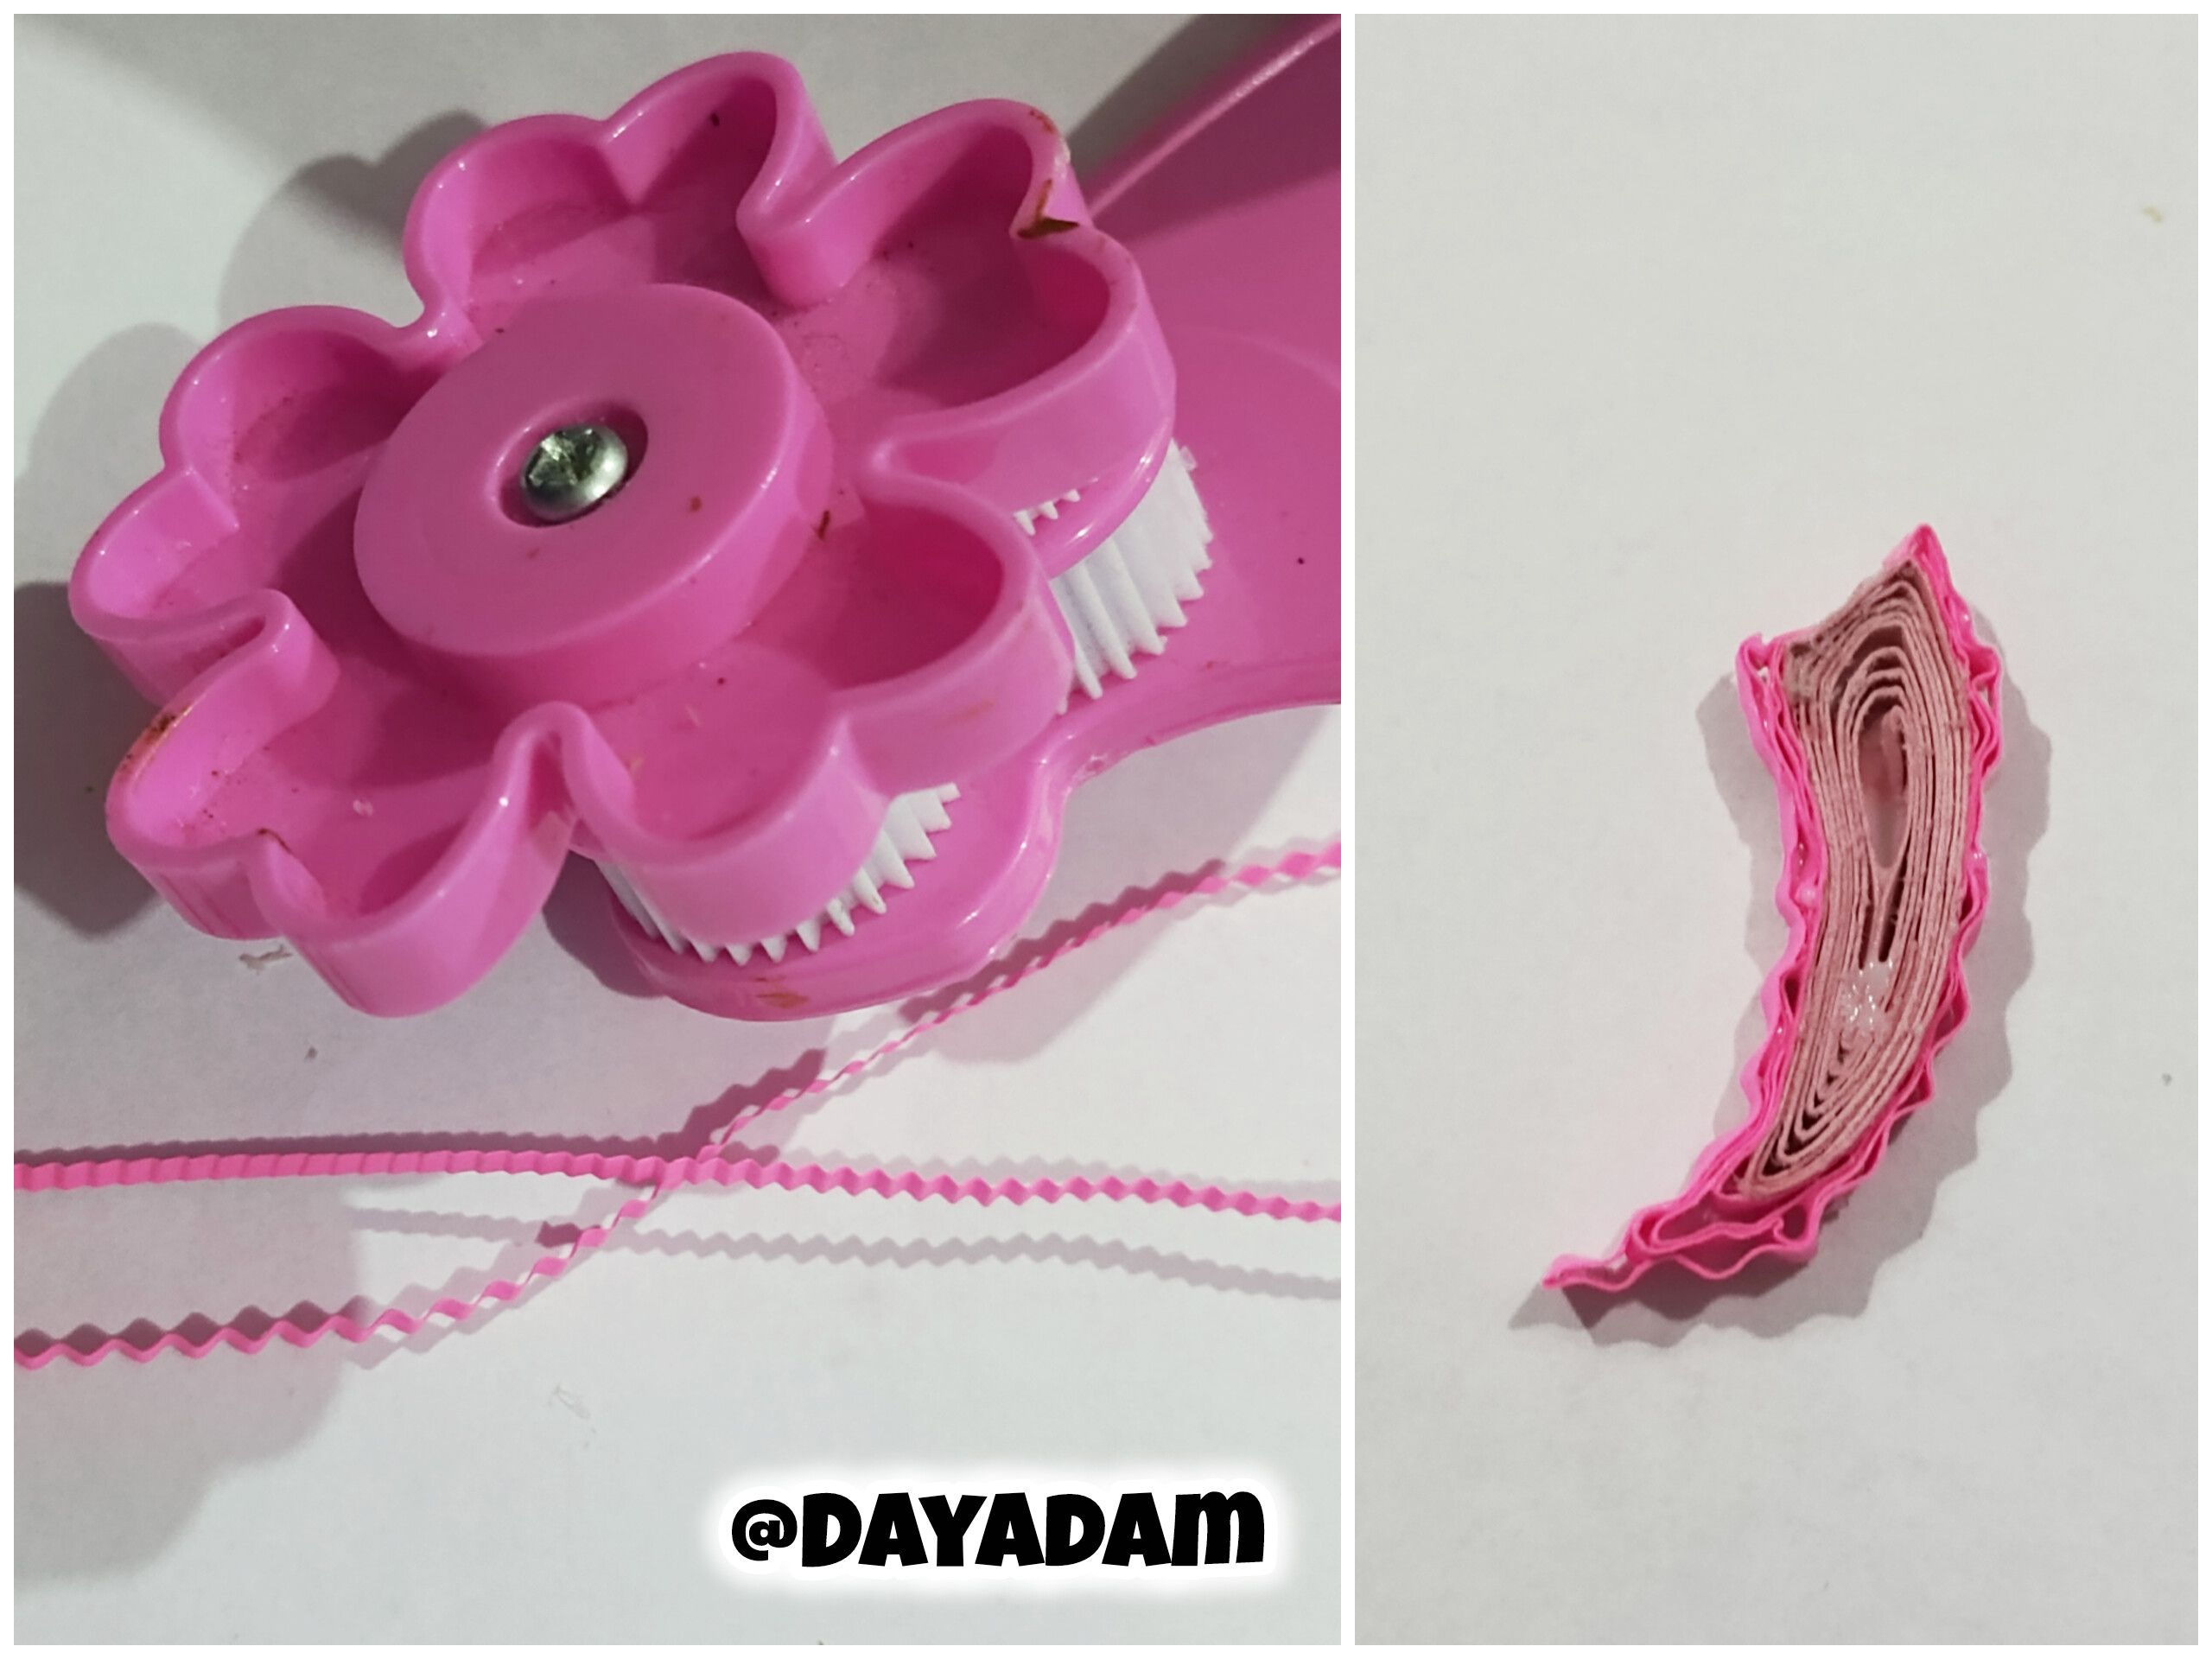
• To make the details of the tail, I took fuchsia-colored tape and ran it through a paper curler, placing several pieces along the edge of the tail I had made earlier.
• For the arms and feet, I made four open circles with pink tape molded into teardrops. I glued the pieces I made—arms, feet, and tail—to the body.
• I made the axolotl's gills by cutting open circles out of 3mm-wide fuchsia ribbon, flattening them, and gluing them to the sides of the head.
• I applied a layer of extra-strong white glue to protect the figure.
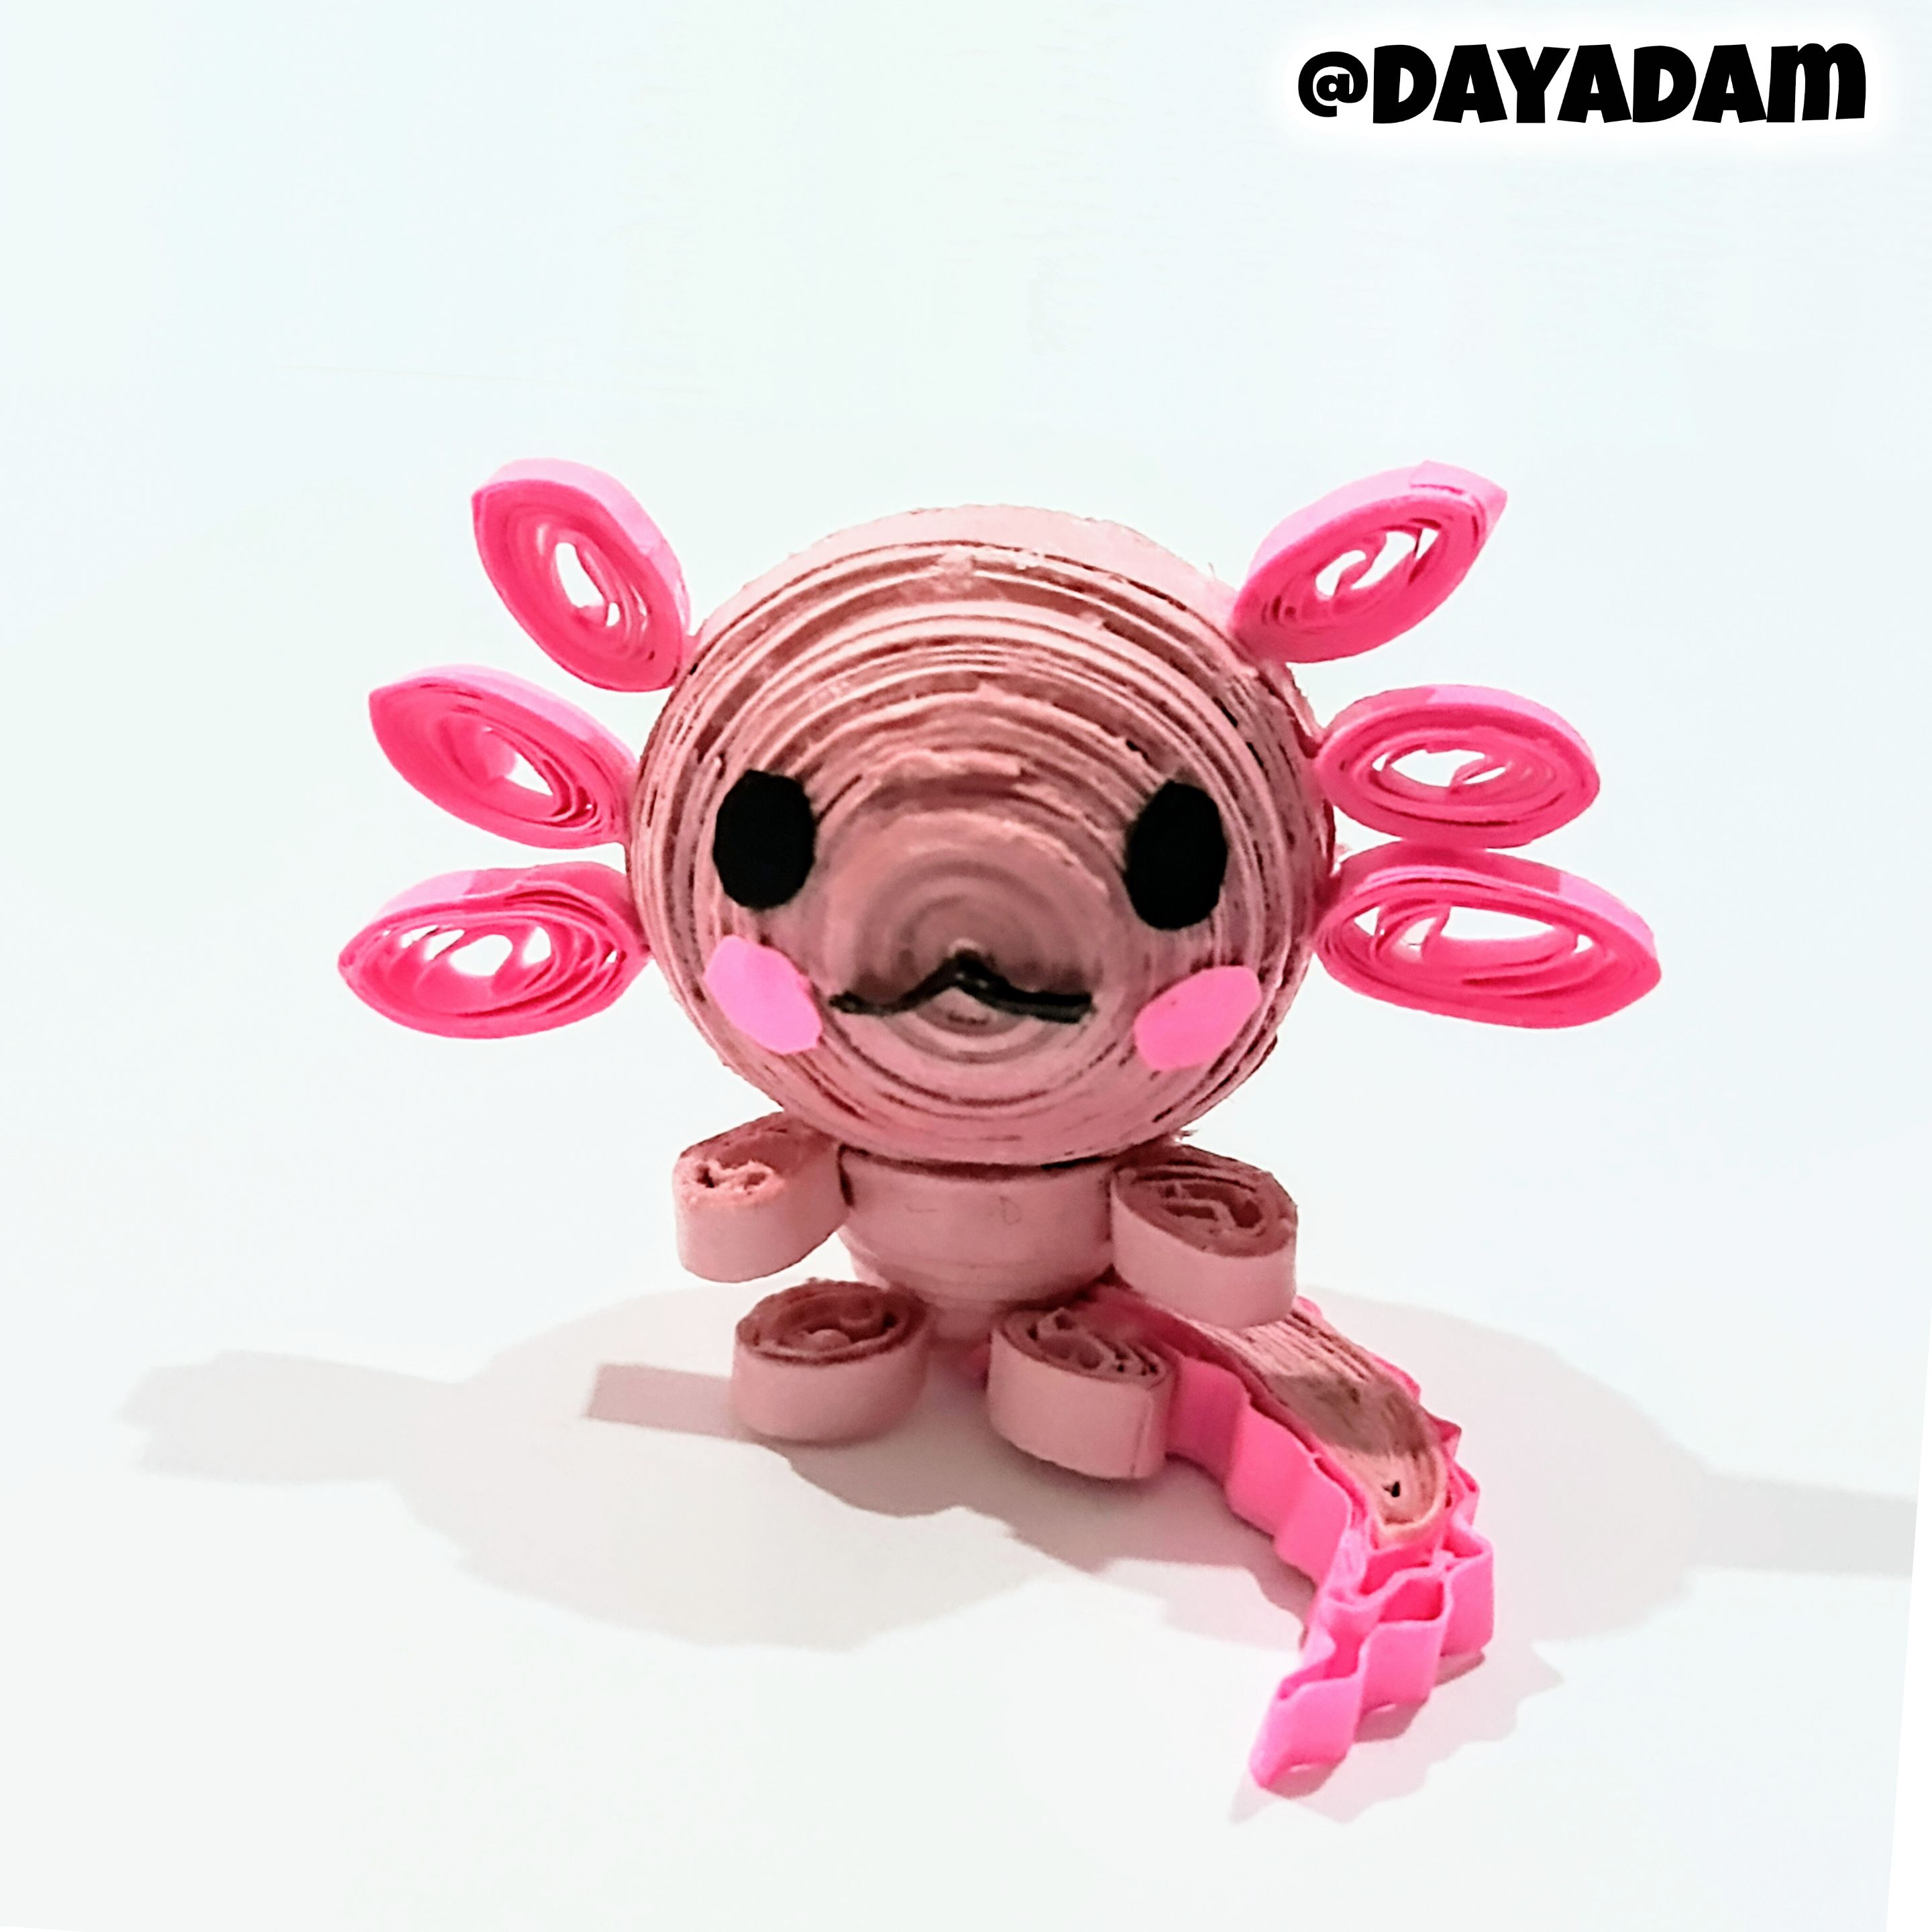
• To finish, I cut out the eyes, cheeks, and mouth and glued them to the face.
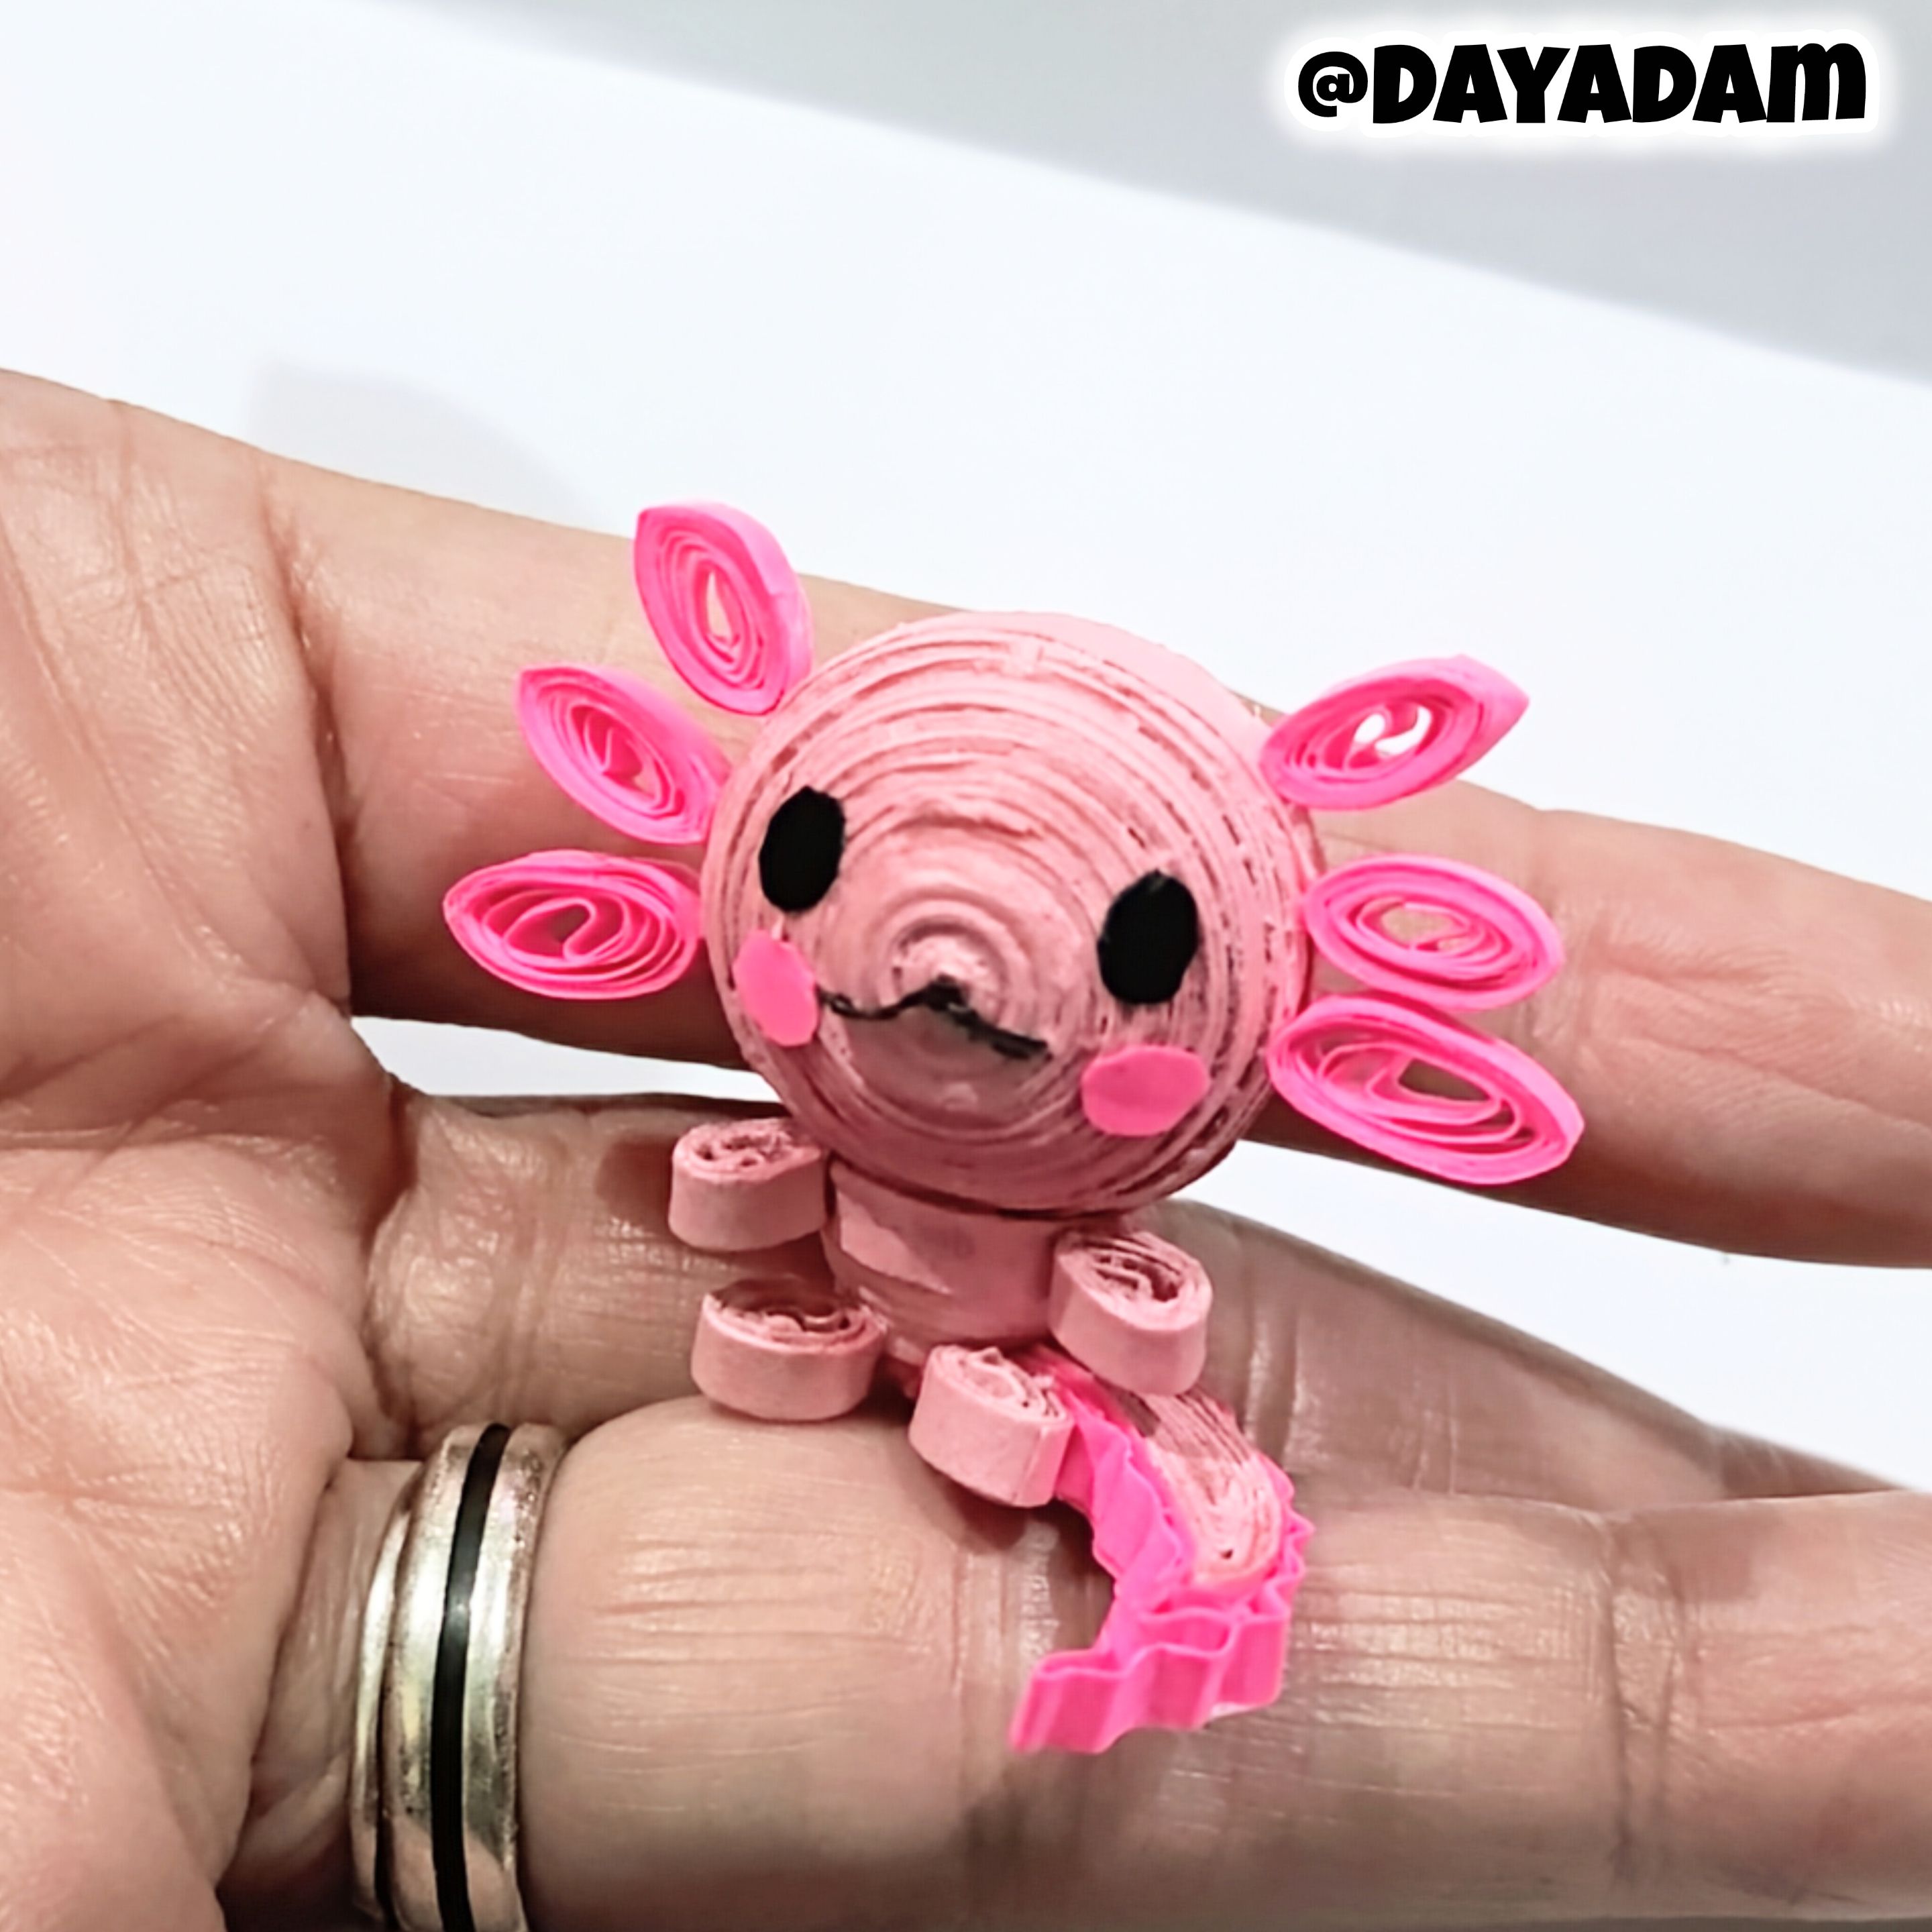
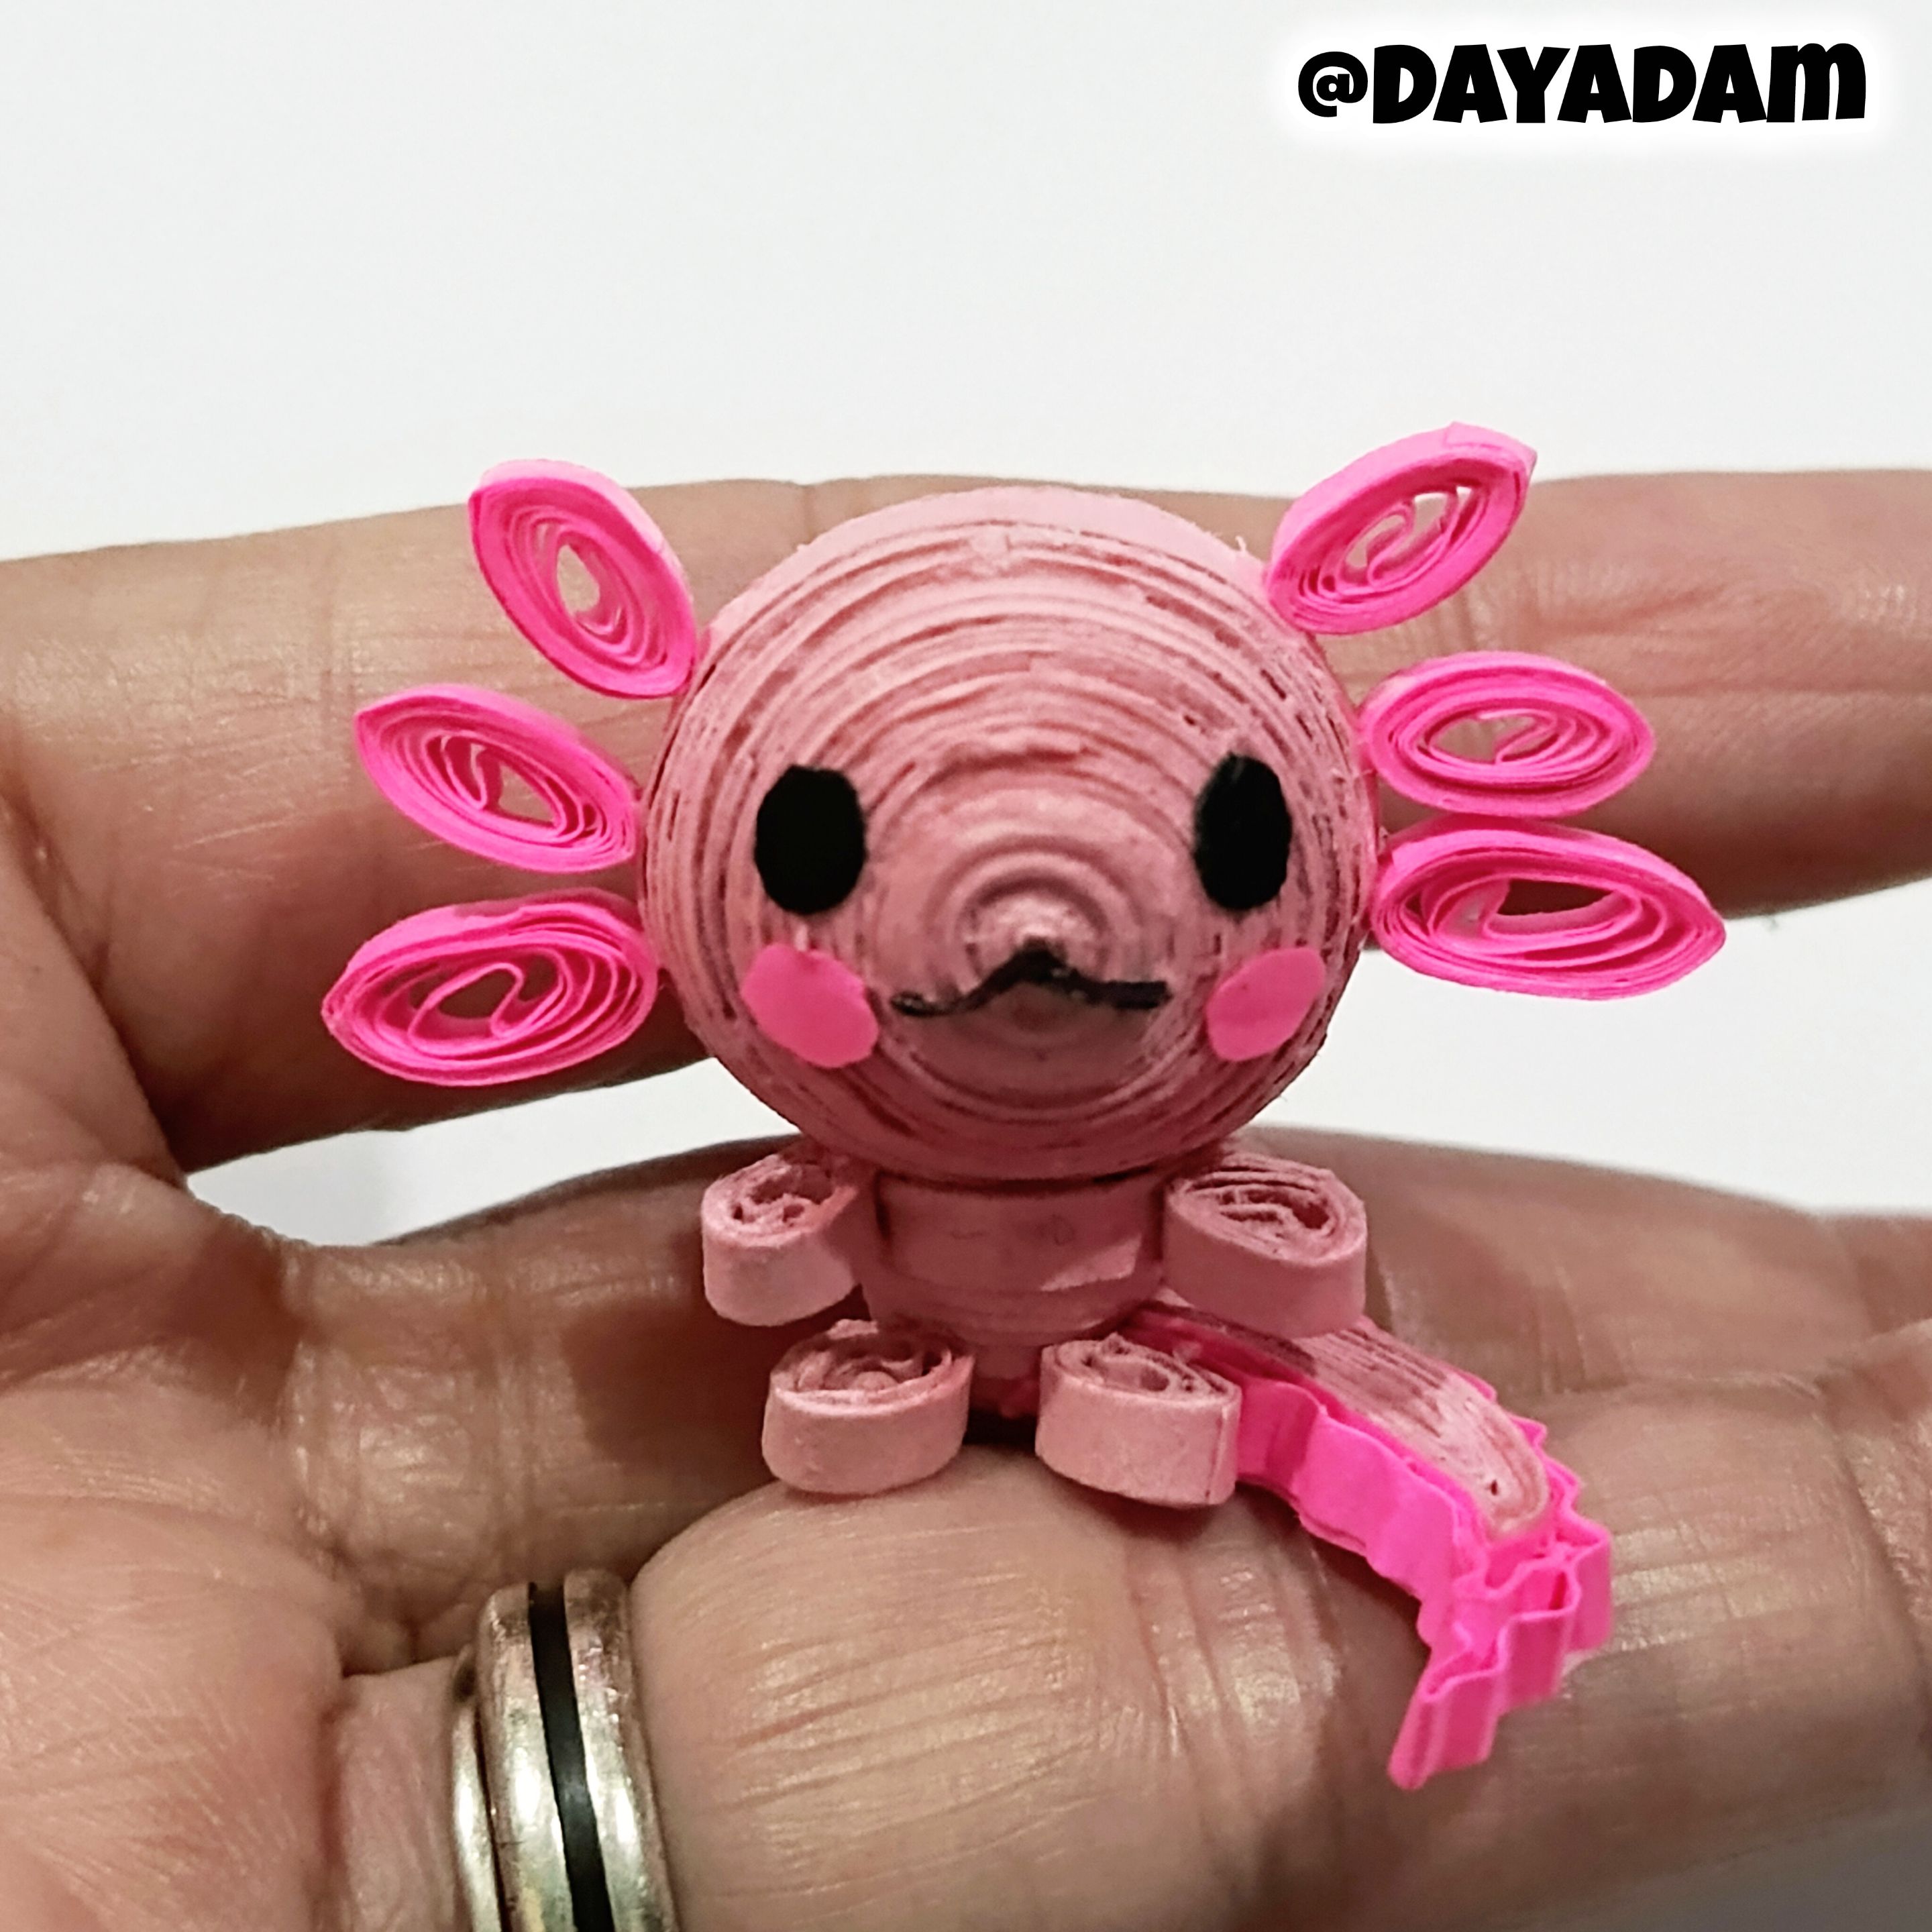
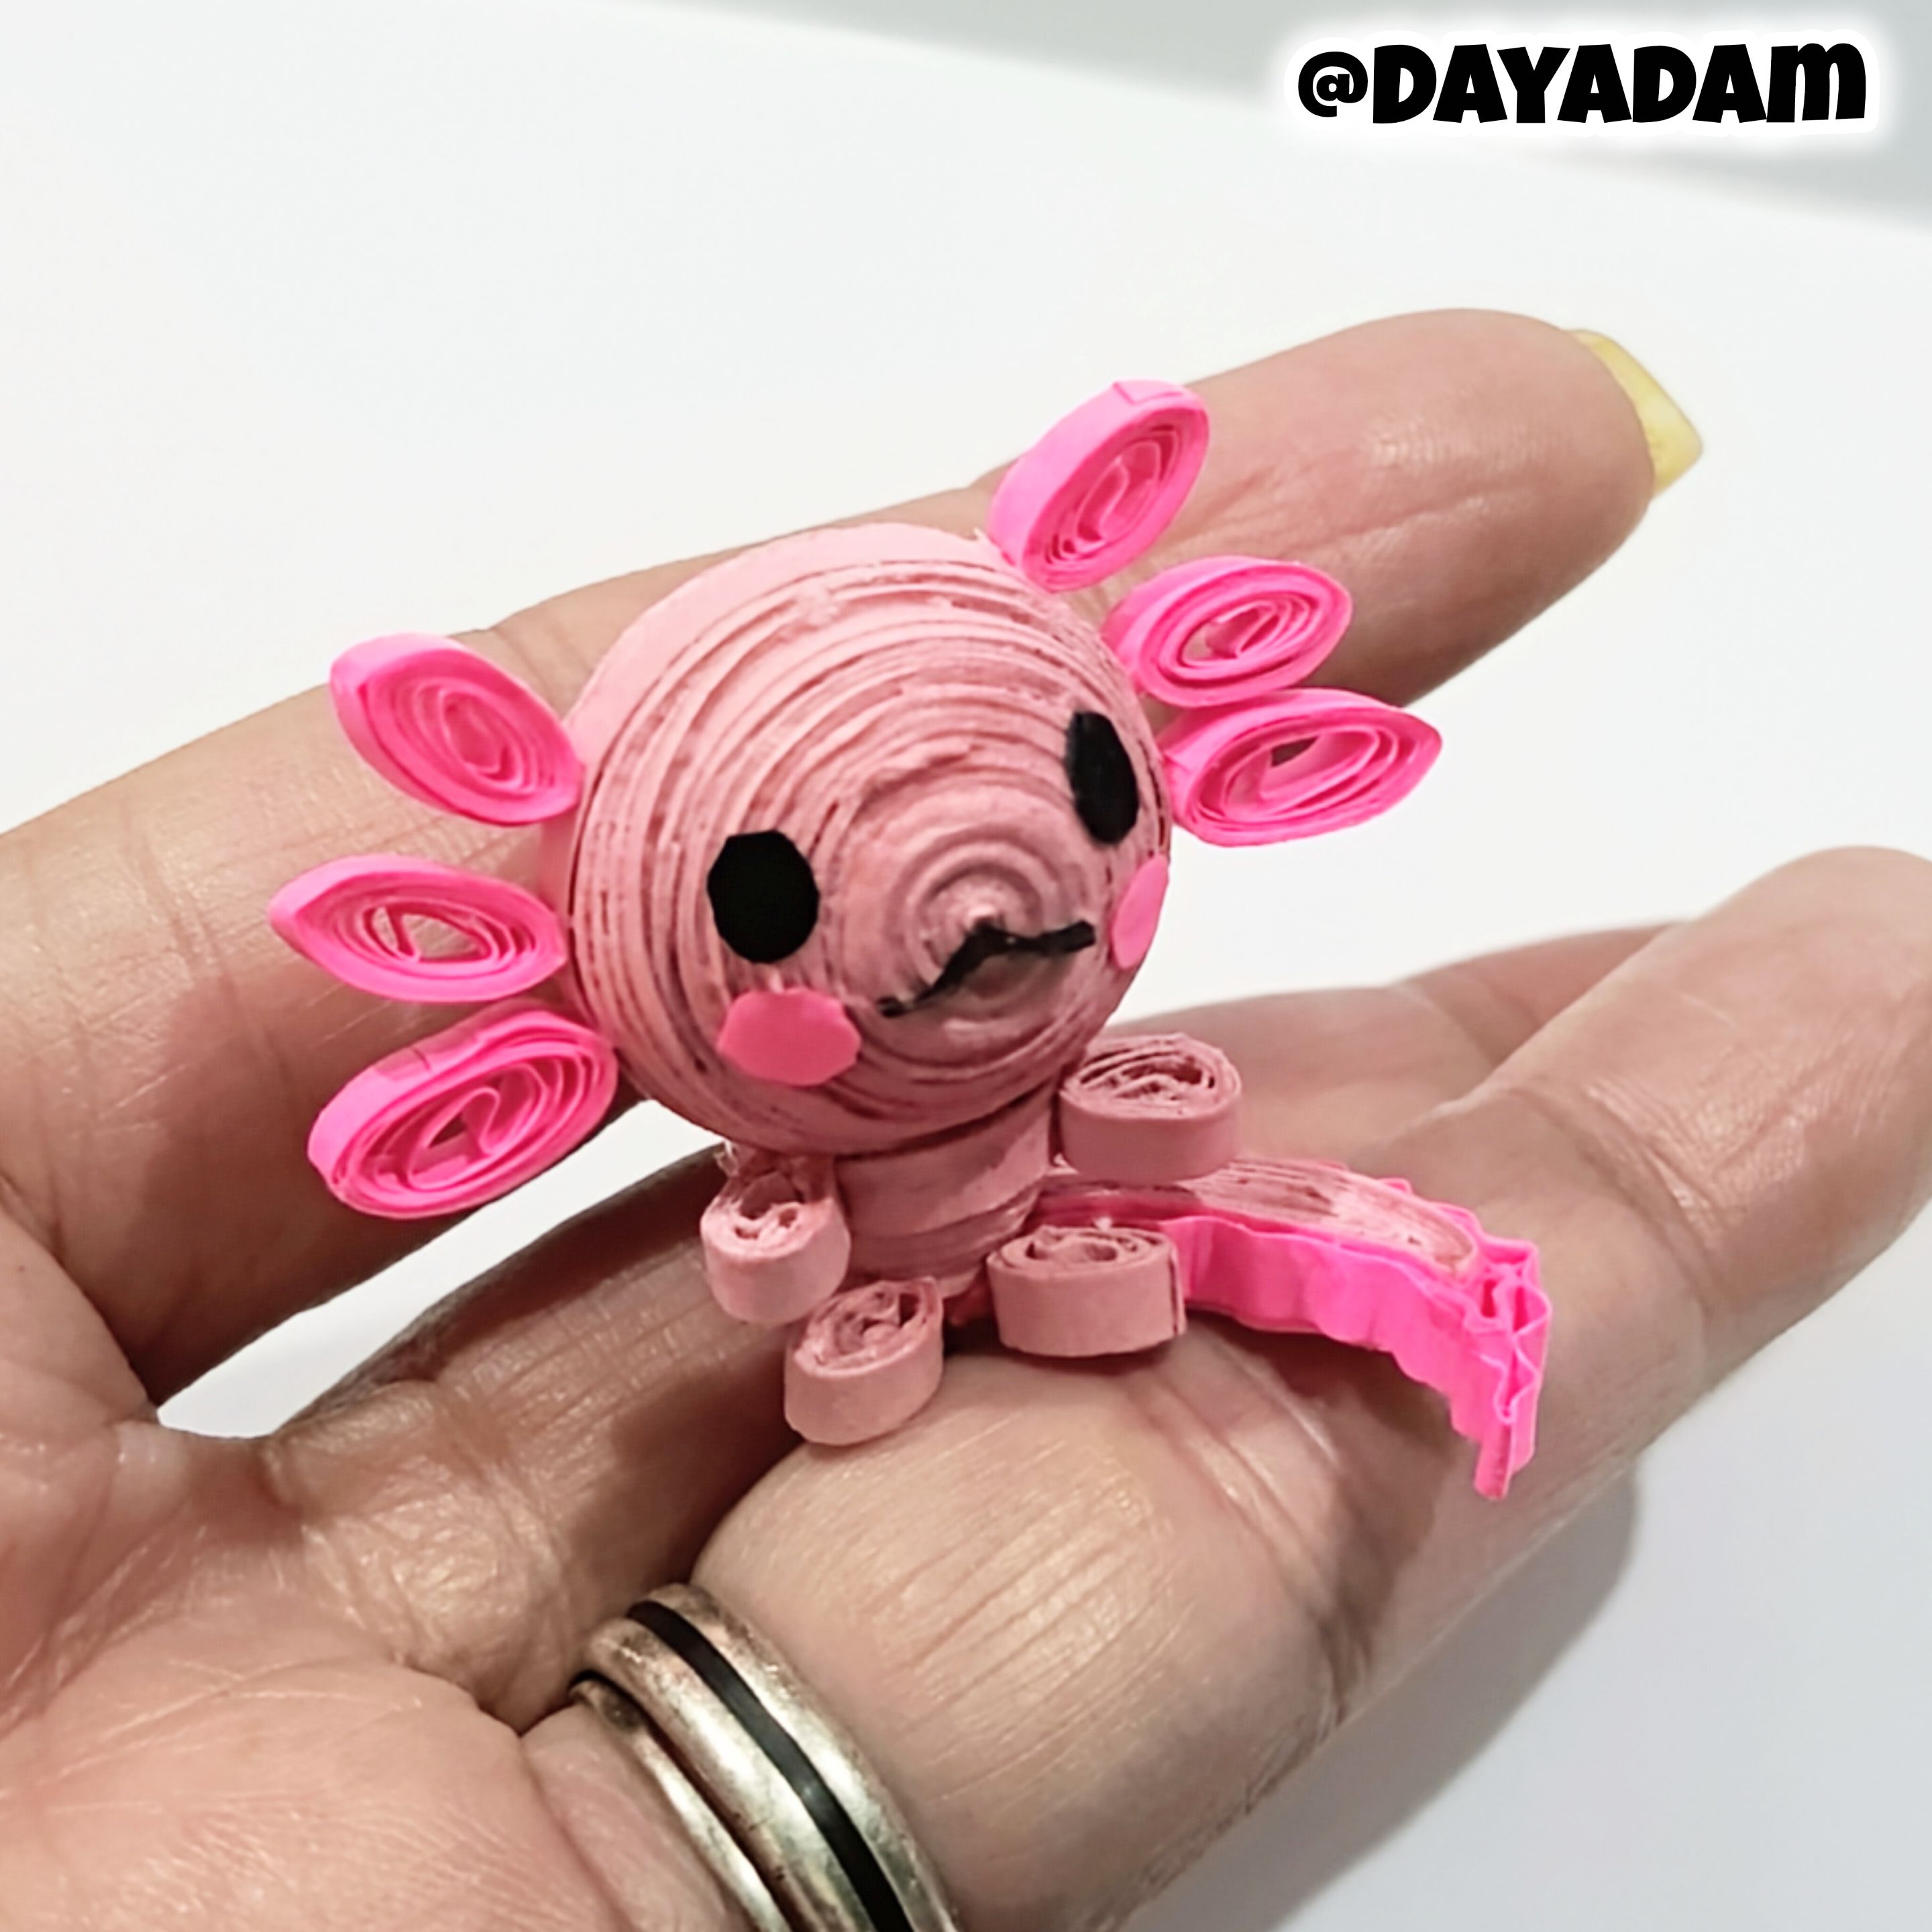
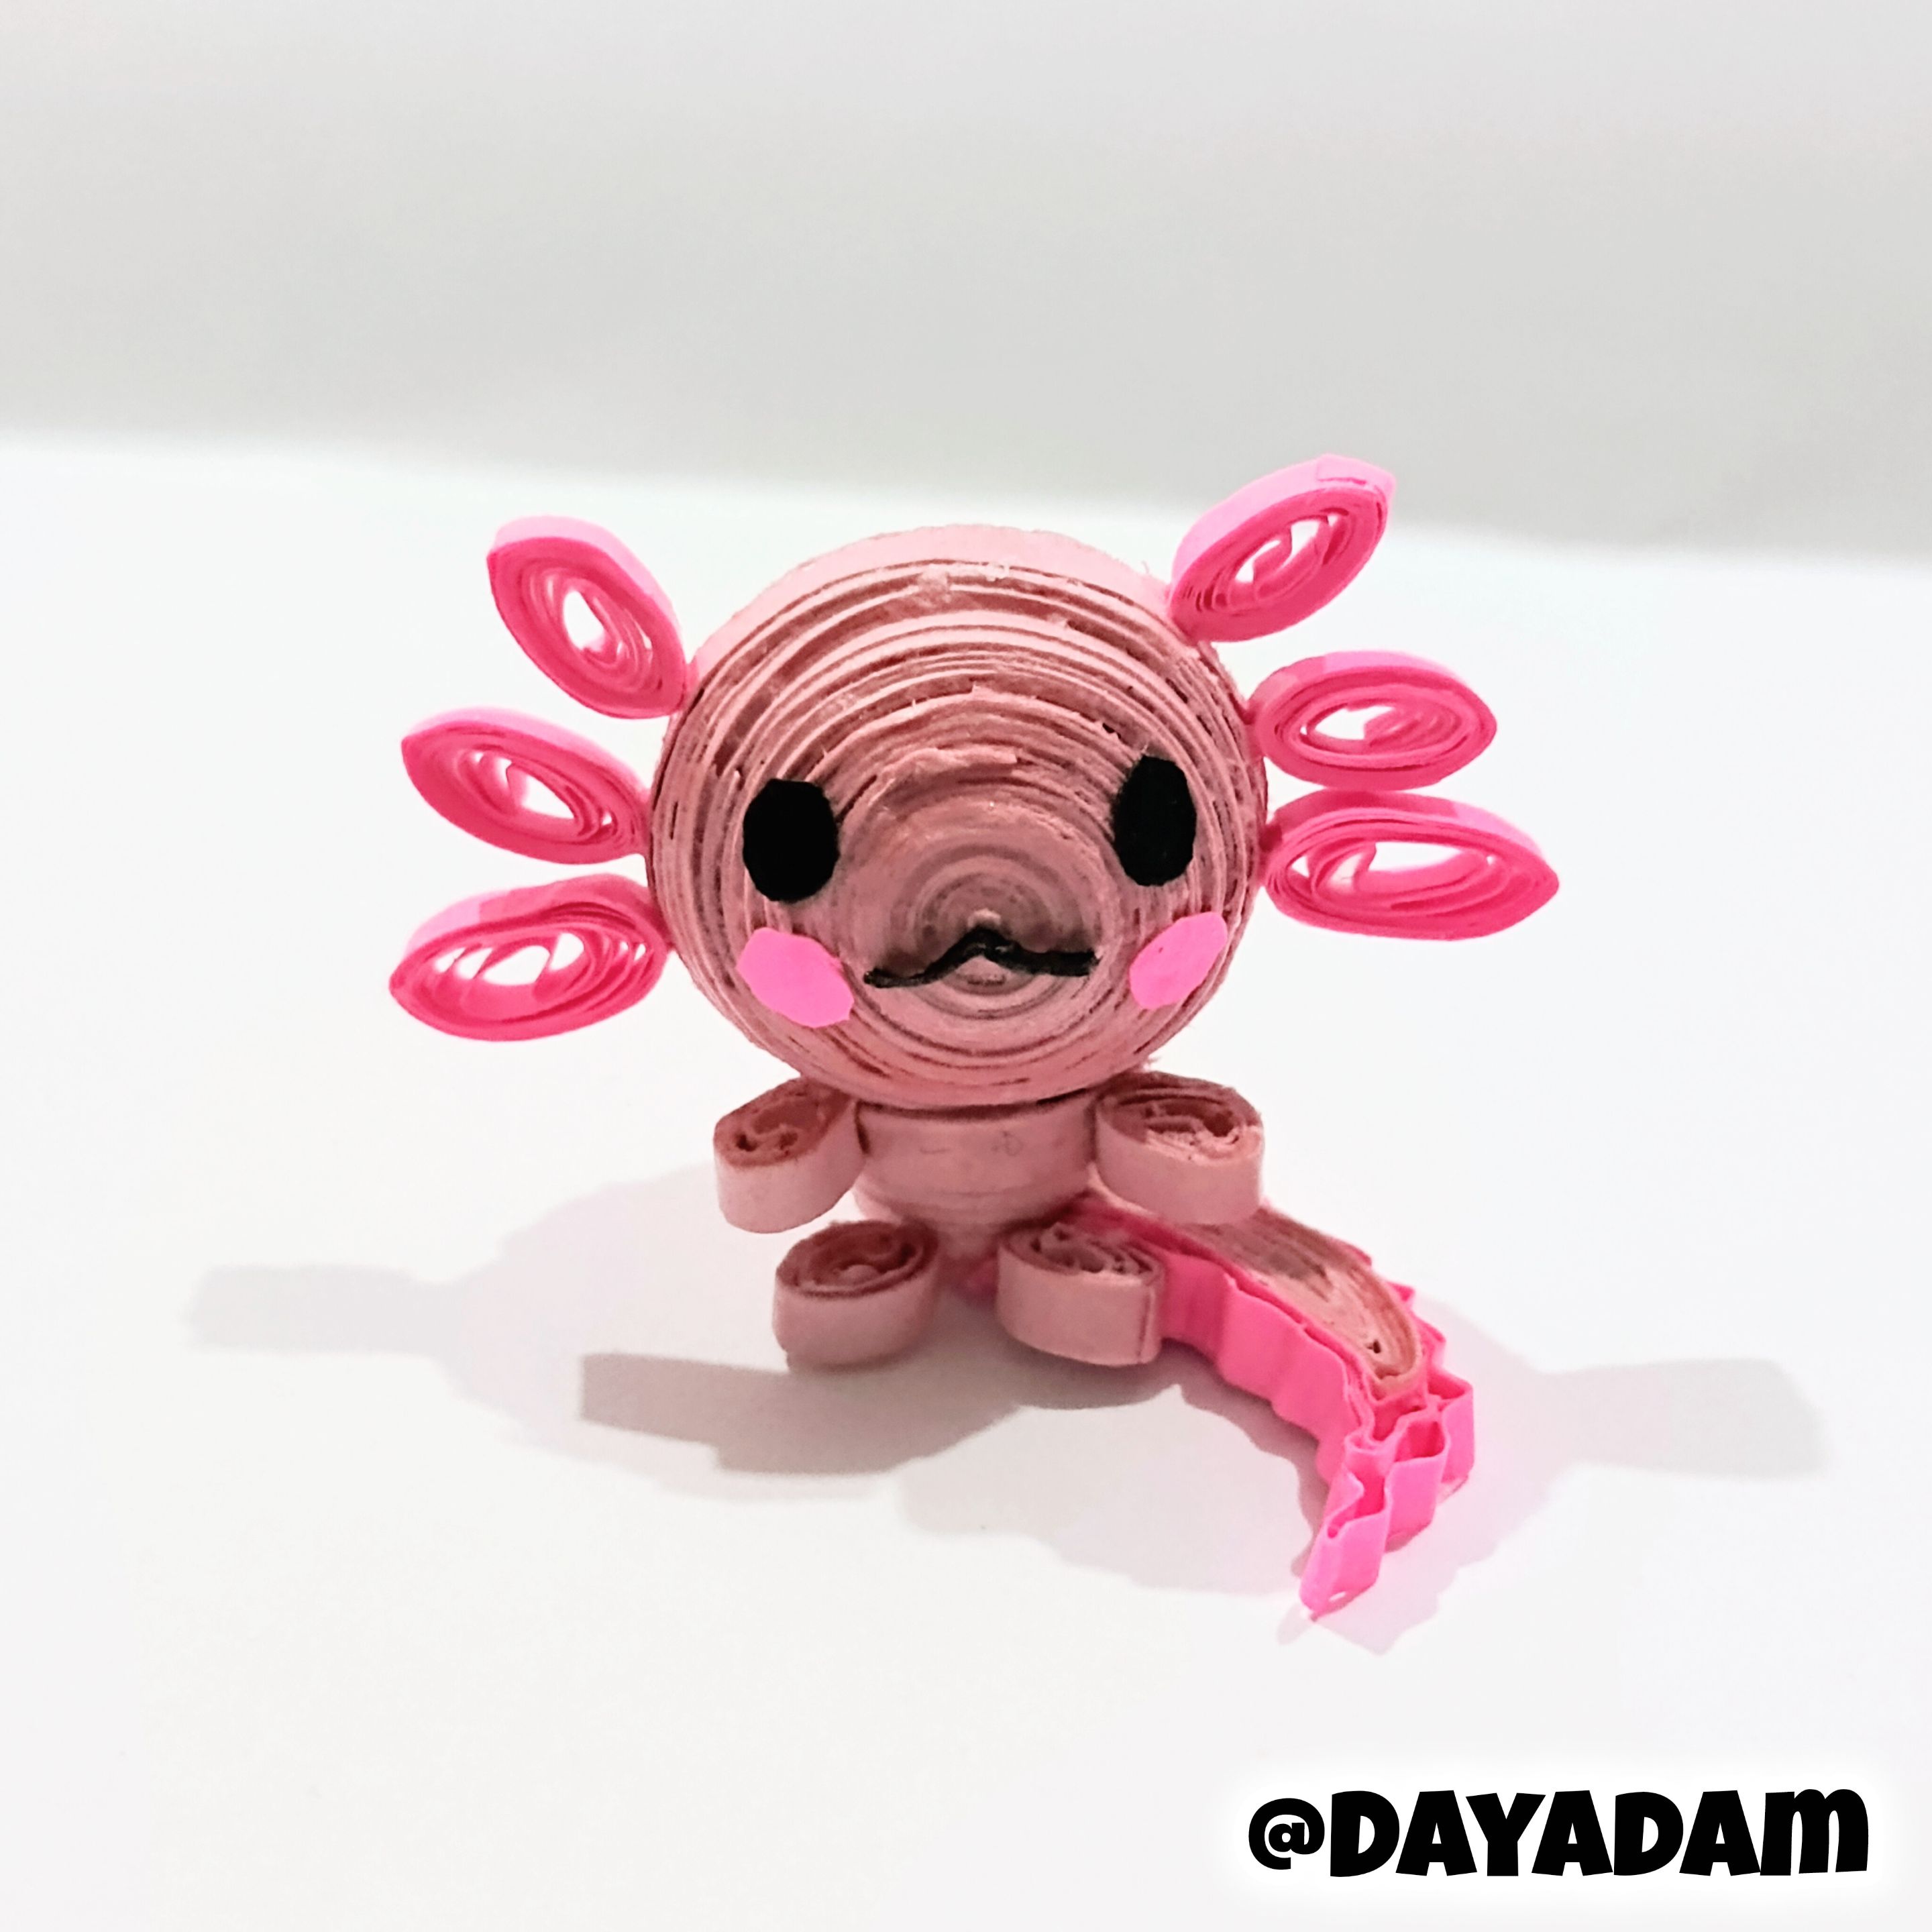
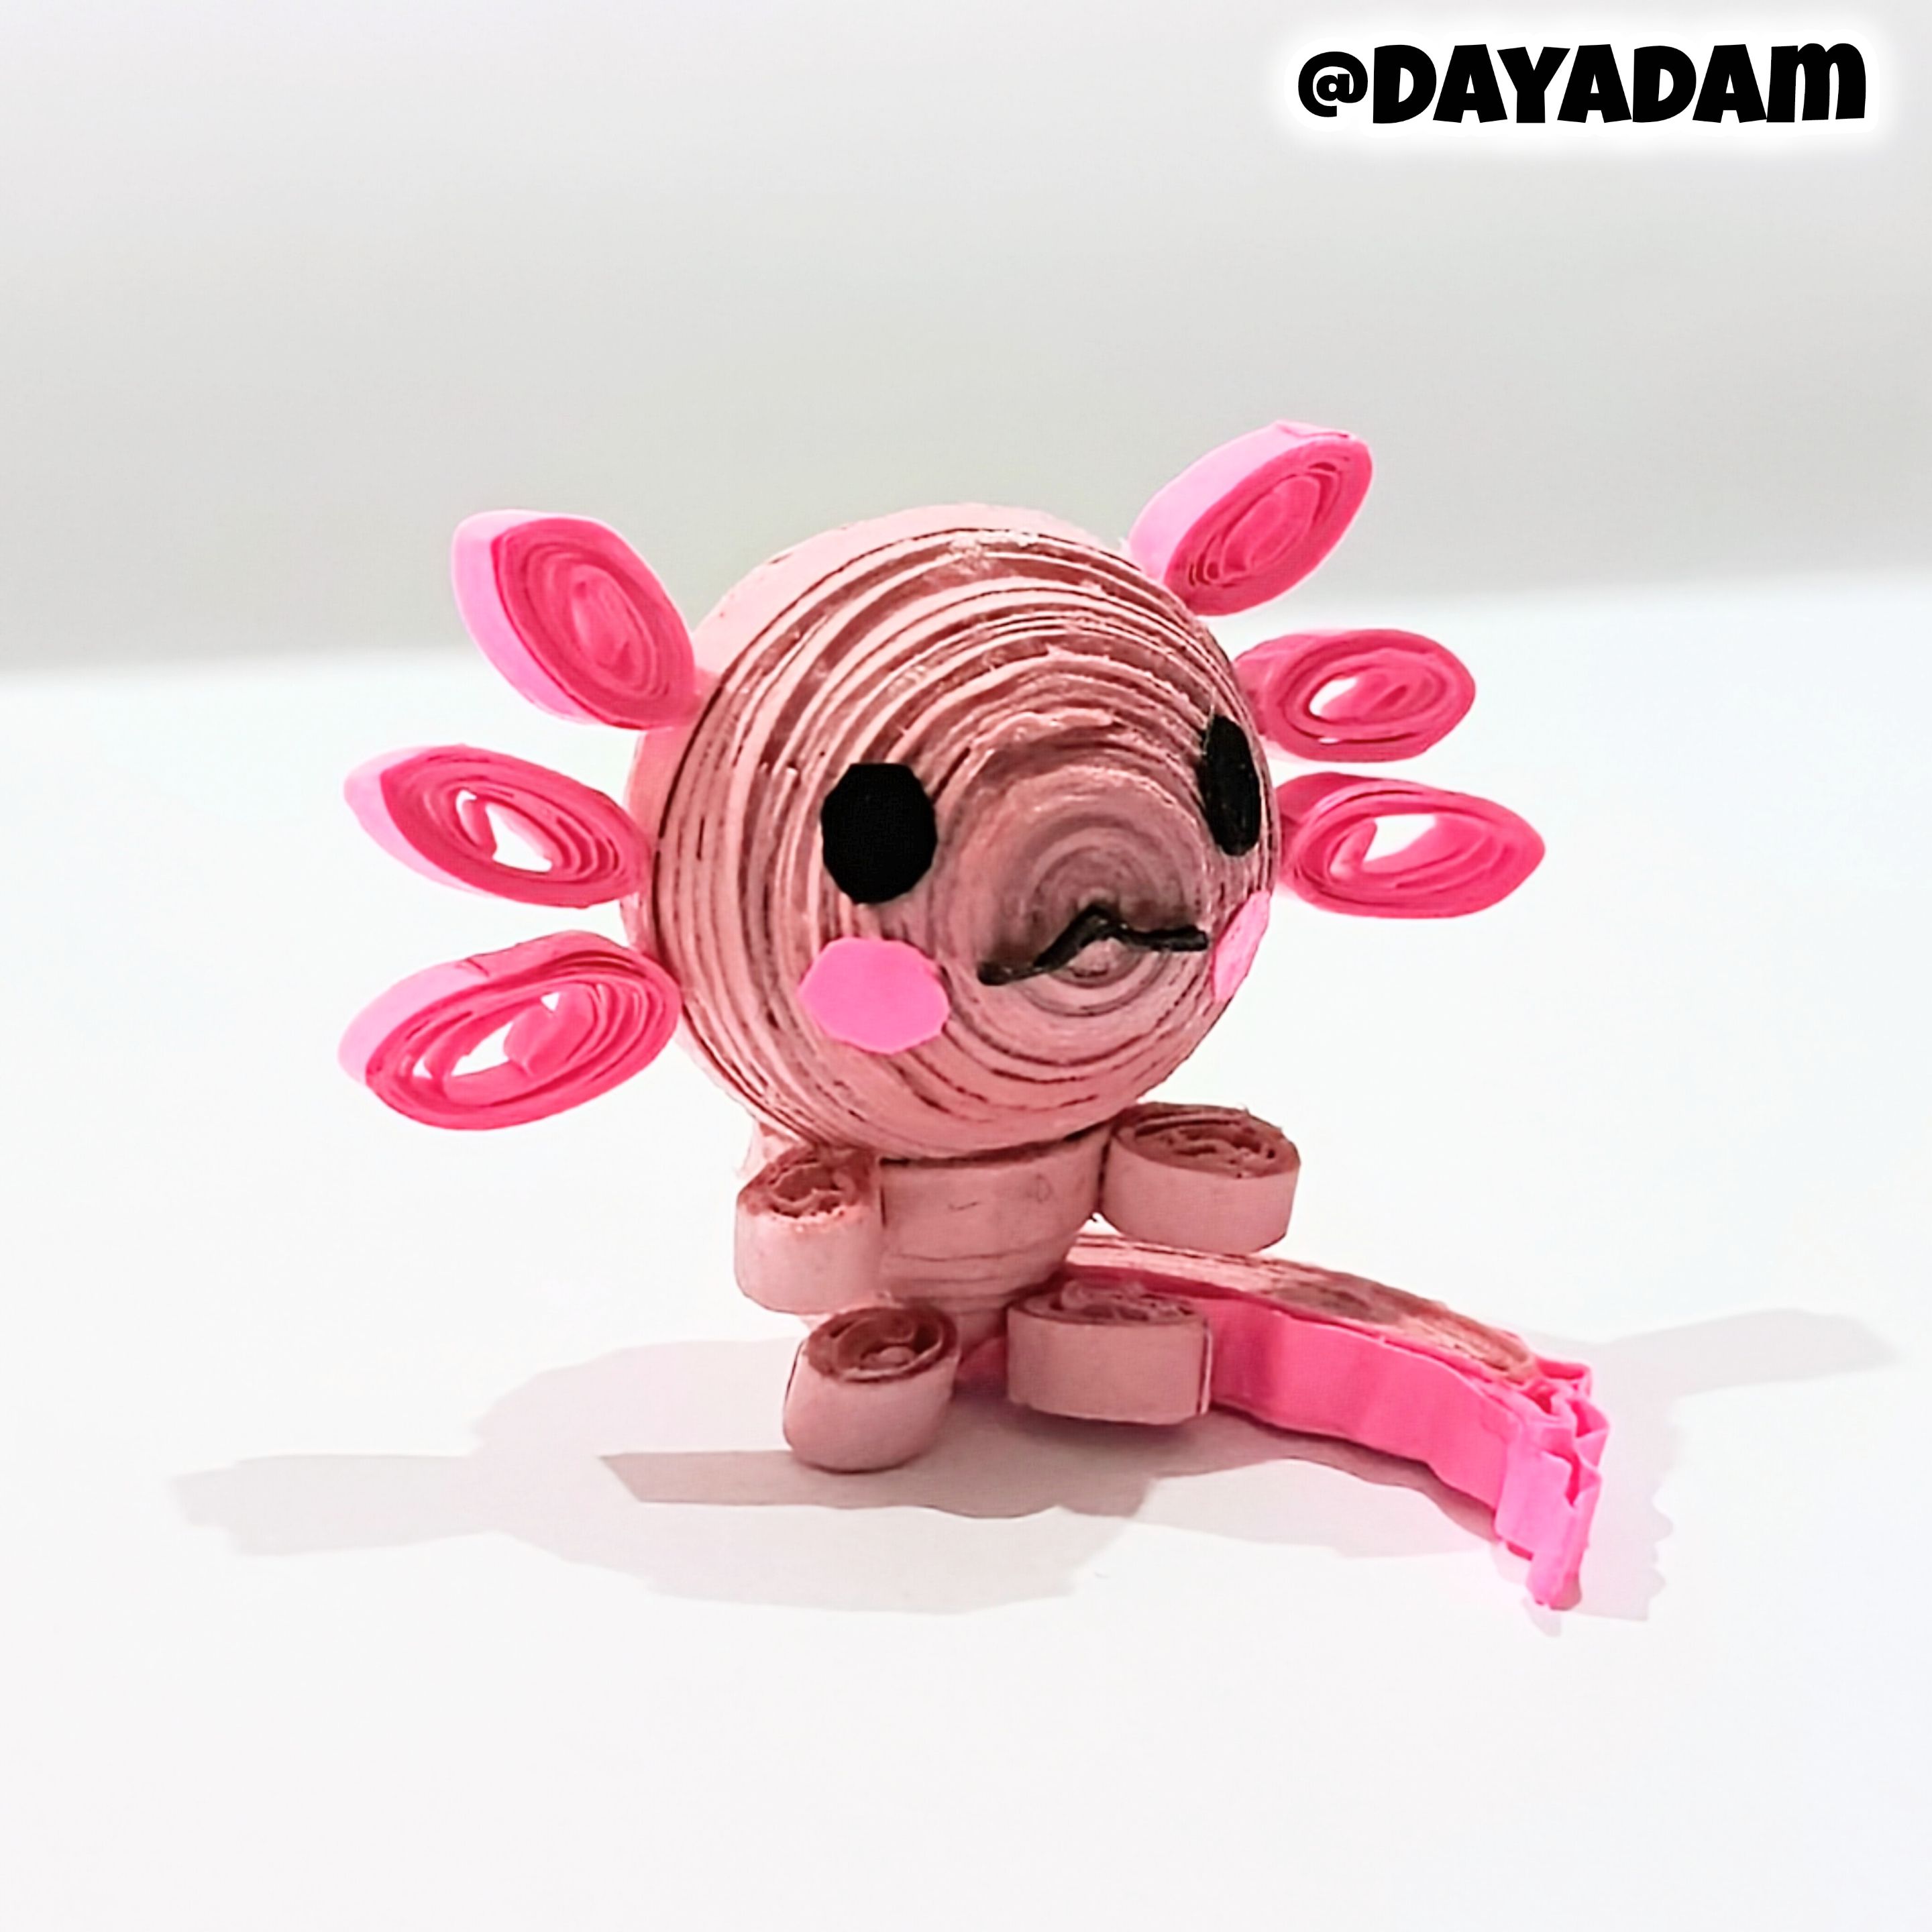
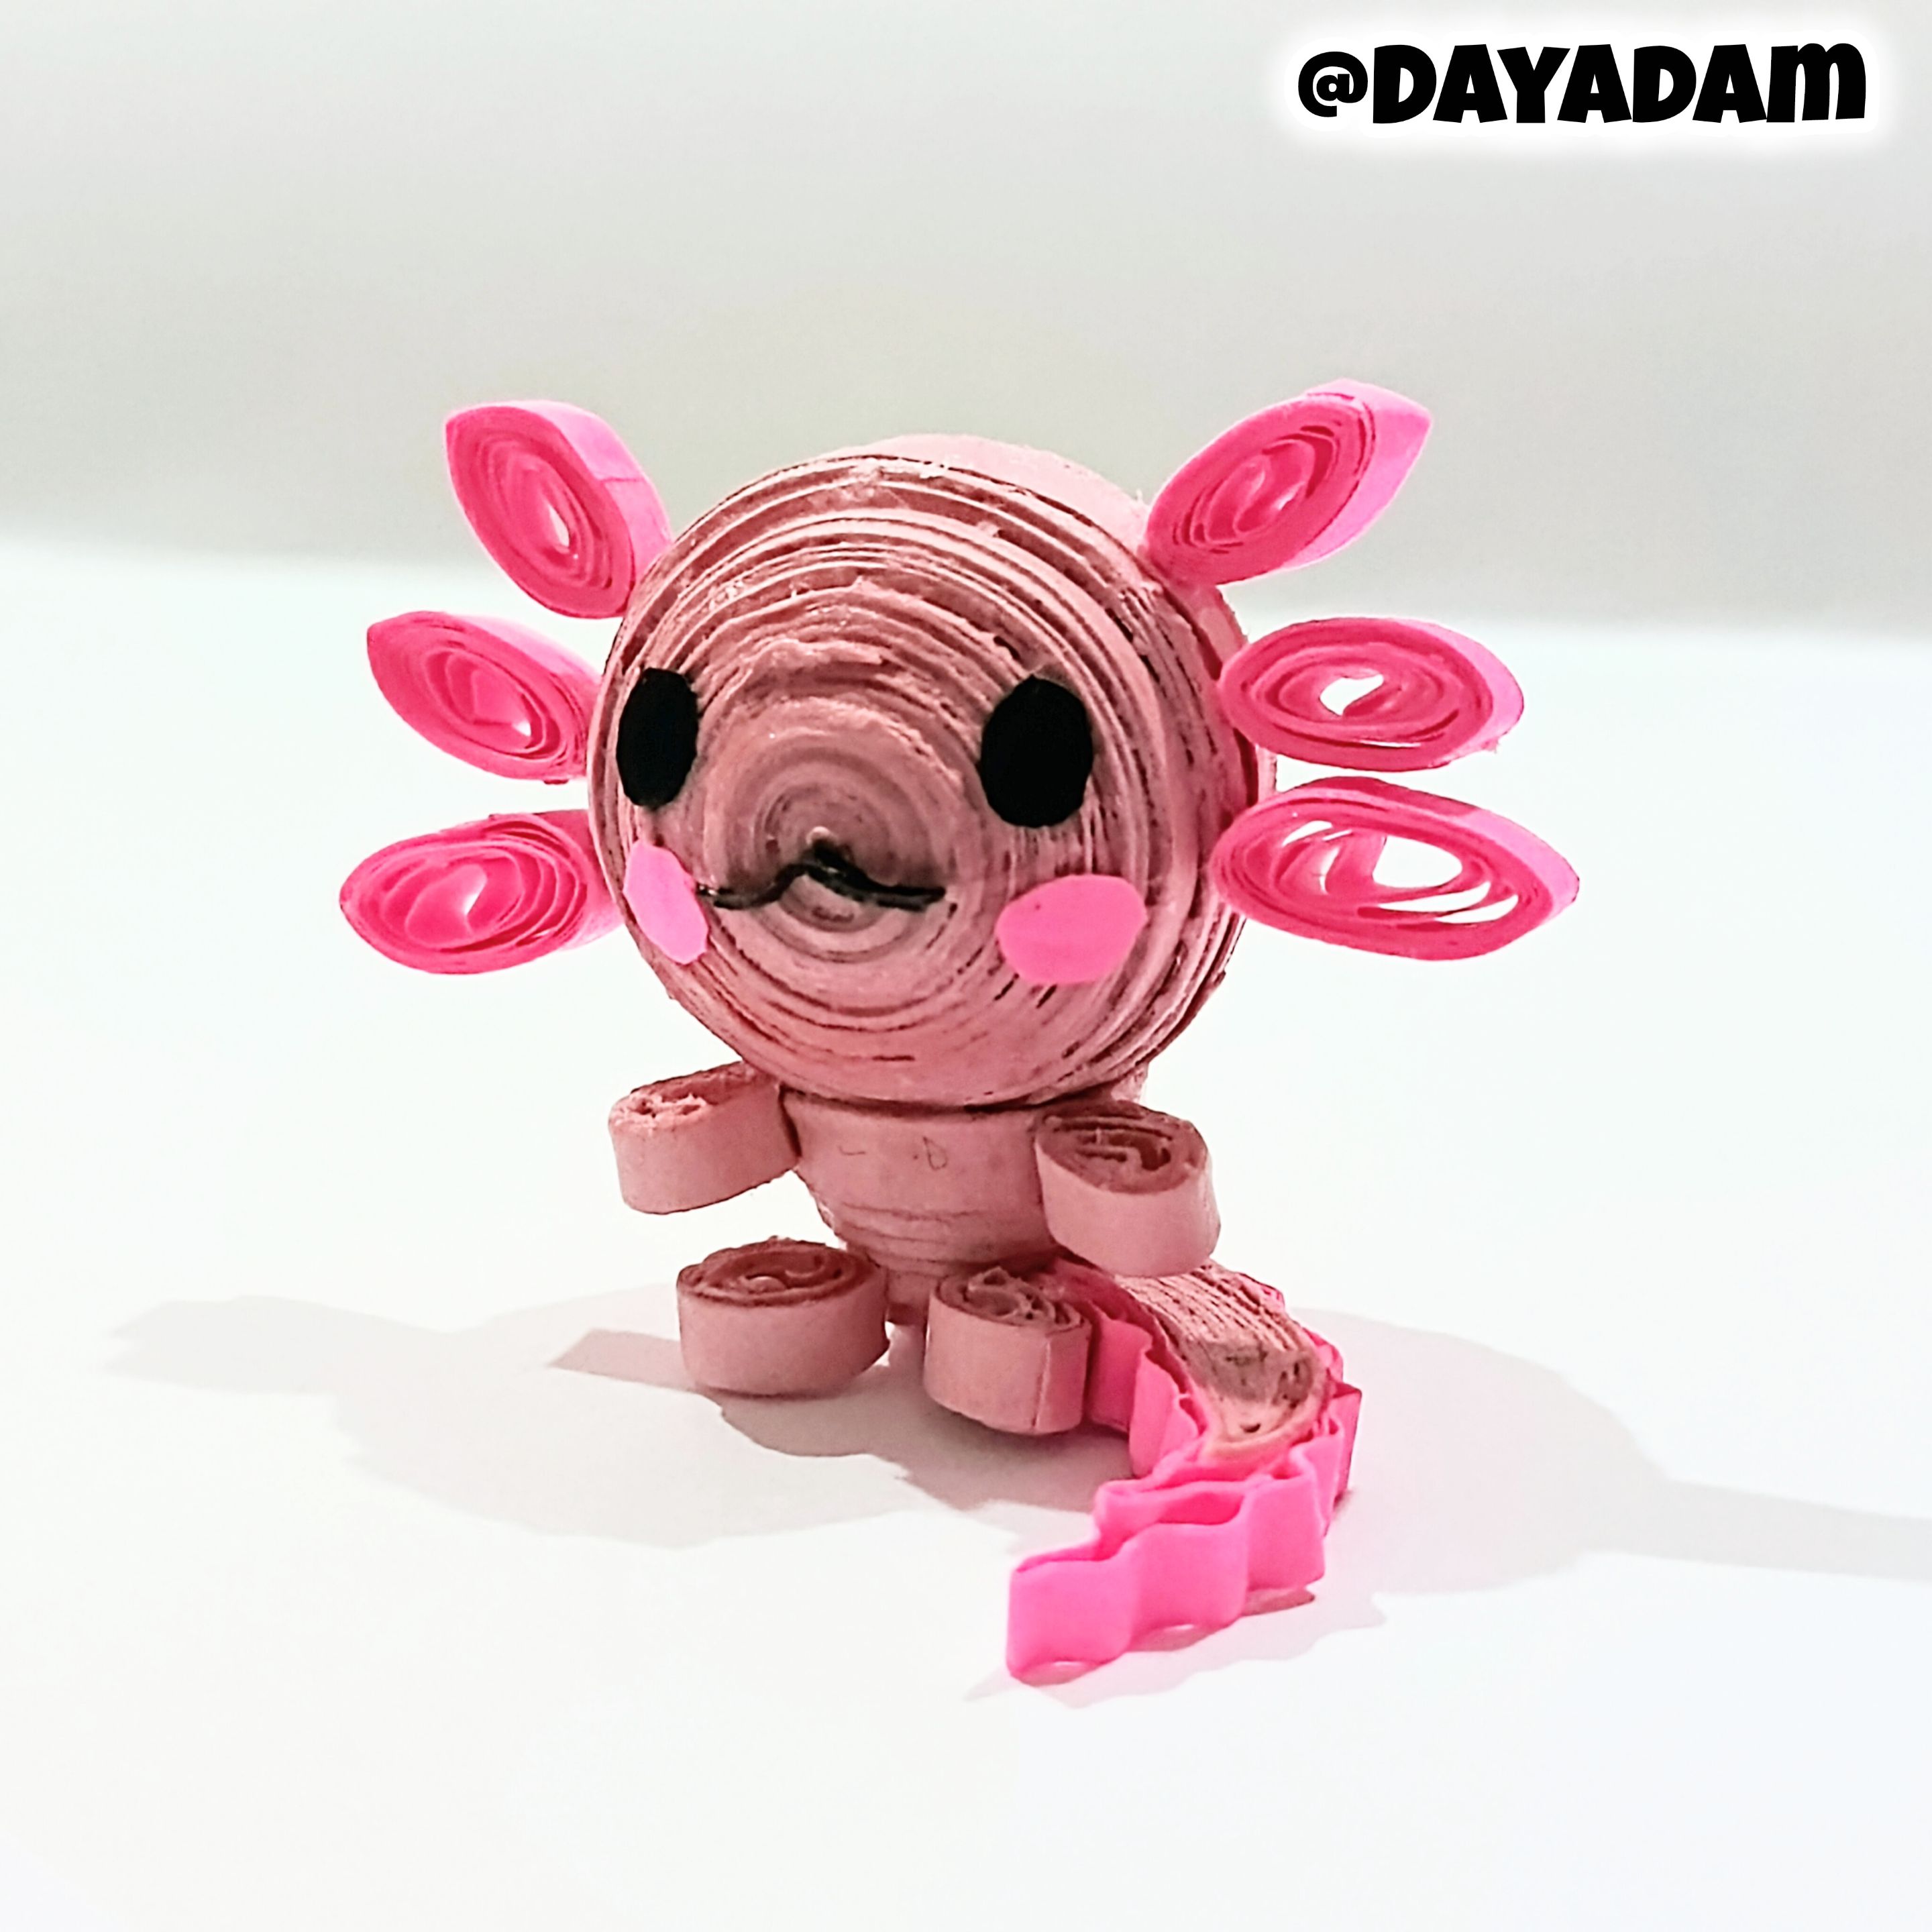
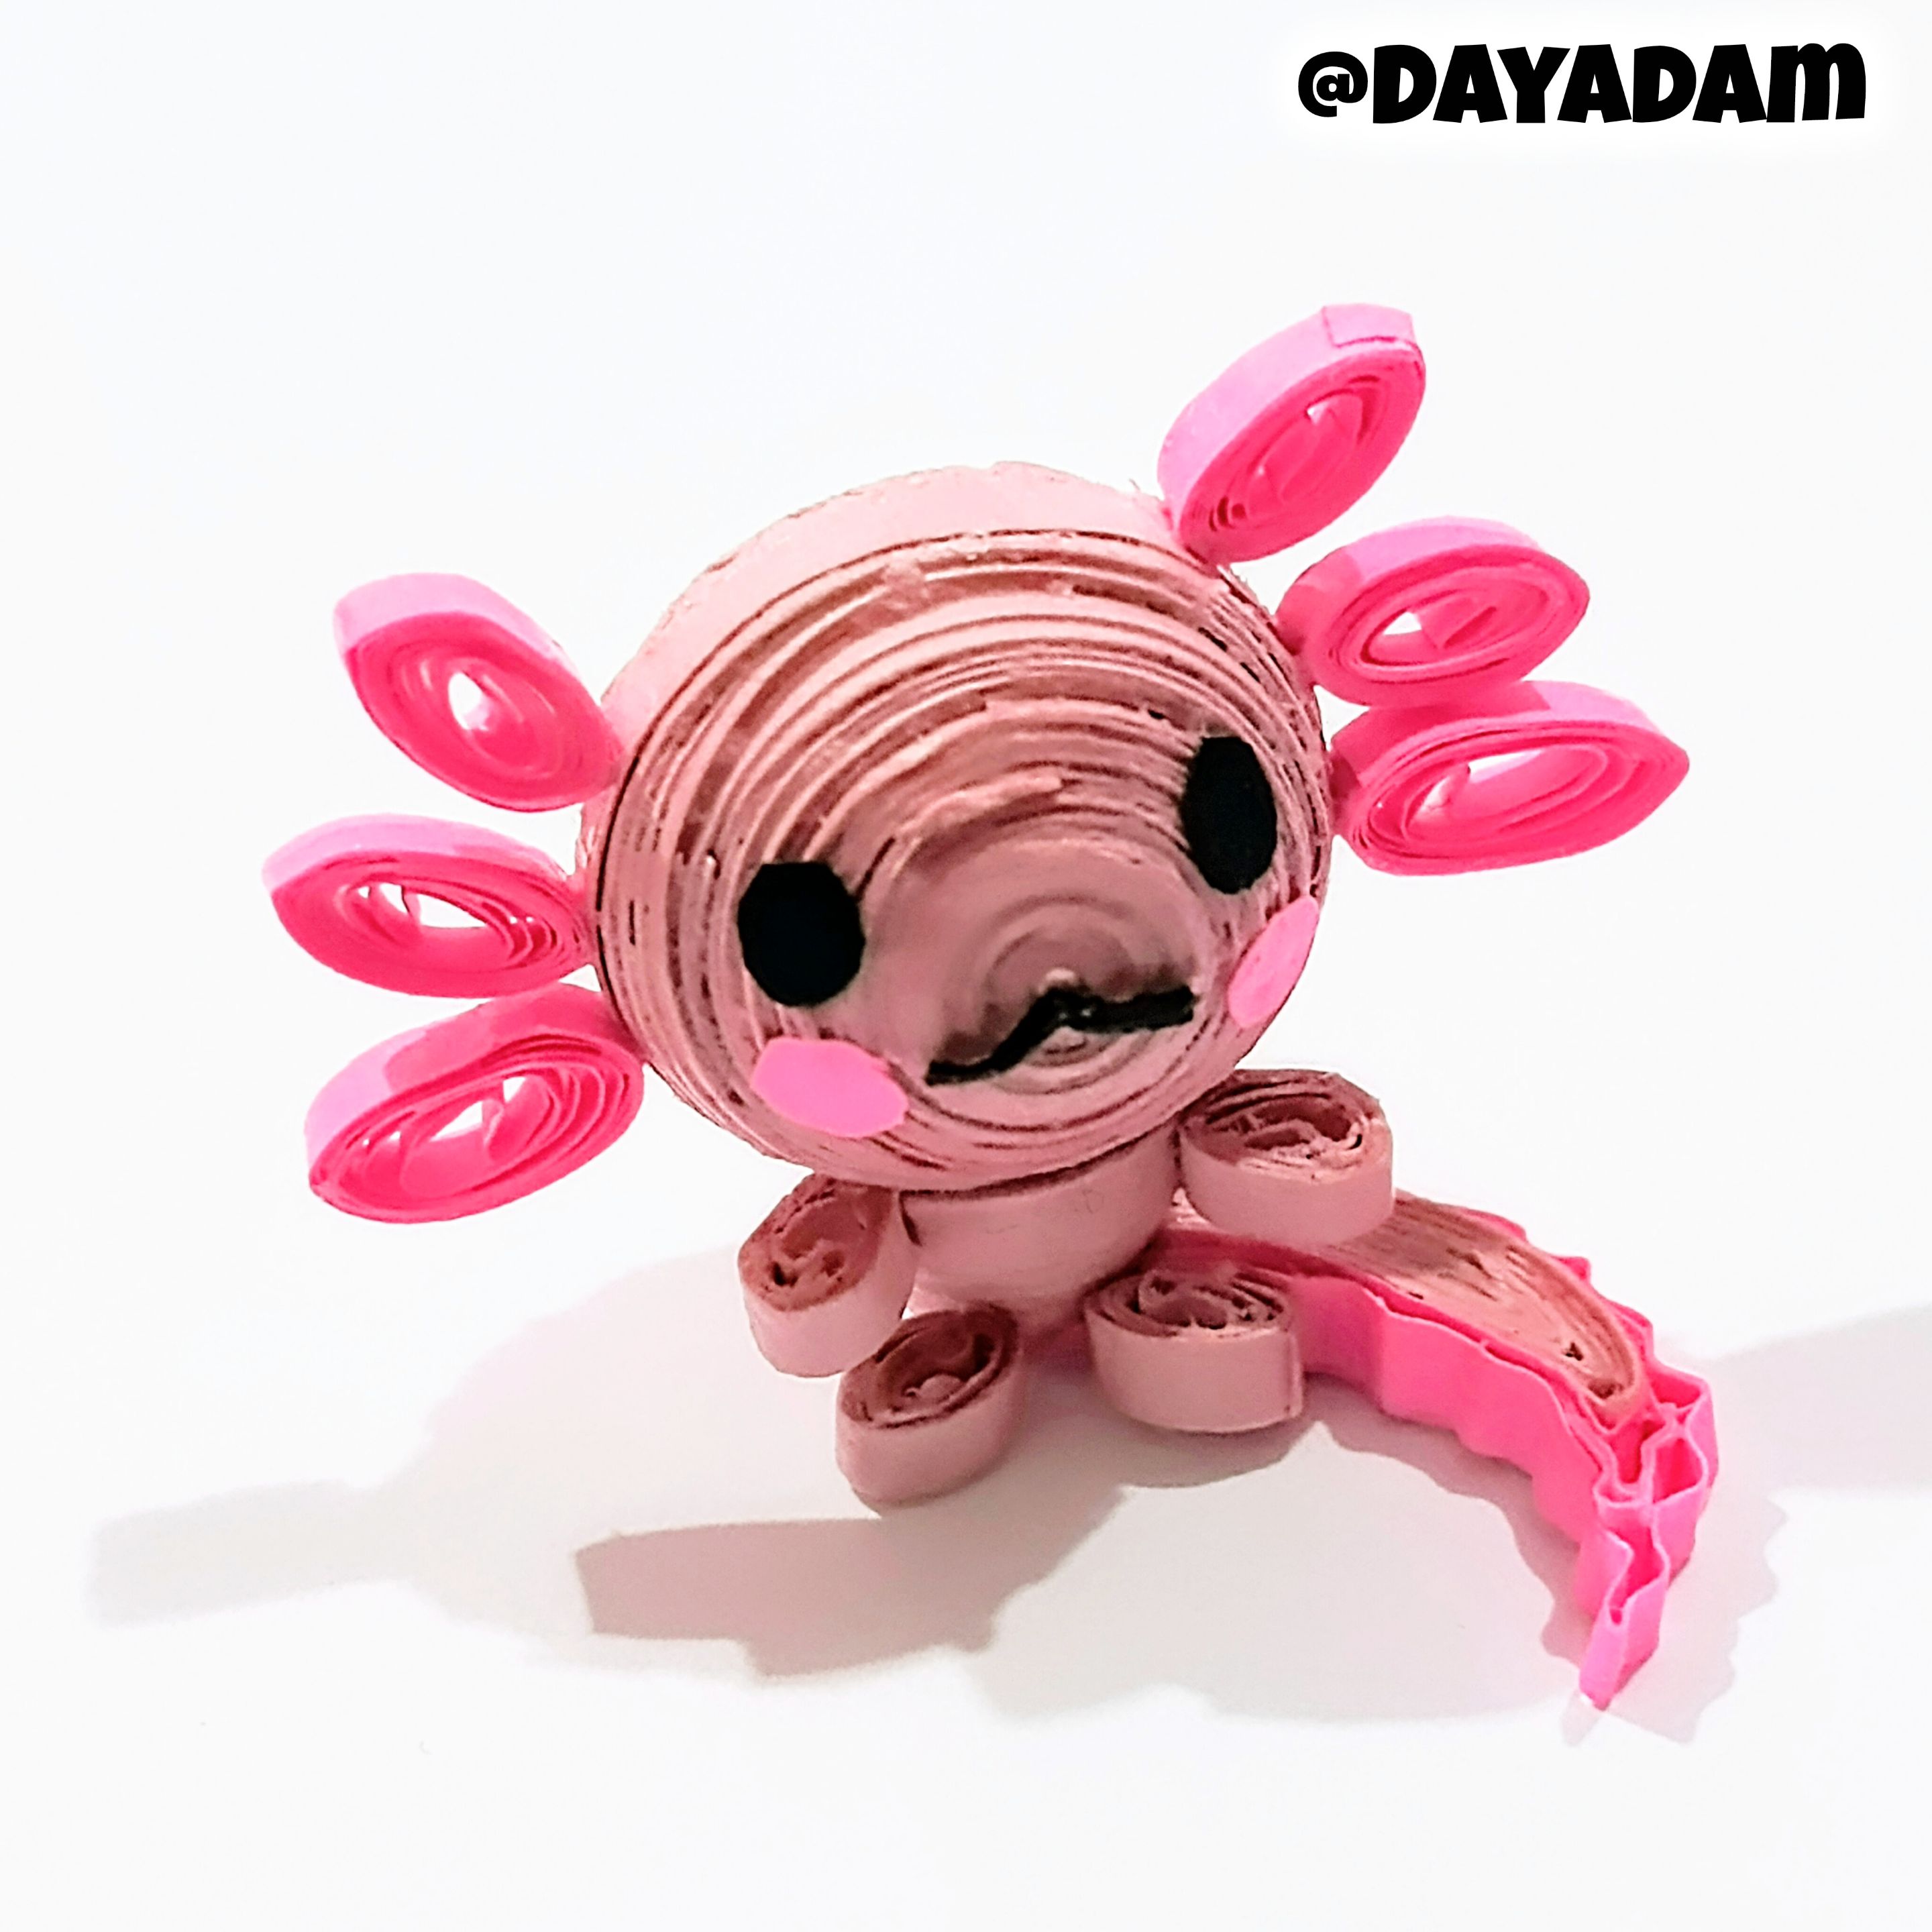
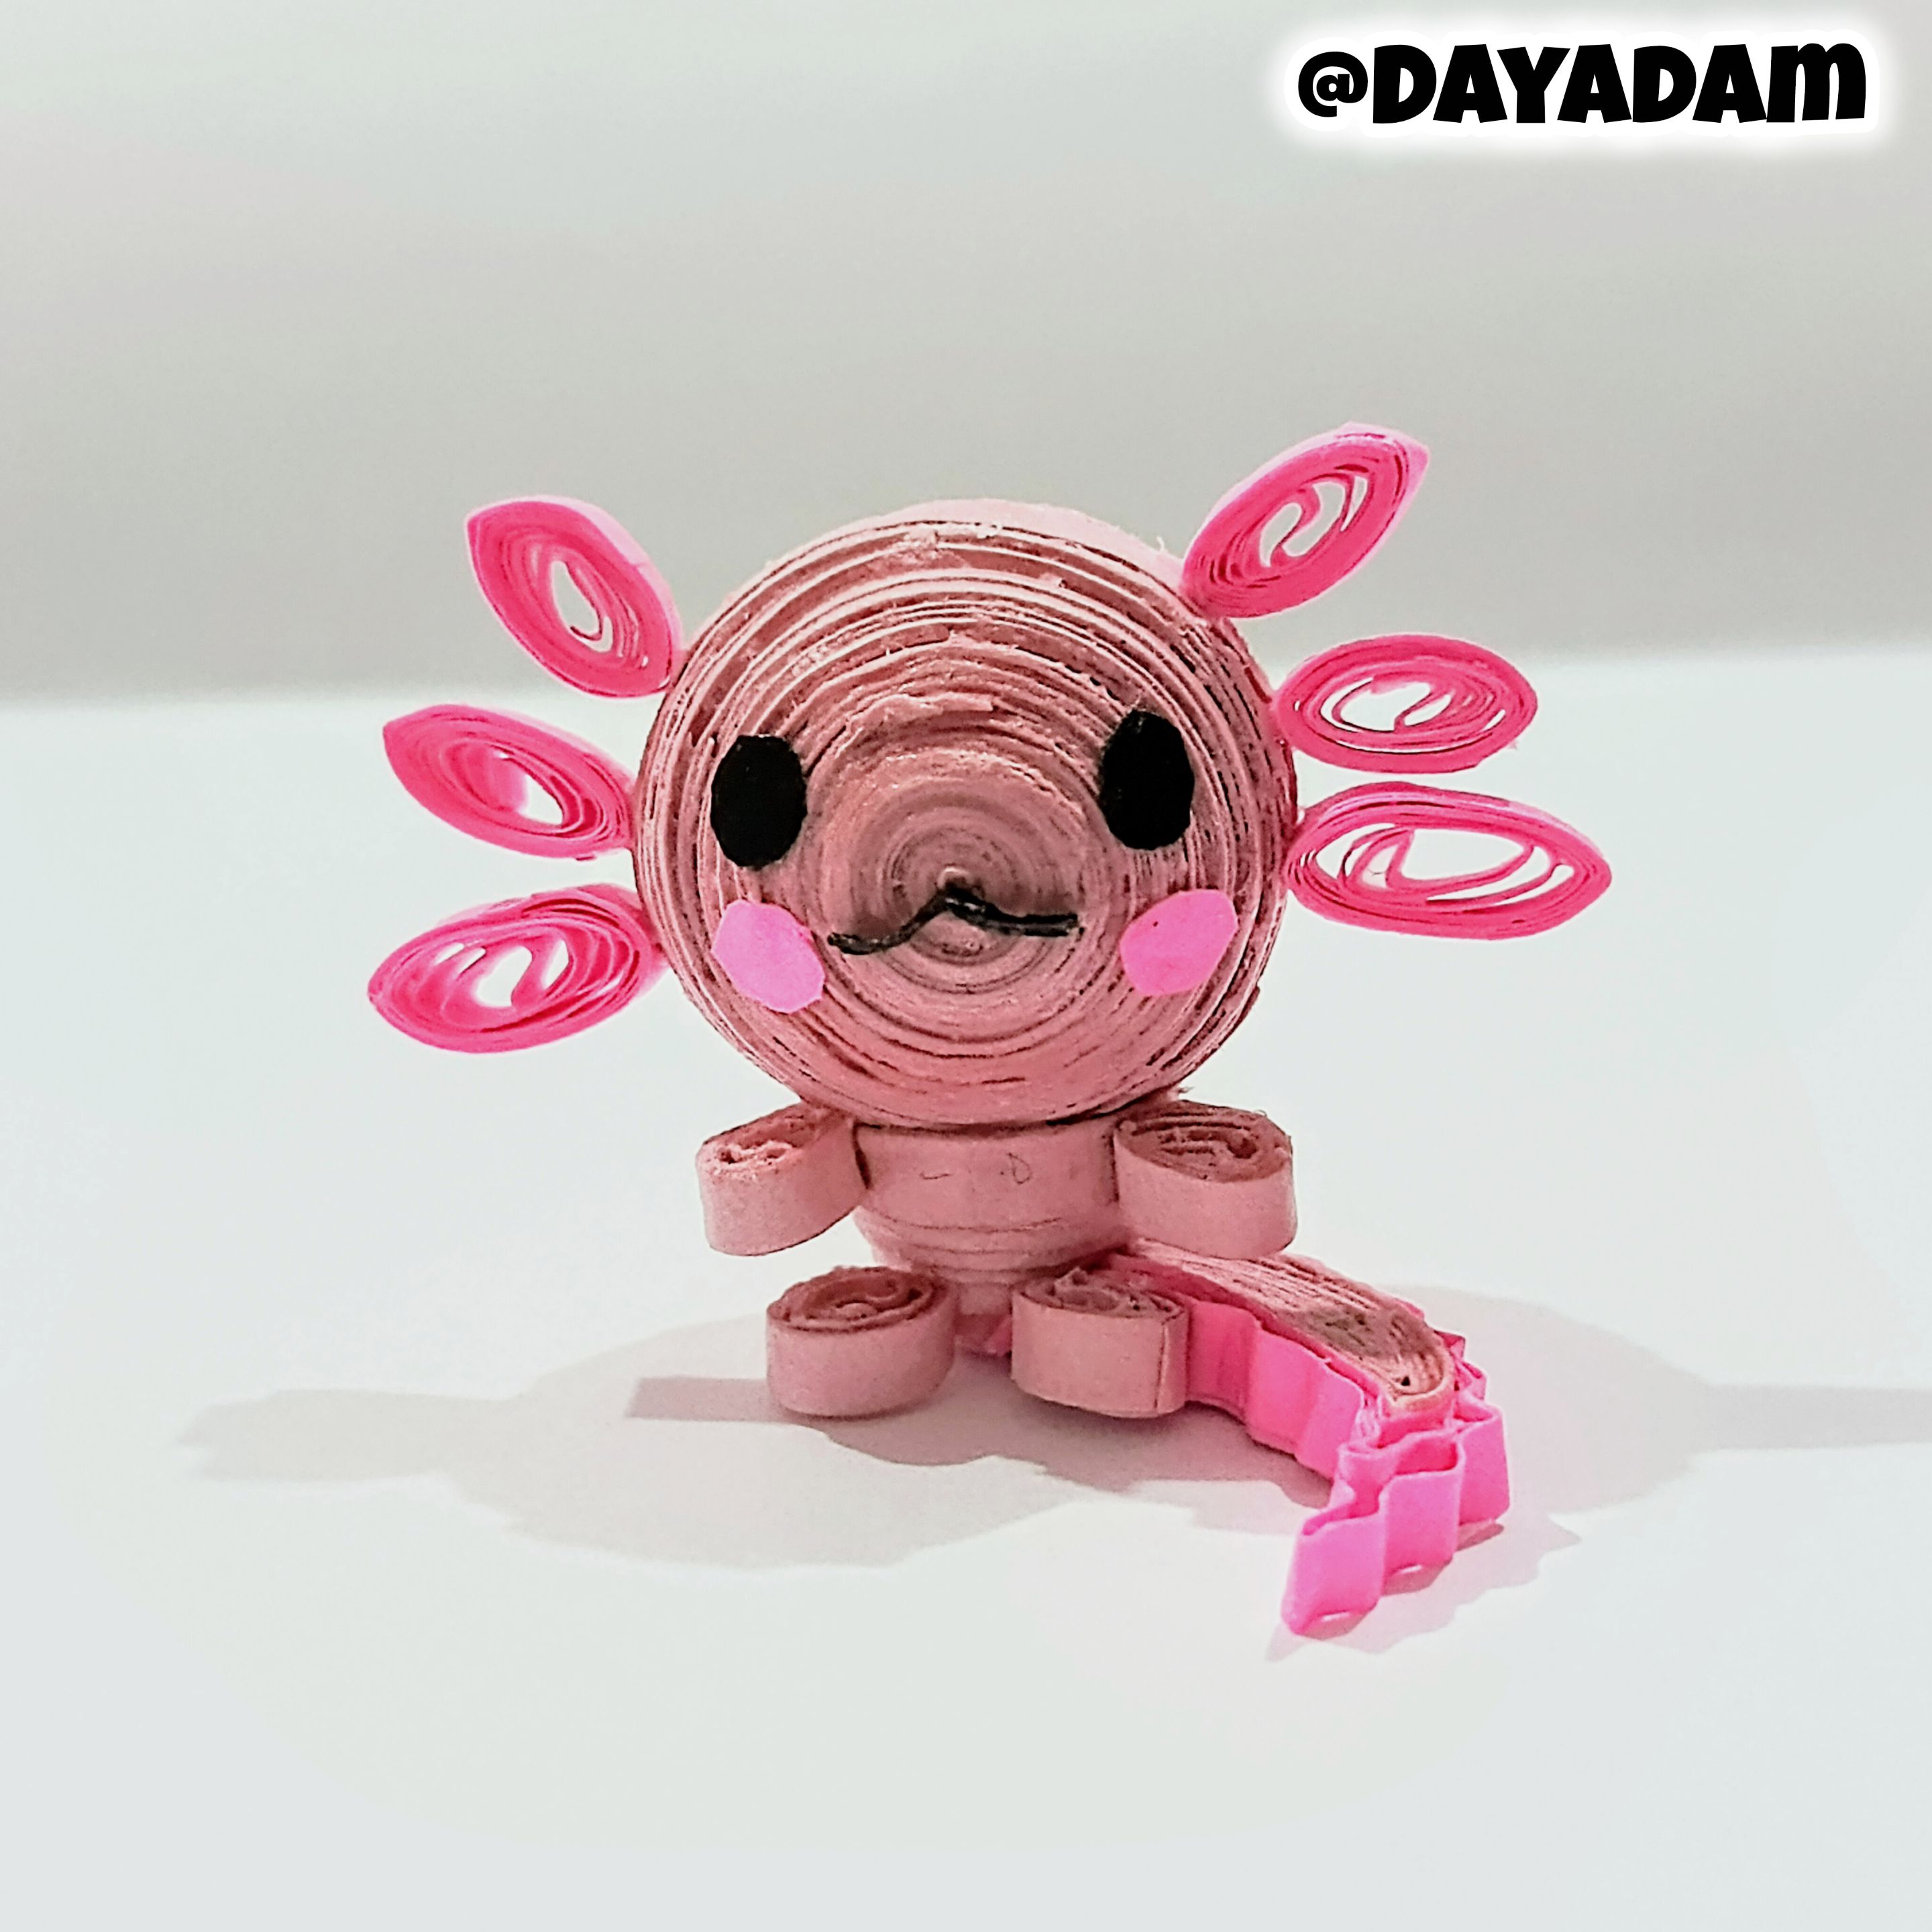
This is how I finished this cute little 3D Chibi Axolotl using the quilling technique.
• Para hacer los detalles de la cola tomé cinta de color fucsia y la pasé por una rizadora de papel, coloque varias en el borde de la cola que había hecho con anterioridad.
• Para los bracitos y pies realicé cuatro círculos abiertos con cinta de color rosado molde en forma de gotas. Pegué del cuerpo las piezas que realicé, brazos, pies y cola.
• Las branquias del ajolote la realicé haciendo círculos abiertos con cinta de color fucsia de 3mm de ancho, las moldee de forma aplanada, procedí a pegarlos a los lados de la cabeza.
• Aplique una capa de pega blanca extra fuerte para proteger la figura.
• Para finalizar recorte los ojos, mejillas y boca pegué de la cara.
De esta manera finalice este tierno y pequeño Ajolote Chibi en 3D Técnica de Quilling.
 |
 |
 |
 |

 |
 |
|
 |
 |
 |
 |
 |
 |
|
|
What did you think, did you like it?
I hope you did, I hope you liked my explanation, procedure and photos, I made them with love for you.
"Let out that muse that inspires you, and let your imagination fly".
Thank you all, see you next time ✨.
¿Que les pareció, les gustó?
Espero que sí, que les haya gustado mi explicación, procedimiento y fotos, los hice con mucho cariño por y para ustedes."Deja salir esa musa que te inspira, y deja volar tu imaginación".
Gracias a todos, nos vemos en la próxima✨
All photos used in this post are of my authorship and have been taken on my personal cell phone a Redmi 9T, edited in InShot and Canva
Banner and separator made by me in Canva
Translated with the help of DeepL
Todas las fotos usadas en este post son de mi autoría y han sido sacadas en mi celular personal un Redmi 9T, editadas en InShot y Canva
Banner y separador hecho por mí en Canva
Traducido con la ayuda de DeepL