Hello dear friends of DiyHub, I hope you are all well, full of energy, peace, and creativity. In this month dedicated to peace, I want to share with you my contest entry. I made a wooden necklace carved with the peace symbol, which became popular during the arms race, when fear of a nuclear holocaust invaded radio and TV. Peace has always been a kind of pipe dream for which many people have given their lives, and sometimes it seems that evil triumphs, but that is not the case. I don't believe in utopias or future paradises, but I believe that each person can commit to filling the space around them with peace and harmony; it costs nothing. And as John Lennon once said, "Give PEACE a chance." With this in mind, I leave you with a brief step-by-step guide to my work. I hope you like it.
Hola queridos amigos de DiyHub, espero que se encuentren muy bien, llenos de mucha energía, paz y creatividad. En este mes dedicado a la paz quiero compartir con ustedes mi entrada al concurso. He realizado un collar tallado en madera con el símbolo de la paz que se hizo popular en plena carrera armamentista, donde el miedo a un holocausto nuclear invadía la radio la TV. La paz siempre ha sido una especie de quimera por el cual muchas personas han dado la vida, y a veces parece que el mal triunfa, pero no es así. No creo en utopías ni paraísos venideros, pero creo que cada persona puede comprometerse a llenar de paz y armonía el espacio que le rodea, no cuesta nada. Y como dijo una vez John Lennon, "Dale un chance a la PAZ. Con esto en mente los dejo con un breve paso a paso de mi obra, espero que les guste.

PROCESS
 |
 |
|
|---|---|---|
 |
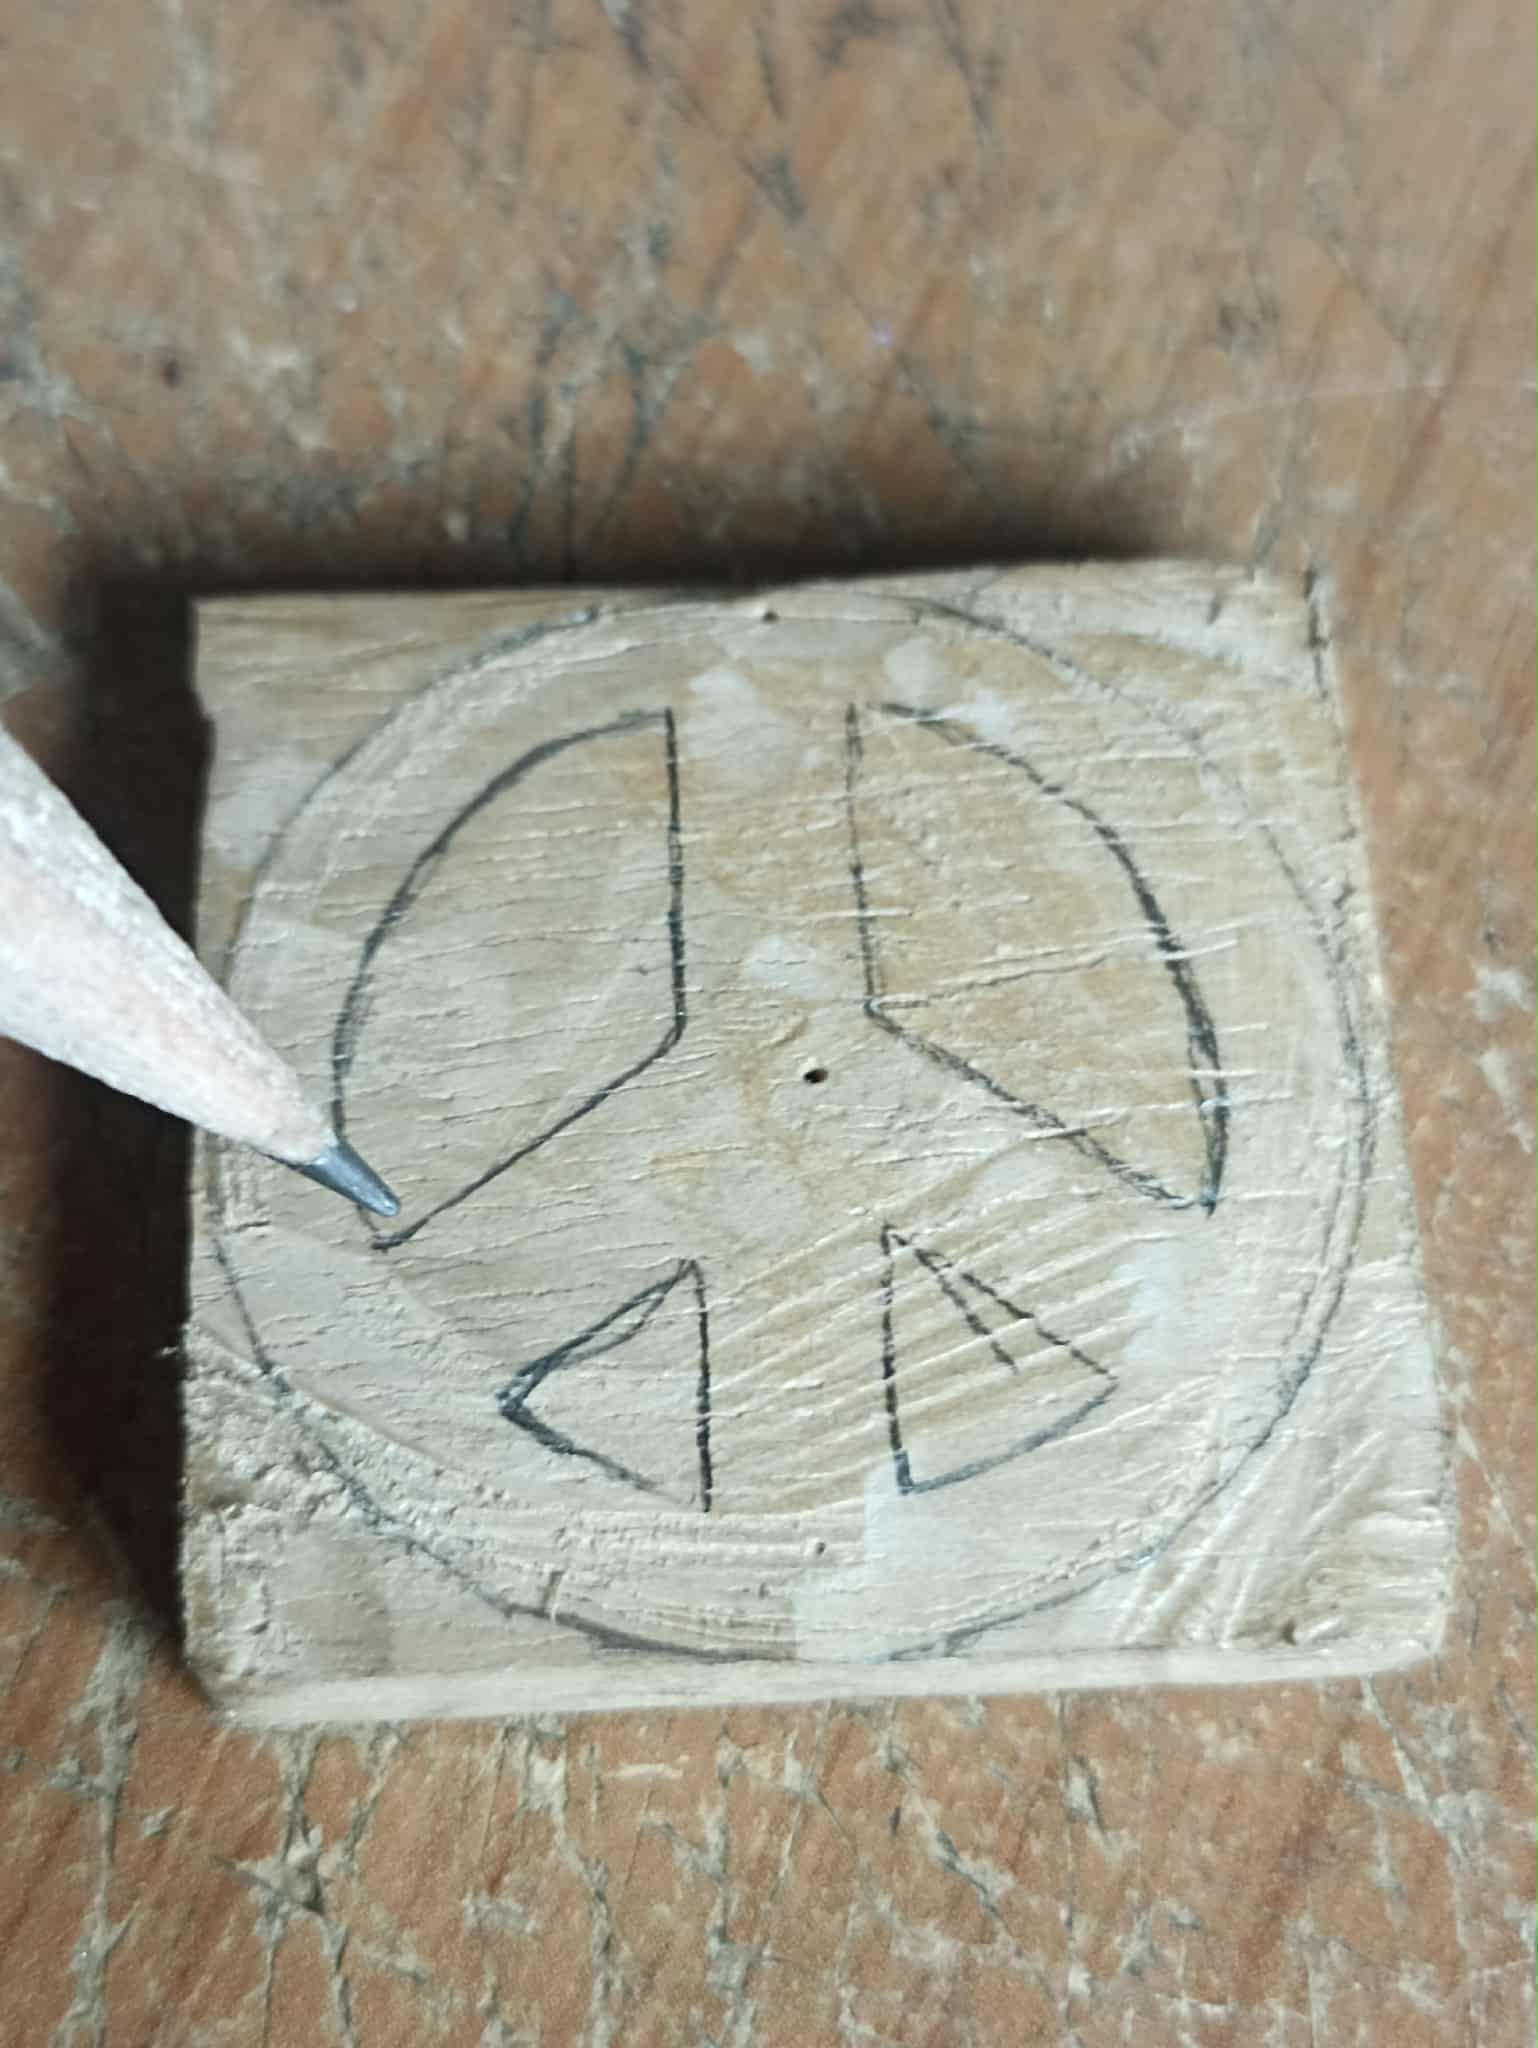 |
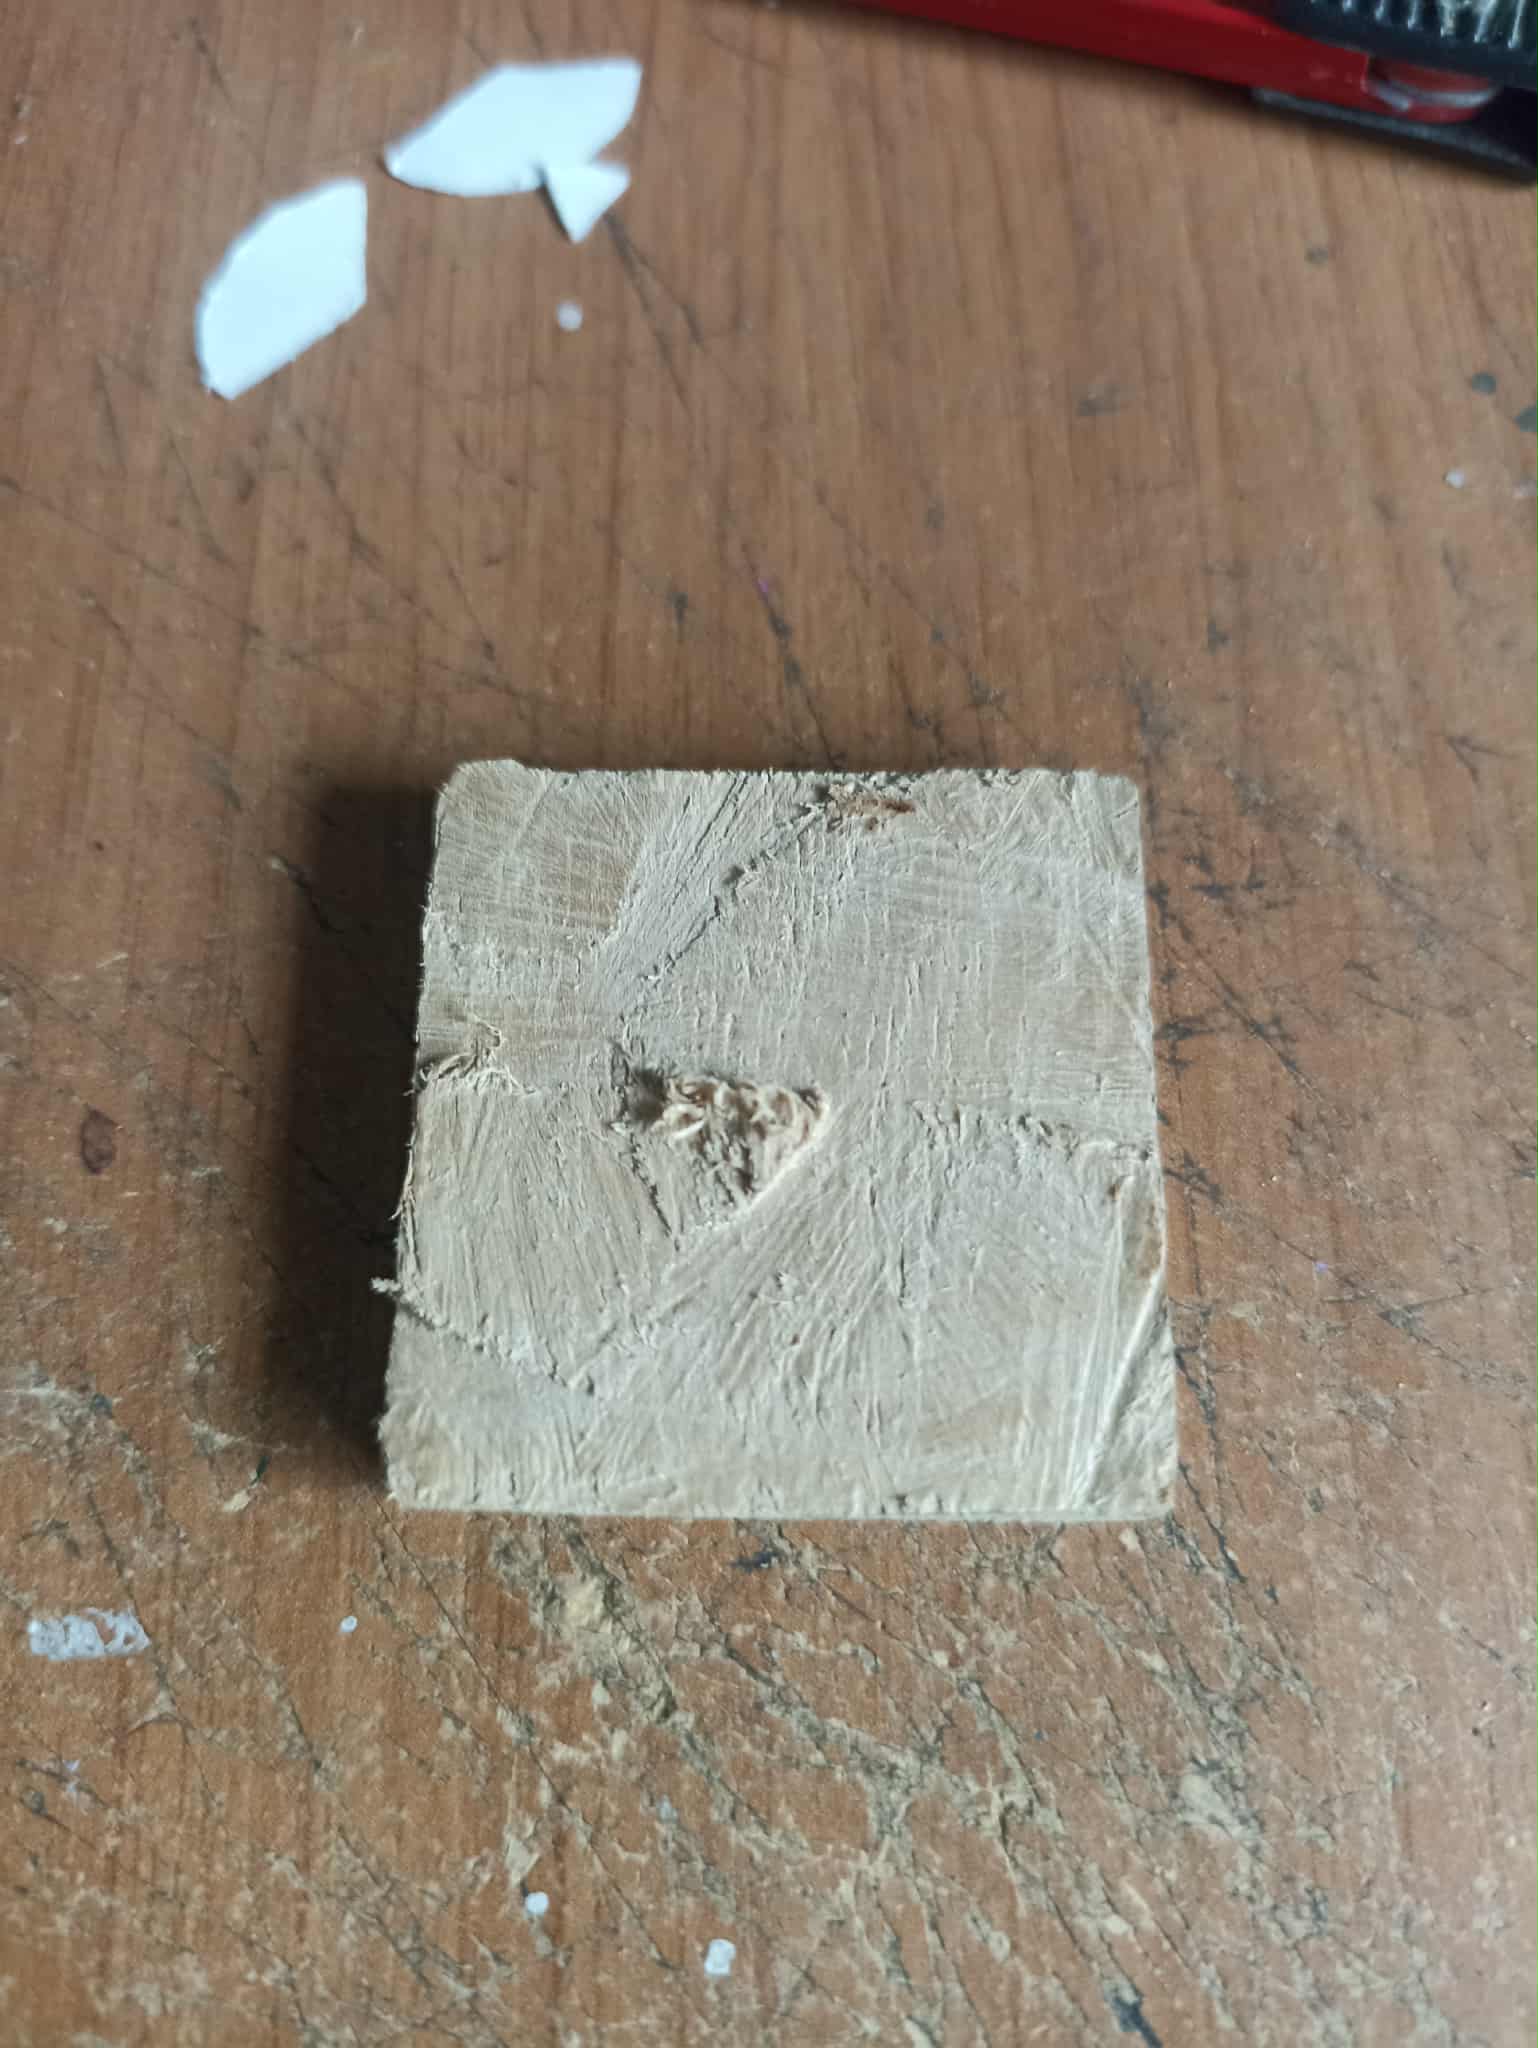
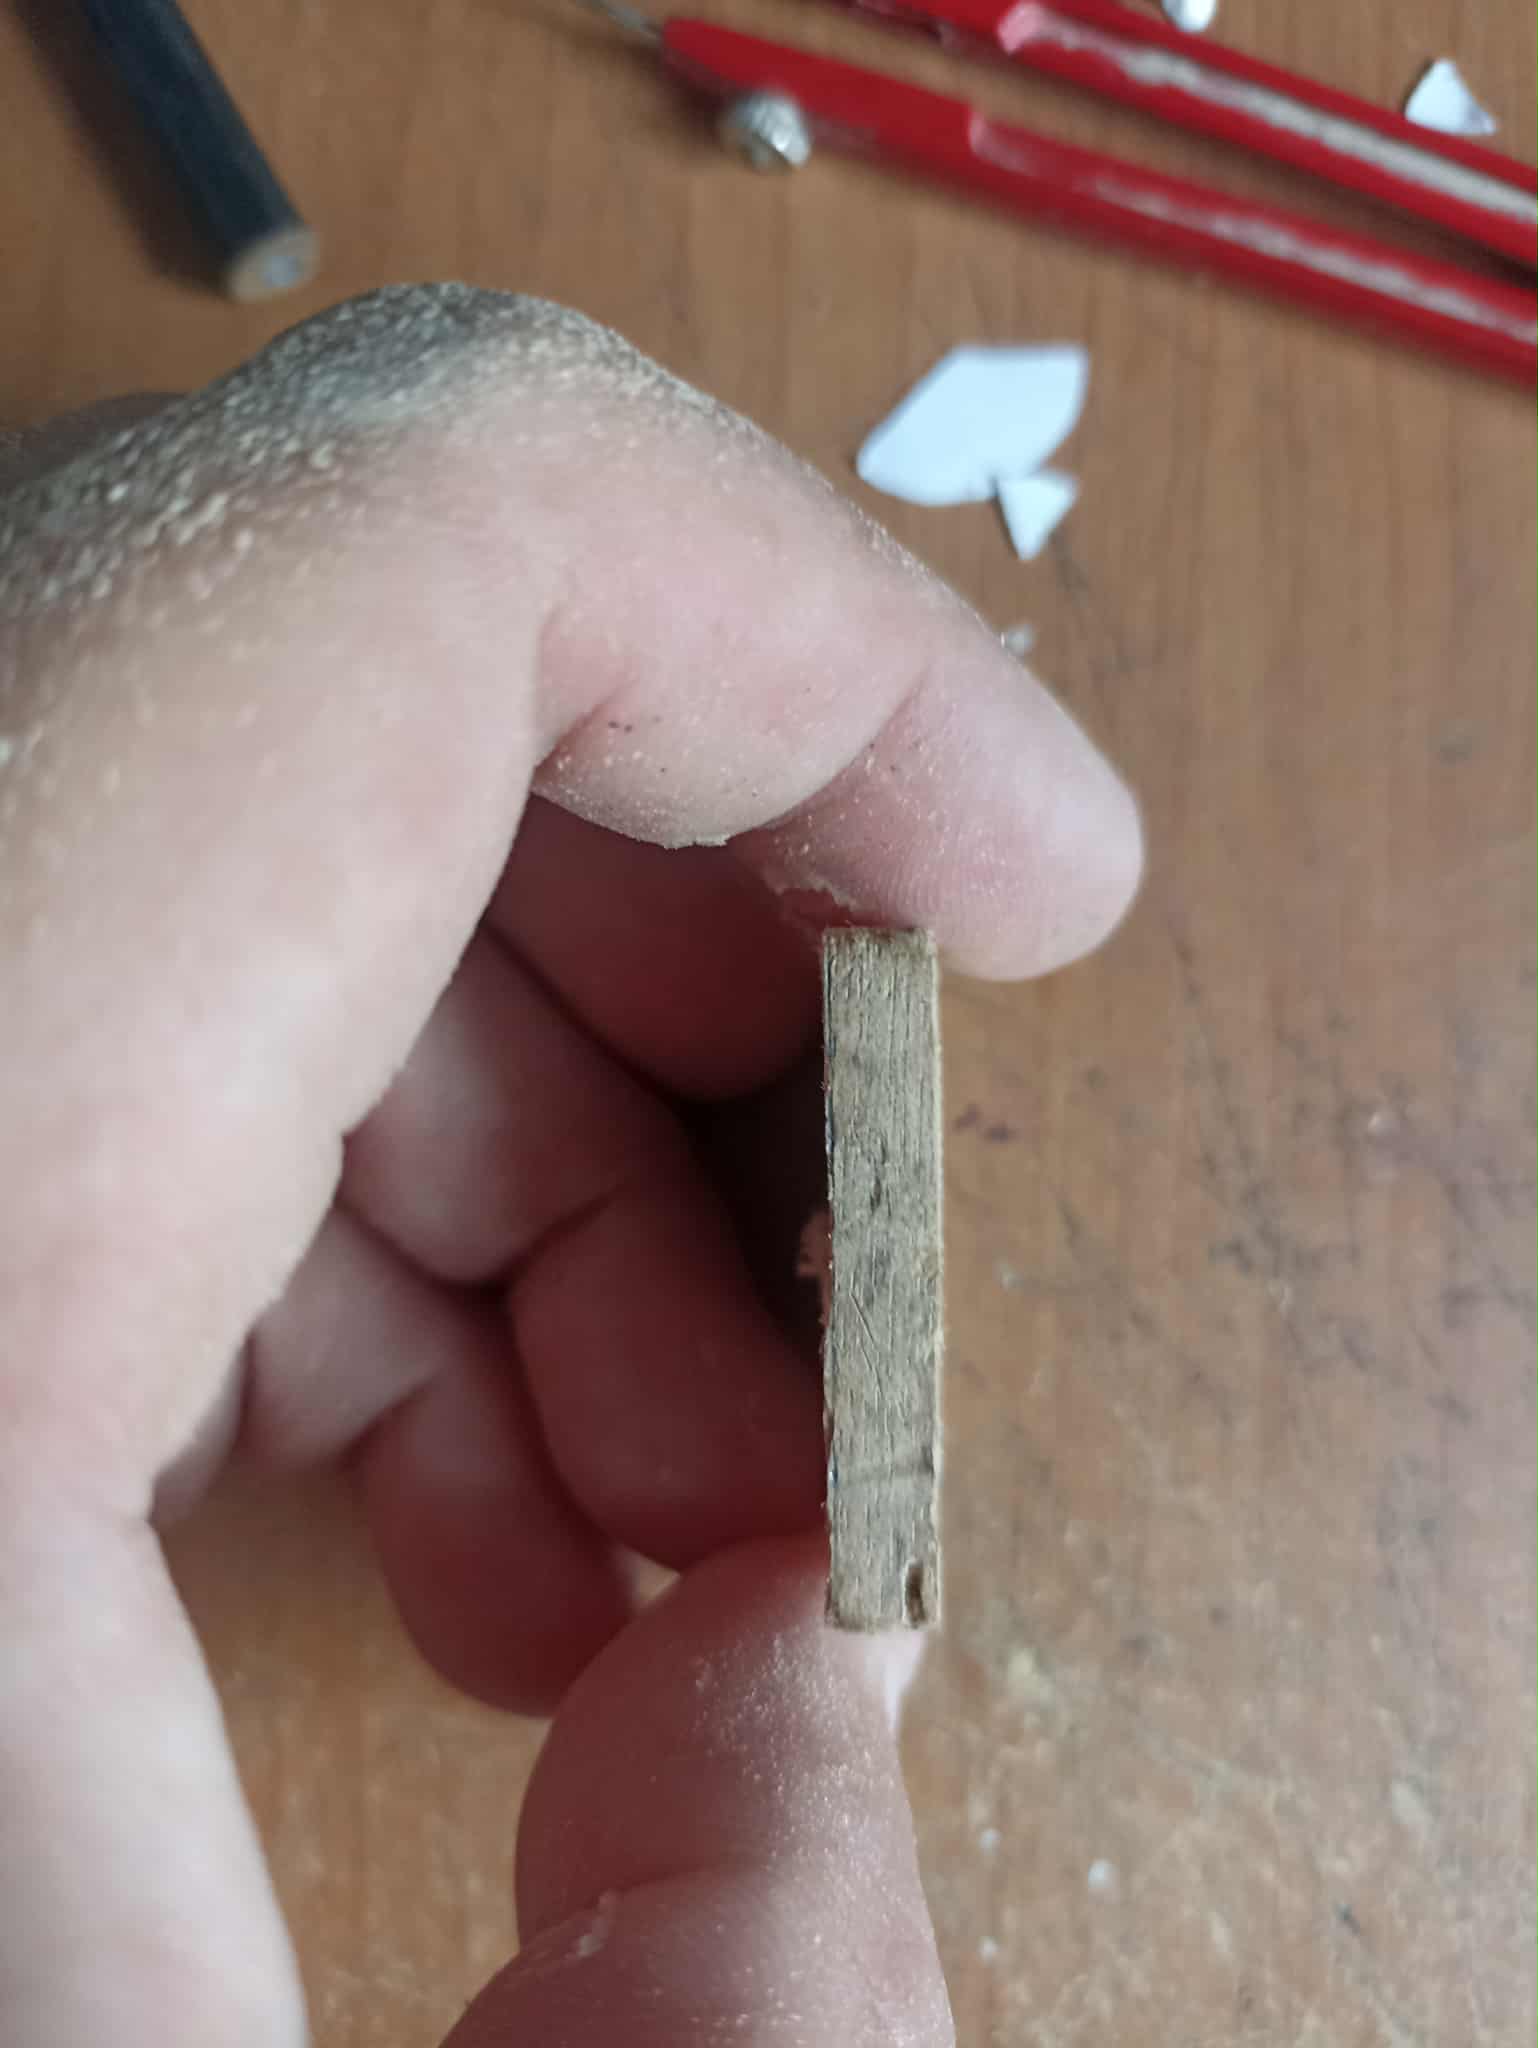
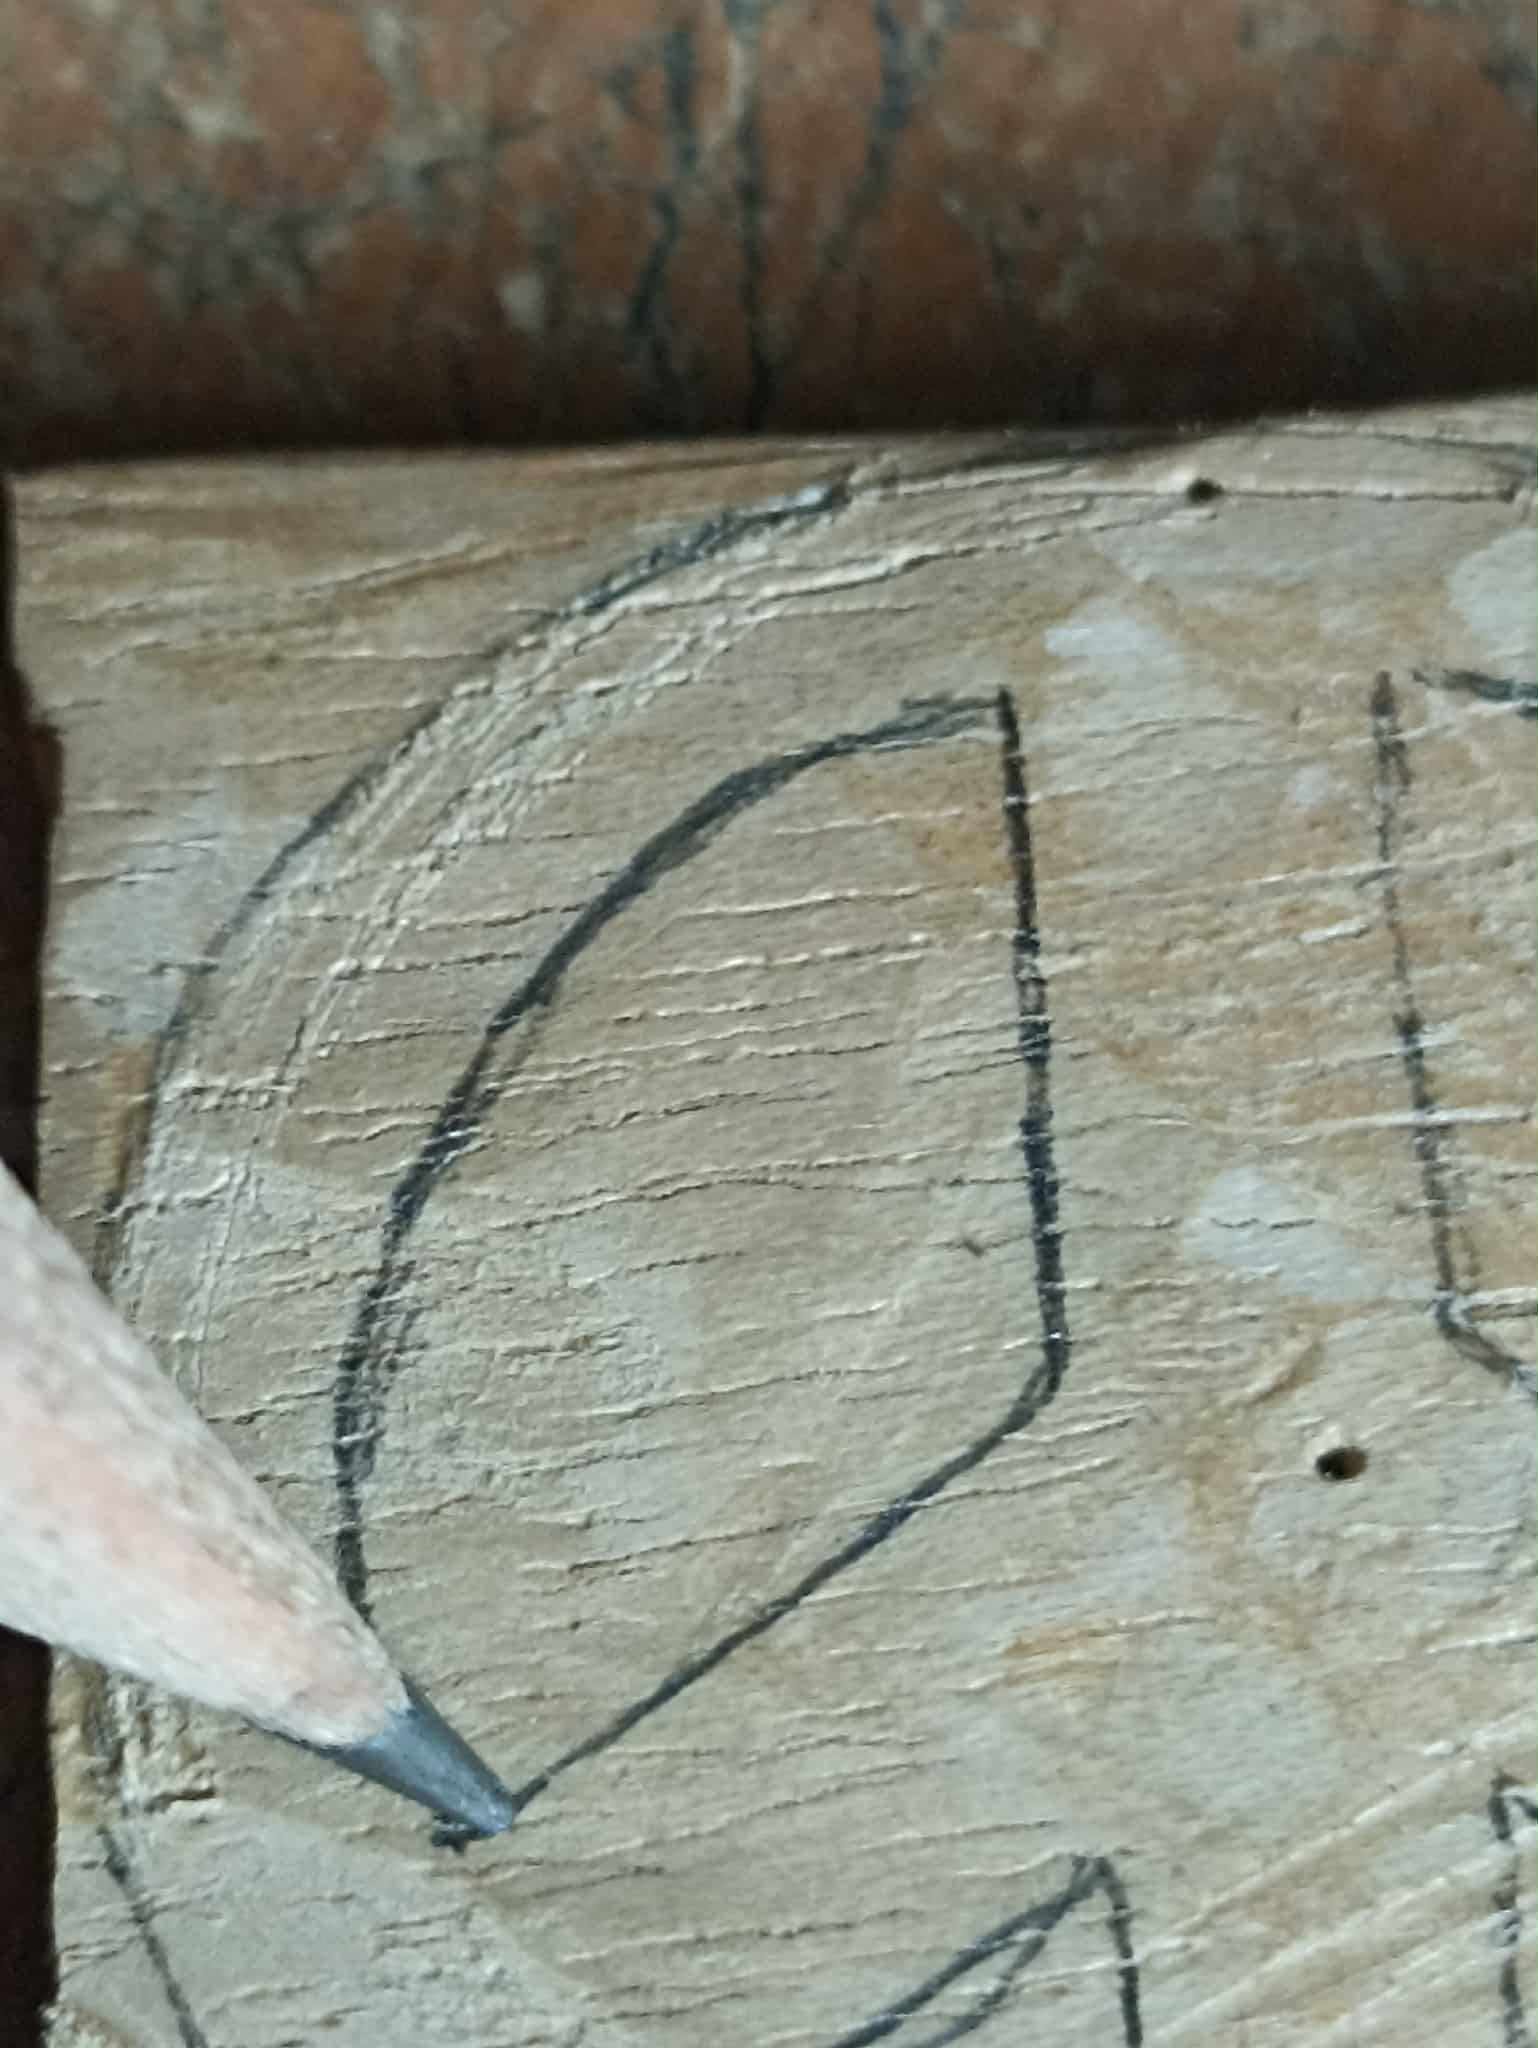
I started by selecting the wood, in this case a beautiful pine. The wood measures 3.5 centimeters on each side and is 5 millimeters thick, making it the perfect size to drill through the entire wood. Once I have the piece of wood, I begin drawing the silhouette of the peace symbol with a pencil, sized to fit the piece.
Comencé seleccionando la madera, en este caso de un lindo pino, la madera mide por cada uno de sus lados 3,5 centímetros y siendo su espesor de 5 milímetros, este tamaño es el adecuado para perforar la madera por completo. Una vez tengo al pieza de madera comienzo a dibujar la silueta del símbolo de la paz con un lápiz, de un tamaño acorde para que la pieza de madera sea suficiente.
 |
 |
|
|---|---|---|
 |
 |
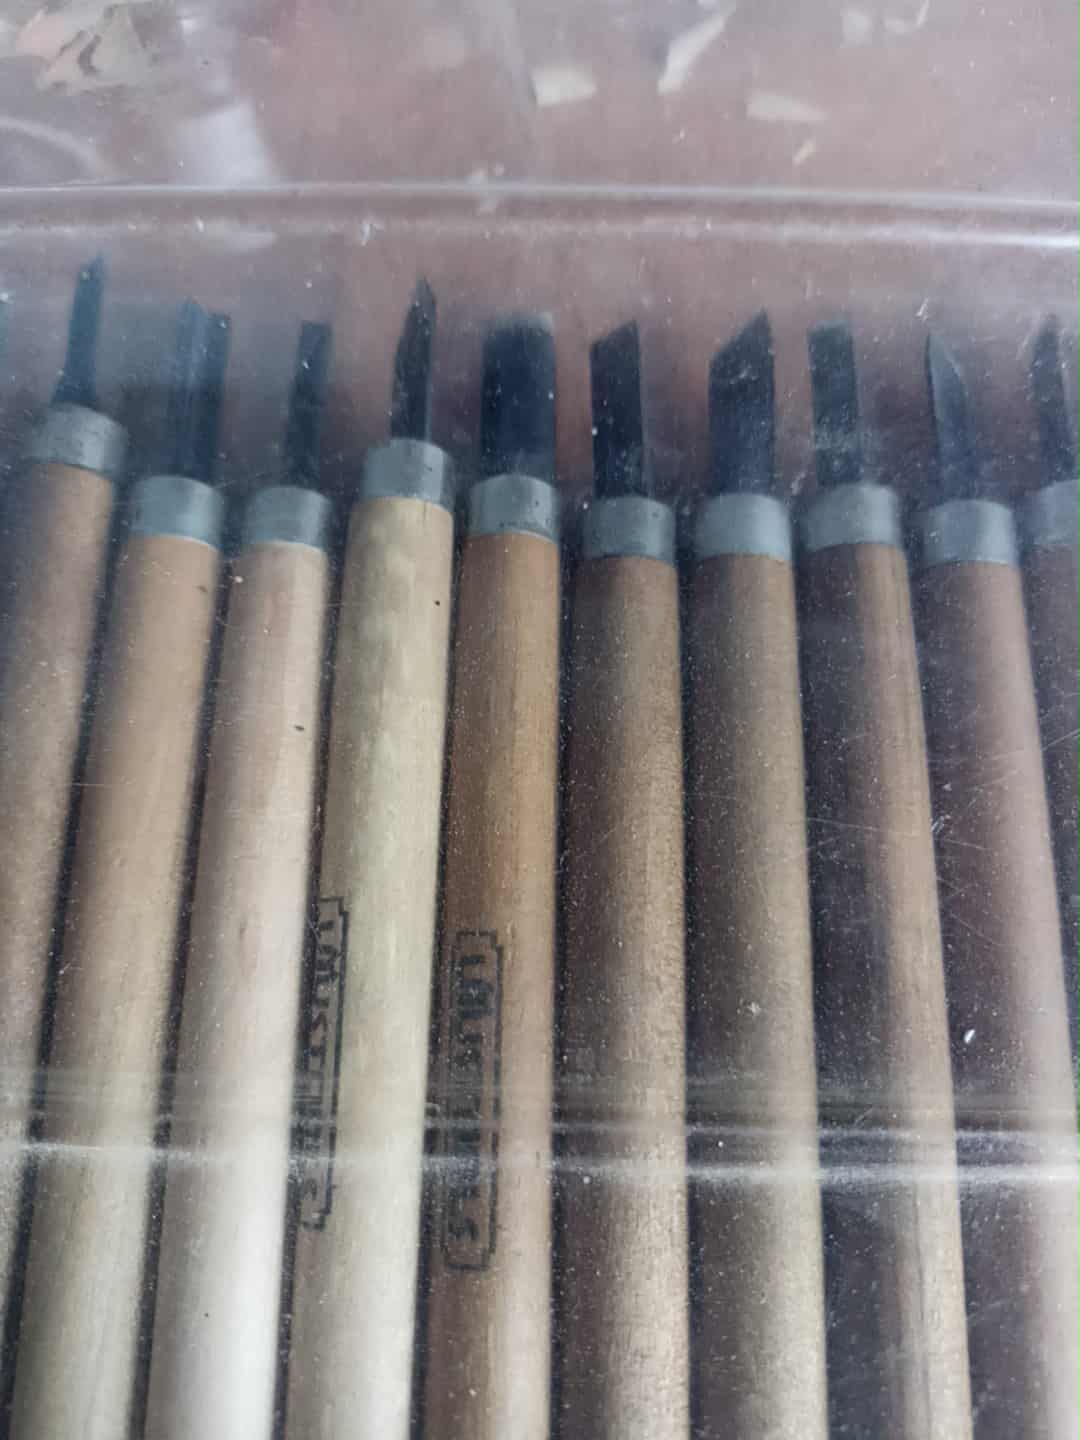
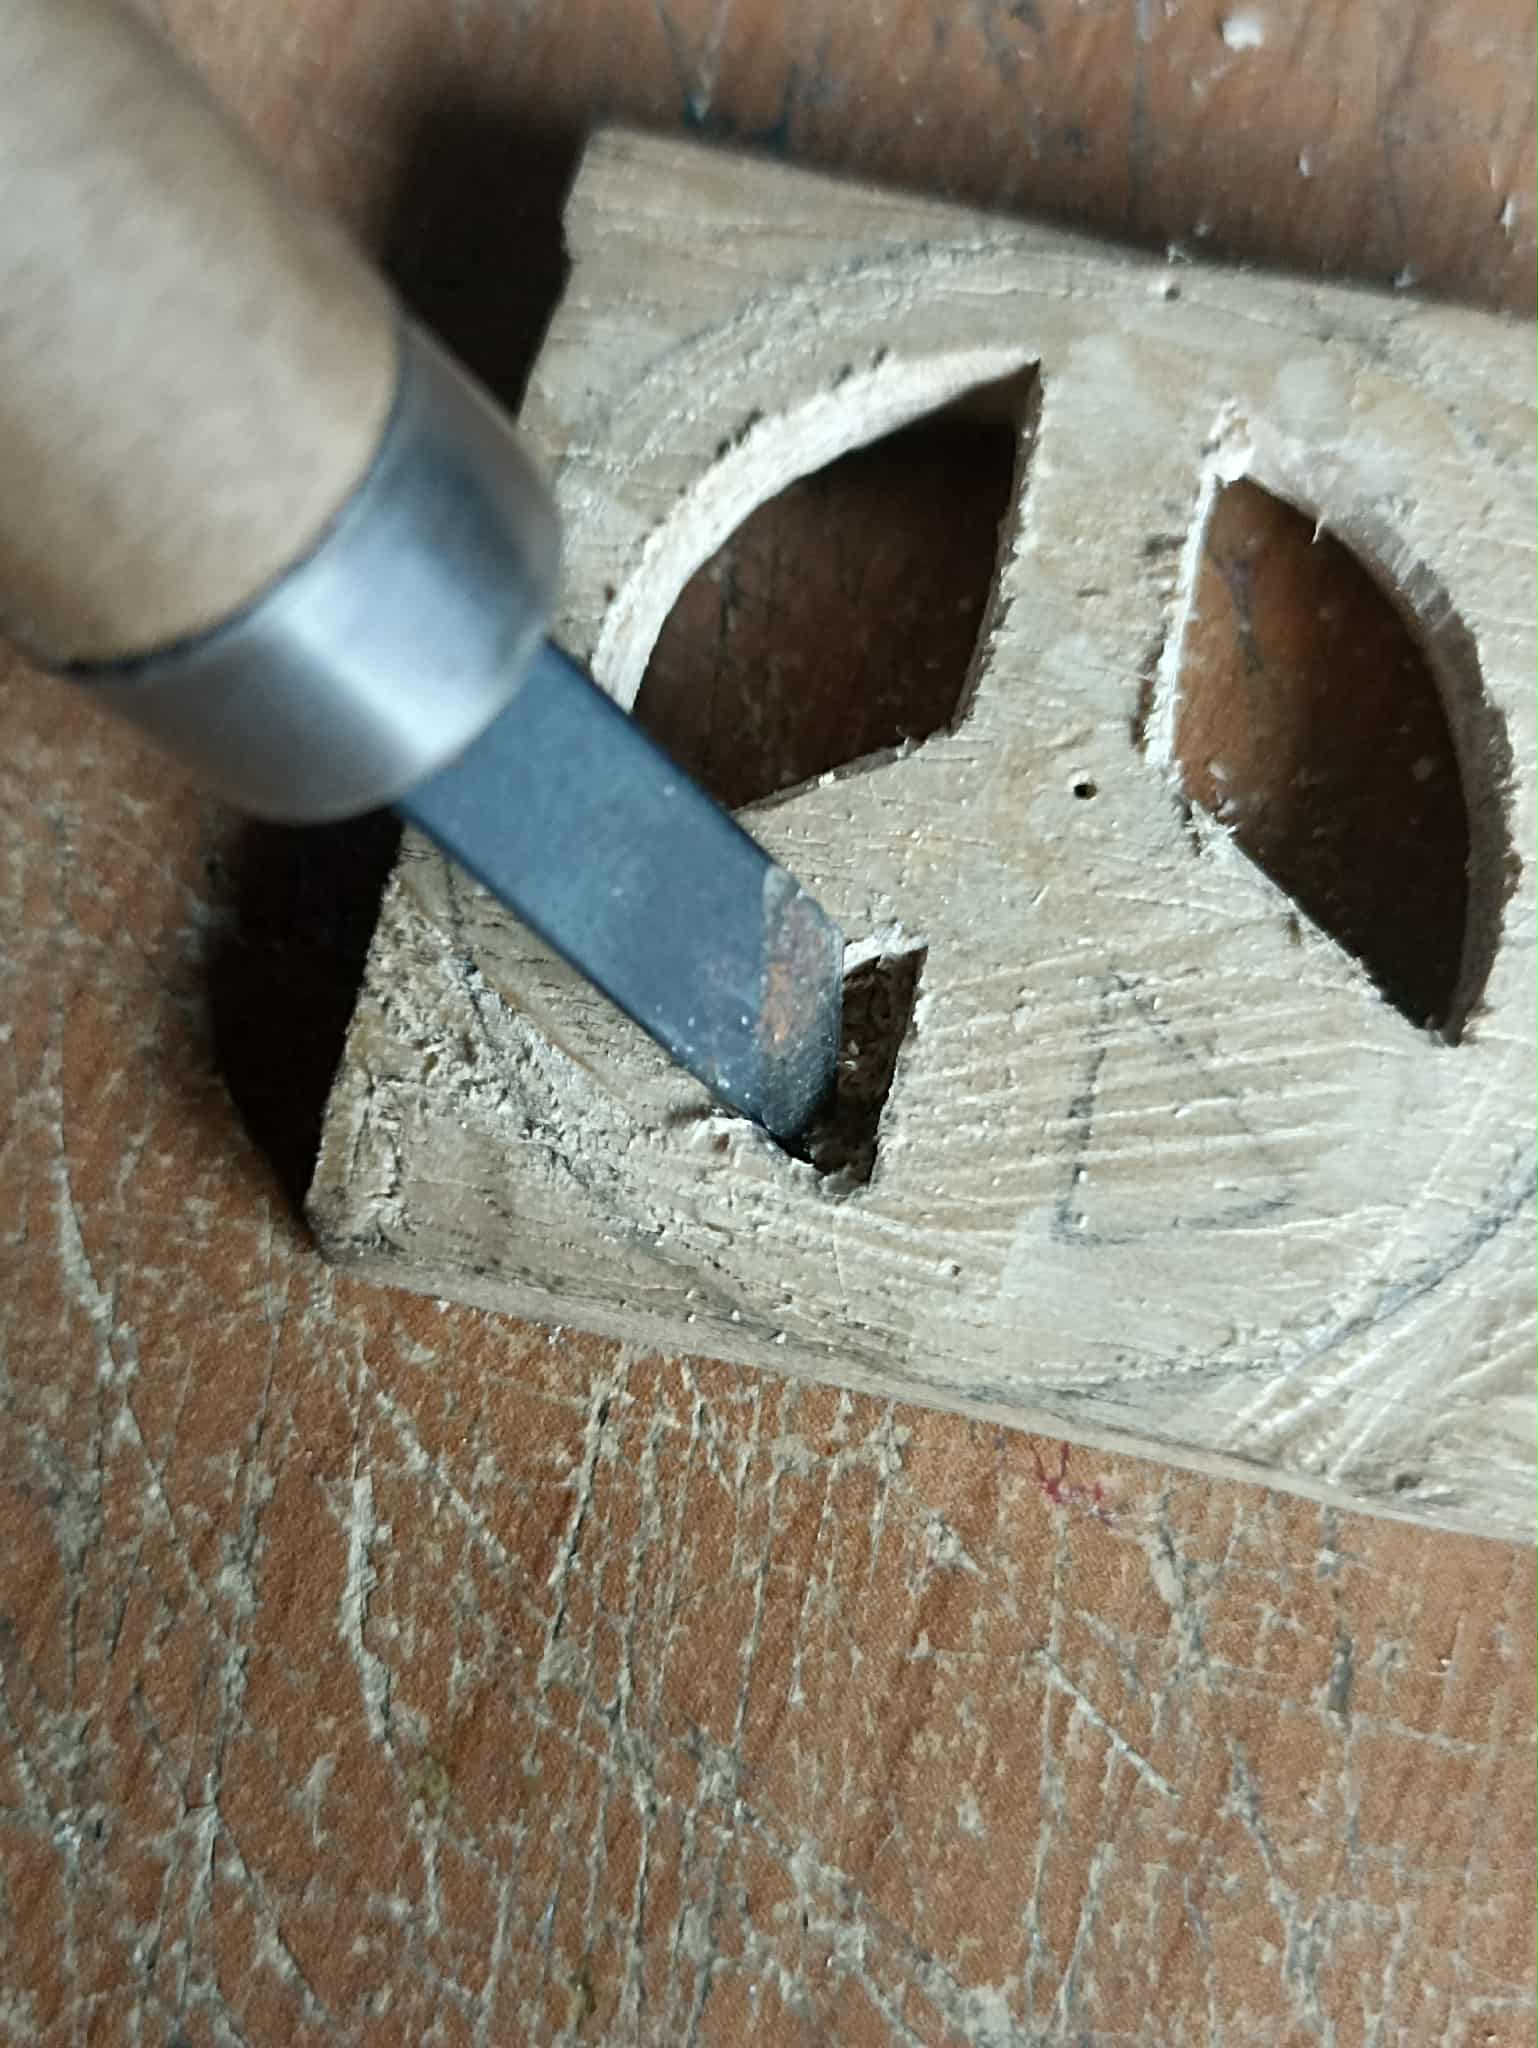
Once the drawing is ready, I begin the carving process. To do this, I use the necessary tools: metal gouges with different cutting styles. To extract the wood, I use a flat-tipped gouge, carving along the previously drawn line.
Una vez listo el dibujo comienzo con el proceso del tallado, para eso utilizo las herramientas necesarias, gubias de metal con diferente estilo de corte. Para extraer la madera utilizo una gubia de punta plana, para ir escarbando por todo el trazo que anteriormente fue dibujado.
 |
 |
|
|---|---|---|
 |
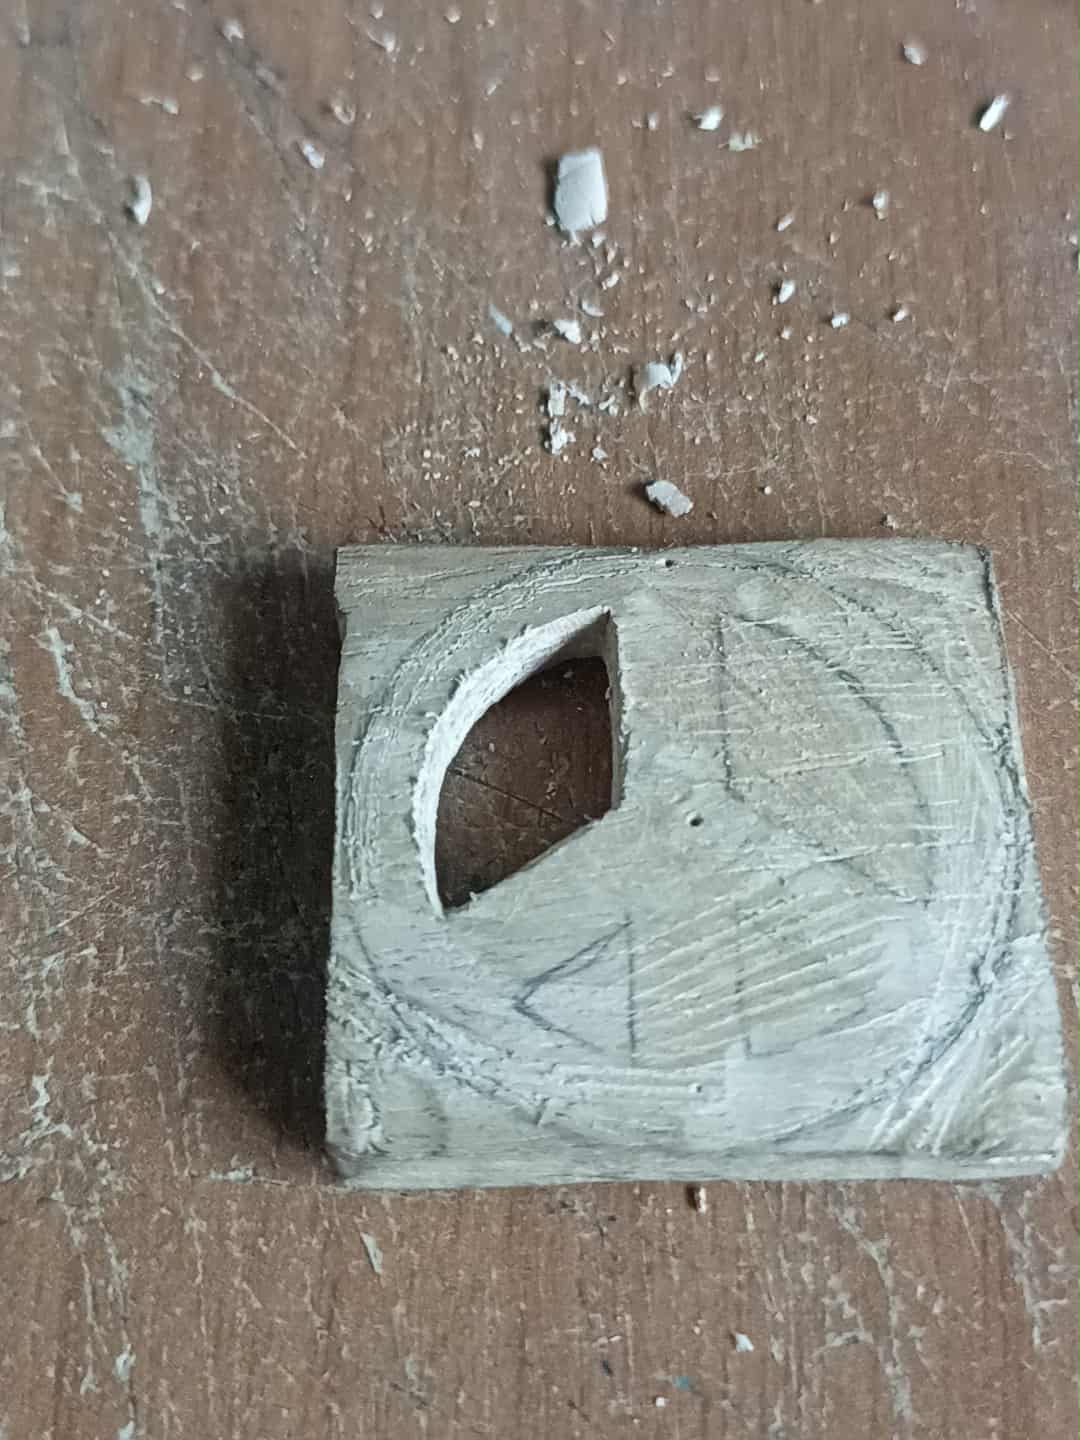 |
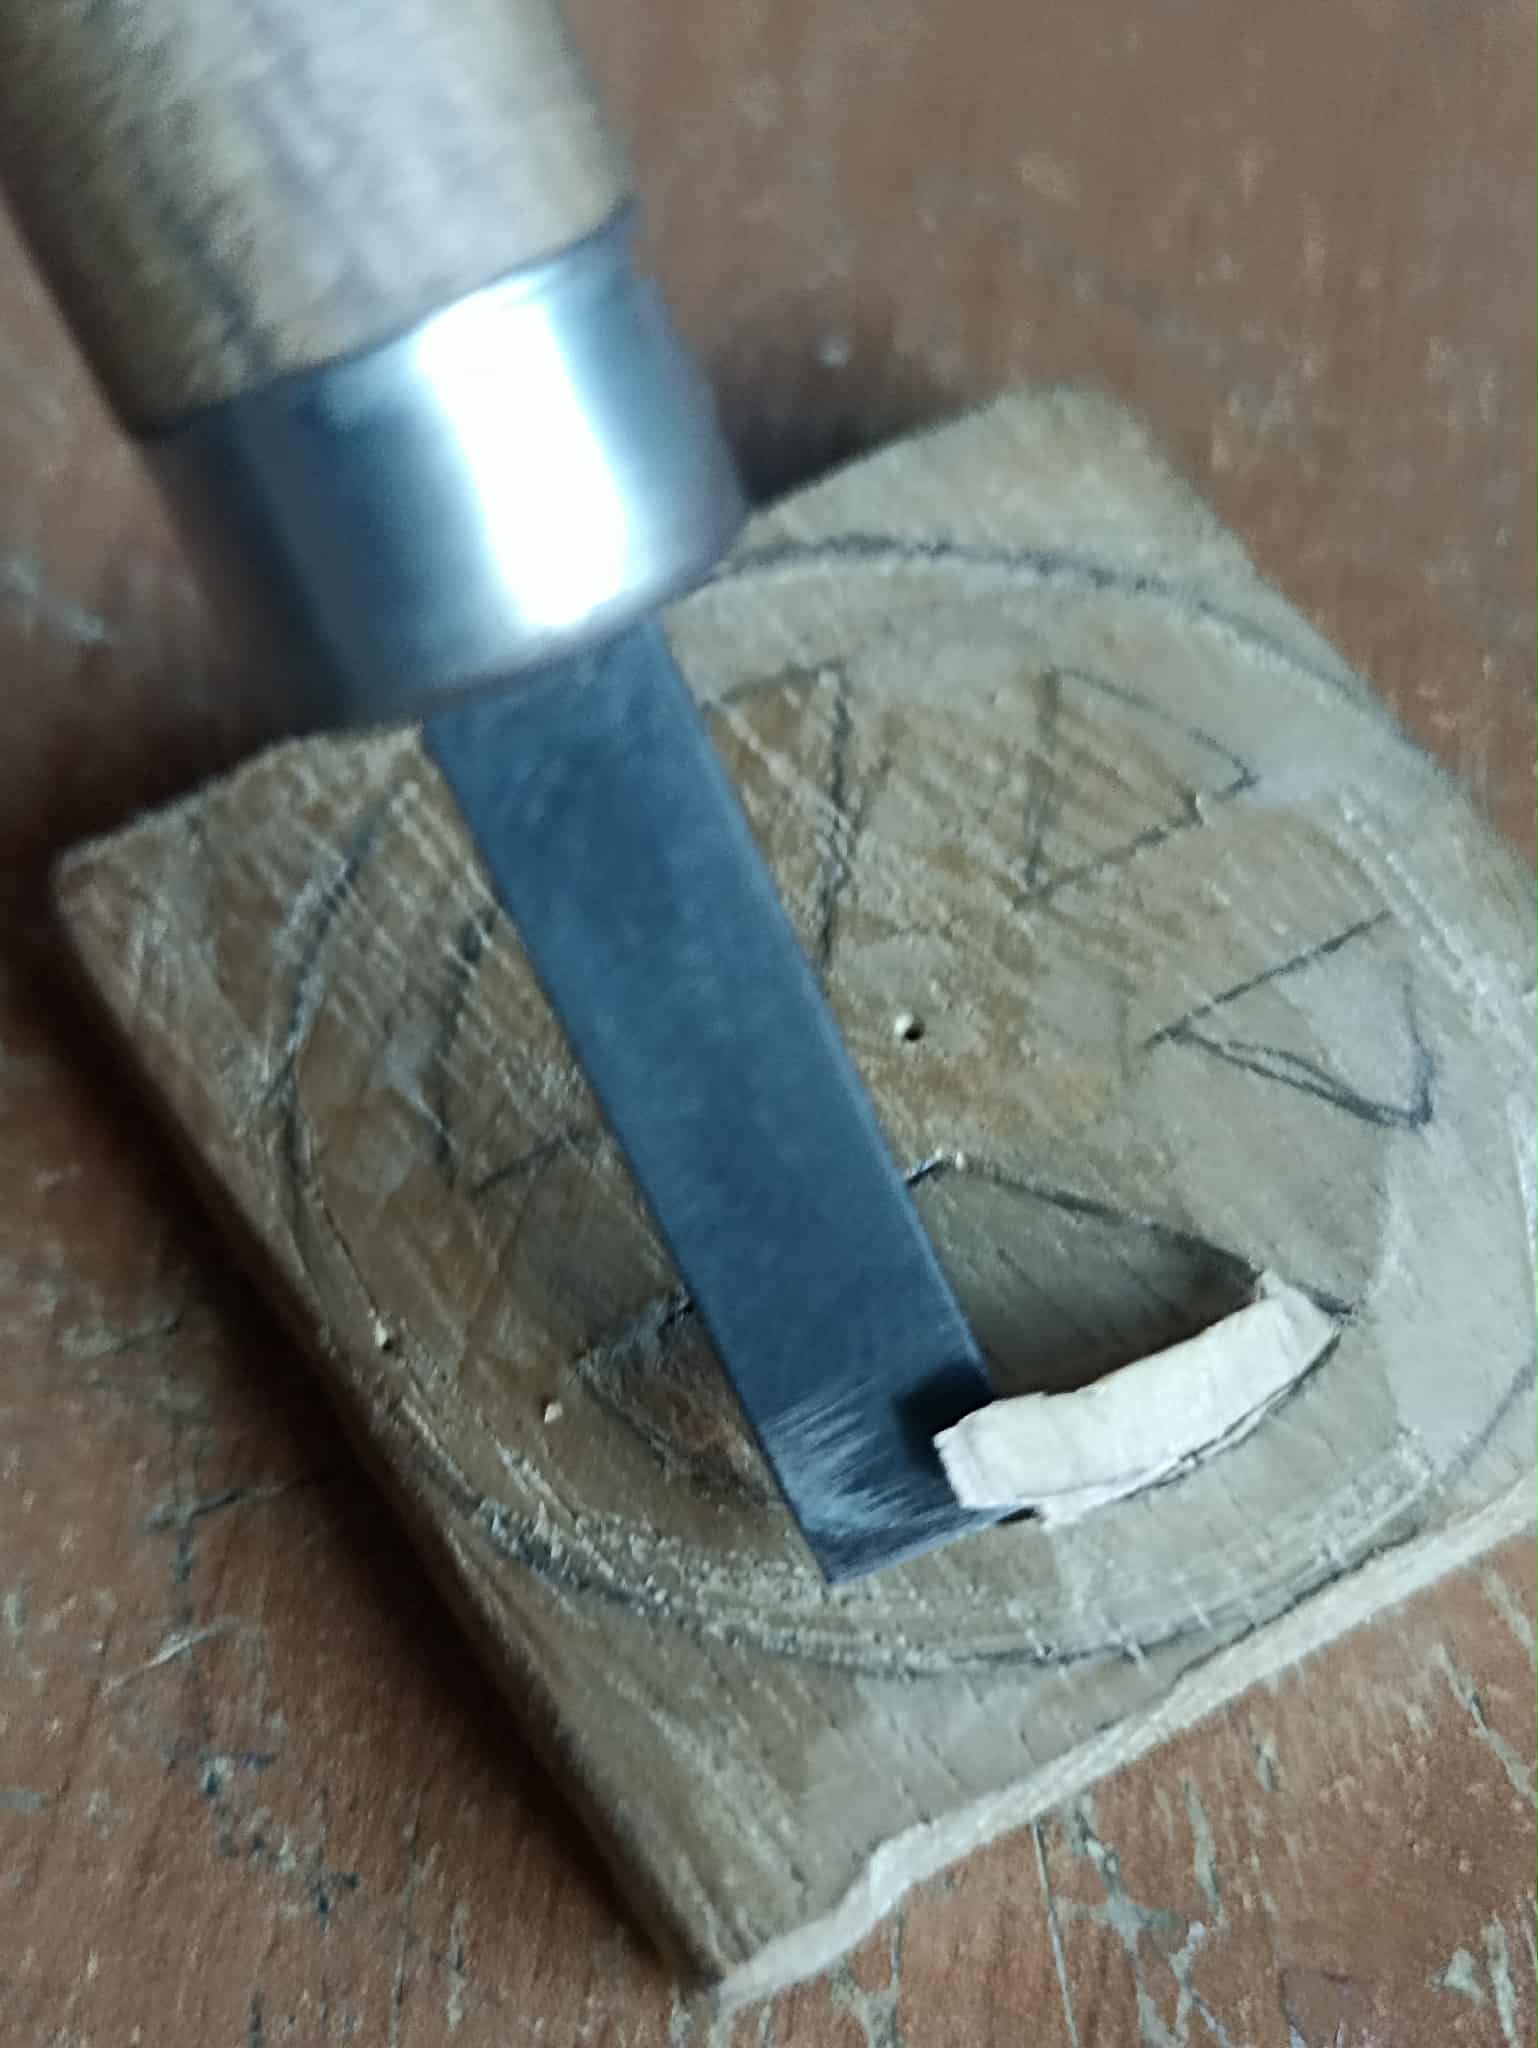
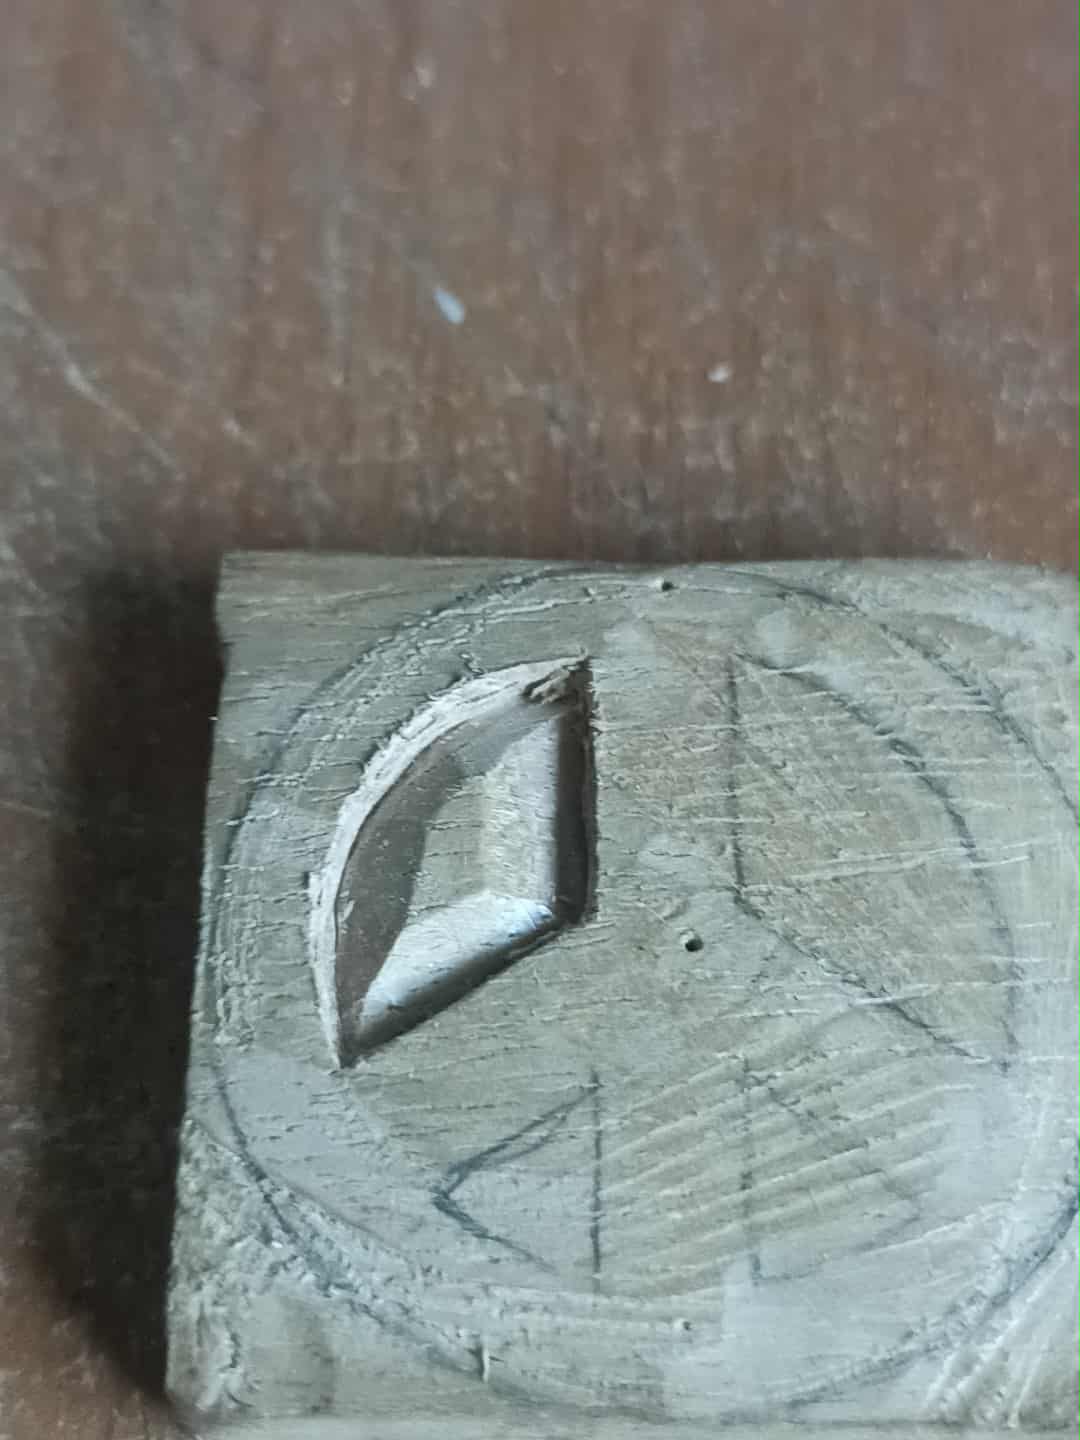
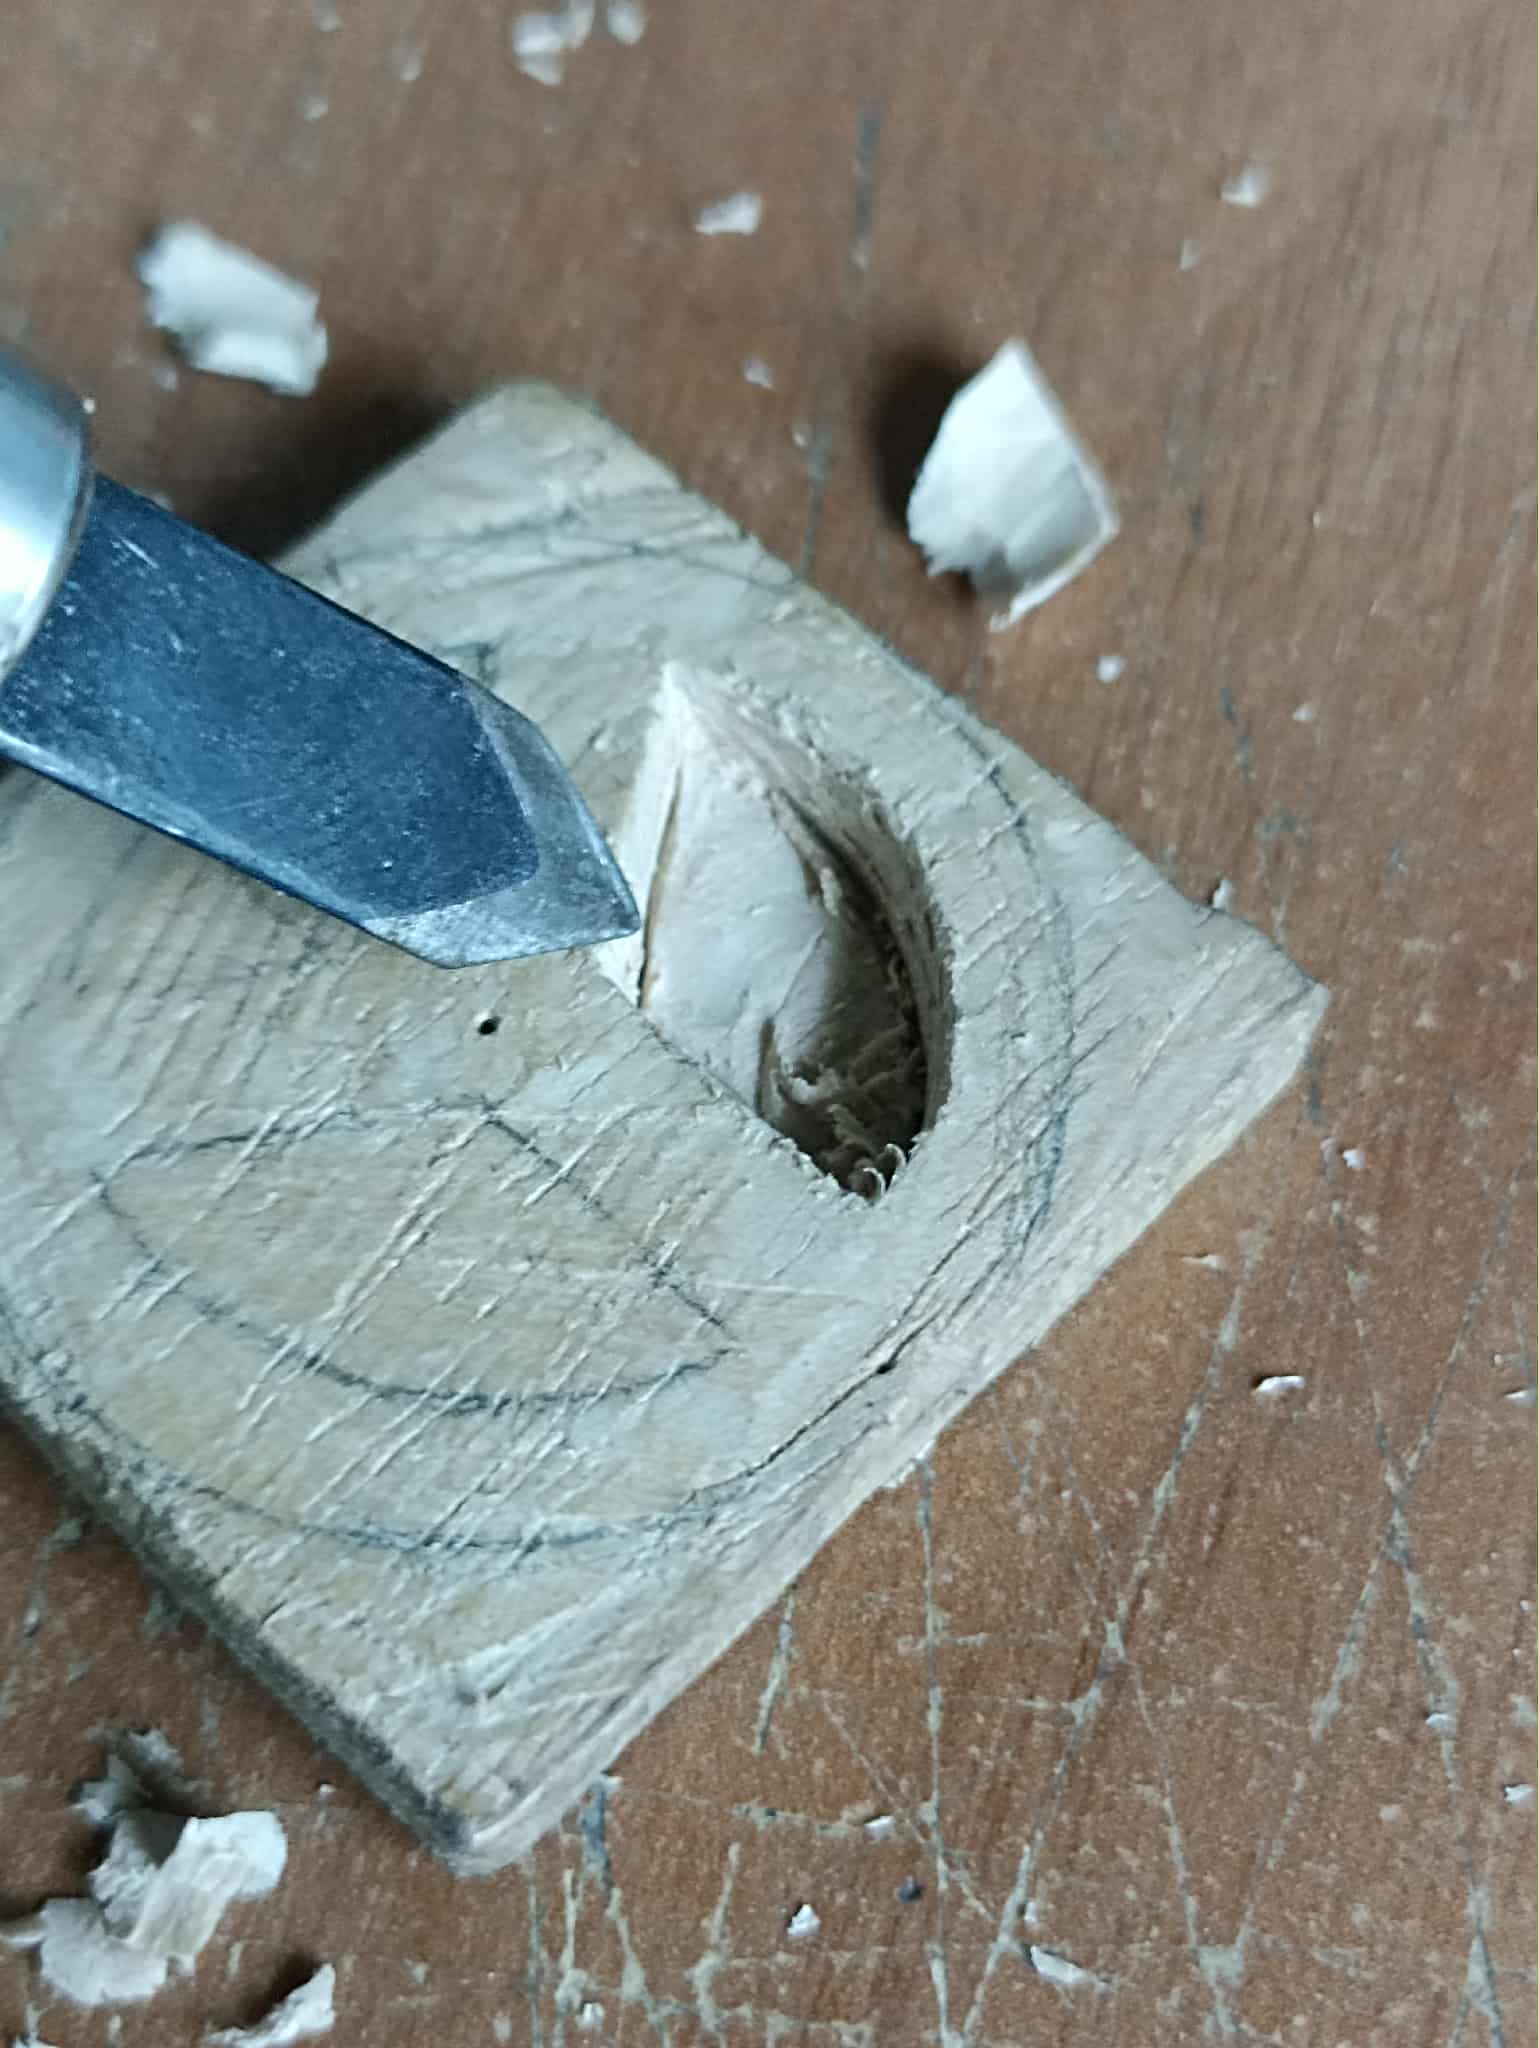
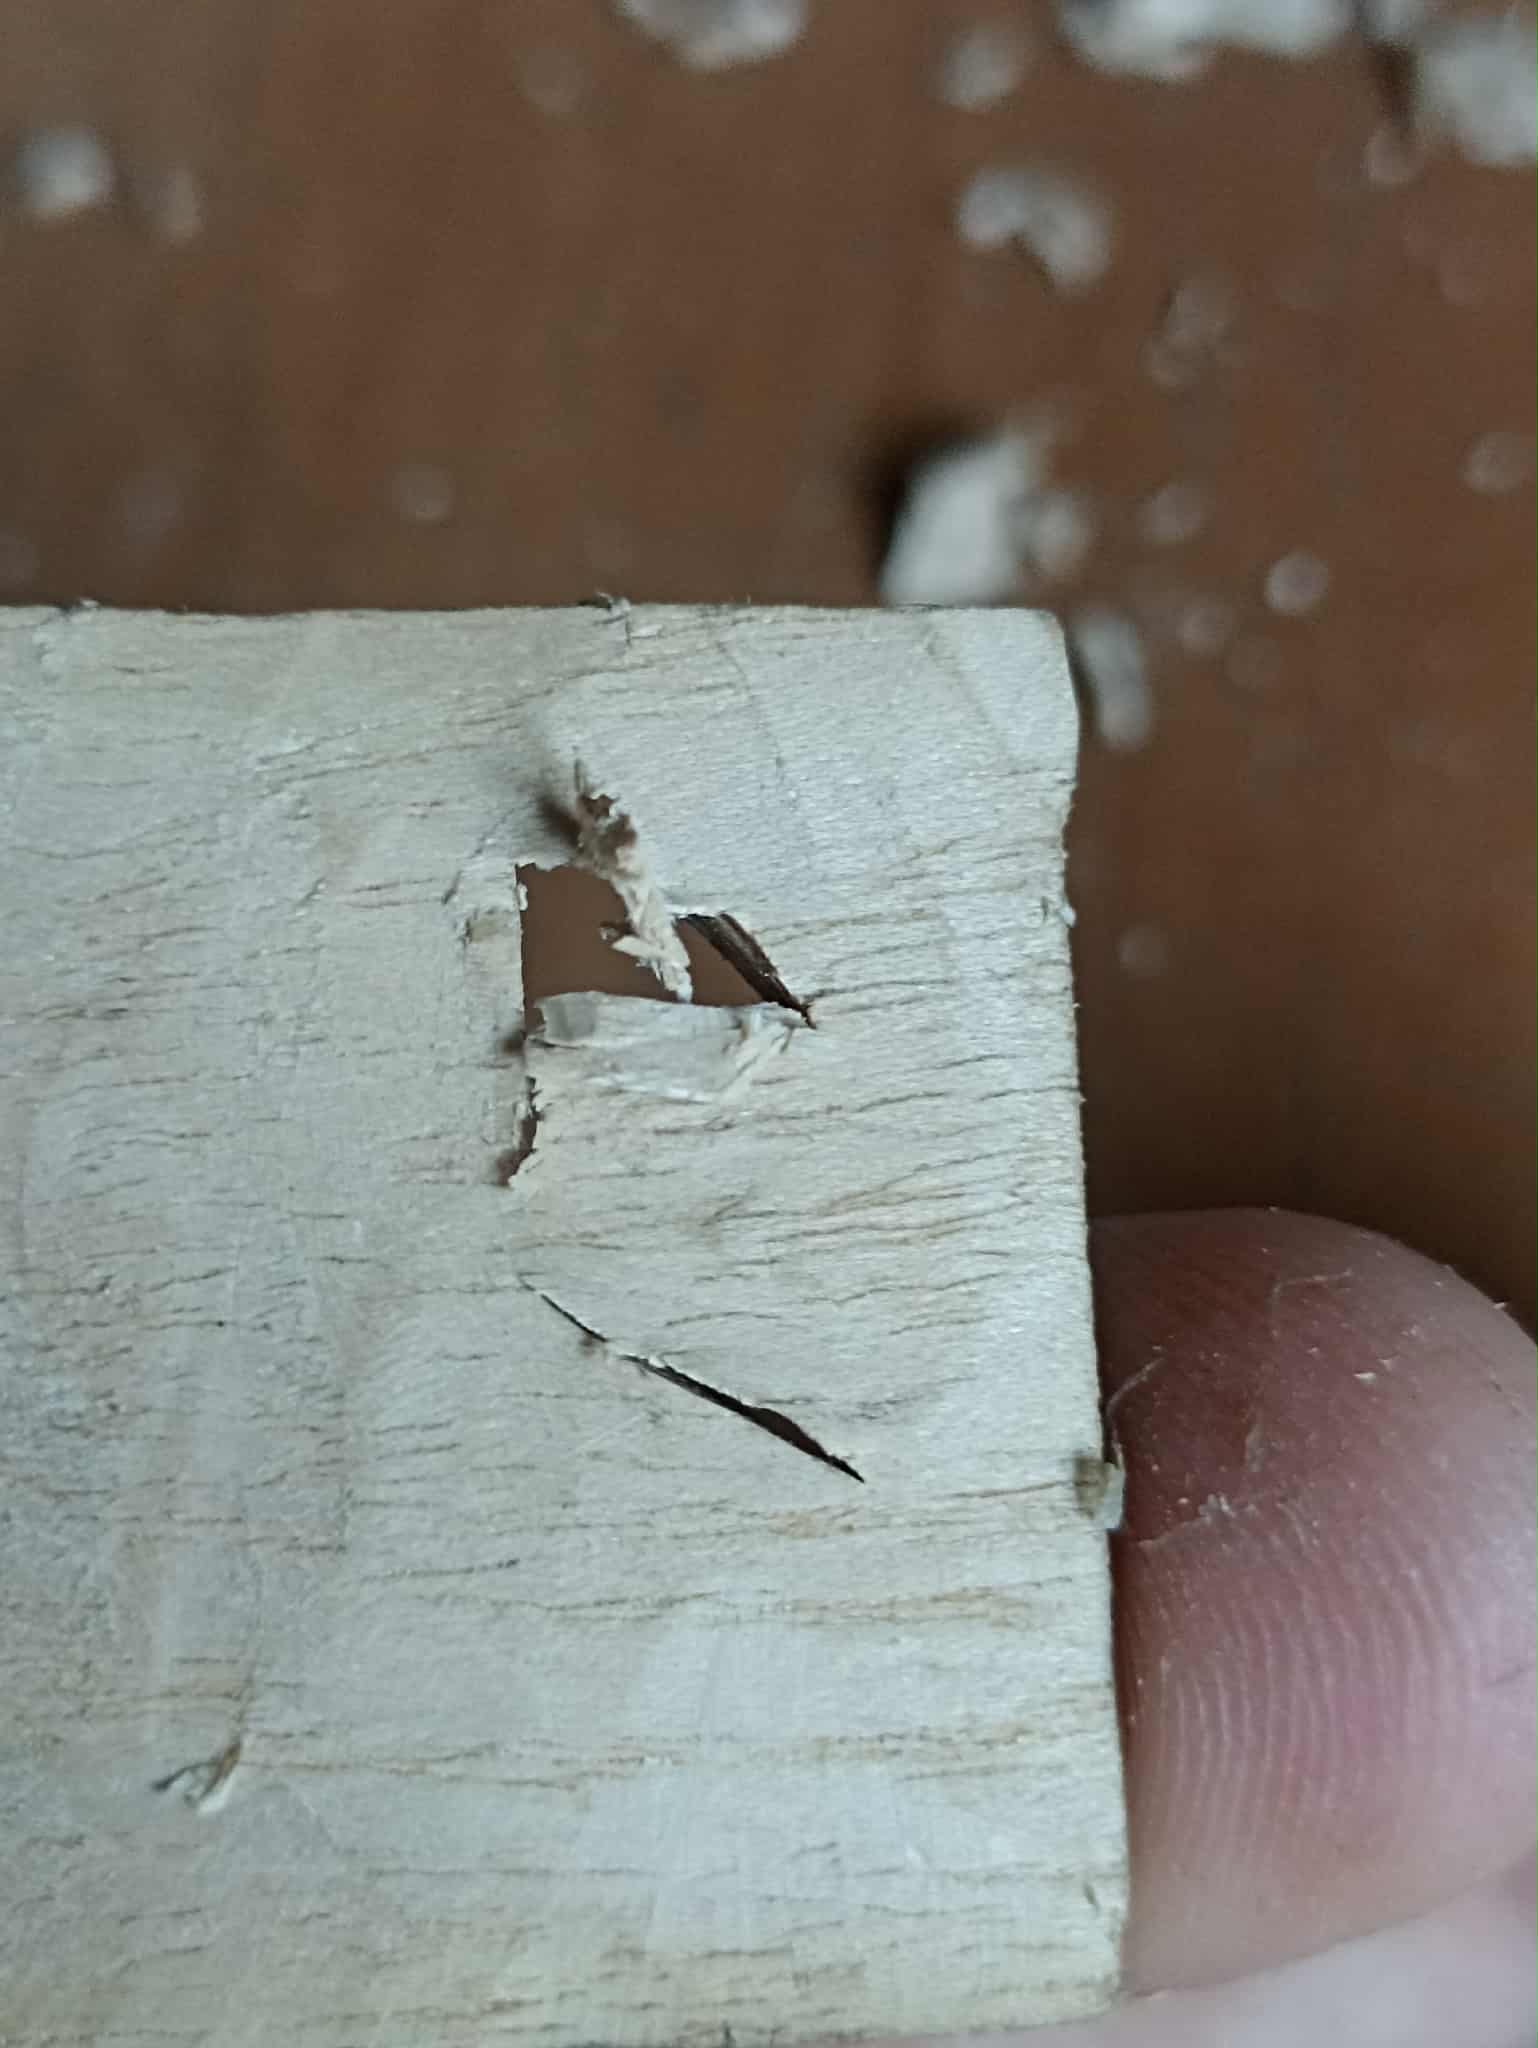
The next step is to switch from a flat blade to one with an arrow-shaped point. After sharpening it a bit, I begin to remove the wood with this gouge. The goal is to gradually remove the wood until the point penetrates the wood. Once this is achieved, all that's left to do is remove the rest until the wood can be completely cut through and that area is visible on the other side if we look through the cut.
En el siguiente paso toca cambiar de una cuchilla plana a una cuchilla que tenga la punta como una flecha, así que luego de sacarle un poco de filo comienzo a extraer la amdera con esta gubia. El objetivo es ir poco a poco sacando la amdera hasta que la punta trapase la madera, una vez logrado solo queda quitar el resto hasta que se pueda atravesar la amdera por completo y esa zona sea visible hacia el lado contrario si miramos a través del corte.
 |
 |
 |
|---|---|---|
 |
 |
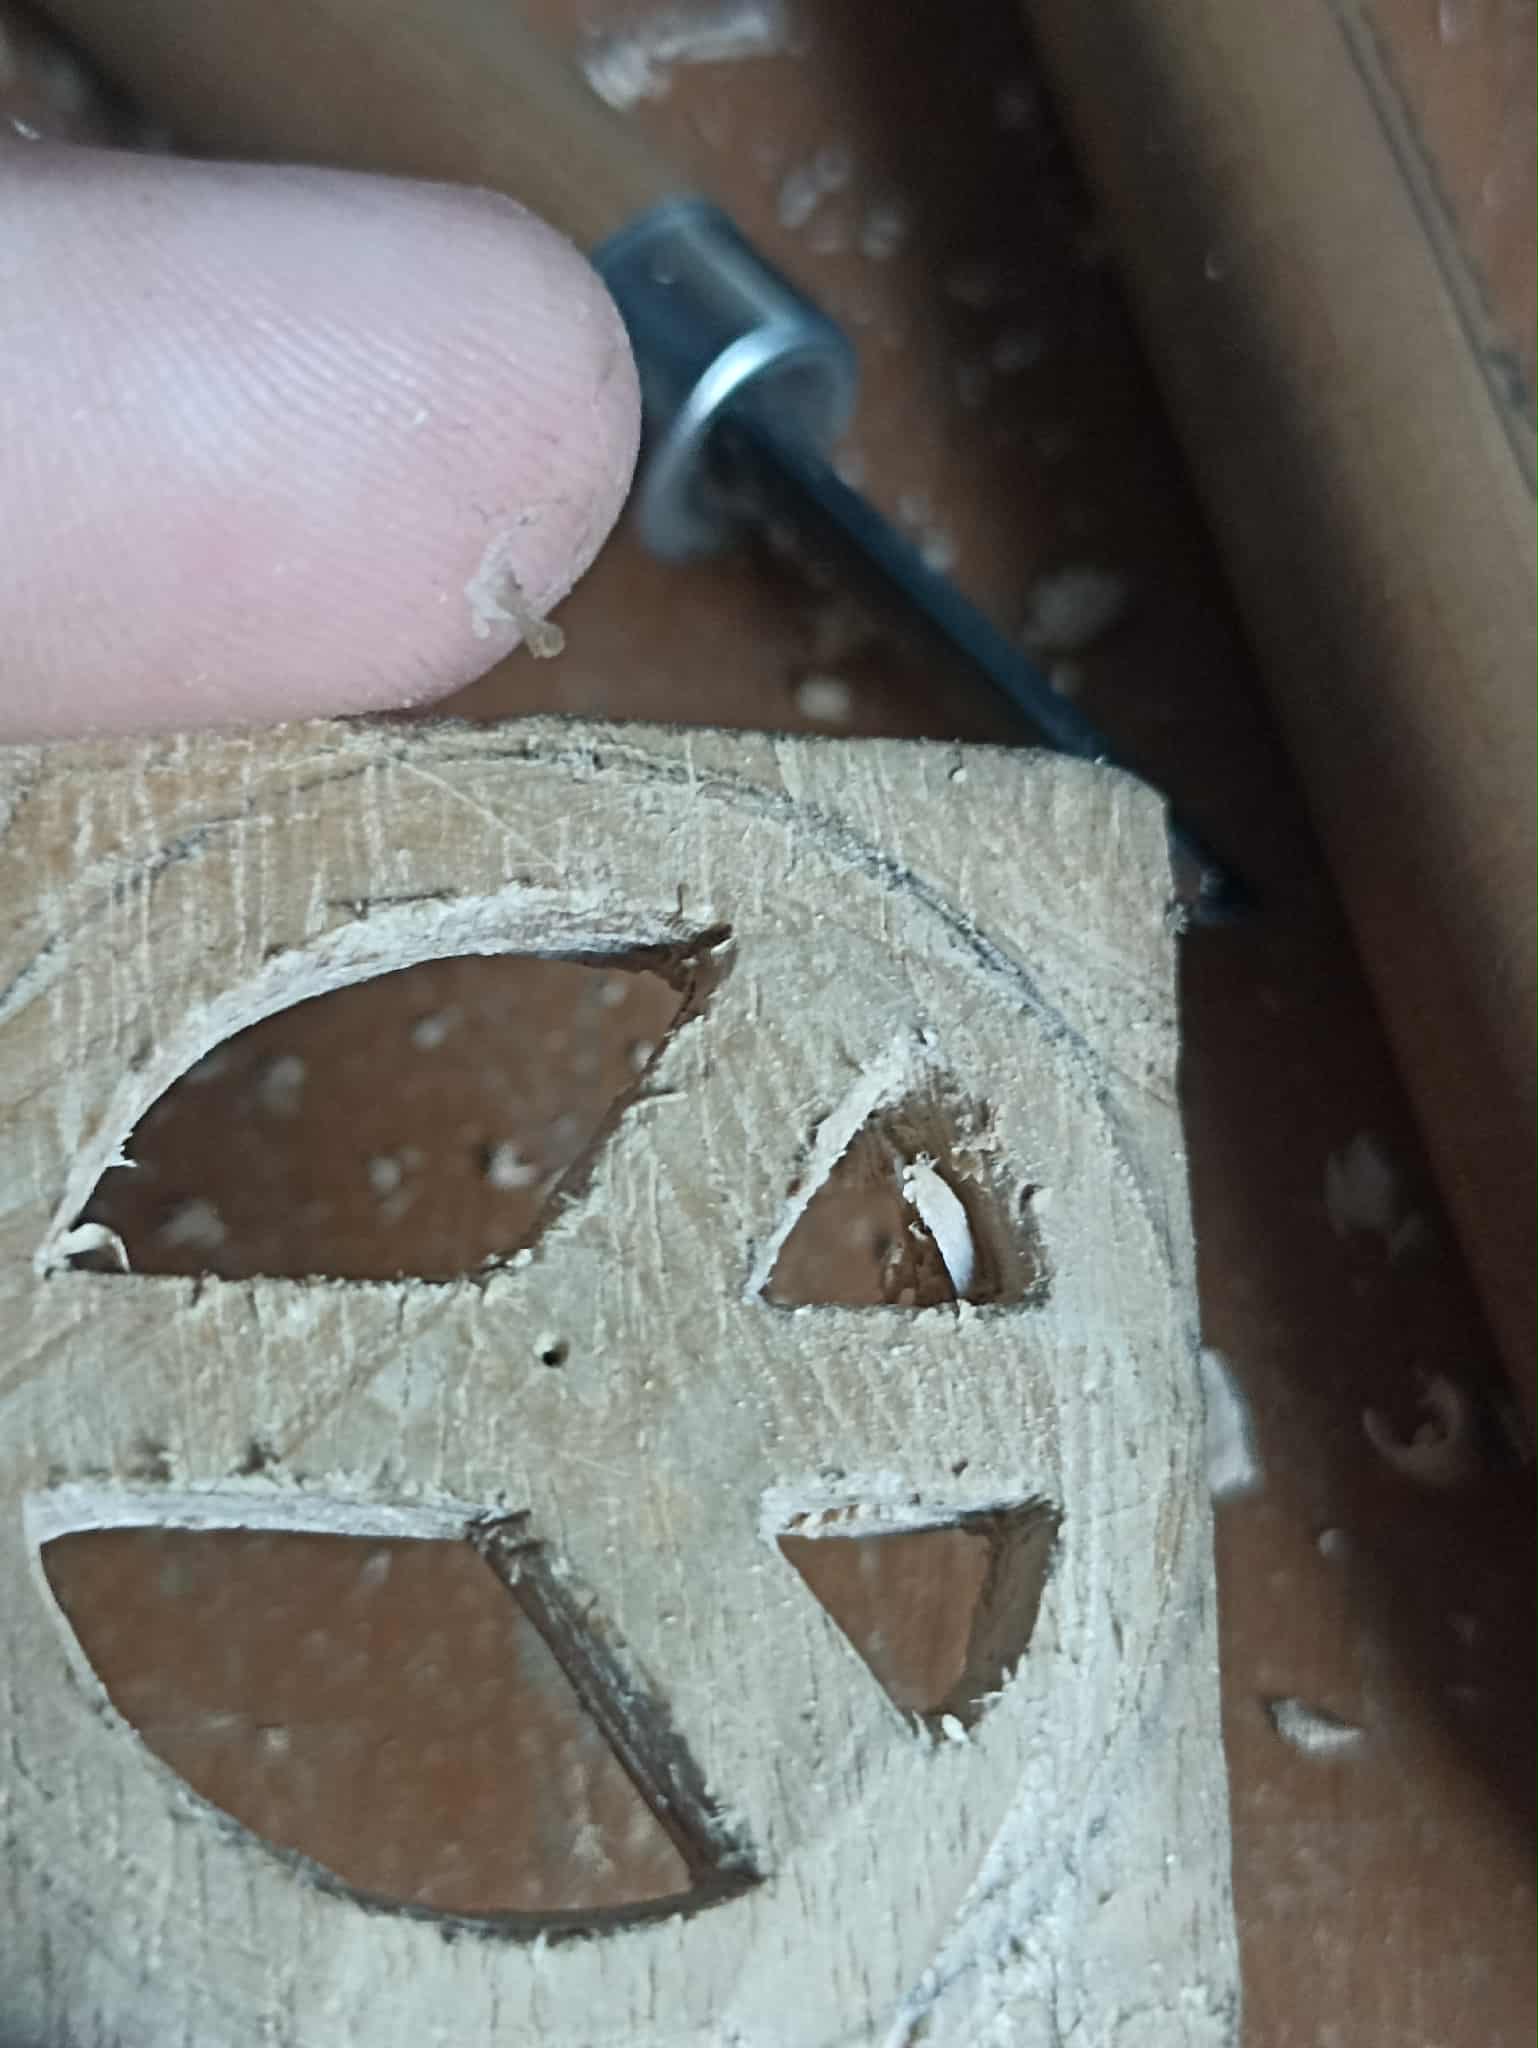 |
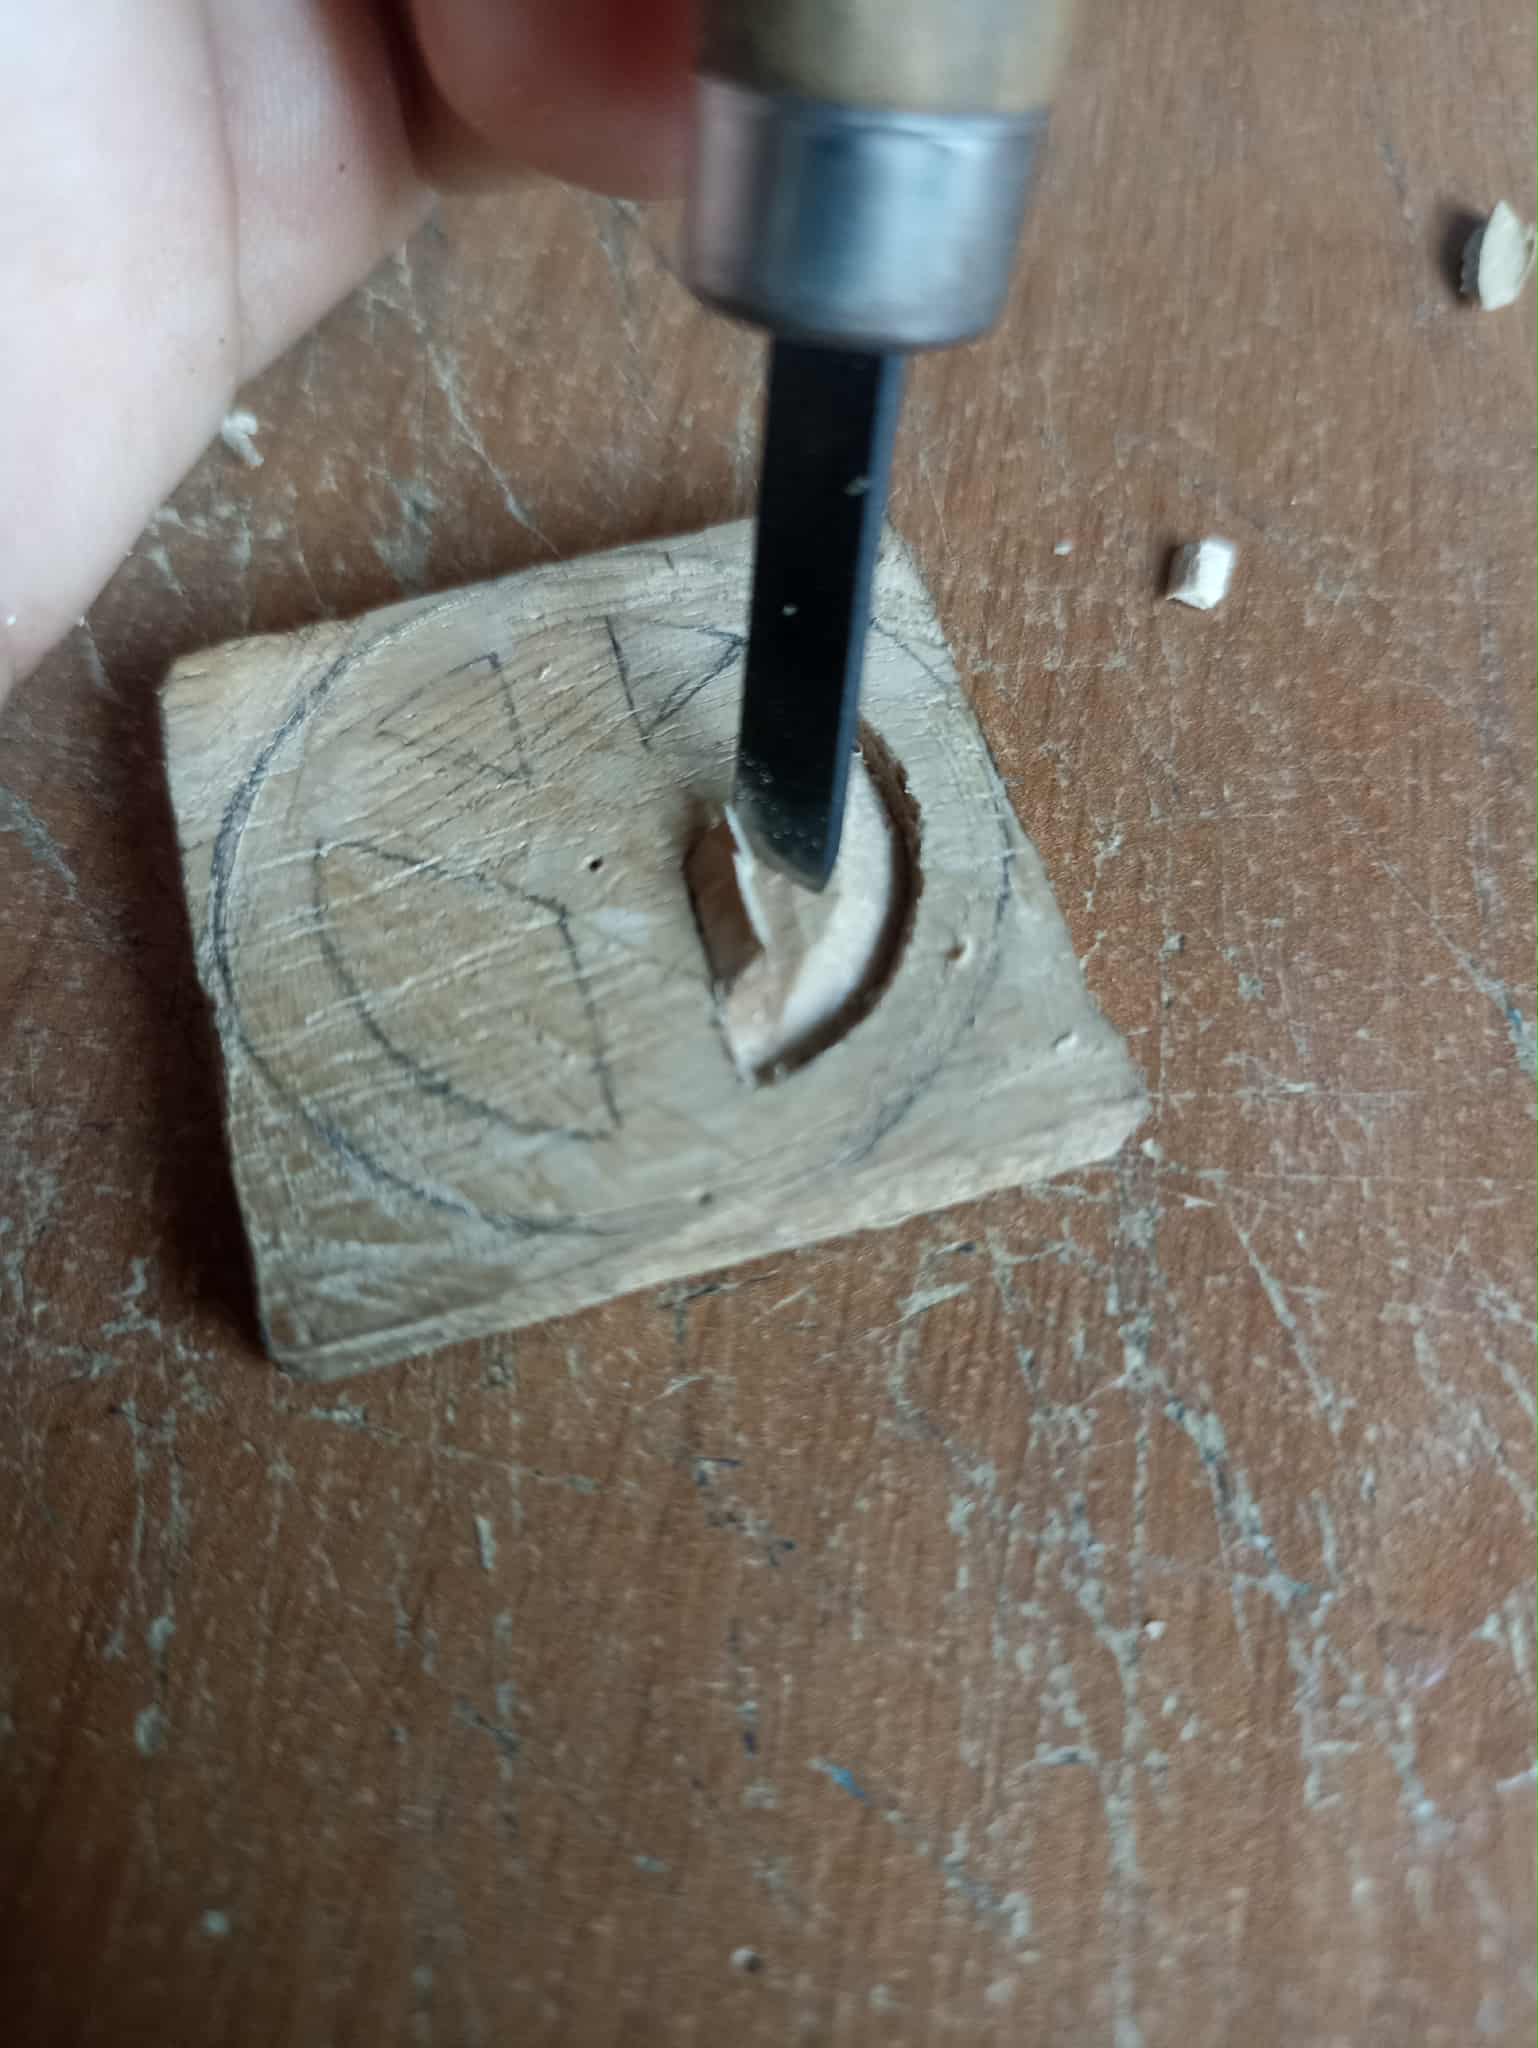
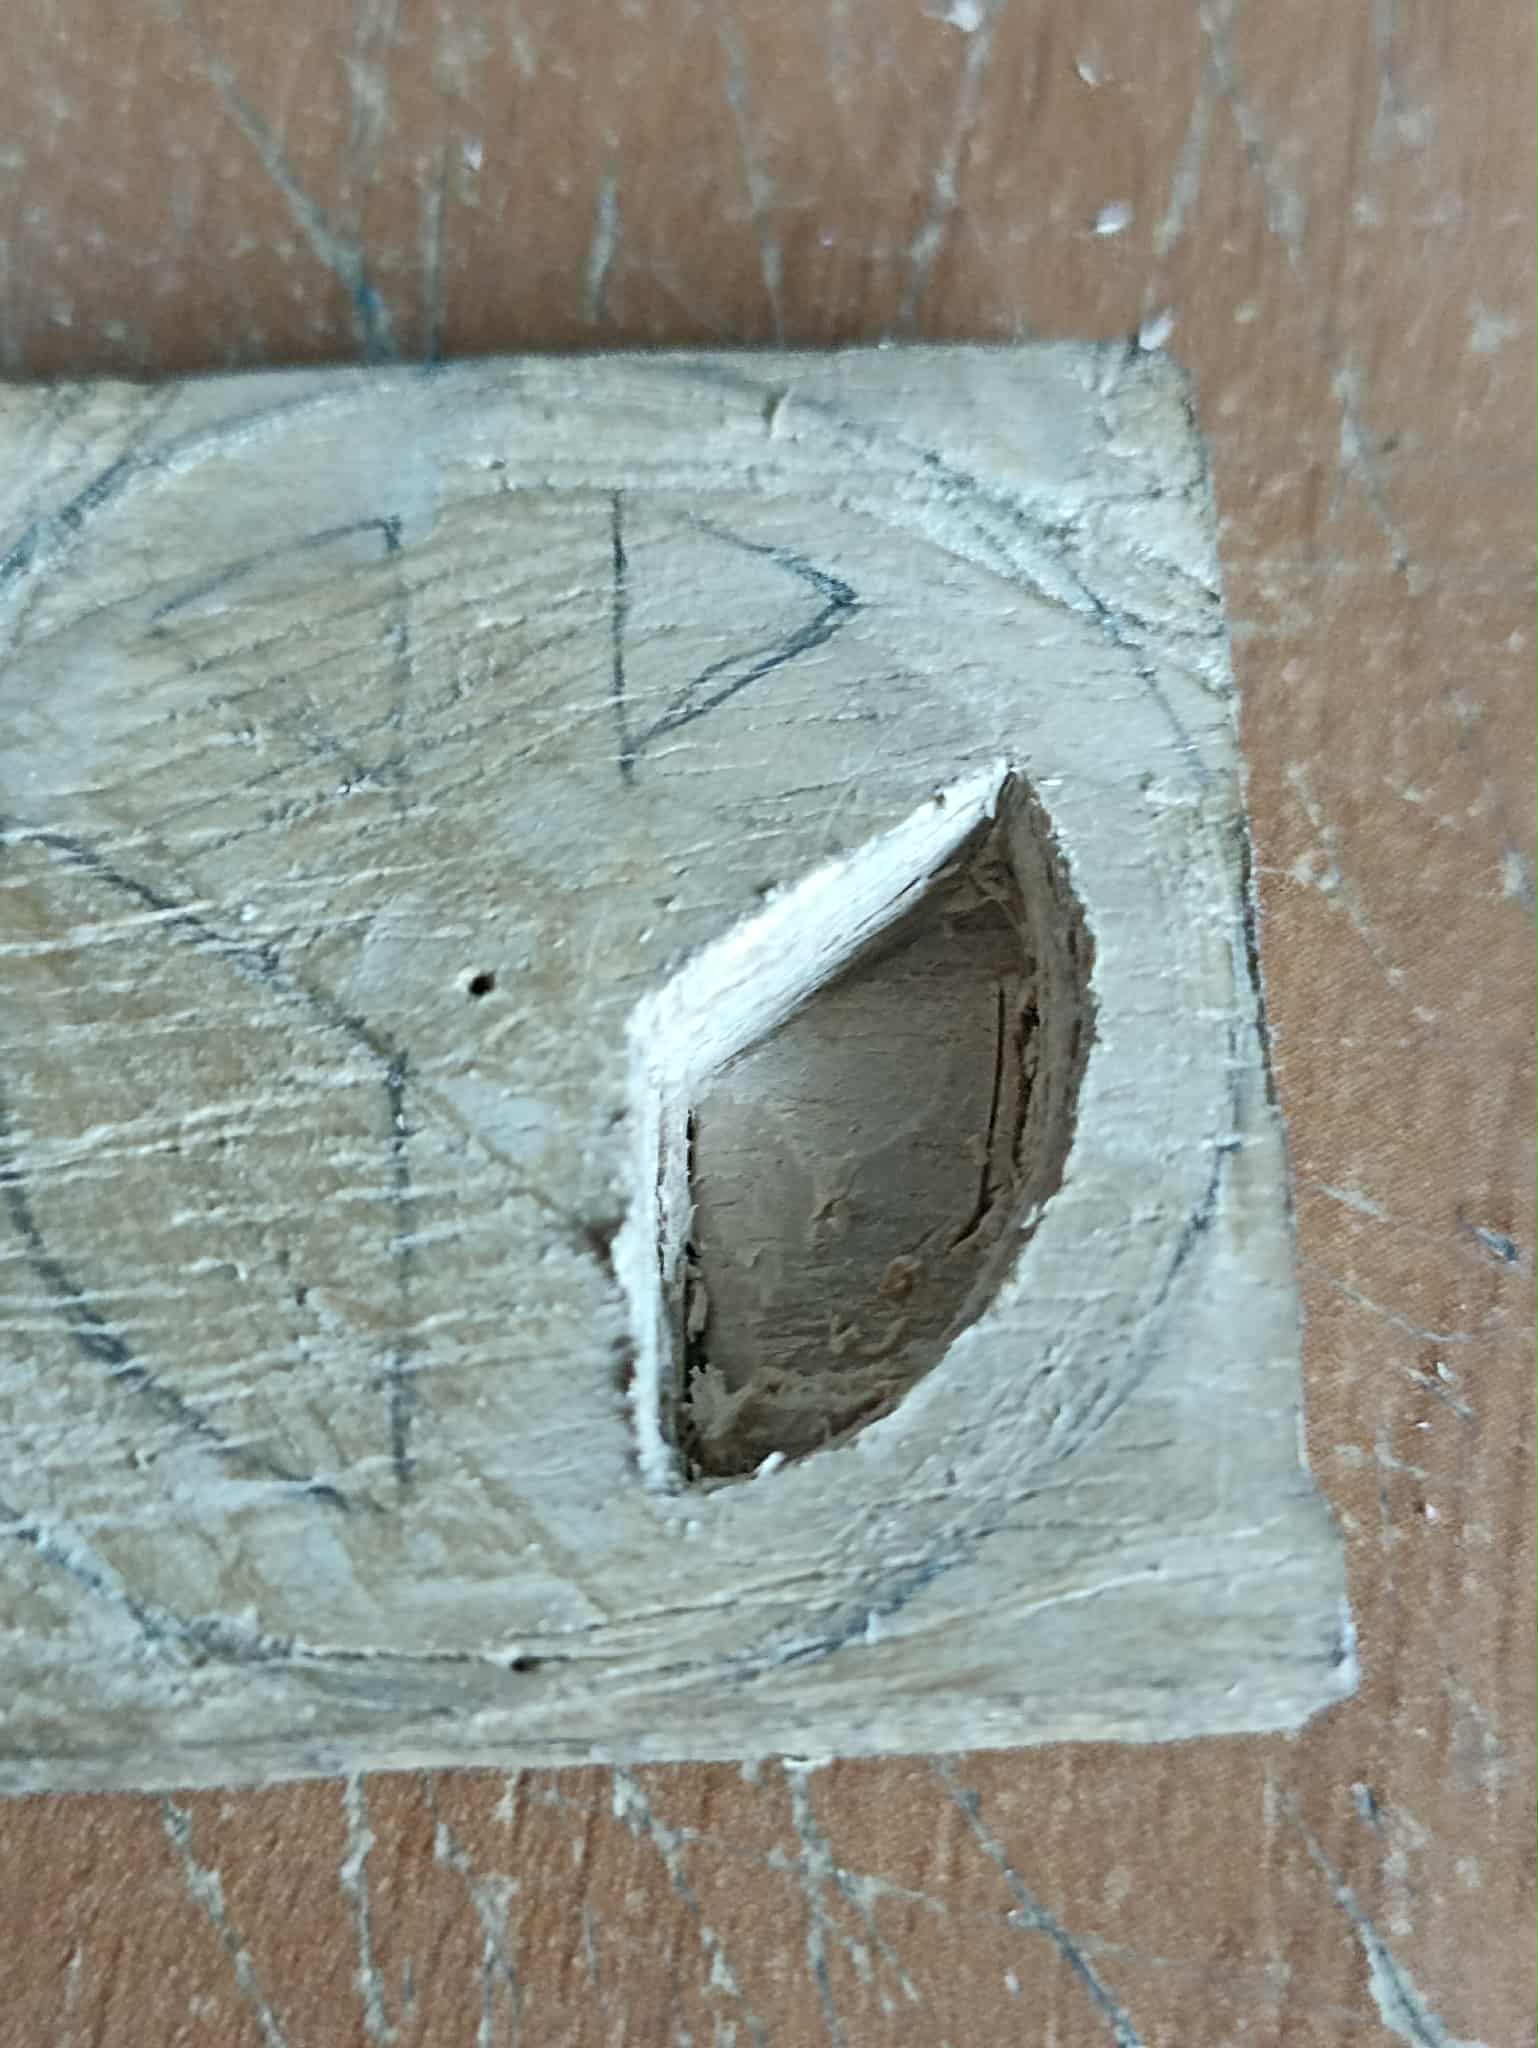
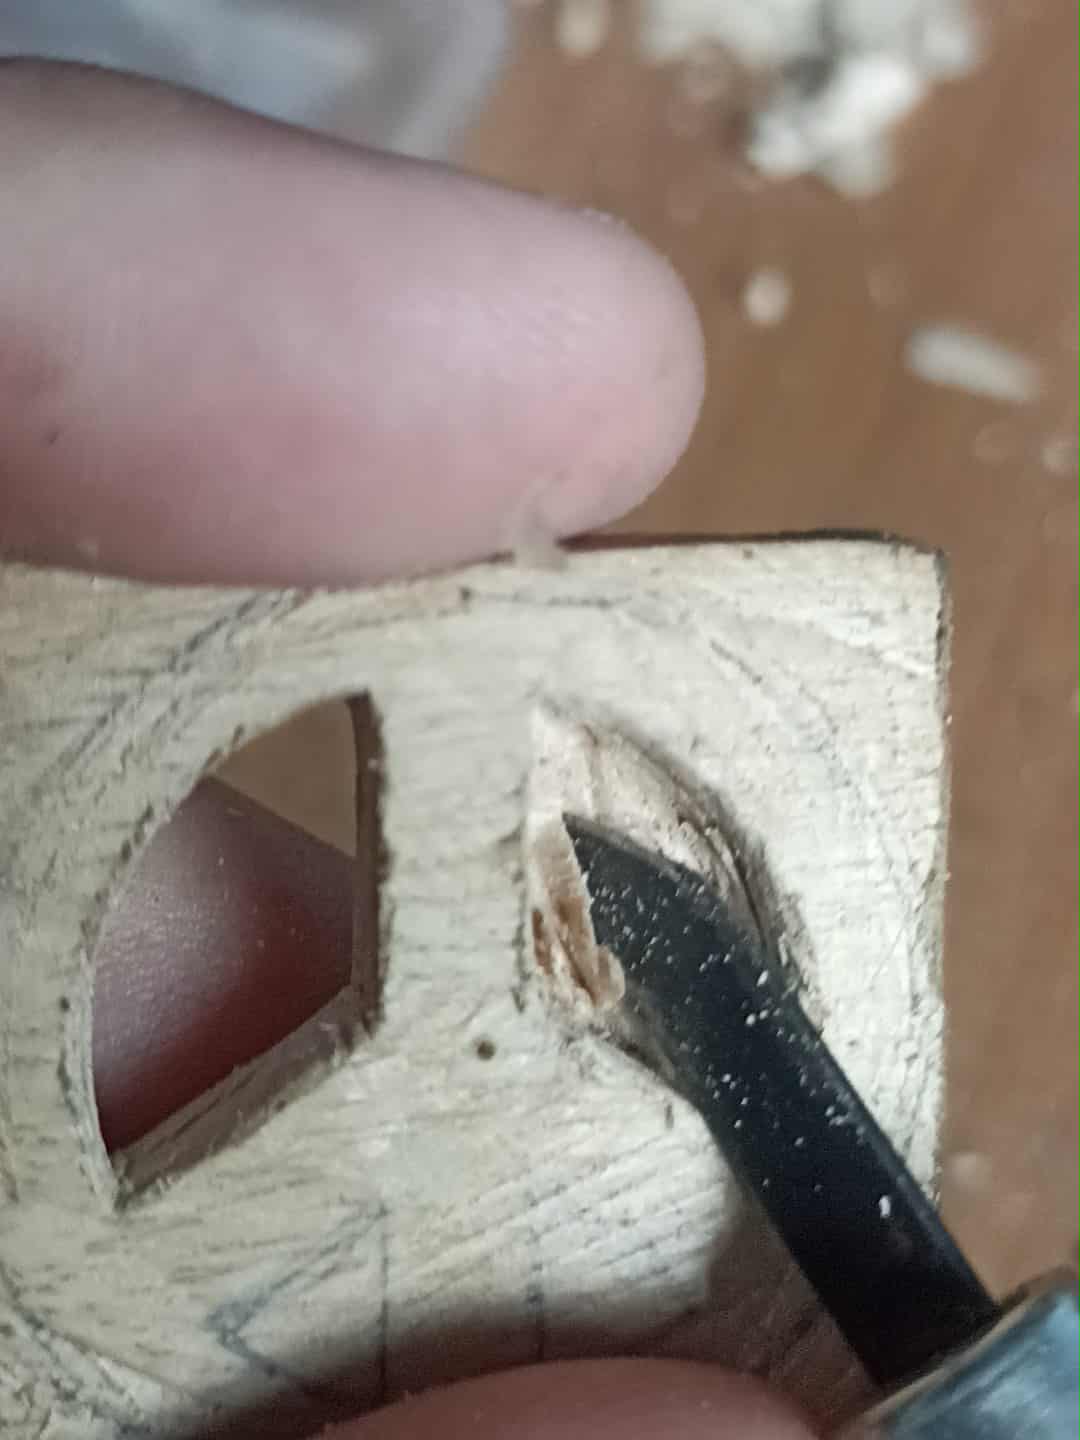
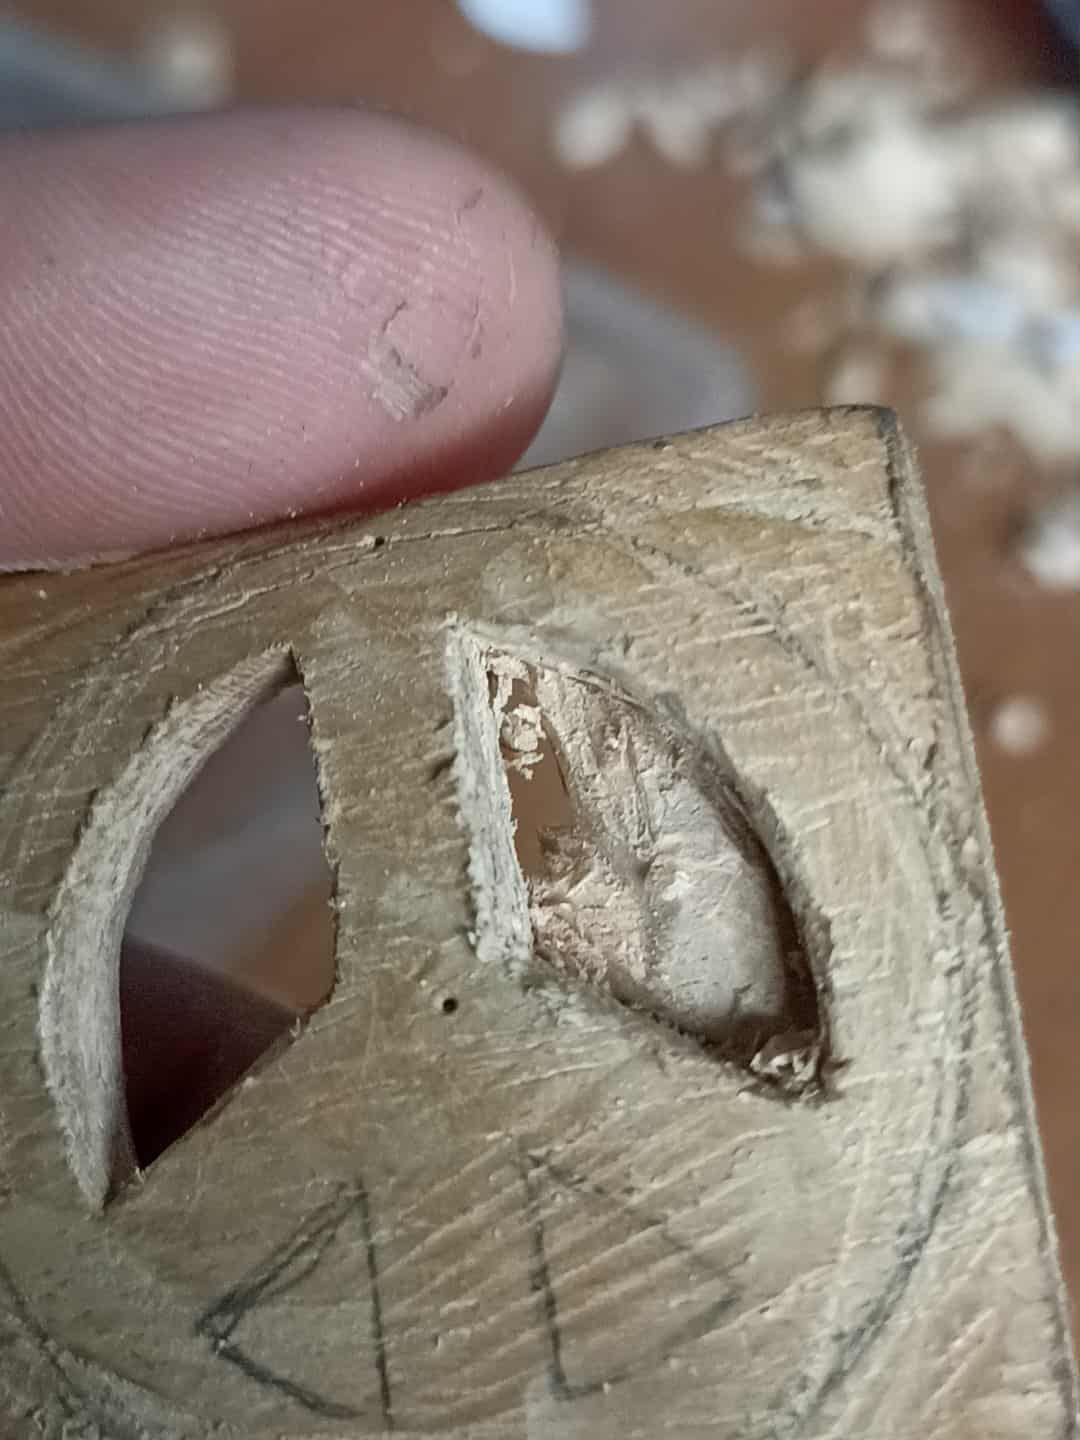
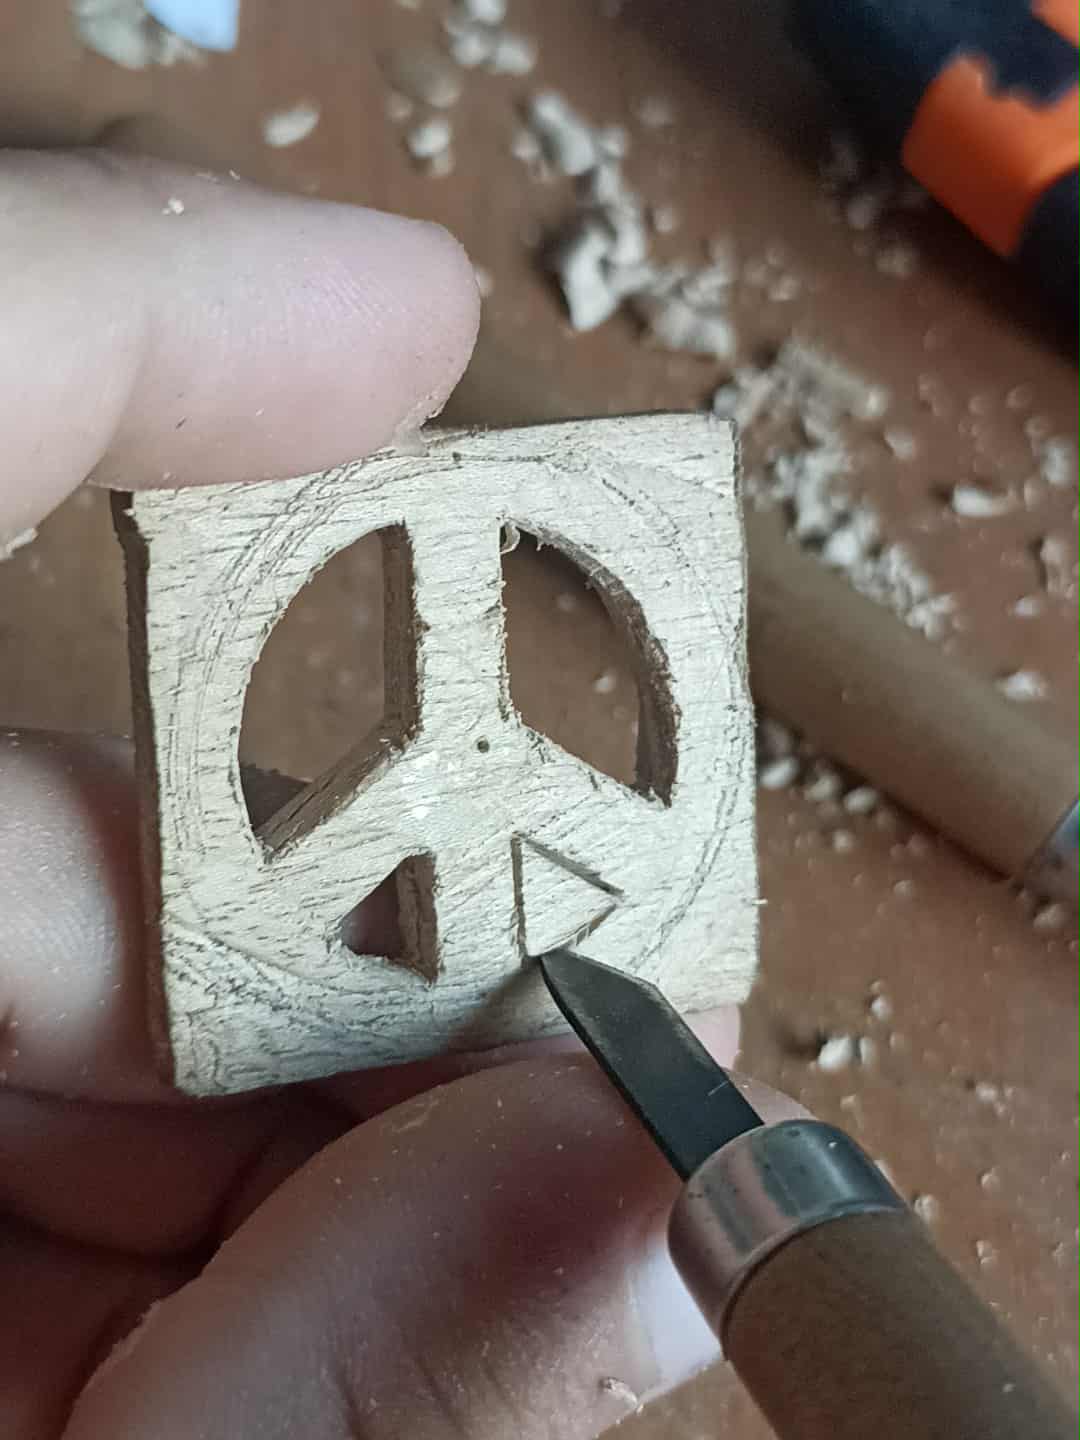
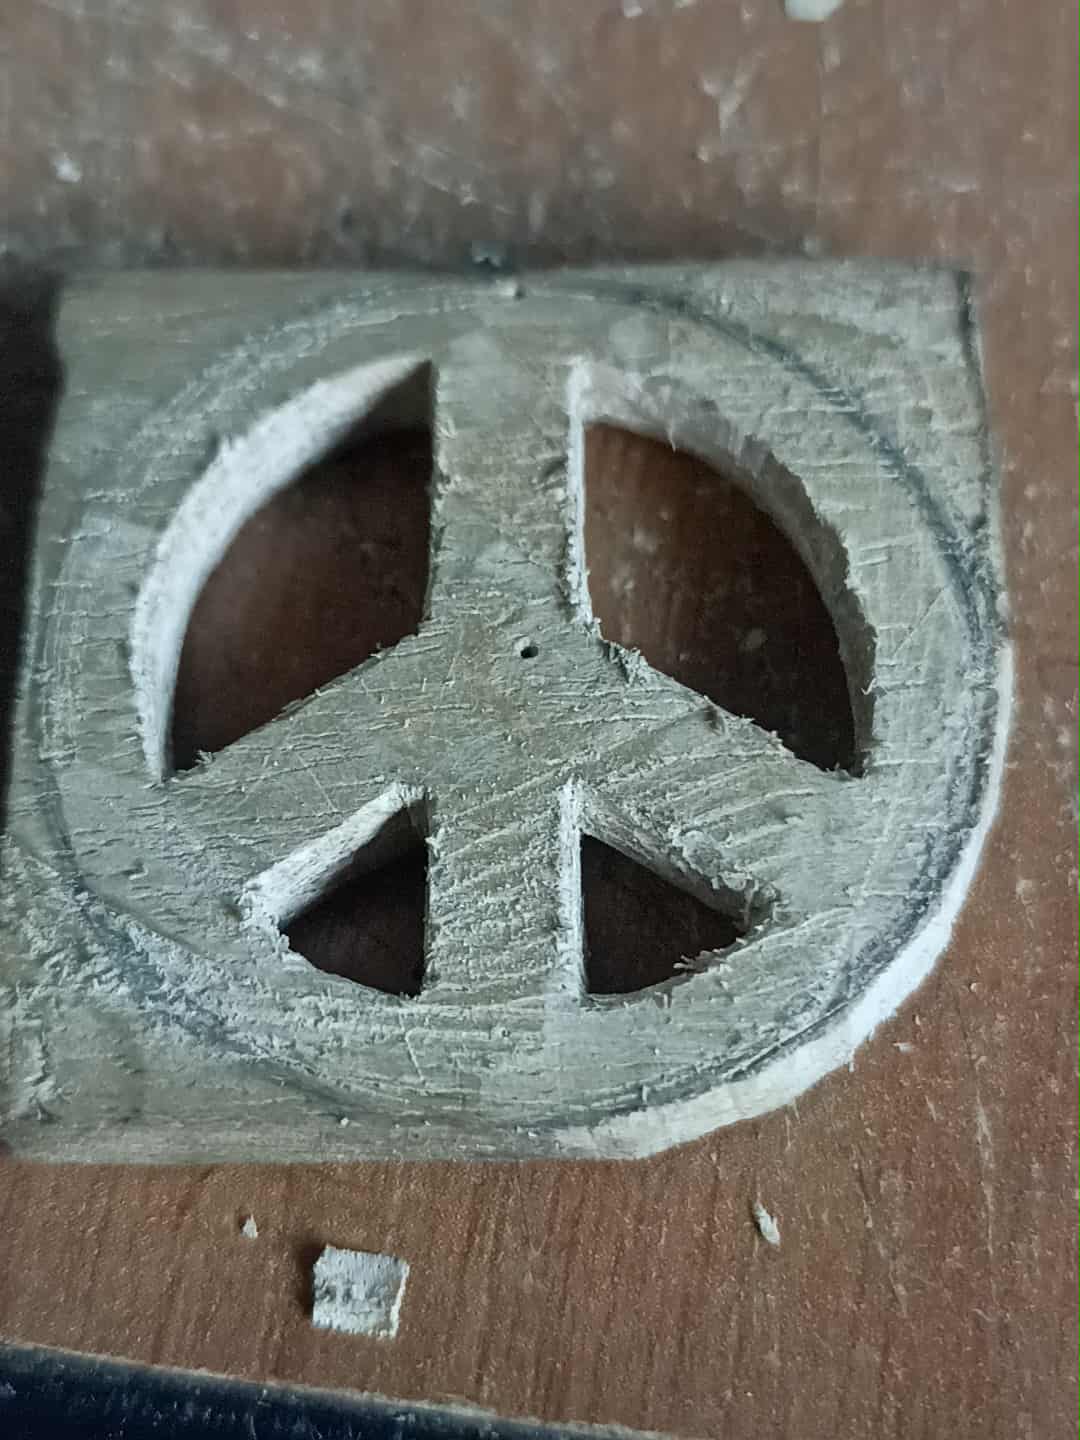
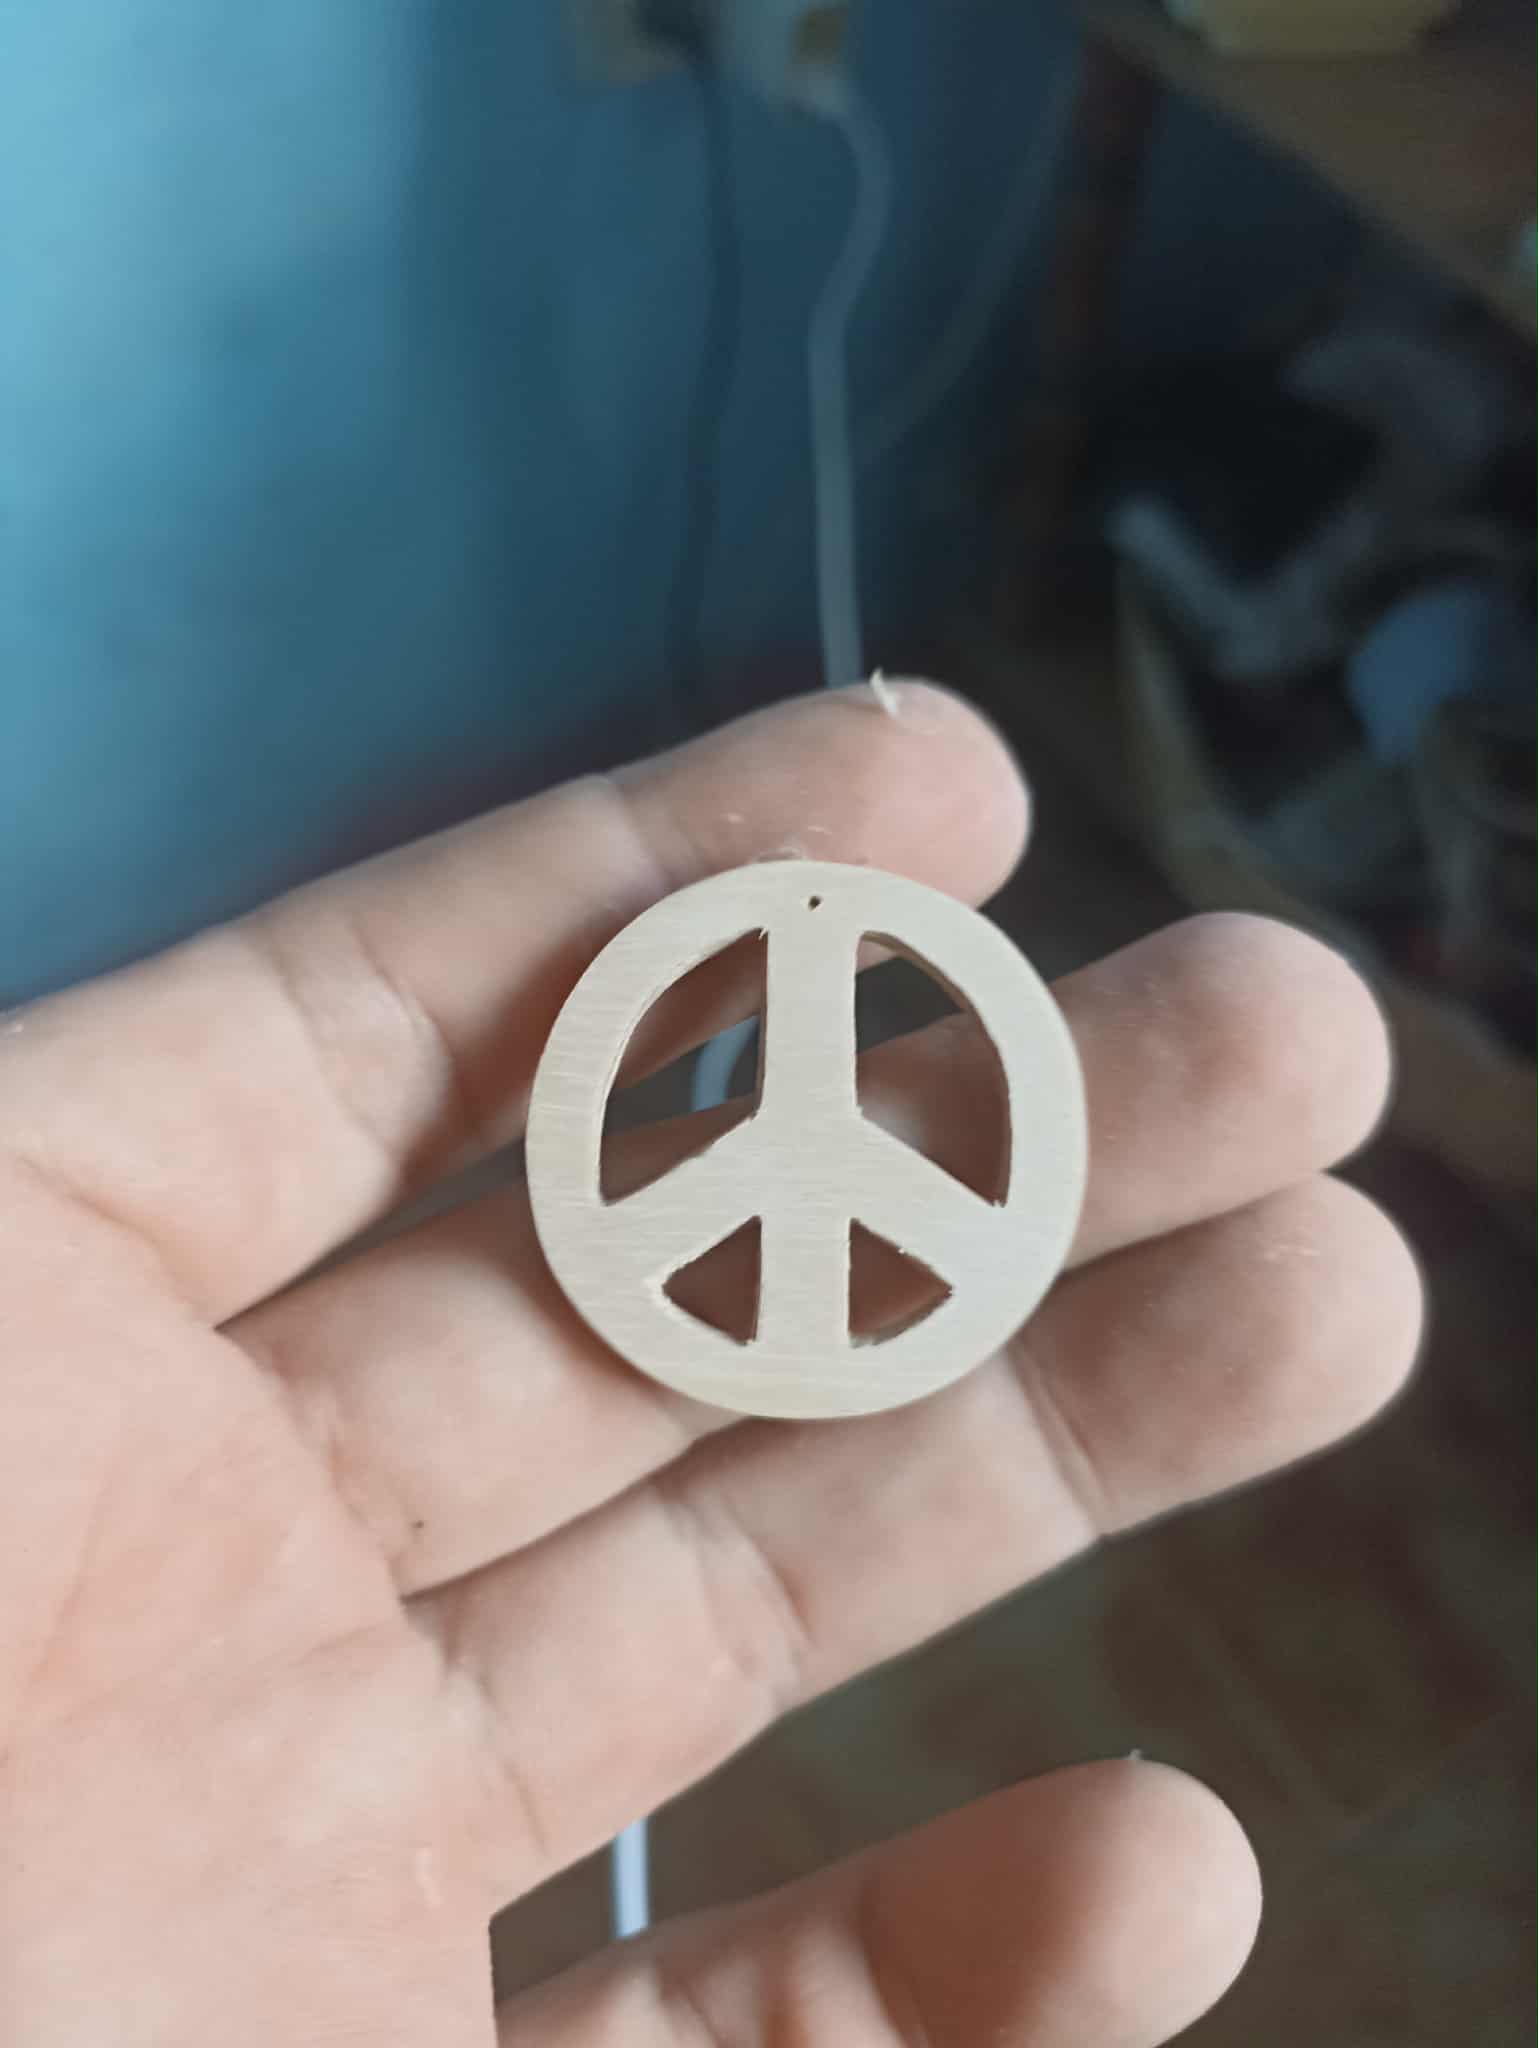
Using the process explained above, I'll gradually remove the wood from each of the spaces. In the smaller sections, I must be a little cautious. First, because the blade must be the thinnest of all, and second, because the wood can easily be damaged. One of the tricky moments was making the lower sections, due to the small size of the design. It also had to be done on a table and not in the hands, because the cutting blade could pierce through and cause a cut in the palm of the hand.
Utilizando el proceso explicado anteriormente, voy a ir removiendo poco a poco la madera en cada uno de los espacios, en las partes más pequeñas se debe trabajar un poco con precaución, en primer lugar porque la cuchilla debe ser la más fina de todas y en segundo por que es fácil que la amdera pueda estropearse. Uno de los momentos difíciles fue hace las partes inferiores, por lo pequeño del dibujo, además que debe hacer encima de una mesa y no en las manos porque la hoja cortante podría traspasar y causar una herida en la palma de la mano.
 |
 |
|
|---|---|---|
 |
 |
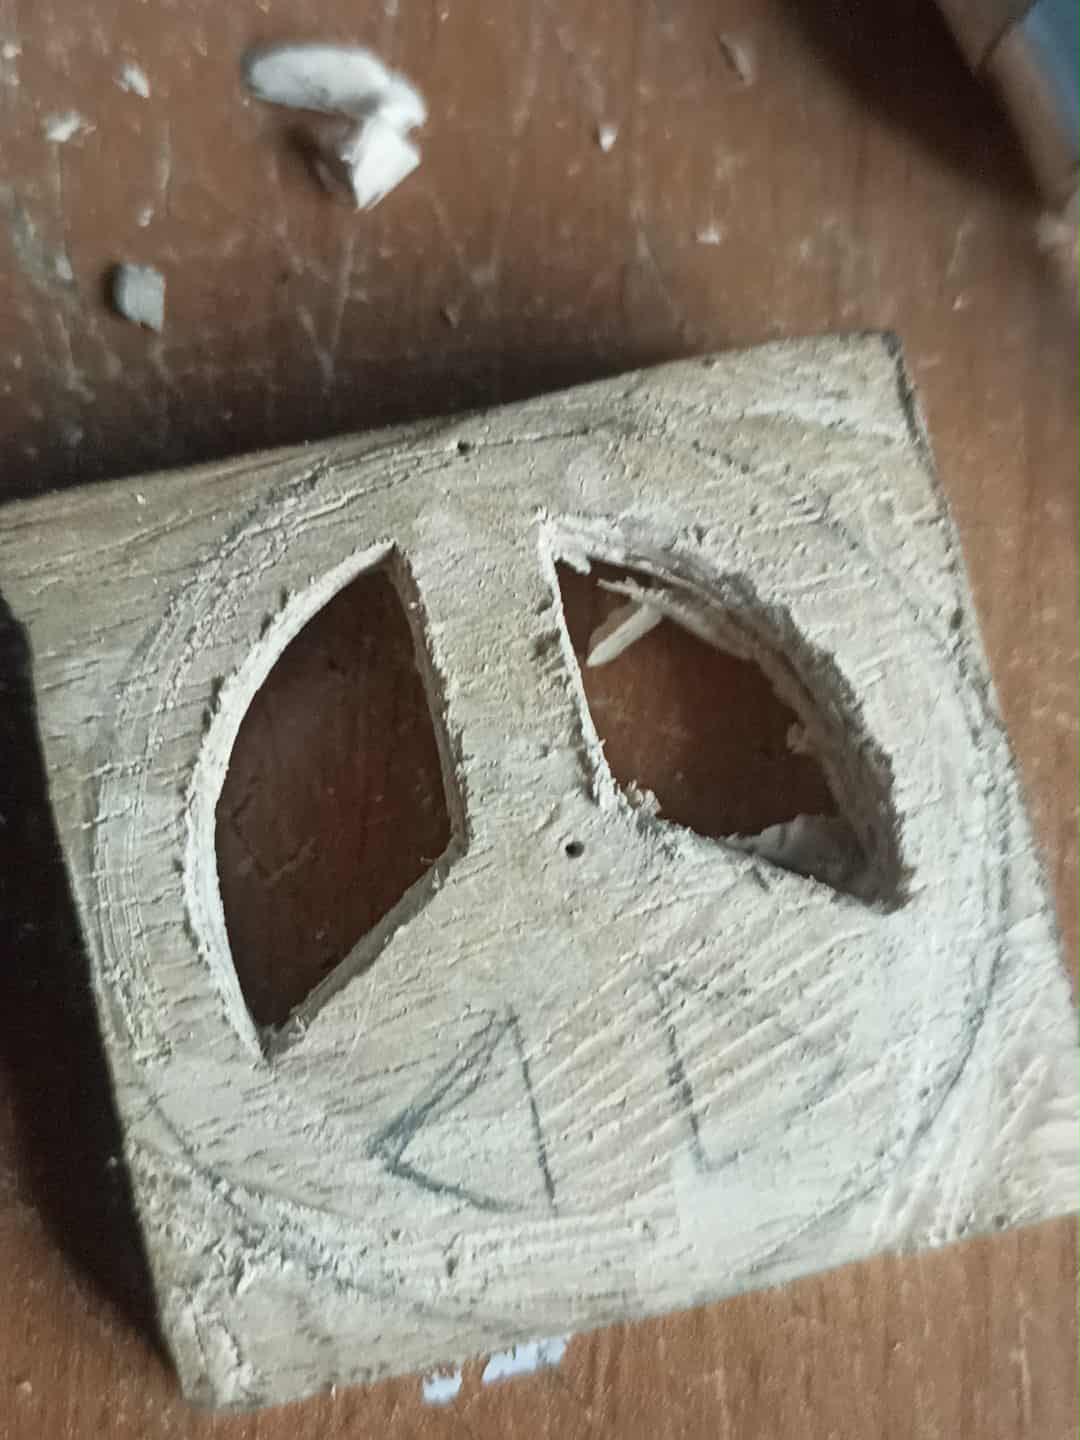
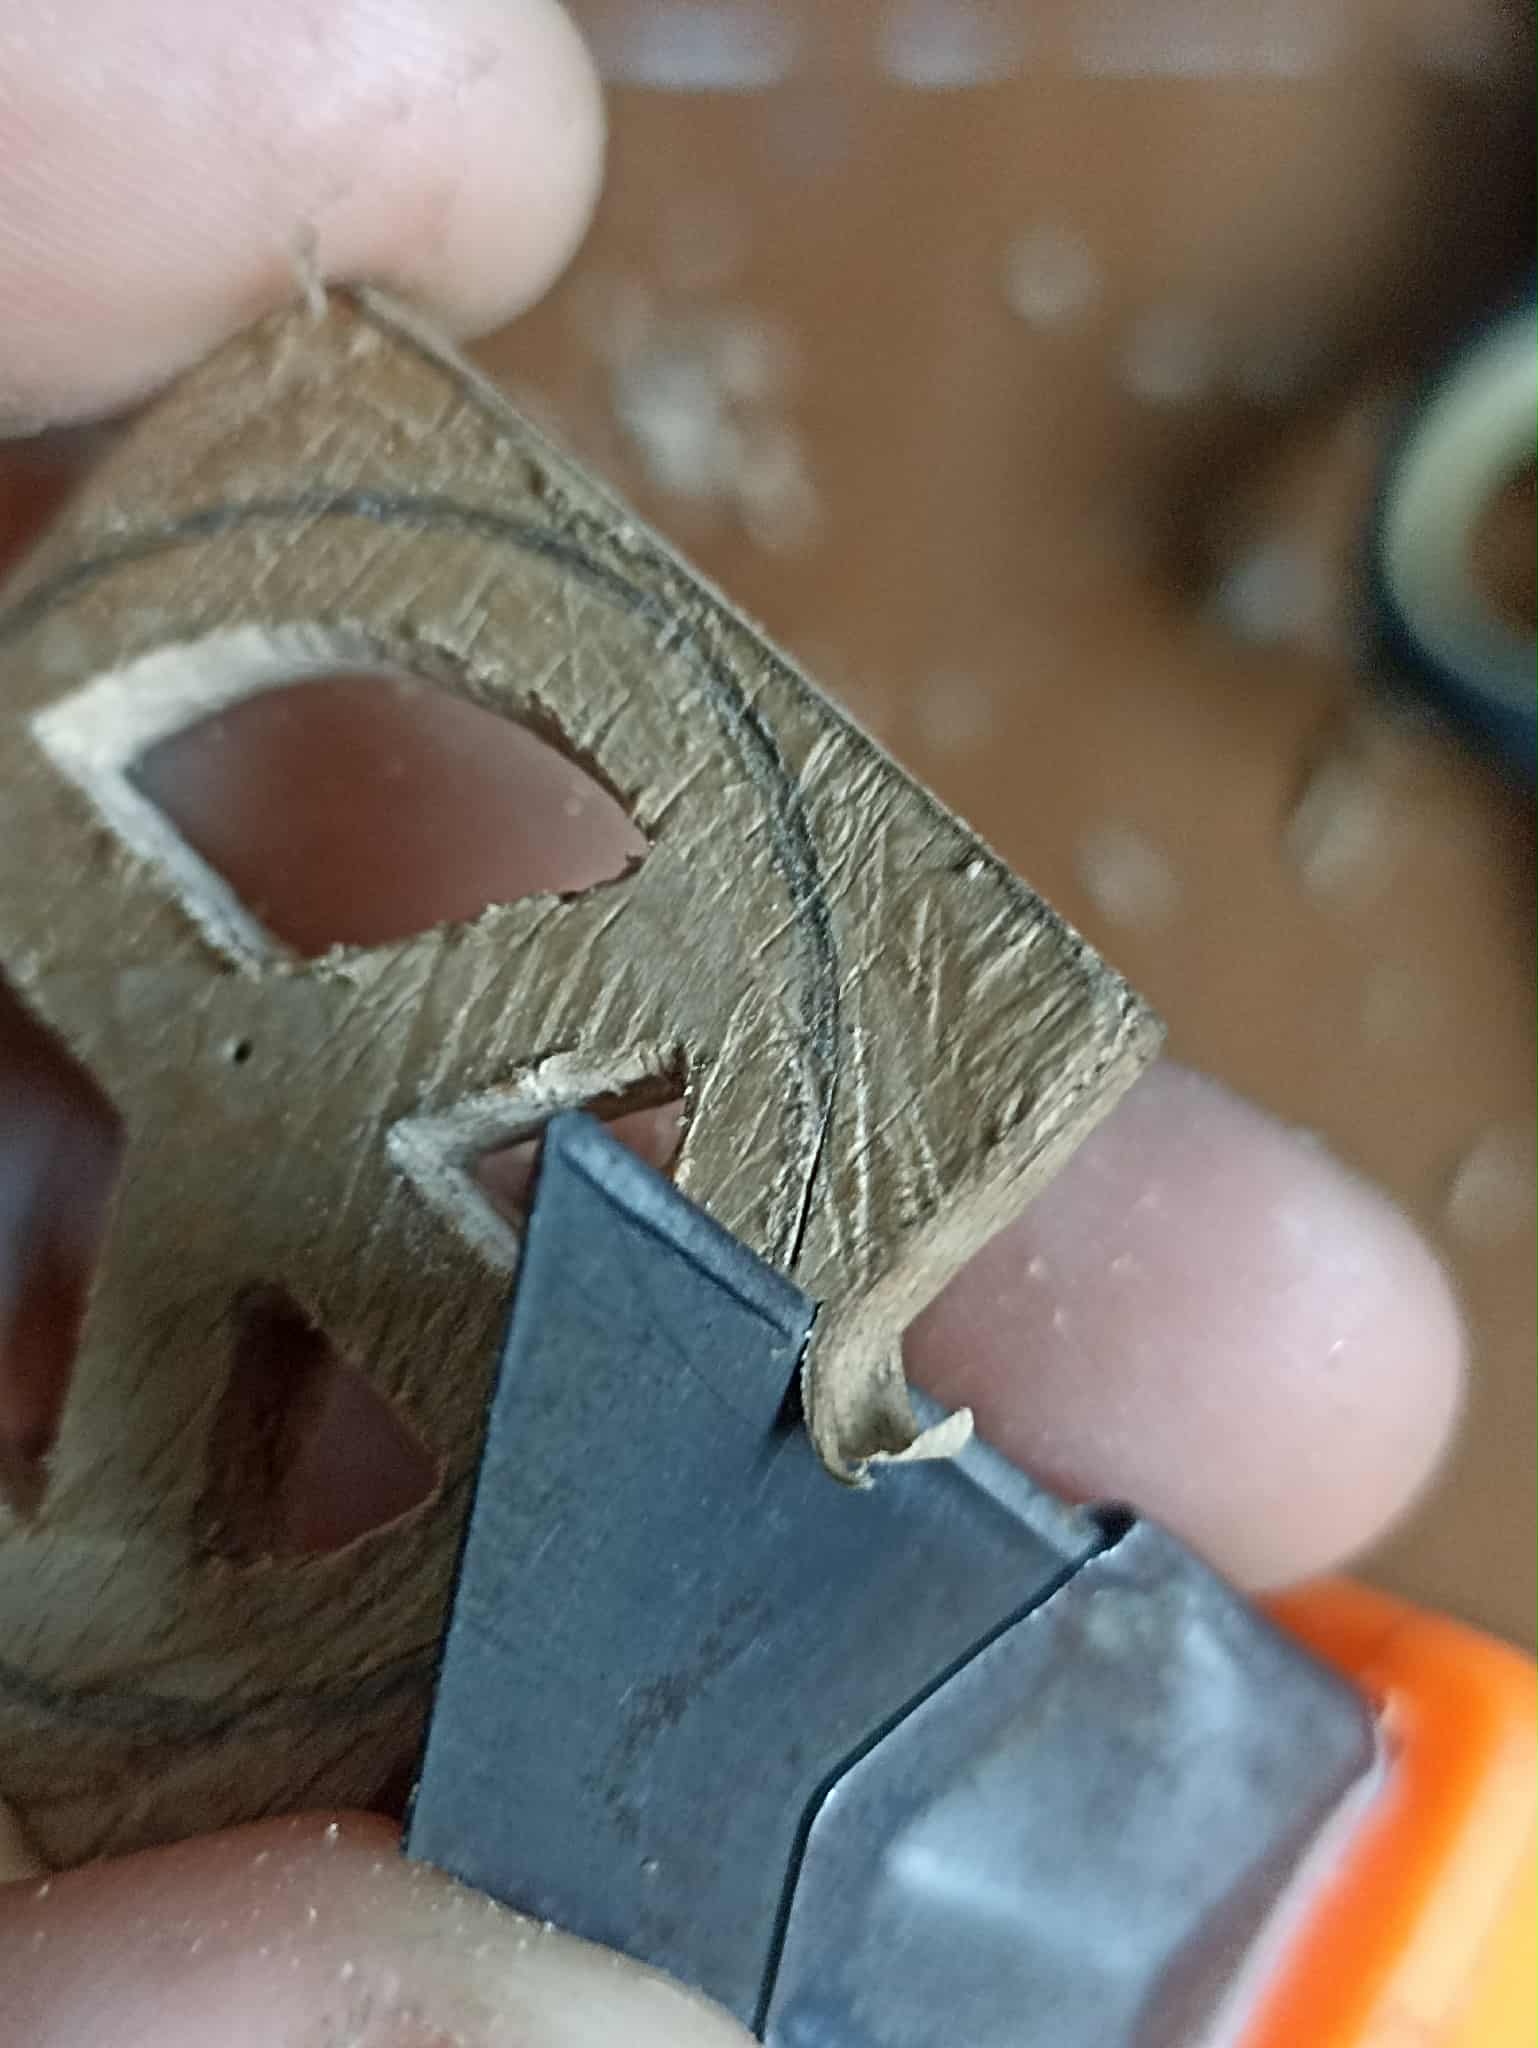
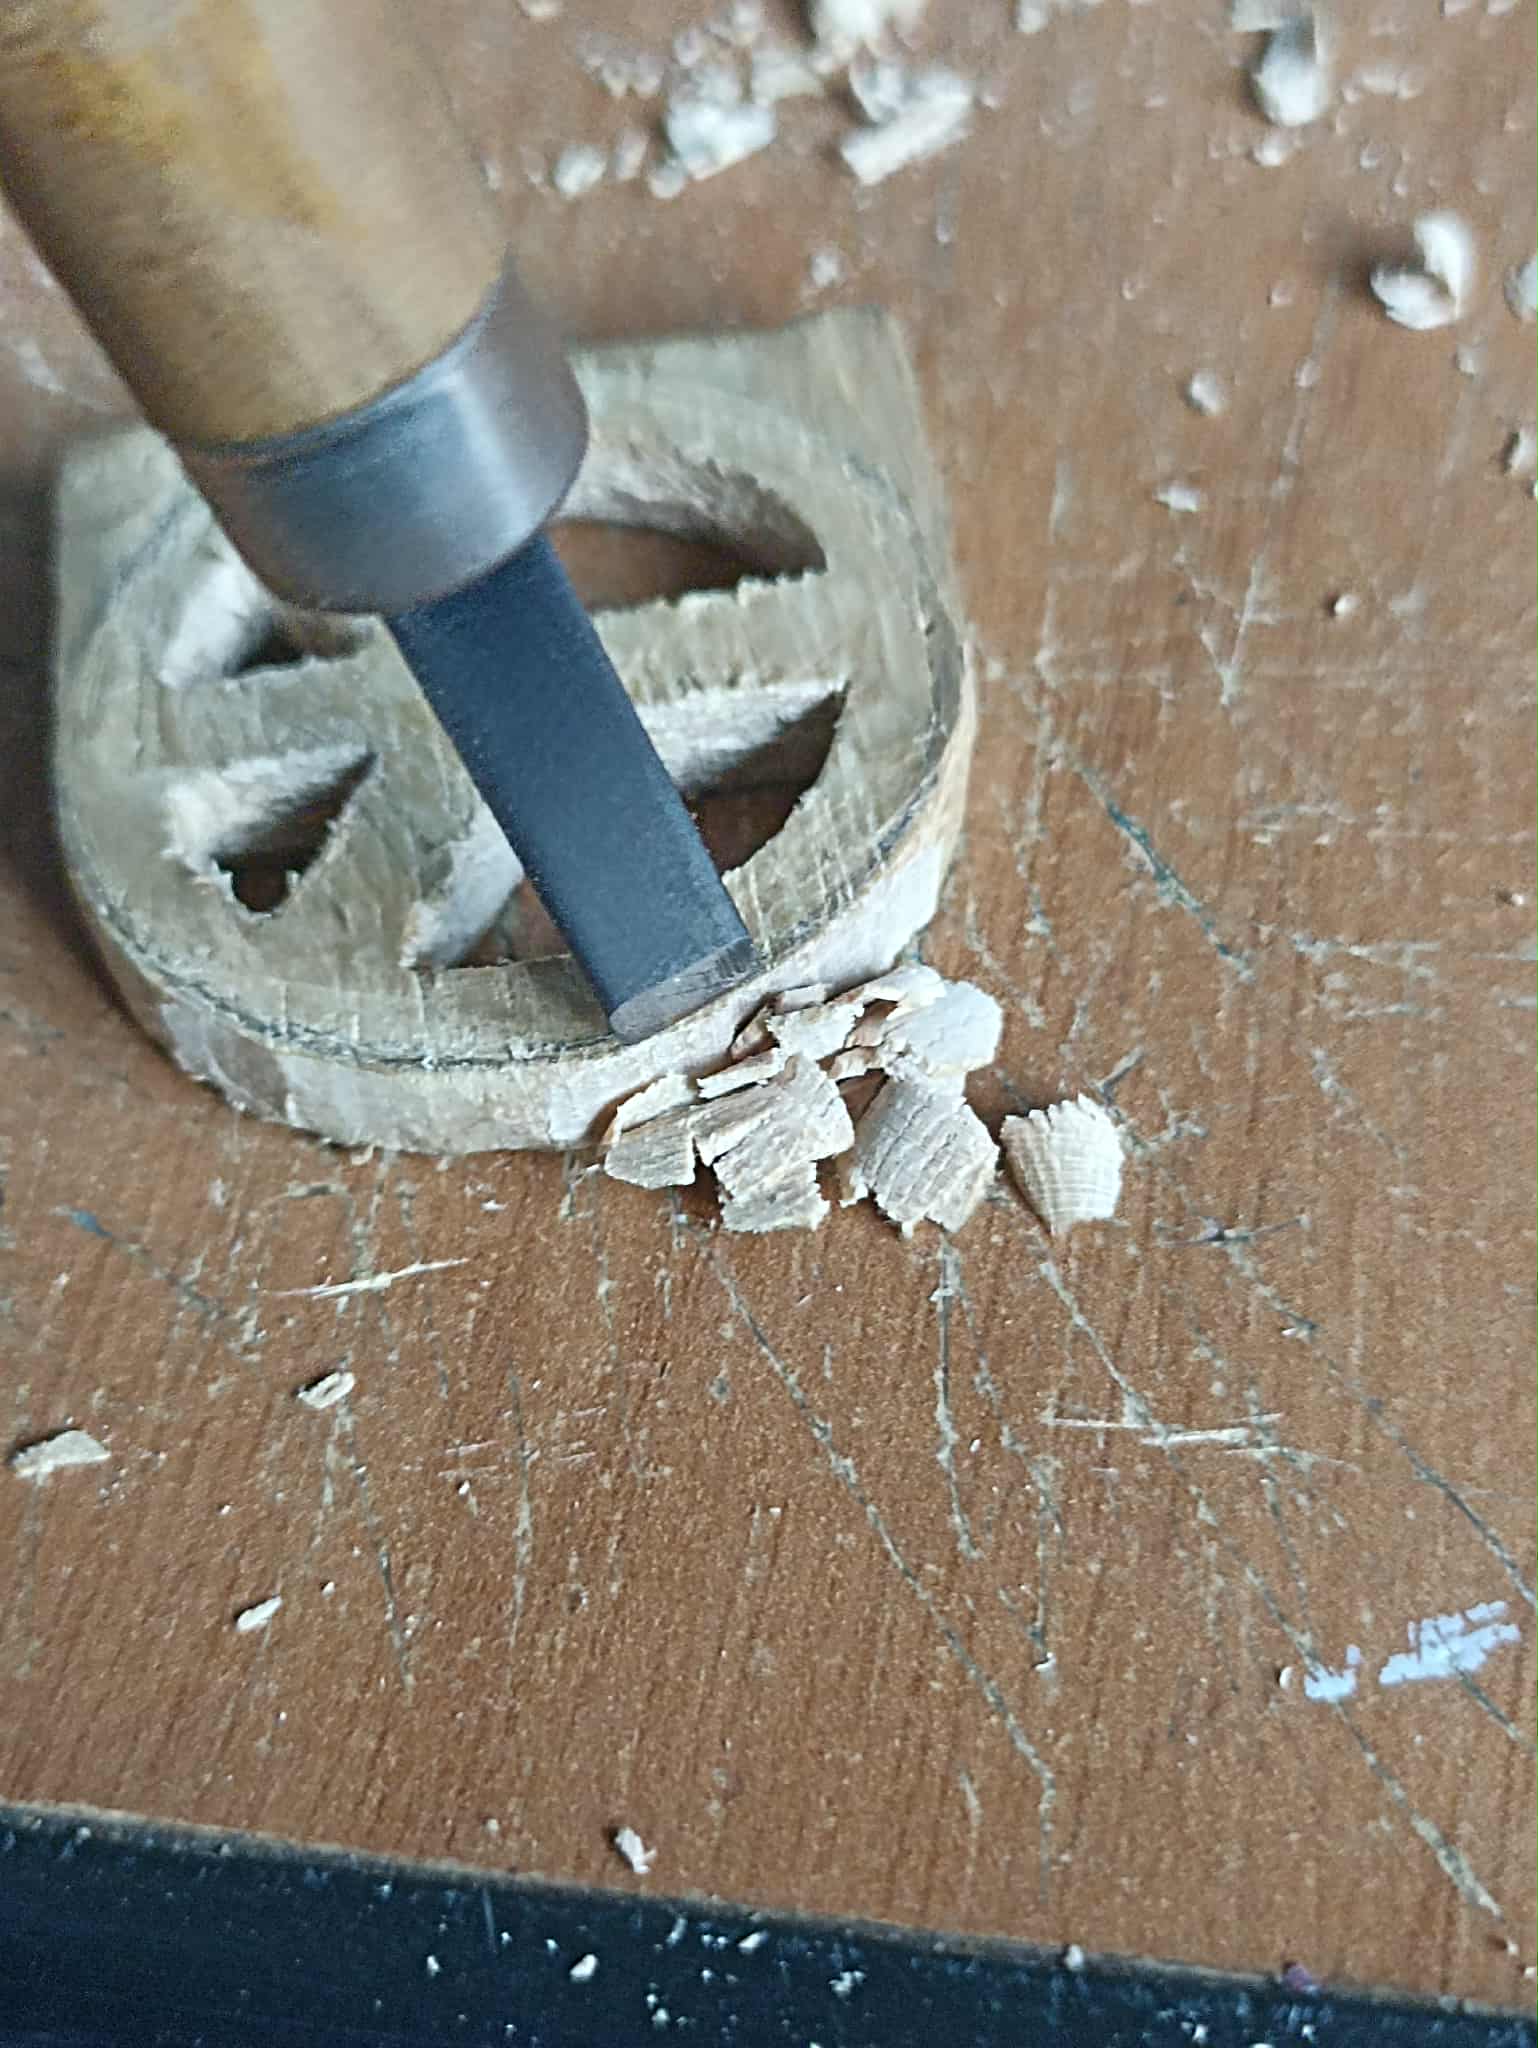
Next, once the internal carving is complete, it's time to cut the outer edges so the roundness of the symbol can be appreciated. I do this last because it takes advantage of the wood's strength and prevents it from breaking. It's to maintain balance, something I learned from previous mistakes. Then, I trim the edges until the piece is a circle.
Seguidamente, una vez realizado el tallado en la parte interna, ahora toca cortar los bordes exteriores y así podría apreciarse la redondez del símbolo. Esto lo hago de último porque es una forma de aprovechar la fortaleza de la madera y así no se rompa, es como para mentener un equilibrio, esto lo aprendí de errores anteriores. Así luego voy quitando los bordes hasta dejar la pieza en un círculo.
 |
 |
|
|---|---|---|
 |
 |
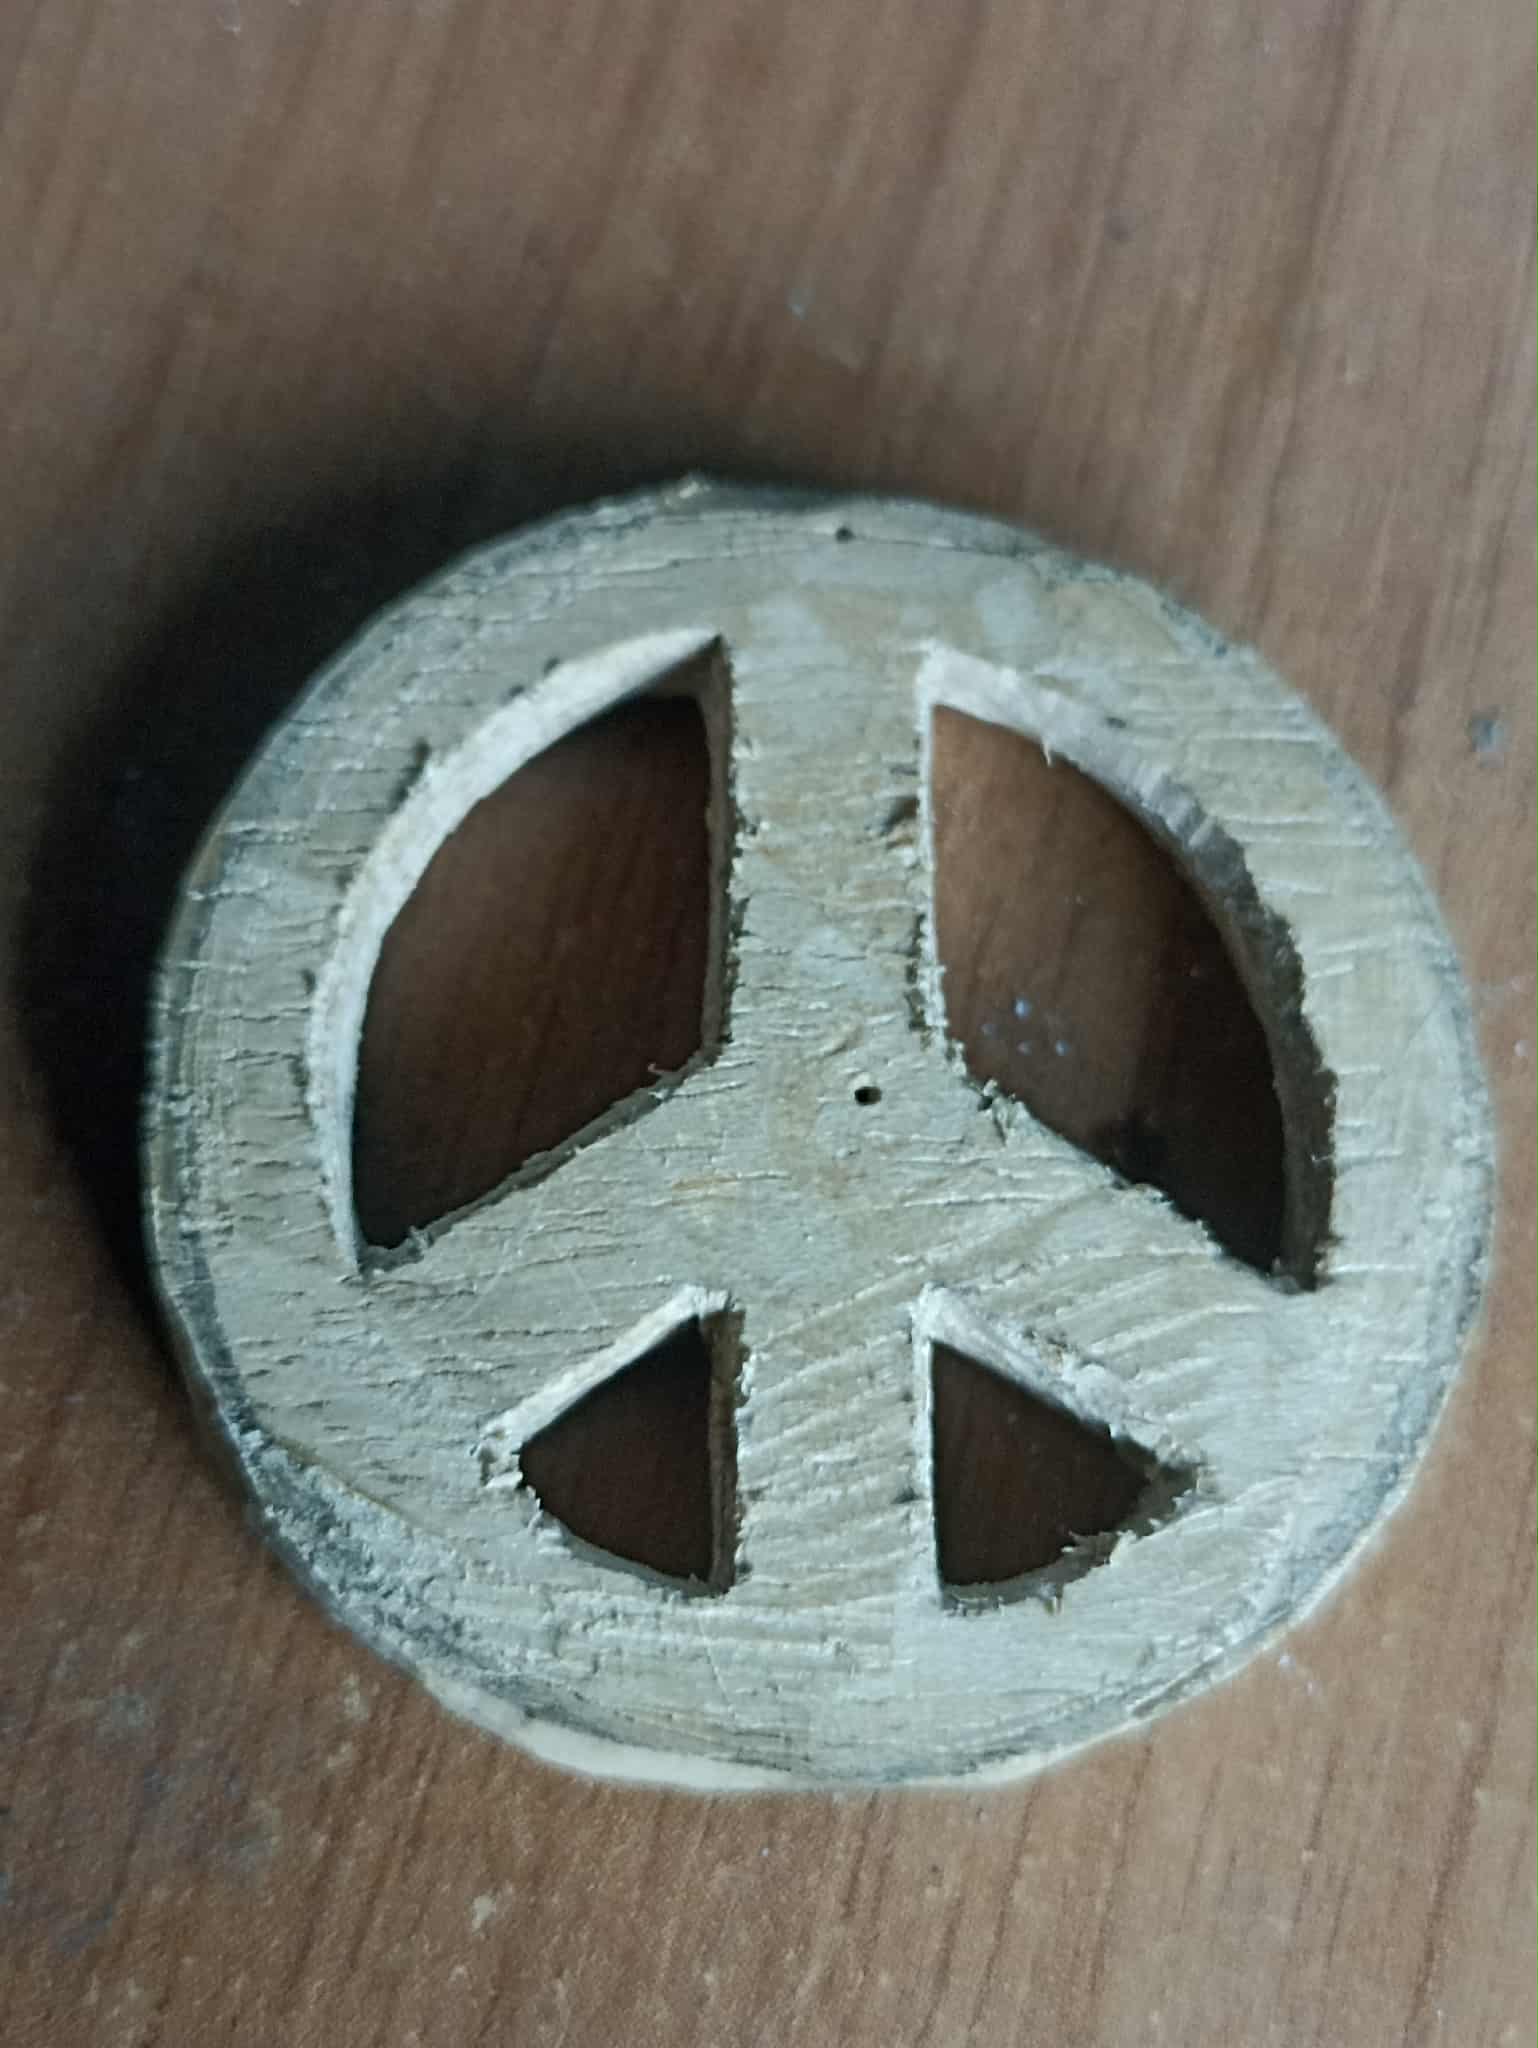
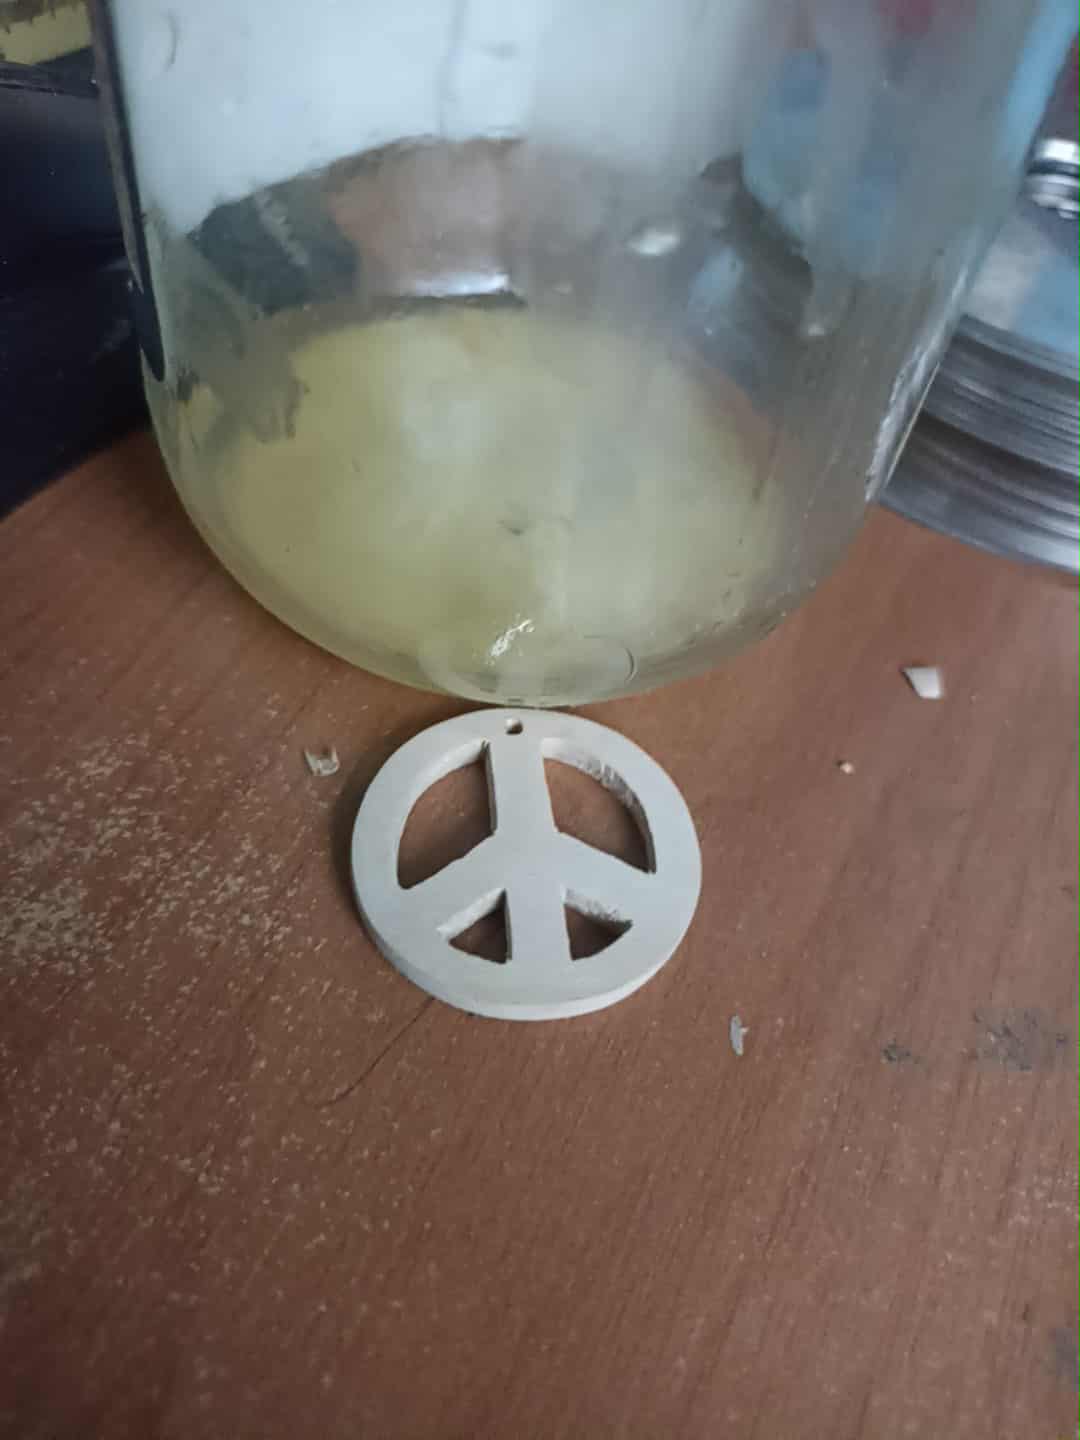
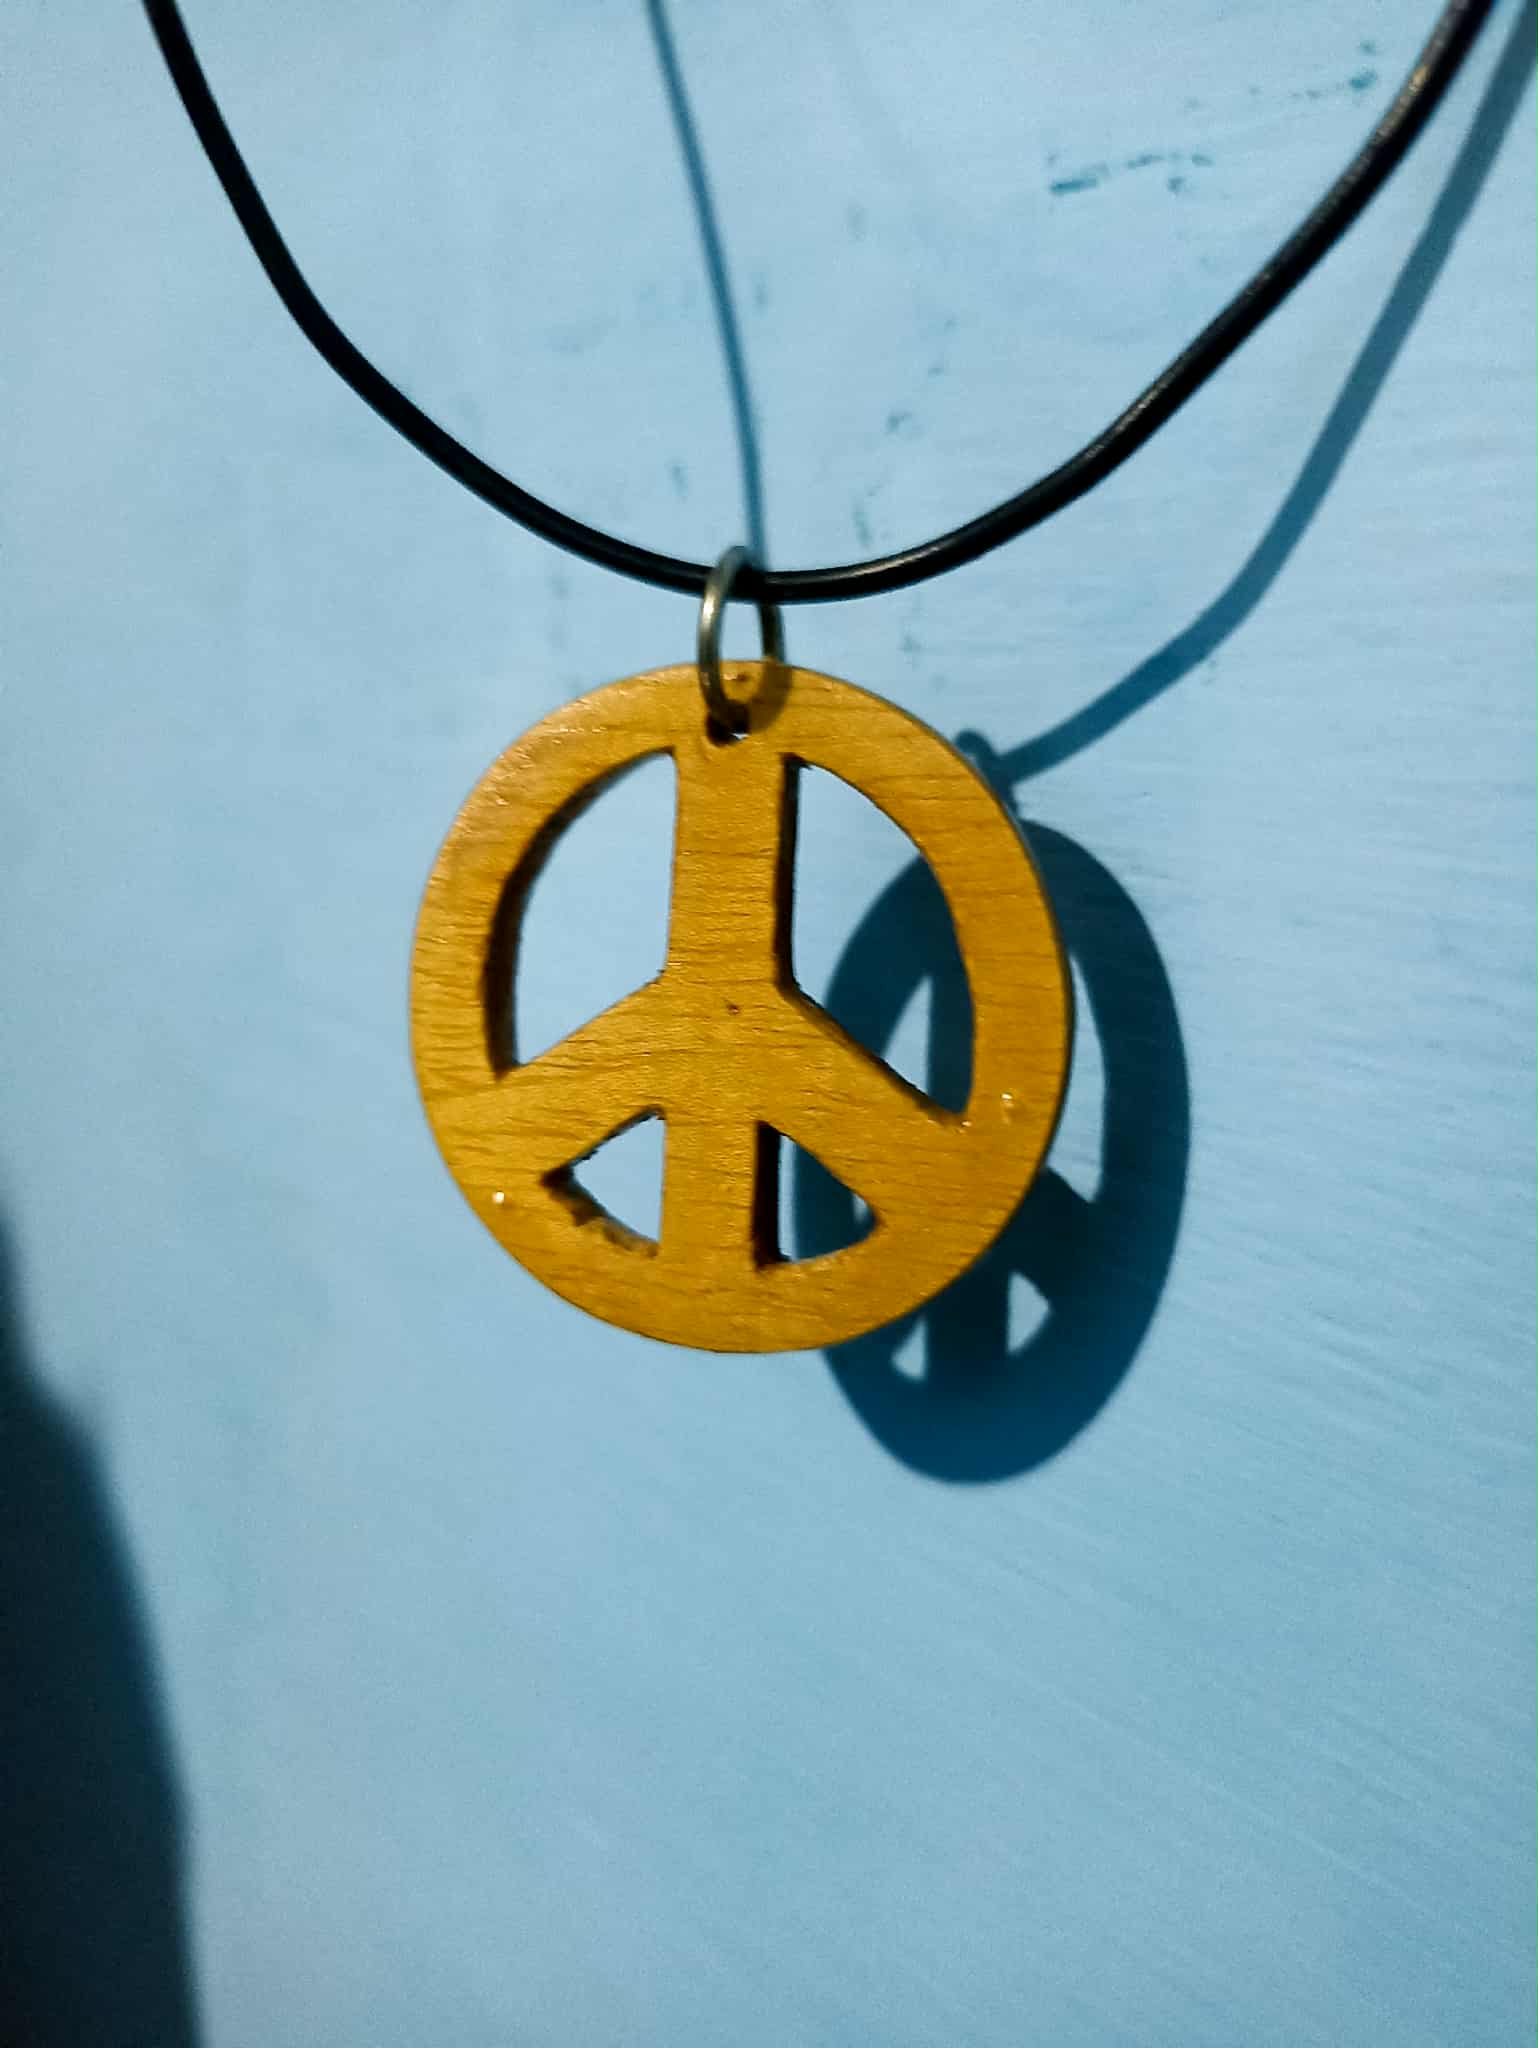
Then, using a sheet of sandpaper, I smoothed the entire piece, especially the circular edge, because when I cut it, it was somewhat misshapen. I sanded that area, leaving a more balanced circle. After that, I varnished it, and finally, I added a necklace, also made from recycled materials. I used the cord from an old telephone handset, and it turned out great.
Luego con una hoja de lija voy puliendo toda la peiza, especialmente el borde circular porque cuando lo había cortado había quedado algo deforme, por lo que con la lija pude pulir esa zona quedando un círculo más equilibrado. Despues de eso le di un baño de barniz y por último le puse un collar que esta hecho también con material de reciclaje, utilicé el cable de un auricular antiguo de telefono y quedó genial.
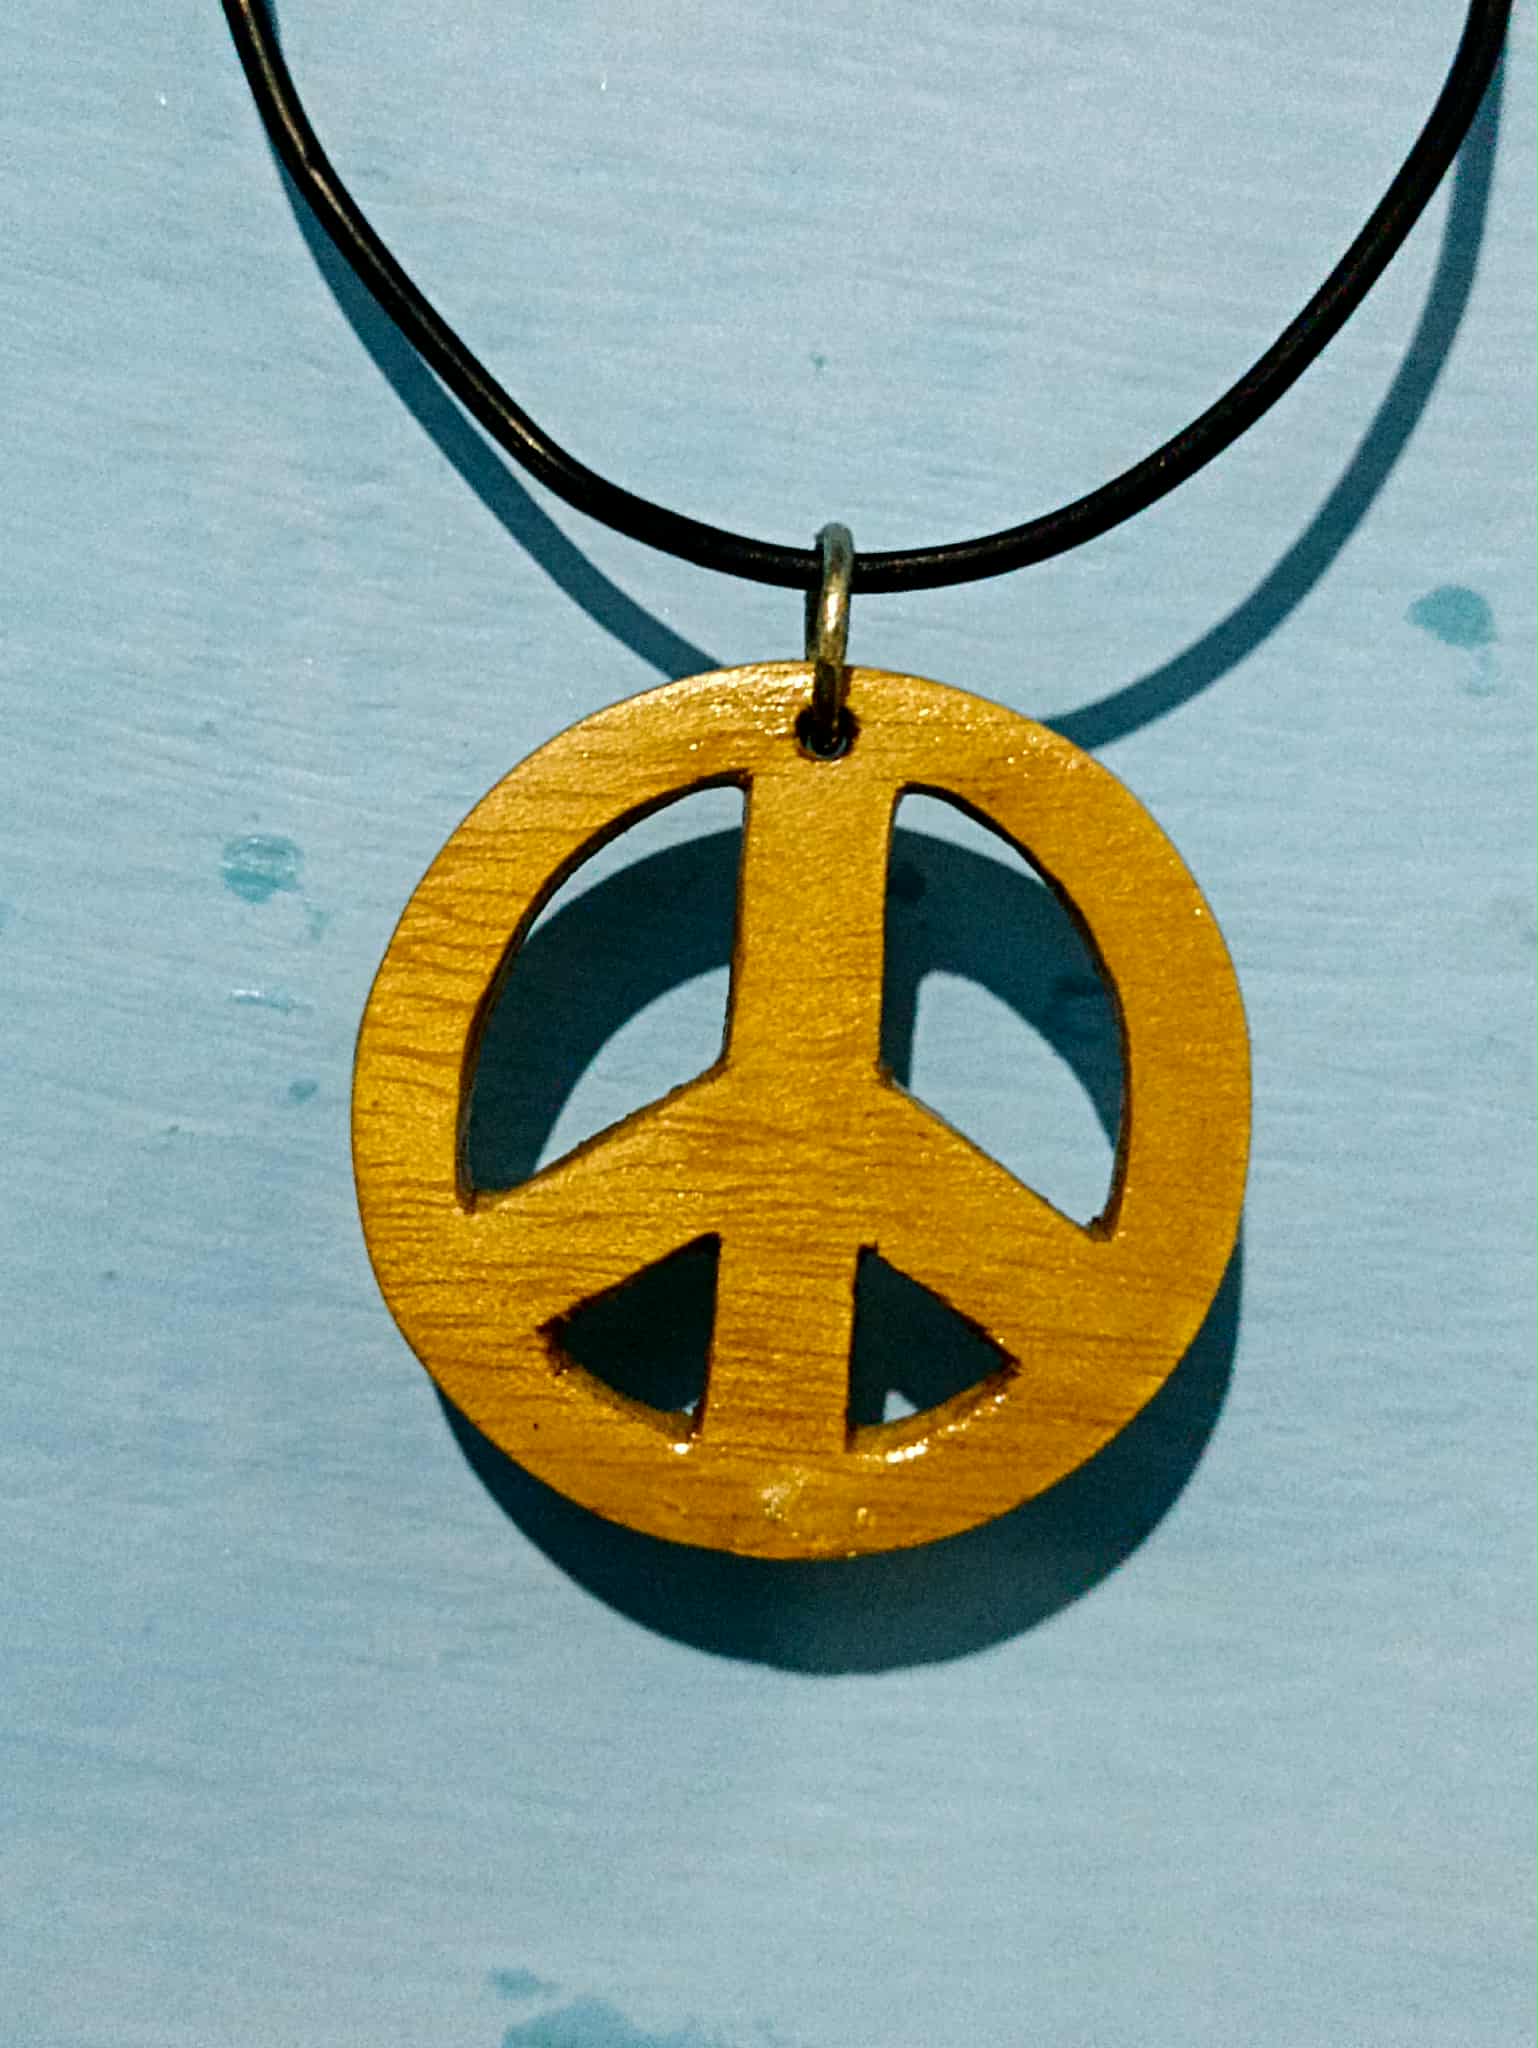
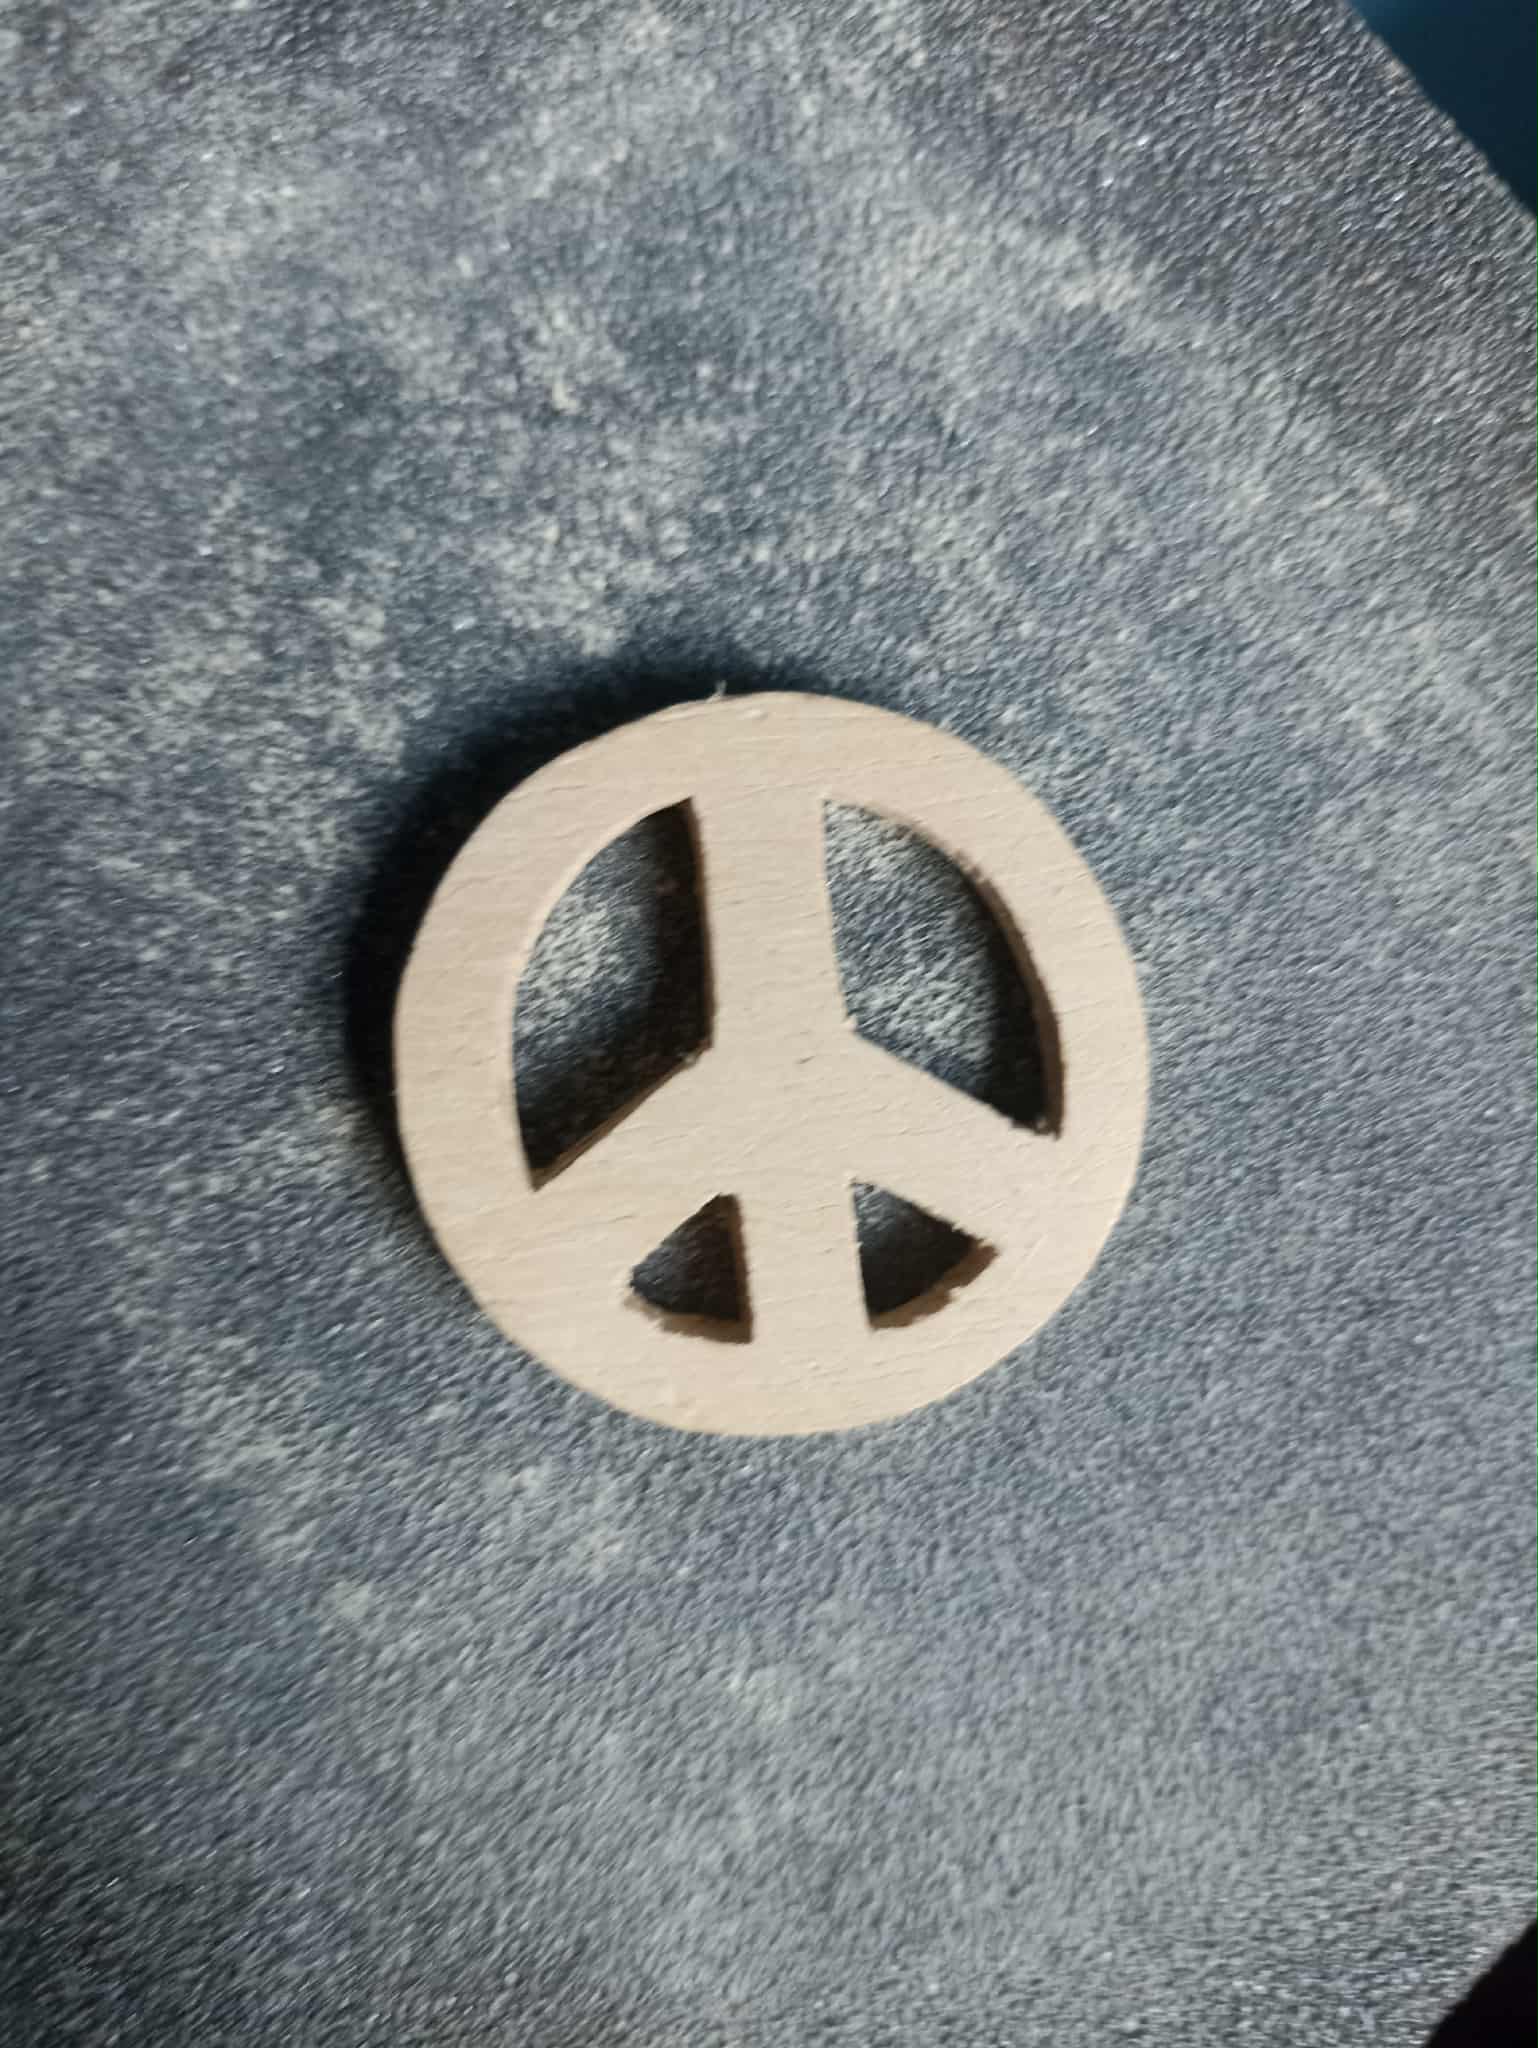
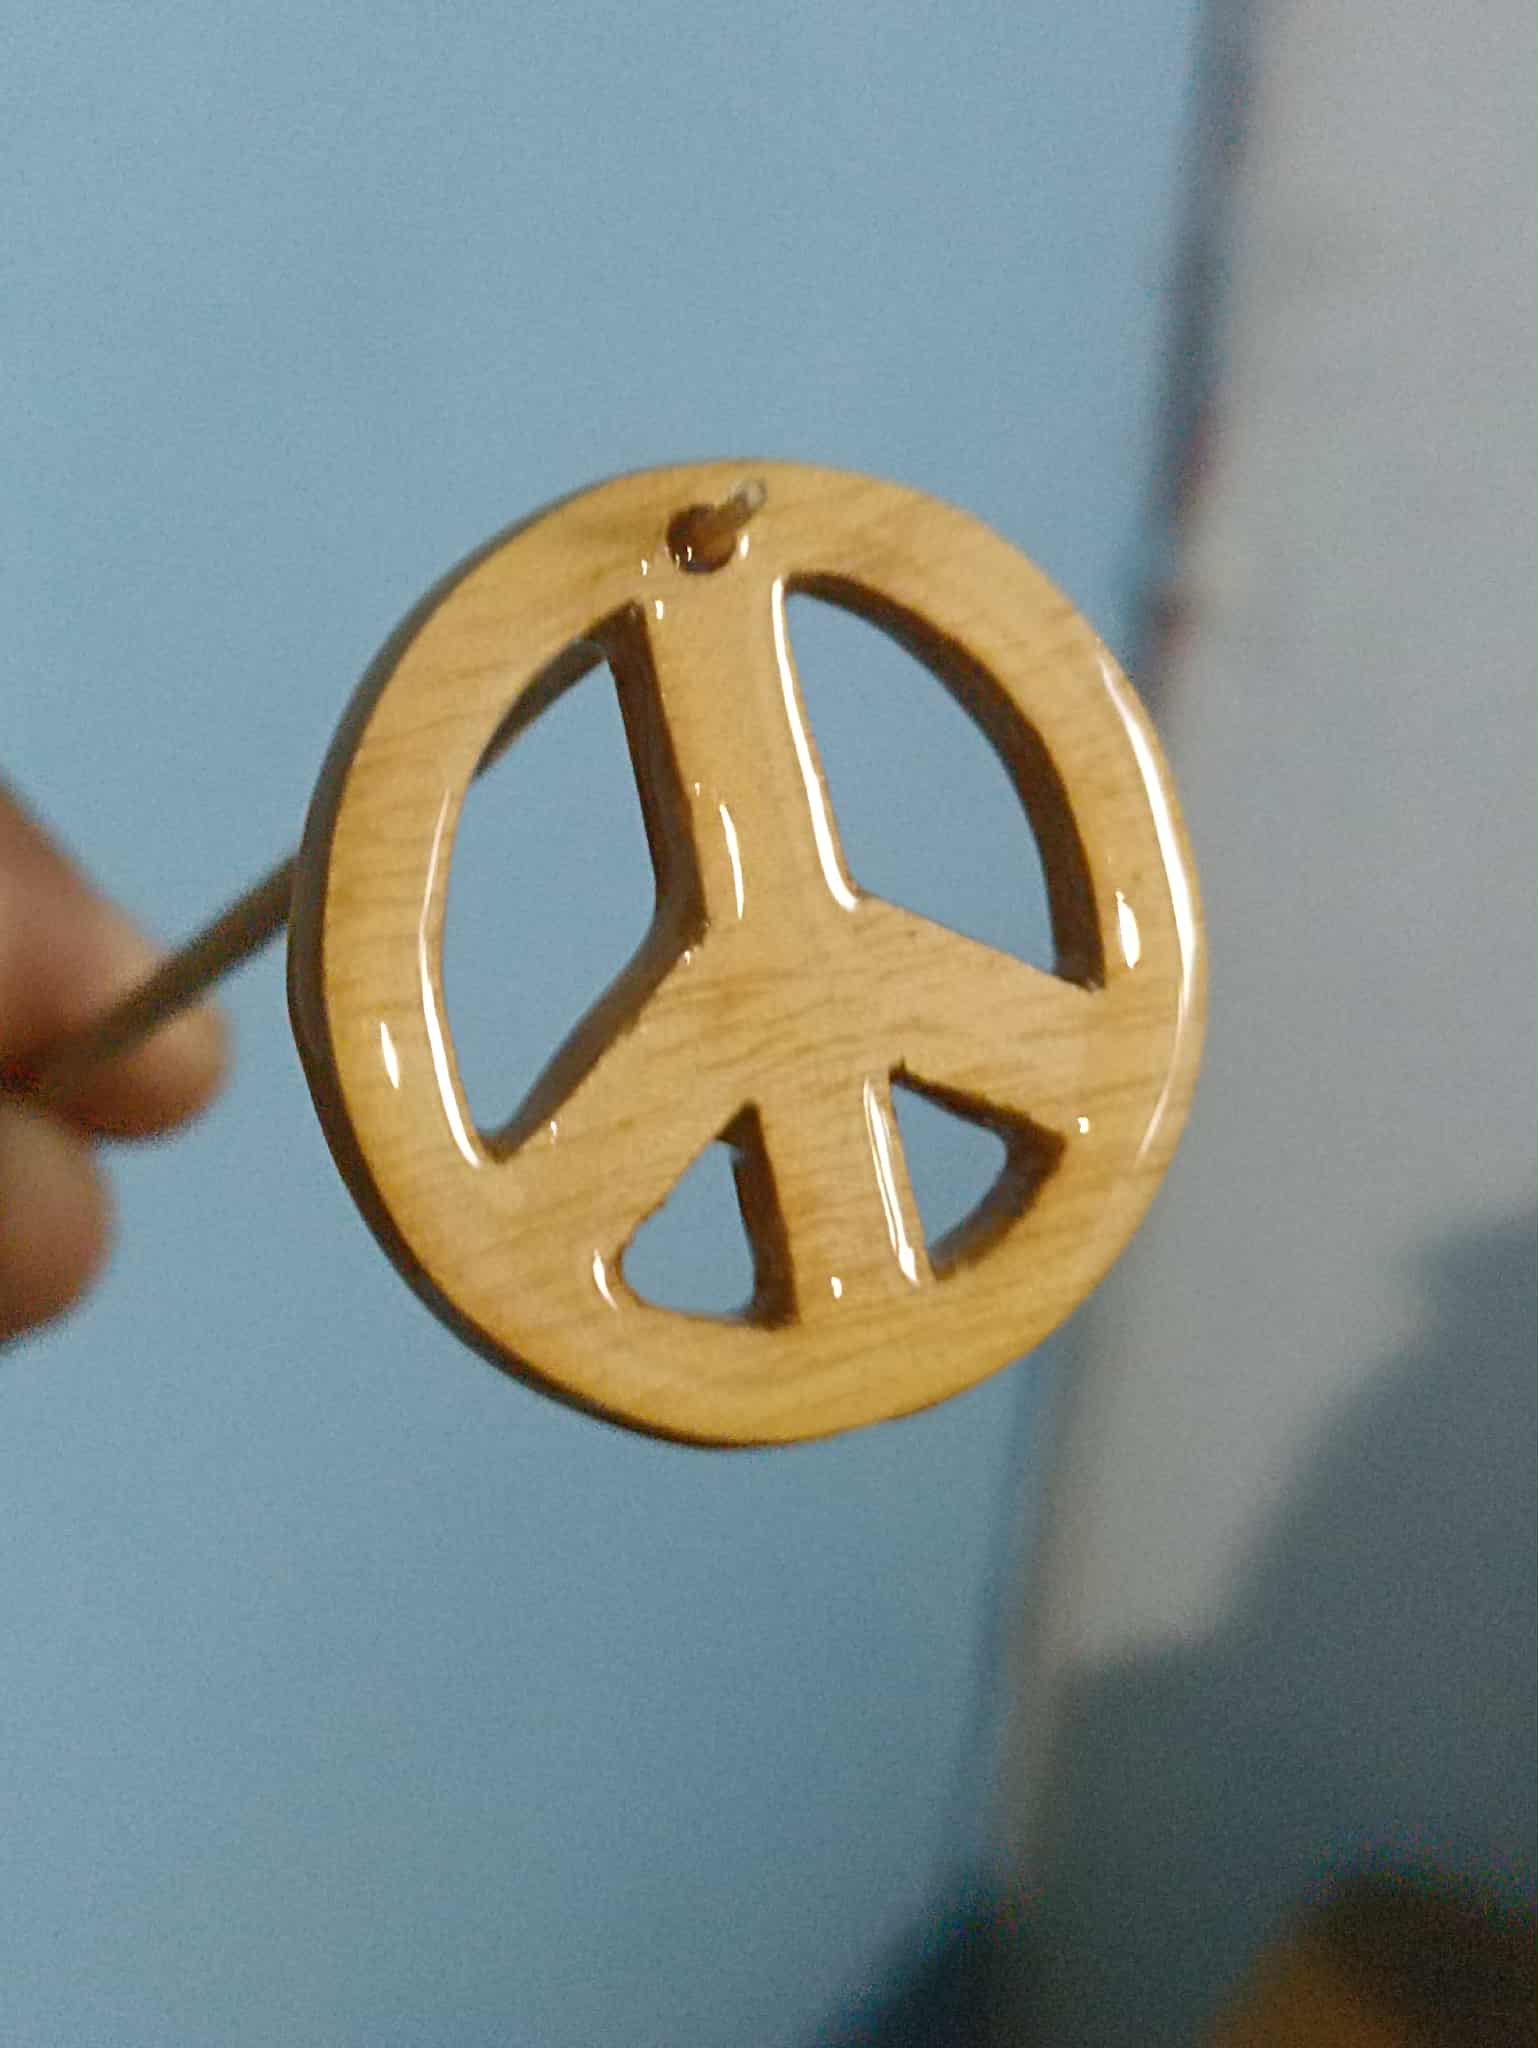
FINAL WORK
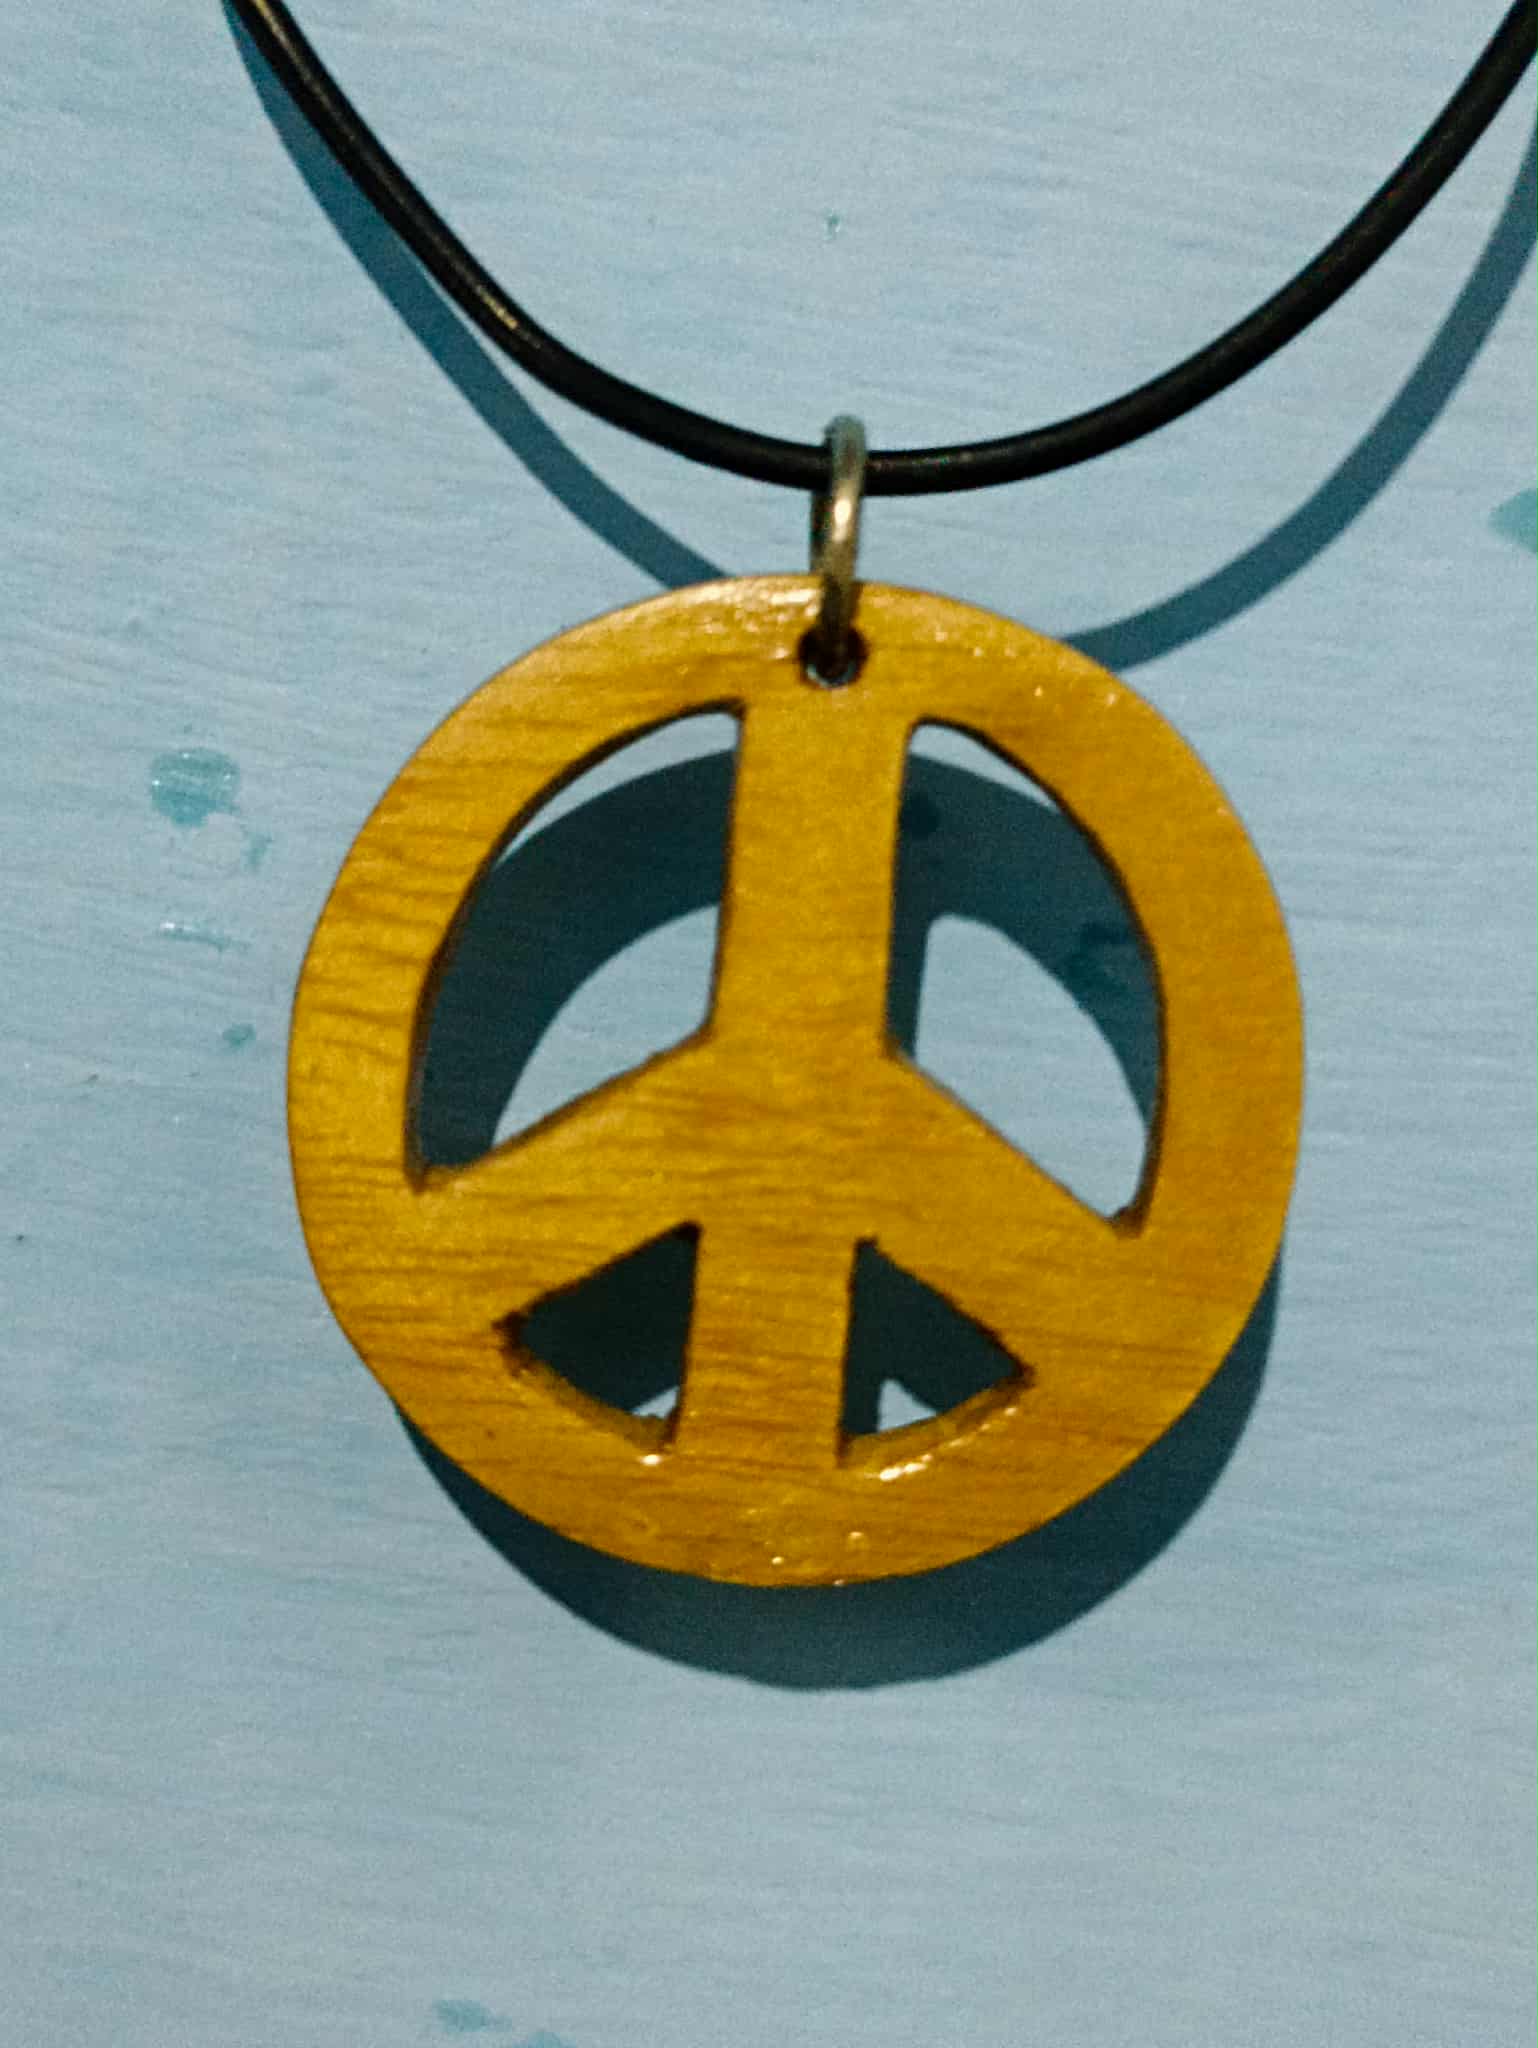

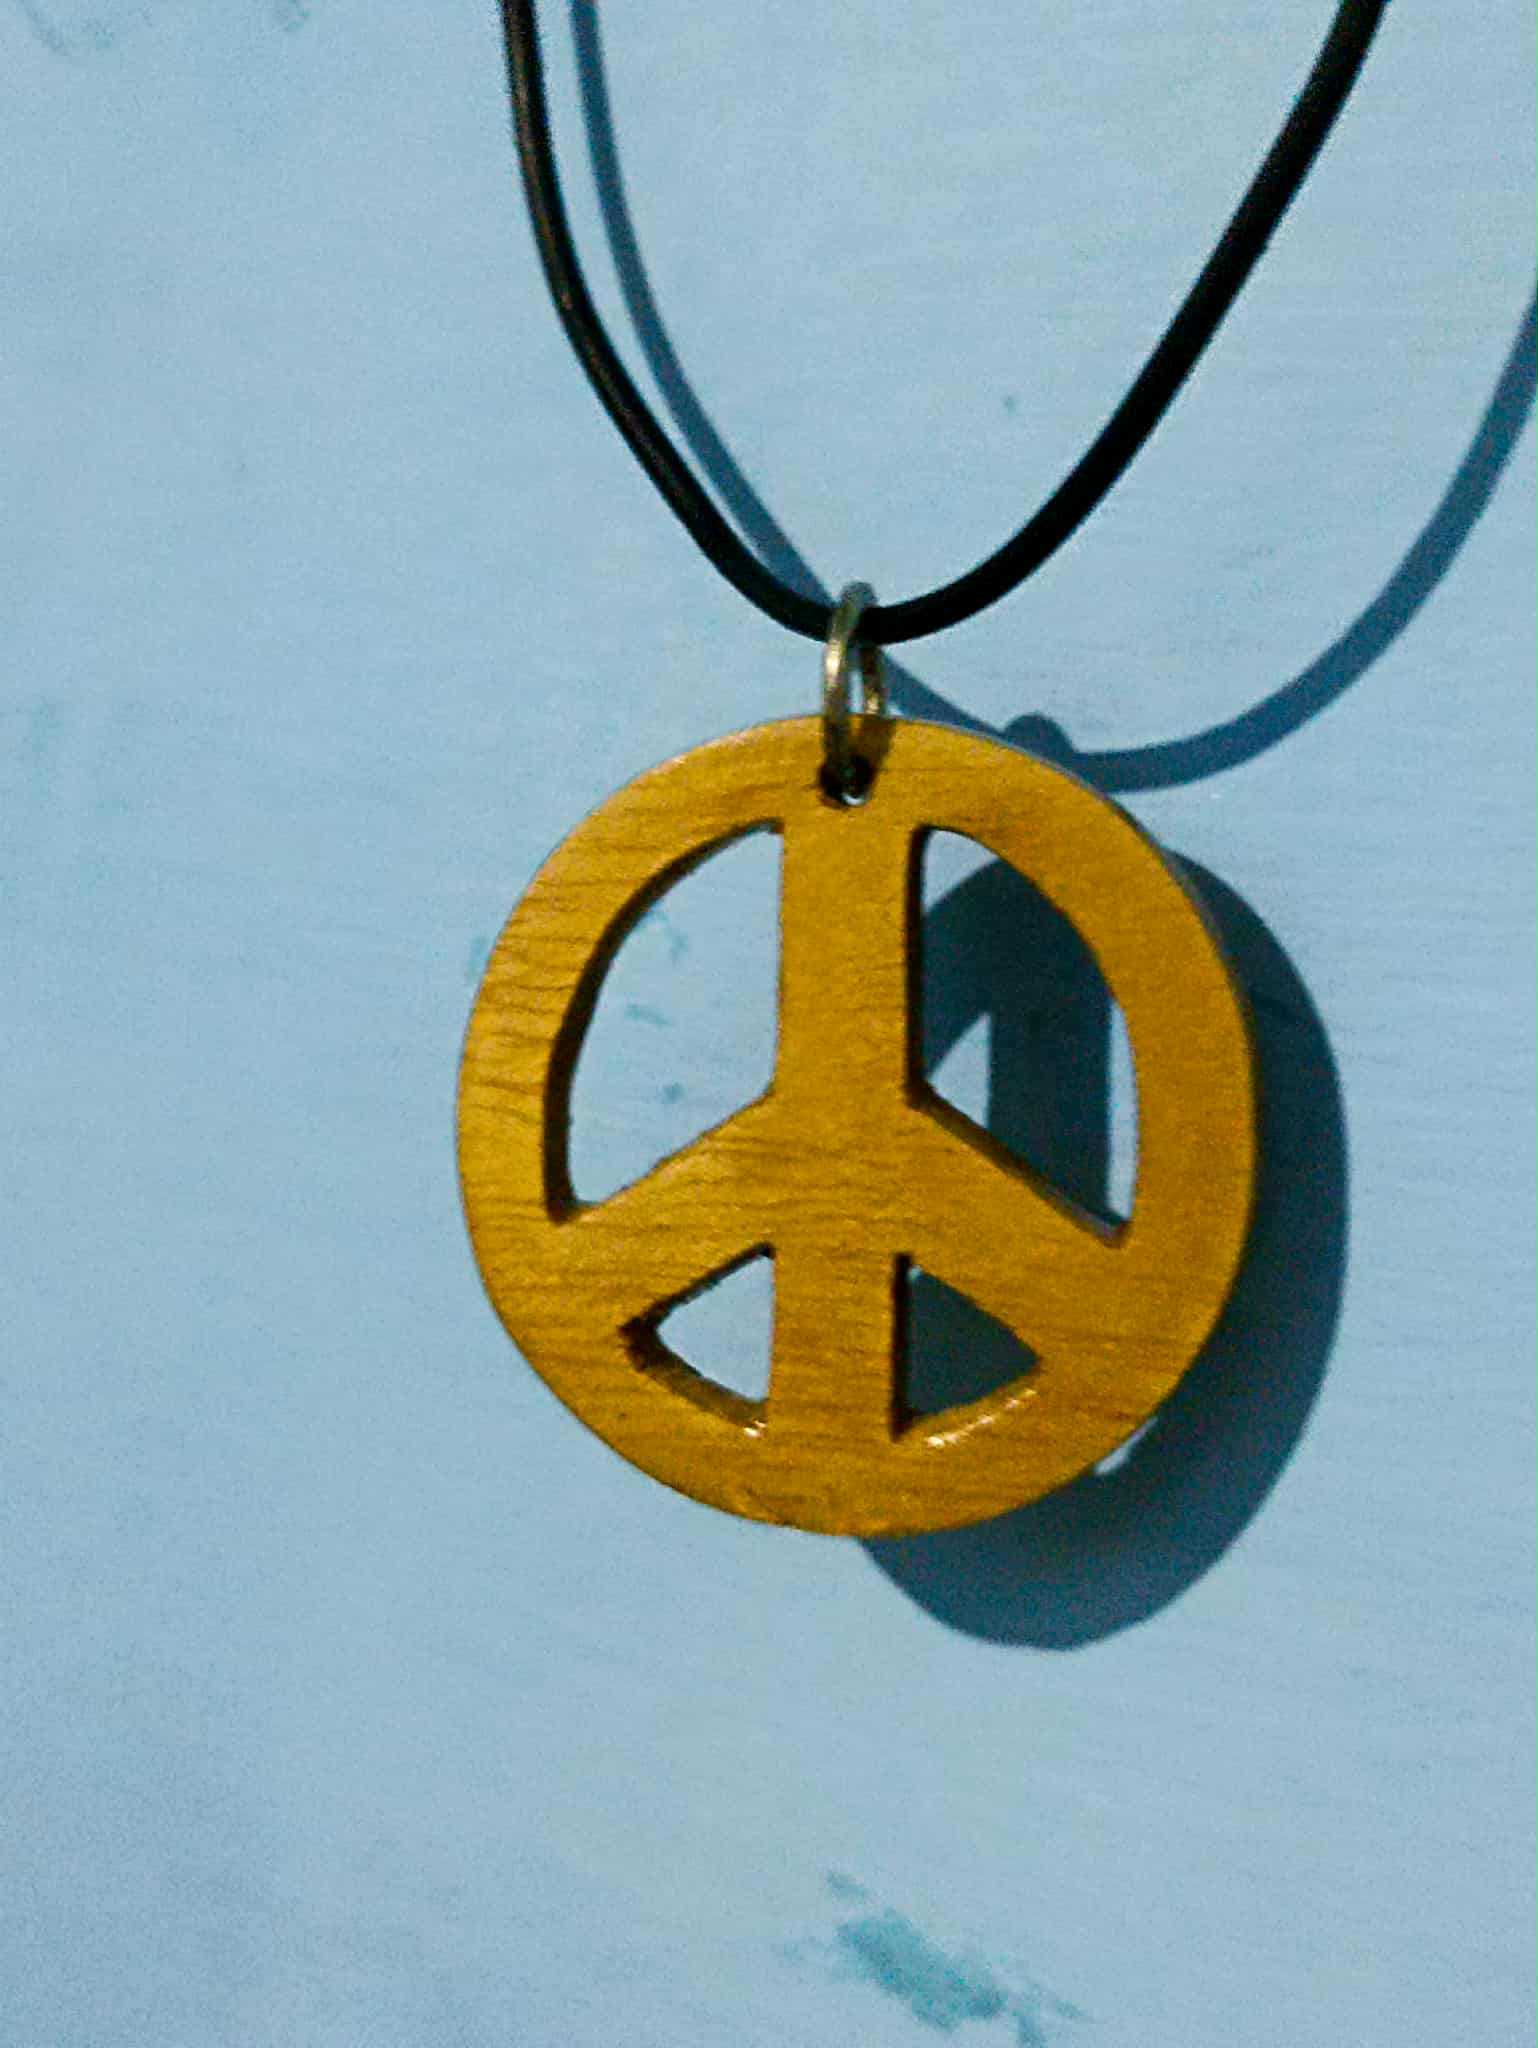

What did you think of the final result? After varnishing and letting it dry, pine wood transforms into a beautiful, vibrant color with lots of contrast, which is why I like to use it in jewelry. Did you know that this symbol was a design created in 1958 by Gerald Holtom? I play it with the intention of using it for the Campaign for Nuclear Disarmament. It's said to represent the letters "N" (nuclear) and "D" (disarmament) of the semaphore alphabet. Without a doubt, it's a symbol that was born in one of the darkest times of the human race: the hydrogen bomb, a threat that still exists. While the world's governments spend money on weapons while talking about a false peace, we must fill the small space around us with peace and creativity. We can do it. And as you know, Give Peace a Chance. See you soon!
¿Qué les ha parecido el final? La madera de pino luego de ponerle barniz y dejarla secar se transforma en un color hermoso, mas vivo con mucho contraste, es por lo que me gusta usarla en piezas de joyería. ¿Sabían ustedes que este símbolo fue un diseño creado en 1958 por Gerald Holtom? Toco con el propósito de ser usado para la Campaña para el Desarme Nuclear. Se dice que representa las letras "N" (nuclear) y "D" (desarme) del alfabeto semáforo. Sin duda un símbolo que nació en una de las épocas más oscuras de la raza humana, bomba de hidrógeno, una amenaza que aún sigue viva. Mientras los gobiernos del mundo gastan en armamento mientras hablan de una falsa paz, nosotros debemos llenar de paz y creatividad el pequeño lugar que nos rodea, podemos hacerlo. Y ya lo sabes, Dale un Chance a la Paz. Hasta pronto!