Muy felíz domingo amigos de la comunidad Diy Hub, saludos y bendiciones para cada uno de ustedes deseo que hayan pasado buen domingo y que esta nueva semana este preparada con muchas cosas buenas, esta semana estuve super ocupada con todas las tareas de la universidad pero como les dije estoy tratando de hacer un espacio para activar la creatividad, hoy les comparto mi participación en el concurso de arte Splinterlands semanal.
Happy Sunday to all of you from the DIY Hub community! Greetings and blessings to each and every one of you. I hope you had a great Sunday and that this new week is filled with lots of good things. This week I was super busy with all my college assignments, but as I told you, I'm trying to make some time to get creative. Today I'm sharing my participation in the weekly Splinterlands art contest.
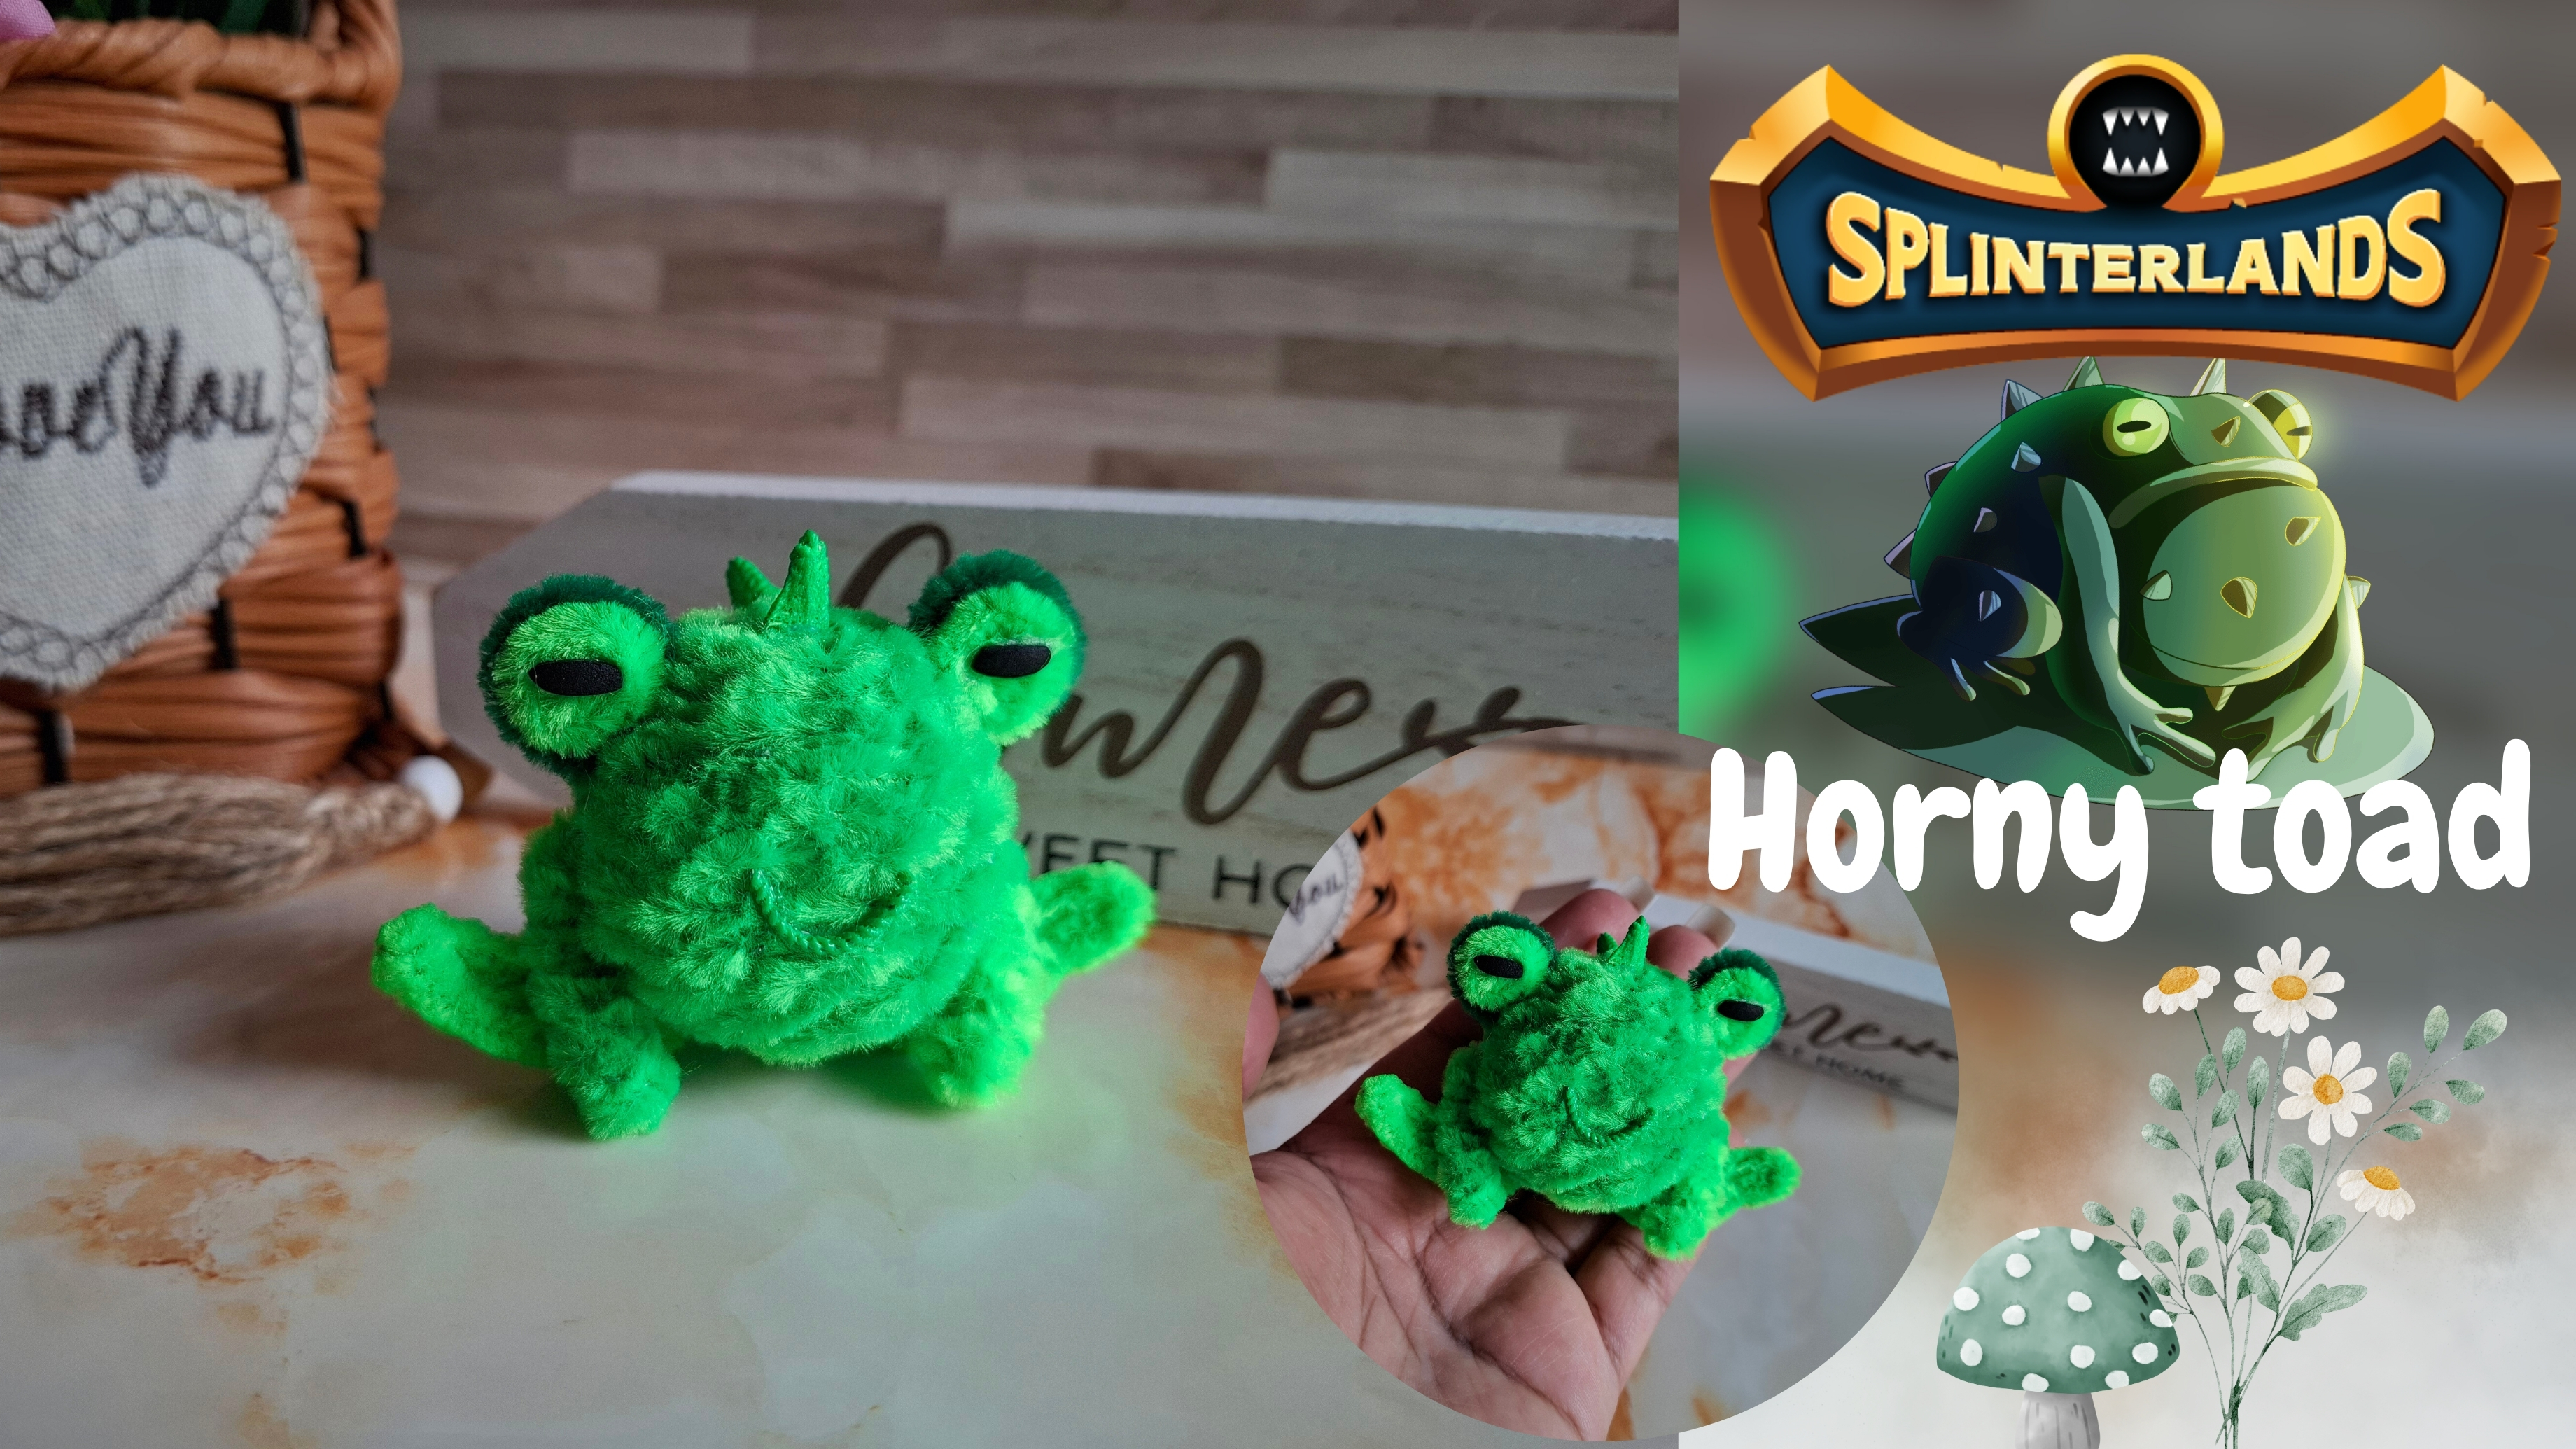
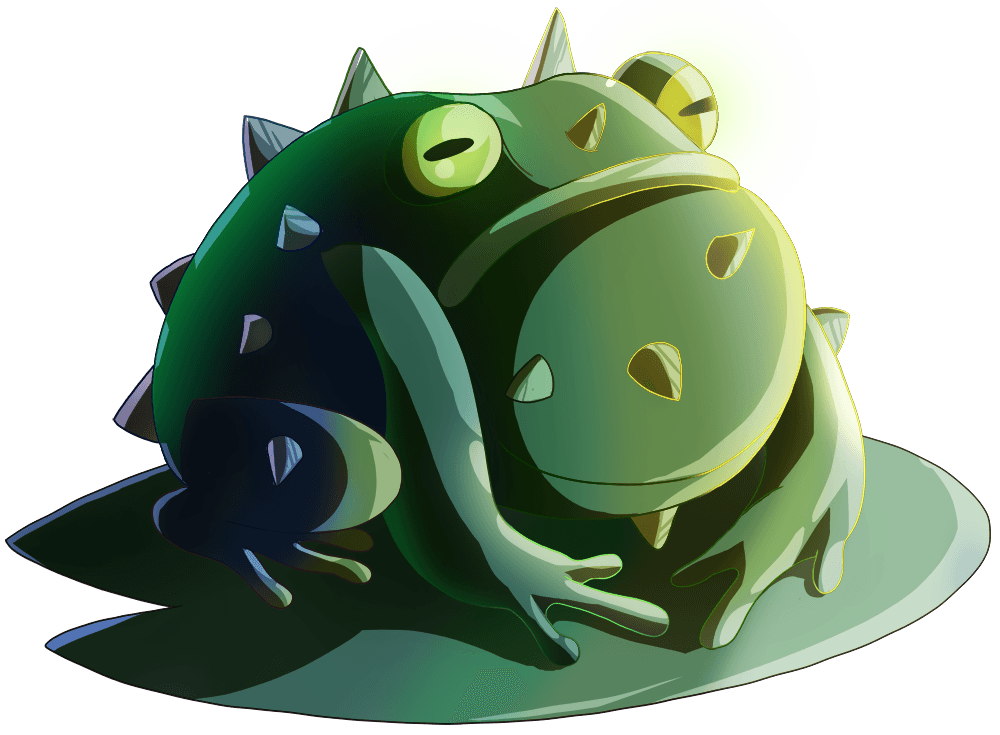
En esta oportunidad para el concurso de arte Splinterlands semana 358 me inspiré en la carta de Horny toad o Sapo cornudo, una de sus principales características es las espinas que sobresalen de su cuerpo como defensa ante un enemigo, a nivel físico me parece interesante ya que se puede recrear a través del arte de las manualidades. Cada vez el reto es mayor para lograr una apariencia muy similar a la original.
This time for the Splinterlands week 358 art contest, I was inspired by the Horny Toad card. One of its main characteristics is the spines that protrude from its body as a defense against an enemy. On a physical level, I find it interesting since it can be recreated through the art of crafts. The challenge is increasingly greater to achieve a look very similar to the original.
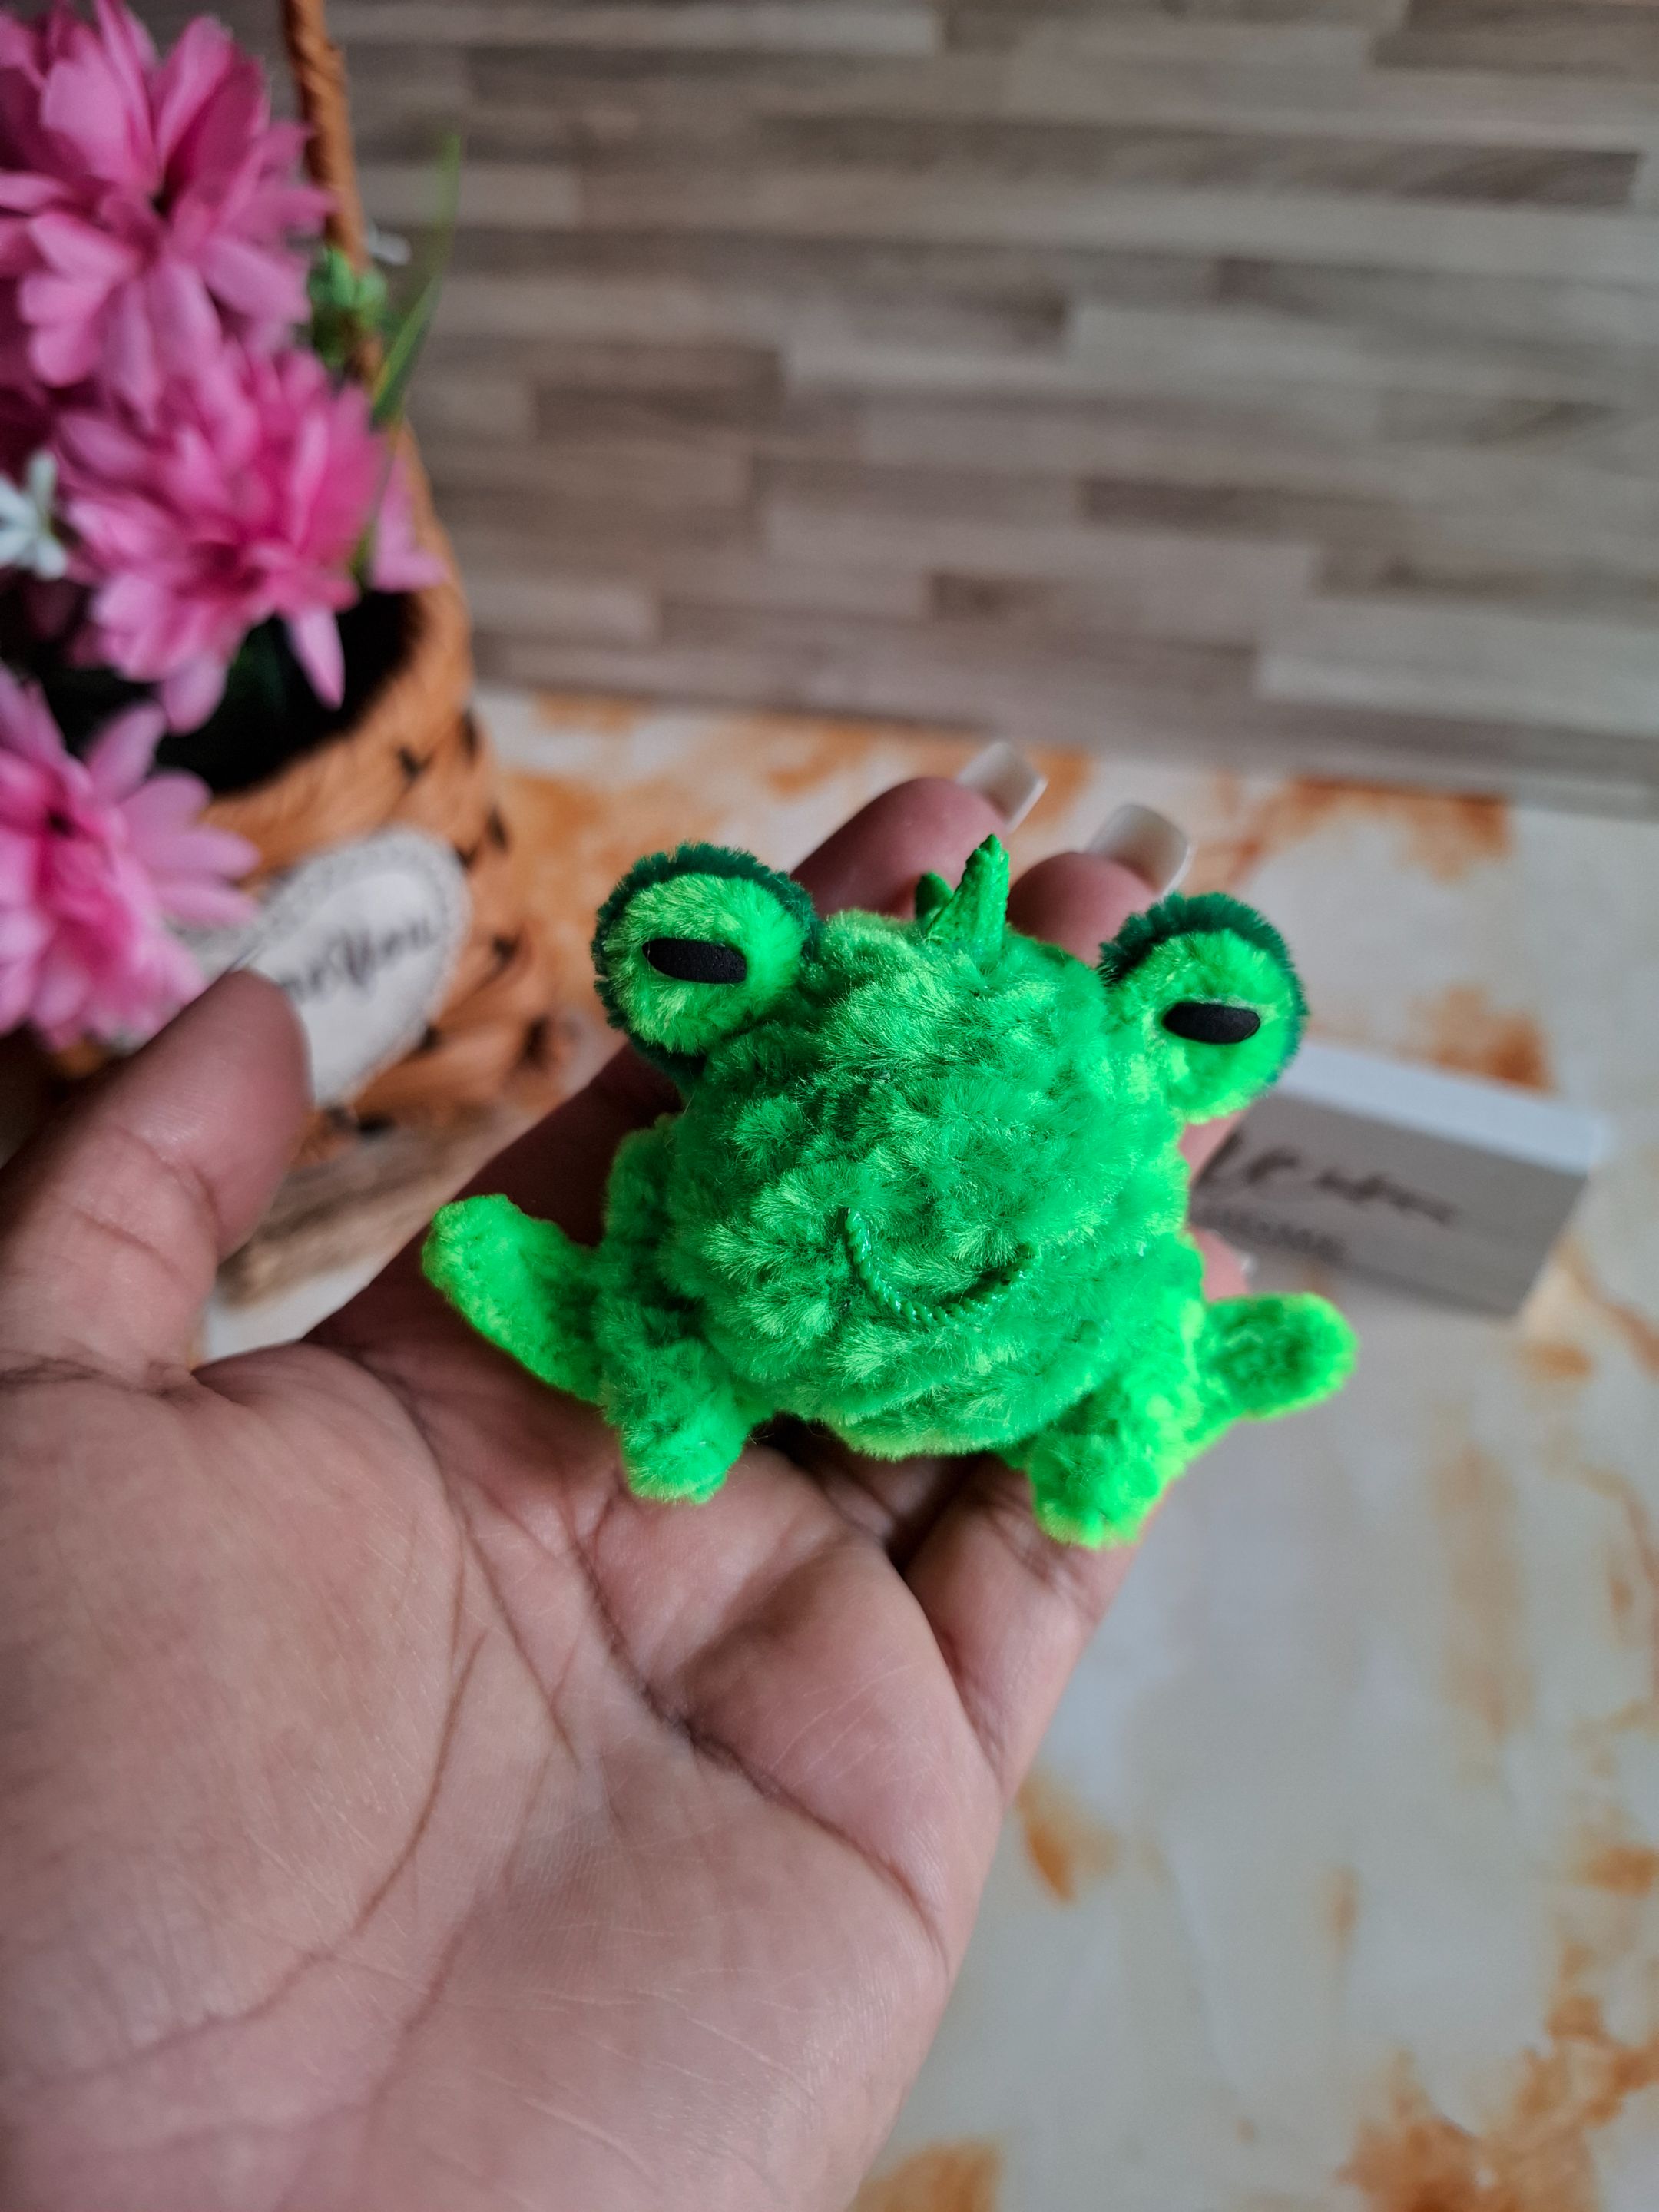
Realicé esta figura en limpiapipas, tomando en cuenta las características principales, utilicé un color más claro ya que el otro tono de verde que tenía era más oscuro, el resultado final es tierno esta pequeña figurita también la puedes utilizar como llavero o colgante, espero les guste a continuación los materiales y el paso a paso.
I made this figure with pipe cleaners, taking into account the main characteristics, I used a lighter color since the other shade of green I had was darker, the final result is tender, this little figure can also be used as a keychain or pendant, I hope you like the materials and the step by step below.
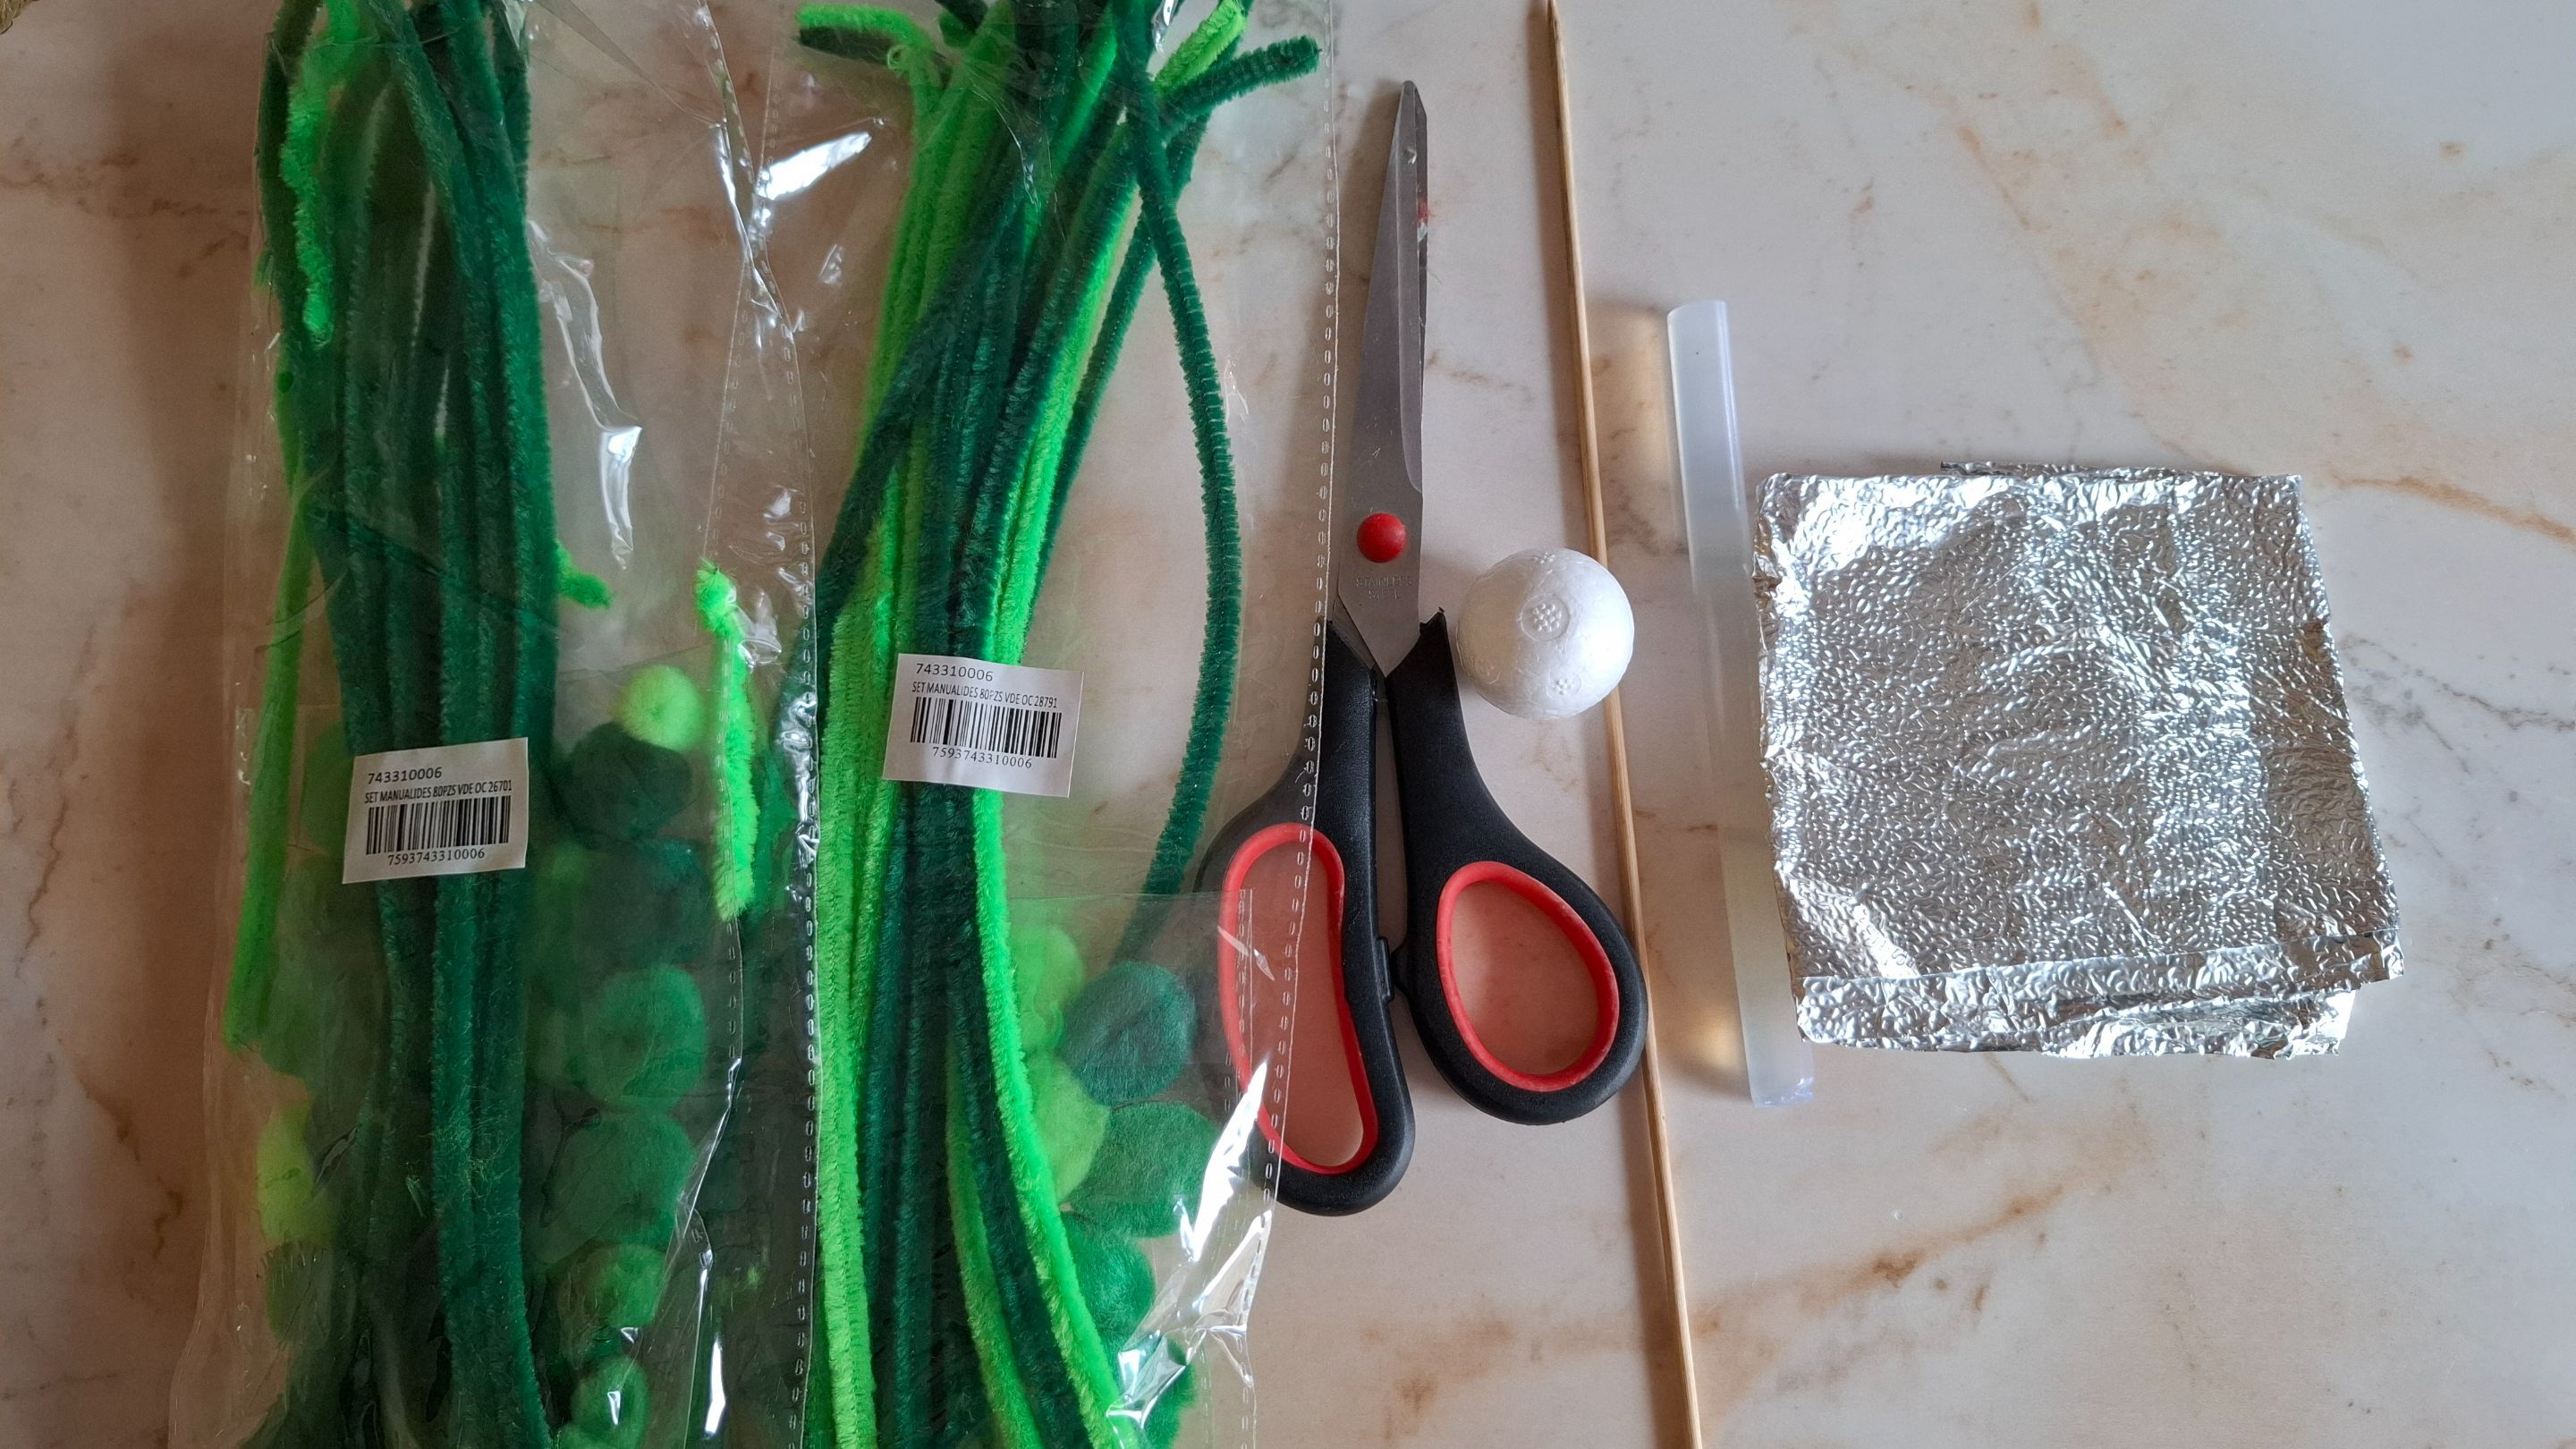
| Materiales | Materials |
|---|---|
| Limpiapipas verde claro y oscuro | Light and dark green pipe cleaners |
| Esfera de anime | anime sphere |
| Foami negro | Black foam |
| Papel aluminio | aluminum foil |
| Tijera, silicón | Scissors, silicone |
| Palillo | Toothpick |
Paso a paso / Step by step
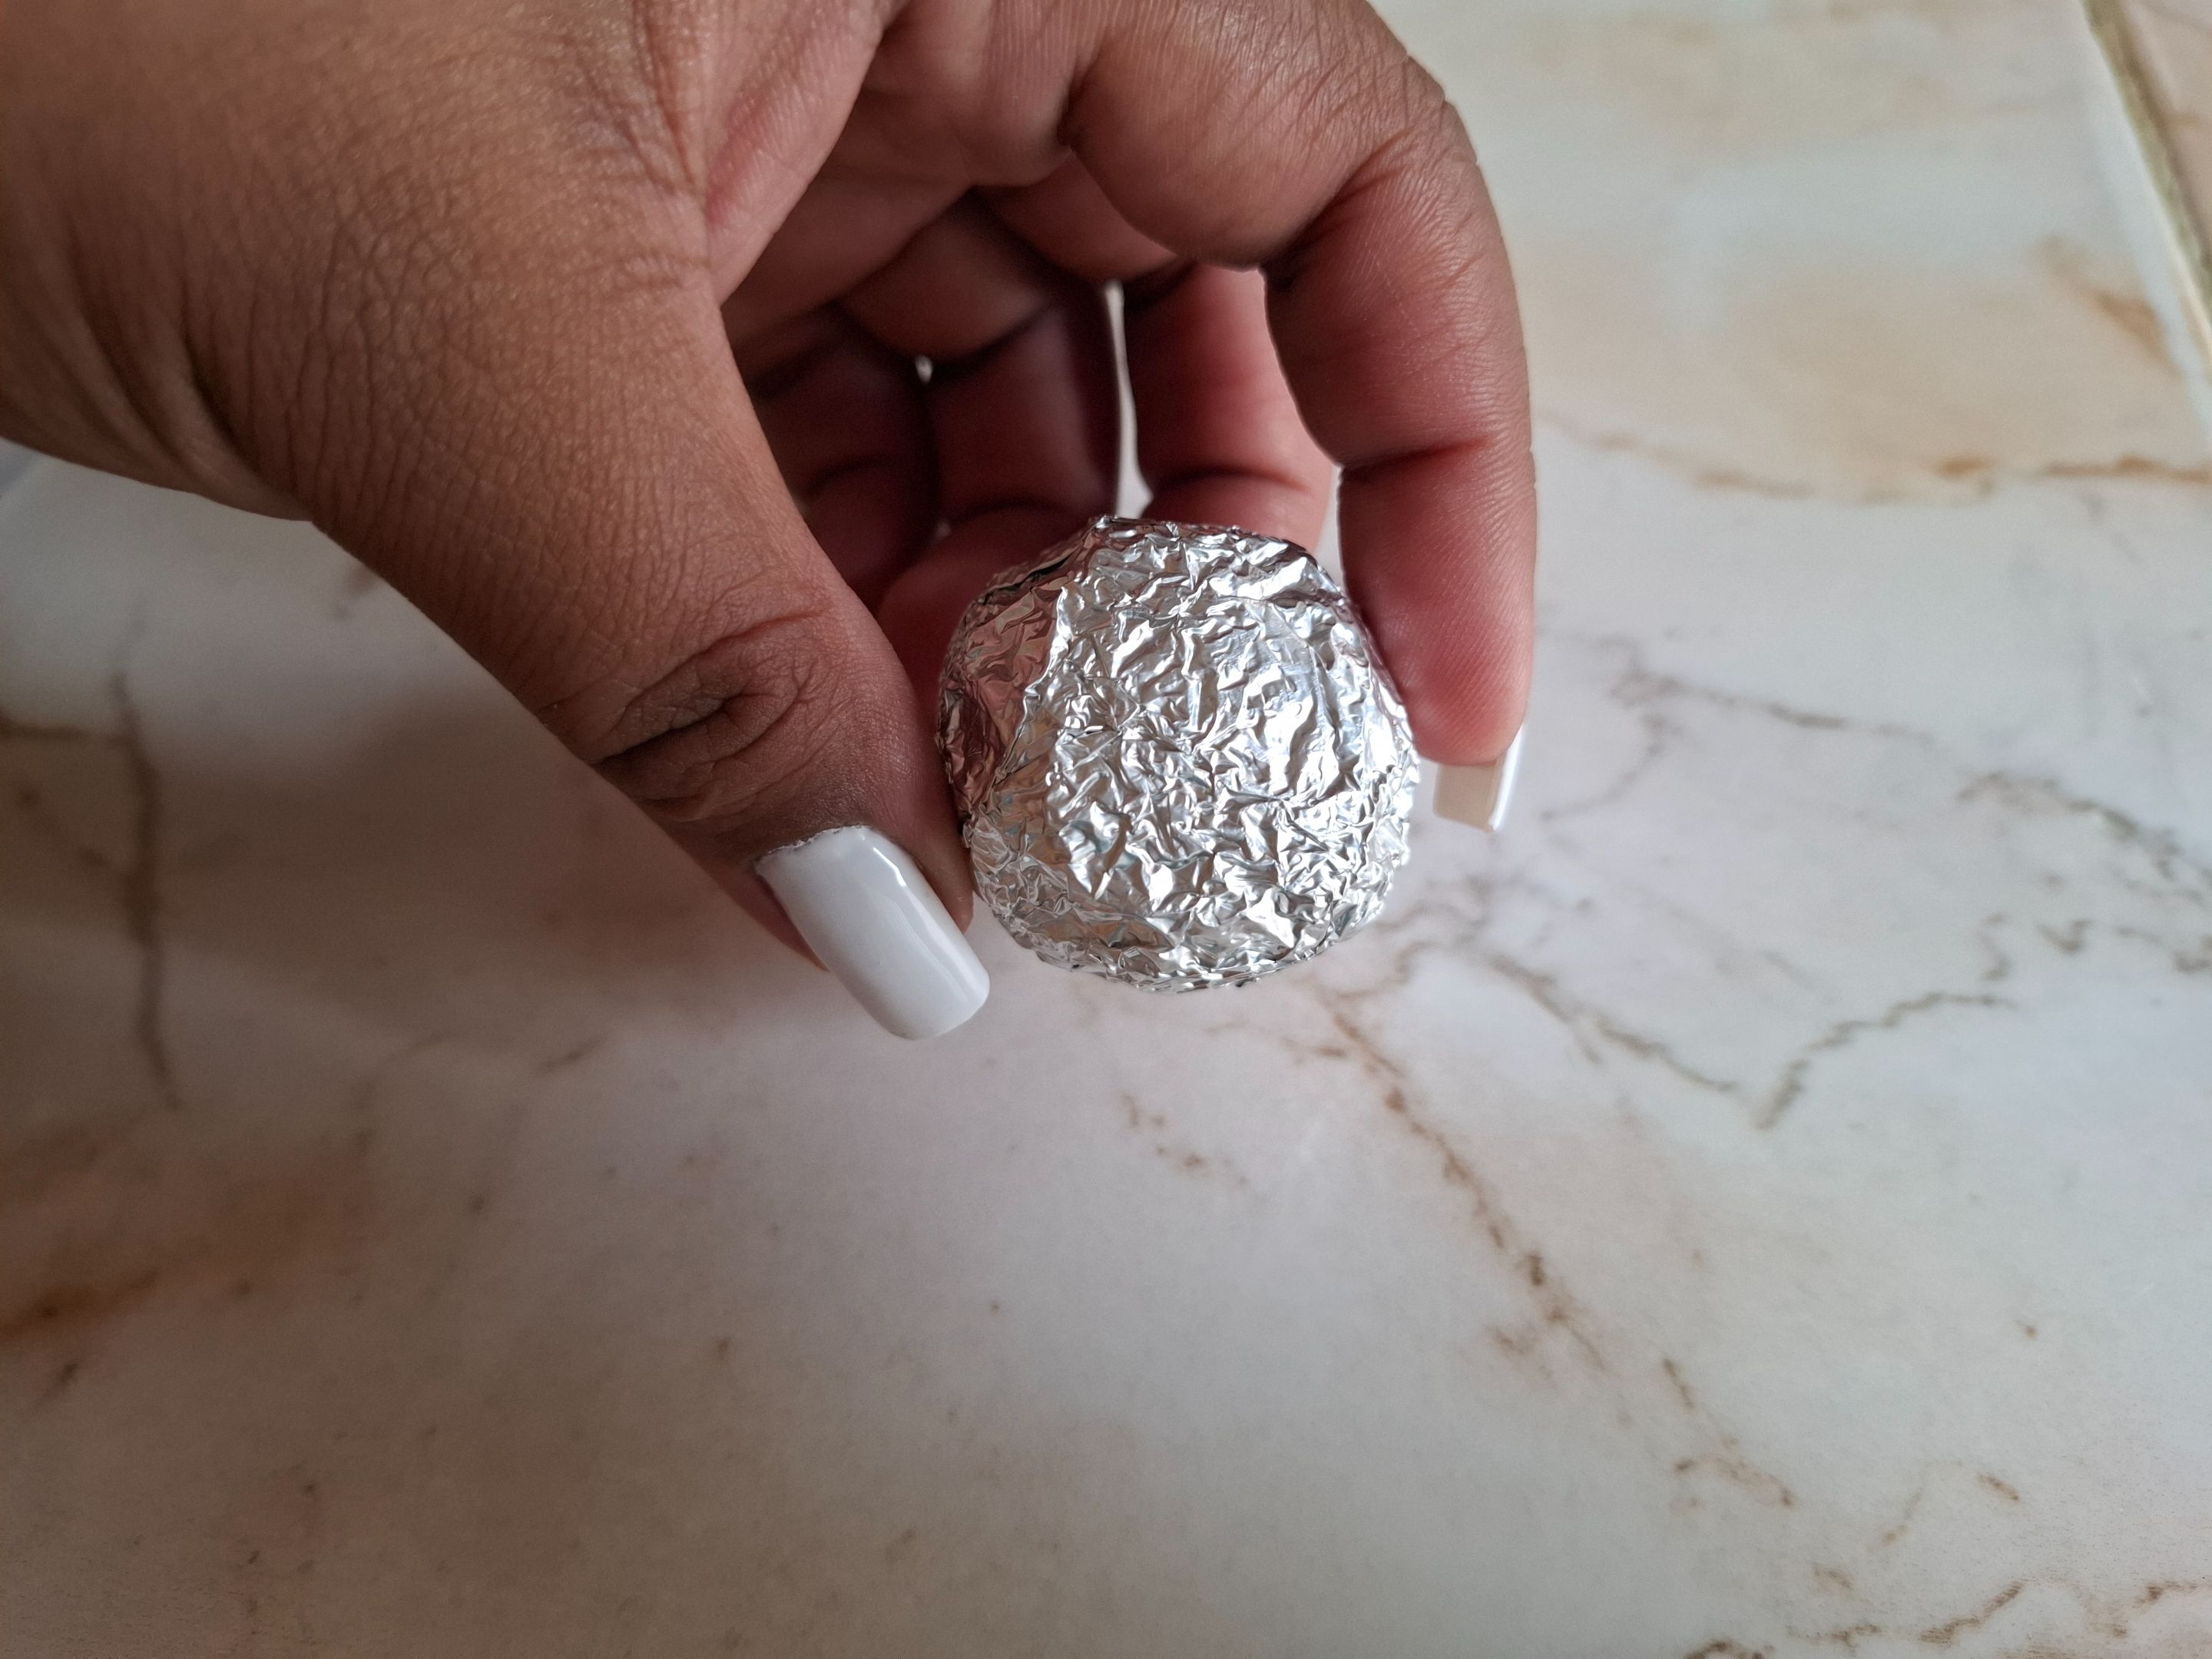
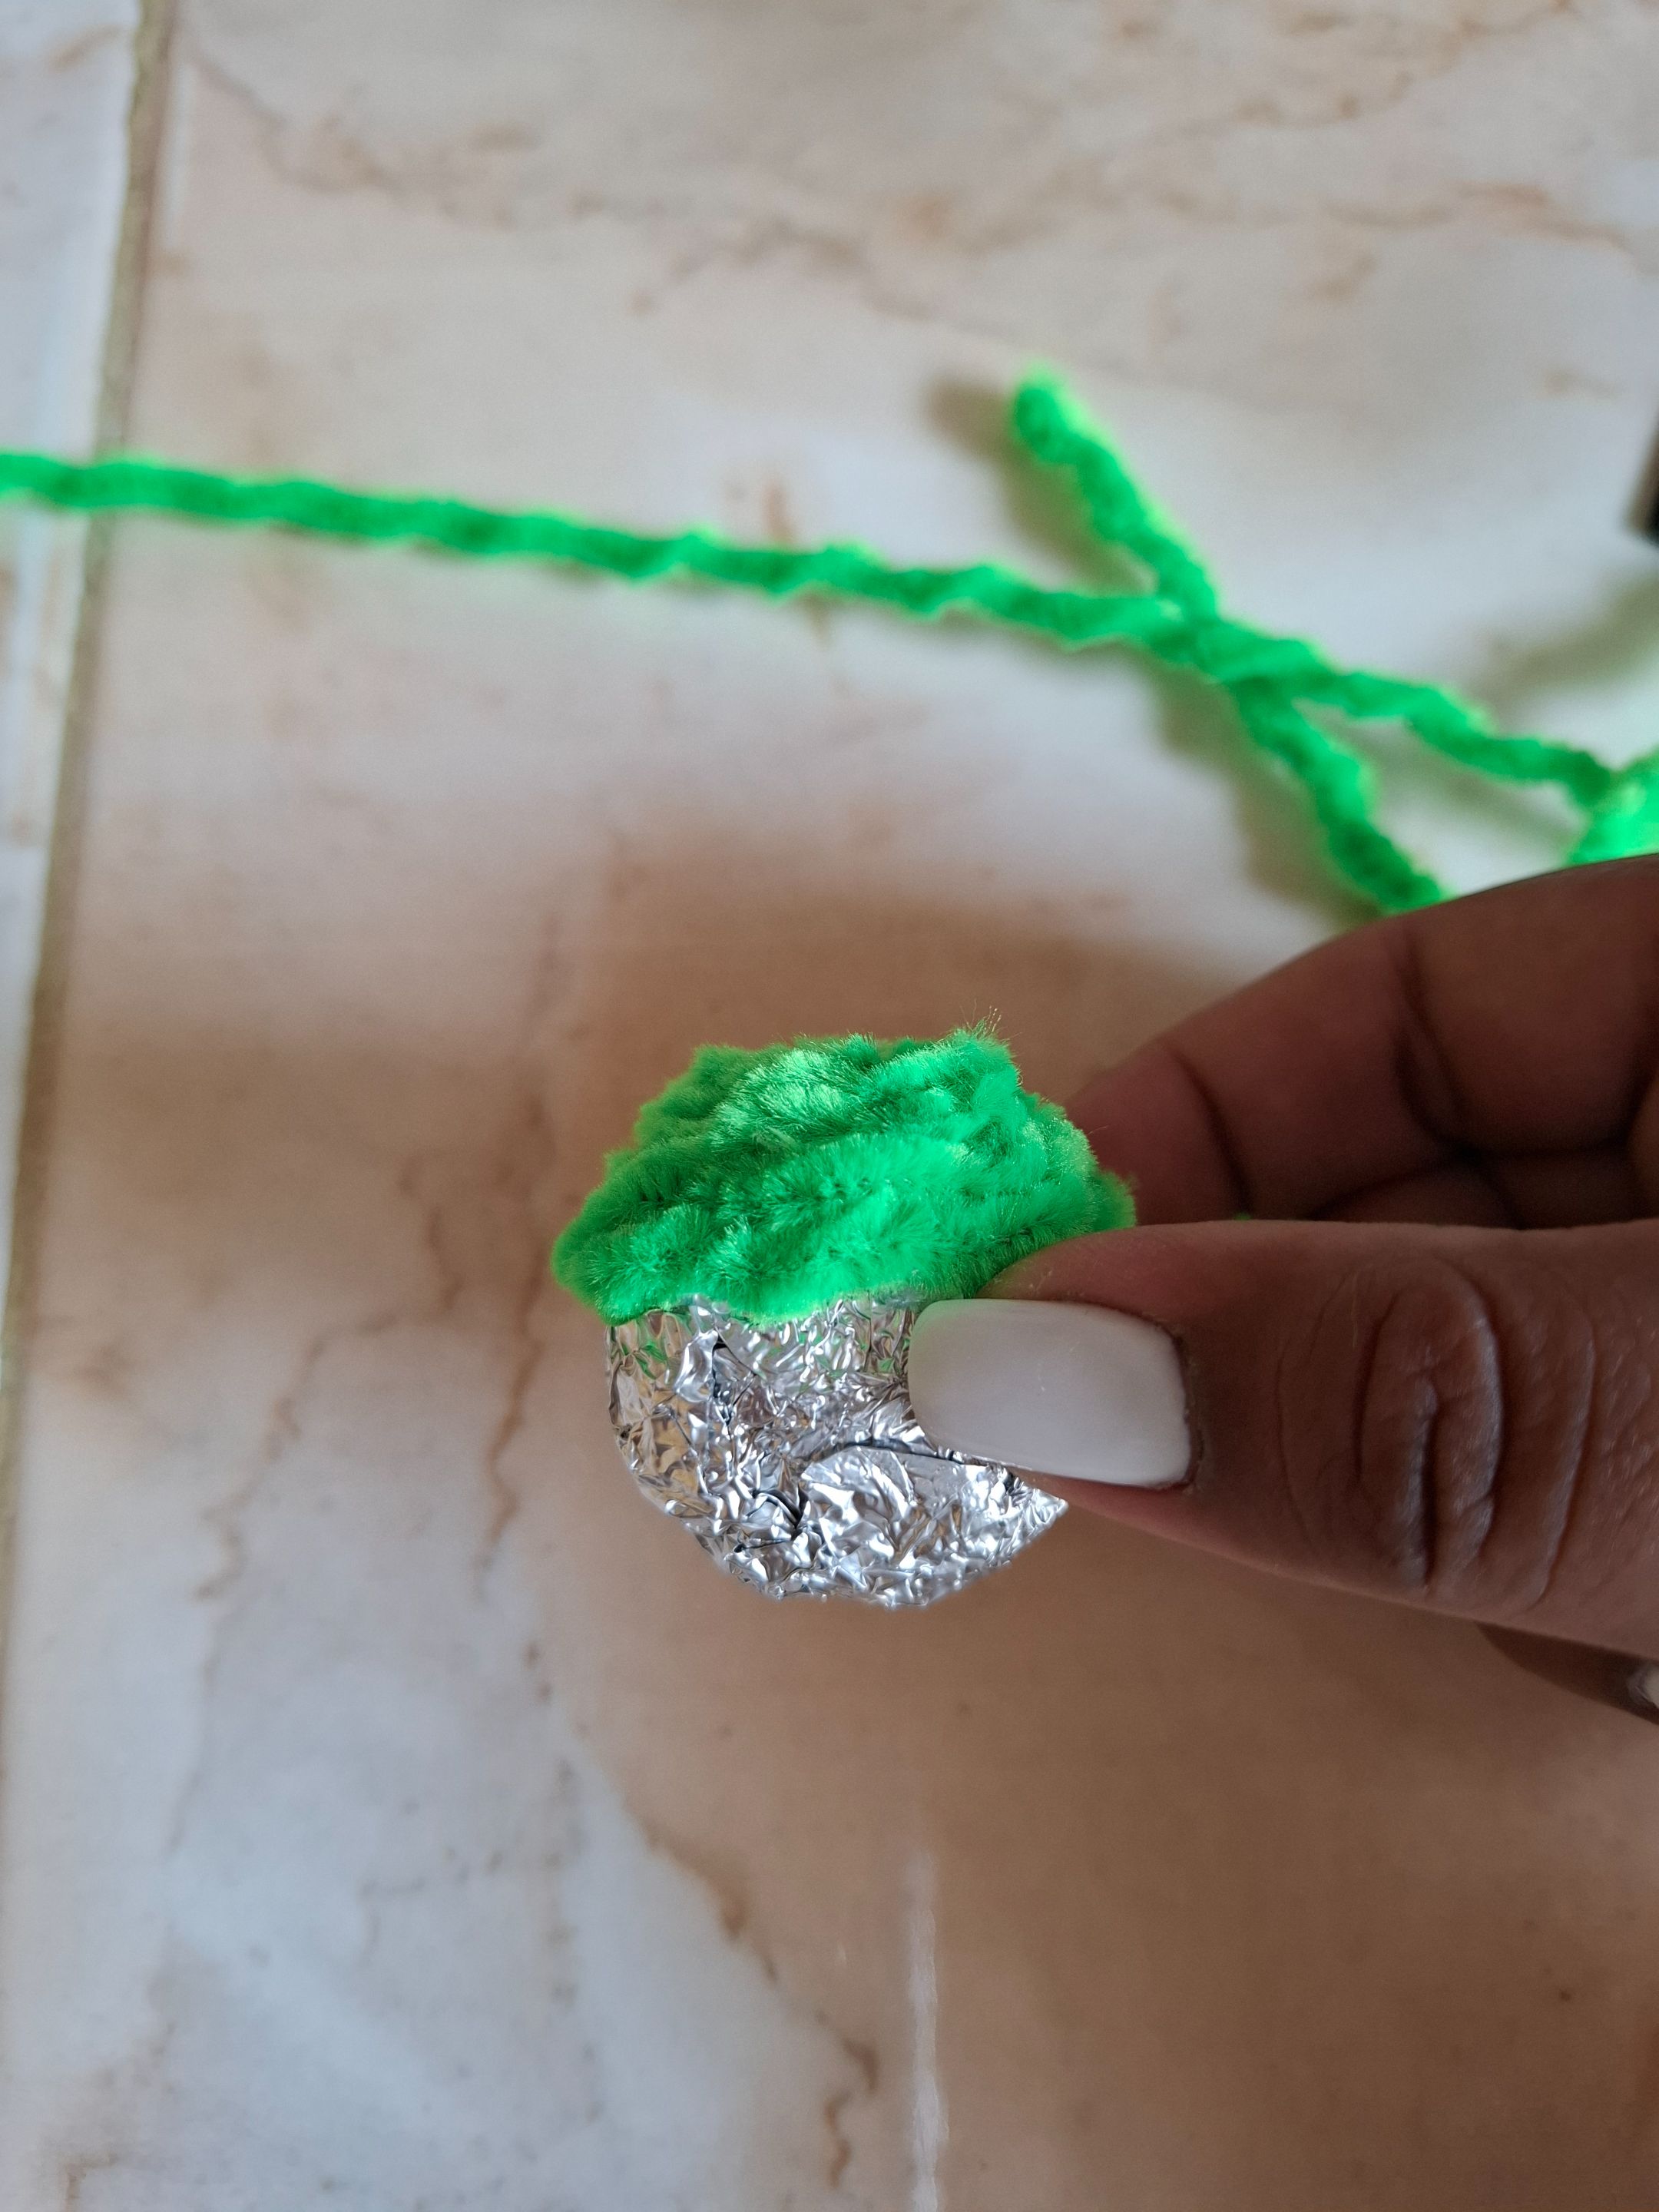
El proceso es muy sencillo de realizar por lo que no debes ser un experto con este material, también te recomiendo que utilices el silicón caliente ya que se adhiere mucho mejor al material, el silicón líquido lo puedes utilizar para pegar partes pequeñas. El primer paso que voy a realizar se trata de armar el cuerpo con la esfera de anime cubierta con e papel aluminio, aunque este tiene una textura áspera se puede moldear en algunos casos.
The process is very simple, so you don't need to be an expert with this material. I also recommend using hot silicone, as it adheres much better to the material. You can use liquid silicone to glue small parts. The first step is to assemble the body with the anime sphere covered with aluminum foil. Although it has a rough texture, it can be molded in some cases.
 |
 |
 |
|---|---|---|
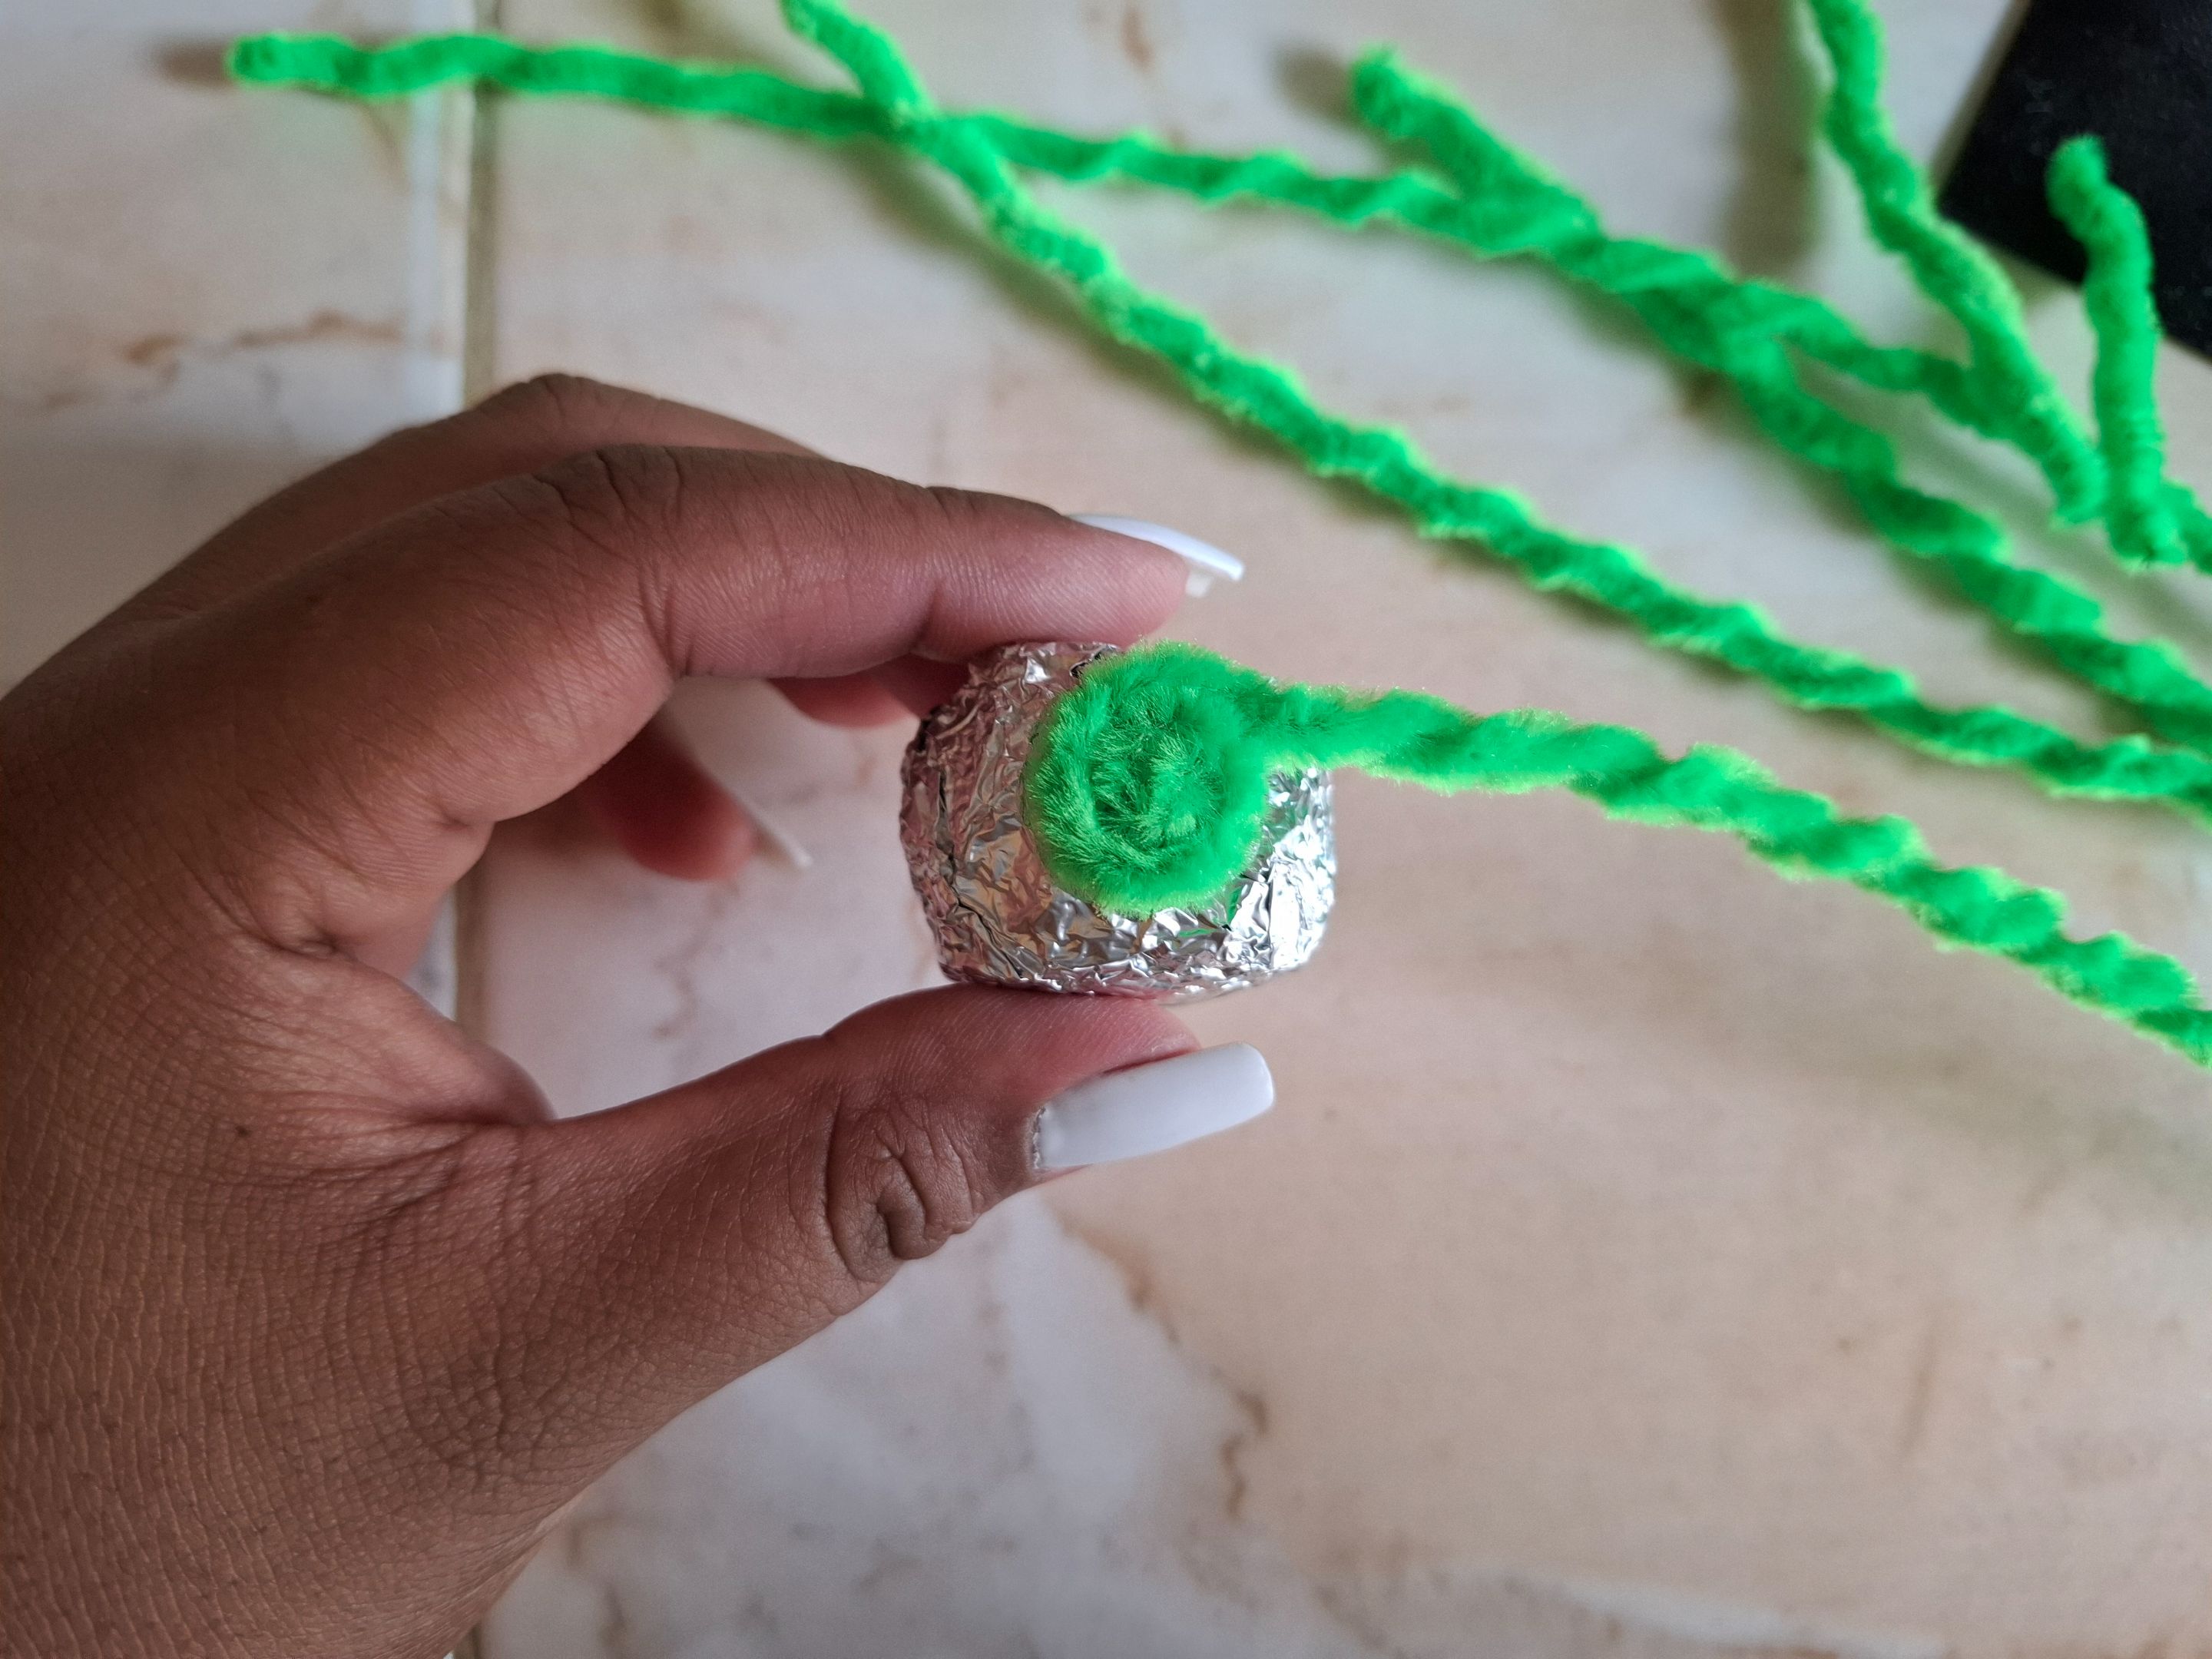
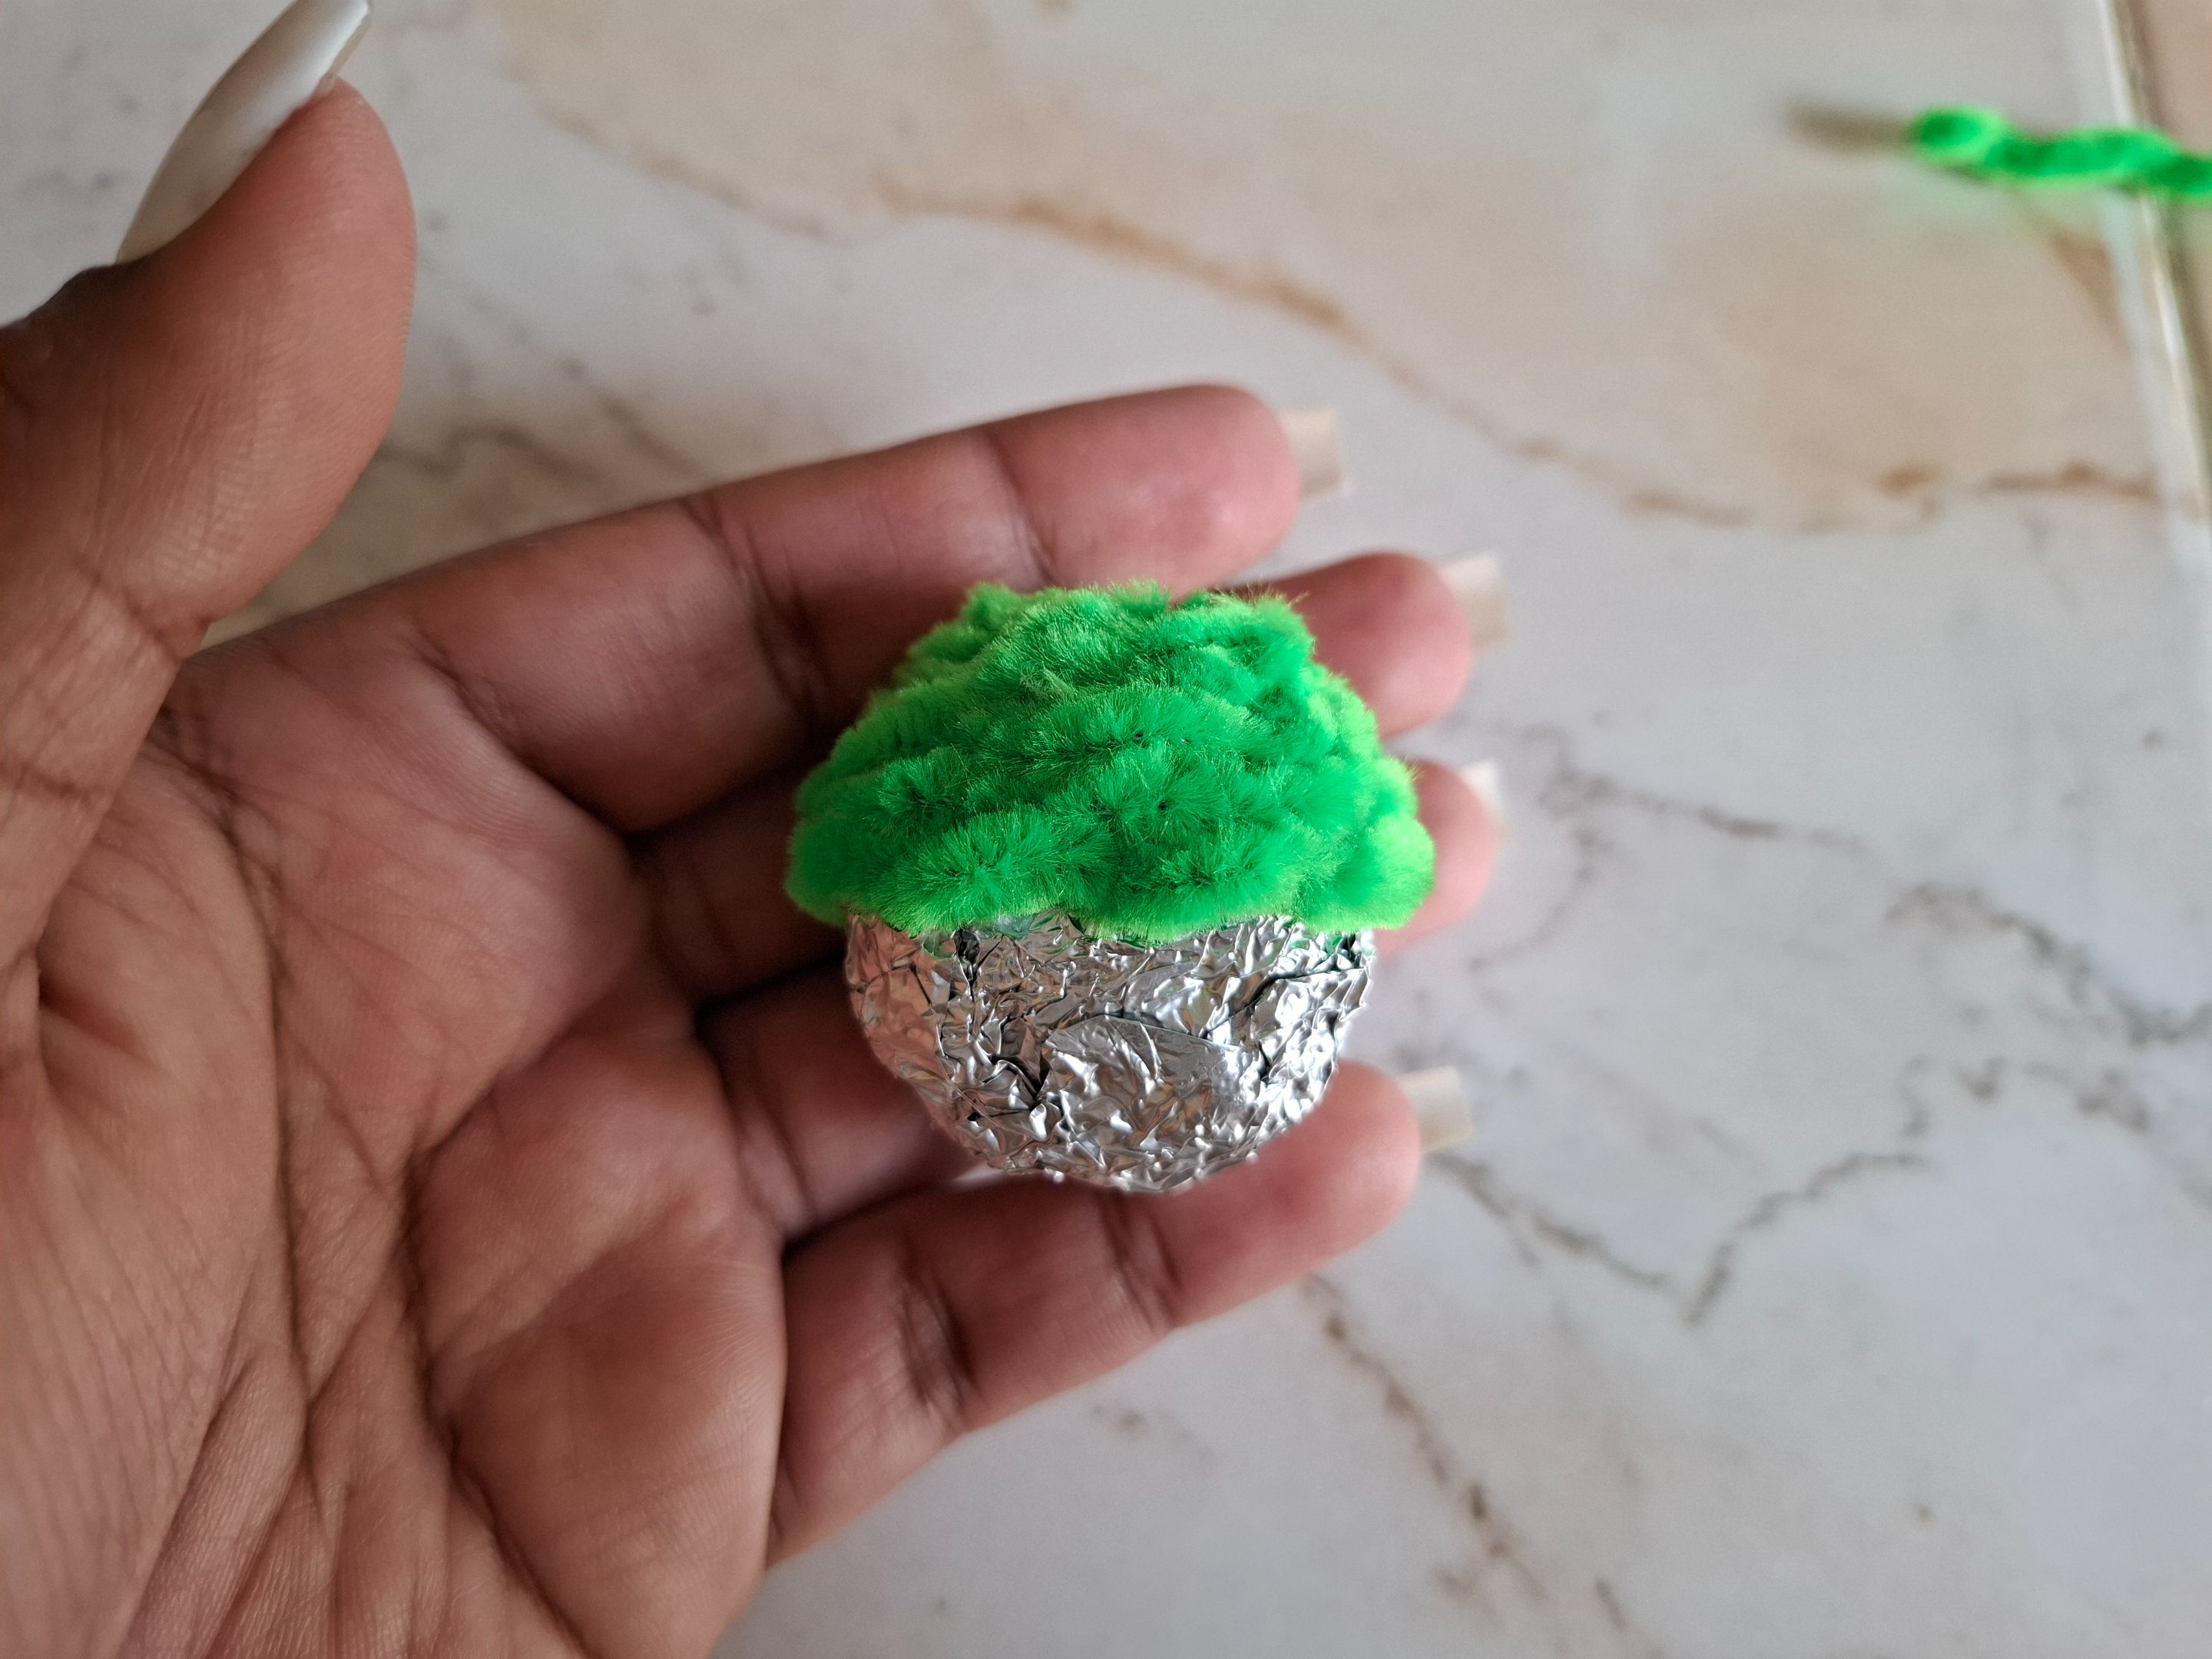
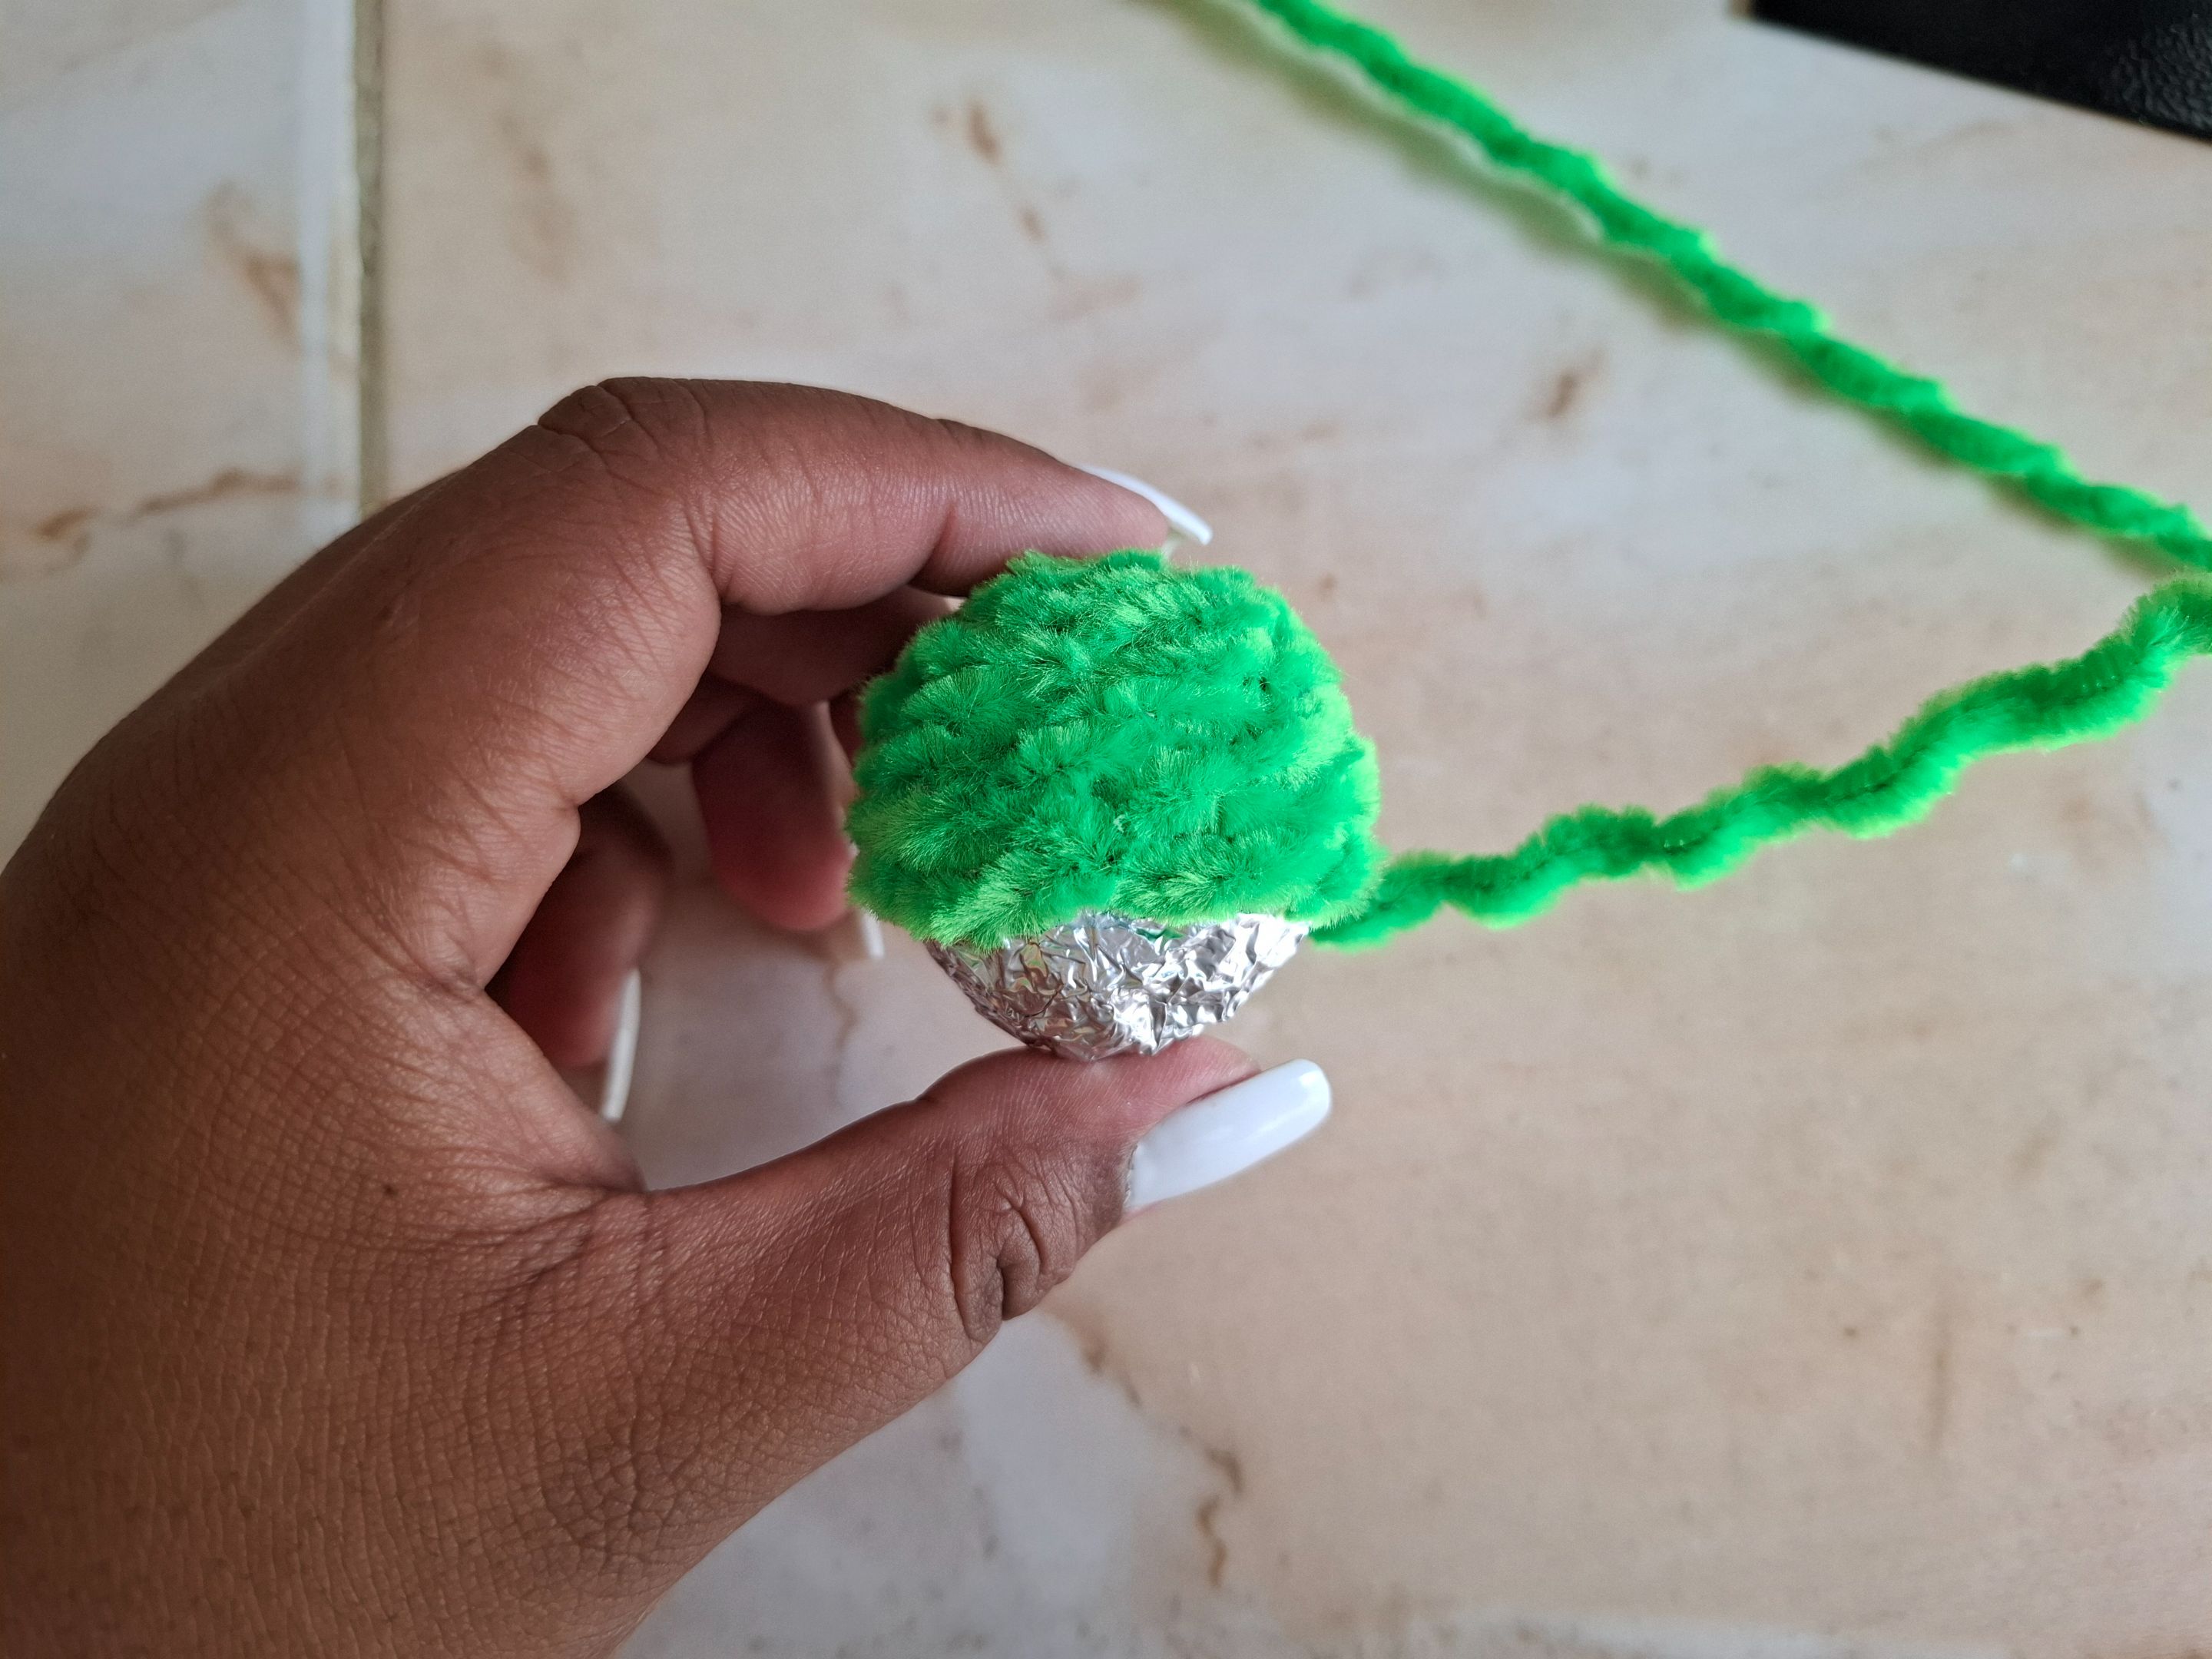
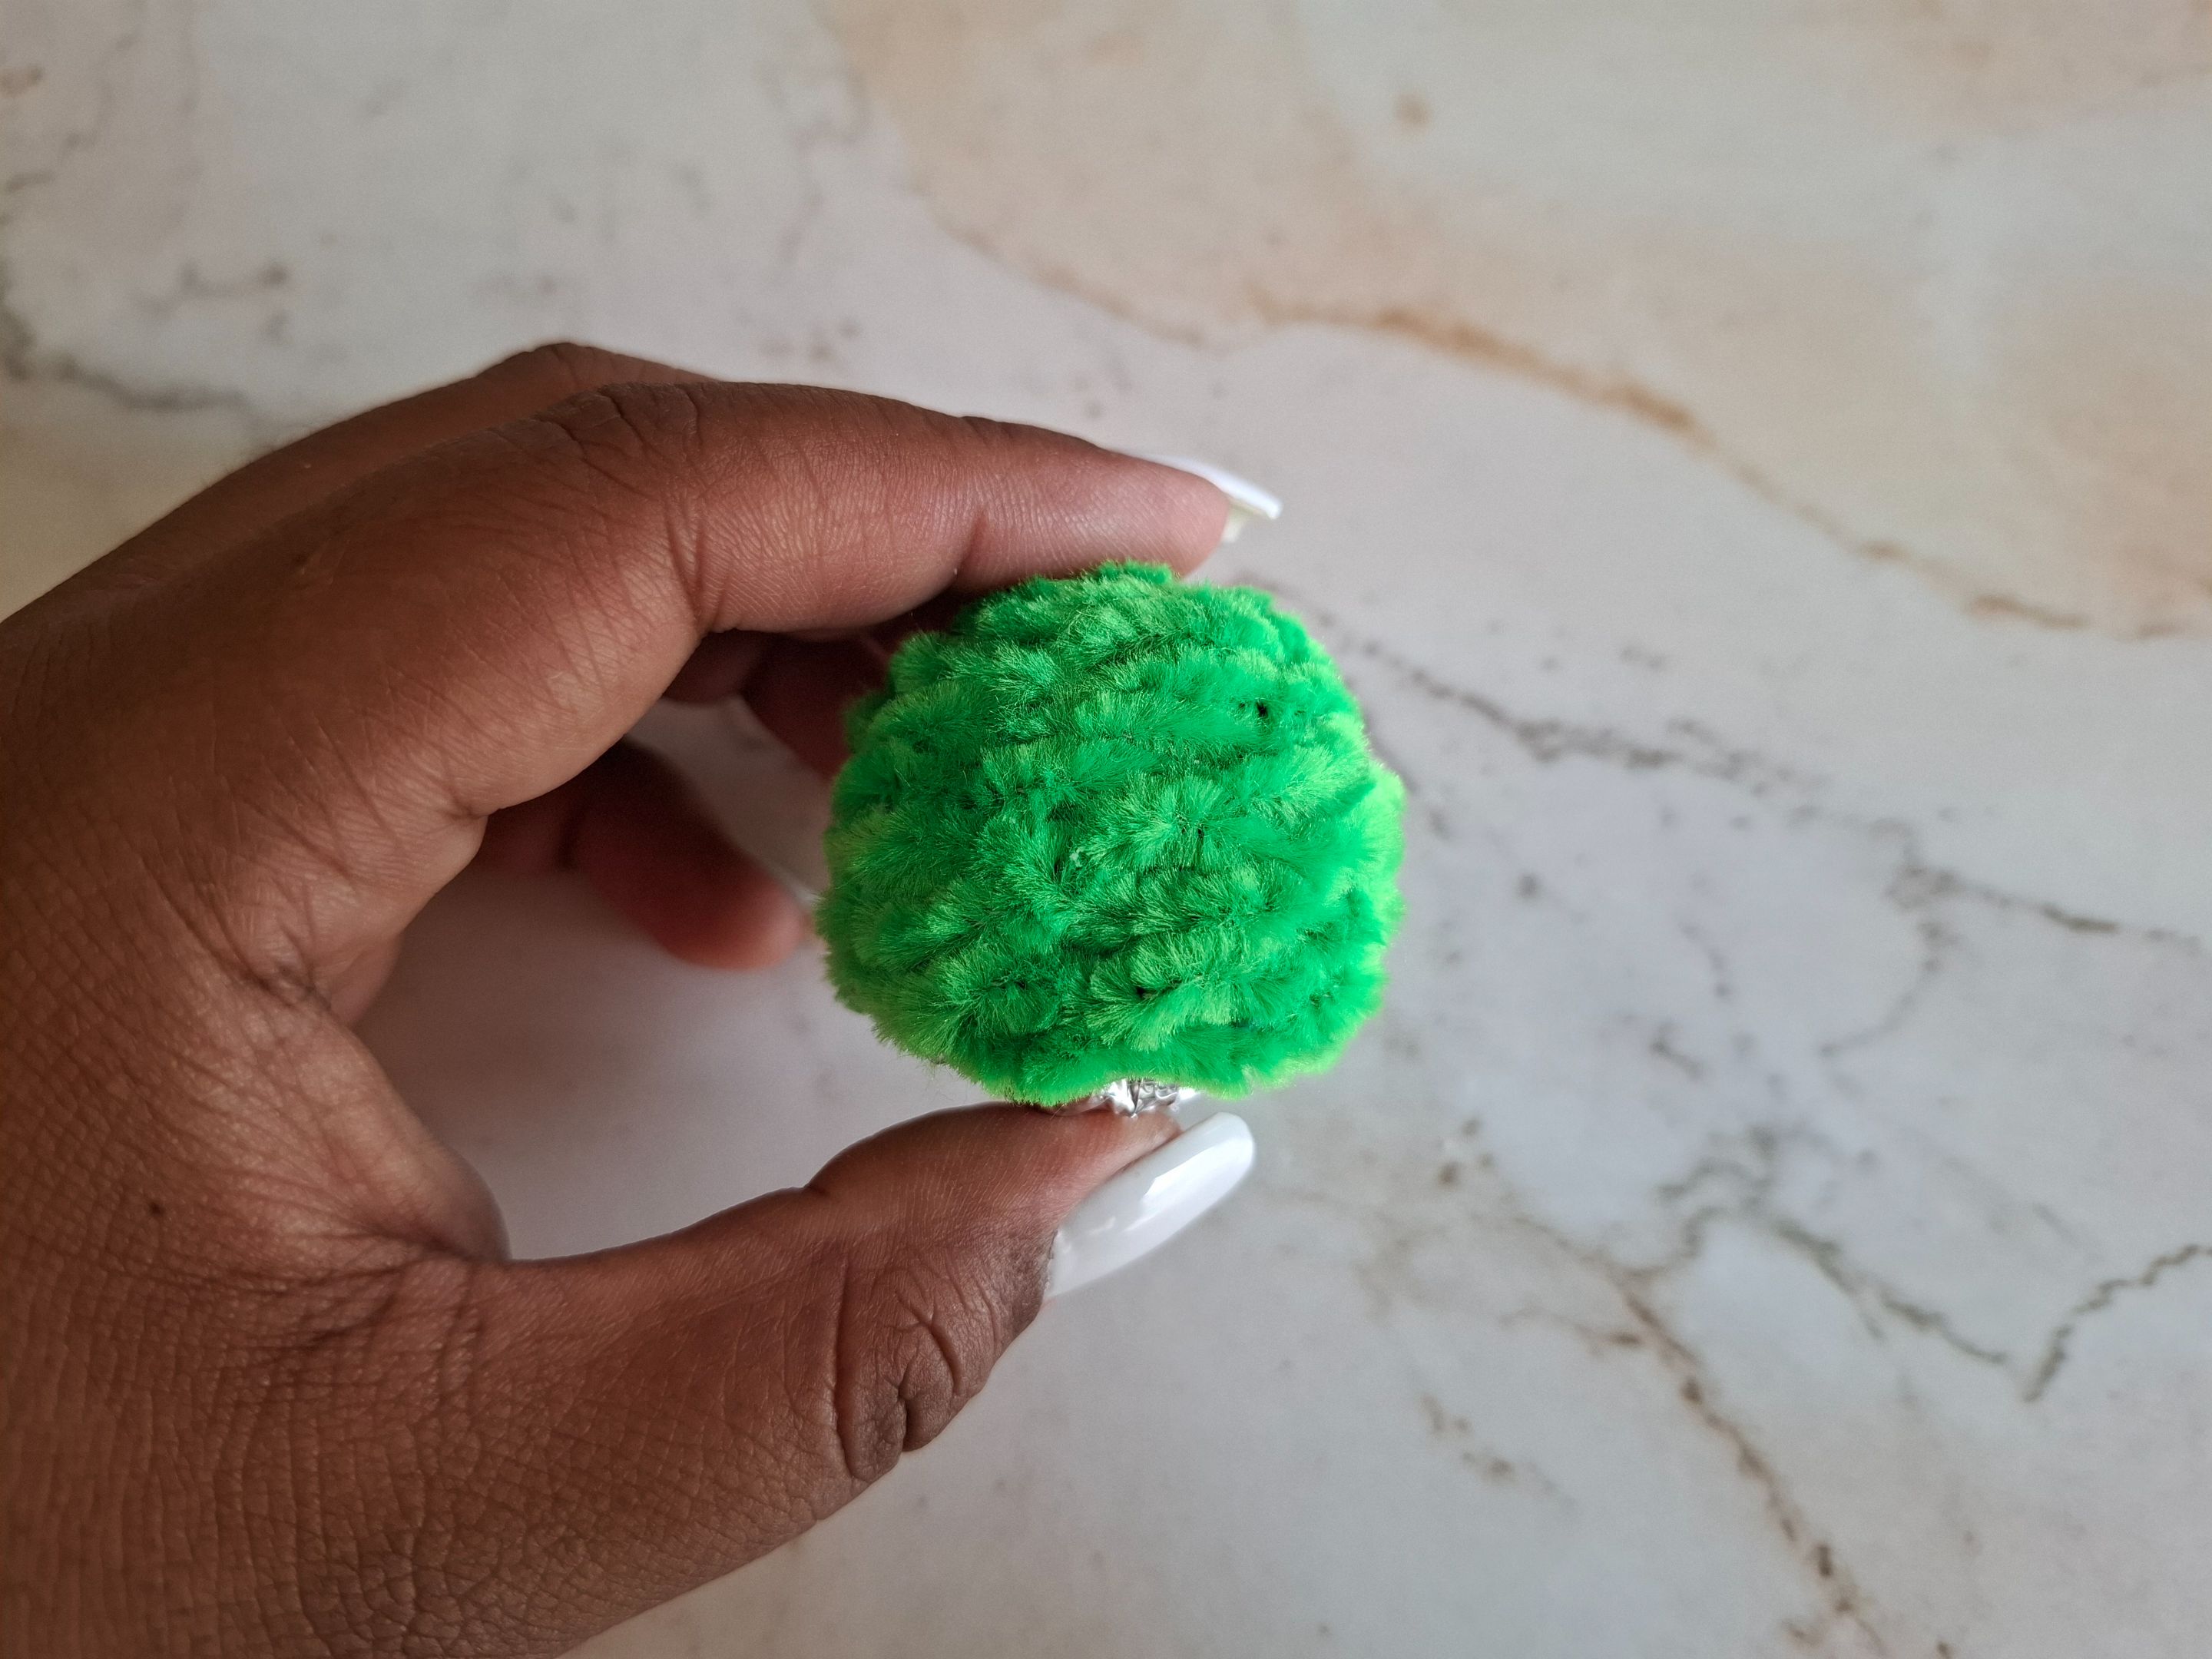
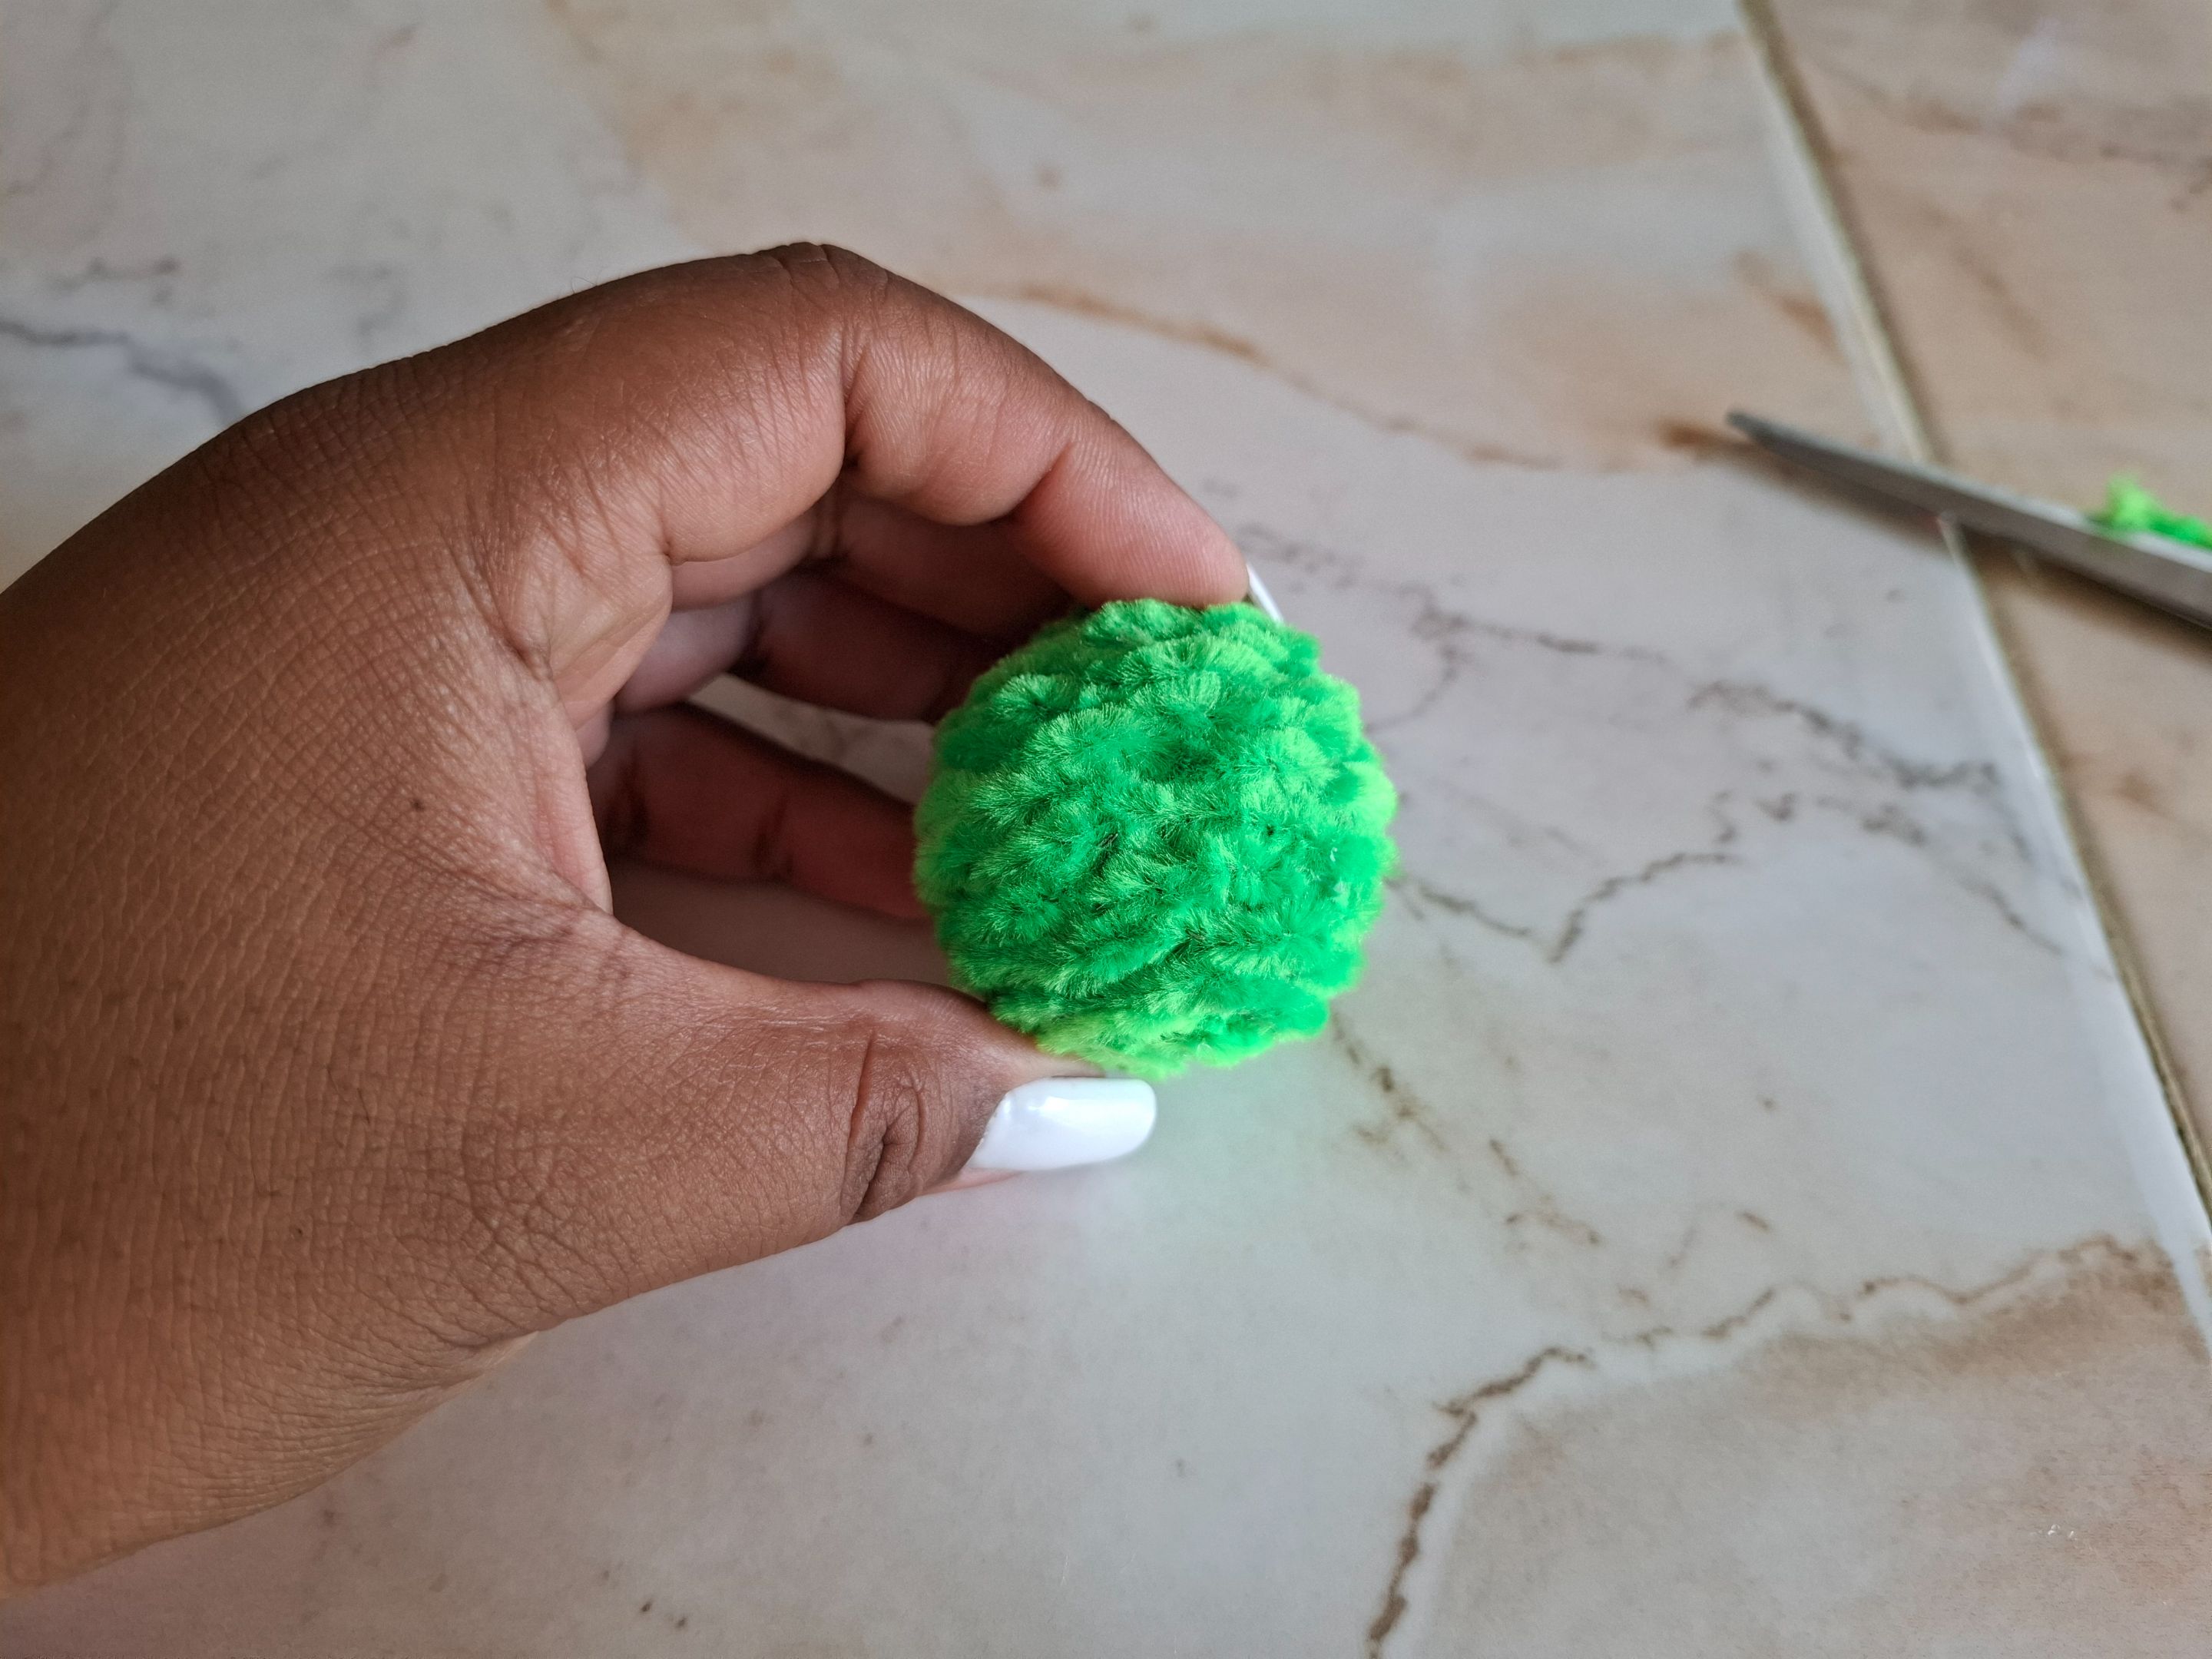
Voy a comenzar a pegar el limpiapipas color verde en toda la figura comenzando desde la parte superior, luego continuamos pegando hasta cubrir todo en su totalidad, en esta parte utilicé dos tonos de limpiapipas verde claro ya que el de tono más oscuro se me terminó, aunque observando bien no se nota casi la diferencia.
I'm going to start gluing the green pipe cleaner all over the figure, starting from the top, then we continue gluing until everything is completely covered. In this part I used two shades of light green pipe cleaner since I ran out of the darker shade, although looking closely you can hardly notice the difference.
 |
 |
|---|---|
 |
 |
|---|---|
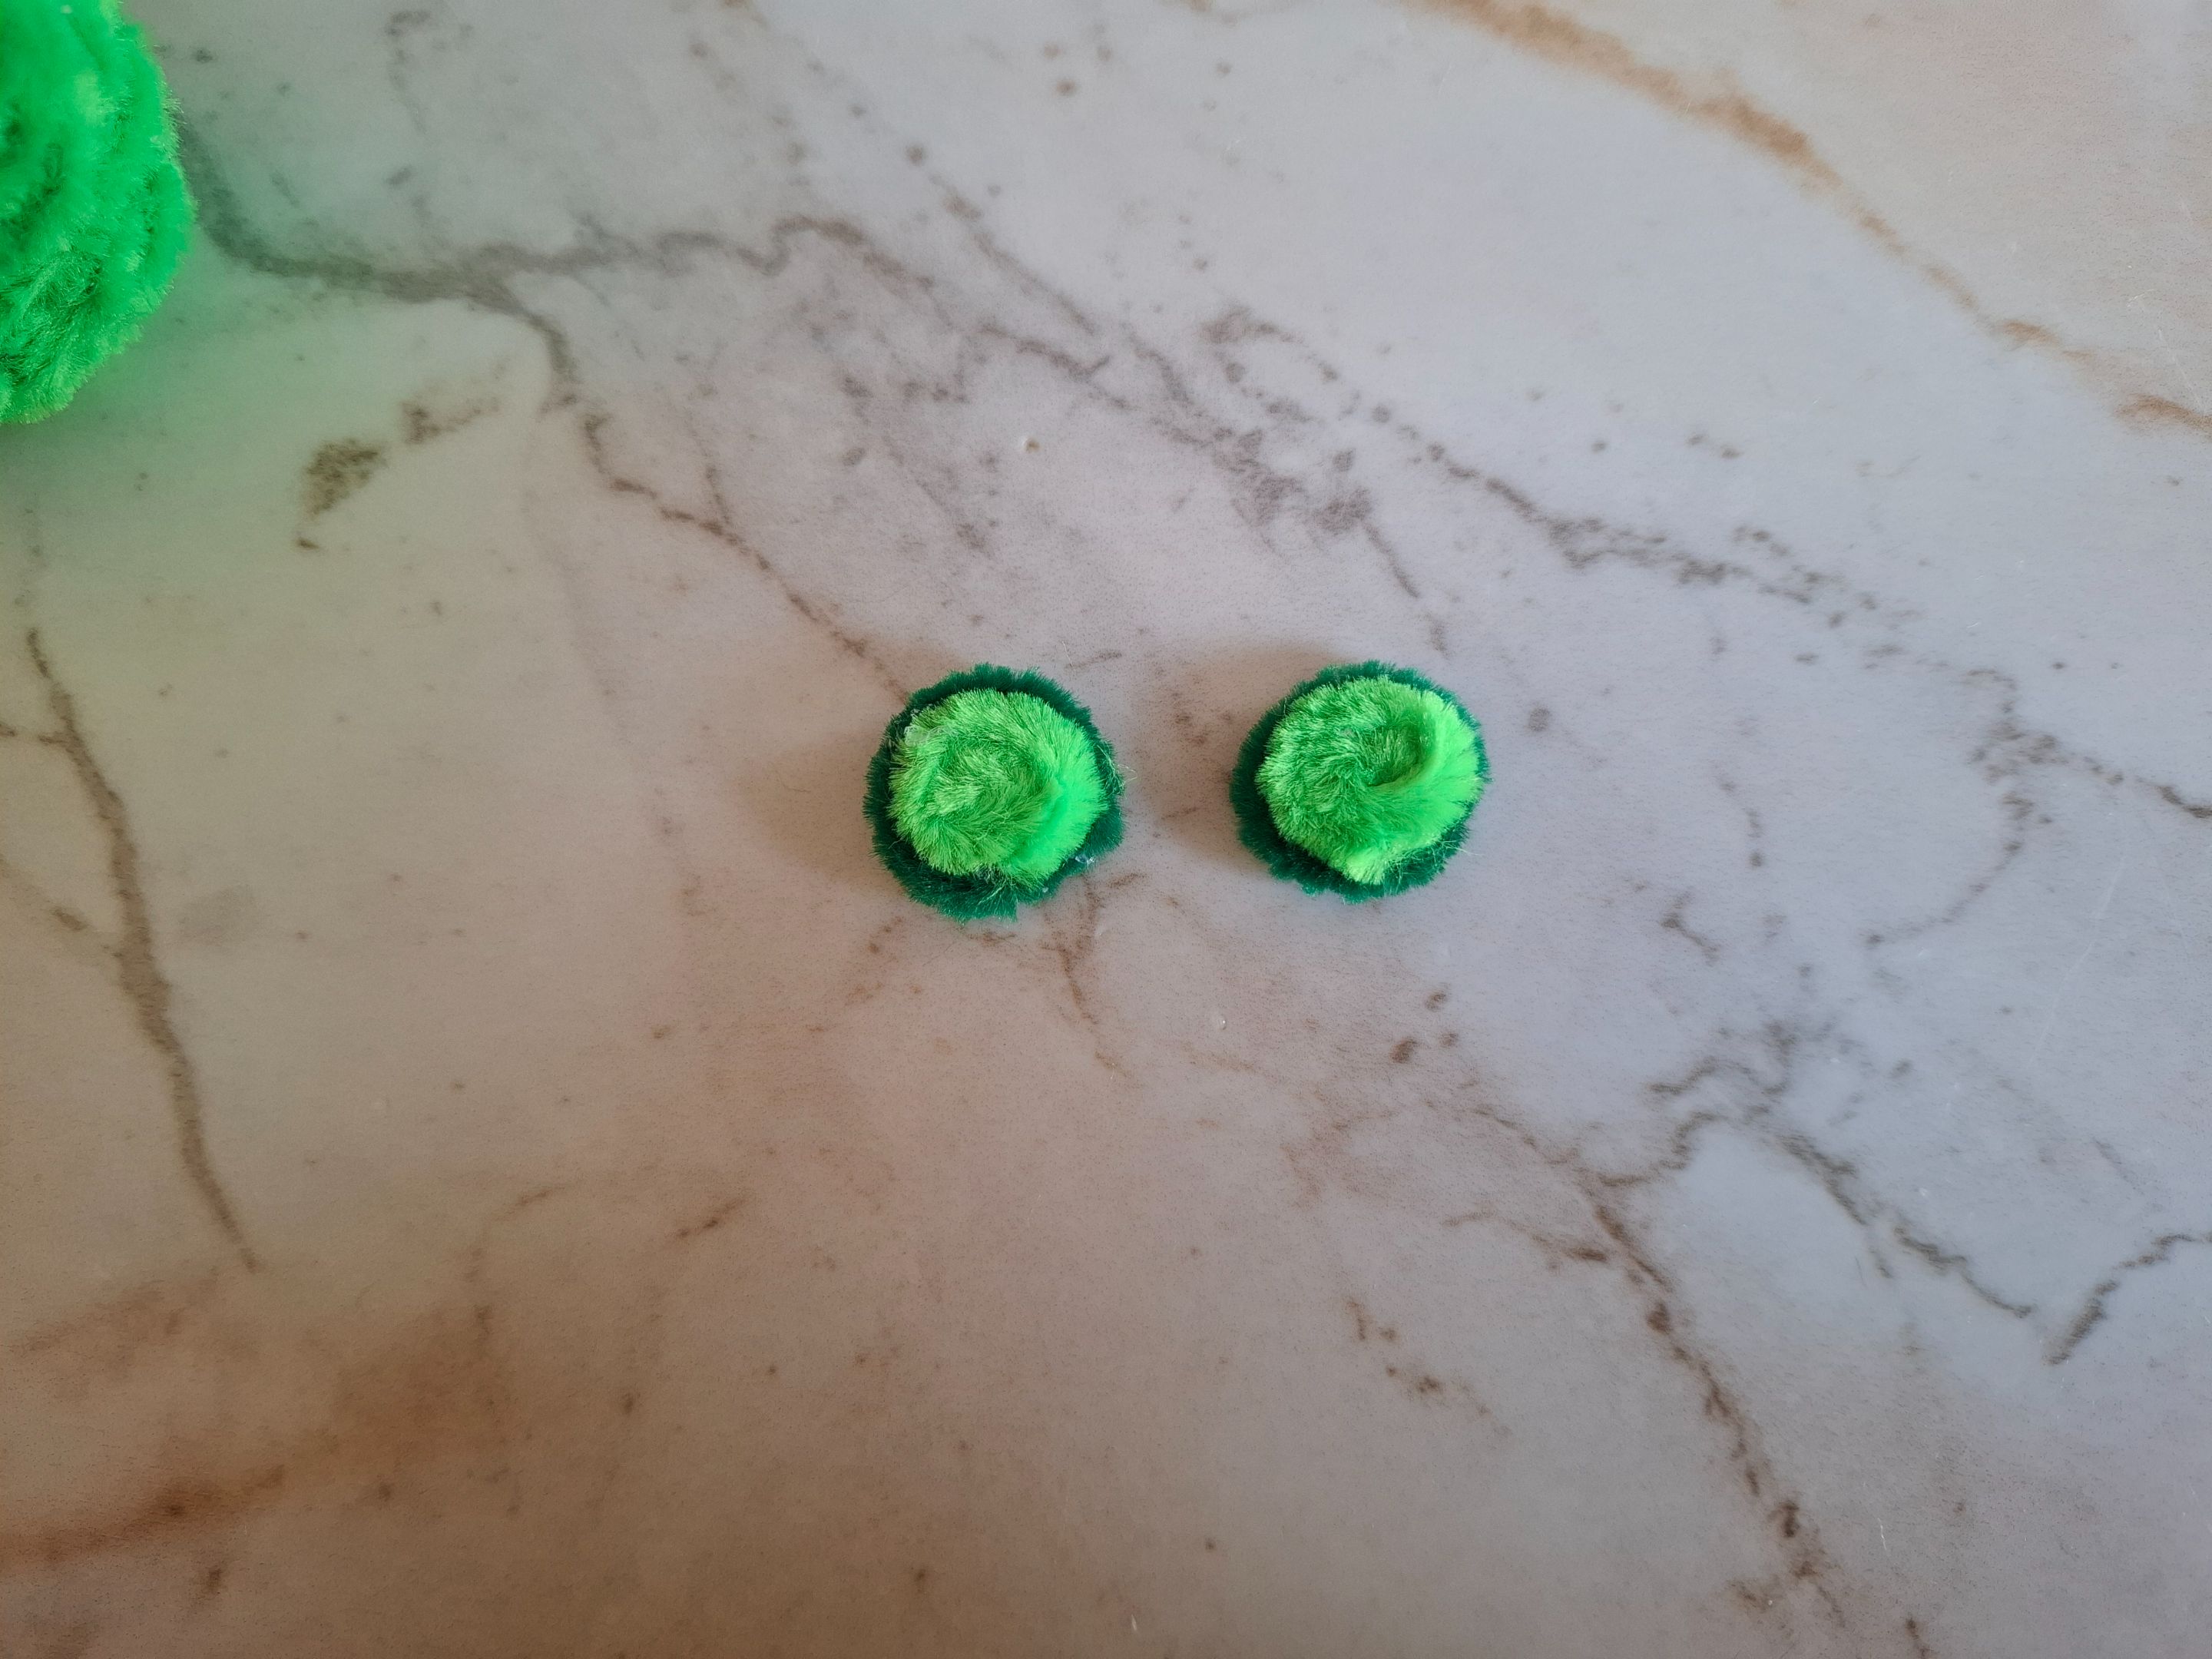
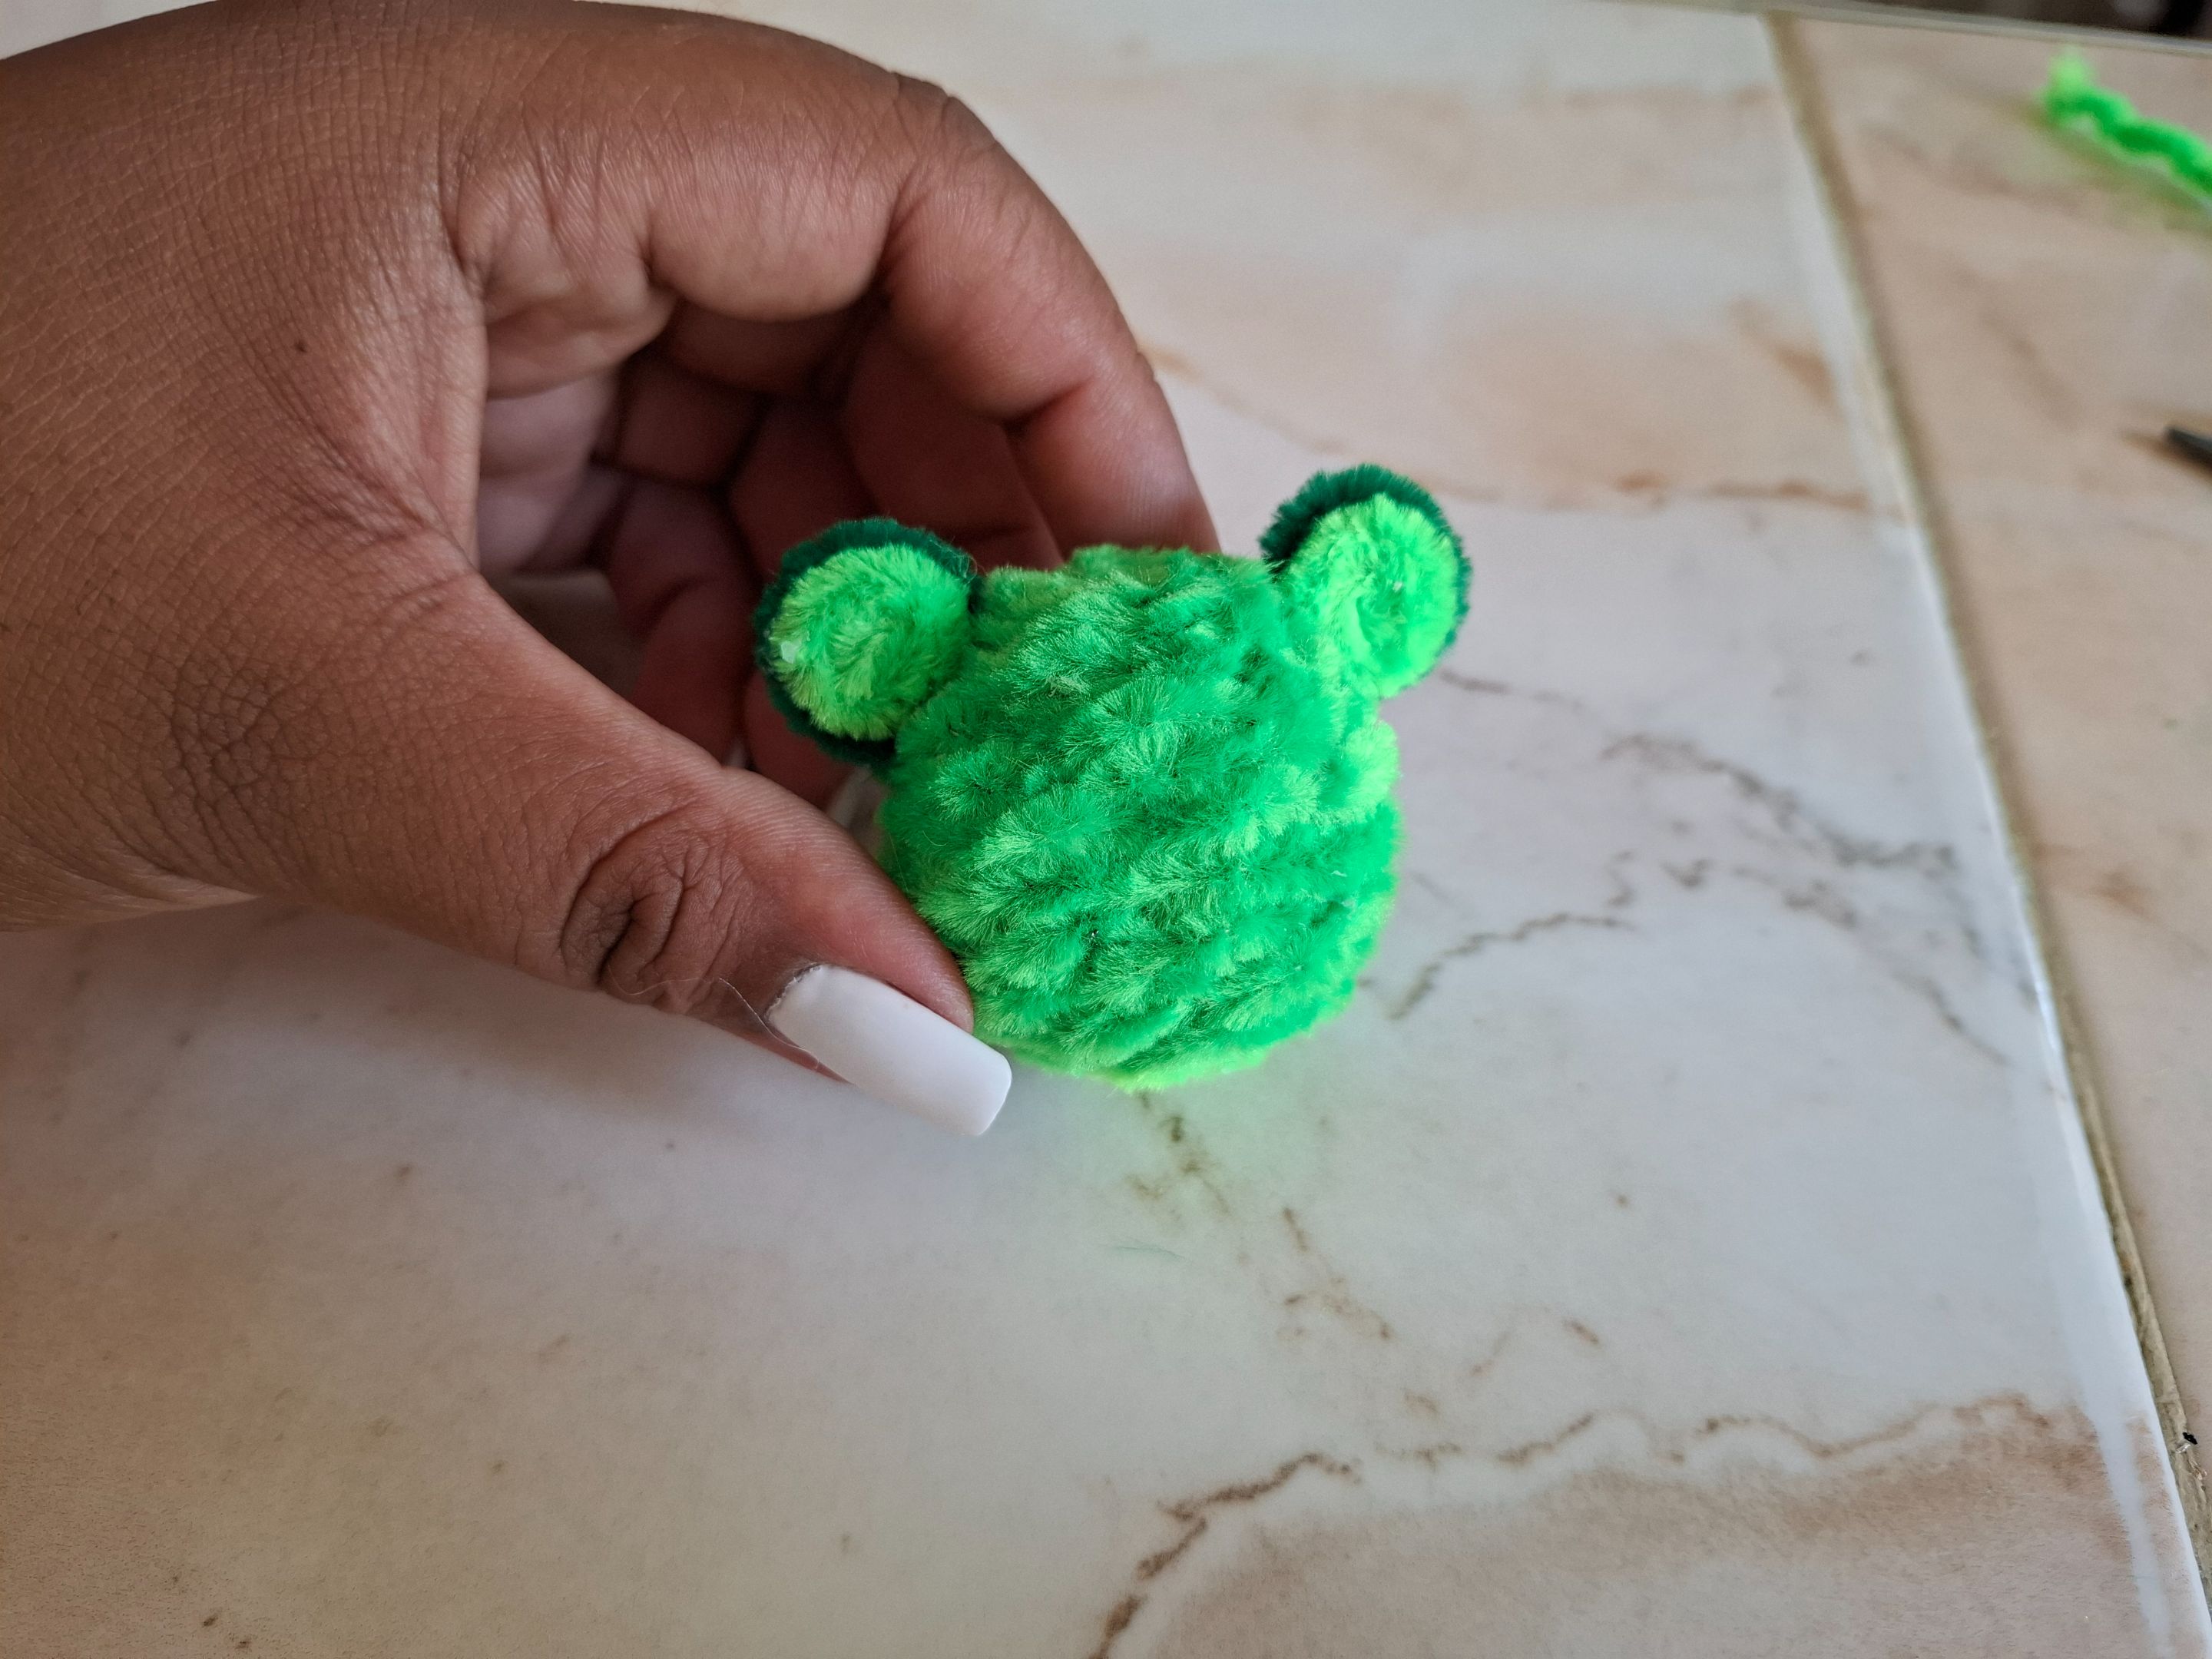
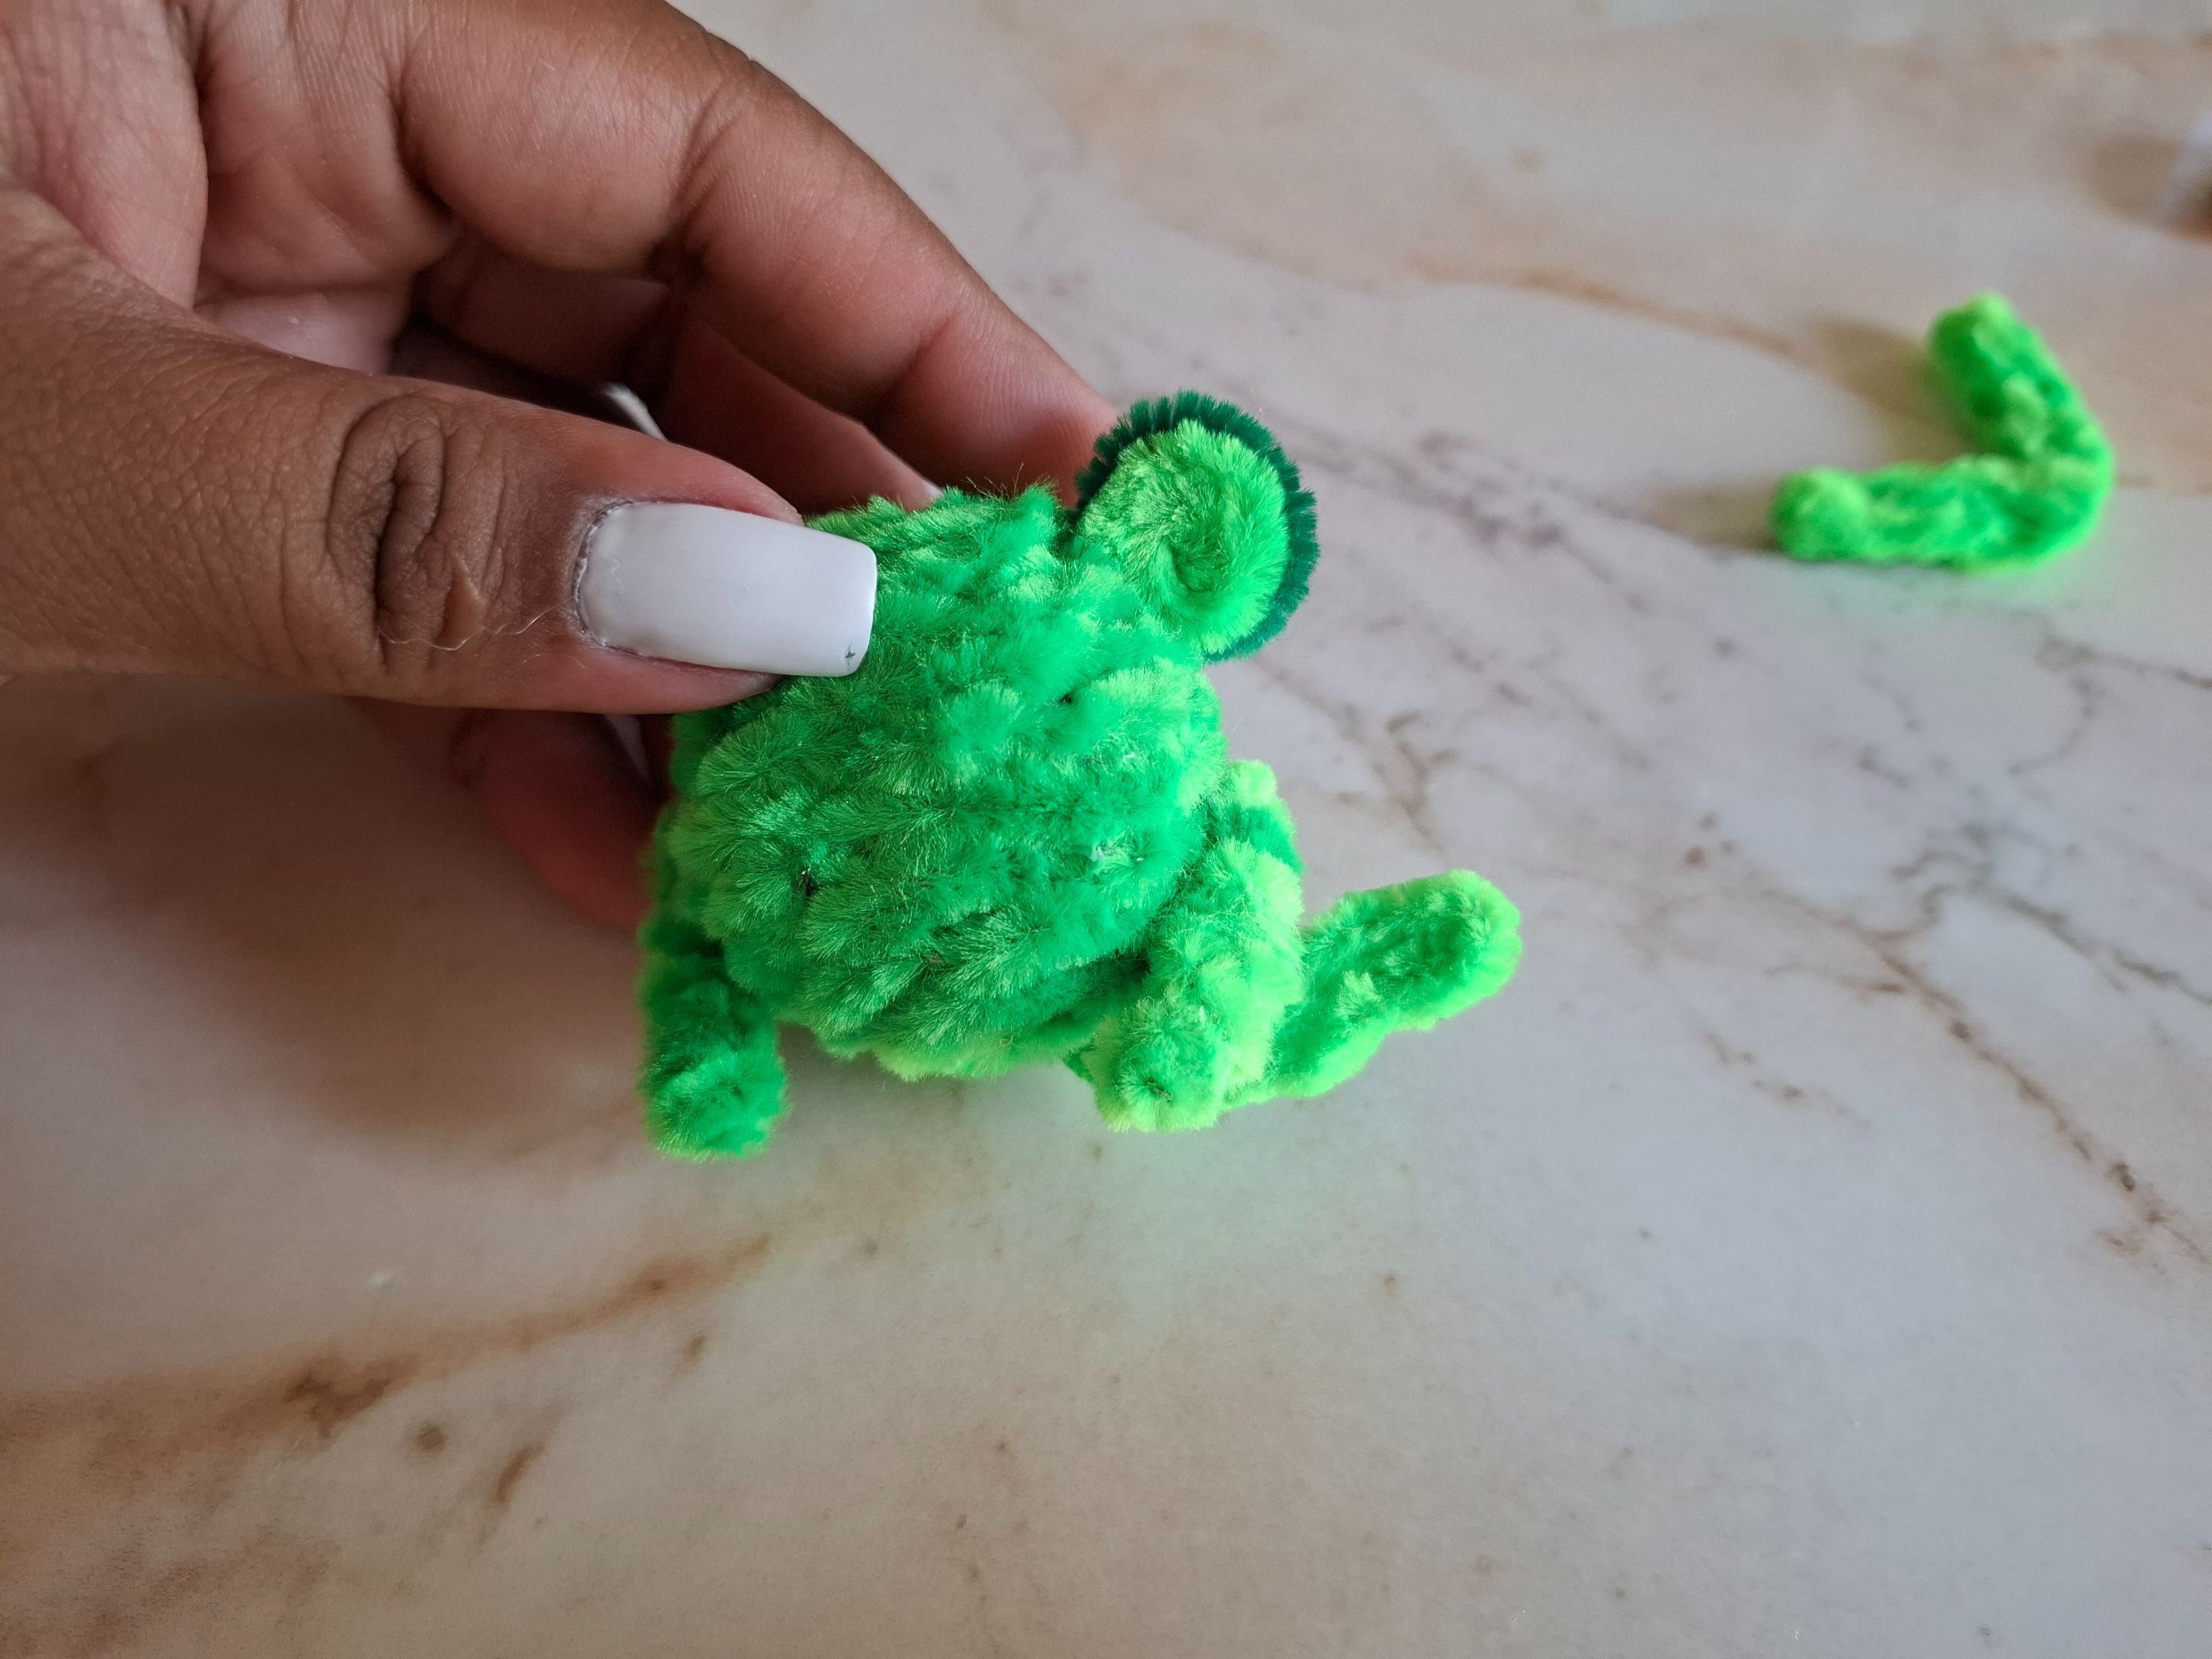
Una vez que terminemos de cubrir todo el cuerpo voy a realizar sus ojos, para esto tomaré el limpiapipas color verde oscuro y realizamos un círculo pequeño, luego con el limpiapipas verde claro realizamos otro círculo más pequeño que vamos a ubicar en el centro, y pegamos, estos serán los ojitos.
Once we finish covering the entire body, I'm going to make the eyes. To do this, I'll take the dark green pipe cleaner and make a small circle. Then, with the light green pipe cleaner, make another smaller circle that we'll place in the center and glue. These will be the eyes.
 |
 |
|---|---|
 |
 |
|---|---|
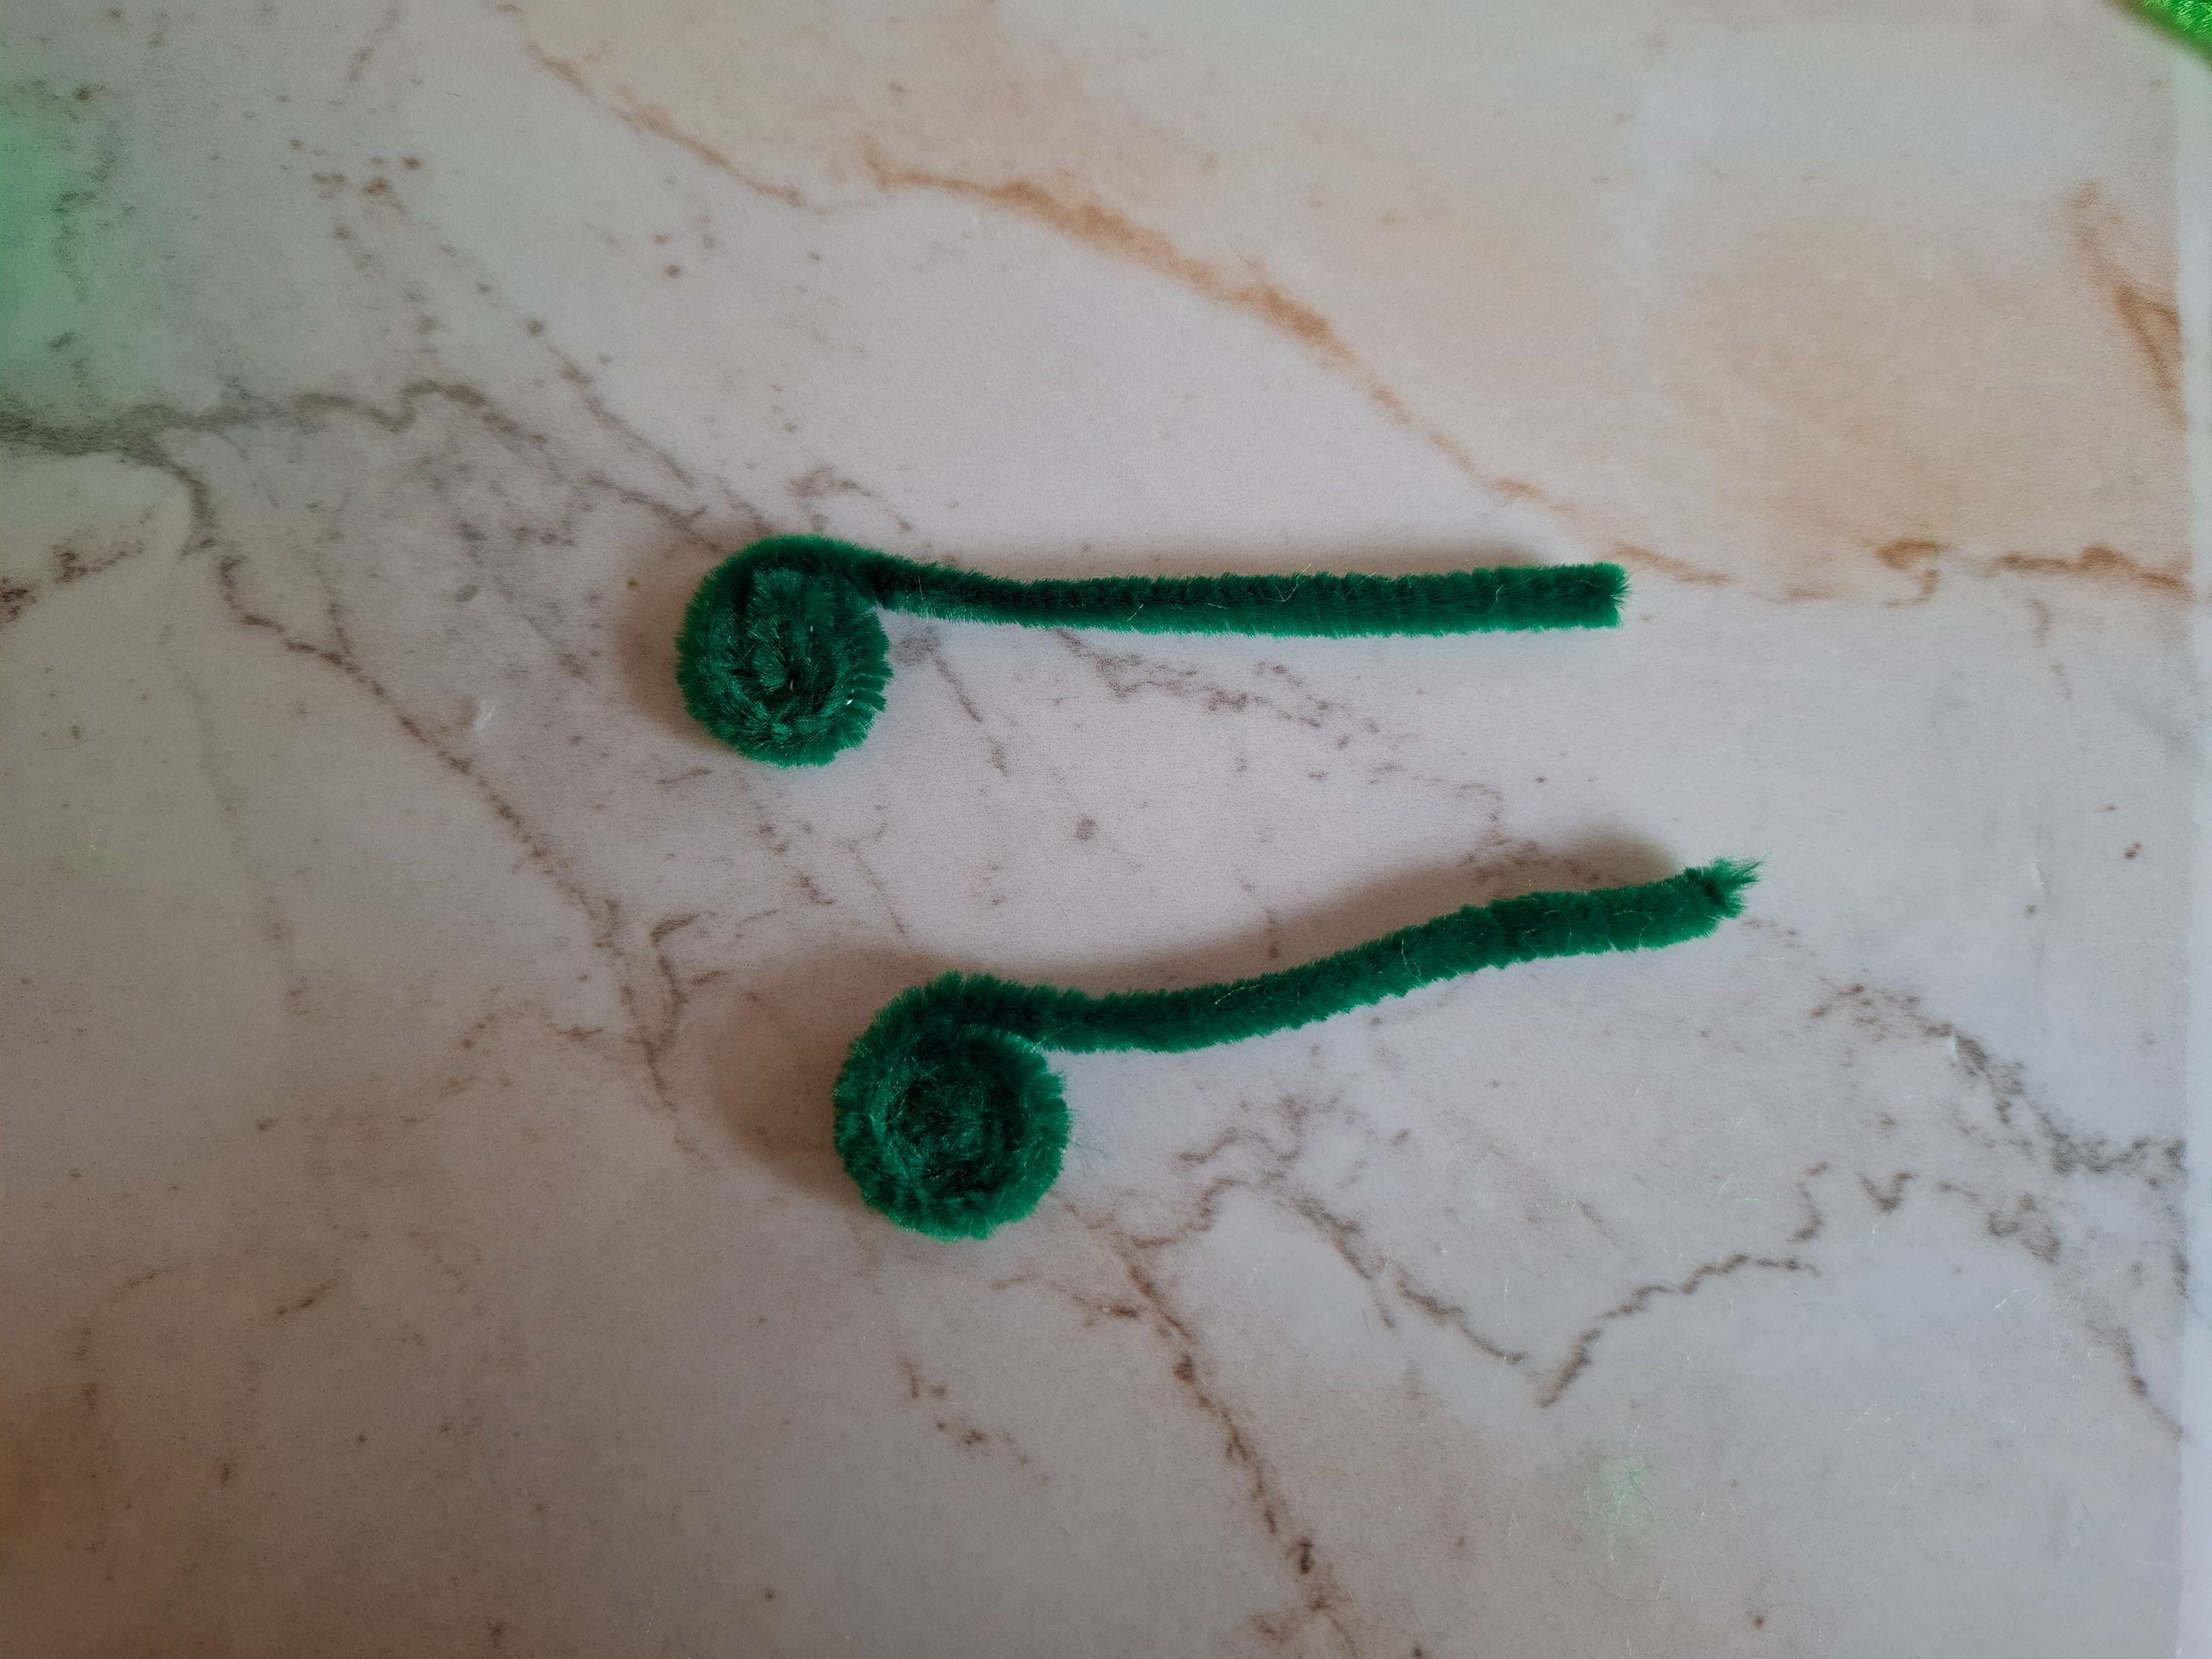
Ahora voy a realizar las patitas delanteras, para estoy voy a cortar un pequeño retazo de limpiapipas aproximadamente de 2 cm y voy a enrollar el limpiapipas verde hasta que quede con volumen, pegamos de ambos lados.
Now I'm going to make the front legs. For this, I'm going to cut a small piece of pipe cleaner, approximately 2 cm long, and I'm going to roll the green pipe cleaner until it has volume. We glue it on both sides.
 |
 |
|---|---|
 |
 |
|---|---|
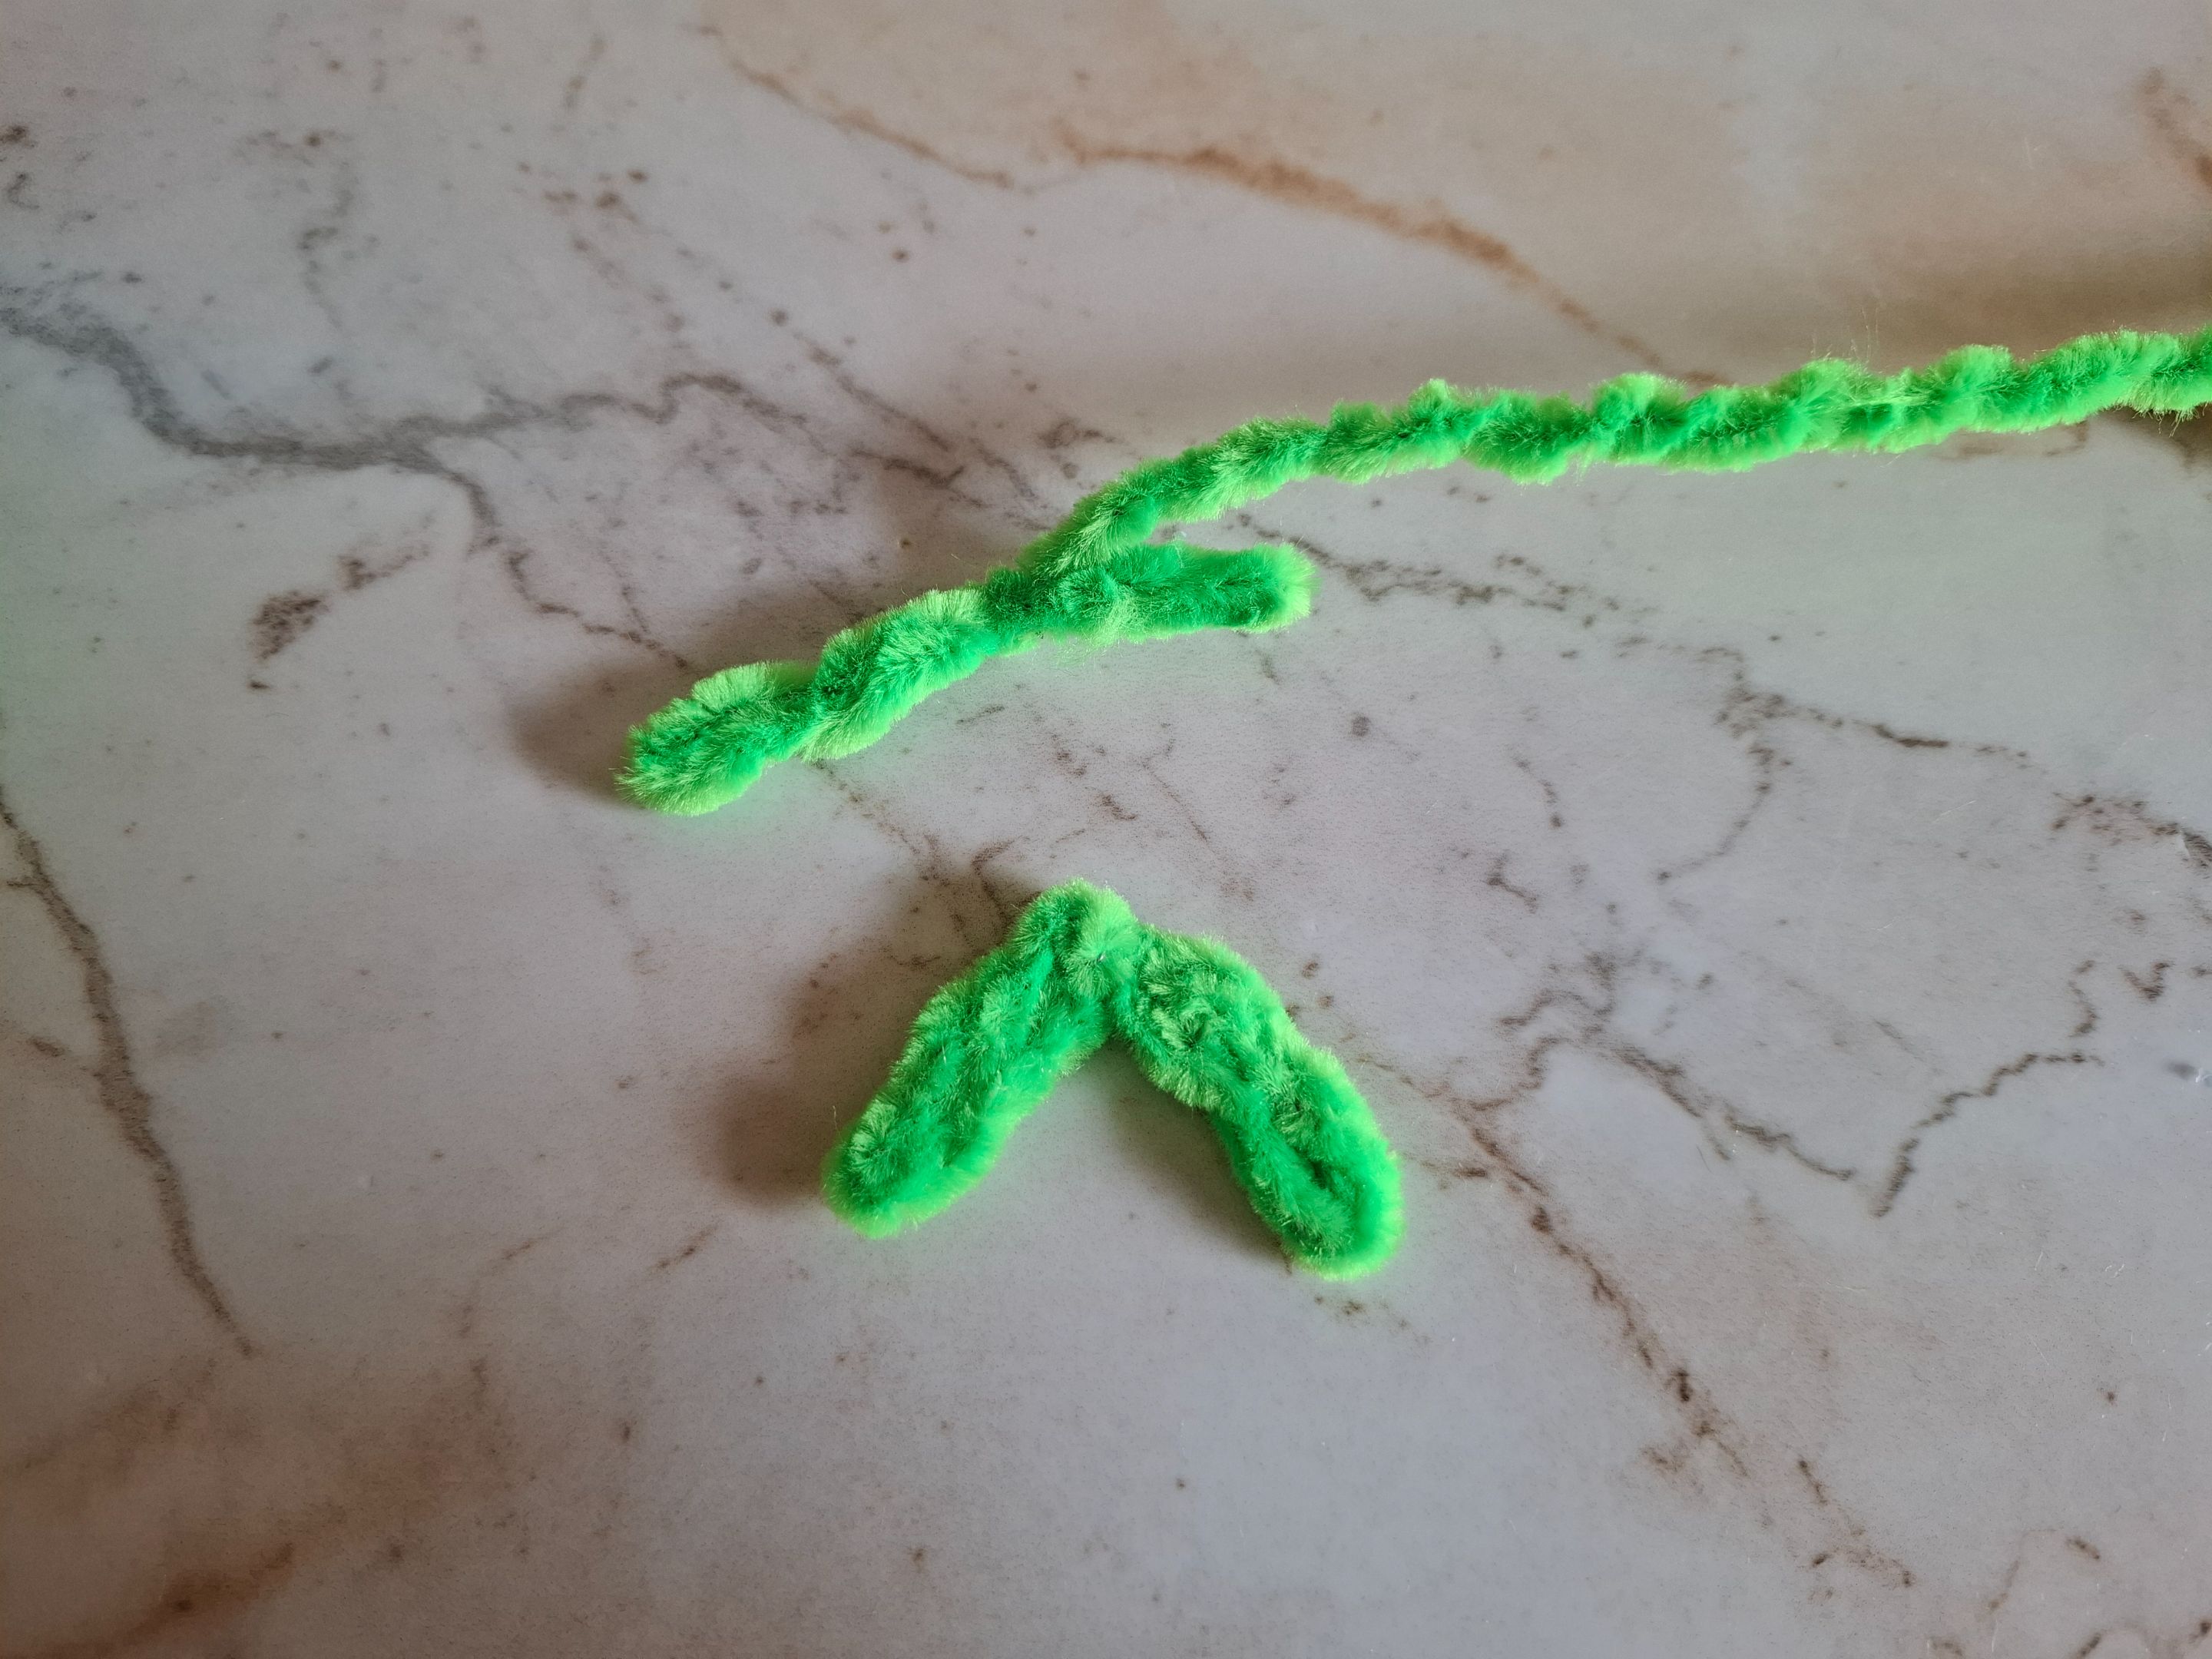
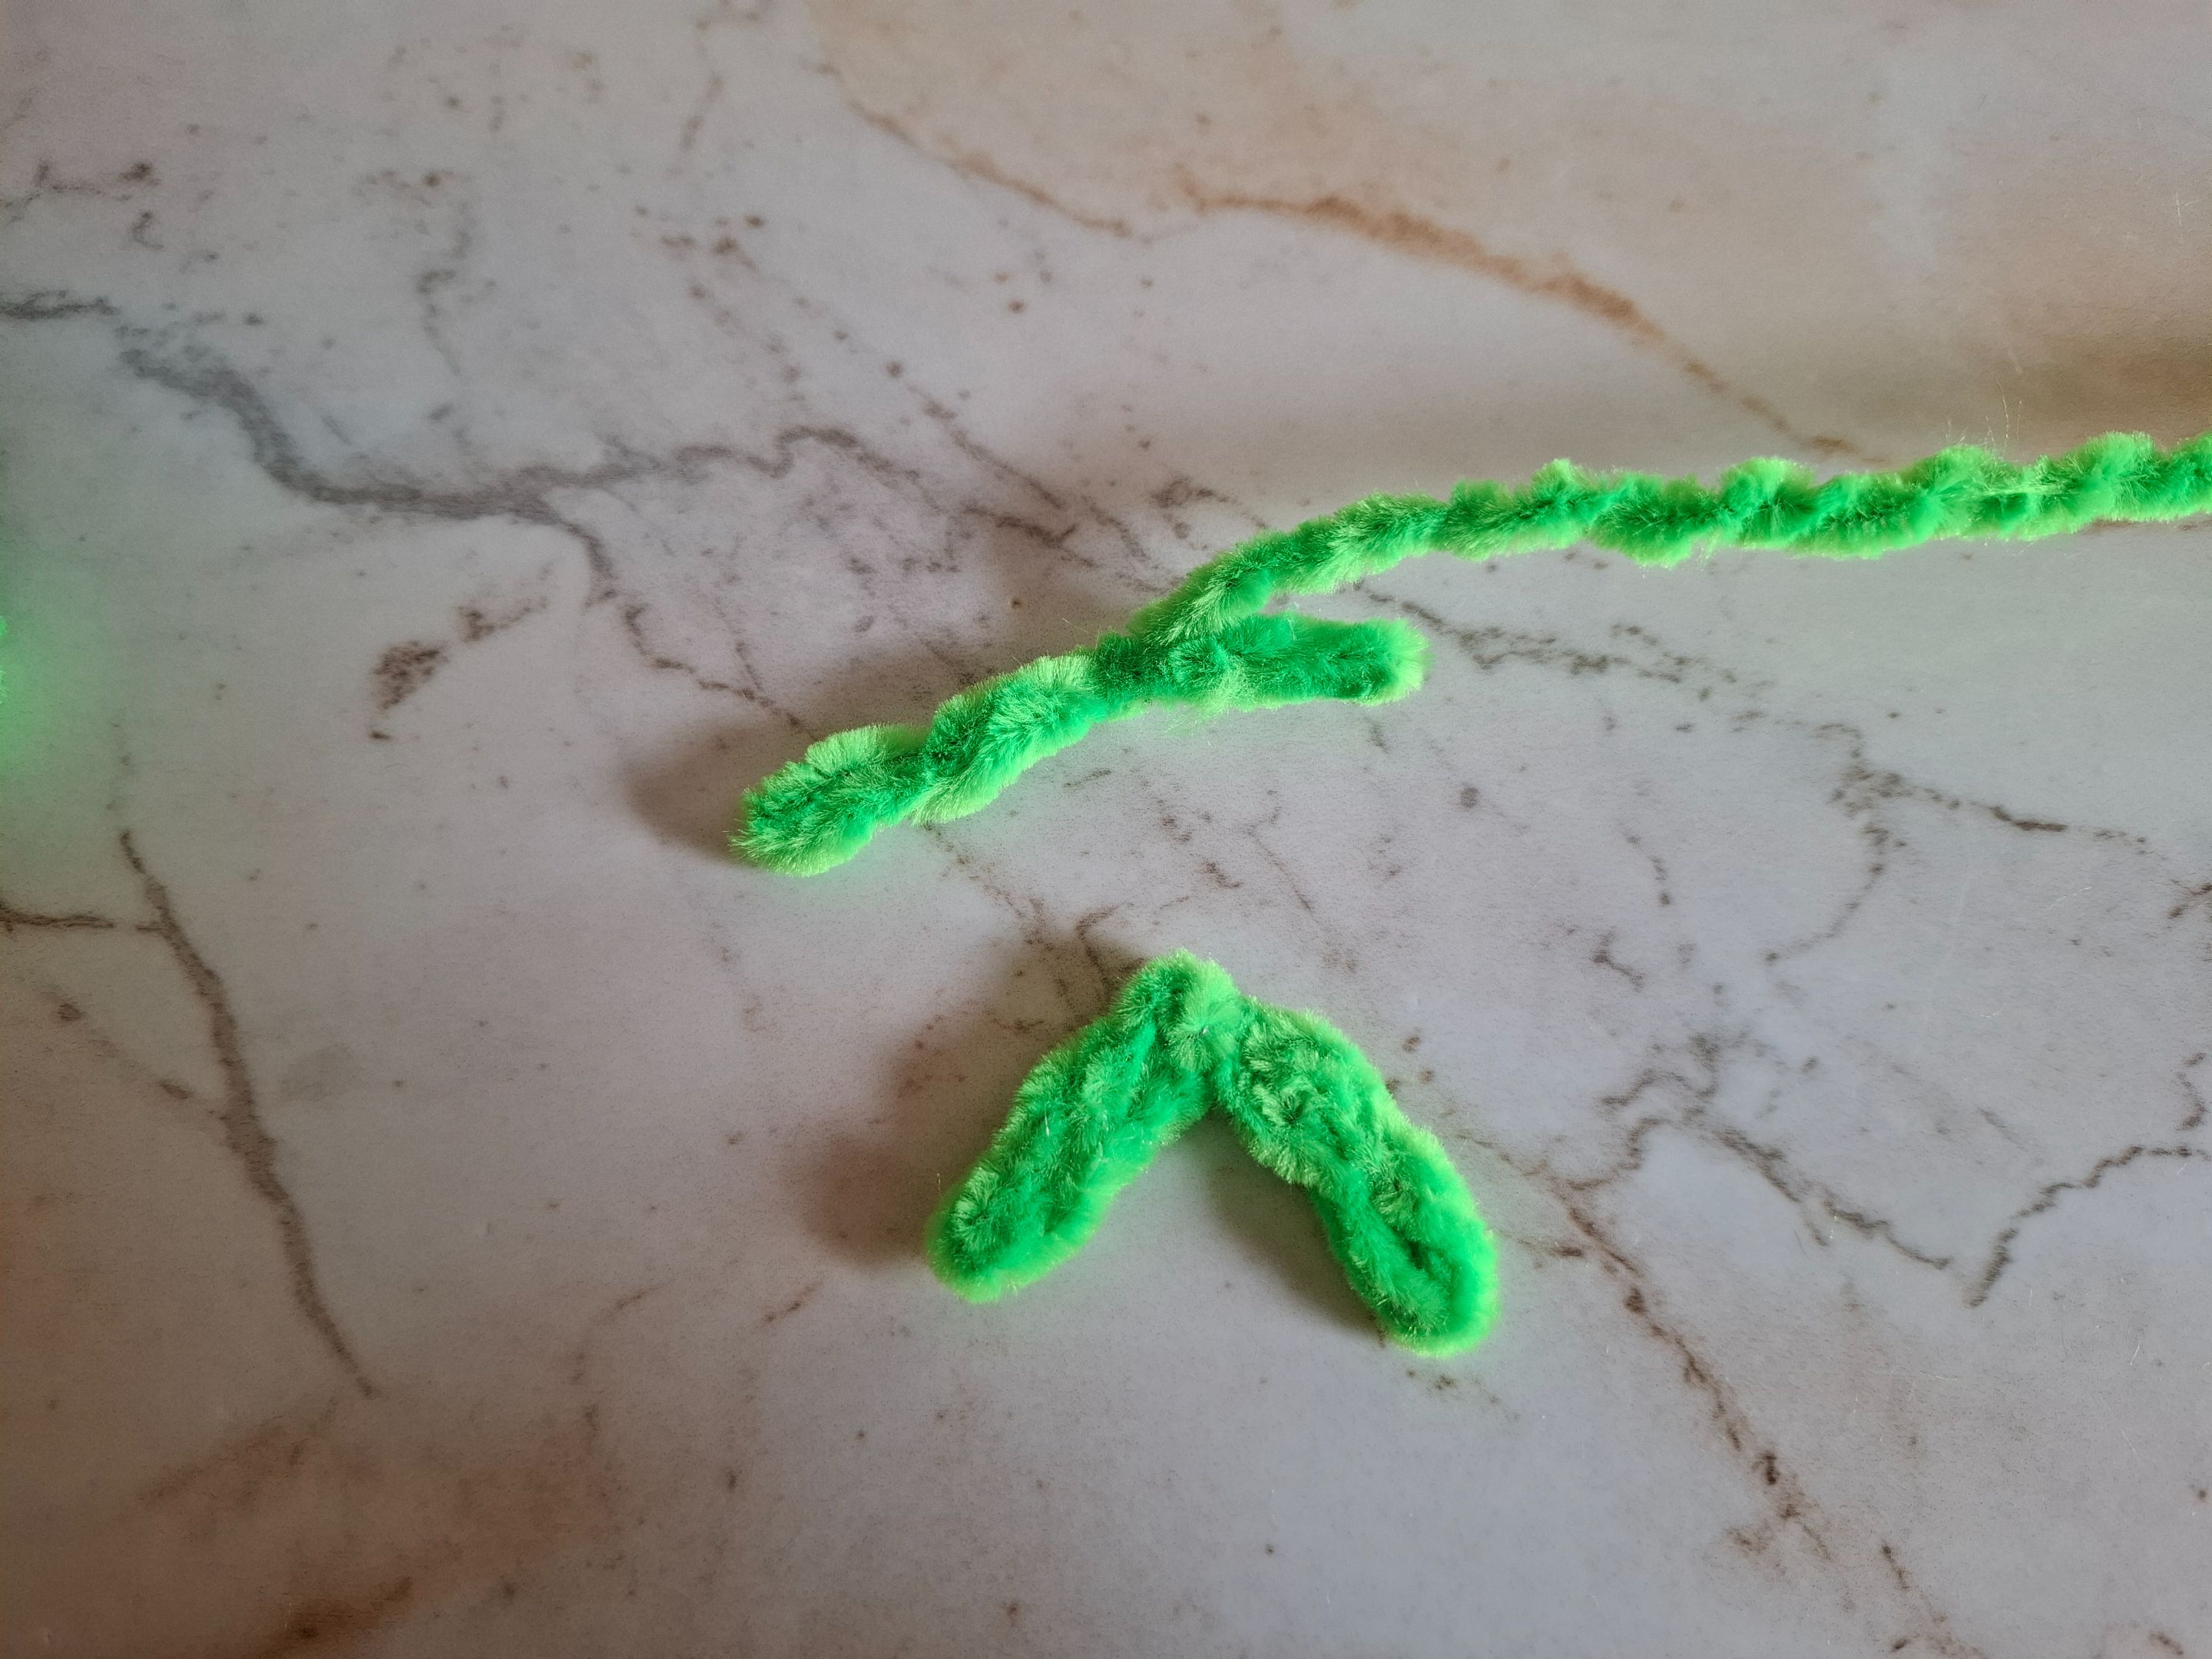
Para las patitas traseras voy a tomar un limpiapipas y medimos aproximadamente 2 cm con ayuda de una cinta métrica, realizamos un giro ahora del otro lado voy a medir 4 cm y realizamos el mismo procedimiento, ahora con el limpiapipas sobrante cubrimos hasta lograr cubrir completo, estas serán las patitas traseras.
For the hind legs, I'm going to take a pipe cleaner and measure approximately 2 cm with the help of a tape measure. We make a twist now on the other side I'm going to measure 4 cm and we do the same procedure. Now with the remaining pipe cleaner we cover until we completely cover it. These will be the hind legs.
 |
 |
 |
|---|---|---|
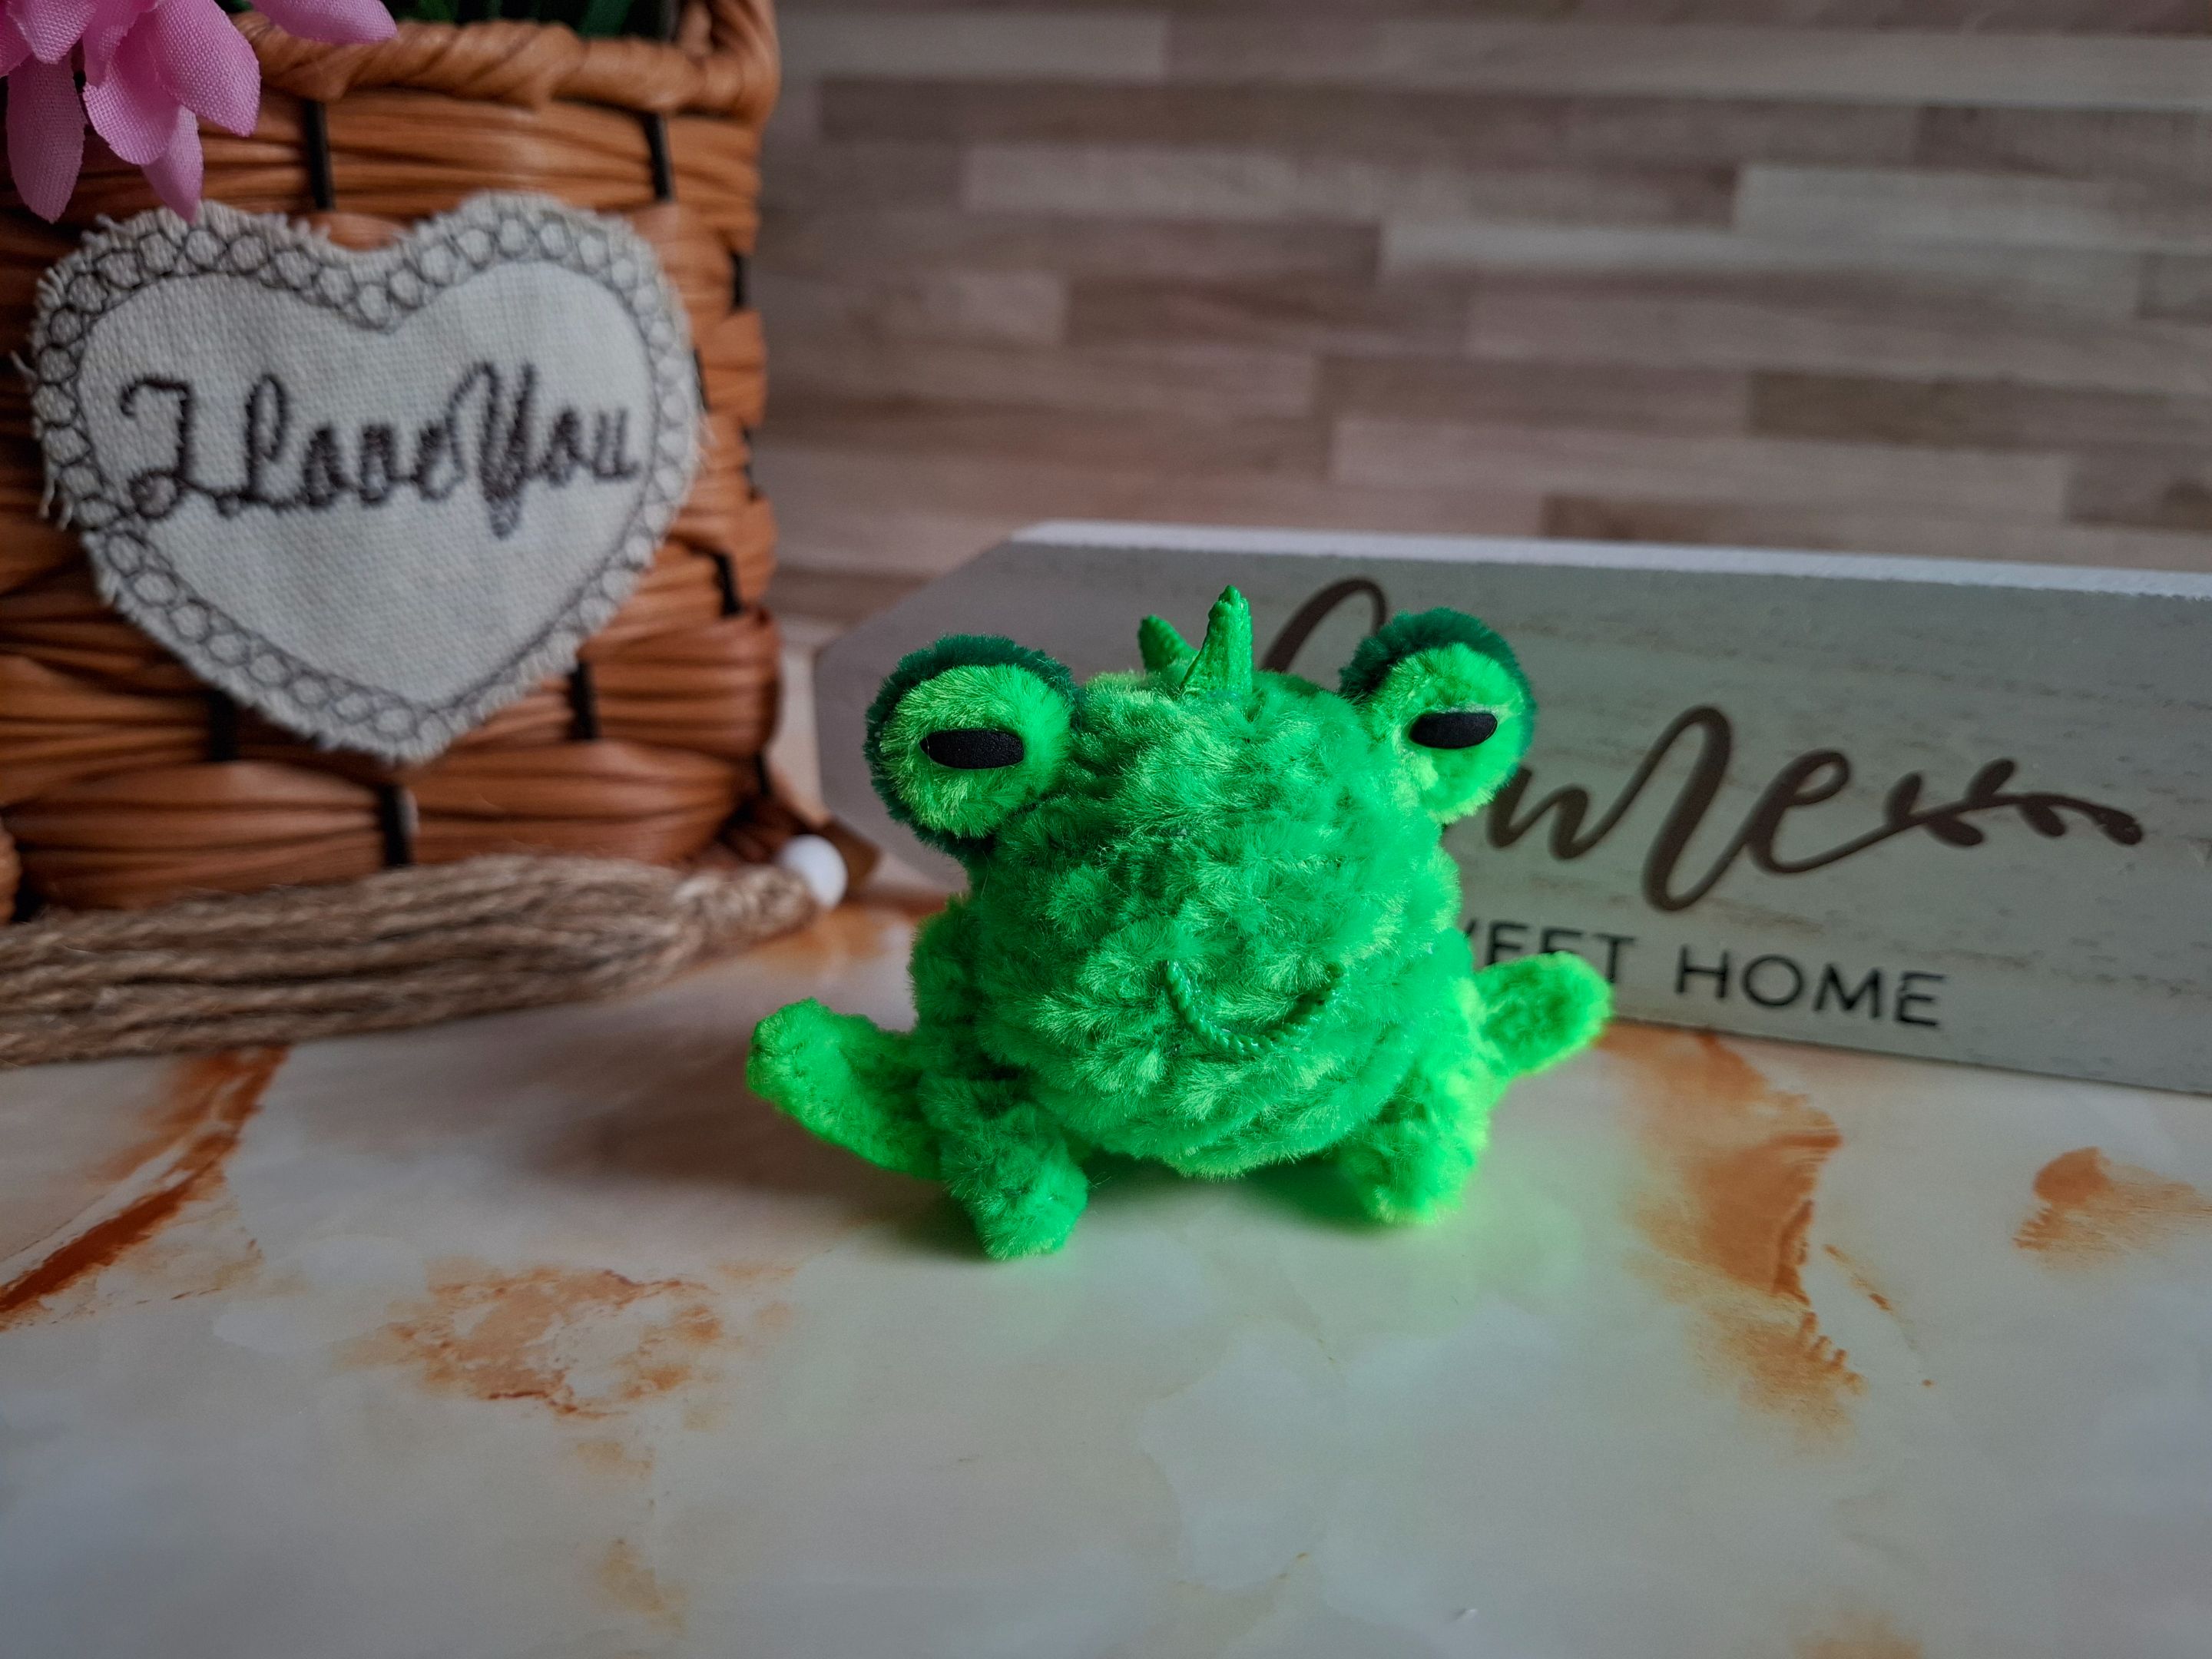
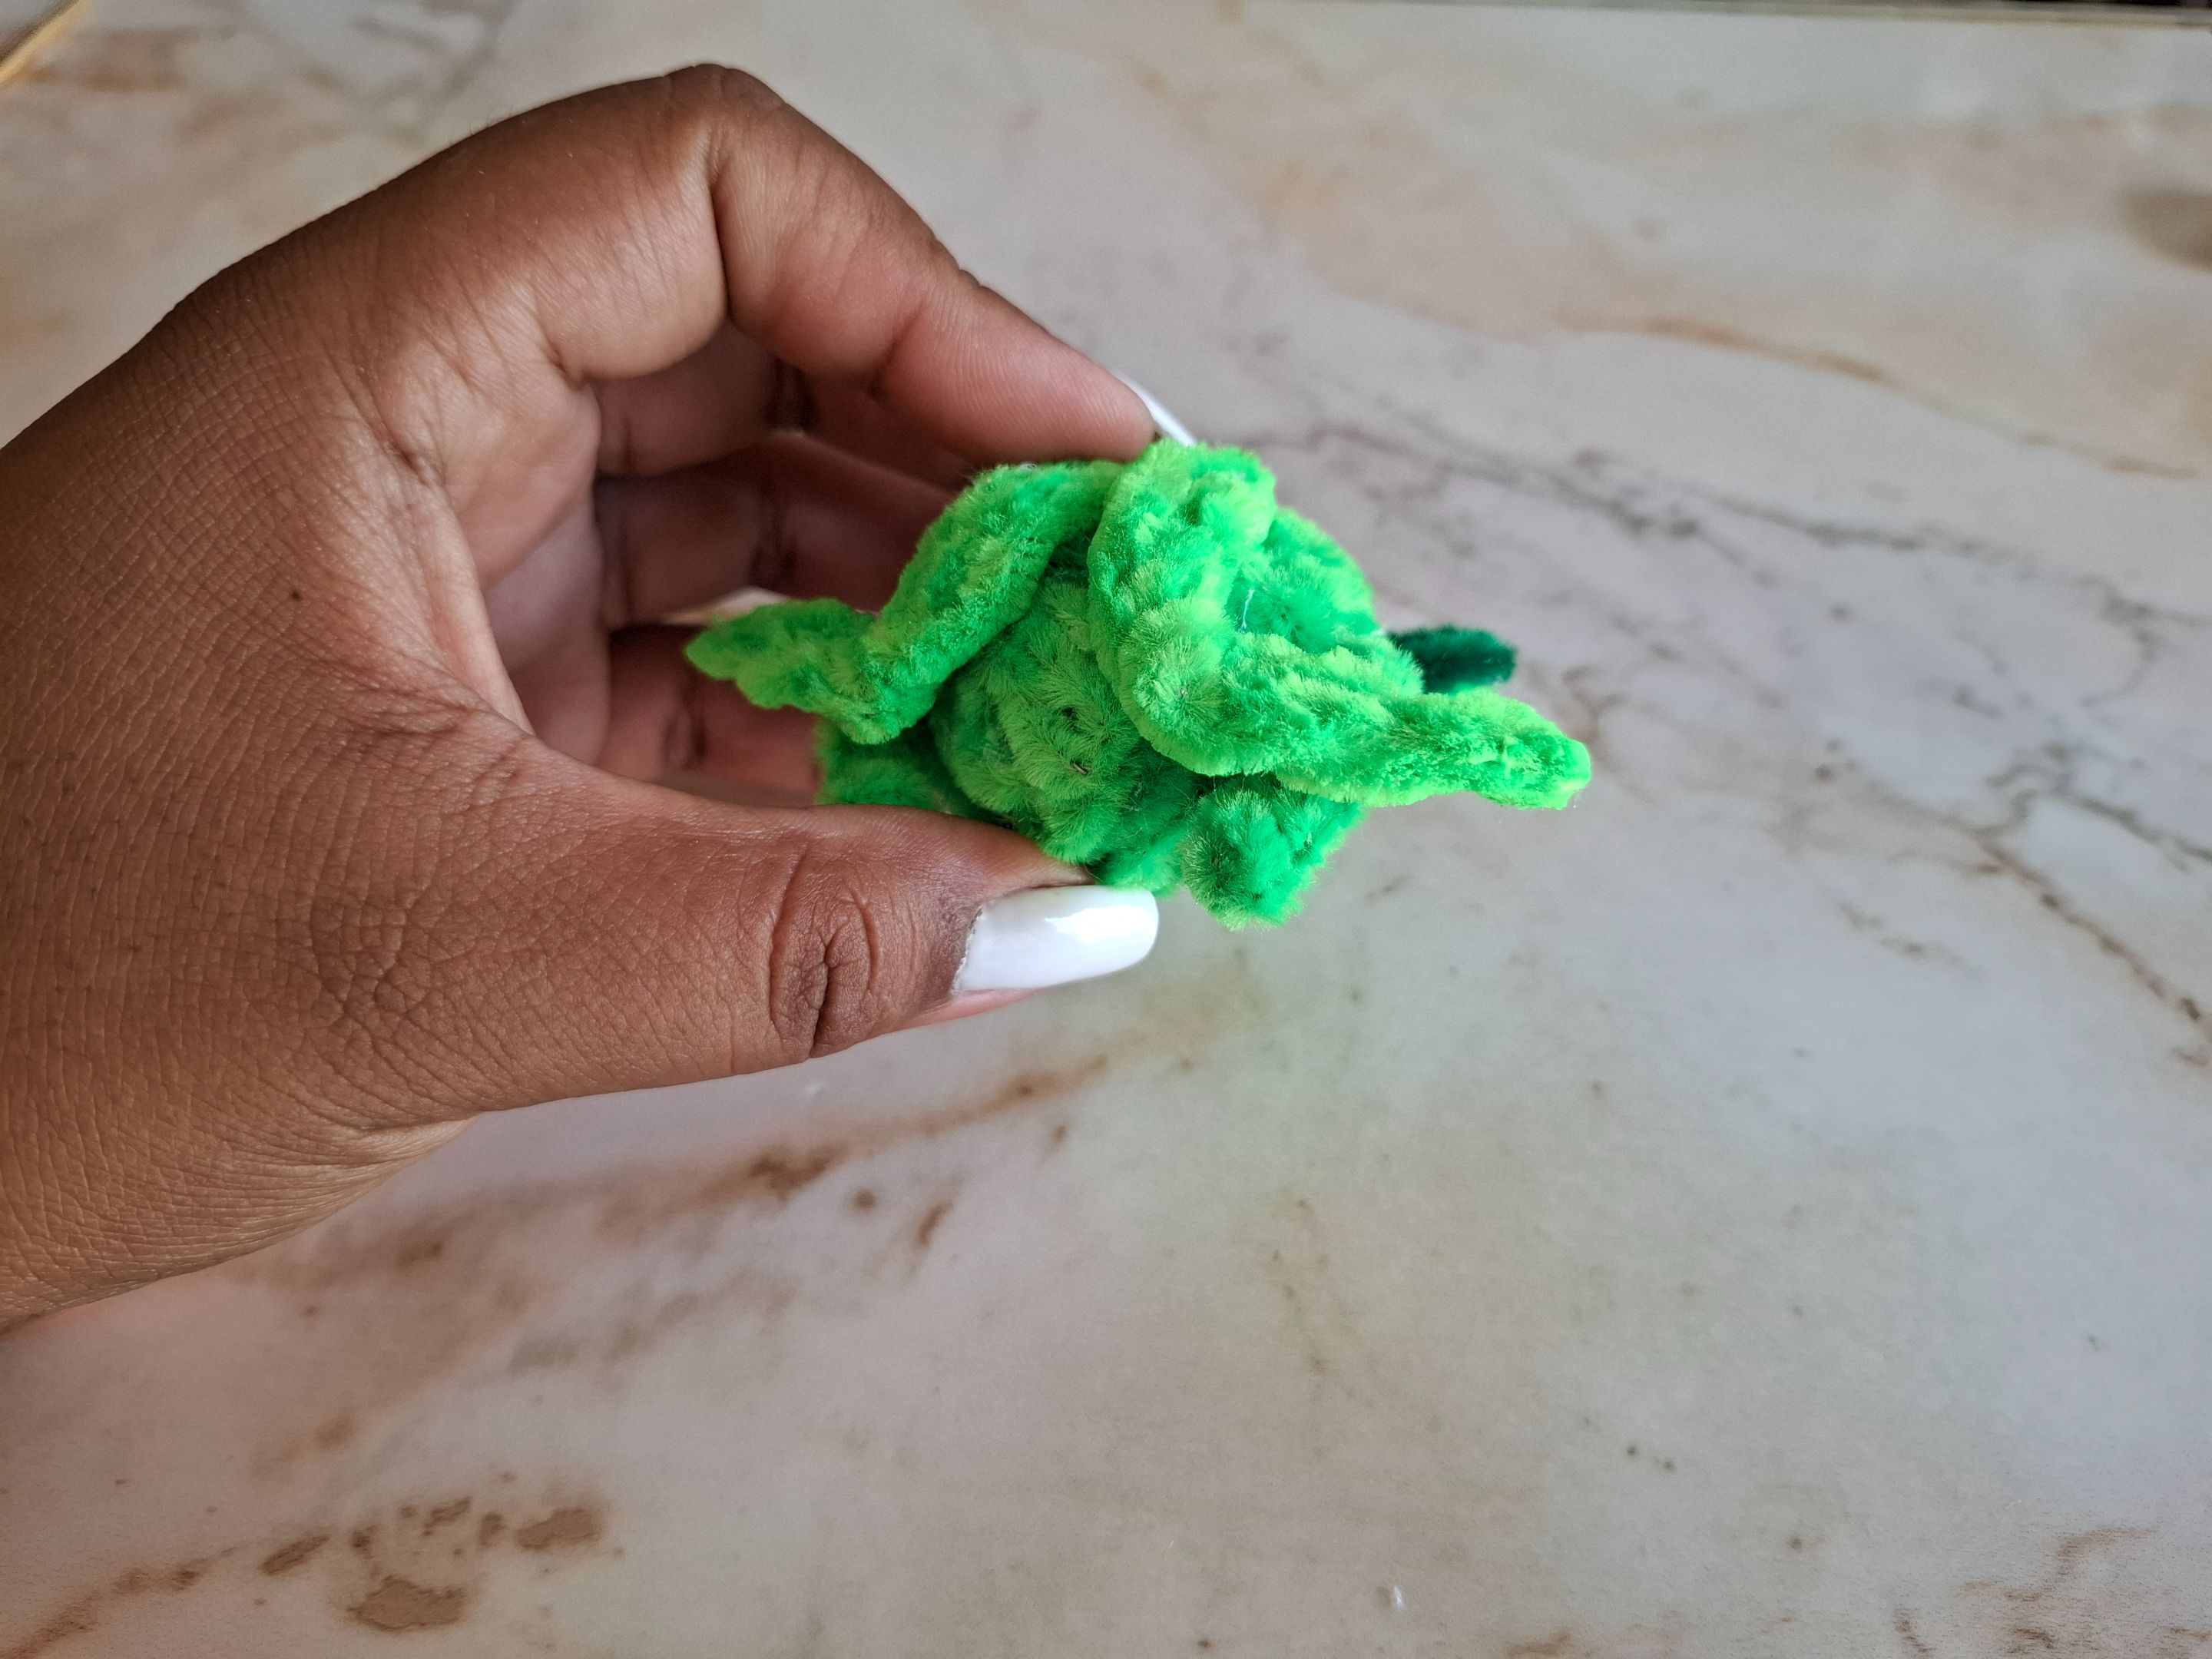
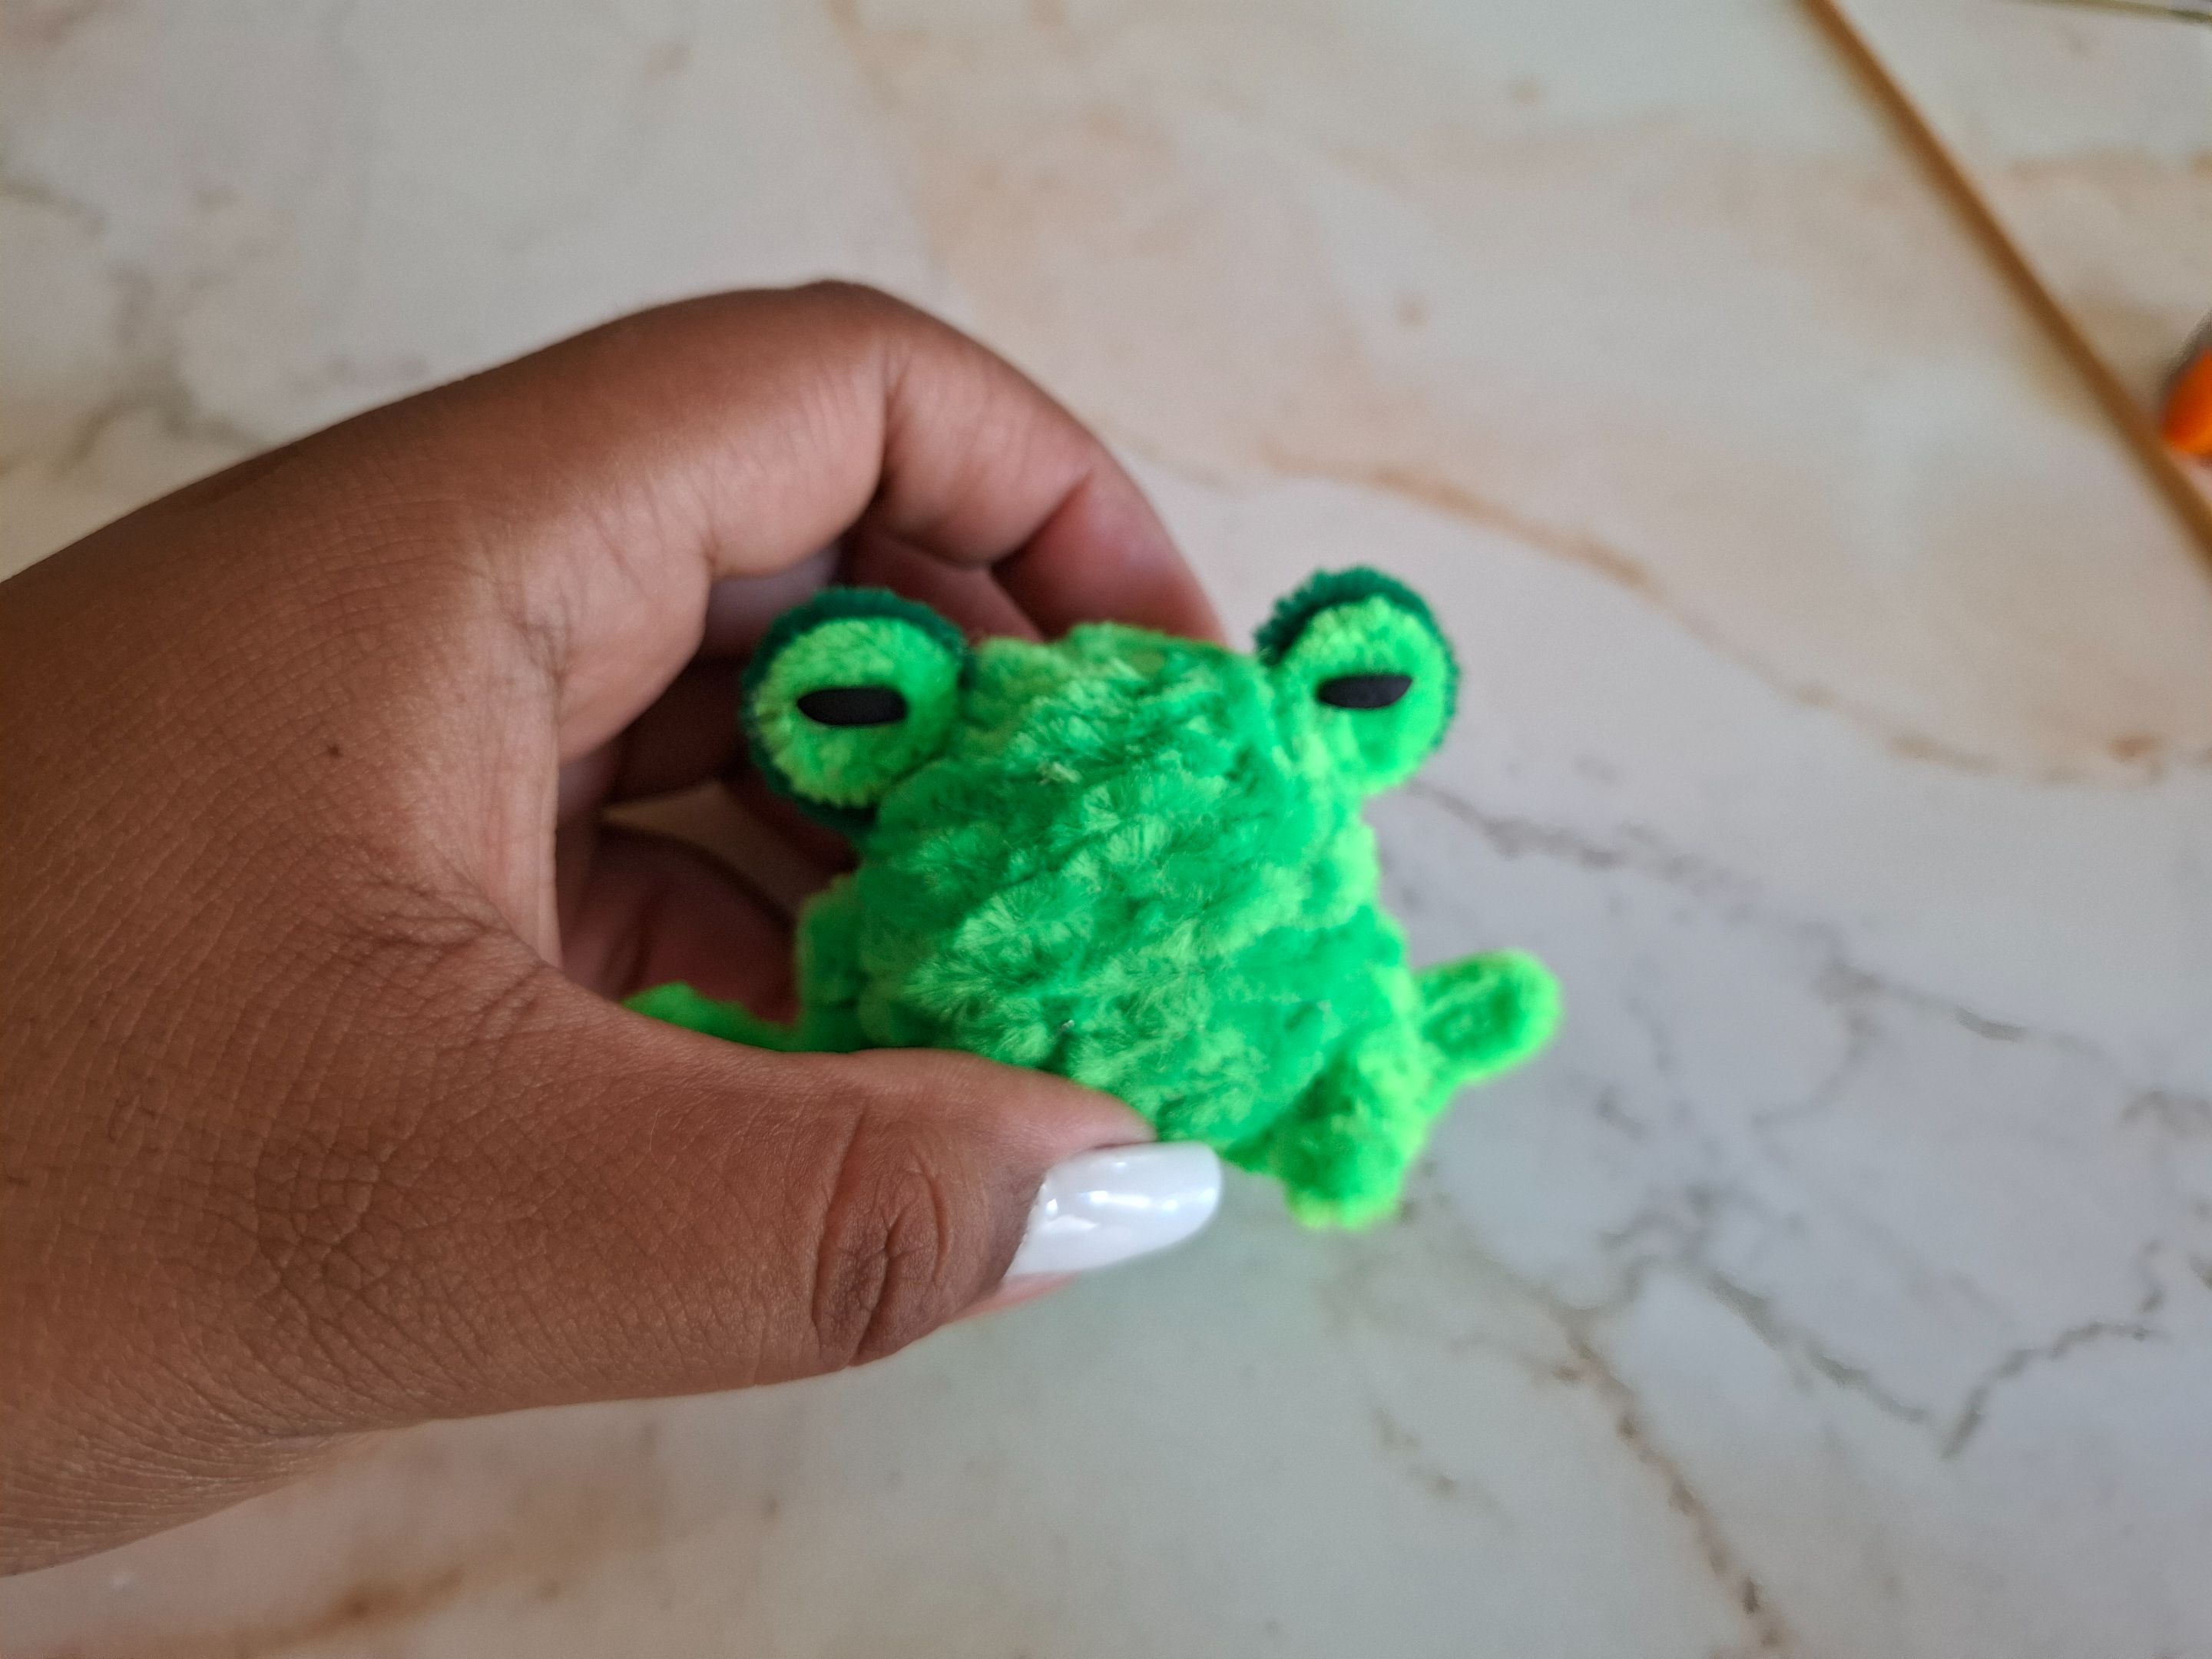
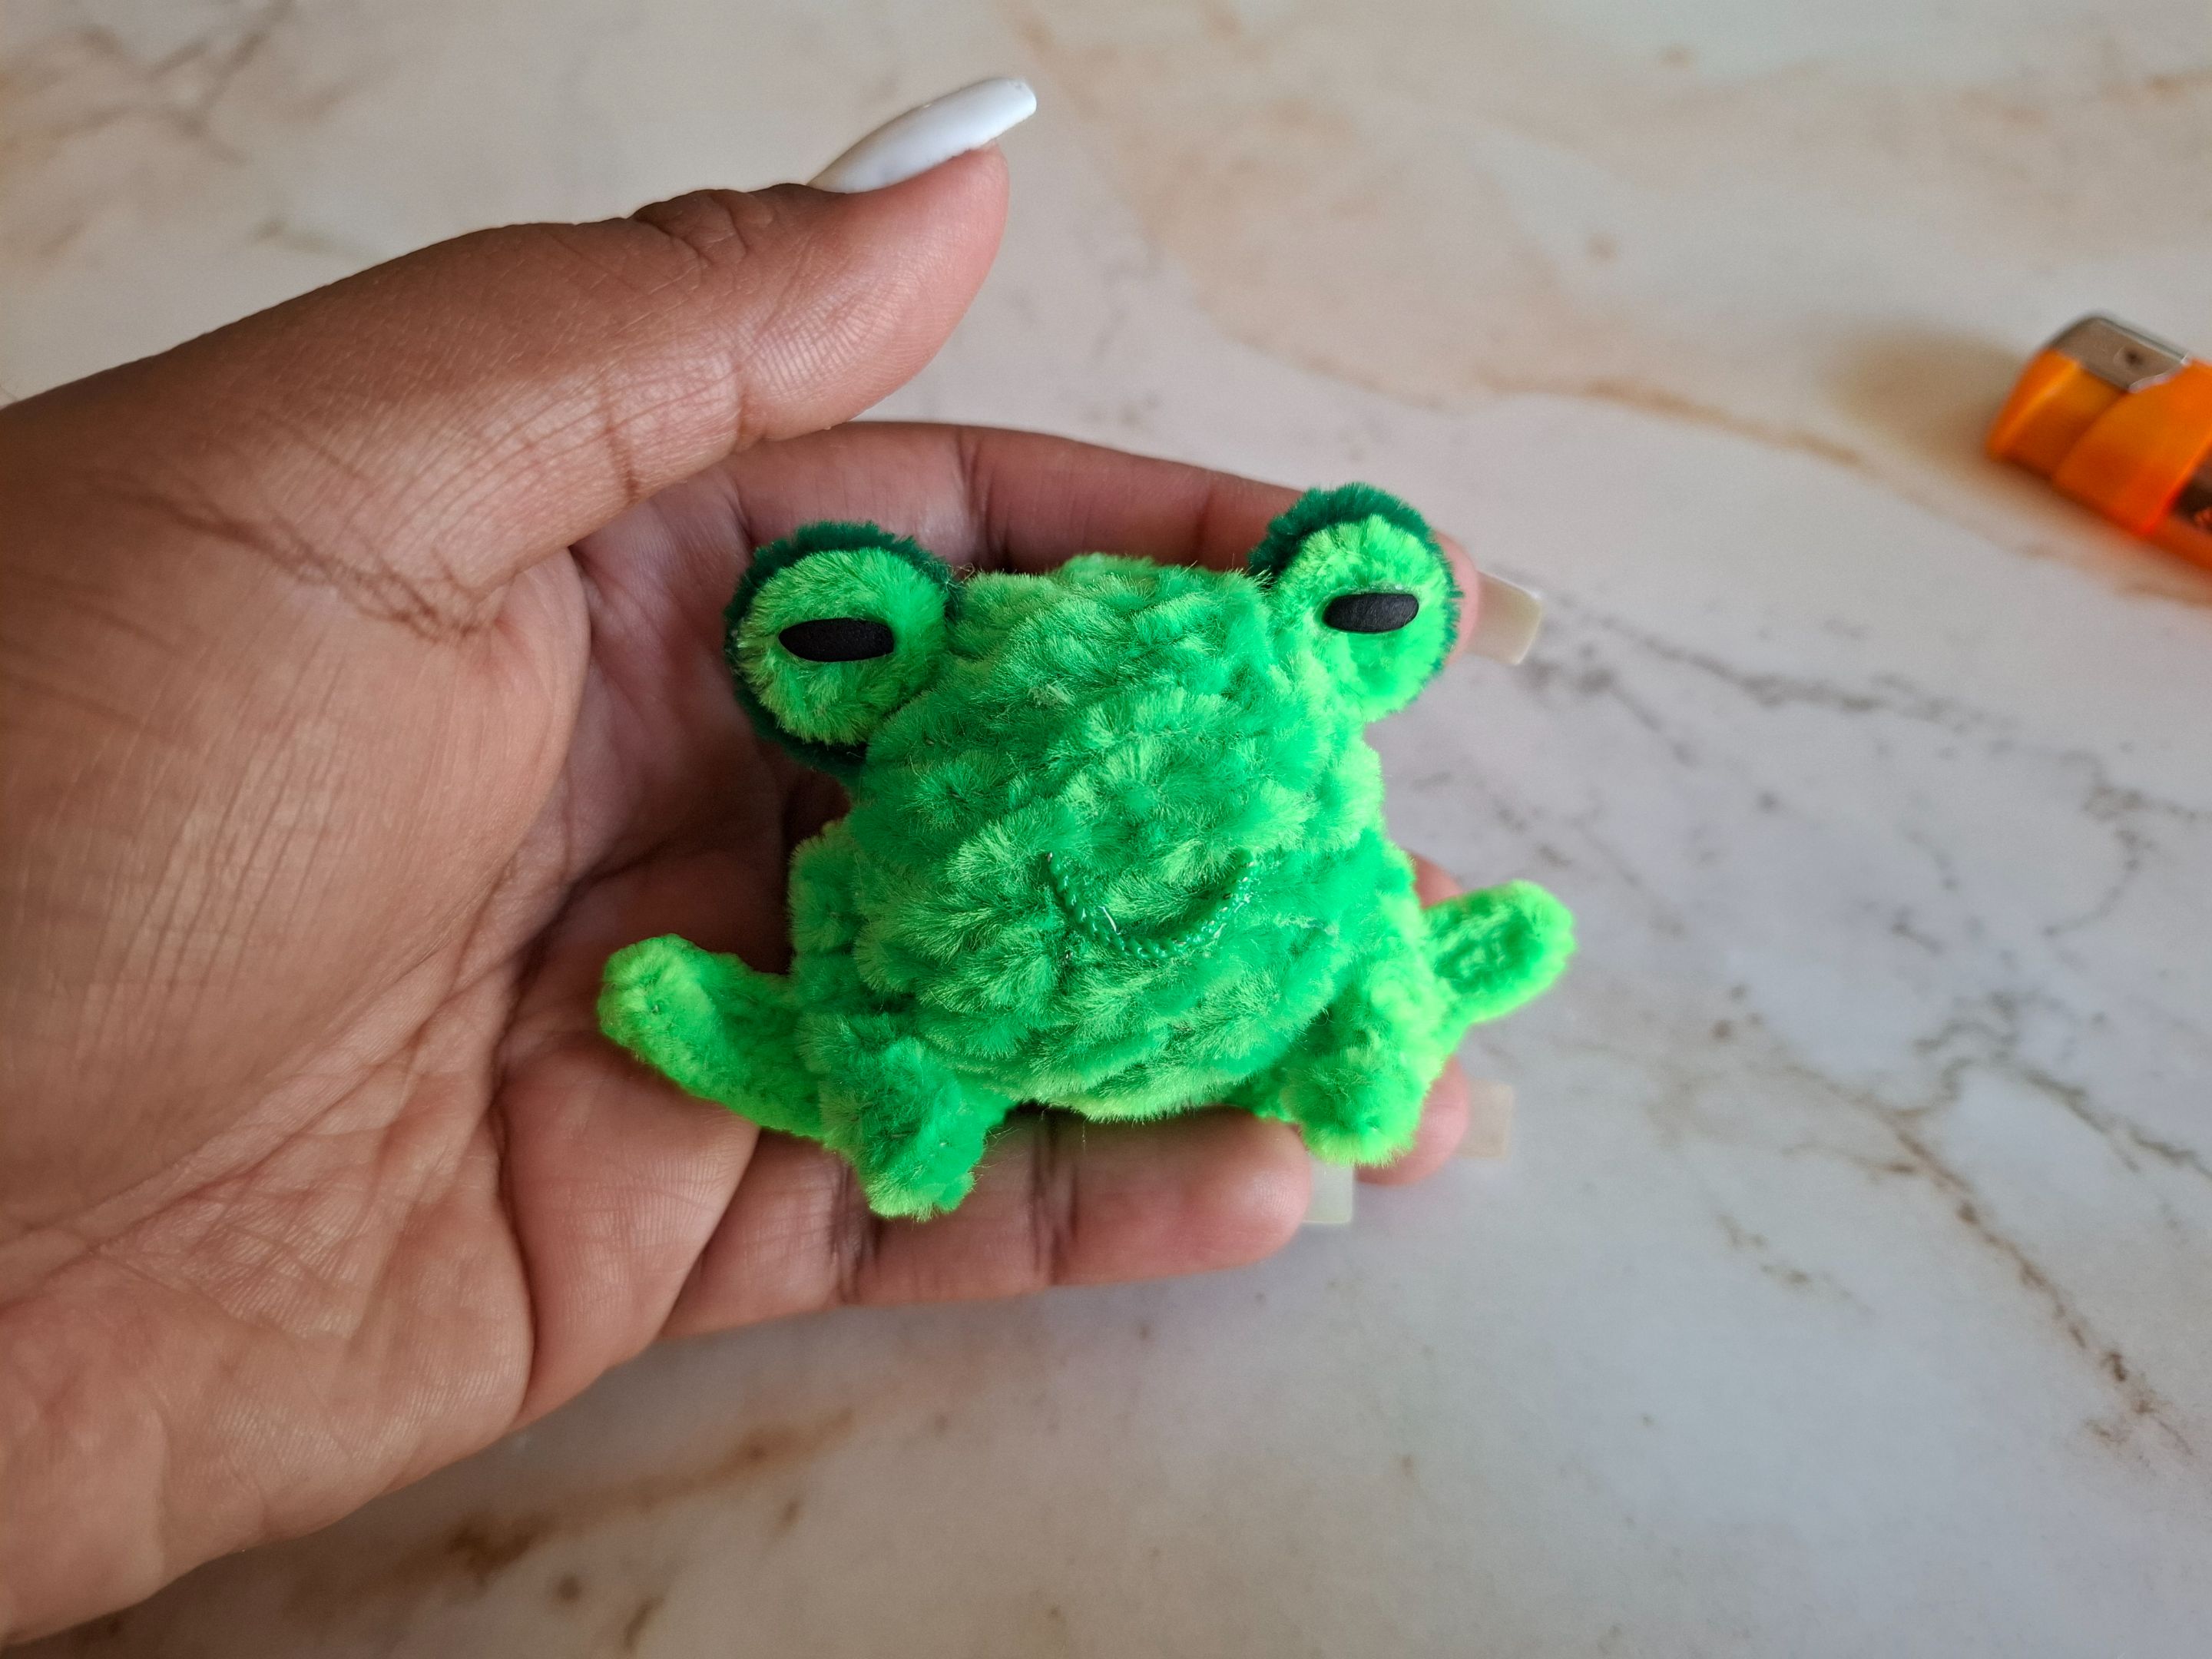
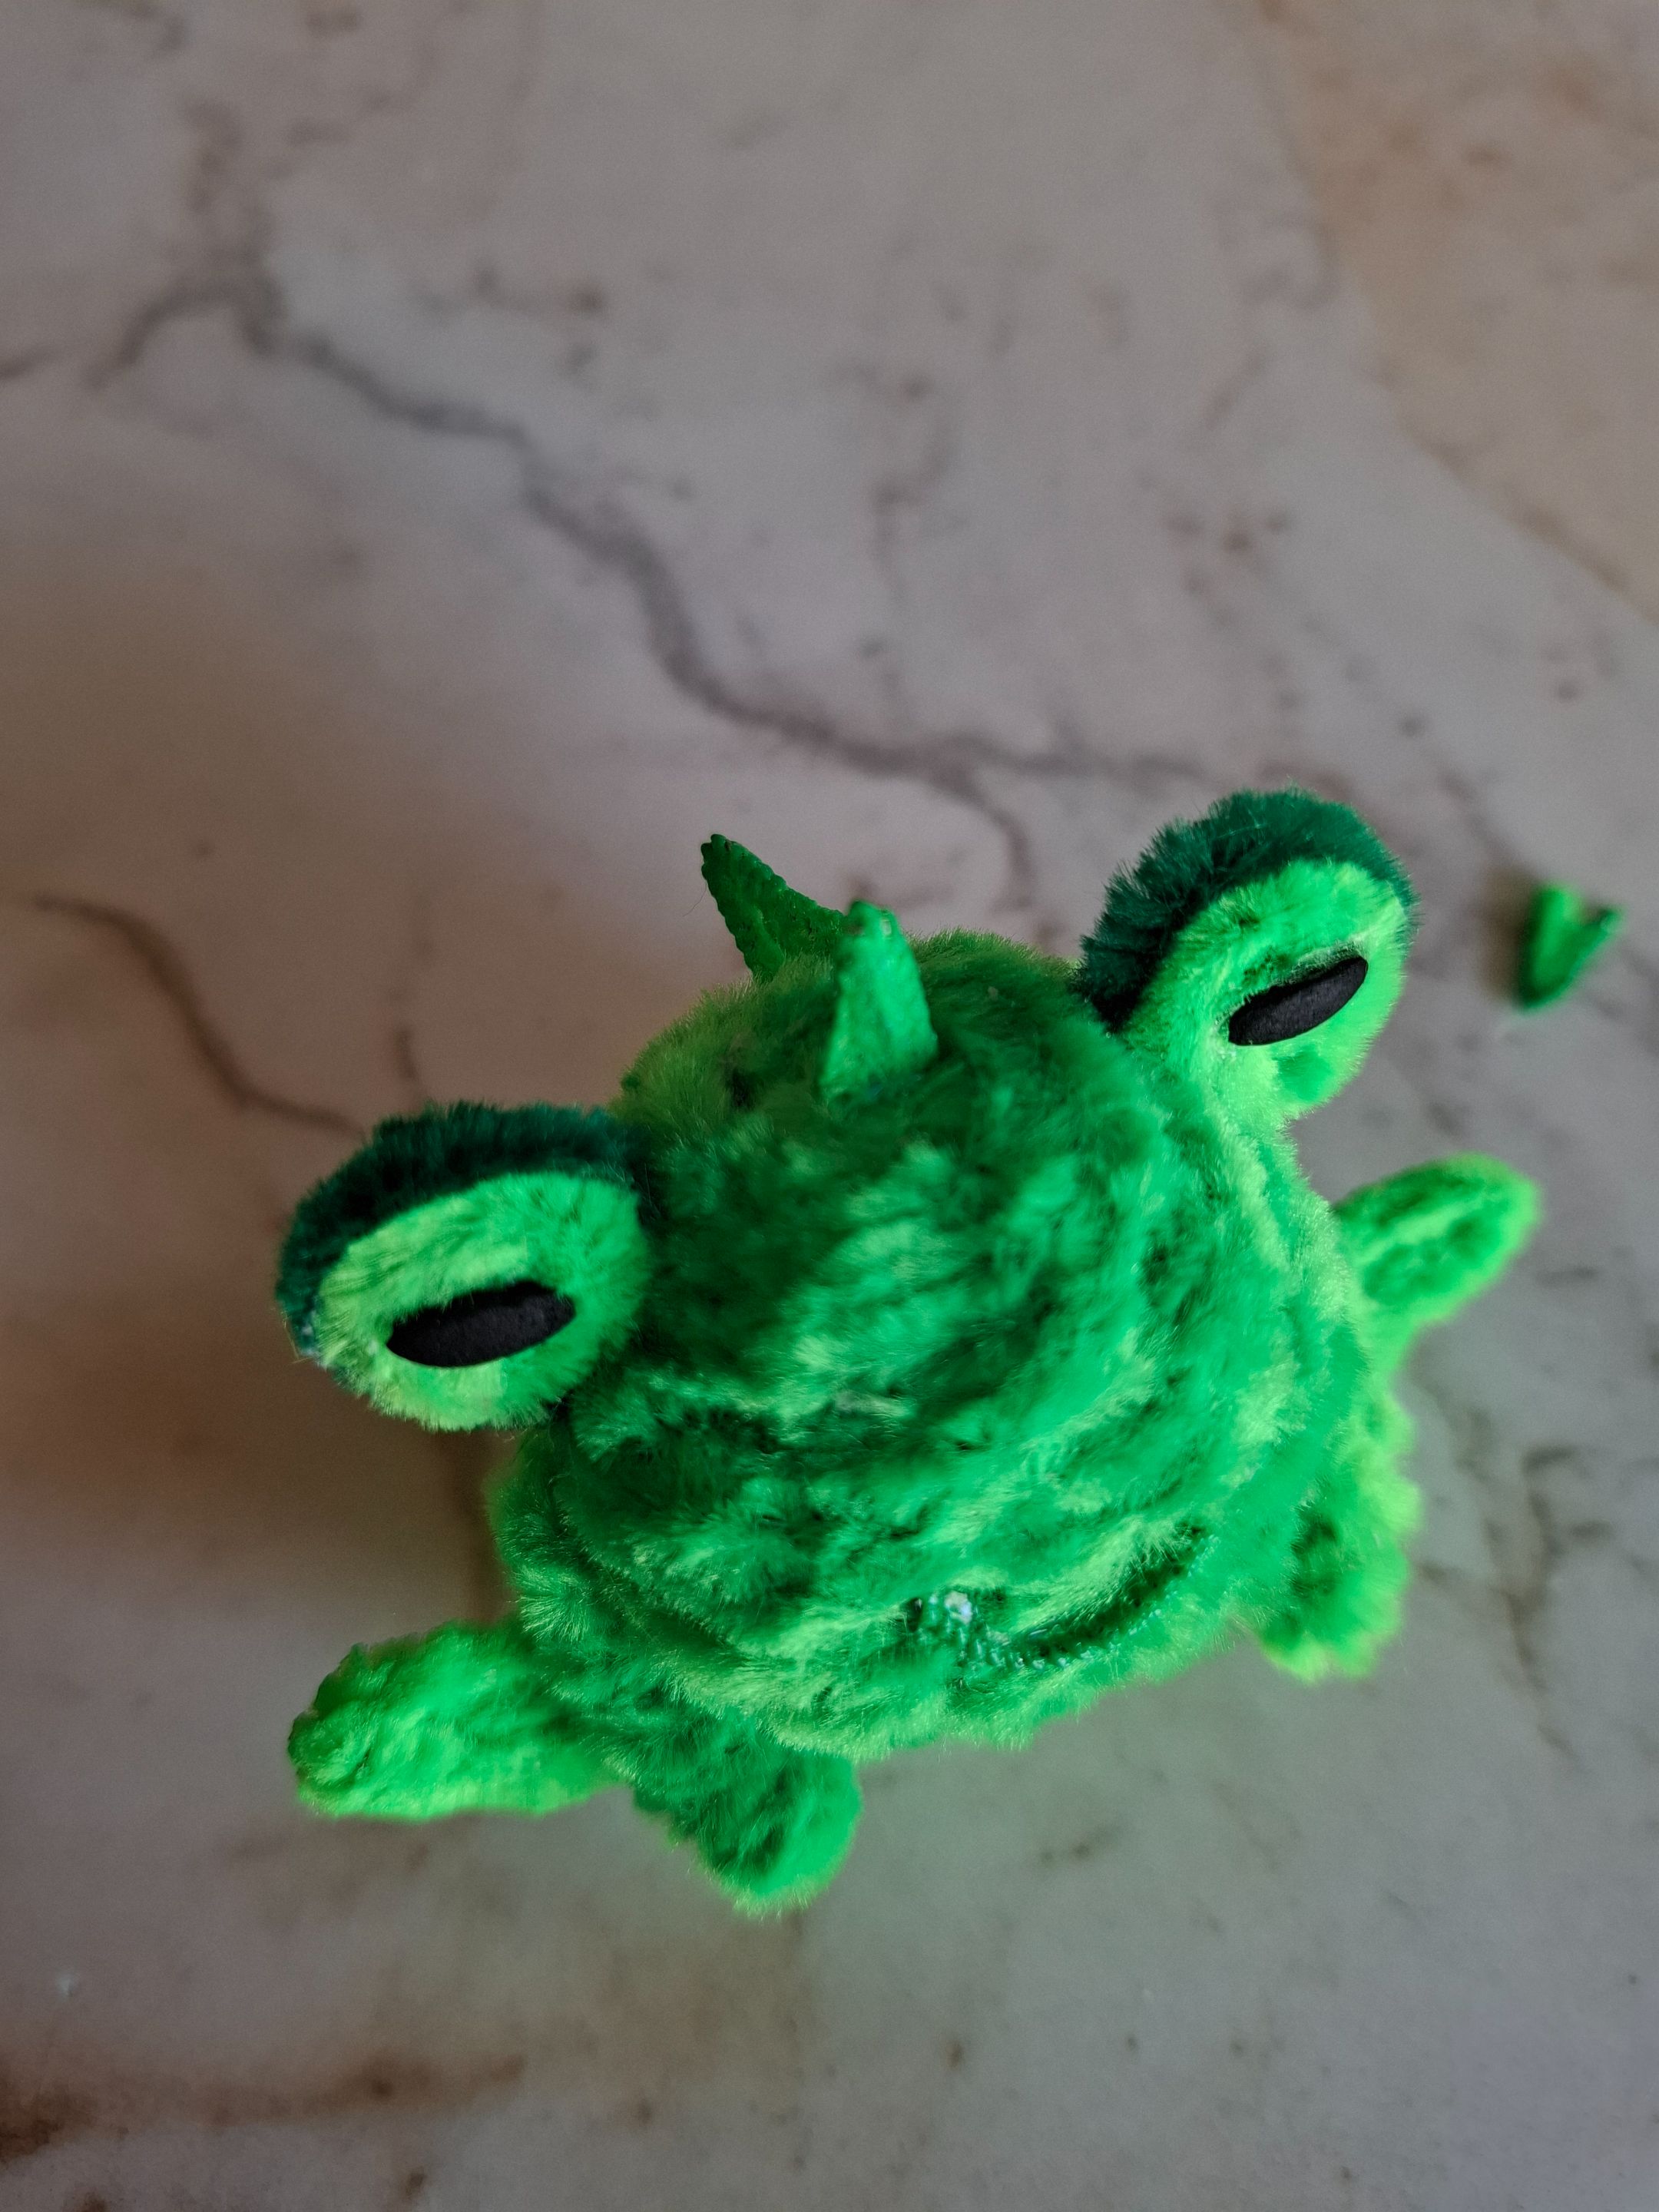
Con foami negro terminamos de realizar los ojitos, solo debes cortar dos franjas pequeñas y pasarlas a través de la plancha, con limpiapipas color verde realicé la boca utilicé solo el alambre sin pelusa para retirarls utilizas un encendedor, también realicé dos de las espinas que lleva en su cuerpo, las ubique cerca de la cabeza, y de esta forma terminé al Sapo cornudo, espero les haya gustado el resultado, estoy muy agradecida por el apoyo, recibido, agradezco mucho sus comentarios tanto a las personas que hacen parte de esta comunidad como también de Splinterlands, nos vemos en una próxima oportunidad con más ideas creativas.
With black foam we finished making the eyes, you just have to cut two small strips and pass them through the iron, with green pipe cleaners I made the mouth I used only the lint-free wire to remove them use a lighter, I also made two of the thorns that it has on its body, I placed them near the head, and in this way I finished the Horned Toad, I hope you liked the result, I am very grateful for the support, received, I greatly appreciate your comments both to the people who are part of this community as well as Splinterlands, see you in a next opportunity with more creative ideas.
 |
 |
|---|---|
Más del resultado final:
More of the final result: