**
ESPAÑOL
**
Hola amigos de la comunidad de Diyhub, ¿cómo están? Dios les bendiga, espero que se encuentren muy bien y que la estén pasando increíble. Gracias a Dios estoy nuevamente por aca, cómo siempre, aprendiendo de todo ustedes y compartiendo un poco de mis conocimientos.
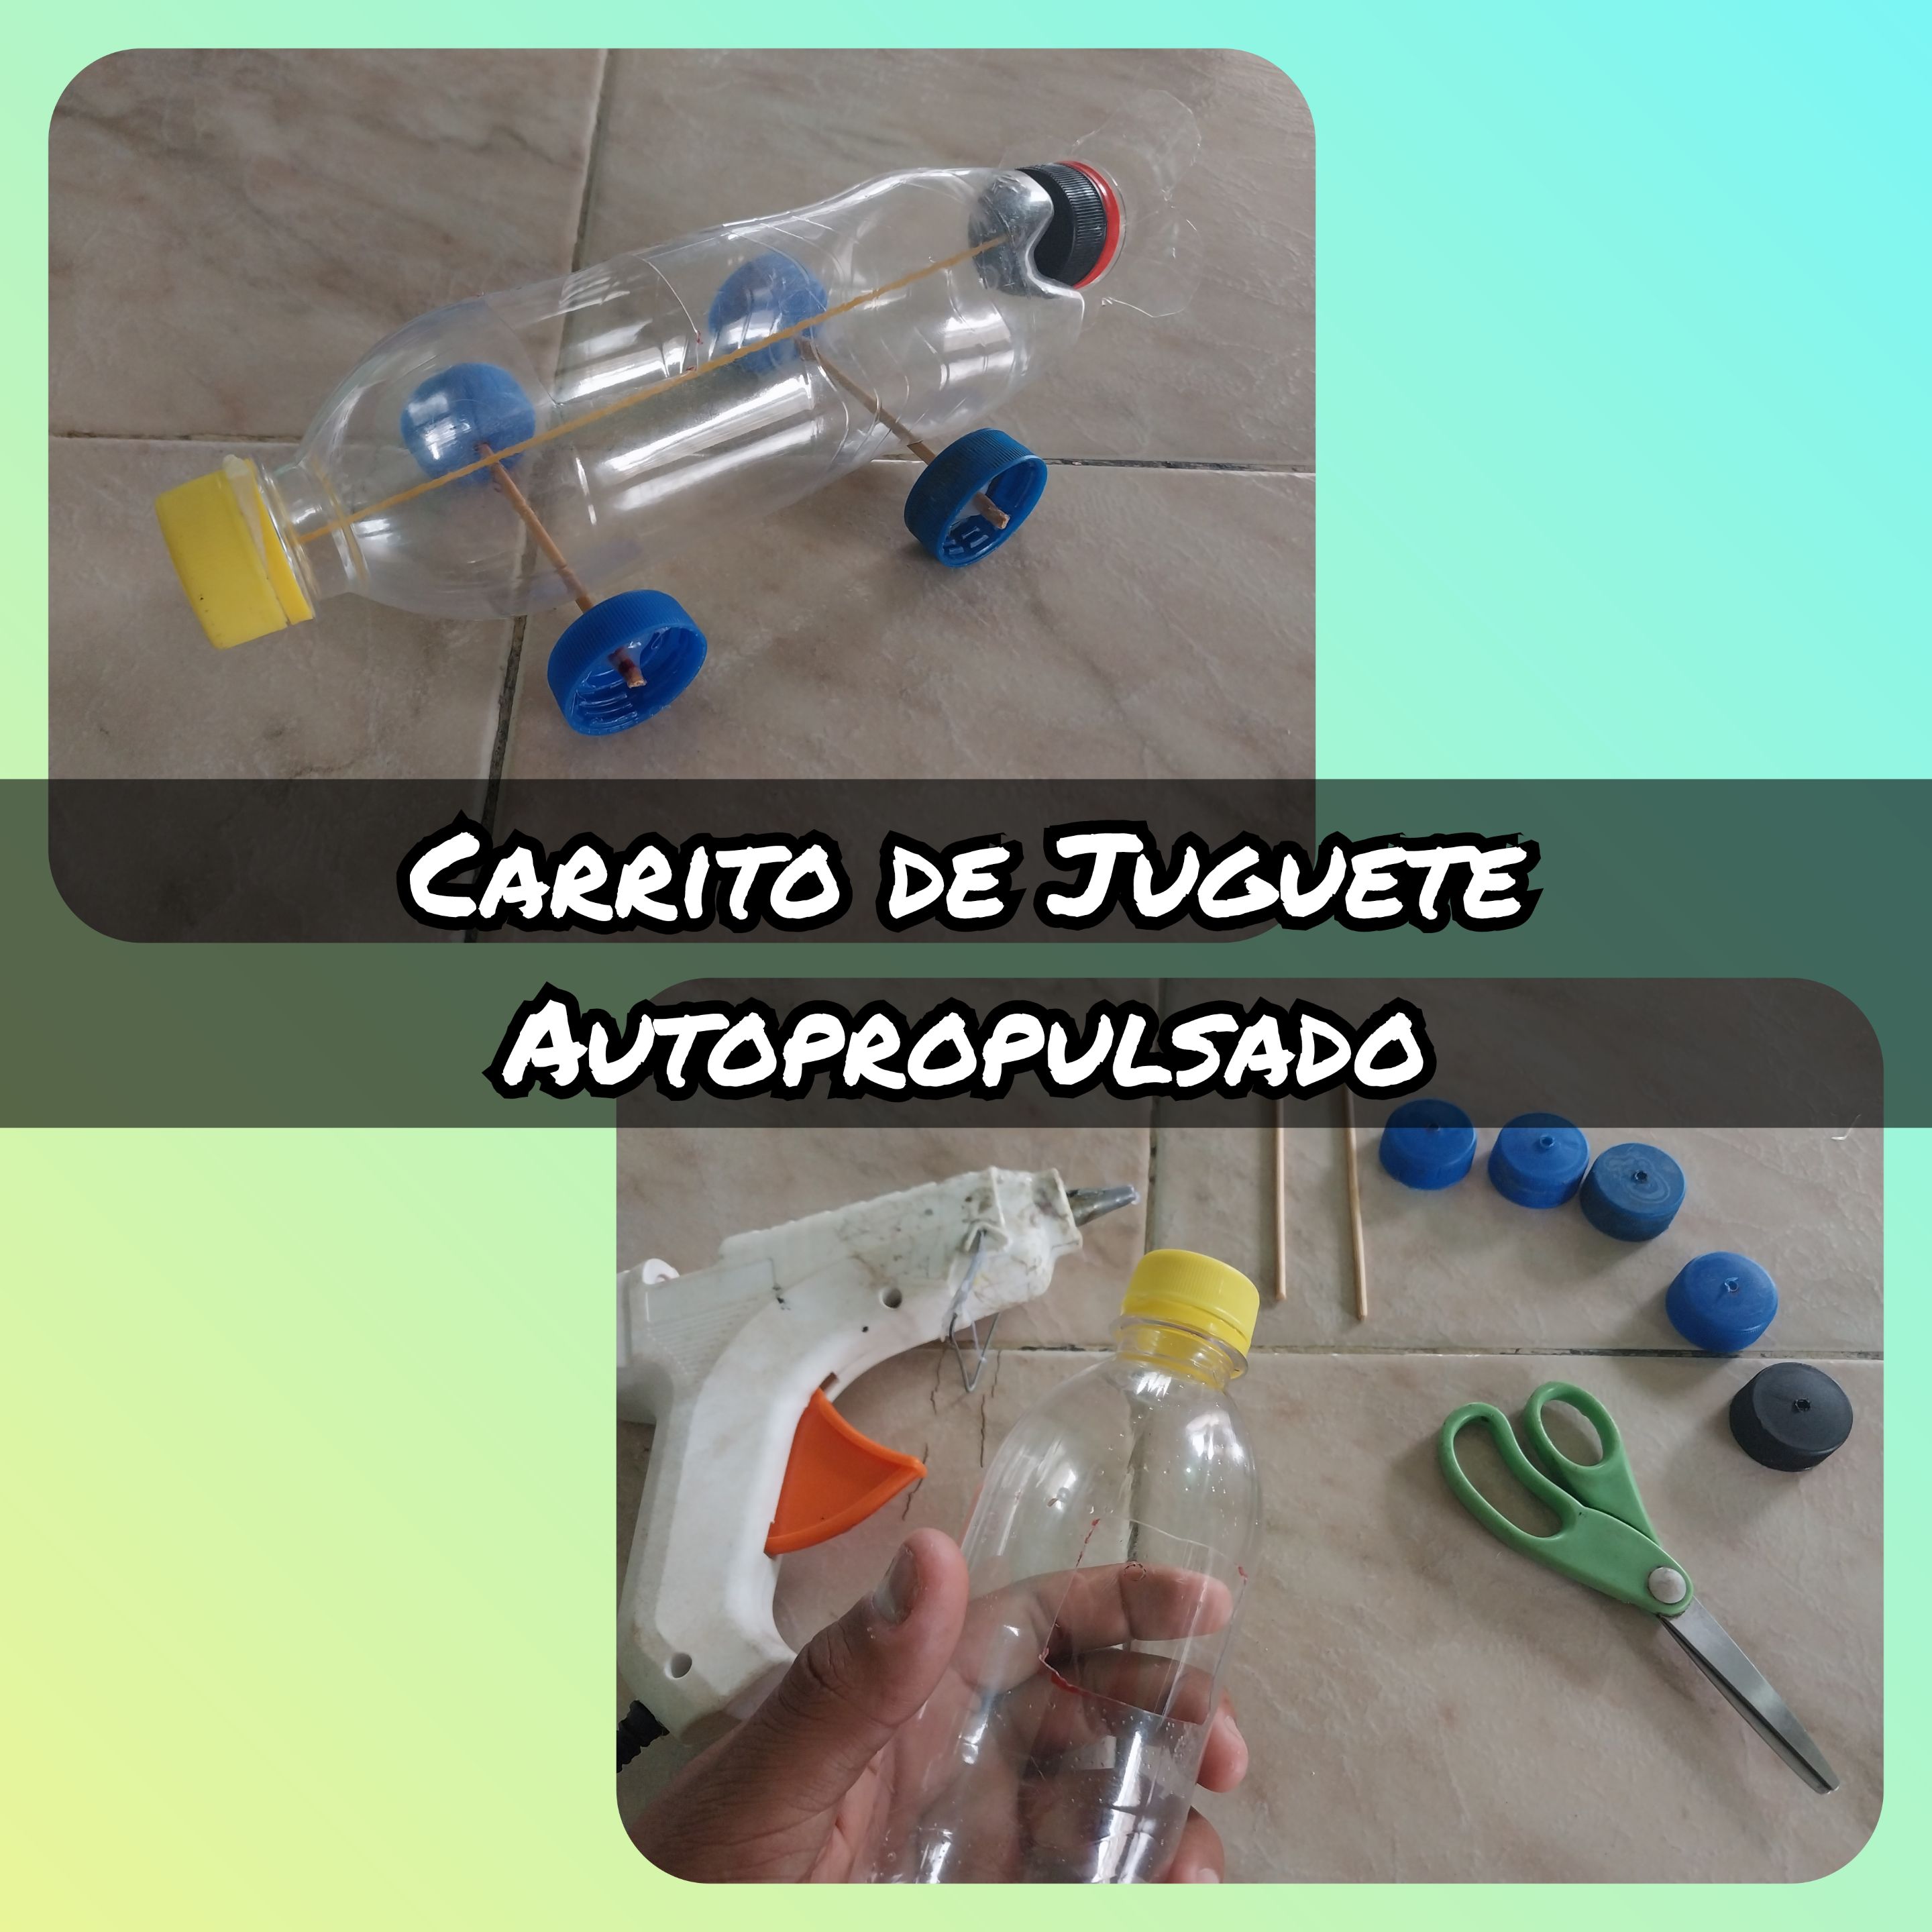
En esta oportunidad les traigo la elaboración de un "Carrito de Juguete Autopropulsado". La idea surgió cuando vi a mi hermano poniéndole unas ruedas a una botella, y bueno, derrepente se me vino esta idea a la mente, y si que fue muy entretenido hacerlo; básicamente consiste en un carrito de botella, que puede rodar gracias a que es impulsado por una aleta la cual gira gracias a la energía elástica brindada por una liga.
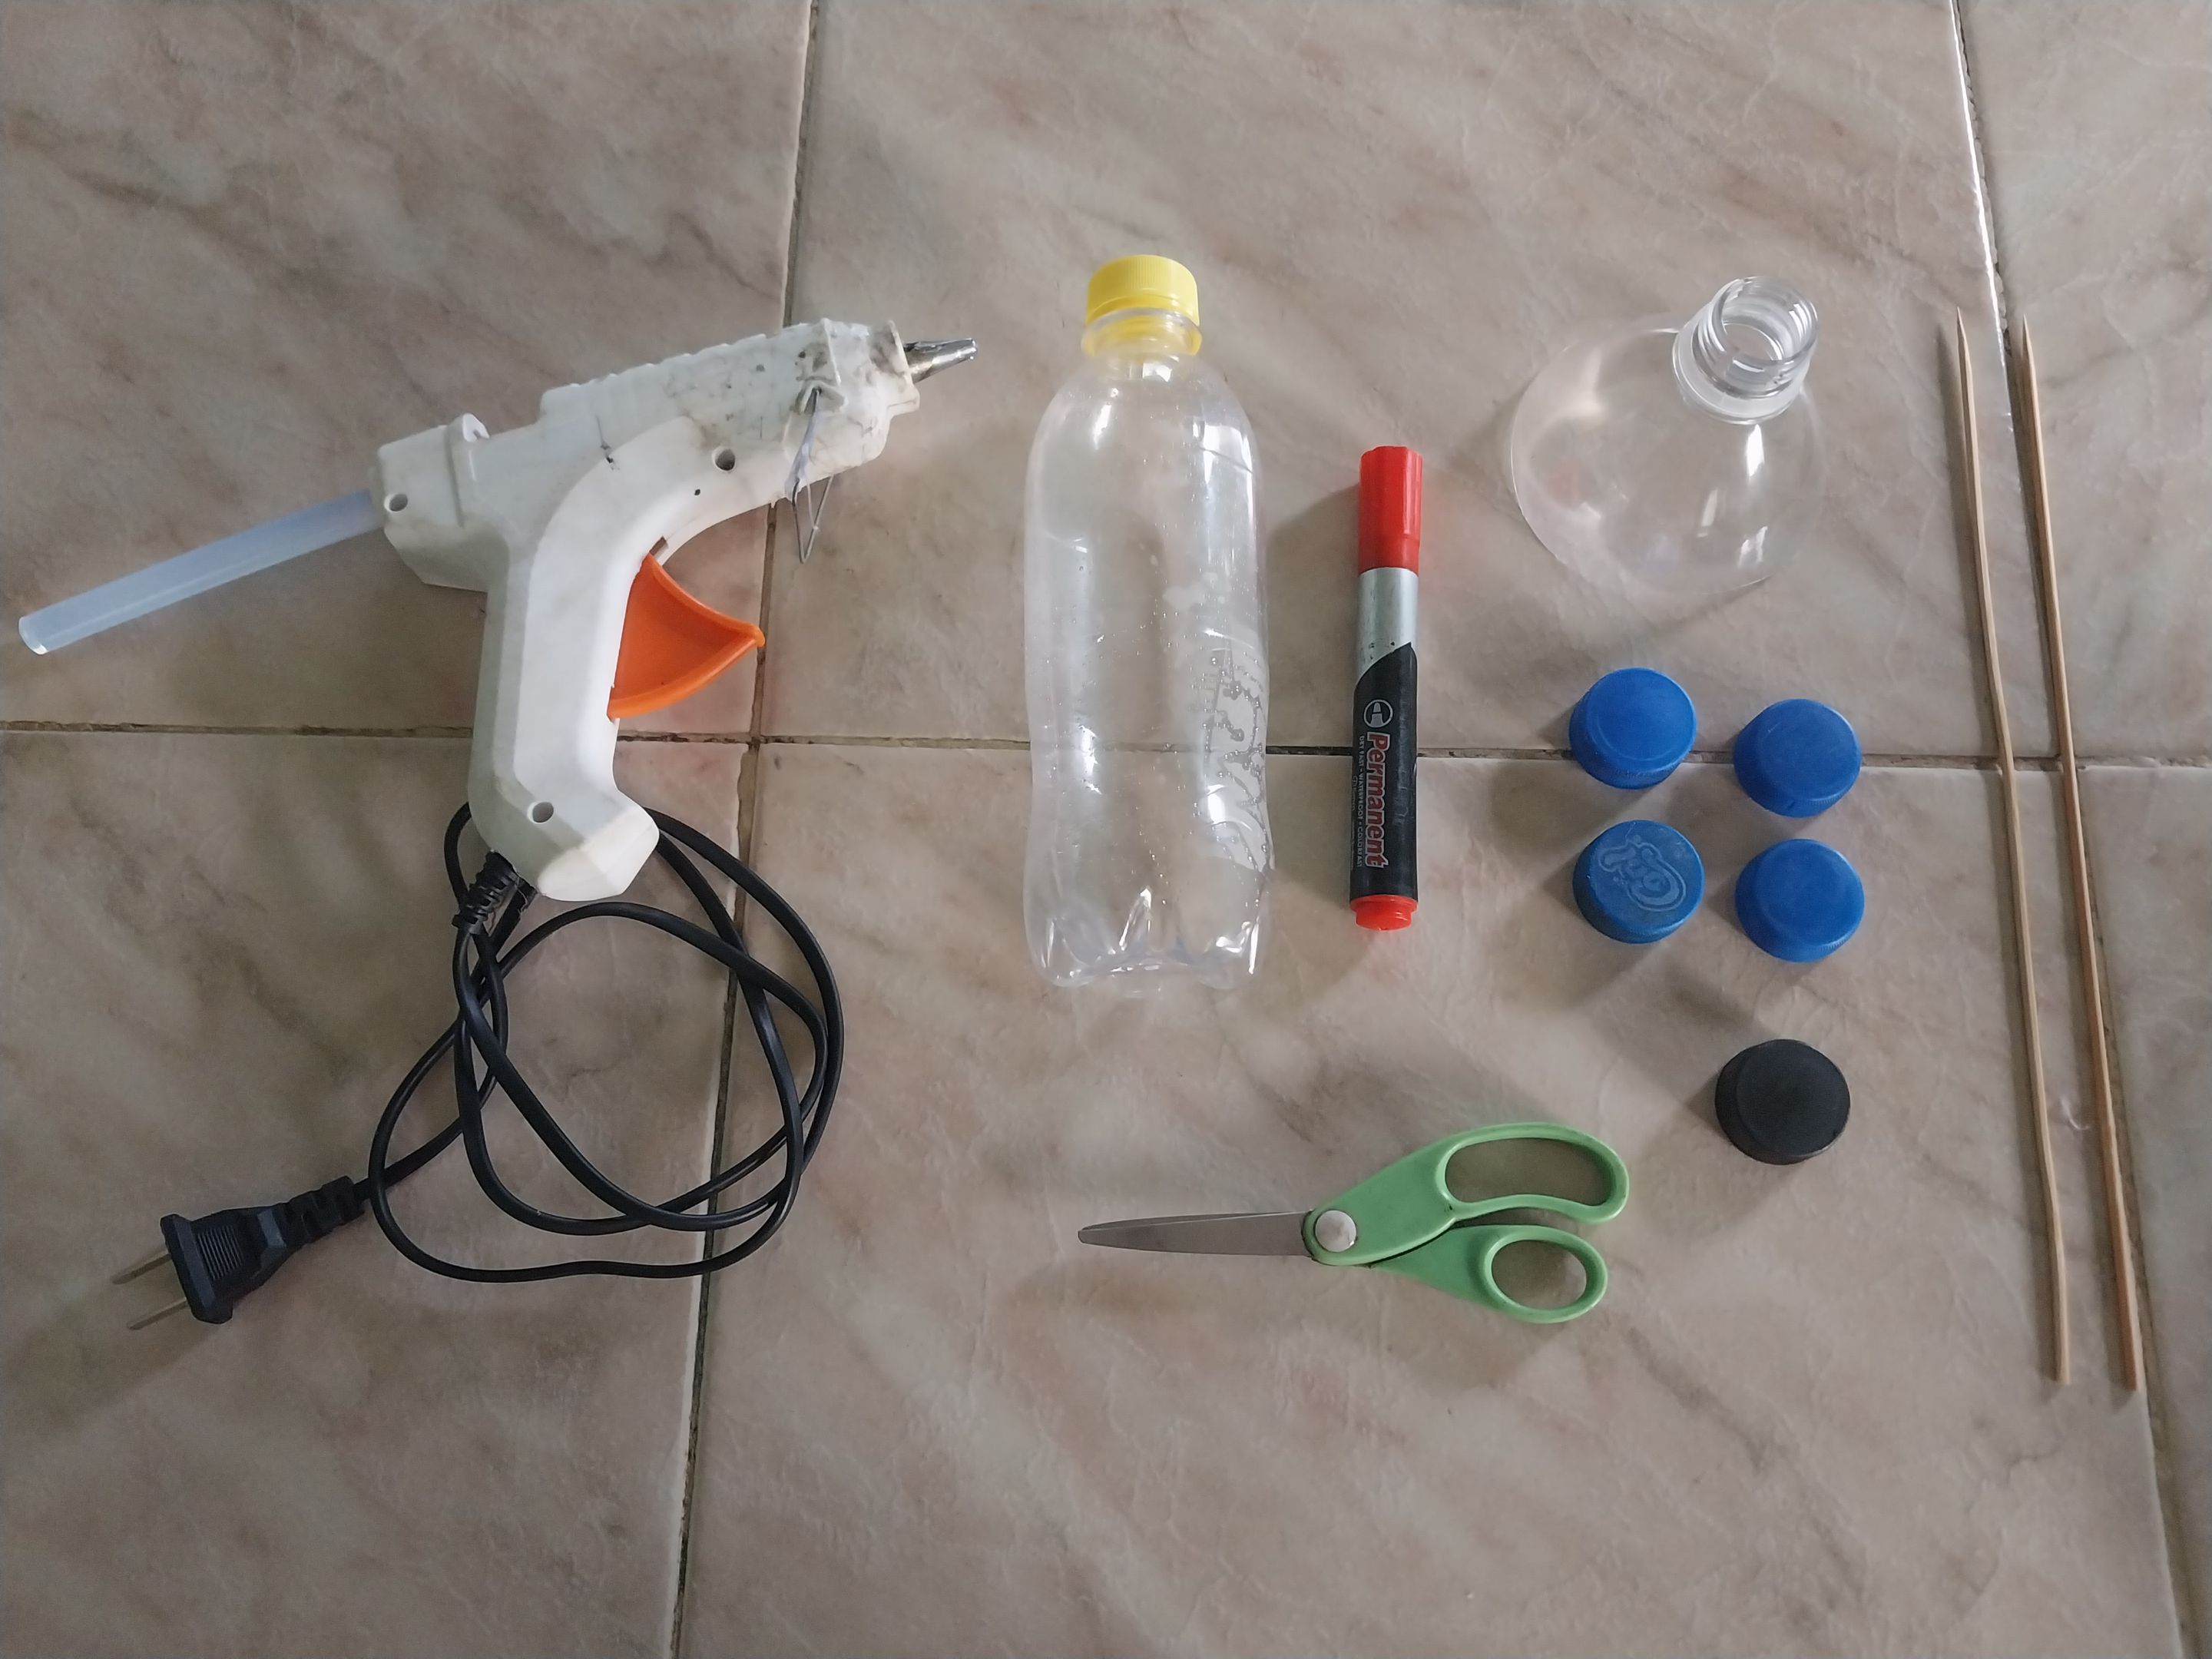
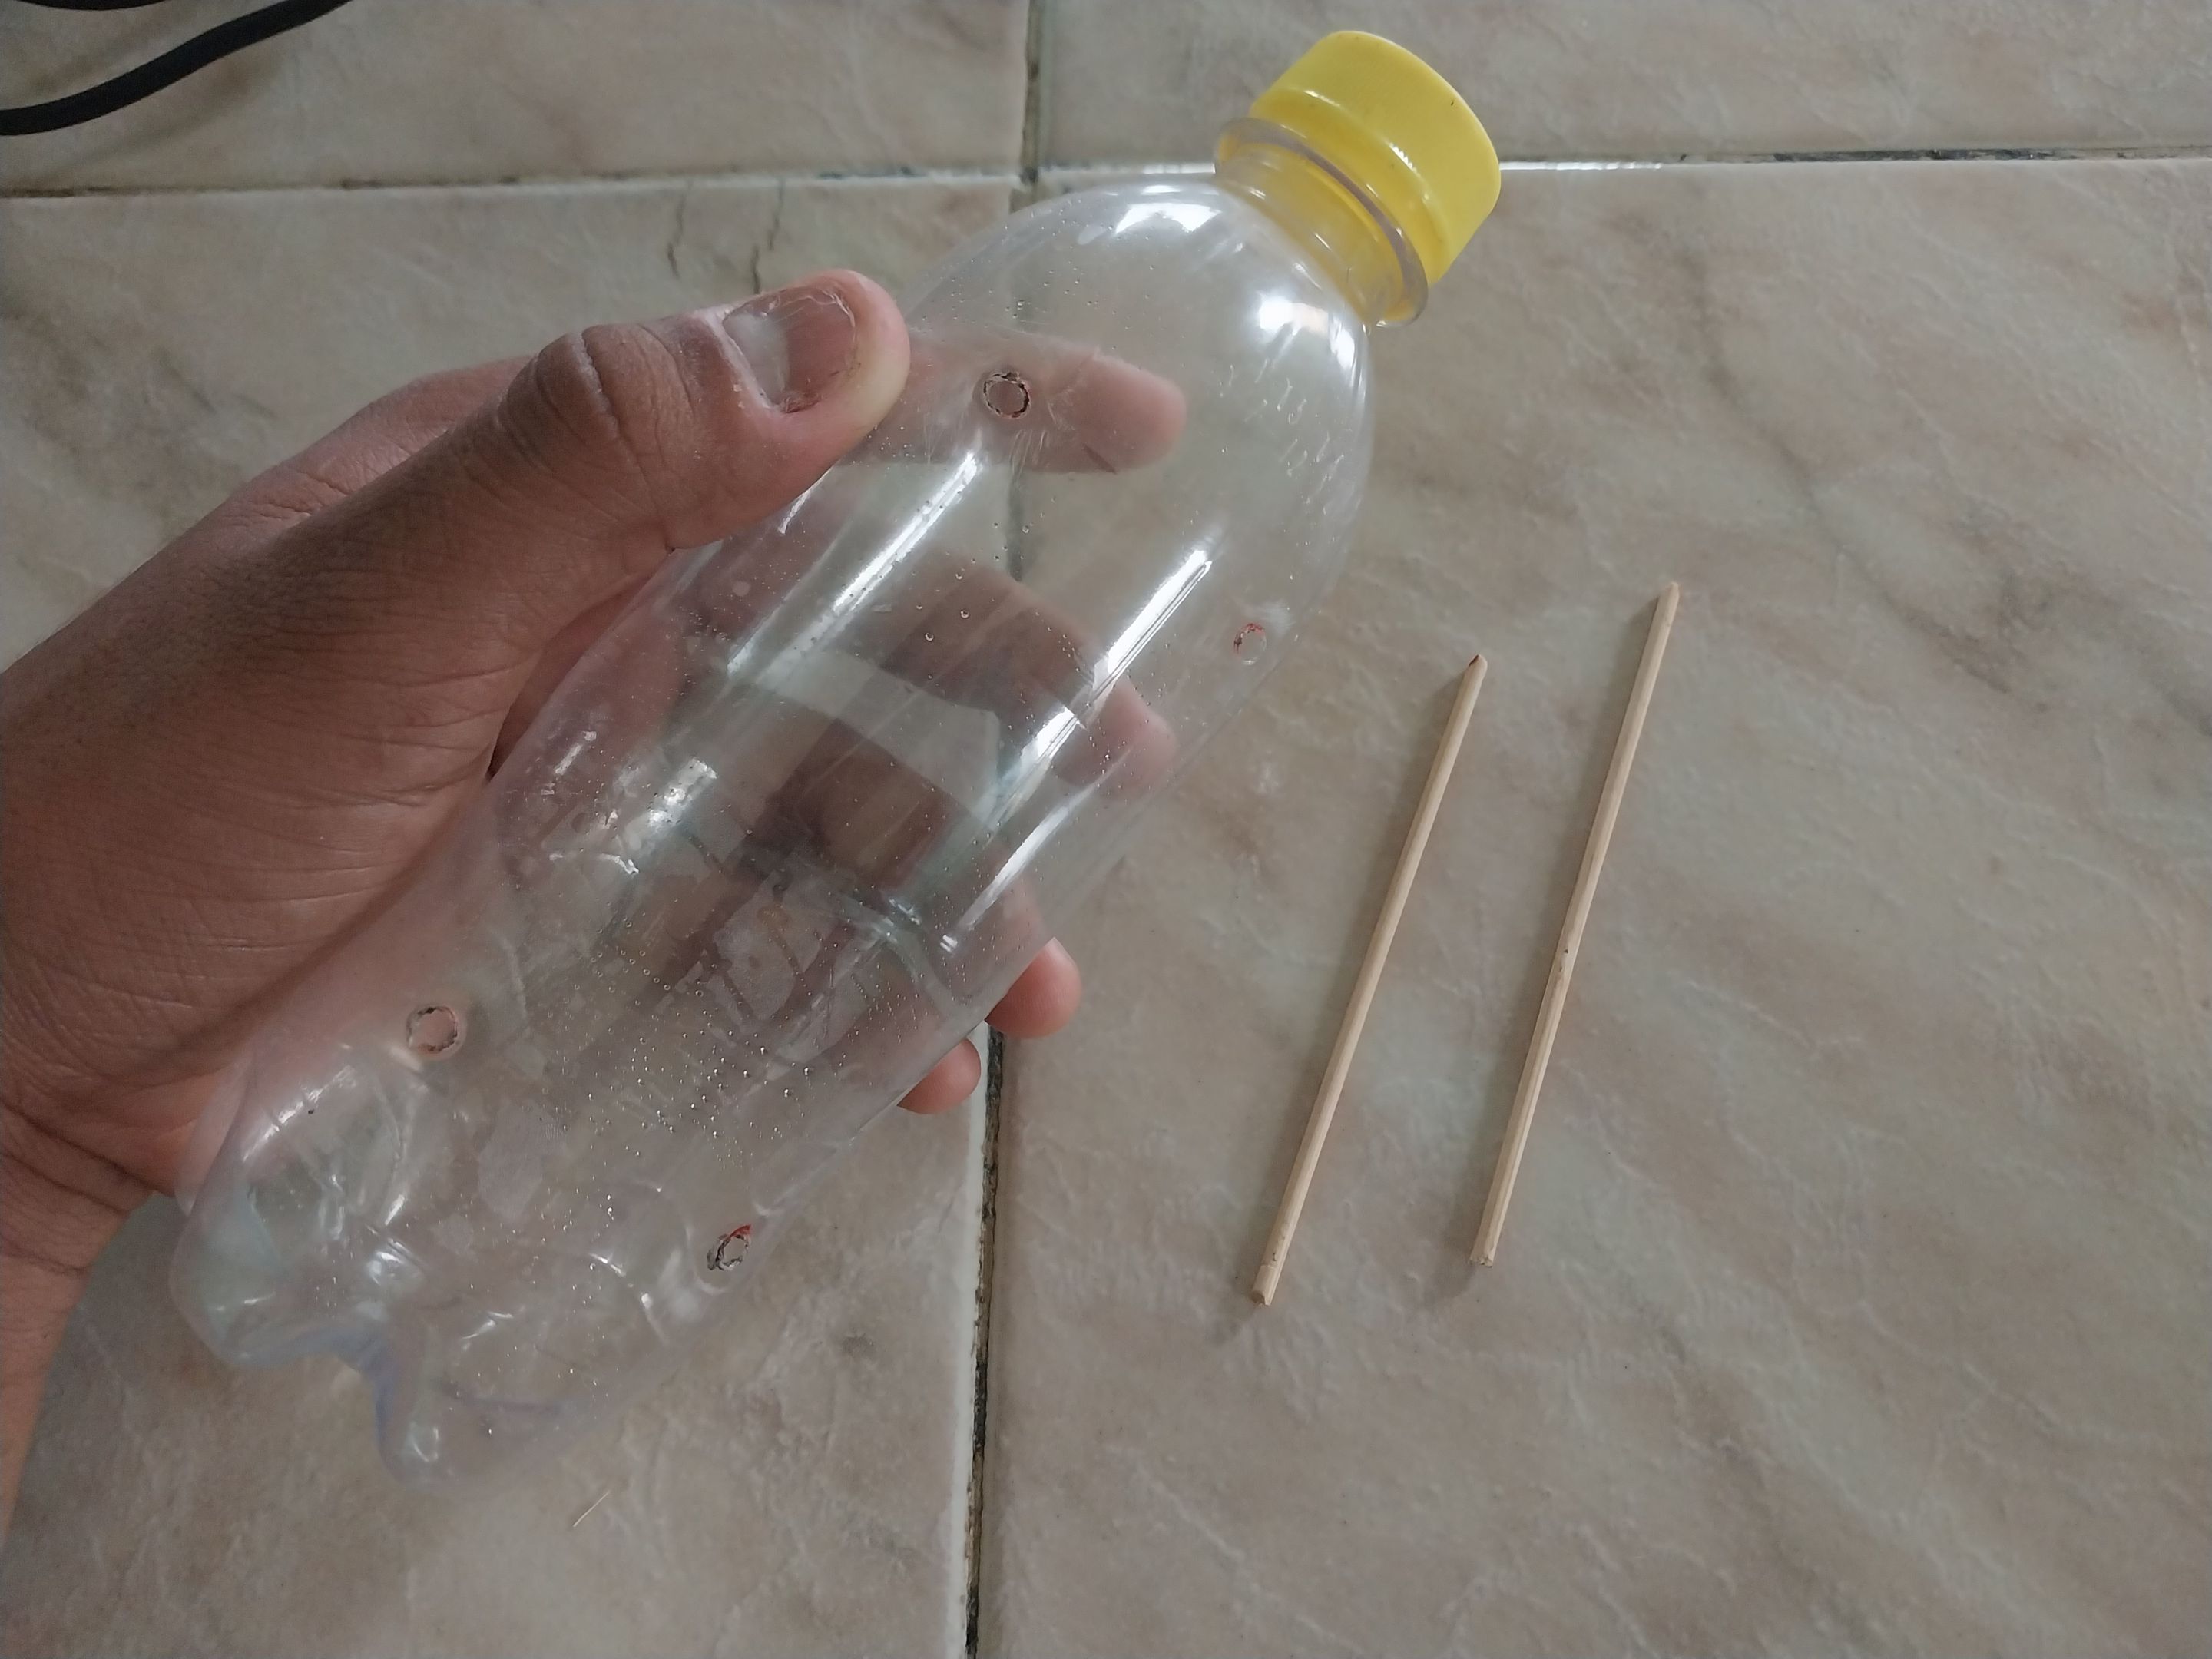
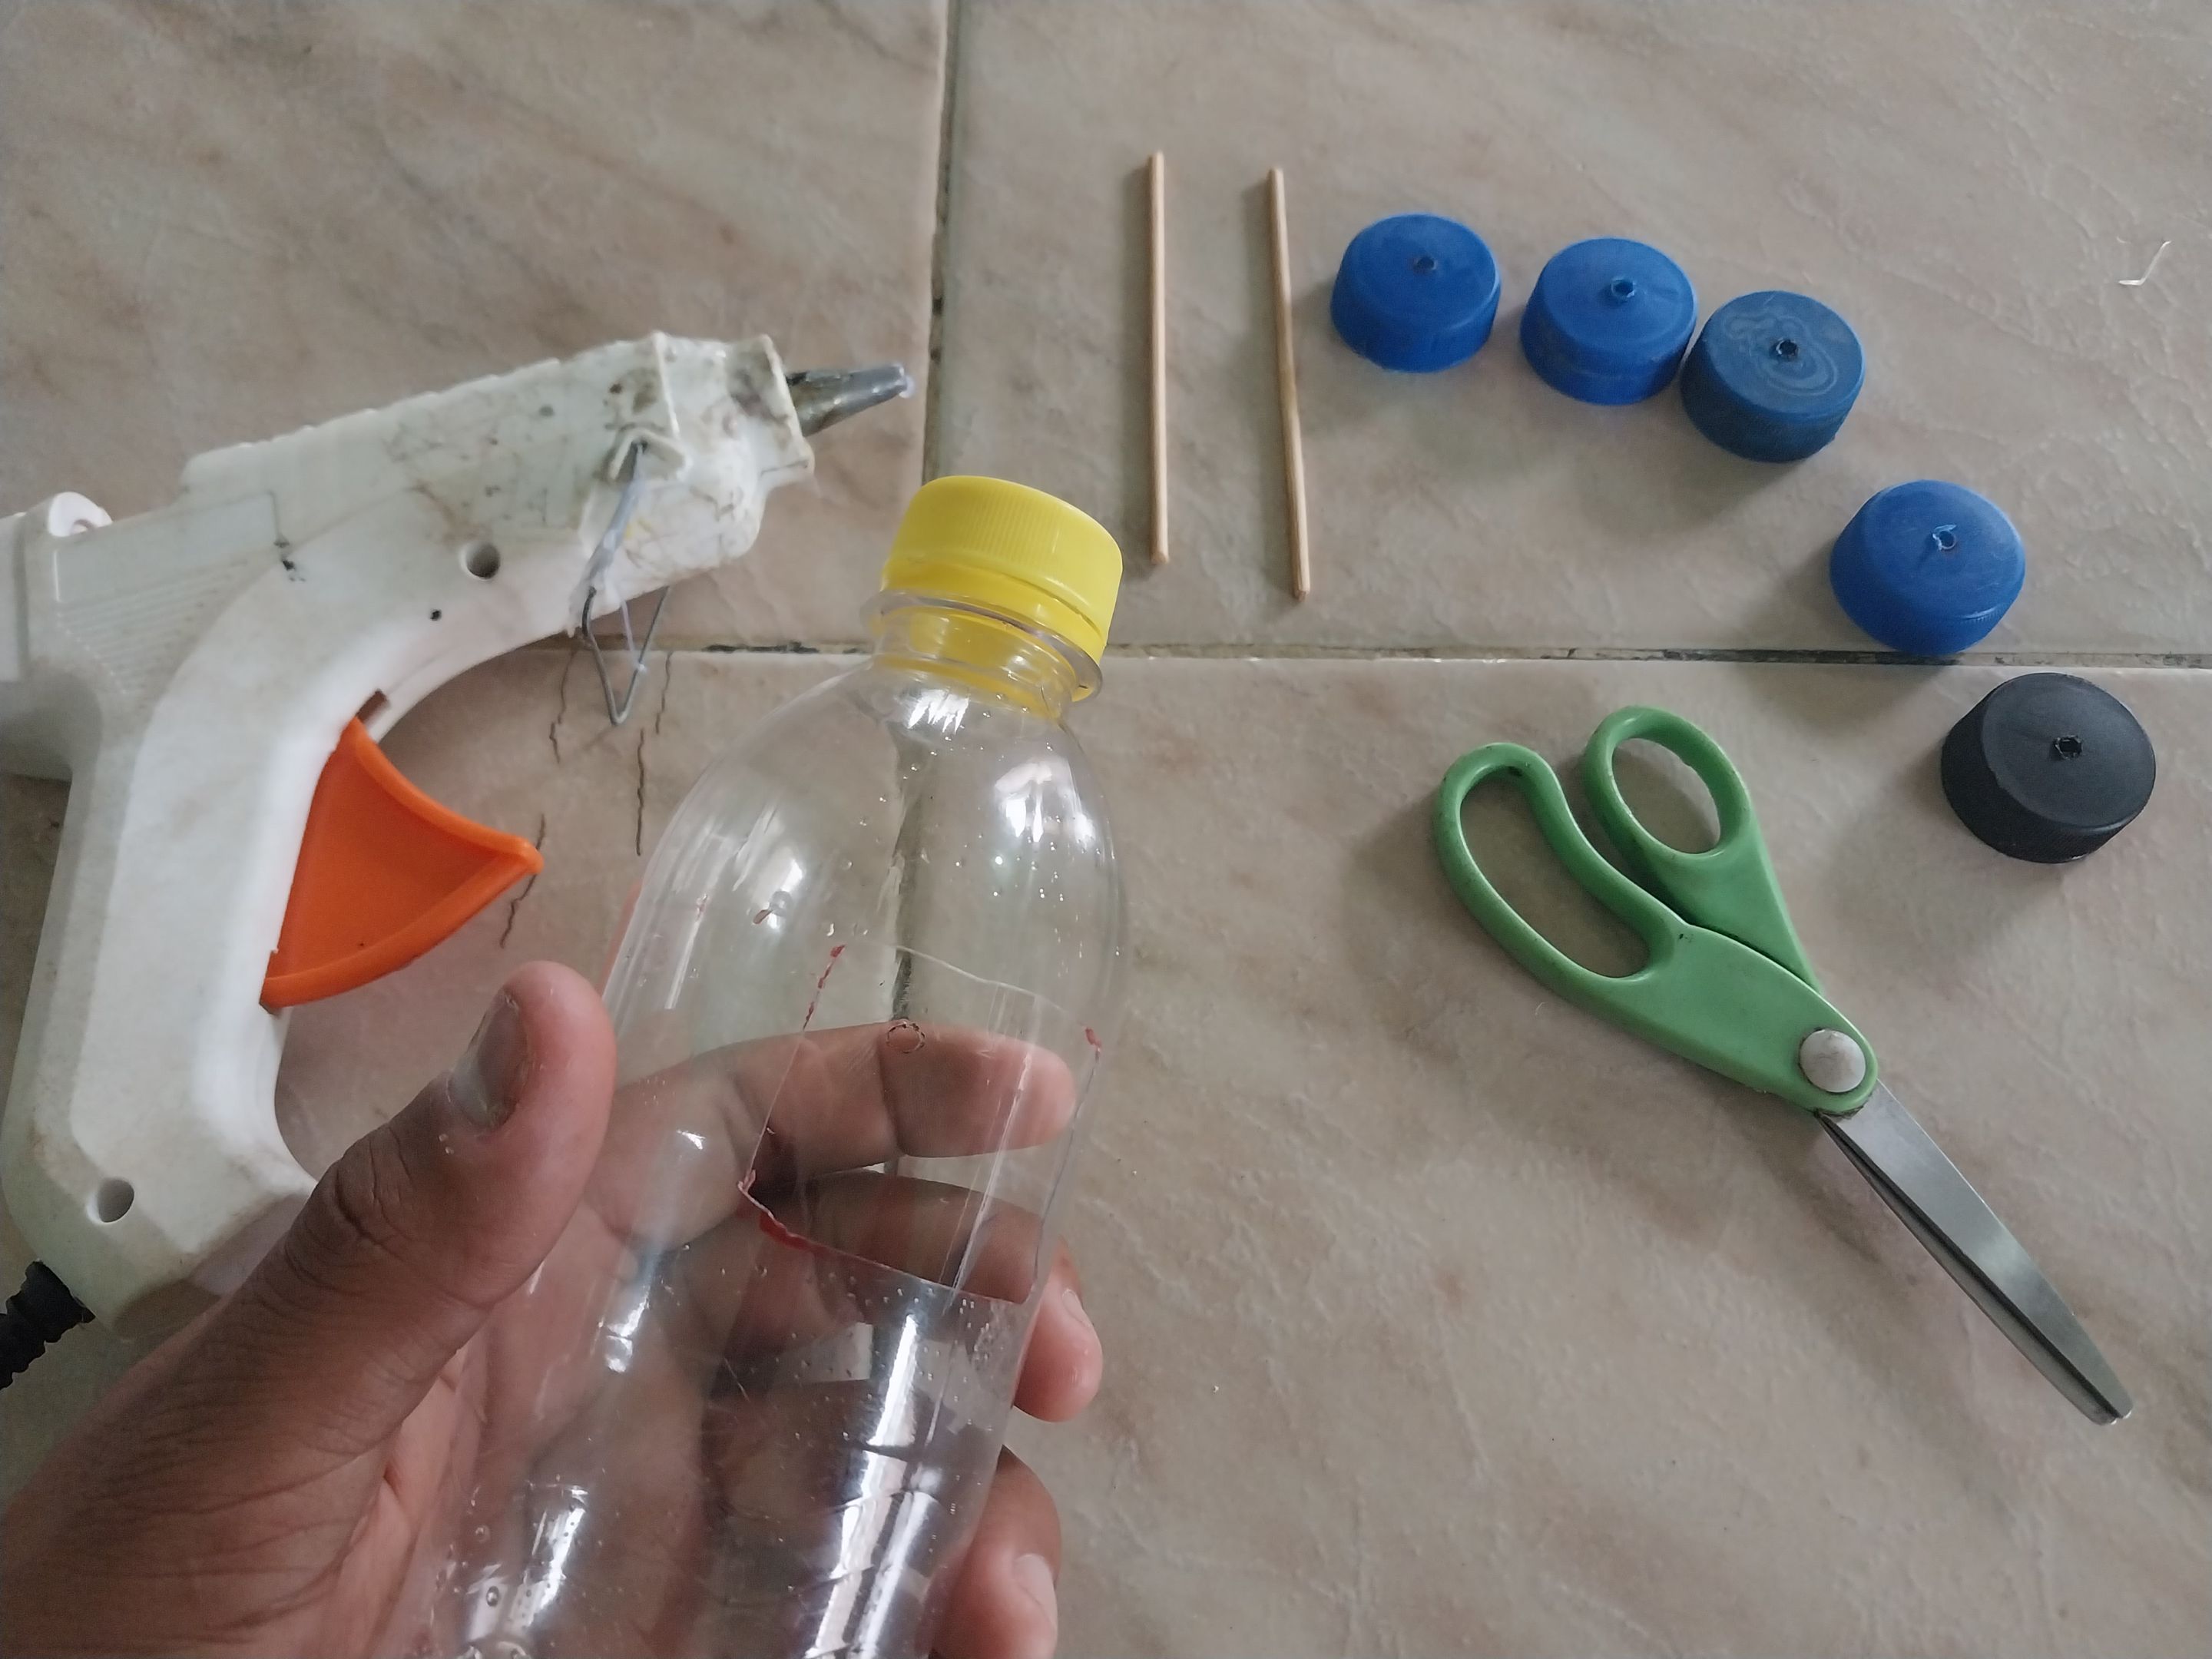
Lo primero fue ubicar los materiales y herramientas. Utilice una pistola de silicon, una tijera, una botella de refresco pequeña, la punta de otra botella de refresco, cinco tapas de refresco extras, dos palillos para pinchos, un corta uñas, una liga, un tornillo pequeño, un alicate, y un marcador.
**
ENGLISH
**
Hello friends of the Diyhub community, how are you? God bless you. I hope you're all doing well and having a wonderful time. Thank God I'm back here again, as always, learning from you all and sharing a little of my knowledge.
This time, I'm bringing you the creation of a "Self-Propelled Toy Car." The idea came to me when I saw my brother putting wheels on a bottle, and well, suddenly this idea came to mind, and it was really fun to make. It basically consists of a bottle car, which can roll thanks to being propelled by a fin that rotates thanks to the elastic energy provided by a rubber band.
The first thing was to gather the materials and tools. I used a hot glue gun, scissors, a small soda bottle, the tip of another soda bottle, five extra soda caps, two skewers, nail clippers, a rubber band, a small screw, pliers, and a marker.
---
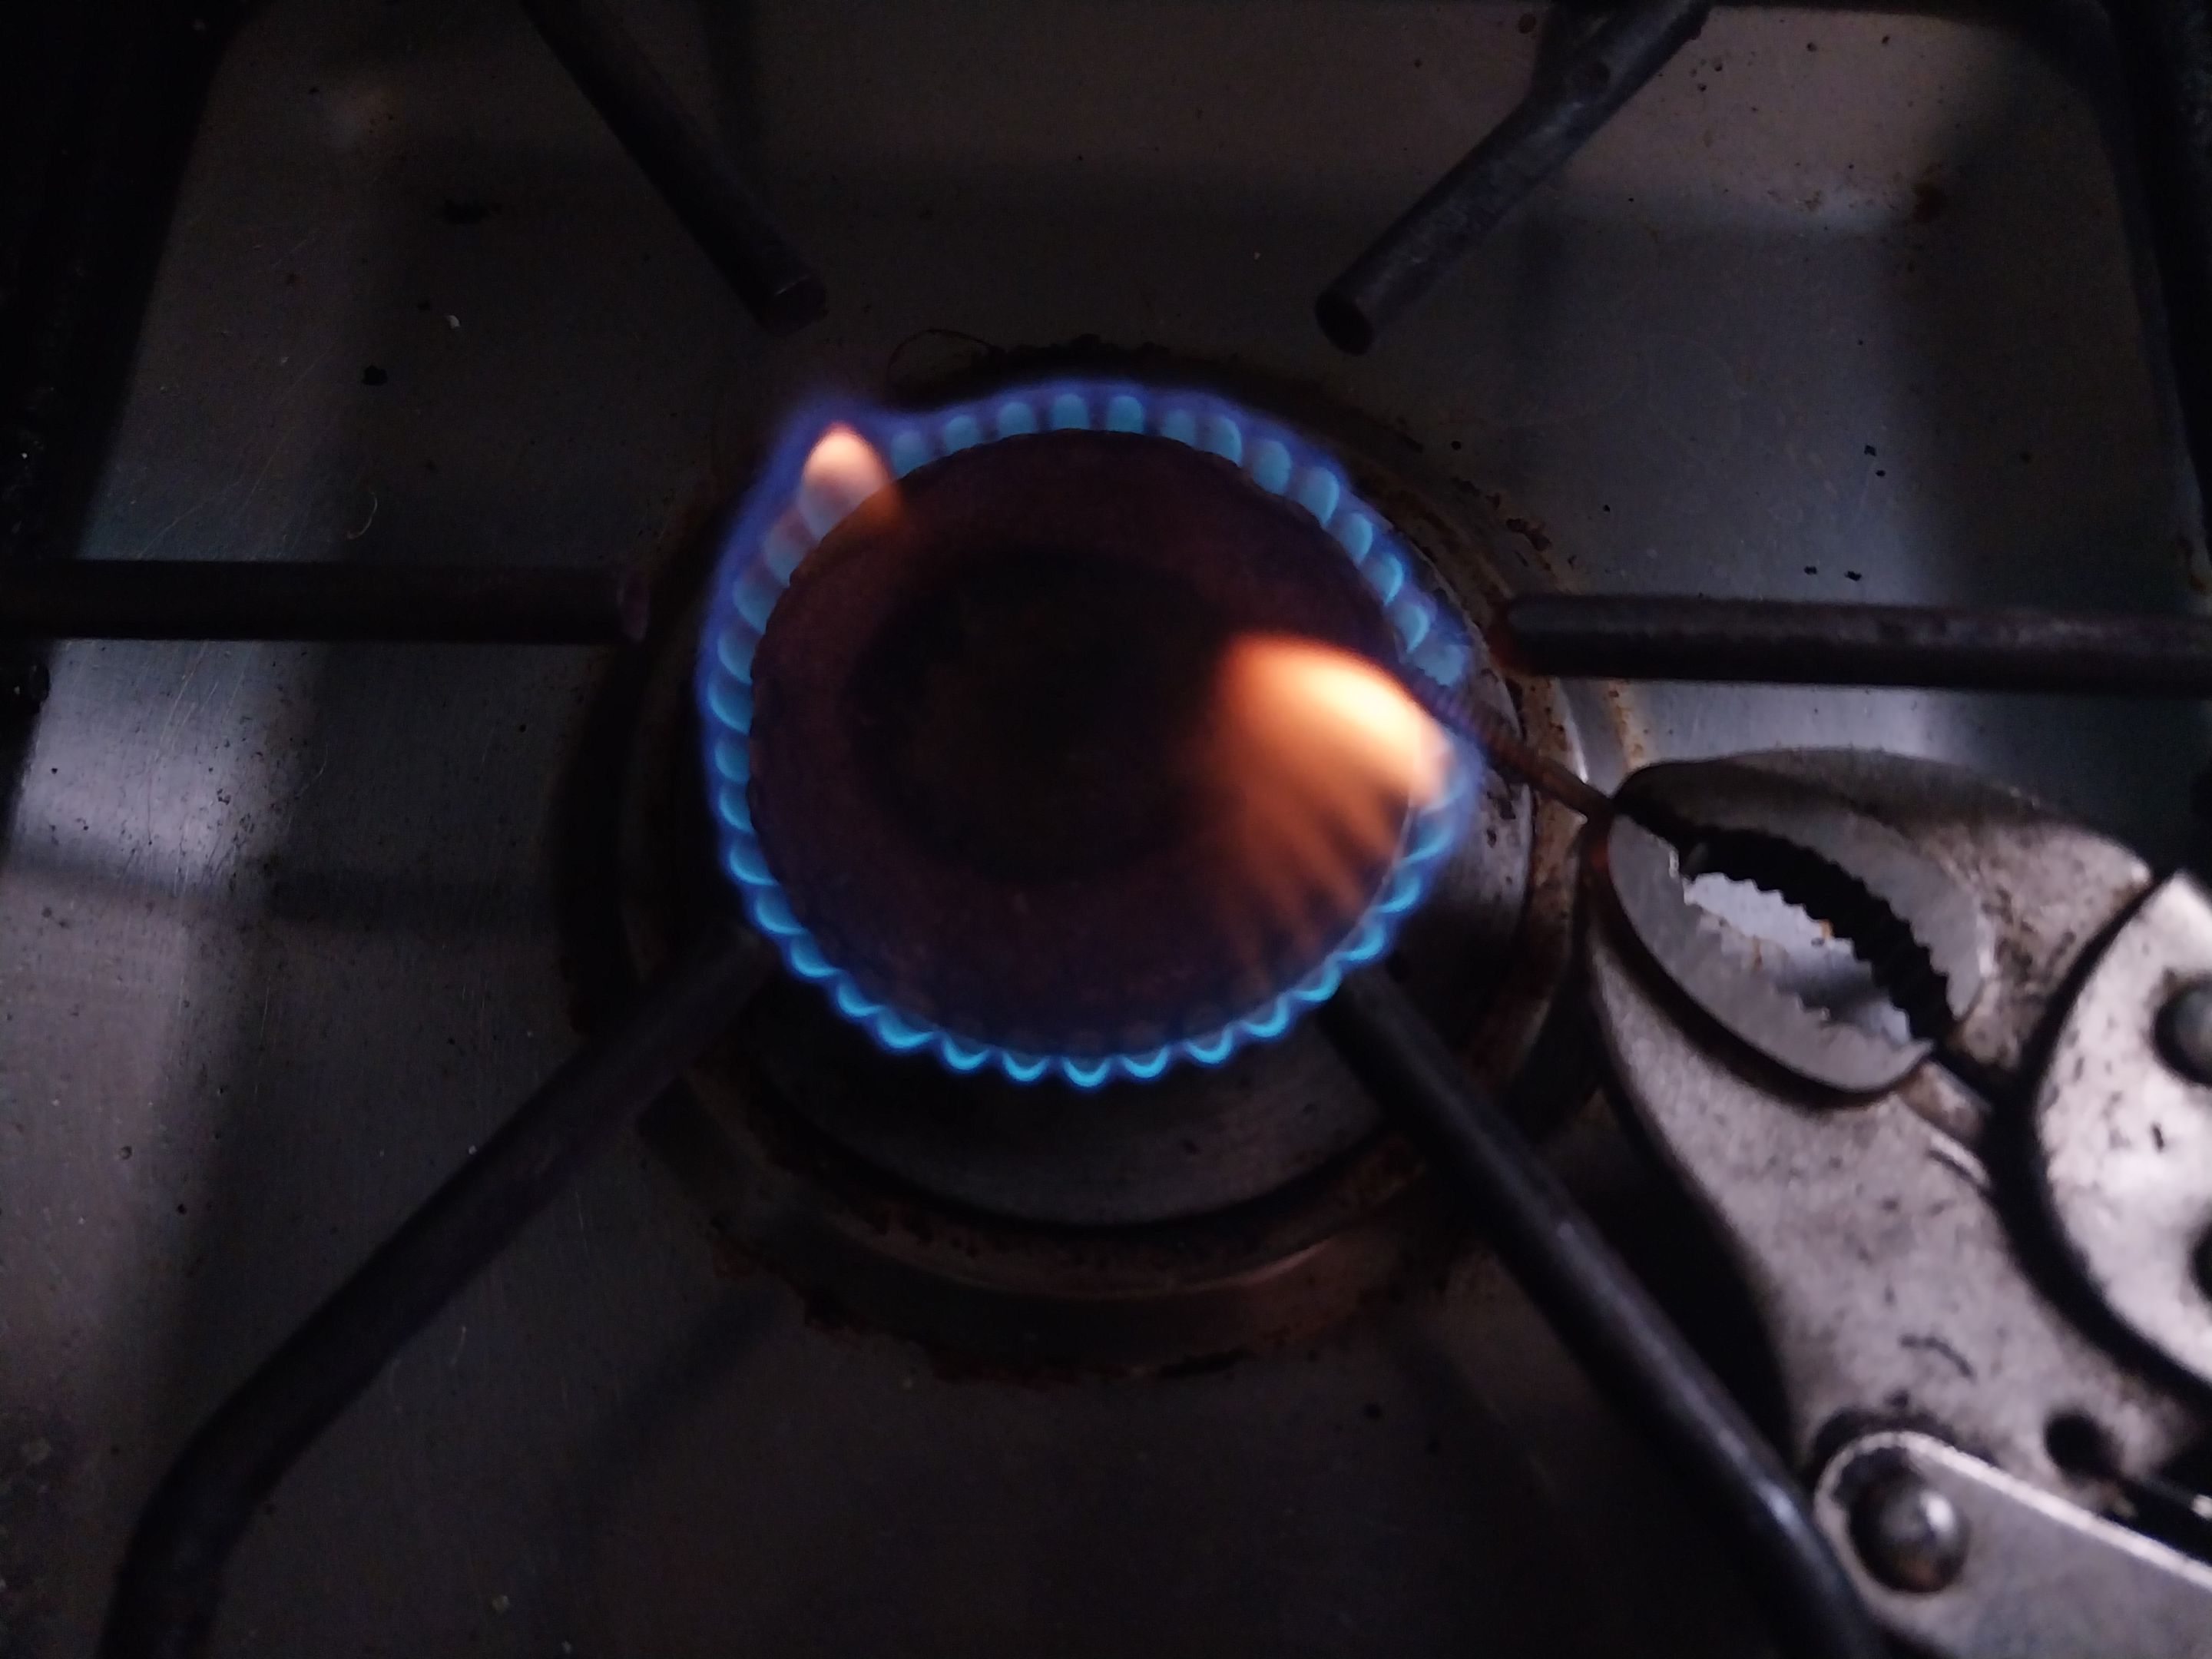
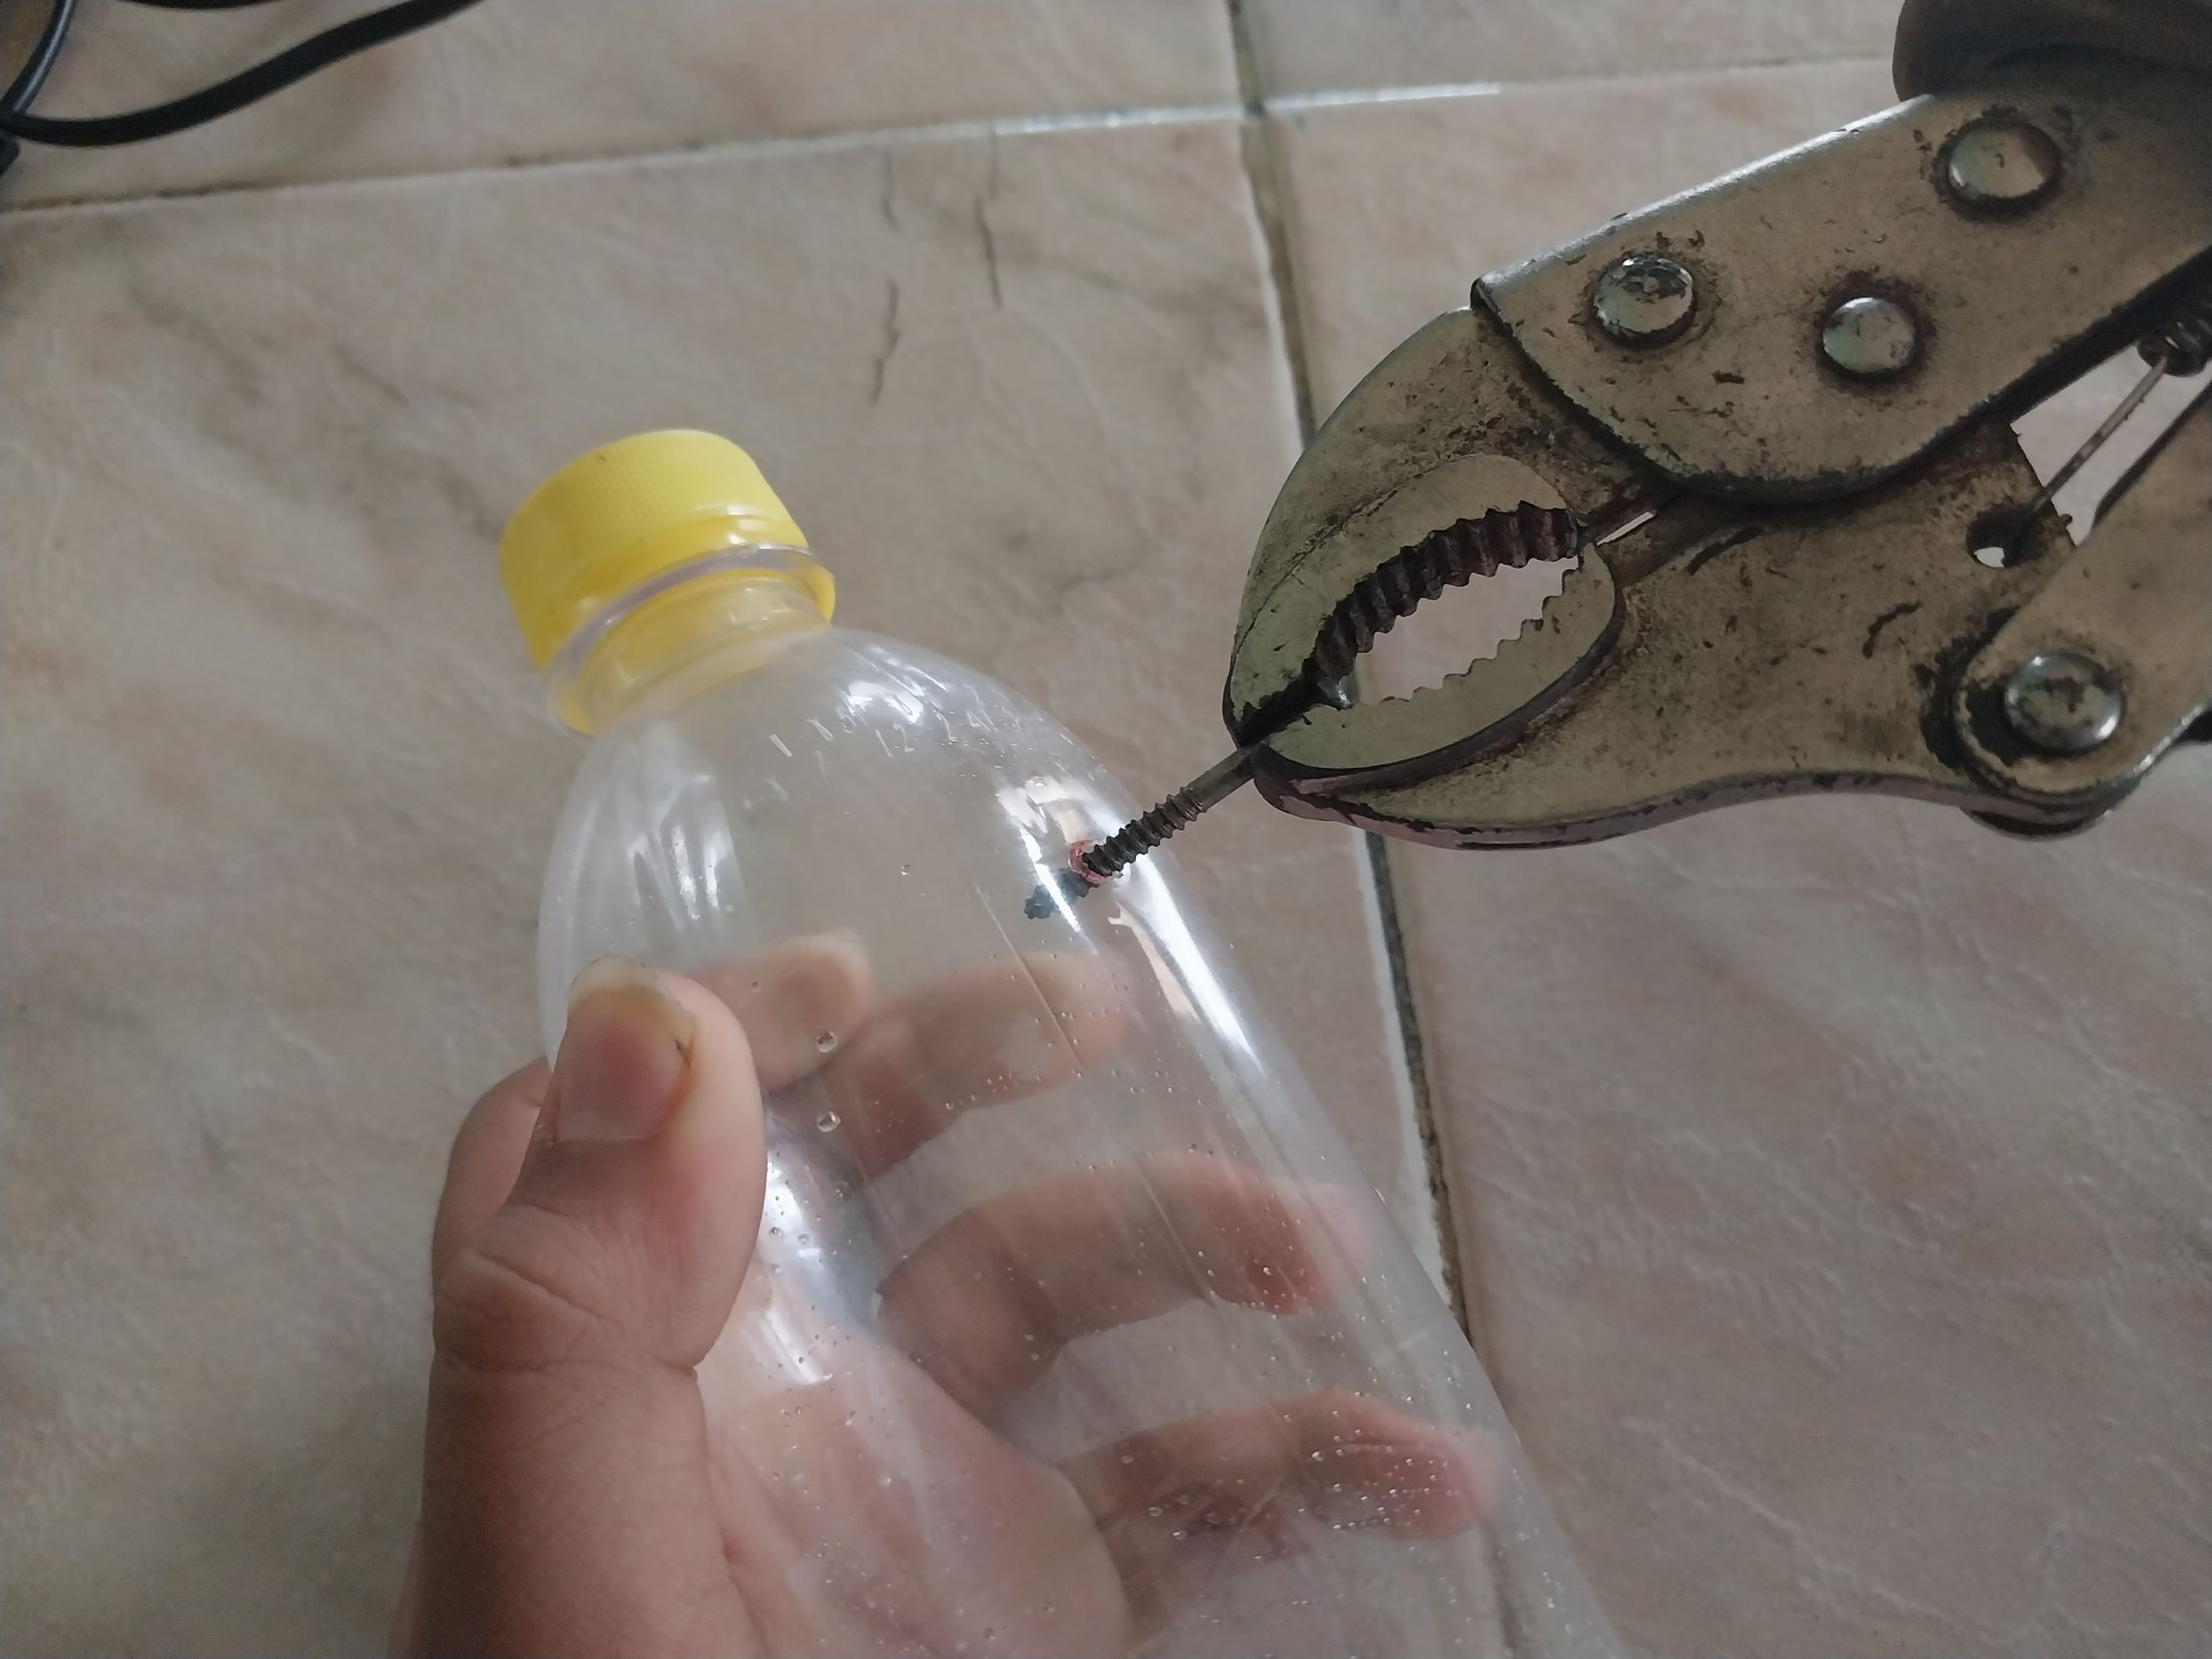
Una vez con los materiales en la mano empecé a trabajar, lo primero que hice fue encender la hornilla de la cocina y con el alicate sujeté el tornillo y lo puse a calentar, mientras que por otro lado agarré el marcador y marqué cuatro puntos en la botella de refresco, en donde iban a ir los pasadores que sujetan las ruedas, 2 cerca de la tapa y 2 mas atrás, luego tomé el alicate con el tornillo ya caliente y procedí a abrir los cuatro orificios en la botella.
Luego de eso, tomé uno de los palillos de pincho y con ayuda de una regla y con el marcador medi y marqué dos palitos de entre 7 y 6 centímetros, una vez que los marqué, con ayuda de la tijera los piqué y ya tenía mis cuatro orificios en la botella con los dos pasadores que iban a sujetar las las rueditas del carro.
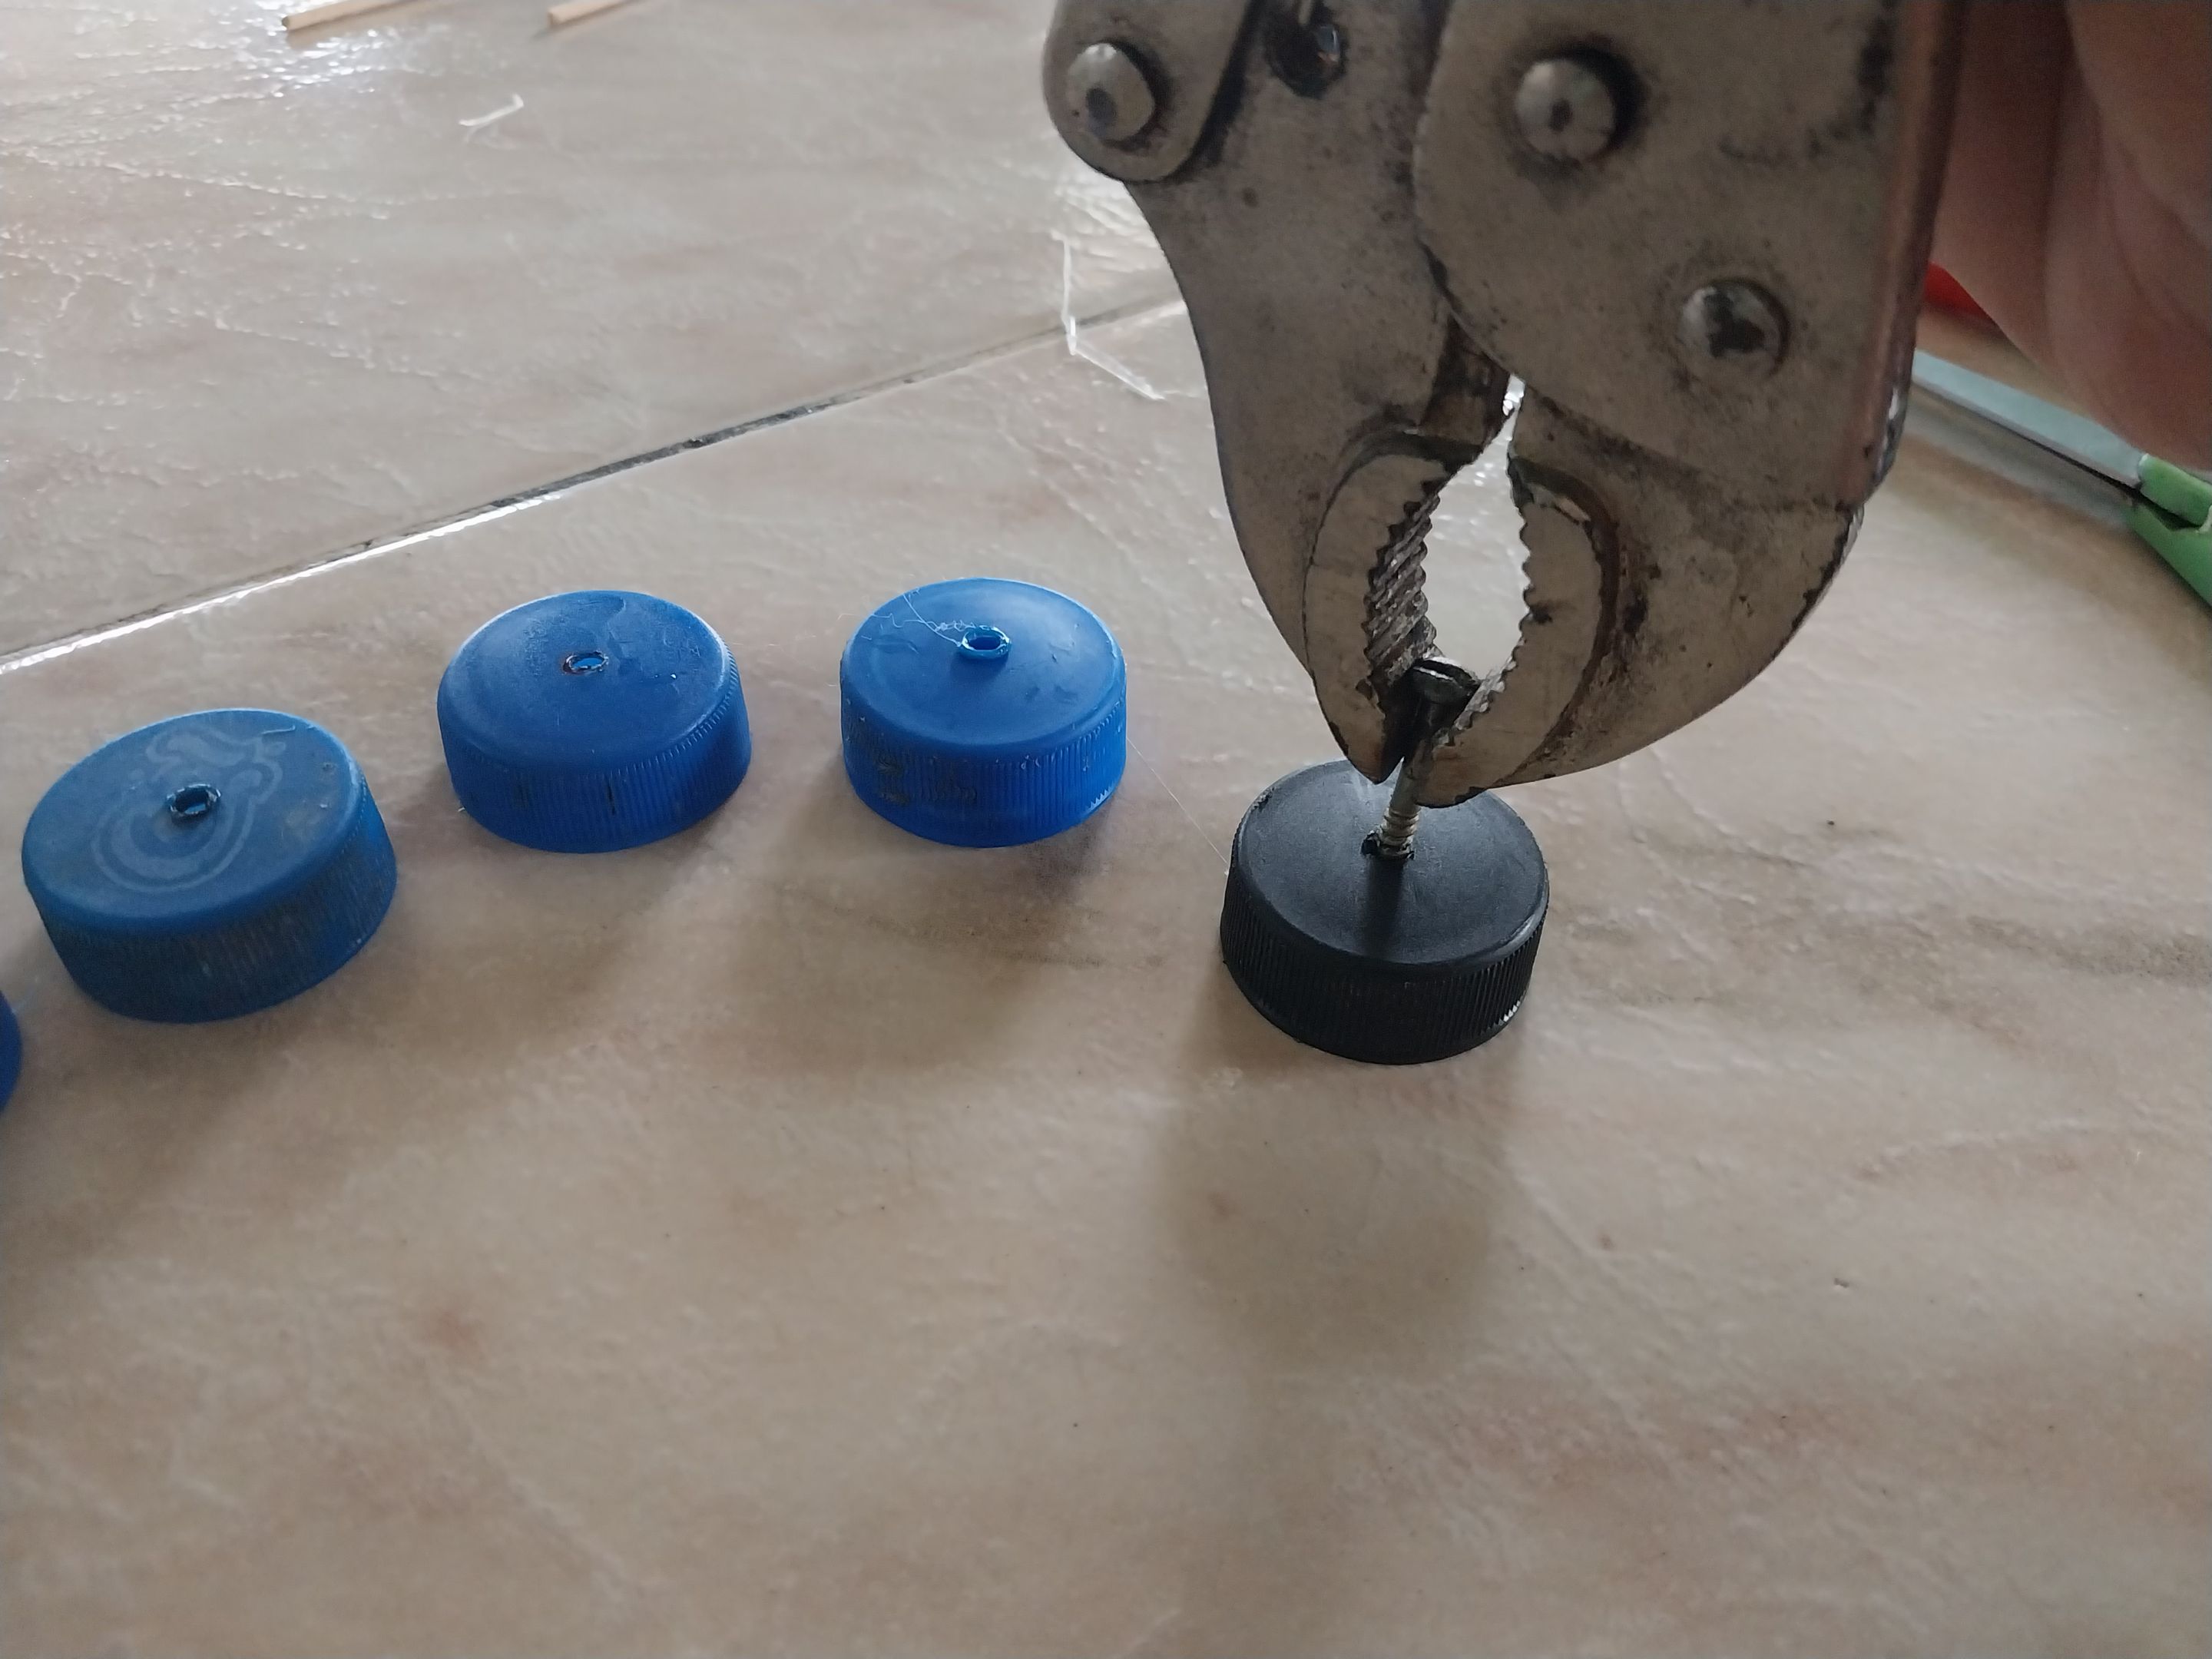
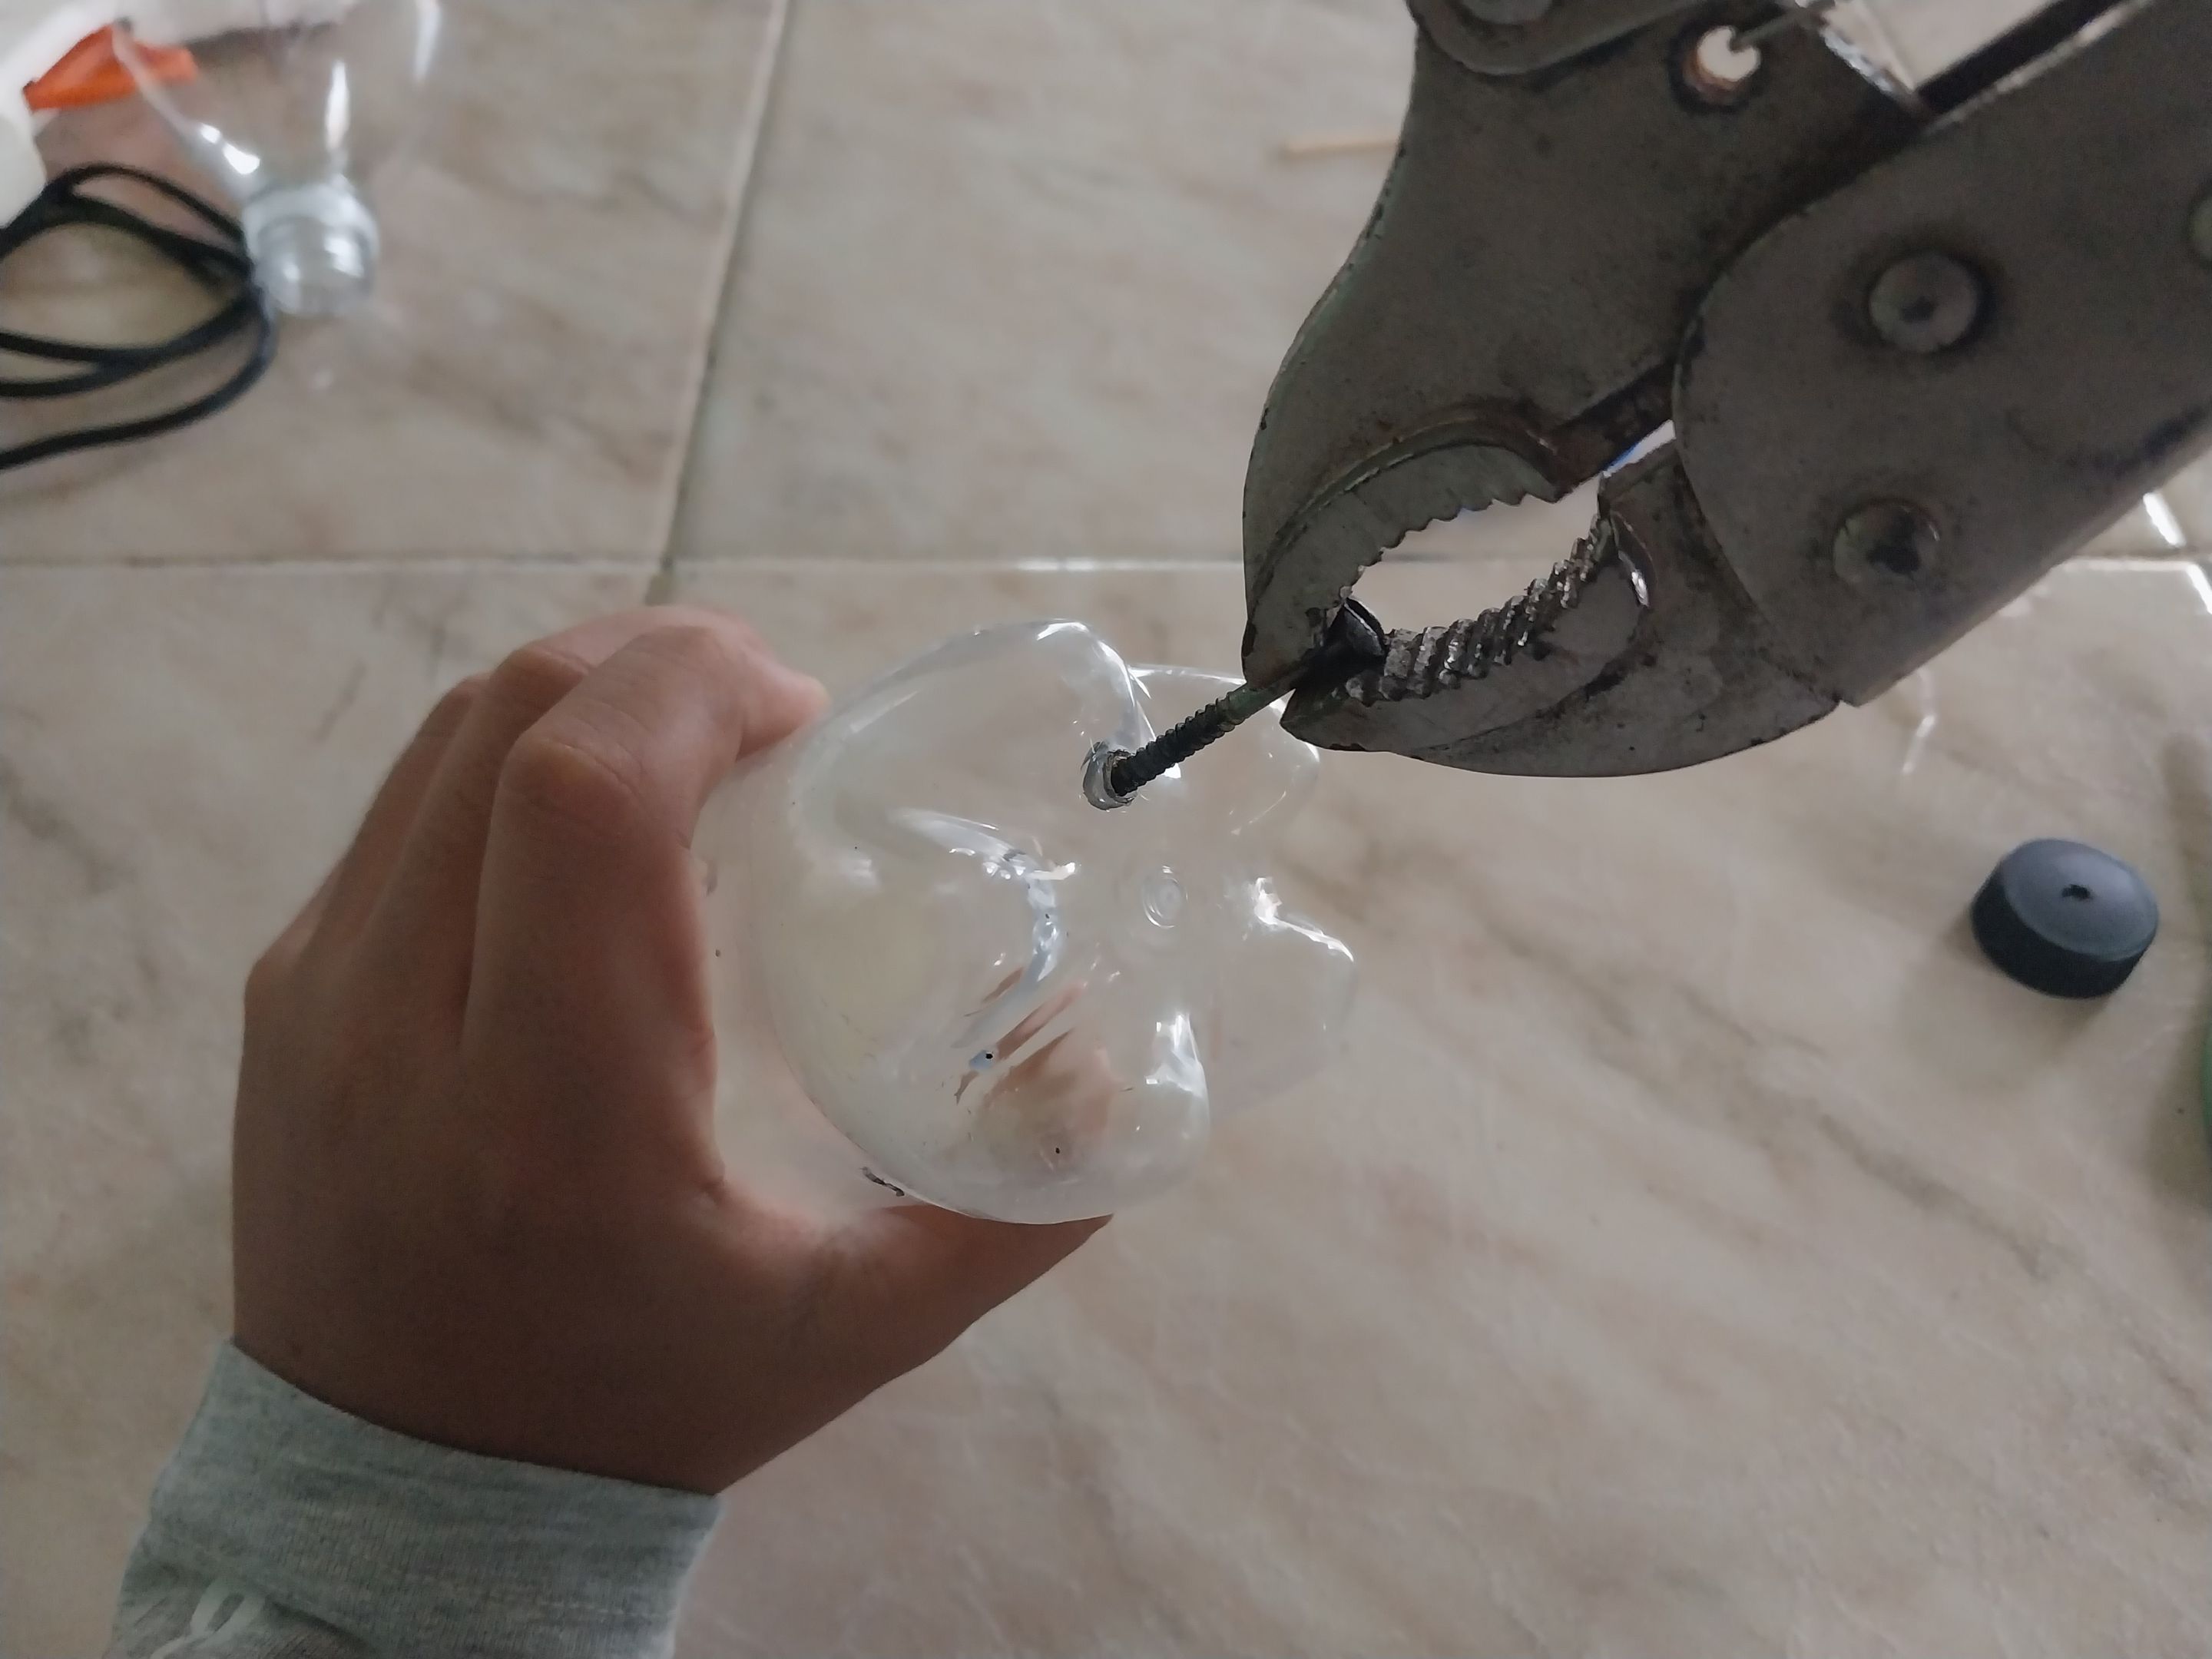
Luego de eso tomé las otras cuatro tapas extra que tenía, igualmente con el marcador ayudé a fijar un punto en el centro de cada una y volví a calentar el tornillo en la hornilla y procedí a hacerle un orificio en el centro a cada tapa; luego de eso, tomé nuevamente la botella y nuevamente con ayuda del tornillo caliente hice otro orificio en la parte de abajo de la botella.
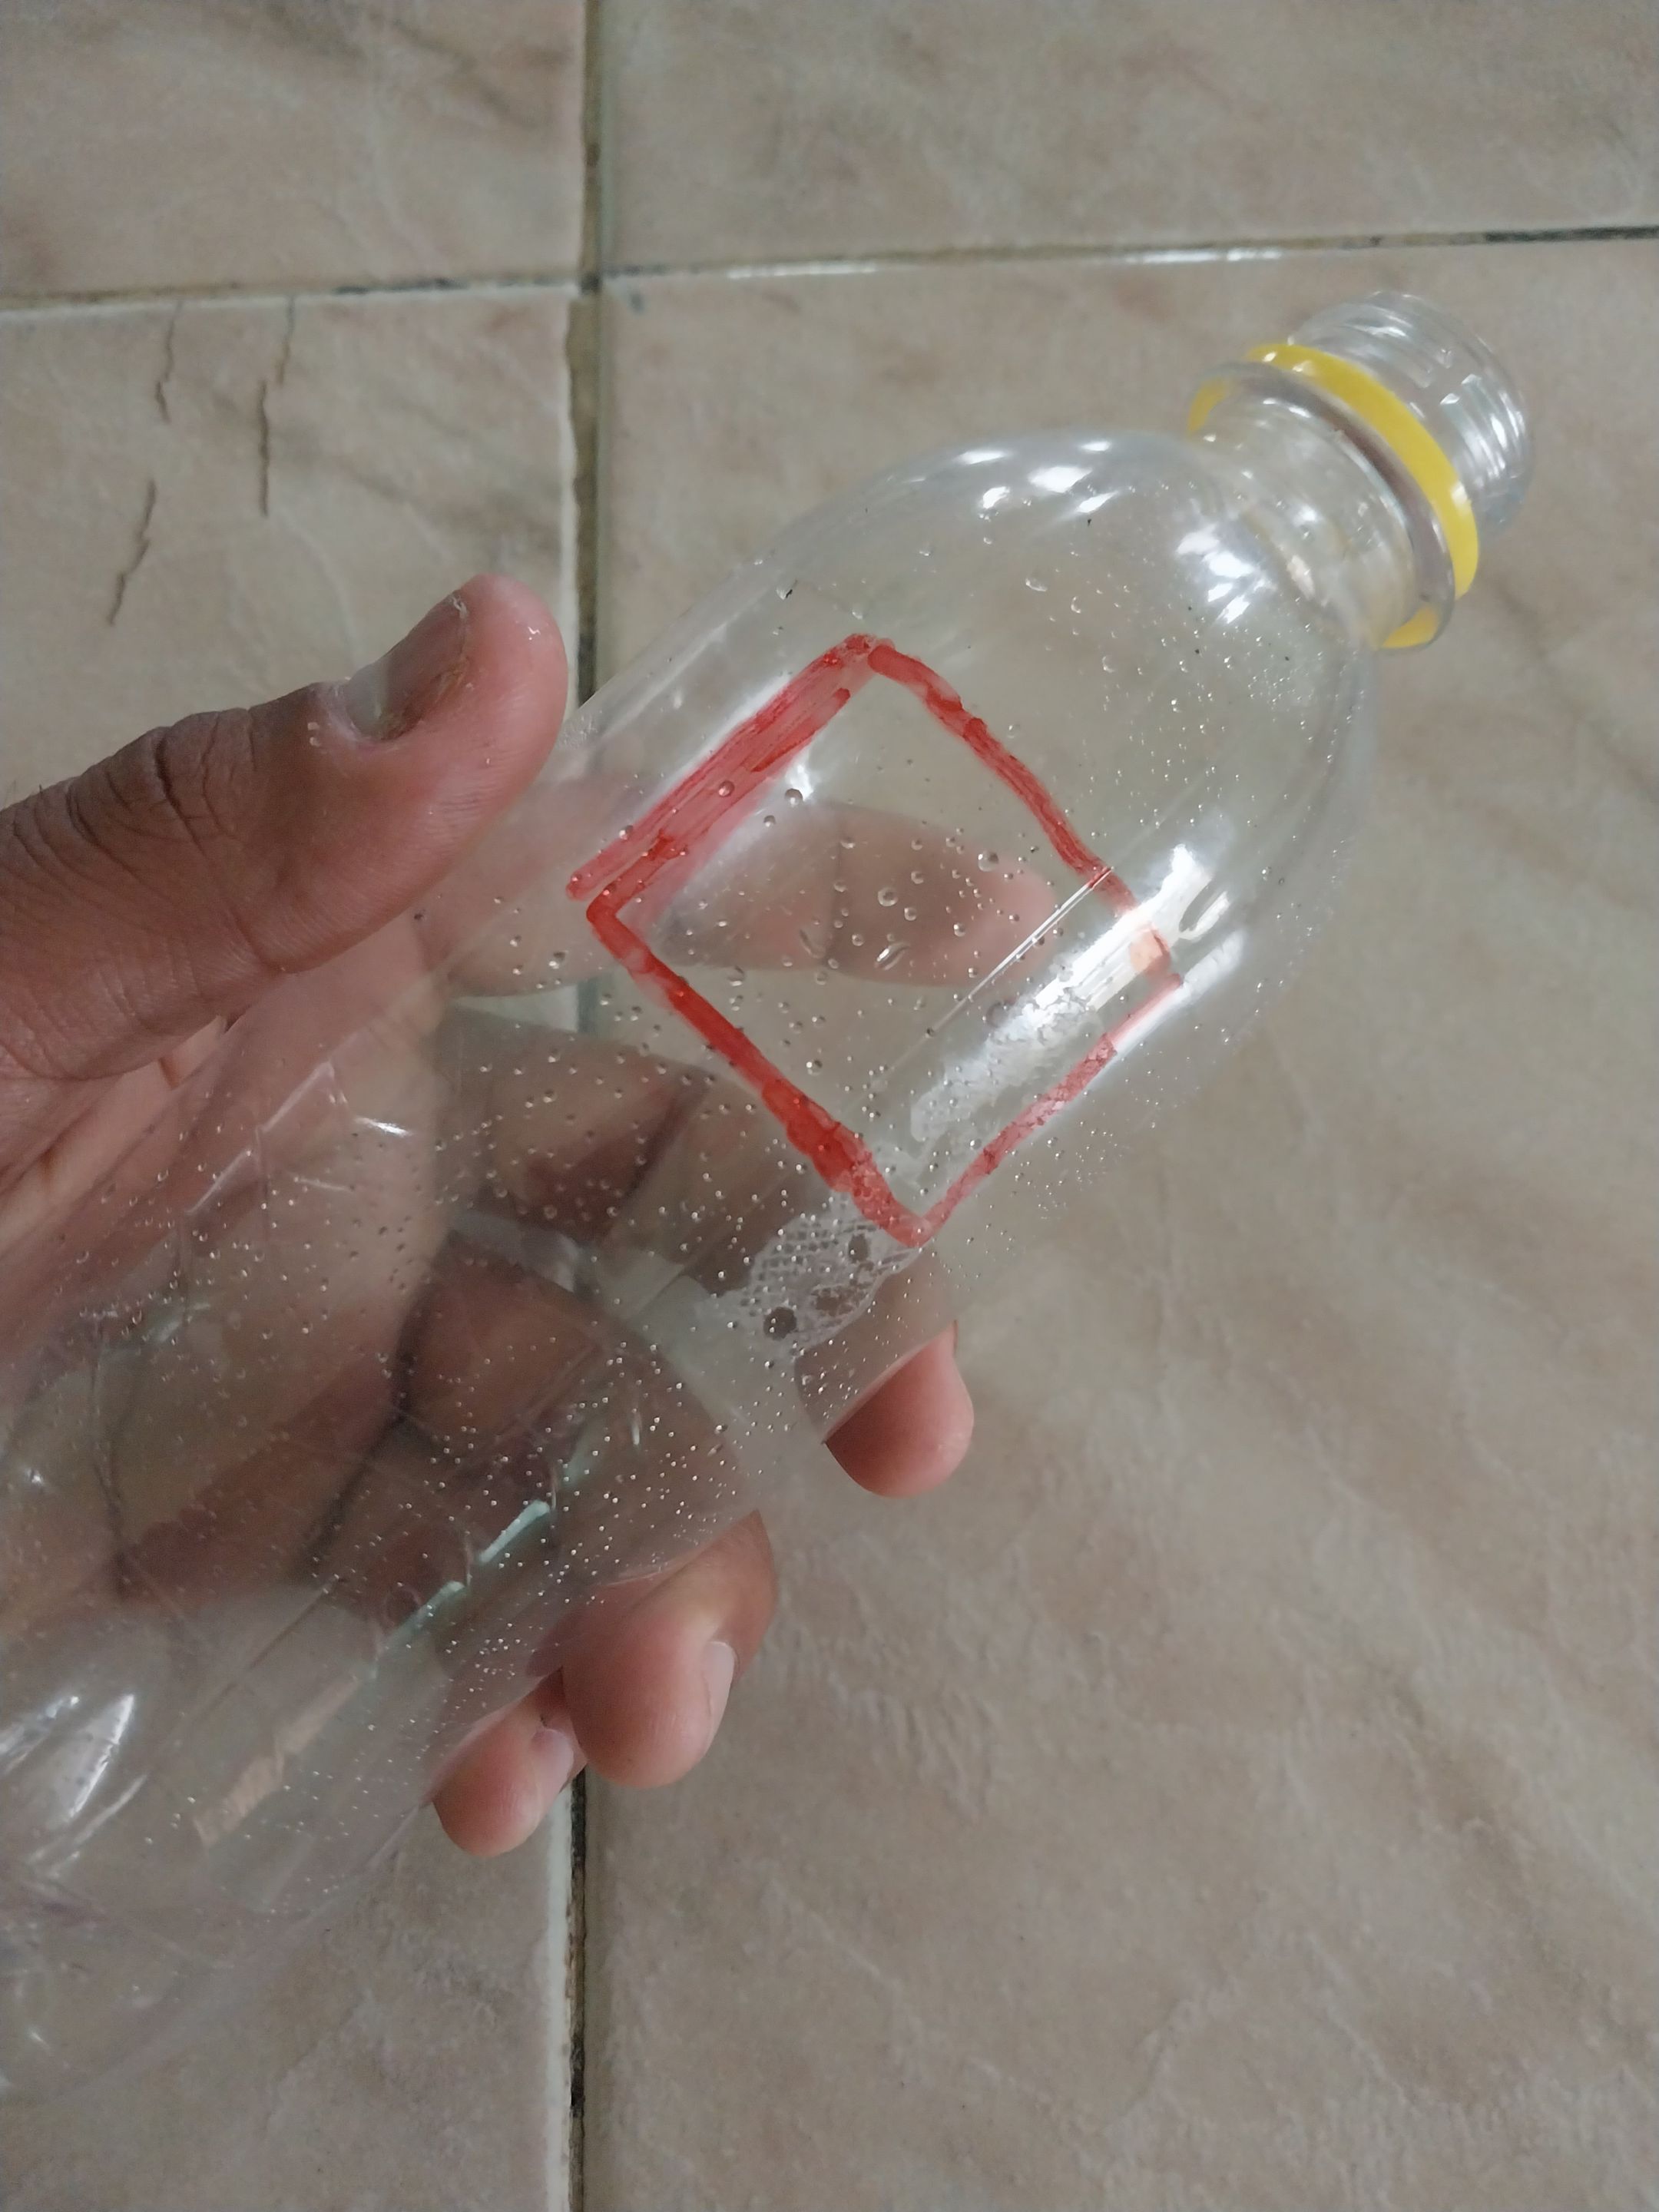
También tomé el marcador y marqué un pequeño cuadrado en la parte superior de la botella, osea, arriba de donde estaban los orificios para que pasara el sujetador de las ruedas, y con ayuda de la tijera corte el cuadrado.
Once I had the materials in hand, I started working. The first thing I did was turn on the stove burner and, with the pliers, hold the screw and heat it. Meanwhile, I grabbed the marker and marked four spots on the soda bottle where the pins that hold the wheels would go: two near the lid and two further back. Then, I took the pliers with the already heated screw and proceeded to drill the four holes in the bottle.
After that, I took one of the skewers and, with the help of a ruler and the marker, measured and marked two sticks between 7 and 6 centimeters. Once I marked them, I cut them with the scissors, and I now had my four holes in the bottle with the two pins that would hold the cart's wheels.
After that, I took the other four extra caps I had. I also used the marker to help mark a dot in the center of each one. I reheated the screw on the stove and proceeded to make a hole in the center of each cap. After that, I took the bottle again and, again using the heated screw, made another hole in the bottom of the bottle.
I also took the marker and marked a small square on the top of the bottle, above where the holes were for the wheel holder to fit through. I cut the square with scissors.
---
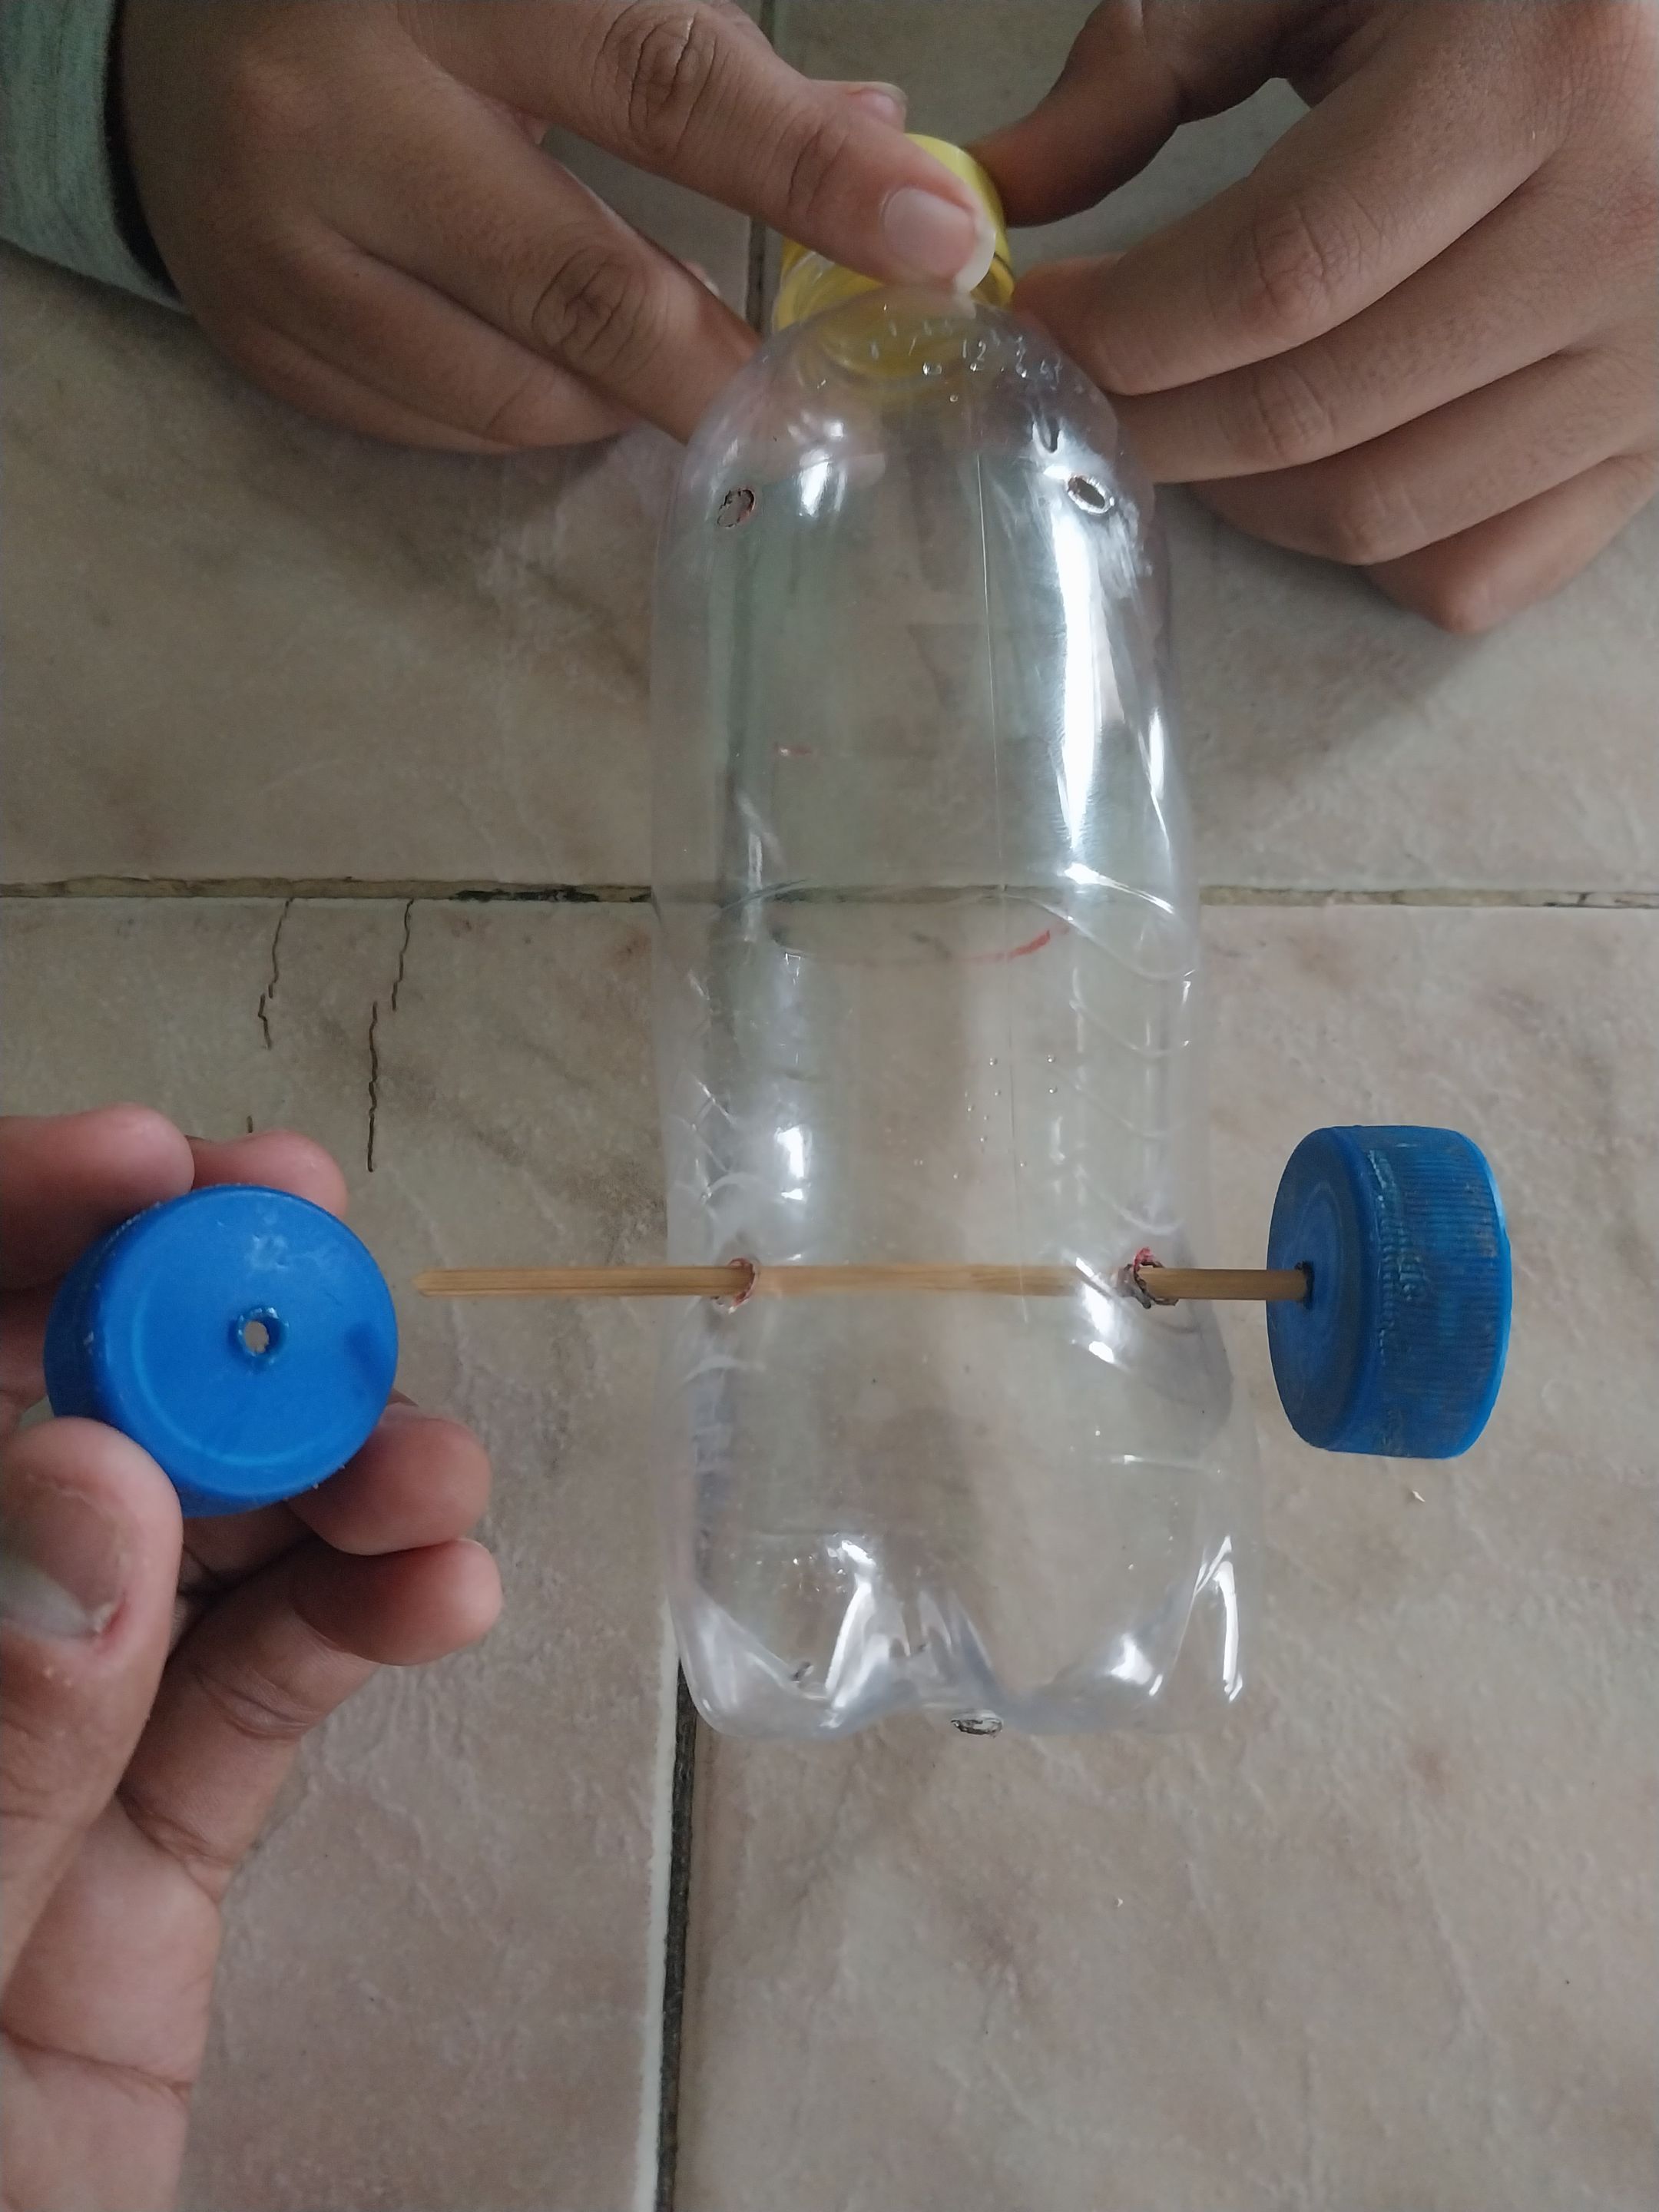
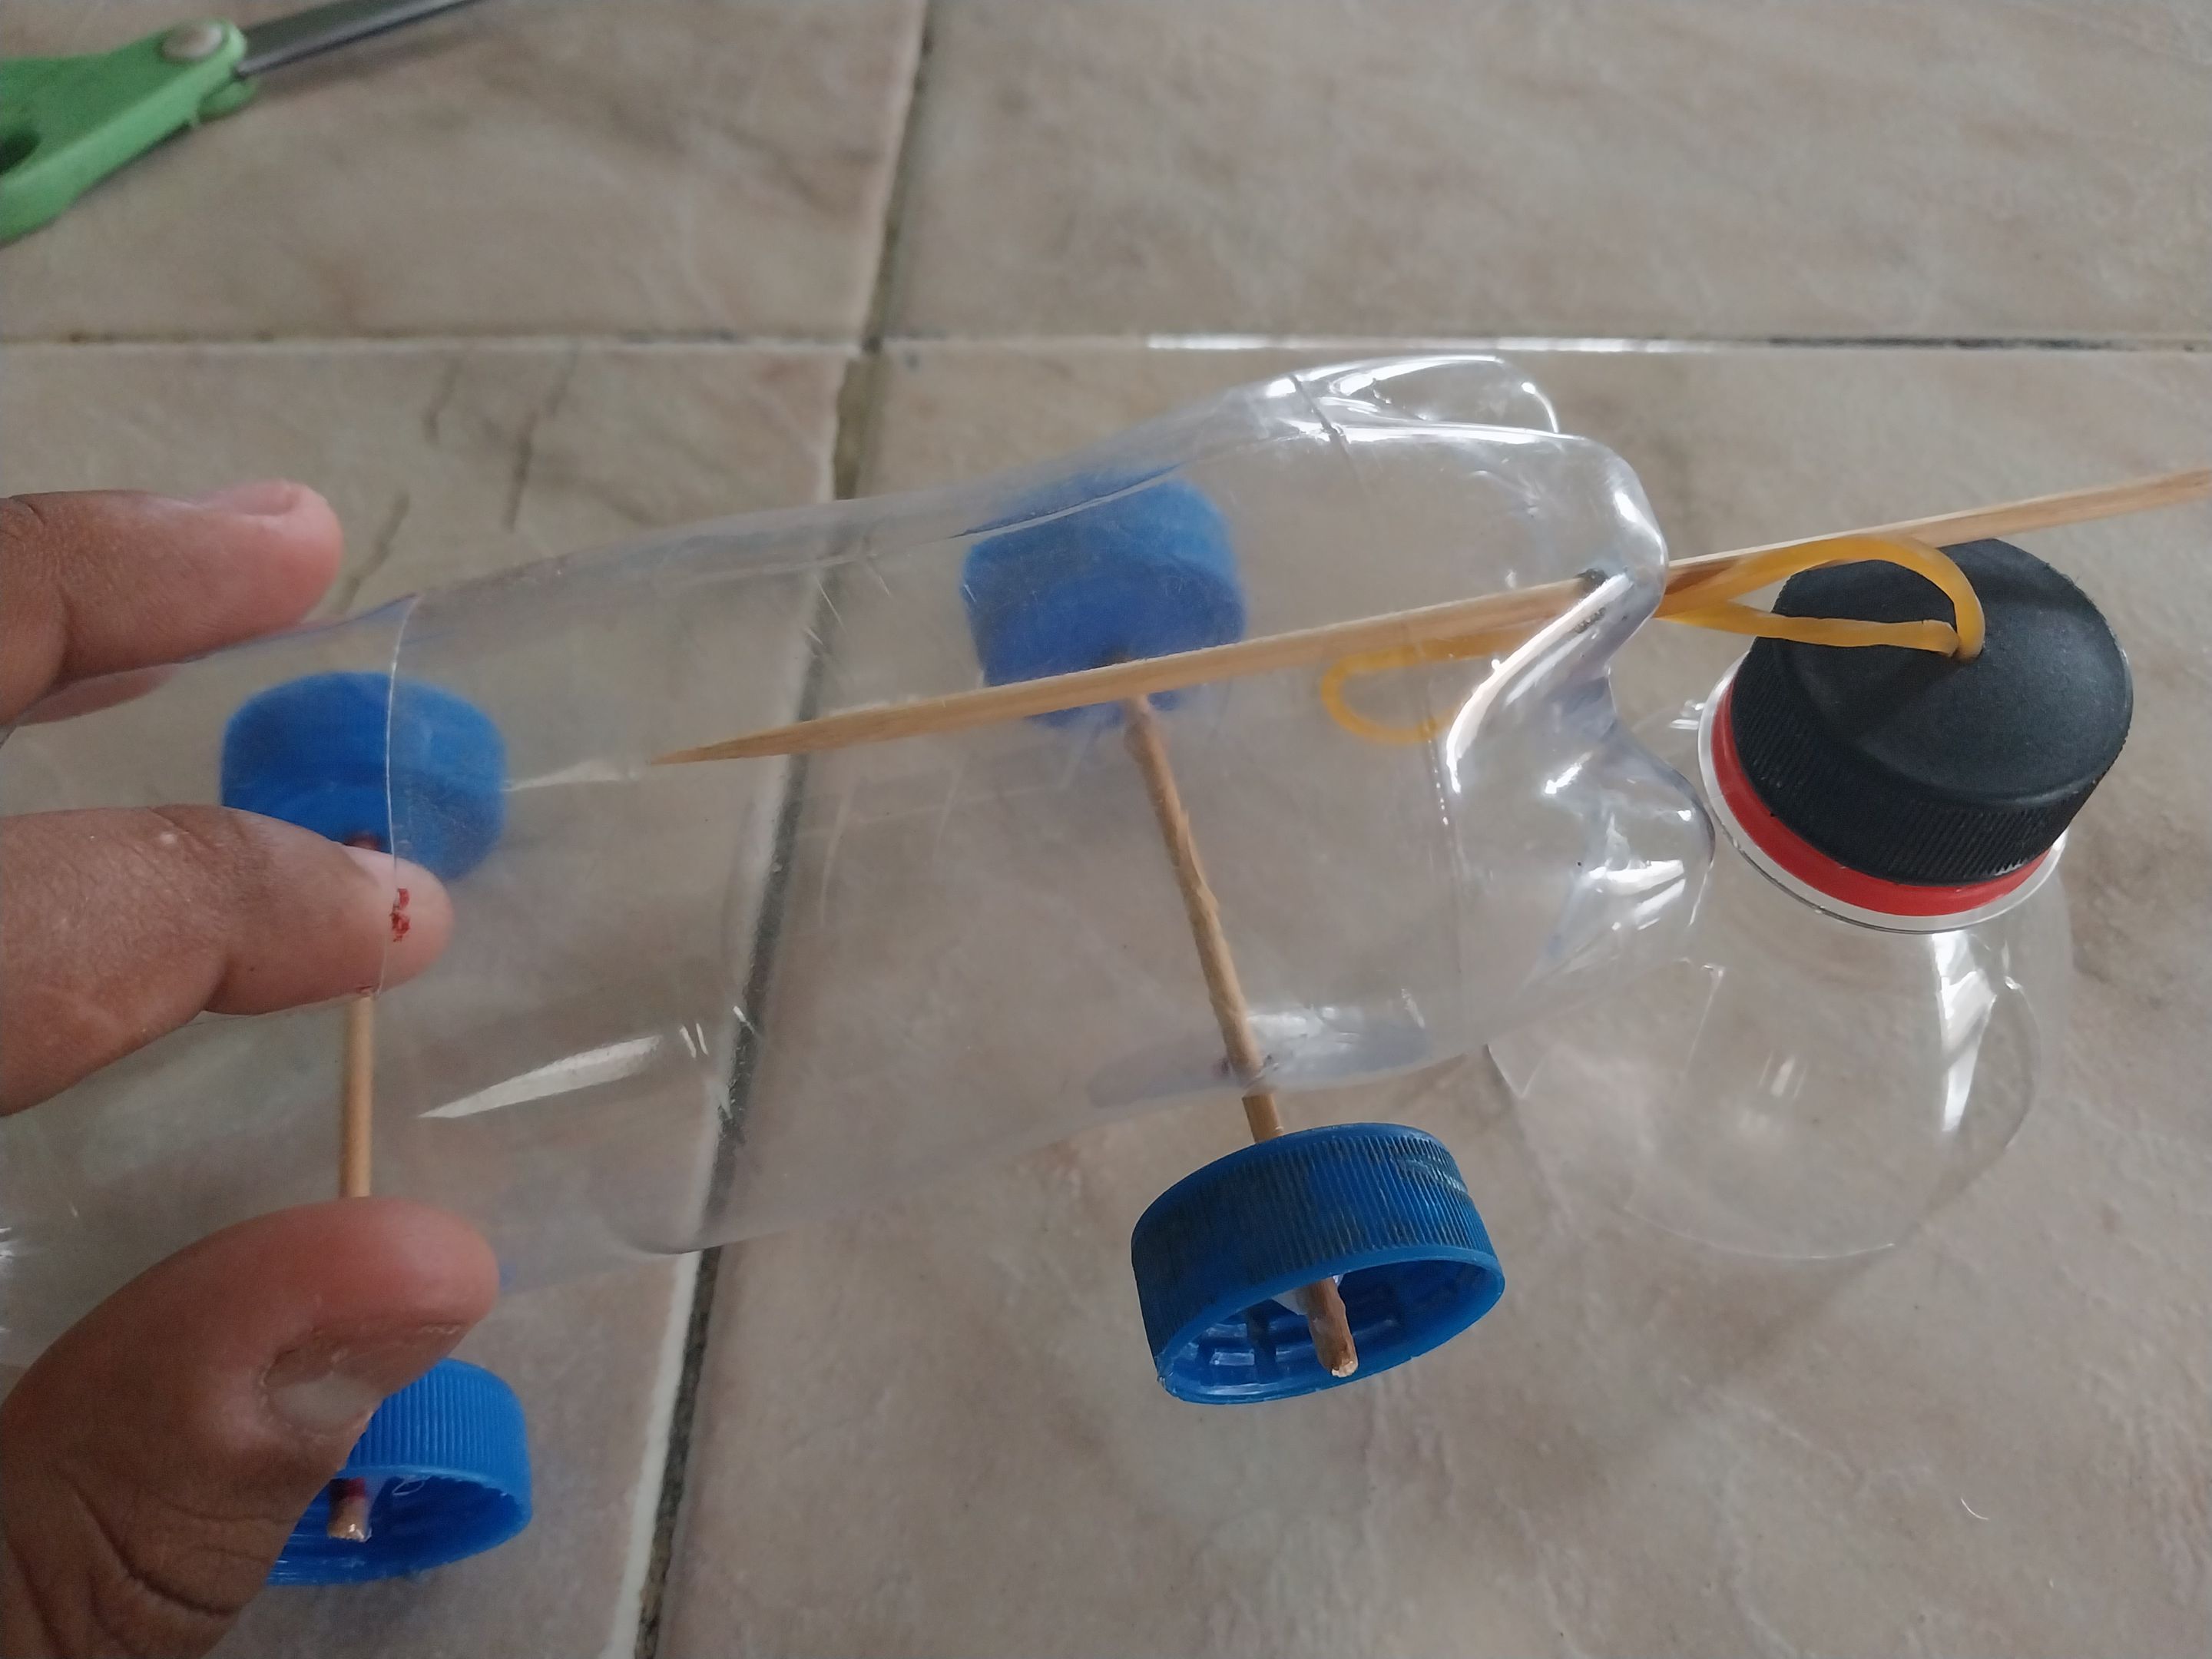
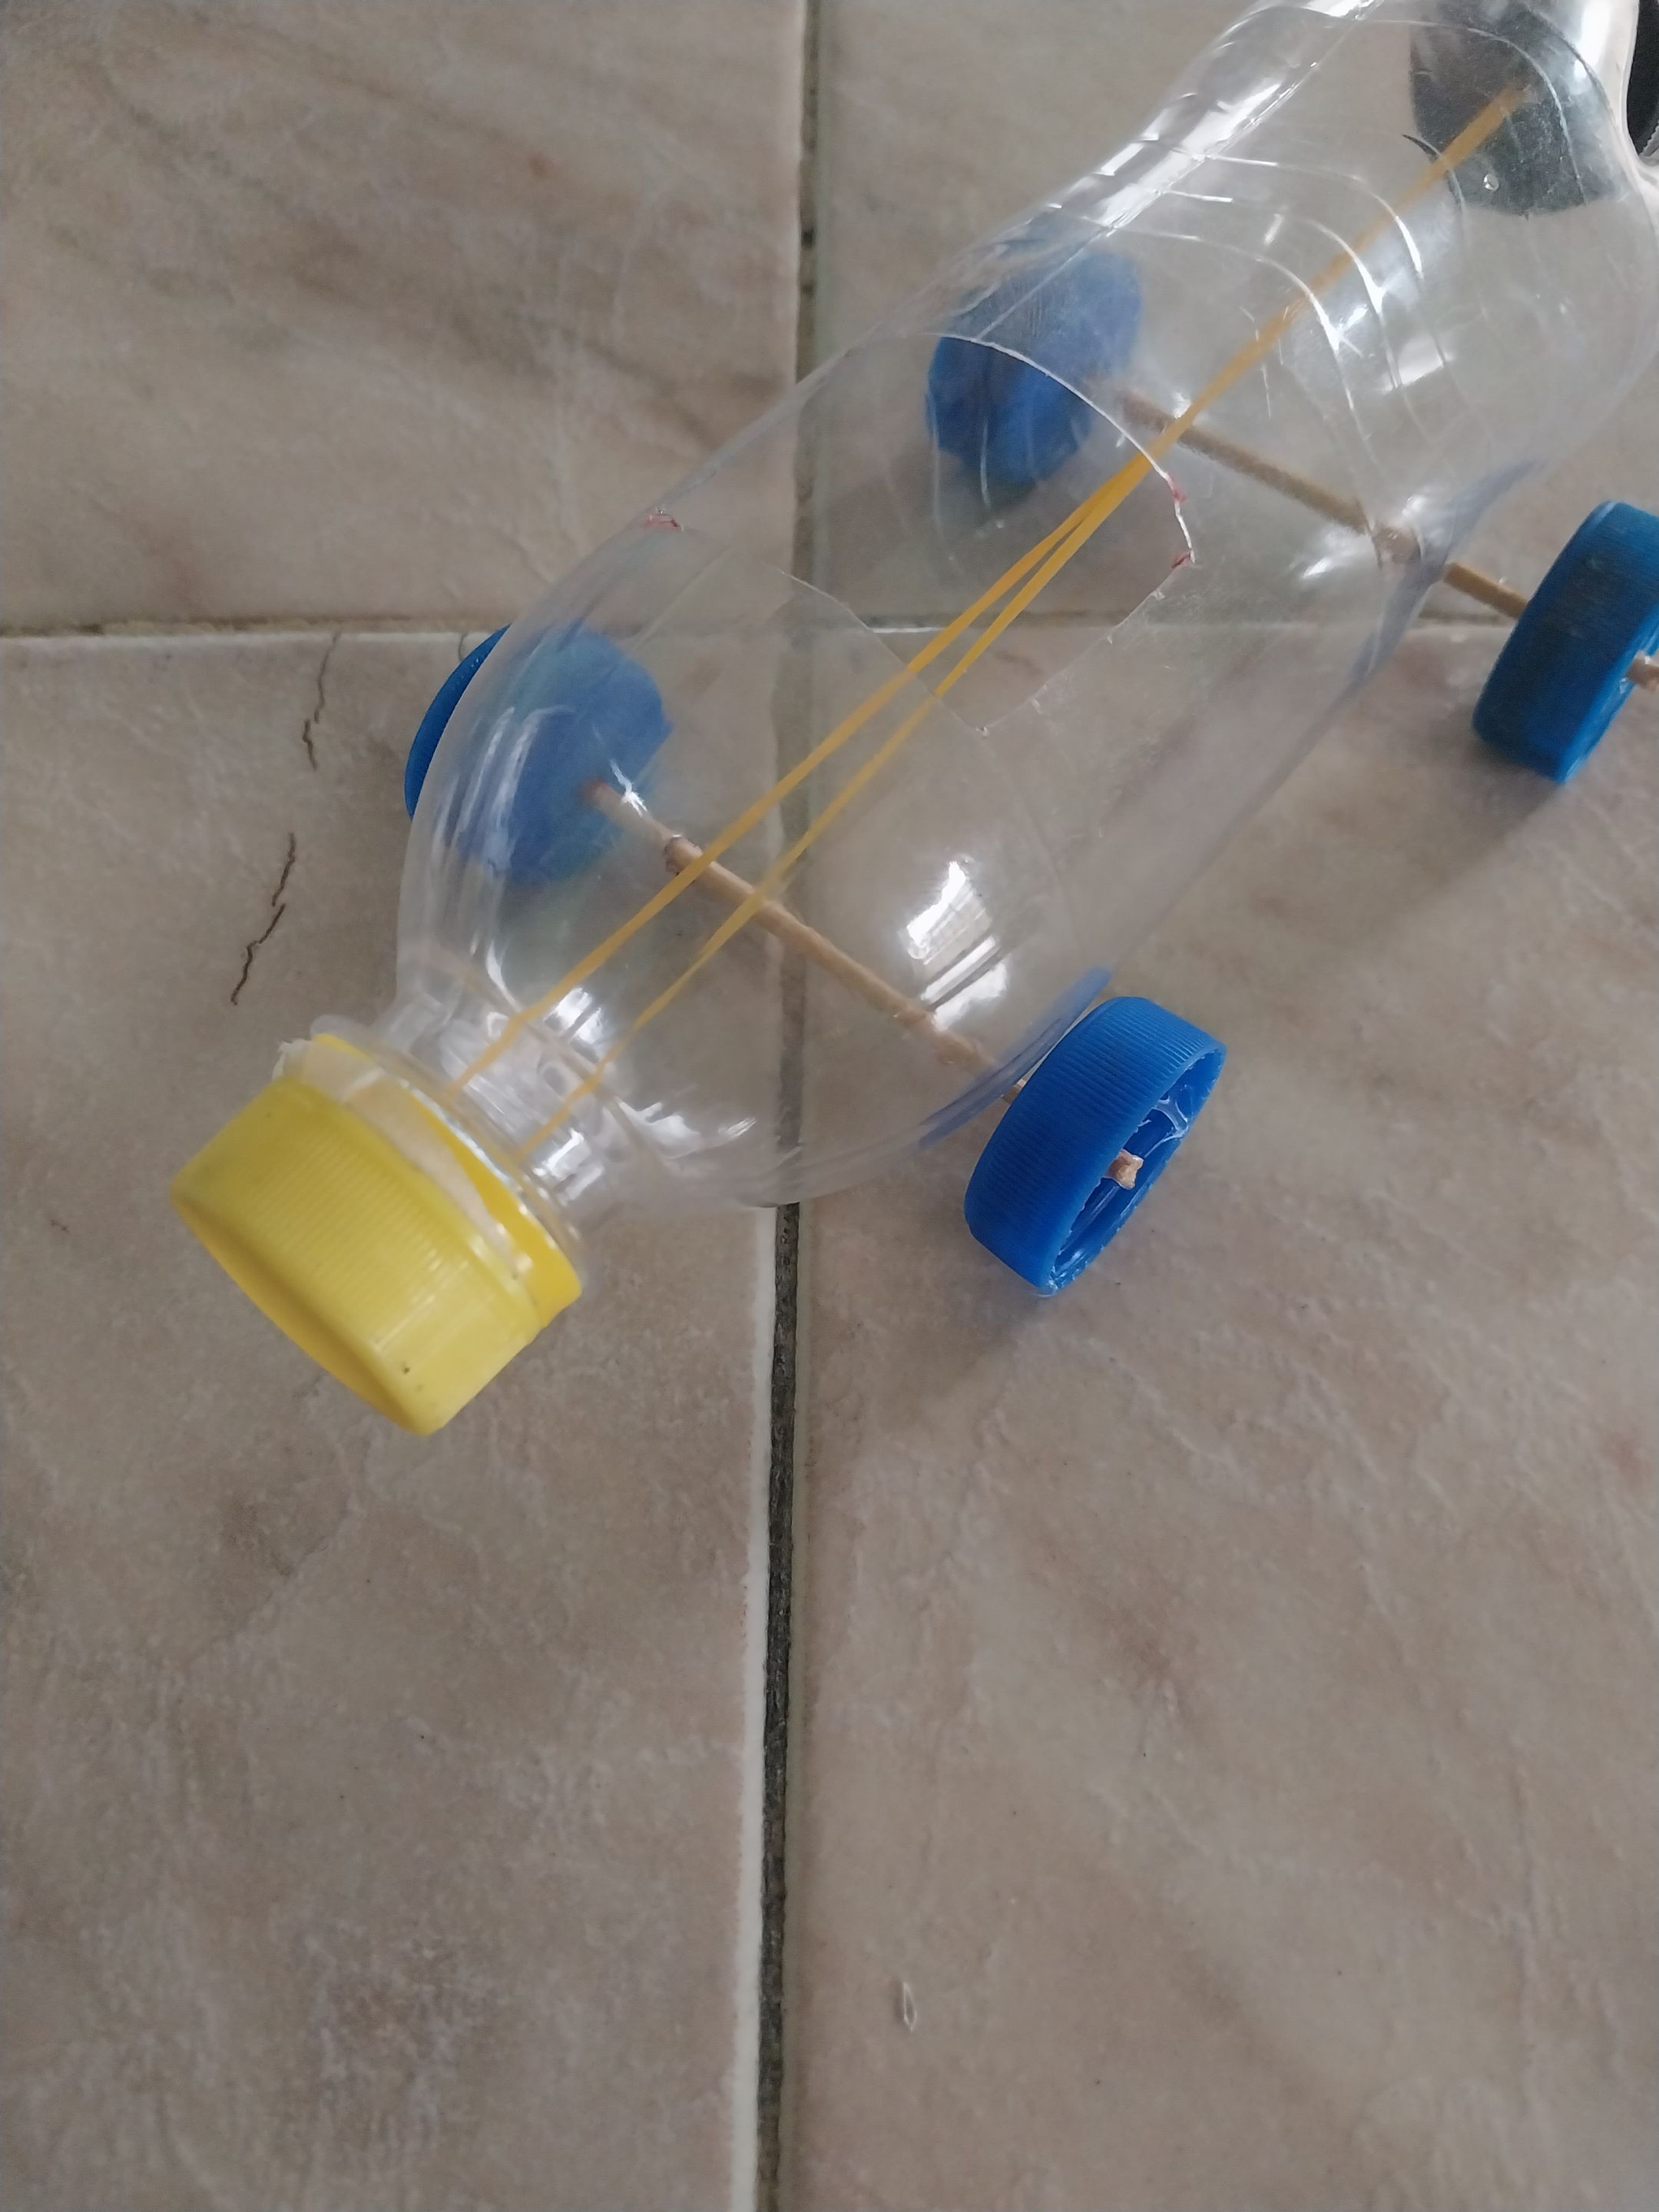
Bueno, una vez que ya tenía todo eso listo, empecé a armar el carrito, agarré el primer palito y lo inserté entre los dos agujeros y traseros, y tome las 4 tapas que iba a utilizar como ruedas, y empecé a pegar tapa por tapa a cada extremo del palito, echándole silicón y asegurándome de que quedaran firmes y derechas, y de que no fueran a quedar inclinadas hacia ningún lado, y bueno, hice asi hasta pegar todas las tapas.
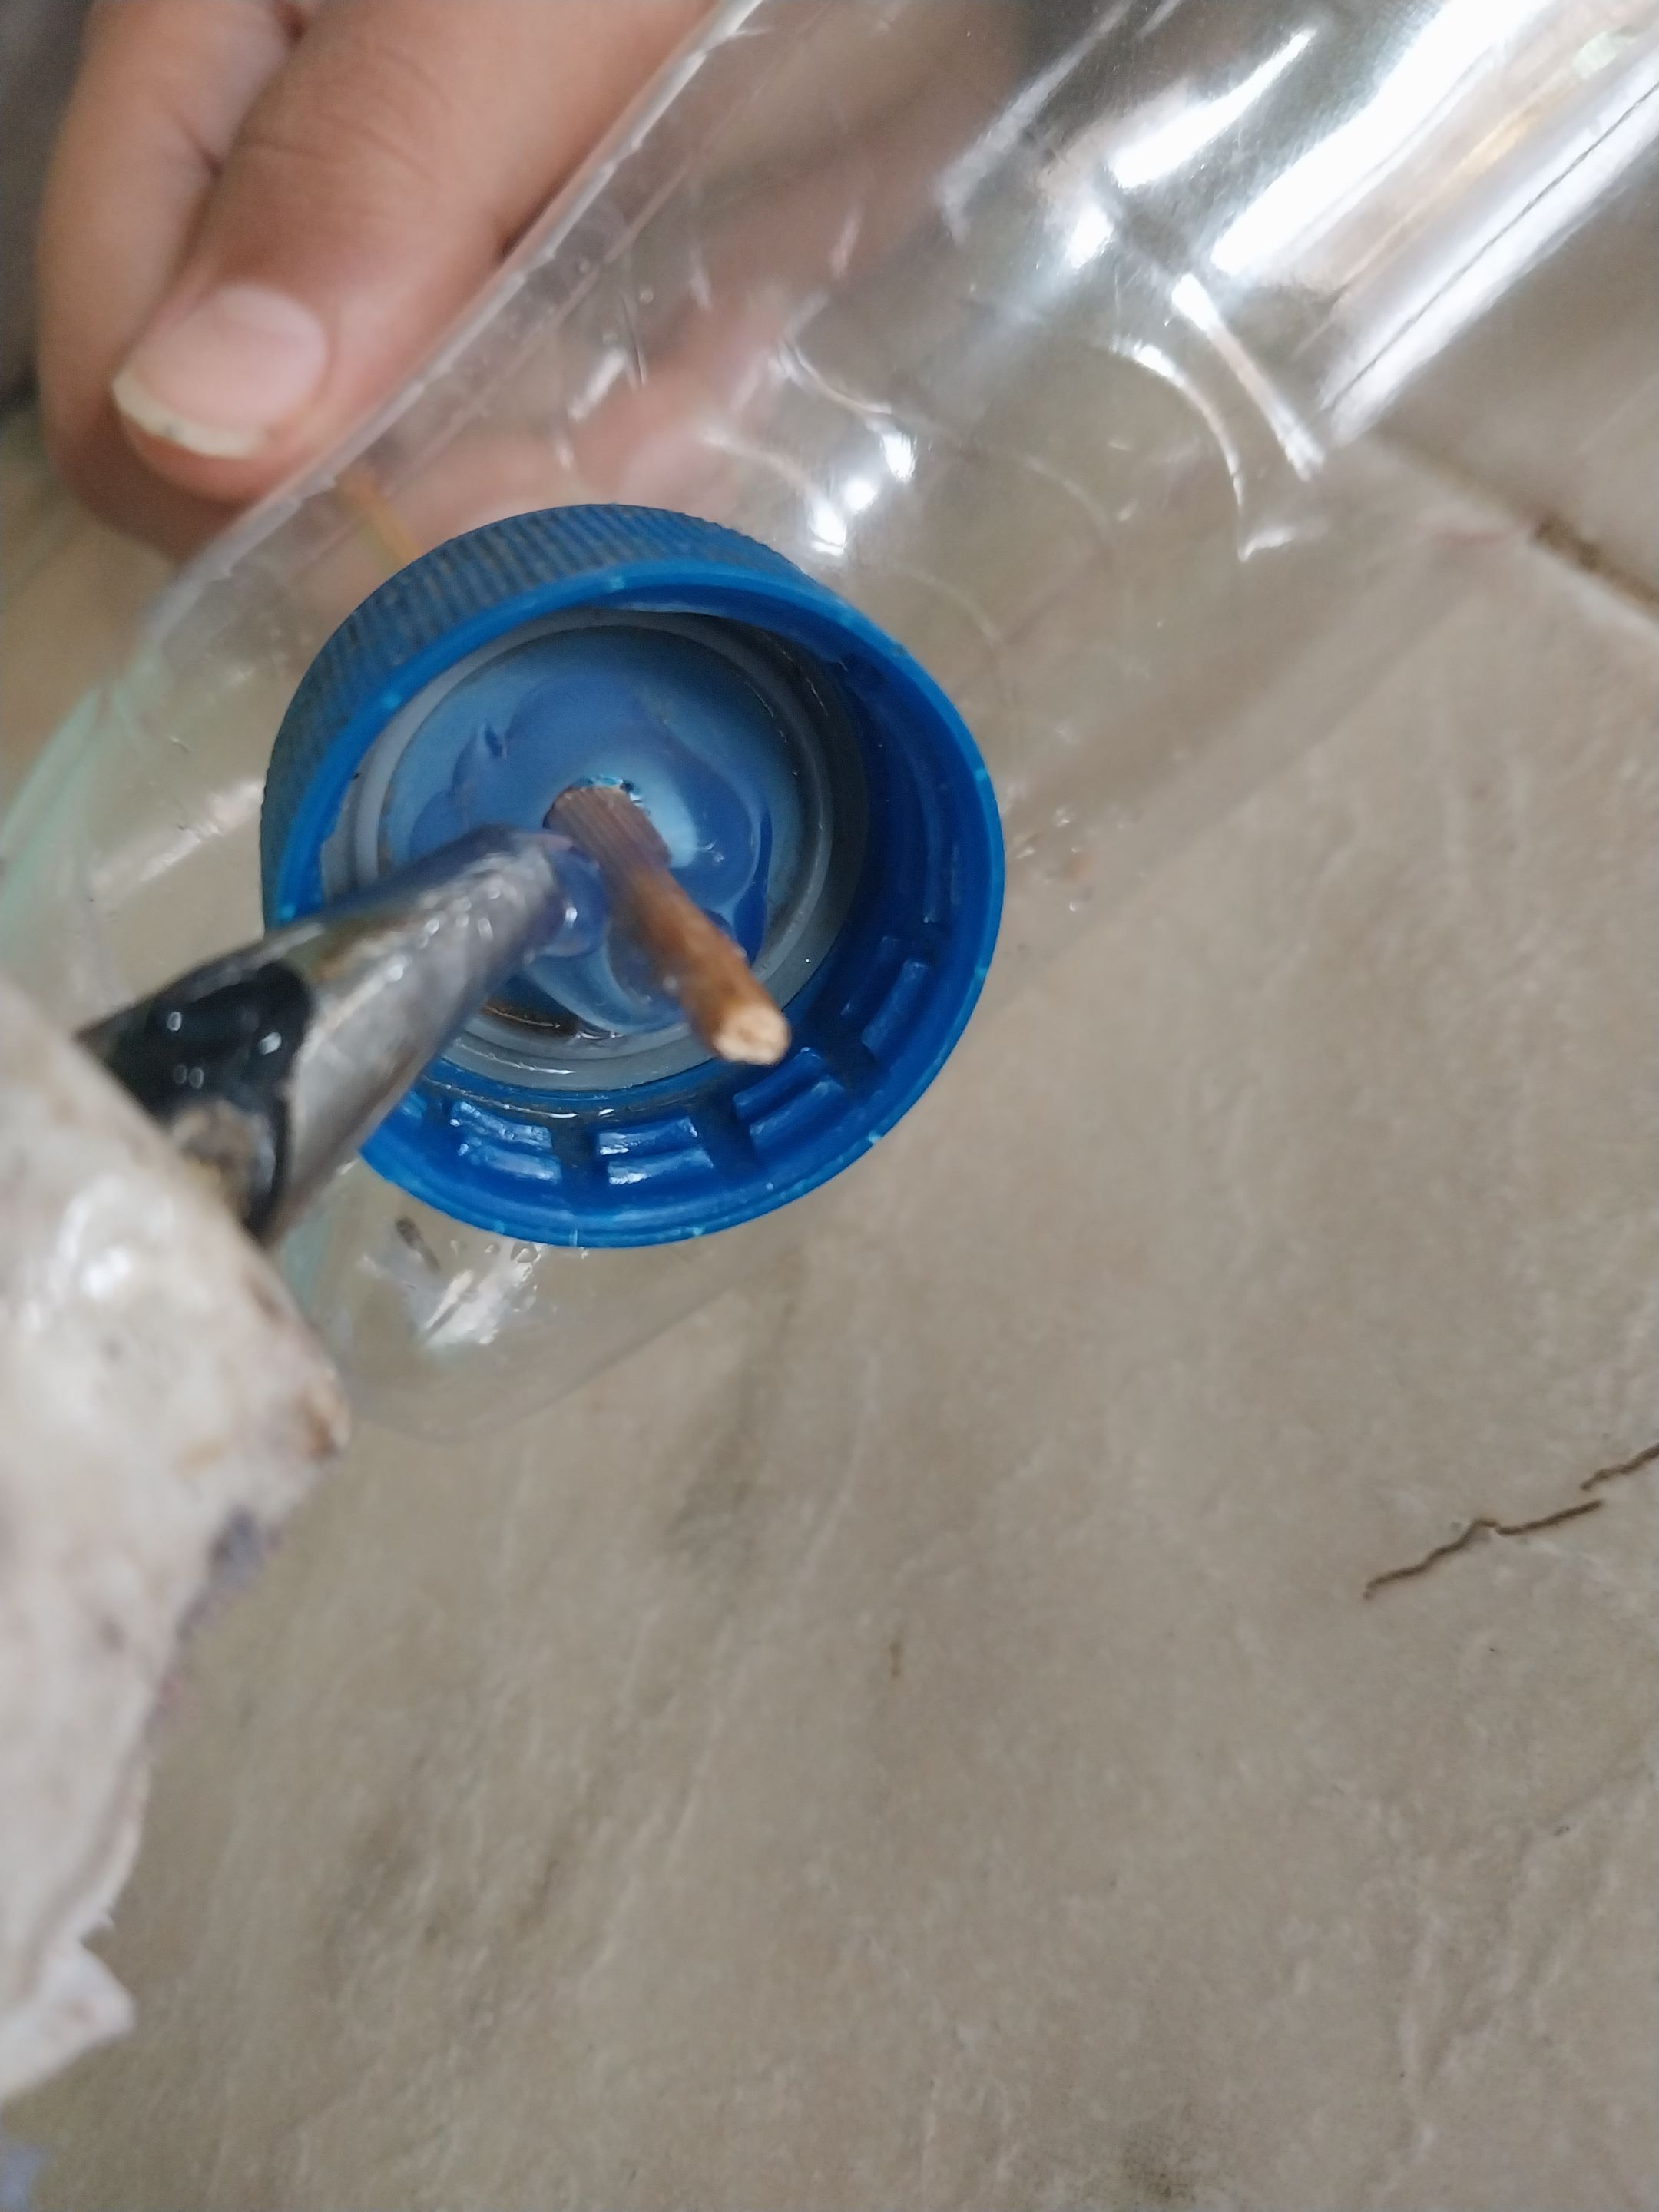
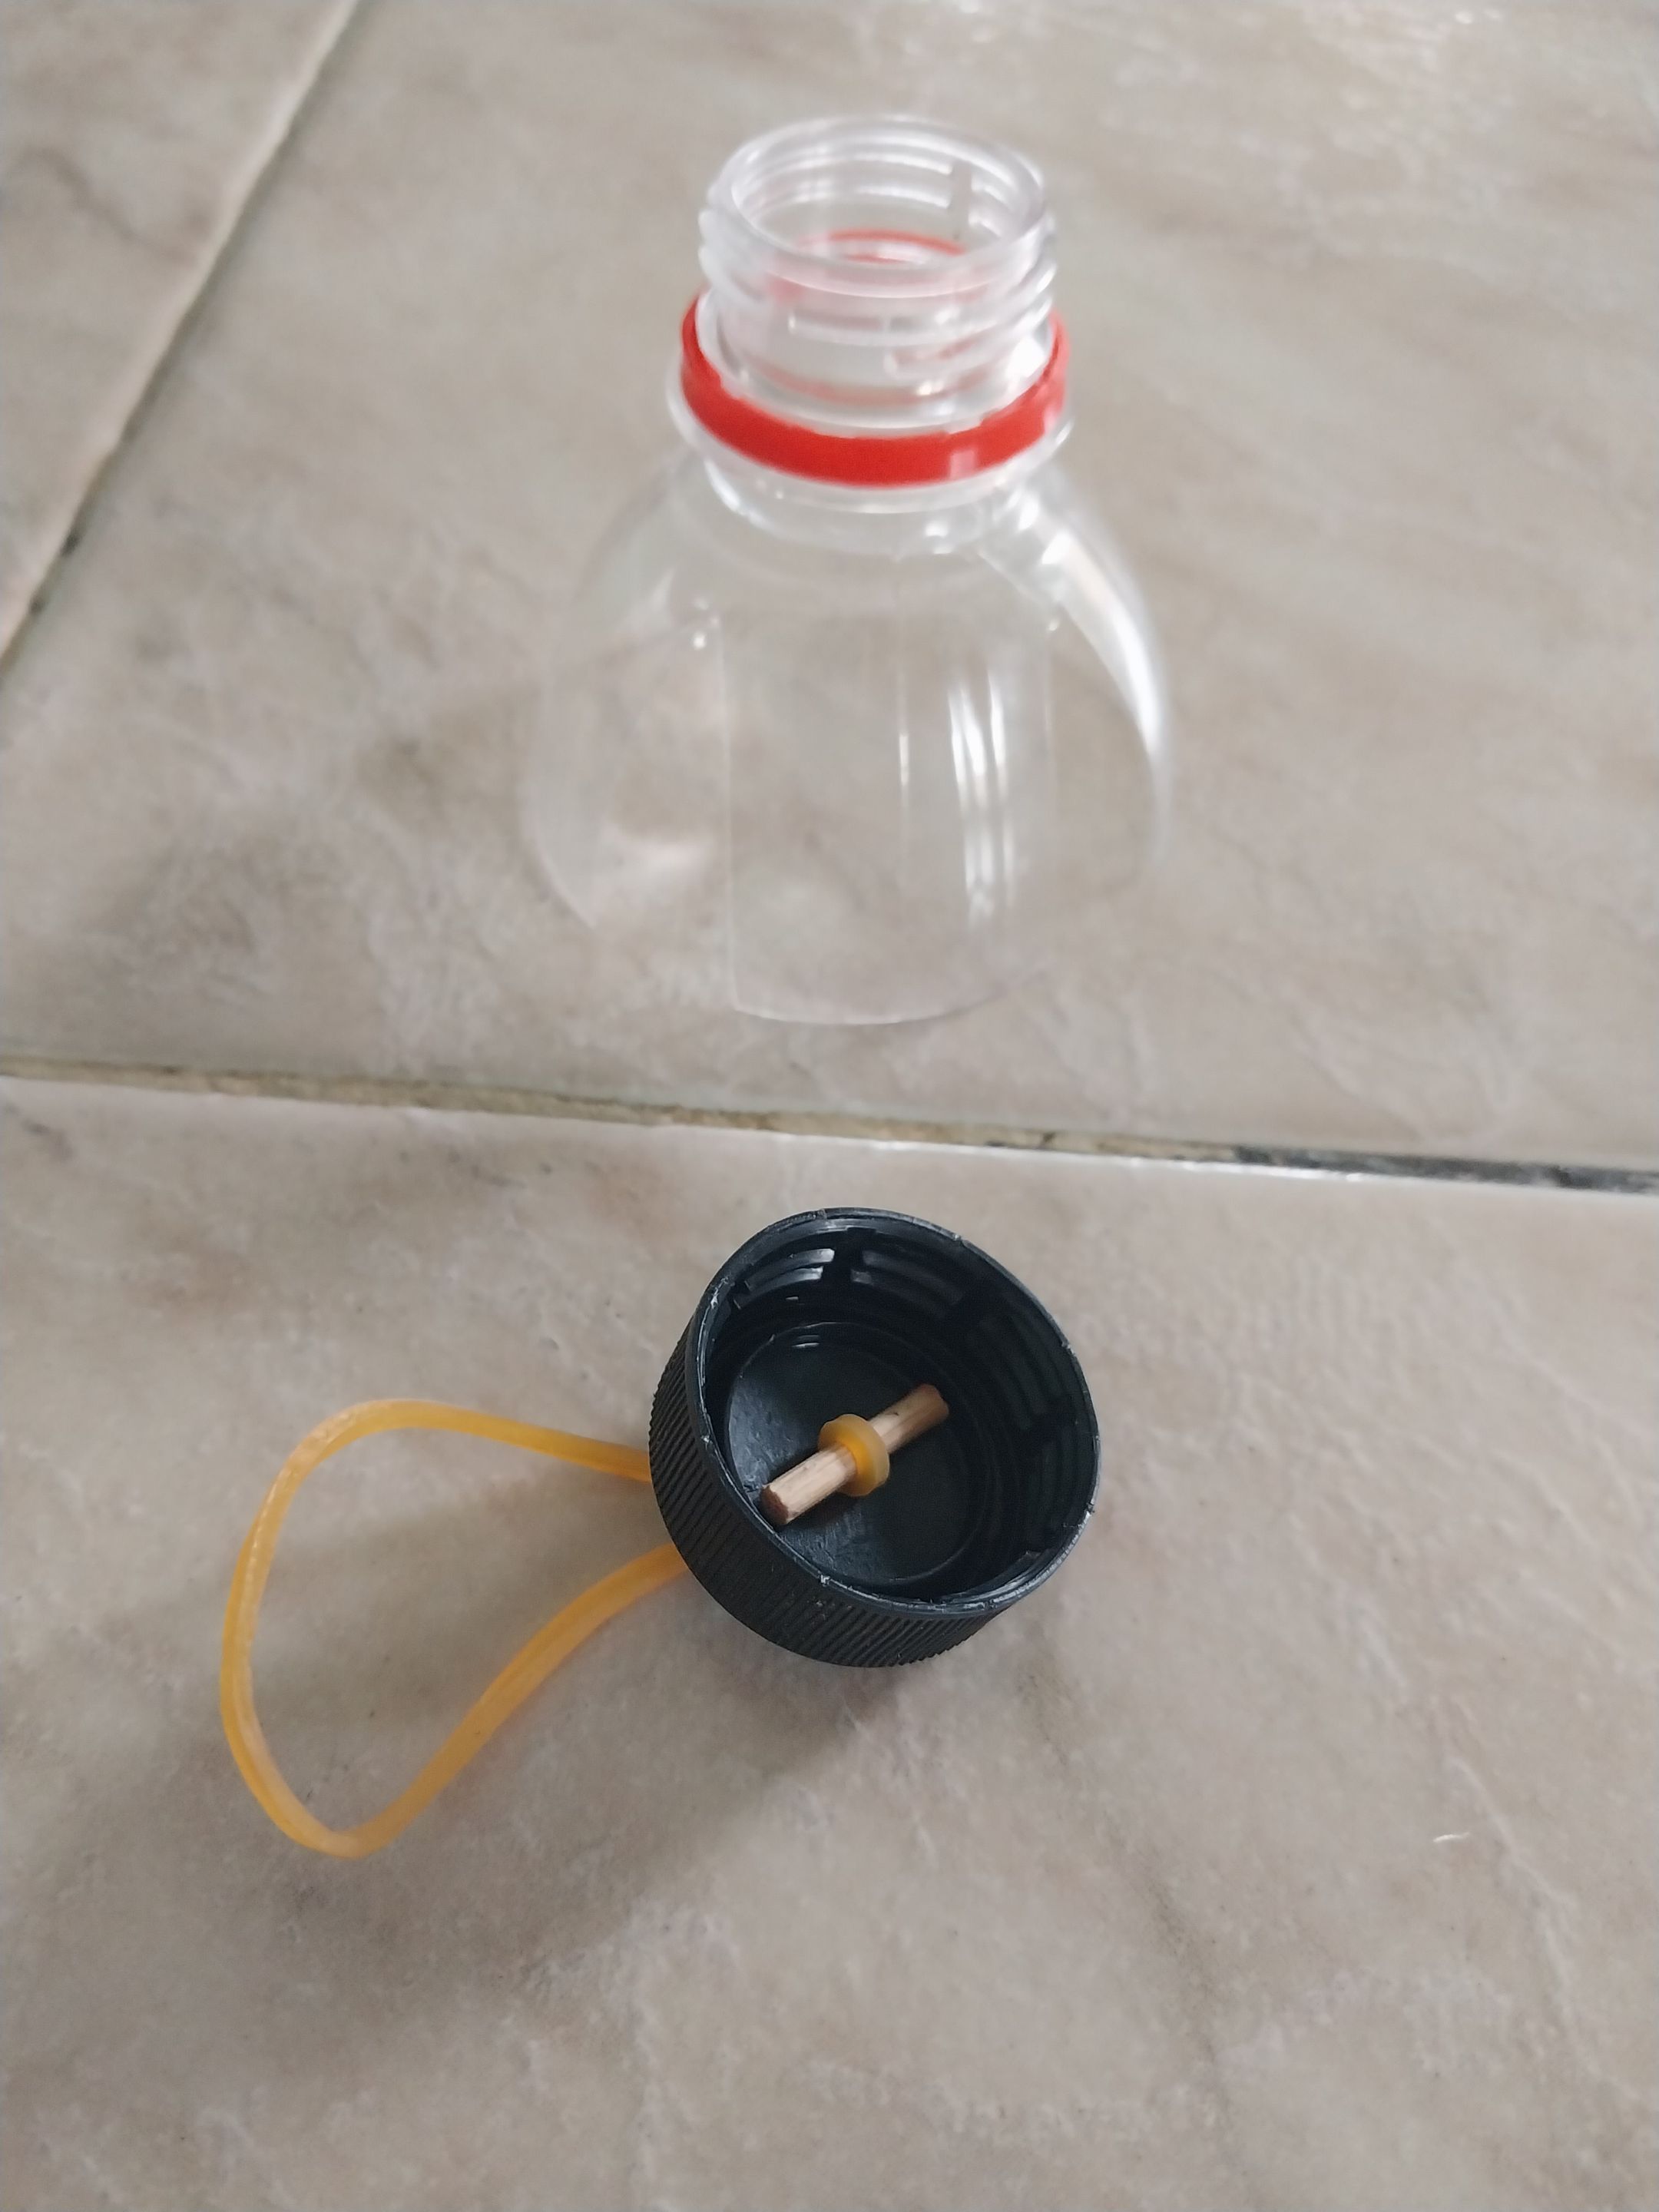
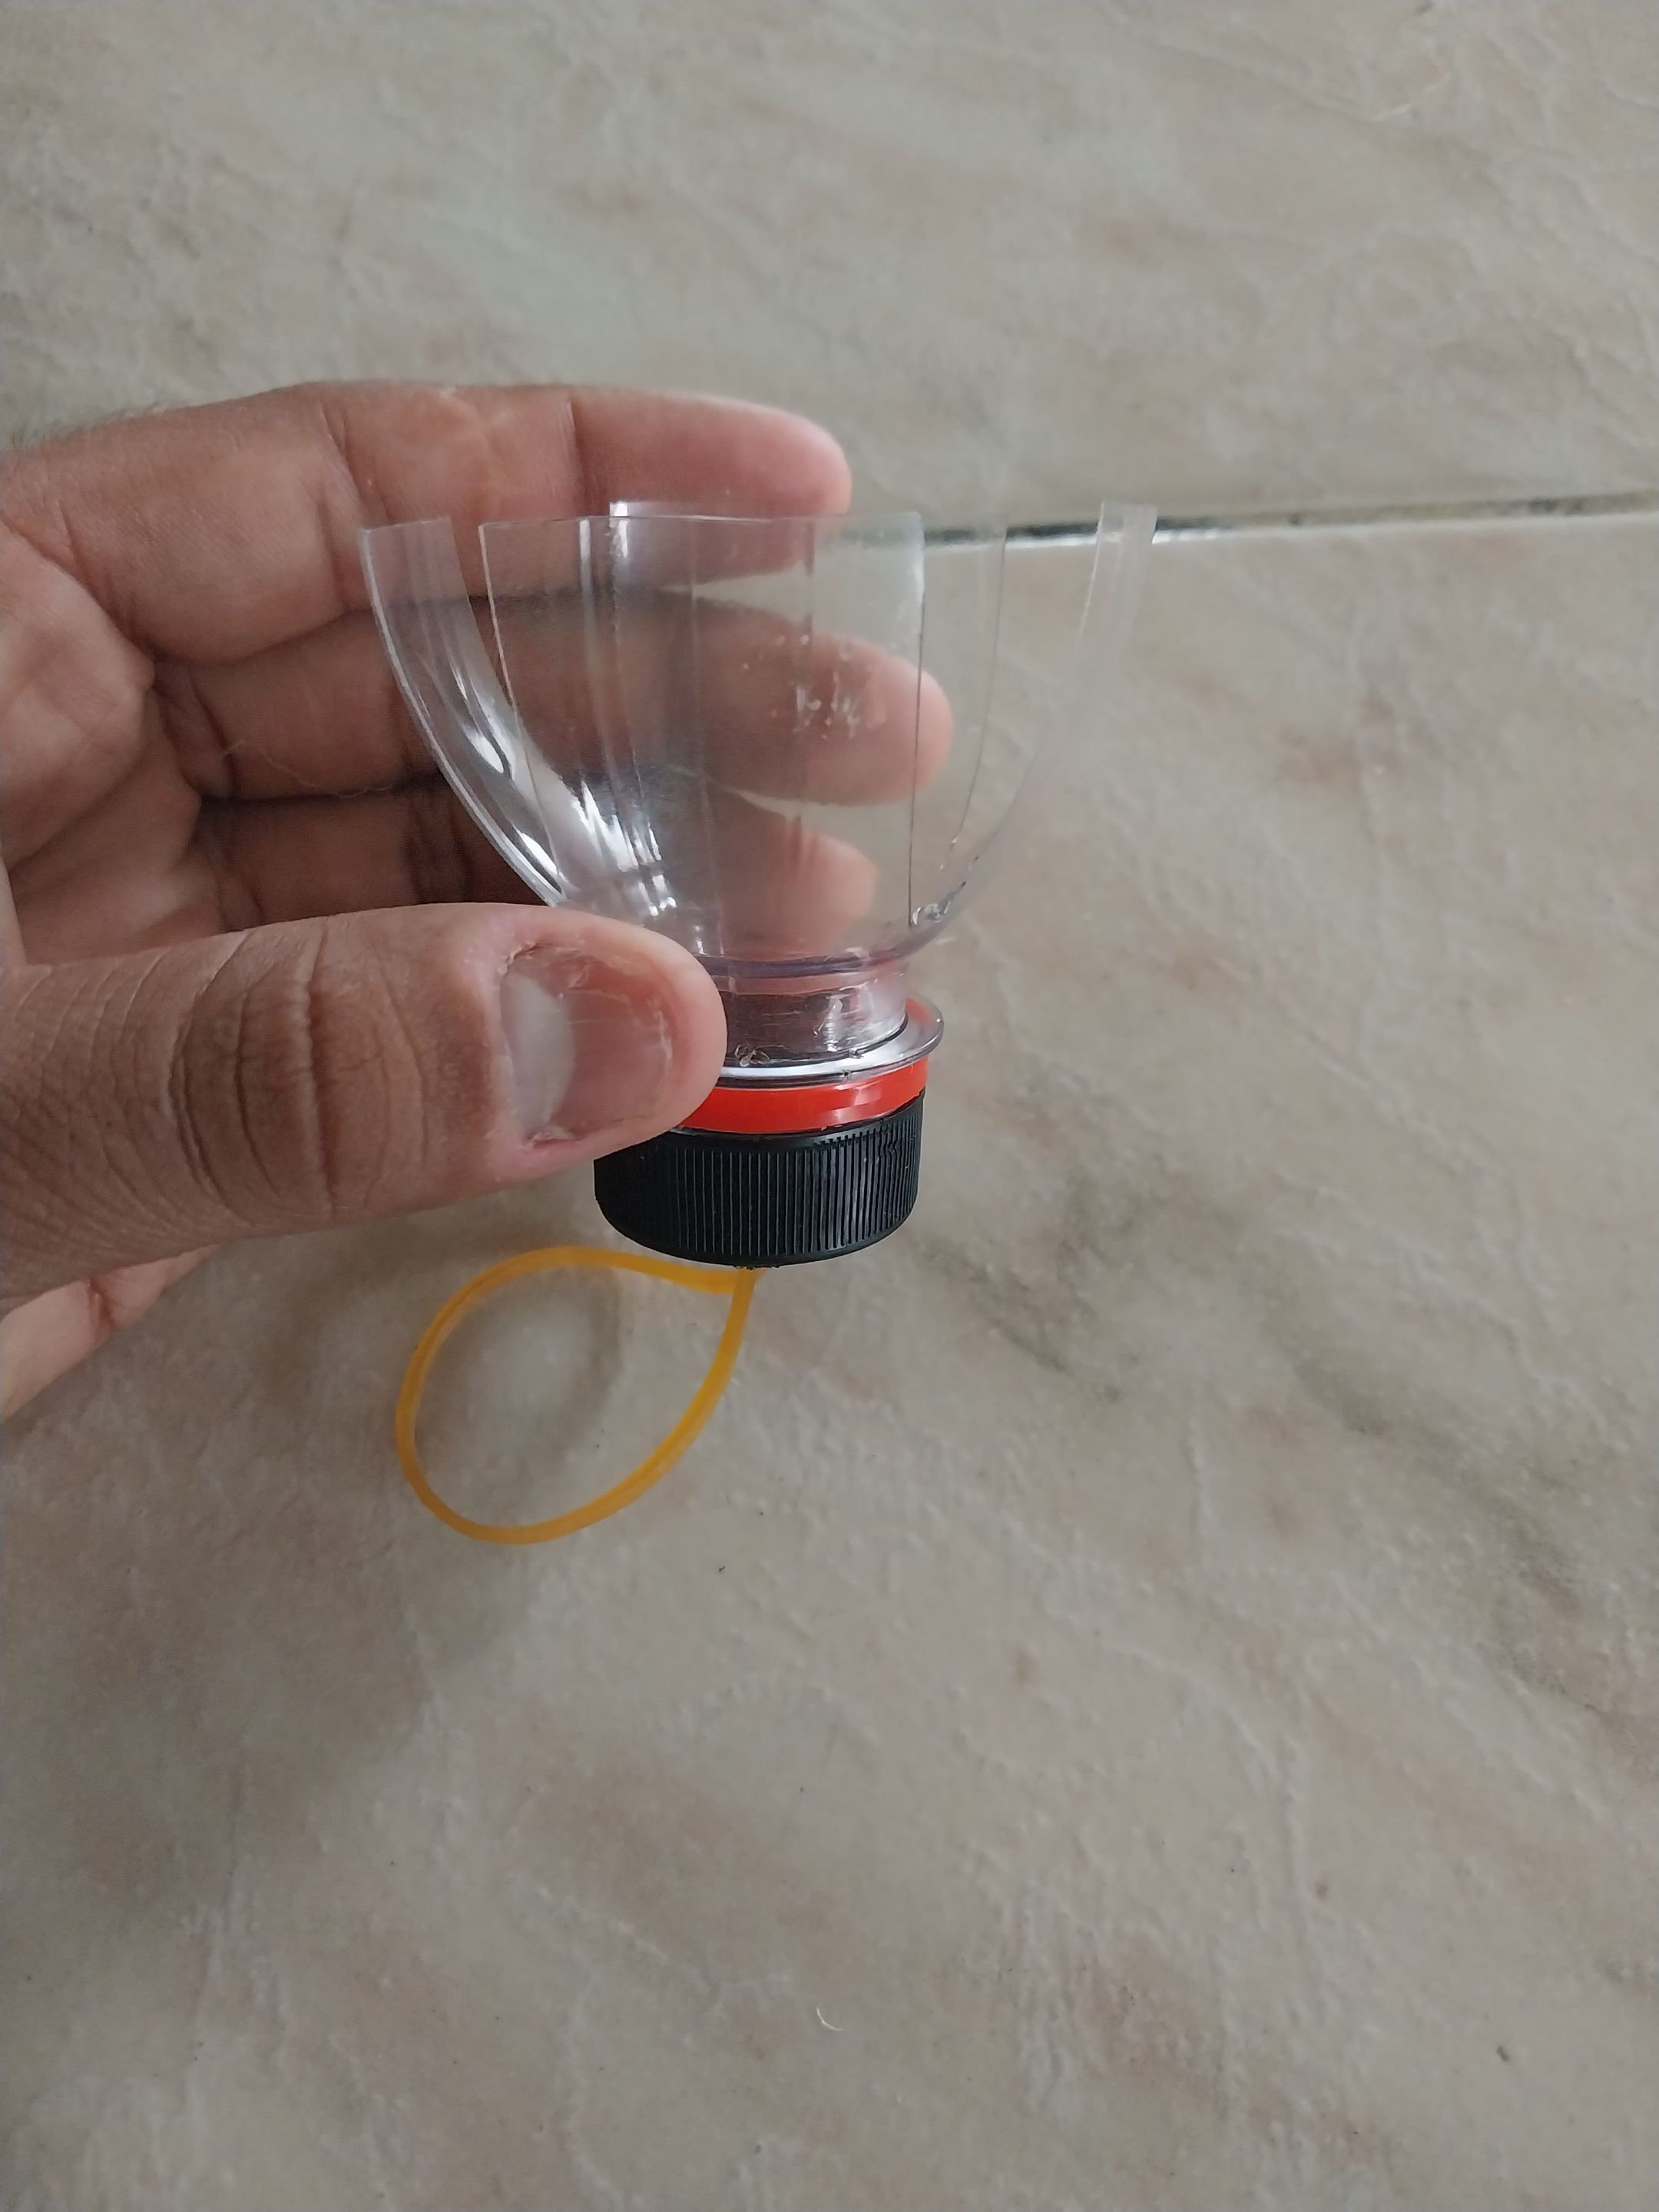
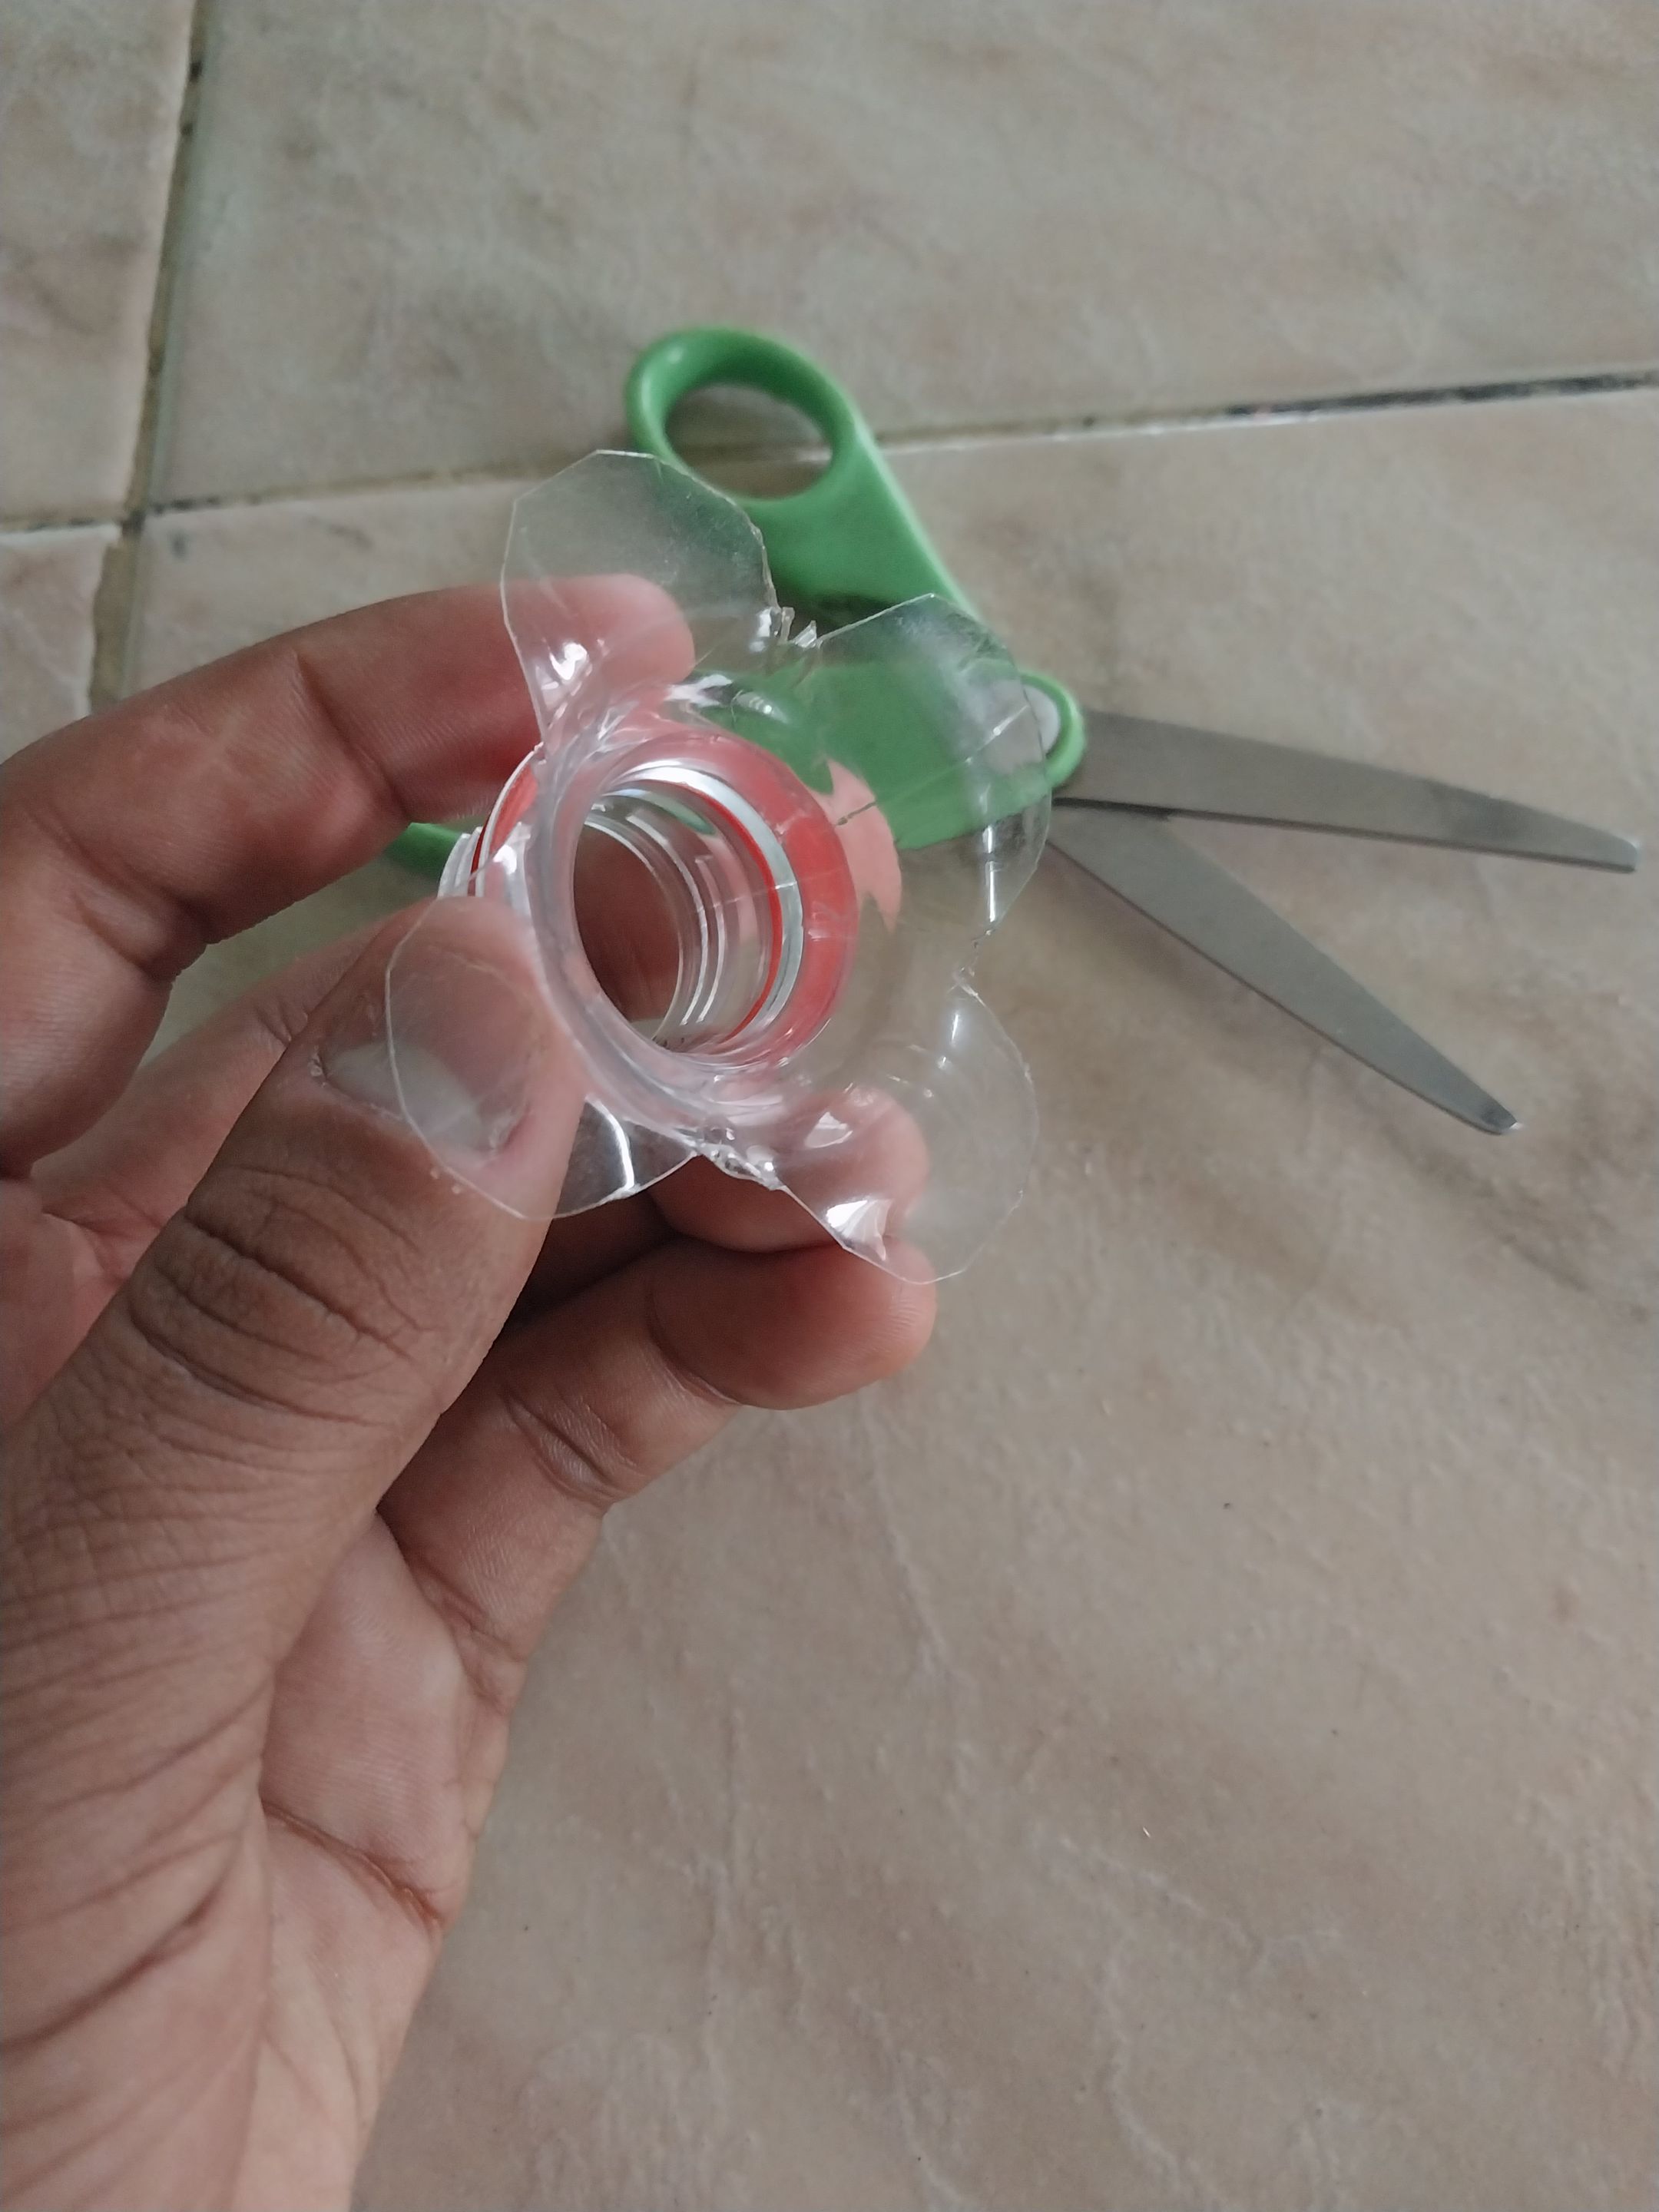
Ya con el carrito armado y sobre sus cuatro ruedas, tomé la otra punta de la botella extra que tenía y lo que hice fue recortarla como si estuviese haciendo una helice de manera que le quedaron cuatro palas, luego, tome la tapa sobrante y pase un extremo de la liga por dentro del orificio, y le puse un palito de pincho que funcion como sujetador, de manera que la liga no fuera a irse por completo por el agujero.
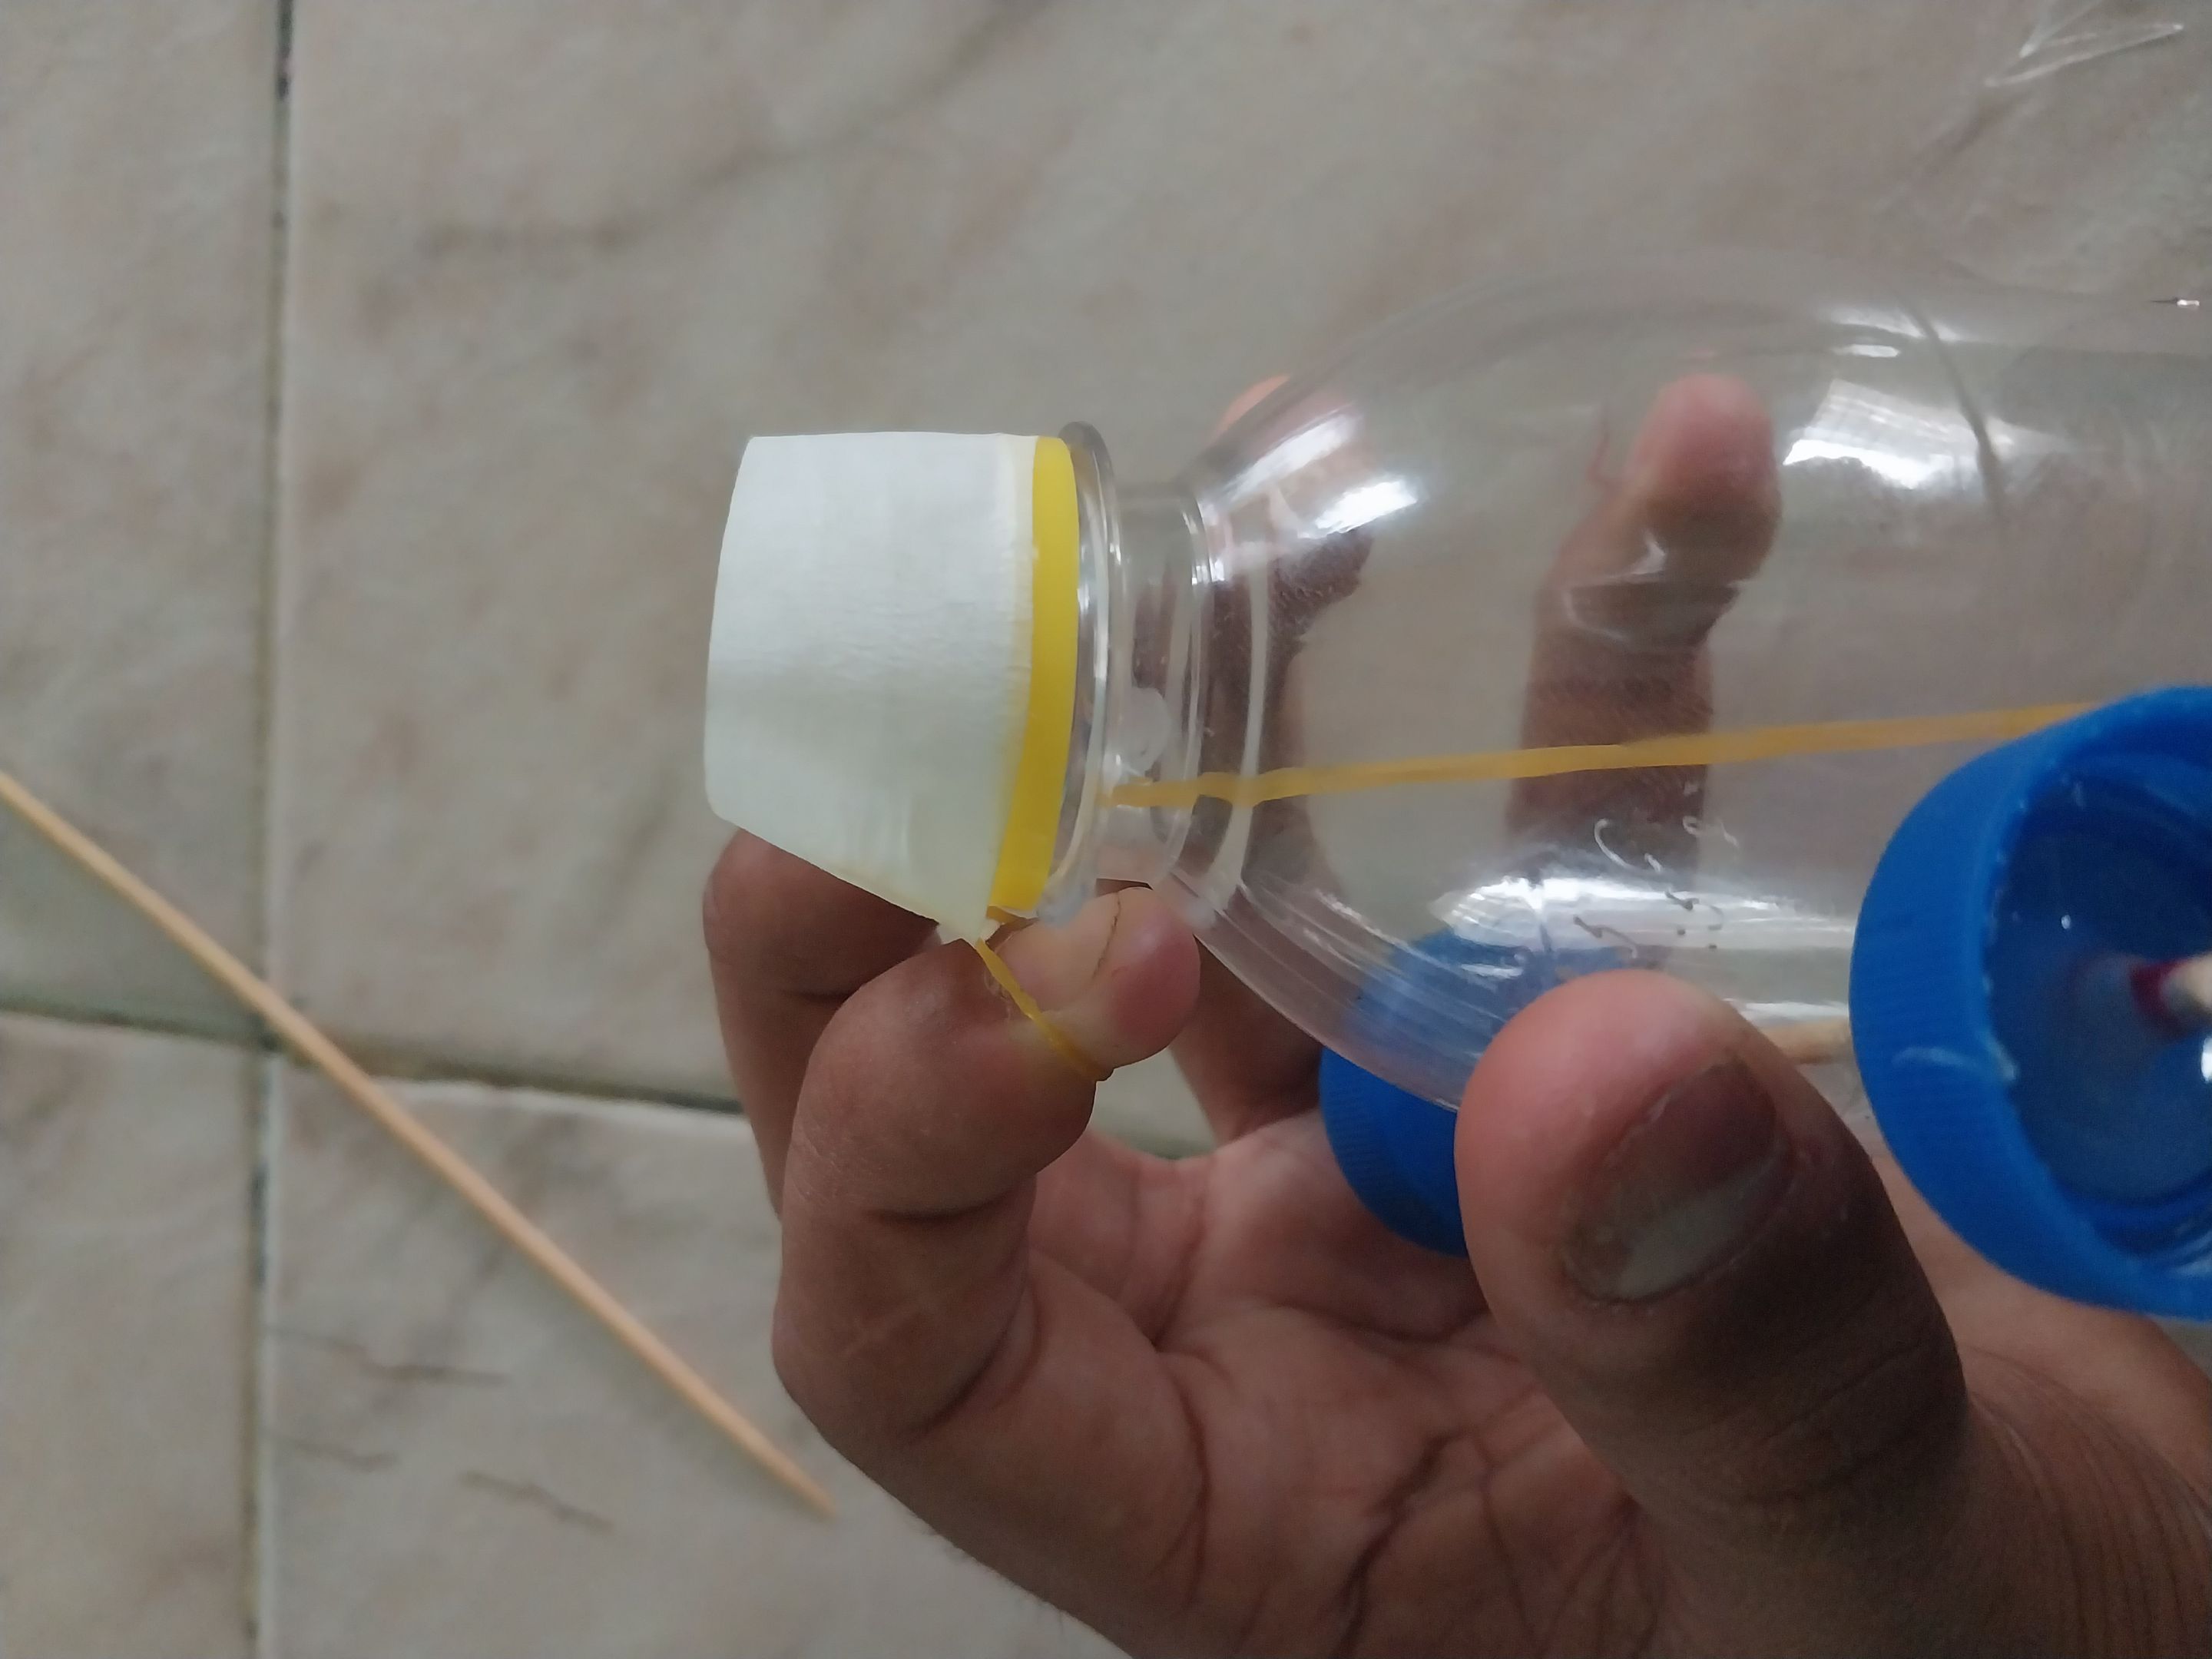
Luego, en el orificio que había en la parte de atrás del carrito y con ayuda del otro palito de pincho, empecé a meter la liga, y bueno, la verdad fue bastante complicado, pero gracias a Dios pude hacerlo jajaj, una vez que entró la liga, metí la mano por el cuadrado que había picado arriba, y eso me ayudó a sacar la liga por la punta de la botella, una vez que saqué la liga por la punta de la botella, la hale hacia afuera, y la envolví con un poco de cinta, para que cuando fuera a ponerle la tapa para sujetarla, no hiciera tanta presión sobre la liga y la rompiese, y una ves colocada la tapa, la helice quedó sujeta por la presión de la liga a la parte de atrás de la botella.
Well, once I had all that ready, I started assembling the cart. I took the first stick and inserted it between the two holes at the back. I took the four caps I was going to use as wheels. I started gluing each cap to each end of the stick, applying silicone and making sure they were firm and straight, and that they wouldn't lean to any side. I did this until I had glued all the caps.
With the cart assembled and on its four wheels, I took the other end of the extra bottle I had and trimmed it as if I were making a propeller, so that it had four blades. Then, I took the leftover cap and threaded one end of the rubber band through the hole. I added a skewer to act as a fastener, so that the rubber band wouldn't completely fall through the hole.
Then, in the hole that was in the back of the cart and with the help of the other skewer stick, I began to insert the rubber band, and well, the truth is it was quite complicated, but thank God I was able to do it hahaha, once the rubber band went in, I put my hand through the square that I had cut at the top, and that helped me take the rubber band out through the tip of the bottle, once I took the rubber band out through the tip of the bottle, I pulled it out, and wrapped it with a little tape, so that when I went to put the cap on to hold it, it wouldn't put so much pressure on the rubber band and break it, and once the cap was on, the propeller was held by the pressure of the rubber band to the back of the bottle.

---
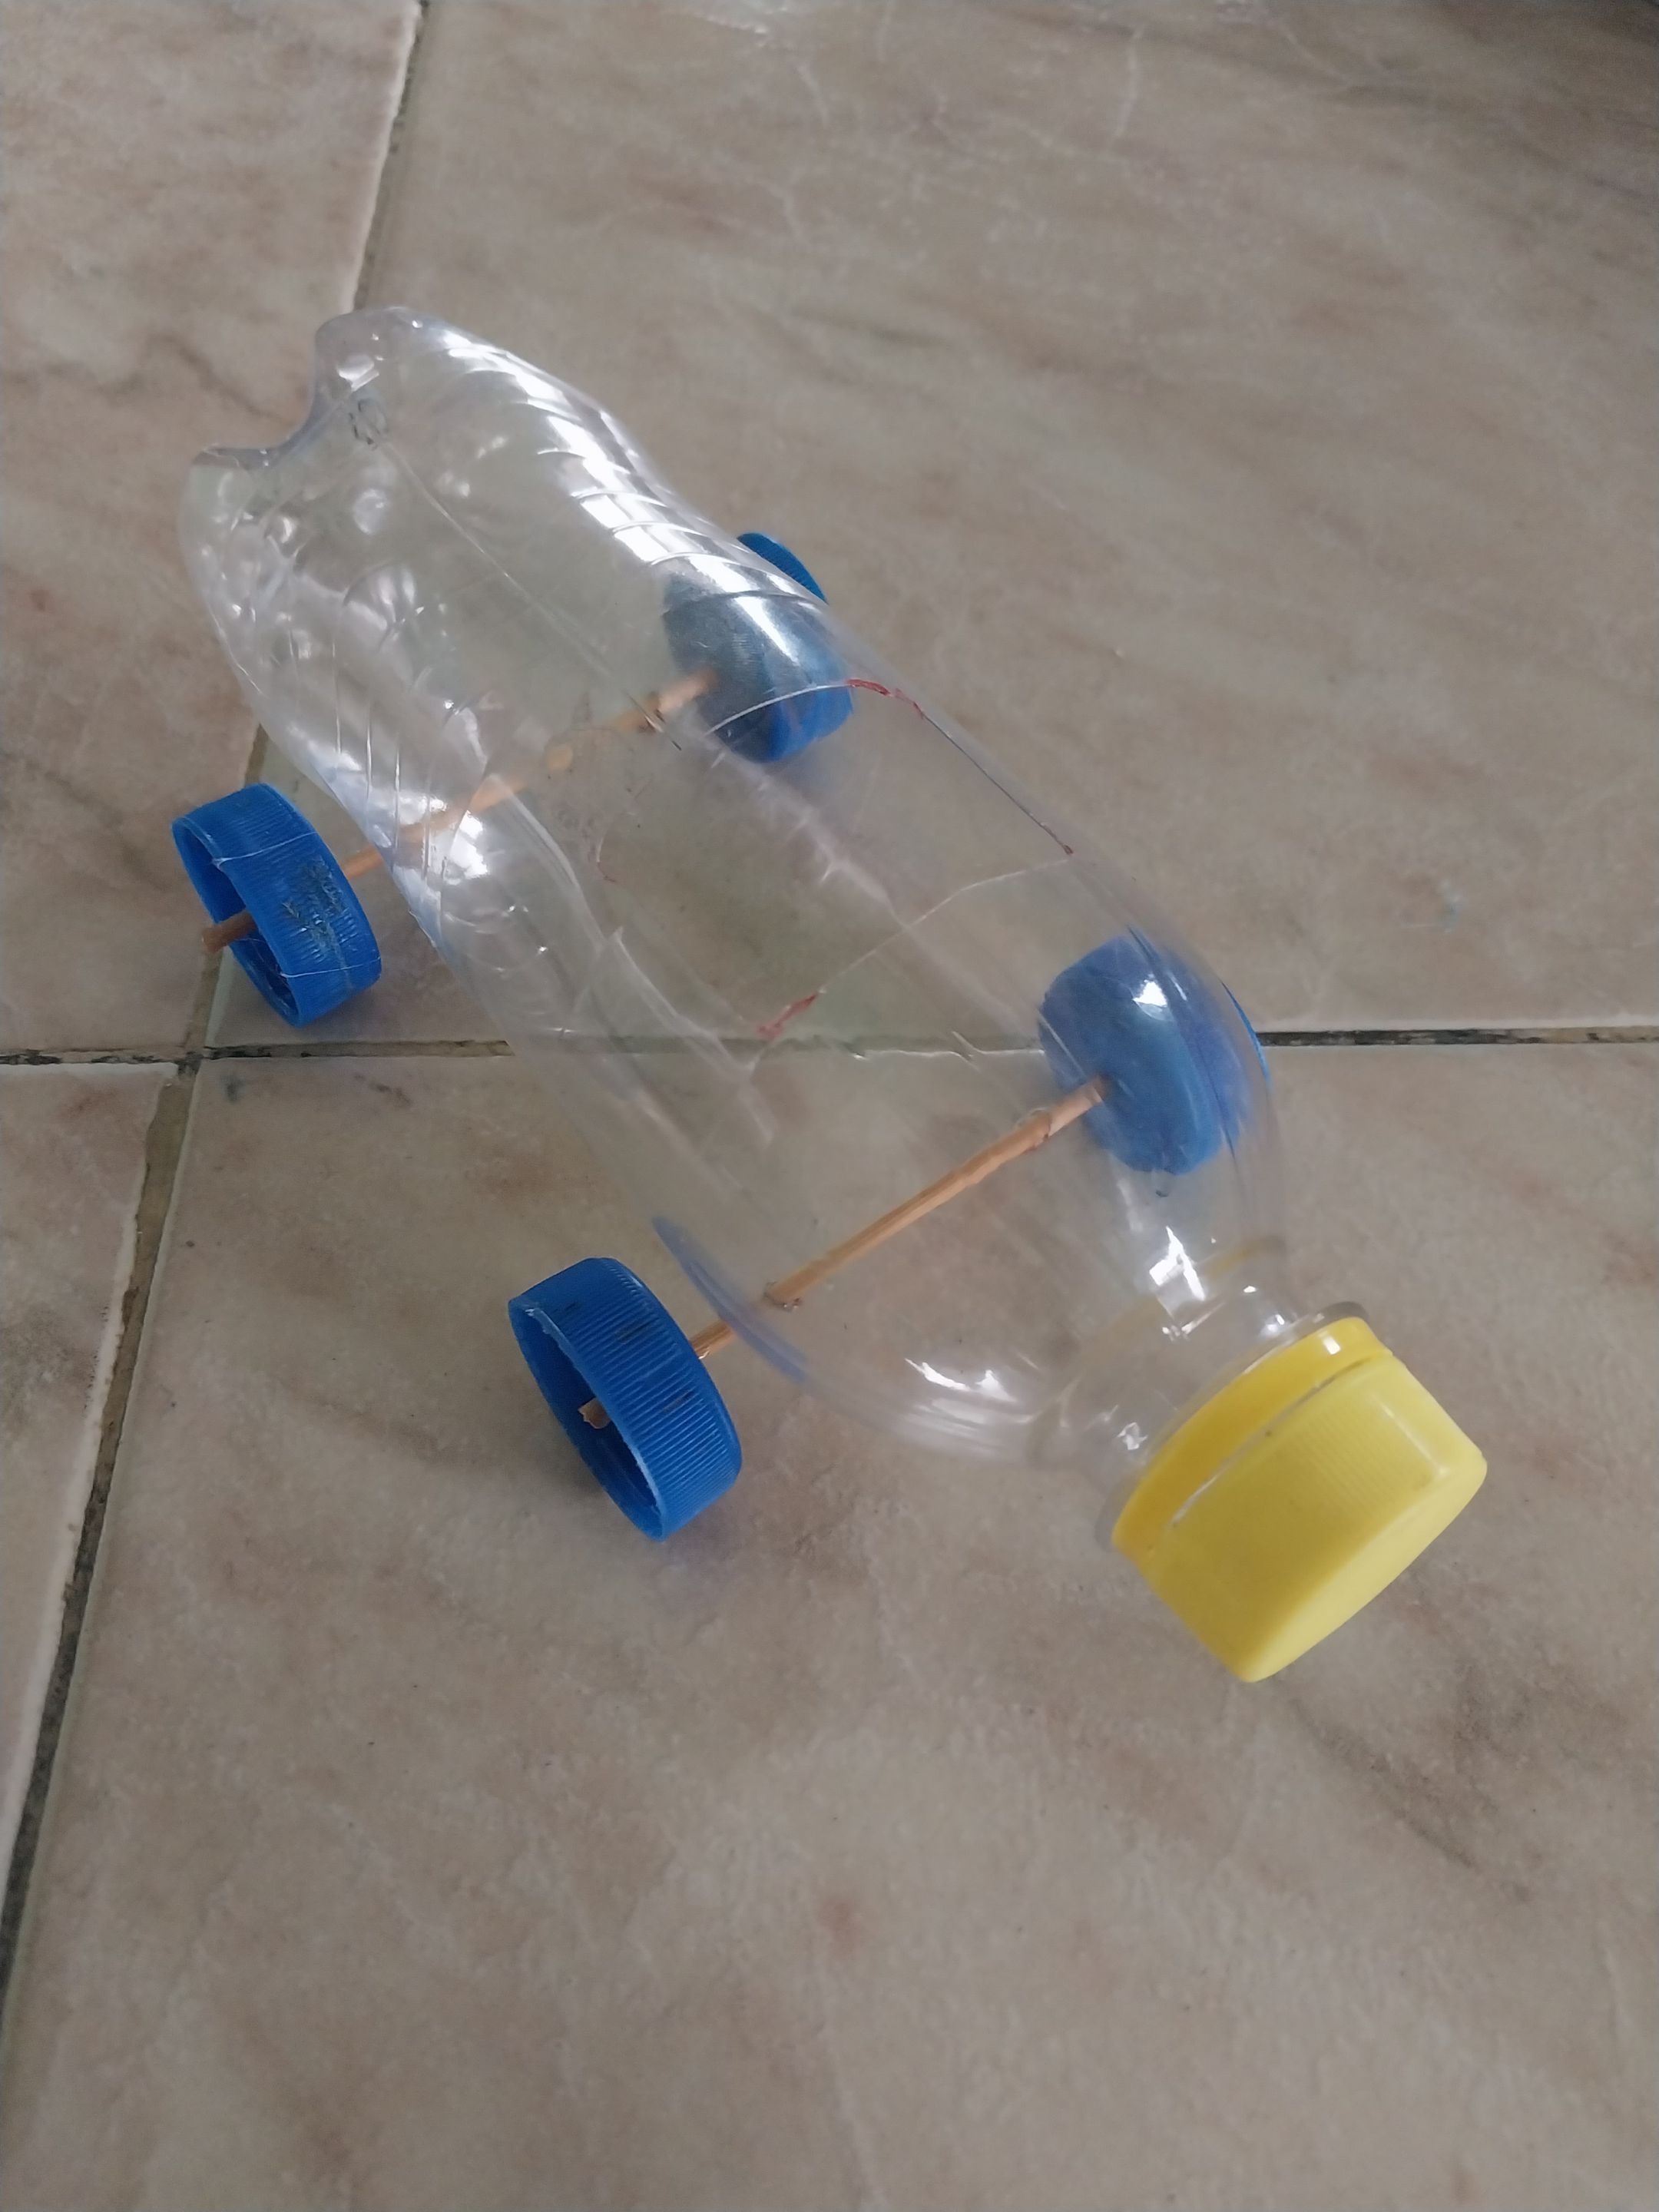
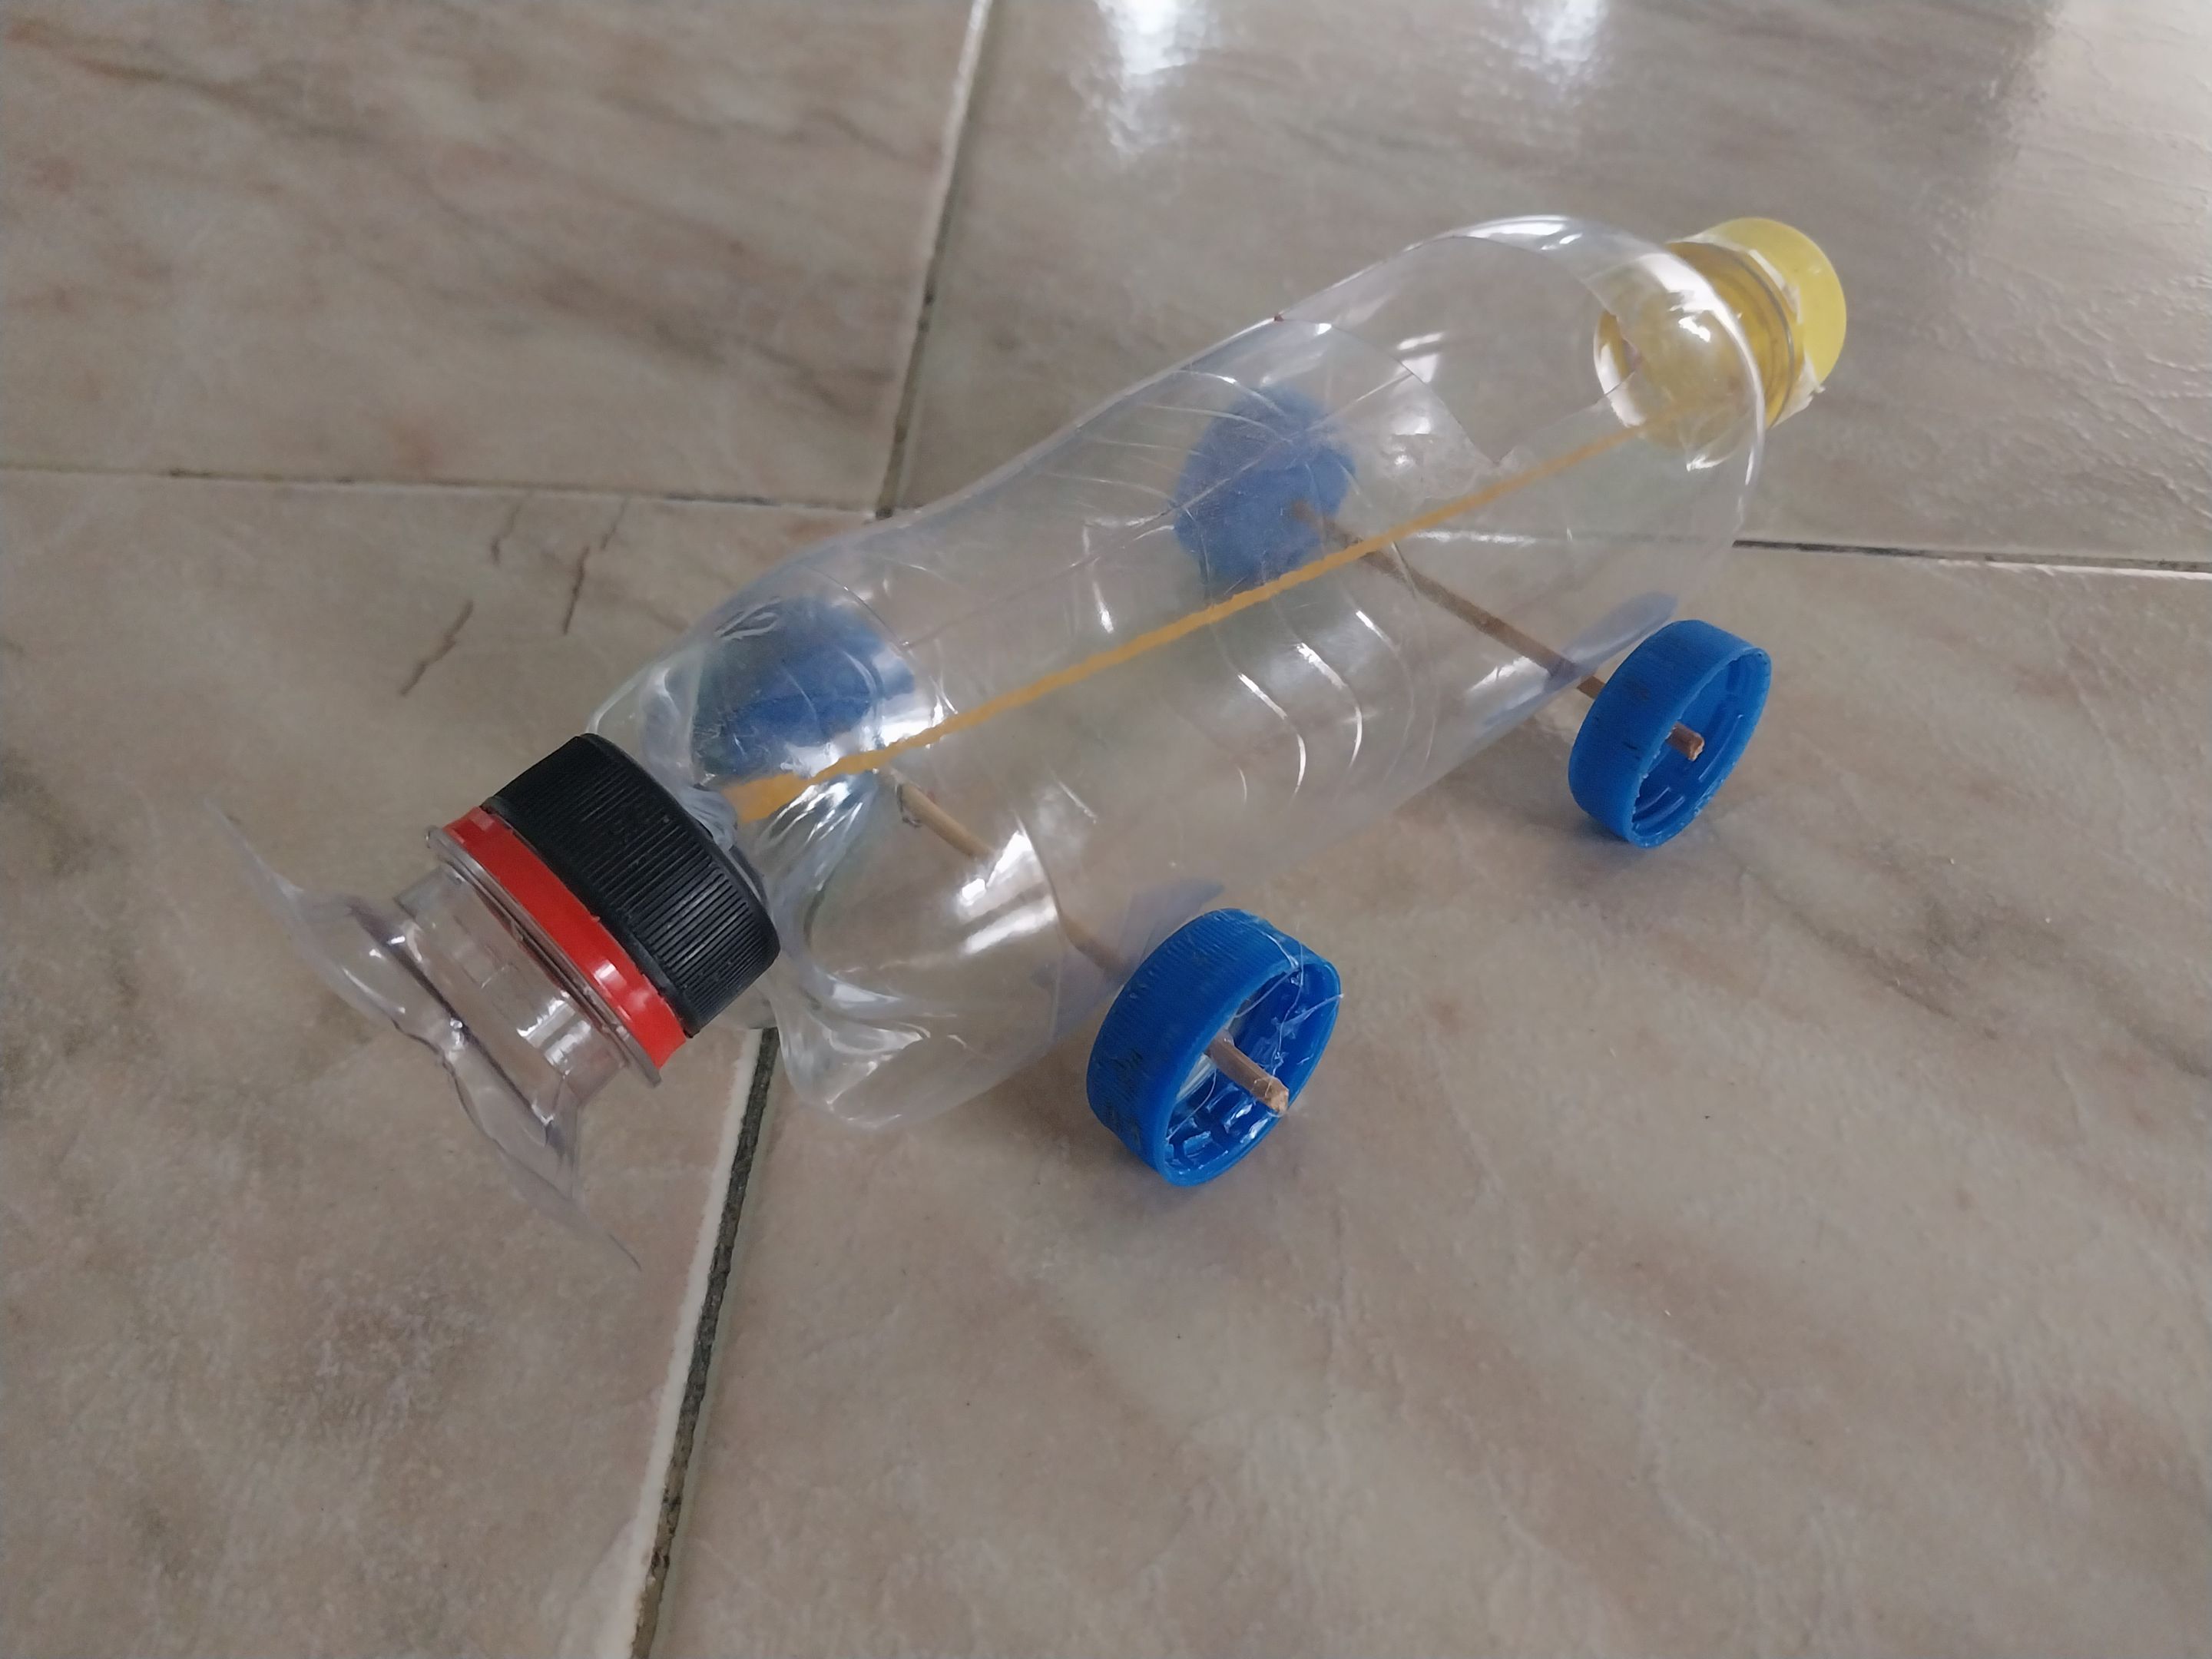
Ya hecho eso me di cuenta de que tenia un pequeño problema, la helice que había hecho con la otra punta de botella era muy grande, así que tuve que desmontarla, y recortar y redondear un poco mas las palas, hecho eso, volví a ponerla y el carrito estaba terminado, ya solo faltaba girar la helice trasera para que la liga se enrollara, luego soltarla para que la energía elástica hiciera girar las palas y empujara el carrito.
Once I'd done that, I realized I had a small problem: the propeller I'd made with the other bottle end was too big, so I had to disassemble it and trim and round the blades a bit more. Once I'd done that, I reattached it, and the cart was finished. All that was left was to twist the rear propeller so the rubber band would roll up, then release it so the elastic energy would spin the blades and push the cart.
---
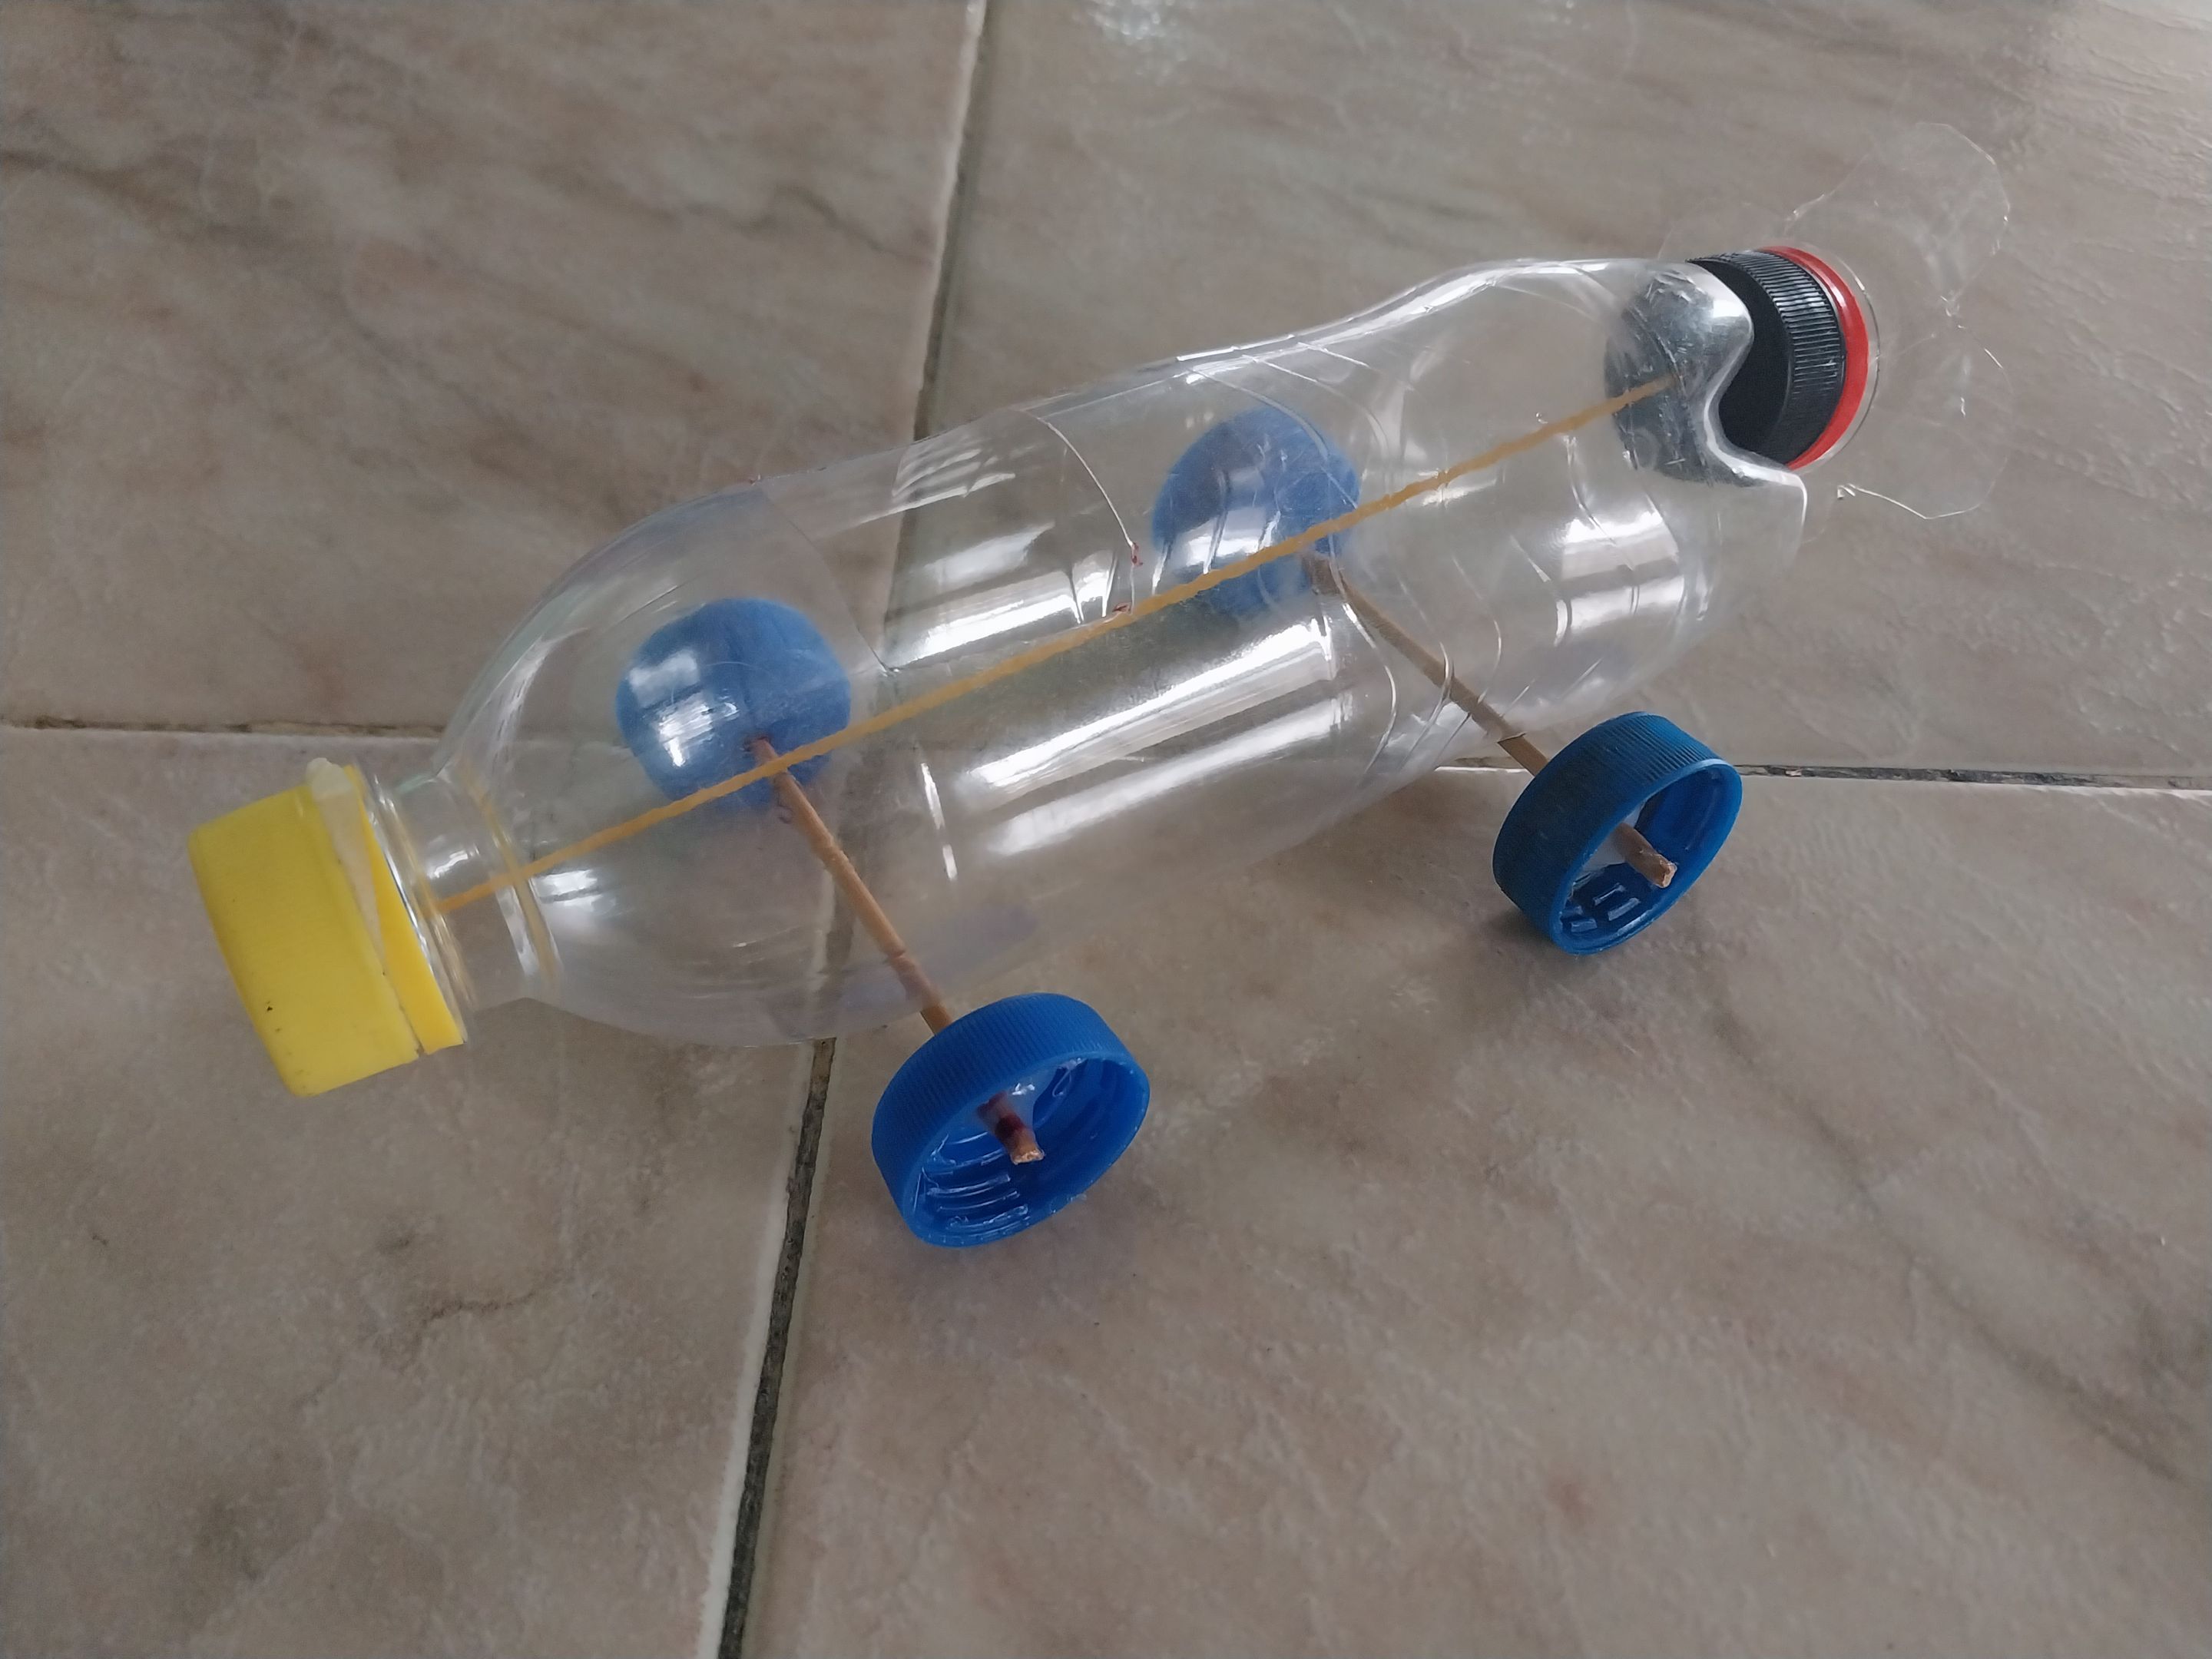
Honestamente, estababa un poco dudoso de que si iba a funcionar o no, pero gracias a Dios quedo Excelente. Y bueno, gracias por pasar, espero que les haya gustado mi creación. Saludos y Bendiciones.
Honestly, I was a little doubtful whether it would work or not, but thank God it turned out excellent. And well, thanks for stopping by. I hope you liked my creation. Greetings and blessings.

---
---
Translated with https://www.deepl.com/translator
#diyhub
#diy
#tutorial
#spanish
#creative
#upcycling
#home
#crafting
#ocd
#neoxian
Payout: 0.000 HBD
Votes: 296
More interactions (upvote, reblog, reply) coming soon.